DelF
-
Posts
1,409 -
Joined
-
Last visited
Content Type
Profiles
Forums
Gallery
Events
Everything posted by DelF
-

French polish
DelF replied to DelF's topic in Painting, finishing and weathering products and techniques
Thanks Jim - that’s good to know. Would you use it on models though? I’m still concerned it might not be a permanent enough finish. -
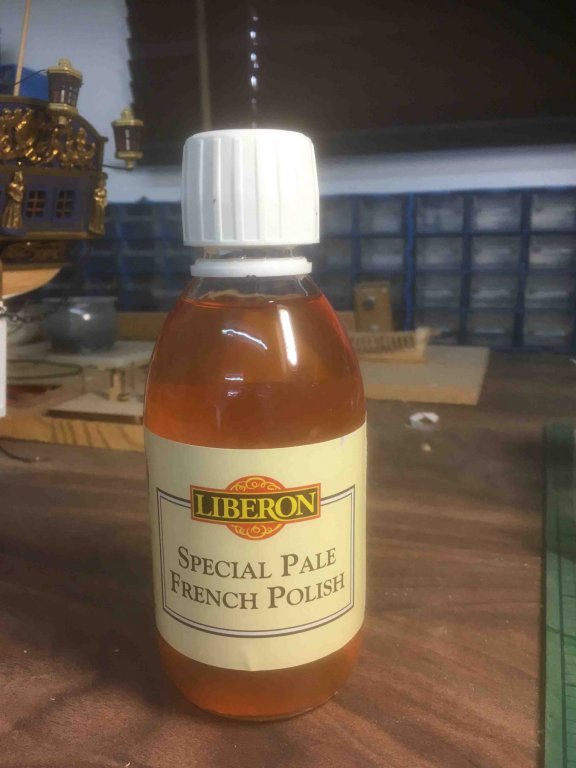
Hi All I've just discovered this french polish at my local hardware store and thought I'd give it a go: I tried it neat on bare wood, and over matt varnish. In both cases it gave a beautiful silky smooth finish, although the effect was more subtle and effective when used neat, at least to my eye. Over boxwood, it seemed to impart a warm glow to the timber (beyond the capacity of my ancient iphone camera to capture adequately, I'm afraid ). My question is, before I use it in earnest on a model, is there anything I need to be aware of? For example will the french polish finish stay looking as good as it does now, or will it fade or discolour over time? Should I apply any sort of topcoat? I'd always thought french polish was a top coat, but if it needs periodic reapplication or touching up then it's not much use on models. I'd be grateful for any thoughts and experiences other folks might have. Thanks Derek
-
Syren Rope Rocket
DelF replied to DelF's topic in Rope Making/Ropewalks's Commercial sources for ropewalk machines
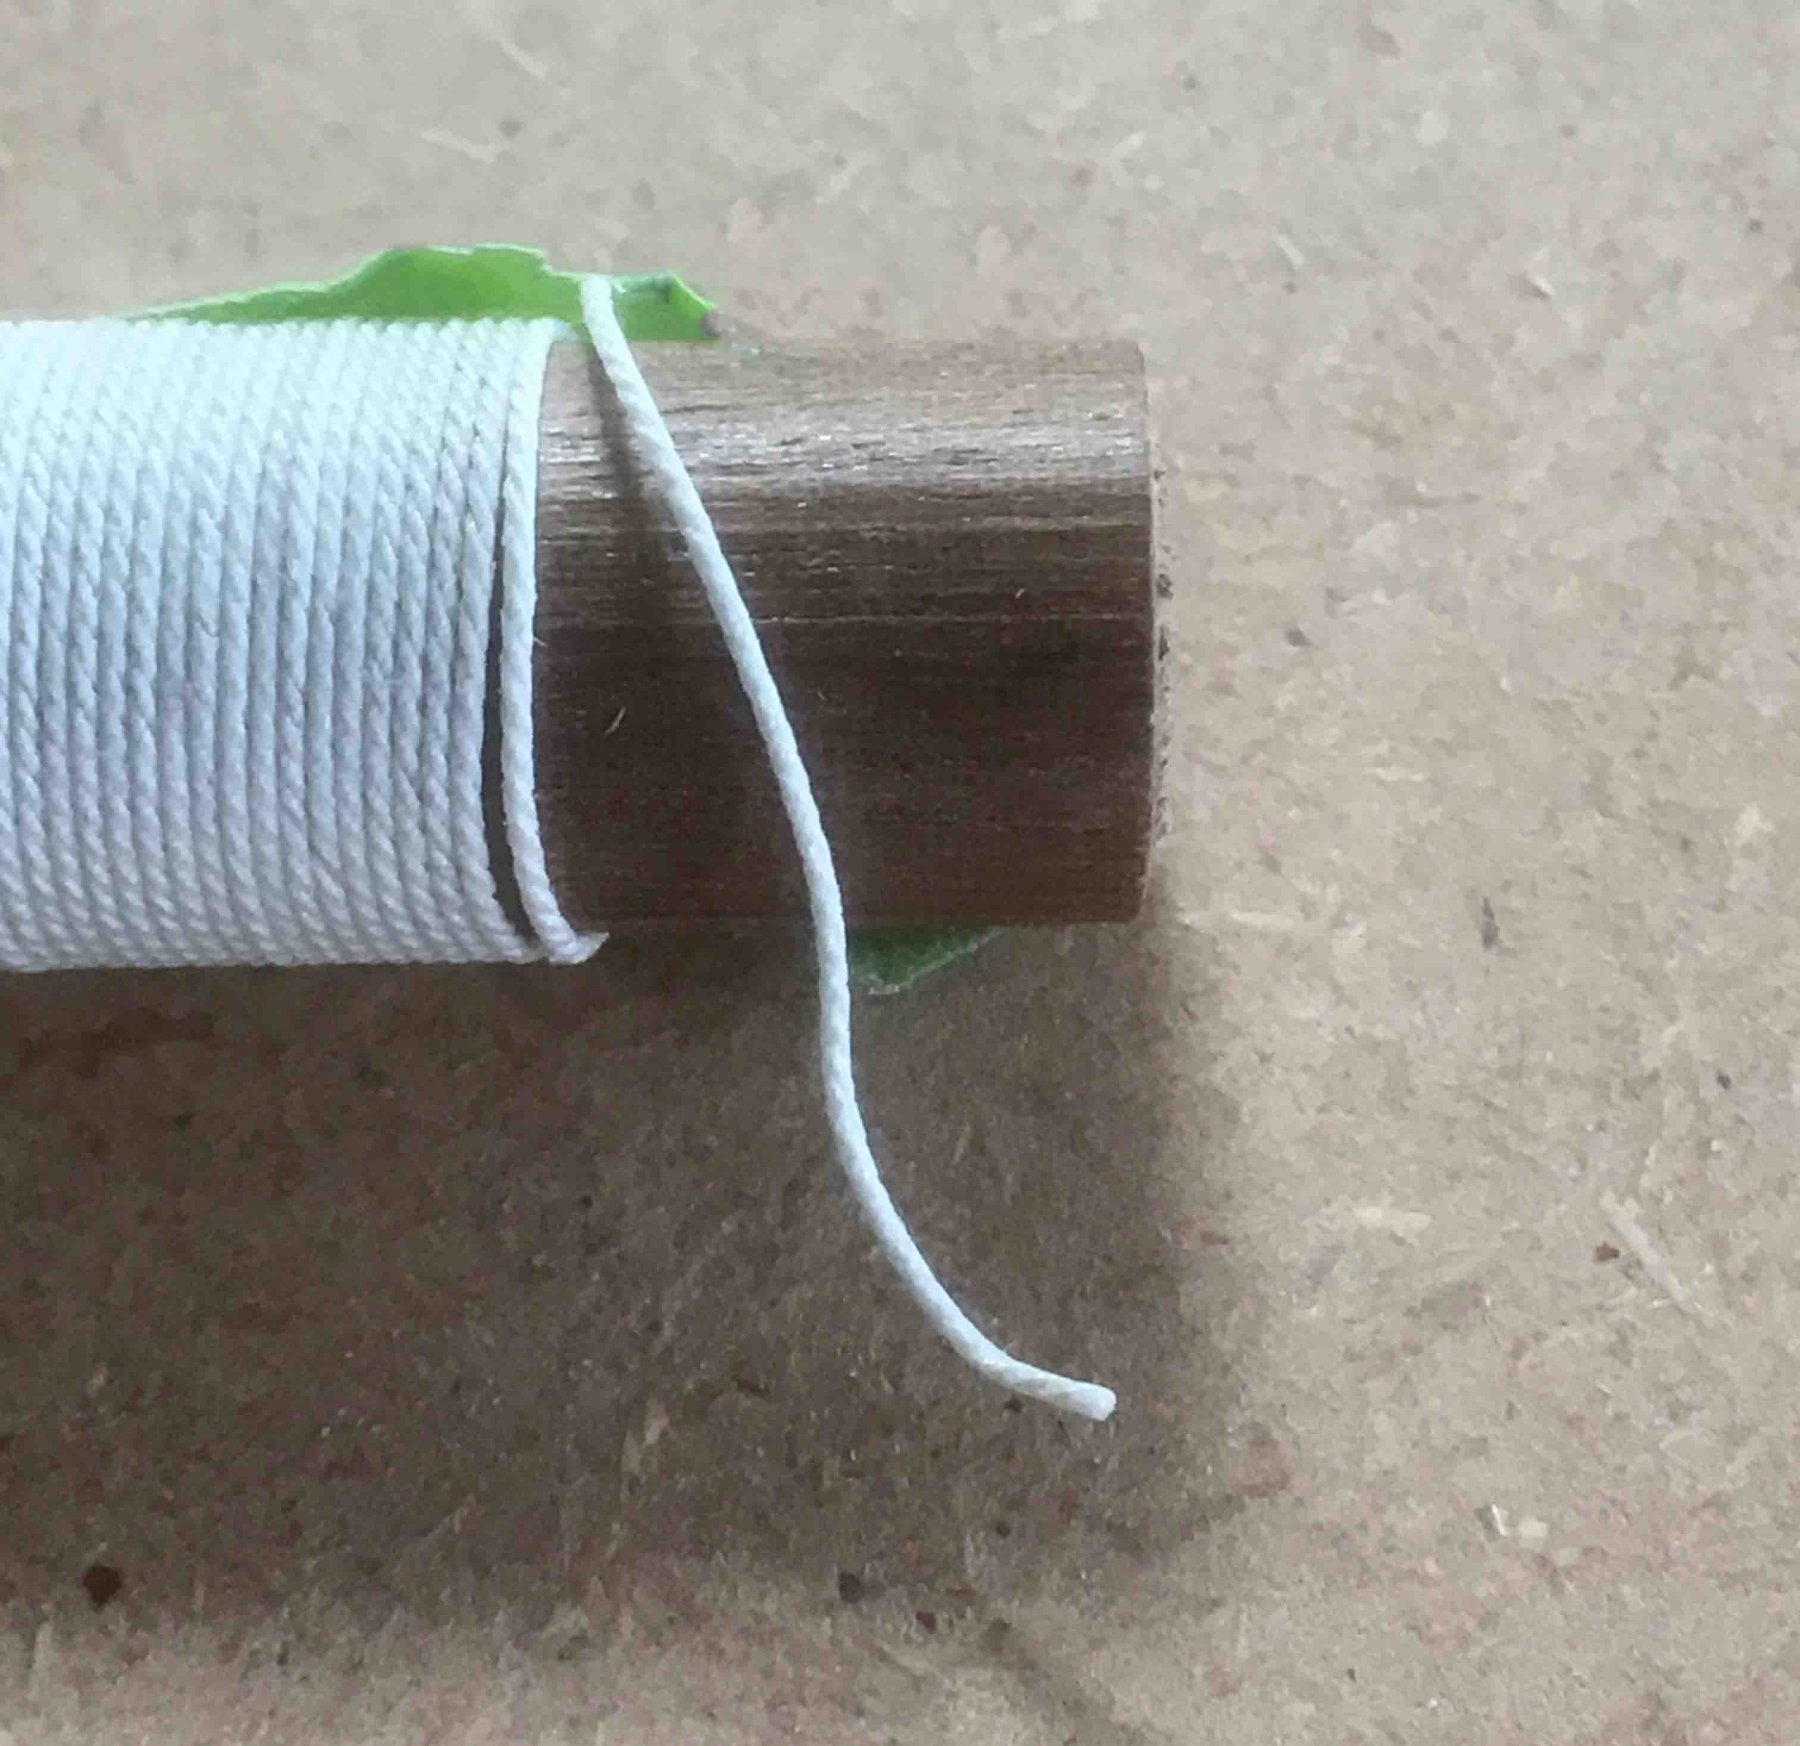
Thanks Chuck. In my first post, I should have pointed out that, unlike other rope I've made and seen, the rope from the Rocket really doesn't untwist when you cut it. I know you say this in your videos, but I had to see it for myself to appreciate it: I made this line from three strands of a slightly thinner DMC thread than you supply in the kit (#70). The resulting rope is 0.45mm/0.018" (it doesn't look as stark white as this in reality - it's more a pale tan). Derek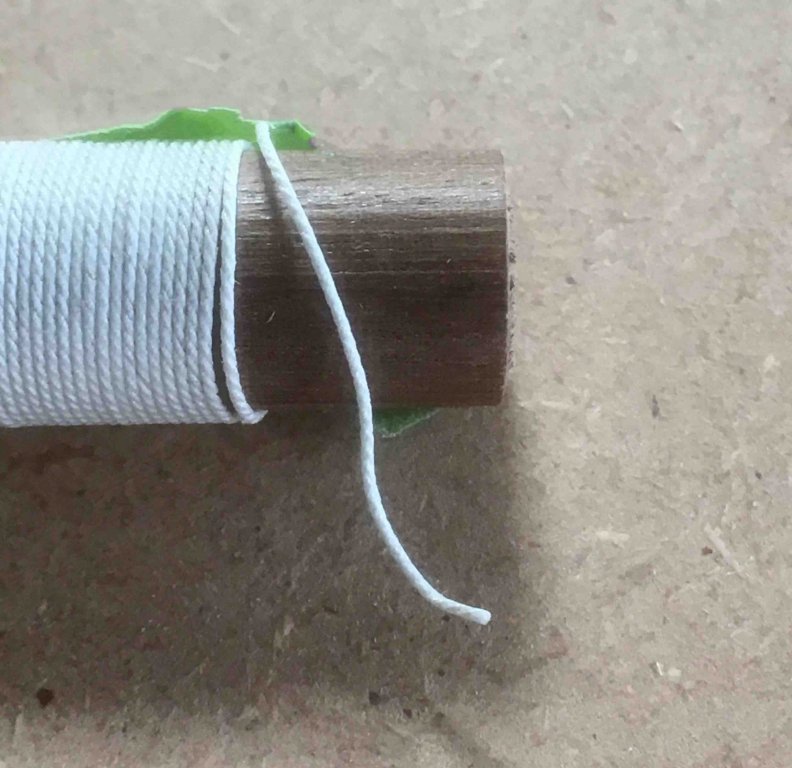
- 42 replies
-
- 10
-

-
- ropewalk
- rope rocket
- (and 1 more)
-
Thanks again B.E. I used a jeweller's piercing saw to cut out the frames for the pinnace and spent most of the time threatening to get a scroll saw. However I'd just spent rather a lot on one of my other hobbies (astronomy) and felt it politic not to upset Senior Management. So I struggled on.
- 574 replies
-
- 3
-
-
- cheerful
- Syren Ship Model Company
- (and 1 more)
-
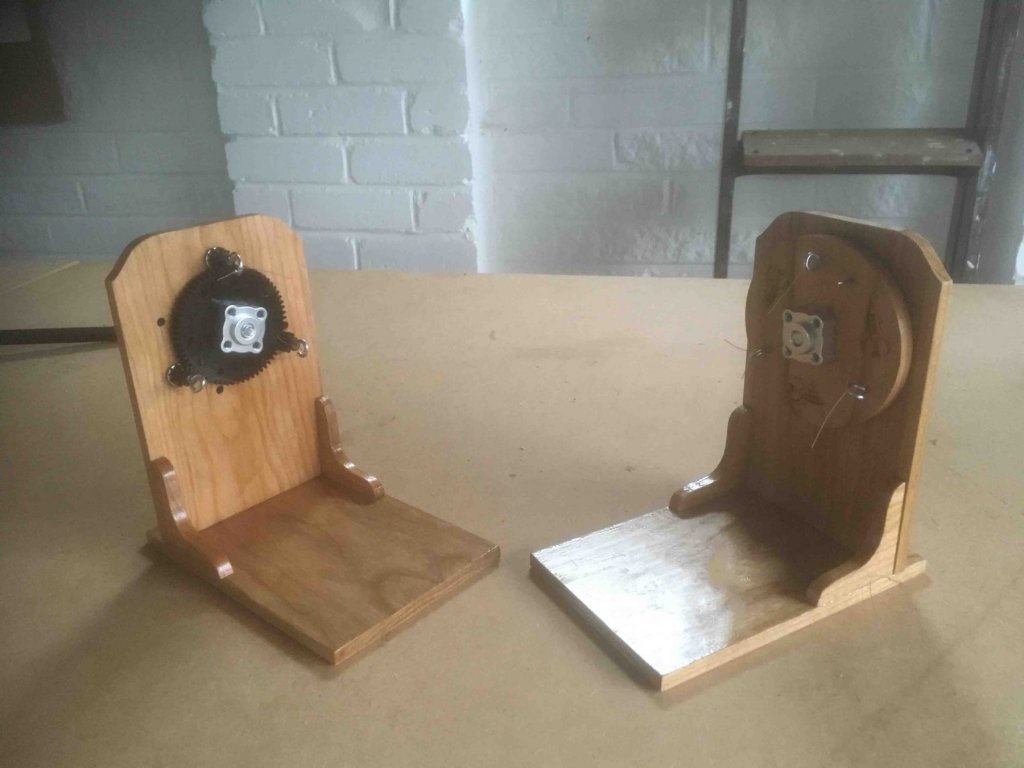
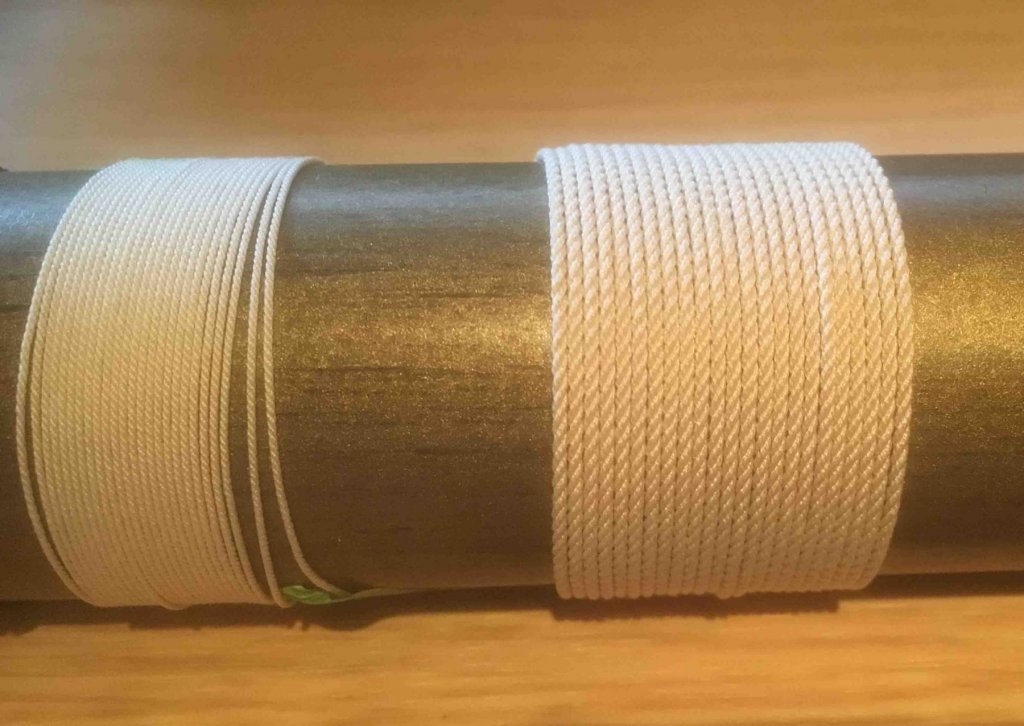
I've just made my first rope on my new Syren Rope Rocket and thought I'd share my experiences. First thing to say is that I was delighted with the result. I'd had a little previous experience with the more basic 'handraulic' version from Model Expo so I had some idea how to make rope, but even so I was surprised just how well my first efforts turned out. The line on the left was my first effort - three single strands of the thread Chuck supplied with the kit producing 10' of 0.67mm/0.026" rope. The one on the right has 9 strands of the same thread. You can put multiple strands on the Rope Rocket, so I tried 3 strands between each pair of hooks. Apart from a minute or two more to set up, it takes no longer to produce 9 strand than 3 strand material. The resulting rope was just over 1.2mm/0.047". A few suggested Do's & Dont's from my experience so far: Do watch Chuck's videos (on the Syren website and YouTube). They're excellent, and I learned more from them than umpteen written descriptions of rope making. Do take the time to clean off the laser char and varnish the headstock and tailstock. The cherry is a fine wood and it would be a shame not to bring out the best in it. Don't do what I did, and varnish the ropewalk after assembly. I did this, and despite my best efforts I gummed up some of the moving parts. Easily sorted, but avoidable. It would have also been much easier to varnish the parts before assembly, but I was too impatient! Also don't get varnish on the underside of the assemblies, or if you do clean it off. I've found a lot of the art of rope making lies in getting a feel for how the headstock or tailstock wants to 'walk' along the table as you spin up the ropewalk, and to do that they need to be able to slide freely. Do make sure you've got some very small hex keys (aka allen keys). I struggled to find one for the very smallest set screws. Until I eventually found one (1.3mm) I had to make do with a jeweller's screwdriver (the size used for adjusting the tiny screws in spectacles) but I wouldn't recommend that as it might distort the set screws. Do follow Chuck's advice in the instructions and use a strong epoxy or a CA with good gap filling properties to stick the eye screws into the brass tubes in the headstock. This is the only part of the construction that makes me a bit nervous, as the fit is quite loose and the eye screws come under considerable tension. I've had no problems so far, but eventually I might replace the tube/eye screw arrangement with a single length of solid brass, with one end fashioned into a hook. Incidentally, like Chuck I opened up the eye screws slightly, making it much easier to set up the thread. However unlike Chuck I opened them before fixing them in place, as I was worried that too much twisting with pliers might weaken the glue joint. Do check that everything spins freely when assembled. I found that the big central gear in the headstock tended to rub slightly against the washers under the smaller gears. This might be a result of some mistake on my part, but its something others might want to check for themselves. I found that an appropriately sized washer glued to the face of the headstock brought the big gear out just far enough to engage nicely with the small gears. Do watch Chuck's videos again! In summary, I'm delighted with the Rope Rocket and the rope it produces and would highly recommend it. I'm off now to experiment with different threads, 4-ply rope & etc. I've also got Chuck's Serv-o-Matic and am lookking forward to my first foray into serving. Derek
- 42 replies
-
- 18
-
-
- ropewalk
- rope rocket
- (and 1 more)
-
Hi B.E. Just found (and am admiring) your latest build. I first came across your work when I was struggling with my Royal Caroline. I'd given up on the kit version of the ship's boat and I was searching for inspiration on the forum. Your superb use of the scaled down MS Pinnace kit for your Pegasus was just what I needed and I shamelessly copied your idea, albeit at the slightly more forgiving 1:48 scale. I've got the added bonus of the pinnace kit to look forward to when I (eventually?!) finish the Royal Caroline. I subsequently read your Pegasus log from start to finish, and still frequently dip into it for ideas and inspiration (and to chuckle at your emojis and dry wit!). I'm interested to see that you're also a Proxxon fan. I couldn't manage half as well without my Proxxon tools, particularly the micro-mill, spar lathe and bandsaw - especially in terms of accuracy. I was interested to see that you have now gone for both their planer and their thicknesser. I'd wondered about adding one or both to my workshop but was concerned that they might be slightly too beefy for the small scales we work at. How have you found them so far? By the way, thanks for the tip on the German supplier - I hadn't realised we could save so much over UK prices. Anyway, many thanks for taking the time and trouble to share your builds - it's much appreciated. Derek
- 574 replies
-
- 4
-
-
- cheerful
- Syren Ship Model Company
- (and 1 more)
-
Your welcome Mark One point to note. In case you were wondering why there's two holes for each size, the top row is for cutting the thread and the bottom row is for testing the thread you've cut. If it hasn't been cut cleanly it won't screw into the bottom hole. Frankly I don't think the fluency of the thread matters that much when you're screwing metal into wood. All the best Derek
-
Hi Mark I've just seen this topic and thought I'd add my two penn'orth. I tried a tip I read in one of Harold Underhill's books where he recommends putting a thread on the tail of the eyebolt then screwing it into the deck or wherever. I found a cheap jeweller's tap & die set on ebay for £14.99 and tried it on a brass eyebolt with a 0.7mm tail. The thread went on no problem (I found the best technique was to screw the eyebolt half a turn into the die each time then unscrew to release any swarf; half a dozen turns was plenty). The resulting thread was so fine I had to run my finger over it to check it was actually there, but once I'd drilled a hole one size smaller (#71; 0.66mm) I found it screwed in easily, cutting its own thread in the wood, and the result was as solid as a rock. I'll definitely be using that technique from now on. I guess you could use glue as well if you wanted to be doubly sure. Derek, UK