HOLIDAY DONATION DRIVE - SUPPORT MSW - DO YOUR PART TO KEEP THIS GREAT FORUM GOING!
×


norseman
-
Posts
51 -
Joined
-
Last visited
Content Type
Profiles
Forums
Gallery
Events
Everything posted by norseman
-
Like your build. Can't believe how much work there is making one of those ships. Thought my oseberg was hard but not as intricate as yours.
-
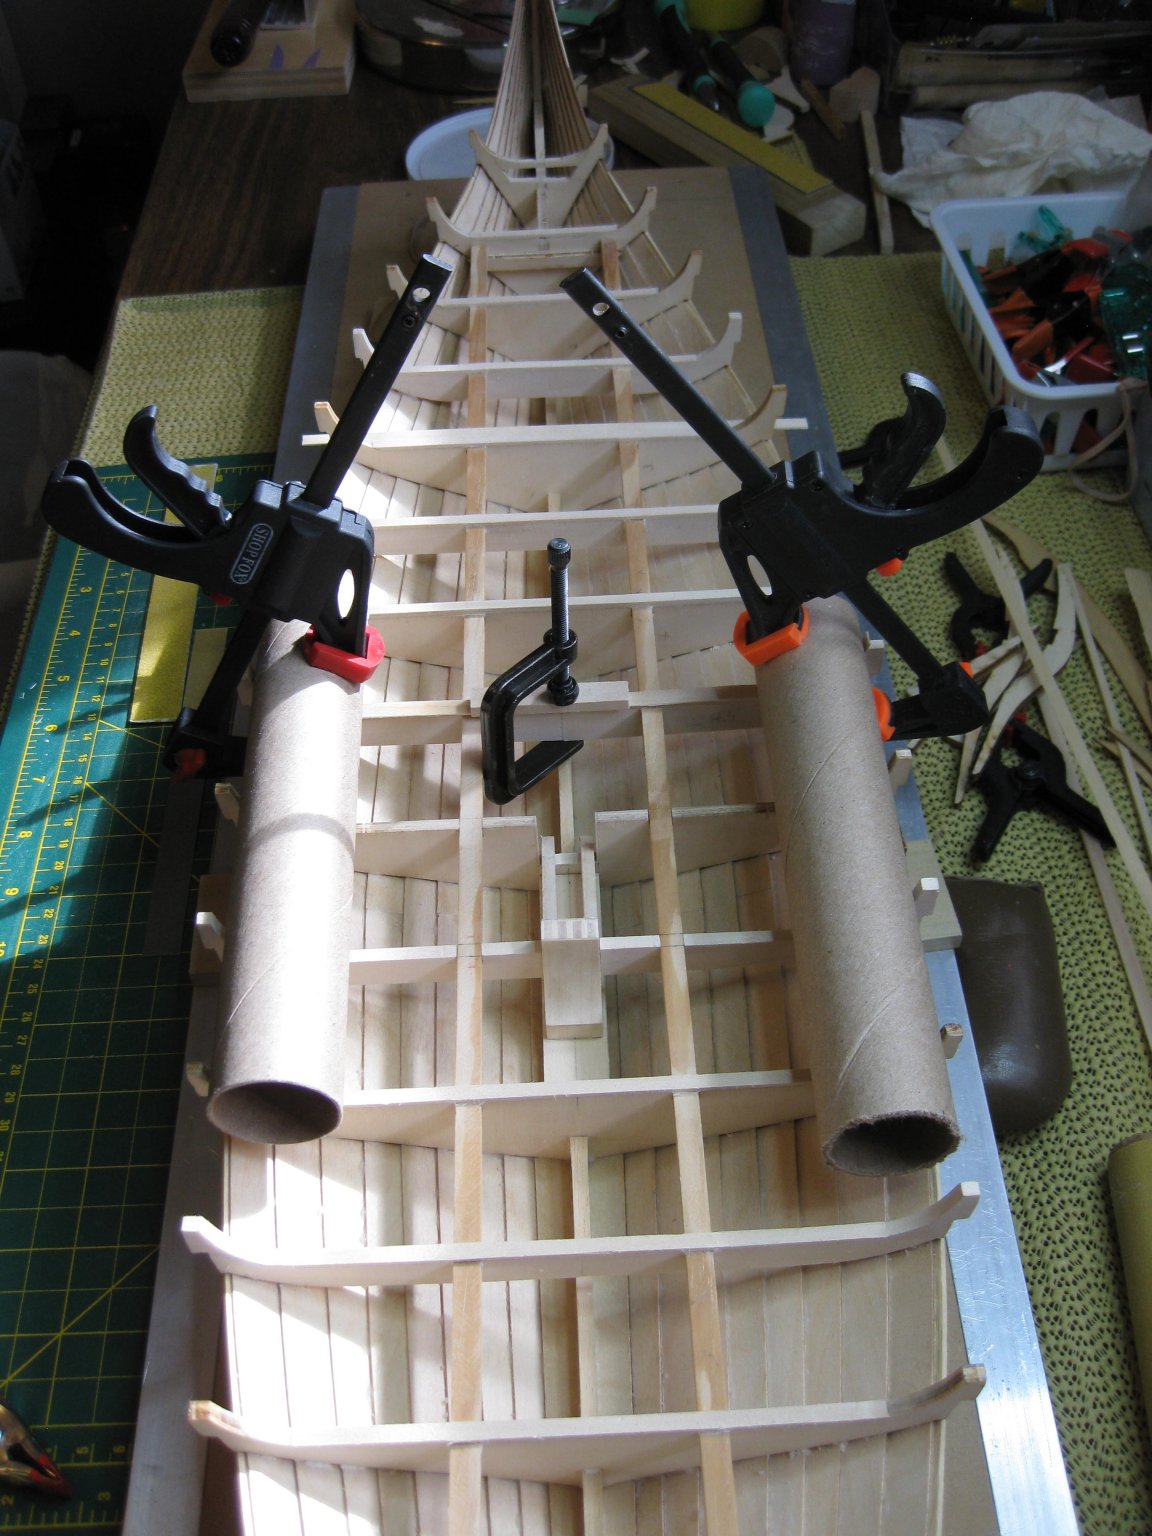
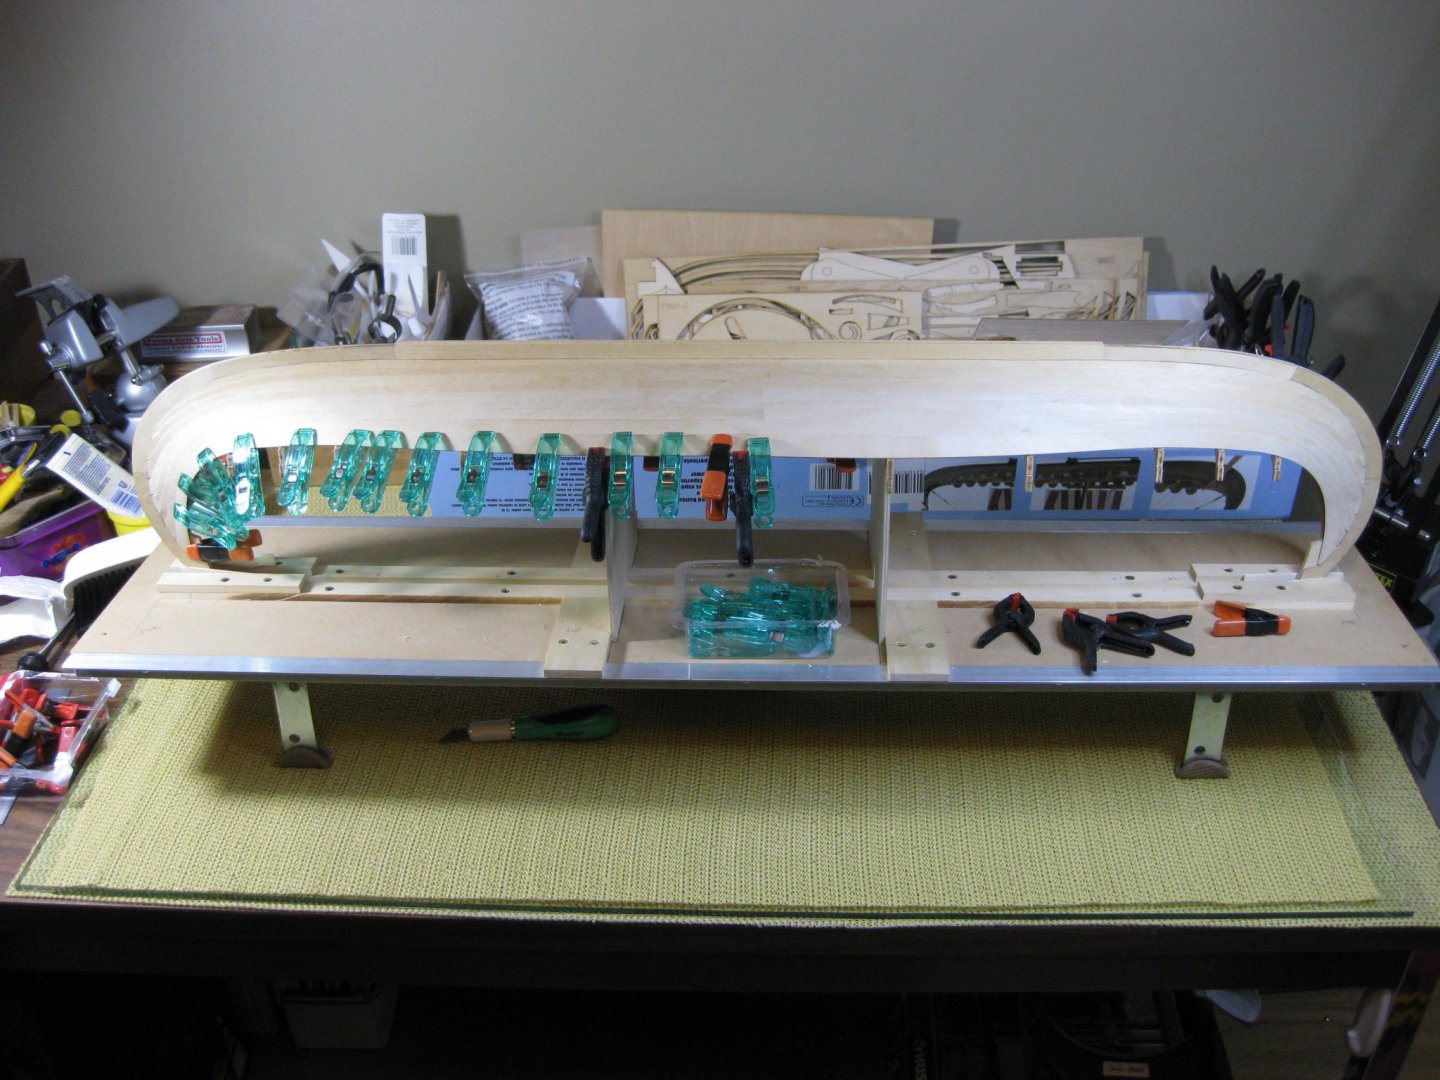
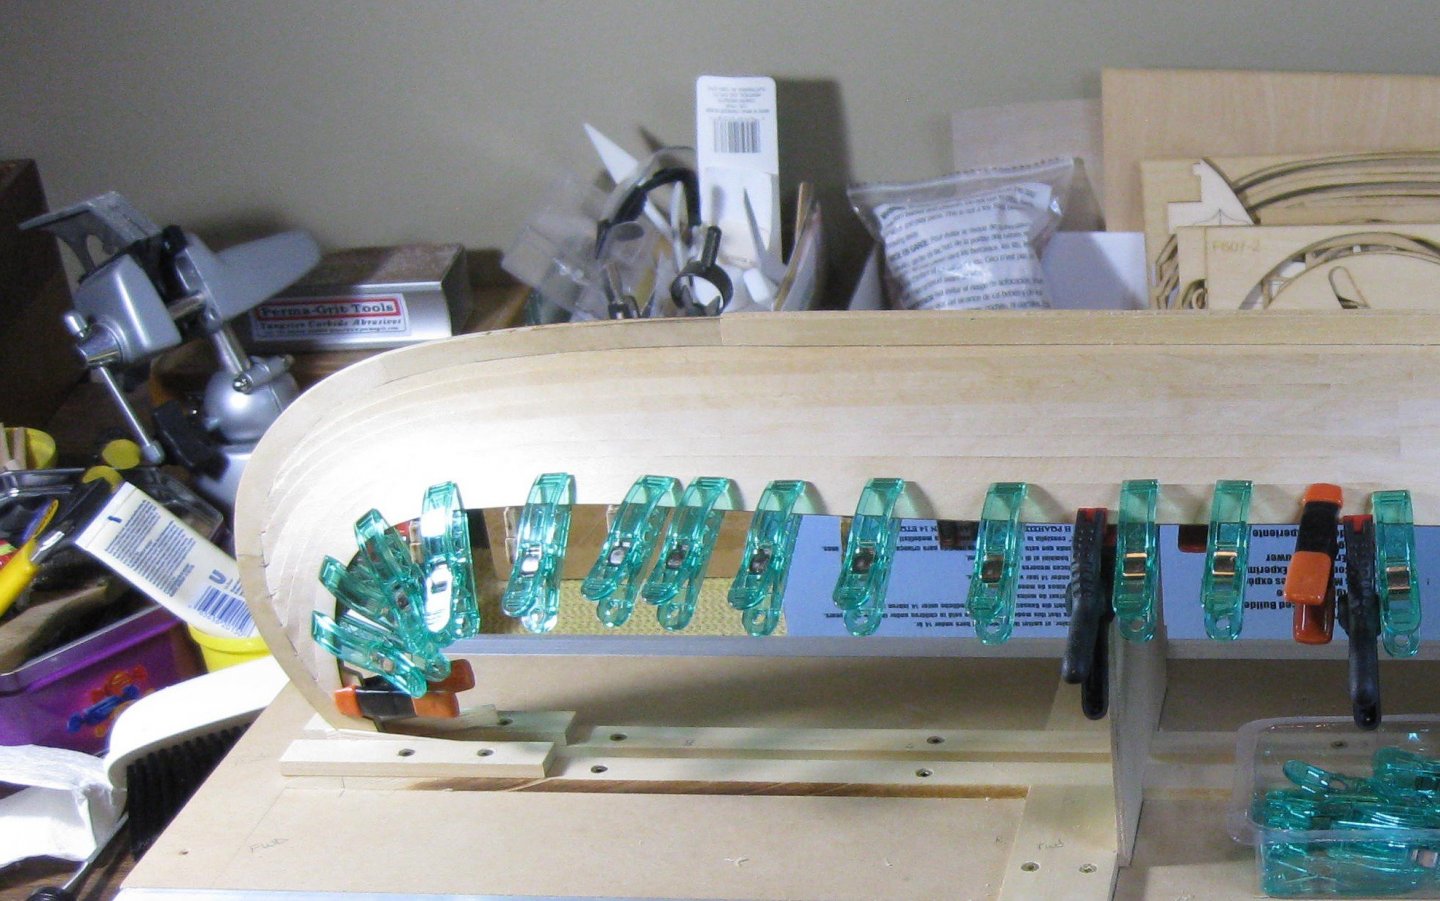
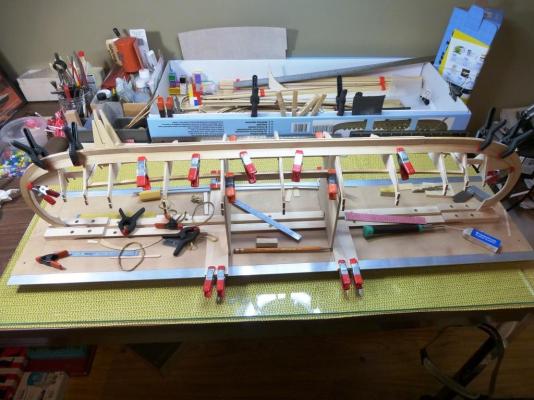
Have finished installing all the strips across the frames or bulkheads. Today I am working at laying a strip of veneer across the top of the frames or bulkheads to cover the plywood ends. Finding that soaking the strips in hot water for 5 to 10 minutes and using my wifes old hair curling iron I can bend the strips quite easily. The curling iron seems to have the correct radius for this job. Will take a while to get all the frames done but again I have lots of time staying in the house during the virus epidemic.

-
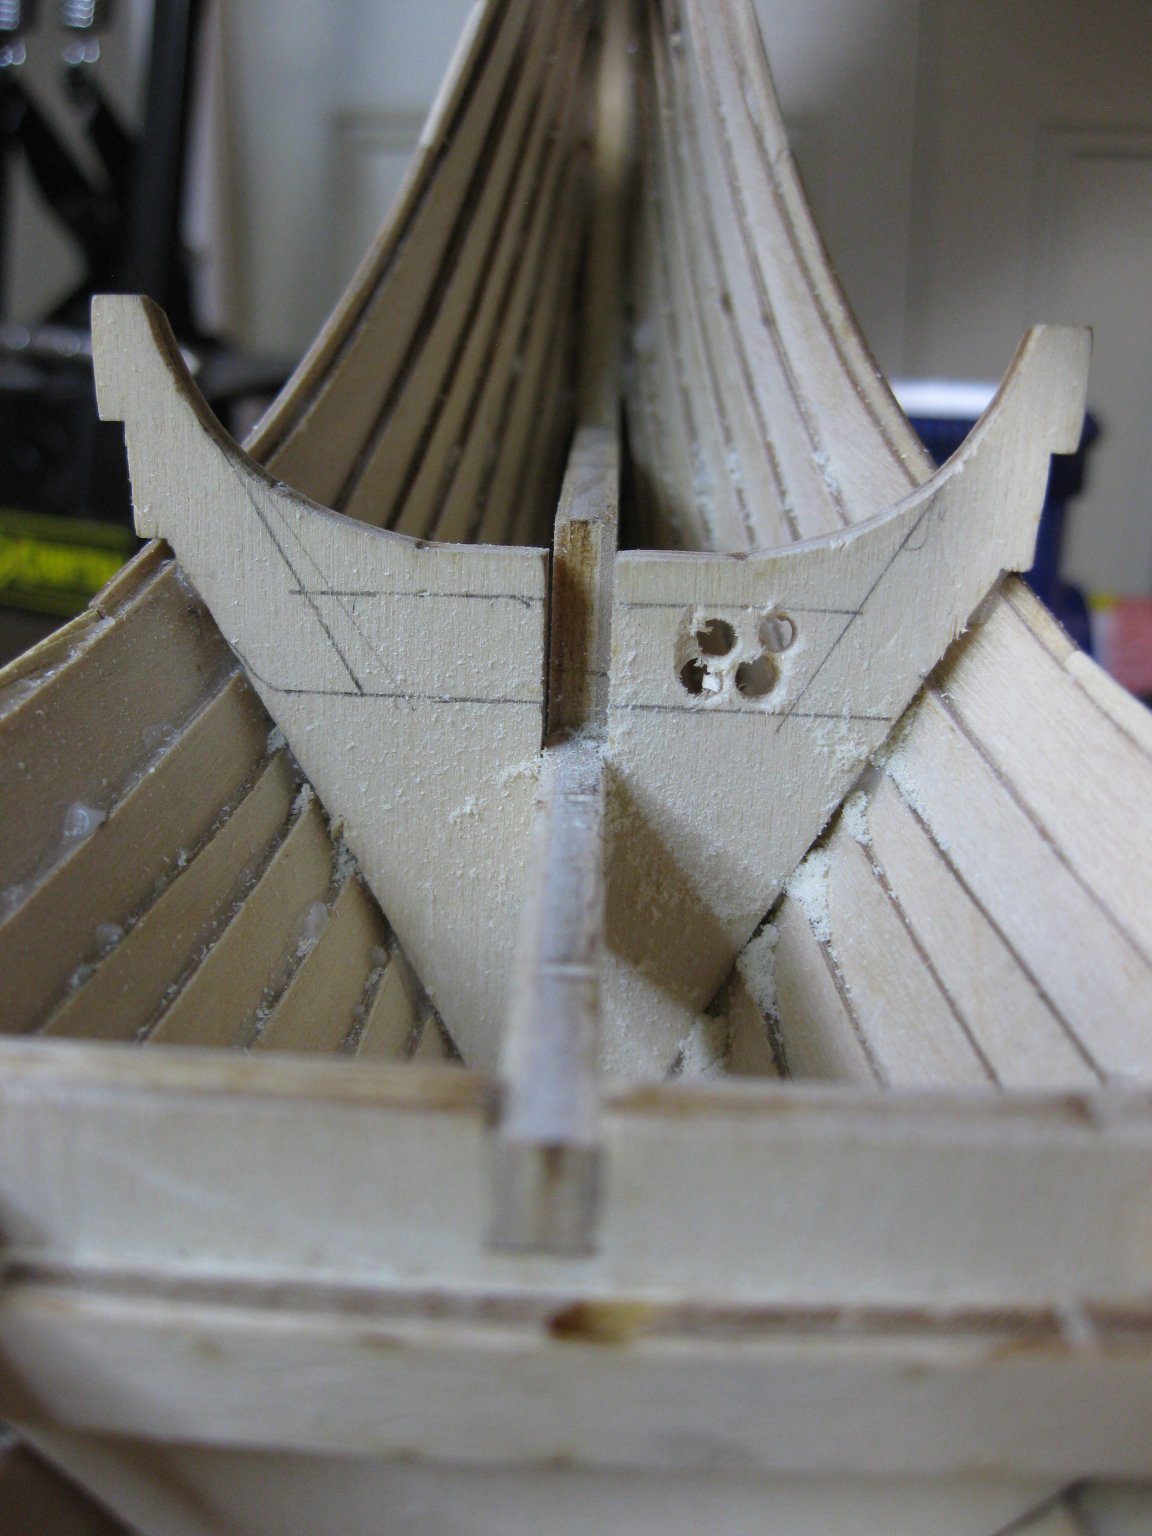
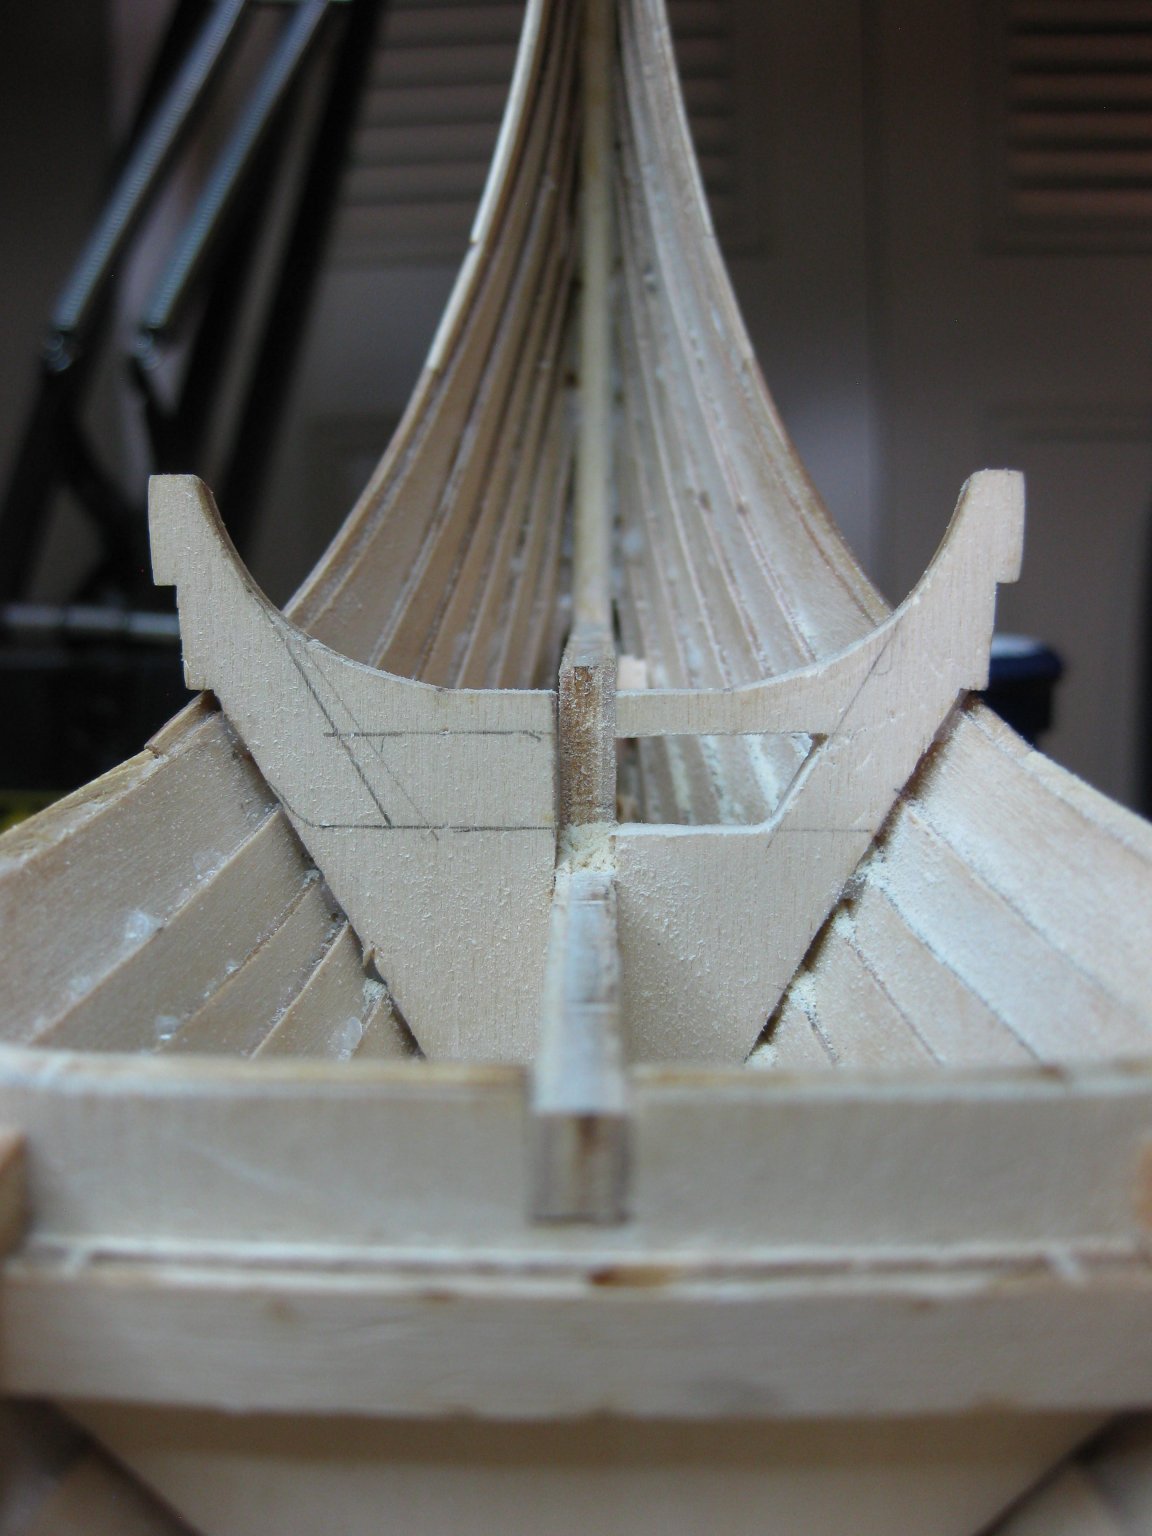
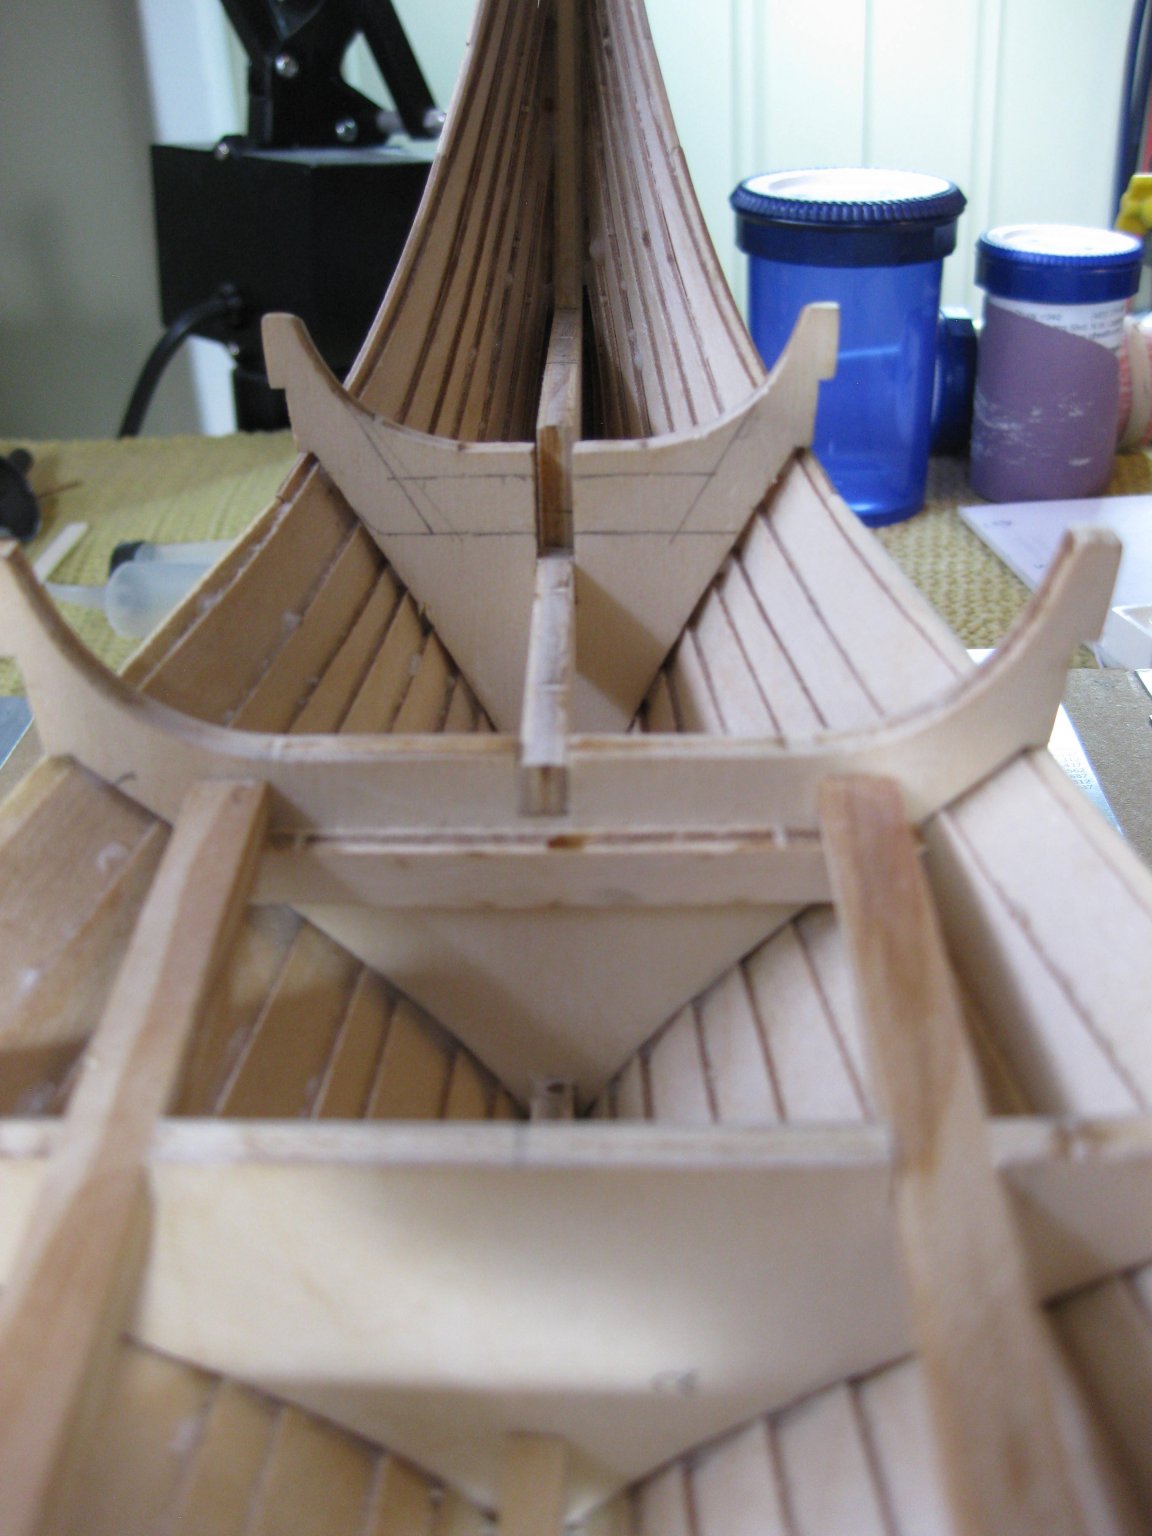
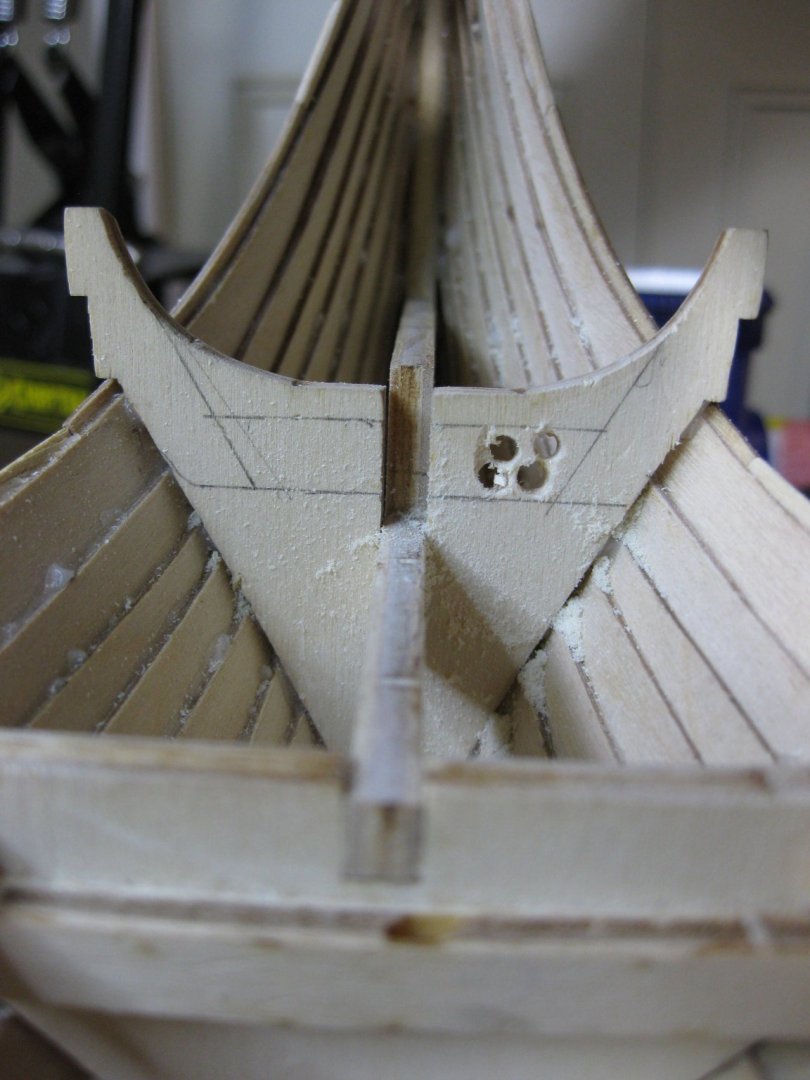
Got my openings done on my forward and aft bulkheads or frames. I will probably widen the opening on the rear bulkhead to more accurately match the original Oseberg. Think I will now put the strips and veneer on top of the frame edges to make them appear to be solid wood instead of plywood. Will also veneer around the openings I made in the forward and aft frames. Not the best pictures shown here as the holes are actually better than they appear.

-
Arjan did you have any problems when you put the 2 side planks on you ship? I know when I was roughly fitting them to see if they would fit correctly the angles seem to be not quite correct. You have done a great job on yours.
-
Thanks for the info Arjan. I didn't realize the BB bulkheads were suppose to be at an angle. It may be to late to correct that with my ship. Probably do more damage trying to correct it than leaving it the way it is. Also thanks for the pictures. Nice job on your ship.
-
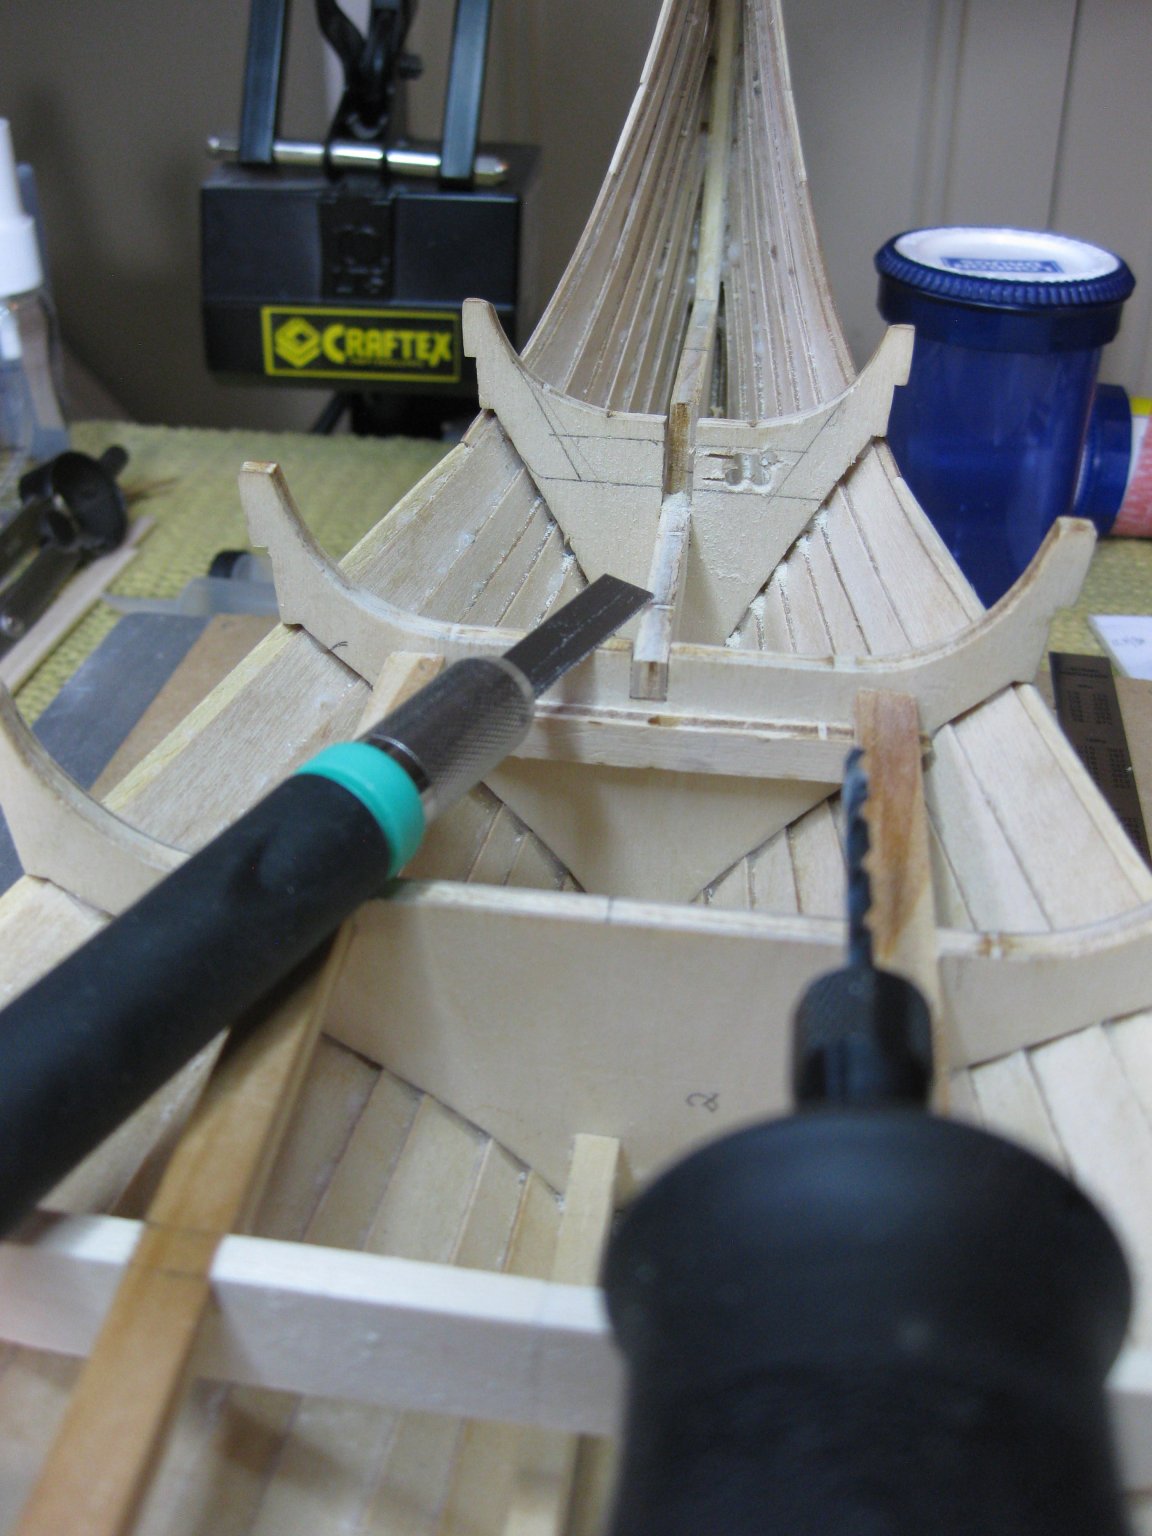
Got brave and did one side to see how it would work. I used my Dremel with a small drill bit to make some holes. Then I used a small saw blade and roughly cut the hole out. A little bit of sanding and the hole turned out not bad. Just have to do the rest now.


-
I am thinking of opening a hole in the most forward and aft frame so the ship will more resemble the real one in Oslo. Von Kossa did this on his build and it turned out looking good. Will be a little tricky cutting the piece of frame out behind the frame.

-
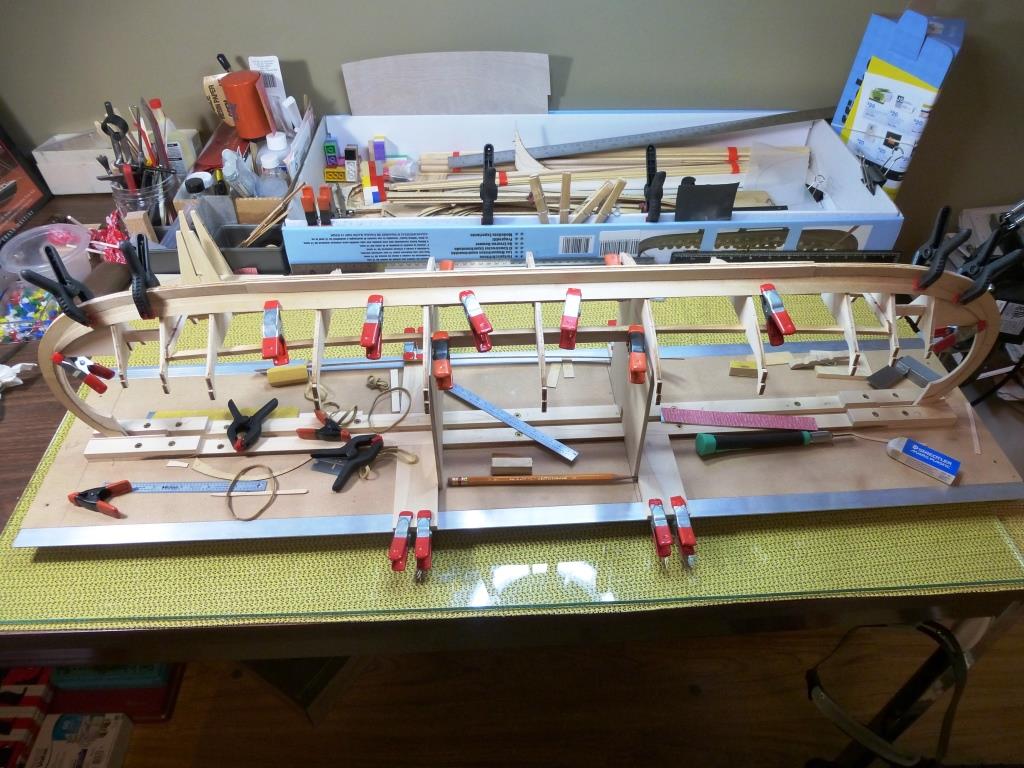
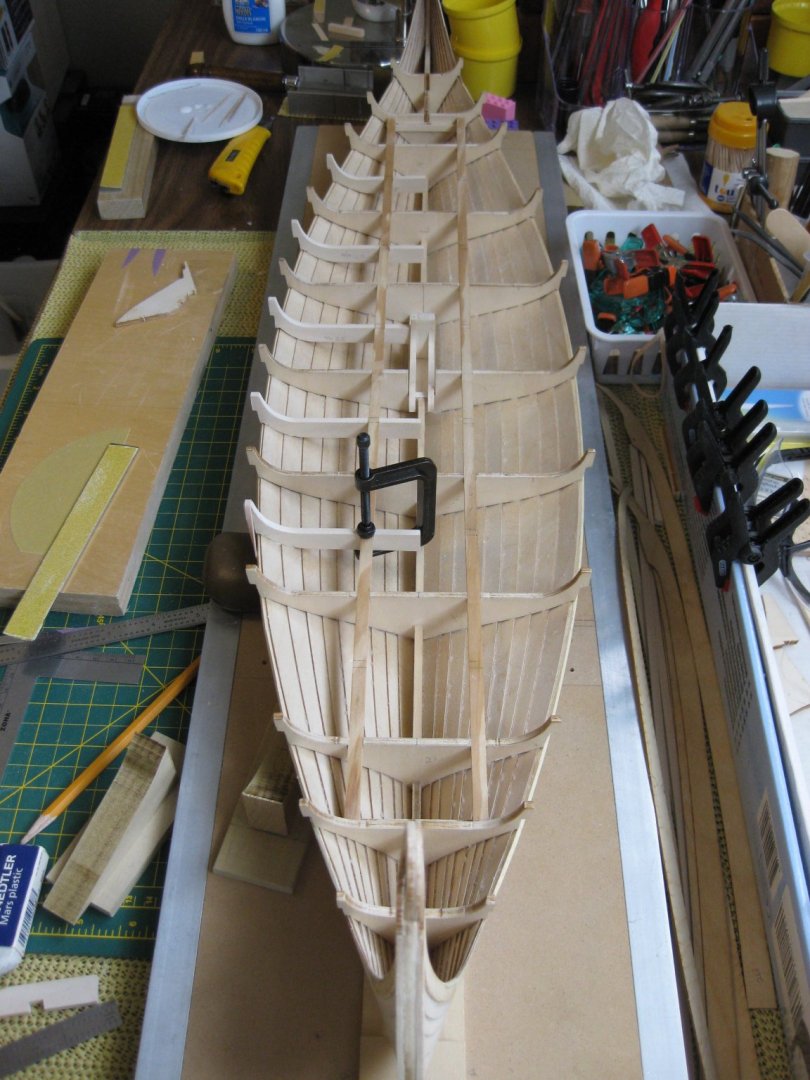
Have all the frames glued into place. I have made some strips which I will put on the top of the frames along with a thin strip of birch veneer so the plywood ends of the frames the kit supplied won't will not show. I was going to put them on now but will work on some other parts of the ship first.
-
Just by clamping them in place and taking a look at them. The notches on the frames give you a rough placing for the frames. What I found was the curvature in the planks from the kit do not line up well with the notches. Have to move the planks up or down so there will not be a gap where they over lap. Hopefully that answers your question.
-
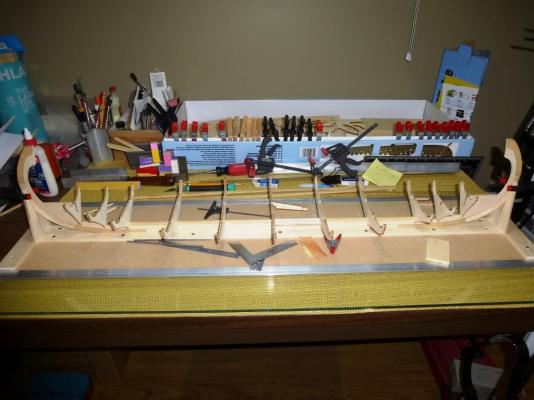
Started to glue my frames into the ship structure. Hoping that when I go to put the 2 side planks onto the frames everything lines up. It is real hard to determine that at this point. Did some rough fittings with the planks and I know I may have some problems. Both Jack P and Von Kossa ran into the same problem. The curves on the planks (plywood pieces) do not have a perfect curve to them to fit nicely around the ships curvature if that makes sense. I don't think putting them into my steamer will help.
-
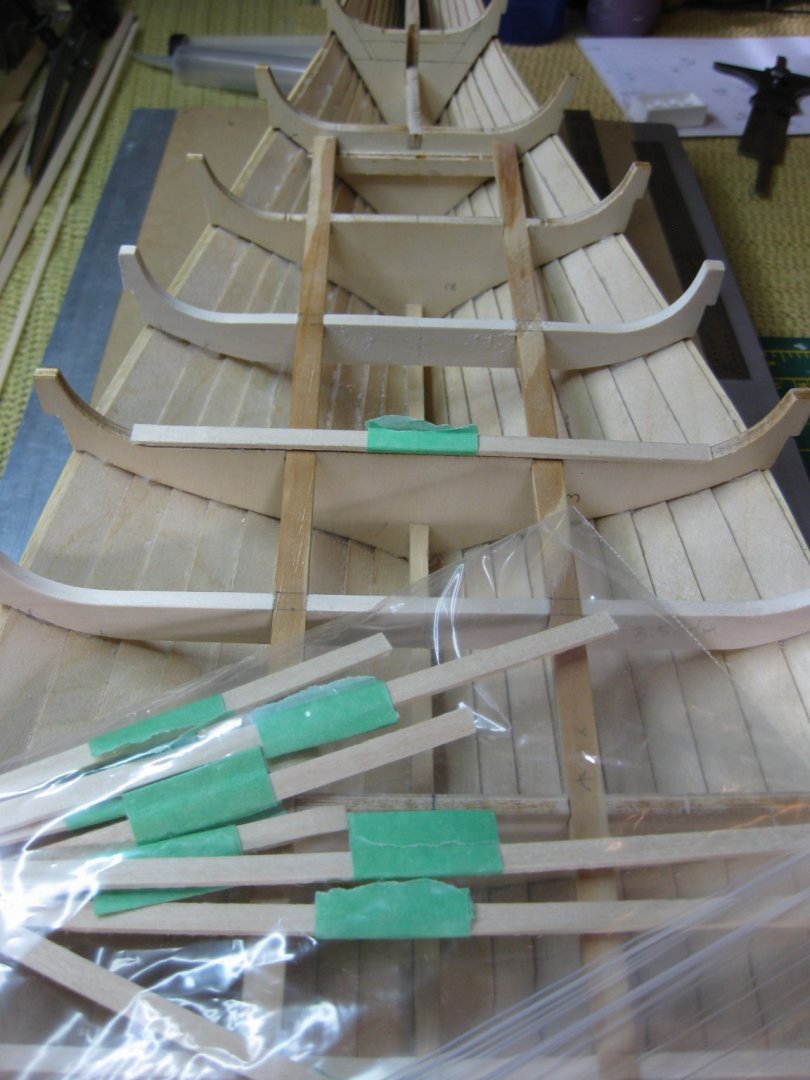
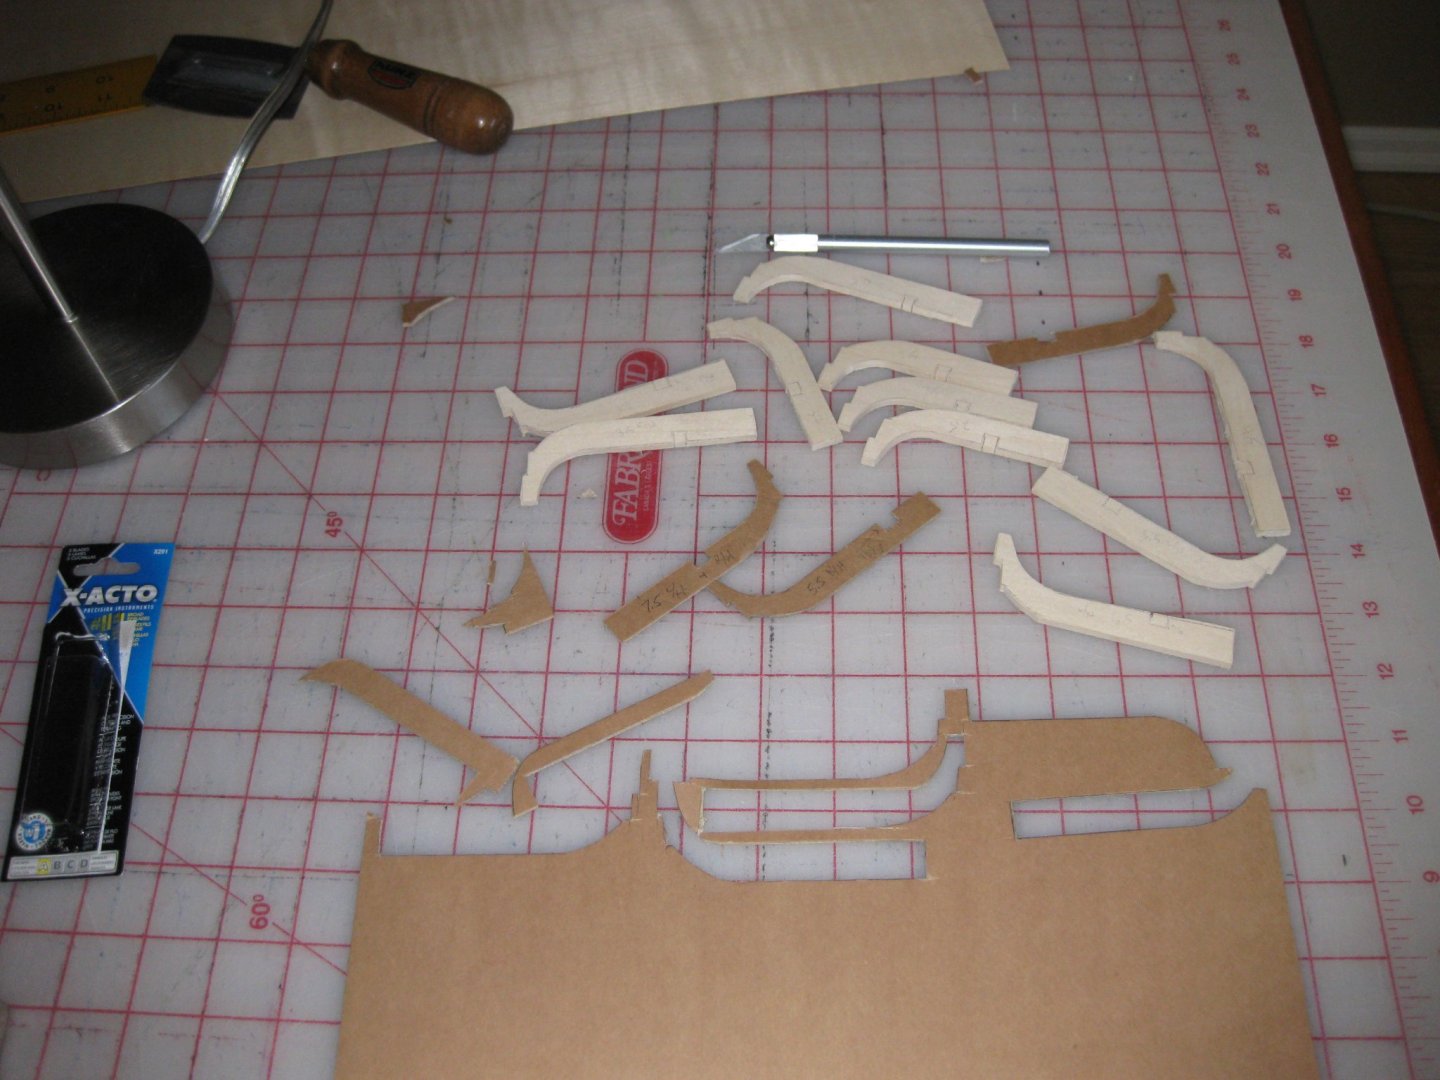
After a few tries came up with first making a template out of cardboard first and fitting it to the ships planks and beams. Lots of fitting. I then traced that template on to a piece basswood and cut the frames out with my scroll saw. Still had lots of fitting and sanding to get them to fit good but it is slowly coming. Not much else to do with this virus scare.
-
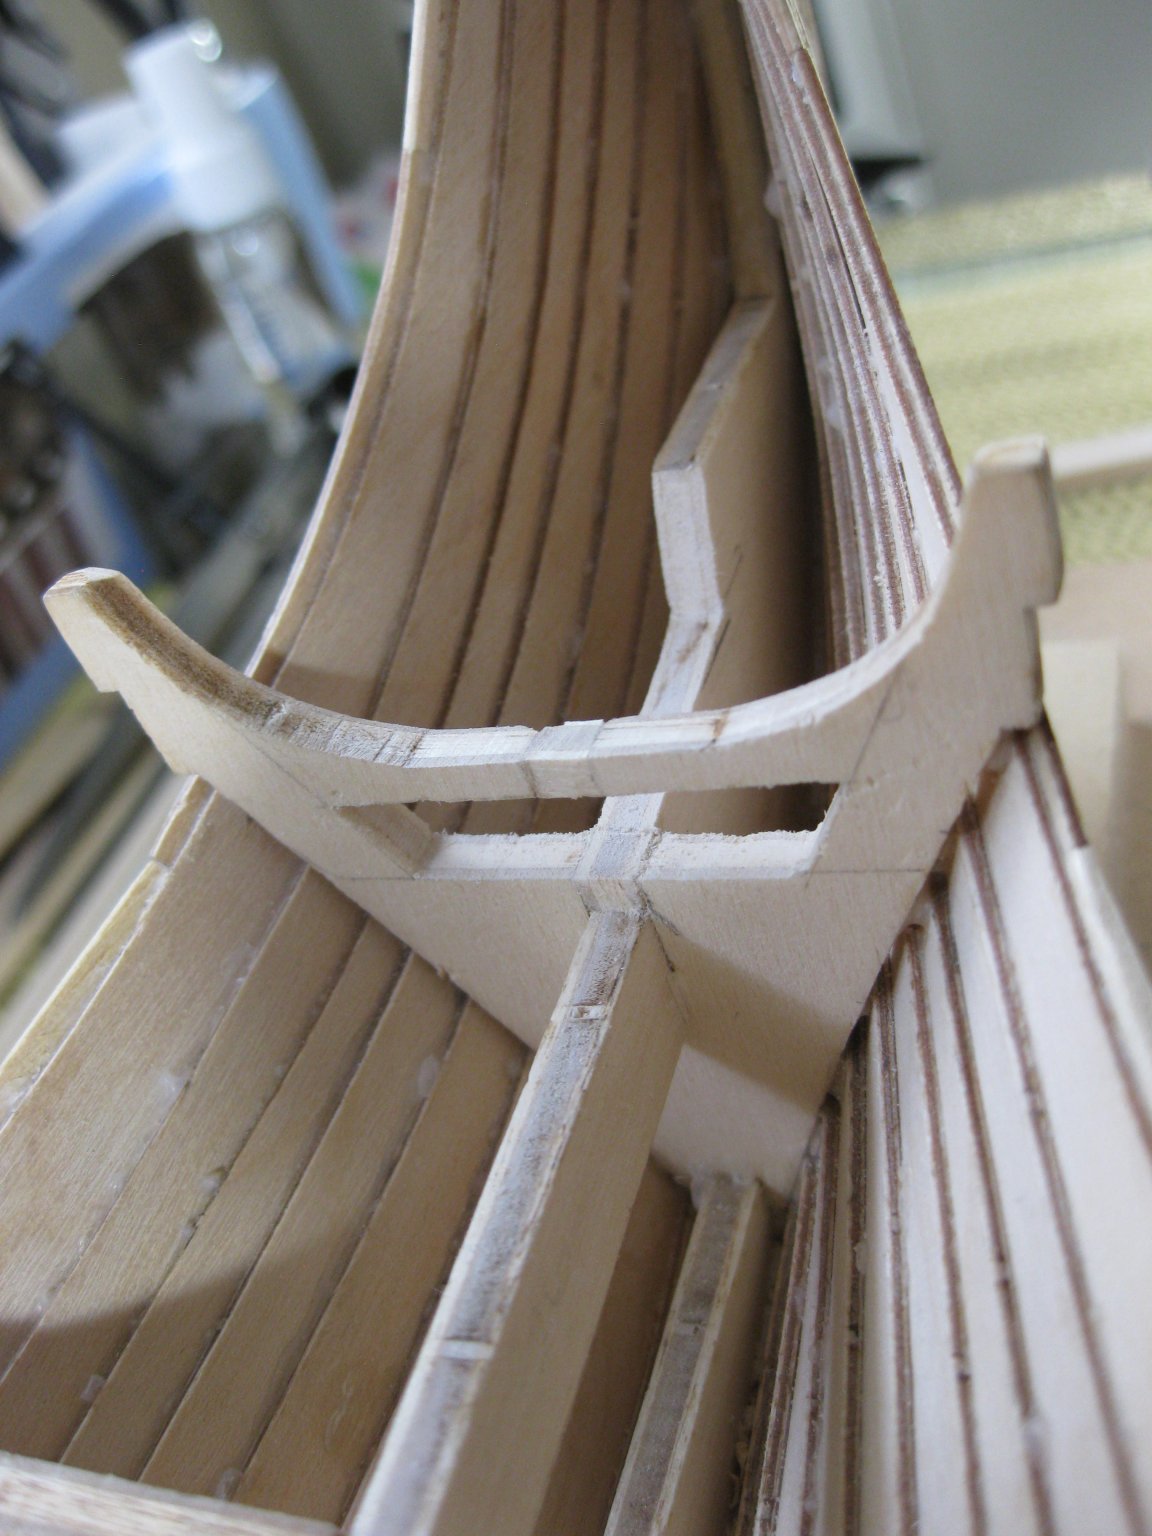
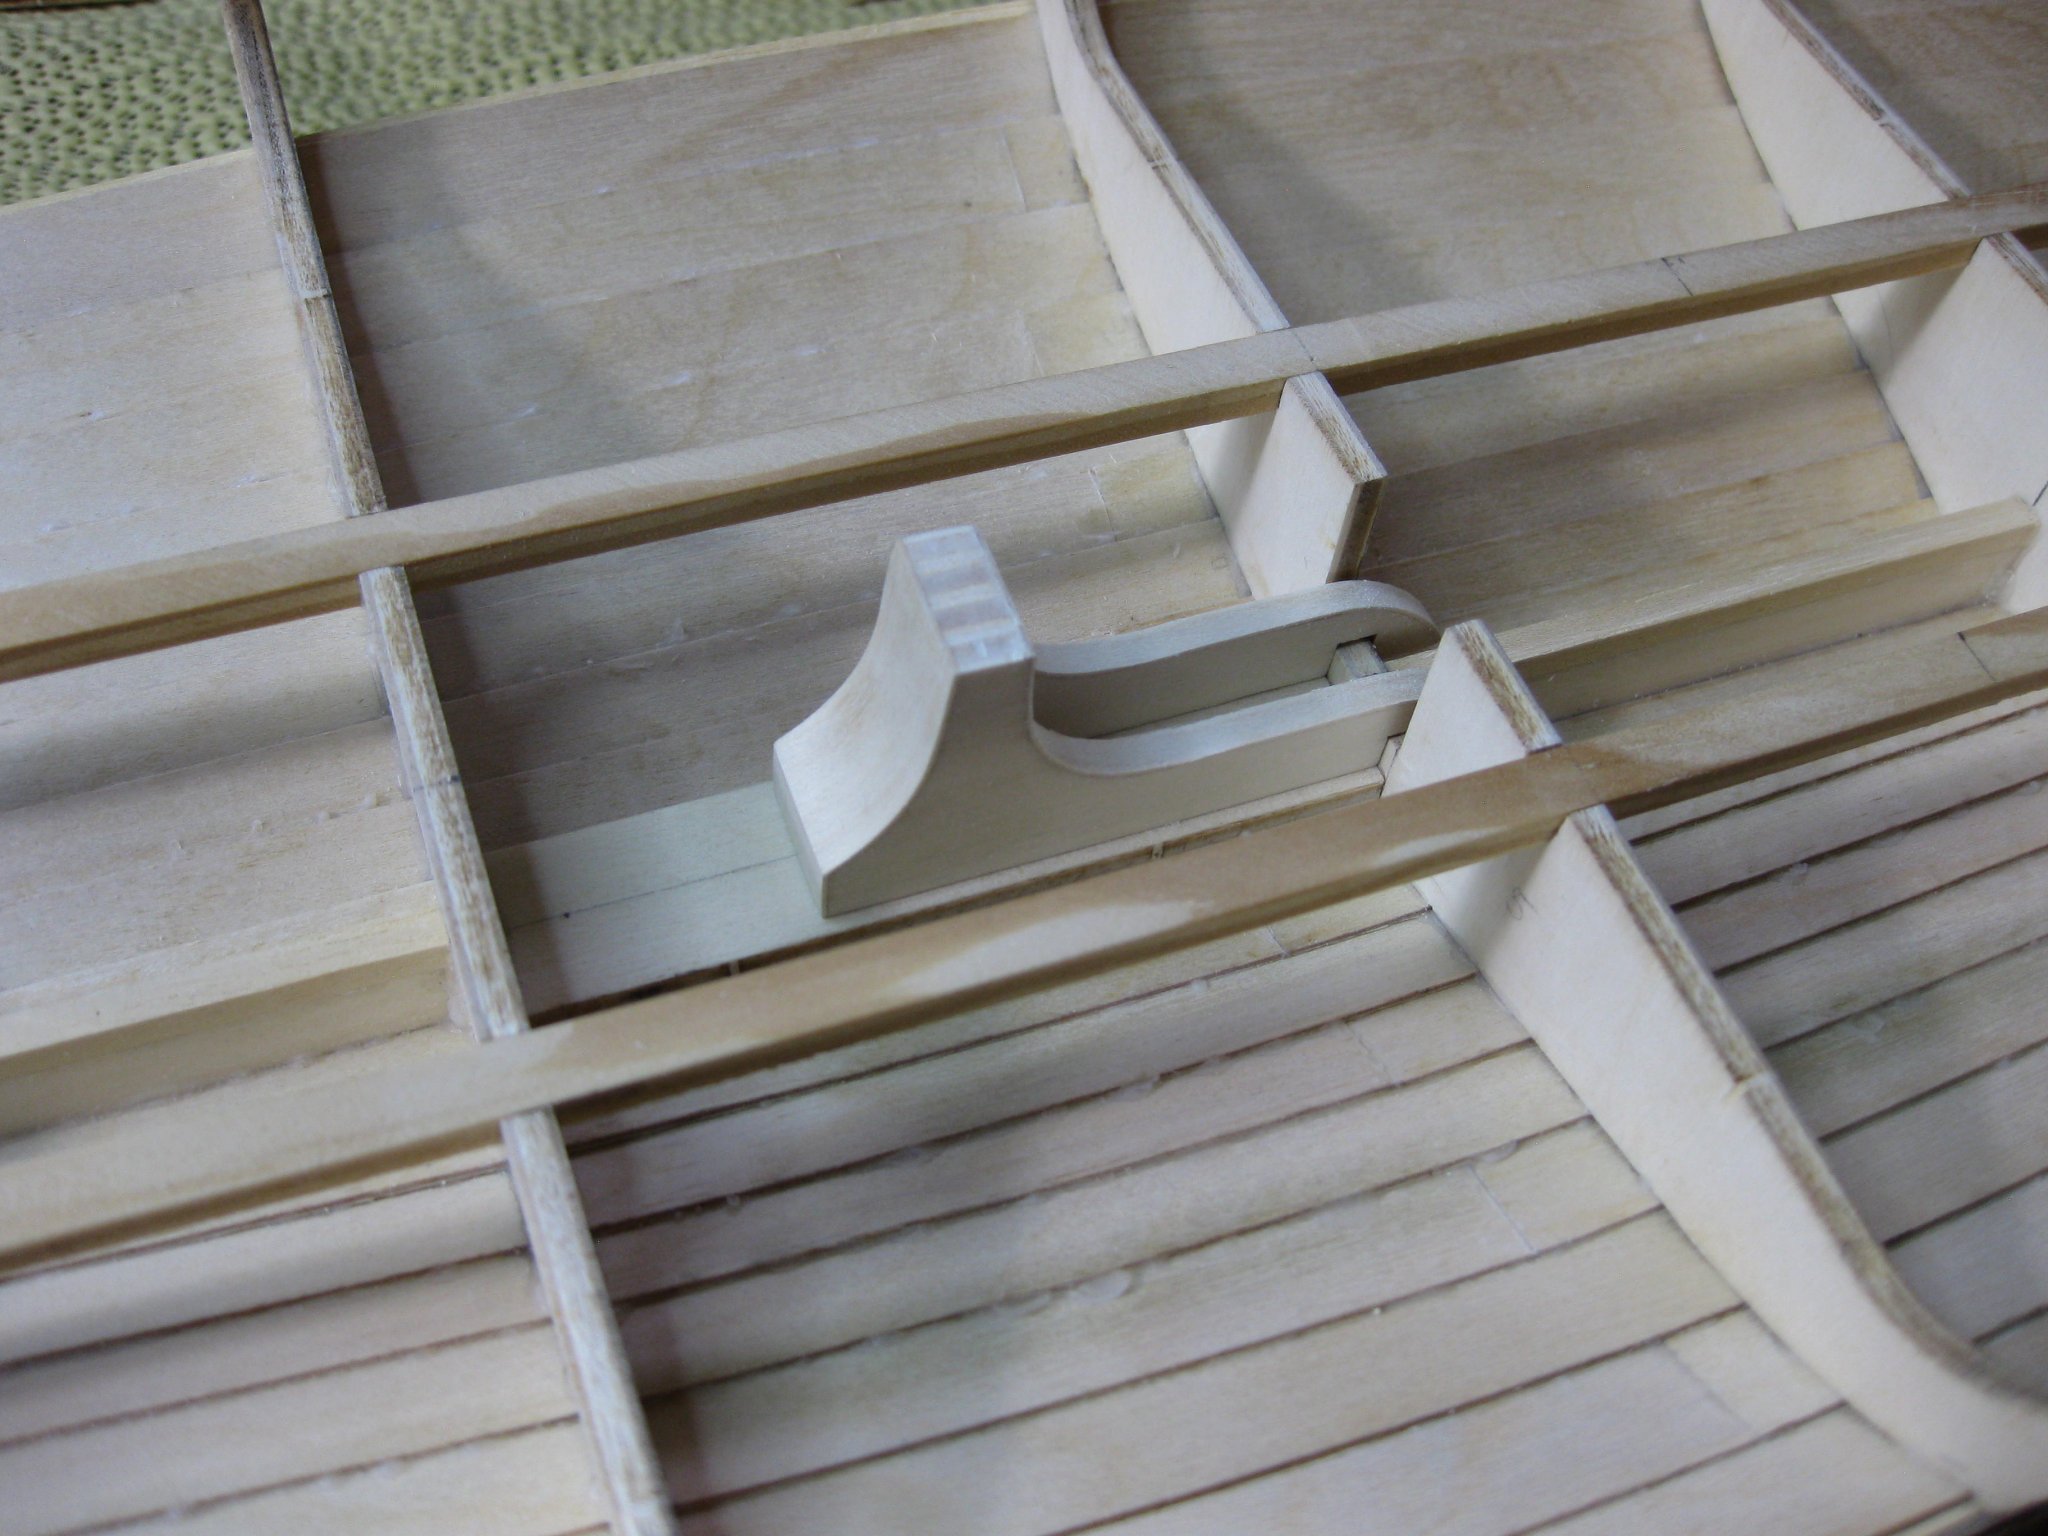
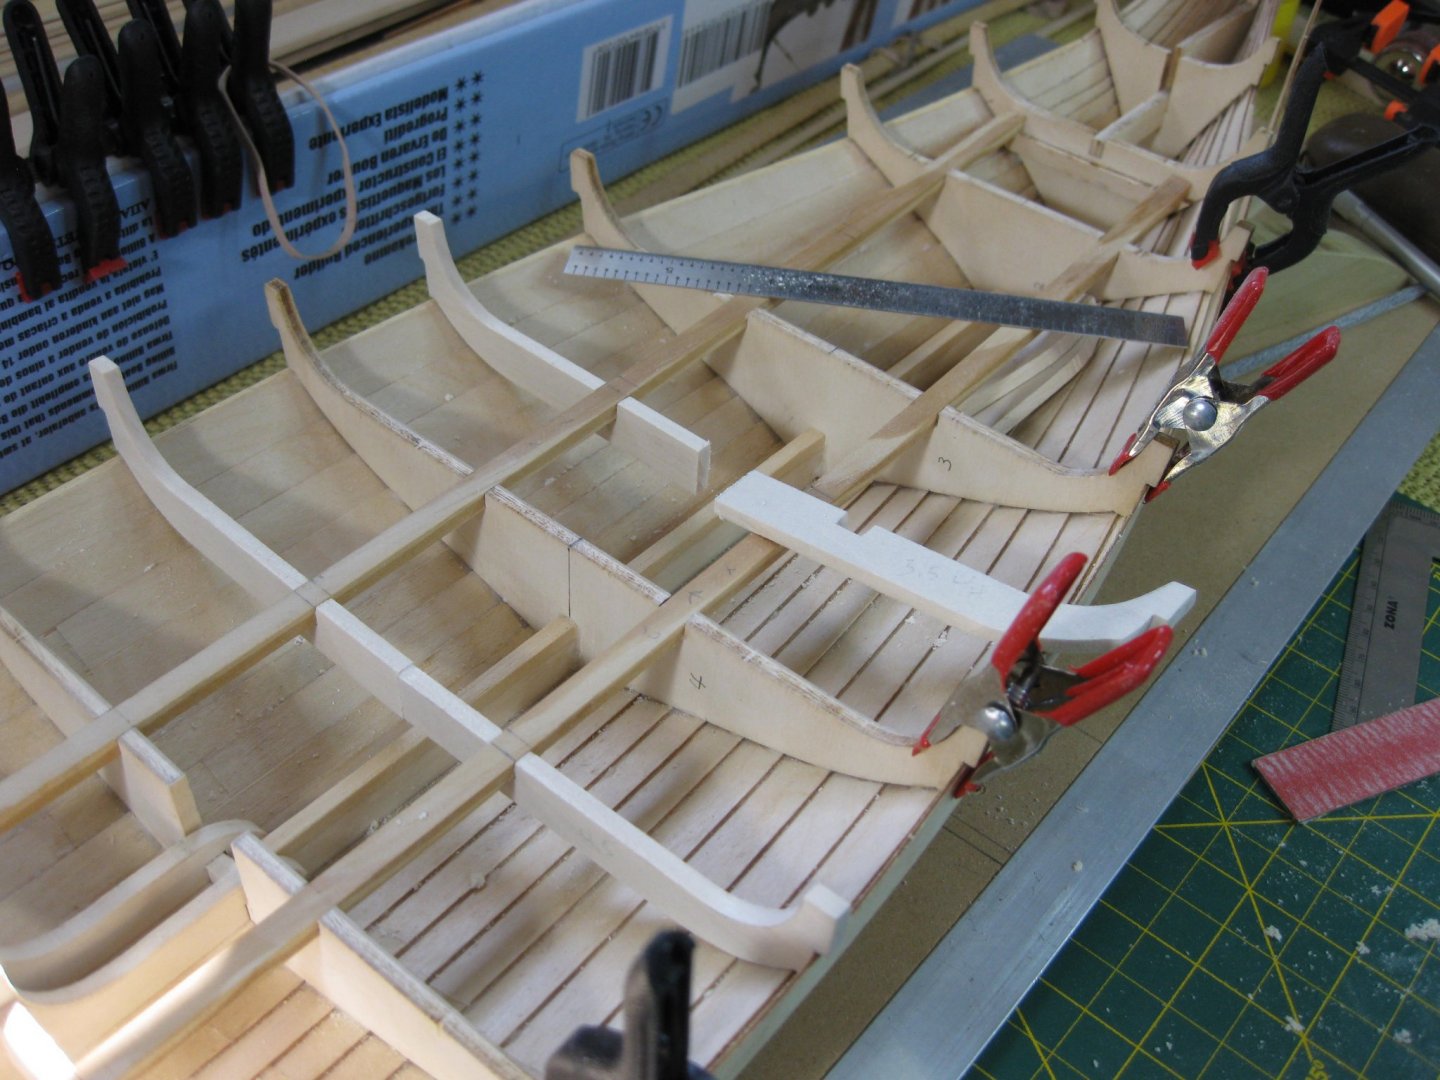
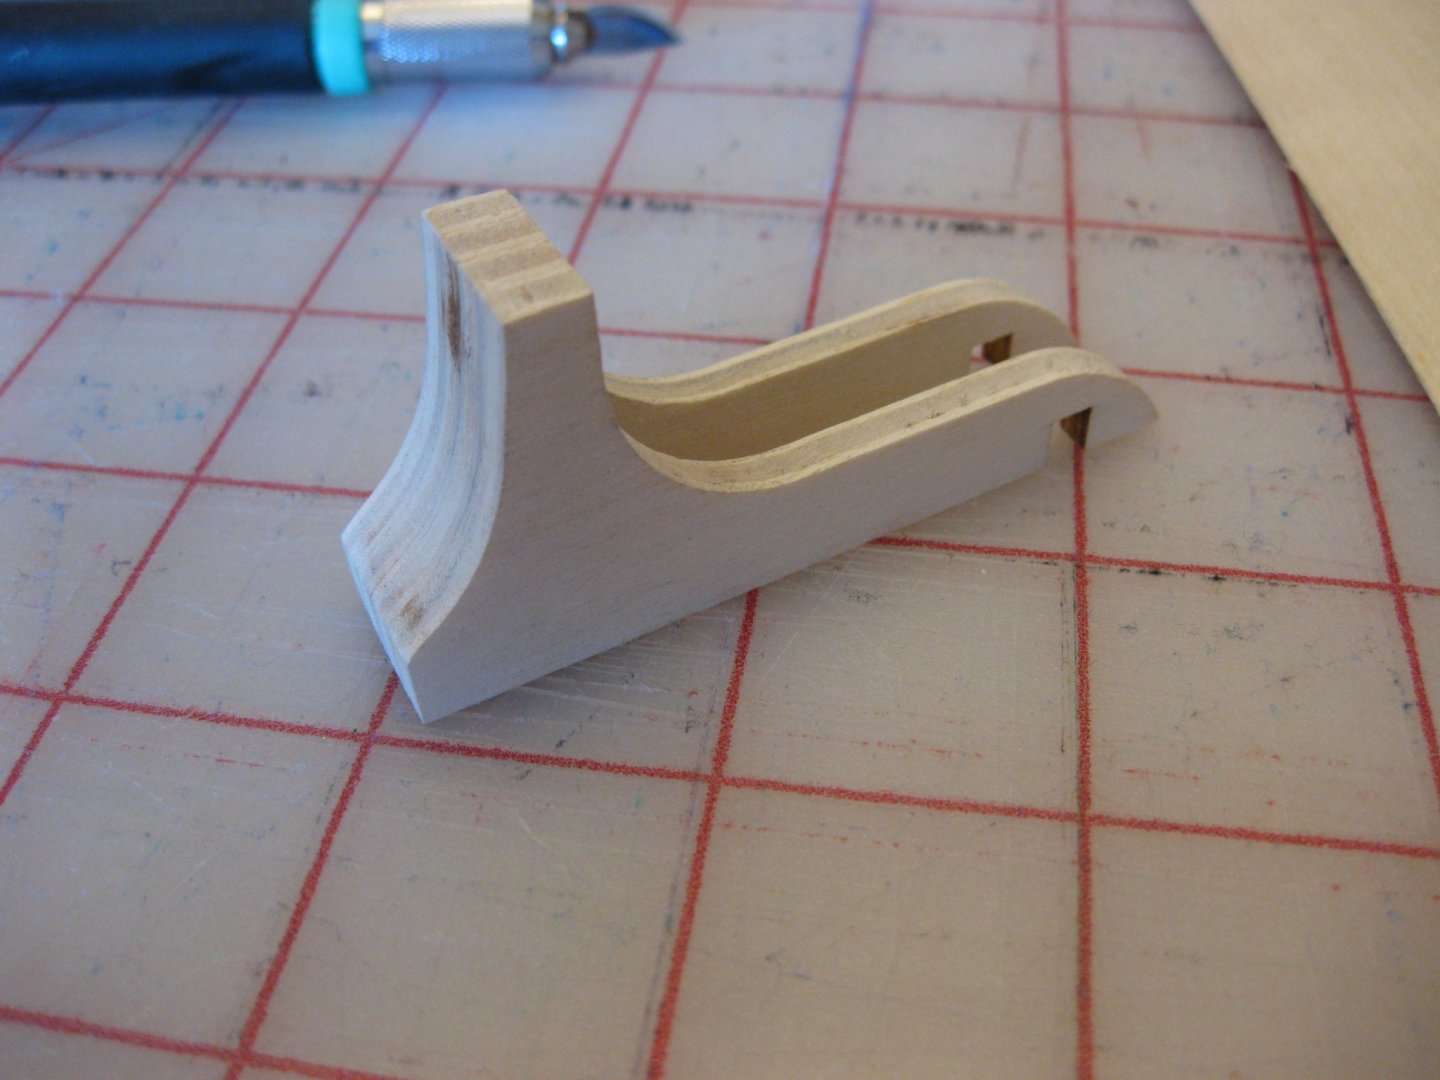
I built the mastfoot using the pieces that Billing Boats supply with the kit. The pieces are made out of plywood. Didn't care for the look of the ends looking like plywood so I used some thin birch veneer to cover the ends over. The mastfoot looks more like a solid piece of wood now and the birch veneer matches the wood color fairly close. Hope it matches up close when I finally stain the boat. I have been still following the build logs of Jack p and Von Kossa to build my ship. They added 6 more frames that the planks attach to so it looks more like the original Oseberg ship in Oslo. I think I will do the same but it adds a lot work as I will have to manufacture the frames. Bought some basswood at the hobby shop to try with.

-
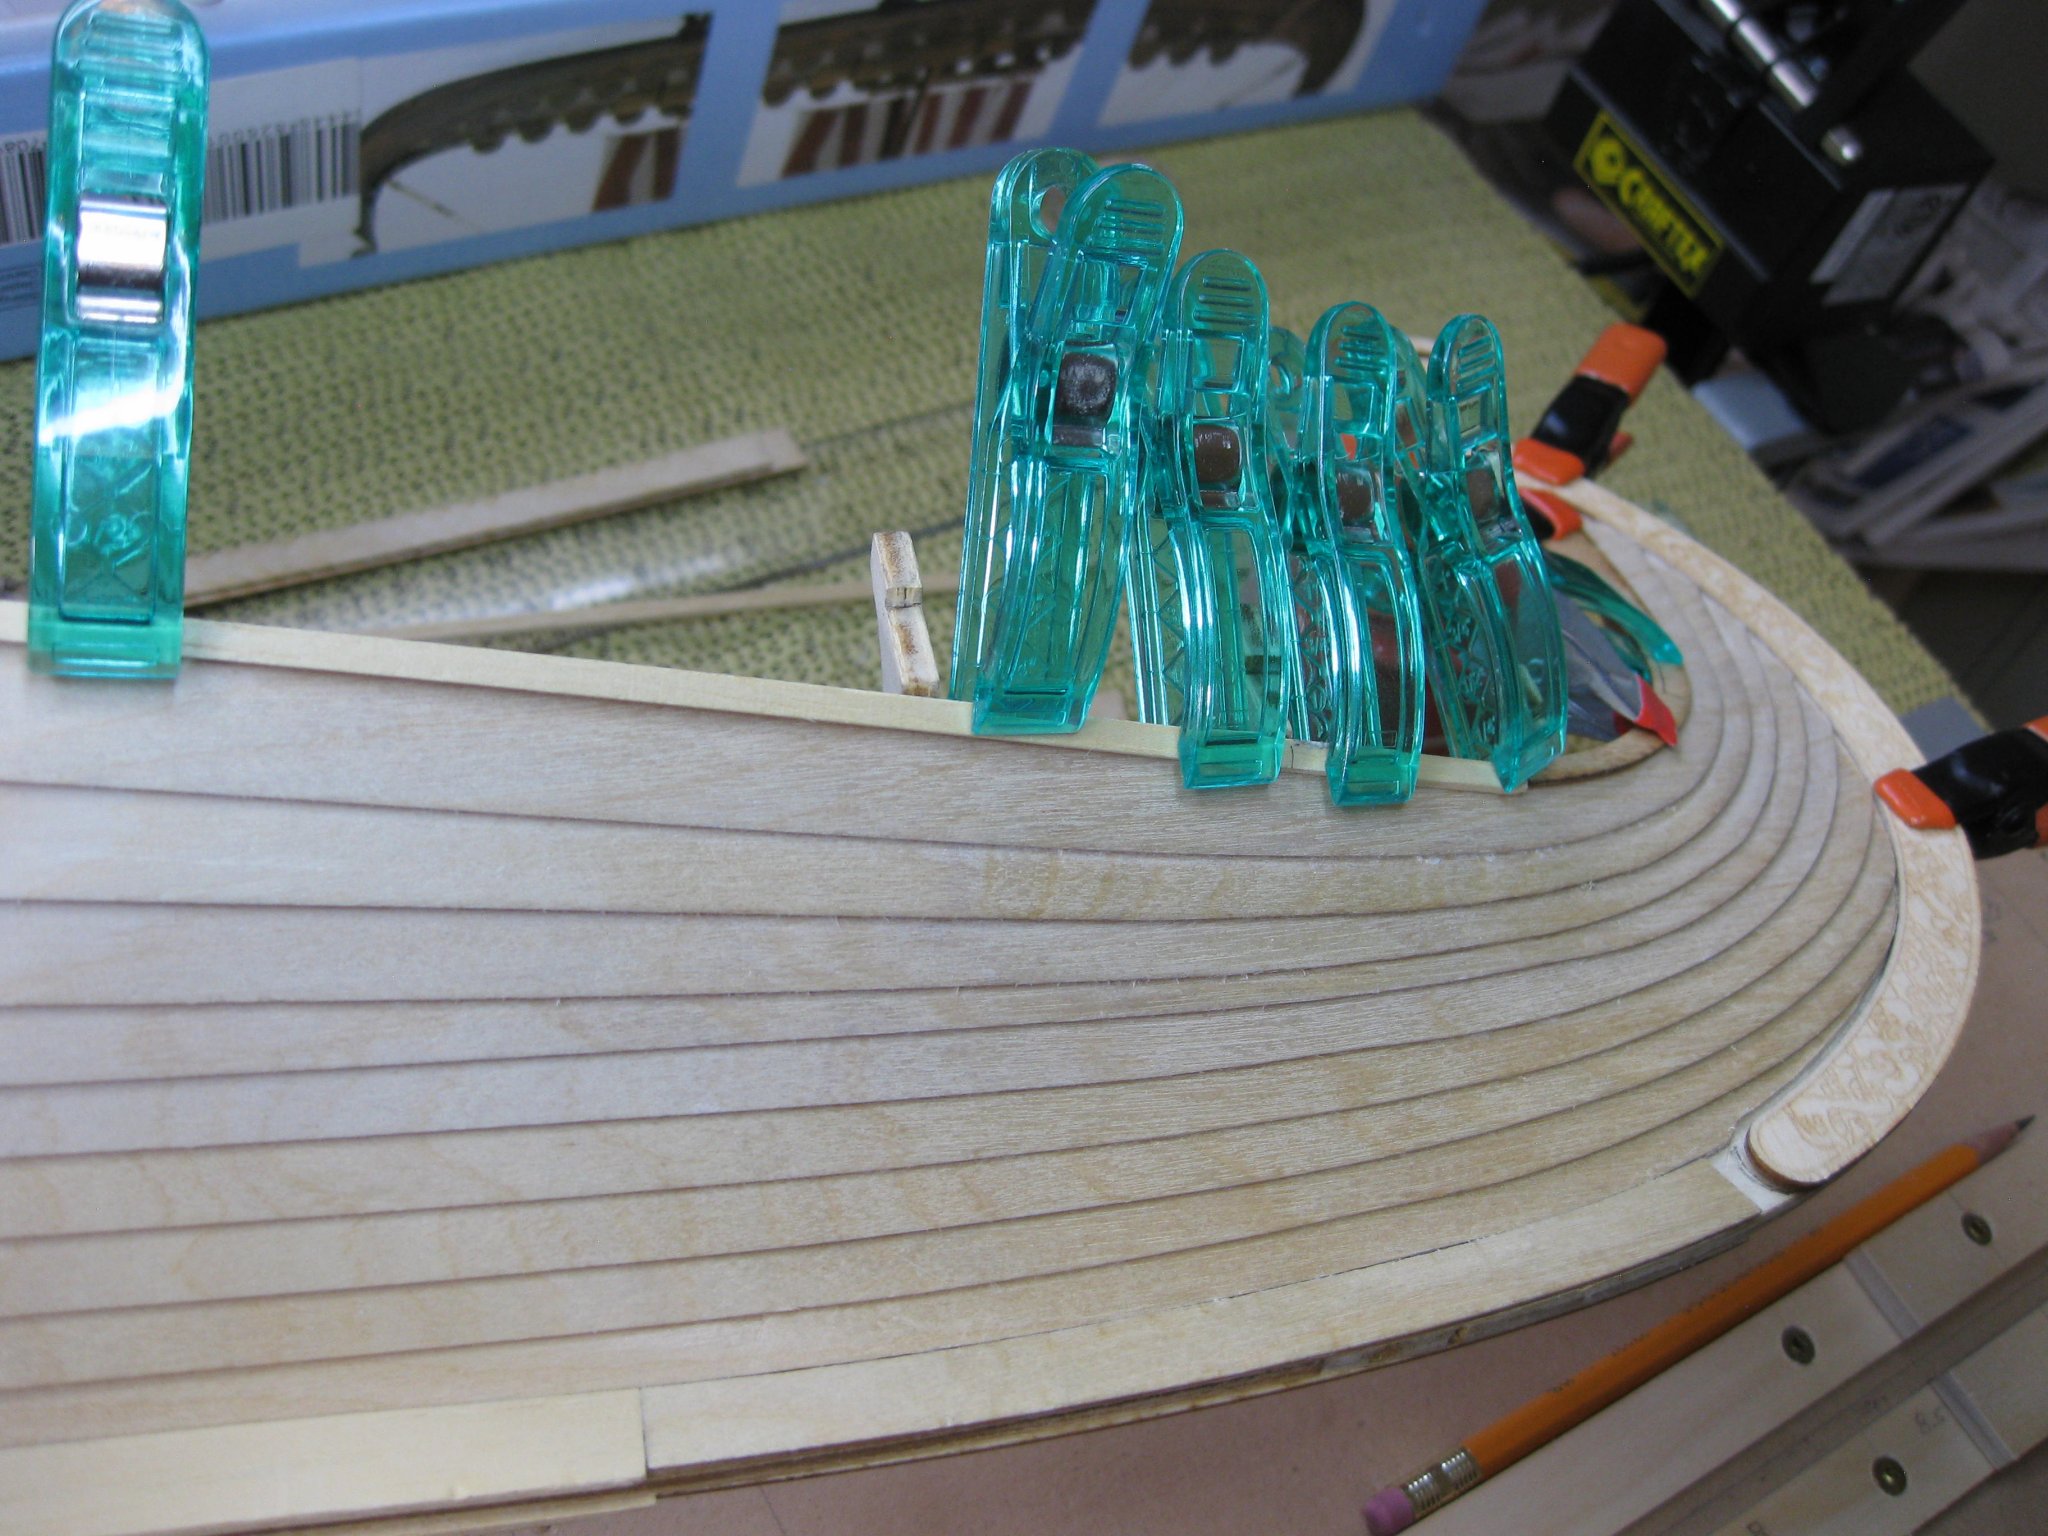
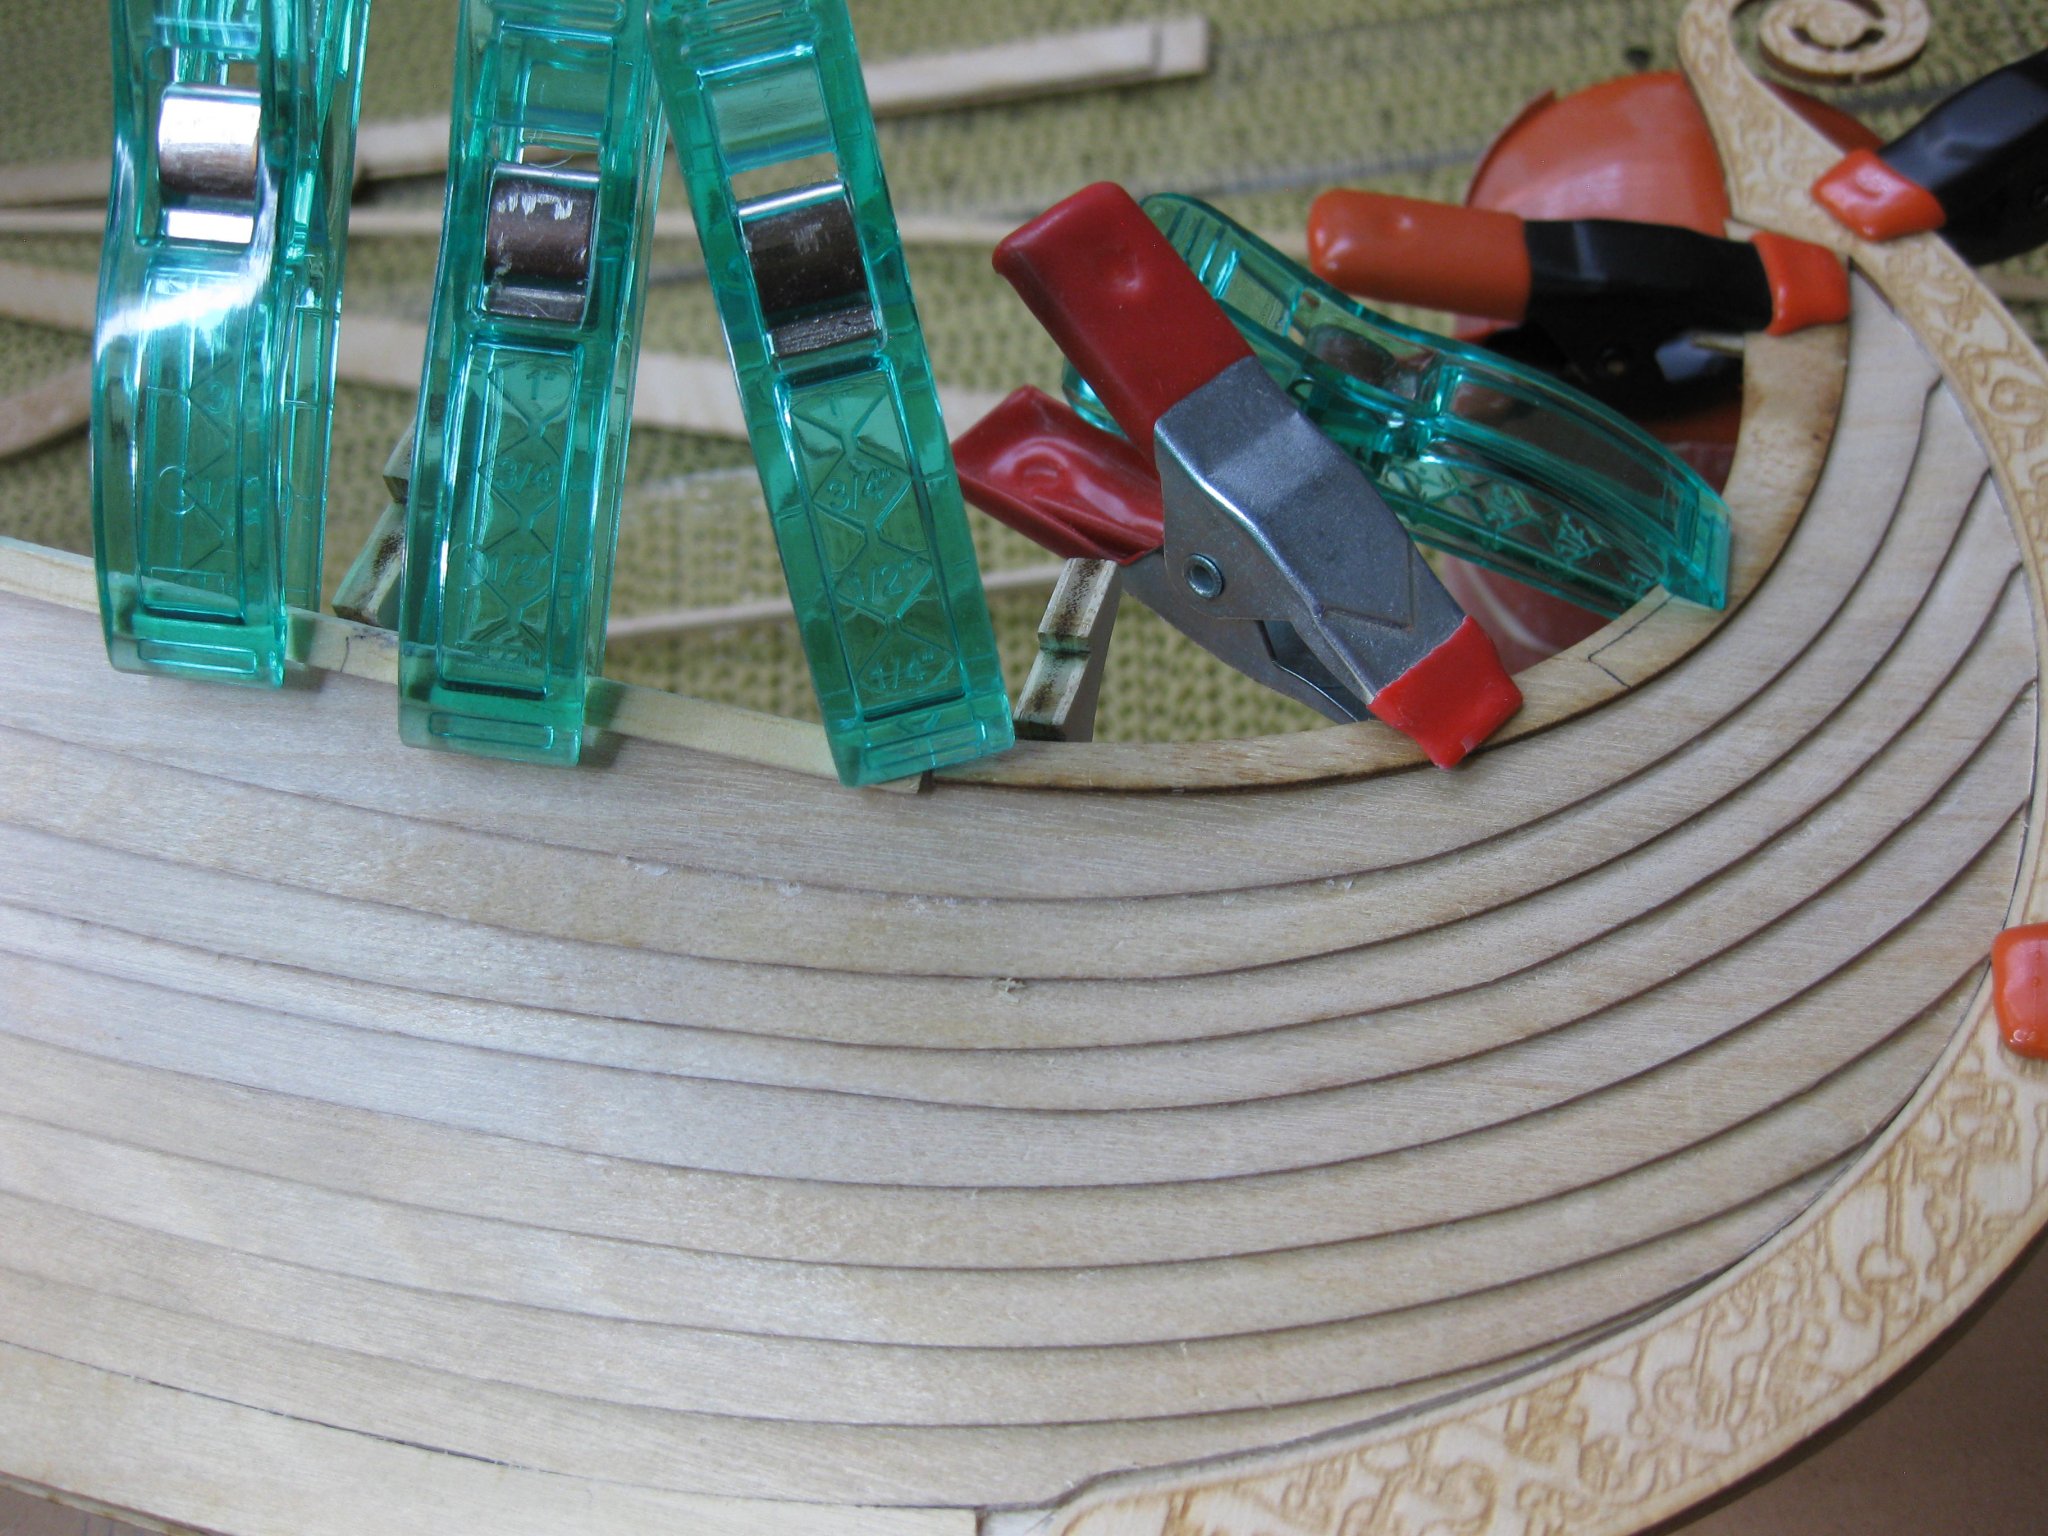
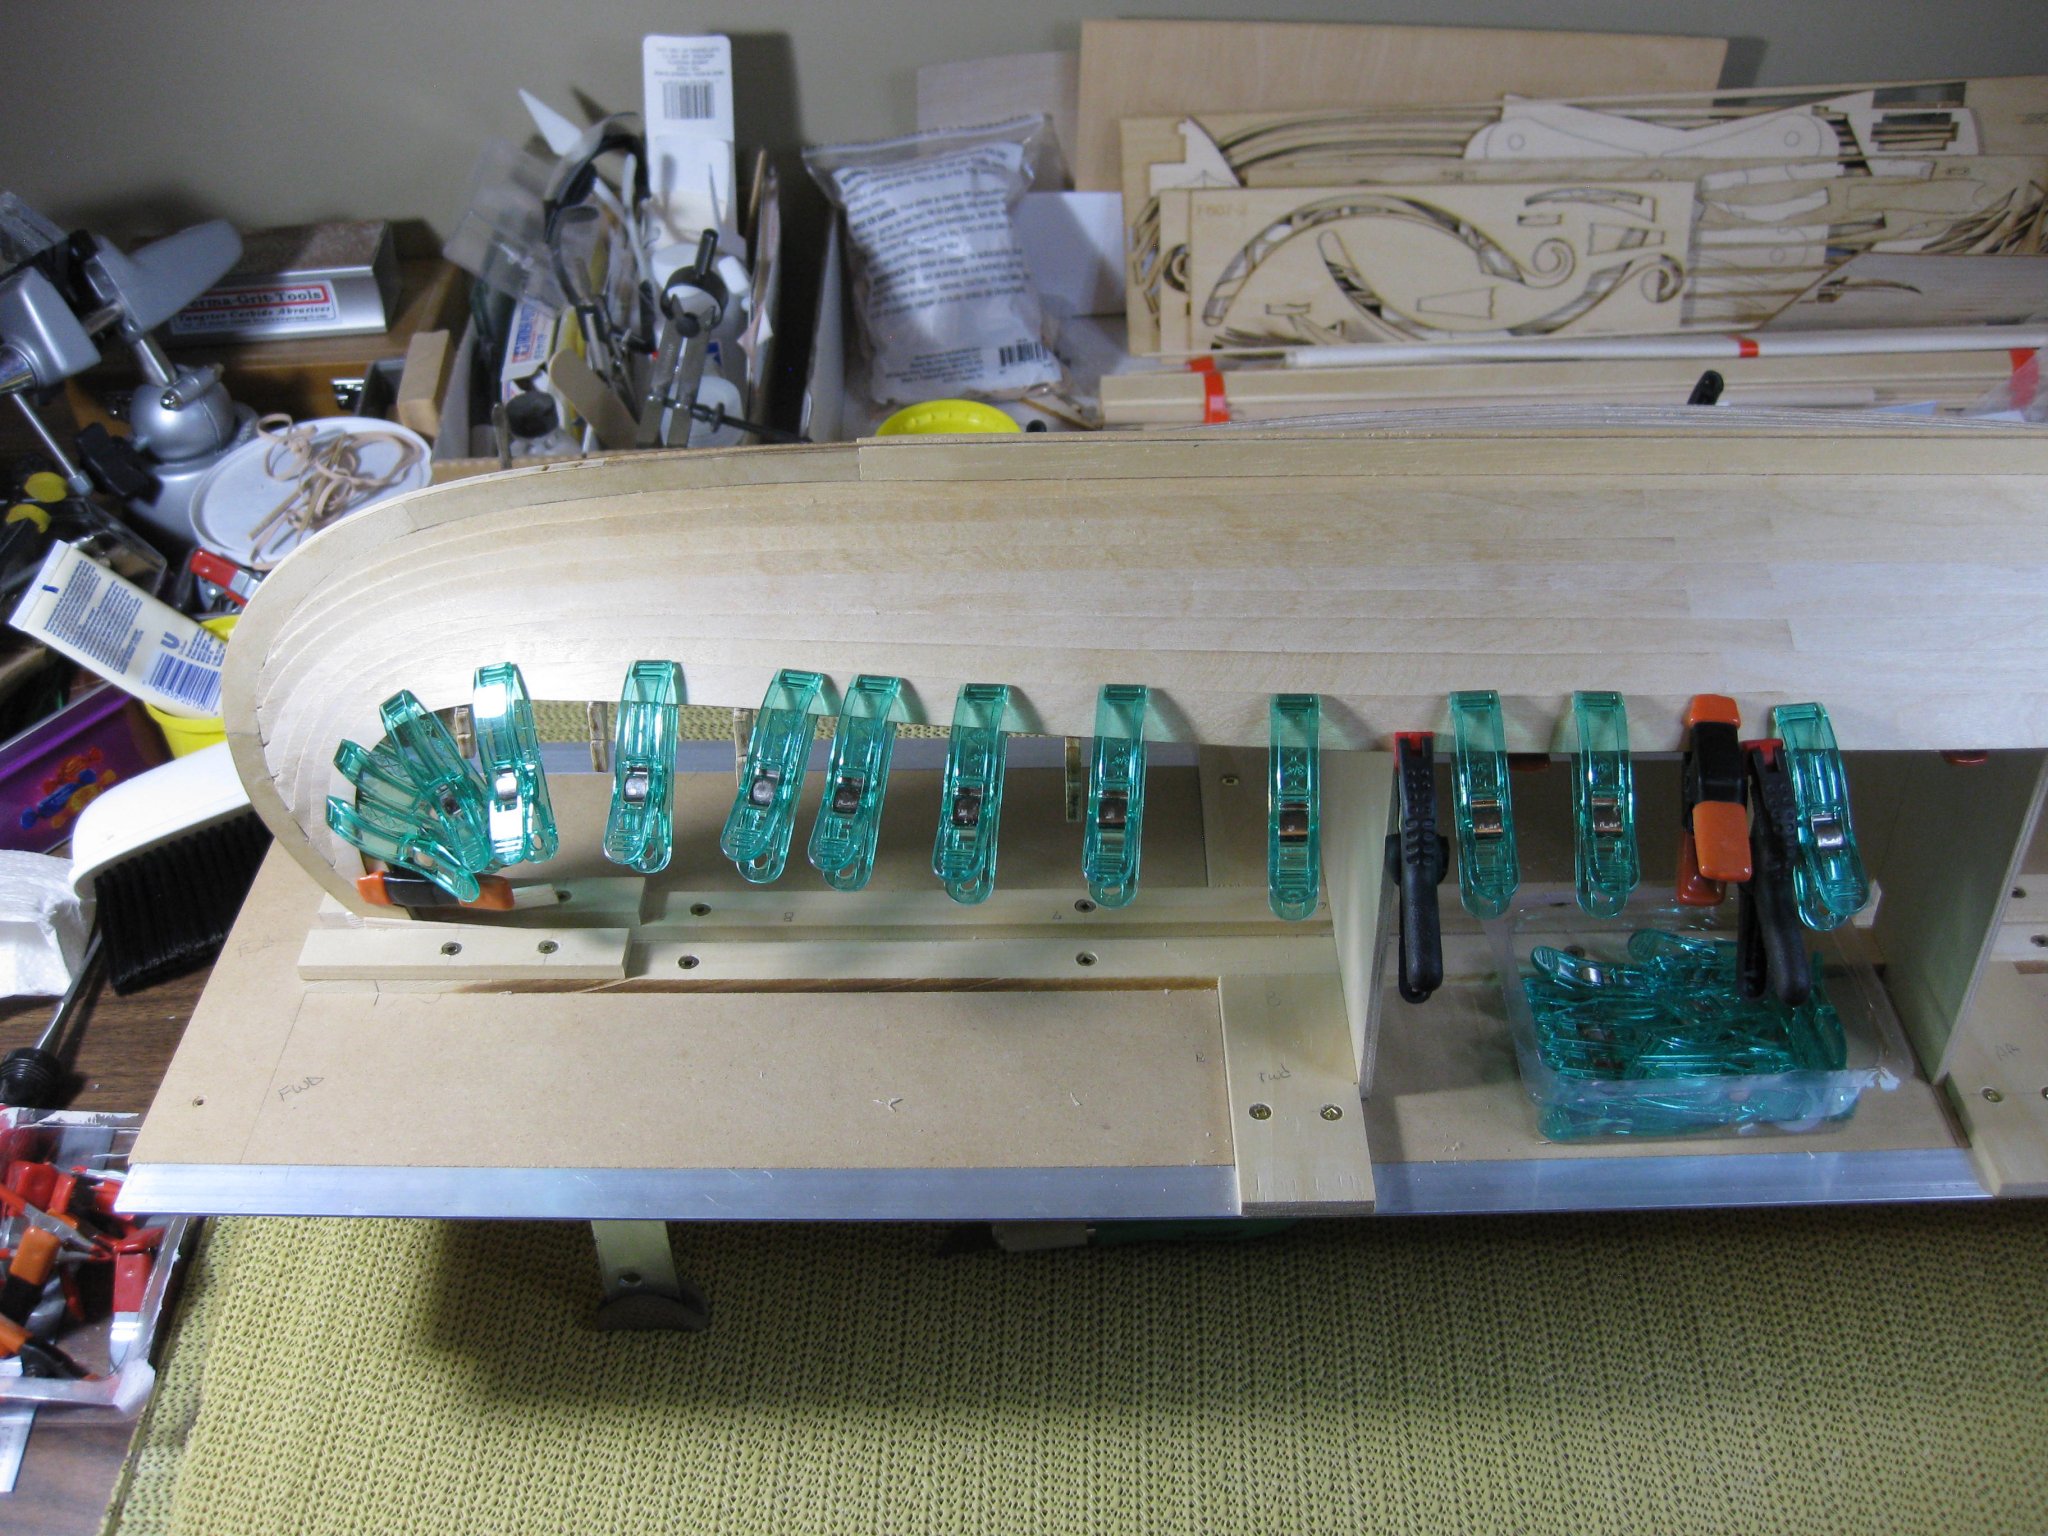
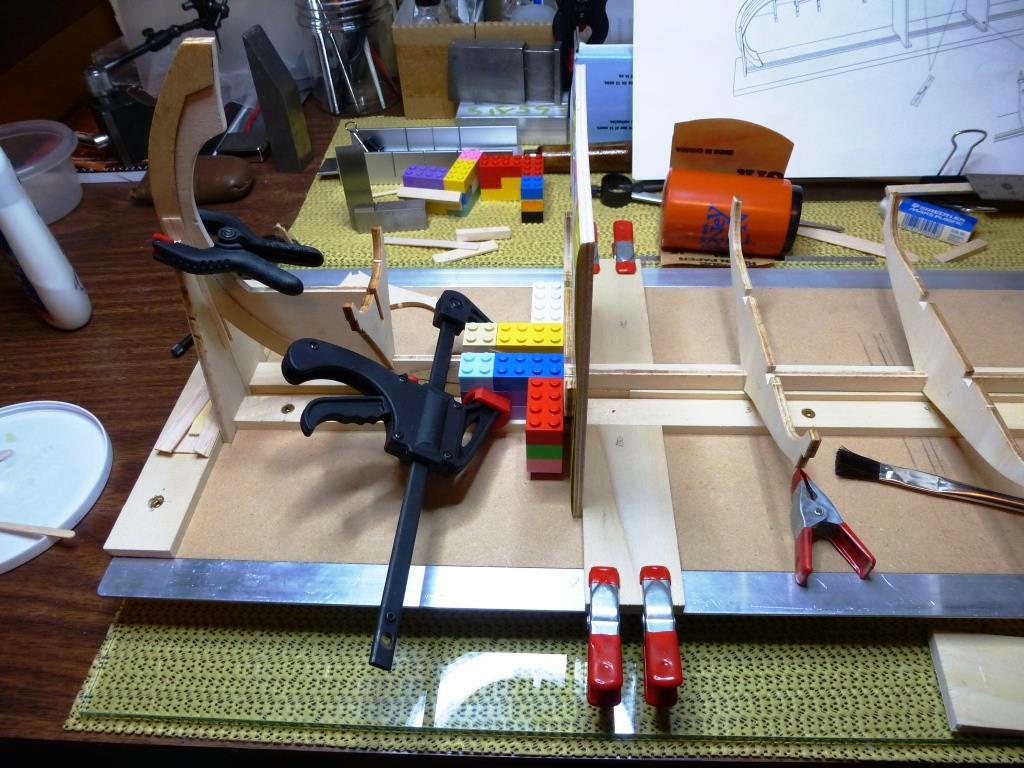
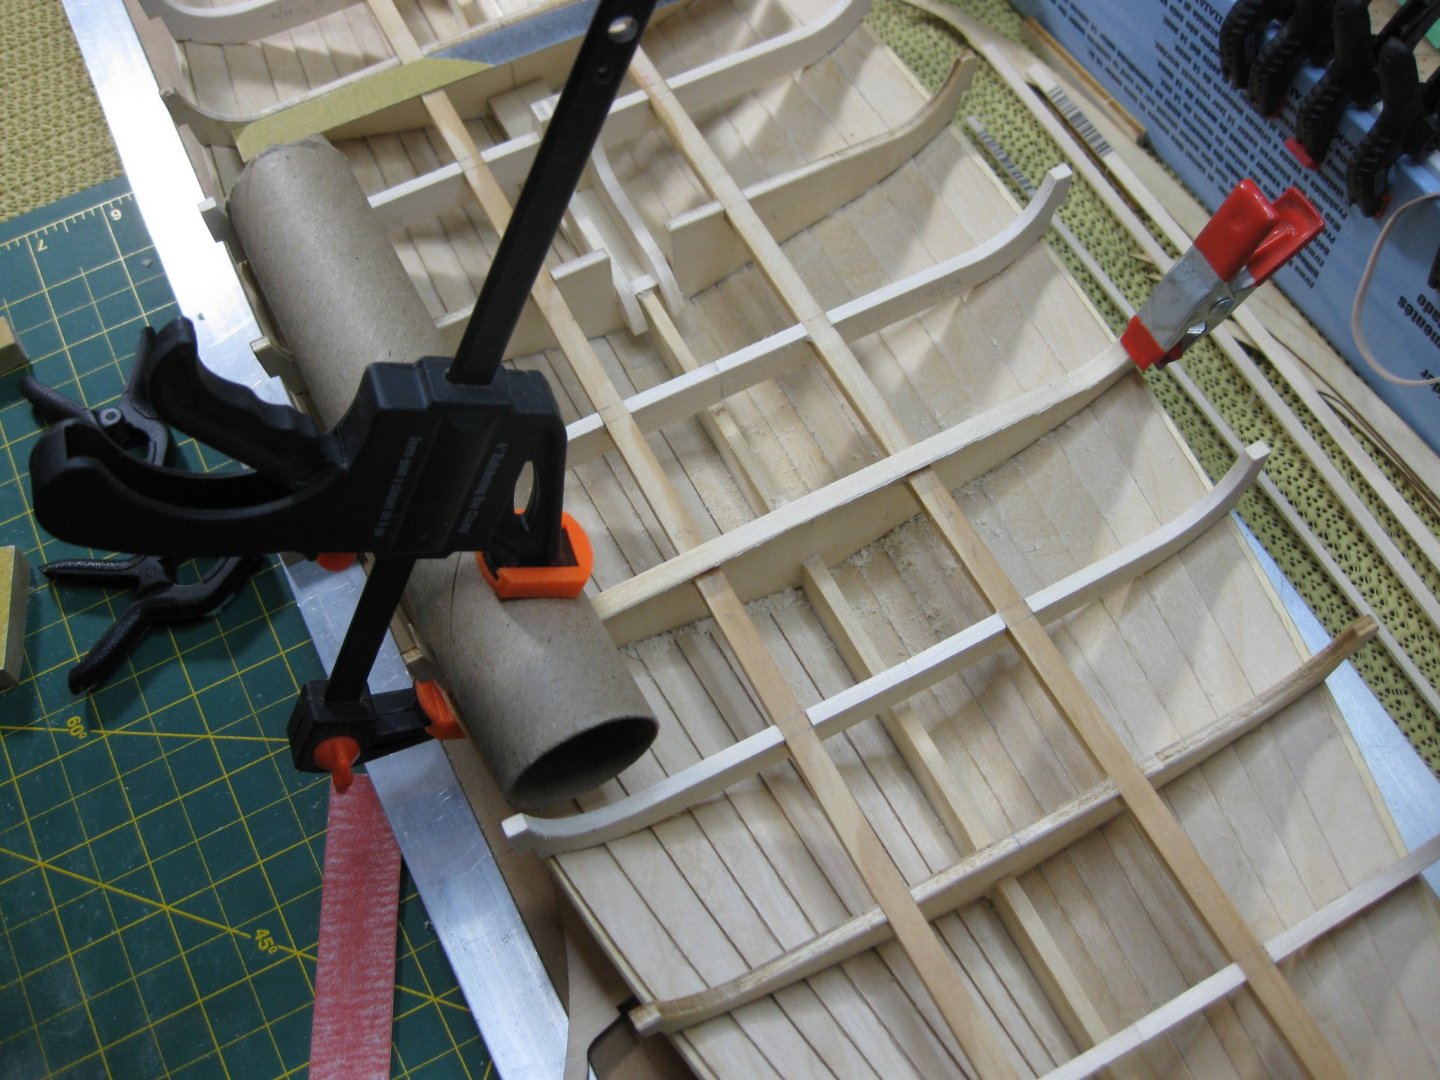
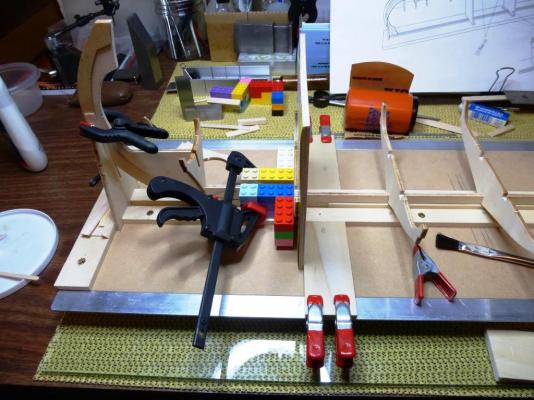
Steam box worked good for helping to curve the strips that the bottom side planks use as a filler to the keel planks. Just like Jack P and Von Kossa with their build I had a hard time to get those strips in the correct position to actually be fillers. I am hoping when I put the top 2 side planks on everything fits okay.
-
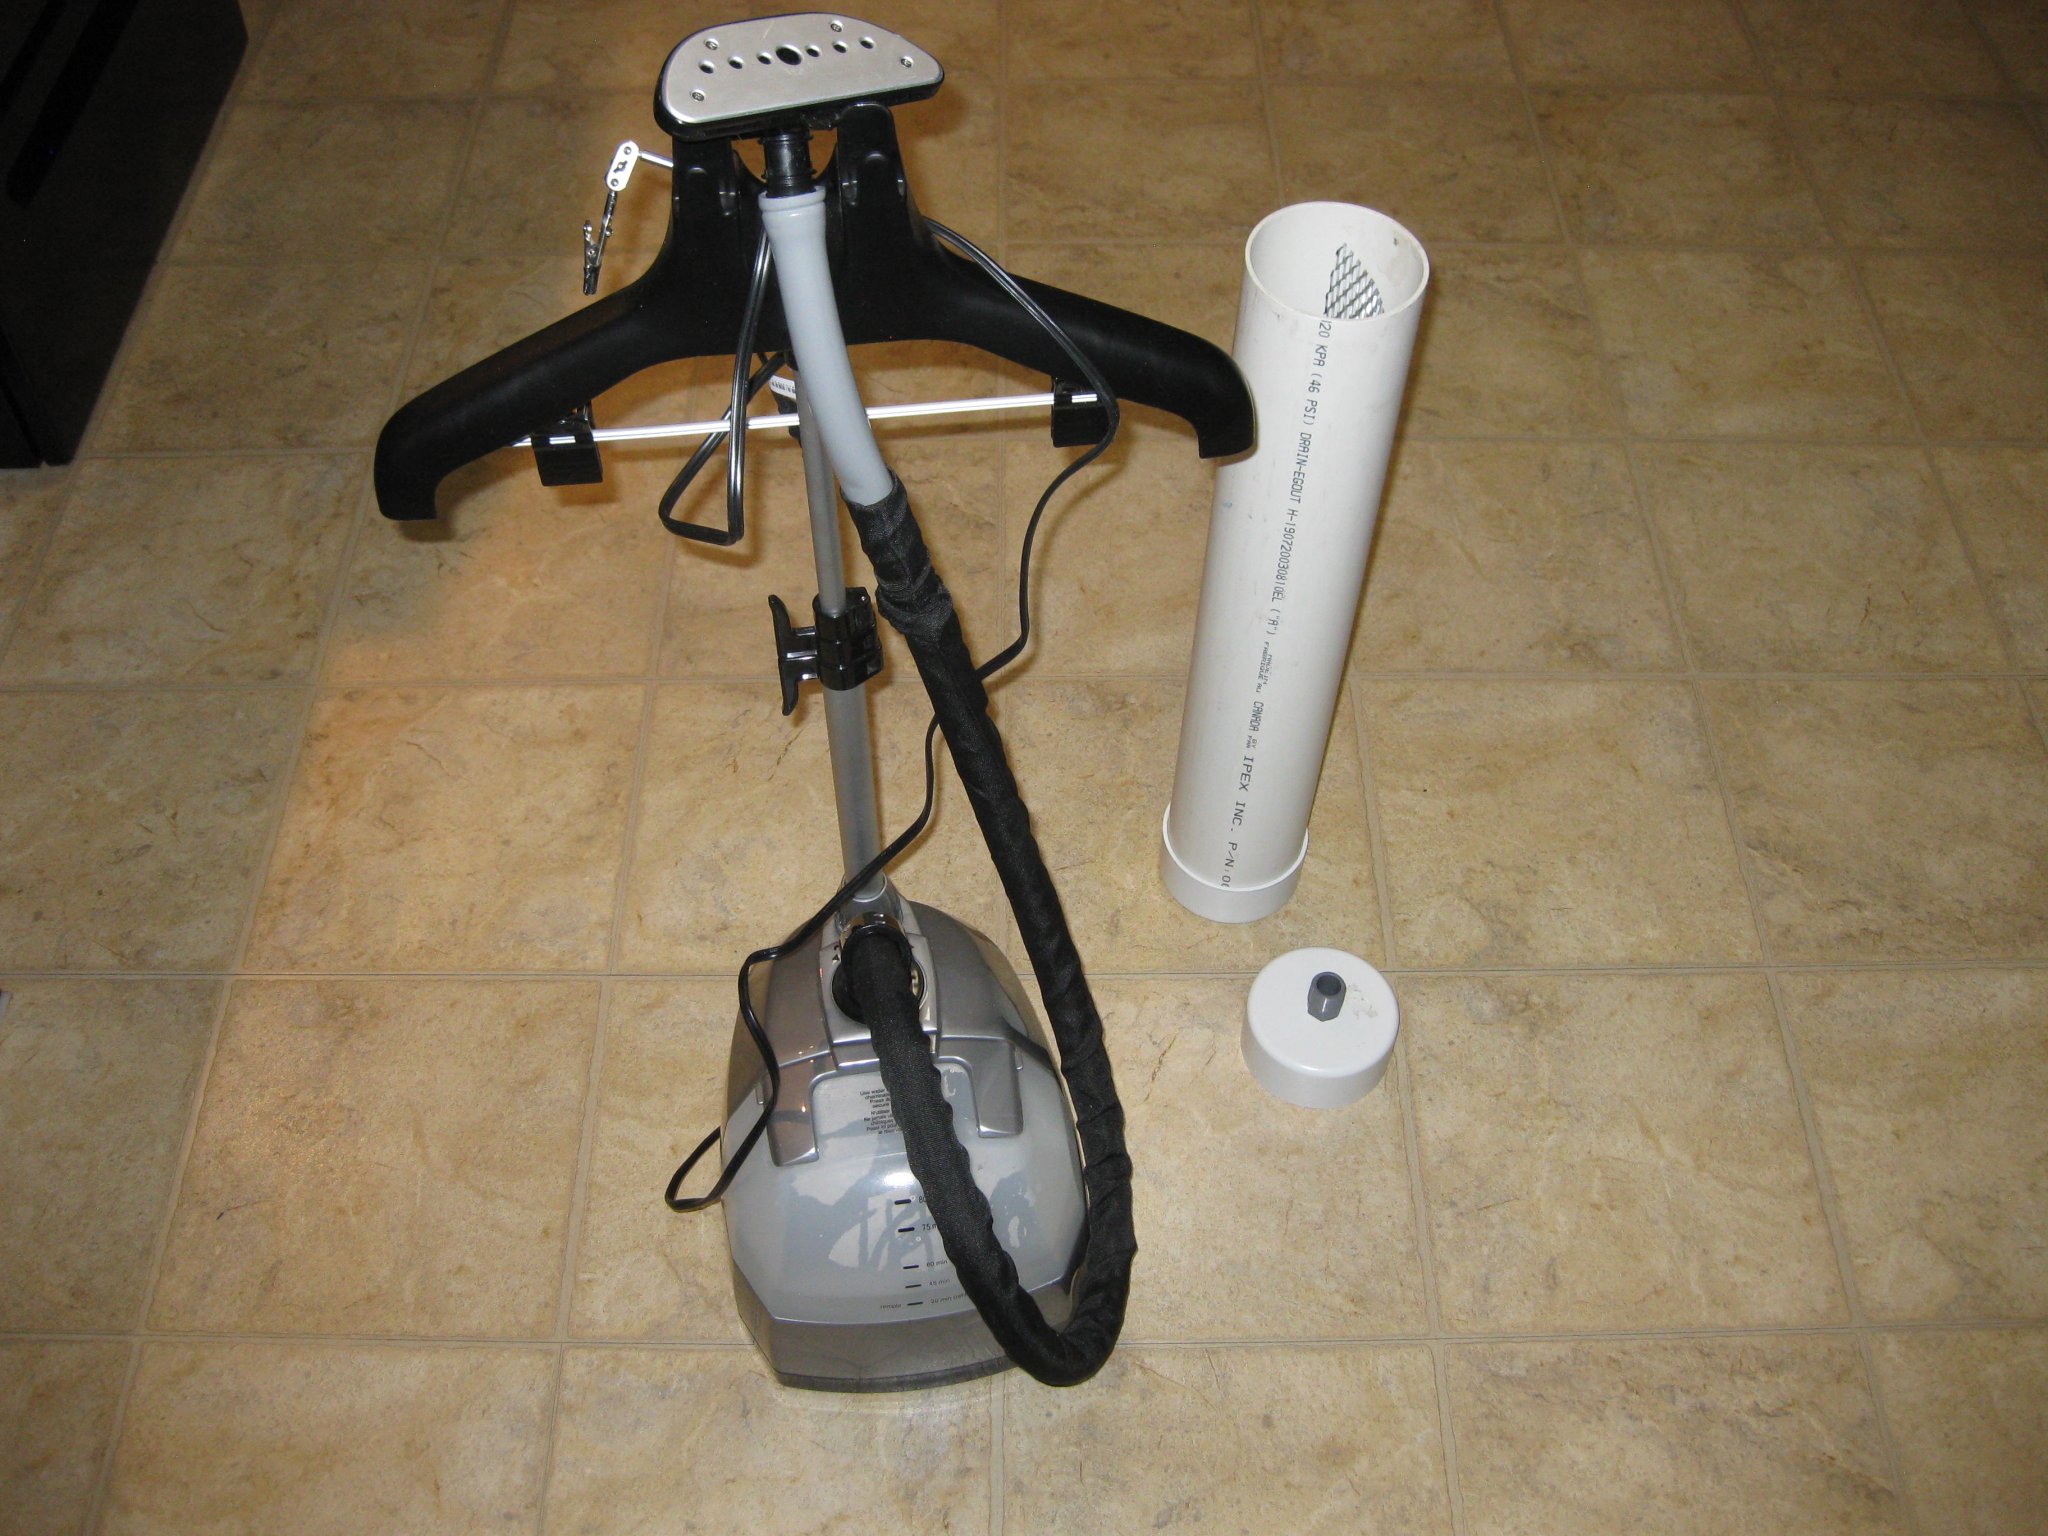
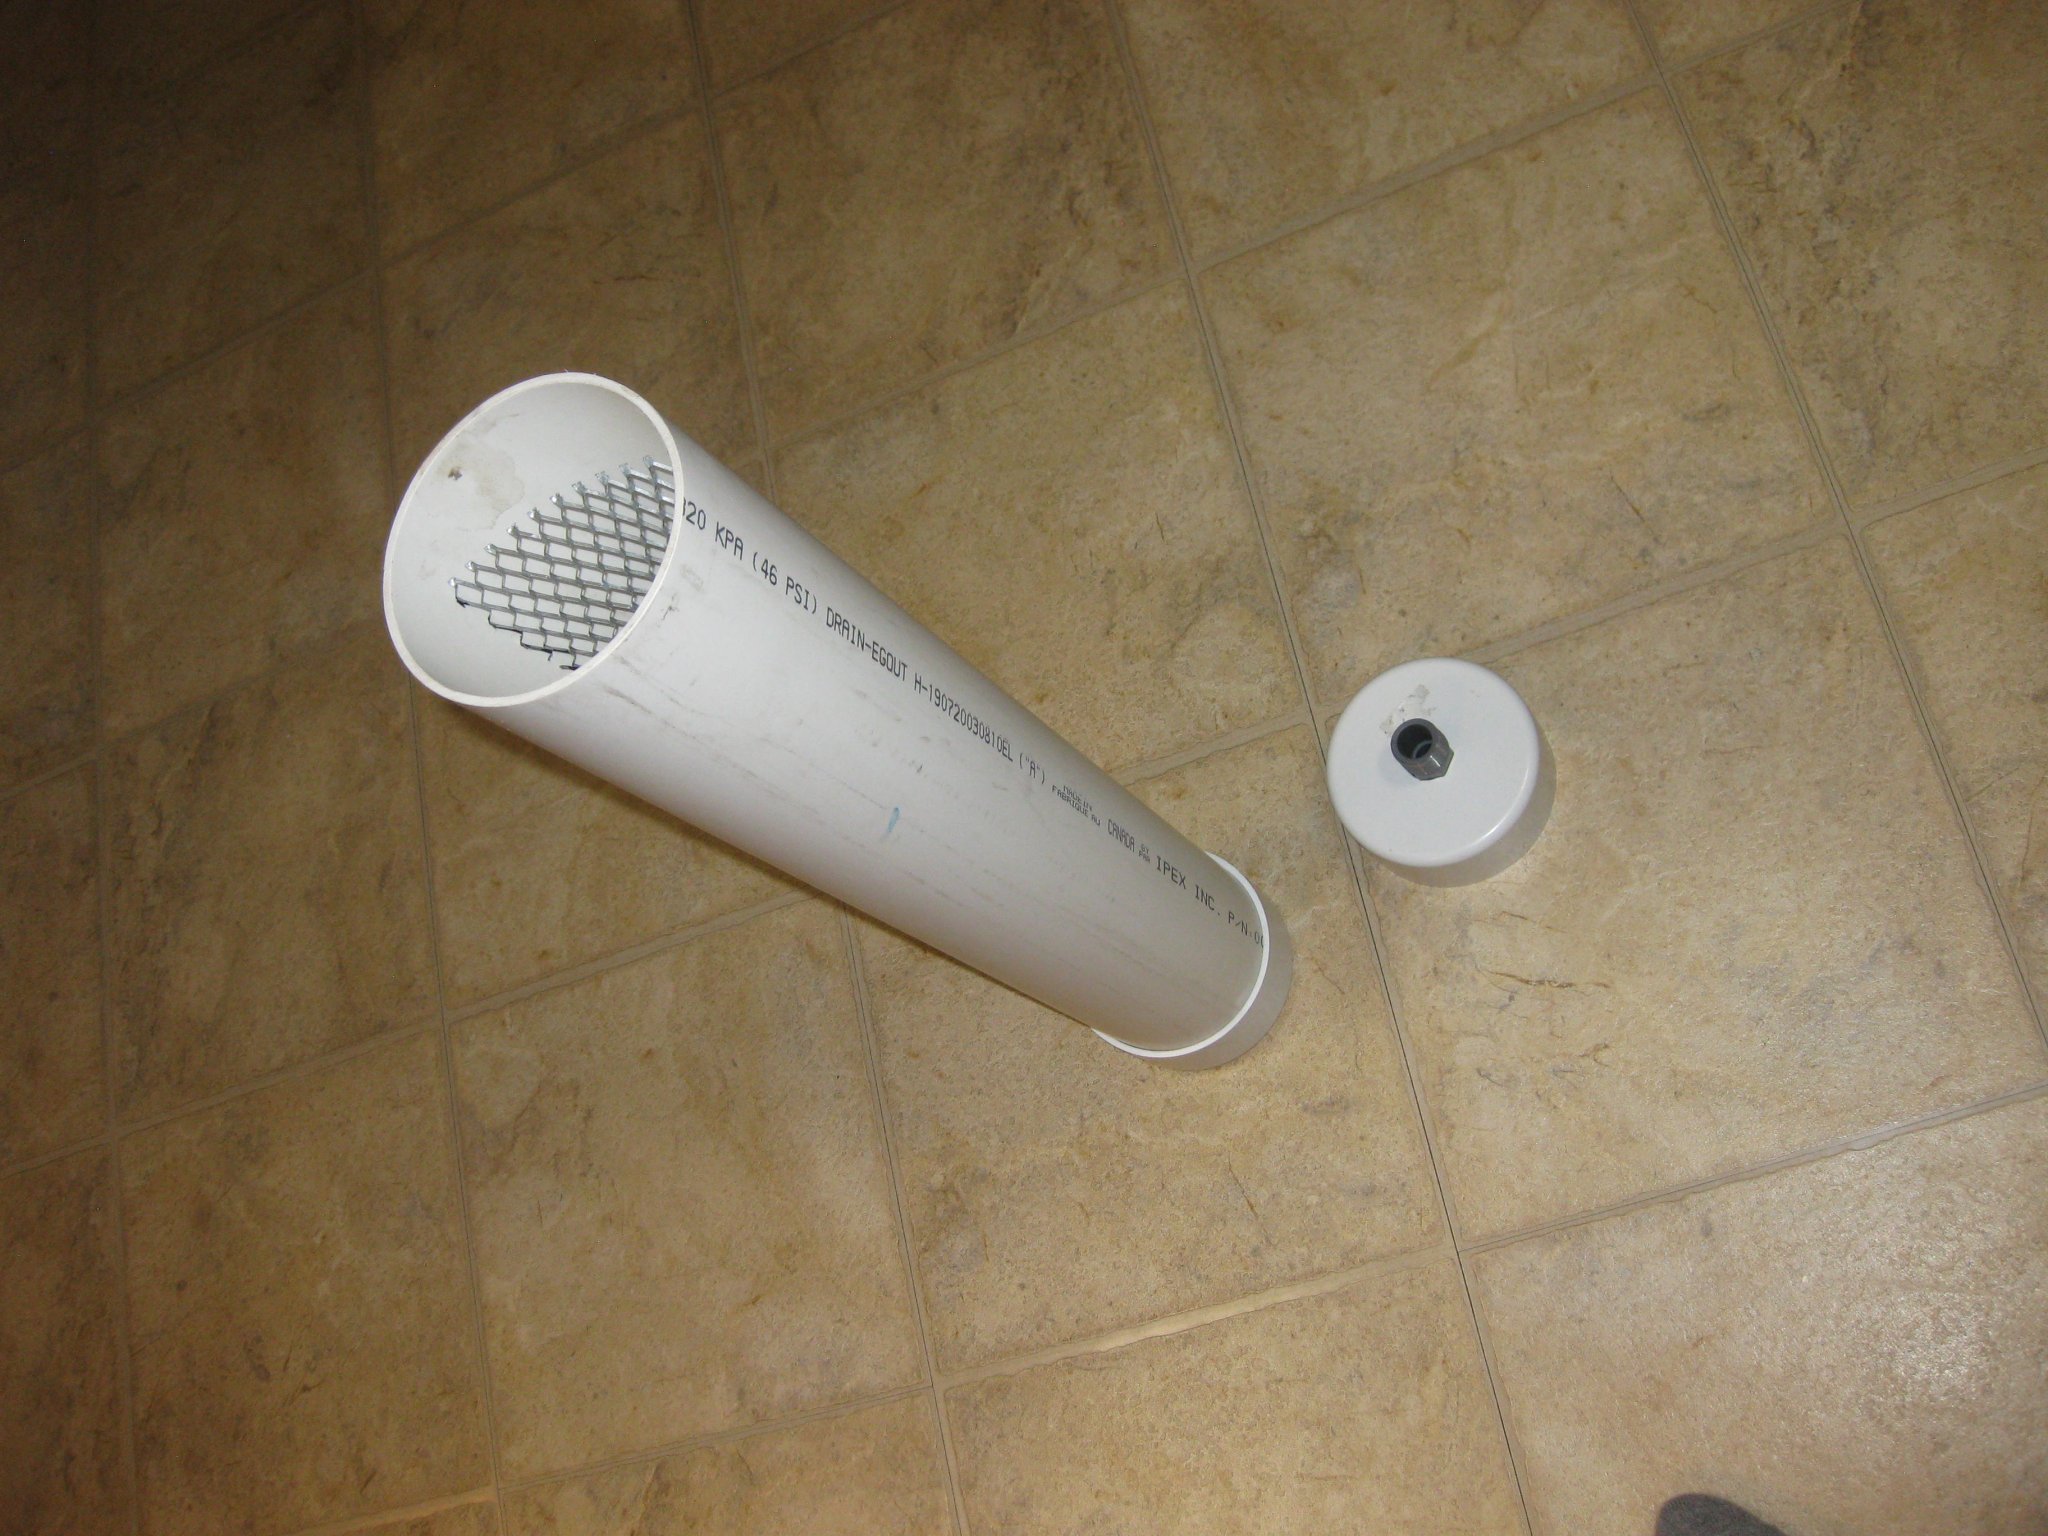
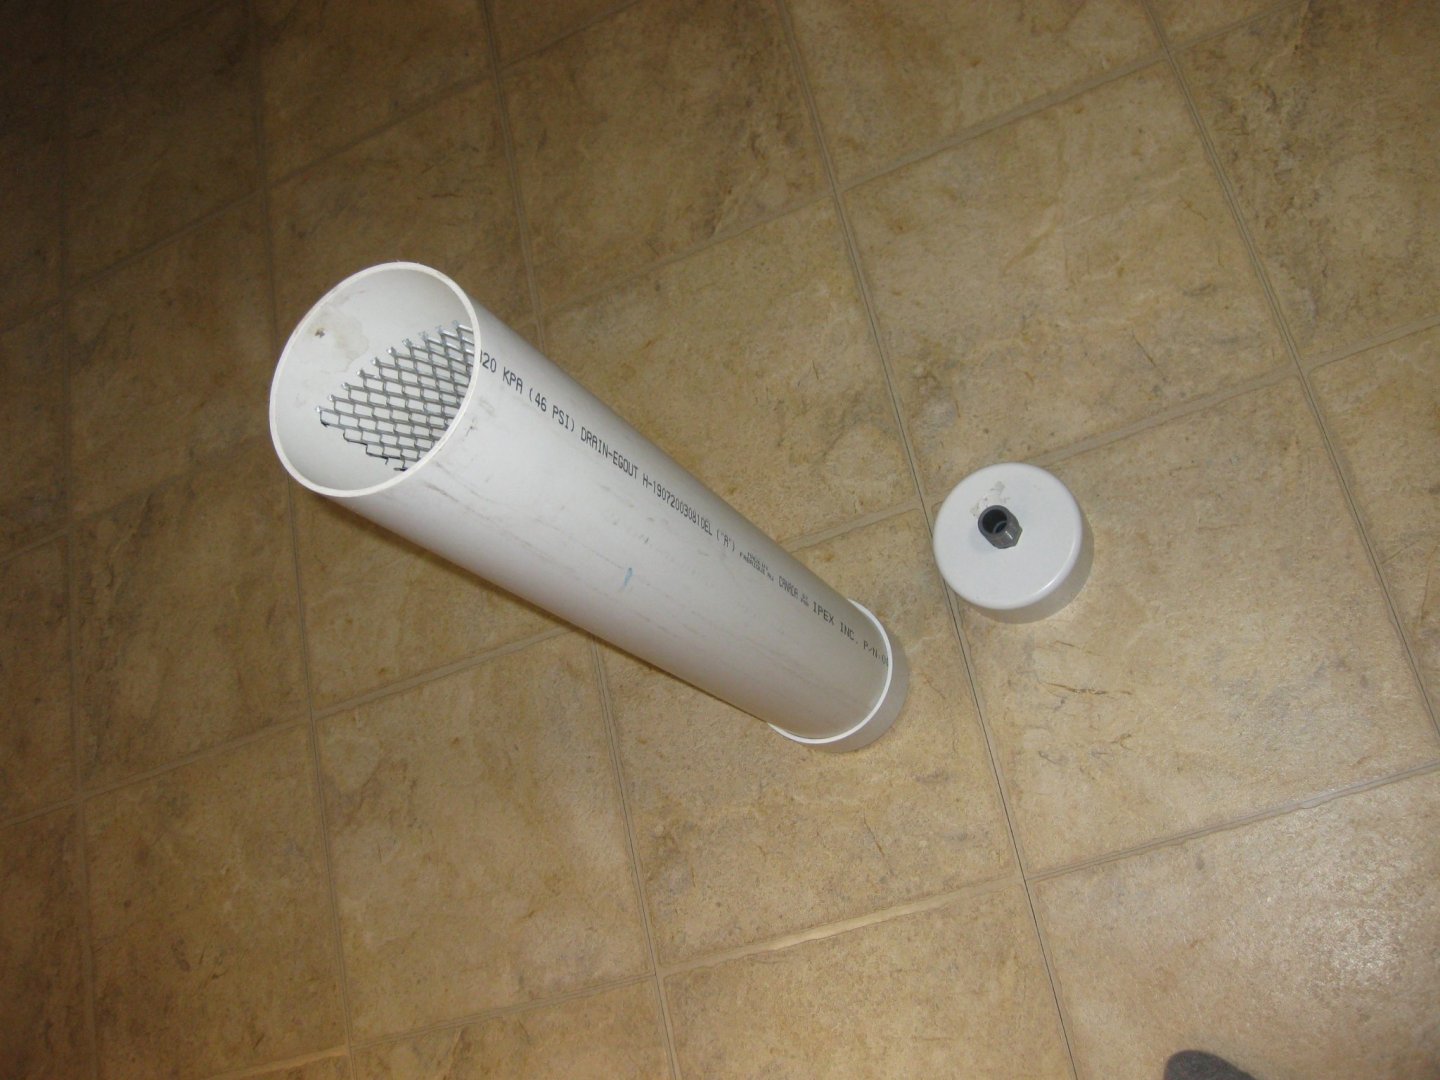
After much fitting and thought I think I am going to have to build a steam box to help bend some of my pieces easier into place. I bought a clothes steamer at a second hand store and some 4 inch pvc pipe. Just have to do some modifications and hopefully it will work.

-
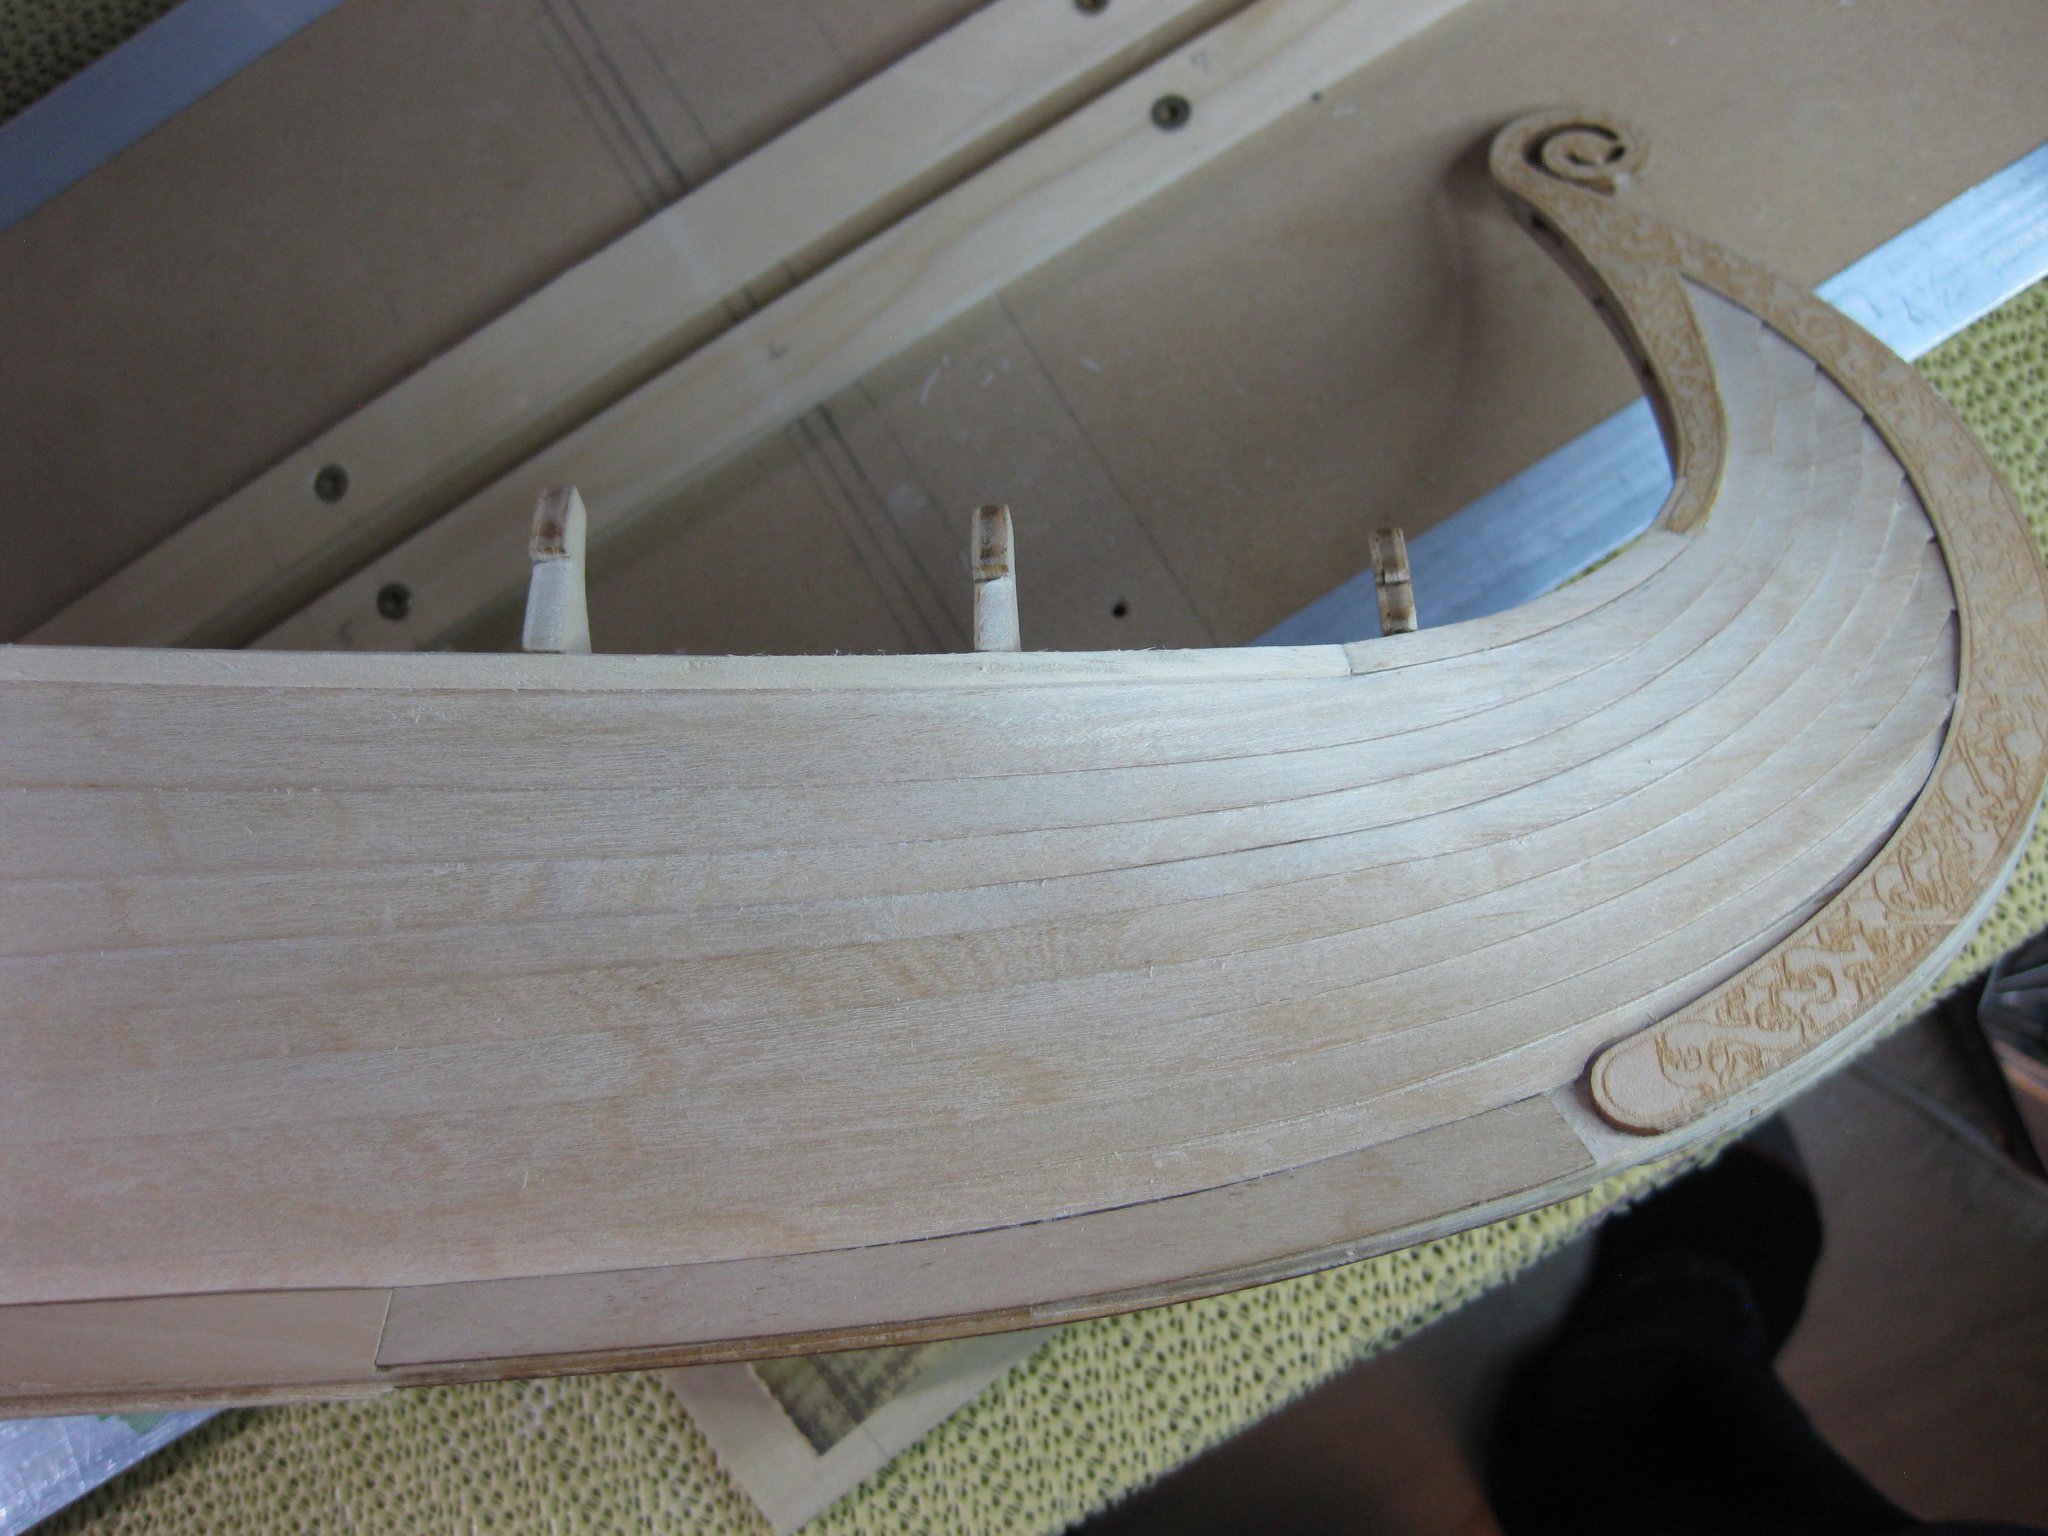
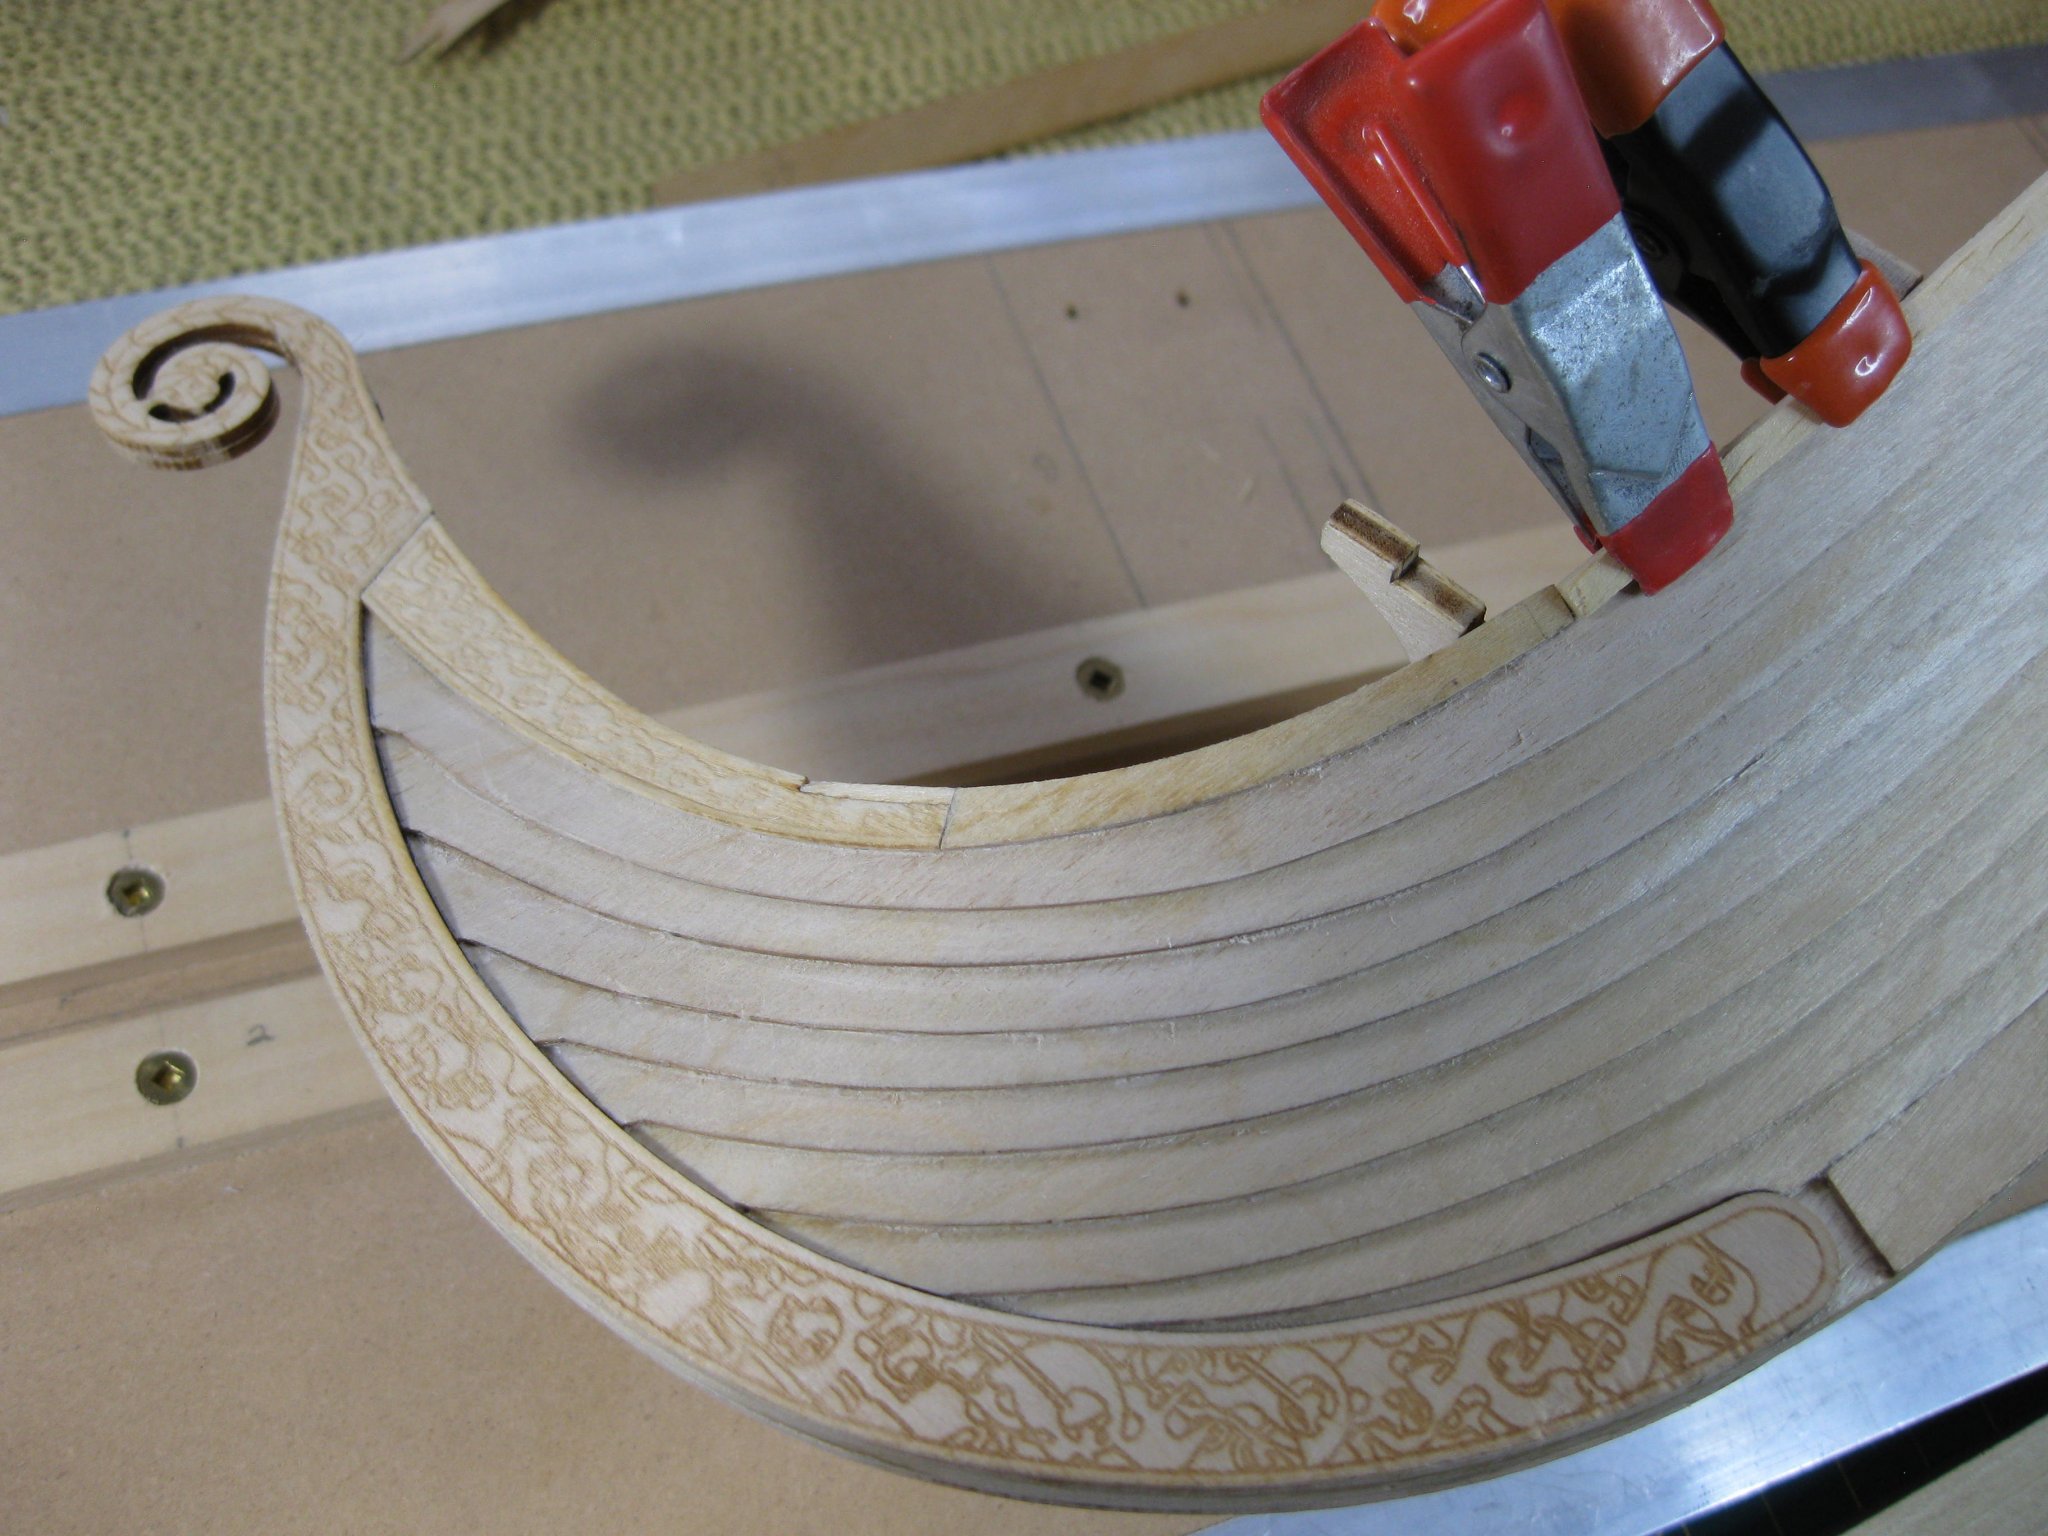
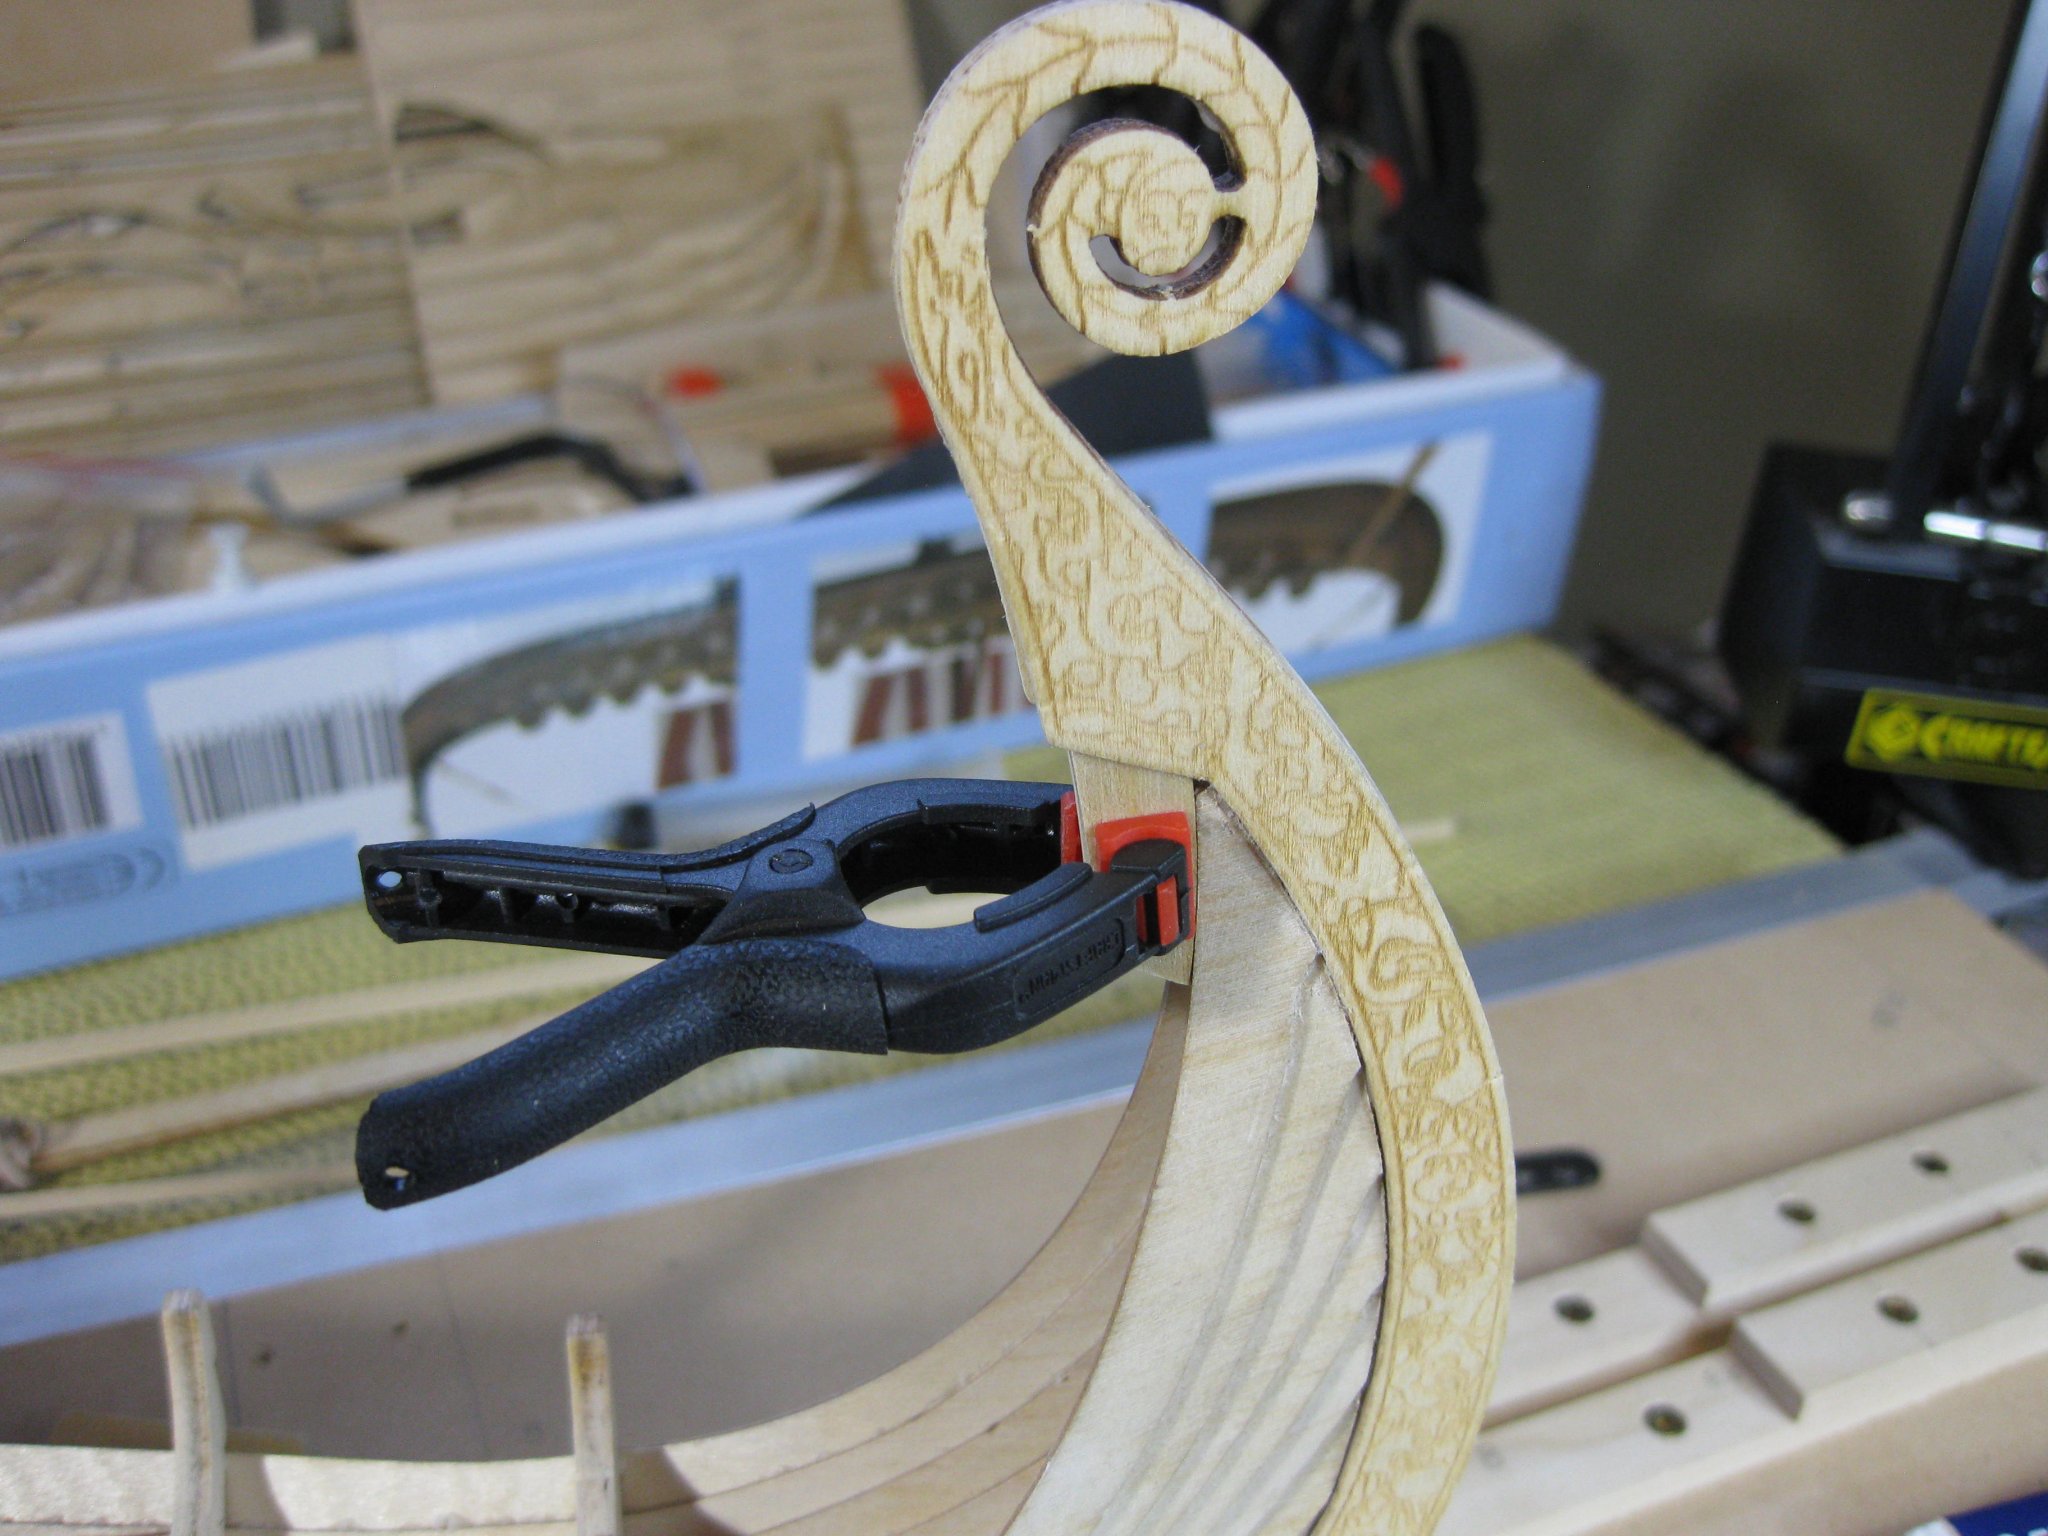
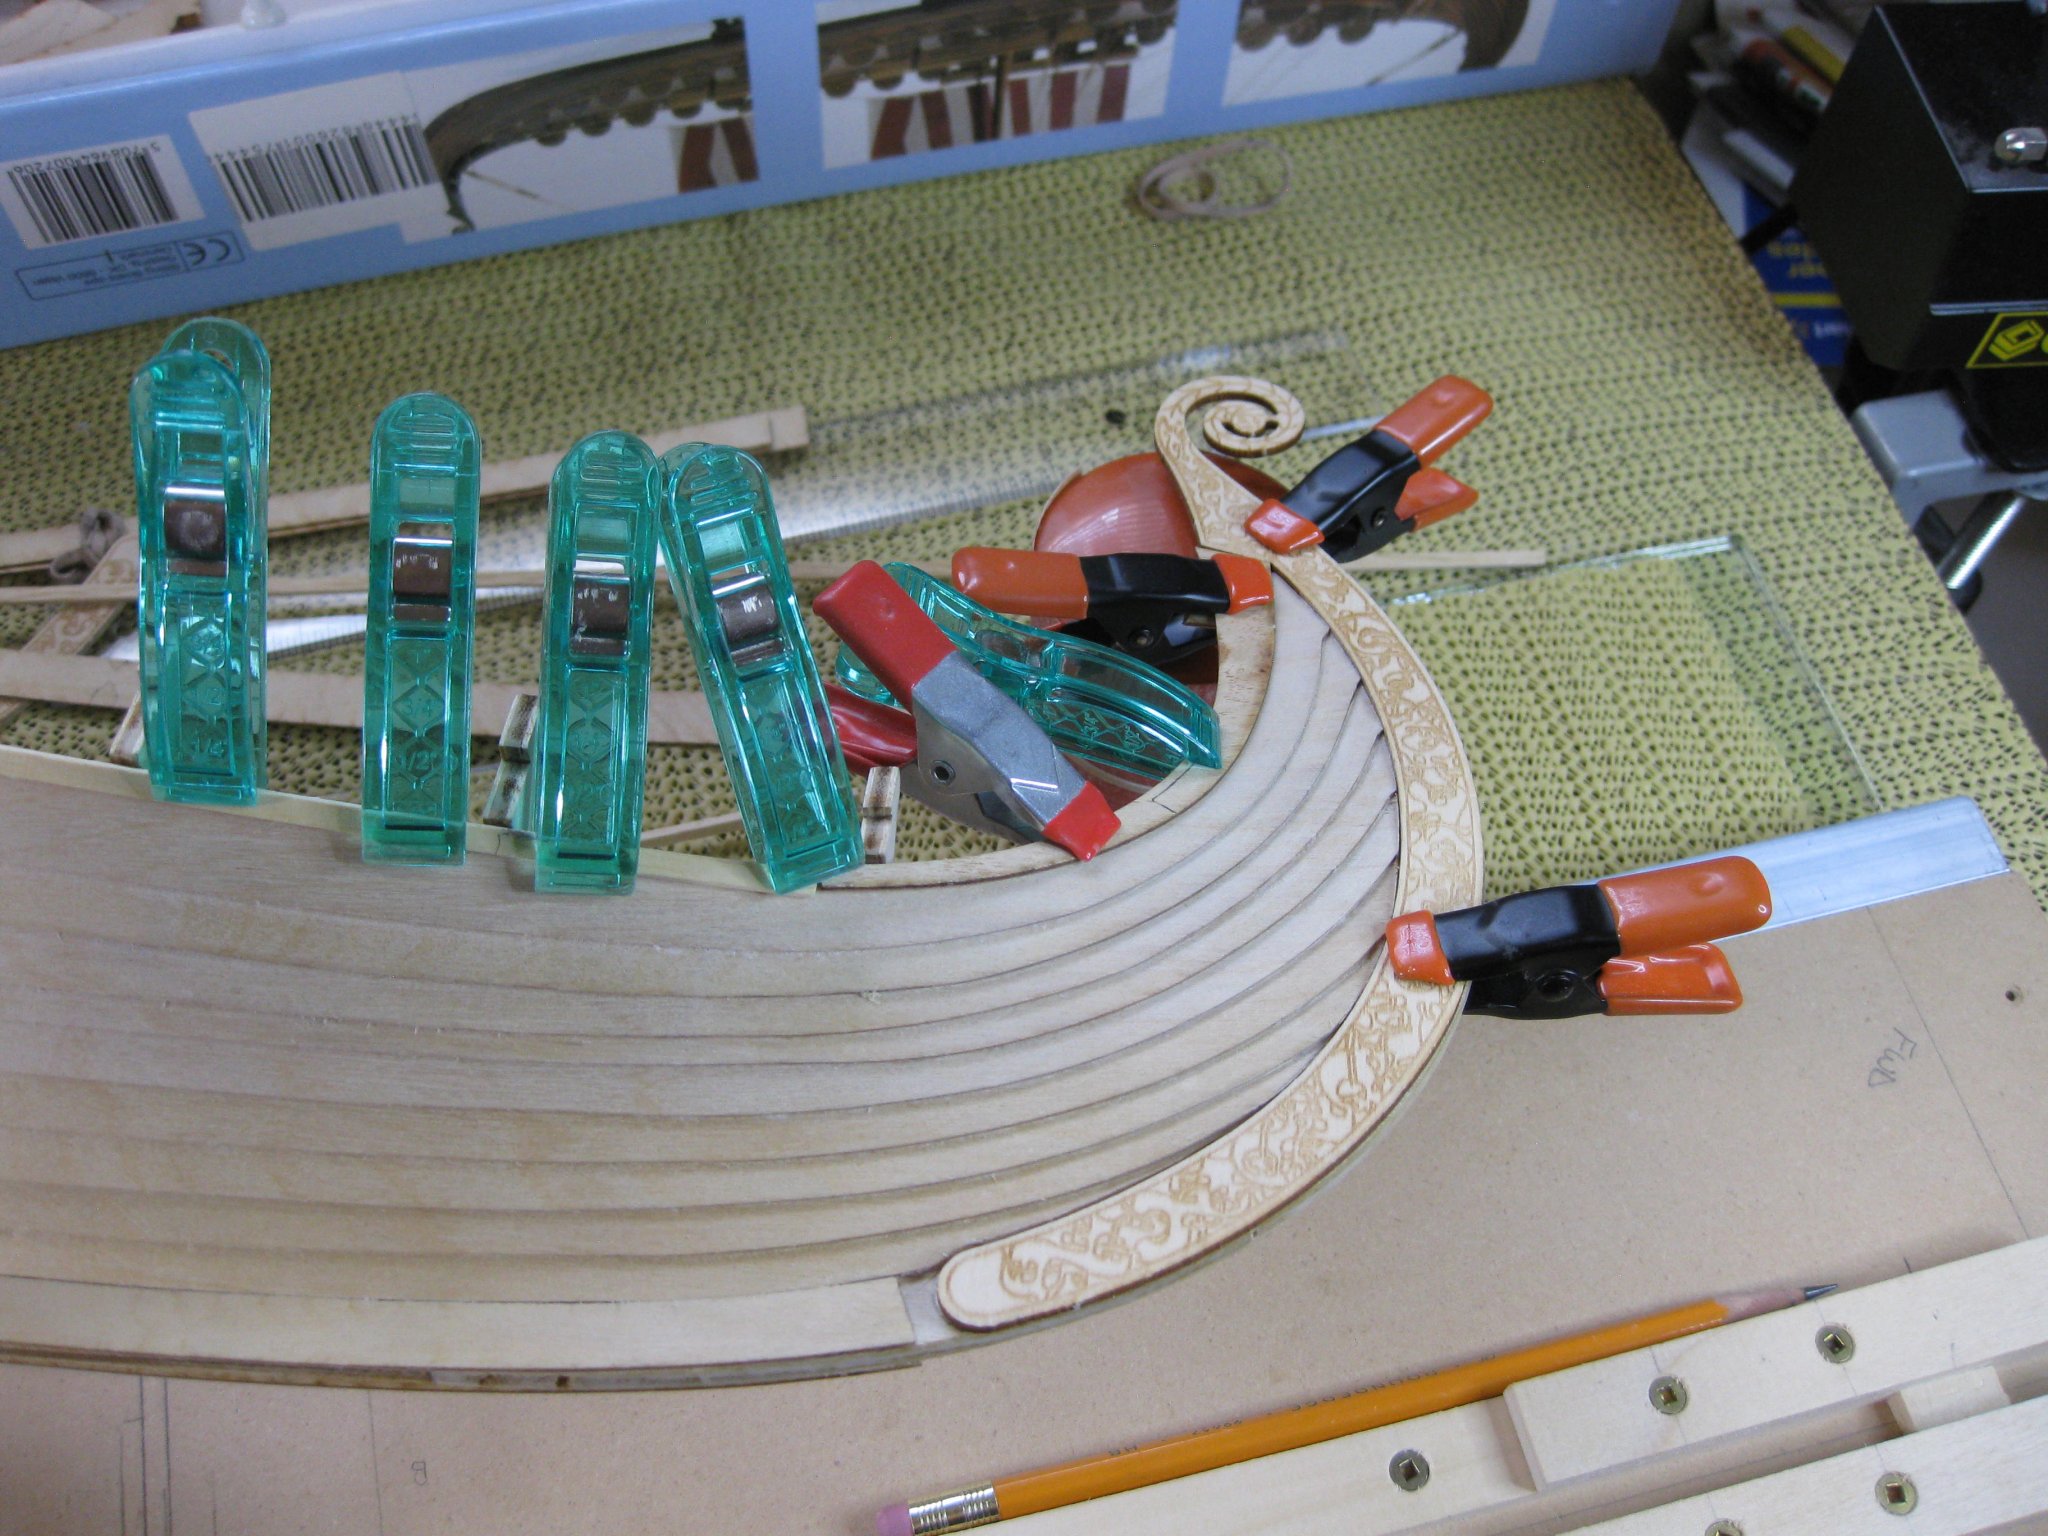
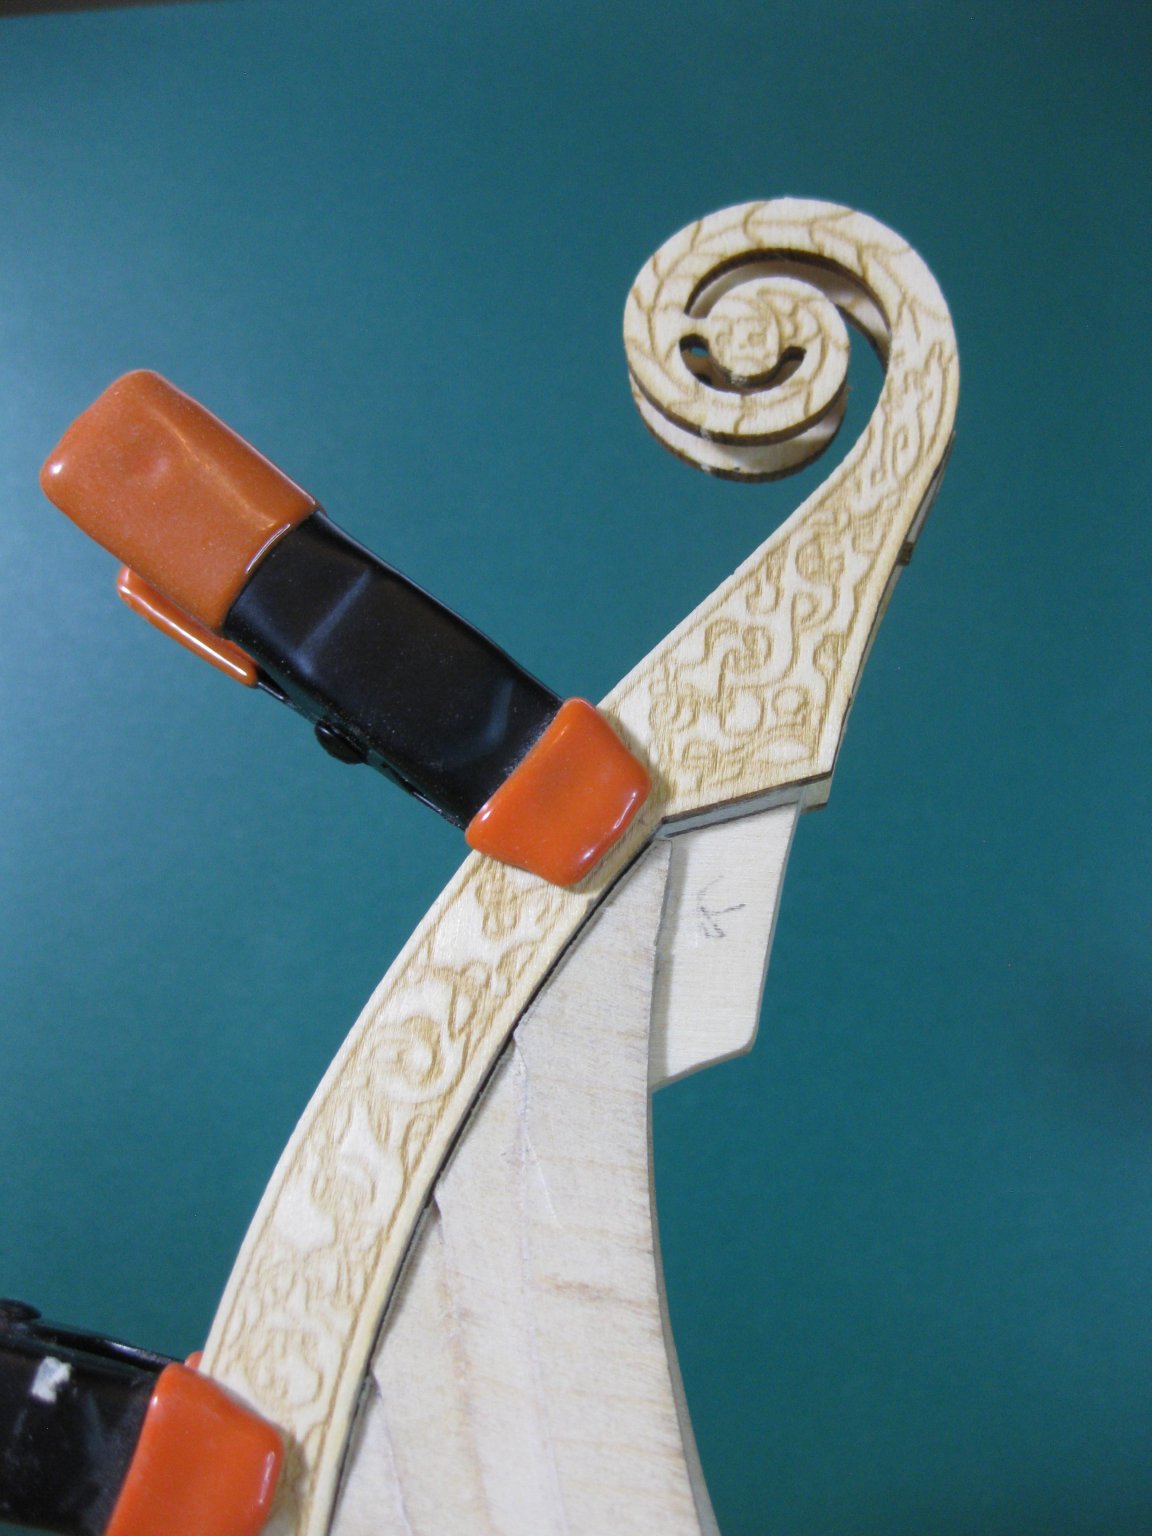
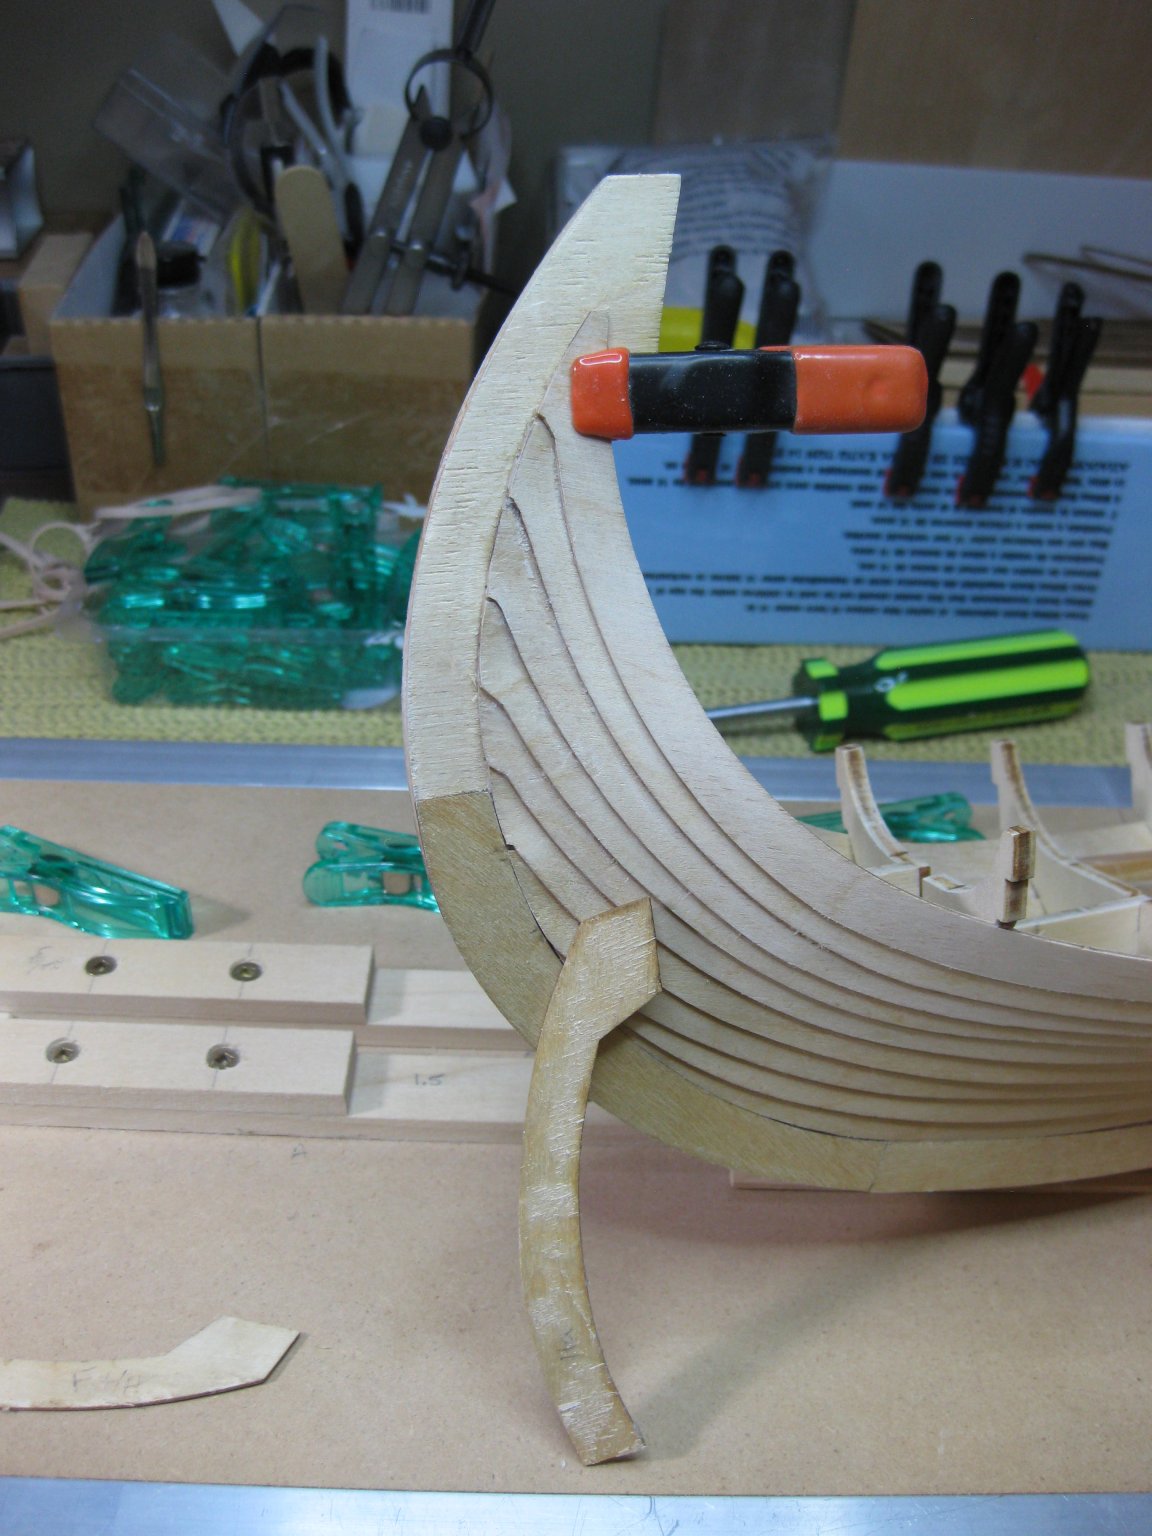
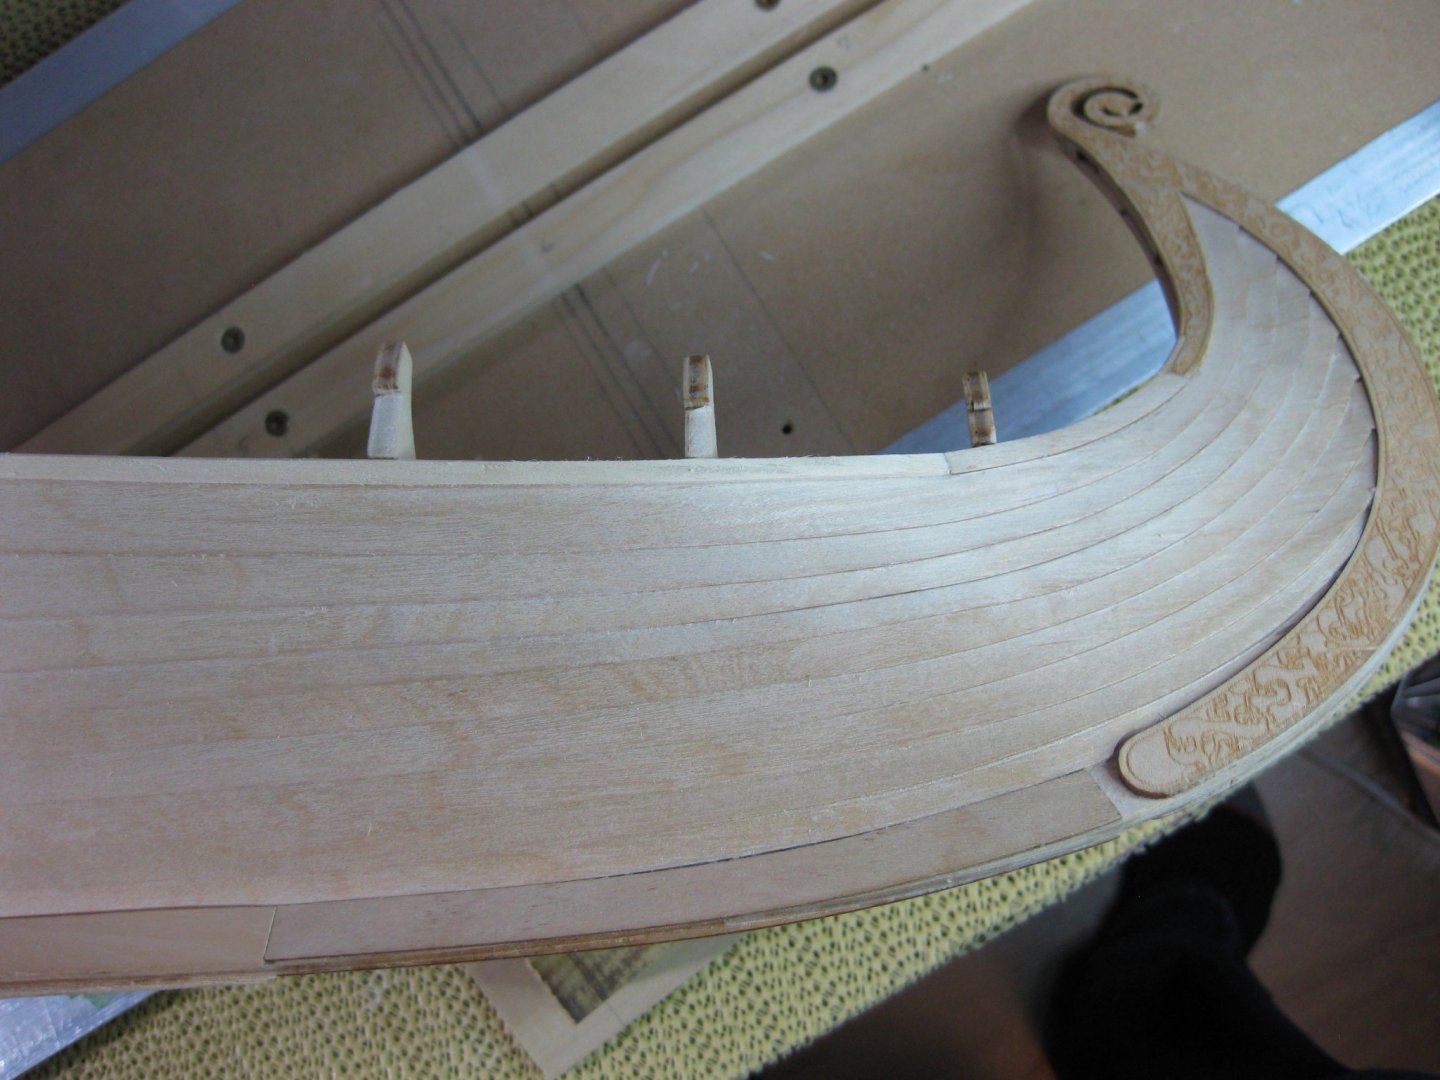
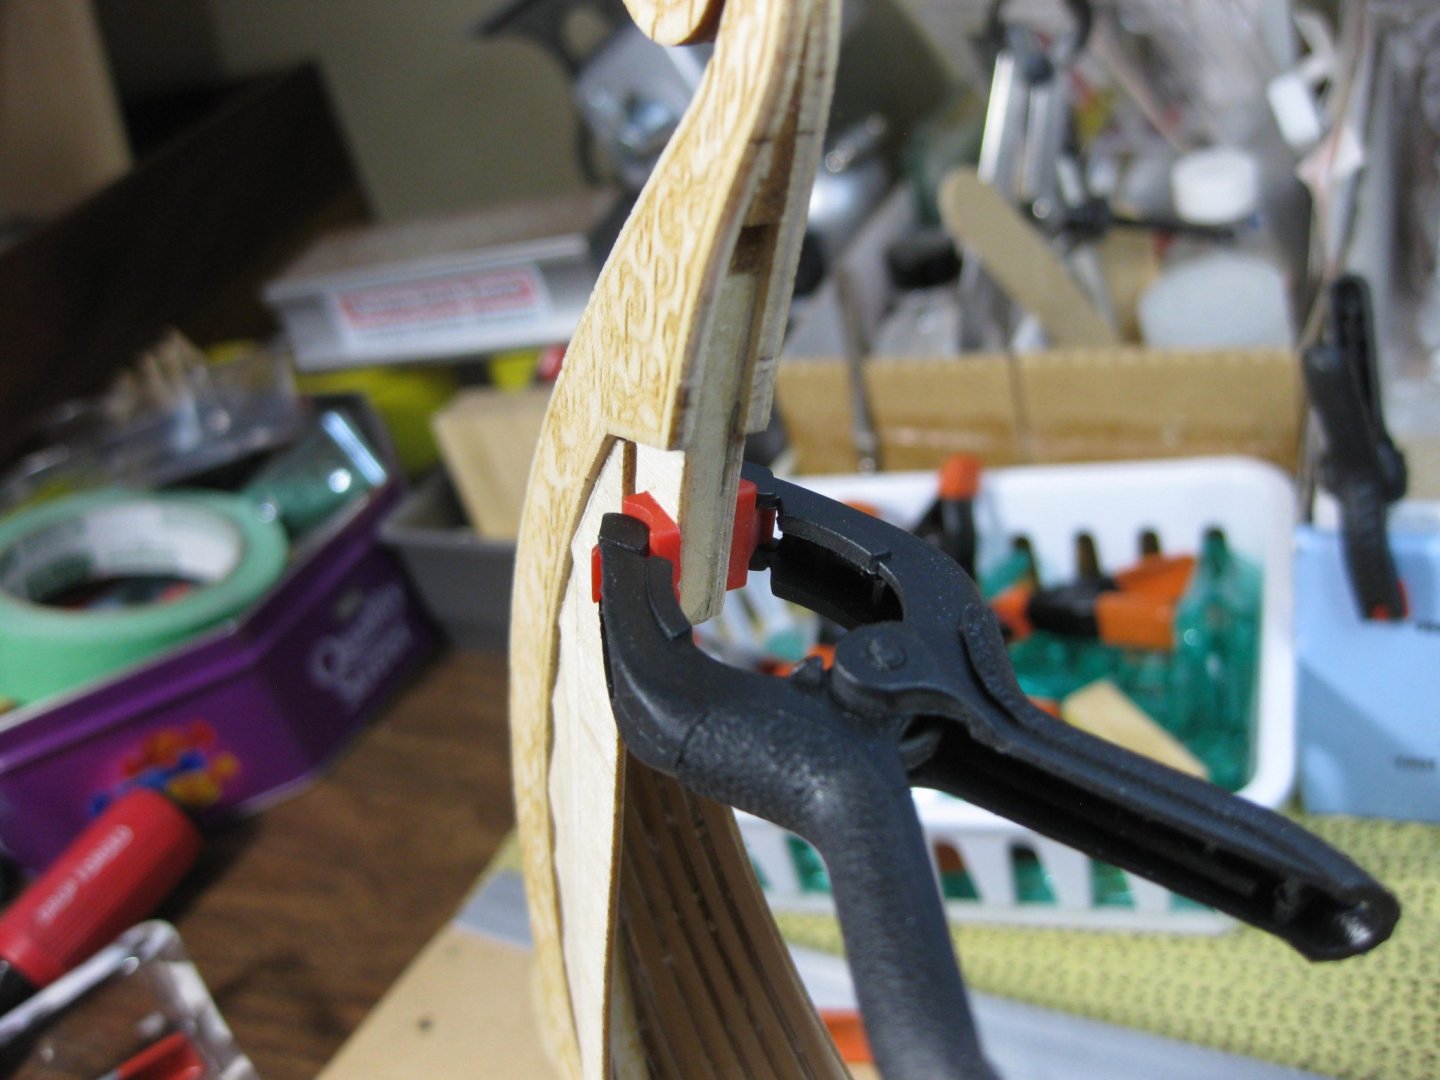
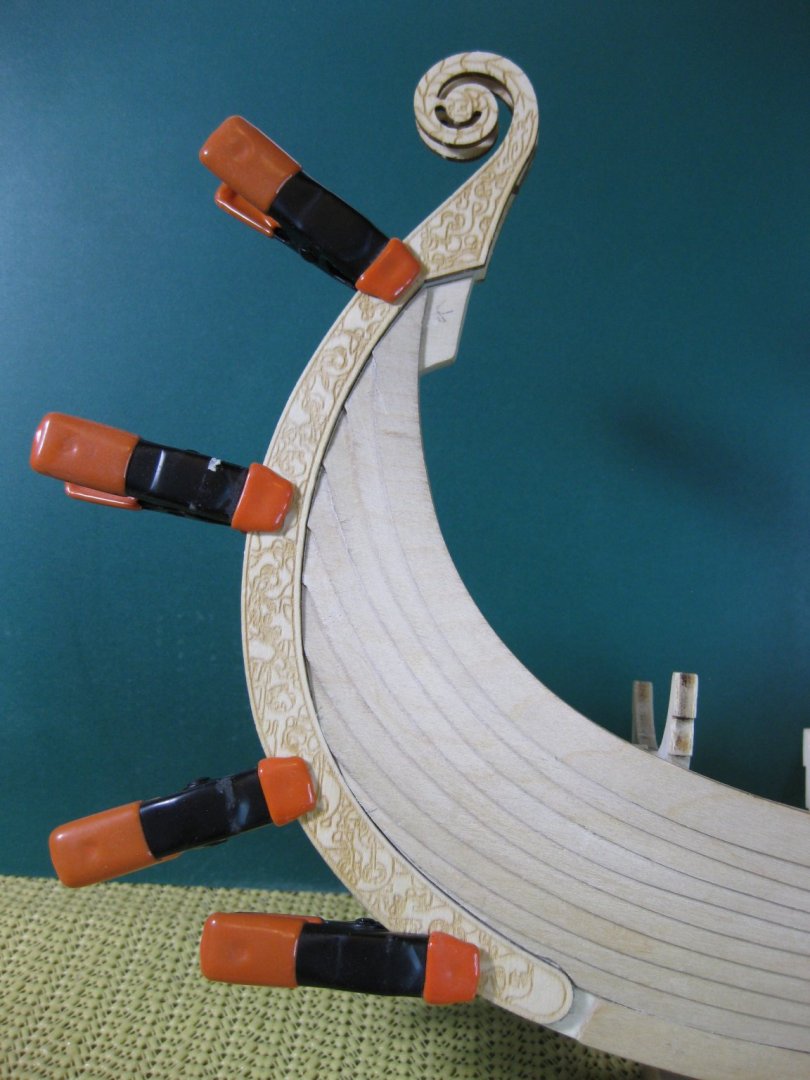
Finished gluing the rear scrollwork pieces on. Will have to go back and do some sanding to make everything look good a little later. From what I can gather from the scant instructions and what Jack and Von Kossa did was put a strip (part 56) along the top plank on the keel for the bottom side plank to fair up against. As I fitted the strip along the plank and set the side plank against it I see I have a lot of sanding and fitting to get everything to look good. The notches on the frames aren't exactly cut perfect. They need to be faired and the notches are too deep in places. Gives me a lot of respect for the Vikings who actually built the full size ships.

-
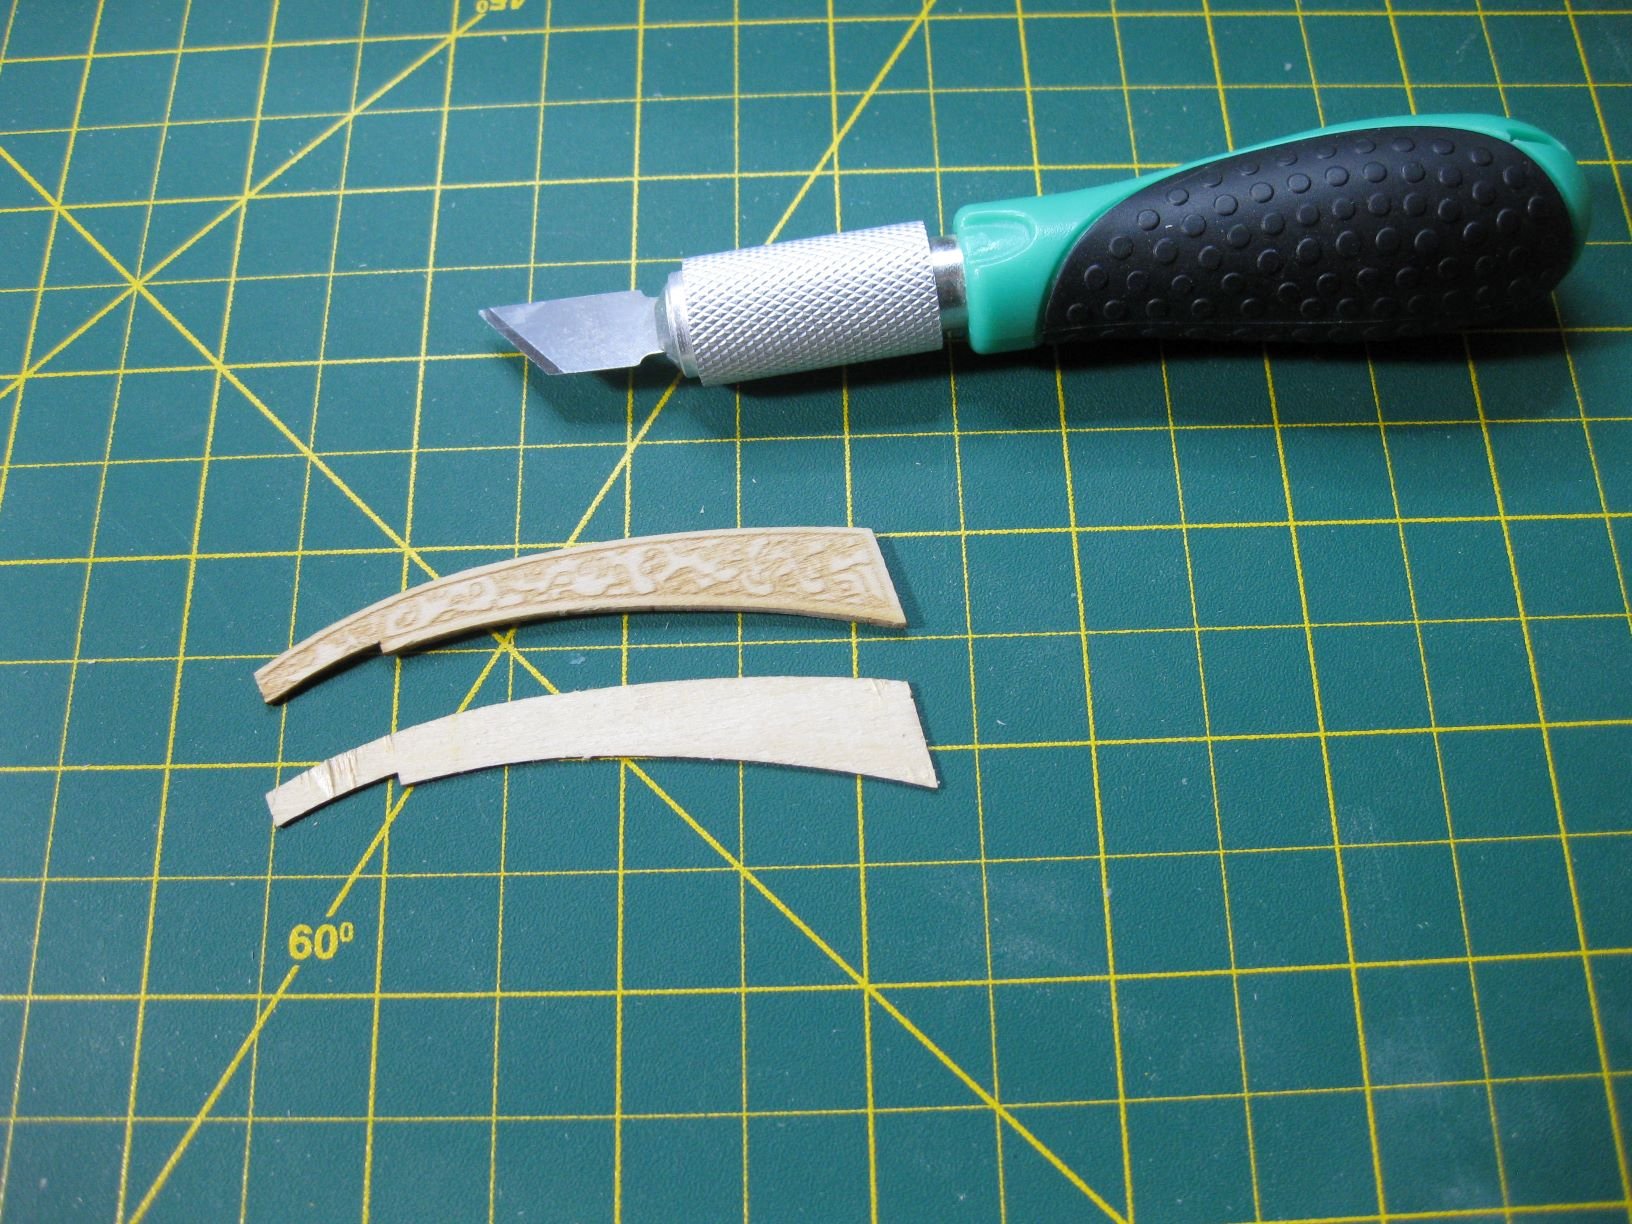
After gluing those on to the keel I then removed one layer off the back of the rear scrollwork piece. This also helped with getting it to fair to the front scrollwork. Had to do a bit off sanding also to get a good fit. Time consuming but it turned out well.

-
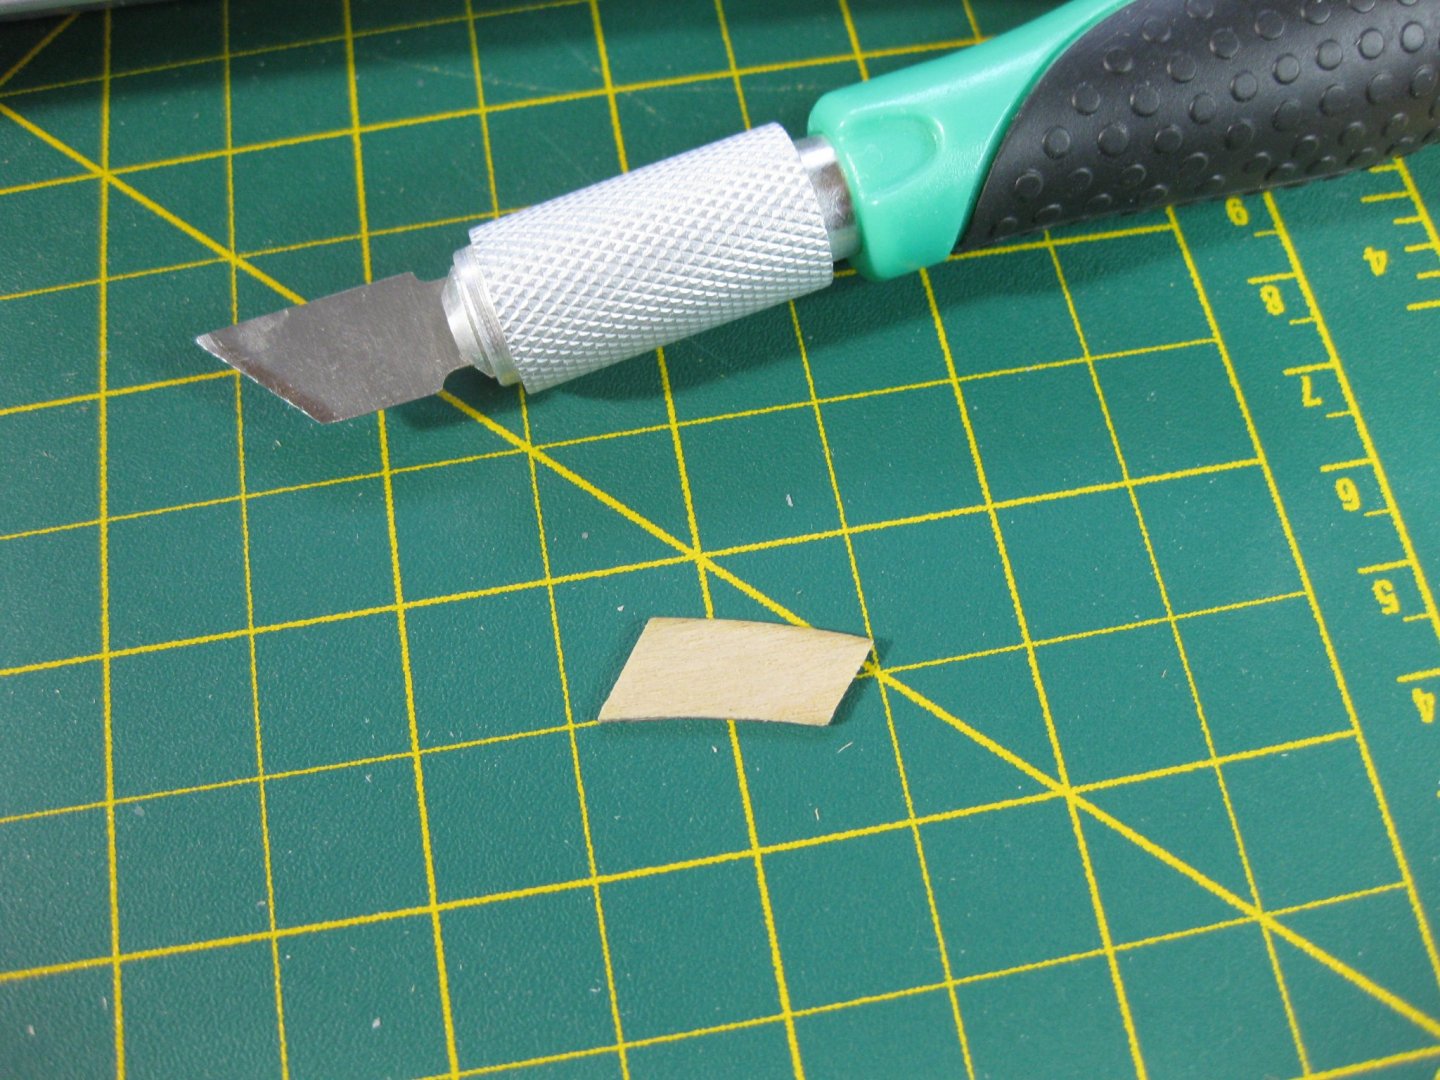
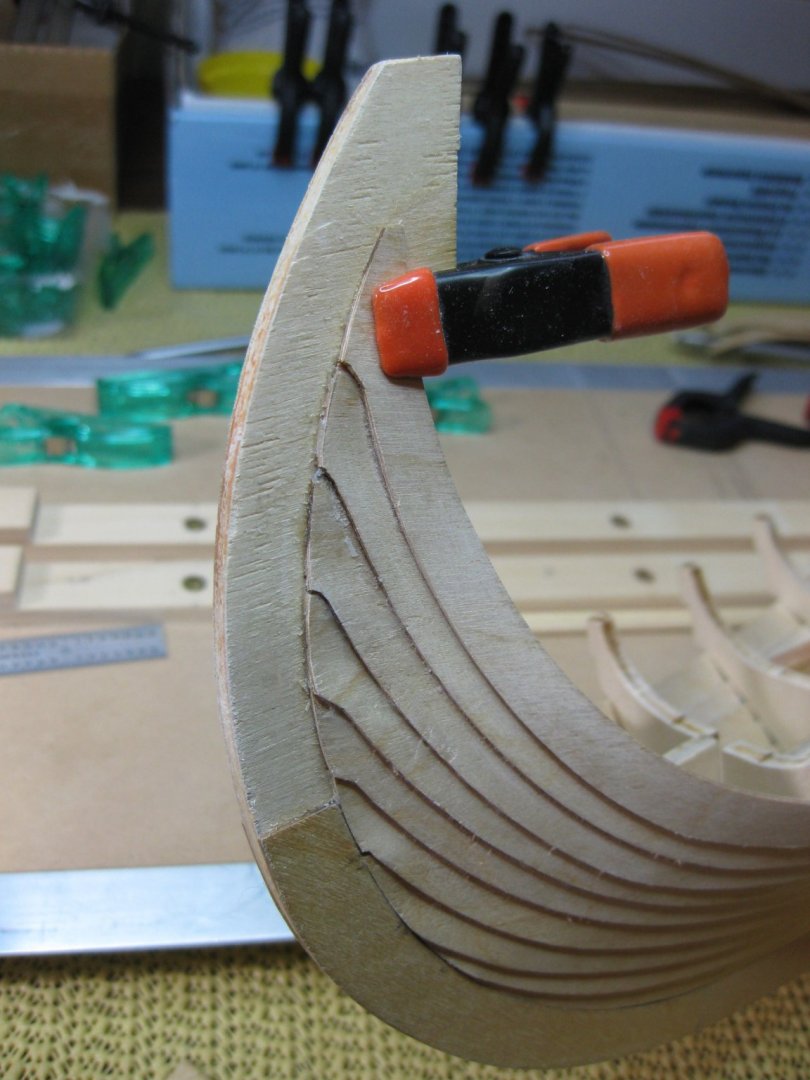
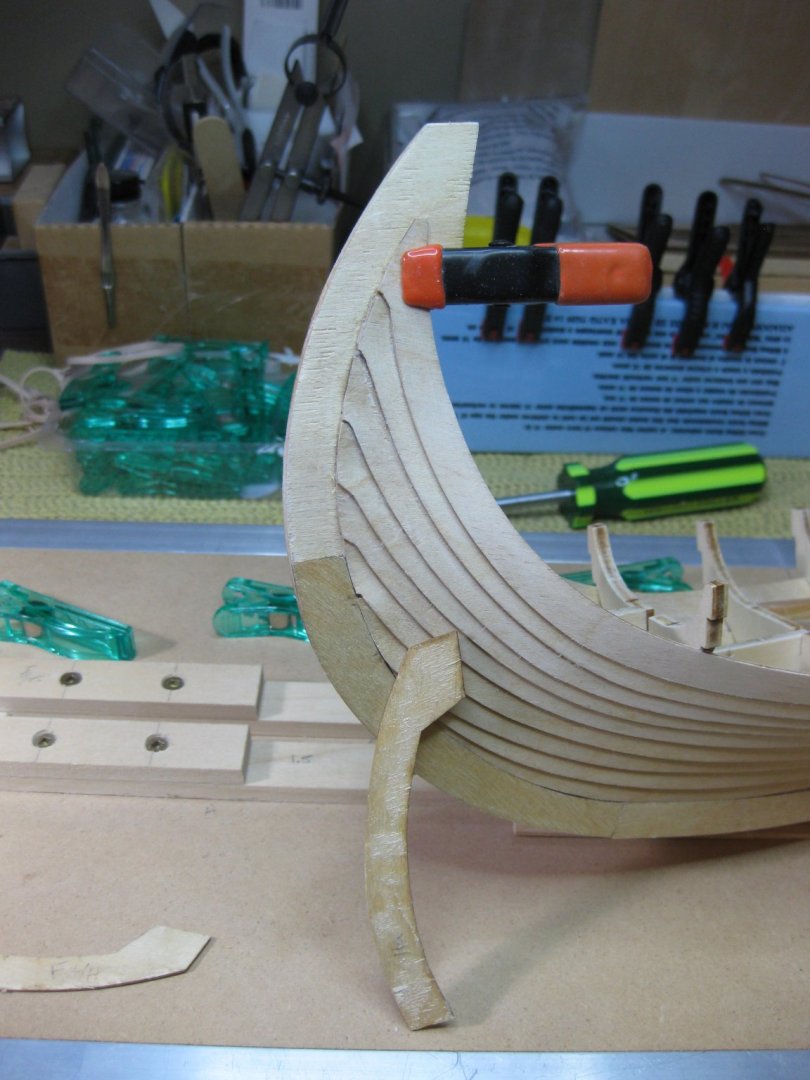
I cut small pieces to glue to the keel to help the rear scrollwork fair with the front scrollwork.

-
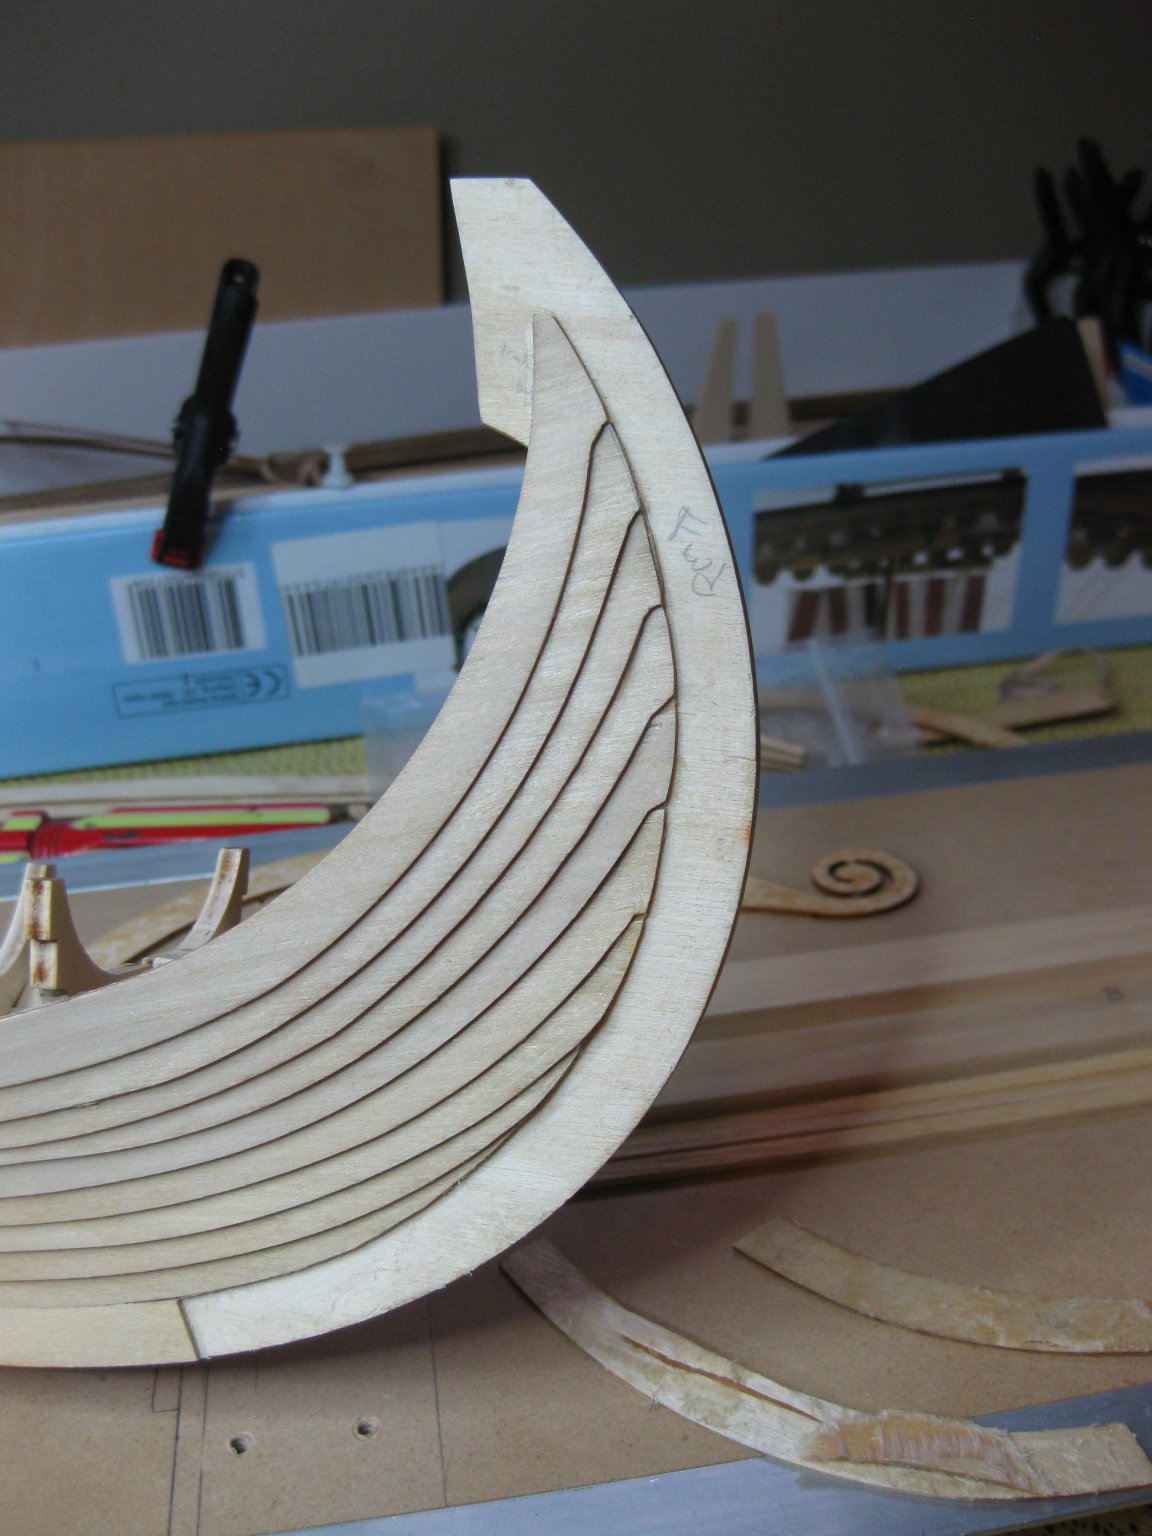
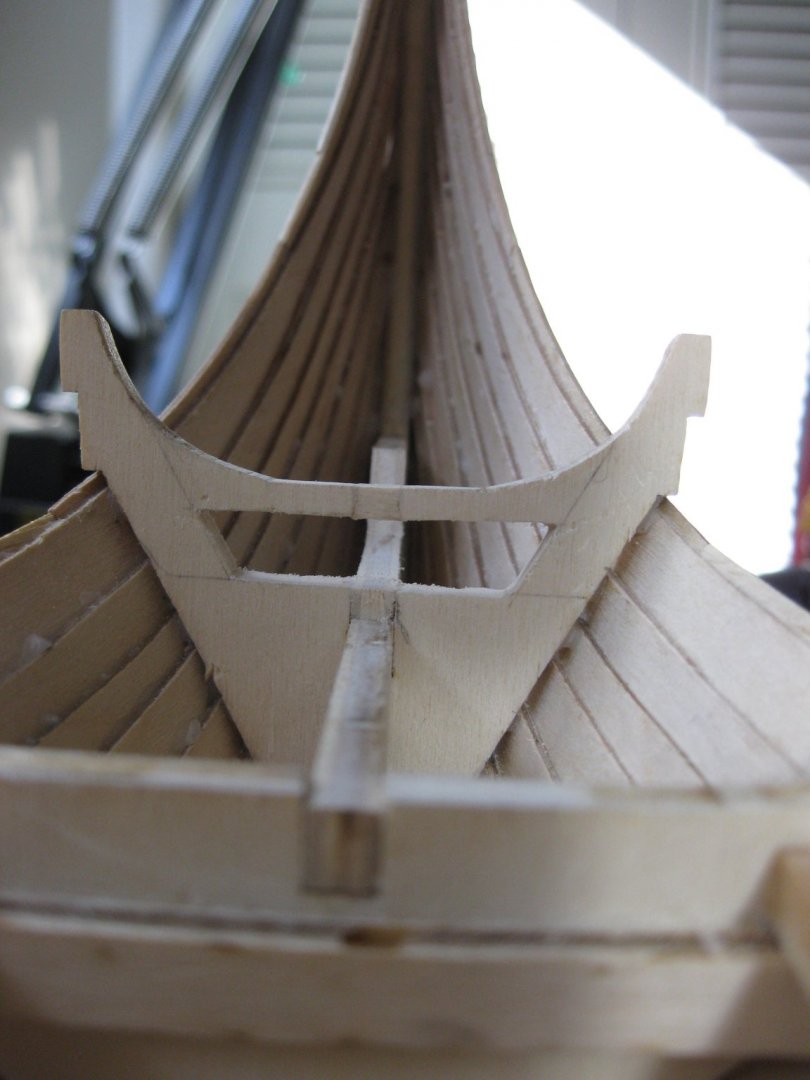
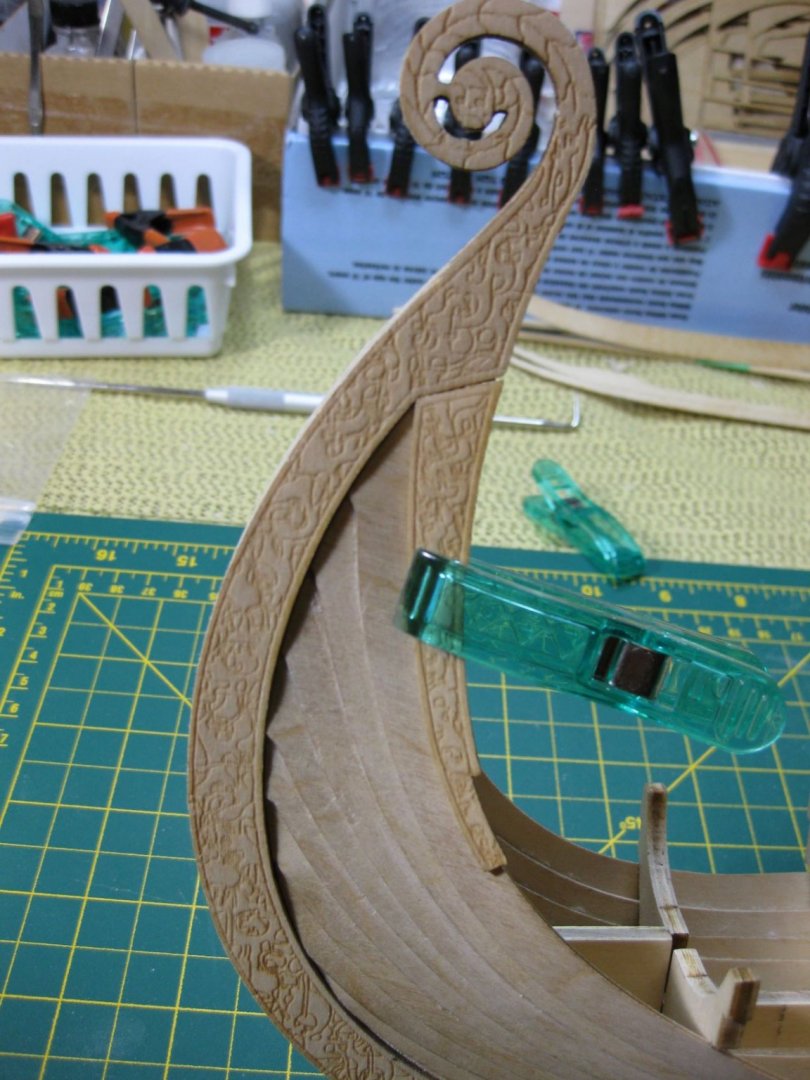
Before I glue the front scrollwork on to the keel I am trying to fit the rear scrollwork and side pieces to the planking. Their are lots of pieces and getting them to fit is taking awhile. Jack Panzeca and Von Kossa indicated they had trouble fitting these parts also.


-
Had to remove a little bit of the front of the planks to fit the scrollwork even with the keel edge. Had to be careful not to remove too much as the planks don,t have a lot of glue area touching the keel at this area.


-
I am trying to follow the way Jack Panzeca and Von Kossa did with their ship build. I removed the strips (Rabbetparts in parts list) from the keel where the planks butted up against. This allows the front scrollwork to fit more flush with the planking.

-
Hi everyone I am back working on my ship. It has been a while but I now have some time to work on it. Just finished planking the bottom of the ship. Have to do some research into what comes next.

-
Hi everyone, This is my first try at building a wooden ship from a kit. I have been slowly working on it since the first of the year. I have been looking at the build logs of Von Kossa and Jack Panzeca. They have done such a nice job and I can only hope to come close to their work.

-
Thanks guys. I thought I might have to trim and fit abit but I wanted to check with someone first. Always easy to sand wood hard to get it to grow back. Jim
-
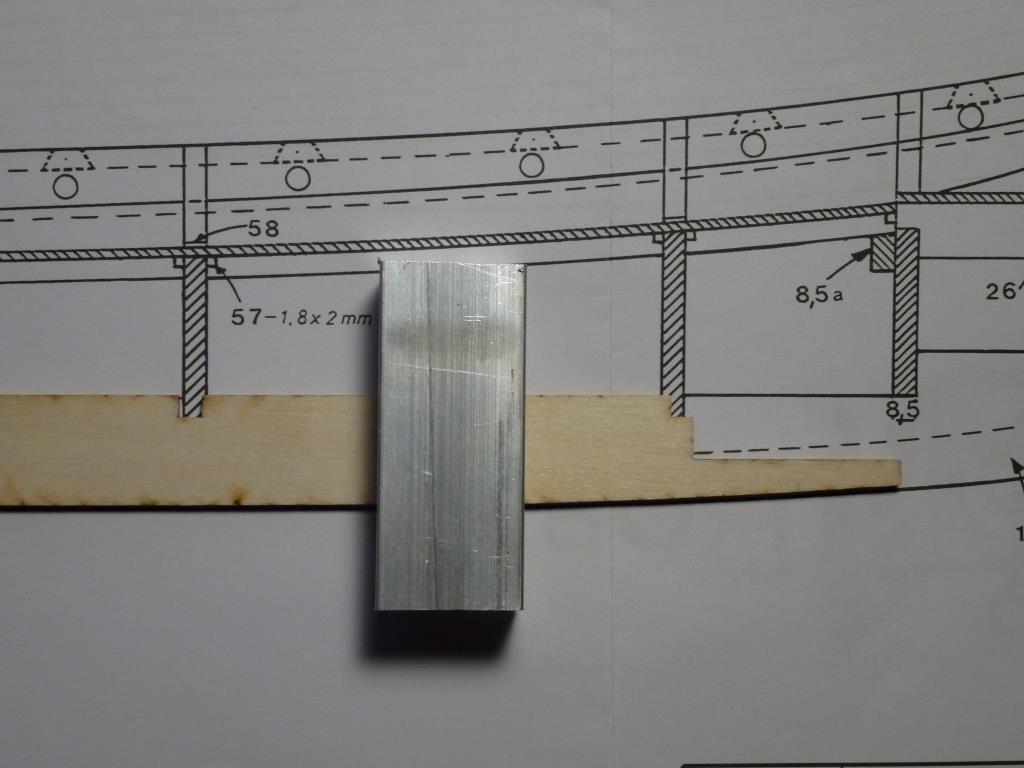
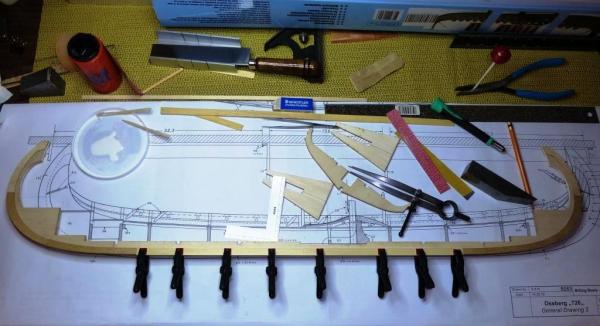
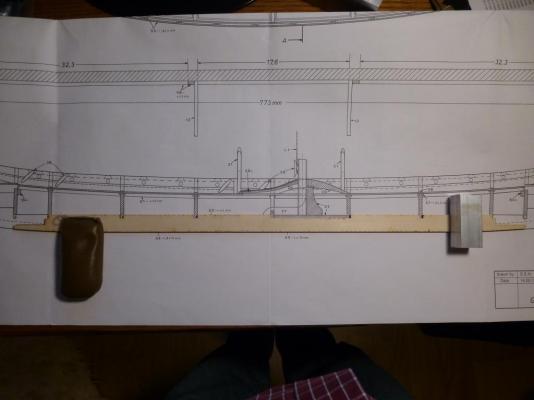
Thanks J.Pett They are not out much but 3 are out about a 1/2 a dimension. I can sand or cut them out to line up if that is the way it should be done. I have attached some pictures.

-
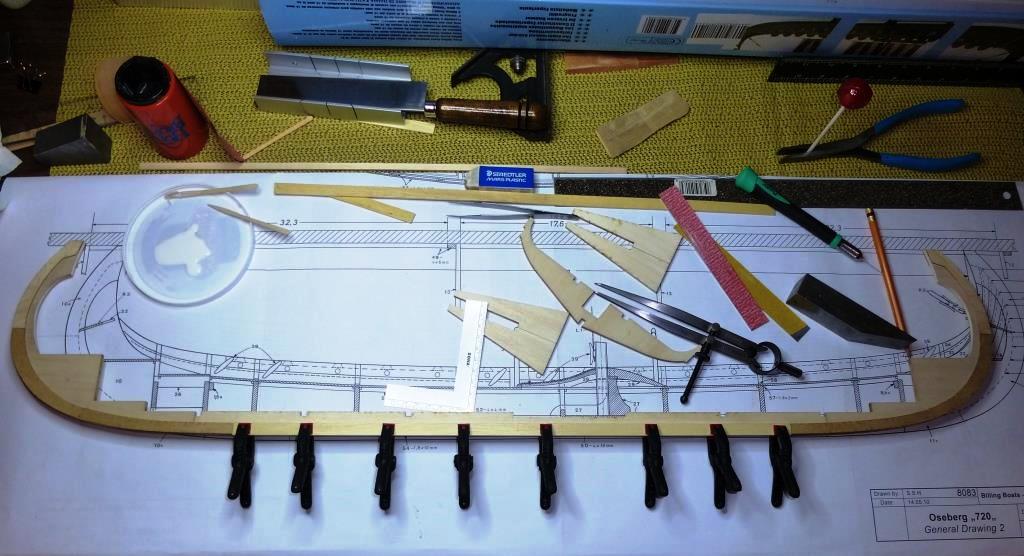
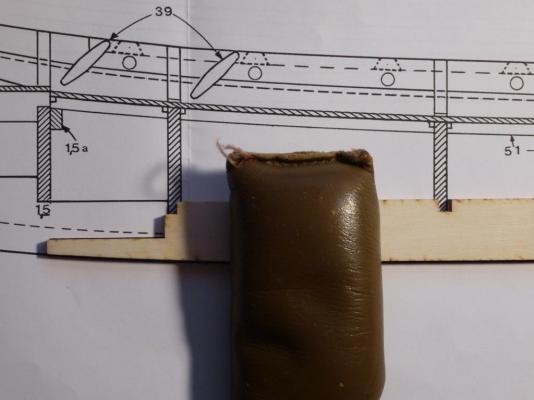
I am building my first wooden ship. It is the Oseberg 720 by Billing boats. I was wondering how important it is for the keelstrip laser cutouts to match up with the drawing dimensions. When I lay the keelstrip on the drawings sheet the cutouts don't line up. Some do, some don't. Is it critical or do you have to adjust the cutouts to line up perfect with the drawing dimensions. I may be over thinking this. Jim