norseman
-
Posts
51 -
Joined
-
Last visited
Recent Profile Visitors
436 profile views


.thumb.jpeg.fc5d633a7b34428fcf19419a73d56d55.jpeg)
-
 Eindride reacted to a post in a topic:
Oseberg Viking Ship by Norseman - Billing Boats - 1/25 Scale - 9th century
Eindride reacted to a post in a topic:
Oseberg Viking Ship by Norseman - Billing Boats - 1/25 Scale - 9th century
-
 Eindride reacted to a post in a topic:
Oseberg Viking Ship by Norseman - Billing Boats - 1/25 Scale - 9th century
Eindride reacted to a post in a topic:
Oseberg Viking Ship by Norseman - Billing Boats - 1/25 Scale - 9th century
-
Eindride reacted to a post in a topic:
Oseberg Viking Ship by Norseman - Billing Boats - 1/25 Scale - 9th century
-
md1400cs reacted to a post in a topic:
Oseberg Viking Ship by Norseman - Billing Boats - 1/25 Scale - 9th century
-
md1400cs reacted to a post in a topic:
Oseberg Viking Ship by Norseman - Billing Boats - 1/25 Scale - 9th century
-
Knocklouder reacted to a post in a topic:
Oseberg Viking Ship by Norseman - Billing Boats - 1/25 Scale - 9th century
-
Knocklouder reacted to a post in a topic:
Oseberg Viking Ship by Norseman - Billing Boats - 1/25 Scale - 9th century
-
Knocklouder reacted to a post in a topic:
Oseberg Viking Ship by Norseman - Billing Boats - 1/25 Scale - 9th century
-
Knocklouder reacted to a post in a topic:
Oseberg Viking Ship by Norseman - Billing Boats - 1/25 Scale - 9th century
-
EricWilliamMarshall reacted to a post in a topic:
Oseberg Viking Ship by Norseman - Billing Boats - 1/25 Scale - 9th century
-
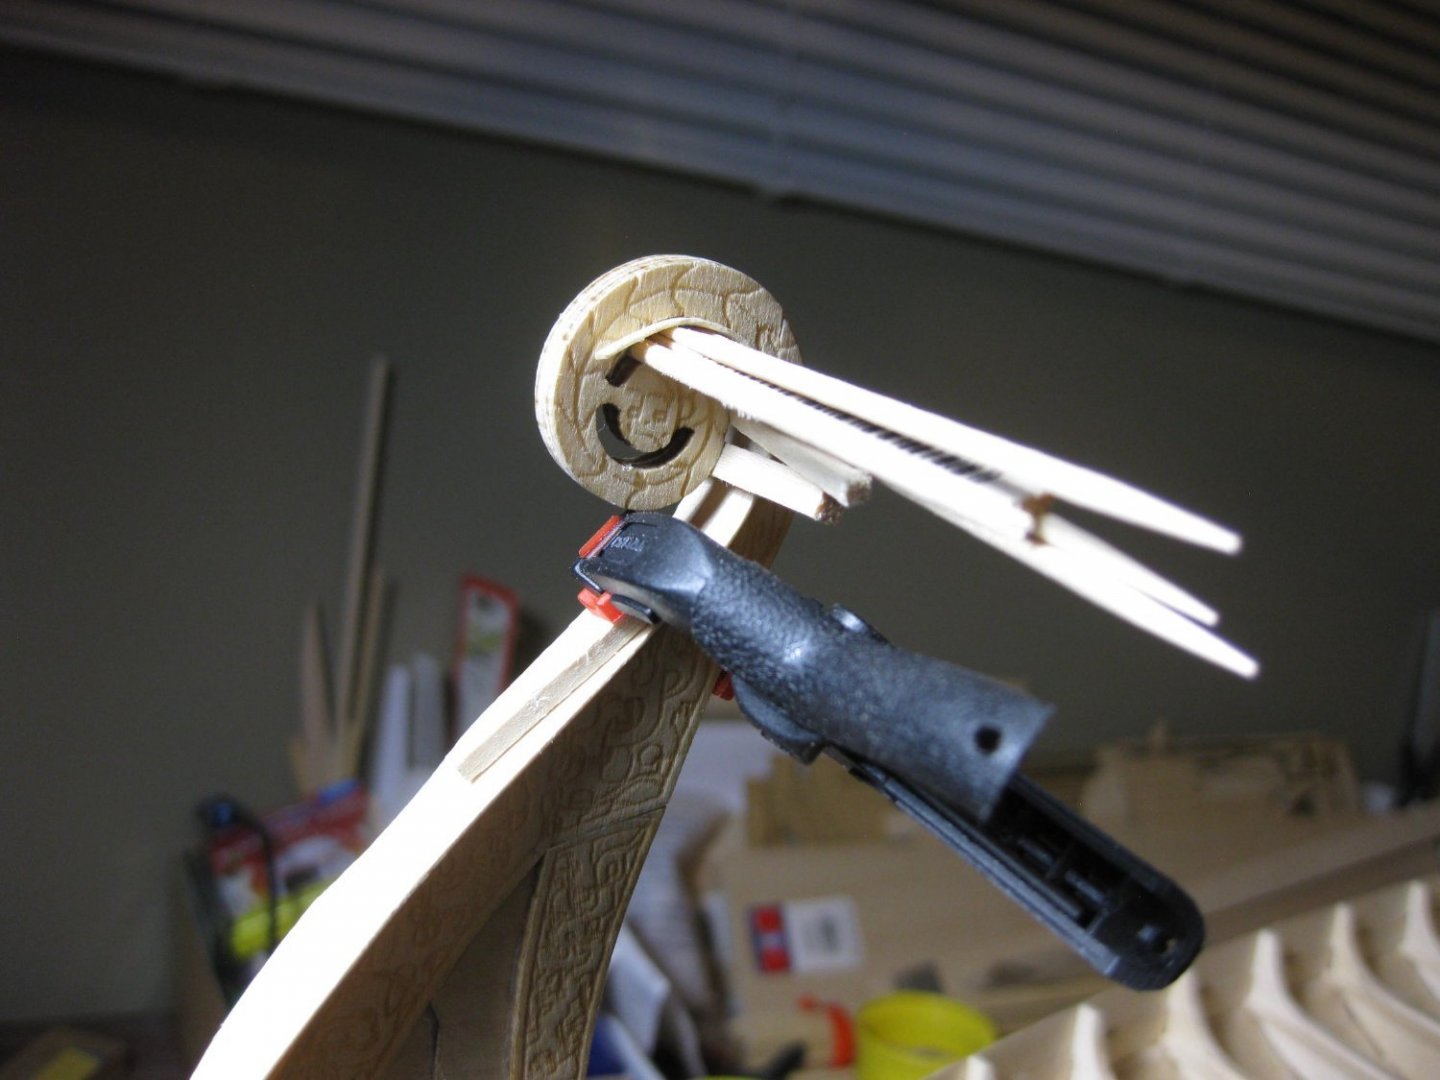
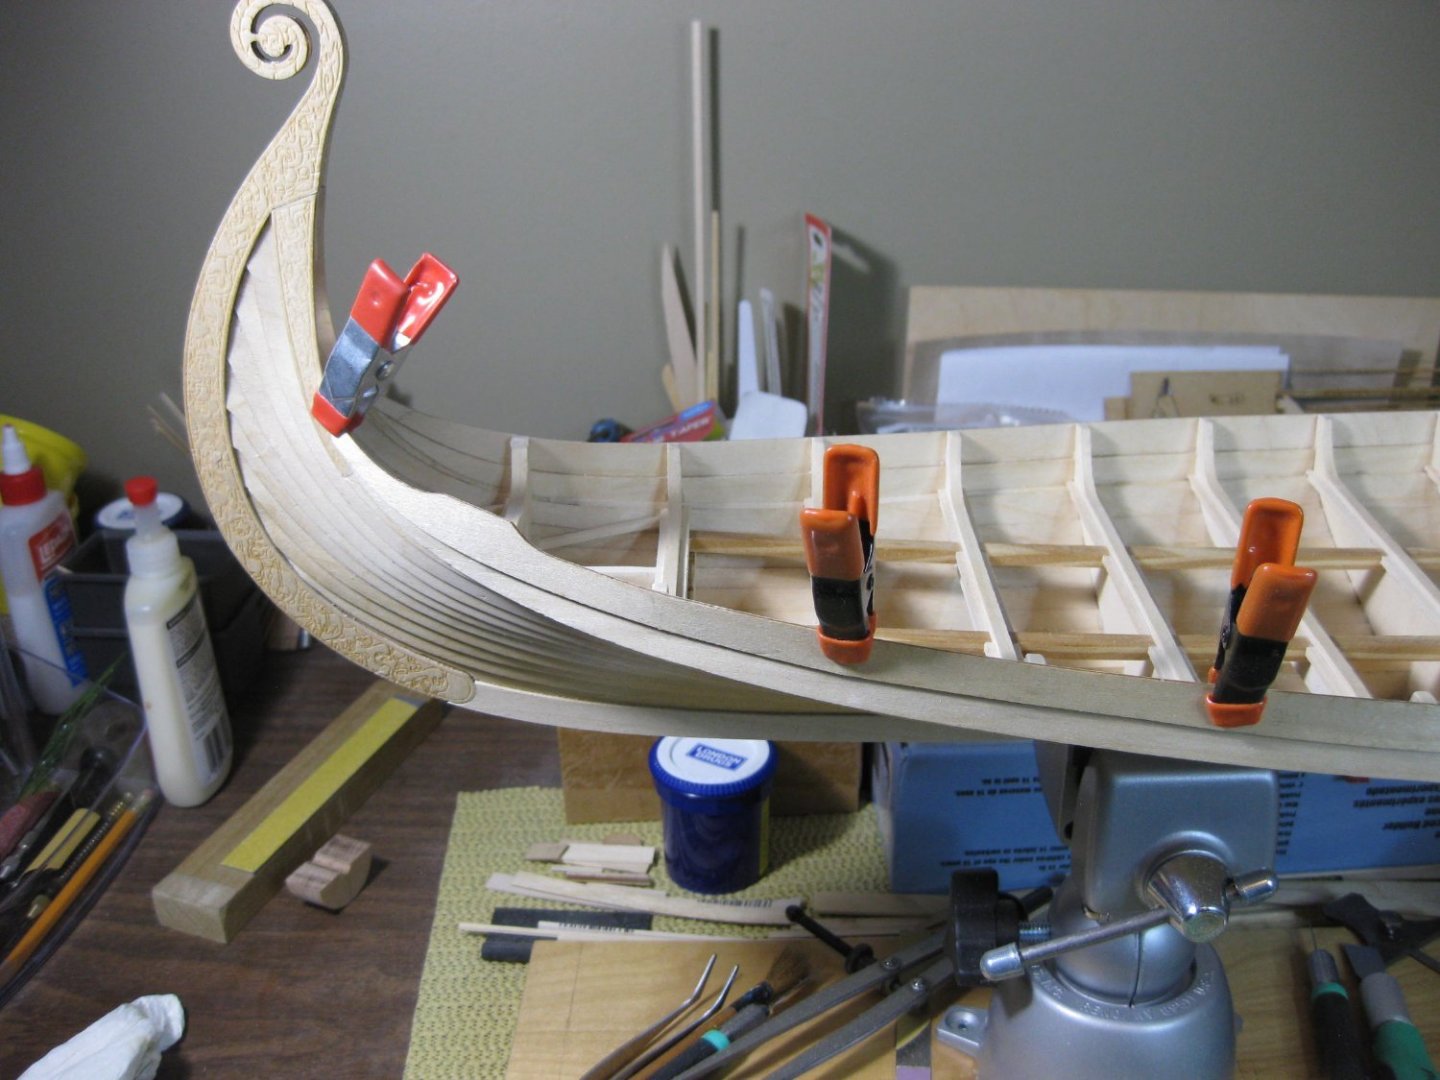
Thanks for the input Steven and Cathead. Cathead, I have had a couple of joints come apart when handling also. So far I have put some glue back into the joints and its worked. I am finding as I put more pieces on the ship the more sturdy it gets. I am now installing some veneer on to the dragon head and down on to the keel of the ship.
-
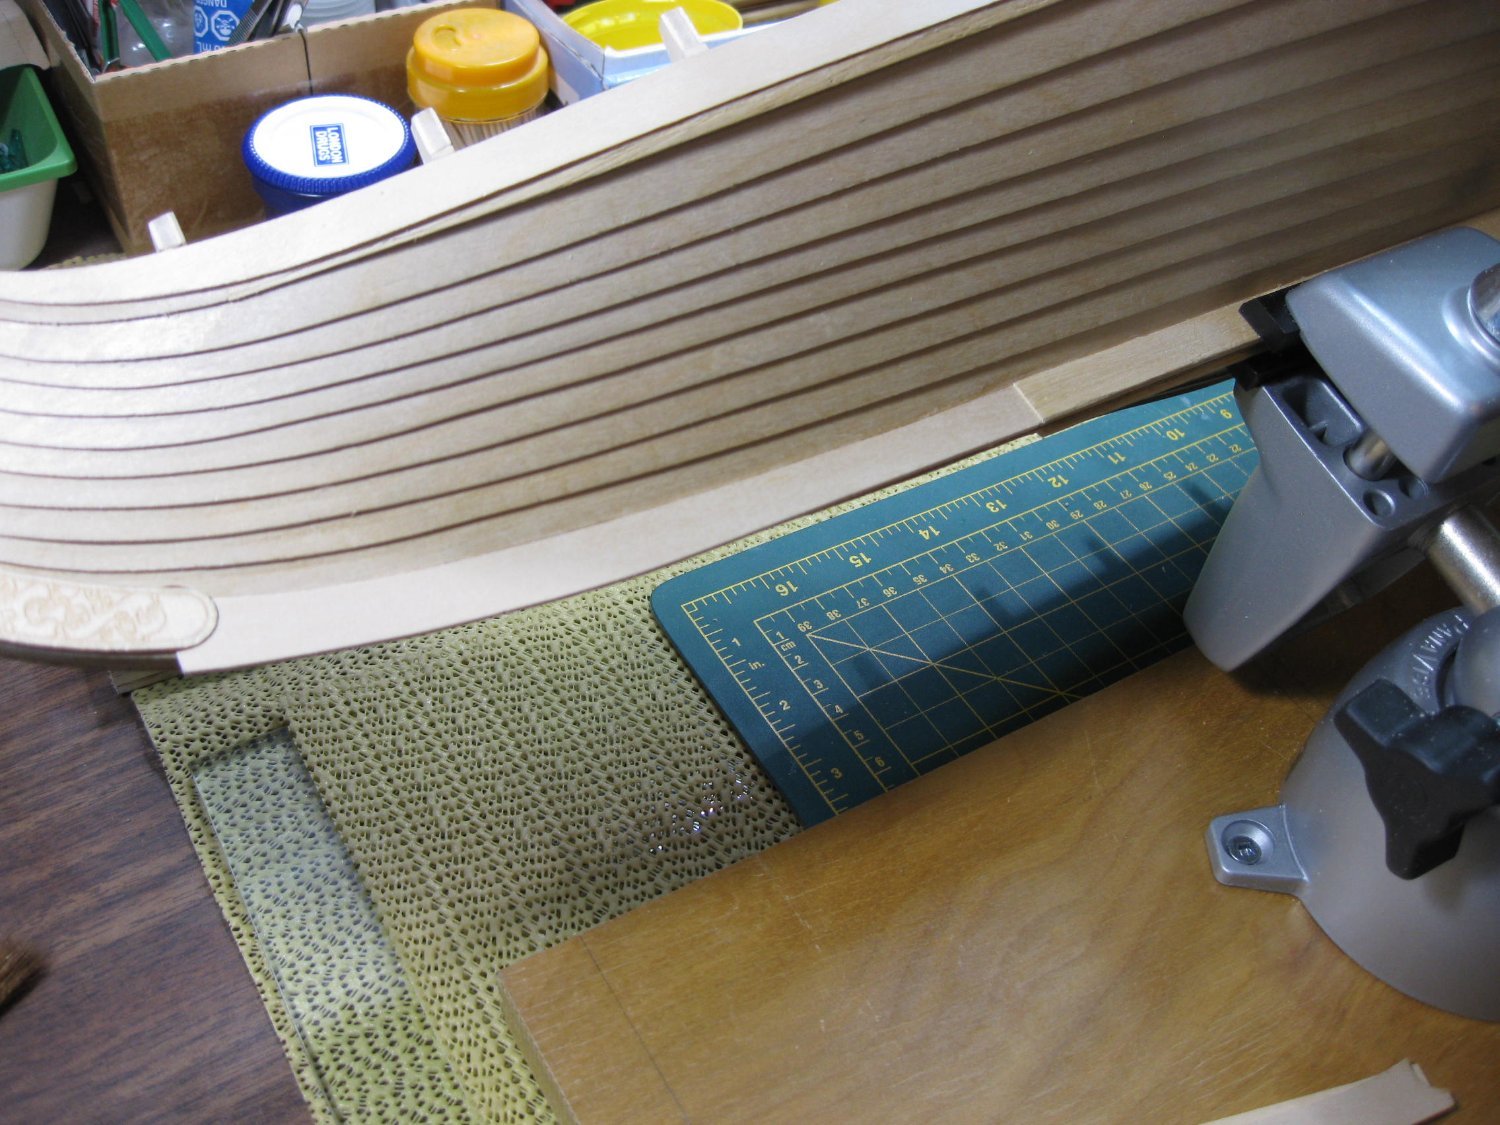
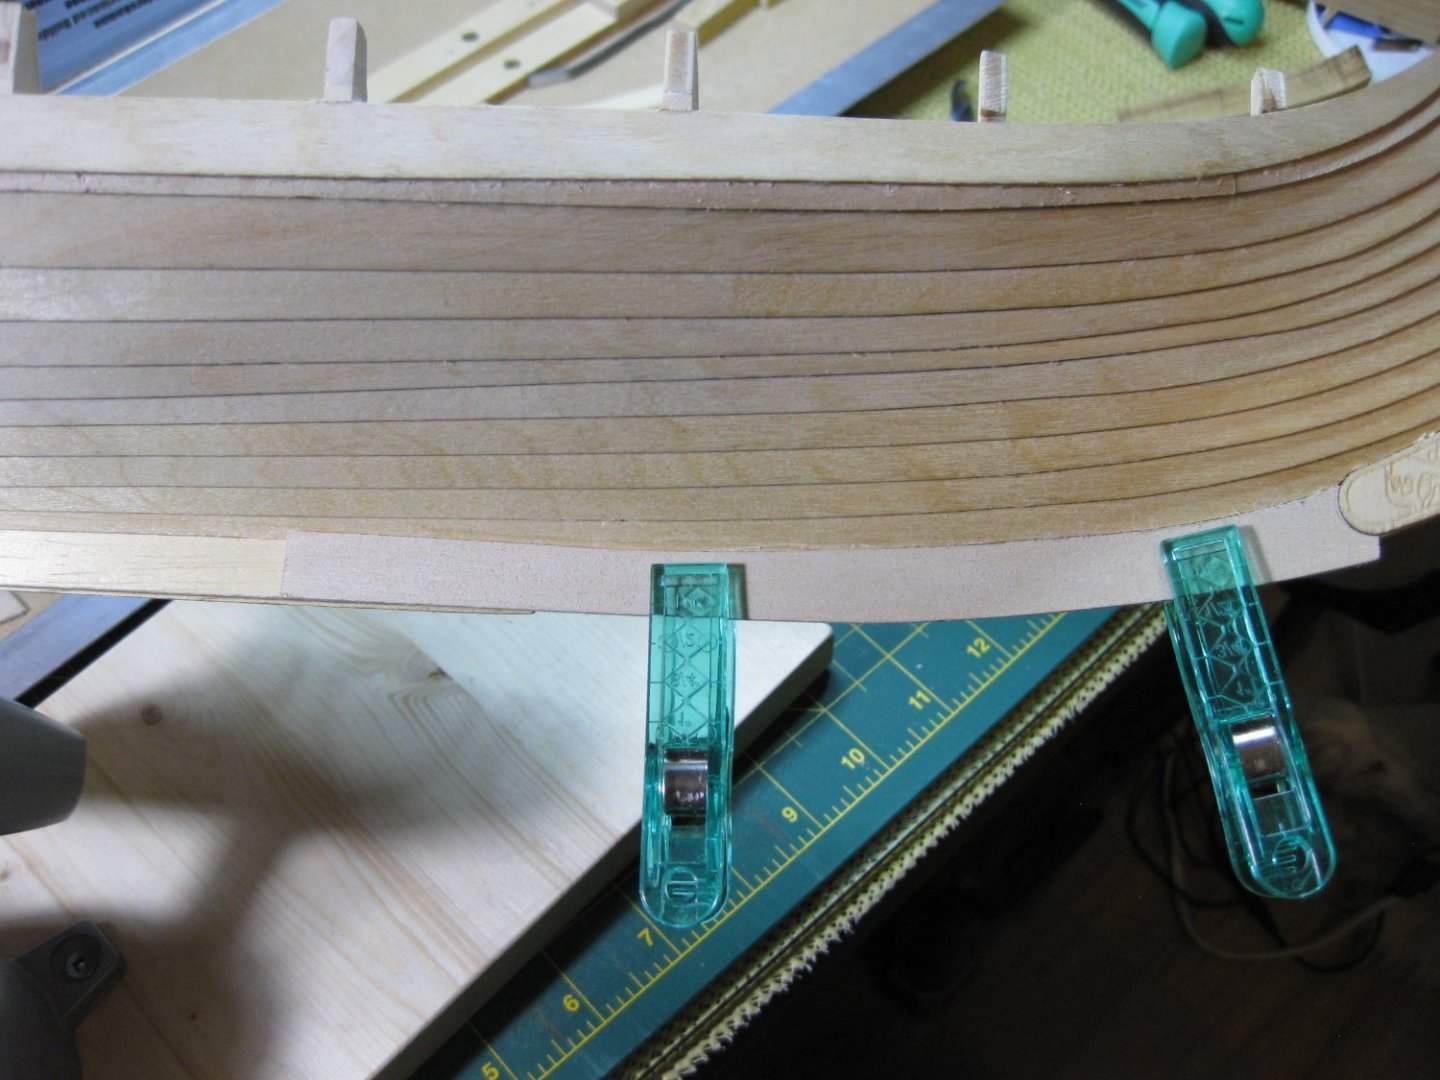
I have finally got the top 2 planks installed on both sides of the ship. It turned out better than I thought. The only thing is, there is not much overlap on the top plank to the bottom plank in places. Hopefully this will not be a problem.
-
Steven thanks for the kind words. I have the rudder fittings cut out I just have to sand it down to their final shape. Thanks also to Blue Ensign for his support. It does have a nice look to it.
-
Starting to fit the top plank on the aft starboard side. The aft planks are more uniform along the width than the forward planks. Will run into the same problem I had on the port forward top plank. I am trying to also figure out how the rudder attach fittings are installed. The ones that came with the kit are laser cut out of plywood pieces. As I did with some of the other plywood pieces I am going to make the parts out of solid bass wood and try that.

-
Have been busy putting the top plank on the port side of the ship. Like everyone else I had trouble fitting the planks on. They are not uniform in depth all the way along the plank. There is a slight narrowing of the plank near the forward end. I ended up with a small gap between the top plank and the one below it. Had to remove the plank. Very time consuming as I didn't want to damage anything as it was glued on. Finally got it adjusted to fit correctly.

-
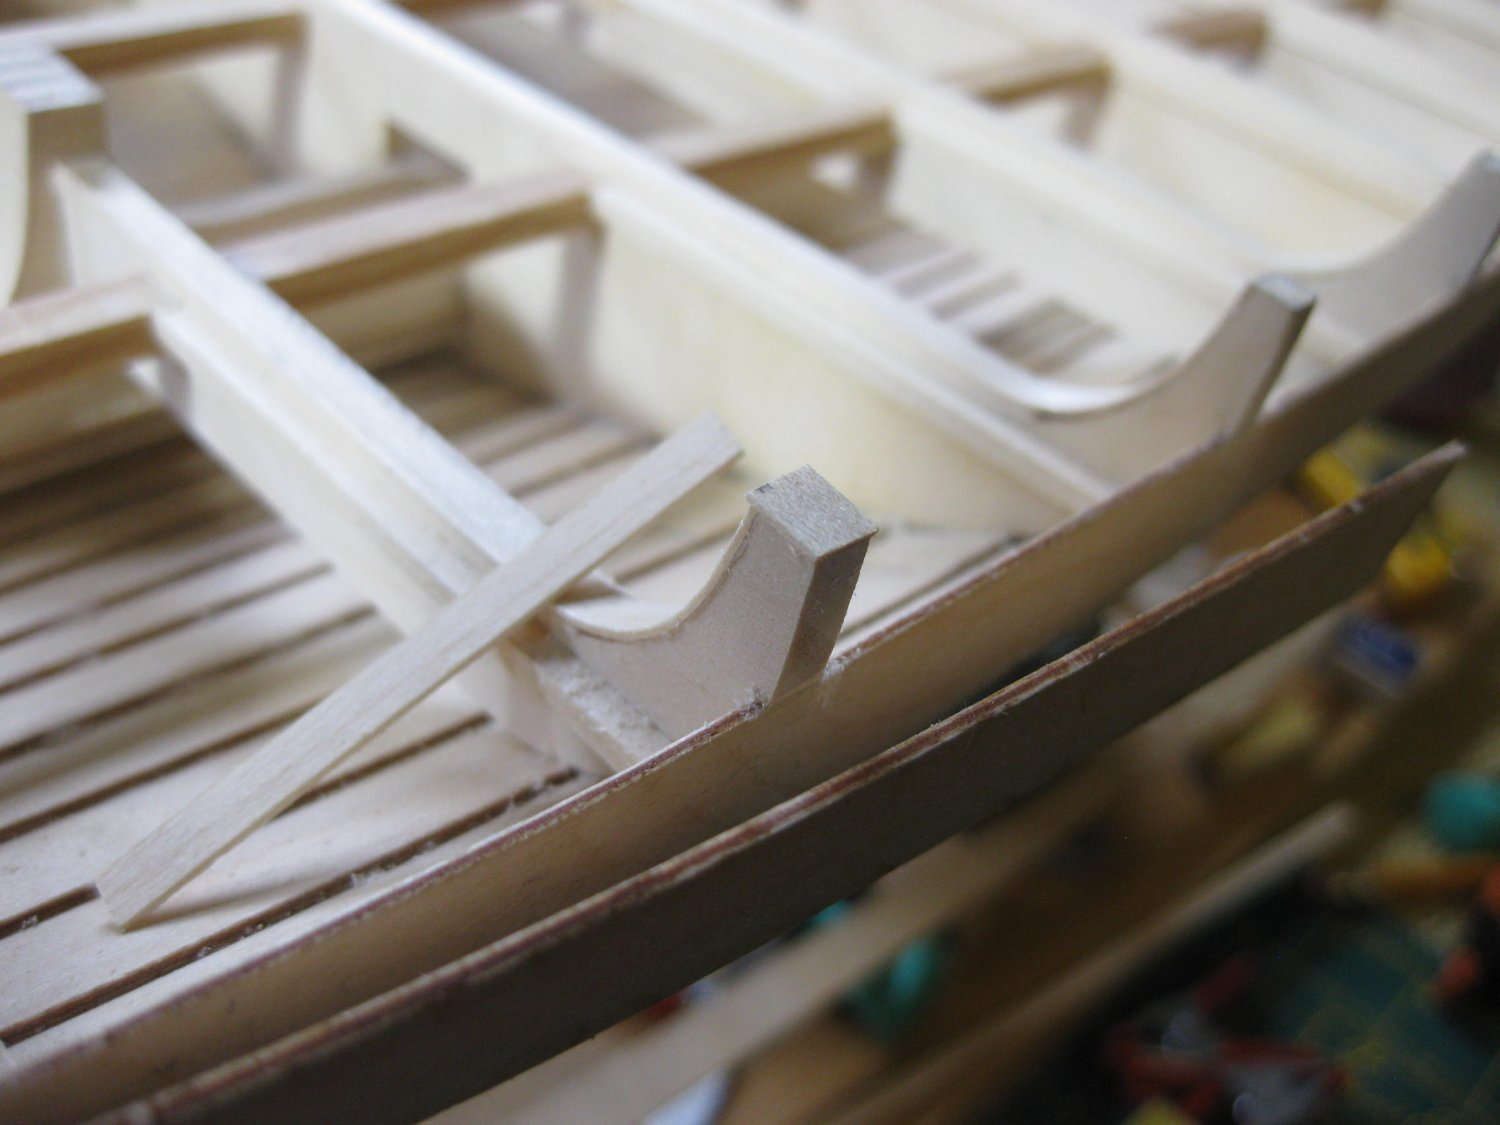
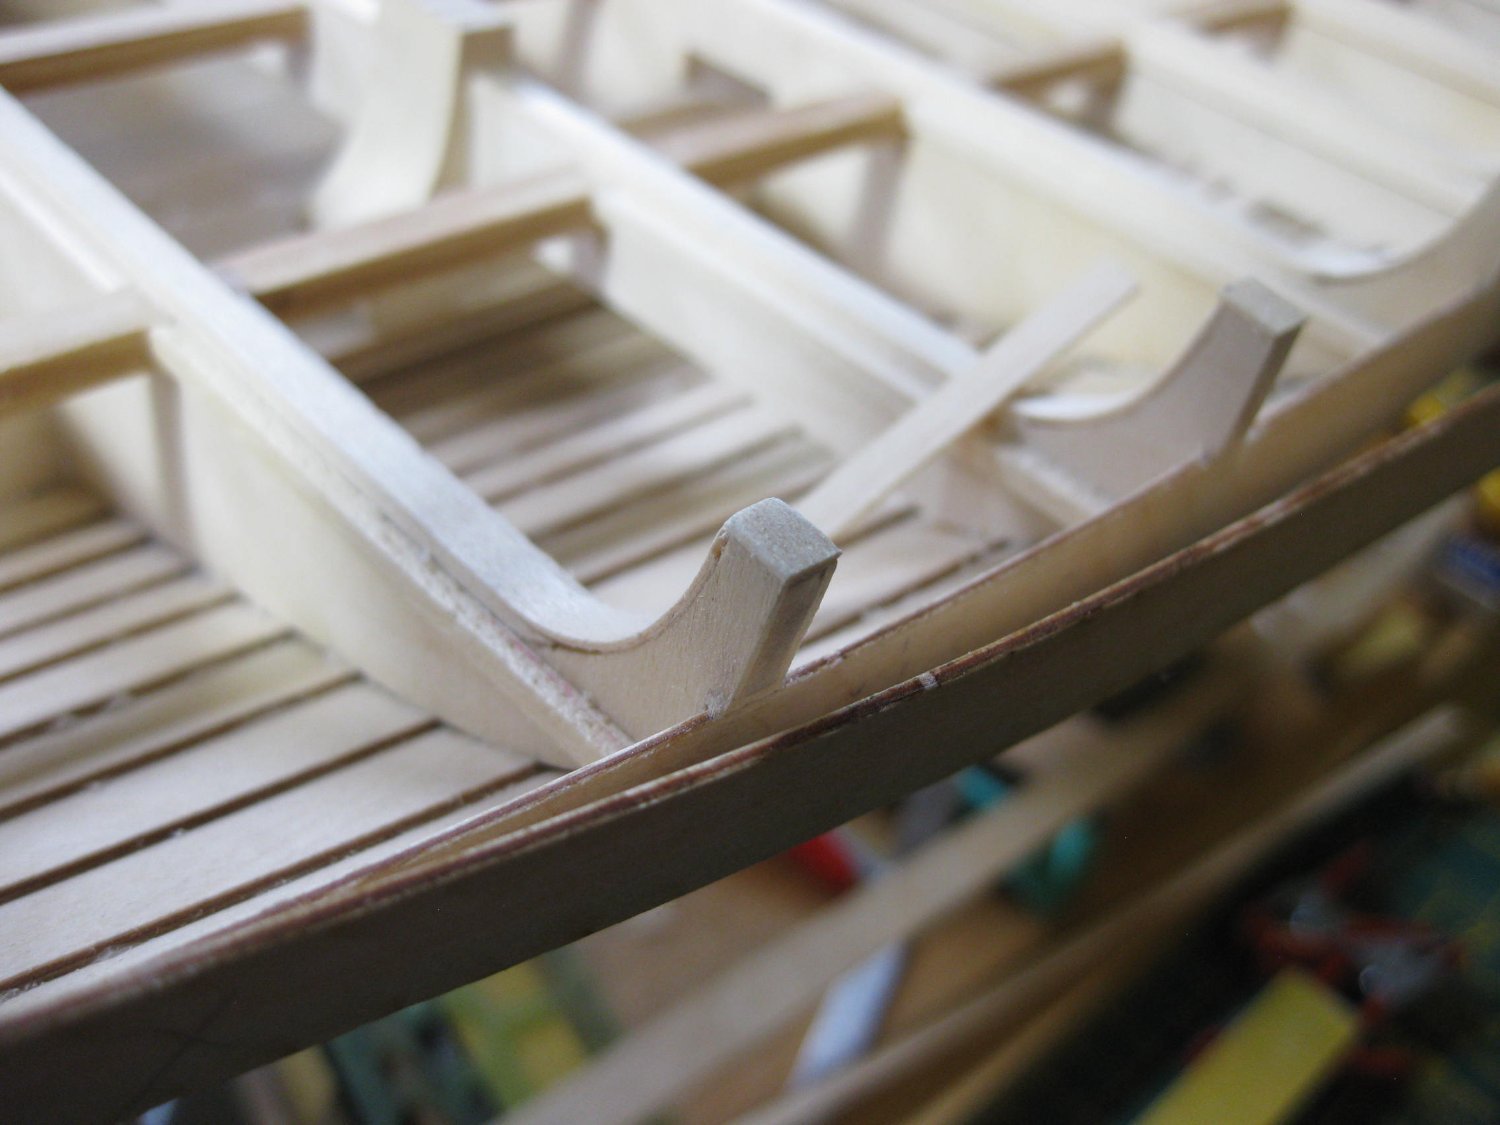
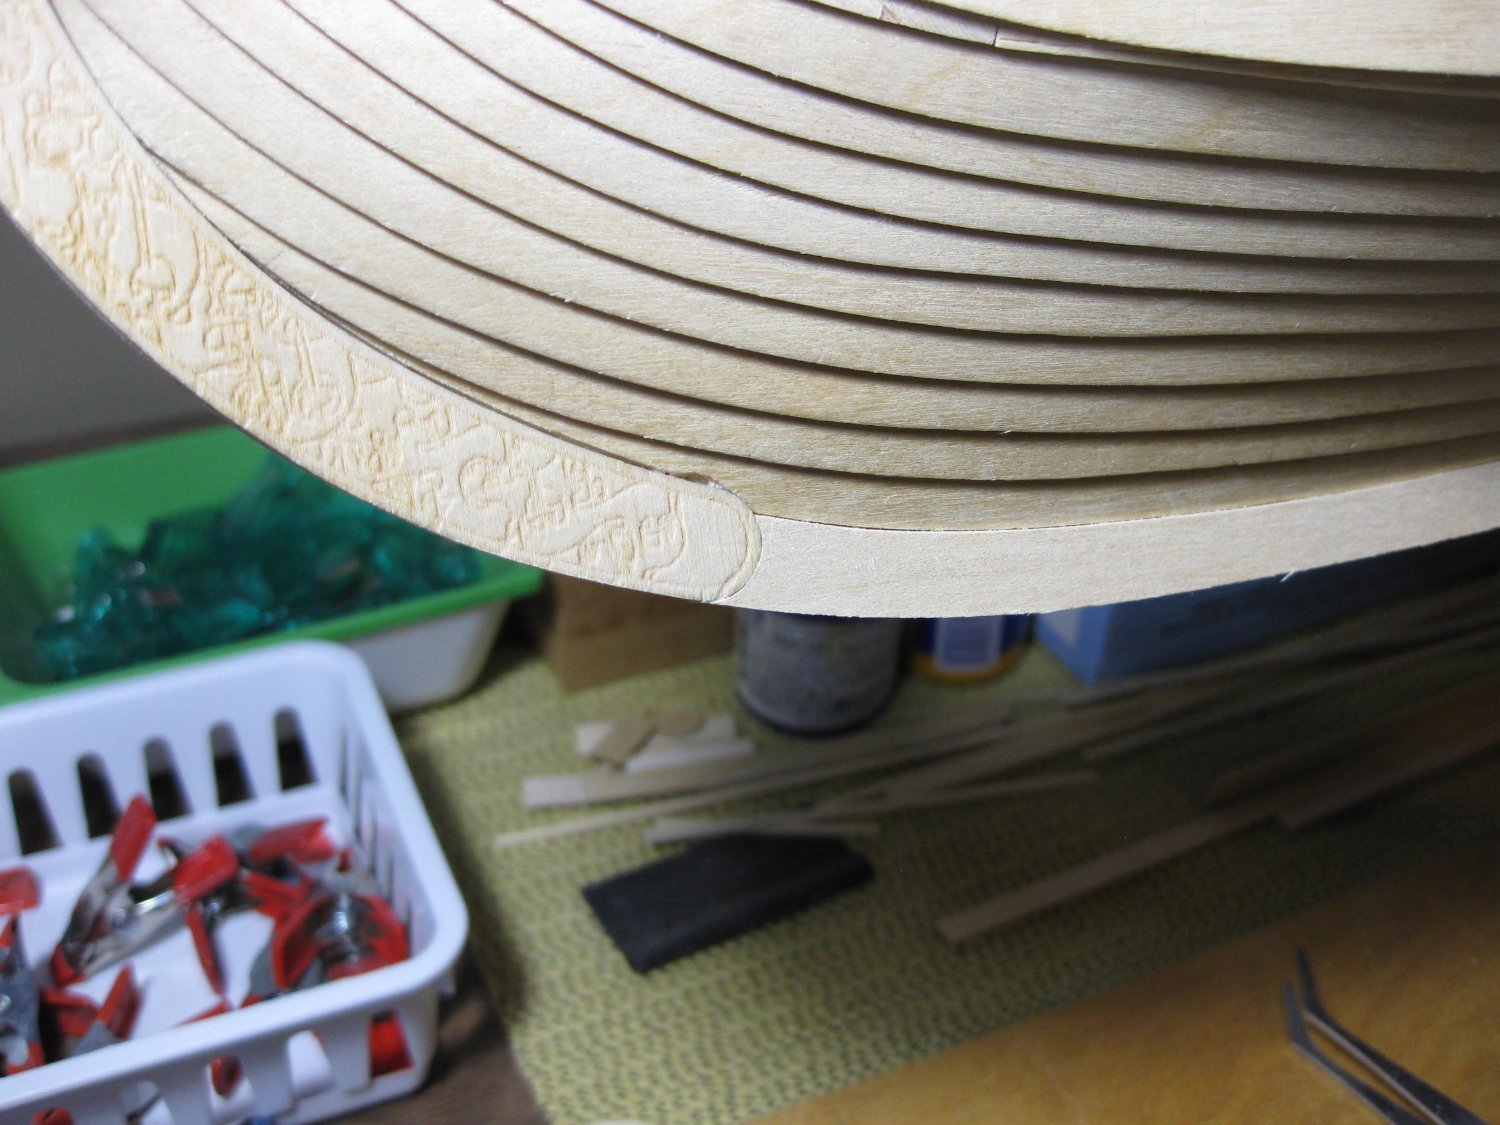
Getting ready to install the top plank to the side of the ship. It seems like everyone has had a hard time to fit these. They have a tendency to curve up at the end in the middle of the ship. Taking a while to get everything to fit and look not to bad. Before I do this I have been installing a small cap of veneer on top of the frame ends as to cover up the veneer plies of the original kit pieces.


-
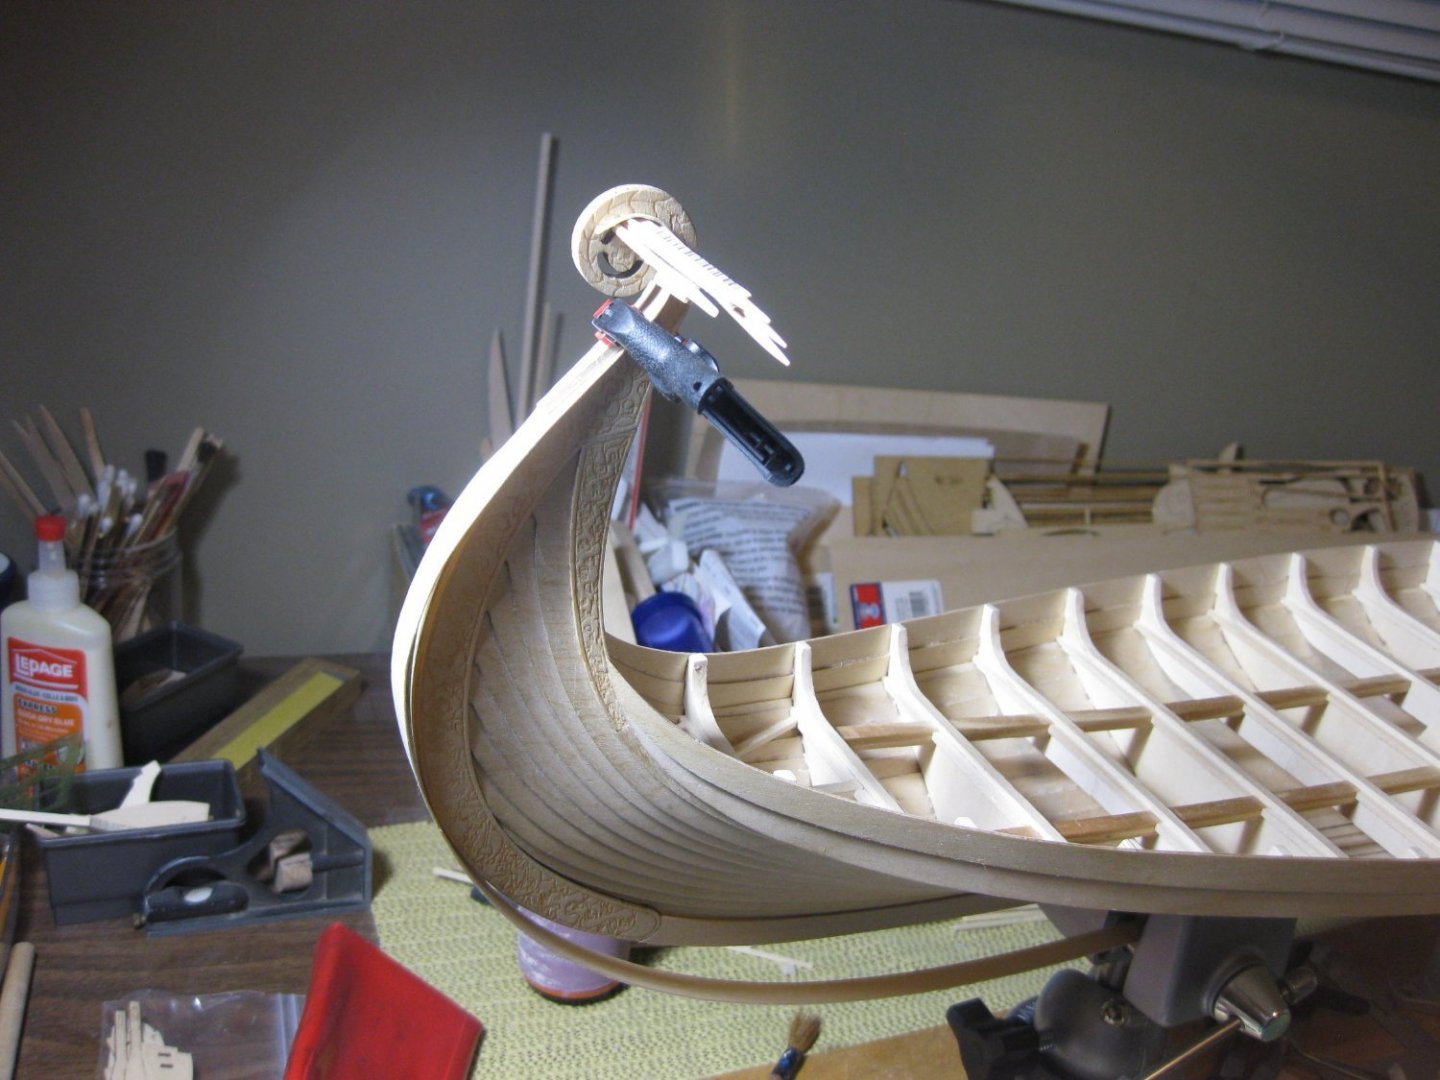
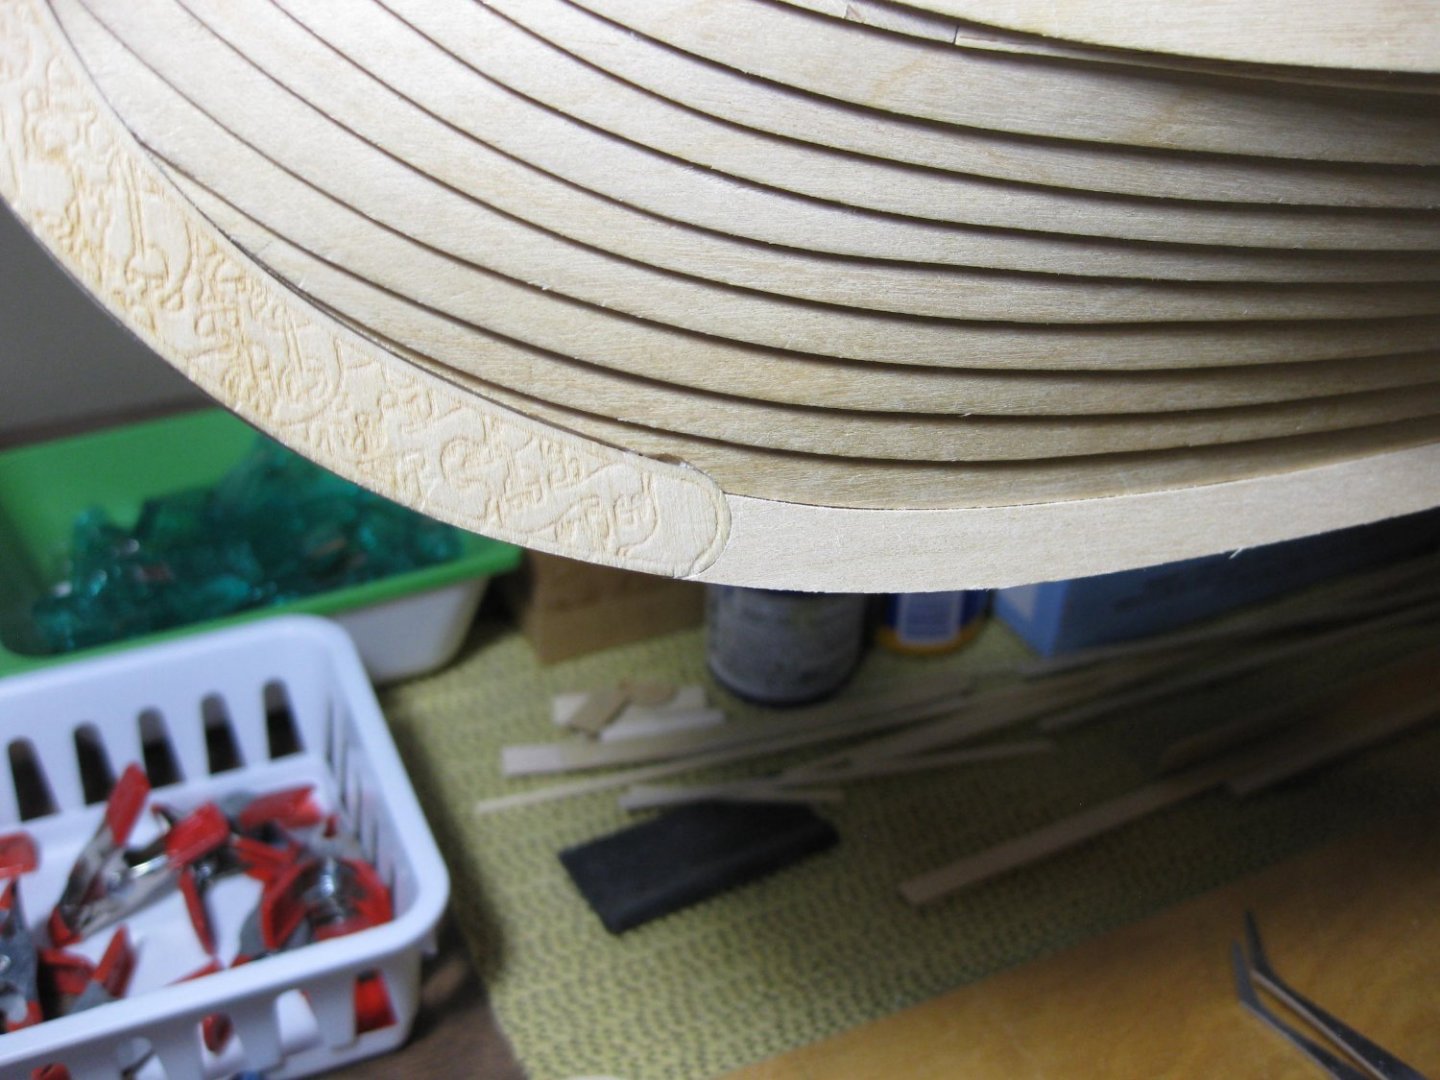
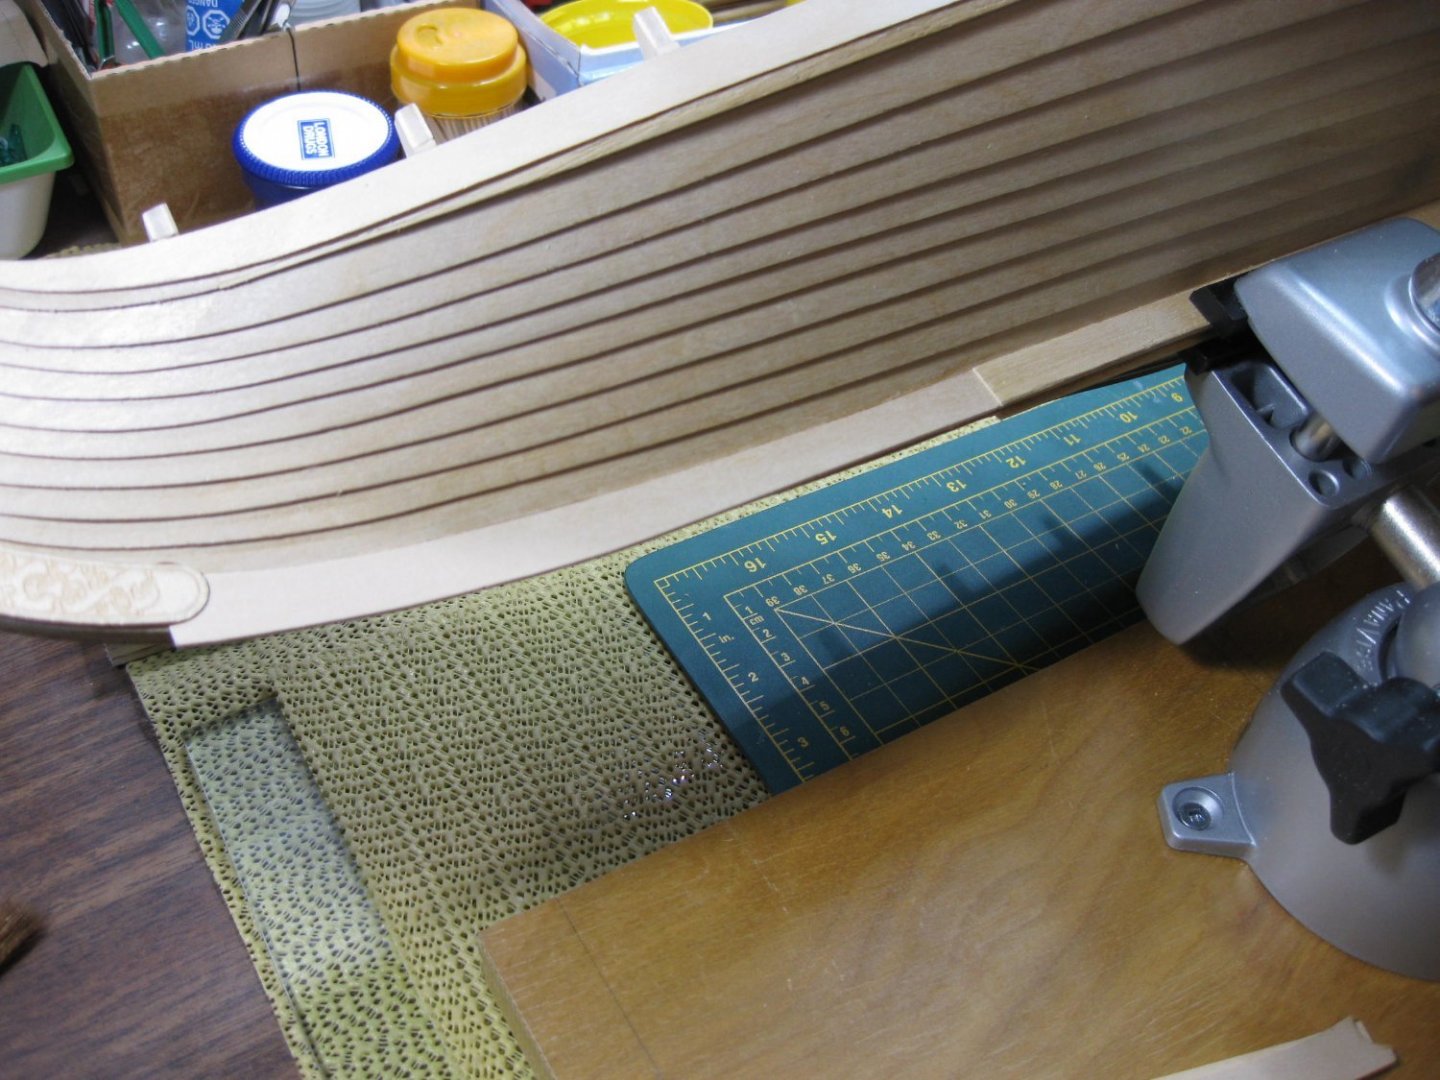
My keel turned out better than I thought once I sanded everything down flush. Just hope when I stain the birch veneer color matches the original kit wood
-
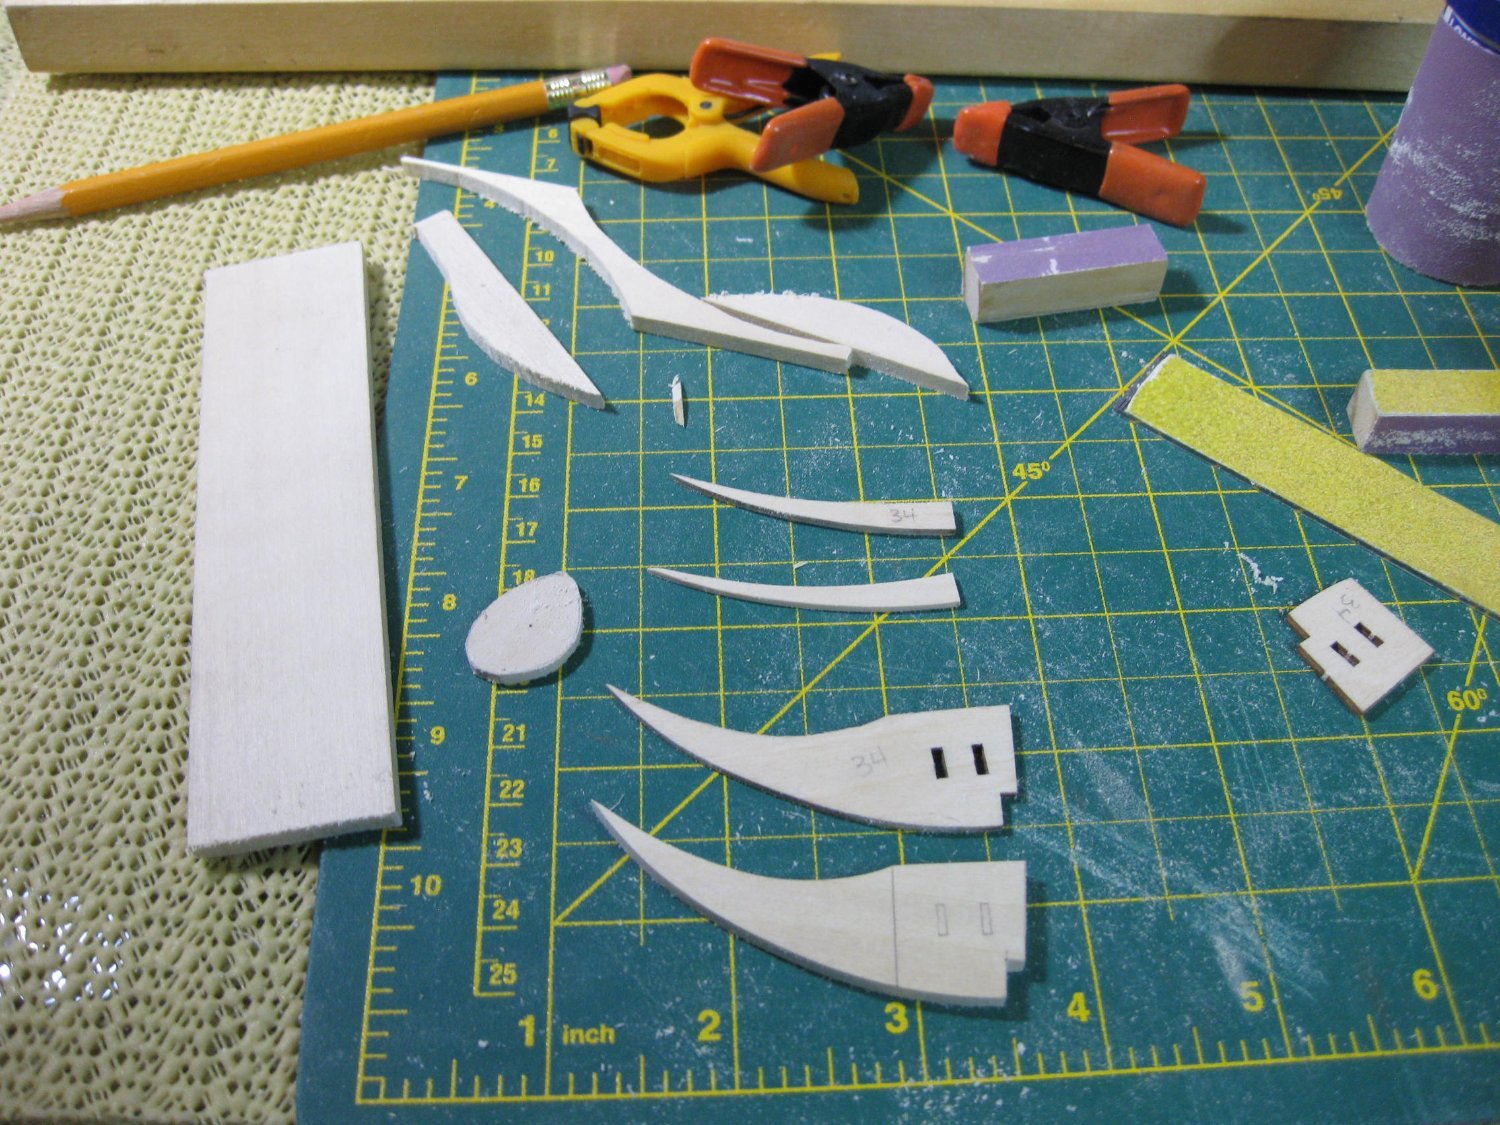
Finally have removed all 4 of the old pieces from the keel. Have made 4 new pieces and fitted them to the keel. Turned out good so far. When I glue the birch veneer to the parts they will be flush with the scroll work and the keel. Lots of sanding to be done to fit parts again after installing the veneer.
-
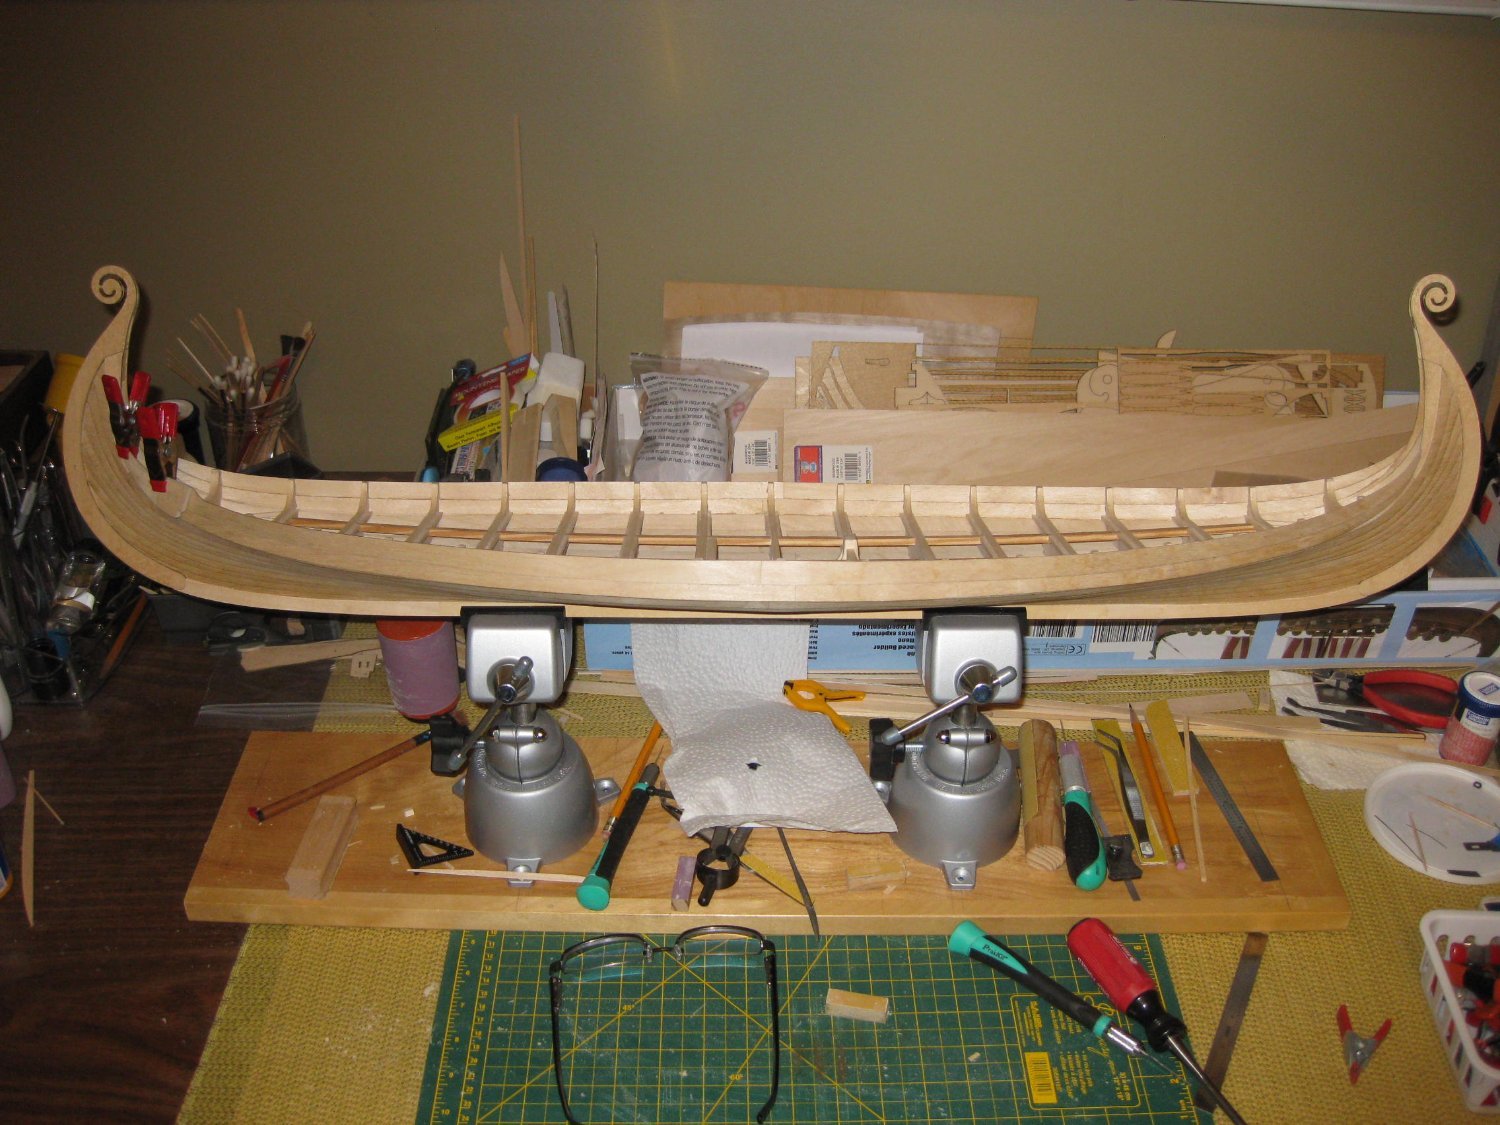
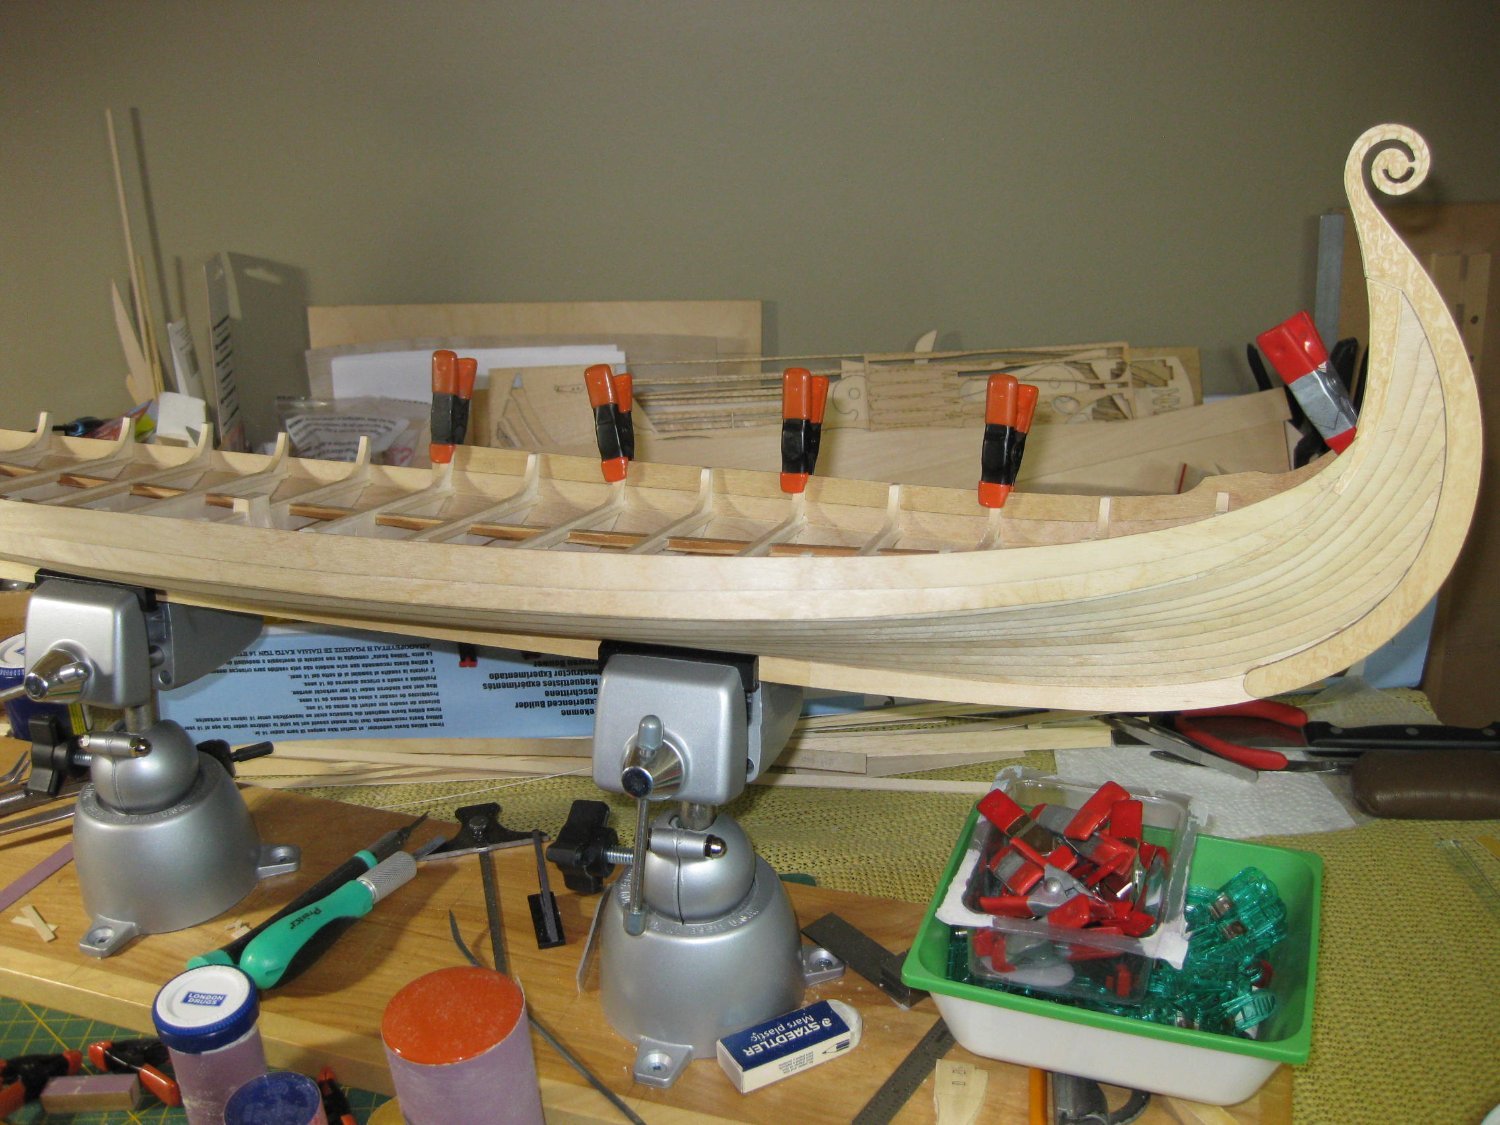
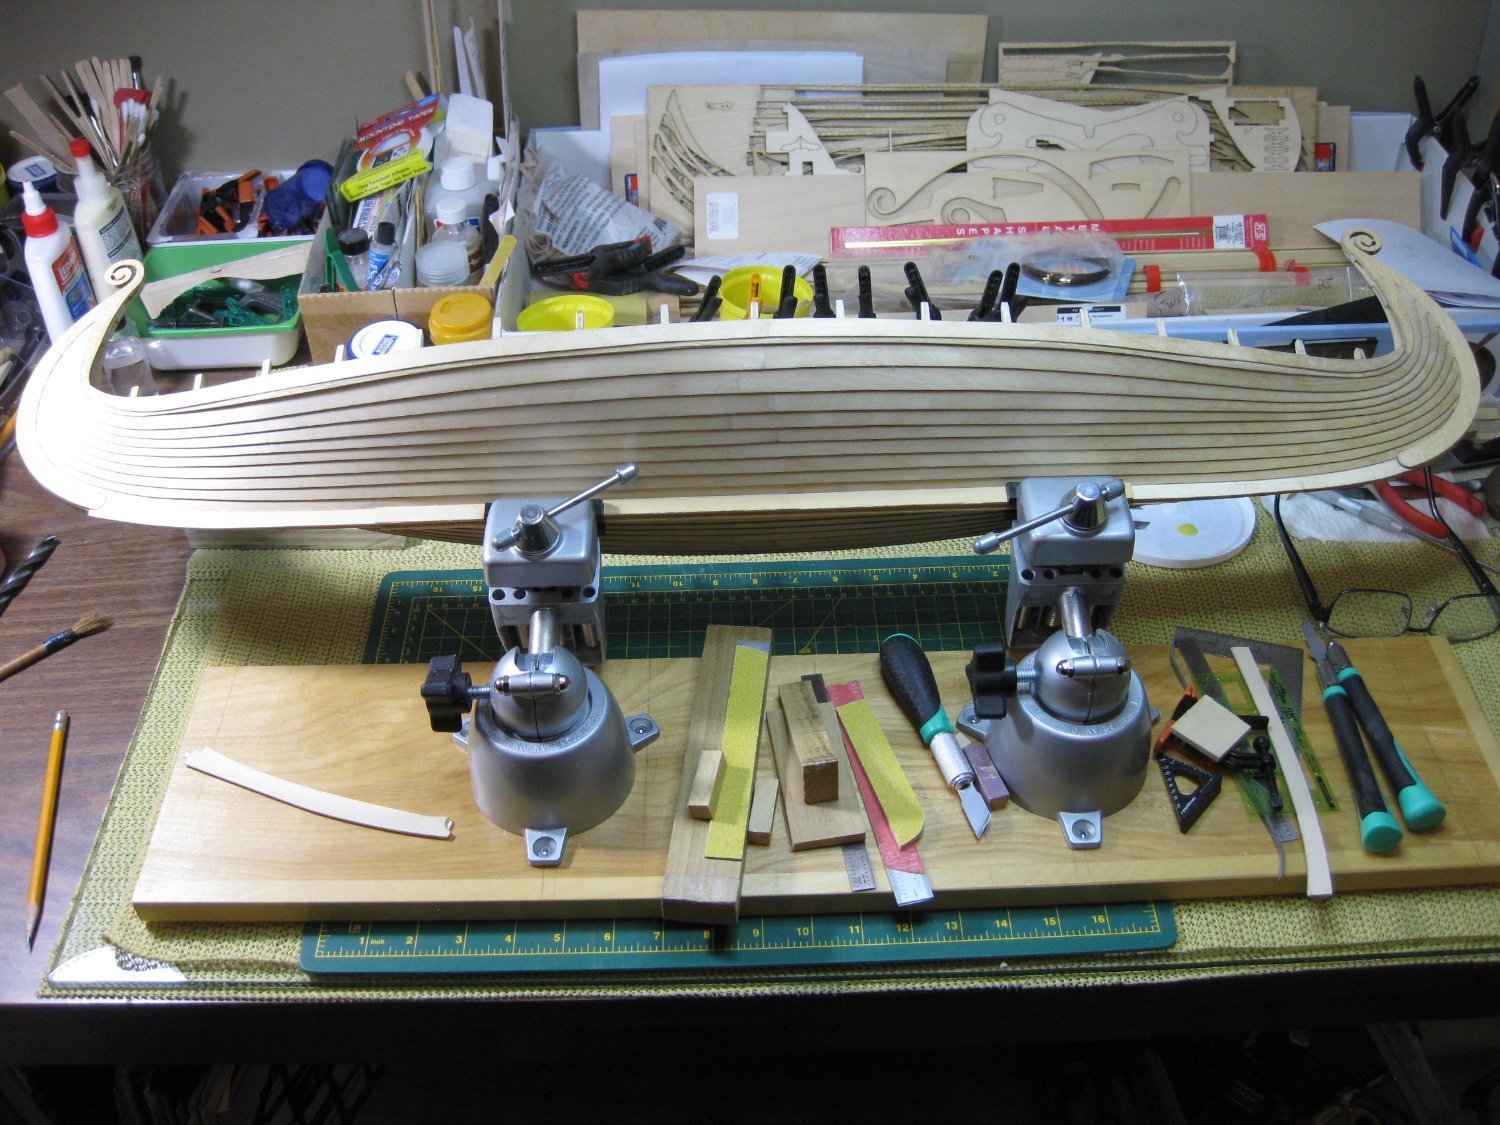
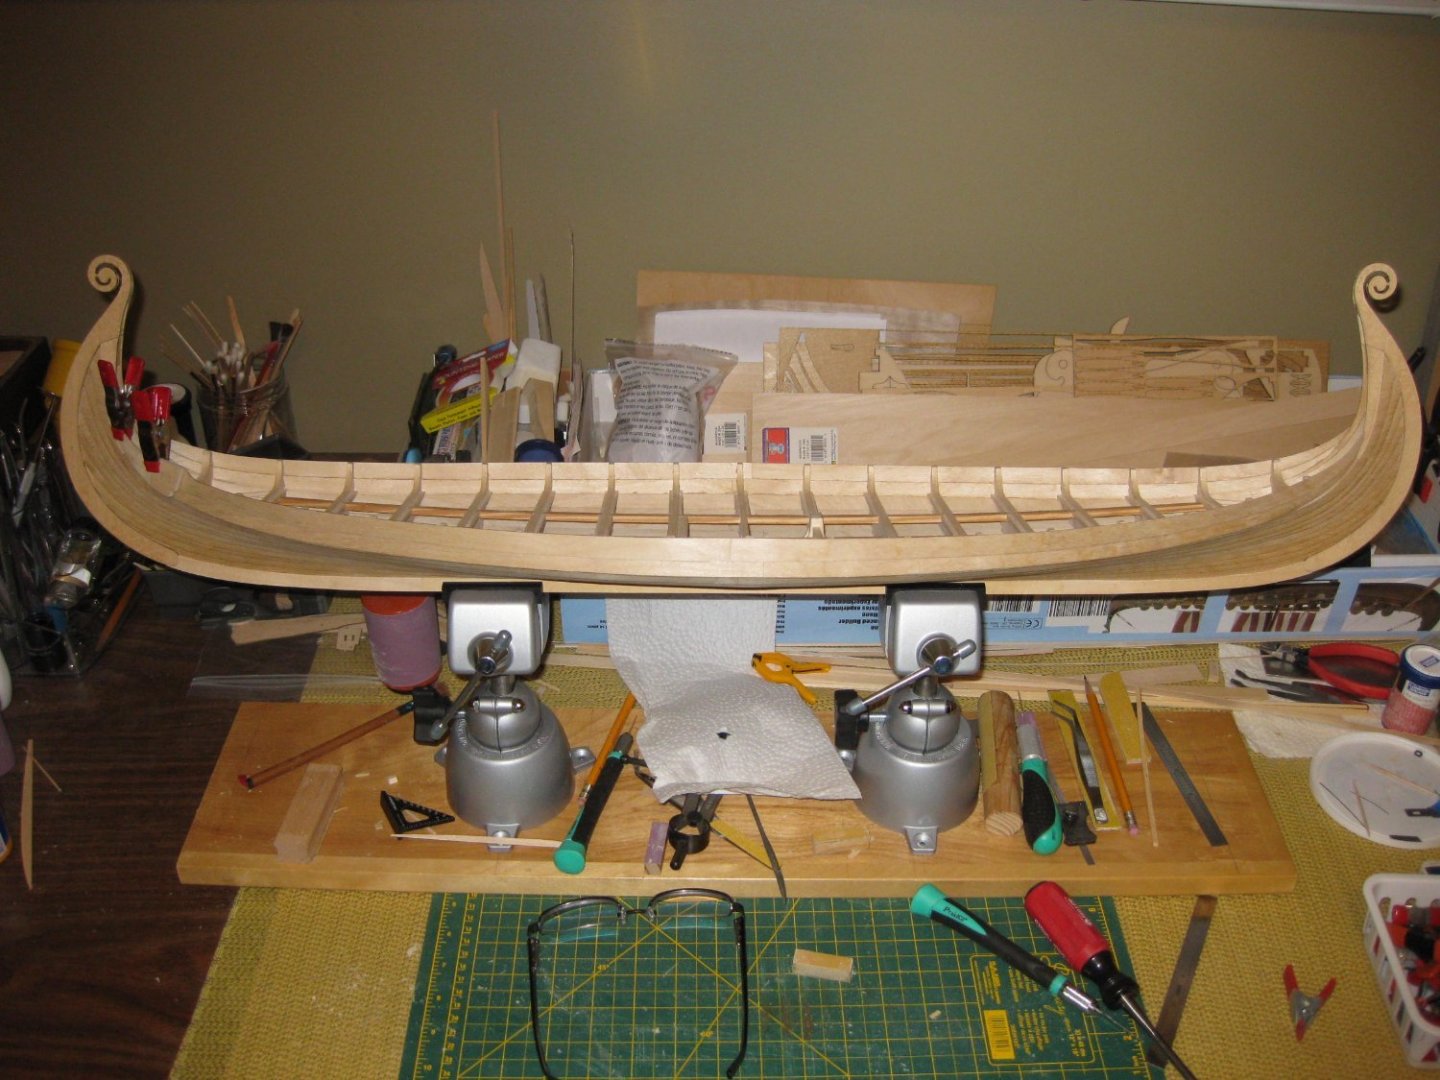
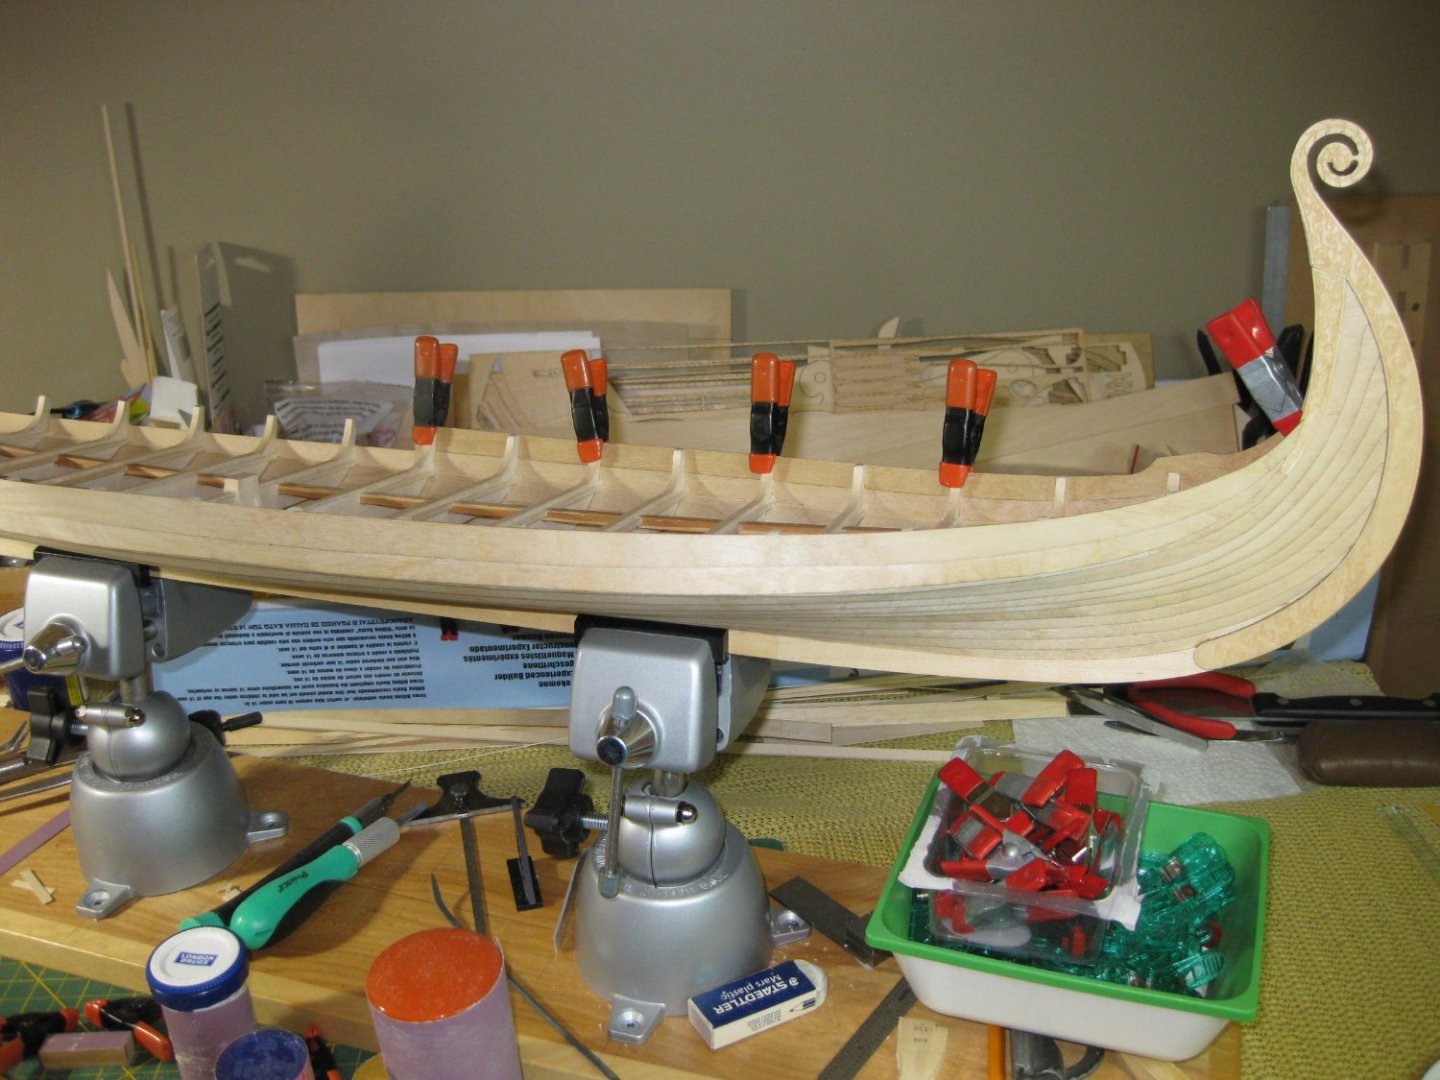
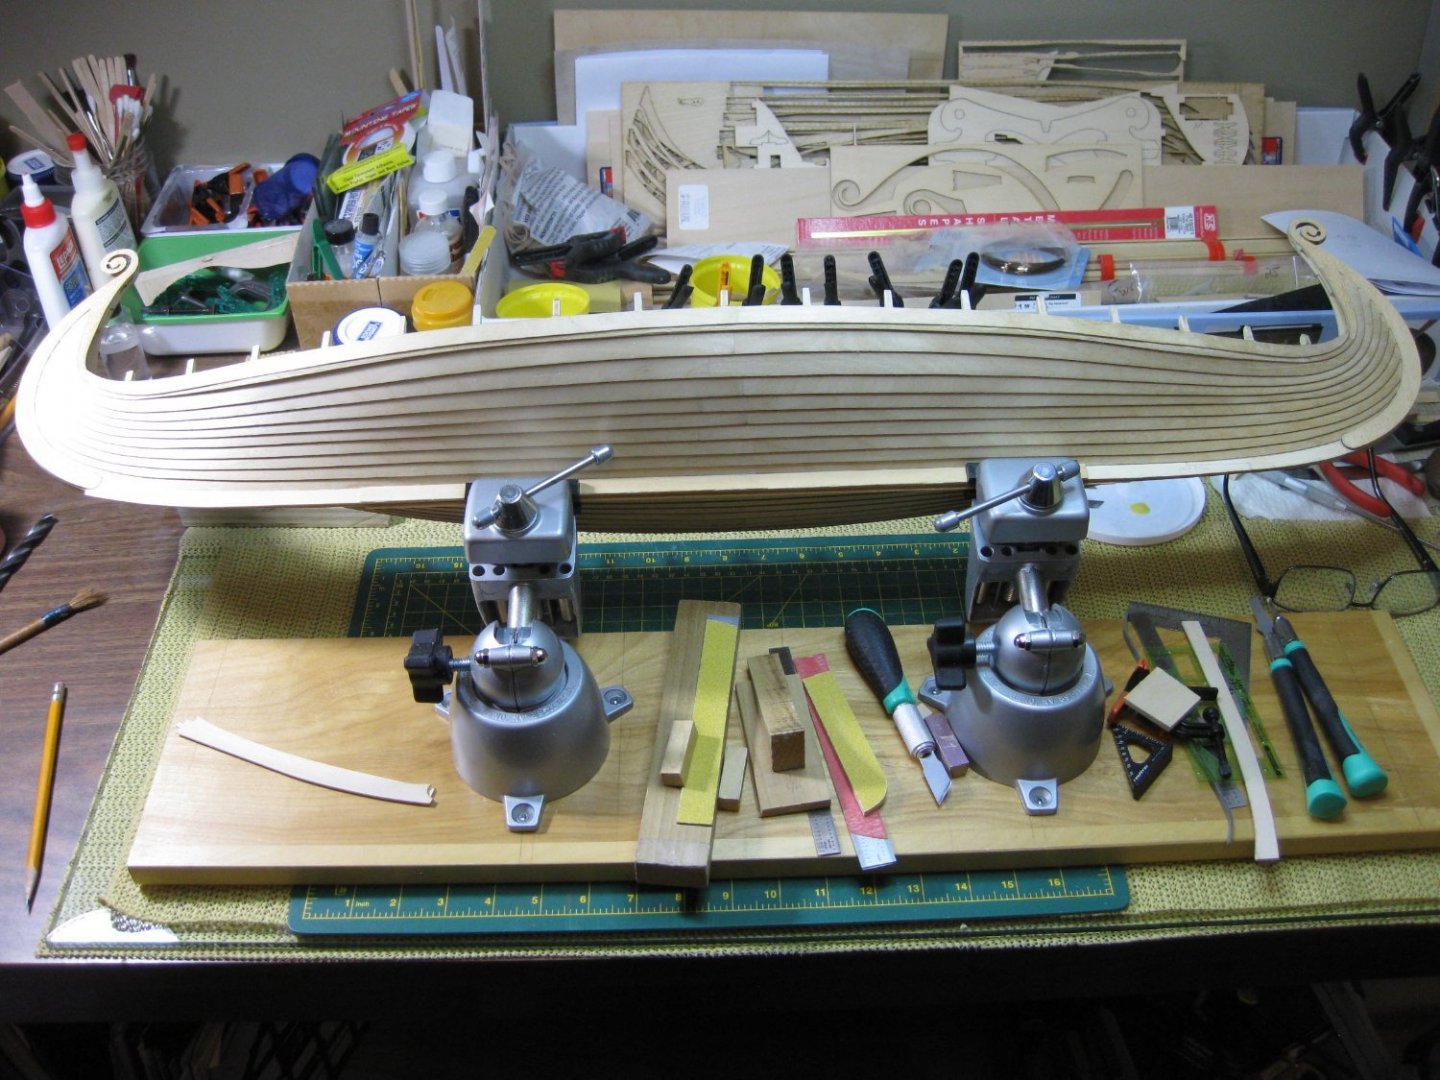
I was using 1 Panavise to hold my ship when working on the keel. Was getting worried that 1 vise was not adequate to hold the ship safely so I bought another Panavise. Attached them to a piece of plywood and it works great. Can position the ship in many different angles. It really helped with removing the old keel pieces and fitting the ones I made.
-
Finally got the 4 small pieces removed from the keel. Decided to use some bass wood with some of my birch veneer installed on top. It matches the original kit wood better and gives me a flush fit up to the scroll work piece.
-
Thanks Steven for telling me how to edit that double picture I put in my last post. I wasn't sure how to do that but I know now. I appreciate that.
-
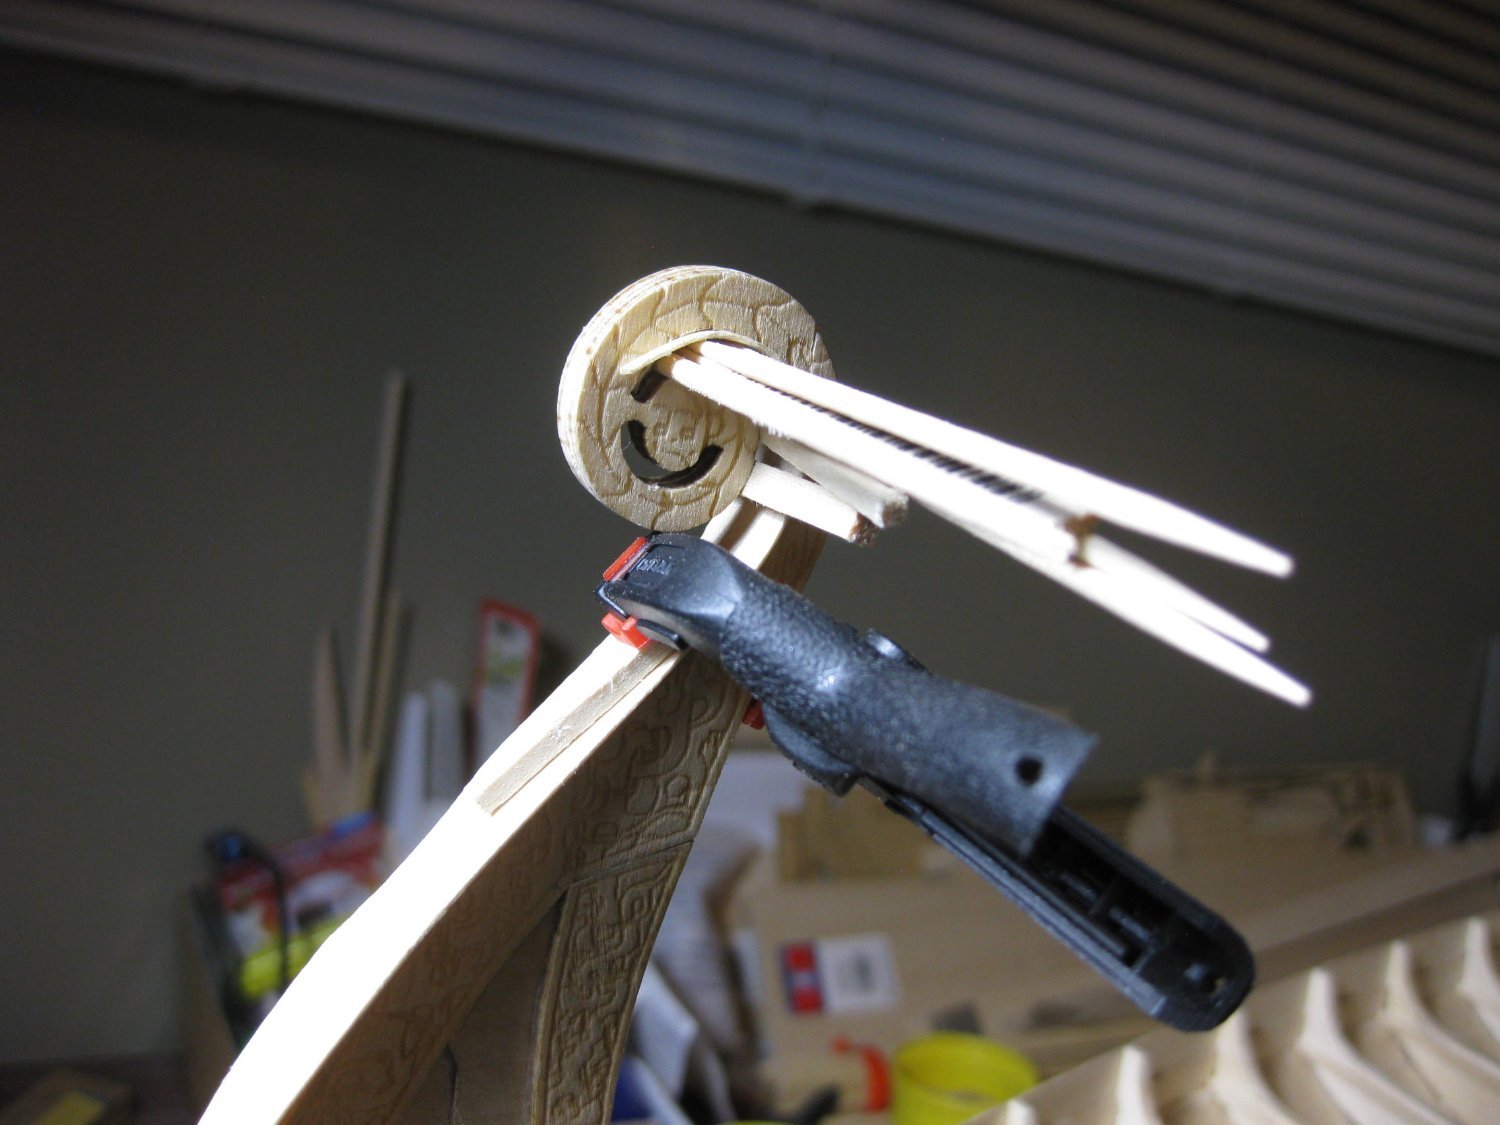
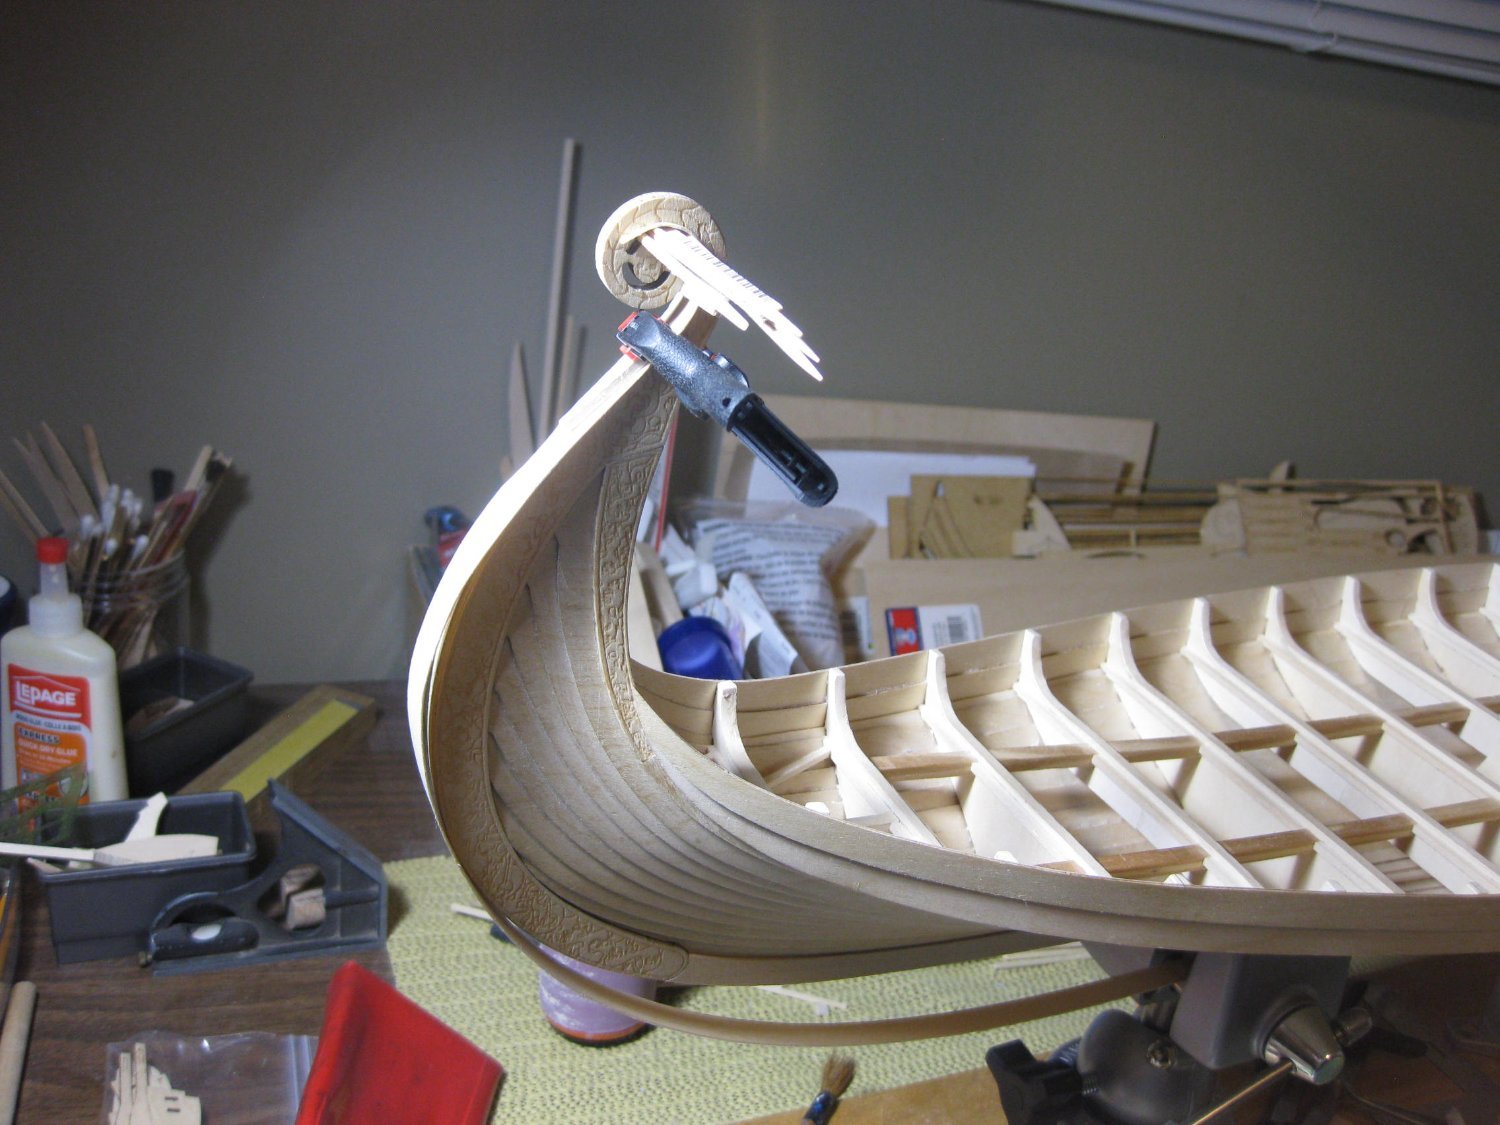
Today I was going to attach a thin piece of veneer to the edging of the dragon head and keel that runs up to it. Seems like I take two steps forward and one back. I didn't like the way the keel looked where it butts up against the scroll work. The piece the kit tells you to glue there is too thin to match up to the scroll work. So I am removing those 4 small pieces and will find some wood that matches up to the thickness better. Slow work as I don't want to damage the inner surfaces of the keel.

-
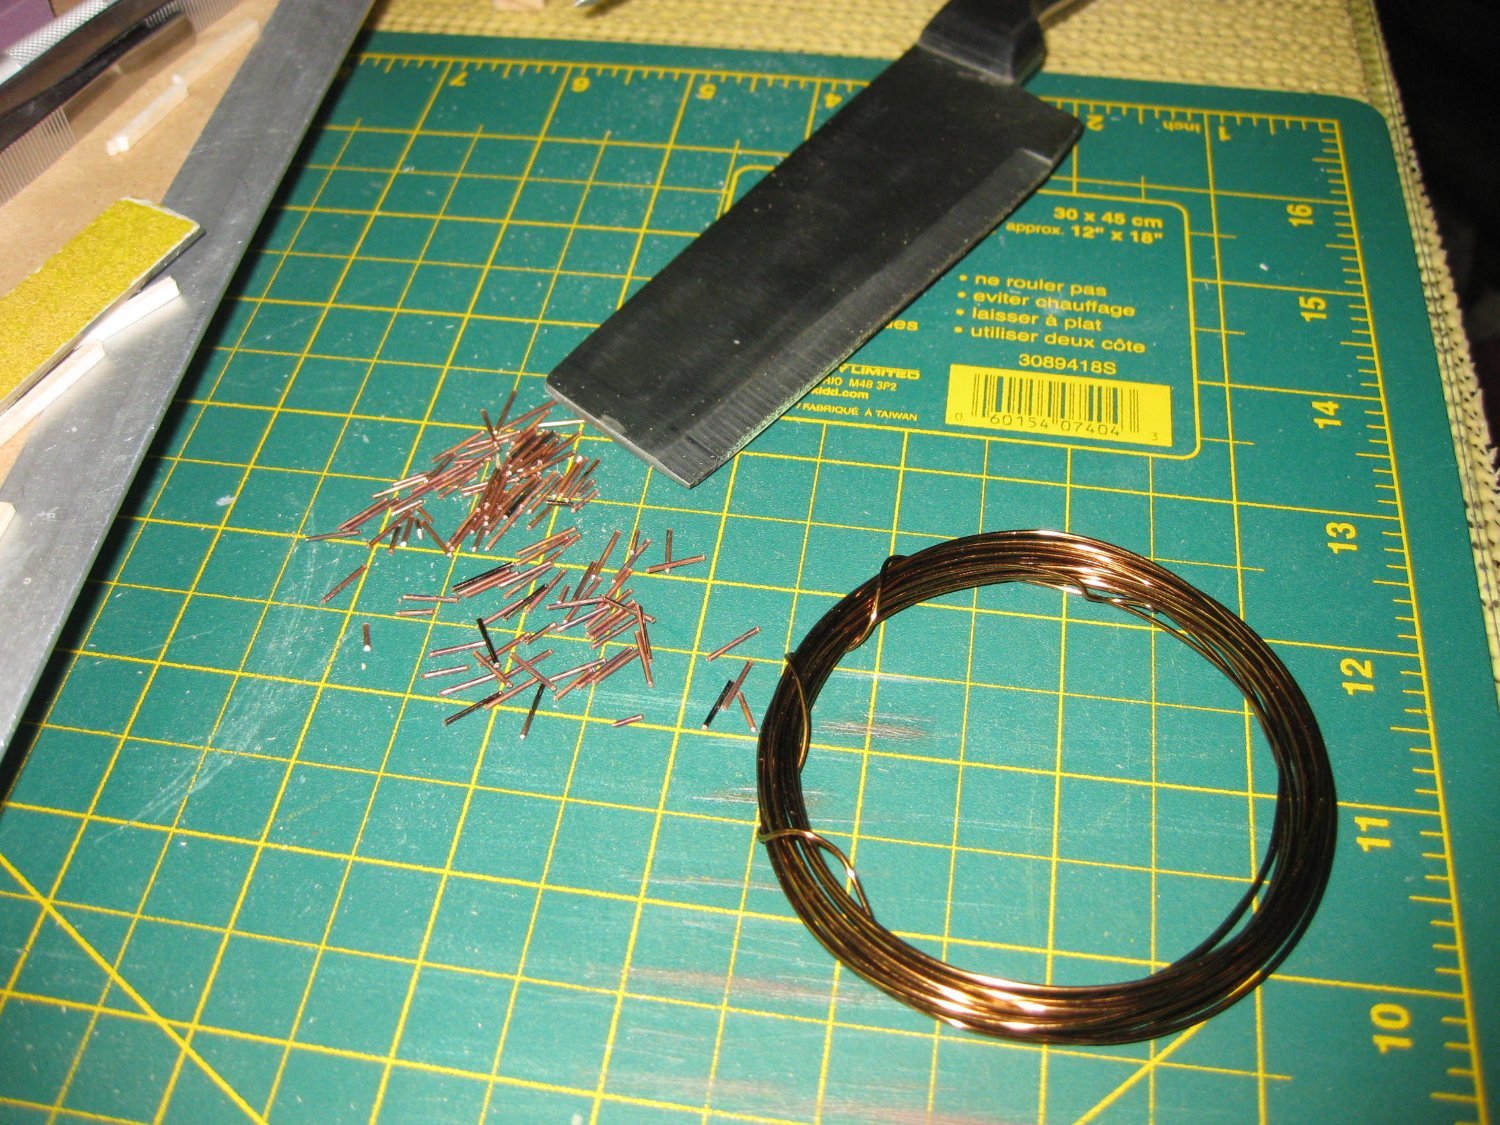
I mistakenly put 2 pictures in my last post of the same picture. Sorry about that. I have decided to install nails in the side planks like Von Kossa and Jack Panzeca did. To get as close to the scale as I could I have ended up making the nails like Von Kossa did. Will have to make a lot of nails though. It only takes time.

-
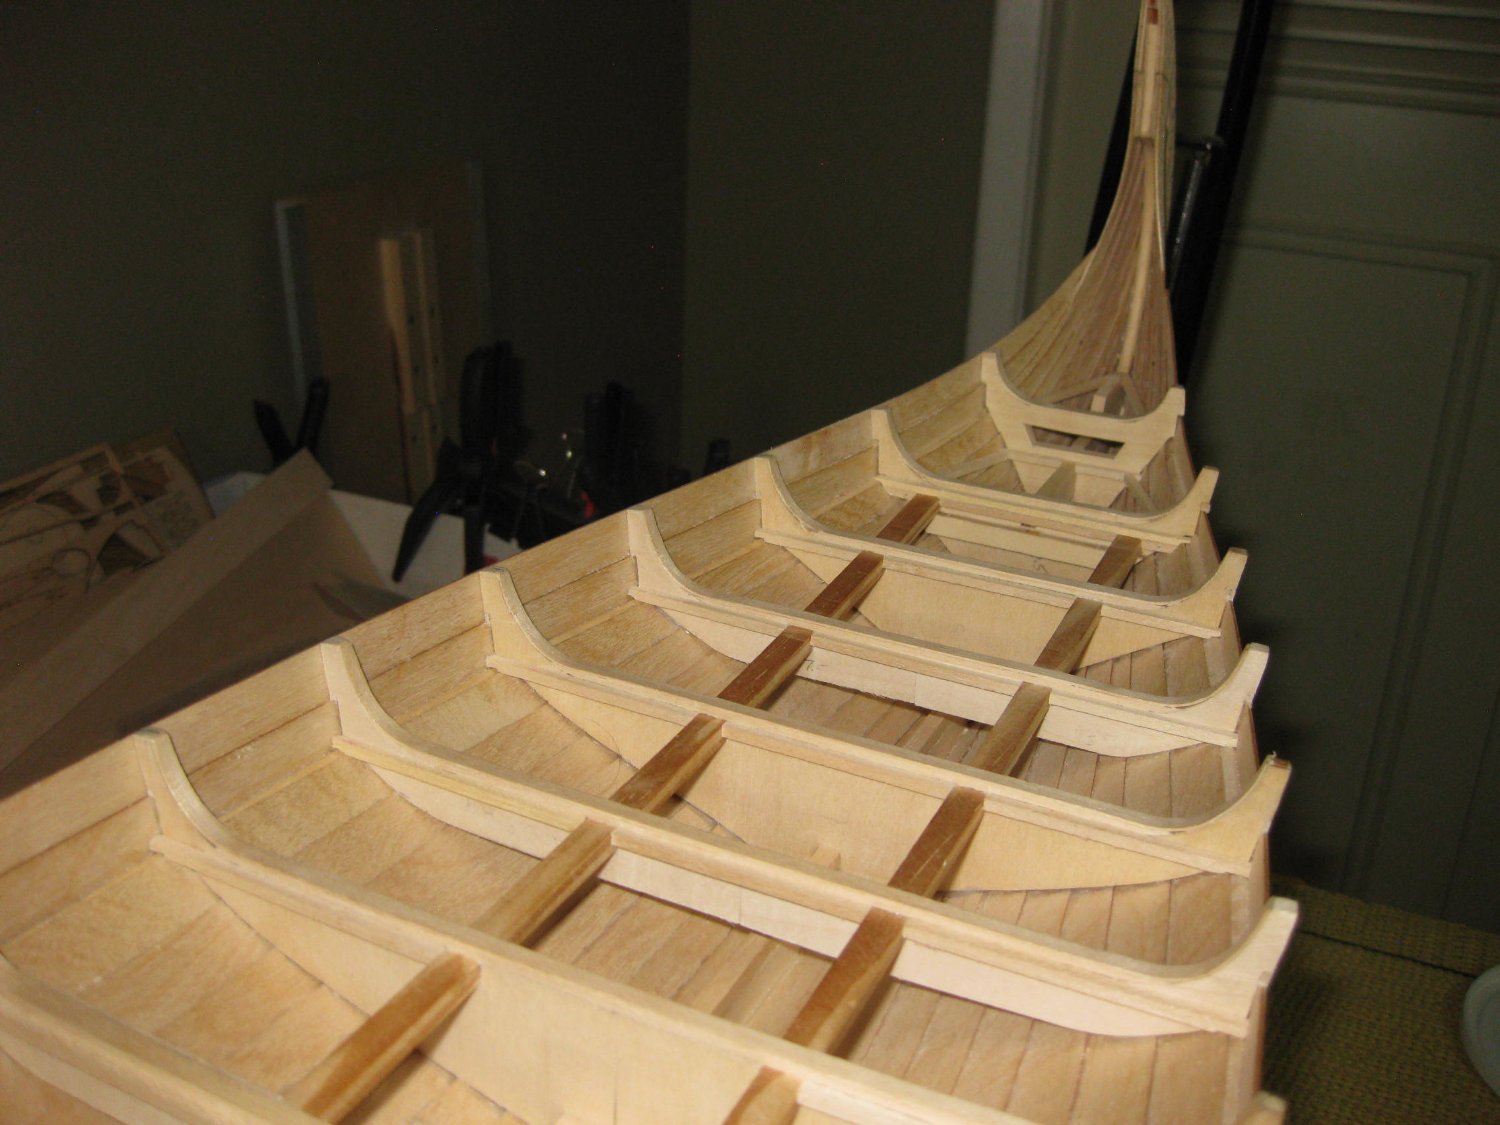
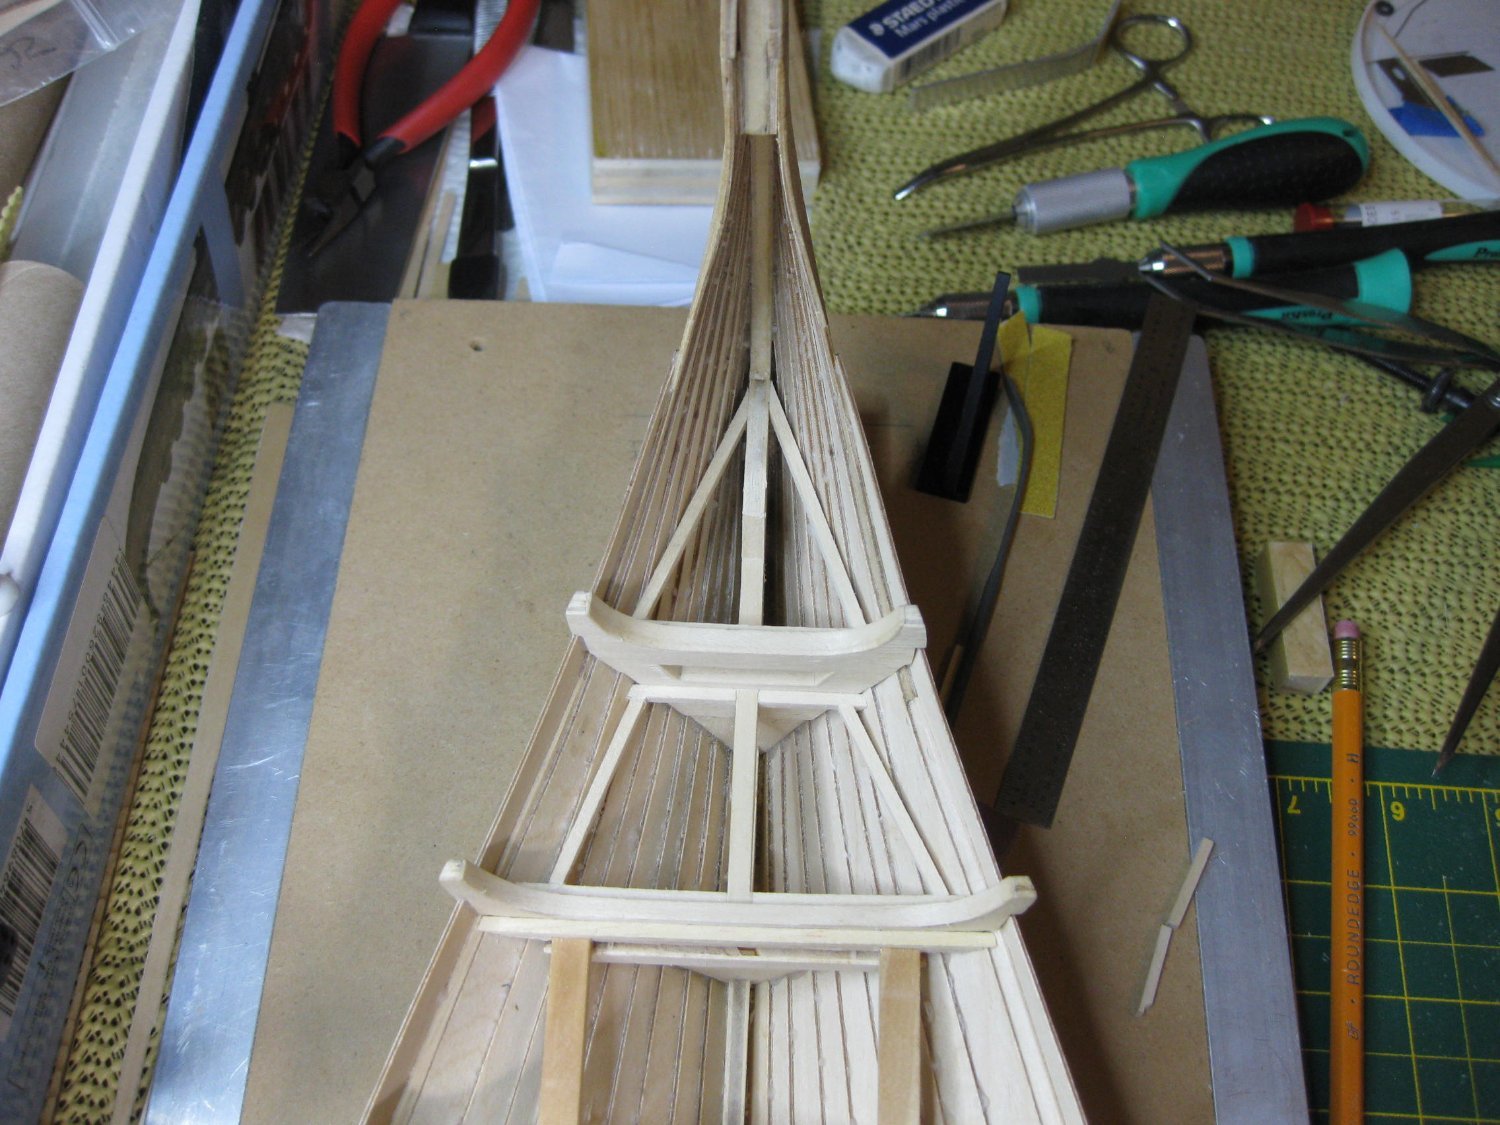
Finally finished putting the strips on the bulkheads for the planks to rest on. Took a while as there is a lot of sanding and fitting. The bulkheads at the bow and stern were tricky.

-
Thanks Steven it is good to be back at it.