MORE HANDBOOKS ARE ON THEIR WAY! We will let you know when they get here.
×

sparrow
-
Posts
121 -
Joined
-
Last visited
Content Type
Profiles
Forums
Gallery
Events
Everything posted by sparrow
-
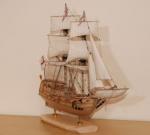
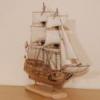 Hi Bill, thanks. Basically on these pictures I used sawdust from the hull that was grinded away when smoothing the surface. The sawdust was mixed with diluted white glue and then it was "painted" on the hull in order to fill in the little wholes between the planks. Then I let it dry and sand down and repeated if needed. There are also different methods on how to do this. Someone just uses varnish and sanding repeatedly. And for sure there are many more methods. Hope this helps you... Best regards, Jan
 -
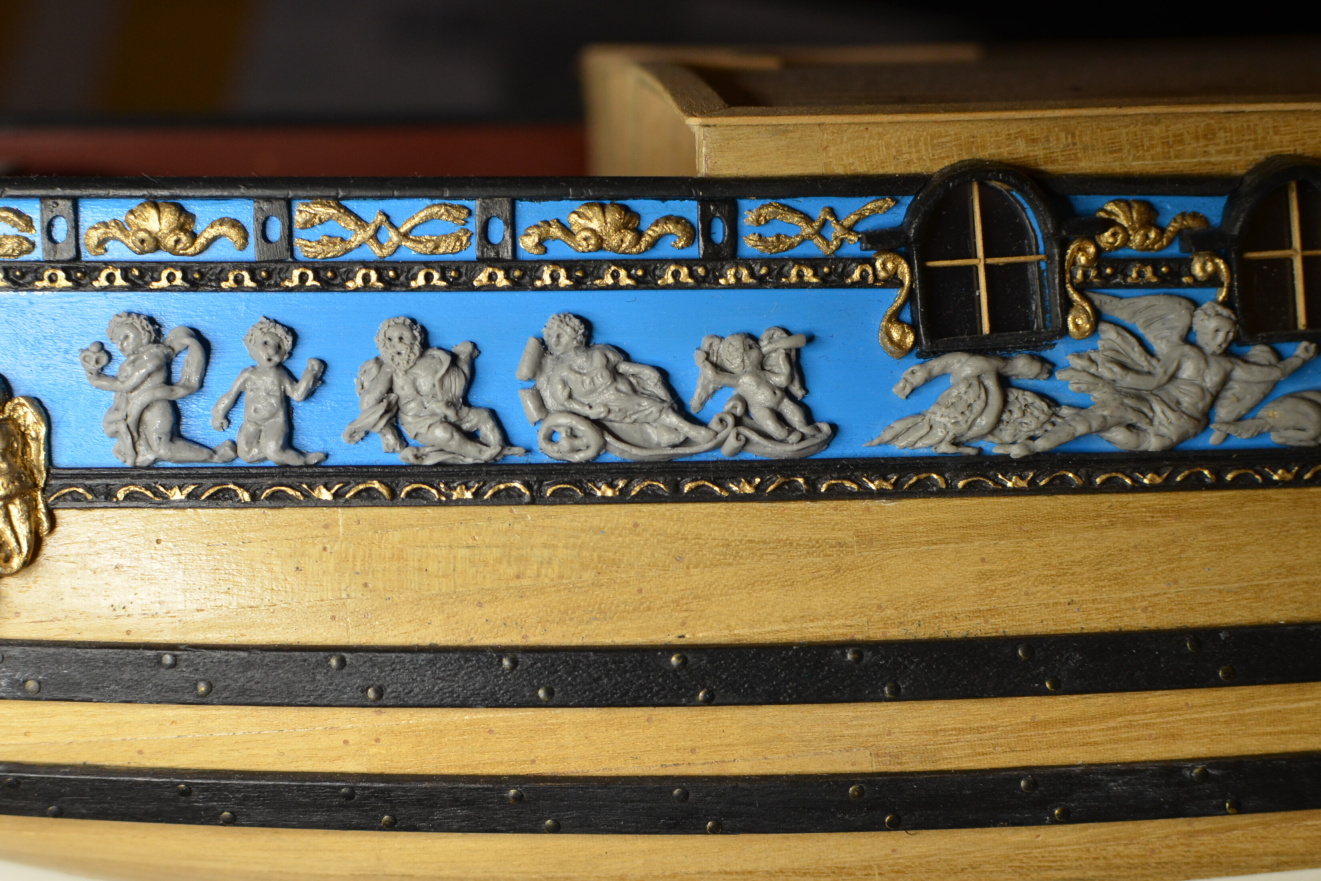
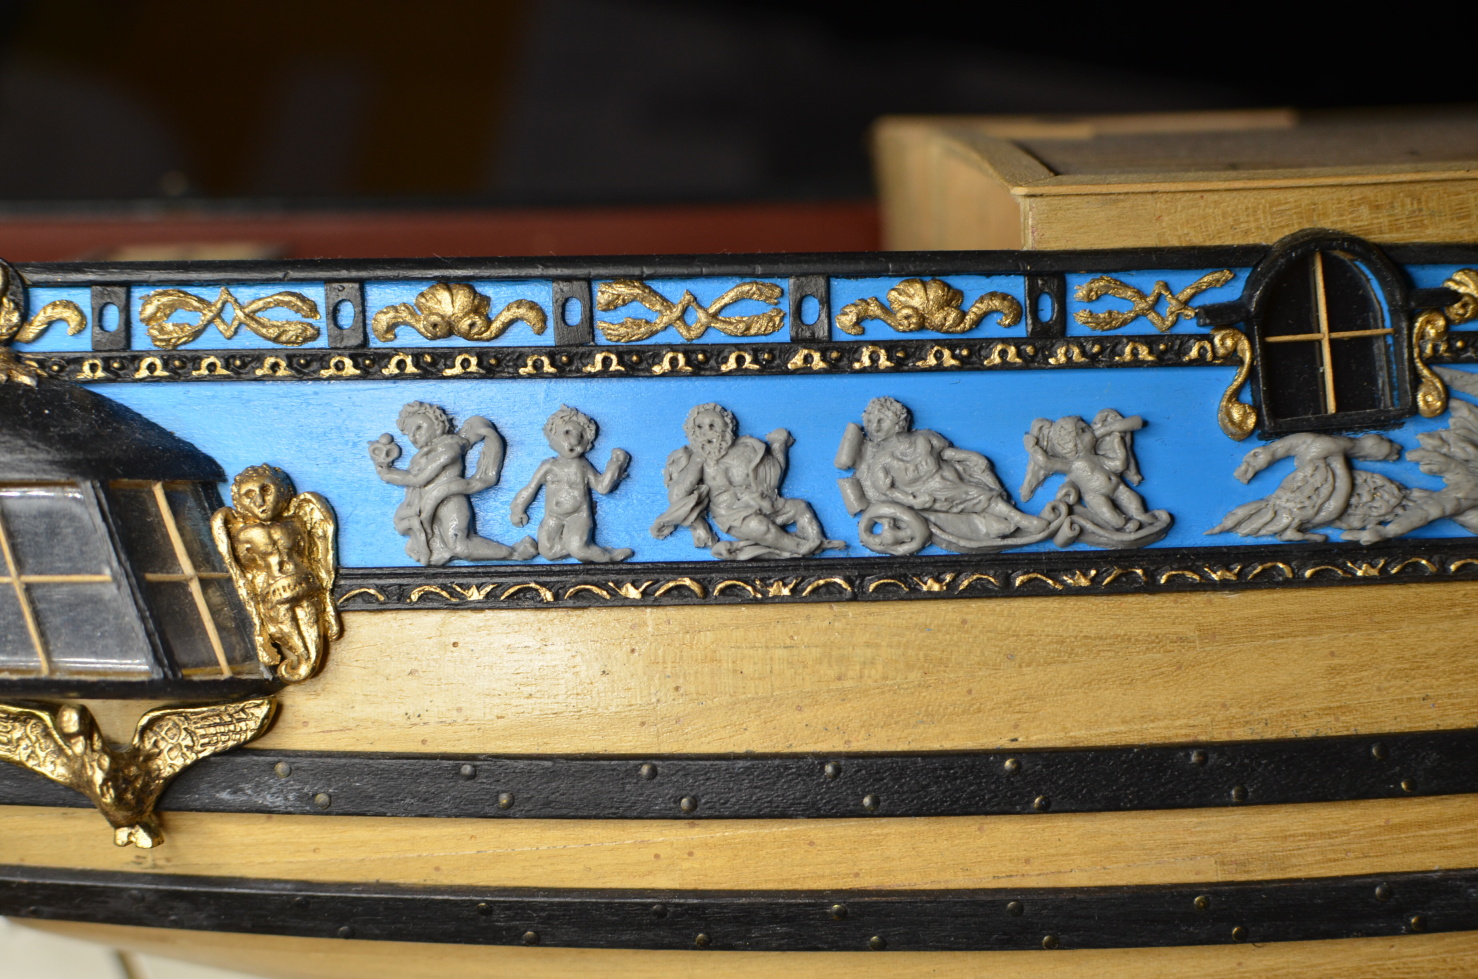
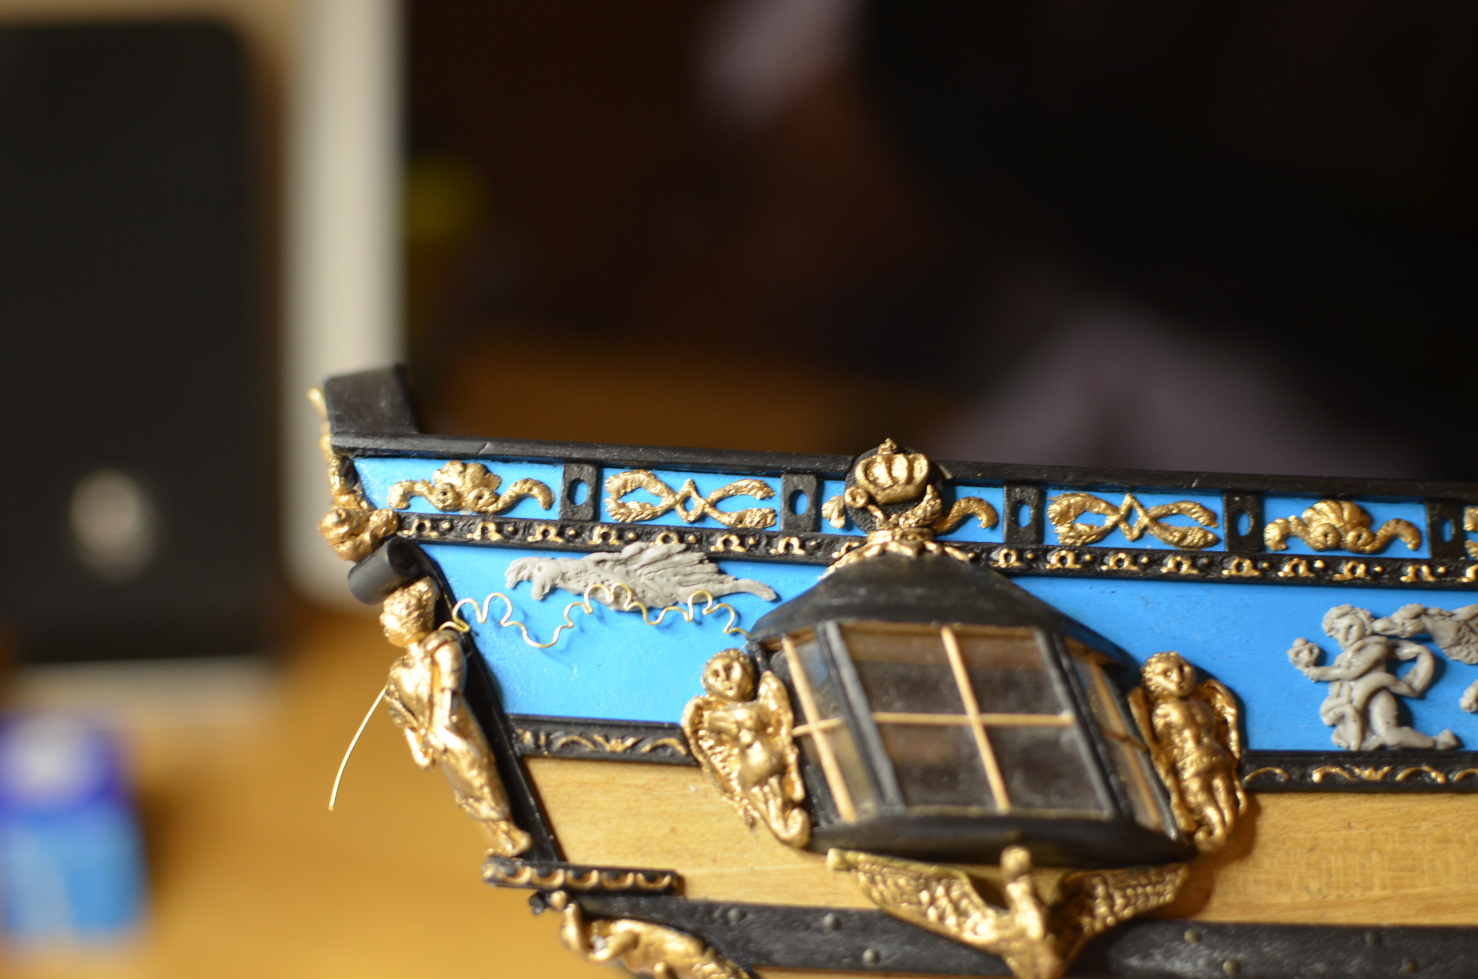
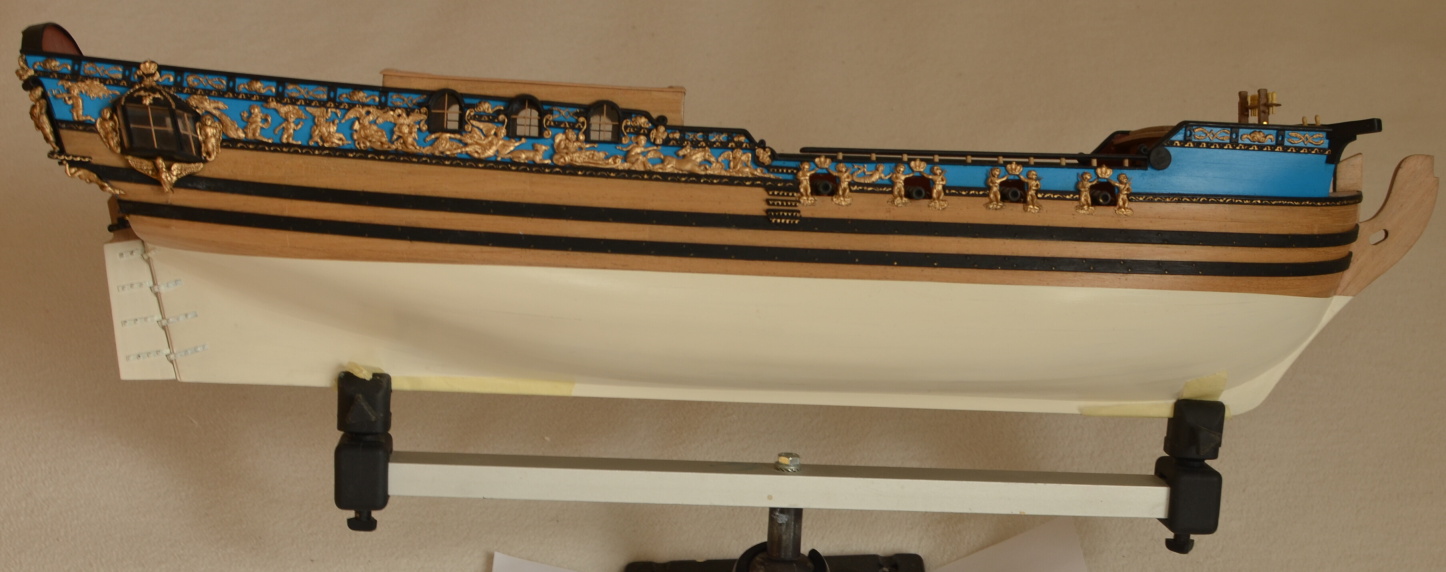
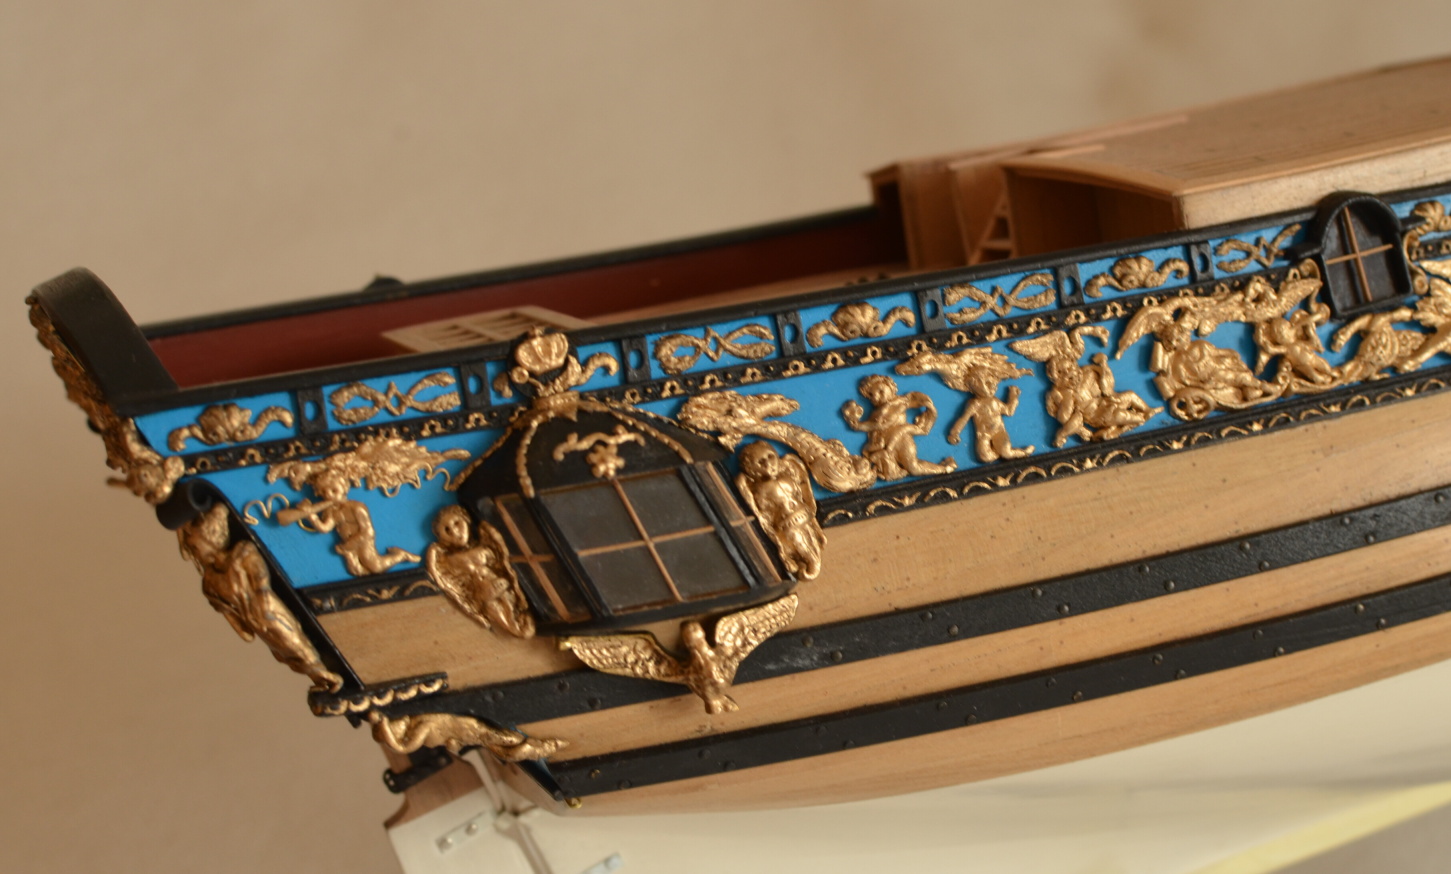
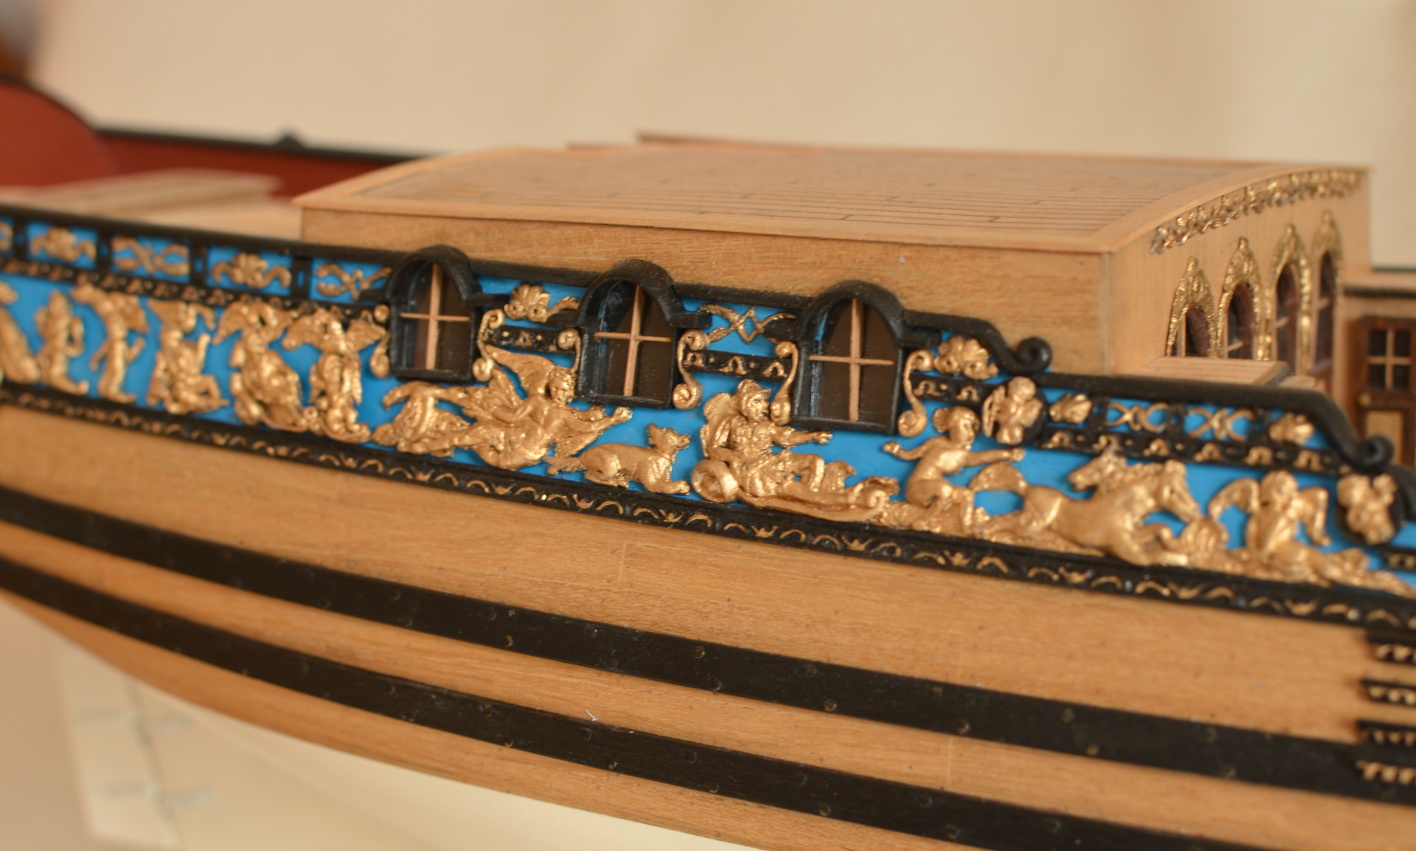
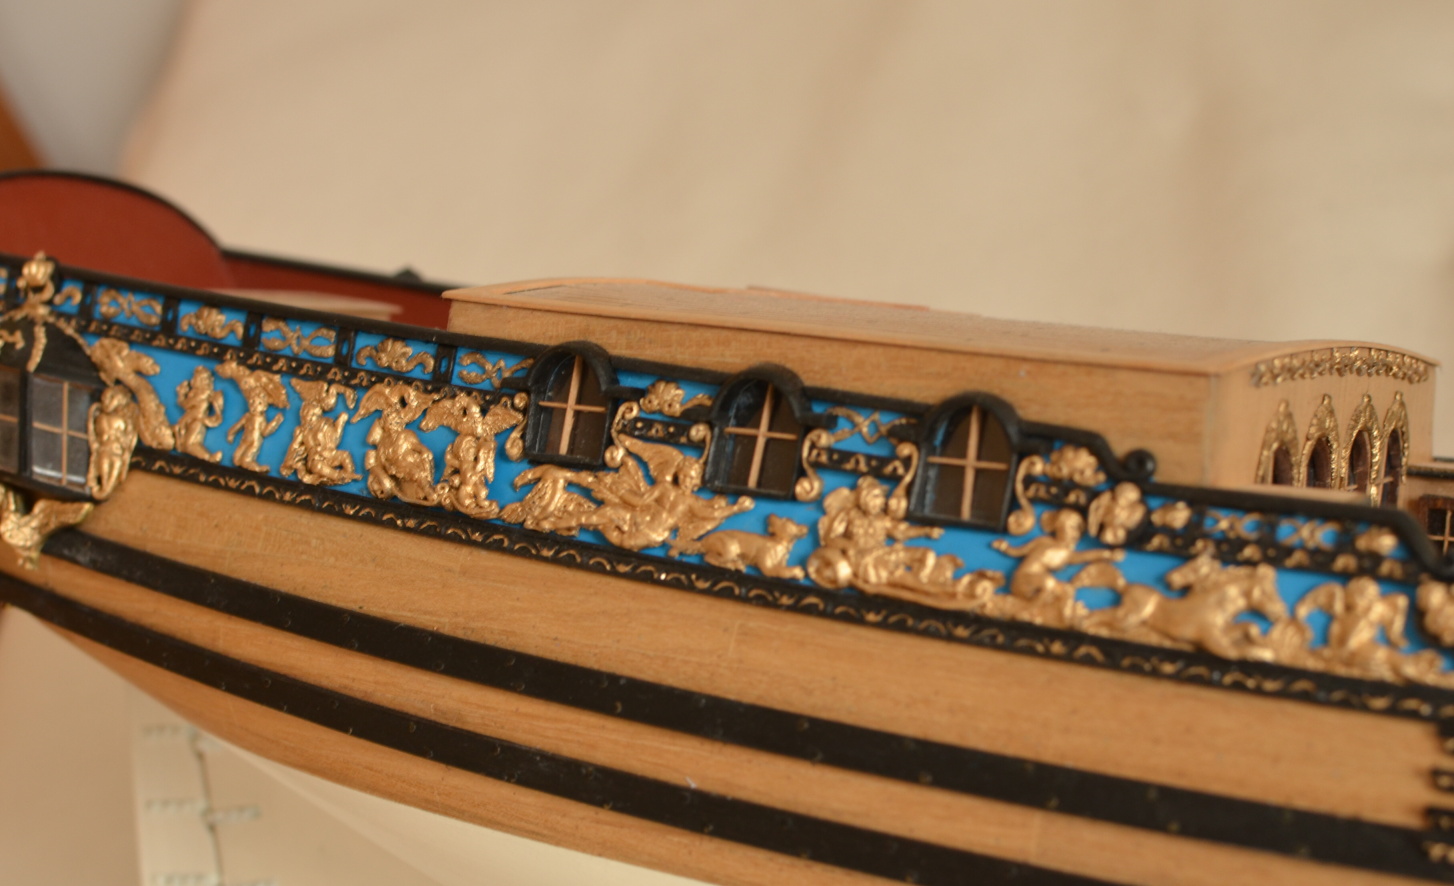
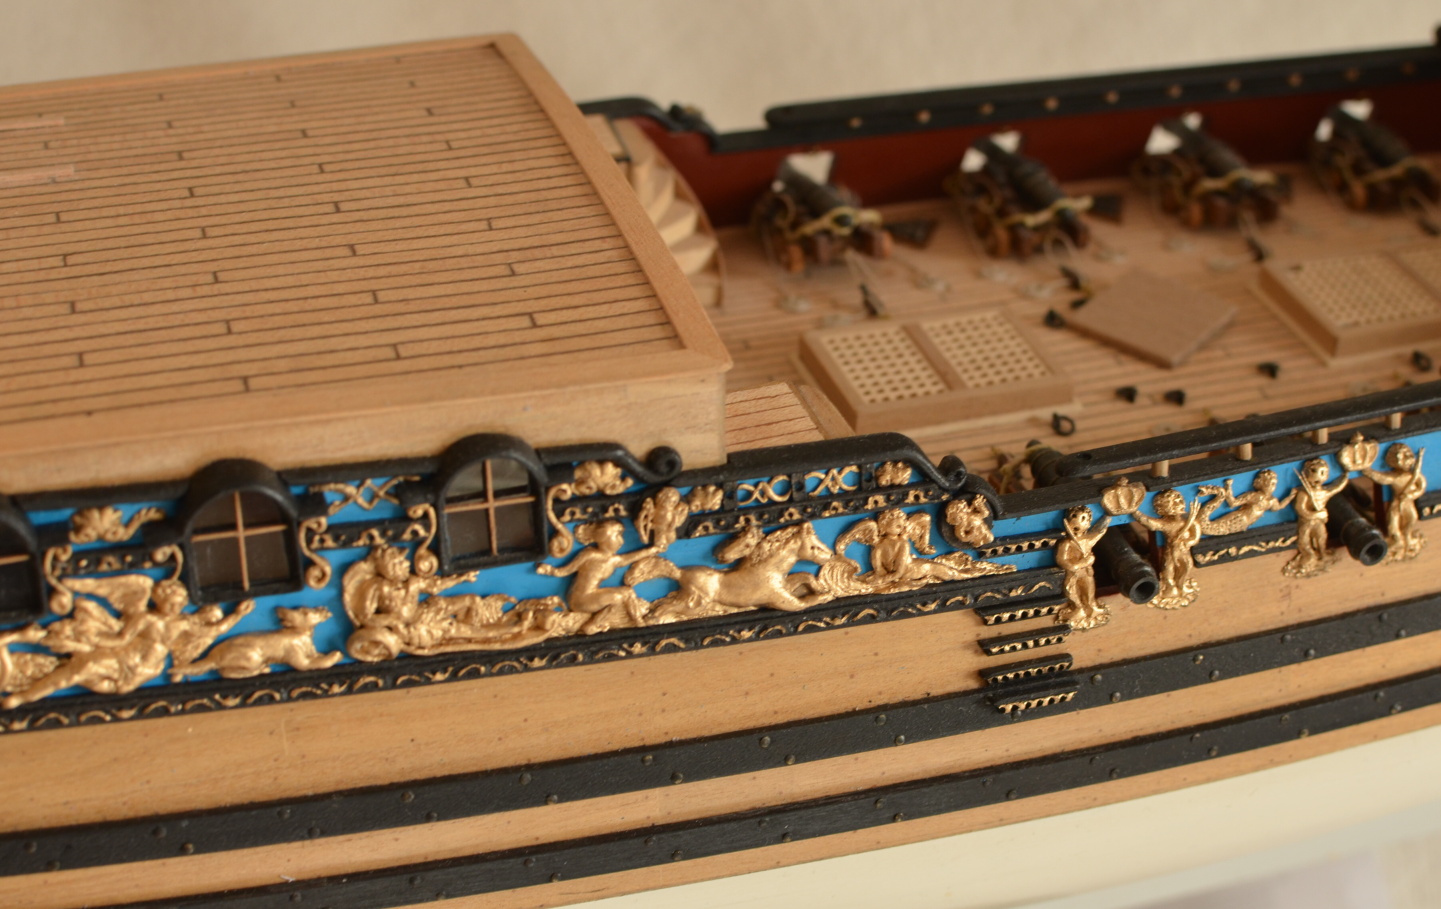
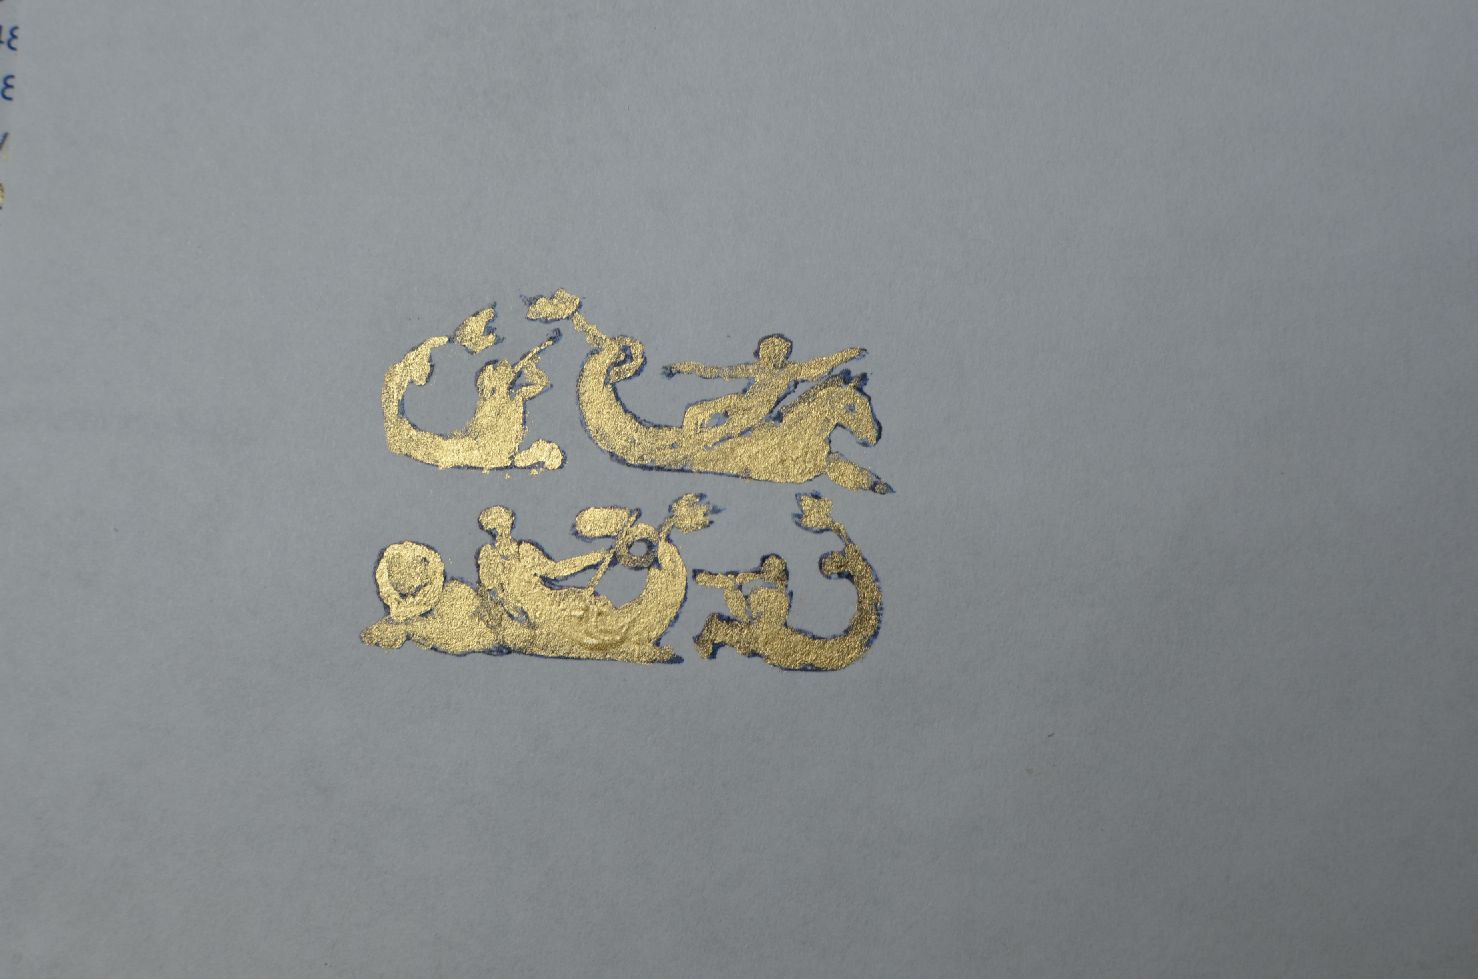
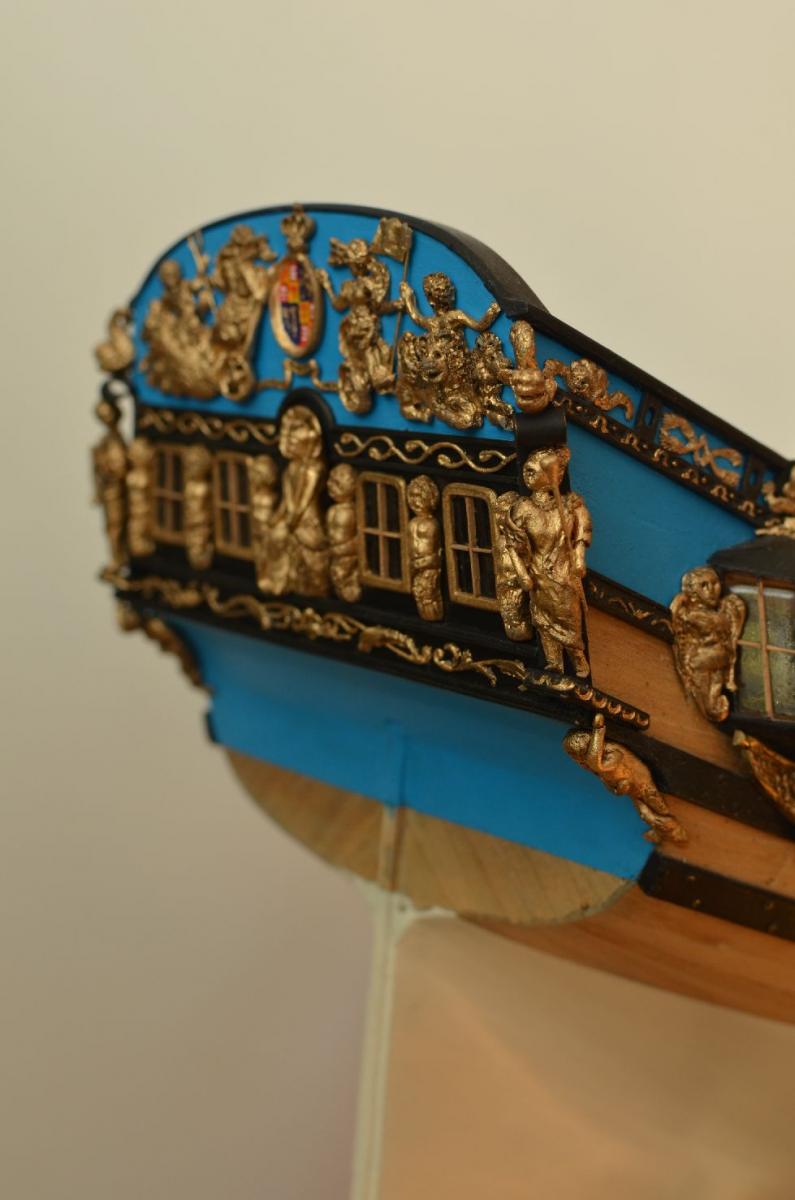
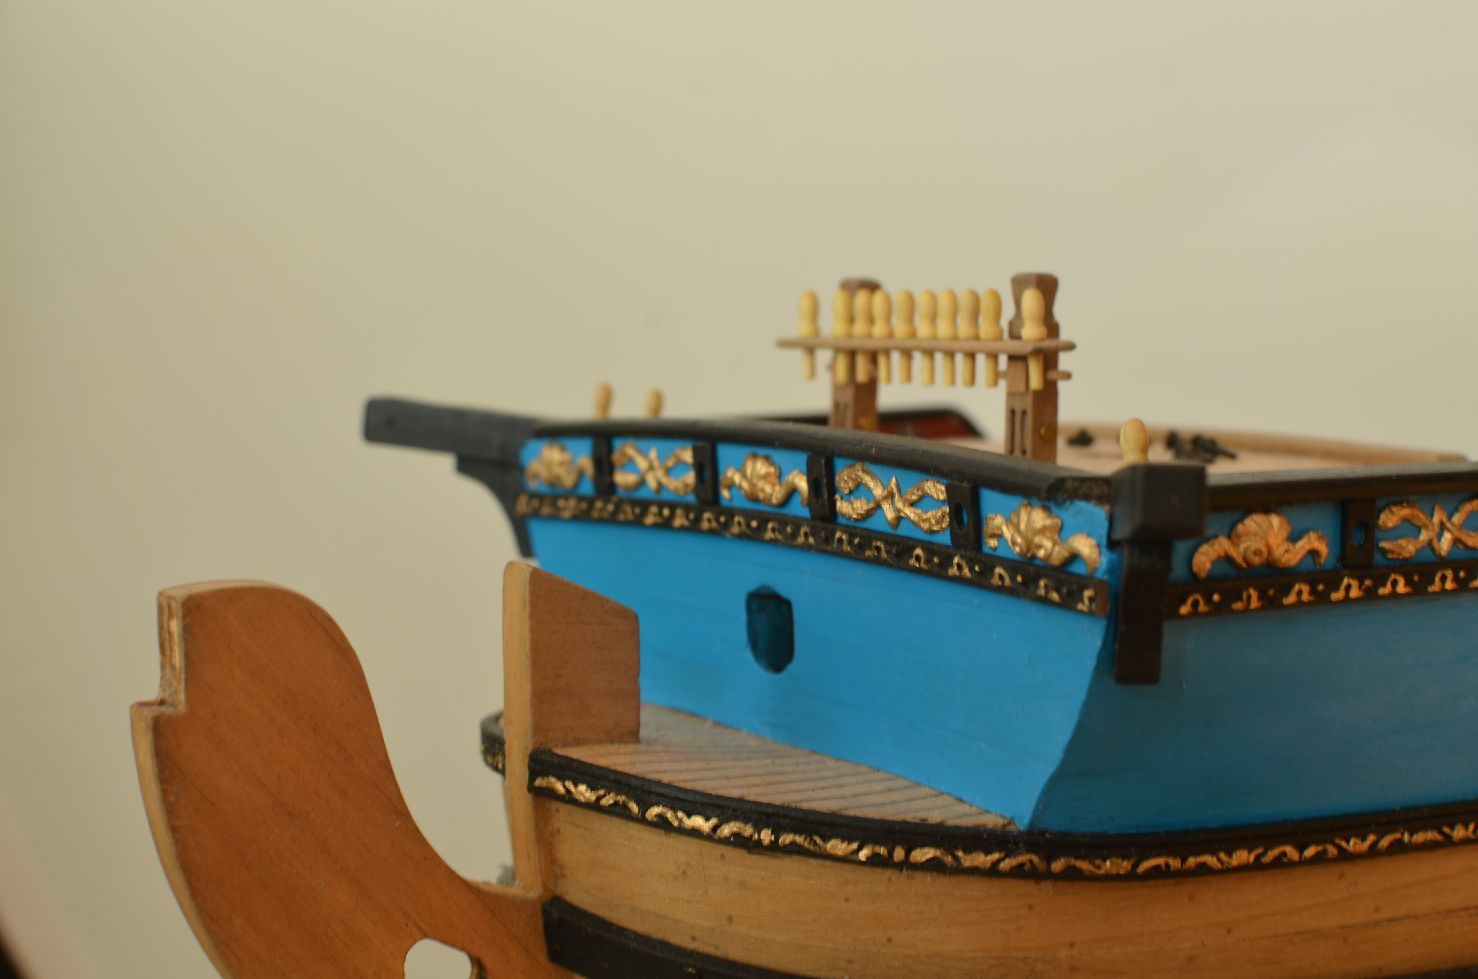
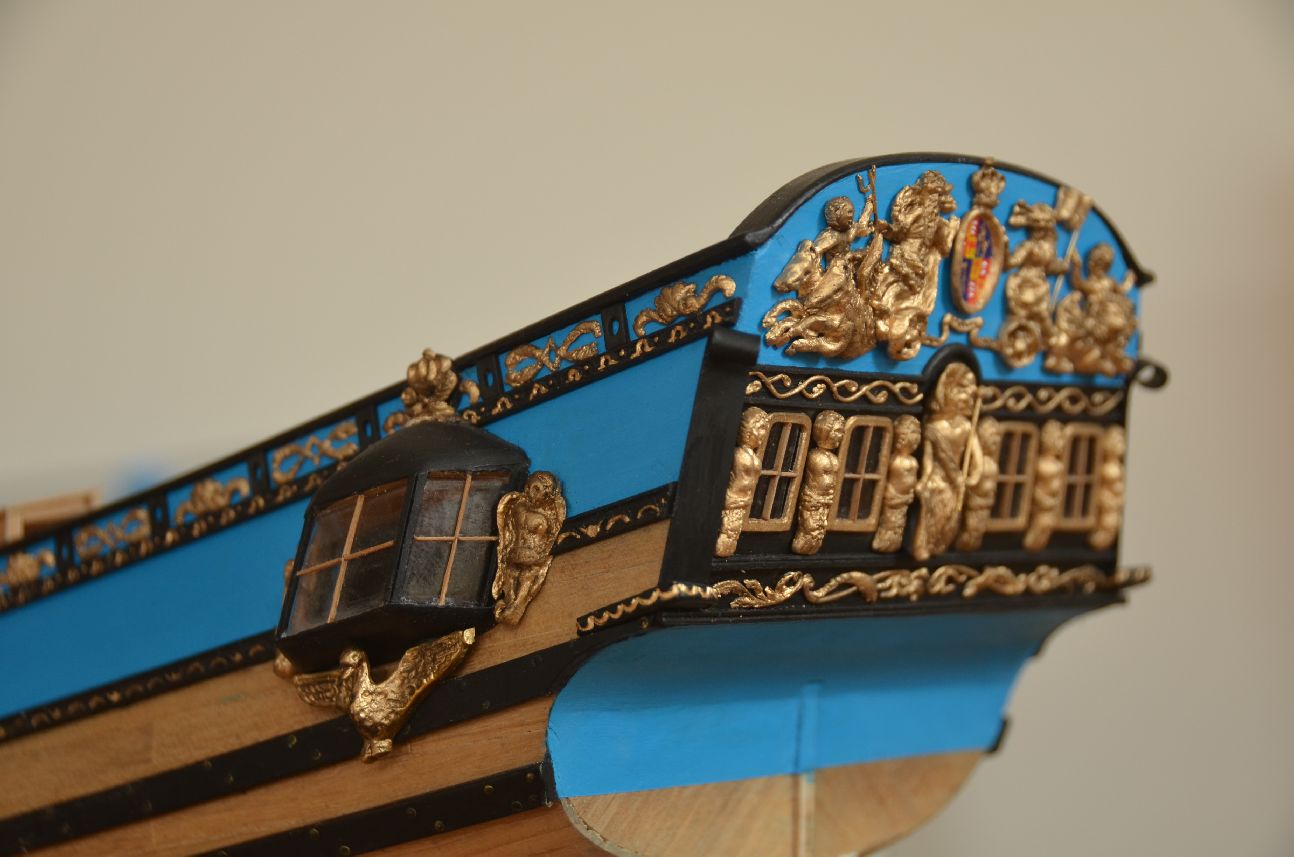
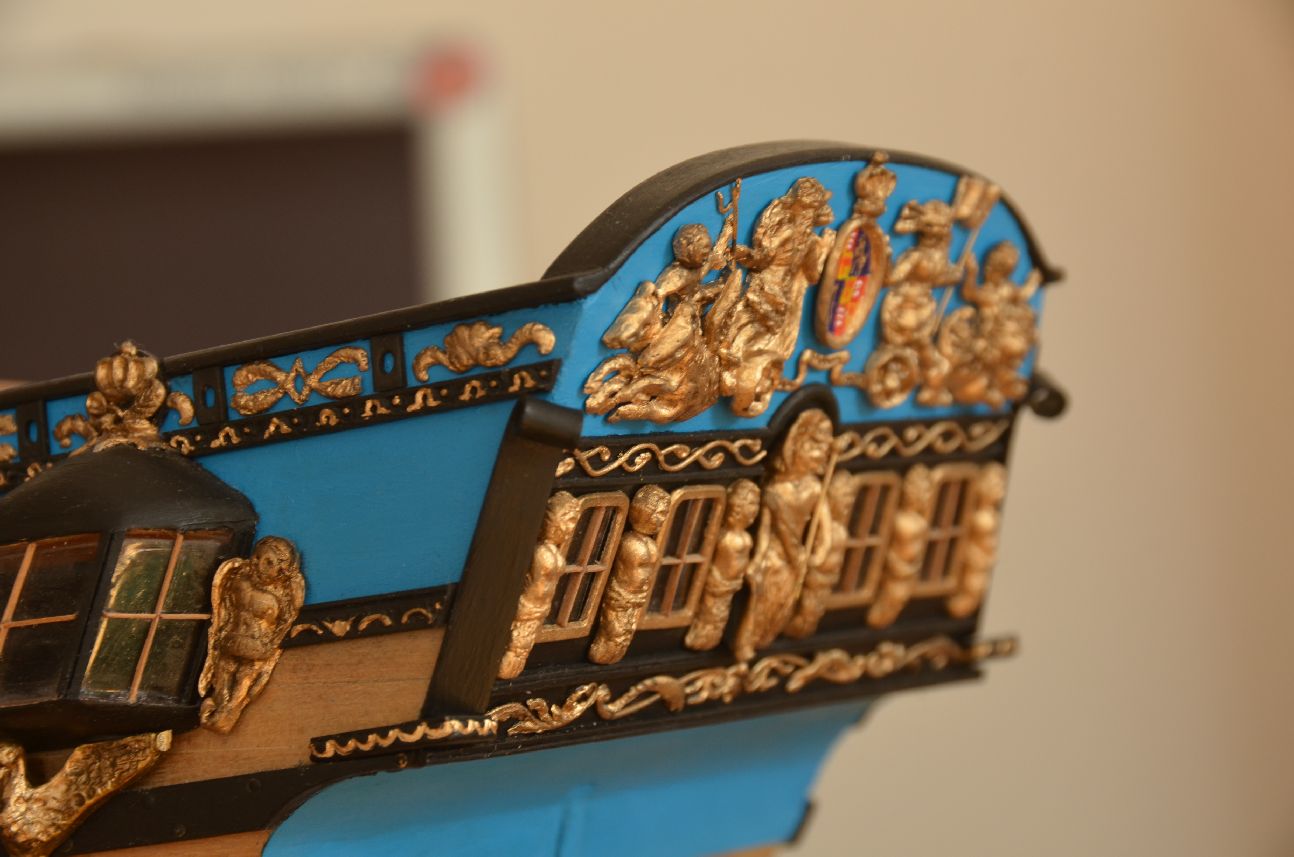
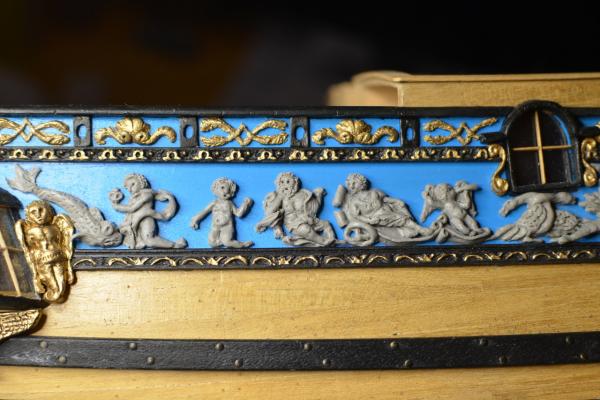
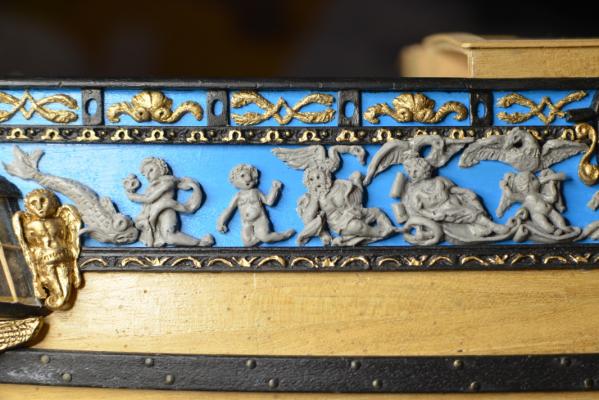
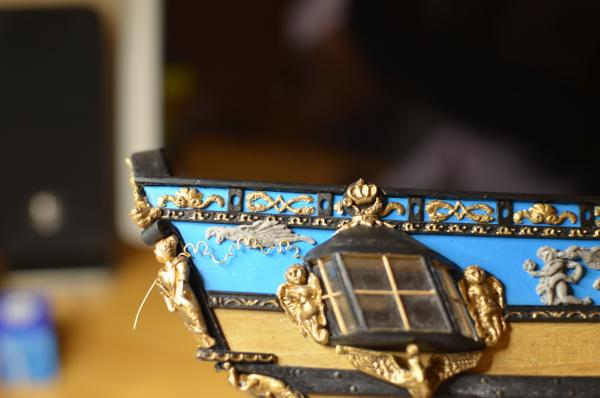
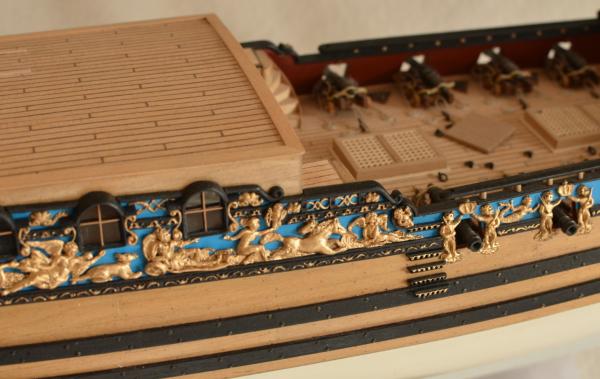
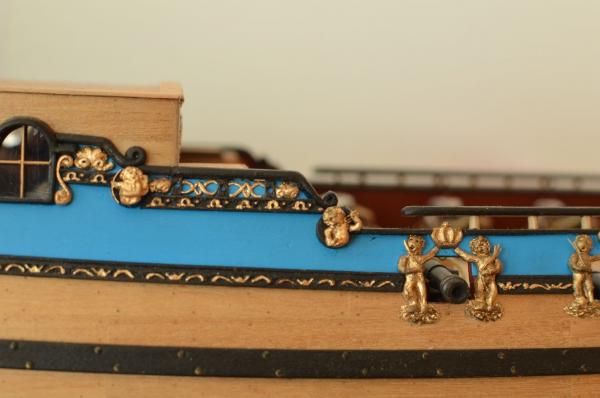
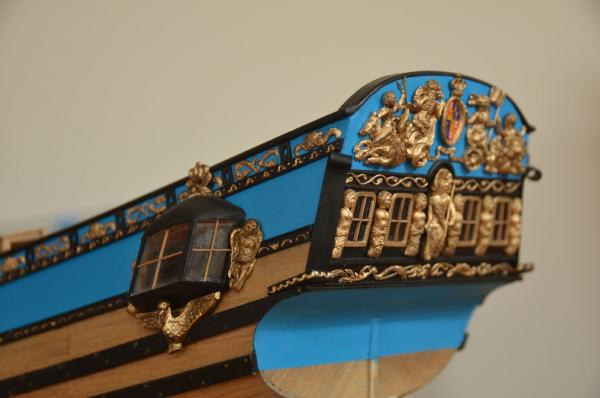
Hello, let me wish all the best to the new year and many hours on shipmodeling! Here are some pictures from the progress on the Sculpey ornamentation work. I have also included a few pictures from a bit further away as I promised. Not all the ornaments are glued and most of them are just dry fitted - I still need to finish the "clouds" from brass wire. This "clouds line" will be placed according the illustrations below the birds. You can see an attempt on this on one of the pictures (the 5th one). Thanks for watching. Jan


-
Hi and thanks for your comment. Sure I will do a picture from further back and post it here soon. Jan
-
Thank you guys for your compliment! I do really appreciate them! Cheers, Jan
-
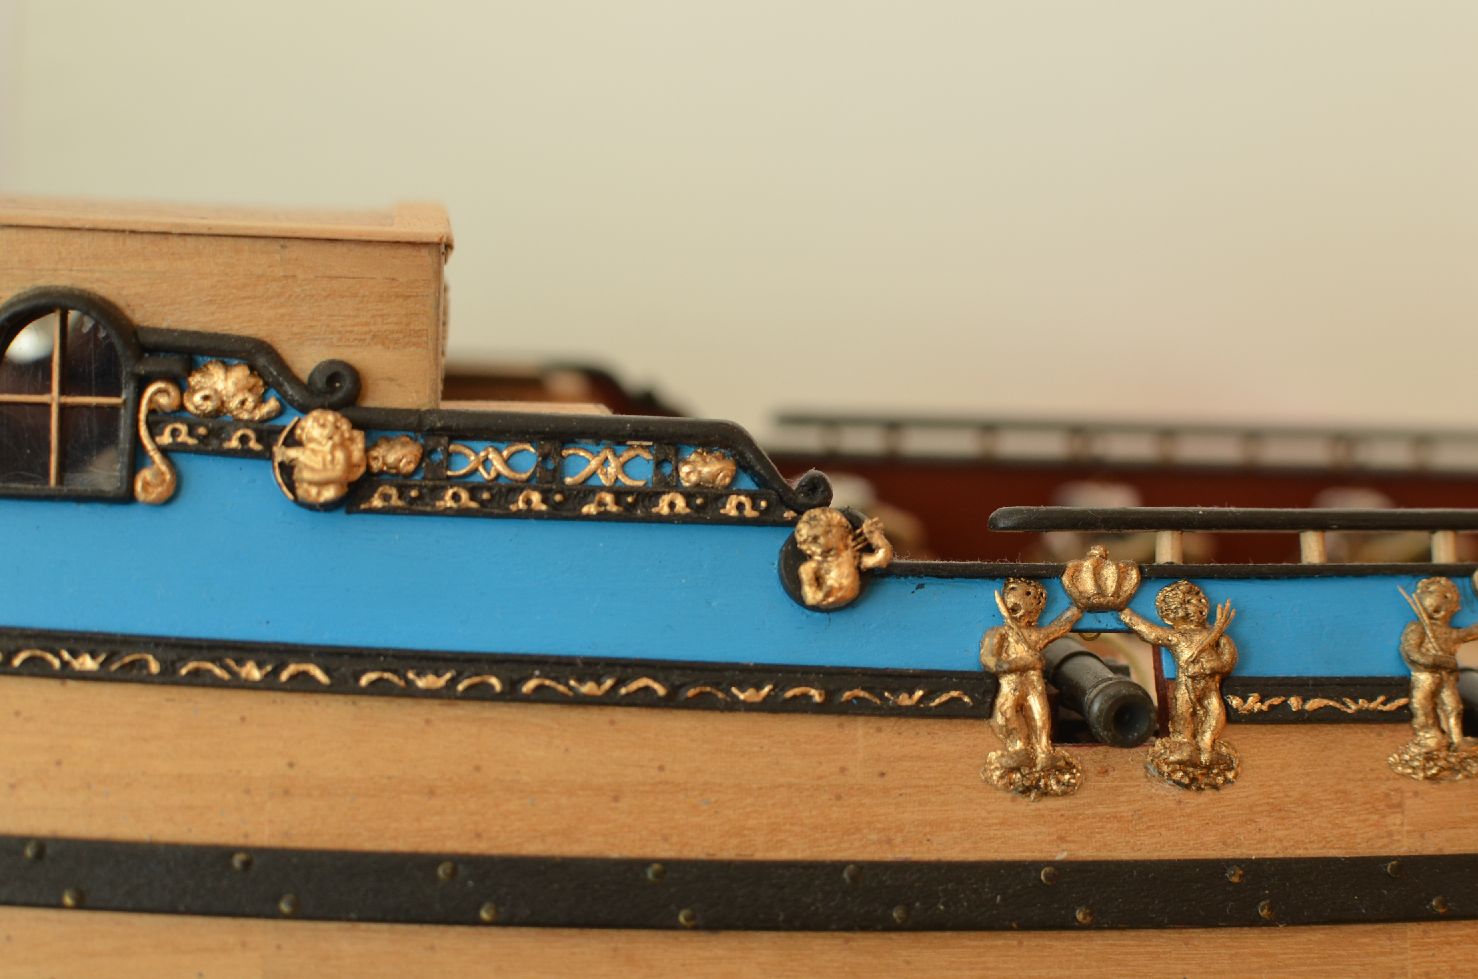
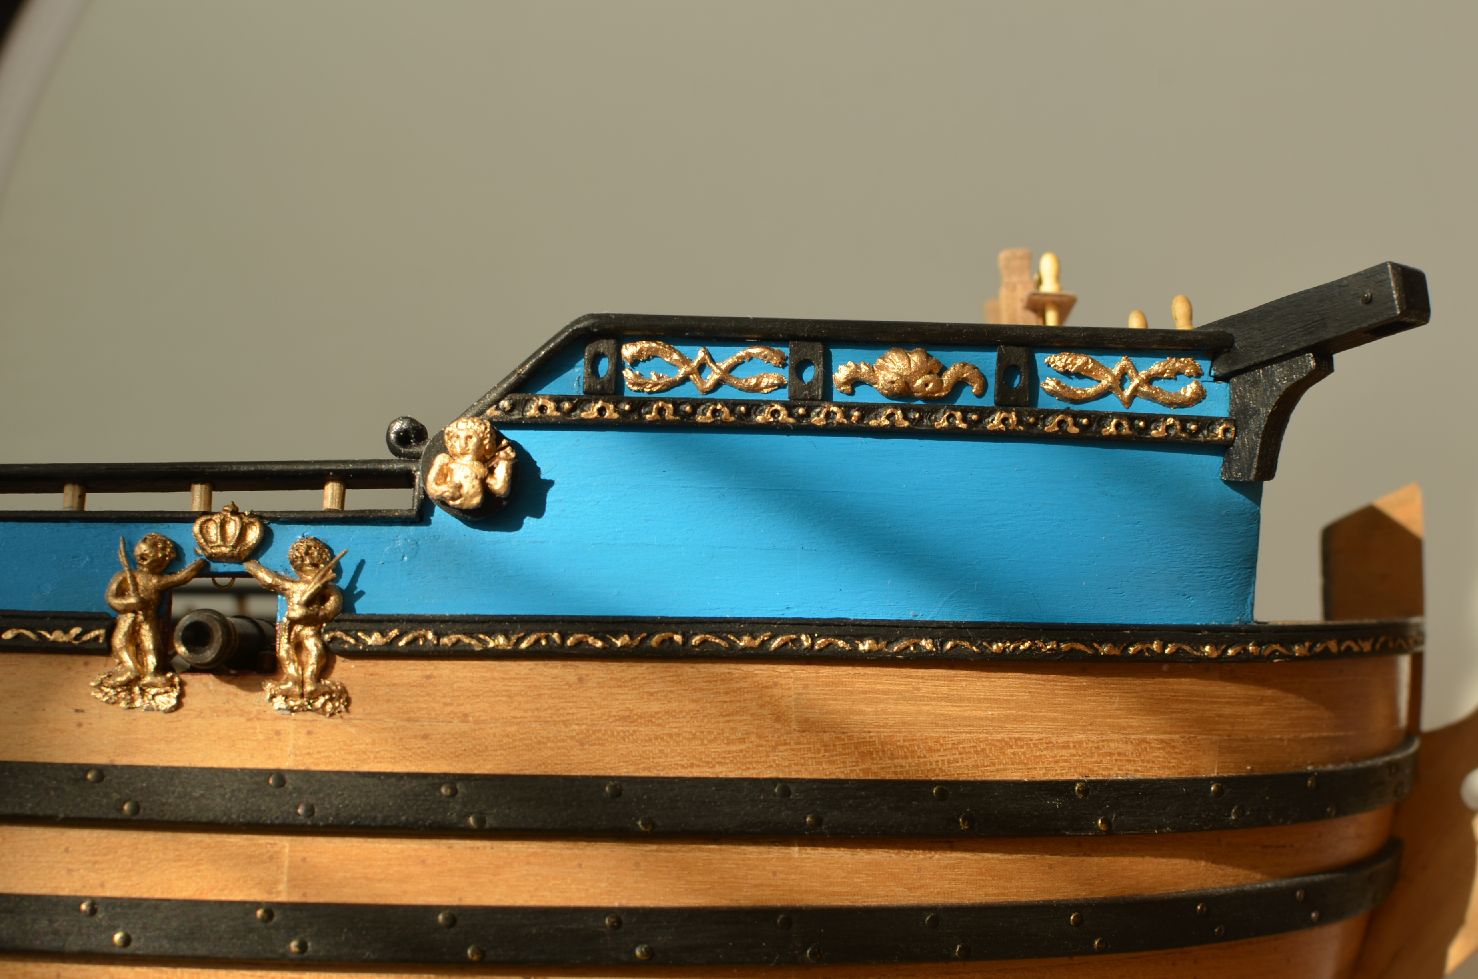
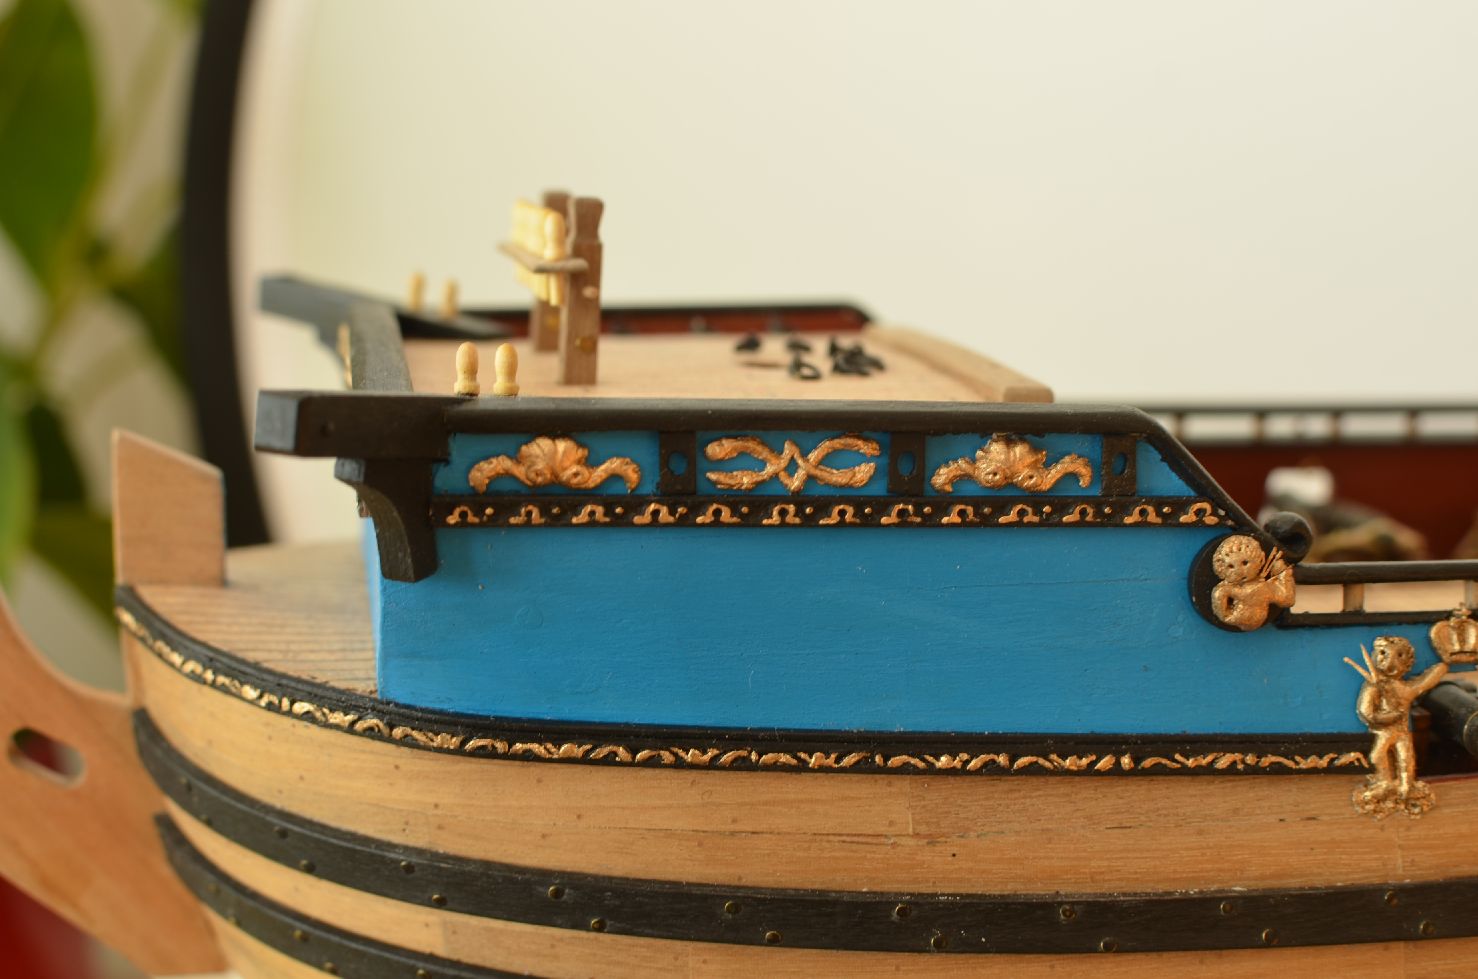
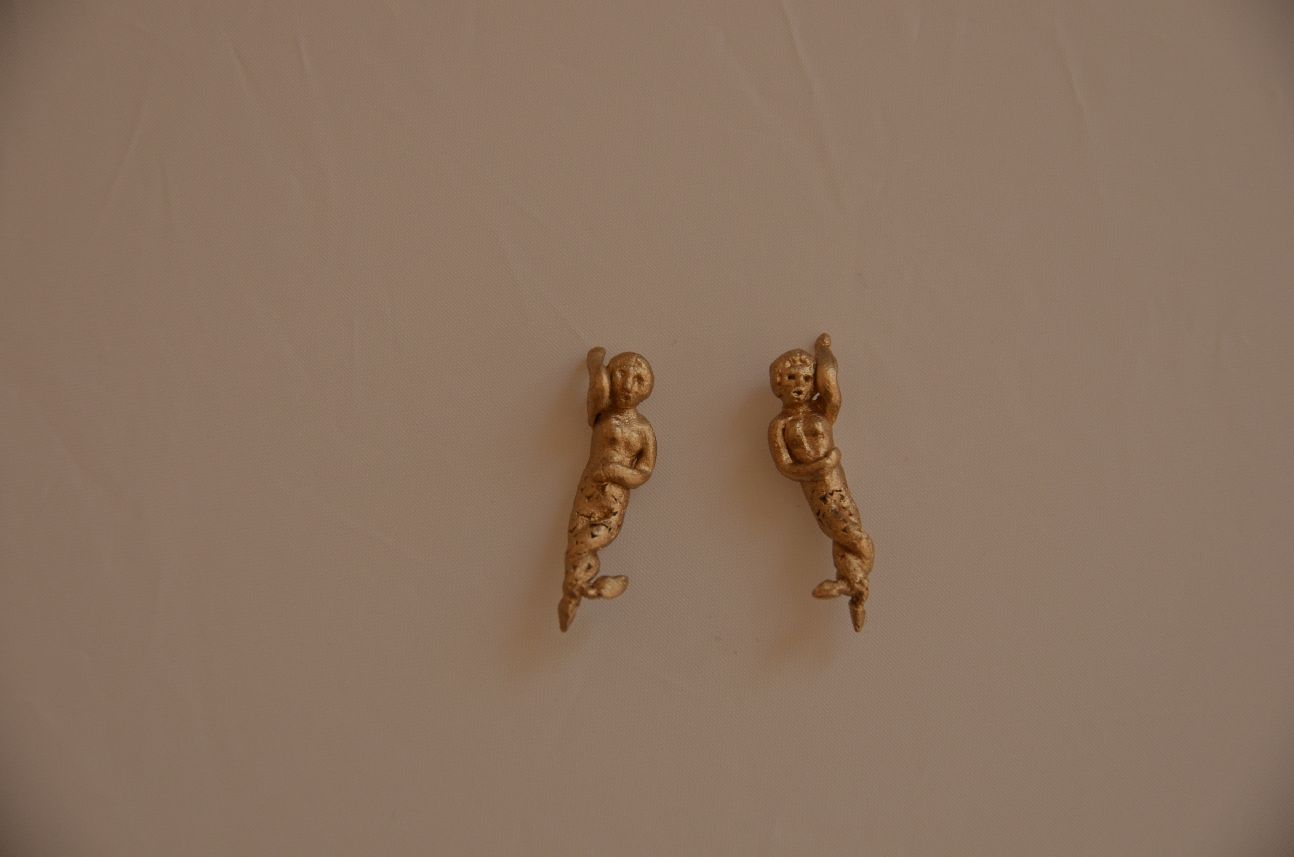
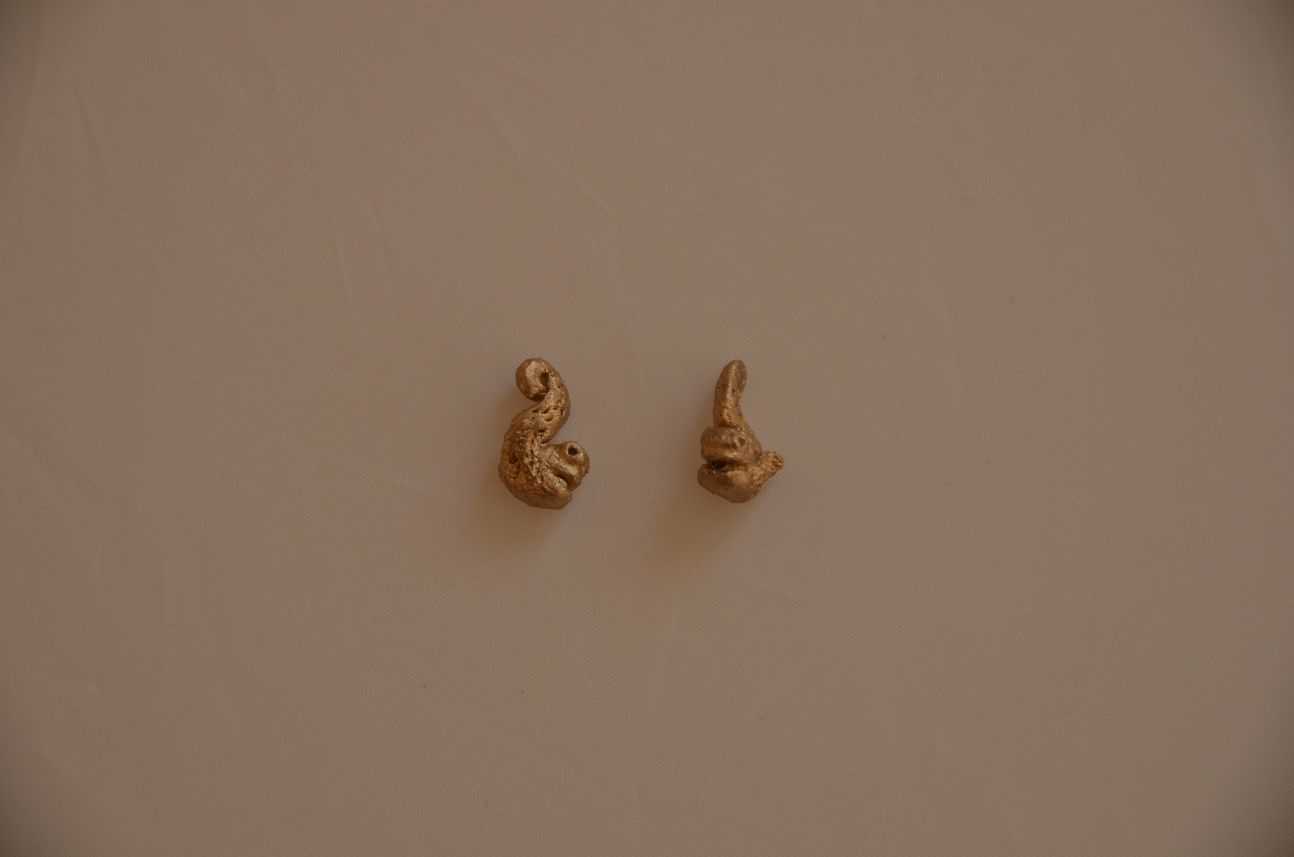
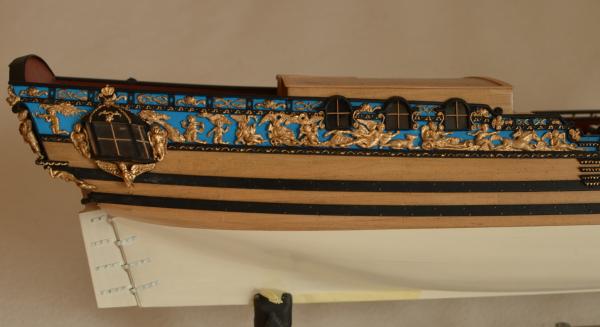
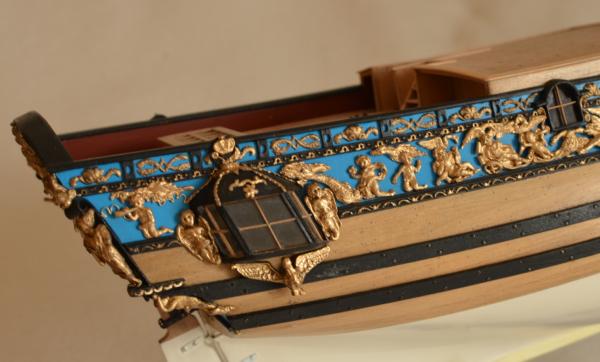
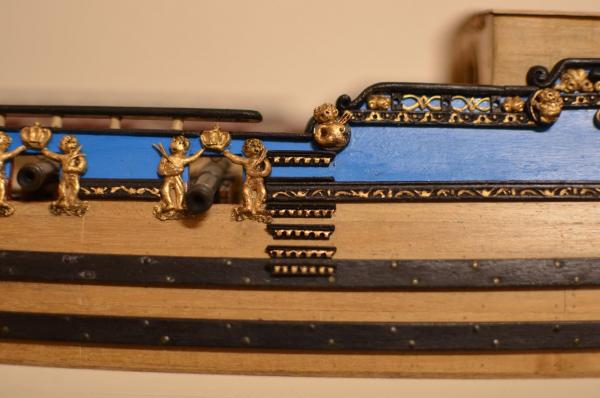
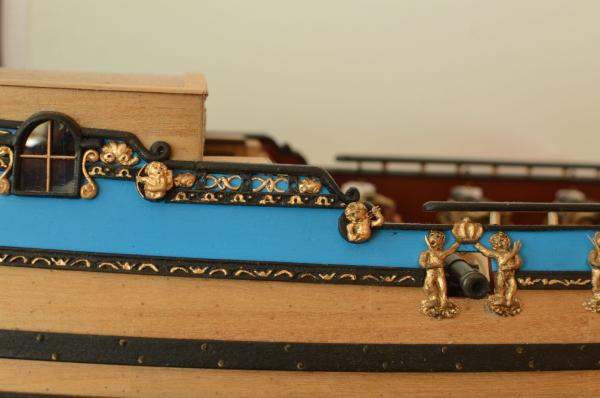
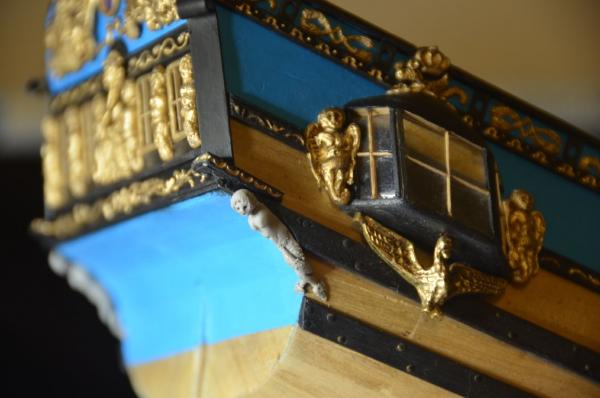
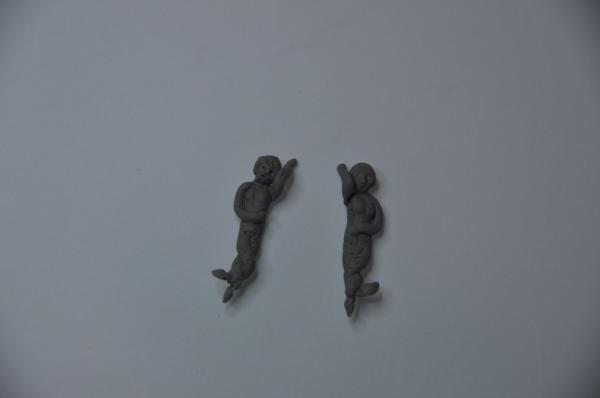
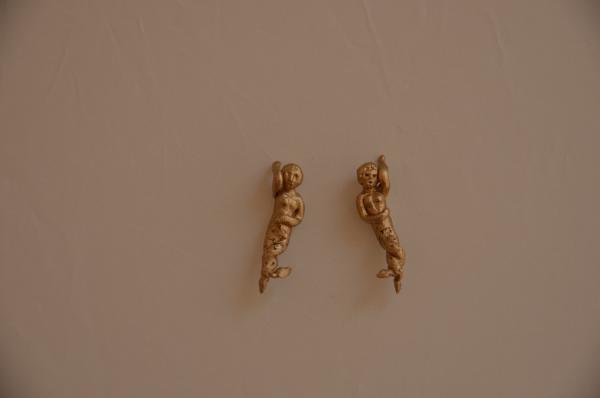
This is an update on the progress of the starboard ornaments. First parts were gilded and glued into place. Also the little angels in the two "circles" were remade to be smaller and little more looking like the original... Thanks for visiting.


-
Thanks again for your compliment, I actually really started to enjoy sculpting. I thought it would be really tiresome to create most of the RC ornaments from scratch but now I really like the work. You should also try it once.:-) Jan
-
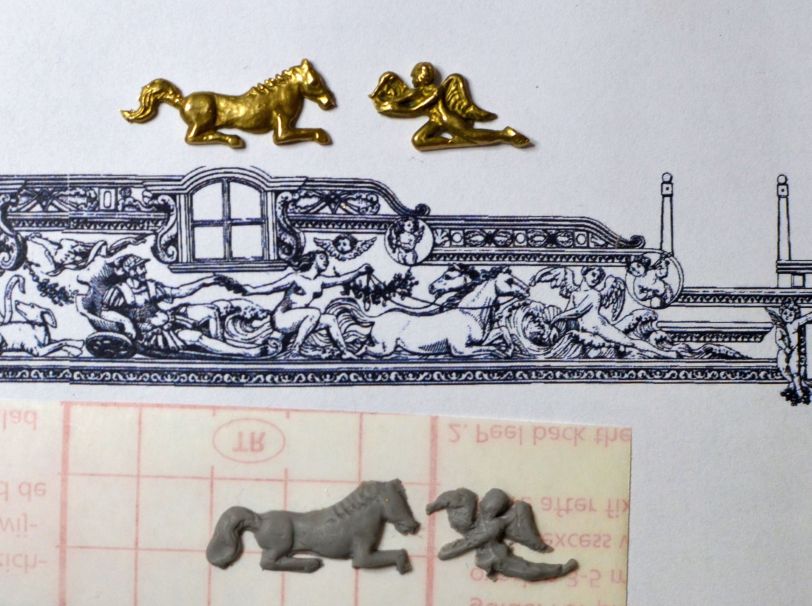
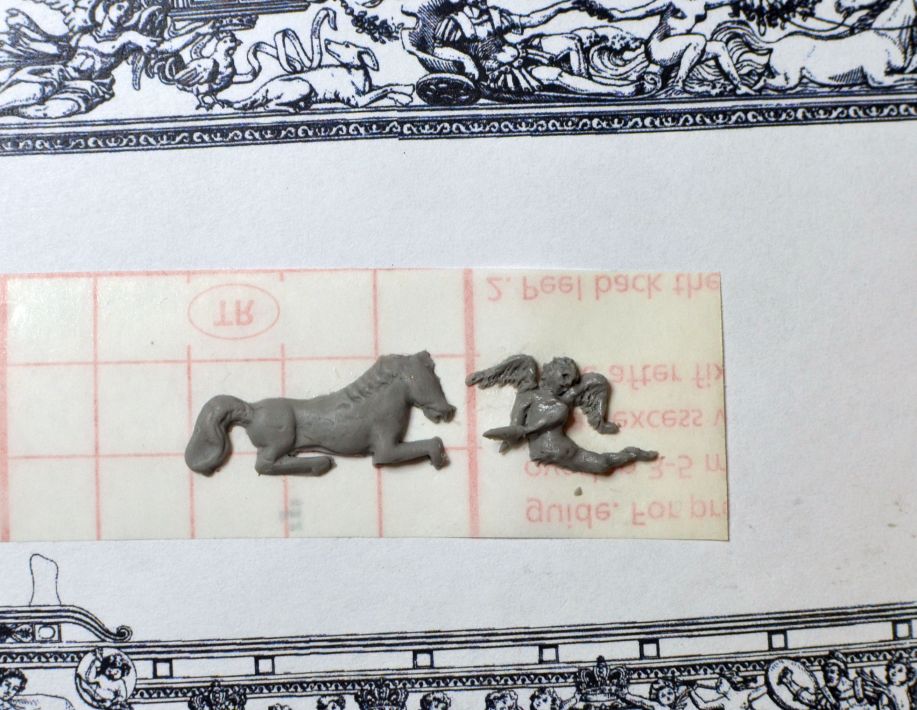
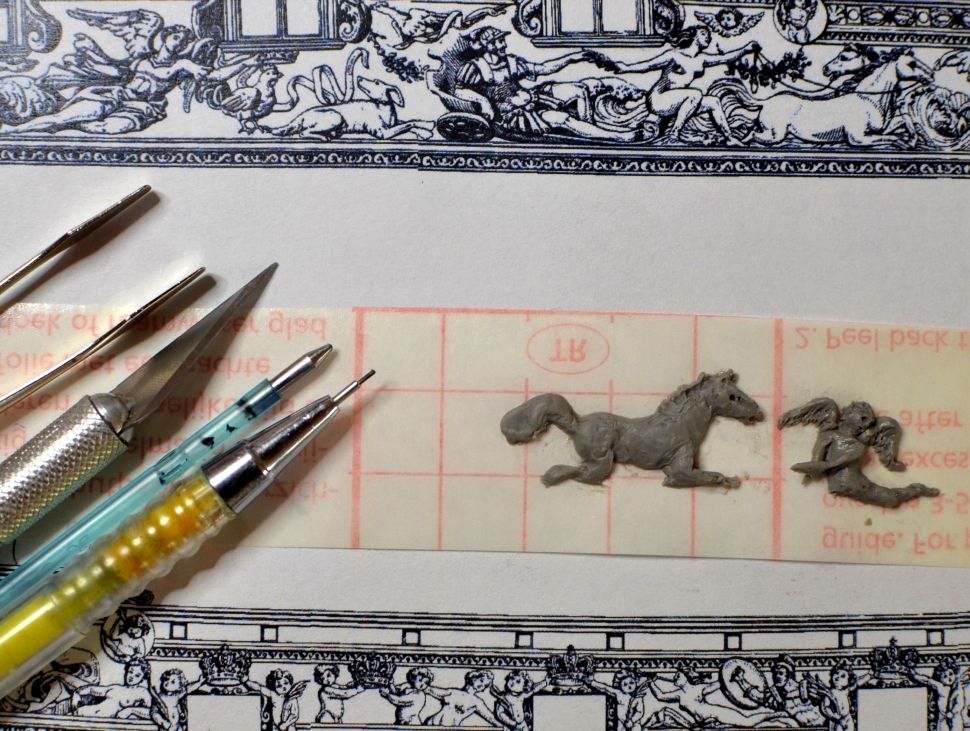
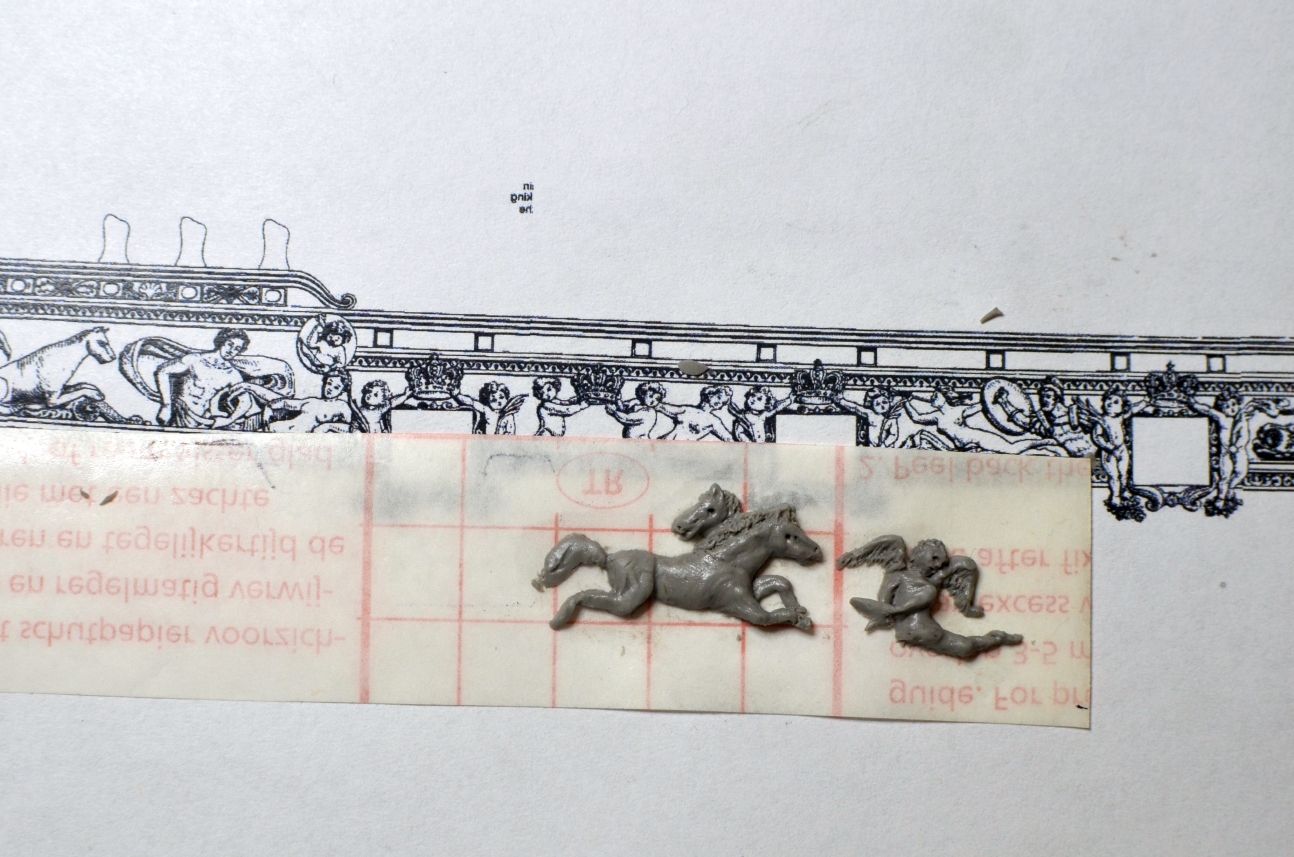
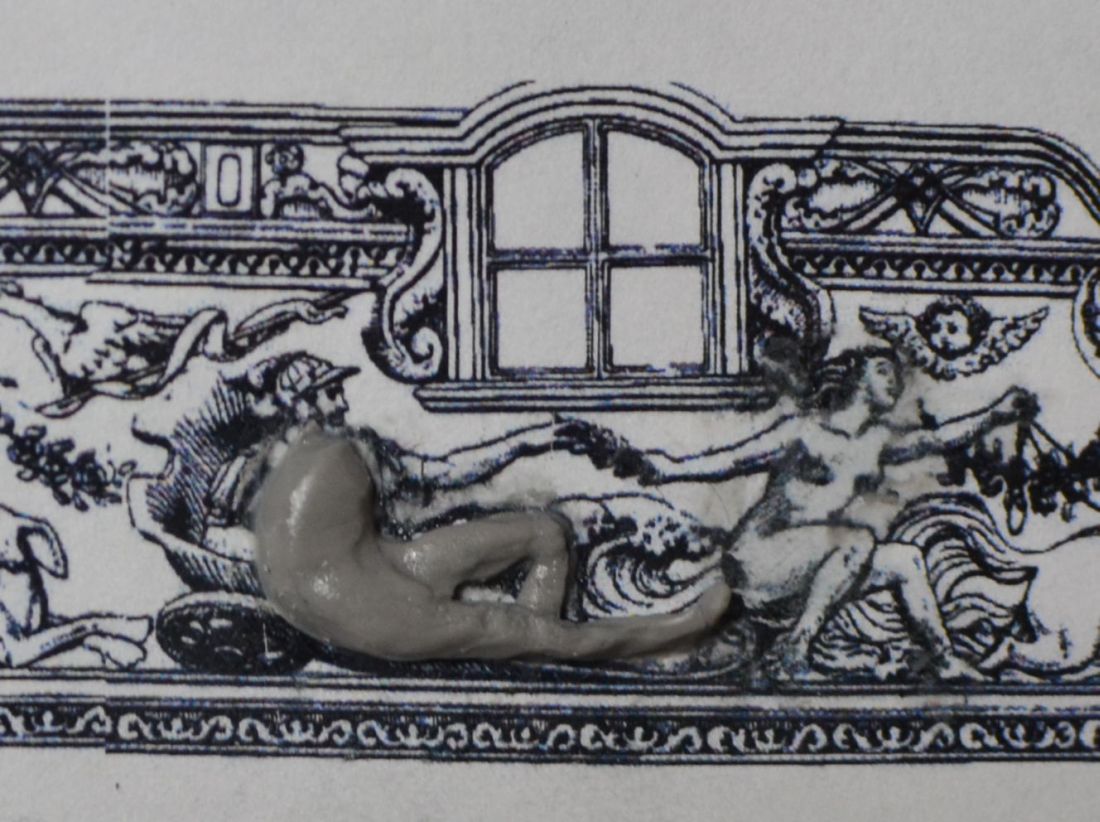
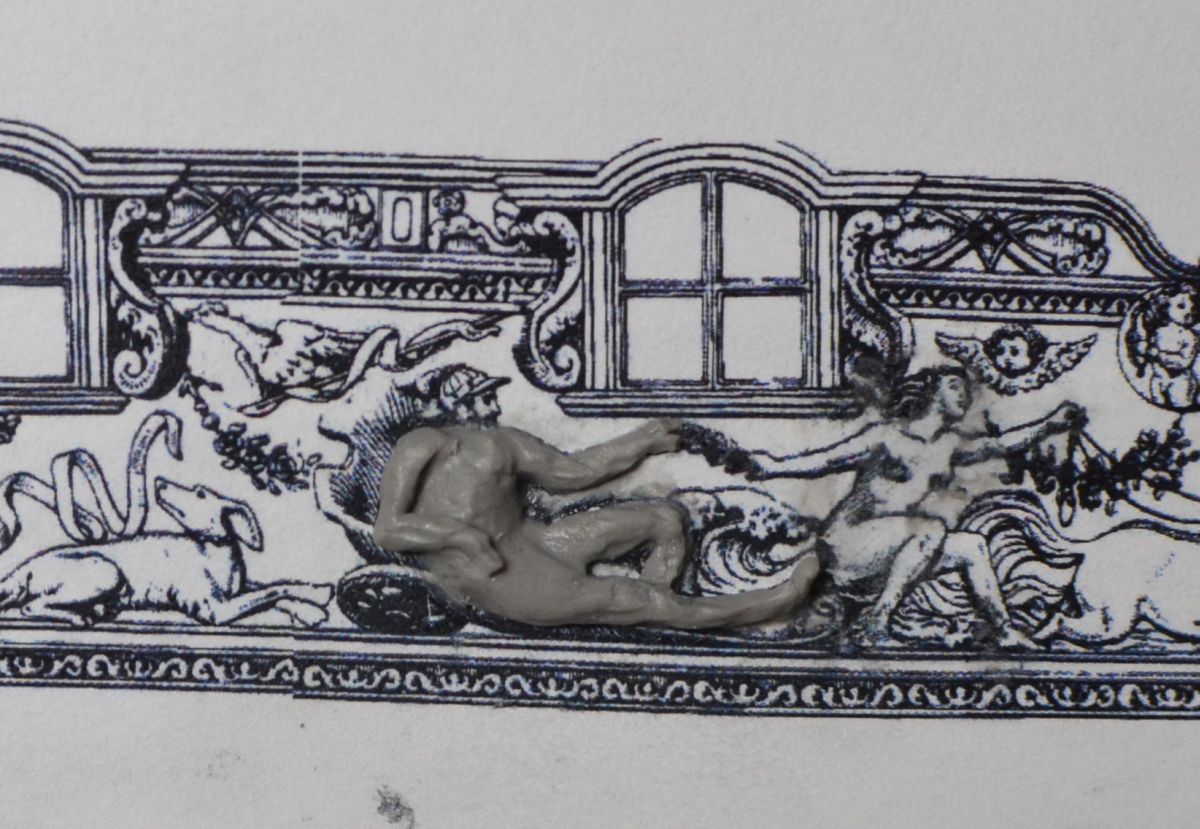
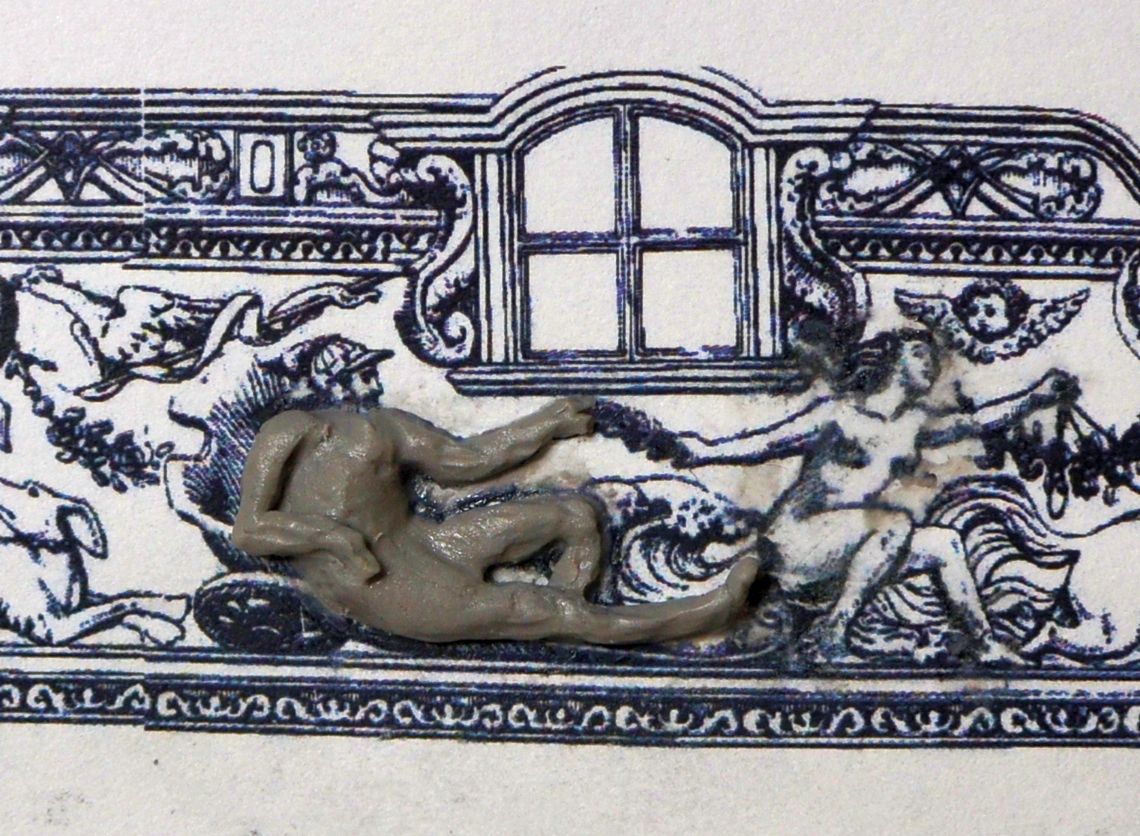
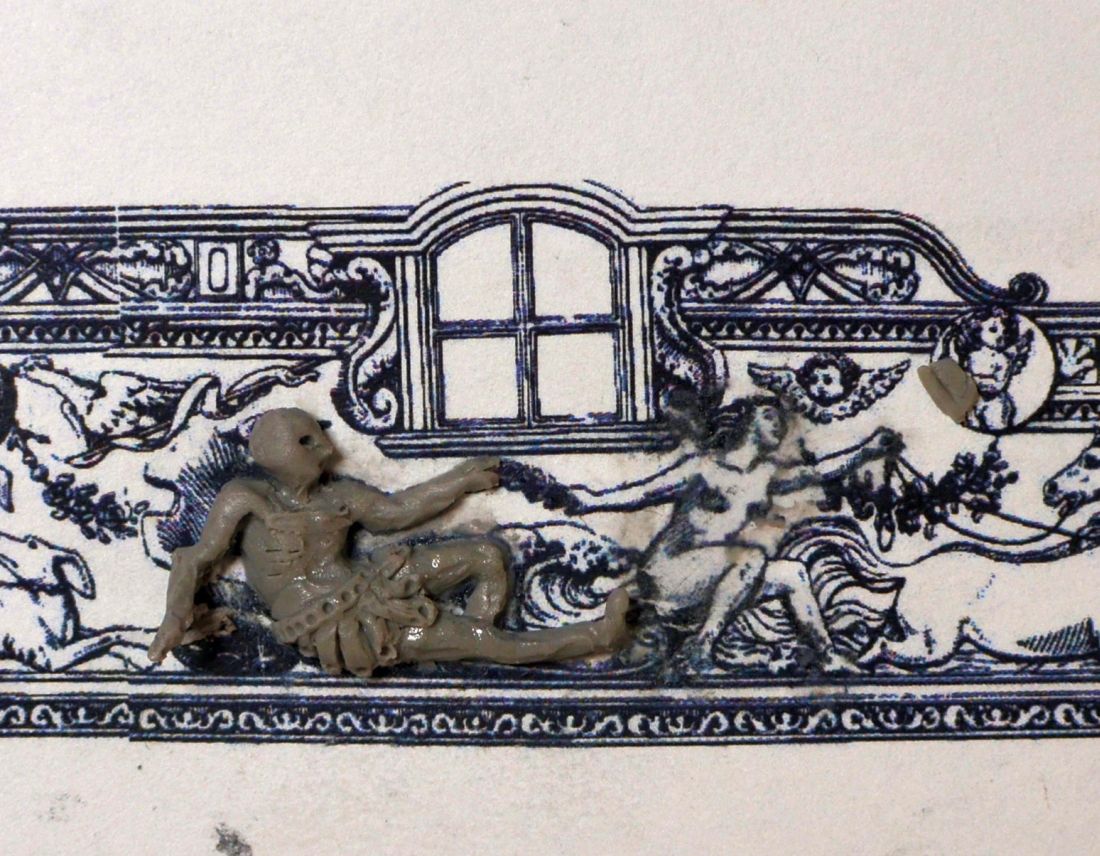
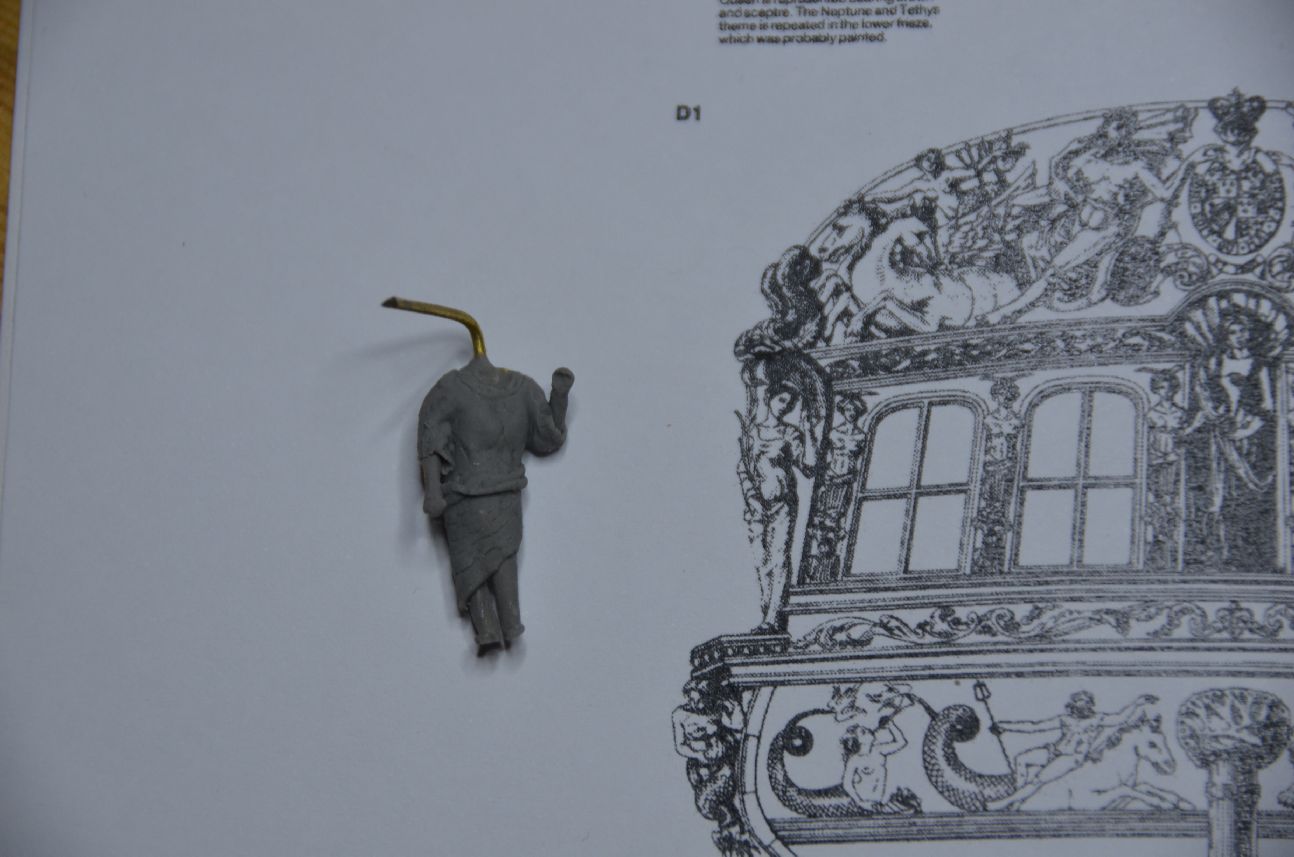
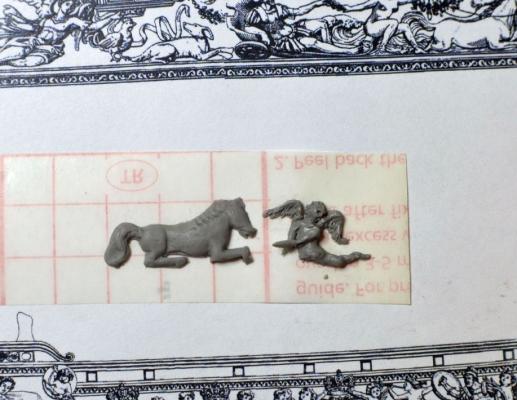
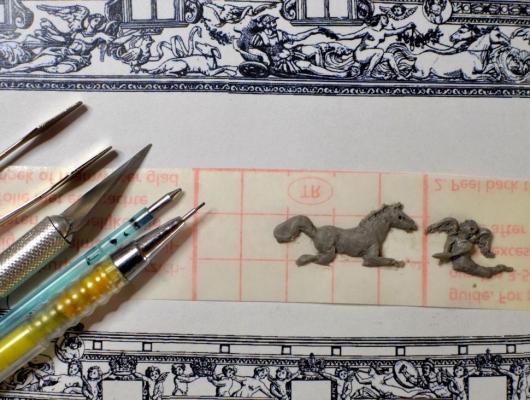
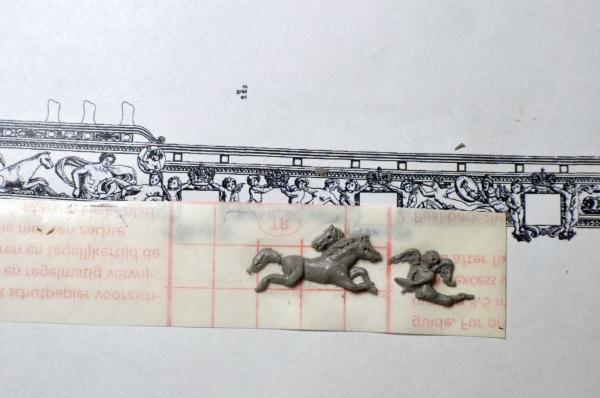
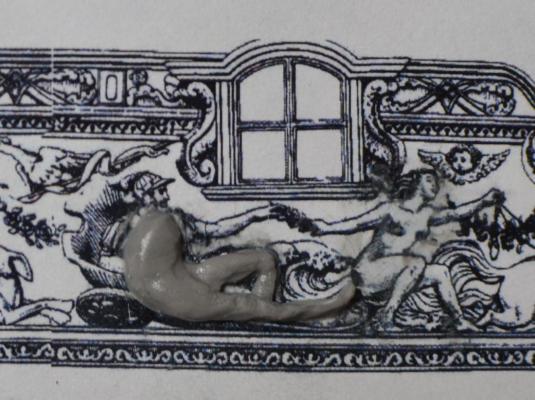
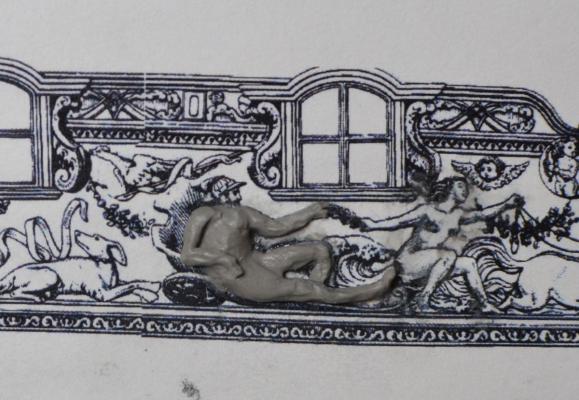
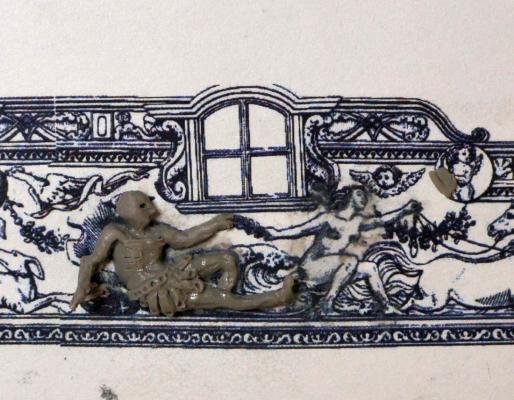
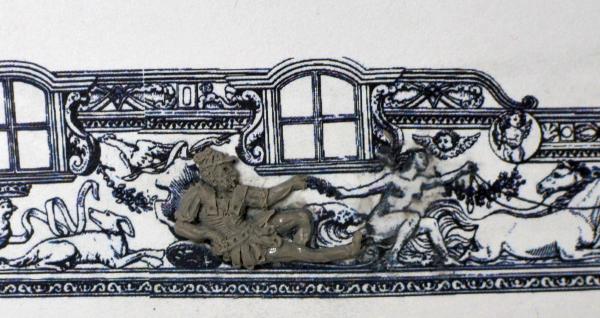
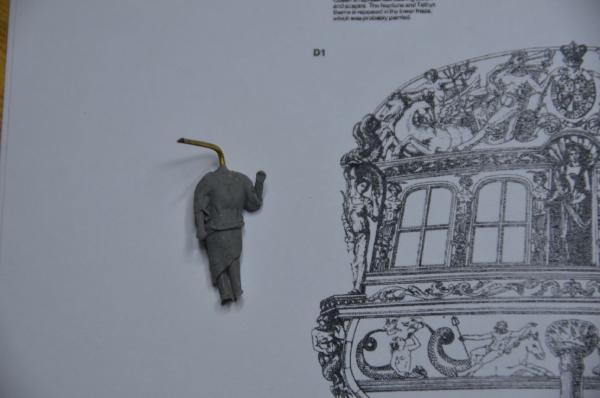
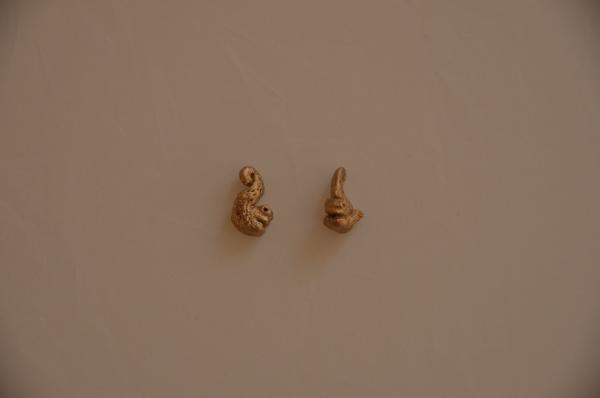
Hi, work on Sculpey ornaments continues. Currently I have started to sculpt the ornaments for the starboard. Here is little better captured progress of a few first sculptures. For the first two I have used the original kit ornaments and created a push mold and then used it for creating the base of the sculptures. However I am still less sure if that is really needed as usually those that I scratch come out better... Have a great day, Jan


-
Thanks Bob, I am also quite satisfied with the remake. I am happy that you like my sculpting work! Jan
-
Thanks a lot guys for your compliments!
-
Hi Vlada, you are off to a great start on the masts and rigging! Will of course keep up following your awesome progress! Best regards, Jan
-
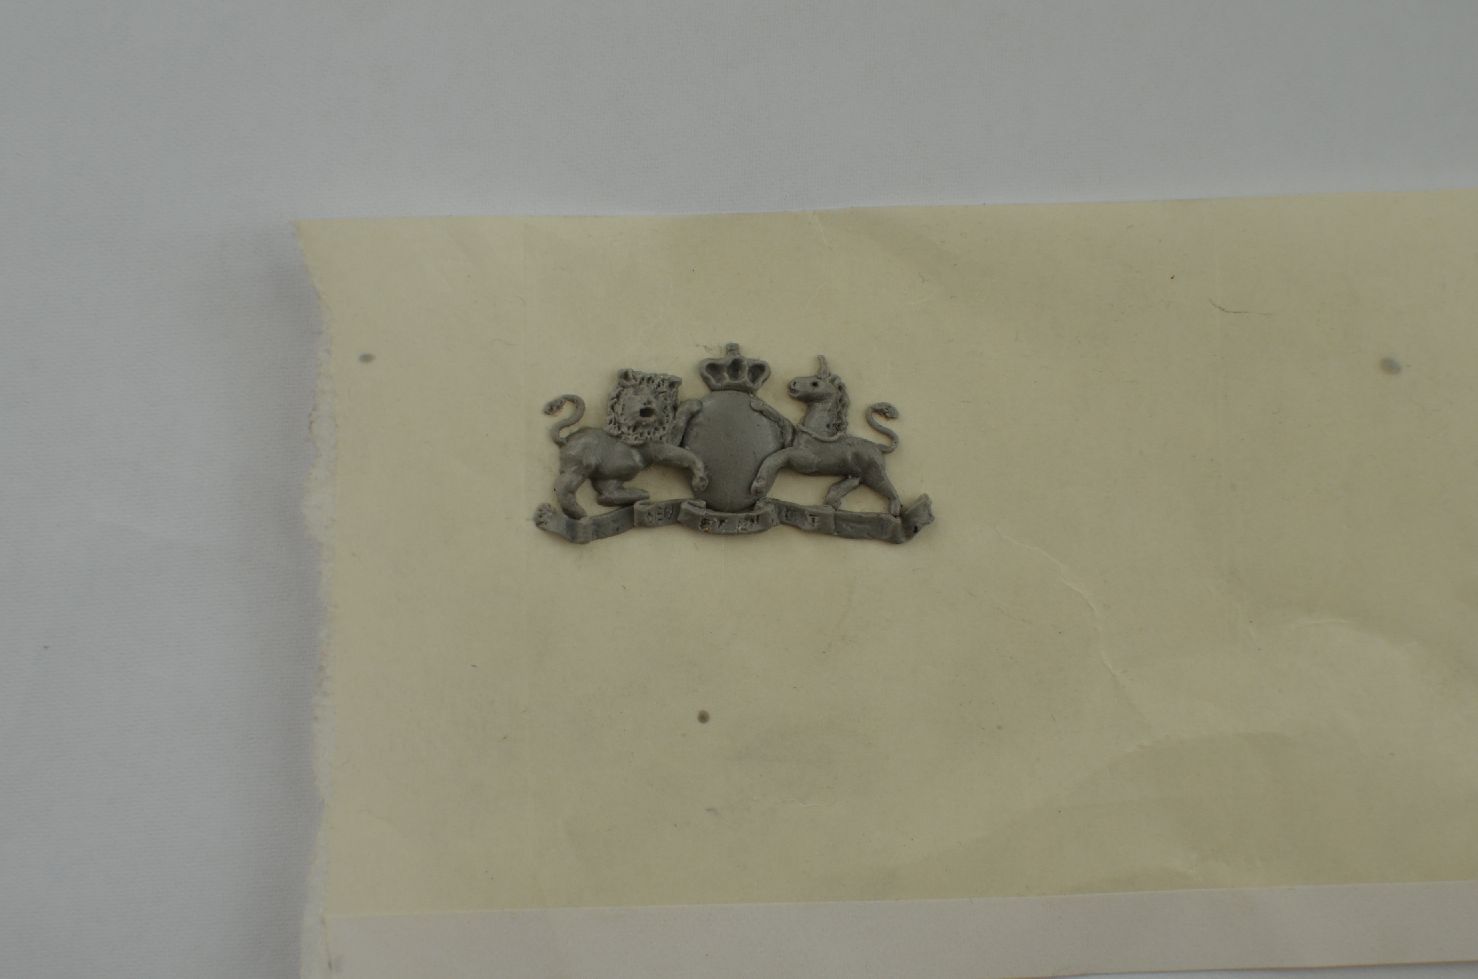
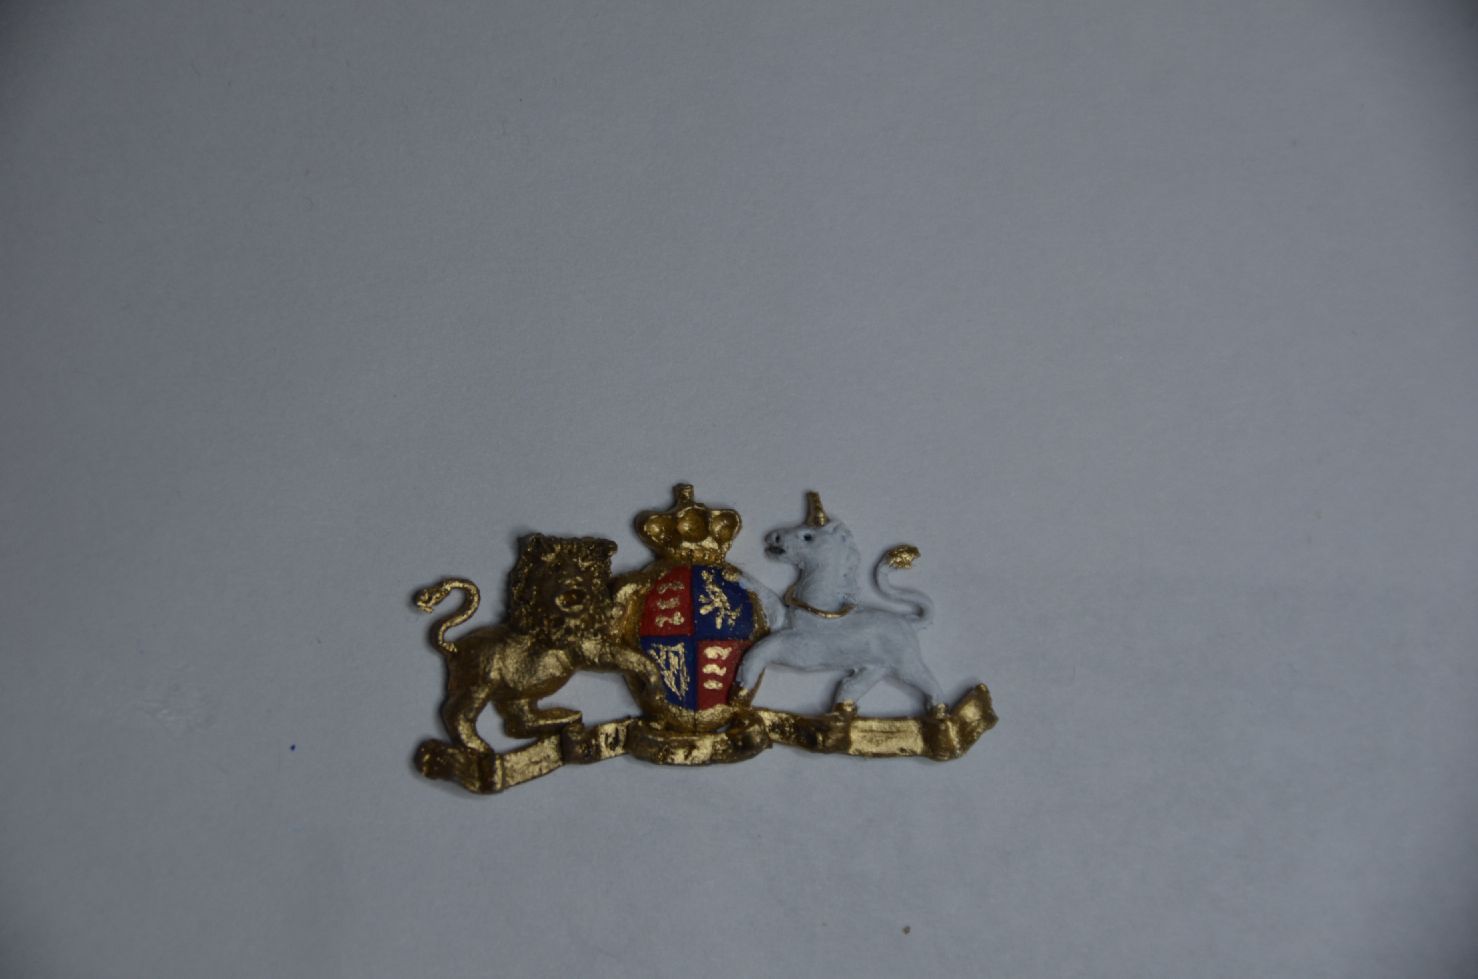
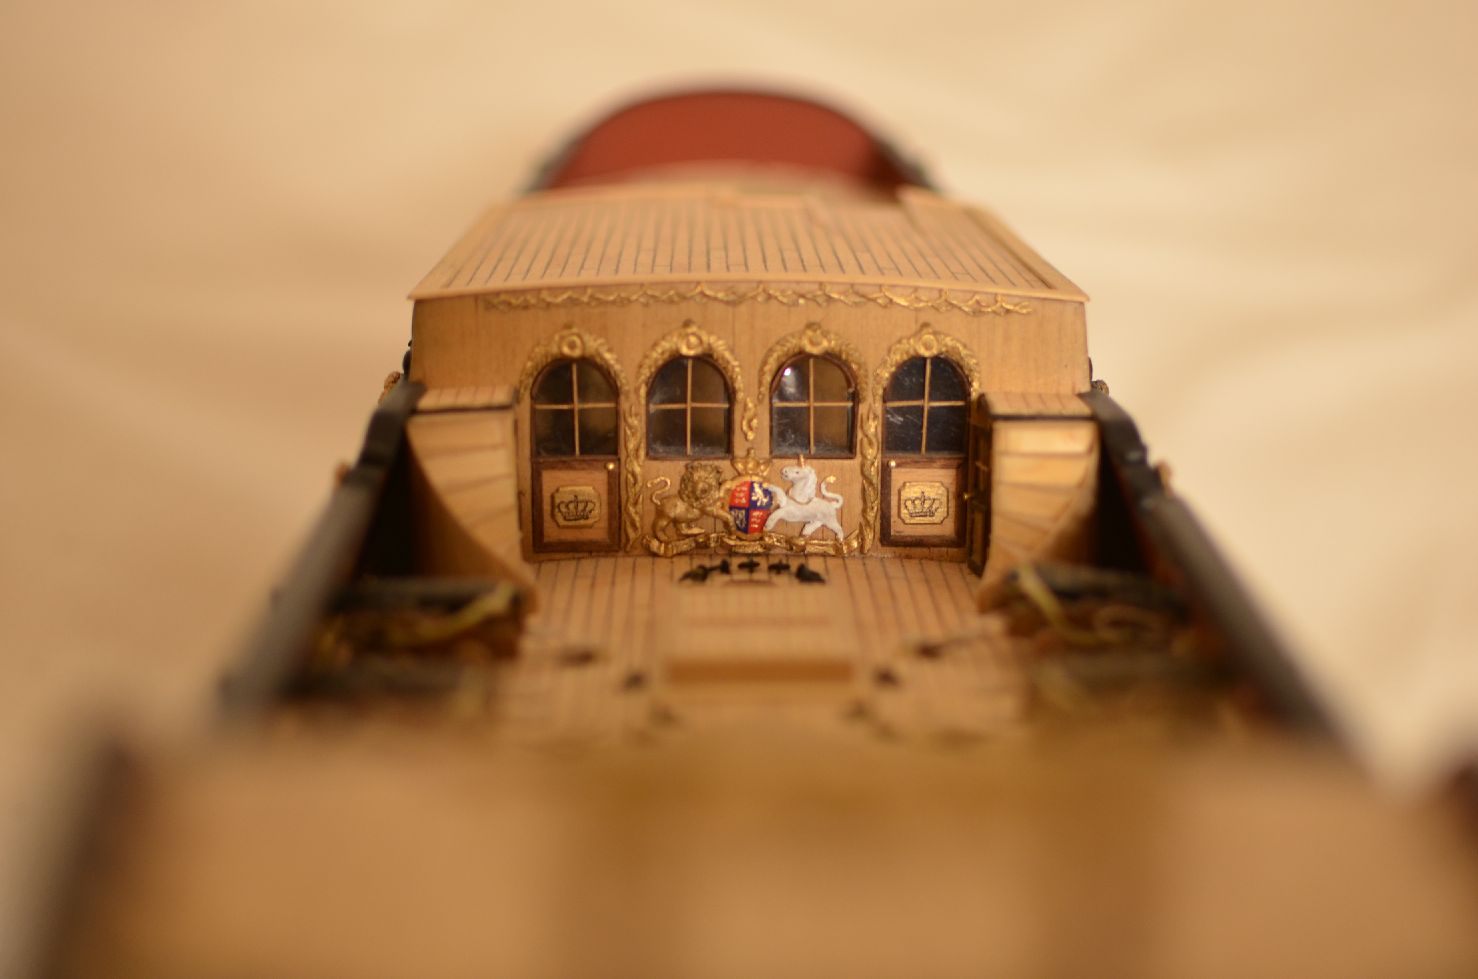
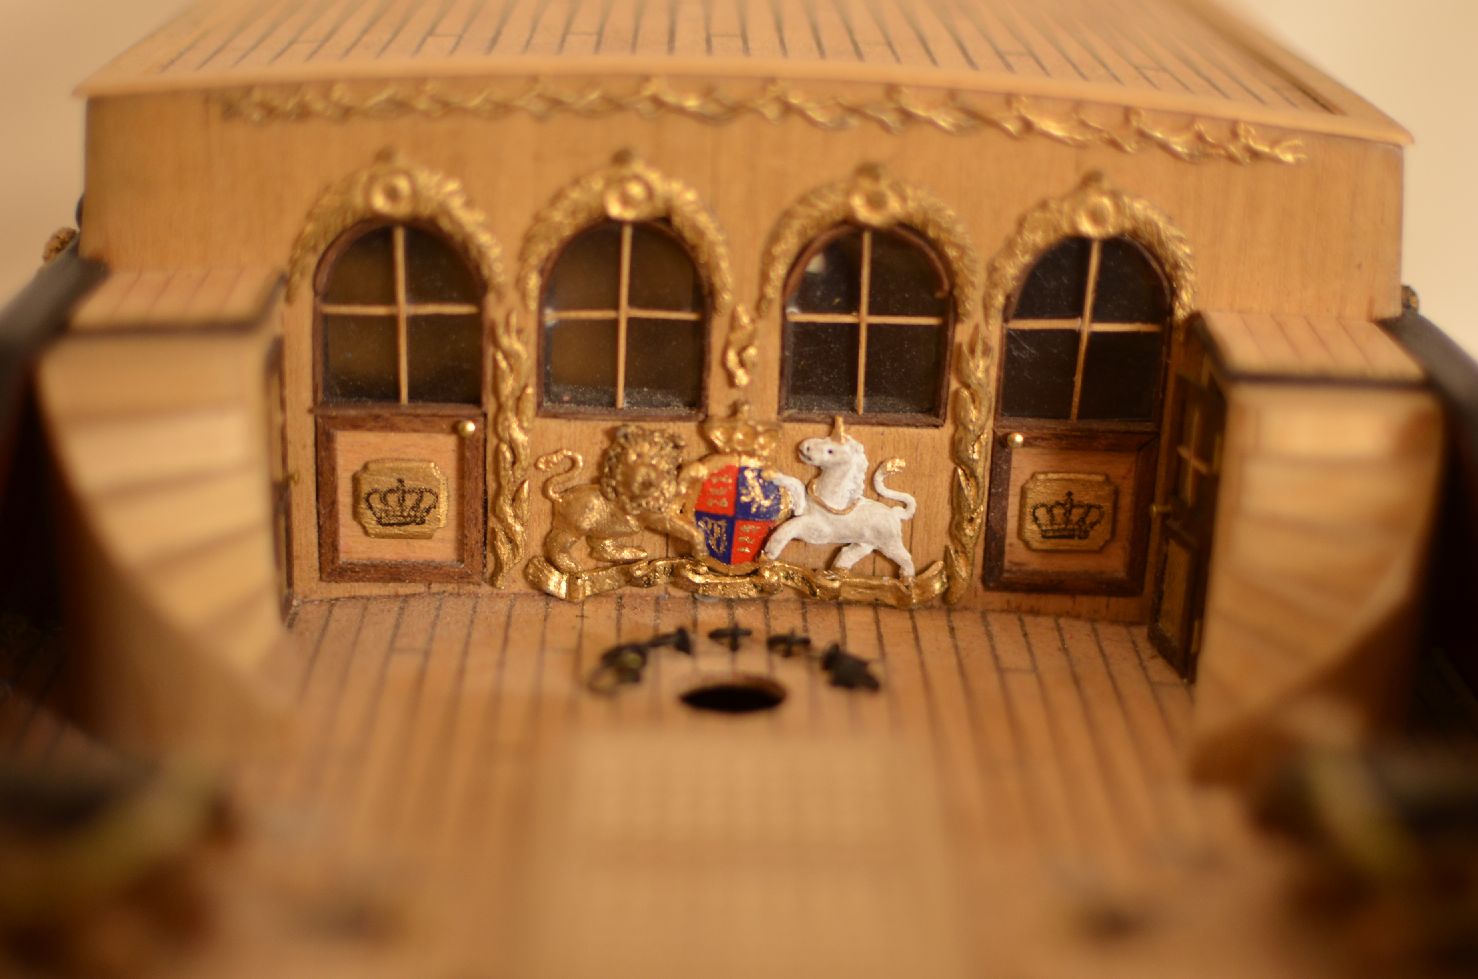
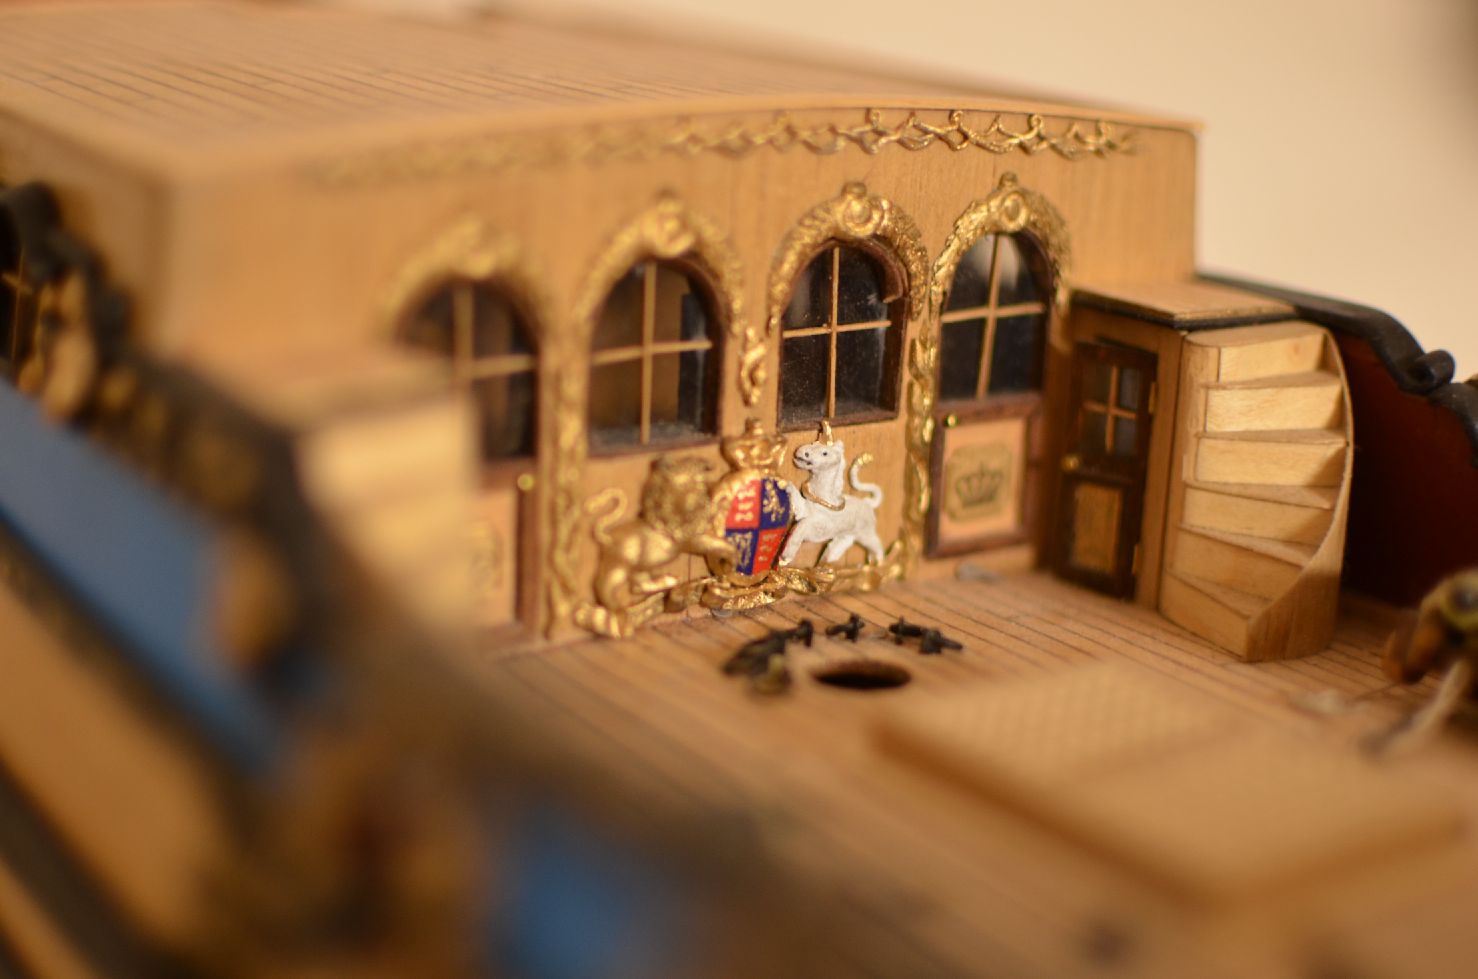
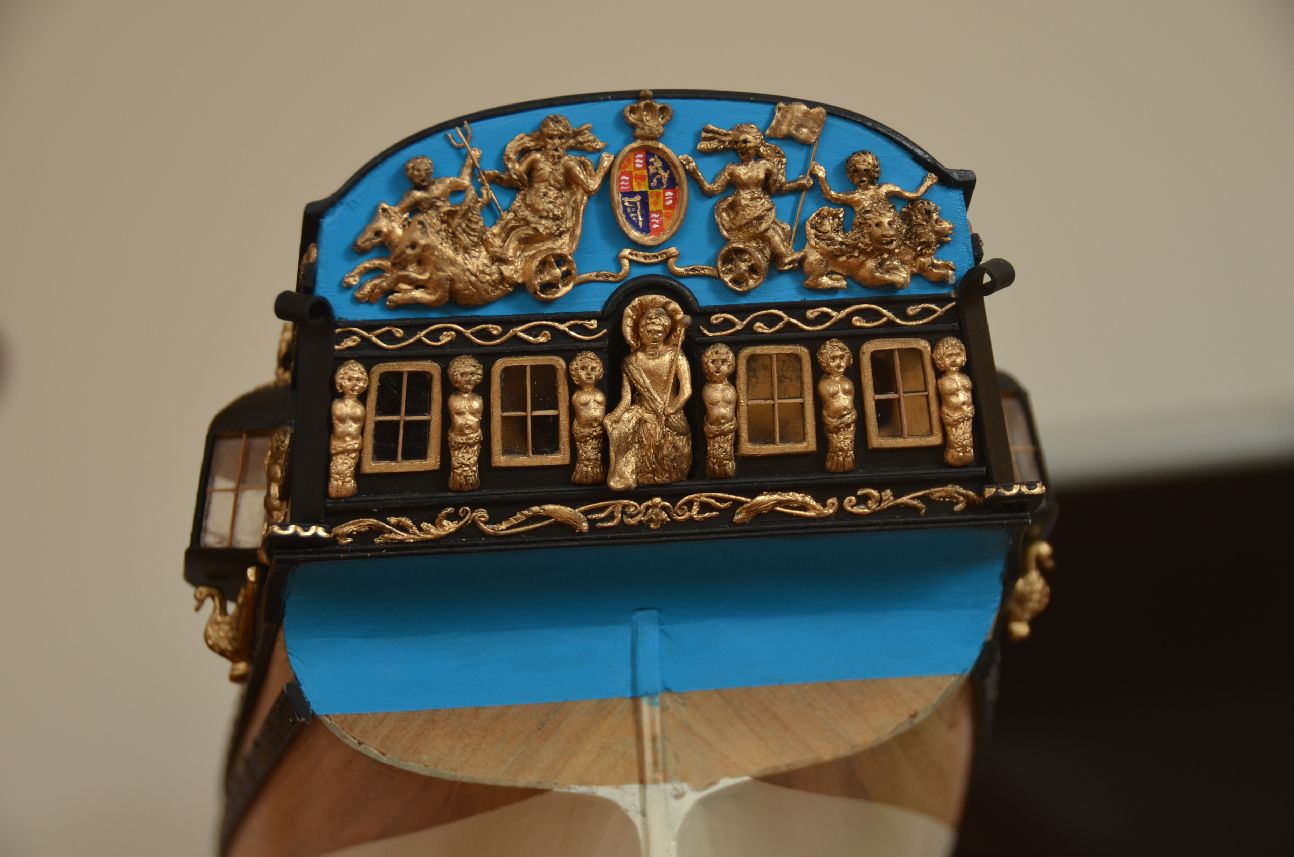
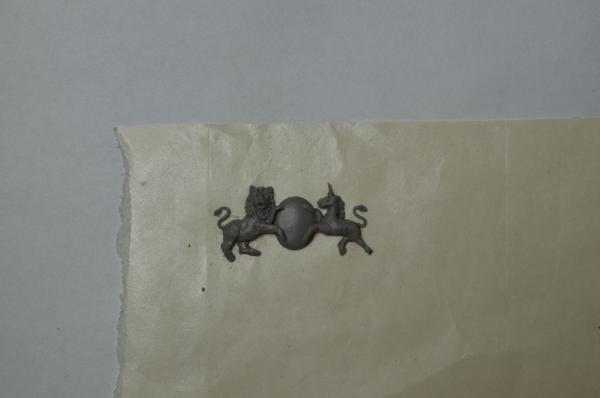
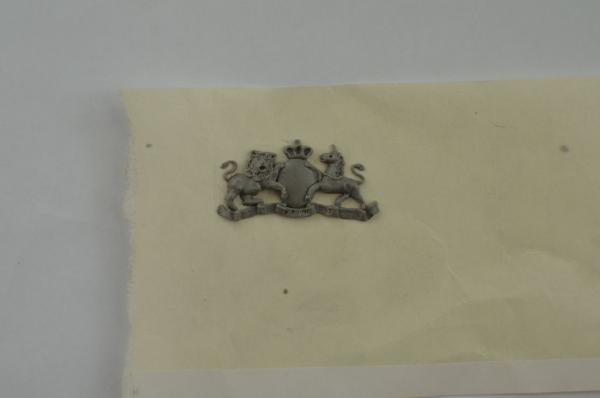
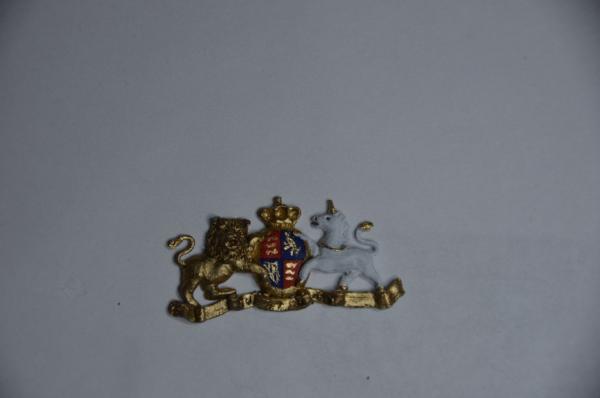
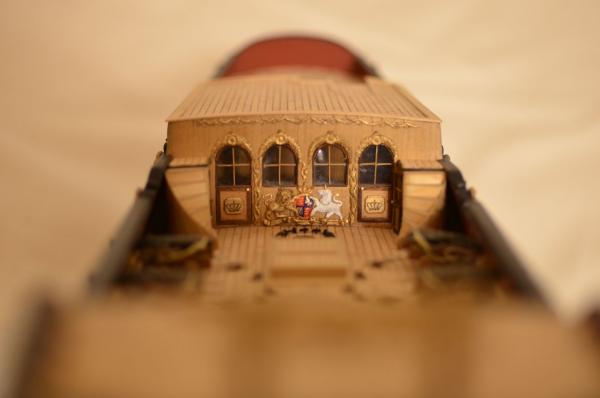
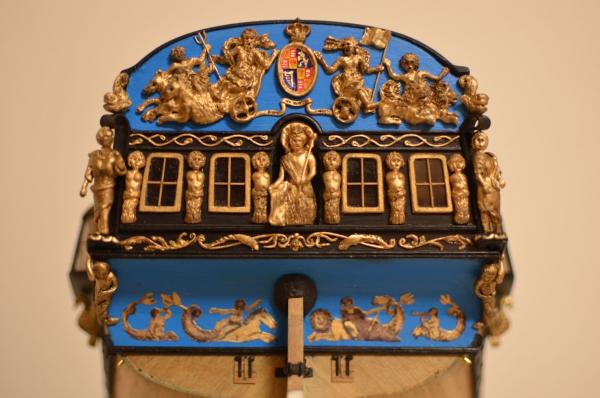
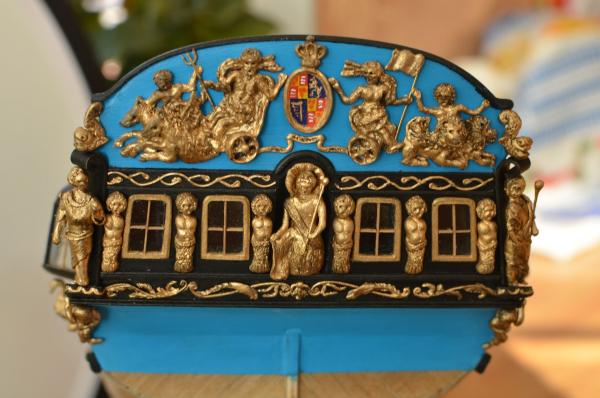
Hello, so some more progress on the Sculpey ornaments - this time the Royal coat of arms for the midships bulkhead. Also the stairs on the hull have been remade using wood and Sculpey. Jan


-
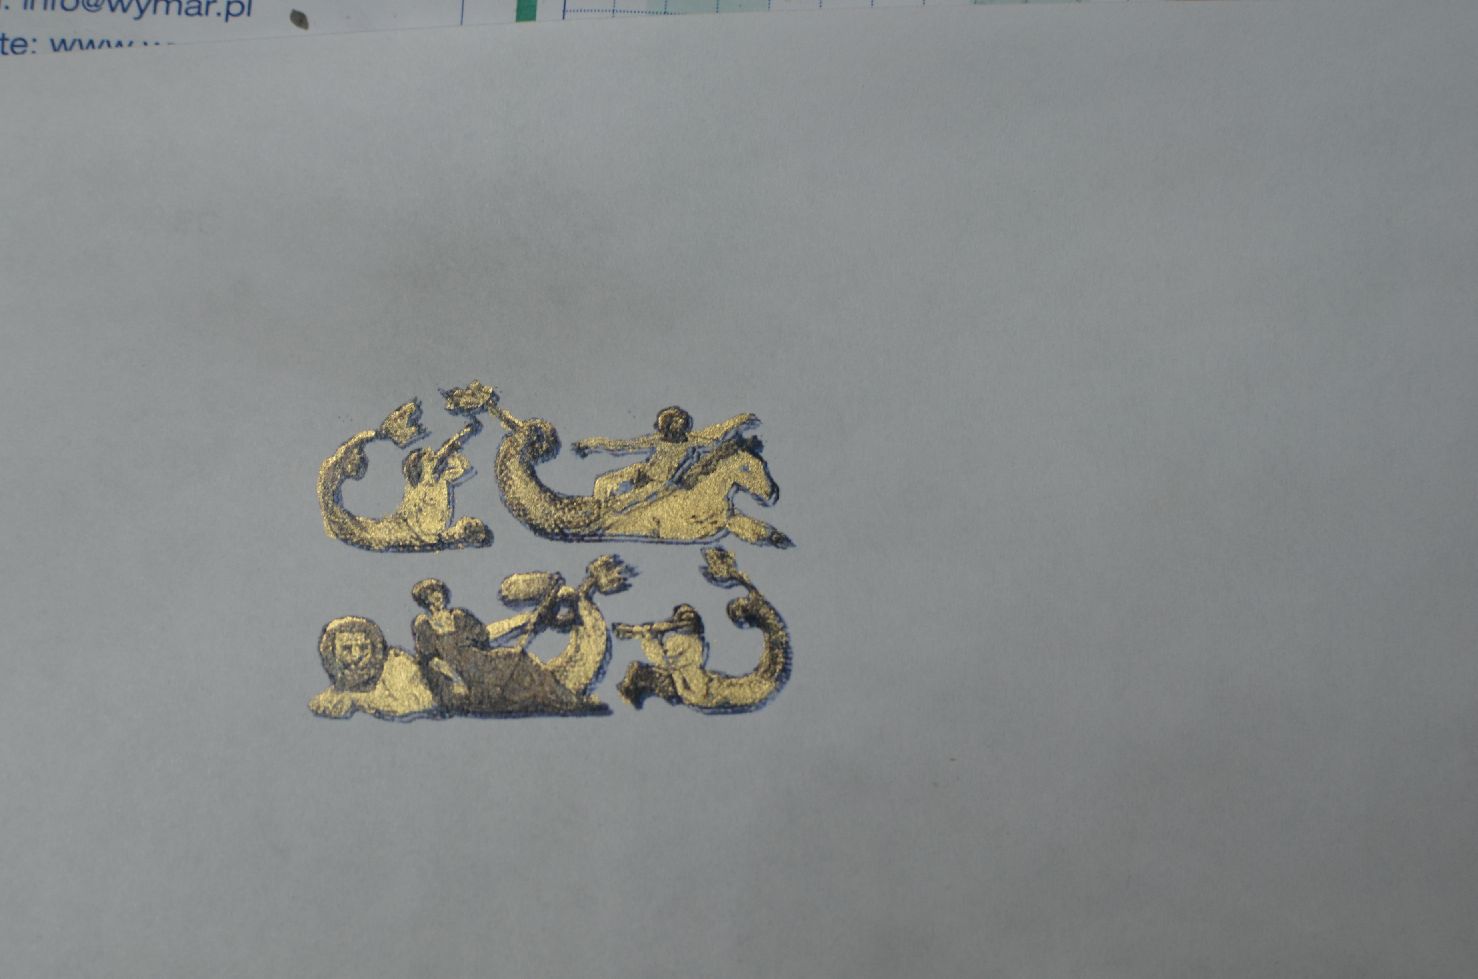
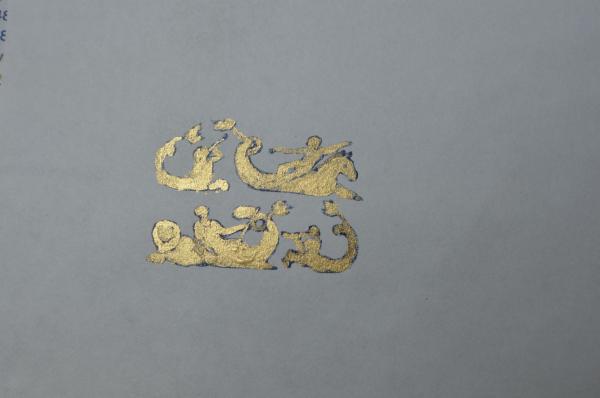
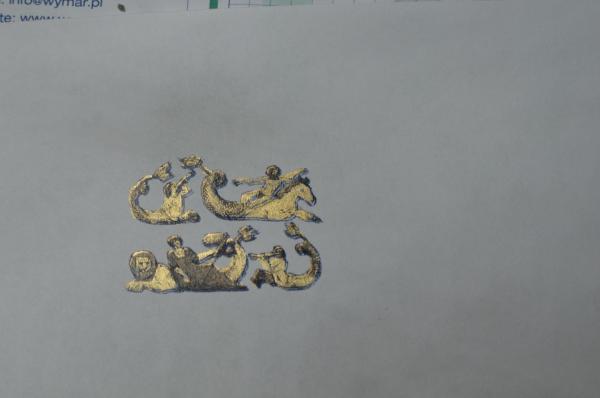
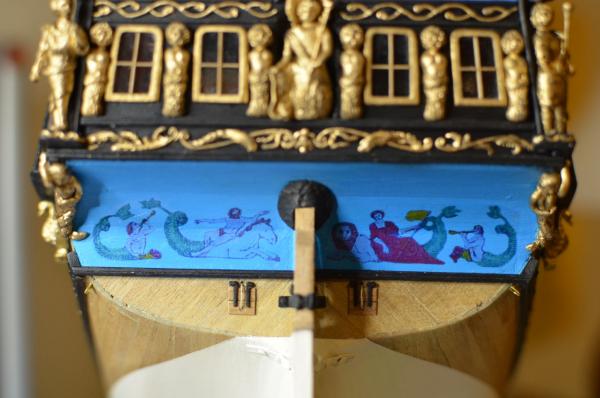
Hi Bob, thank you for your comment and suggestions. I have finally given up with the colorful print and instead I used office white paper that I covered first with golden color and then printed with black only. Then I needed to cut out the pattern and apply a little of golden color on the edges so that the white would not be seen. See the pictures... I think the golden scheme looks better and does not stand out so much in contrast to the other ornamentations. Cheeers, Jan
-
Hi Marc, thanks for your positive comment! The cat is actually Ragdoll and indeed he is quite nice. Cheers, Jan
-
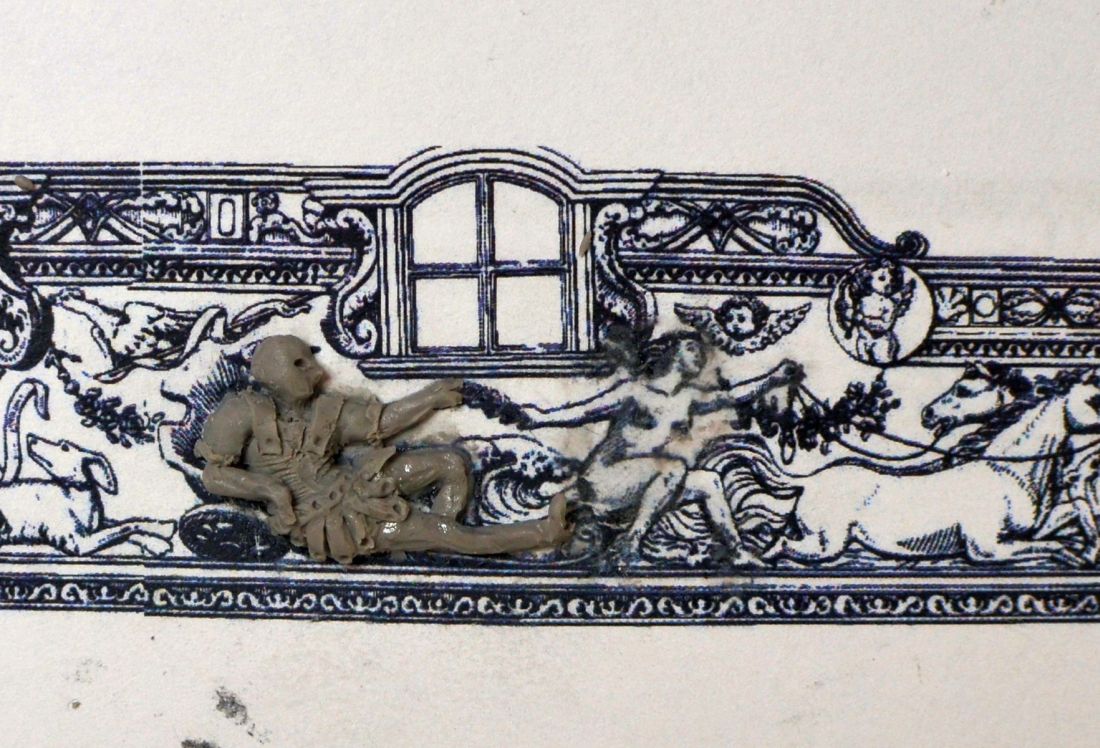
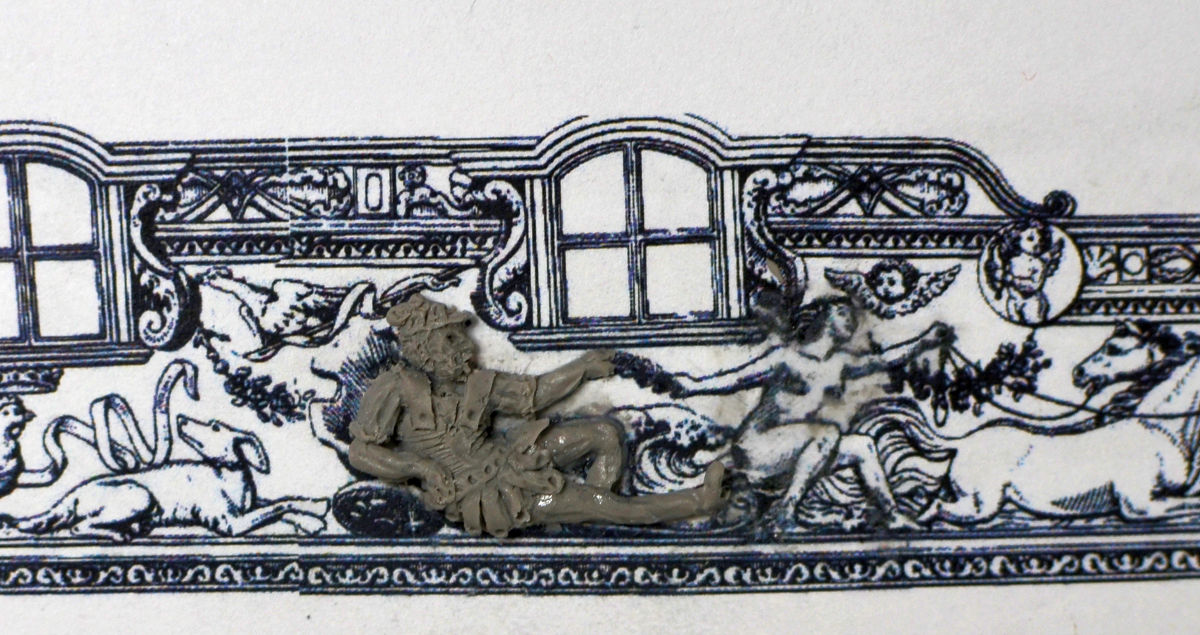
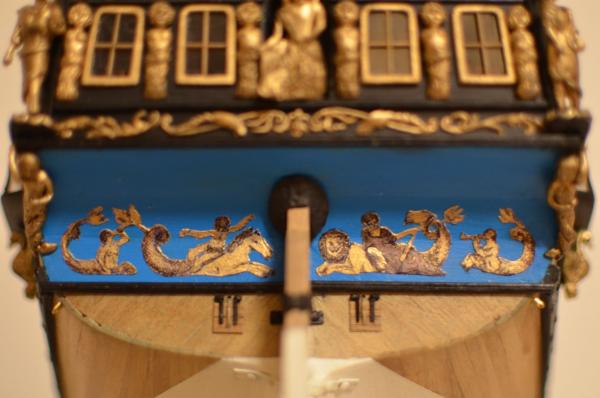
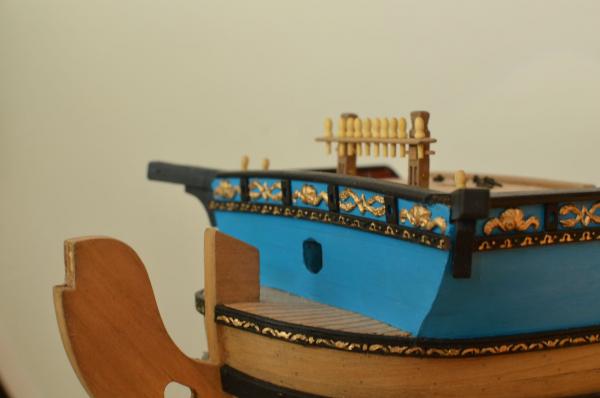
Finally here is my first attempt on the ornaments on the lower part of the stern. I have printed the pictures on a decal paper but I am not sure if the colorful images look right there. So I am currently trying some different way and will probably replace those... Also the rudder is visible on its place painted with white color. Cheers, Jan

-
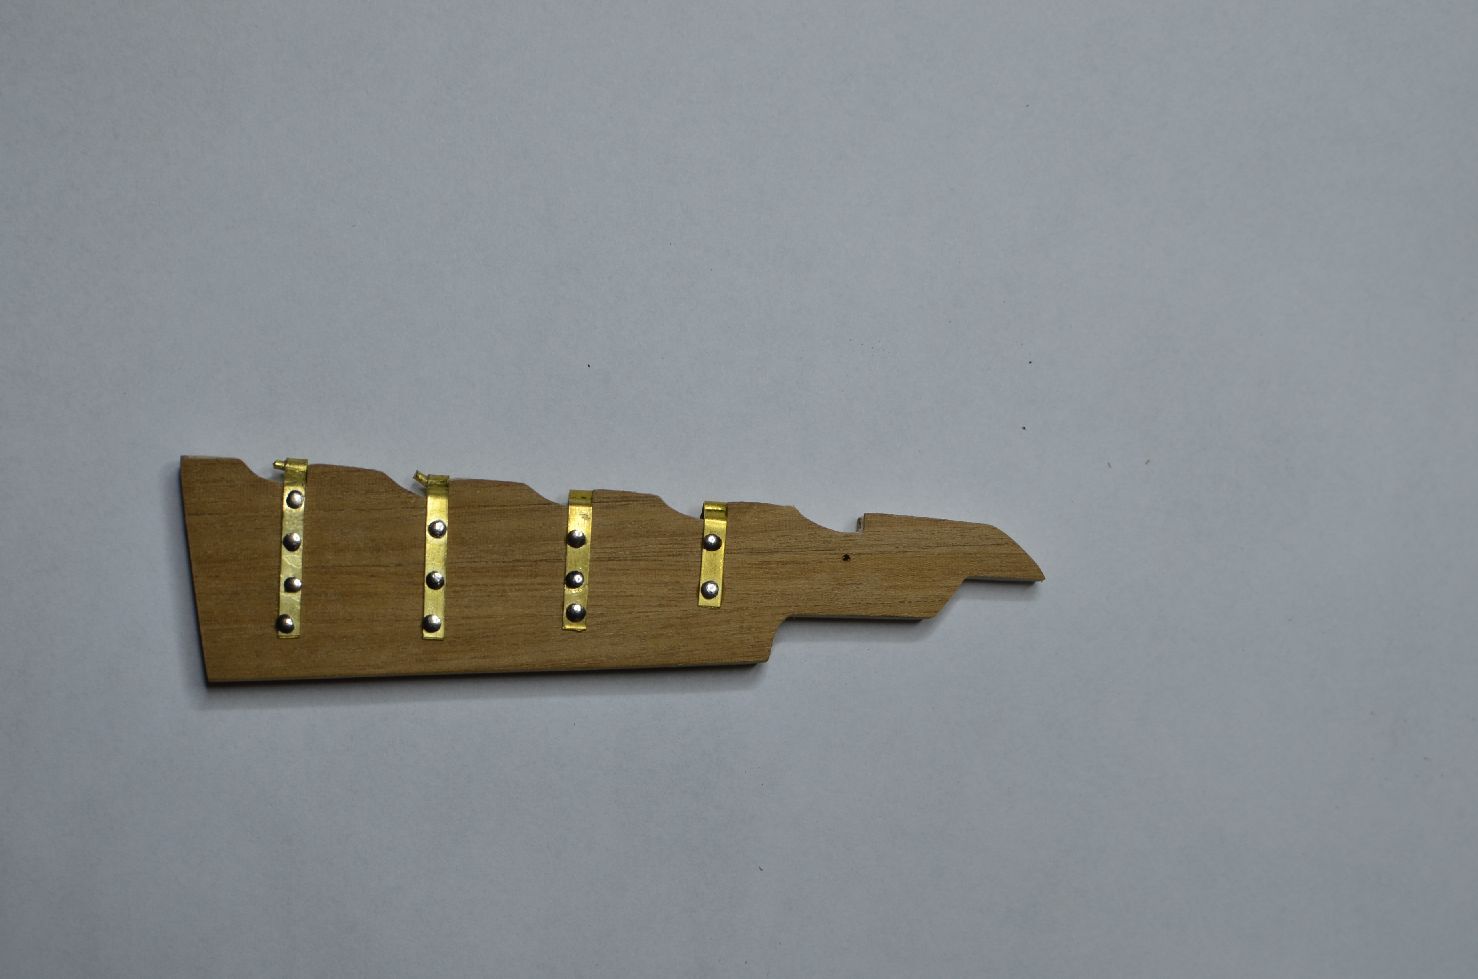
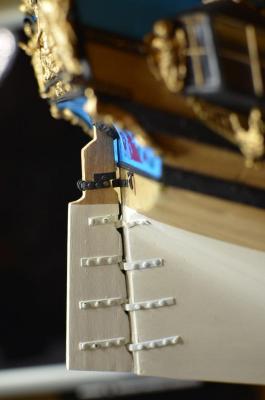
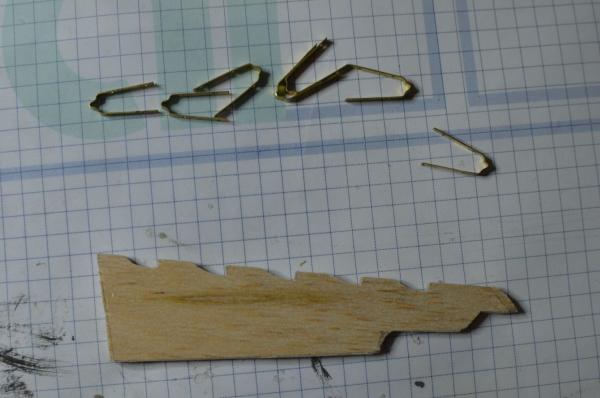
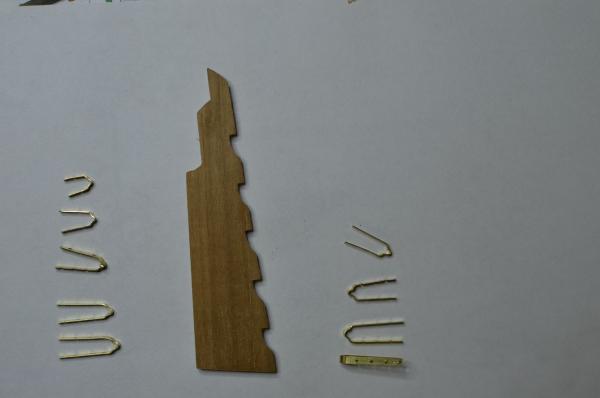
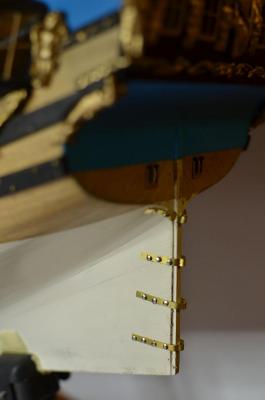
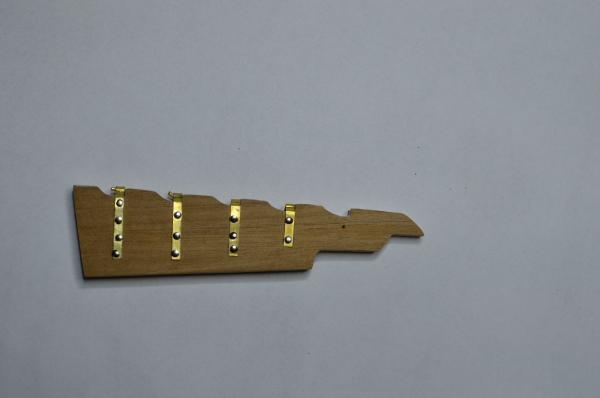
Construction of rudder. I haven't used the supplied plywood parts however I have made my own using balsa wood which was covered by 0.5mm walnut planks to match the color of the ship. I have made some own hinges from brass.
-
Hi dear visitors, there is some more progress on the model. Another Sculpey ornaments added to the ship...


-
Hi Jack, I have found your RC in the gallery and it really looks nice. The Humbrol color scheme is also looking fine. Nevertheless I am going to keep this color, hopefully it won't be so bad in the end. In case you will build this kit again definitely look also at the build log of Marsalv who is doing really great job on RC - many things I am not able to tackle with such a high level of precision as he does... Cheers, Jan
-
Hi Jack, thanks for your comment. Definitely go ahead and try Sculpey yourself. It needs some practice that I am still gaining and quite a lot of patience but the options are endless. Doris work is definitely an ideal and master work that I can only adore so far. Actually the blue is probably less bright in reality than on those pictures. However there are people who prefer the previous blue while some like this one more. I am still not sure which shade is actually the closest to the real RC... Do you have a build log of your model? Cheers, Jan
-
Hi Edwin, I am very glad that you like my build! You are welcome.:-) Best regards, Jan
-
Hi David, I am very glad that you like my build. I am certainly enjoying the build. Definitely go ahead and try Sculpey or some other clay of this kind. I am still learning with it... Cheers, Jan
-
Simply amazing work on the lanterns!!! When I get to this phase I will definitely take some inspiration from how you have made them. But definitely they won't go out as great as yours... Keep up the great work!
-
Thank you very much, marsalv!
-
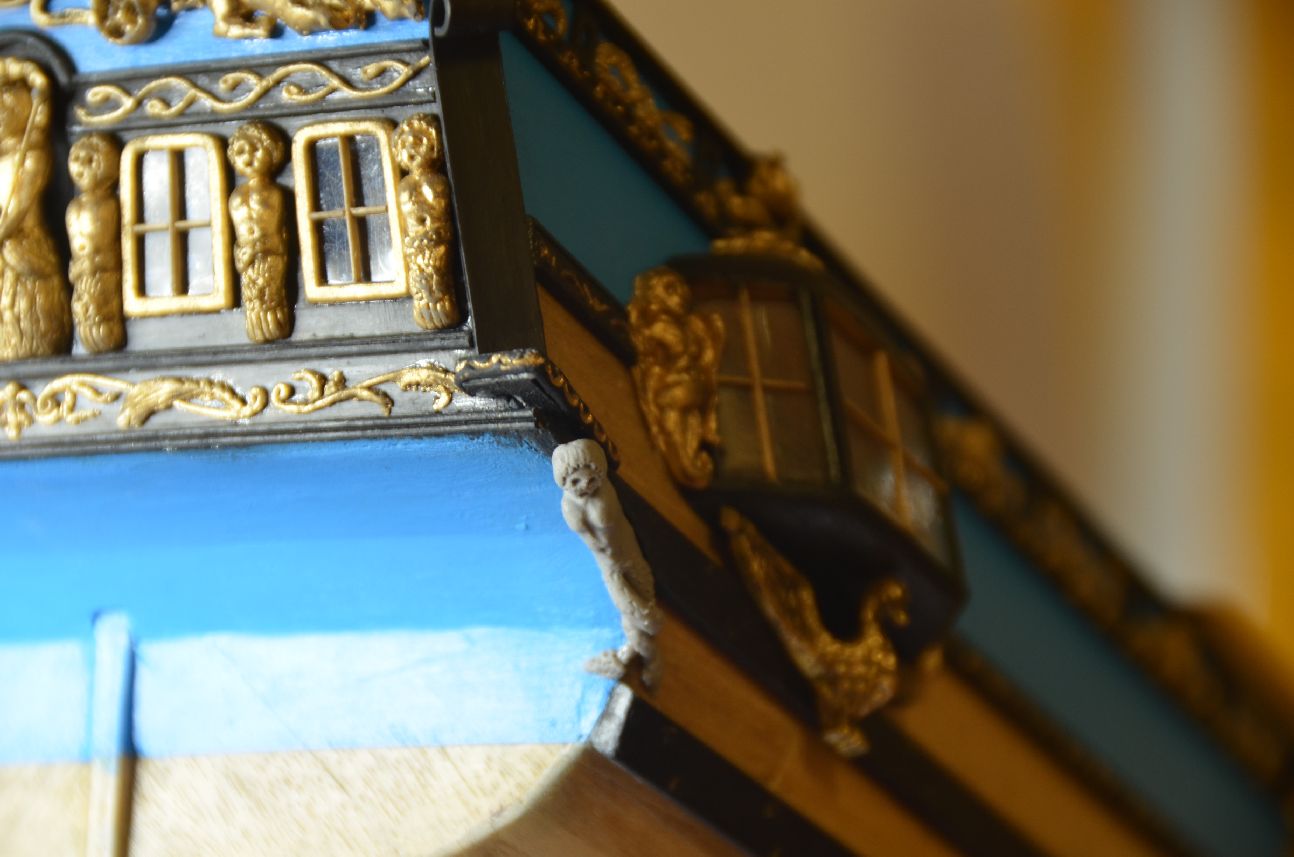
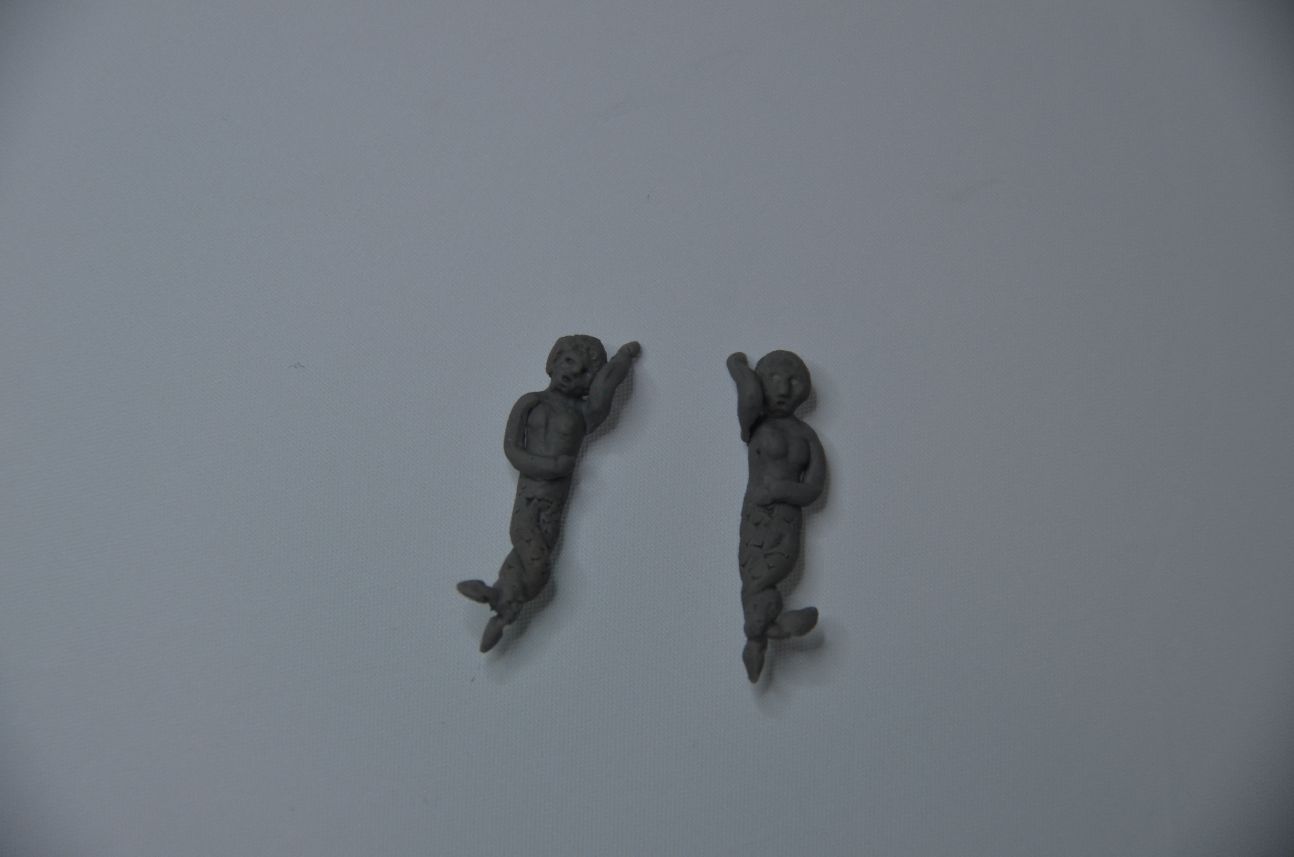
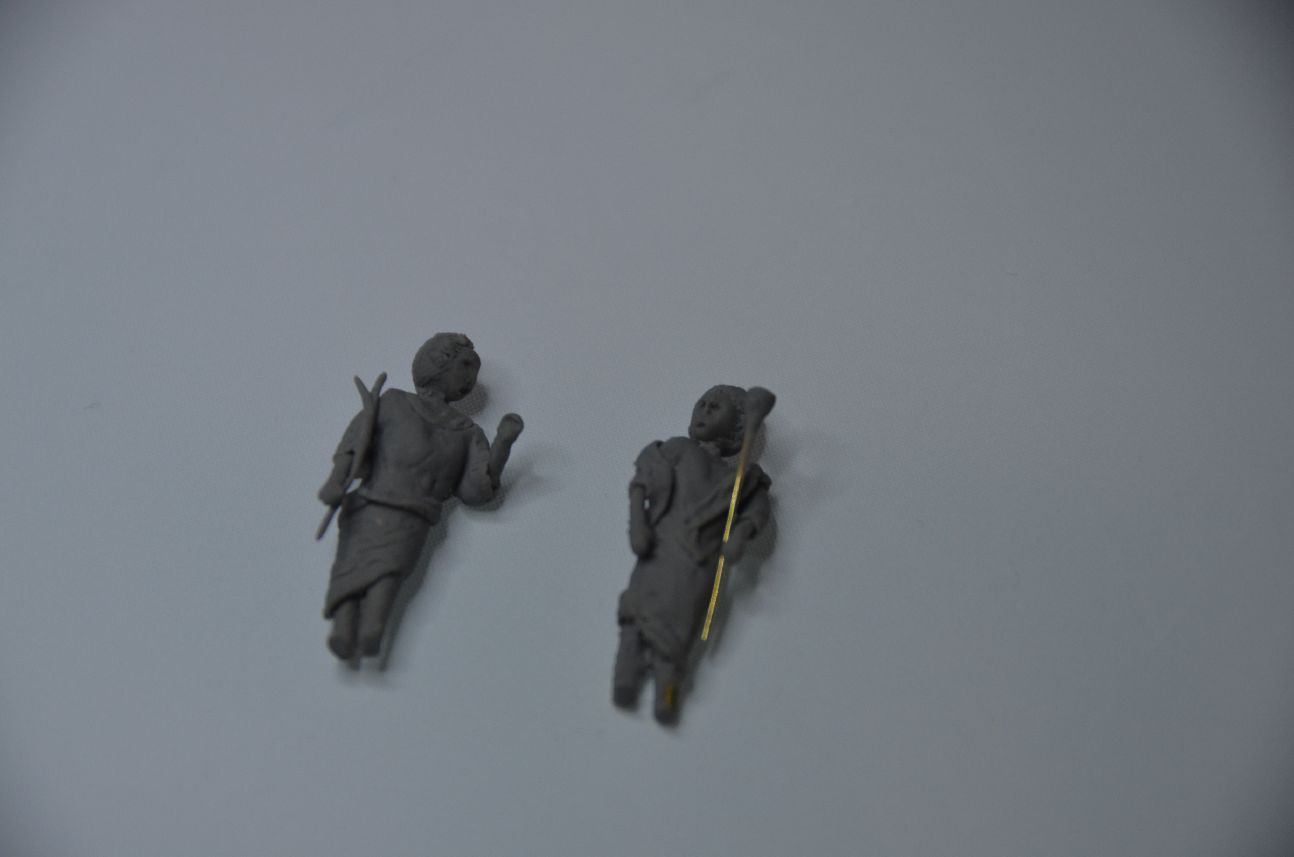
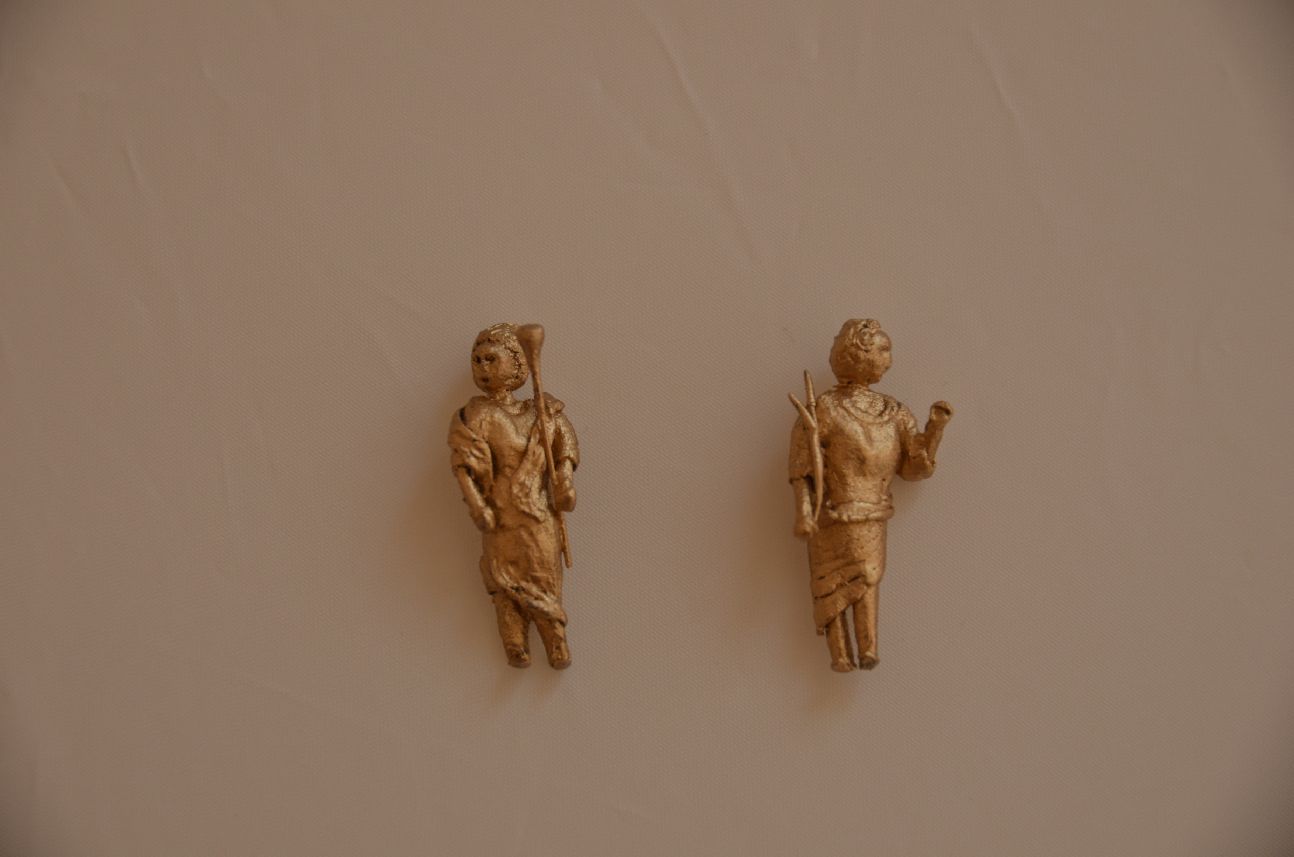
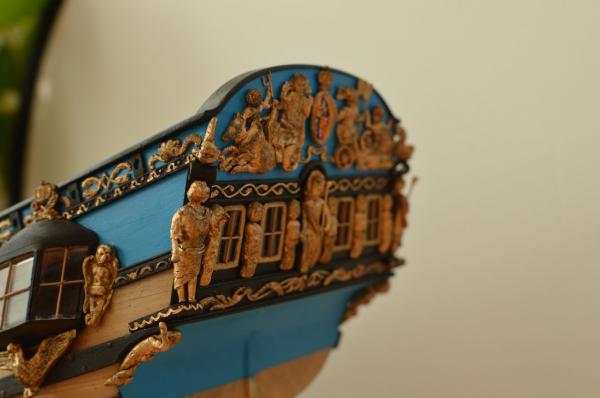
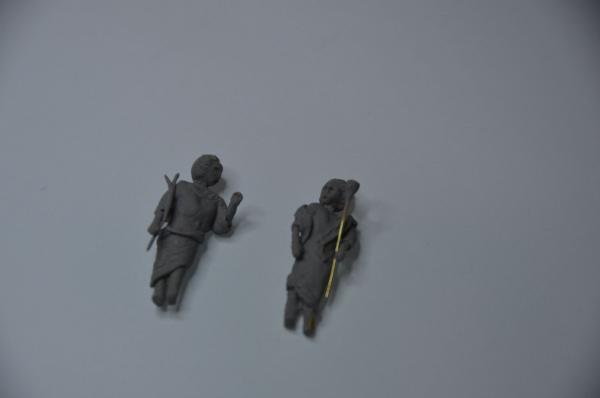
Little more update on finishing the stern gallery. I have been carving addtional statues from Sculpey. It is almost done, I just need to do a little patina effect and glue those on their places.


-
Wow, the boat came out just perfectly!!! May I ask you how you made the decorative ornaments? Did you carve them from wood? Excellent work! Jan
-
Thank you Nils! I am glad you like it! Jan