HOLIDAY DONATION DRIVE - SUPPORT MSW - DO YOUR PART TO KEEP THIS GREAT FORUM GOING! (Only 72 donations so far out of 49,000 members - Can we at least get 100? C'mon guys!)
×


Kimberley
-
Posts
123 -
Joined
-
Last visited
Content Type
Profiles
Forums
Gallery
Events
Everything posted by Kimberley
-
Thank you Ian. I really appreciate you taking the time to describe and show me your pin vises. Now I have a better idea of what it is. I have to go get paint for my new Santa Maria, so I will look for a pin vise. I also need to work on measurements. I need to find a good ruler. My math skills are very rusty. I can probably find something online that will compute certain things for me. I think I got it now. I totally finish my hull, the bottom part of the ship, and then work on the top part of the ship. Is that correct?
-
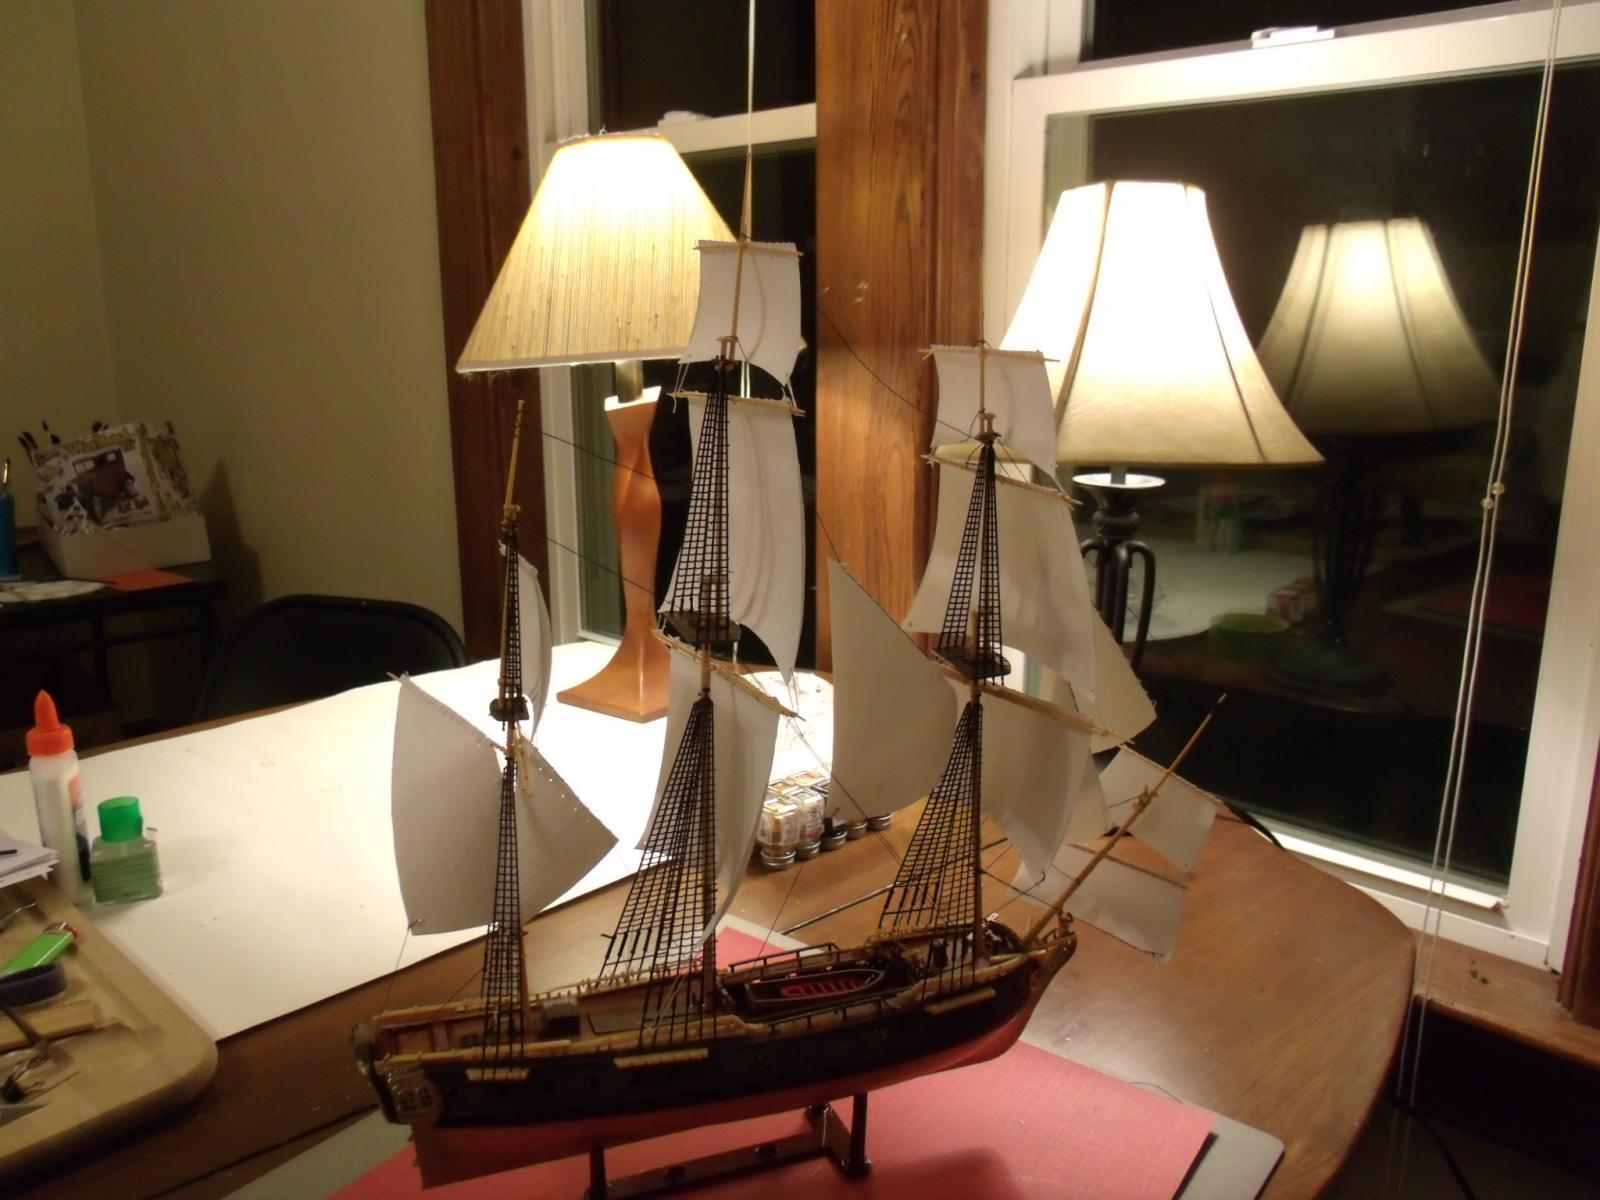
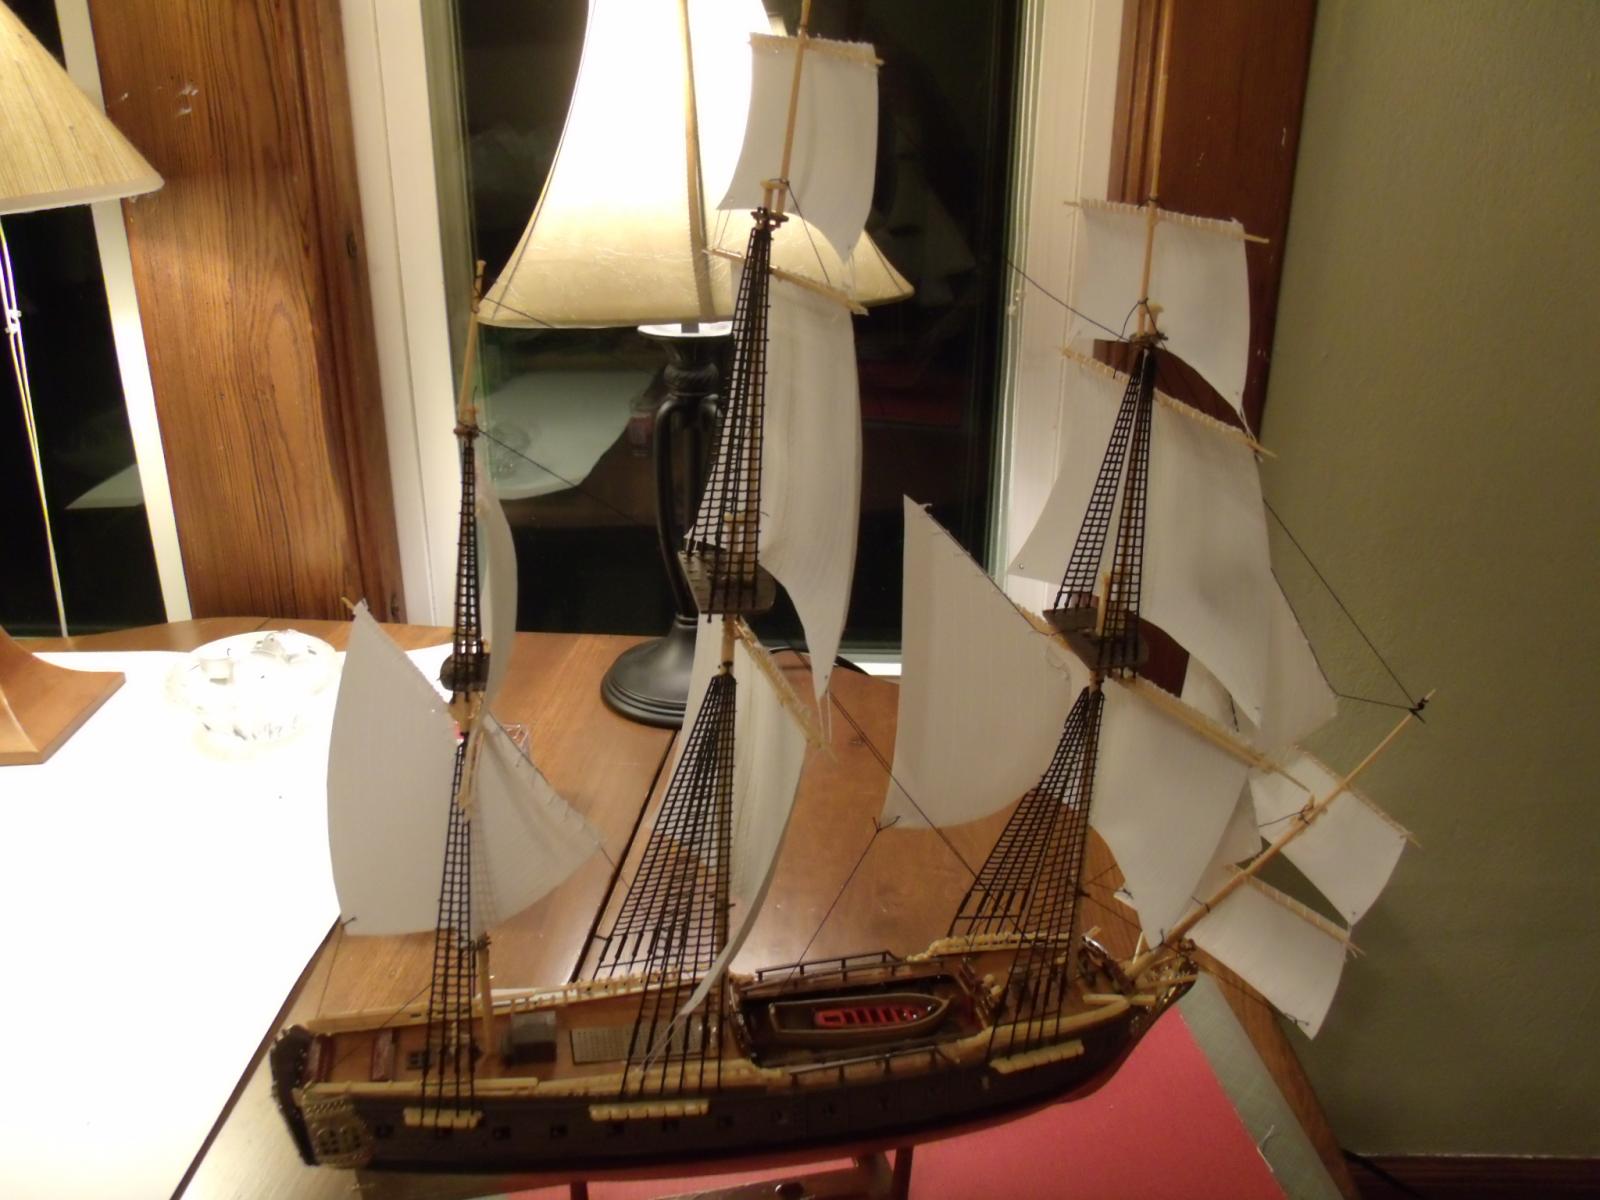
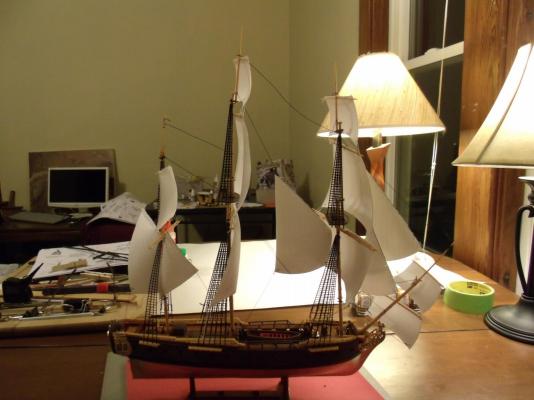
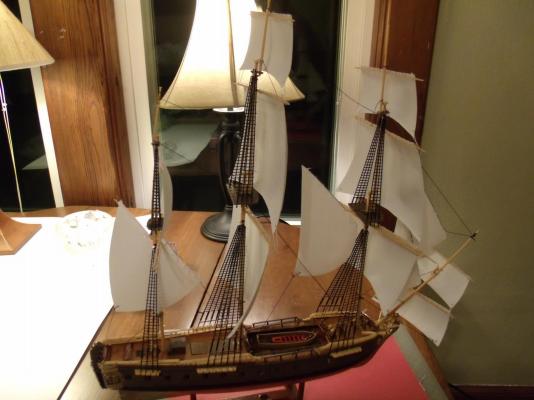
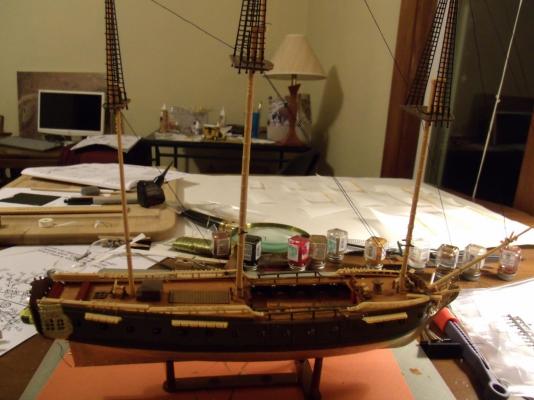
 Okay, here she is. My version of the Jolly Roger Pirate Ship...literally. My crew of pirates are quite embarrassed to be aboard her. I did the sails all on my own. I could not figure out the directions, so I winged it. The sad part is I still have parts leftover that I have no idea where they were supposed to go. Oh well, this has been a good practice ship. I have to be honest. I still feel very intimidated on building ships. I am nervous about starting my Santa Maria. I really want her to turn out good. I am going to start my build log on it tomorrow.
- 118 replies
-
- 3
-

-
- jolly roger
- lindberg
- (and 2 more)
-
Okay, I will go with the acrylic paint. There is an awesome hobby store a little ways from us that truly specializes in hobbies, such as model kits, train sets, etc. I bet they would have all kinds of the things I need. Yes, I do know how to write or draw on photos. I am pretty handy when it comes to photoshop and desktop publisher.
- 118 replies
-
- 2
-
-
- jolly roger
- lindberg
- (and 2 more)
-
What exactly is considered the hull? Is that the whole ship before you put up the masts and sails?
-
Thanks Jay. I am starting to catch on to the idea of thinking things out before actually doing what the directions say to do. This Linberg Jolly Roger ship has been a nightmare for me. The directions for the sails and the rigging, etc., are just too confusing for me, and I have found mistakes in the directions that I had to either fix or figure out myself. Plus, I should not have ignored putting up all the little tiny eyelet rings it came with. I just was not sure how to attach them onto the rigging. I have all the sails up. Right now I am just being creative at where to attach the bottom parts of the sails. I am not even worrying about all the extra rigging they want me to try and put up after the sails are already up. This ship has ended up being more of learning experience for me. I still have so much to learn, but the challenge and the adventure has thus far been been very satisfying and rewarding. I just got my Revell Santa Maria in the mail, and that is the one I am really looking forward to doing my best to do it correctly. By the way, the dental pick heated up worked great. I will look for a pin vise next time I am at the hobby store.
-
Your ships look great Scott. Bummer on the Jolly Roger you lost. That is why I made sure my cats can not get near my first ship I did. Thank you for all the glue and paint tips. I am going to play around with the Tamiya I already purchased on scrap pieces of plastic. I did not realize there were so many different types of glues. I am getting better at the knots. I still cheat on some of them and just glue them in place on the first tie. I will look at the other brands of paint. I saw a paint yesterday called Hummel. What do you guys think about acrylic verses enamel paints? I was quite irritated with the 2 guys working in the hobby store yesterday, because neither of them knew too much about the paints or glues. Ironically this little hobby store I went to sells mostly model kits. Plus, I don't think they were taking me as a serious model ship builder. I guess I don't look like the type of person who would be doing model ships. If my Santa Maria turns out really nice, I should take a picture in there to show them. As for my Jolly Roger, I am just being creative on hooking up the ends of the sails on things. The directions are just too confusing. To top it off, they even had me put a yardarm onto an incorrect sail. I thought it looked strange. I had to pull it off and figure out which sail it actually went to. The good news is I have learned more things from putting this ship together. I am also getting better at attaching things. I want to get past the sloppy look of things. I am also learning more about the pieces that go on a ship and where they go. I just still need to learn the names of the parts of a ship. I am horrible at learning terms. I am one of those that can never remember the name of a movie or the actors in the movie. I drive people nuts trying to get them to figure out what I am referring to.
- 118 replies
-
- 2
-
-
- jolly roger
- lindberg
- (and 2 more)
-
Okay, what is a tiny drill in a pin vise? Where can I get one? I do have a dental pick I can try with the candle tip. I can also try the hot needle. Jay, I have been doing this Linberg model and the directions are very confusing. They seem to have me doing the lines at different sections. Like they want me to put up part of the sails, and then add more line and sails. I guess I will start at the bottom and move up like most of you have said.
-
Thank you so much for reminding of the coupon! So do I use the Tamiya extra thin cement to glue everything? I have been using Model Master Liquid Cement for Plastic Models. The one thing I love about this one is that is has a long thin stem that lets you put little dabs of glue in places, and it is great for hard to reach places. I bought the Tamiya extra thin cement tonight. Now I just need to learn exactly what I do with it. Do I use it like the stuff I have been using? Do I use it on all of the pieces? I also got the Elmer's glue to work on the rigging. Oh, and I can't find the colors they are asking for on my new Santa Maria in the Testor paints, such as olive brown, sandy yellow. Does anyone have any tips?
- 118 replies
-
- 2
-
-
- jolly roger
- lindberg
- (and 2 more)
-
I am working on the sails of a plastic model. Is it best to put the bottom sail on first and work my way up the mast? Or should I start on the top sail and work my way down the mast? Also, what is the best tool to use to punch holes in the bottom corners?
-
Perfect Auvegne. I am going to Michaels tomorrow anyway. I am looking for some yarn for a friend. I will look for the pens. I wrote down the info you gave me on them. Thanks for your kind words about my model, but really it is not that good up close. Spencer, I did paint the deck. I painted it in browns. Plus, a few things in red. I did not paint the side rails. This ship has been more of a learning and experimenting ship for me. It really was not a well made kit, and the instructions are very confusing. I am so excited. I just got my new Revell Santa Maria in the mail today. I am going to really work hard on it. I am going to finish up this one ship first. I really just need to finish the sails on it. Ulises thanks for the link to your posts about weathering.
- 118 replies
-
- 2
-
-
- jolly roger
- lindberg
- (and 2 more)
-
I have a question. How do the hemostats come in handy? Also, I need a third hand to help me tie my rigging on the plastic ships I have been working on. Any suggestions? I try to tie a knot, but it just comes loose when I go for the second tie on the knot. I can't get them to tighten up. Right now I am just doing one tie and then gluing it in place.
-
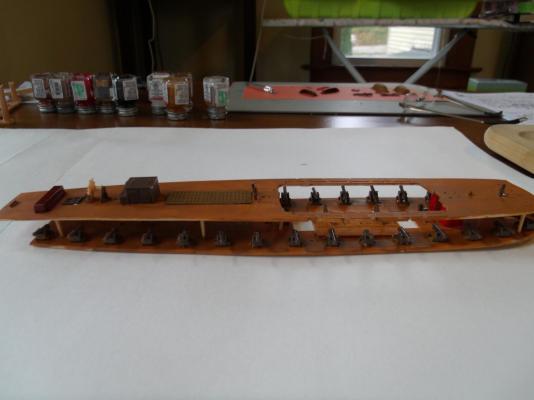
Auvergne this is a plastic kit. This is my 2nd ship. Thanks for the tip on the pens. Can I find these in any hobby store? Ulises, no I just did one coat of paint. I will give your tip a try. Here are some pictures. I showed where I messed up on the back and front. I am still having problems figuring out how to tie the rigging. I just glue them on. I do like how they do the sails on this one. They have you sew them on the posts (?). I don't know how you guys handle those really small parts with your hands and fingers. I have pretty small hands, and it is hard for me.


- 118 replies
-
- 2
-
-
- jolly roger
- lindberg
- (and 2 more)
-
Wow! Ulises, as usual, your Santa Maria is awesome! She is a beauty. I really want to learn the knots. I learned something today. If a part does not fit, you make it fit by cutting it down. I am happy to report I got 2 of the masts together. One more to go. I am not kidding you, I have parts that are supposed to have holes for them to go into, and there are no holes. I am just improvising. The directions are very confusing on how and where things go. Of course, I still need to learn more about ships themselves. I have the utmost respect for anyone who has done a great job on this same ship. Auvergne, I actually took each piece and put it in a baggie/ziploc and marked the bags with their numbers. If that is what you are talking about. It has made it very easy for me to find the pieces. I had so many problems reading the part numbers on the trees, so that is how I came up with that idea. Thankfully, I actually got about 95% of the parts marked correctly. I paint them by holding them with a pair of tweezers. Sometimes I can only do one side, and then after it dries I do the other side. Right now I am just trying to finish this one. I will post it when I am done, but you guys will see how badly I did on several sections of the ship. I have learned a lot more doing this ship though.
- 118 replies
-
- 1
-
-
- jolly roger
- lindberg
- (and 2 more)
-
Wow! Your ship is amazing Ulises! I am in awe at all the detail work. It is absolutely a beautiful ship.
-
Thanks for the tip Patrick. I am definitely going to try it. I get so nervous when I am trying to paint things. I have only been doing one coat of the Testor paints. Do you guys do one or more coats? FKarl I enjoyed doing the 196 constitution even though it was my first ship. Though I did not do much painting on it. The hardest part for me was the rigging. Also, I put one of those T things on one of the masts in the wrong place, which made it hard to rig that part. The directions were great. The pieces were good. To me it was a lot easier than this thing I am working on now. Fkarl I look forward to seeing your pictures. Scott, I am ready to throw this one across the room! The directions and pieces are horrible in my opinion. I just don't know where or which way they want me to put many of the pieces. The fancy front and back ends did not line up at all for me. Actually, I just had that front end part come off, so now I have to try and get it back in there. It really does look like a train wreck. That is okay. I am learning while I am working on it. Plus, I am painting on this one. My problem also is I truly don't know a lot about ships even though I love them. I really need to study the real ones. I also need to learn patience. I am excited to get my new Revell Santa Maria. Amazon said it has been shipped. That is the one I will be hitting you guys up for a lot of help, because I really want to do it correctly. Plus, I want to give it to my step-dad. He has always inspired me to use my creative abilities. I wish I lived closer to him. He has the most wonderful workshop!
- 118 replies
-
- 2
-
-
- jolly roger
- lindberg
- (and 2 more)
-
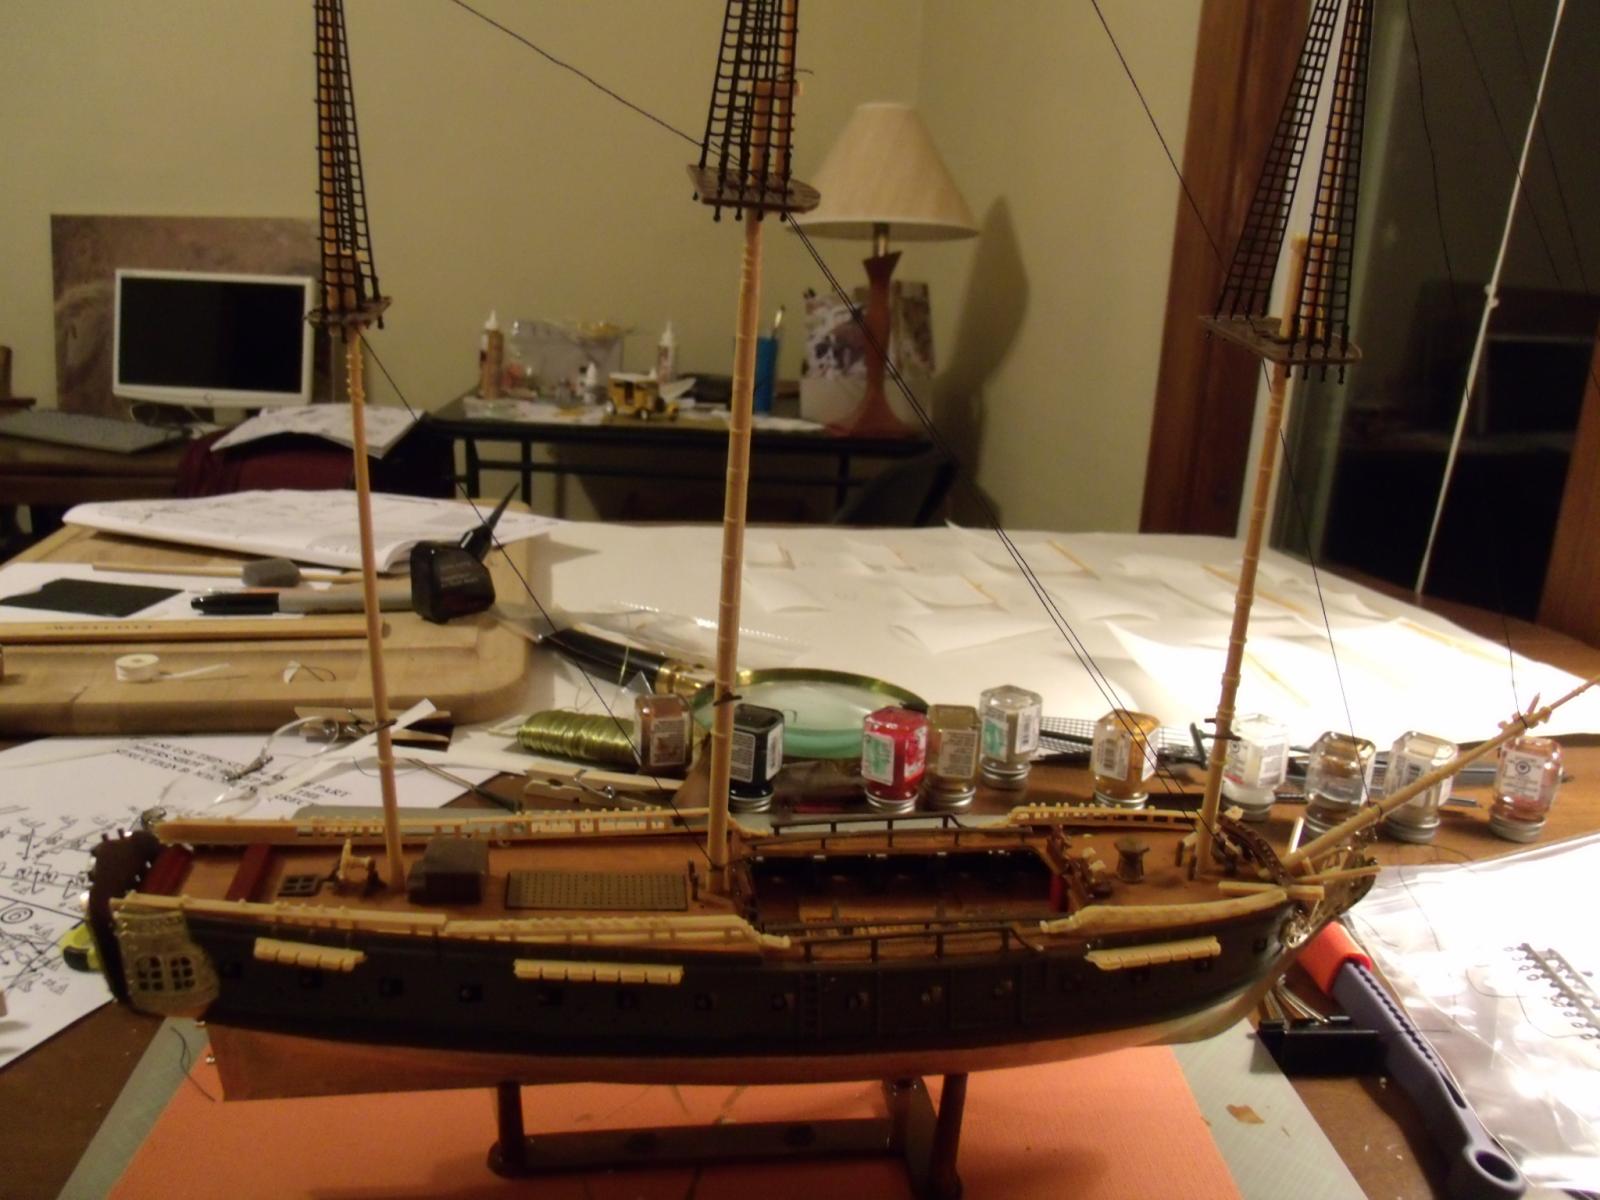
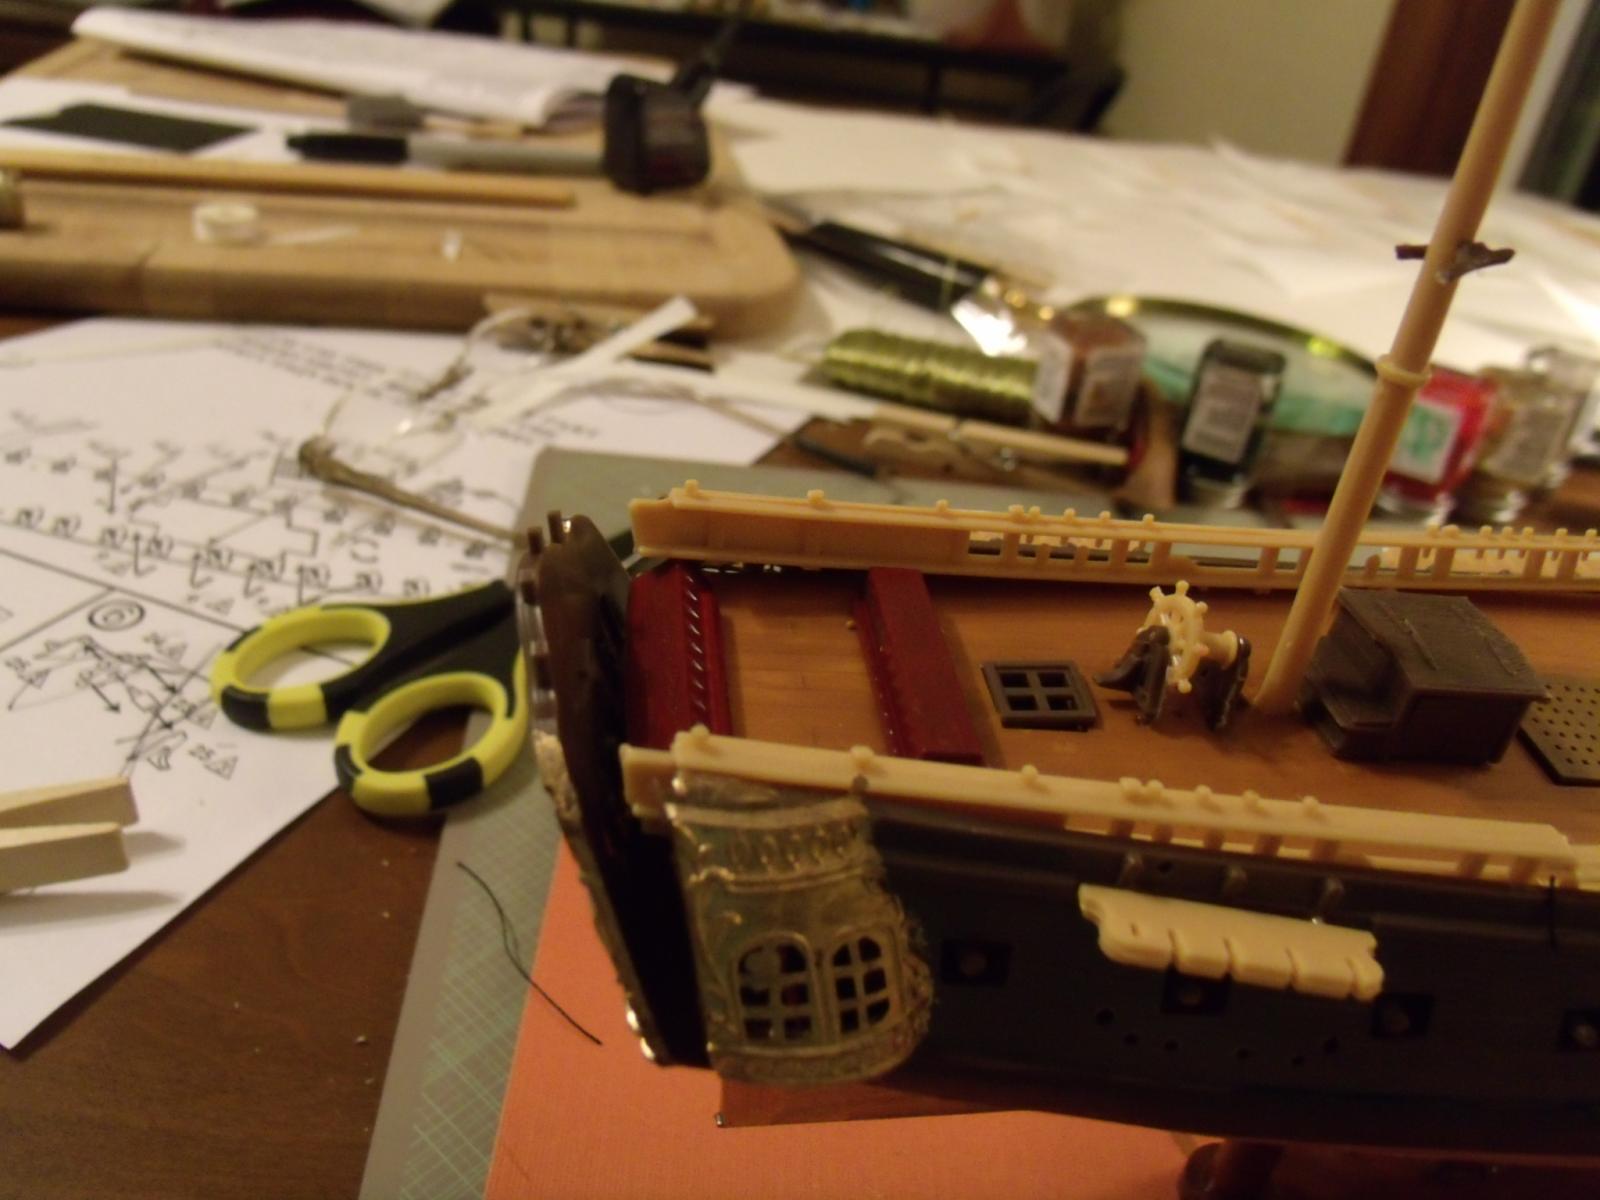
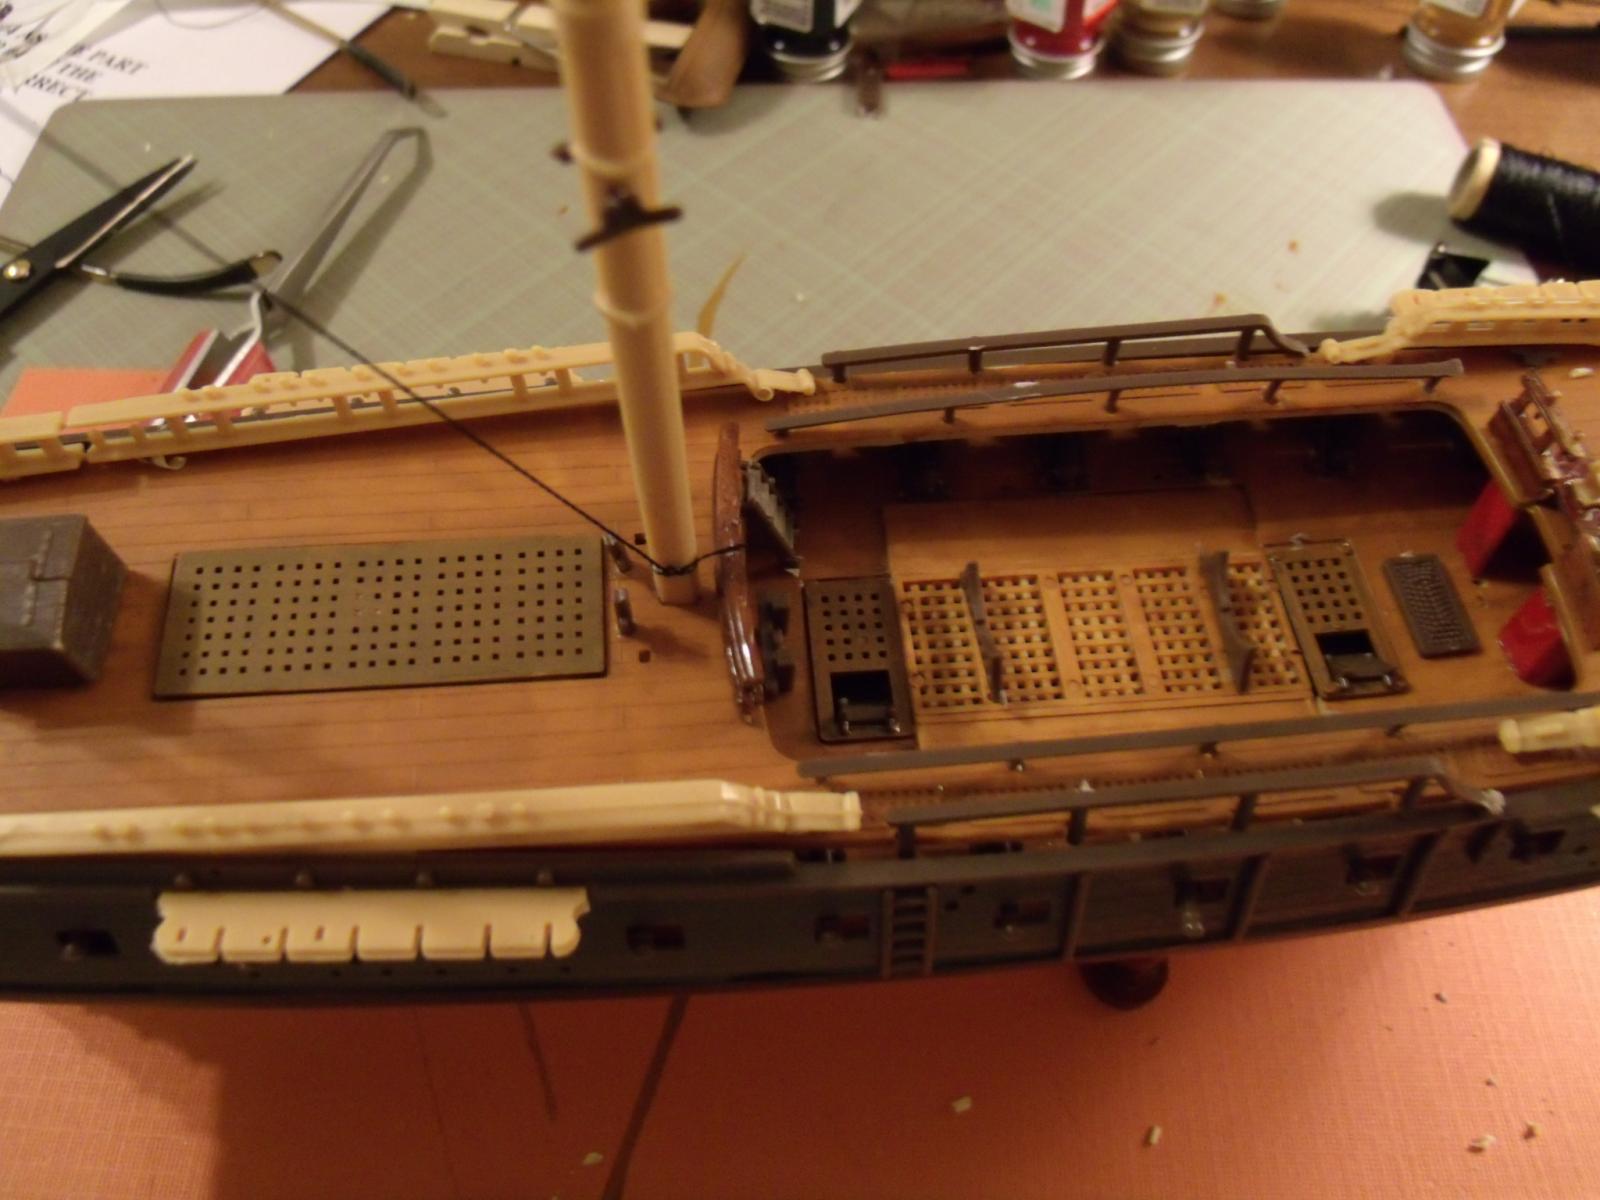
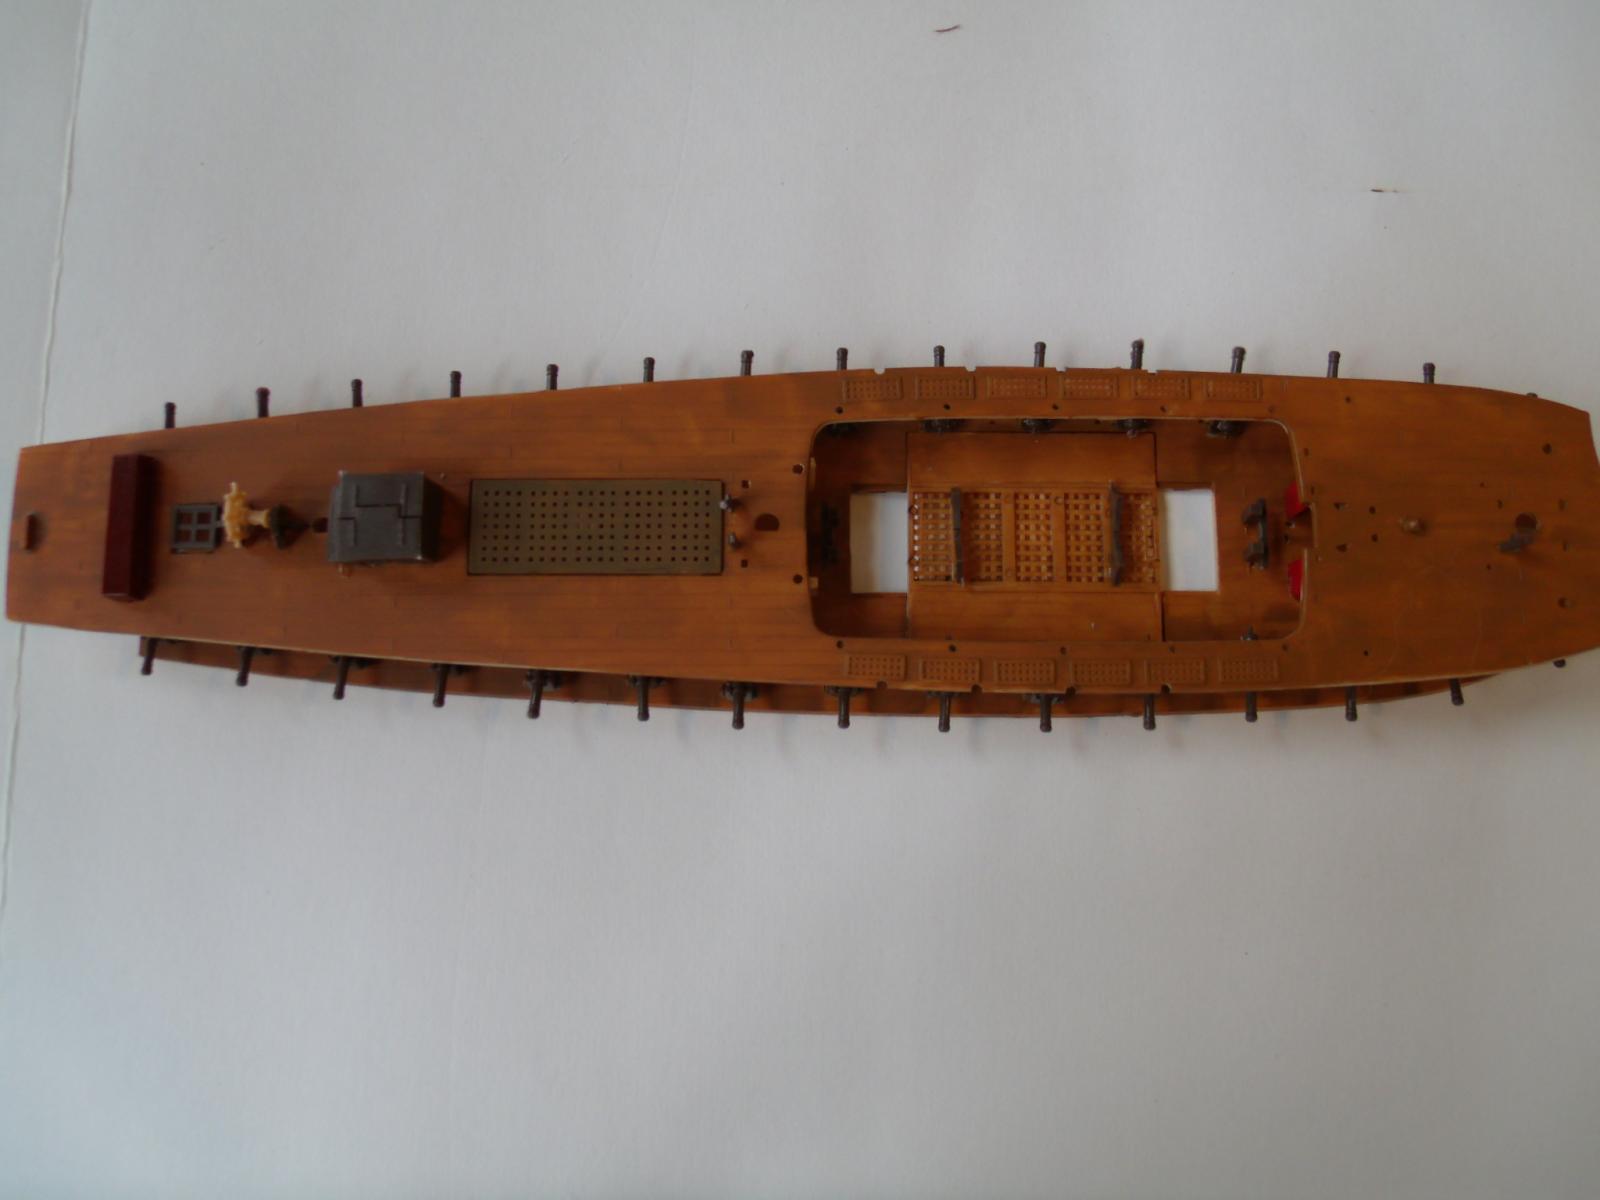
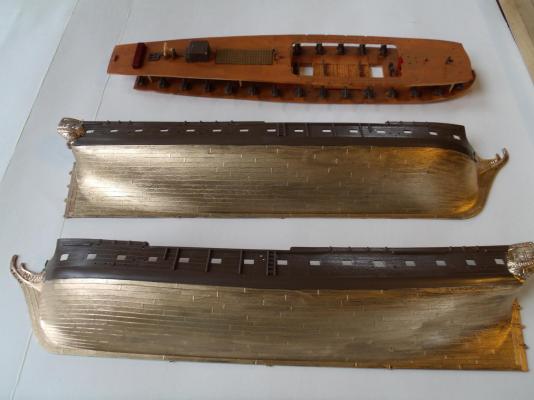
I got the hull on today, and it was not easy at all to get on. Two cannons kept coming off, and the upper and lower deck just do not want to stay together, but they are forced together now with the hull. I am getting a lot of practice at painting. I don't paint the really, really tiny pieces. I would need a microscopic brush. There is a fancy front and back end that has some detailed painting. I am going to see how I do. I am really not known for my painting skills. I am great with detail work, but not so hot when it comes to painting anything. I always wanted to learn how to paint, but that is one artistic skill I have never managed to acquire. I love metallic colors, such as gold, copper, brass, silver, etc. I might just do a whole ship in metallic colors one of these days. Ulises, I really like how you made the hull look old and weathered....very clever.
- 118 replies
-
- 3
-
-
- jolly roger
- lindberg
- (and 2 more)
-
Thanks guys. Ulises, do you mean how I painted the bottom part of the hull? I did the hull in gold. The color chart said gold. I still have a lot to learn about the colors.
- 118 replies
-
- 1
-
-
- jolly roger
- lindberg
- (and 2 more)
-
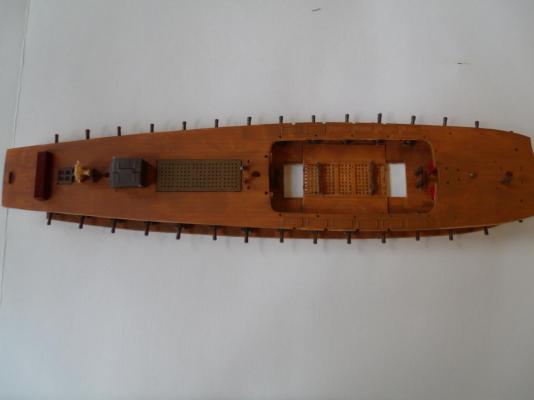
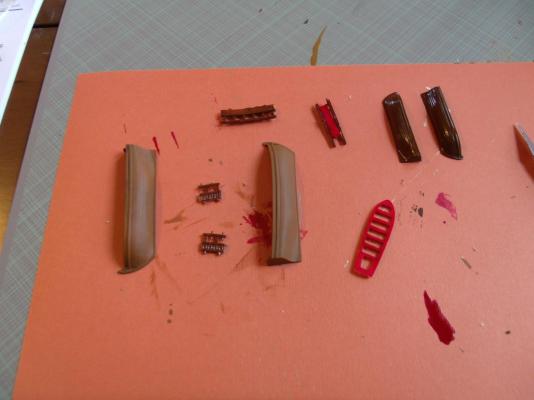
Here is where I am on the Jolly Roger: I got really lucky this morning. I dropped a tiny piece last night, but I actually found it this morning.
- 118 replies
-
- 6
-
-
- jolly roger
- lindberg
- (and 2 more)
-
Okay, I am going to go for the Revell Santa Maria. I just now bought it on Amazon for the free shipping. I am going to keep working on the Jolly Roger for the practice. Who knows. It may turn out not to look too bad. Thank you so much for your help guys. I am now going to go check out what you guys are working on.
- 118 replies
-
- 2
-
-
- jolly roger
- lindberg
- (and 2 more)
-
What do you guys think of this one? http://www.amazon.com/Revell-72-Caribbean-Pirate-Ship/dp/B000EZ1OEM/ref=sr_1_12?s=toys-and-games&ie=UTF8&qid=1381891426&sr=1-12&keywords=revell+ship+model+kits Or this one? http://www.amazon.com/Heller-Christopher-Columbus-Pinta-Building/dp/B0002HZYZW/ref=sr_1_3?s=toys-and-games&ie=UTF8&qid=1381893002&sr=1-3&keywords=Heller+ship+model+kits
- 118 replies
-
- 1
-
-
- jolly roger
- lindberg
- (and 2 more)
-
Ulises that is a gorgeous ship! I can only dream to get that good. Popeye, this model ship kit is a mess. A lot of things don't fit, the instructions are wrong in certain places, and they are trying to fit too many things at once on each instruction picture. They are just really sloppy pieces, and I am a perfectionist, and it is driving me nuts. I like the Revell where it gave me step-by-step instructions/pictures. Plus, the pieces were better made. I have been fiddling with this all afternoon to keep me busy. I think I am getting addicted to ship building. I have been practicing my painting with the Testor paint. I am wearing a bunch of it on my hands. Oh well, this is what I get for buying a cheap kit. I am going to keep working on it until I can get another ship. I will get online and find one. The hobby stores around me don't offer much. Maybe I can find a level 1 that is for 2 year olds and up. Just kidding. Ulises I will search for those brands you mentioned. I may try another Revell.
- 118 replies
-
- 2
-
-
- jolly roger
- lindberg
- (and 2 more)
-
So, Andy if I want a larger plastic ship with bigger pieces, I should look for something that has a smaller second number? Where can I post on this forum asking for suggestions of a good beginner ship with bigger pieces? Popeye you will be the first to know if I ever pull this ship out again to work on. Kimberley
- 118 replies
-
- 1
-
-
- jolly roger
- lindberg
- (and 2 more)
-
Thank you Anja. I didn't paint it, so I don't know if that is considered a completed ship. I decided to just focus on putting it together. But I am pretty proud with how it turned out. I put every piece on it, and I did not break anything.
-
Believe it or not, I did get most of the parts finally organized in baggies and marked, but the instructions for this ship are so hard to follow. The first part I put together does not make any sense nor does it fit where they say to put it. I need a bigger ship to work on. Something with bigger and less parts. I don't understand what scale means.
- 118 replies
-
- 1
-
-
- jolly roger
- lindberg
- (and 2 more)
-
I think I totally messed this up guys. I took the parts off and put them in separate marked baggies. I just could not read the numbers for most of the parts on the trees. I used a magnifying glass. They are just not marked well. You can't read a lot of the numbers. I had to guess on many of them. I ended up with doubled numbers. Nothing seems be matching the parts. I can not believe how tiny some of the parts are. I have no idea why they would need things that tiny. This is not a level 2 ship! The directions are not as good as the Revell. Sorry guys, but I may have to put this one aside for awhile and get another Revell to work on. I think this one is over my head for right now. I think I am going to order a Revell level 2 ship.
- 118 replies
-
- 1
-
-
- jolly roger
- lindberg
- (and 2 more)