HOLIDAY DONATION DRIVE - SUPPORT MSW - DO YOUR PART TO KEEP THIS GREAT FORUM GOING! (Only 72 donations so far out of 49,000 members - Can we at least get 100? C'mon guys!)
×


Kimberley
-
Posts
123 -
Joined
-
Last visited
Content Type
Profiles
Forums
Gallery
Events
Everything posted by Kimberley
-
 Your tank looks awesome Eric. Yes, I can see how you did the dot filter method. It looks so realistic. Ulises thanks. I did get some good tips on the post I did for help on which thread to use. EZ Line sounds like a good one.
 -
Thank you so much. I think I will try both tips. I really like the EZ Line since it is specifically made for models. Jason do you only use black on your ships? I am confused why my other ships have me do the sail rigging in a light color and other things in black. Why don't they just do all the lines in one color? Is it because the sails are light colored and you want the thread to blend in with them?
-
The new ship I just started did not even come with thread, but I have not had any luck with the cheap threads that have been included with my other ships. What do you guys suggest as a good brand of thread to use? What should the texture be like? Also, where can I find it? I am trying so hard to learn how to make tight lines. That has been my biggest challenge. I am now doing the Elmer's glue trick on my thread. I just can't seem to get the knots tight nor my lines tight. I would really appreciate if anyone could post some close up pictures of their knots and lines. Not the fancy ones, but the simple ones. Thanks, Kimberley
-
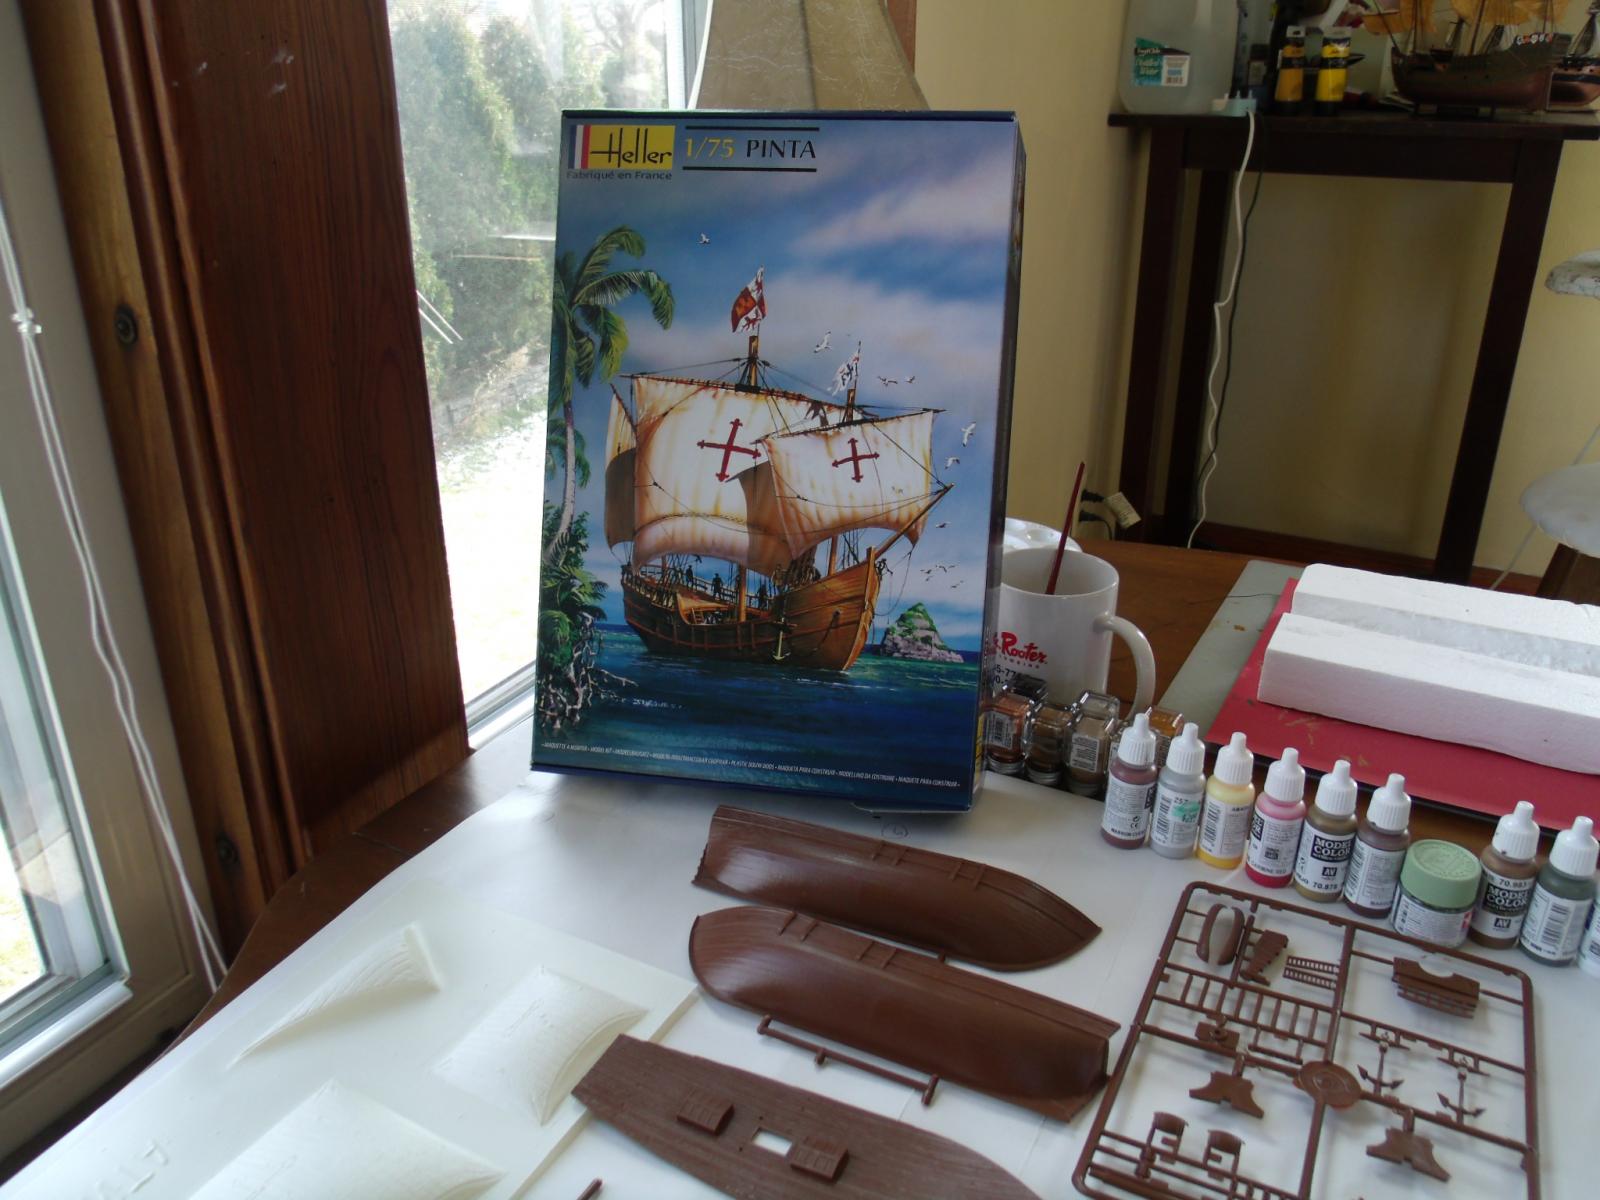
Ulises the Victory looks like a good one. Maybe that will be my next one. This Heller Pinta is small and really simple to put together. I was a little disappointed. I should have listened to you guys. I did start a build log for my Pinta. I need help. It did not come with rigging thread. I know some of you have mentioned that you use different threads that you find in the hobby stores. Can you please tell me what you guys use. The rigging part is what I really want to get down pat. I think I have caught on to a lot of the other stuff. I still need to work on my painting skills. Eric I started with the Testor enamels, but I have switched over to the acrylics. I find them easier to use and cleanup. Though, I do like the way the enamel looks. I did find an acrylic gloss I can put over the paint if I want to. I hope you can find some pictures for me.
-
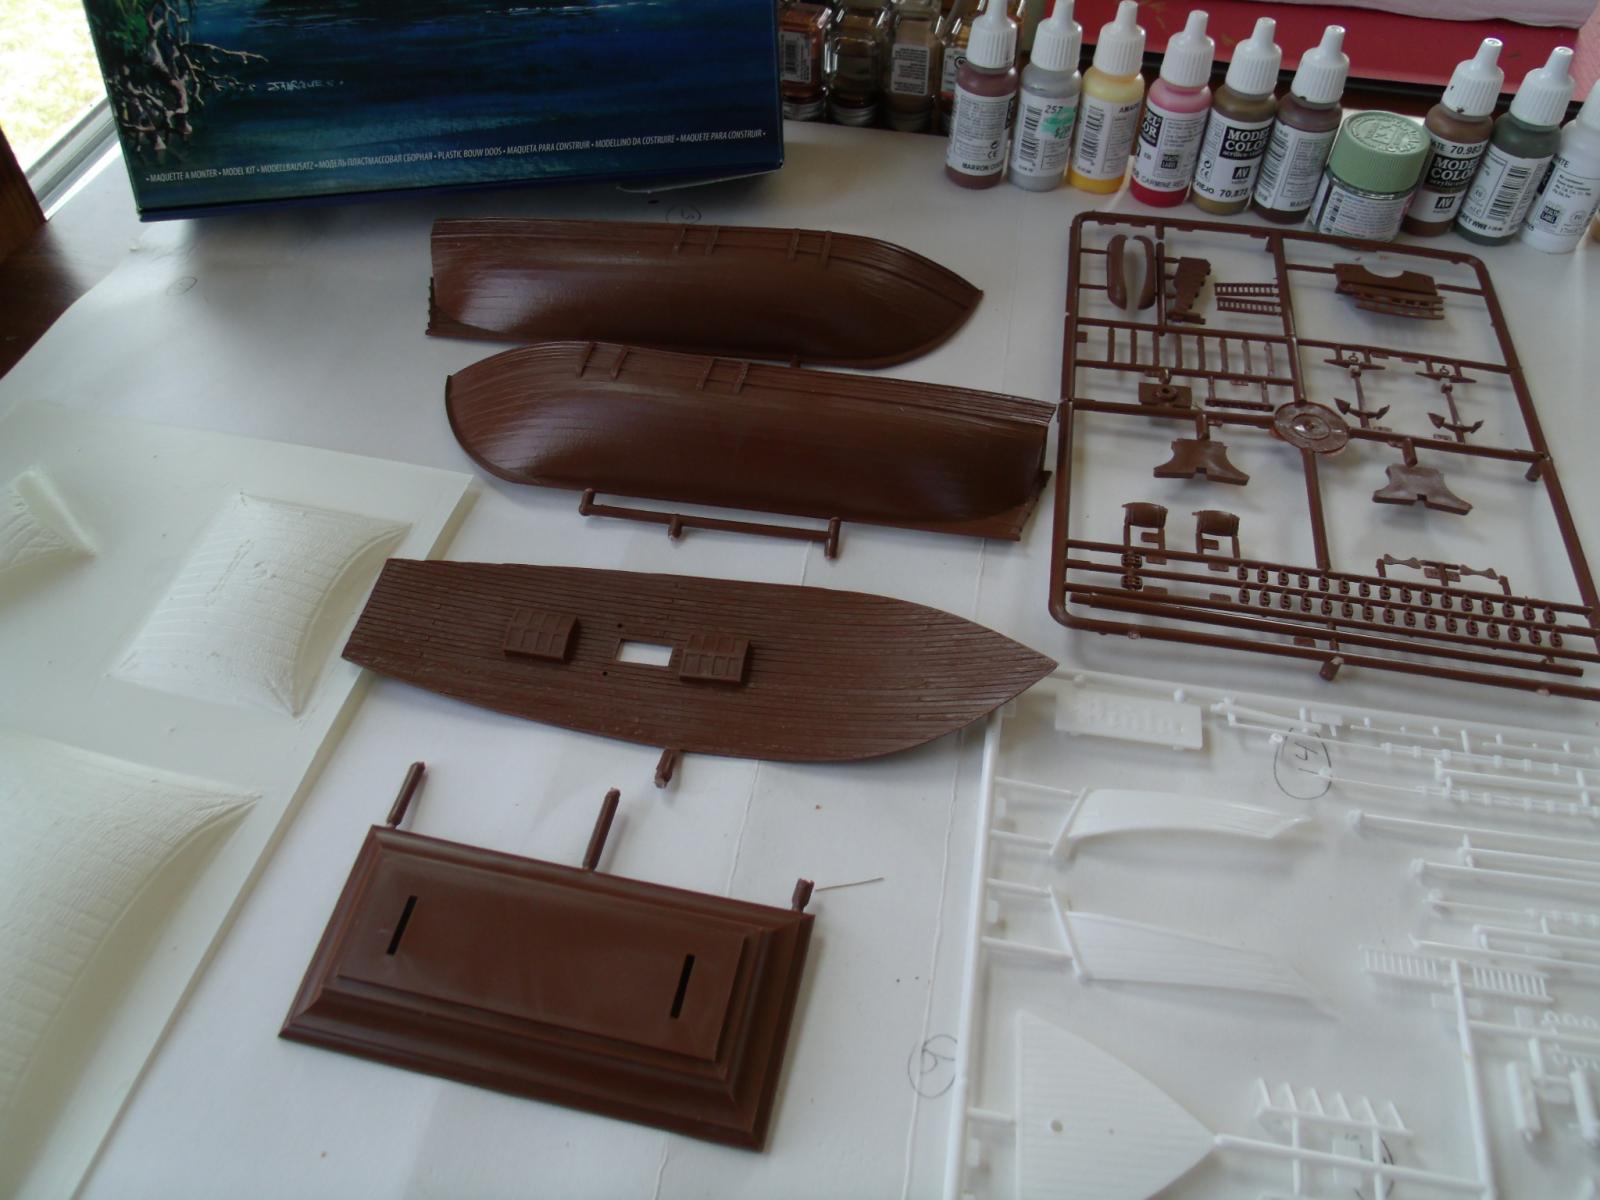
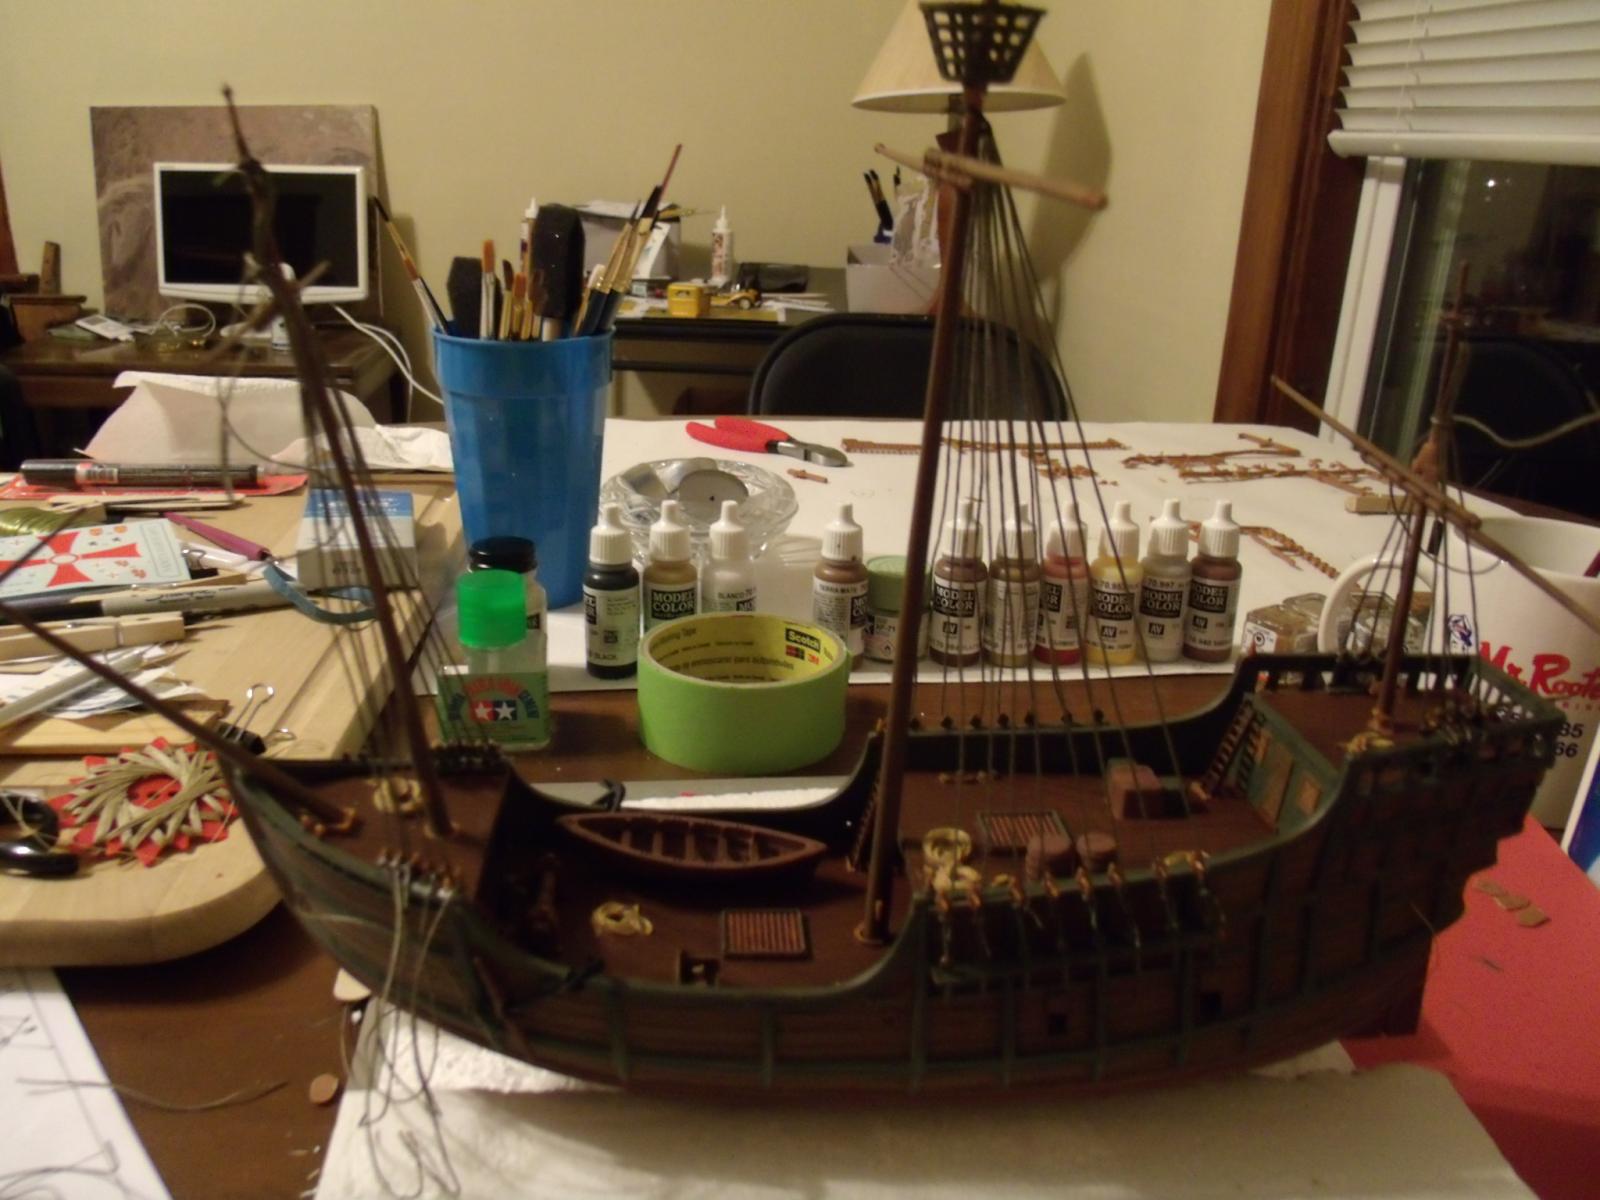
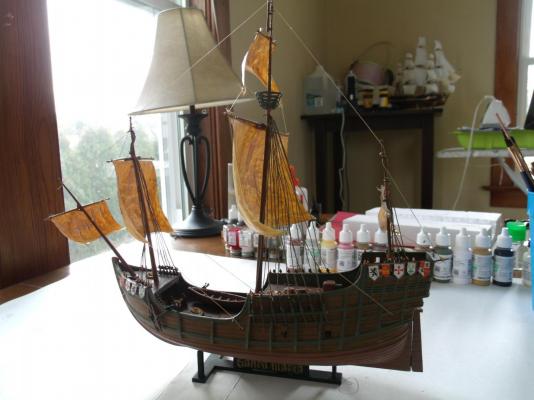
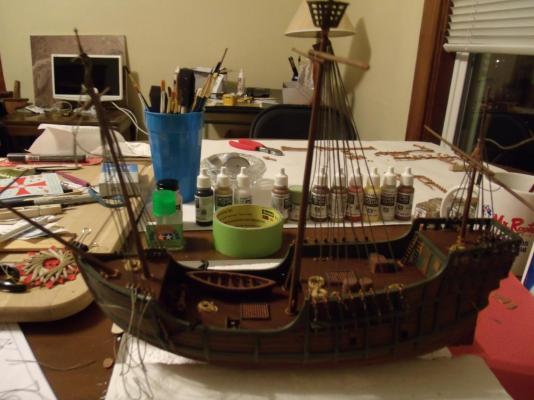
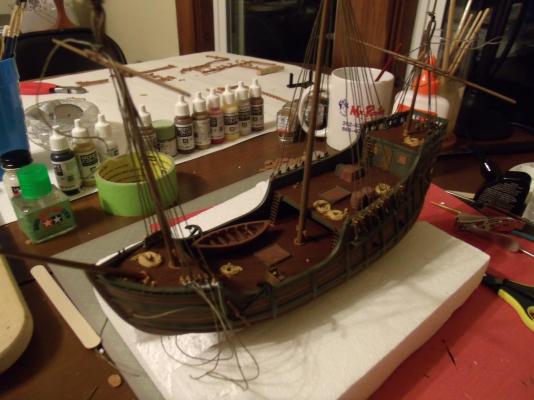
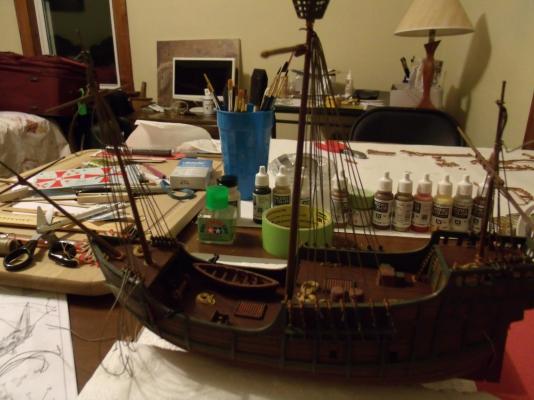
Thank you guys for the paint help. I was able to figure out the names of the colors through the Humbrol chart, and I am using the colors I already had that are close enough. It was the same colors I used for my Santa Maria. I know of a hobby shop that will hopefully have the rigging thread. Doreltomin thank you for your tips and info. Also, for building up my confidence and encouragement. I have been using acrylic paints. I do a lot of arts and crafts, but painting has never been my forte. I am getting better with each ship. I love you tips about making the wood look like real wood. I am going to try that on my next ship. Here is where I am thus far:
-
Well, here she is...the Pinta by Heller. I am disappointed that the ship is so small. From now on, I am going to listen to you guys about what ships I should do. It does look like it is going to be easy to put together. It did not come with the thread to do the rigging, etc. Can someone please tell me what they use for rigging thread that I can find in a hobby store? Also, it only shows the colors with numbers on them. I have a 33, 98, 60, 103, and 63. Does anyone know what those are for colors? I did buy the book "How to Build Plastic Ships". It cost me $38.98 for a used one from Amazon. The original price on it was $6.95! Of course, the book came out like 30 years ago. I guess it is out of circulation. I guess I now own a collectible book.


-
How to sew sails on your wifes sewing machine
Kimberley replied to Mirabell61's topic in Masting, rigging and sails
I think I actually know what you are talking with the cord used on a flying model aircraft. Where do you get it? I hope by the time I start building wooden ships, I will understand everything you are talking about. I am going to try and find a diagram of a ship that lists what each thing is on a ship. I did order a book about plastic ships the other day that Andy suggested. I will try the wire inlay on the masts. Yes, they come in pieces. Hopefully someone might have a sail I can have to use as a sample for me. -
How to sew sails on your wifes sewing machine
Kimberley replied to Mirabell61's topic in Masting, rigging and sails
I did not even think about the part of sewing sails. I am pretty handy with a sewing machine and hand sewing. I wonder if anyone has an extra sail or a botched sail that they could send me, so I have something to go by. That may be one of the things I am good at. I will be starting my 4th plastic ship as soon as I get it in the mail. I am going to do the Heller Pinta model ship. I have been doing great when it comes to putting the ship together. It is the rigging that is killing me. Boy, it is hard to get them tight. I did my first shrouds on my last ship and they turned out to be a disaster, but I will admit the string that came with it was a bear to work with. I still do not know how to tie things right. Kimberley -
Your ship is amazing. I love the little cannons. Most of the comments on here are way above my head. Hopefully, one day I will know what you guys are talking about. People sew sails for model ships? Heck, I know how to sew. That may be one of the things I would be good at. How can I get a sample of a sewn sail?
-
Okay, so I am ordering the Heller Pinta on Amazon. I need to get a foam work cradle. What size do I get? I made a homemade one out of styrofoam for my Santa Maria. I am also ordering "How to Build Plastic Model Ships" by Lester Wilken. Spaceman, yes I use the valejo paints. I like them. What do you use on your ships?
-
Need help with the shrouds on Revell - Santa Maria
Kimberley replied to Kimberley's topic in Masting, rigging and sails
Ken how do I find your build log? It does not have anything for me to click on under you post. -
Thanks for the pictures to show me an example. Wow, that is a pretty ship. Ulises what do you think of the Heller Pinta? http://www.amazon.com/Heller-Christopher-Columbus-Pinta-Building/dp/B0002HZYZW/ref=sr_1_1?s=toys-and-games&ie=UTF8&qid=1383854555&sr=1-1&keywords=heller+pinta It does not look as overwhelming as the Golden Hind. Would it be a good one to get my feet wet with building Heller models? Is 1/75 scale really small for the Pinta? John and Spaceman Spiff that you for the compliments. I wish my shrouds would have turned out better. She would look so much better if they were not loose. Plus, I am not so sure I like the way I painted the sails. That was a tip in the directions of using watered down paint. Wow Scott. That is a nice looking ship. Are those real ratlines on the Bounty, or the pre-made ones? Yes, I am making some wonderful friends that have been so helpful and supportive.
- 94 replies
-
- 1
-

-
- santa maria
- revell
- (and 1 more)
-
Need help with the shrouds on Revell - Santa Maria
Kimberley replied to Kimberley's topic in Masting, rigging and sails
I just now learned how to tie the clove hitch, the half-hitch, and the double half-hitch also. I used an online video. -
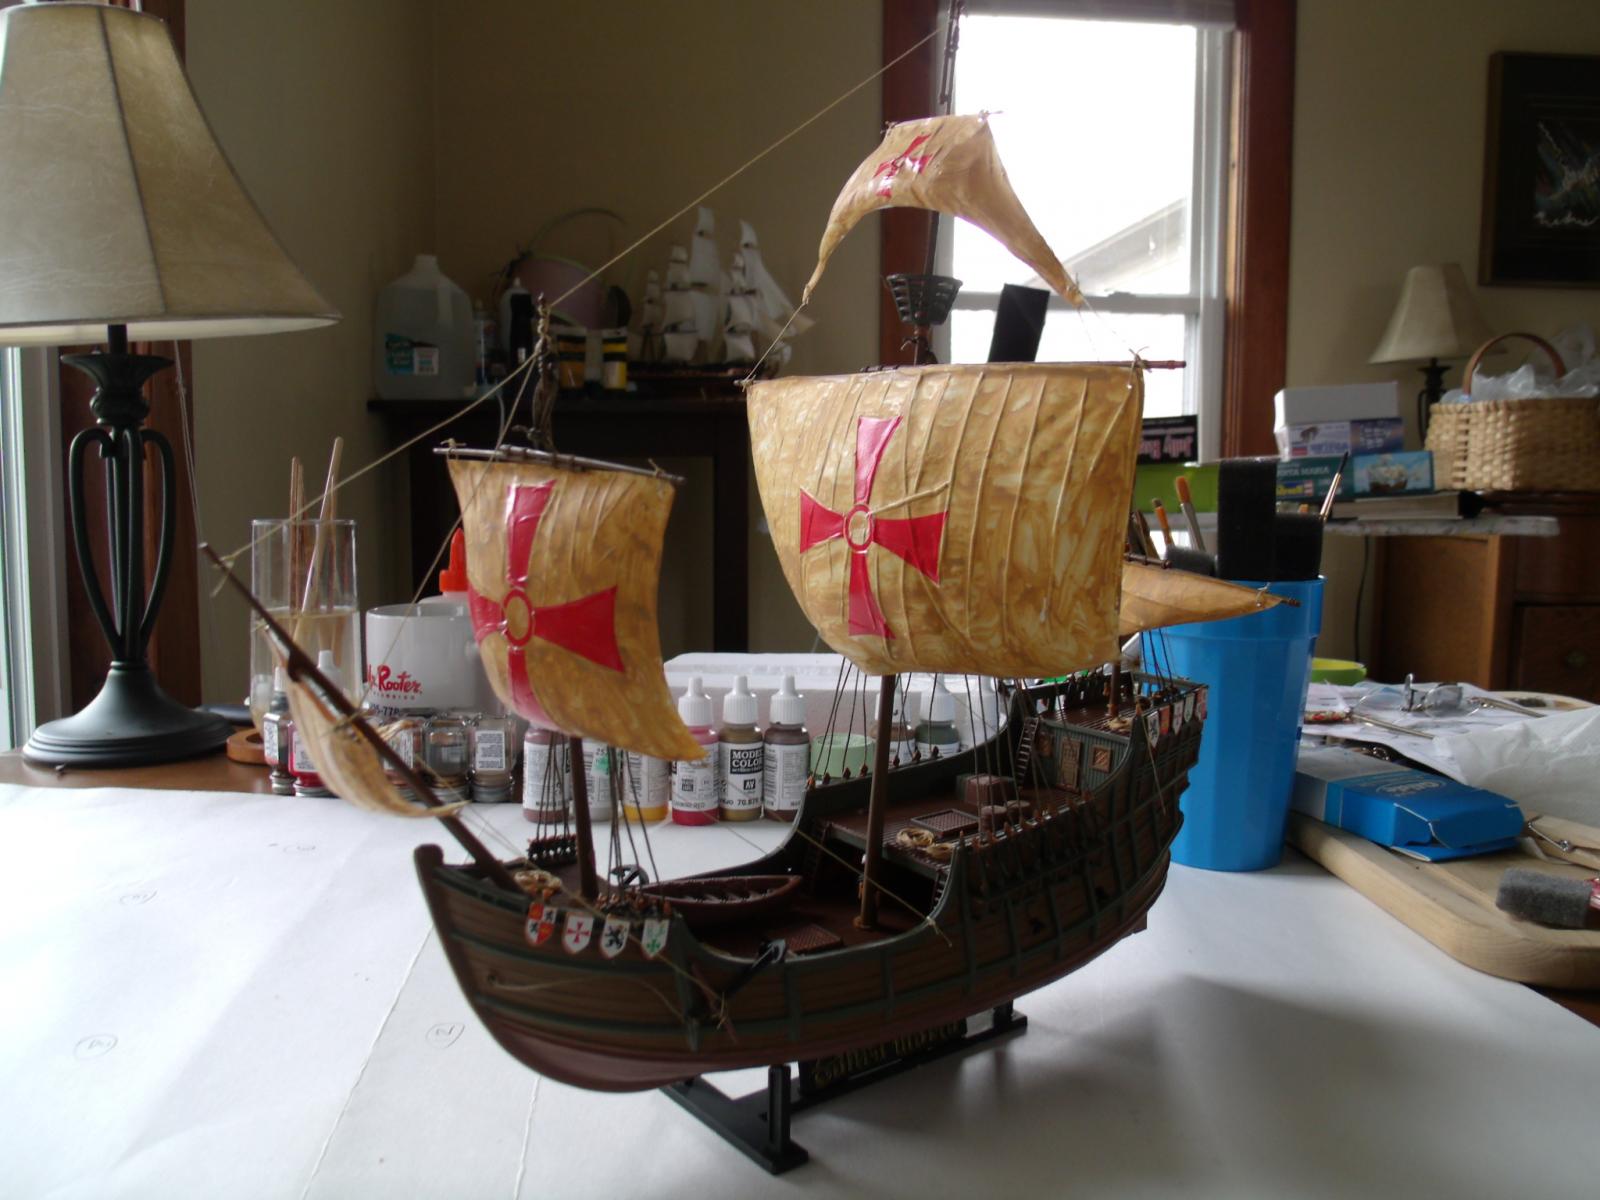
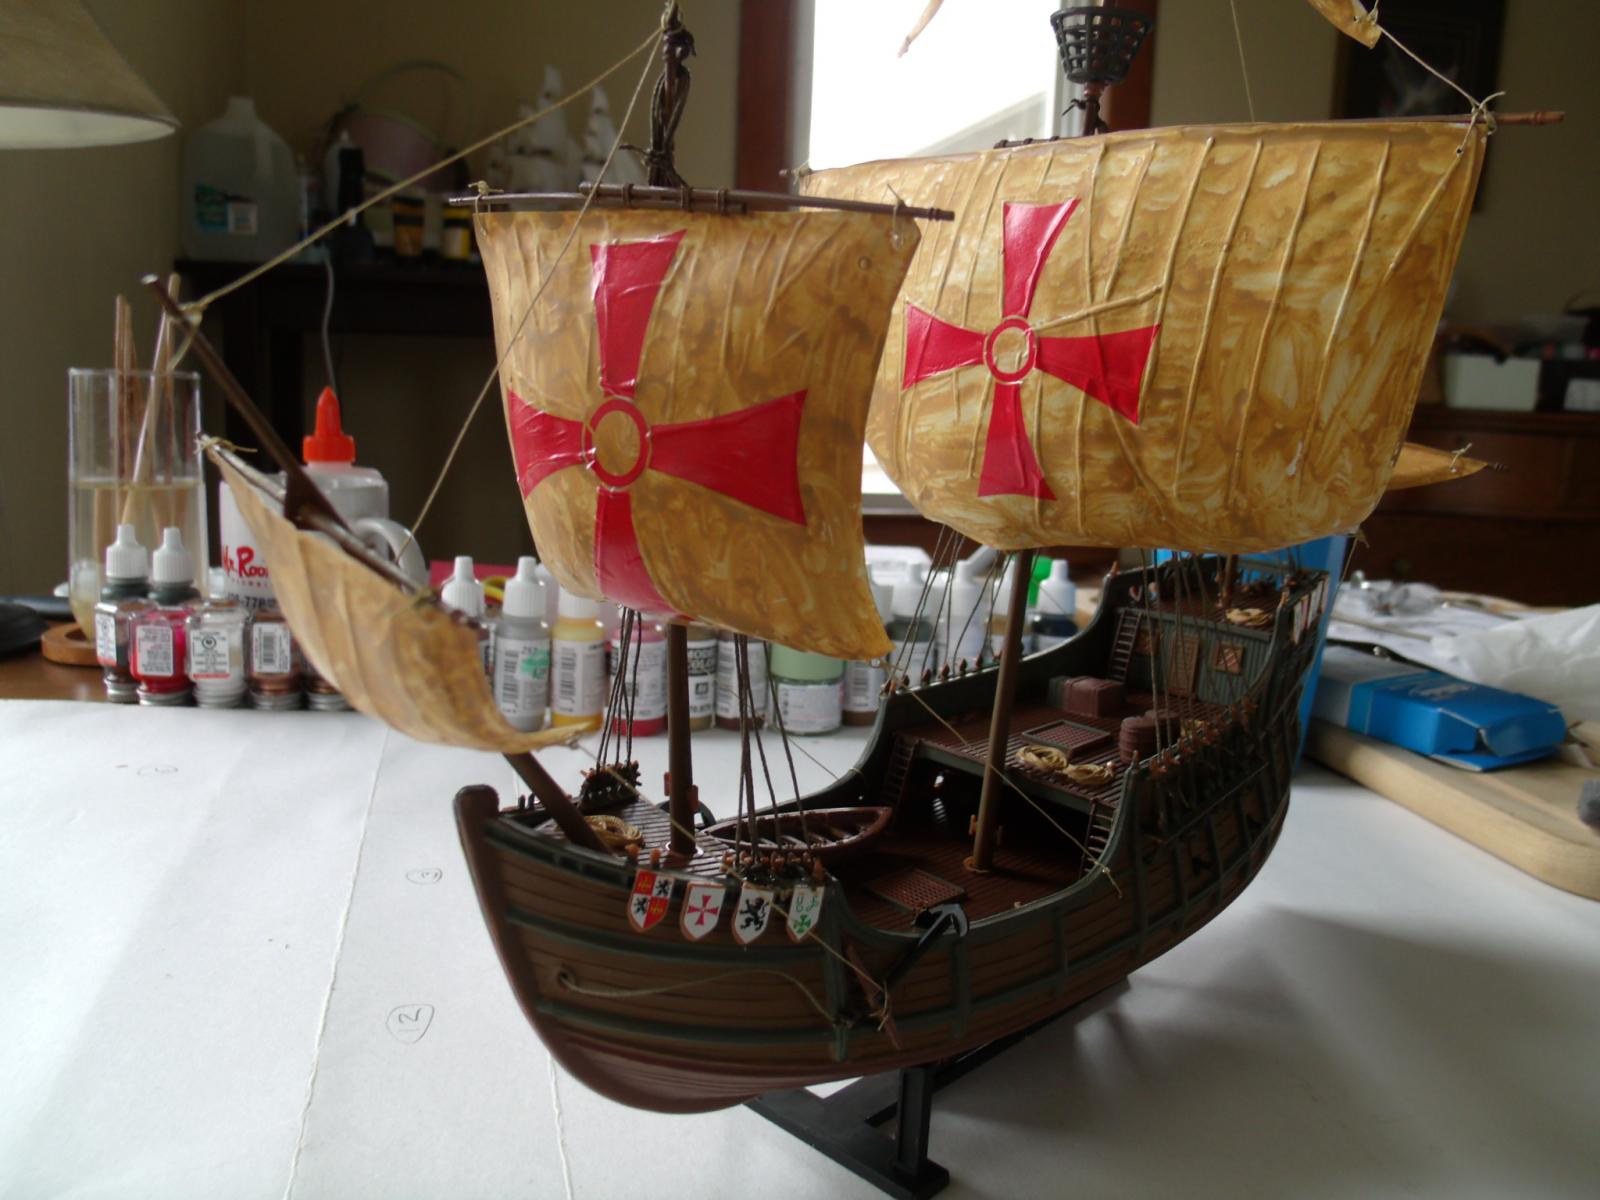
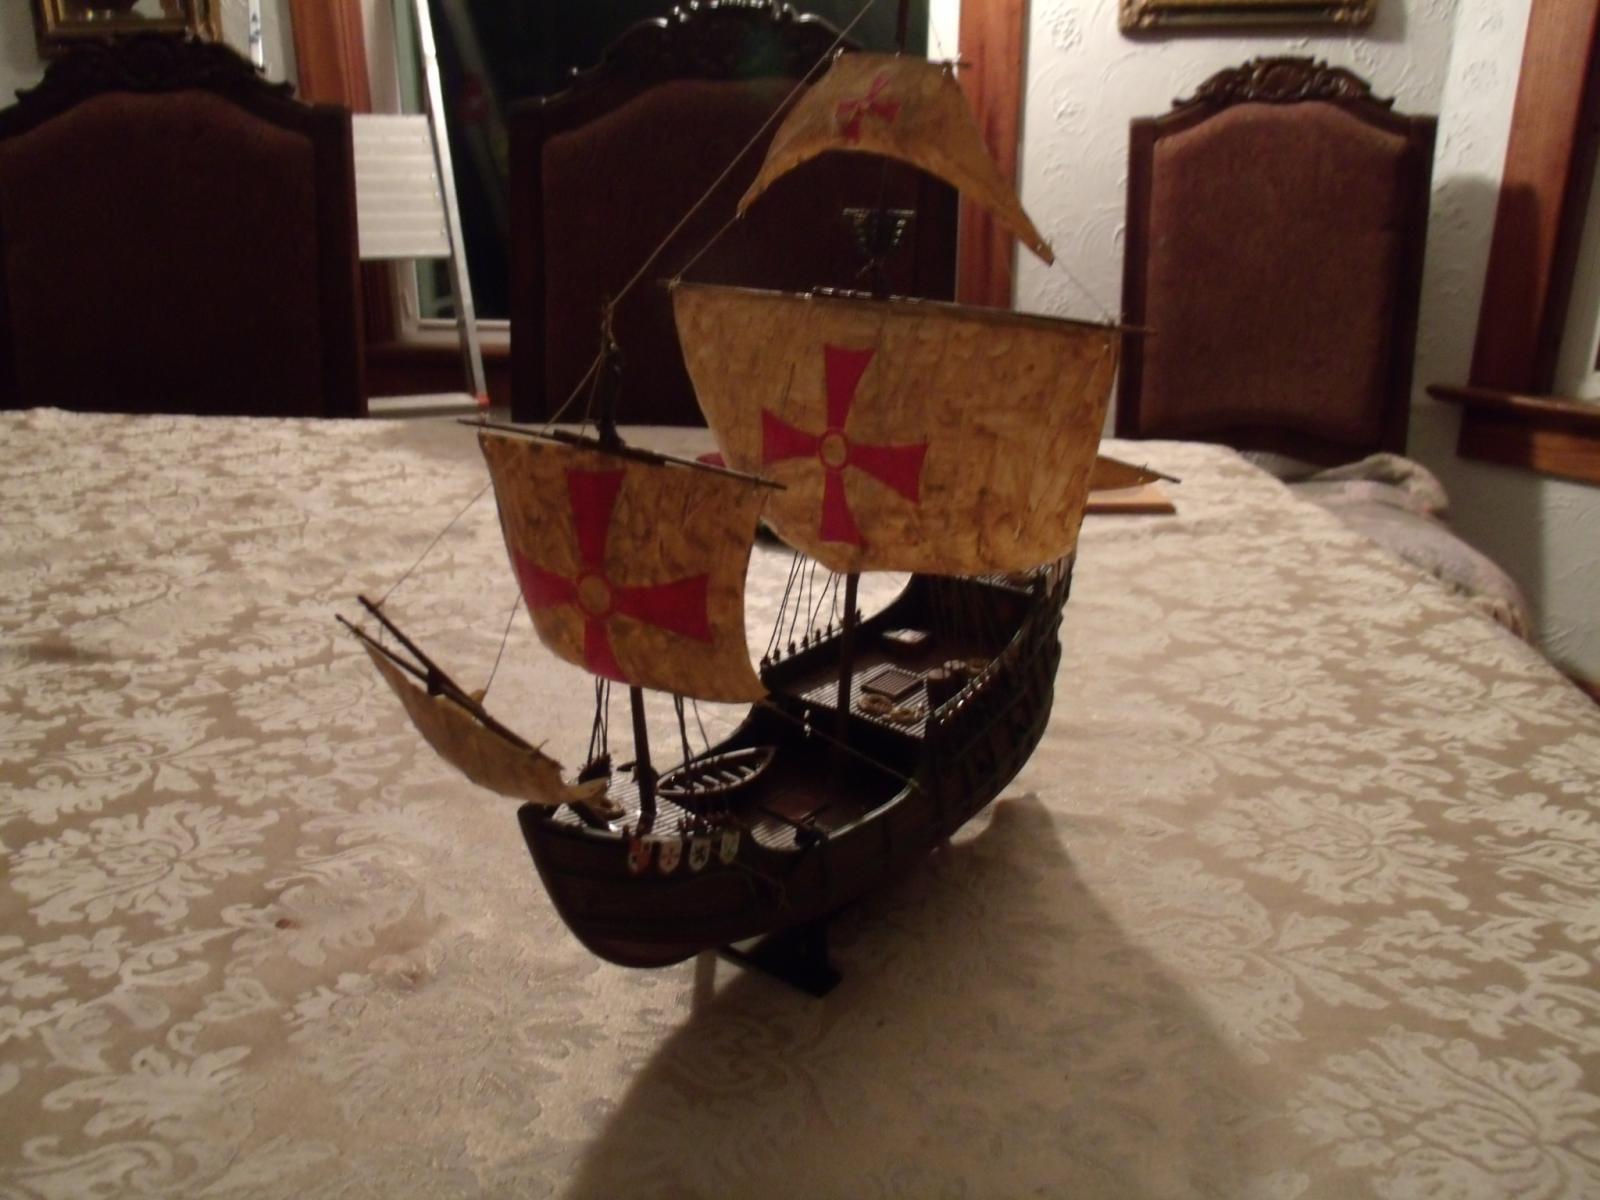
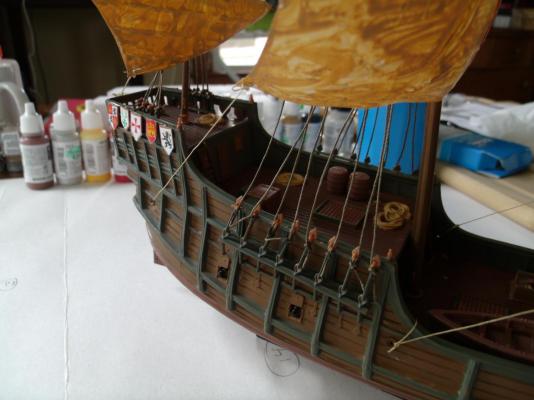
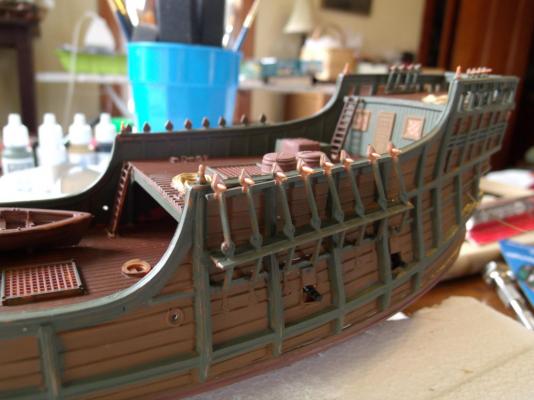
Here are better pictures of my ship. Sorry, but I did not put up the cheap paper flags. I think they are tacky. I don't know what my next build will be yet. What are the cross bars that you put the sails on called? Anyway, I think I did the back one incorrectly. I think it was supposed to be tilted. It did seem weird the way they had the mast done in the middle for that bar. They were not very clear on how to do it. I had to be clever on where to tie the front sail off of. The tiny picture did not really show where the bottom ropes were supposed to be tied to. I have learned sometimes you have to come up with clever ways of doing certain things. You know they really need people who don't know how to put these ships together to test their directions to see if the directions are clear enough for people to understand.


- 94 replies
-
- 6
-
-
- santa maria
- revell
- (and 1 more)
-
Well, here she is. I will post better pictures tomorrow. I left the shrouds like they were. It would have been very difficult for me to try to get them off, and it probably would have made things worse. It is another lesson learned. I did learn how to do the decals that you stick in water first. Plus, I am getting better at doing a lot things.

- 94 replies
-
- 5
-
-
- santa maria
- revell
- (and 1 more)
-
Thank you everyone for the information and tips. There is no way to redo them, so I am just moving forward. It was just very disheartening when they turned out so bad, because I had everything else looking great. The string part is the toughest part for me, but I will persevere. All I can do is keep at it, and one day I will have it down. I sure wish I had one of you nearby to show me how to do it correctly. I am using the other thread they had in the kit to finish the top rigging. I am in the process of painting my sails right now. I have found that it is difficult to actually know exactly how they are to be cut when cutting them out. The lines are sometimes incorrect, but I am learning that also. They do not give much information on how they want the sails tied on, so I am going to wing it. Thankfully, I now have some experience with sails.
- 94 replies
-
- 1
-
-
- santa maria
- revell
- (and 1 more)
-
I am very sad. My shrouds turned out terrible. The rope/thread for them was horrible. It would not tighten at all. It is like a thicker, kind of waxy, hard thread. Anyway, I did get creative and make them look a little better. I still have some ends I need to clip in these pictures.
- 94 replies
-
- 3
-
-
- santa maria
- revell
- (and 1 more)
-
Need help with the shrouds on Revell - Santa Maria
Kimberley replied to Kimberley's topic in Masting, rigging and sails
Thanks Ken. I did like you said on the middle tall mast. I went back and forth doing one at a time. It looks much better. -
Need help with the shrouds on Revell - Santa Maria
Kimberley replied to Kimberley's topic in Masting, rigging and sails
They do not have any sizing guide. There is no black colored rope. The rope it came with will not tighten up at all. It is like stiff and a little waxy. I attempted to do the one of the back side, but it is not going well. I just can't get the rope tight. -
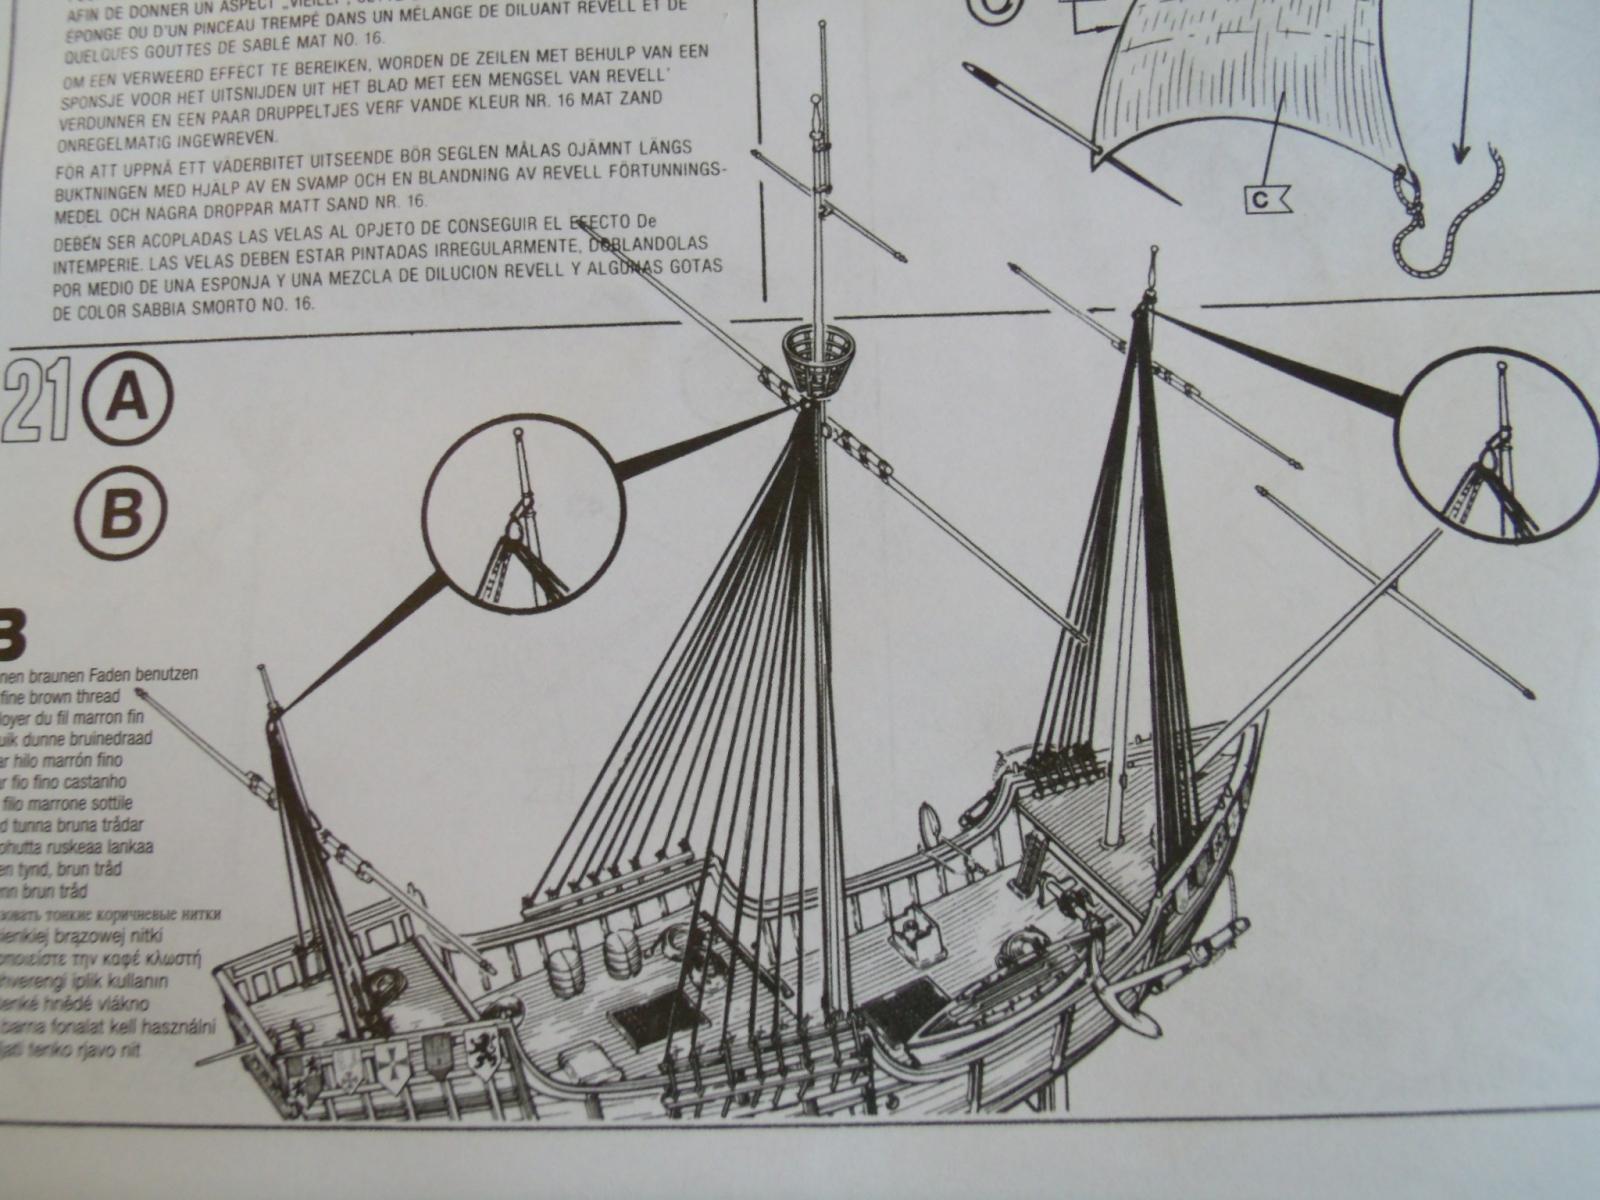
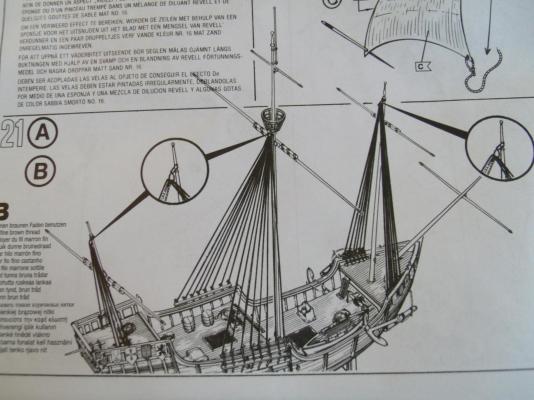
I have attached a picture from my directions booklet. I understand the spreader part in the middle for pulling the thread/rope through, but I do not understand the large circle things pointed to the top of the other masts that show the bundle of thread/rope being pulled though. Nothing in the picture is in my parts. Do I create it them with the rope? Also, on the chainplates on the bottom. I have attached a picture of those too. Exactly how do I attach each rope for the shrouds onto these? I sure hope I got those terms correct.
-
@ Patrick - Sorry I am confused. I did look up your terms, but I still don't quite understand them, or what you are trying to tell me. It does not show me at all how they are attaching the rope to the chainplates attached to the ship. What is a landyard? Is it something that would have been included in my parts? My biggest problem right now is the picture I posted above these pictures. It is showing how all the rope is supposed to go through a loop attached to the top of the mast. There is nothing in my parts that resembles them. I don't know if I am supposed to create it with the rope. I really wish they would give me more close up pictures in the directions. @ Andy - Where do I get microset or microsol? @ Mark - Thank you for the tip. Could you explain what seams you are talking about. This rigging part is going to be the death of me! This is the part they should really spend more time on in their directions, and they should show close ups.
-
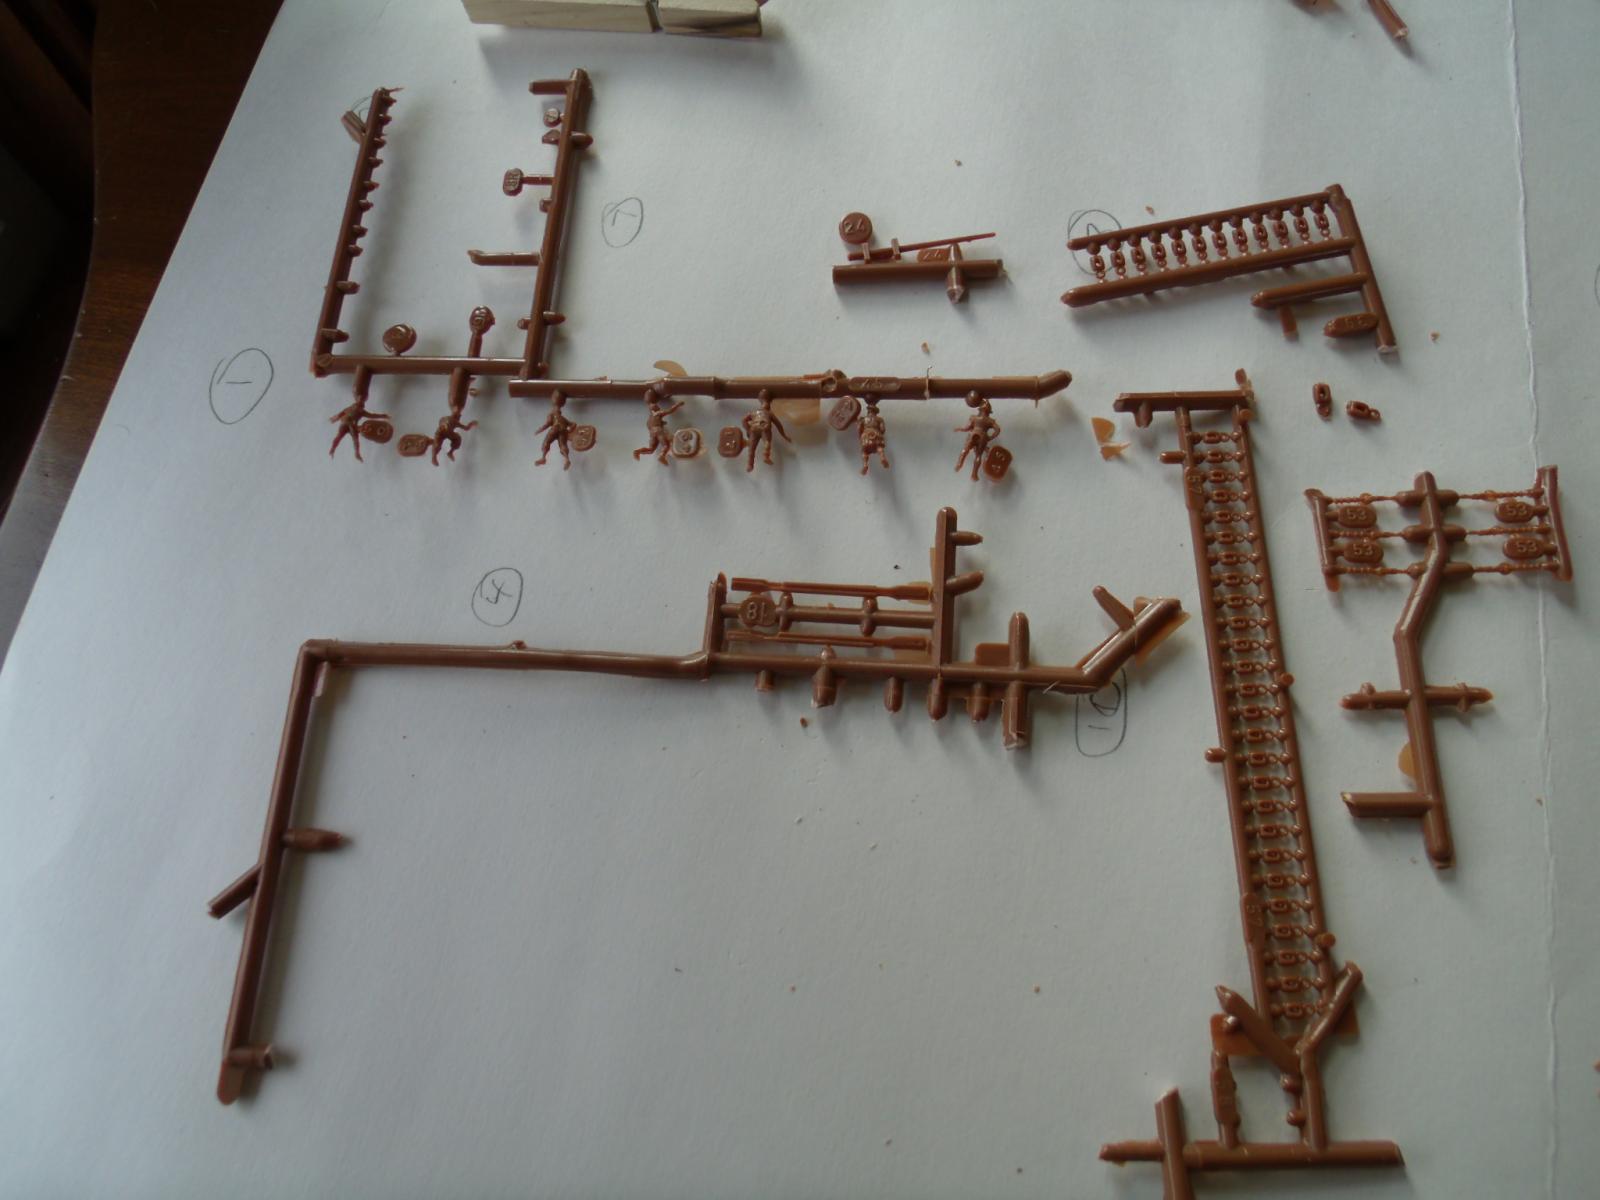
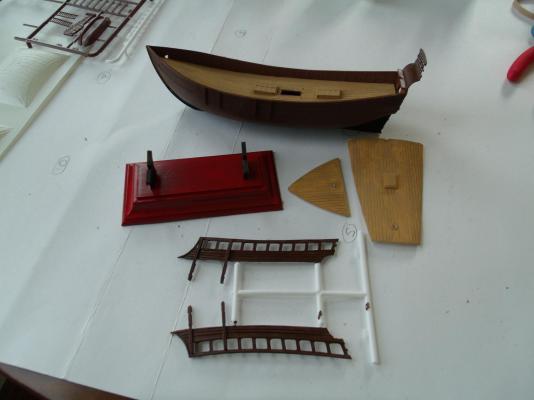
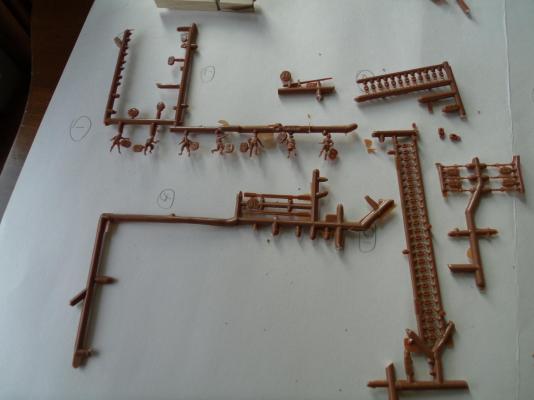
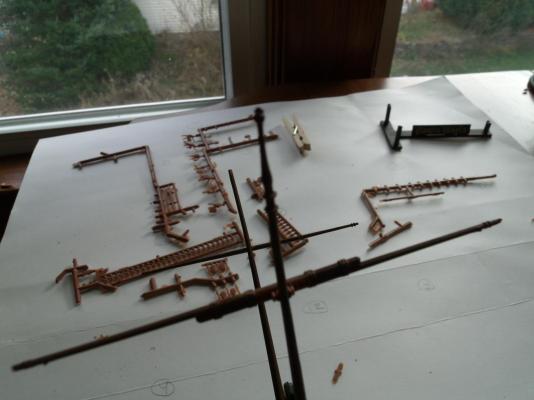
There is nothing that resembles those hook looking things holding the thread. The thread is thinker and more rope like than regular thread, so it would have to be a big hole to run them through. One other question. On the decals that go in water. How long do I dip in the water to get them off? Here are pictures for you to see about my rigging. Please feel free to correct my terms, so I can learn them. Here are my leftover parts Here is where it shows you at the top of the mast where the spot is for the rigging, which to me is where the eyelet ? should have gone if there had been any. Here is where the rigging will be attached to at the bottom. I am not sure how you do that. Do I just knot them to each peg and glue the knot in place. Or do I make a ring out of the rope to hook over

-
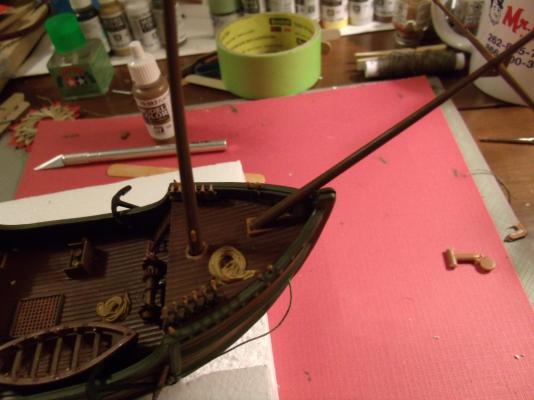
Thank you for helping me. I left the bowsprit on the left. I should have all the masts up today. I really could use your help. Can anyone decipher this picture for me on how they want this rigging done? I kind of get the part where all the thread is is looped on the masts, and then each one is hooked onto those pegs on those side rails. I don't understand what they are showing in the large circles that point to the masts. Also, what is the best way to attach the thread to the hooks/pegs on the side rails? Thanks.

-
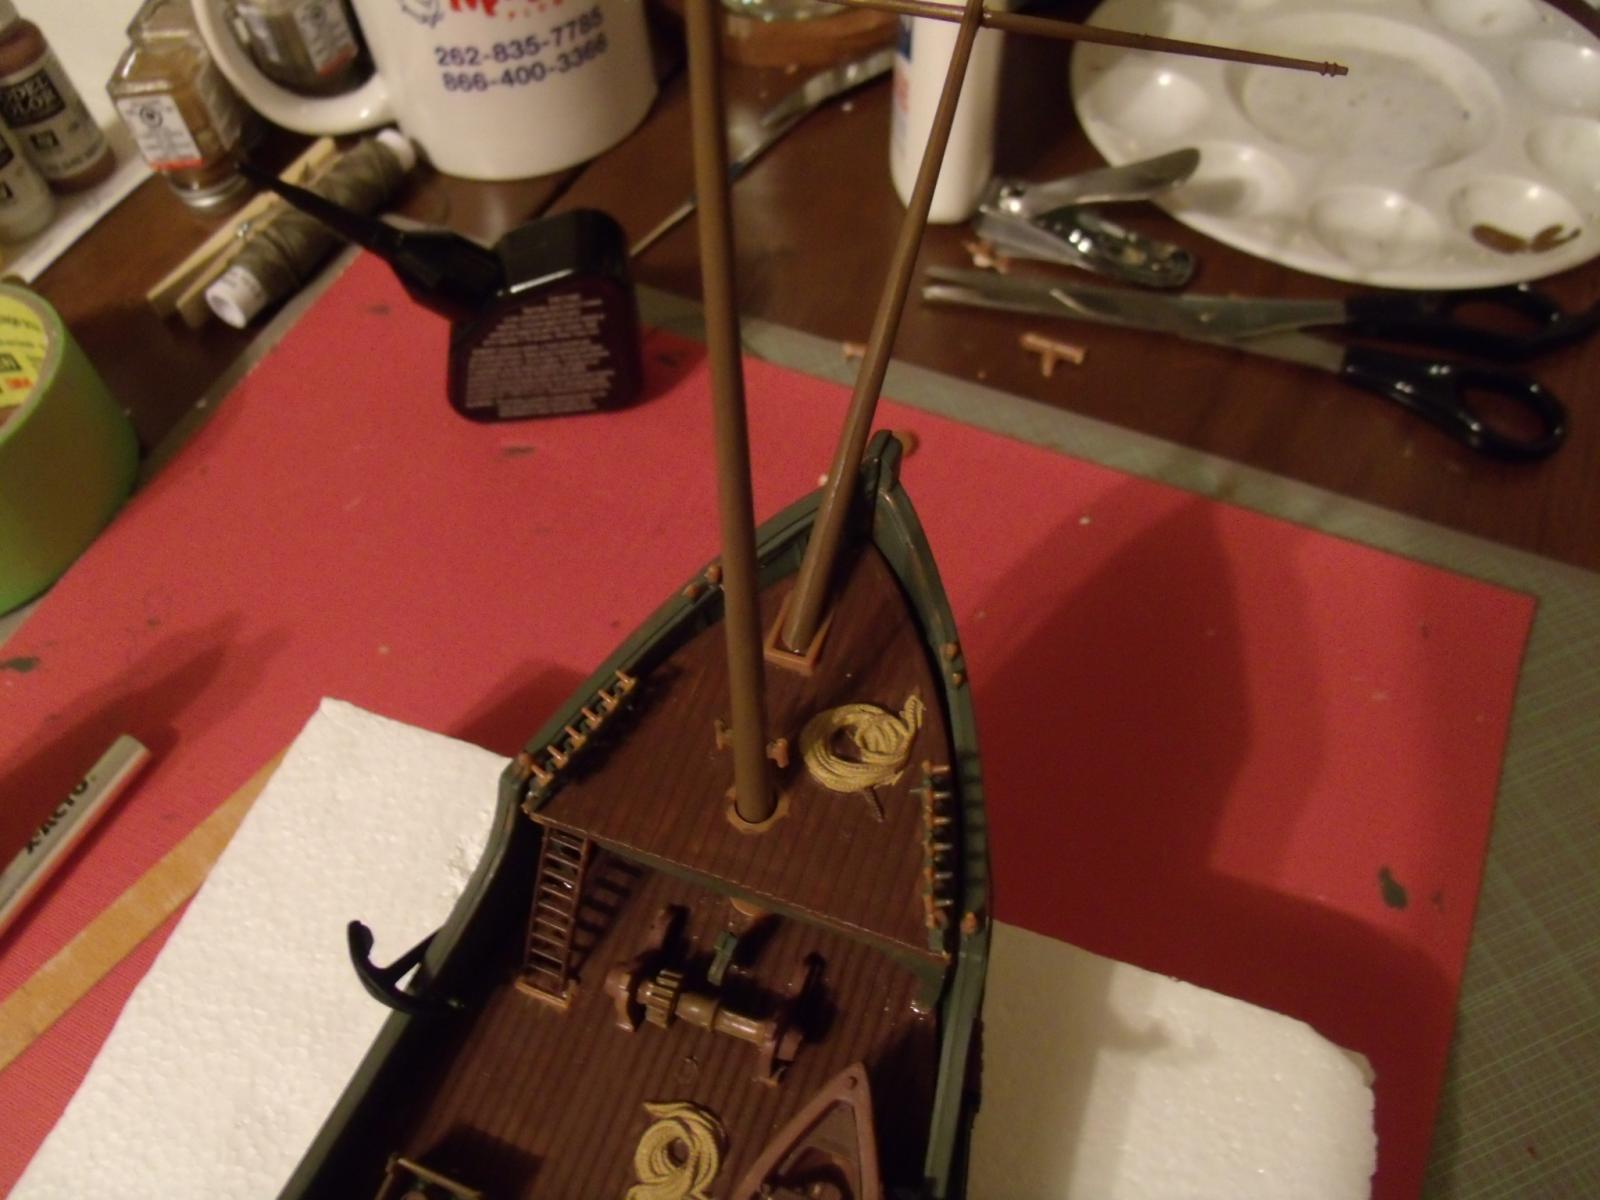
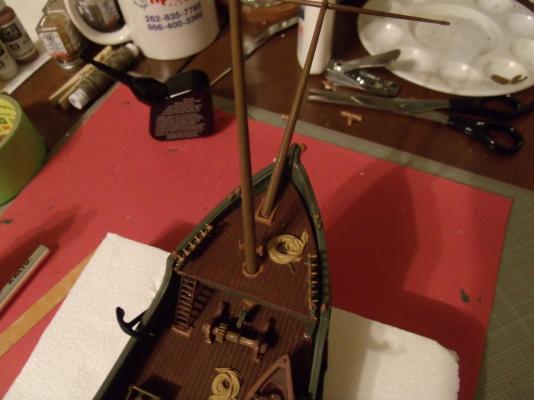
Help. Does it look like I have this front bow mast (?) on right? The hole is left of the center front bow. Should I move it over so it is centered, or is this how I should let it sit? When I move it over to the center, it no longer lines up with that other mast.
- 94 replies
-
- 1
-
-
- santa maria
- revell
- (and 1 more)
-
Andy, your ship is absolutely amazing! She is gorgeous! The detail work just takes my breath away. It is truly one of the most beautiful ships I have seen.