pete48
-
Posts
2,132 -
Joined
-
Last visited
Content Type
Profiles
Forums
Gallery
Events
Everything posted by pete48
-
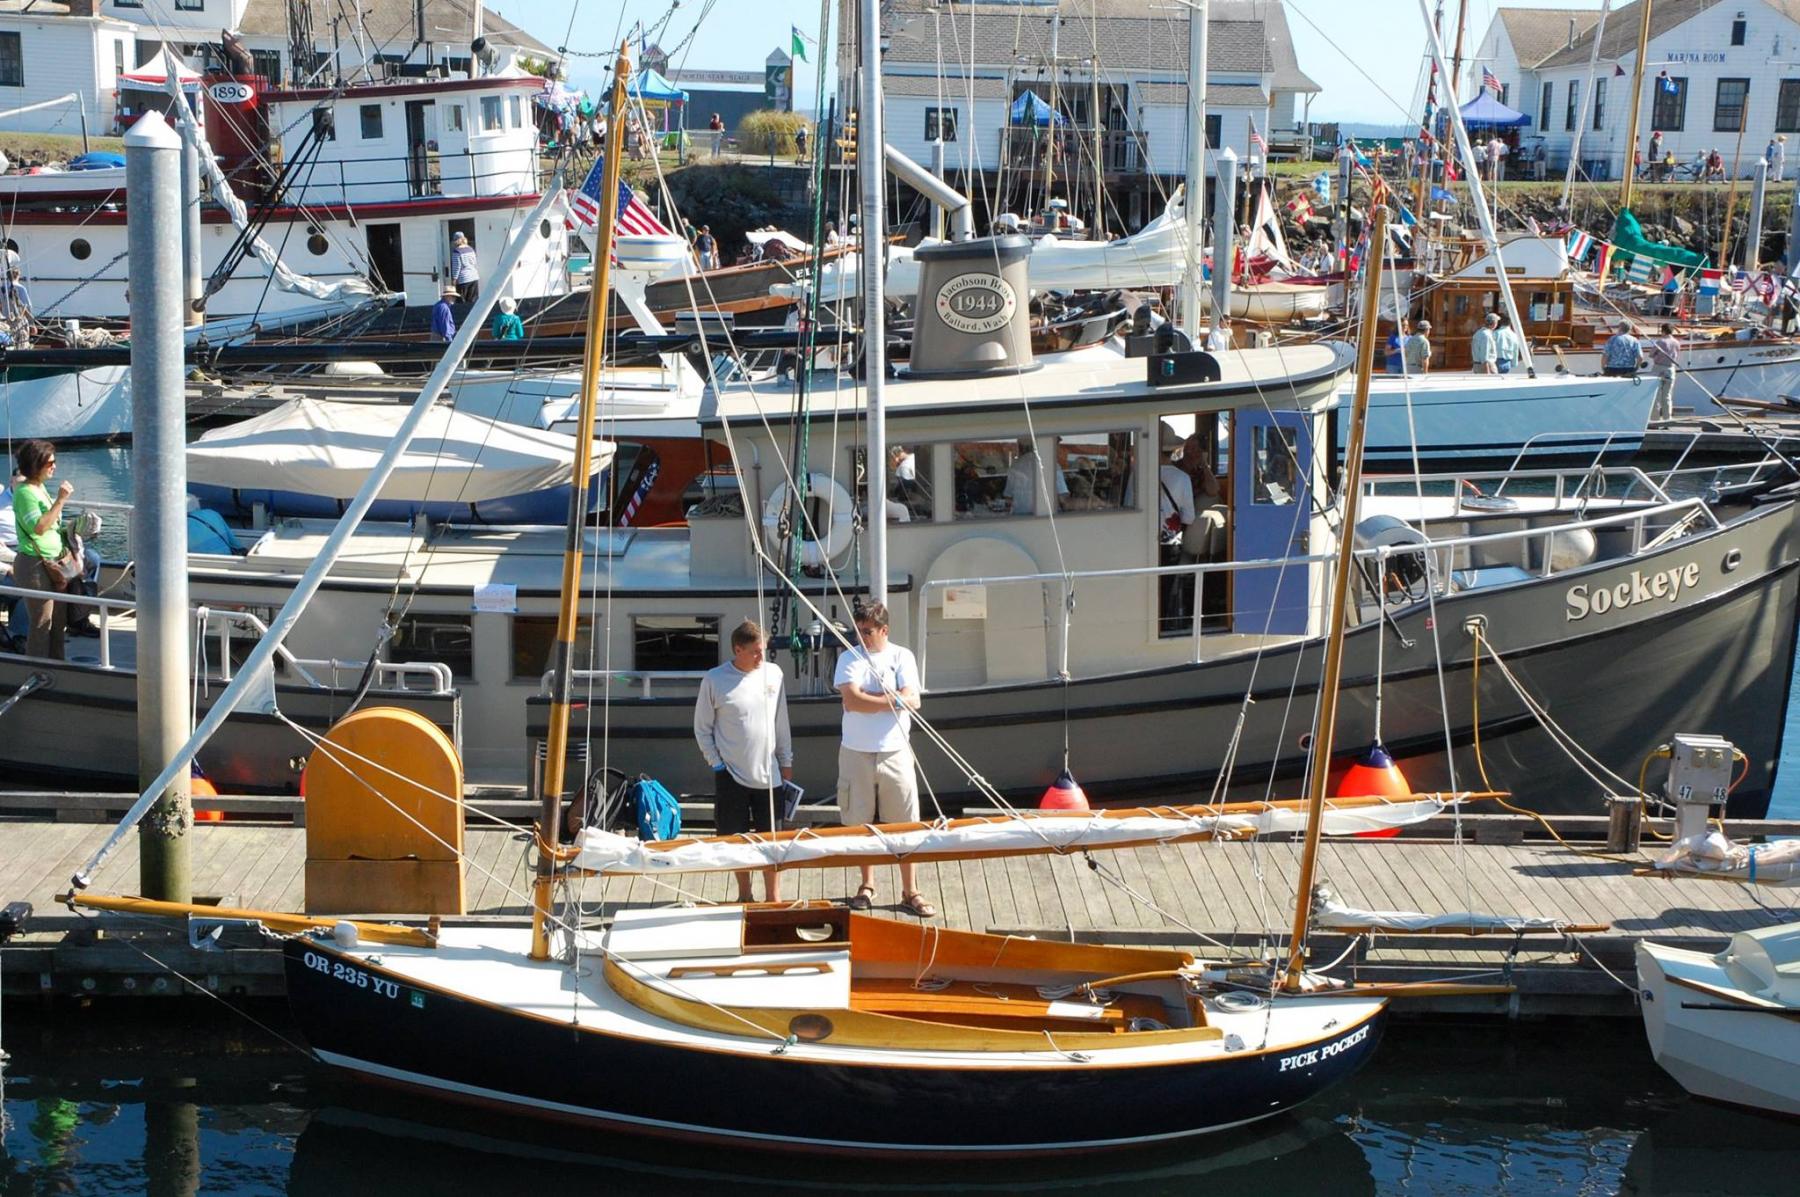
 Thank you Piet, She was a lot of fun to build Thank you John You are welcome Dennis Thank you Mark, William Garden did an Amazing job designing this boat Best Regards, Pete
 -
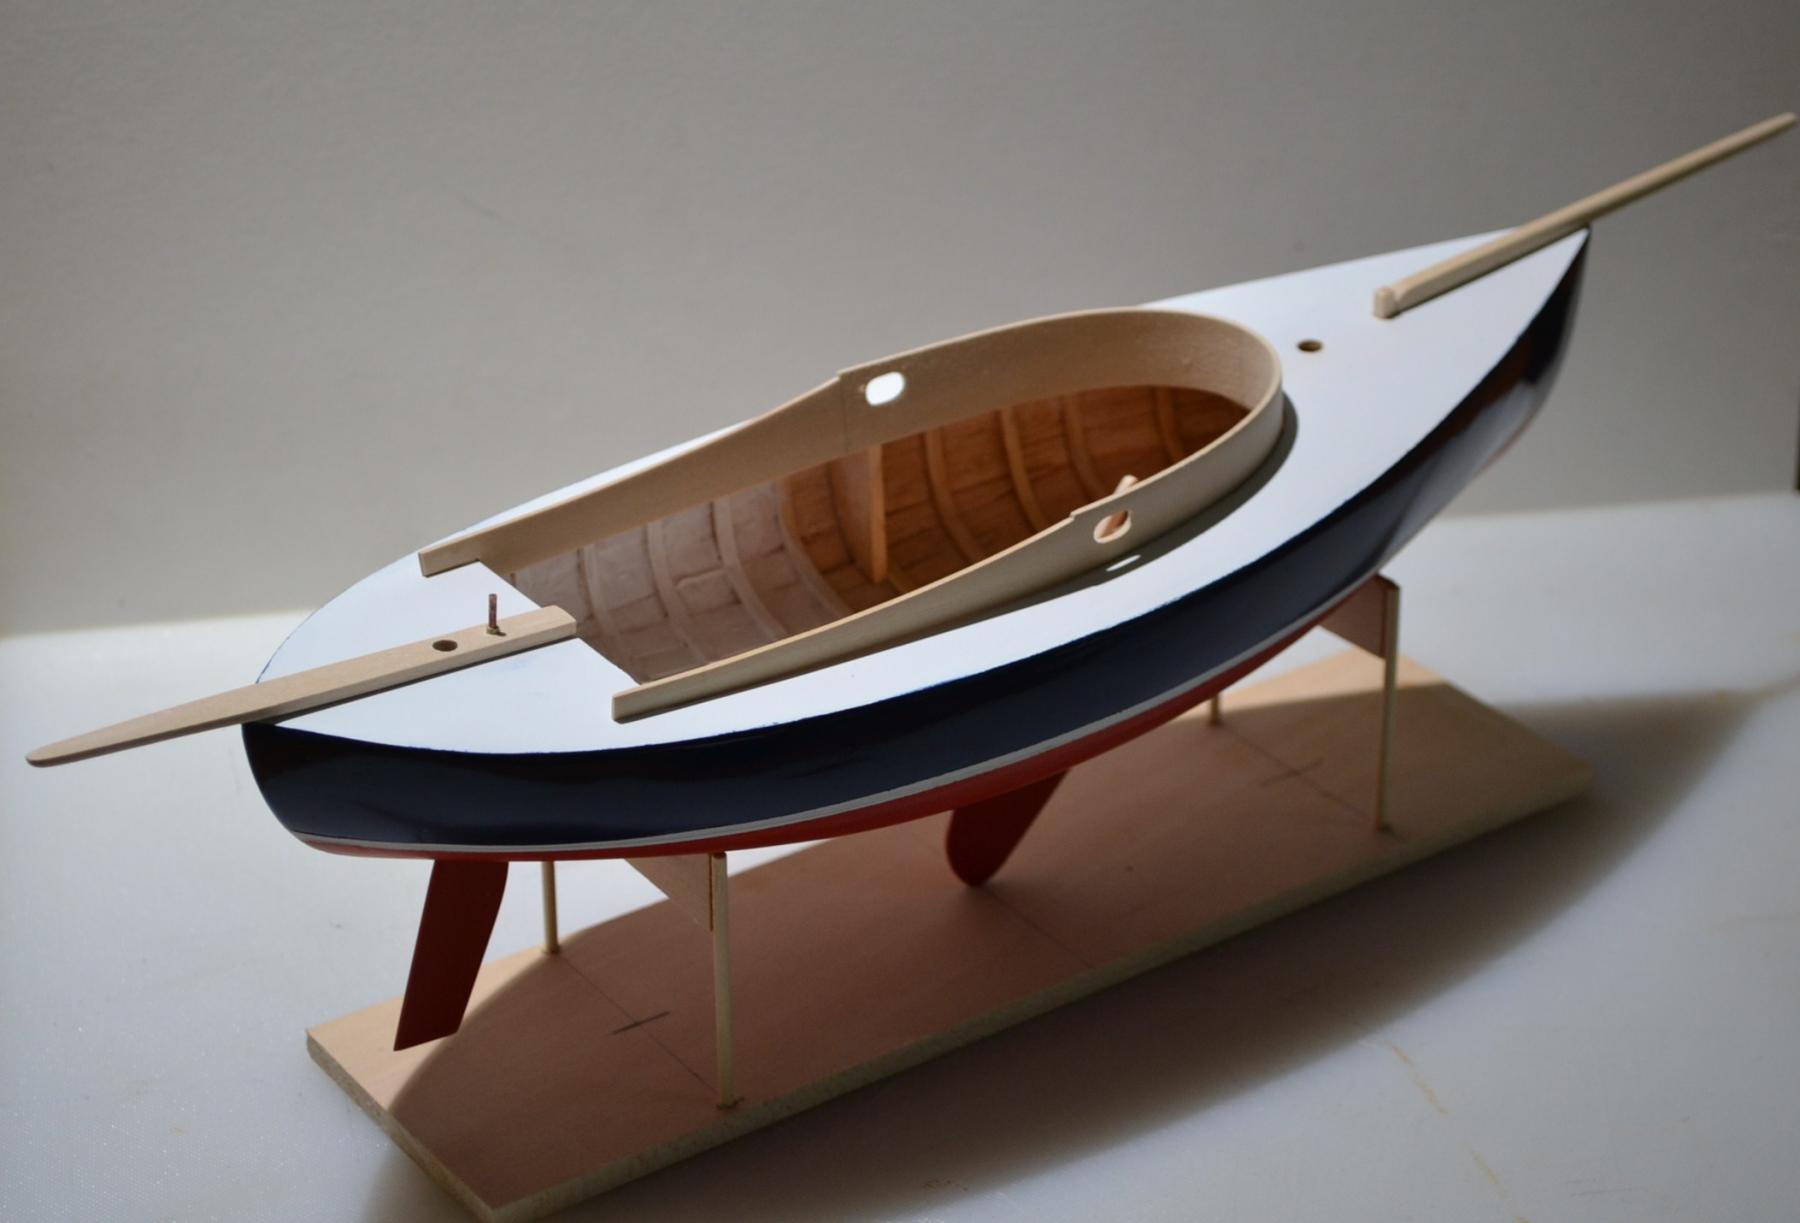
Hi Patrick, The owner was and still is Very Happy, She turned out pretty sweet Best Regards, Pete
-
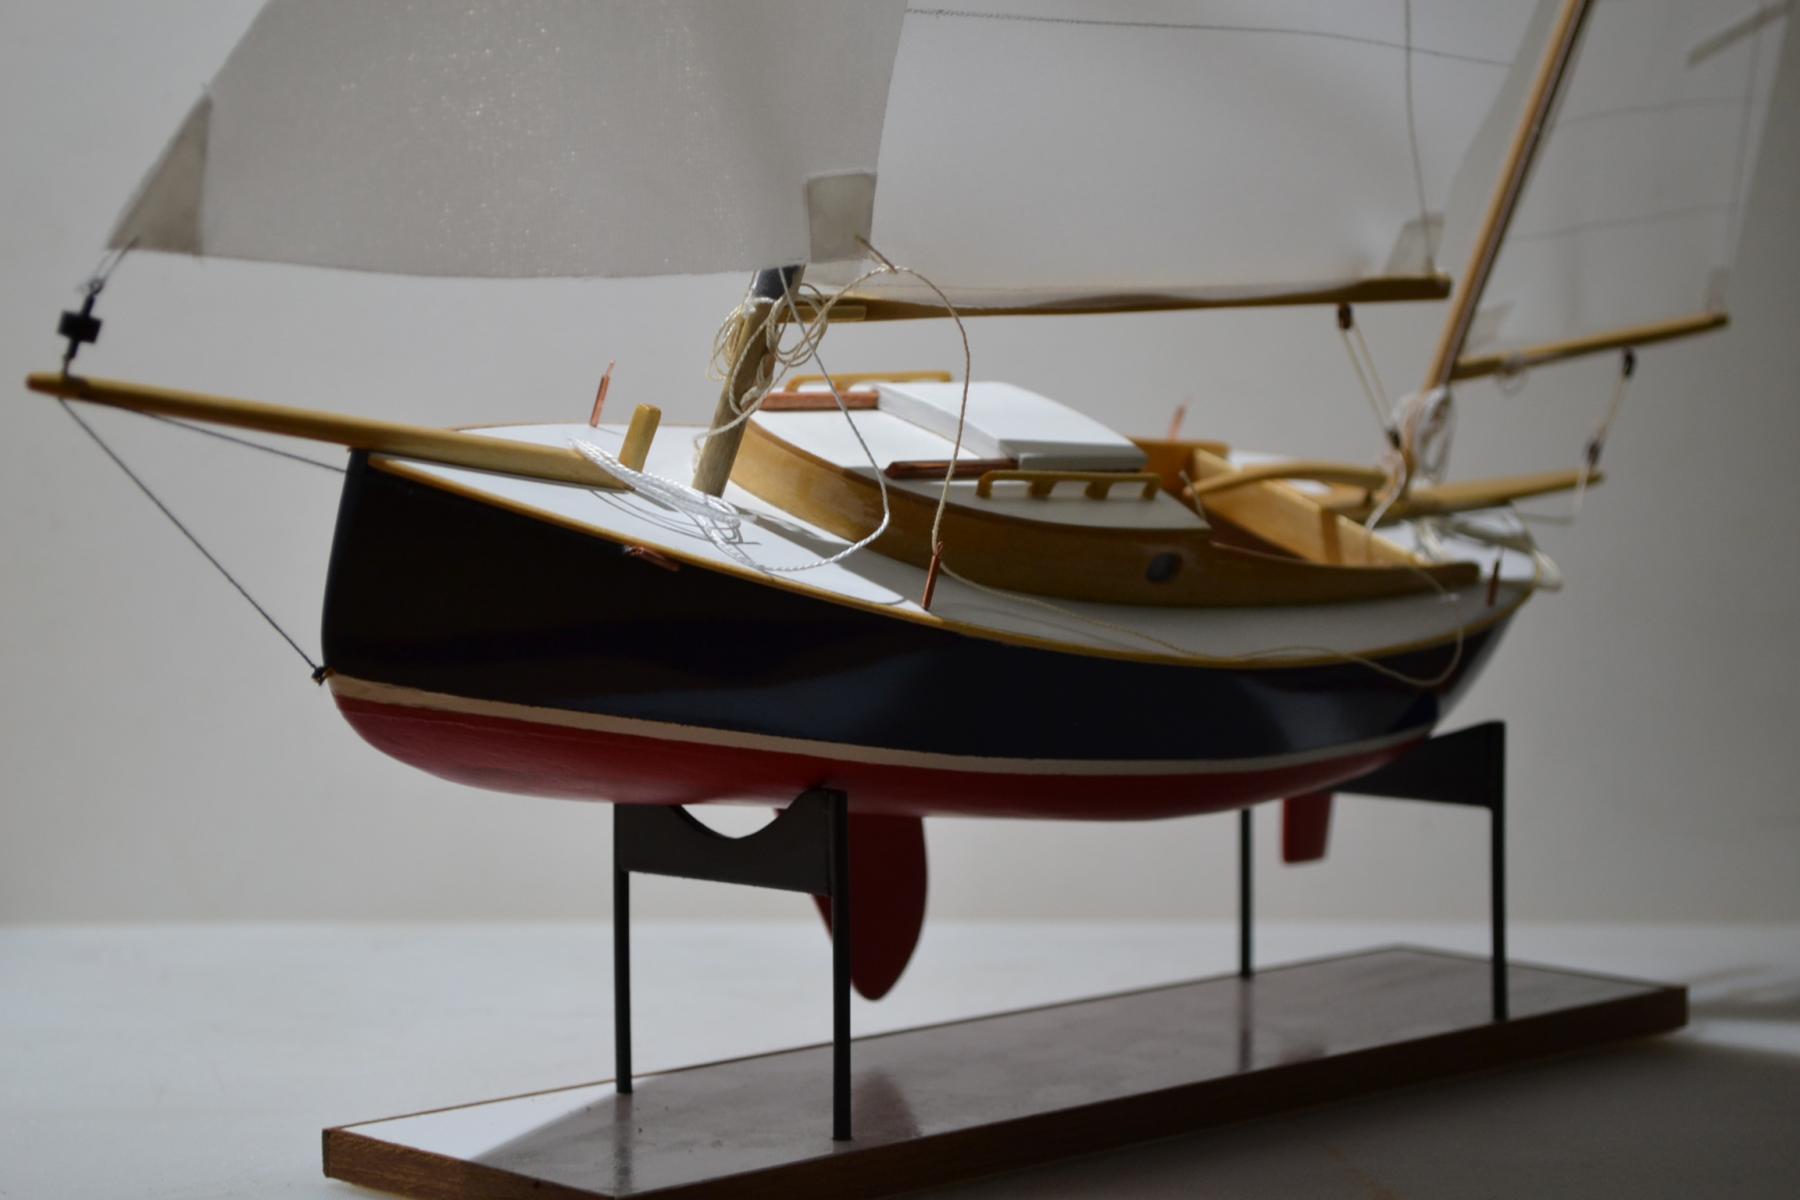
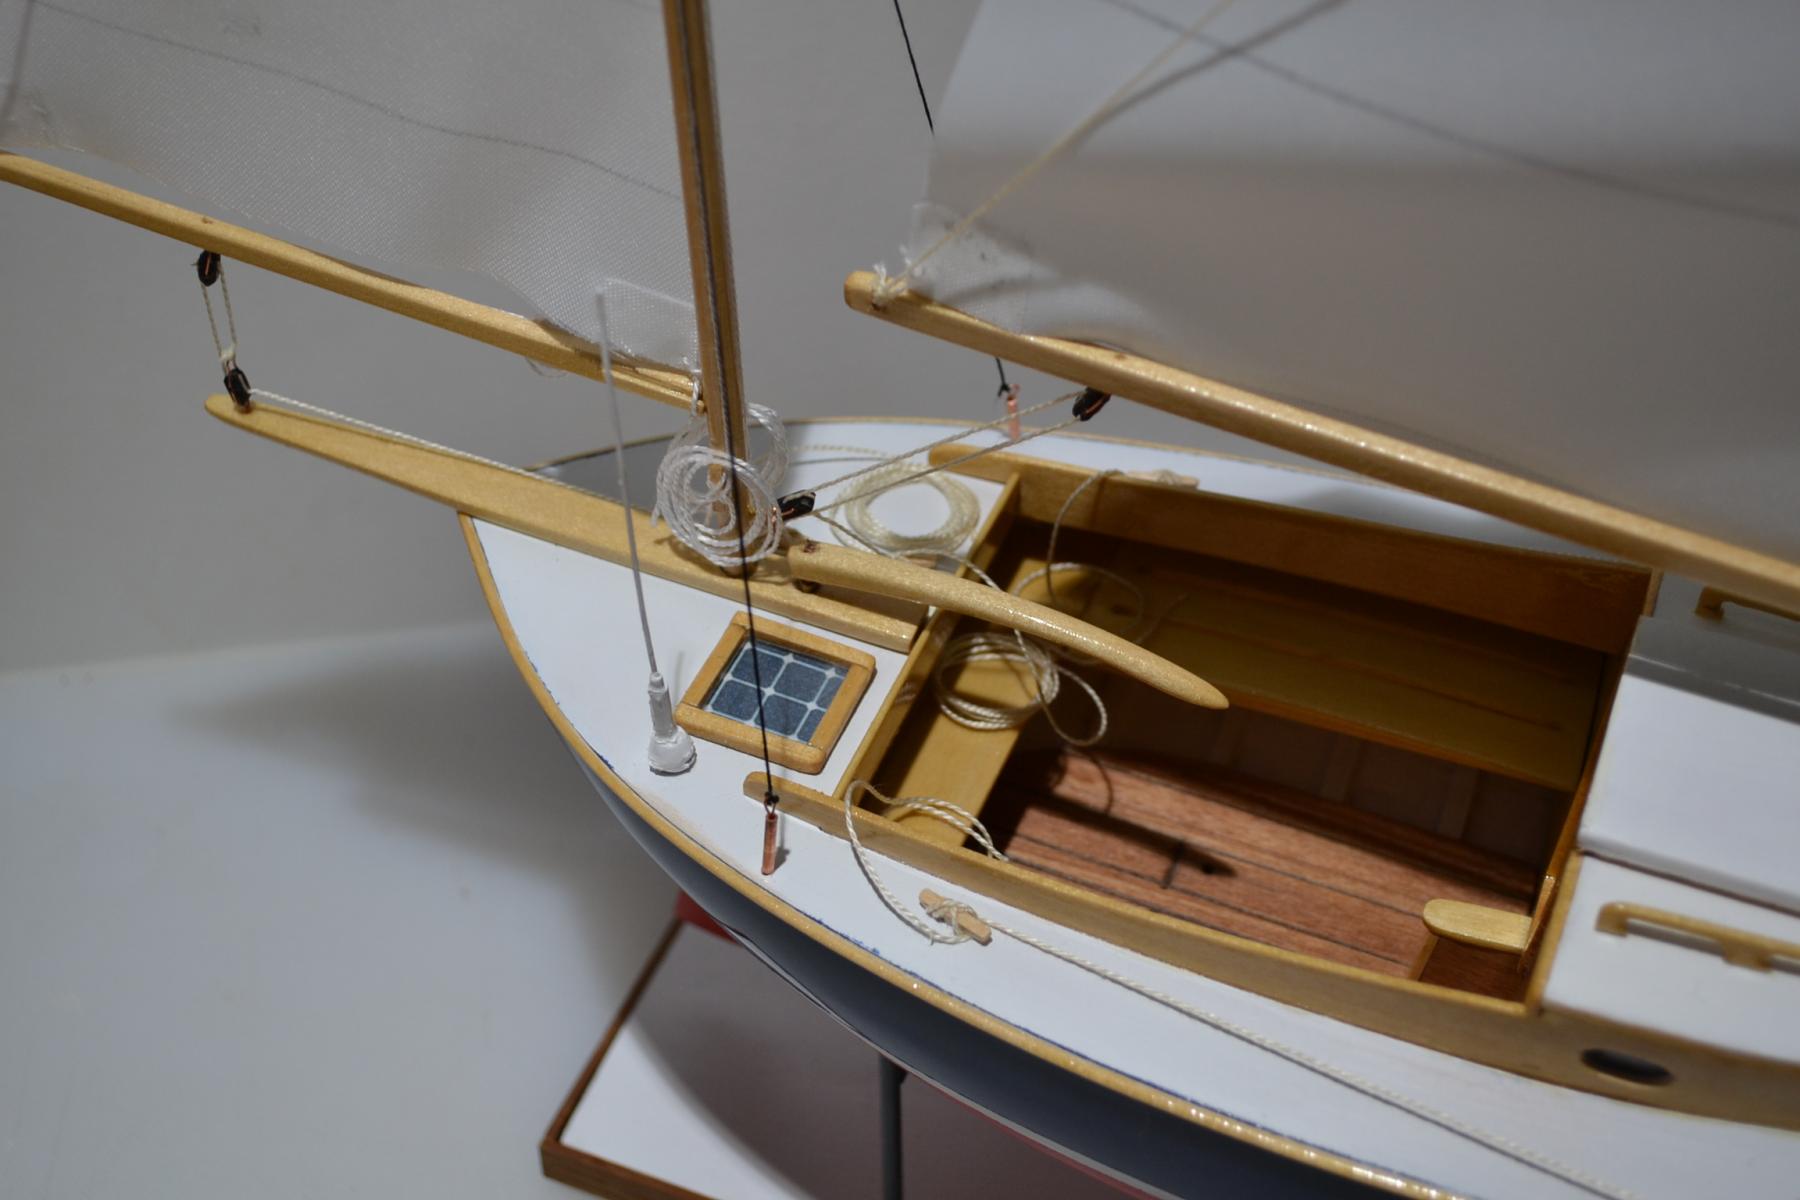
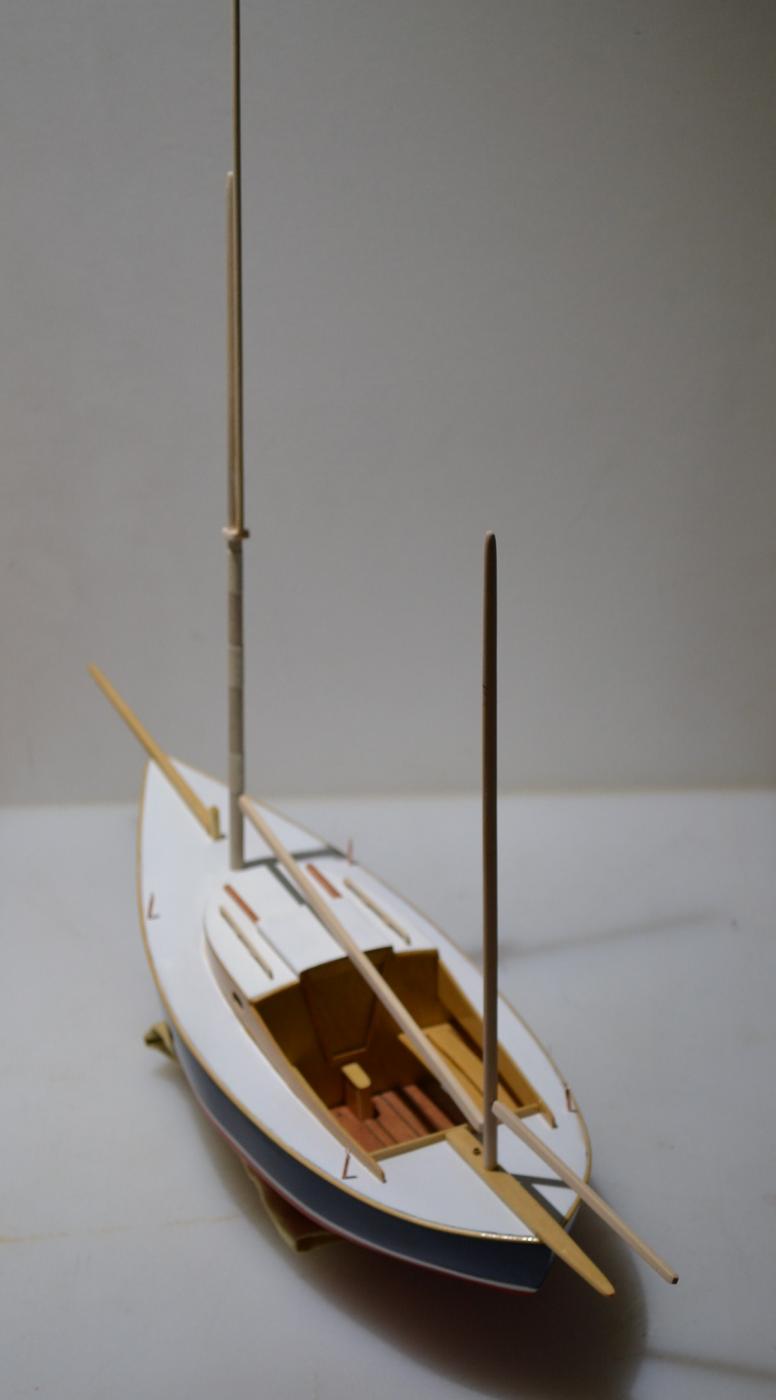
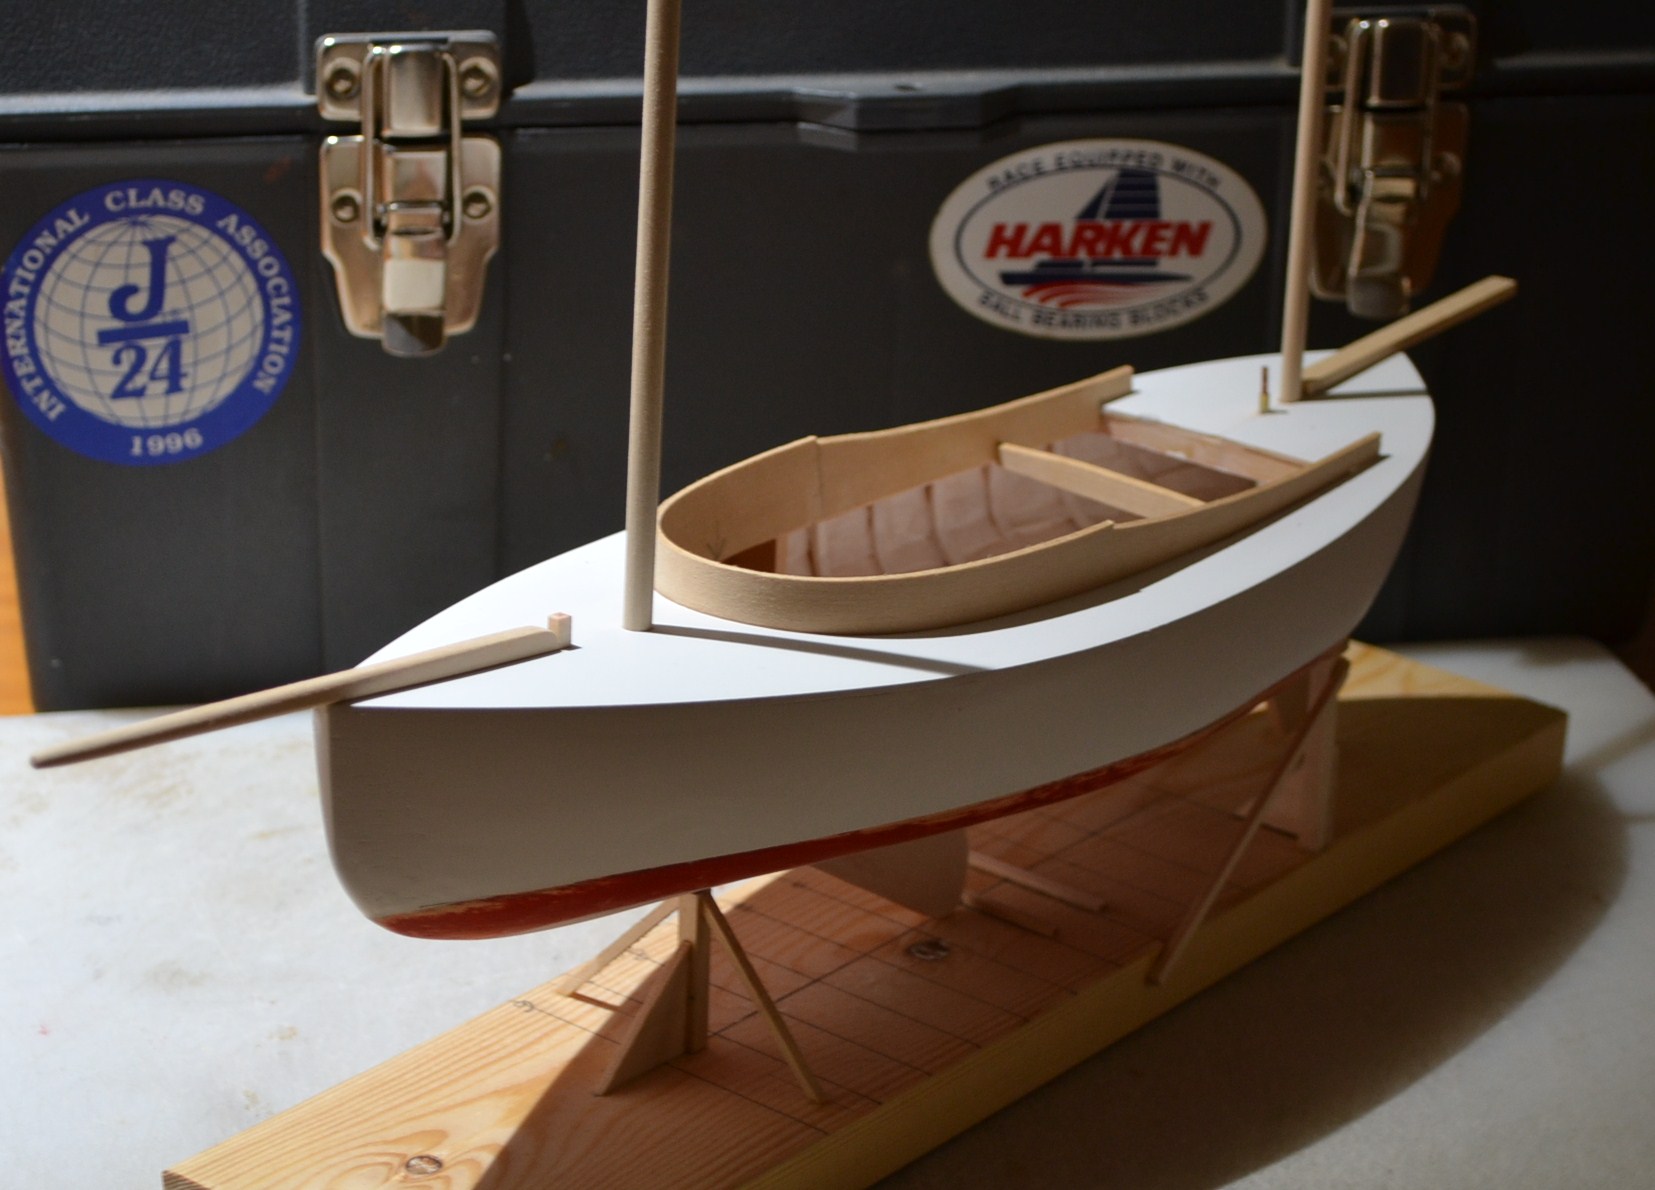
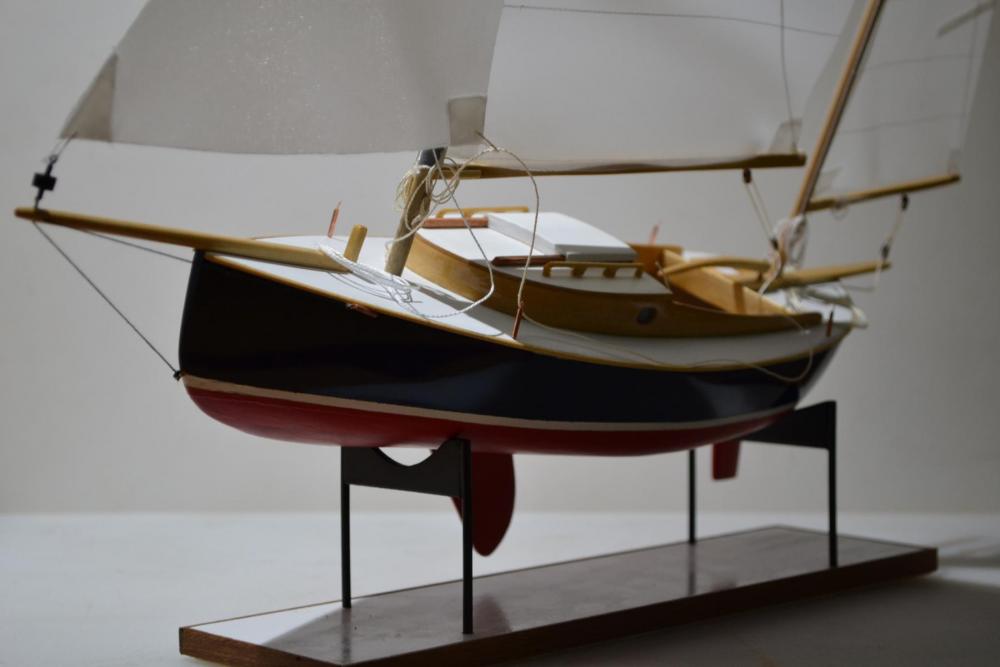
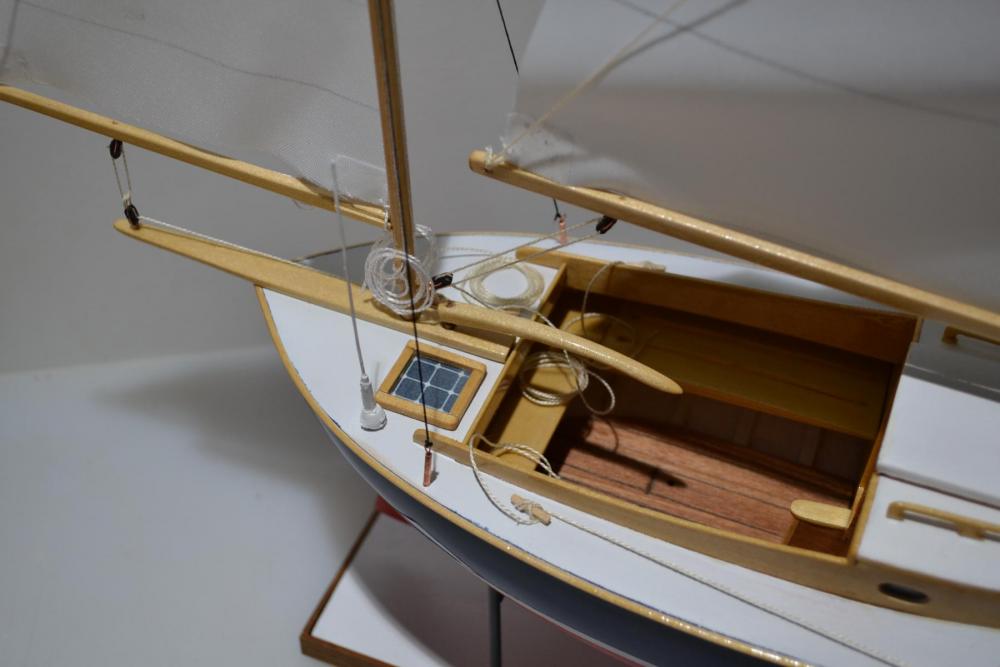
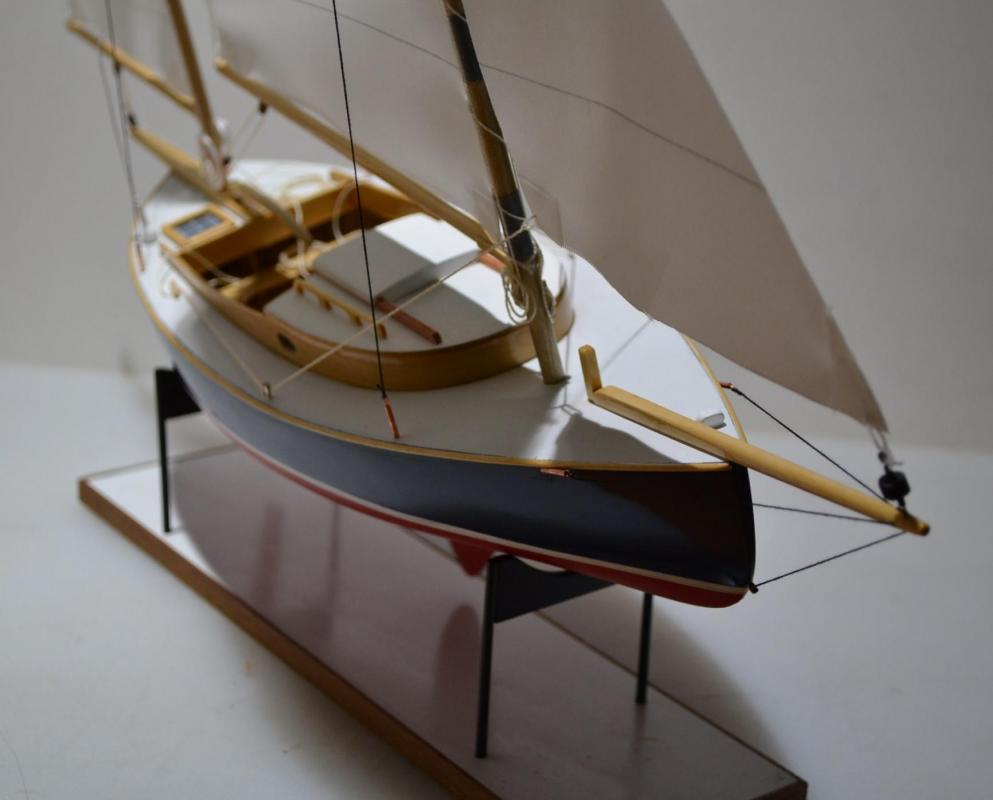
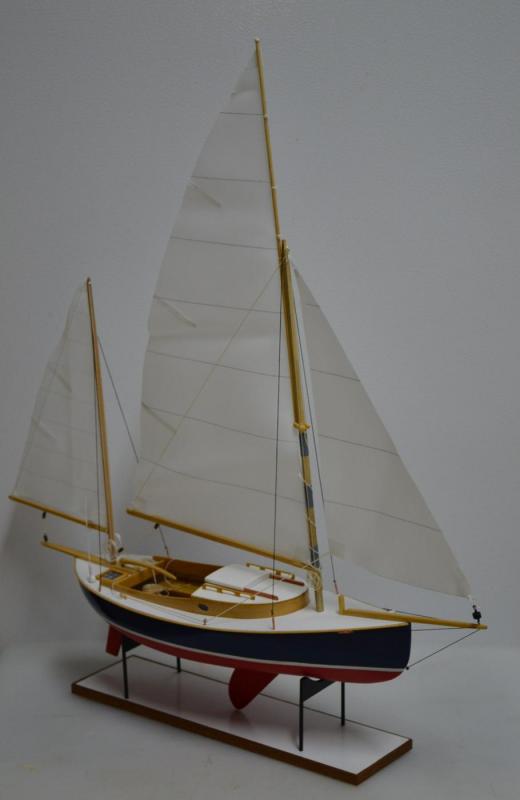
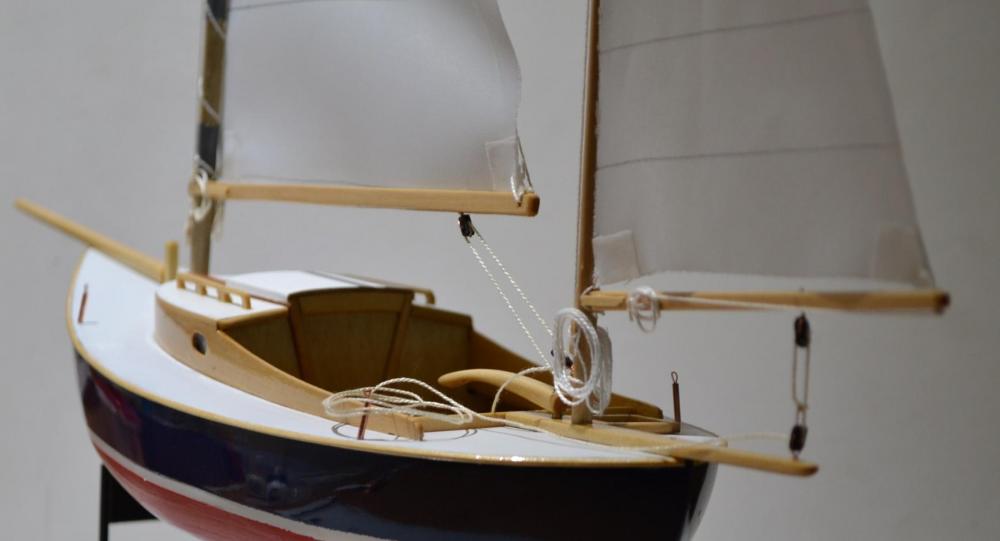
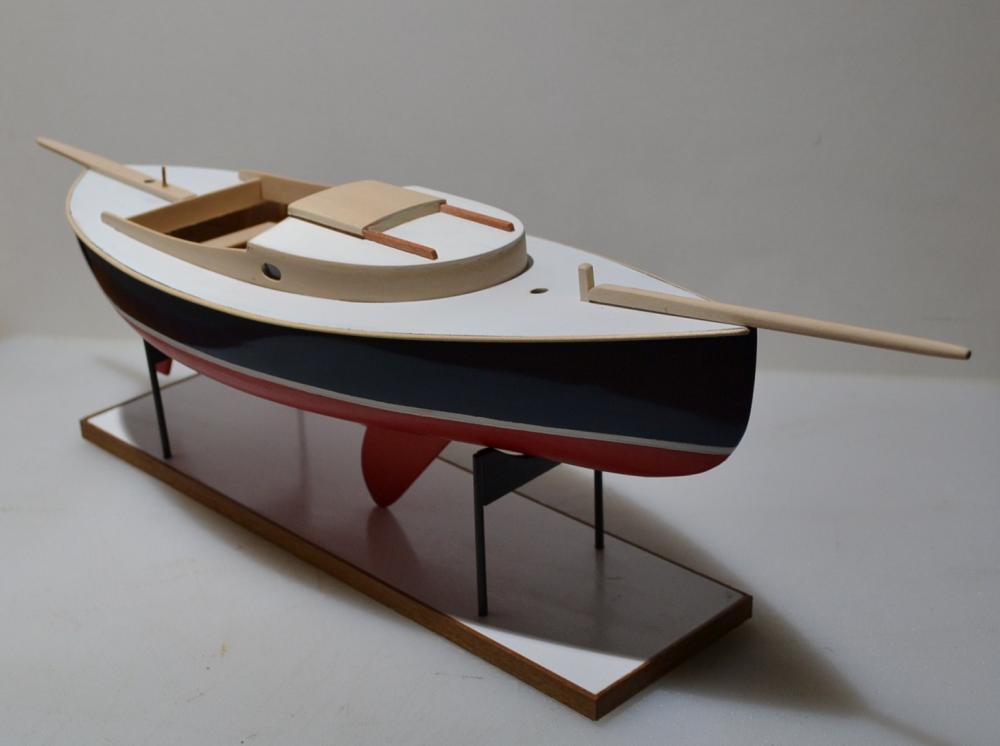
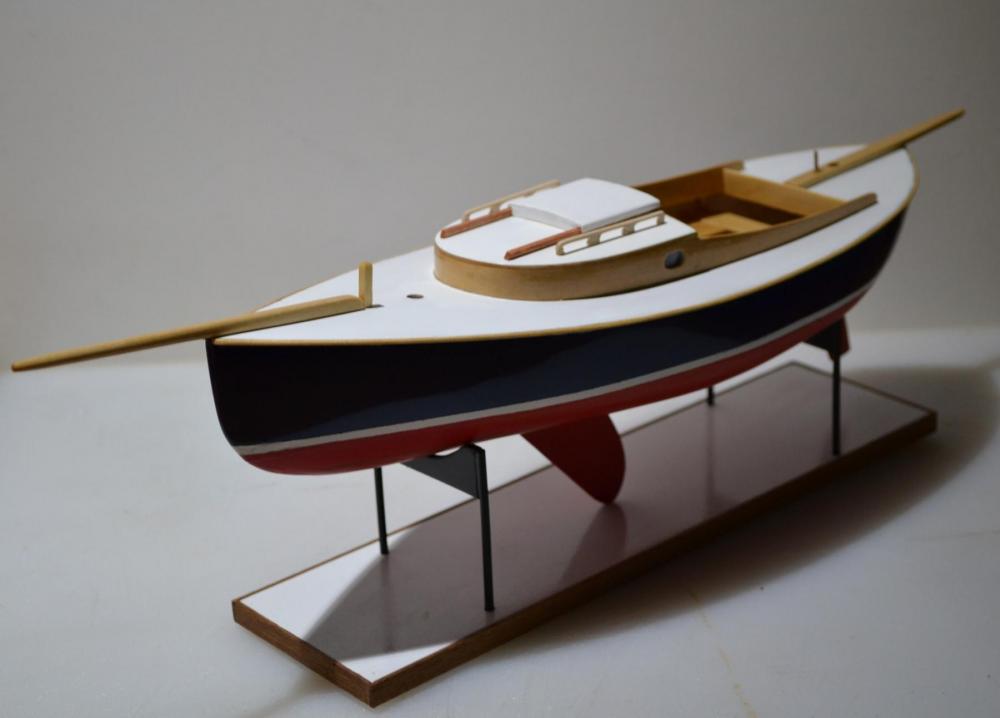
Finally the Roller furler was made along with the Jib, Bowsprit finalized , Standing rigging finished Solar panel made and installed along with Vhf antenna and Air cowl in the bow. In conclusion she took about 5 months to build, the Client was thrilled and said it looked even better when he saw it in person, She was a lot of fun to build
- 24 replies
-
- 14
-

-
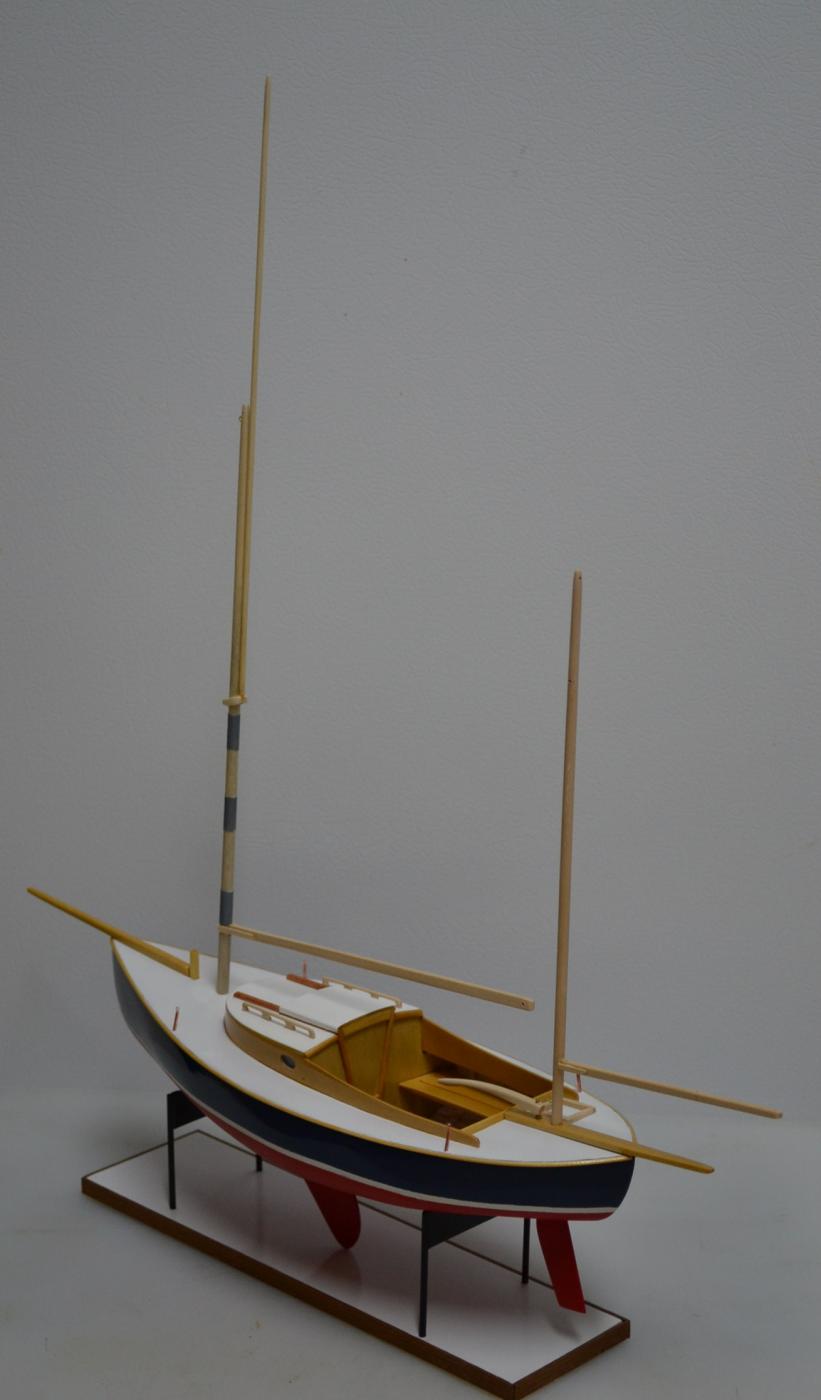
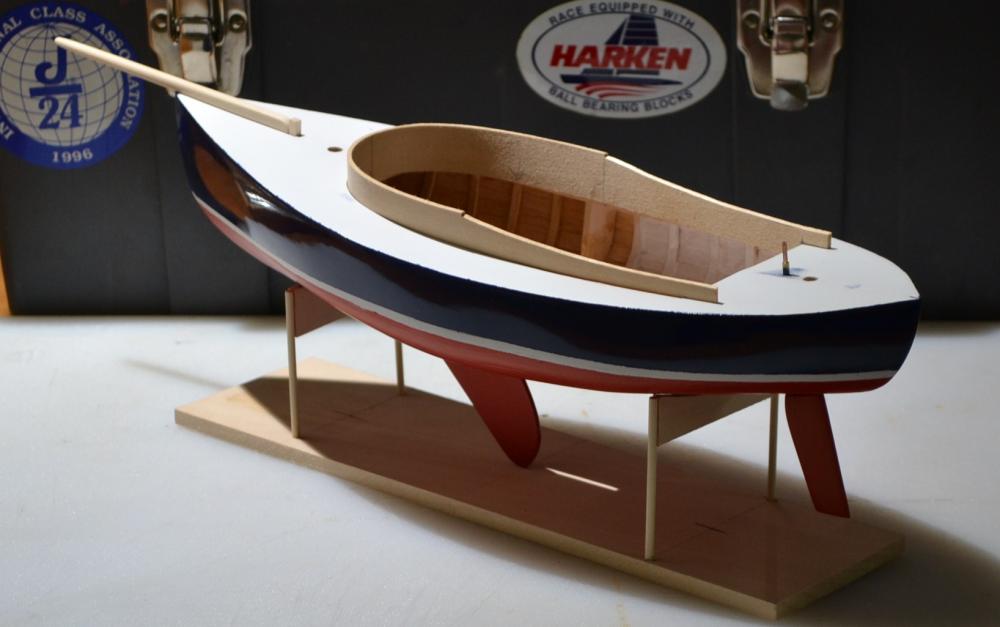
Once satisfied with the spars they were varnished as well * just a note: there were 4 to 5 coats of Epifanes varnish applied and sanded to 1500 grit sandpaper in between coats , then came the fitting out Sails blocks cleats, I should also point out that the Hull had 3 coats of paint wet sanded to 2000 grit sandpaper then buffed with 3M buffing compound then waxed

-
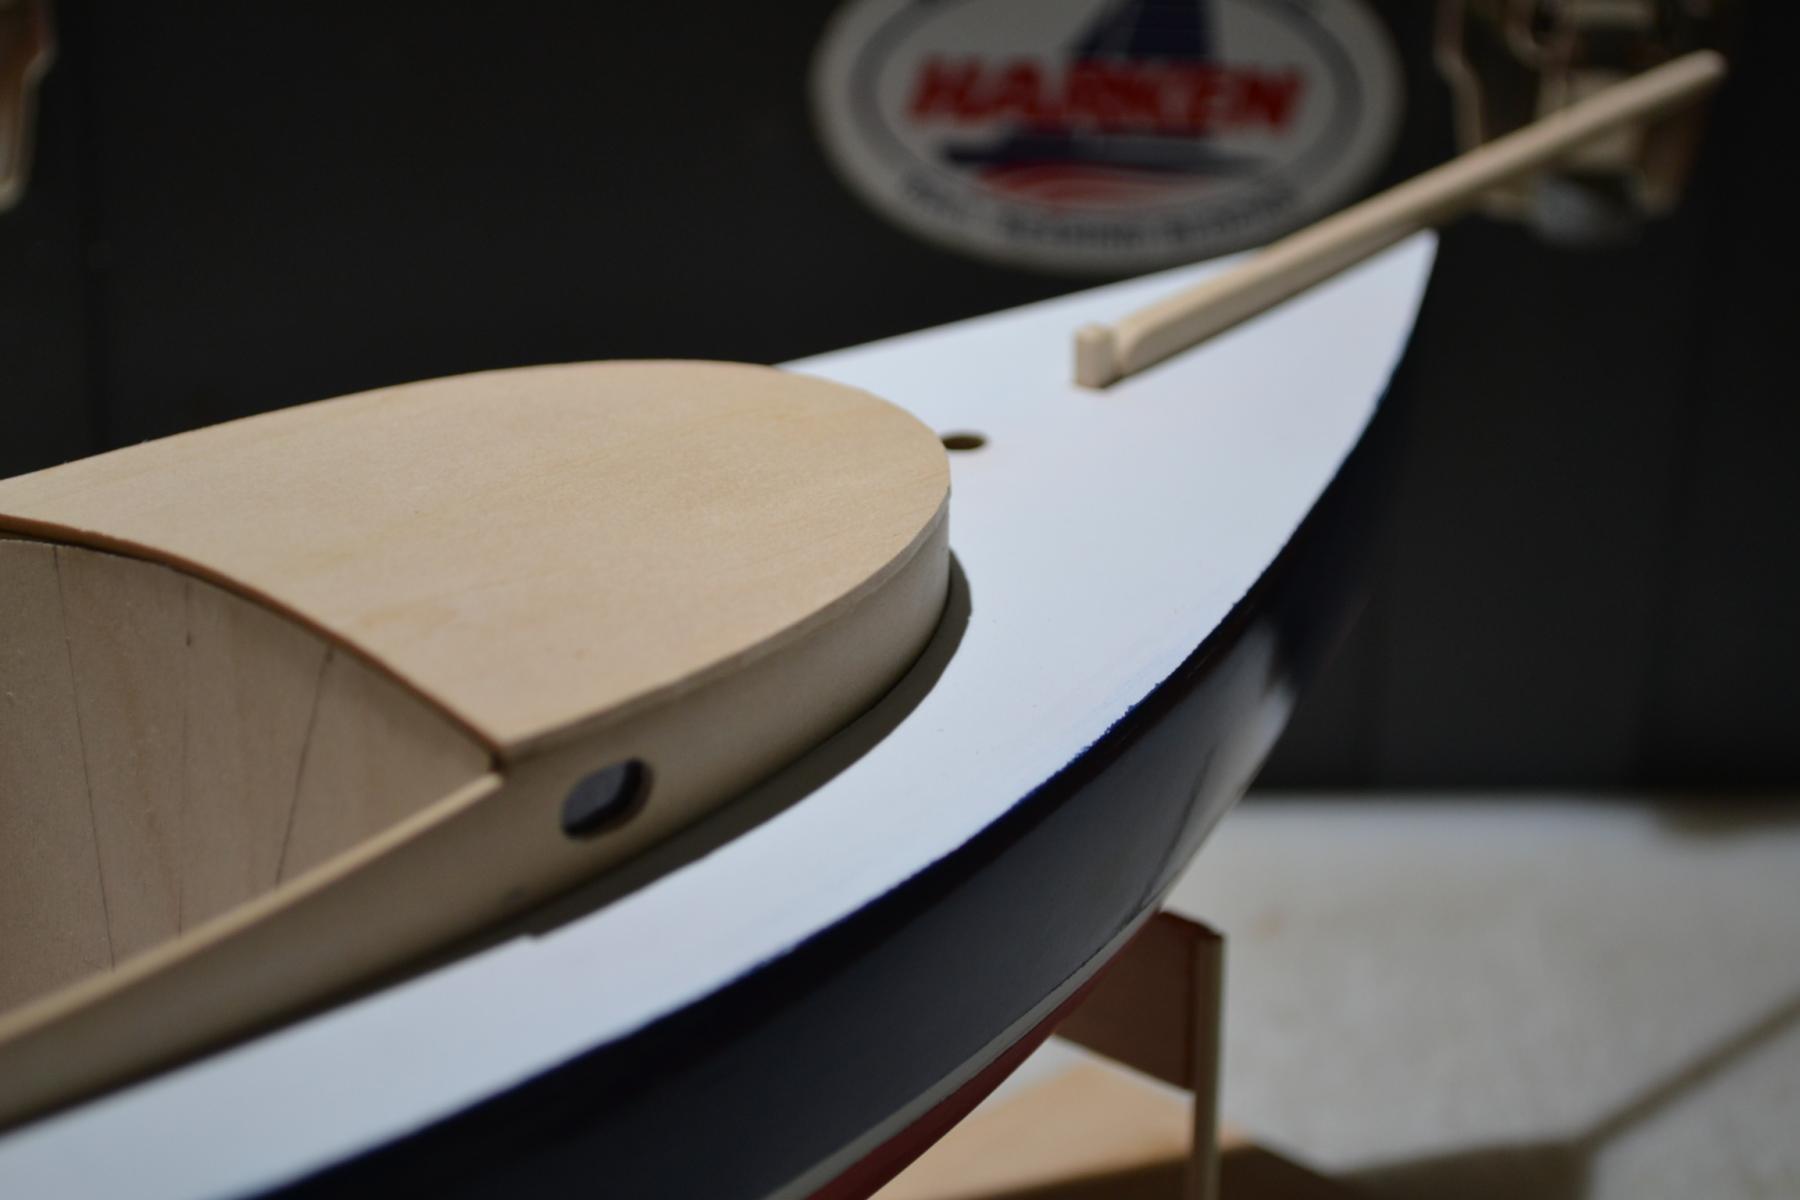
Next I started on the moldings and detail; work including the Base, Next came the Varnishing, then the Spar making as well as making the brass turnbuckles

-
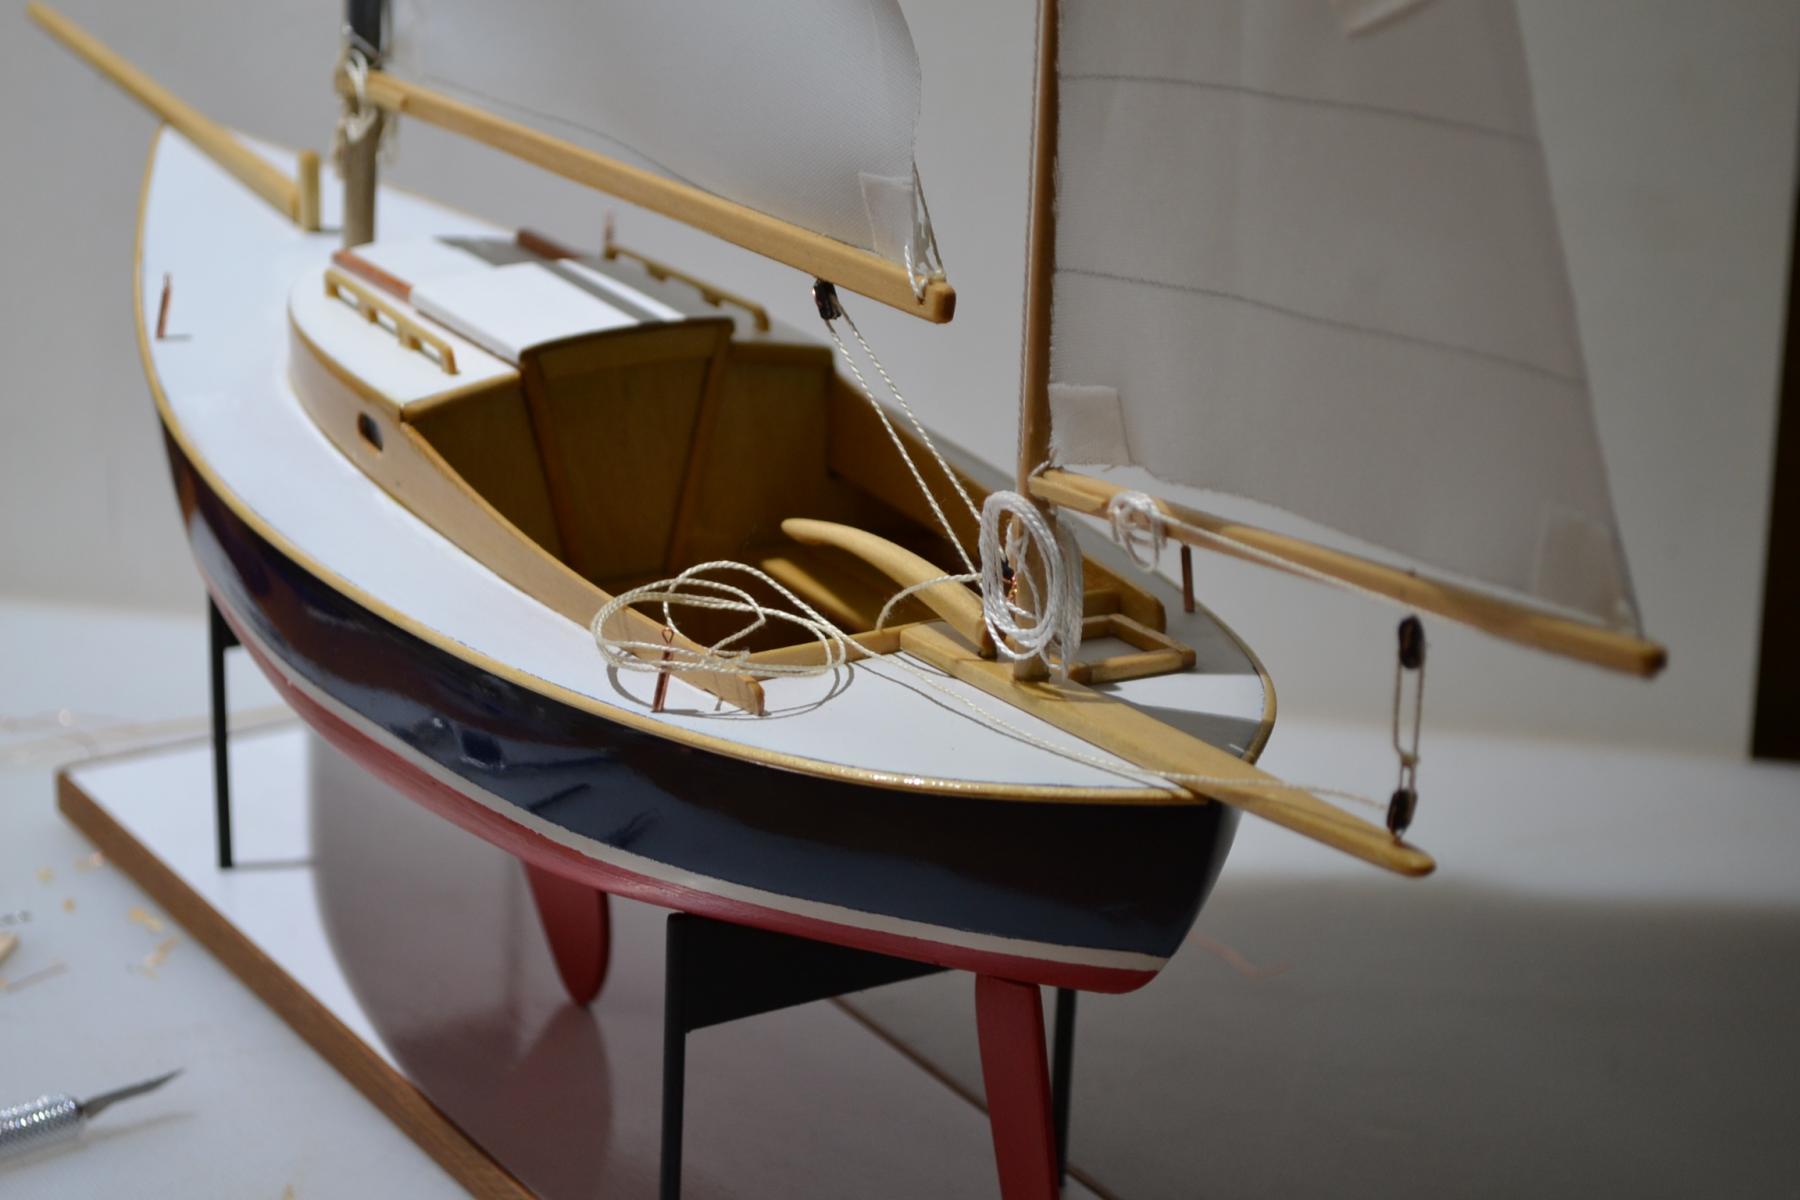
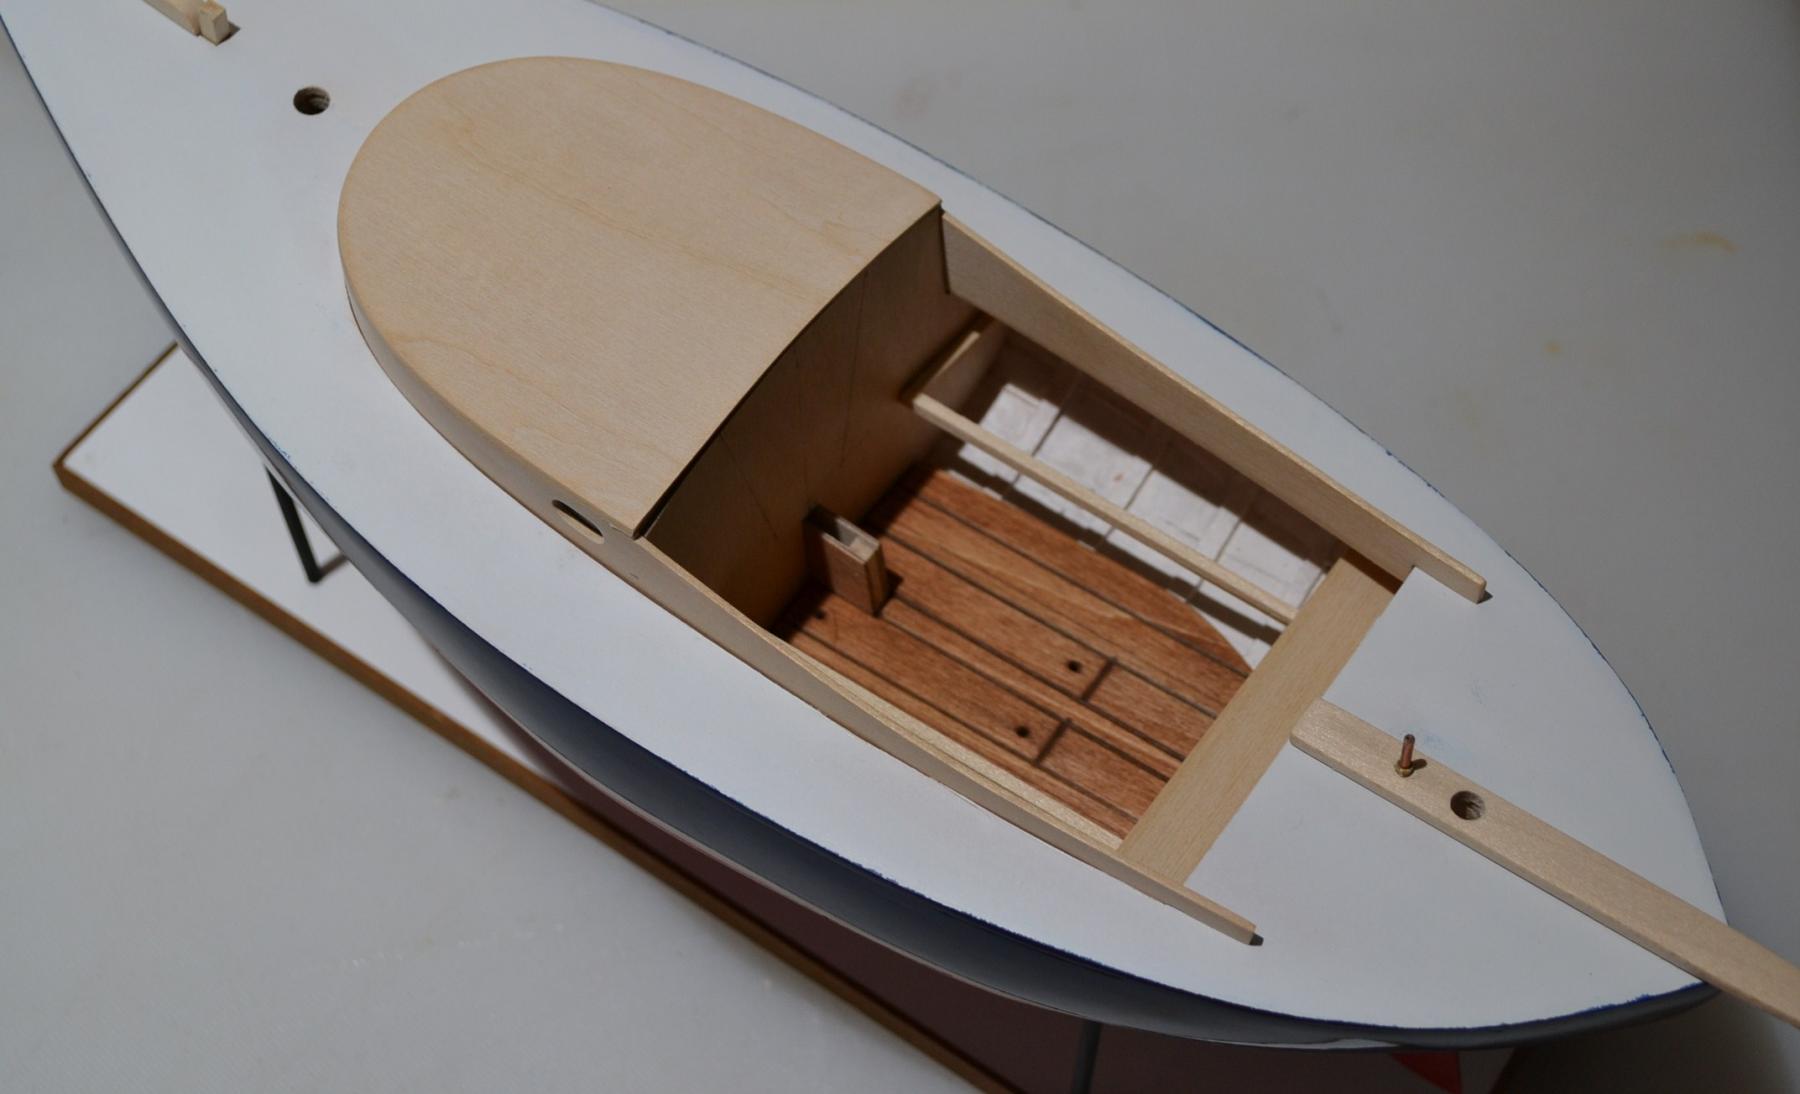
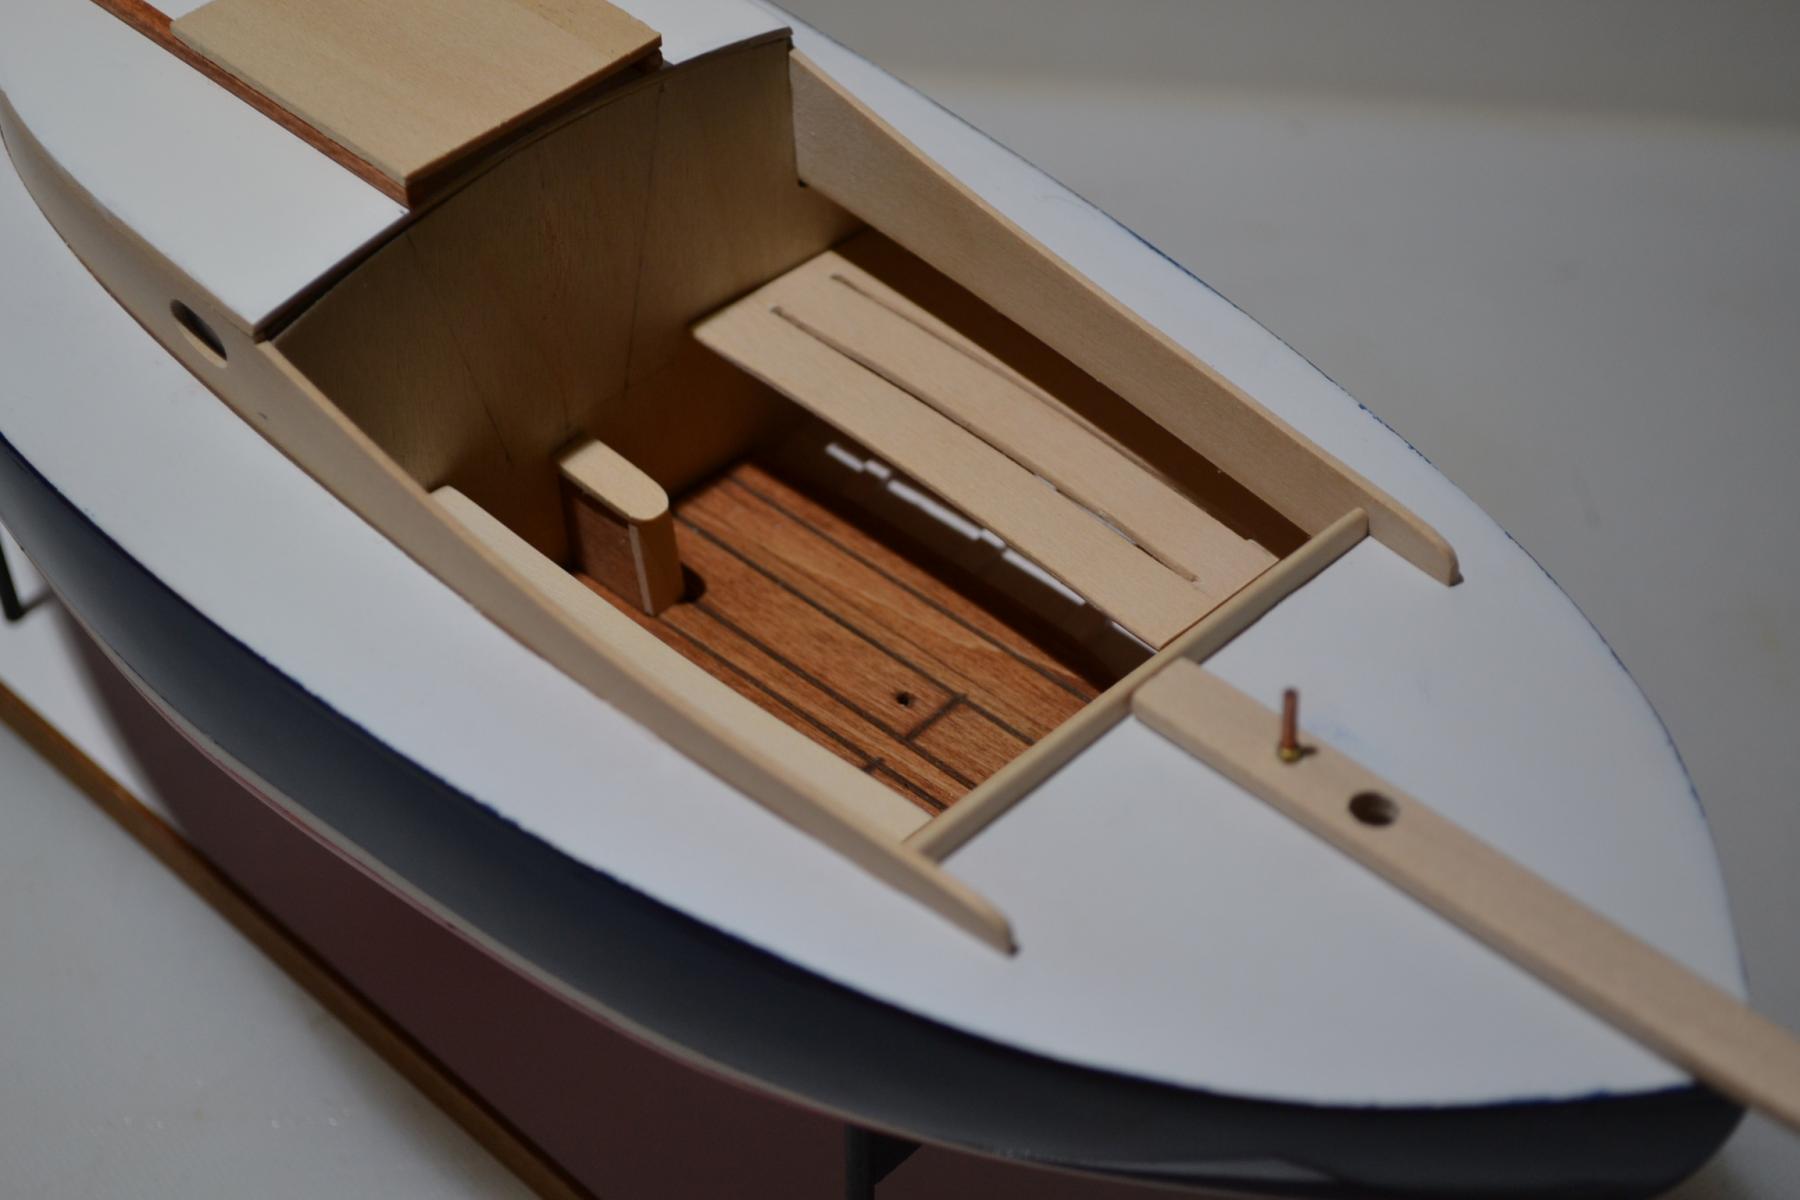
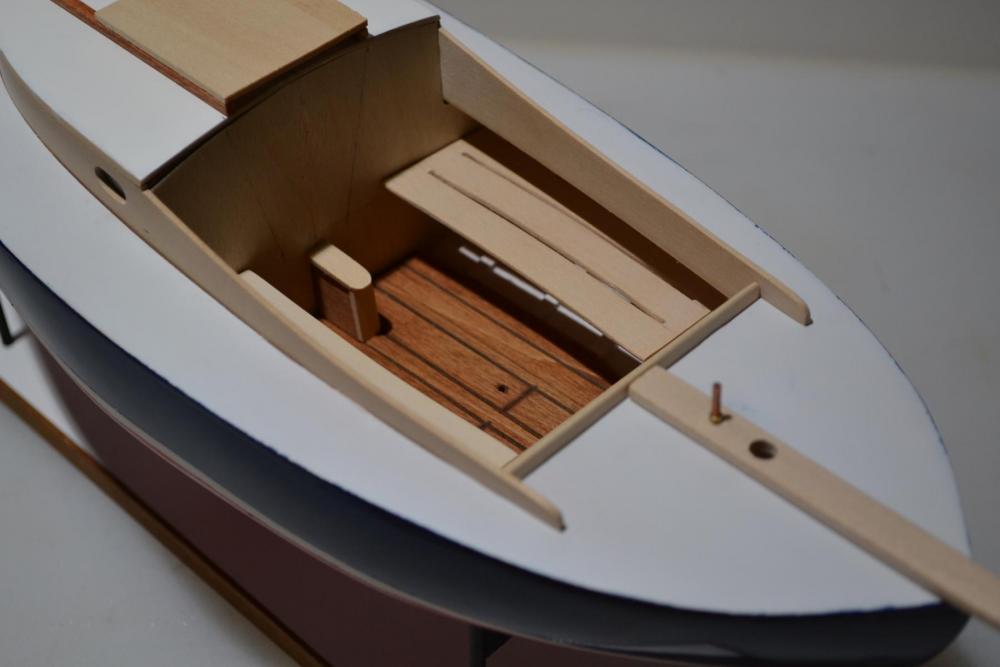
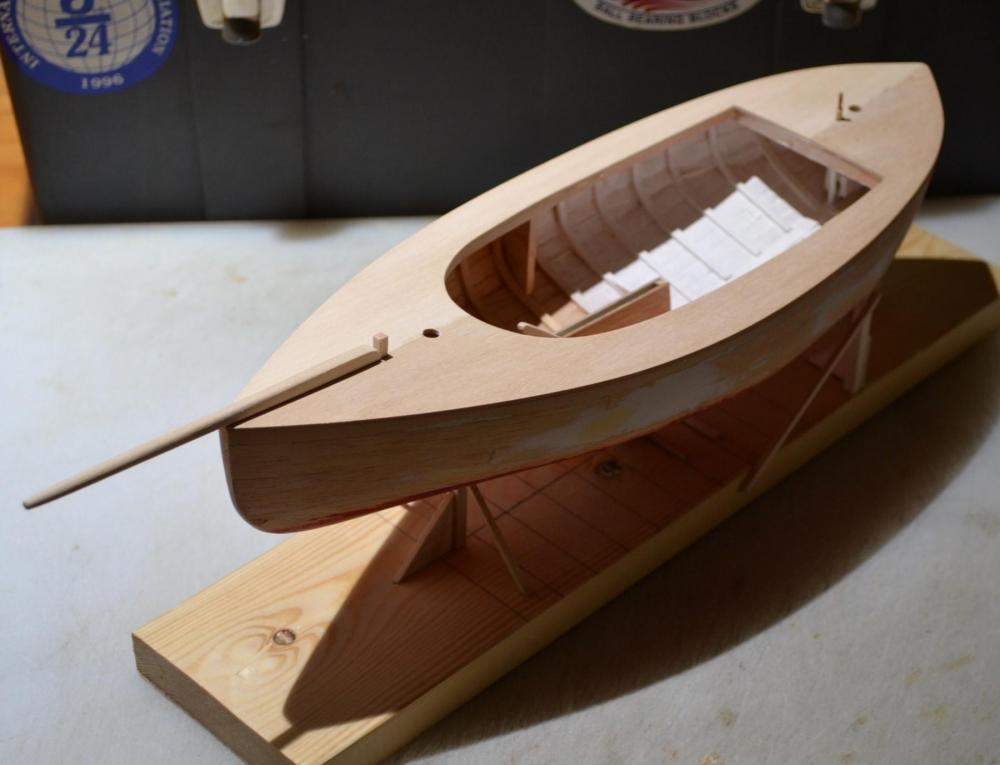
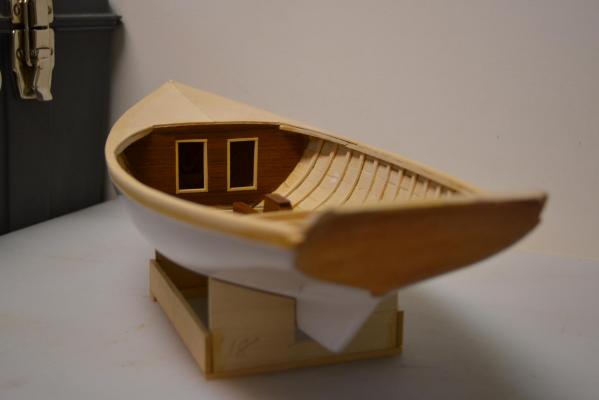
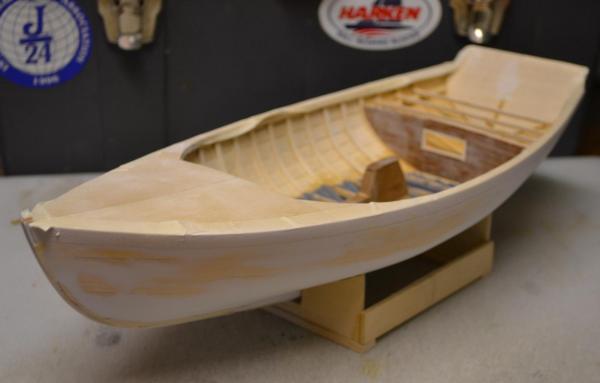
The Cabin was then completed including the Porthole glass, Cockpit floor then made along with framing for the benches, benches then completed and cabin details started


-
Next the Deck was painted and the coamings bent , the Hull was then painted Navy blue , port holes cut into coamings, bottom paint applied

-
Next was the completion of framing for the Cockpit/ Cabin Coaming, and a double check of the Mast steps. The Exposed section of the Cockpit and aft painted white. then the deck was installed

-
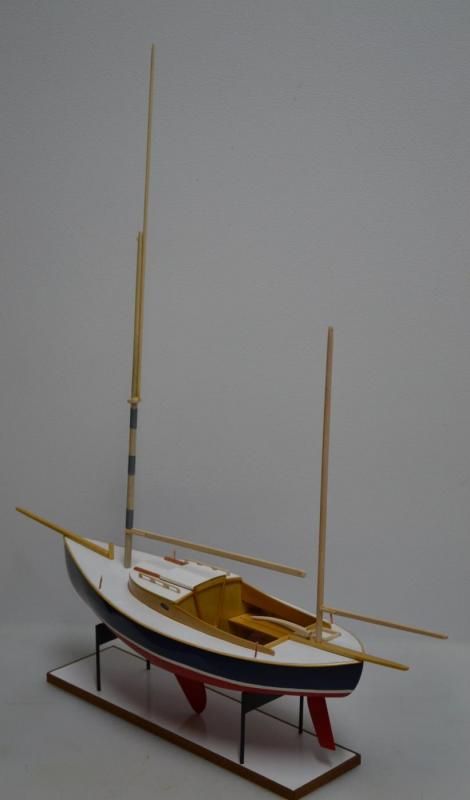
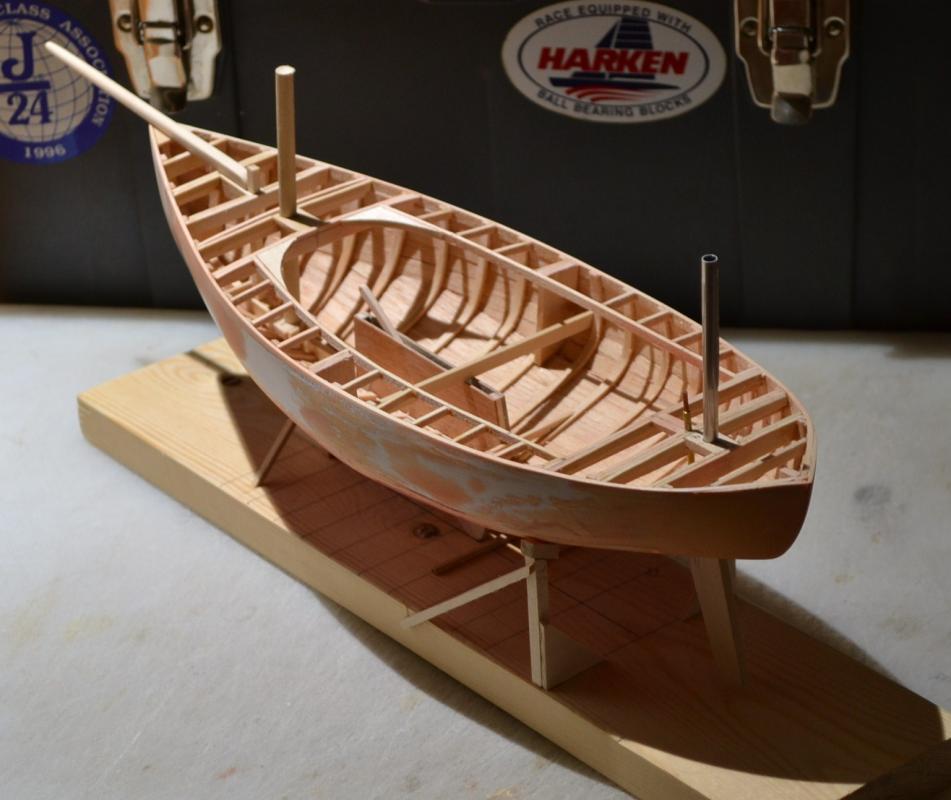
The Next step was to Make and install the Centerboard trunk ( with working centerboard ) and brass tubing for the Rudder, Deck beams started and Mast steps installed along with Sampson post, then completion of deck framing


-
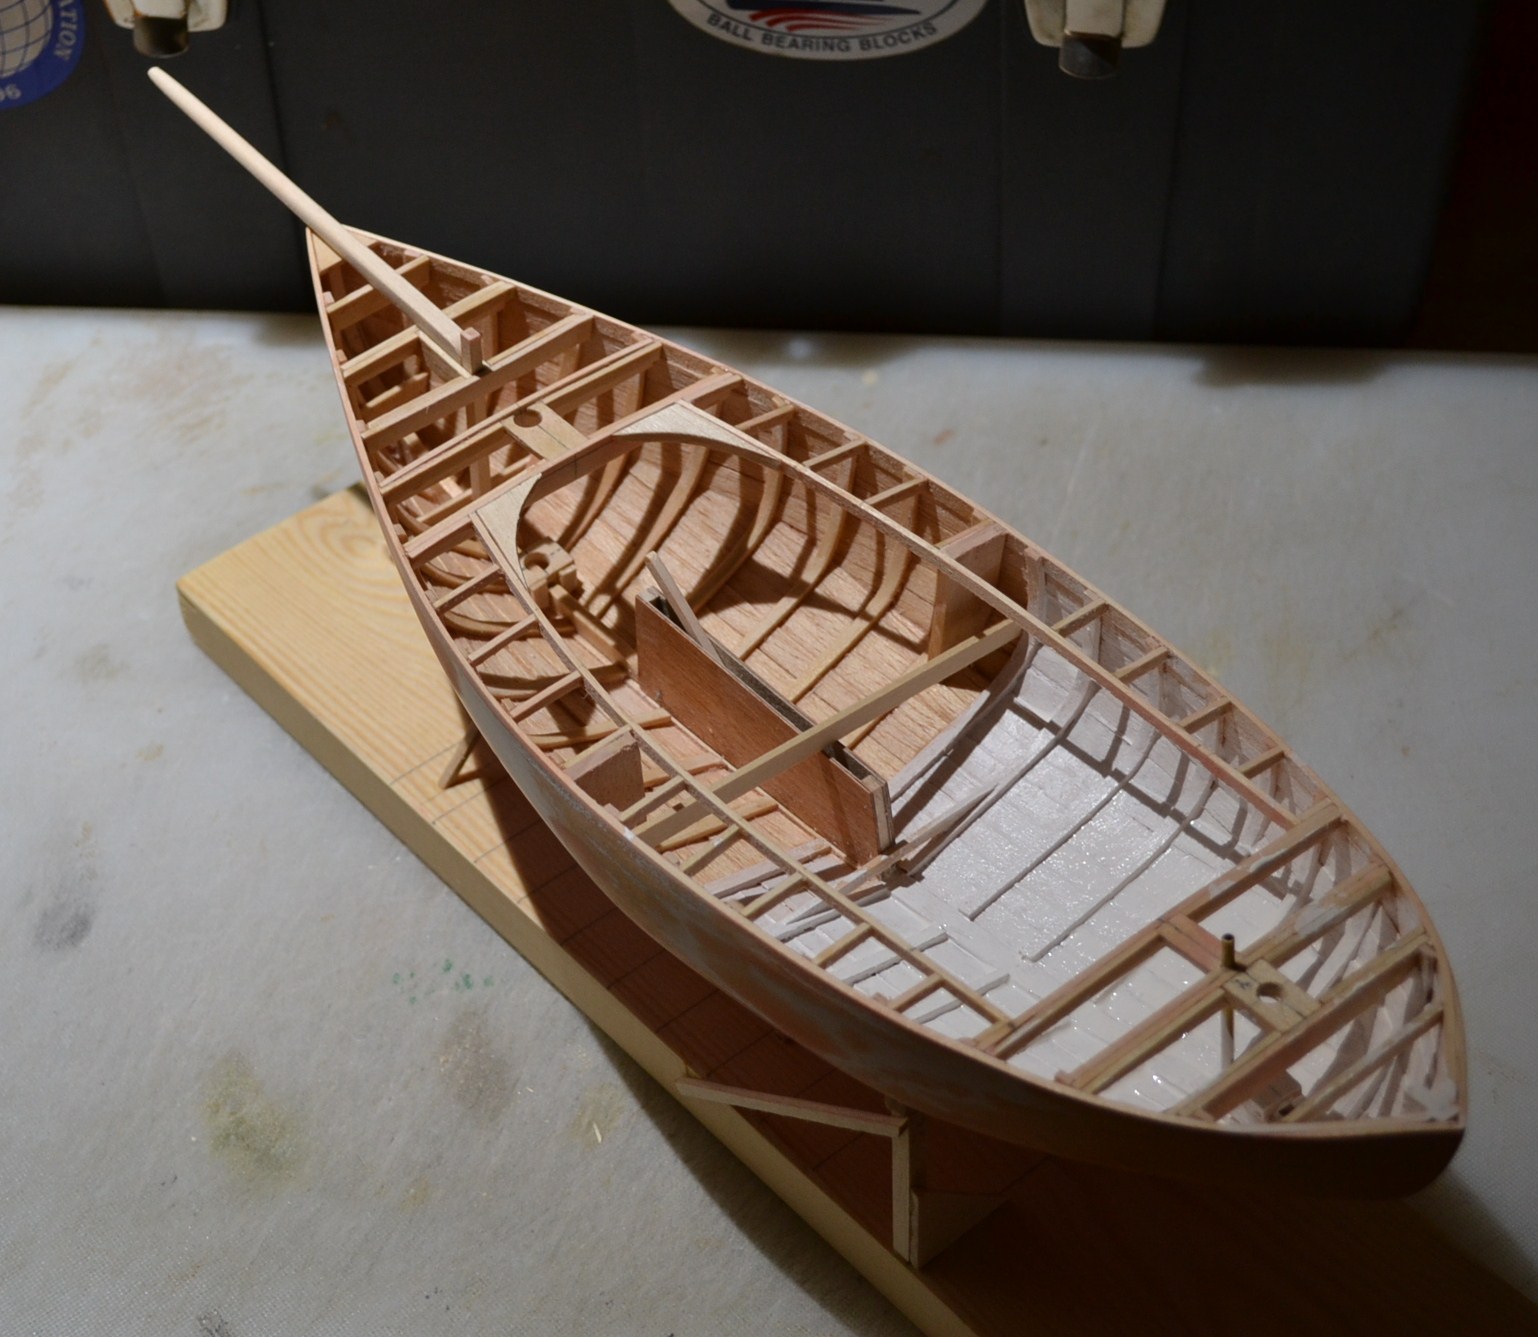
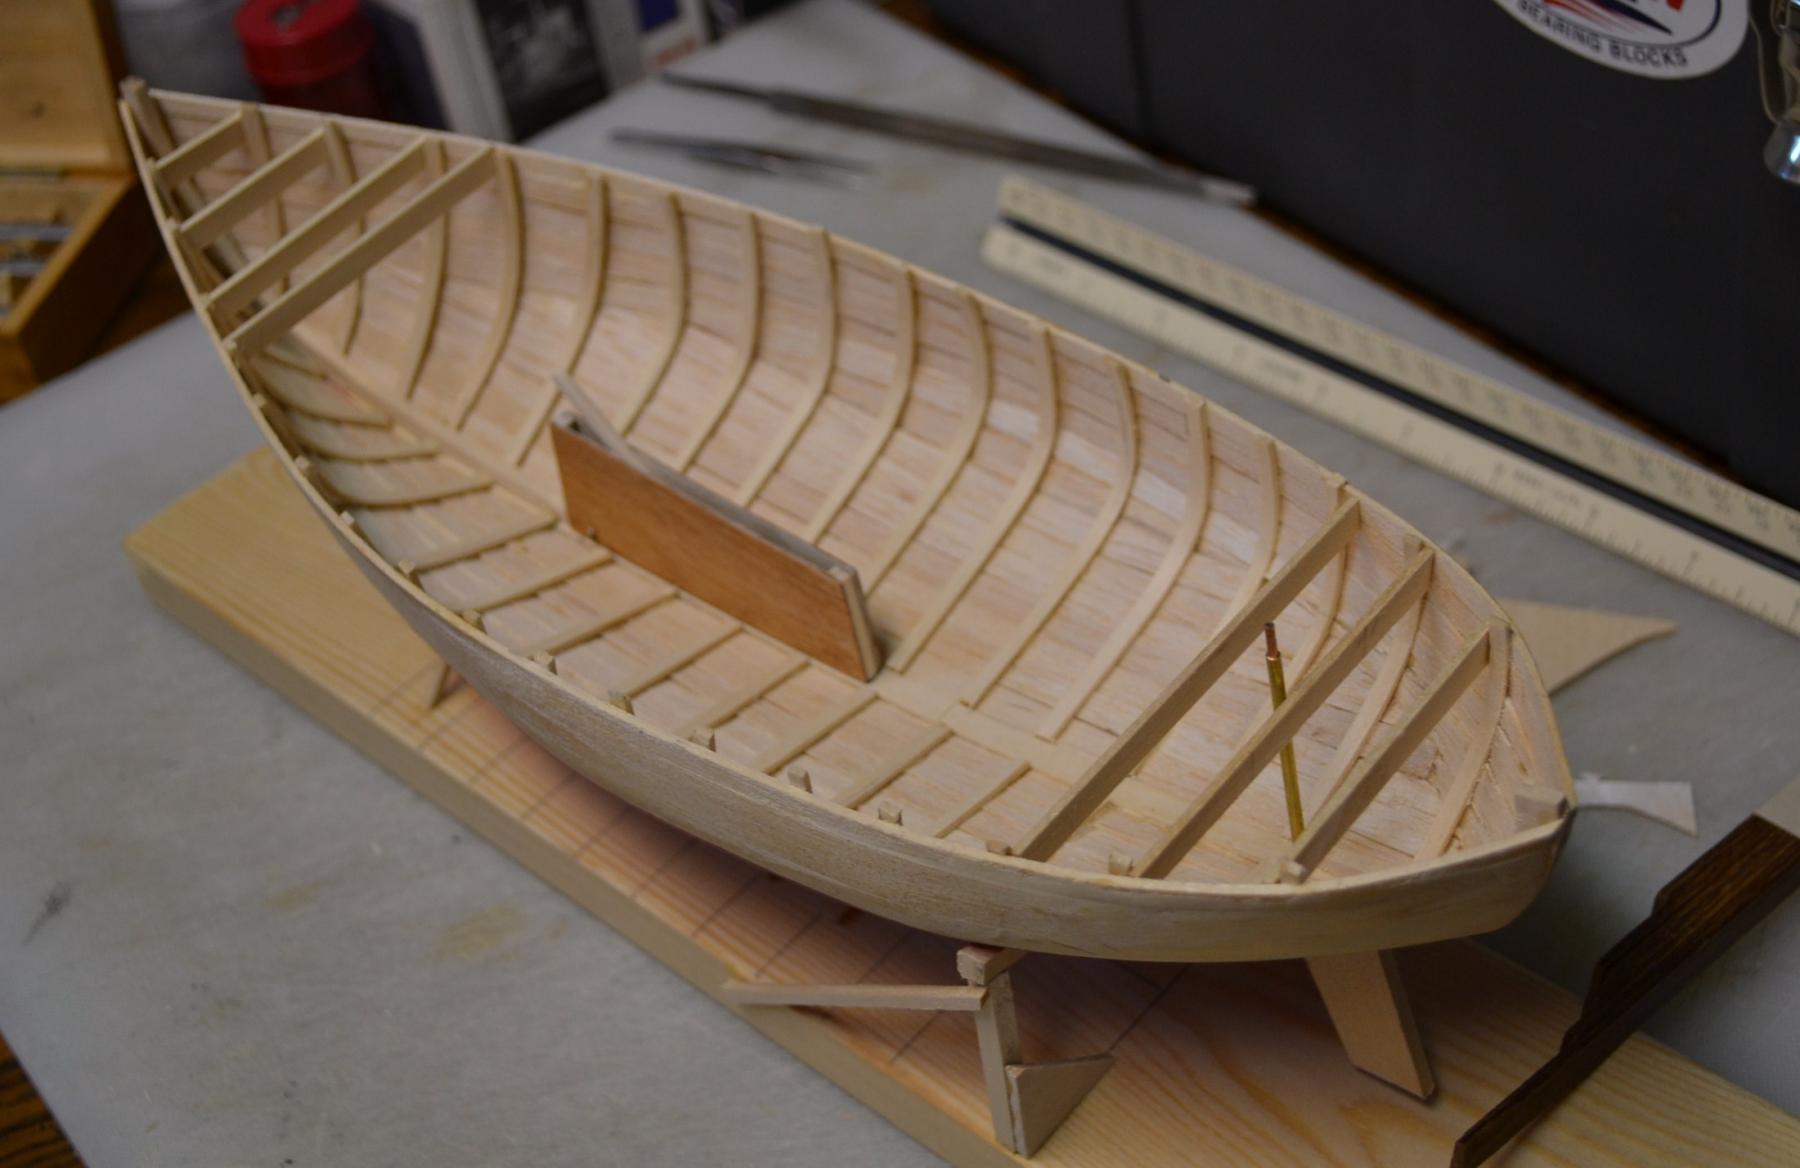
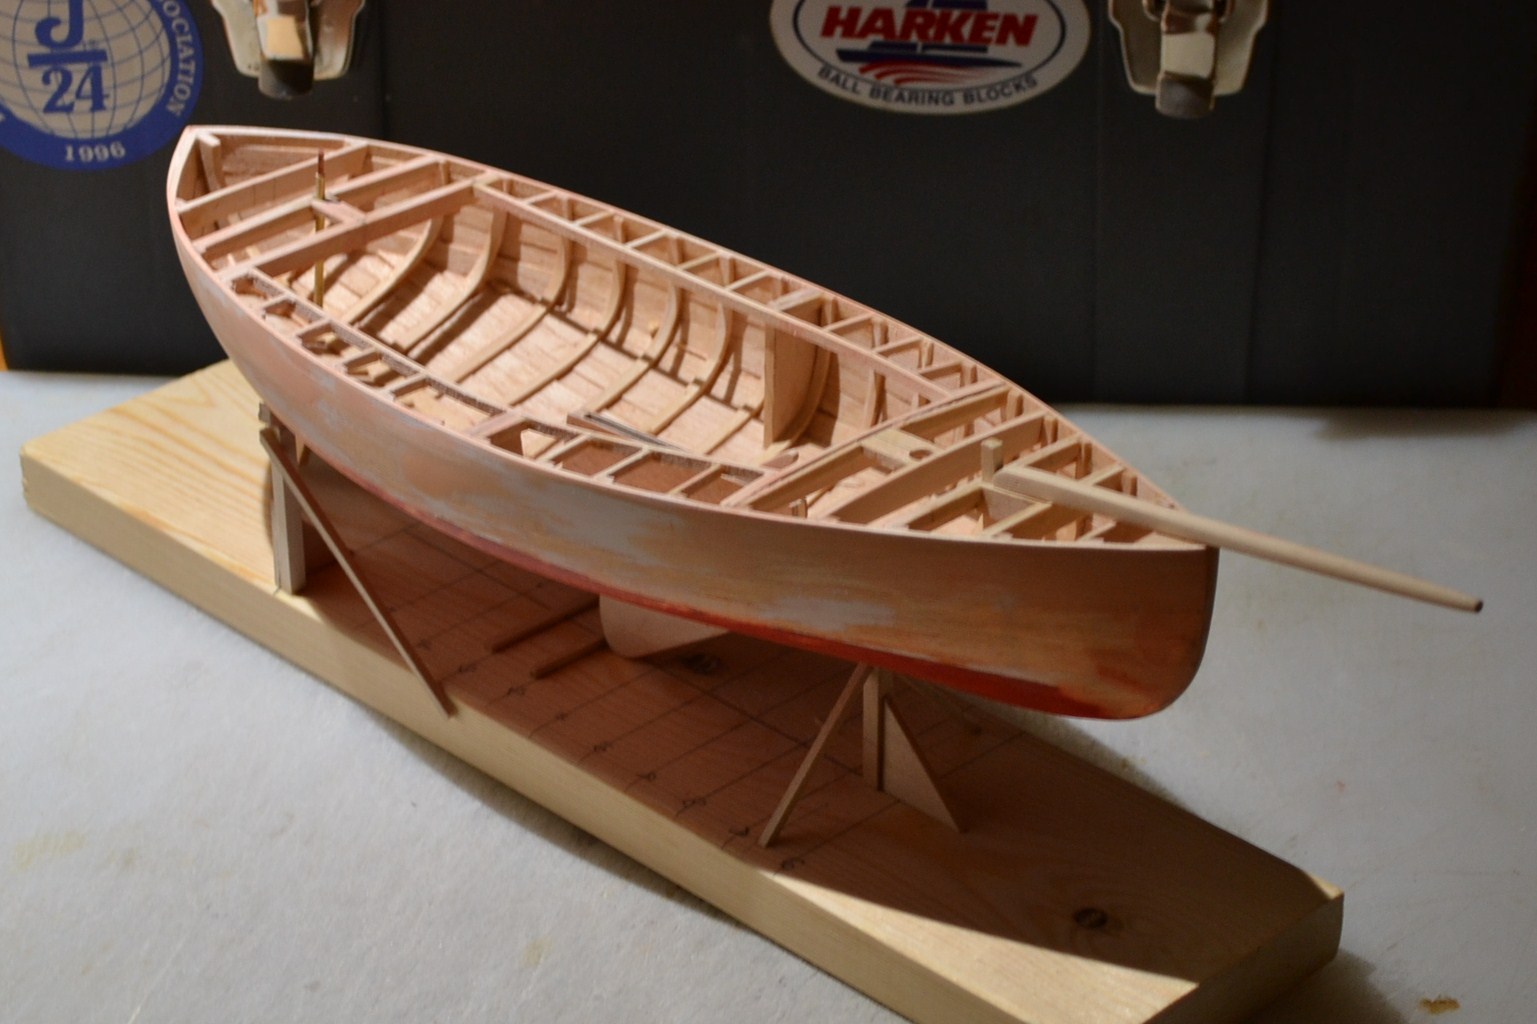
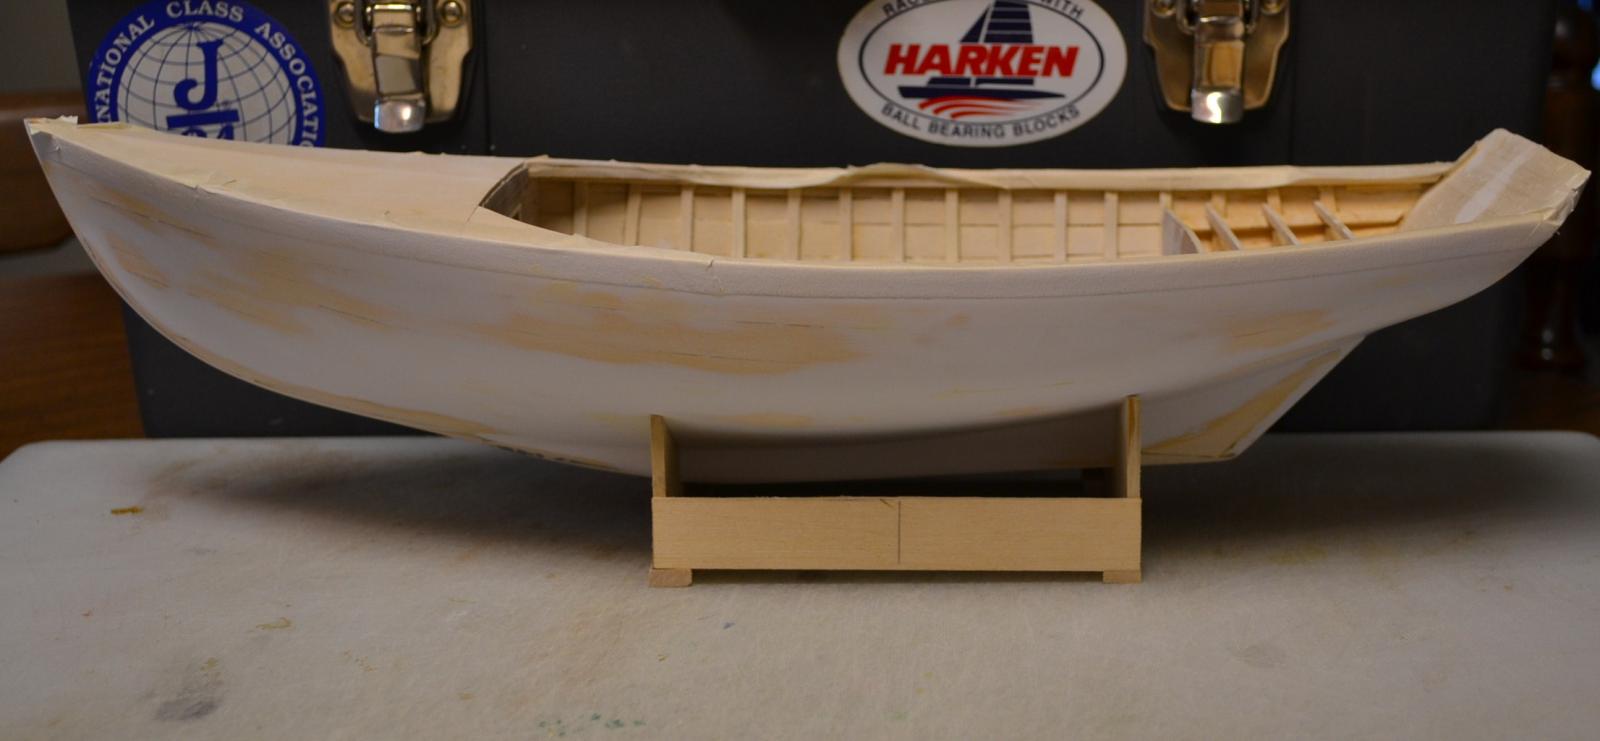
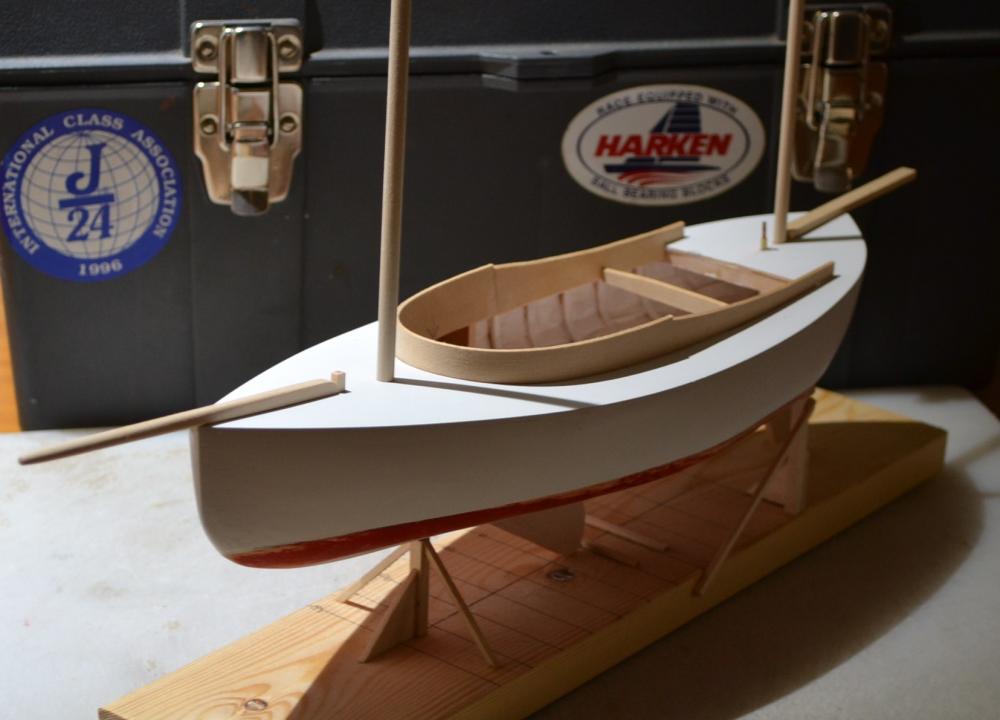
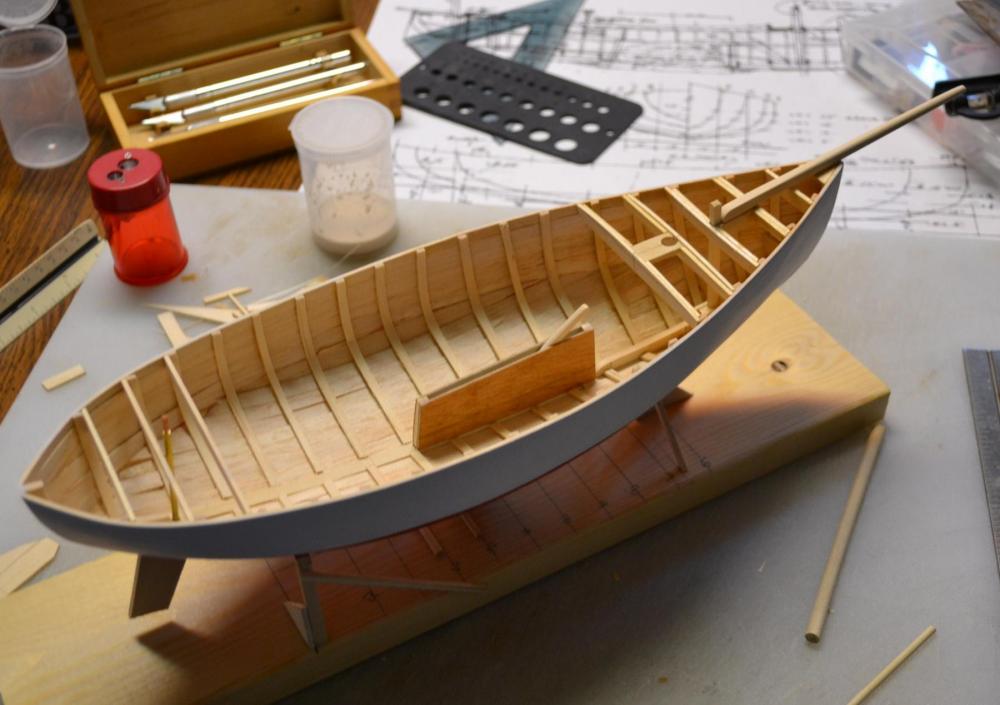
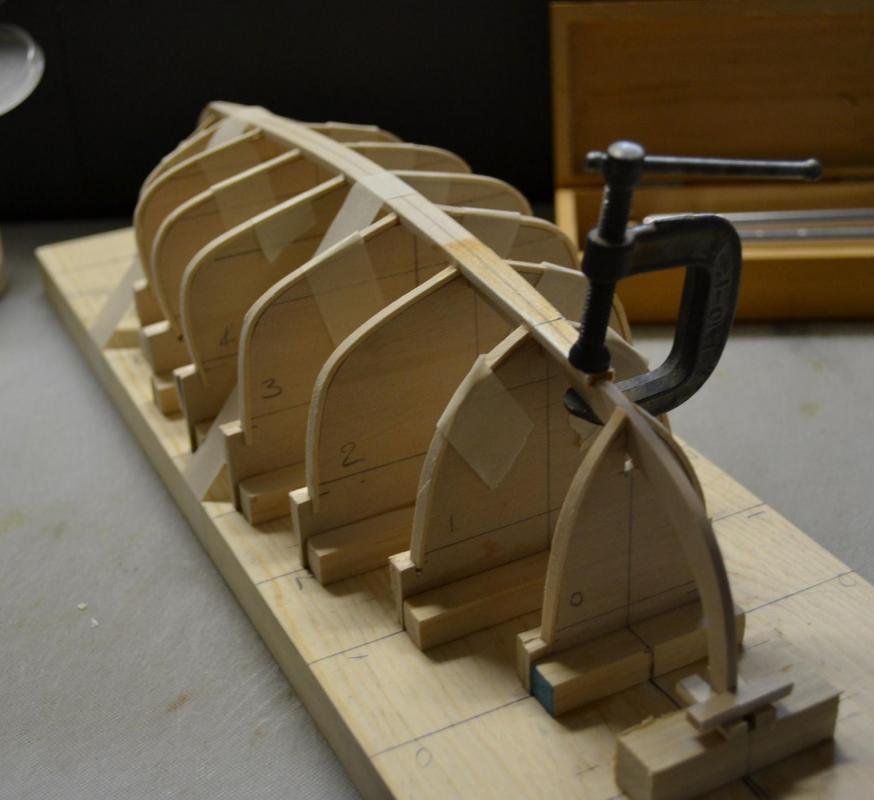
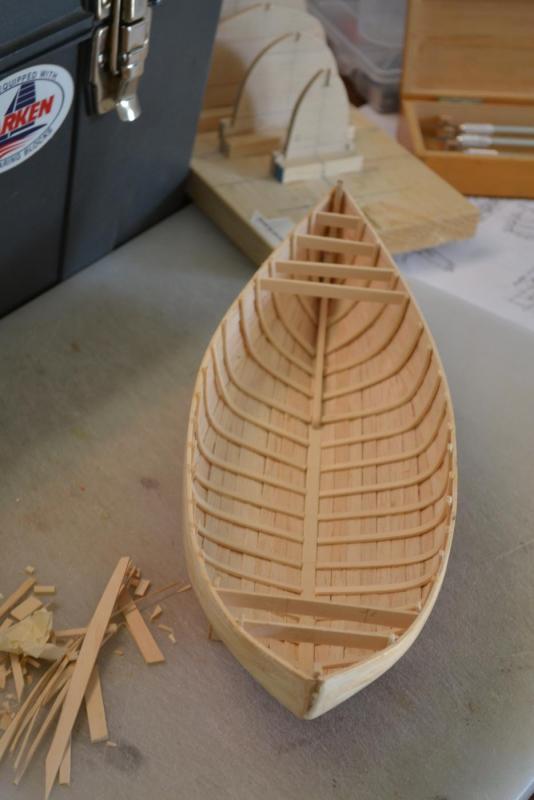
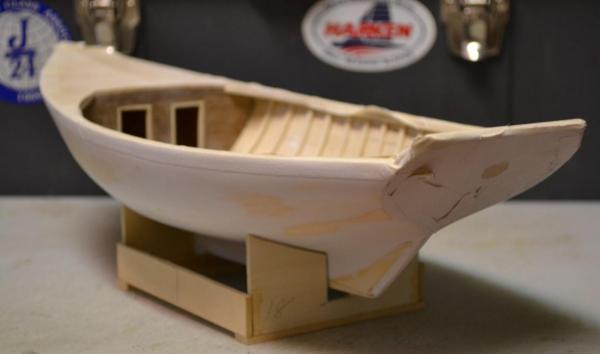
Once the stems ( bow and stern ) were cut and the molds faired, the ribs were bent over the molds and then the Keel was laid. then the planking and removal from the building jig

-
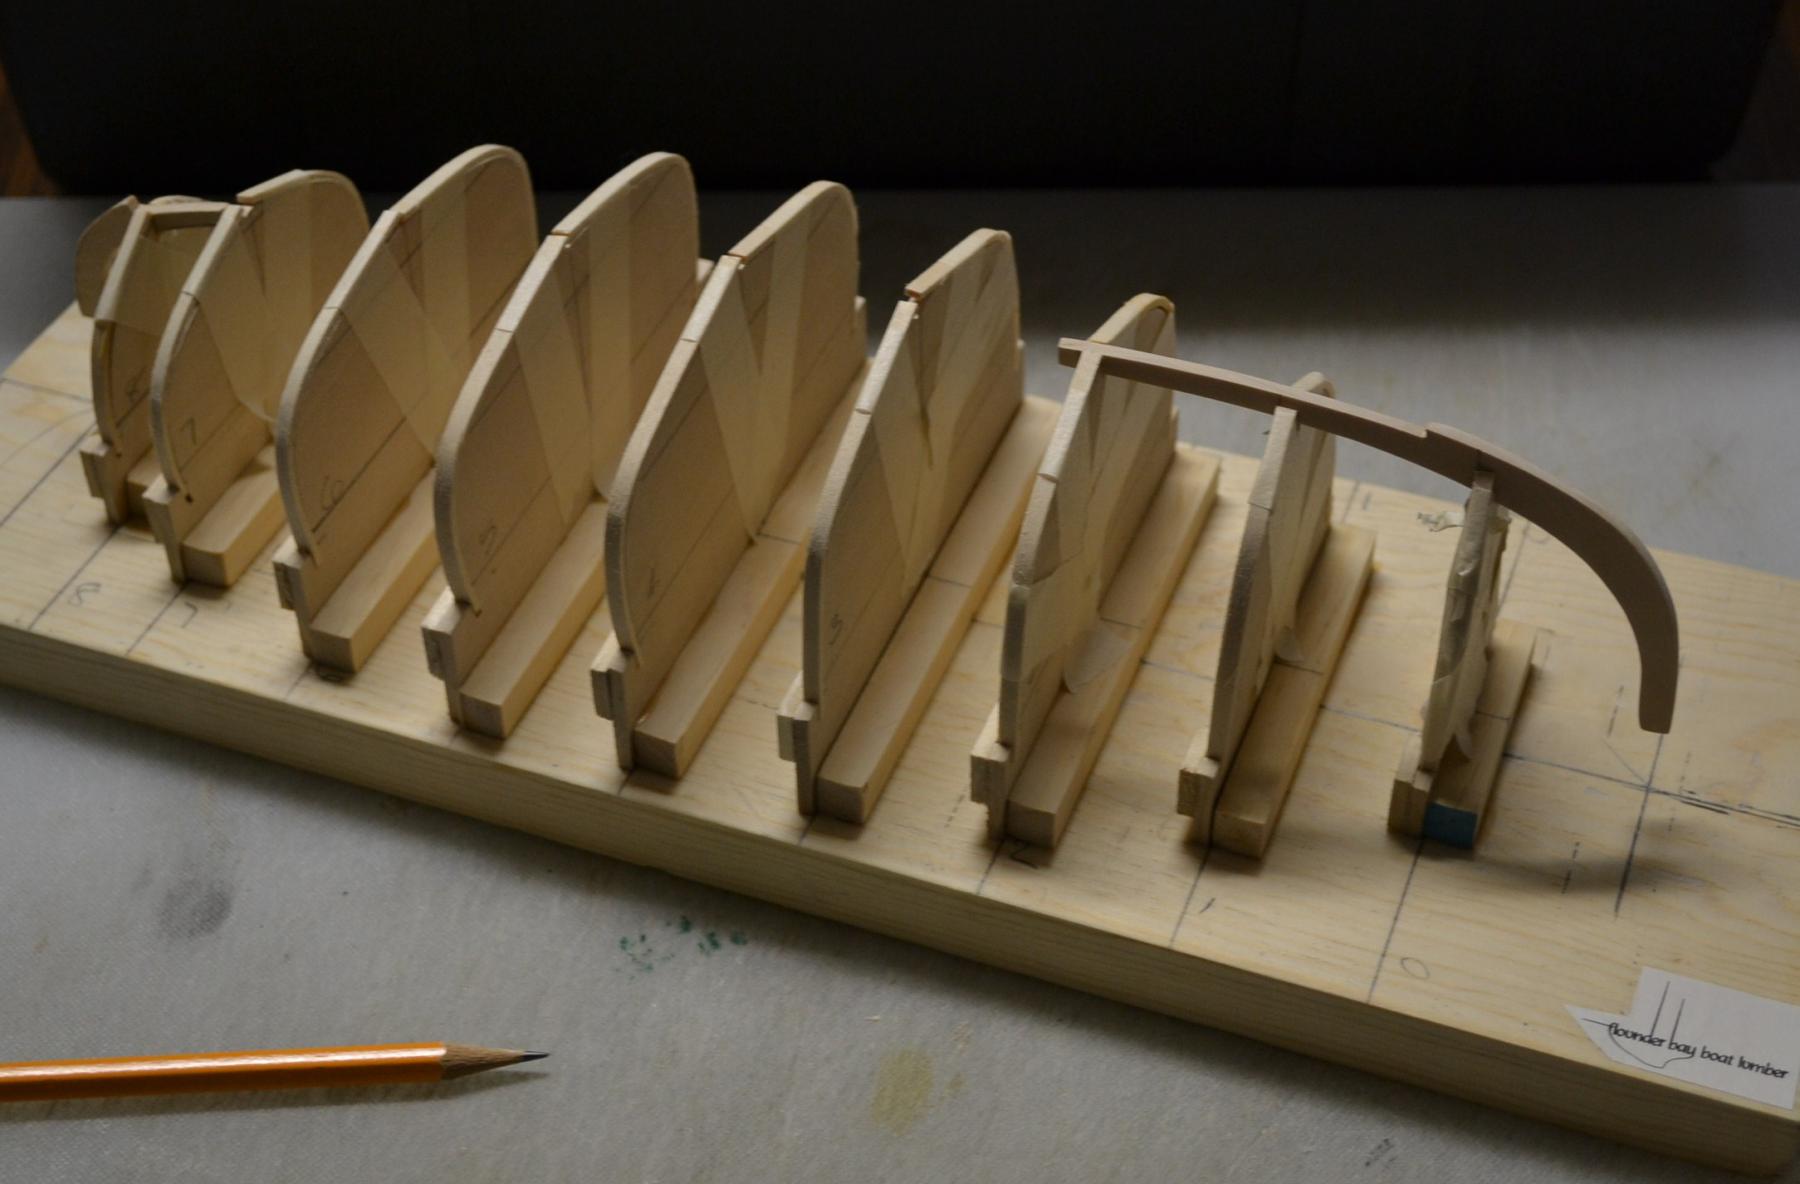
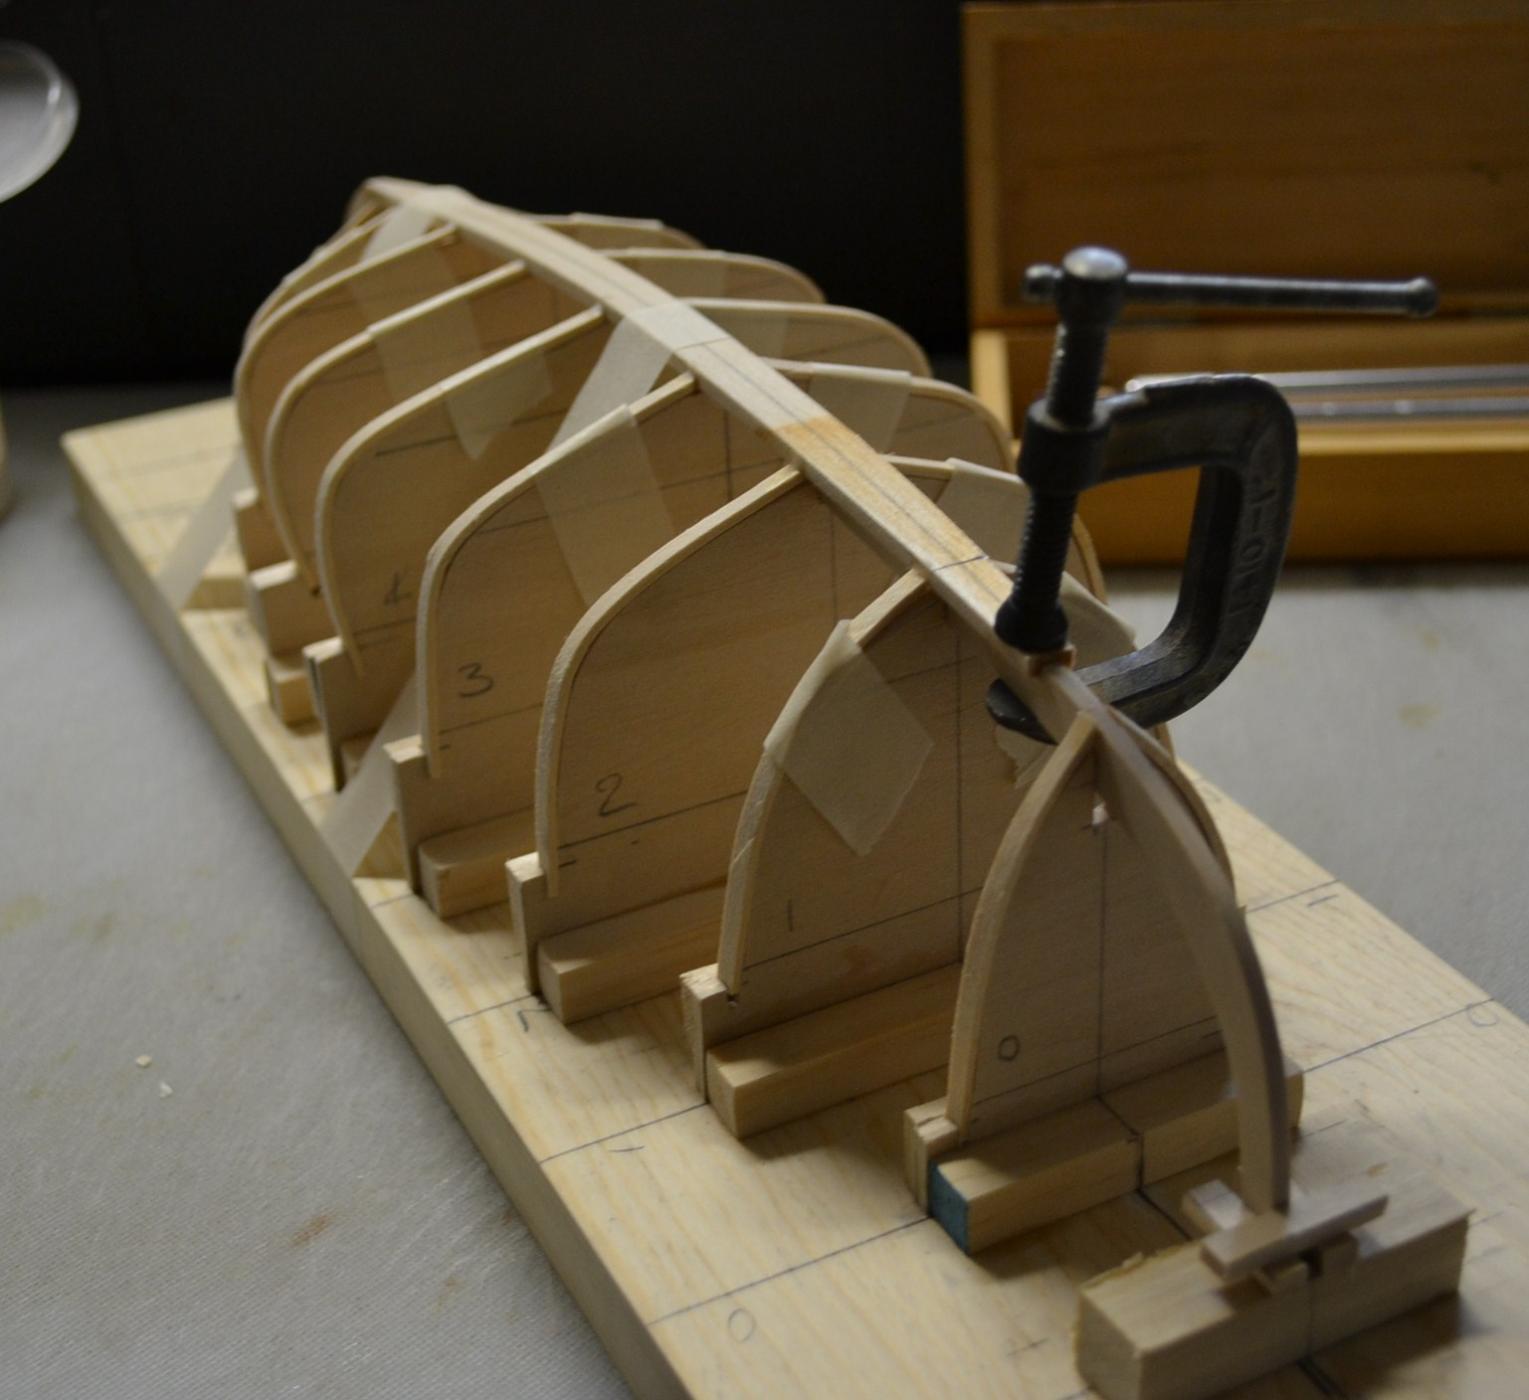
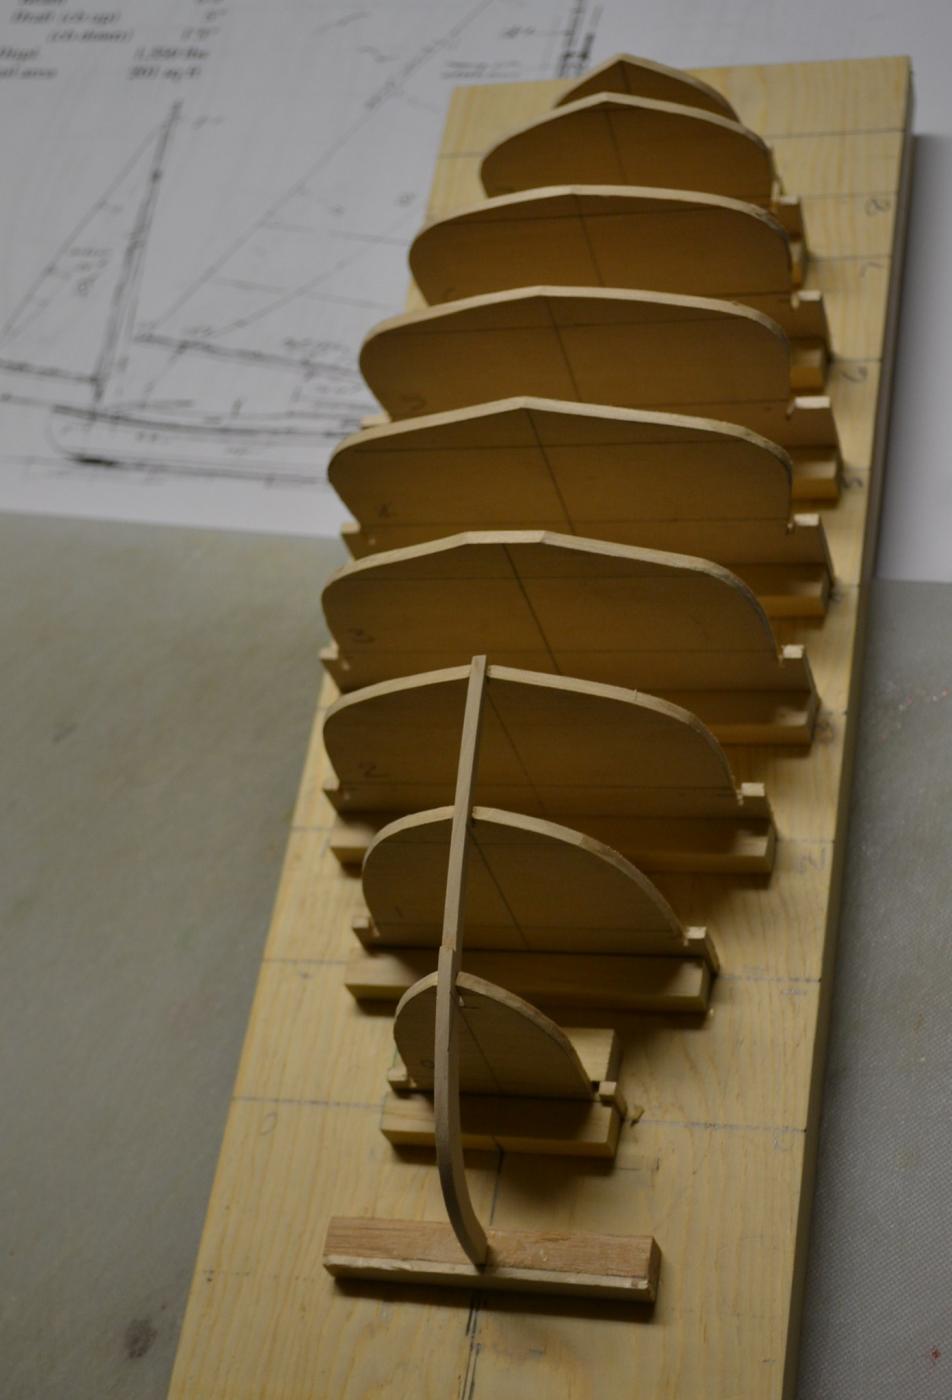
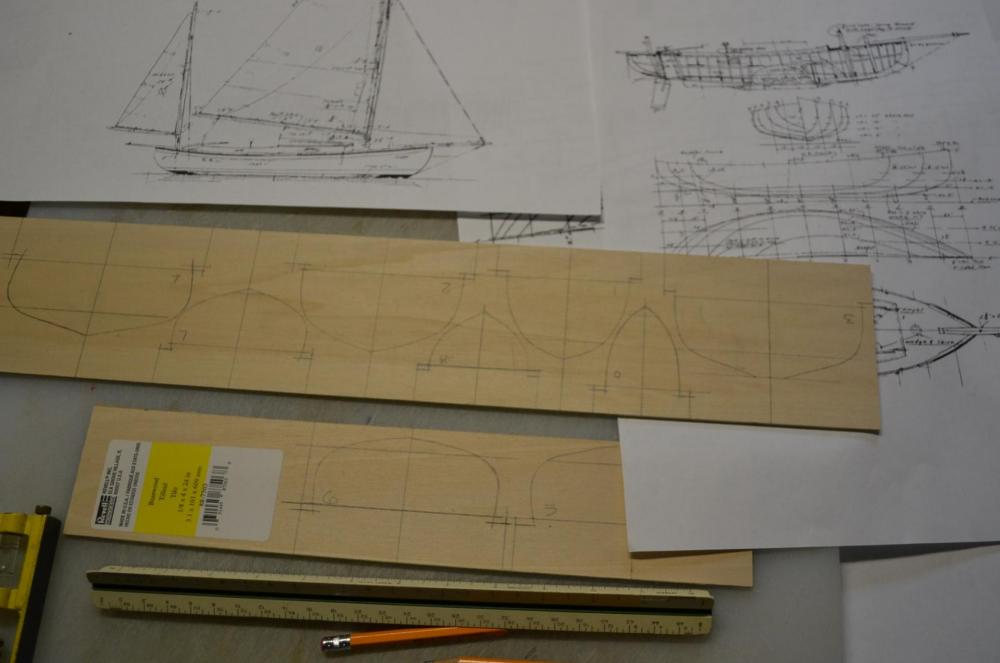
I know that this is kind of Backwards, Gallery first then a Revised Build log. To start I have had the drawings for this boat for over 25 years ( purchased thru WoodenBoat. ) so, when I was Approached to build the boat I jumped at the chance.The Boat was built bent ribs over molds just like the original. So I started by making the molds, the first shot is the clients boat

-
Thank you, Elijah, She will still need to be wet sanded Best Regards, Pete
-
Thank's Patrick, I am happy with the way she is turning out, we finally have some decent weather around here Best Regards, Pete
-
Hi jdbondy, The Molds were beveled prior to the ribs being bent over them, It was tricky, the floor timbers were glued to the Keel, and outer edge of the Ribs ( Titebond 3 ) with a paint brush very thin to hold it in place, I went very slow and made sure not to get any glue on the molds, it worked out very well, When I started planking the glue was also applied to the floor timbers Best Regards, Pete
-
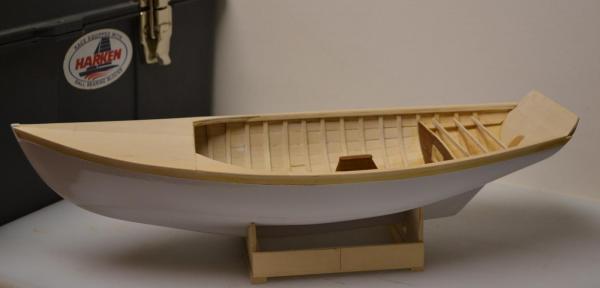
Today, the second coat of gloss white applied to the hull. She'l need some more wet sanding and a final coat. Here are the results
- 131 replies
-
- 10
-
-
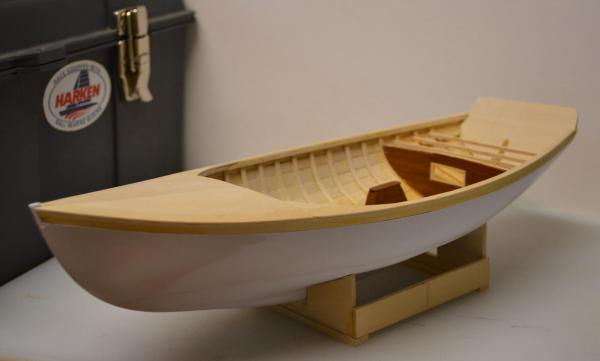
The Fairing is complete, I marked and masked off the Waterline and shot the first coat of Gloss White Here are the results
-
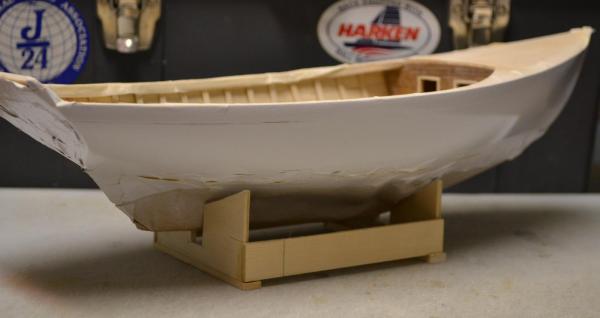
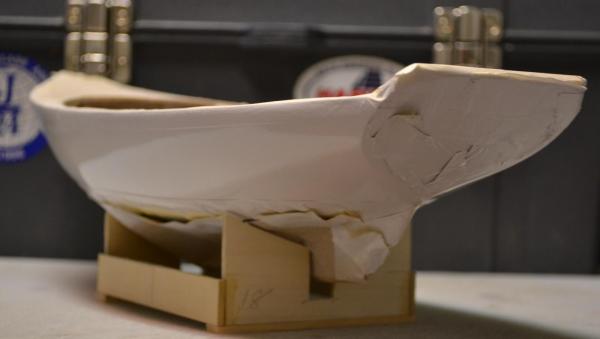
Finally got a break in the weather, I was able to get a coat of primer on the Hull, and then used West System epoxy with 410 microlight for Fairing. I then Faired the hull. Next will be to get another coat of primer on and get her ready for gloss white. Here are the results

-
Thank You, Elijah, Best Regards, Pete