HOLIDAY DONATION DRIVE - SUPPORT MSW - DO YOUR PART TO KEEP THIS GREAT FORUM GOING!
×

Tidbinbilla
-
Posts
64 -
Joined
-
Last visited
Content Type
Profiles
Forums
Gallery
Events
Everything posted by Tidbinbilla
-
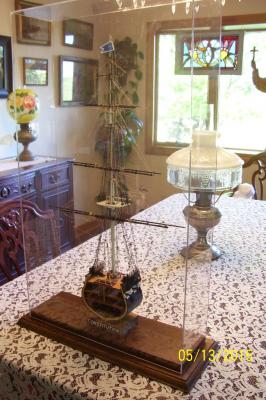
 As you can see, this model is completed. Next is to make a Plexiglas case for it. I might show some details on how that construction goes. The Corel rigging directions leave a lot to the imagination. In many cases, I had to make a best guess: around the mast cap and trees, belaying pin choice. This kit supplied only tan rigging lines. I used some left over black line for all the non-running rigging. Corel did supply more than enough material and parts - the dead eye count was spot on! The supplied HMS Victory name plate is horrible. I'm having a brass one made to mount to the case bottom. Overall, I give this kit an A-, the minus due to its rigging instructions.
 -
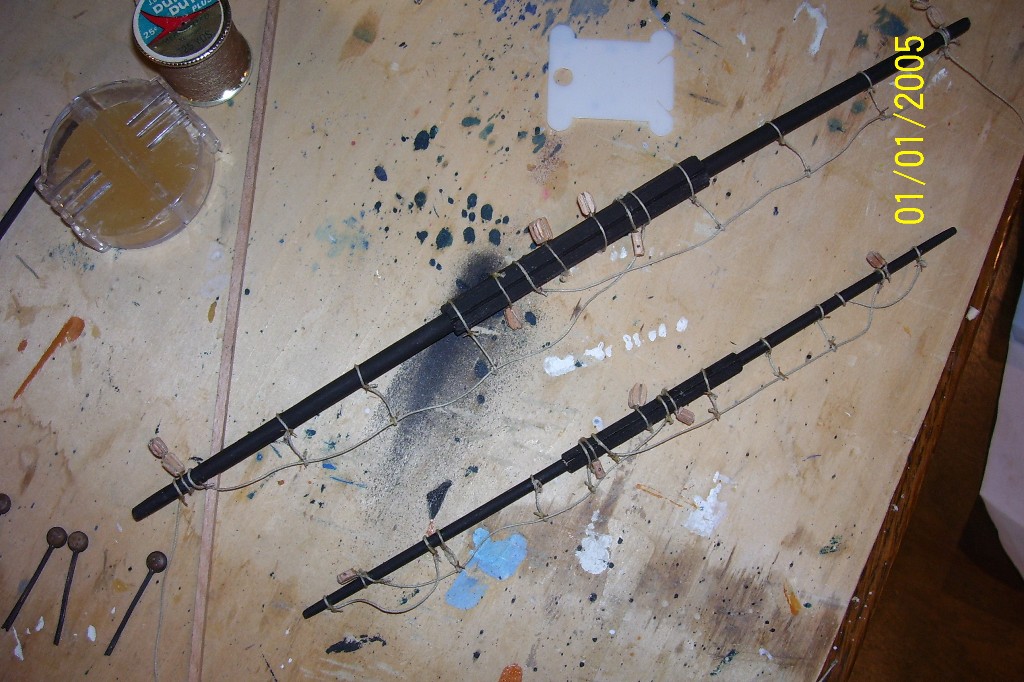
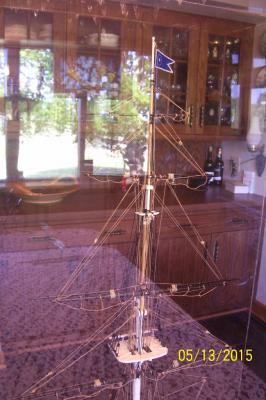
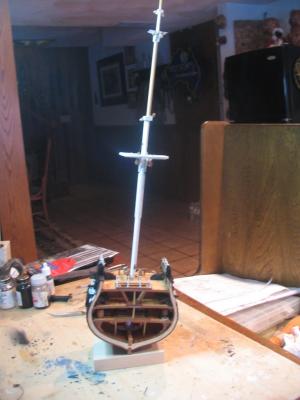
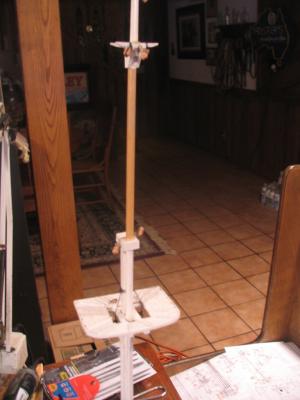
The mast is assembled and just resting in place. I've yet to complete the third yard.

-
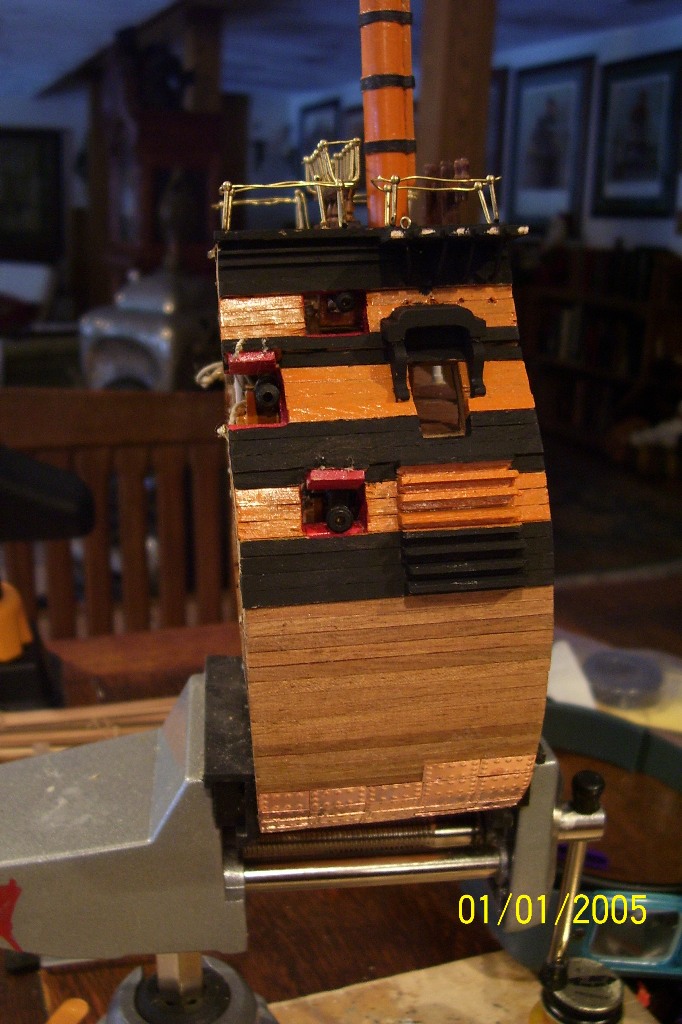
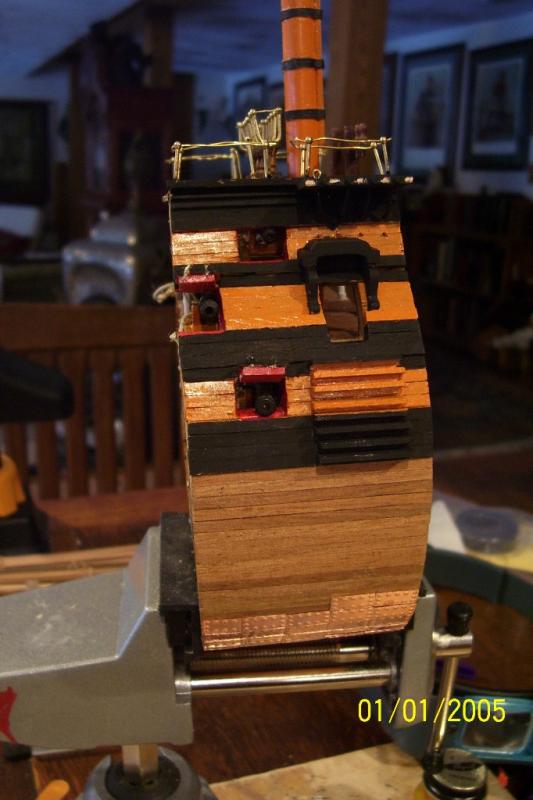
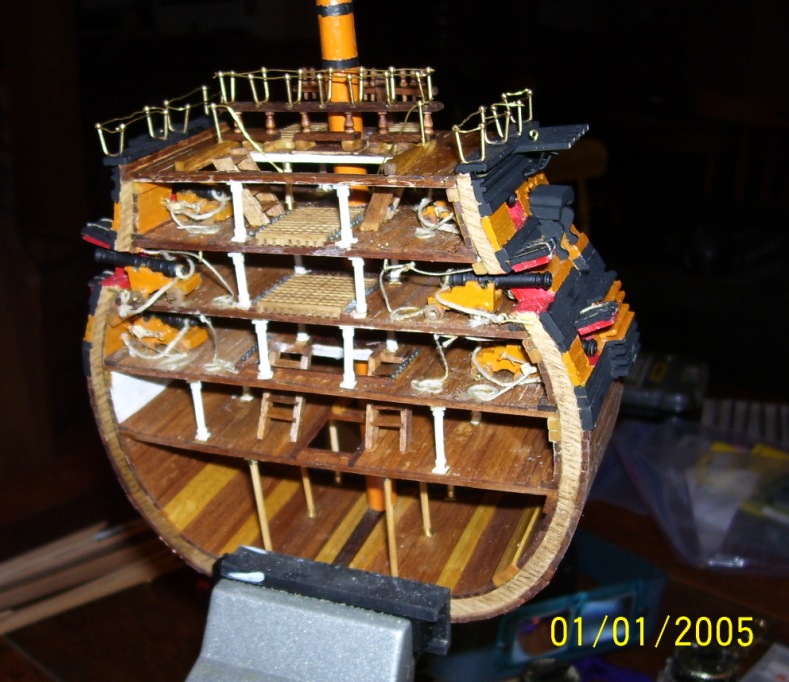
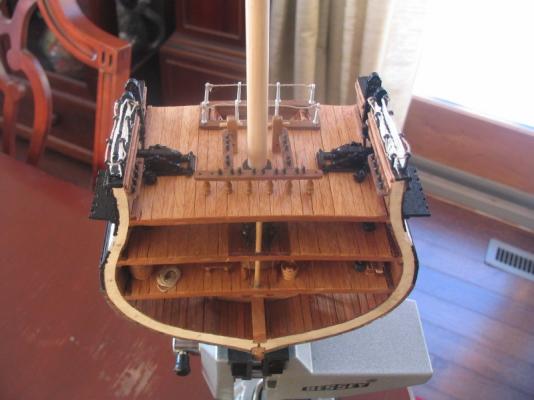
As you can see, I decided to add copper plates to hull. I only partially covered only side because I wanted one to see the underlying planks. Also, my placement of the gun ports was off. I didn't leave enough room to extend the steps up to the top deck. Oh well.... One note re the gratings. The pieces supplied by Corel were useless. The cuts were uneven and irregular. I ended up buying some material from an Australian vendor that were precisely cut and easy to assemble.

-
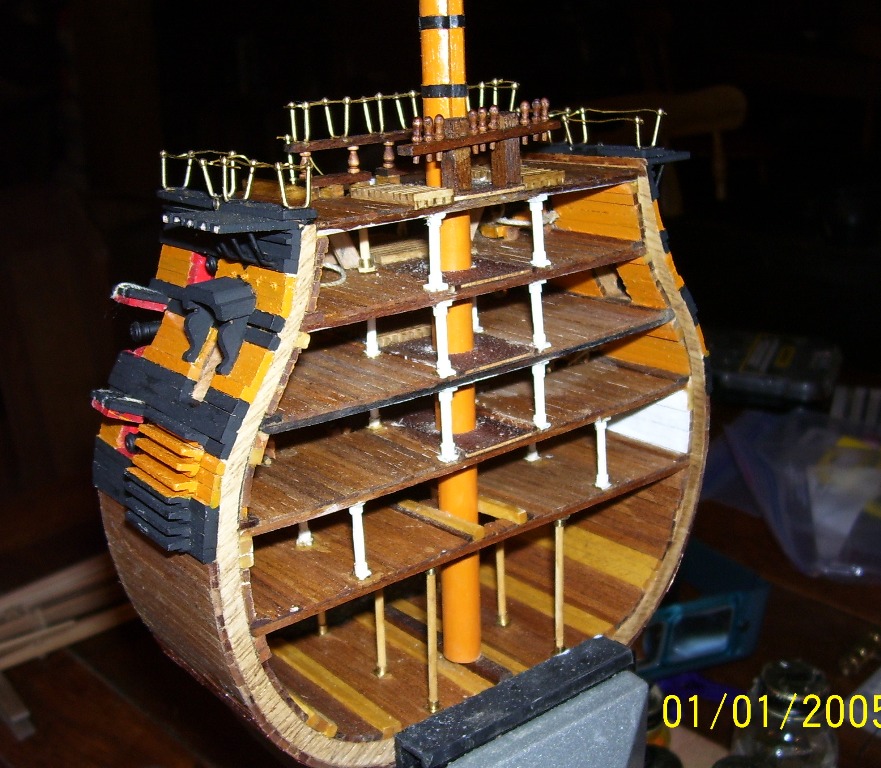
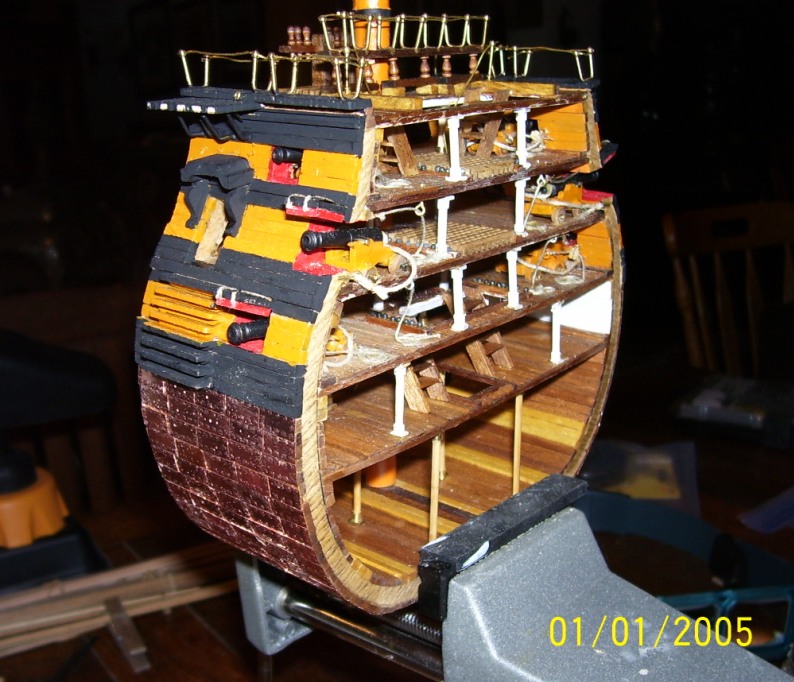
The hull has been painted. I used the Corel recommended color scheme for two reasons. I already had the paint and I grew up seeing the Victory painted this color. I have not taken to the recently revised pinkish color. Besides, according to the HMS Victory website, the captain had the right to choose his own color, so since I'm the Captain of this ship, I like the Ochre! There remains some paint touch-up.
-
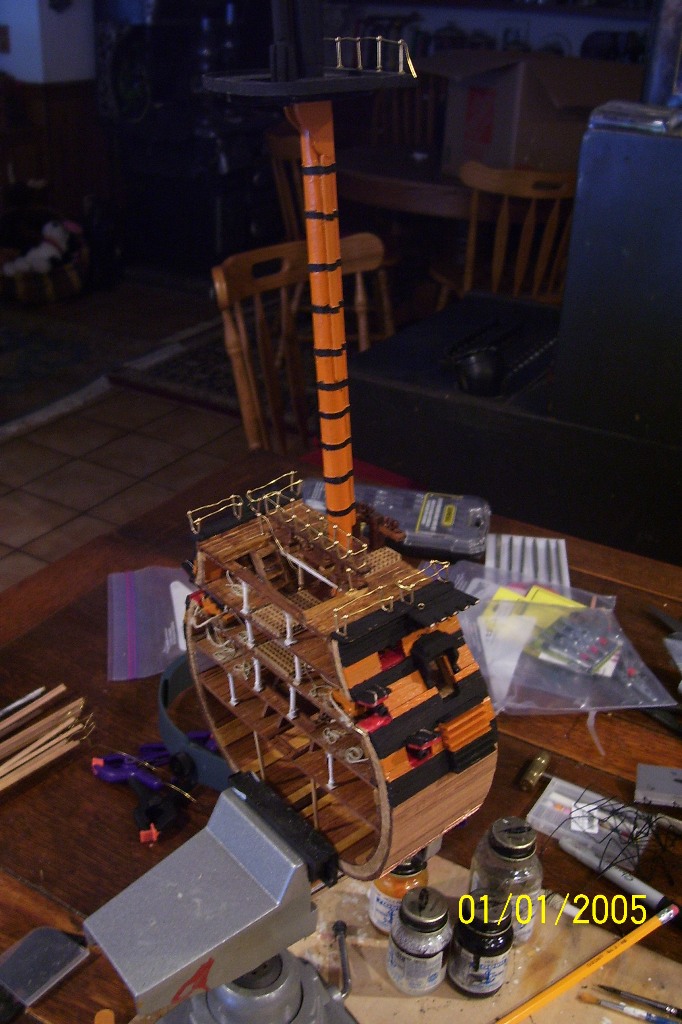
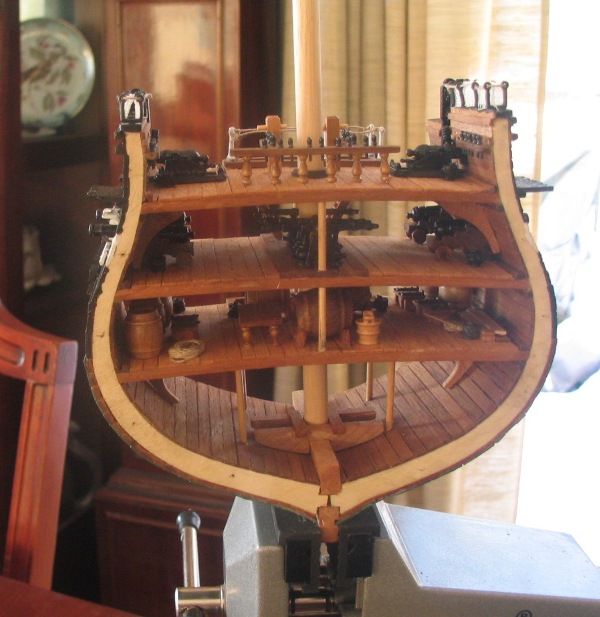
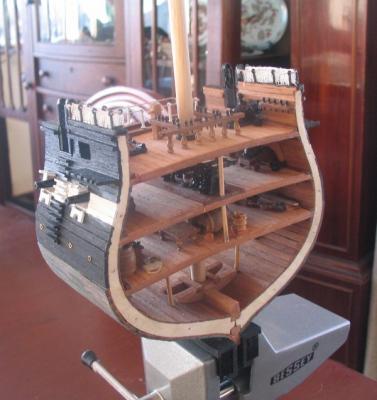
I started this model about a month ago. I am greatly indebted to the work and contribution "paulv1958" has made by sharing his progress in building this kit. I closely followed his work and heeded his suggestions. As you will see below, I am at the point where I'm beginning the standing rigging. I will also plan ahead and attach all the yard/mast blocks needed for the running rigging before attaching the yards to the mast and stepping the latter.
-
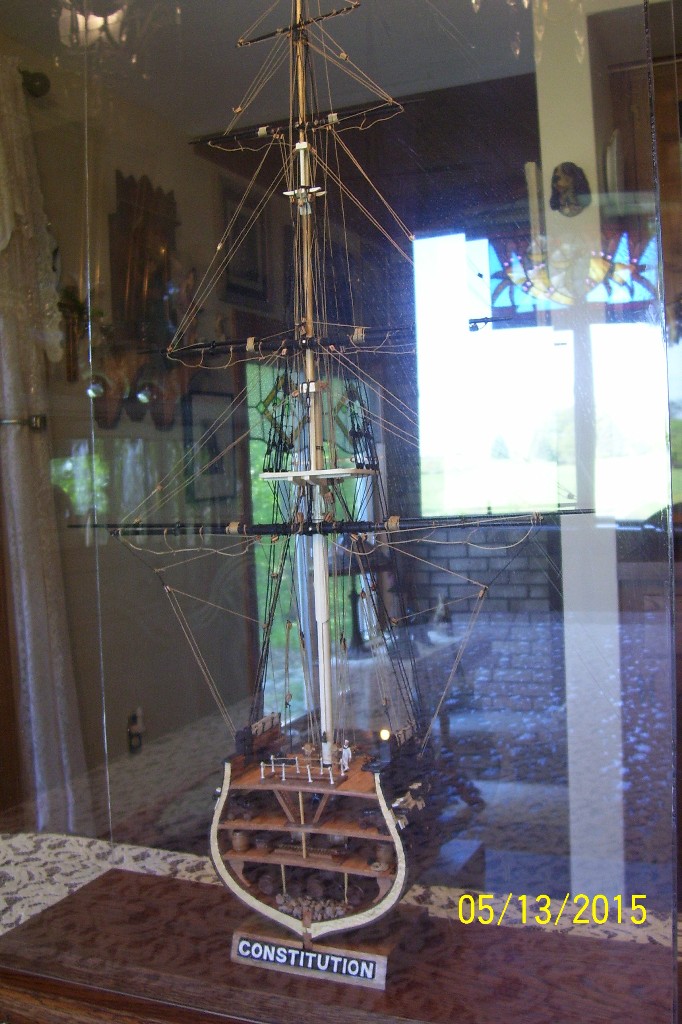
Well, I completed the model in April but did not finish the case until last week; the latter proved to as much a challenge as the ship! Here's how I finished the model: I attached all rigging blocks to the masts and yards before I stepped the mast. I installed the upper ratlines before stepping the mast. After that, completing the rigging was pretty easy and straight forward per instructions. I did have to order some extra small (3mm and 5mm) blocks. The kits scale is almost the same as HO trains, so I used track rocks for ballast. I used 1/8 Plexiglas to build the case. It took a few test runs to get the gluing process correct. I also learned that you must be really careful when handling plexiglass as it will scratch very easy. Next time I will use 1/4 - 1/8 a little flimsy to work with. The base was made out of scrap oak that was planed and routed. I fit the wood to the completed plexiglass box. This will be it until next winter when I'll start my next project - either the bow section or cross-section of the HMS Victory. Sorry for poor pictures quality - I should have taken them before I put the ship inside the case!!


- 10 replies
-
- 5
-

-
- constitution
- mamoli
- (and 2 more)
-
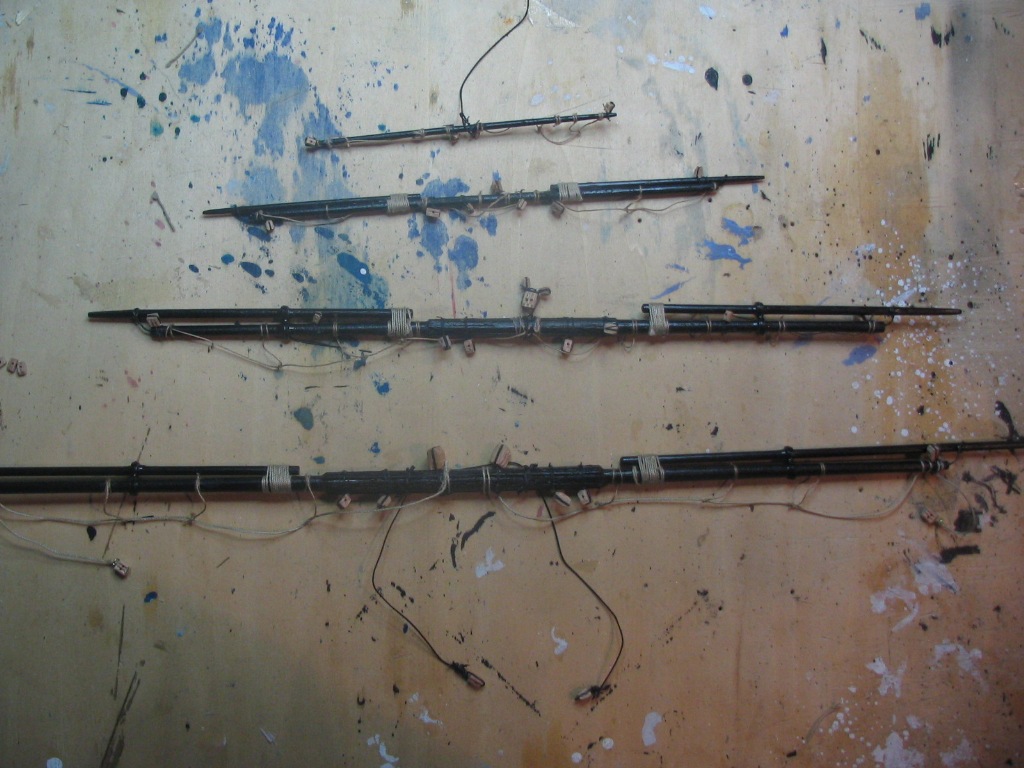
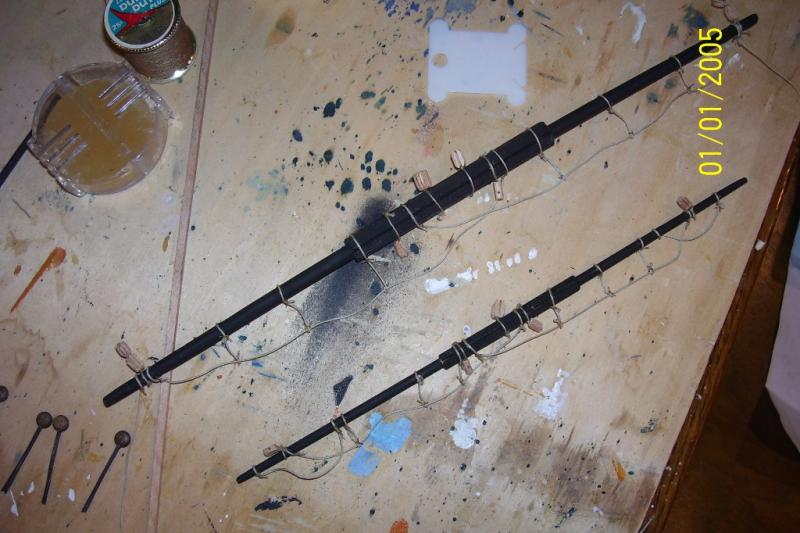
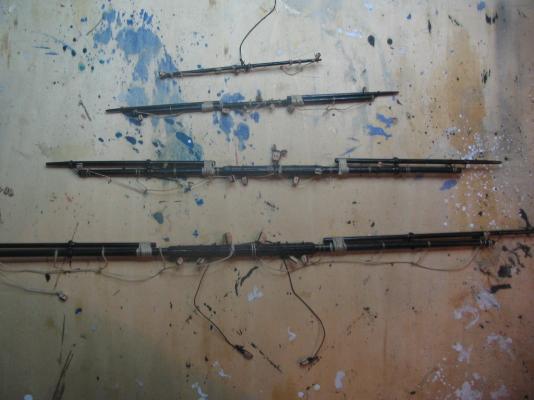
As you can see, I've been spending my time attaching all the blocks to the yards and masts. The latter has been "stepped" but not secured to the hull. I will attached the shrouds, ratlines and yards to the mast before securing it to the hull. Pretty much followed the instructions as written. Kit did not have any black rigging lines, so I orderd some. I just could not see my trying to paint the tan lines black per the instructions! The kits was also shy a few rigging blocks, so I'll have to order some more of those! Sorry for the lack of sharpness in some of the photos - still have not got new digital camera figured out (Us old SLR/35mm guys have a difficult time adjusting to these new cameras with all those complicated features) Ta, Tidbinbilla
- 10 replies
-
- 4
-
-
- constitution
- mamoli
- (and 2 more)
-
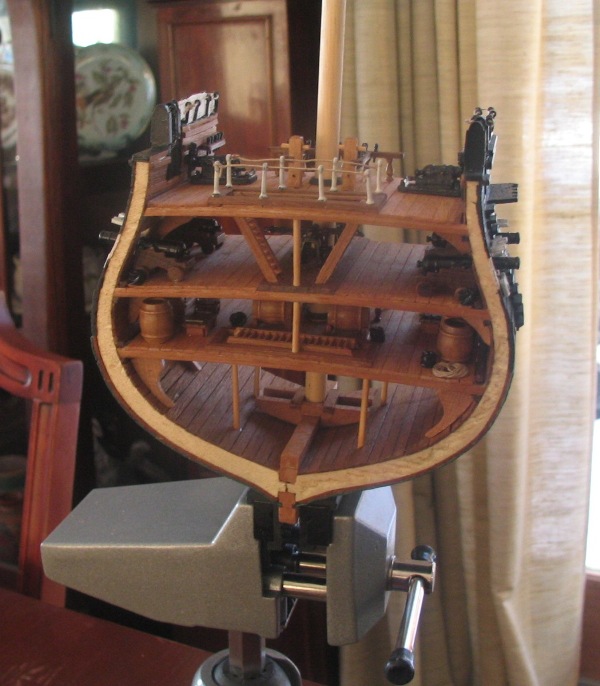
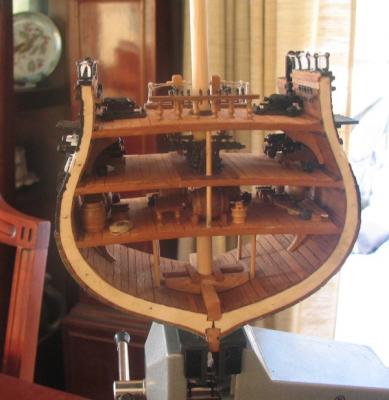
I've been away from working on my model due to seasonal work that wrapped up at year's end! As you can see, I have completed the hull. Not much variation from kit plans except: I used pins to secure the belaying pin rack to the deck. Drilled 1/4 inch hole in bottom of each post; pin extended about 1/8 inch out; pressed pins into deck when glueing. Reinforced butt joint on belaying rack by glueing small pieces of deck to underside. Should have made an overlapping joint! Before stepping the mast, I taped all the dowels together as a mock-up to help align everything. Used cheap mm drill bit set from Amazon to drill holes with a Dremel. Painted model using RR paints. They are flat finish. Painted all metal parts hull black. To spice up the finish I'm giving the whole thing a coat of clear satin. You can see the difference on the one photo of the outside hull - top half is in satin. Next up standing rigging. I'll depart from the instruction a little now. I'll assemble the mast, yards and the rigging before installing in hull. I'll leave enough length on the lower lanyard/ratlilnes to finished them up when mast goes in. First step will be to install all the blocks on the deck, mast and yards before running any lines. Question for forum: How do you secure lines to the blocks?? Thanks for the feedback Tidbinbilla


- 10 replies
-
- 7
-
-
- constitution
- mamoli
- (and 2 more)
-
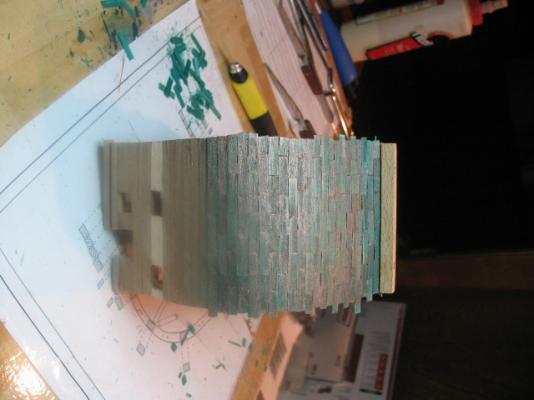
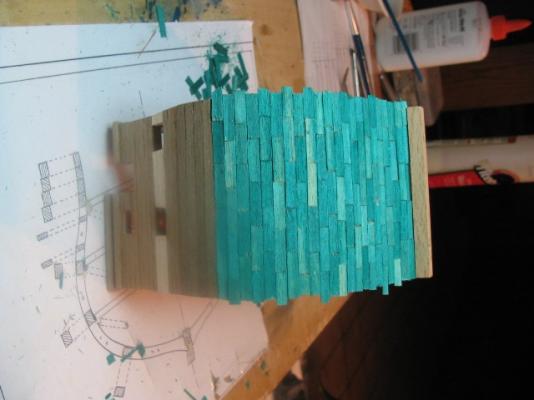
]This kit came with lots of little green pieces of wood that I guess were supposed to represent corroded pieces of hull copper plating. The outcome was horrible! I thought about removing them and just finishing the uderlying sheathing. But first I block sanded all those pieces and then applied a copper paint wash. That worked out better than expected, so I'll keep it that way!
- 10 replies
-
- 4
-
-
- constitution
- mamoli
- (and 2 more)
-
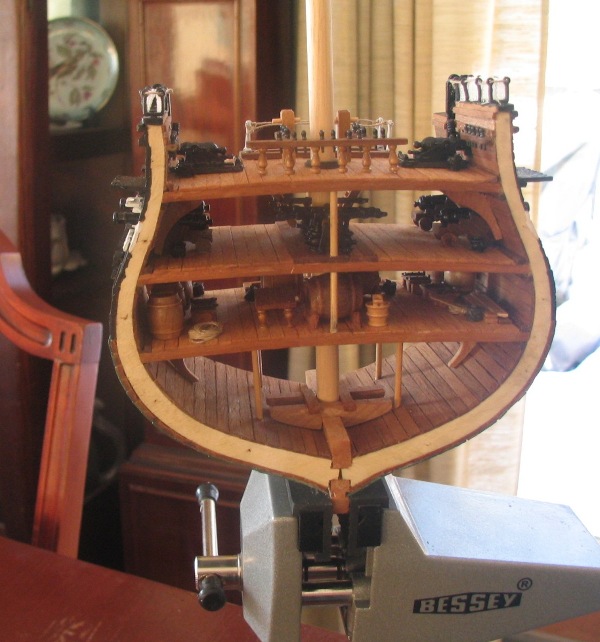
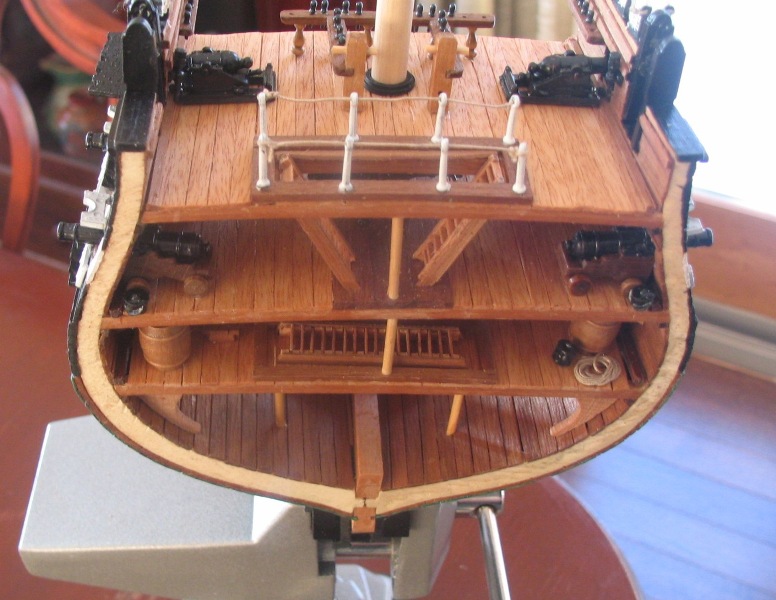
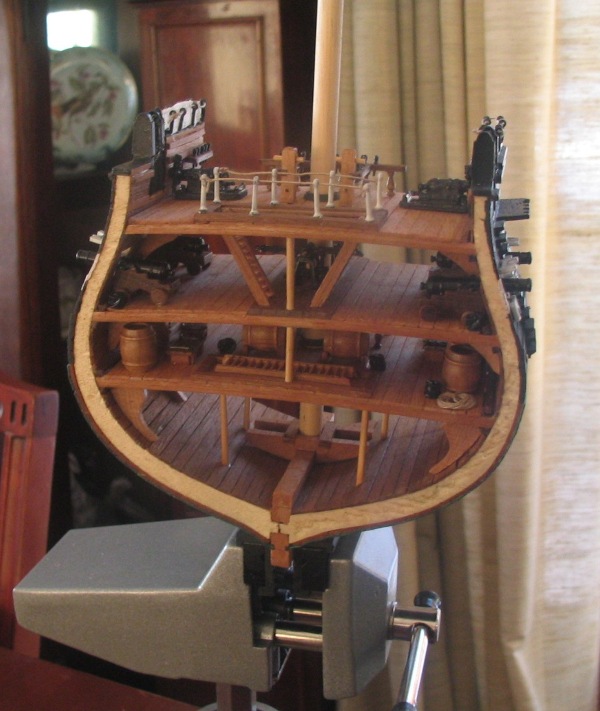
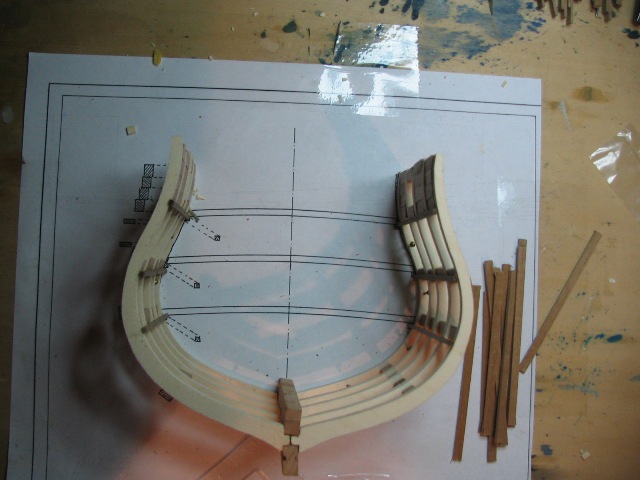
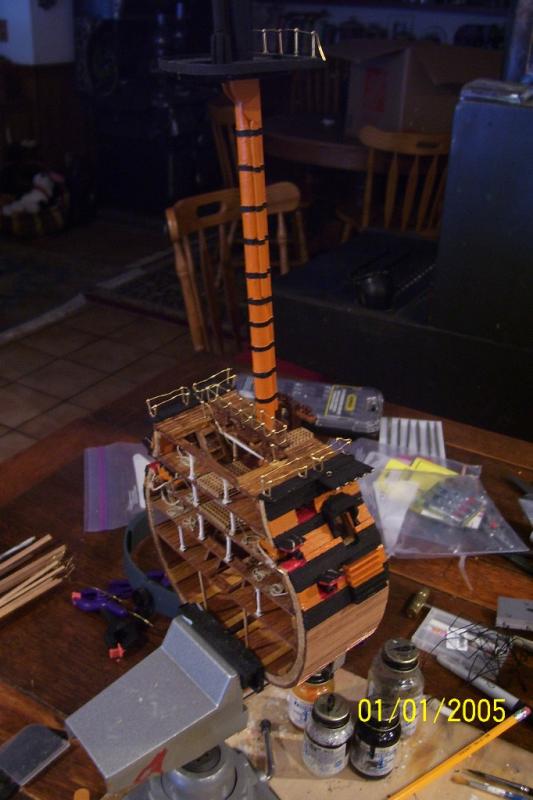
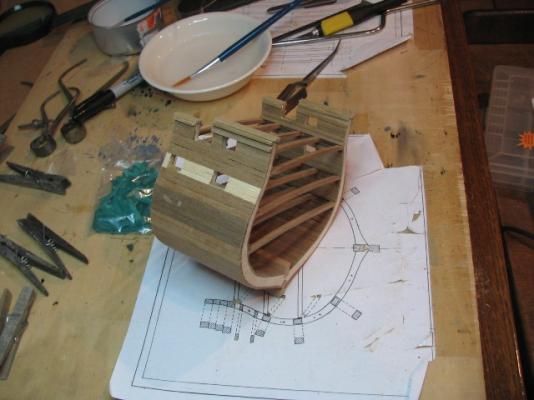
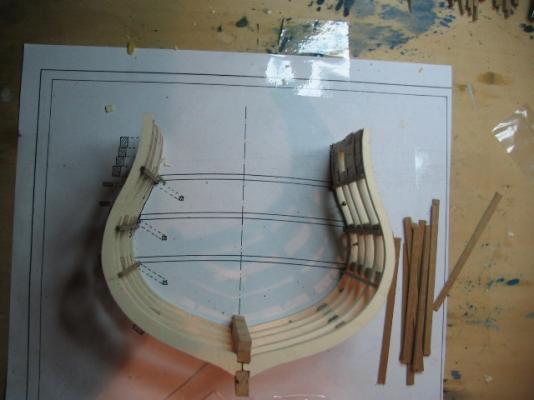
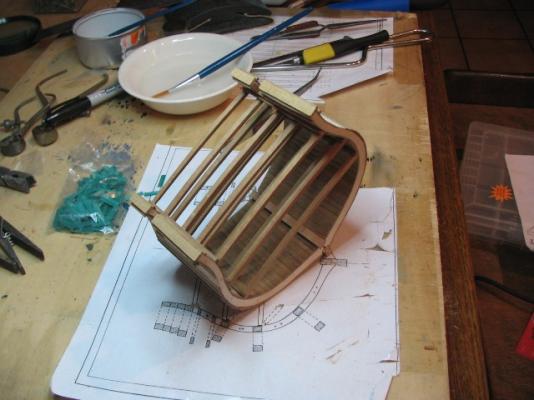
Here's a recap of my progress so far. The first I did was make a copy of the plans and had blow-ups of the written instructions to make the easier to read. Next get an Italian/English dictionary. Then I carefully studied the plans. Read through them all once and then went back and concentrated on the first two that deal with the hull and decks. One assembling the frames lesson learned: Use pins - not small brads to hold bottem frame in place. Had to dab water on nail holes to swell them shut. When fitting frames to bottom keel, also fit to false keel to make it sure it fits when it comes time to attach it to the hull. When making the curved deck supports, I found it better to use every other pattern slot rather than all four at once. (Fingers too large) I applied glue using a small paint brush; washed off excell glue to large brush and warm water. Make really sure that the frames are true. Use the square!! While mine looked good, I found out when applying the sheathing that I was off and had to clamp wood to the frame in some places. I cut of the excess sheathing use a Dremel cut-off disc and sanding drum. I finished up the ends and top using a sanding block and 220, 320 grit sandpaper

- 10 replies
-
- 6
-
-
- constitution
- mamoli
- (and 2 more)
-
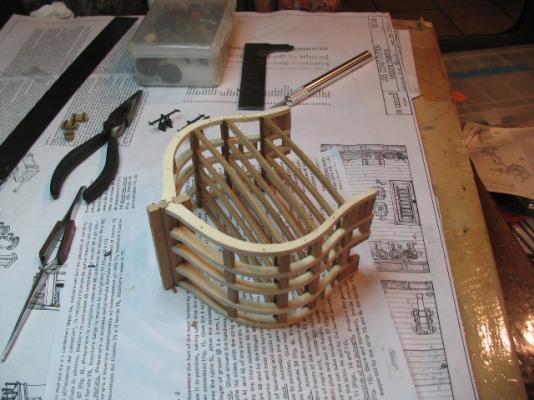
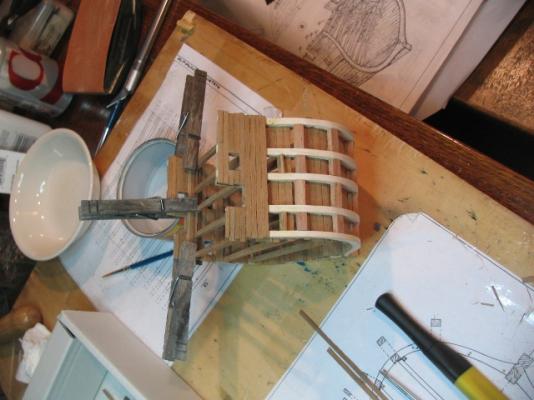
I'm just about completed the first of four phases in putting this model together. I've take a few photos along the way that I've to download and resize before posting to this site. I also have a few comments and lessons learned to share. So far, it 's going better than expected!
- 10 replies
-
- 1
-
-
- constitution
- mamoli
- (and 2 more)
-
This will be my first wooded model kit and winter project. I'm about ready to lay the keel and begin assembly of the hull timbers. All helpful tips will be appreciated. Thanks, Dave
-
Model Shipways Mayflower solid hull kit, c1956
Tidbinbilla replied to Tidbinbilla's topic in Wood ship model kits
I sold this kit before starting work on it. On to next project... -
I"m about to start my first wooded ship build using the above kit that has been stored in my closet since 1975. Any helpful advice before I begin would be greatly appreciated. Thanks, Tidbinbilla