HOLIDAY DONATION DRIVE - SUPPORT MSW - DO YOUR PART TO KEEP THIS GREAT FORUM GOING! (Only 36 donations so far out of 49,000 members - C'mon guys!)
×

Tidbinbilla
-
Posts
64 -
Joined
-
Last visited
Content Type
Profiles
Forums
Gallery
Events
Everything posted by Tidbinbilla
-
 Thanks for your empathy! It is encouraging to know that even seasoned veterans like yourself will at times struggle with these models! At 72 years, the hands, fingers and eyes are not what they once were. This being my first - and last- advanced model, building it is a real challenge but enjoyable just the same.
- 55 replies
-
- 1
-

-
- constitution
- model shipways
- (and 1 more)
-
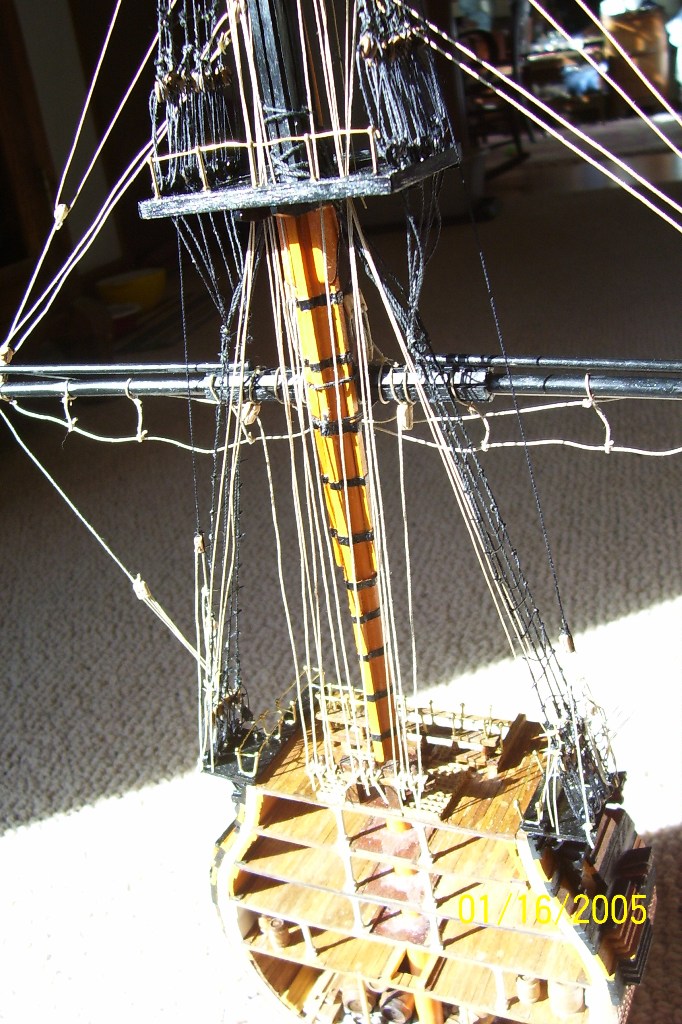
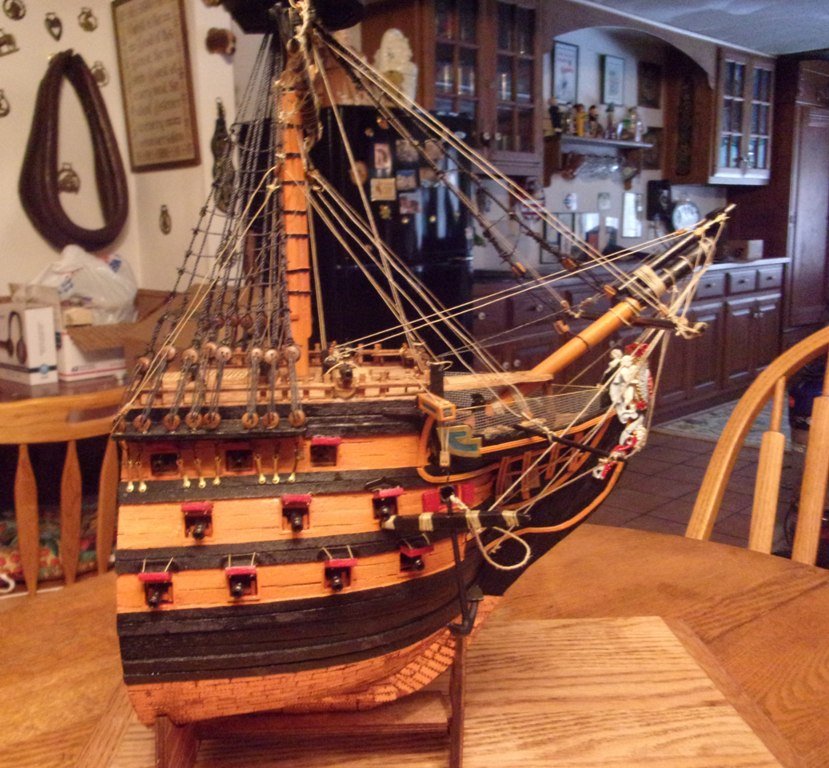
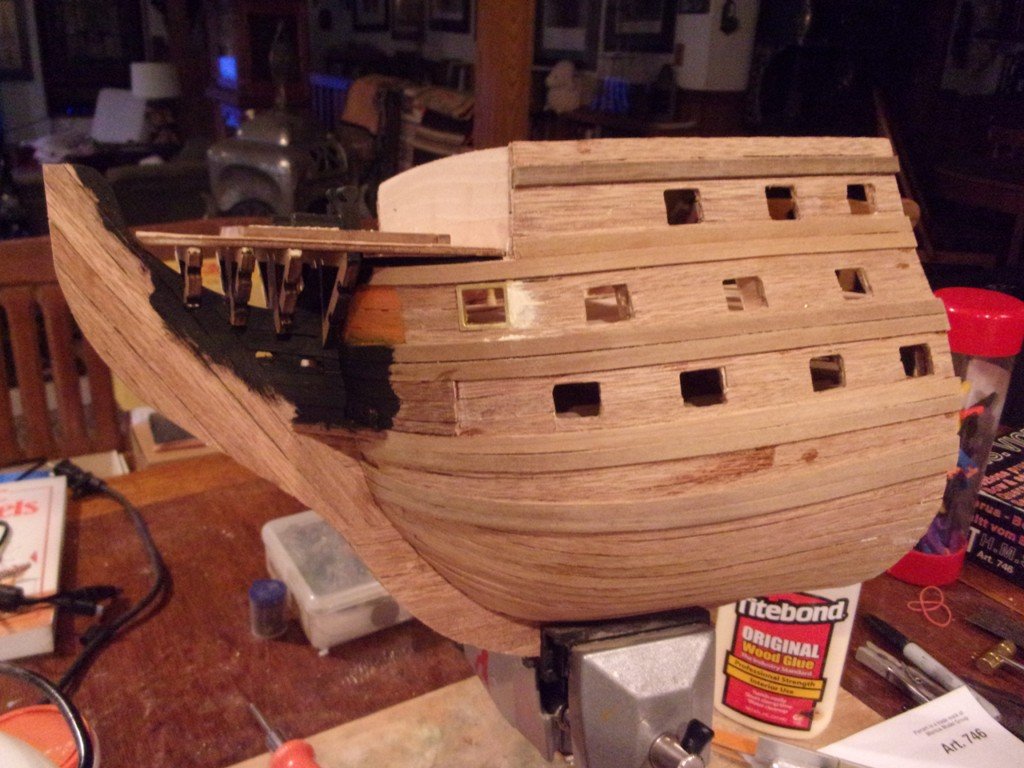
I finished the head rails or the head rails finished me! That was excruciating! The third rail was the challenge. I used two approaches: build the rail first then the timbers and via versa! The latter was a tad bit easier. I used a piece of styrene as a mock rail when fitting the timbers and then used my wood bending tool to shape the rail. To my surprise the top rail was the easiest. Re the hawse pipes. I added a filler piece between the knees to which I fit the pipes rather than directly into the hull. I did not see this piece in the instructions buy knew of it from some photos I had taken of the Constitution. Now it is on to coppering the hull. I plan to use the technique created by rweiderrich which produces the exact look I want! I just found another use for that old clothes wringer I've been using to press my chamois when washing the car! Please excuse the photos fuzziness - still have not mastered the new digital camera.
- 55 replies
-
- 7
-
-
- constitution
- model shipways
- (and 1 more)
-
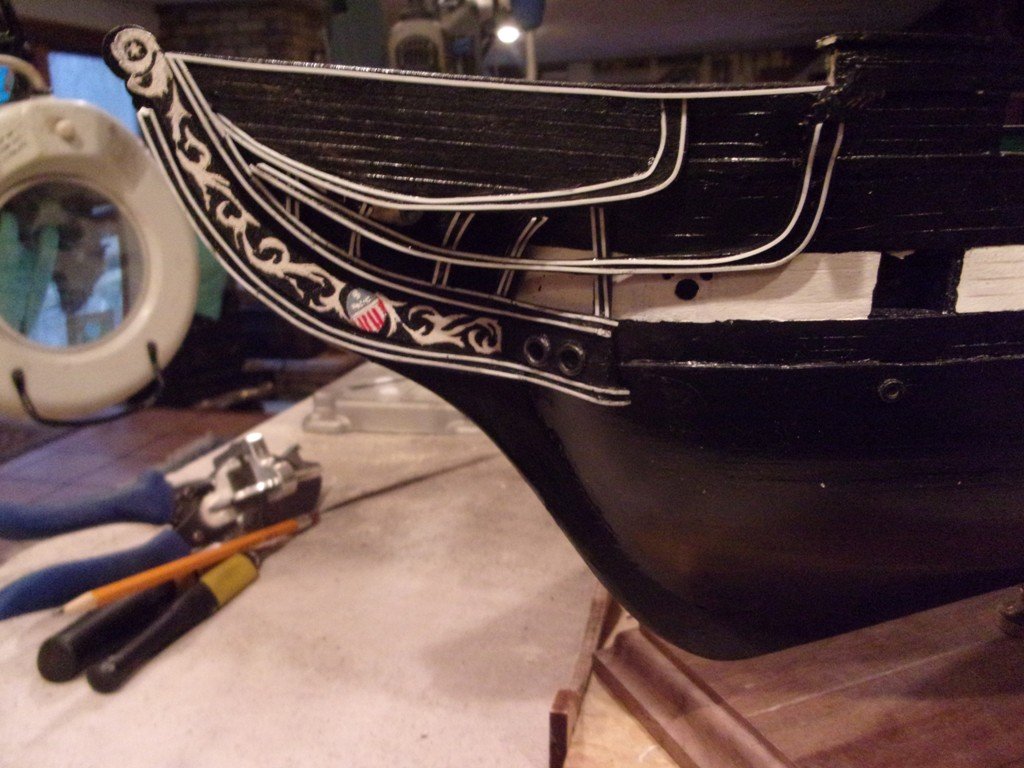
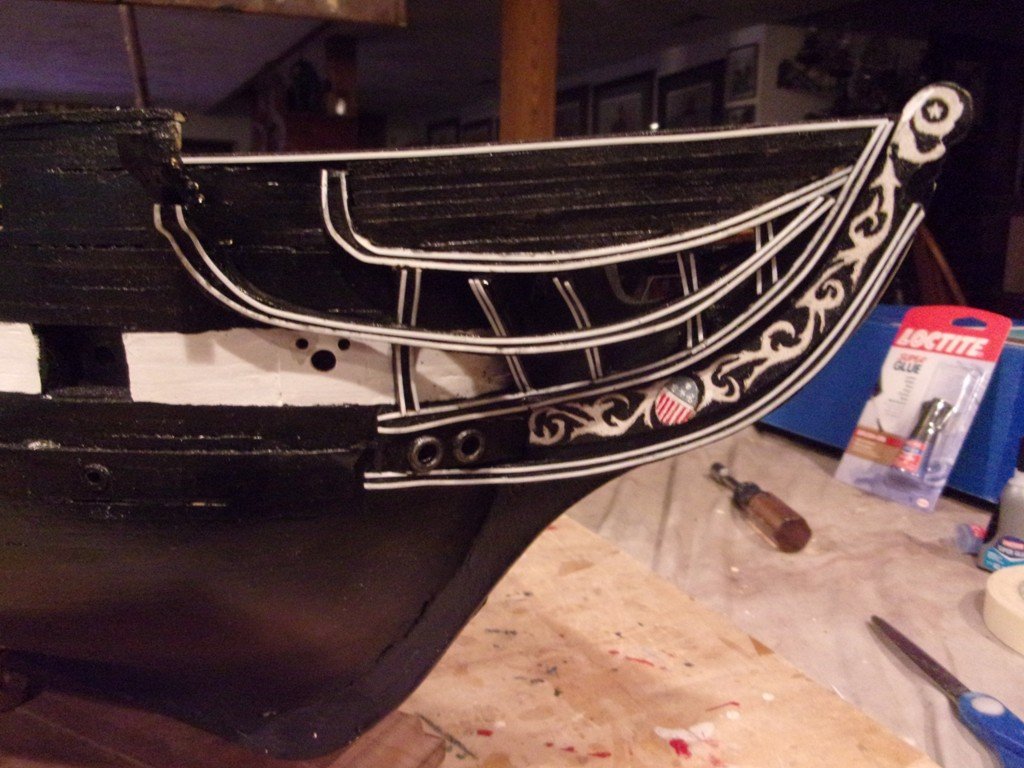
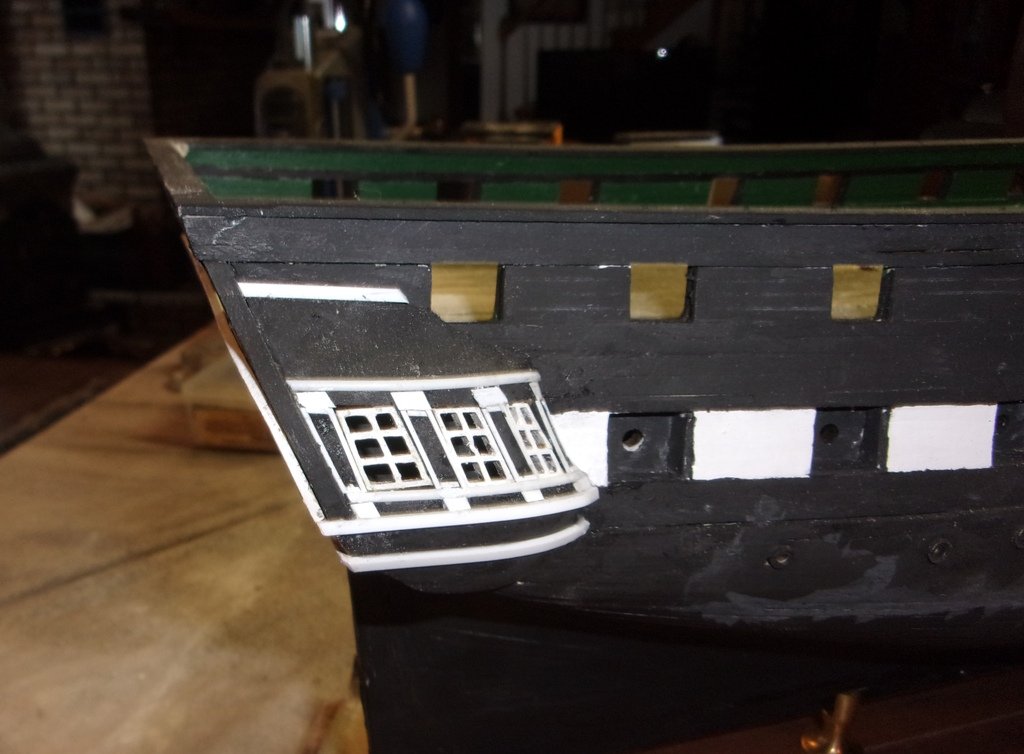
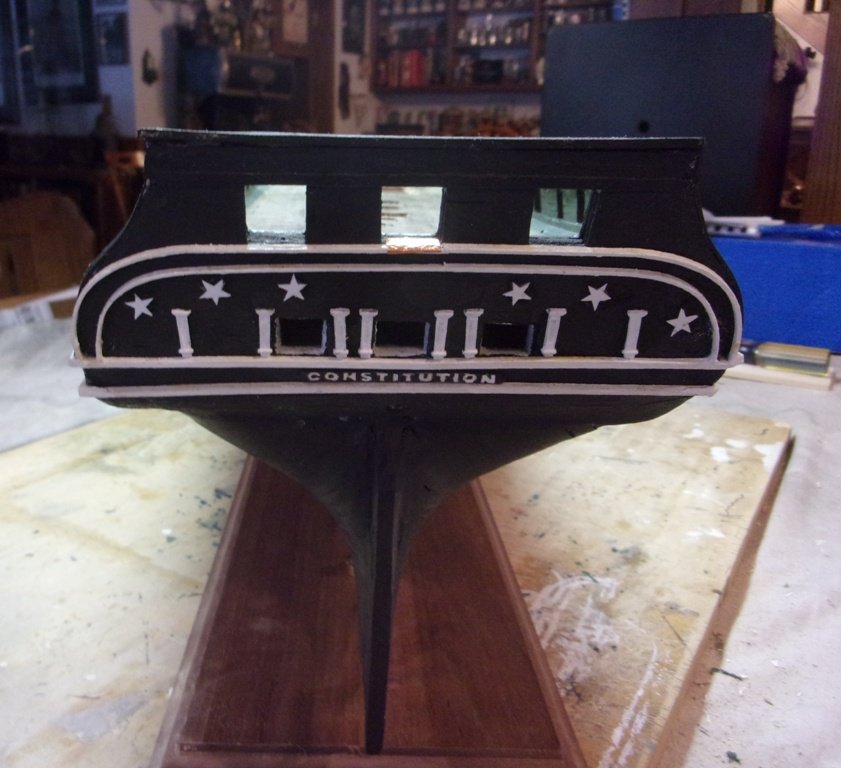
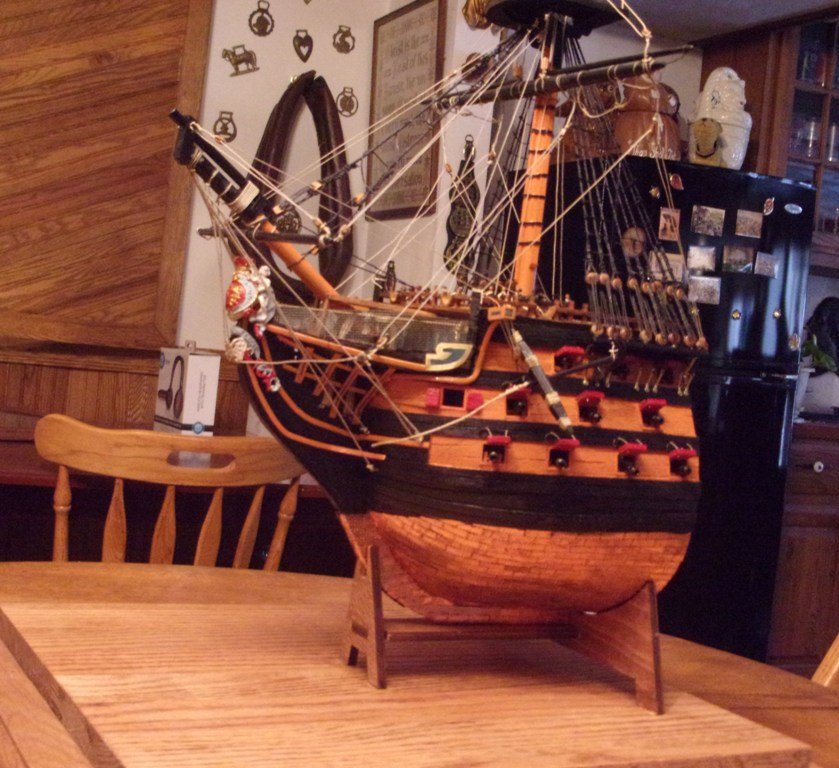
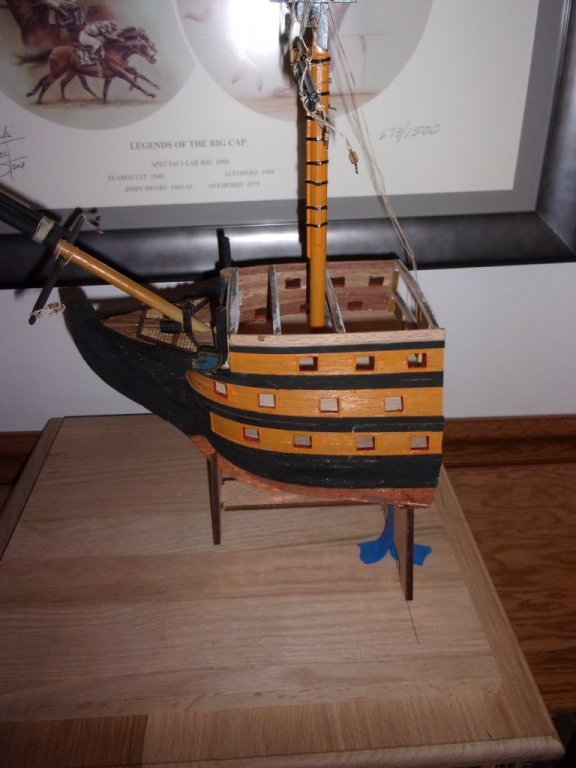
I finished up the galleries using styrene as outlined by Bob Hunt. The really small trim was difficult to handle- even with a good pair of tweezers. I ended up gluing a l longer than needed piece in place and then just trimmed it with a sharp xacto. Some touch-up paint and they will finish up nicely. The stern details were added. I used the kit molding - it mated up well to the gallery styrene. The stars gave me stars by the time I had made six good ones after "umpteen" attempts! The "CONSTITUTION" was done free-hand. I painted the entire piece white and then went in with a 6-hair paint brush to backfill the black. I used the same technique on the bow - trailboard? The main and topgallant rails were installed. The kit provided bow main rail pieces worked well for me. After a little break, I'll move on to the head details before coppering the hull. Lots of fun!!

- 55 replies
-
- 9
-
-
- constitution
- model shipways
- (and 1 more)
-
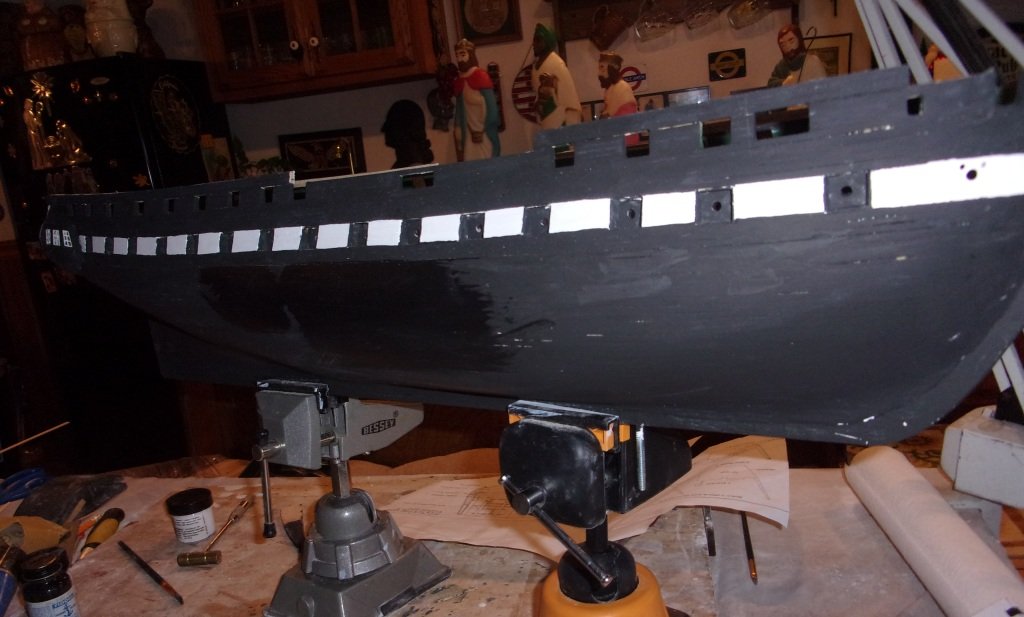
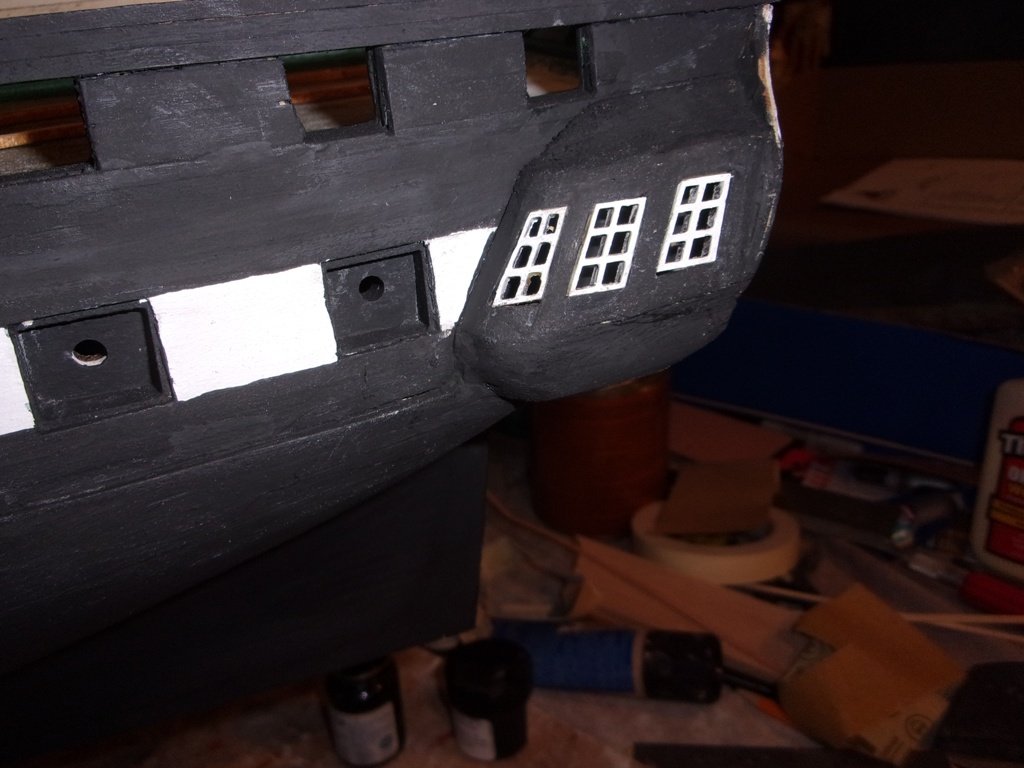
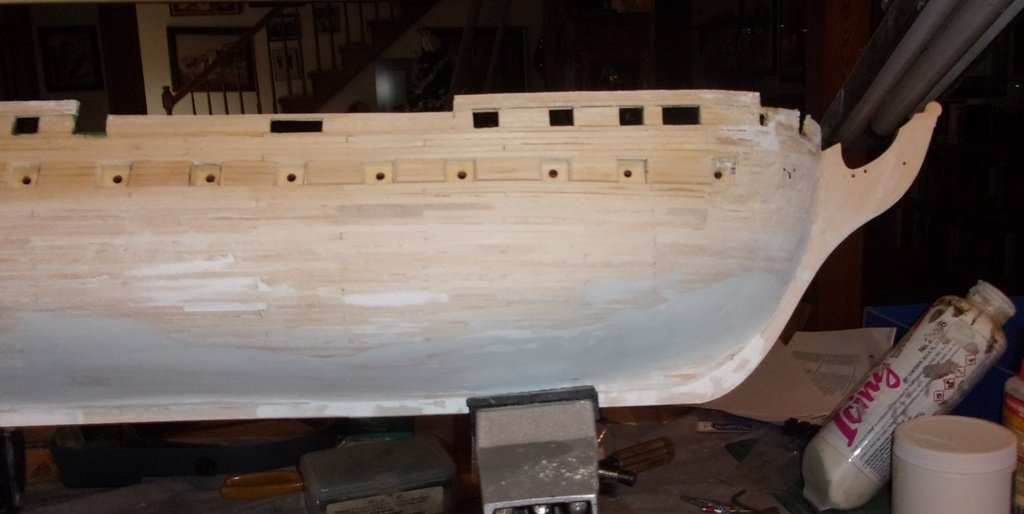
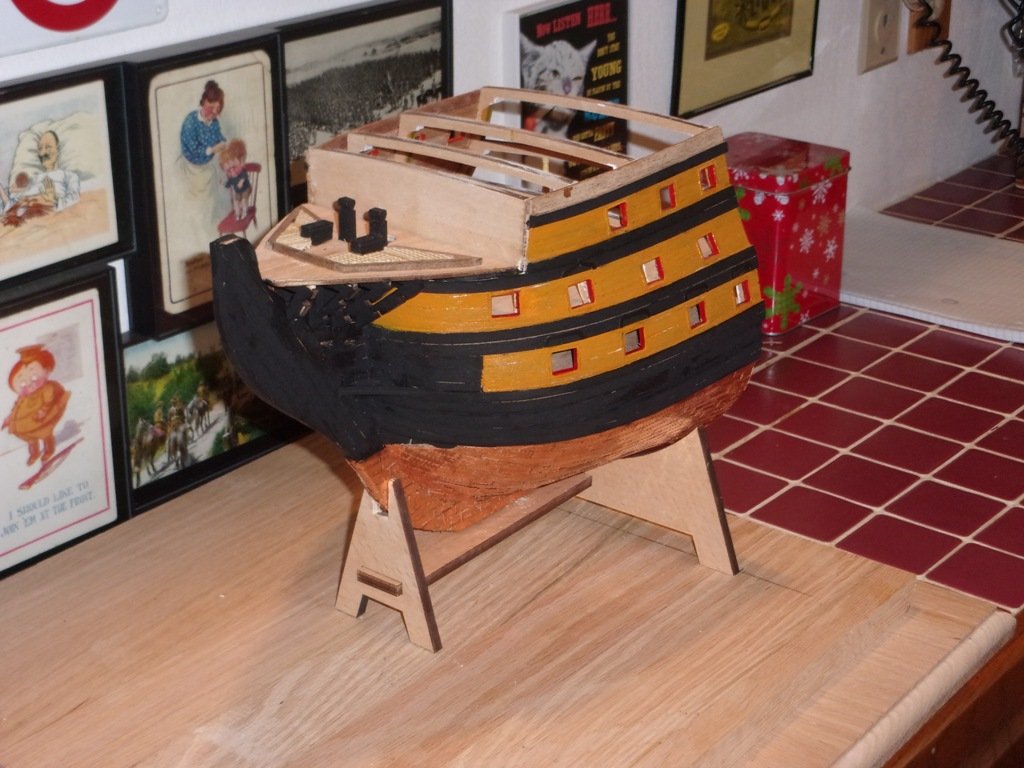
Well, I finally finished planking the hull. No real drama here, either! My faring was a lot better on this side as I only had a couple small areas to sand down/build up. Painted the outside flat black. Experimented with a satin or semi-gloss finished - so far the latter looks best. I did the galleries next. I was intimidated by these but they proved to be easier than thought! I used the window panes supplied in the kit. I built the frames first and then just trimmed the openings to fit the panes. Once I apply the white trim, any alignment issues should disappear. I'm going to complete the stern, head and other hull details before copper plating the hull. At this point, I'm thinking about not scribing those little idents into the copper plates. For some reason the scale seems to be way off or they used some really big nails attaching them to the hull😁
- 55 replies
-
- 5
-
-
- constitution
- model shipways
- (and 1 more)
-
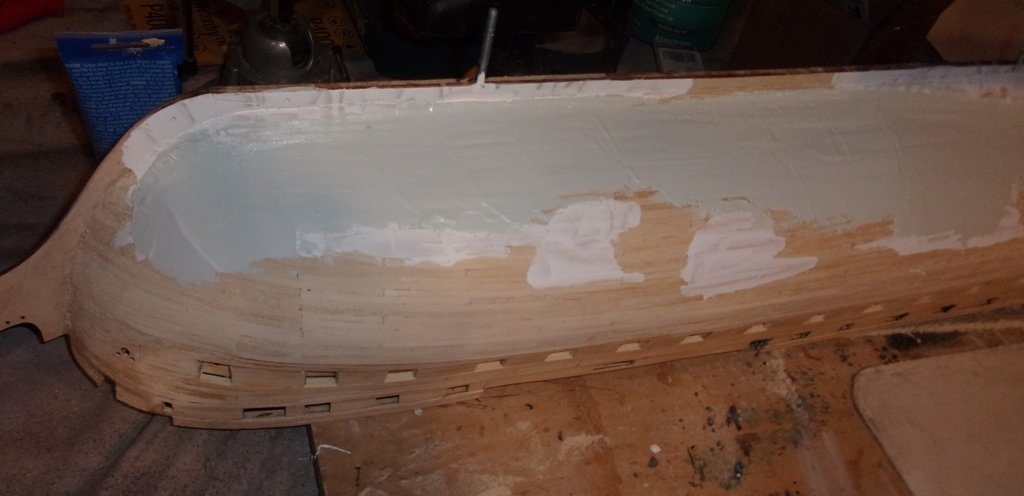
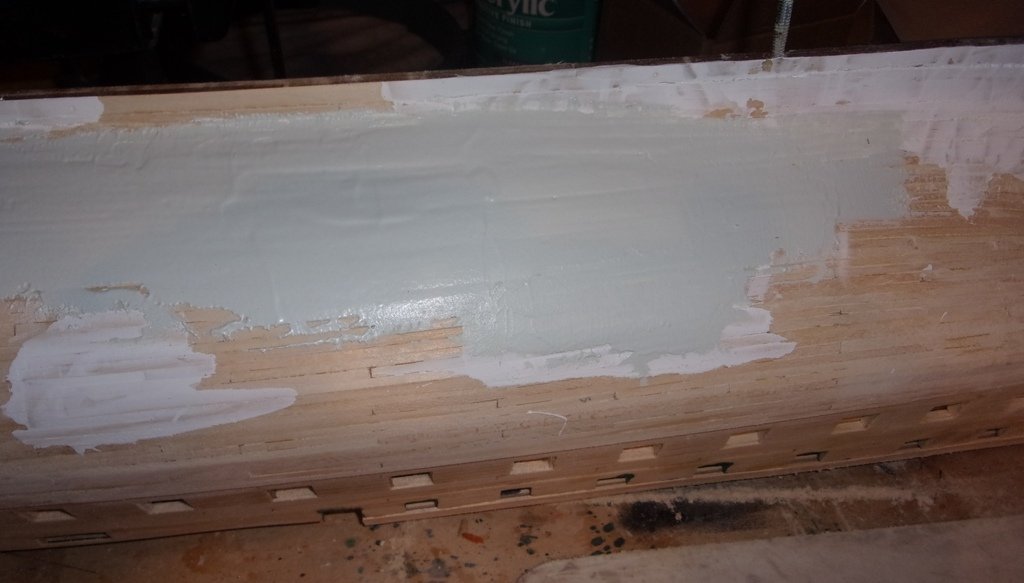
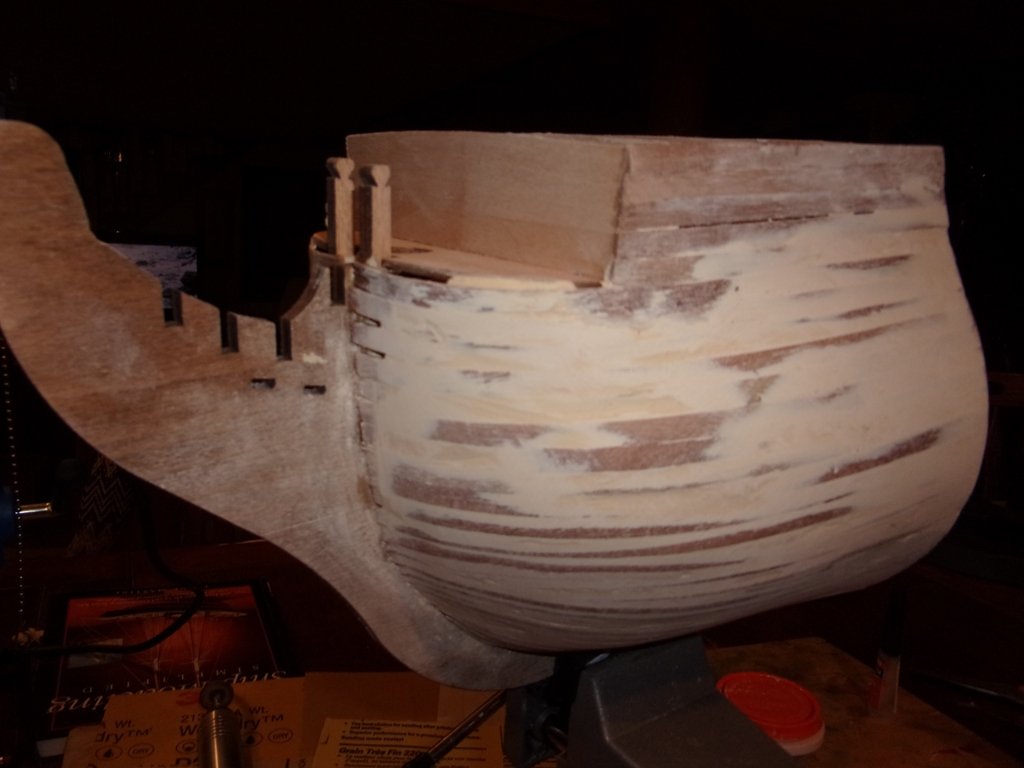
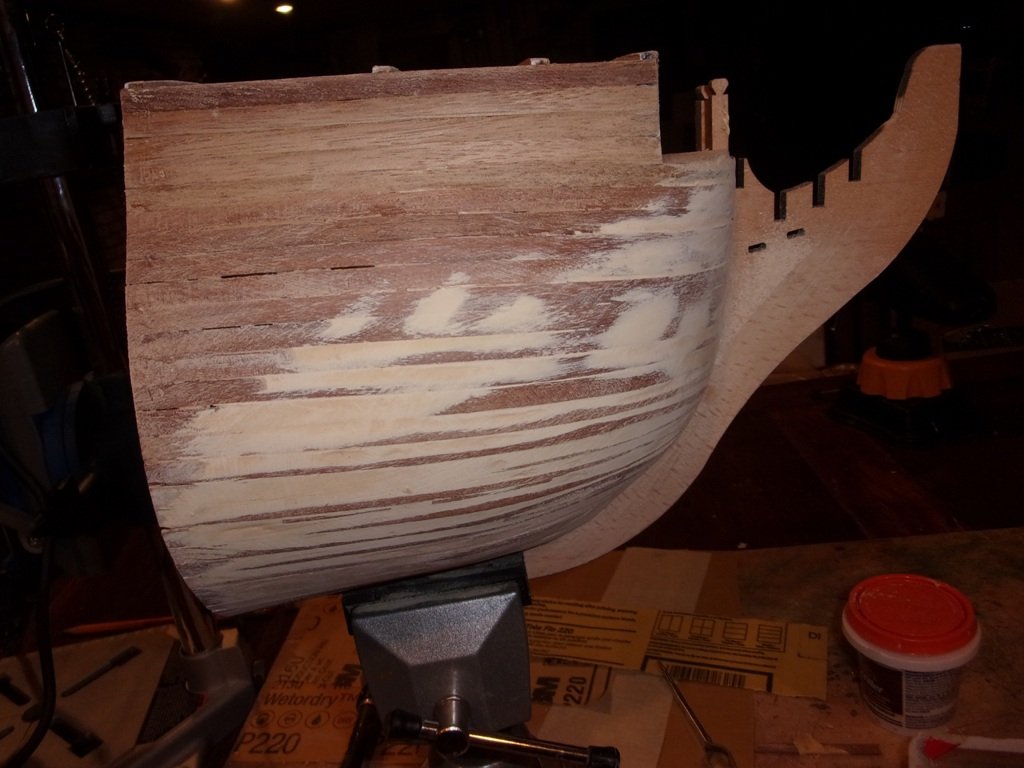
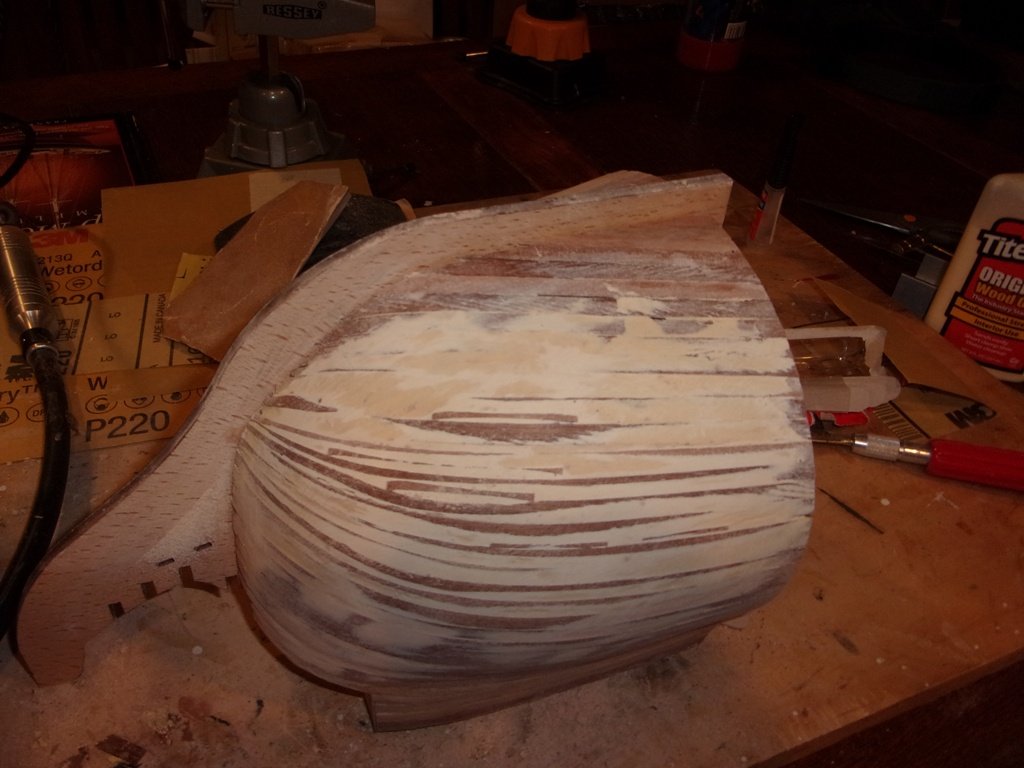
I've made some progress on the hull. I planked one side without much drama. I divided the planks into about 6 belts which made it easier for me to manage the work and make corrections as I went. I had the usual tapering at the bow and stern. My fairing was OK but ran into some low spots around the last two belts. Nothing major so I just used some glazing putty from my body shop supplies to fill in the low spots. Used 80 grit to shape hull. Will finish with 220, 400 before applying Jesso. I'm happy with my first attempt at planking a full hull (did a bow section earliler)


- 55 replies
-
- 6
-
-
- constitution
- model shipways
- (and 1 more)
-
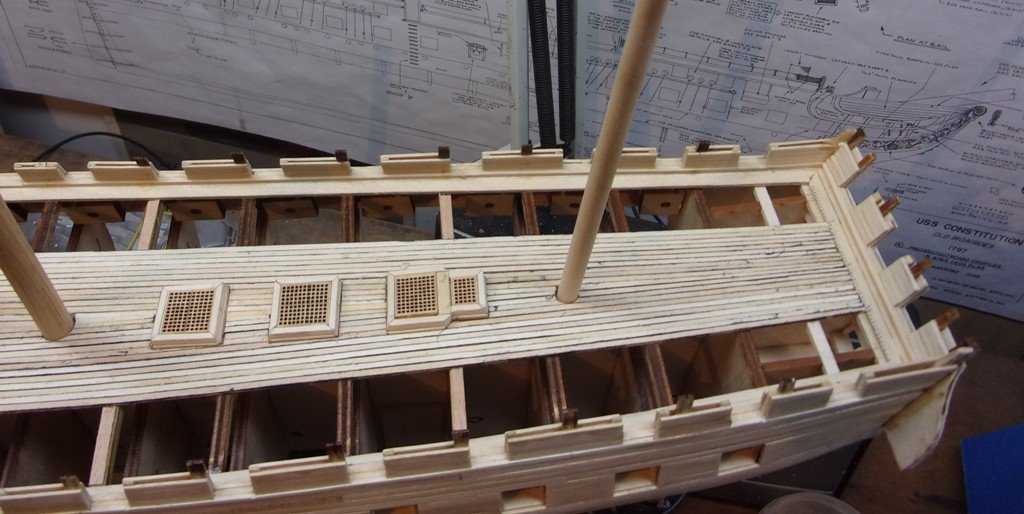
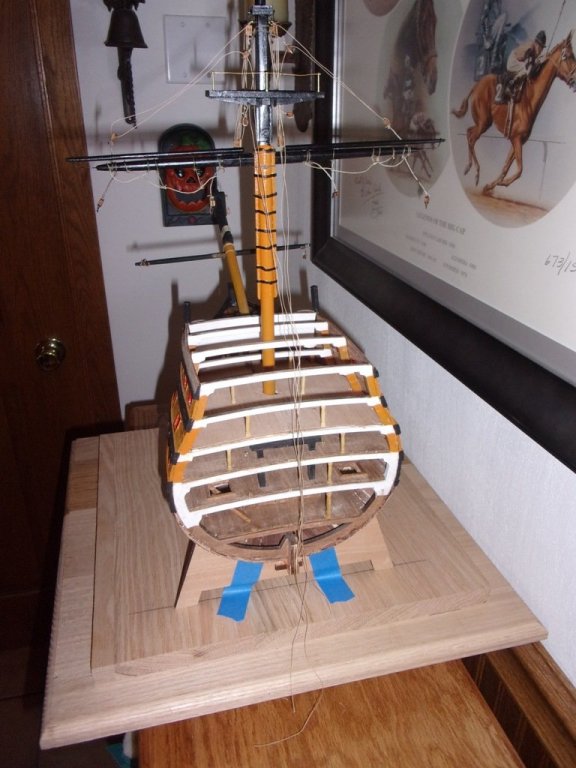
Well, I finished planking the spar deck. I used that same procedure that will be used when planking the hull, so this was good practice for me. I gave a lot of thought as to how I wanted to finished the deck - to leave it natural or to stain it per Bob Hunts Practicum. As you can see, I went for the latter. The major factor in my decision was artistic. I think all the deck details, esp. rigging is highlighted by the darker deck. I spent time studying the USS Constitution's deck color via its website. I saw gold highlights in there, so I gave the deck some golden oak stain before applying the grey and brown. I may give it a black wash as a final touch-up. Next up: I choose not to do the main and topgallant rails per the BHP. My hands are quite steady, so detail painting does not bother me. I will install the two rails before moving on the planking the hull.


- 55 replies
-
- 8
-
-
- constitution
- model shipways
- (and 1 more)
-
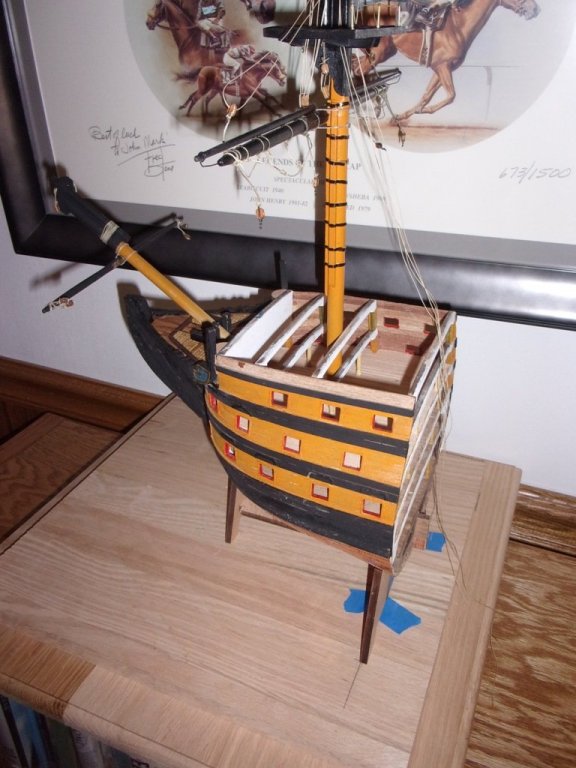
Just a little update. I've been having fun planking the spar deck. I was intimidated by the need to taper the planks. Several different methods are suggested on how to do this. After several failed attempts, I ended up just making the taper with a straight edge and then used a sanding block to remove the excess wood. It went fairly easy after that! This kit did not have enough stock to finish the deck, so I'm waiting for the postman to bring me some more along with a few other items. My next post hopefully will show a completely finished spar deck!


- 55 replies
-
- 7
-
-
- constitution
- model shipways
- (and 1 more)
-
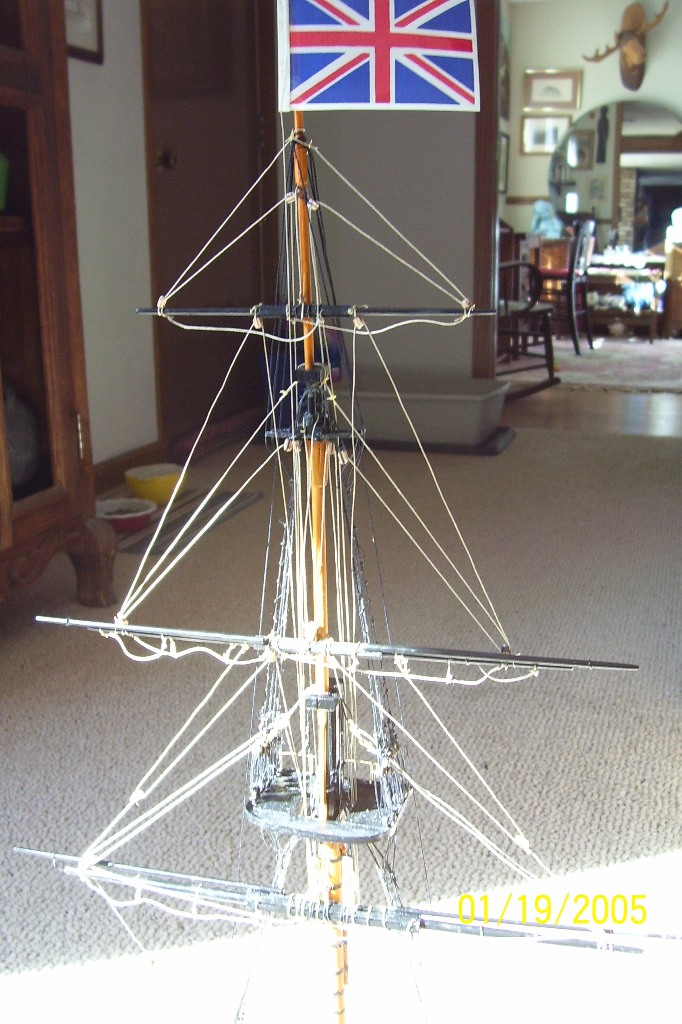
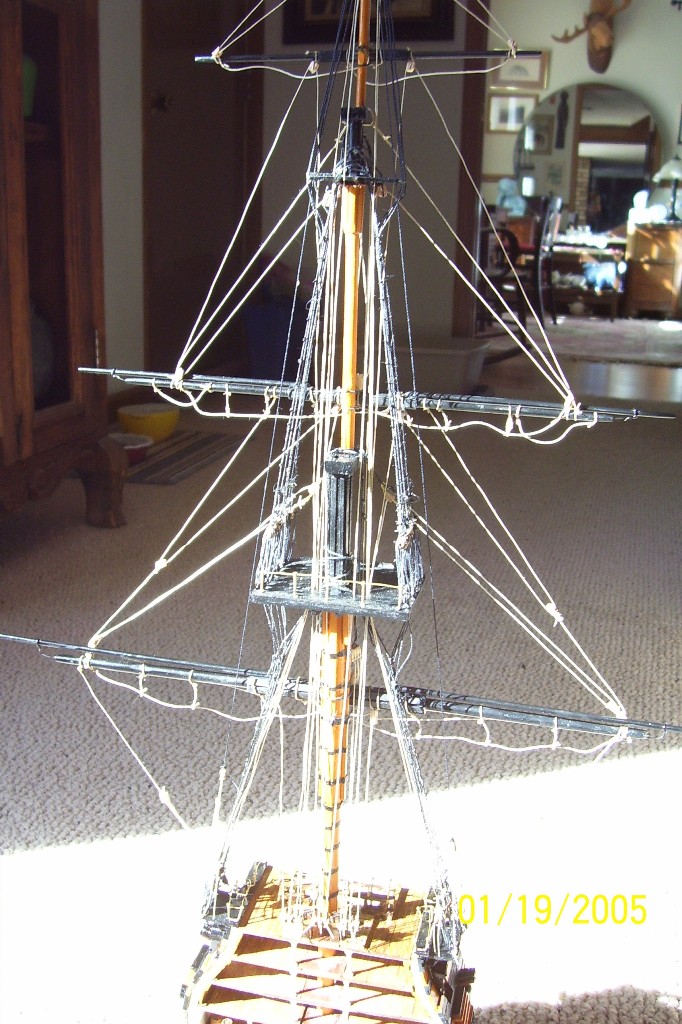
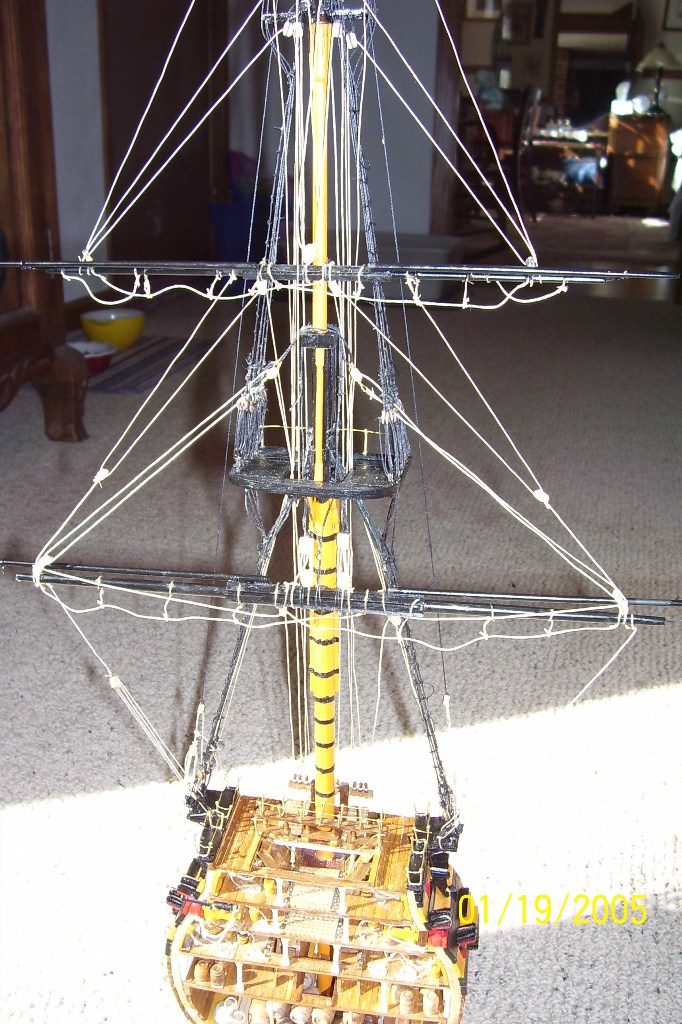
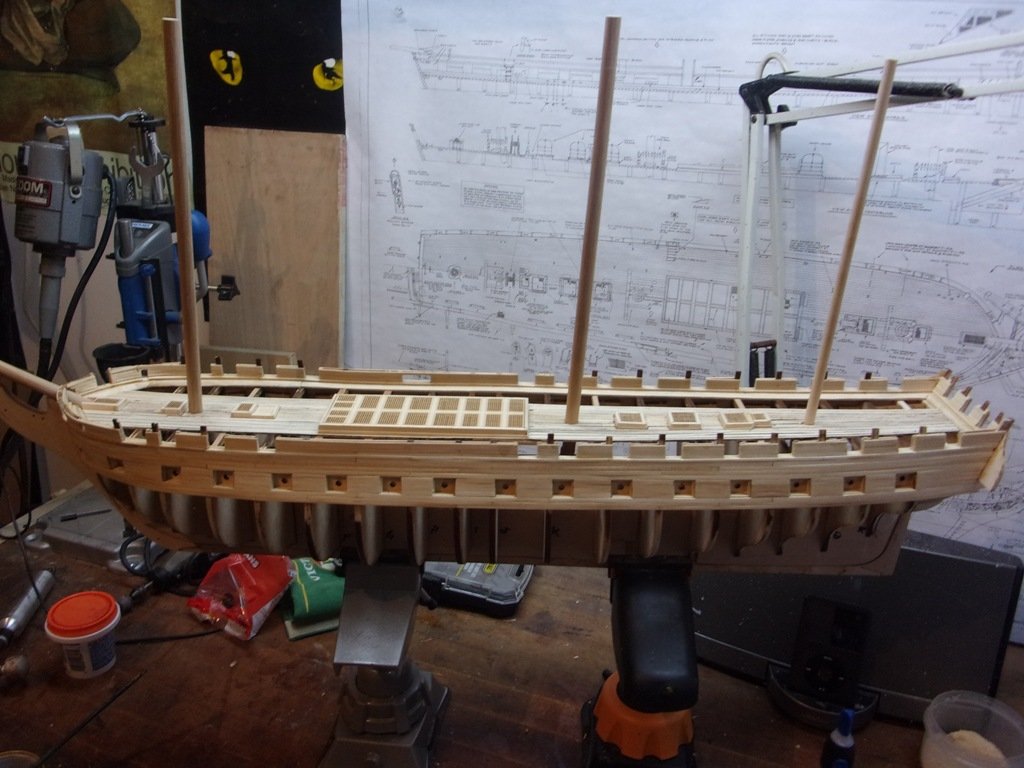
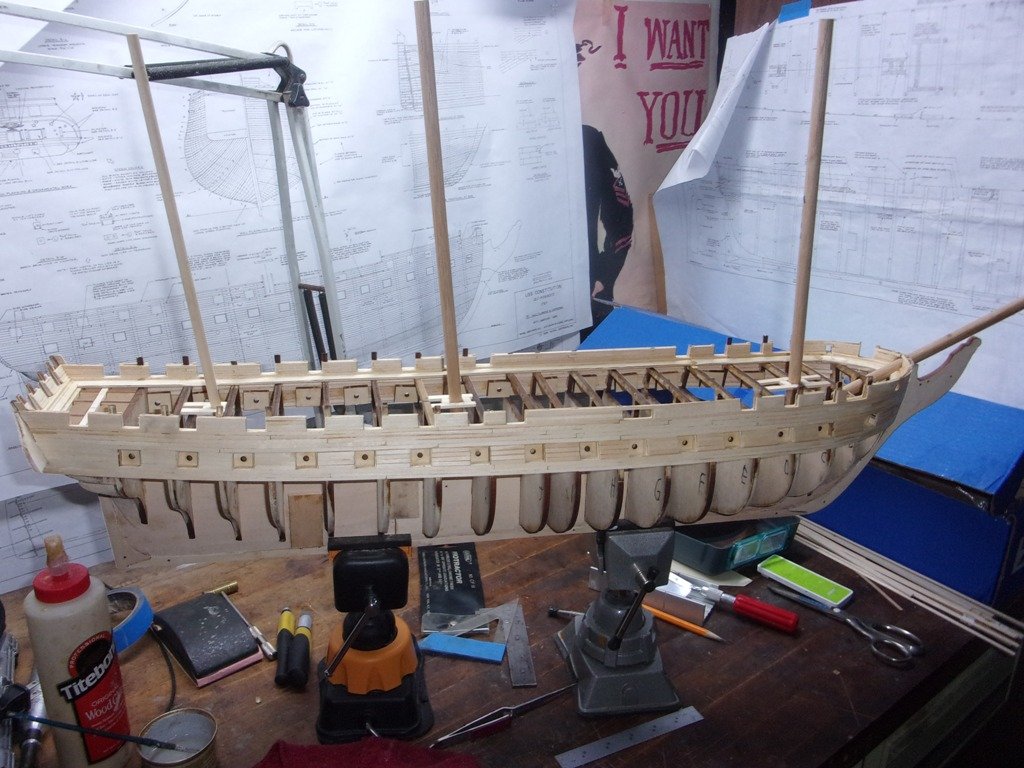
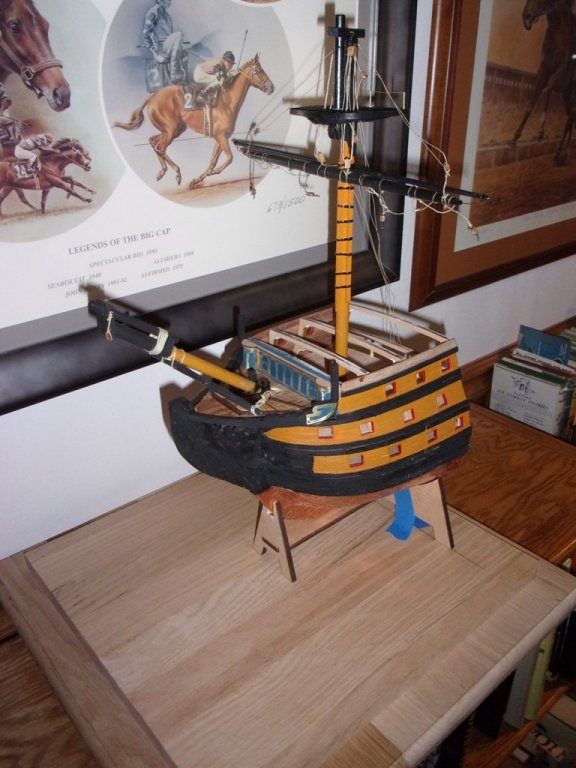
It is time for a little progress report. Following Bob Hunt's Practicum, I've been working on the spar deck and lower gun ports. It went fairly well. No real drama. I completed the chapter on one side as a a sort of learning guide before starting the other. The masts are just sitting in the mast partners - final alignment is forth coming.
- 55 replies
-
- 5
-
-
- constitution
- model shipways
- (and 1 more)
-
Thanks David and Rick - for the words of encouragement and advice!!
-
I thought an update is in order. Found time this summer to spend on the model. I've been following Bob Hunt's Practicum, along with various blogs on this site. All have been very helpful! This is an advanced model and by all considerations way above my skill level. But with lots of help, I've been taking my time and plugging along. No major drama so far. I have determined that framing is similar to that I did working construction during summer vacation while in college. I rather enjoy planking. I'm going to give it a rest for a couple of weeks while I attend to domestic duties.
- 55 replies
-
- 6
-
-
- constitution
- model shipways
- (and 1 more)
-
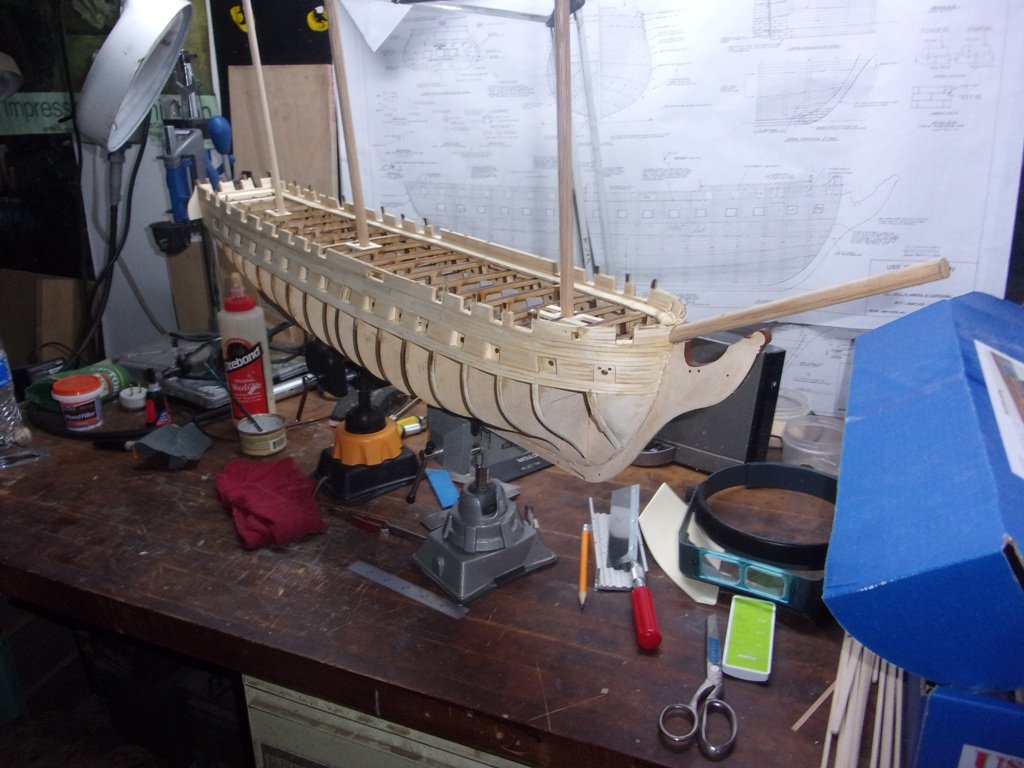
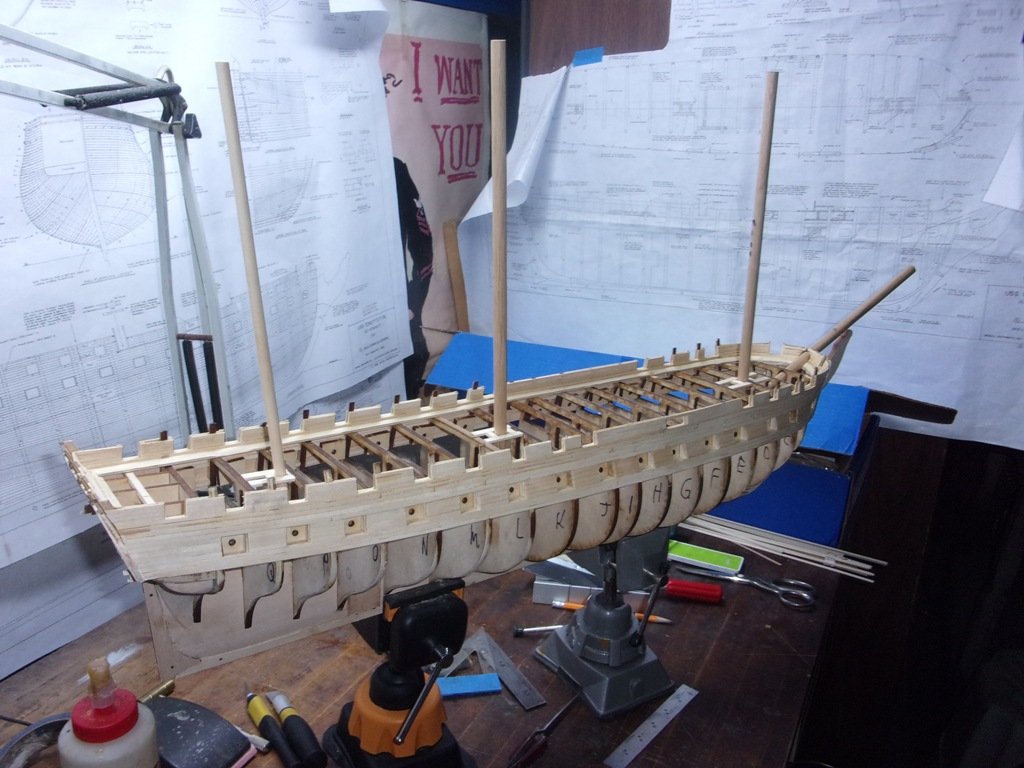
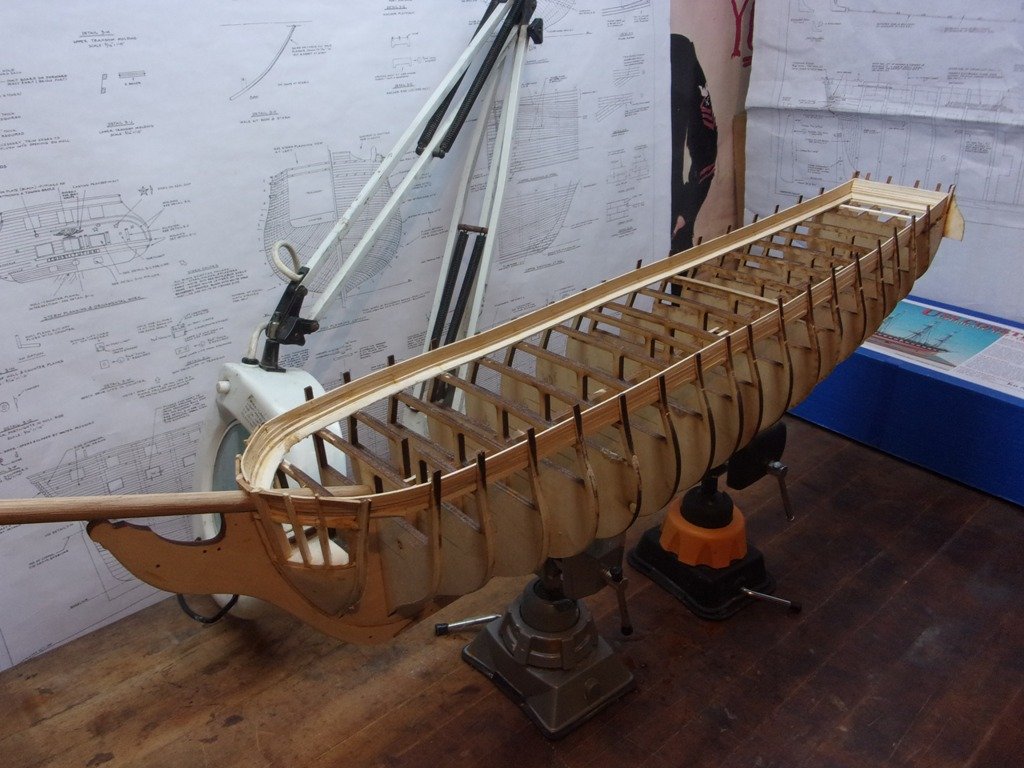
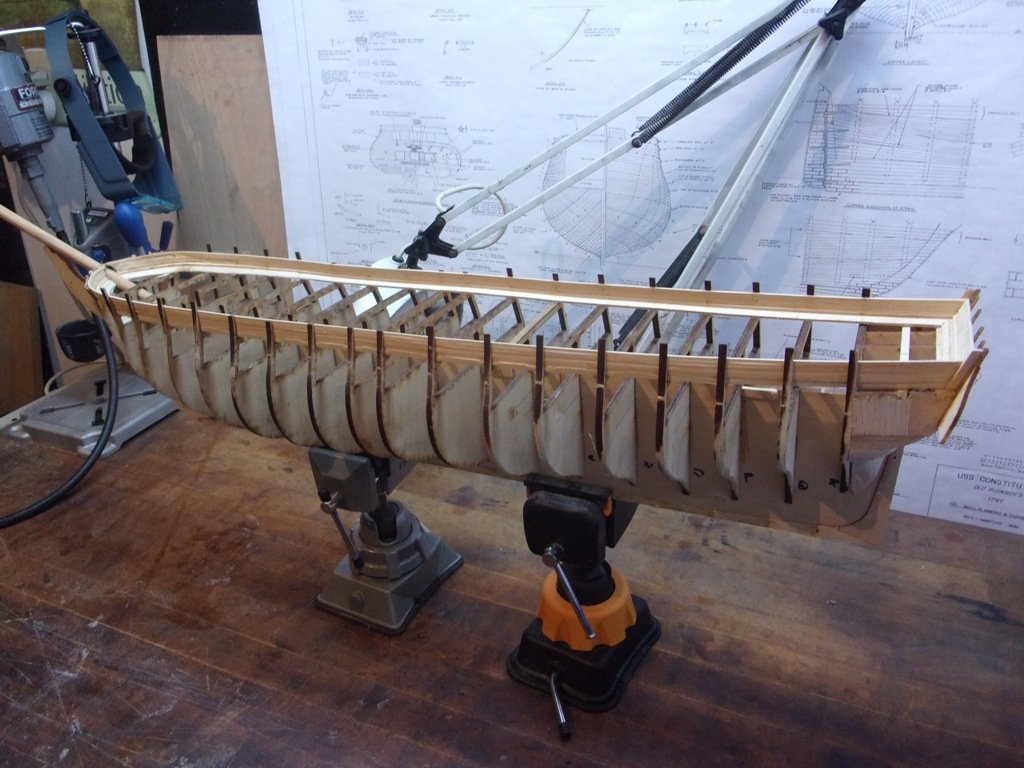
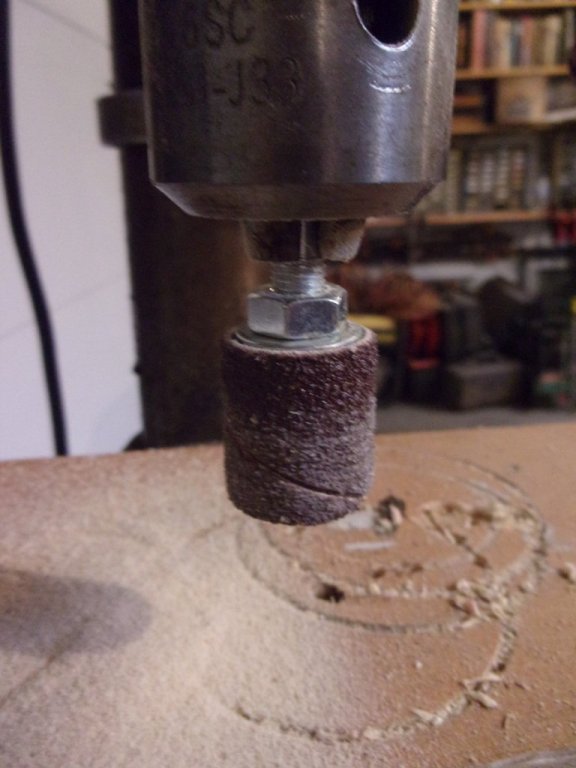
Well, I finally began building this model. First thing I did was make a complete copy of all the plans. I like to keep the originals intact and use the copy for templates, notes, etc. Besides following what others have said in their logs, I'm also using Robert Hunts practicum. Nothing too dramatic so far. The keel went together easily. There was one moment when I was going through the bulkheads. On four of them the letters were clearly burnt into the wood but the rest where not to be found. I set Sheet 1 on a table and tried to match up the bulkheads to their corresponding outline. I thought I had them identified. But a few days later when I was closely examining one of the bulkheads under a bright light, I could make out a faint impression of the missing letter!! I only had two wrong! The problem was now solved. Before gluing the bulkheads to the keel, I started my initial faring. I used a sanding drum on my drill press to remove the material. It worked just fine. When gluing the bulkheads I used a small square to align it. If it was off, I just clamped the square to the keel and left it there until the glue was set. Next it is on the to filler blocks... Pleas excuse the poor quality of the attached photos...

- 55 replies
-
- 2
-
-
- constitution
- model shipways
- (and 1 more)
-
With some trepidation, I've started the build on this kit. I was going to wait until this winter (when I do most if not all my modeling) to begin but decided to get an early start. This is a bucket list endeavor. I built two of the Revell plastic kits back in the 60's and out of that experience dreamed of building a proper wooden model. I'm just a beginner modeler so I'll be stretching my skills to do a good job. I've completed three models : U.S.S. constitution and H.M.S. Victory cross-sections and the H.M.S. Victory bow section. I consider these to be practice in preparation for this model. To assist me, I purchased Robert Hunt's practicum which really fills in the gaps left open by the MS instructions. Also, I'm following about five build logs in this site. So with them and all the other useful information on the forum, I just make a good go of it. So far, I'm assembling the center keel, keel, stern and stem. Pictures to following once I finished the clean-up. Thanks, Tidbinbilla
- 55 replies
-
- 8
-
-
- constitution
- model shipways
- (and 1 more)
-
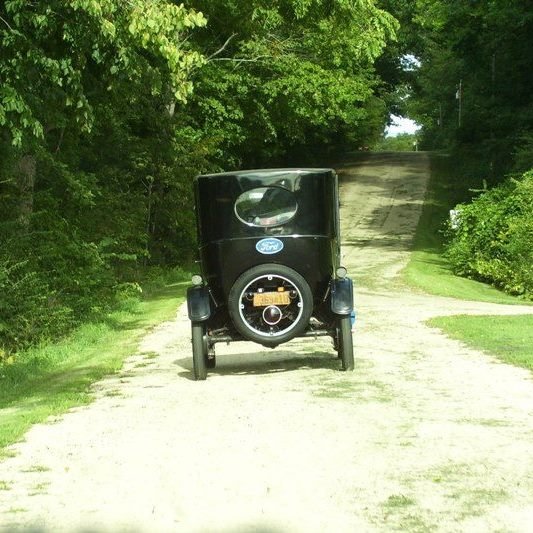
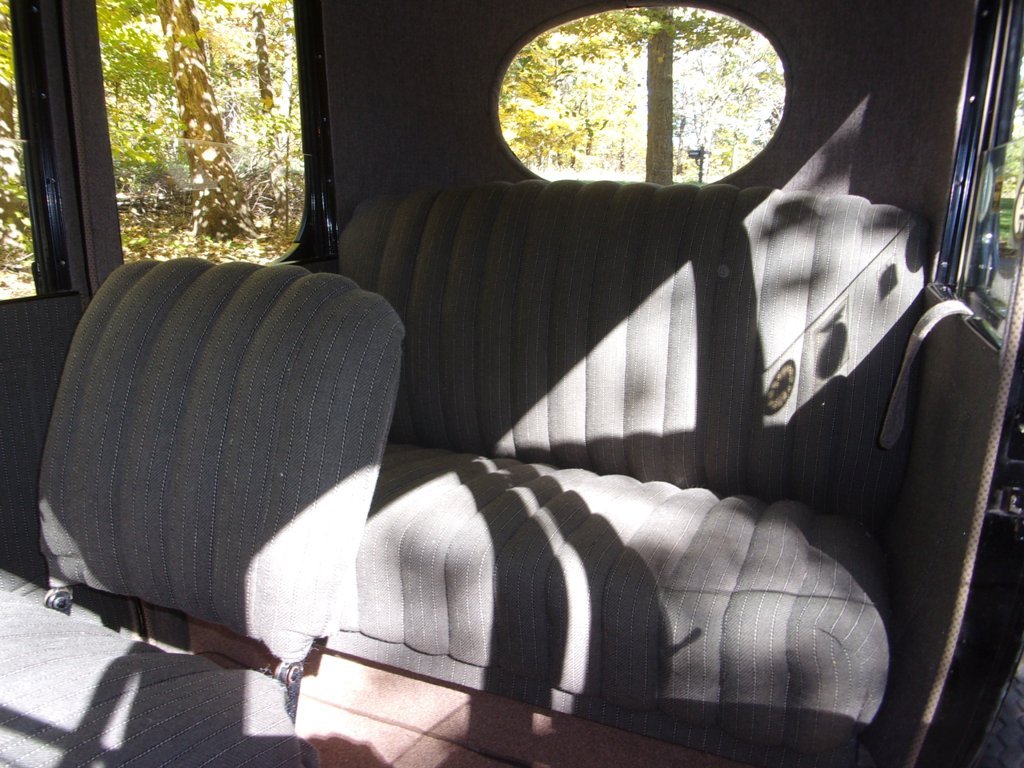
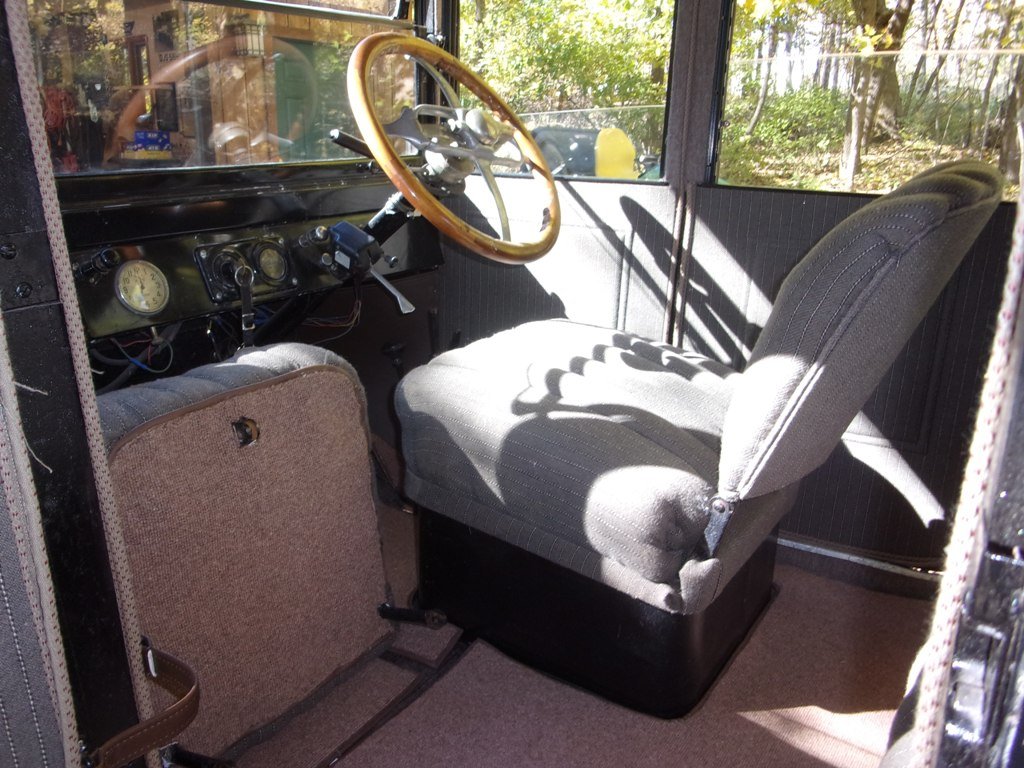
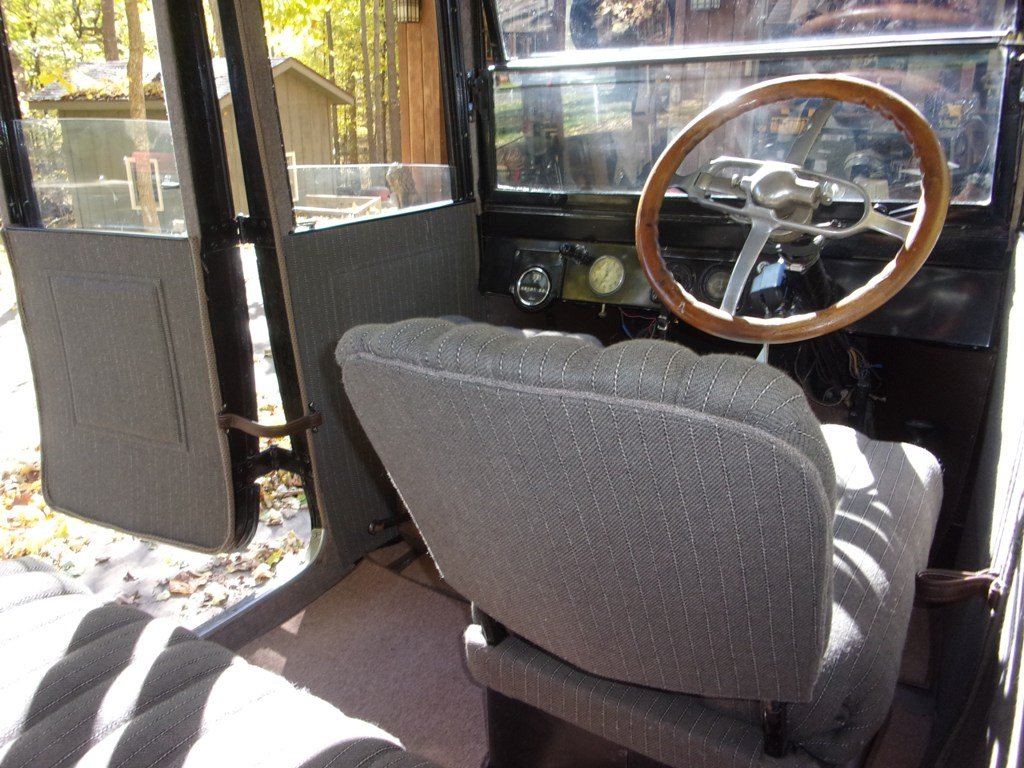
BTW, here is the results of my summer labor on the Model T:


-
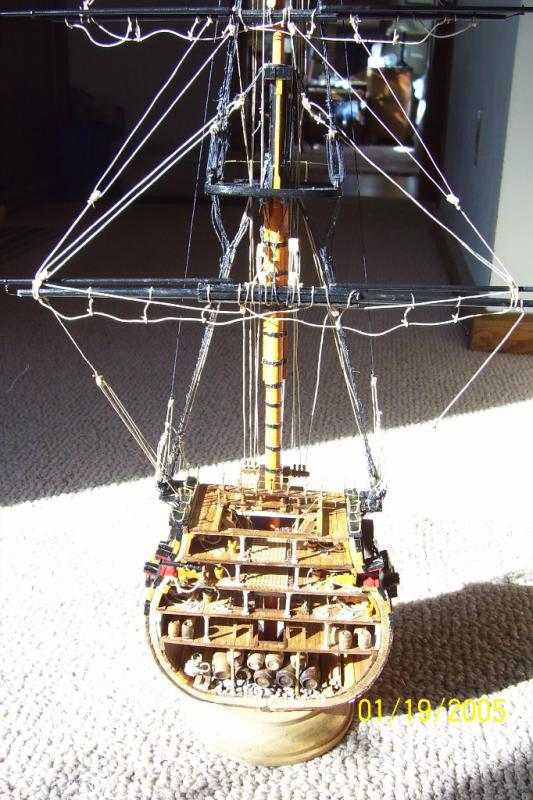
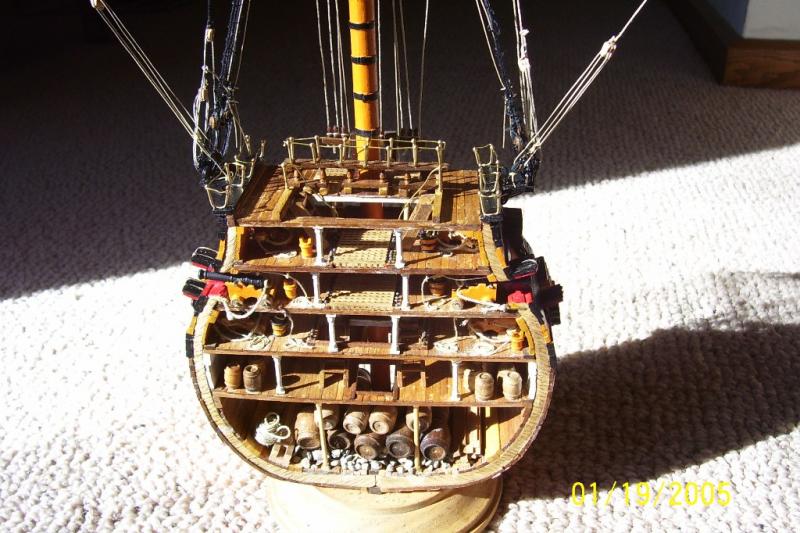
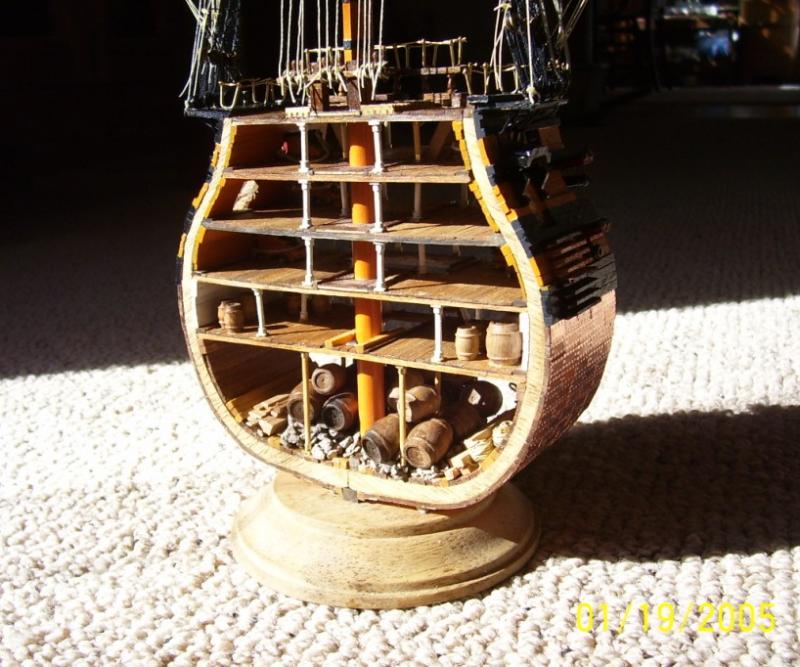
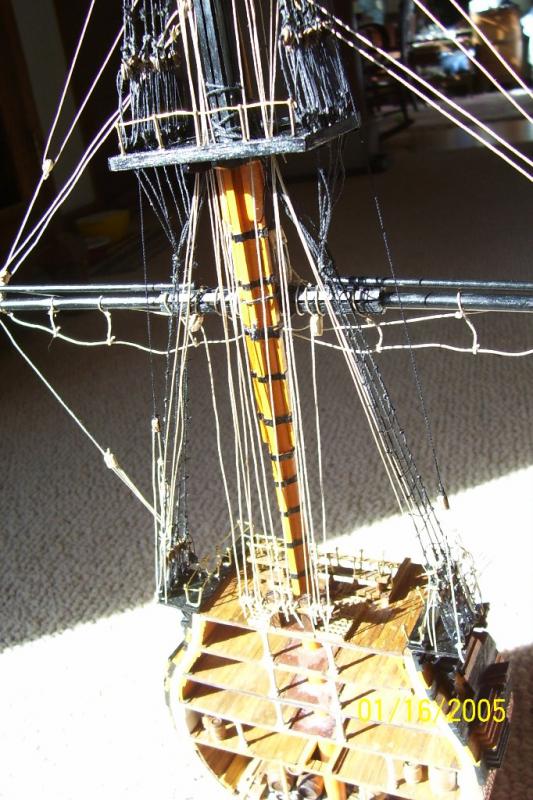
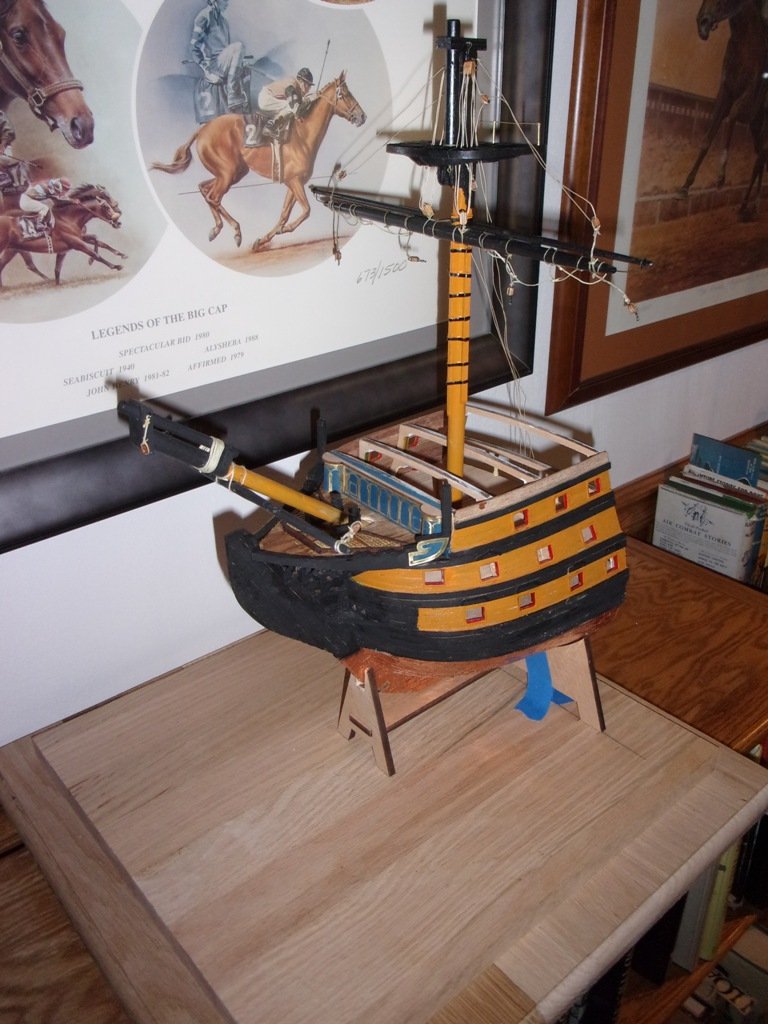
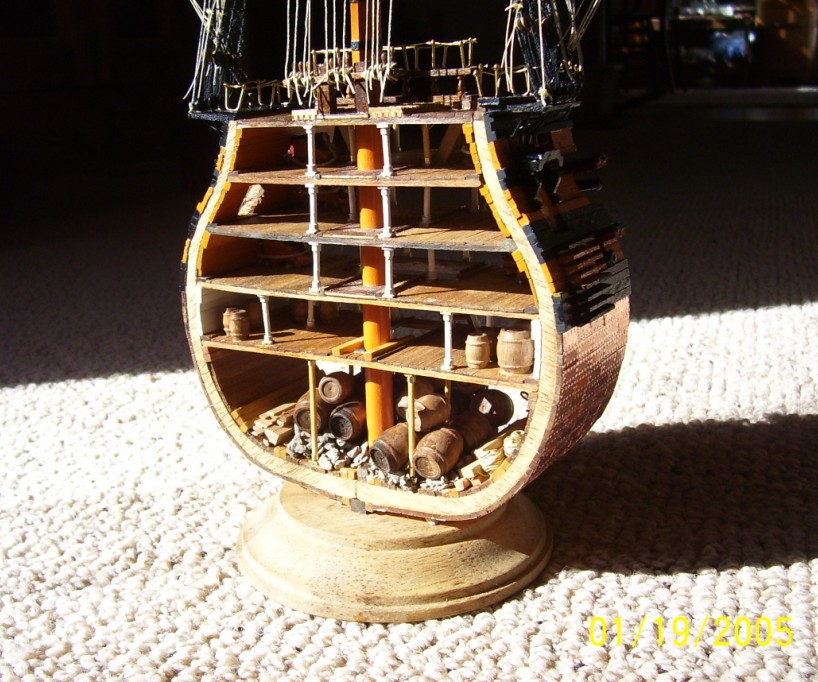
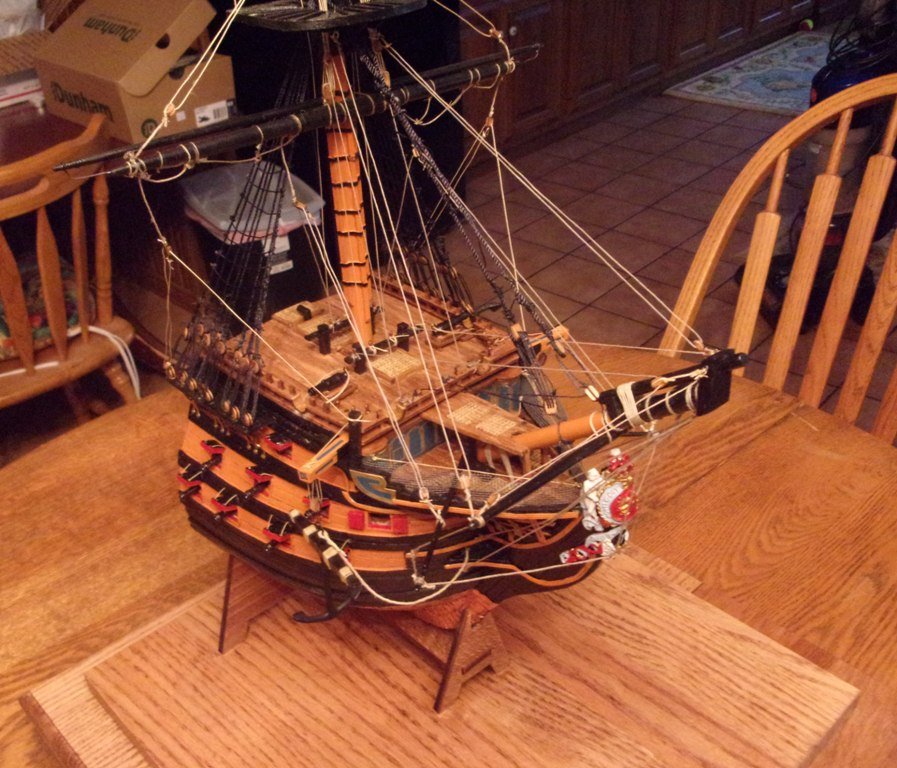
Well, I finally finished this model! I'm happy with it. I took some liberties with the choice of color and rigging due to artistic tastes.I really learned a lot. This plus the other two cross-sections that I've completed have been practice for my next ship - the Model Shipways USS Constitution. This was the first ship I built back in the 70's and it will now be my final. Thanks for all the words of encouragement.
-
Spring has finally sprung in Wisconsin, so I'm putting my model away until the snow flies next Winter. So far this has been a rewarding and exasperating experience. The kit is fun to assemble. The materials are of good/high quality. I can't say the same for the instructions. I don't know how may false steps I've made due to not understanding what they are trying to say or display on the plans. If it wasn't for the other blogs on this site, I would have tossed the whole thing in the bin.
-
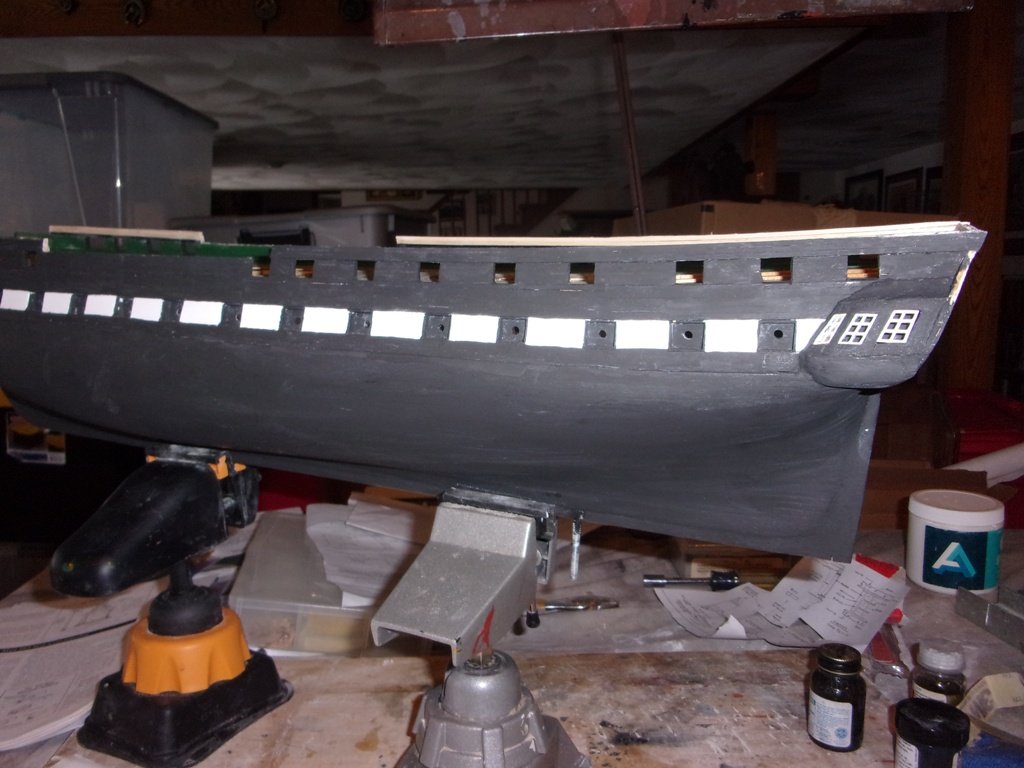
Well, the model is finally starting to look like a ship!! The first base color coat was laid down. After completed hull, some touch-up and a semi-clear coat should dress it up nicely. At that point, I may stop for the Winter. Spring is just about here and I've got to shift my efforts to paint and upholster a Model T I've been working on all Winter. Have to get it ready for touring season starting in late May...
-
I've added the moldings to the hull and started working on the head/beak. I must have had a senior moment when doing so because when looking at the hull a few days later I realized I misread the "blue prints". I'm going to live with it... Next will be to install the copper plates... Having more fun now! Thanks for the words of encouragement...
-
I just finished what has turned out to be one of the most labor intensive and least rewarding tasks. Applying the second layer of planking went a lot smoother than the first. I got better at using the heating iron and tapering the planks. But the part that I find most irritating is that when all is said and done most of the work will go unnoticed! Half the hull will be covered with copper plates and the other half painted and/or covered by rigging!! I may leave some of the planks below the waterline exposed... I will be happy to close this chapter and move on to more fun stuff.
-
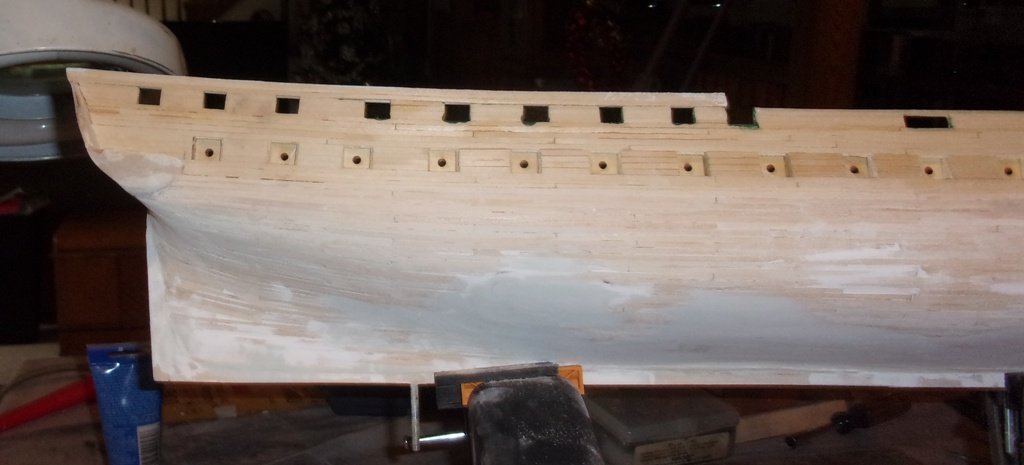
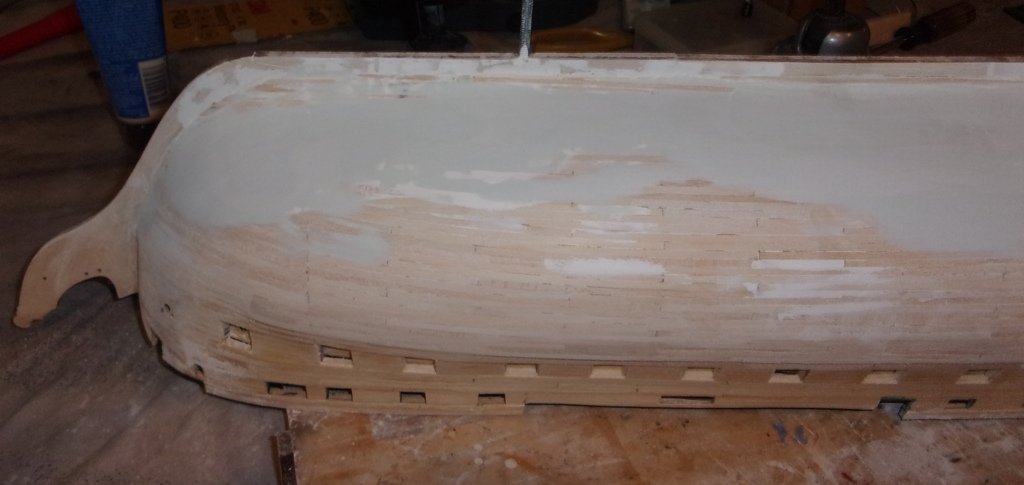
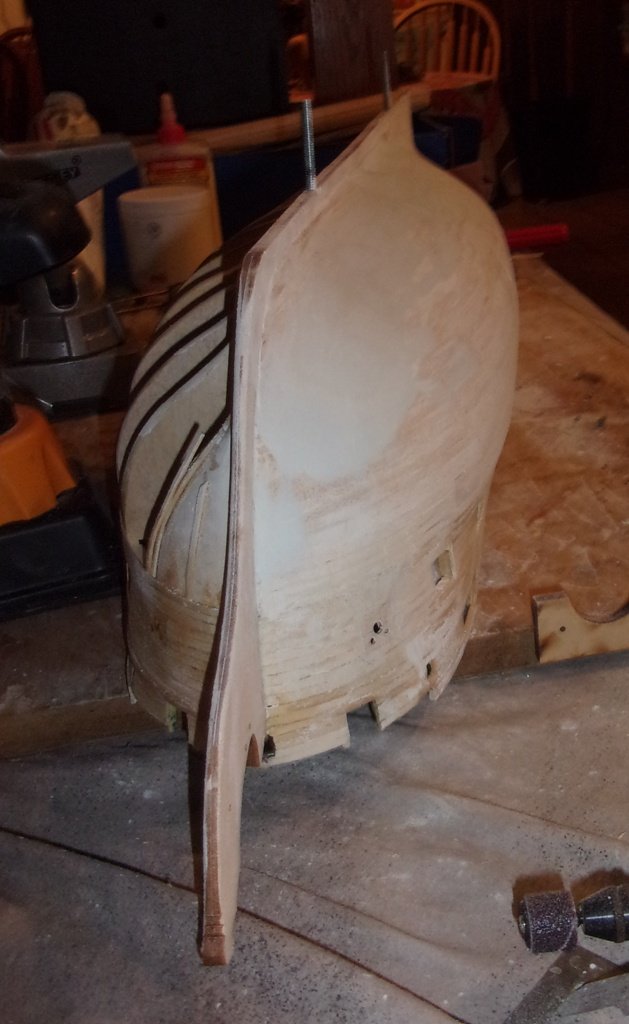
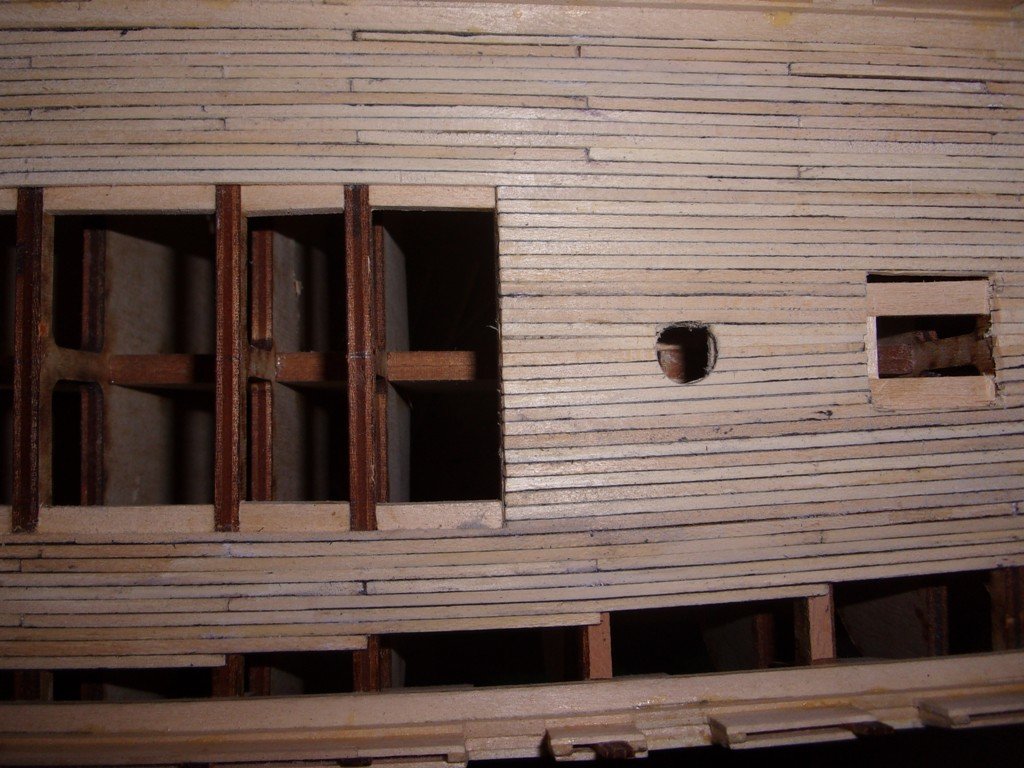
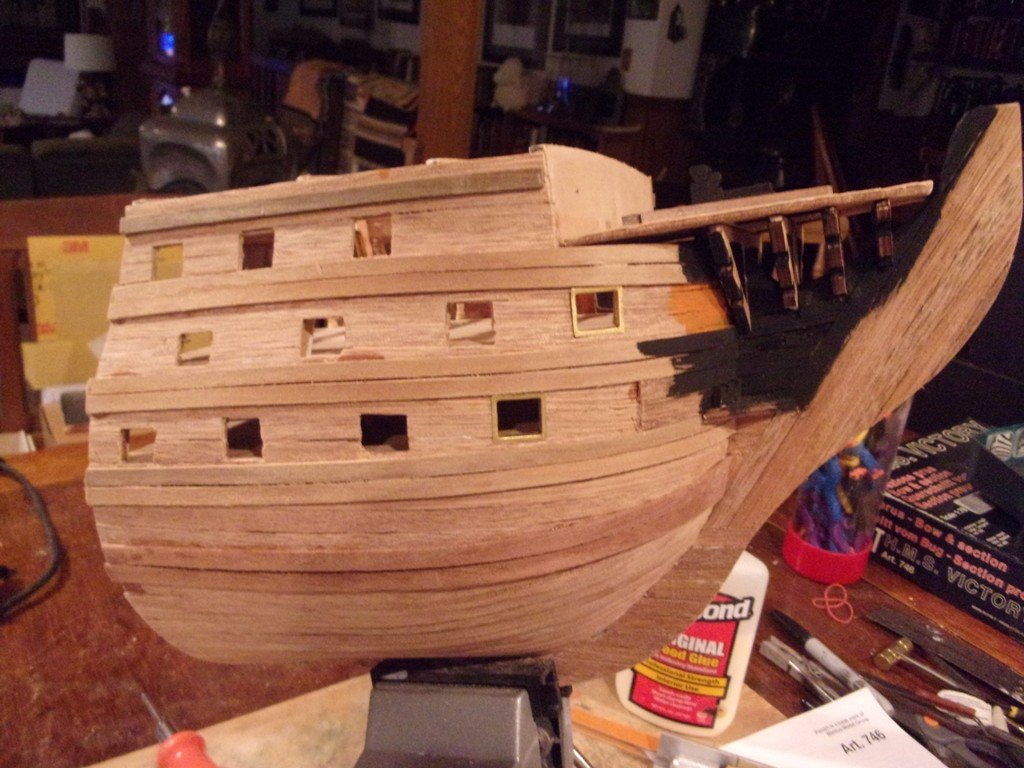
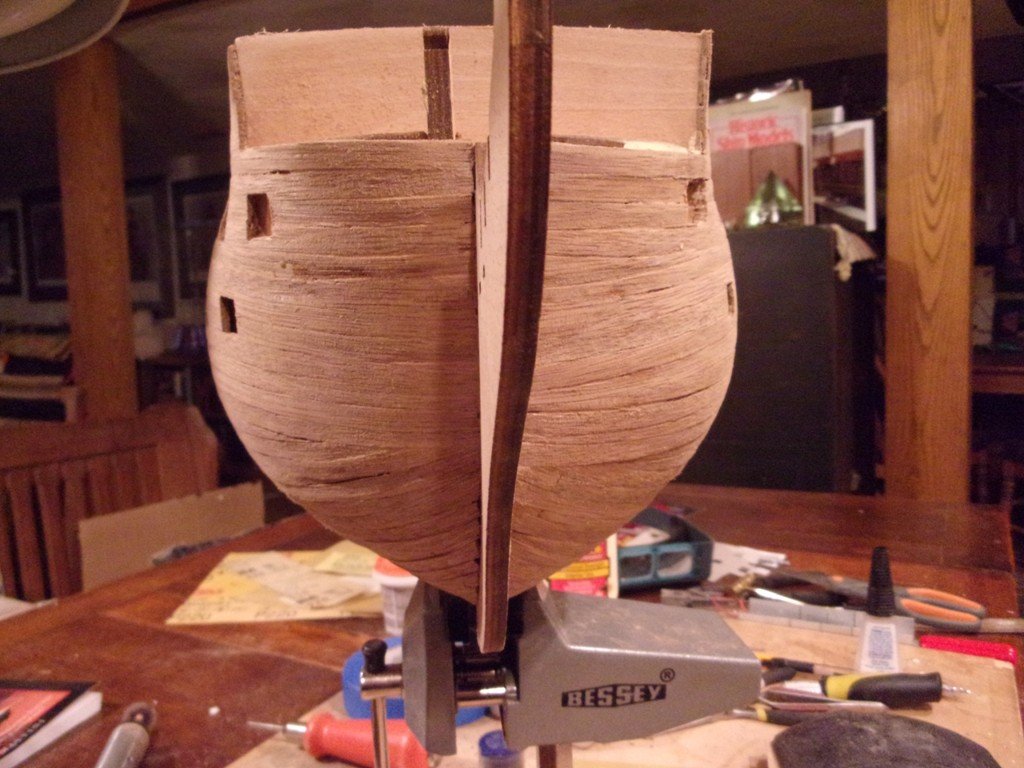
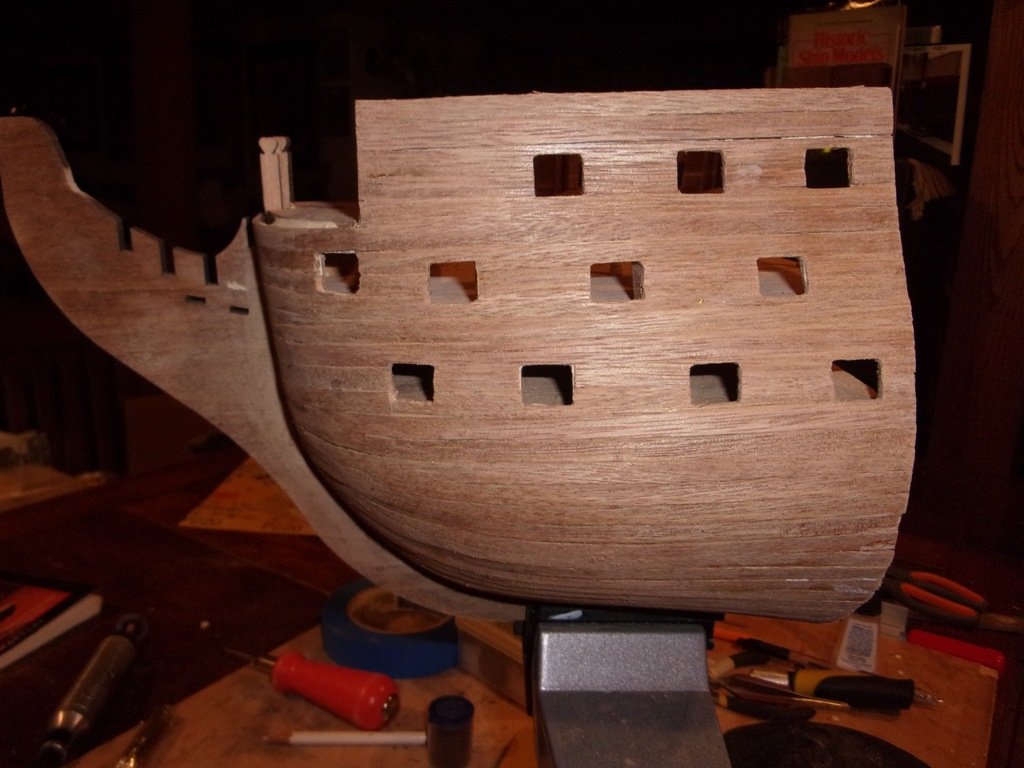
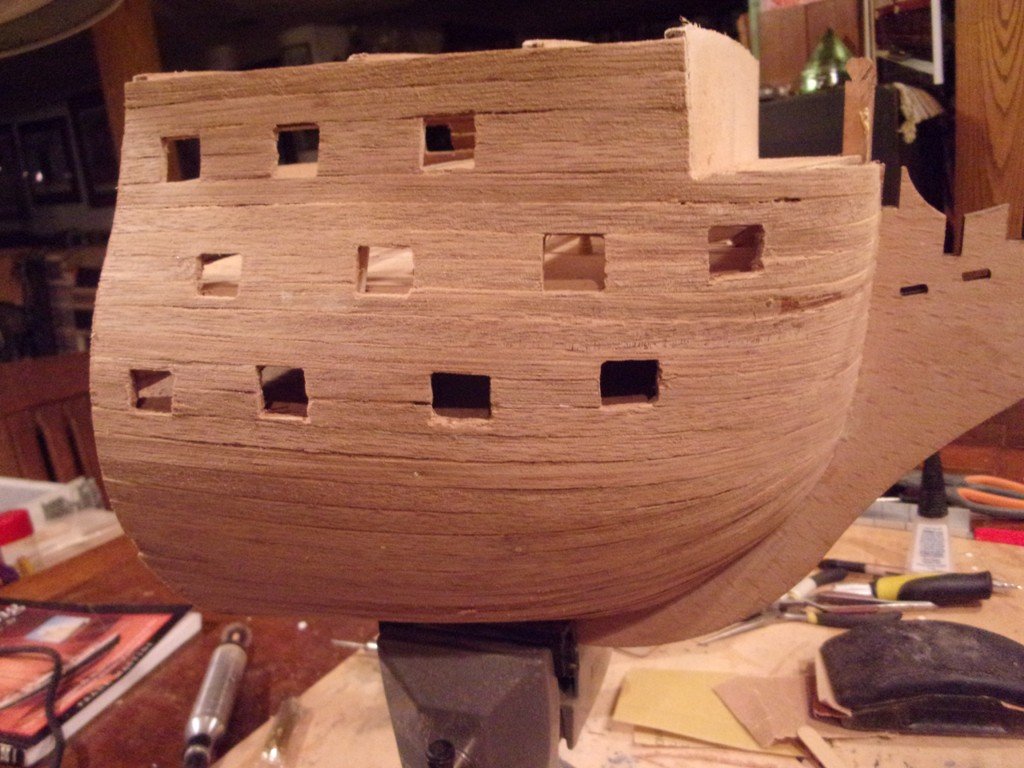
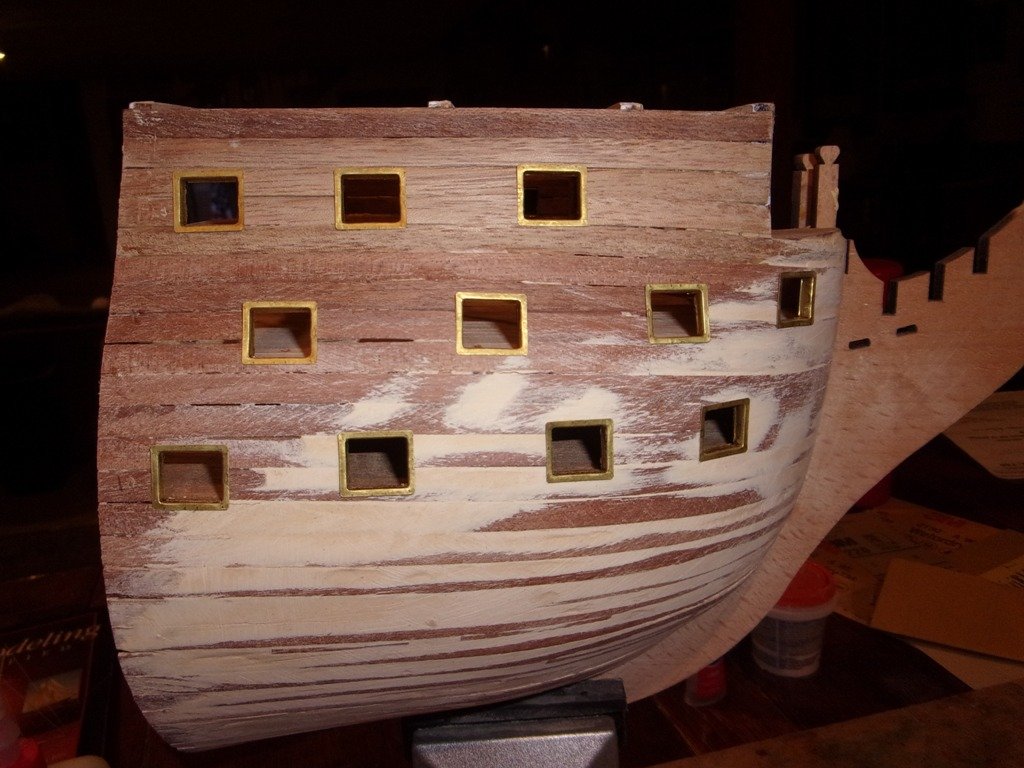
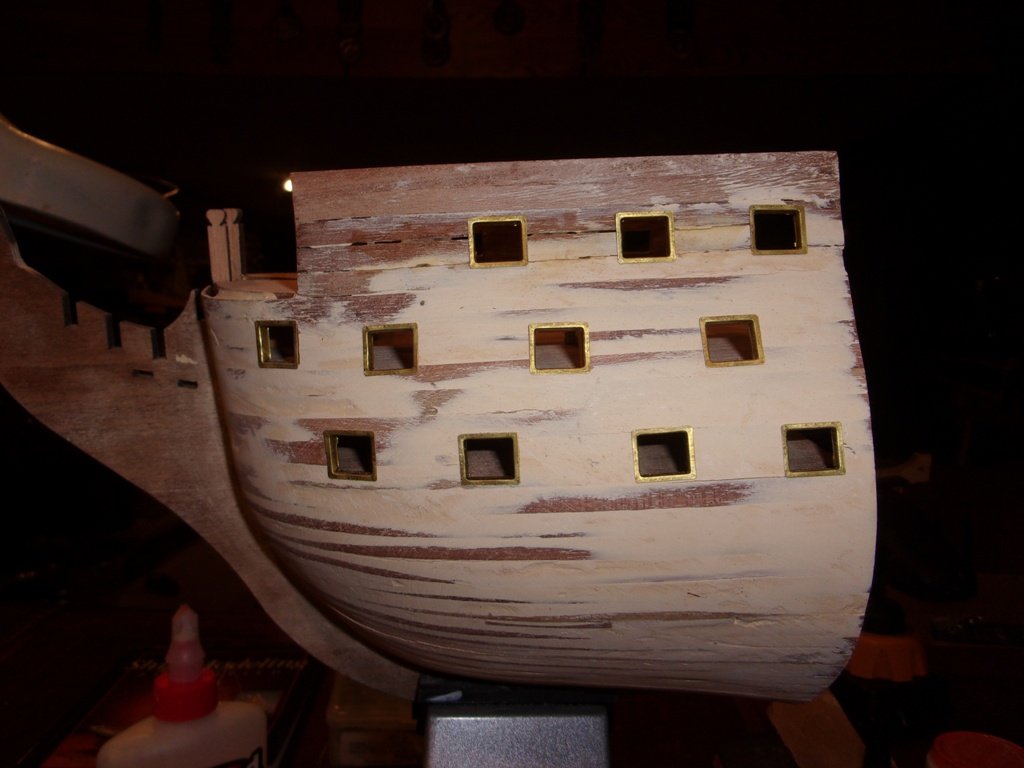
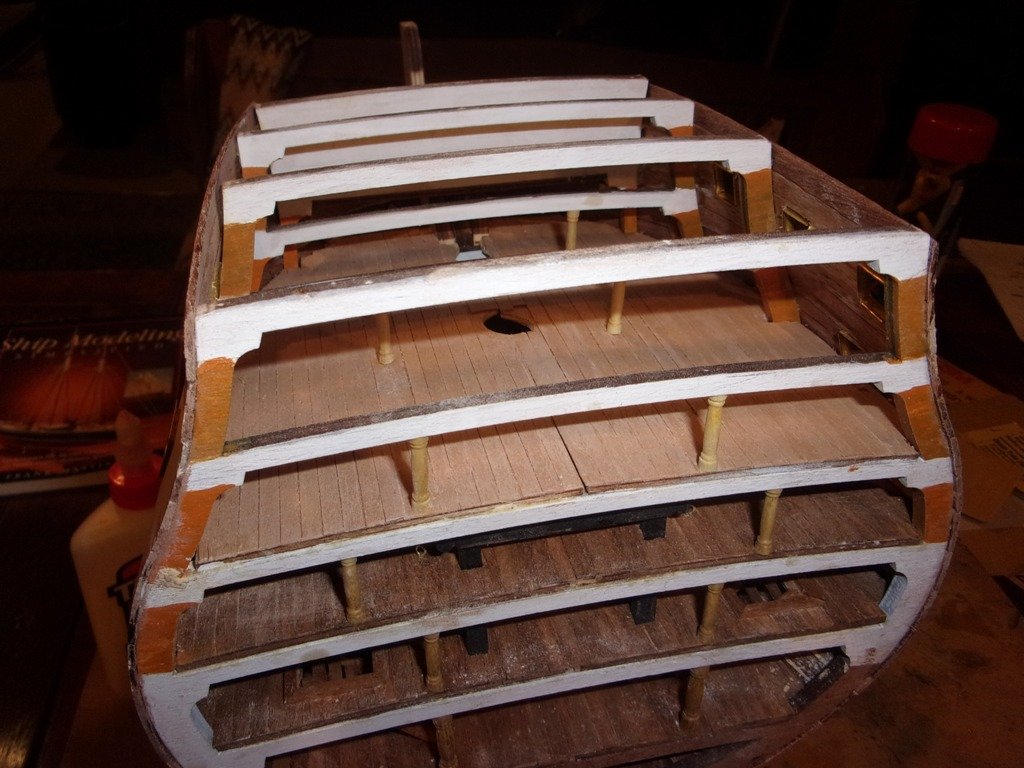
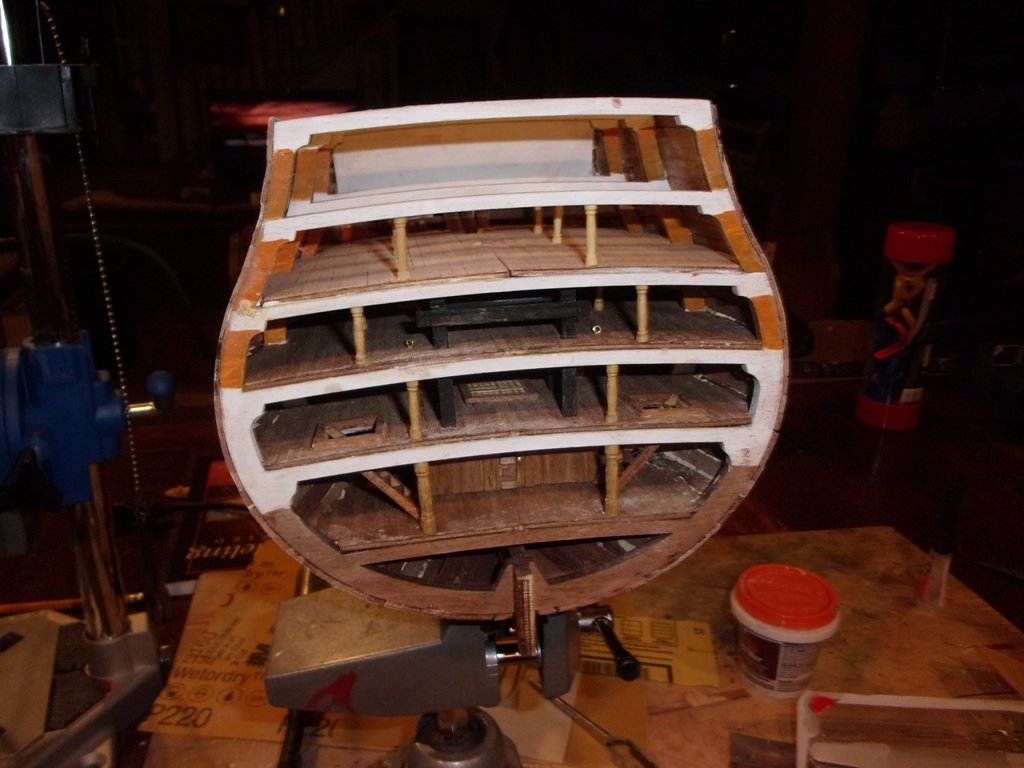
I've cut out the gun ports prior to applying the second layer of planking for the same reasons Jeff mentioned in his build. Likewise, once the hull is complete, I will build the final three decks in detail.
-
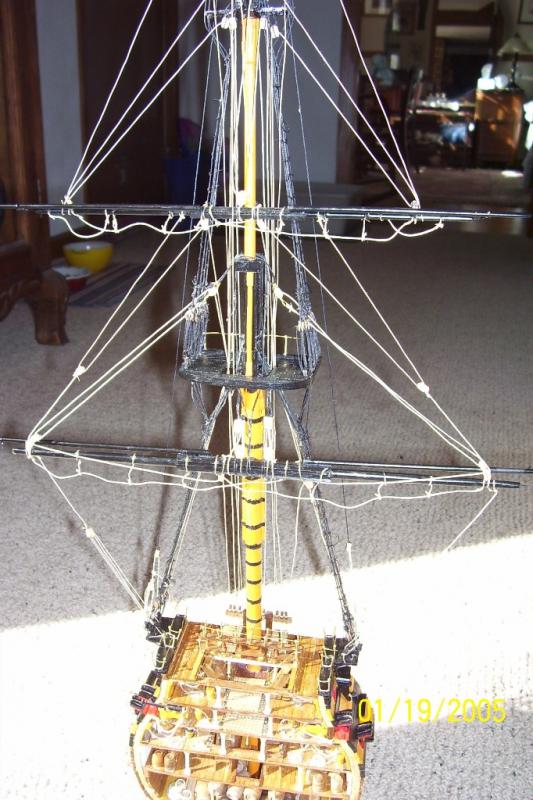
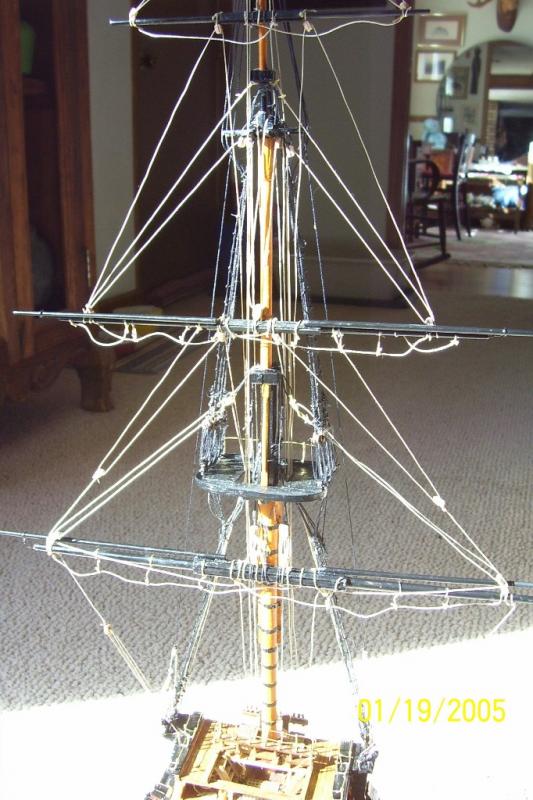
Here are some photos - sorry about the blurriness.
-
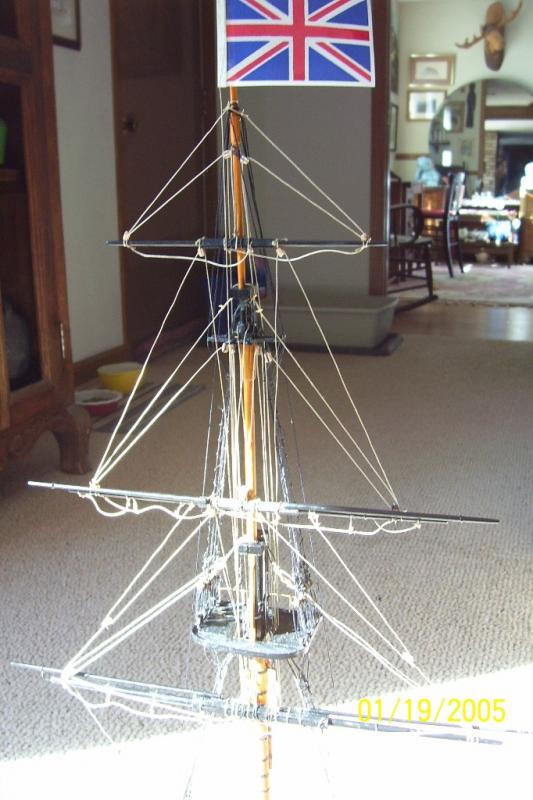
I started this kit about 3 months ago. At best it's been a struggle. The most difficult part has been trying to interpret the instructions. I get the impression they were converted to English from Italian via some unsophisticated computer program. If it were not for the build log by others, especially Jeff, on this forum, I would have probably given up and tossed the kit in the bin! I basically followed Jeff's approach on building my kit. My skill level is not quite up to his level, so I cut out some of the more minute details. This rigging instructions are horrible. I reverted to the picture on the box and other reference books to get a better idea of how to properly rig the ship. This is my first attempt to plank a hull. It did not go well at first. My first effort was so bad that I tore it all out and put the hull away for about four weeks. The next time it went better as I soaked the wood overnight and got better at using the electric shaping iron. I discovered that my fairing was only fair but could make minor adjustment with some additional sanding and shims. This first layer of planking was a far cry from where it should have been - lots of gaps between planks and unwanted twisting, etc. But nothing that could not be corrected with some wood filler and lots of sanding!! I got it to a point where I'm confident the second layer will go on easier and fit correctly. I'll add some pictures later... Thanks Tidbinbilla
-
Jeff, I just dusted this kit off that has been sitting in the closet for years. This will be my winter project. Your project is a godsend!! A couple of preliminary read throughs of the instructions made me think this is going to be a tough/difficult model to build, especially since I found the instruction hard to understand. Your step by step account just removed all that concern. Excellent job!! This will be my third model: I did USS Constitution cross-section followed by HMS Victory cross-section. This will be a good learning experience on building a hull. Ta, Dave
-
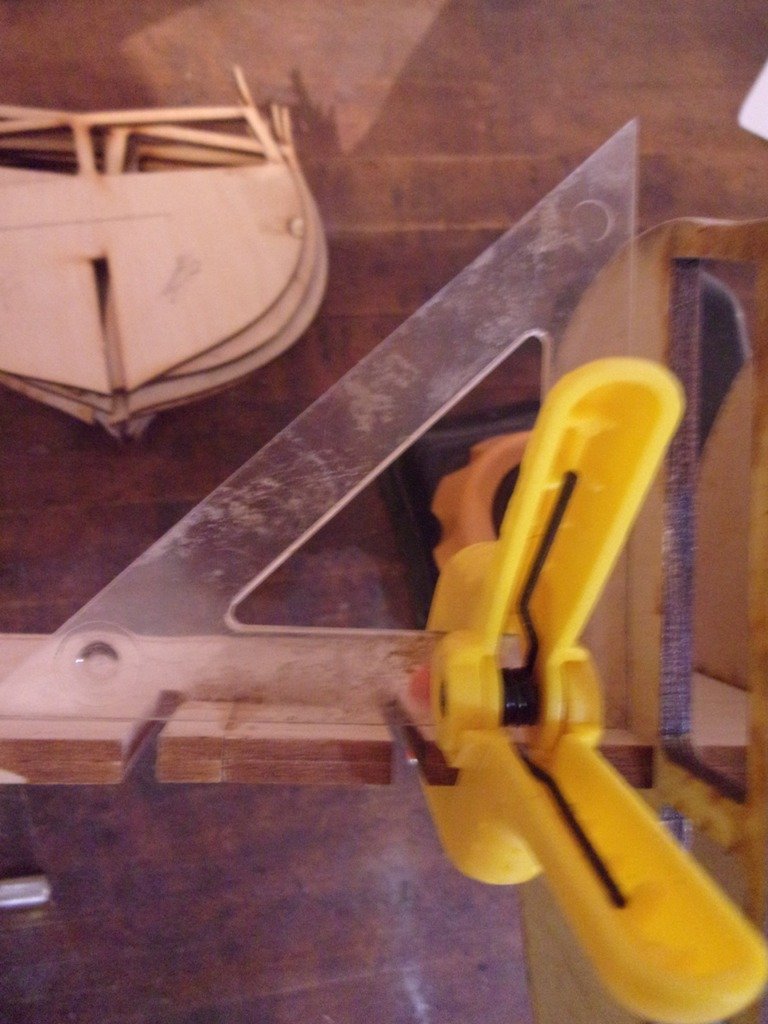
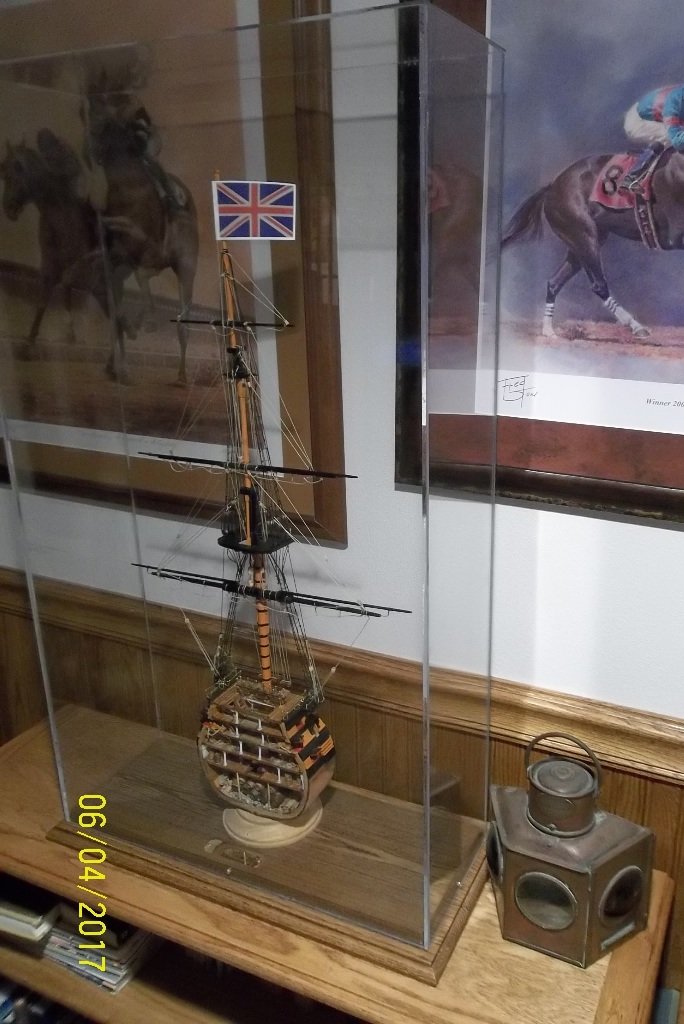
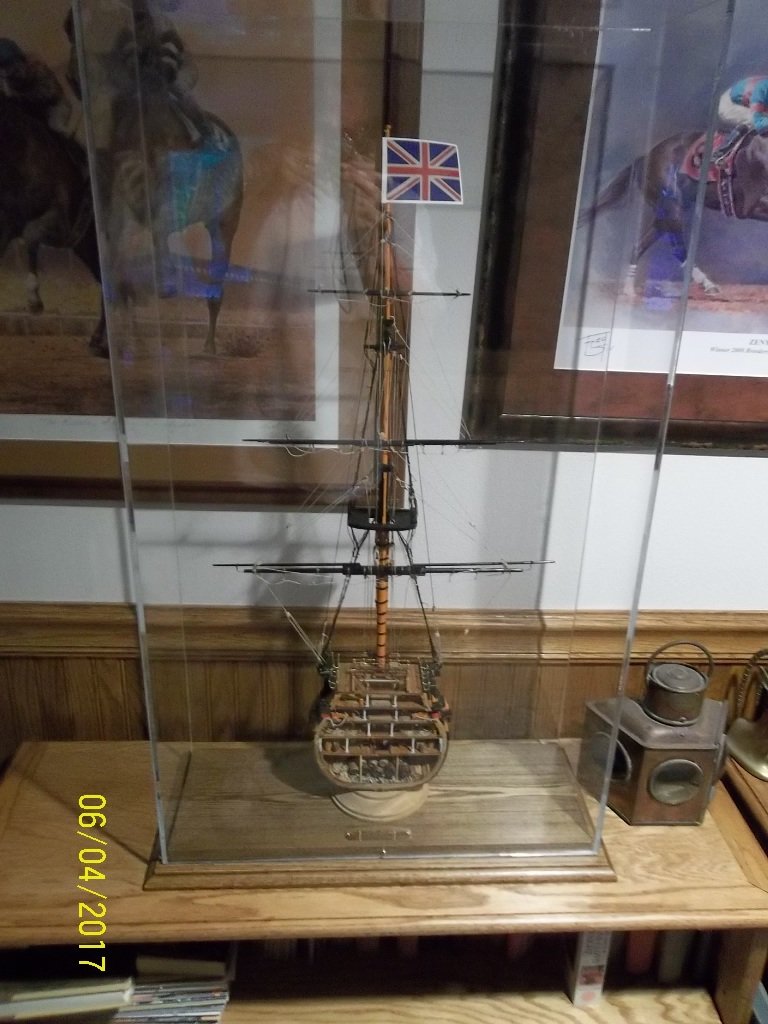
I had completed this project a couple of months ago but have been lax in finishing off my blog. The case base was made out of some old oak table leaves that I ran through a planner and router. I used 1/4 acrylic for the actual case. Pieces were cut out using an 80 tooth table saw blade. The cuts were blocks sanded before gluing together. I glued the top to the case. This was NOT a good idea. It would have smarter to make some type of removable top thus making gluing the sides and cleaning much easier. All in all, I really enjoyed putting this kit together. It was a fun winter project. Ta, till next winter...


-
Some more photos:

-
Here are some photos: