Børge
-
Posts
193 -
Joined
-
Last visited
Content Type
Profiles
Forums
Gallery
Events
Everything posted by Børge
-
 Hi popeye Thanks for nice compliments. I have not sent any yet, but i will when she is done. Børge
 -
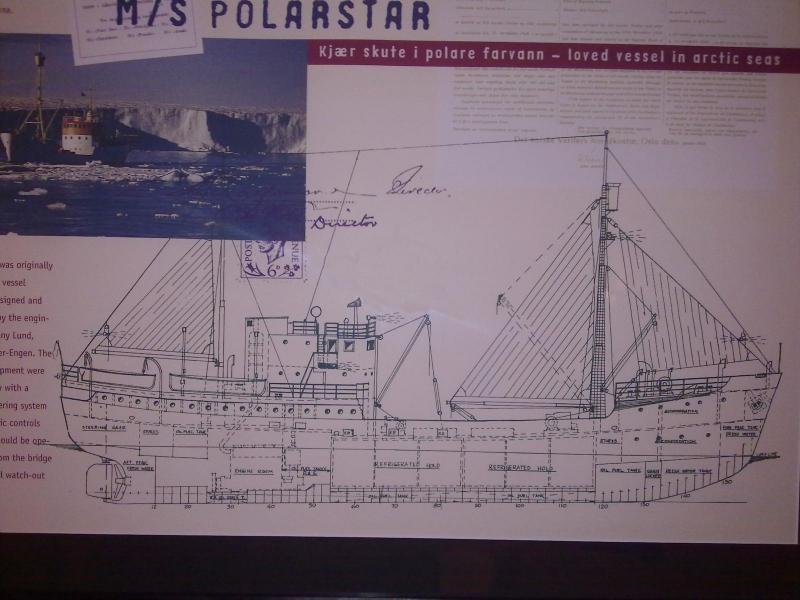
Hi Popeye Here is one for you, i know you like theese ships. This is M/S Polarstar It has been a seal trapper, and a person, goods cargo boat at Svalbard. Børge
- 552 replies
-
- 1
-

-
- maine lobster boat
- Midwest Products
- (and 1 more)
-
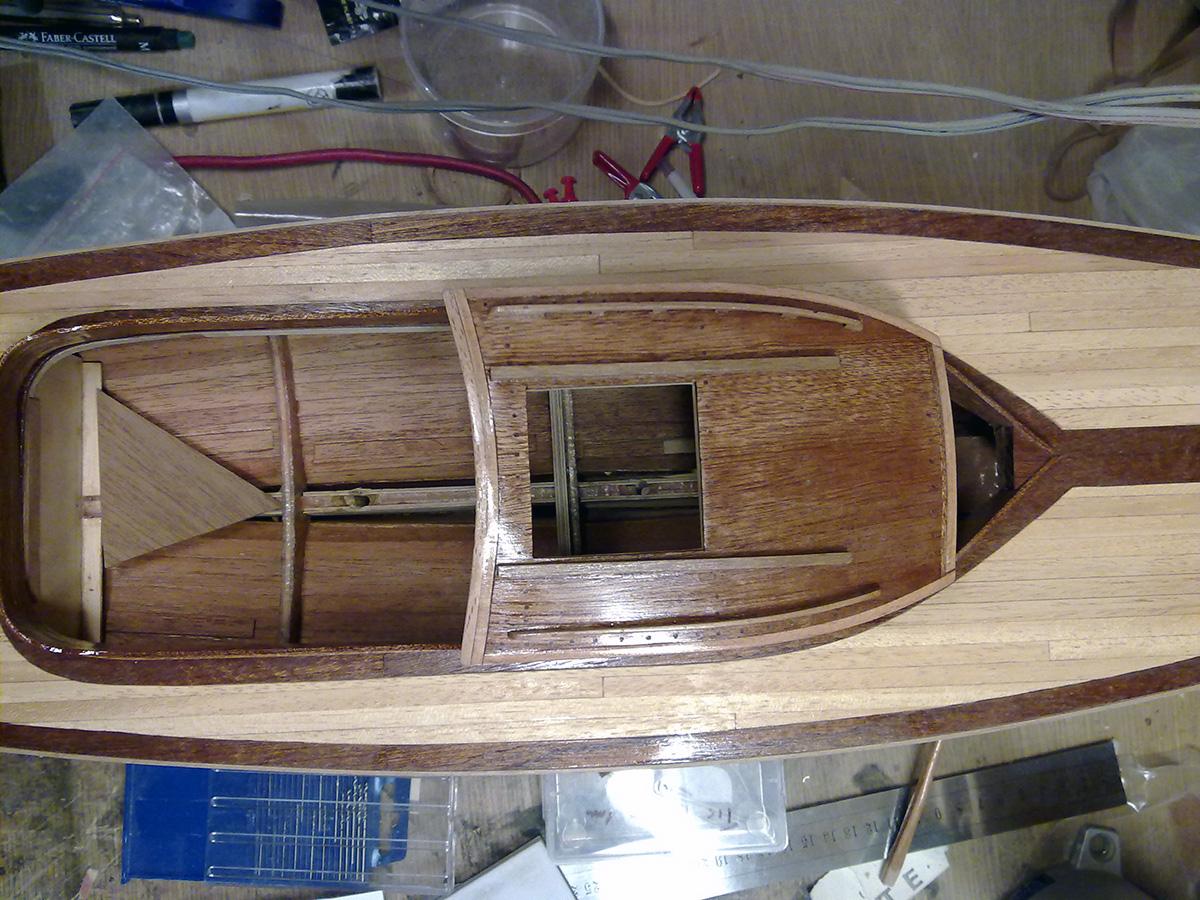
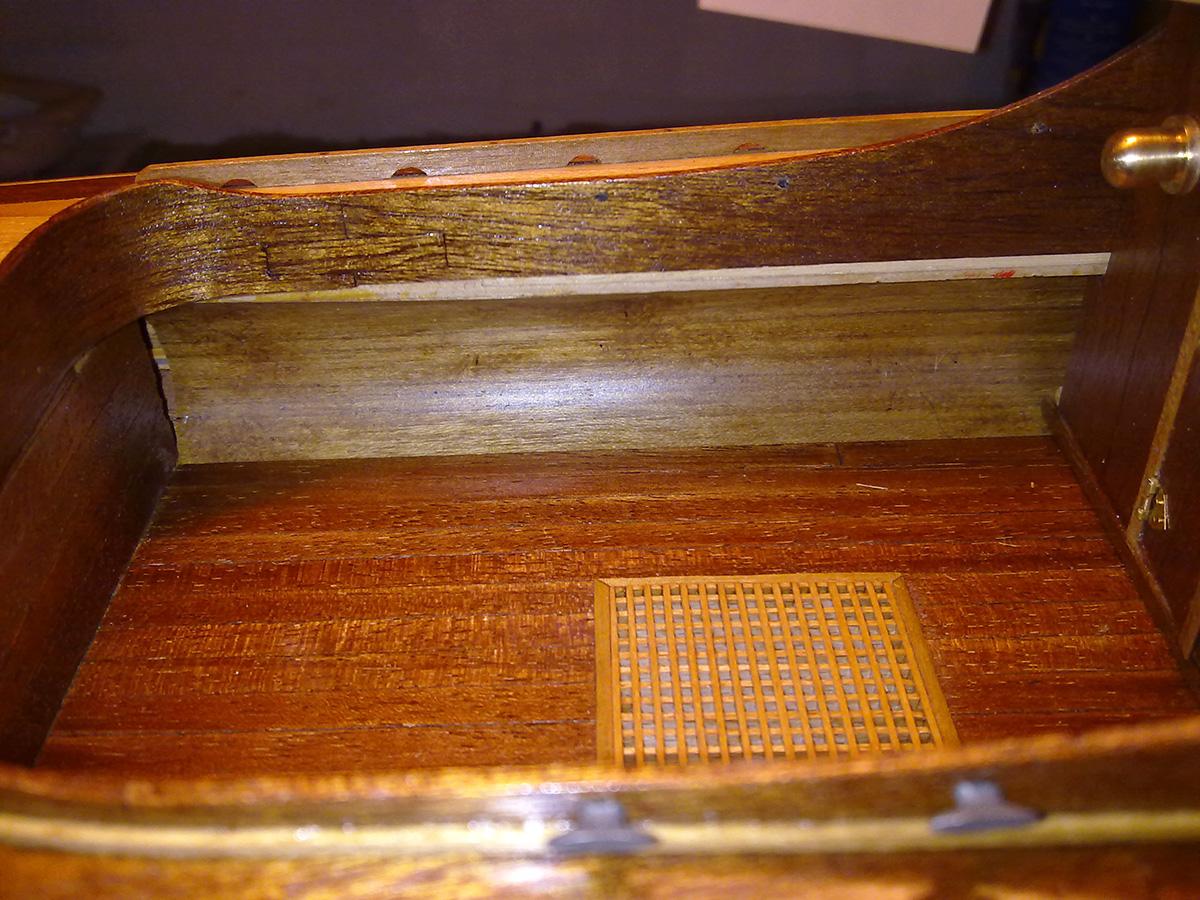
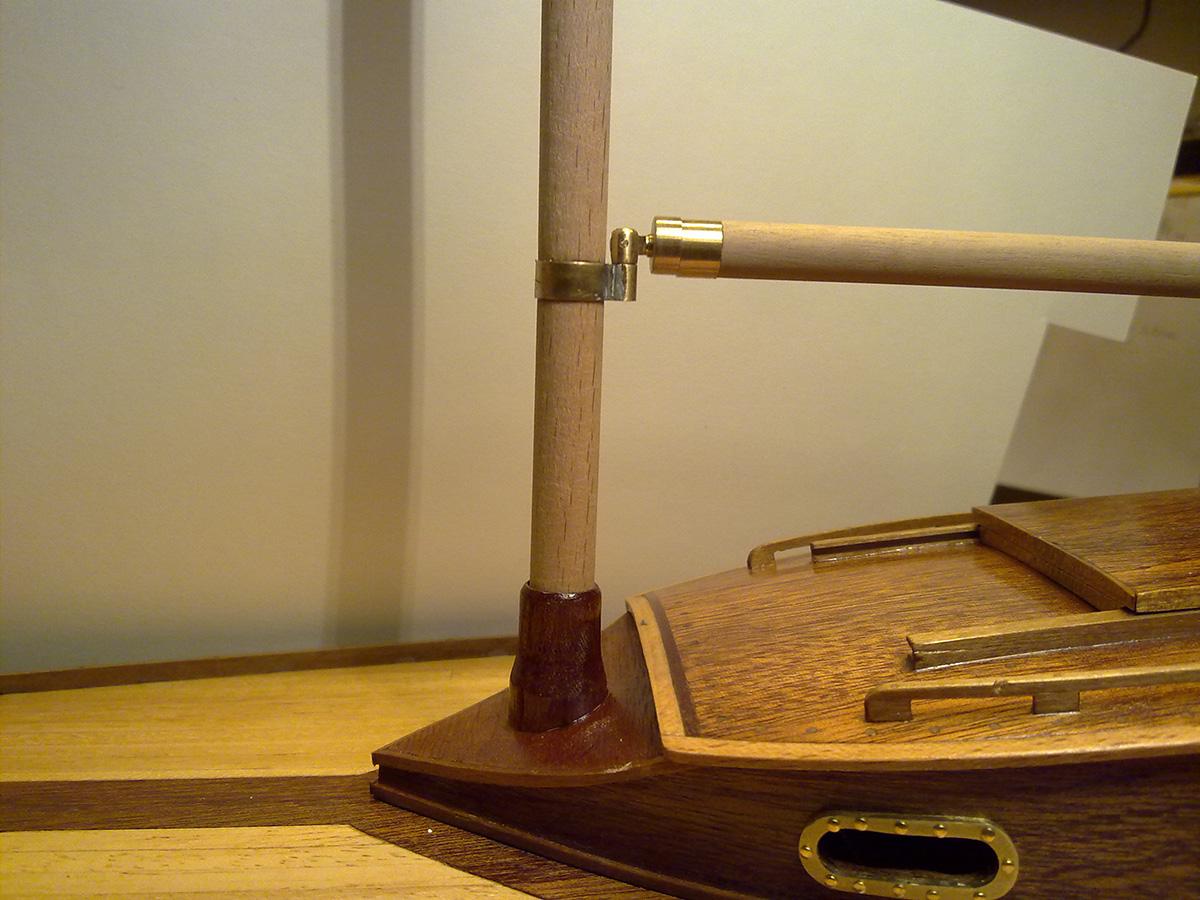
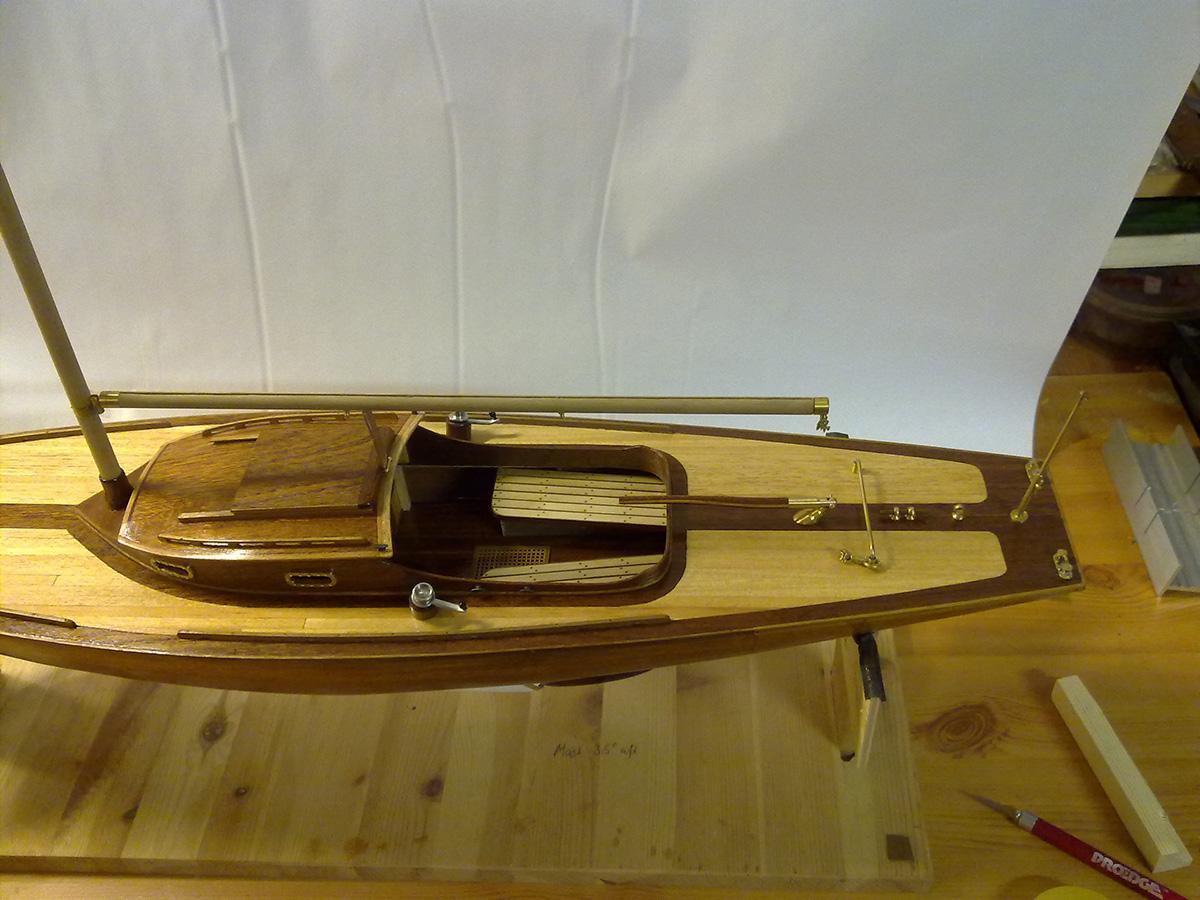
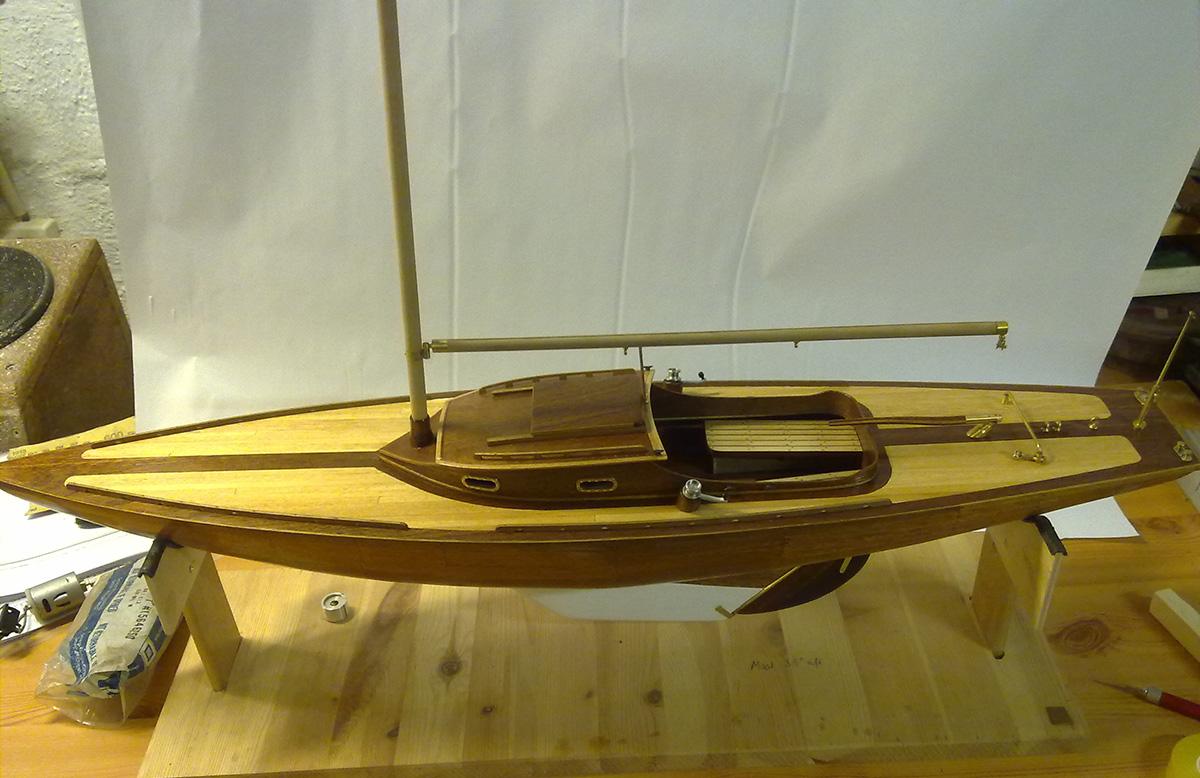
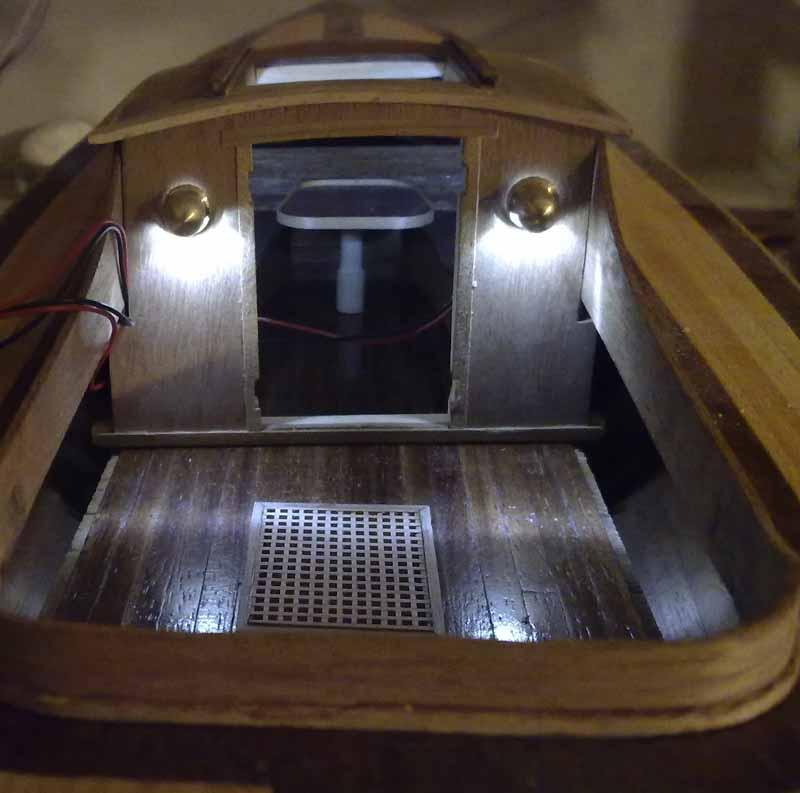
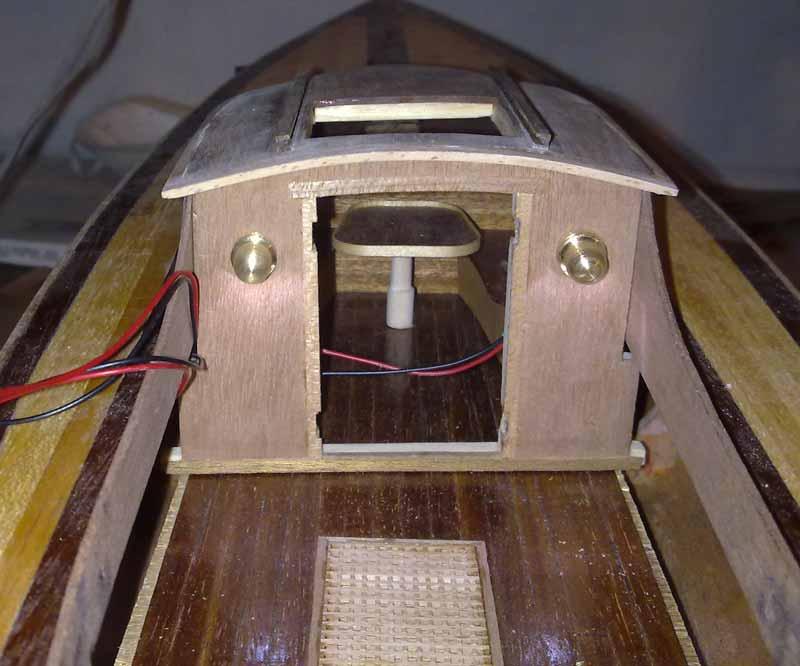
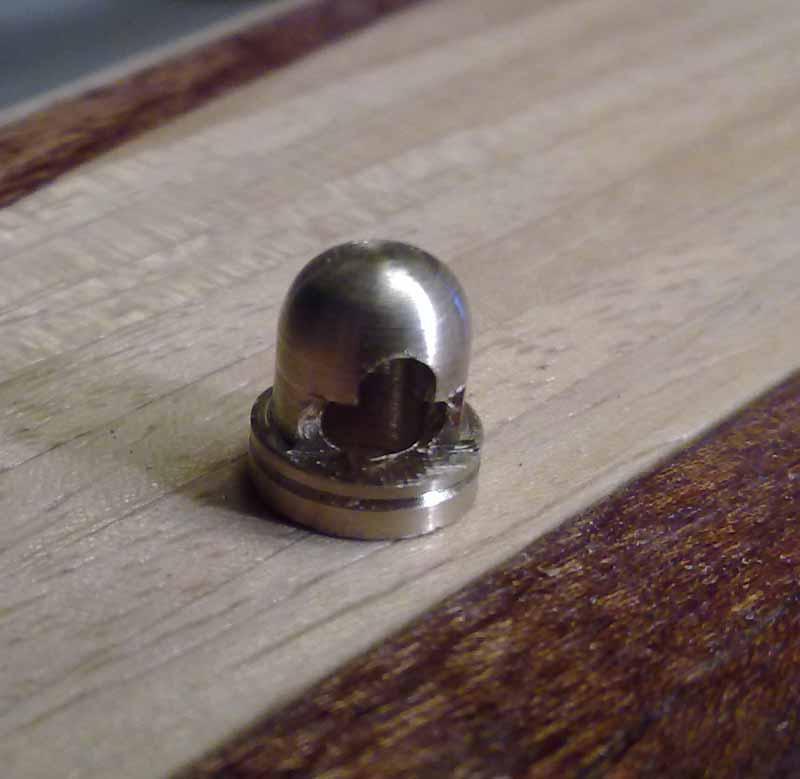
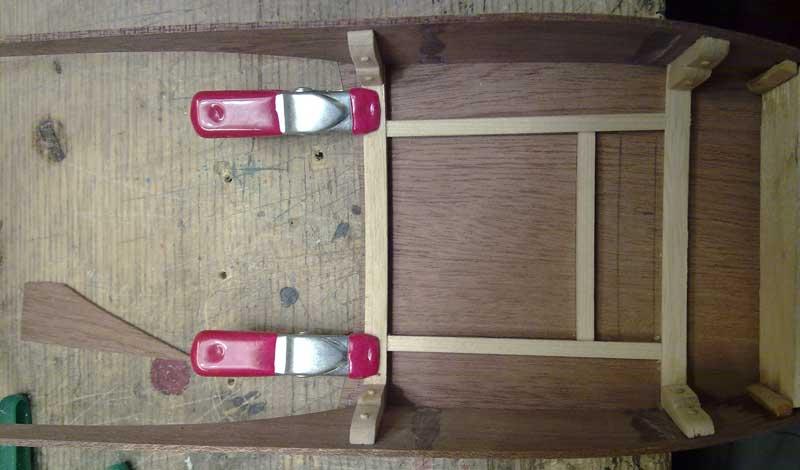
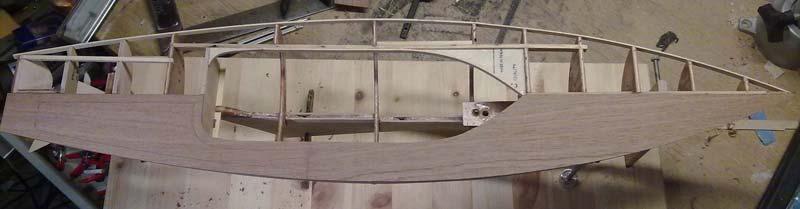
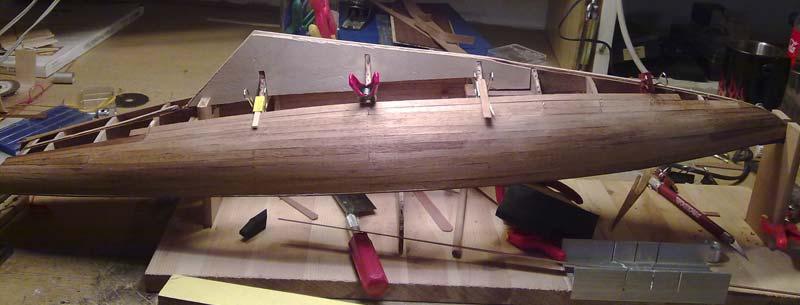
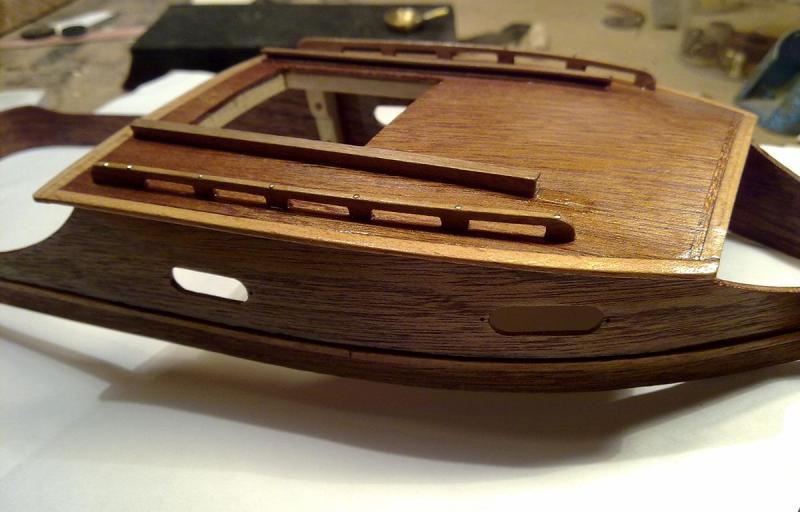
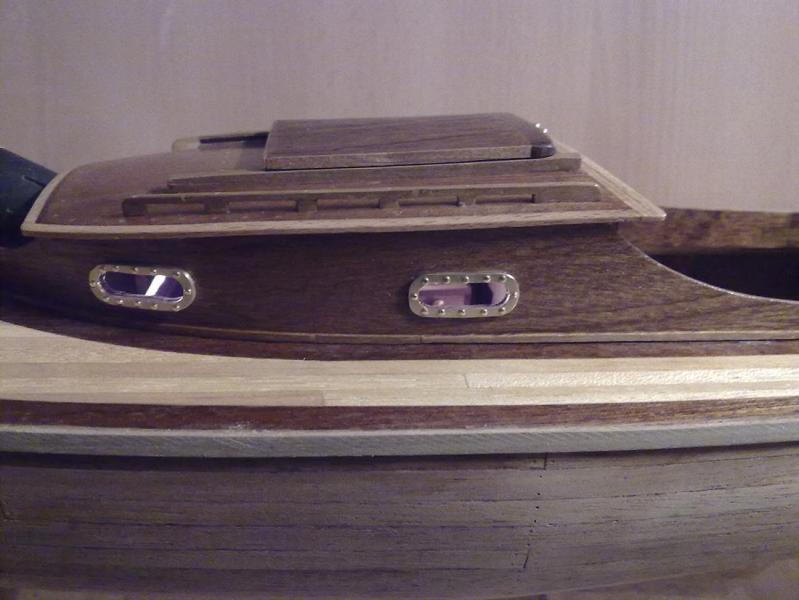
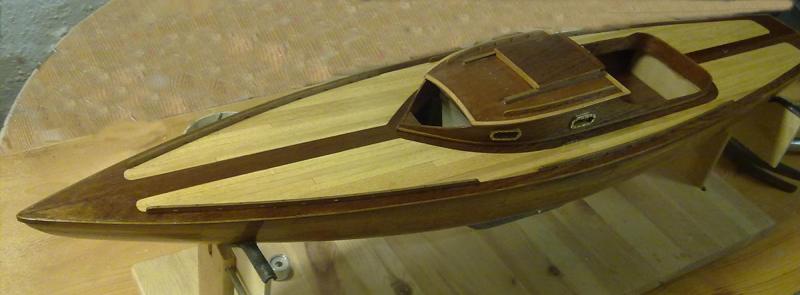
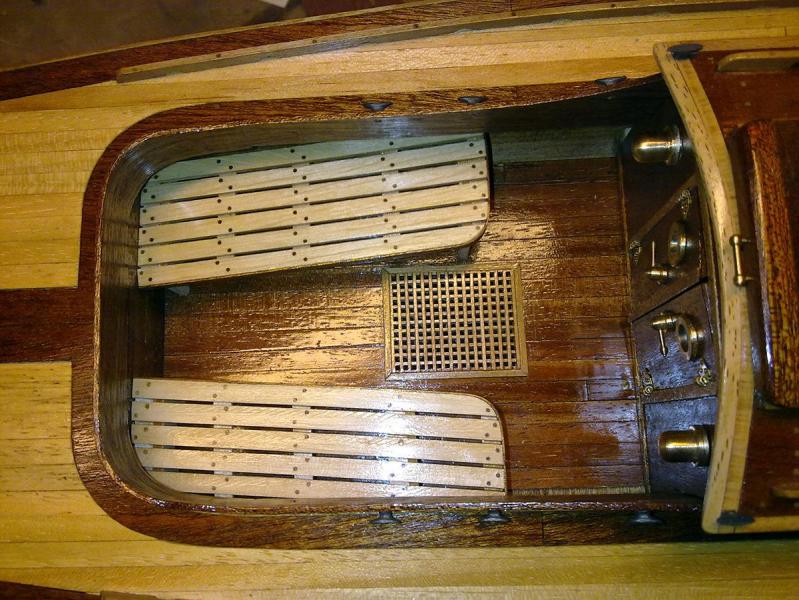
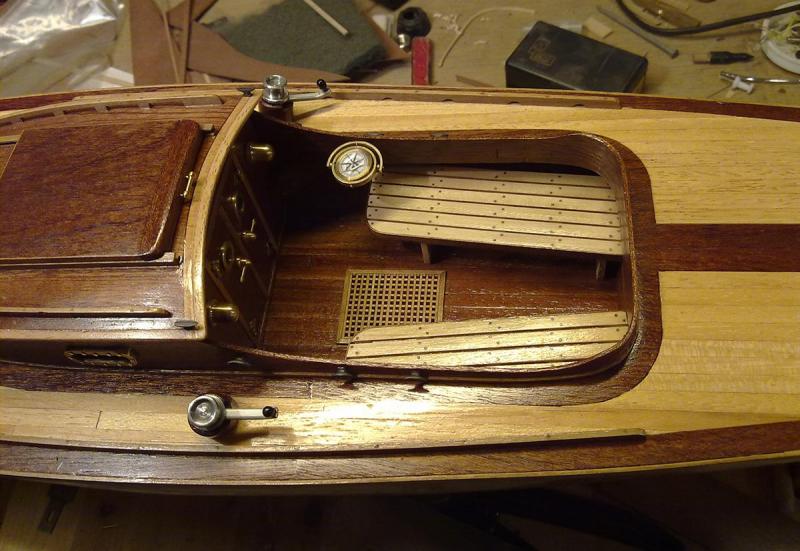
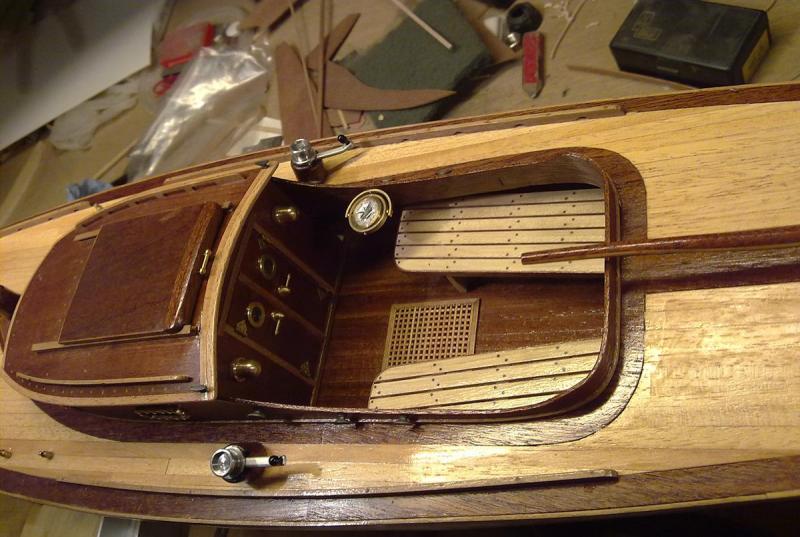
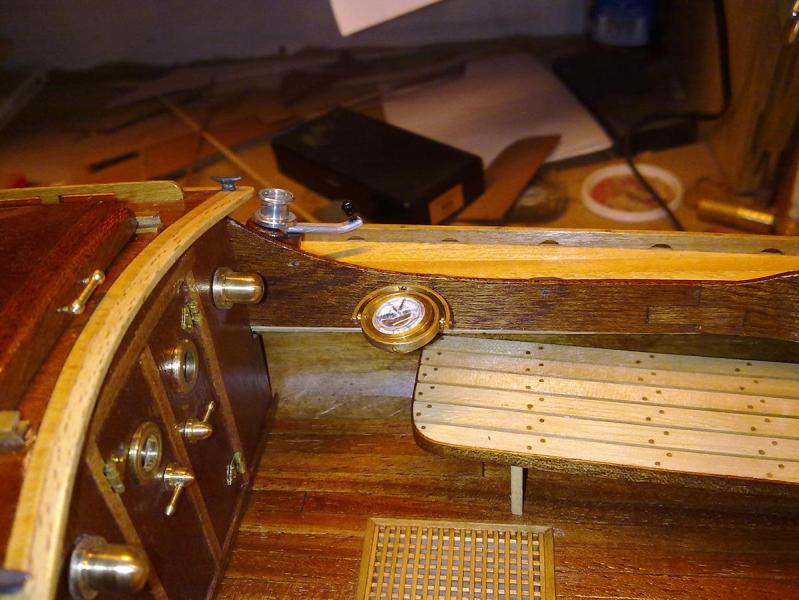
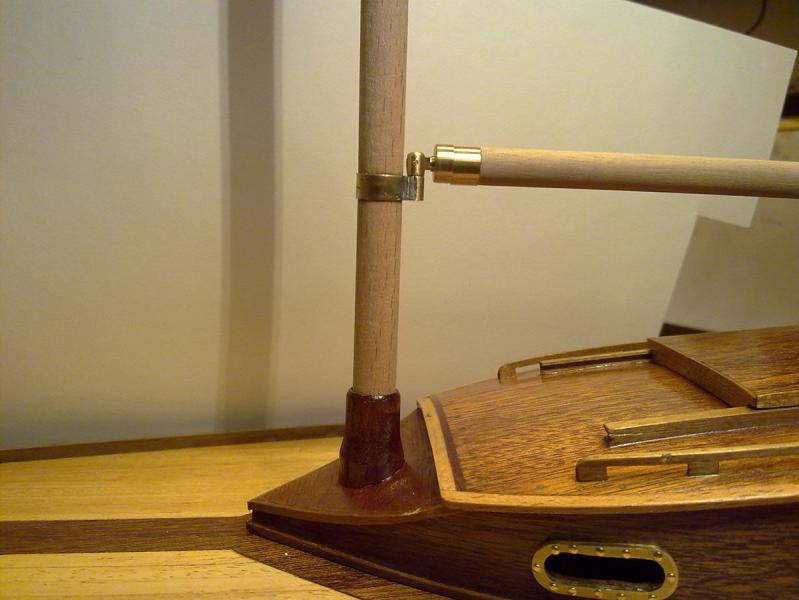
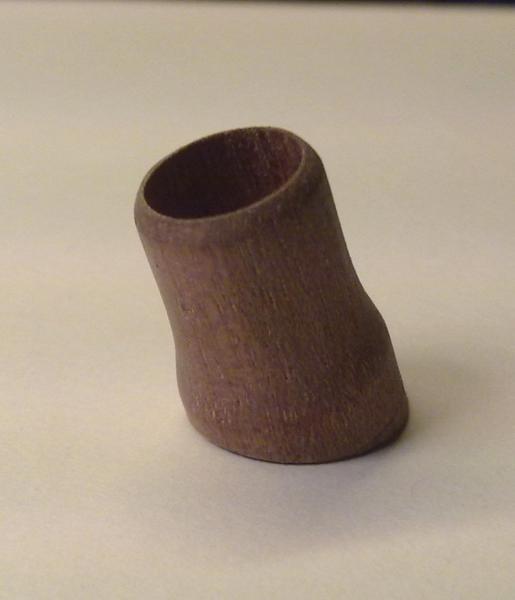
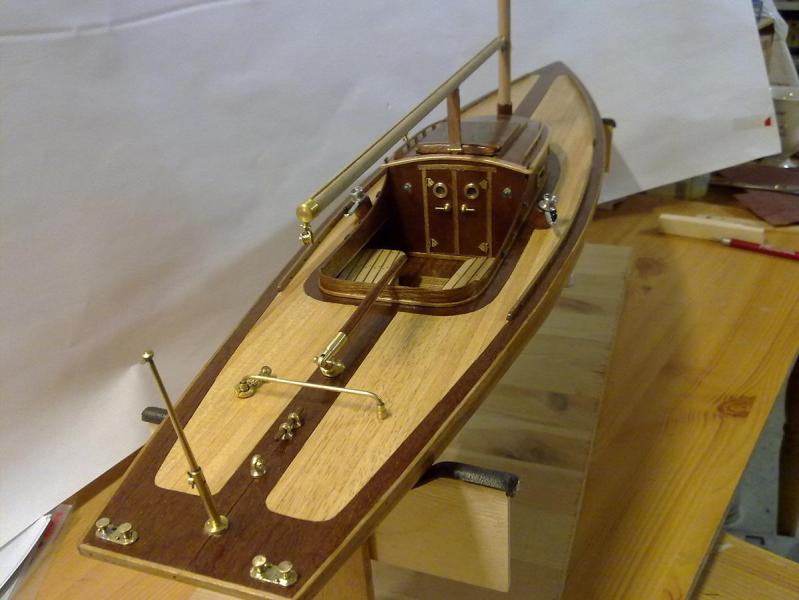
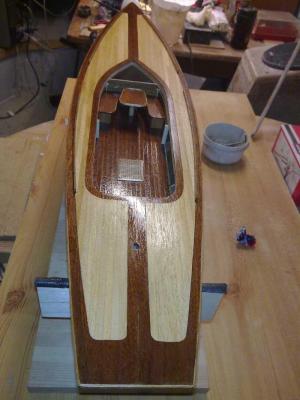
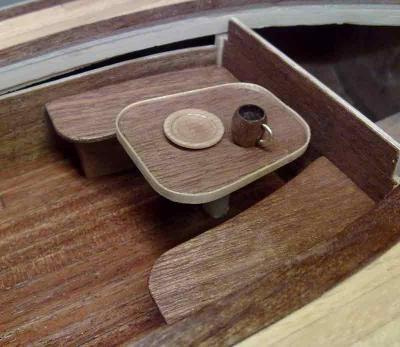
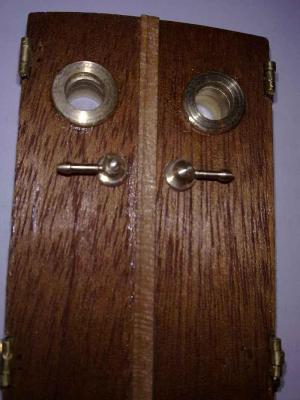
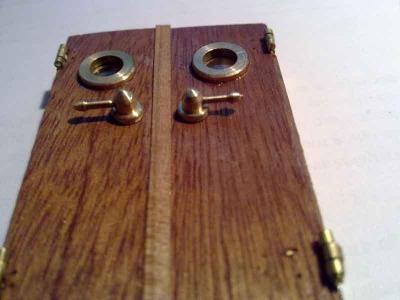
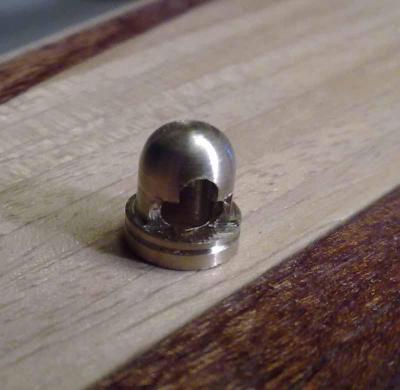
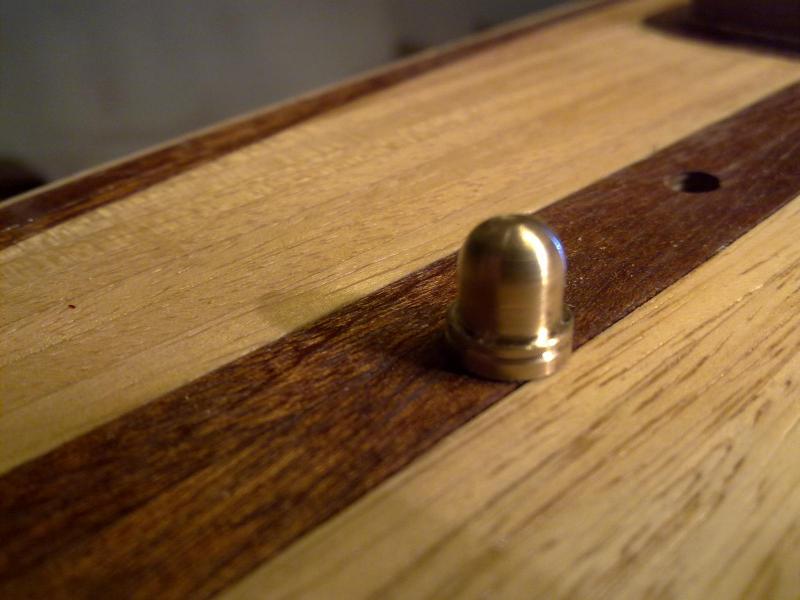
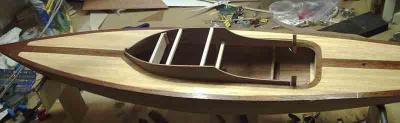
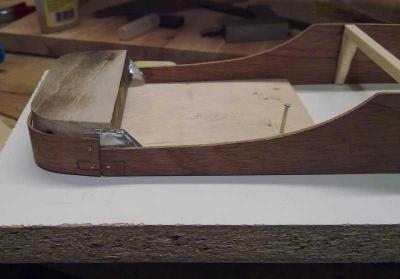
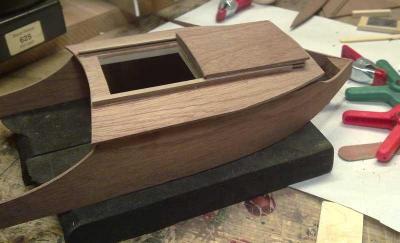
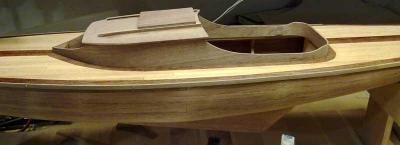
Some more photos of the cabin installed, and some fitting installed. lower deck sides covered with 0,5mm veener. Benches completed, and put in place. Fitting of the mast, and boom with some fittings installed. Made a mast support on the lathe to fit in the front of the cabin. Most of the deck fitings is now in place. Børge


-
Hi Sjors Yes she is nice, and will be nicer I am having a major cleanup in my hobbyroom at the moment, it looks like WW3 ;D. To many projects, to many things. You know when you collect all sort of "handy" stuff you think will com to use sometime...... Børge
-
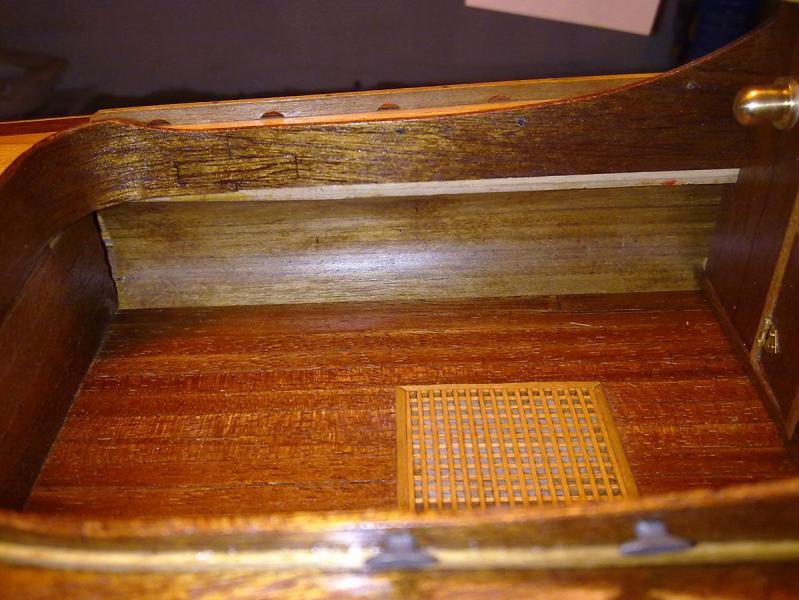
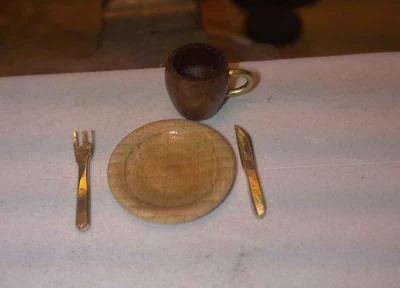
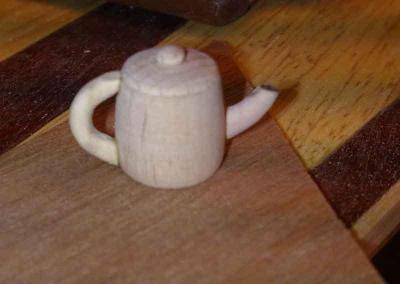
Pictures from the making of the cabin interior, i remember we had a lot of fun with theese on the old MSW Børge


-
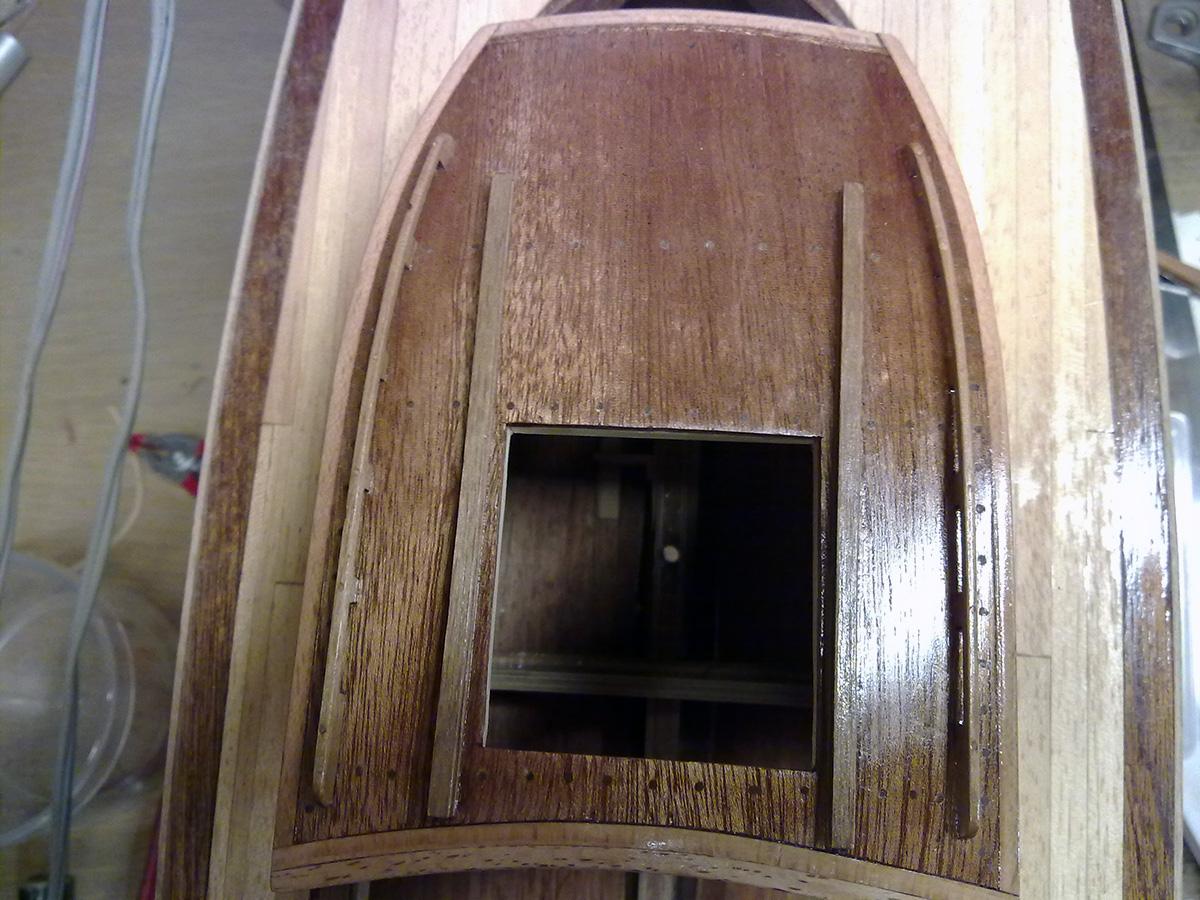
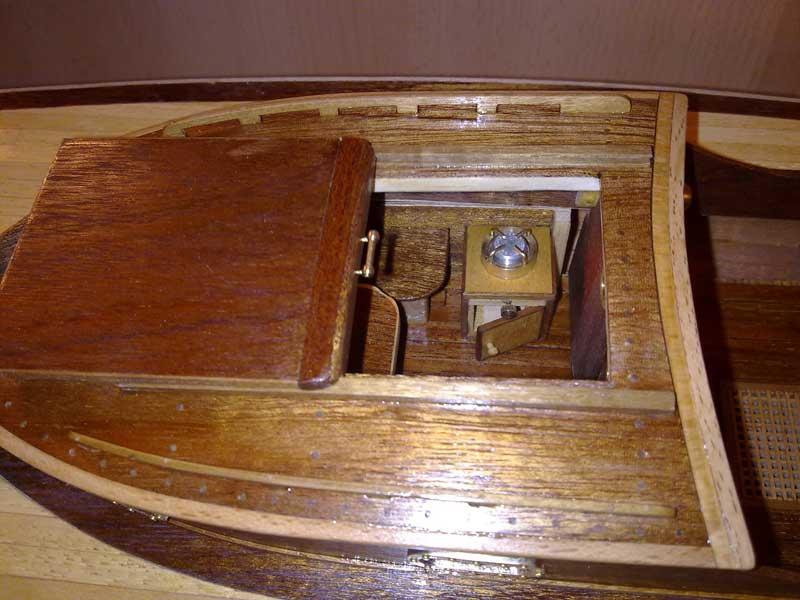
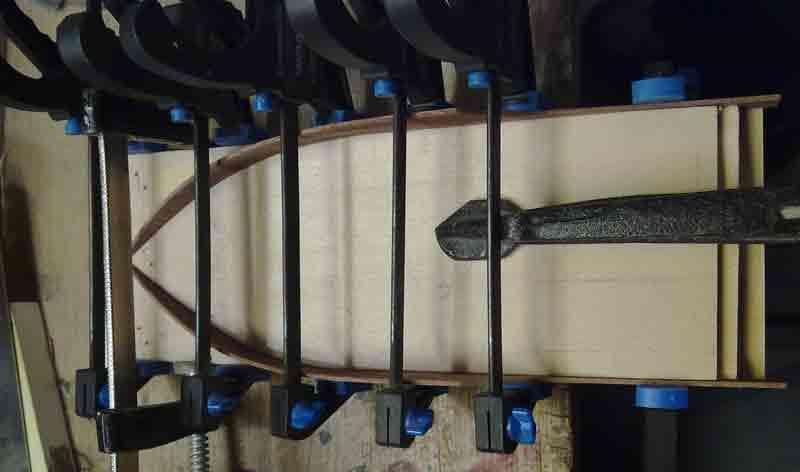
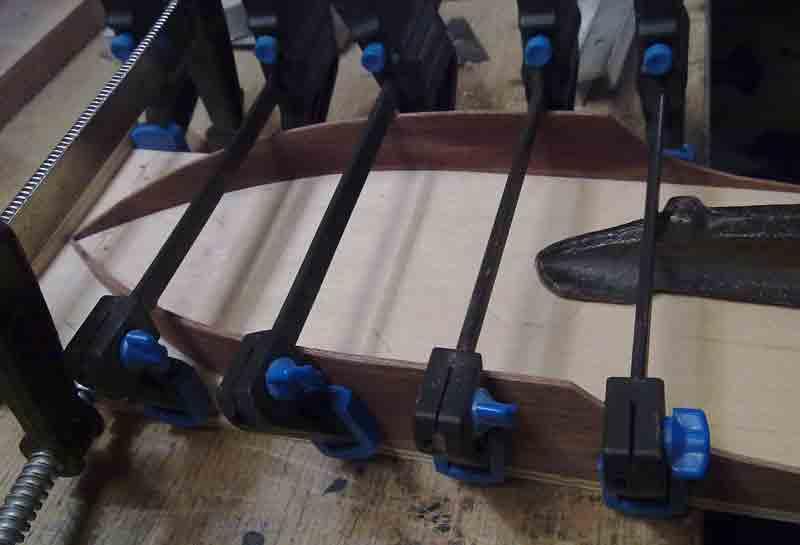
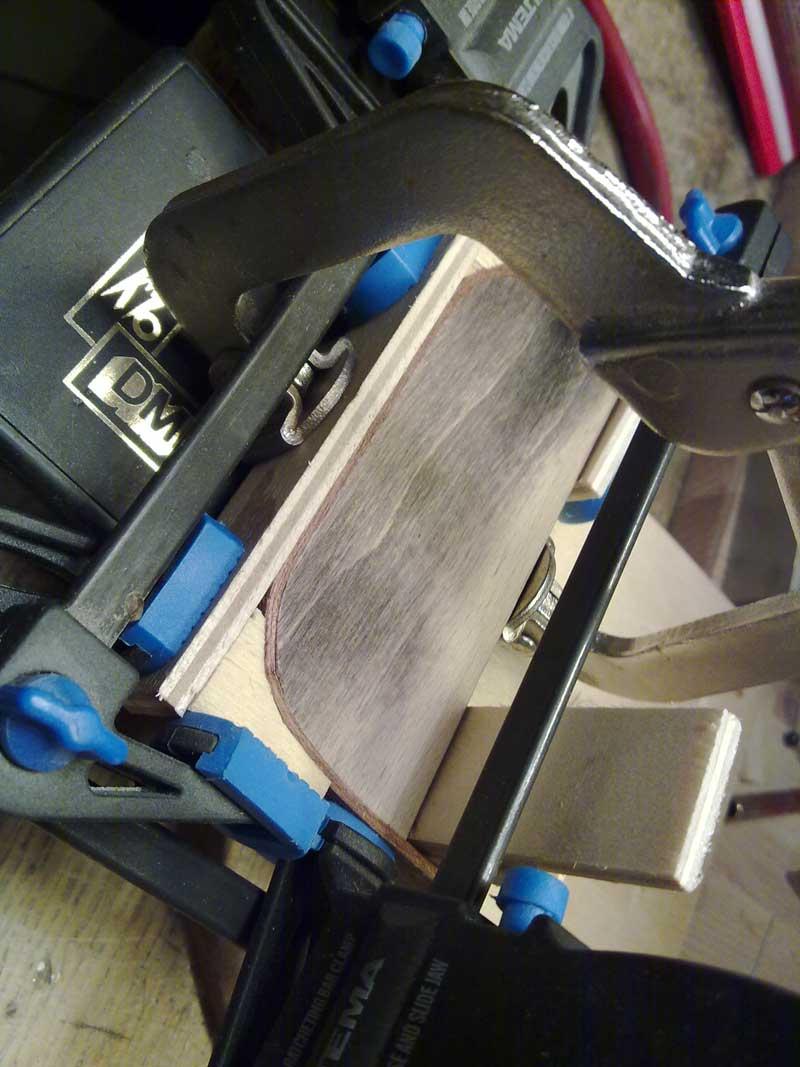
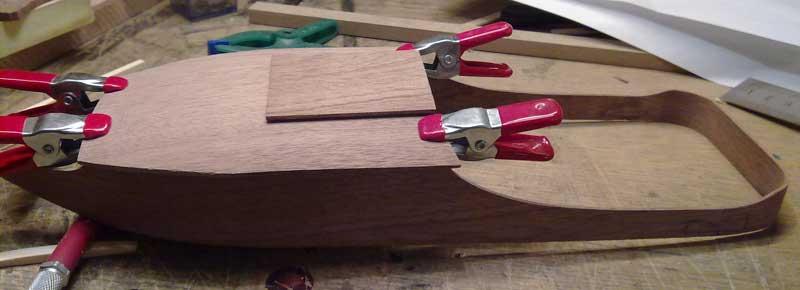
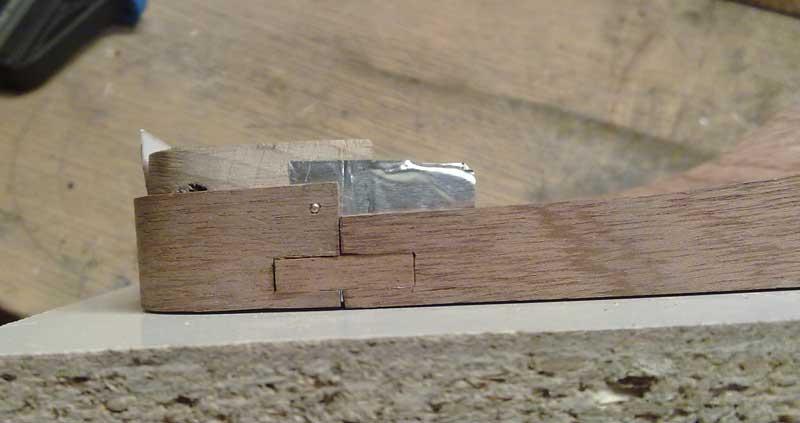
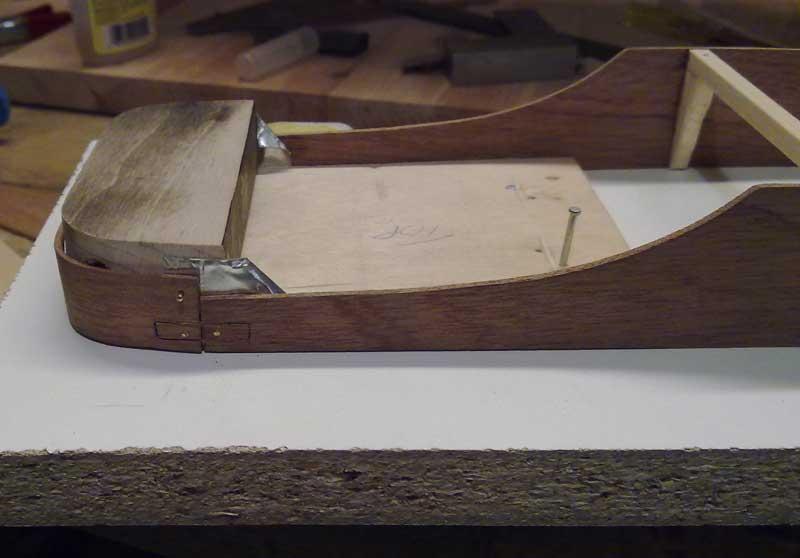
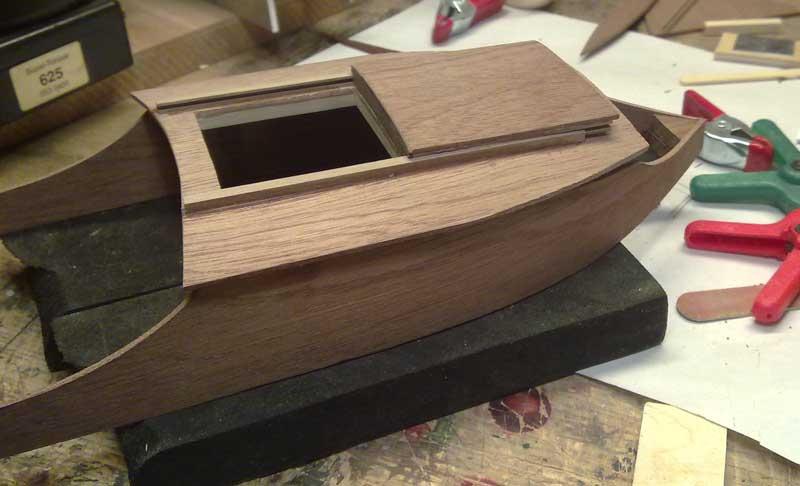
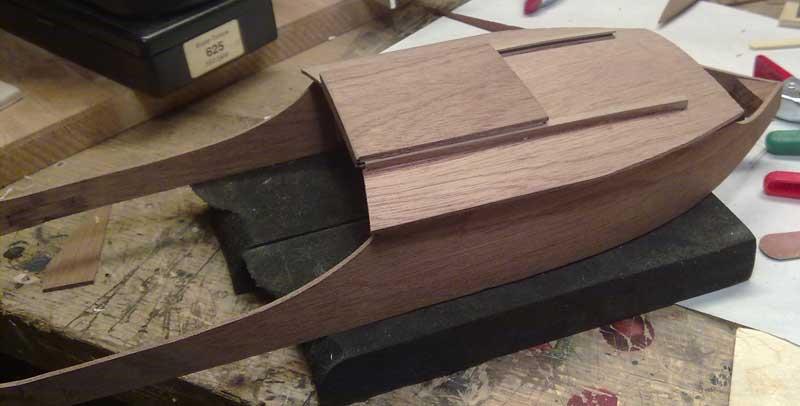
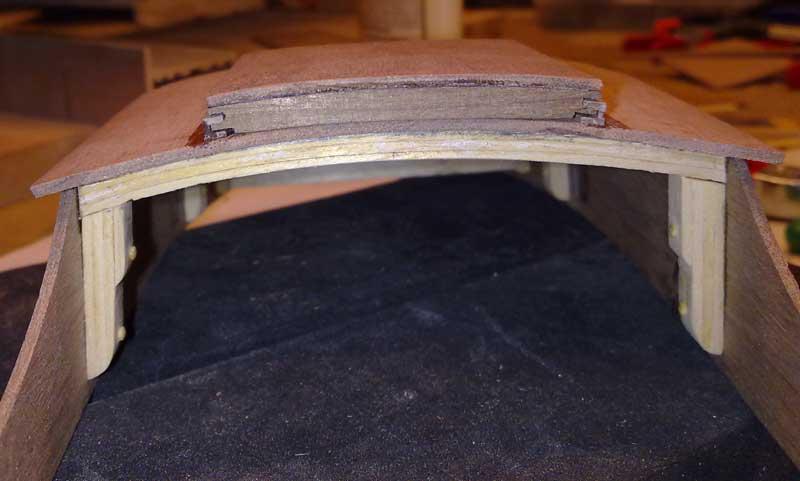
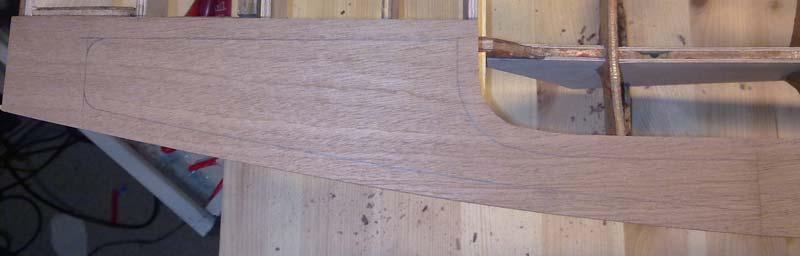
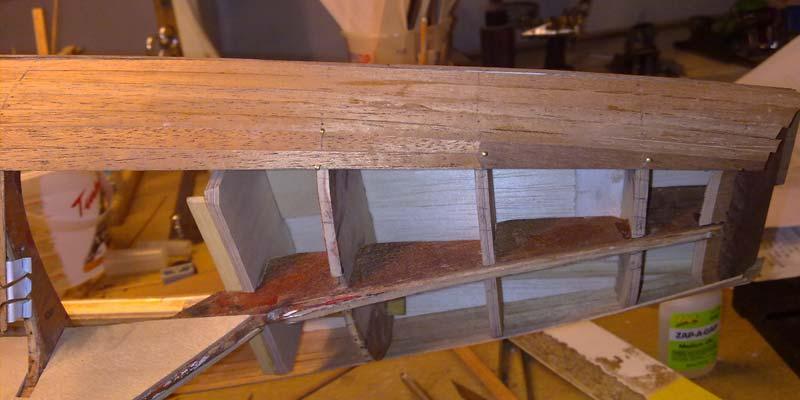
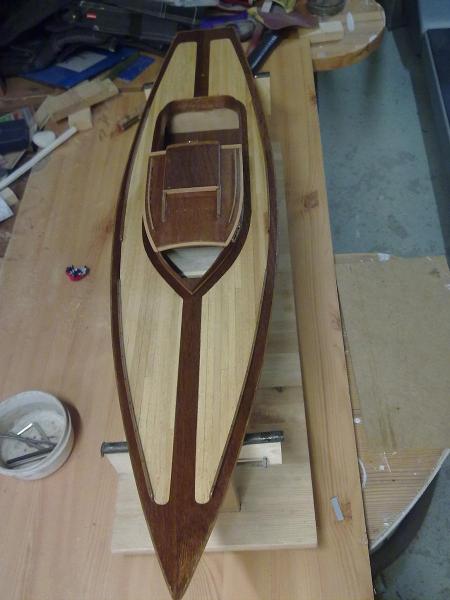
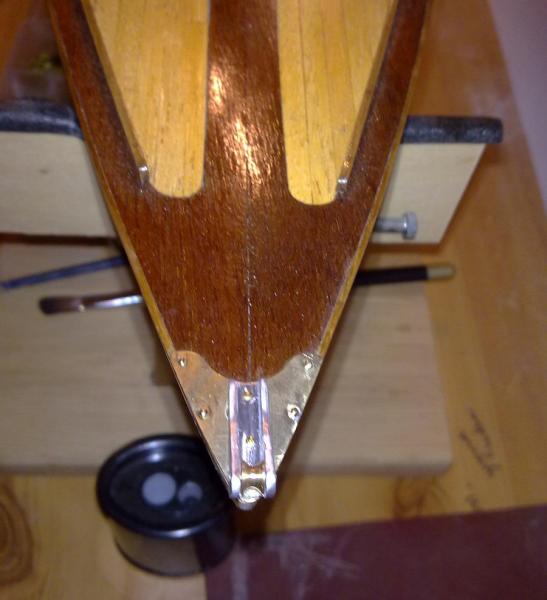
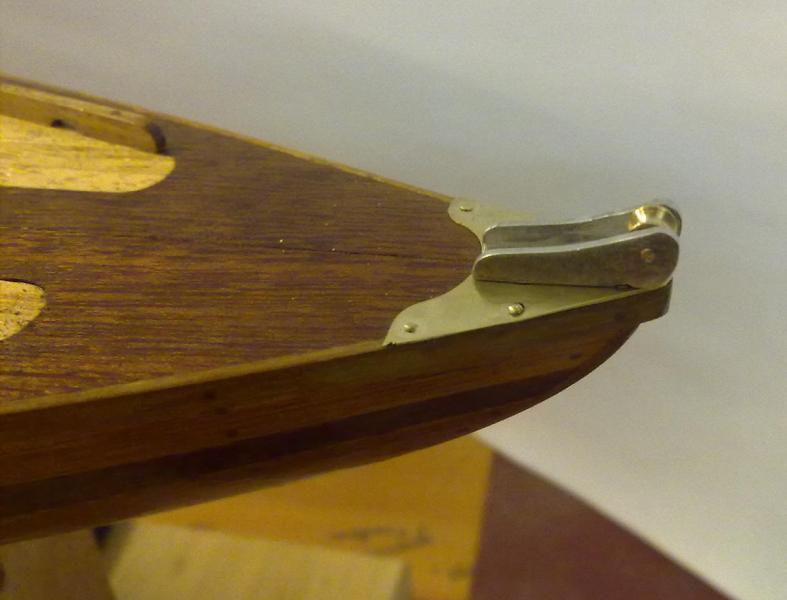
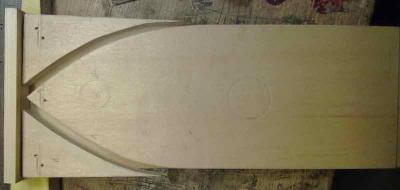
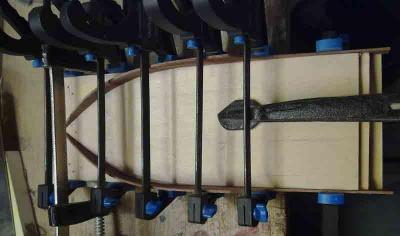
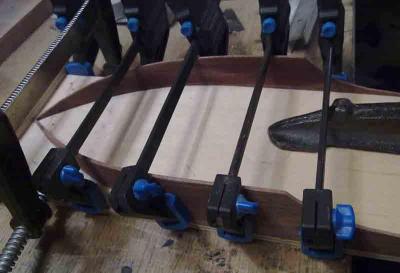
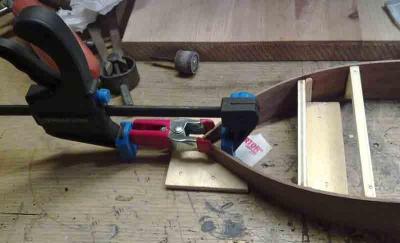
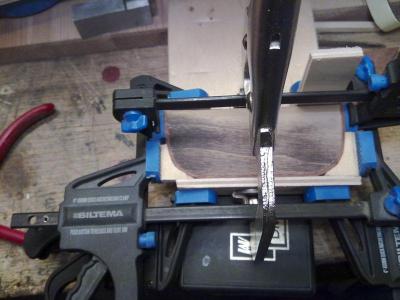
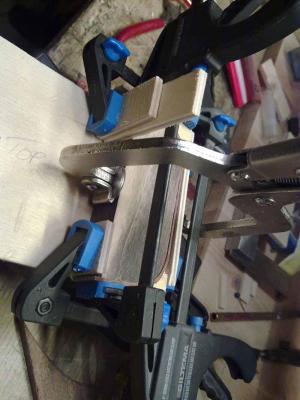
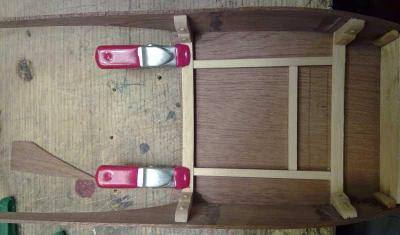
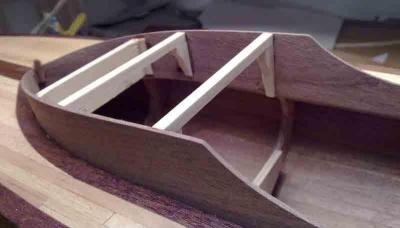
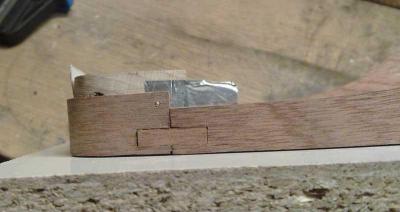
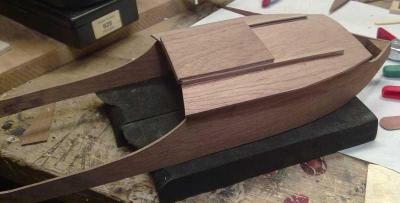
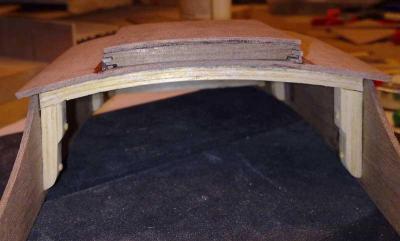
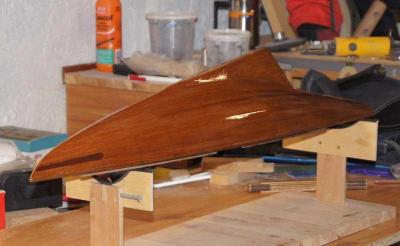
The build of the cabin. First i made a jig to be able to bend the cabin sidewalls, and aft part. I maybe stretched some laws in bending when making the rear part, it was just before it splintered when doing the 90 degree bending. When glueing the sidewalls and rear part together i use aluminium foil between the pieces so it didnt stick to the jig. The plans called for a dummy sliding hatch, nope... I had to make a working hatch . Børge

-
Thanks Popeye, it was a lot o work but it looked nice when done. Couldnt go for the original idea of a single Mahogany deck, nope. As we both love to do, a "bit" of kit bashing that make the models stand out as a one of a kind, the ideas just come flying in when building. Thats a great part of modelbuilding, being creative. ) Børge
-
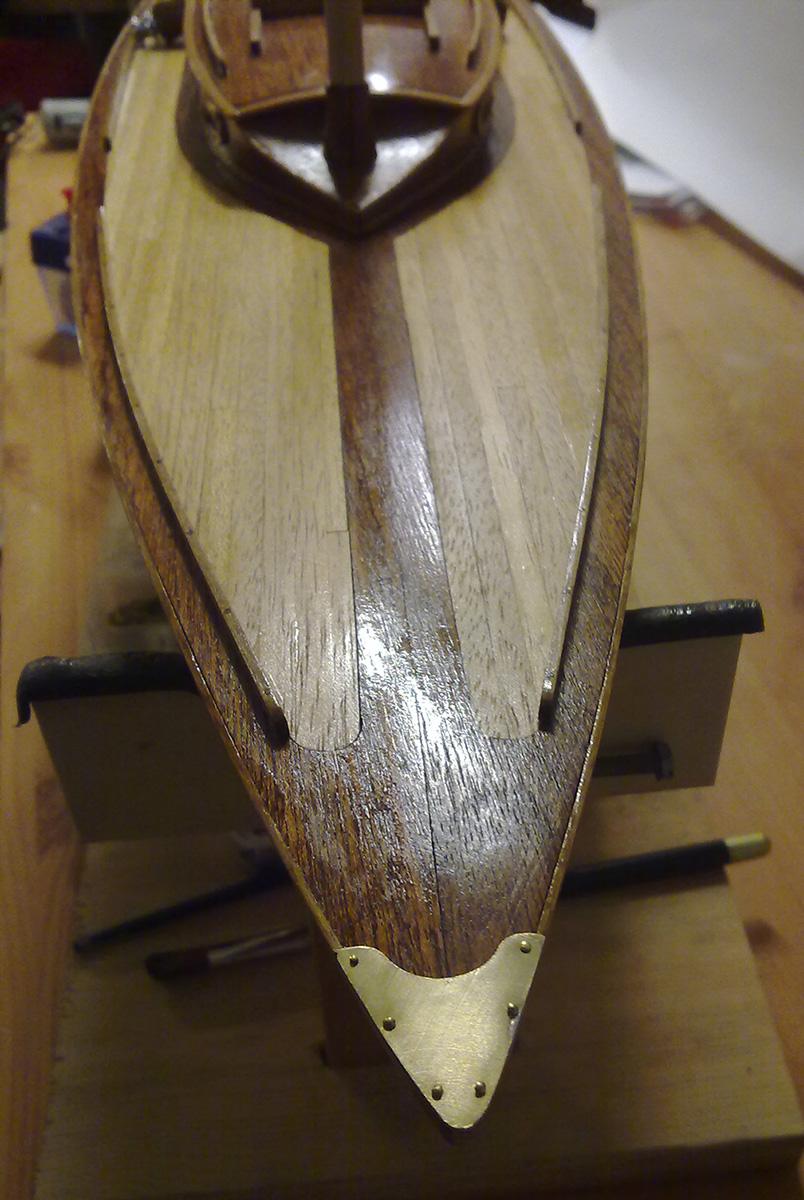
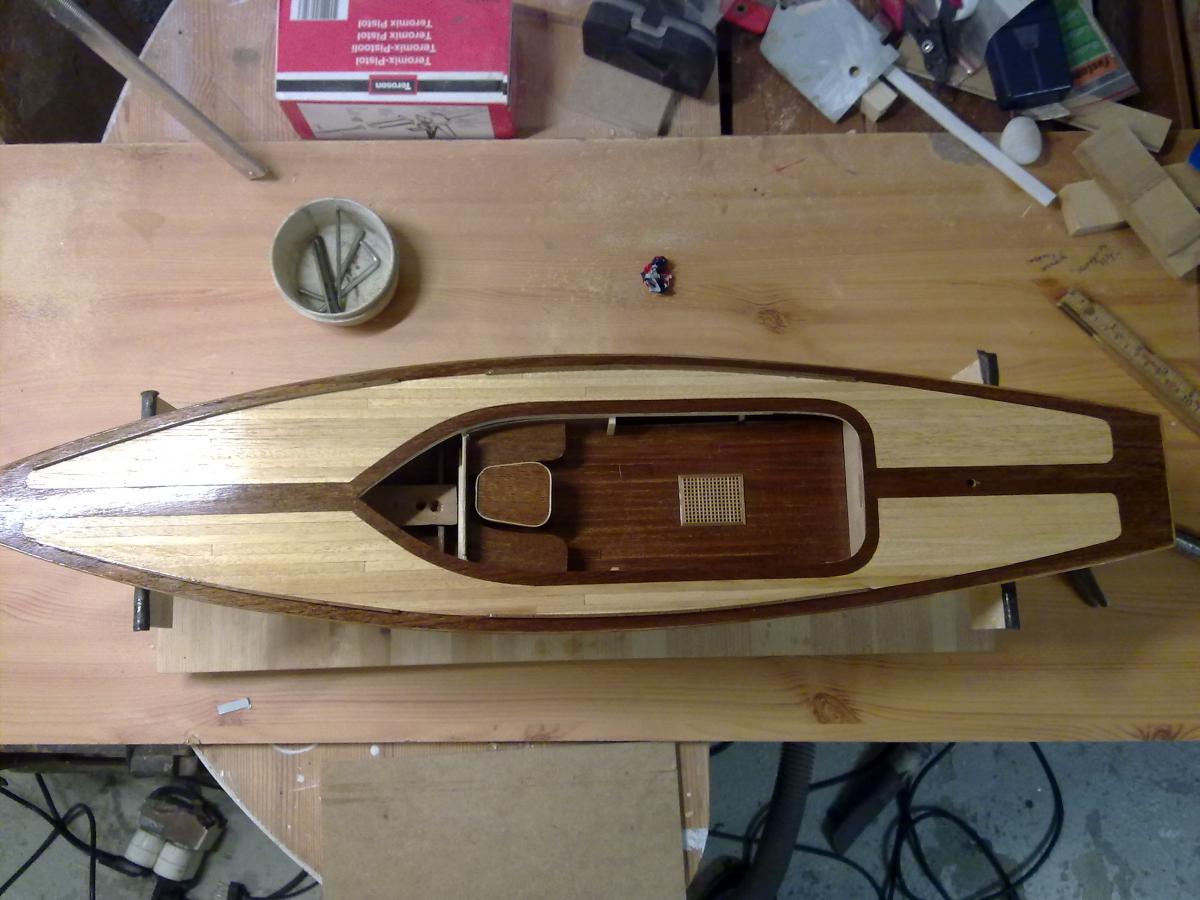
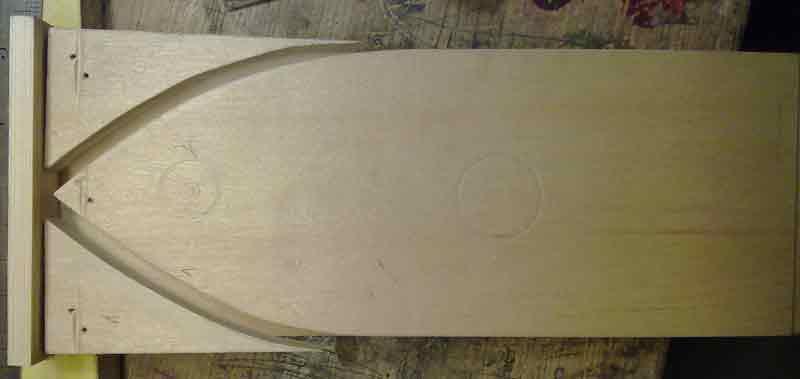
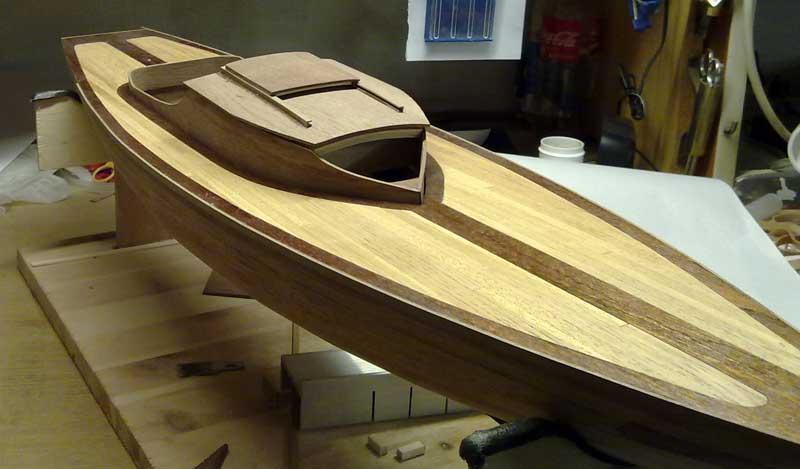
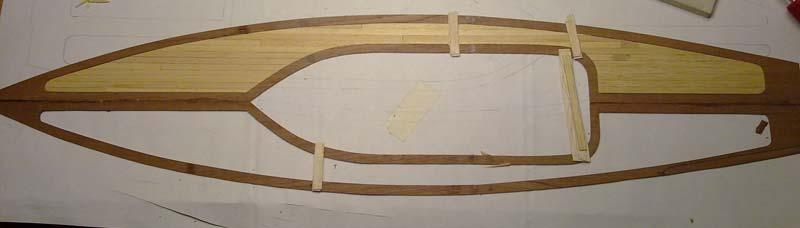
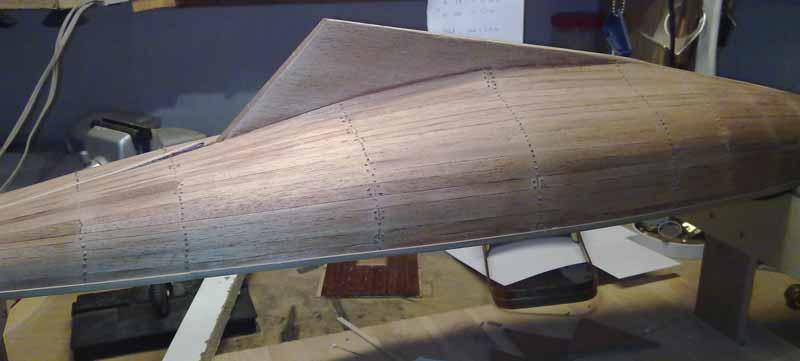
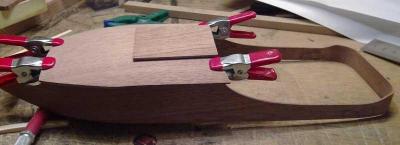
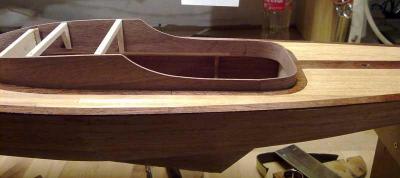
Making the deck framing, and planking. I made a frame of Mahogany in 4 pcs.that i cut out of a sheet of 2mm Mahogany. First i glued a thin sheet of balsa to the deck to support the planking, installed the framing losely on paper so i could put the end of the plank under the frame to make a accurate marking for the cutting of the plank. I was very satisfied with the result Børge
-
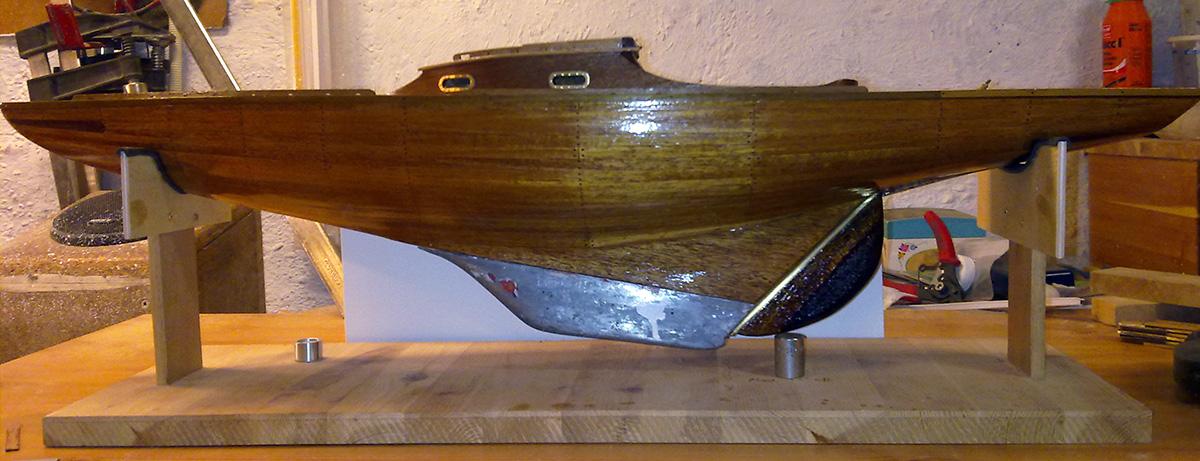
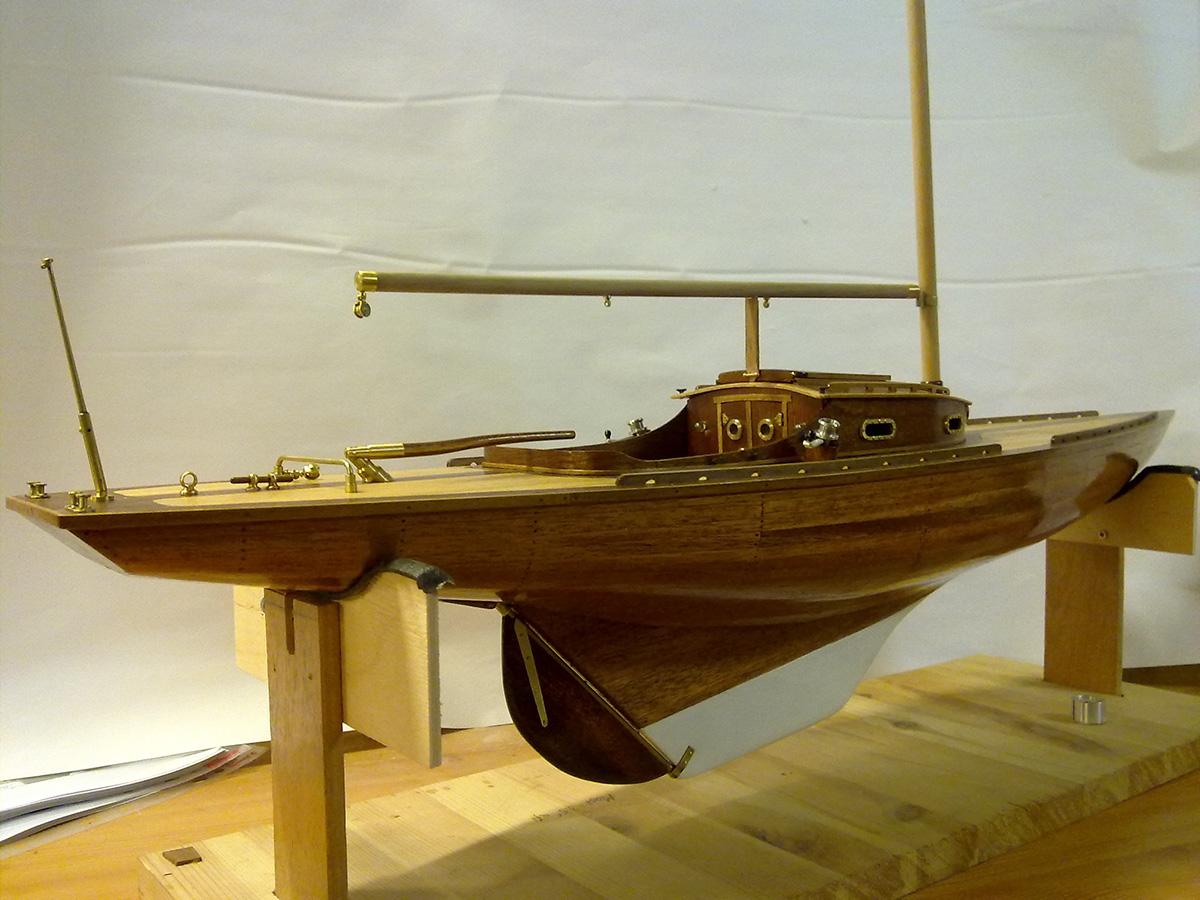
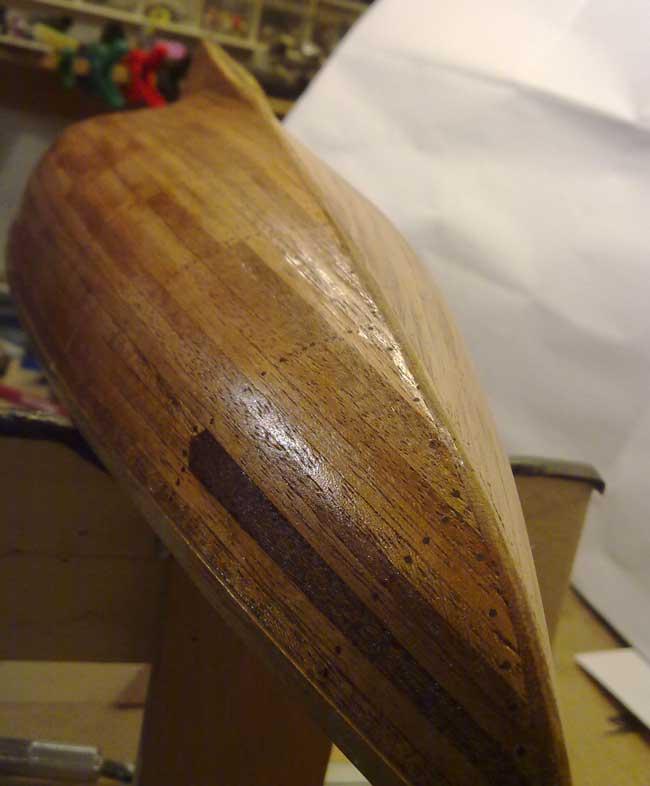
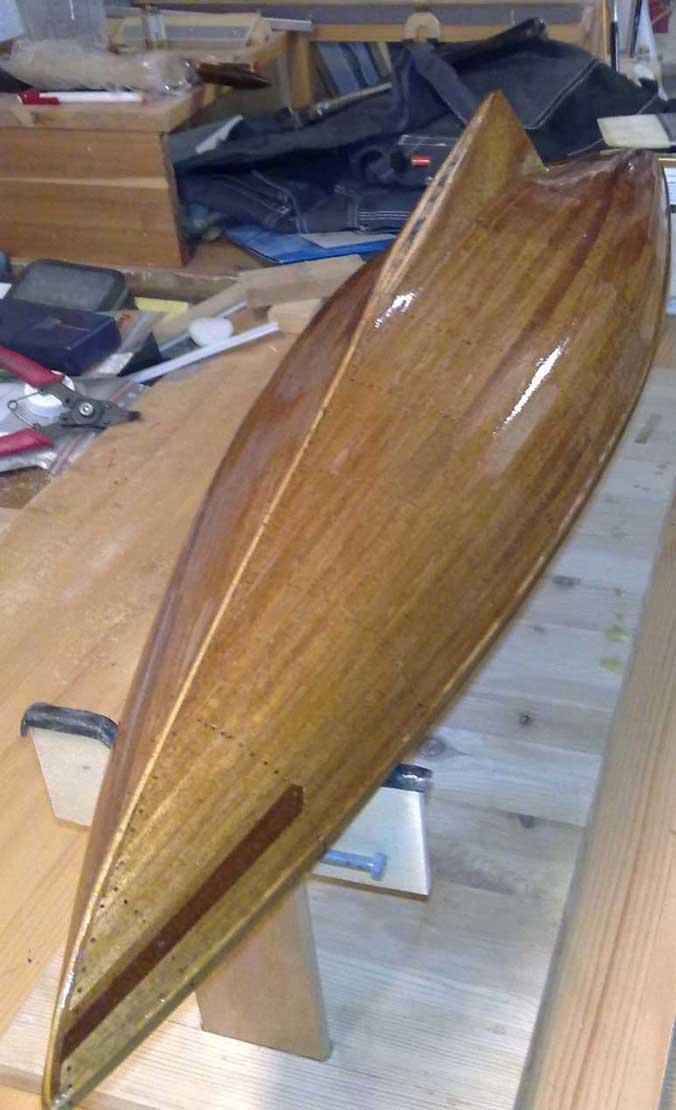
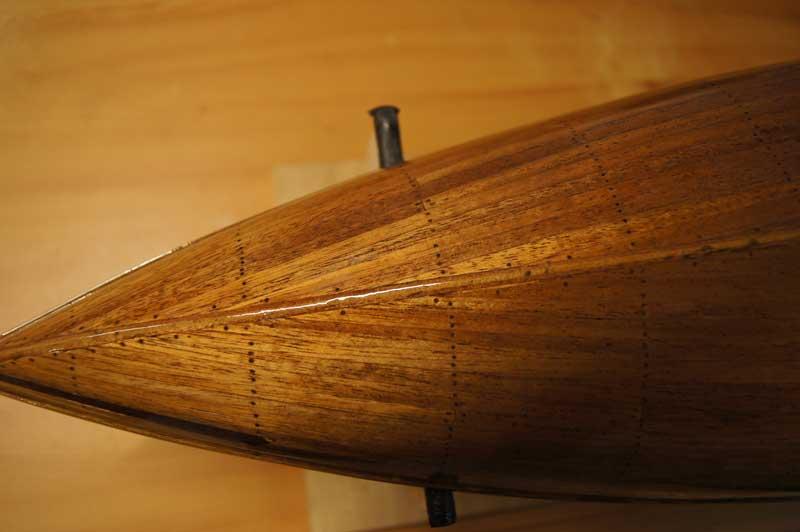
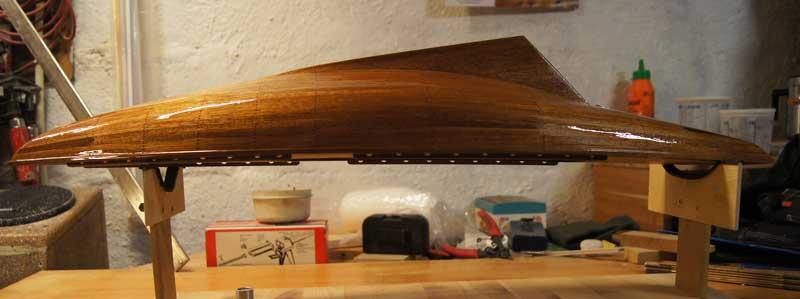
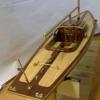
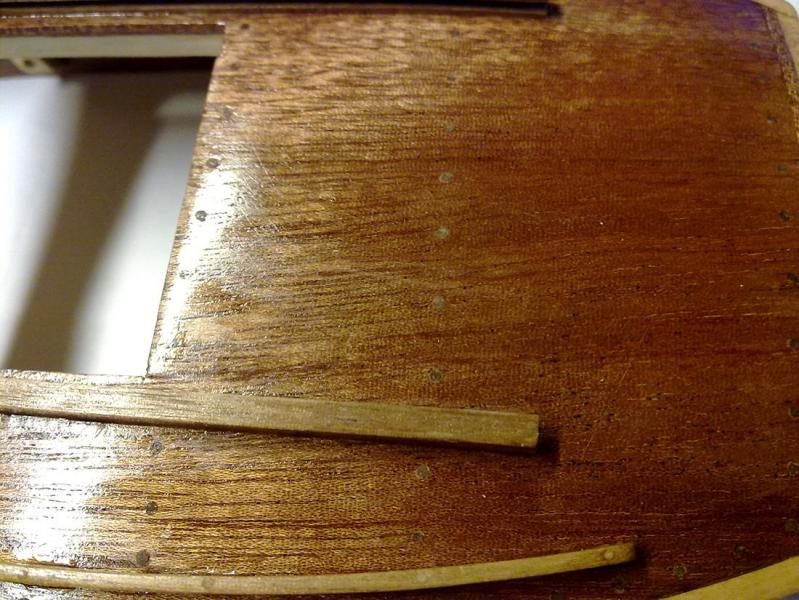
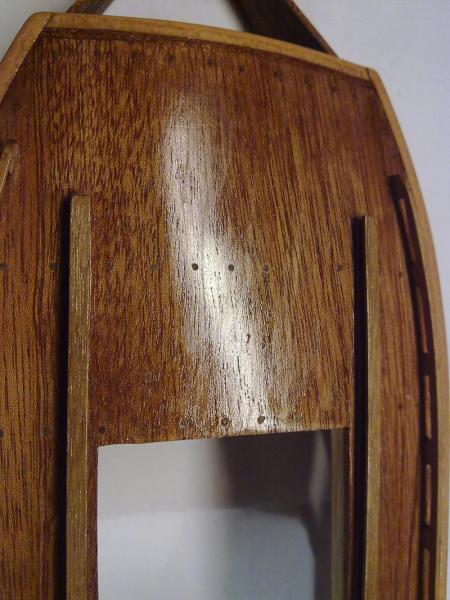
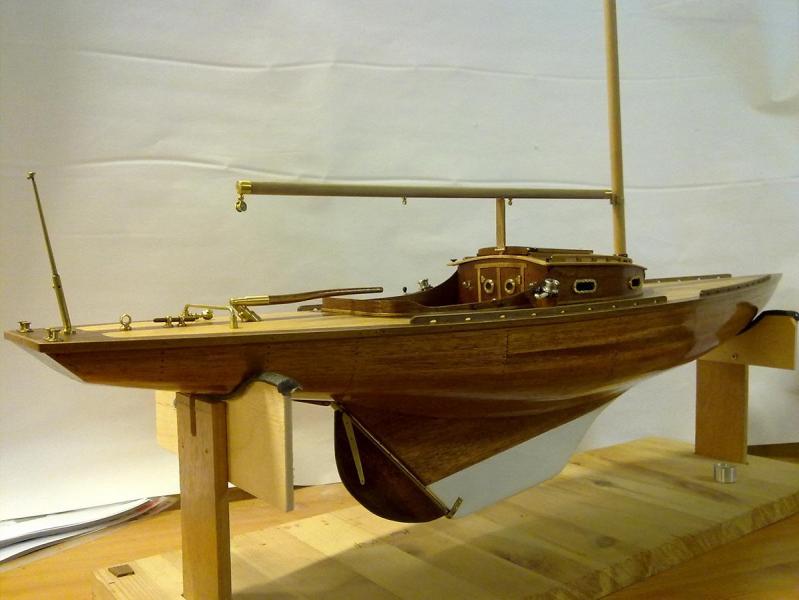
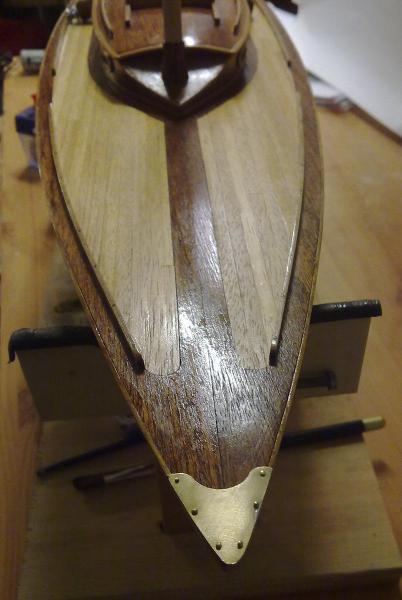
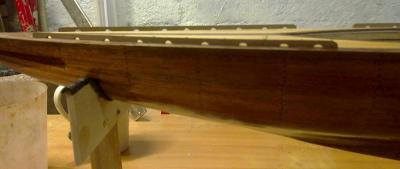
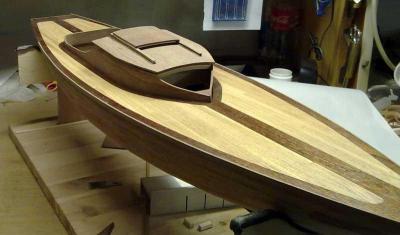
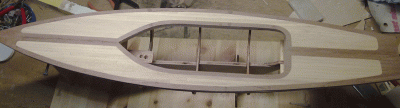
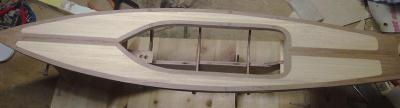
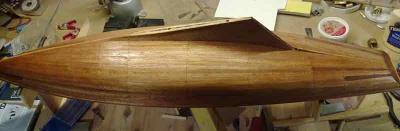
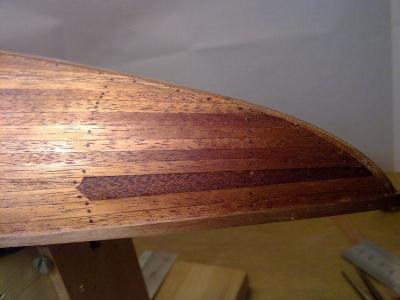
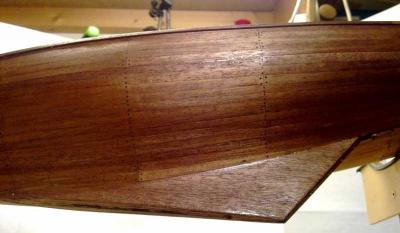
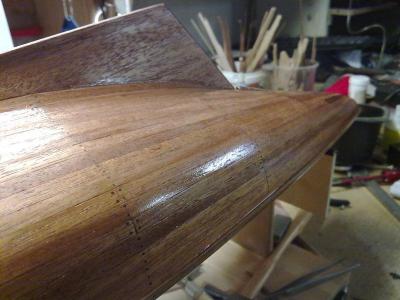
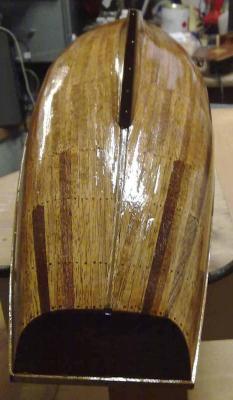
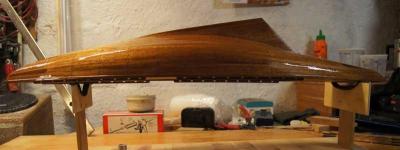
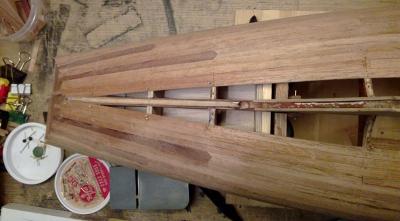
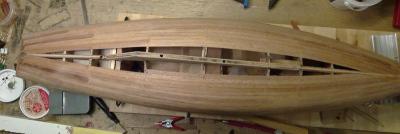
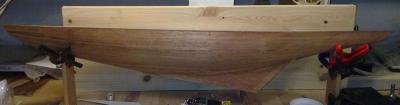
With the planking done i started putting in wood nails, fun job . The hull was sanded and received a coat of varnish, and then two coats of clear. Its nice to watch as you varnish the hull how the wood shows itself. Børge


-
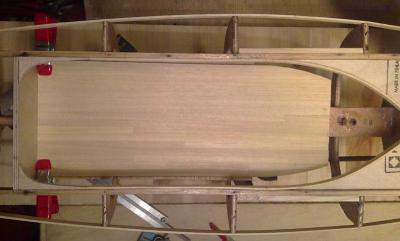
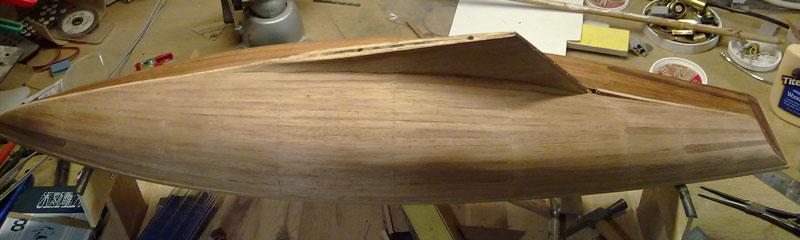
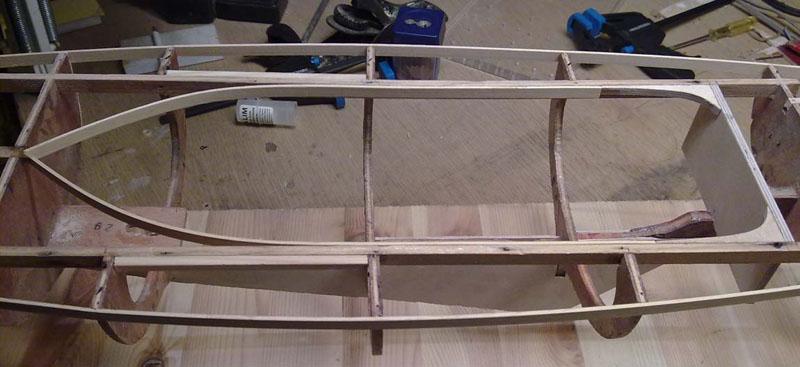
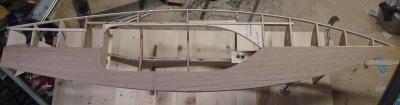
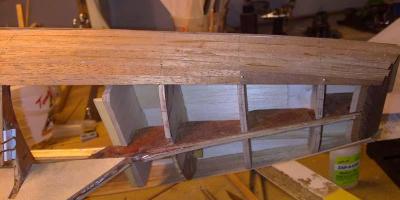
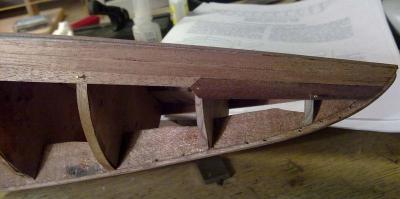
Some pictures of the planking progress. At first i was in doubt if i should double plank or single plank the hull. Doble planking might be easier as you get a better base for laying the planks, but i desided to try single planking. There was some trail and errors, but with careful measuring and a lot of sanding and steaming of the planks it turned out ok. This was the first time i had to use stealers, but with good help from MSW members i managed to fit them to. Børge


-
Morning Popeye, thats some really neat lobster traps you made. They lok very realstic, superb work my friend. Børge
-
Hi John I will upload the pictures, but had some problems. will continue tomorrow. Børge
-
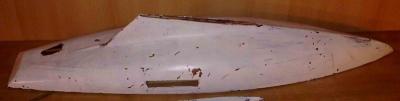
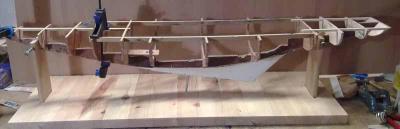
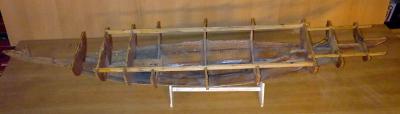
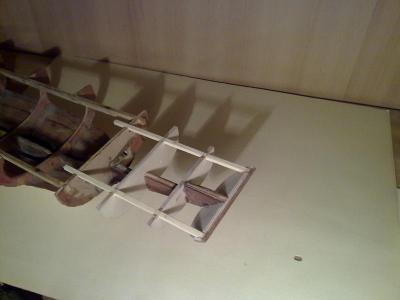
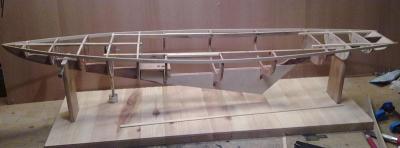
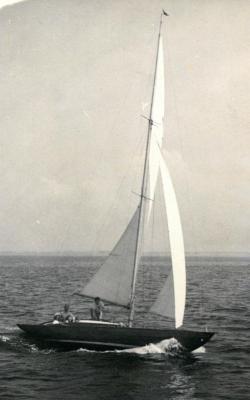
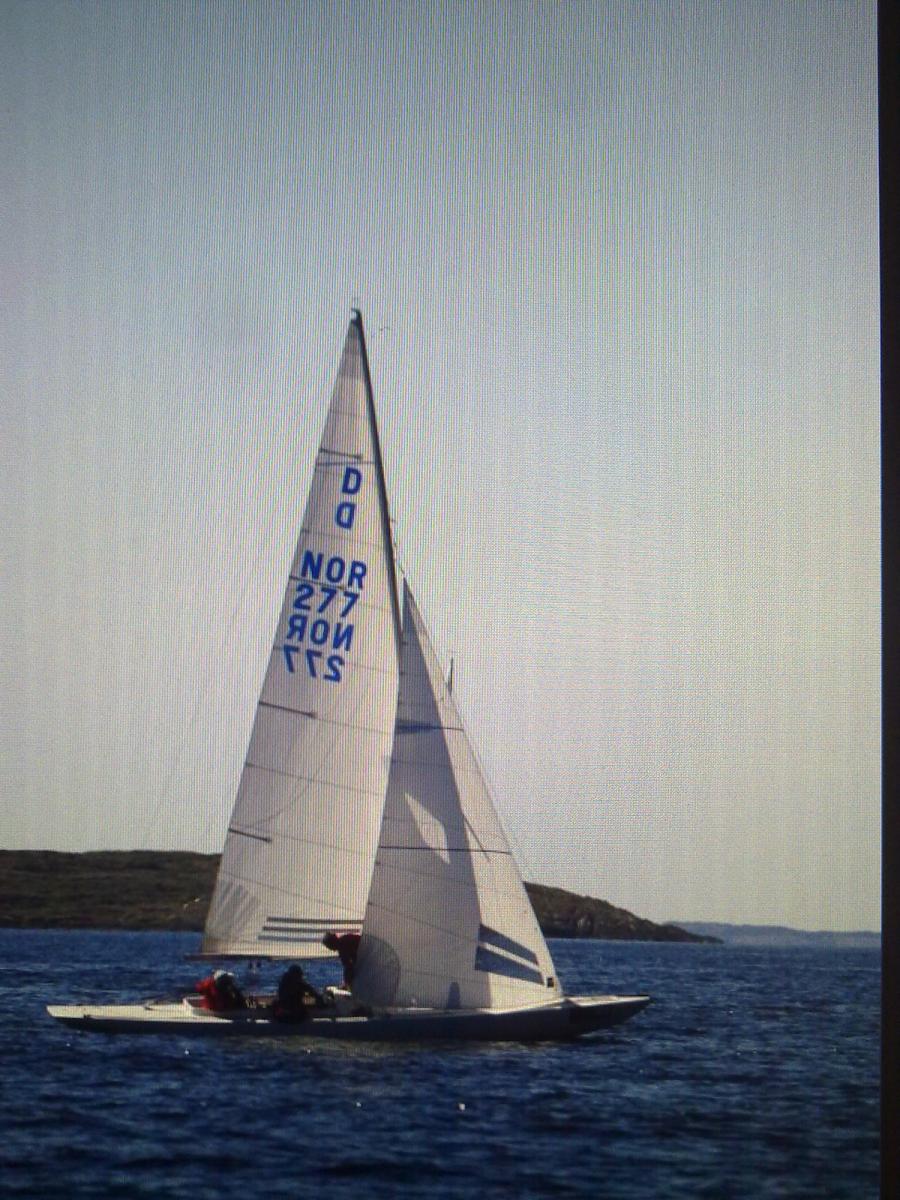
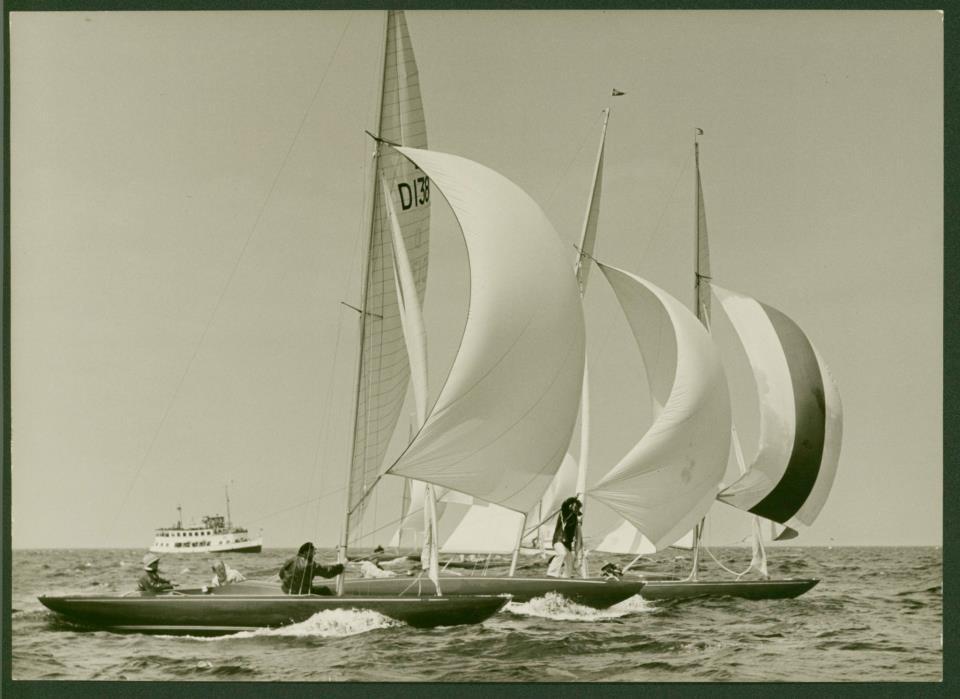
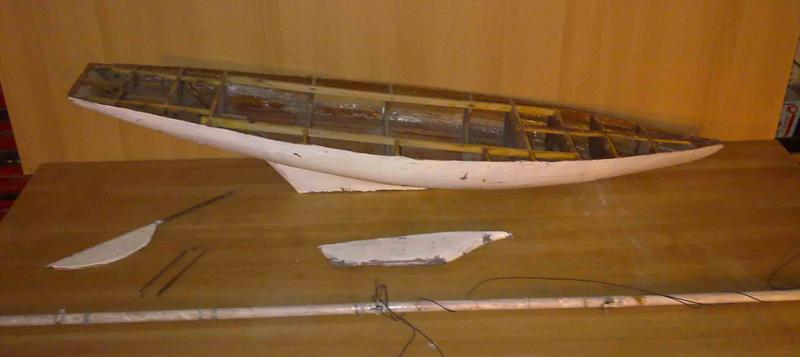
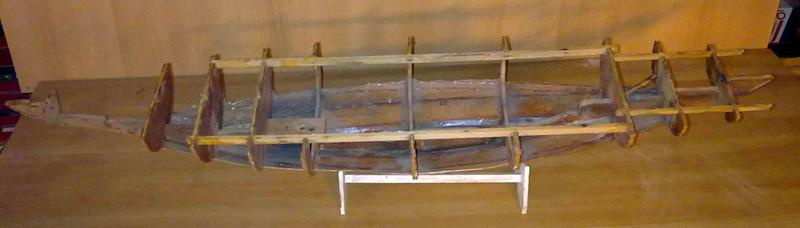
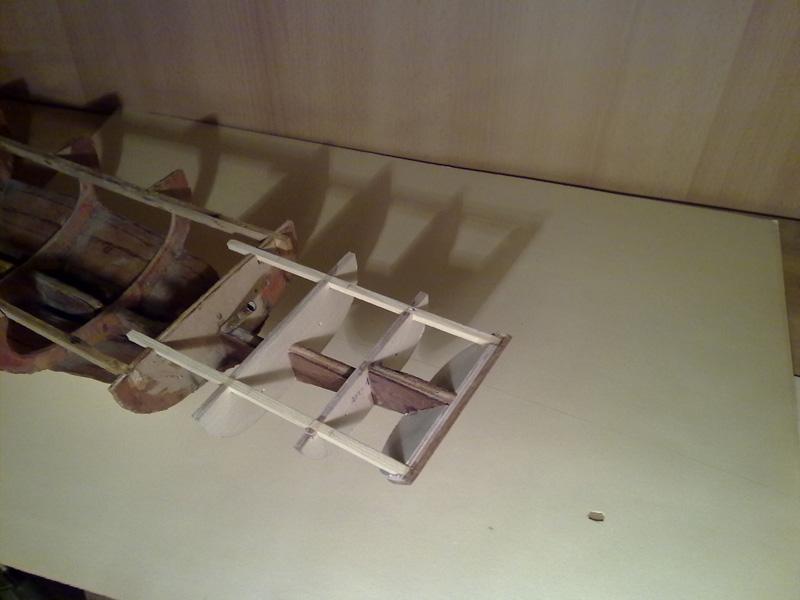
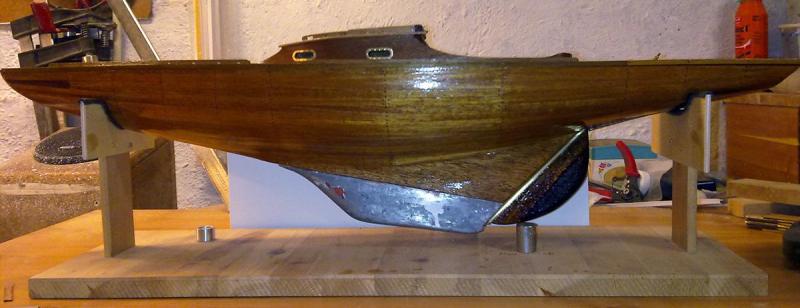
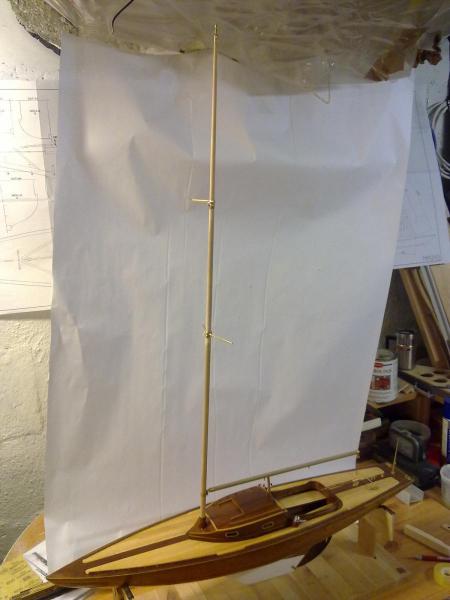
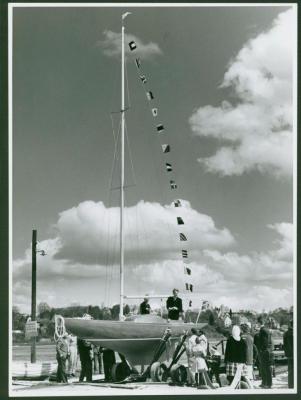
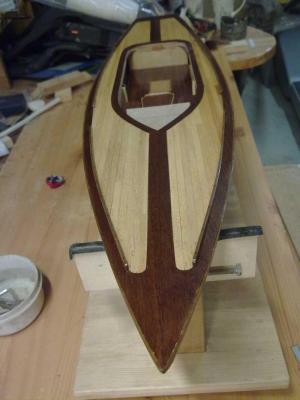
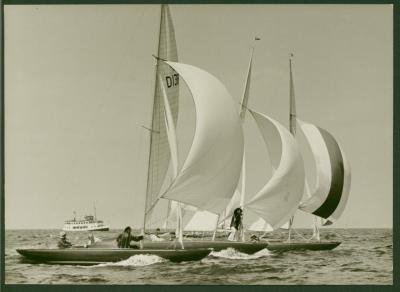
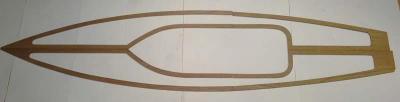
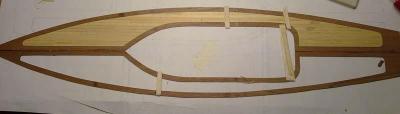
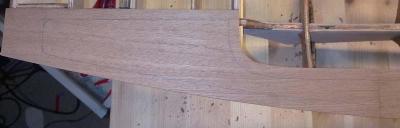
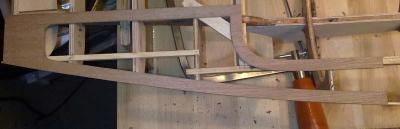
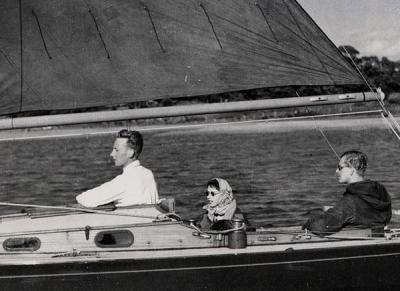
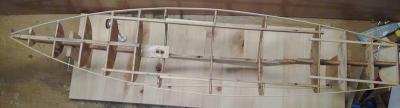
The first Dragen was built in 1929 in Gothenburg, Sweden. The sailing characteristics of the vessel were so fine that the boat soon was used throughout the world, and especially in Europe. As time passed, the Dragen changed gradually, so that today only the hull is original. In 1948 the Dragen became an Olympic yachting class, and all measurements have been standardized by the international Sailsport Union. I started this kit about 25 years ago, had it stored in my garage since then. Then i got interested again, and started to rebuild/restore here. It turned out to be a fun project, and joining the MSW only made it better, a lot of helpful people with a ton of knowledge. The build will continue, but first upload the buildlog pictures. I had a big job ahead, it looked like a stranded ship wreck. Børge