


kpnuts
-
Posts
1,034 -
Joined
-
Last visited
Content Type
Profiles
Forums
Gallery
Events
Everything posted by kpnuts
-
Martini Porsche 935 by kpnuts - FINISHED - Tamiya - 1/12
kpnuts replied to kpnuts's topic in Non-ship/categorised builds
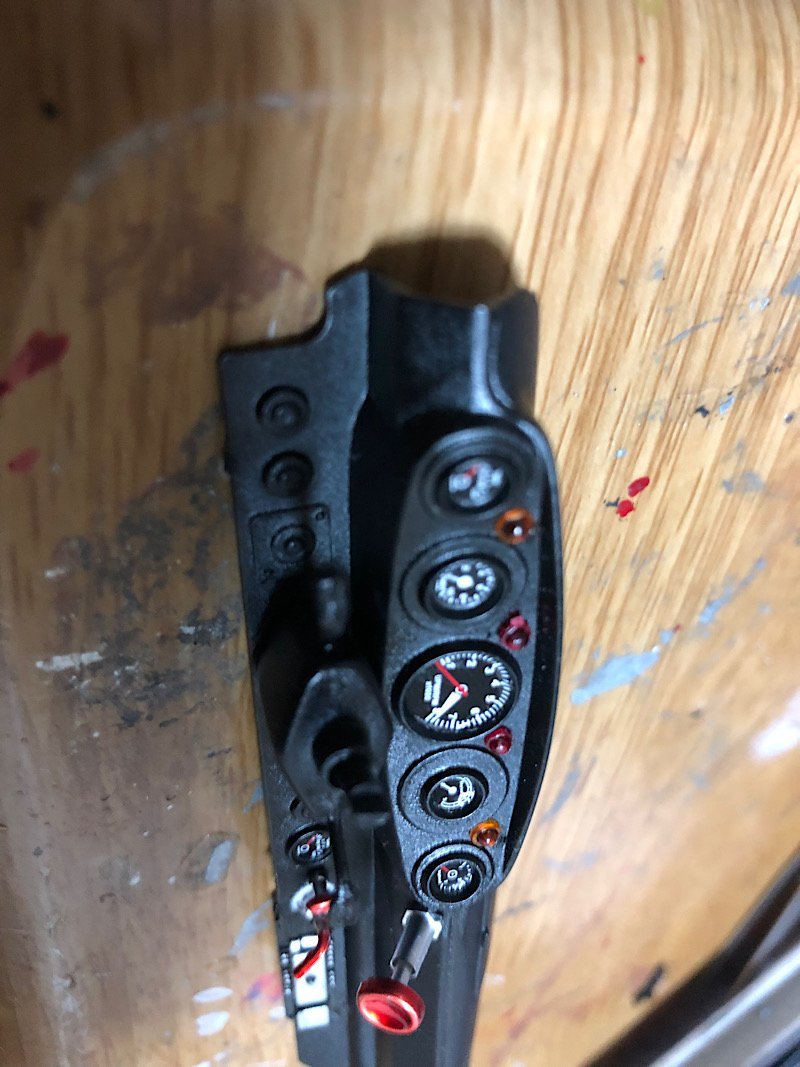
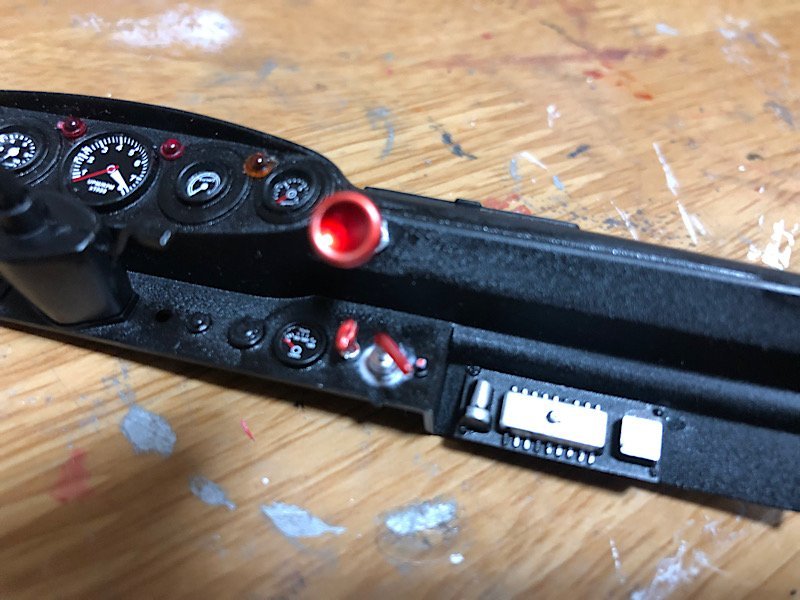
Made a start on the dashboard.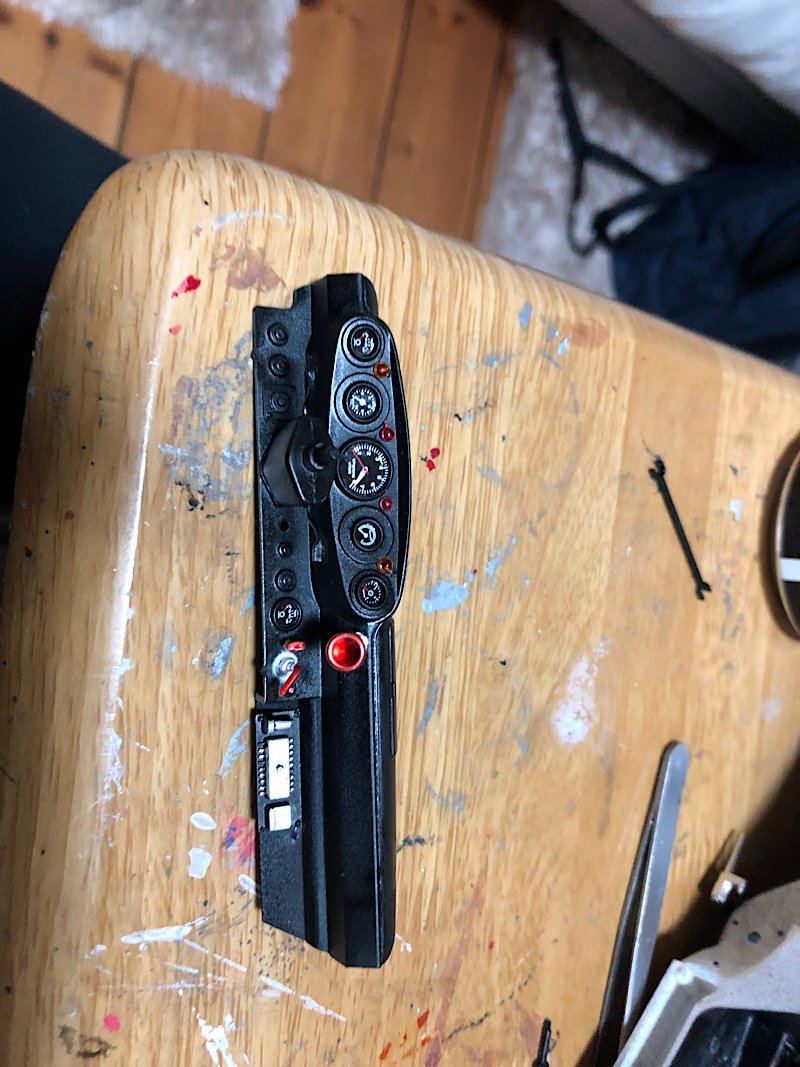
- 63 replies
-
- 14
-

-

-
Martini Porsche 935 by kpnuts - FINISHED - Tamiya - 1/12
kpnuts replied to kpnuts's topic in Non-ship/categorised builds
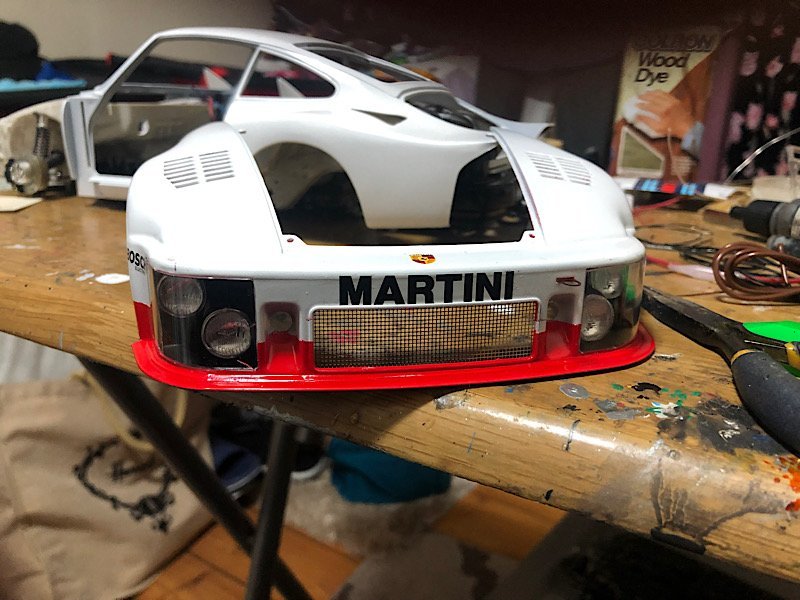
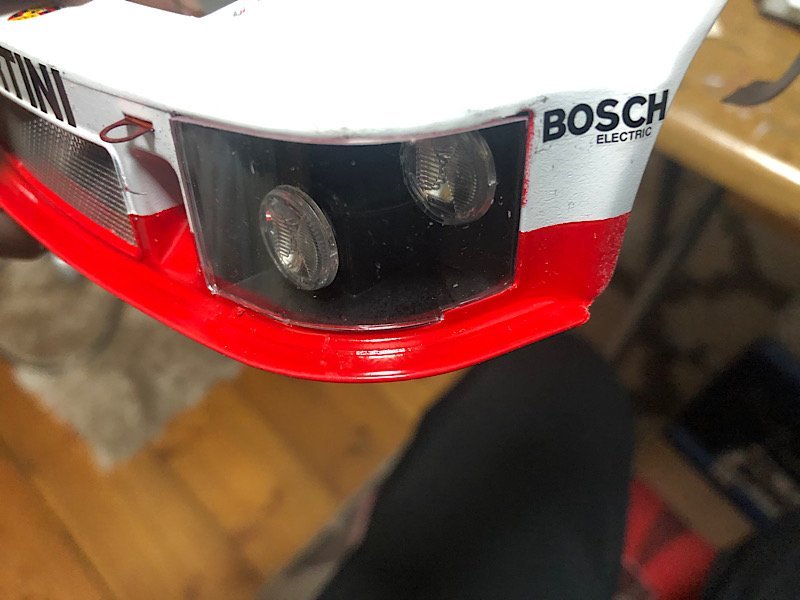
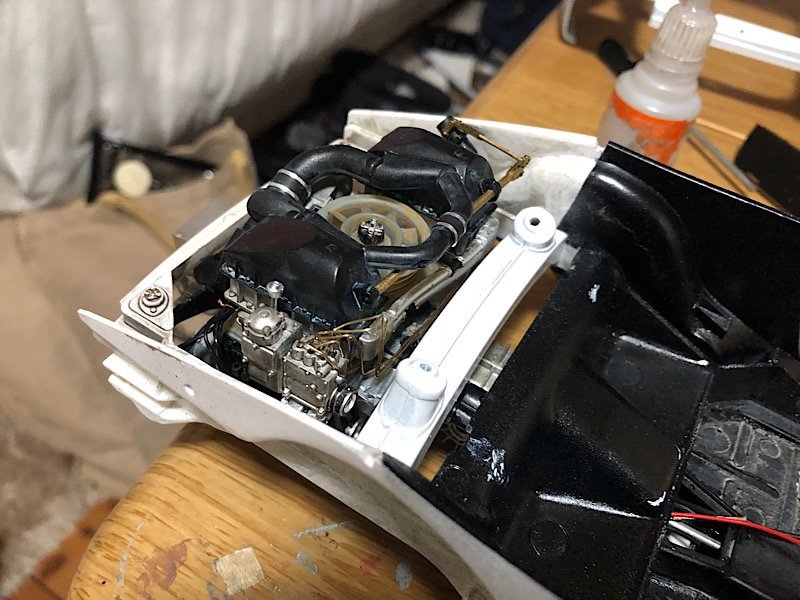
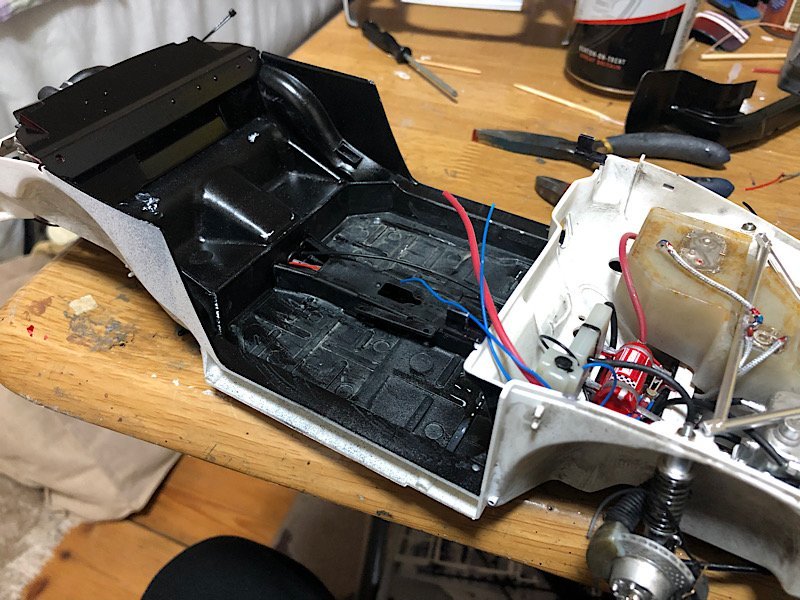
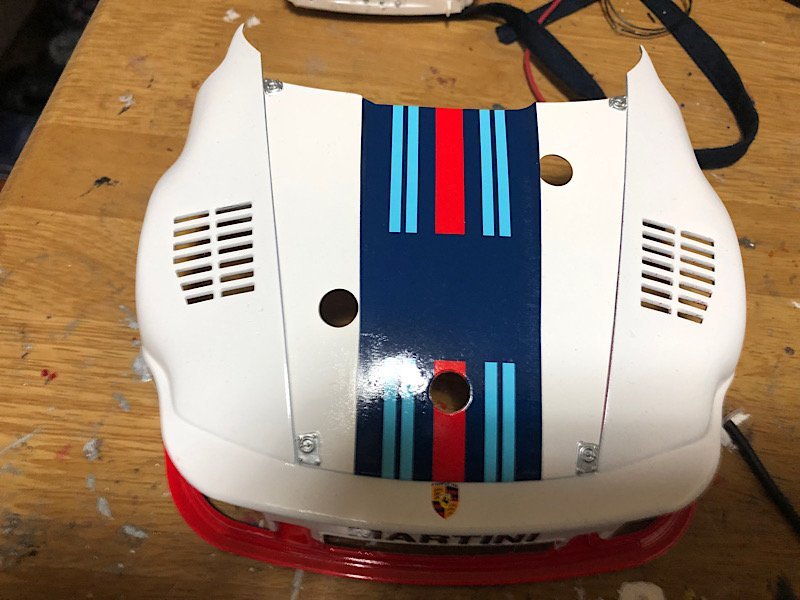
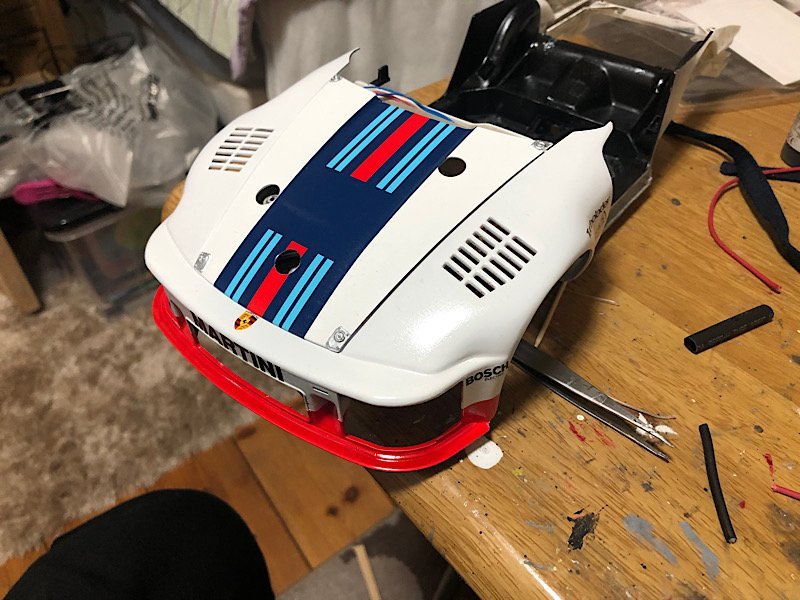
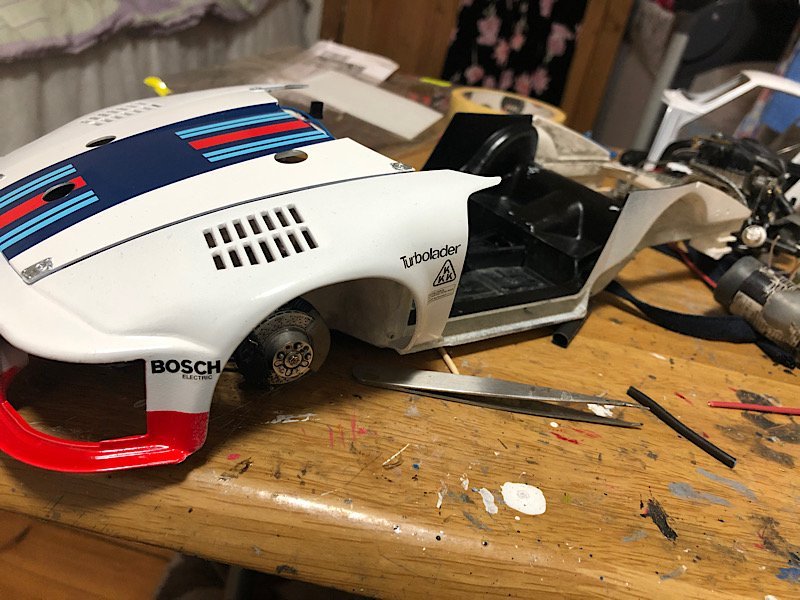
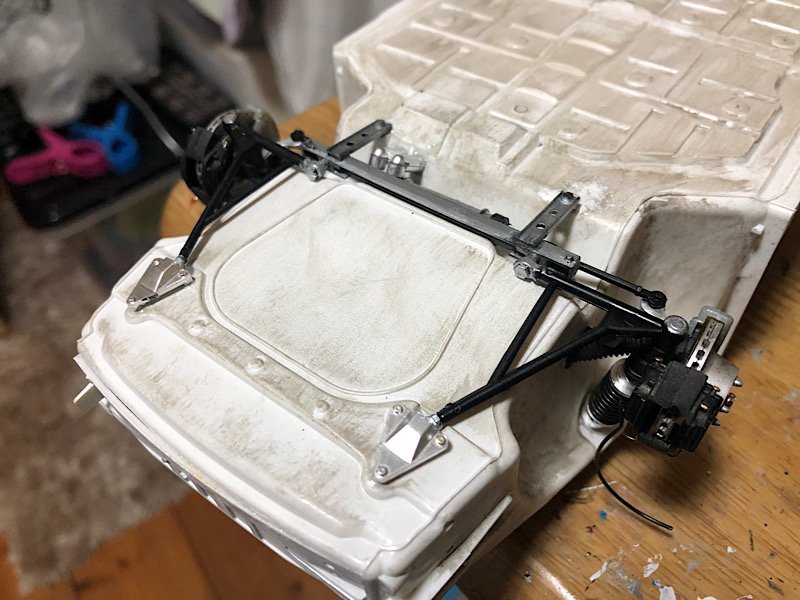
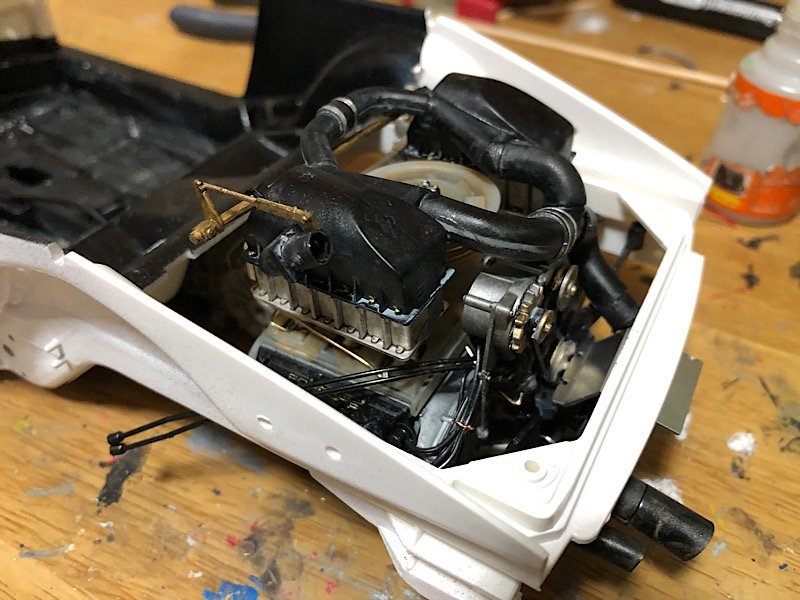
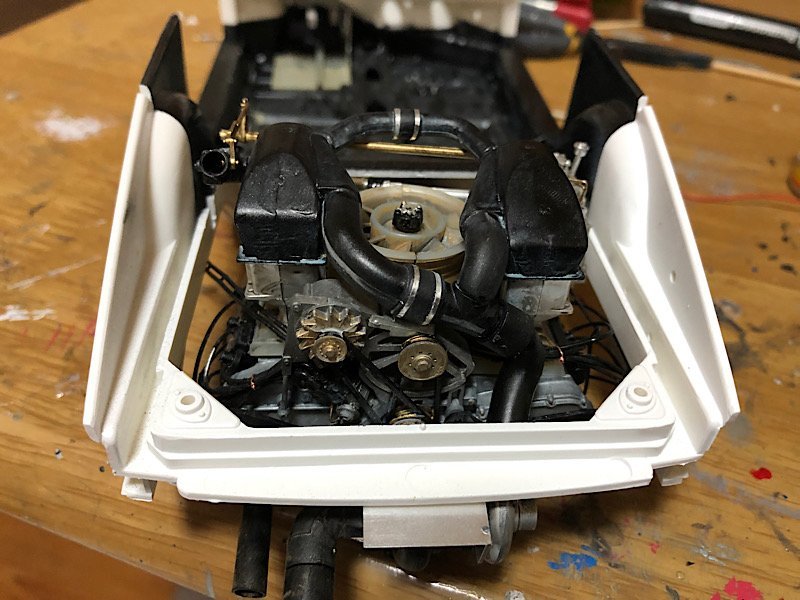
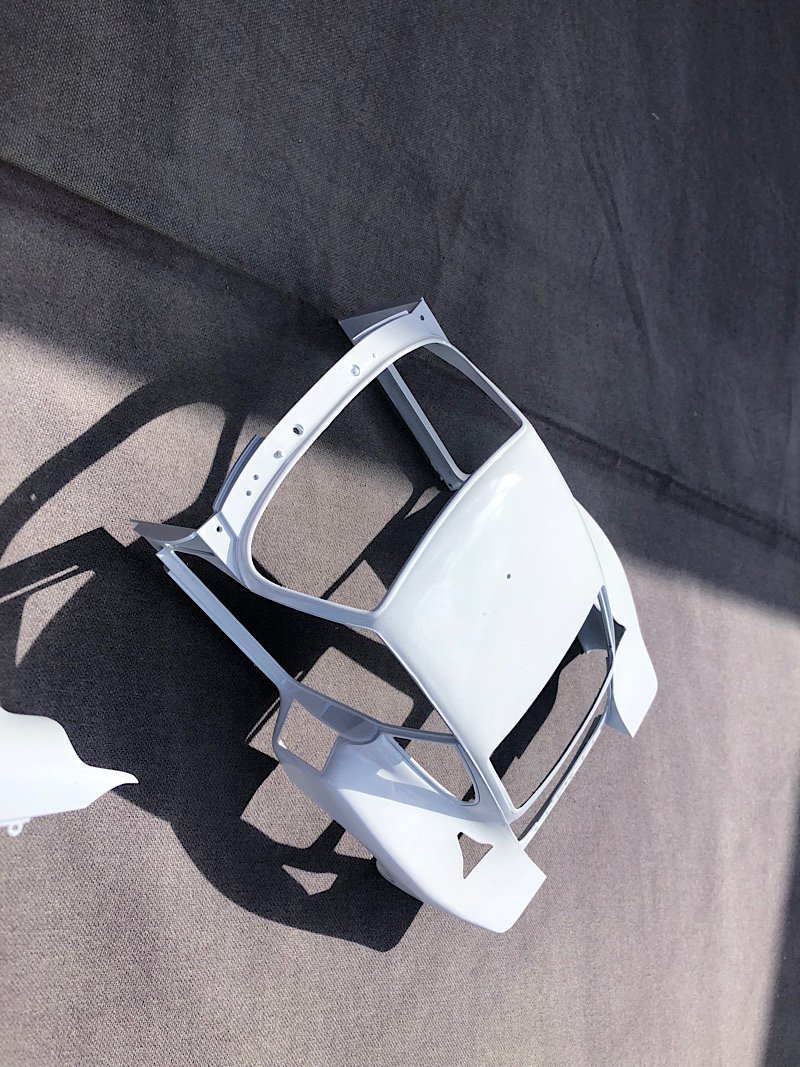
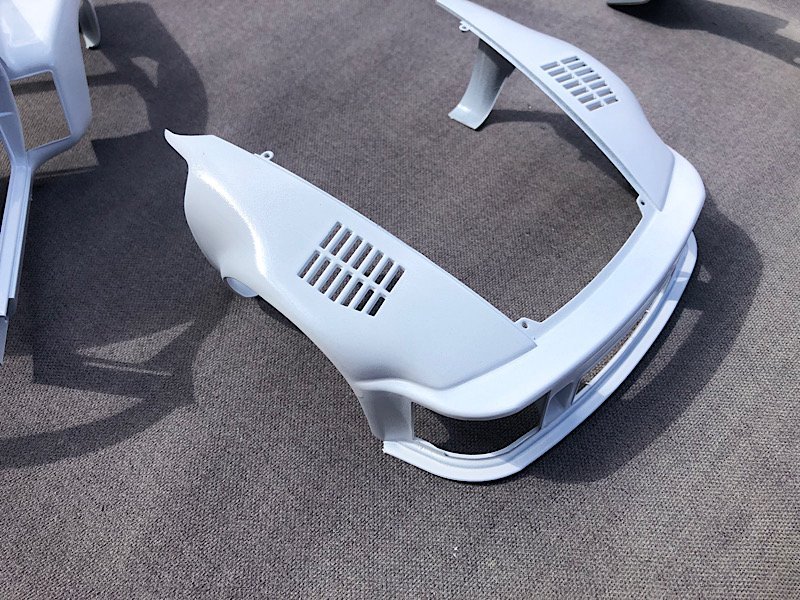
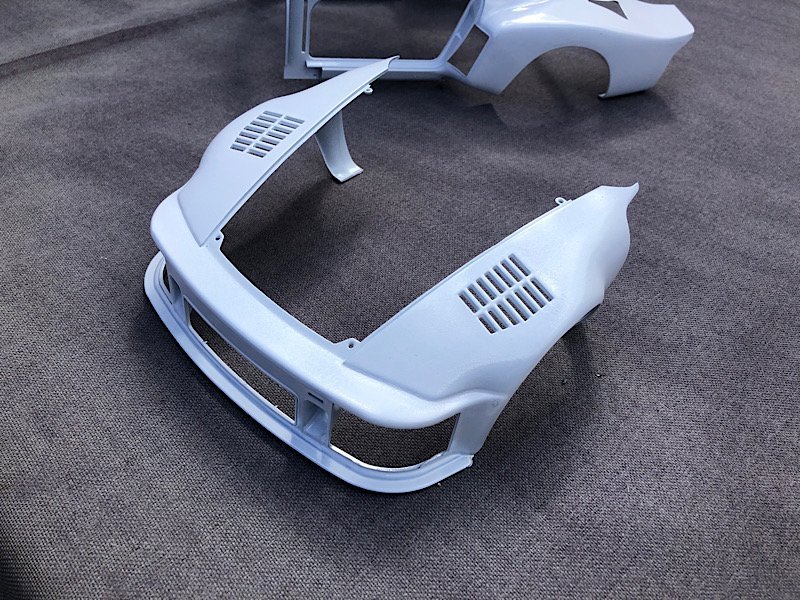
Did some work on the front end. And installed the engine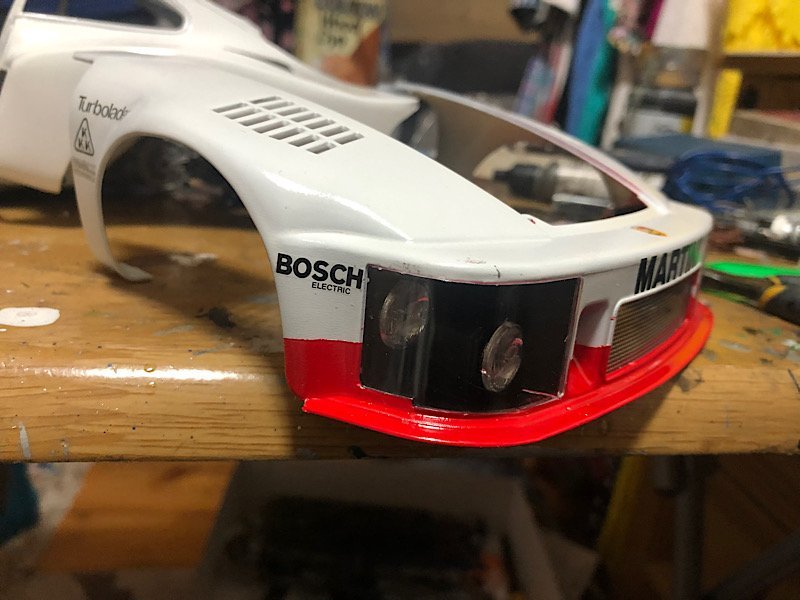
- 63 replies
-
- 15
-
-
-
Martini Porsche 935 by kpnuts - FINISHED - Tamiya - 1/12
kpnuts replied to kpnuts's topic in Non-ship/categorised builds
Probably not as its going to get dirtied up a bit. -
Martini Porsche 935 by kpnuts - FINISHED - Tamiya - 1/12
kpnuts replied to kpnuts's topic in Non-ship/categorised builds
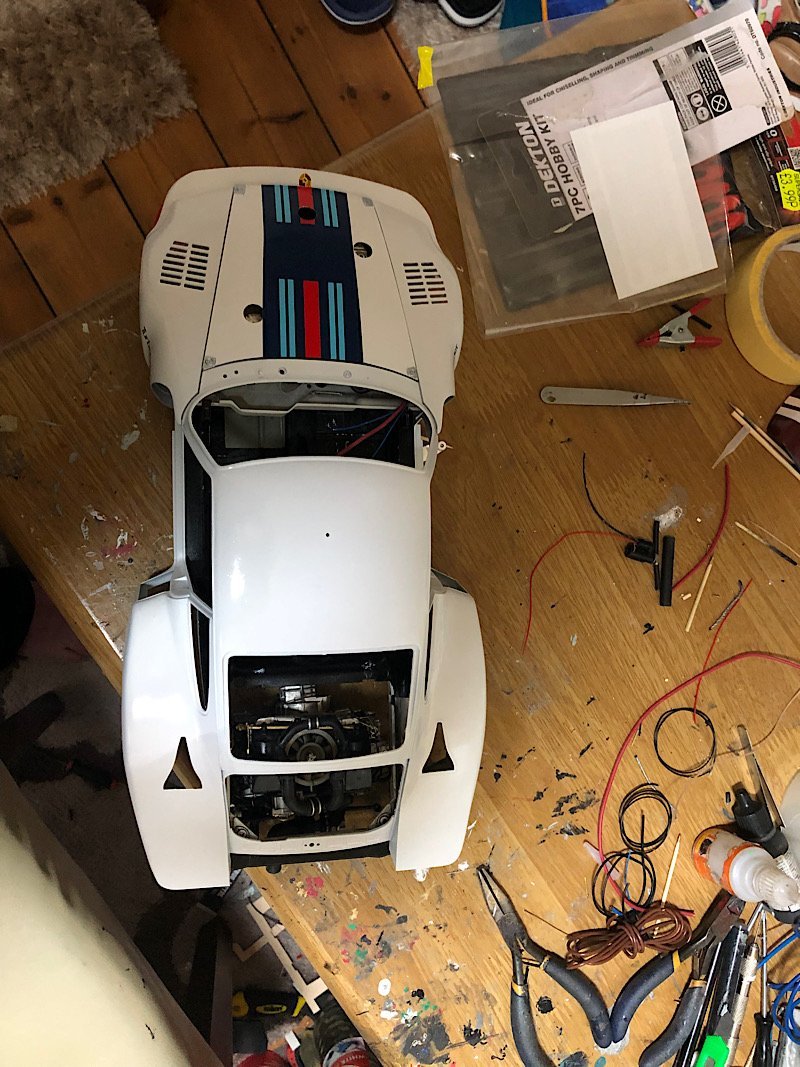
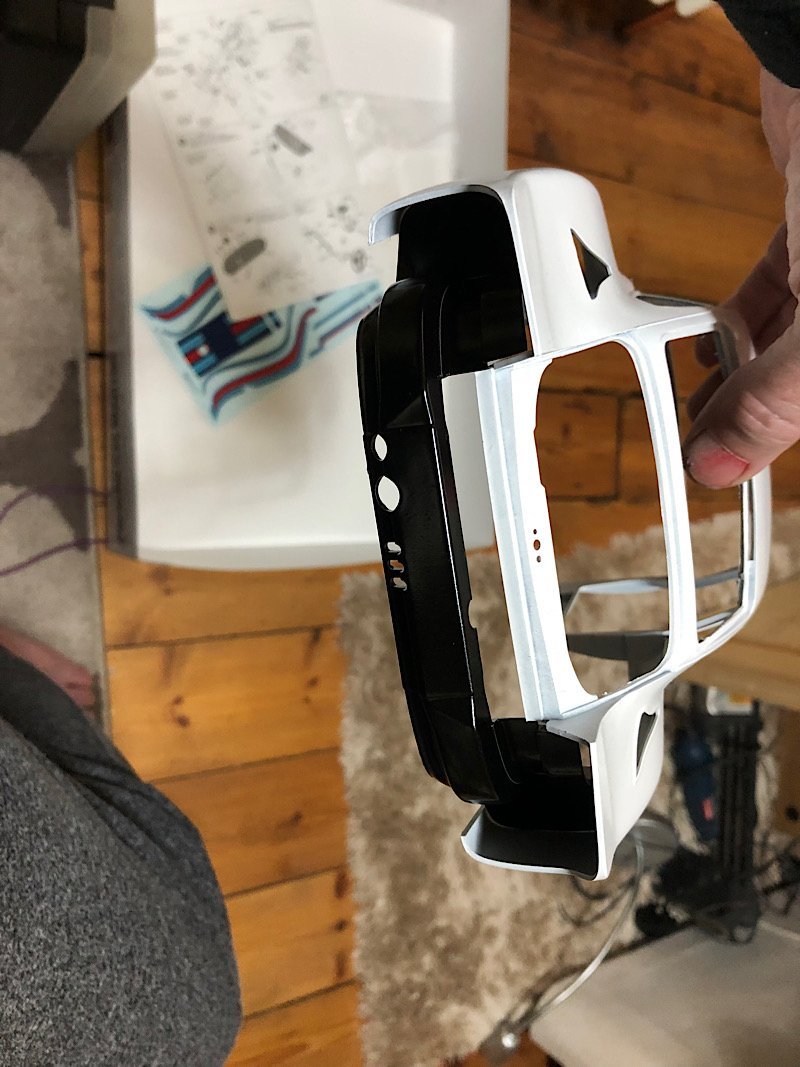
Added a few decals. A trial of the body. Really like the look of this car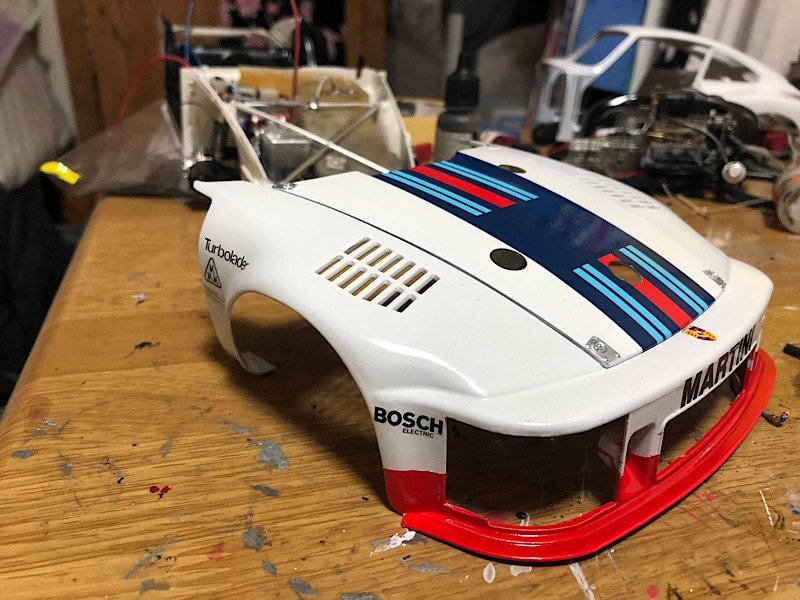


- 63 replies
-
- 13
-
-
-
Martini Porsche 935 by kpnuts - FINISHED - Tamiya - 1/12
kpnuts replied to kpnuts's topic in Non-ship/categorised builds
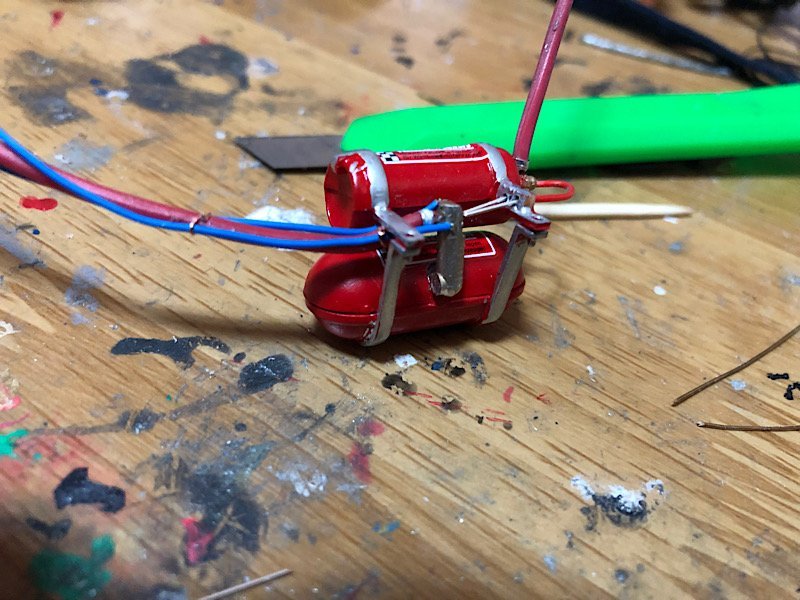
Added the missing details to the fire supperion system. And various other missing details.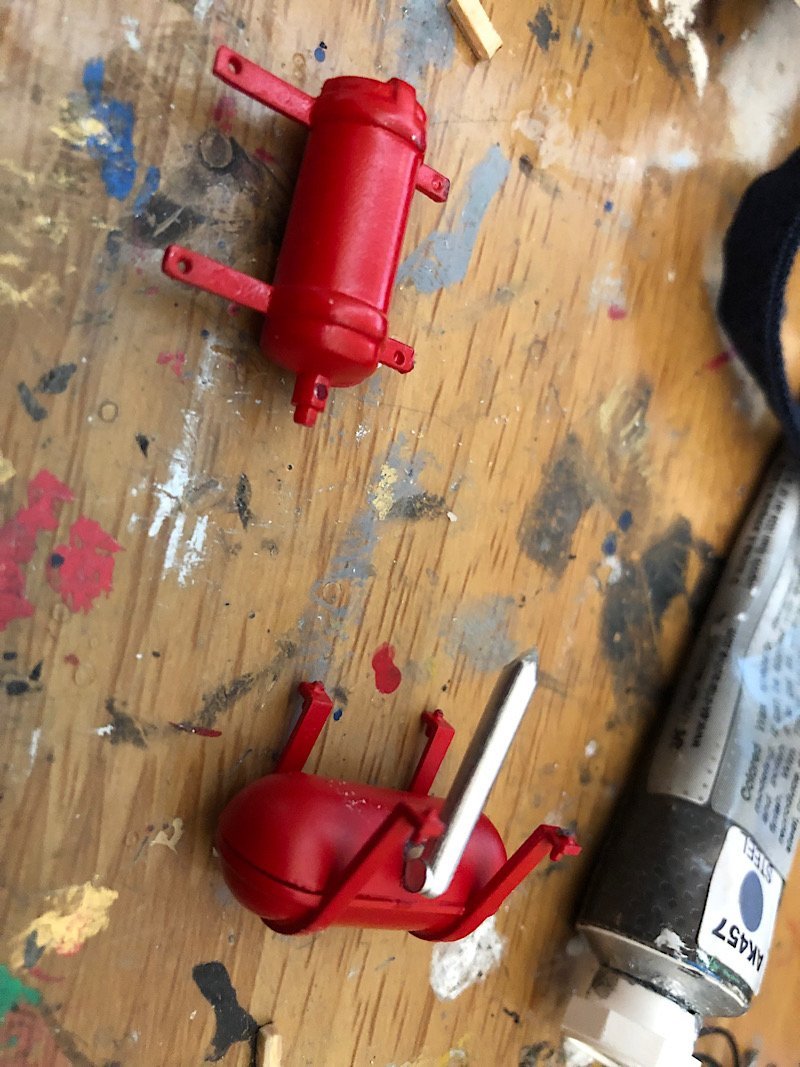


- 63 replies
-
- 11
-
-
-
Martini Porsche 935 by kpnuts - FINISHED - Tamiya - 1/12
kpnuts replied to kpnuts's topic in Non-ship/categorised builds
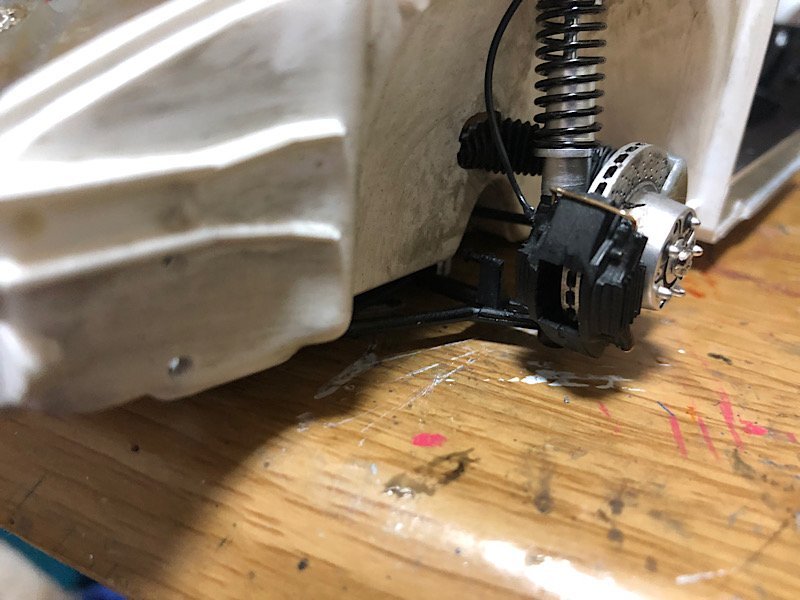
Added the crossover pipes for the calipers. And added the bleed nipples. And done some to the suspension. Just need to talk to the blokes at work for the routing of the brake pipes.
- 63 replies
-
- 11
-
-
Martini Porsche 935 by kpnuts - FINISHED - Tamiya - 1/12
kpnuts replied to kpnuts's topic in Non-ship/categorised builds
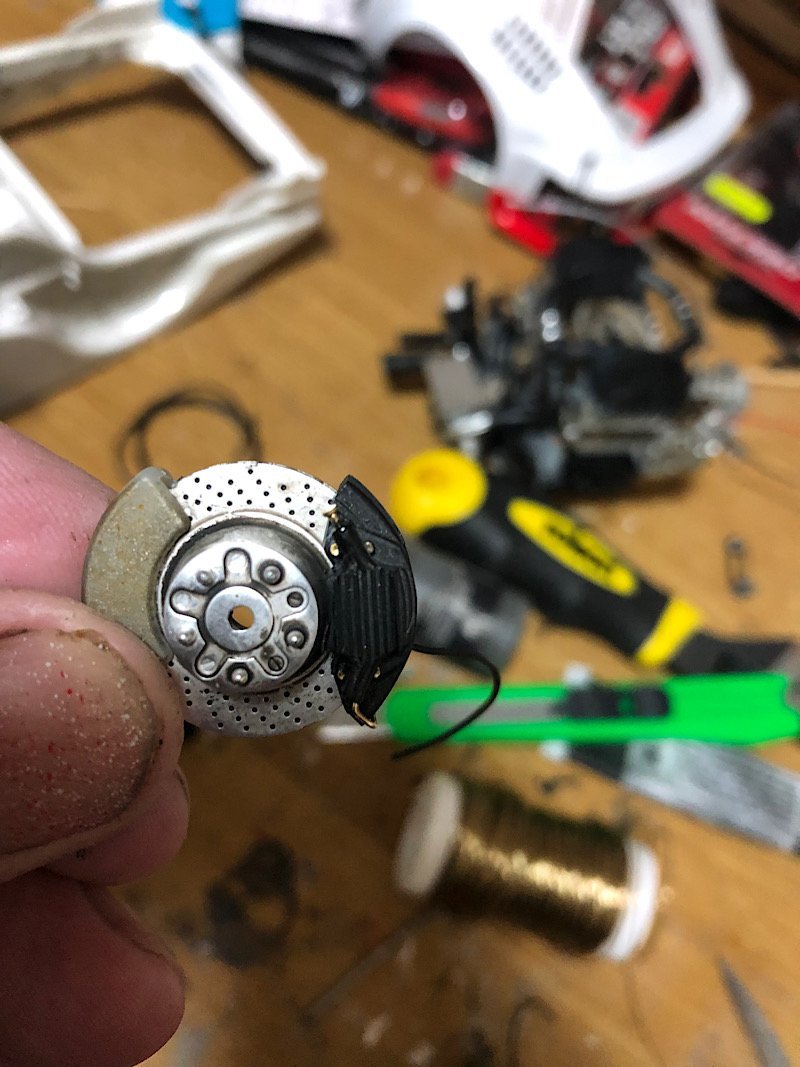
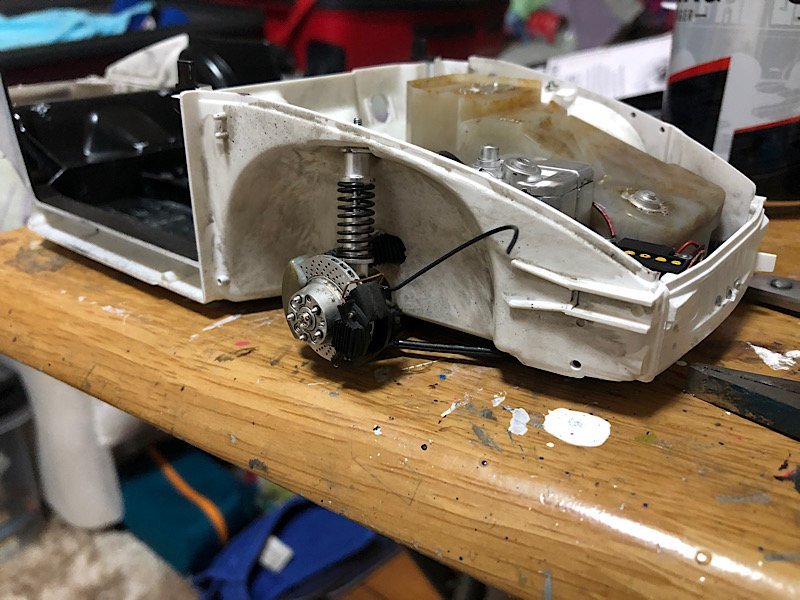
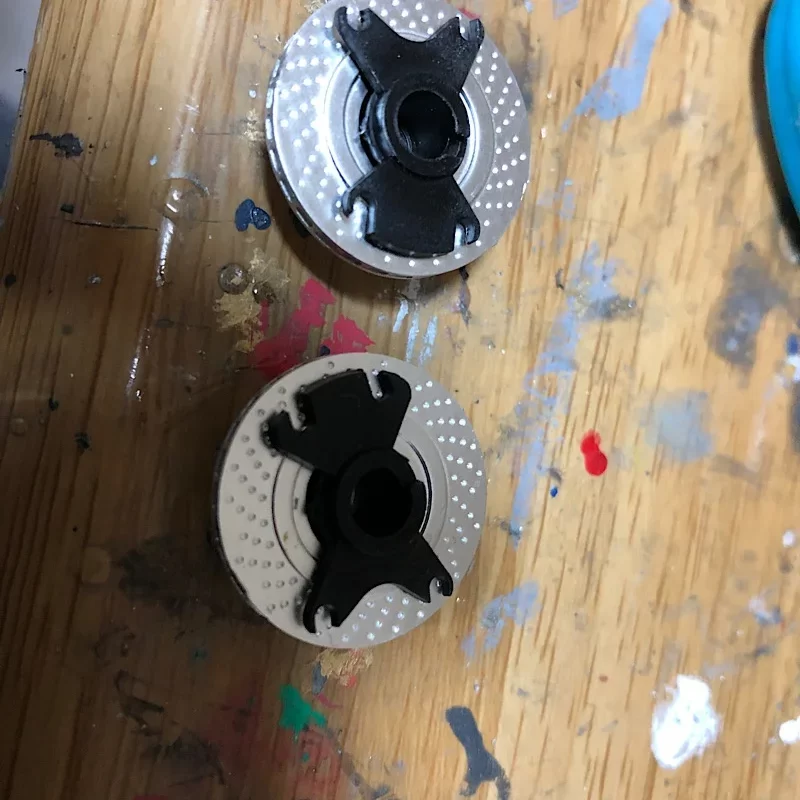
Added some of the missing pipework did the first bit of masking Needs a bit of touching up but I'm happy with it, masking round those air ducts was quite tricky started weathering the underneath and started on the brakes and a trial fit of the rear end.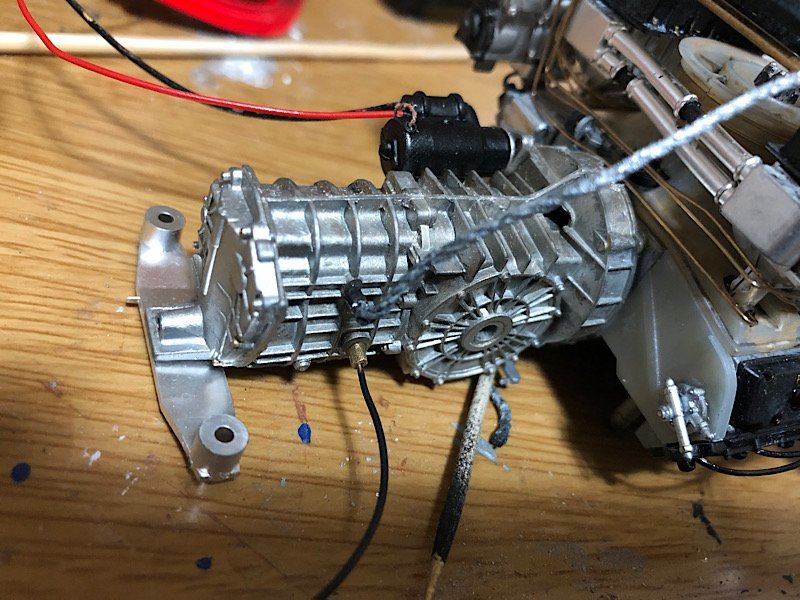
- 63 replies
-
- 11
-
-
Martini Porsche 935 by kpnuts - FINISHED - Tamiya - 1/12
kpnuts replied to kpnuts's topic in Non-ship/categorised builds
Sorry for the late reply Canute, wasn’t sure what you meant, if you scroll past those pics the tutorials are after them -
Martini Porsche 935 by kpnuts - FINISHED - Tamiya - 1/12
kpnuts replied to kpnuts's topic in Non-ship/categorised builds
My pleasure mate if I can help with any aspect of modeling I'm happy to. -
Martini Porsche 935 by kpnuts - FINISHED - Tamiya - 1/12
kpnuts replied to kpnuts's topic in Non-ship/categorised builds
I know it's got a cross in it but if you click on the link it works -
Martini Porsche 935 by kpnuts - FINISHED - Tamiya - 1/12
kpnuts replied to kpnuts's topic in Non-ship/categorised builds
You ask I obey. -
Martini Porsche 935 by kpnuts - FINISHED - Tamiya - 1/12
kpnuts replied to kpnuts's topic in Non-ship/categorised builds
I posted a tutorial on one of the forums I'm on, on how I do it, I would post here but I don't know where to post it. I could post a link to it if you like. -
Martini Porsche 935 by kpnuts - FINISHED - Tamiya - 1/12
kpnuts replied to kpnuts's topic in Non-ship/categorised builds
It's just paints mate. -
Martini Porsche 935 by kpnuts - FINISHED - Tamiya - 1/12
kpnuts replied to kpnuts's topic in Non-ship/categorised builds
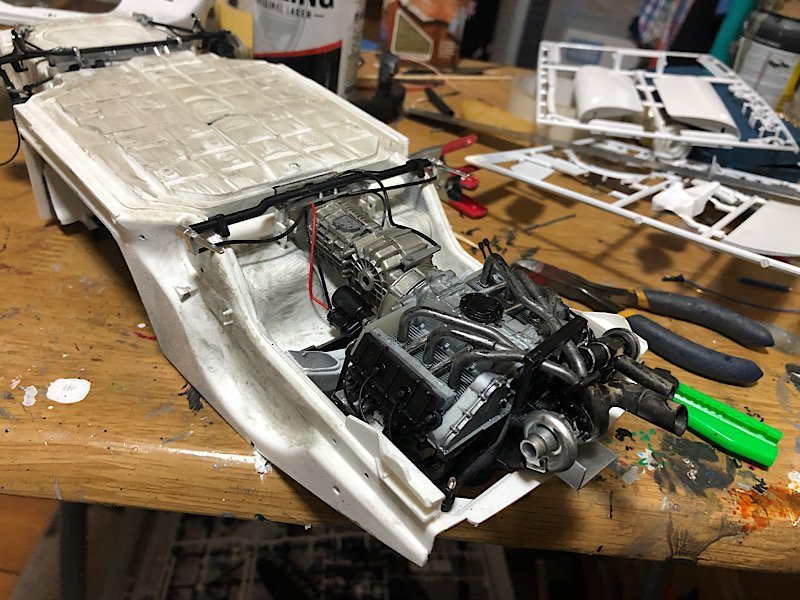
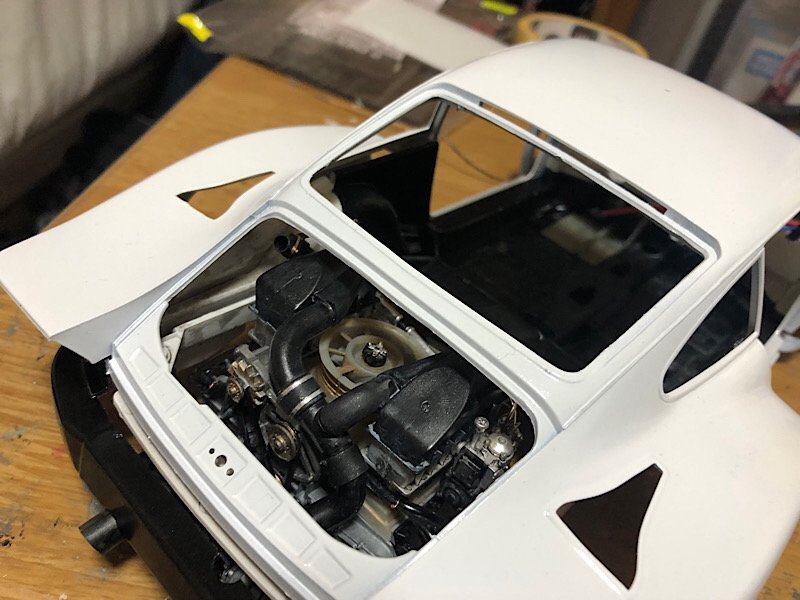
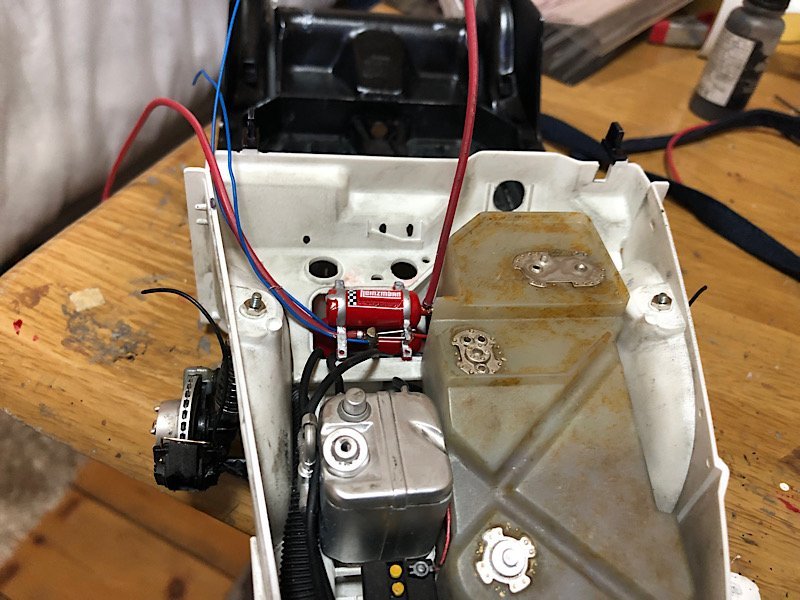
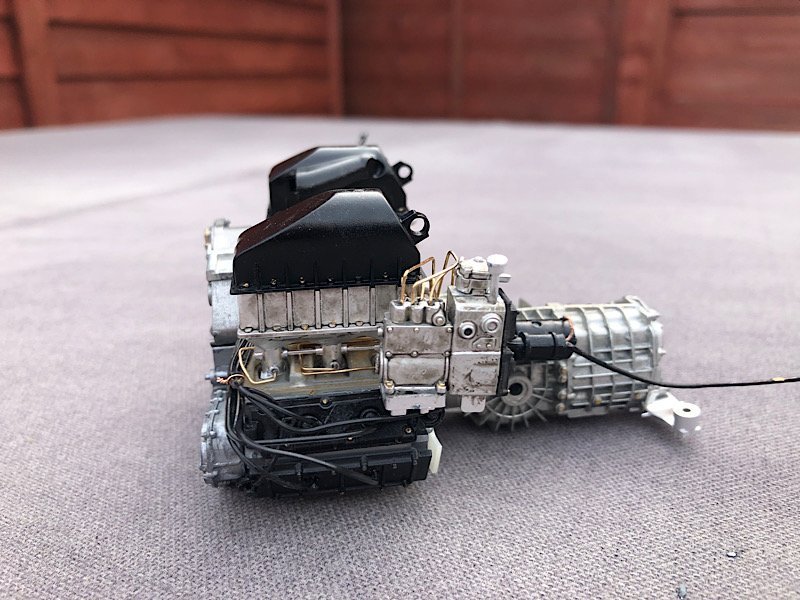
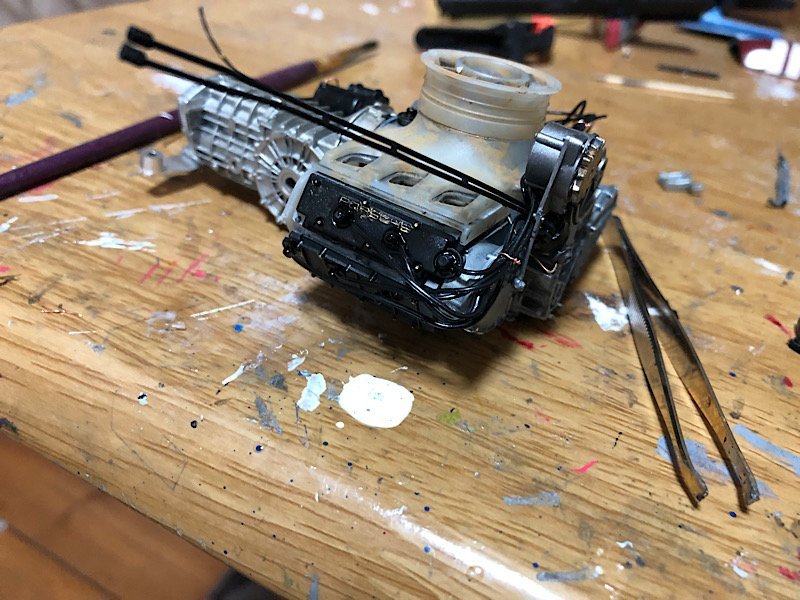
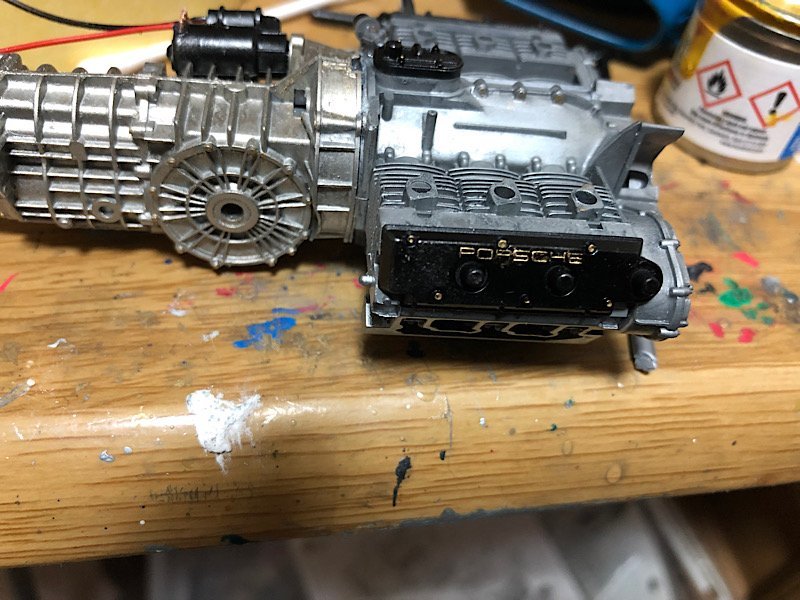
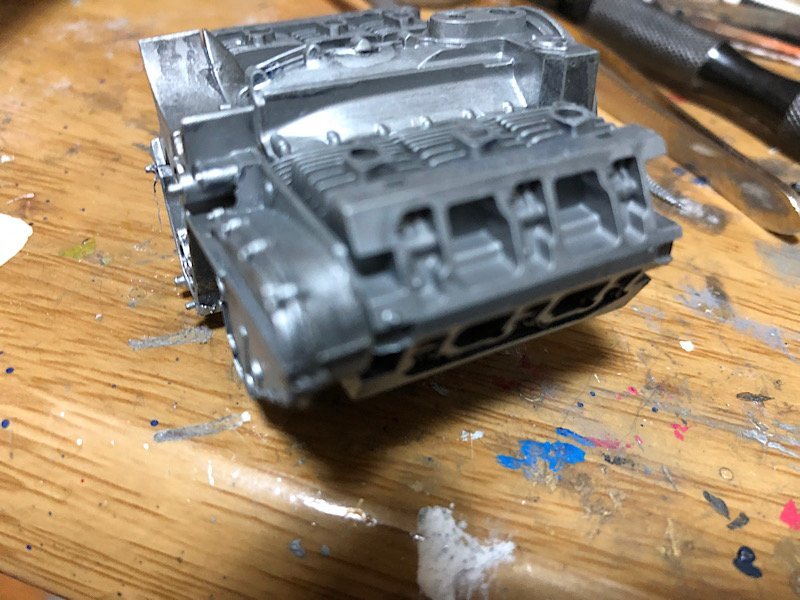
Hi all well I'm back from Scotland so did some work on this today, this is as much detail as the kit supplies I've done a trial fit in the body to see how it looks, I've got more pipework and wiring to add yet.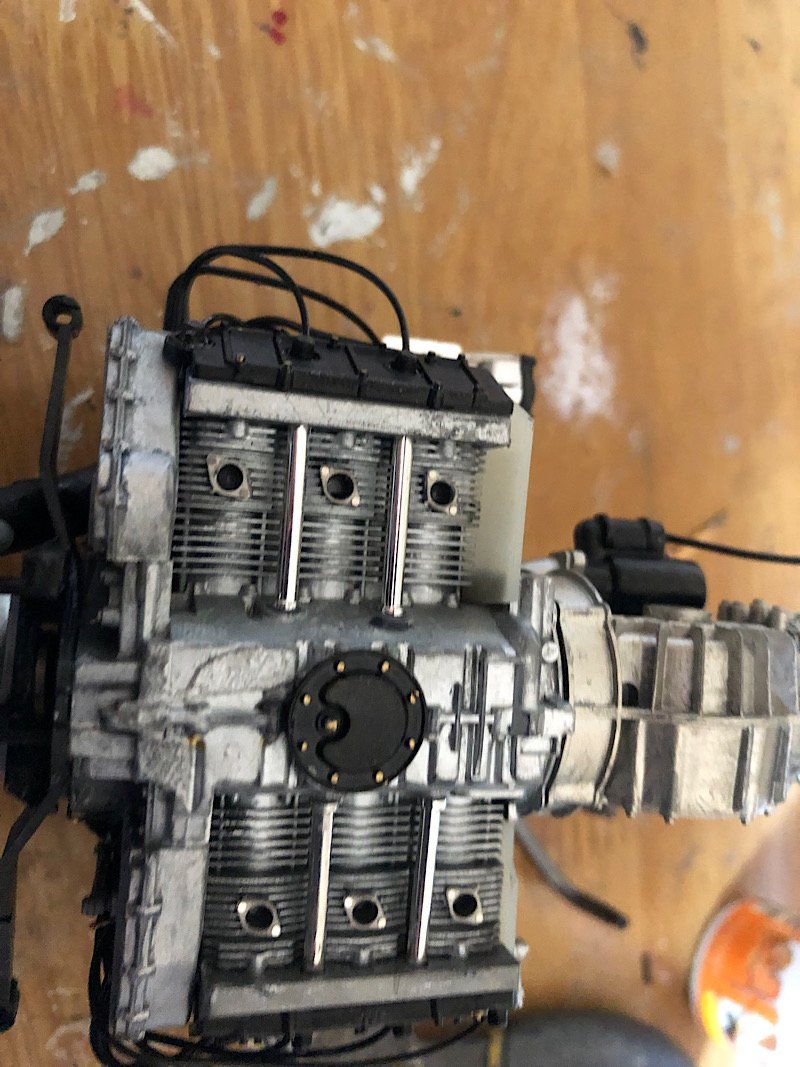

- 63 replies
-
- 12
-
-
Martini Porsche 935 by kpnuts - FINISHED - Tamiya - 1/12
kpnuts replied to kpnuts's topic in Non-ship/categorised builds
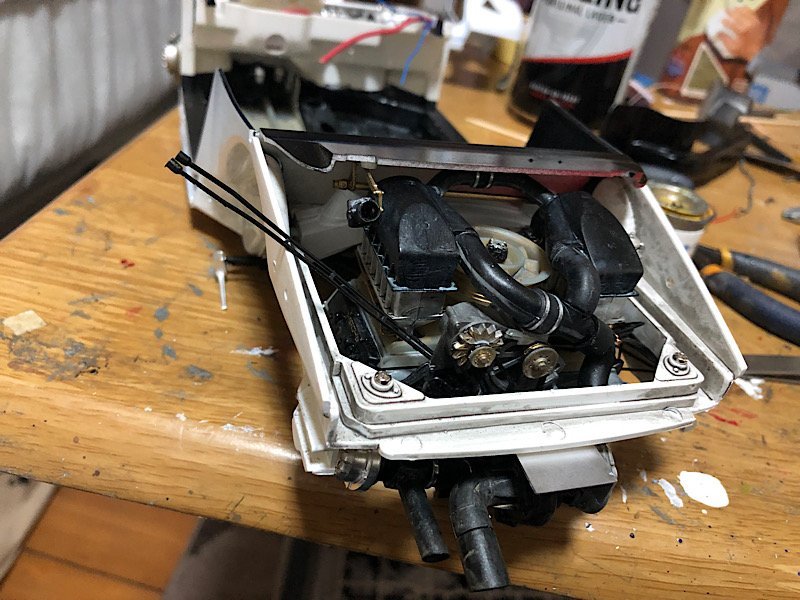
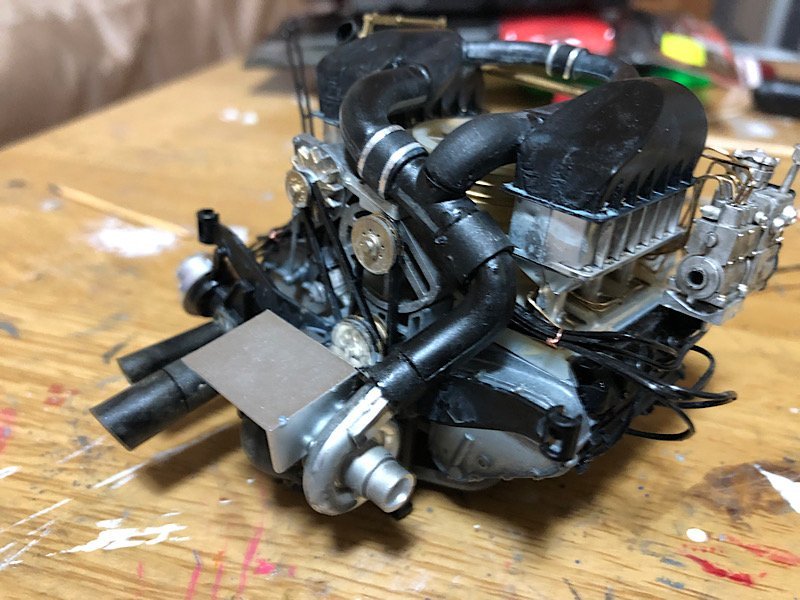
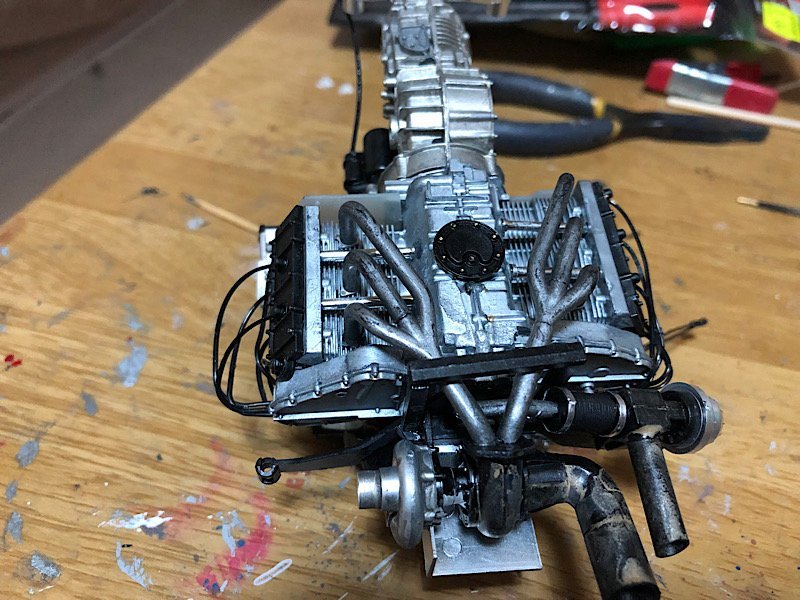
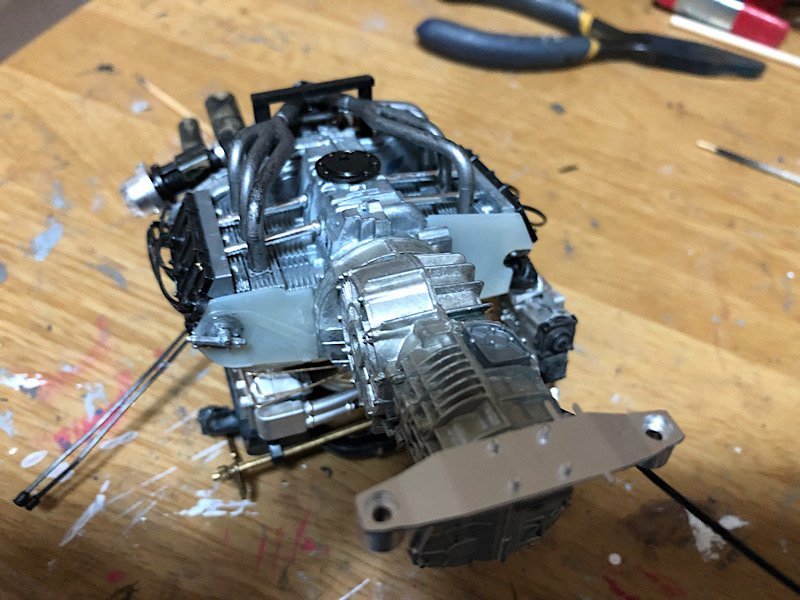
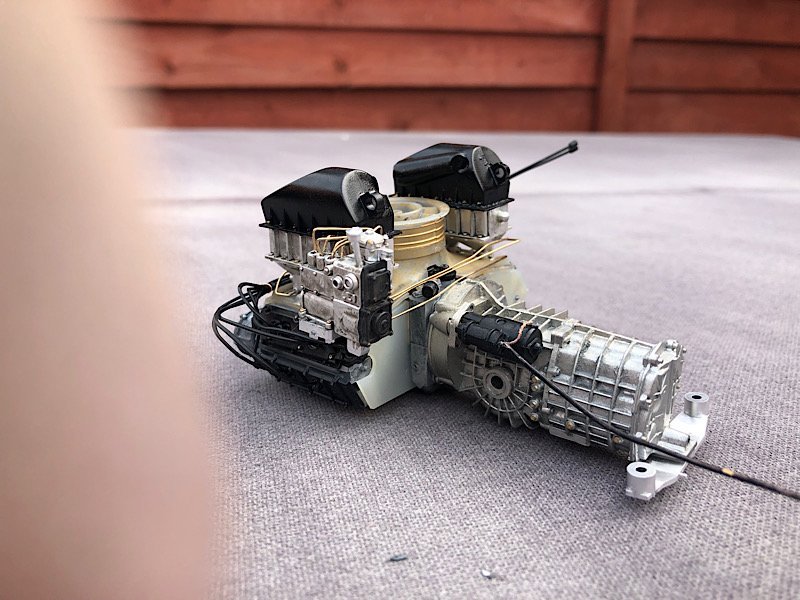
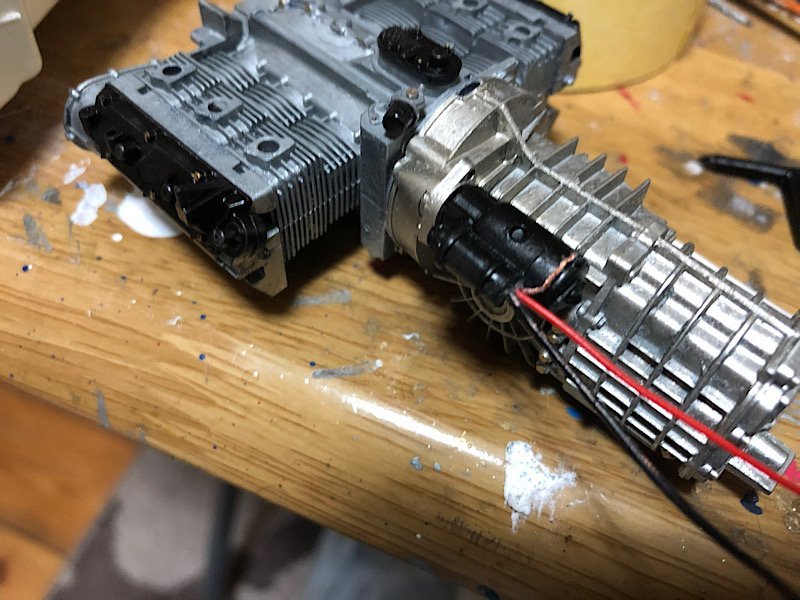
Hi all turbo and some ancillary parts started.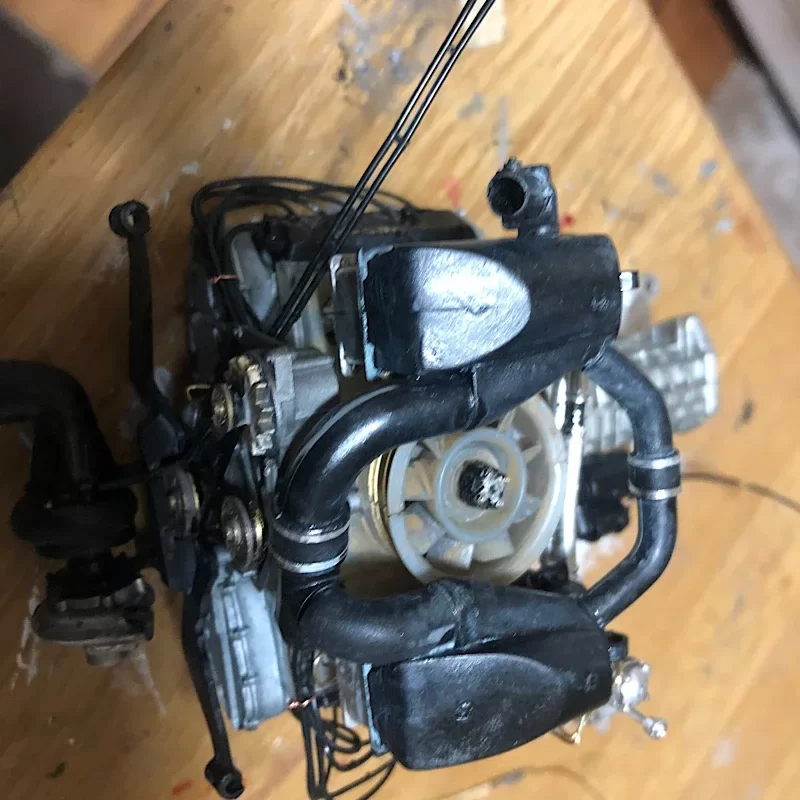

- 63 replies
-
- 13
-
-
-
Martini Porsche 935 by kpnuts - FINISHED - Tamiya - 1/12
kpnuts replied to kpnuts's topic in Non-ship/categorised builds
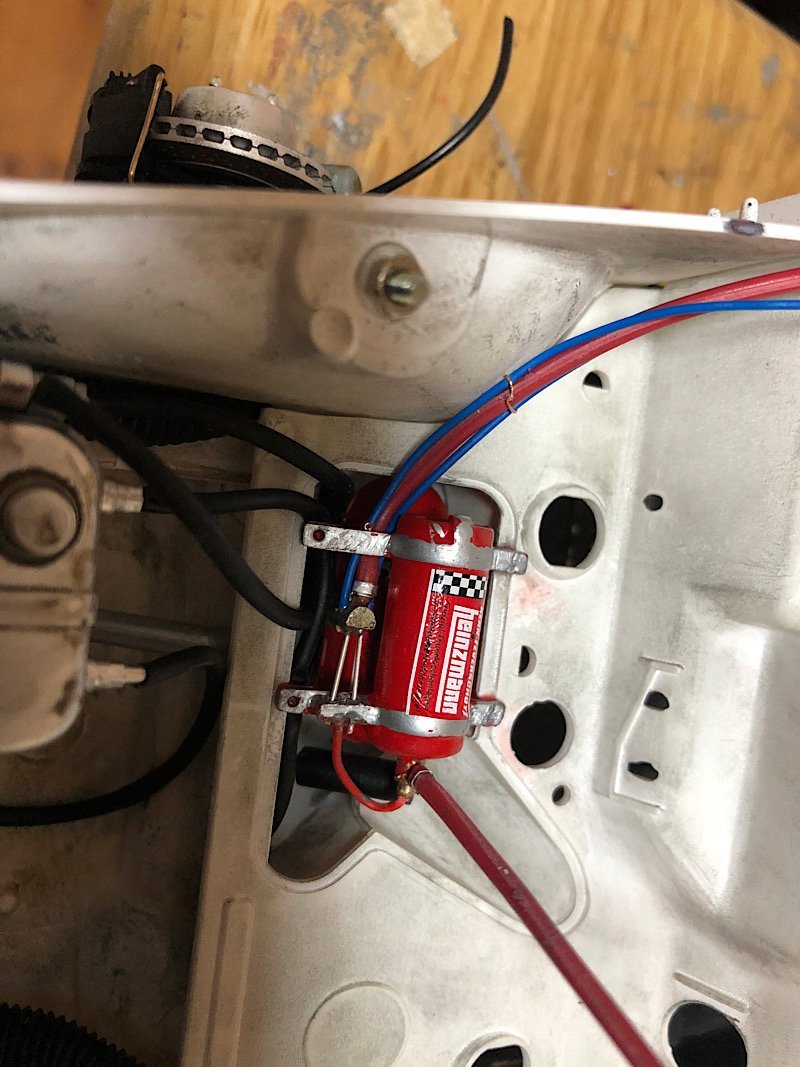
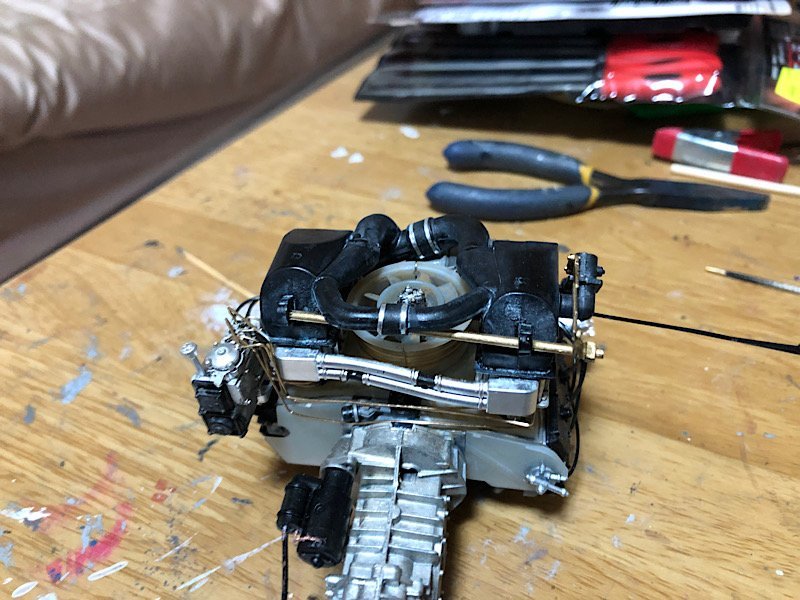
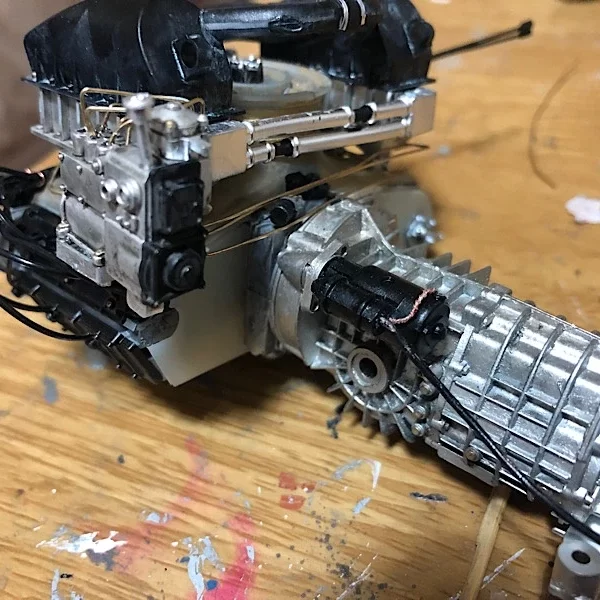
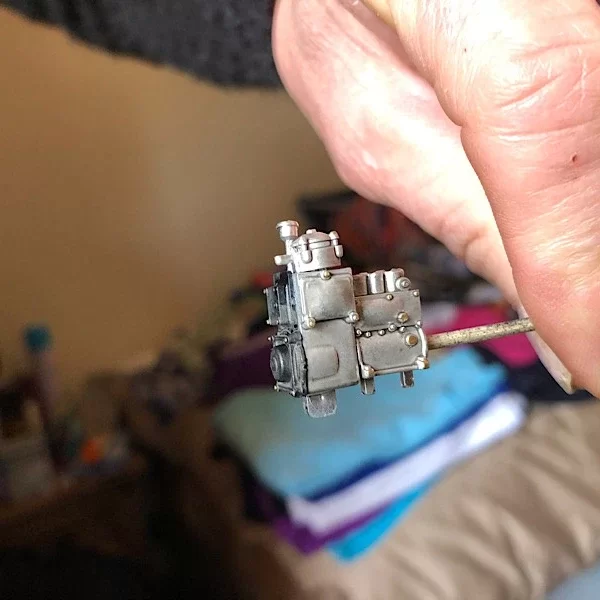
Did some work on the fuel pump, Tamiya would have you use plastic tube for the fuel lines whereas they are metal on the real thing. Since I've used artistic licence already and depicted gold plated nuts and bolts I decided to depict gold plated fuel lines too.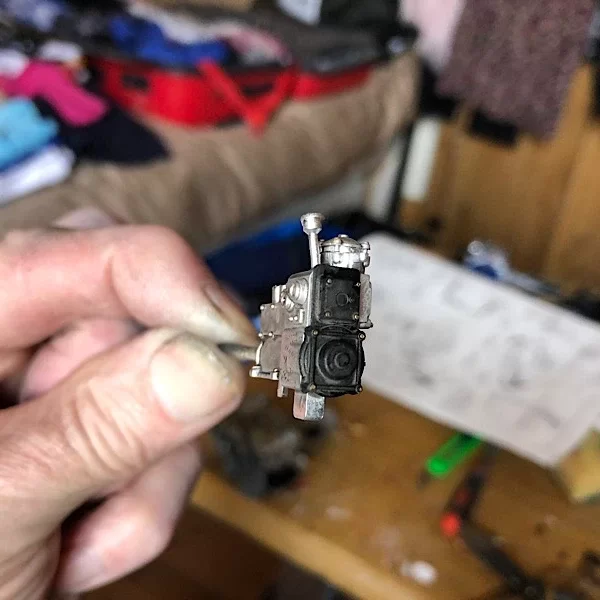
- 63 replies
-
- 14
-
-
-
Martini Porsche 935 by kpnuts - FINISHED - Tamiya - 1/12
kpnuts replied to kpnuts's topic in Non-ship/categorised builds
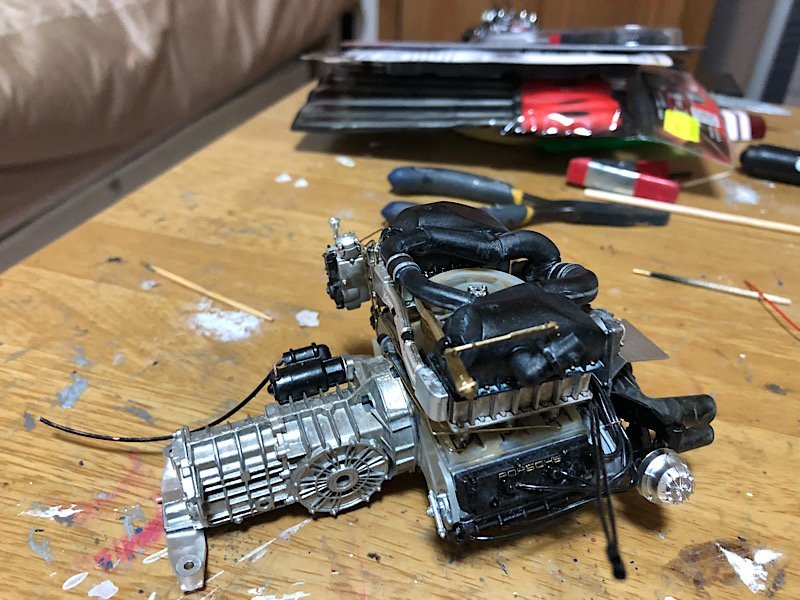
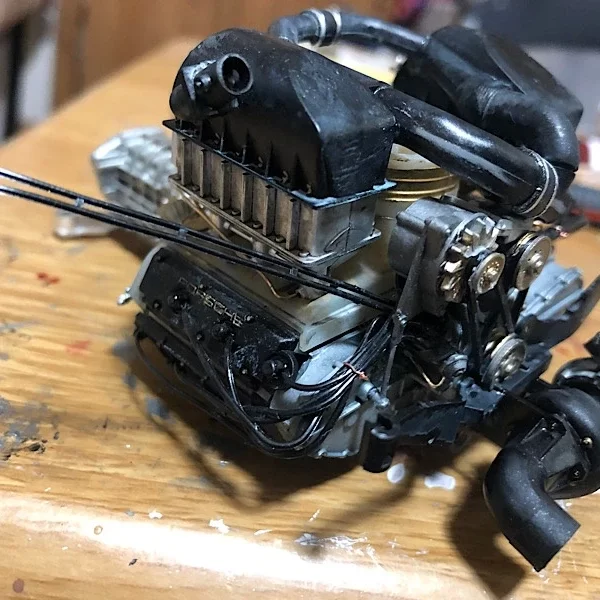
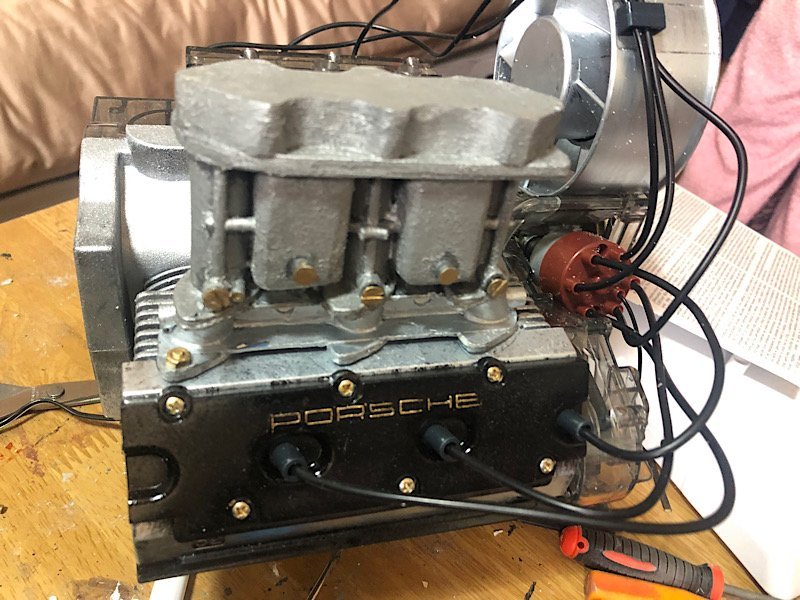
OK so I've added the advance retard pipe to the distributor (assuming you can even see it) Body painted. And more work on the engine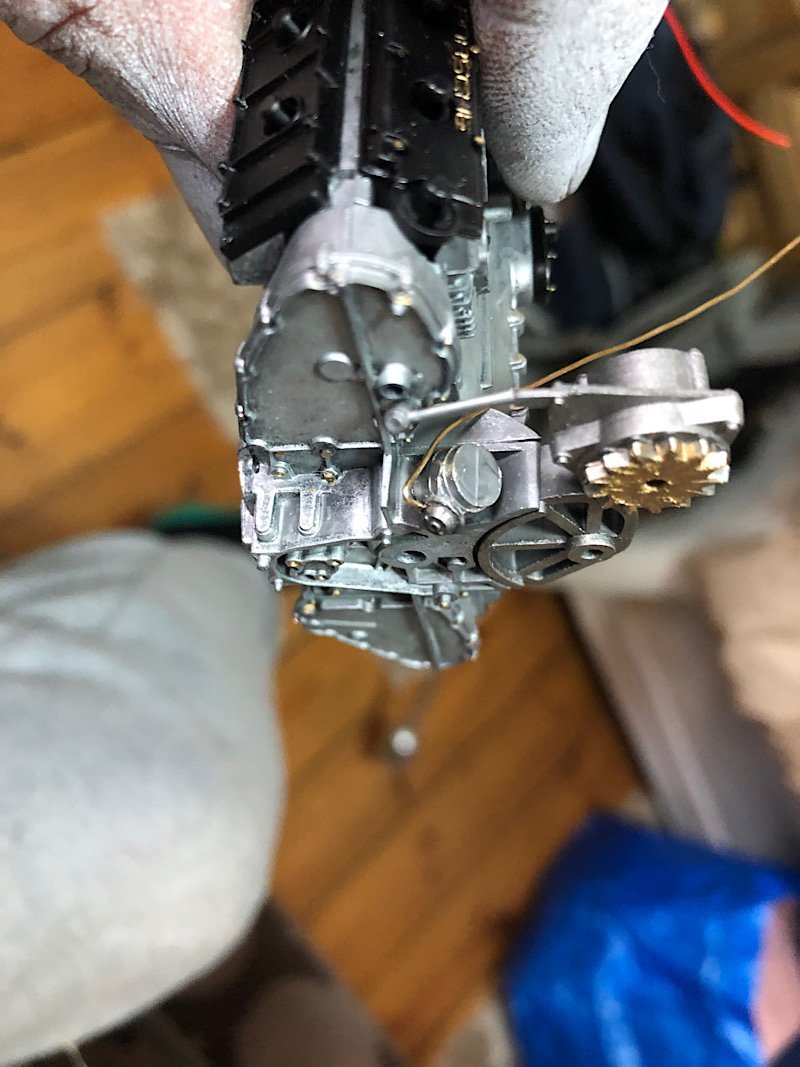
- 63 replies
-
- 12
-
-
-
Martini Porsche 935 by kpnuts - FINISHED - Tamiya - 1/12
kpnuts replied to kpnuts's topic in Non-ship/categorised builds
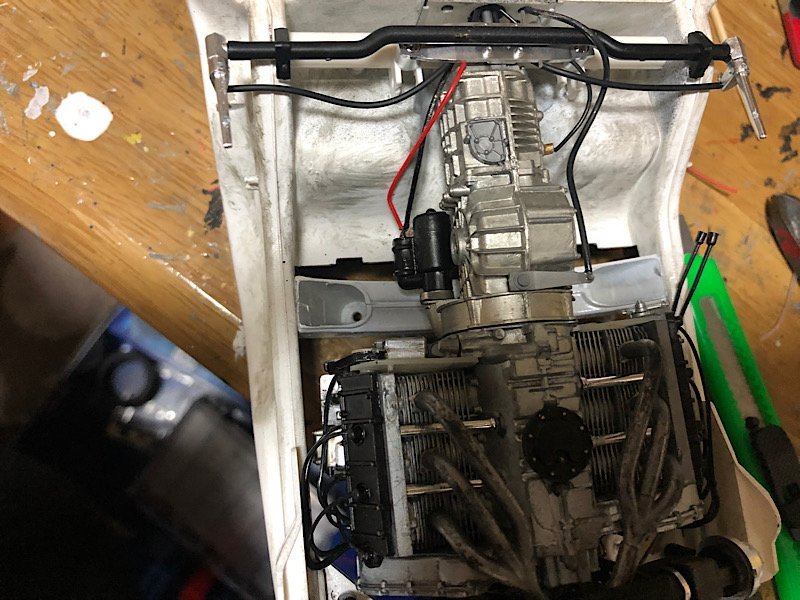
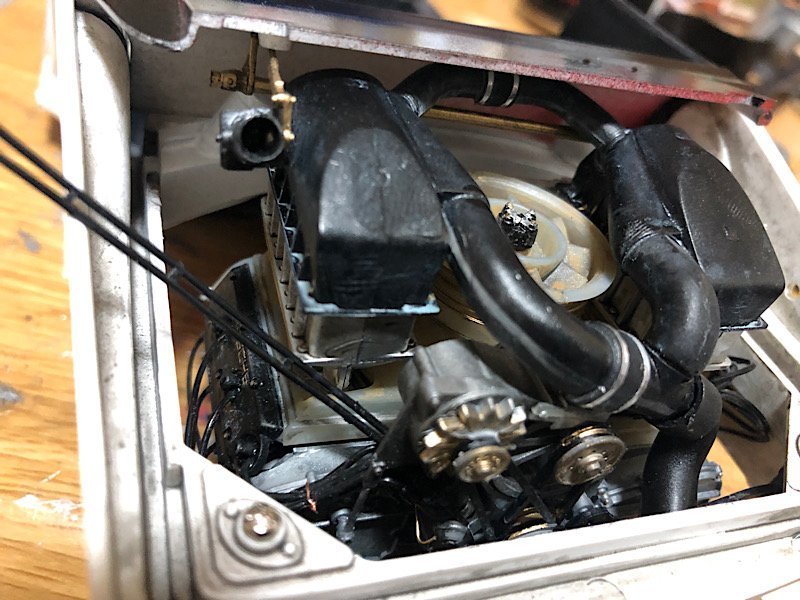
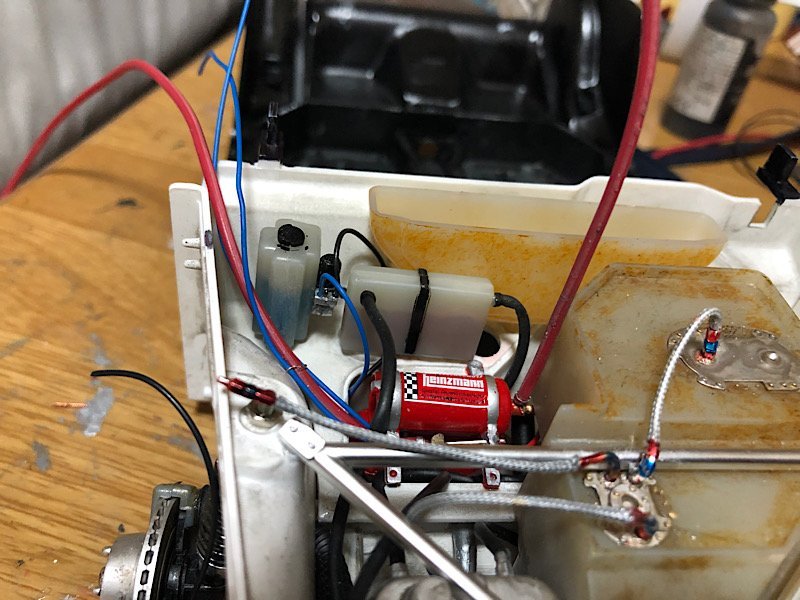
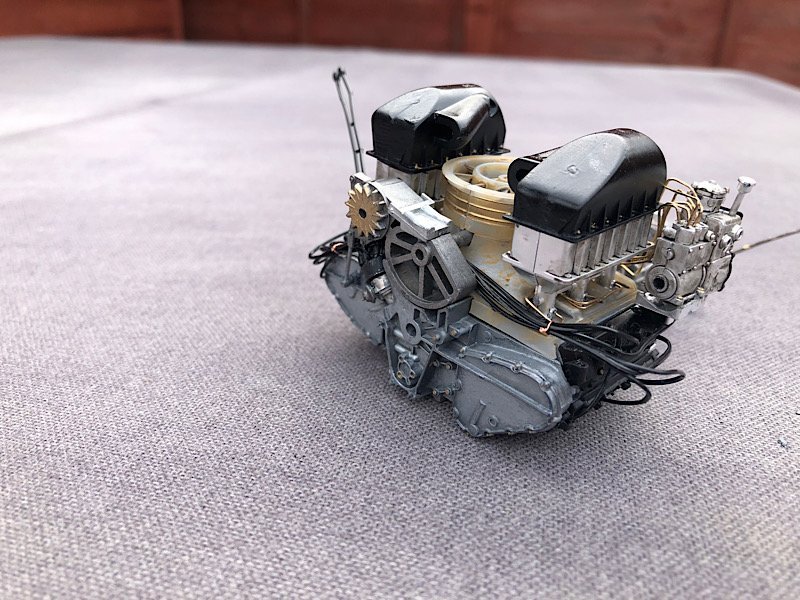
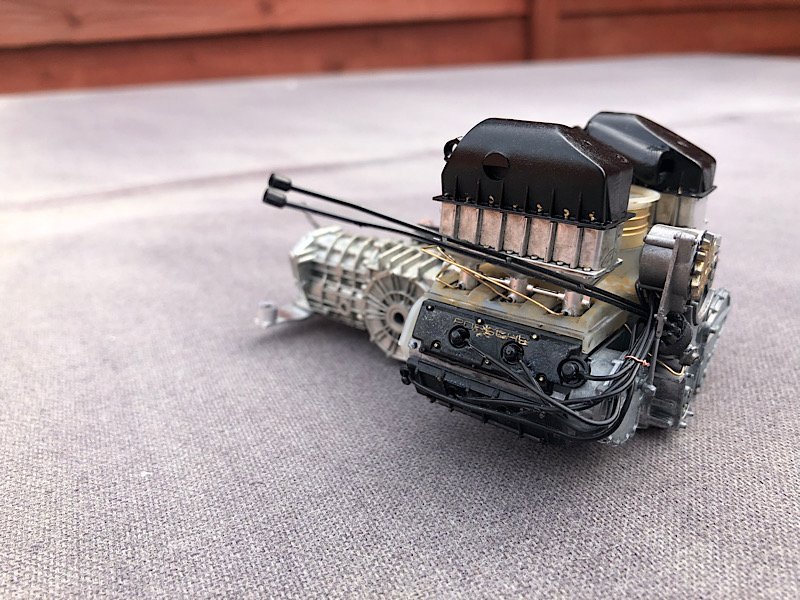
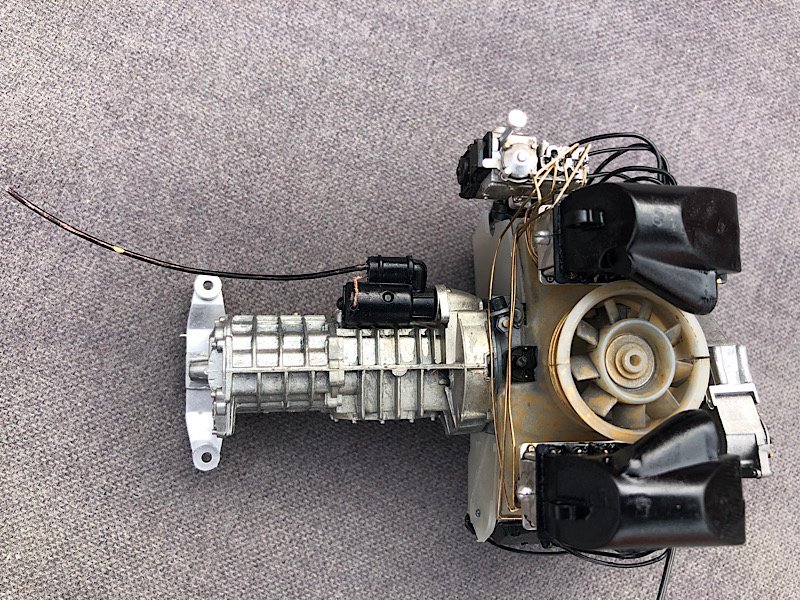
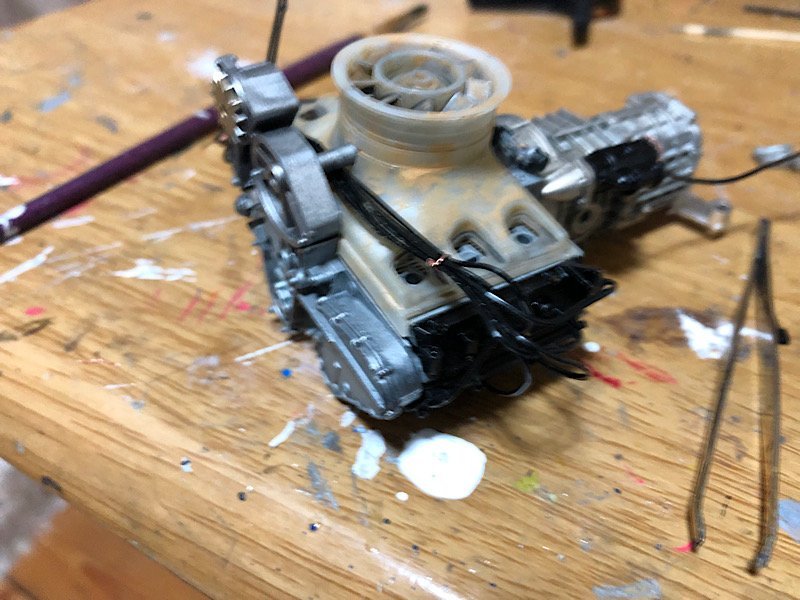
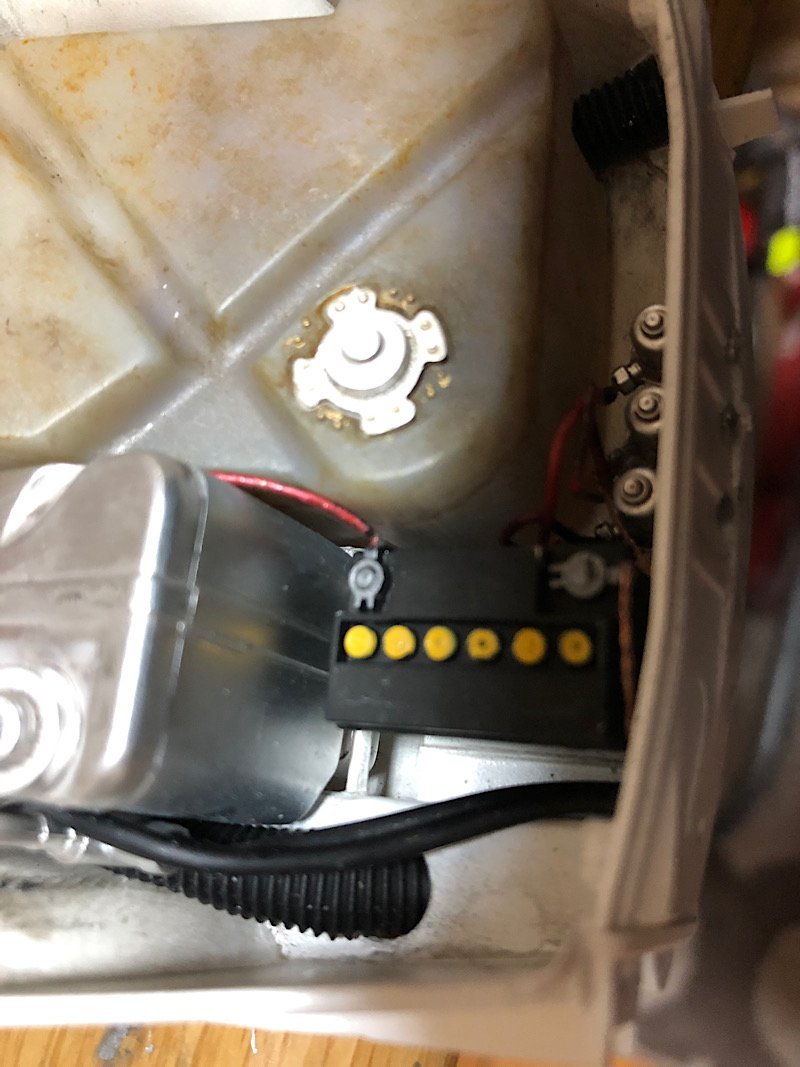
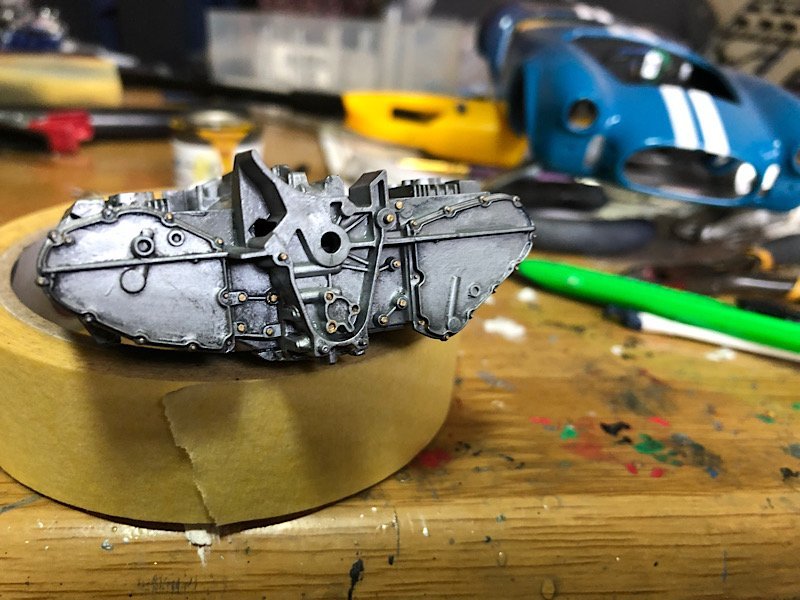
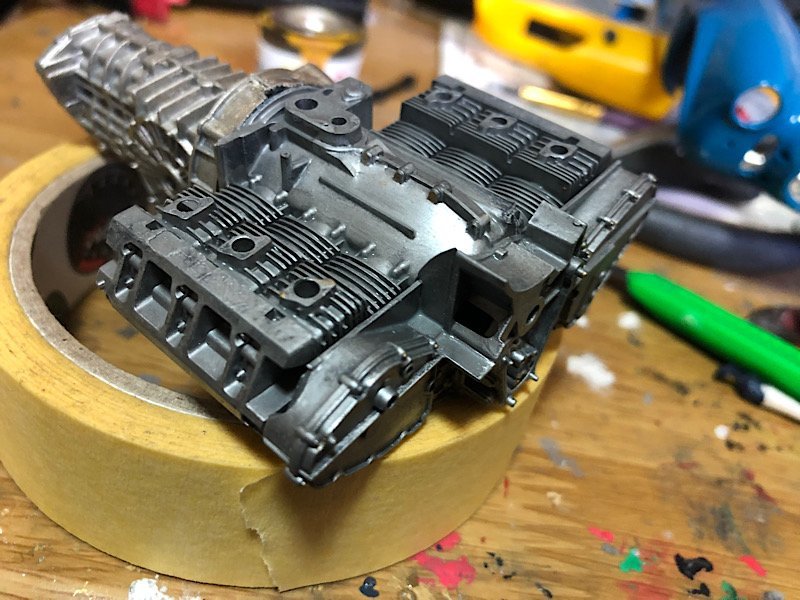
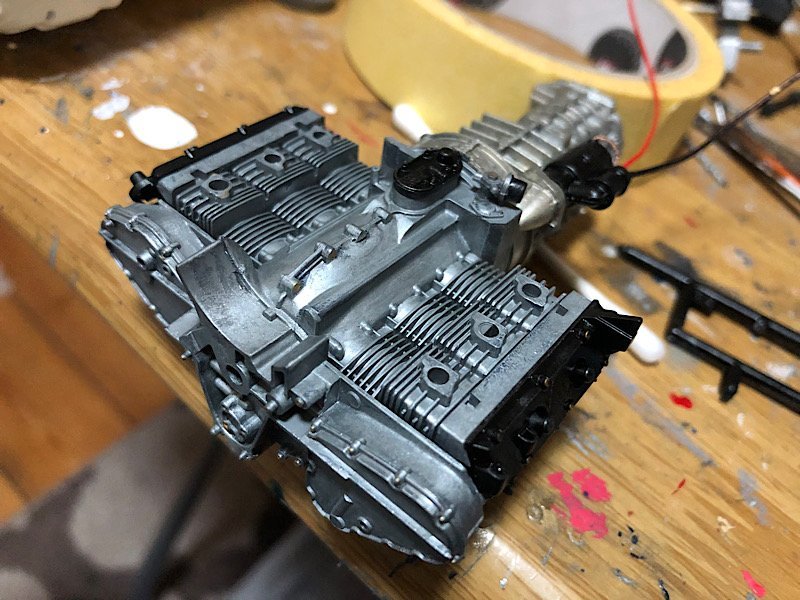
Hi all added battery cables and starter motor cables. I've got to say I'm super happy with the metal effects on this. The casings would be made of magnesium and I've worked up close and personal on hundreds of these and I don't think I could get more realistic results, I tried a different approach, normally I use ABT engine grease thinned down to a wash but I didn't want to disturb the mig steel colour I had used which I know white spirit based wash would so I tried a wash of vallejo engine grey over it. I'm loving the result, I can see me using this again.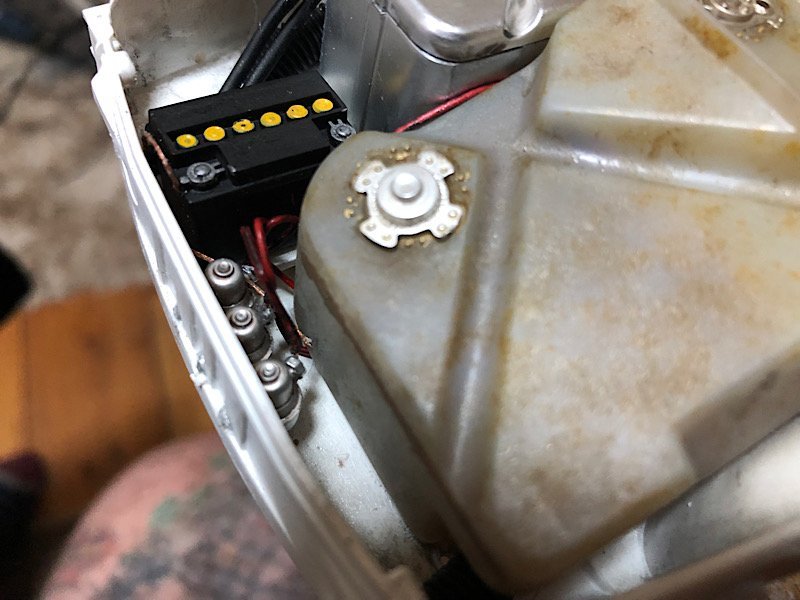
- 63 replies
-
- 16
-
-
Martini Porsche 935 by kpnuts - FINISHED - Tamiya - 1/12
kpnuts replied to kpnuts's topic in Non-ship/categorised builds
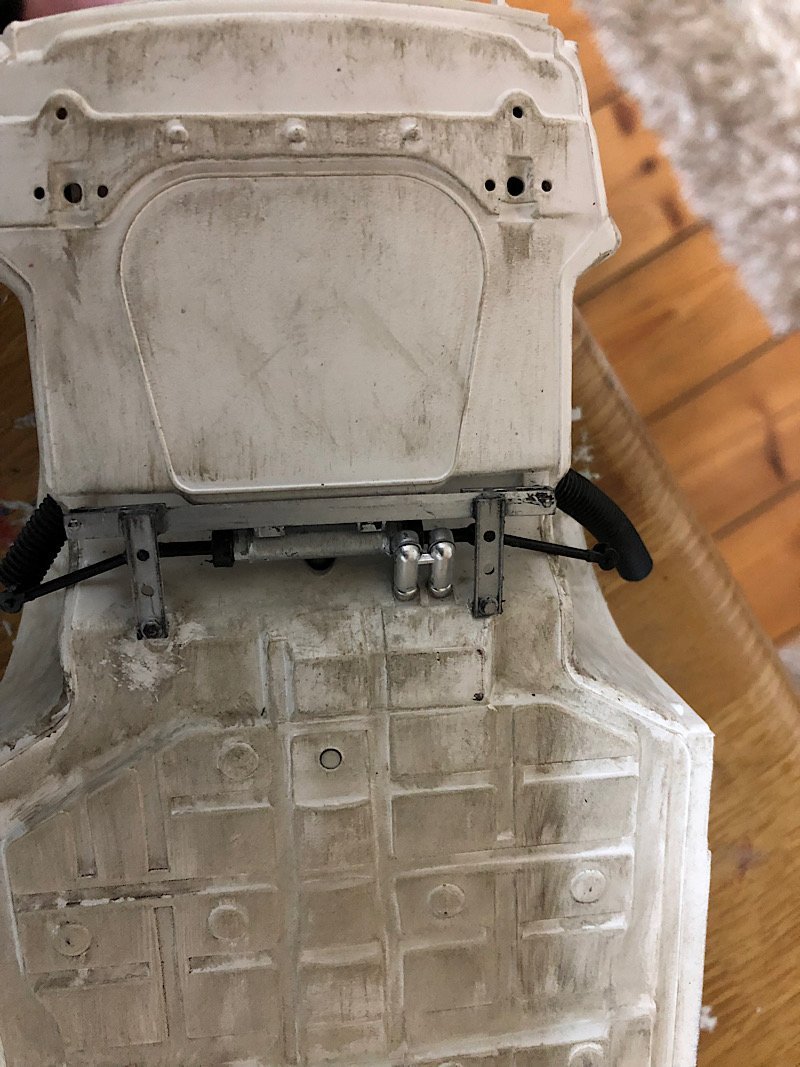
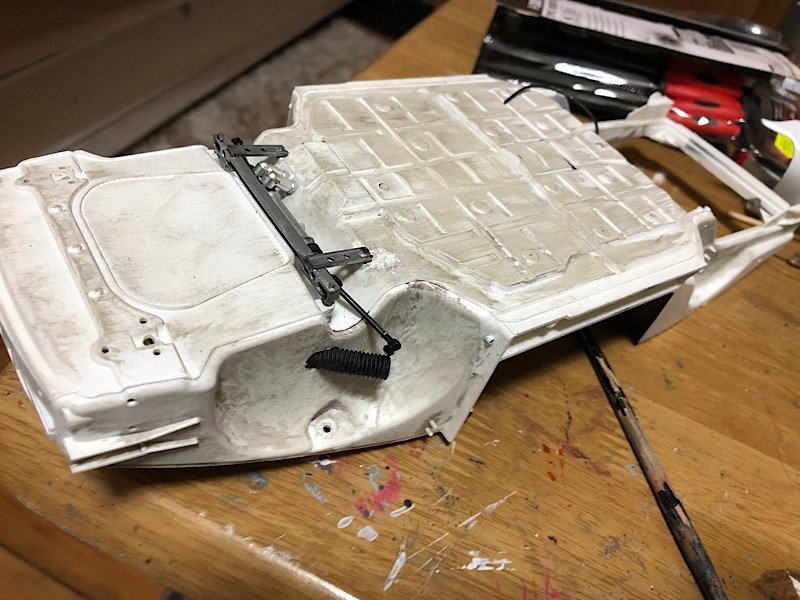
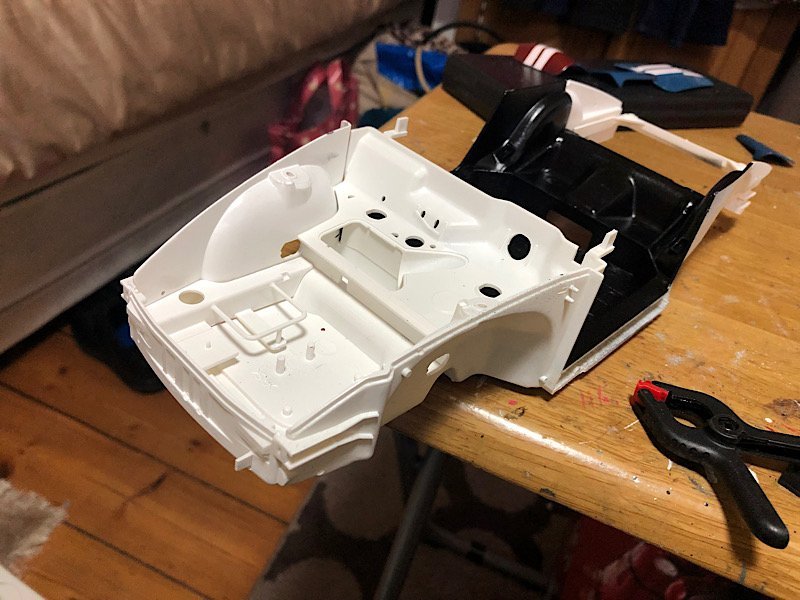
OK so as you can see I'm not building this as a showroom car but rather as one that has just finished a race.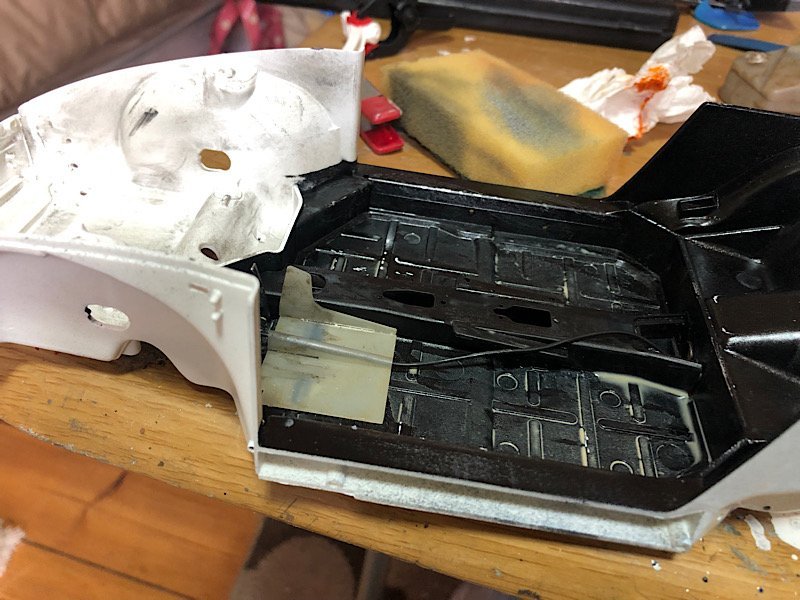
- 63 replies
-
- 15
-
-
Martini Porsche 935 by kpnuts - FINISHED - Tamiya - 1/12
kpnuts replied to kpnuts's topic in Non-ship/categorised builds
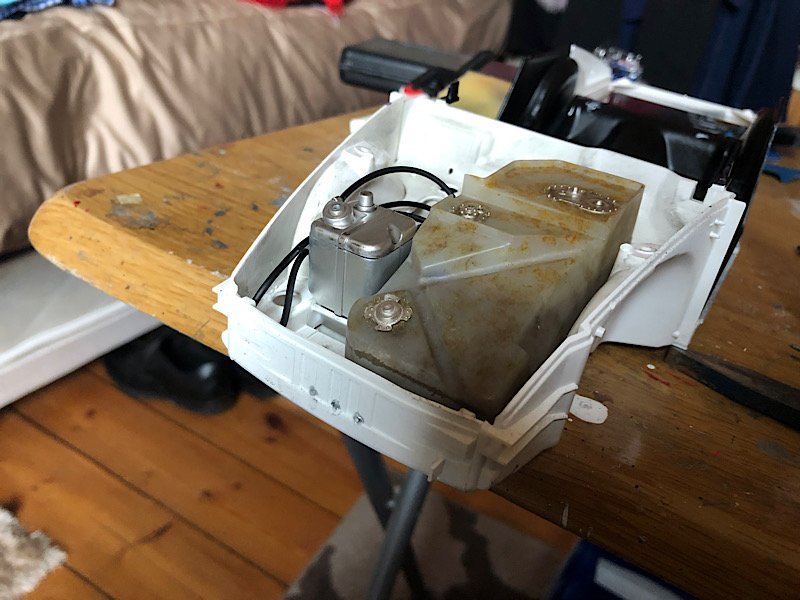
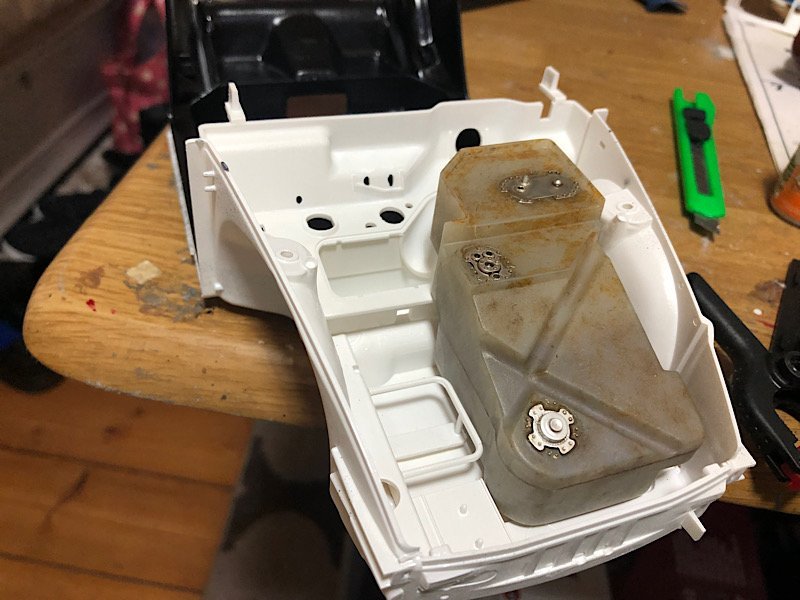
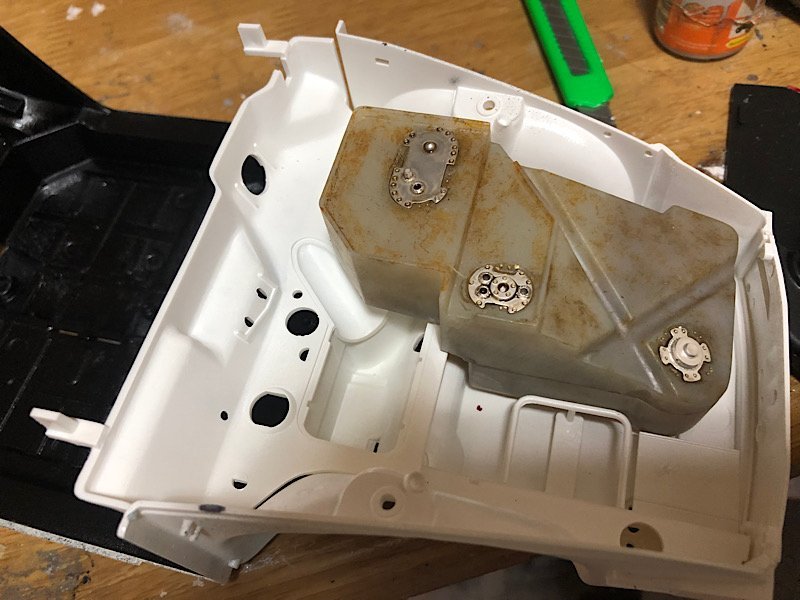
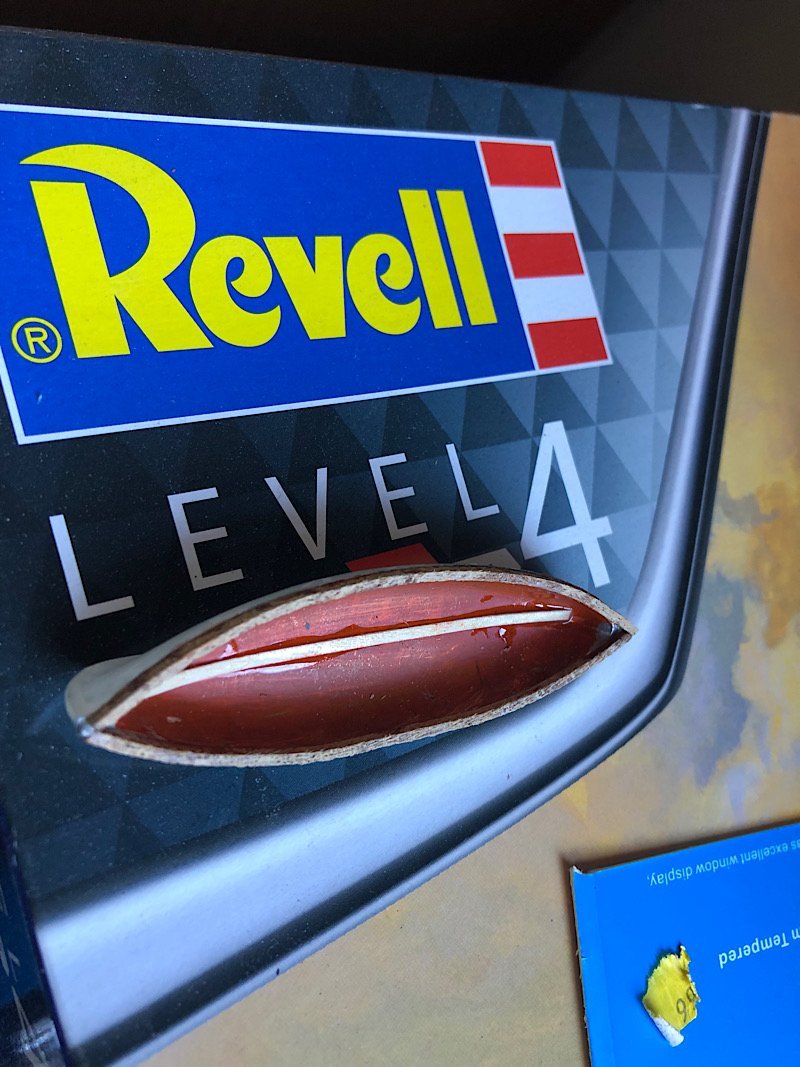
The fuel cell is fiber glass and has to be certified each year. -
Martini Porsche 935 by kpnuts - FINISHED - Tamiya - 1/12
kpnuts replied to kpnuts's topic in Non-ship/categorised builds
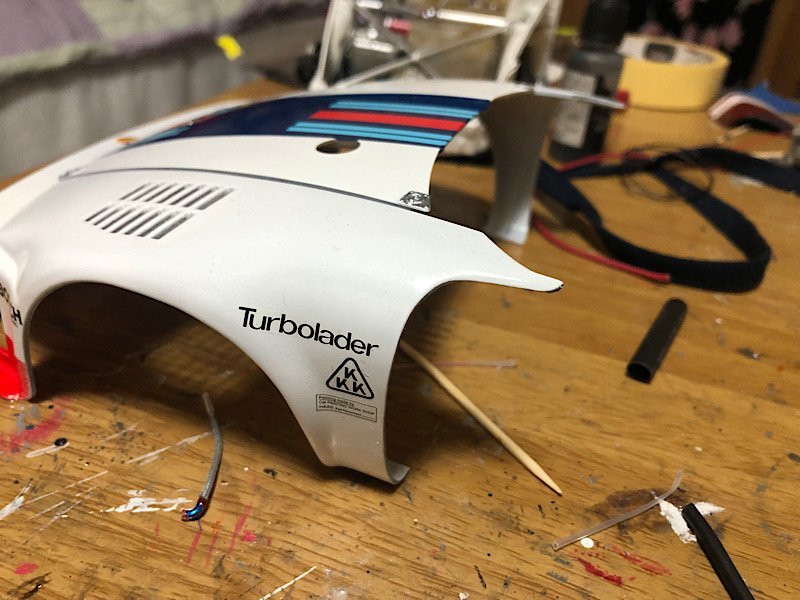
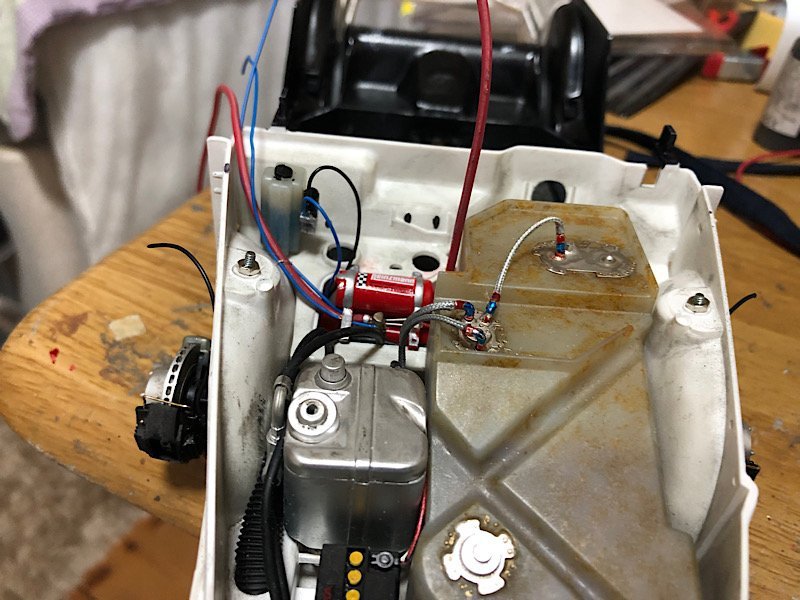
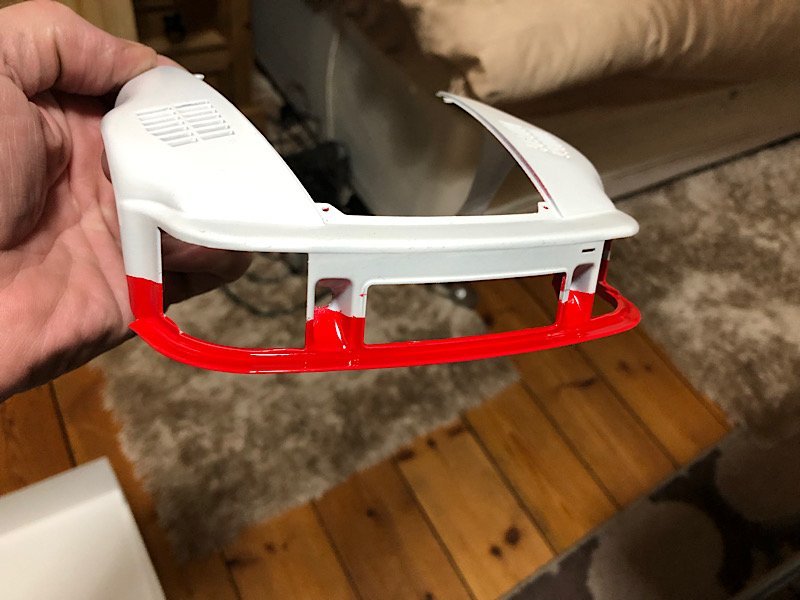
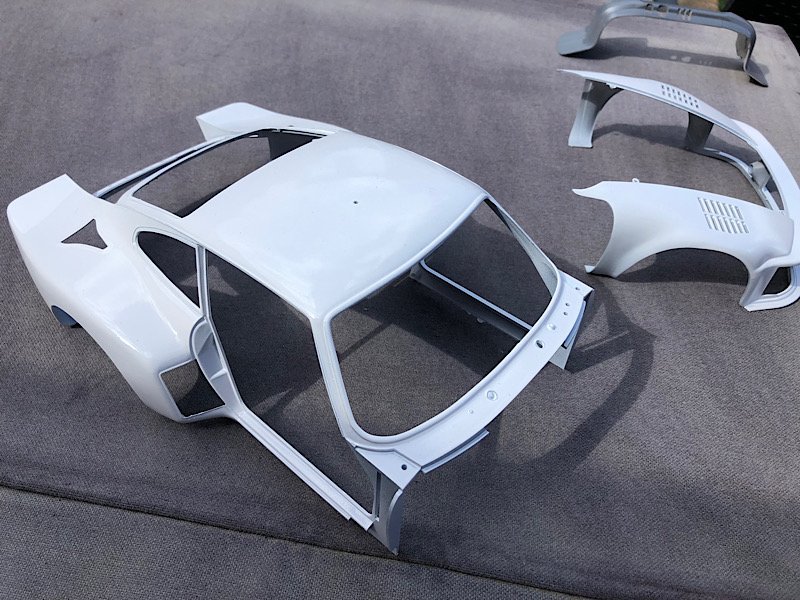
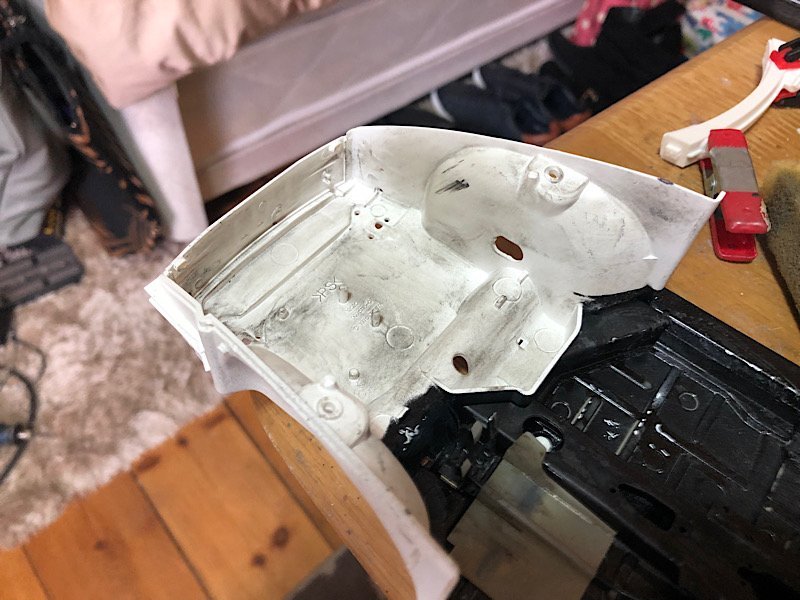
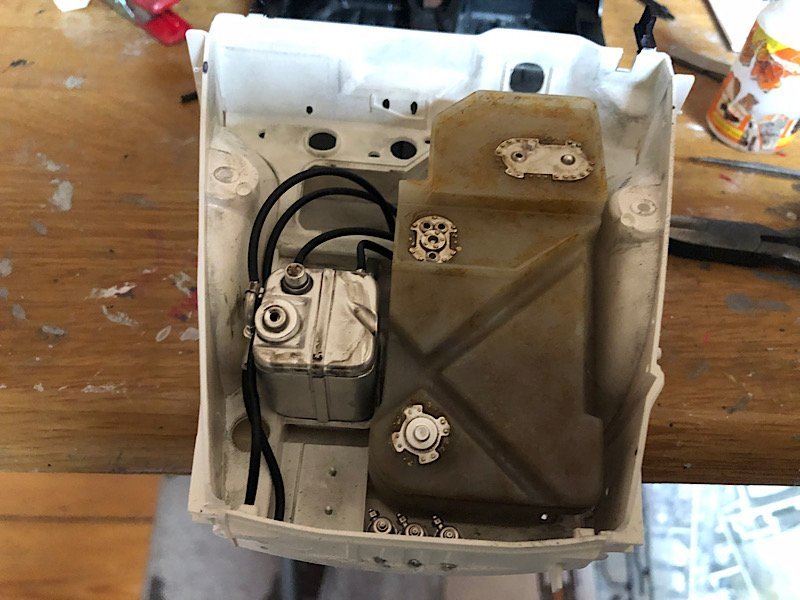
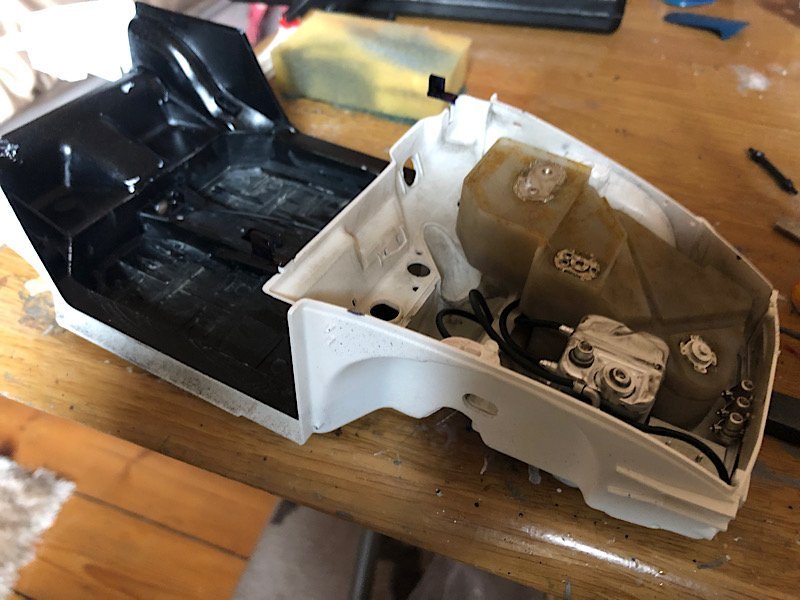
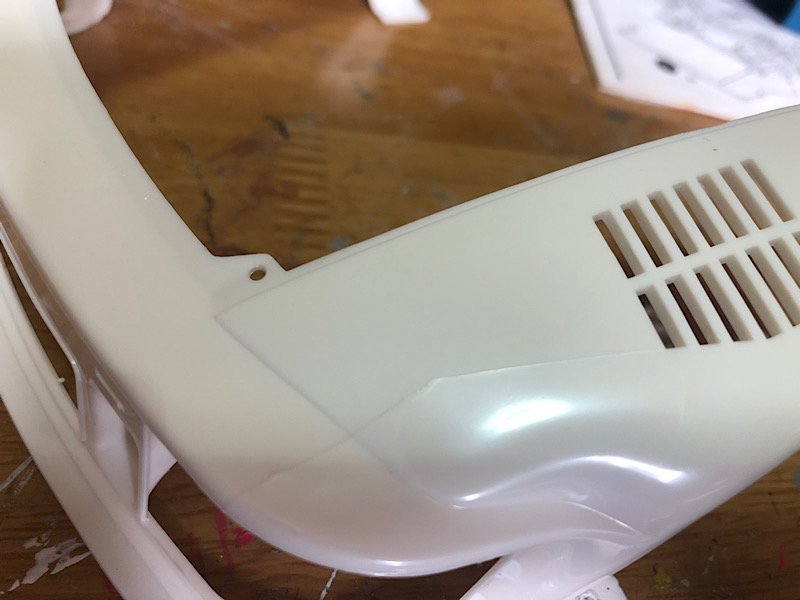
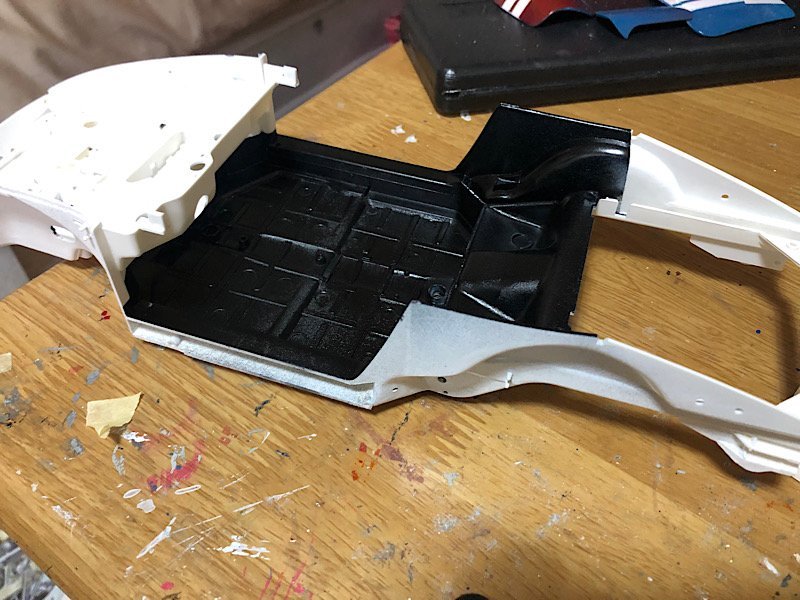
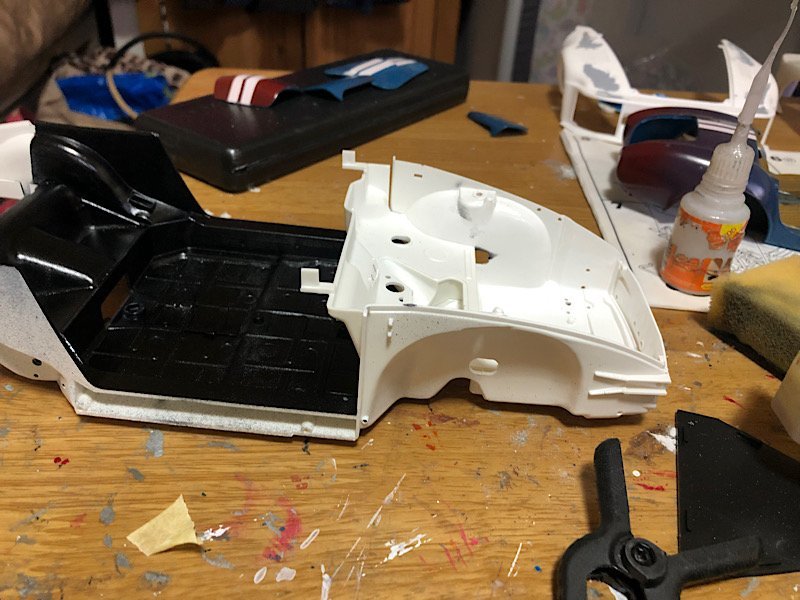
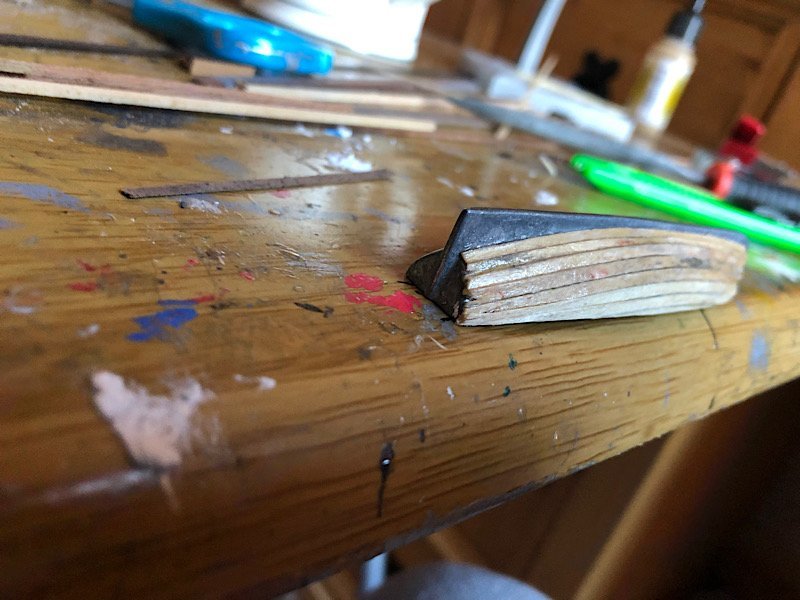
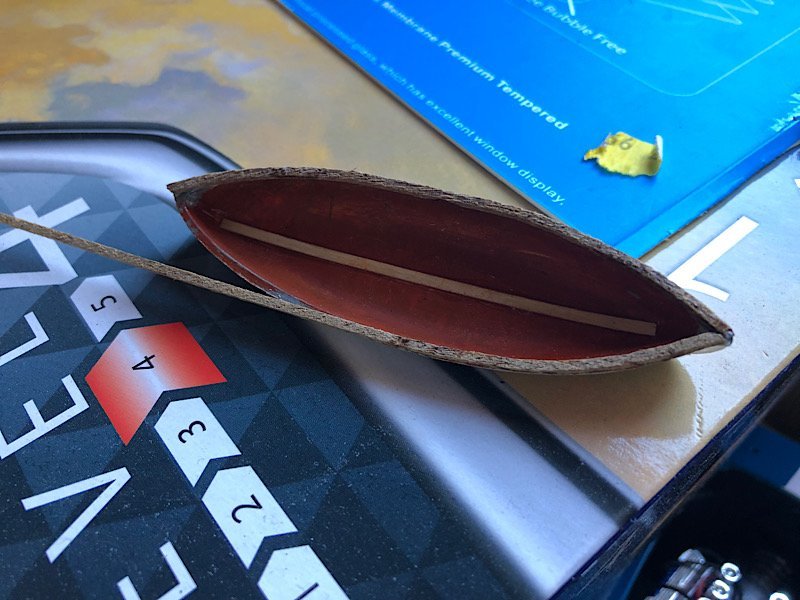
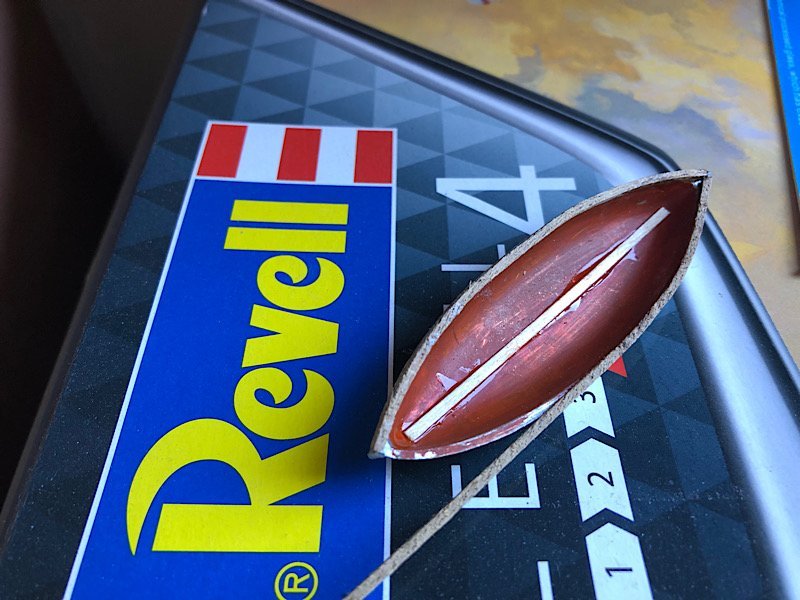
Hi all well I've made a start. For a Tamiya kit there are some horrid seams on the front end. I've not glued anything in the front yet, this is just for a look see I've masked the inside of the tank and tried to show some fuel in there.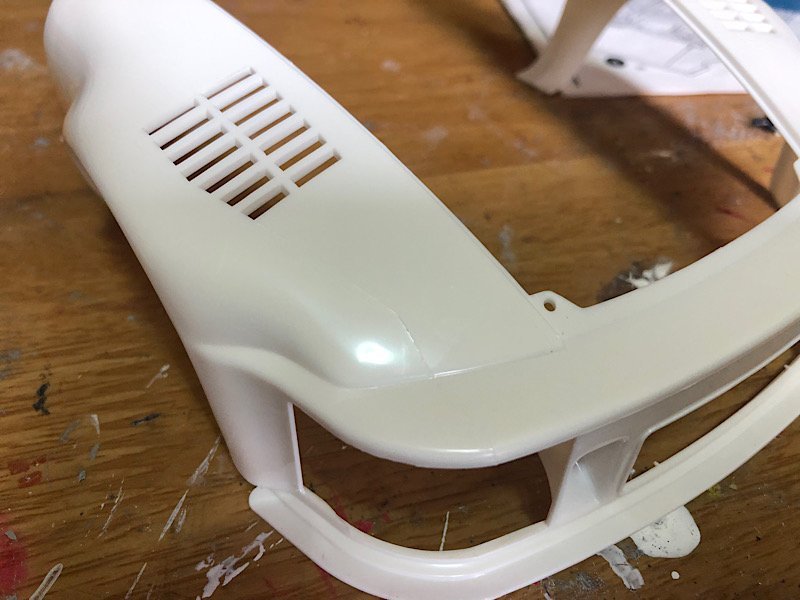
- 63 replies
-
- 13
-
-
Porsche flat 6 boxer engine by kpnuts 1/4 machine works
kpnuts replied to kpnuts's topic in Non-ship/categorised builds
OK so more work on the carbs (I know they look a bit granular atm I will work on improving that.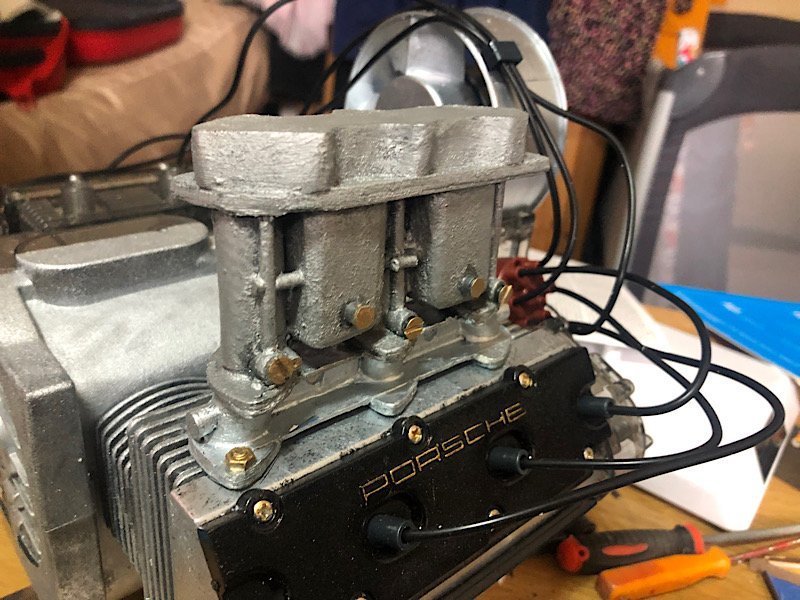
-
Thanks Rob I take it the stays are the triangular sails on the standing rigging.
-
Hi all just won this on ebay(won't be starting it for a while as this covid is doing a real job on me atm)
.jpg.a7d69dd575a9e02070850f0553d71084.jpg)
-
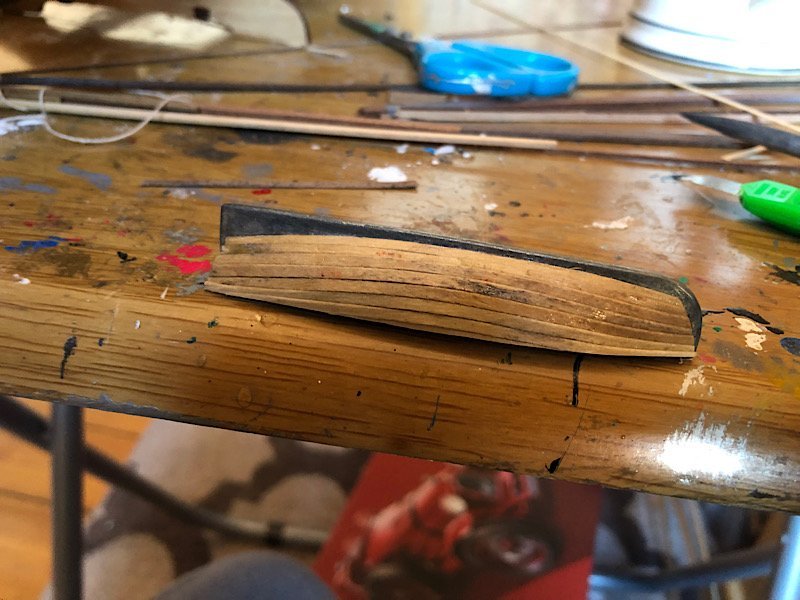
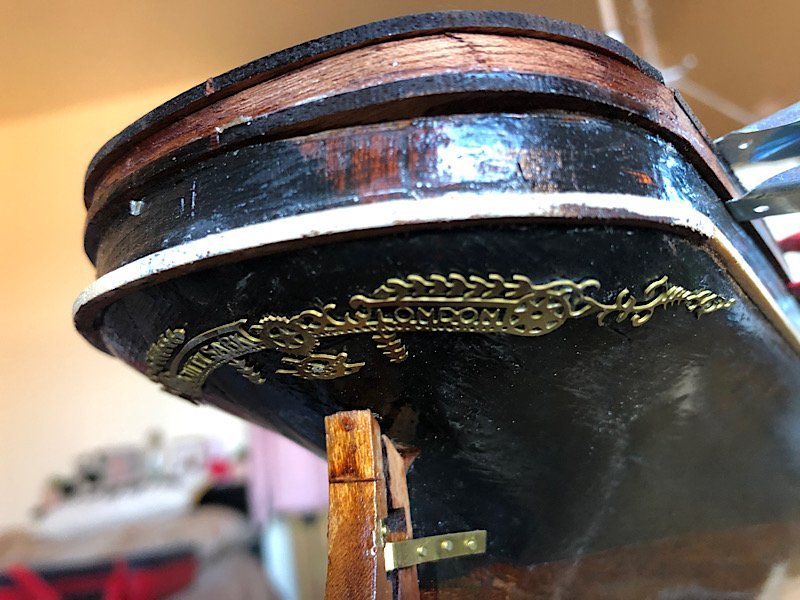
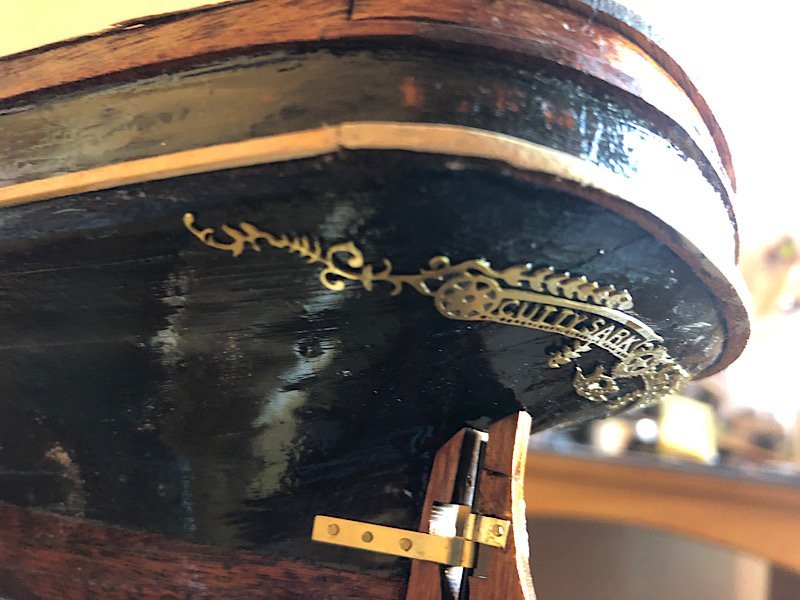
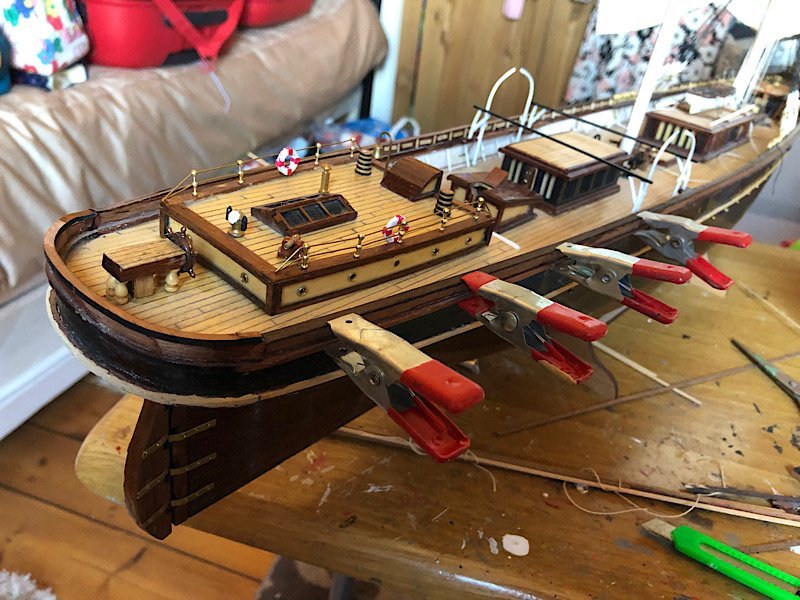
OK so I've done work on the ships boats. And she has her name on the stern too. Added the top rail.

- 82 replies
-
- 2
-
-
- artesania latina
- cutty sark
- (and 1 more)

