kpnuts
-
Posts
1,034 -
Joined
-
Last visited
Content Type
Profiles
Forums
Gallery
Events
Everything posted by kpnuts
-
Porsche 934 by kpnuts - FINISHED - Tamiya - 1/12 - PLASTIC
kpnuts replied to kpnuts's topic in Non-ship/categorised builds
Almost done now. Just waiting for some jewellery findings to finish it off. I'm really pleased with how it turned out.- 73 replies
-
- 14
-

-
Porsche 934 by kpnuts - FINISHED - Tamiya - 1/12 - PLASTIC
kpnuts replied to kpnuts's topic in Non-ship/categorised builds
Thanks guys. Hi all I saw these dental sticks in a shop somewhere and thought they must be usefull in modelling, well I've found a first use for them. Also made the casters for the tool chest.- 73 replies
-
- 13
-
-
Porsche 934 by kpnuts - FINISHED - Tamiya - 1/12 - PLASTIC
kpnuts replied to kpnuts's topic in Non-ship/categorised builds
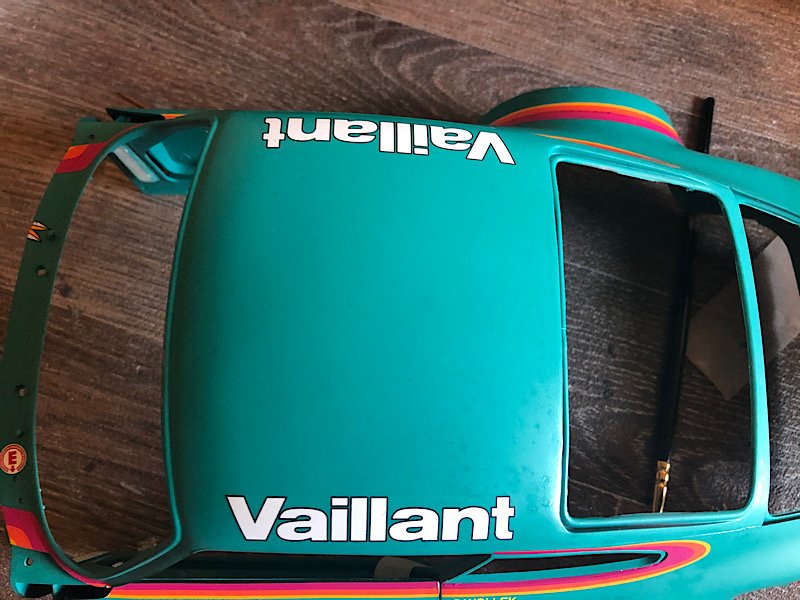
Did some work on the boot lid and the body.- 73 replies
-
- 11
-
-
Porsche 934 by kpnuts - FINISHED - Tamiya - 1/12 - PLASTIC
kpnuts replied to kpnuts's topic in Non-ship/categorised builds
Damaged the roof and had to respray the whole thing again (if the rest of the masking comes off like this I think I got away with it) Cut some of the tiles away from the edge to give a bit more room to display things.- 73 replies
-
- 10
-
-
Porsche 934 by kpnuts - FINISHED - Tamiya - 1/12 - PLASTIC
kpnuts replied to kpnuts's topic in Non-ship/categorised builds
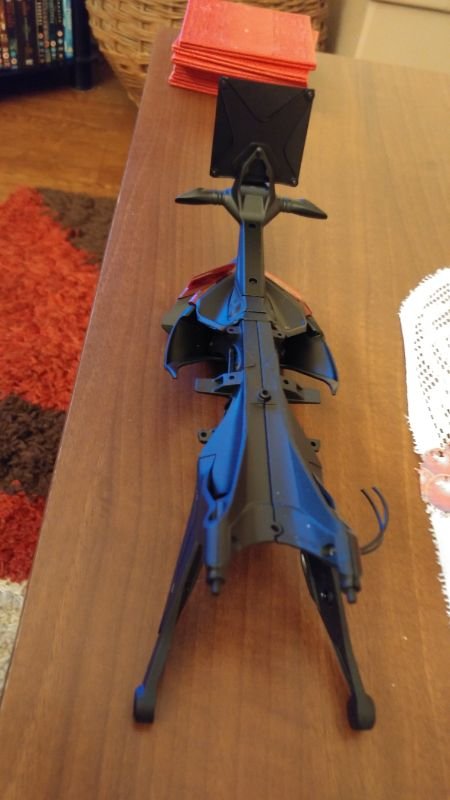
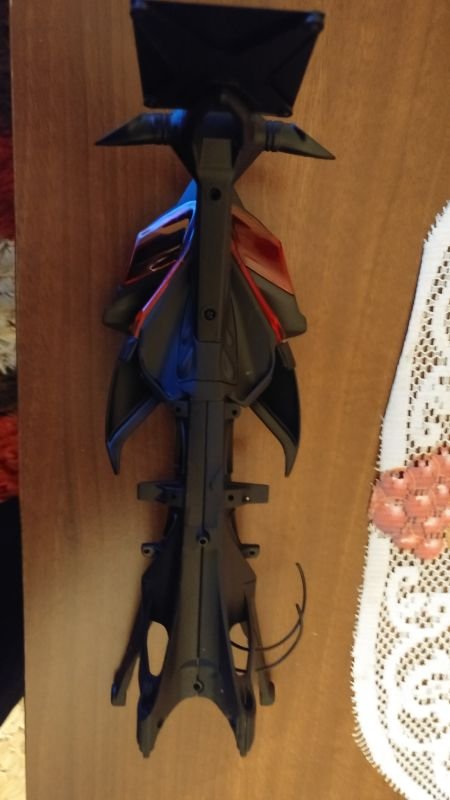
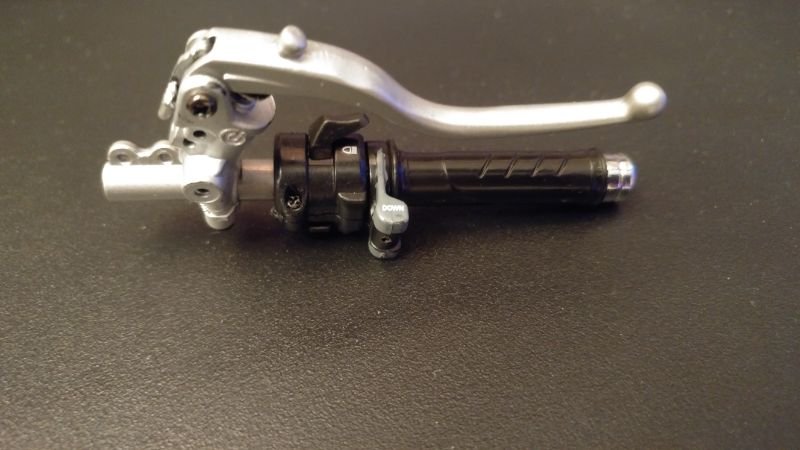
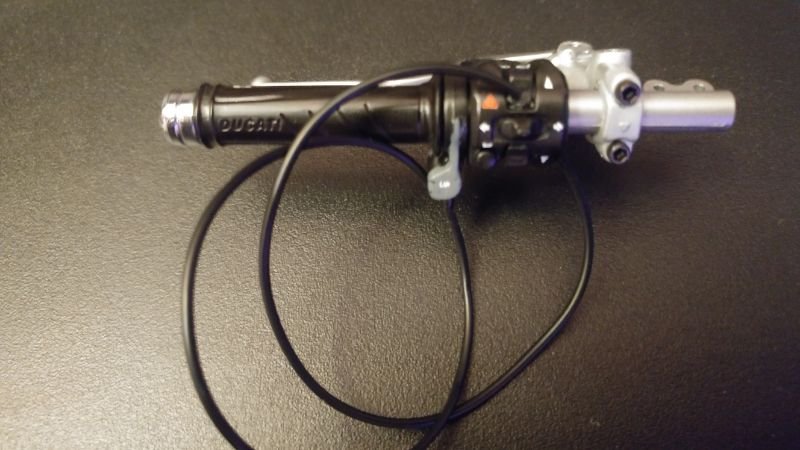
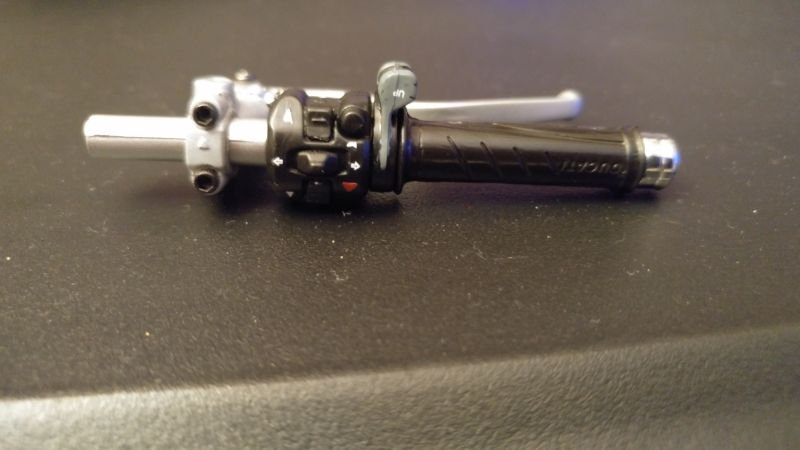
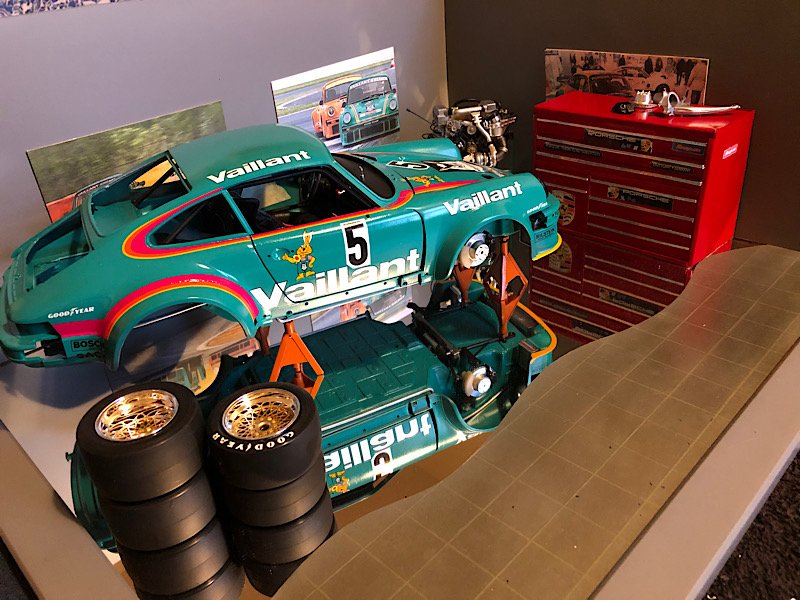
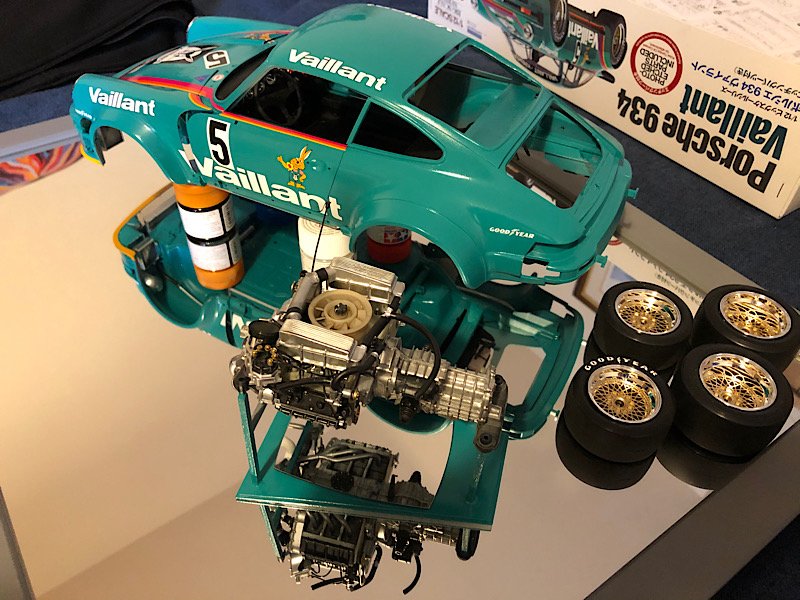
The tyres are slicks but I may scuff them up a bit, undecided yet. Hi all well the front end is finished. On the last leg now.- 73 replies
-
- 12
-
-
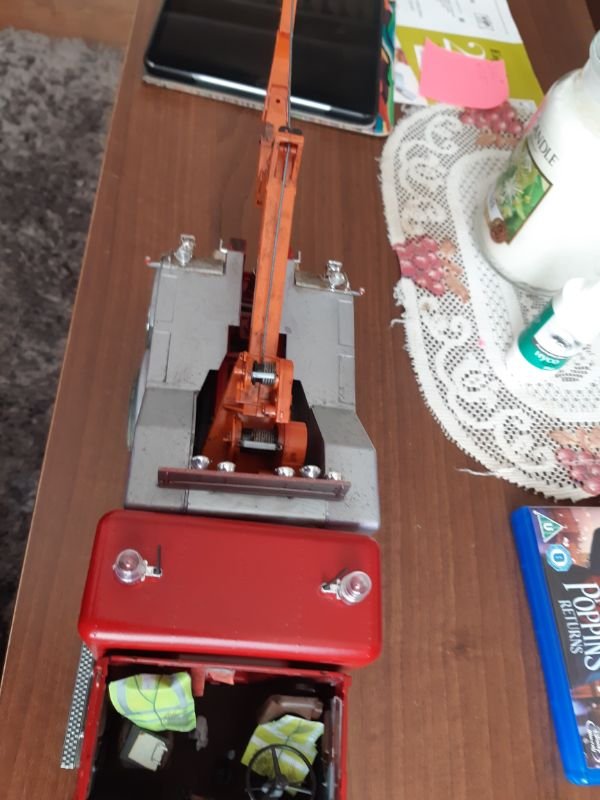
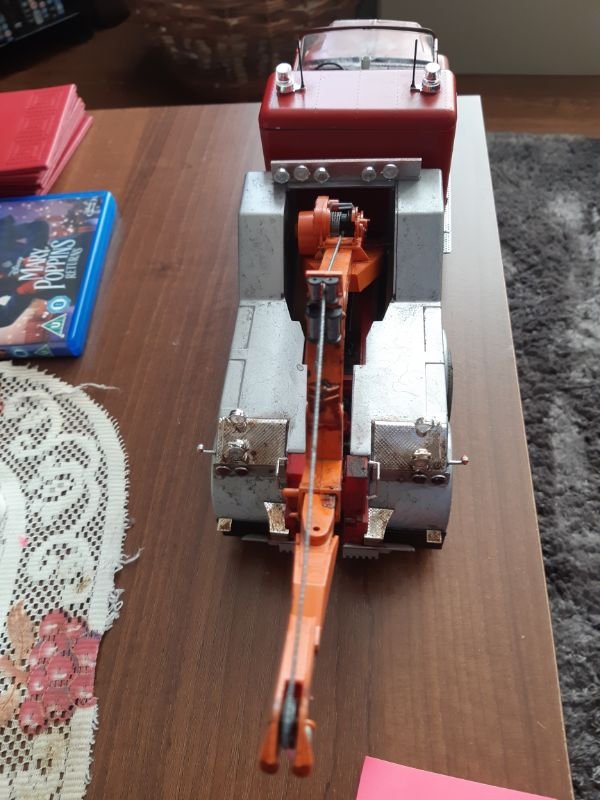
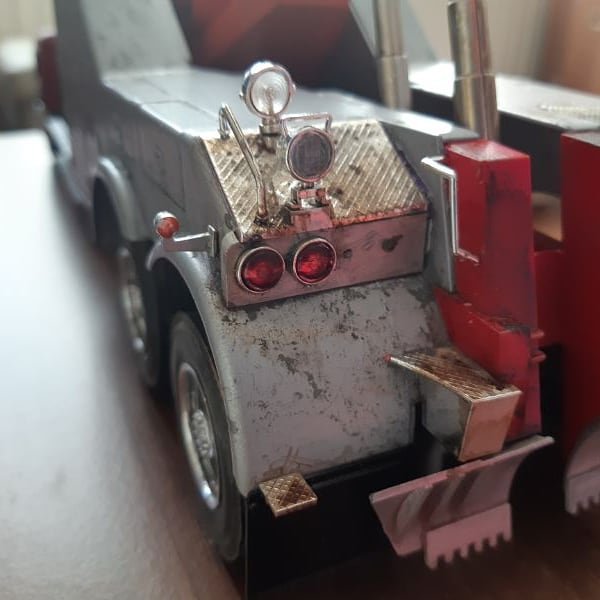
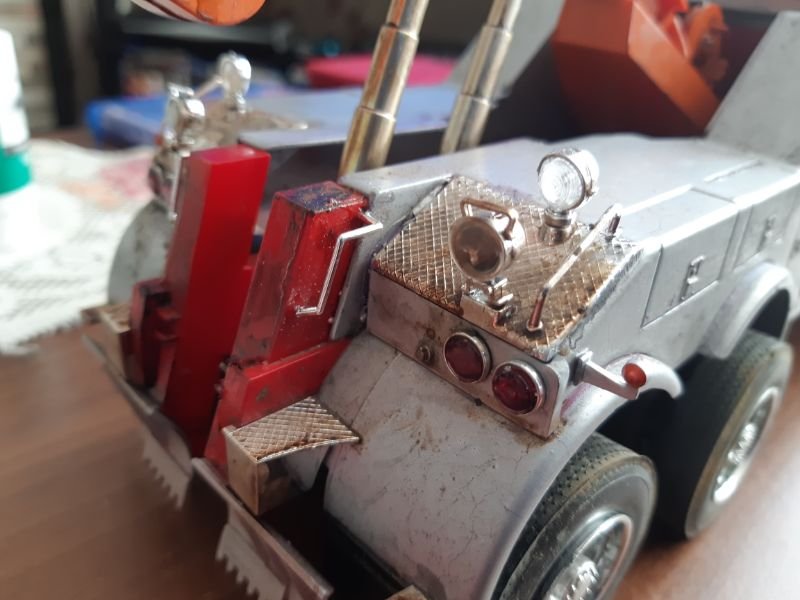
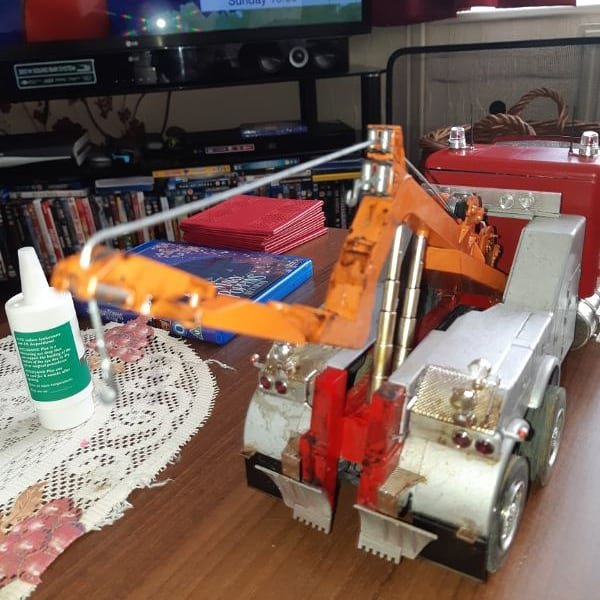
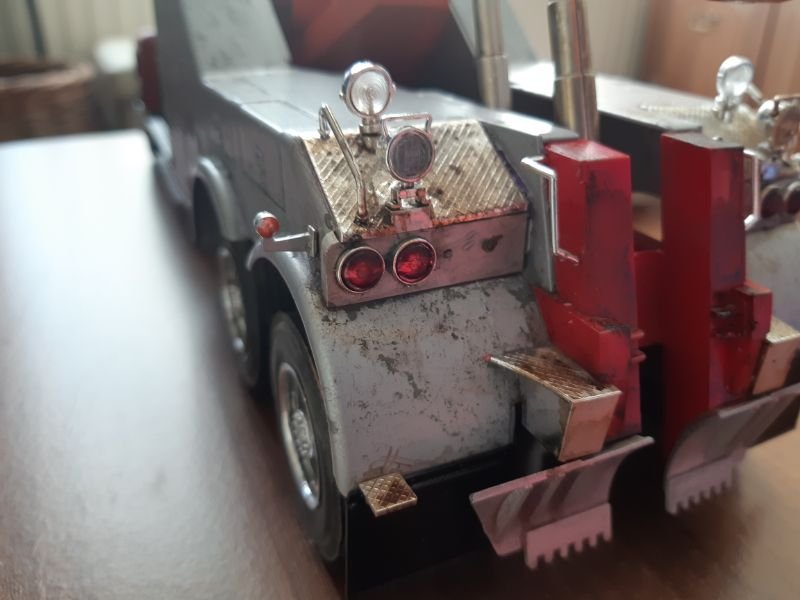
American Wrecker Truck by kpnuts - Italari - 1/24 - PLASTIC
kpnuts replied to kpnuts's topic in Non-ship/categorised builds
Heres another update.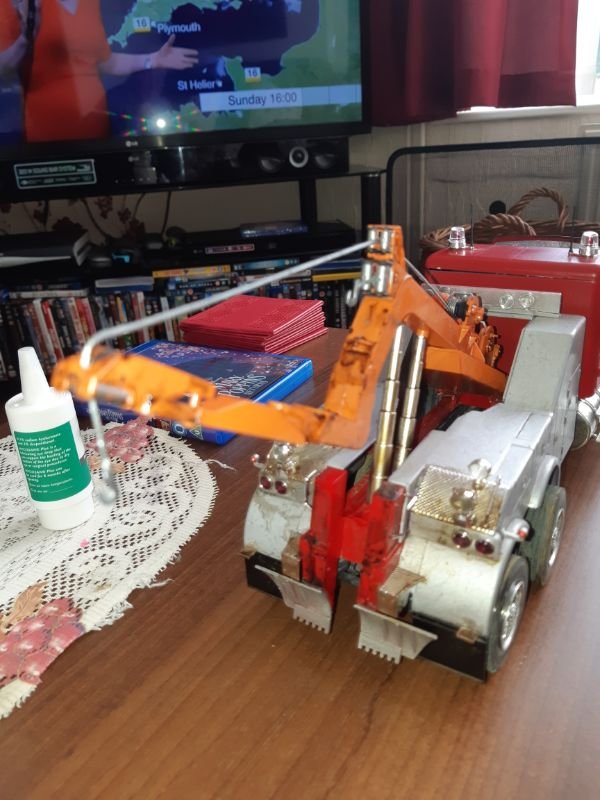

-
Porsche 934 by kpnuts - FINISHED - Tamiya - 1/12 - PLASTIC
kpnuts replied to kpnuts's topic in Non-ship/categorised builds
Thanks guys. Not sure a girlie calendar would be fitting, I know it wouldn't be looked upon at work favourably. -
Porsche 934 by kpnuts - FINISHED - Tamiya - 1/12 - PLASTIC
kpnuts replied to kpnuts's topic in Non-ship/categorised builds
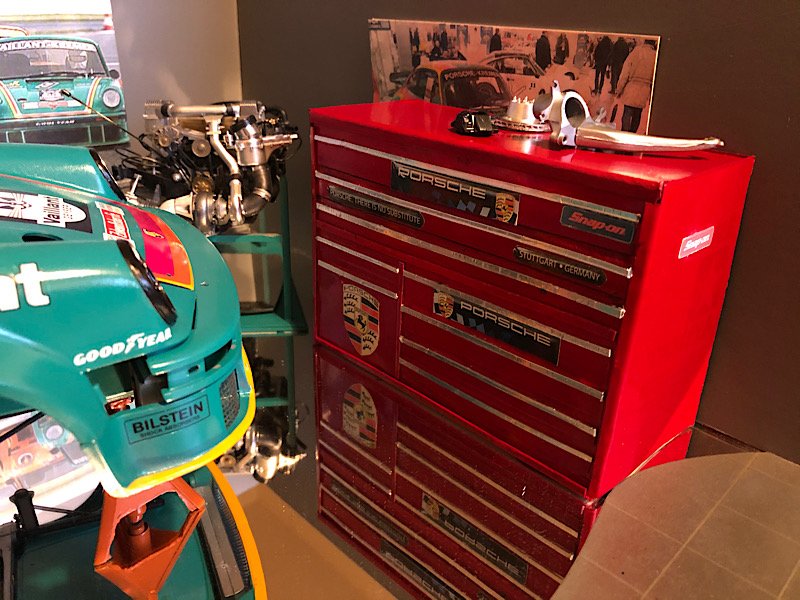
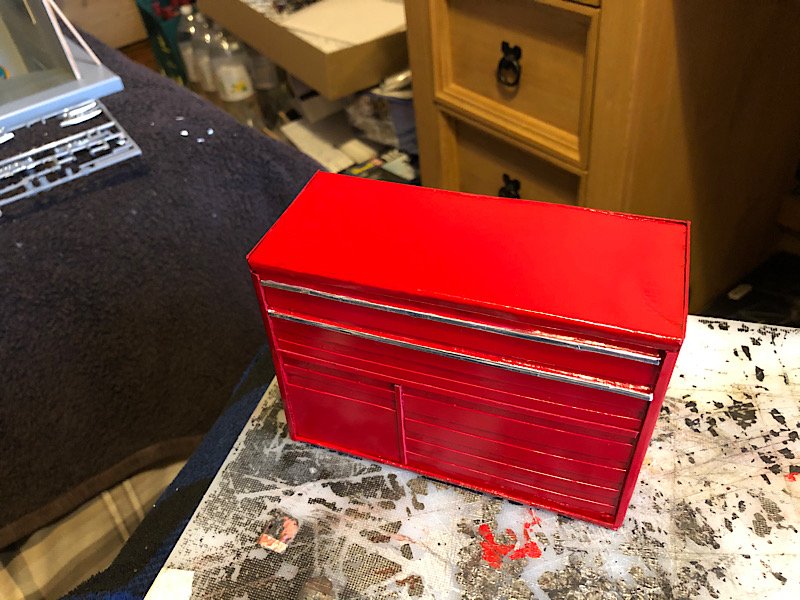
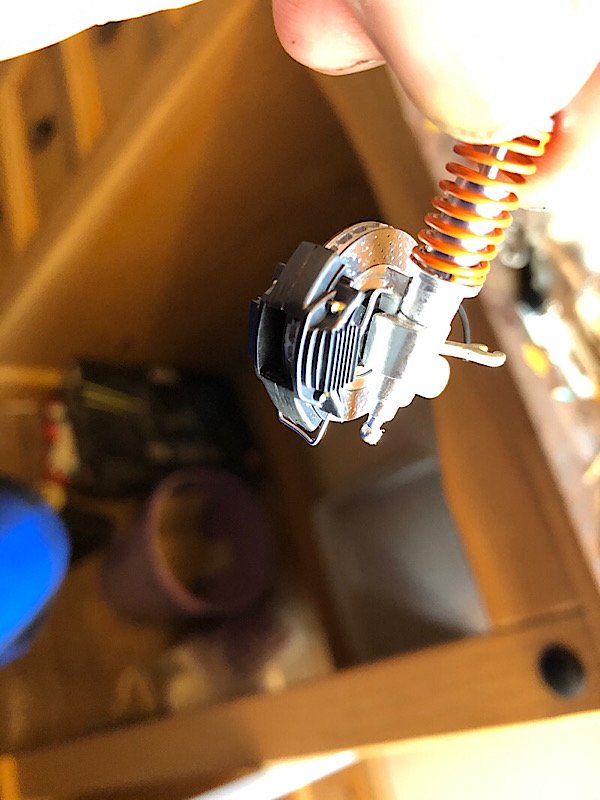
Ok so I need something on the tool chest but most of the car is built so not much choice but the rear suspension, problem is the spring plate is moulded integral with the suspension arm (on the car if you were working on the suspension arm you would have left the spring plate on ) so I cut it off and made a new spring plate separate to put on the car (still got to make the casters for the tool chest)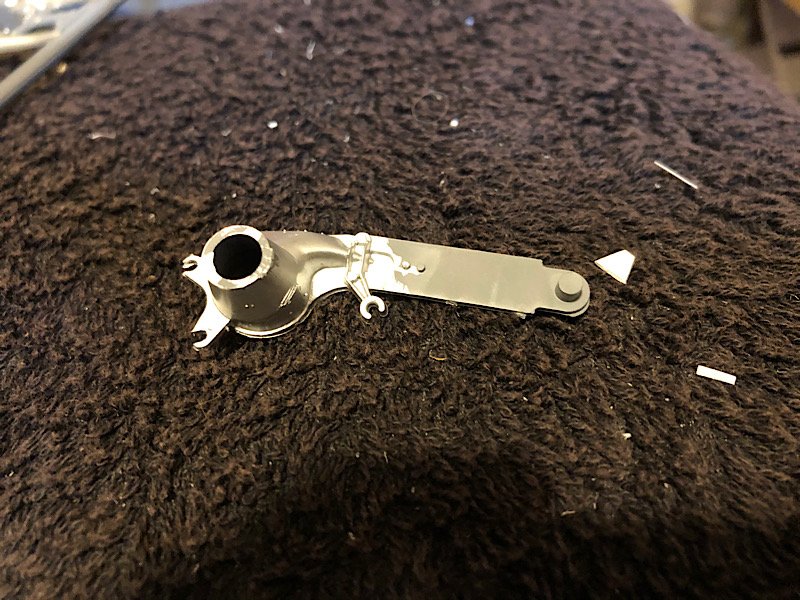
- 73 replies
-
- 10
-
-
Mississippi Sternwheeler by kpnuts
kpnuts replied to kpnuts's topic in - Build logs for subjects built 1851 - 1900
They are made from the chrome poles out of my missus wardrobe (after decommissioning) I then glued the wire ribs round them and drilled some holes for the eye bolts -
Porsche 934 by kpnuts - FINISHED - Tamiya - 1/12 - PLASTIC
kpnuts replied to kpnuts's topic in Non-ship/categorised builds
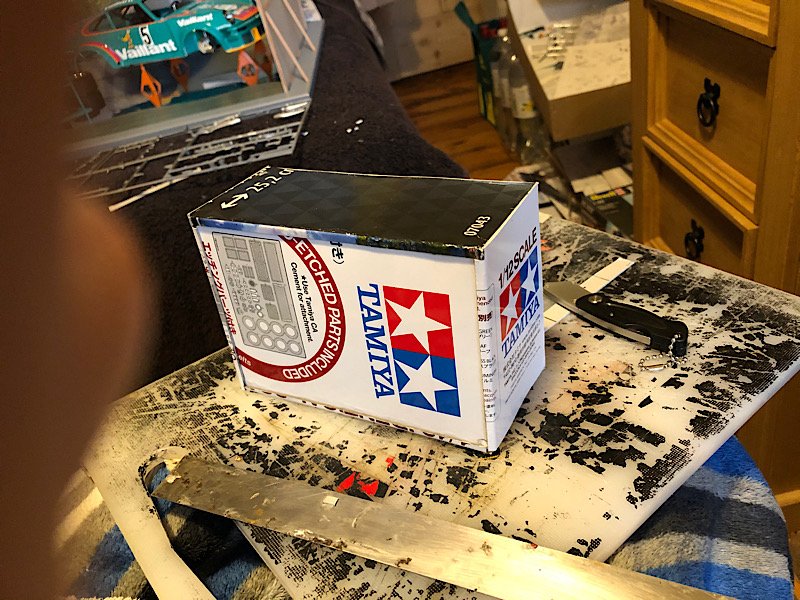
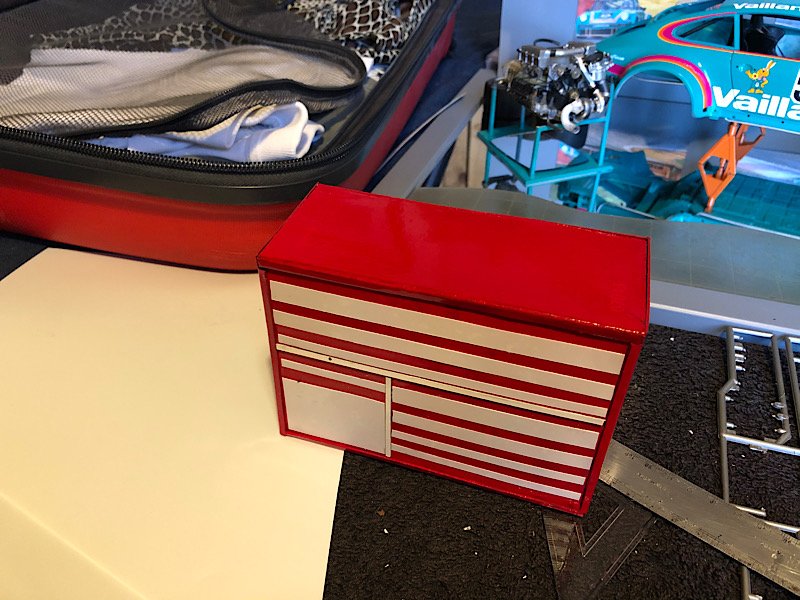
That tool box looks great (it will have stickers added when finished) -
Porsche 934 by kpnuts - FINISHED - Tamiya - 1/12 - PLASTIC
kpnuts replied to kpnuts's topic in Non-ship/categorised builds
Started on a tool chest for it.

- 73 replies
-
- 11
-
-
Porsche 934 by kpnuts - FINISHED - Tamiya - 1/12 - PLASTIC
kpnuts replied to kpnuts's topic in Non-ship/categorised builds
Yep, getting there another couple of weeks I think -
Porsche 934 by kpnuts - FINISHED - Tamiya - 1/12 - PLASTIC
kpnuts replied to kpnuts's topic in Non-ship/categorised builds
Flatted it back the heated it with swmbo's hair drier and resprayed the clear coat( went a bit too far with the flatting back and have had to order some more paint as there is a bit of undercoat showing through in places) -
Porsche 934 by kpnuts - FINISHED - Tamiya - 1/12 - PLASTIC
kpnuts replied to kpnuts's topic in Non-ship/categorised builds
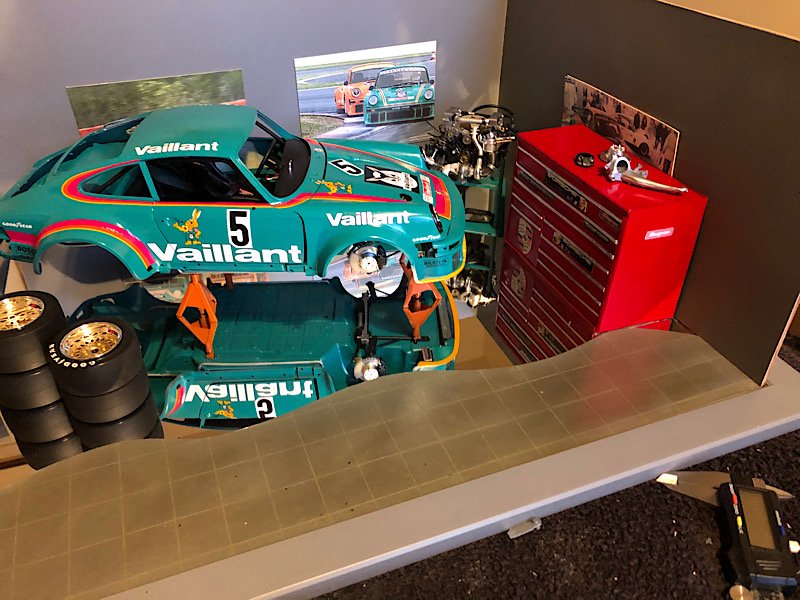
Hi all made a start on the display base, still need to make a tool chest for the back corner.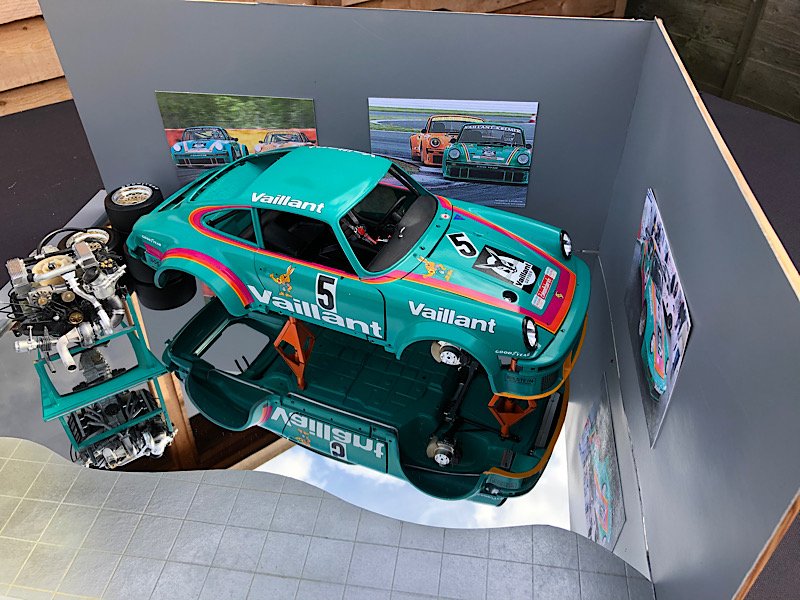

- 73 replies
-
- 11
-
-
Porsche 934 by kpnuts - FINISHED - Tamiya - 1/12 - PLASTIC
kpnuts replied to kpnuts's topic in Non-ship/categorised builds
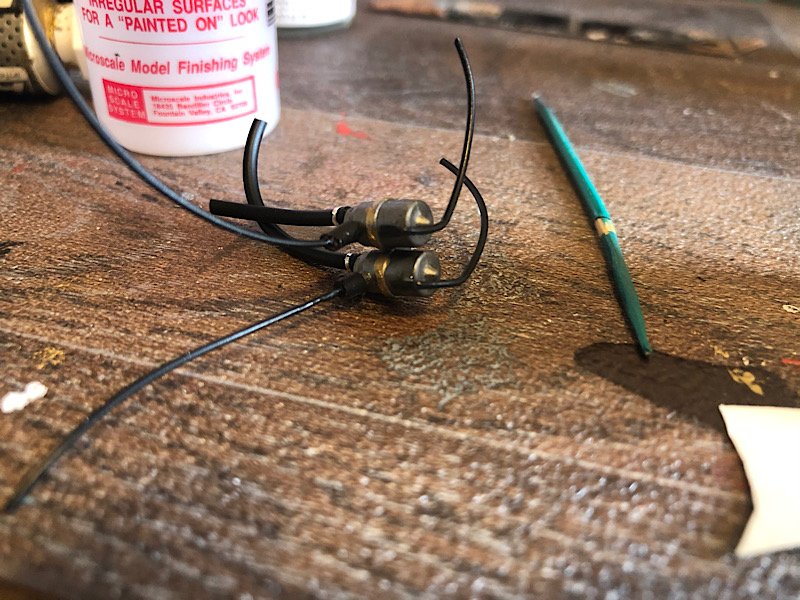
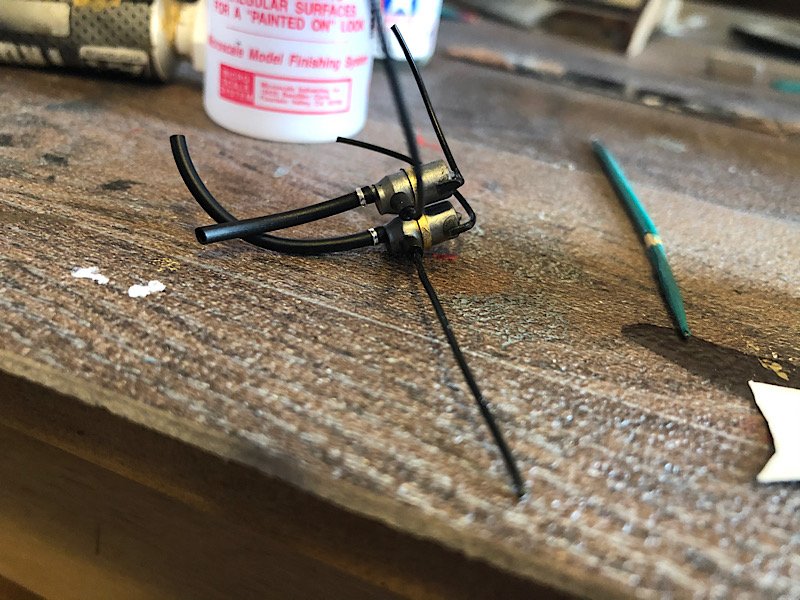
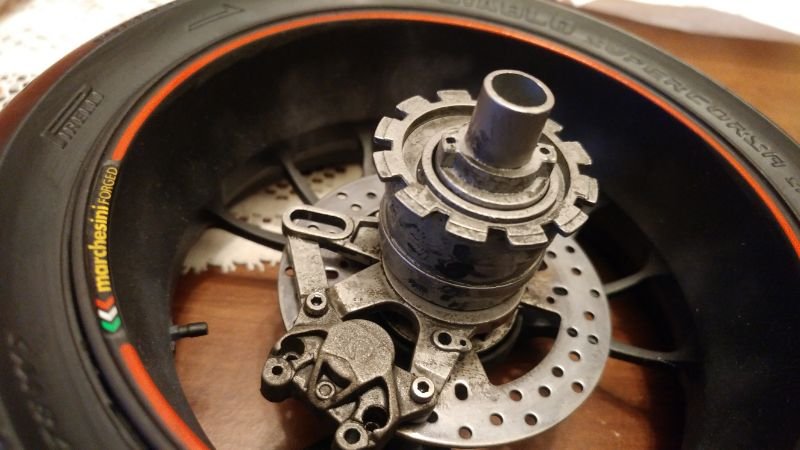
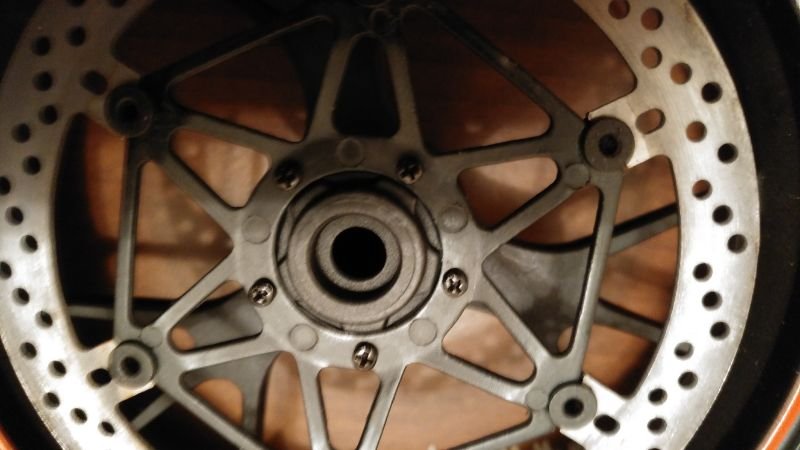
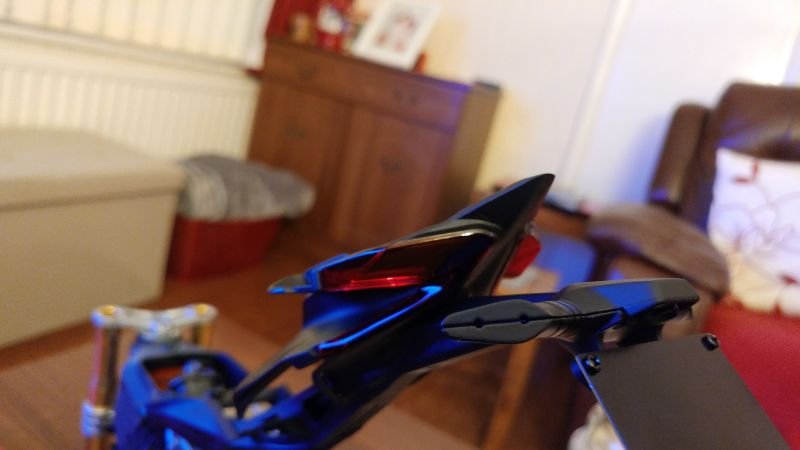
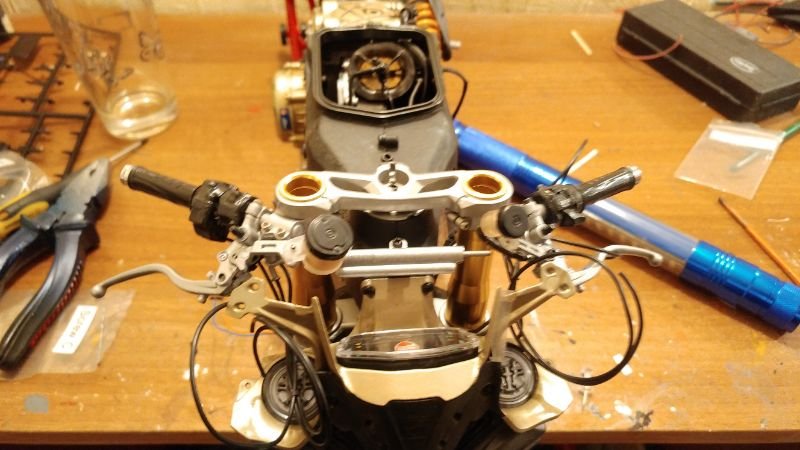
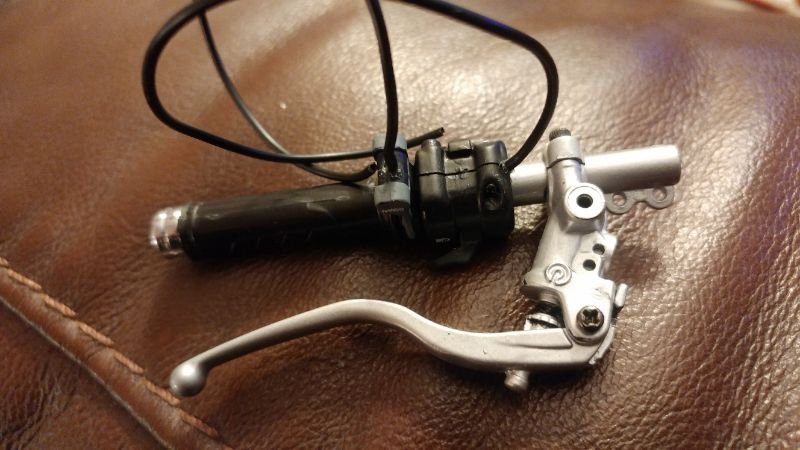
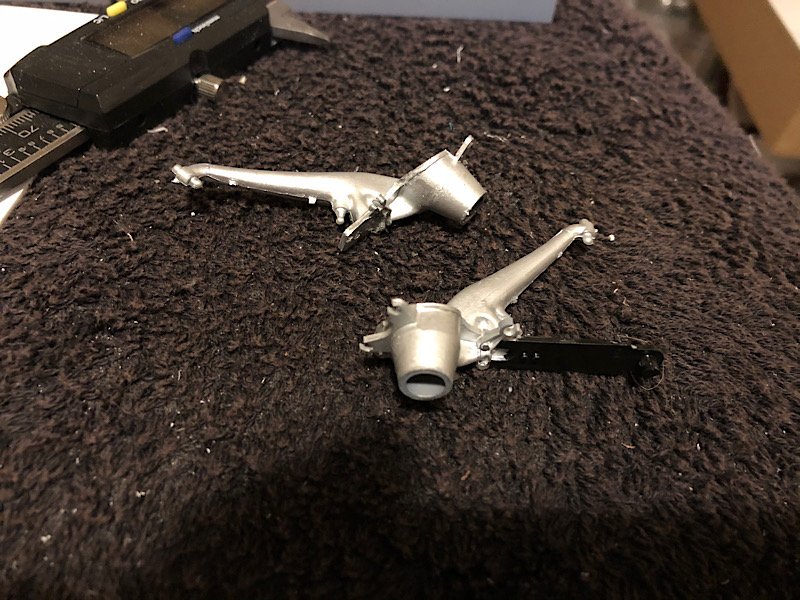
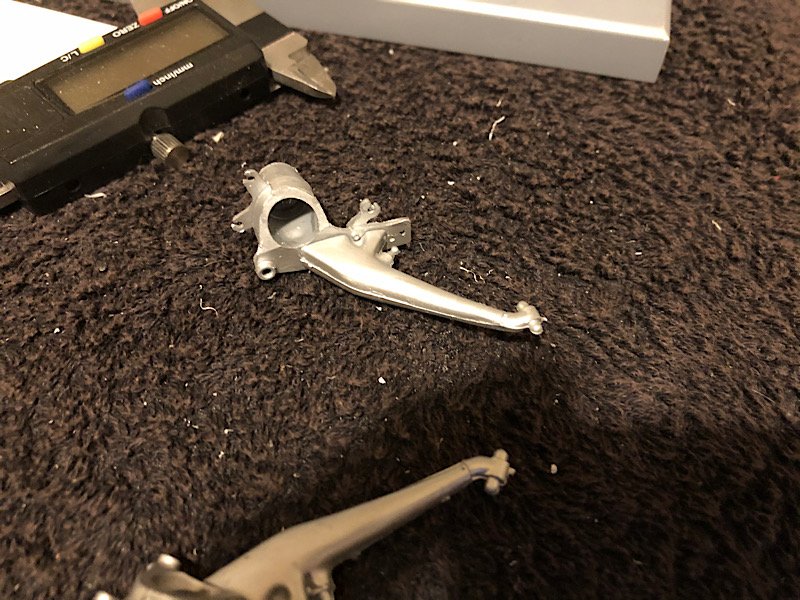
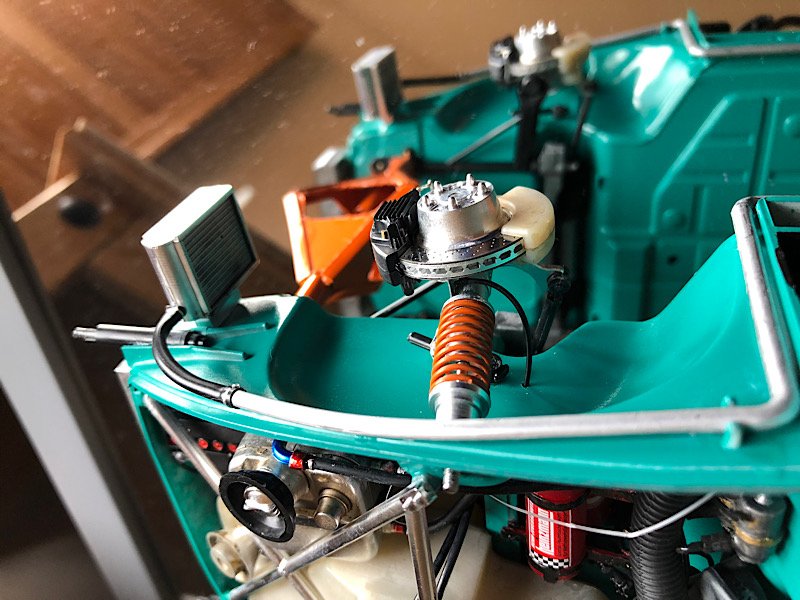
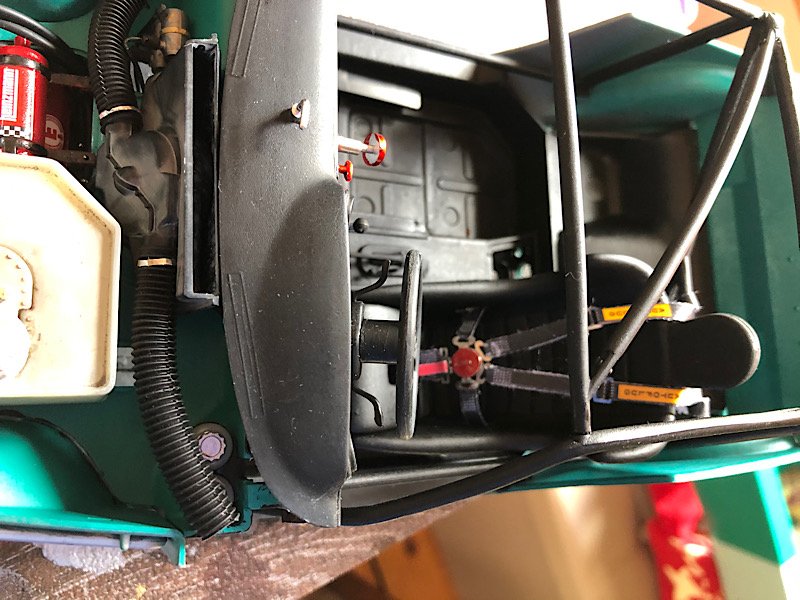
Hi all I decided to add the brake pipes to this kit and was going to use wire but then realised that the working steering and suspension wouldn't work so I added the bracket to the suspension leg and then added a flexible hose from that. Should I mention this was my third attempt(no ones perfect)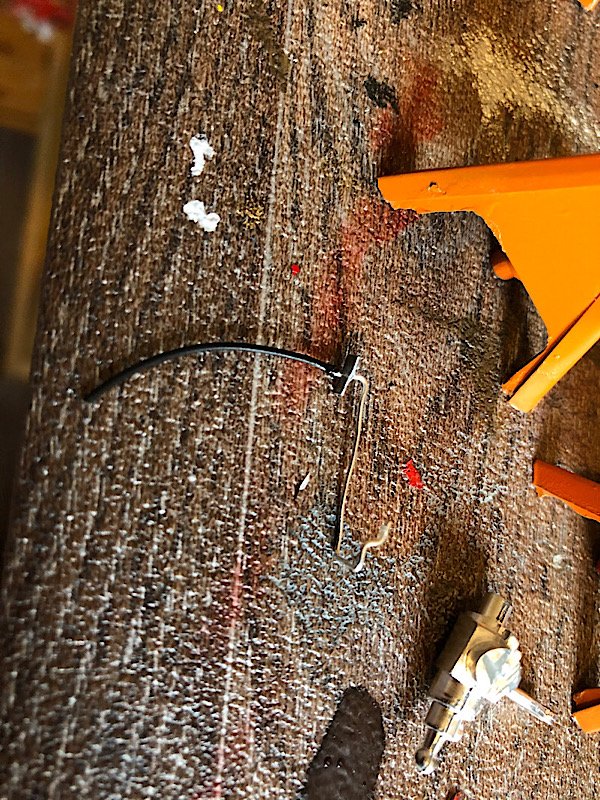
- 73 replies
-
- 12
-
-
Porsche 934 by kpnuts - FINISHED - Tamiya - 1/12 - PLASTIC
kpnuts replied to kpnuts's topic in Non-ship/categorised builds
Especially when it was so good I wish I hadn't it looked amazing before (I dont really know why I thought it might look better)lesson learnt if you think it looks good LEAVE IT ALONE -
Porsche 934 by kpnuts - FINISHED - Tamiya - 1/12 - PLASTIC
kpnuts replied to kpnuts's topic in Non-ship/categorised builds
Cant be the clear coat as the wings and bonnet are fine. -
Porsche 934 by kpnuts - FINISHED - Tamiya - 1/12 - PLASTIC
kpnuts replied to kpnuts's topic in Non-ship/categorised builds
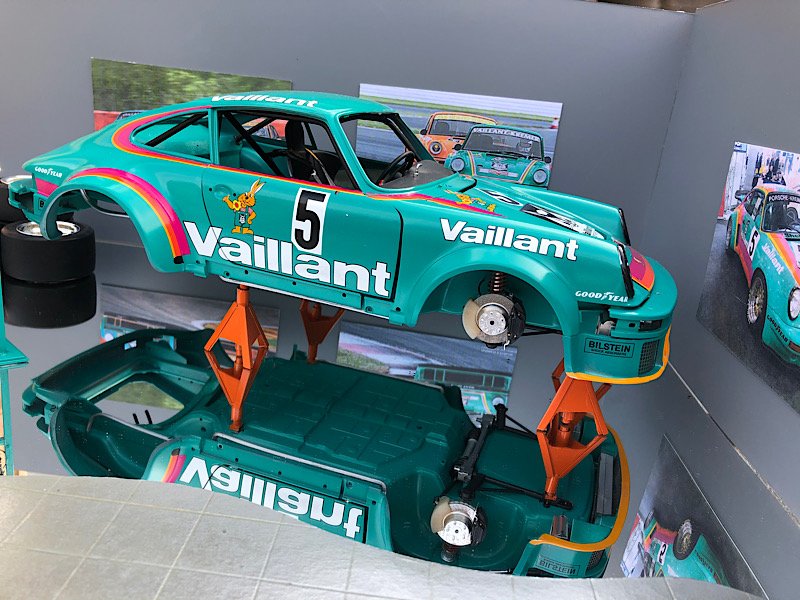
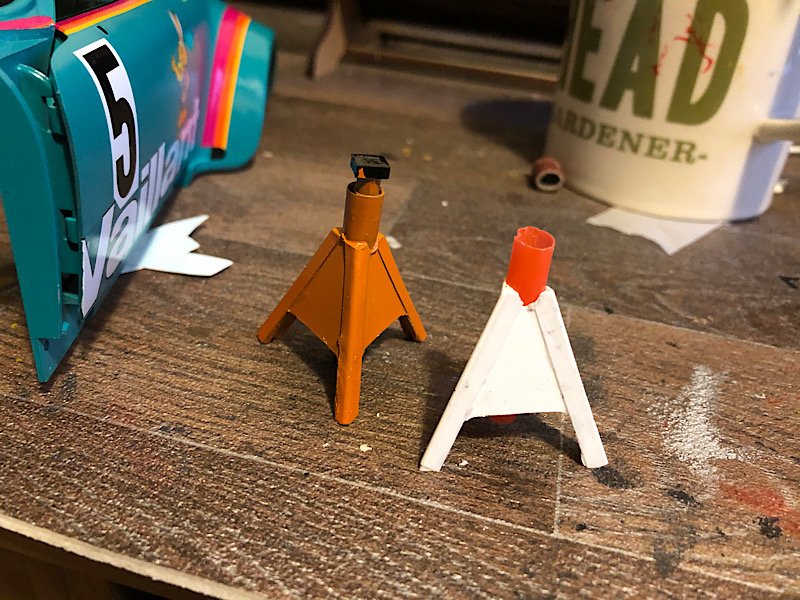
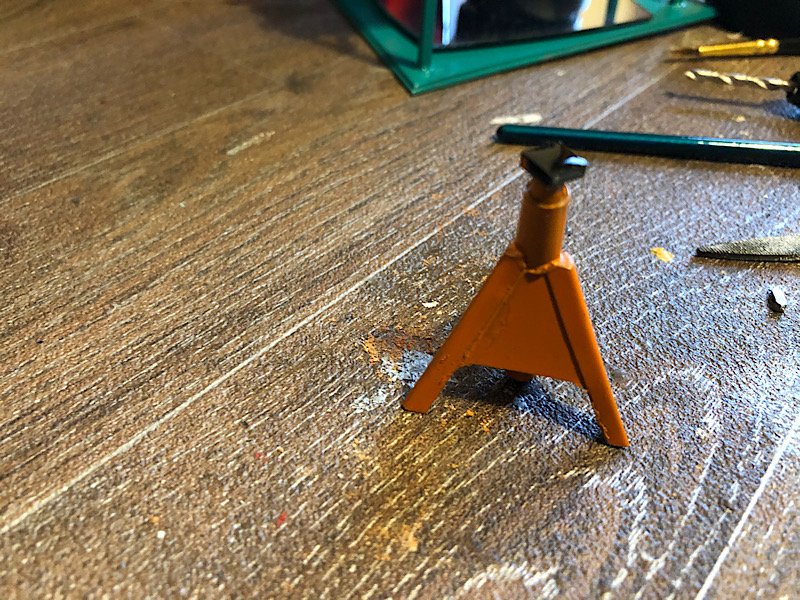
Hi all made a start on the axle stands but had a major set back on the bodywork looked great till I clear coated it and it went matt (strange as I sprayed the bonnet and wings exactly the same way and they are nice and glossy)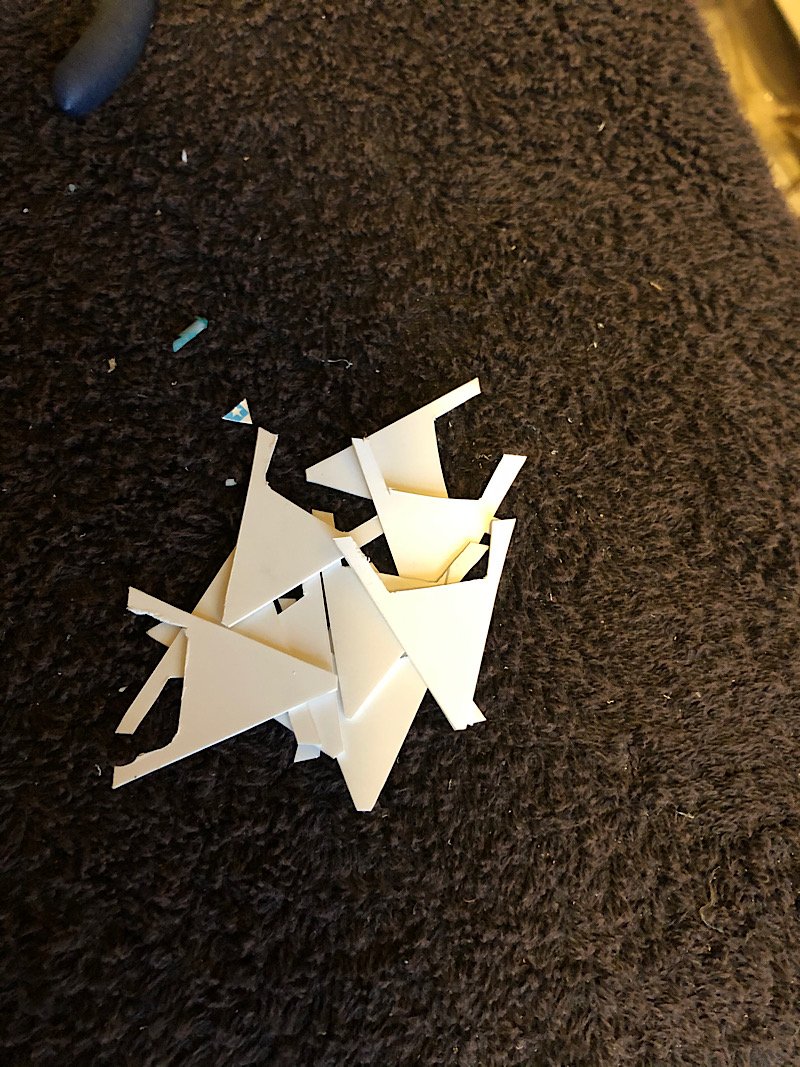


-
Porsche 934 by kpnuts - FINISHED - Tamiya - 1/12 - PLASTIC
kpnuts replied to kpnuts's topic in Non-ship/categorised builds
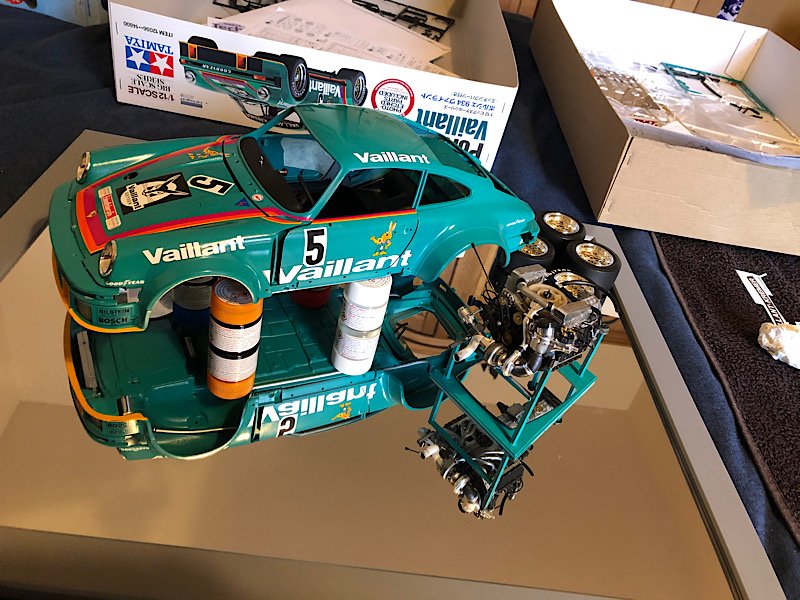
Hi all more progress on the 934 (I've made a start on the axle stands too)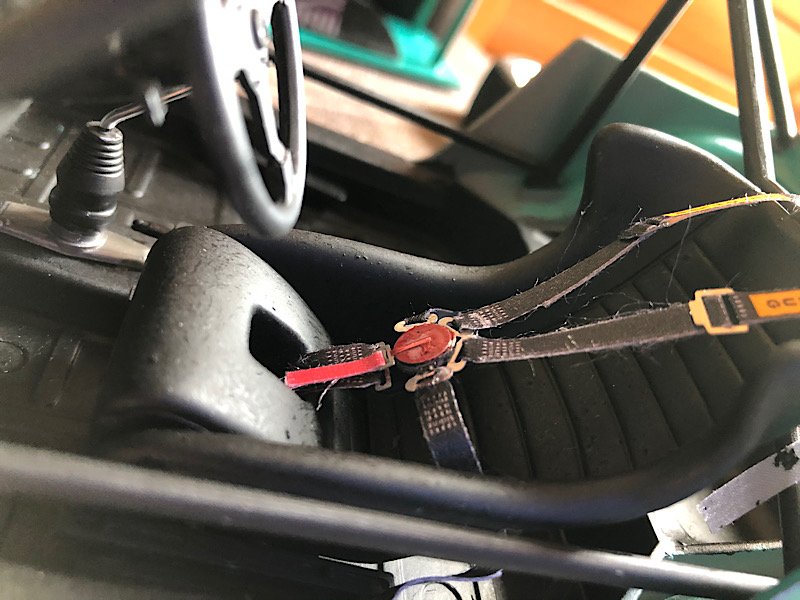
- 73 replies
-
- 11
-
-
Porsche 934 by kpnuts - FINISHED - Tamiya - 1/12 - PLASTIC
kpnuts replied to kpnuts's topic in Non-ship/categorised builds
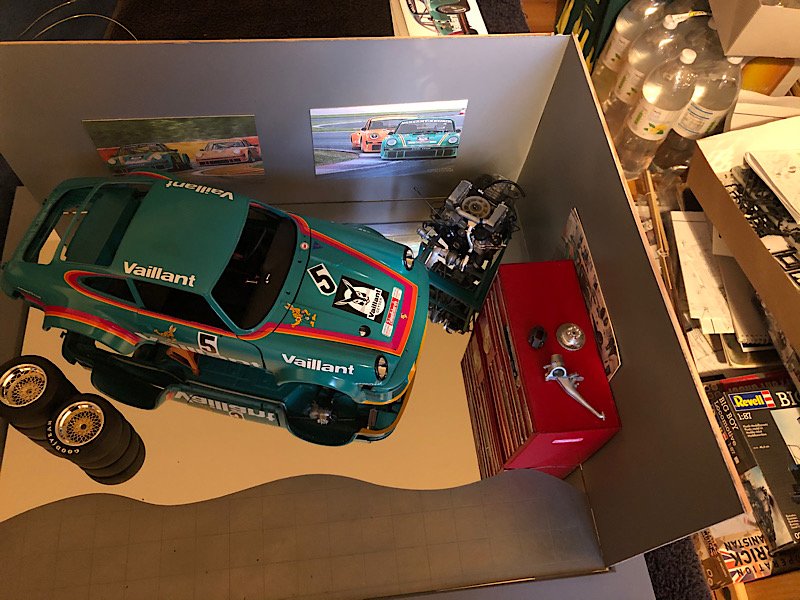
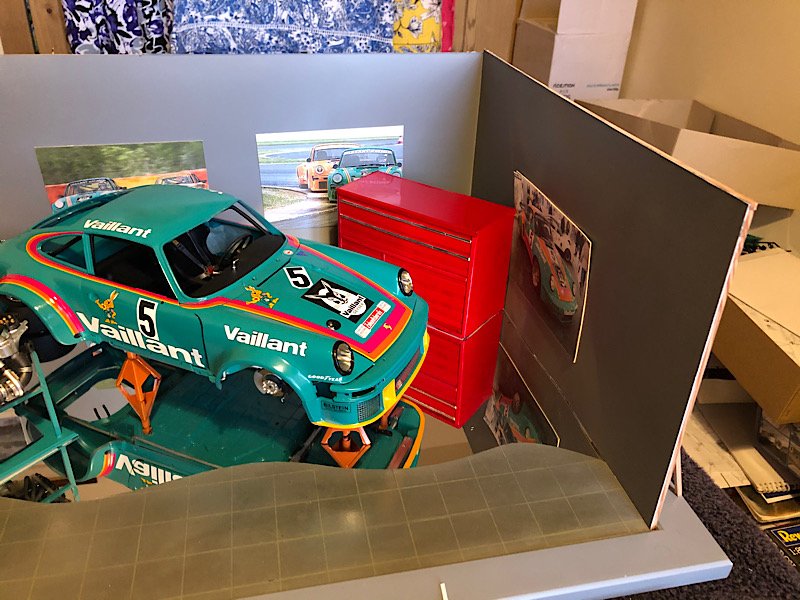
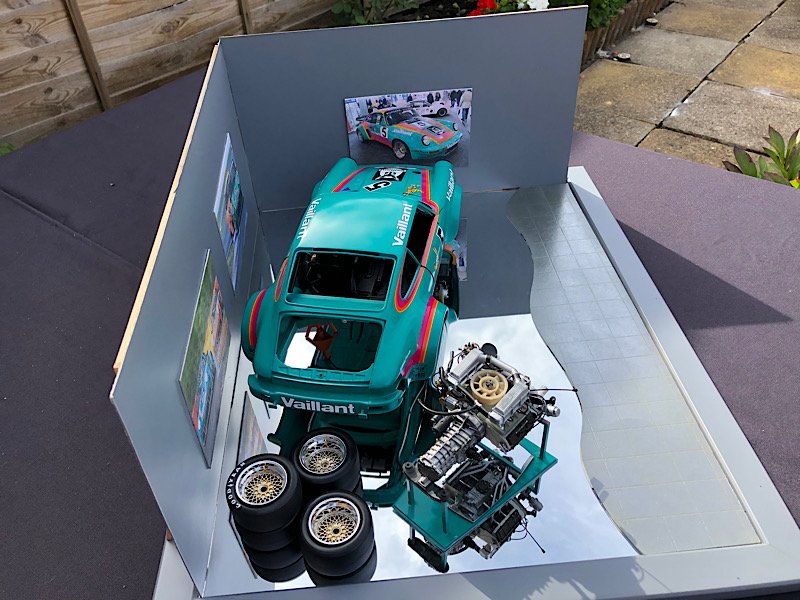
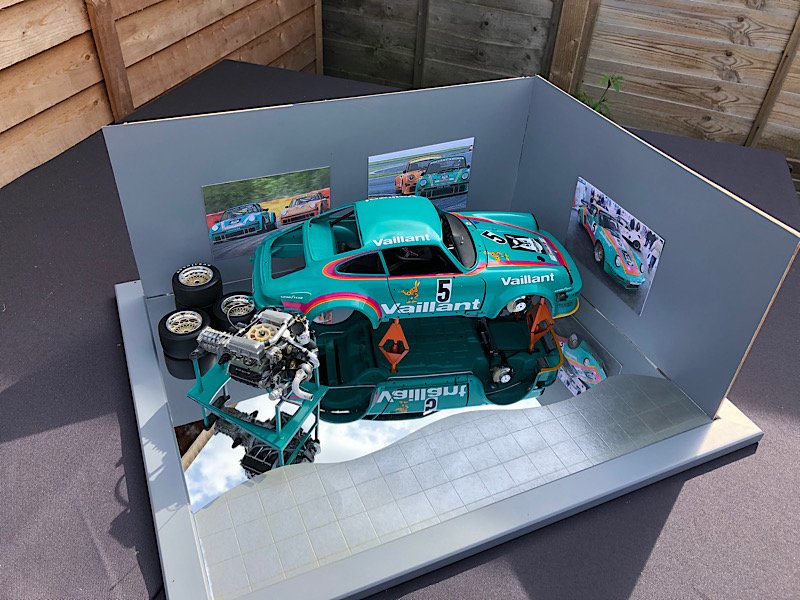
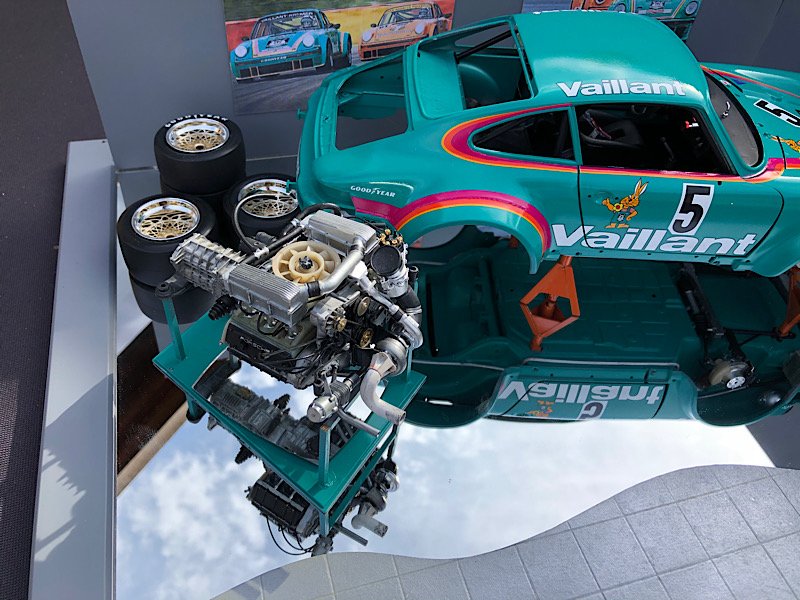
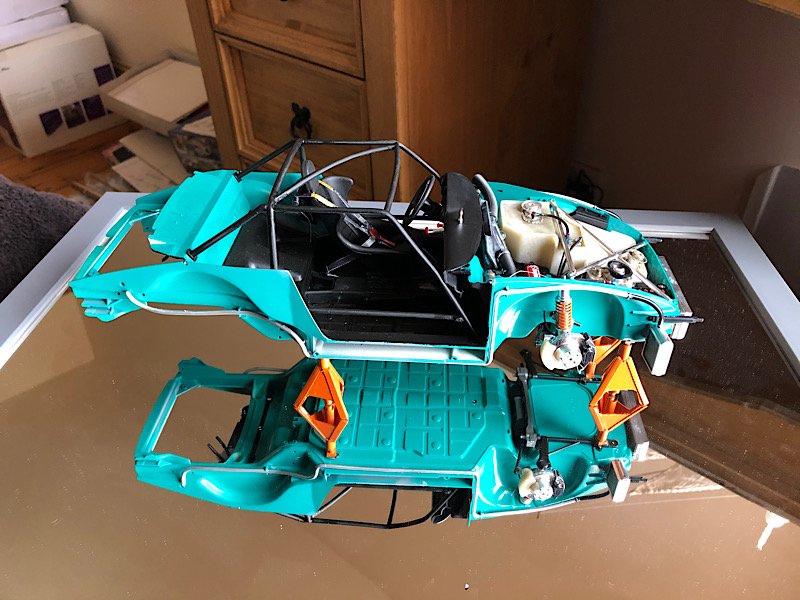
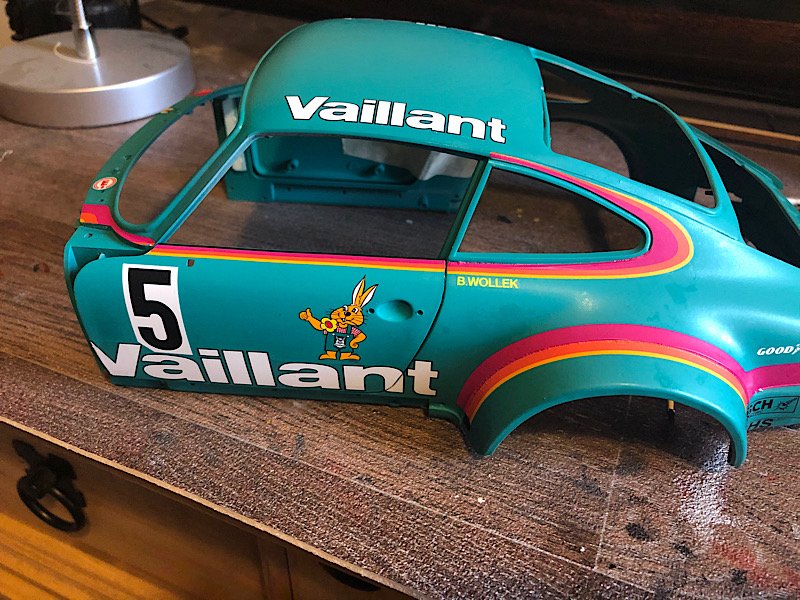
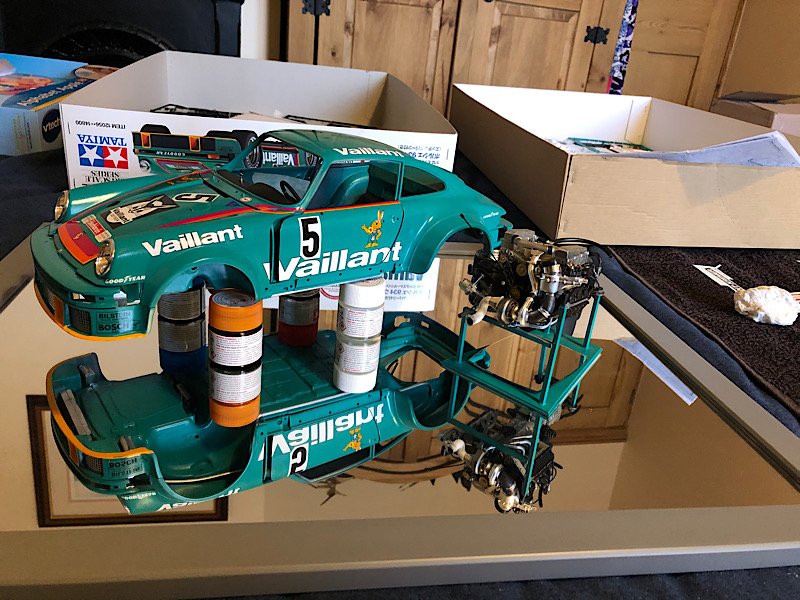
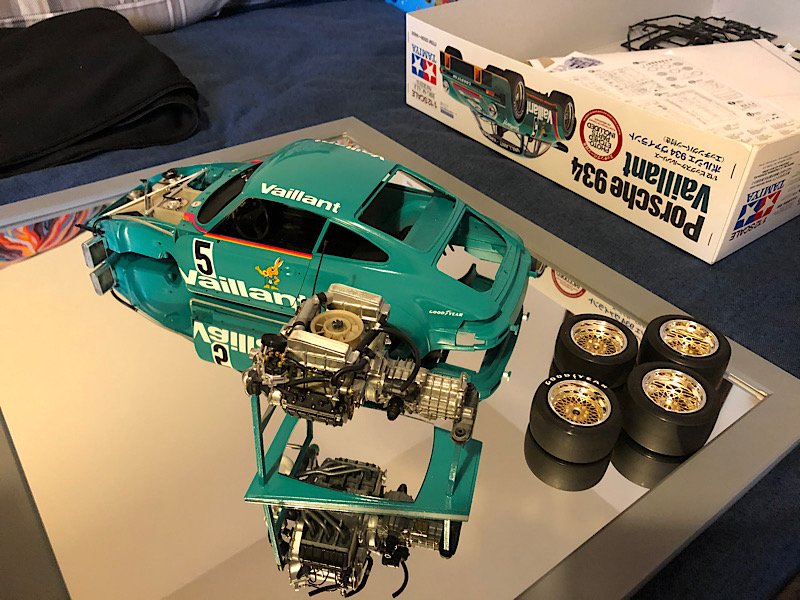
Hi all bought a mirror to mount the 934 on will have the car on axle stands with the engine alongside it, not sure whether to have the tyres stacked or arranged around it, also thinking of putting 2 walls up around it with pictures of the car racing on them I'm going for a look of it being in a museum display. Any suggestions welcome.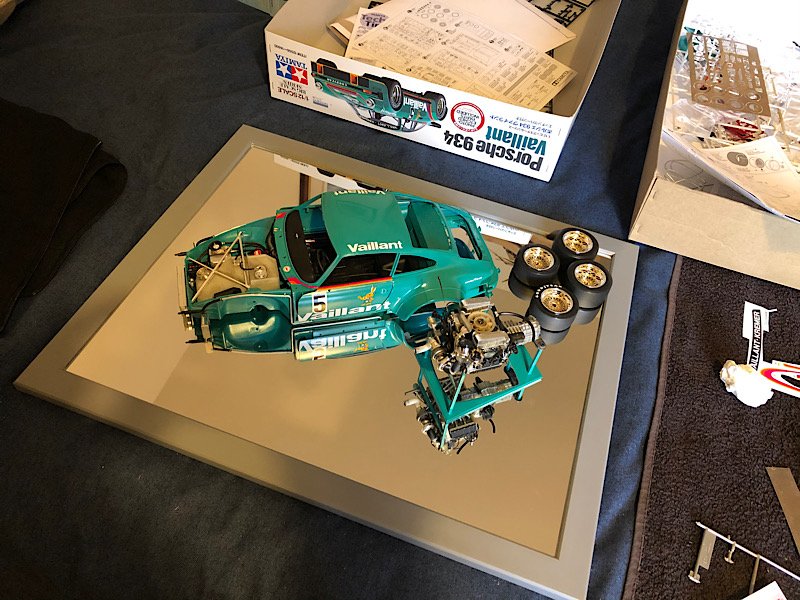
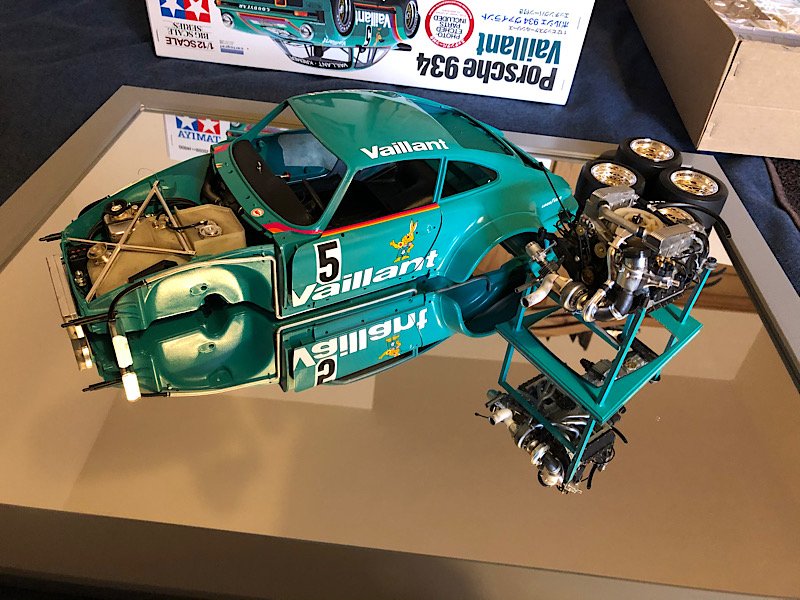
- 73 replies
-
- 10
-
-
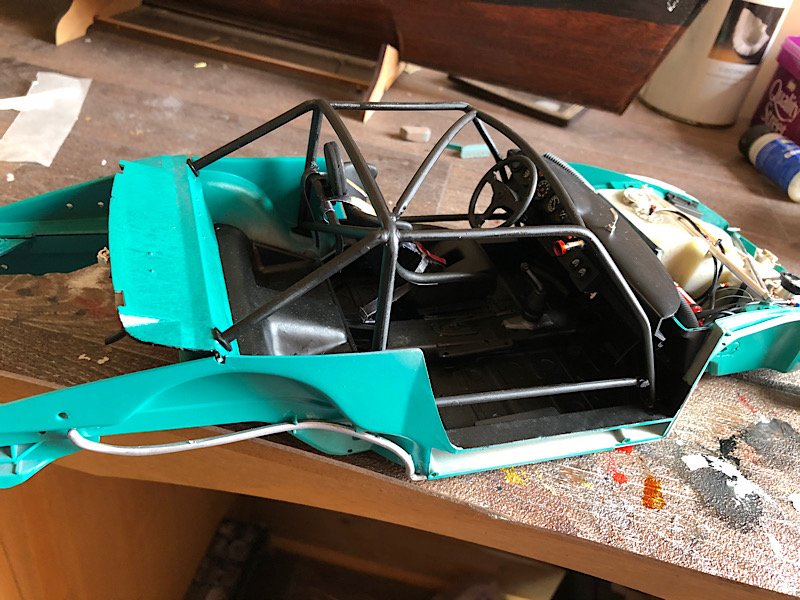
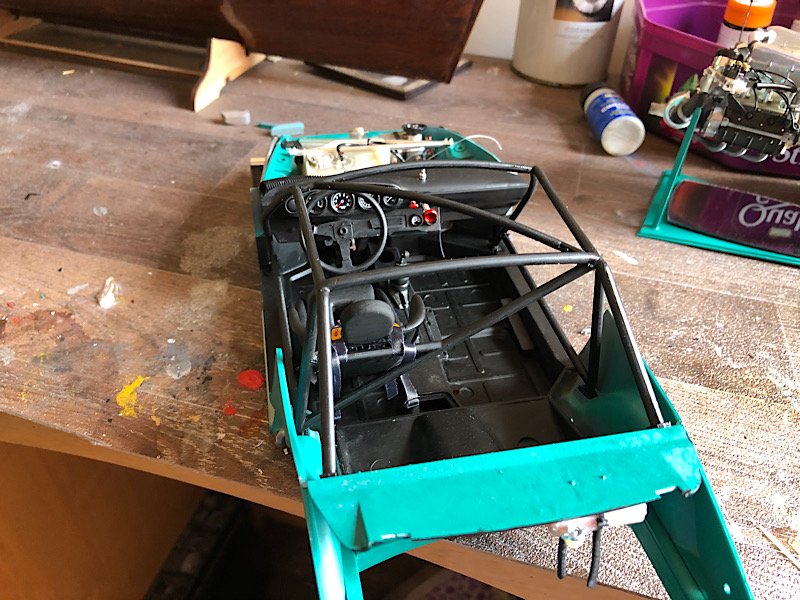
Porsche 934 by kpnuts - FINISHED - Tamiya - 1/12 - PLASTIC
kpnuts replied to kpnuts's topic in Non-ship/categorised builds
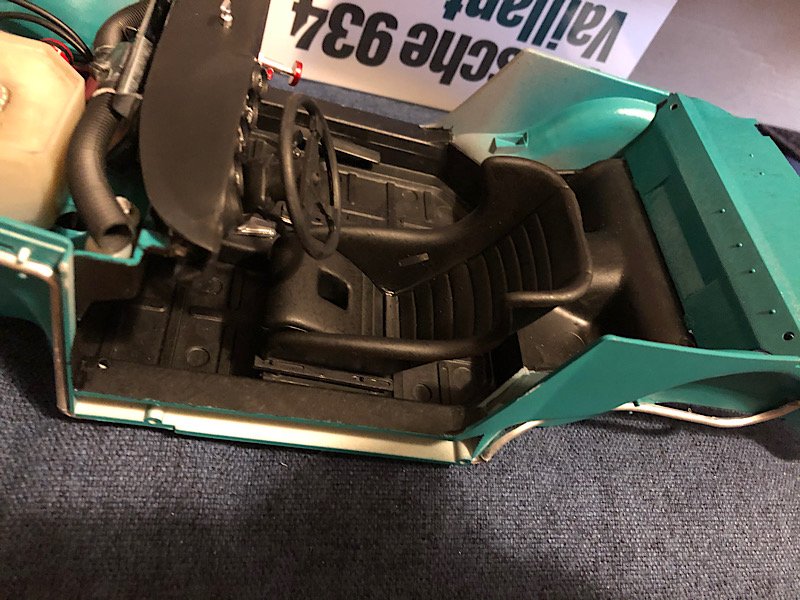
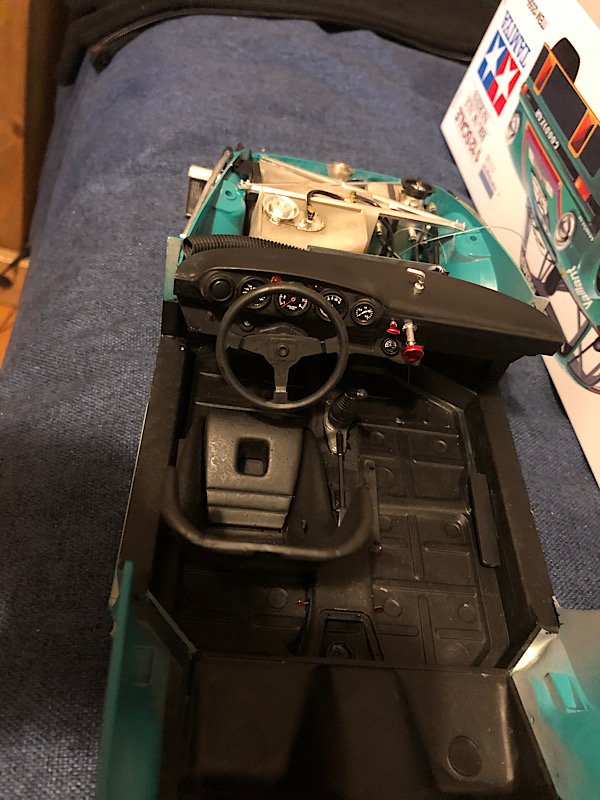
I must say I'm really enjoying this kit (although I thought it would take longer to build ) The seat is just placed there not glued loads to do to that yet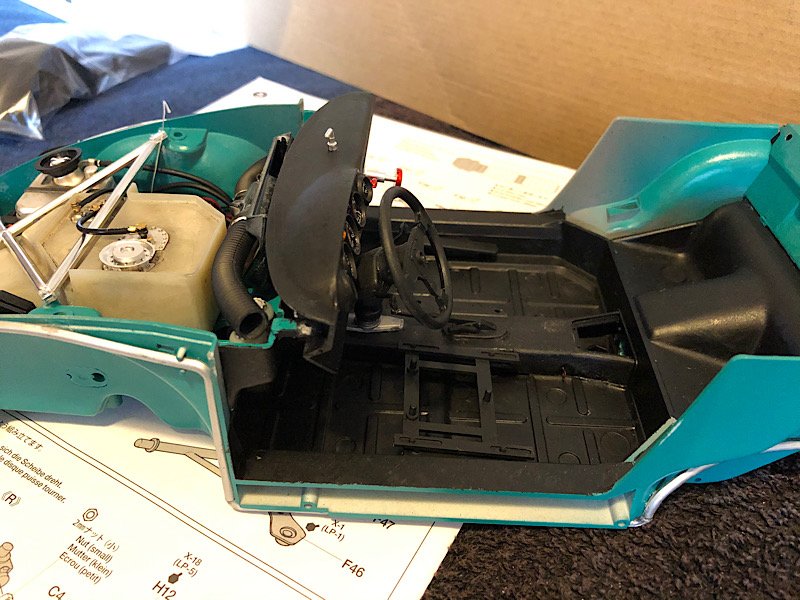
- 73 replies
-
- 11
-
-
Porsche 934 by kpnuts - FINISHED - Tamiya - 1/12 - PLASTIC
kpnuts replied to kpnuts's topic in Non-ship/categorised builds
Comes in the kit like that I just dirty it up a bit. -
Porsche 934 by kpnuts - FINISHED - Tamiya - 1/12 - PLASTIC
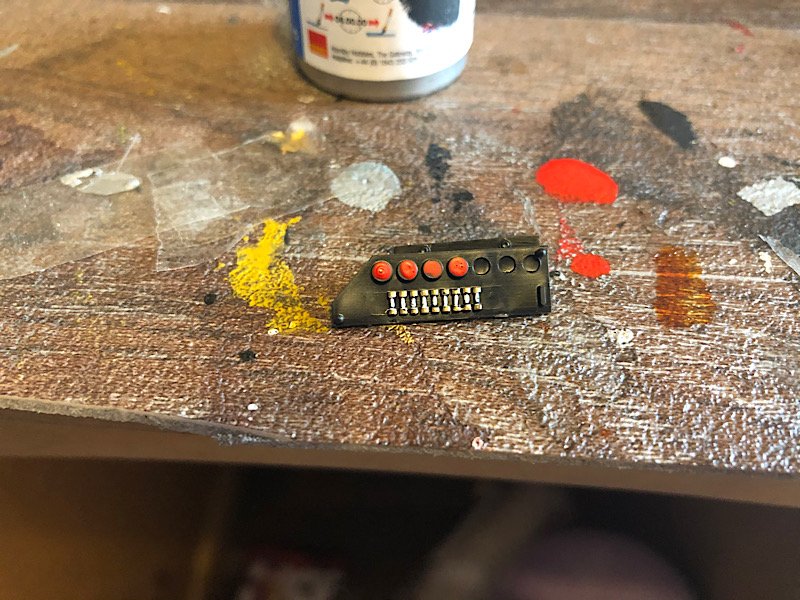
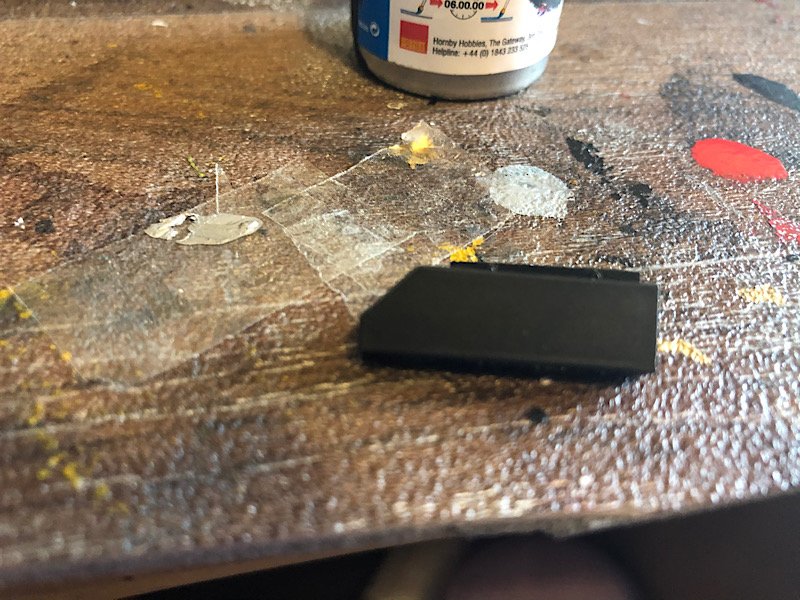
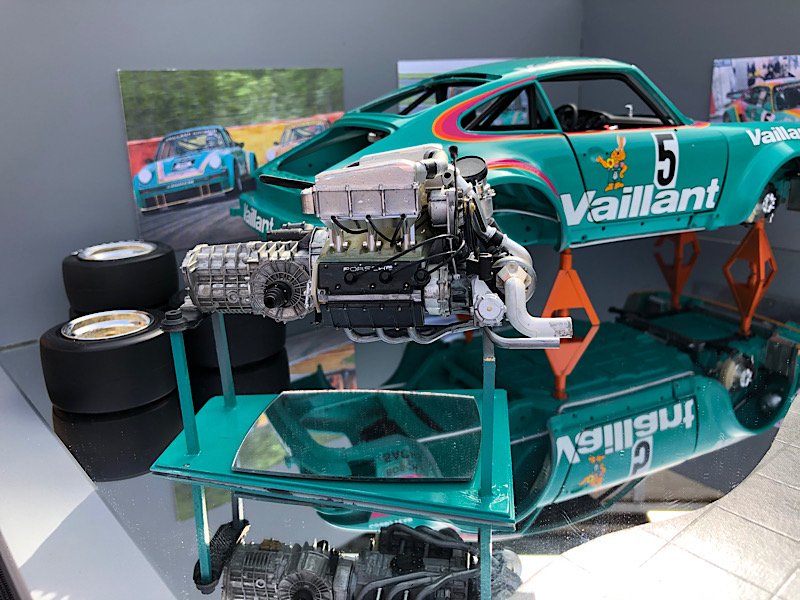
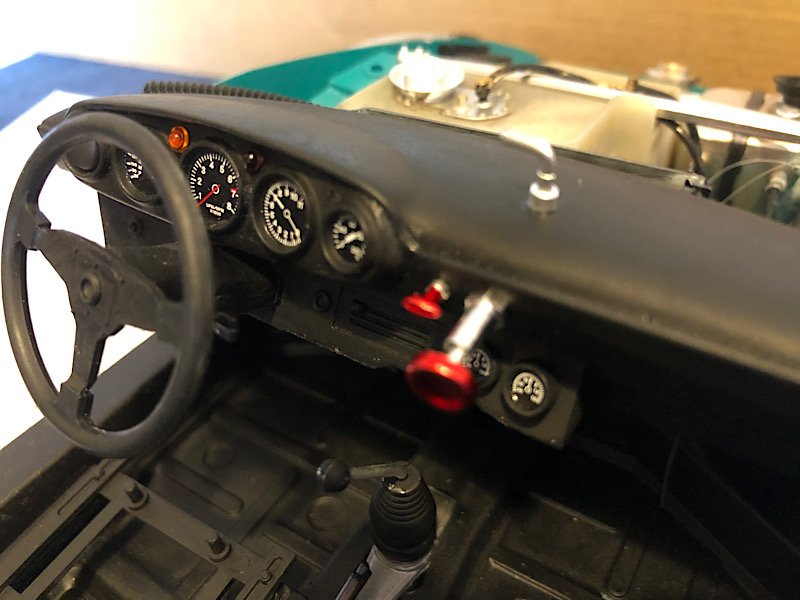
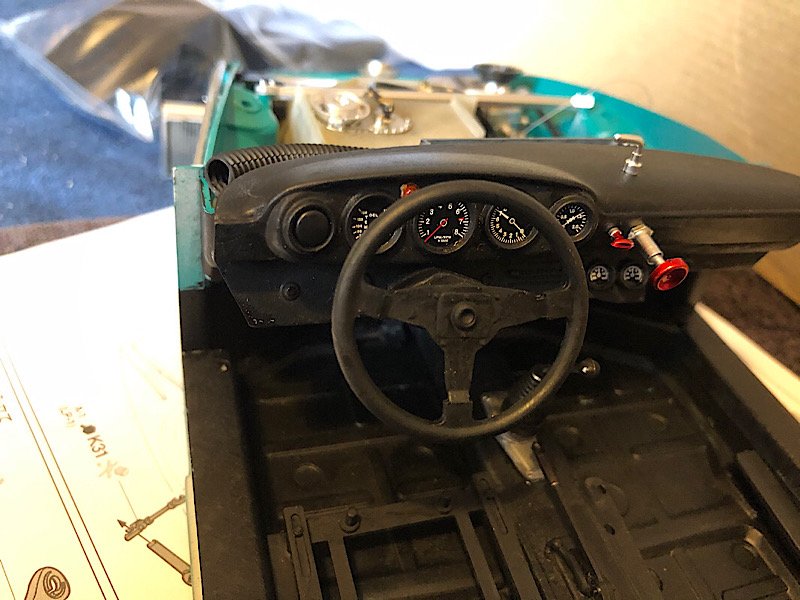
kpnuts replied to kpnuts's topic in Non-ship/categorised builds
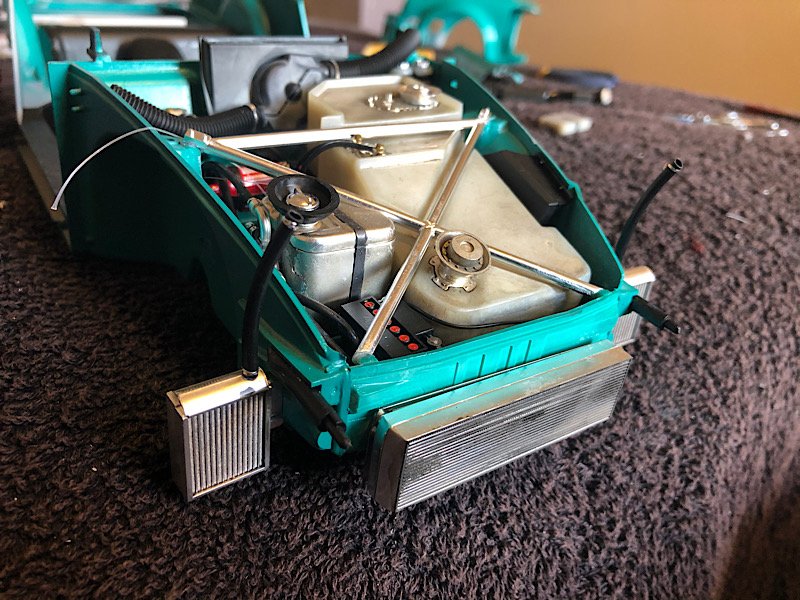
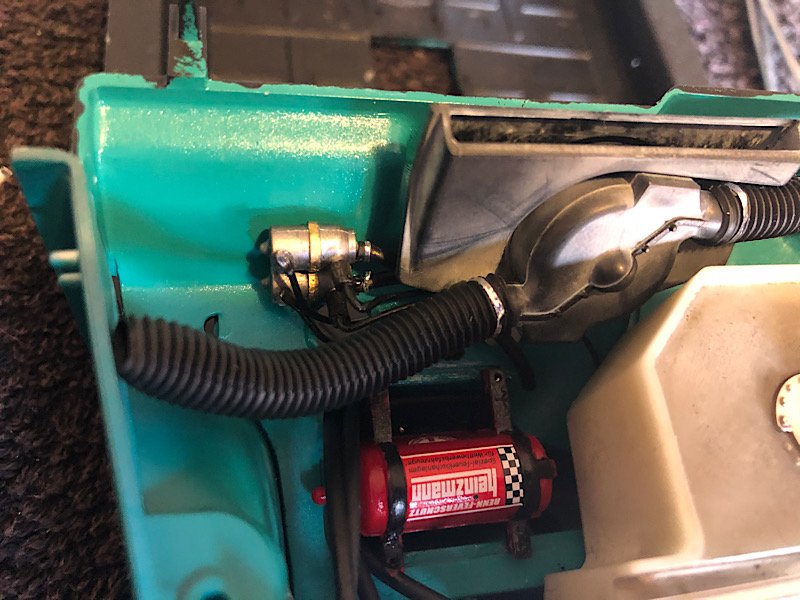
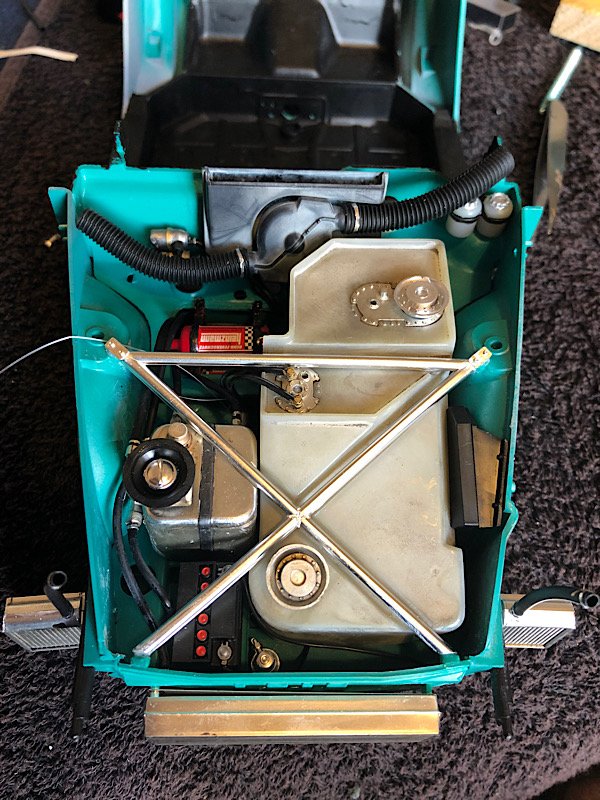
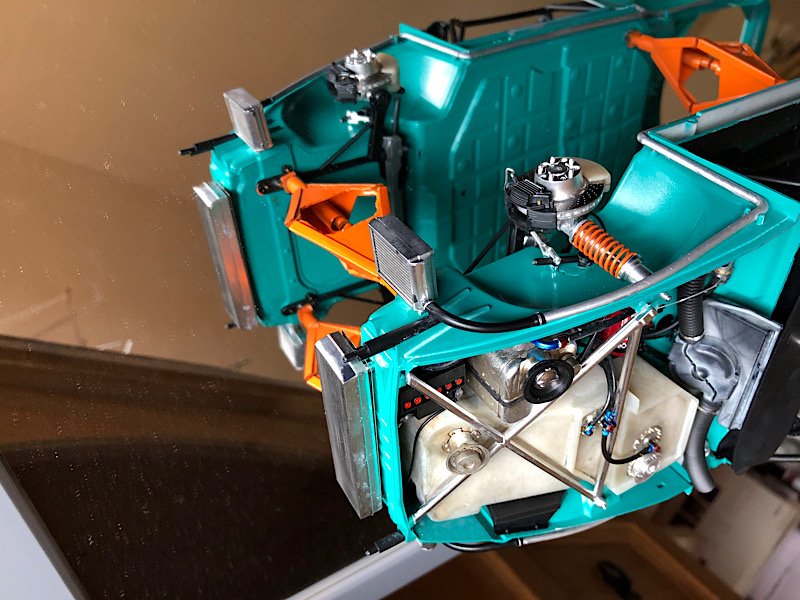
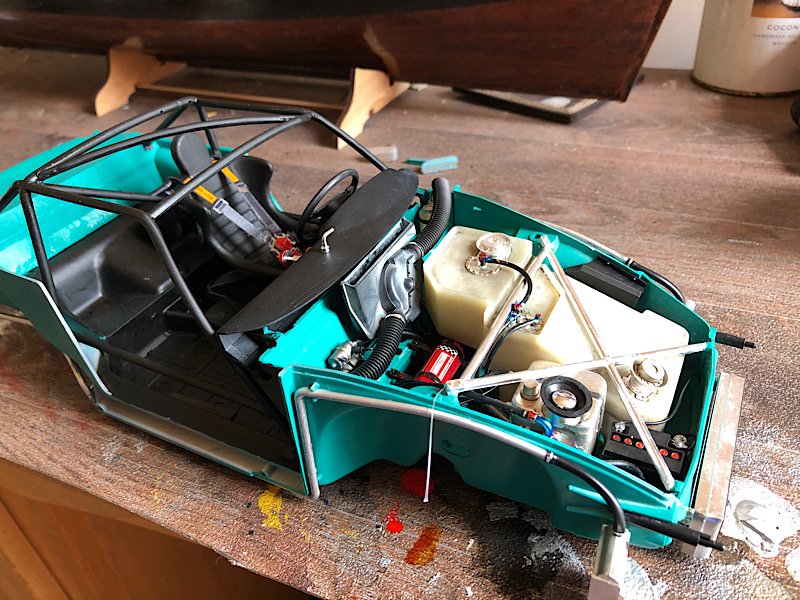
Actually most of the castings in a Porsche are magnesium. When I first started working at my new job I was asked to move an engine block of an rsr (that's a 2.7 litre engine) there were no offers of help moving it so I prepared for the effort heaved it up and nearly fell over, i could literally pick it up with one finger, same with gearbox castings (same cannot be said with a 928 or a 944 block which only 2.5 l is cast iron and I could barely lift it off the floor, that did require help to get on the bench) Did some work on the fuel and oil tanks and stuff under the hood, one detail I love and am in awe of is they even went to the trouble of doing the fuse box and making a removable cover for it. I've added as many pipes and cables as I can think of (although when all the other stuff is installed you can barely see it. Still going to add the heater control cables. Hi Egilman not sure which parts you are referring to uhmd just ask I'm happy to explain how I get any finish on any part (I must admit over the years I've got lazy, I find something that works on one thing then I use it for every part like that afterwards so I have a few favourite products or techniques I use all the time)nothing I do is difficult or requires any skill at all, it's usually just lucky happenstance.