kpnuts
-
Posts
1,034 -
Joined
-
Last visited
Content Type
Profiles
Forums
Gallery
Events
Everything posted by kpnuts
-
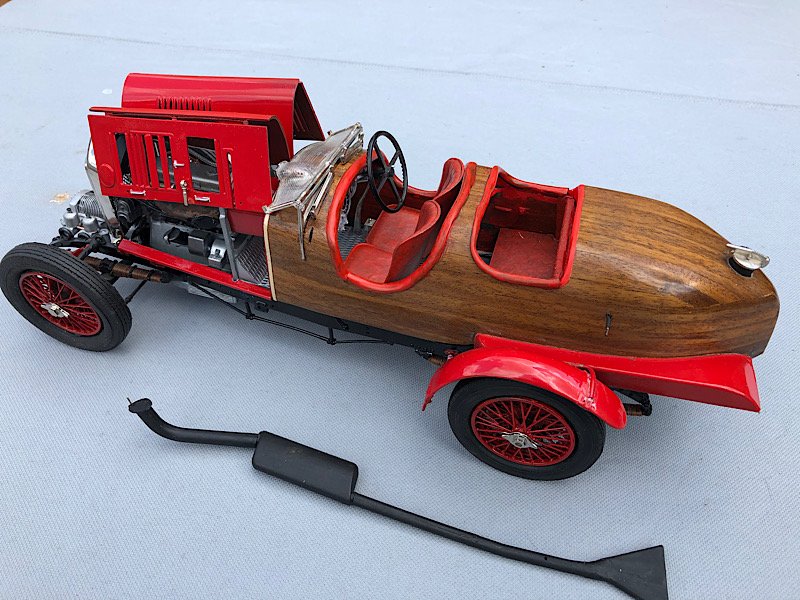
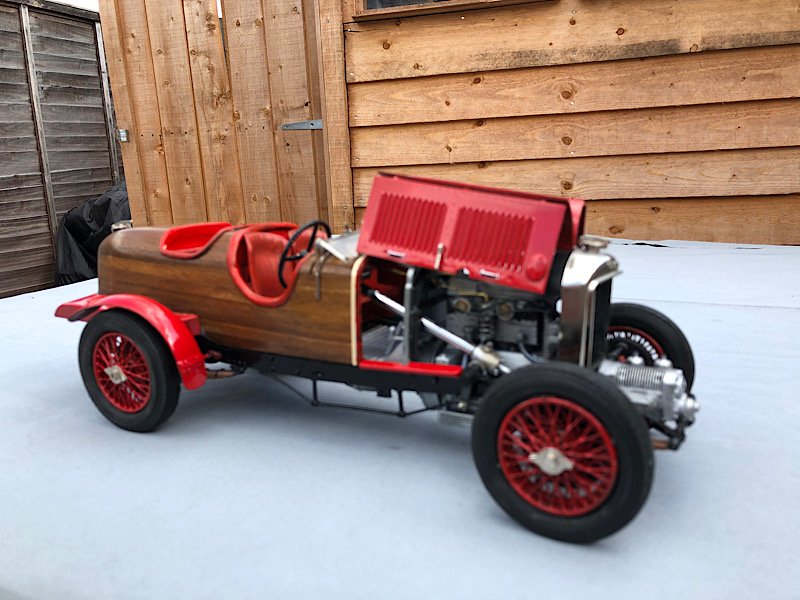
Bentley 4.5 litre (altered version) by kpnuts 1/12 Airfix
kpnuts replied to kpnuts's topic in Non-ship/categorised builds
Thanks very much. -
American Wrecker Truck by kpnuts - Italari - 1/24 - PLASTIC
kpnuts replied to kpnuts's topic in Non-ship/categorised builds
Heres another update


-
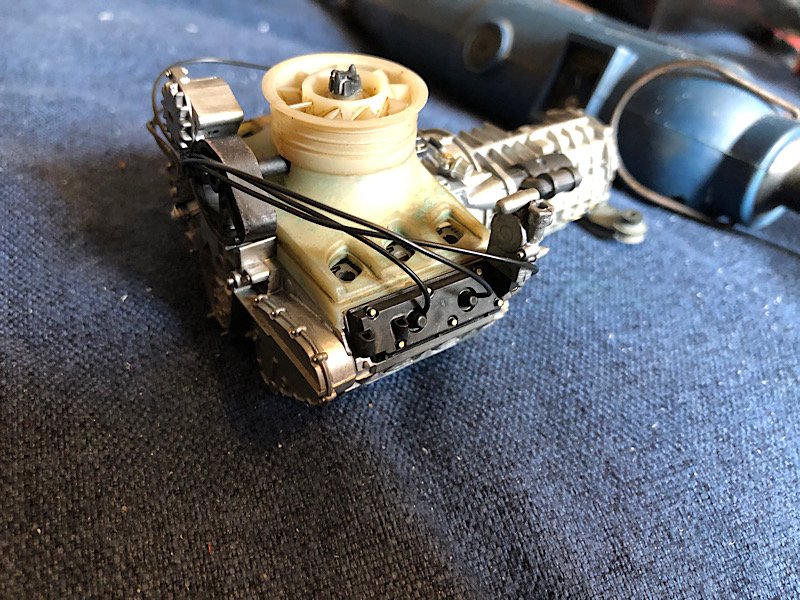
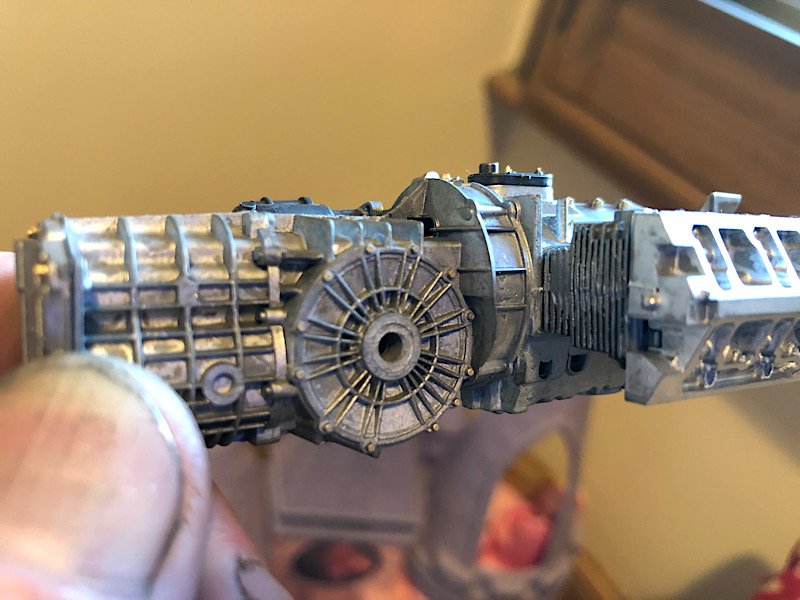
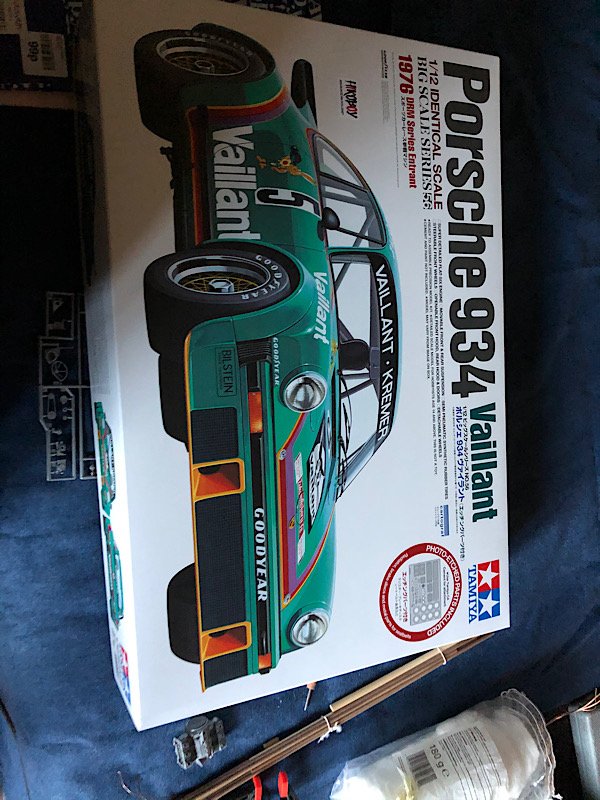
Porsche 934 by kpnuts - FINISHED - Tamiya - 1/12 - PLASTIC
kpnuts replied to kpnuts's topic in Non-ship/categorised builds
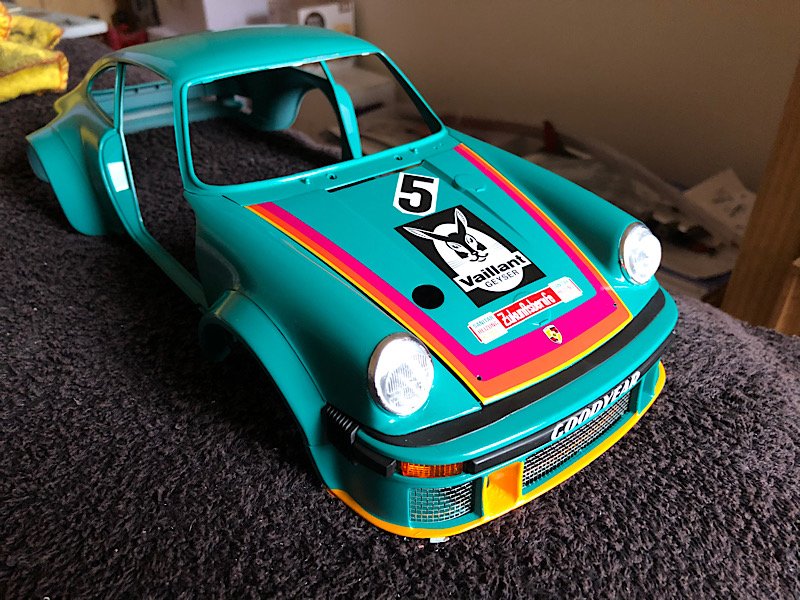
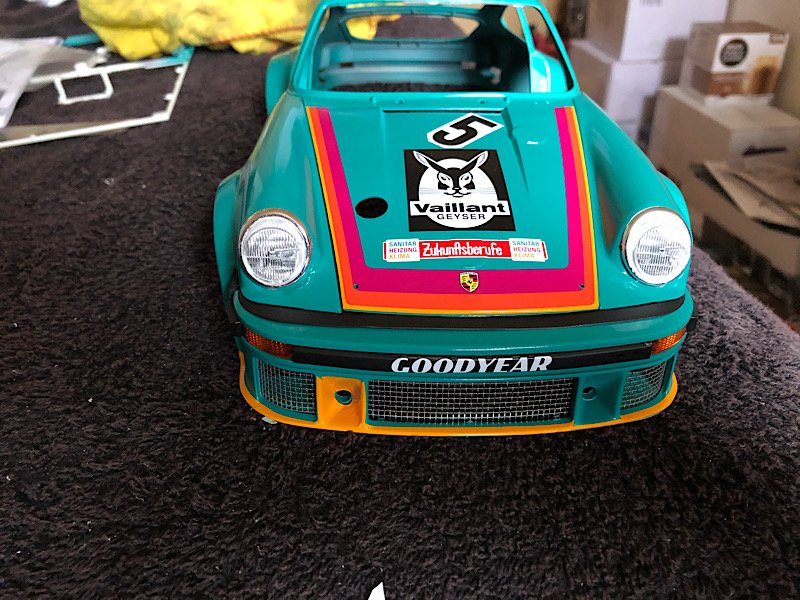
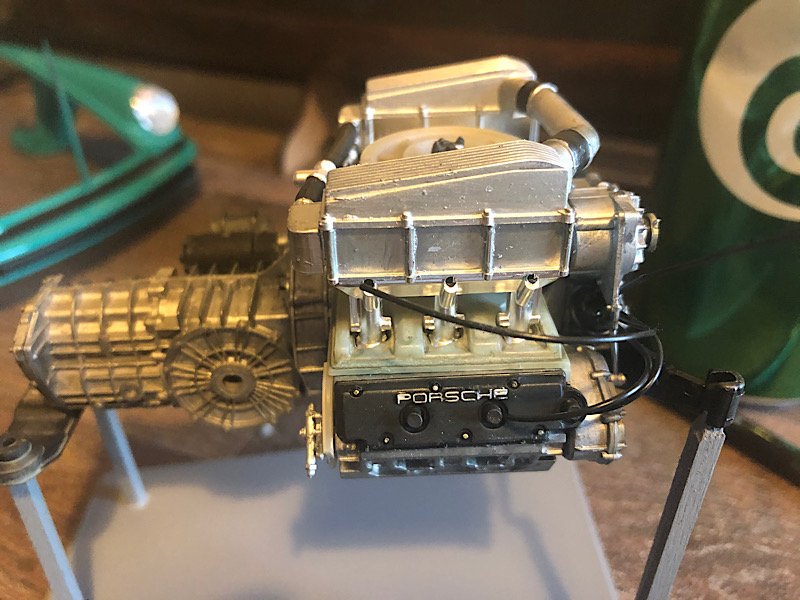
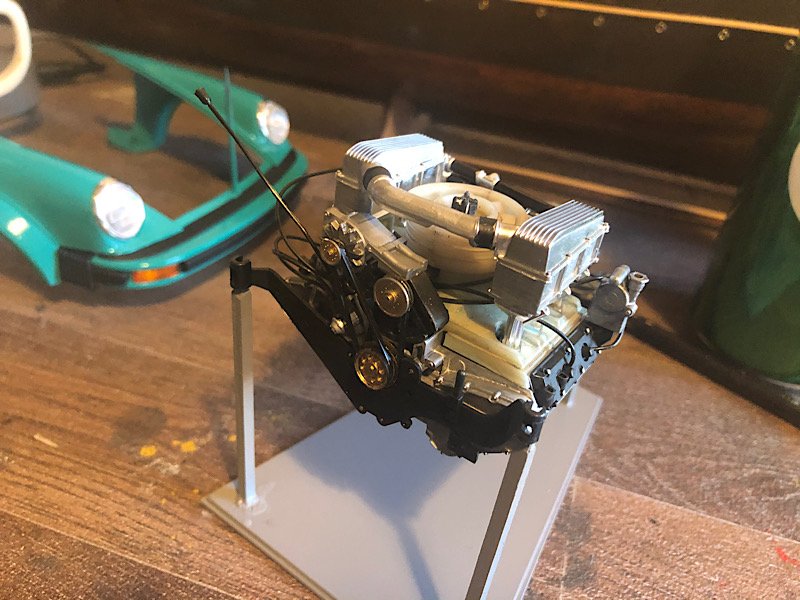
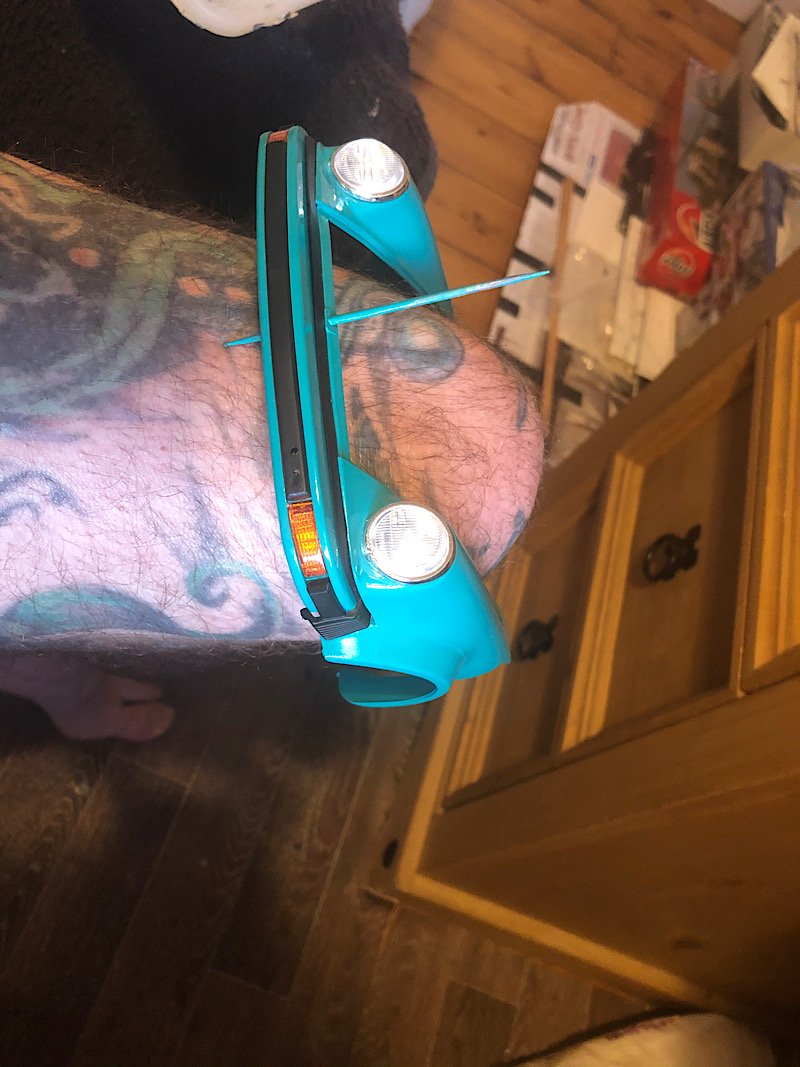
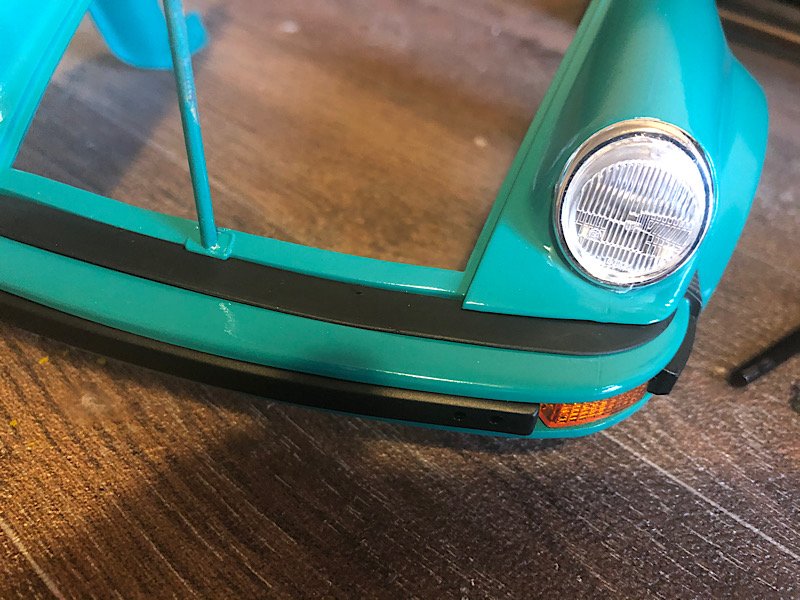
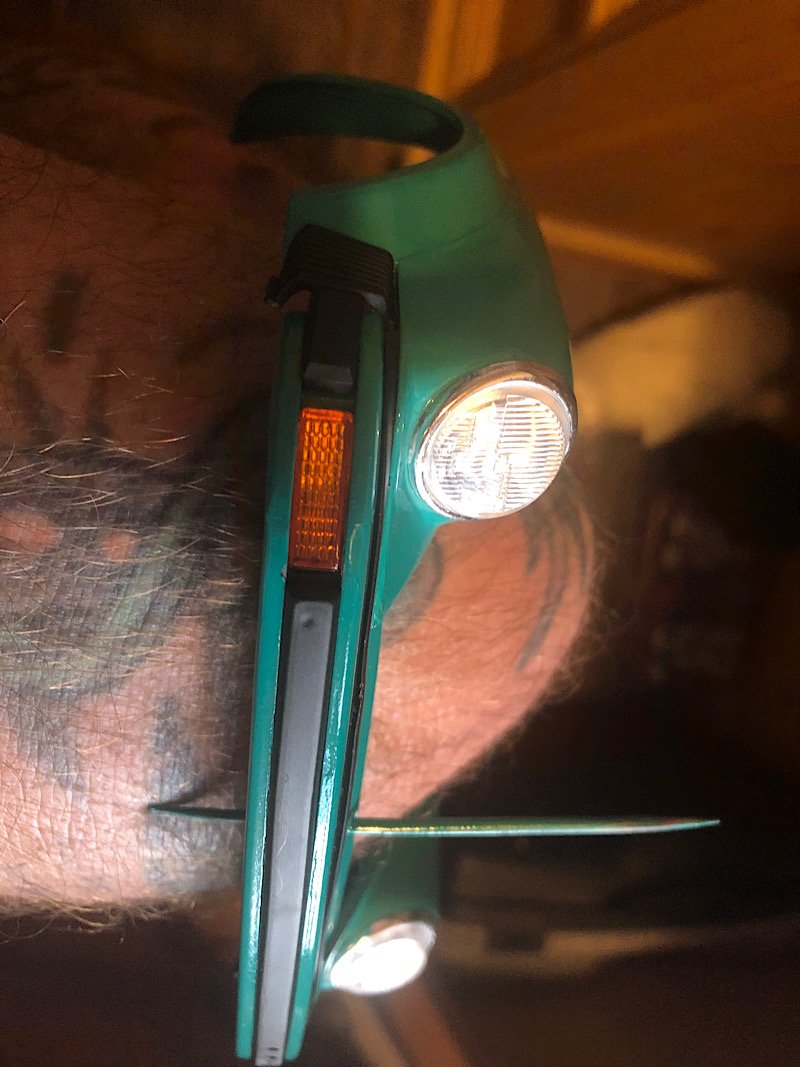
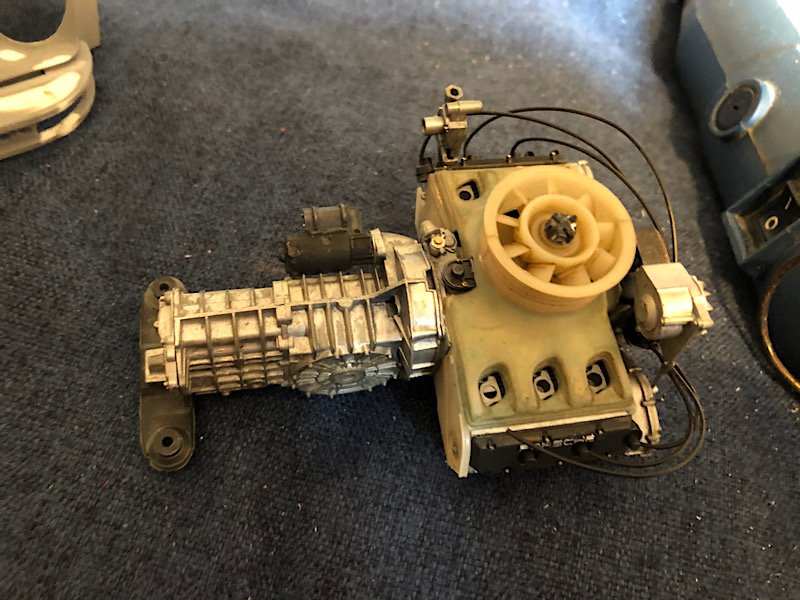
Hi all well the tamiya supplied engine is done, I've looked on line but cant find picures the throttle linkages, I will have to ask my boss if he has any references (he seems to have an know anything Porsche related (hes an advisor on several official Porsche boards and is highly respected for his knowledge))started the decals, which are great but, the ones round the grill are really hard especially the ones around the square cut outs (if I could have guaranteed the colour match it would have been far and away easier to mask and spray it. Ps I've barely started the decals (what ever happened to the English version (which I much preferred transfers) decals, where did that even come from you transfer the image from one place to another what you de (cant even think where cal fits in) sorry rant over, I just dont understand it.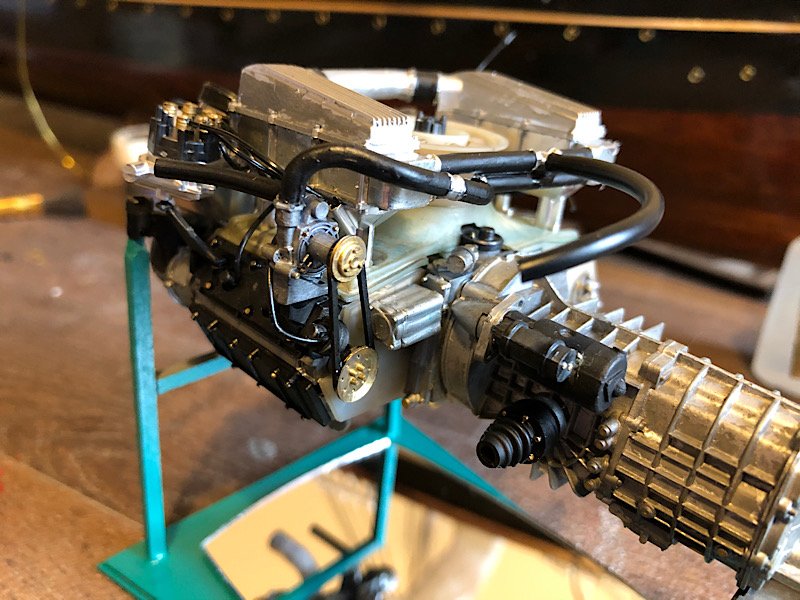

- 73 replies
-
- 13
-

-
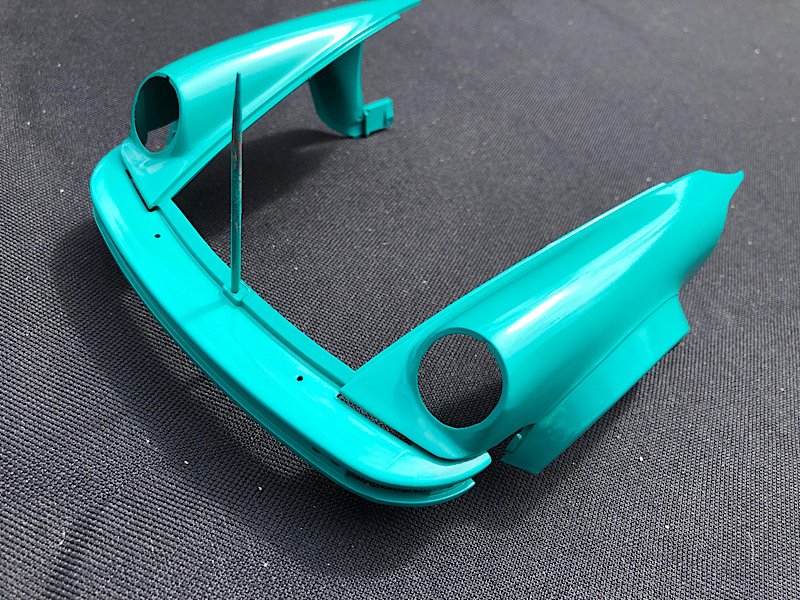
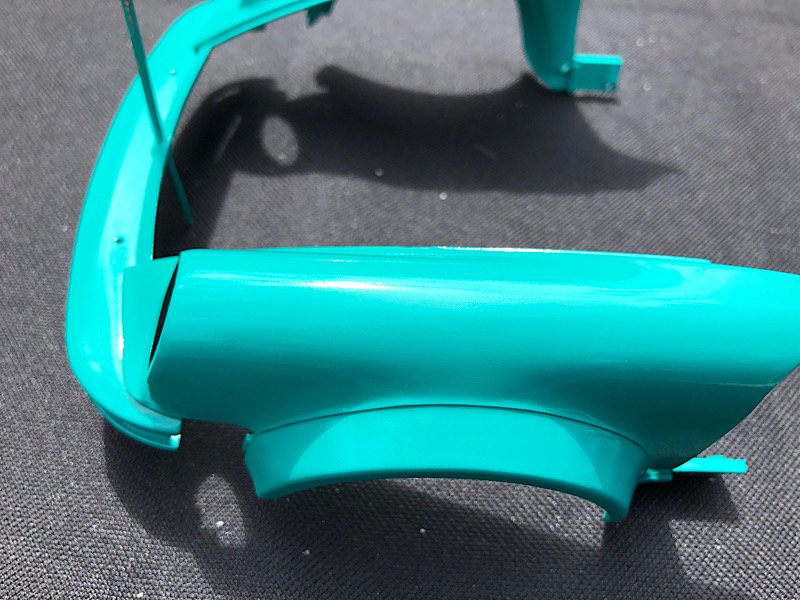
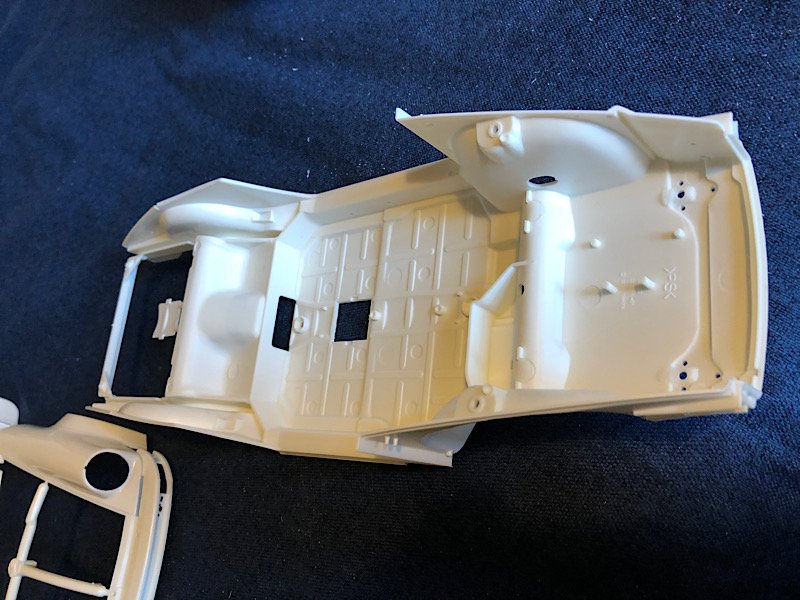
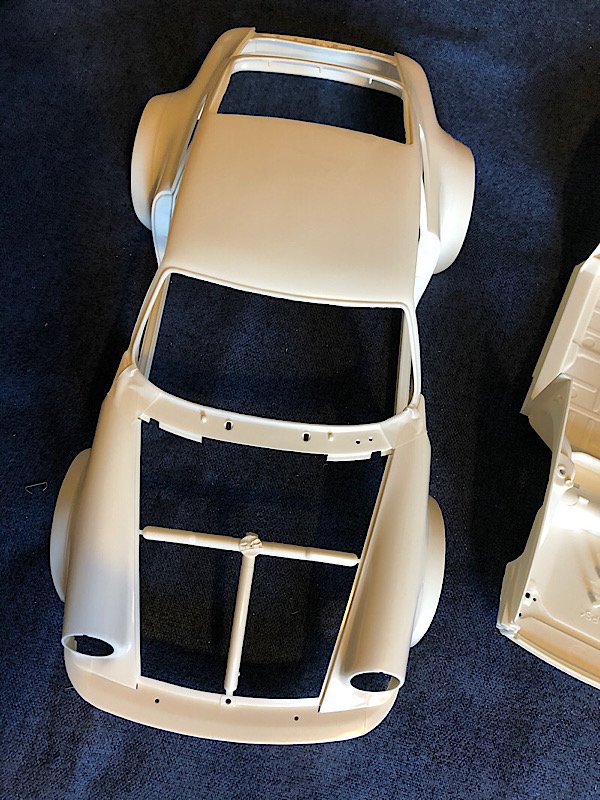
Porsche 934 by kpnuts - FINISHED - Tamiya - 1/12 - PLASTIC
kpnuts replied to kpnuts's topic in Non-ship/categorised builds
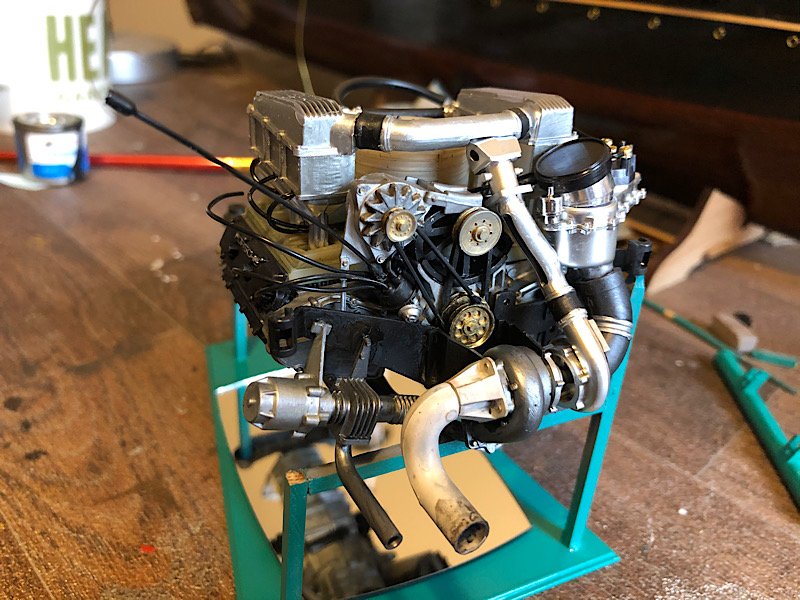
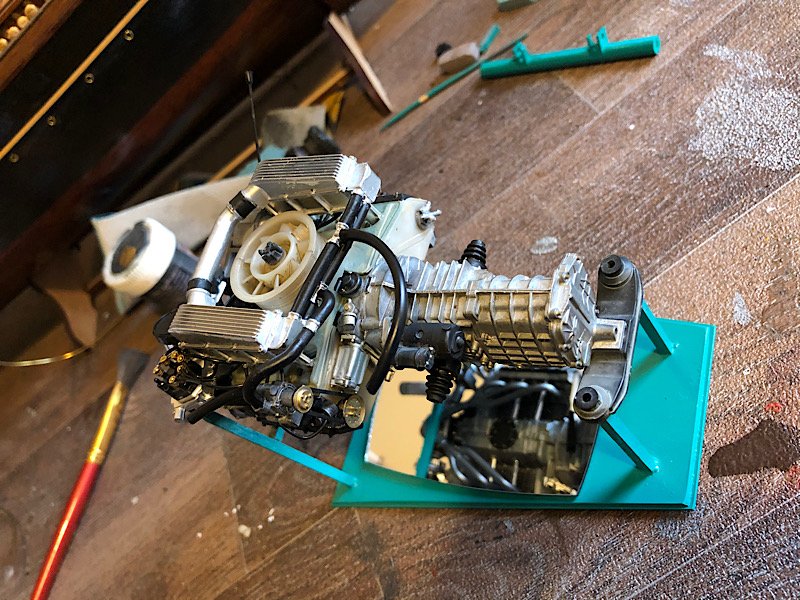
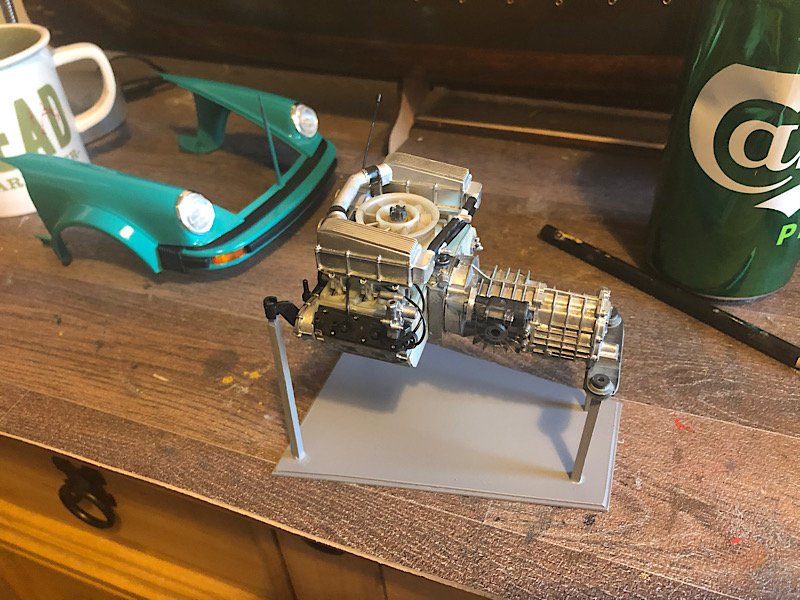
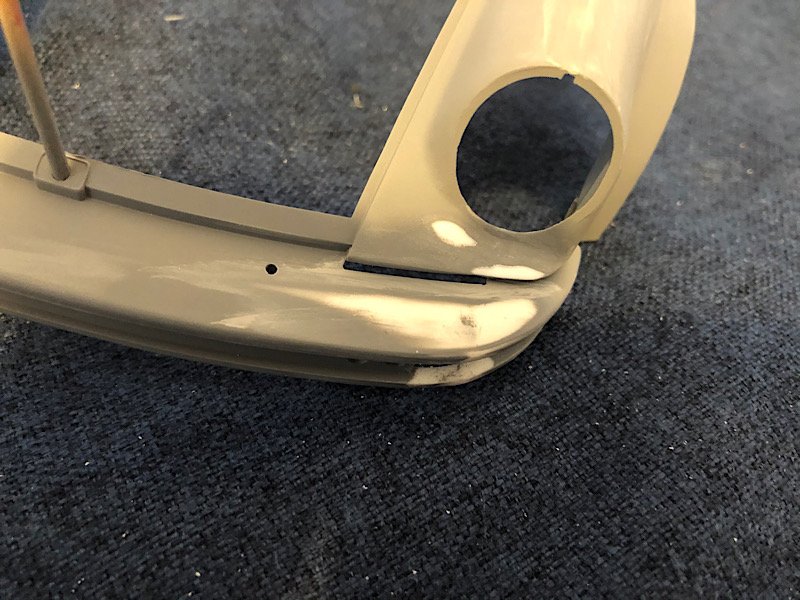
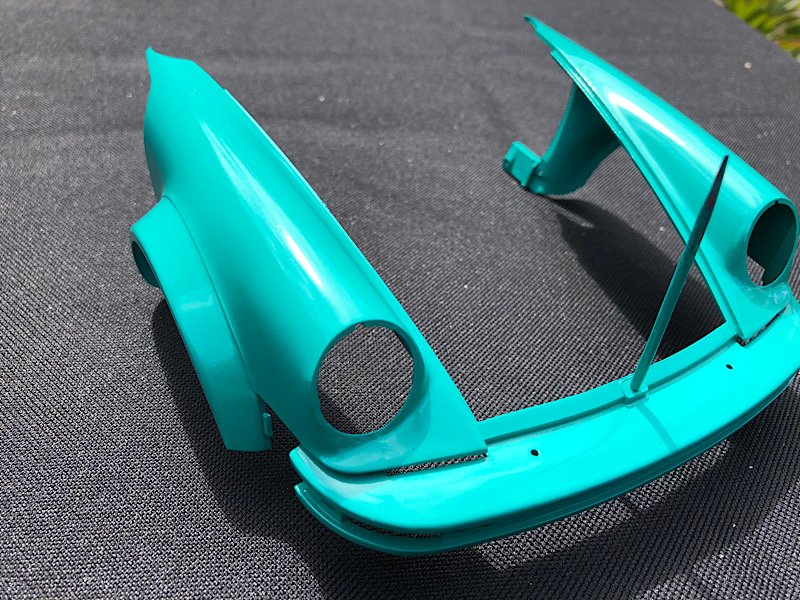
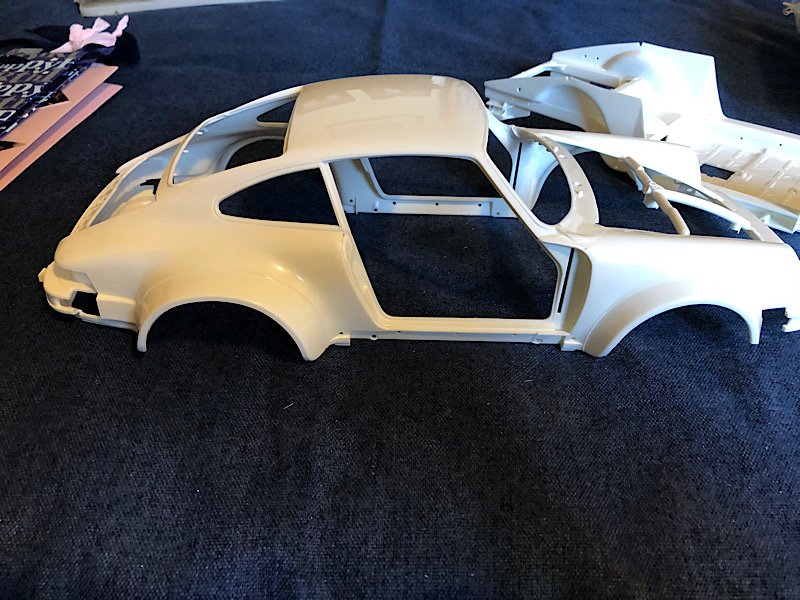
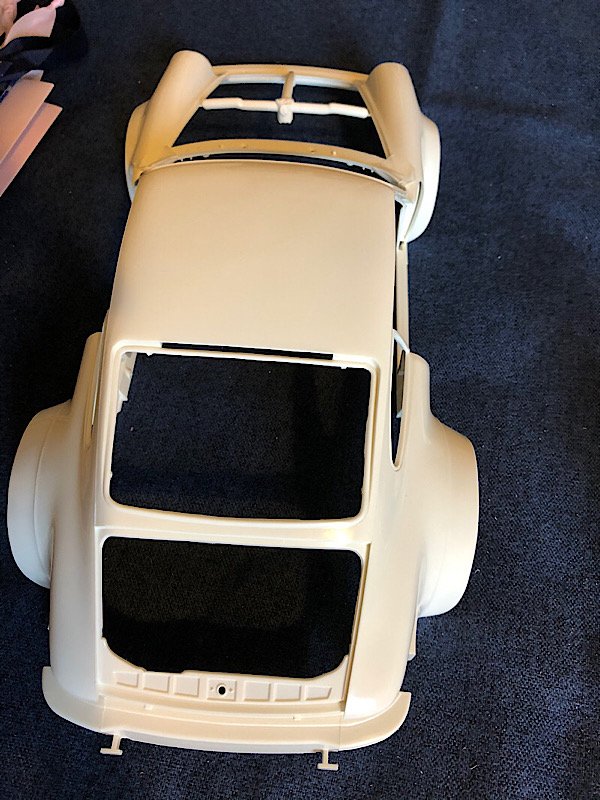
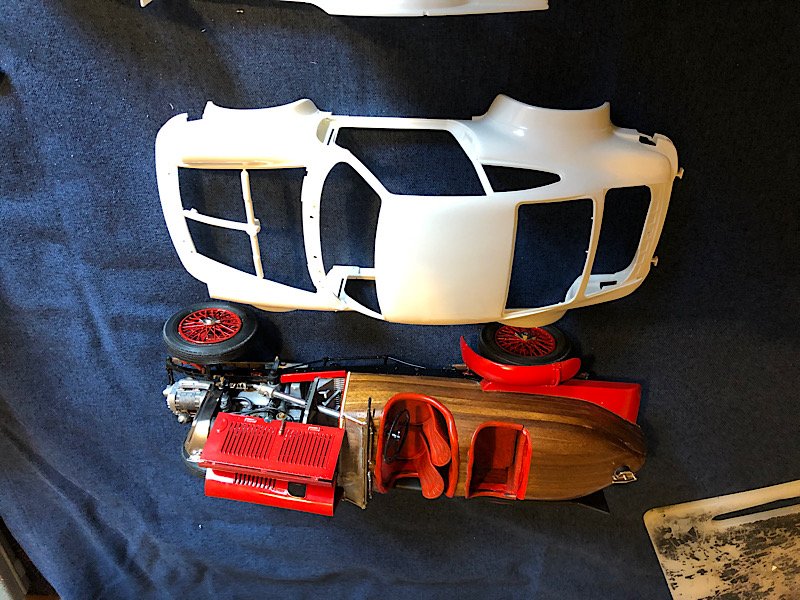
More work on the engine and a start on the body.- 73 replies
-
- 13
-
-
Bentley 4.5 litre (altered version) by kpnuts 1/12 Airfix
kpnuts replied to kpnuts's topic in Non-ship/categorised builds
Well its finally done and now ready for the spares drawer till I think of something else to do with it.- 66 replies
-
- 12
-
-
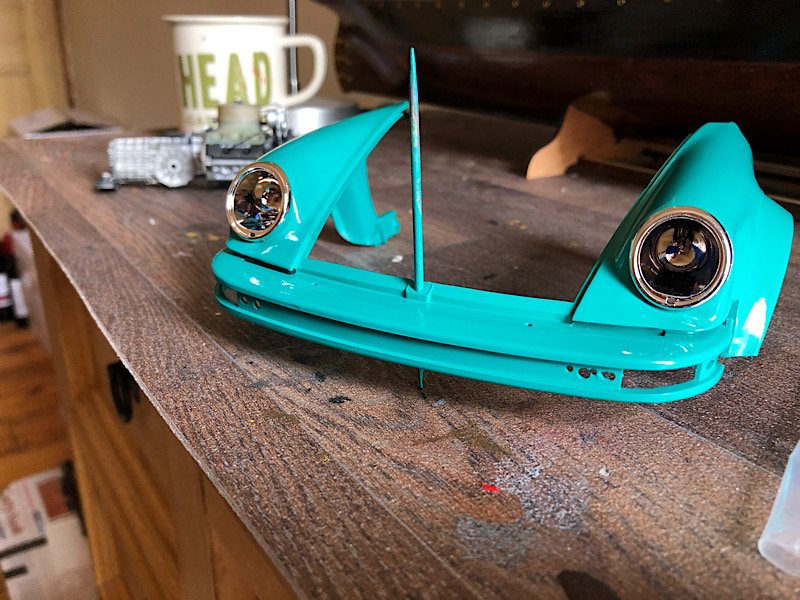
Porsche 934 by kpnuts - FINISHED - Tamiya - 1/12 - PLASTIC
kpnuts replied to kpnuts's topic in Non-ship/categorised builds
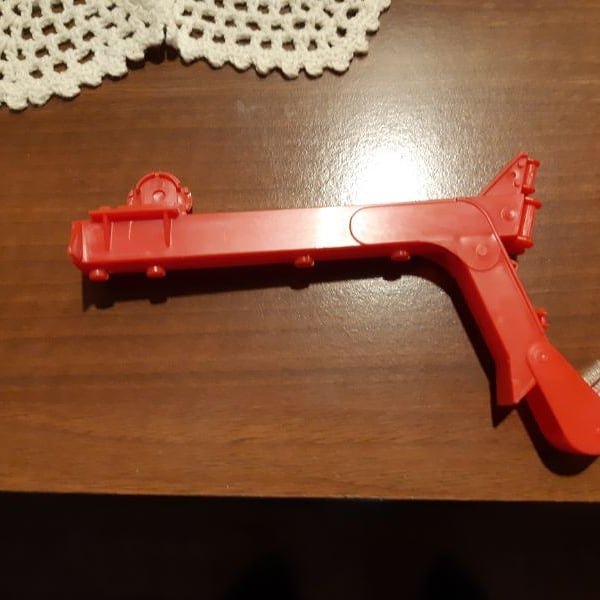
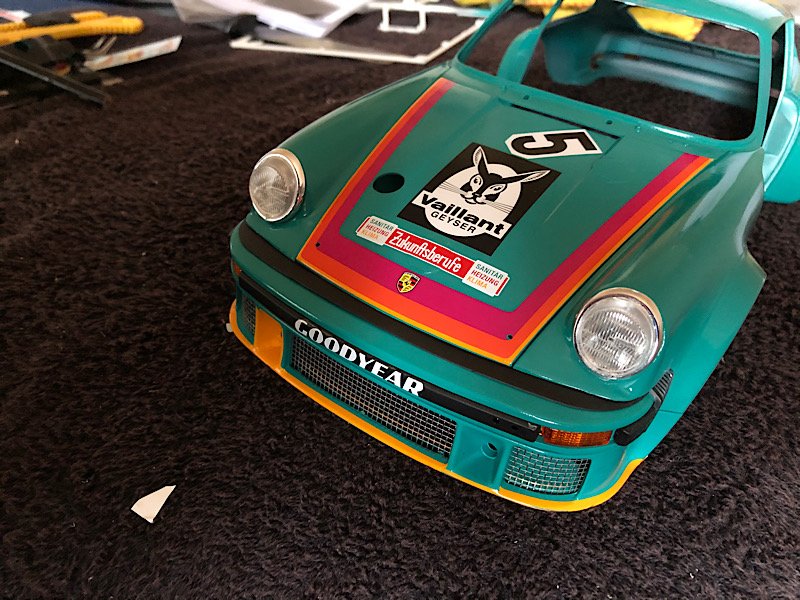
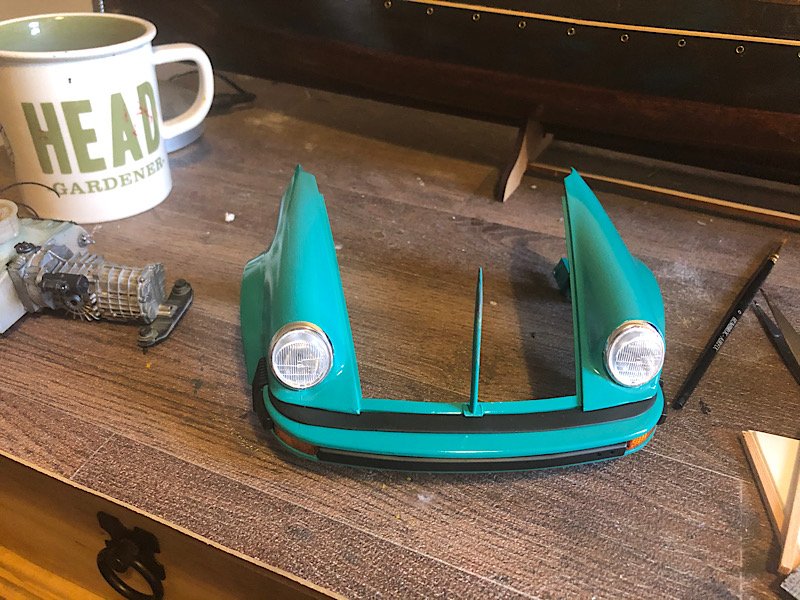
Made a start on the engine stand and did some more to the front end.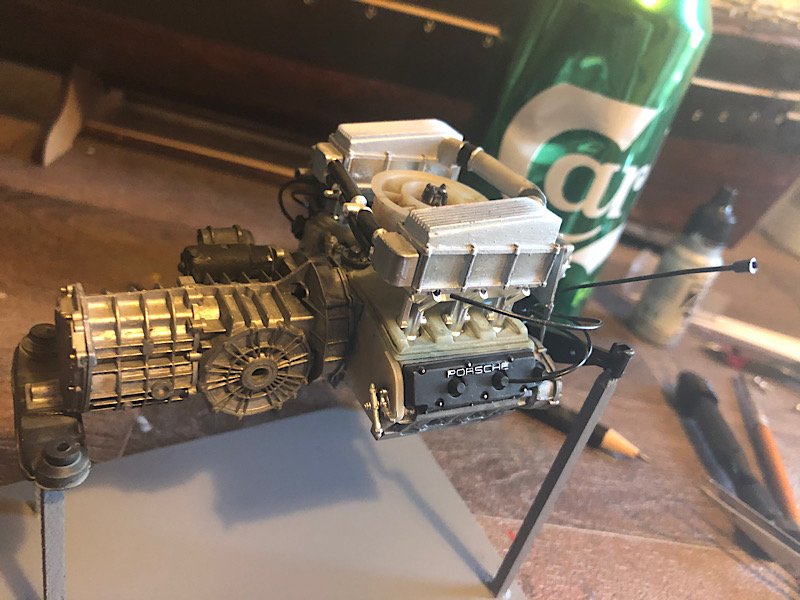

- 73 replies
-
- 12
-
-
Porsche 934 by kpnuts - FINISHED - Tamiya - 1/12 - PLASTIC
kpnuts replied to kpnuts's topic in Non-ship/categorised builds
More work on the engine and a start on the body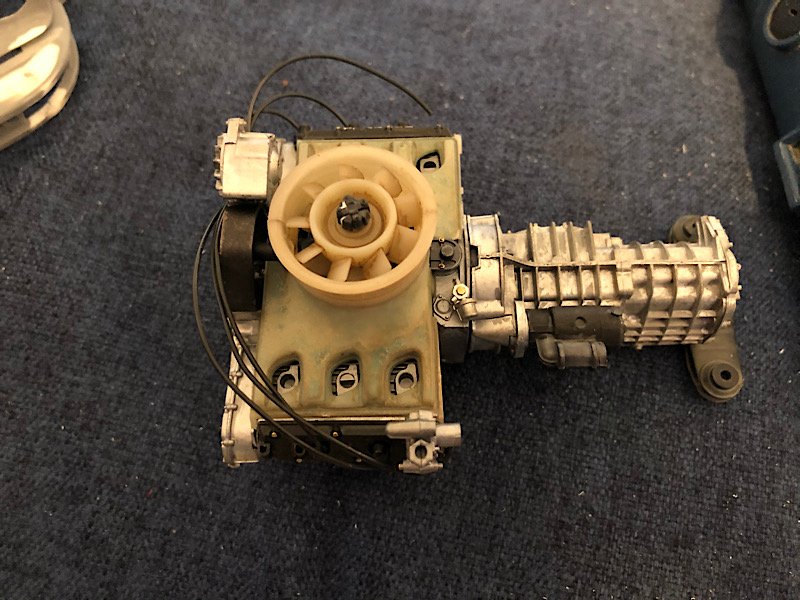
- 73 replies
-
- 12
-
-
Bentley 4.5 litre (altered version) by kpnuts 1/12 Airfix
kpnuts replied to kpnuts's topic in Non-ship/categorised builds
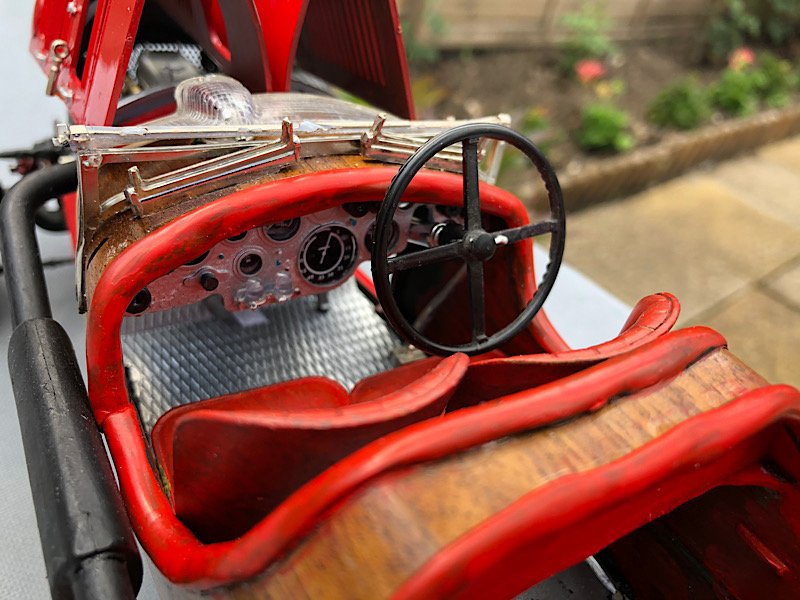
Nearing completion now.


- 66 replies
-
- 10
-
-
Porsche 934 by kpnuts - FINISHED - Tamiya - 1/12 - PLASTIC
kpnuts replied to kpnuts's topic in Non-ship/categorised builds
Thanks guys -
Porsche 934 by kpnuts - FINISHED - Tamiya - 1/12 - PLASTIC
kpnuts replied to kpnuts's topic in Non-ship/categorised builds
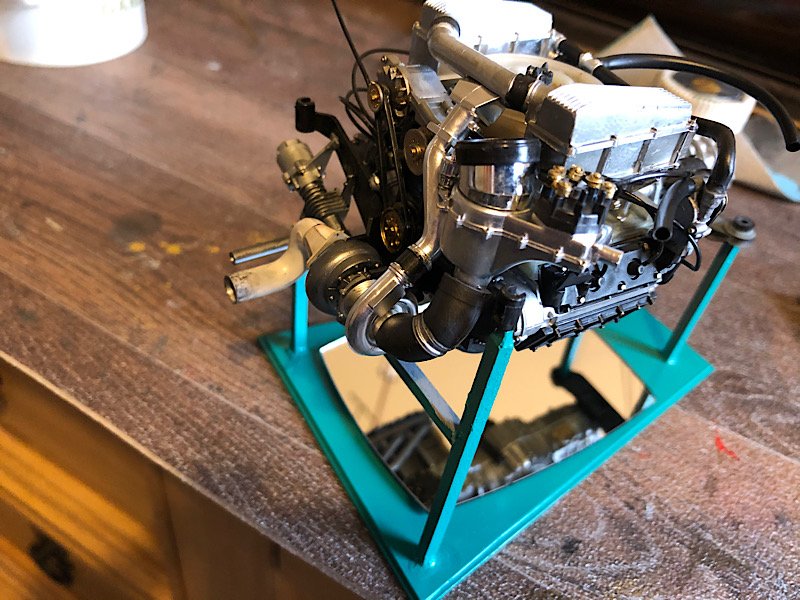
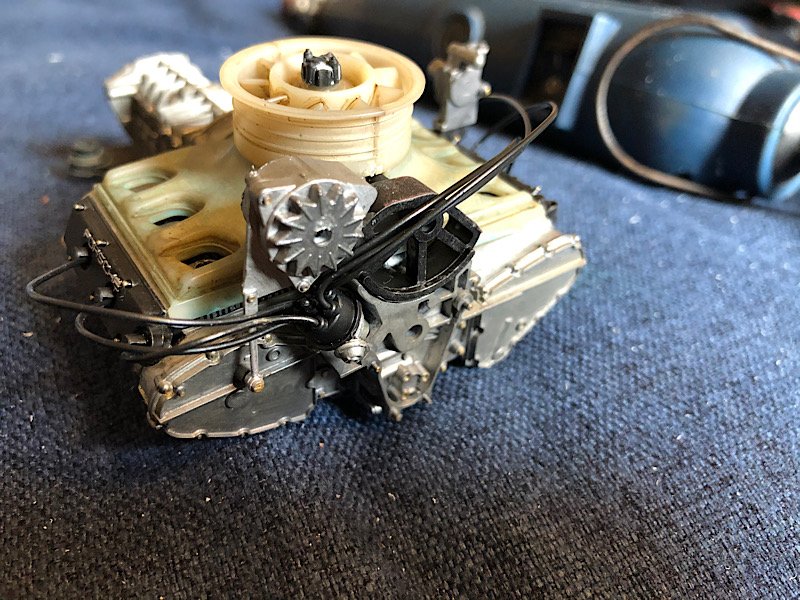
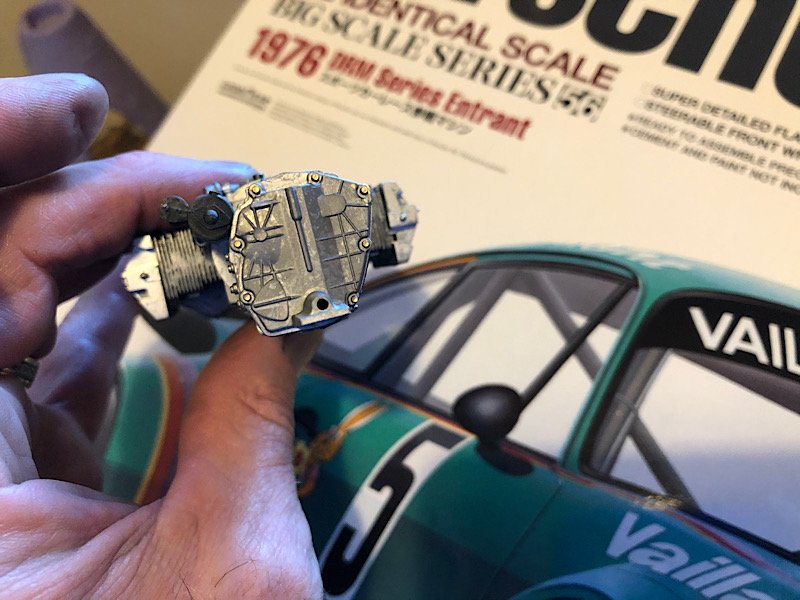
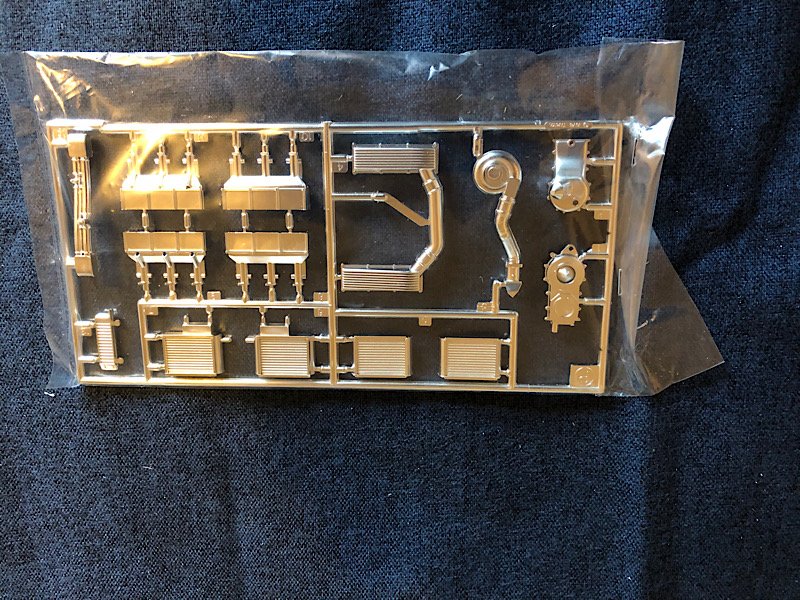
Hi all more done to the engine (the rest seems to be going together in the usual tamiya fashion (in other words perfectly)- 73 replies
-
- 12
-
-
Porsche 934 by kpnuts - FINISHED - Tamiya - 1/12 - PLASTIC
kpnuts replied to kpnuts's topic in Non-ship/categorised builds
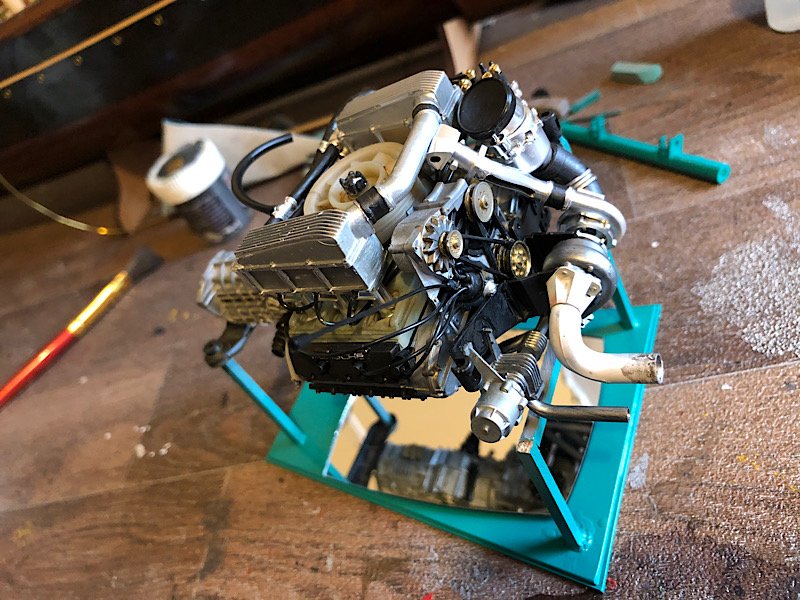
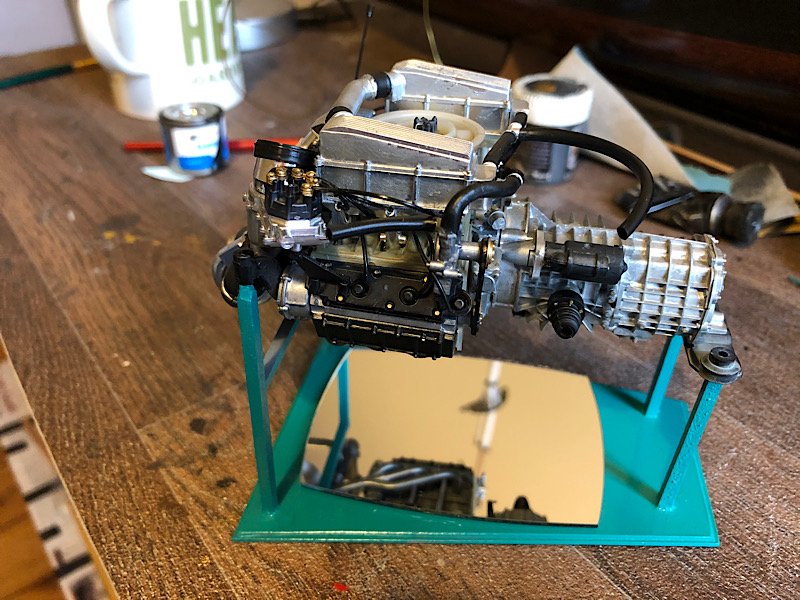
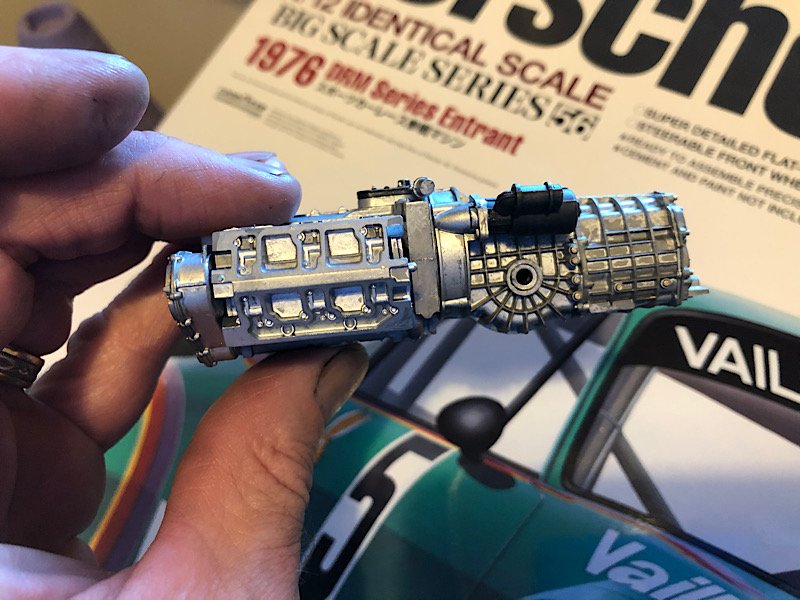
More work on the engine.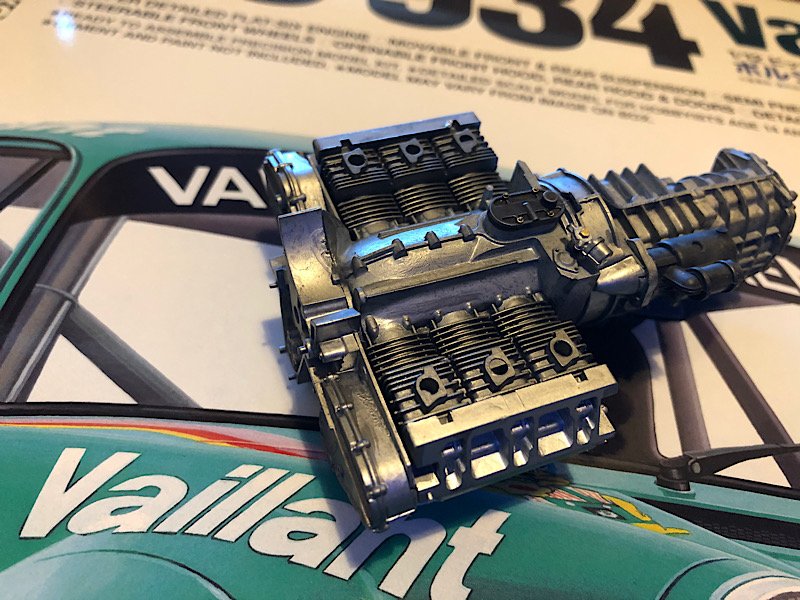

- 73 replies
-
- 13
-
-
Bentley 4.5 litre (altered version) by kpnuts 1/12 Airfix
kpnuts replied to kpnuts's topic in Non-ship/categorised builds
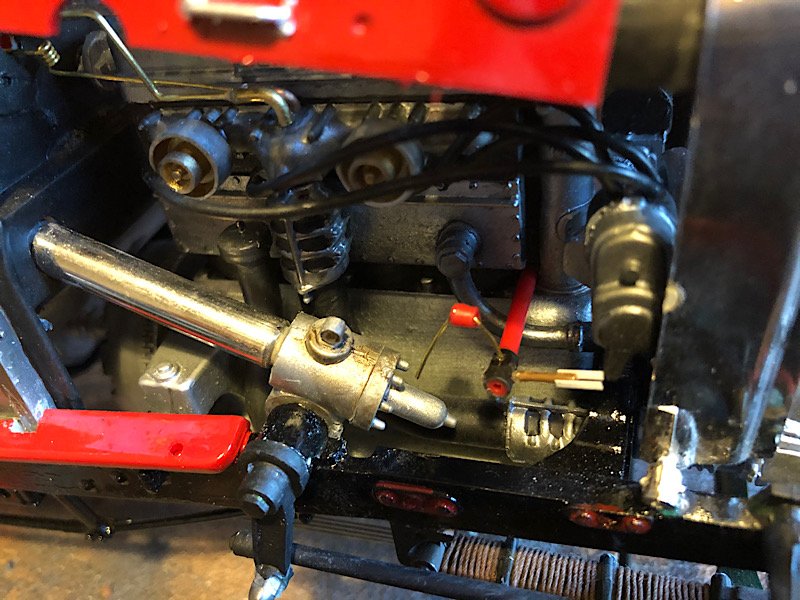
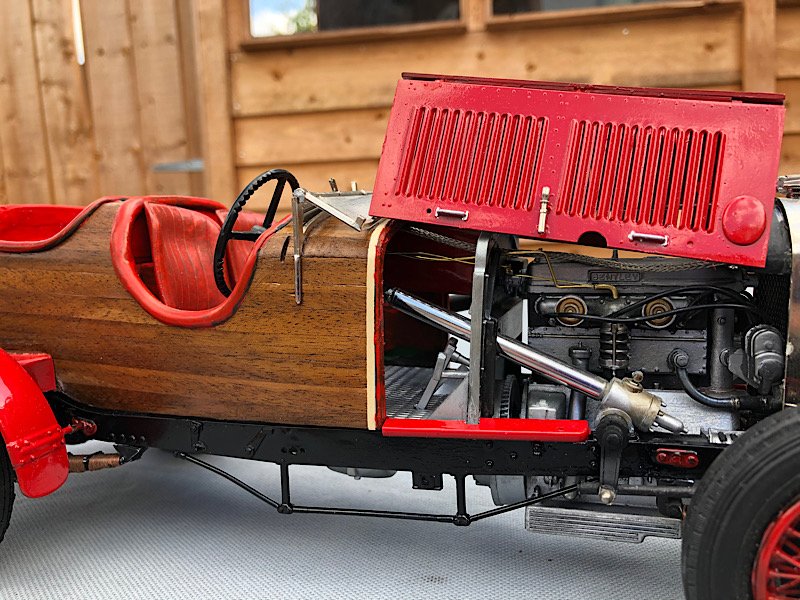
Well that's the throttle and advance and retard mechanism done on one side(the easy side)- 66 replies
-
- 11
-
-
Bentley 4.5 litre (altered version) by kpnuts 1/12 Airfix
kpnuts replied to kpnuts's topic in Non-ship/categorised builds
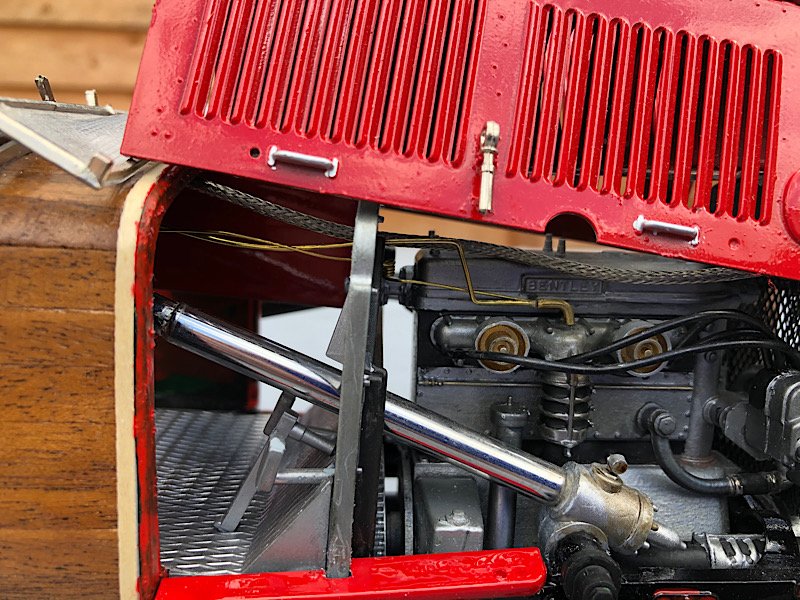
The throttle linkage.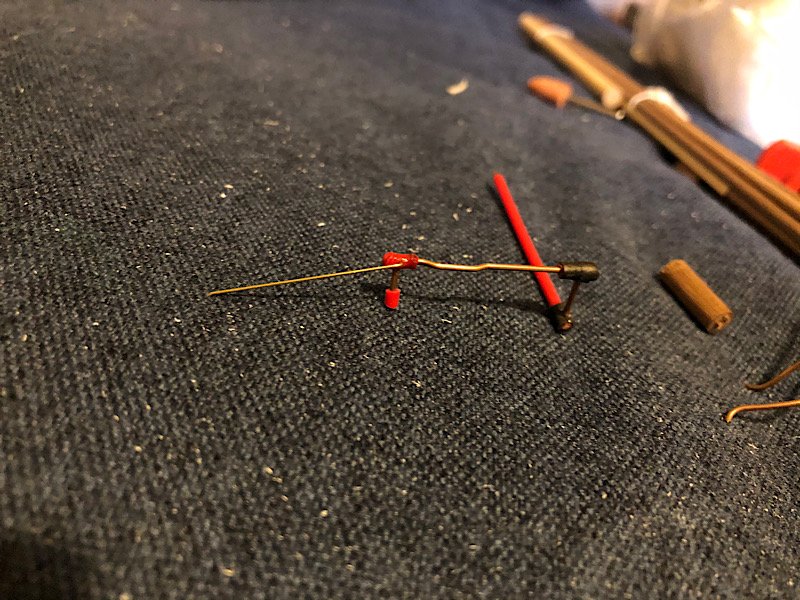
-
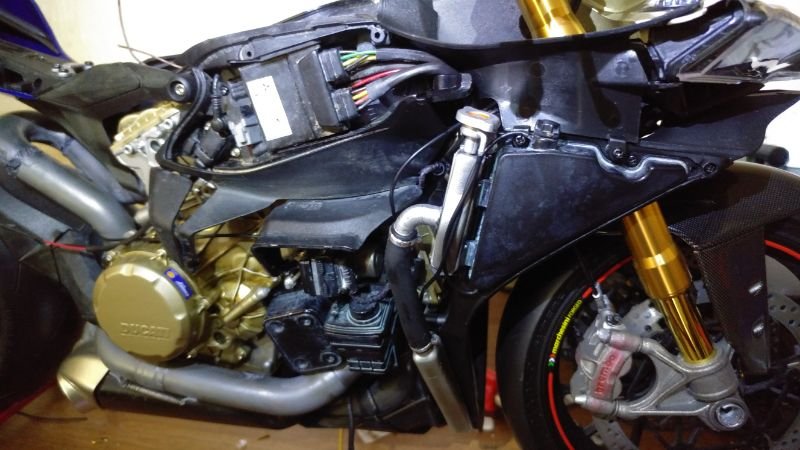
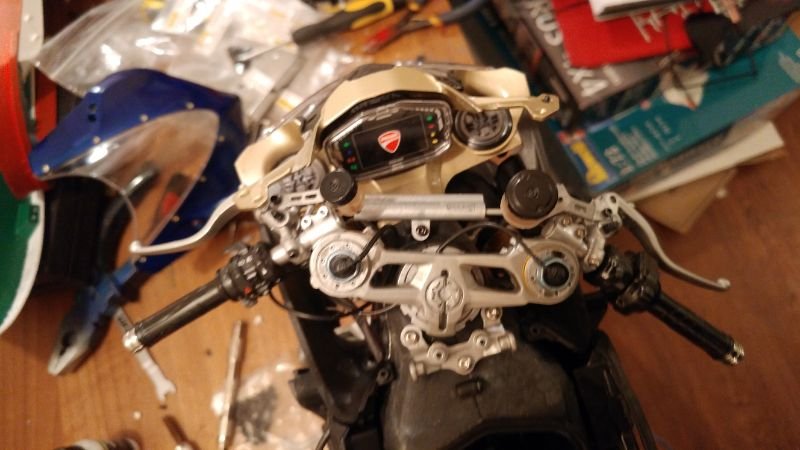
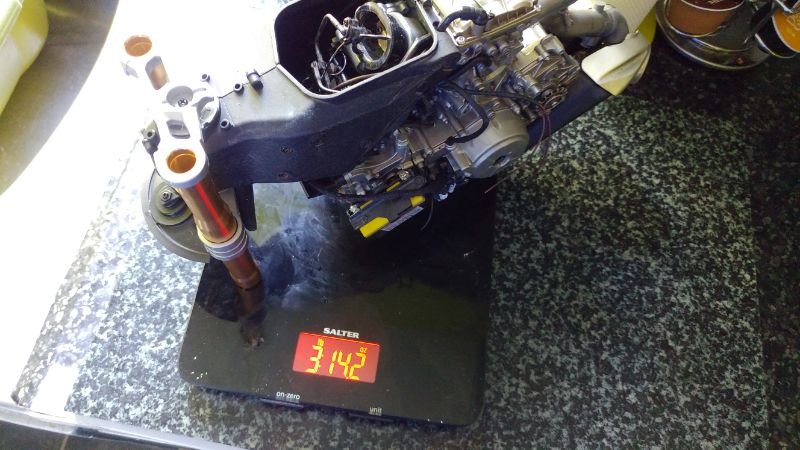
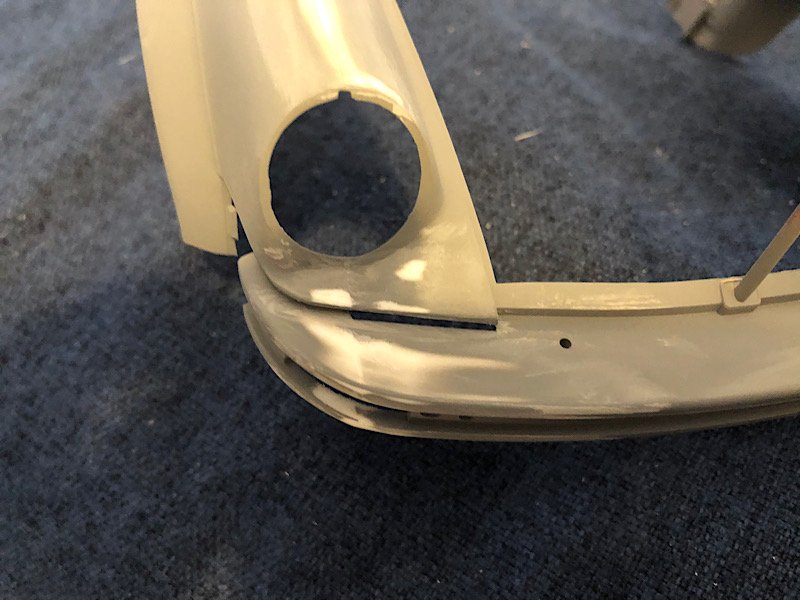
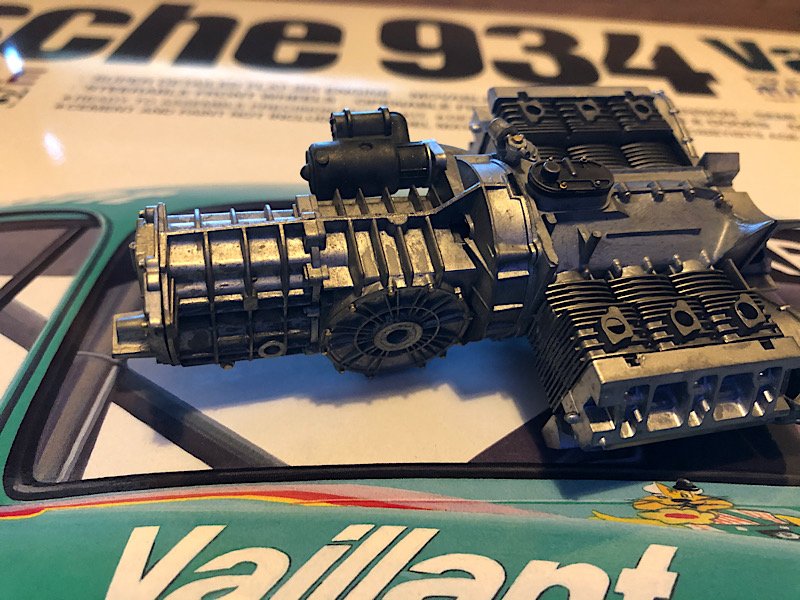
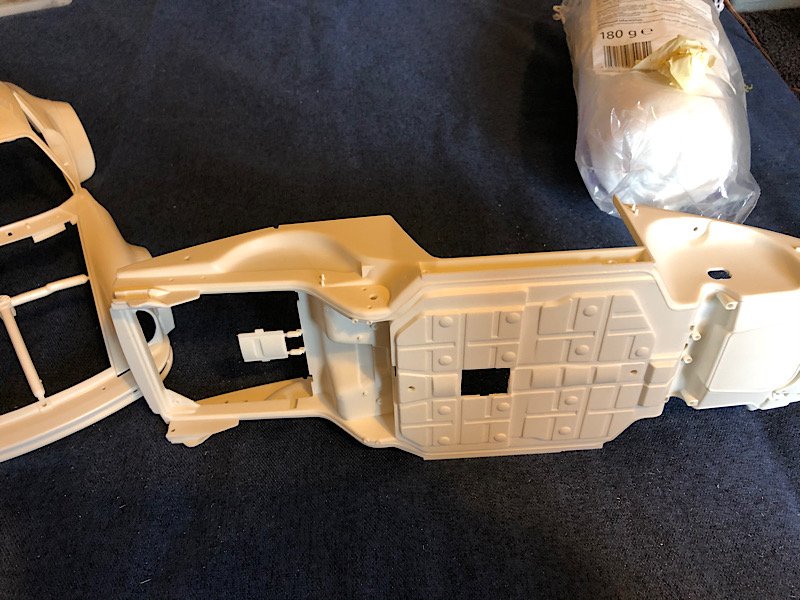
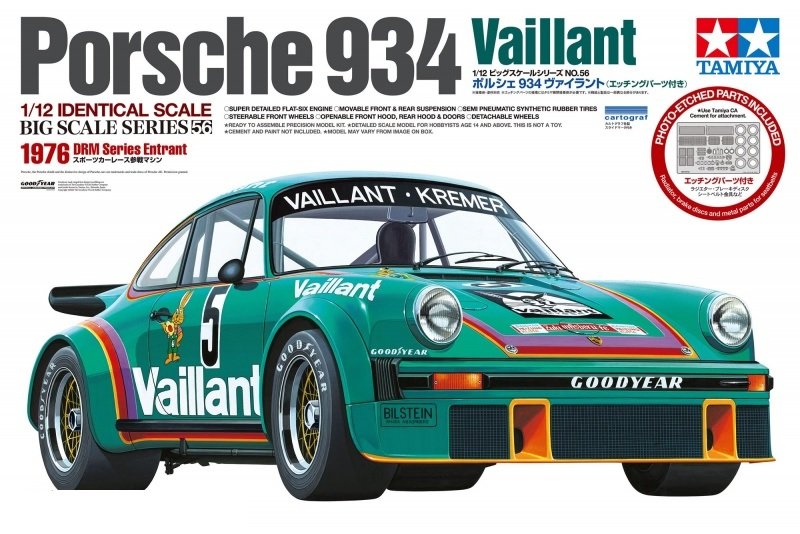
Hi all this will be my next build looks up to Tamiya normal standards but when I first assembled the engine block the fit was awful and I had to use clamps scarily tight to pull the engine halves together (luckily this area is hidden by the timing chain cases) also luckily the gearbox is a perfect fit so maybe the engine halves were warped for some reason and that will be the only problem I get. Which is also lucky as I intend to build the engine on a display stand to be put alongside the car (as if it's just been rebuilt ready to be put back in)The body moulding is awesome hardly any seams at all and the detail in the kit seems incredible This is the same scale as the Bentley so is quite a large car.
- 73 replies
-
- 12
-
-
Bentley 4.5 litre (altered version) by kpnuts 1/12 Airfix
kpnuts replied to kpnuts's topic in Non-ship/categorised builds
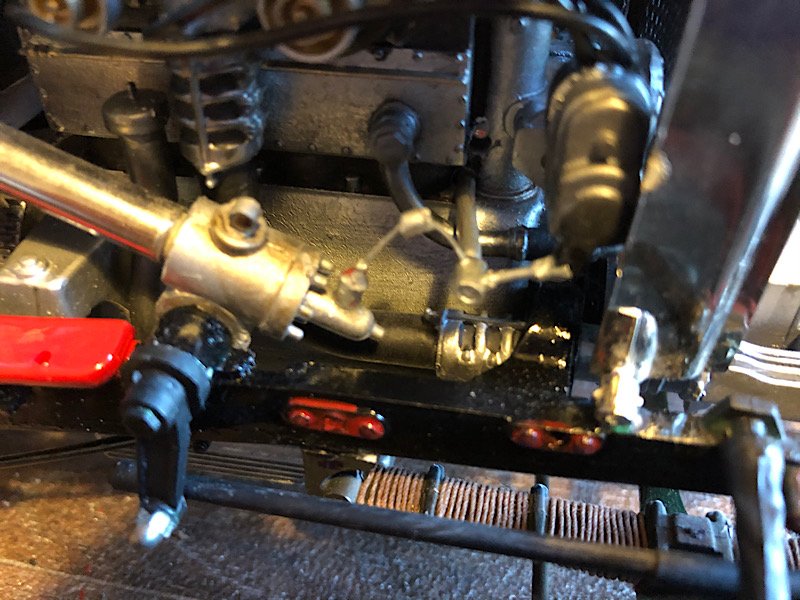
Hi all done the advance and retard mechanism and started on the throttle linkages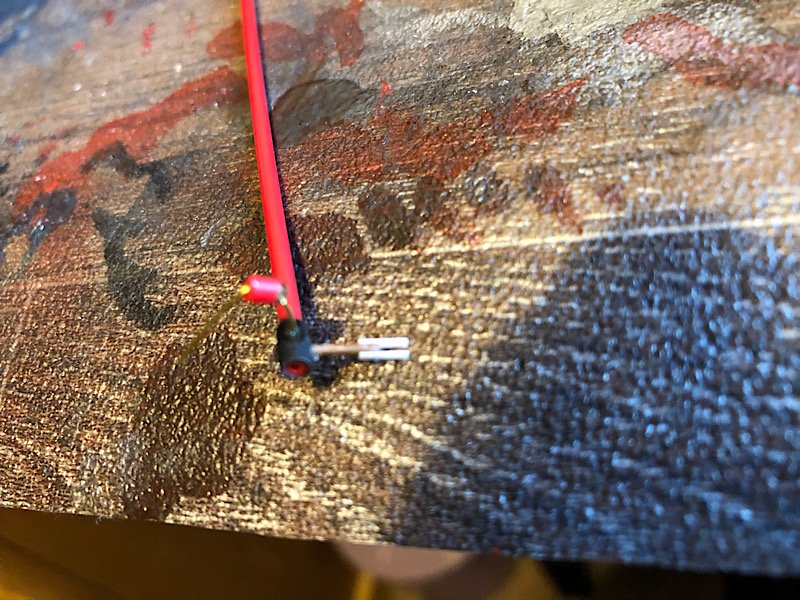

- 66 replies
-
- 12
-
-
Bentley 4.5 litre (altered version) by kpnuts 1/12 Airfix
kpnuts replied to kpnuts's topic in Non-ship/categorised builds
As soon as it arrives mate -
Bentley 4.5 litre (altered version) by kpnuts 1/12 Airfix
kpnuts replied to kpnuts's topic in Non-ship/categorised builds
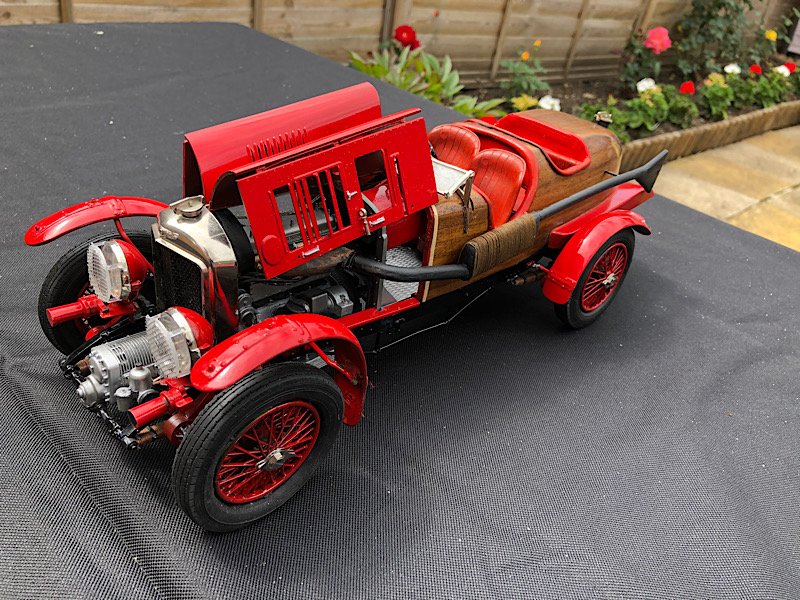
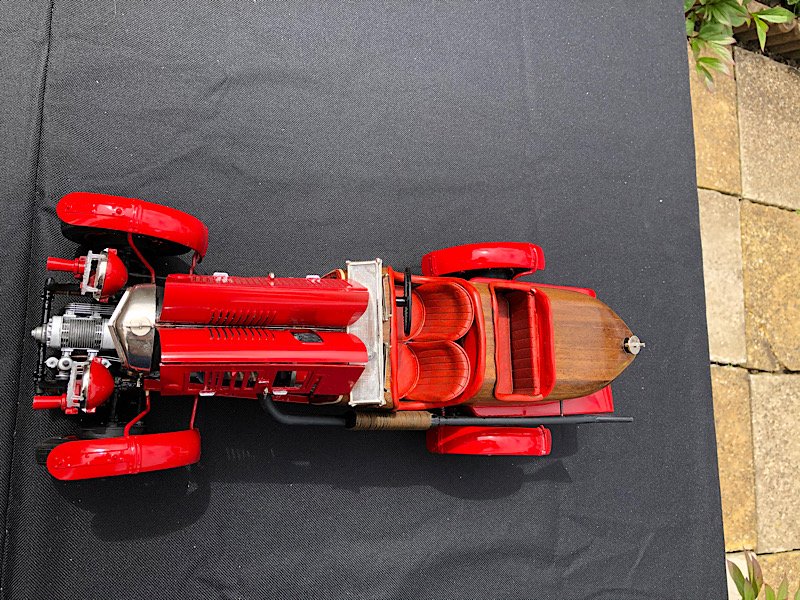
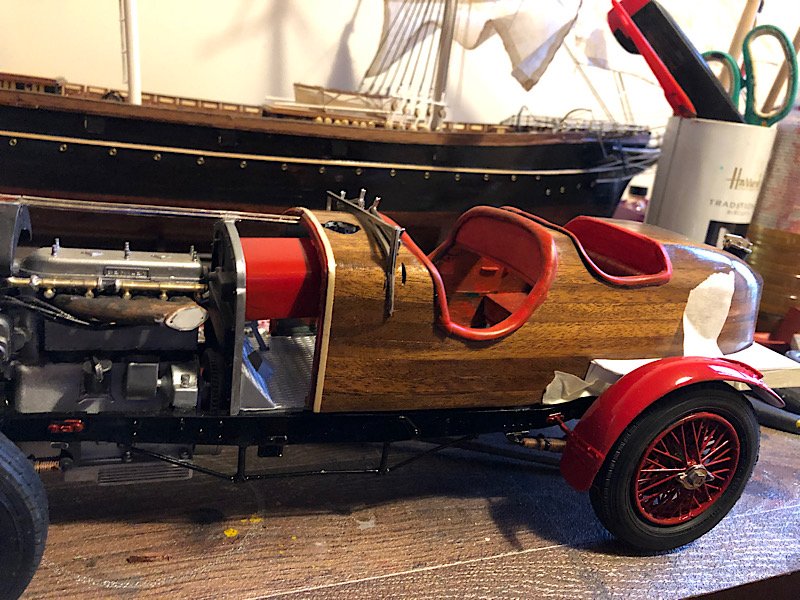
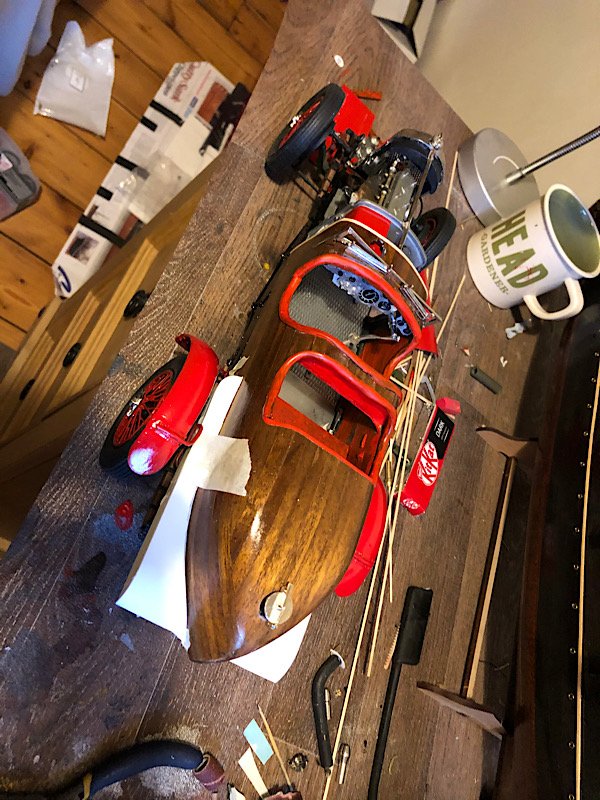
Hi all, done a lot of work on it over the weekend. I've got big ambitions to make the throttle linkages up (we will see how far the ambition gets compared to how much skill and patience I have) I must say I'm quite pleased with how shes looking at the moment. Ps look what I just ordered (cant wait for it to get here)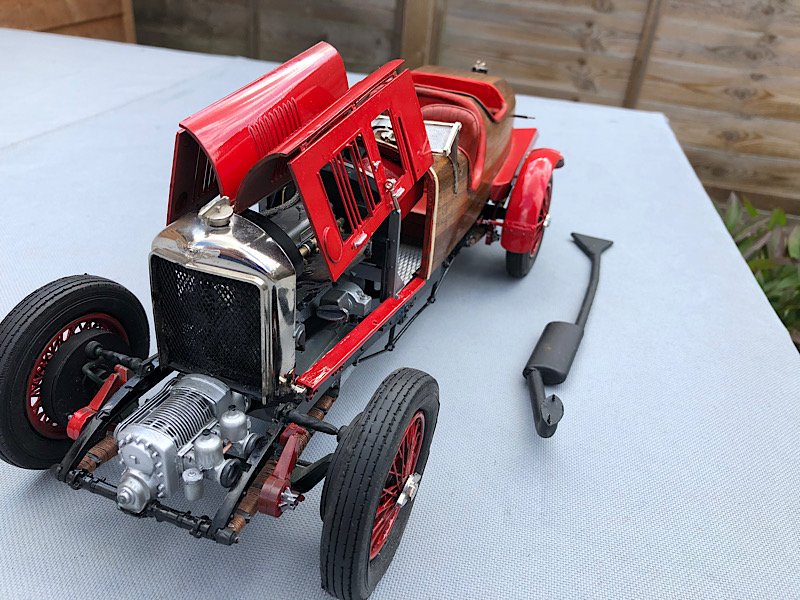


- 66 replies
-
- 14
-
-
HONDA CB750 Four K0 by yvesvidal - TAMIYA 1/6 and MPC 1/8
kpnuts replied to yvesvidal's topic in Non-ship/categorised builds
Great job, looking amazing. -
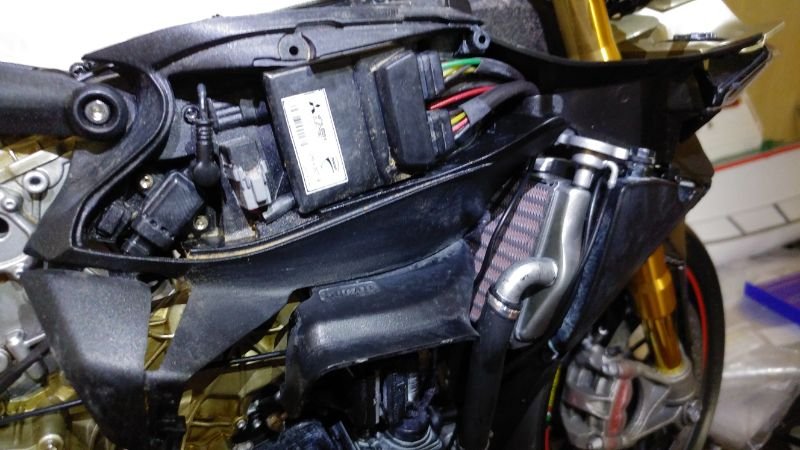
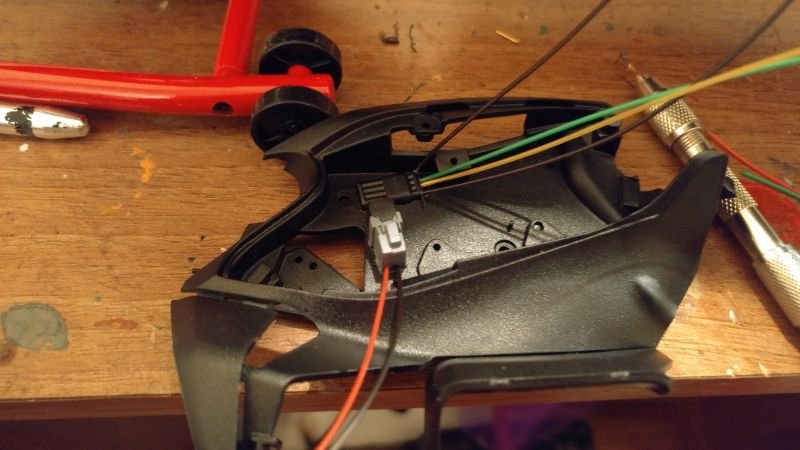
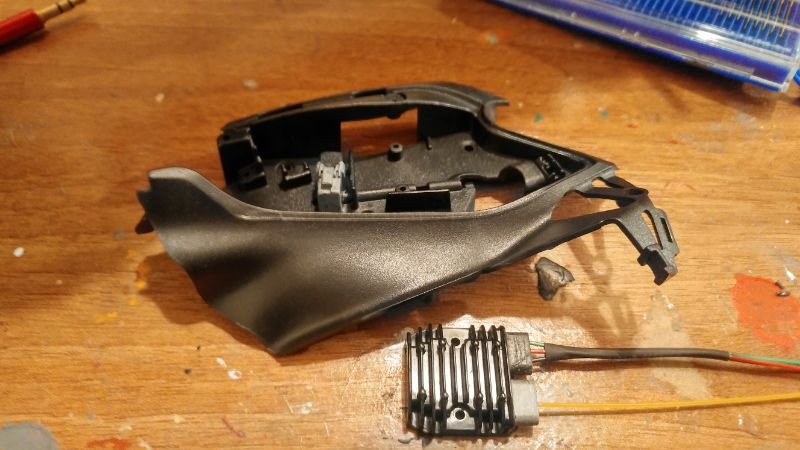
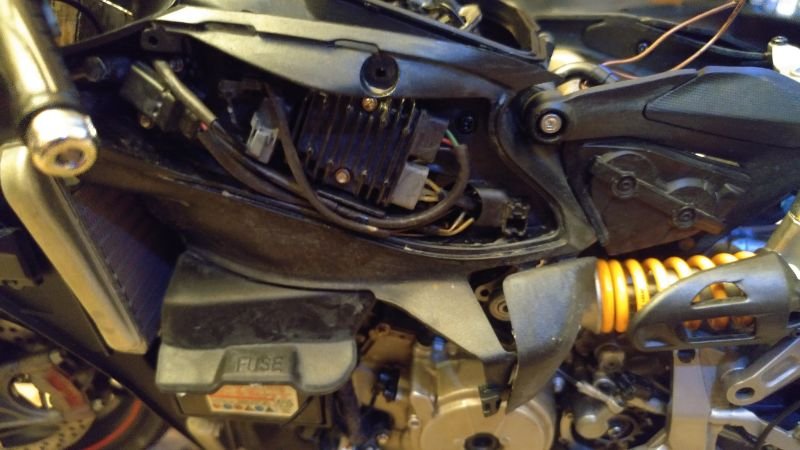
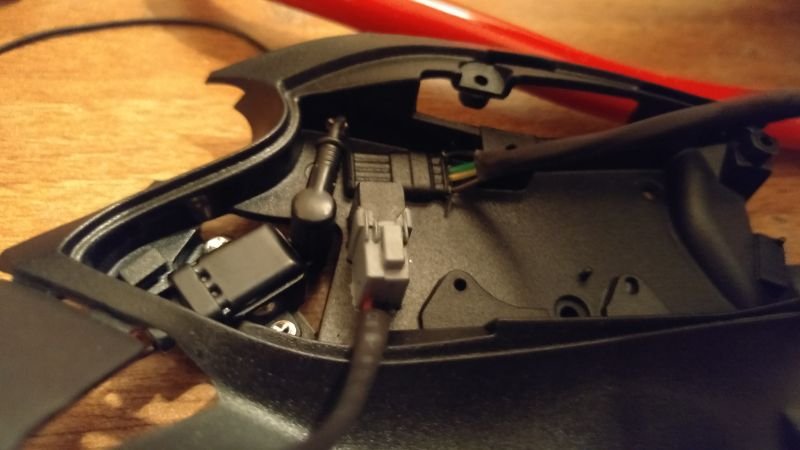
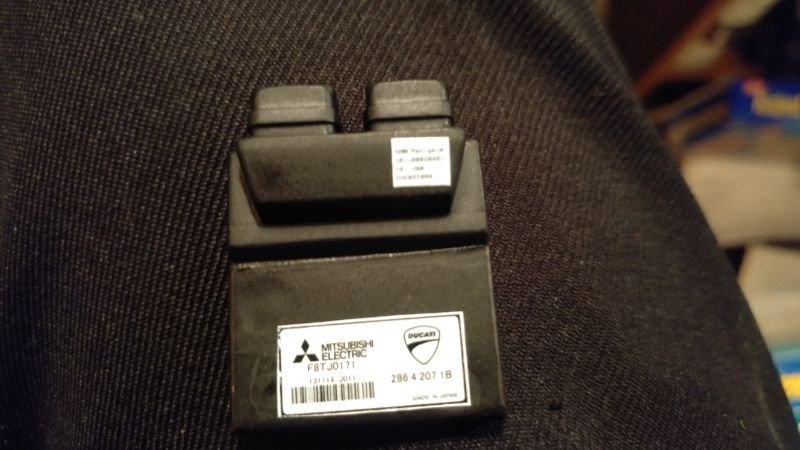
On the electrical side there is very little kit detail this was all added extra to the kit.

- 62 replies
-
- 11
-
-
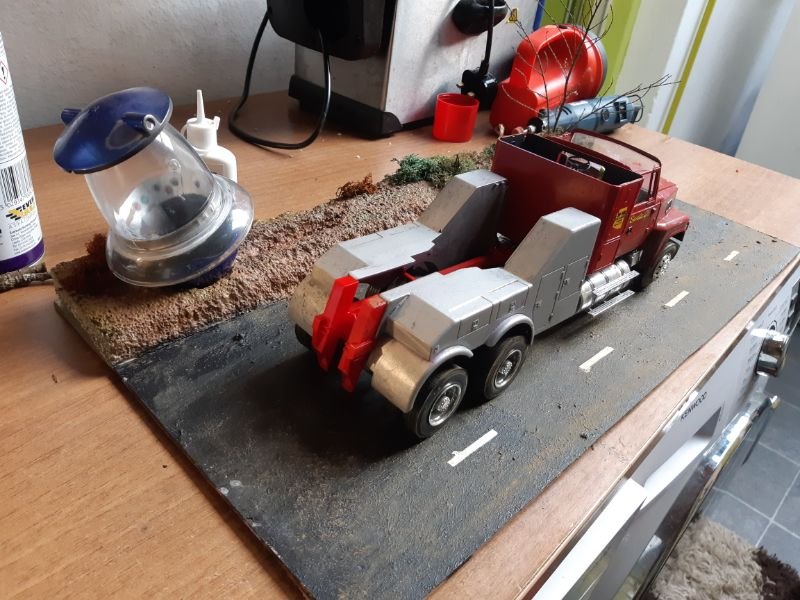
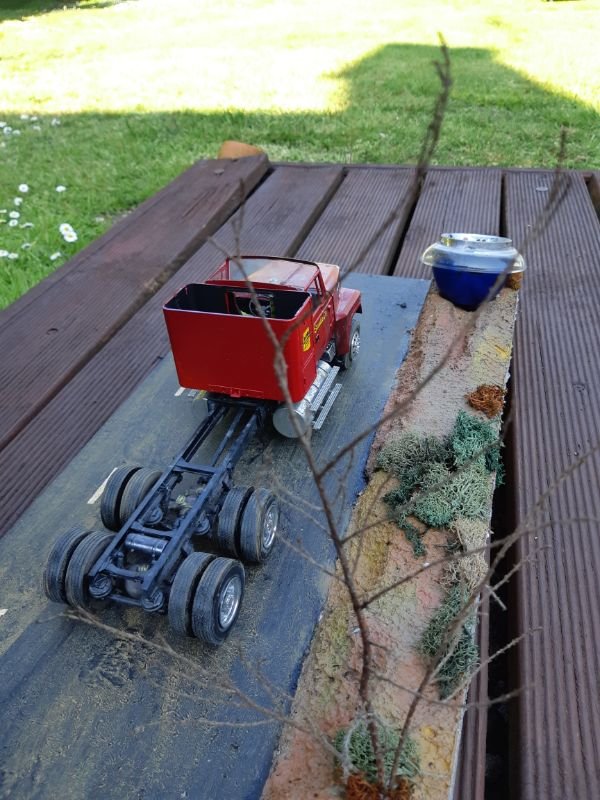
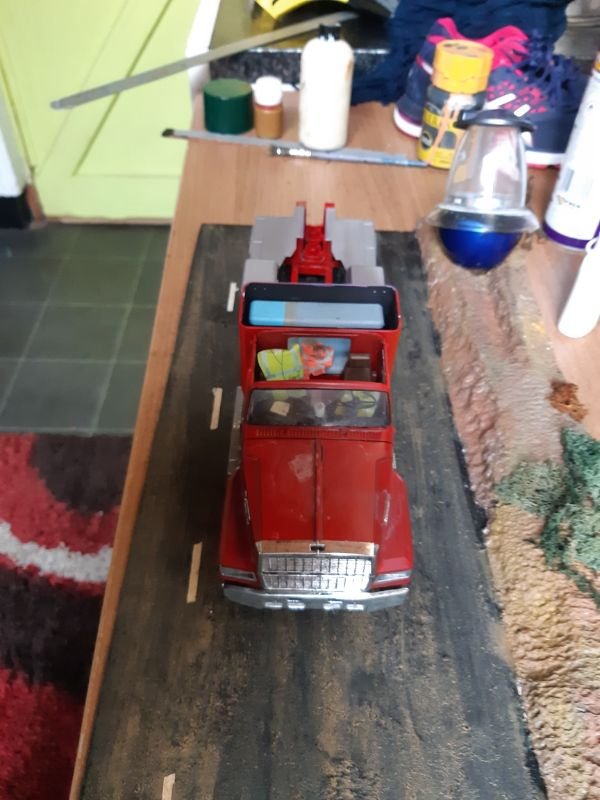
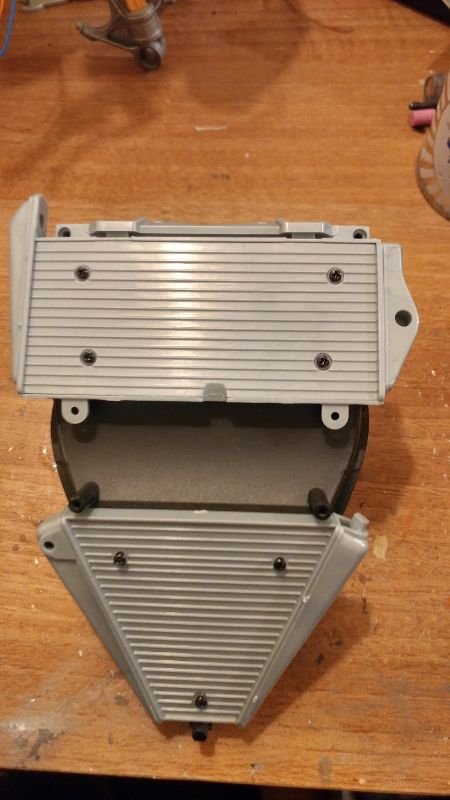
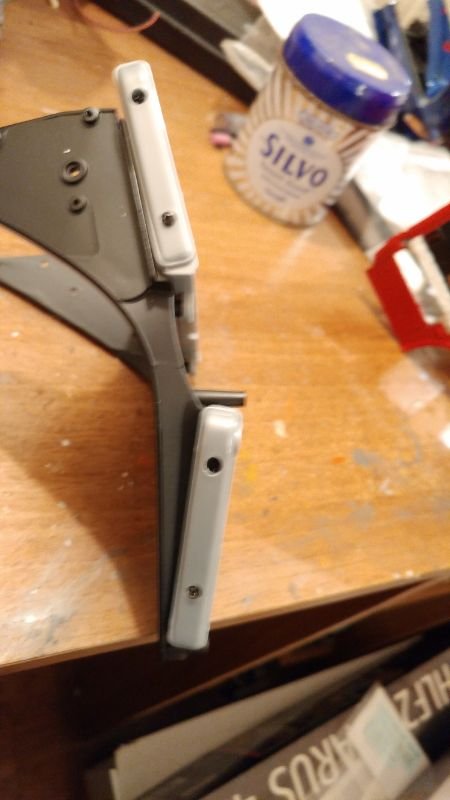
American Wrecker Truck by kpnuts - Italari - 1/24 - PLASTIC
kpnuts replied to kpnuts's topic in Non-ship/categorised builds
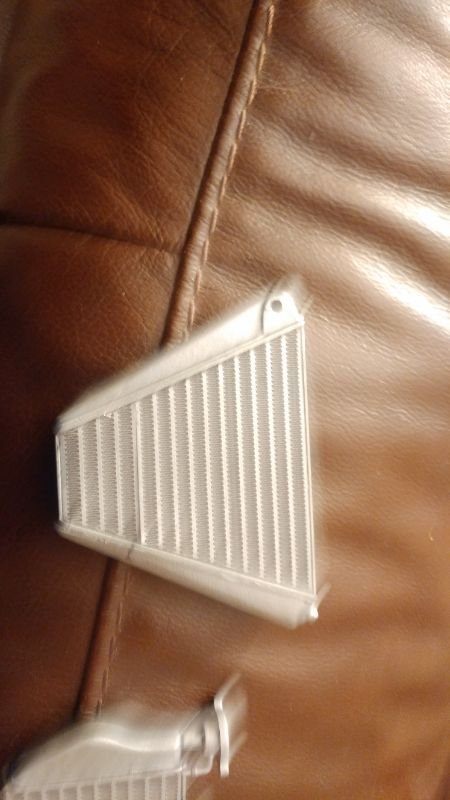
More progress (you've pretty much guessed the direction this is going)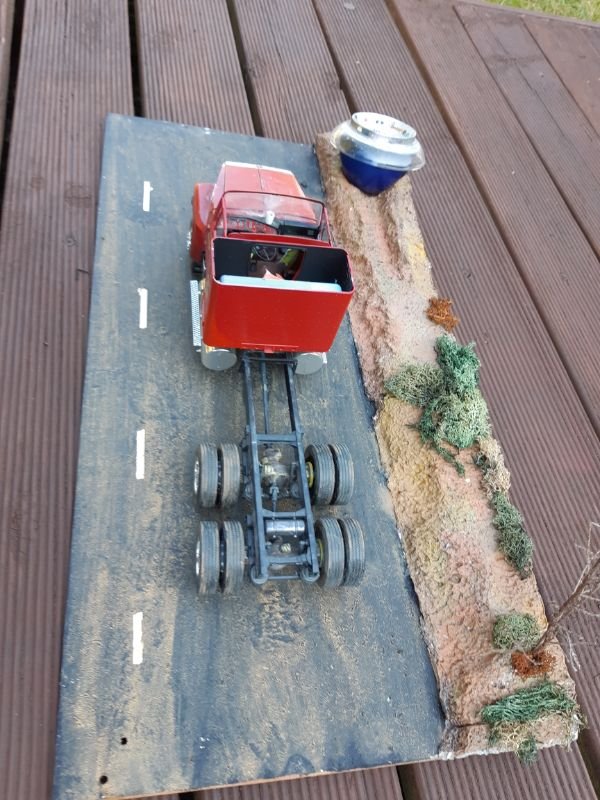
-
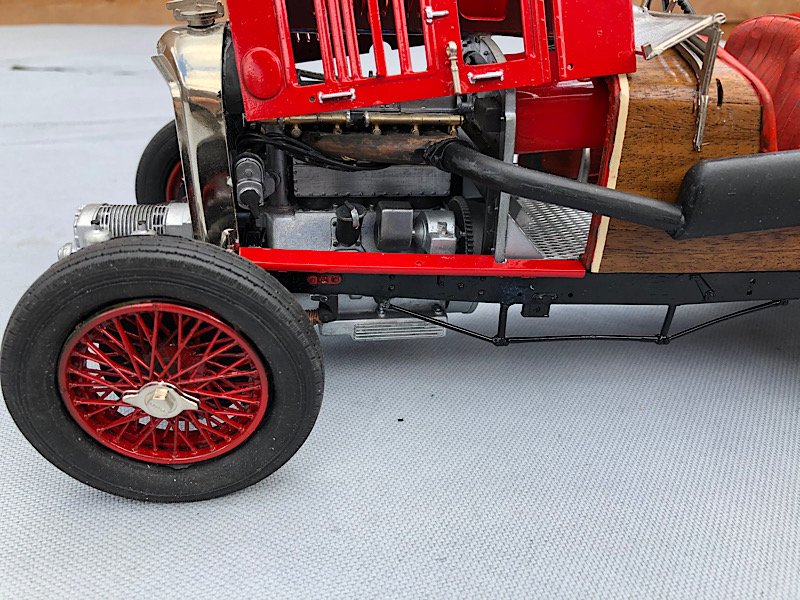
Here is what they would have you use as the radiator and my version of it. Tbh the kit version is a joke at the price of the kit.
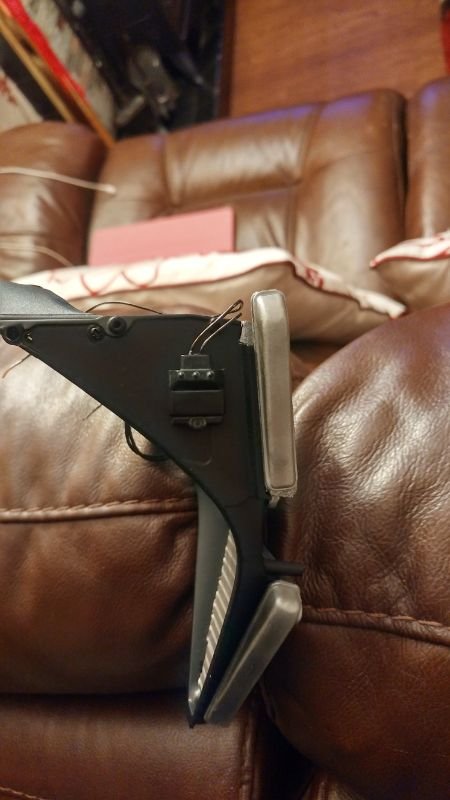
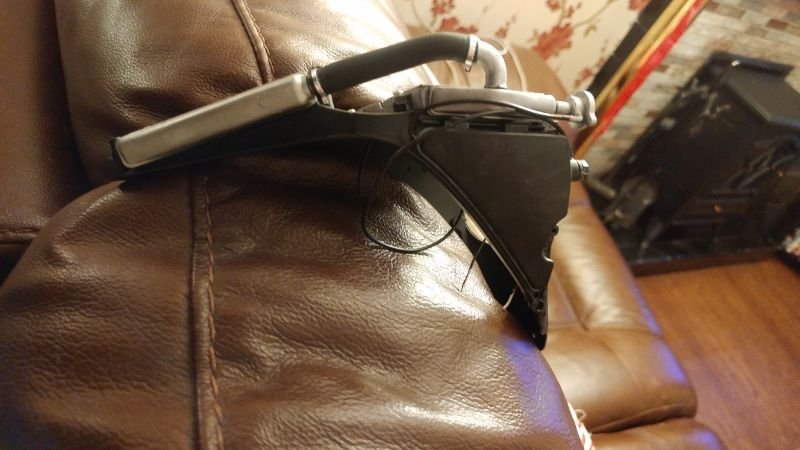
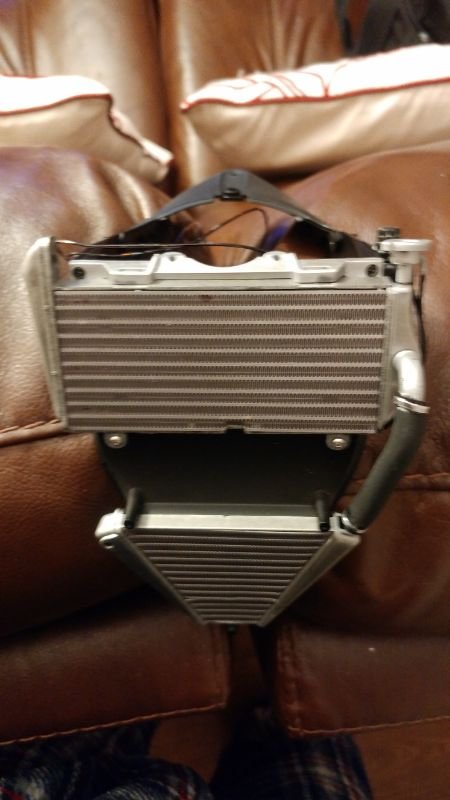
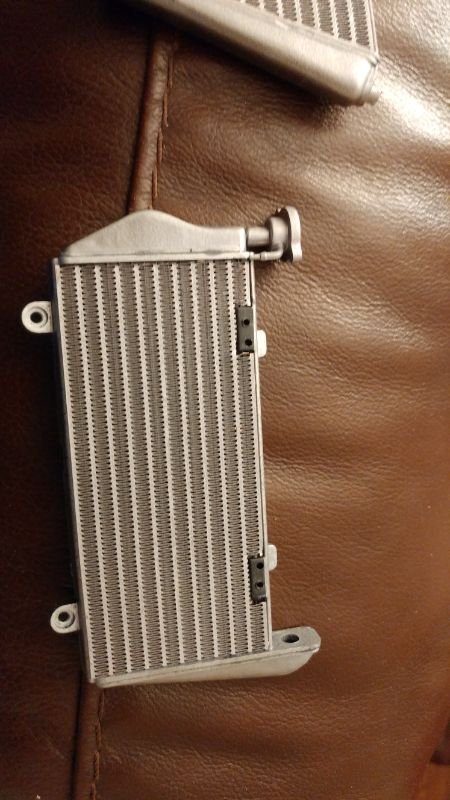
- 62 replies
-
- 10
-
-
Bentley 4.5 litre (altered version) by kpnuts 1/12 Airfix
kpnuts replied to kpnuts's topic in Non-ship/categorised builds
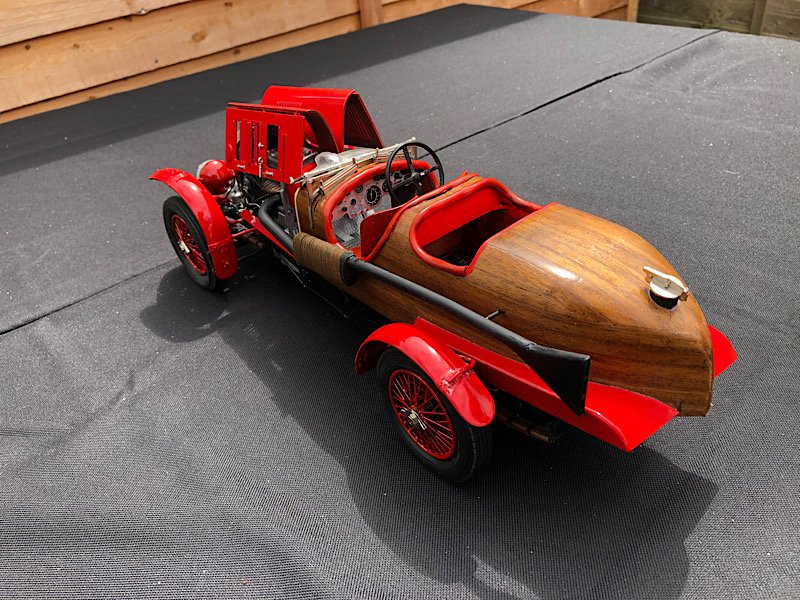
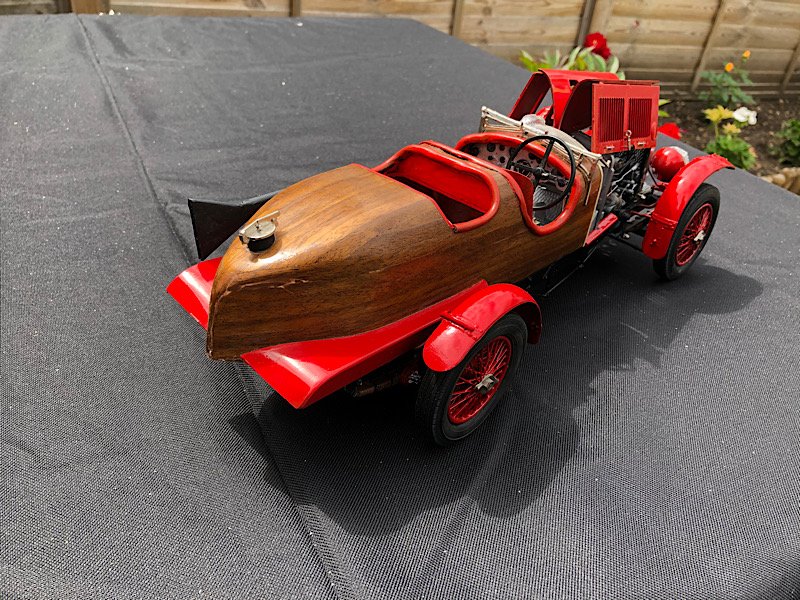
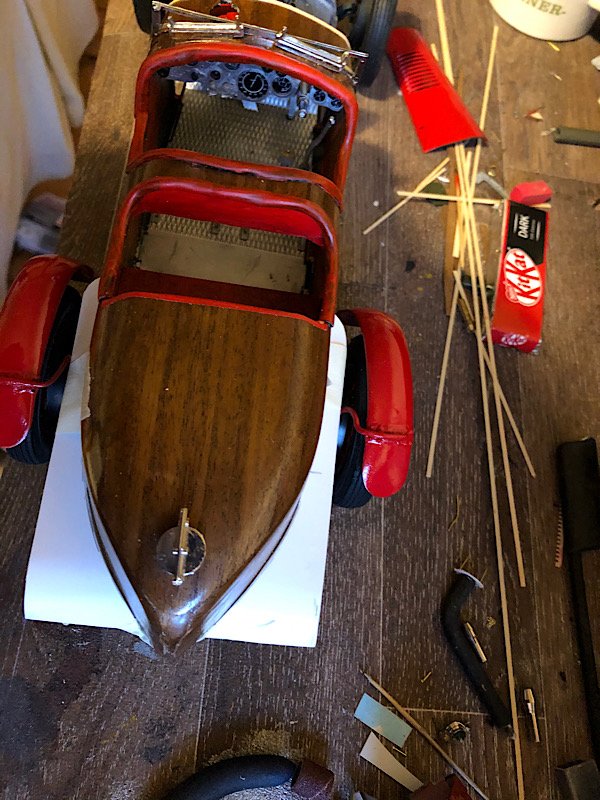
Mock up of the rear fenders.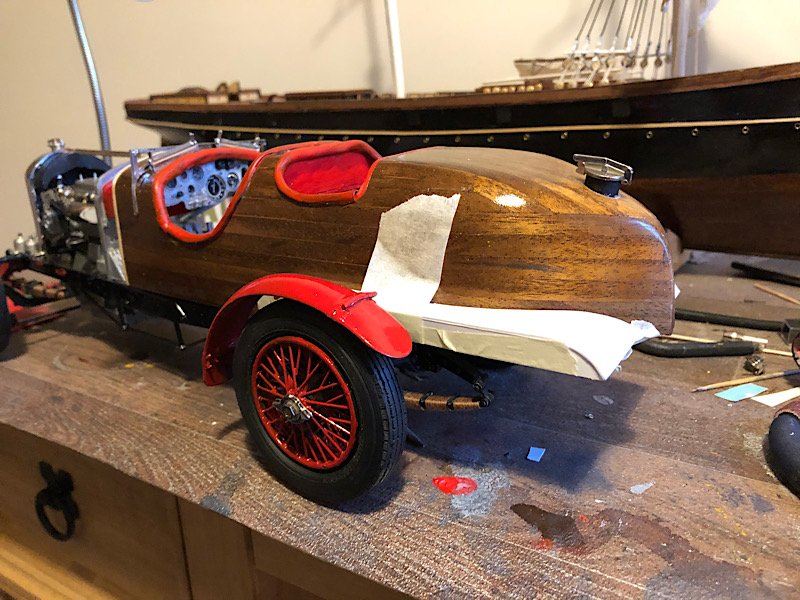
-
One minor point, you cant ride the kit version so I would take 29,050 Off for that making the kit still way over priced.
-
My honest opinion of the kit is it is way over priced, that said it is the only one in this huge scale and does allow for a lot of detailing. I may have said it once or twice but they really did a lot of penny pinching on this kit, for another tenner it could be an amazing kit.