-
Posts
784 -
Joined
-
Last visited
-
 Some Idea reacted to a post in a topic:
Le Rochefort by Some Idea - 1/24th Scale - First POF Build
-
 Keith Black reacted to a post in a topic:
Le Rochefort by Some Idea - 1/24th Scale - First POF Build
-
 aaronc reacted to a post in a topic:
Innocraftsman Mill
-
 ChrisLBren reacted to a post in a topic:
Le Rochefort by Some Idea - 1/24th Scale - First POF Build
-
 ChrisLBren reacted to a post in a topic:
L'Artésien 1764 by Cpt.Barbossa - 1:48 - 64-gun ship from plans by Jacques Fichant
-
 WalrusGuy reacted to a post in a topic:
La Renommee 1744 by ChrisLBren - 1/48 - 2025
-
 marsalv reacted to a post in a topic:
La Renommee 1744 by ChrisLBren - 1/48 - 2025
-
 marsalv reacted to a post in a topic:
La Renommee 1744 by ChrisLBren - 1/48 - 2025
-
 ChrisLBren reacted to a post in a topic:
Le Fleuron 1729 by Chris. - scale 1/72 - French warship from Delacroix monograph
-
 ChrisLBren reacted to a post in a topic:
La Renommee 1744 by ChrisLBren - 1/48 - 2025
-
 ChrisLBren reacted to a post in a topic:
Le Rochefort by Some Idea - 1/24th Scale - First POF Build
-
 scrubbyj427 reacted to a post in a topic:
La Renommee 1744 by ChrisLBren - 1/48 - 2025
-
 tmj reacted to a post in a topic:
La Renommee 1744 by ChrisLBren - 1/48 - 2025
-
 druxey reacted to a post in a topic:
La Renommee 1744 by ChrisLBren - 1/48 - 2025
-
 Mike Y reacted to a post in a topic:
La Renommee 1744 by ChrisLBren - 1/48 - 2025
-
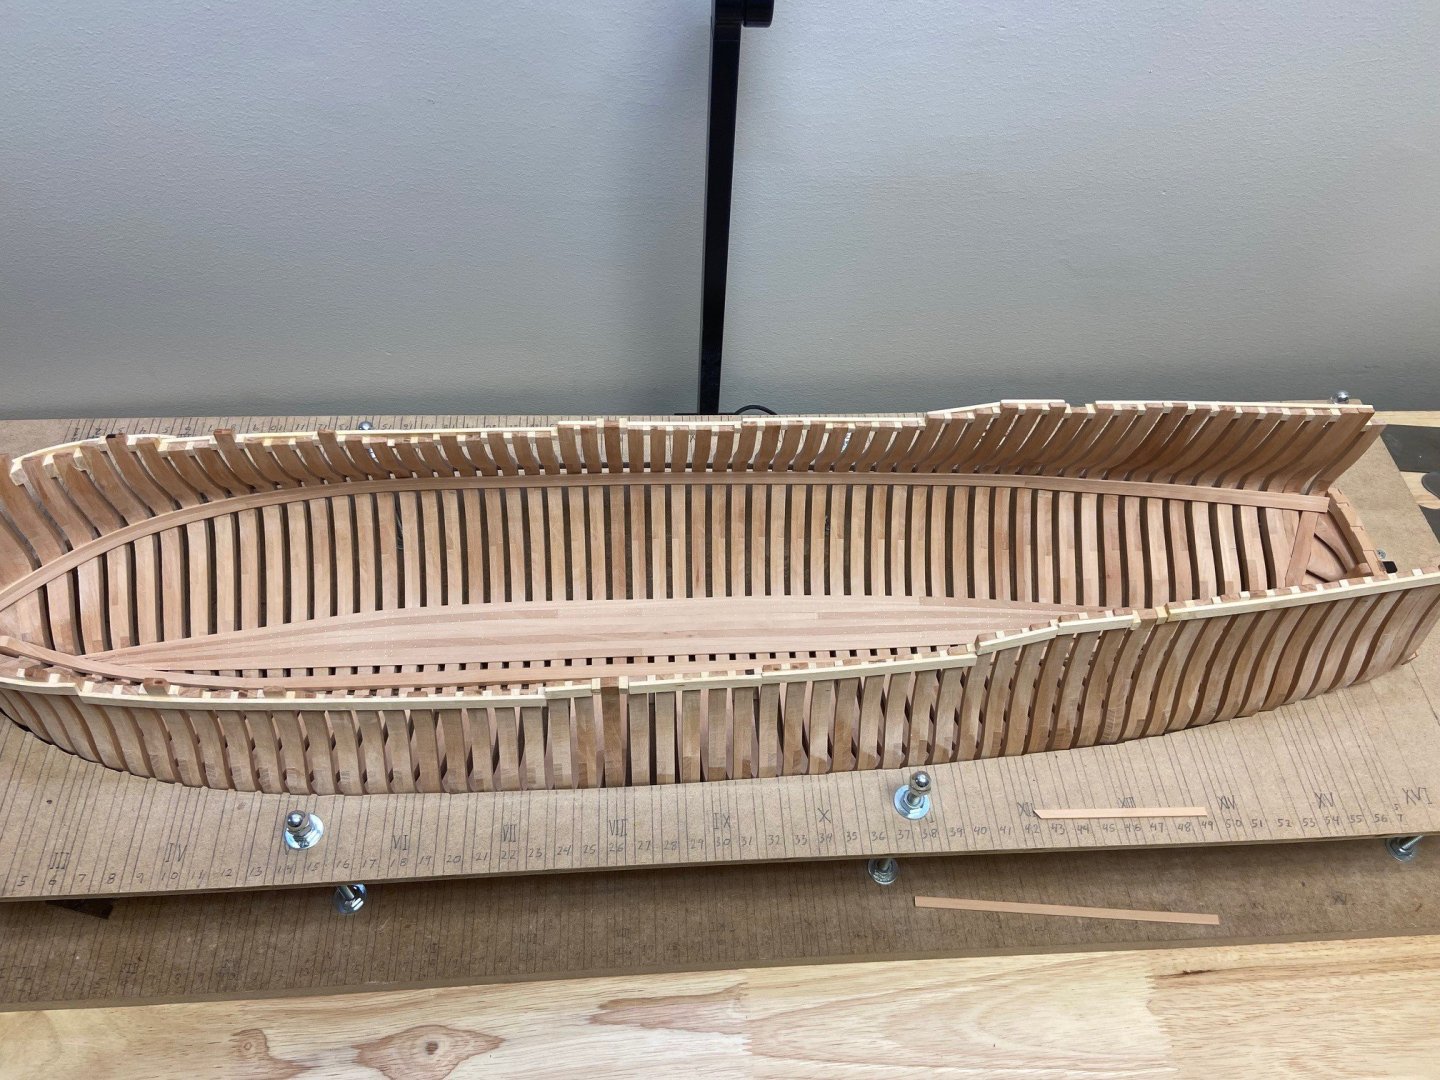
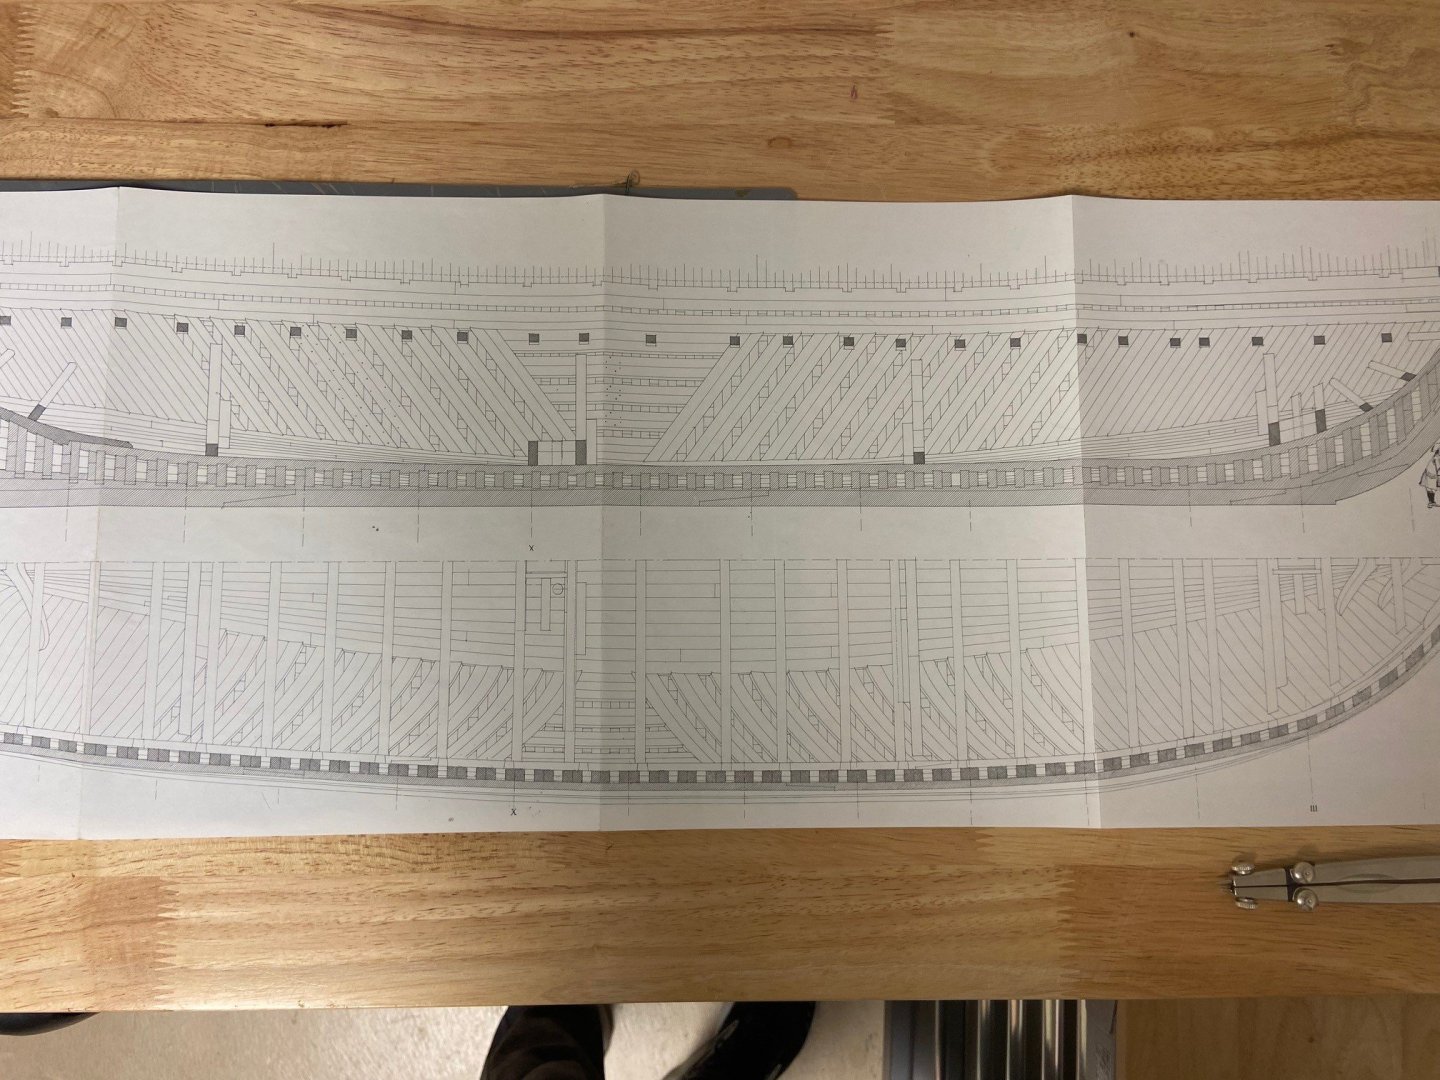
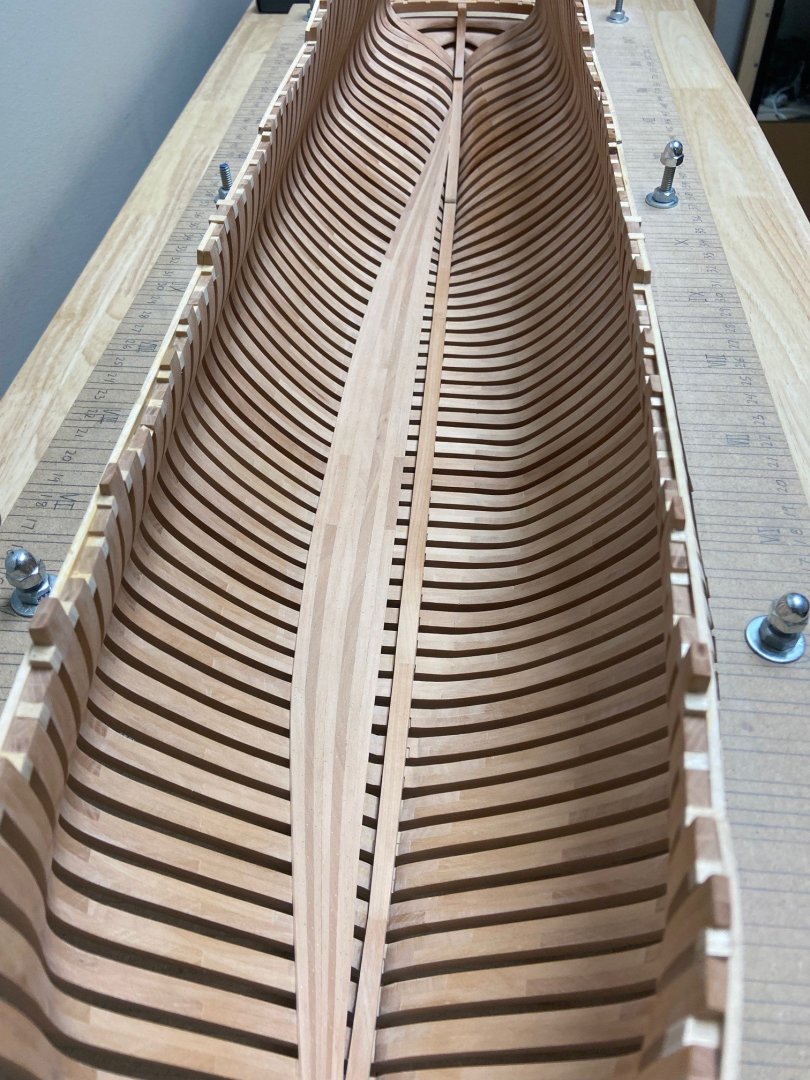
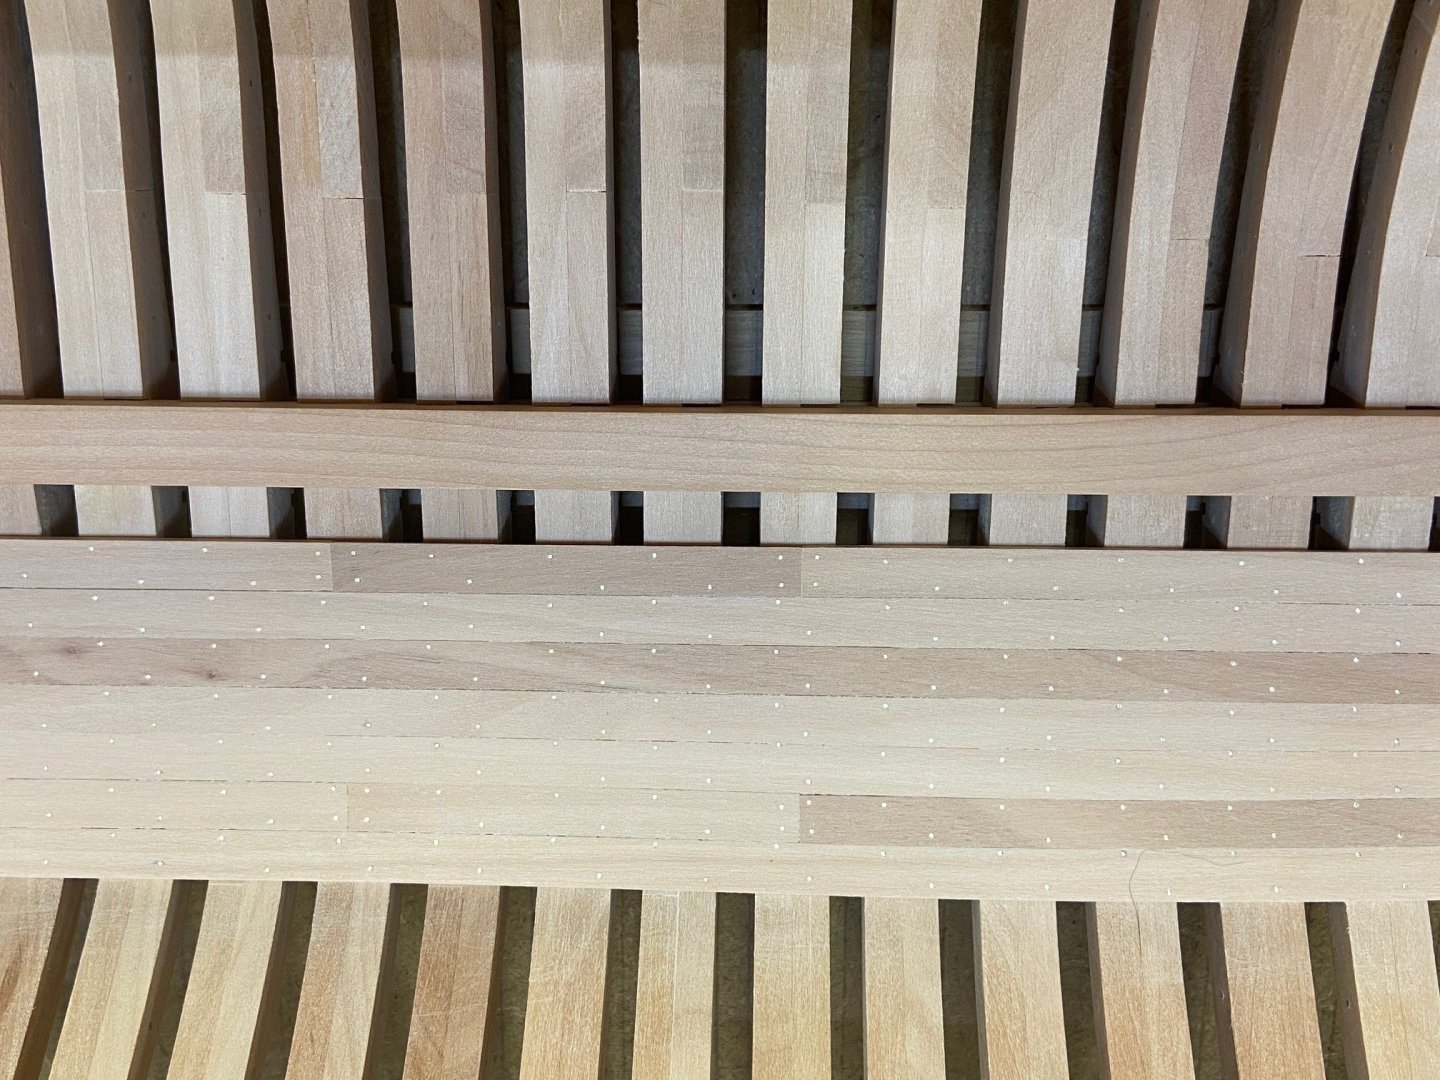
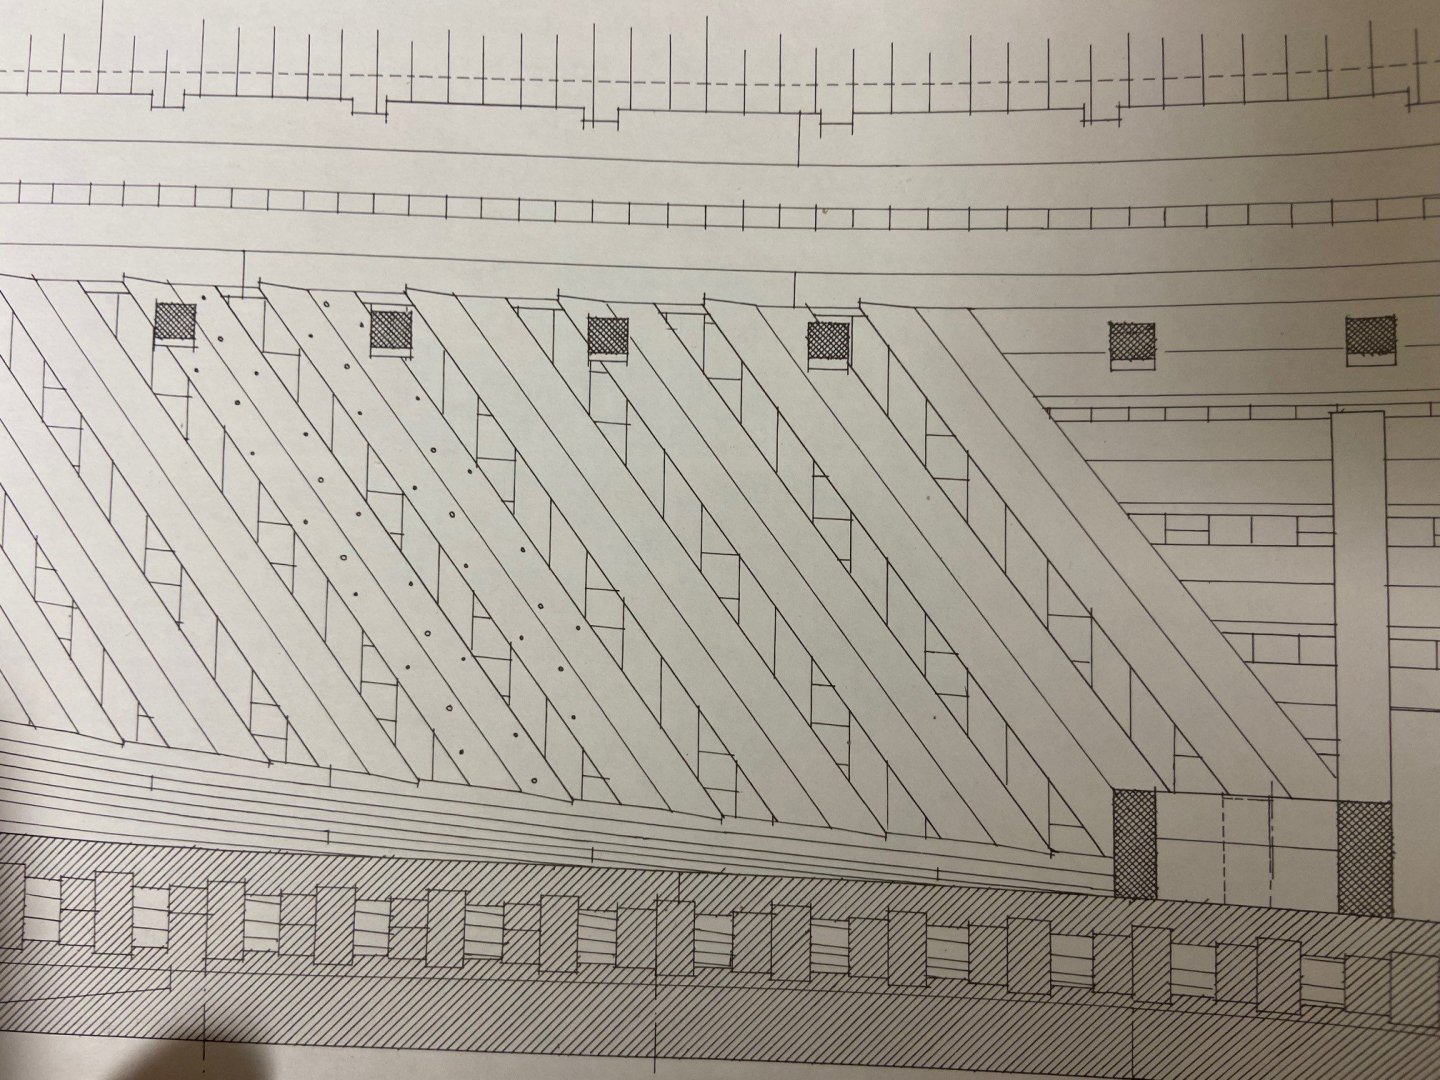
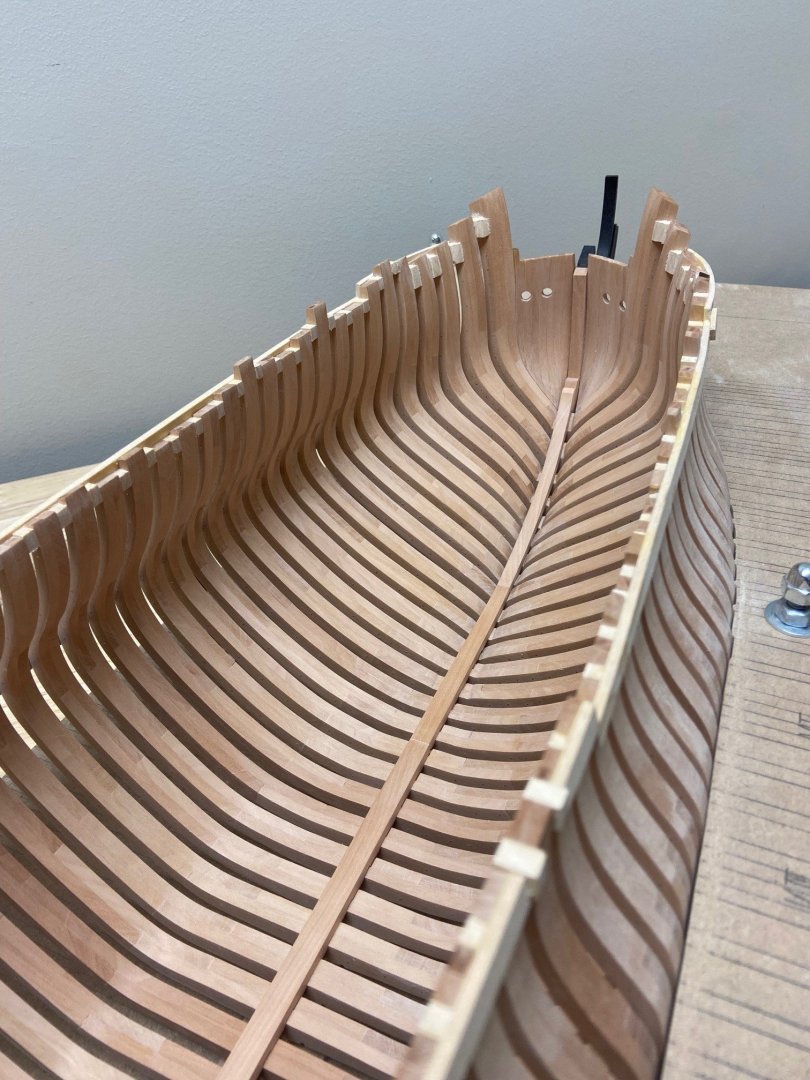
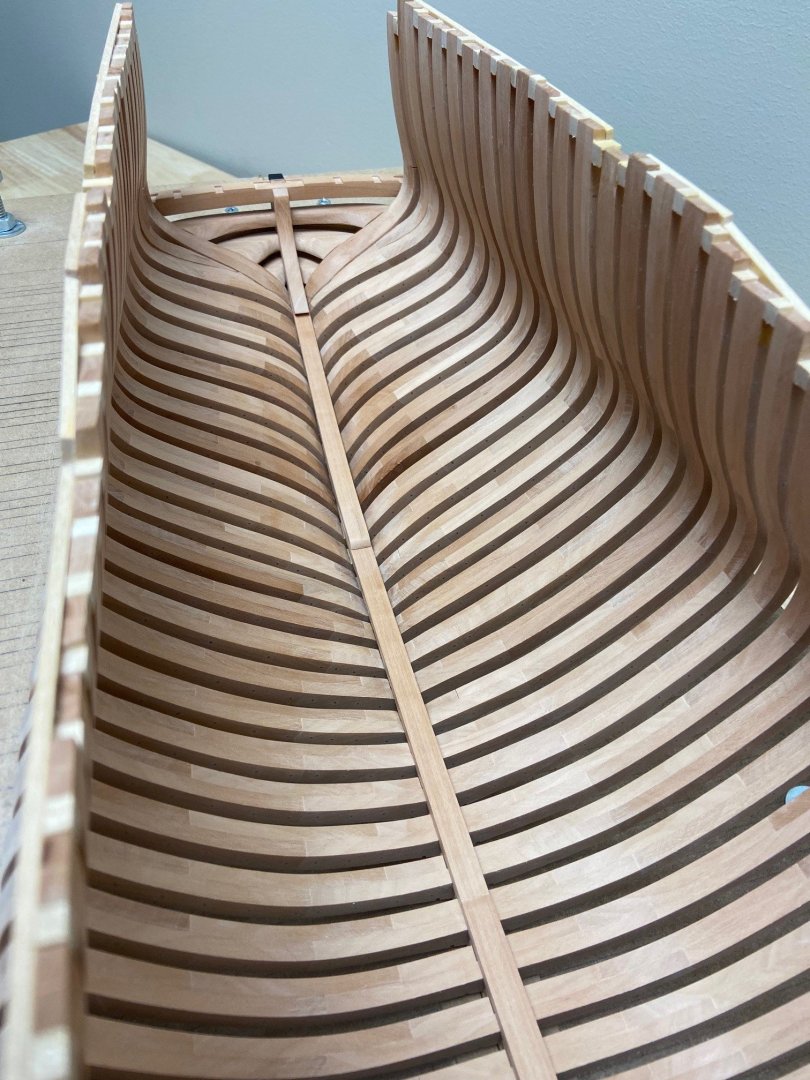
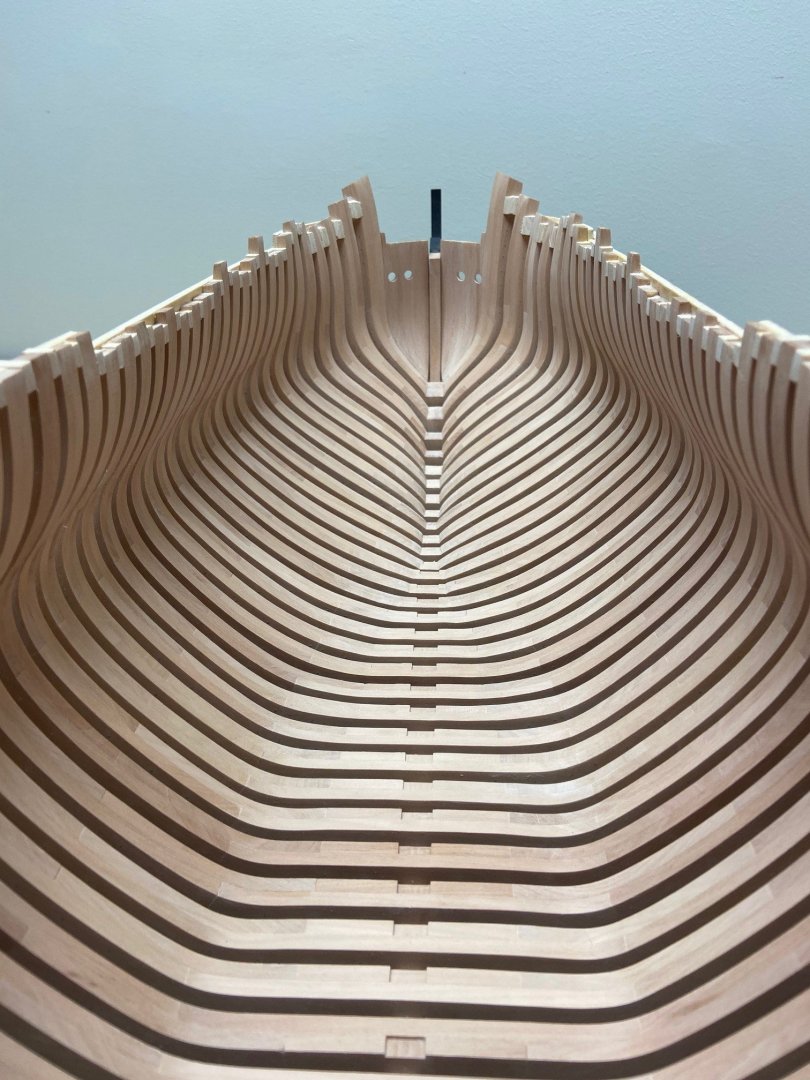
Happy Holidays, A bit of an update - I have decided my approach with La Renommee - I will be completely planking the starboard side of the ship while the port side will remain un planked to show hull construction. I will not be cutting any openings in the hull as I feel it disrupts the beauty of the lines of this frigate. I have begun planking and nailing the starboard side of the hold following this approach and have left out for now that glazing bead strake next to the keelson. Next up is installing the diagonal reinforcement planks or Goebbert system that was used in French ships of that era. I have attached a picture of the plans and one can see notches cut into the horizontal ceiling plank and floor plank. After careful consideration I will not be adding this detail and instead install them flush at an angle without the notches. In other finished models I have noticed this is really hard to execute cleanly as you need to cut the notches in situation. Imperfect joints will drive me crazy and I would rather save myself the frustration here.
-
 ChrisLBren reacted to a post in a topic:
Speedwell 1752 by giampieroricci - Scale 1:96 - from Antscherl & Herbert monograph
-
 ChrisLBren reacted to a post in a topic:
HMS ANSON 1781 by albert - 1/48 - 64 guns
-
Tool to Take Measurement Inside of a Hull
ChrisLBren replied to ChrisLBren's topic in Modeling tools and Workshop Equipment
These are all great ideas - thank you so much - my construction site is built at the waterline so I have a reference point here. That contour gauge is another great idea I can use when I get to planking the wales next year and I need to get the right bend at the bow. -
 ChrisLBren reacted to a post in a topic:
L'Artésien 1764 by Cpt.Barbossa - 1:48 - 64-gun ship from plans by Jacques Fichant
-
 ChrisLBren reacted to a post in a topic:
HMS Portland 1770 by Trussben - Portland Scale Ship Co. - 1:48 - 50 gun 4th rate
-
Looks like a toy to me - thats one of the reasons I exchanged the Proxxon MF70 for the TAIG Mill. I wanted something sturdy and accurate. I supposed it depends on what sort of work you will be doing on it
-
Good 'Hobby Quality' Metal Lathes
ChrisLBren replied to tmj's topic in Modeling tools and Workshop Equipment
I bought the 2019 ER. It has the more powerful motor and longer bed -
 ChrisLBren reacted to a post in a topic:
HMS ANSON 1781 by albert - 1/48 - 64 guns
-
Good 'Hobby Quality' Metal Lathes
ChrisLBren replied to tmj's topic in Modeling tools and Workshop Equipment
Wow KG - tremendous work ! I am thinking about buying a TAIG lathe. I love my TAIG mill and want to add their lathe to my collection. This will be my first lathe - which lathe did you buy and what accessories ? I will need it for cannon, capstans and for other small parts for my La Renommee build. Thanks, Chris -
Good 'Hobby Quality' Metal Lathes
ChrisLBren replied to tmj's topic in Modeling tools and Workshop Equipment
Have a look at TAIG lathes as well. I do not own one but am very happy with their mill and will be purchasing one in the near future. -
My vote is HMS Prince - I know you had a design on this one a few years back. It would be a huge seller for those who like 17th Century ships
About us
Modelshipworld - Advancing Ship Modeling through Research
SSL Secured
Your security is important for us so this Website is SSL-Secured
NRG Mailing Address
Nautical Research Guild
237 South Lincoln Street
Westmont IL, 60559-1917
Model Ship World ® and the MSW logo are Registered Trademarks, and belong to the Nautical Research Guild (United States Patent and Trademark Office: No. 6,929,264 & No. 6,929,274, registered Dec. 20, 2022)
Helpful Links
About the NRG
If you enjoy building ship models that are historically accurate as well as beautiful, then The Nautical Research Guild (NRG) is just right for you.
The Guild is a non-profit educational organization whose mission is to “Advance Ship Modeling Through Research”. We provide support to our members in their efforts to raise the quality of their model ships.
The Nautical Research Guild has published our world-renowned quarterly magazine, The Nautical Research Journal, since 1955. The pages of the Journal are full of articles by accomplished ship modelers who show you how they create those exquisite details on their models, and by maritime historians who show you the correct details to build. The Journal is available in both print and digital editions. Go to the NRG web site (www.thenrg.org) to download a complimentary digital copy of the Journal. The NRG also publishes plan sets, books and compilations of back issues of the Journal and the former Ships in Scale and Model Ship Builder magazines.

.thumb.jpg.62d1d69fed1f32364417cb1f9cdeb009.jpg)


.thumb.jpeg.ffac2f8a24d212961a83eab4efb06a6c.jpeg)
