Cornhusker1956
-
Posts
29 -
Joined
-
Last visited
-
 Bill Morrison reacted to a post in a topic:
Red Jacket by John Ruy - Marine Model Company - 1/16”=1’ (1/192 scale) - Vintage Solid Hull Clipper Ship Kit
Bill Morrison reacted to a post in a topic:
Red Jacket by John Ruy - Marine Model Company - 1/16”=1’ (1/192 scale) - Vintage Solid Hull Clipper Ship Kit
-
 John Ruy reacted to a post in a topic:
Red Jacket by John Ruy - Marine Model Company - 1/16”=1’ (1/192 scale) - Vintage Solid Hull Clipper Ship Kit
John Ruy reacted to a post in a topic:
Red Jacket by John Ruy - Marine Model Company - 1/16”=1’ (1/192 scale) - Vintage Solid Hull Clipper Ship Kit
-
Knocklouder reacted to a post in a topic:
Red Jacket by John Ruy - Marine Model Company - 1/16”=1’ (1/192 scale) - Vintage Solid Hull Clipper Ship Kit
-
John Thanks for the link and I too will be following. I have provided a link to my cousin whose father owned the kit. Even this early I know the kit is in the right hands. David
- 116 replies
-
- 3
-
-
-
- Red Jacket
- Marine Model Company
- (and 2 more)
-
mtdoramike reacted to a post in a topic:
Old model ship kit to give away
-
mtdoramike reacted to a post in a topic:
Old model ship kit to give away
-
catopower reacted to a post in a topic:
Old model ship kit to give away
-
catopower reacted to a post in a topic:
Old model ship kit to give away
-
Canute reacted to a post in a topic:
Old model ship kit to give away
-
mtaylor reacted to a post in a topic:
Old model ship kit to give away
-
John Ruy reacted to a post in a topic:
Old model ship kit to give away
-
Members The kit has found a new home. I thank you for your interest and information.
-
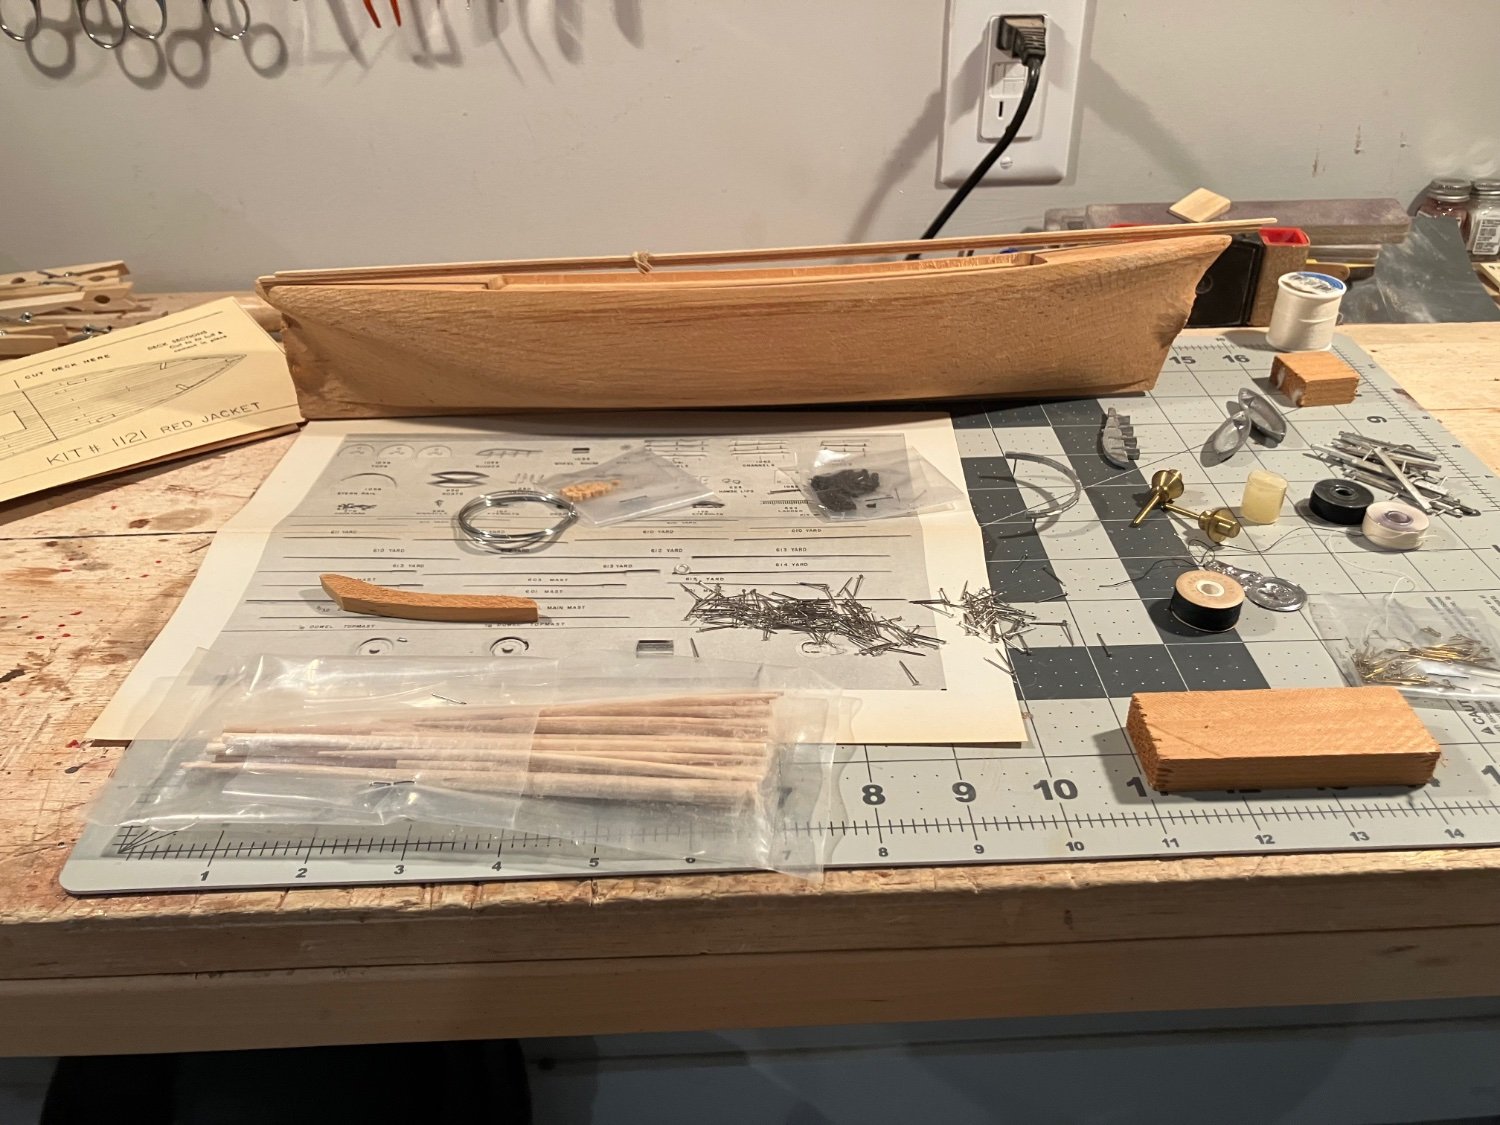
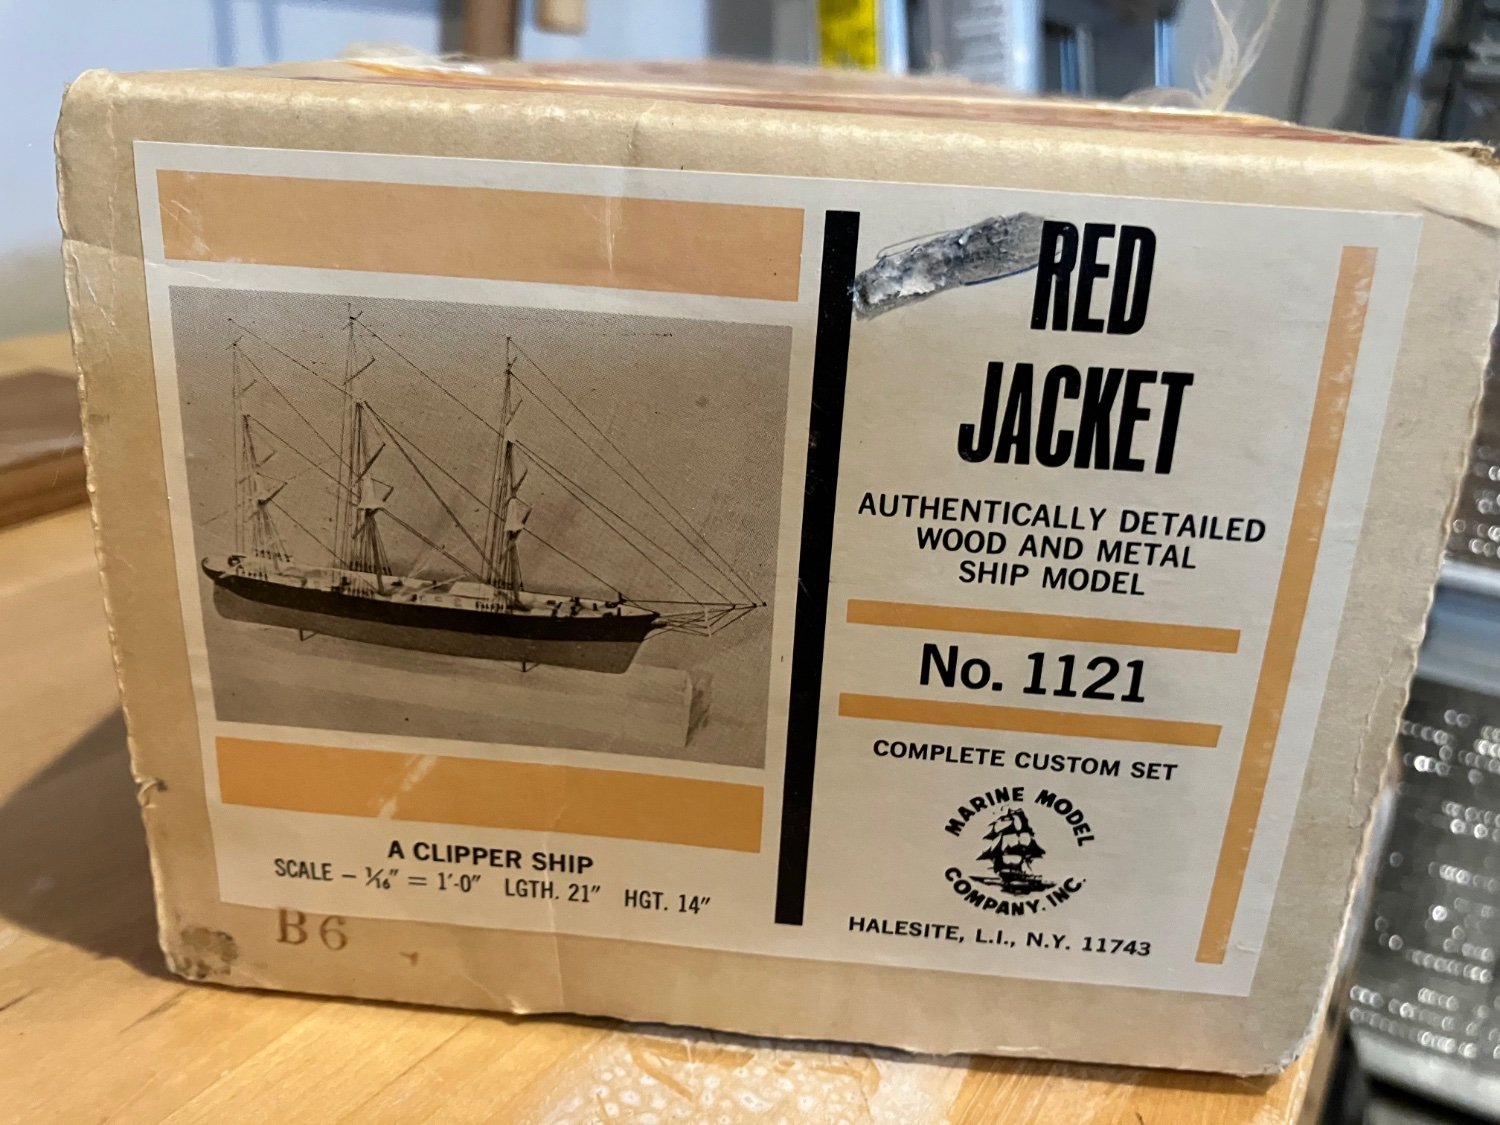
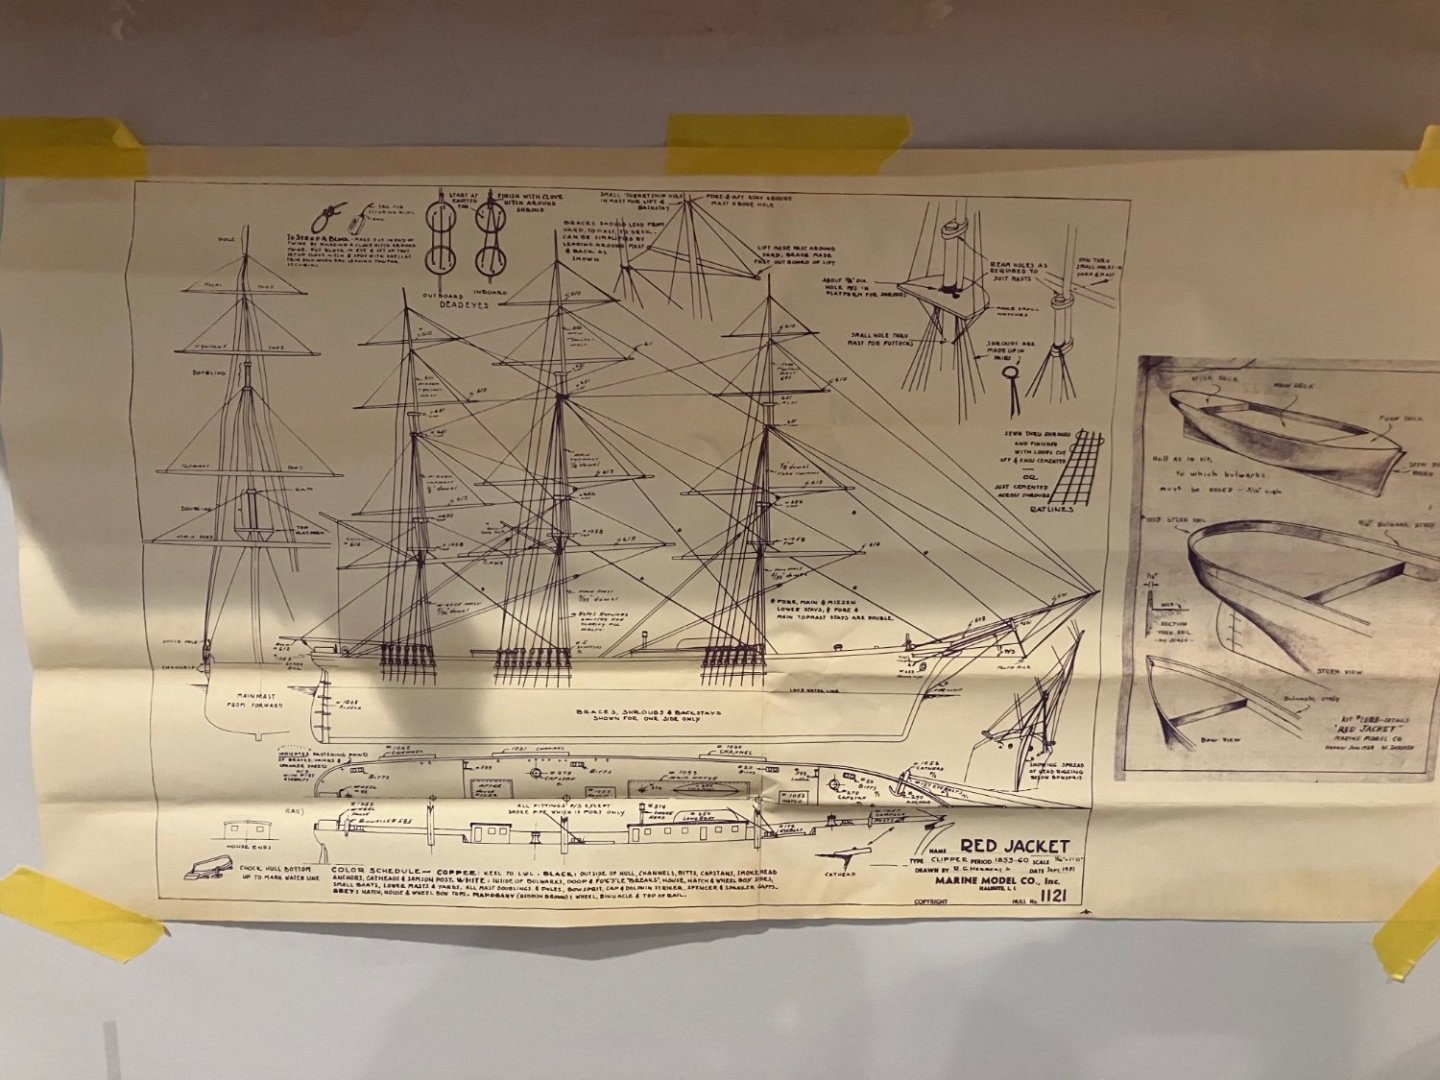
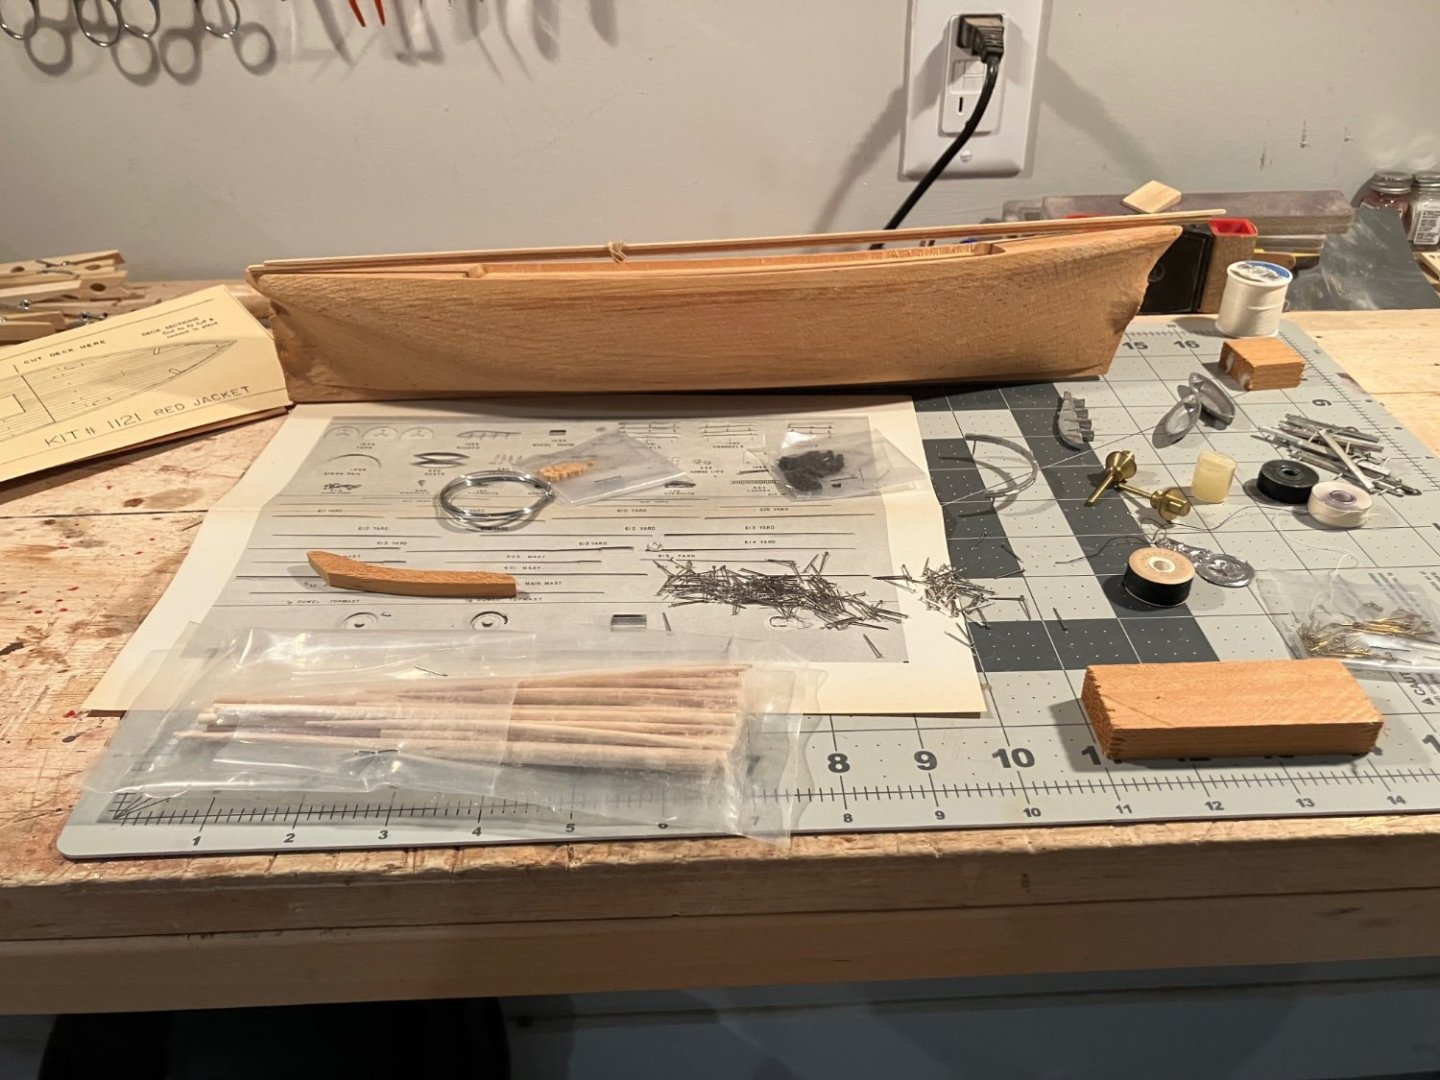
A family member recently gifted me a 1970s kit that he had bought for his father who had no interest in building a ship (he did RC planes). The kit has sat in a basement for the 50 years and since he knew I did build boats he gave it to me. After opening the kit I realized that it was beyond my fine motor skills and expertise. I am willing to give the kit to anyone who is interested. It is a Marine Model Company Red Jacket kit. It is a solid hulled kit with no sails. The instructions in the kit are sparse - one full scale sheet showing the rigging, deck layout (both views), and a few instructions on parts installation. The instruction manual is a generic one produced by MMC. It is not specific to the kit and is only 4 pages long. The kit will be provided in the original box with all original documents. If you have any interest please contact me. The kit is being offered for free to a good home. I will pay the cost of shipment. I will provide my telephone number via a PM. David Green Fernandina Beach, FL

-
This was my first one also - almost 30+ years ago. Be embarrassed to show a picture of it. Quite “rustic”.
-
Brass rings for rigging on HMS Bounty
Cornhusker1956 replied to DaveBaxt's topic in Masting, rigging and sails
I have had more problems with rigging slipping through the split on the rings - I just spot soldered them together. David -
Andre Thank you for the detailed pictures and explanation. Very helpful for my next time. David
-
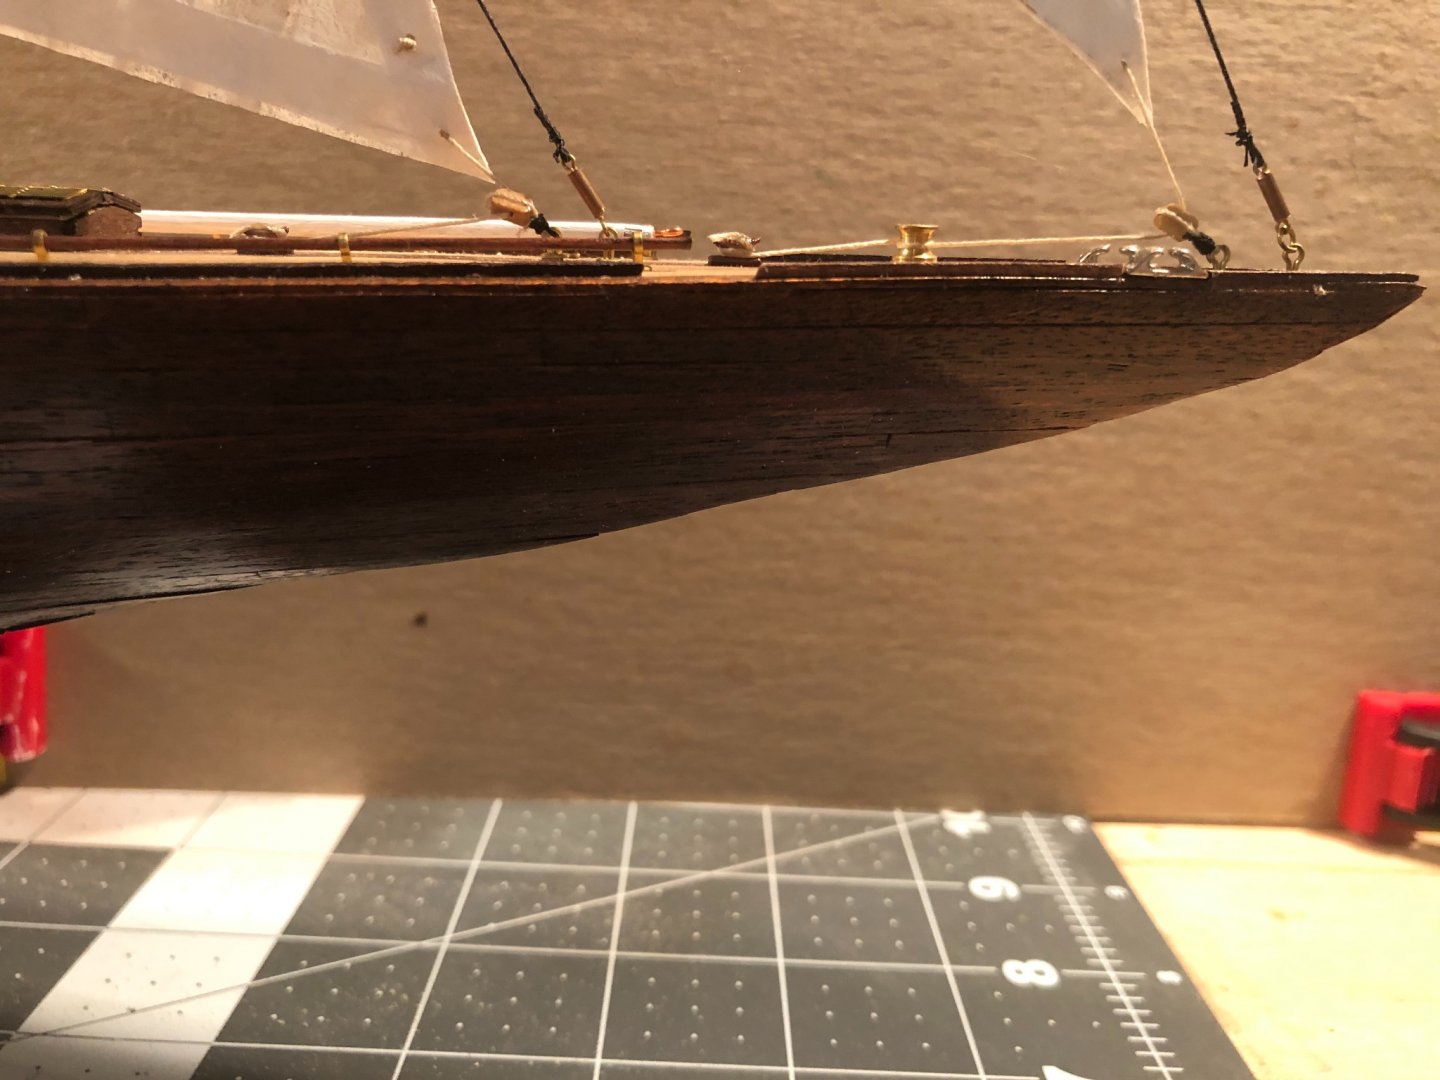
Andre Can you explain with a little detail about planking the bow. It seems per the pictures that you planked on side with several rows with the ends overhanging the actual line of the bow and then the other side. Did you determine the line/shear of the bow with the one side and matched that with the other? I have seen other methods used but still don’t have an understanding of the details (like the cross-crossing). And I have found that it is all about the details. I have completed the Endeavour 1:80 version and had a very difficult time with the bow. I have the 1:35 version sitting on the shelf waiting until I get some more practice with this issue. Any help would be appreciated. David

-
Miniature Drill Bit Chuck for Dremel Tool?
Cornhusker1956 replied to turangi's topic in Modeling tools and Workshop Equipment
May want to try www.CMLsupply.com. I have a micro drill bit set from them and it worked really well with a Drexel tool in their drill press. David -
Not to steal the thread but I have an extra Amati keel clamper that I would be willing to sell cheap. David
-
Rich I have seen many builds on the forum that have used the balsa filler technique but haven’t had a chance to try it out. There was one on an Endeavour 1:35 project that used balsa fillers between every BH, over entire 4 ft length. I agree that this will make the fairing and planking much easier in these areas. David
- 51 replies
-
- 1
-
-
- Model Shipways
- Baltimore Clipper
- (and 1 more)
-
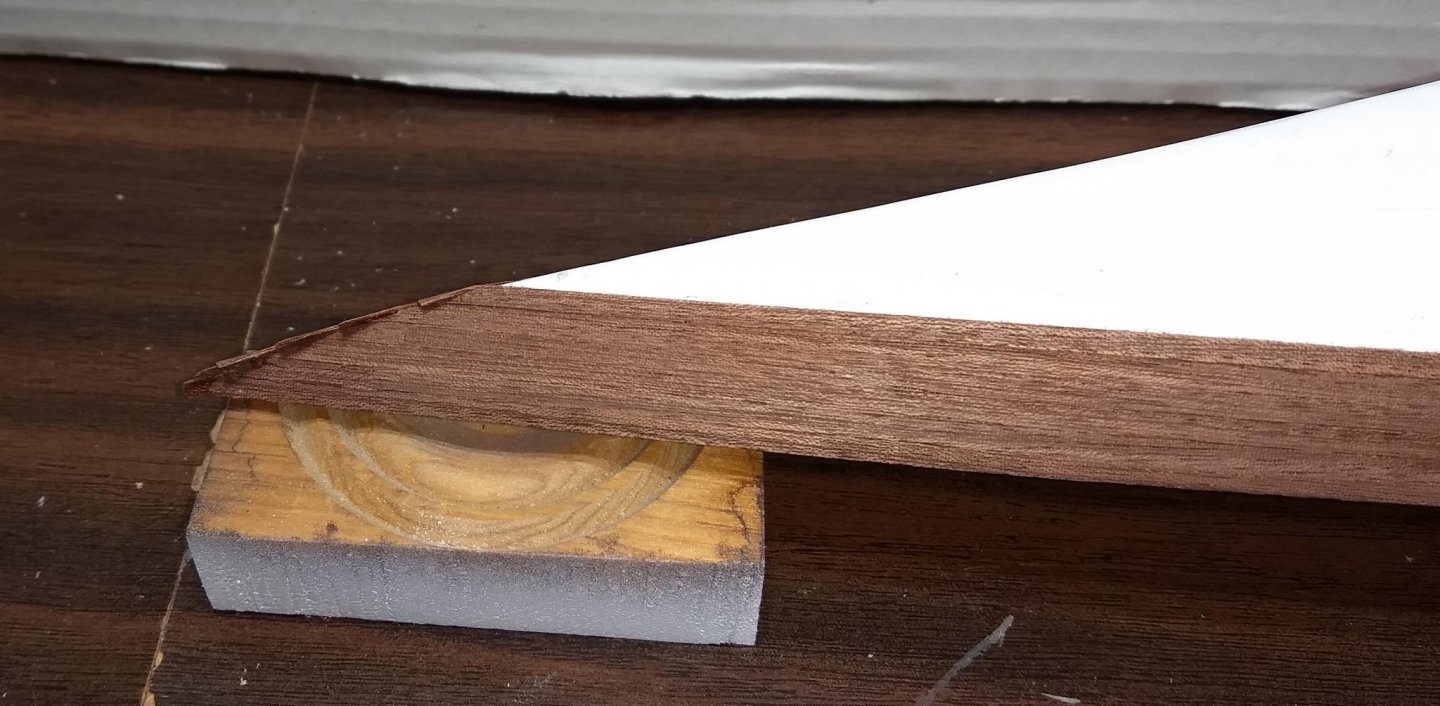
Rich Very interested to hear what the others following have to say. I would be very hesitant about the shim/sand solution because it would also change the line up of the reference lines. I think that if you could adjust just the curvature of the bottom edge (sanding or carving) so that it flows smoothly into the already cut rabbet it should be fine. David
- 51 replies
-
- 1
-
-
- Model Shipways
- Baltimore Clipper
- (and 1 more)
-
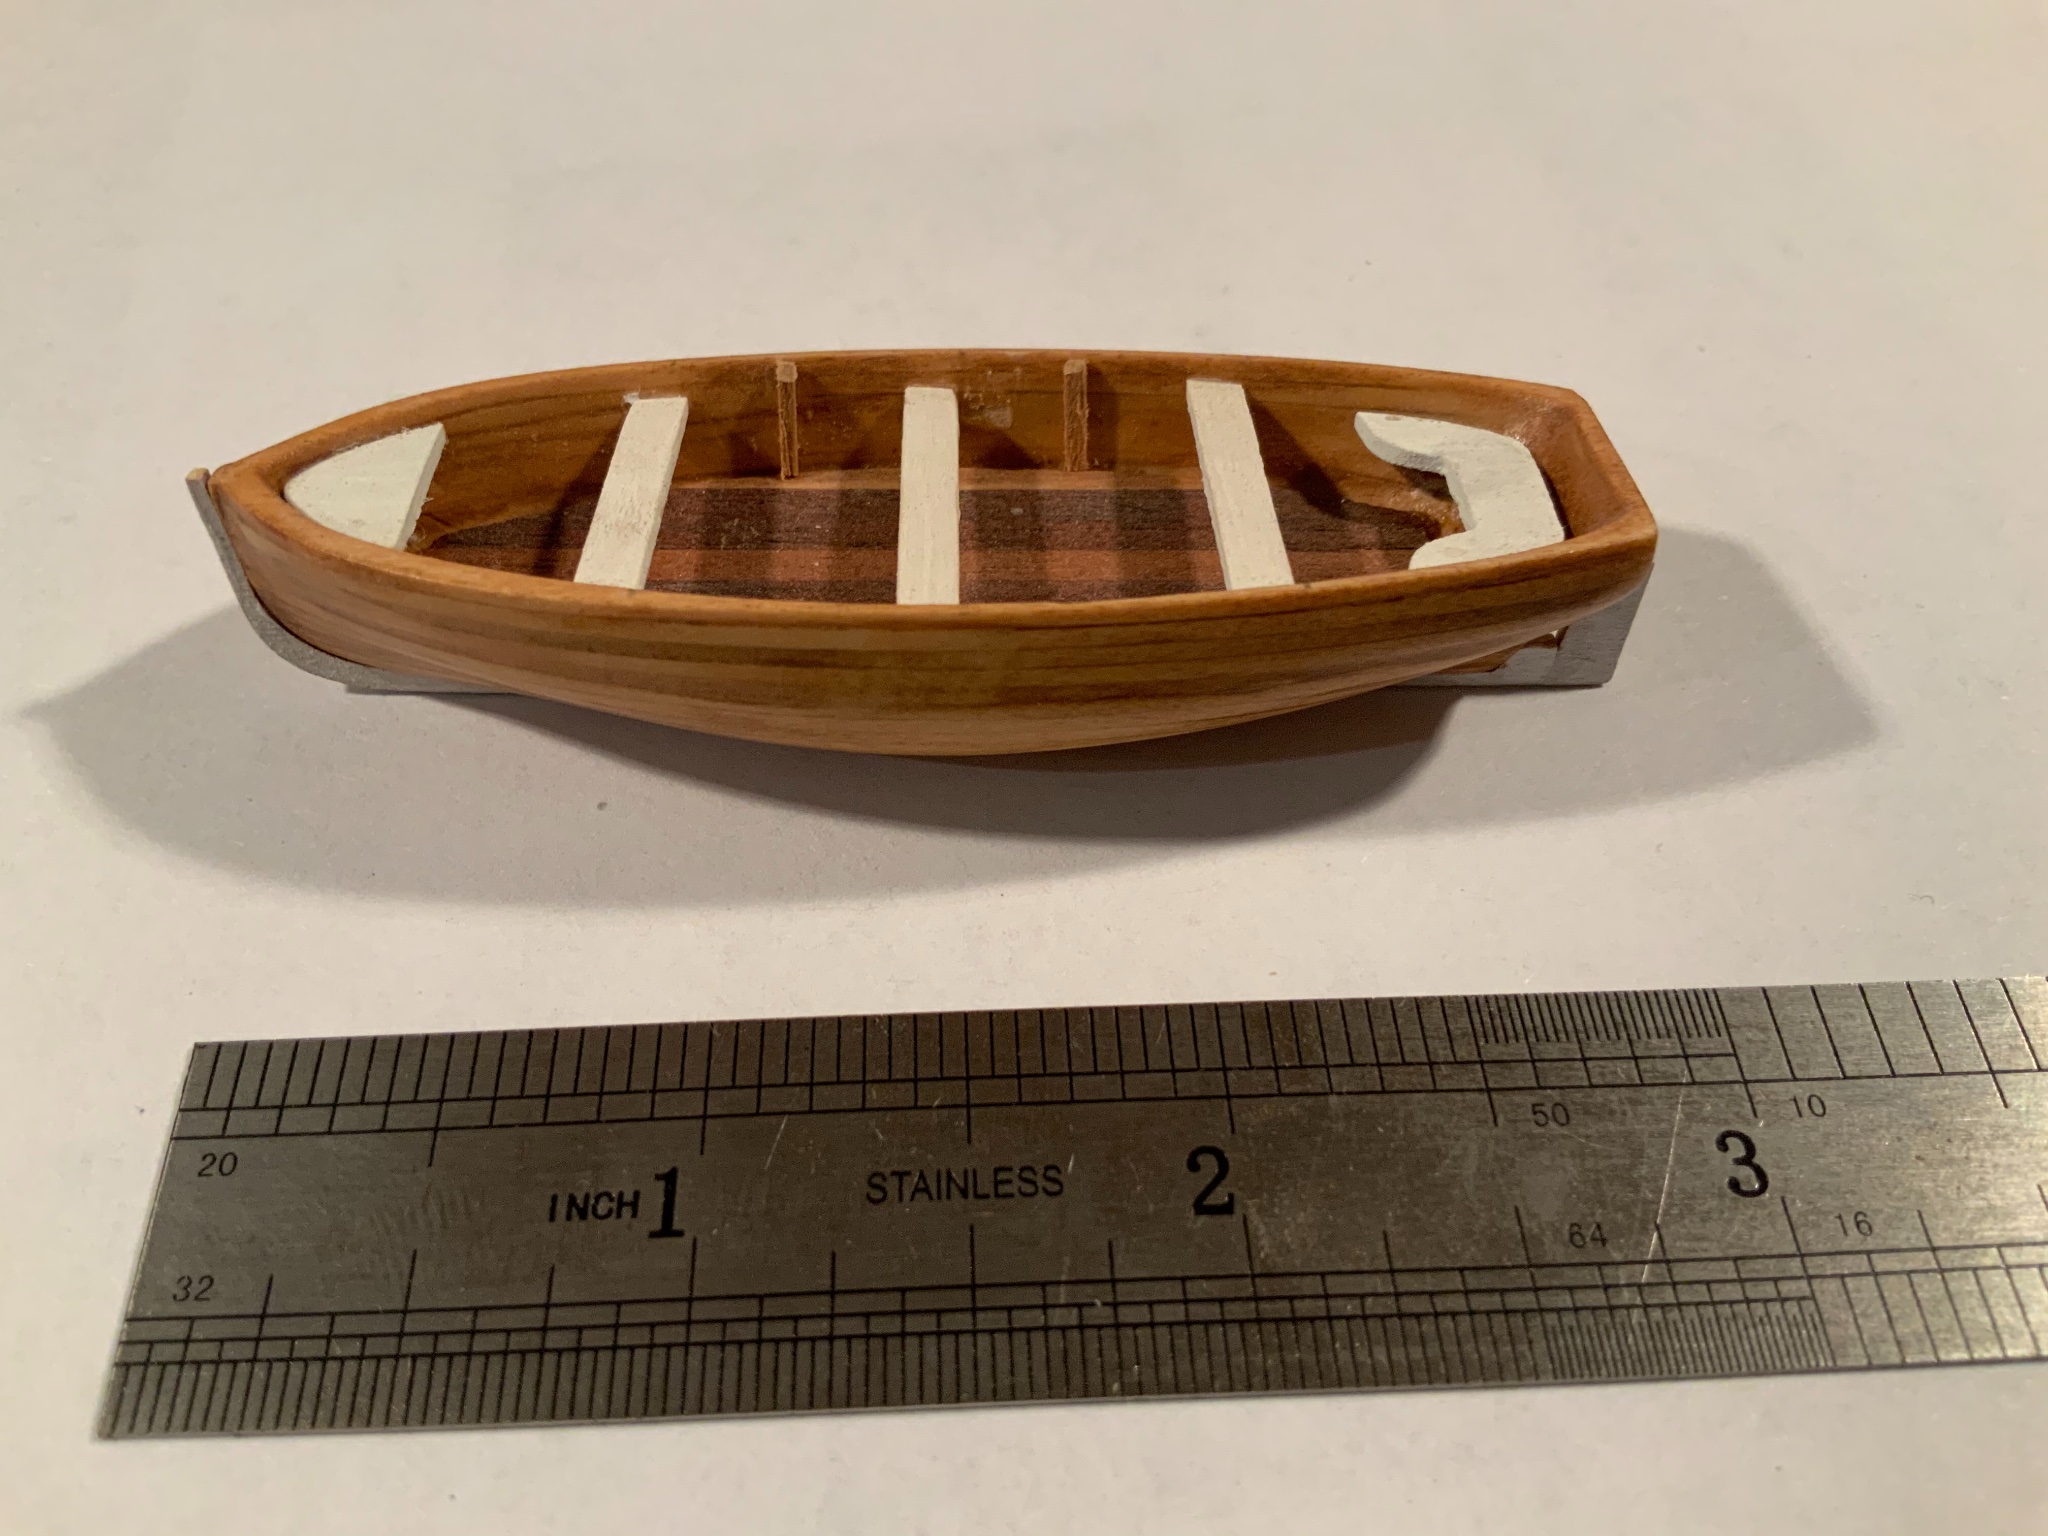
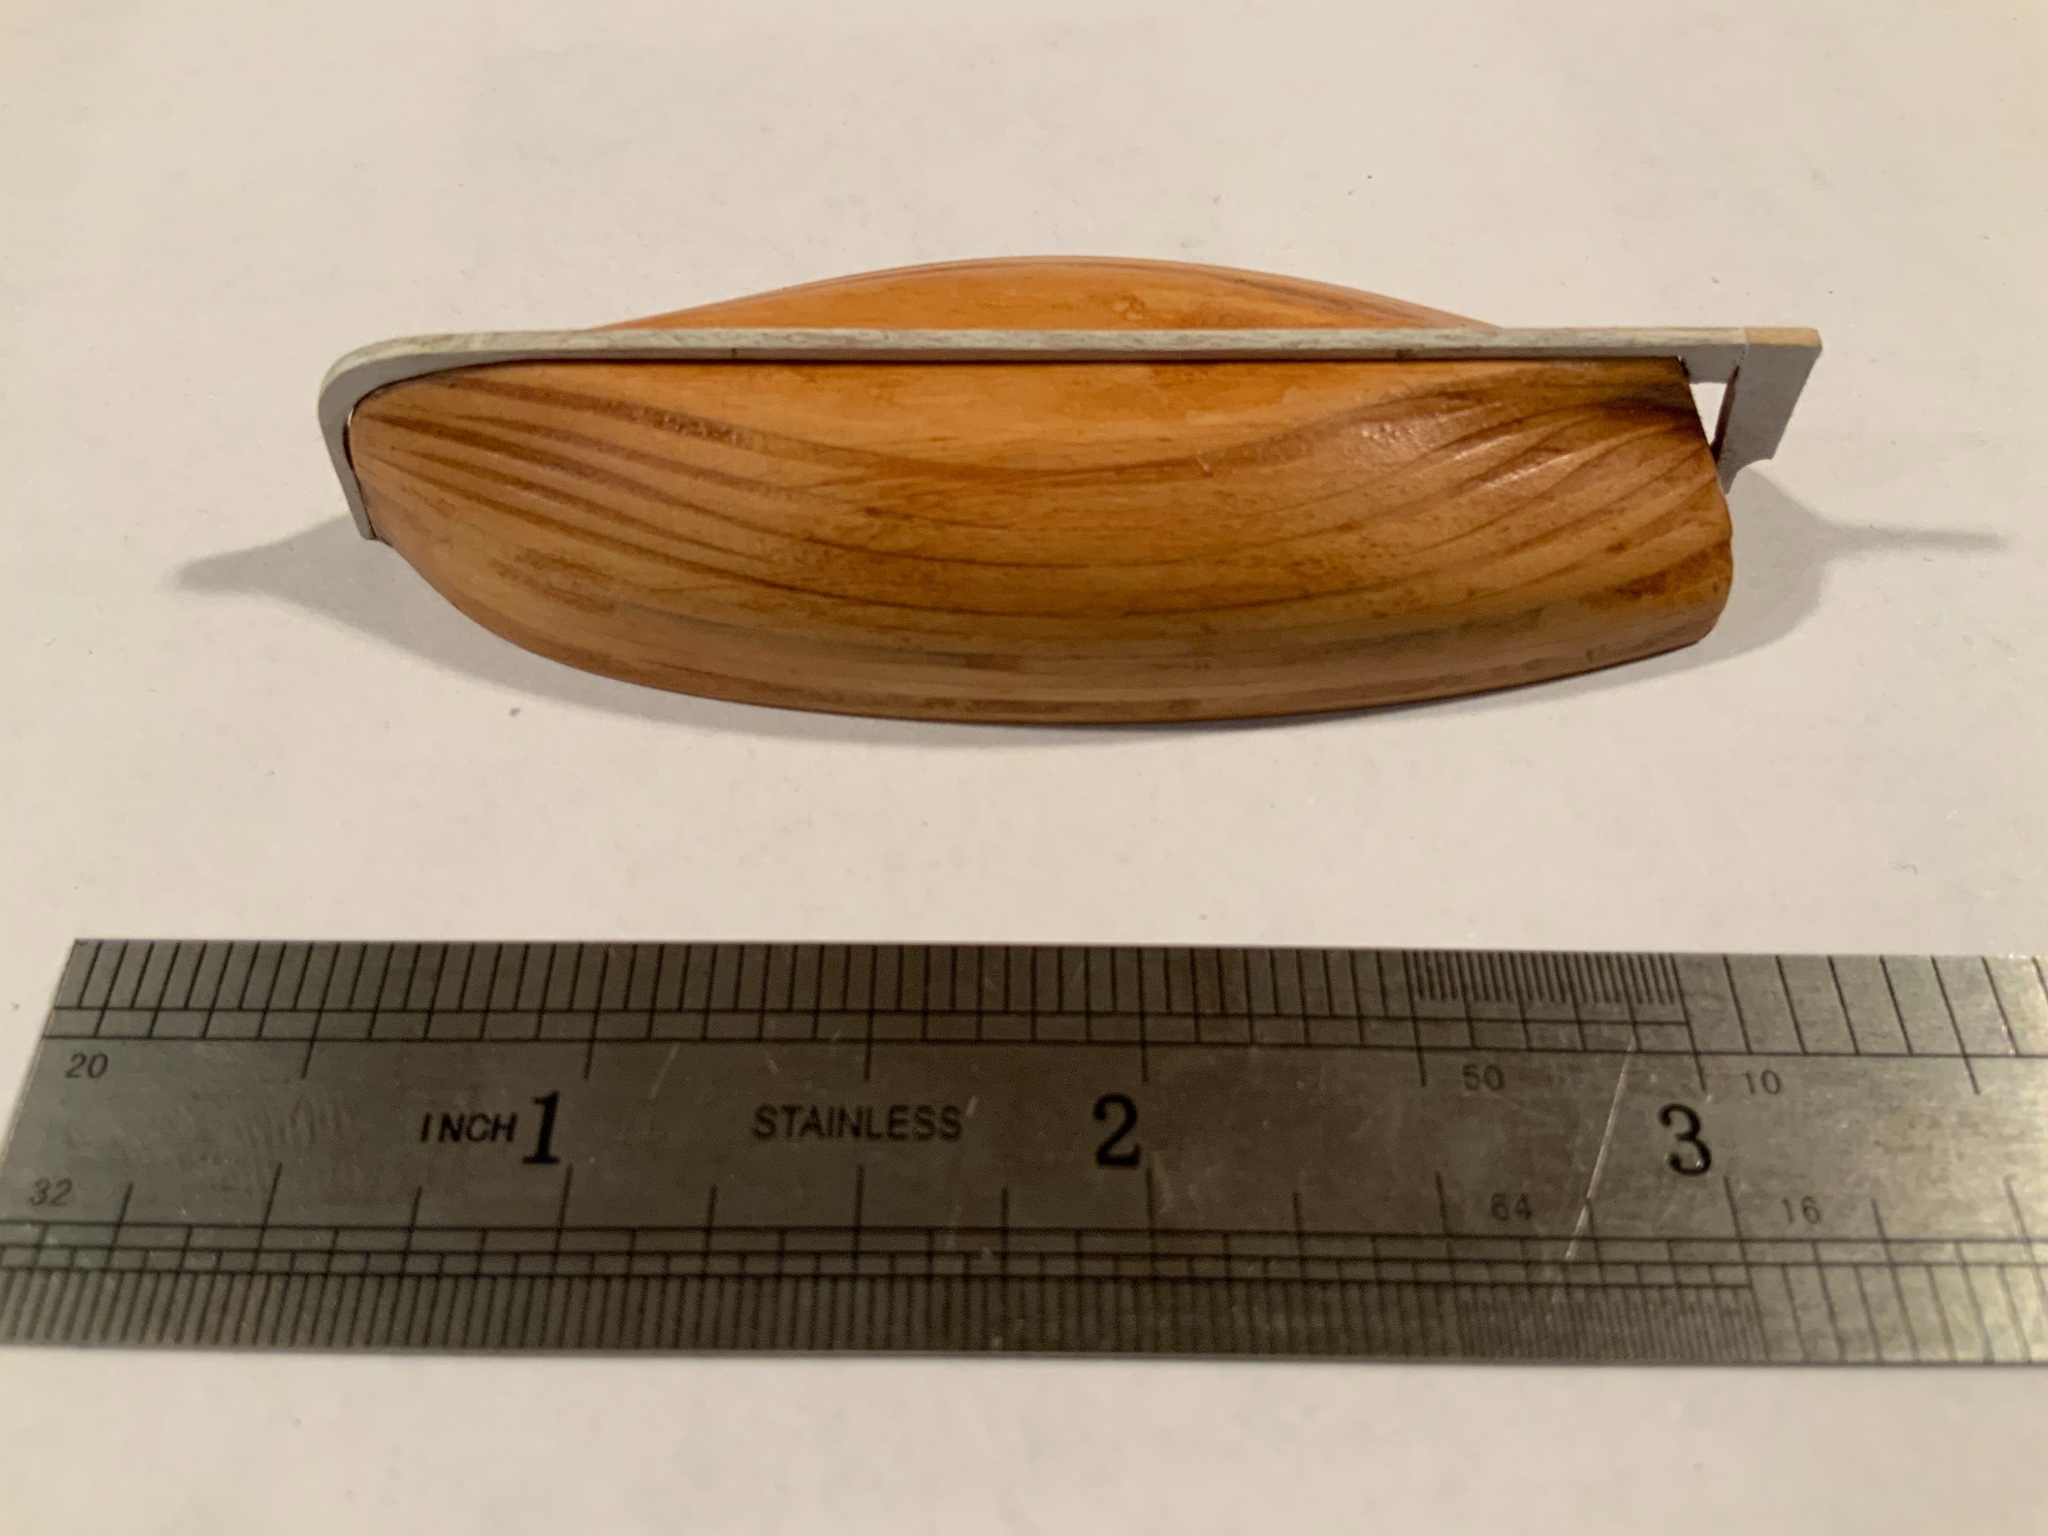
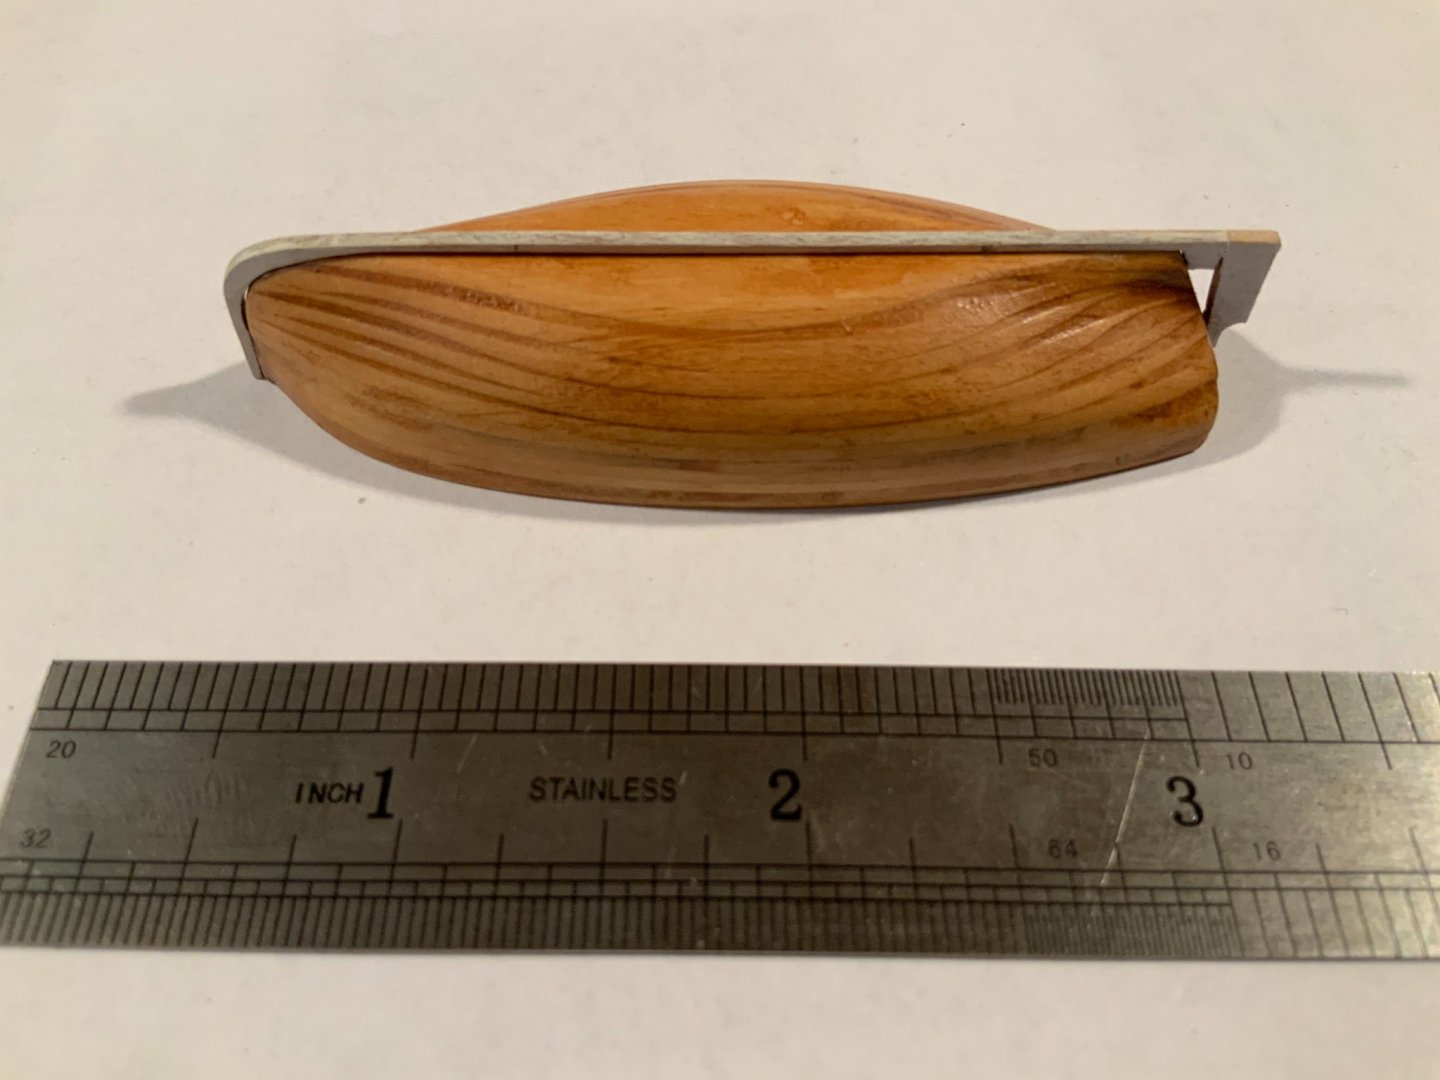
Rich While not an expert I think that when you fair the bulkheads some the overlap will resolve but if it remains a problem then the bulkheads will need to be shortened and faired so that the rabbit line is exposed. As for the ships boat I have attached some pictures of the version in the kit I built. It is the MS version with a 1994 date on the plans. Looks pretty close to the other picture. David

- 51 replies
-
- 2
-
-
- Model Shipways
- Baltimore Clipper
- (and 1 more)
-
Rich Good luck on this build. This was a ship that I built many years ago, back when my skills were very rudimentary. I look forward to seeing how it really should be done. This may tempt me to try again. David
- 51 replies
-
- 1
-
-
- Model Shipways
- Baltimore Clipper
- (and 1 more)
-
So I guess that no one can assist me with this question? I am very hesitant to start my Endeavour 1:35 kit without knowing a little bit more about how to plank the bow. Any assistance would be appreciated. David
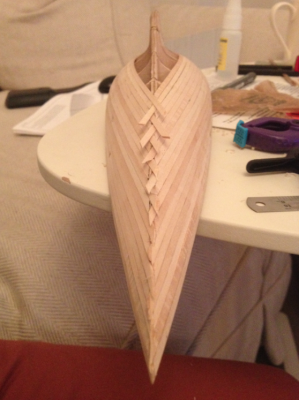
-
Looking for some information on how to plank the bow of the Endeavour. I have attached some pictures from other members that shows an overlapping/alternating planking technique that I have not been able to duplicate. Is there a video or set of instructions for this method somewhere? My attempt was not satisfactory (see photo) - very uneven . Picture 2 is from John Gummersall’s build and Picture 1 is from Henry James’s build. David