HOLIDAY DONATION DRIVE - SUPPORT MSW - DO YOUR PART TO KEEP THIS GREAT FORUM GOING! (Only 68 donations so far out of 49,000 members - Can we at least get 100? C'mon guys!)
×


myxyzptlyk2003
-
Posts
172 -
Joined
-
Last visited
Content Type
Profiles
Forums
Gallery
Events
Everything posted by myxyzptlyk2003
-
Per the instructions, it's on to the interior. This is one beautiful model. The exterior is probably 98% complete. Just a few touch ups that I will do near the end. Note I did not apply the roman numeral depth guides. I have tried that in the past and I just can't get them to be uniform. And since very few models have them I am going to omit them.


-
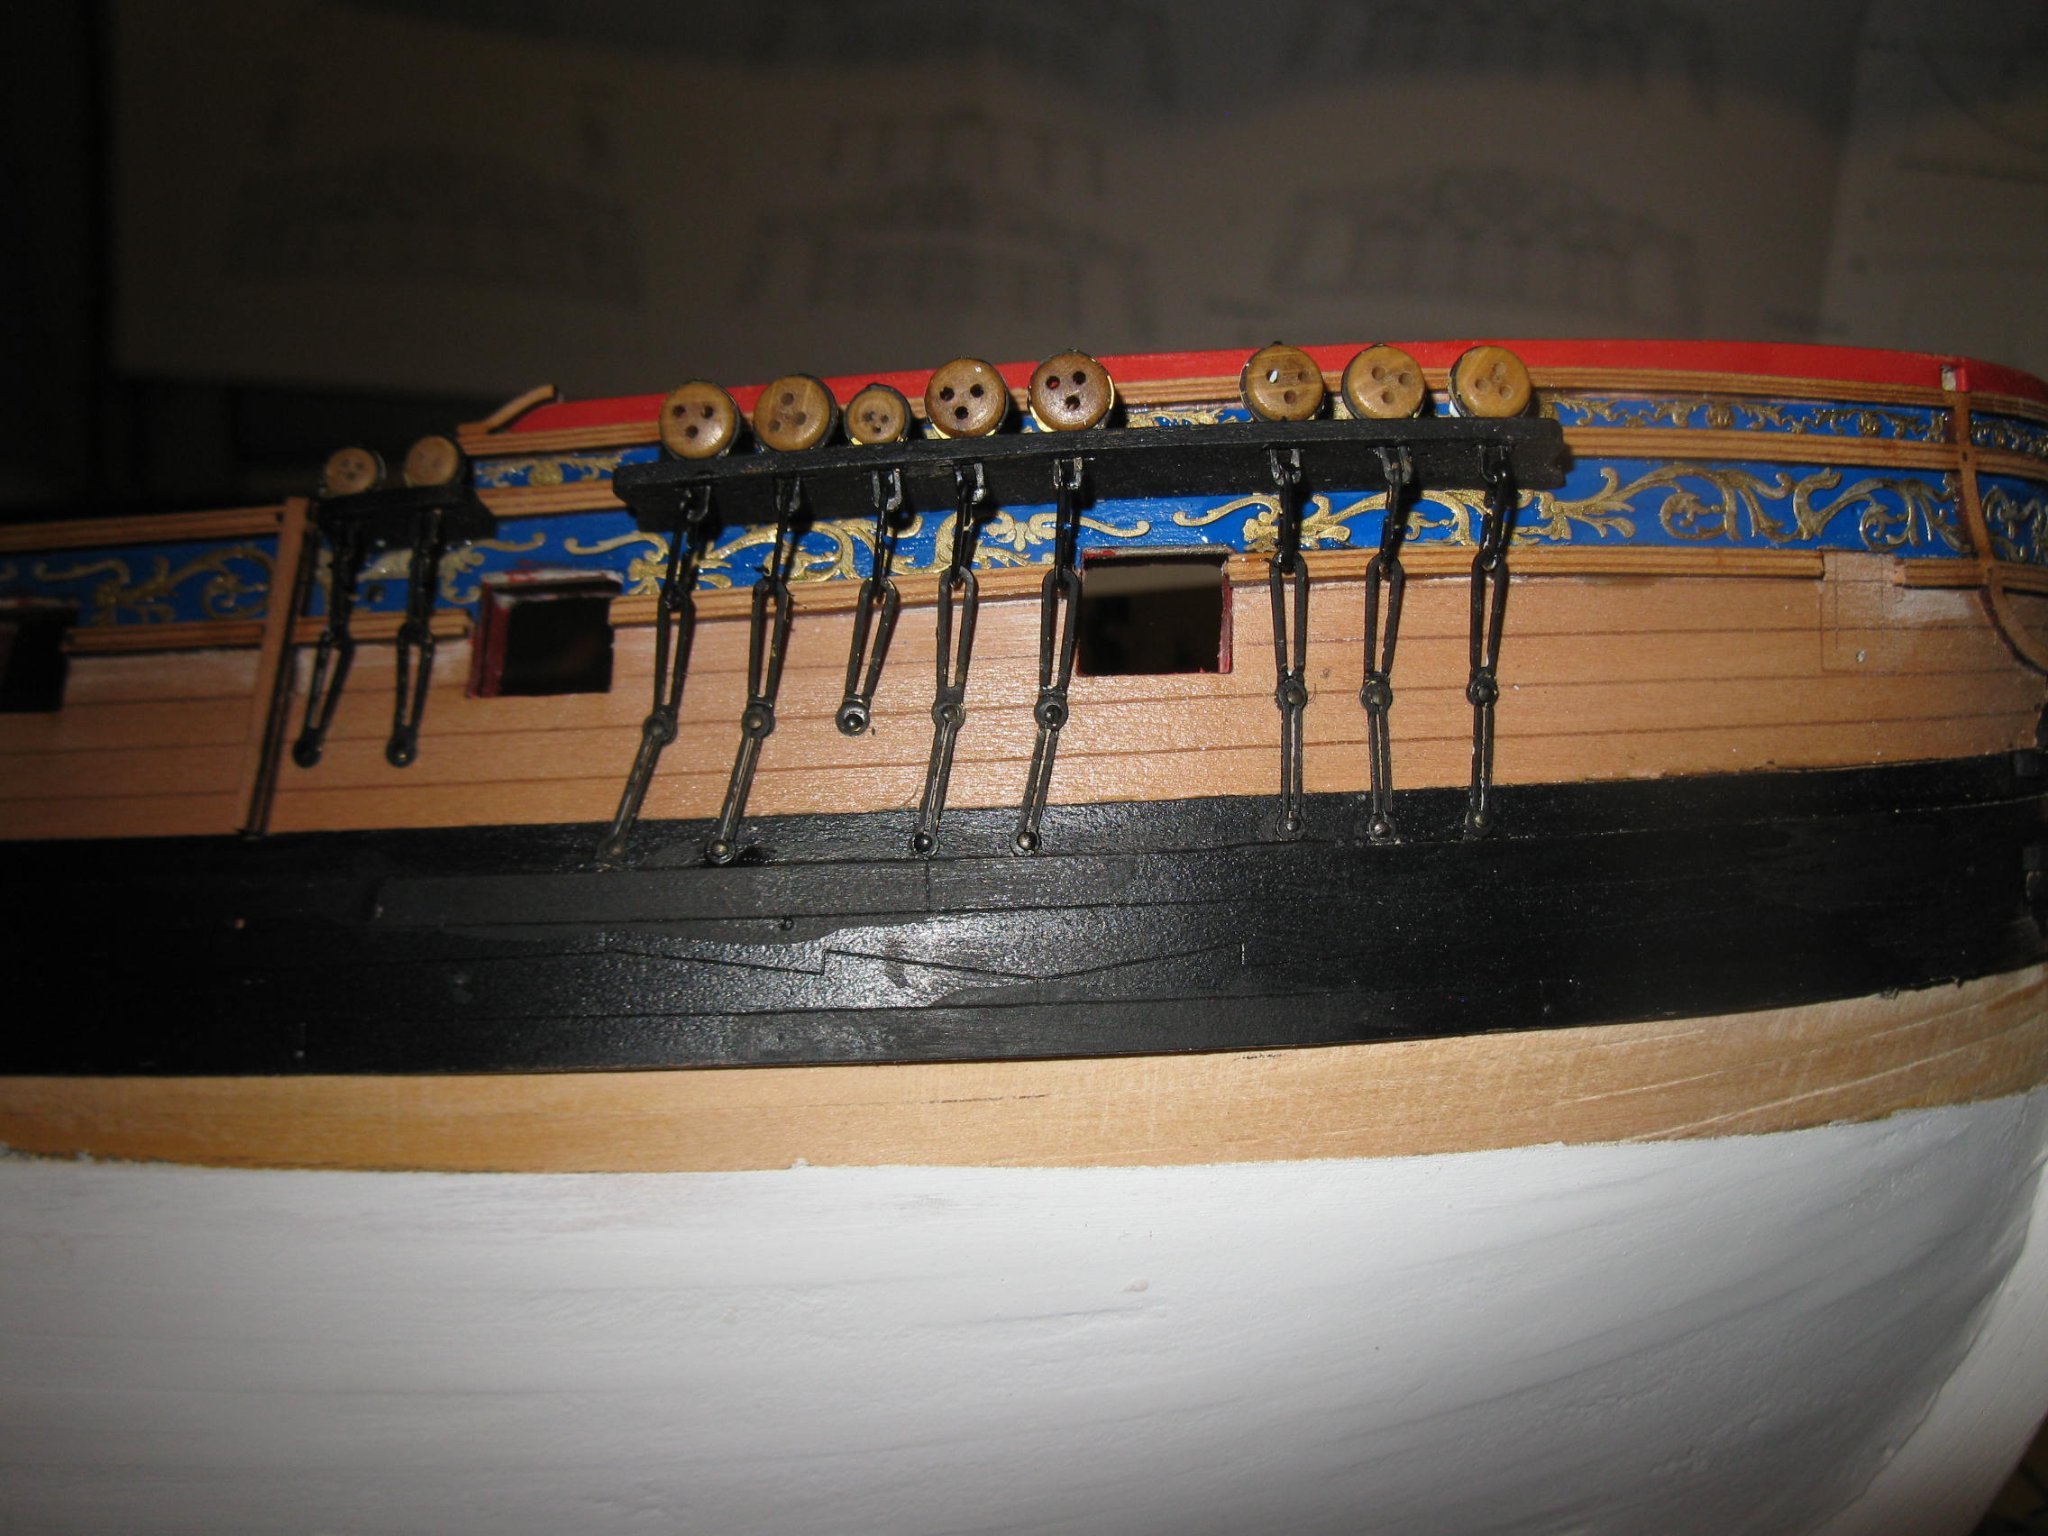
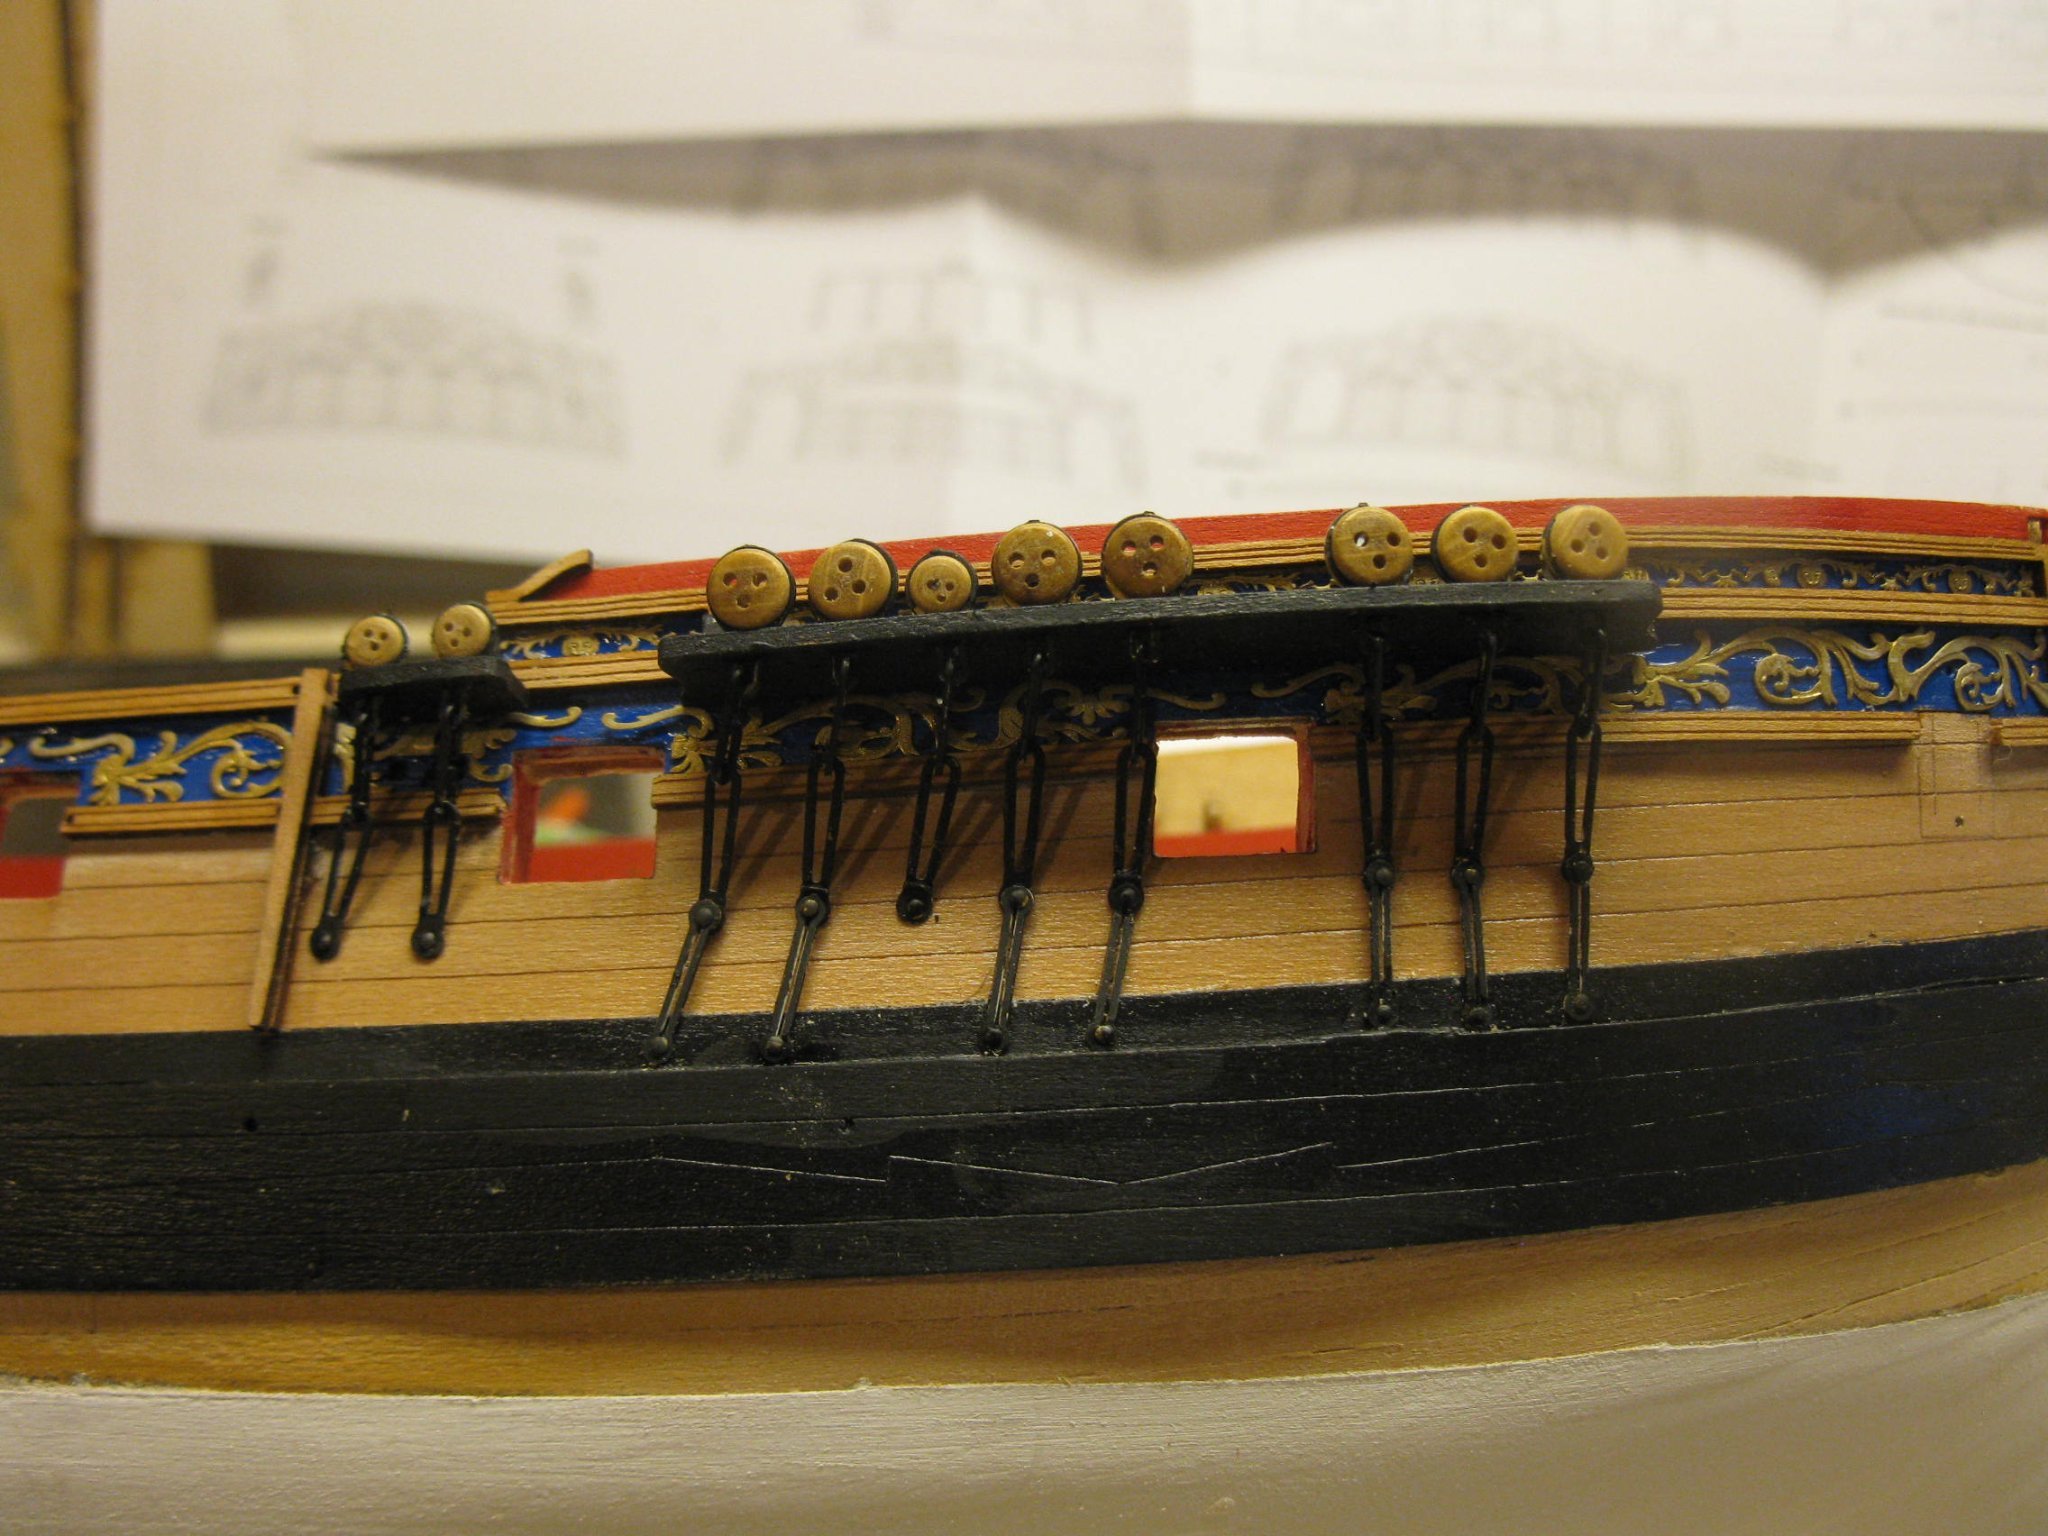
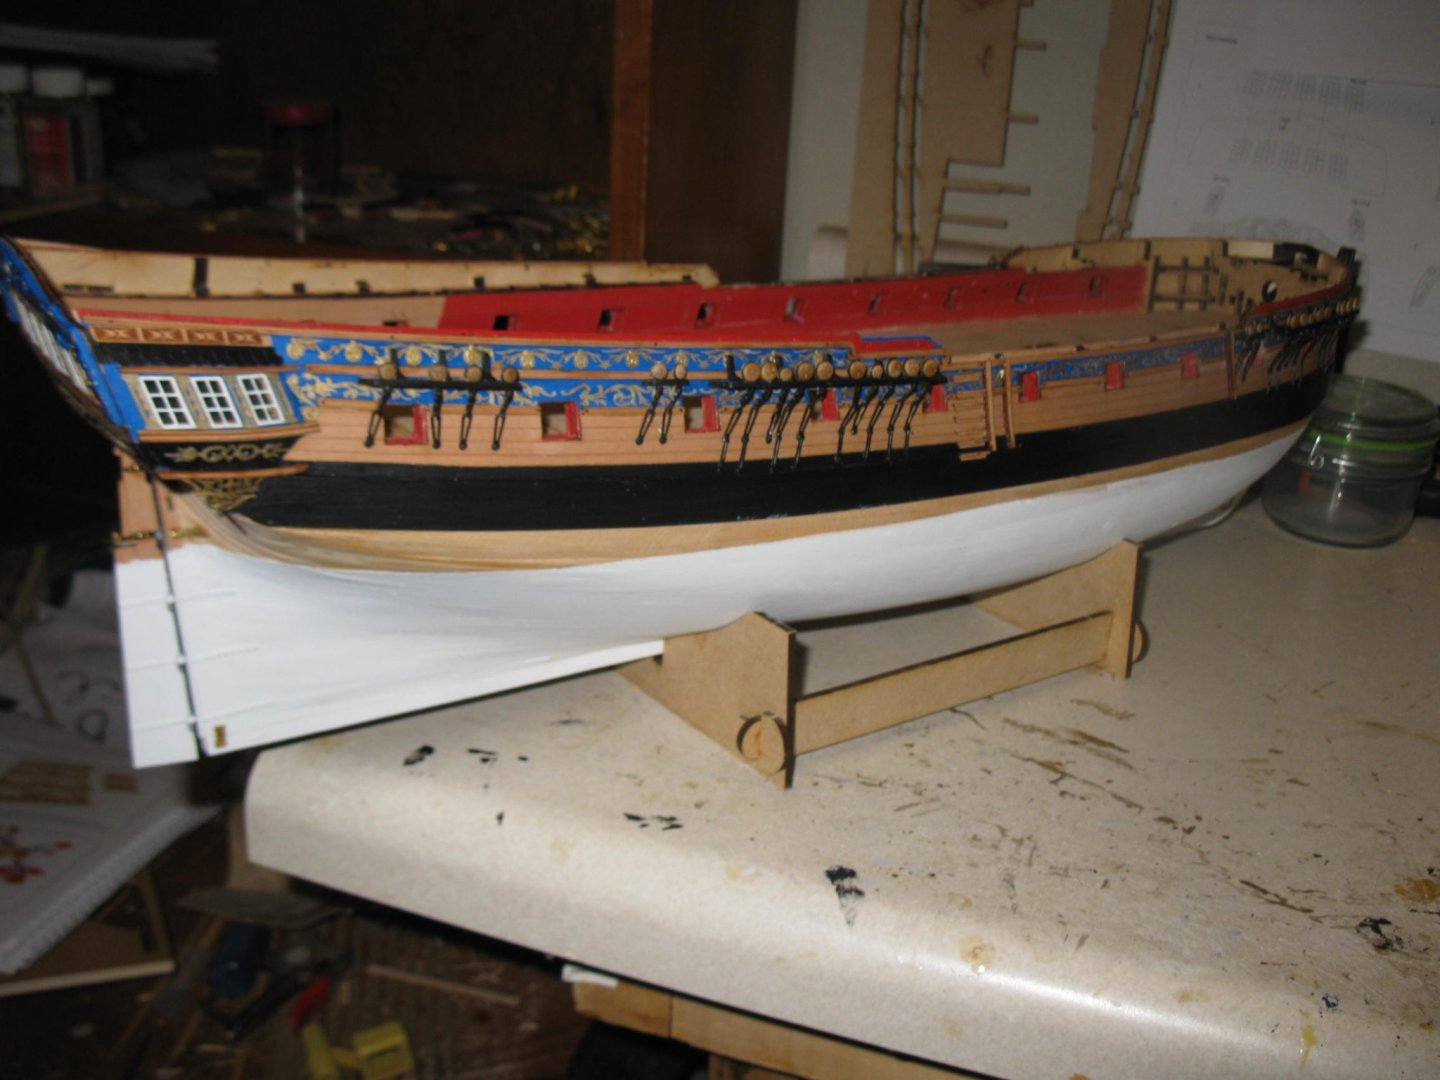
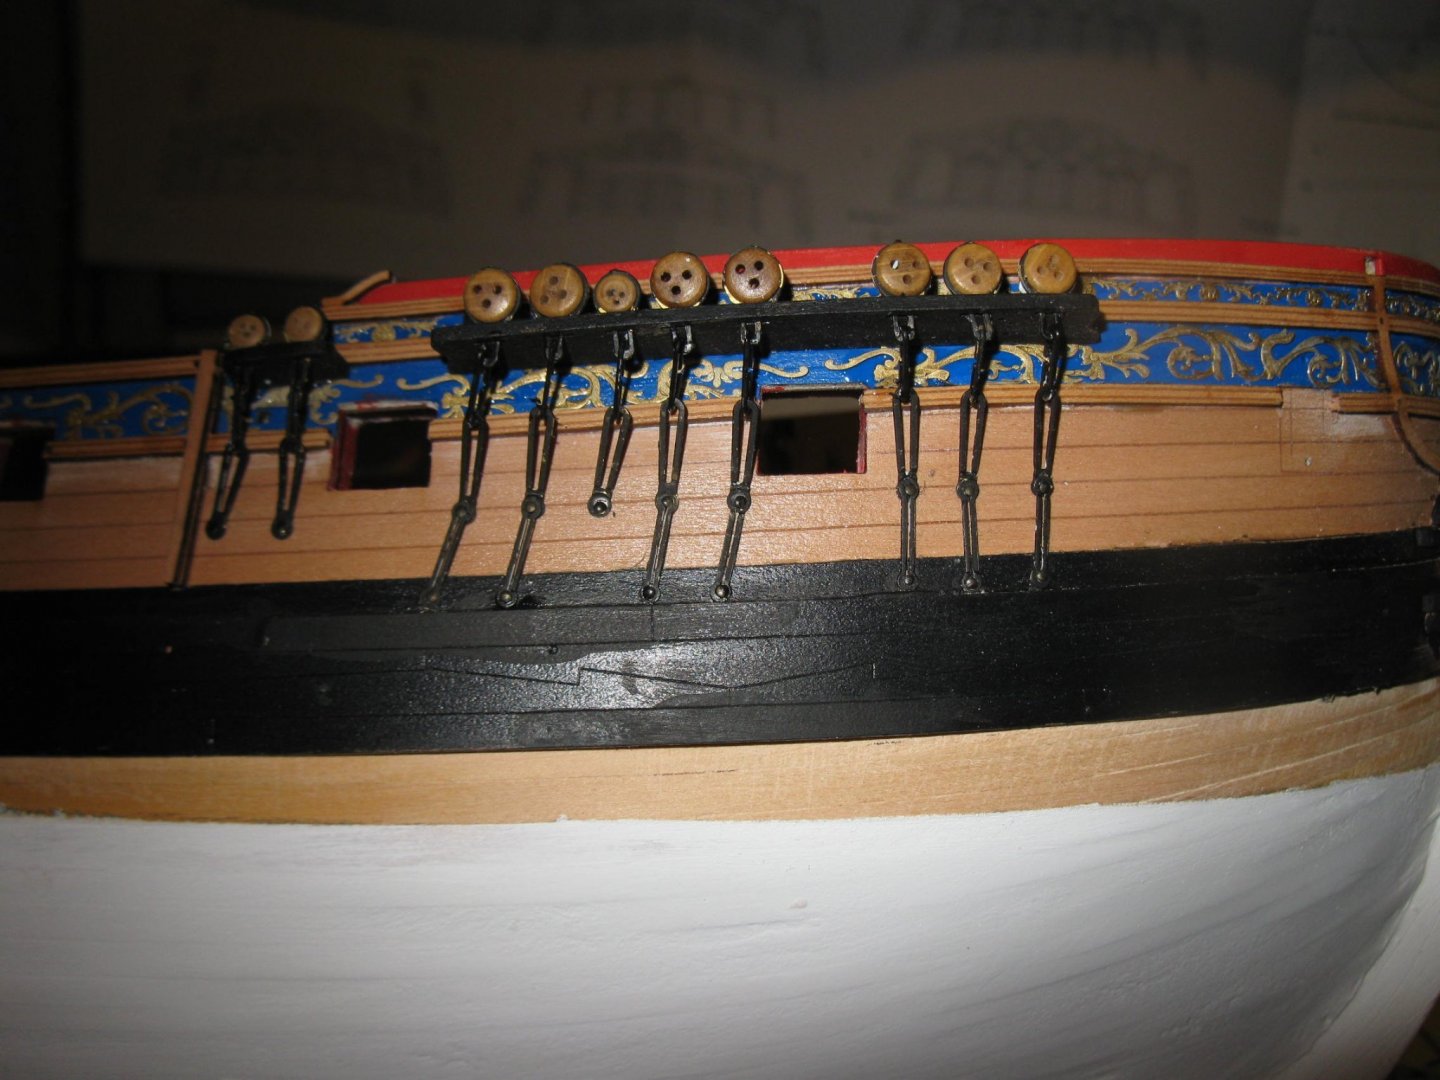
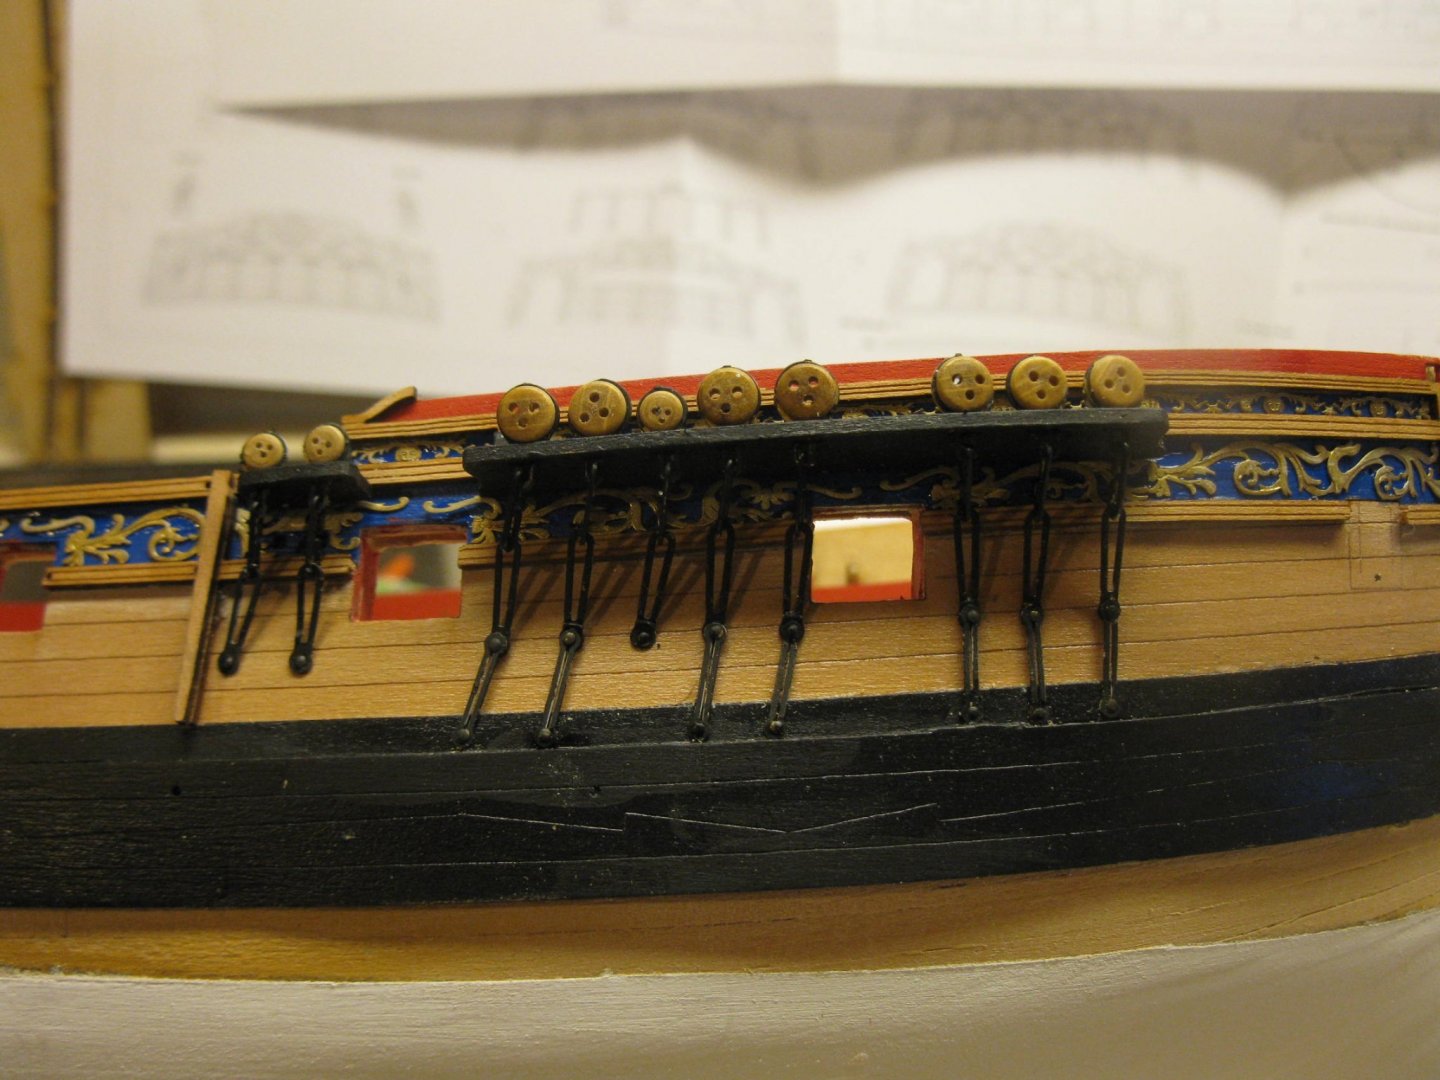
Working on the chain plates now. This will take some time as there are so many. The parts do fit together well but definitely require lots of paint touchup after installing. I had re-installed the stools prior to putting the chain plates on. I think leaving them off until the decorations are installed is the way to go.
-
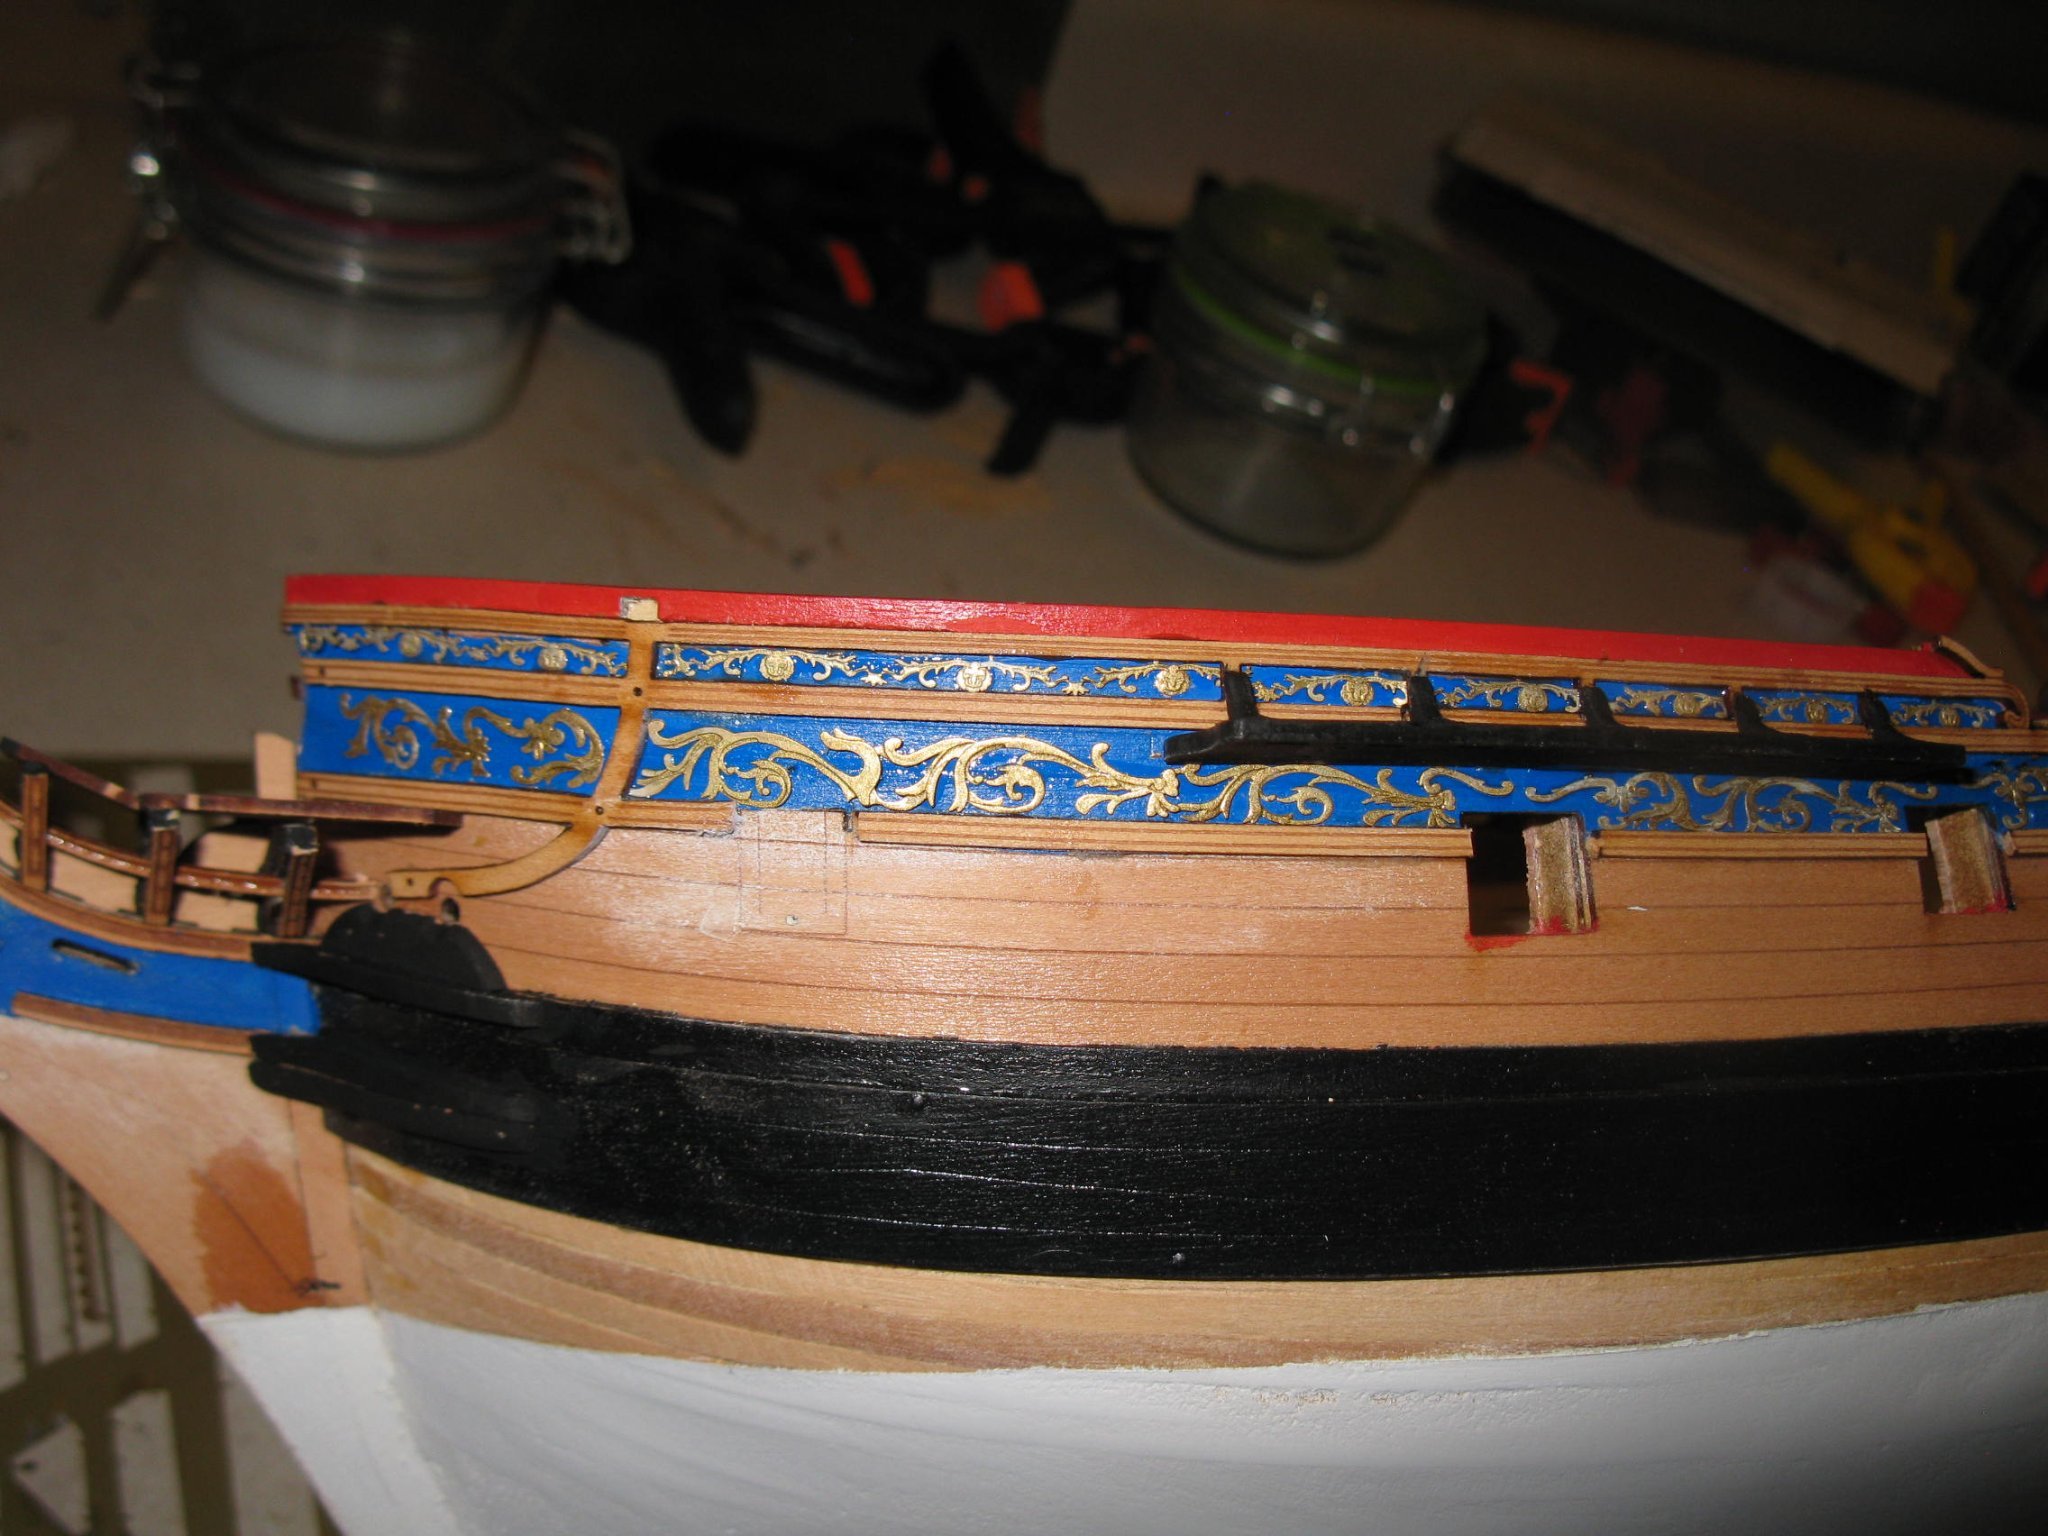
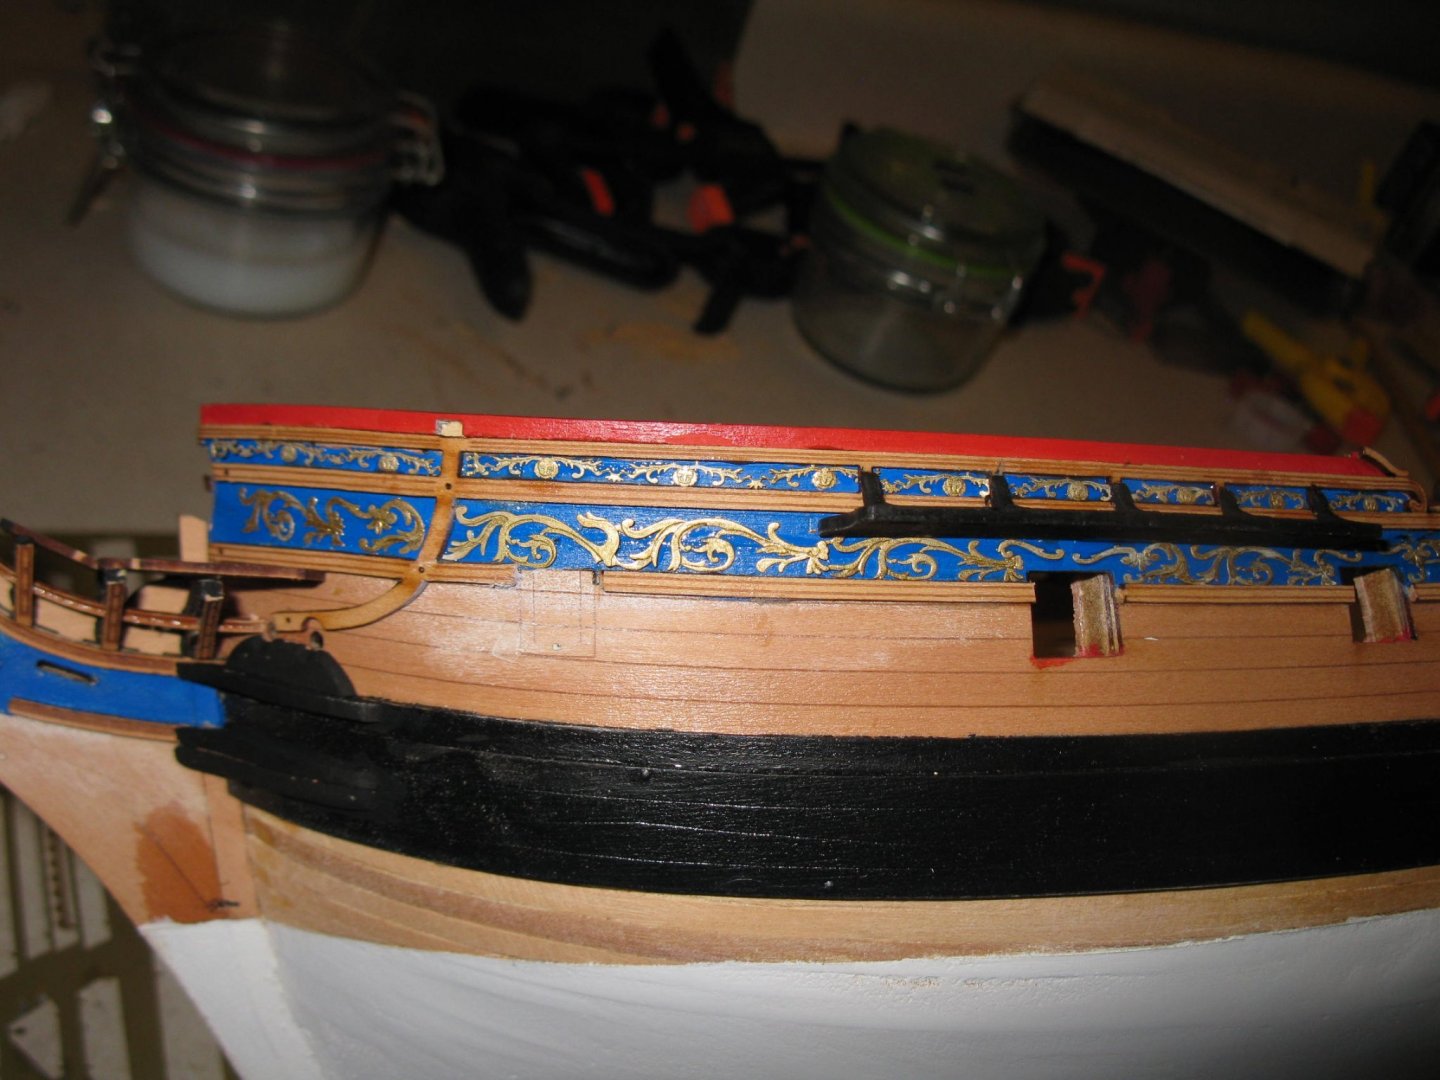
Got the port side decorations applied. A word of caution. Handle them lightly and with care. They look fantastic. They really add to the look of the ship. I did have problems around the fore and main stools. In my case I just removed the stools for now and will reapply them later. If you can't remove yours you will have to trim the decorations a bit so that they fit. Interestingly, when I look at the plan sheet that shows which decoration goes where (Plan sheet 13) the stools are not shown being attached. The channels are there but the stools are not. (at least I don't see them)

-
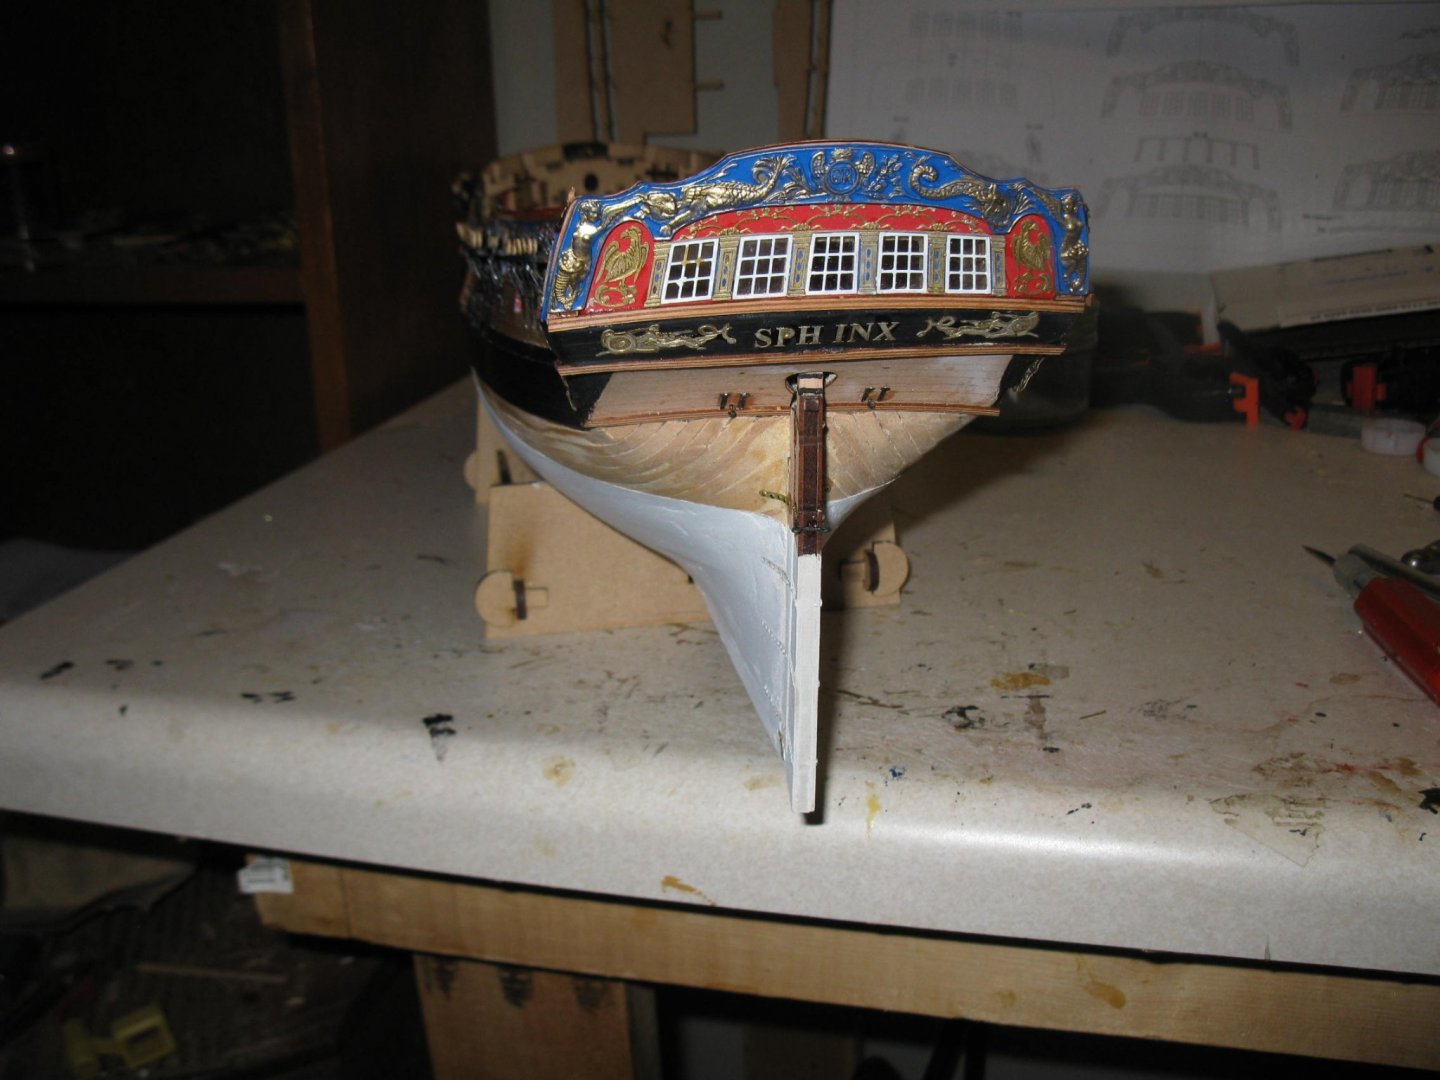
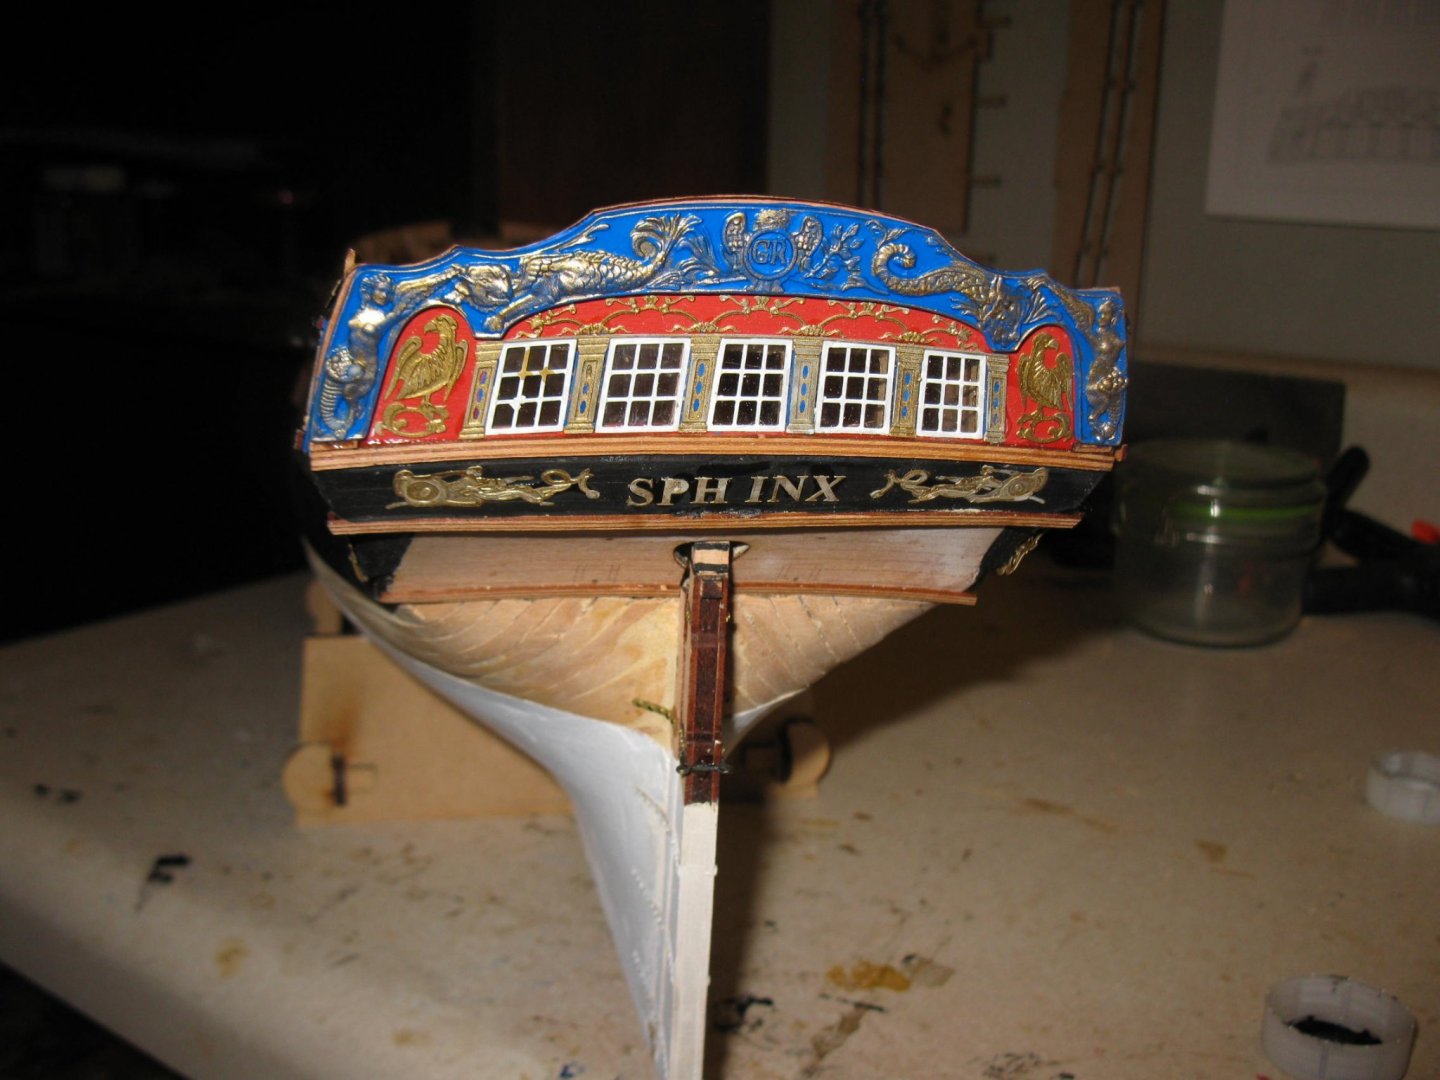
I always use a primer coat before painting the brass. For me, it still is pretty fragile. On my stern resin piece prior to gluing it on the back, the gold was bright and pretty evenly distributed. But if you look at the picture you can see a lot of it has rubbed off. And I even applied a coat of varnish OVER the gold paint Still came off. So I ended up carefully touching up a lot of the gold trim.
-
Kevin I too love the masting and rigging. I personally think that stage is about the easiest of the build. In the past when I got to the rigging stage I was looking to see what my next build would be. But just absolutely no room for bigger items. I'll leave the masting/rigging to my next generation by placing all of those materials and instructions in one place.
-
Thanks for the encouragement. I can only aspire to the degree of skill that you exhibited with the prototype. Even with my minor issues I am thoroughly enjoying this build and when finished will be something that I will be proud of. As stated earlier, I won't be masting and rigging this. I've already got 6 caldercraft ships including victory and diana rigged and cased. Plus about 6 other company's kits all rigged and cased. Absolutely no room at the inn. But I just can't stop building if only for the enjoyment of building the hull and fitting that out.
-
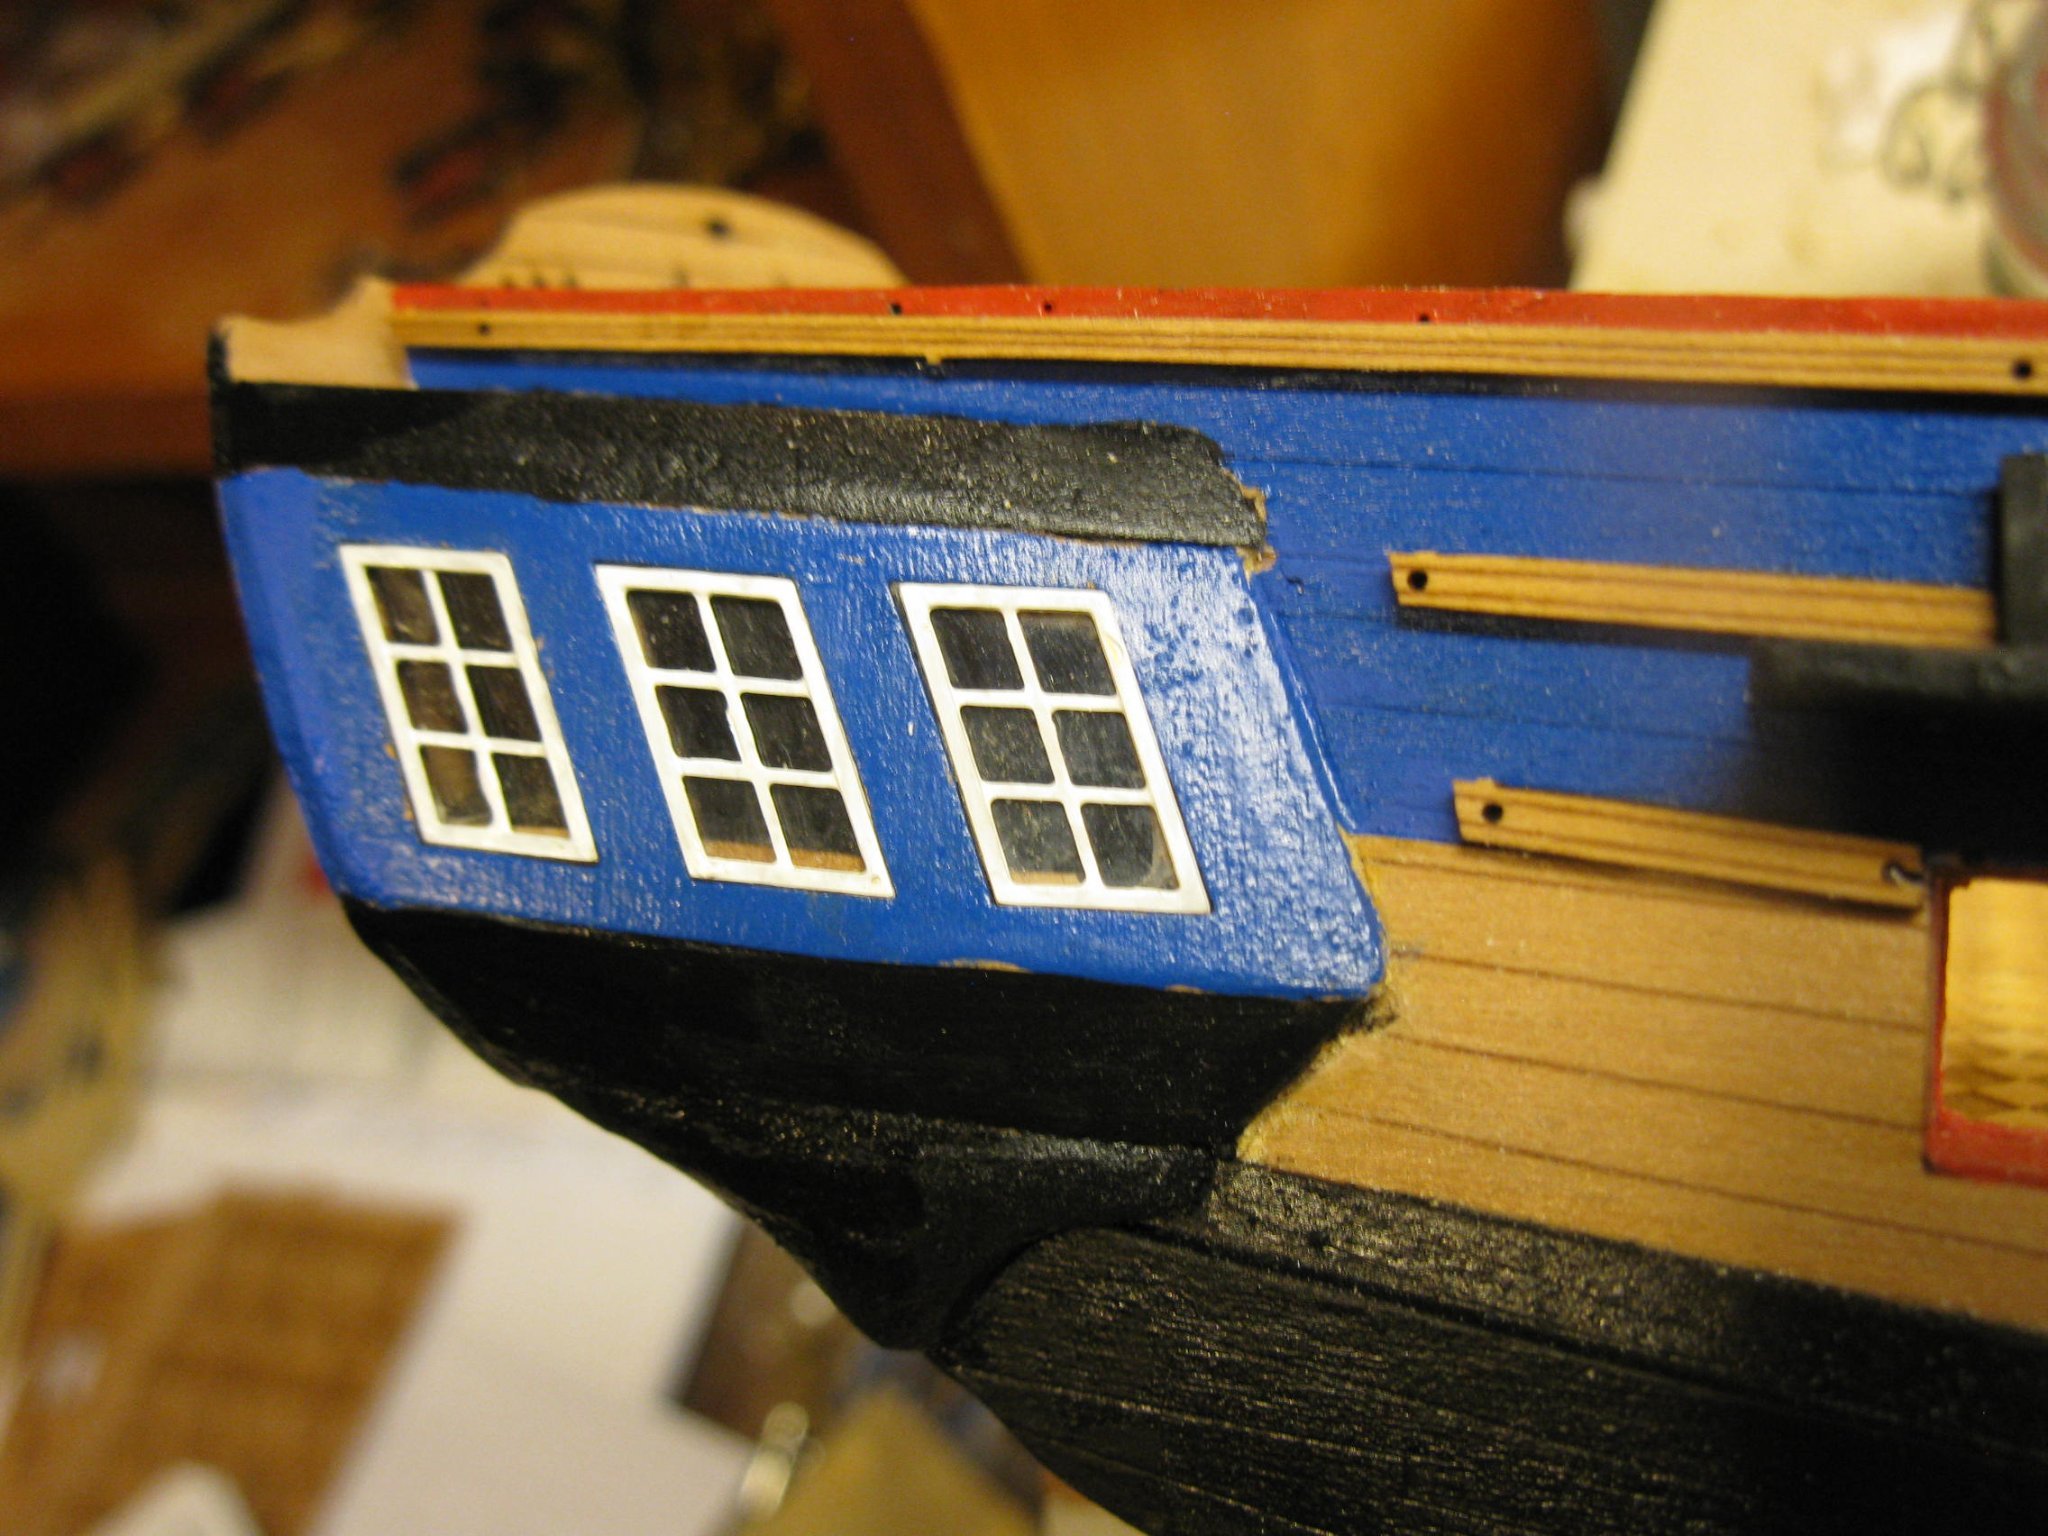
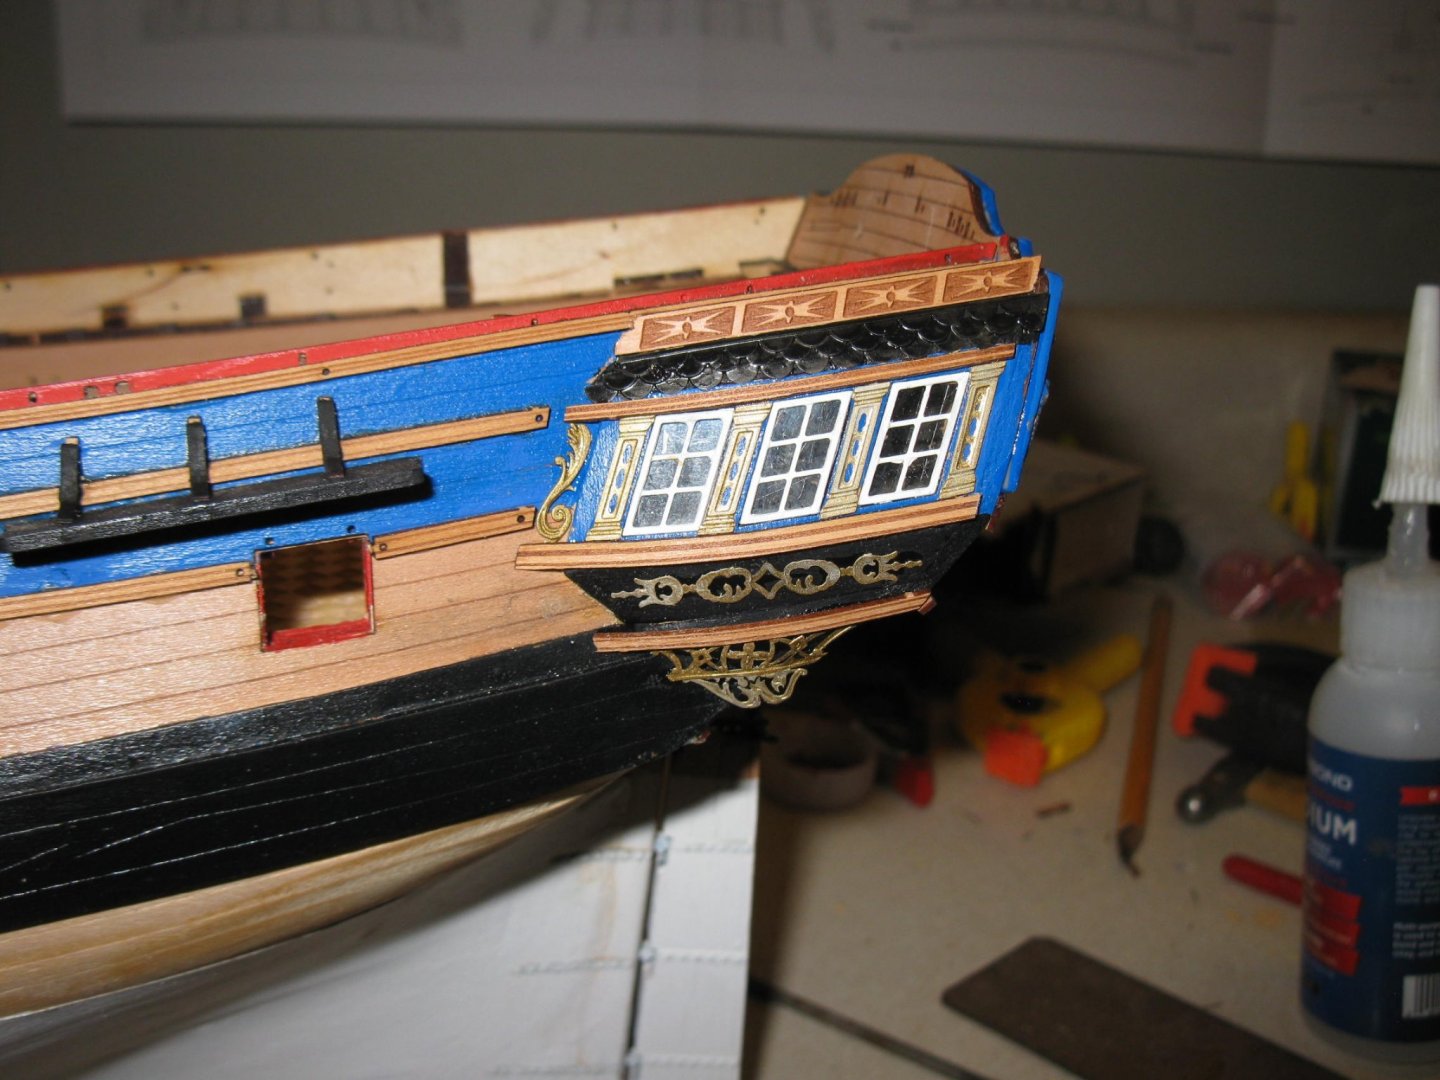
Have finished the side galleries and the stern decoration. Unfortunately, I will have some correcting to do as some of the decorations and edging don't quite line up like on the prototype. For myself, I don't think it's too big a deal as I should be able to make everything look quite nice. The issue will be that it won't be quite "authentic". Fortunately, for me, all that photo etched brass decorations are going to draw most of the attention. They are super well presented and fairly easy to place. One thing I found was the instructions say to soak the resin stern piece. On my model, there really wasn't all that much of a curve and all I ended up doing was clamping the piece while the glue (CA) set. Worked very well. Overall, I hate gold painted metal. I am using the vallejo liquid gold and it is so fragile even when applied over primed brass. I am going to have to do lots of touching up. Plus I am continually amazed at how well James got his prototype to look. I can only wish I could get that exactness that he achieved with his. Even with a relatively steady hand I just can't get the margins of the gold to be well defined. Another suggestion I would make for those following me, is that with the lower sections of the side galleries, I would try and use the photo etched decorations to help guide the shaping of these pieces. What I did was shape them to look very close to what the instructions show but when it came to attaching the decorations, it turned out I took a bit too much of the wood off so the decorations are a bit oversized. I think they still look acceptable.
-
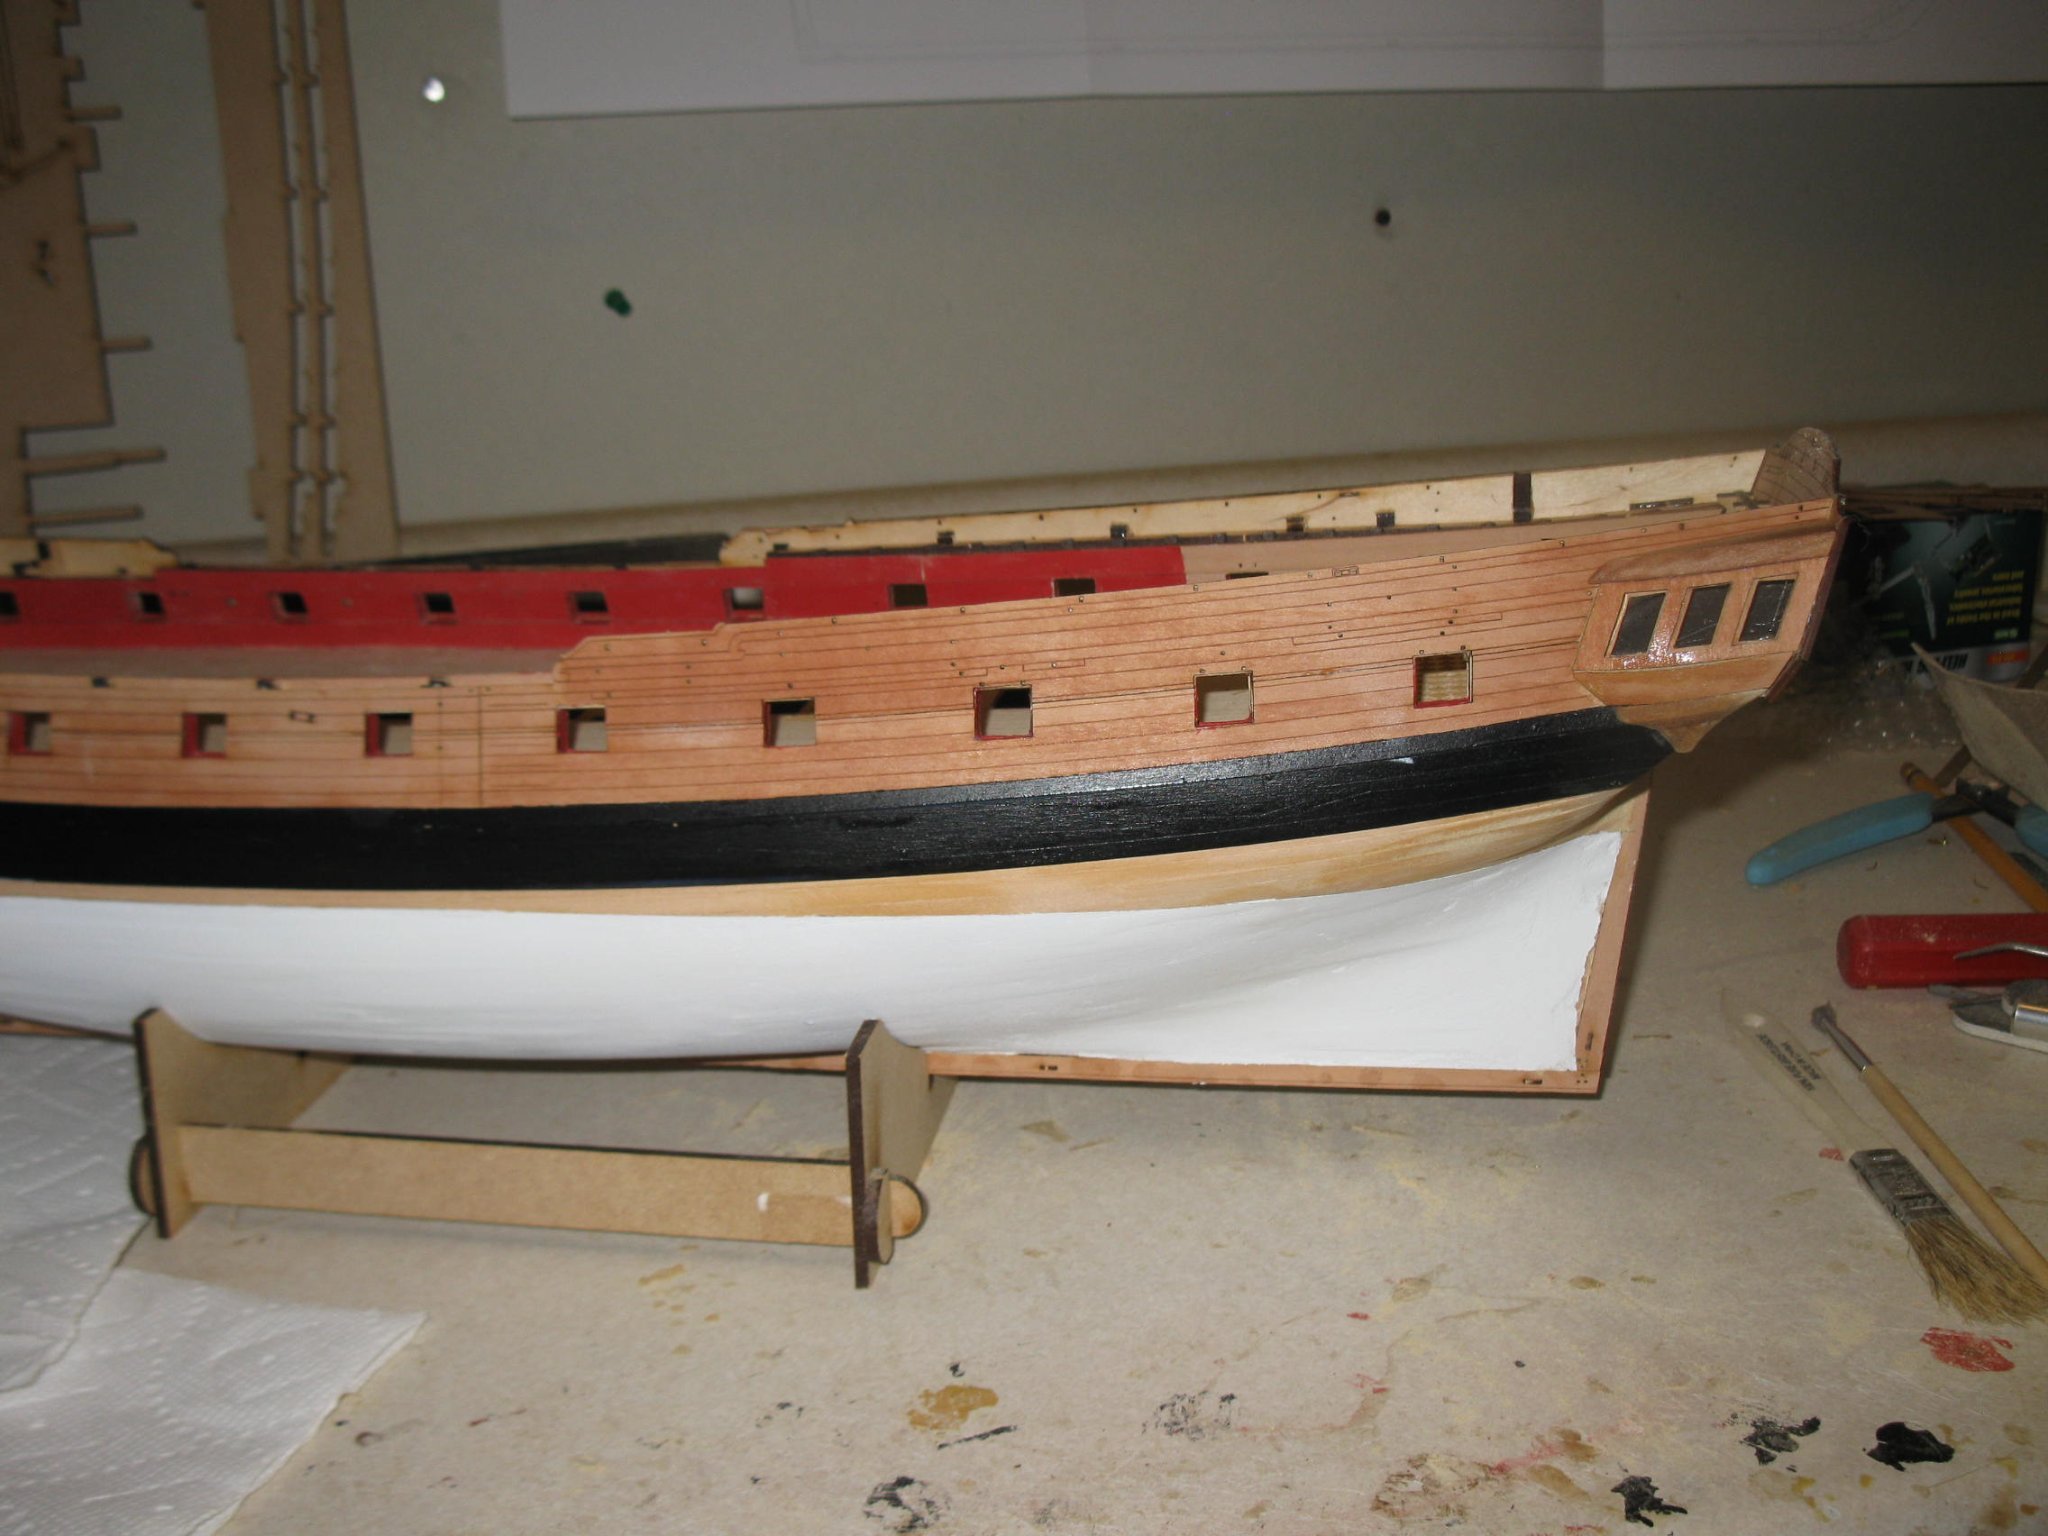
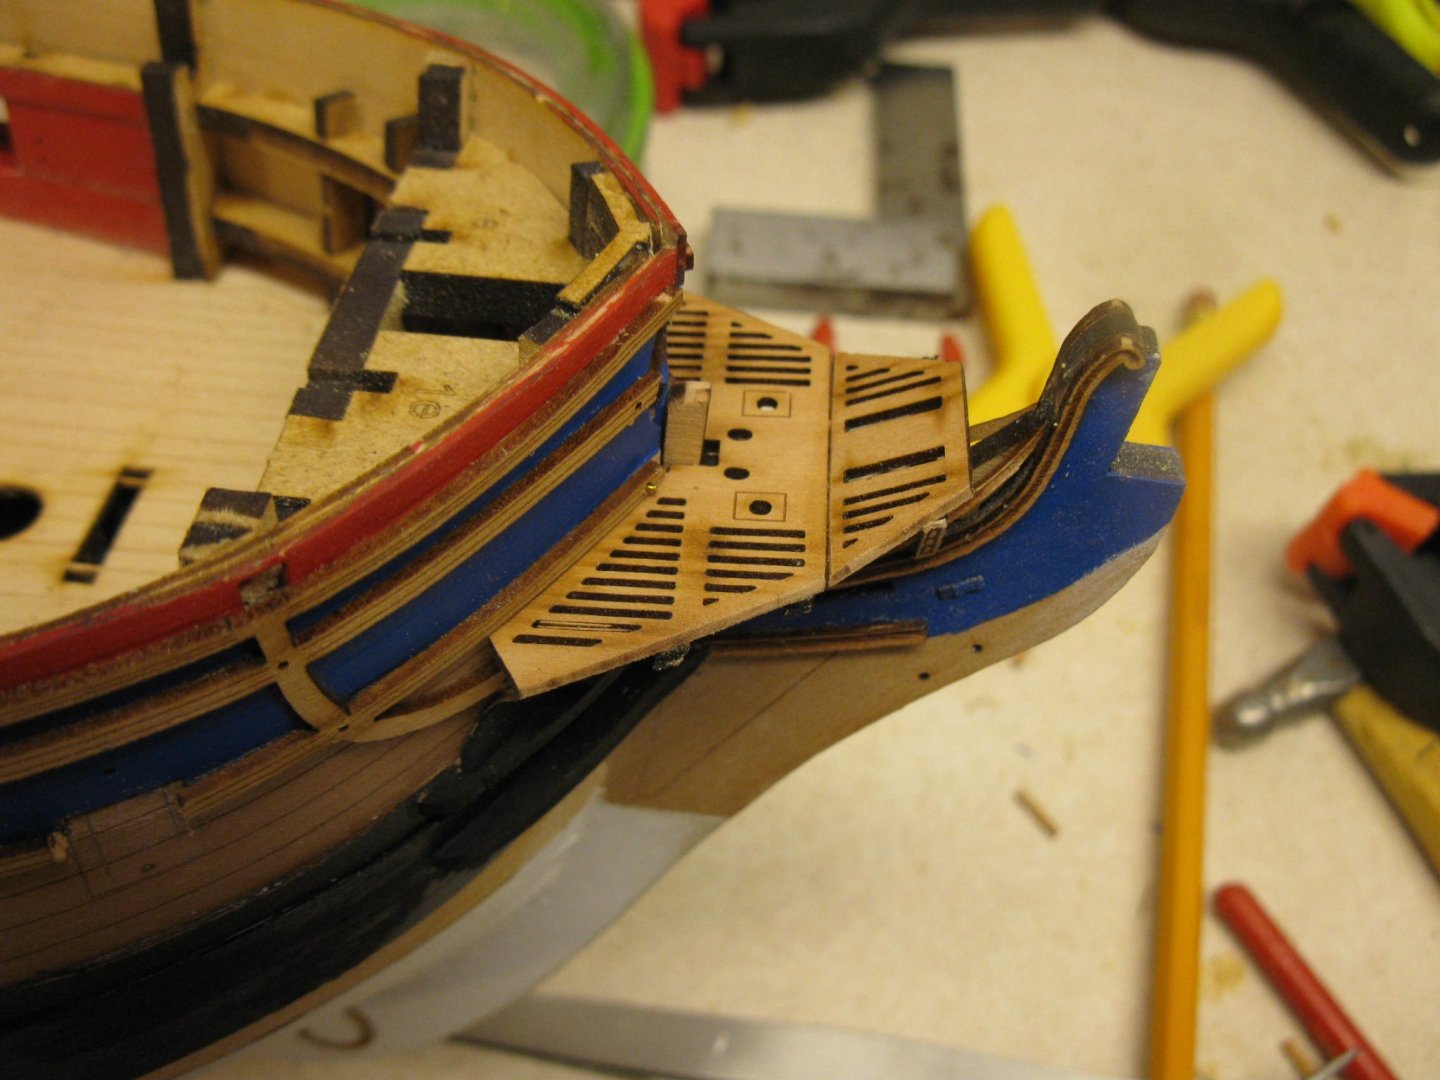
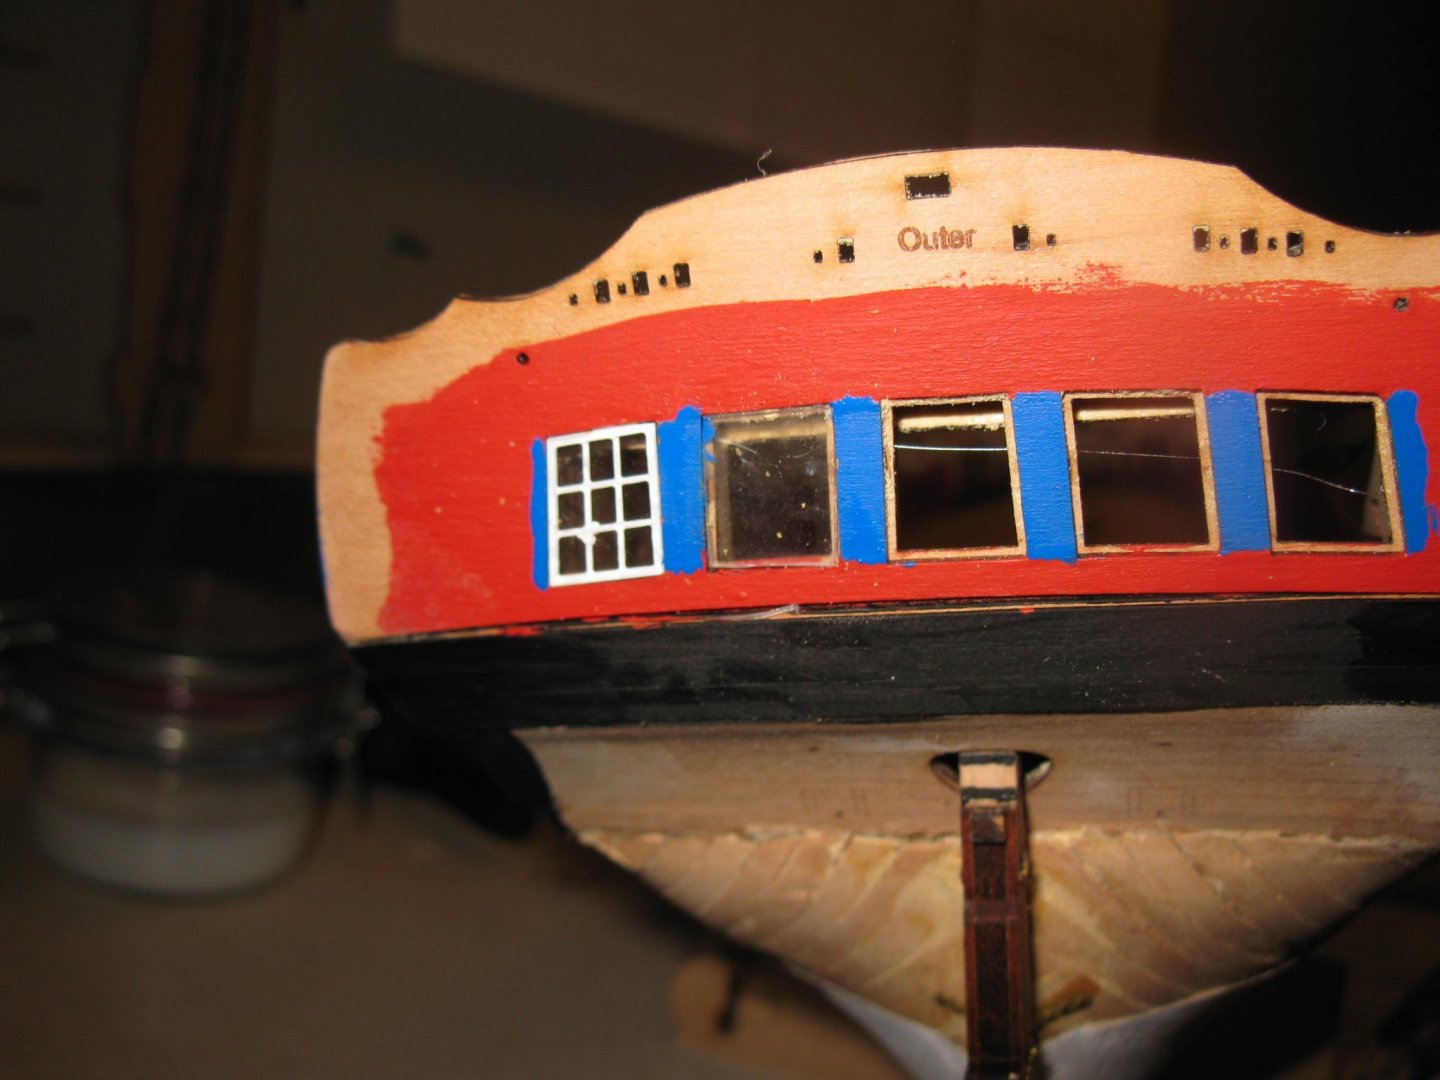
The area around the bow grating is now complete as well as the side gallery windows. Am moving on to the stern windows and decorations. Note the windows do require a fair amount of trimming but that is easily accomplished with a sharp xacto knife


-
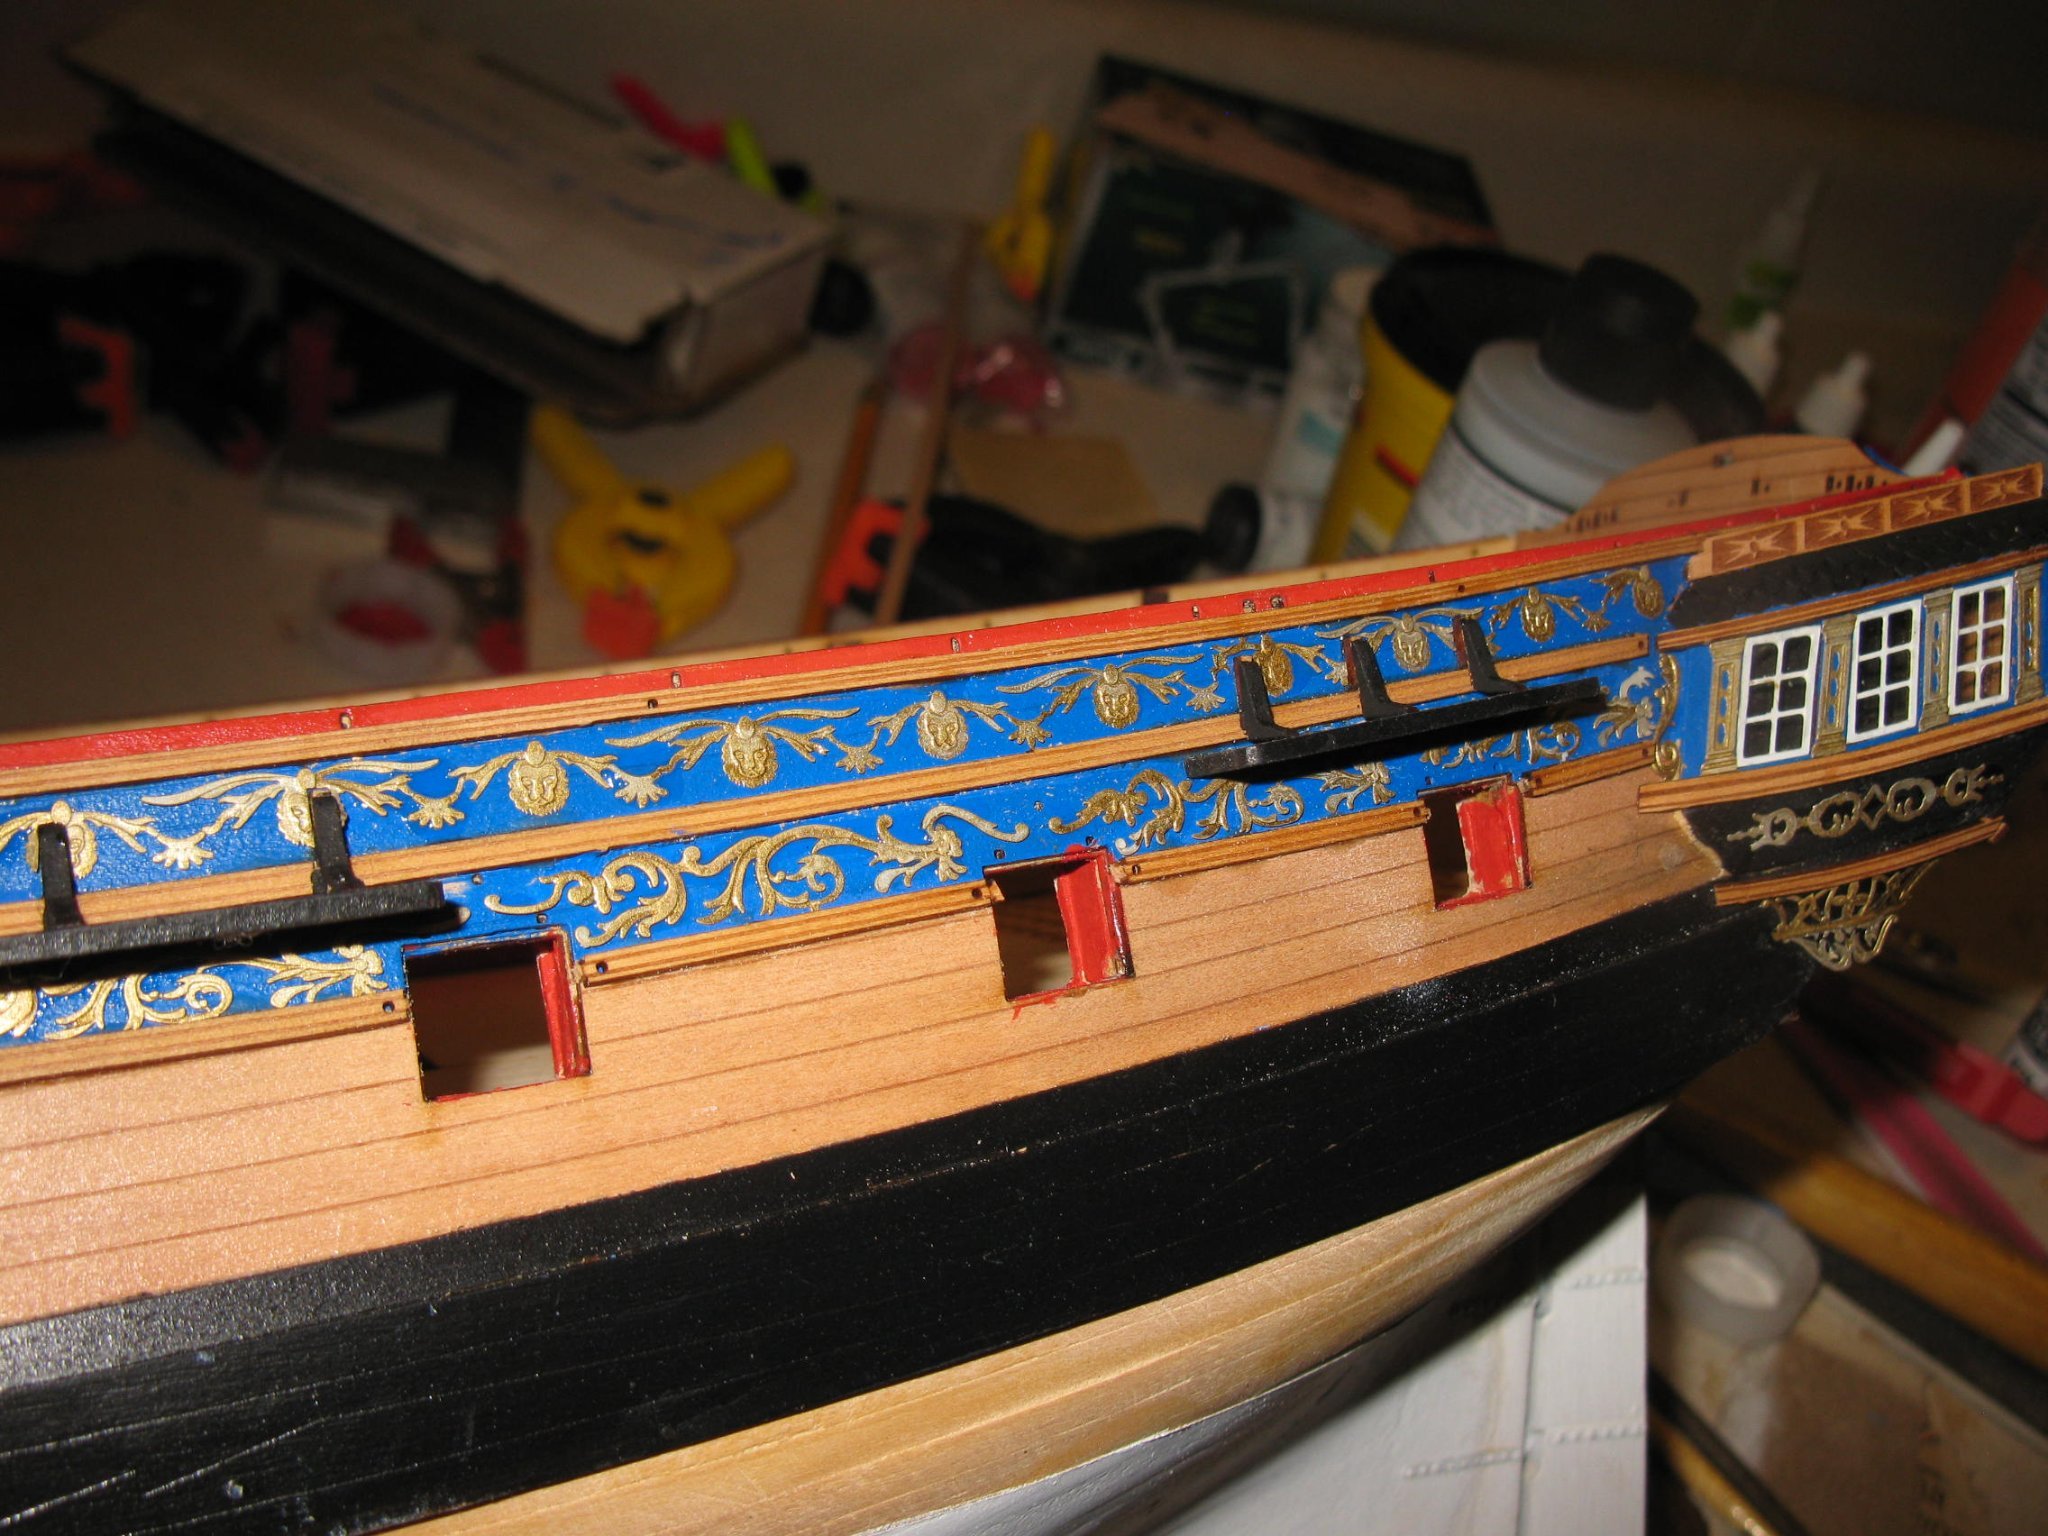
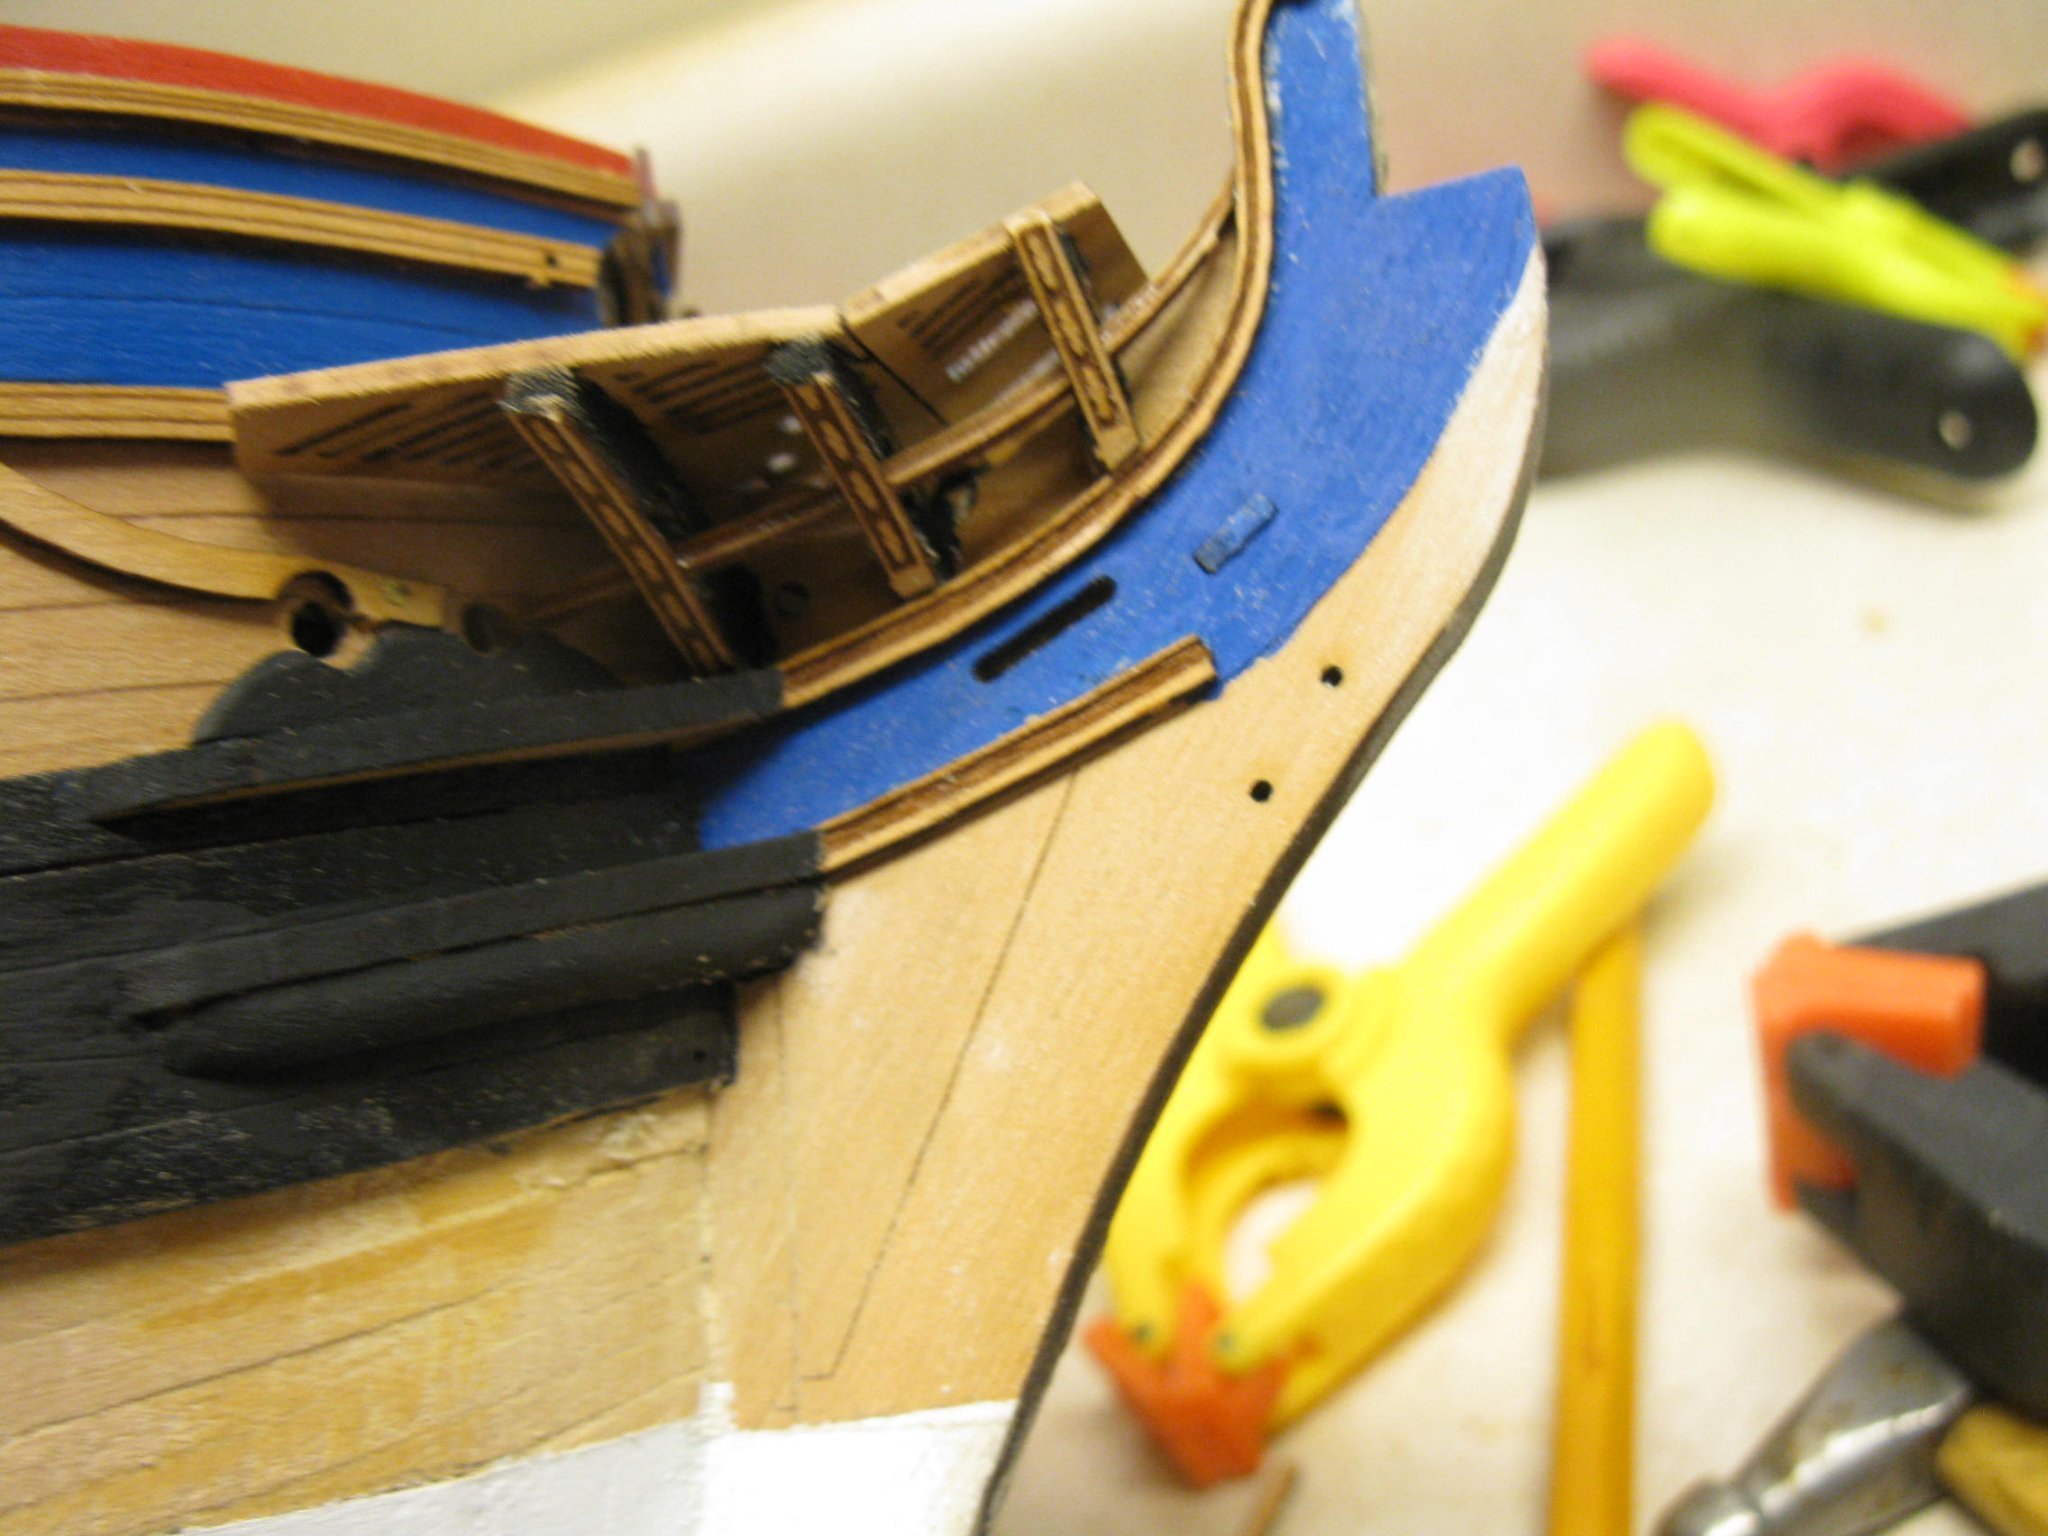
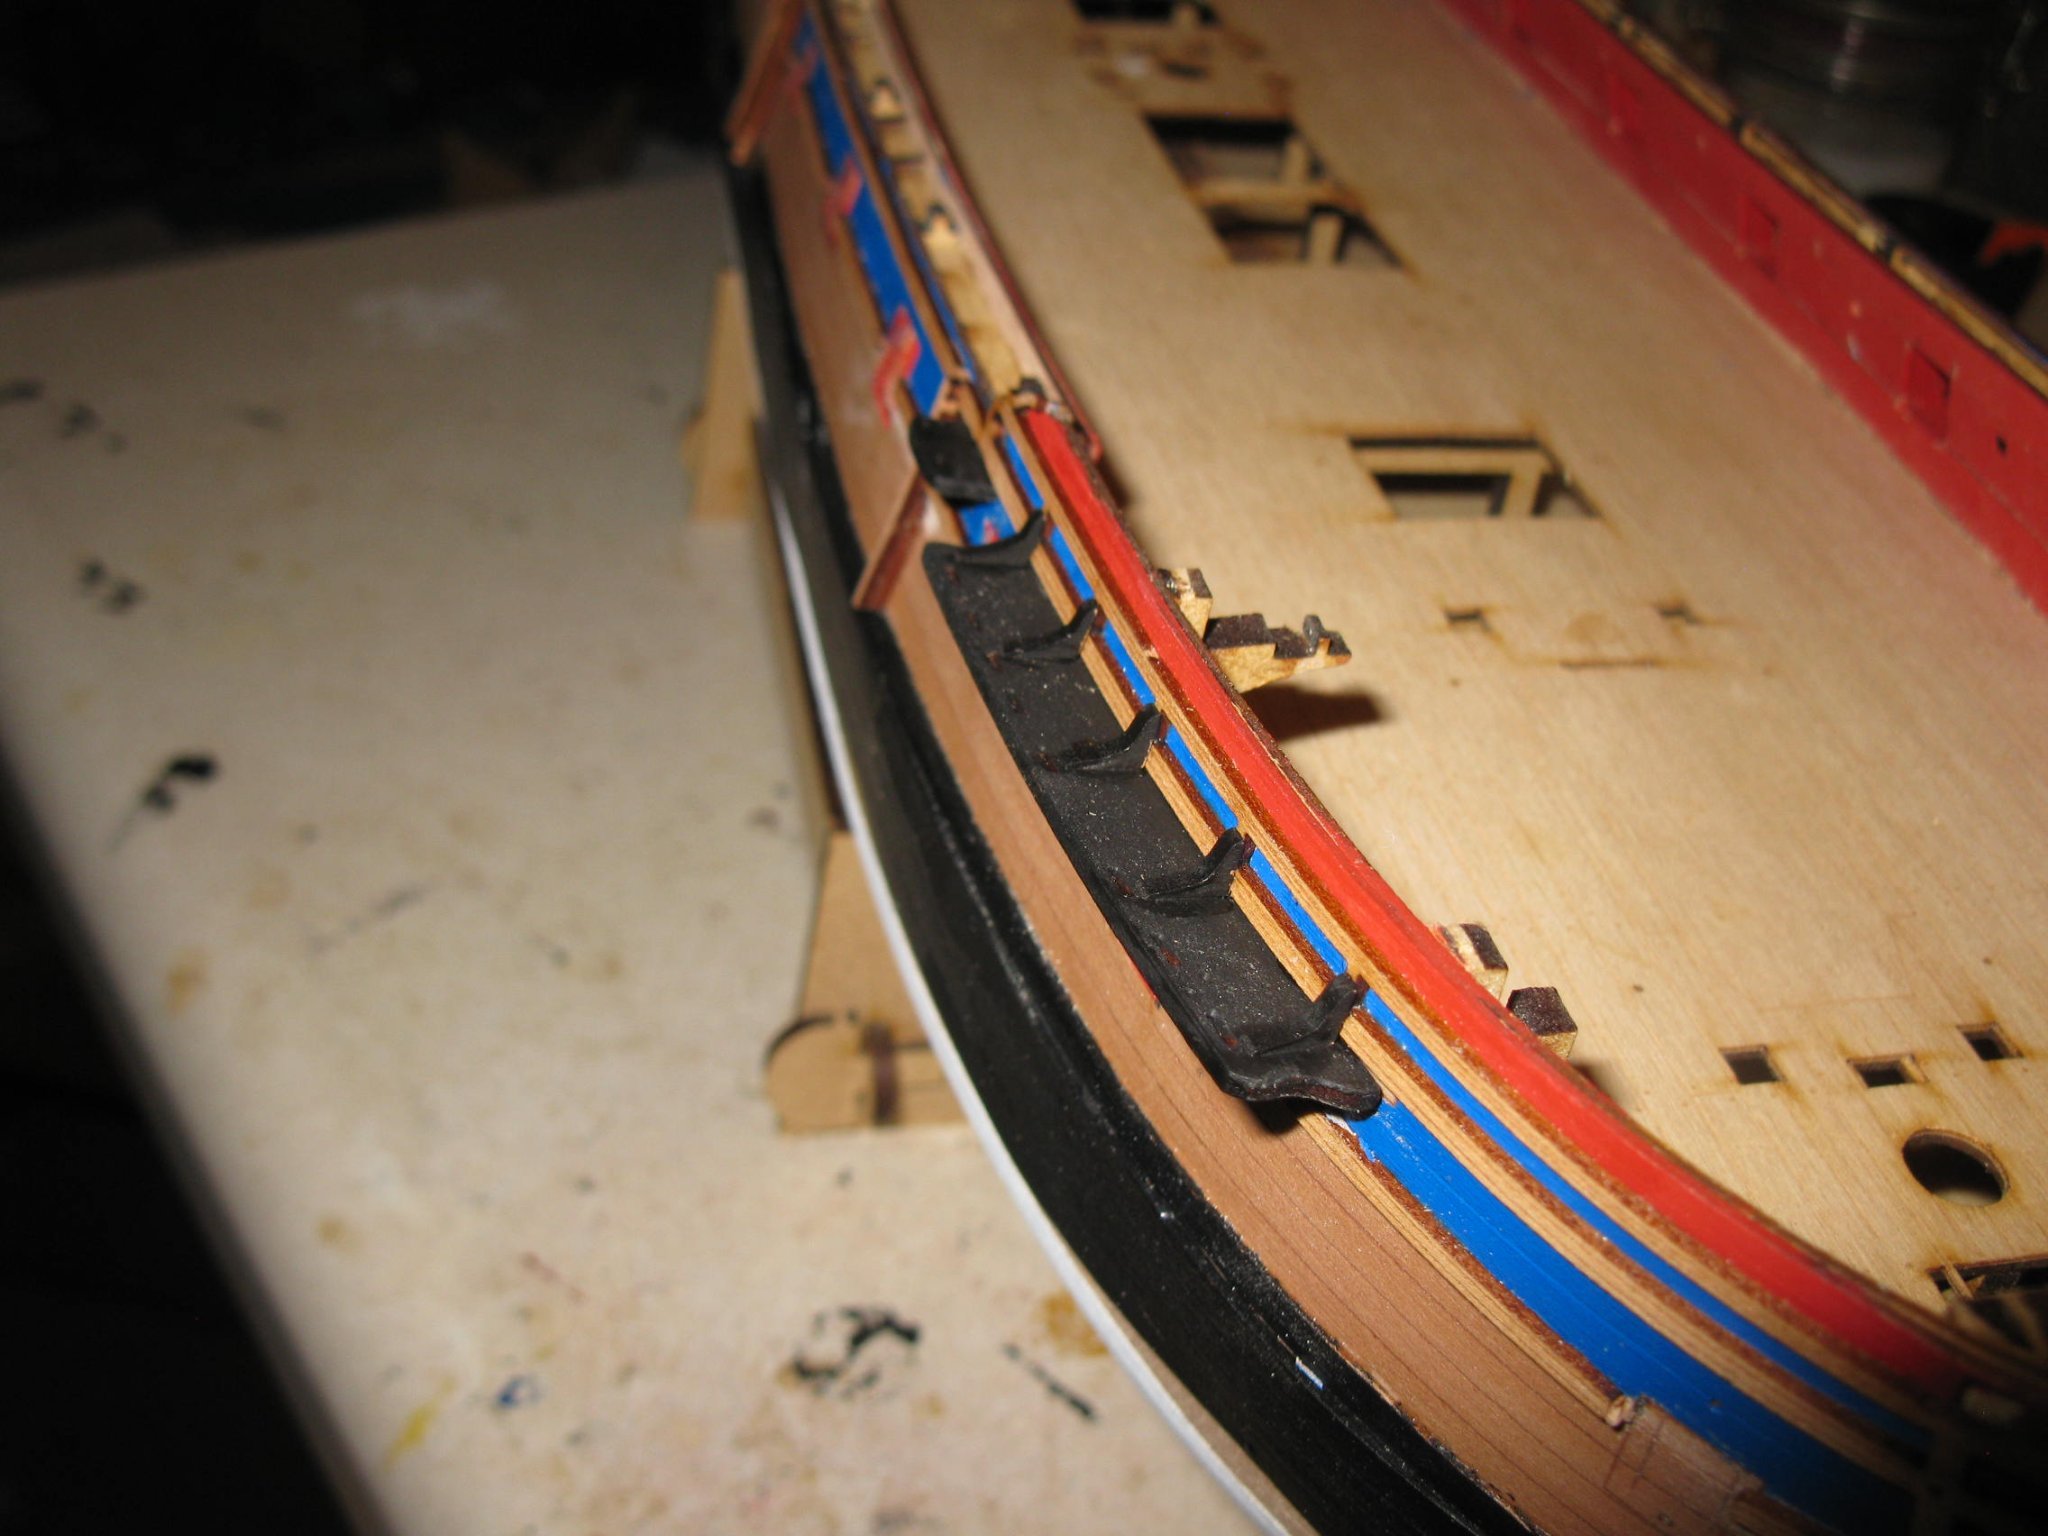
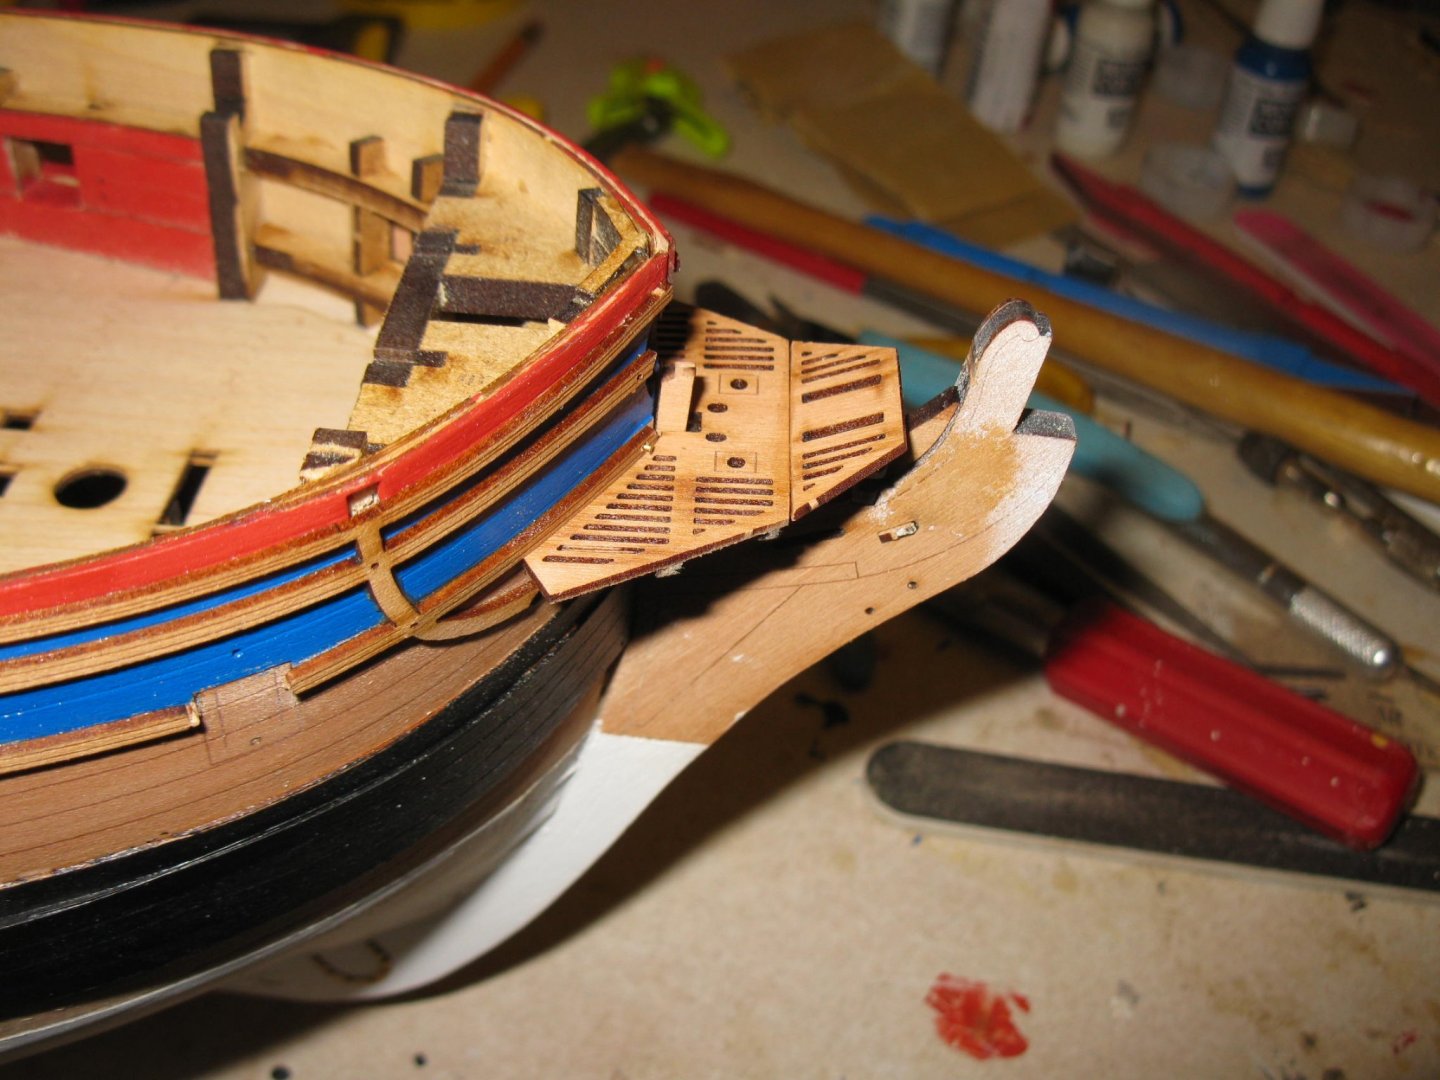
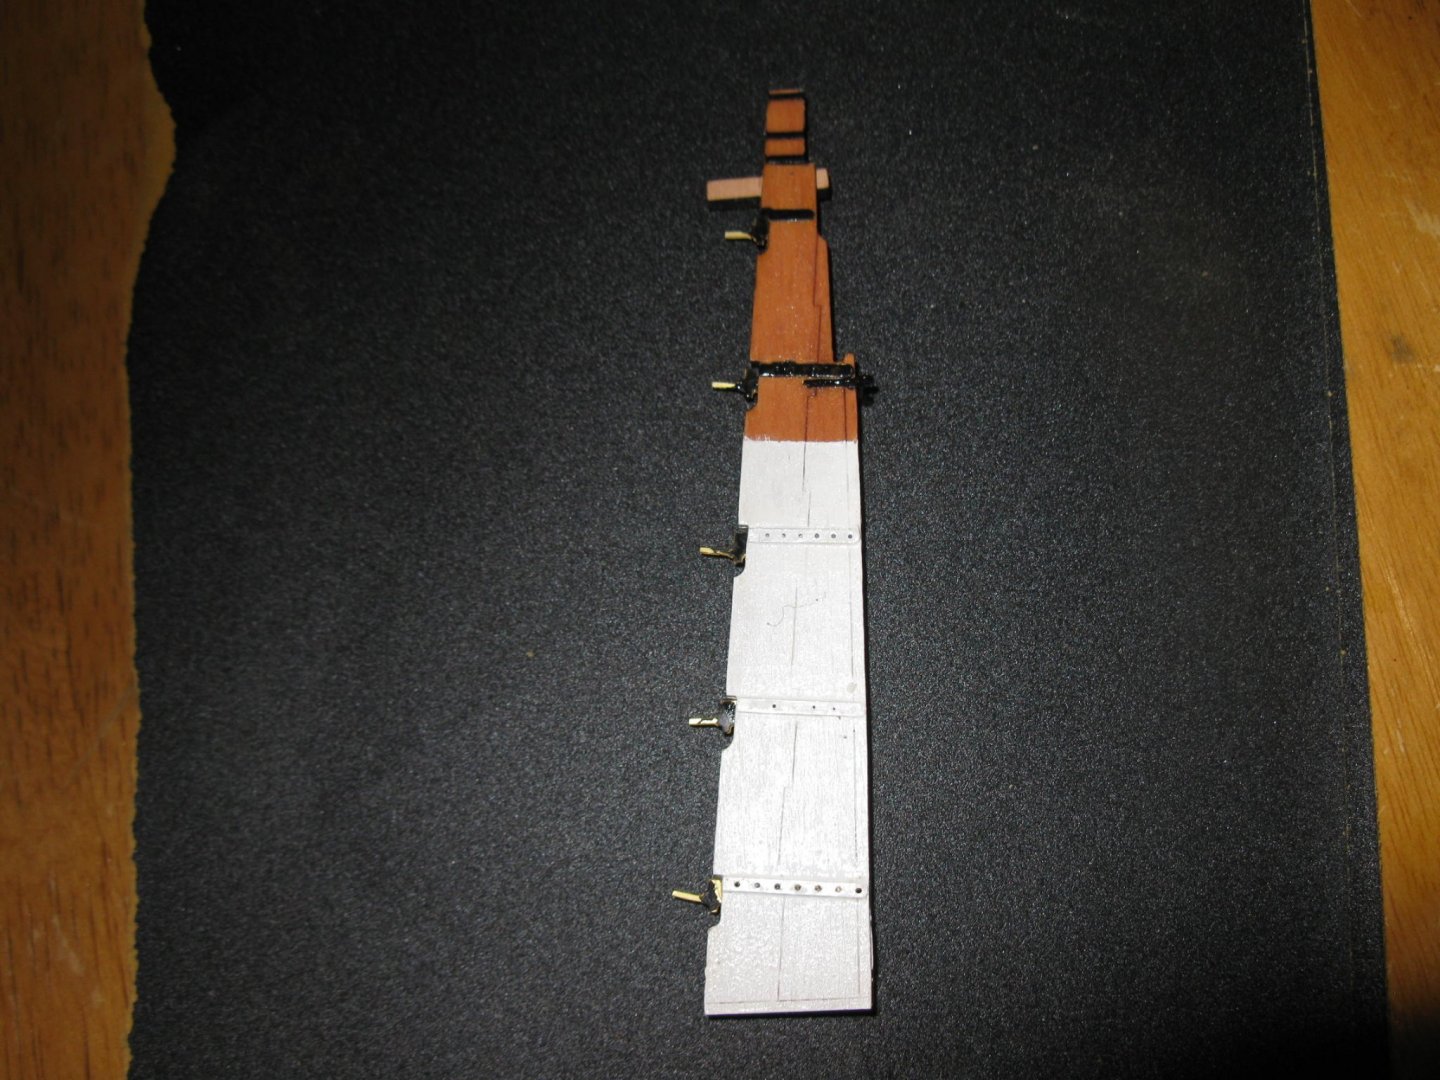
Bow grating assembly is installed. Very straightforward with little trimming needed. Also have all the channels and their knees installed and painted. Now I have to be careful with moving the hull with all those protruding parts now.

-
Thanks. Actually, I found that by leaving the tail a bit longer and tightly gripping an angled tweezers I was able to hold the pin upright enough to allow the use of a small hammer to get them in. Have now completed the rudder and the u shaped item at the bow.
-
Rudder construction is pretty straightforward. I'm having a hard time deciding on if I want to put the nail heads in the pintle straps. For one thing the holes on the straps are just a tiny bit smaller than the pins. So that means enlarging them slightly which isn't all that much of a problem but those small nail heads are a nightmare for my old eyes and hands. I tried one and after 5minutes of messing around I finally got it seated.
-
Up to step 250. Will work on the rudder tomorrow and do some touching up of the paint job. Overall, I am very pleased with the result so far.

-
On mine I did attach those pieces and then covered them with a heavy masking tape to protect when sanding. It worked fine.
-
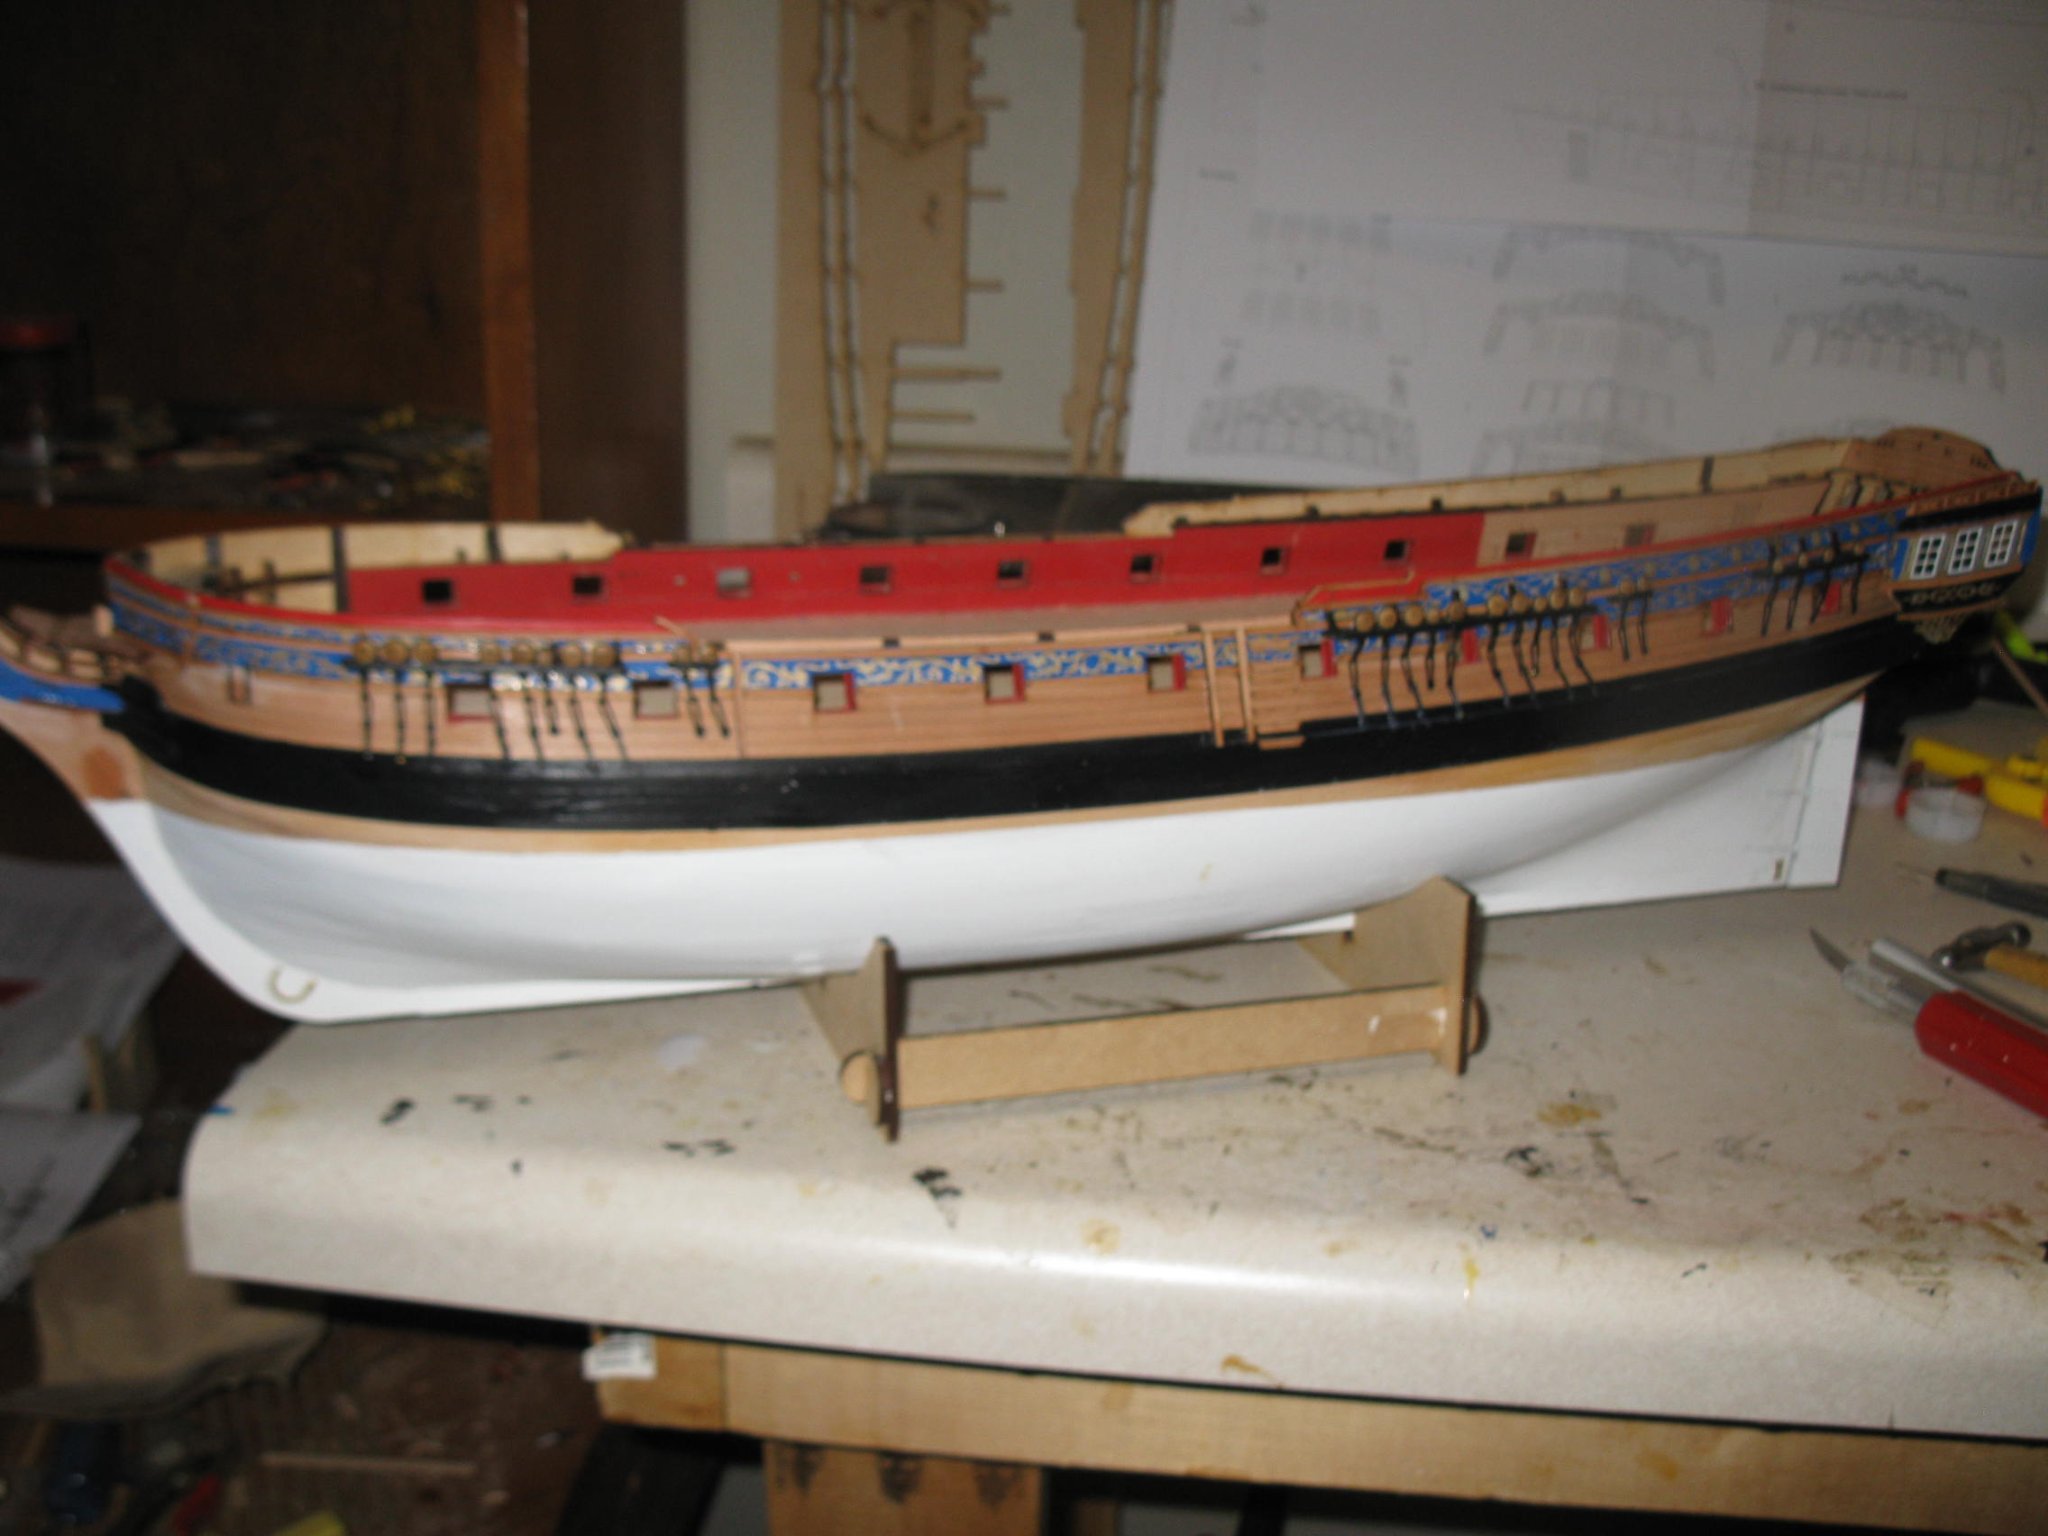
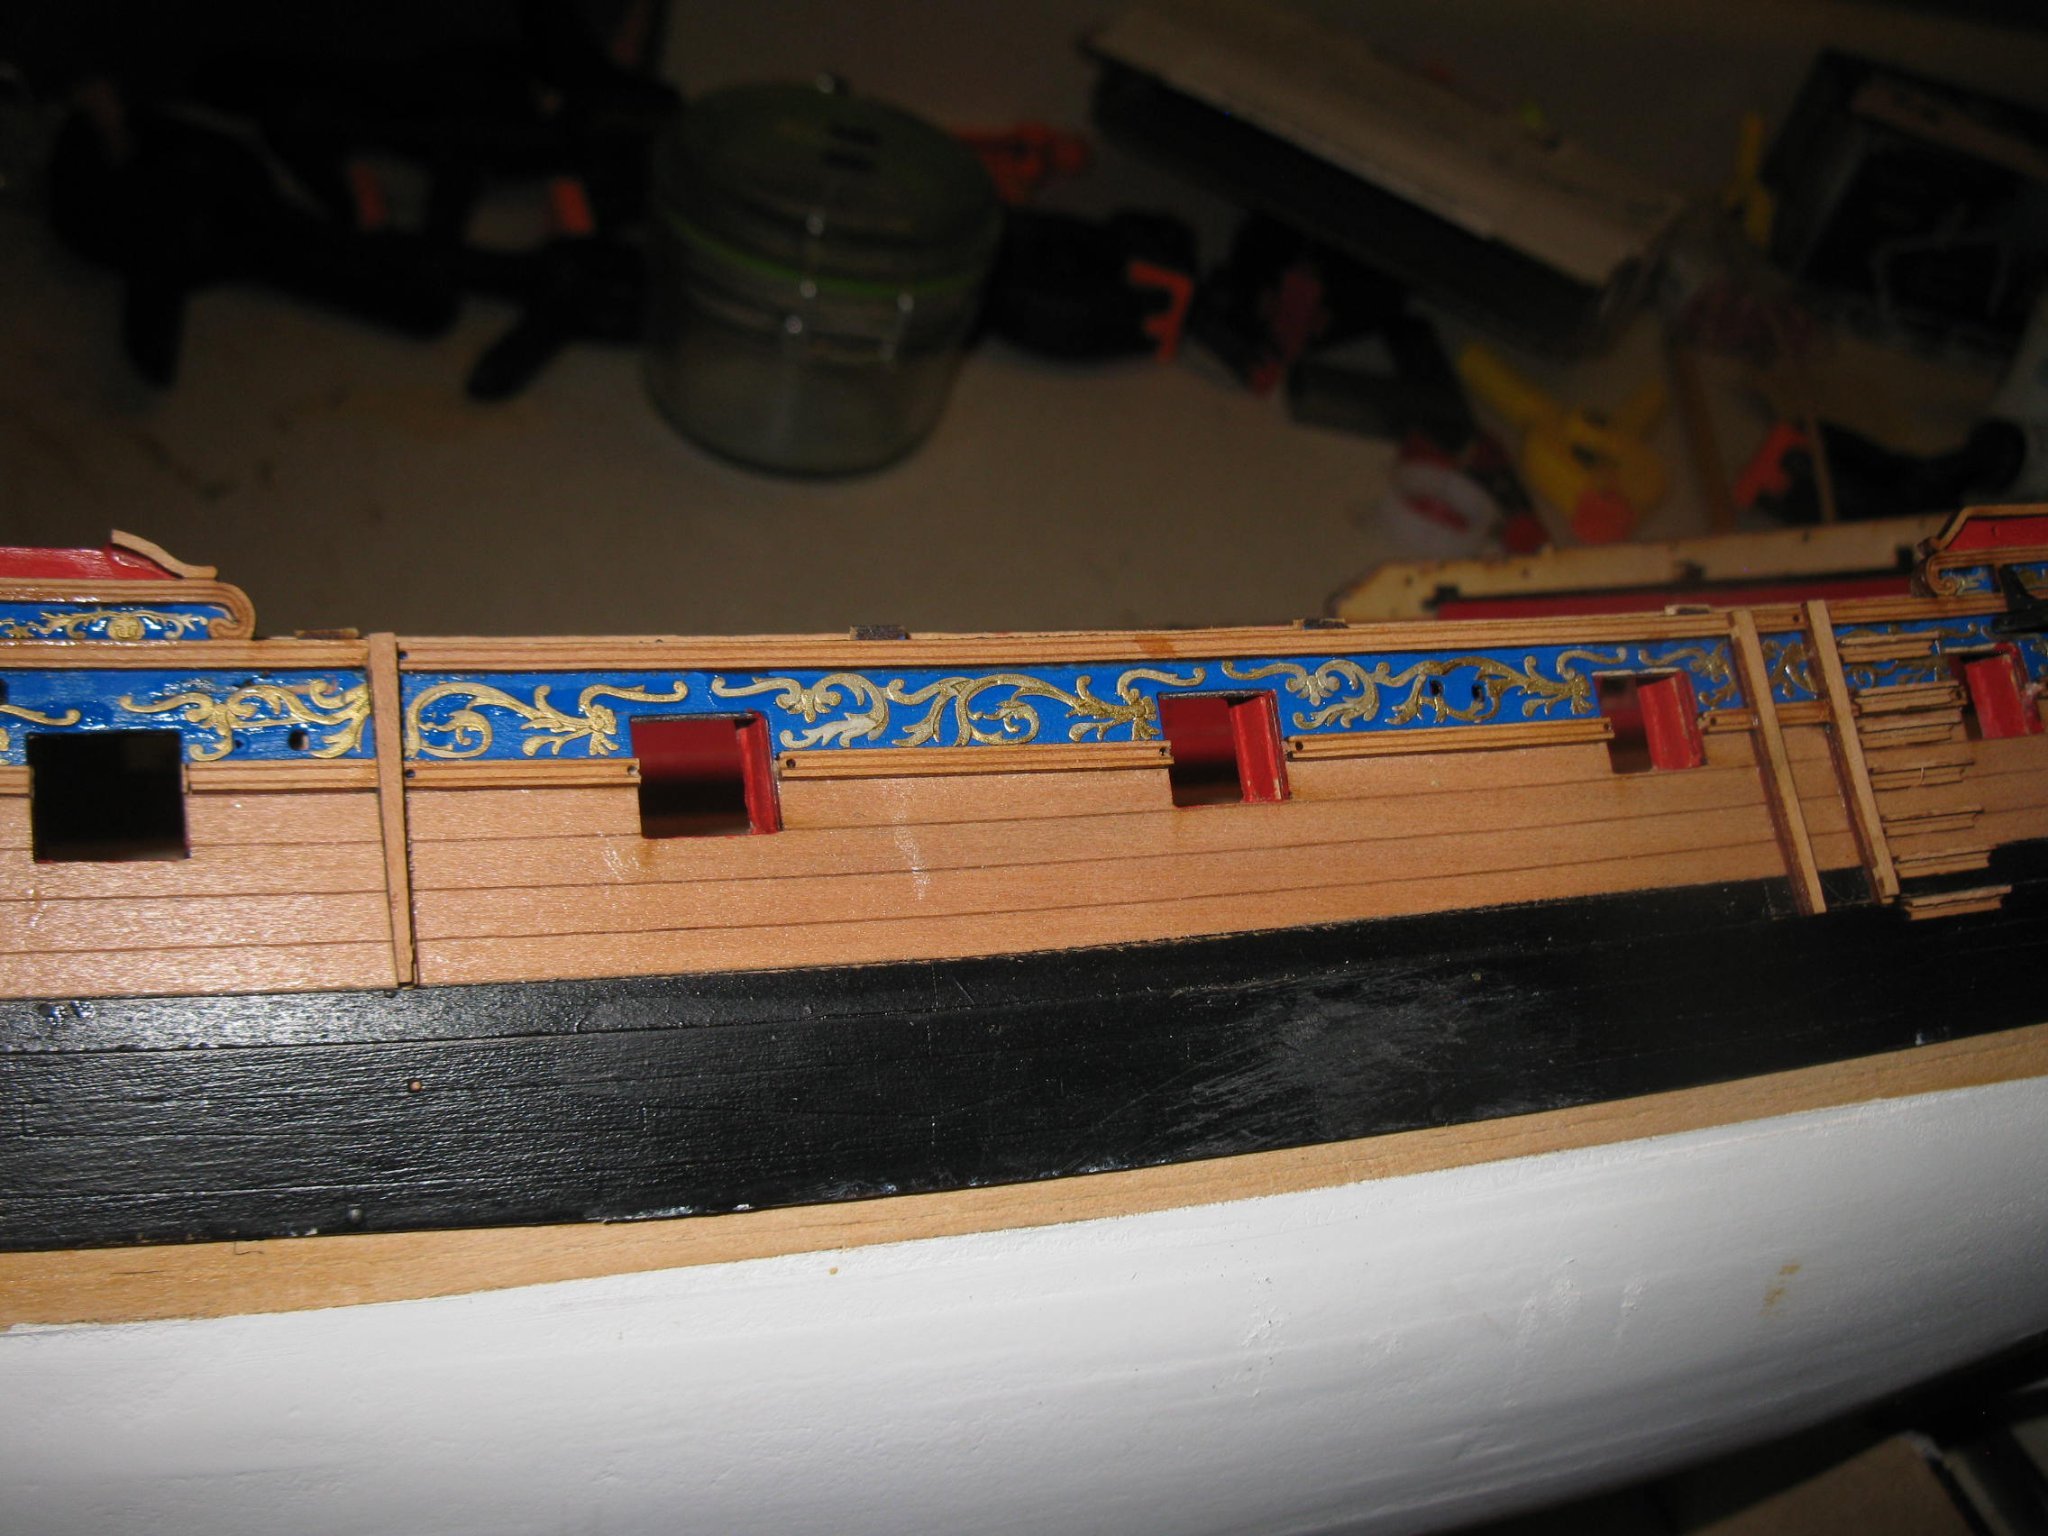
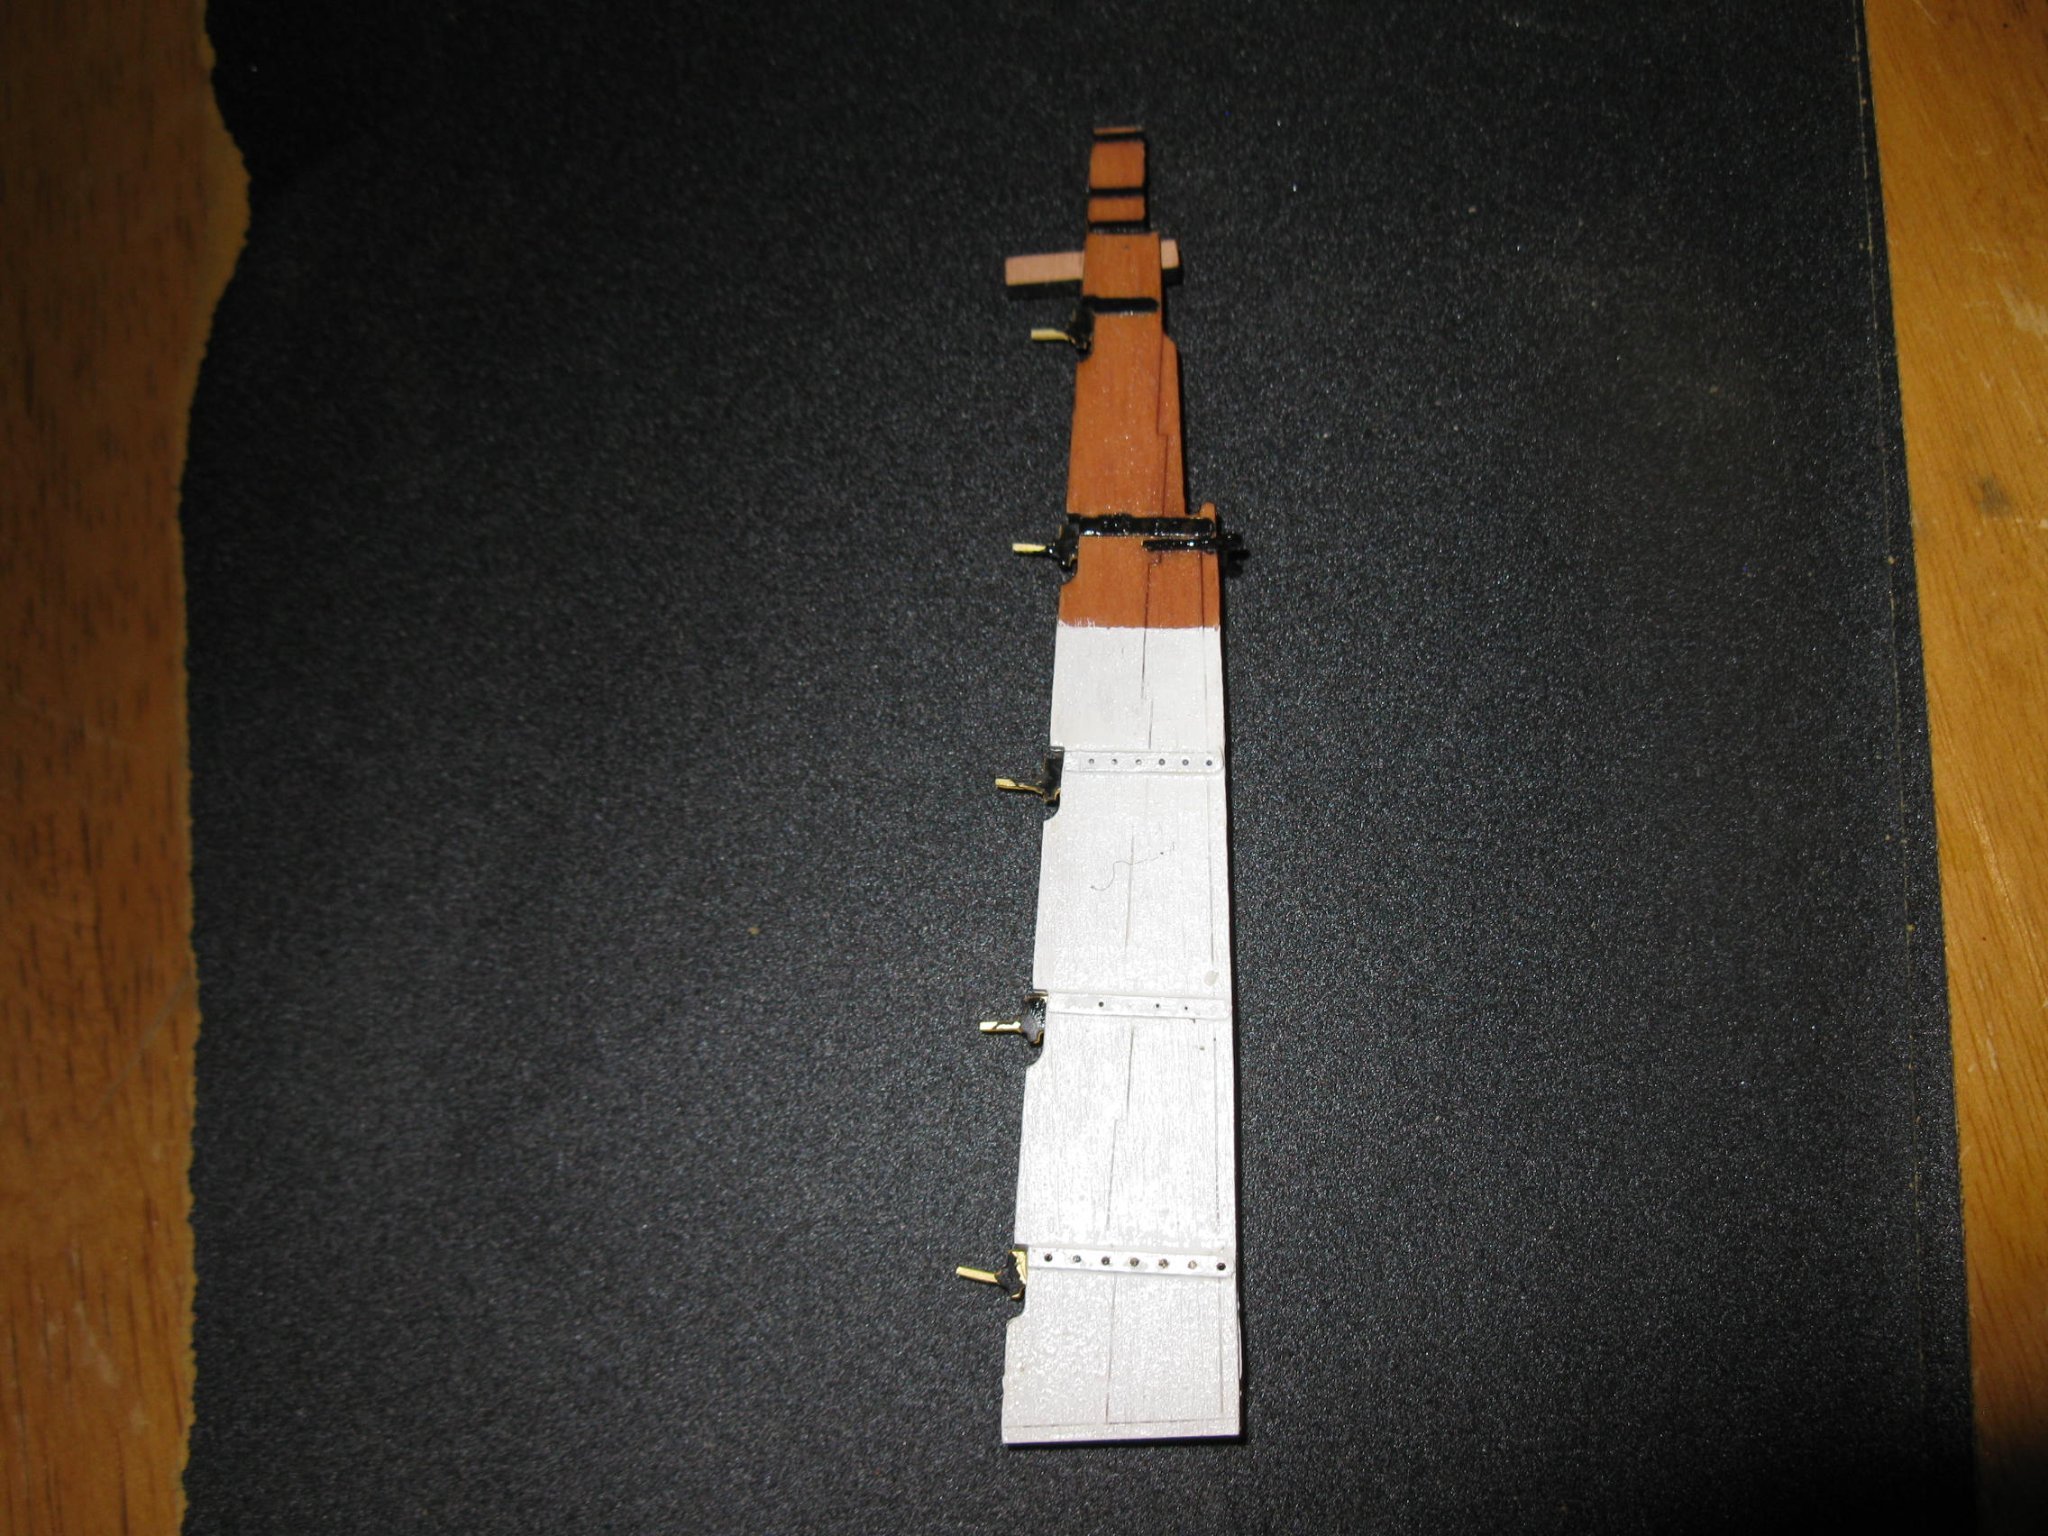
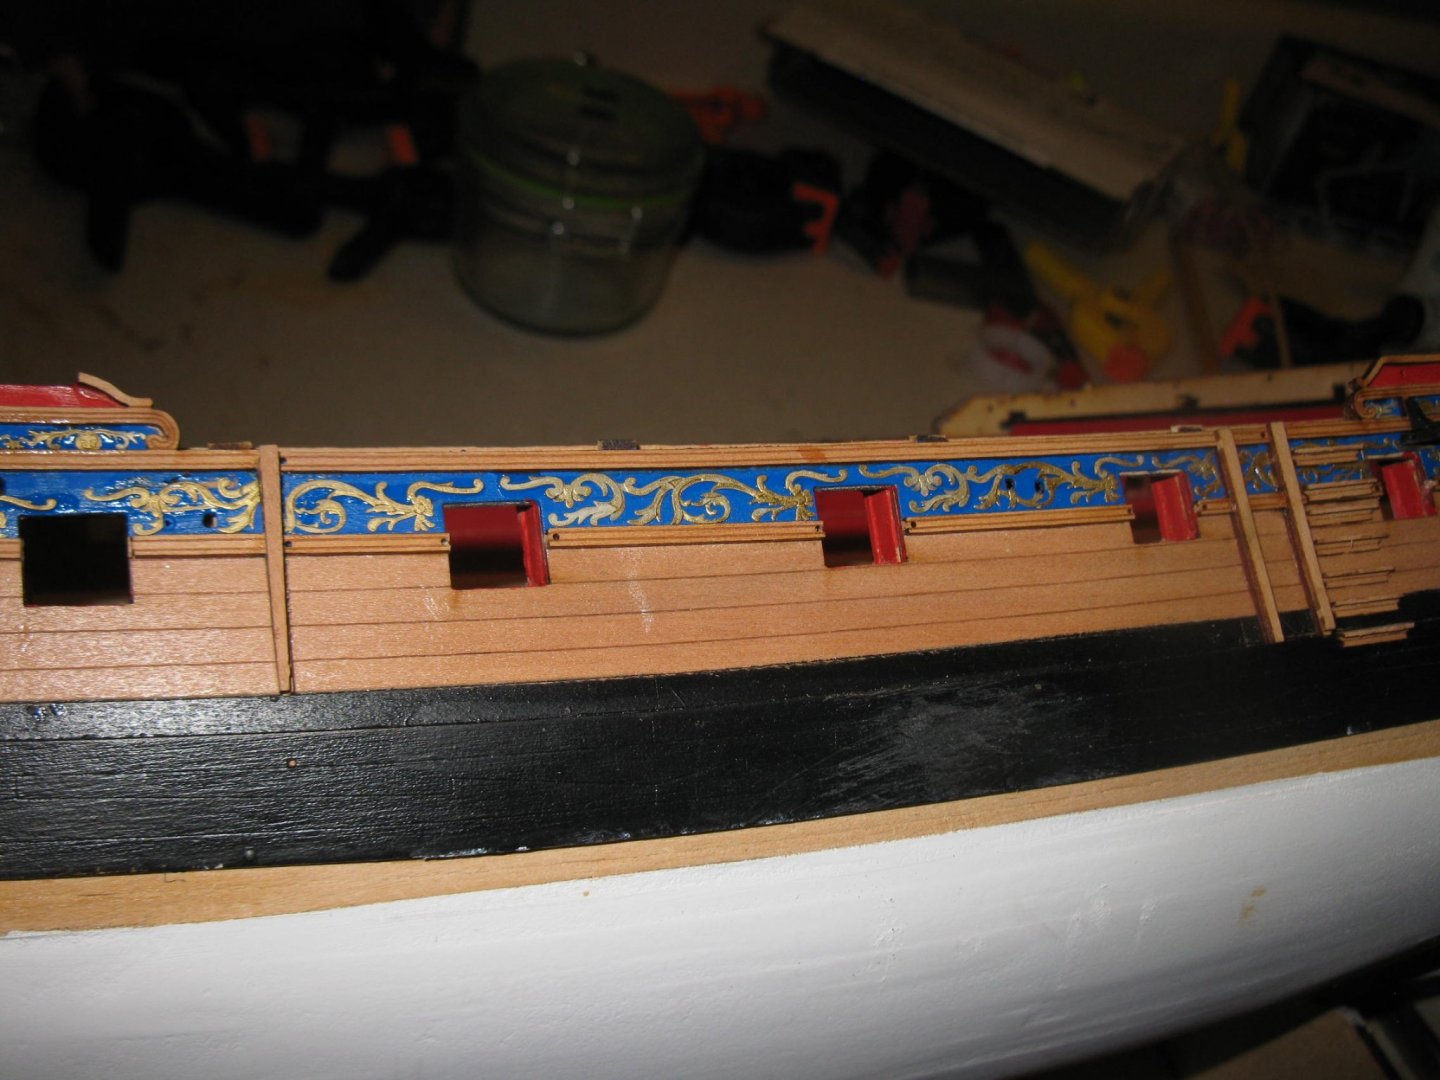
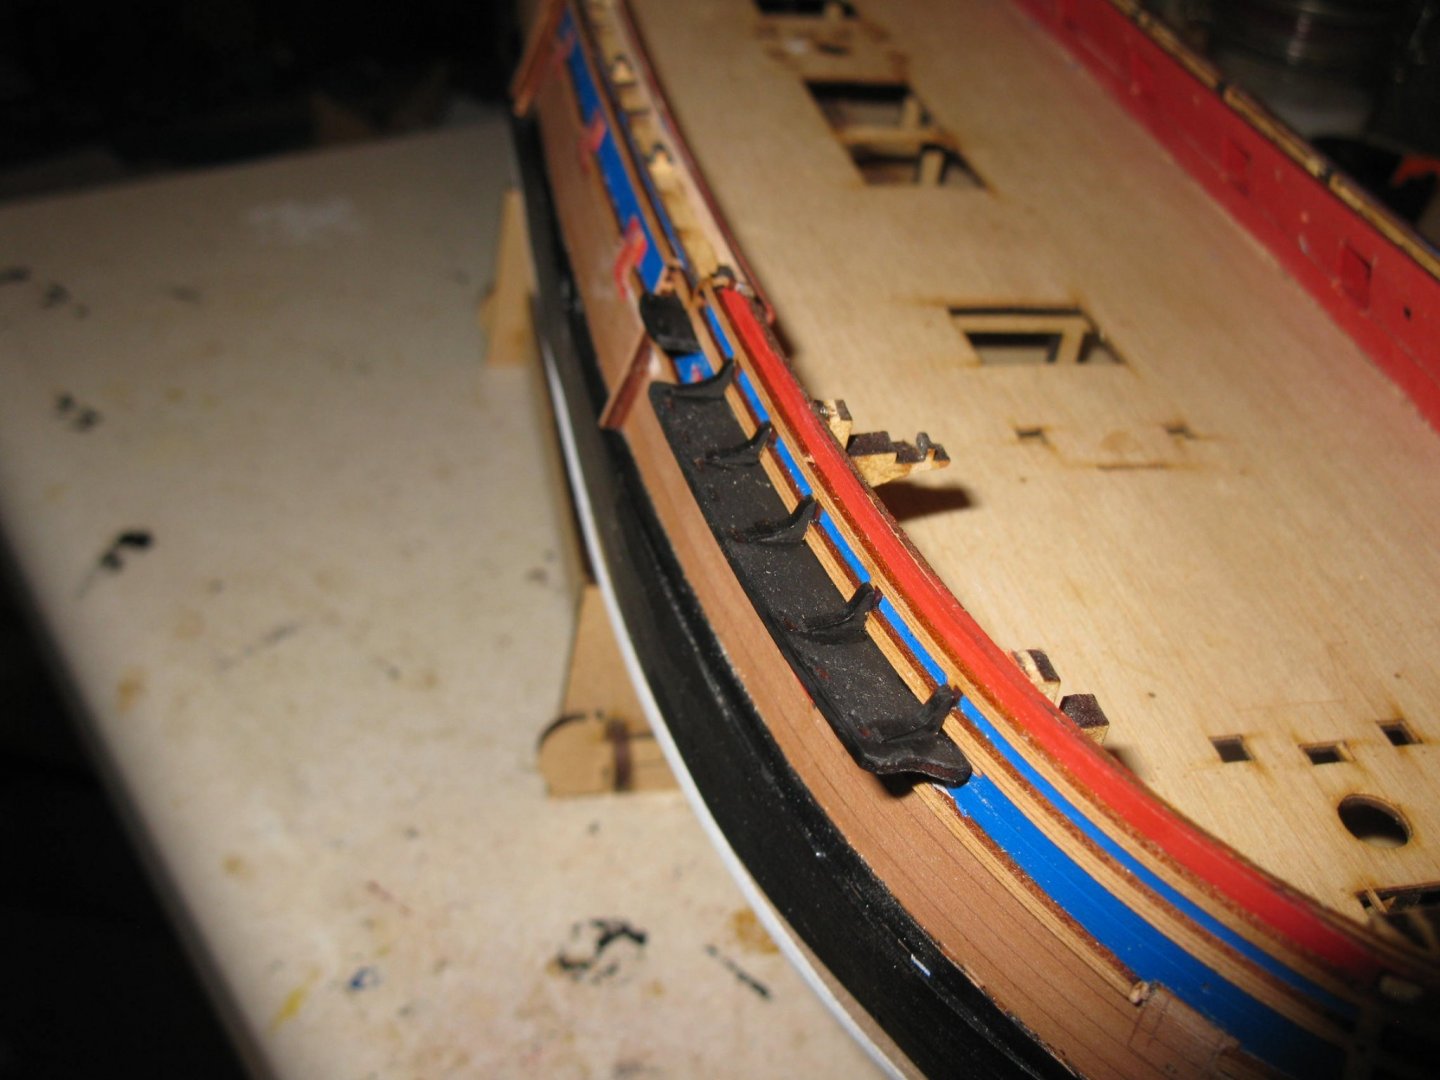
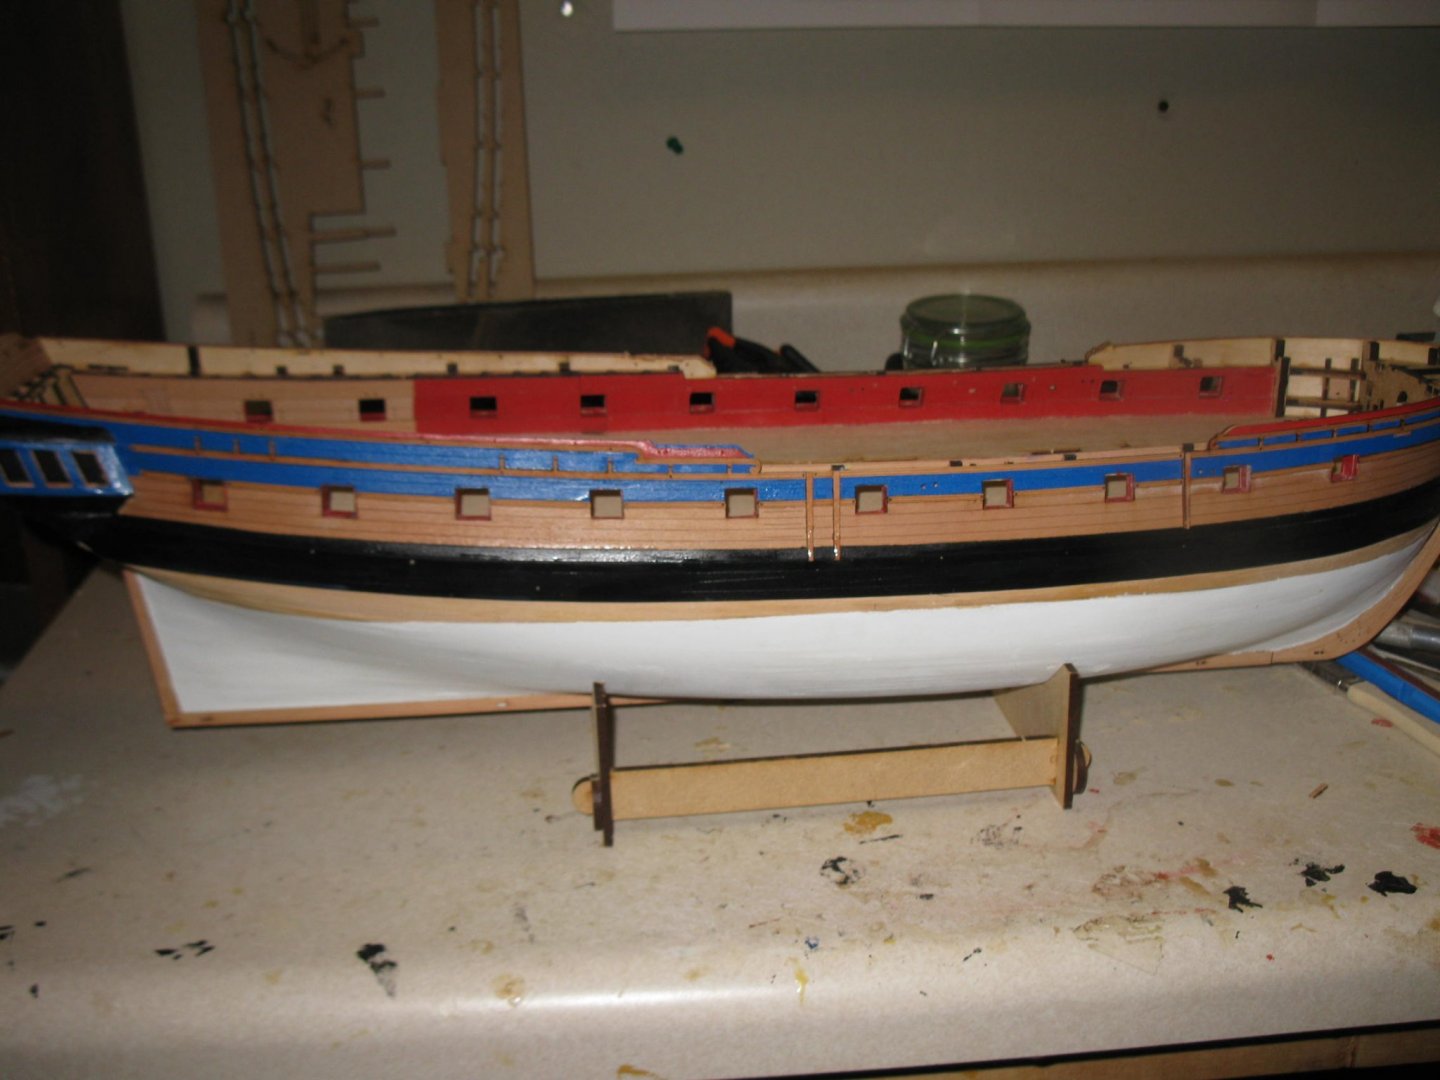
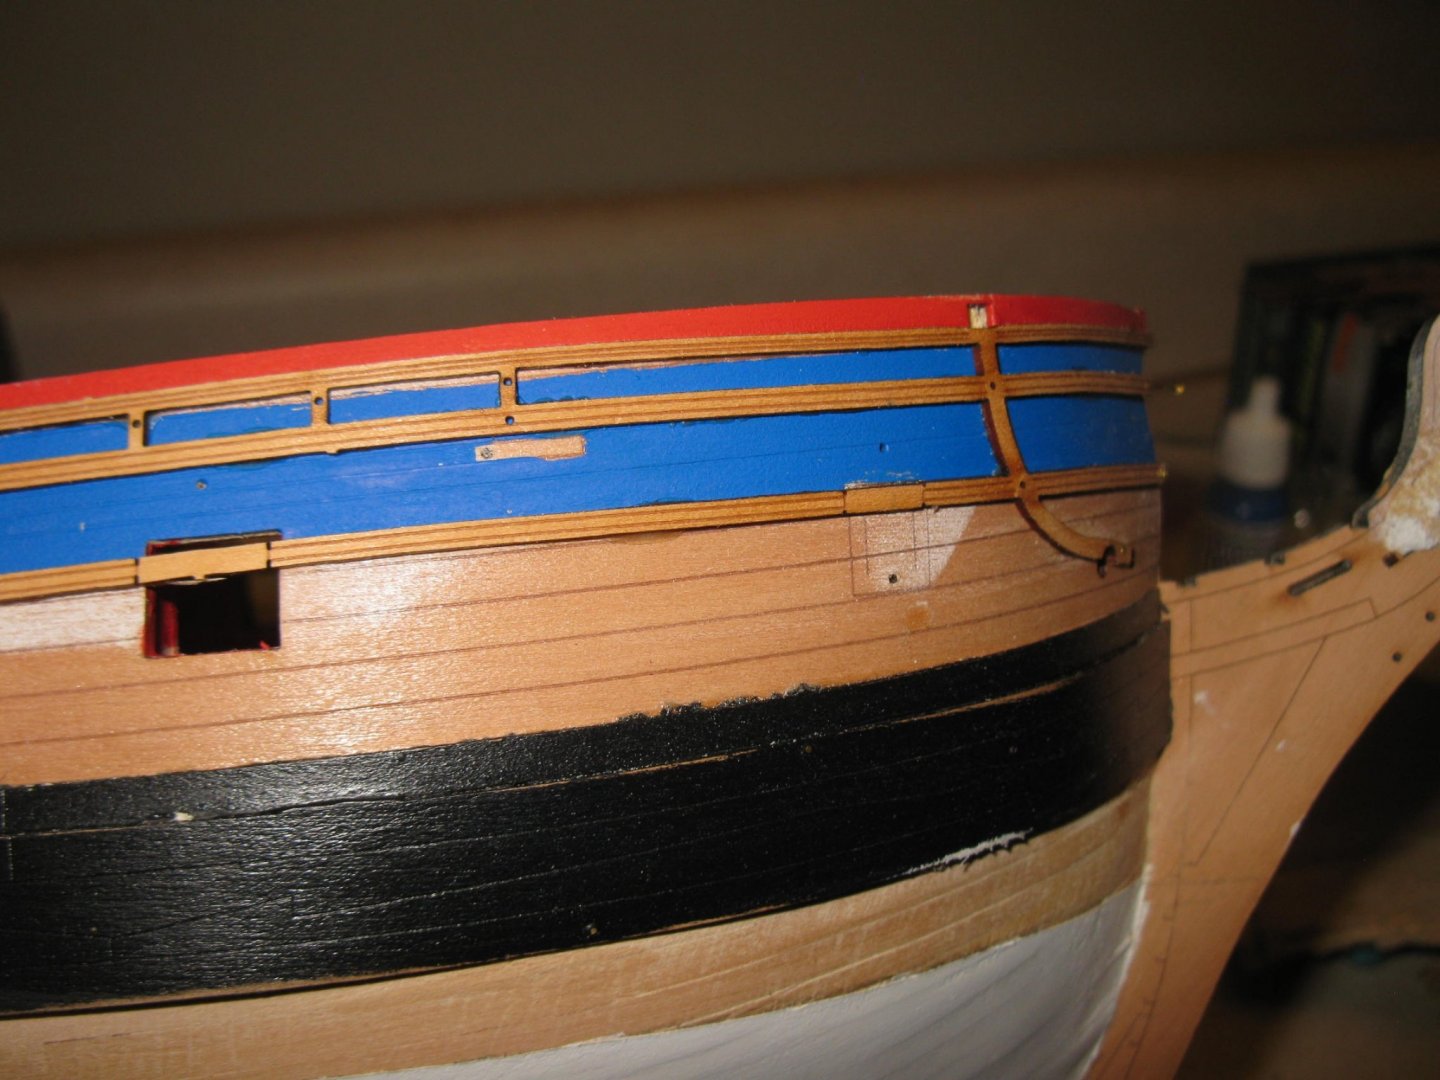
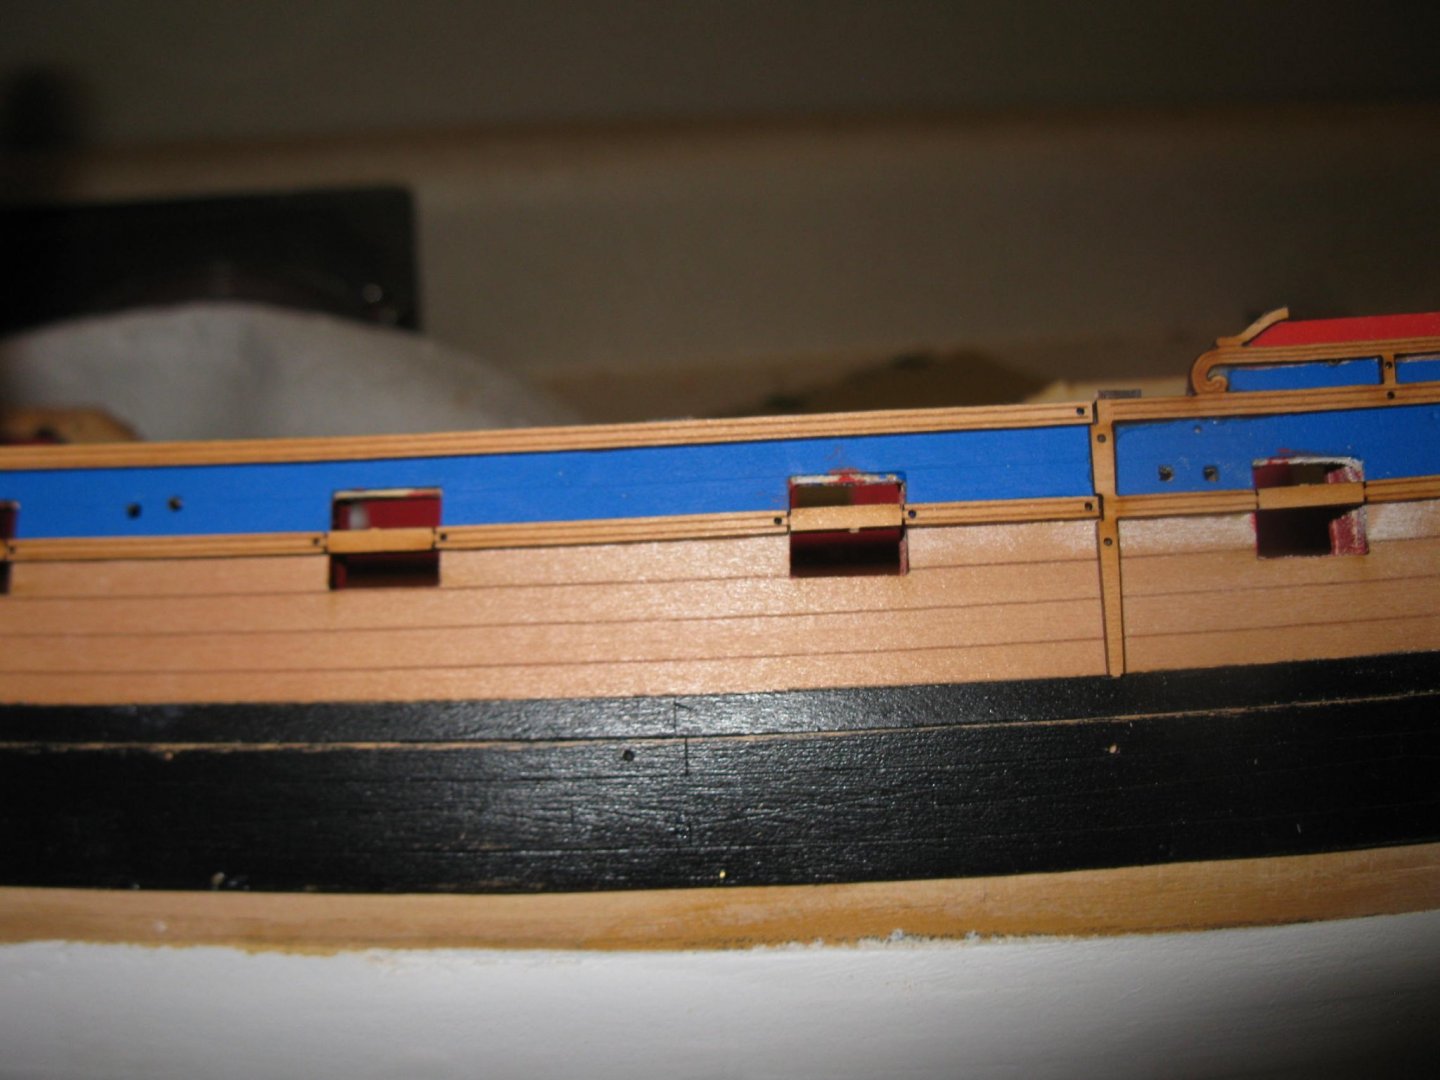
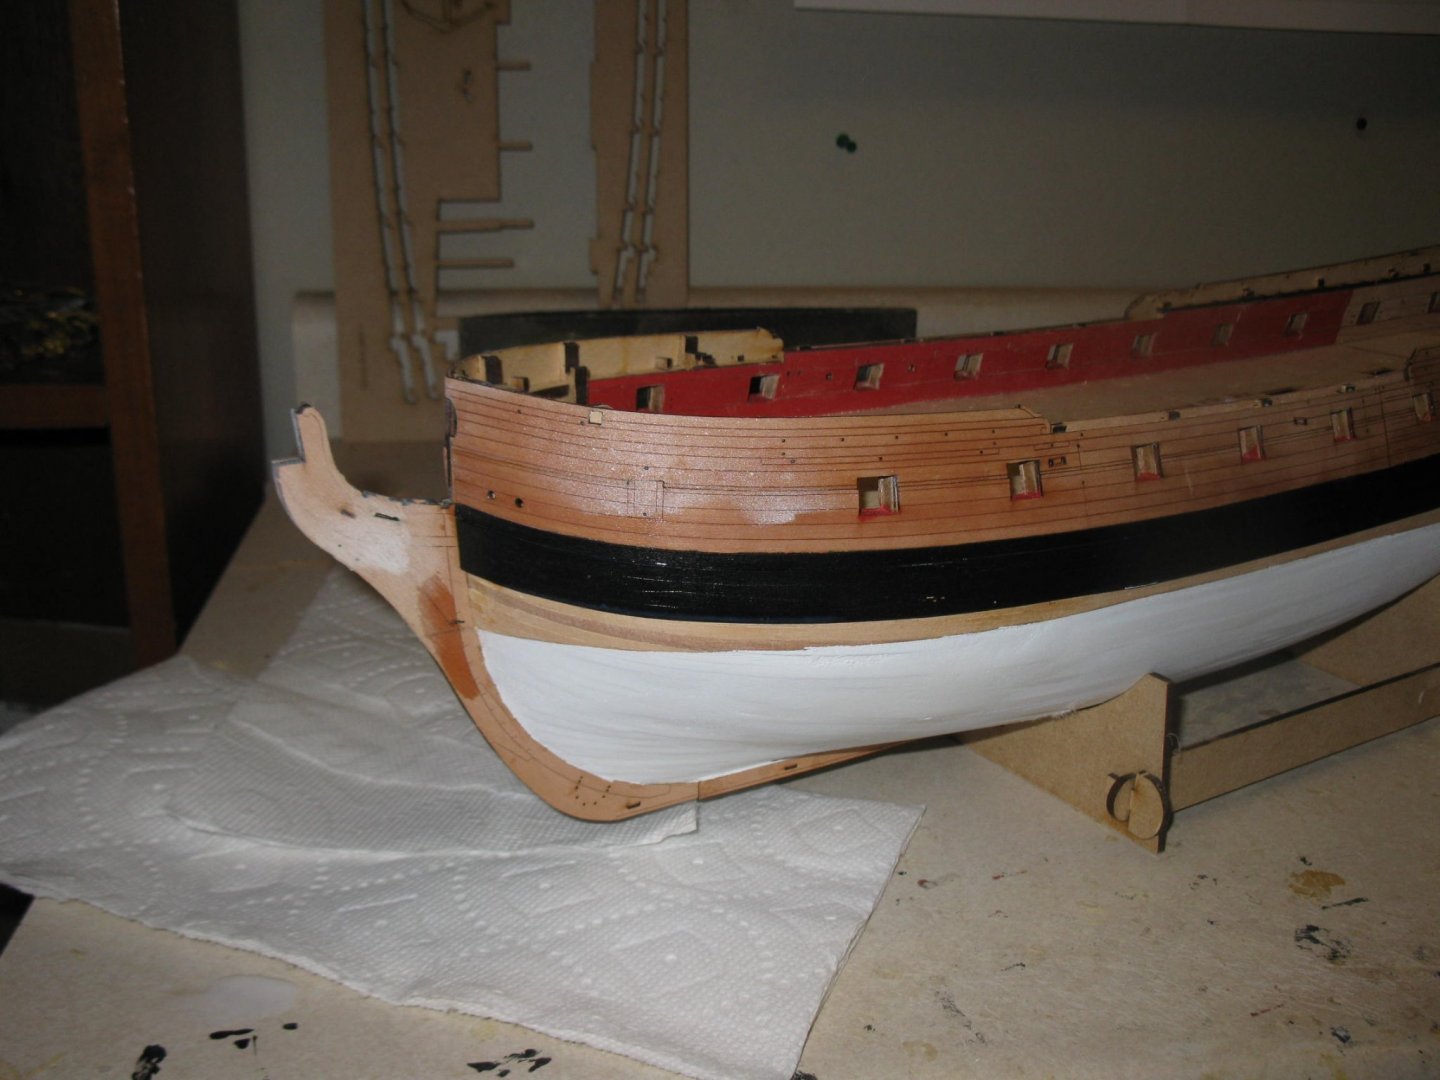
I've got the side railings installed. Again, due to the high quality of the design of this kit, the parts went on easily. The bending machine ended up working very well. So hopefully a lot of the soaking and drying of wood pieces will no longer be necessary. In the one picture you will see some light white areas towards the bow. Those are from some "overspray" from the lower white hull spraying. Somehow some "paint fog" got under my covering. But it is easily removed. After taking the picture I used some very fine sand paper, lightly sanded the area and then applied some varnish. The white disappeared.
-
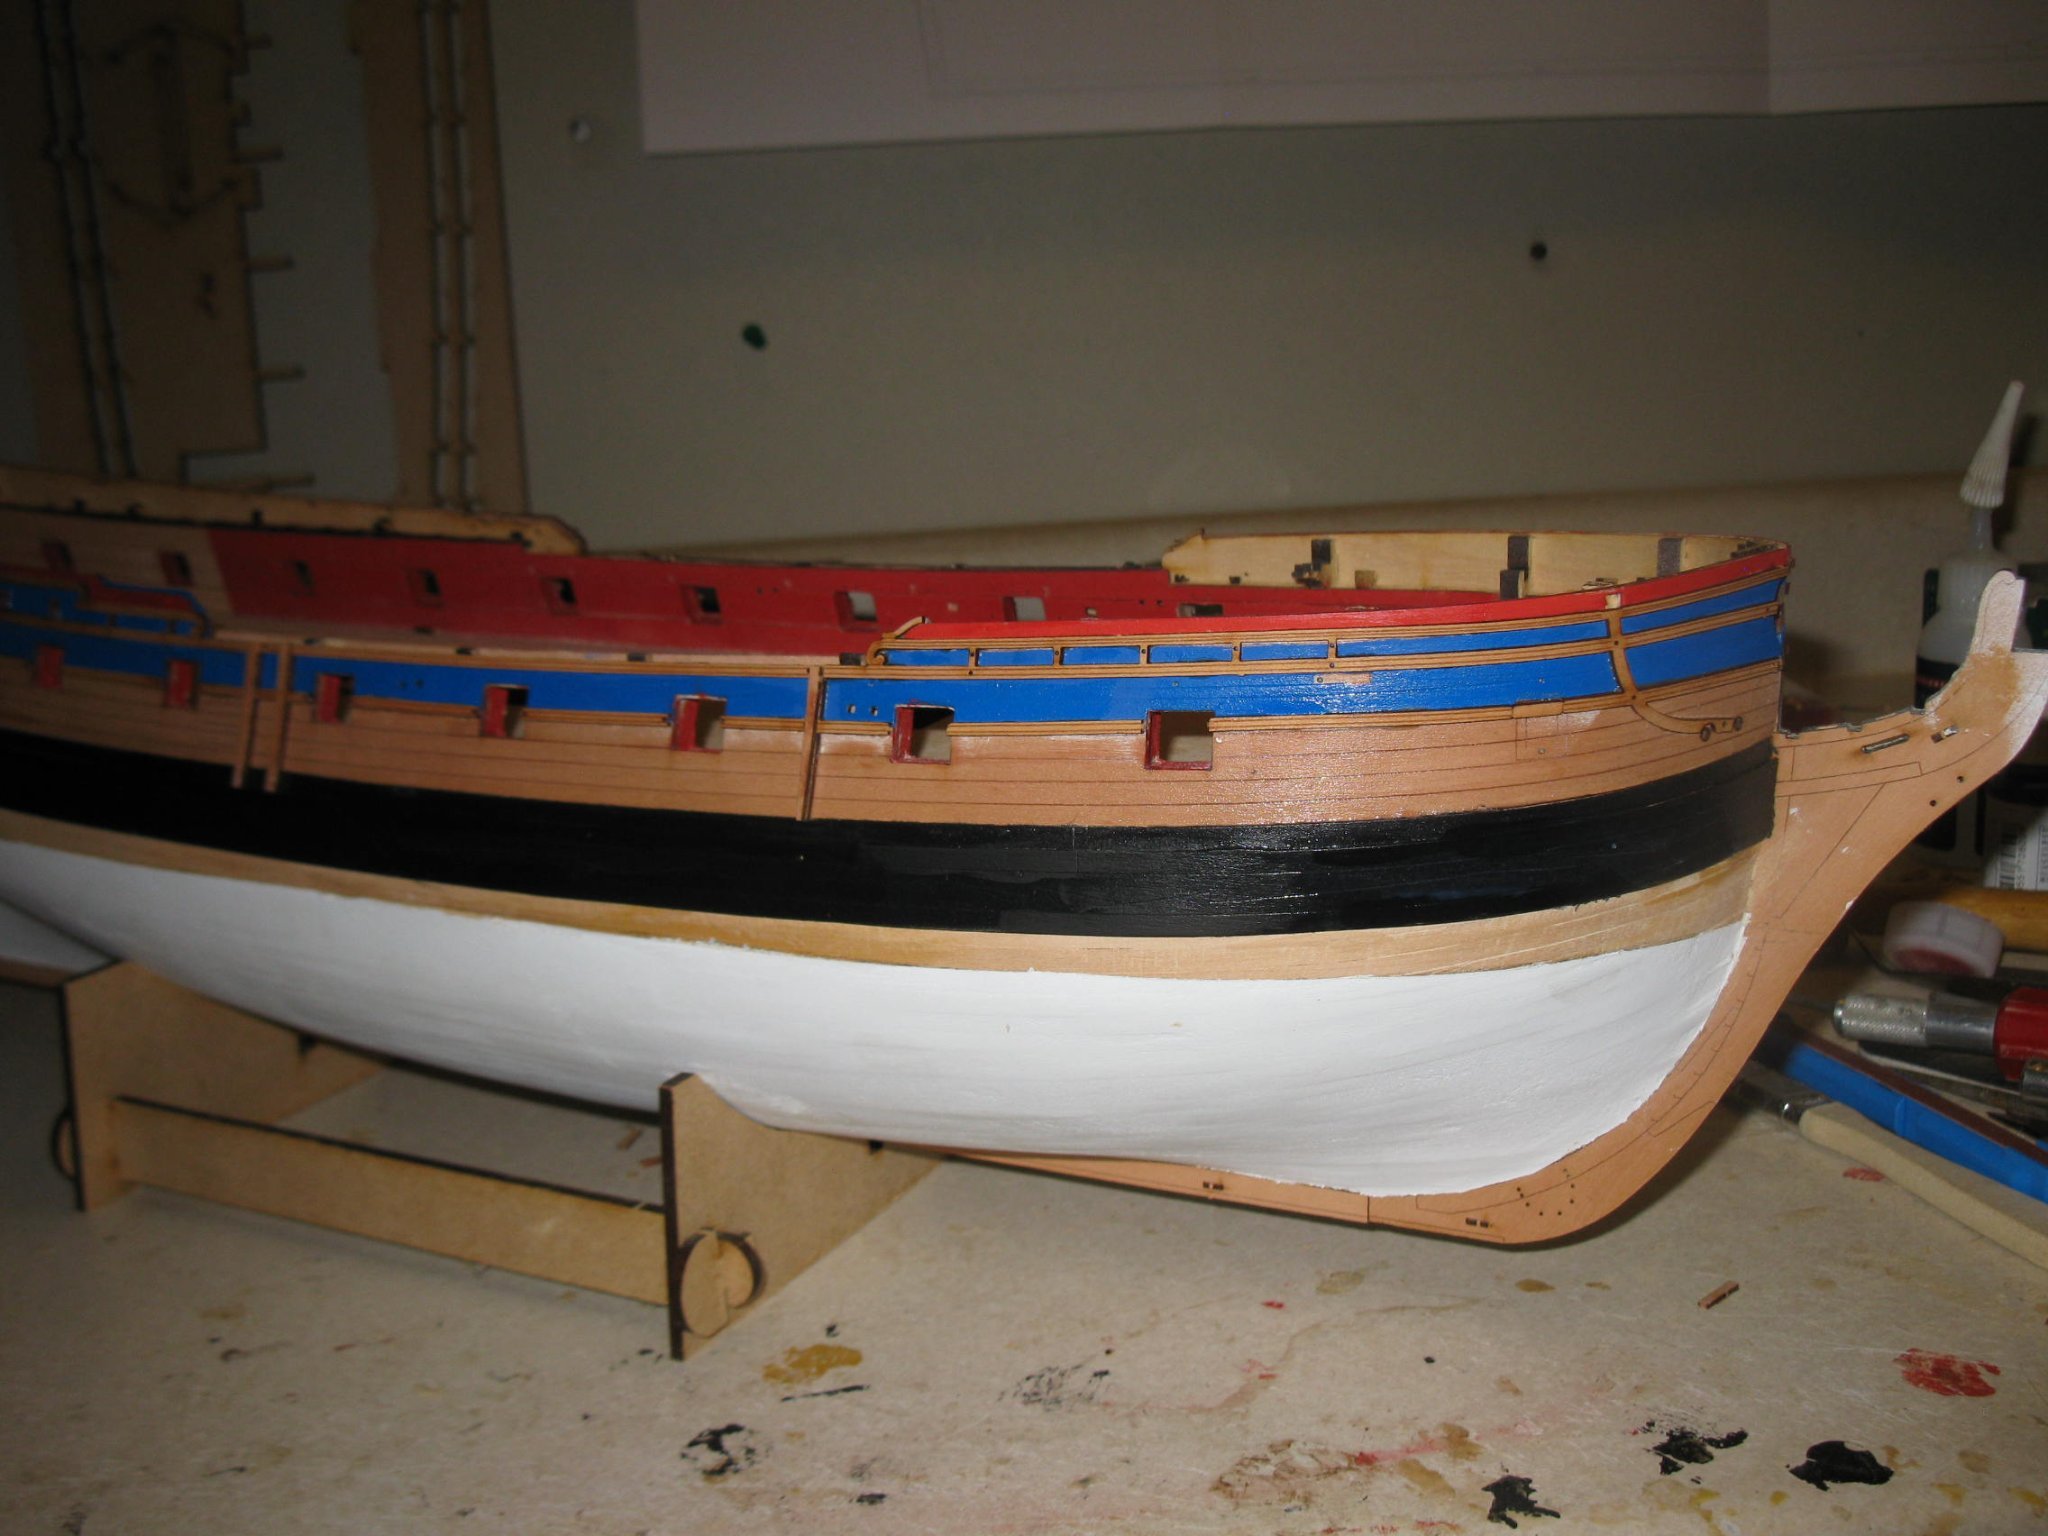
Construction proceeds as time allows. Note that the white areas of the keel, prow and sternpost will be added shortly. I left the masking tape on from the previous smoothening step. I'm up to the step of painting the upper areas blue and red. Then on to attaching the railings. My preliminary attempts at using the bending machine for the forward rails has been successful. I'm taking it slowly but the bends are happening without any breakage.

-
Thank you. Definitely not to the standard that you and many others have attained. But it is still going to be a very nice display model. There is room in this hobby for all skill levels.
-
Looking more and more like a ship. Can't wait to get to adding the detail on the upper hull. Bending that decorative work will be interesting. Hope I can use the bending machine.


-
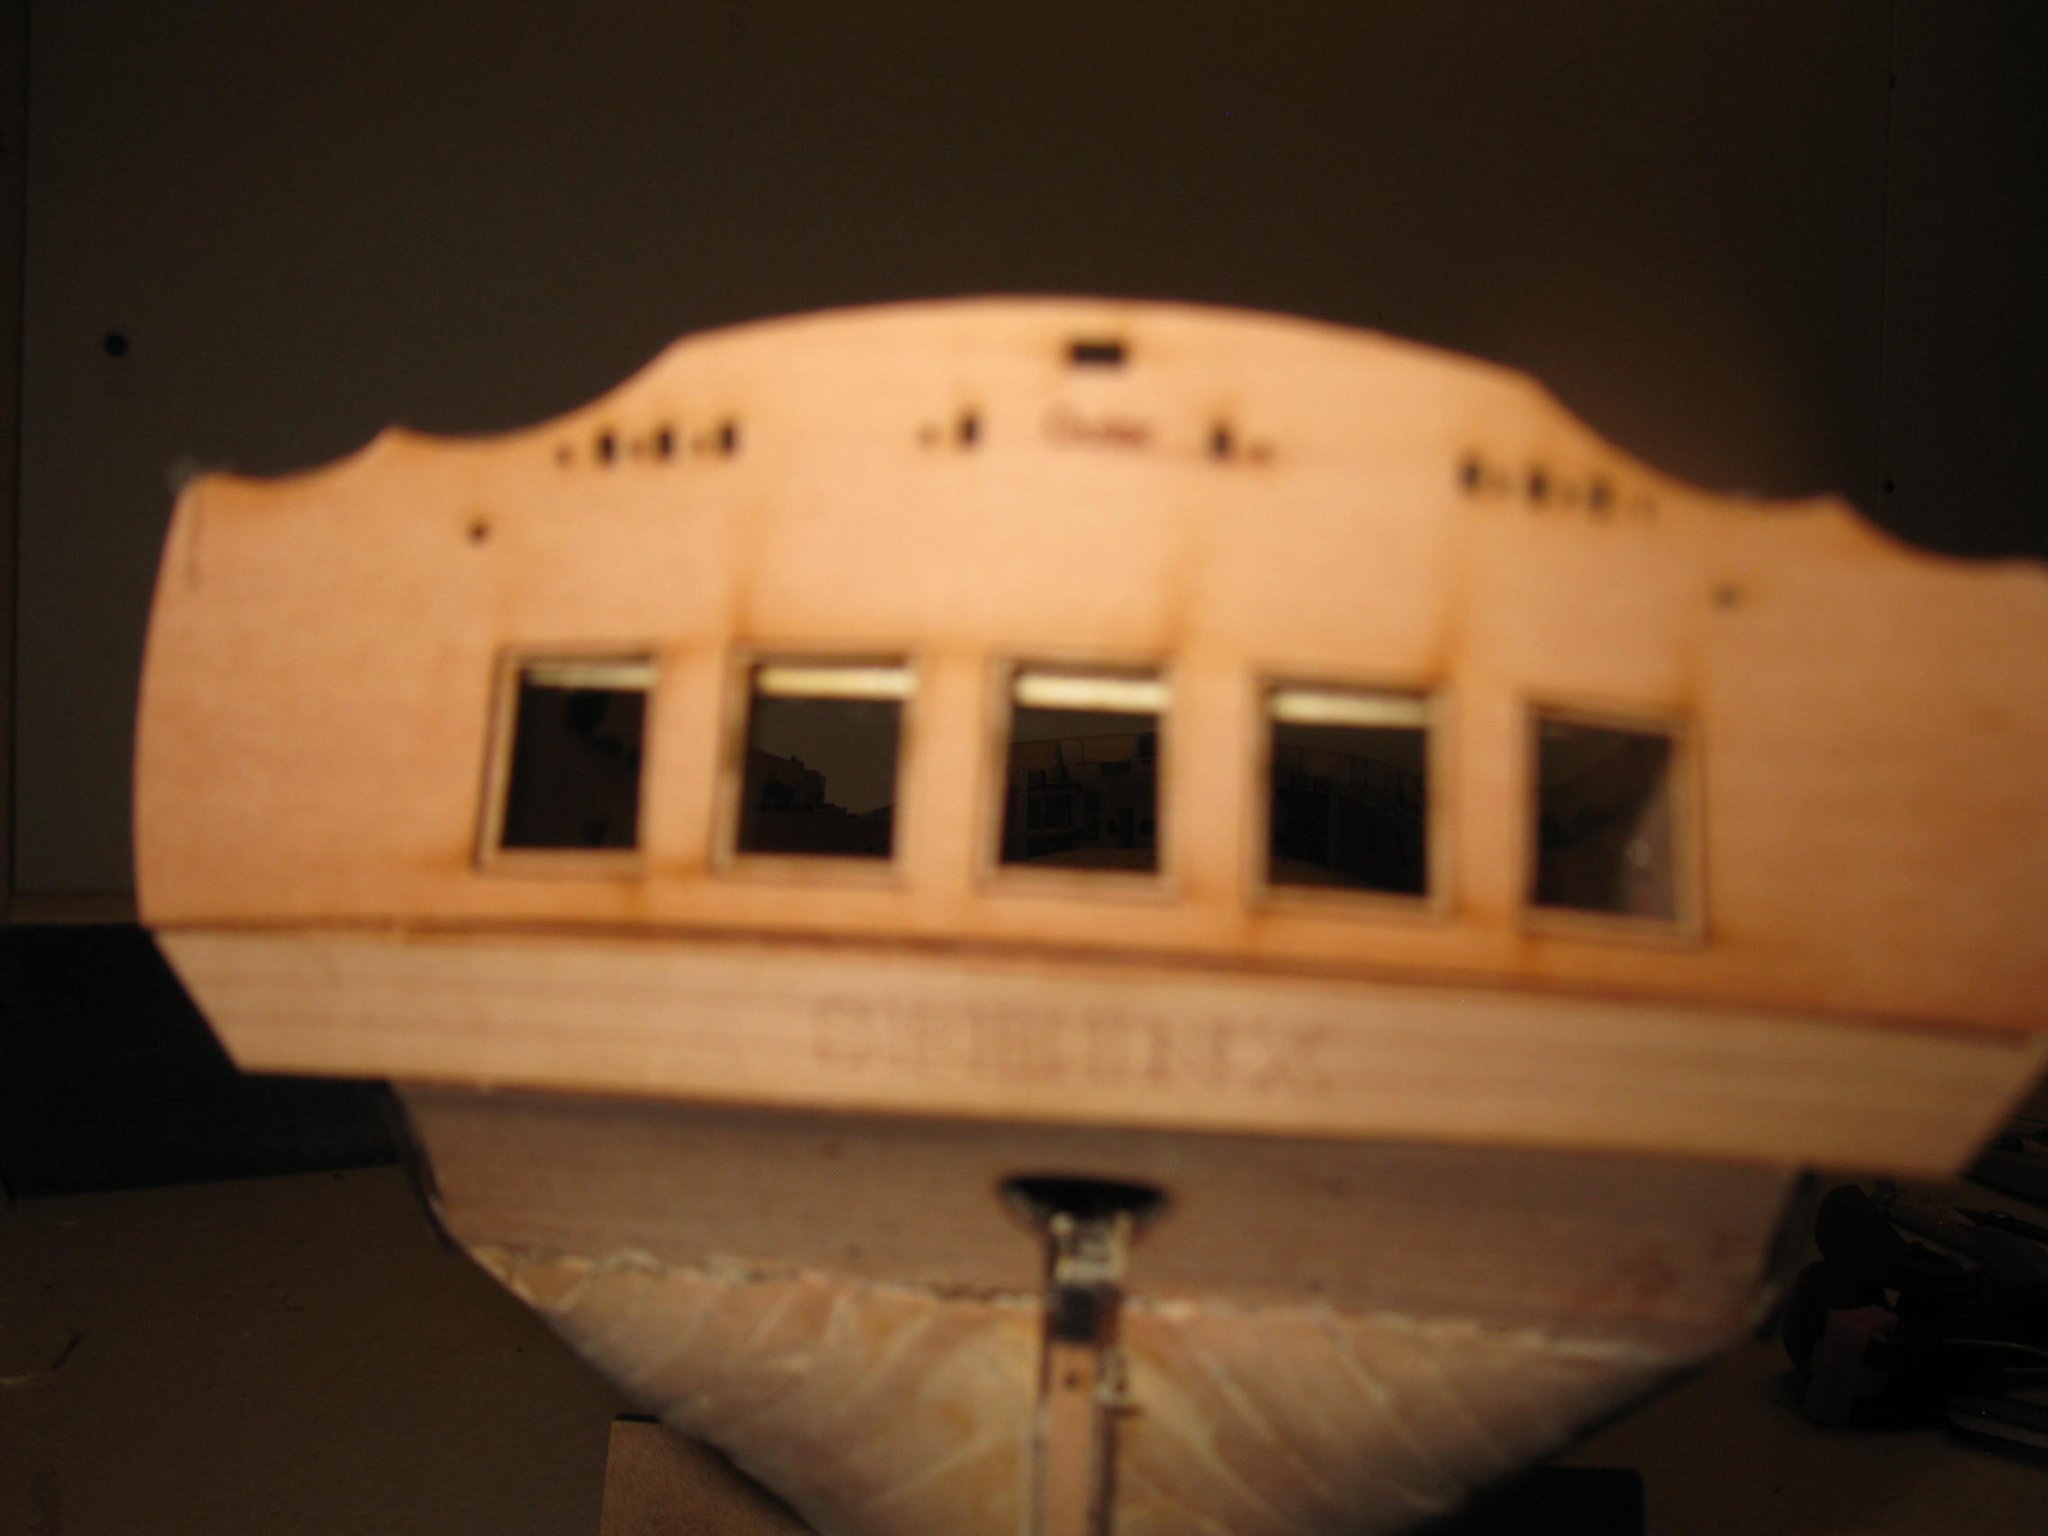
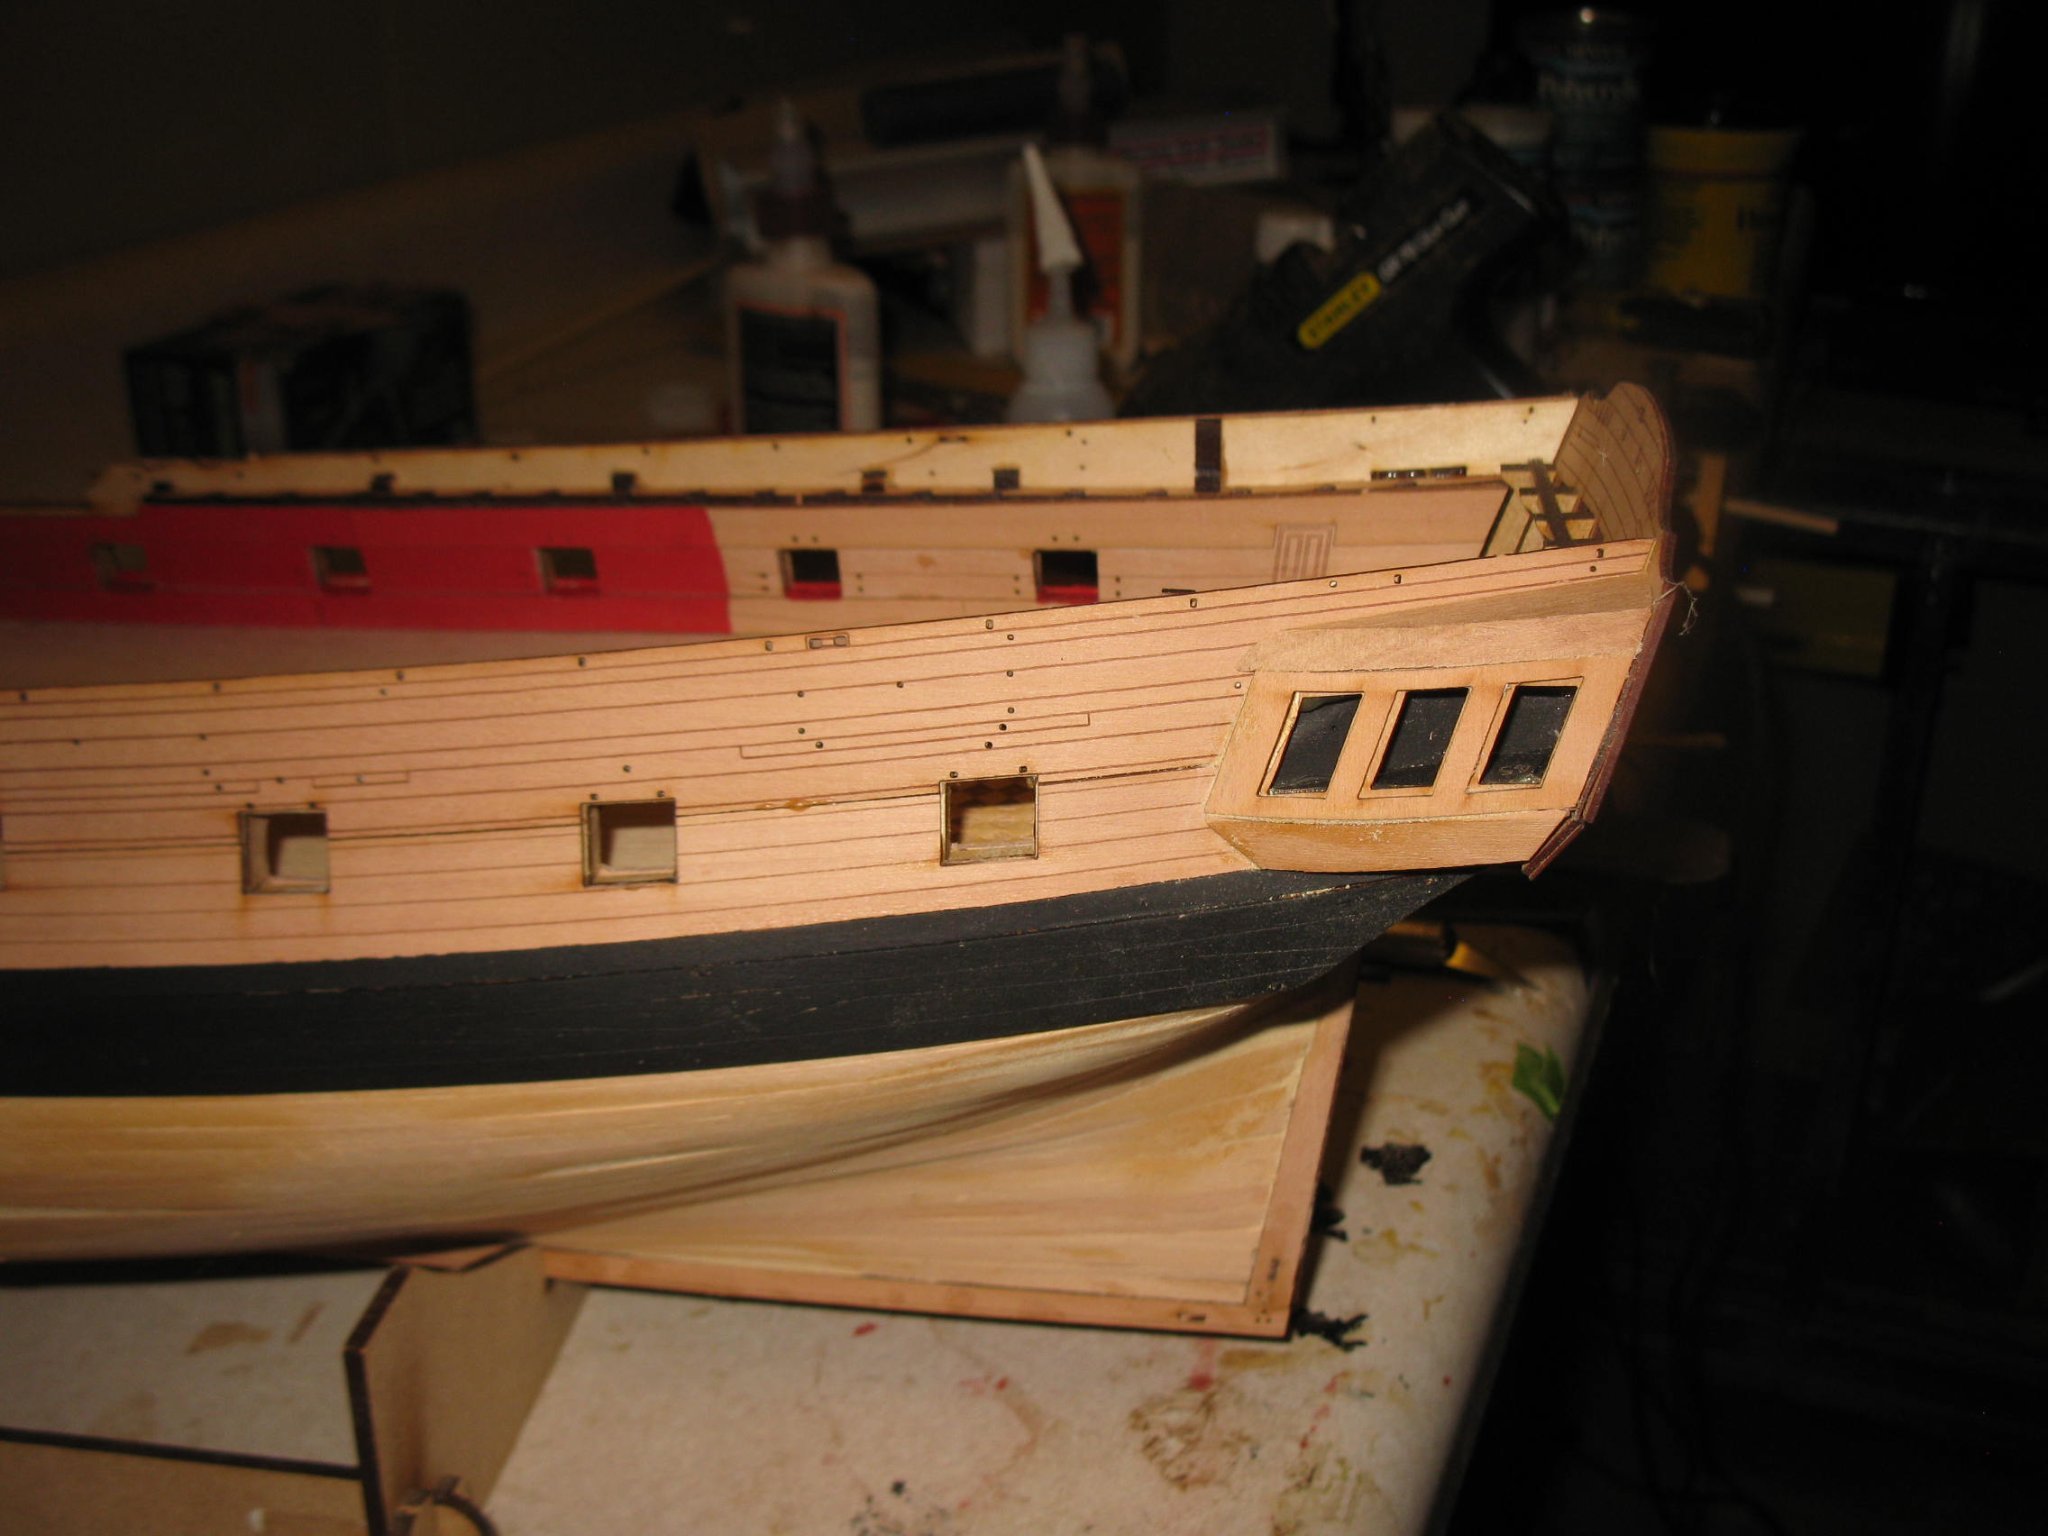
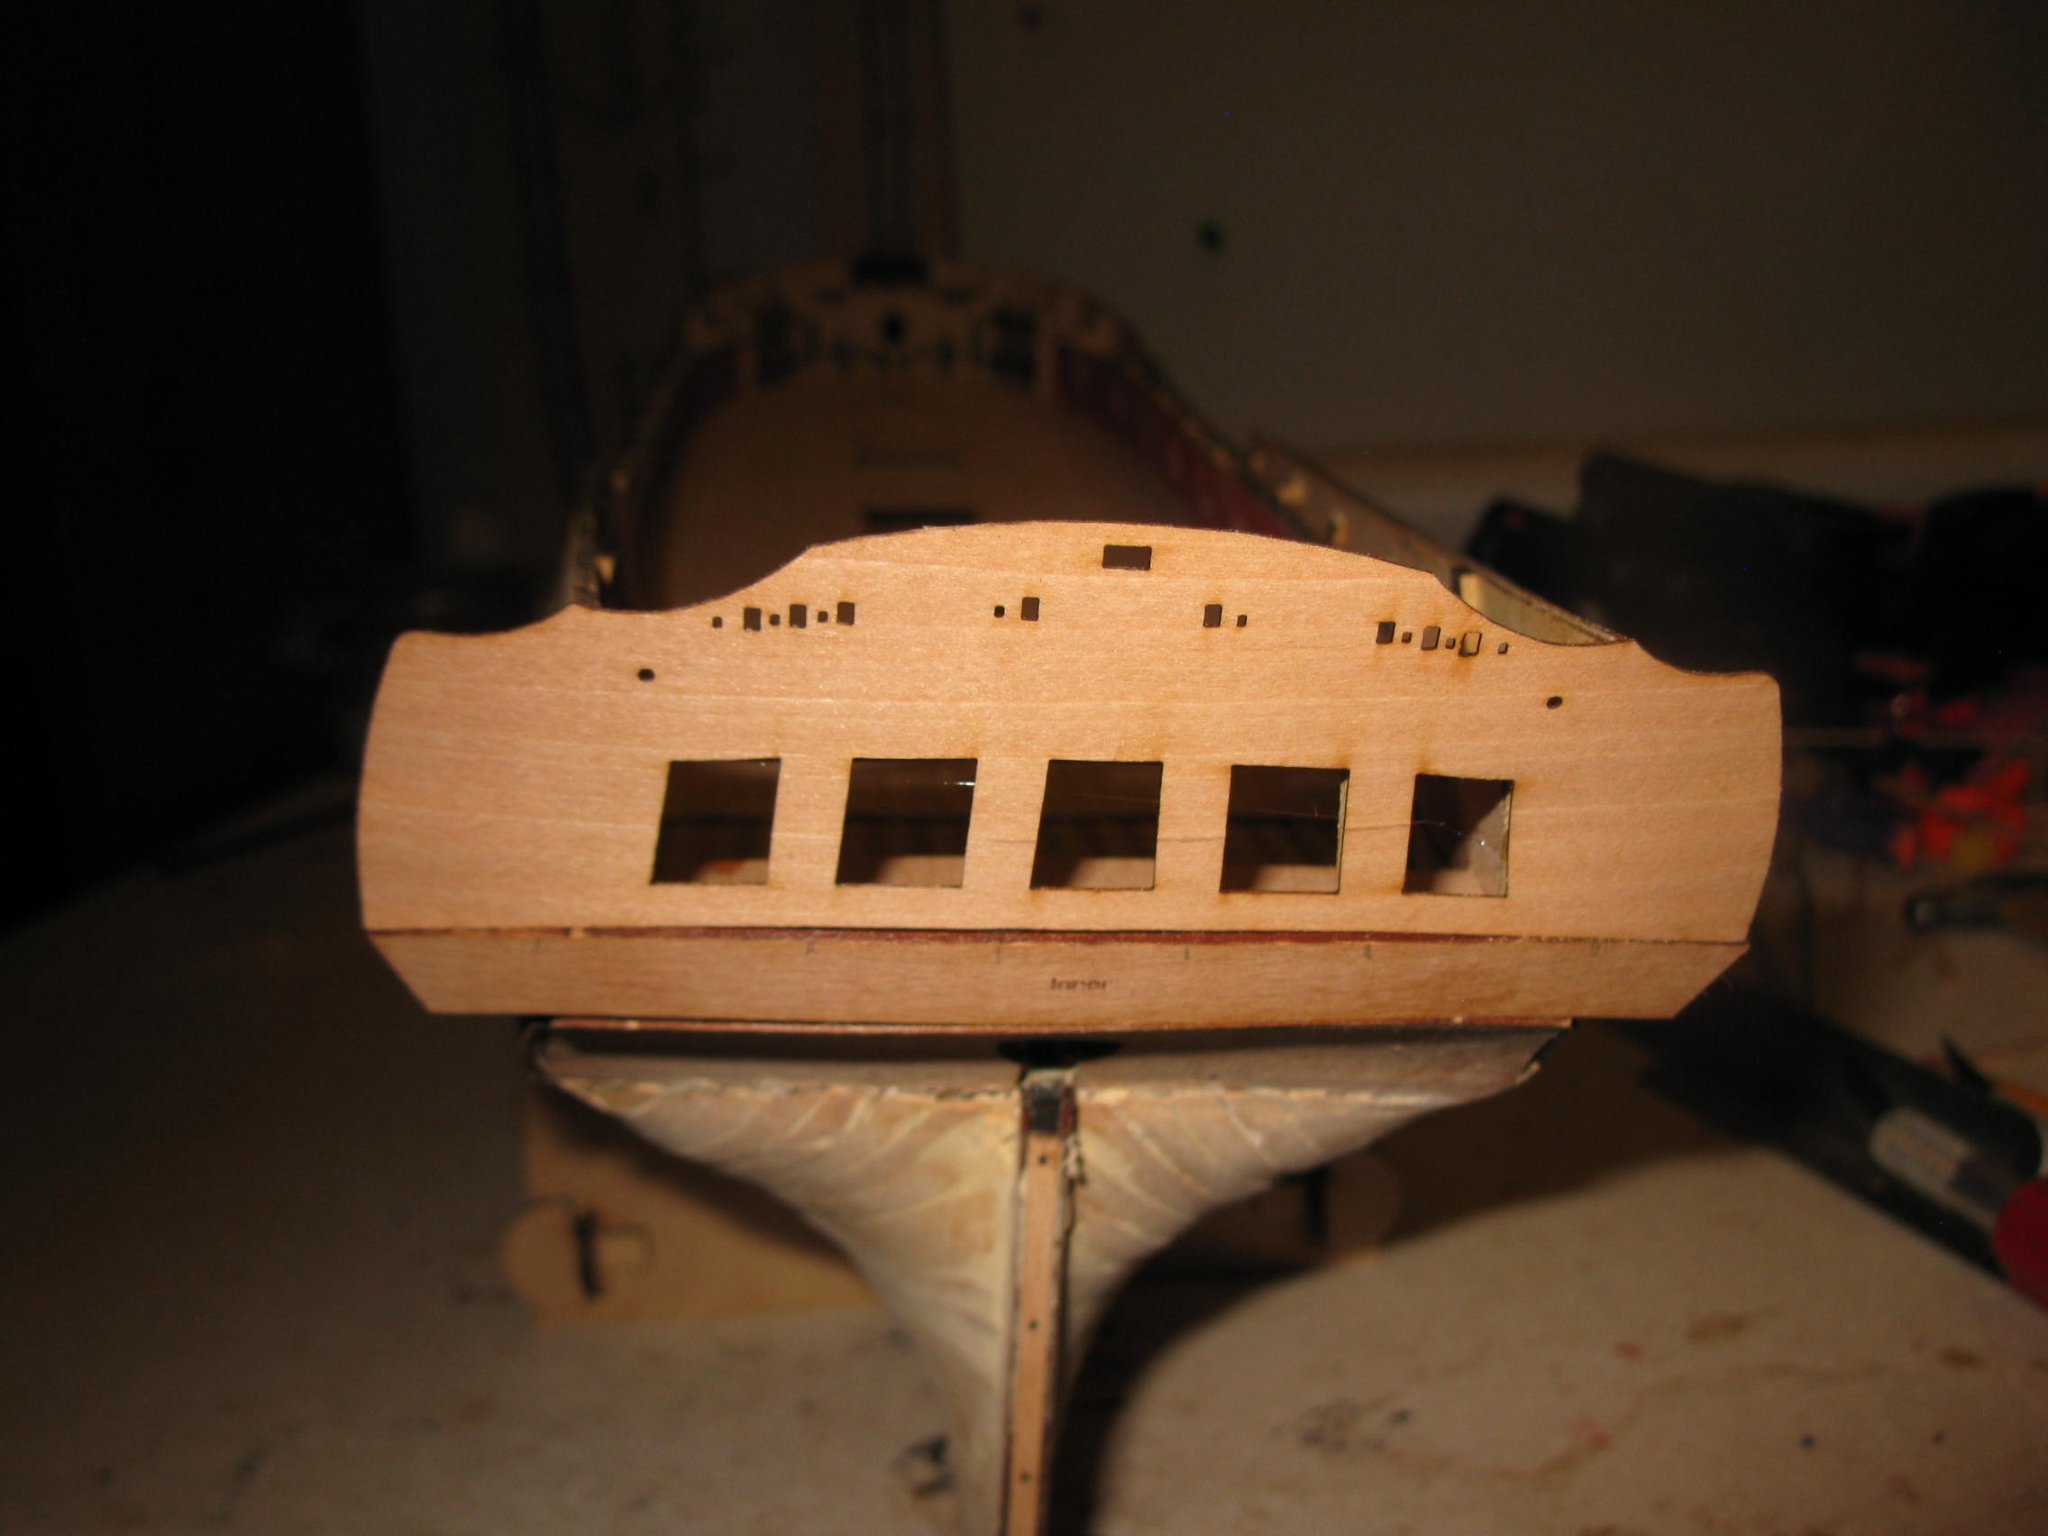
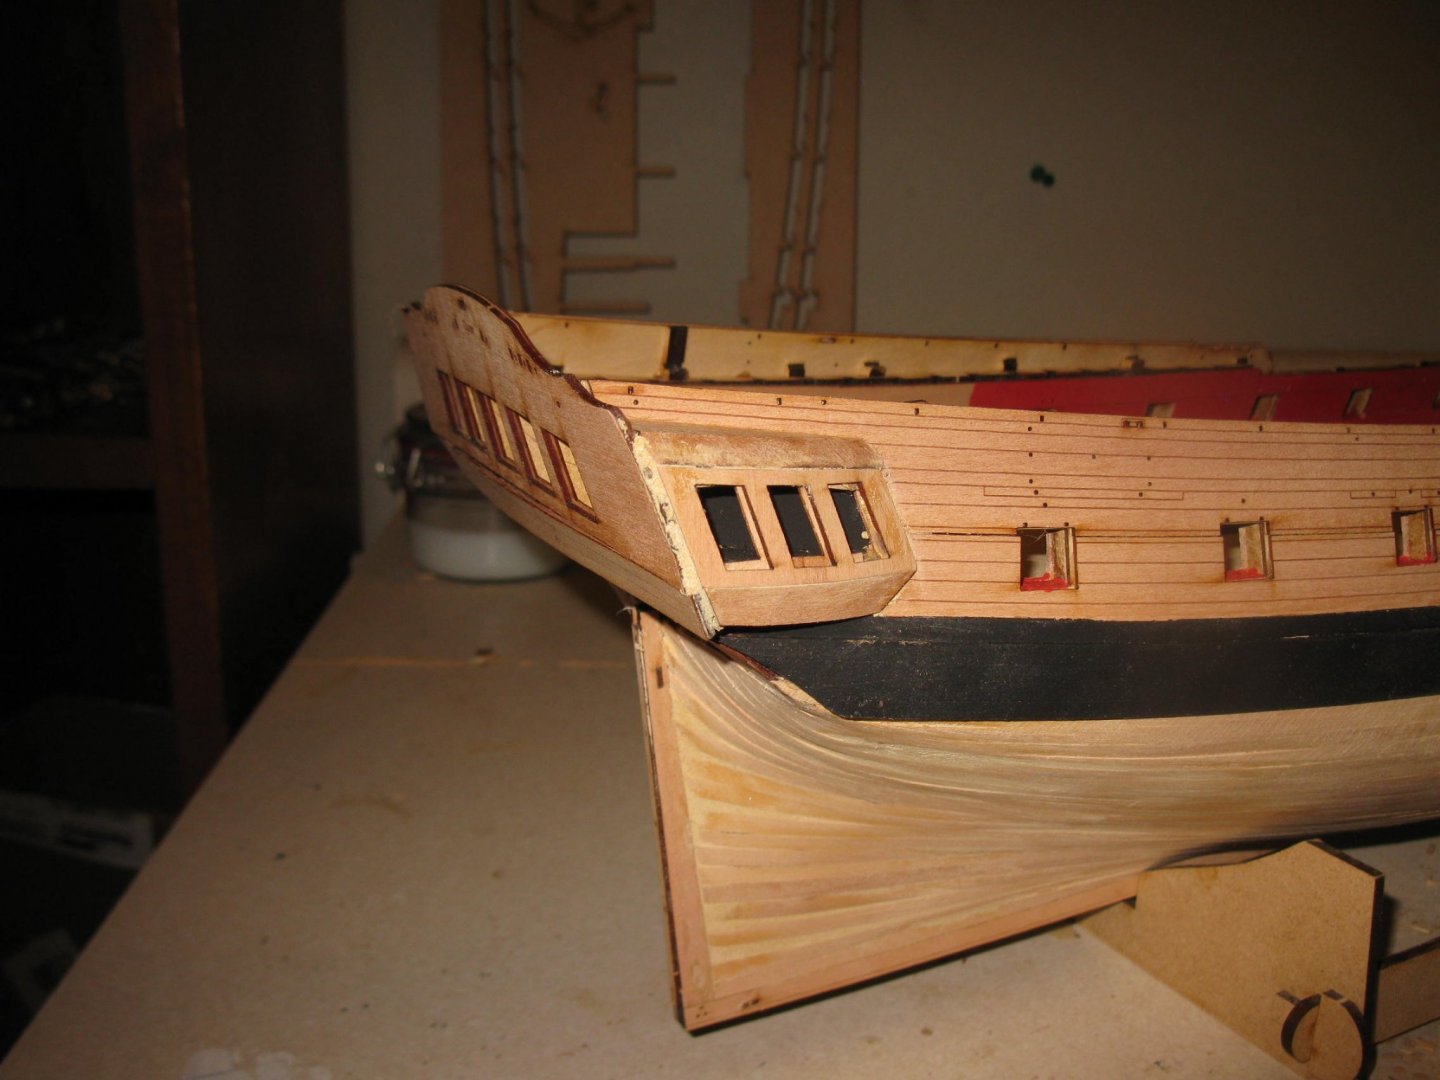
One word of caution. After you have attached the inner transom piece be very careful with it. It is only 0.6mm thick and fairly brittle with all of the openings in it. It is very easy to break. I put a slight crack in mine (very minor). Once you get the outer transom on you will have a very firm structure.
-
Have now completed things through step 205. The quarter gallery patterns and ready to move on to the first painting. With the patterns I had to remove about 2mm of the fore part of the tab to get things to fit nicely. I am hoping to replicate the finish that James got on his prototype. I'm using several light coats of varnish with a very light sanding between coats. (400 grit)l

-
The bending machine definitely speeds things up. I don't think you can bend materials like this in 2 dimensions. There would not be the rigidness needed to keep the material upright when going through. I guess if I needed to bend strip wood in two dimensions it would have to be back to the old soak and dry methods. Another thing I use at times to speed things up is a glue gun. When you know exactly where the piece needs to go and you can place the piece accurately in a few seconds then I use the gun. When using the glue gun the piece is in place in a couple of seconds and it is not going anywhere. It's held fast. I find it particularly helpful with those extreme bends at the stern.
-
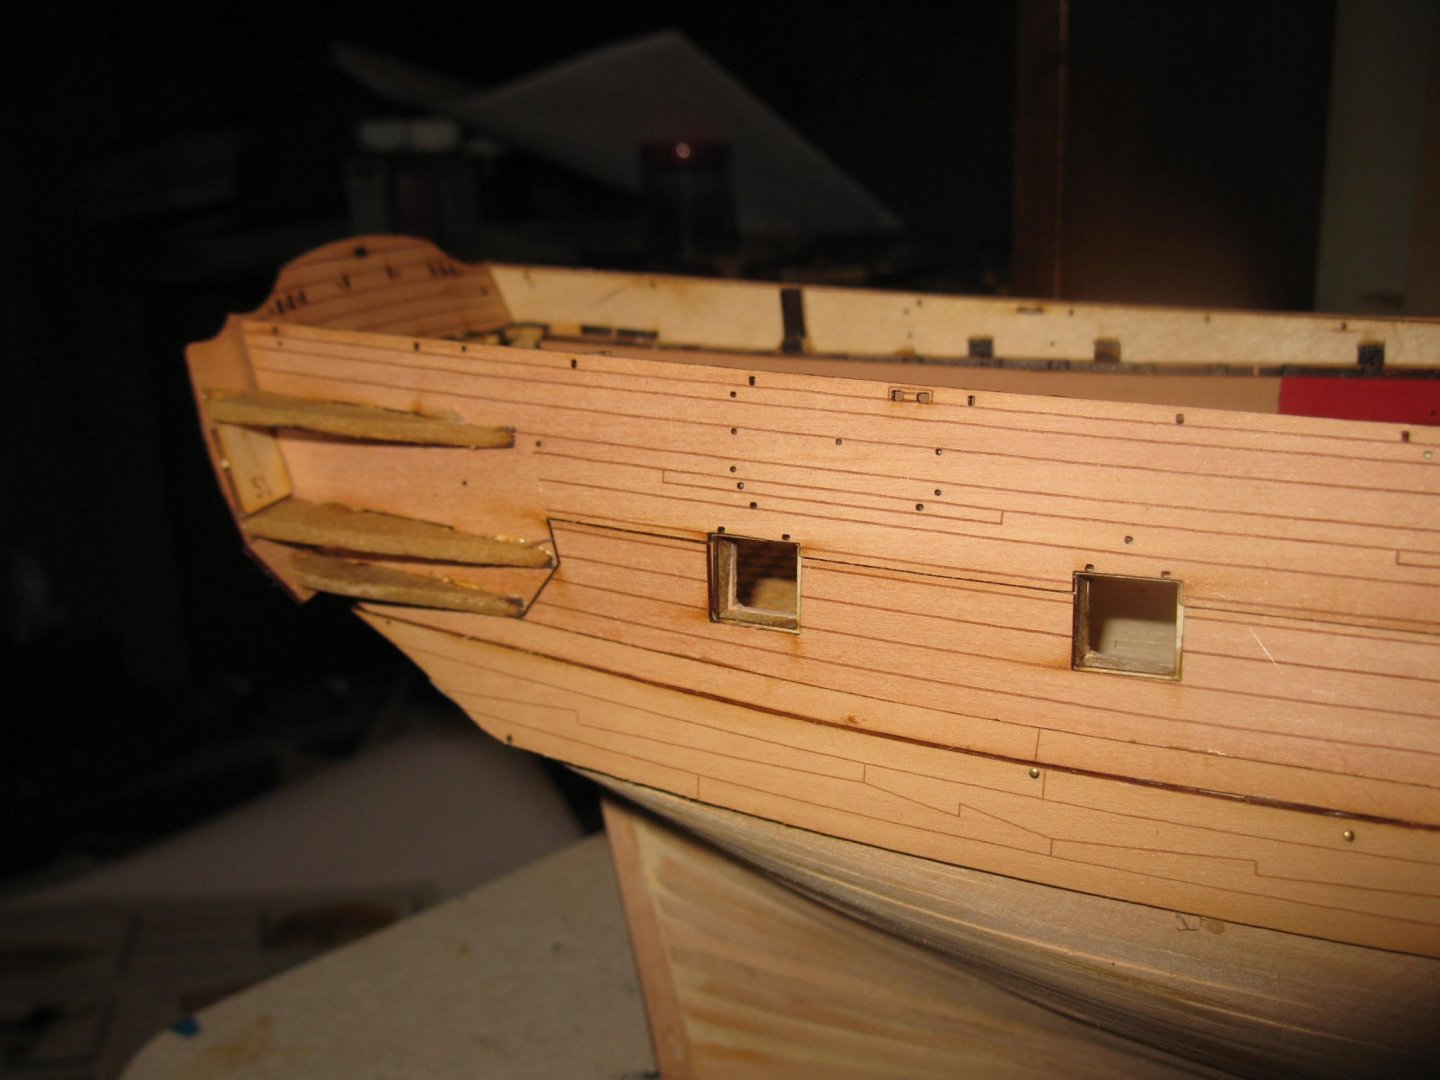
The main wales are on. Using my bending machine allowed this step to take maybe 10-15minutes. Be sure to bevel the fore edge of the main wale to get a tight fit against the prow.
-
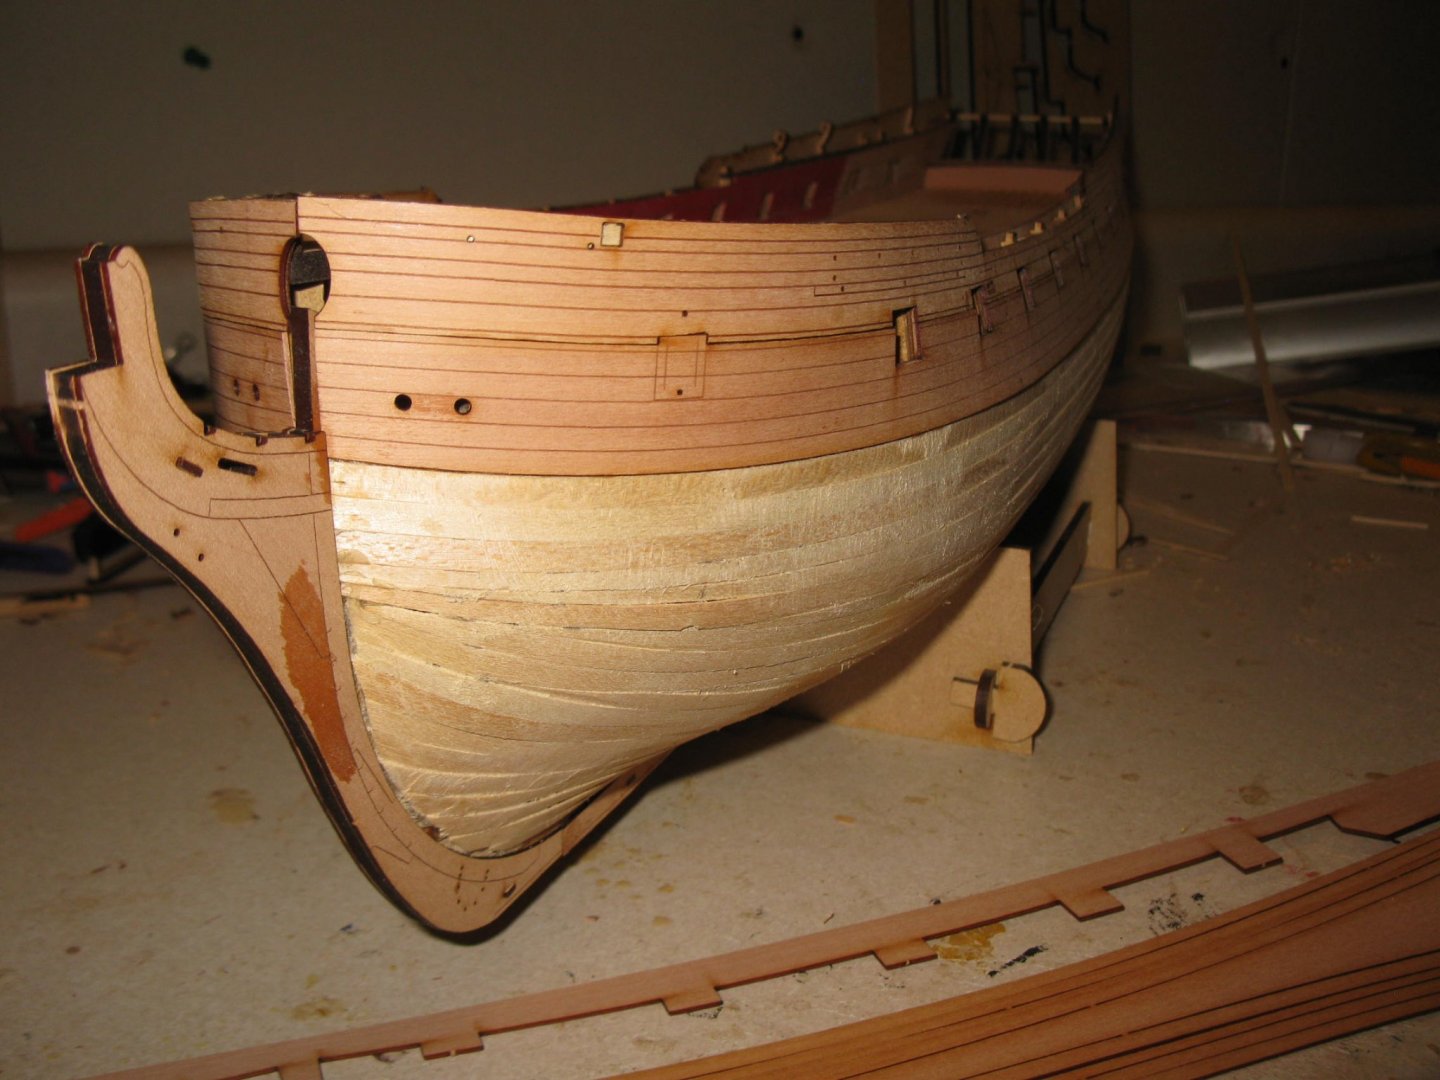
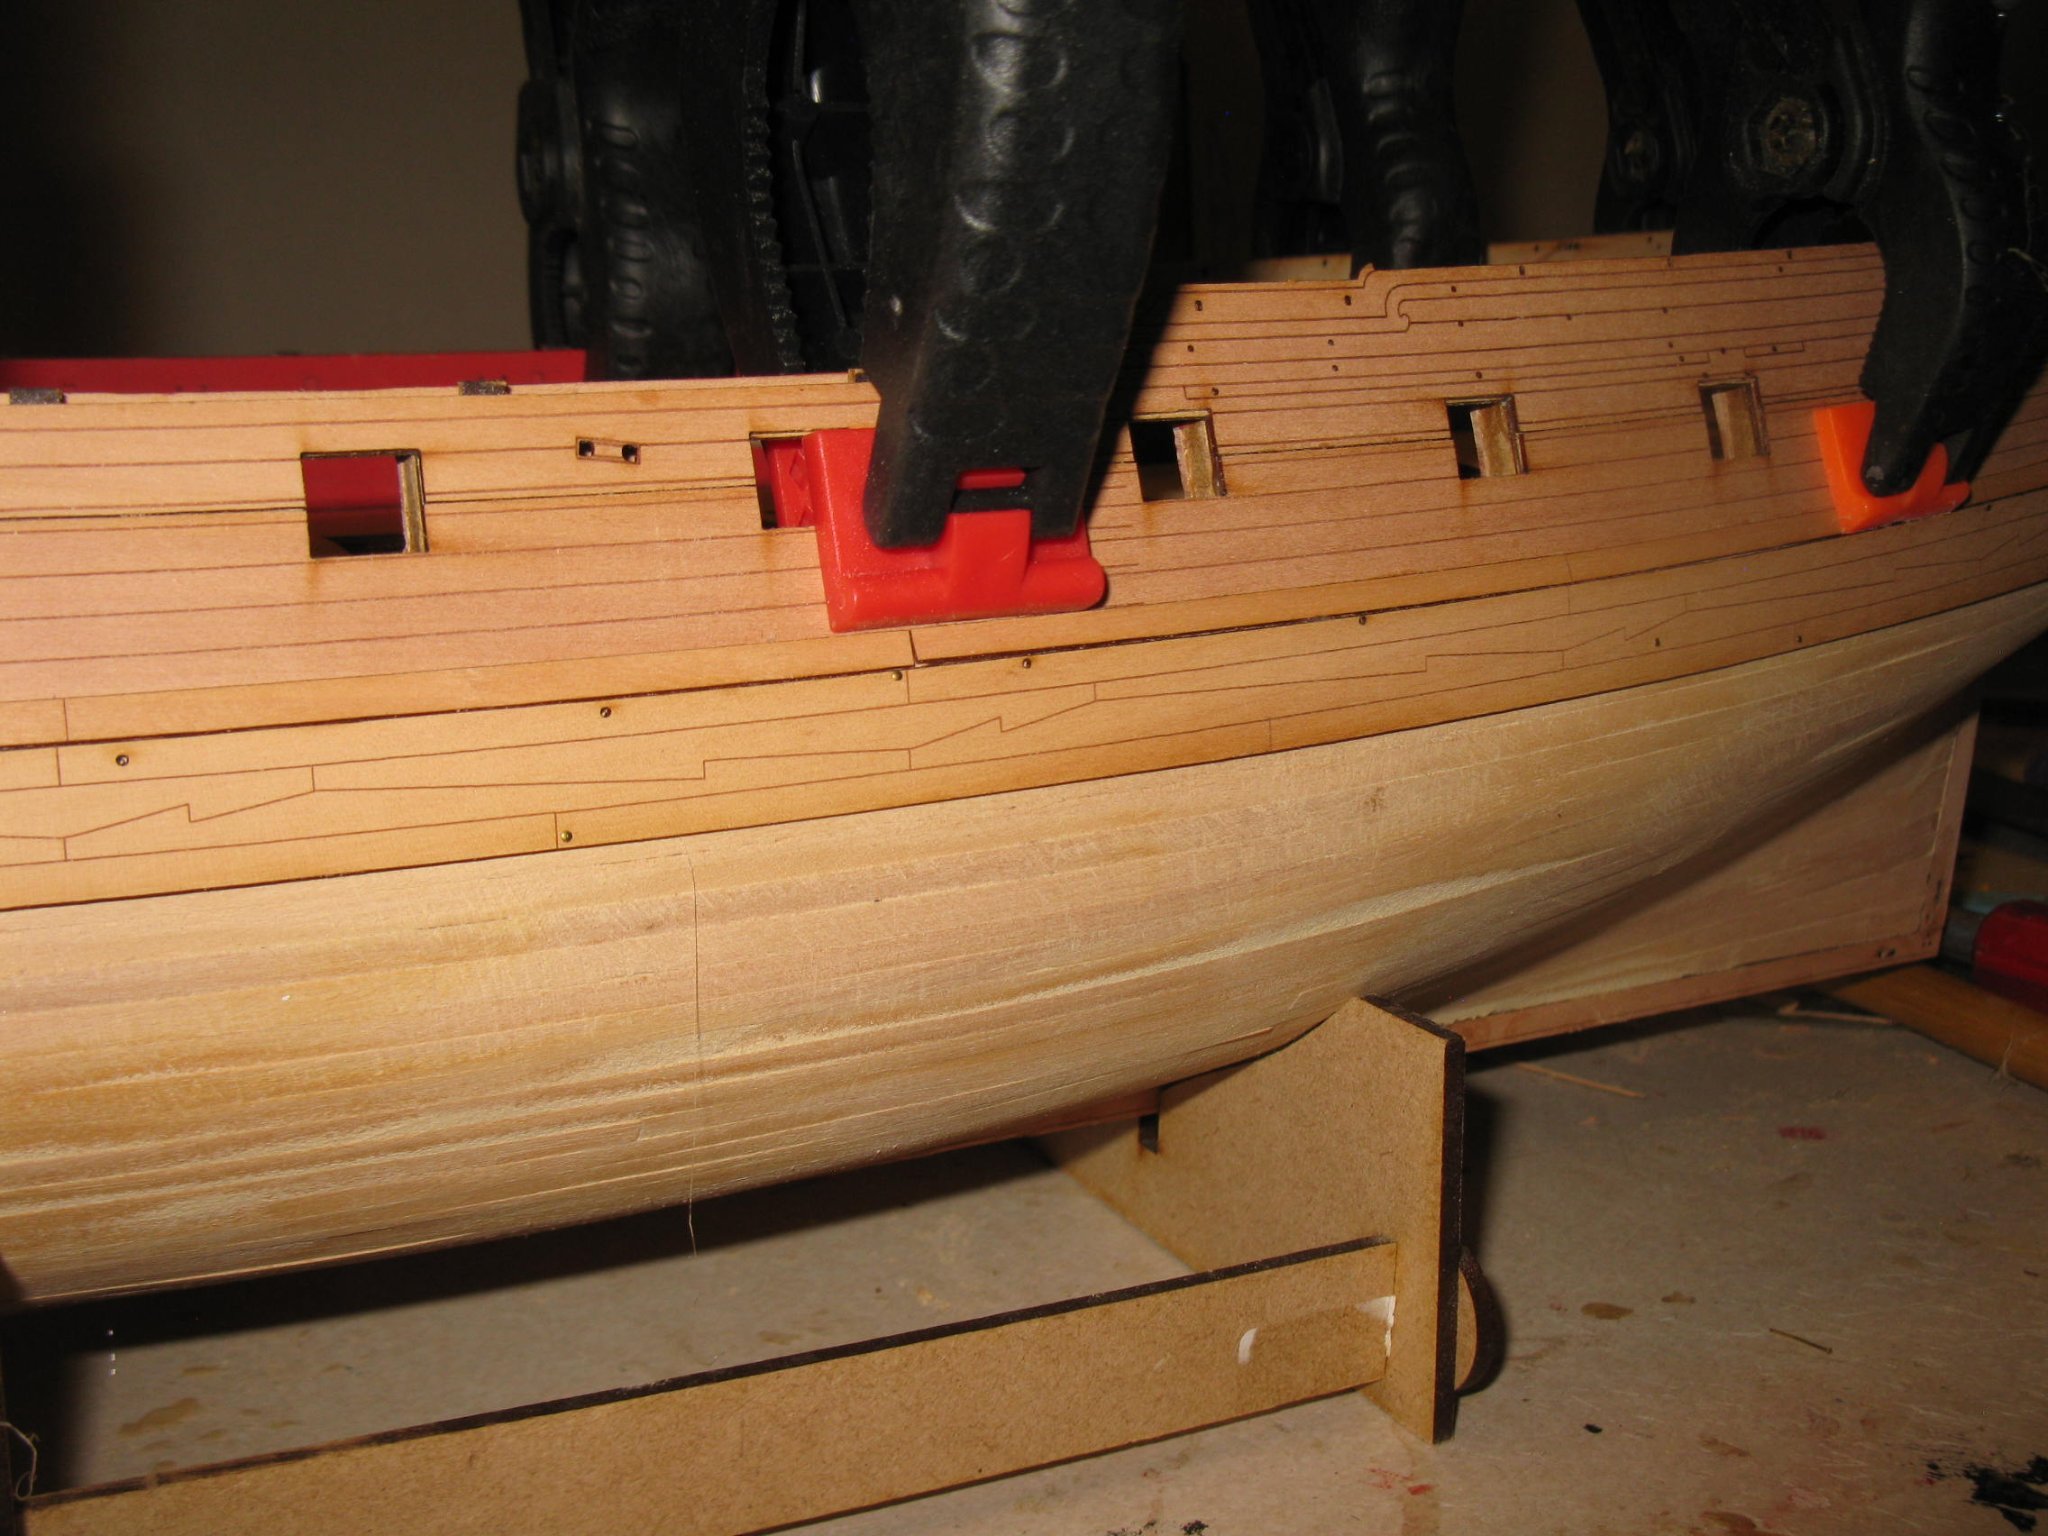
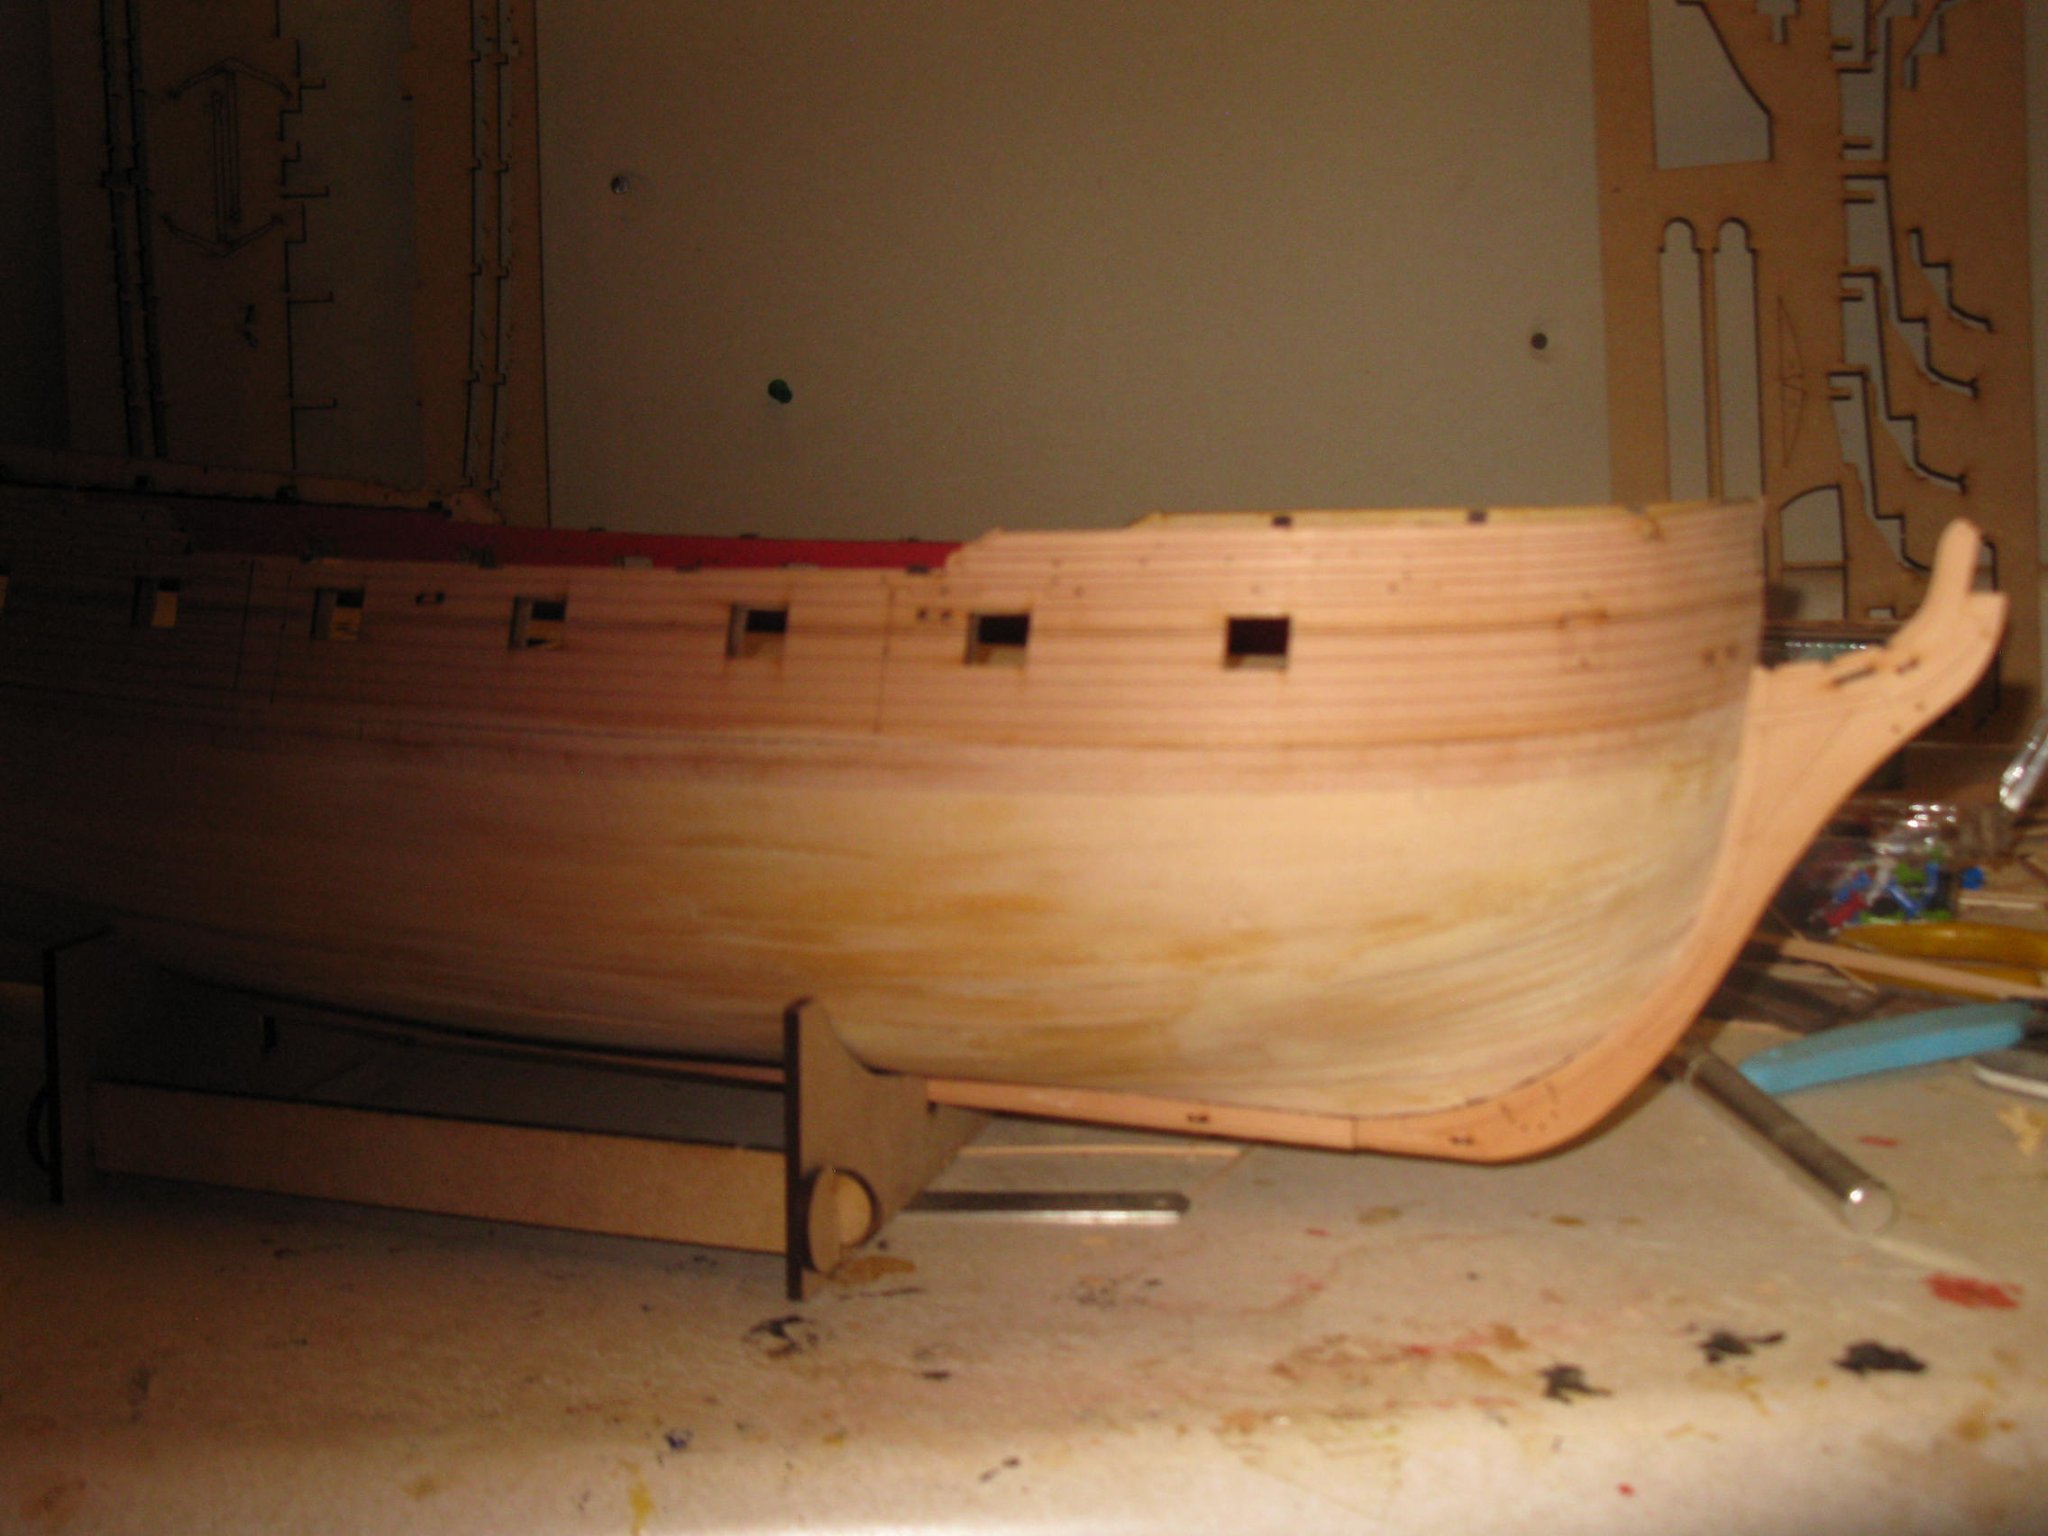
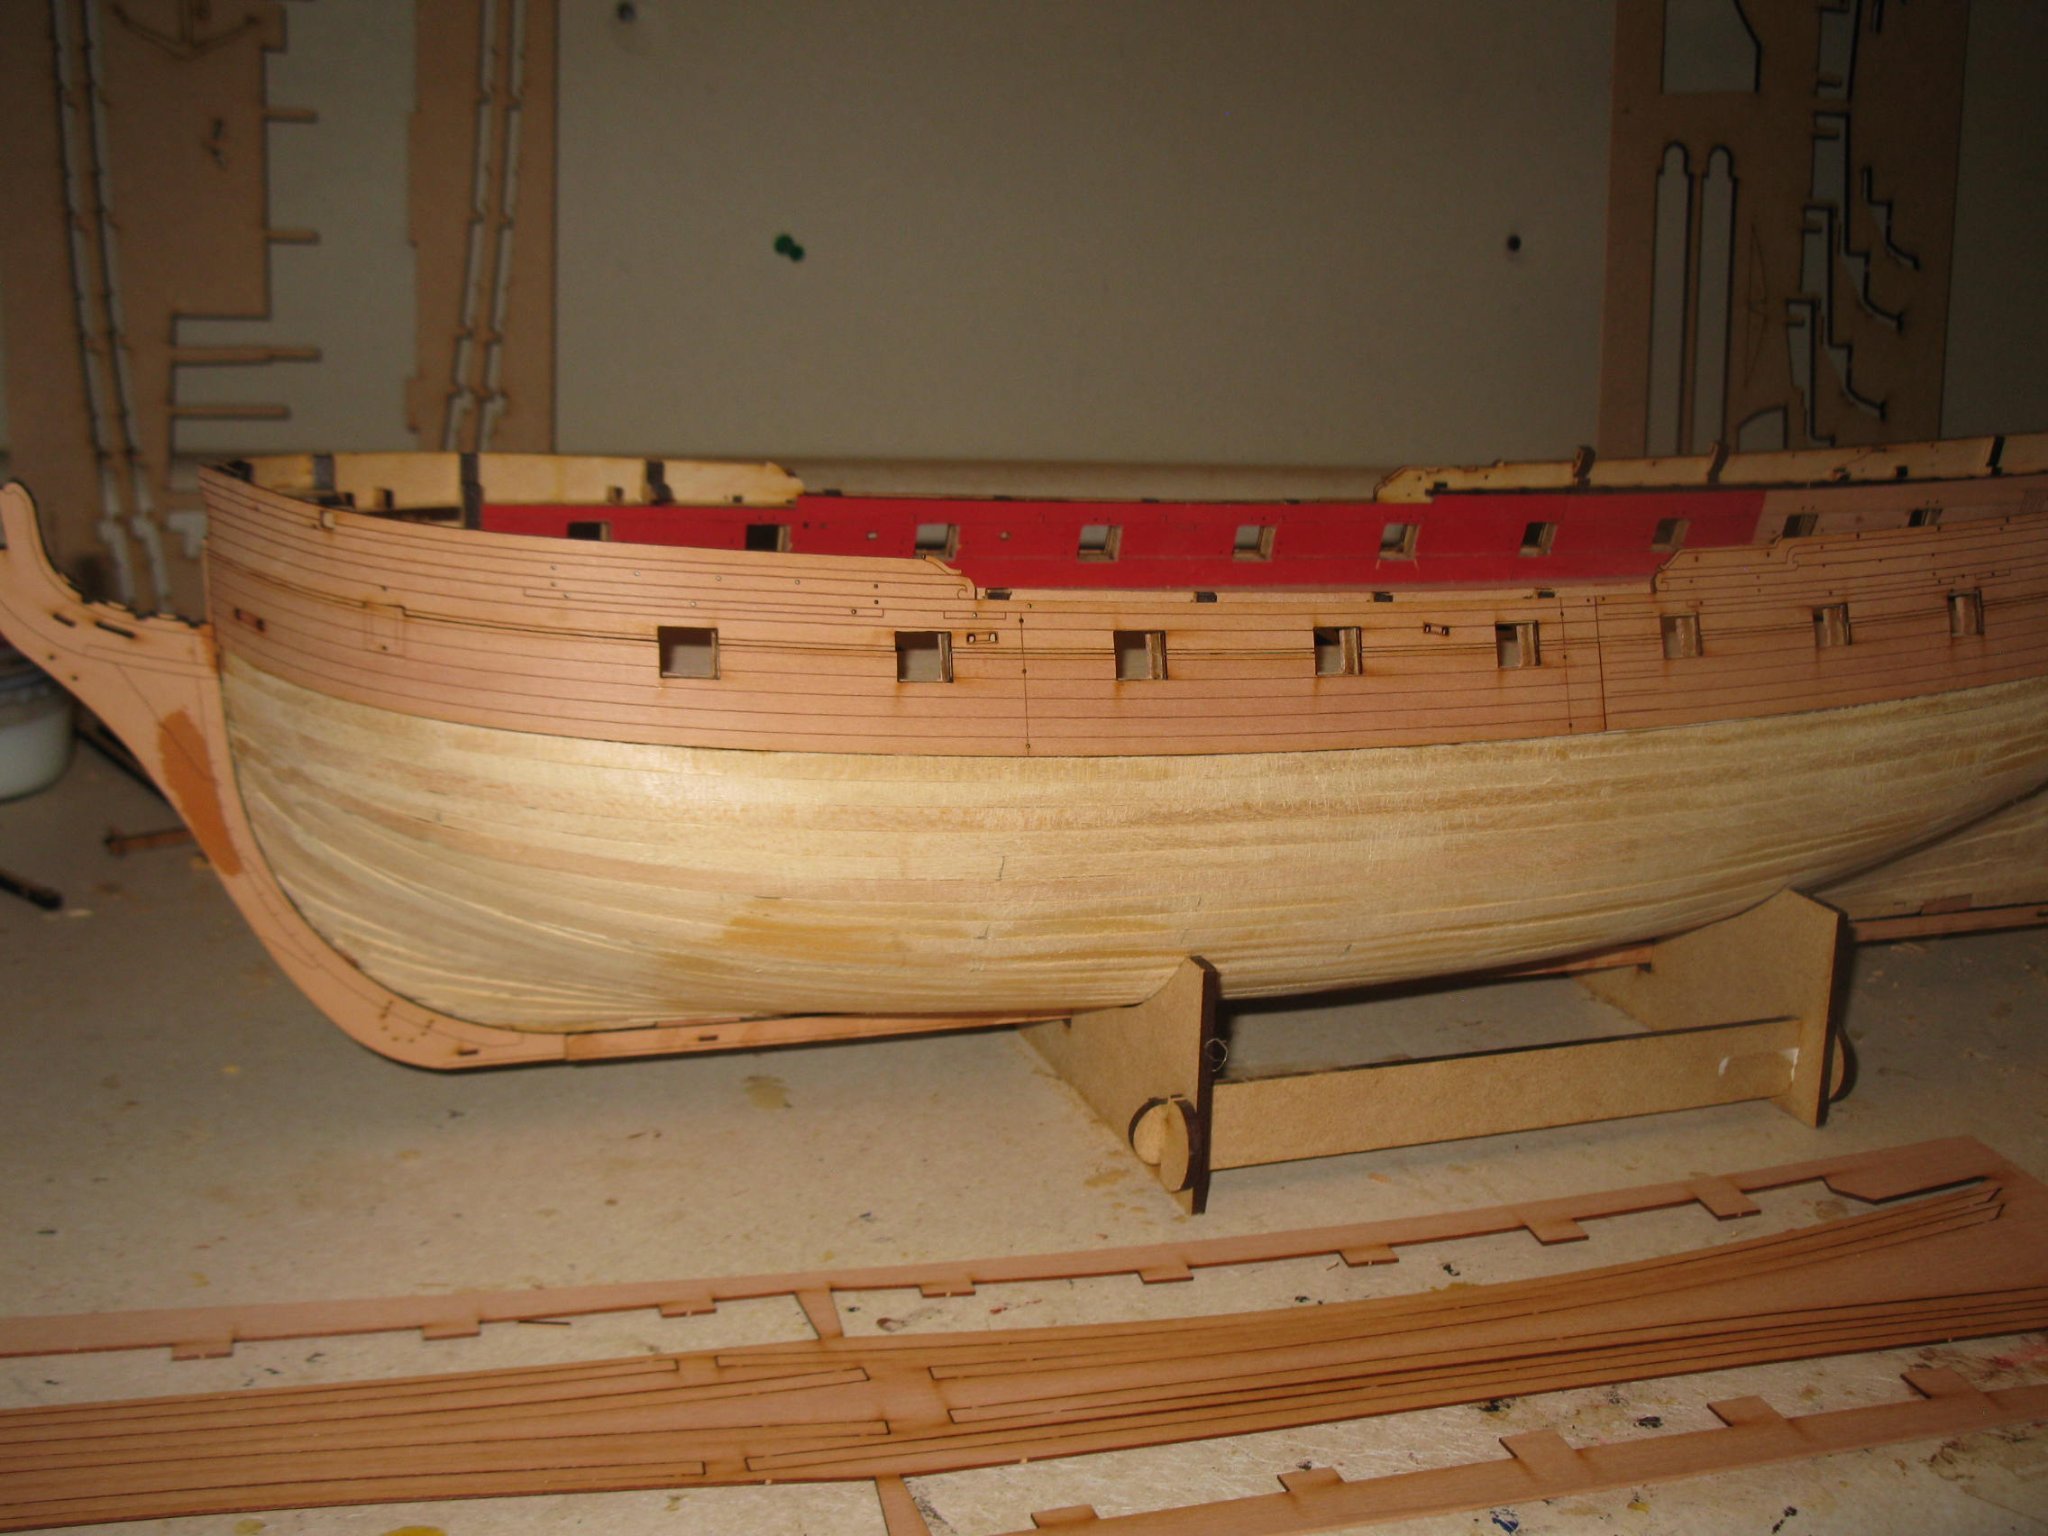
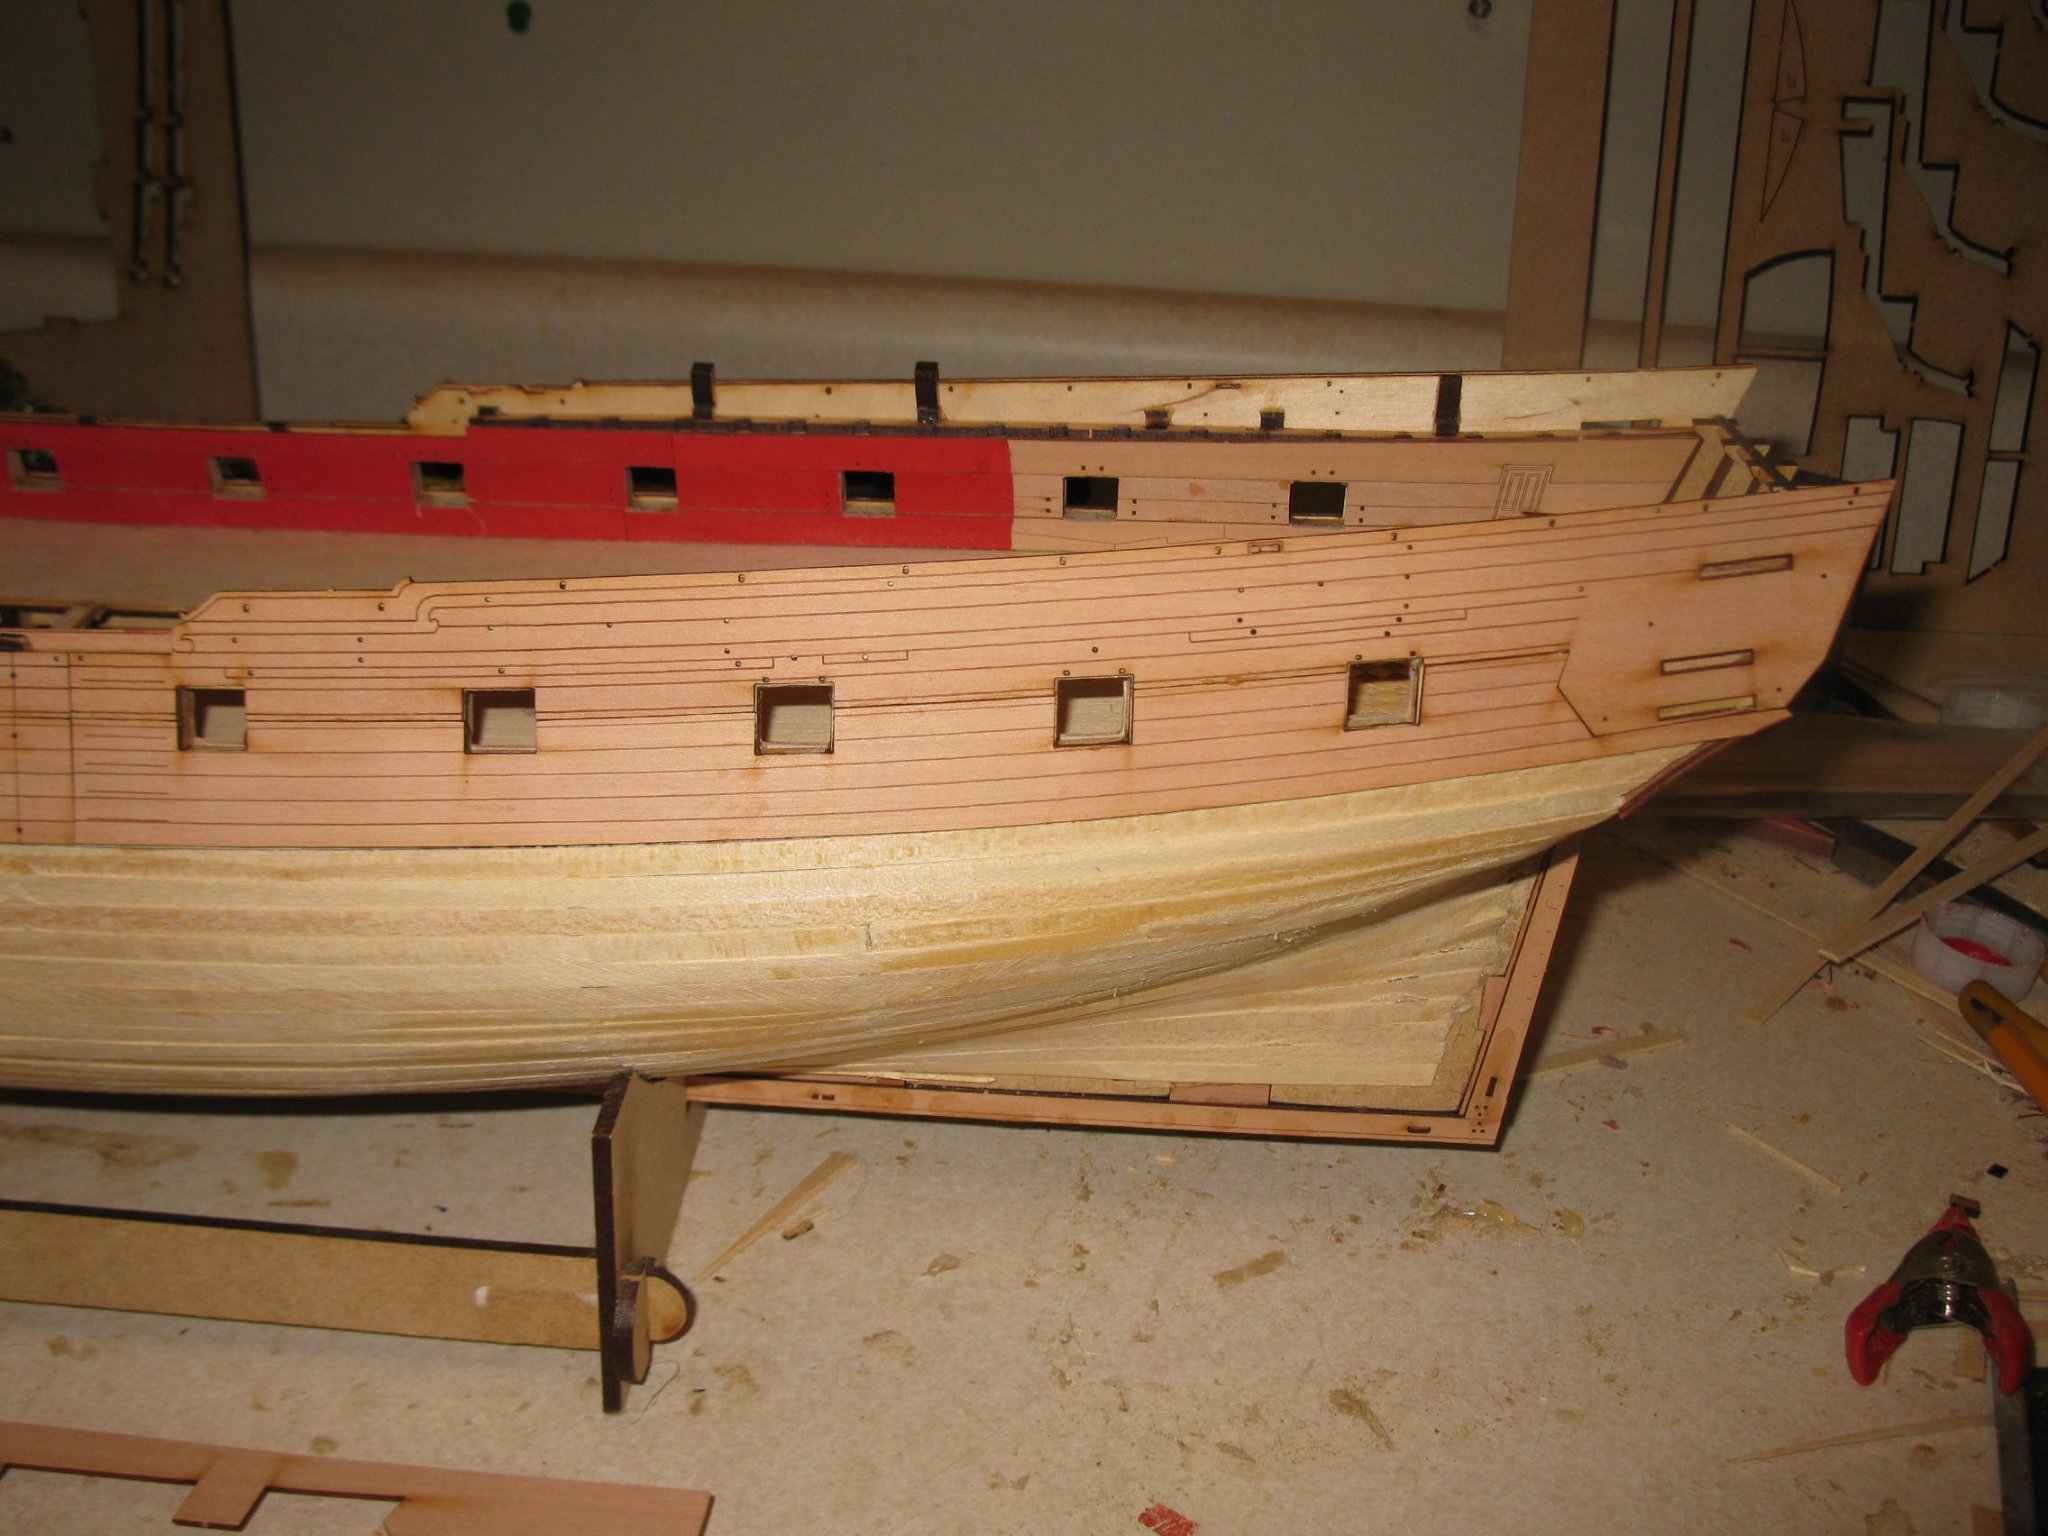
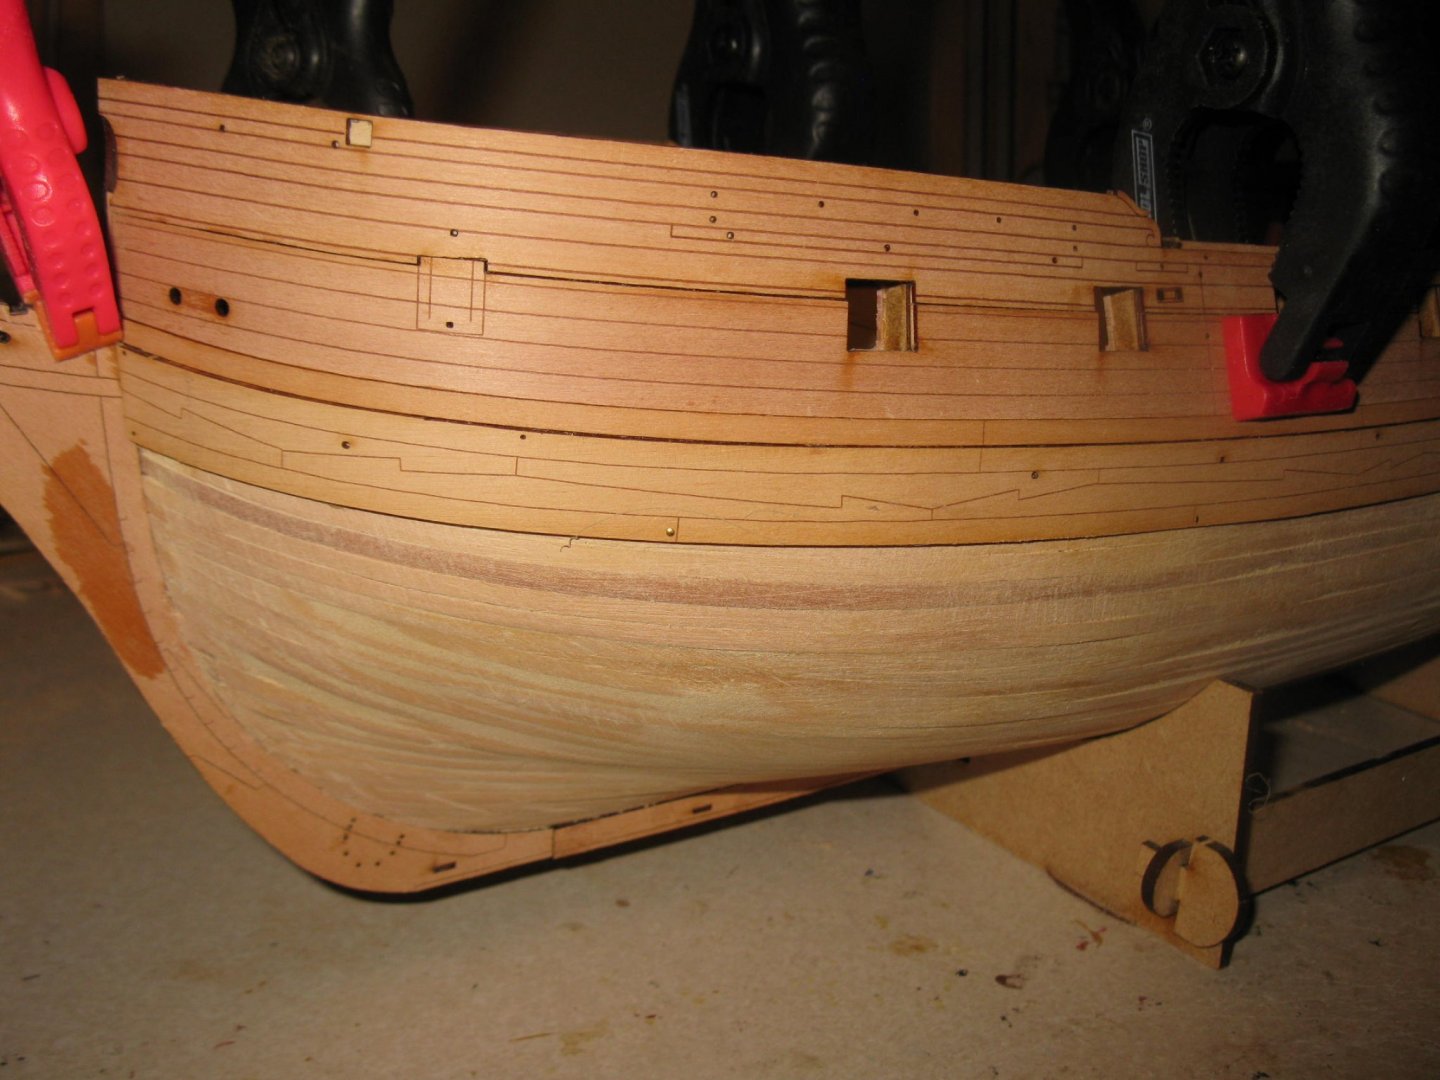
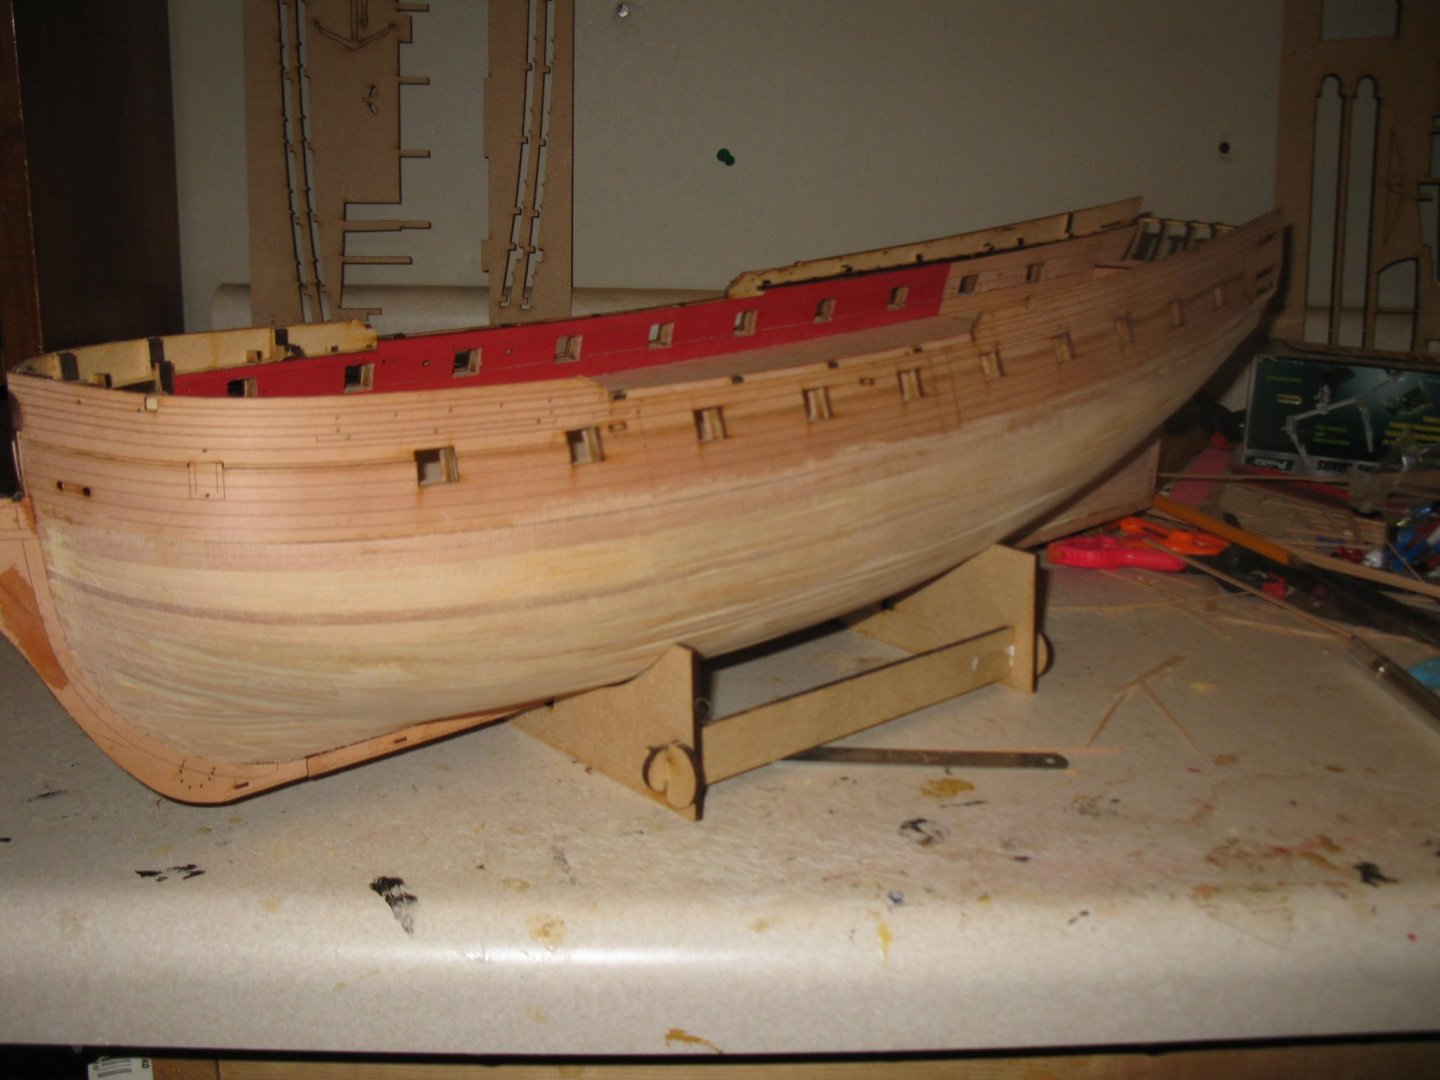
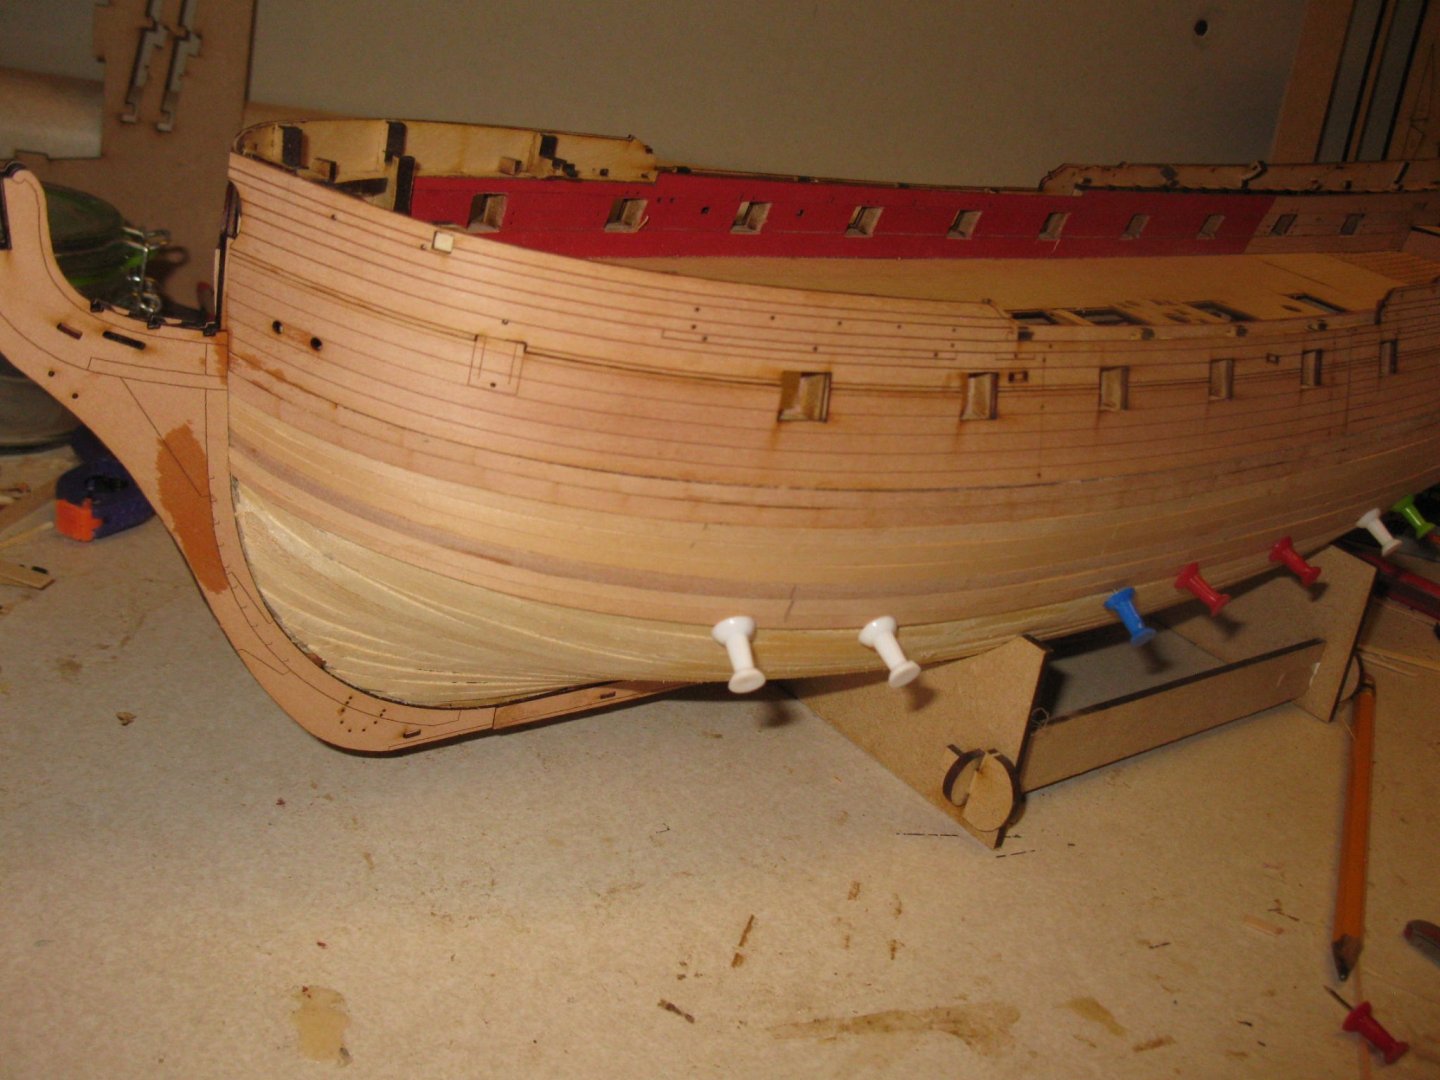
2nd planking is completed and about 95 % of the sanding and smoothing done. Have used some filler as can be seen by the color variation in the pictures below. But overall the hull is smooth. I'm not entirely satisfied with this planking job but then I'm never really satisfied. I'm terrible at planking even though I've done dozens of ships. Fortunately most of this hull is painted and that will cover up lots of things. Now on to the wales.

-
Bob Yes. That's the beauty of this machine. It allows you to build without waiting for wood to soak or dry. At this point it is working super well with anything less than 2mm thick. Haven't tired anything thicker. Plus it can only handle things about 3 inches wide. The trick with this unit is to make multiple passes through the unit. If you try to bend too much too quickly the wood will break. i've had great success with starting the unit set so that the wood passes through without having to turn the handle. Then I gradually turn down the four corner screws. One pass takes just seconds. In general depending on how much of a bend you need. 10-20 pass throughs can give you a 90 degree bend. I also haven't tried two dimensions although my thought would be that it would be a lot harder to do but maybe not impossible.
-
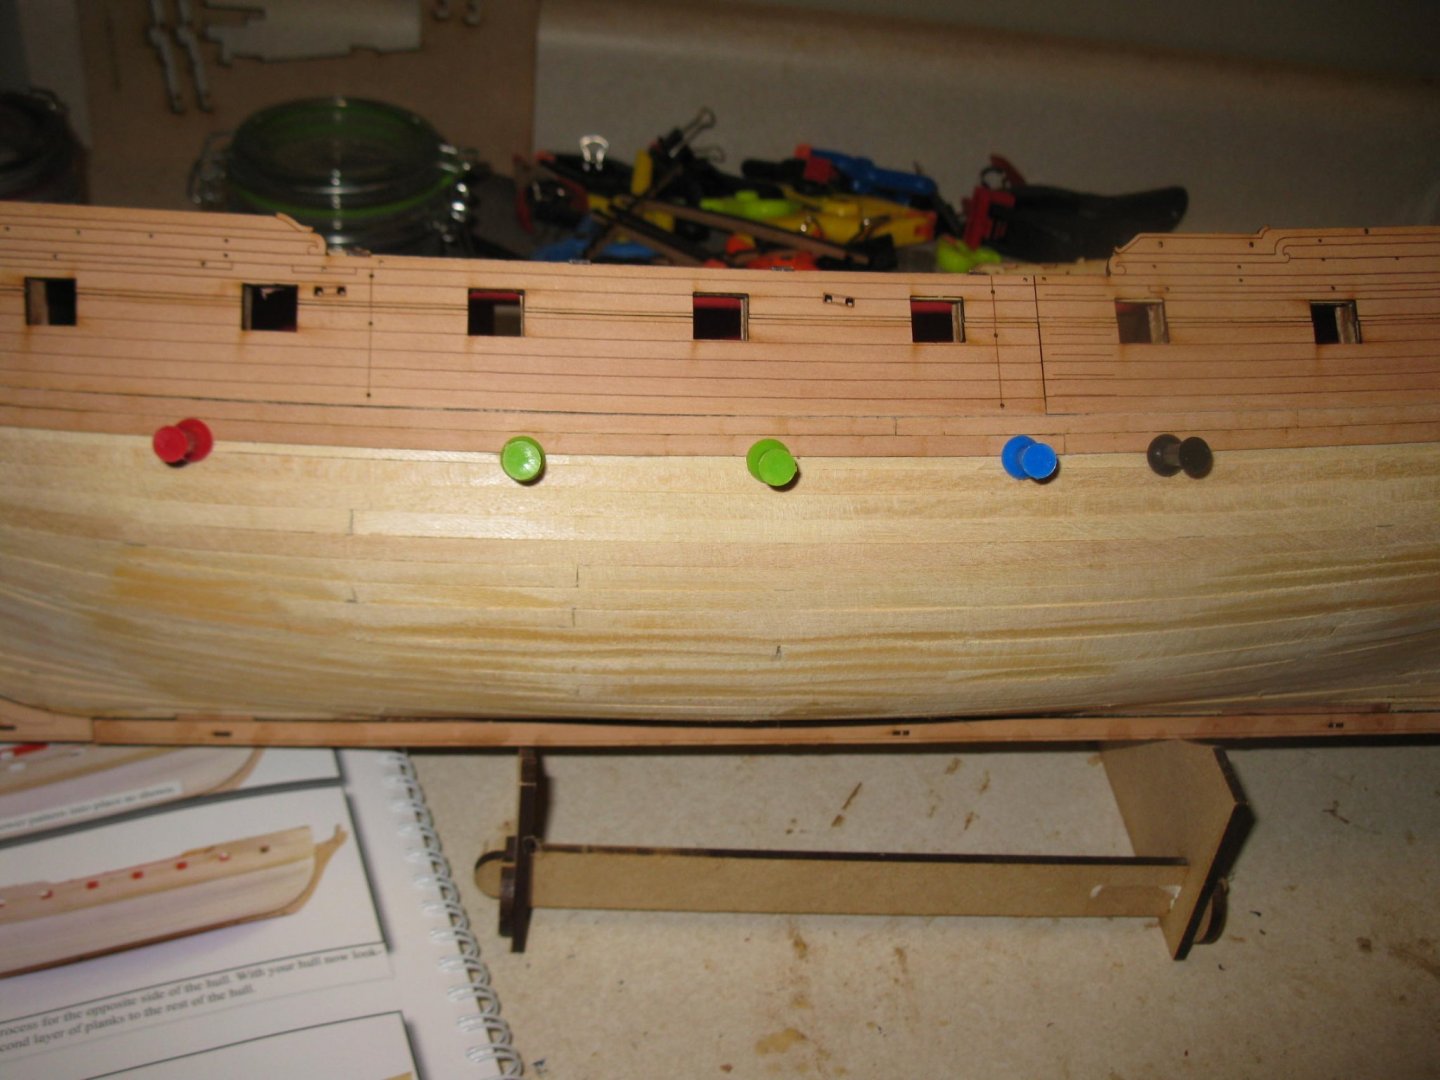
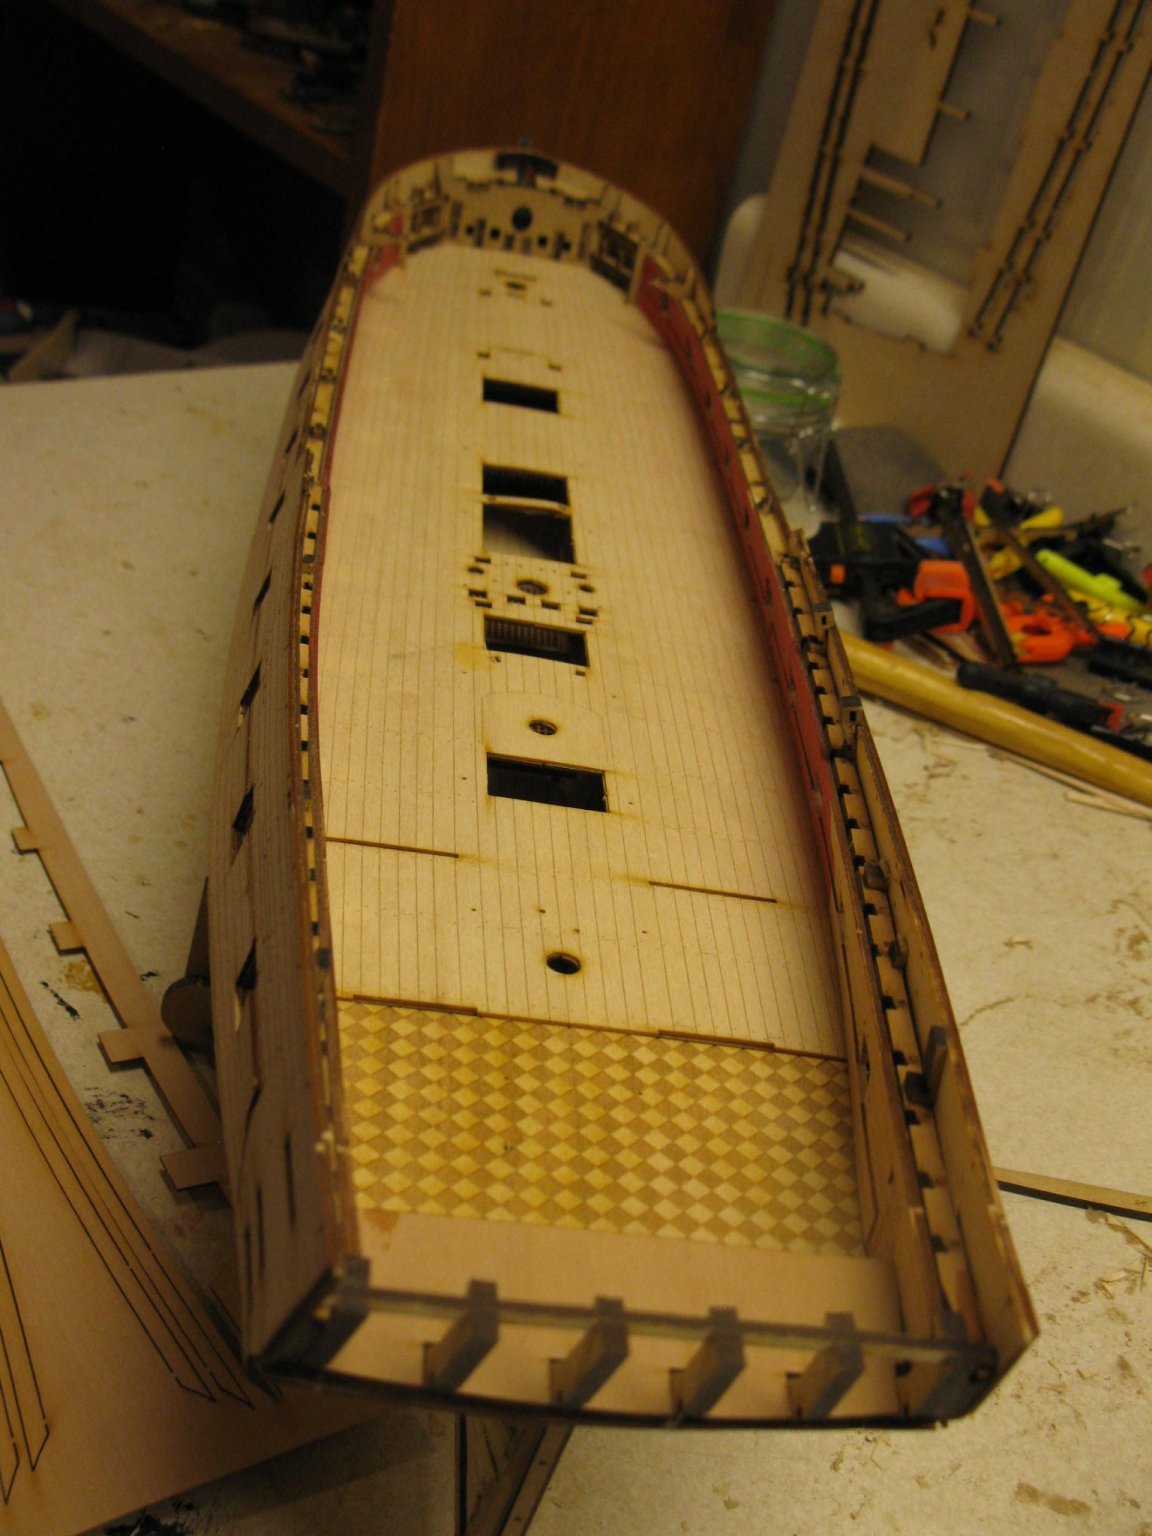
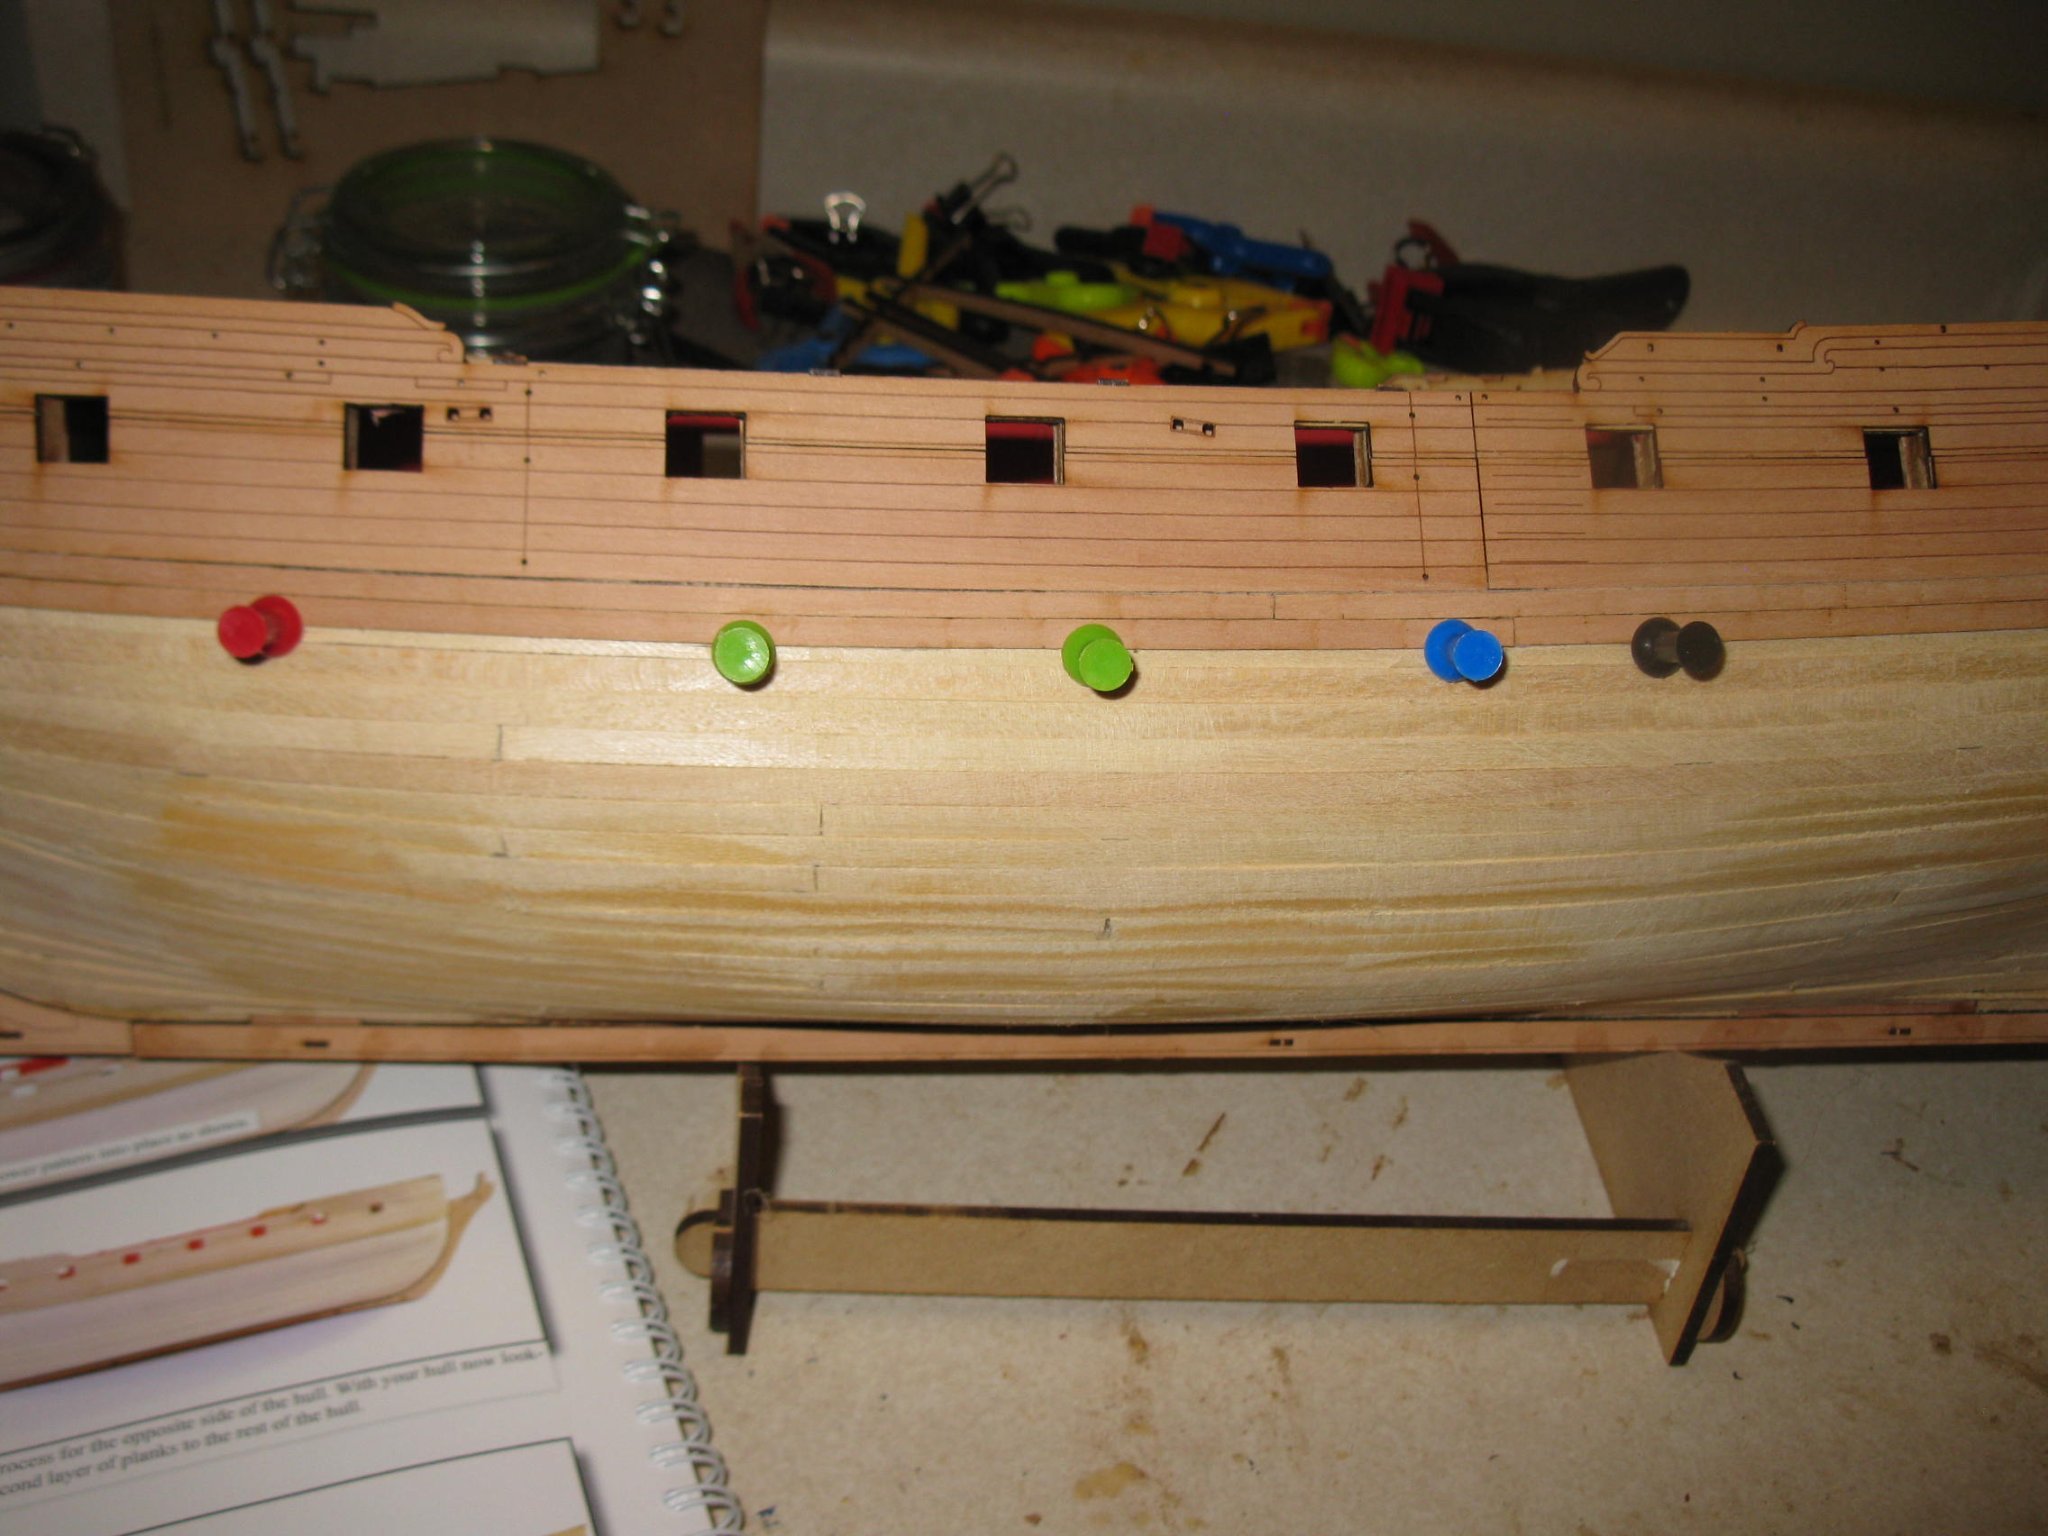
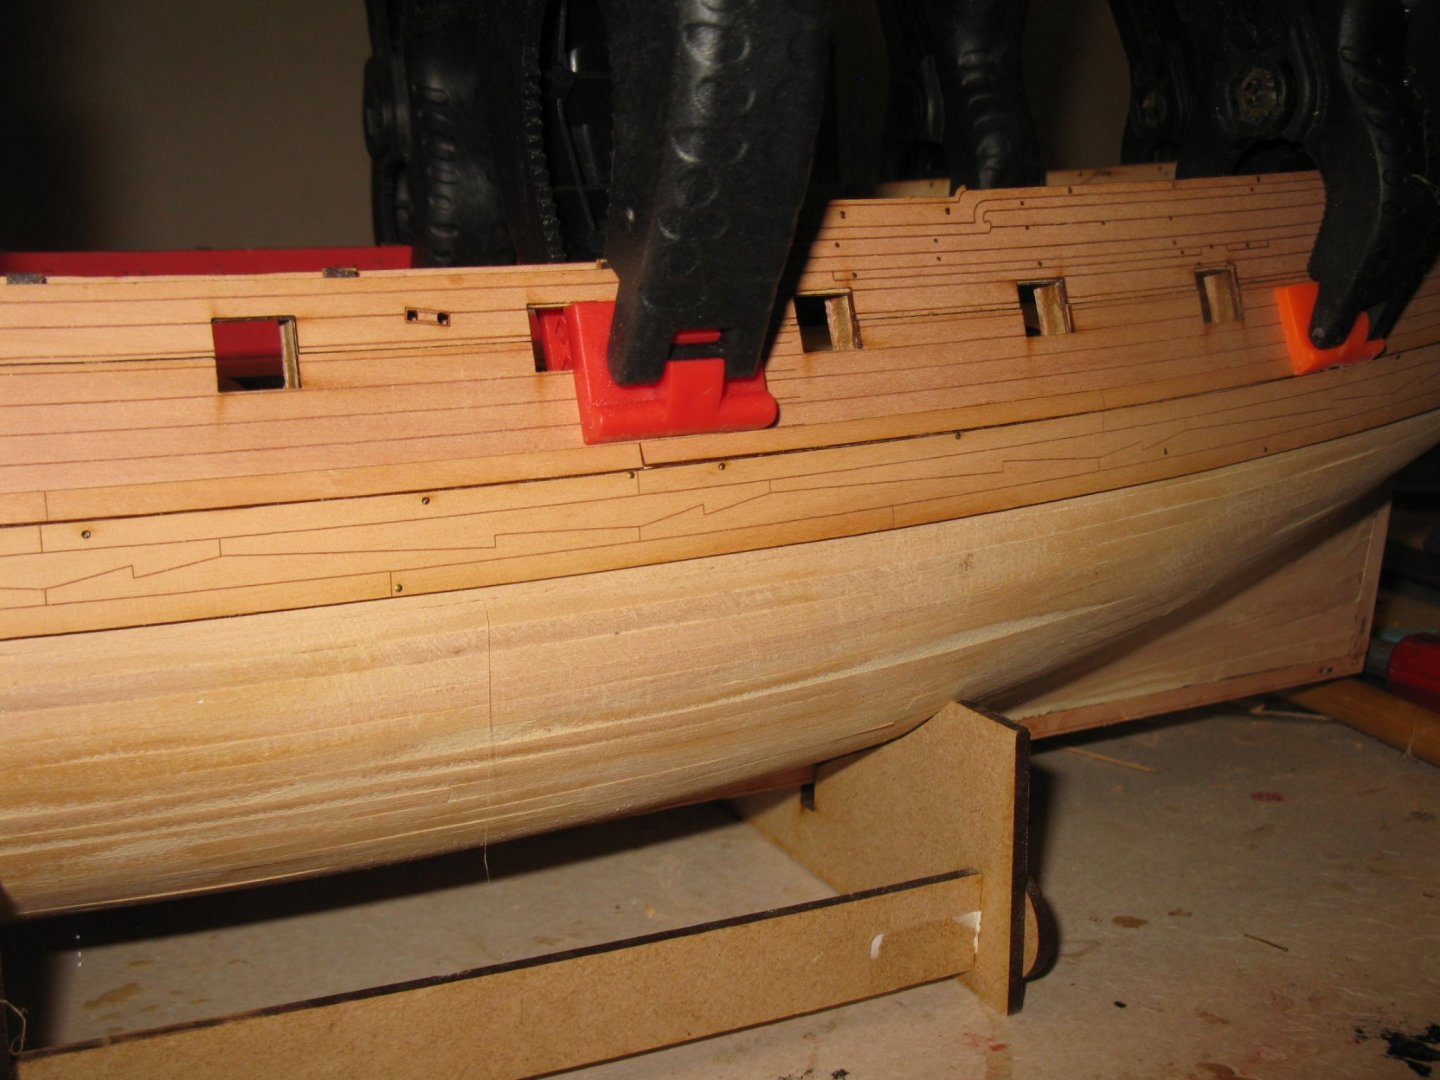
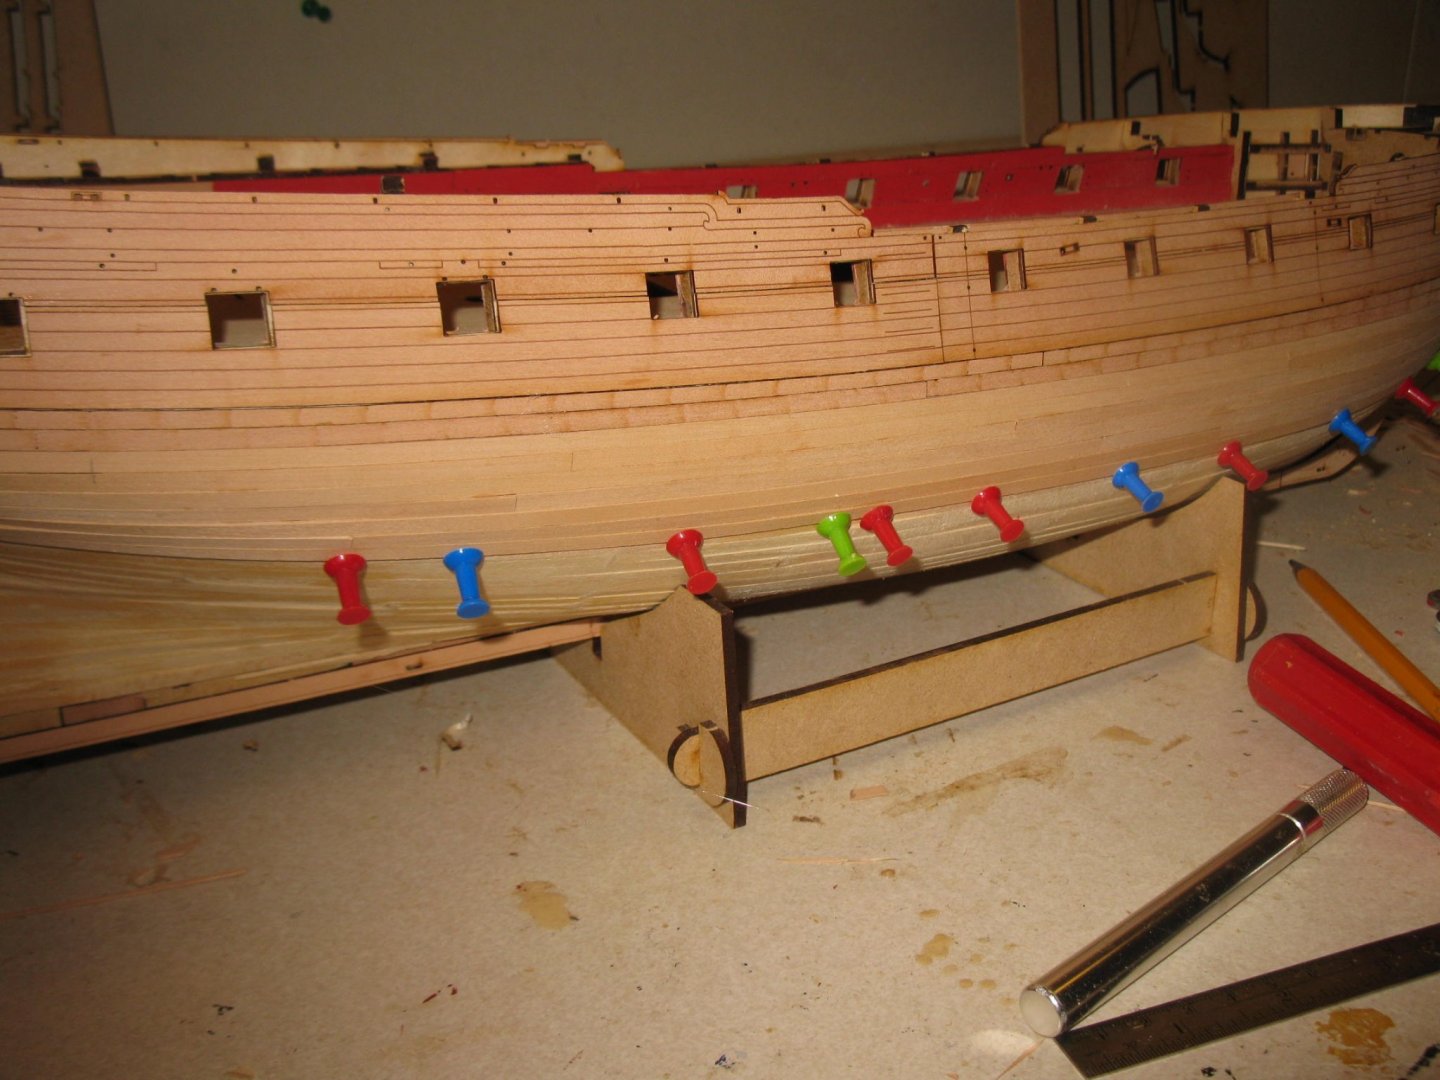
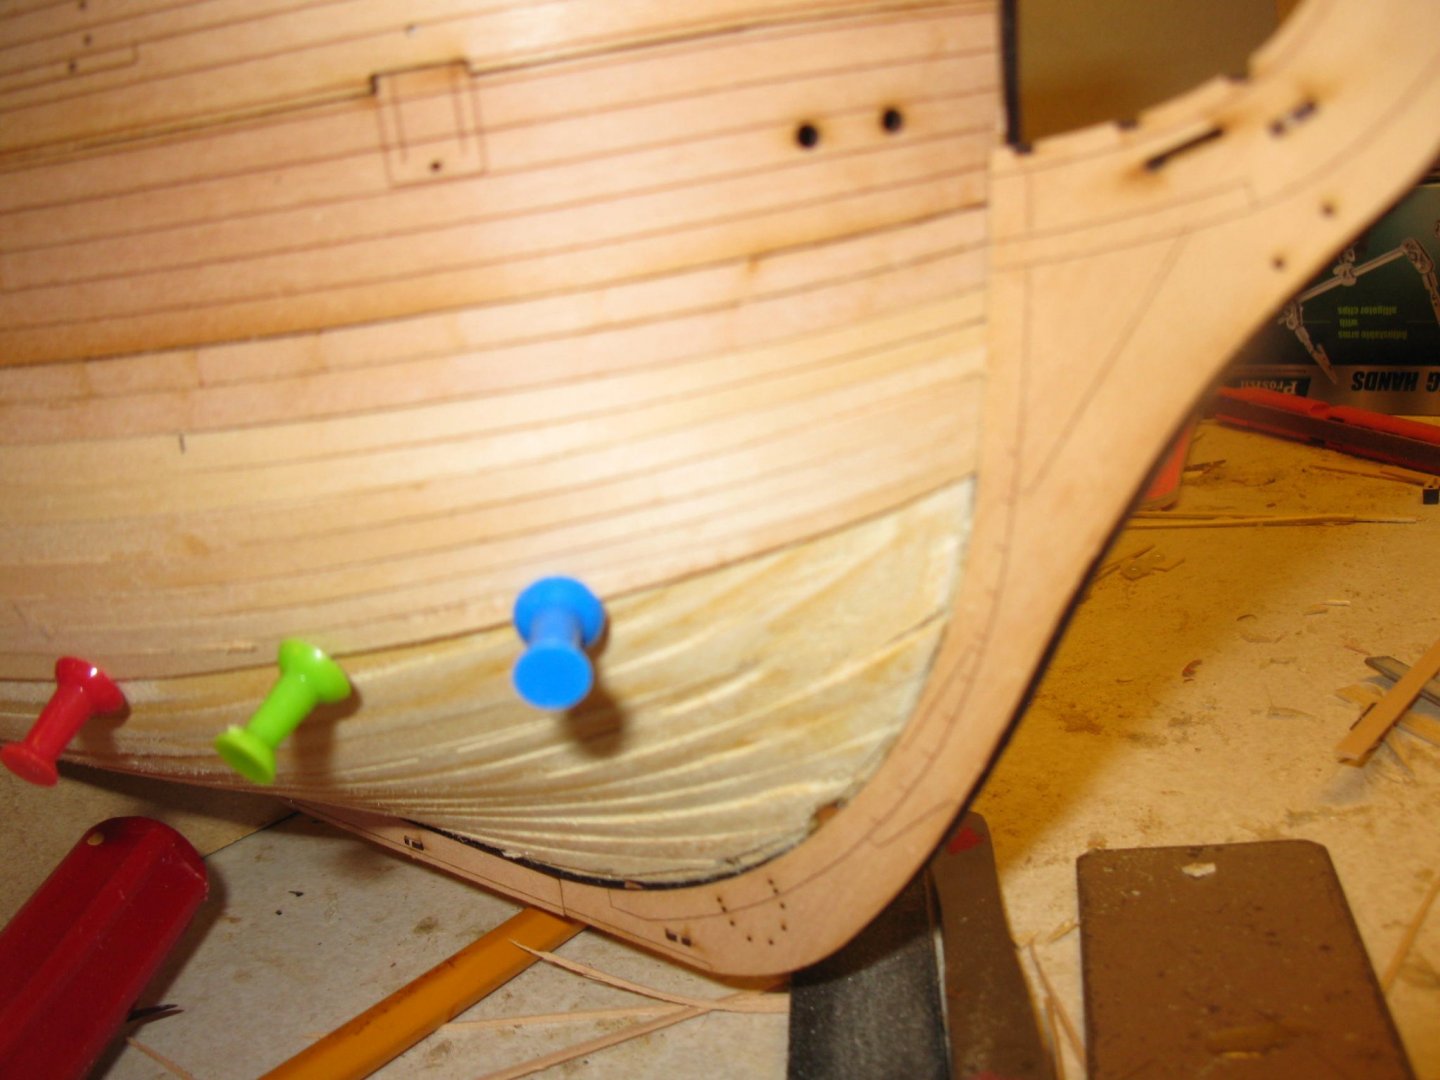
Just about 1/2 done with the 2nd planking. I'm trying something different this time just like Jim suggested. I'm cutting the planks in several, staggered lengths. This really makes it easier to plank a hull since you don't have to deal with the long sections of wood.
-
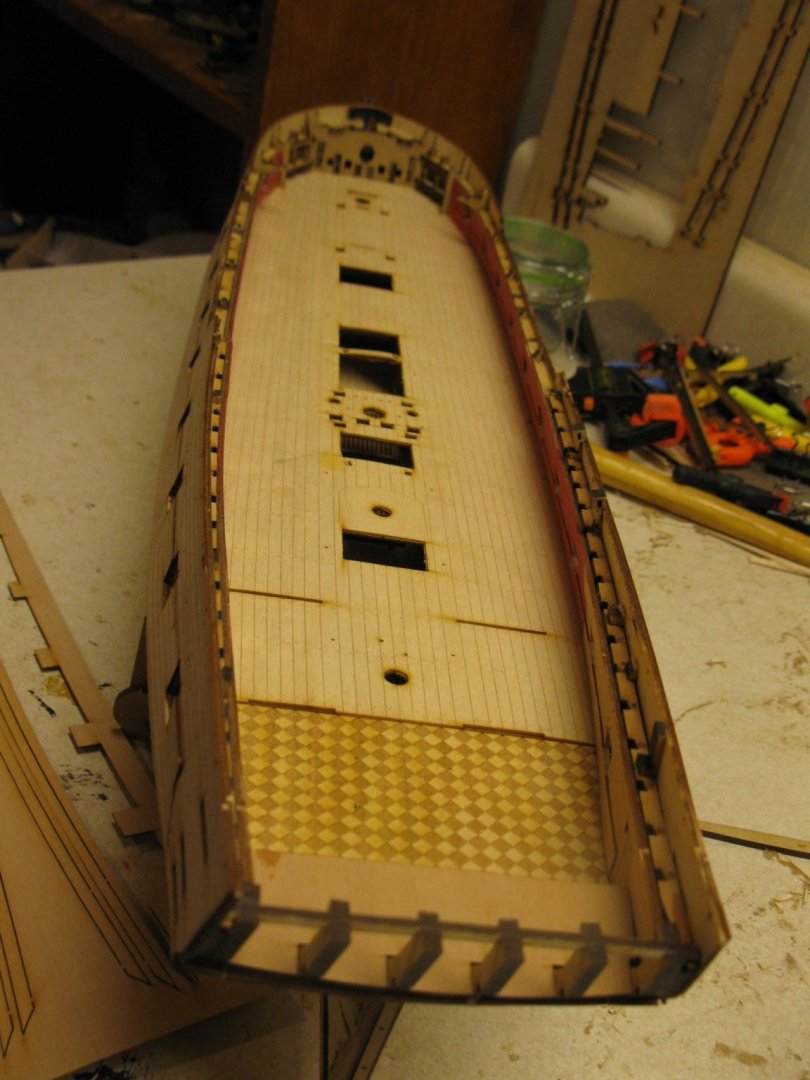
I am now starting on the 2nd planking. Both upper and lower outer patterns are applied as well as the 2 rows of plank patterns as seen in the last picture. The ship is really taking shape now. I am guessing I will spend most of this weekend on the 2nd planking.