myxyzptlyk2003
-
Posts
169 -
Joined
-
Last visited
Content Type
Profiles
Forums
Gallery
Events
Everything posted by myxyzptlyk2003
-
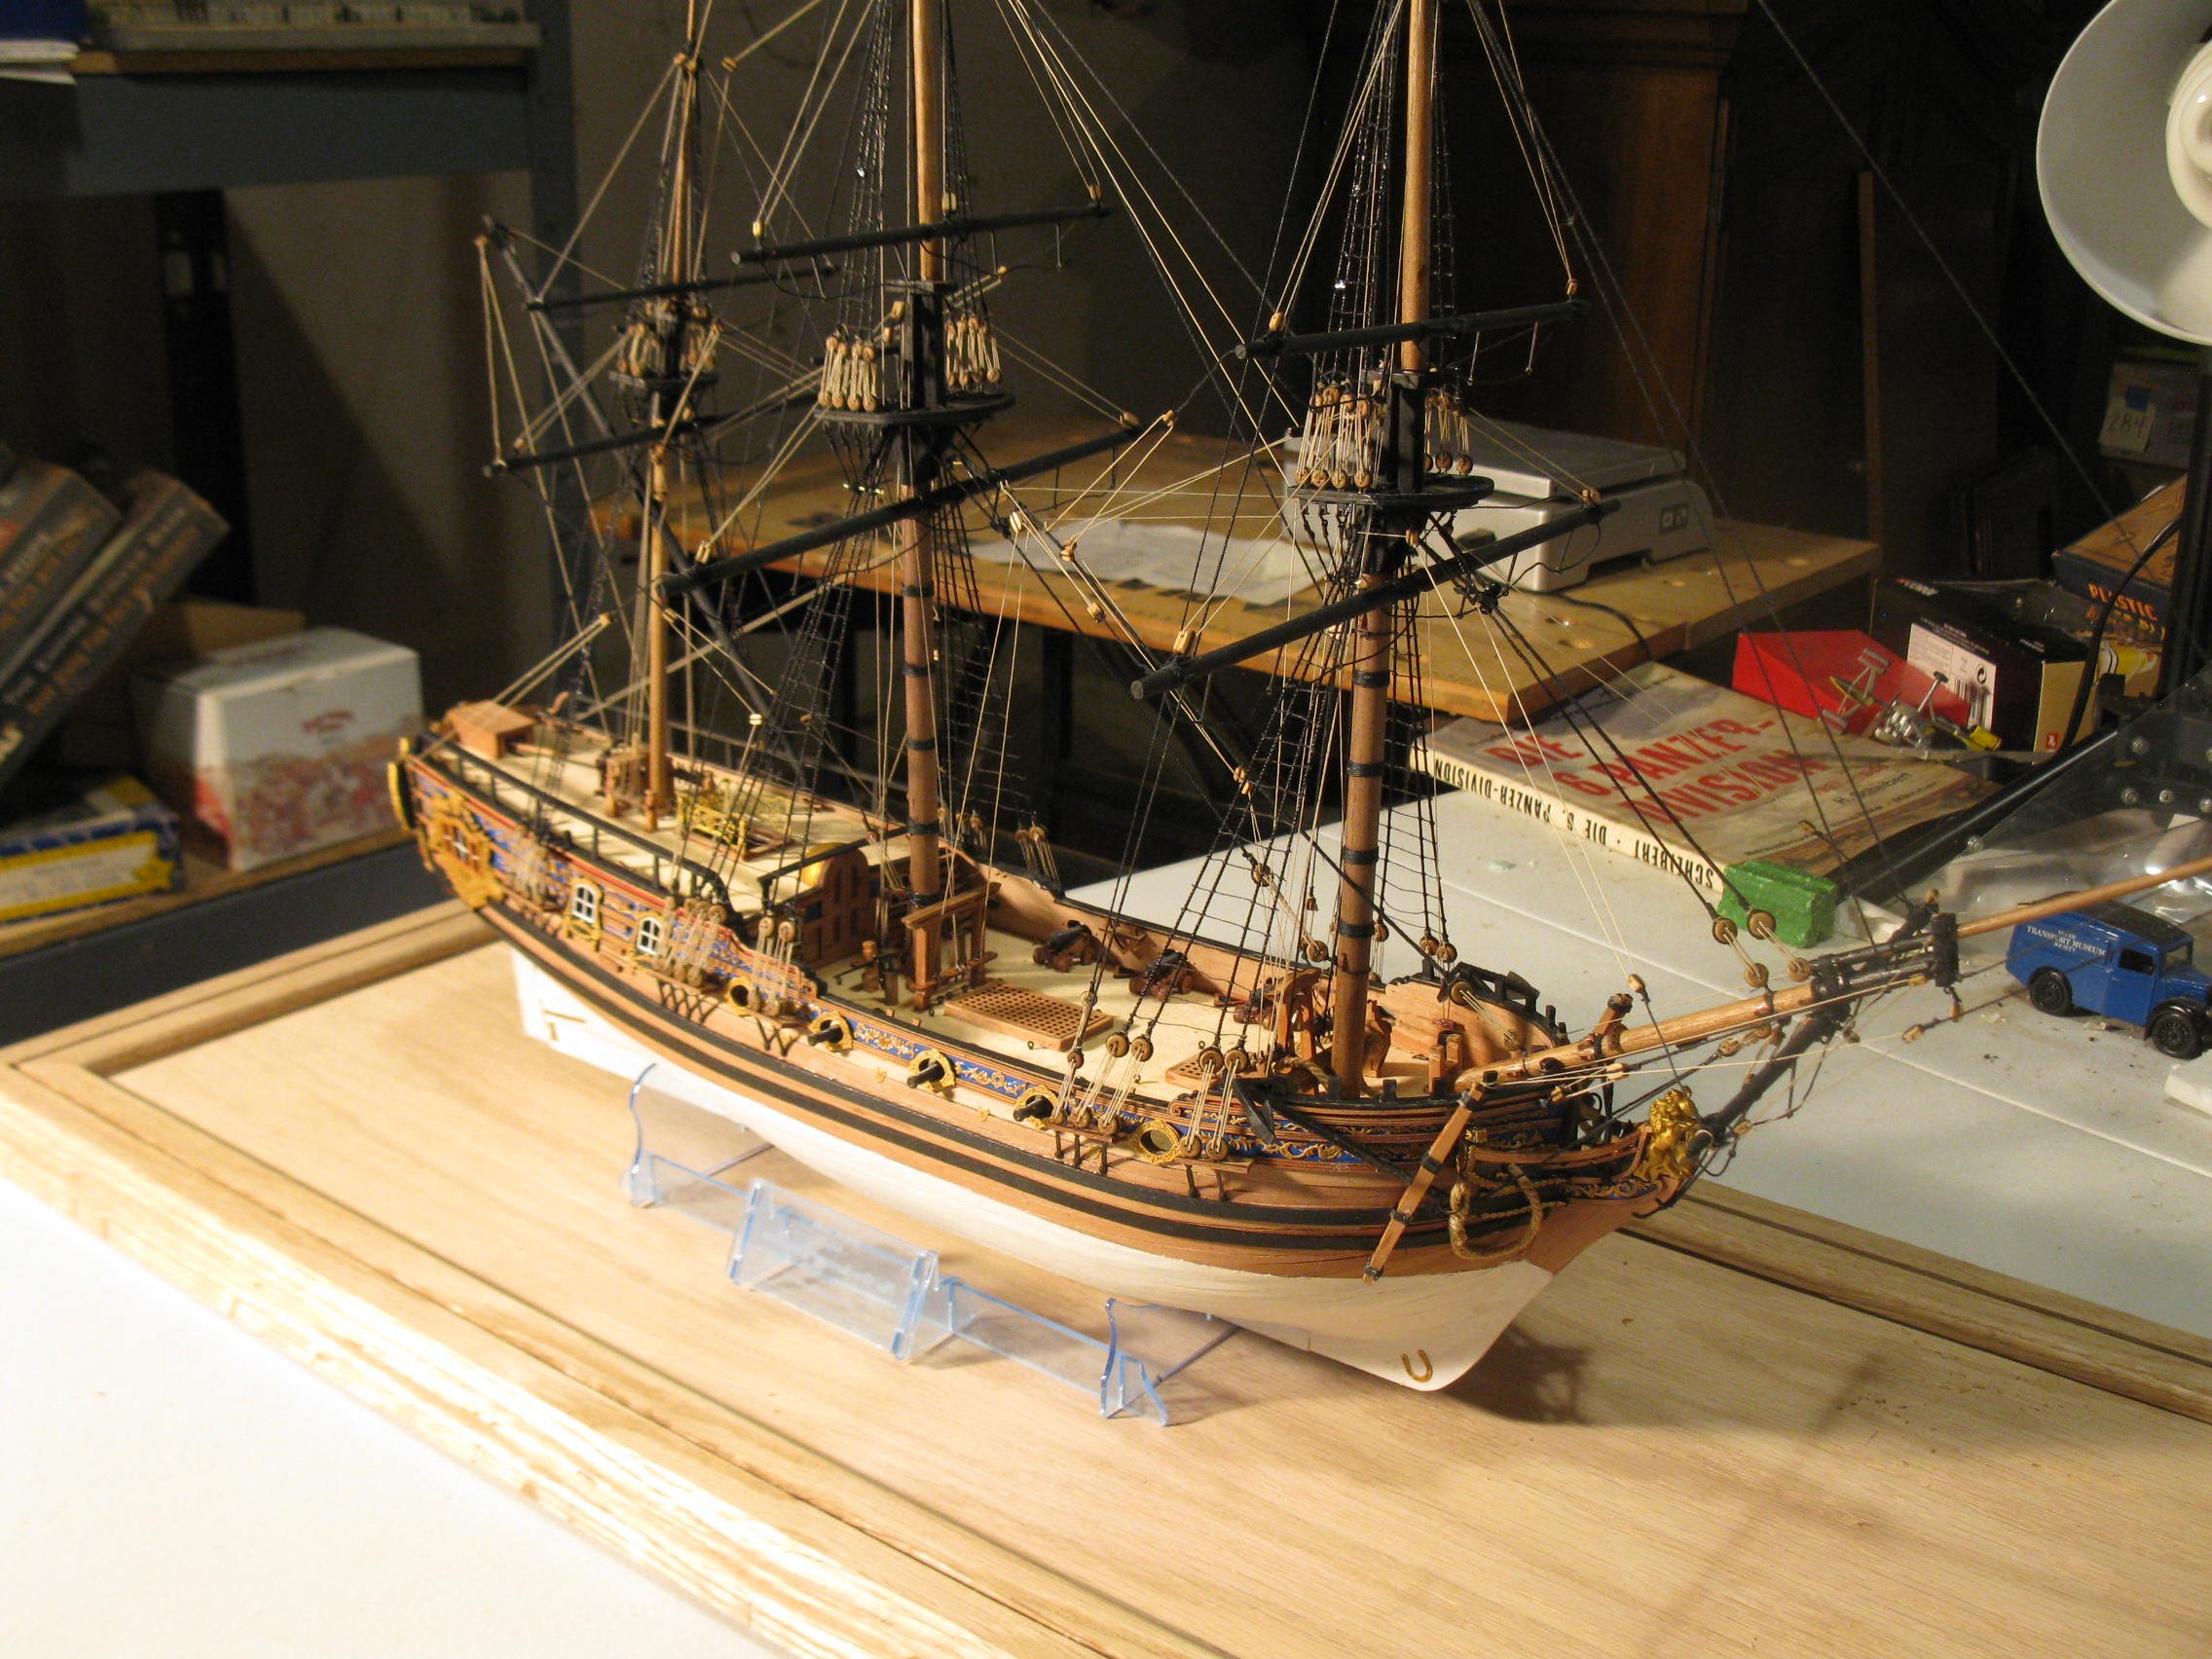
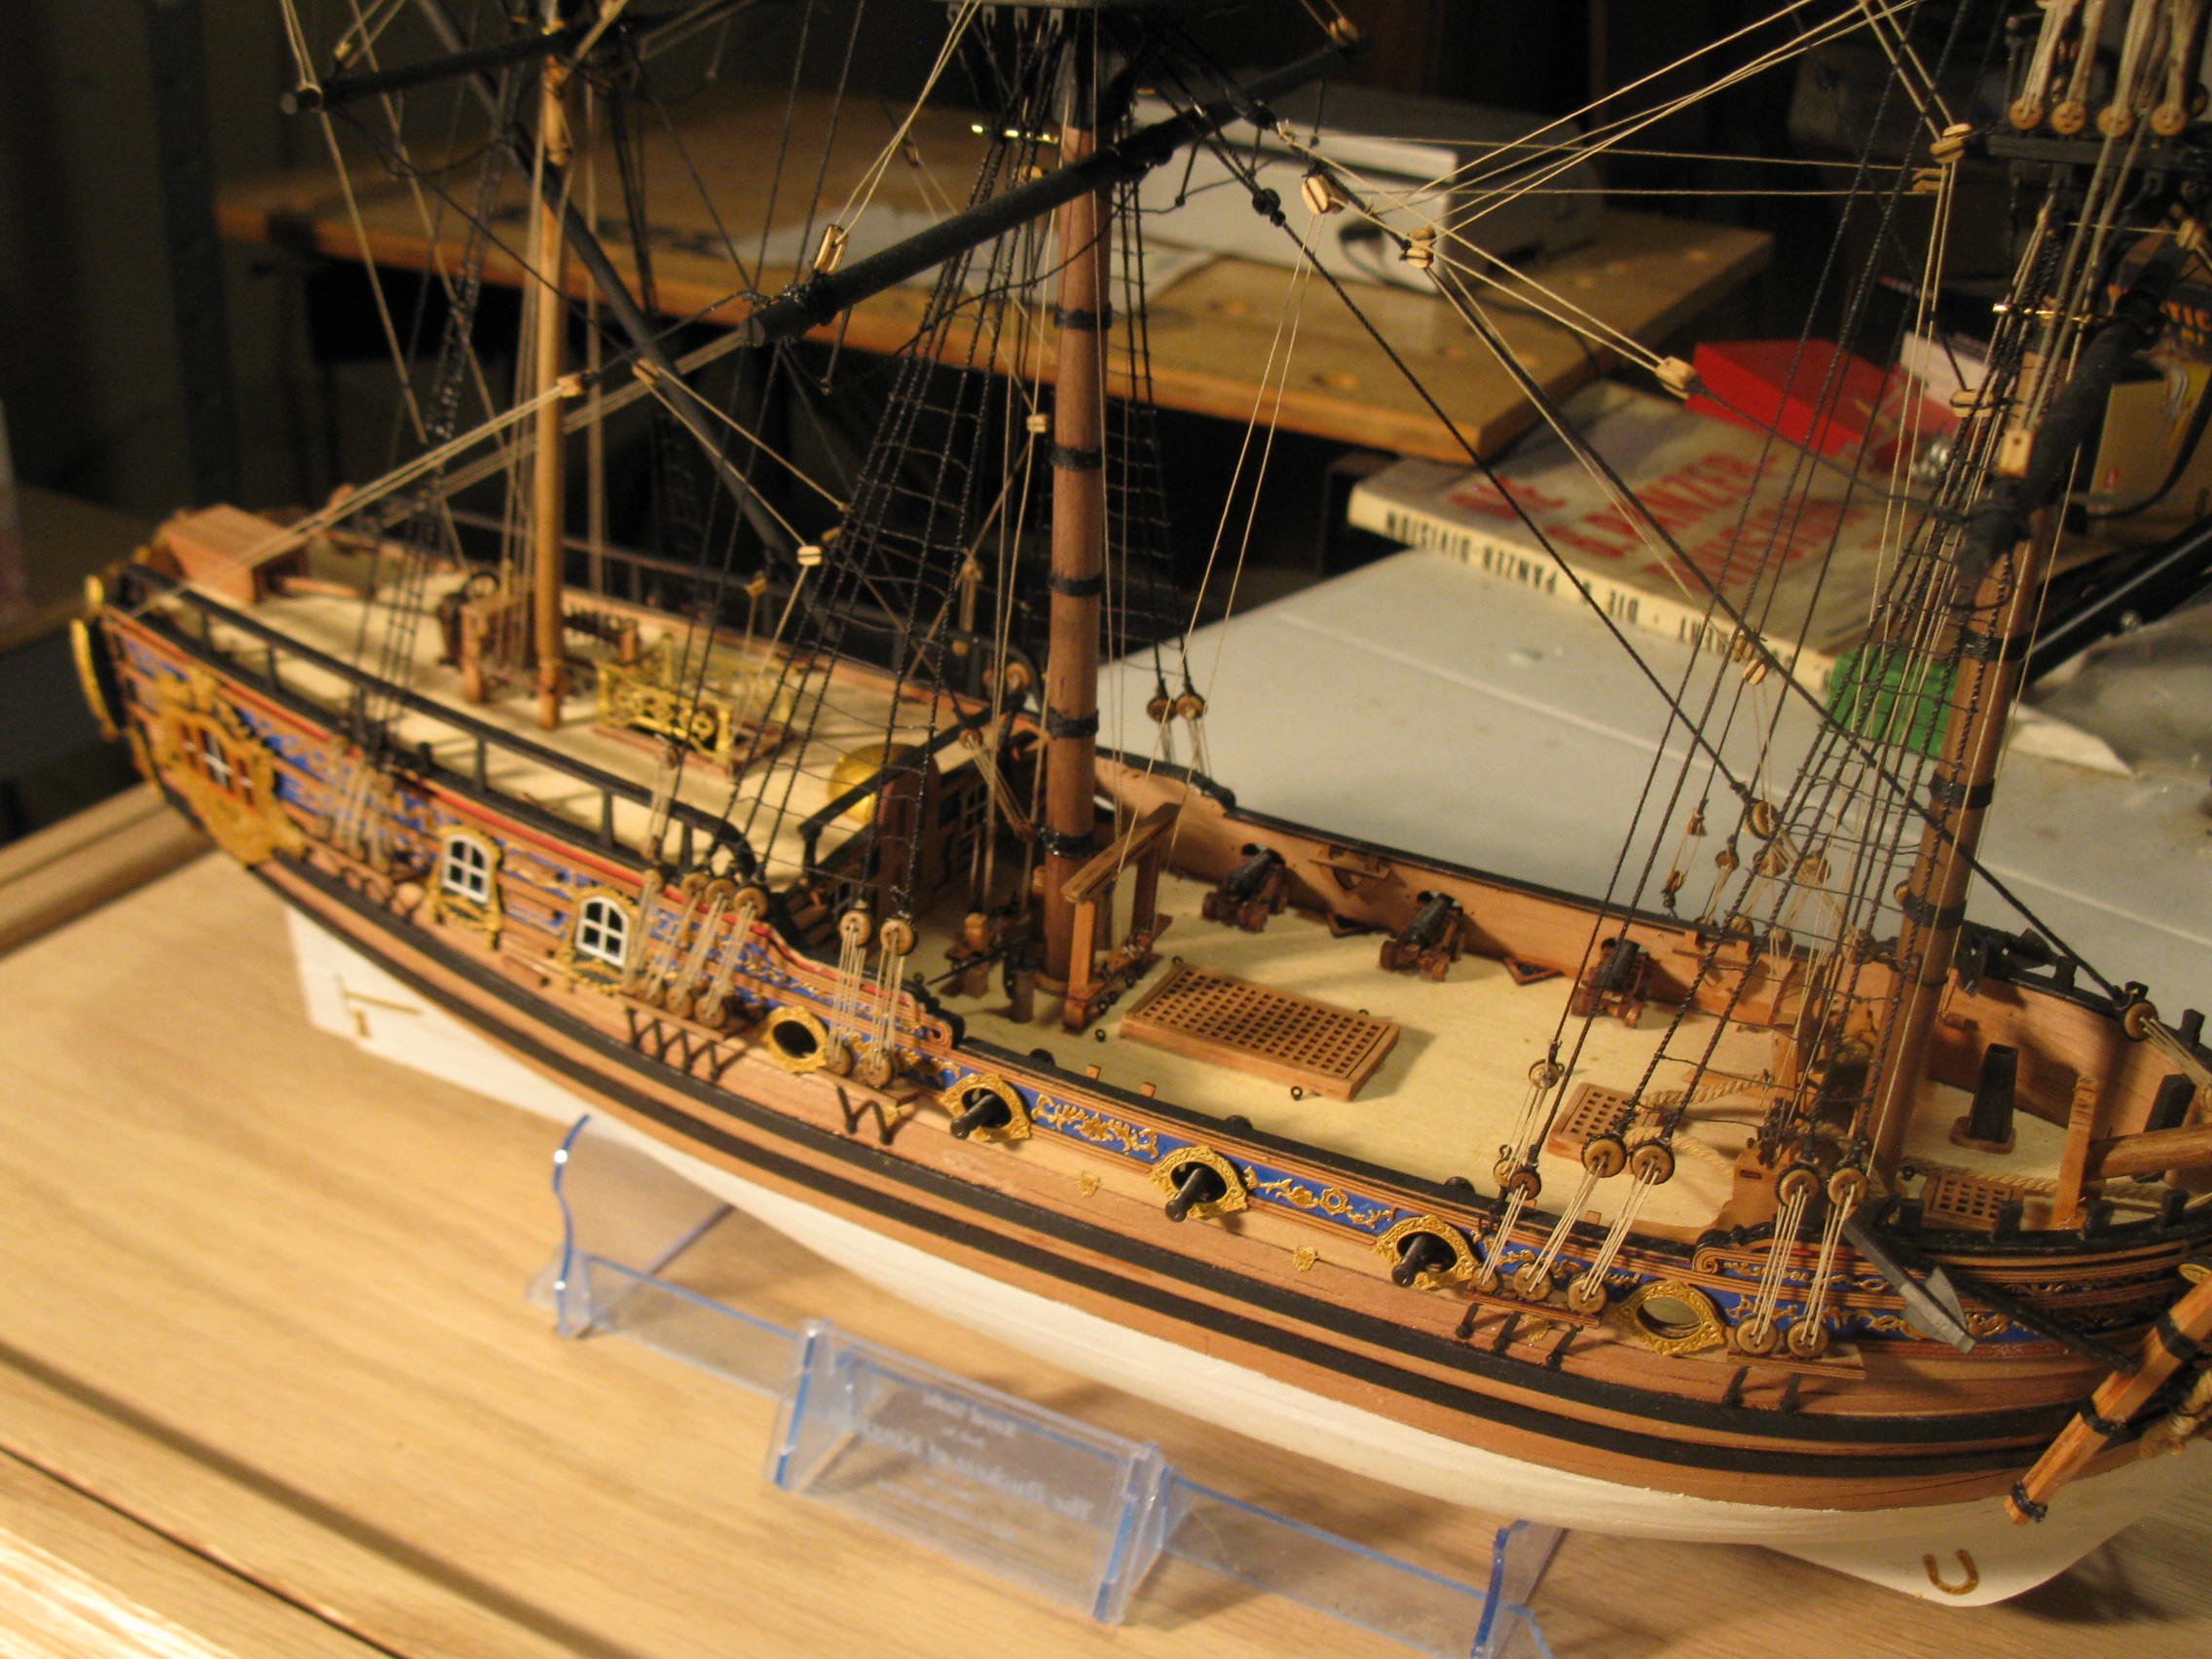
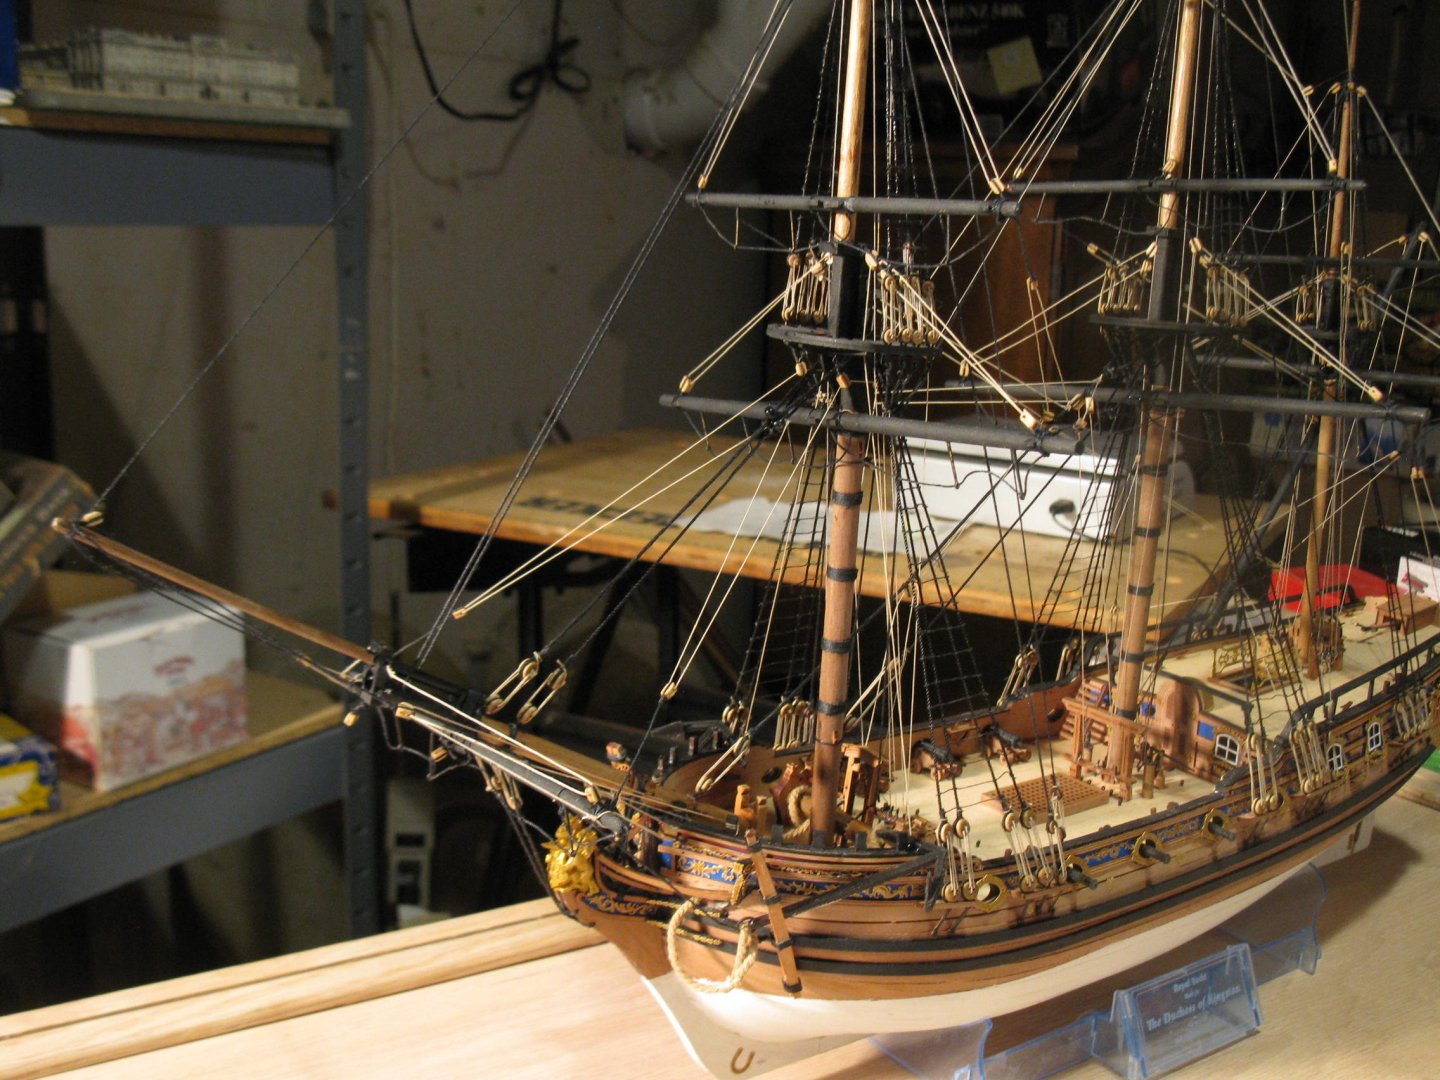
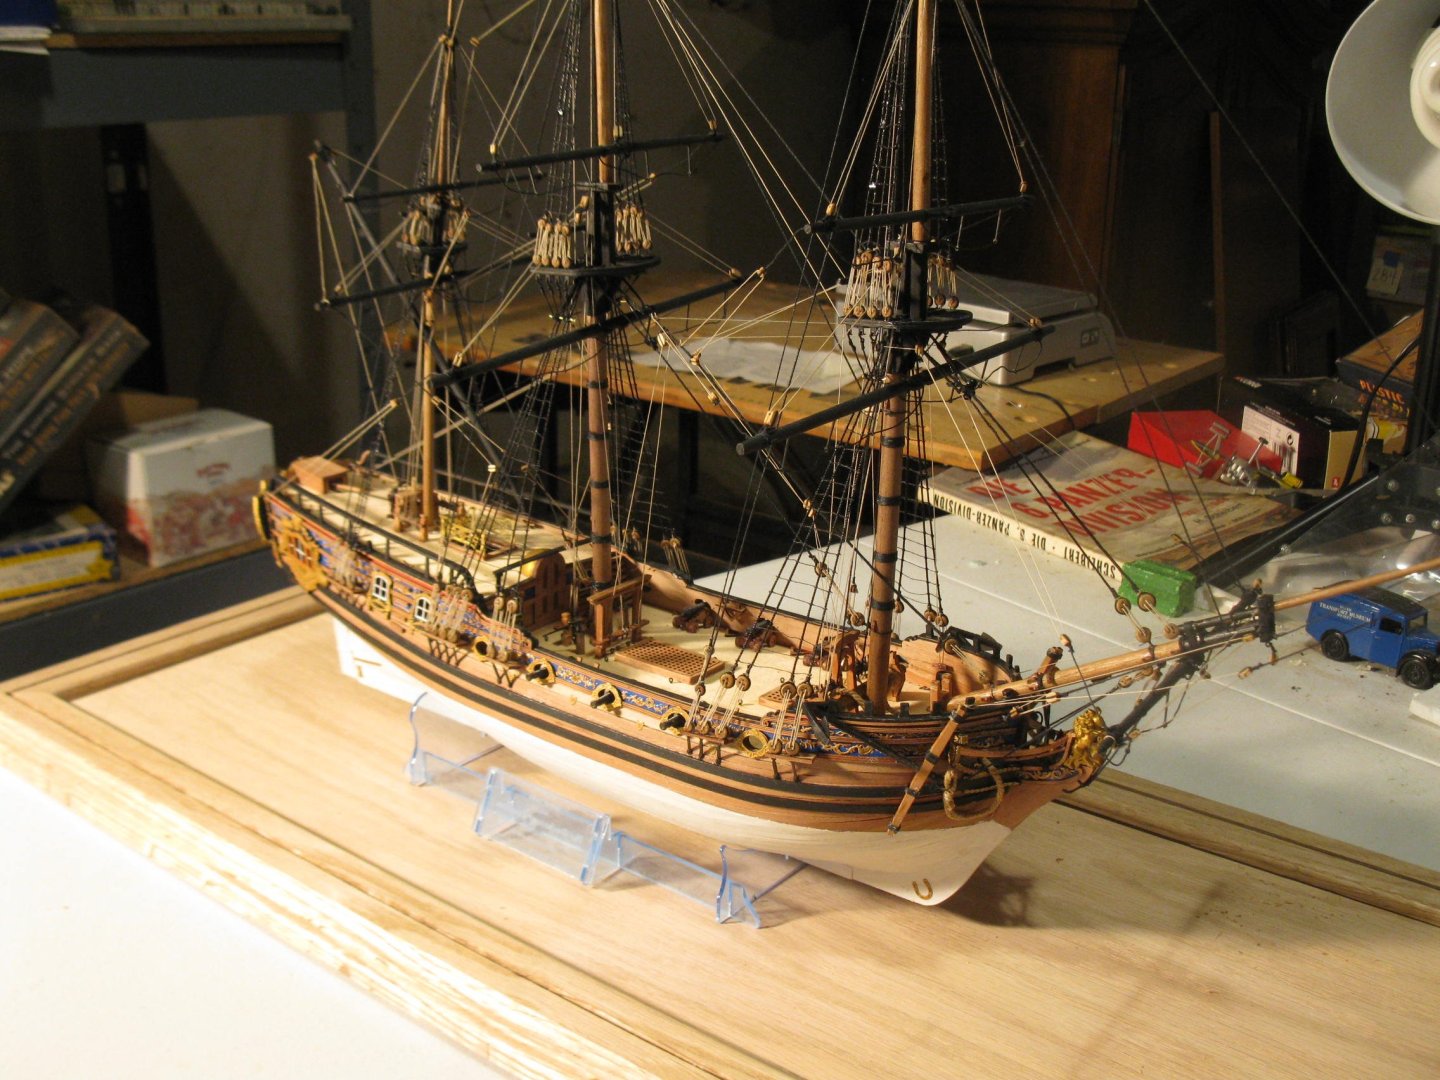
Here are a few pictures of my finished model on the as yet unstained oak display case base. As per Vanguard Models usual high standard, the kit was a pleasure to put together and resulted in a beautiful model. In fact, my wife stated she definitely wants this model displayed in the house! (That is high praise!!) Now, on to Harpy.


-
- 9
-

-
- Duchess of Kingston
- Vanguard Models
- (and 1 more)
-
How much would an unbuilt Airfix St louis kit be worth?
myxyzptlyk2003 replied to shipman's topic in Plastic model kits
There is one listed on ebay right now (15Dec24 @0400). It's an auction that ends in 12 hours though. At the present price with shipping from the UK you are going to pay around $110 US. -
Where is a good place to buy from? - moved by moderator
myxyzptlyk2003 replied to wdretired's topic in Wood ship model kits
Also, while a number of the manufacturers/dealers are located in Europe, they all still have extremely fast delivery times. My UK purchases have always arrived within a week. -
Where is a good place to buy from? - moved by moderator
myxyzptlyk2003 replied to wdretired's topic in Wood ship model kits
On the right of the forum page is a list of manufacturers/dealers. I have dealt with Vanguard, A. Latina, Maris Stella, Age of Sail, CAF. For those not on the list, Caldercraft, Cornwall are both top notch. Honestly, there are so many good places to buy from. Find the model you are interested in from whatever of the above sources and buy it. You will not be disappointed -
I plan on buying the XL version as soon as it is listed.
-
Personally, I will always purchase these if they are not included in the kits. I have never had any luck with building the kit supplied, wooden boats. I have retrofitted several older ships with these and they look fantastic.
-
Excellent choice. Good luck. You should have no problem producing a beautiful model. I am building the same one and am at the stage of rigging the ratlines. My wife who is not a big ship model fan saw my project and was really impressed to the point she said that it must be displayed in our living room!!!
- 207 replies
-
- 8
-

-
-

-
- vanguard models
- Duchess of Kingston
- (and 1 more)
-
Which Soleil Royal, Sergal or Artesania Latina?
myxyzptlyk2003 replied to Ryk's topic in Wood ship model kits
Also in the past I had received the Sergal Sovereign of the Seas. To my mind, there is no comparison in the quality of that kit and the AL Soleil Royal. IMO, the AL kit is vastly superior to a Sergal kit. -
Which Soleil Royal, Sergal or Artesania Latina?
myxyzptlyk2003 replied to Ryk's topic in Wood ship model kits
I am in the midst of building the AL Soleil Royal. (see the build log) Having built many kits I can say this is one of the better ones that I have encountered. Castings are very nice and crisp. And while there are literally several thousands of pictures in the digital manual, I still would have preferred the usual plan sheets particularly when it will come to the rigging. Another issue. Some of the blocks and deadeyes are laser cut on plywood. They are not the usual ones supplied in almost all kinds of kits and I anticipate replacing them. -
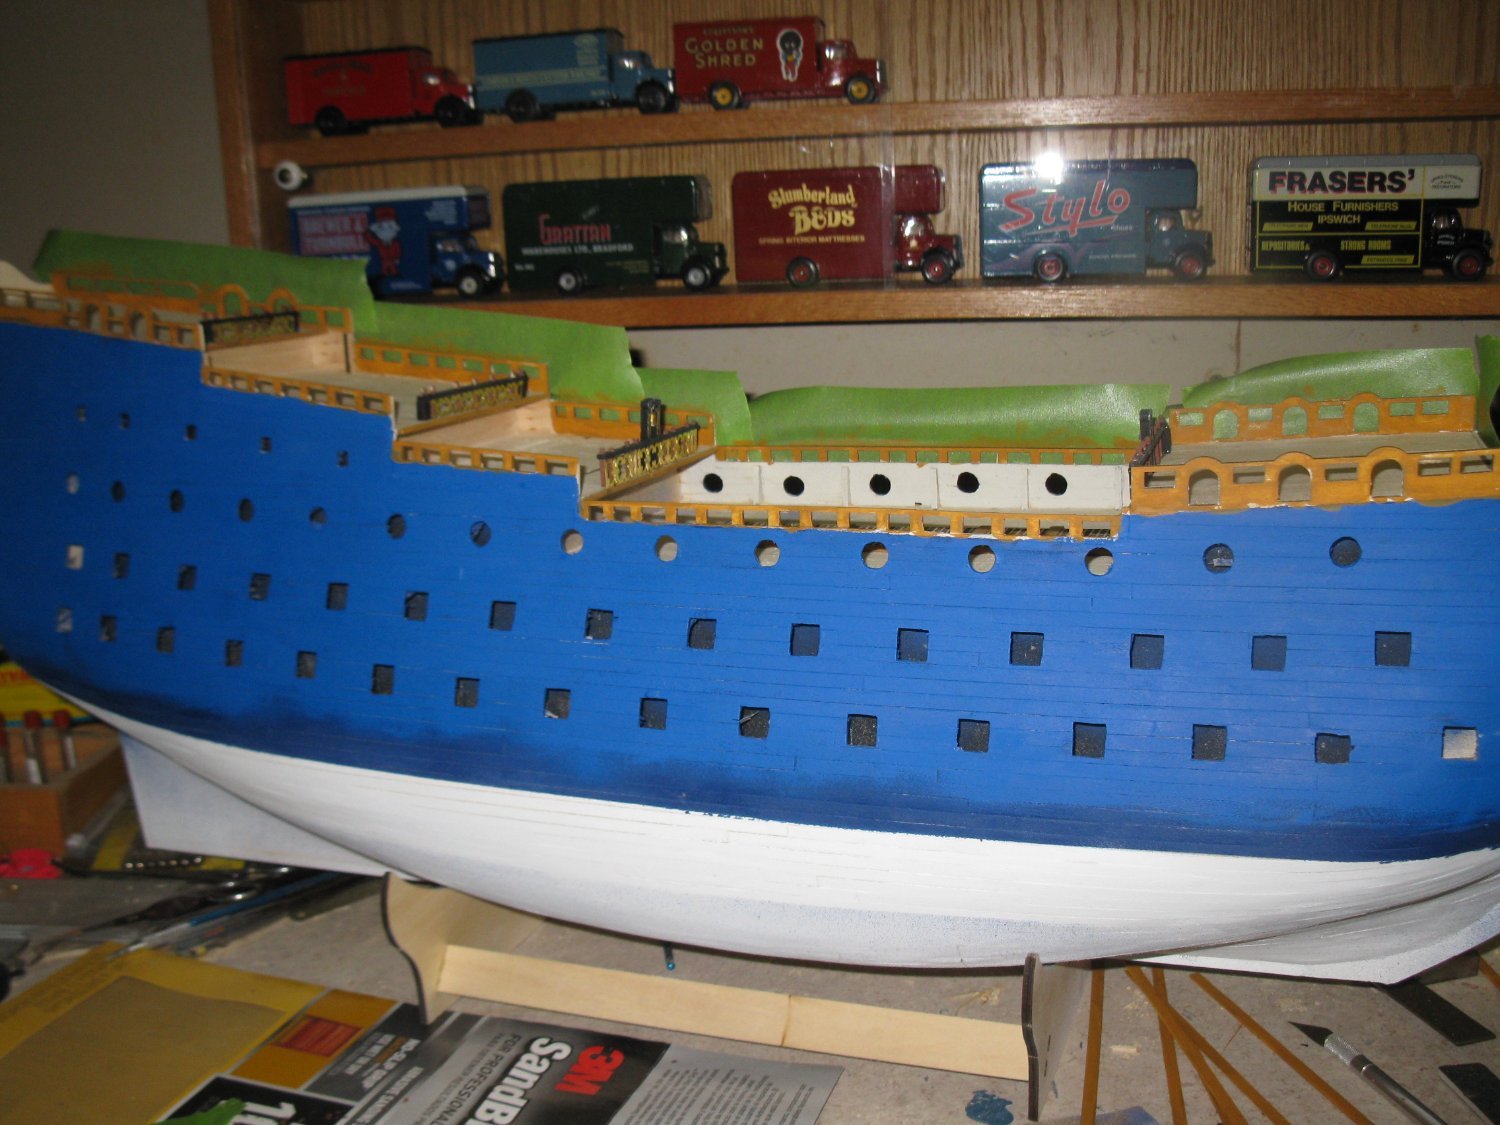
As the weather got better here in Wisconsin I have had lots of outdoor chores to deal with. During this time I've had lots of time to think about this project. I have come to the conclusion that I need to shelve this project for the time being. At 72years old, I may not have the time to devote to correcting and adjusting to the issues with this kit. And there are too many newer kits to build. It is very obvious that Mamoli updated this kit at some point but failed to update their directions/plans I have alluded the issue with the plywood sides of which there is no mention in the instructions. Furthermore, the instructions talk about putting the first strips on in a specific place in order to correctly place the metal cannon ports. Well, there are no metal cannon ports even though the plans show them. The "newer" plywood pieces have the cannon port positions imprinted on the pieces with some cut out and others just printed. I believe the plan was to have the imprinted ports only be covered with the metal doors and not open., But again, no mention in the plans. So rather than struggle with this kit I will shelve it and move on to one of the Vanguard kits I have on the shelf. Also will continue to work on my AL Soleil Royal. (lot of gunports to line!!!!)
-
Nice to see that MS now includes a stern post on which to attach the 3d stern piece. Several years ago when I purchased this kit that was not present. Turned out there was no way to attach that 3d printed piece to the model. As my scratch building skills are almost non-existent I had to shelf the project.
-
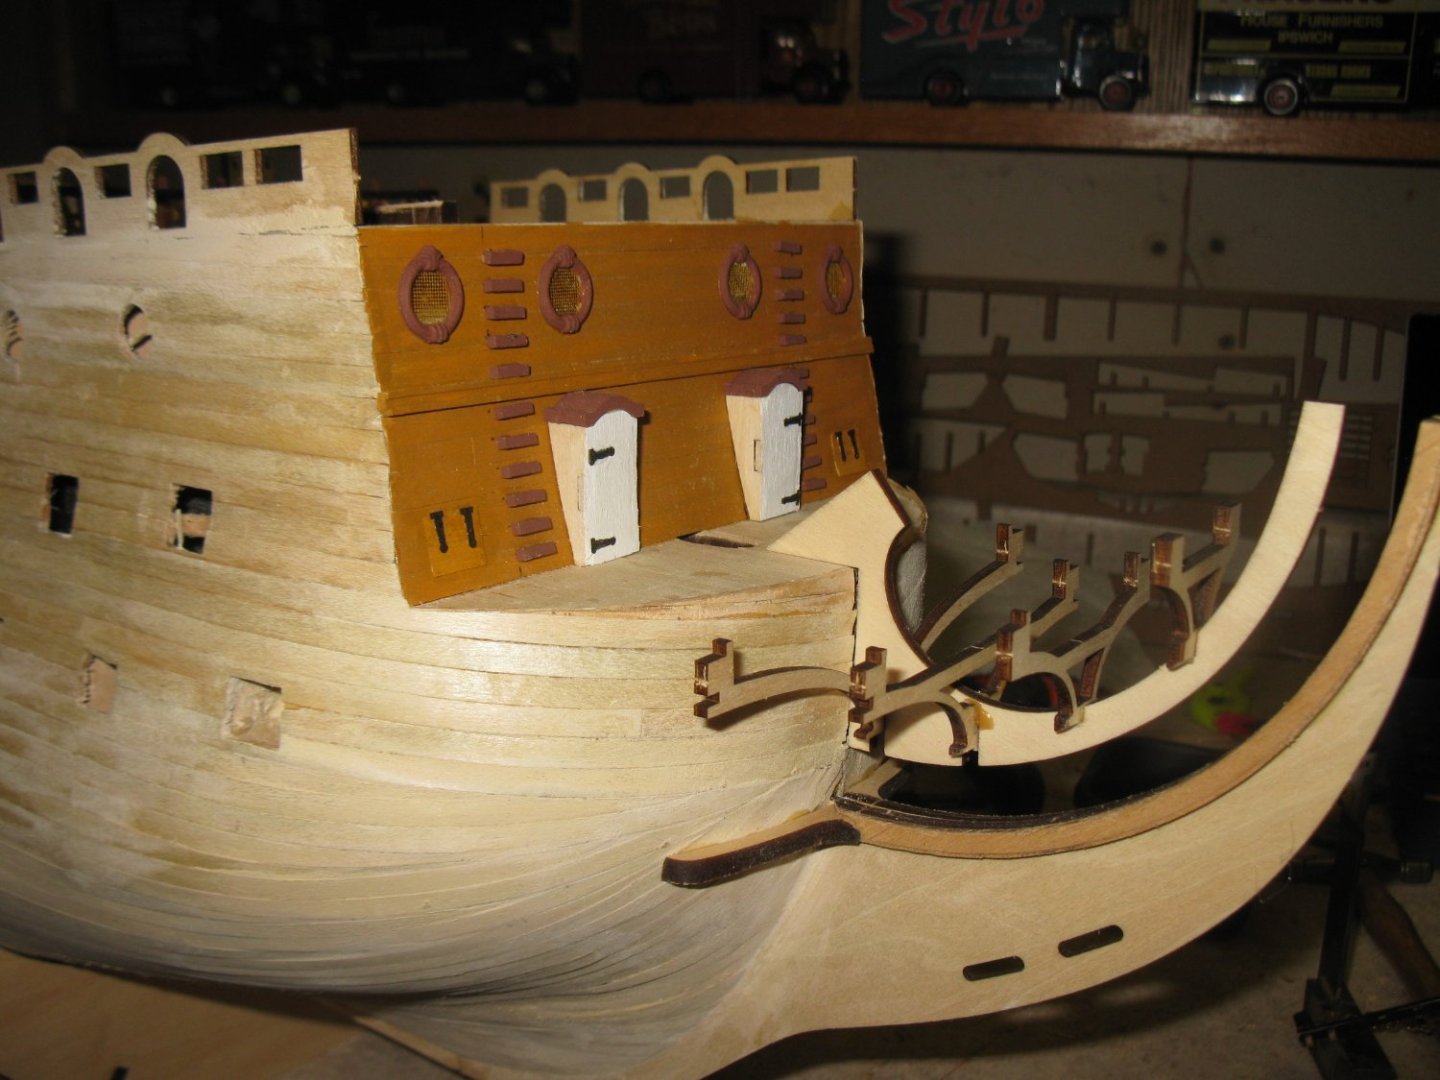
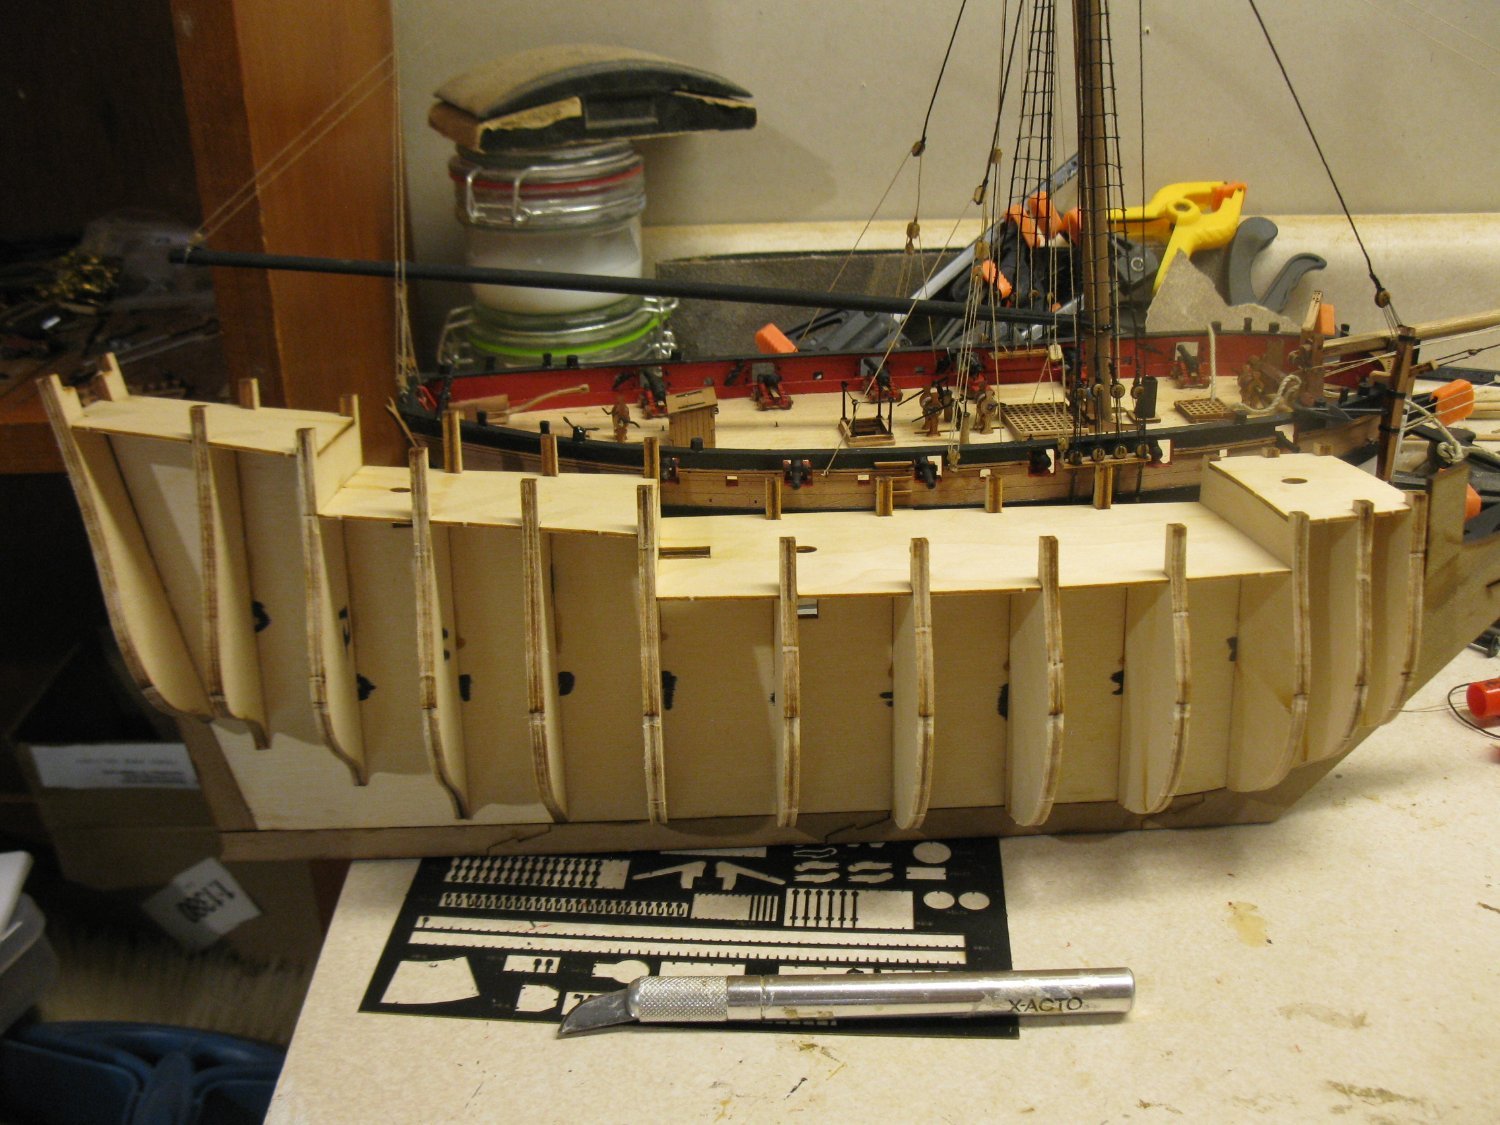
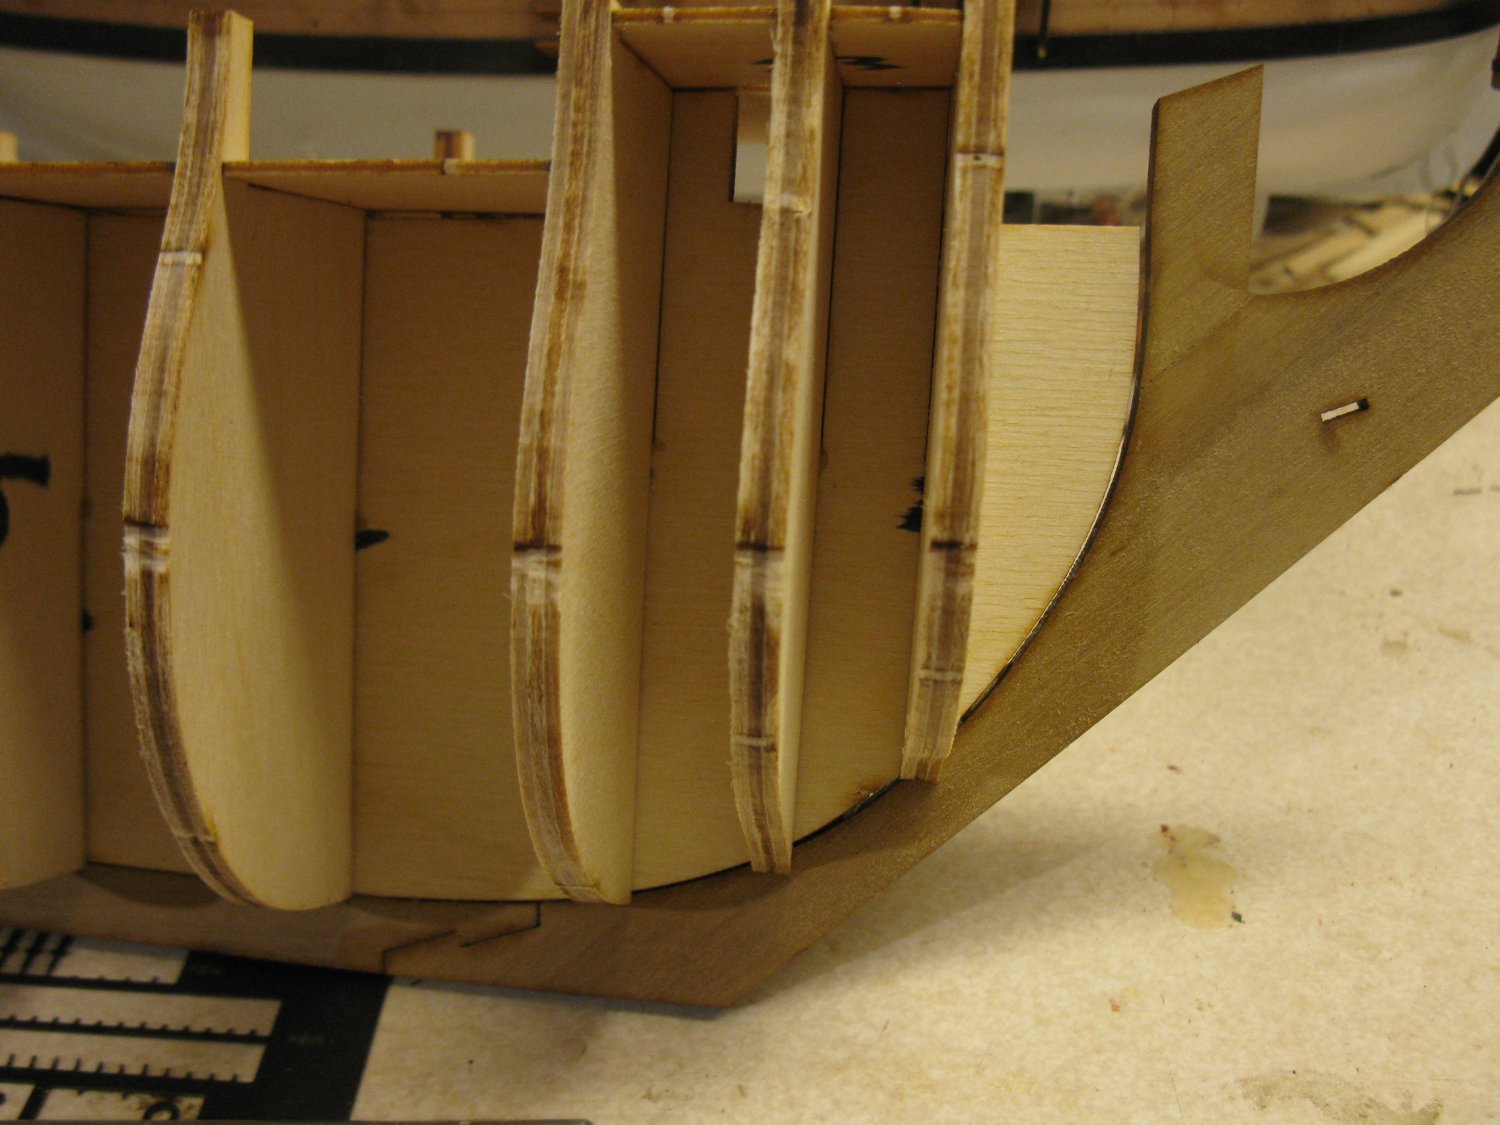
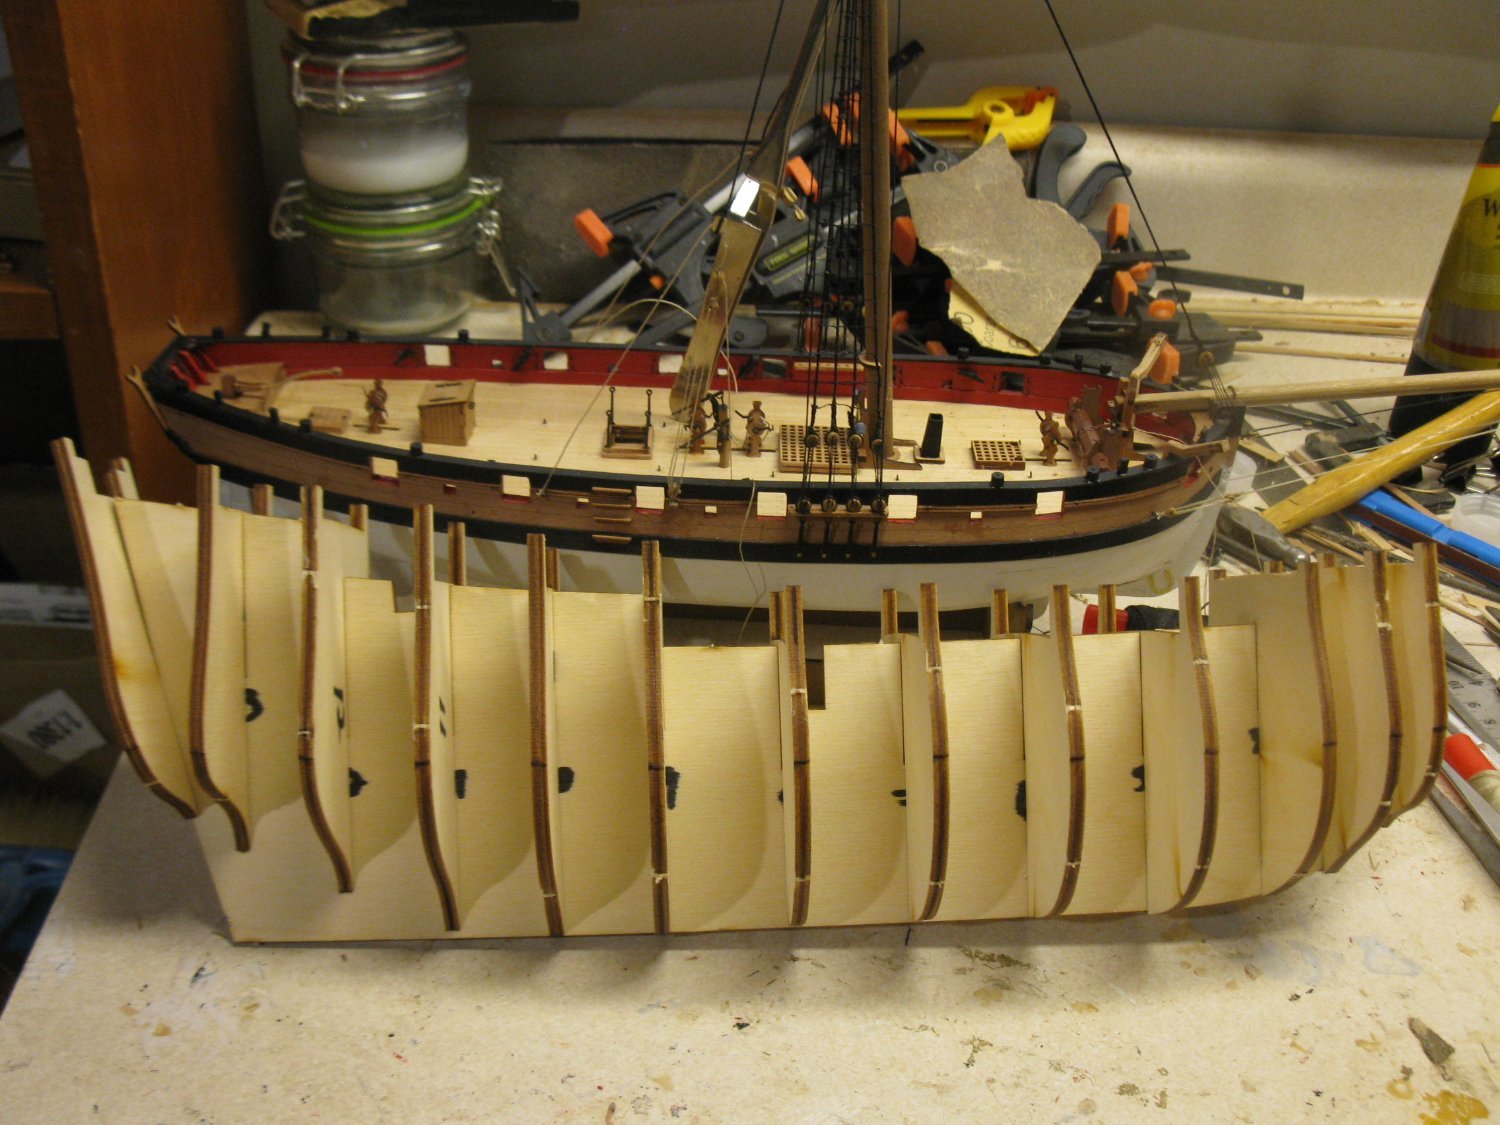
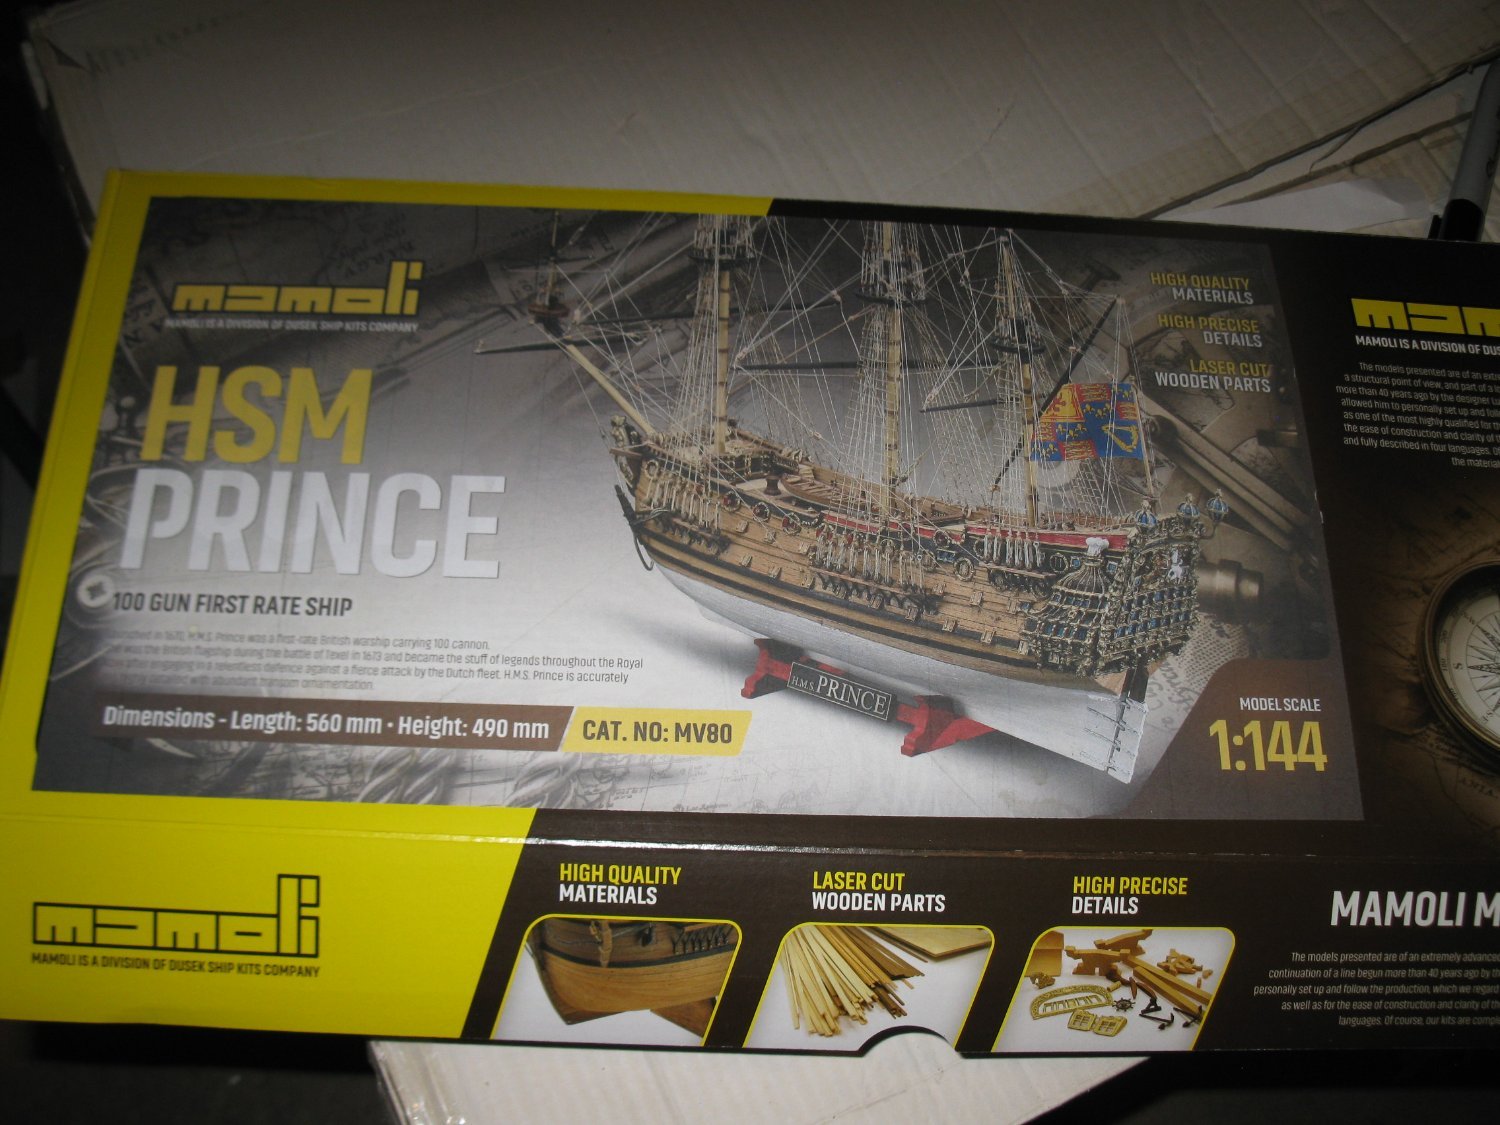
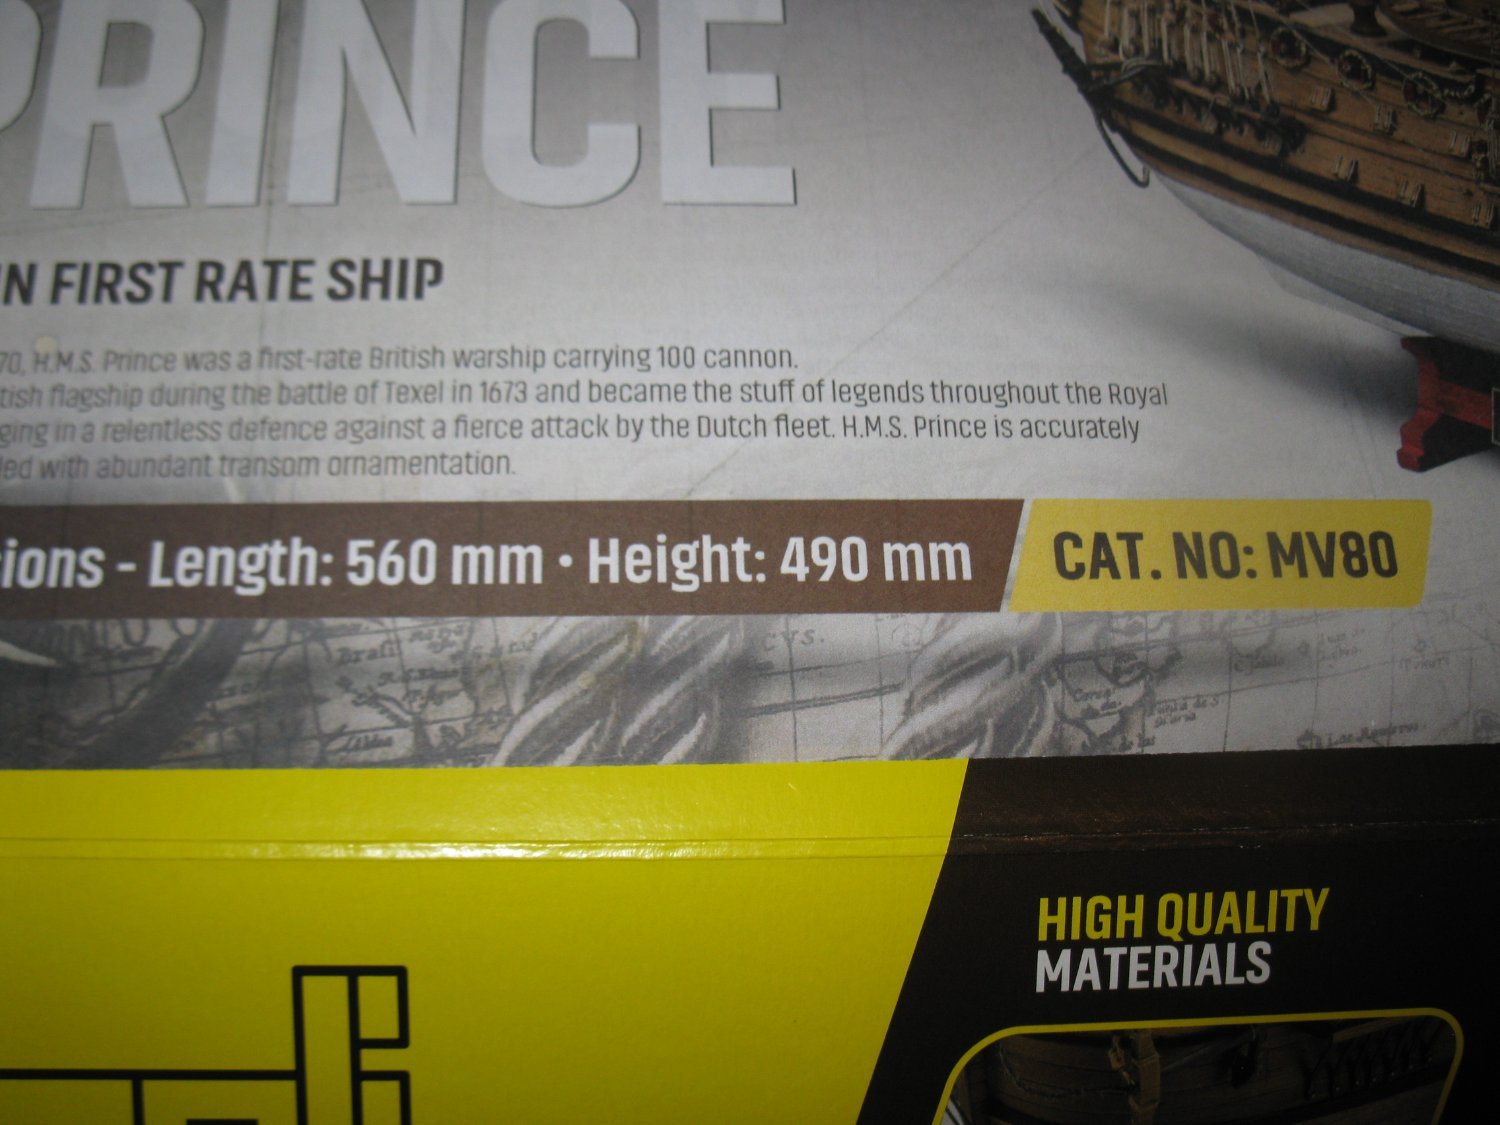
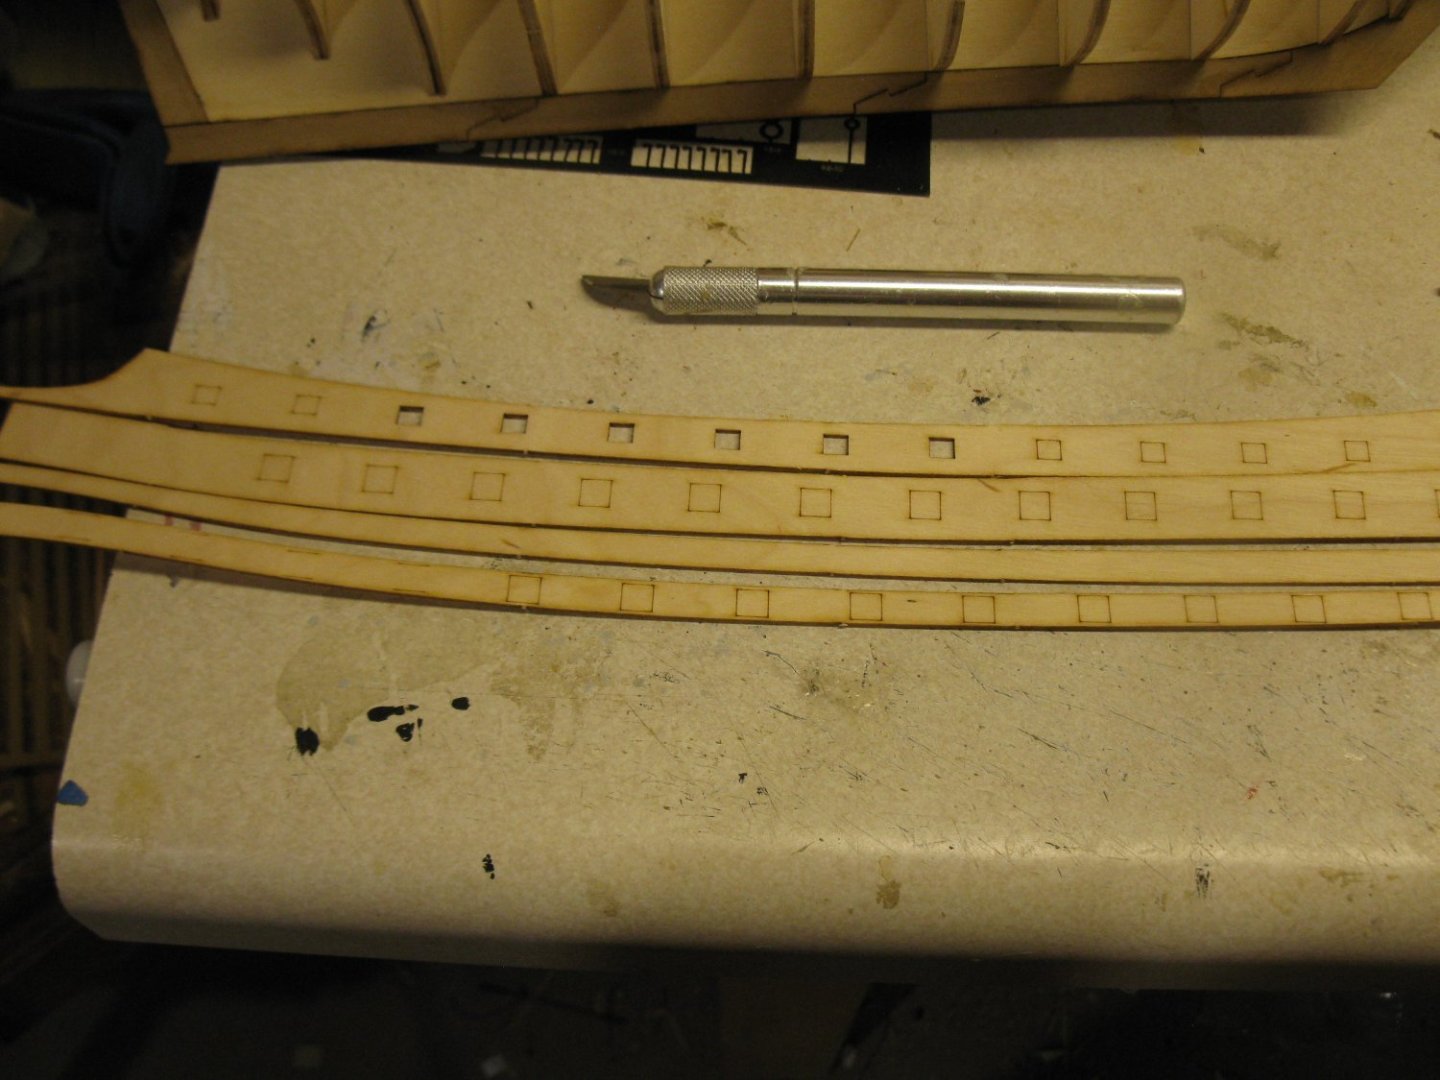
It is now very obvious that the instructions included with this kit, for the most part, do not correspond to the actual kit. At some point in the past, maybe Mamoli had a different HMS Prince kit but they failed to update their instructions for this one. This build was always going to be difficult due to the size but the lack of correct instructions will make it that much harder. In the 2nd to last picture above you can see the plywood side strips that are to be applied. The instructions make no mention of these strips. And the cross section diagrams would seem to make this a traditional double planked model. while totally ignoring those plywood pieces. The parts list does not mention those plywood pieces. There is only one diagram showing the plywood strips applied. There are definitely not enough strips of any type of wood to allow for double planking. I am now soaking those plywood strips as there is a severe bend at the bow. A dry fit of those strips does show that notch on the bulkheads is indeed the beginning of using the regular wood strips for planking the lower section of the hull. I am disappointed in Mamoli over this. In the past I had built many Mamoli kits and never had any issues.
-
What kind of Cutting Mat choose
myxyzptlyk2003 replied to Olaf's topic in Modeling tools and Workshop Equipment
same surface. That regular kitchen counter. -
What kind of Cutting Mat choose
myxyzptlyk2003 replied to Olaf's topic in Modeling tools and Workshop Equipment
I don't use them. My ship modeling area is only used for ship modeling. The counters have kitchen counter type coverings. In over 20 years they still are clean and without significant cuts. -
Now that was interesting. Started gluing all the bulkheads in place and then noticed that the pictures and the instructions did not match what I was actually seeing. It seems the instructions and pictures may have been created when the central framework was all one piece that incorporated the stem, keel and sternpost???. Those features are not on the piece provided in the kit. Nor are they mentioned anywhere in the instructions. (see the picture above). I did find those 3 structures laser cut on a separate piece of walnut. I was able to install those pieces without any further issue. Another note. On each bulkhead about half way down there is a "notch". Again, no where in the instructions or illustrations is this mentioned. But it looks to me that as the upper half of the hull is covered in pieces of plywood and not in wood stips, that this notch may be where the first planking actually begins??? The instructions now state to start the first planking and then add the plywood sections. I think I am going to reverse that and see what happens.


-
My Vanguard Cutter Trial is almost finished so I have dry fitted the bulkheads for the HMS Prince. You can see the relative size of this model against that Cutter Trial. I do have a lot of concern about building in this scale. My biggest issue is probably going to be the painting of the metal fittings. That appears to require some very fine painting. We'll see.

-
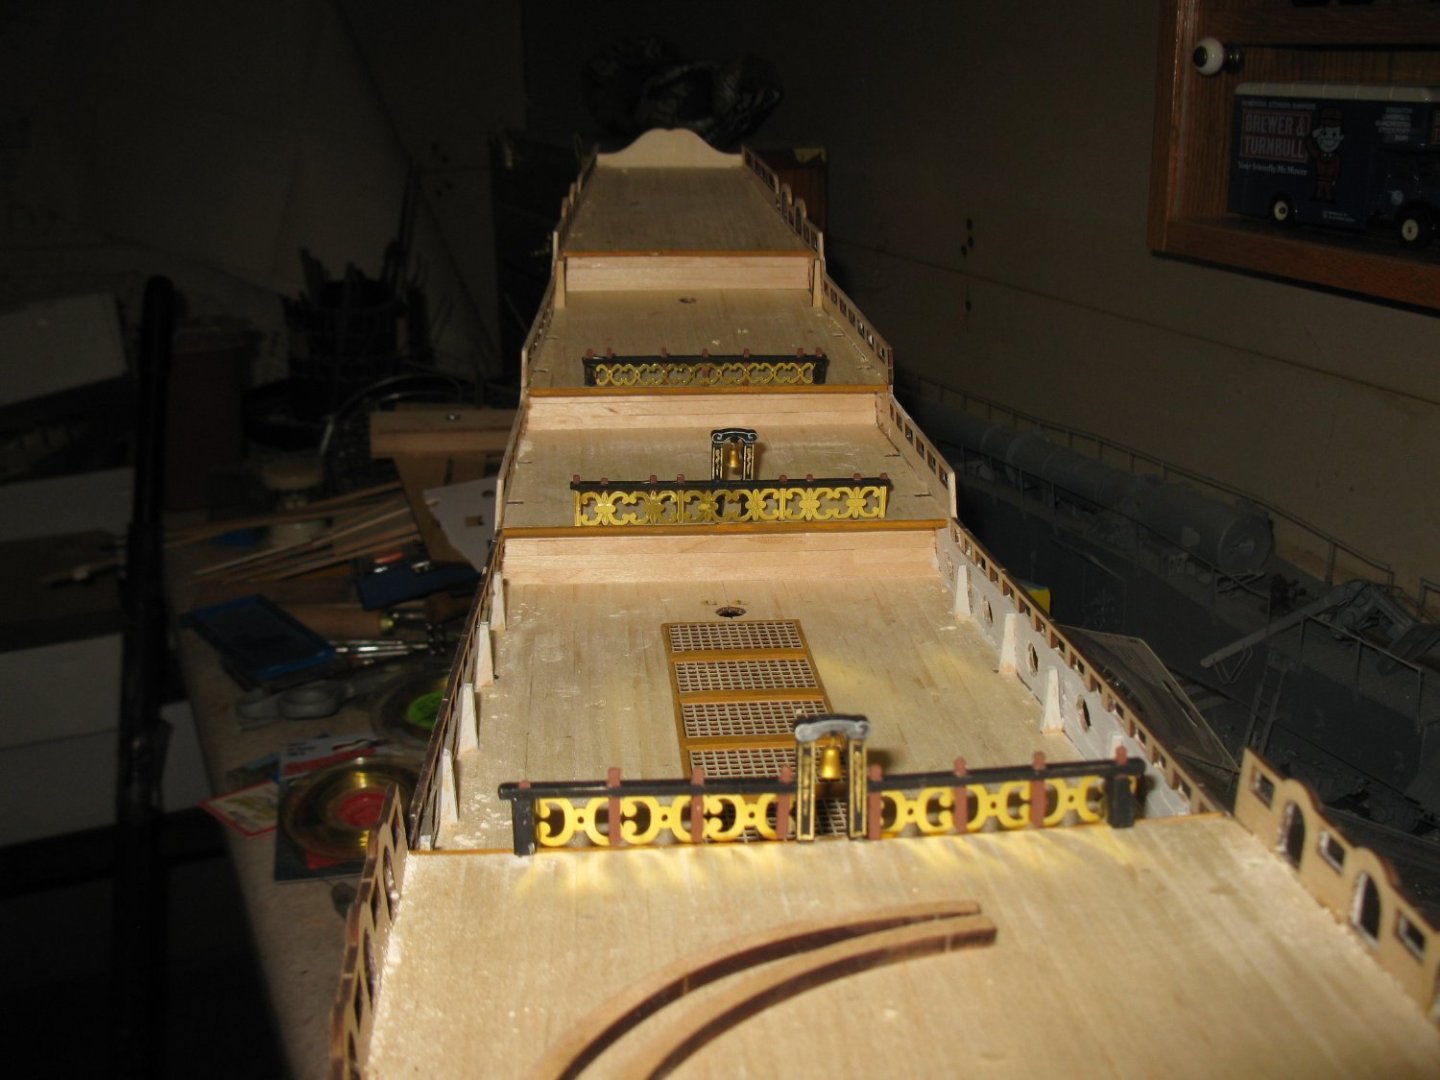
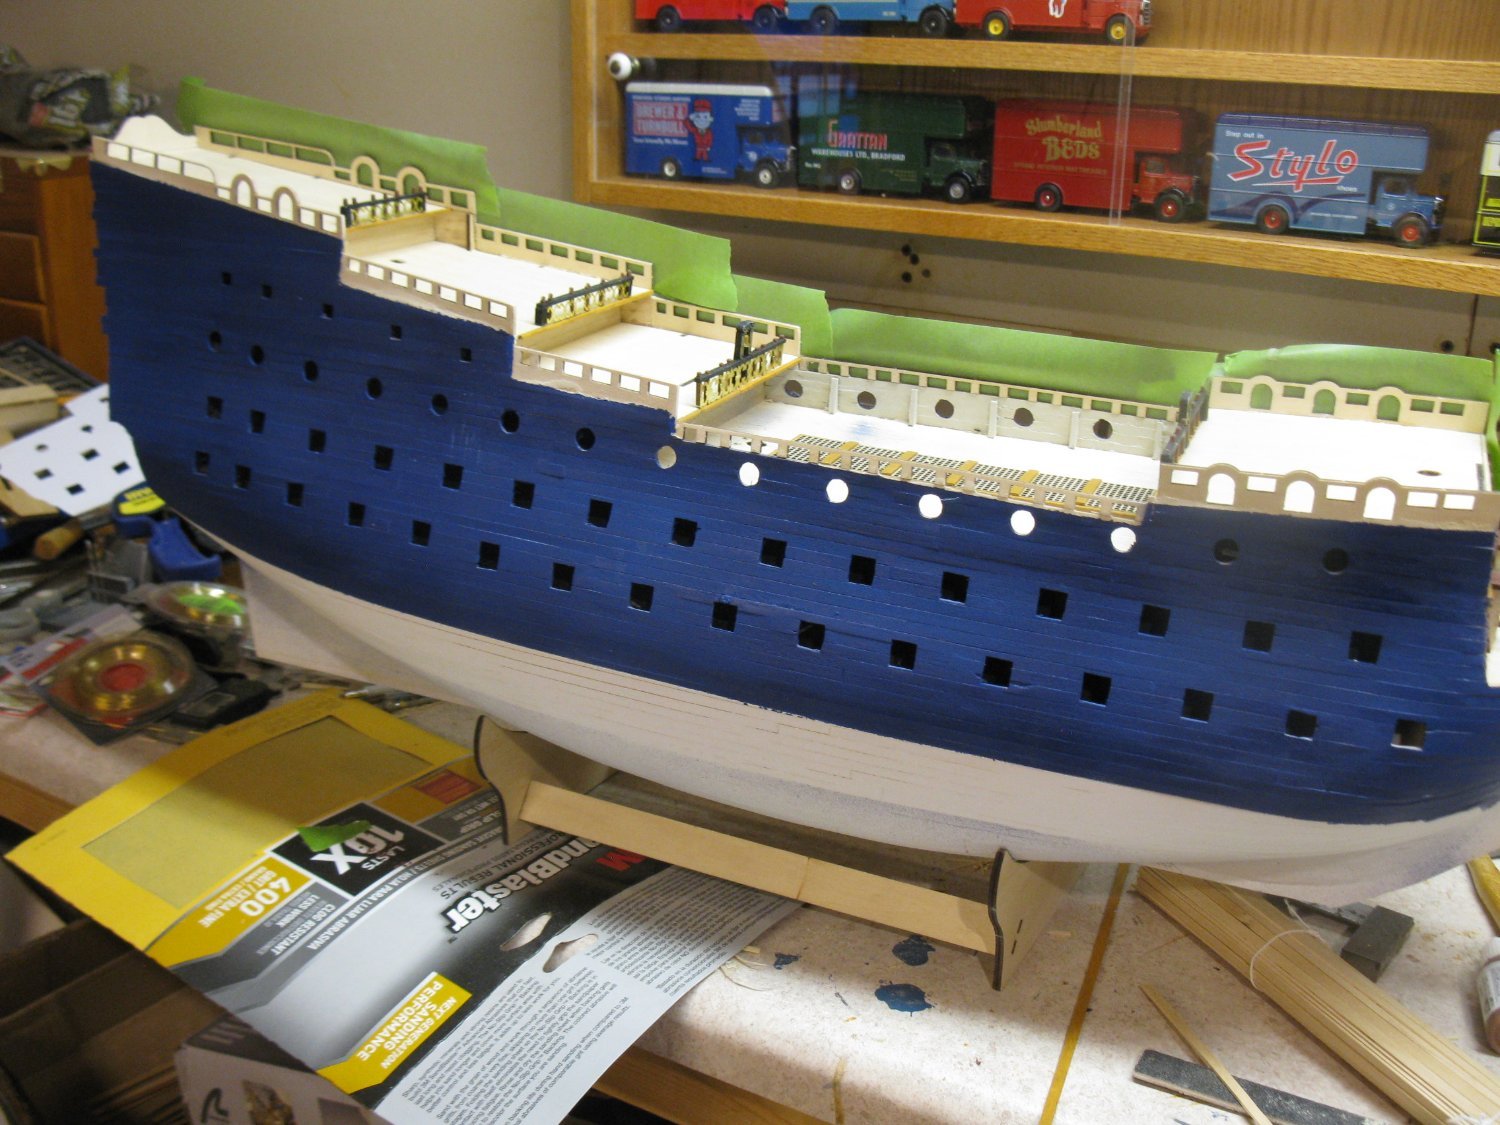
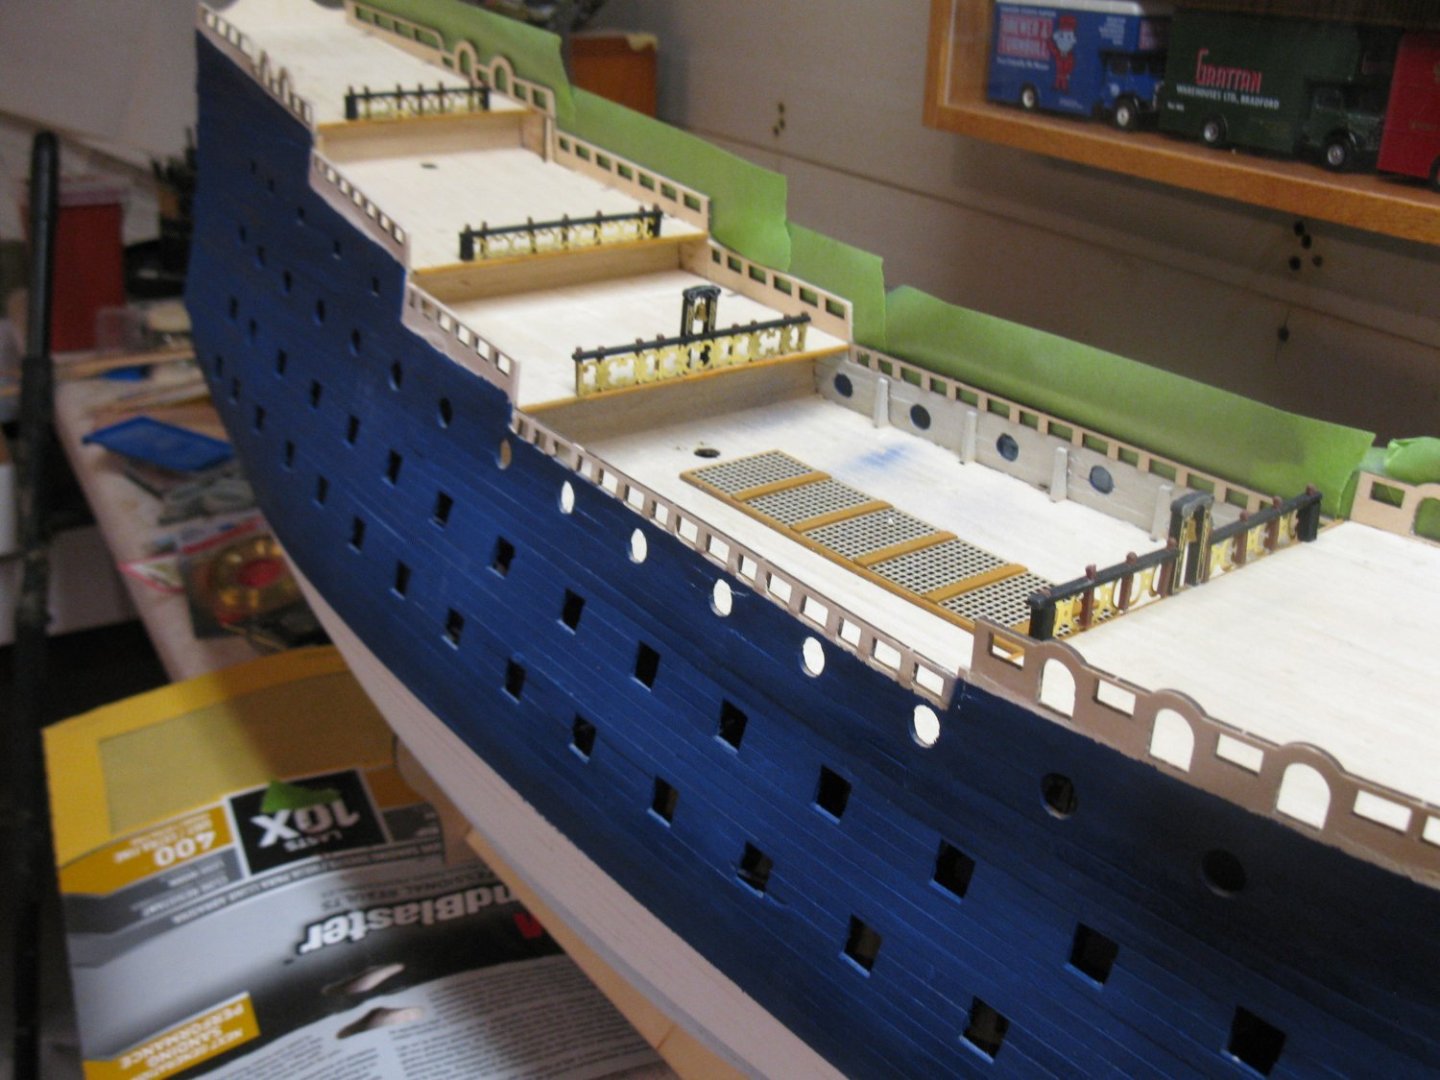
Starboard side wales and railings are now completed. Lots of touch ups to do. Now it's on to the port side. So far, I am very pleased with how this is going and looking. Very nice kit with the exception of the digital only instructions.

-
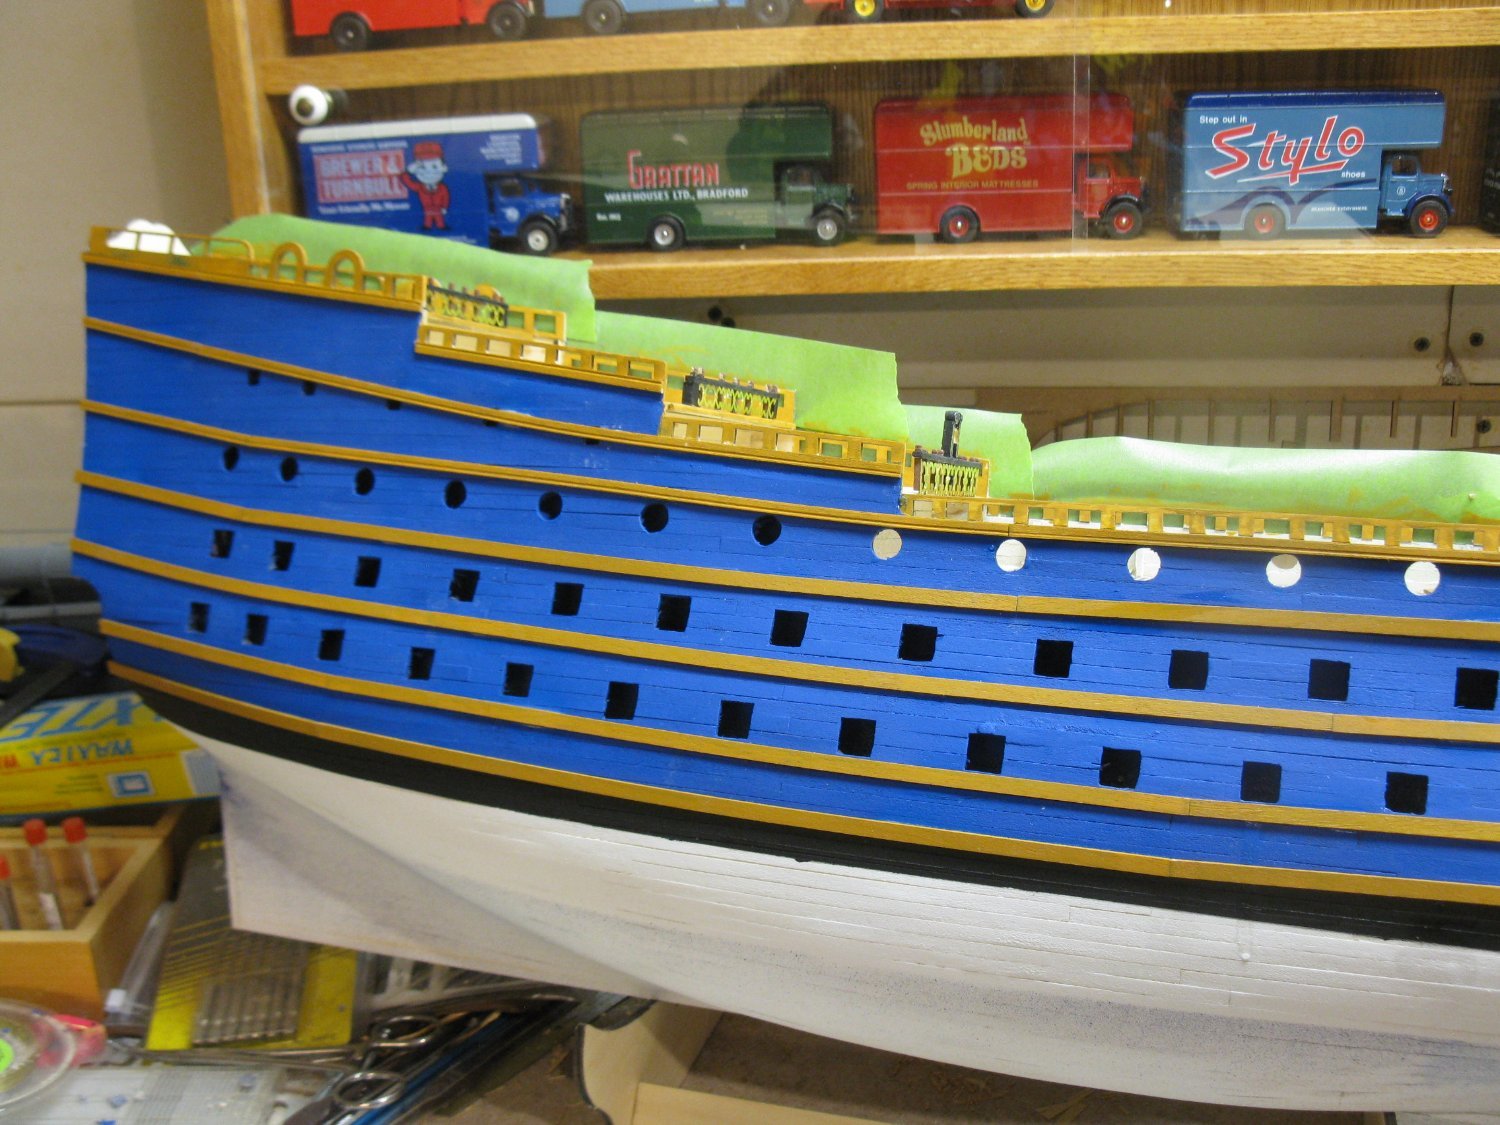
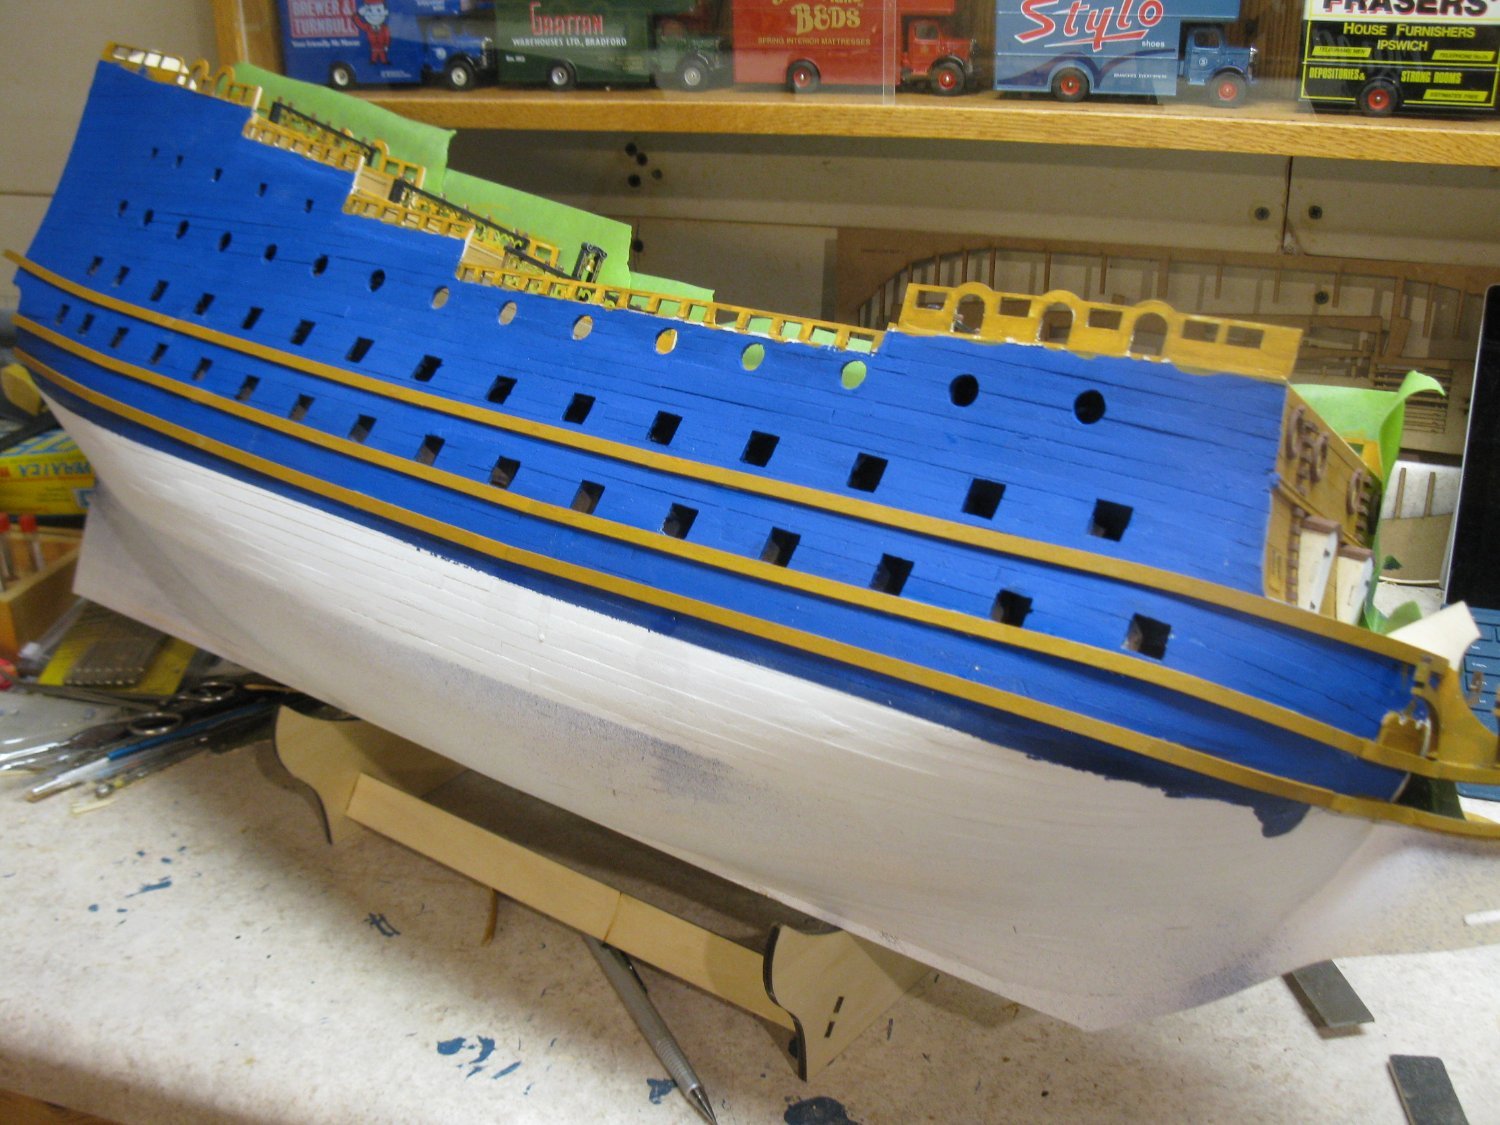
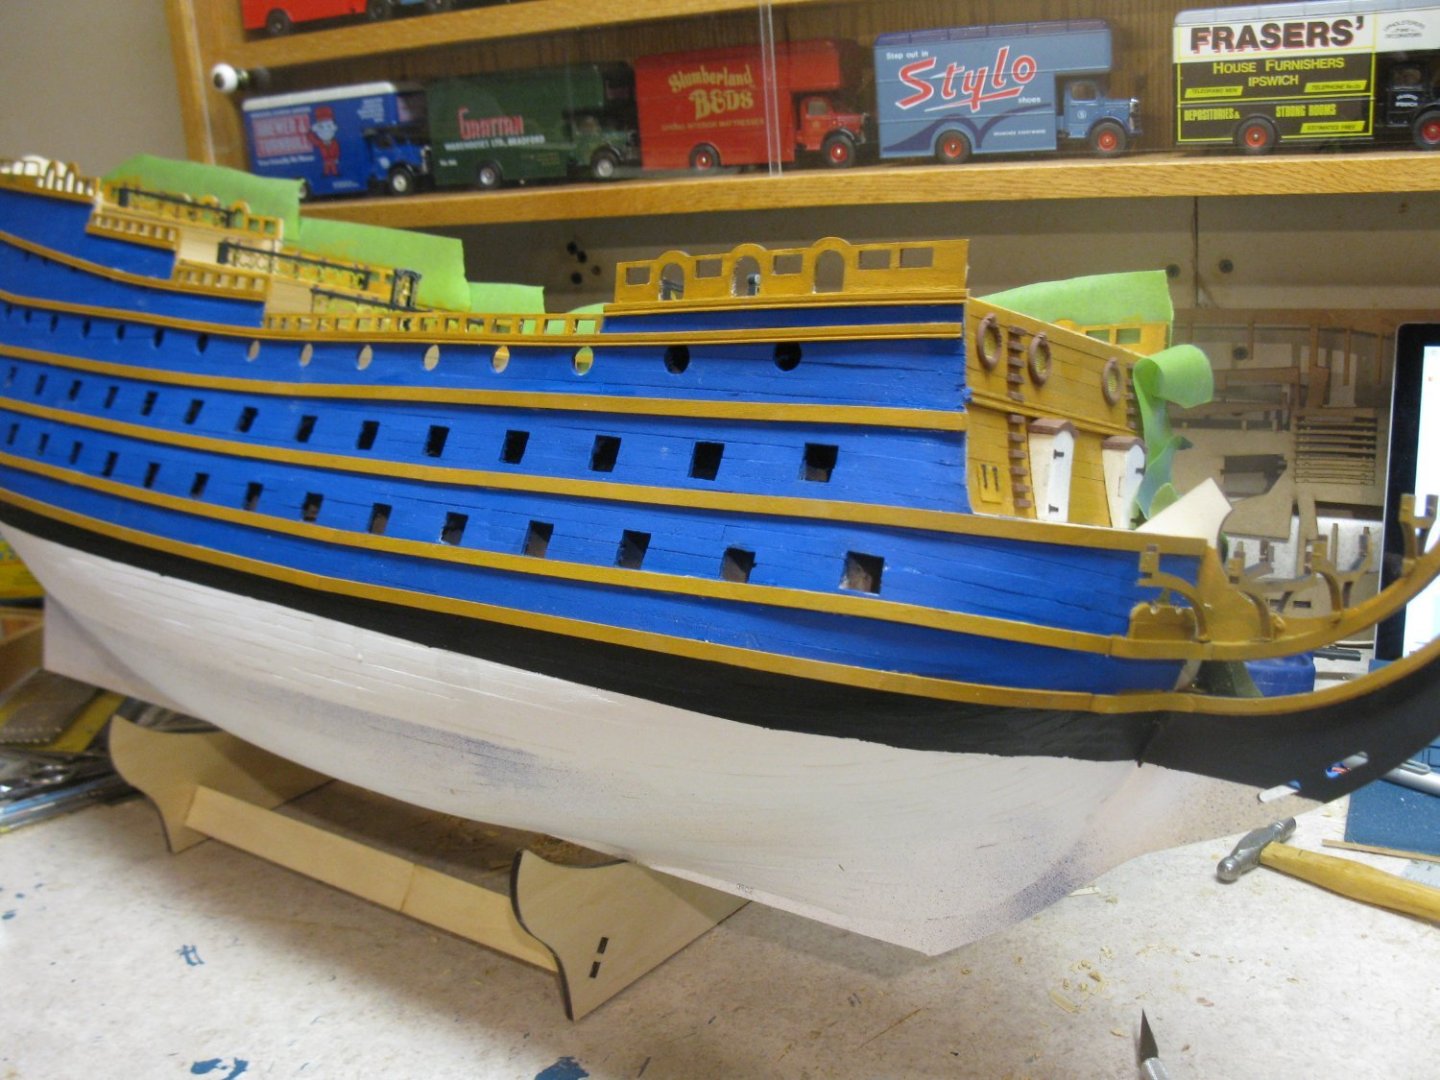
3 wales have been applied to one side of the ship. Here is where the lack of actual plan sheets is a huge negative. The middle wale is the first installed. The only way to determine its position for the whole length is to closely look at the pictures and approximate the location relative to the gun ports. If I had a plan sheet I could measure of the plan. In this case I hope I estimated the location accurately as the other wales are measured from this middle wale. Overall, I think I should be pretty close as the location of the upper and lower wale appear to be equivalent to what is pictured on the box and in the instructions.

-
Just noticed that you can see the blue difference just below the lower gun port line. A wale goes just below these lower ports and then there will be a strip of black below that wale.
-
Definitely will be using Royal Blue. Royal Blue appears to be much closer to the box pictures. Not sure if you can make out the difference in these pictures but royal blue is much more "blue". There is now going to be a LOT of painting at this stage. Lots of wales require paint before applying plus I I have the whole port side to do. At least two coats are needed to get it to the point I want.


-
Although the actual NUMBER of shrouds would be the same the length of them will be much decreased. If I remember right the length of the main mast shrouds on the HMS prince 1/64 was something like 10 inches?? On the 1/`144 they look to be about 6 inches.
-
I decided to deviate from the instructions again. For the place I am at now, the instructions state to add all the wales and then do the painting. As there are a several rows of wales, for me, it would be easier to paint the wales first and then apply them to the hull. At 72 years old, my hands are not as steady as they once were. Once I am satisfied with the base hull paint, I will add the wales and other outer strips of wood. I now have to decide if I like that deeper blue. The instructions call for Prussian blue which I did use here. But my thinking is that a royal blue would be more pleasing to the eye. I'll think about that for the next week or so before deciding which way to go.

-
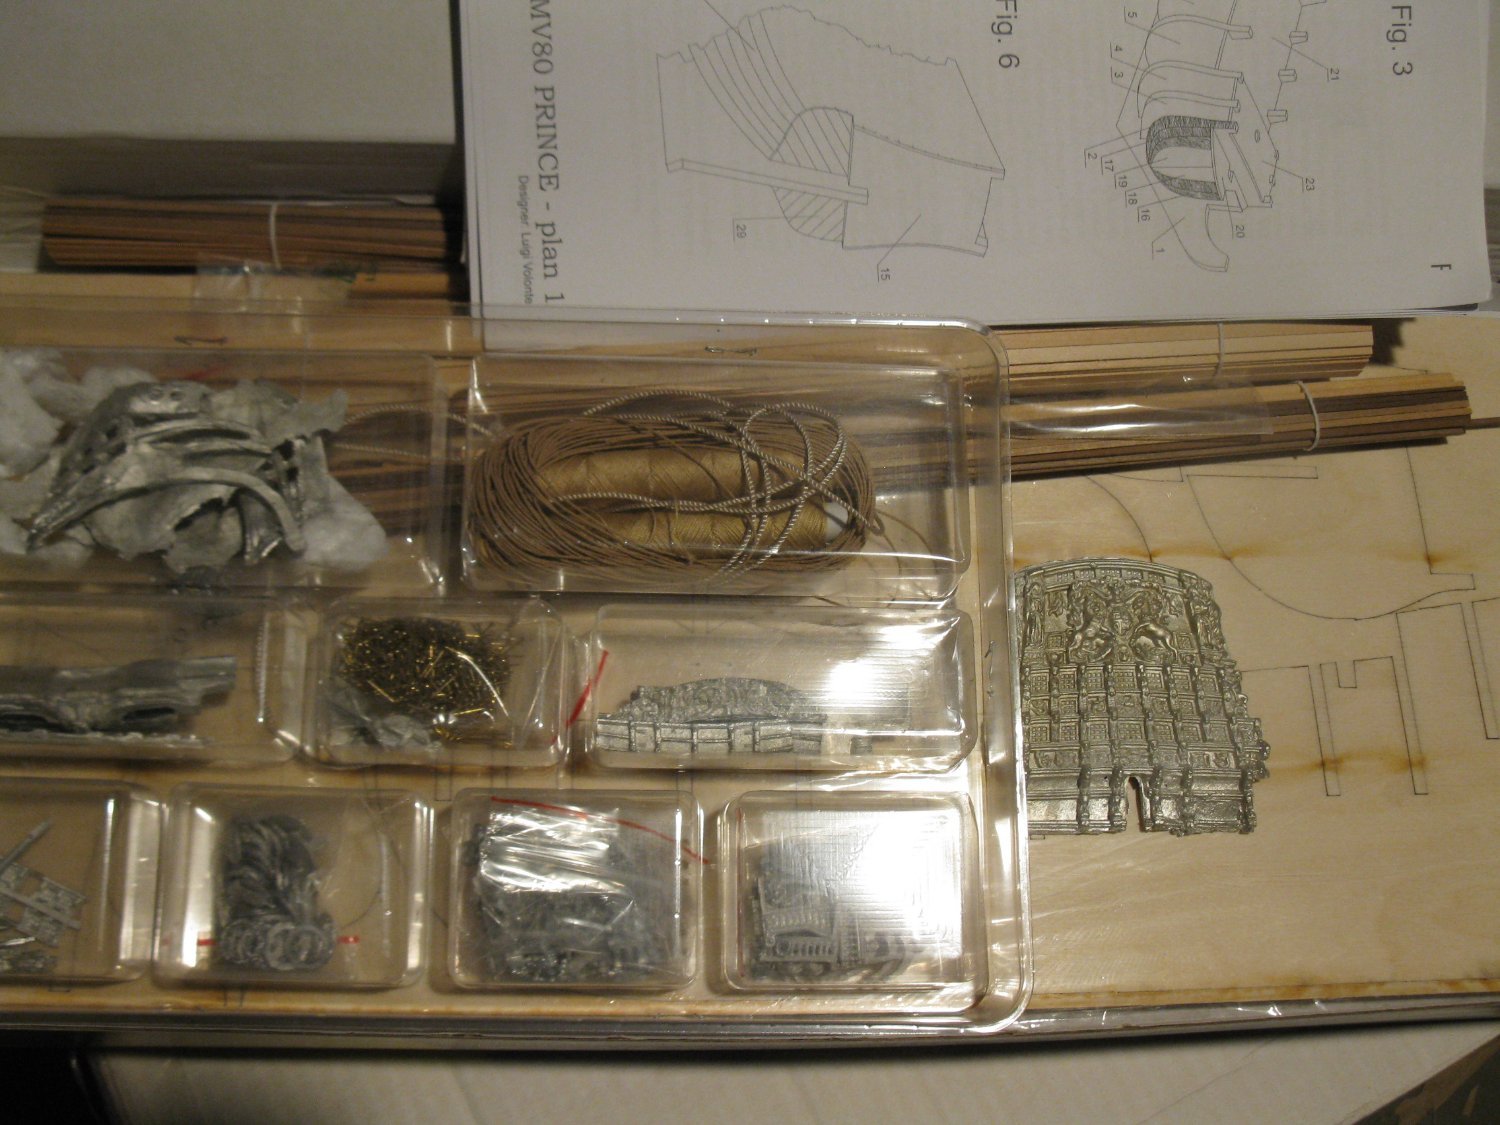
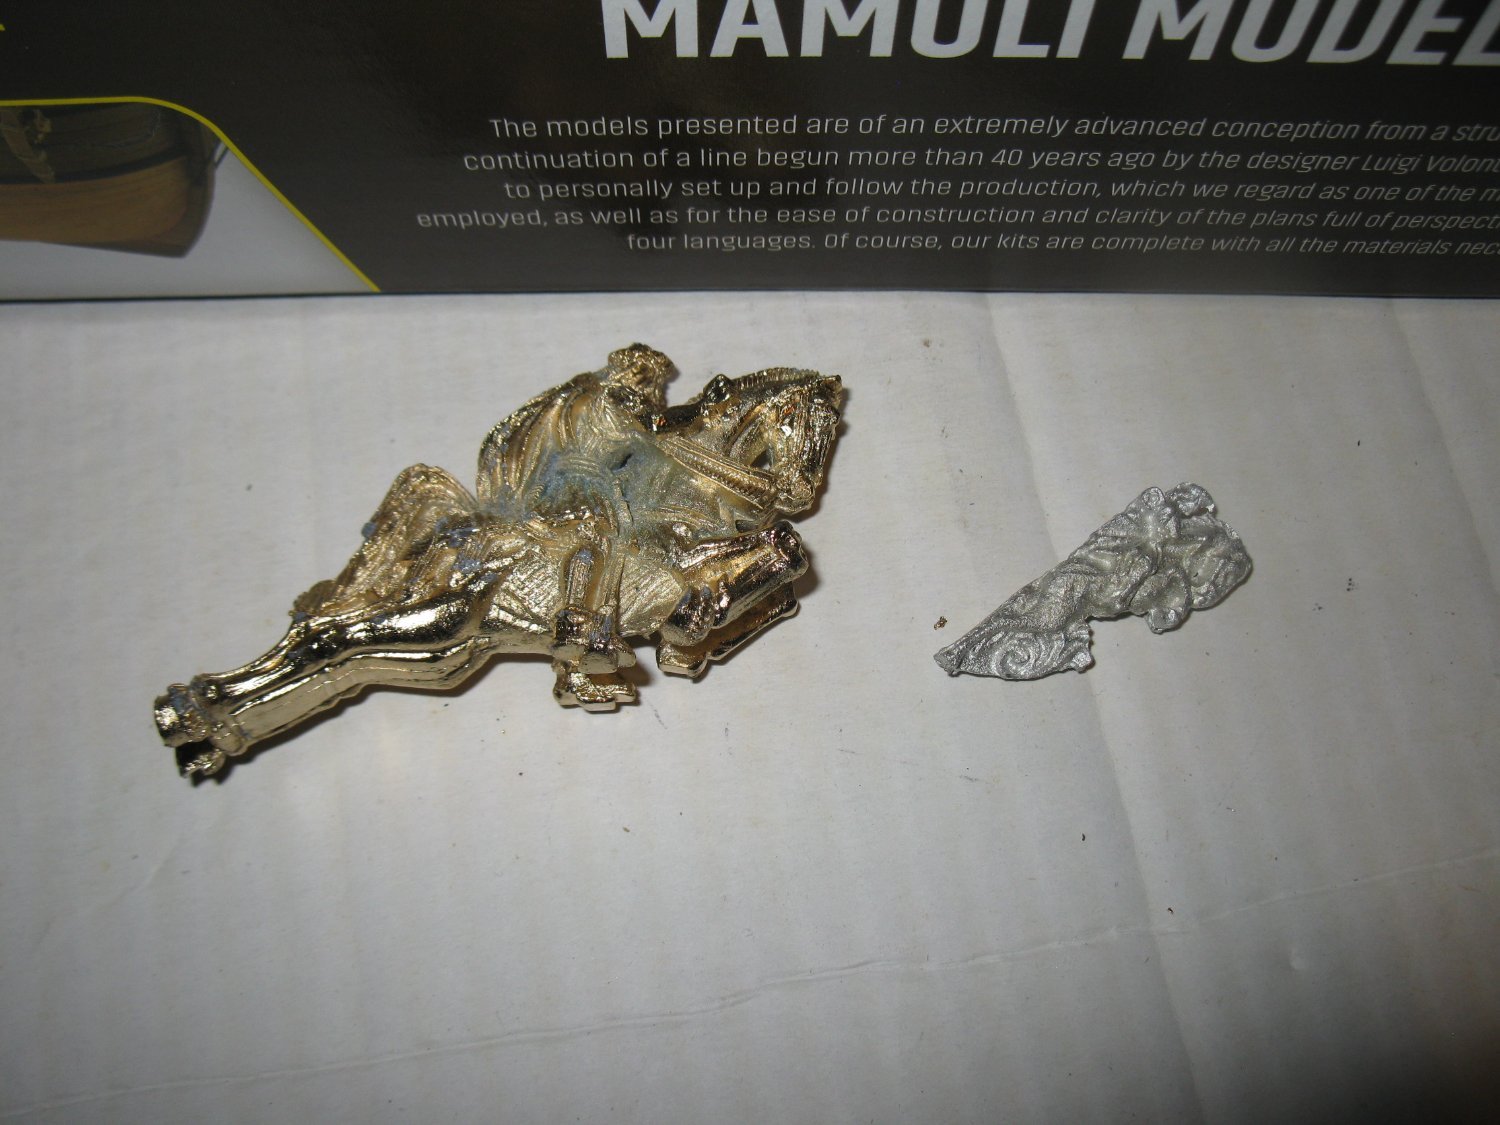
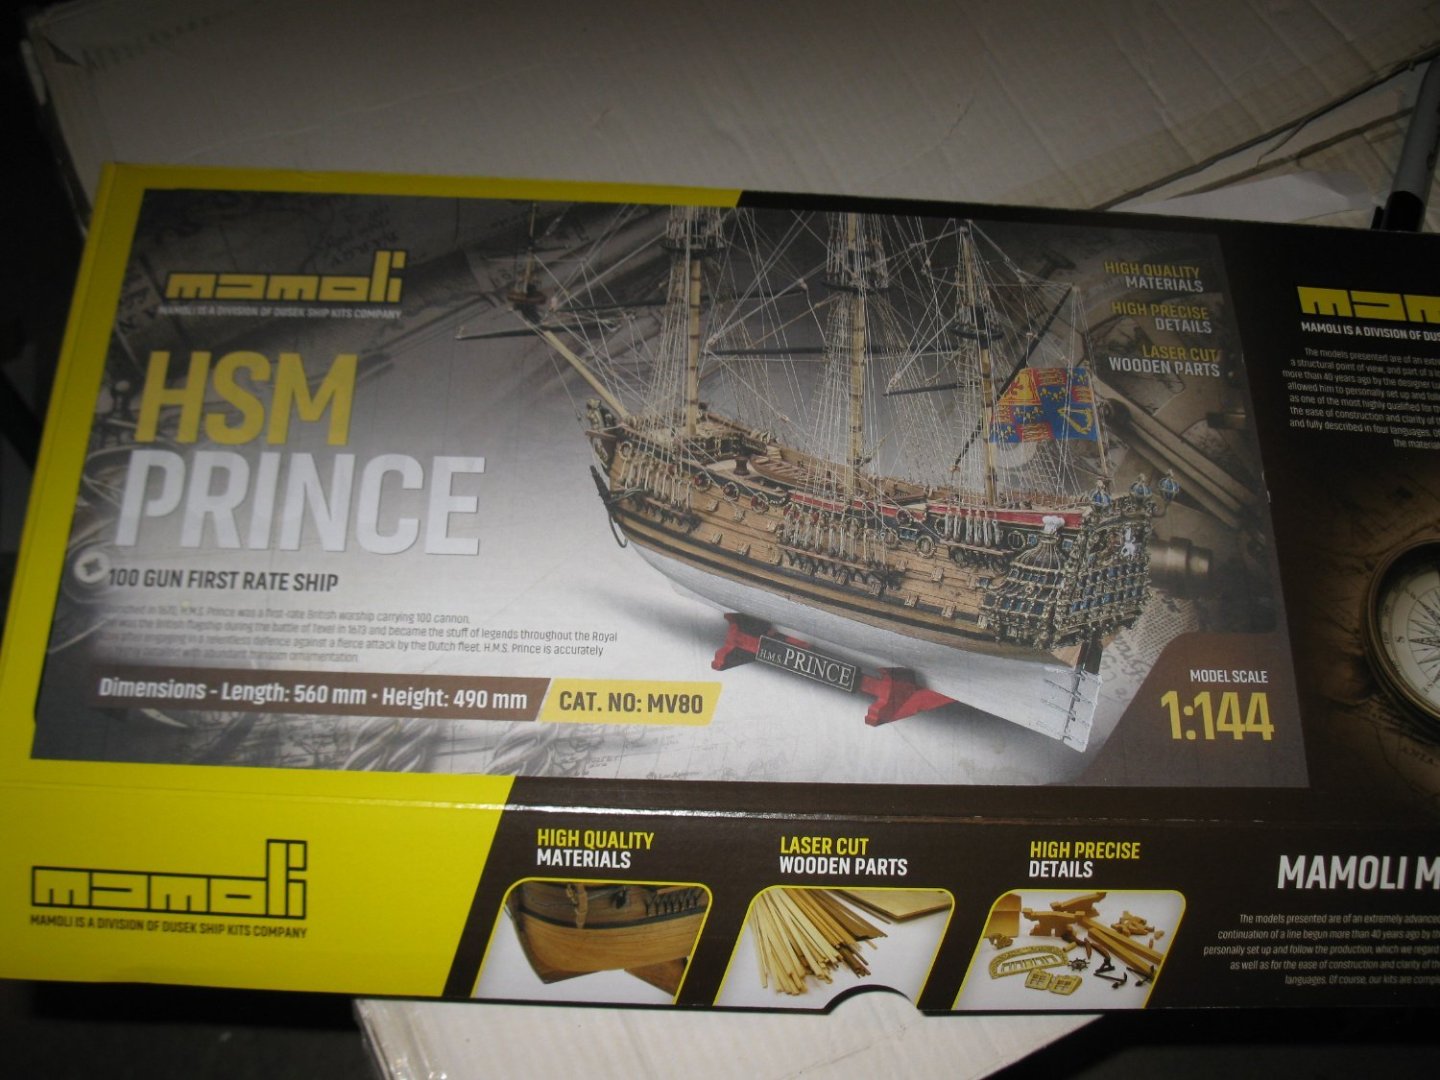
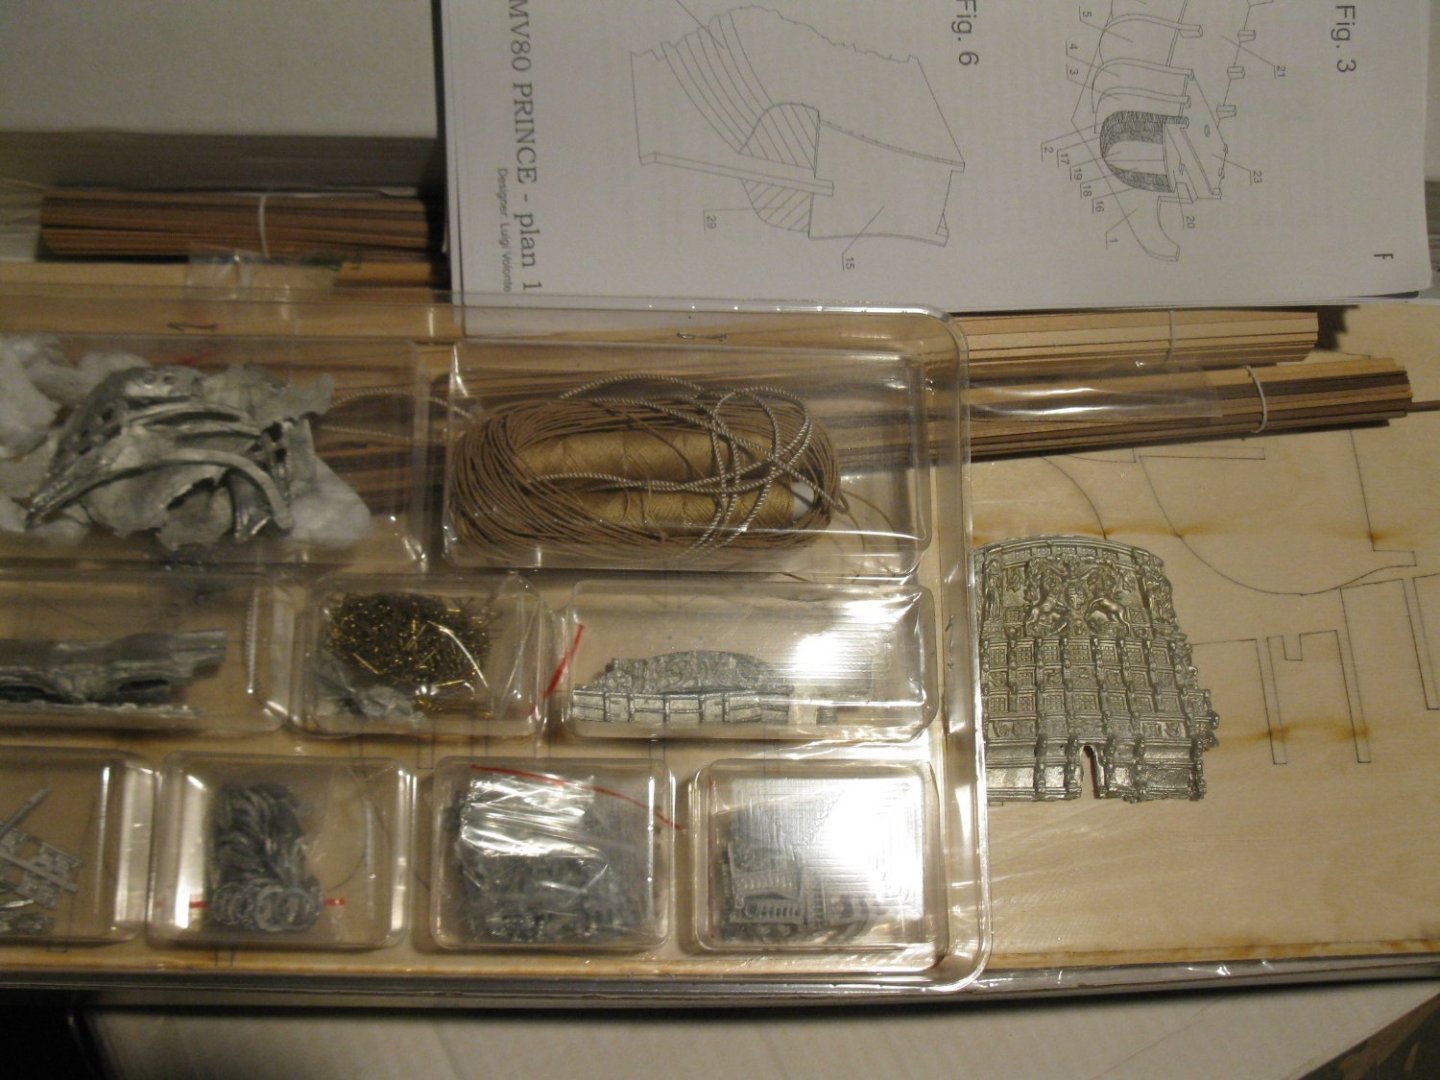
Presently, I am about 1 month out from finishing my Vanguard Cutter Trial. While waiting for any new Vanguard model I was looking for my next project. Note I always have two models going at the same time. My AL Soleil Royal is proceeding nicely but slowly. I've always liked the seventeenth century warships and the Prince would be one of my favorites. I have the old Amati HMS Prince (1/64 scale) in the box. Having built that one in the distant past I know how big it is and given space limits in my house, this 1/144 scale model caught my eye. It looks like the size of the hull is someplace around the Vanguard Duchess model. Given the small scale I do have some concern about working with such small parts. But on the plus side there will be a LOT LESS rigging of shrouds and ratlines! I started my wood modeling hobby about 30 years ago and built many Mamoli and Corel kits. I always found them to be pretty easy to build. This Mamoli kits looks to be pretty similar to what my experience was back then. The wood supplied looks very good as do the laser cut parts. The metal castings are OK. Given the small size the detail on the castings does not come close to the detail on the larger Amati kit. Note the picture of the two figureheads for comparison. It will probably be a month or two before I can add any pictures for this build. Once I get going I will provide more pictures of the kit.


-
Progess continues although slowly. Some of the railings are installed. Now working on the bow area.