myxyzptlyk2003
-
Posts
155 -
Joined
-
Last visited
Recent Profile Visitors
1,072 profile views


-
 Scottish Guy reacted to a post in a topic:
Professional Building Slip - Hobbyzone
Scottish Guy reacted to a post in a topic:
Professional Building Slip - Hobbyzone
-
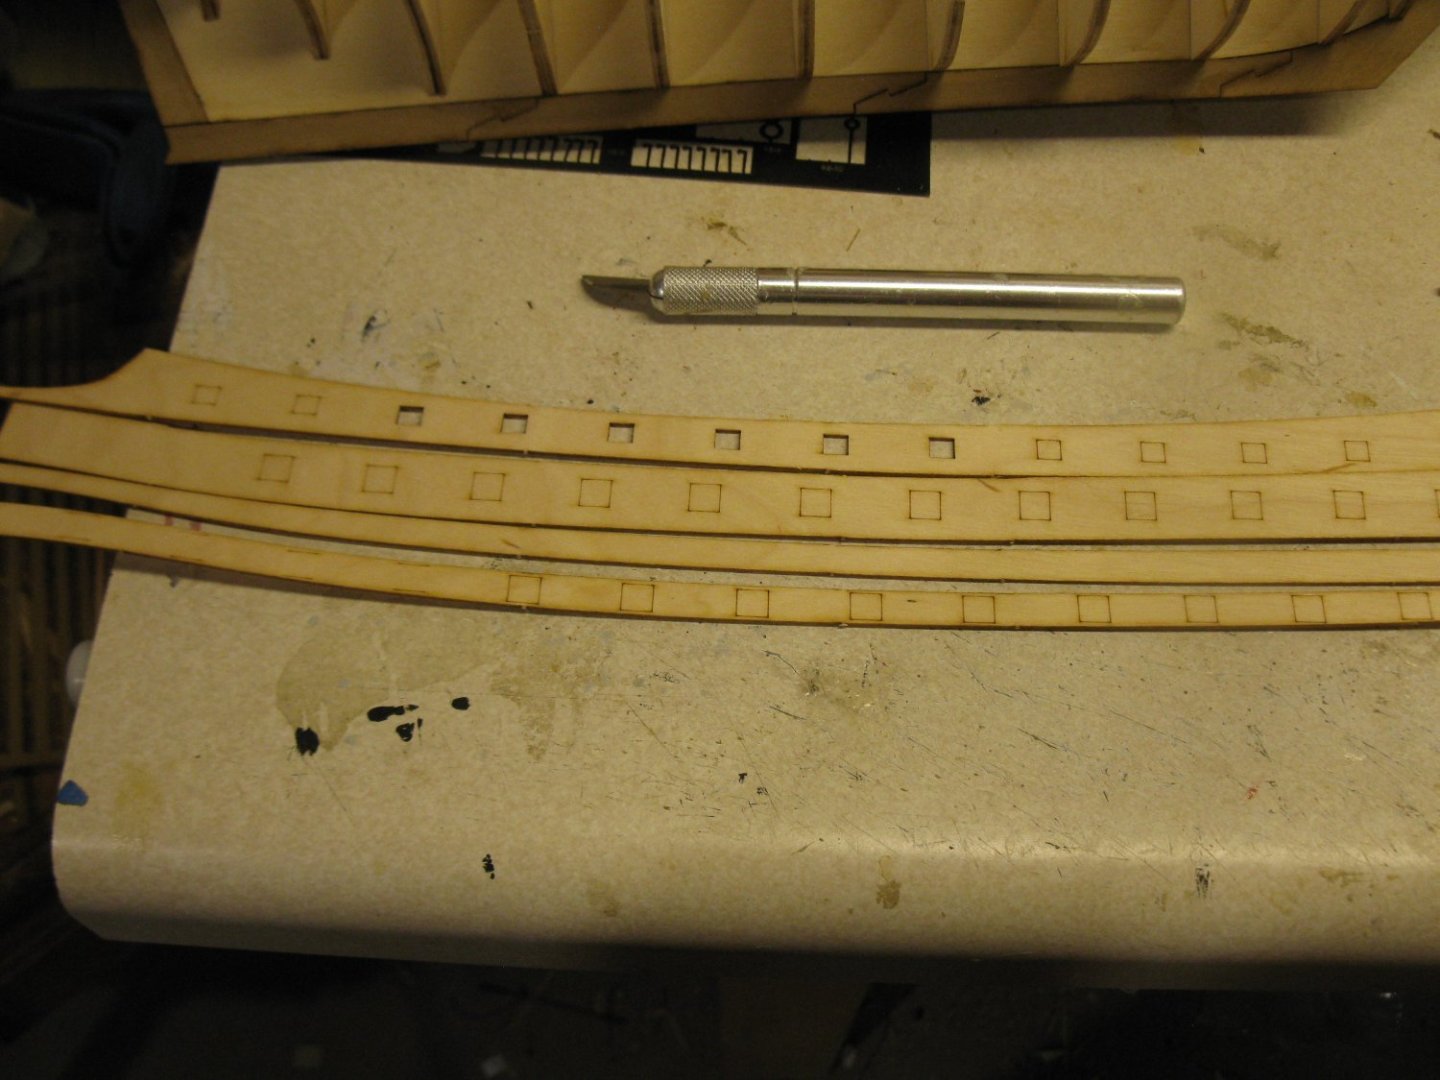
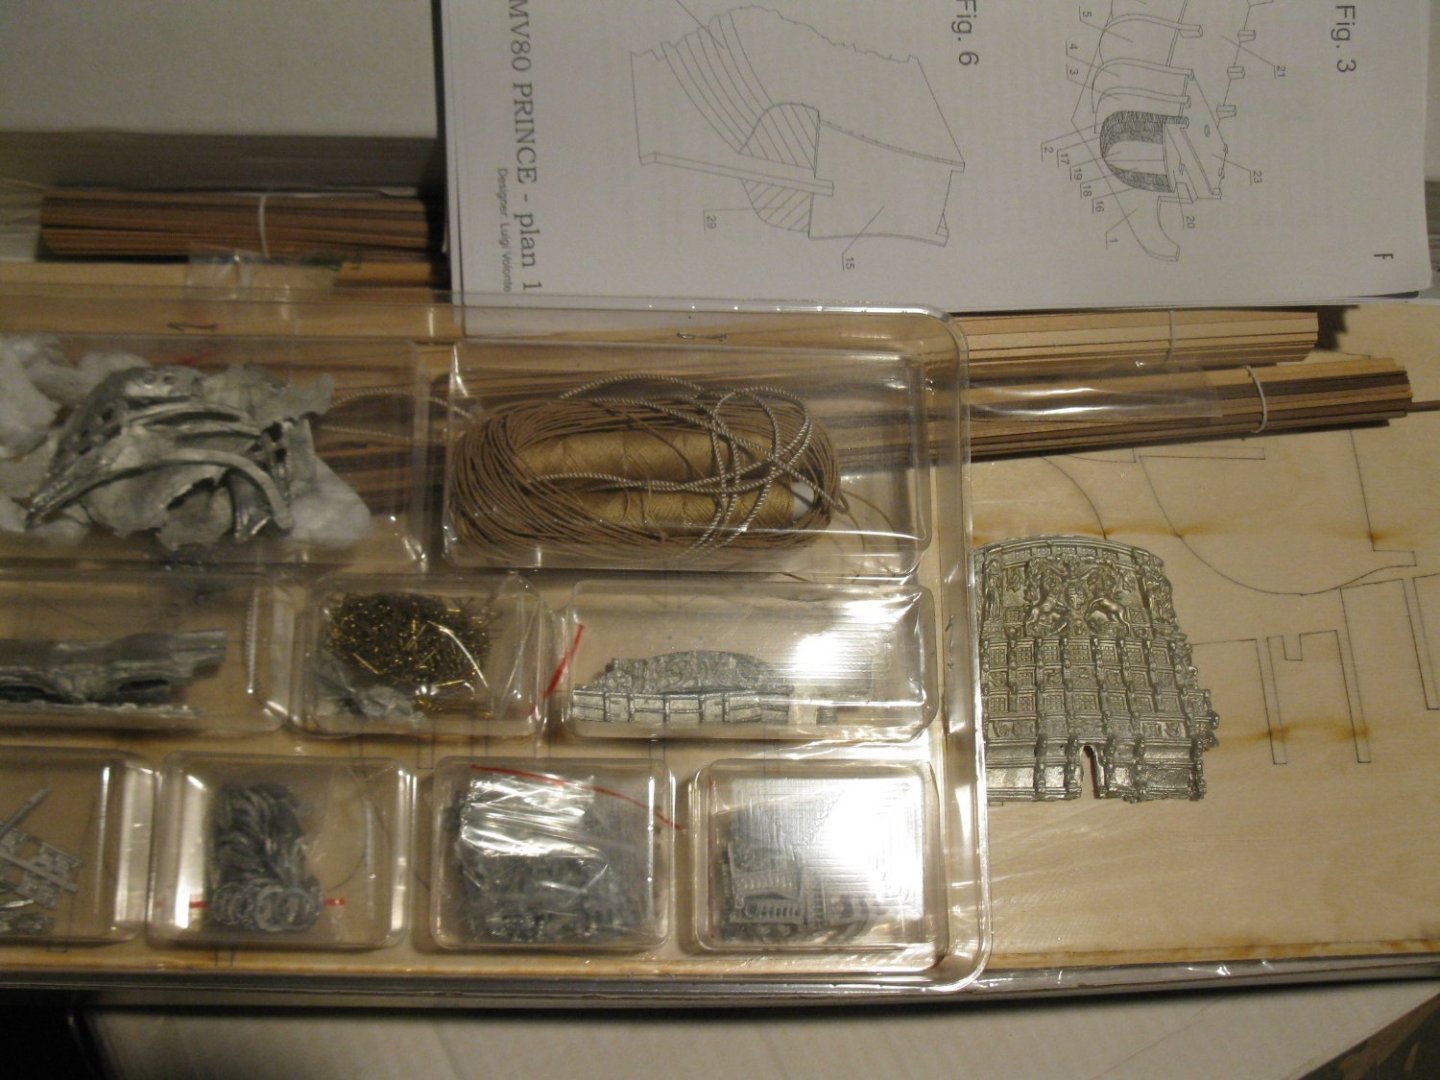
It is now very obvious that the instructions included with this kit, for the most part, do not correspond to the actual kit. At some point in the past, maybe Mamoli had a different HMS Prince kit but they failed to update their instructions for this one. This build was always going to be difficult due to the size but the lack of correct instructions will make it that much harder. In the 2nd to last picture above you can see the plywood side strips that are to be applied. The instructions make no mention of these strips. And the cross section diagrams would seem to make this a traditional double planked model. while totally ignoring those plywood pieces. The parts list does not mention those plywood pieces. There is only one diagram showing the plywood strips applied. There are definitely not enough strips of any type of wood to allow for double planking. I am now soaking those plywood strips as there is a severe bend at the bow. A dry fit of those strips does show that notch on the bulkheads is indeed the beginning of using the regular wood strips for planking the lower section of the hull. I am disappointed in Mamoli over this. In the past I had built many Mamoli kits and never had any issues.
-
mtaylor reacted to a post in a topic:
What kind of Cutting Mat choose
-
mtaylor reacted to a post in a topic:
What kind of Cutting Mat choose
-
Bob Cleek reacted to a post in a topic:
What kind of Cutting Mat choose
-
What kind of Cutting Mat choose
myxyzptlyk2003 replied to Olaf's topic in Modeling tools and Workshop Equipment
same surface. That regular kitchen counter. -
What kind of Cutting Mat choose
myxyzptlyk2003 replied to Olaf's topic in Modeling tools and Workshop Equipment
I don't use them. My ship modeling area is only used for ship modeling. The counters have kitchen counter type coverings. In over 20 years they still are clean and without significant cuts. -
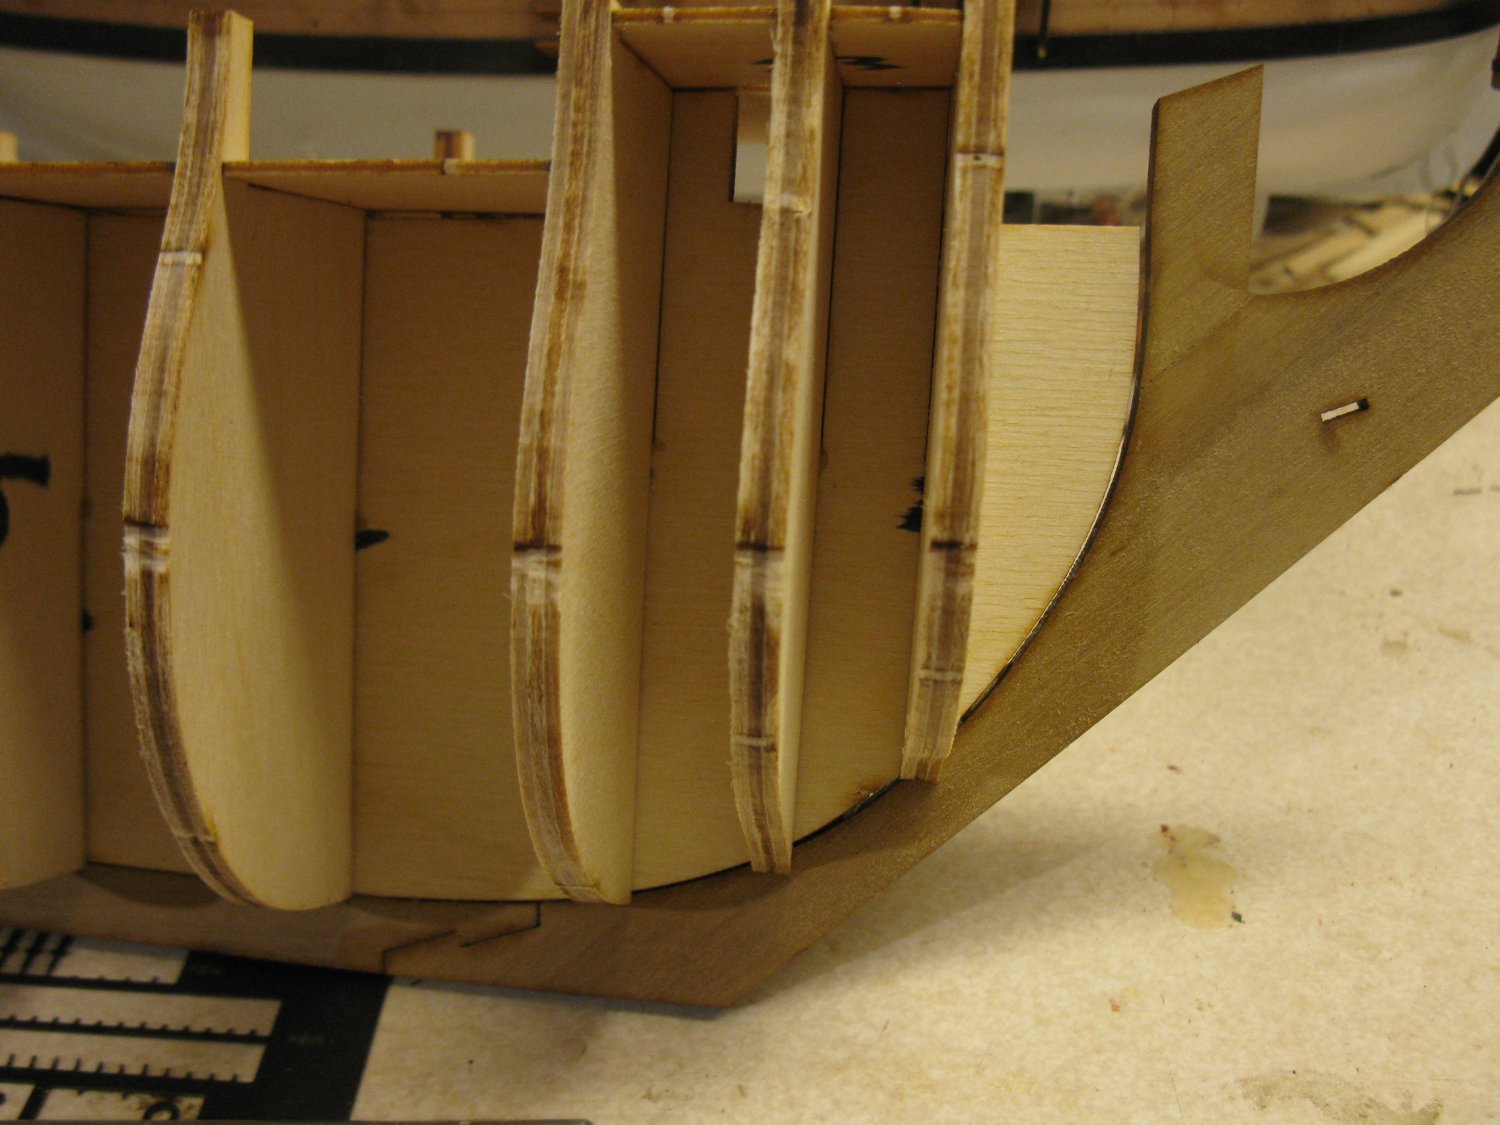
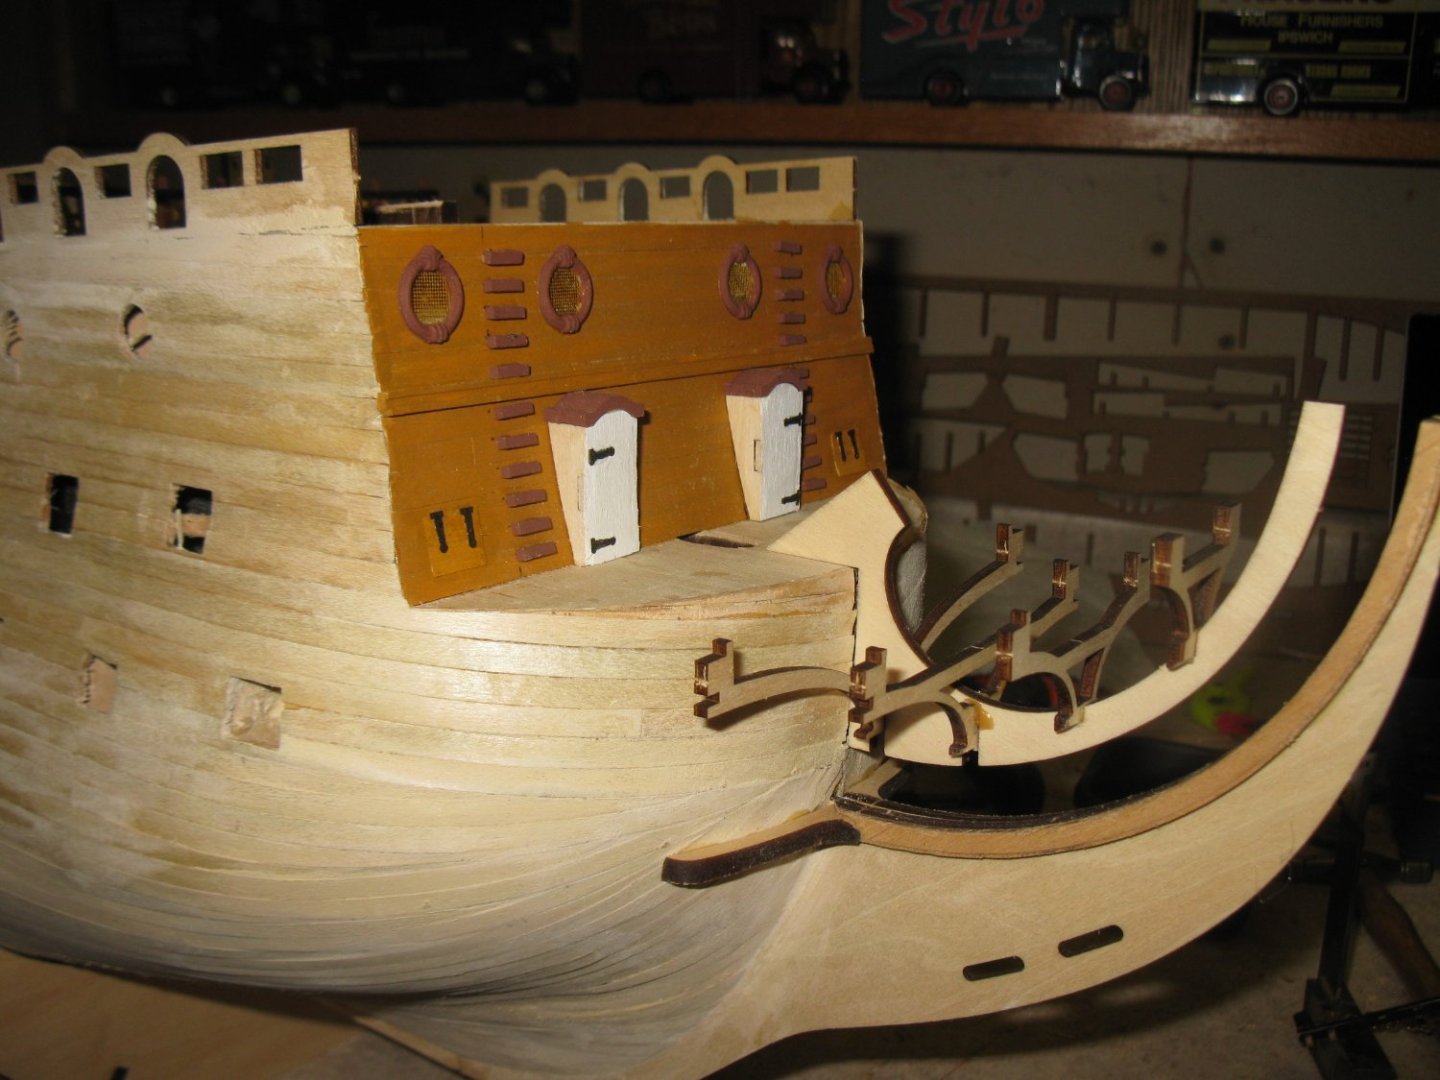
Now that was interesting. Started gluing all the bulkheads in place and then noticed that the pictures and the instructions did not match what I was actually seeing. It seems the instructions and pictures may have been created when the central framework was all one piece that incorporated the stem, keel and sternpost???. Those features are not on the piece provided in the kit. Nor are they mentioned anywhere in the instructions. (see the picture above). I did find those 3 structures laser cut on a separate piece of walnut. I was able to install those pieces without any further issue. Another note. On each bulkhead about half way down there is a "notch". Again, no where in the instructions or illustrations is this mentioned. But it looks to me that as the upper half of the hull is covered in pieces of plywood and not in wood stips, that this notch may be where the first planking actually begins??? The instructions now state to start the first planking and then add the plywood sections. I think I am going to reverse that and see what happens.


-
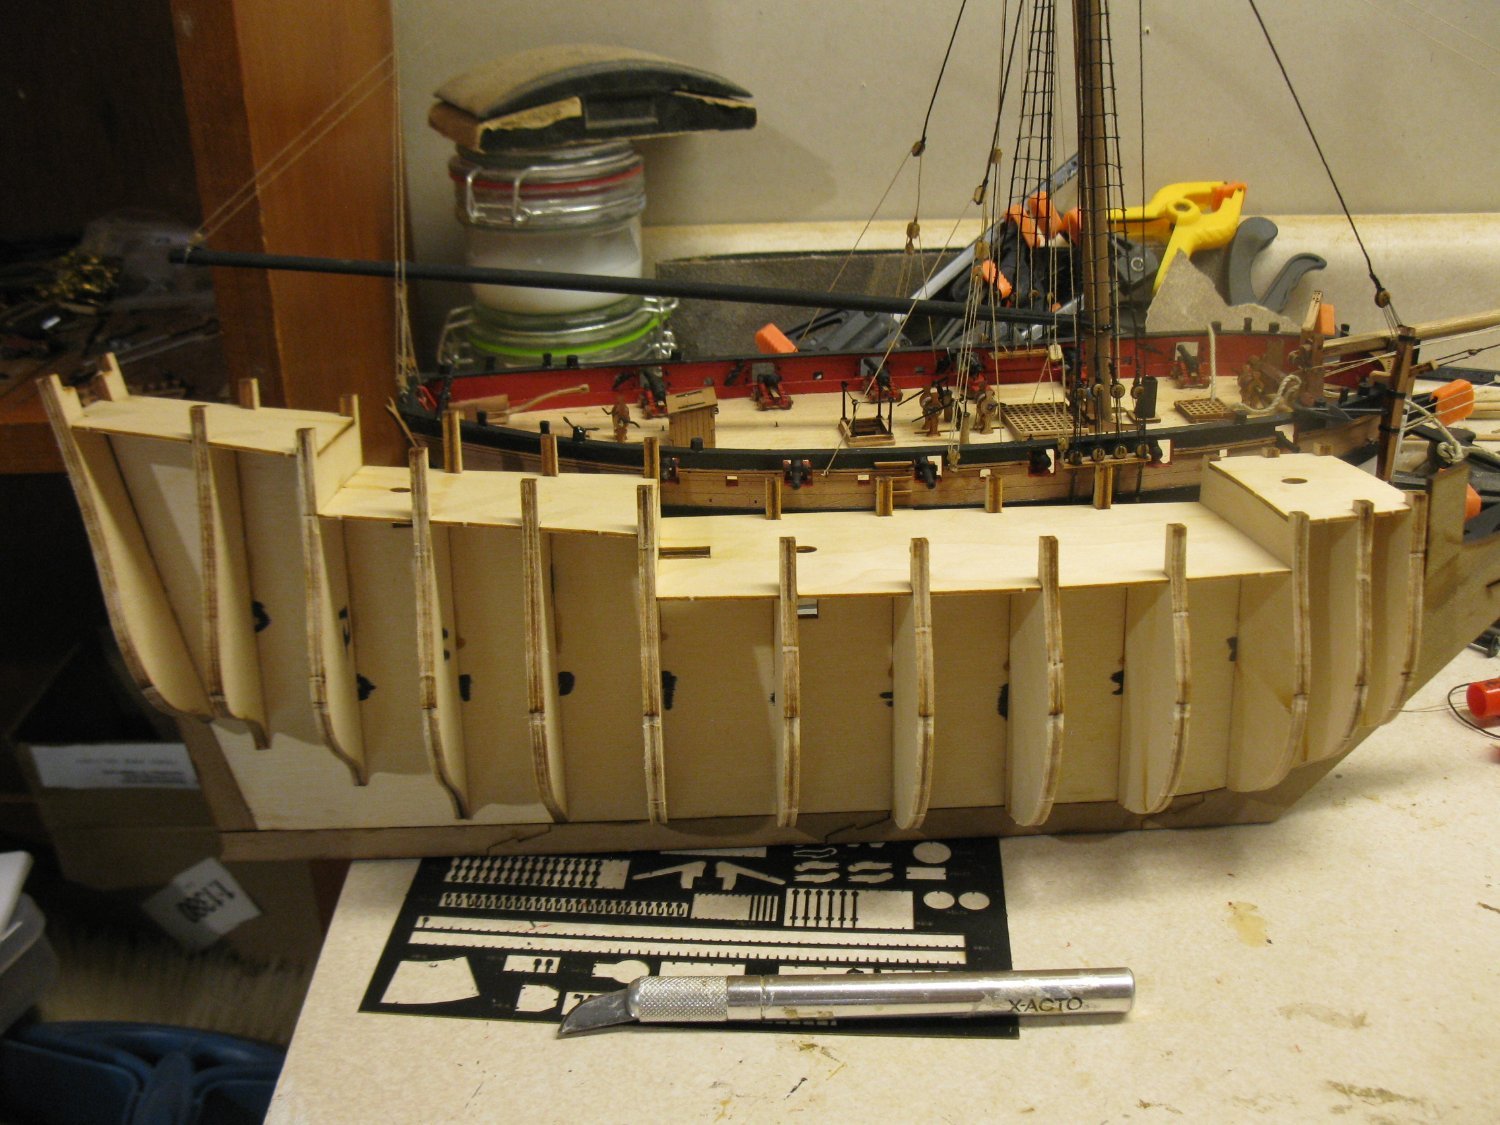
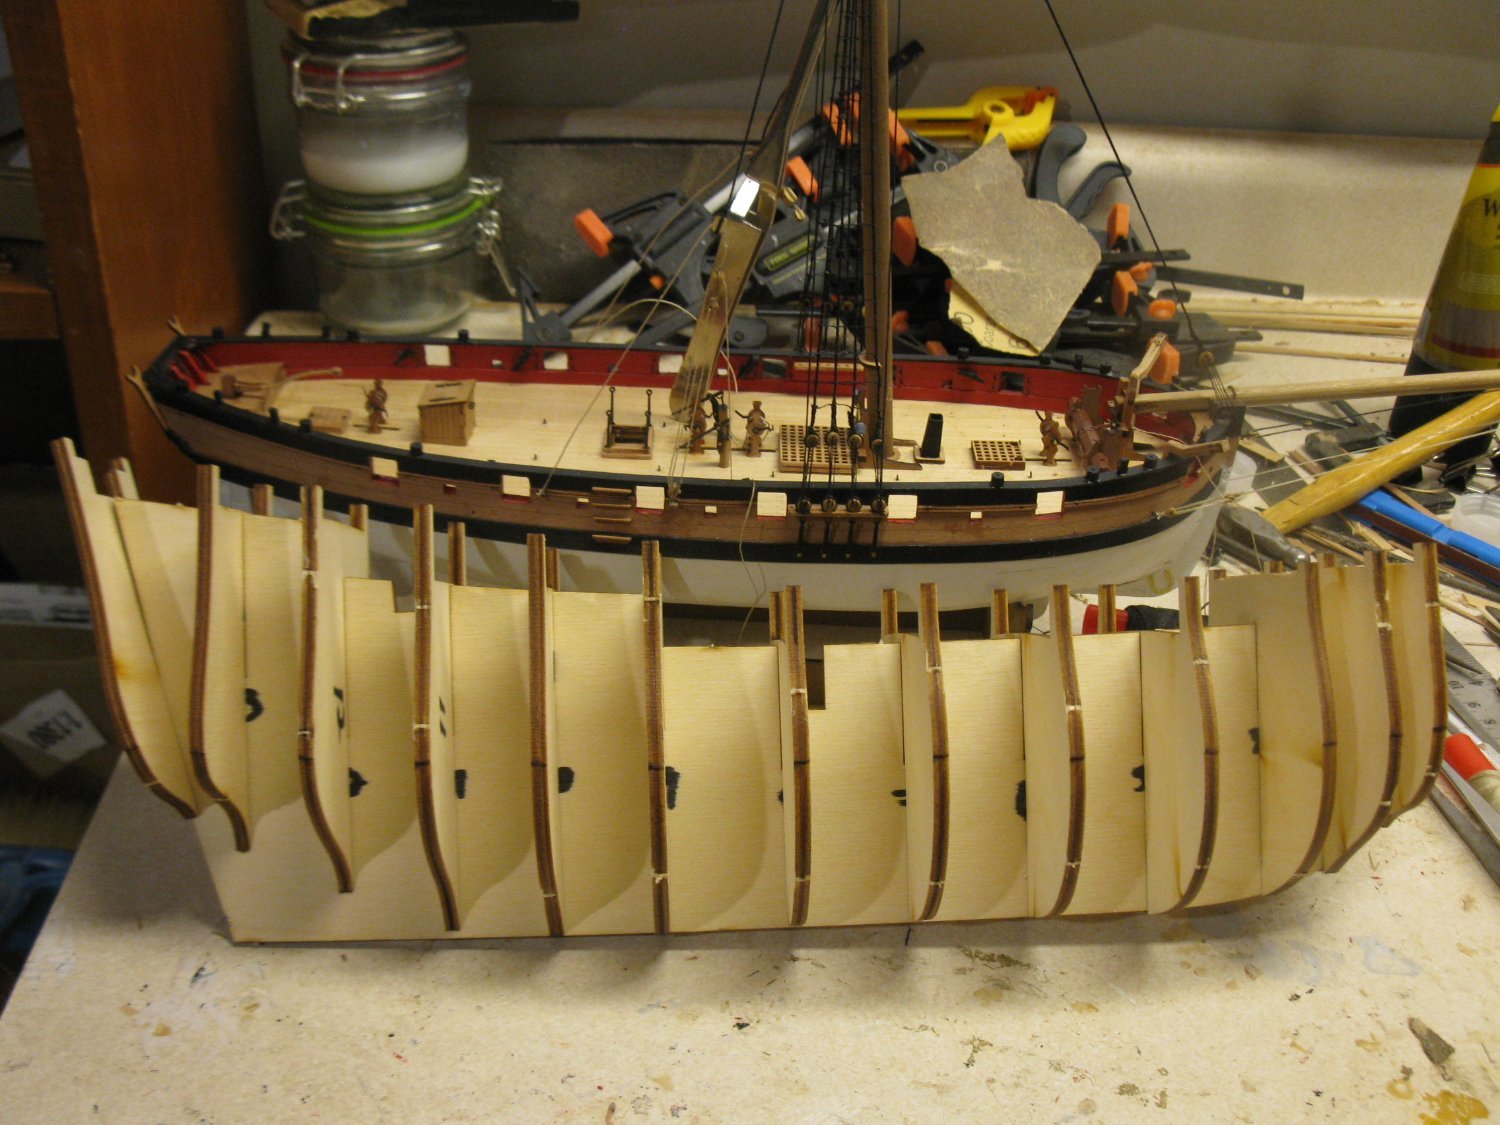
My Vanguard Cutter Trial is almost finished so I have dry fitted the bulkheads for the HMS Prince. You can see the relative size of this model against that Cutter Trial. I do have a lot of concern about building in this scale. My biggest issue is probably going to be the painting of the metal fittings. That appears to require some very fine painting. We'll see.

-
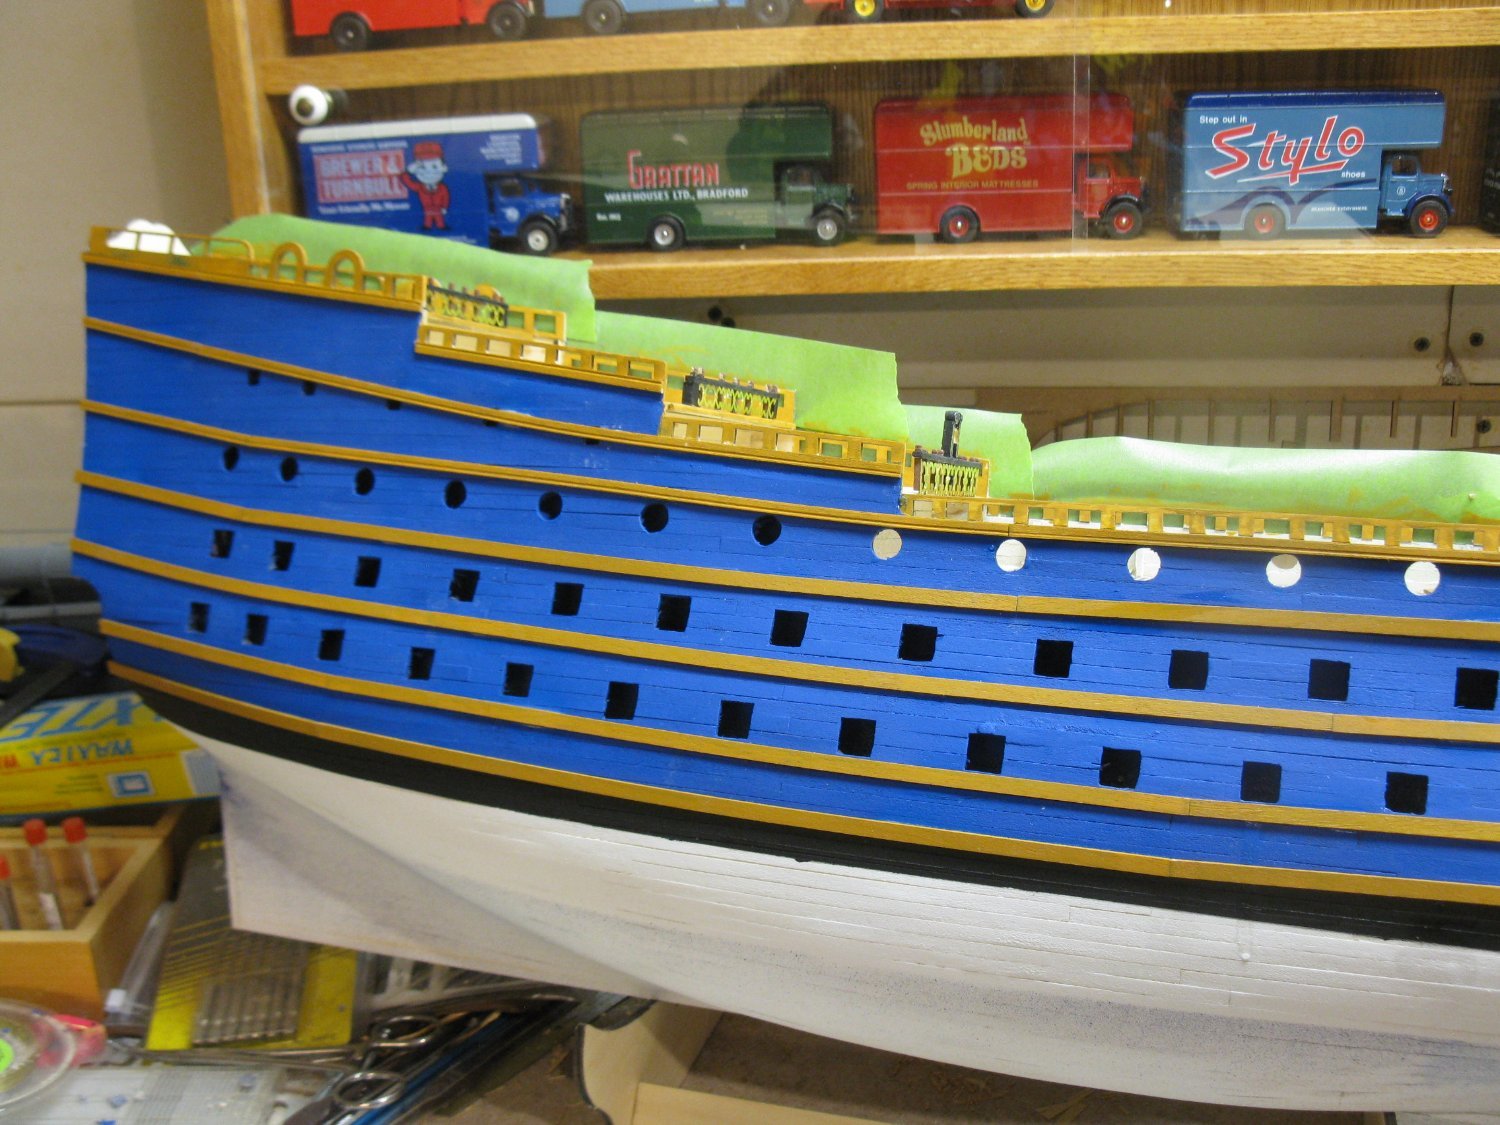
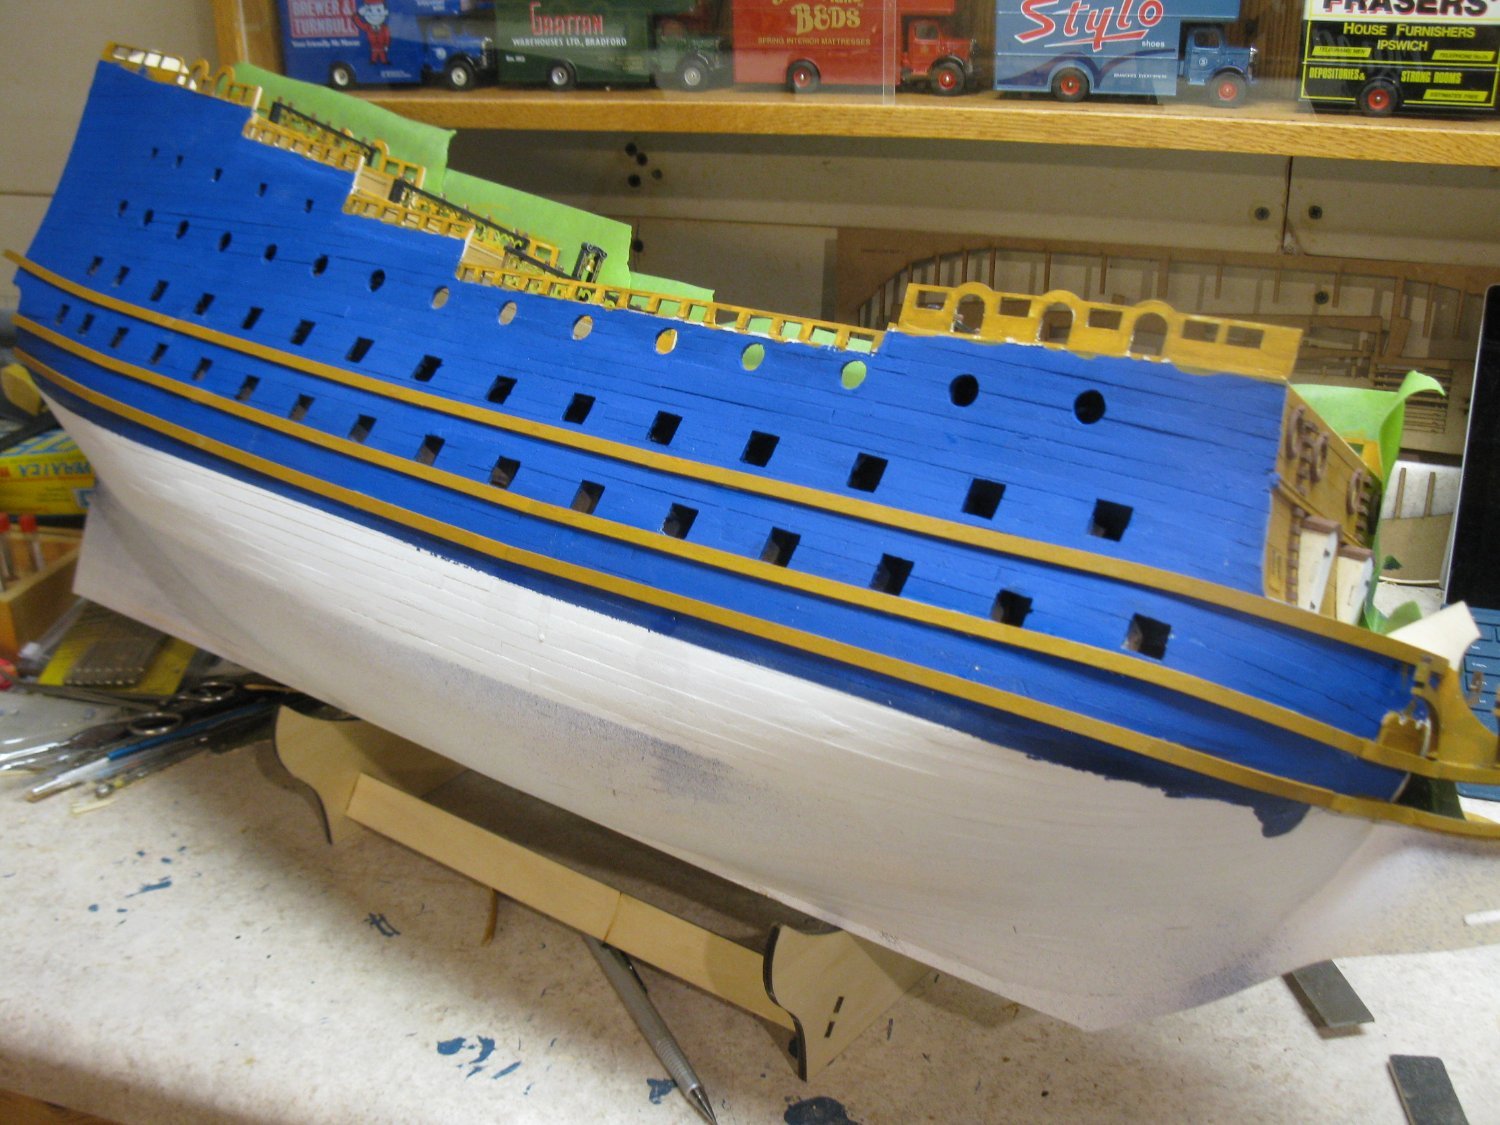
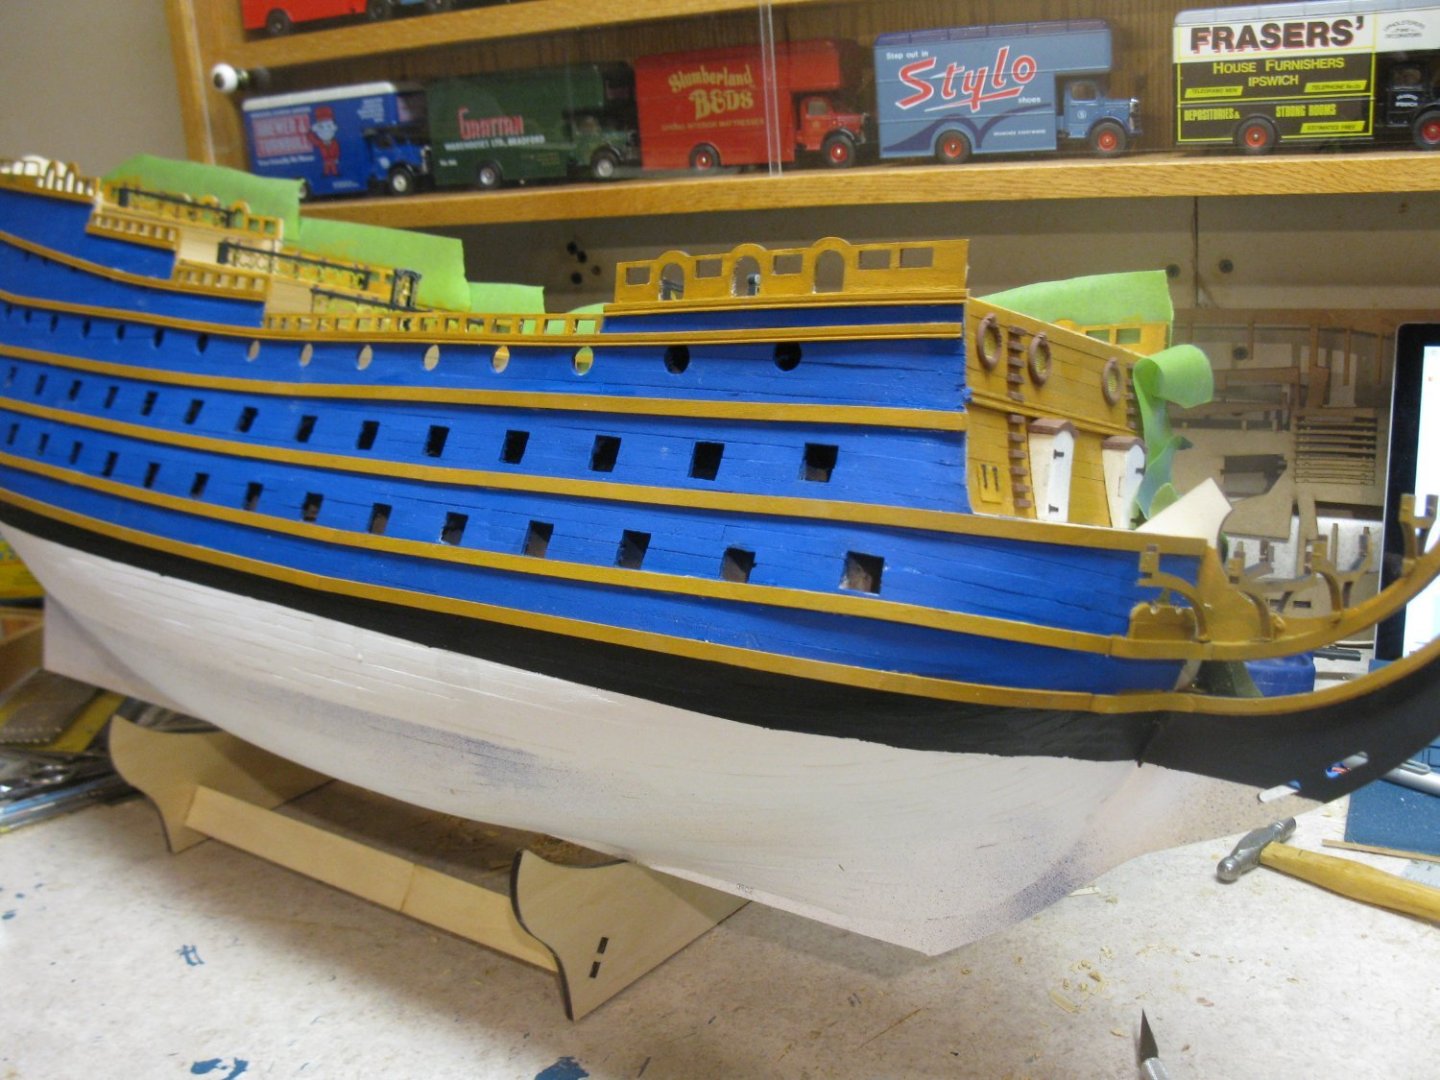
Starboard side wales and railings are now completed. Lots of touch ups to do. Now it's on to the port side. So far, I am very pleased with how this is going and looking. Very nice kit with the exception of the digital only instructions.

-
3 wales have been applied to one side of the ship. Here is where the lack of actual plan sheets is a huge negative. The middle wale is the first installed. The only way to determine its position for the whole length is to closely look at the pictures and approximate the location relative to the gun ports. If I had a plan sheet I could measure of the plan. In this case I hope I estimated the location accurately as the other wales are measured from this middle wale. Overall, I think I should be pretty close as the location of the upper and lower wale appear to be equivalent to what is pictured on the box and in the instructions.

-
Just noticed that you can see the blue difference just below the lower gun port line. A wale goes just below these lower ports and then there will be a strip of black below that wale.
-
Definitely will be using Royal Blue. Royal Blue appears to be much closer to the box pictures. Not sure if you can make out the difference in these pictures but royal blue is much more "blue". There is now going to be a LOT of painting at this stage. Lots of wales require paint before applying plus I I have the whole port side to do. At least two coats are needed to get it to the point I want.


-
Although the actual NUMBER of shrouds would be the same the length of them will be much decreased. If I remember right the length of the main mast shrouds on the HMS prince 1/64 was something like 10 inches?? On the 1/`144 they look to be about 6 inches.
-
I decided to deviate from the instructions again. For the place I am at now, the instructions state to add all the wales and then do the painting. As there are a several rows of wales, for me, it would be easier to paint the wales first and then apply them to the hull. At 72 years old, my hands are not as steady as they once were. Once I am satisfied with the base hull paint, I will add the wales and other outer strips of wood. I now have to decide if I like that deeper blue. The instructions call for Prussian blue which I did use here. But my thinking is that a royal blue would be more pleasing to the eye. I'll think about that for the next week or so before deciding which way to go.

-
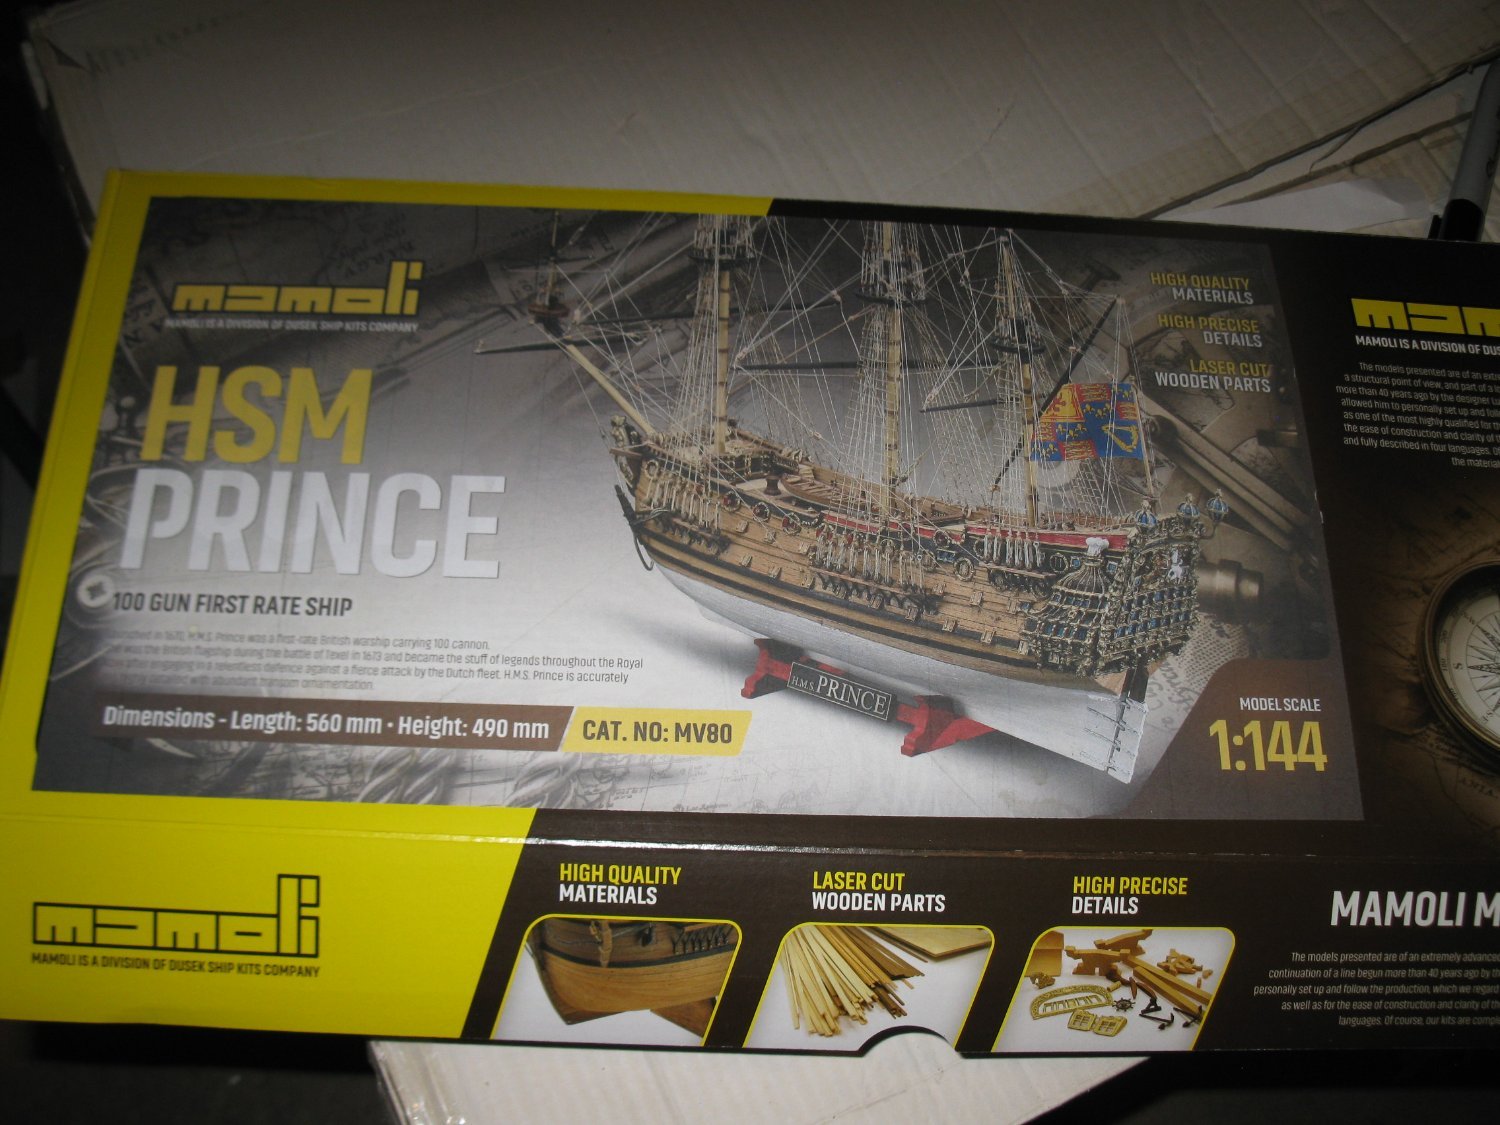
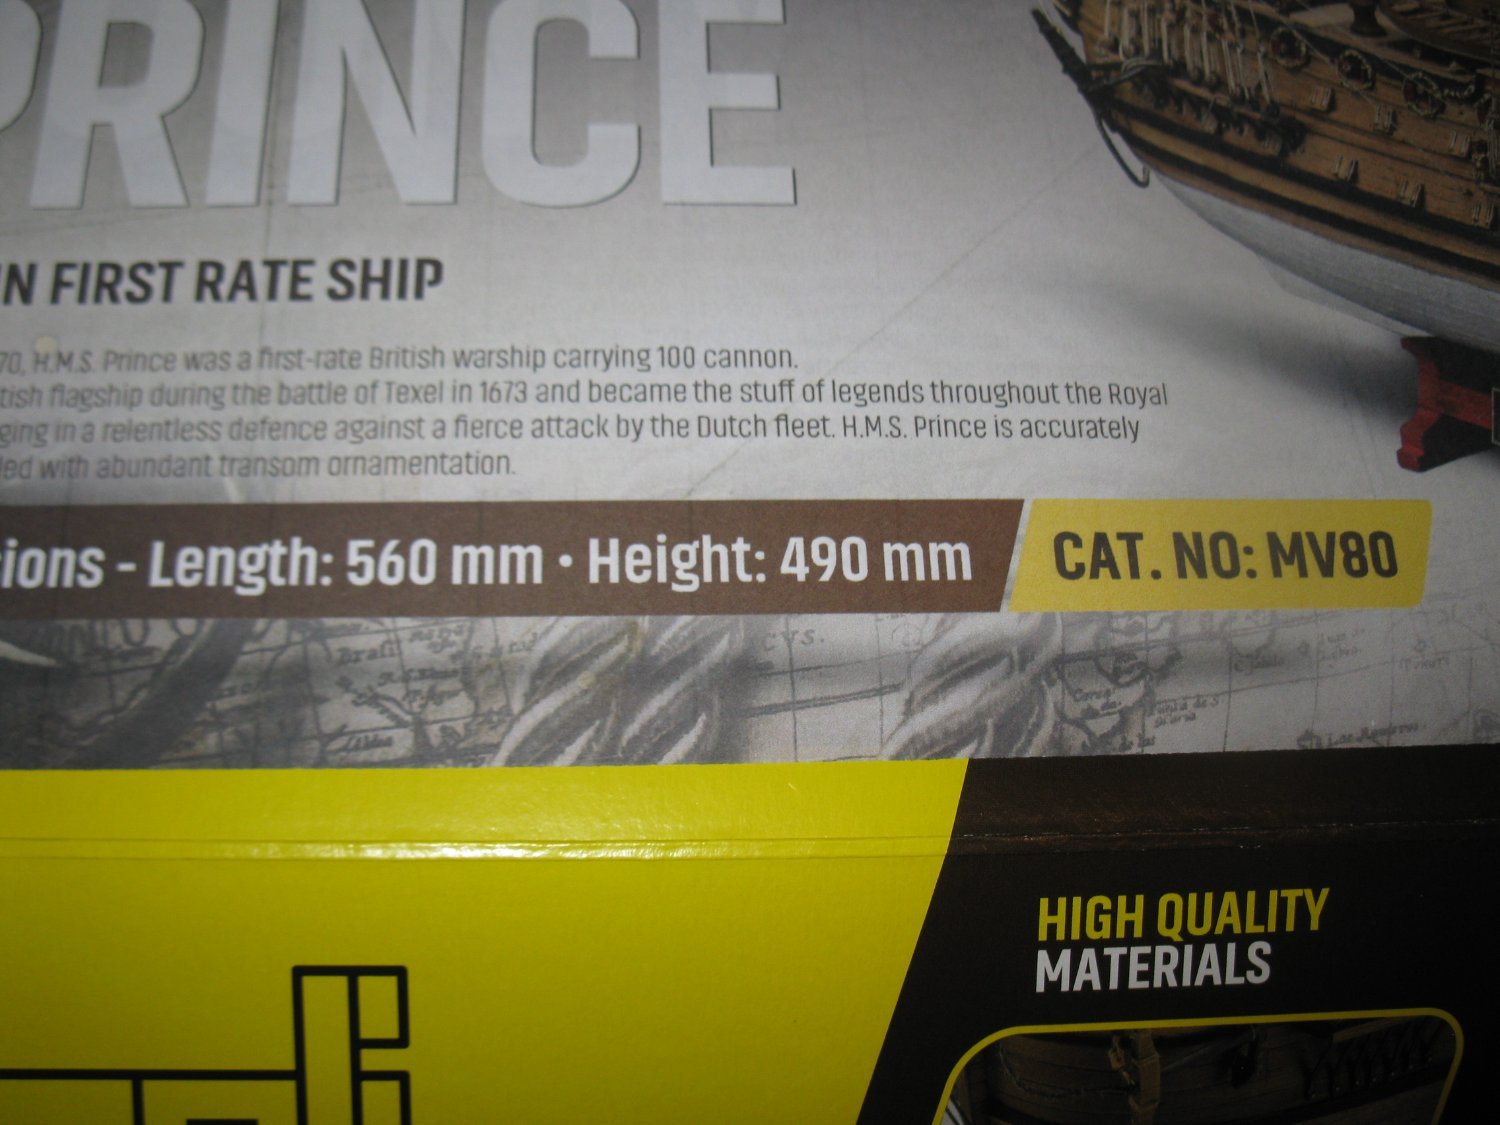
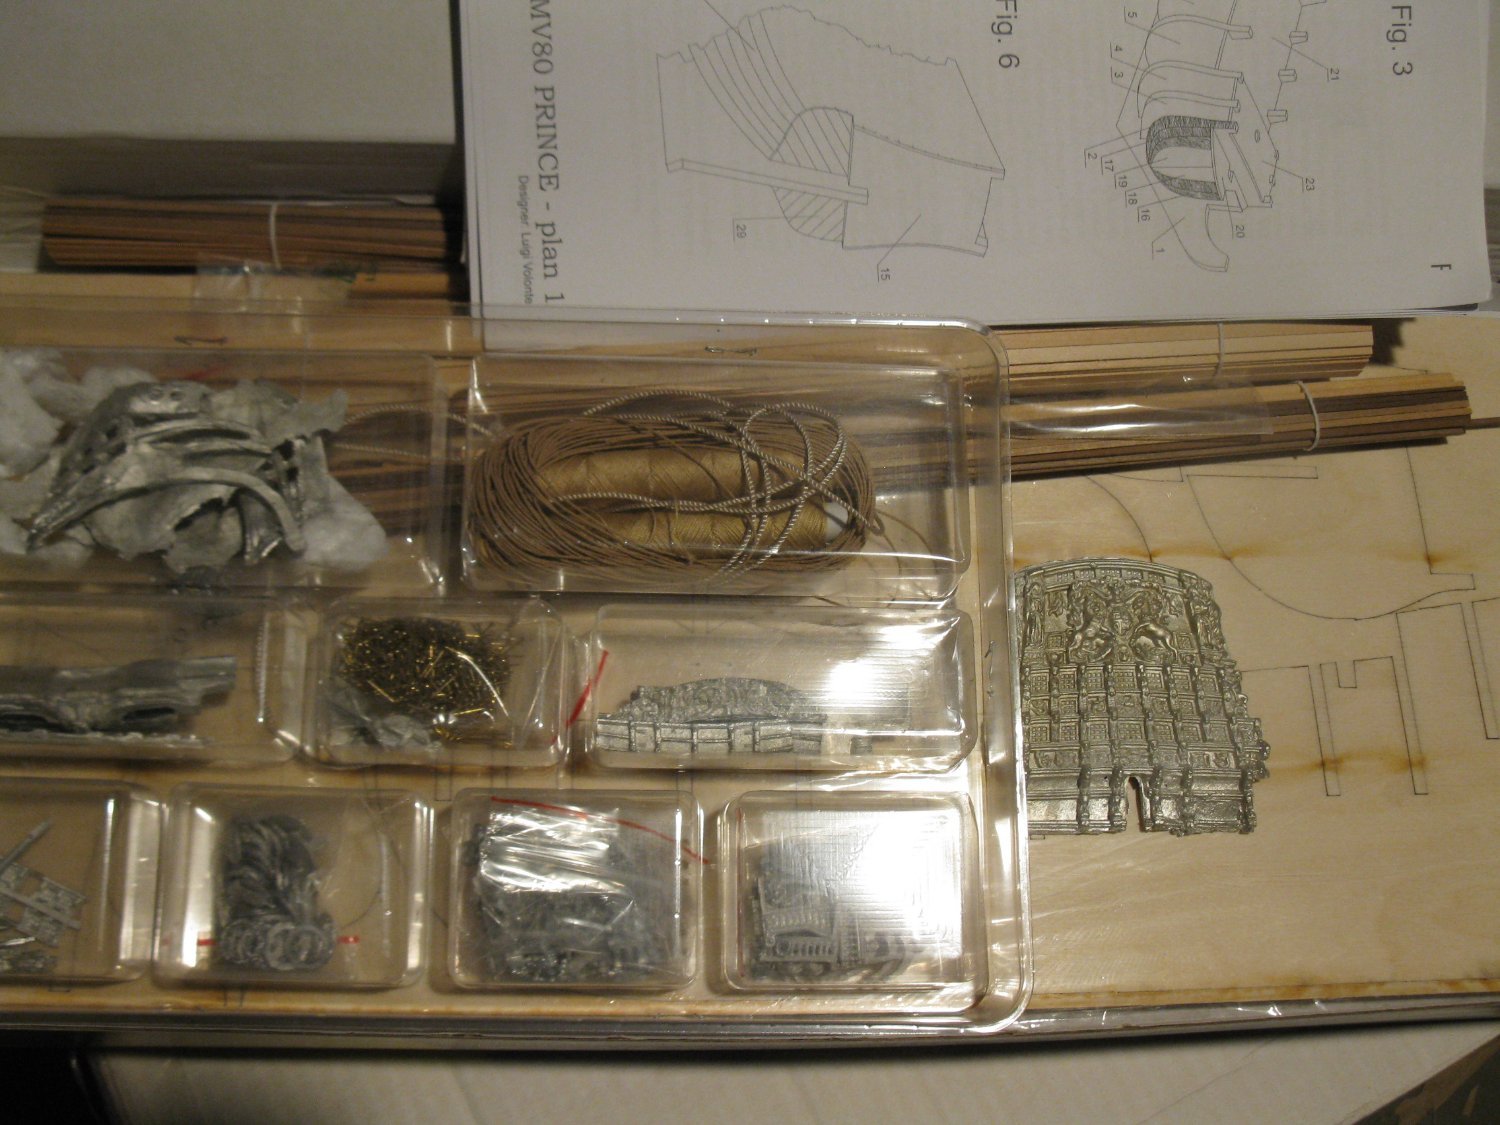
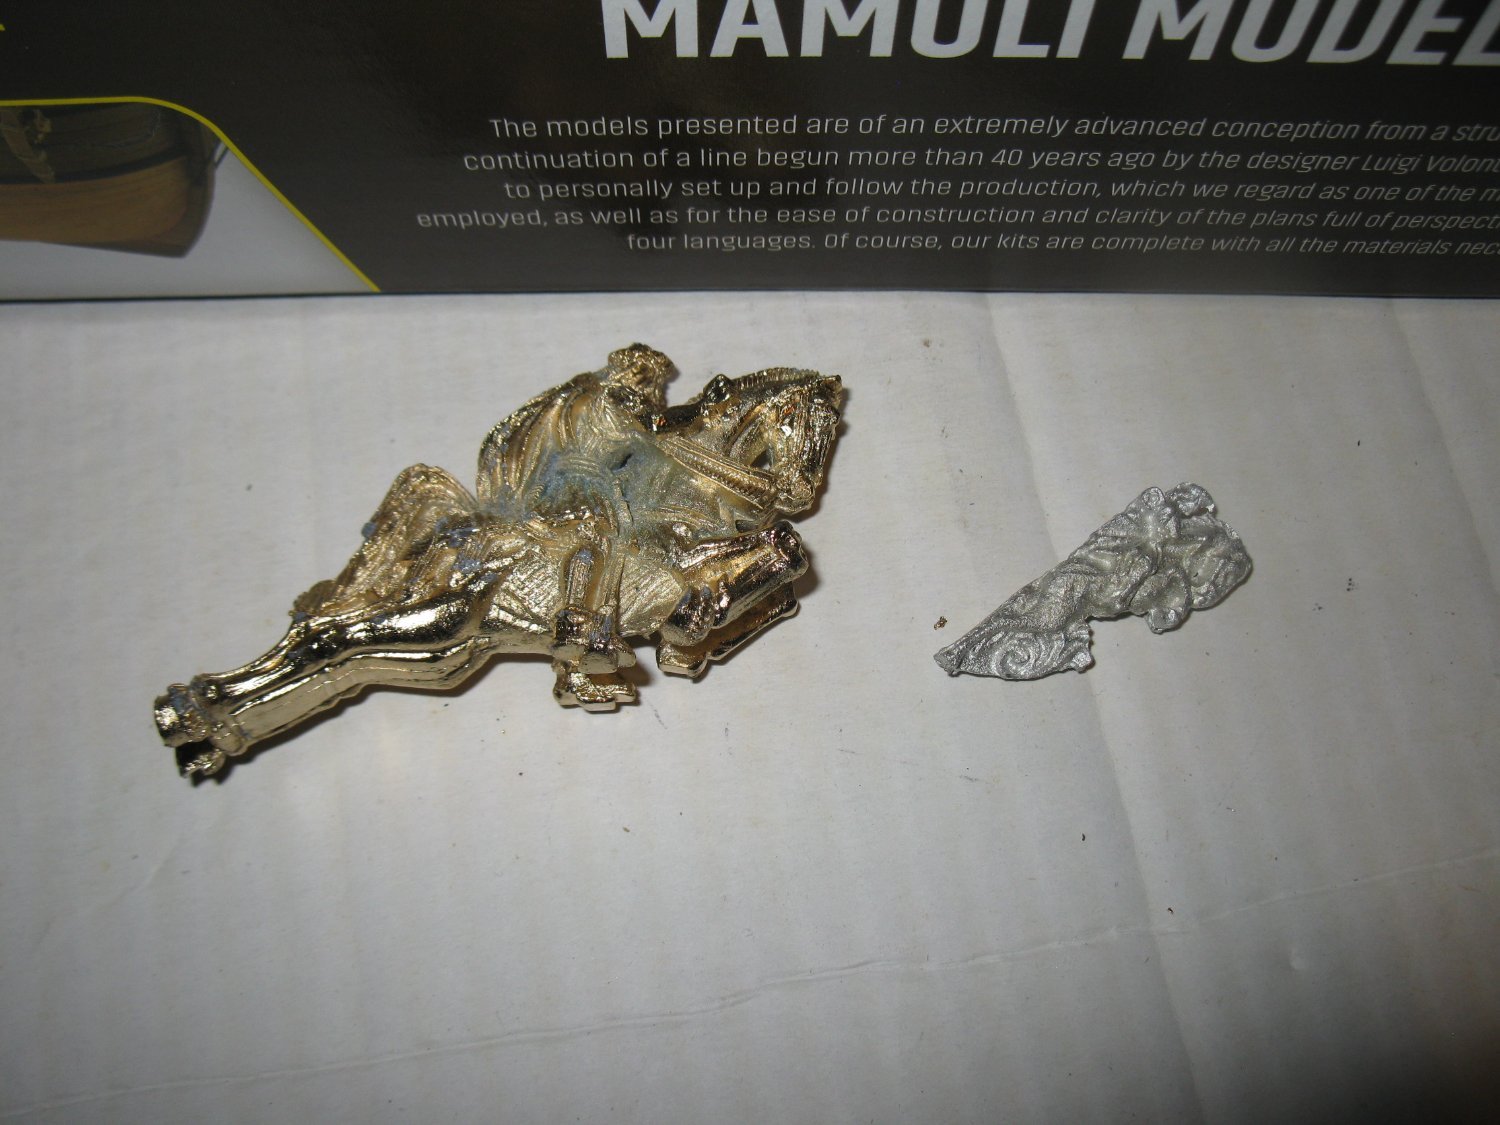
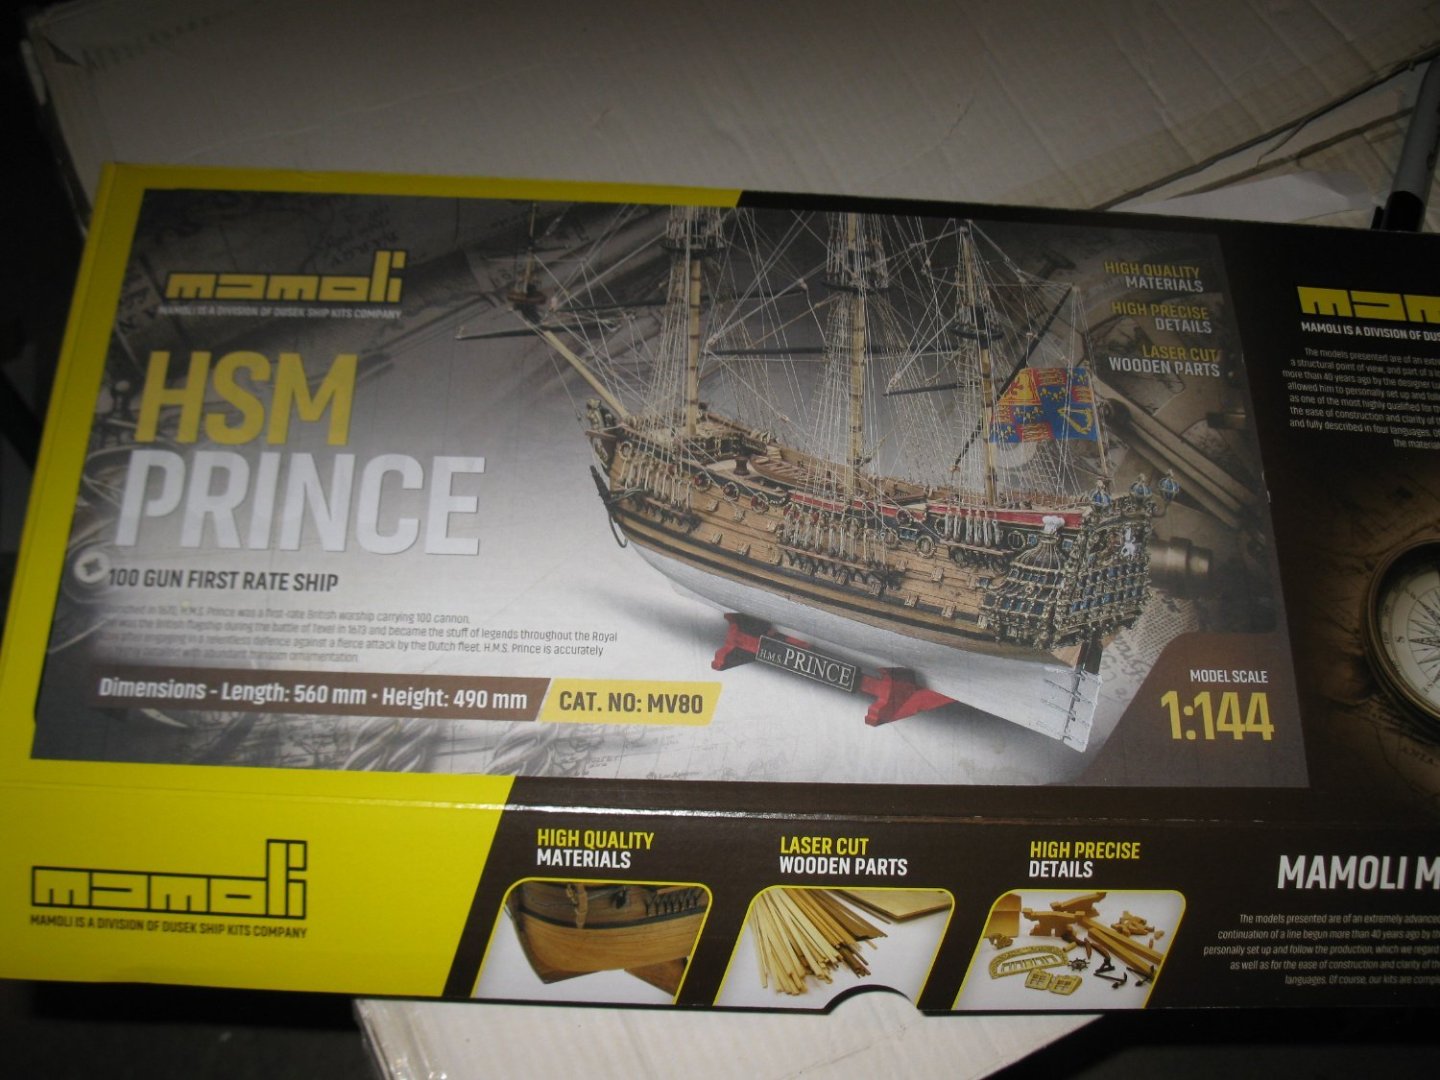
Presently, I am about 1 month out from finishing my Vanguard Cutter Trial. While waiting for any new Vanguard model I was looking for my next project. Note I always have two models going at the same time. My AL Soleil Royal is proceeding nicely but slowly. I've always liked the seventeenth century warships and the Prince would be one of my favorites. I have the old Amati HMS Prince (1/64 scale) in the box. Having built that one in the distant past I know how big it is and given space limits in my house, this 1/144 scale model caught my eye. It looks like the size of the hull is someplace around the Vanguard Duchess model. Given the small scale I do have some concern about working with such small parts. But on the plus side there will be a LOT LESS rigging of shrouds and ratlines! I started my wood modeling hobby about 30 years ago and built many Mamoli and Corel kits. I always found them to be pretty easy to build. This Mamoli kits looks to be pretty similar to what my experience was back then. The wood supplied looks very good as do the laser cut parts. The metal castings are OK. Given the small size the detail on the castings does not come close to the detail on the larger Amati kit. Note the picture of the two figureheads for comparison. It will probably be a month or two before I can add any pictures for this build. Once I get going I will provide more pictures of the kit.


-
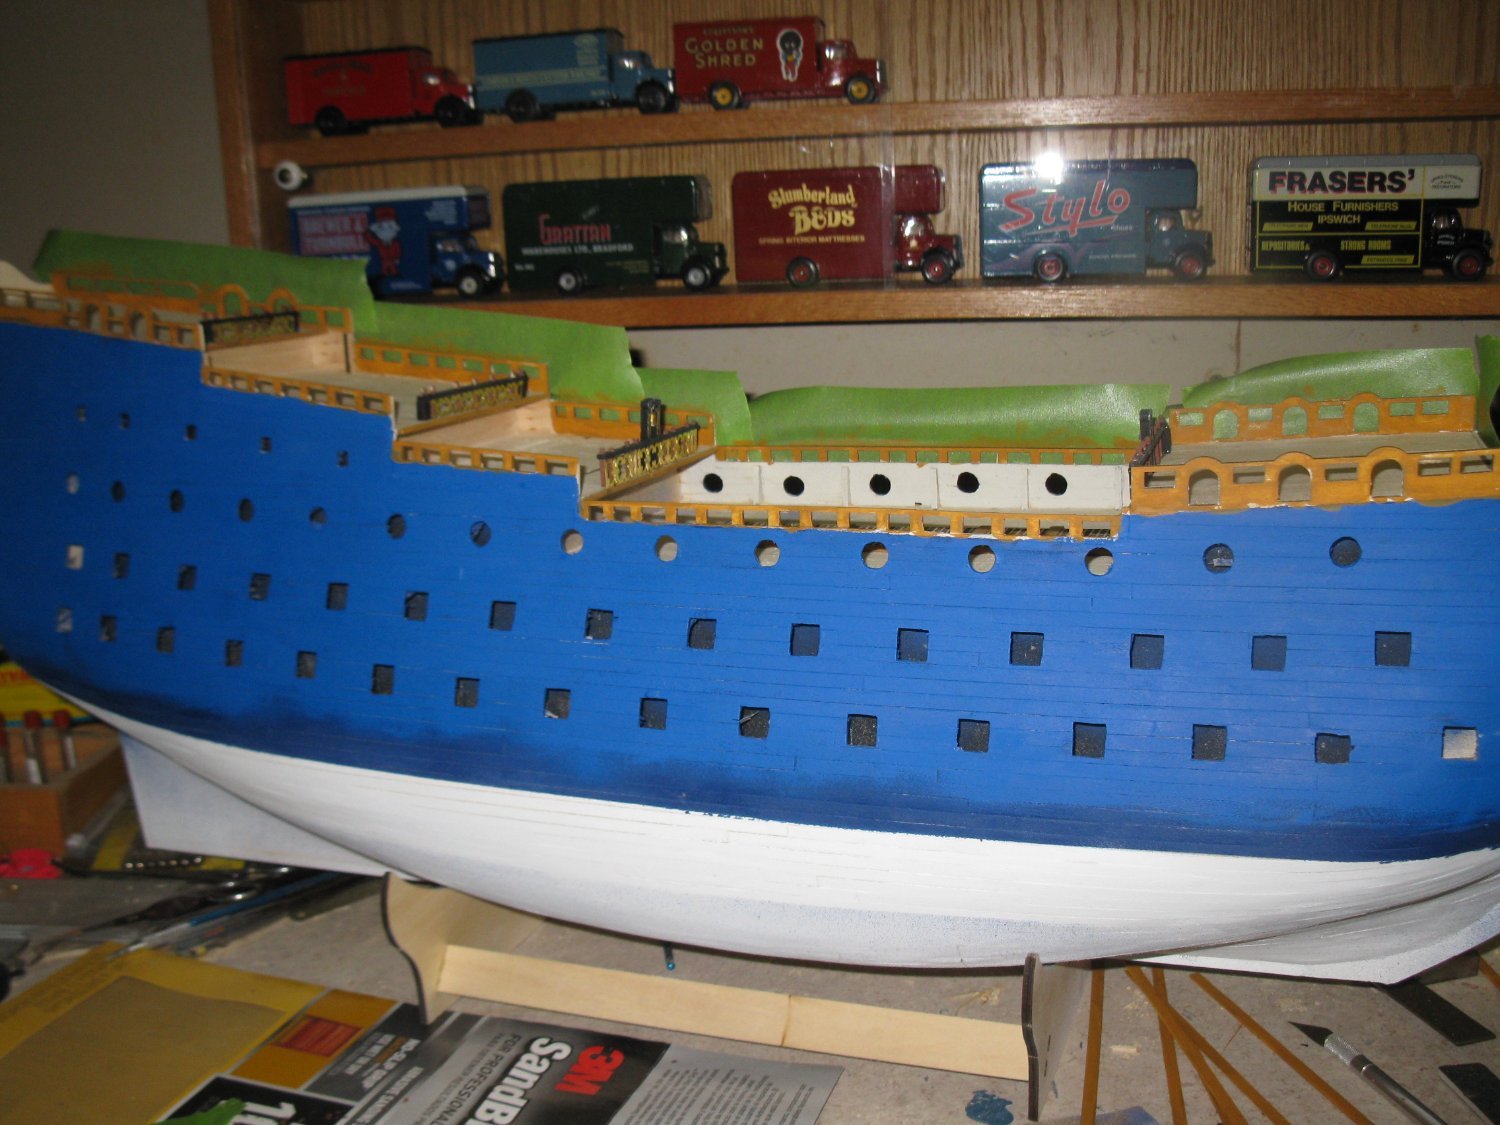
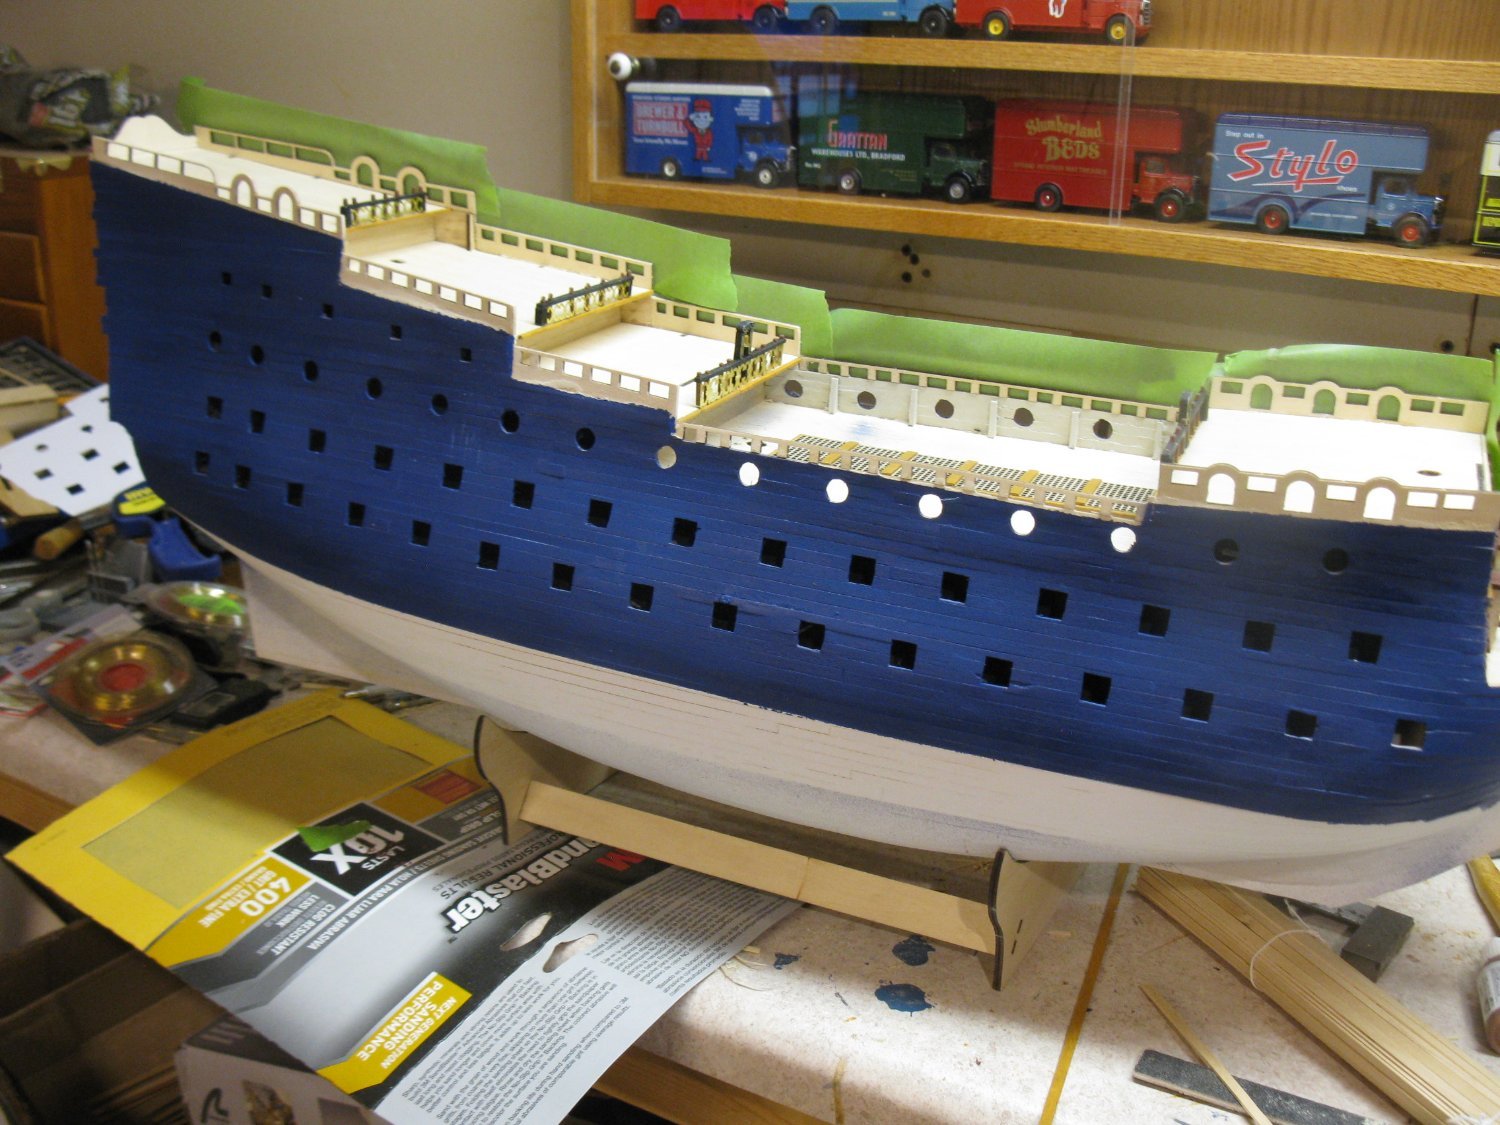
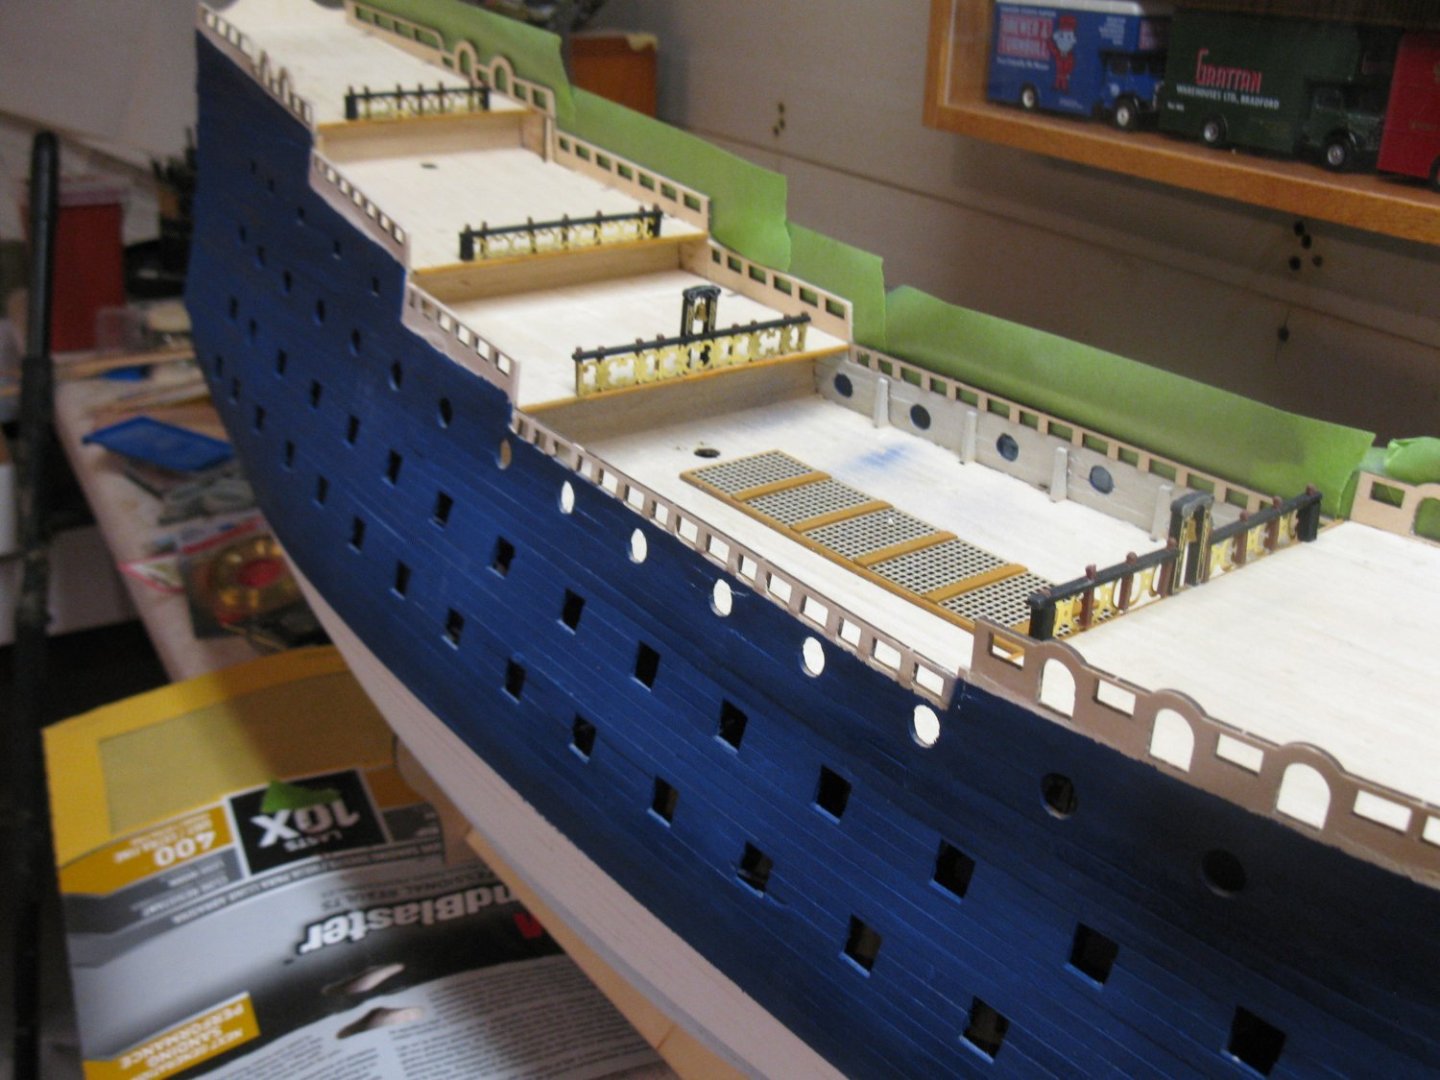
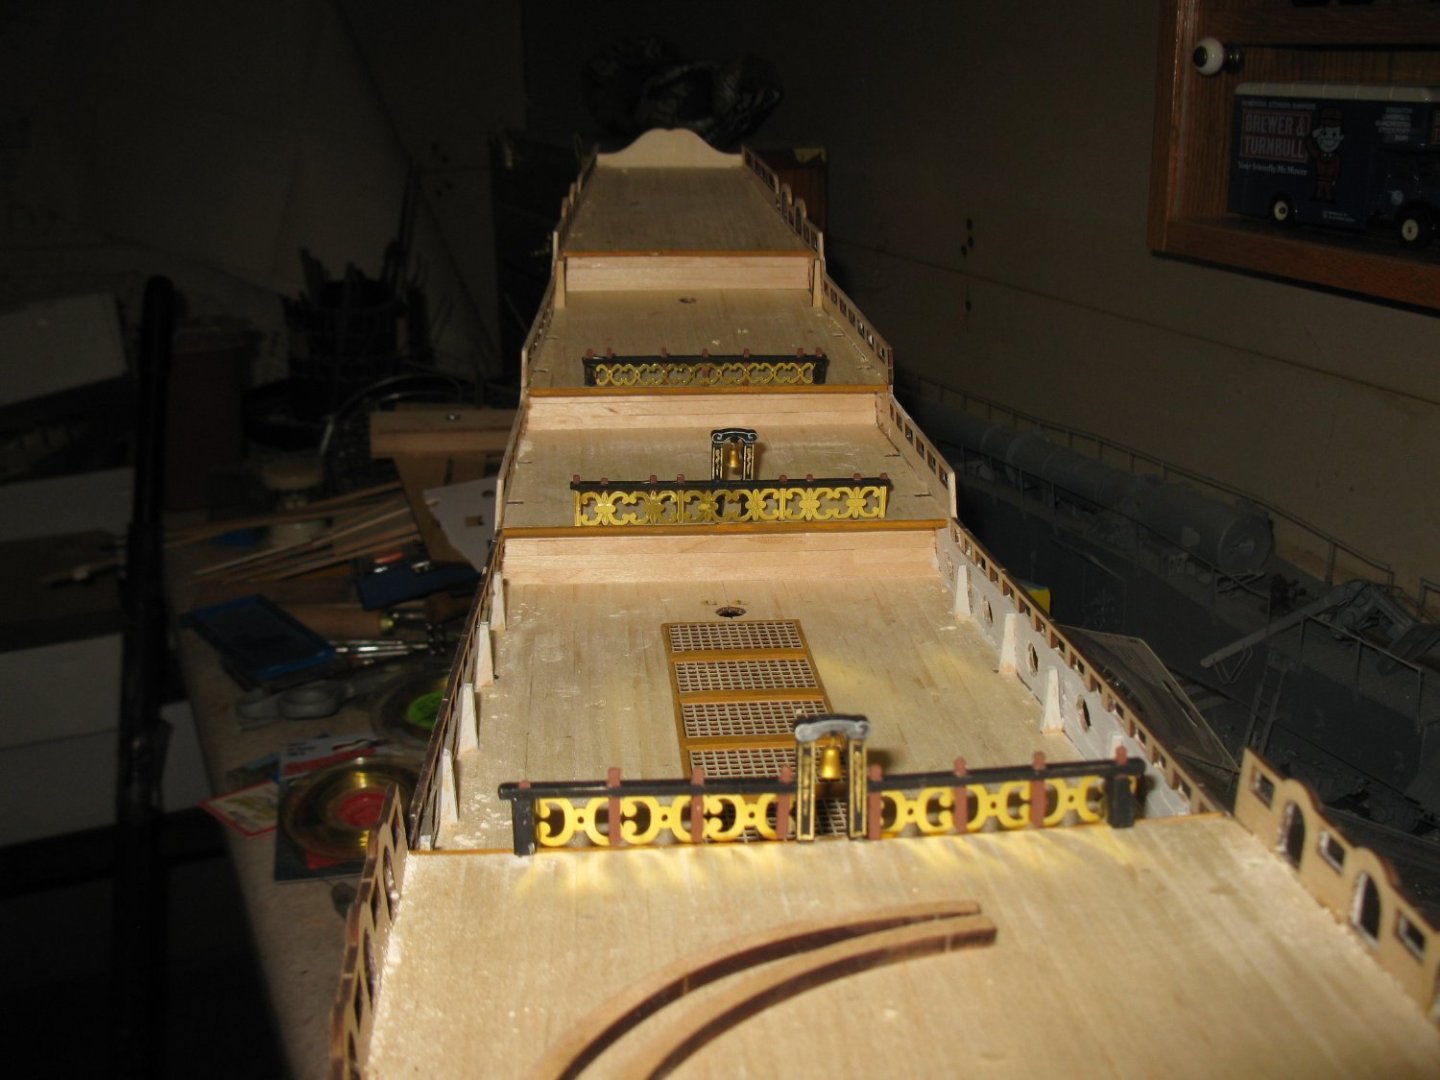
Progess continues although slowly. Some of the railings are installed. Now working on the bow area.
-
If it is like a number of their other kits, their instructions include only computer generated pictures. Never actual pictures of the model. I had to put the one I was working on back on the shelf as it was impossible for me to figure out what goes where.
-
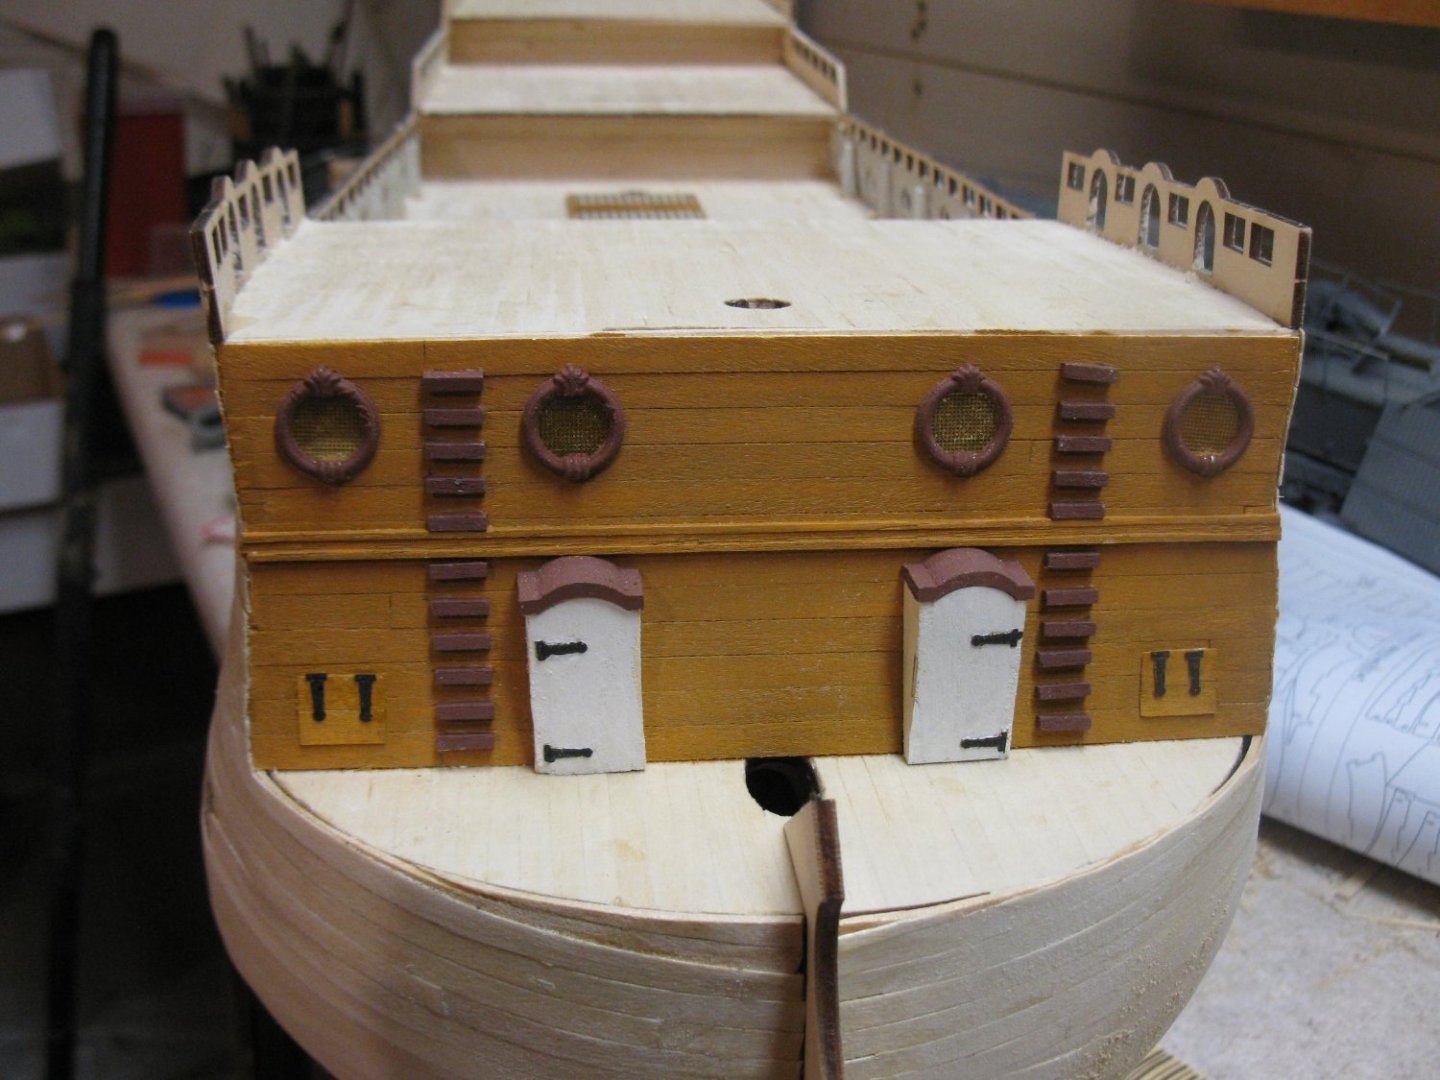
Finished the front portion of the ship. It's nice to work on these little details versus the relative monotony of planking.