


JPett
-
Posts
881 -
Joined
-
Last visited
Content Type
Profiles
Forums
Gallery
Events
Posts posted by JPett
-
-
Ahoy Brian

I must say, I really like what you have done. Especially your wood choices on the Hull. It looks great.
-
-
Ahoy Martin
Your rigging looks great. I also noticed that this new round of photos really shows off what a great job you did on your build.
Thanks for sharing. Following is so much easier "lol"

-
Ahoy Augie
I think that comment would hold more water if it included some pictures
-
-
Ahoy Ferit
I purchased this book to help me with my Berlin build. It came highly recommended
The Rigging of Ships: in the Days of the Spritsail Topmast, 1600-1720
http://www.amazon.com/The-Rigging-Ships-Spritsail-1600-1720/dp/048627960X
-
Ahoy Eric
Looks like your off to a good start
Its a great trip
Enjoy it
-
Ahoy Brain
Sadly it did let some air out when I got home and found out.
That site you posted is a great source too, thanks for posting it. That was some of the information I spoke of finding in my first post
-
Ahoy MSW
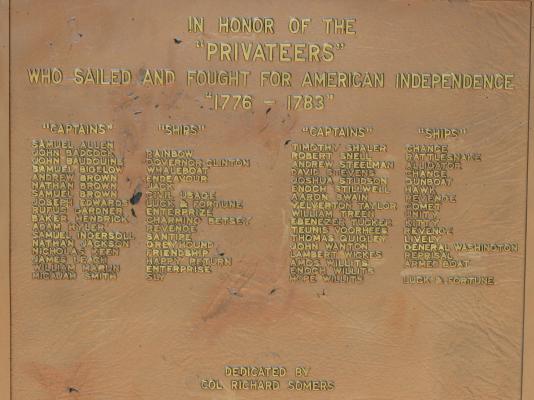
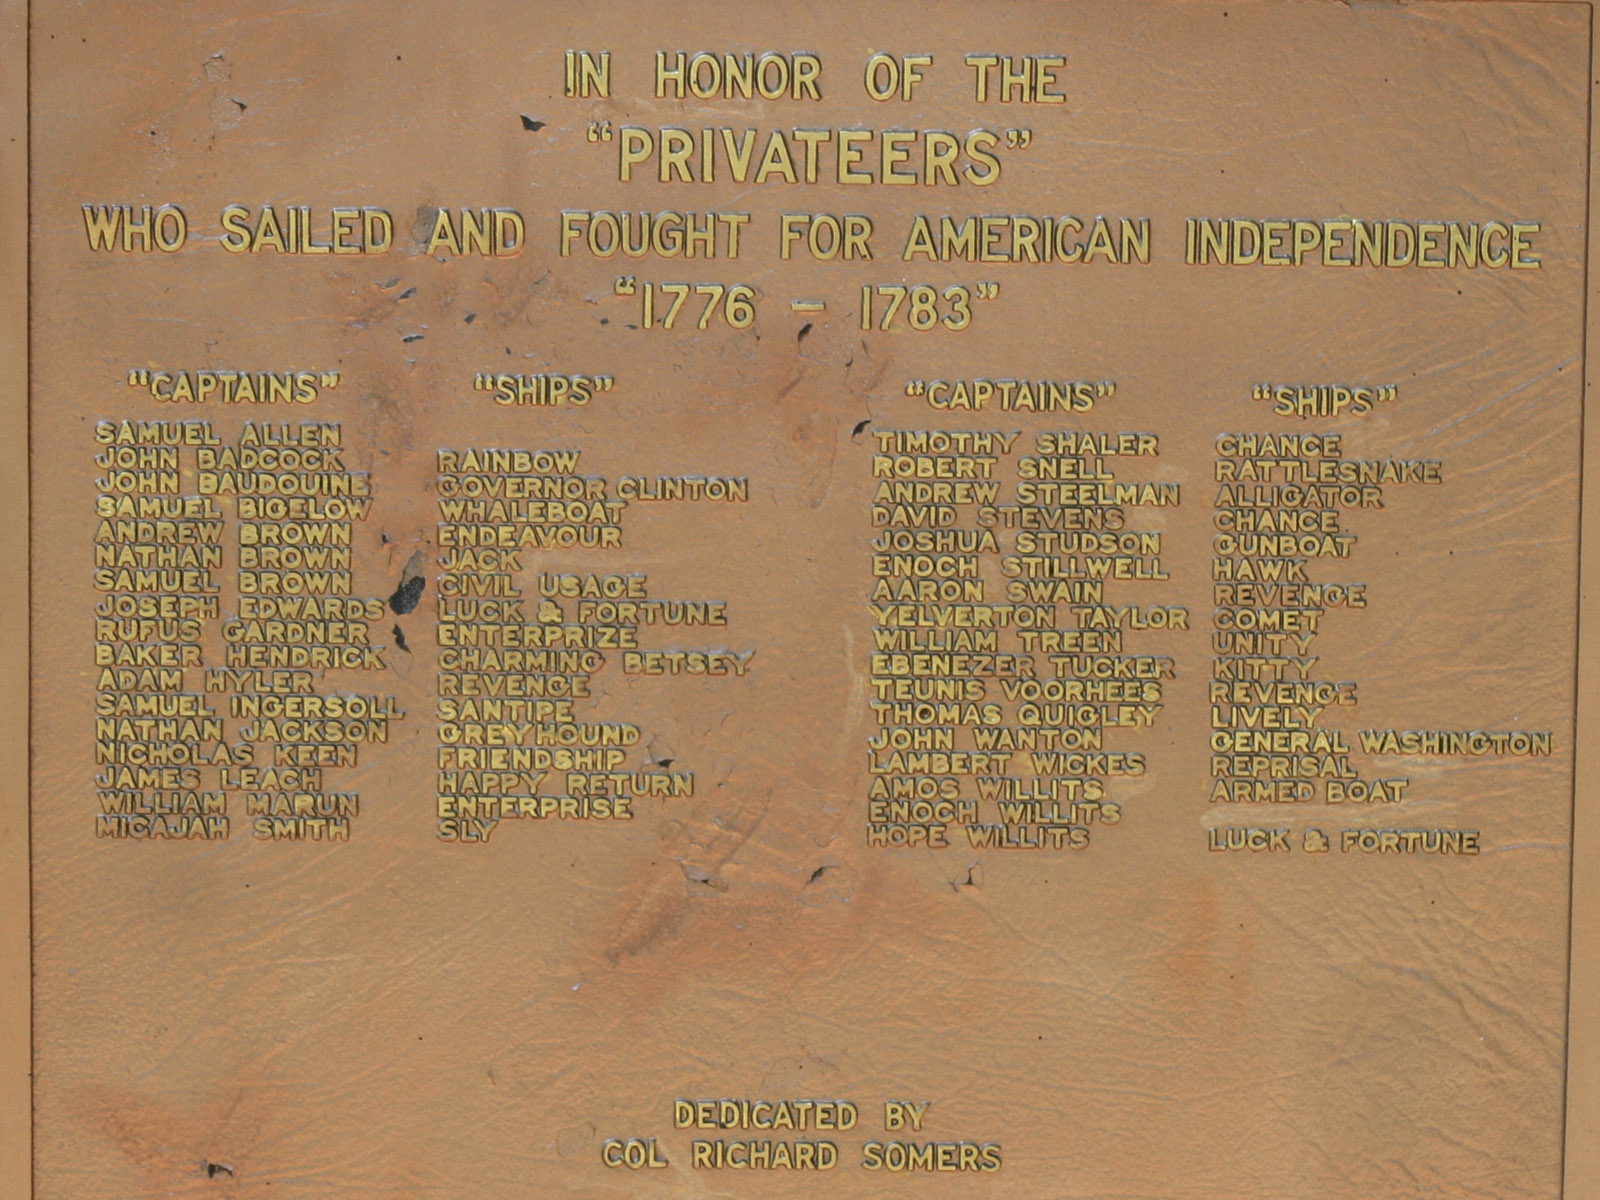
In my travels, I found this and thought I would share it. Located in southern New Jersey it honors the privateers who fought in the war for American Independence, listing ships and their captains. I can not speak for its accuracy but did find including the captains name in a Google search very helpful for my research.
It is located at the Battle for Chestnut Neck Memorial
Enjoy
-
-
Ahoy Tex
NP
Just follow the MS instructions and use the practicum here. Take your time, treat each plank as its own little project and don't rush it. Thats all I did.
Have fun on your adventure
-
Ahoy Tex
I did not use the water line to establish the run of the planks. It is a reference line but not the one for the run of planks. I am sure you could take measurements from it to get the proper height for your first plank. I just used the deck.
Following some recent posts in my log I will "set" the wales on my next build. I plan to make them their own belt. Then use those lines to determine the run of the rest of the planks.
No: I marked the hull using little strips of paper. This will make sense when you read the practicum. I also used the batten method to find and mark the belts (in the MS kit instructions), not the thread recommended in one of the practicums. It is important to spend the time to mark every plank width on every bulkhead. It is a long and somewhat boring task but shows you every problem before you lay a plank. It is much easier to erase a pencil line then to replace a strake or an entire belt of planks. That is what this work will do for you.
-
Ahoy Tex
Nice start
If it helps, I used the planking practicum here on MSW and spent the time to mark off all the plank widths on my hull. Well shortly after I didn't and then found out how hard it was to plank without them. I used 1/32nd by 3/32nd basswood strips to confirm my fairing and mark the belts. I put them just below where they needed to be and then use them as a guide for my pencil. I also found a 4H pencil worked best. Using wood was more accurate then the string mentioned in one of the practicums, at least for me.
Have Fun
PS: Thank you for your service (place saluting emoticon here)
-
Ahoy "Tenacious B"
Are you using silver solder
-
Ahoy Russ
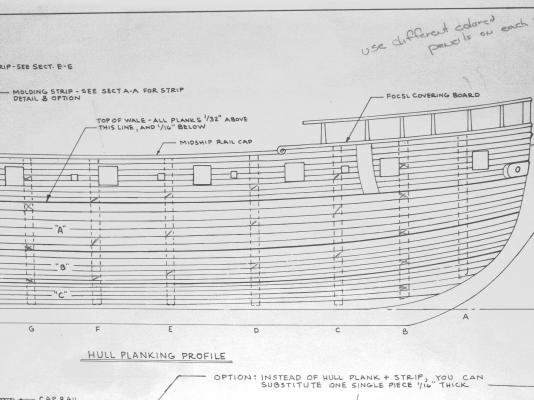
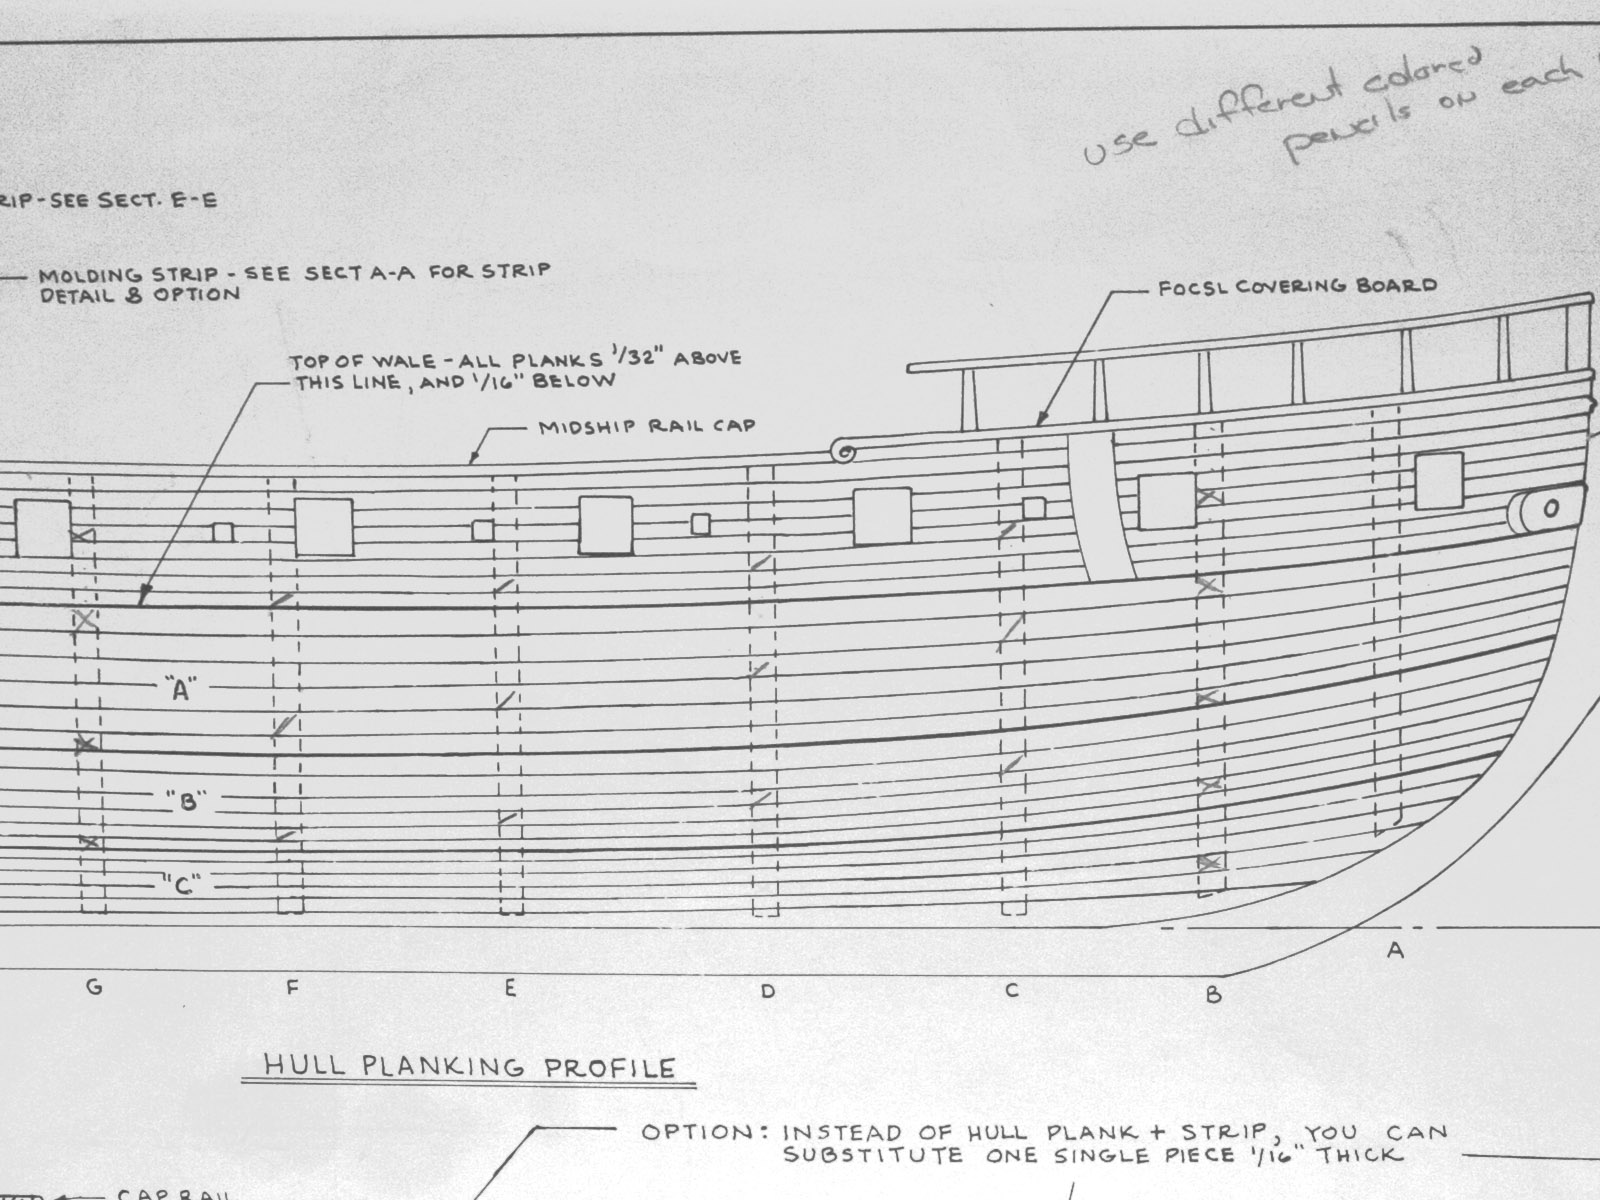
Only because I want to know I brought the plans into PS and now see that I must correct my last correction. As you stated the wales do not taper except at the bow. Why I was seeing a taper at bulkhead "E" I do not know. Oddly I still see it when I look at the plans but this image of the plans clearly shows it does not start until bulkhead "C" and may also be slightly exaggerated by the fact the planks are moving away from you. I also see that I used 3 strakes and it looks like the plans only call for 2. I will plead "newbie" on this
Thanks for helping me to clarify this
-
Ahoy Mates
Thank you for you interest in my build
Russ: I have gone back and checked my notes and the plans to see where I made this mistake. As I read the planking layout supplied on the plans which I used, it shows the wales tapering at the bow. They start around bulkhead "E" as I did. They are however, tapered in a way that provides a nice flow for the black paint which is what I now see I missed. This makes my early post about starting the taper around bulkhead "C" incorrect. I thought important to report this for anyone following this build.
I also considered painting the wales once complete as Ben had, but choose not to. There is no delineation between the wales and the lower hull planking on the Ratt and I was concerned about any sanding dragging color on the planks just below the painted wales. I did speak with Ben privately regarding this and he had his color scheme before he started, I did not. This allowed him to treat and protect the lower planks prior to installing them. I also felt that with my lack of experience I would have had to repaint them anyways once I was done. I am using a clear satin ploy which will allow me to use tape to provide a clean line and this is how I plan to correct my mistake. I will find out shortly if this was the right move
PS: Your comment regarding setting the wales first has finally set in. Thank you. On my next build I will divide belt A into two sections. The wales and any remaining planks in that belt. Complete and check (or set) the wales then use this line to finish the planking. I may even make them their own belt.
Buck: I have to find one first
Ferit: I think you mean "my reason of insanity" lol

Popeye: I thought I could make it better. As much as I was very happy with the way my planking came out I did not like the look of the basswood. My little runabout showed me how beautiful wood can be and I did not find this to be true with my Ratt. Had I cherry picked the wood first I think I might have felt differently but I did not. So I tried to do something about it. It wasn't what I did as much as how I did it, that I am now correcting. I am very confident that I will be very happy with my new plan. It is just a "boatload" of work.
-
Ahoy Mates
Ben: I'm learning
Russ: TY, I did start with the wales making them full width planks but I started to taper them to early. Right around bulkhead "E" and my paint drift will start there and run to bulkhead "C". I am hoping to fudge the paint drift and keep it to a 32nd and then swing it back on the plank line by "B". It now makes sense why I had to use wider planks in belt B between these bulkheads .
In the end it should be hard to notice but I did not consider this while planking and that was a mistake. If I am thinking correctly I should have started the taper around "C". Please let me know if this is correct.
-
Ahoy Sport
Your good, The misstep had nothing to do with how I put the planks on. Just what I did to them afterward. It really isn't that bad either.
If this helps, the only thing I wish I had done differently was how I tapered the first three or four strakes. I plan to paint a black band on the wales and making sure the planks followed this same line would have been a good idea. Mine line will not follow the planks exactly but drift into the fourth strake towards the bow where my planks taper. It could have, had I thought of this before I started I would have made sure the first strakes followed this line.
** Edited to clarify, sorry I like things to be right
-
Ahoy Martin and Ferit
Sadly, my lady does not wish to have her picture taken in her current state. It is kind of a morning thing. Like if you took a picture of the Admiral when she first woke up. After the surgeons remove the camera, you would know better
Yes: Sadly there was a slight problem in the shipyard, a cosmetic one, and it has been addressed: Well it is being addressed. I estimate it will take another two to four weeks for me to correct my misstep.
This mistake while very amateurish will be included in my log. I have come up with a way to document what I did. This documenting how I got where I did has added some much needed fun to this project, and is the real reason I am not posting any pictures yet. If I let the fun out of the bag now, I would be lost.
I am hoping that with this extended weekend I can make some additional progress and move past this sooner then later. Till then
-
Ahoy Popeye
Congratz on the launch, she is a beauty
Your work is an inspiration to newbies like myself who look to the day when we finish our first kits
-
Ahoy Augie
Your rigging skill are amazing.
Looking forward to the pics
-
Ahoy Martin
Yes: I bought some Proxxon mills with the XY base. My little set up mills quite well. Evenually I believe I can set it up as a mini drum sander and possibly a small saw to rip/cut wood with some additional attachments.
-
Ahoy Martin
The upgrade was simple. I replaced a part on the guide for the lever of the drill press operation. Originally, it was a delrin bolt, and it caused a slight kick at two points in the stroke. I replaced it with an acorn nut and now it is silky smooth from end to end. Vanda lay told me they would look into doing this on future models. After I use it for a bit, I will do a review. For the next month or two, I am stuck doing treenails on my build. Kind of painted myself into a corner. Once I get to the deck, I plan to use it more and will do the review afterward. I did run tests milling/drilling both brass and wood and it worked great, I think it will be perfect for my needs. I will post in my log the items I make with it. -
Ahoy Buck
This from the guy who isn't ready. Your wood working skills are so far superior to mine it isn't even funny
Being a minimalist I would go with the just barely option. It might draw attention and prompt a question. Will it also be visiable on the inside.
PS: Nice post BTW

Rattlesnake by JPett - Model Shipways - Scale 1/64th - Kit #MS2028
in - Kit build logs for subjects built from 1751 - 1800
Posted · Edited by JPett
Ahoy Mates
Well I have finally climbed out of the hole I dug for myself, or I should say drilled for myself.
First off, I did not intend to do this.
Next I will be preceding with phase two of my repair, Painting the hull "lol'". Worry not, I have a plan.
It started with adding a few tree nails. I was not happy with the result so I added a few more. Then a lot more. After I finished I was still was not happy with the way it looked. At that point I made the decision to fall back and paint the hull; but only after I repeated what took over 30 hours to do. I still had the other side.
Was this a mistake, I would go with it was a whopper.
Ironically I have high hopes regarding how she will turn out in the end. There are over 3000 treenails (I estimate it at 3400) and I plan to do a light coat which I hope will allow the treenails to have some effect on the finish. We shall see. Right now I am telling myself that what I have planned will be something that I will be very happy with.
Truthfully, I am just happy to have gotten through this.Thank you MSW, for providing me with the much needed inspiration. I read a lot of logs during this period.
I am now looking forward to doing something a little less repetitive, its a shame I couldn't start the ratlines
Thanks for stopping by