
HOLIDAY DONATION DRIVE - SUPPORT MSW - DO YOUR PART TO KEEP THIS GREAT FORUM GOING! (Only 13 donations so far - C'mon guys!)
×


Spiderpig
-
Posts
99 -
Joined
-
Last visited
Content Type
Profiles
Forums
Gallery
Events
Everything posted by Spiderpig
-
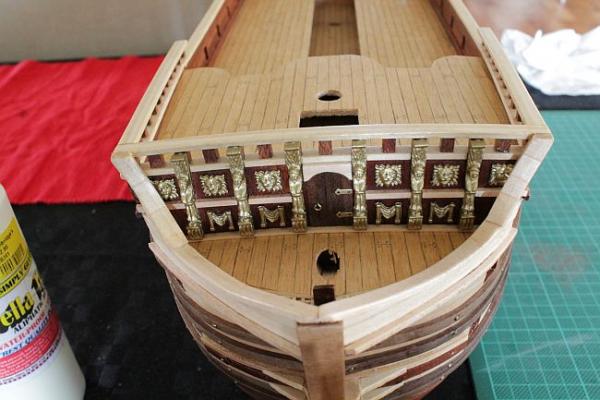
 Updates for this week. I have finished the 3rd and final coat of varnish on the Prince. She looks great now! I have now begun to decorate the hull with various wood and metal ornaments. Starting with the deck at the bow of the ship: I needed to build the small wooden door out of thin African Walnut strips. I then added an eyebolt to imitate the door handle. Along with some false looking hinges made of brass that were supplied by the kit. All the other pieces are cast metal that have been spray painted with a "brass" coloured paint. The look I was going for came out beautifully! I wanted a colour that was slightly shinier than gold, but not as shiny as polished brass looks. This paint really worked! And here she is again with 1 coat of vanish added to the wooden parts. I will give them another coat or two over the week. Thanks for watching Adam
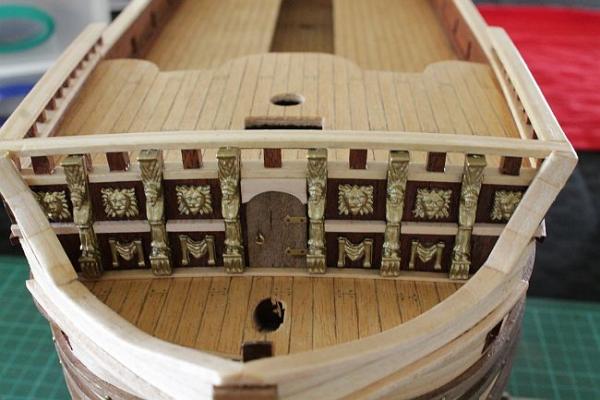
- 73 replies
-
- 2
-

-
- prince
- constructo
- (and 1 more)
-
I agree with adding the keel plates before starting the second layer. I've done that with all my builds, and it works great! Adam
-
Has anyone ever built a Euromodel kit? Is their quality any good? I was considering the Cocca Anseatica as my future project. But before I purchase I wanted to get some insight into the company. Cheers
-
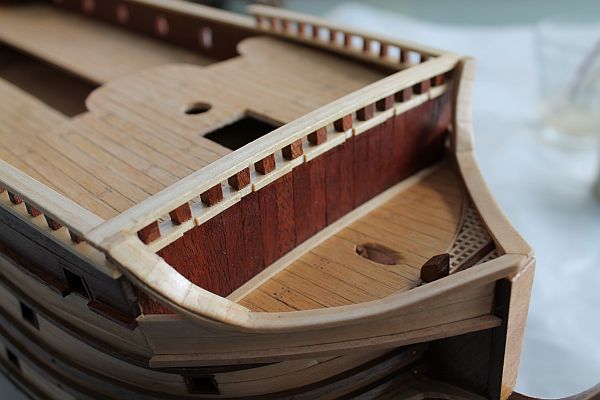
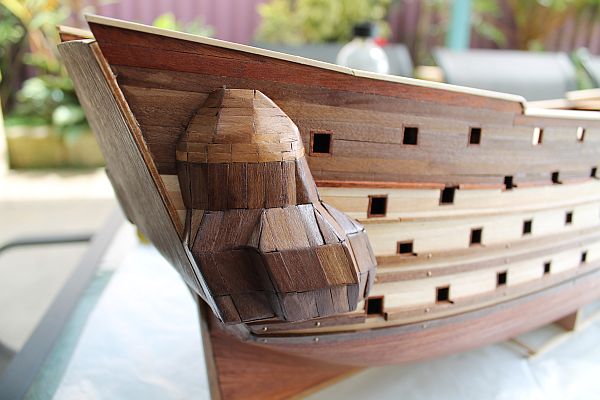
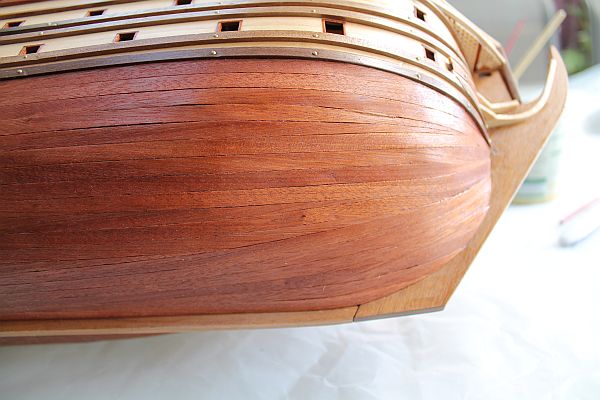
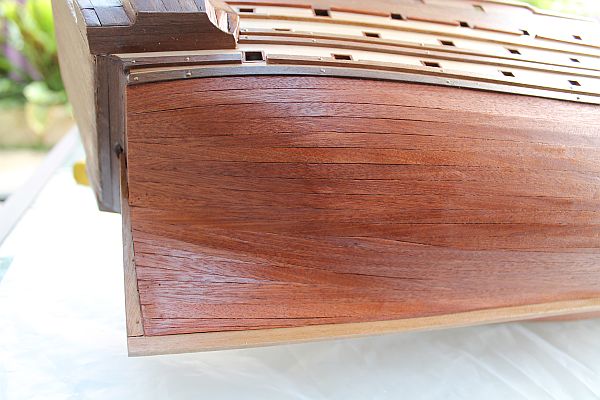
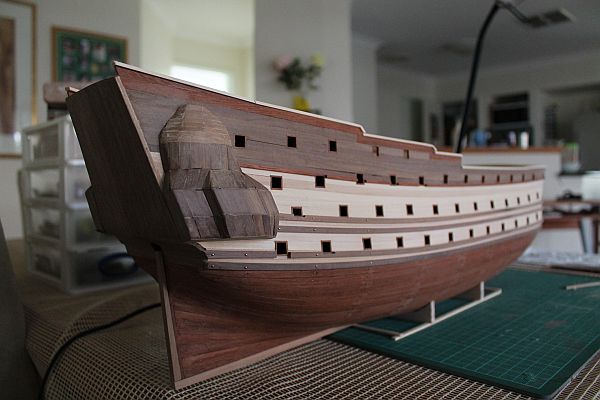
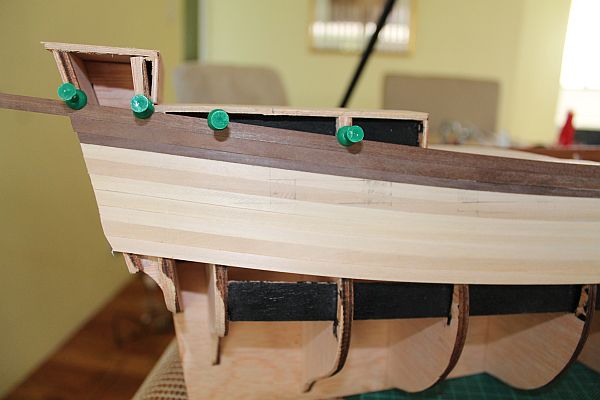
The cast metal decorations are okay. There is a lot of them though. I guess to save on costs Constructo used cast metal for most of their decorative pieces, rather than brass which other companies use. I managed to find a spray paint of brass, and they came out fine with that. Only took a few minutes to spray them all. Here are some photos of the varnished hull. I'm yet to do another coat as 2 coats hasn't come out as good as I would like it. The first photo also shows some the detail at the bow of the ship. Had some serious challenges there with curving the wood lengths at the front! But I'm satisfied with the result. Cheers Adam
- 73 replies
-
- 2
-
-
- prince
- constructo
- (and 1 more)
-
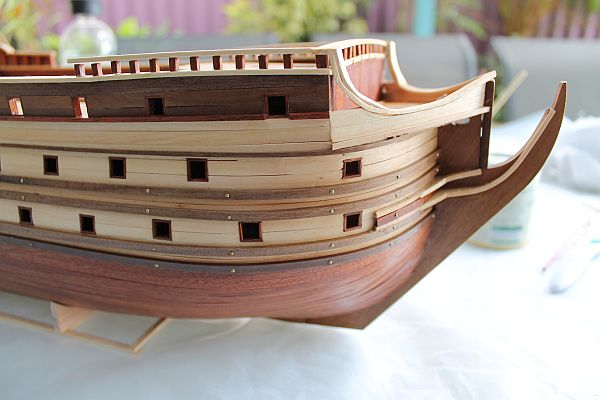
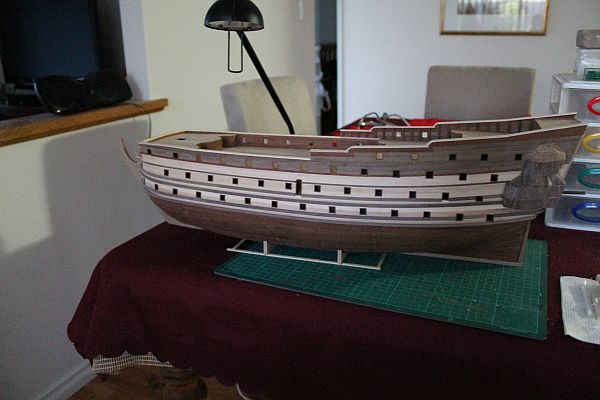
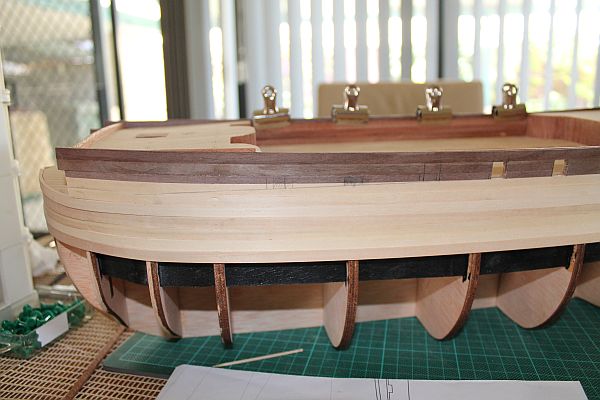
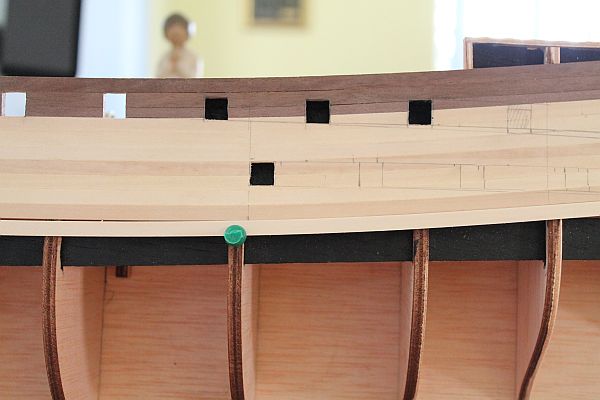
And finally added the wales to the top half of the hull. You will also notice at the stern that I have built a small frame piece out of plywood. This is for the quarter galleries. Here is the final result on Starboard side: Both sides with the wales attached: Now she has the first coat of varnish. I will post some more photos once I complete the varnished hull! Cheers Adam
- 73 replies
-
- 9
-
-
- prince
- constructo
- (and 1 more)
-
Hi Brian The hull measures 890mm once it's complete. However this measurement includes the bow spirit. I believe the hull is about 750mm in length. It's currently the largest Prince model on the market. Mamoli does one, but it is quite a bit smaller. Amati used to do one years ago, and that was enormous! over 1000mm in length I believe. I got mine from the UK as it's hard to find Constructo kits here in Australia. Adam
- 73 replies
-
- 2
-
-
- prince
- constructo
- (and 1 more)
-
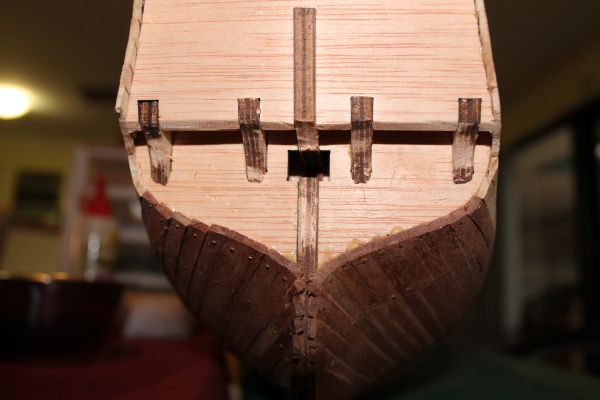
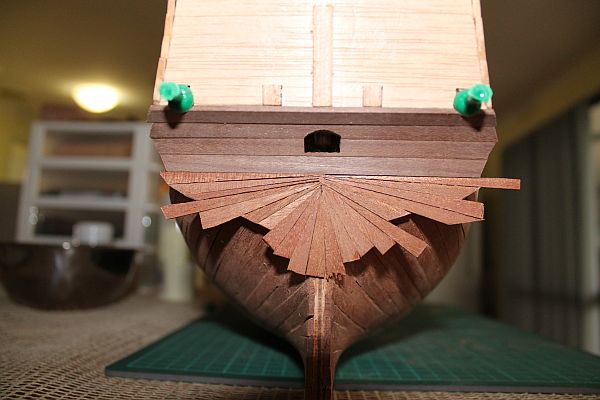
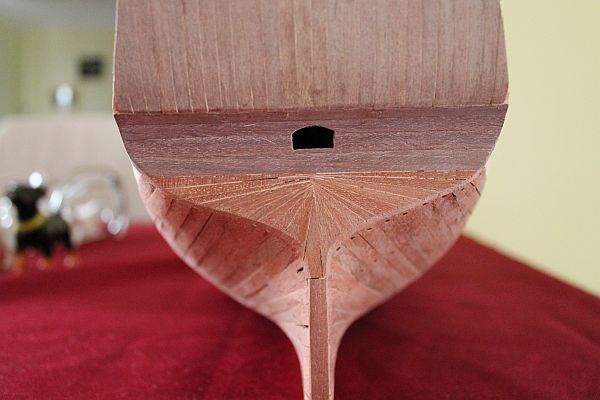
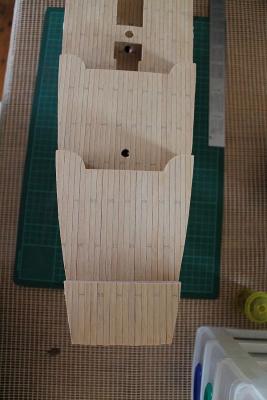
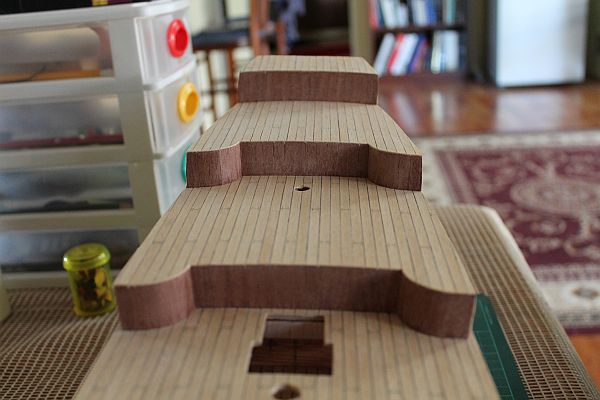
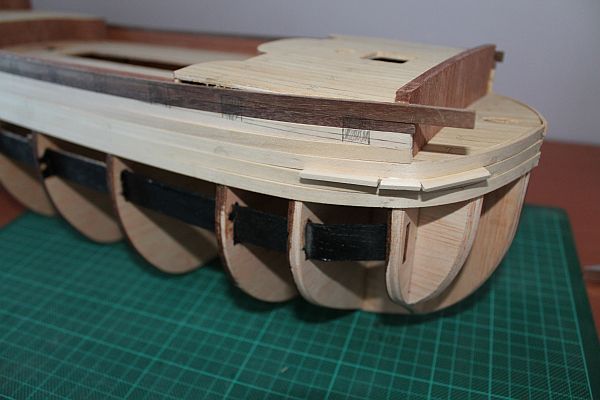
Once the planking was complete I started adding some detail to the hull, before I commenced the second layer of planking. The back of the stern: Then added some lengths of wood to detail it: And the final result after I trimmed the pieces, and sanded them down:
- 73 replies
-
- 6
-
-
- prince
- constructo
- (and 1 more)
-
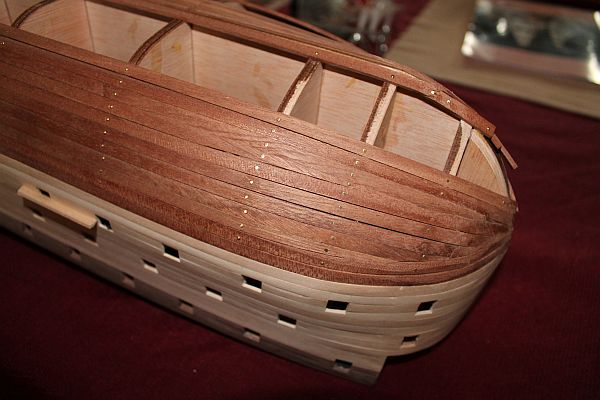
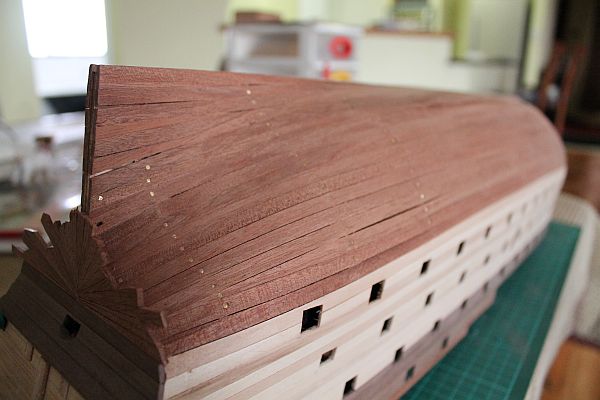
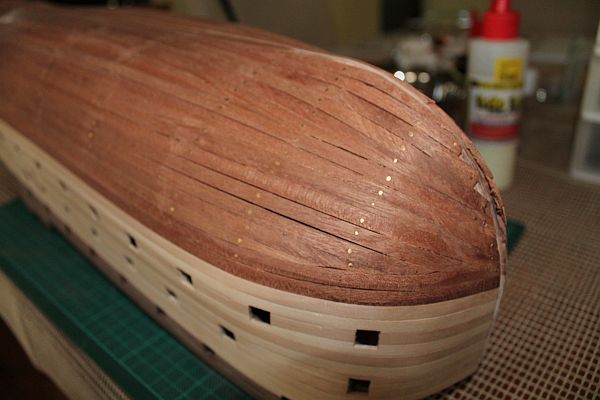
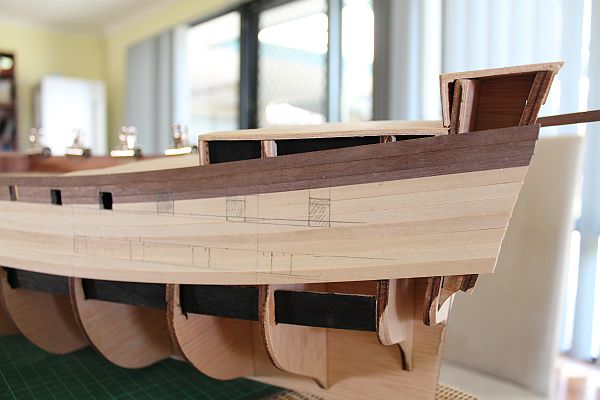
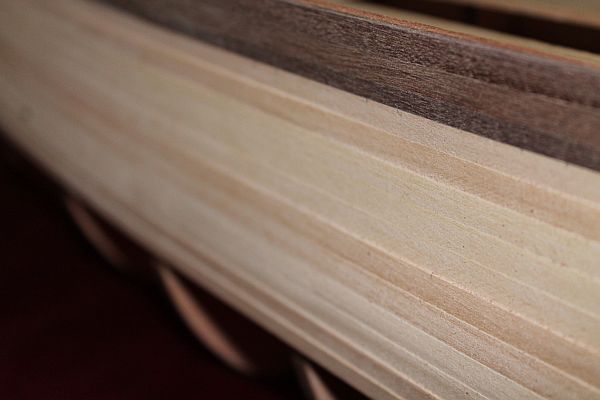
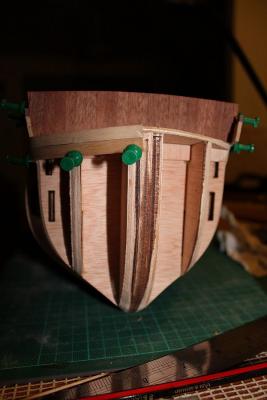
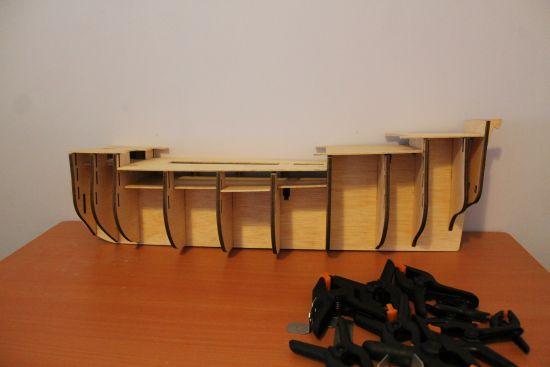
Next was to plank the bottom half of the hull. Originally I was going to opt to do it as a single planked hull, but the bottom half in the Sapelli wood came out a bit messy for my liking. I decided to double plank it once I added some of the detail to the hull first. Constructo added a bundle of veneer planks to allow for this option.
- 73 replies
-
- 5
-
-
- prince
- constructo
- (and 1 more)
-
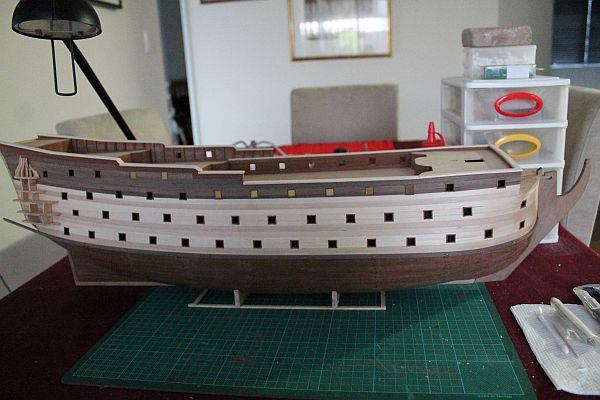
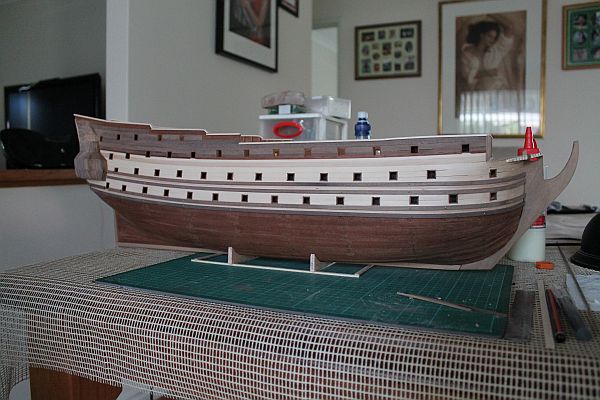
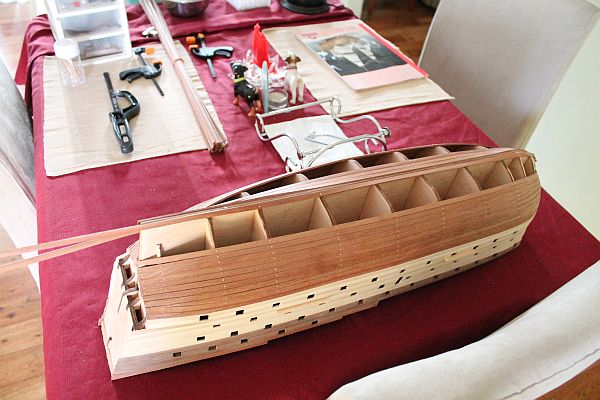
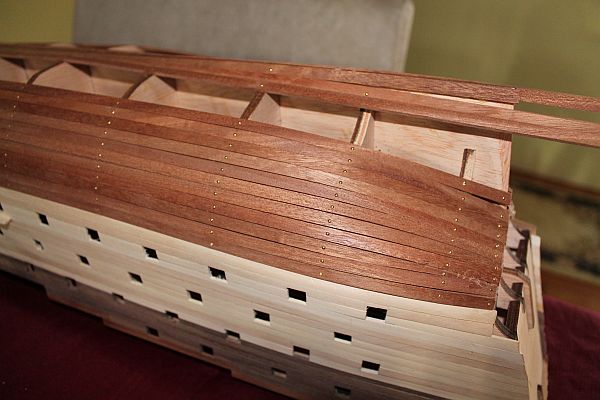
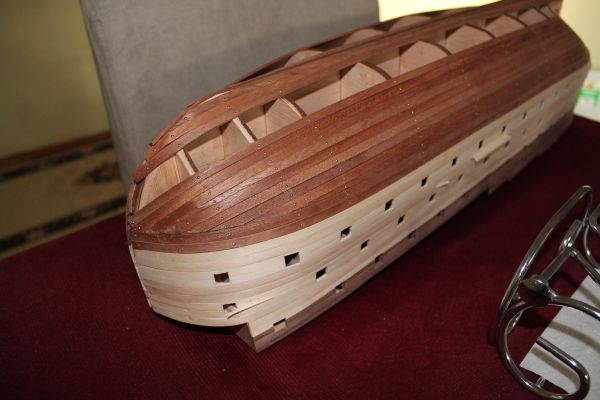
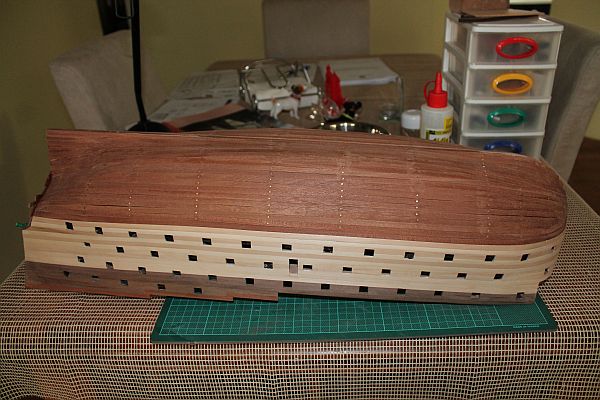
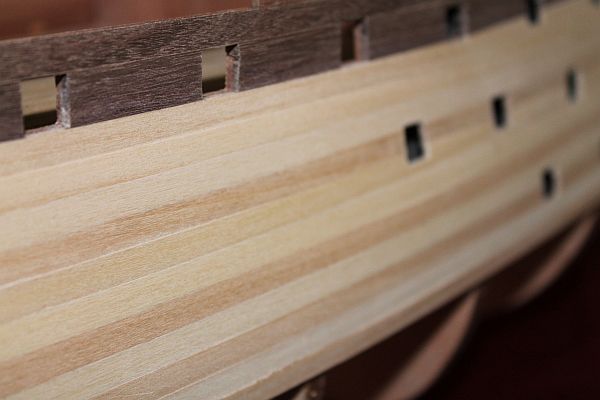
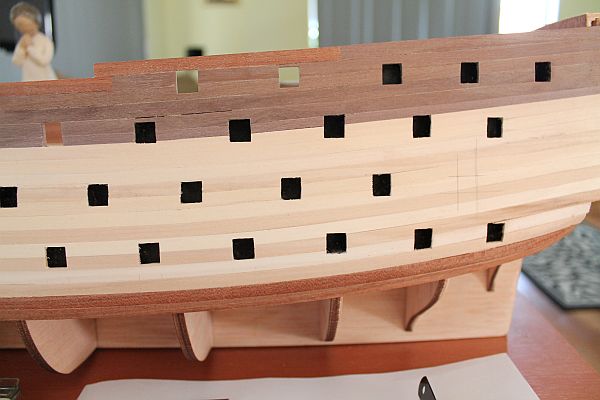
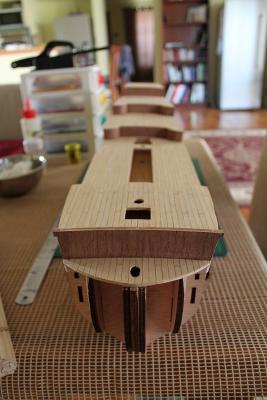
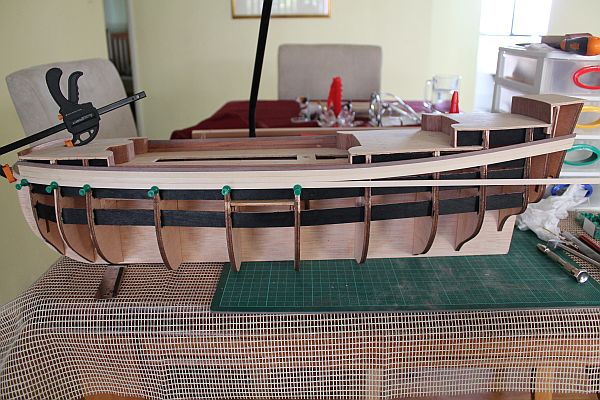
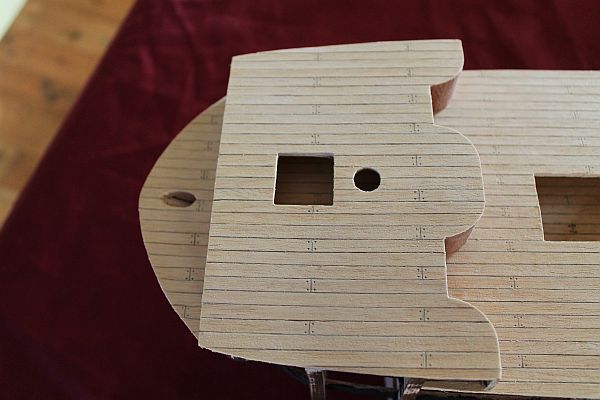
As I progressed planing the top half of the hull I measured, marked and cut out the cannon port holes. Sore fingers were a result of cutting out 90 holes!

- 73 replies
-
- 8
-
-
- prince
- constructo
- (and 1 more)
-
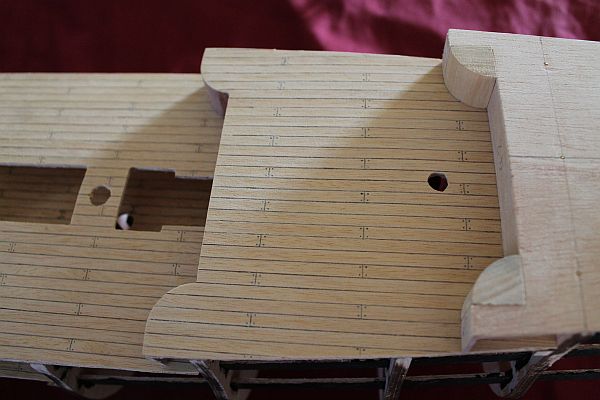
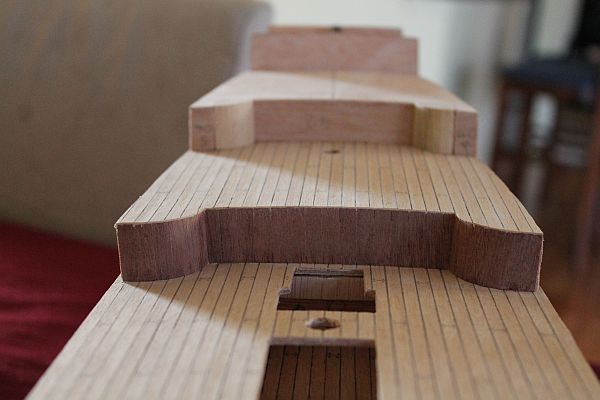
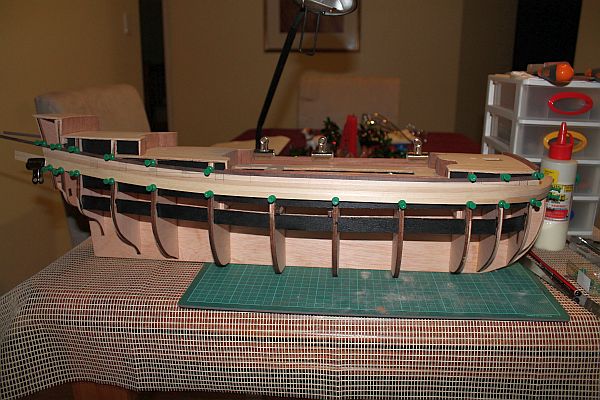
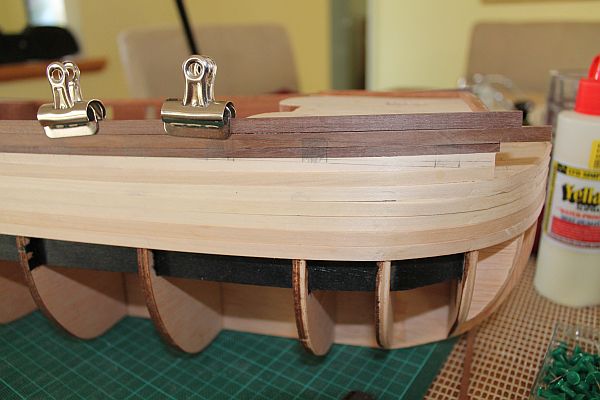
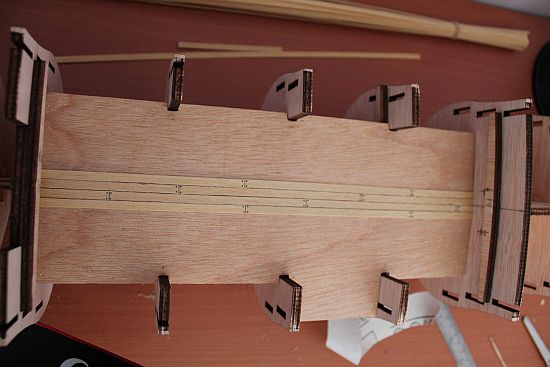
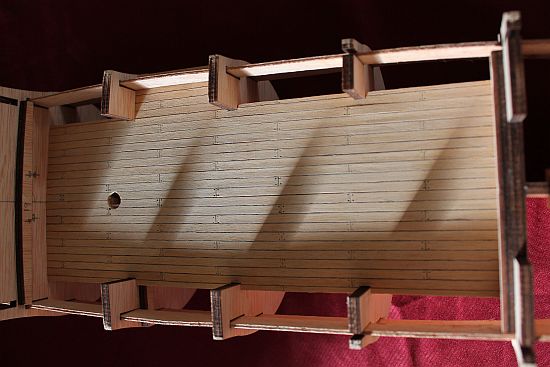
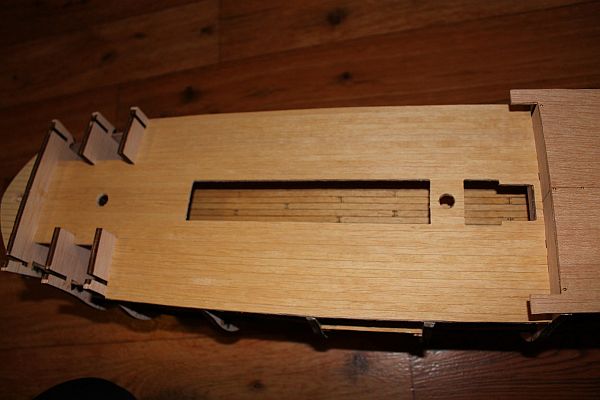
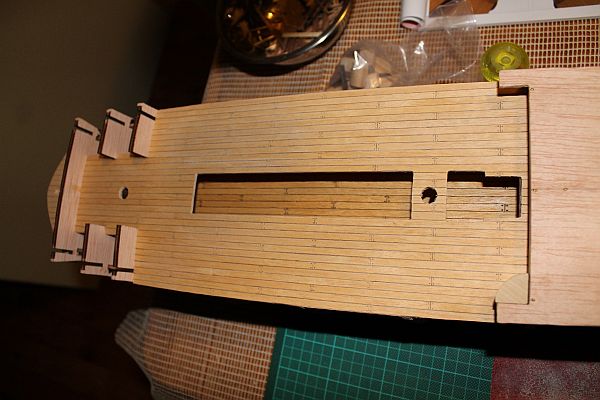
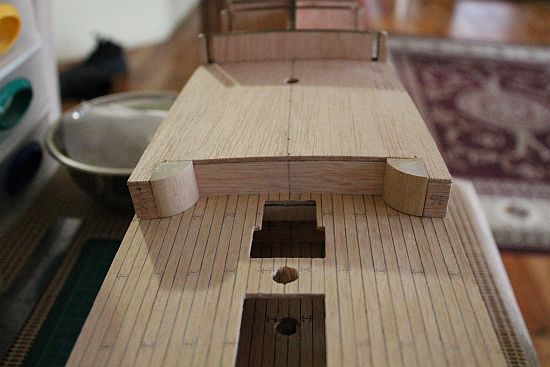
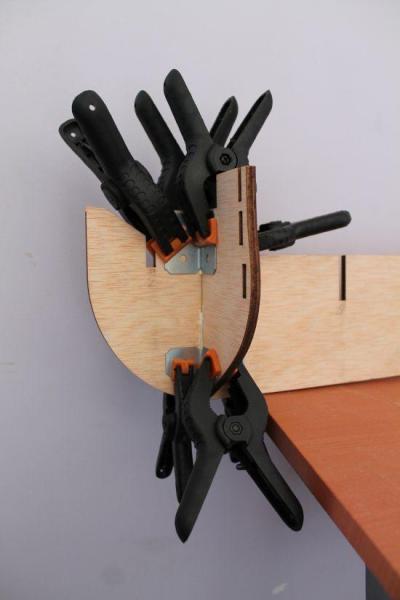
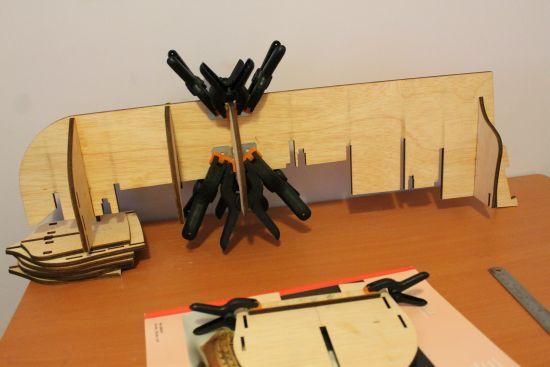
Finishing up the decks heading towards the stern. Starting the planking: I found the pins to be quite useful in holding on the planks as I work down the hull frame.

- 73 replies
-
- 6
-
-
- prince
- constructo
- (and 1 more)
-
Some more progress: Although the instructions didn't state to paint the gun wales I decided to paint them black, as the ply wood didn't quite look right.

- 73 replies
-
- 4
-
-
- prince
- constructo
- (and 1 more)
-
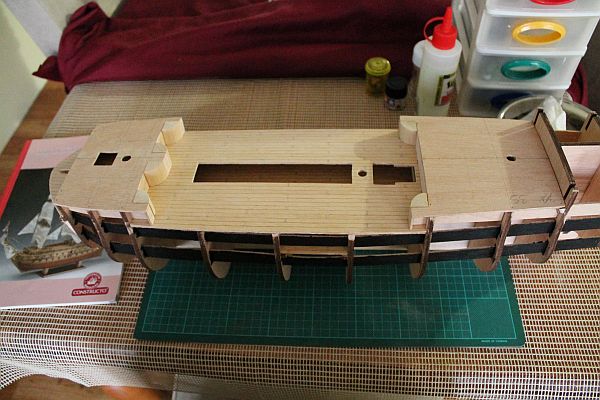
Hi all! Cheers for all the support and birthday wishes! It has been a while since I posted on here. Work, study and home renovations have sort of put the Prince on hold. But I have pulled her out recently and started work on her again! Photos of the changes to come. Cheers Adam
- 73 replies
-
- 1
-
-
- prince
- constructo
- (and 1 more)
-
Hi David I have also built this one so if you need any pointers, feel free to ask! Adam
-
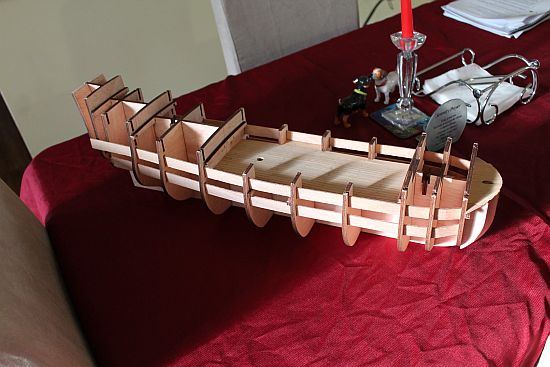
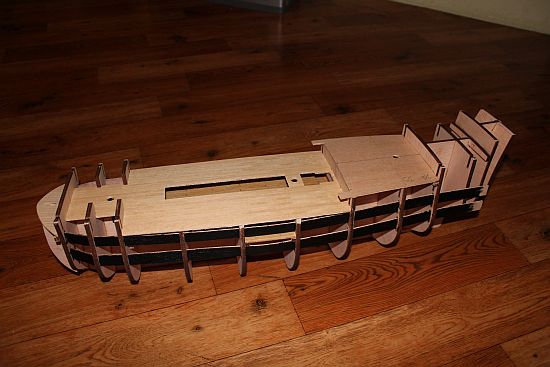
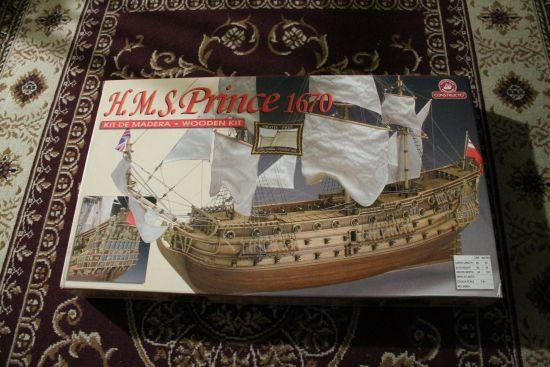
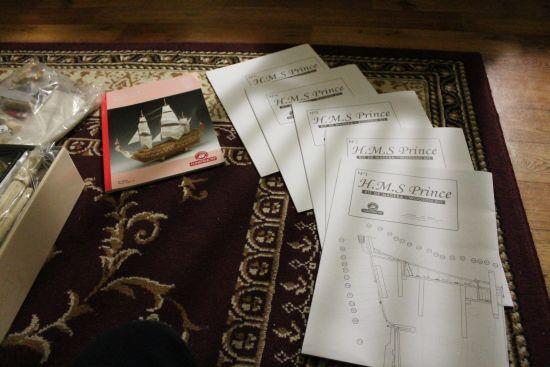
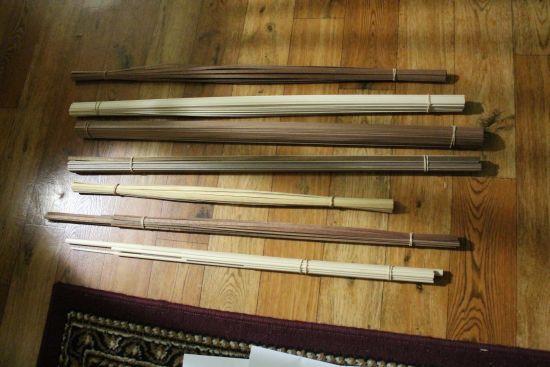
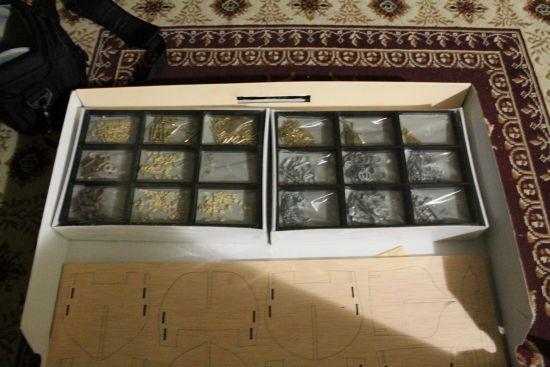
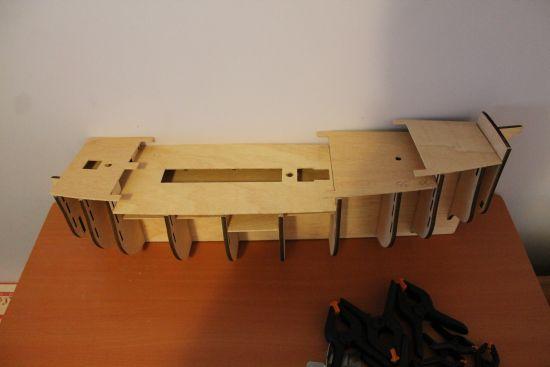
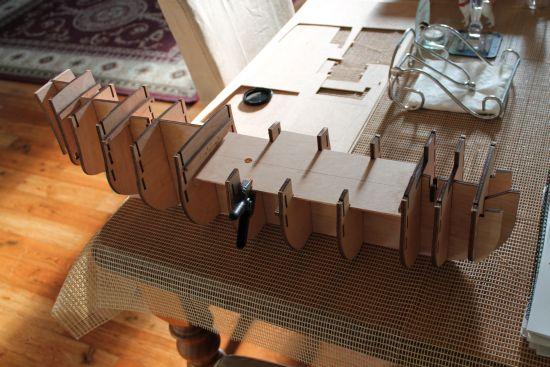
Hi HMS Prince has arrived. I started building this ship in November 2012. So quite a lot of progress has been made since then. Now for the photos: Various parts and goodies.


- 73 replies
-
- 5
-
-
- prince
- constructo
- (and 1 more)


