captgino
-
Posts
620 -
Joined
-
Last visited
Content Type
Profiles
Forums
Gallery
Events
Everything posted by captgino
-
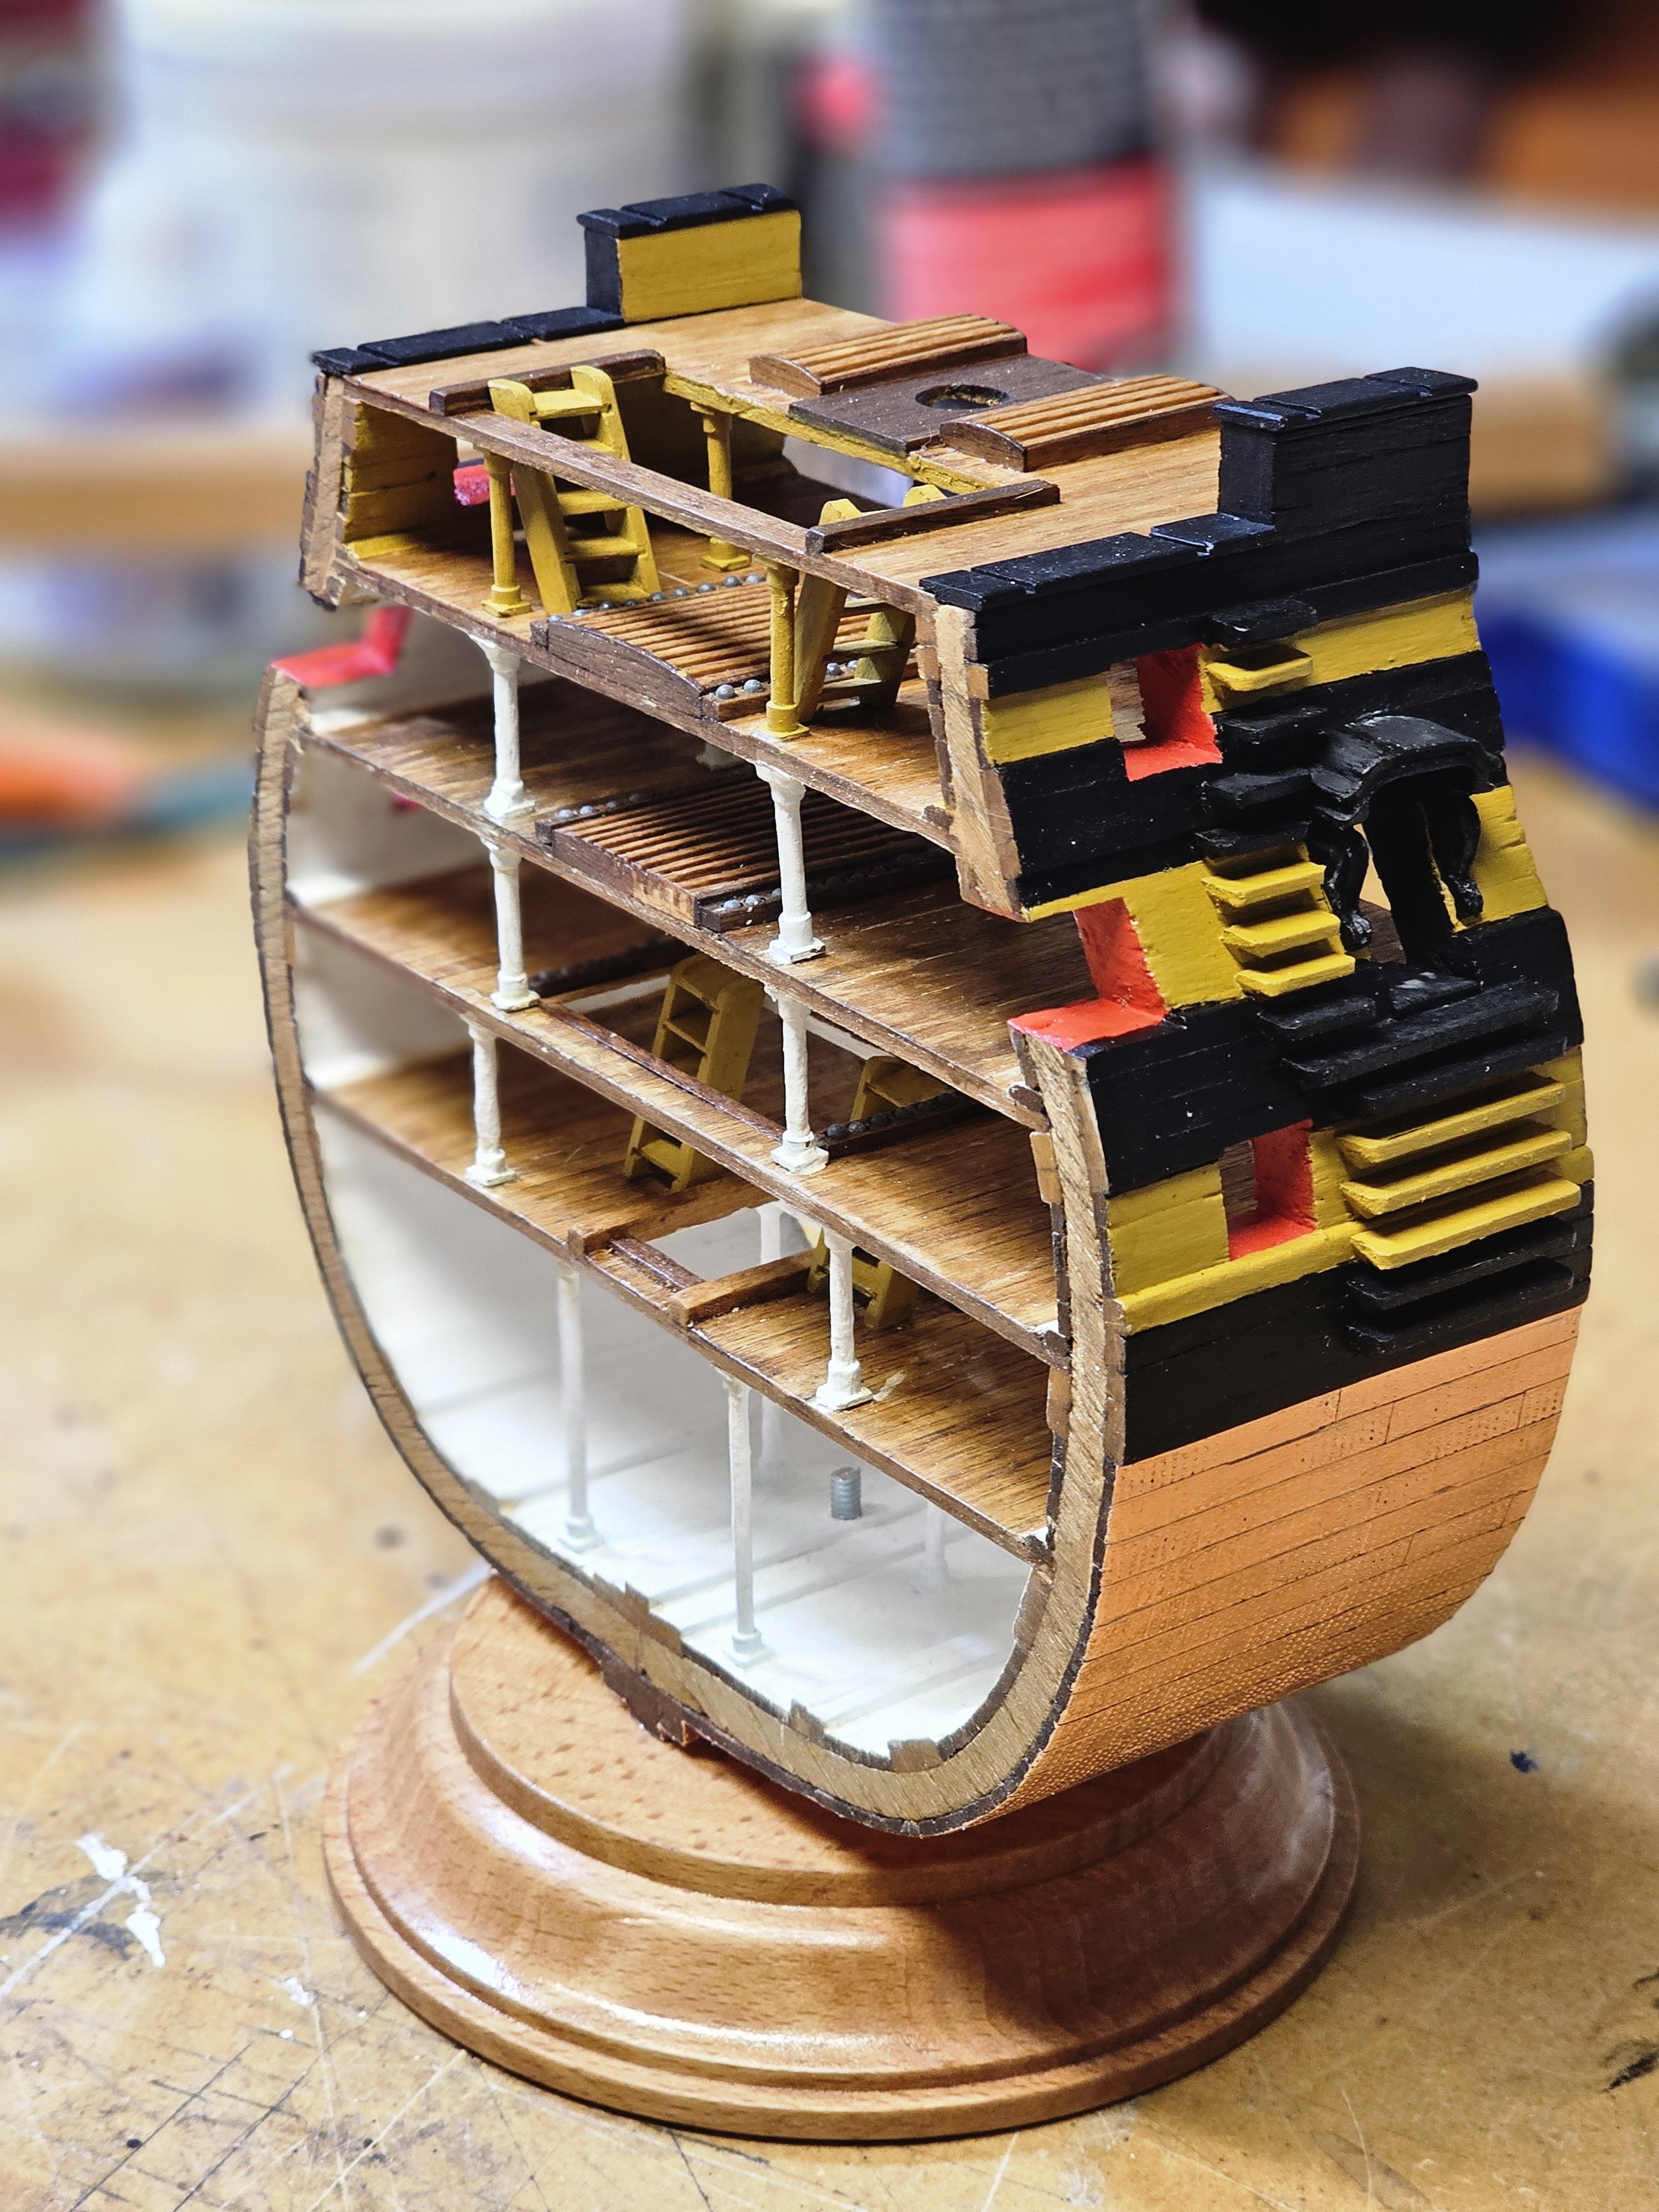
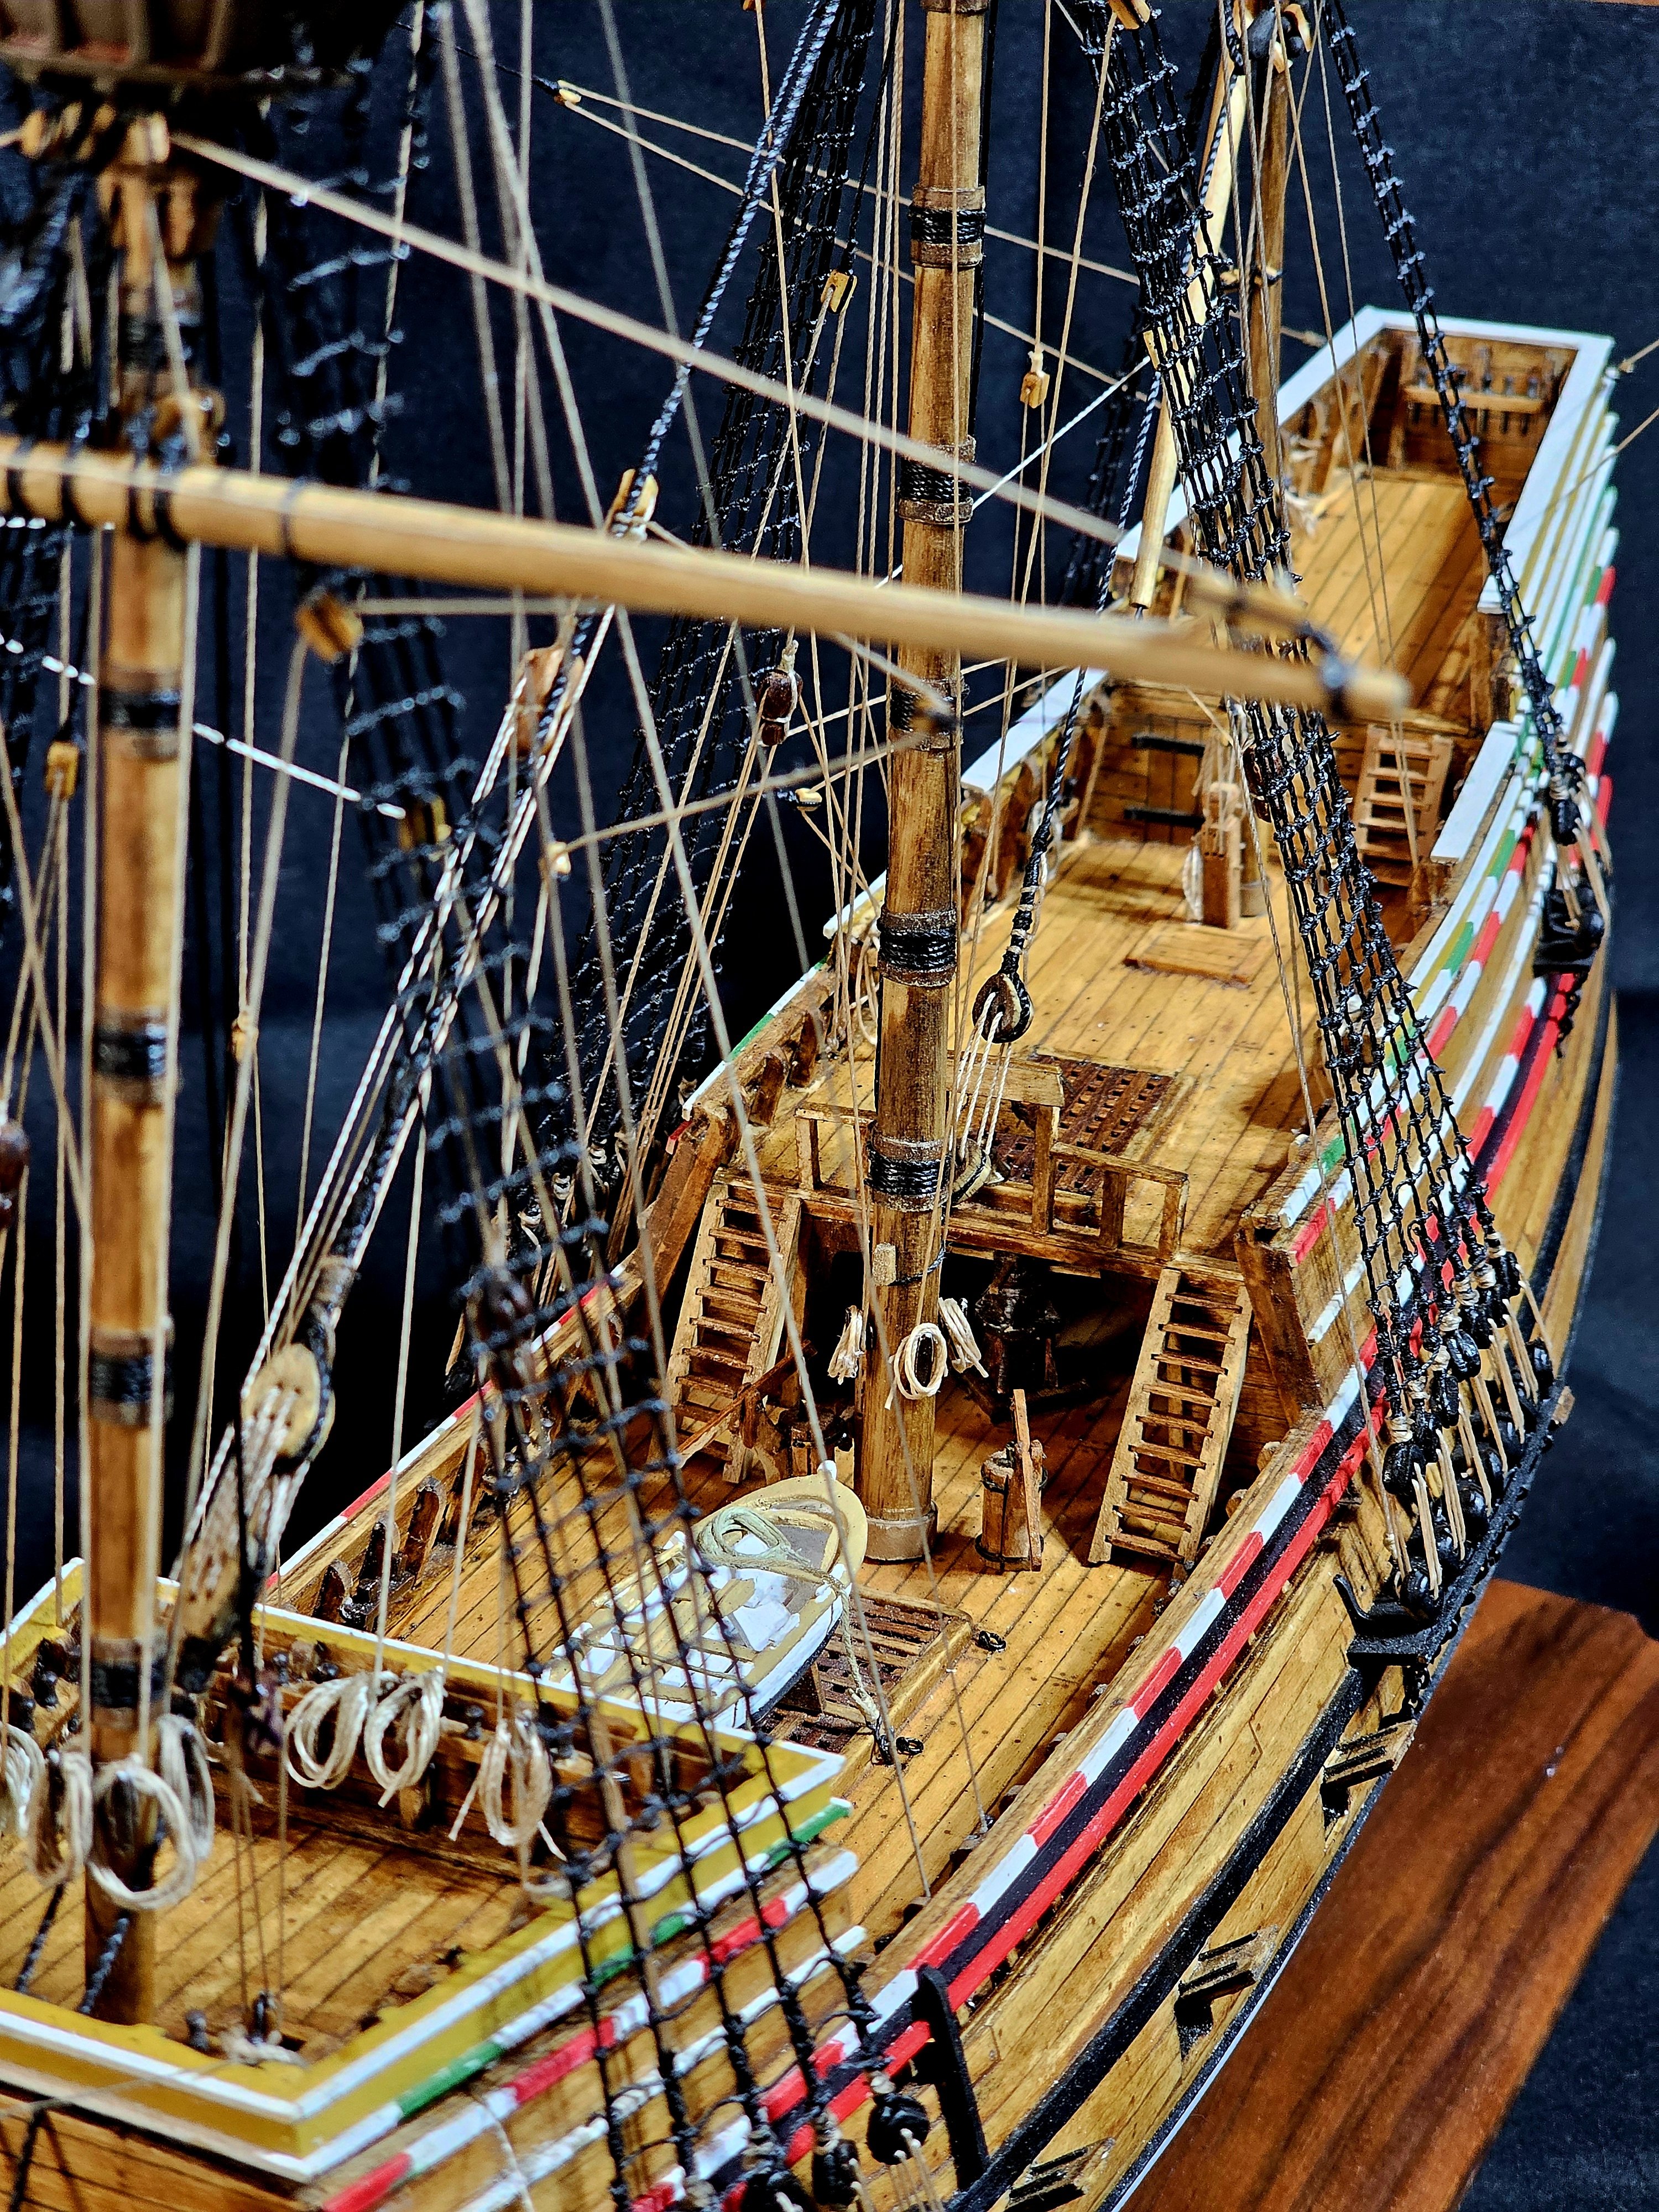
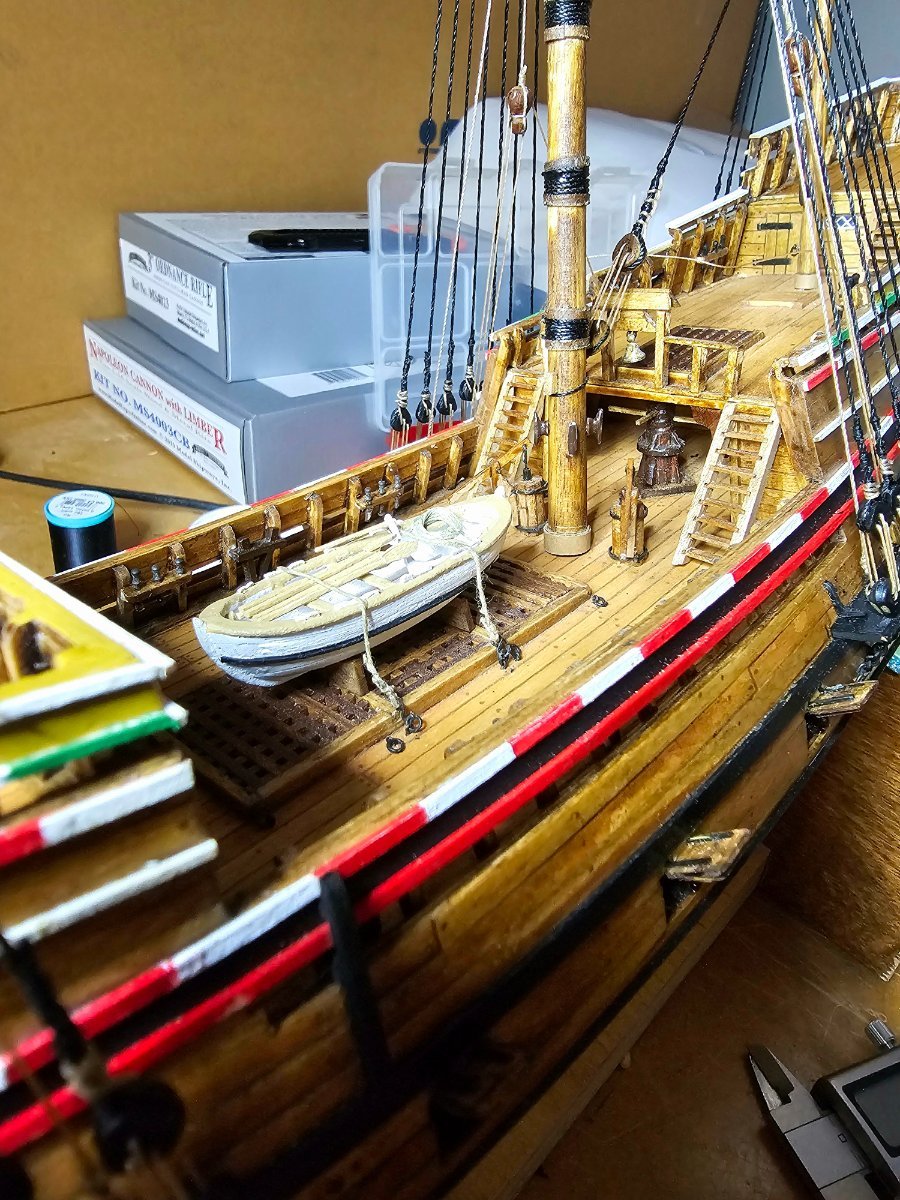
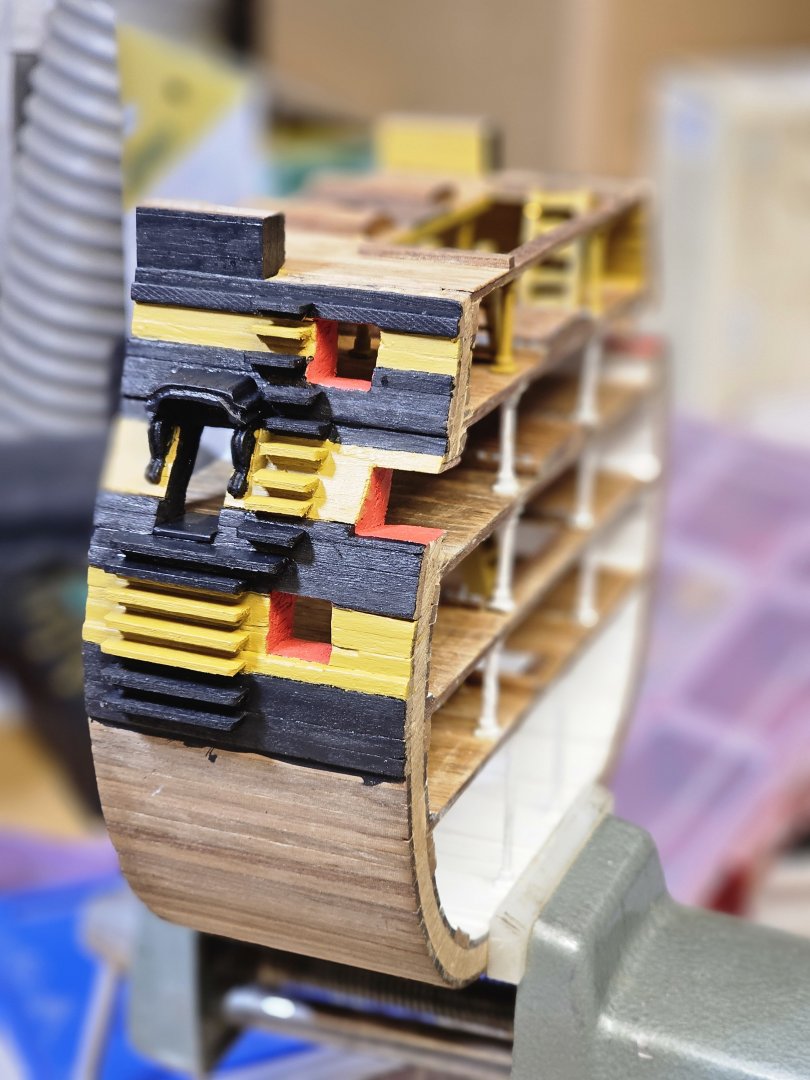
 This is what the kit looks like today with the internal ladders and cannon shot racks. More to come.....
-
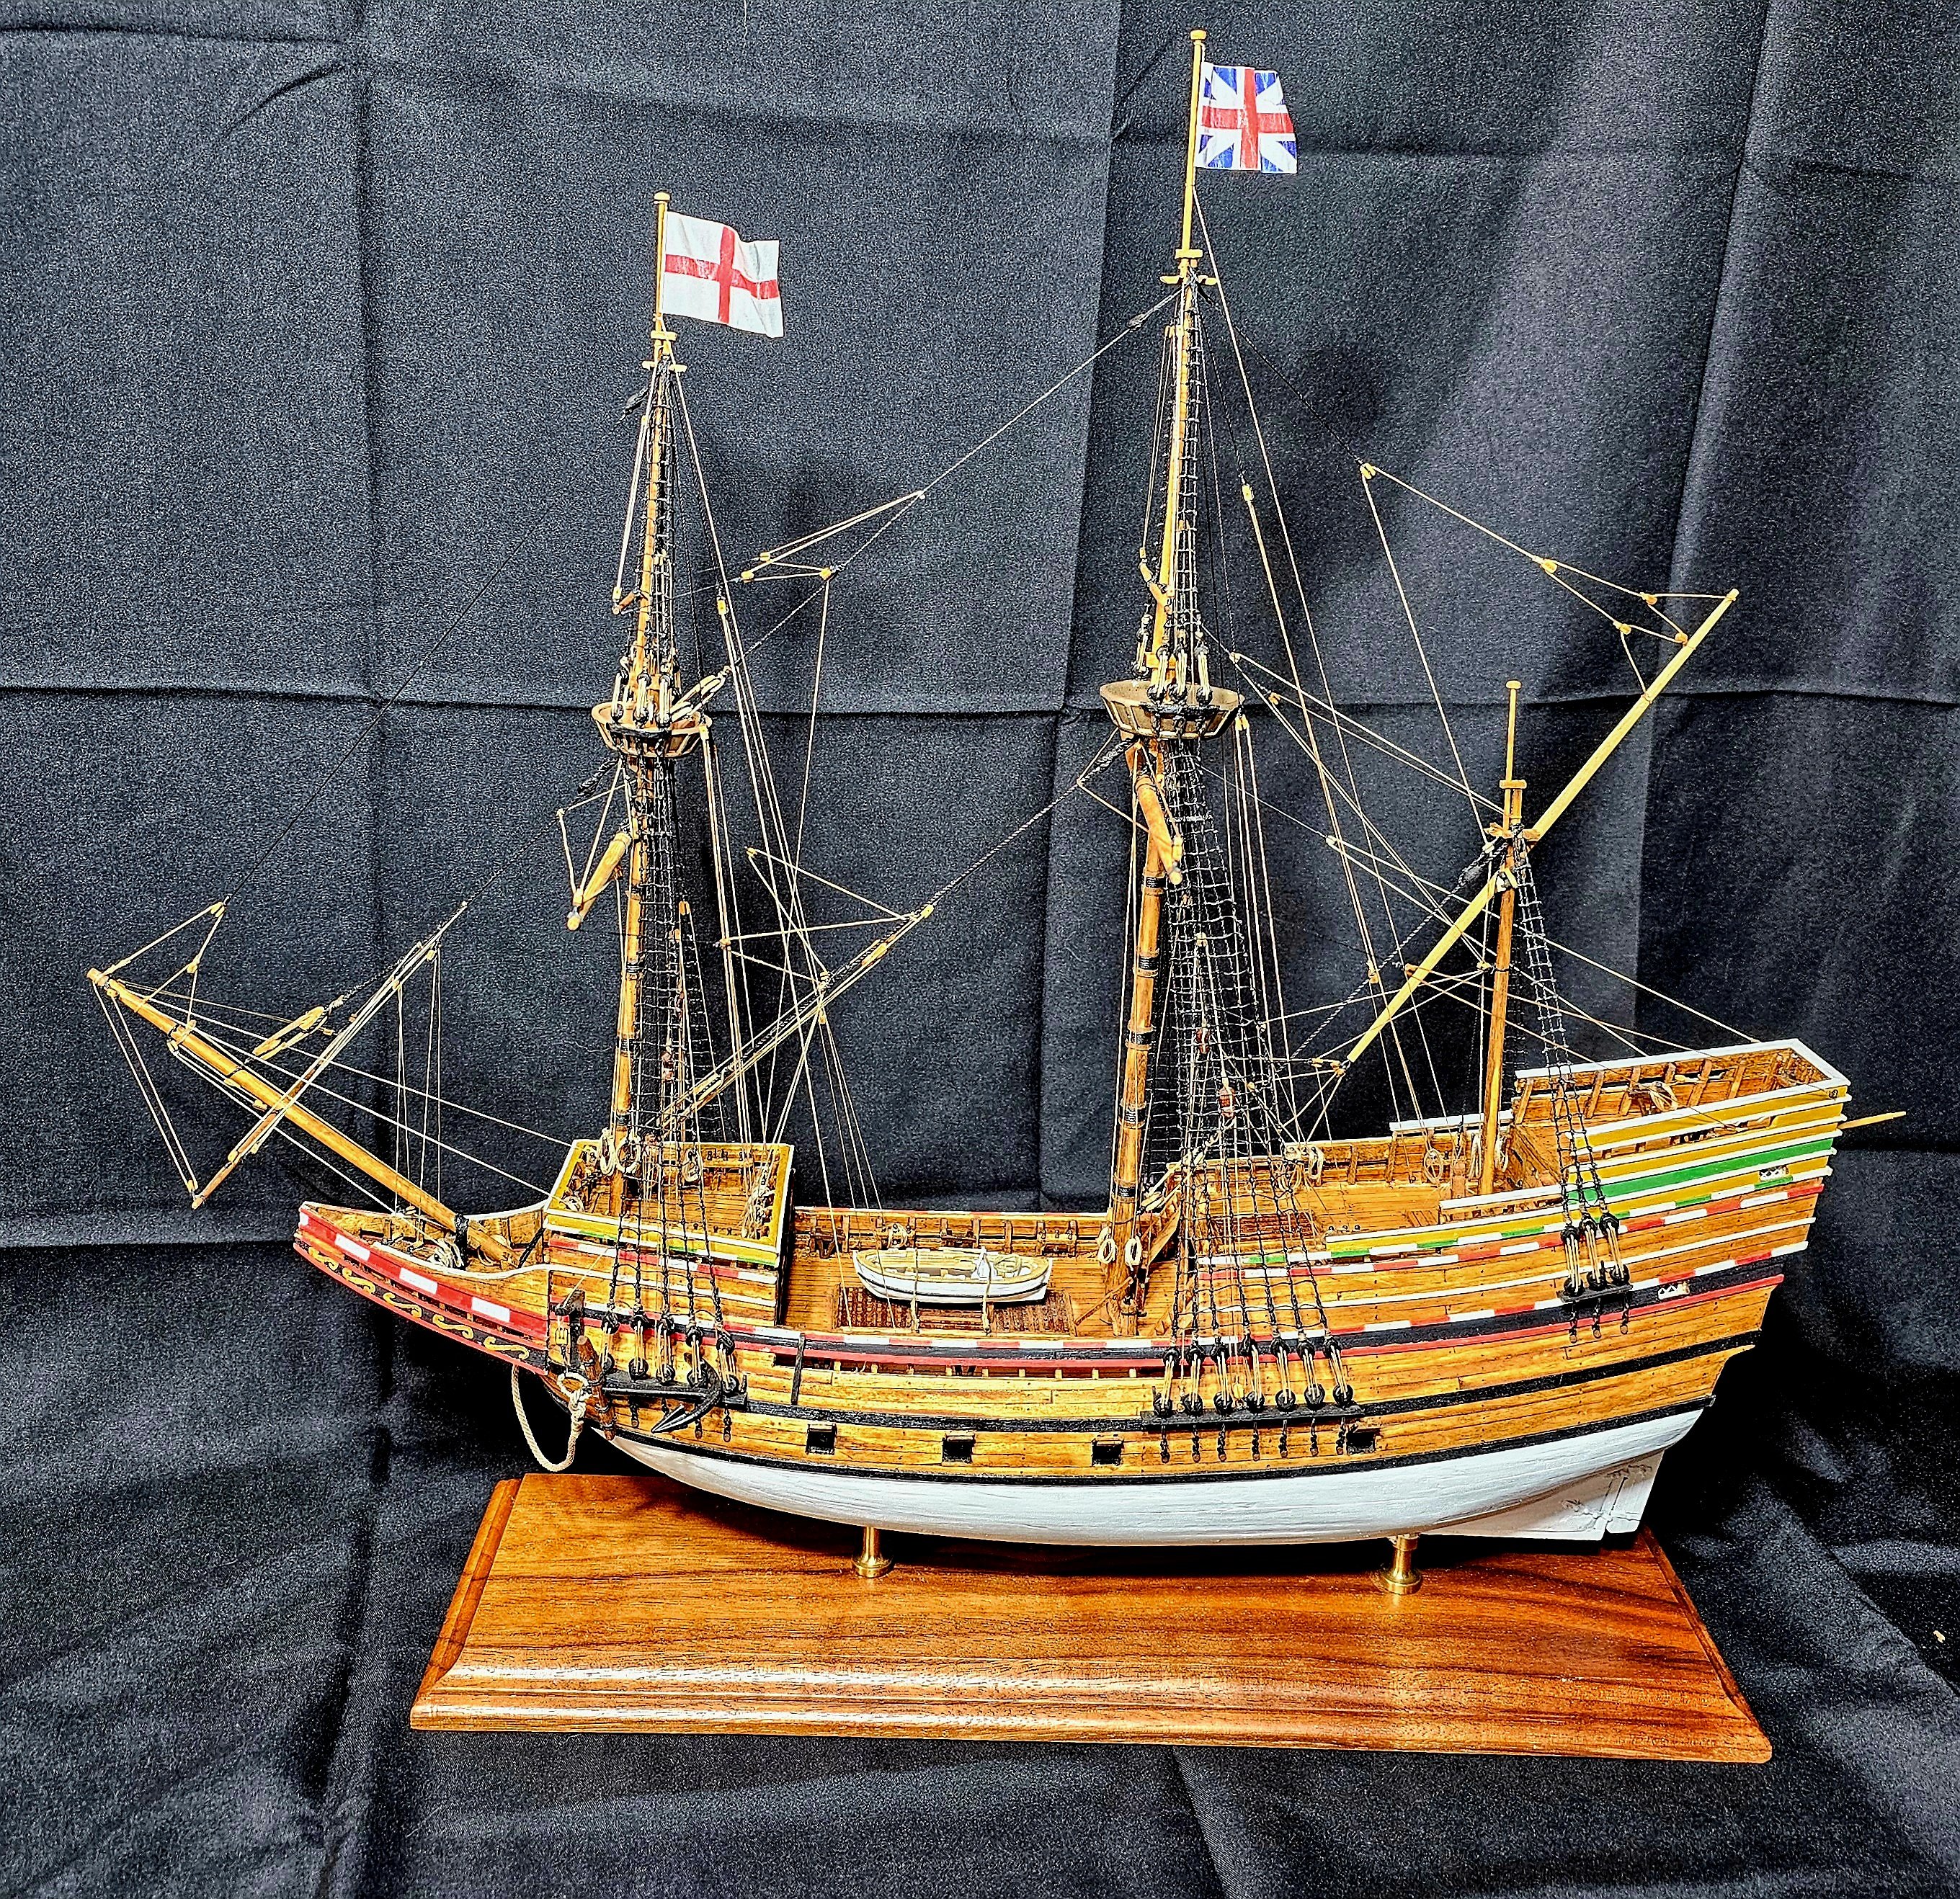
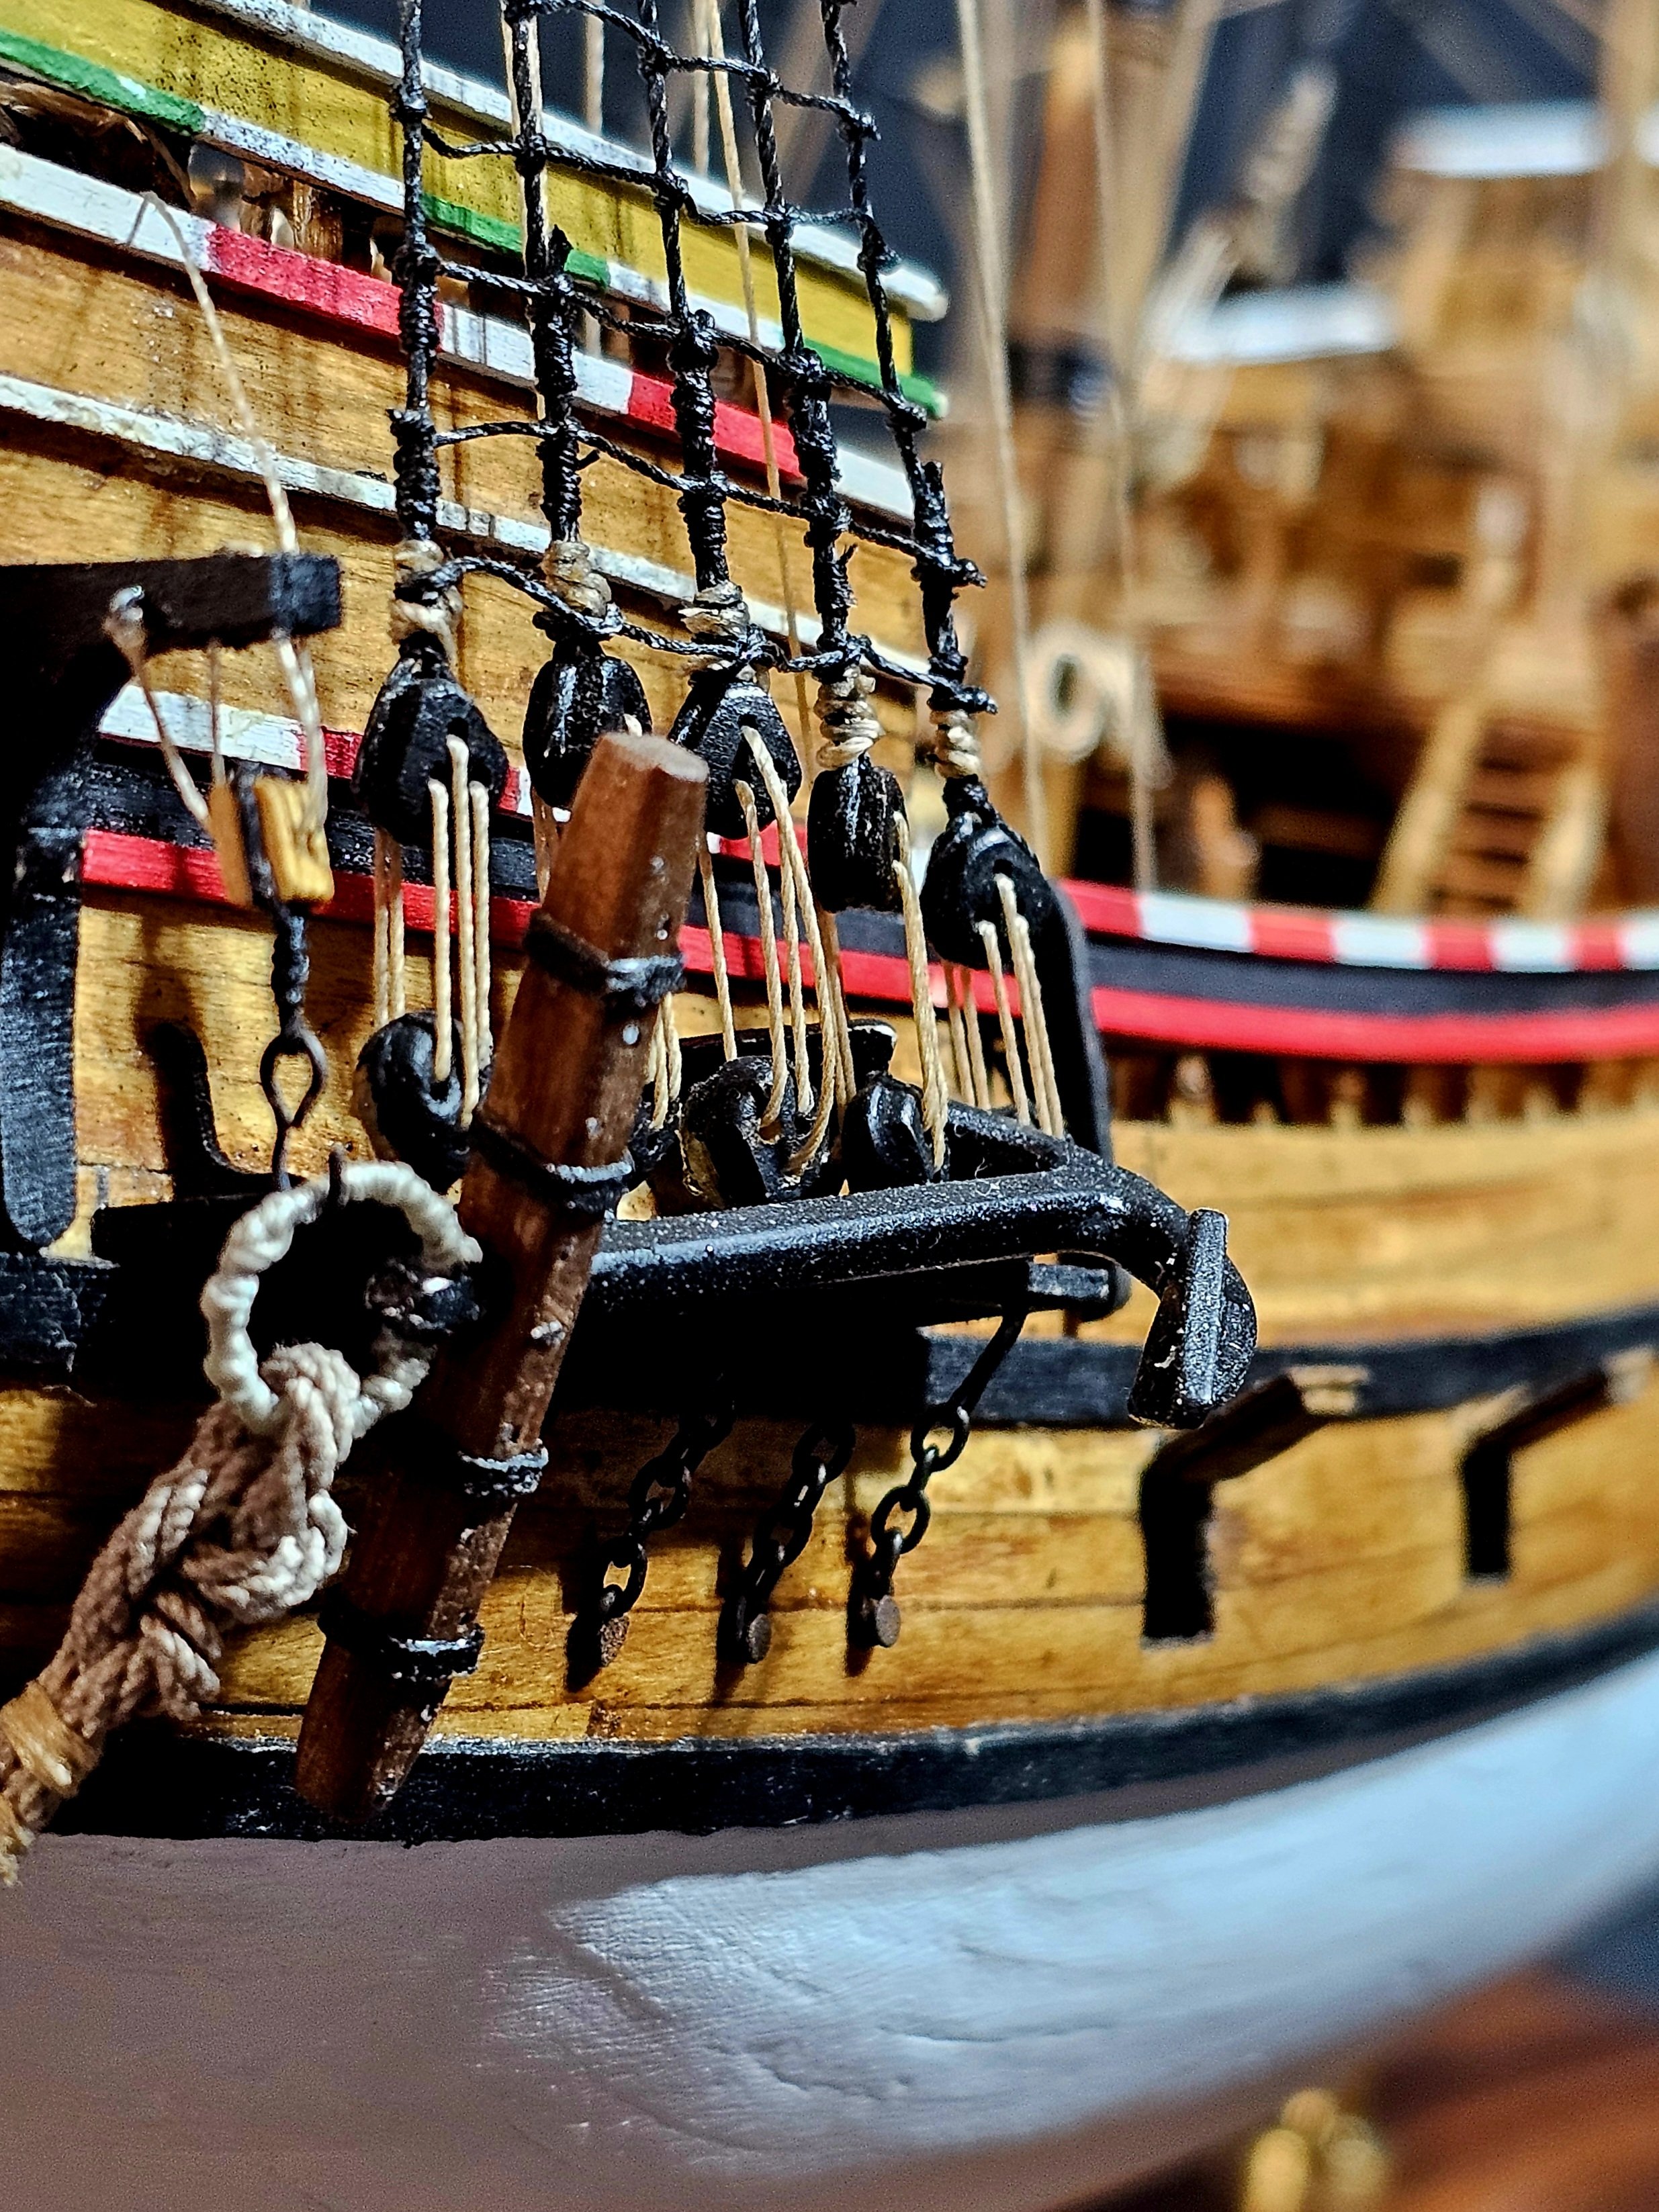
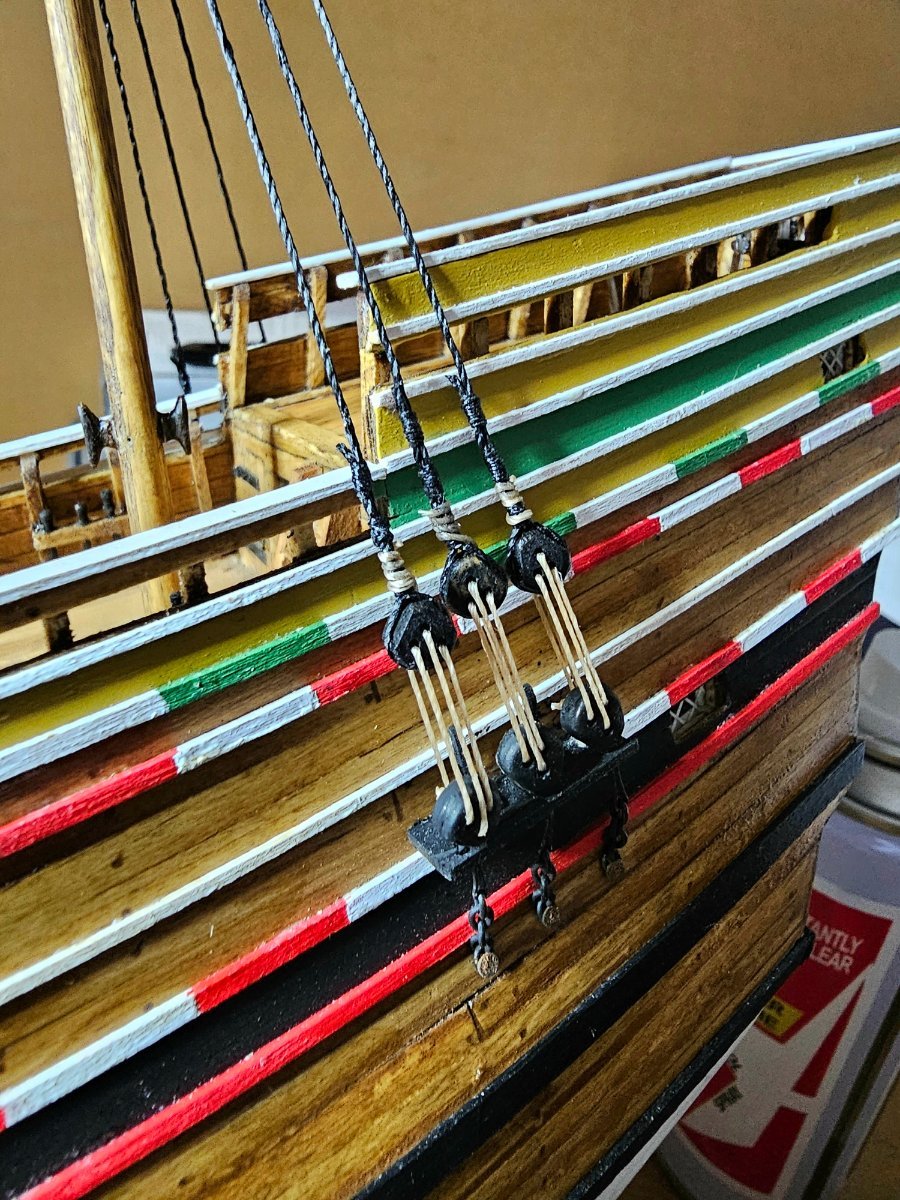
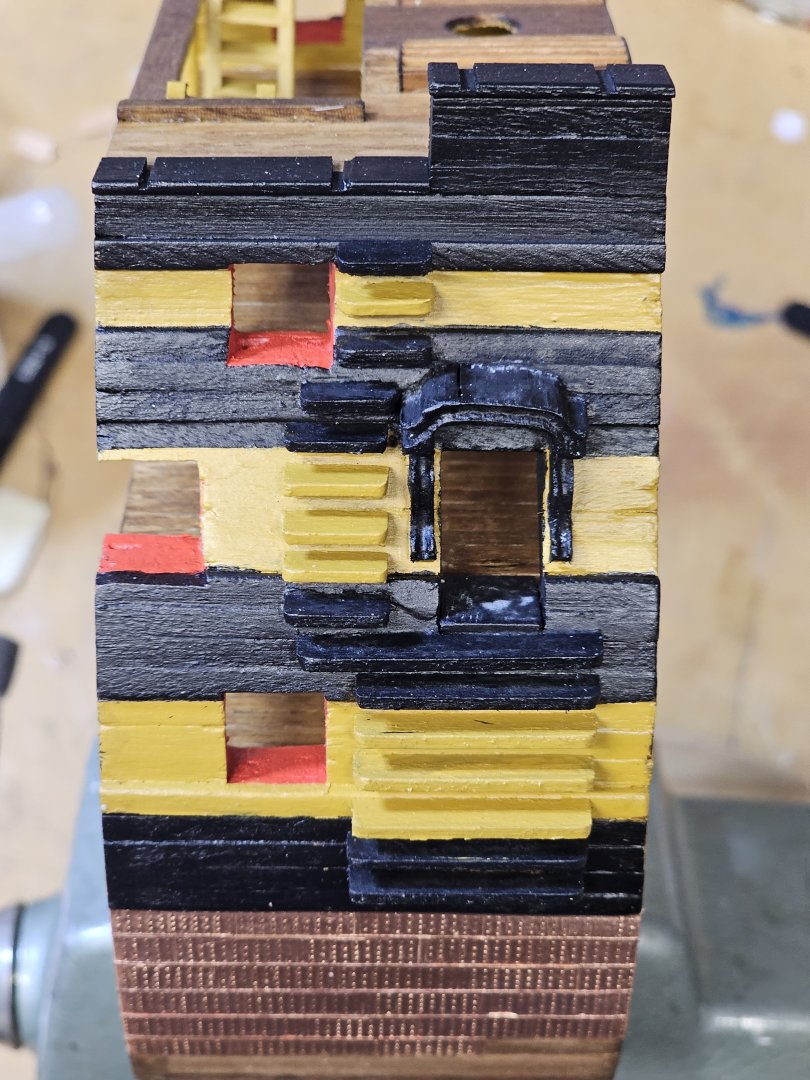
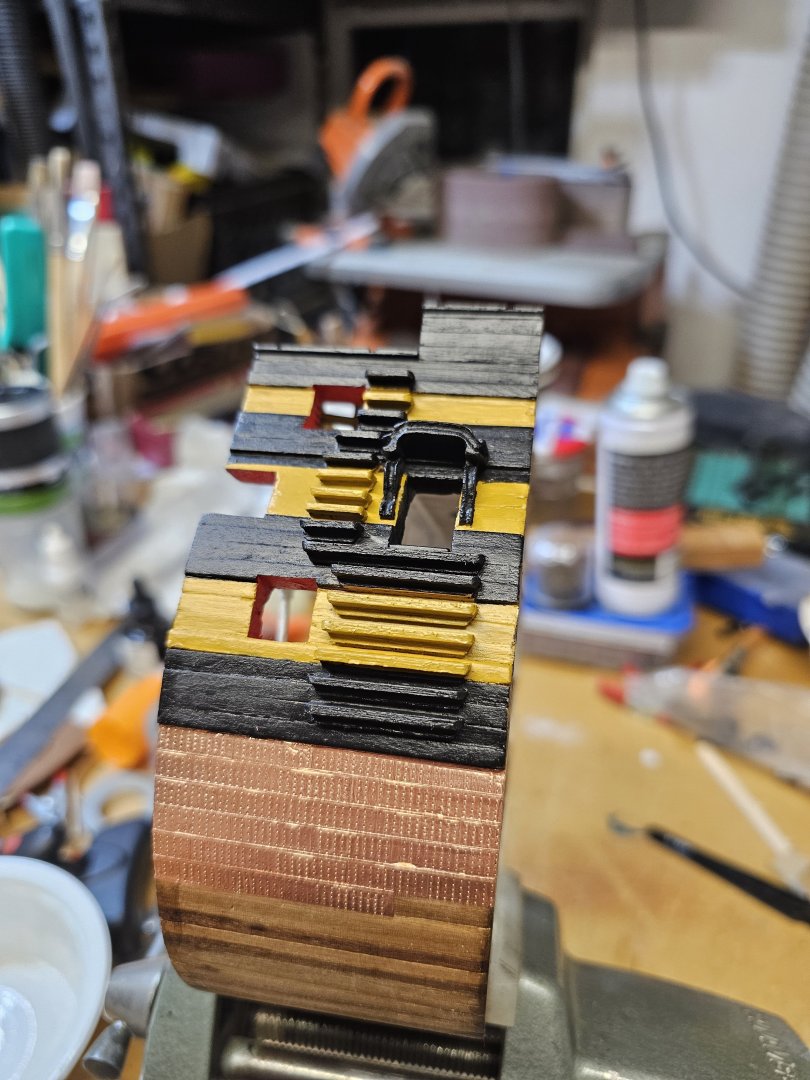
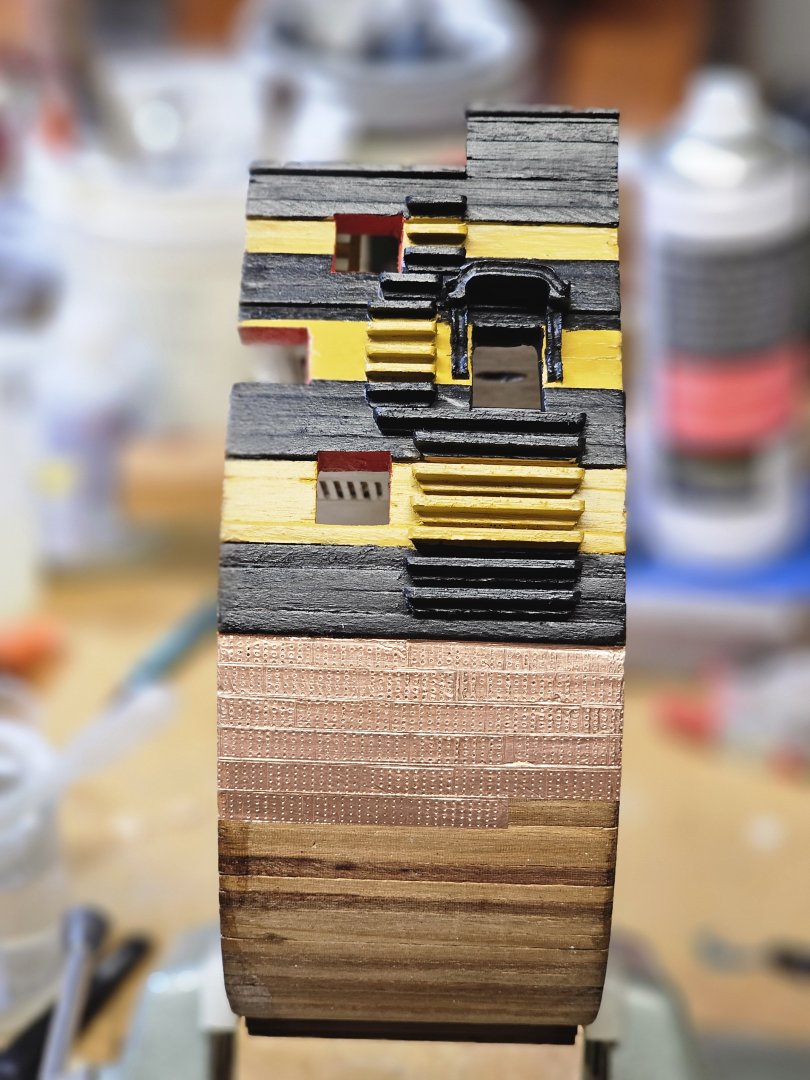
Another attempt to make the ship more realistic was to use copper tape to simulate the actual ship's copper plating. It was a bit tedious, but the result speaks for itself.
-
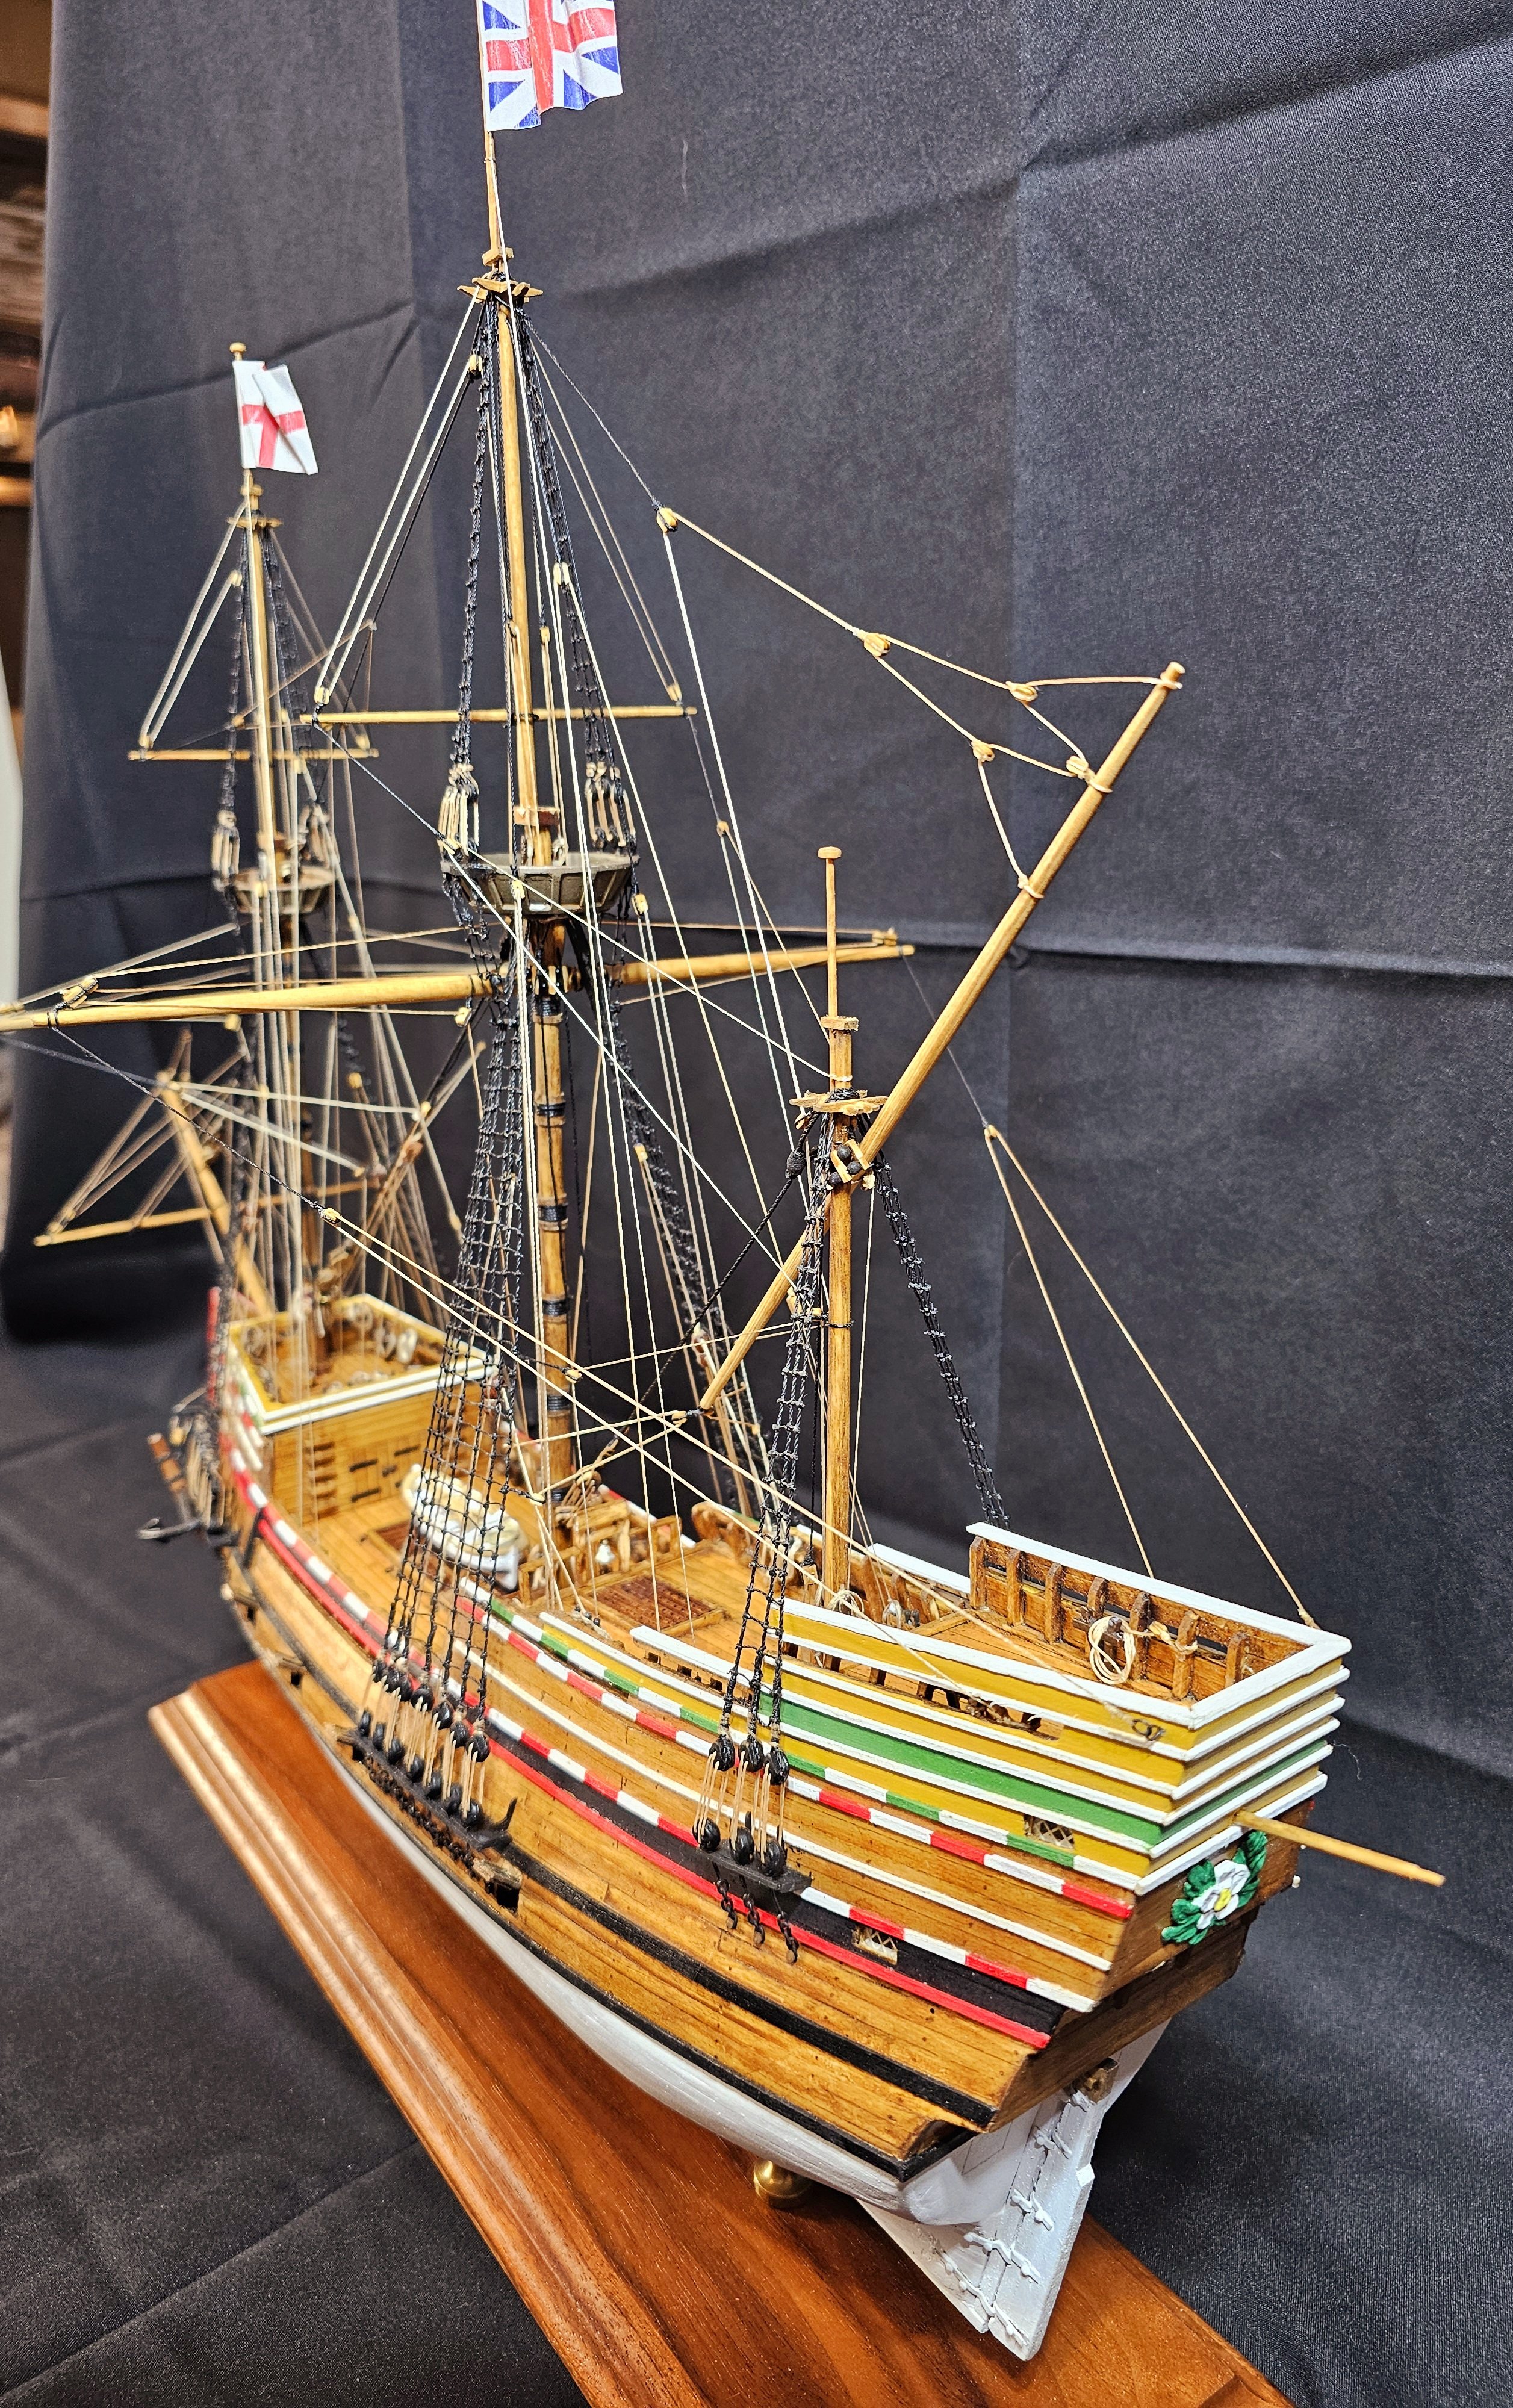
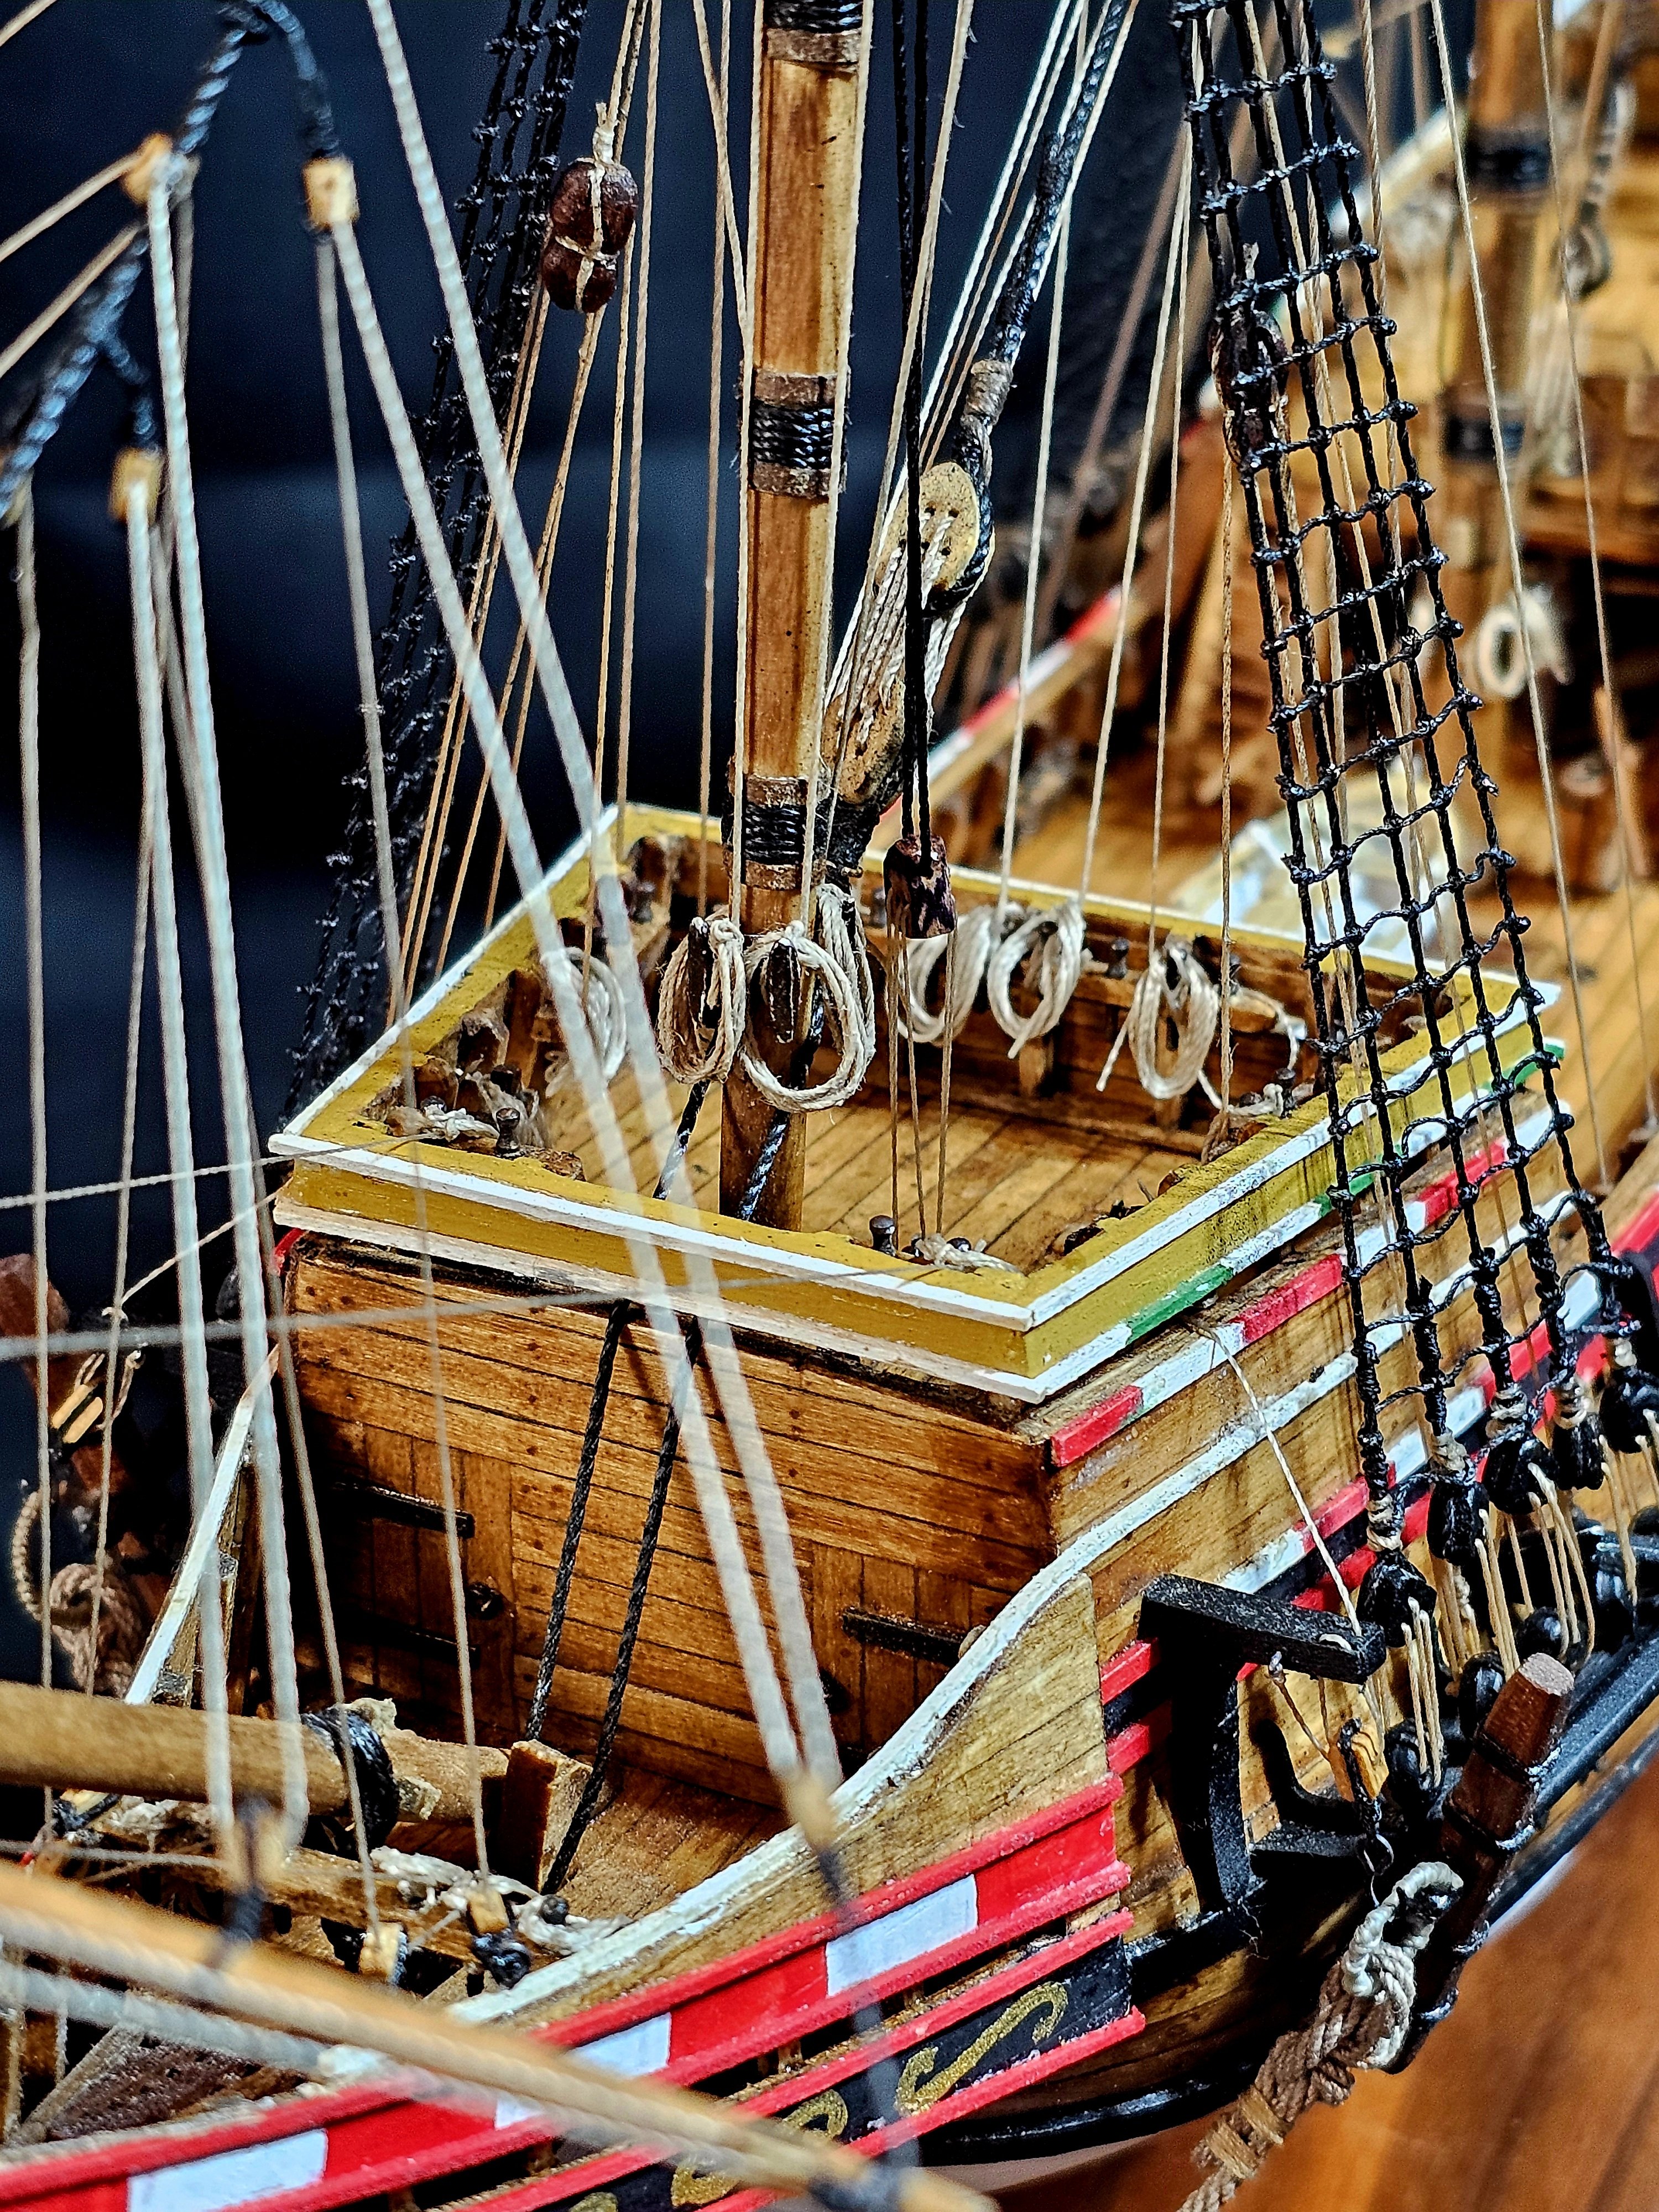
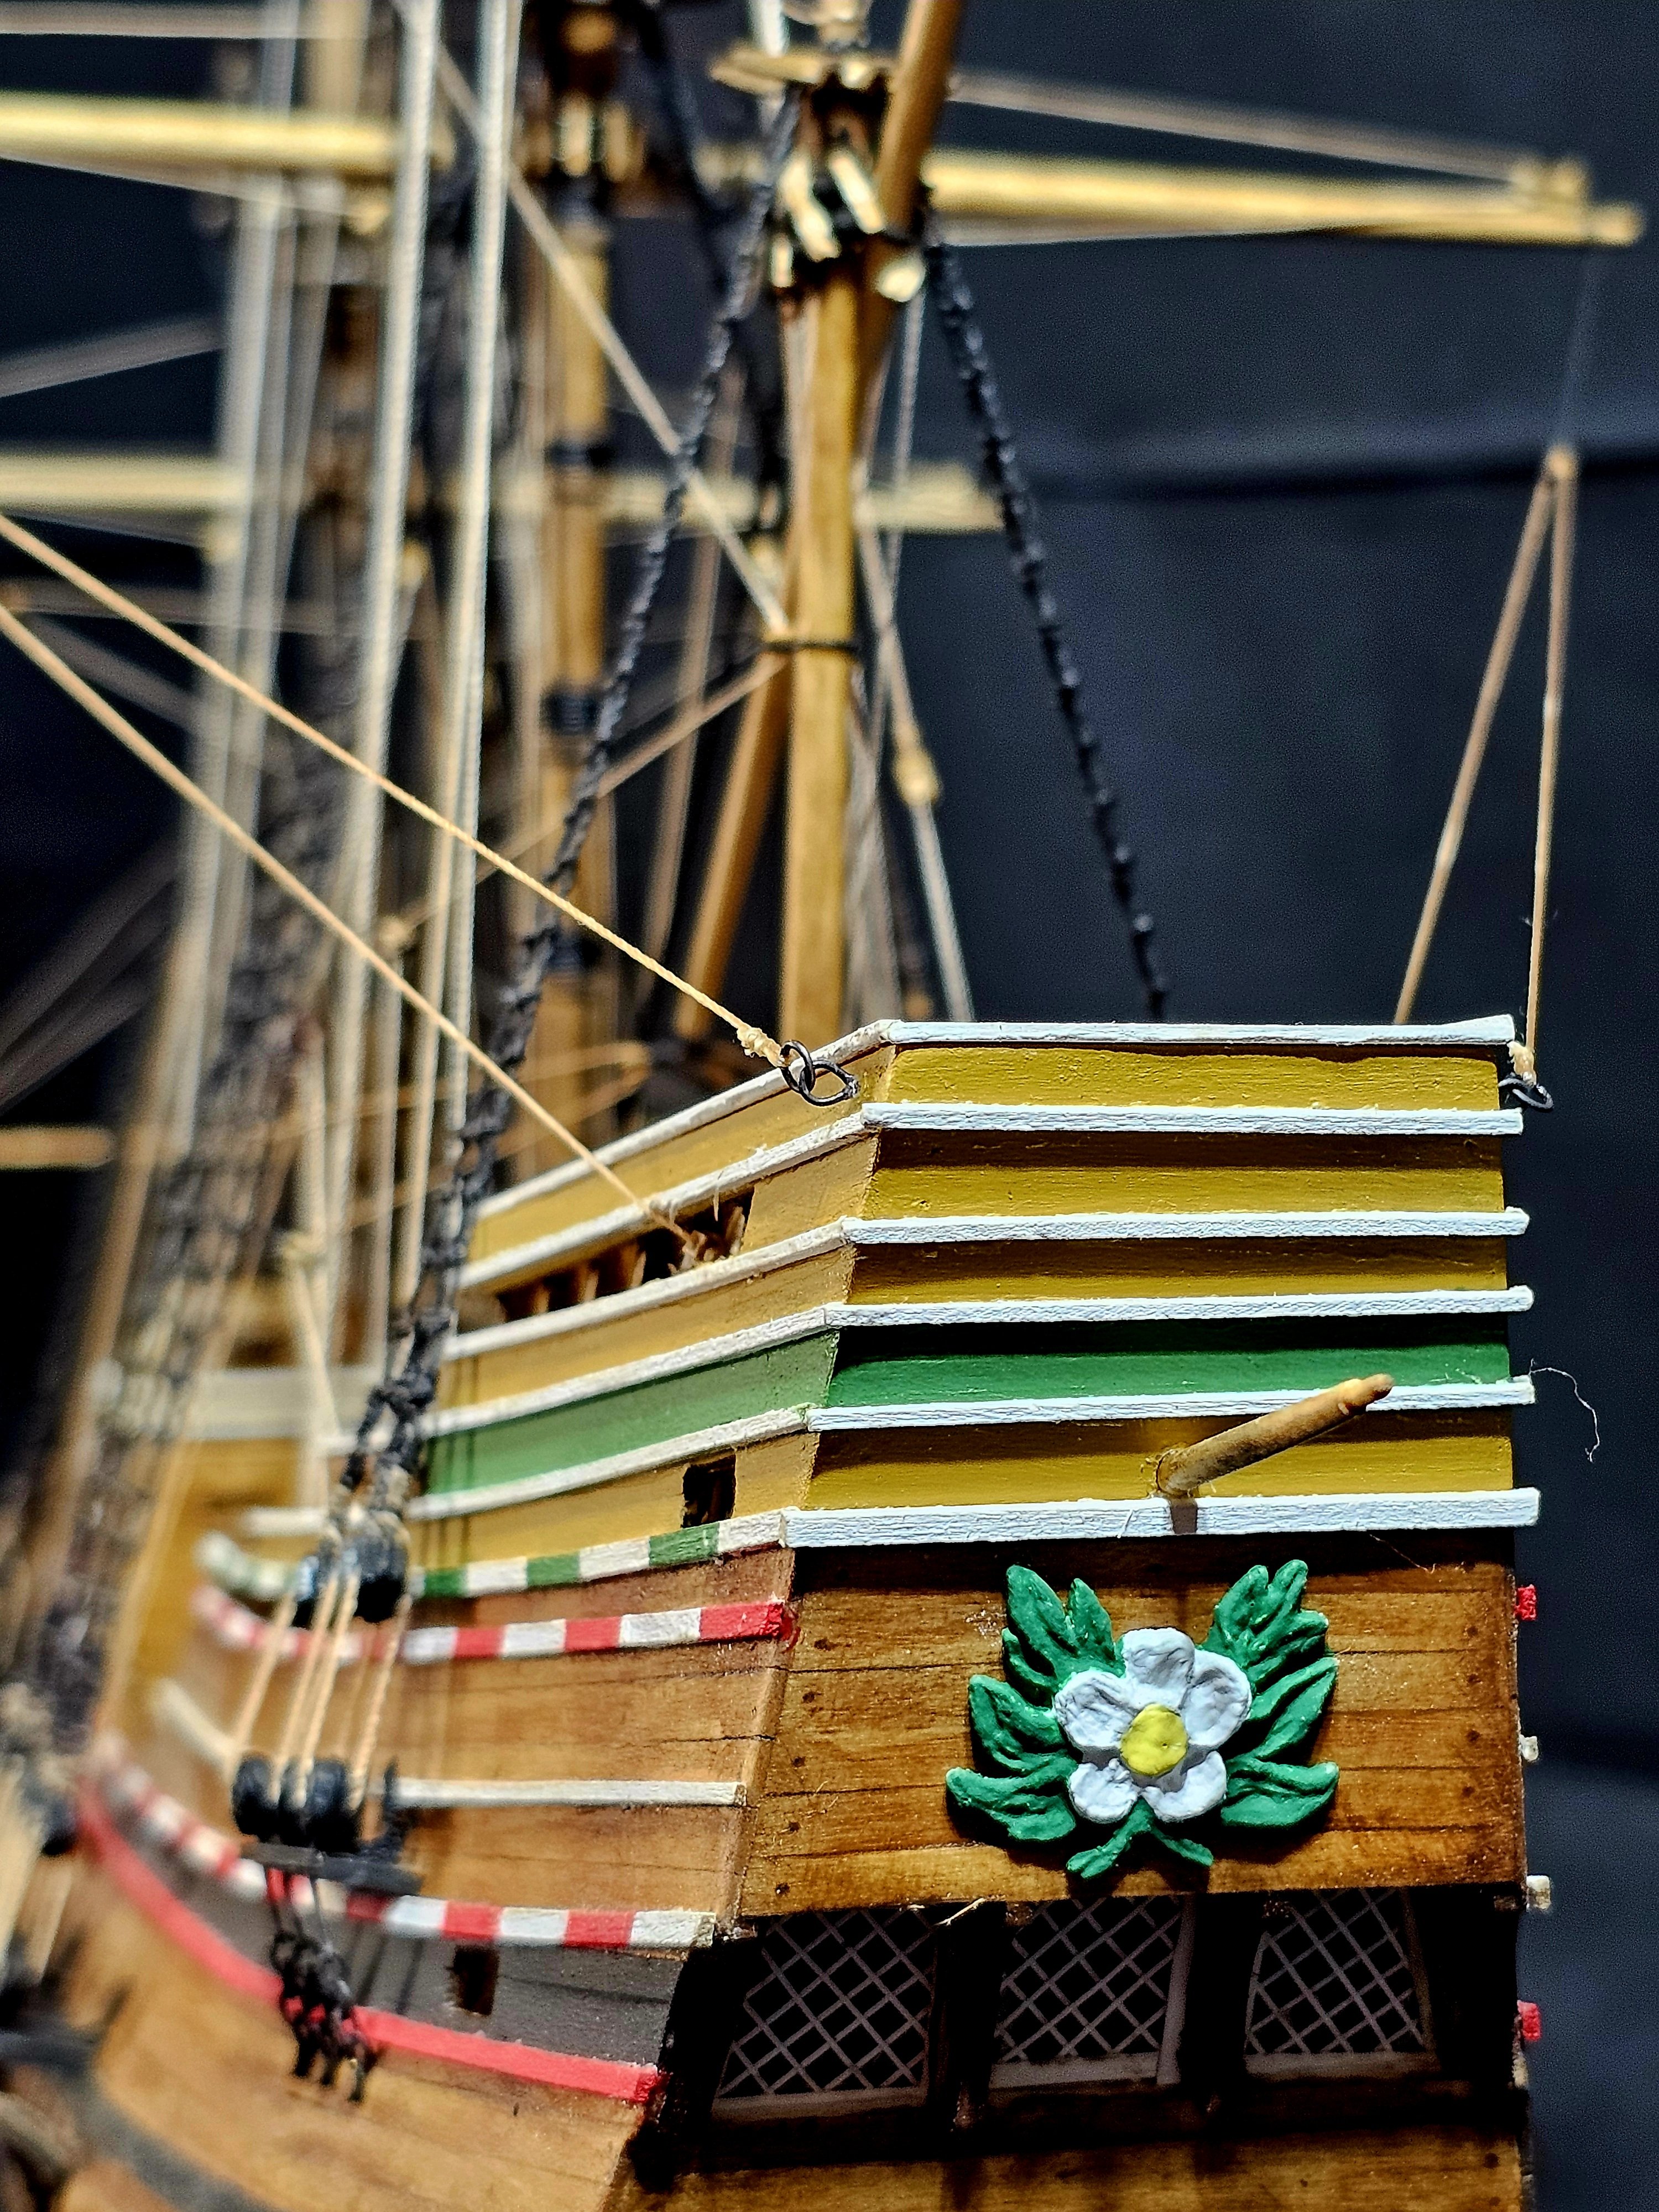
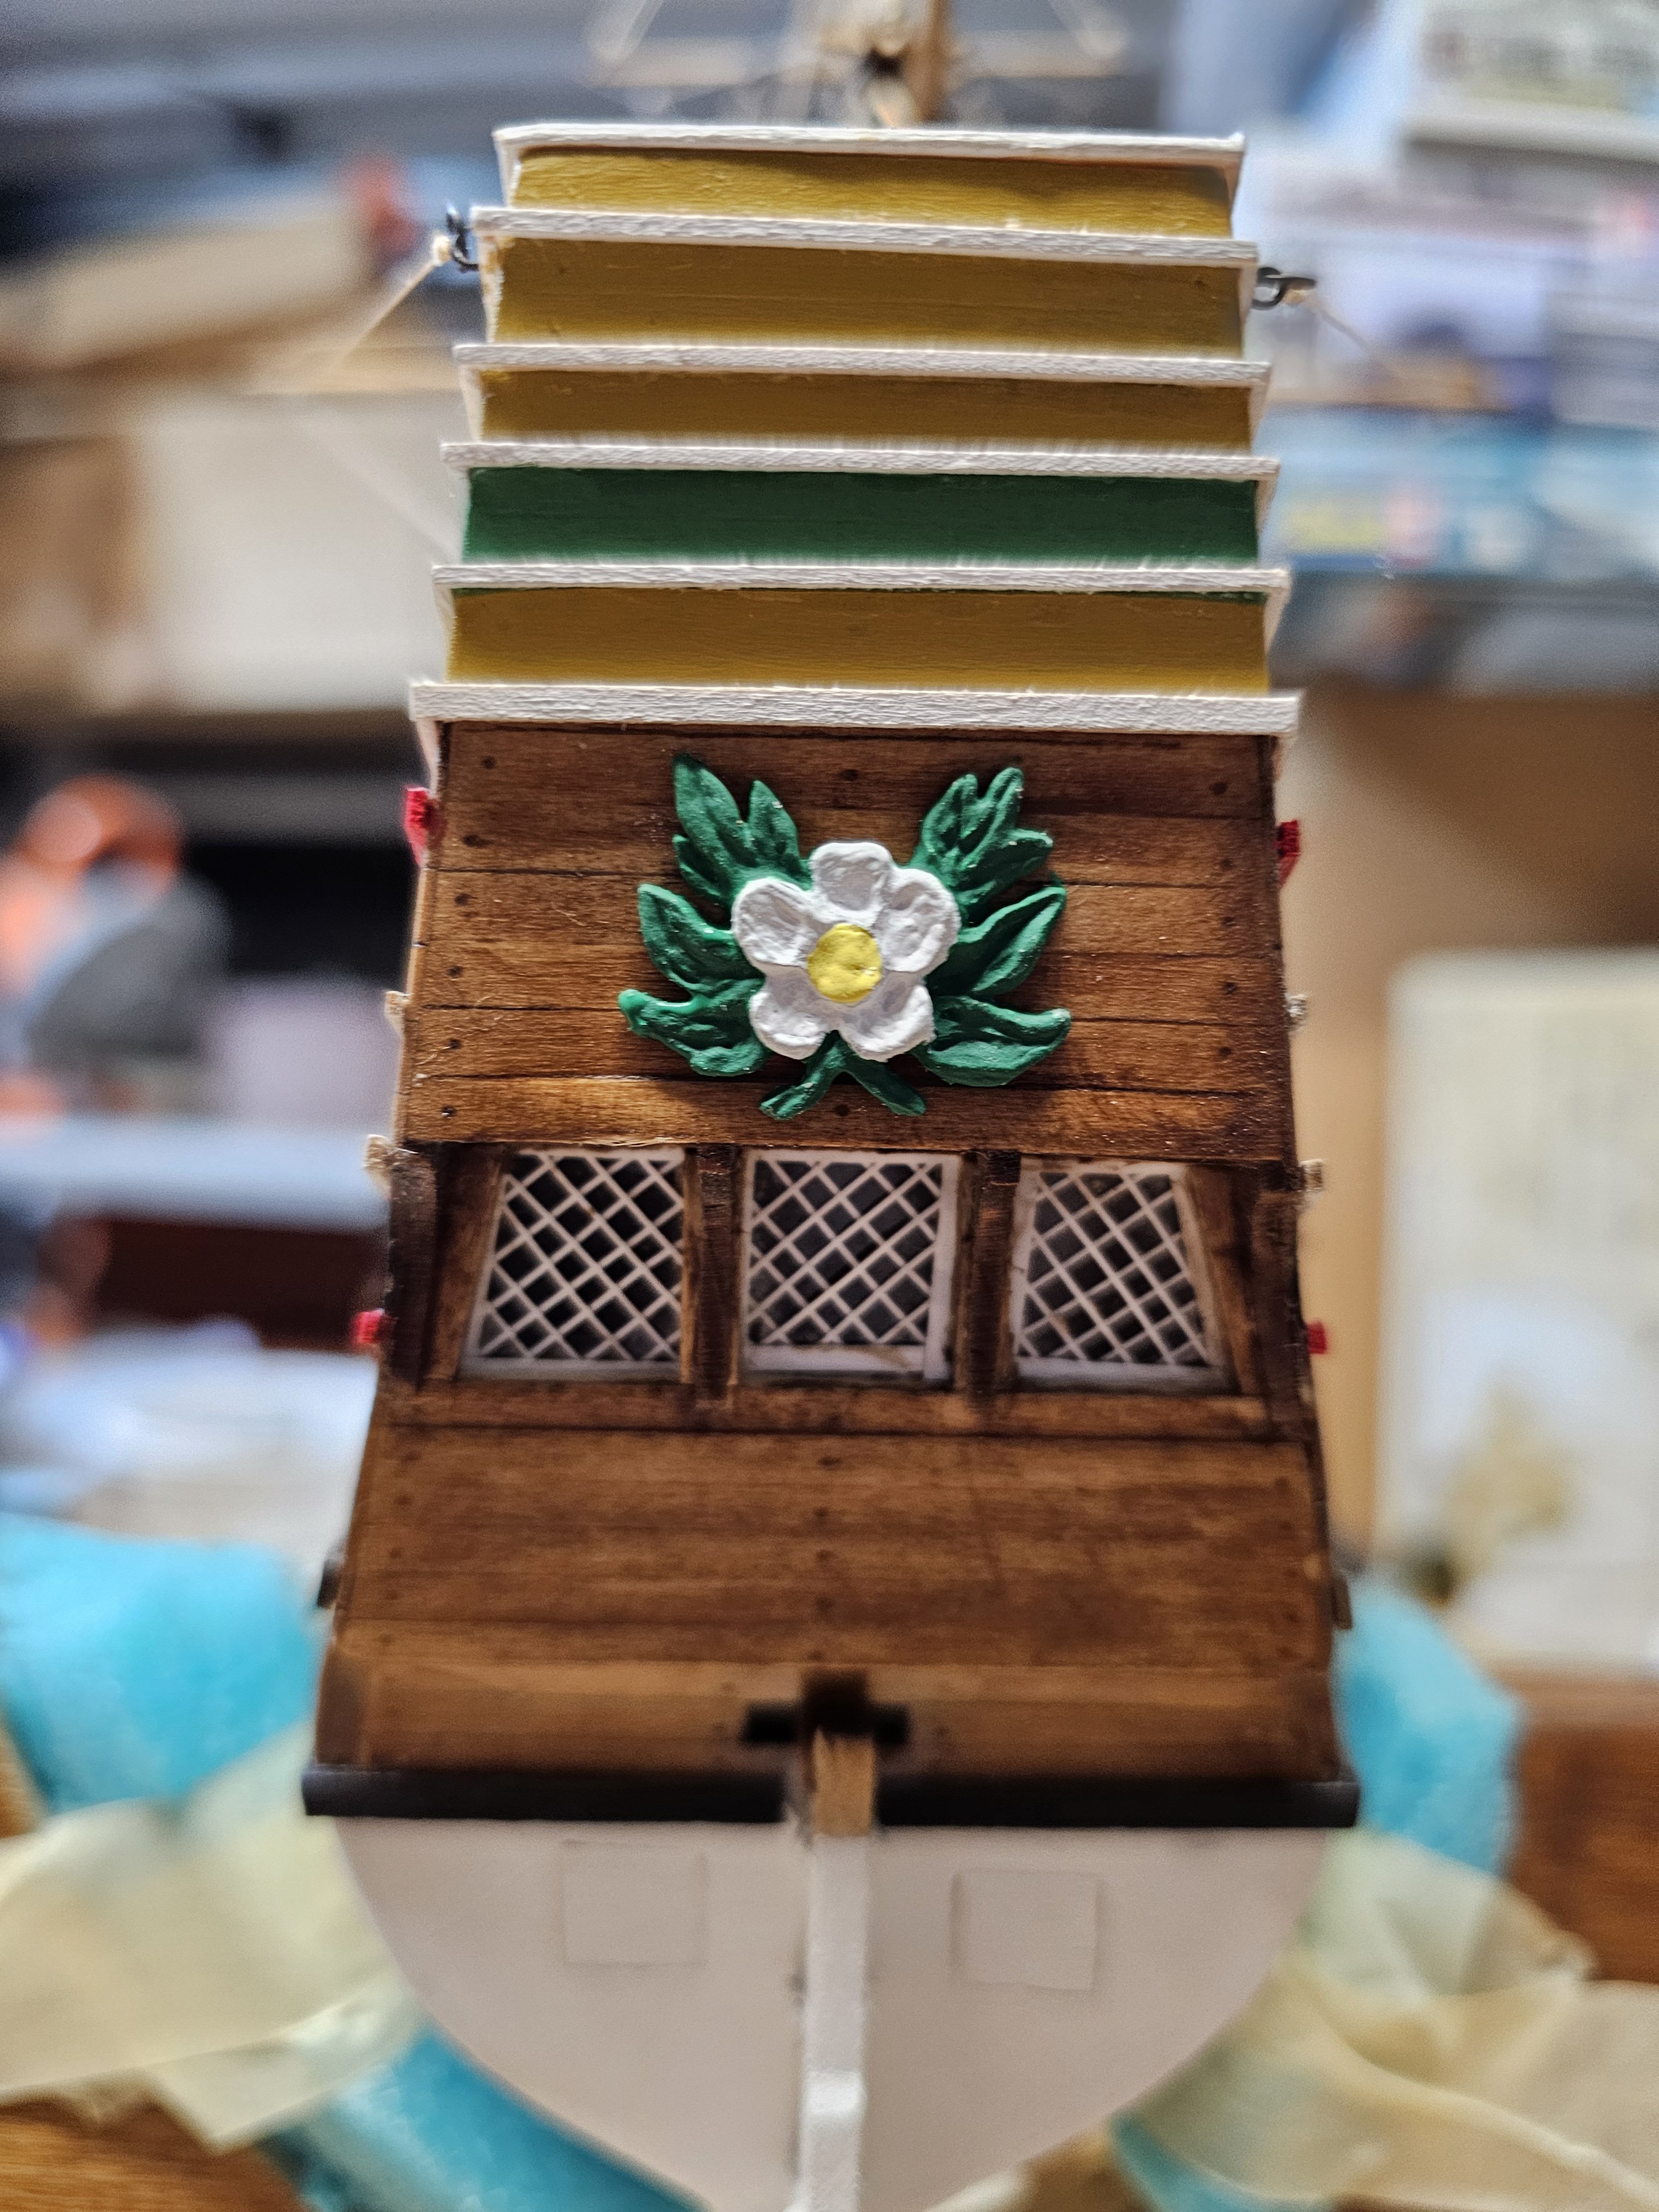
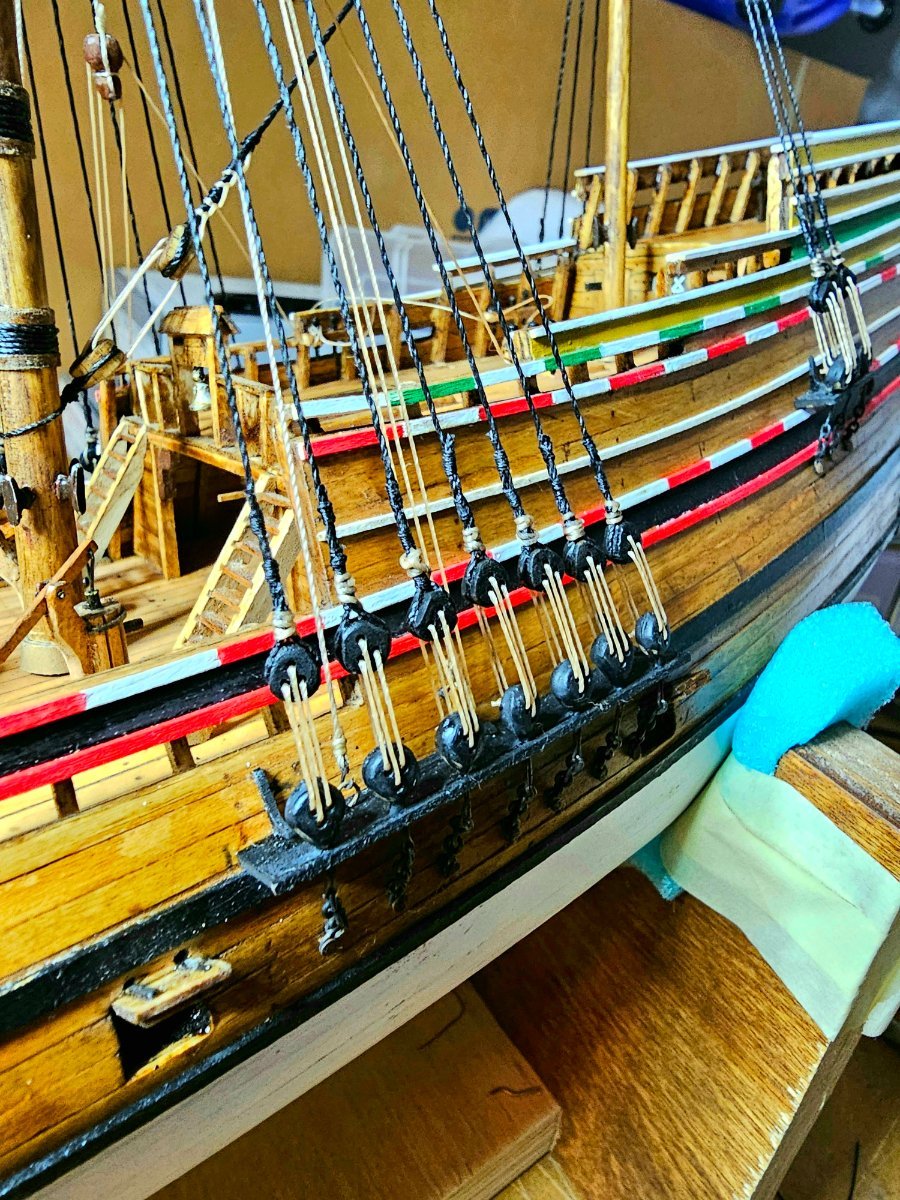
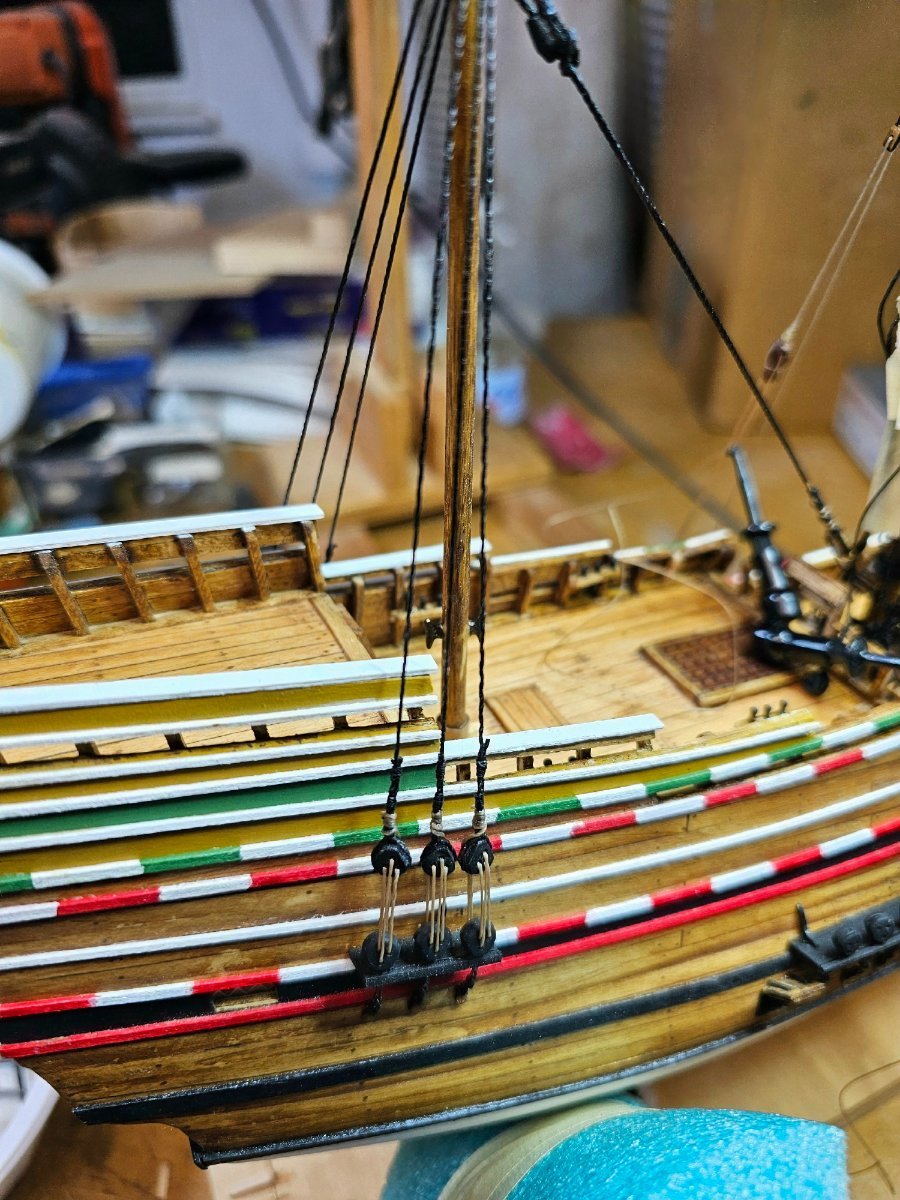
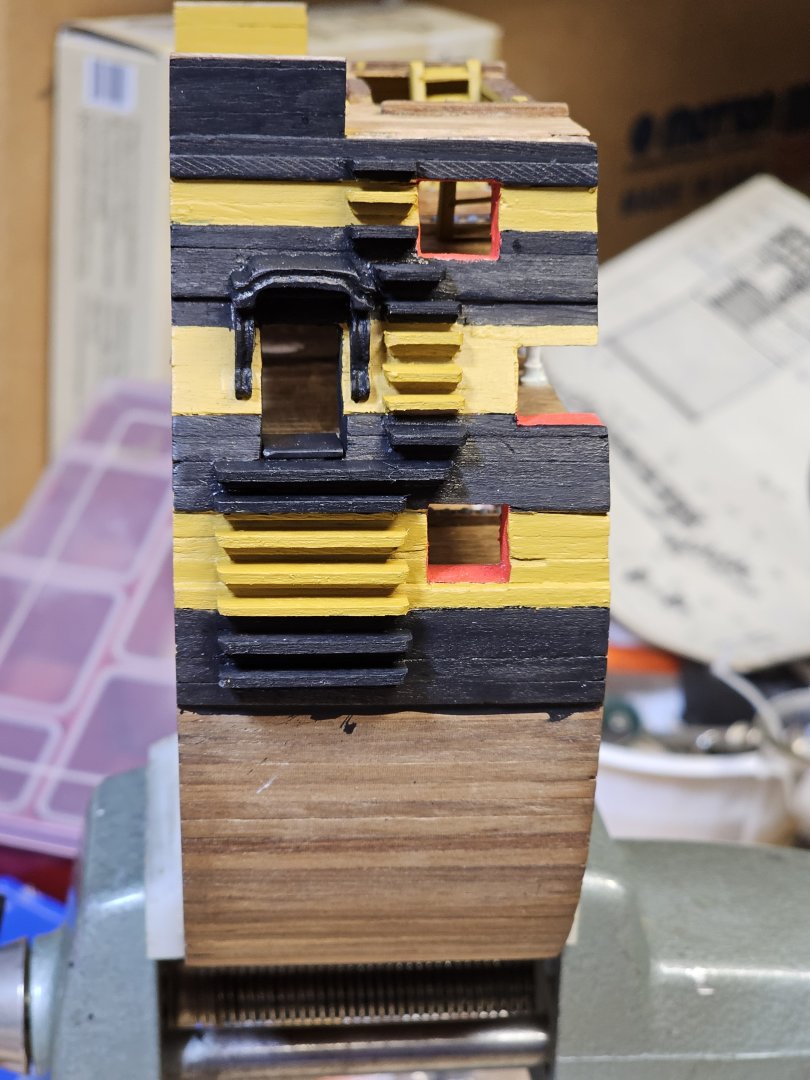
It's time to add color to the model and make it resemble the actual ship. I used Yellow Ochre acrylic paint for the main body, providing a warm tone. For the black areas, I applied India Ink for a deep finish. The insides of the gunports were painted with Ruby Red acrylic to create a bold contrast.
-
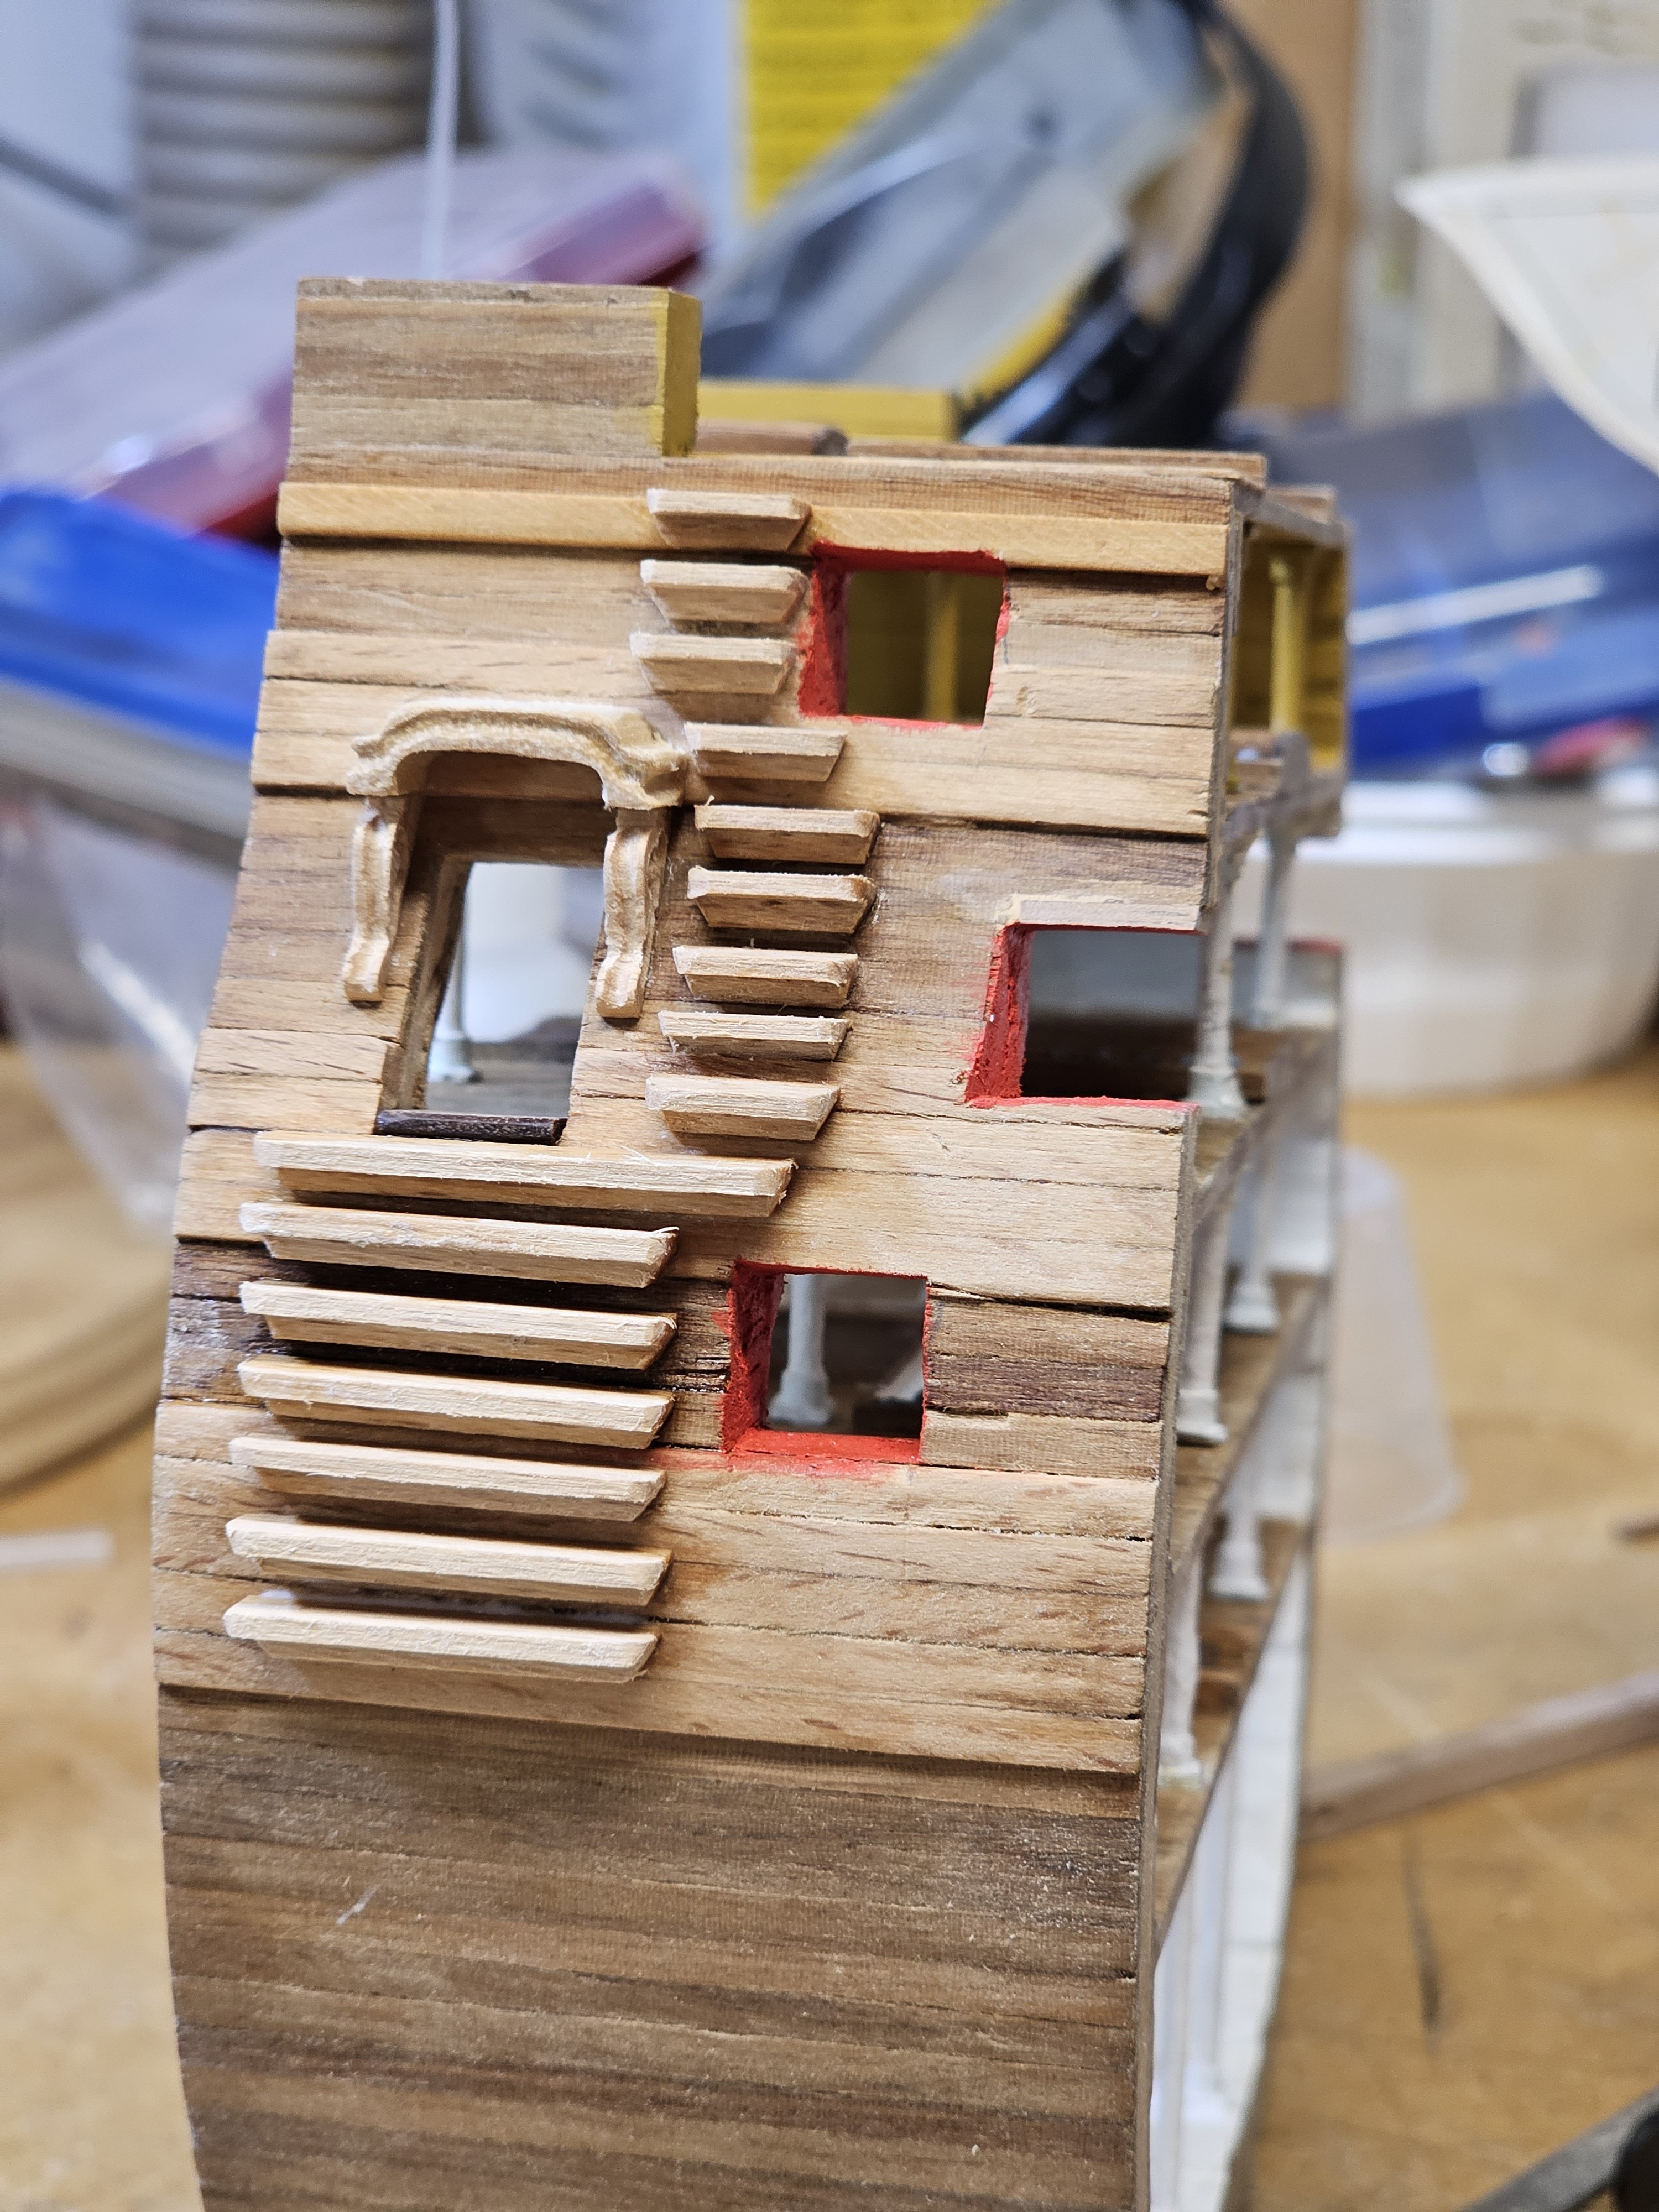
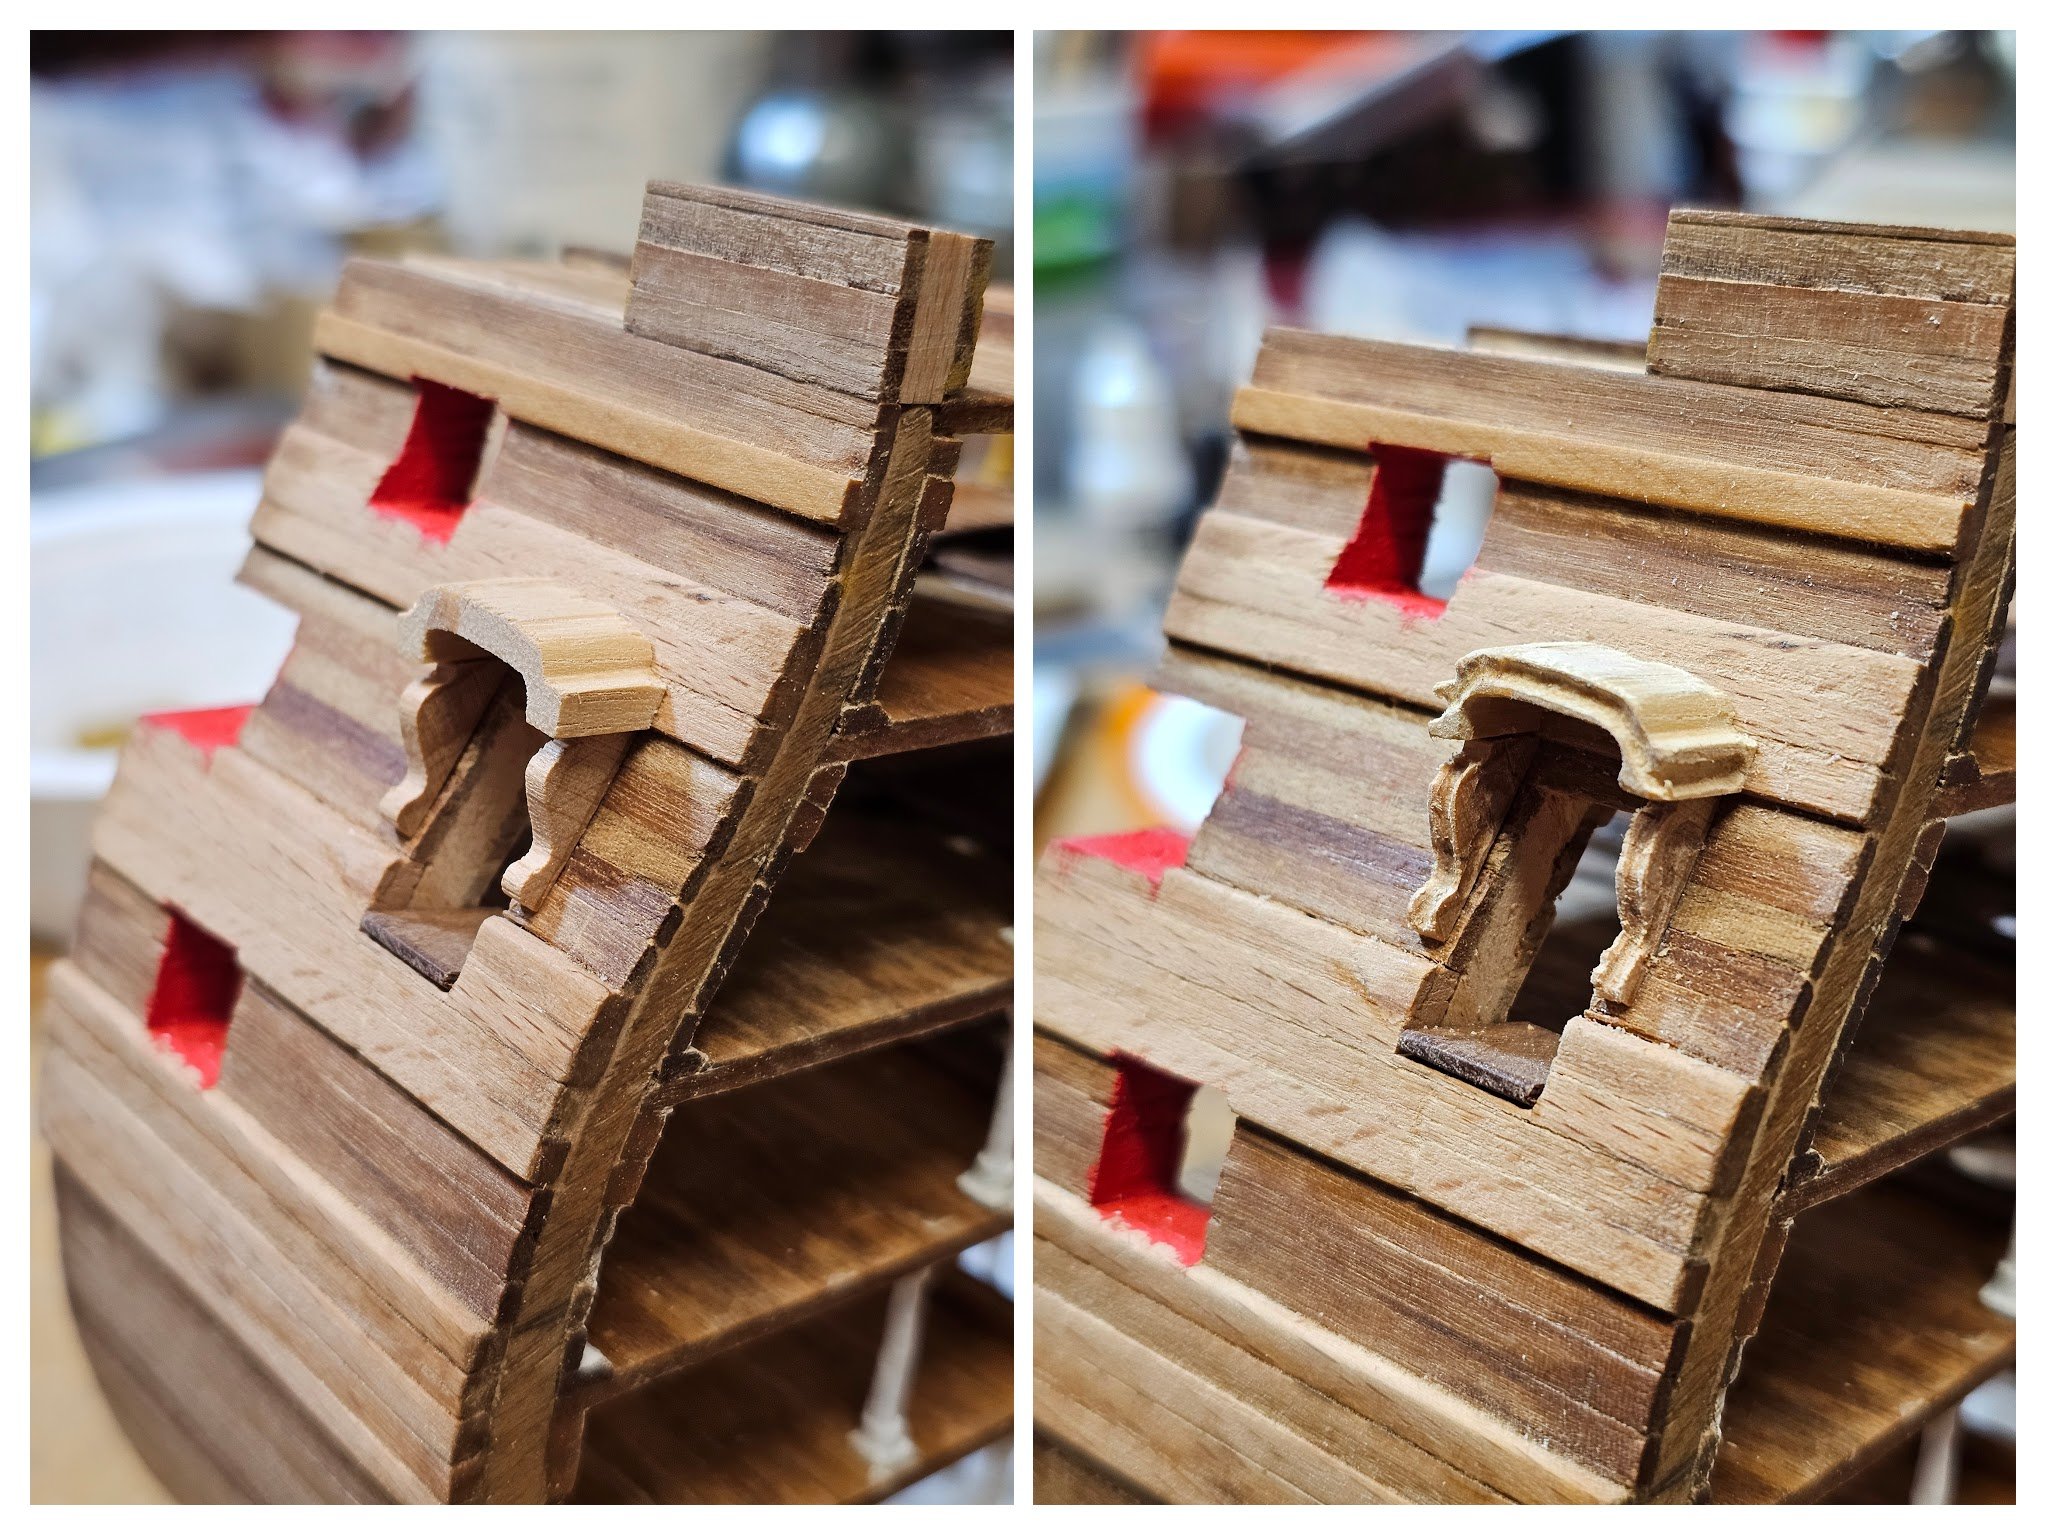
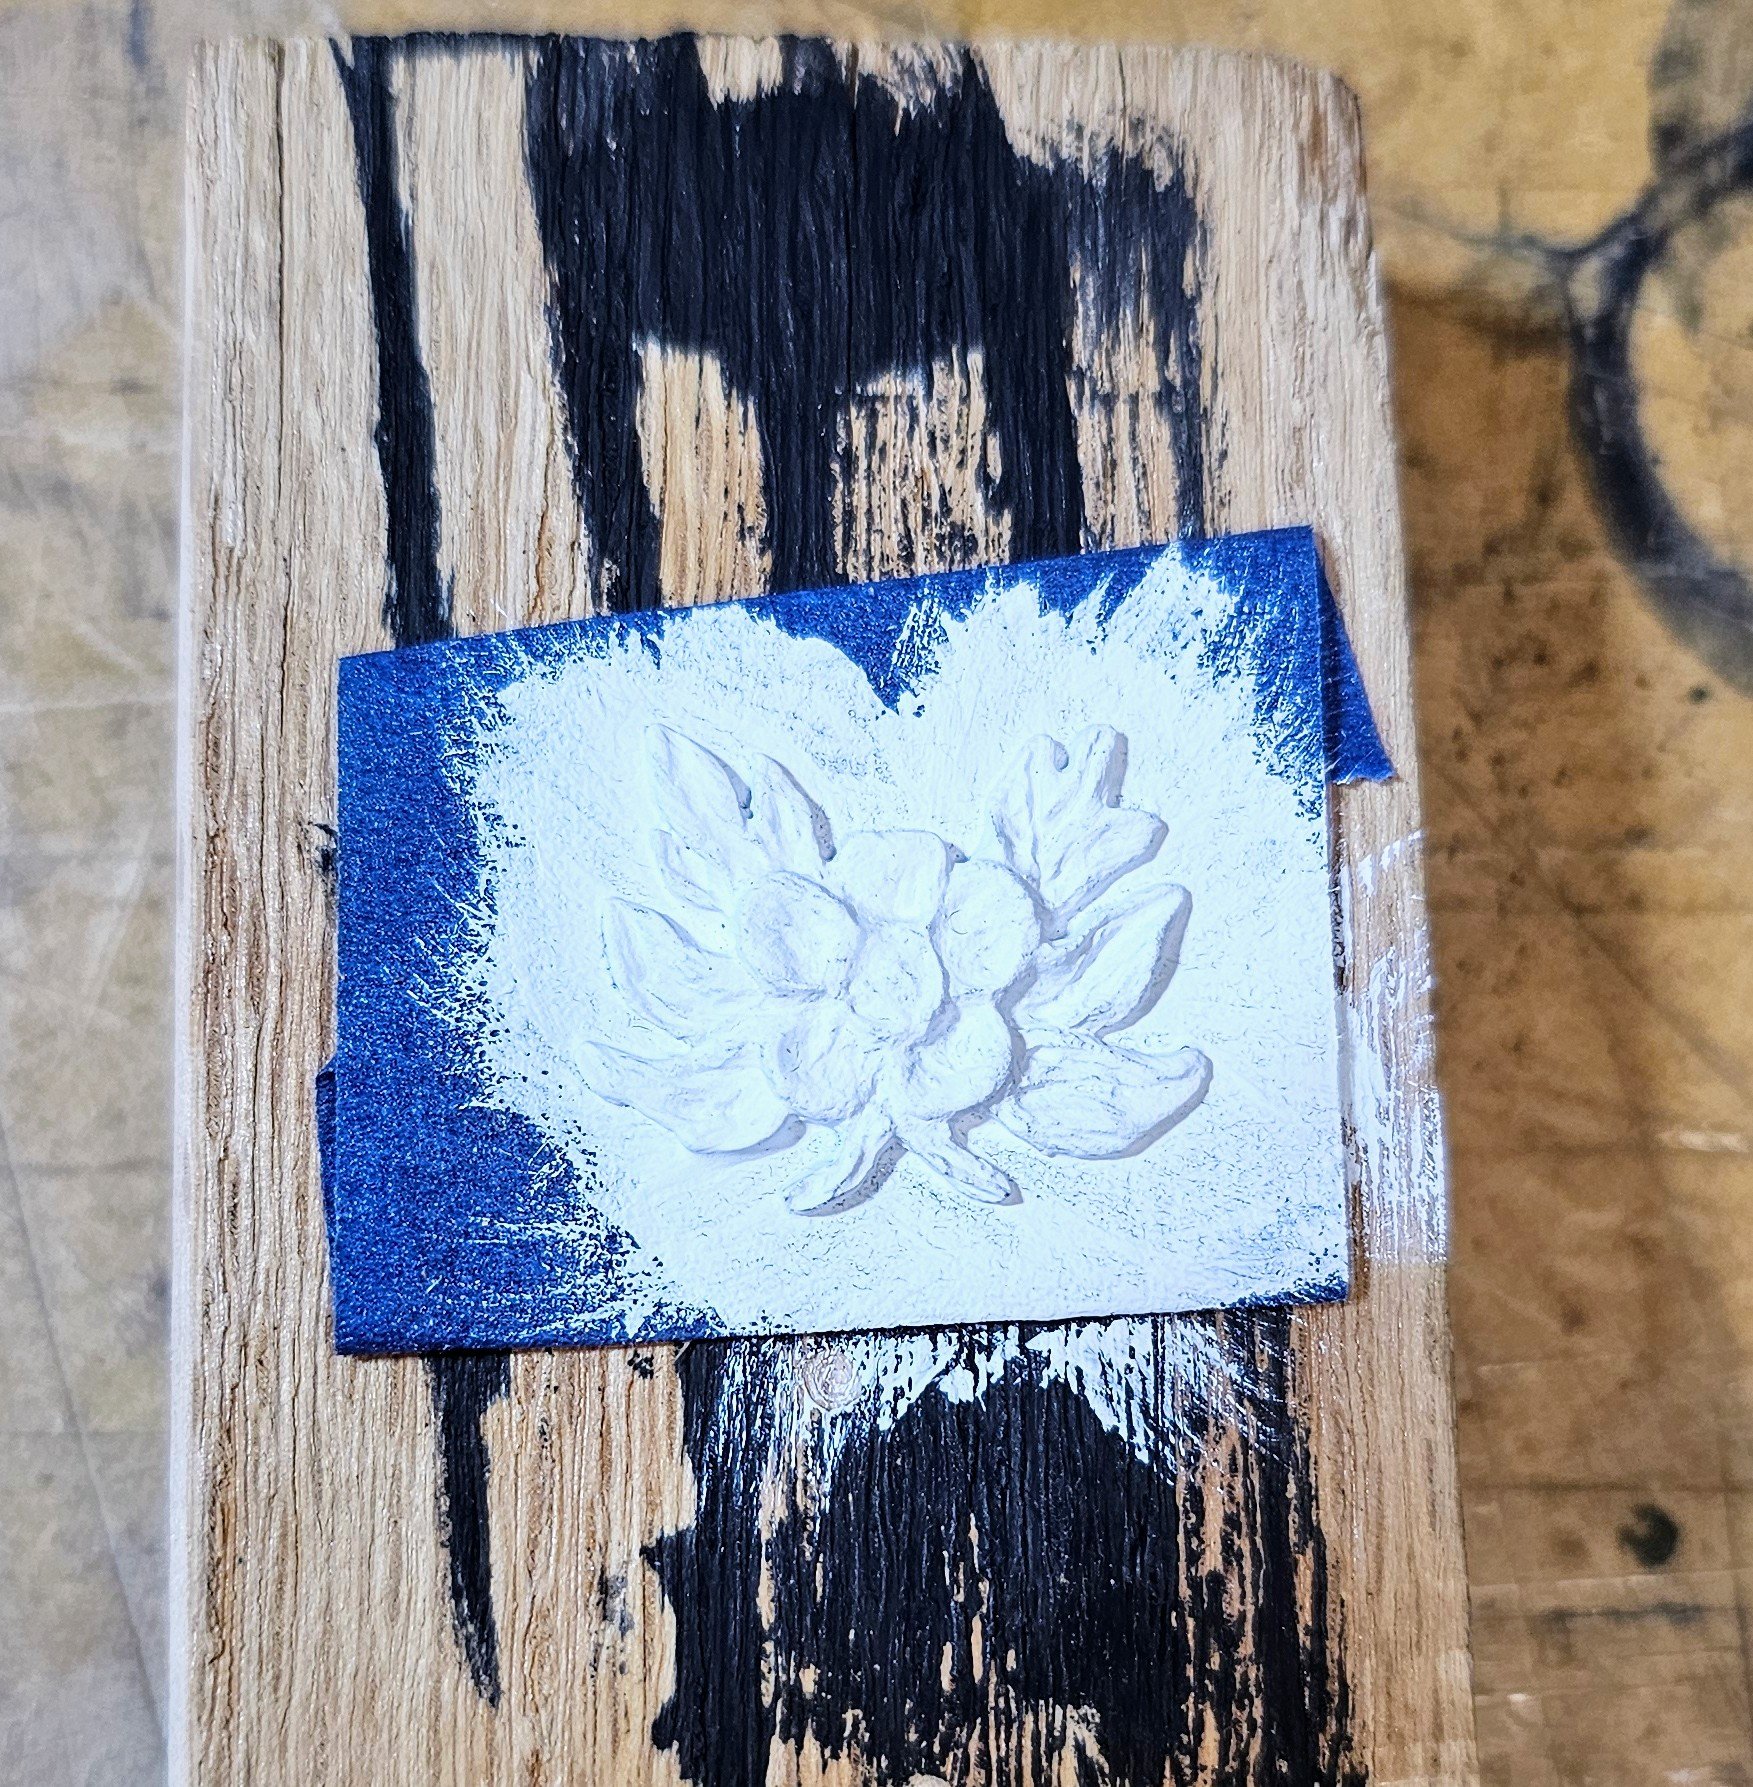
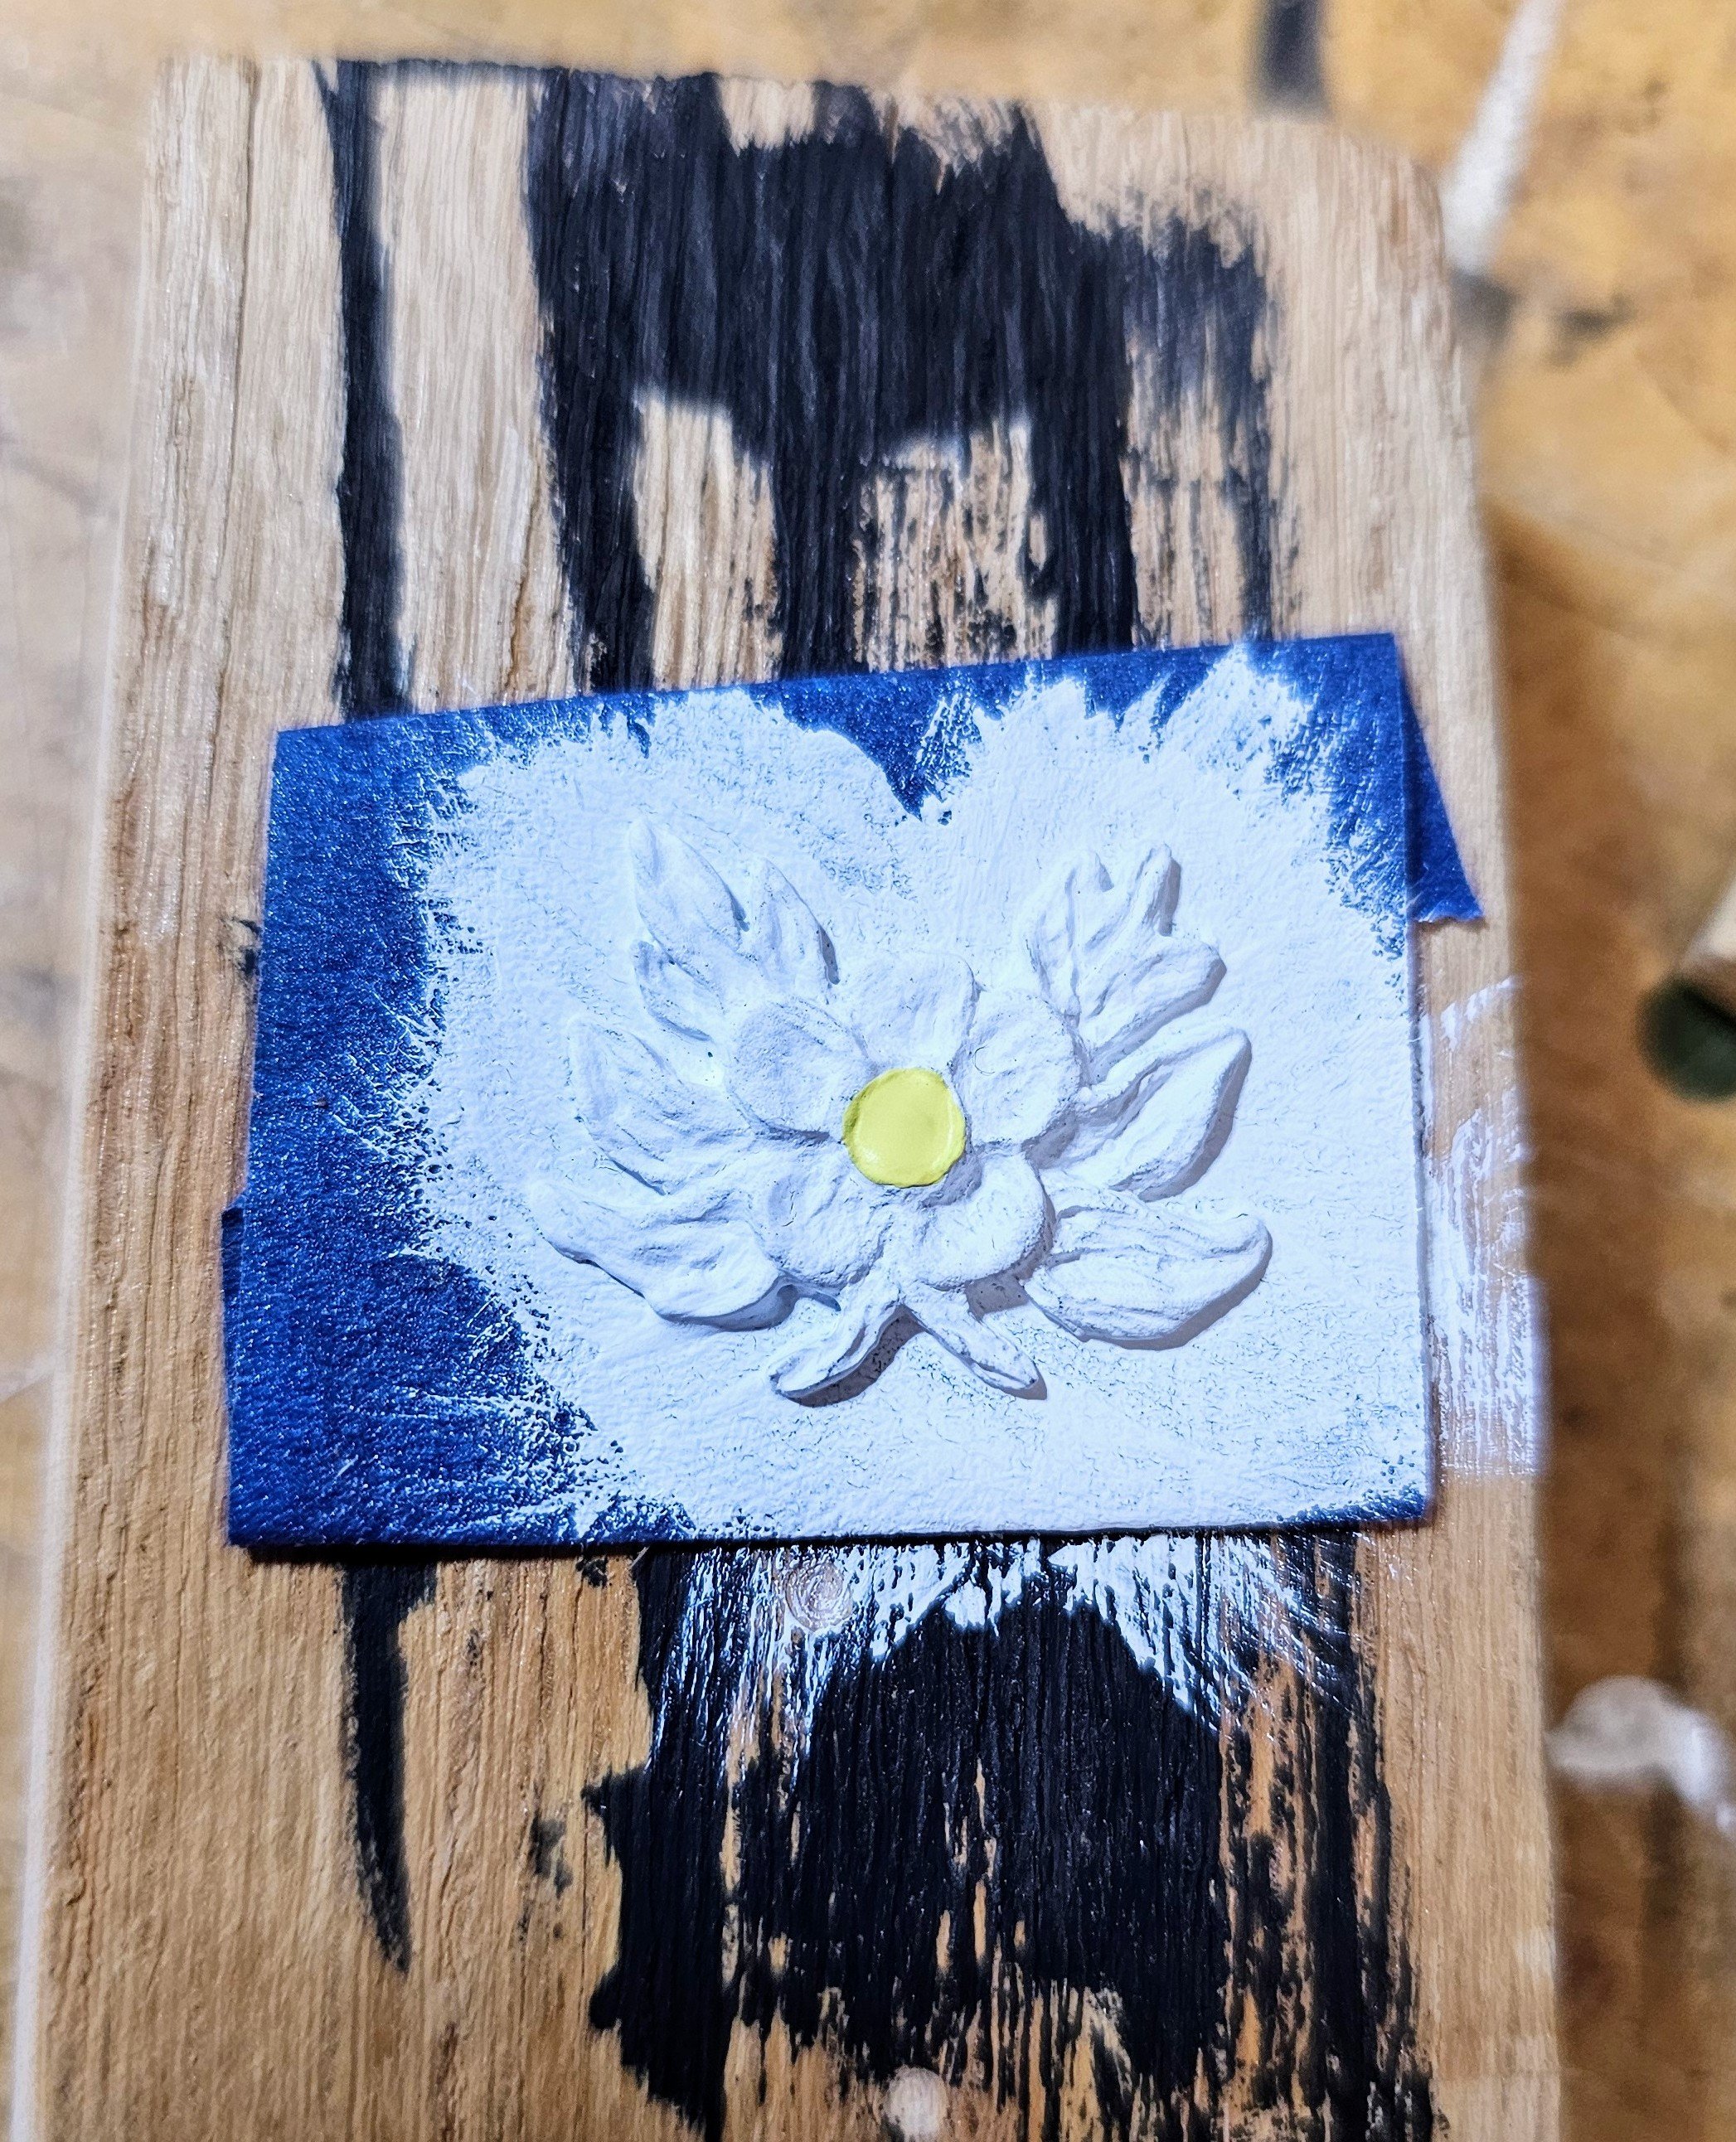
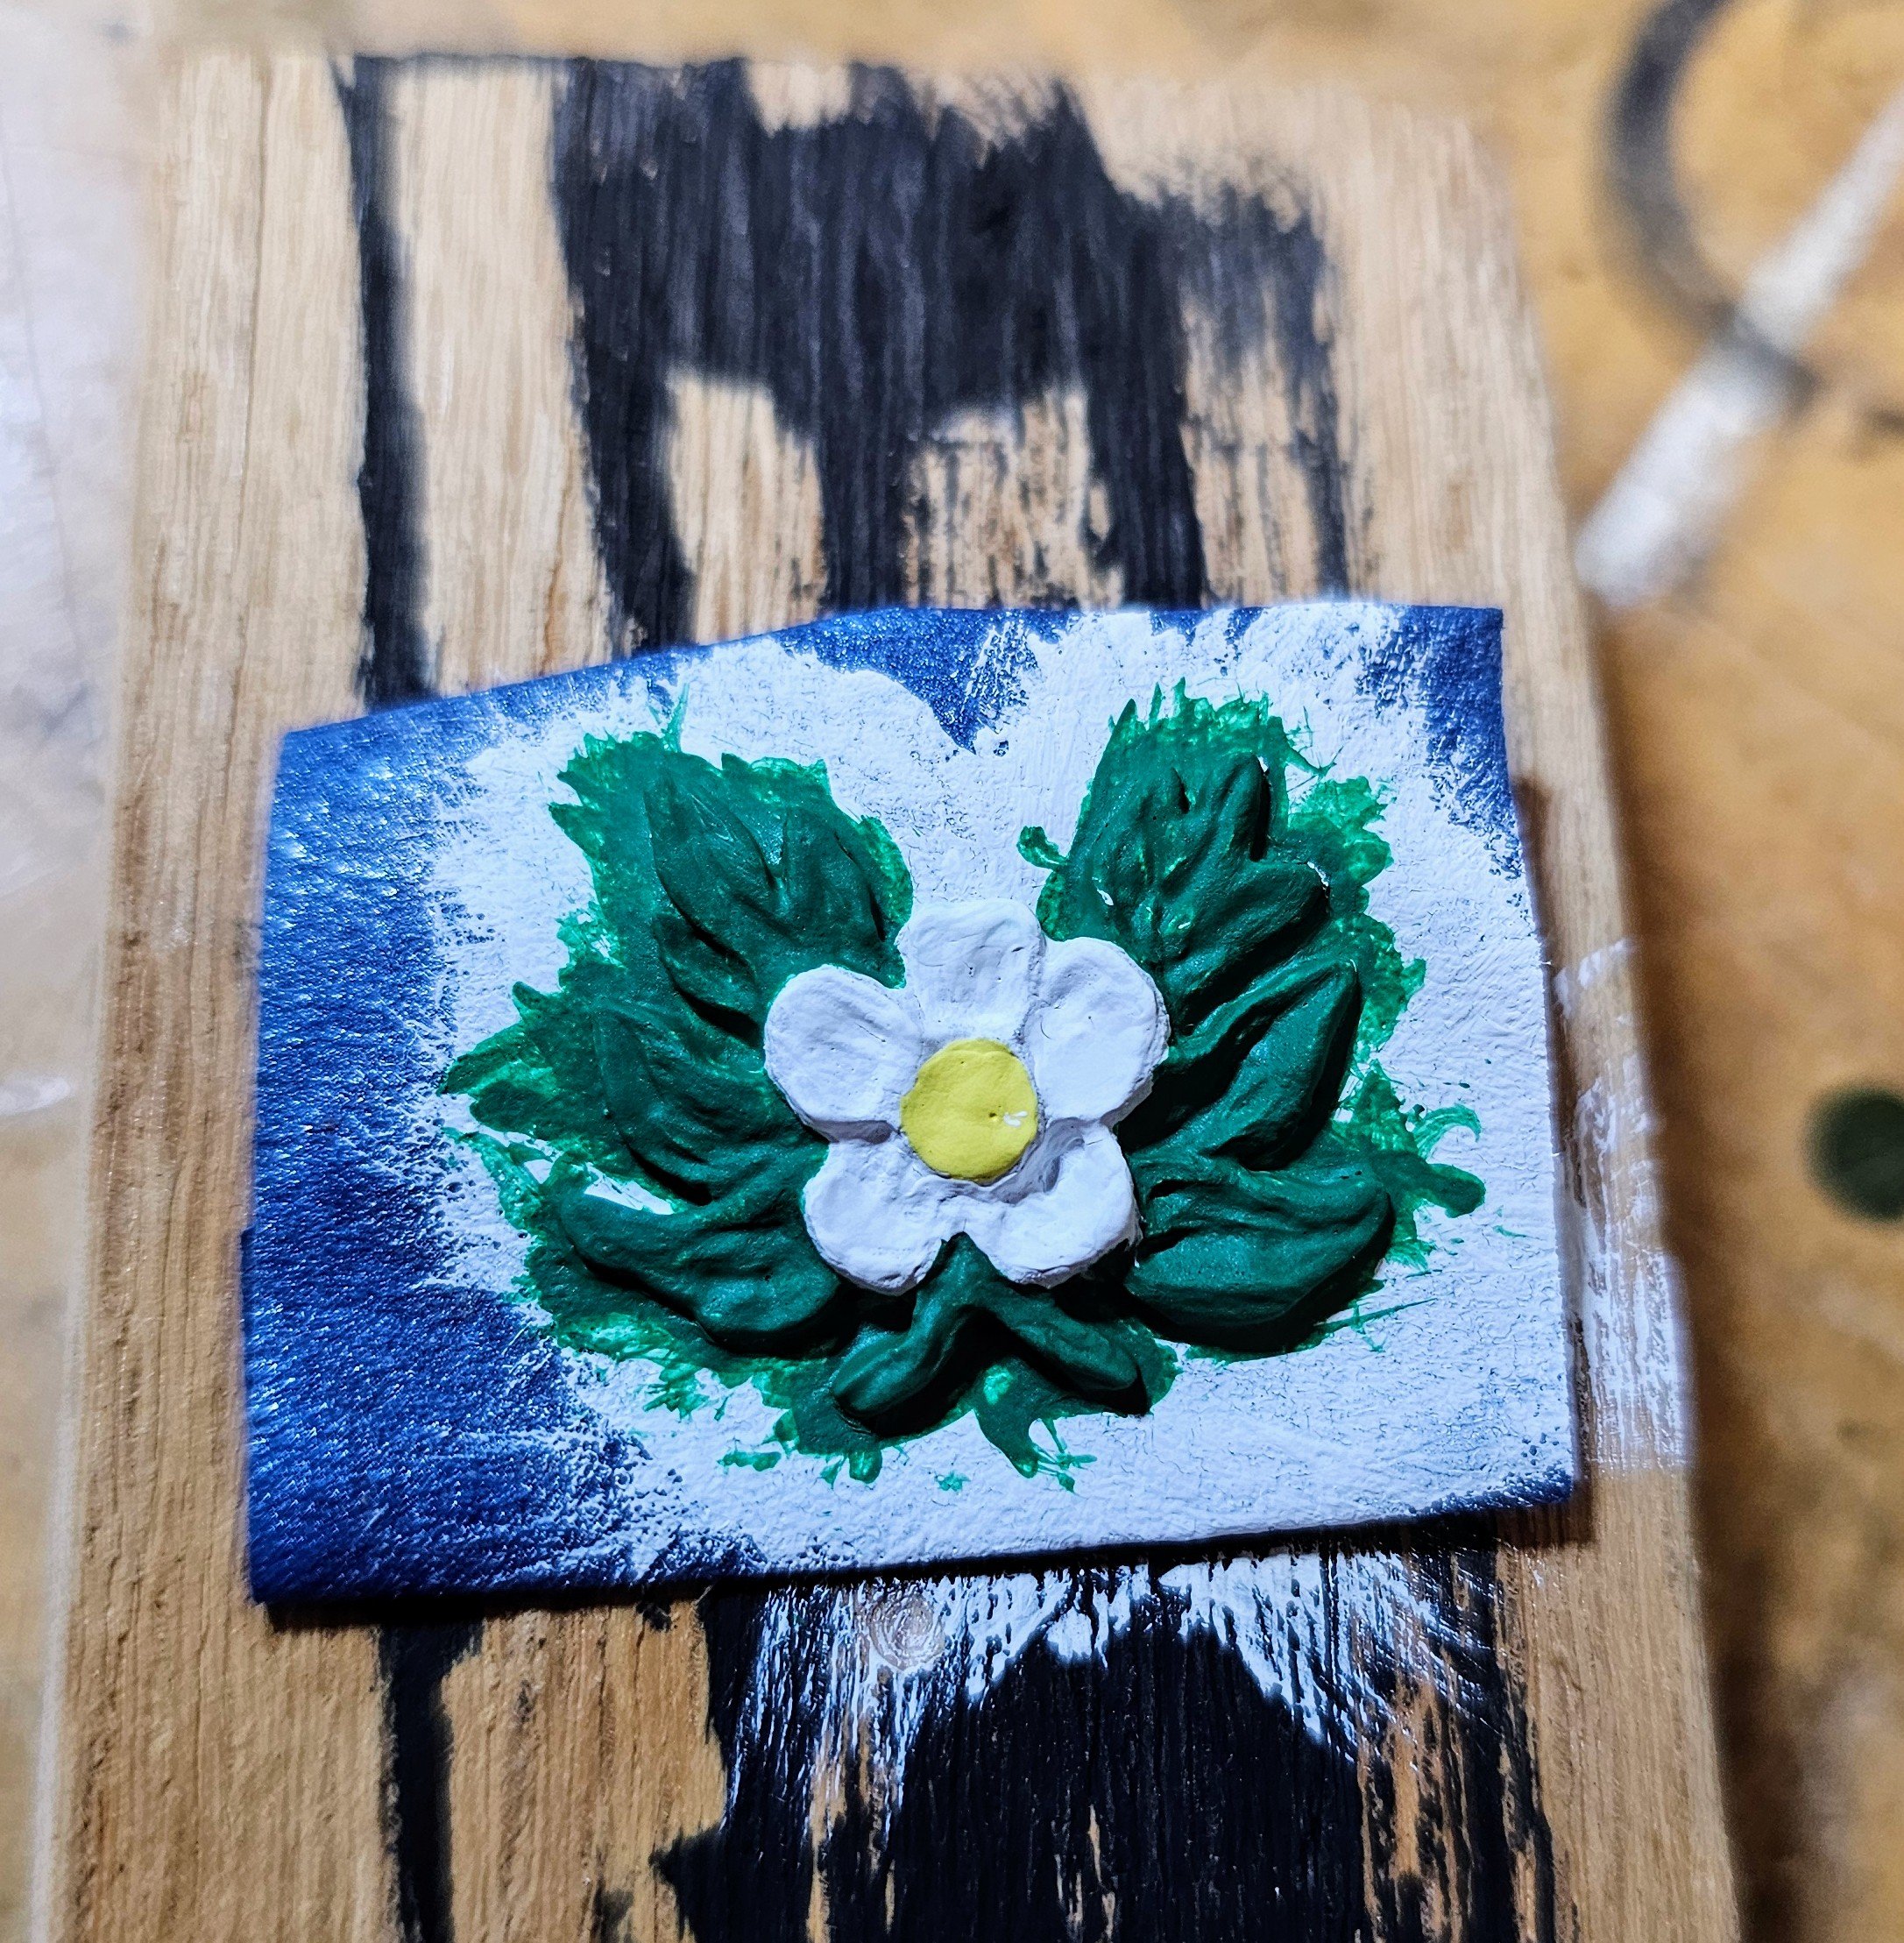
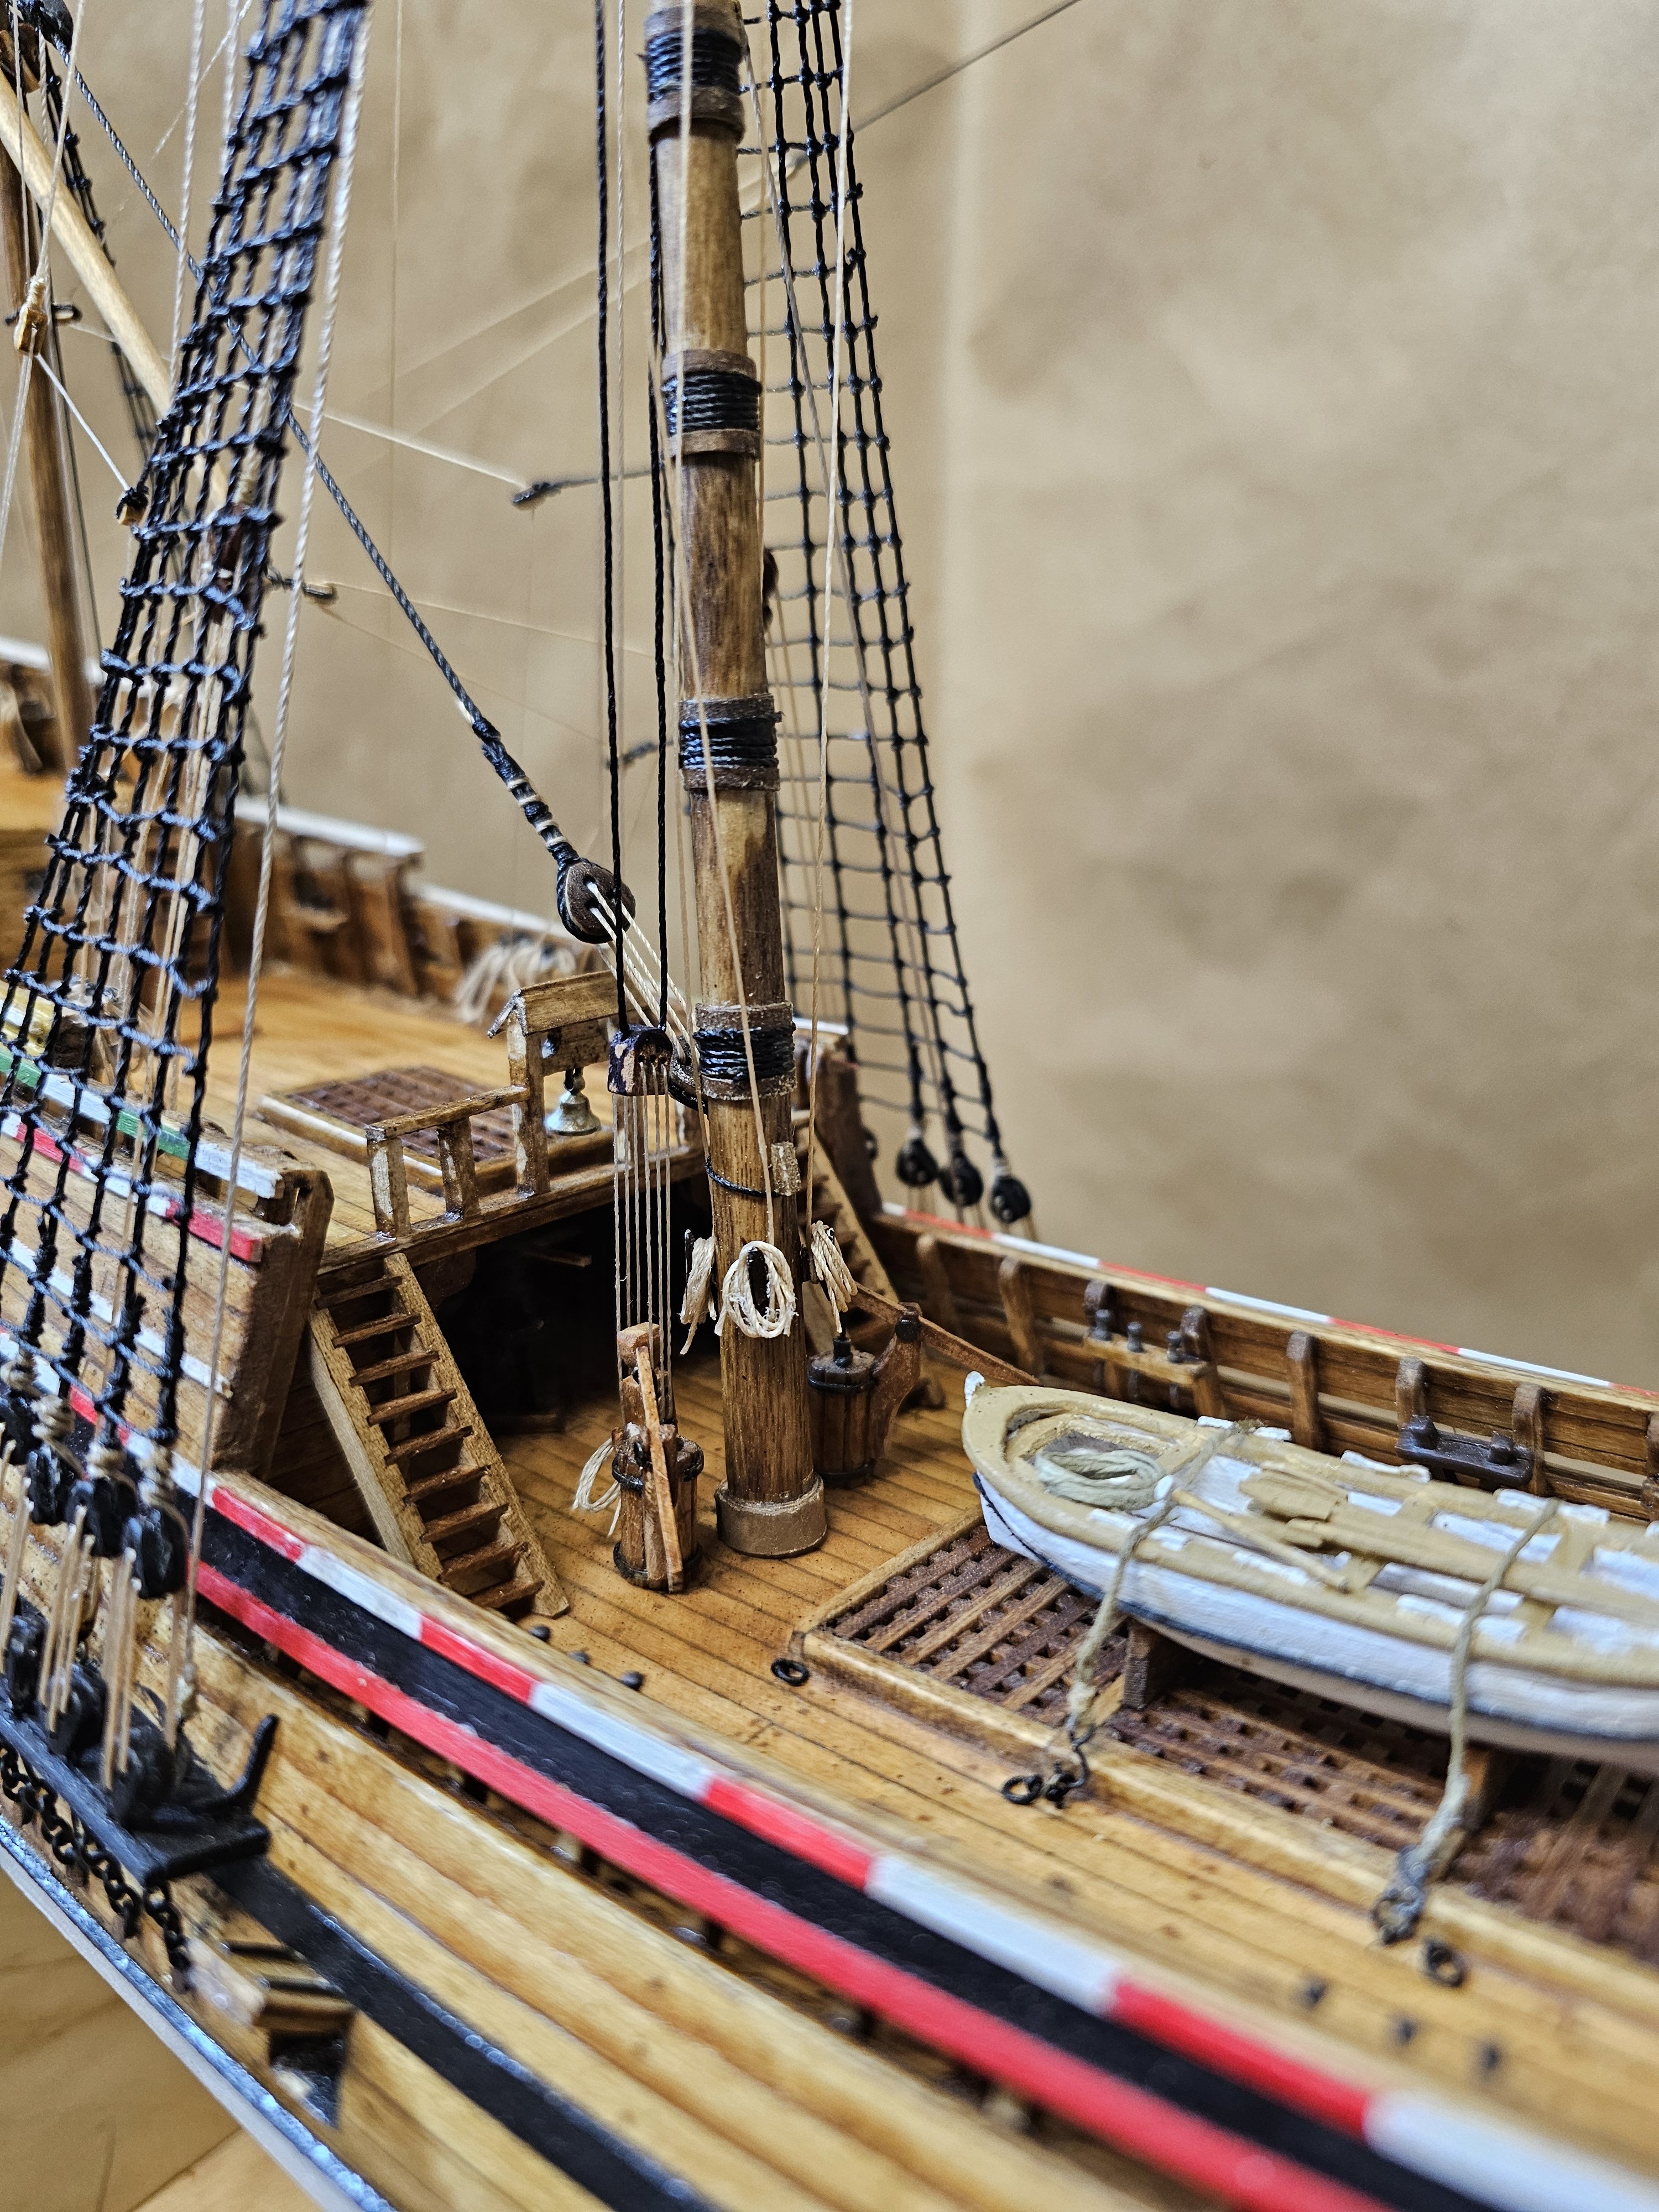
I completed the installation of the Portals decoration, which serves as essential access points to the ship. These Portals facilitate the entry and exit of crew members and ensure the efficient delivery of necessary supplies. Additionally, I installed an external ladder specifically designed for the crew’s movement. This ladder is vital for providing safe and easy access to different levels of the ship. It also aids in the transportation of equipment, rigging, and other essential items, contributing to the overall efficiency of operations.


-
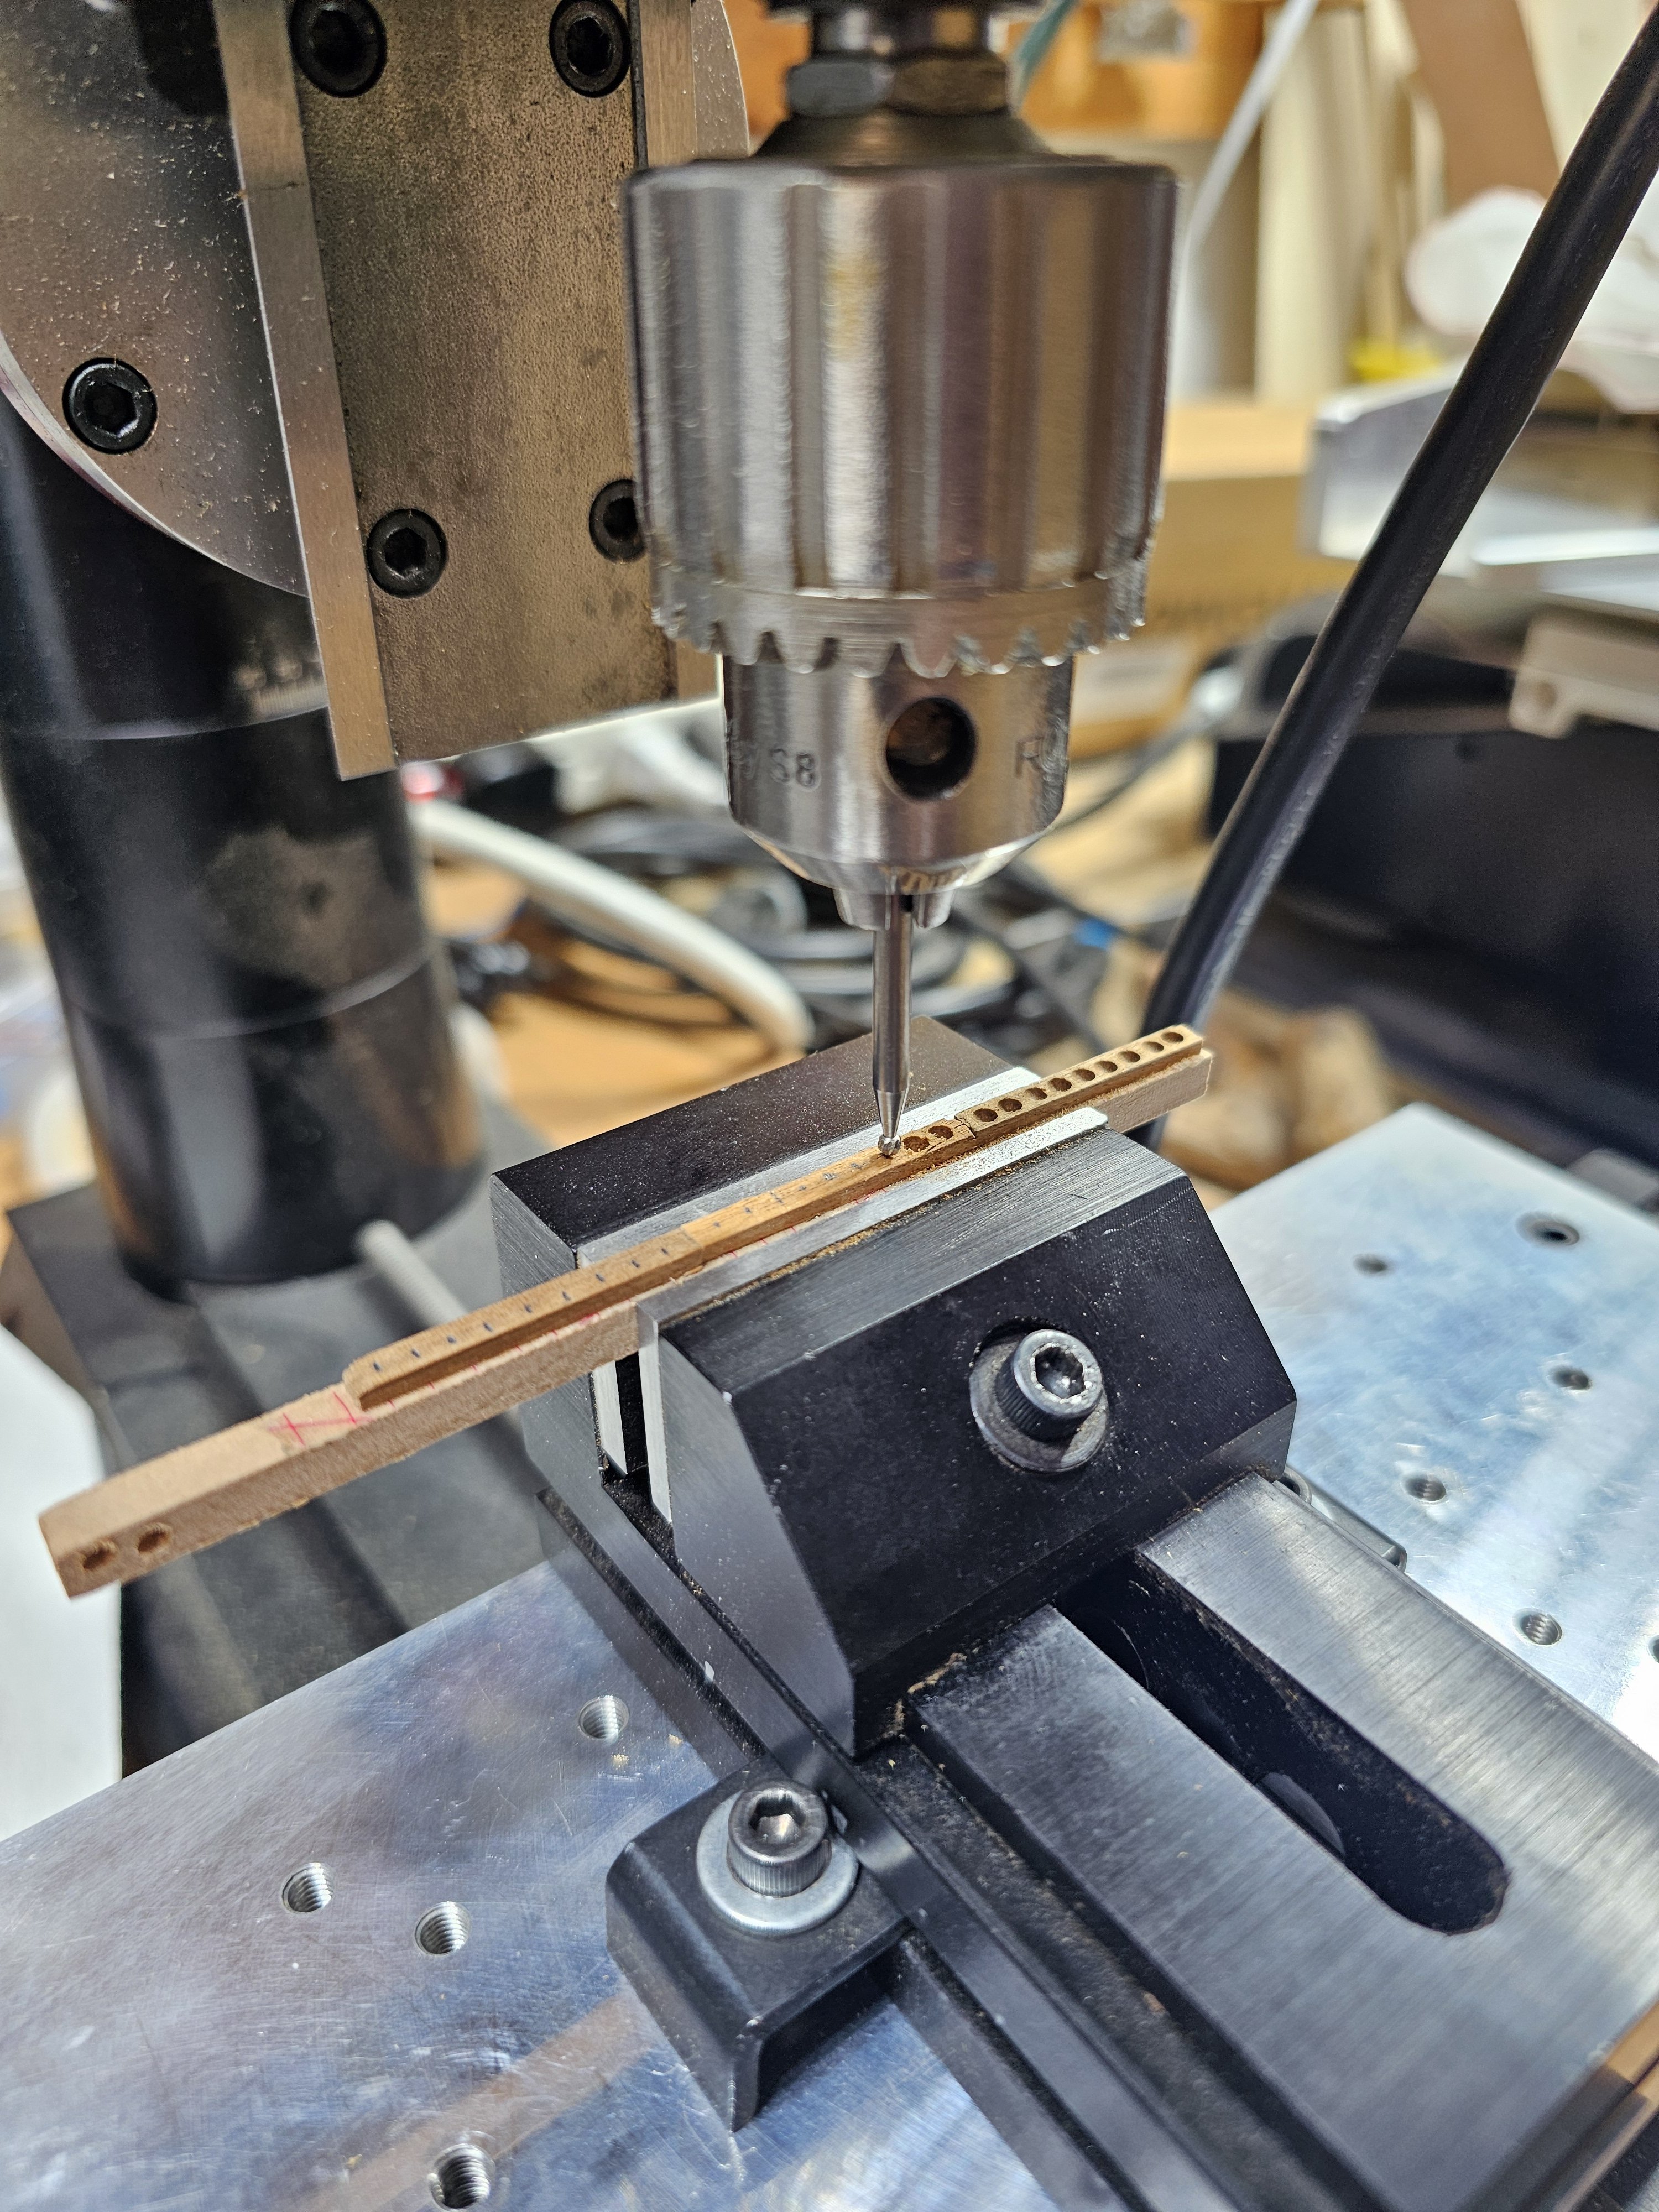
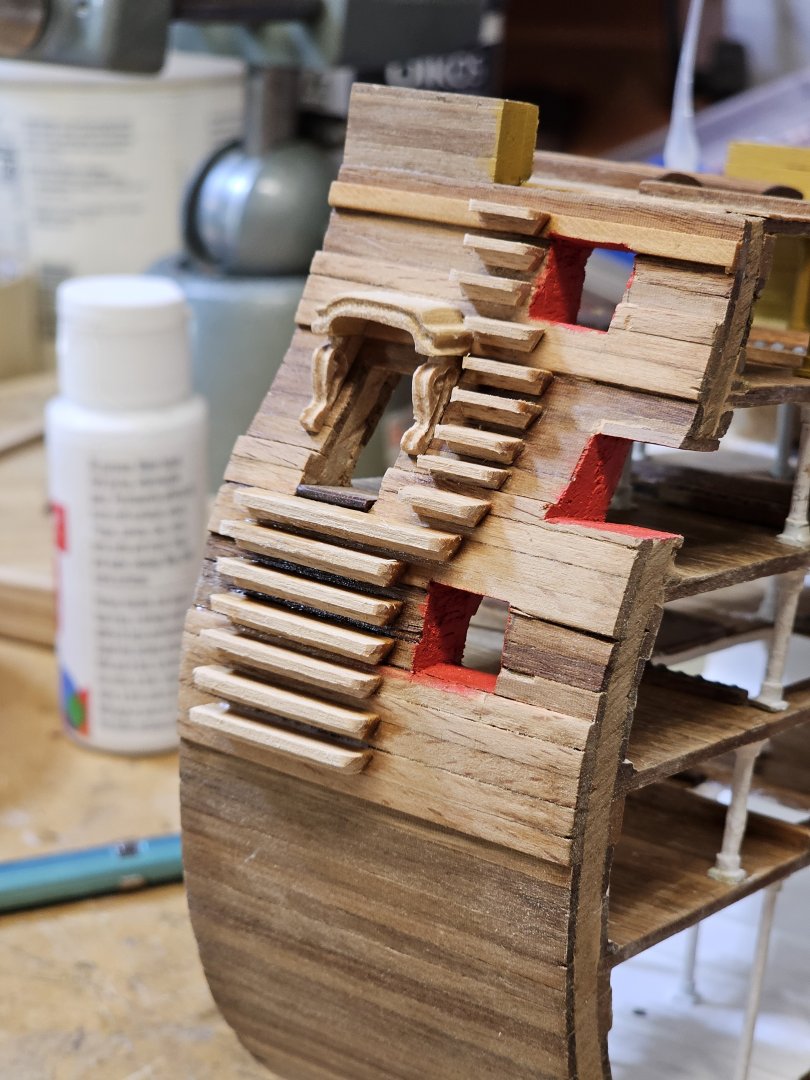
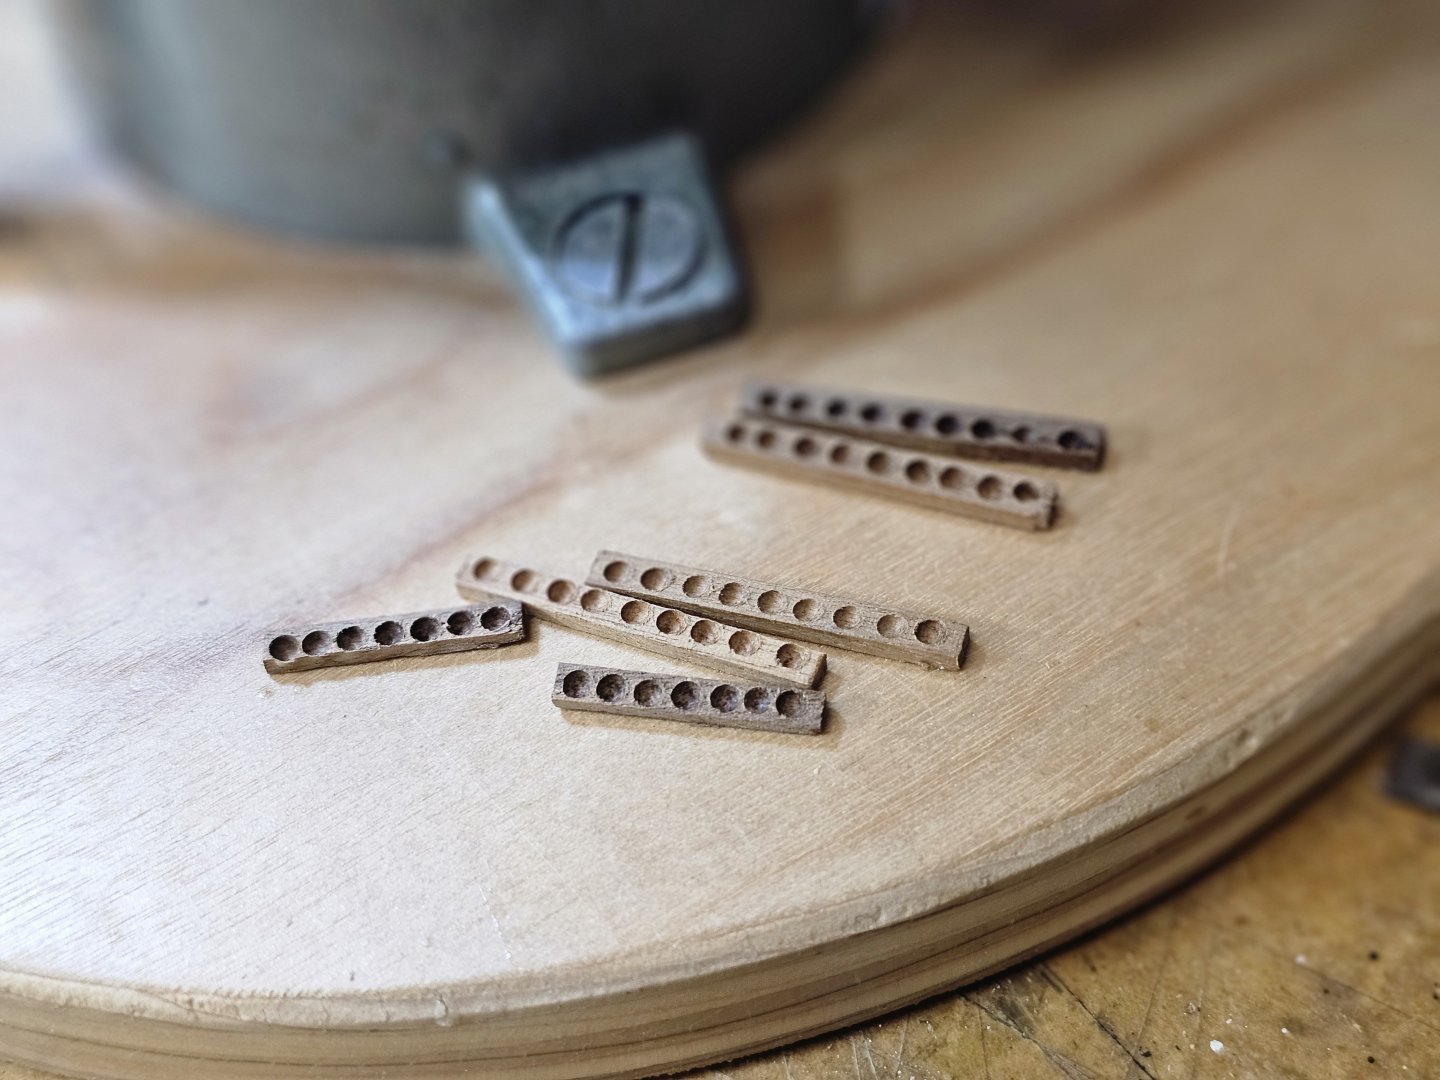
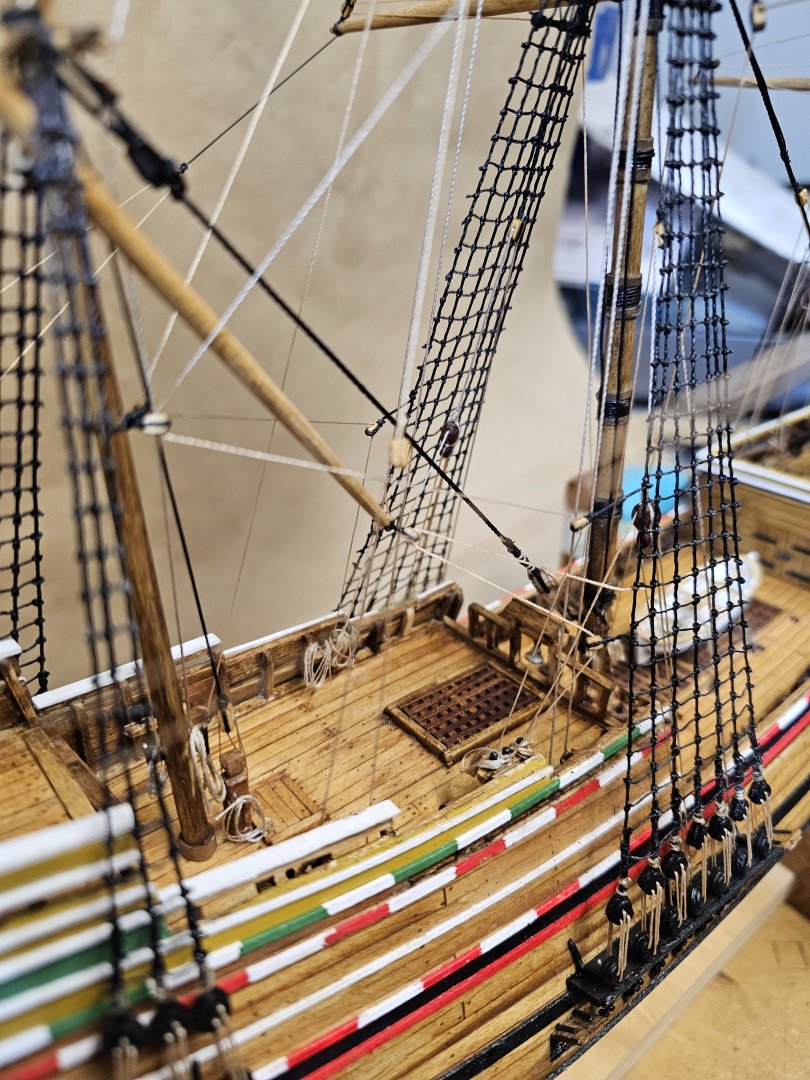
I crafted the cannon shot racks using my milling machine, utilizing a round Dremel bit for precision. While exploring various versions of the kit on the website, I came across a modification that captured my attention. Instead of the nets illustrated in the original plans, I liked the idea of incorporating wooden bulwarks. This change not only adds a more authentic look but also enhances the overall structural integrity of the model. Finally, I added the caprail.


-
DNA deposit
-
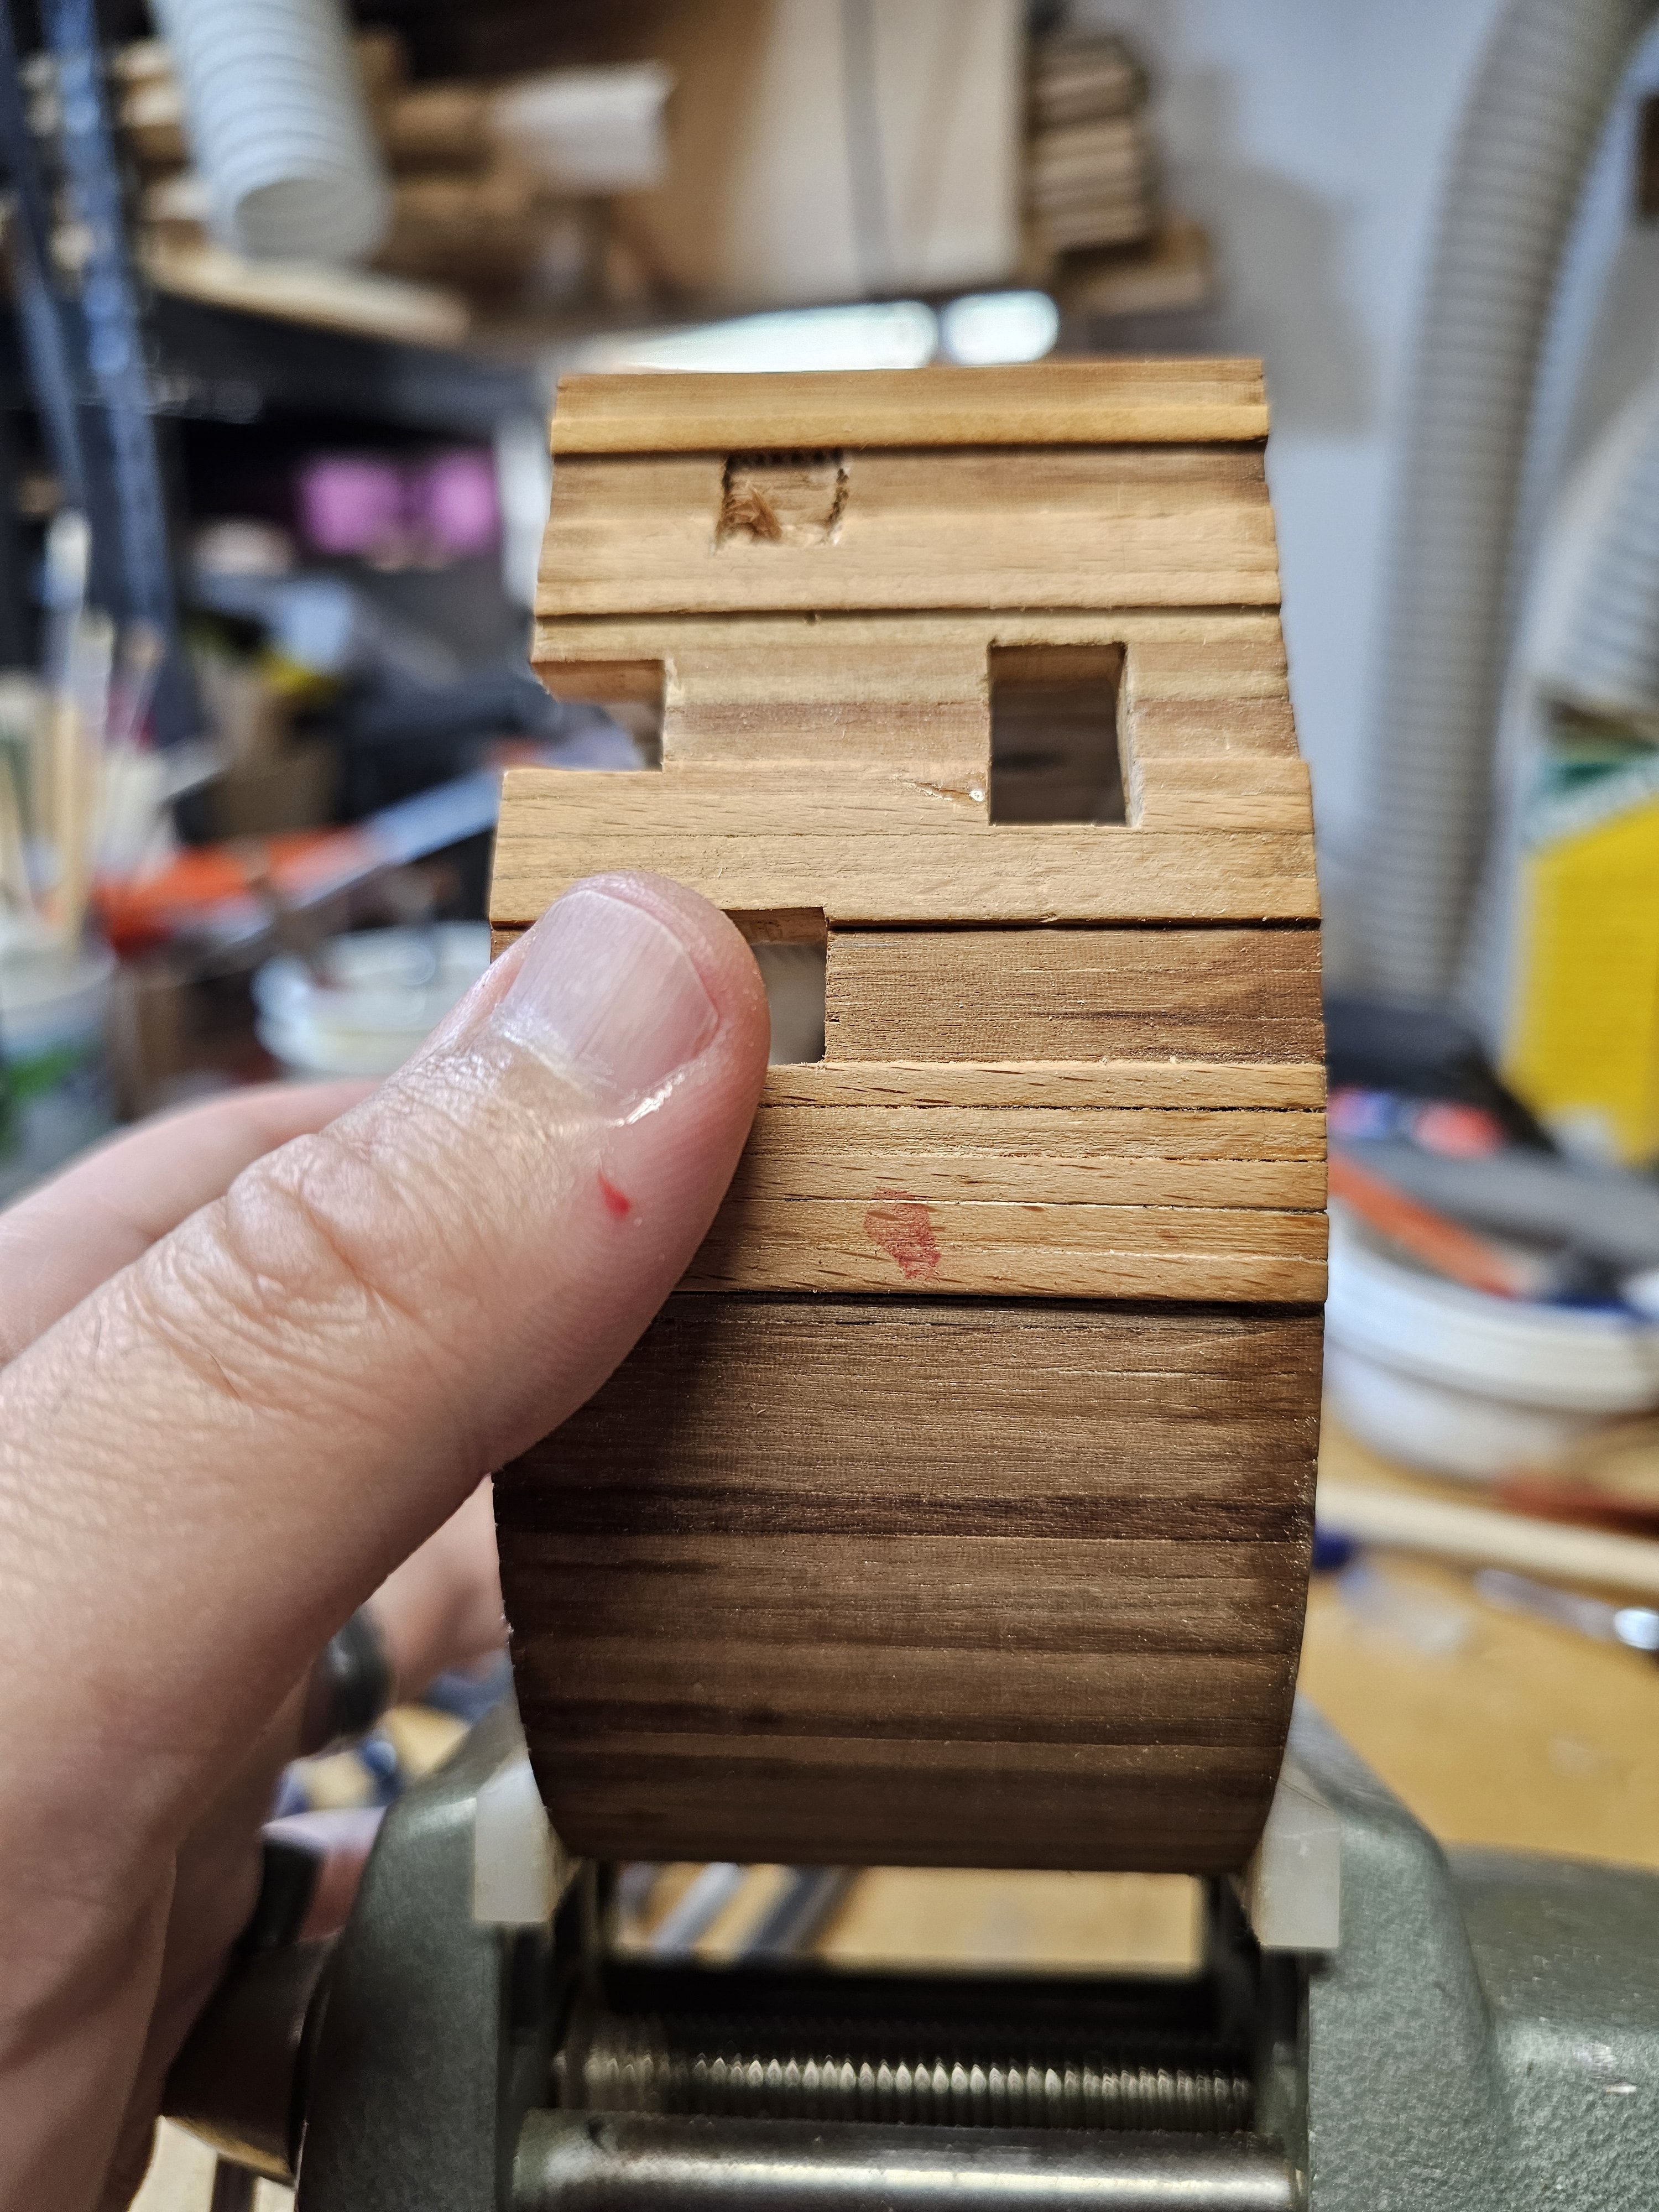
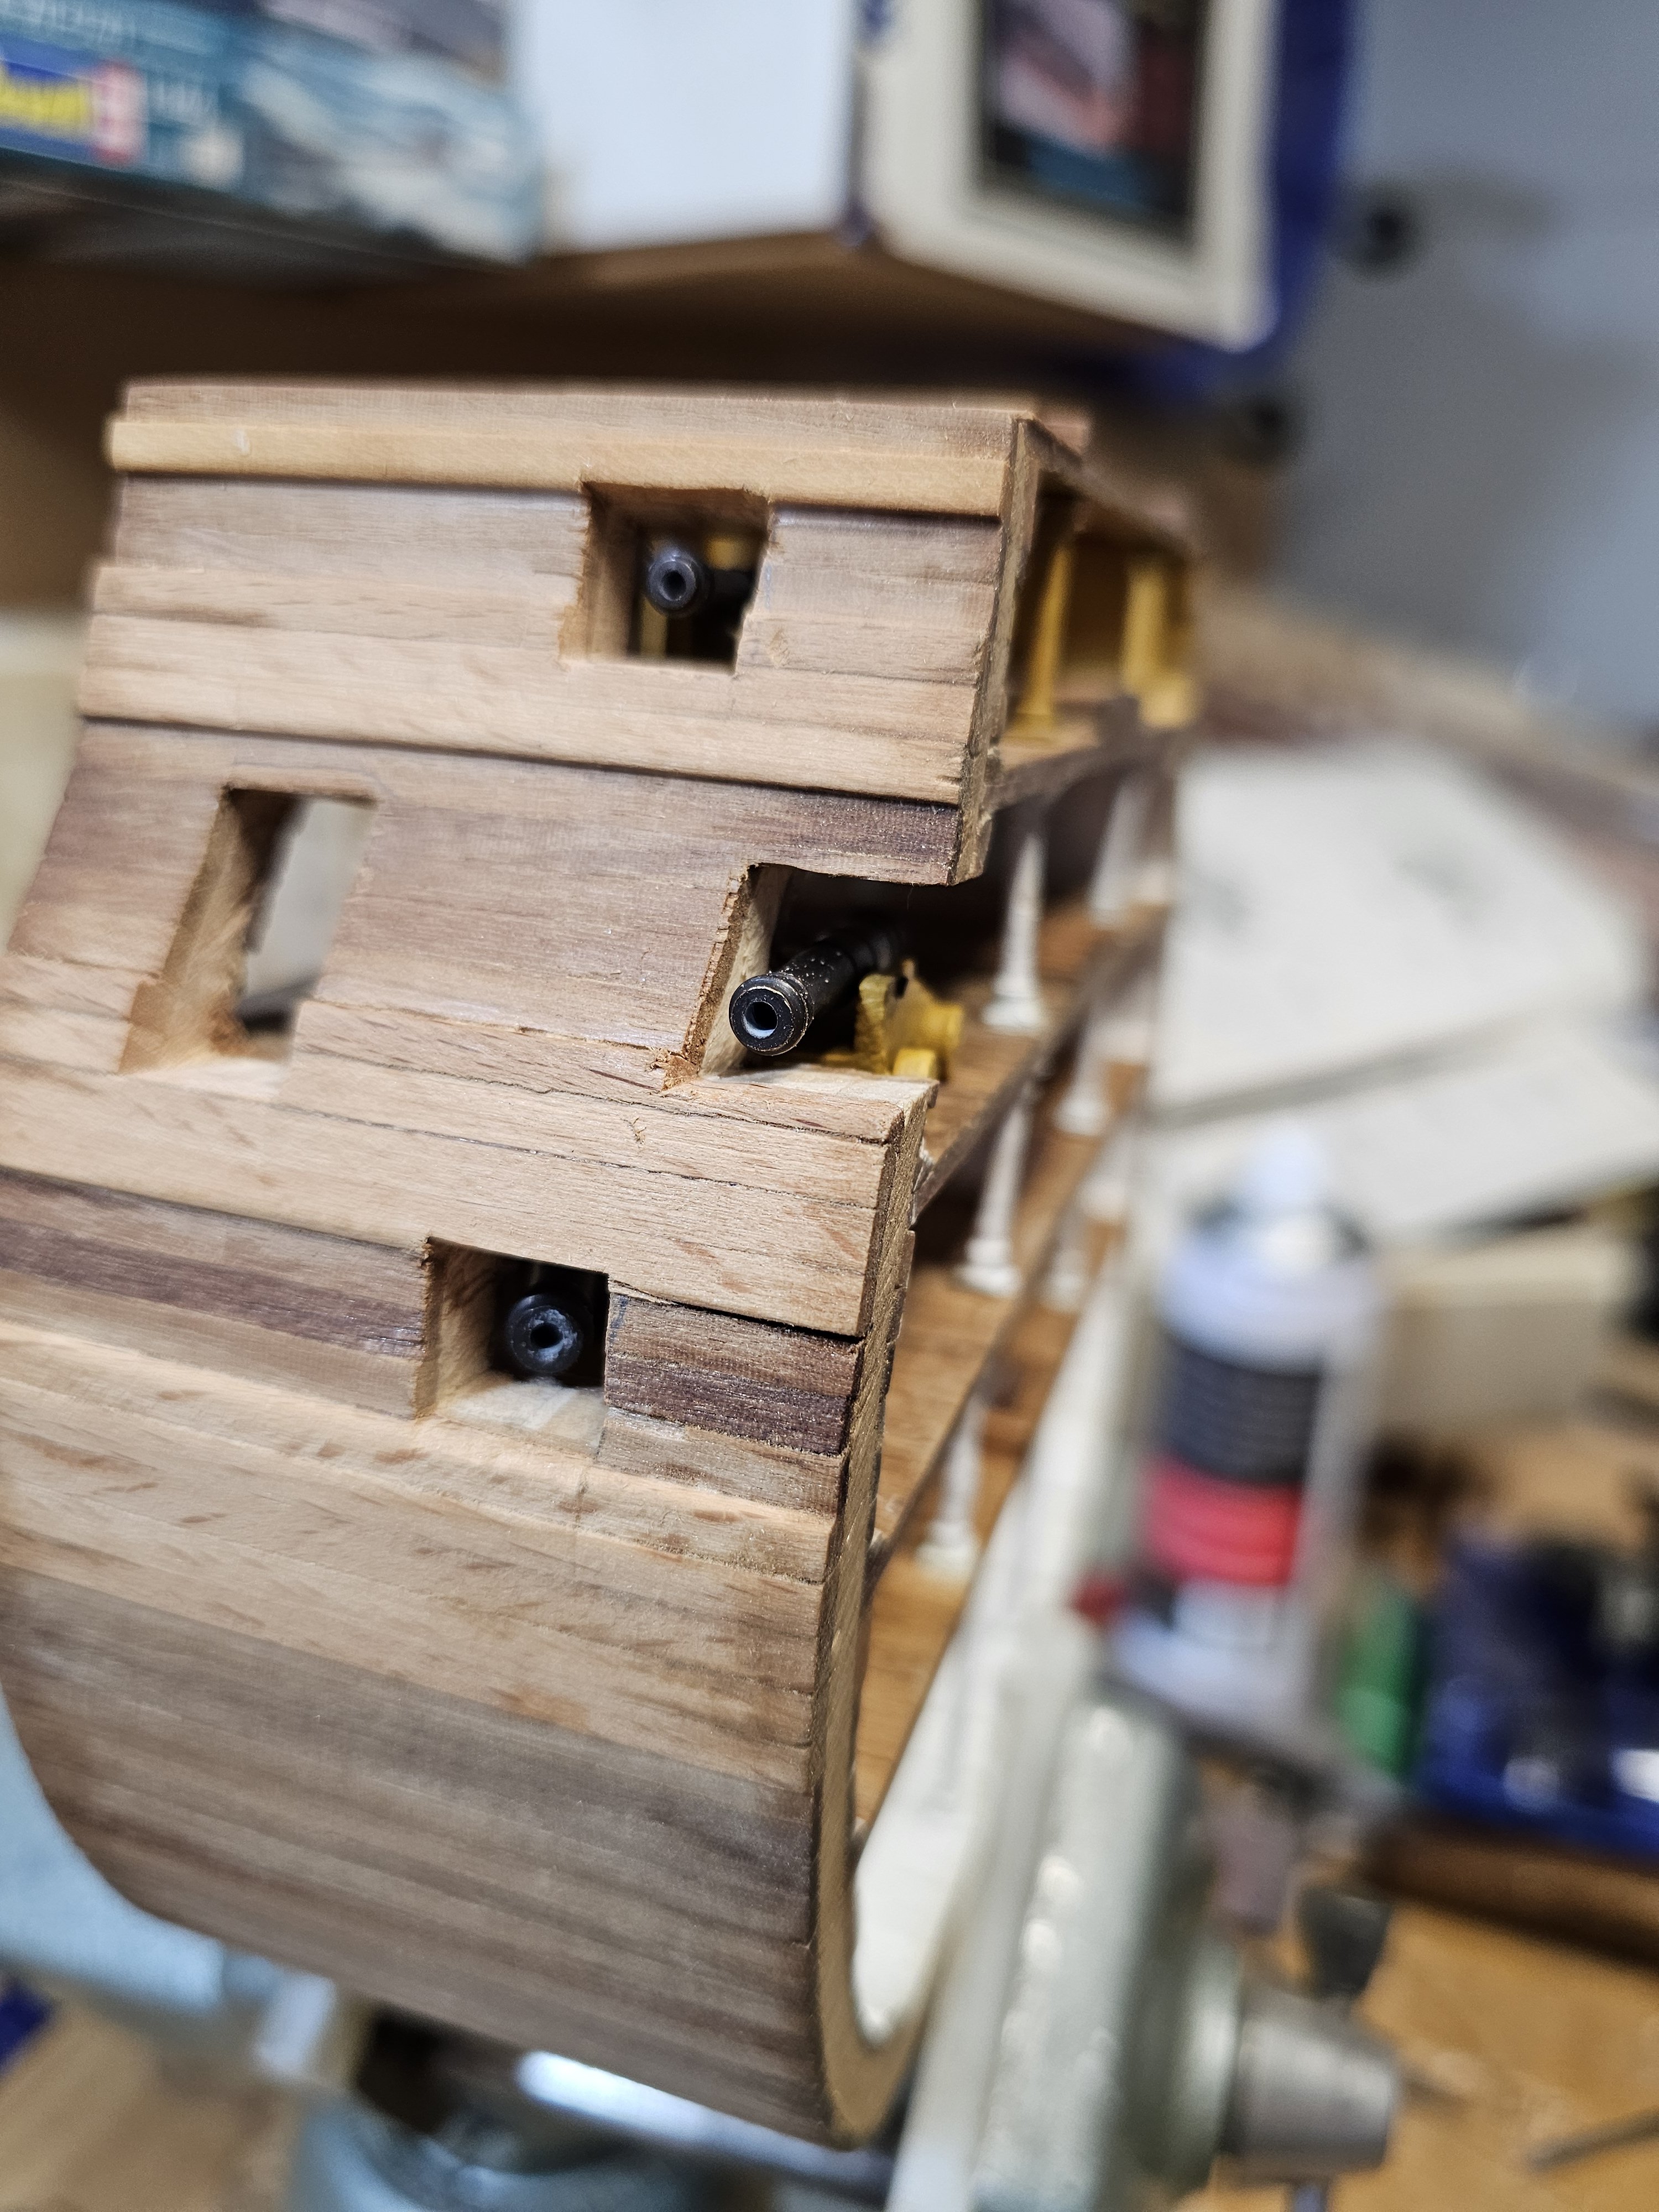
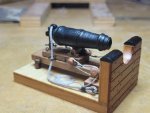
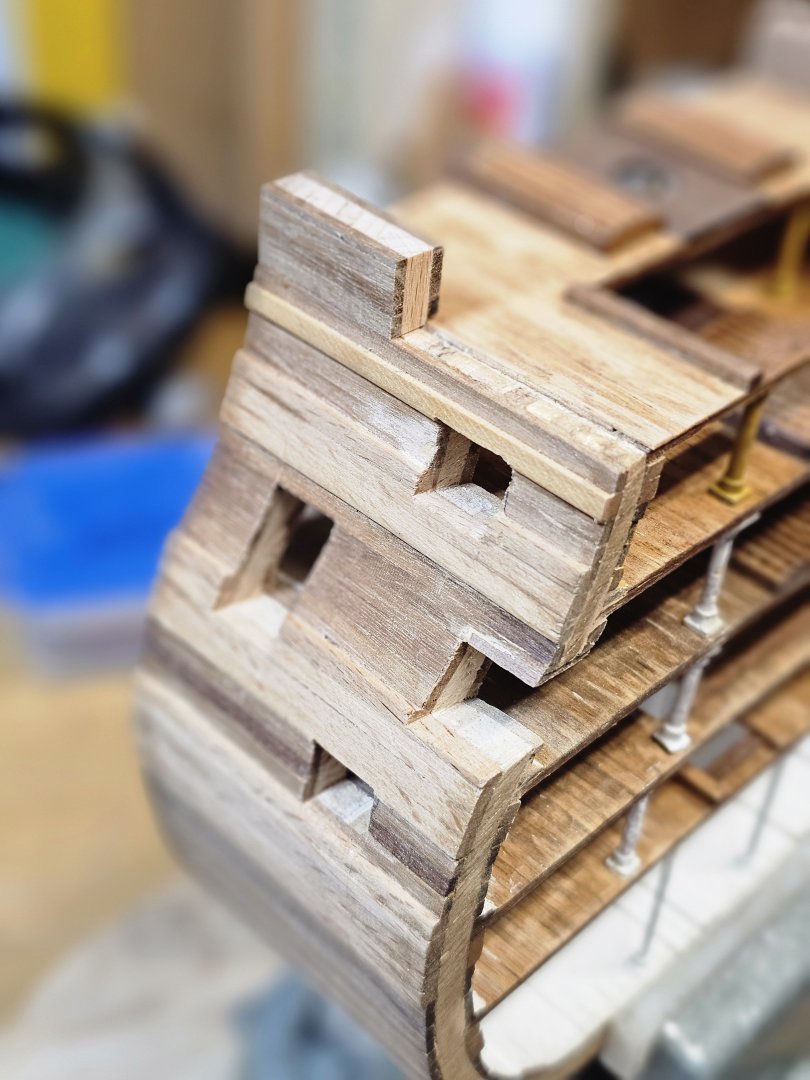
I used a set of very sharp chisels to carefully cut out both the gun ports and the access doors. Initially, I was concerned that the process would be difficult and challenging, but it turned out to be much more straightforward than I expected. The wood backing on the inside of the hull played a crucial role, ensuring that the risk of damage to the exterior was minimized during the cutting process. At the end, I placed a gun in the open port to give a visual idea of how the final design would look with the actual gun in place. I was genuinely pleased with how everything turned out, and the results exceeded my expectations.


-
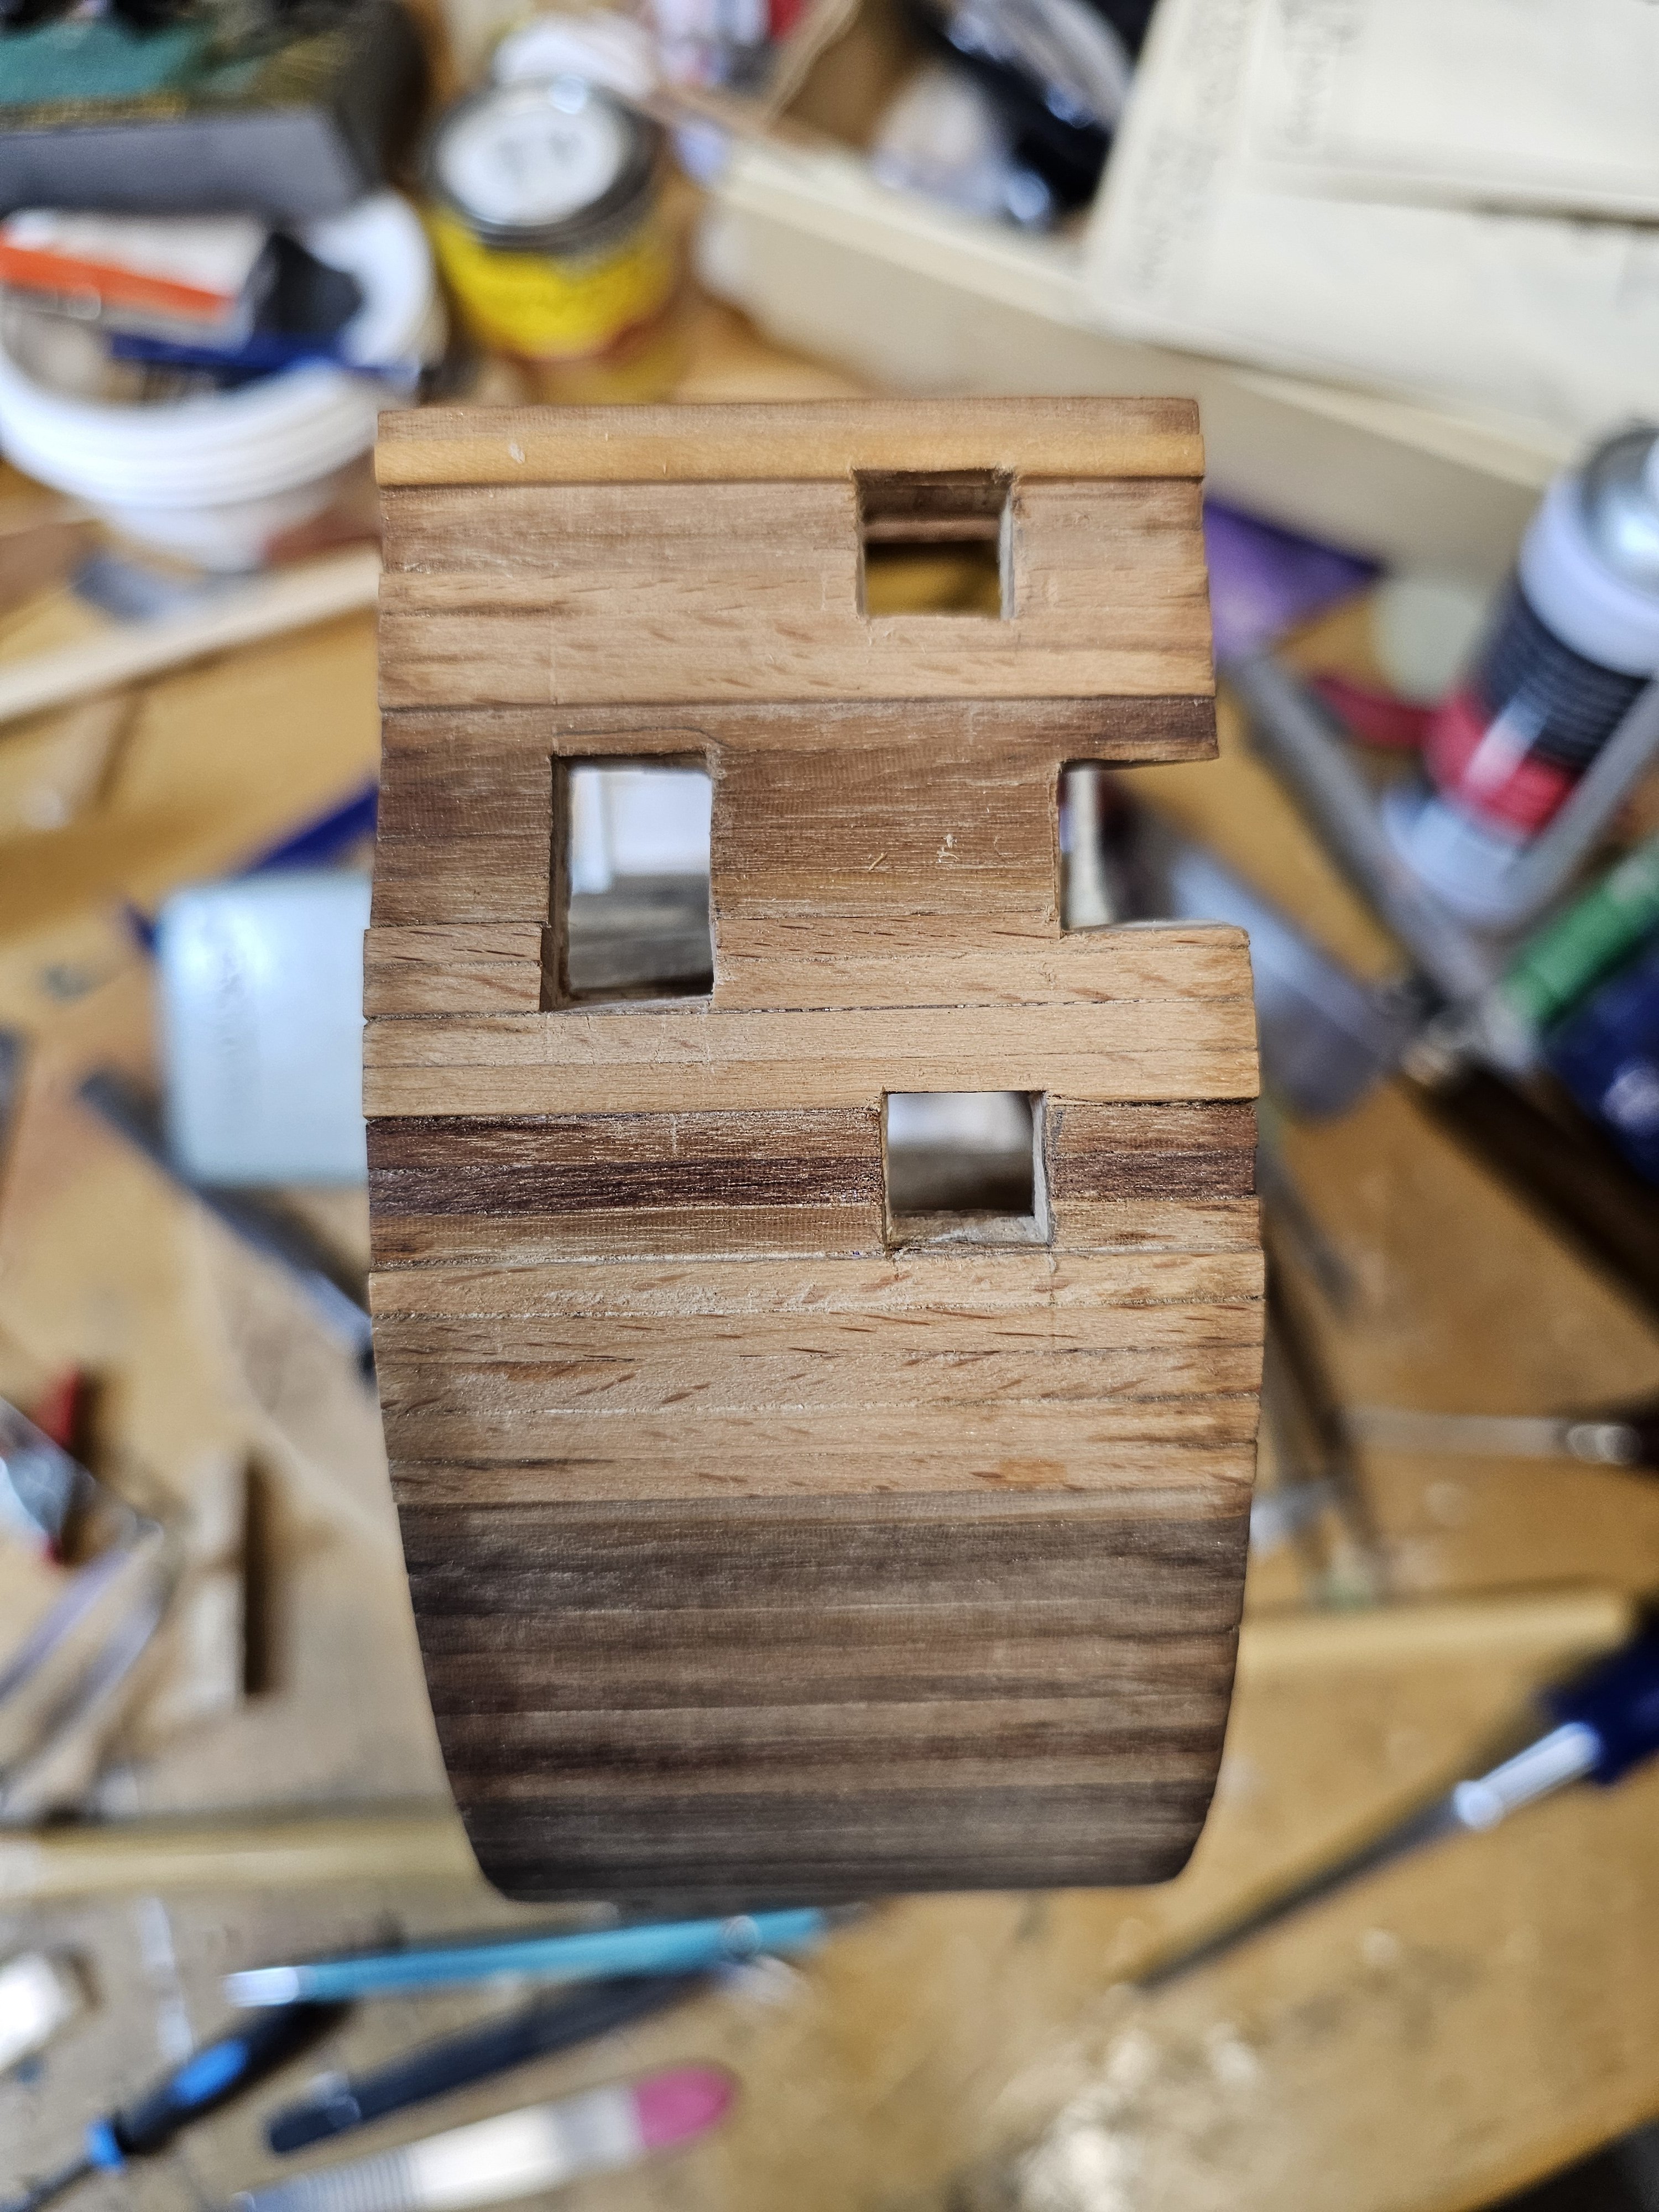
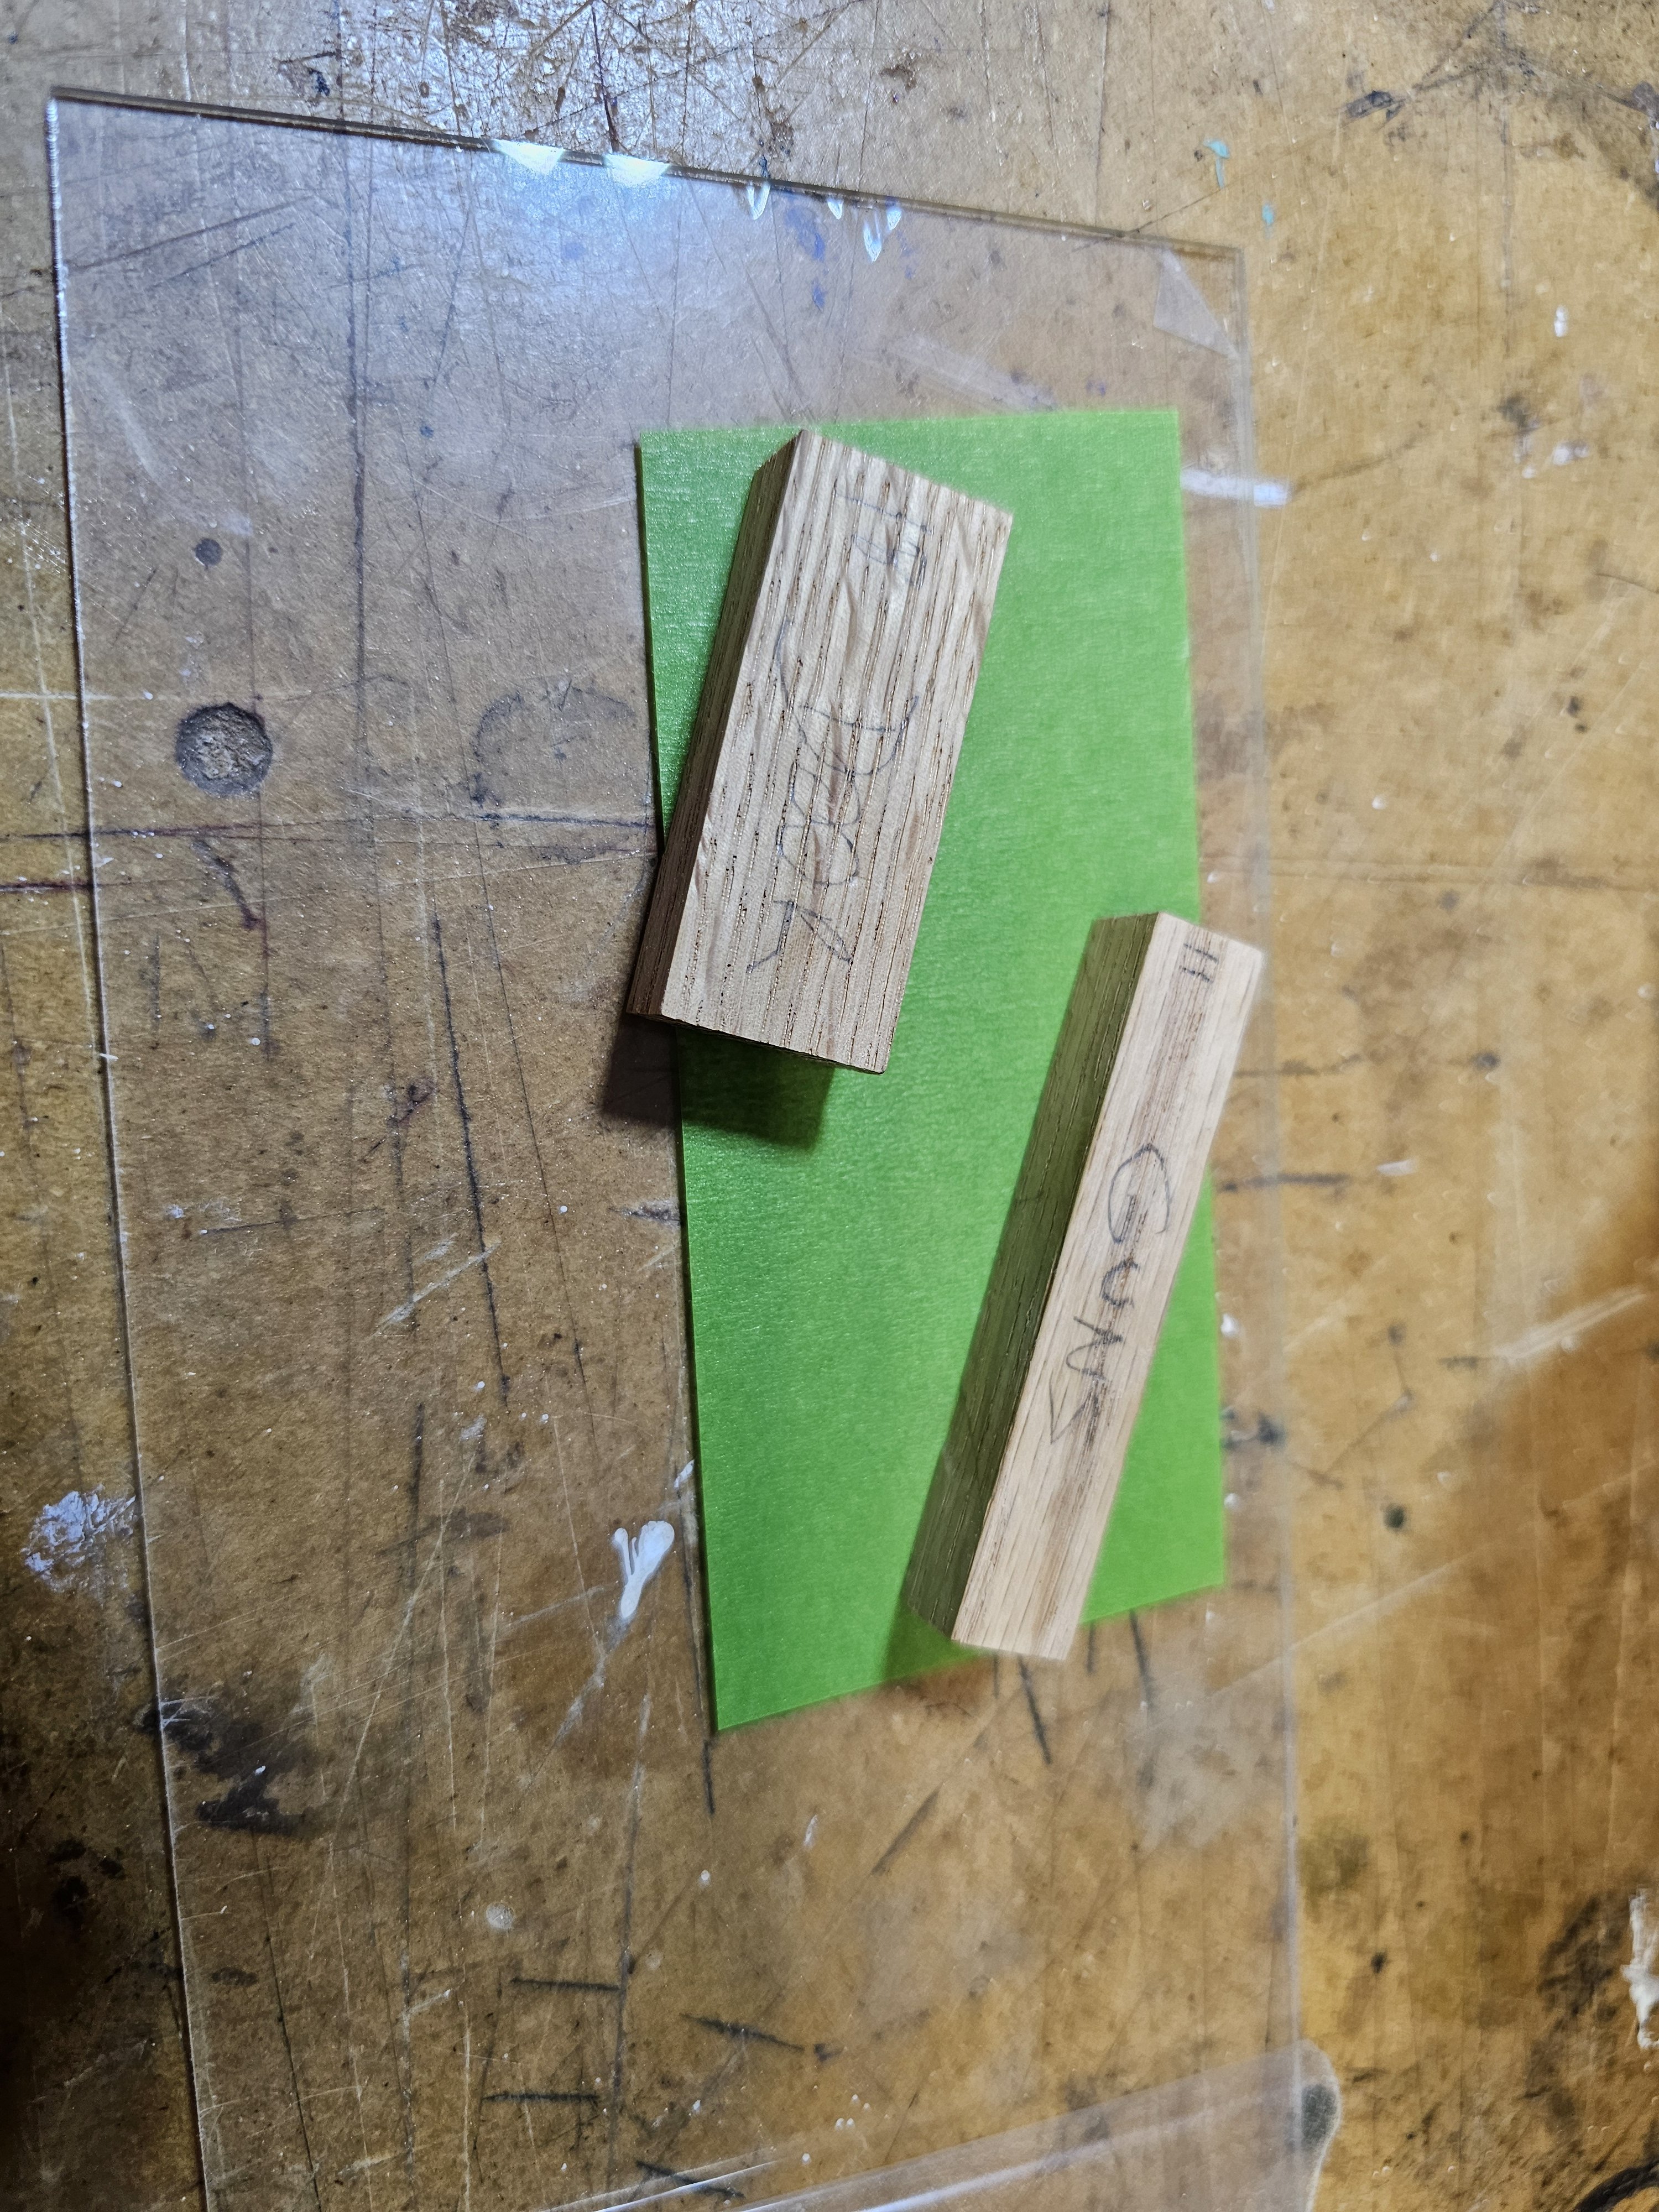
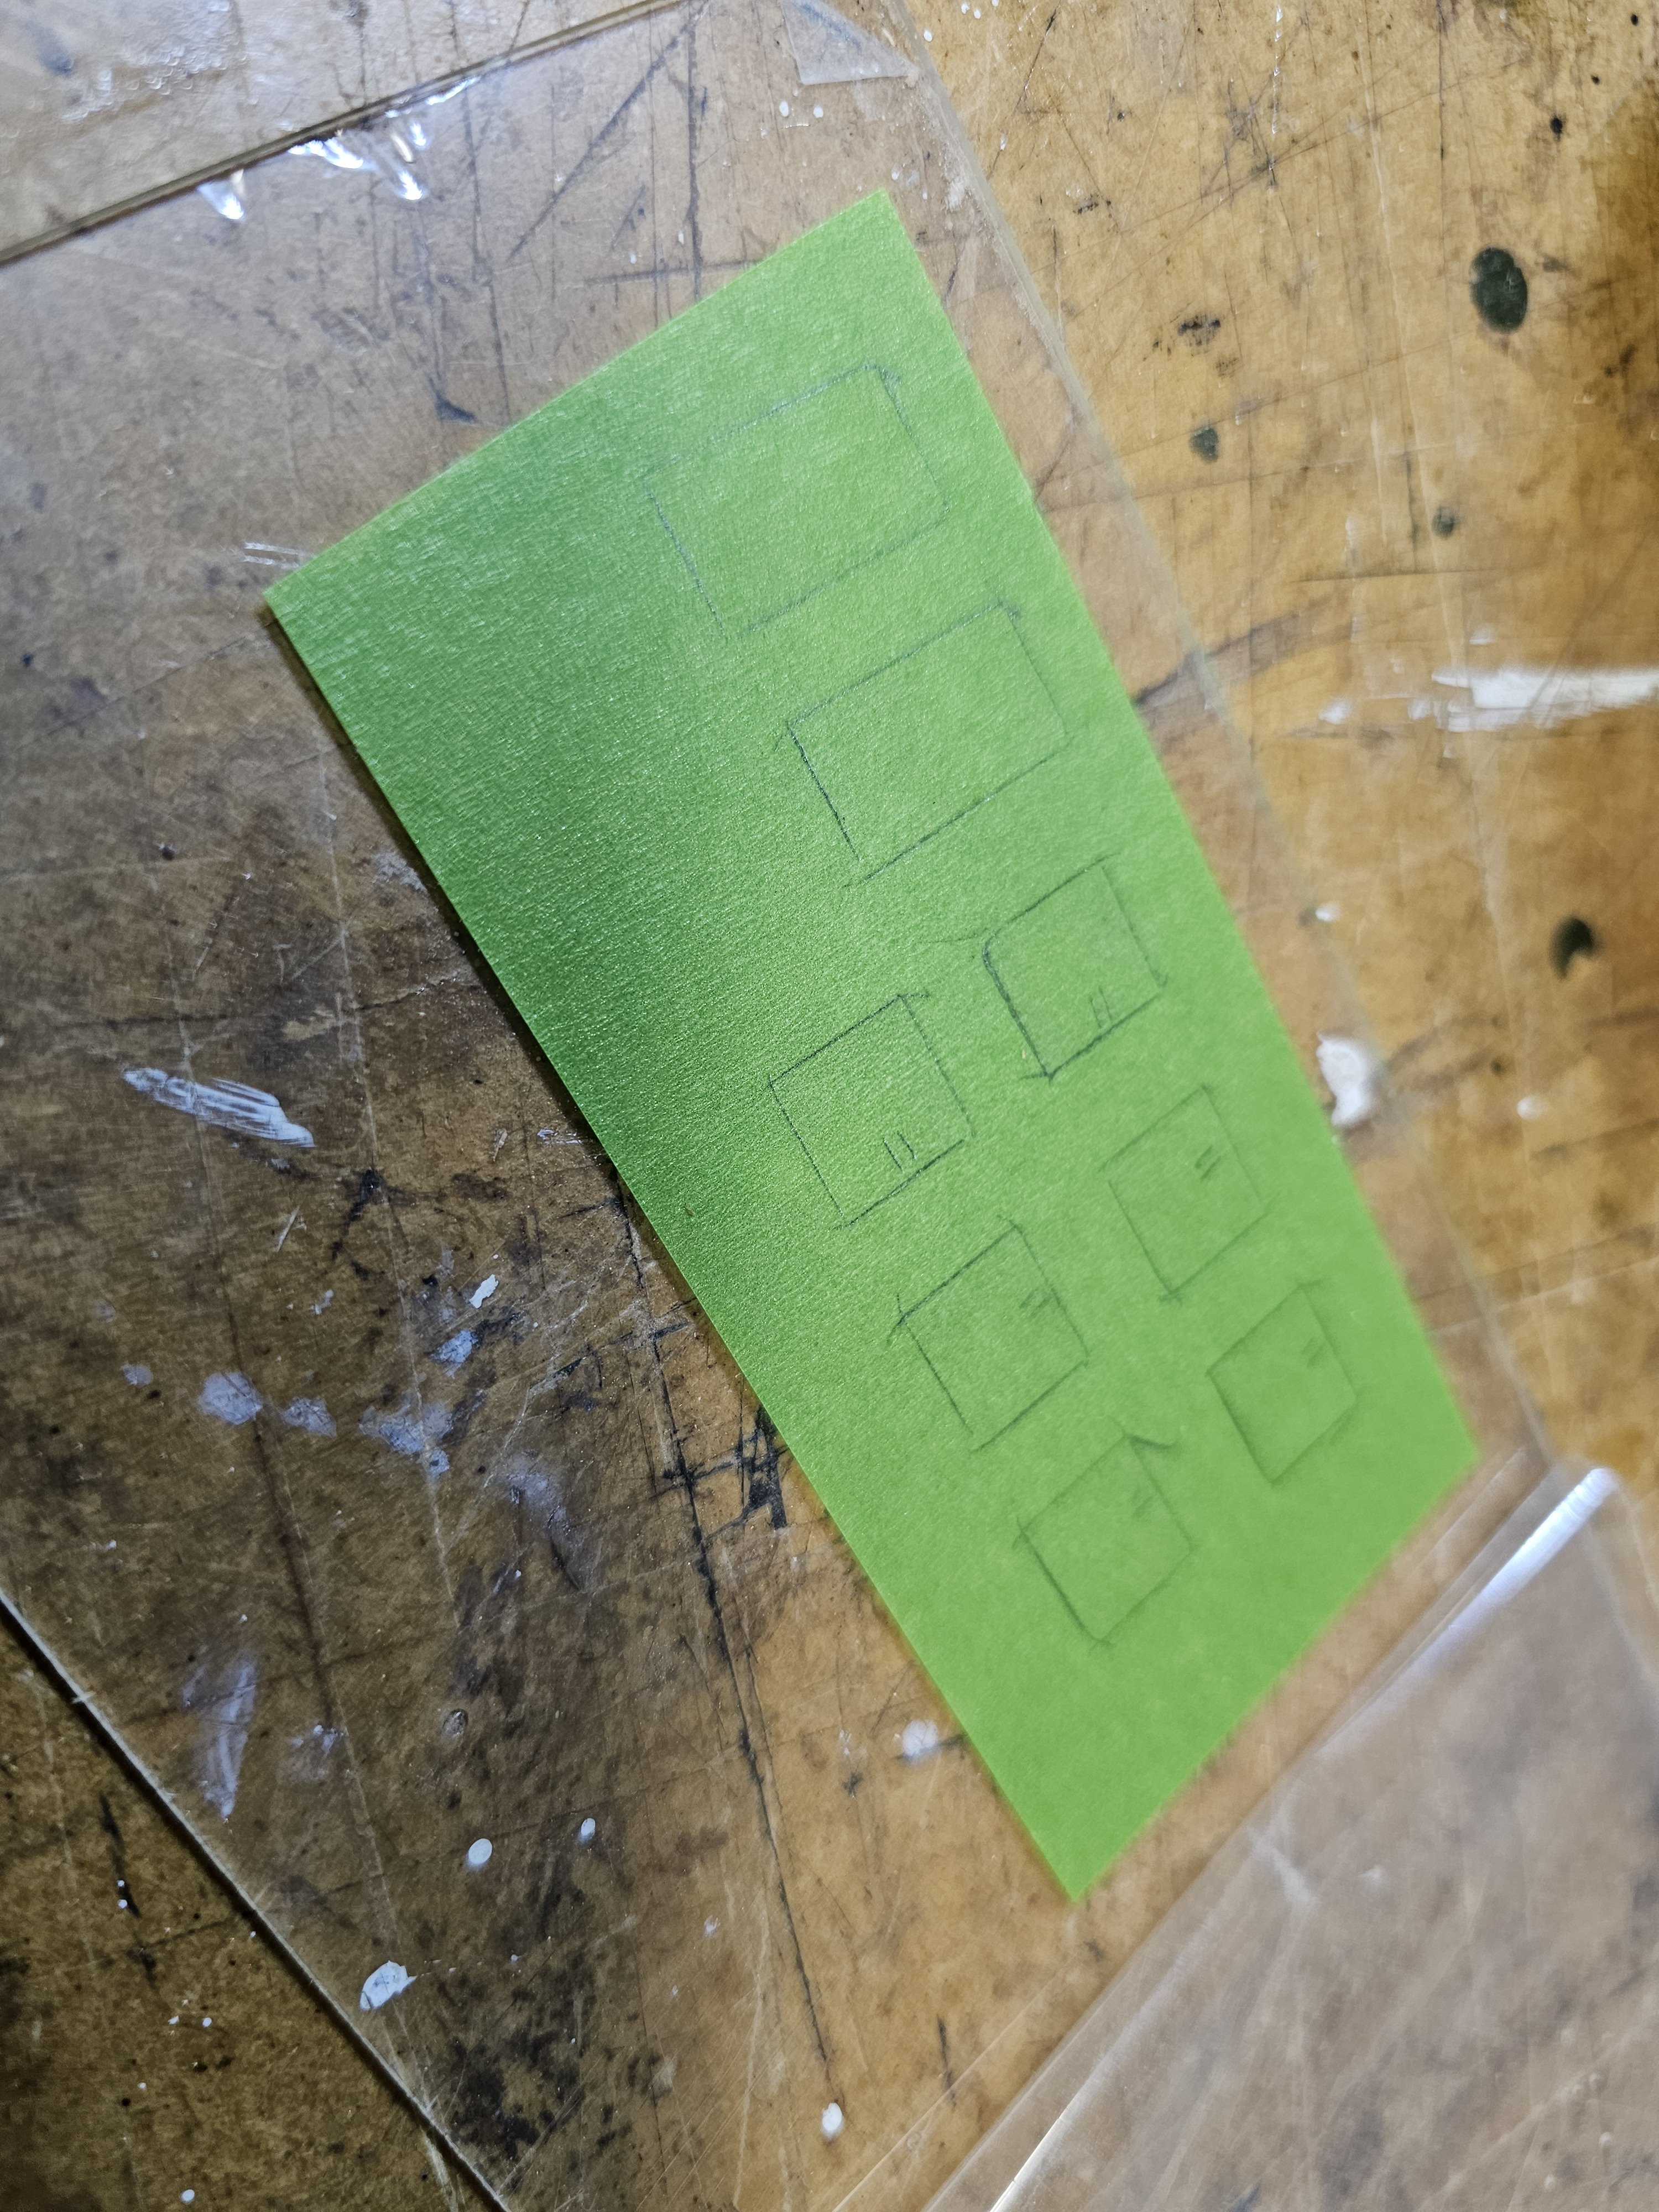
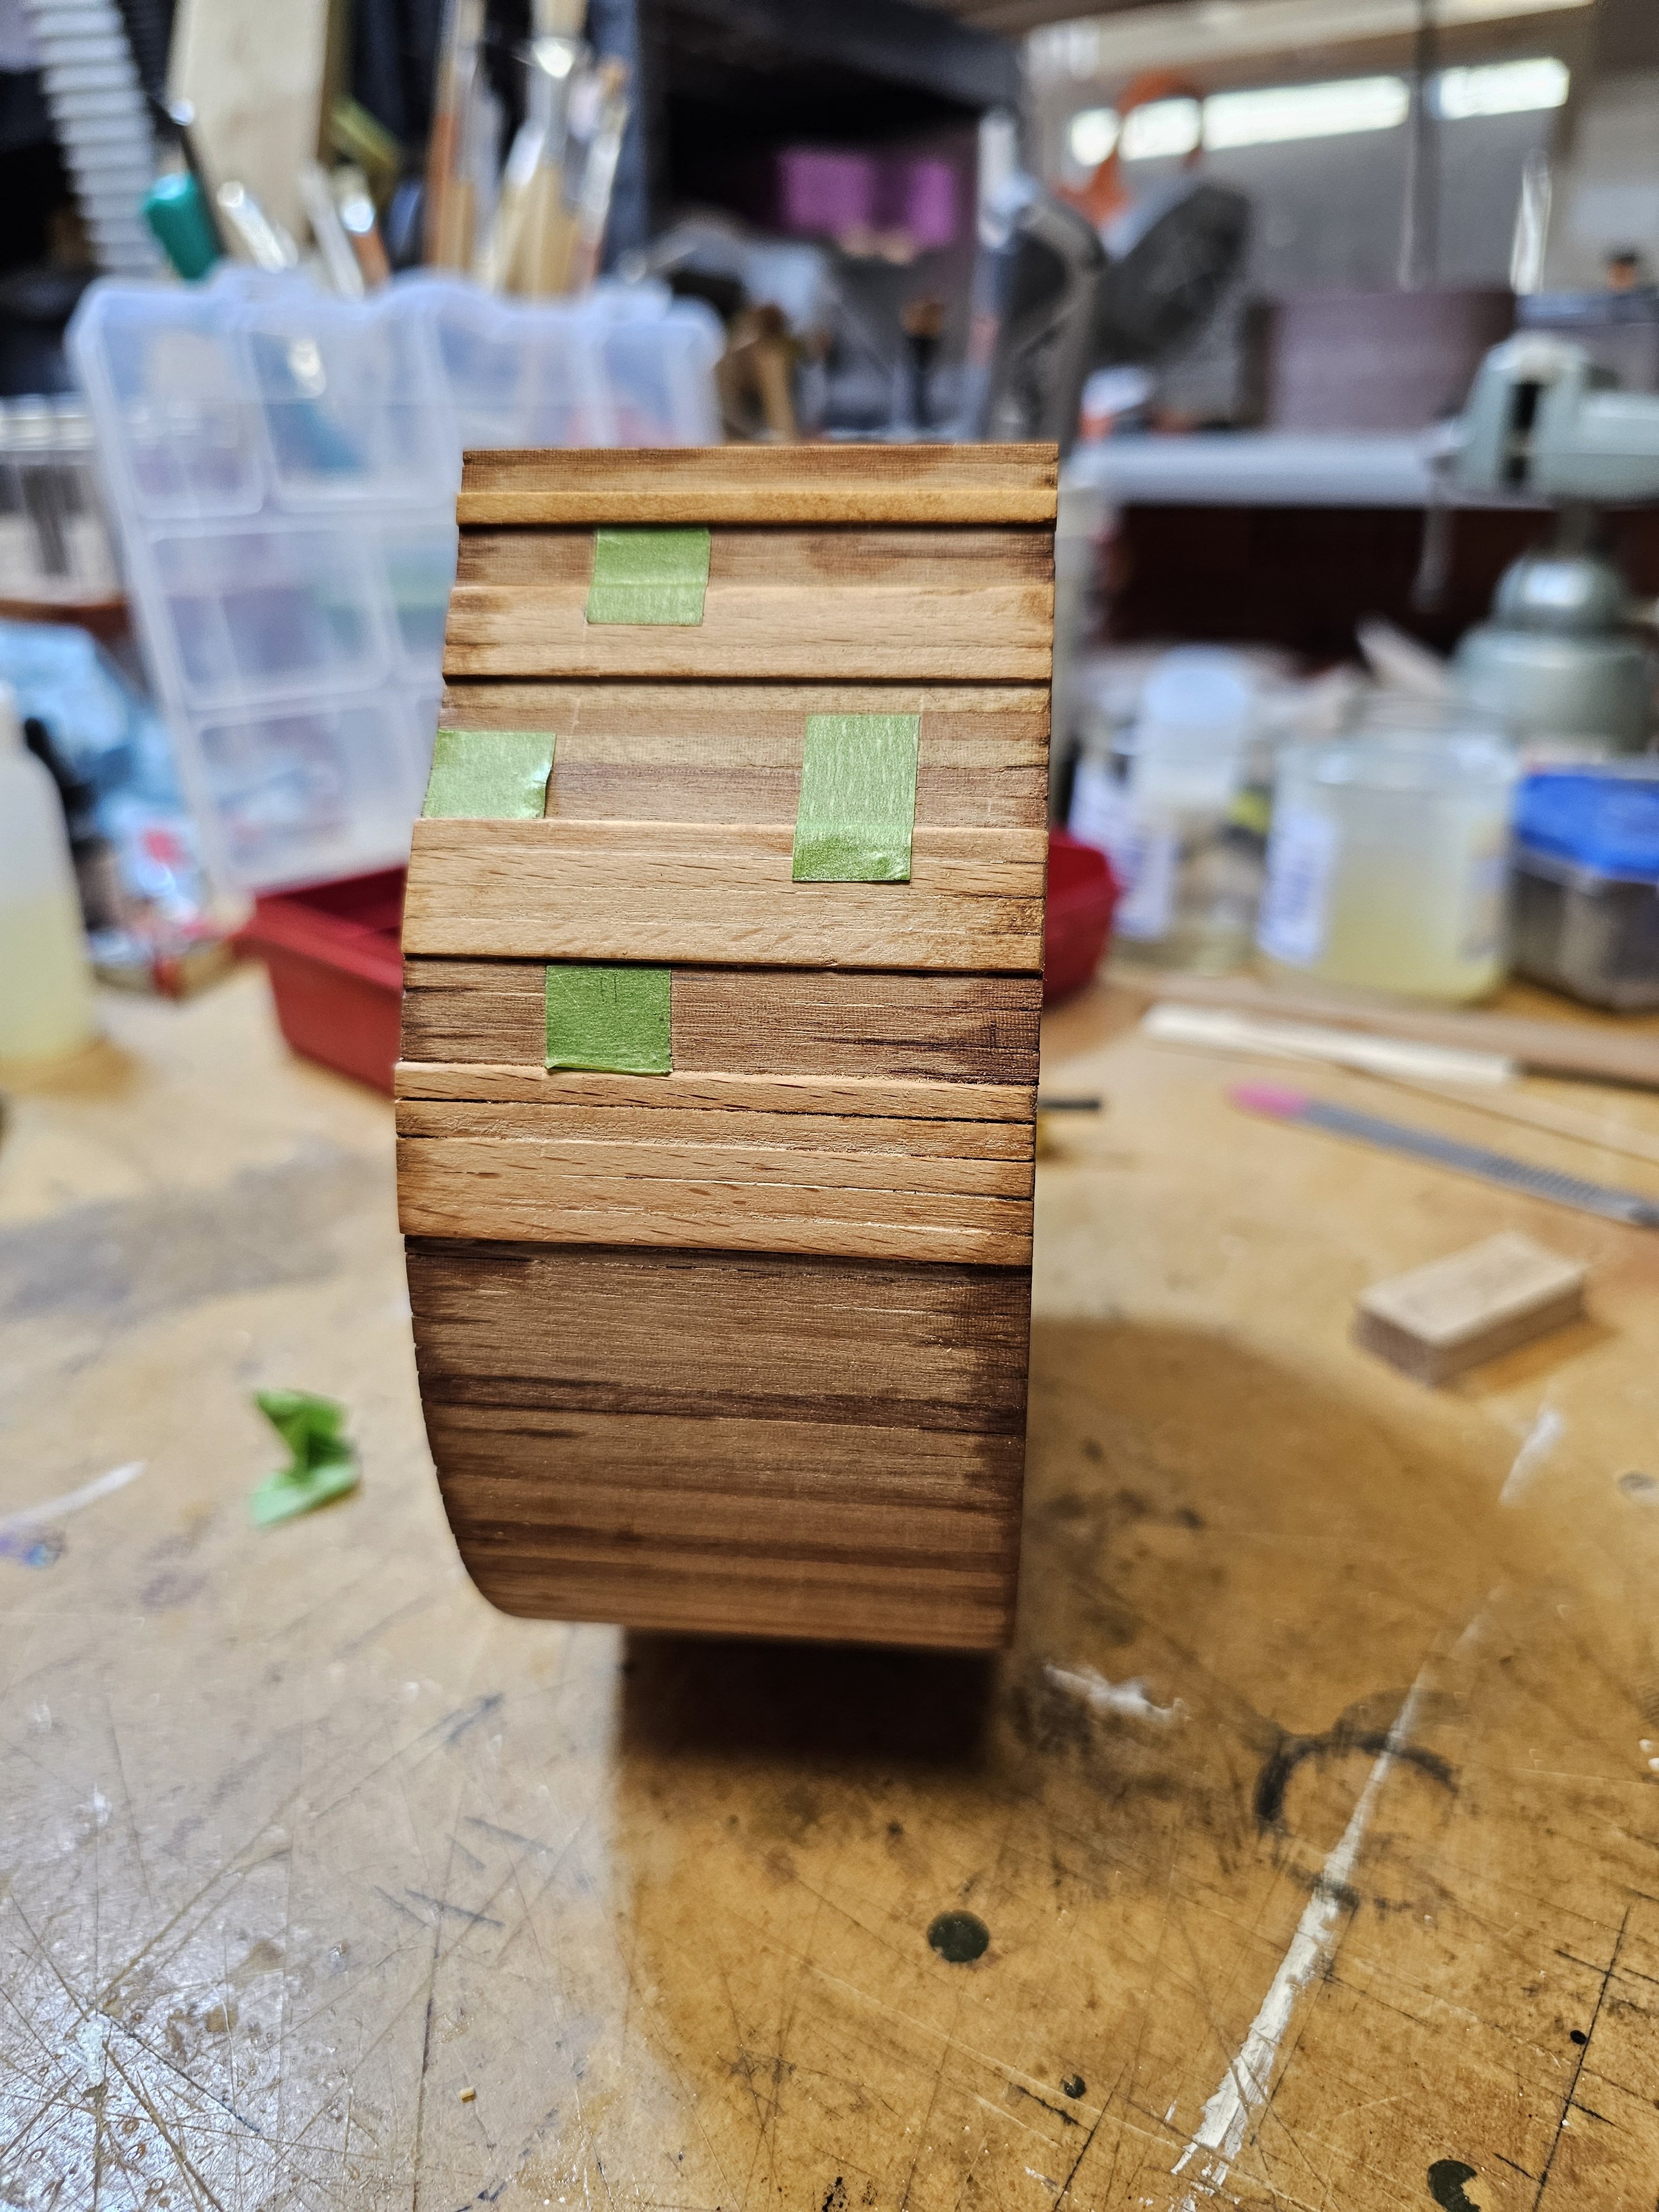
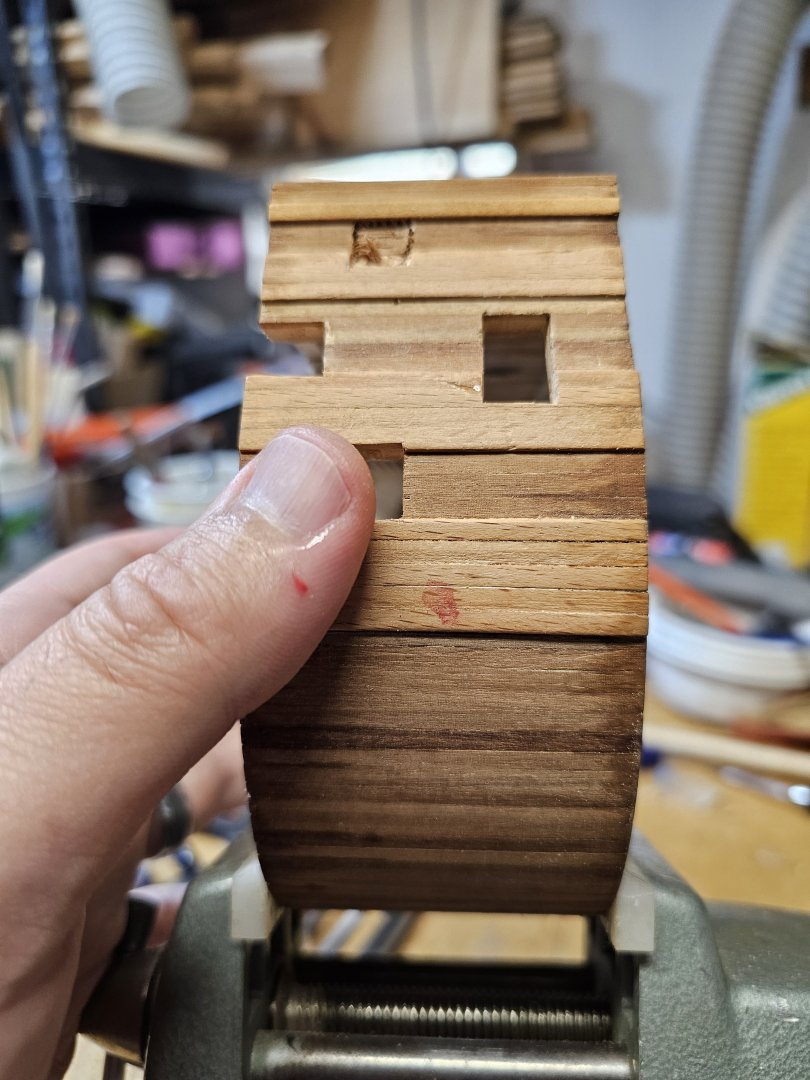
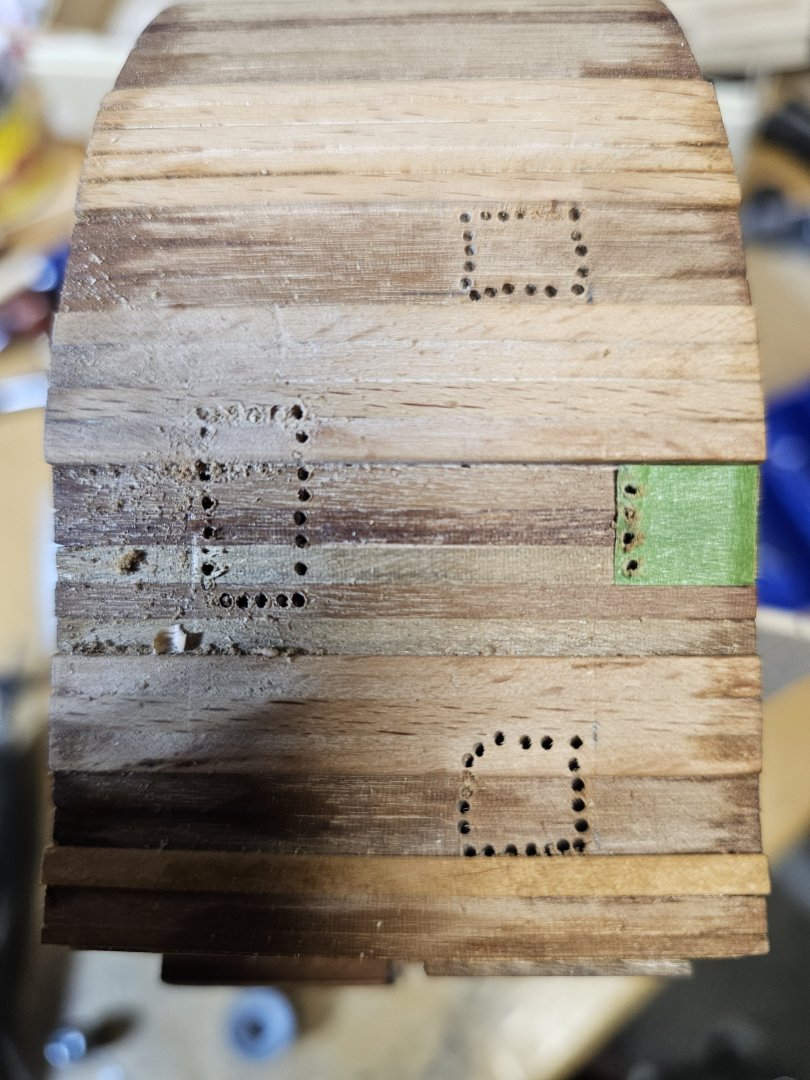
I started to work on the creation of the gun ports and access doors. I created two jigs, one for the gunports and one for the doors. I transfered their shapes to masking tape and cut out templates to place on the hull based on the plans I began the process of crafting the gun ports and access doors, starting with the creation of two custom jigs—one designed for the gunports and another for the access doors. To ensure precision, I carefully transferred their shapes onto masking tape, which I then cut into templates. These templates were positioned on the hull according to the detailed plans, allowing me to mark the exact locations for each feature. Using my Dremel tool, I drilled small pilot holes through the hull at the marked positions. These holes will serve as the starting points for the subsequent cuts. Once all the holes are drilled, I will carefully connect them to form the required openings and remove the excess wood. To prevent blowout or damage to the exterior of the hull, I placed a scrap piece of wood on the inside, providing additional support during the drilling process. This method ensures clean, accurate cuts while maintaining the integrity of the structure. .


-
Thank you very much! That's quite a challenging question; it proved to be more difficult than I anticipated, particularly regarding deck alignment and leveling. However, with a methodical approach and perseverance, it is certainly achievable. Please don't be discouraged by my comment.
-
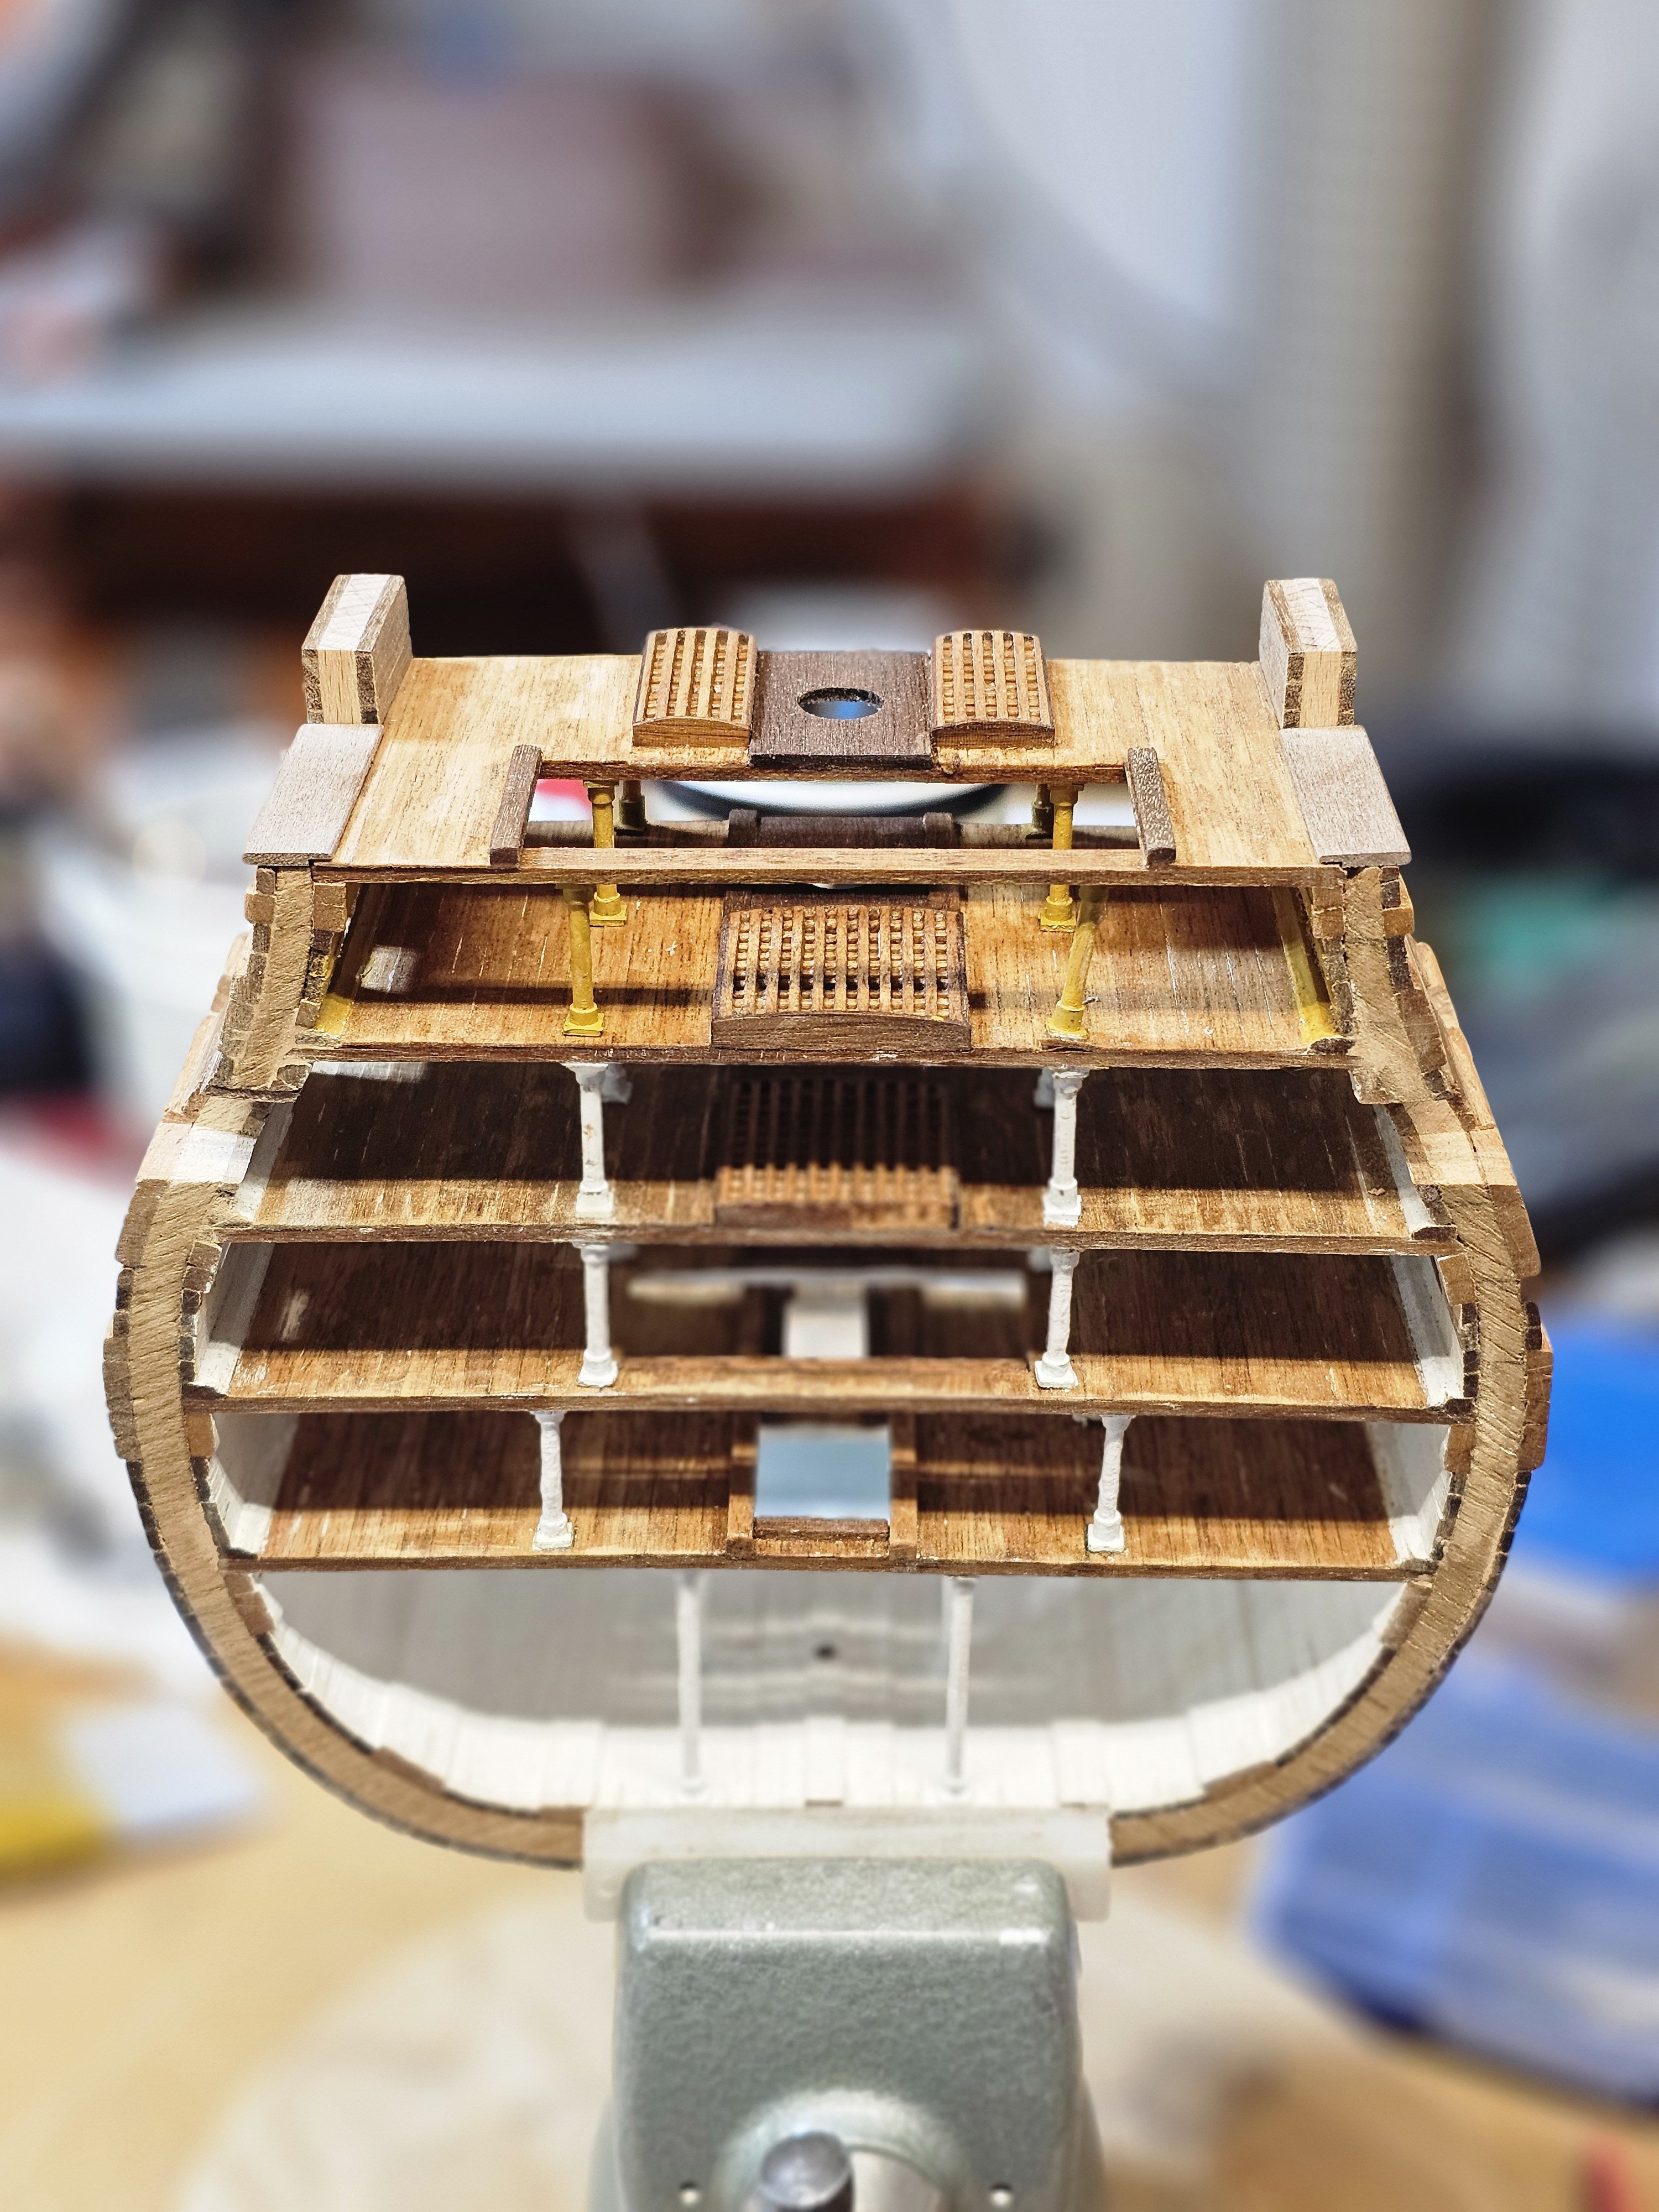
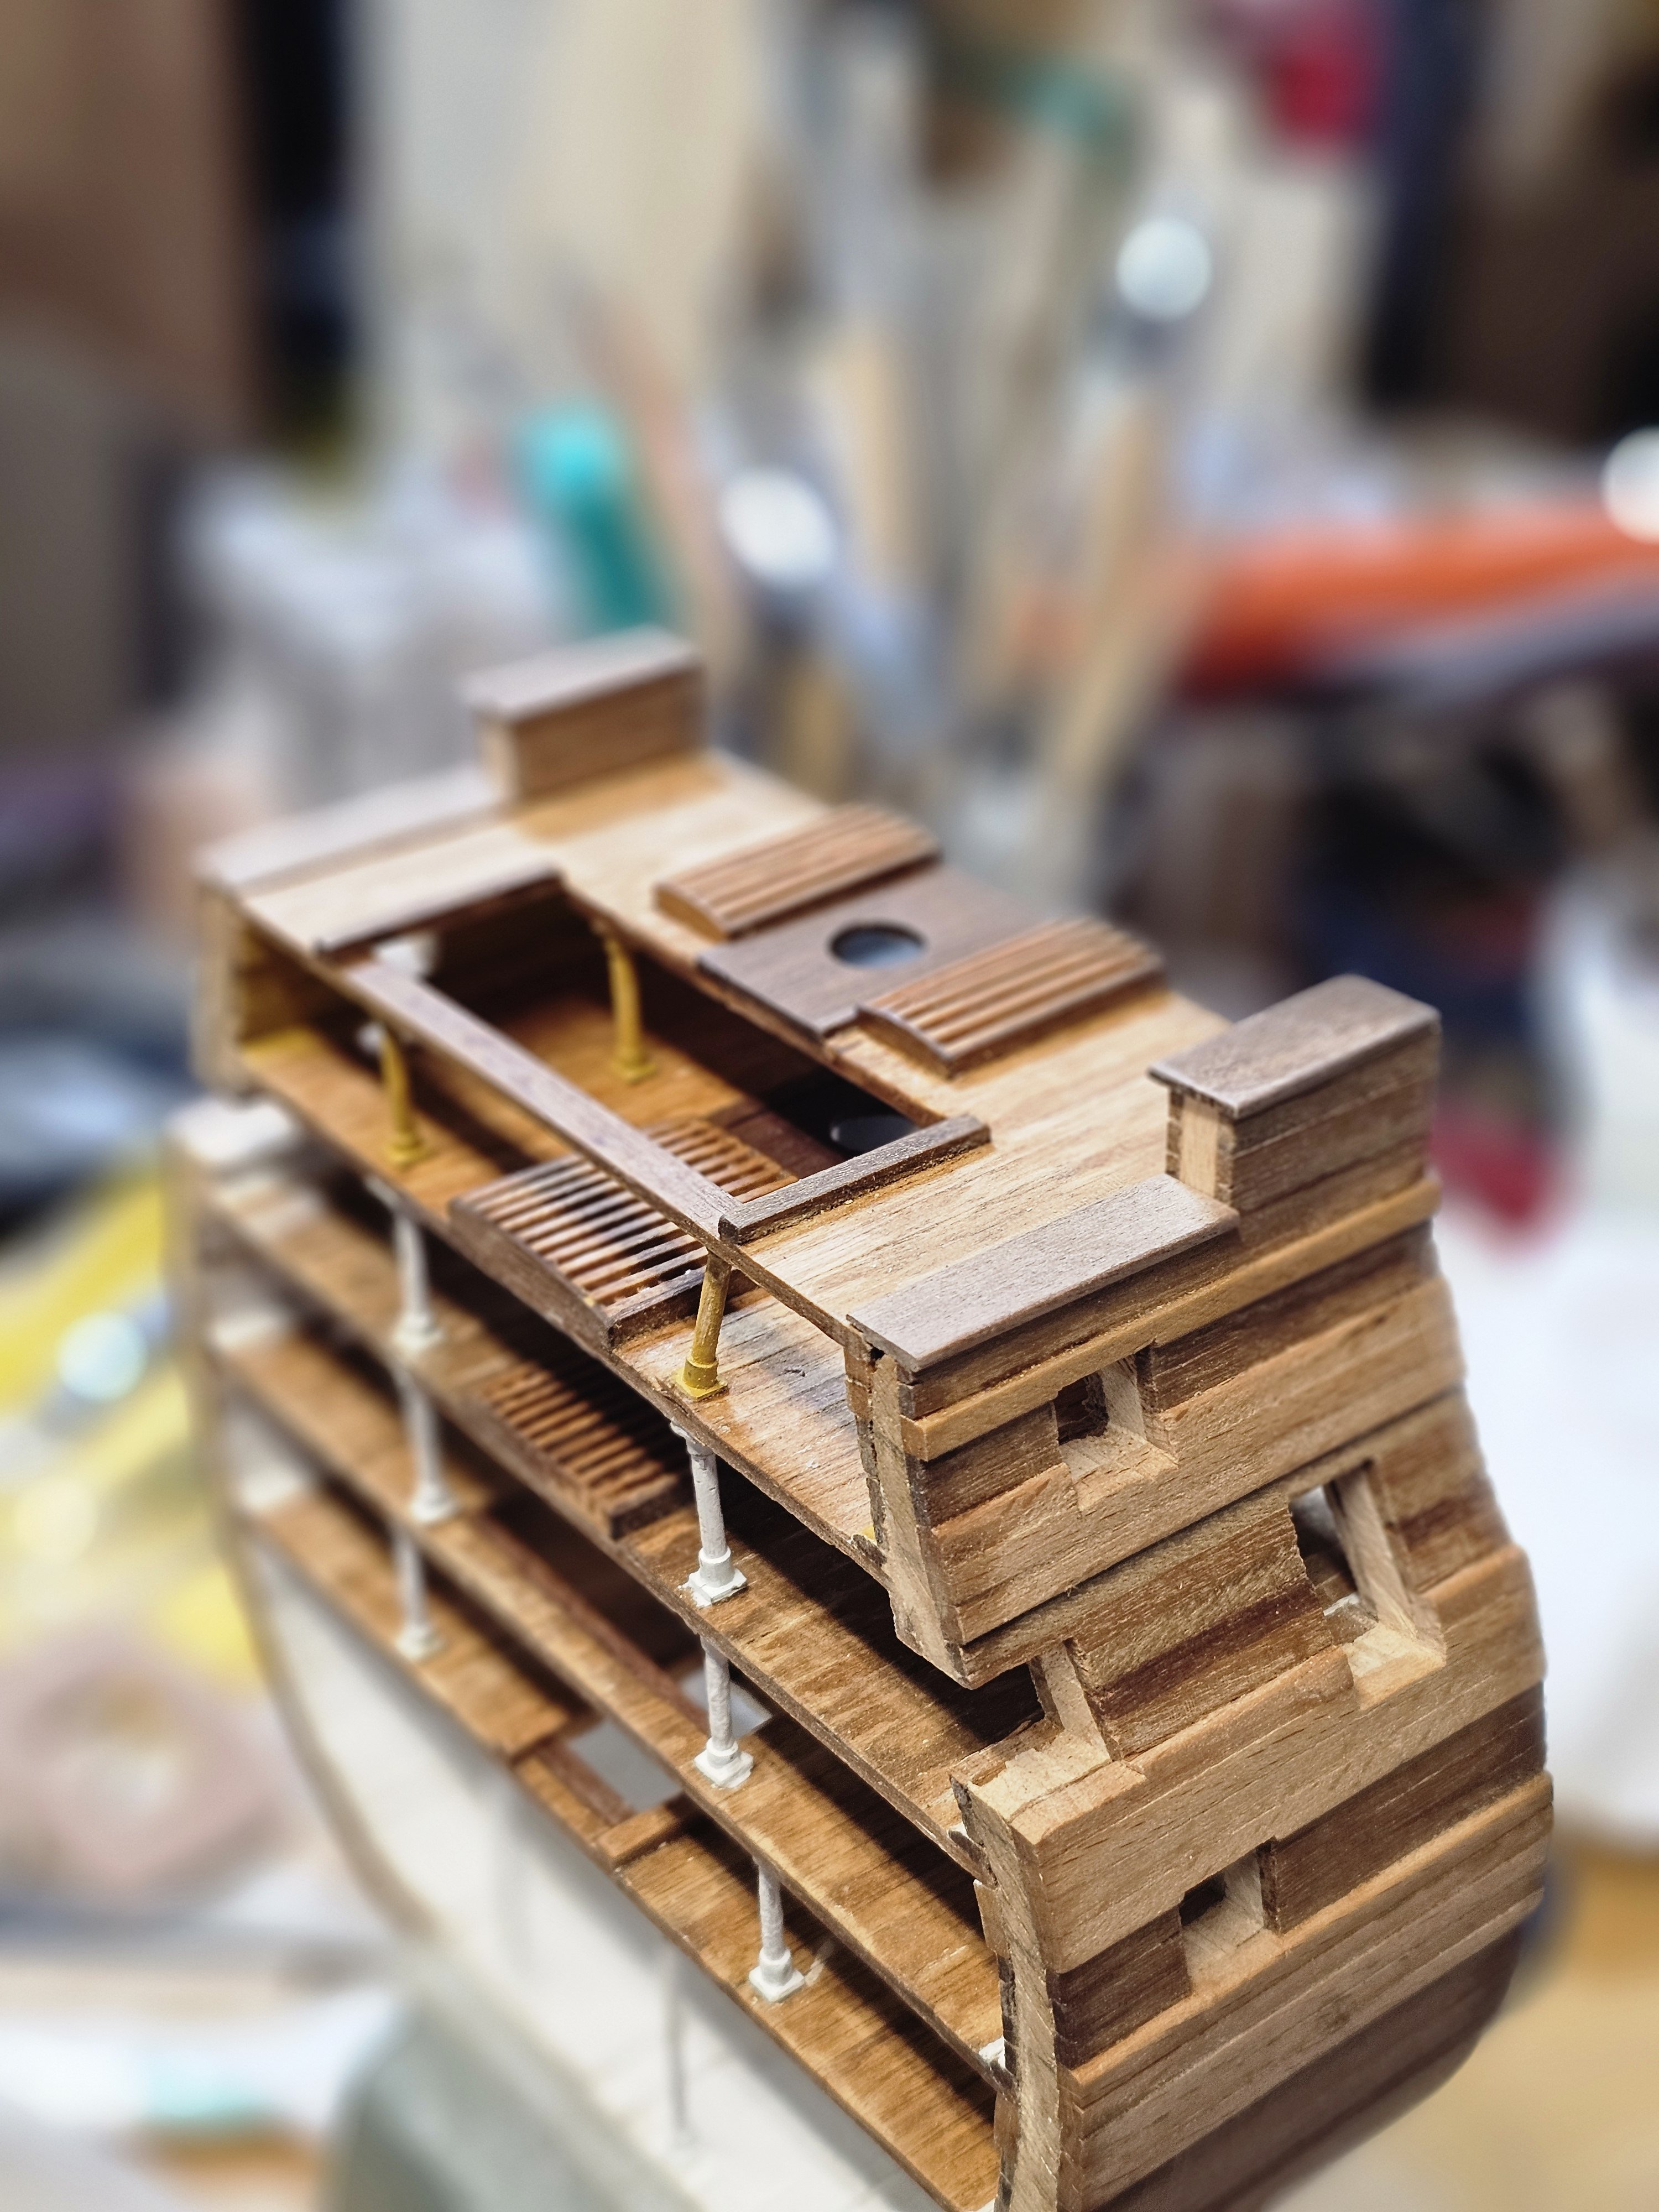
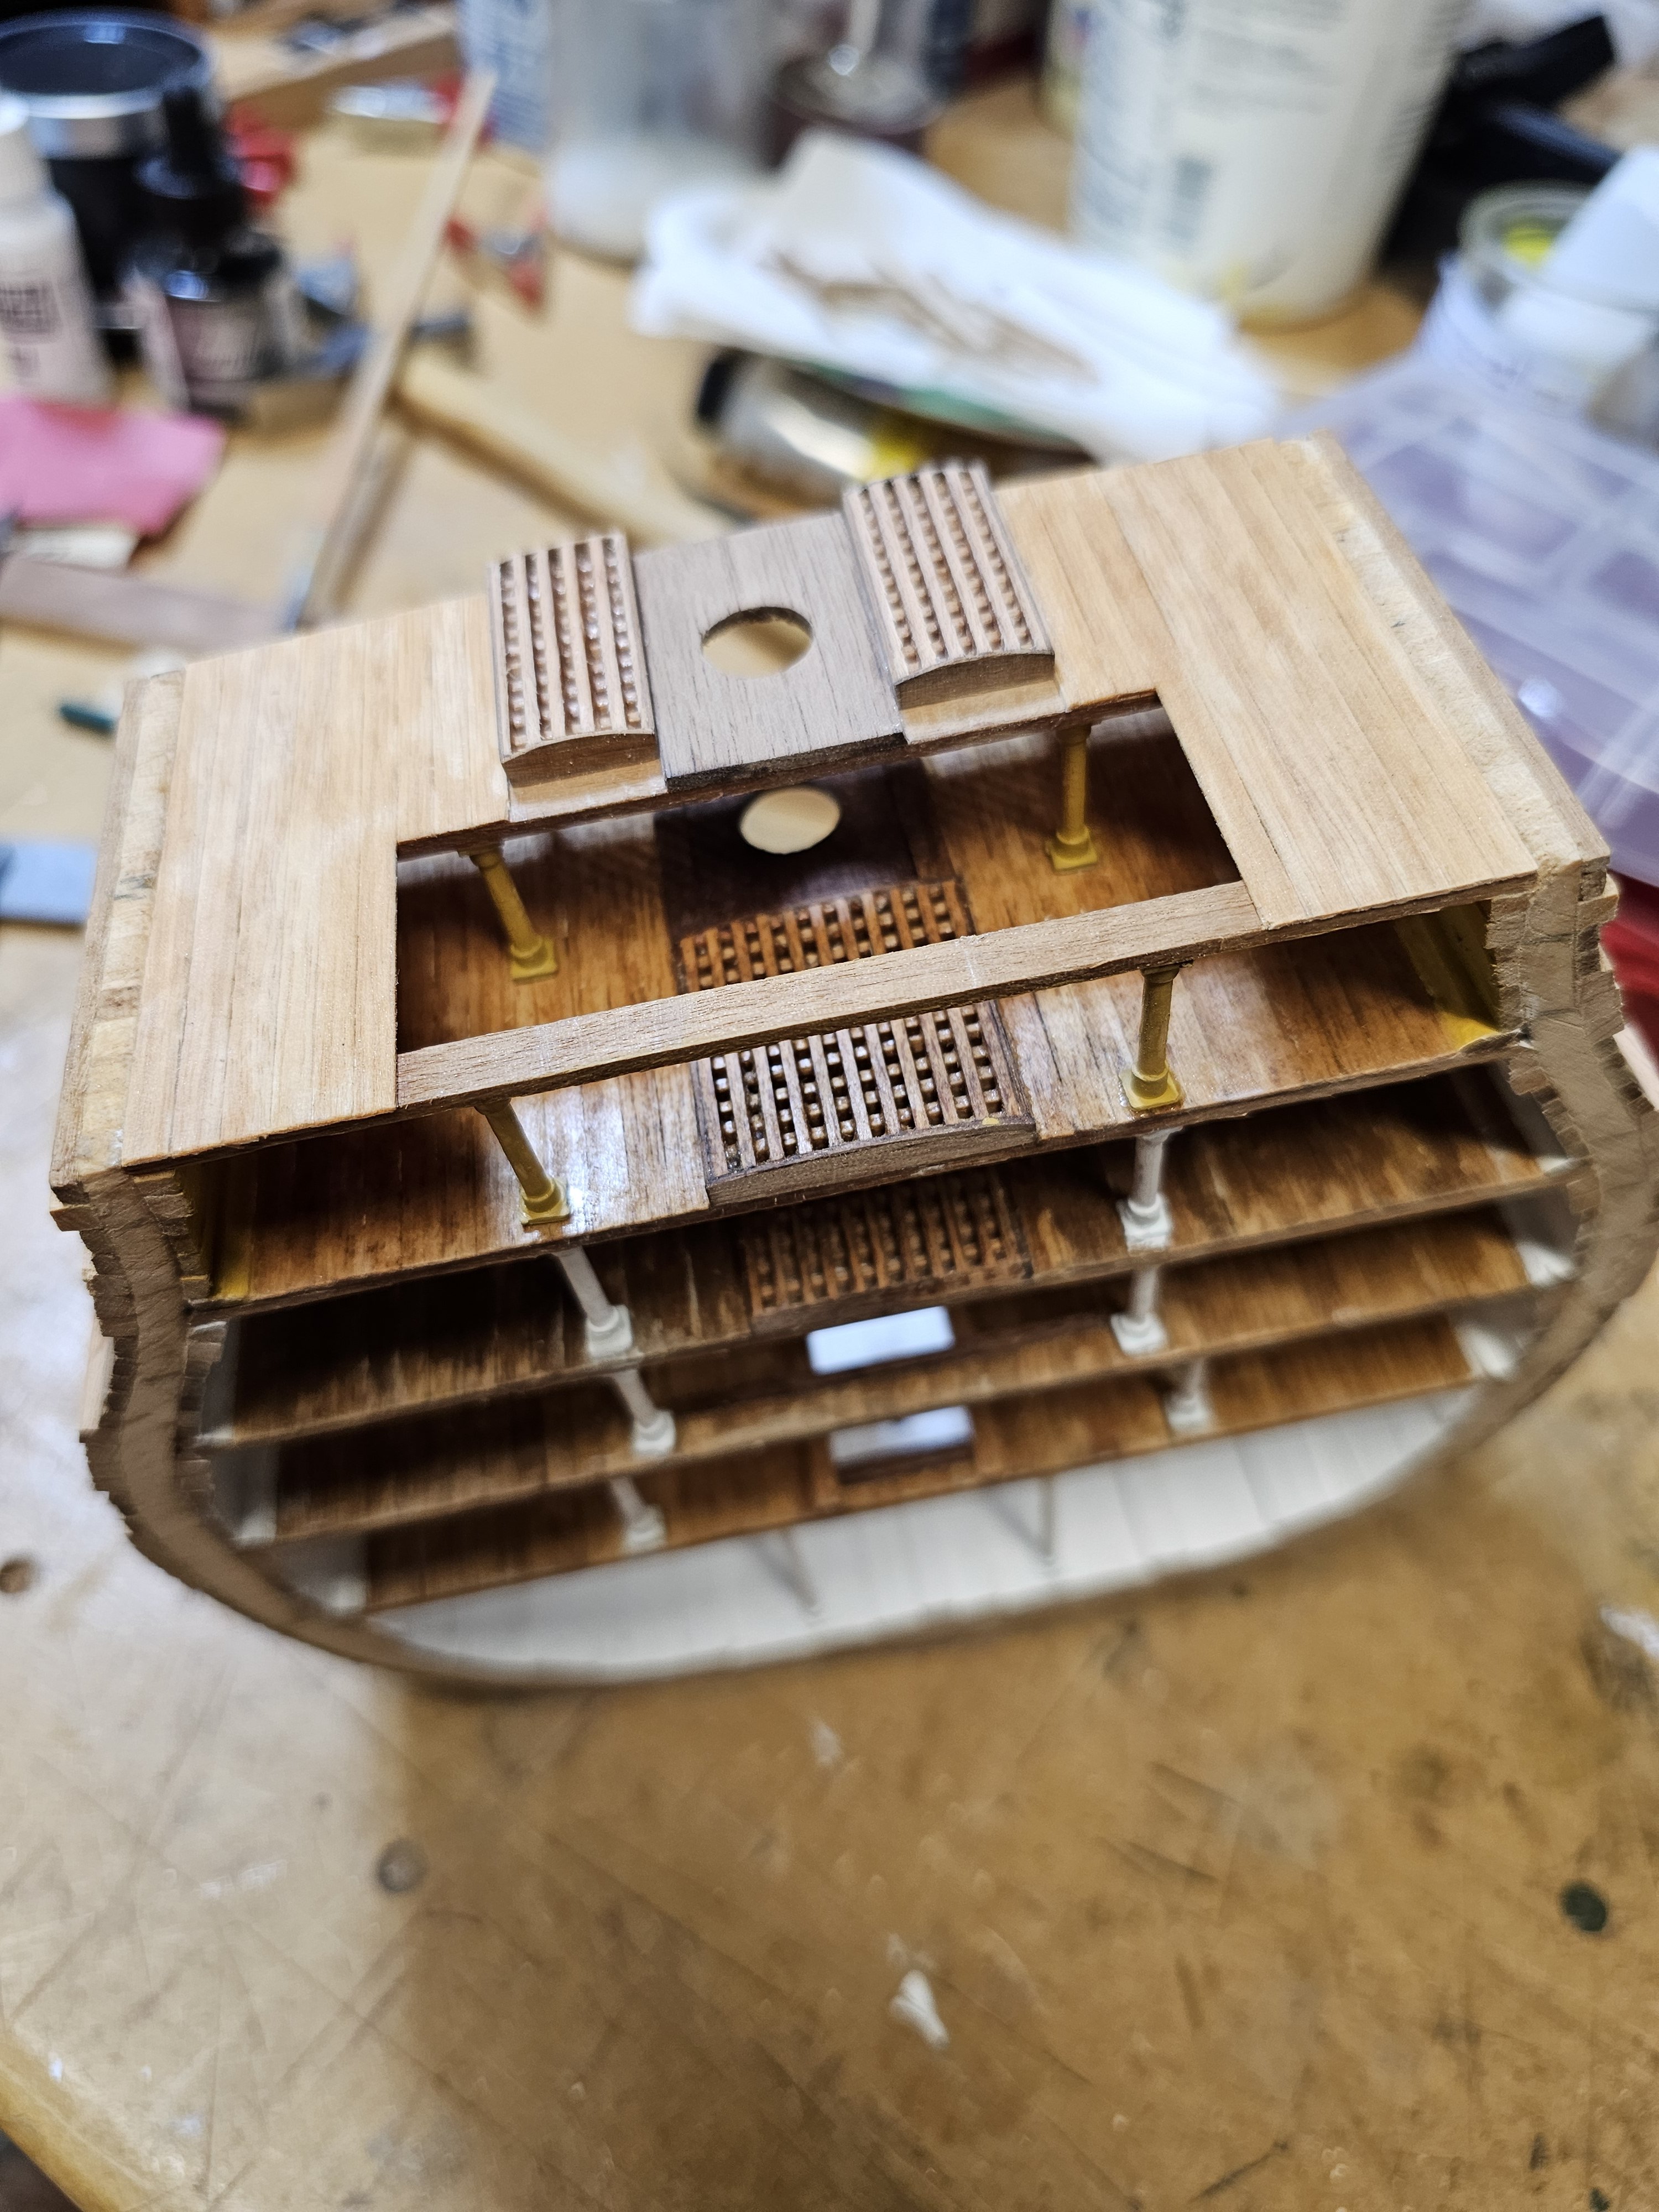
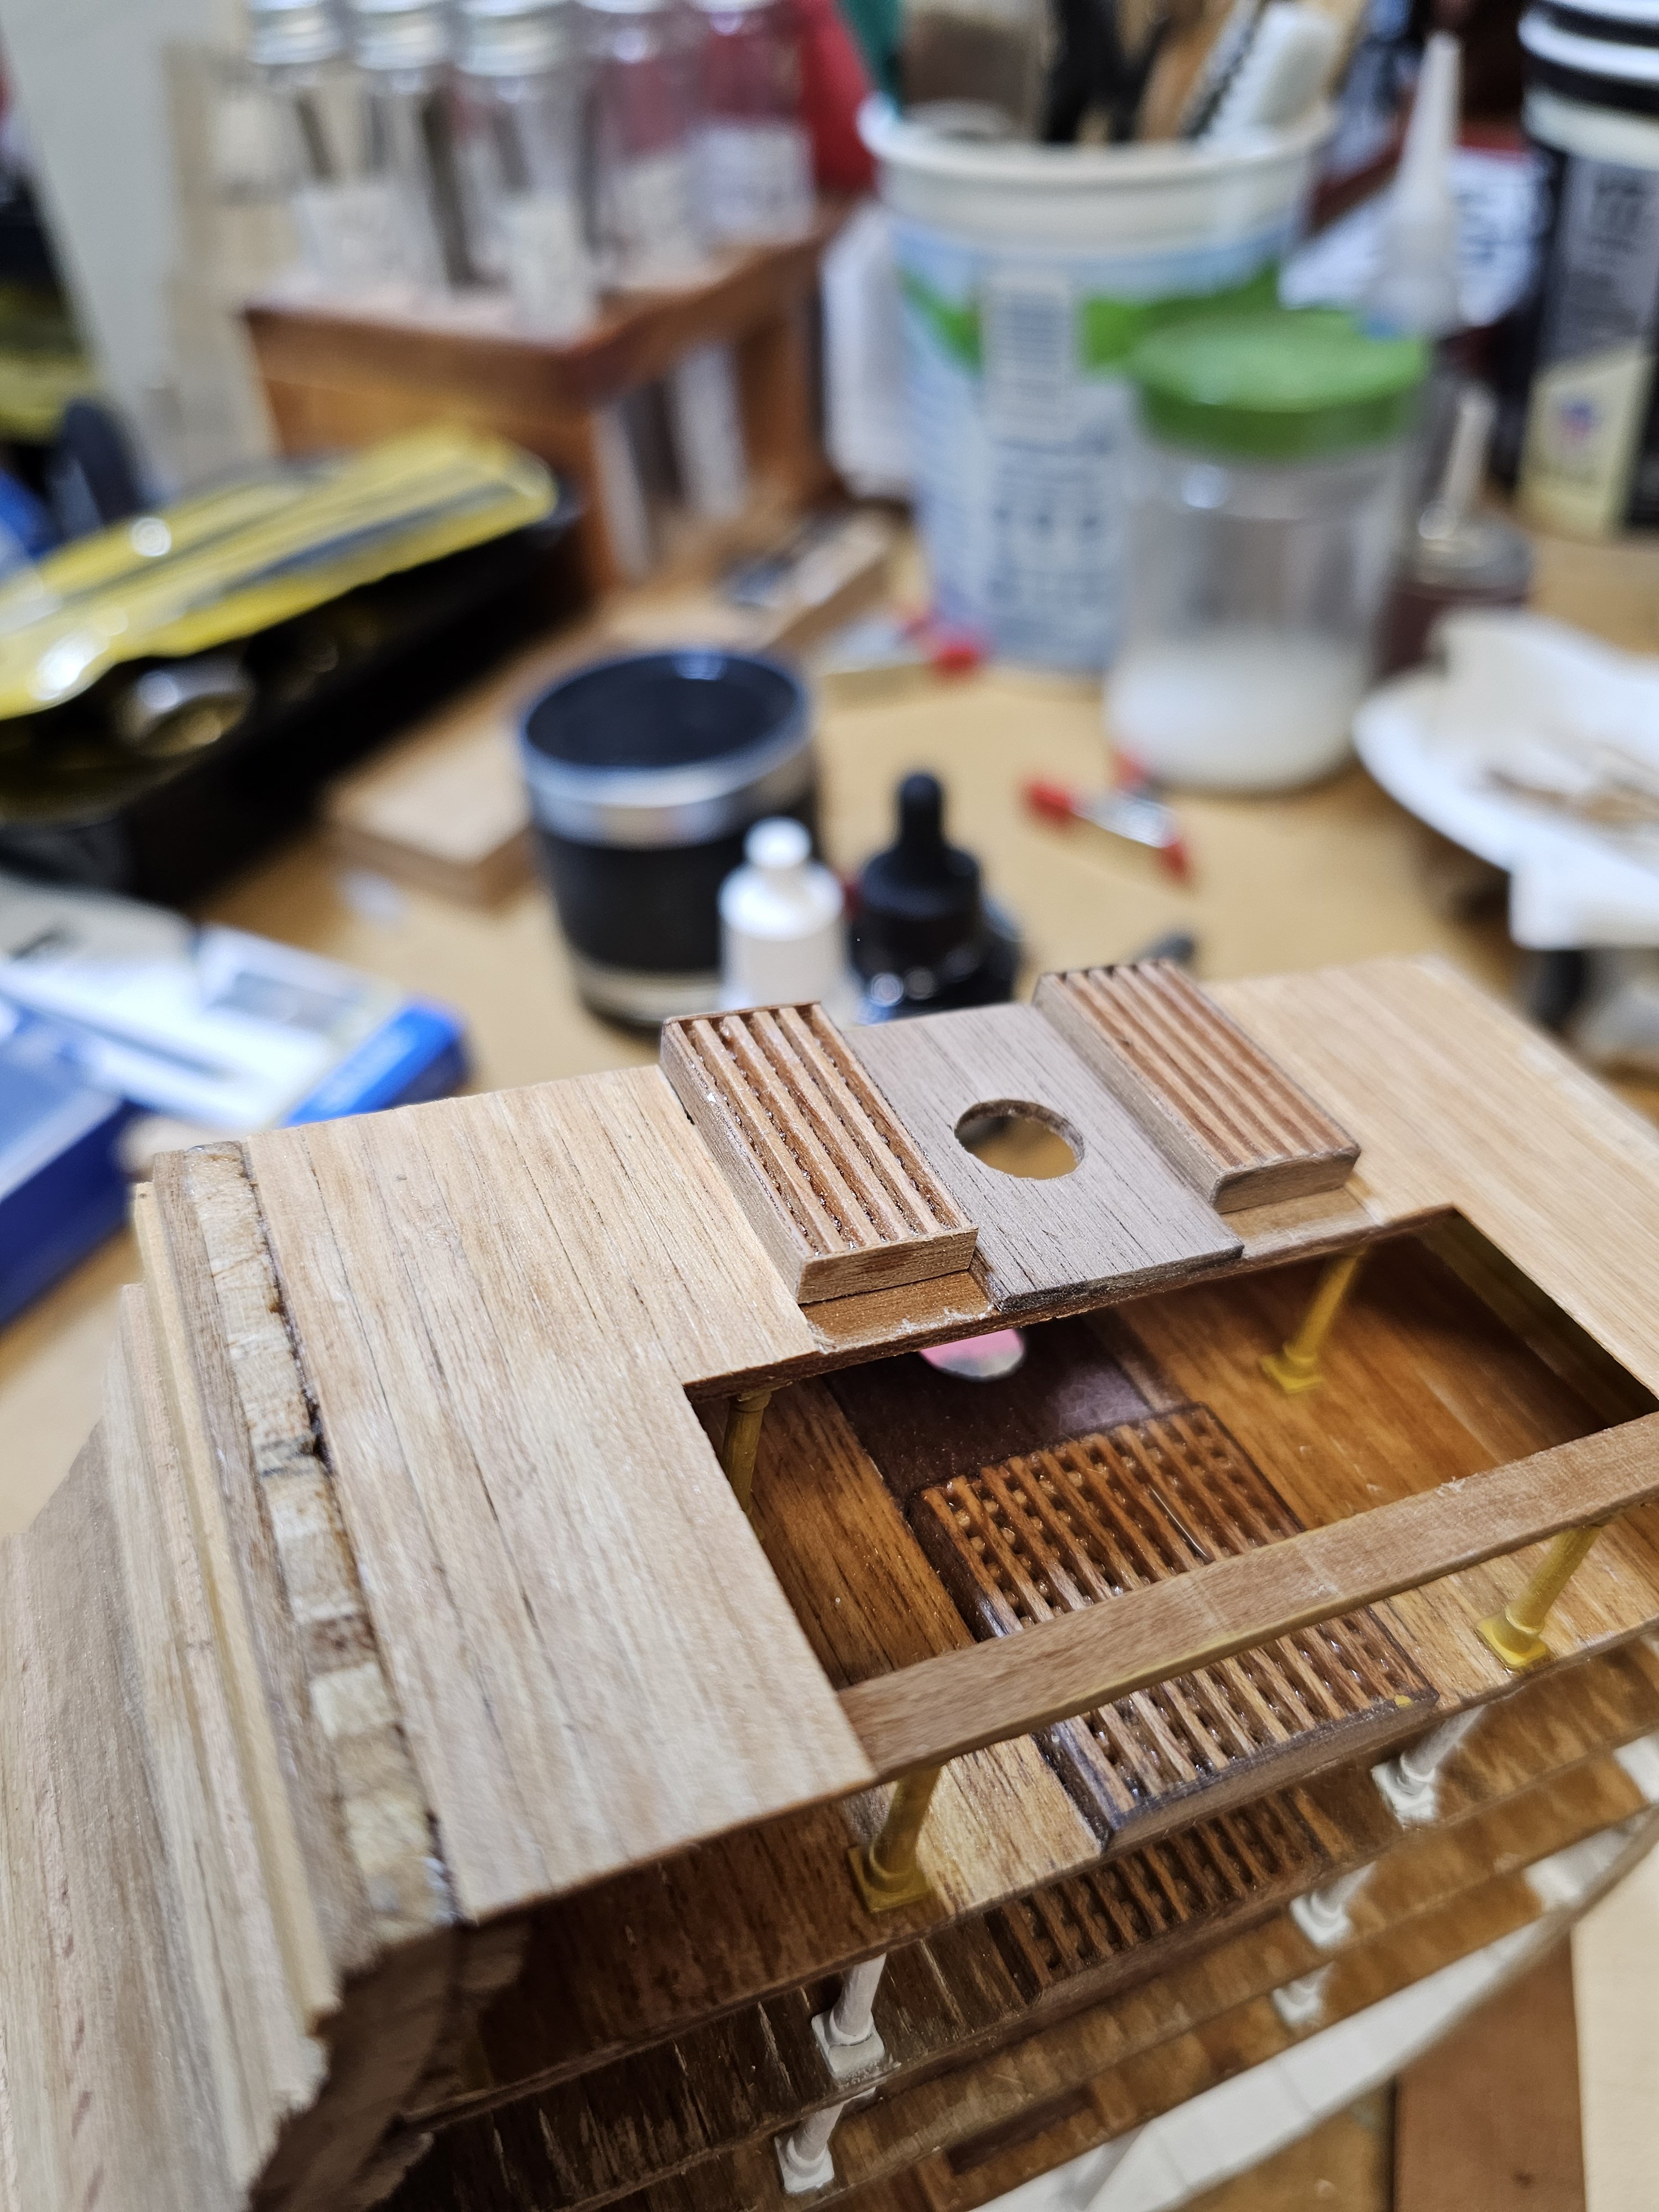
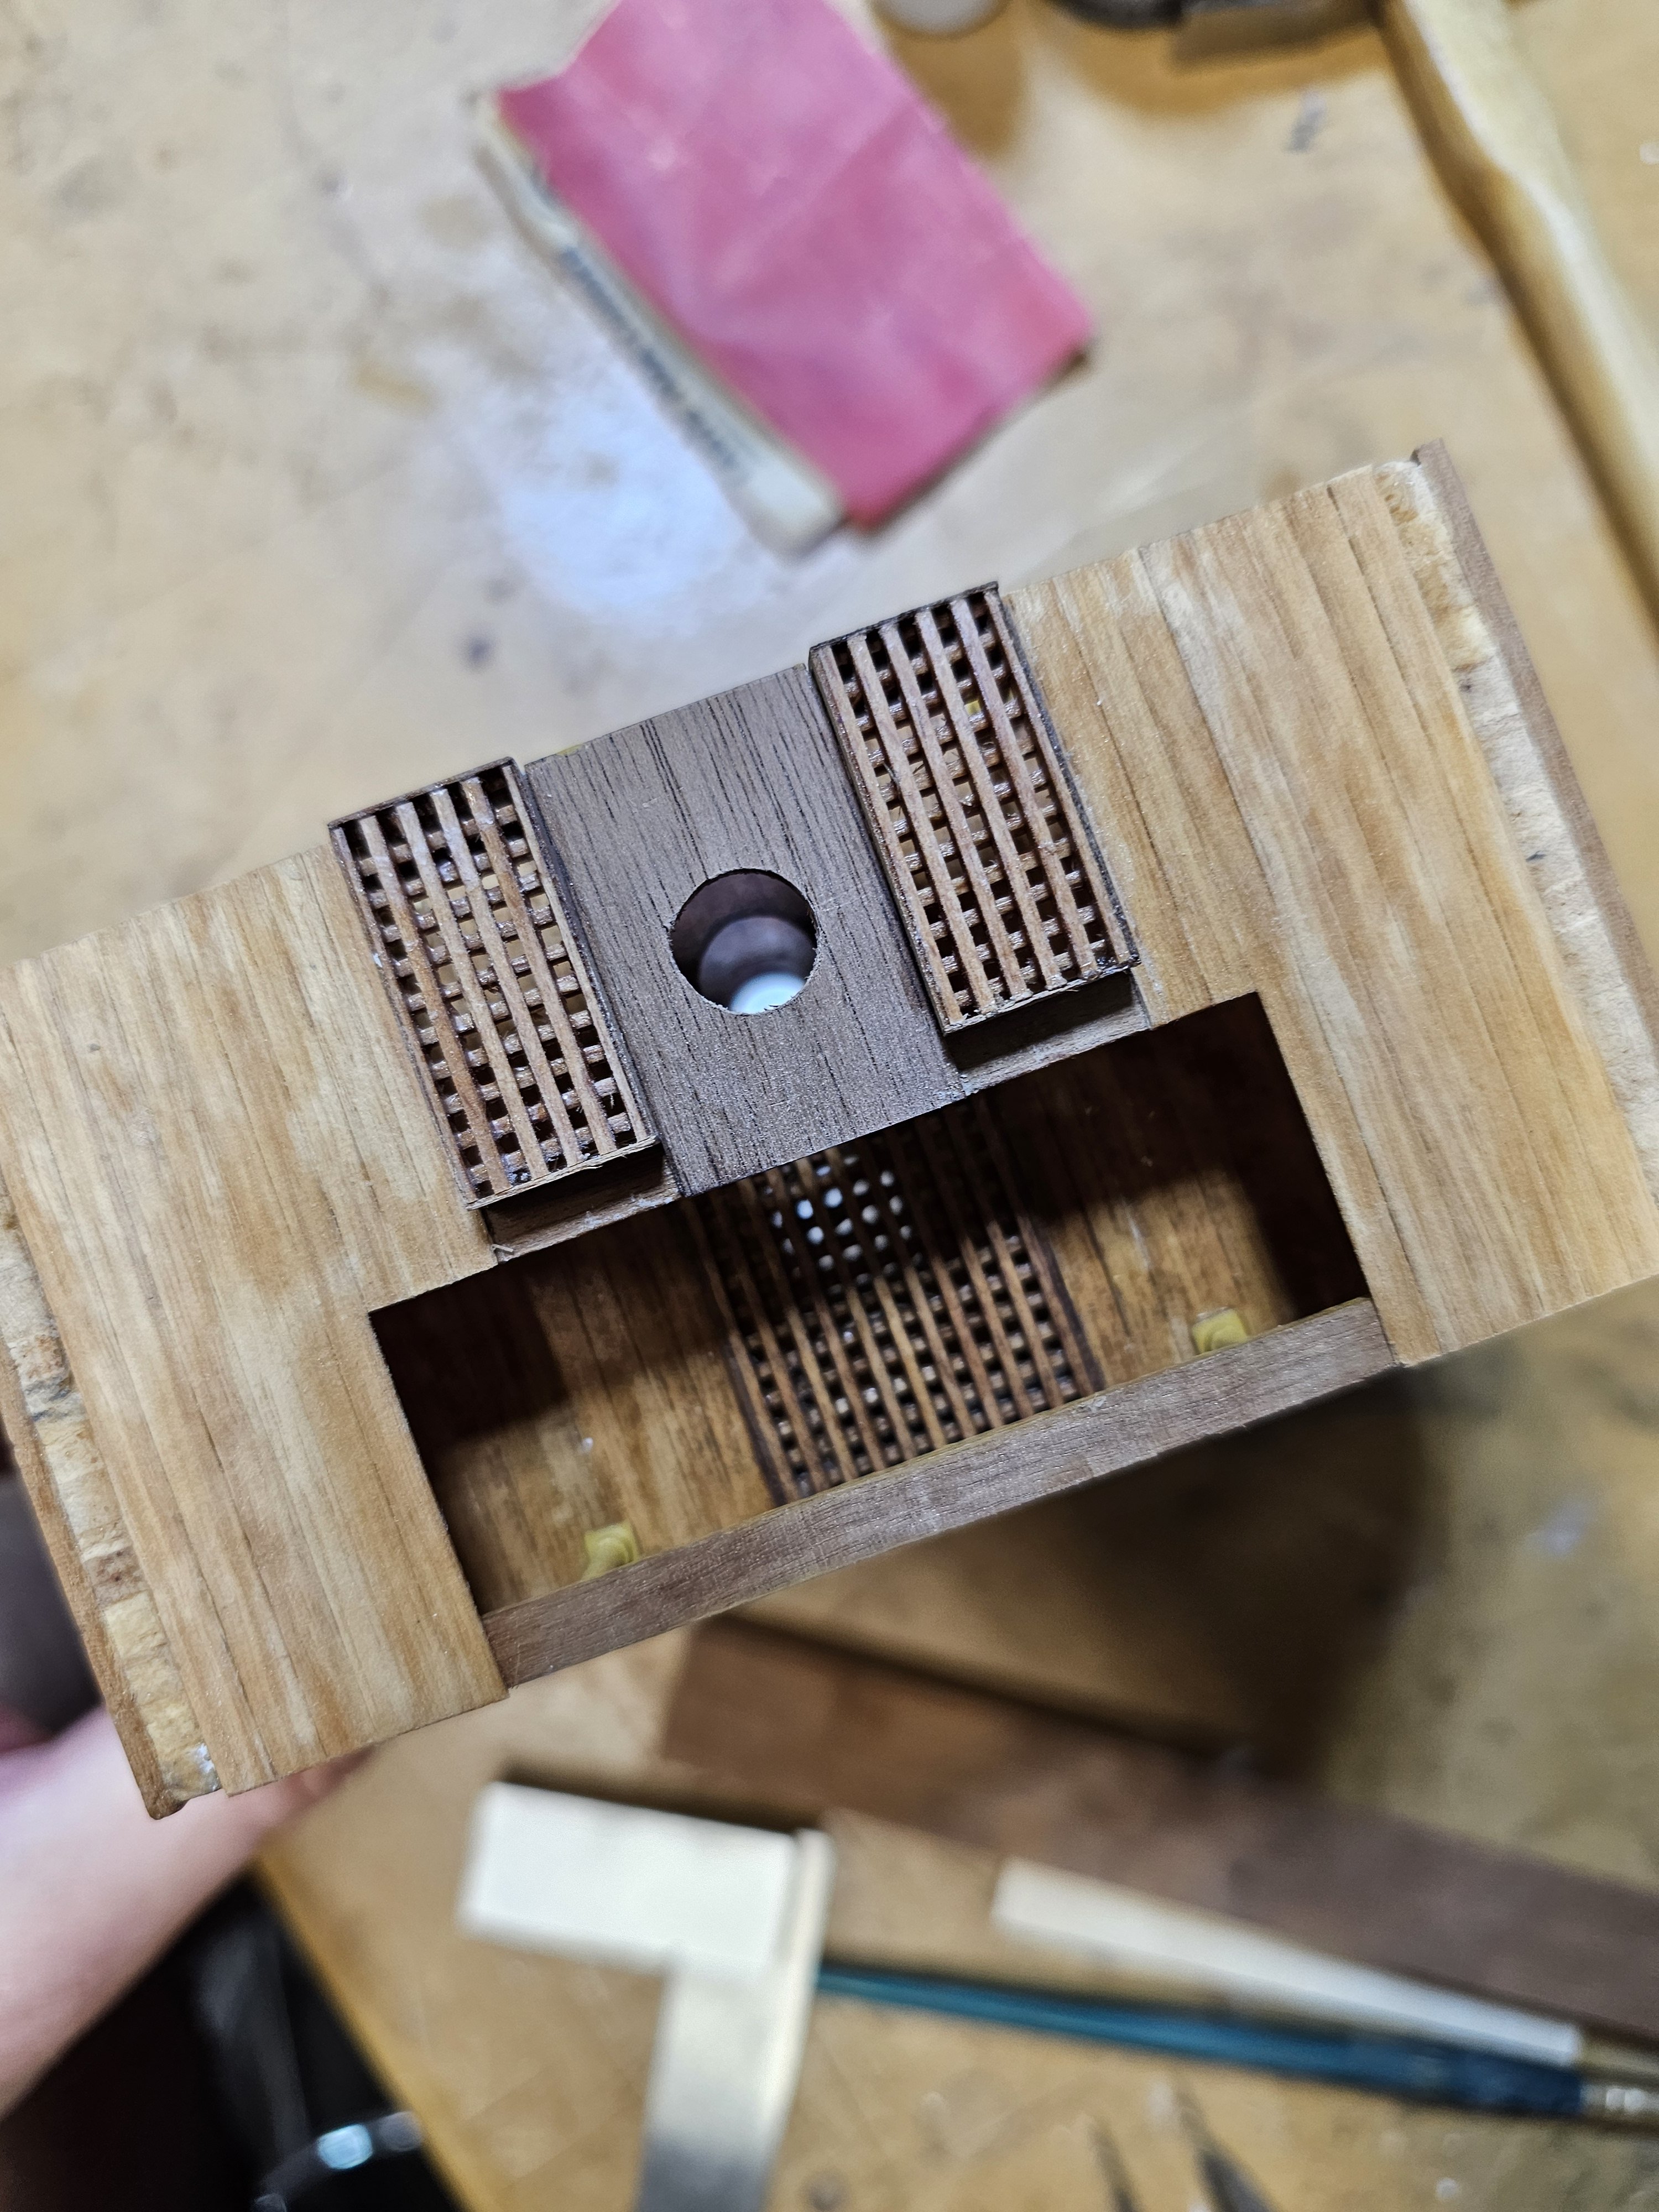
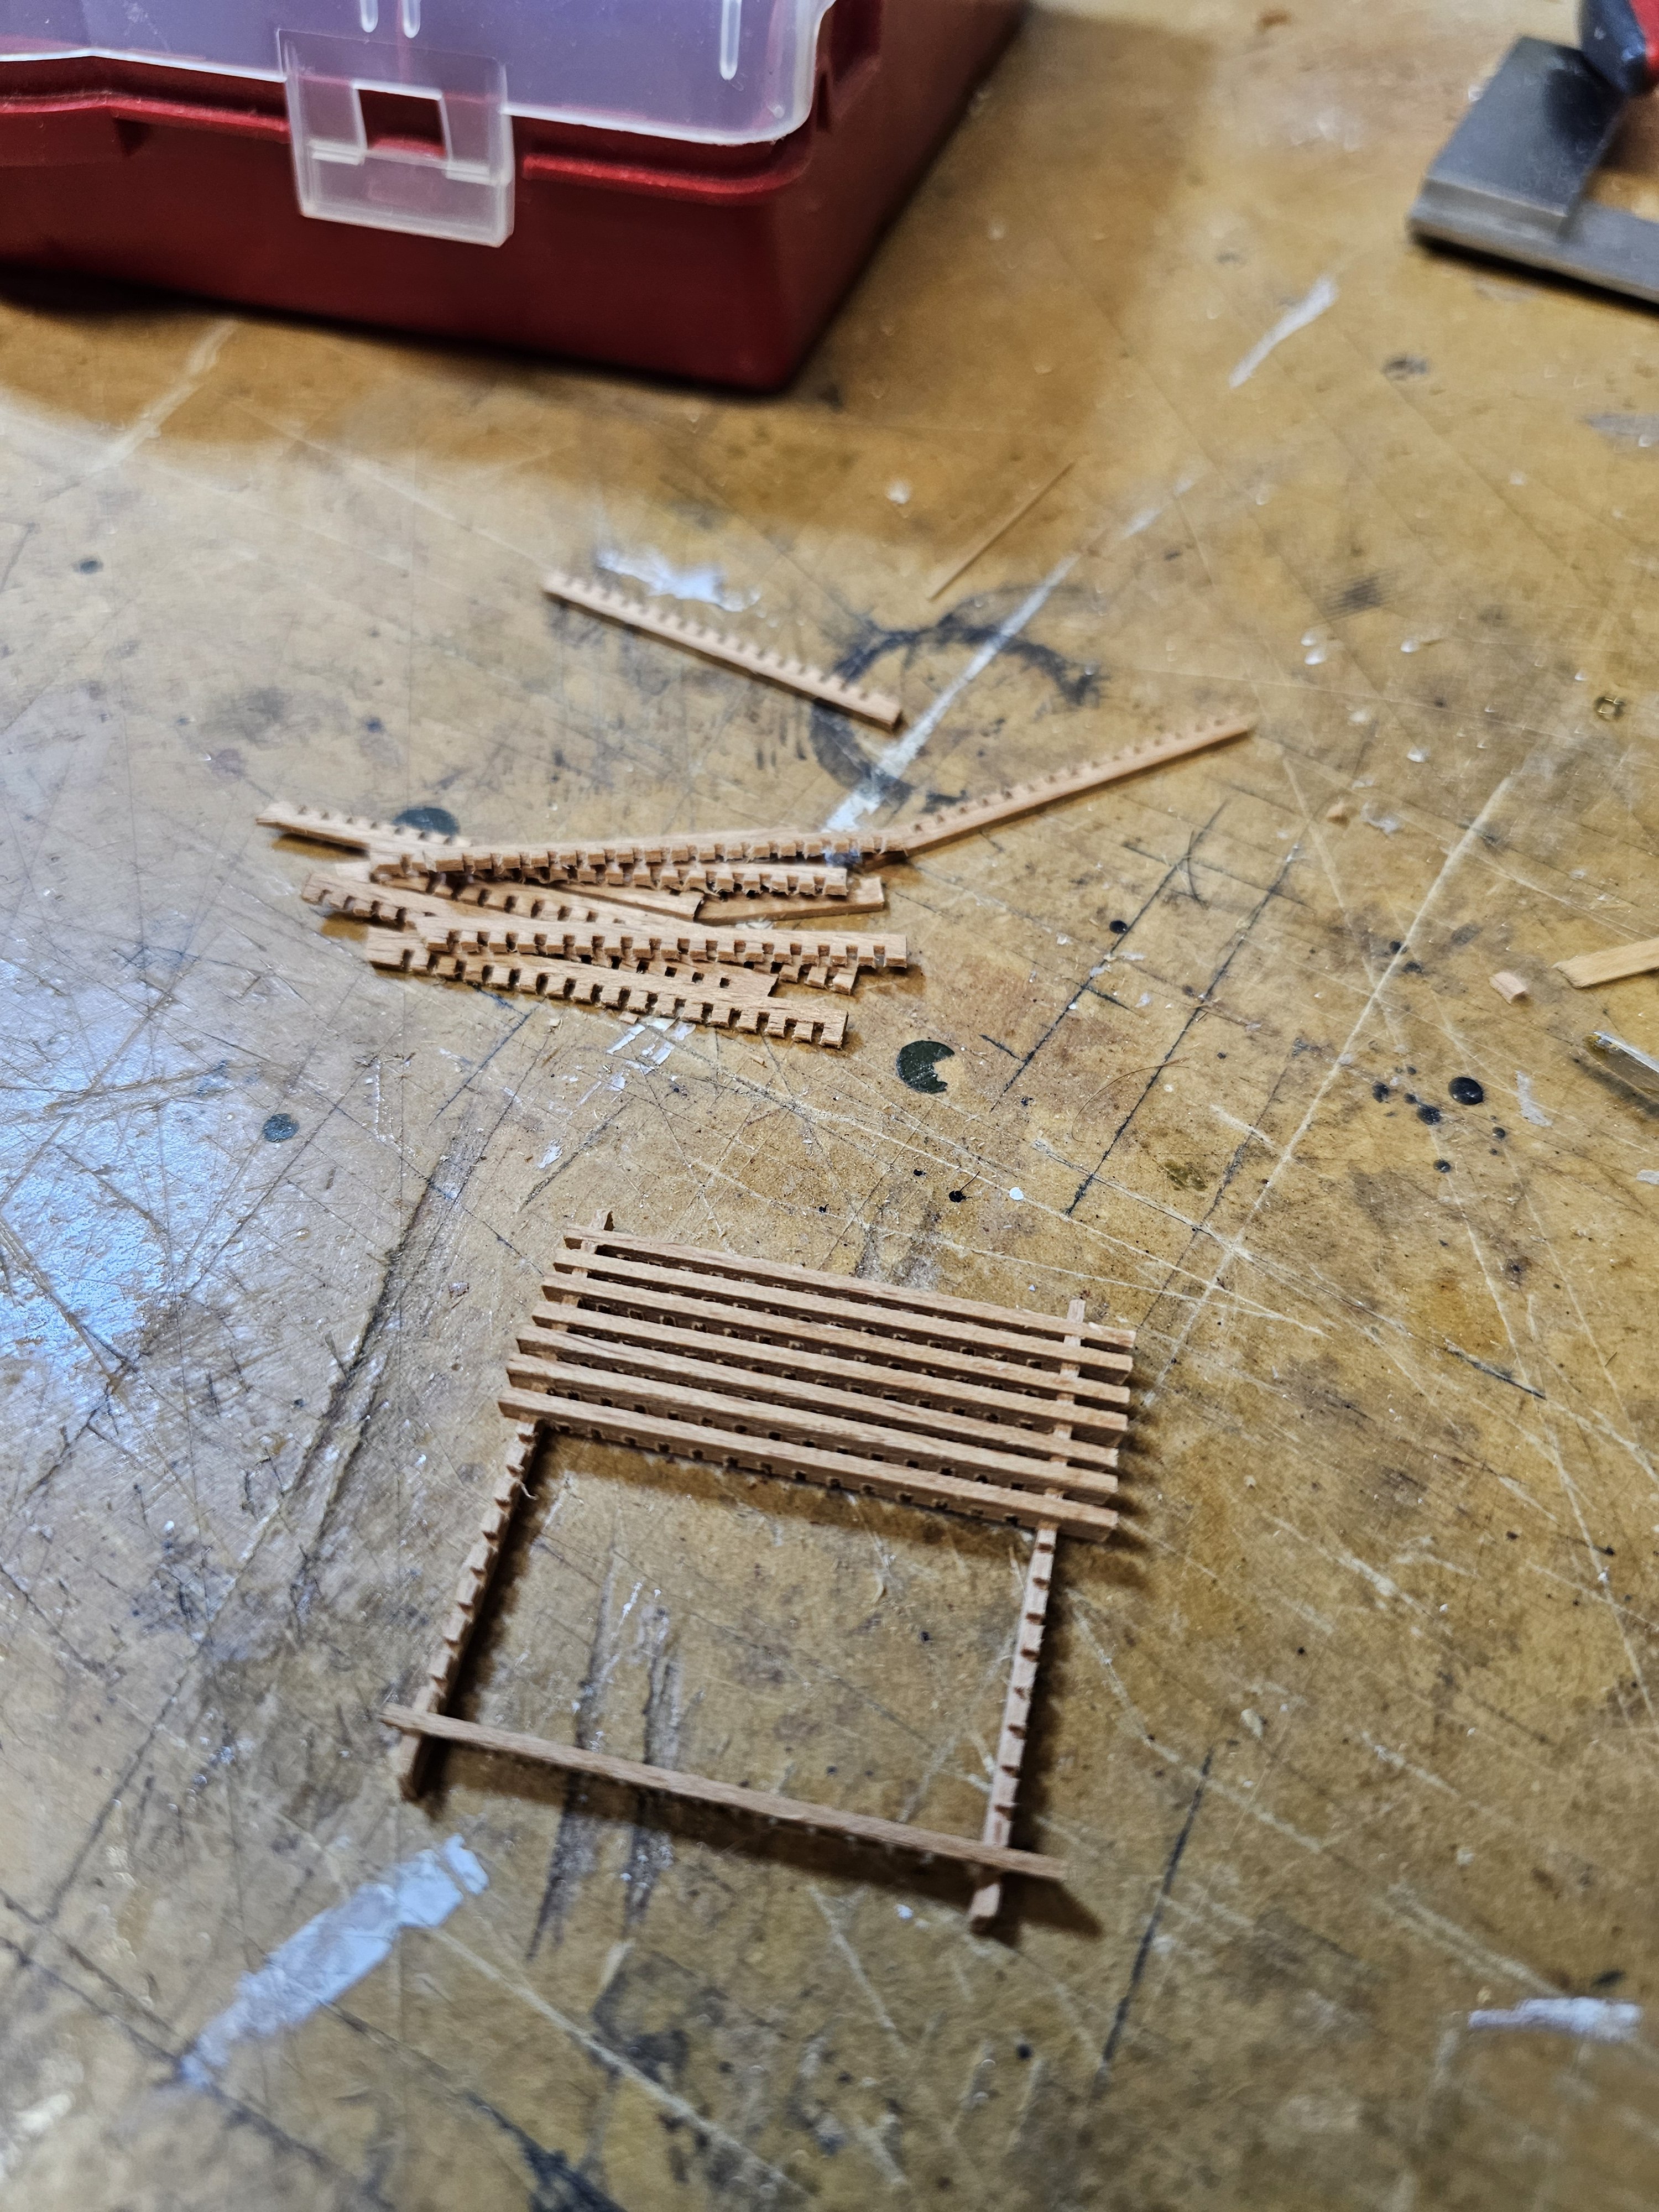
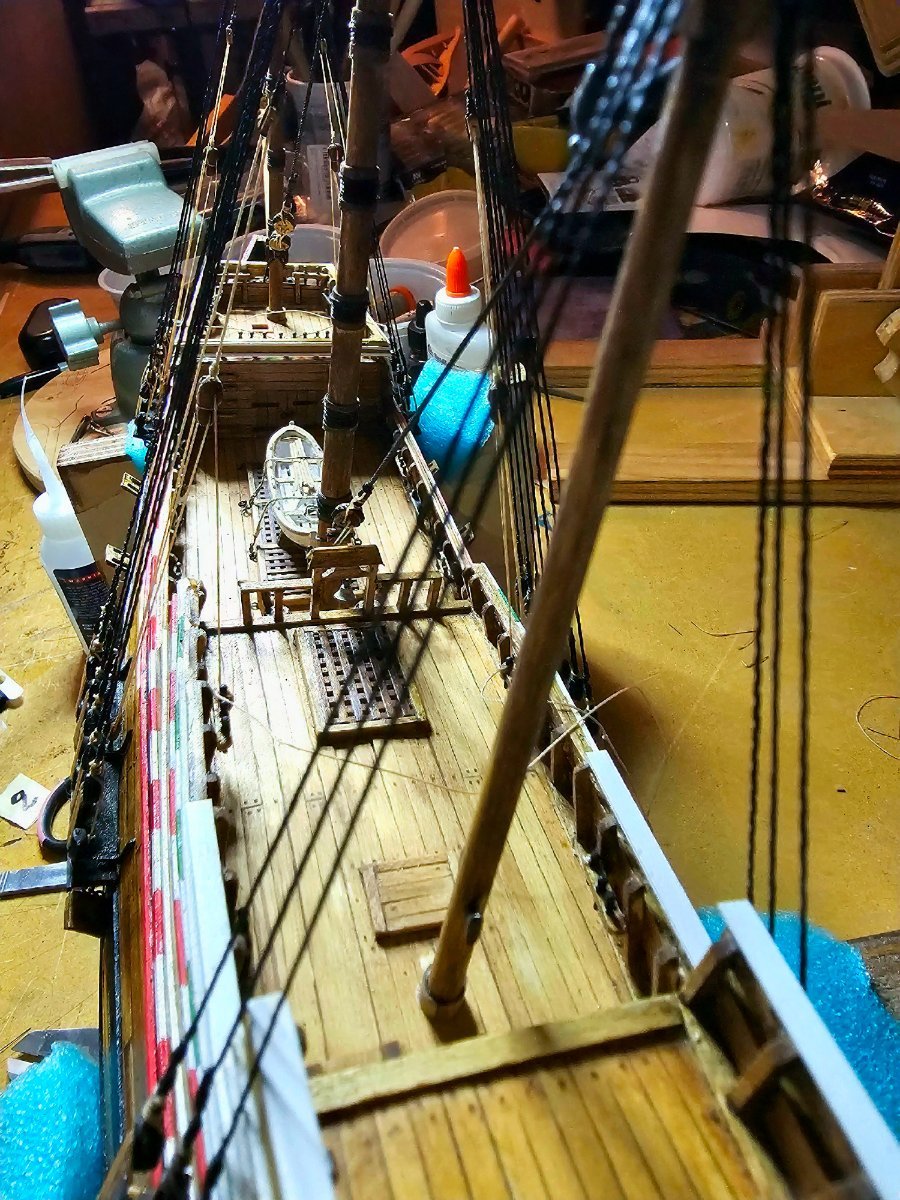
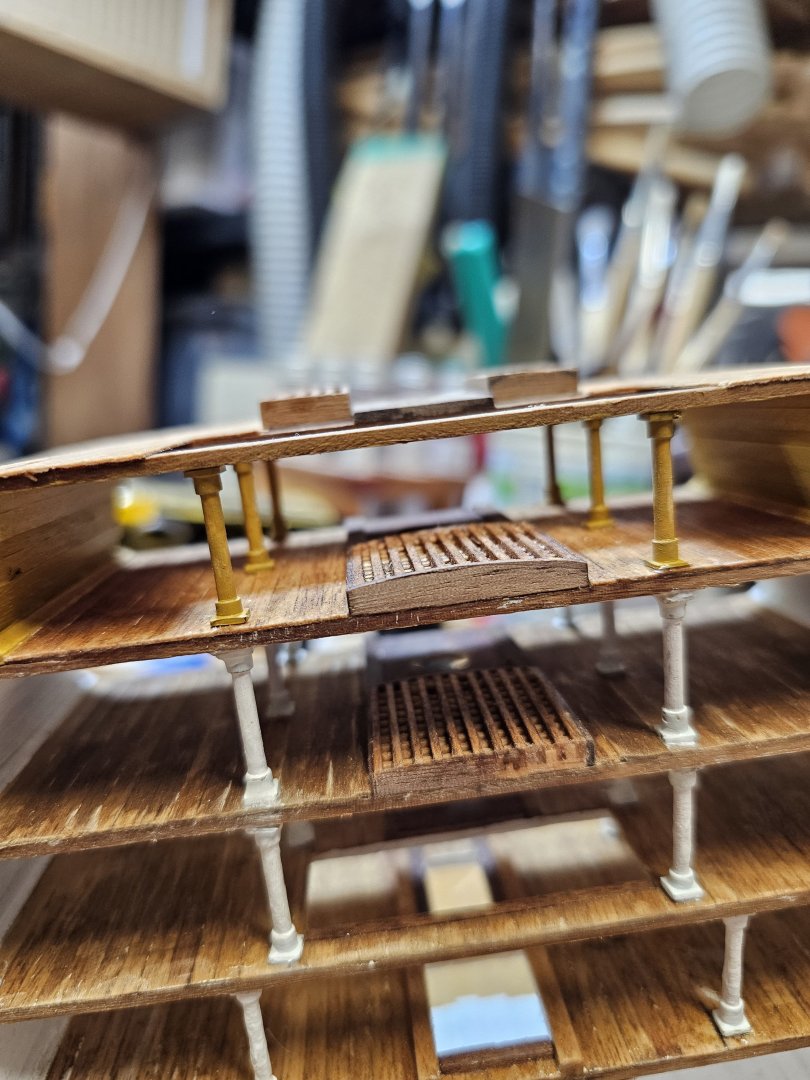
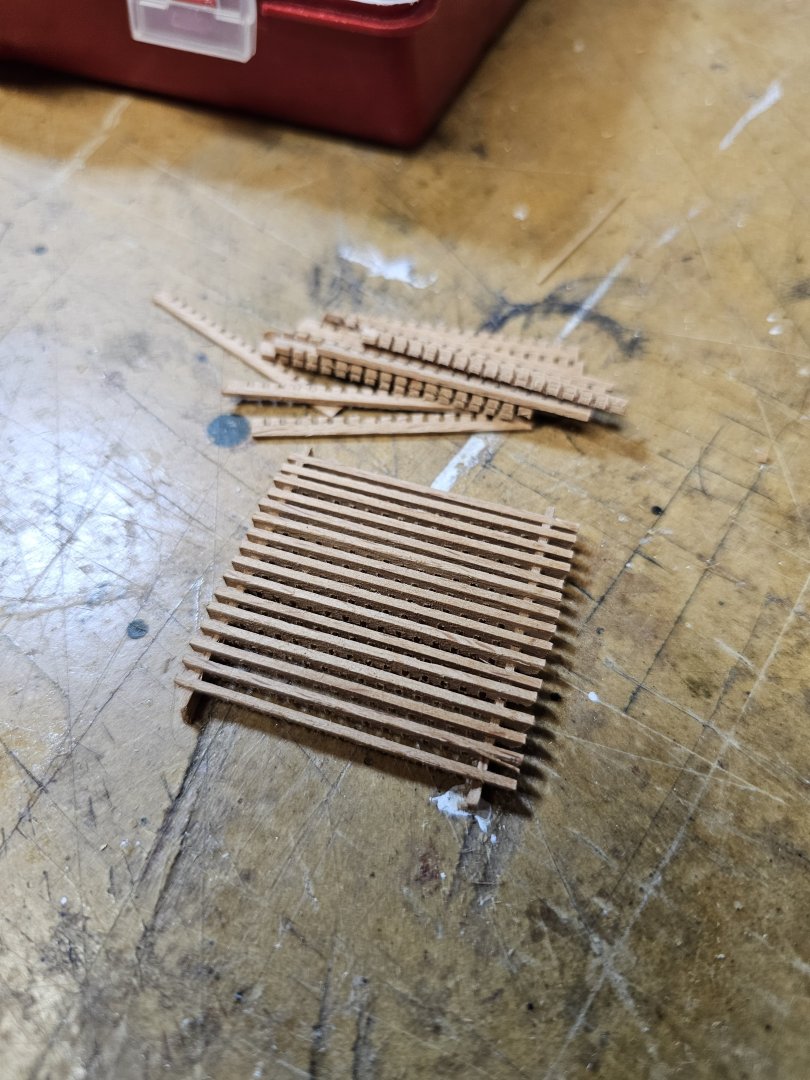
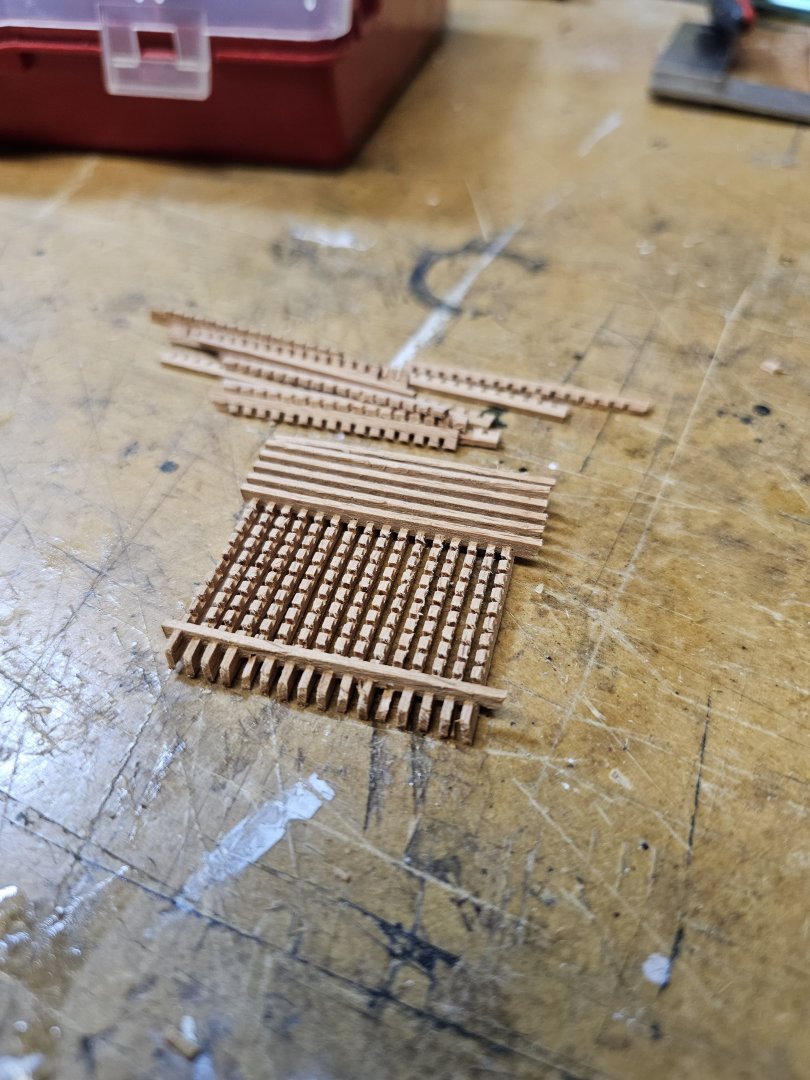
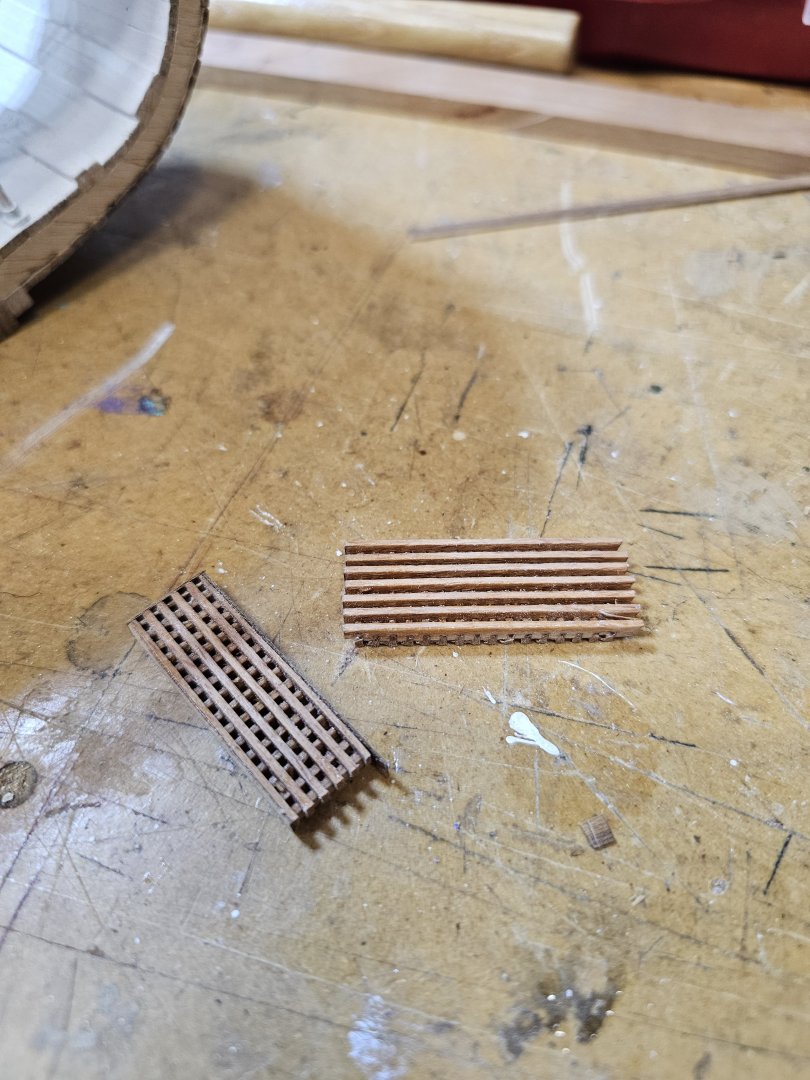
Here I am installing these gratings onto the various decks that need them. At this time, all the decks are installed. I did not yet installed the ladders, shots racks, etc...


-
I spent time working on the Middle Gun Deck, focusing on the construction of several gratings designed for the Upper Deck and the Quarterdeck. These gratings are essential for ensuring proper drainage and ventilation.


-
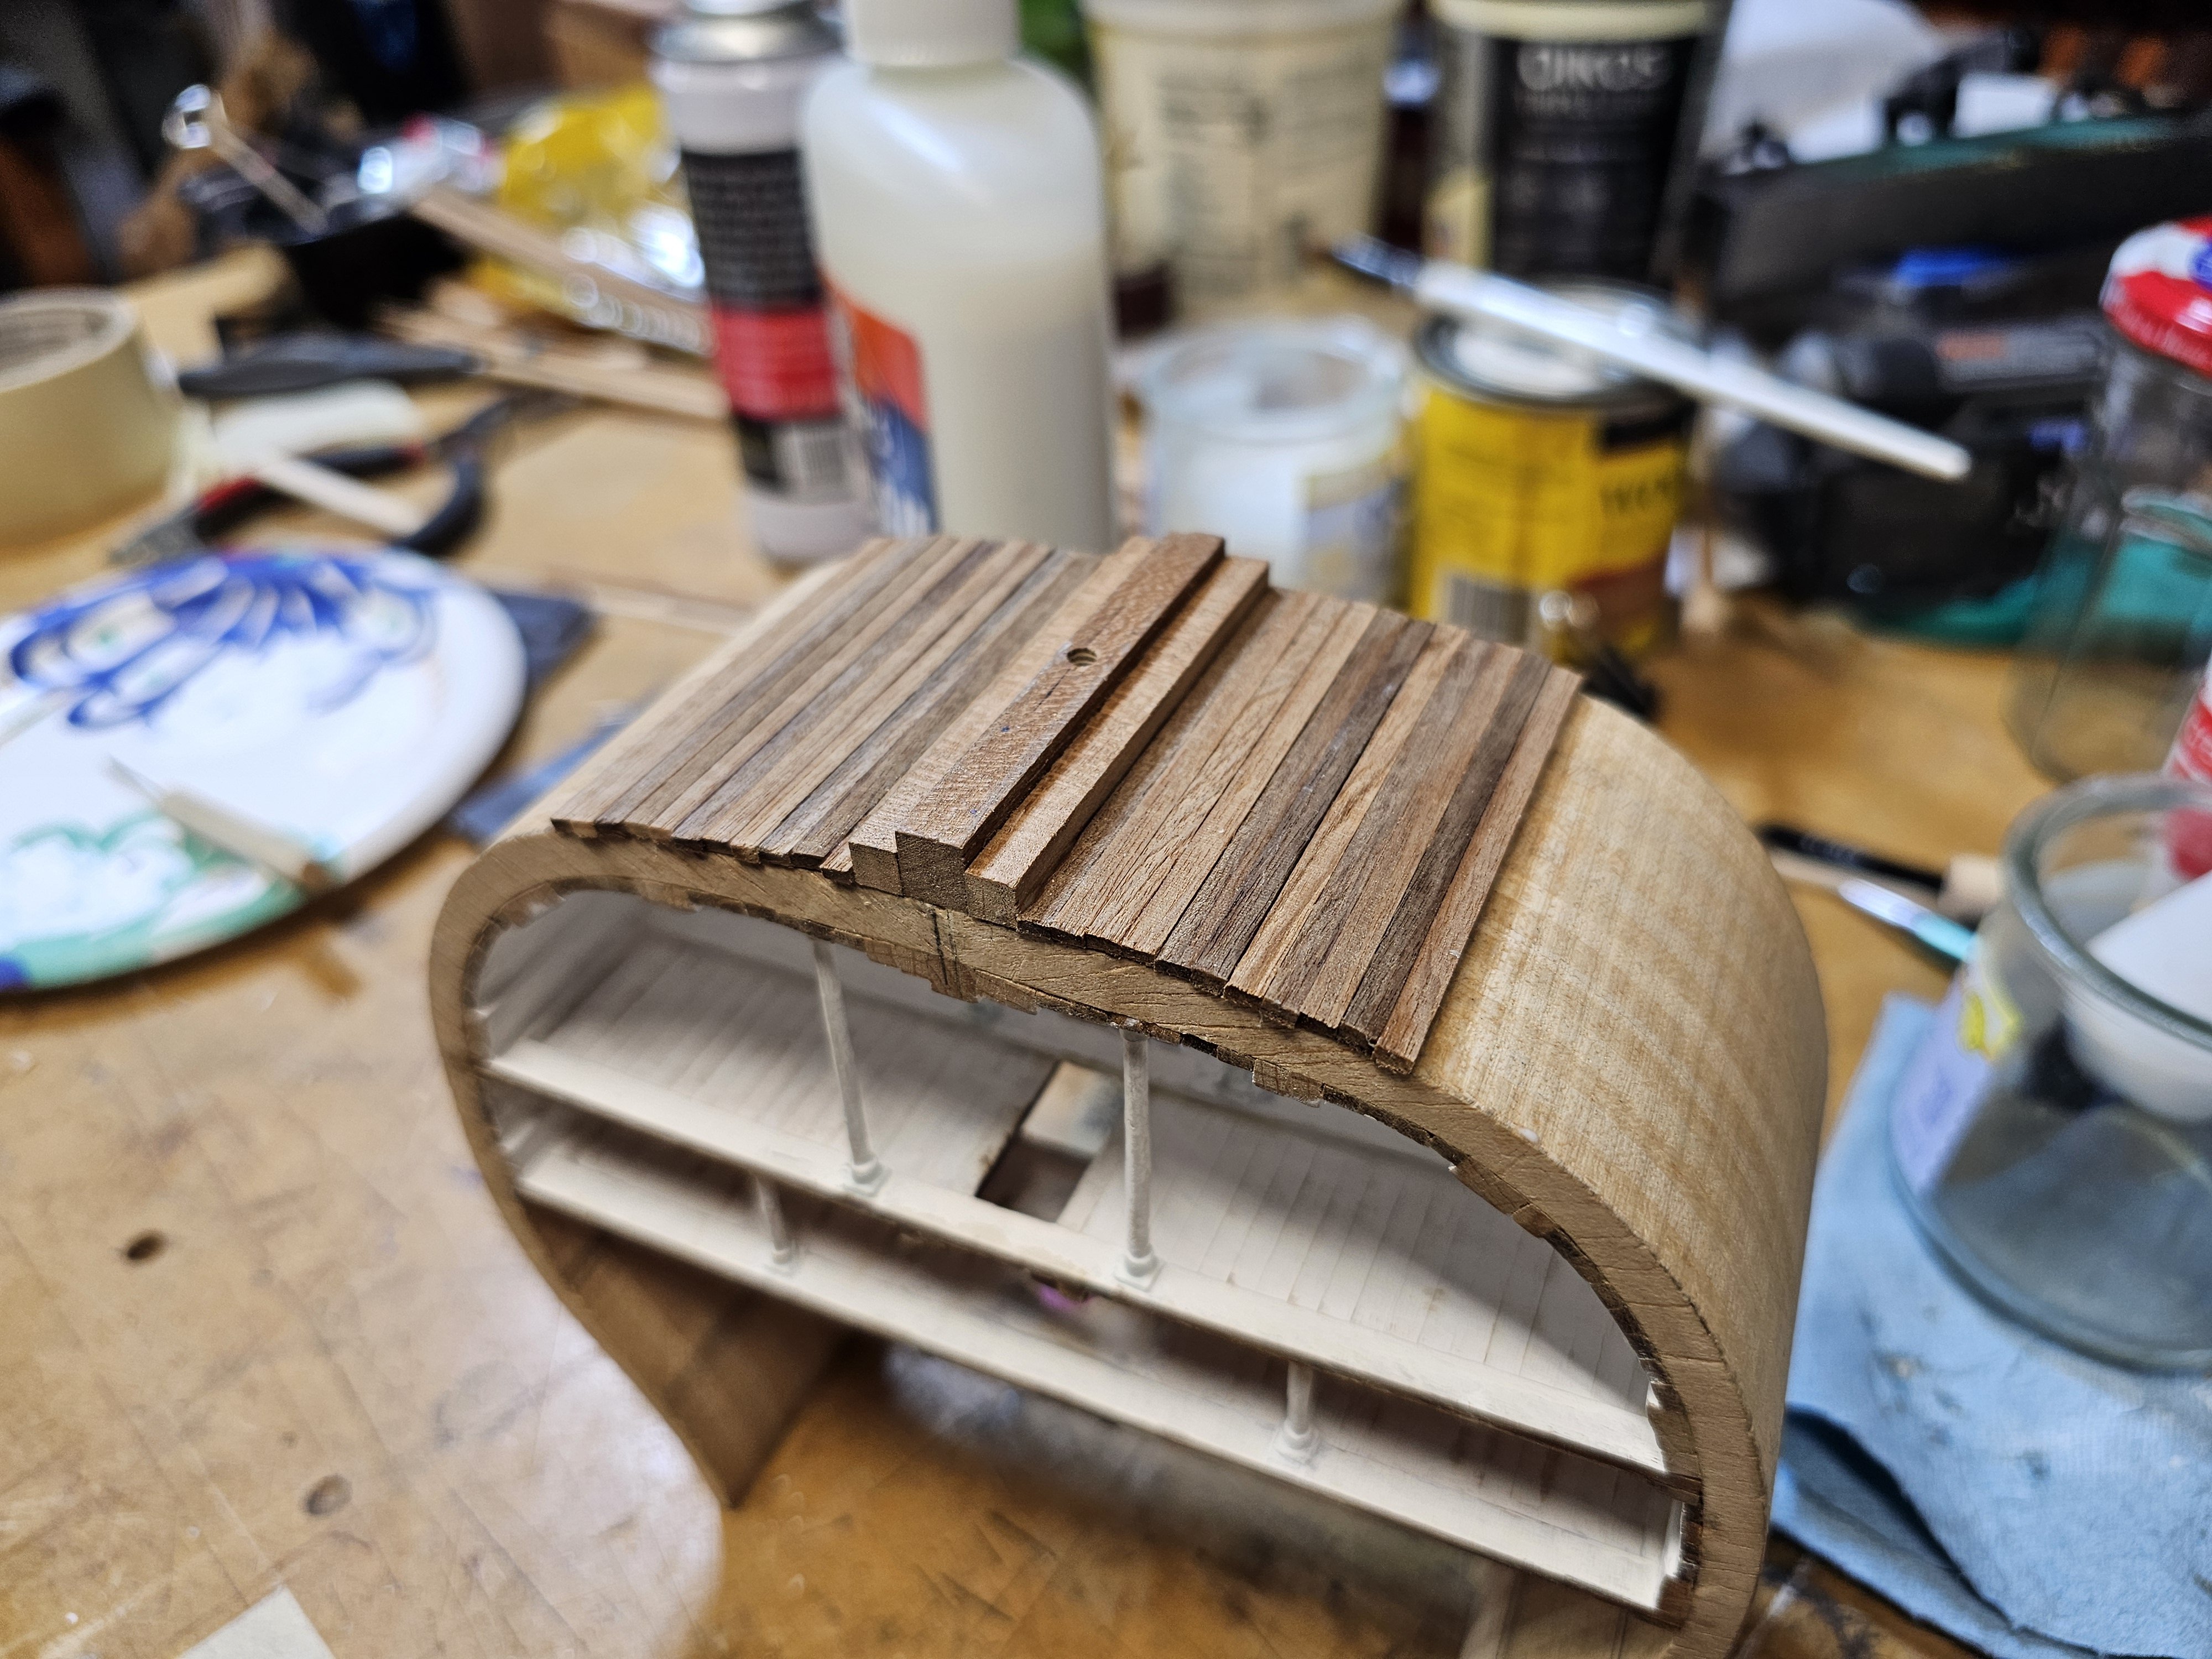
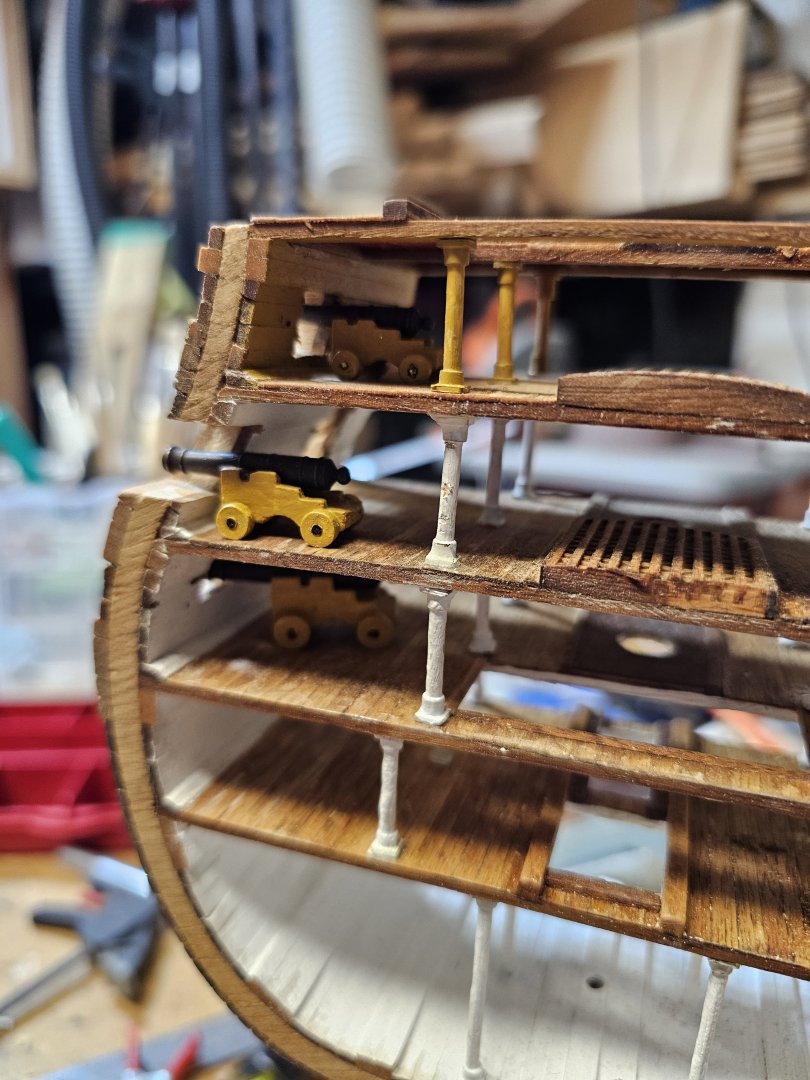
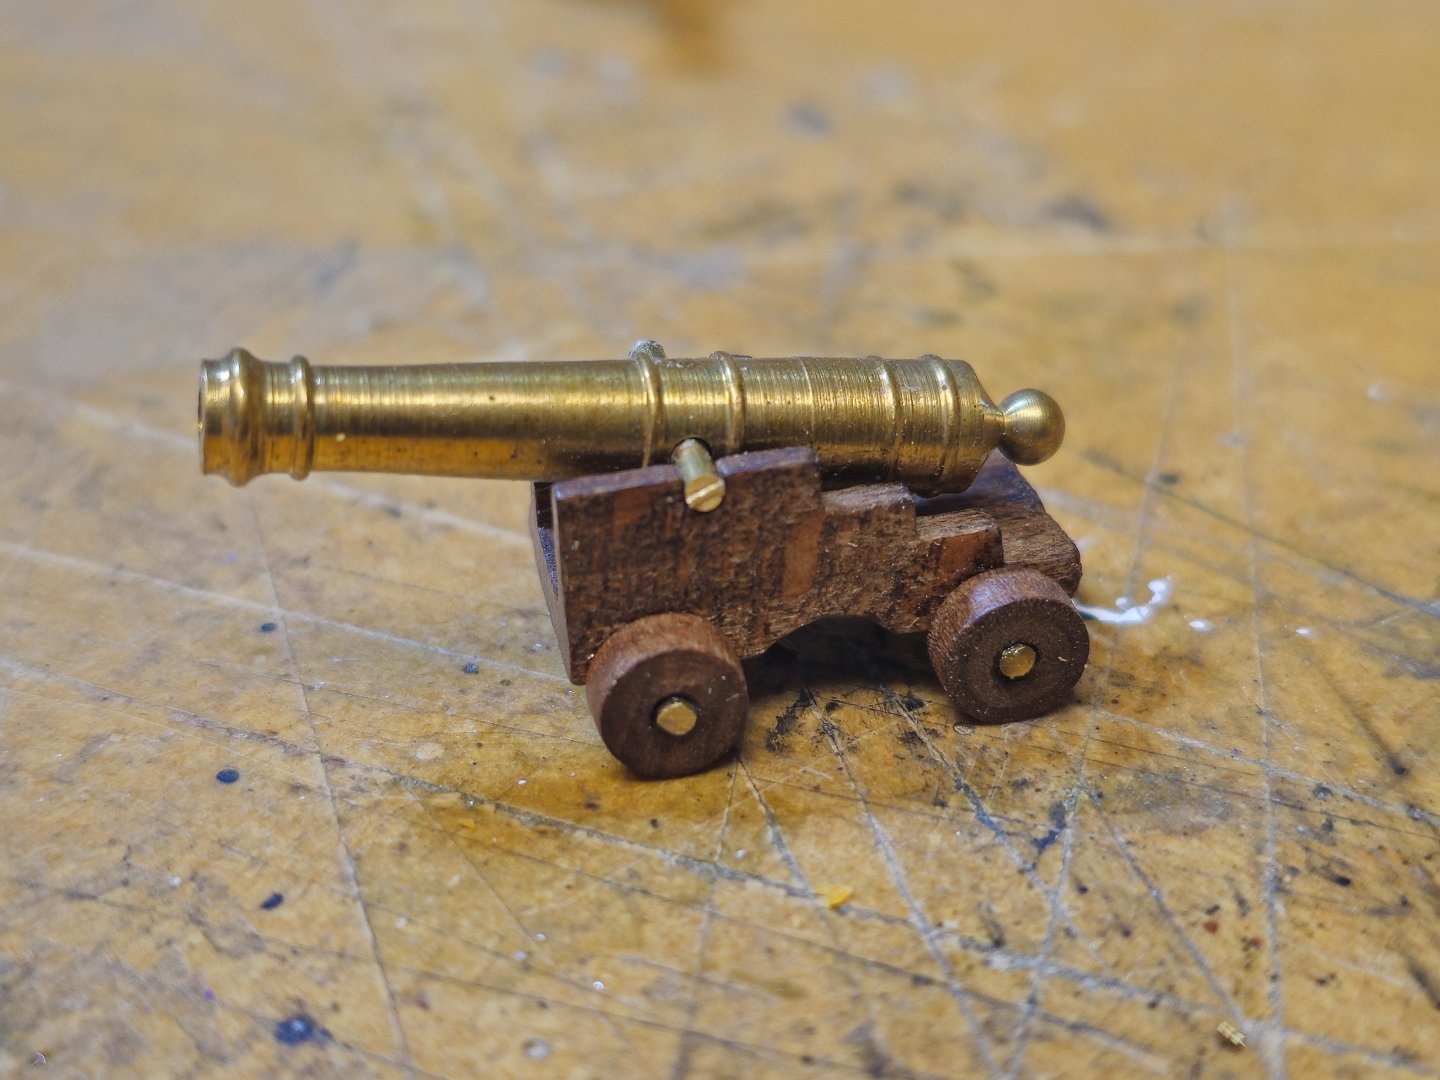
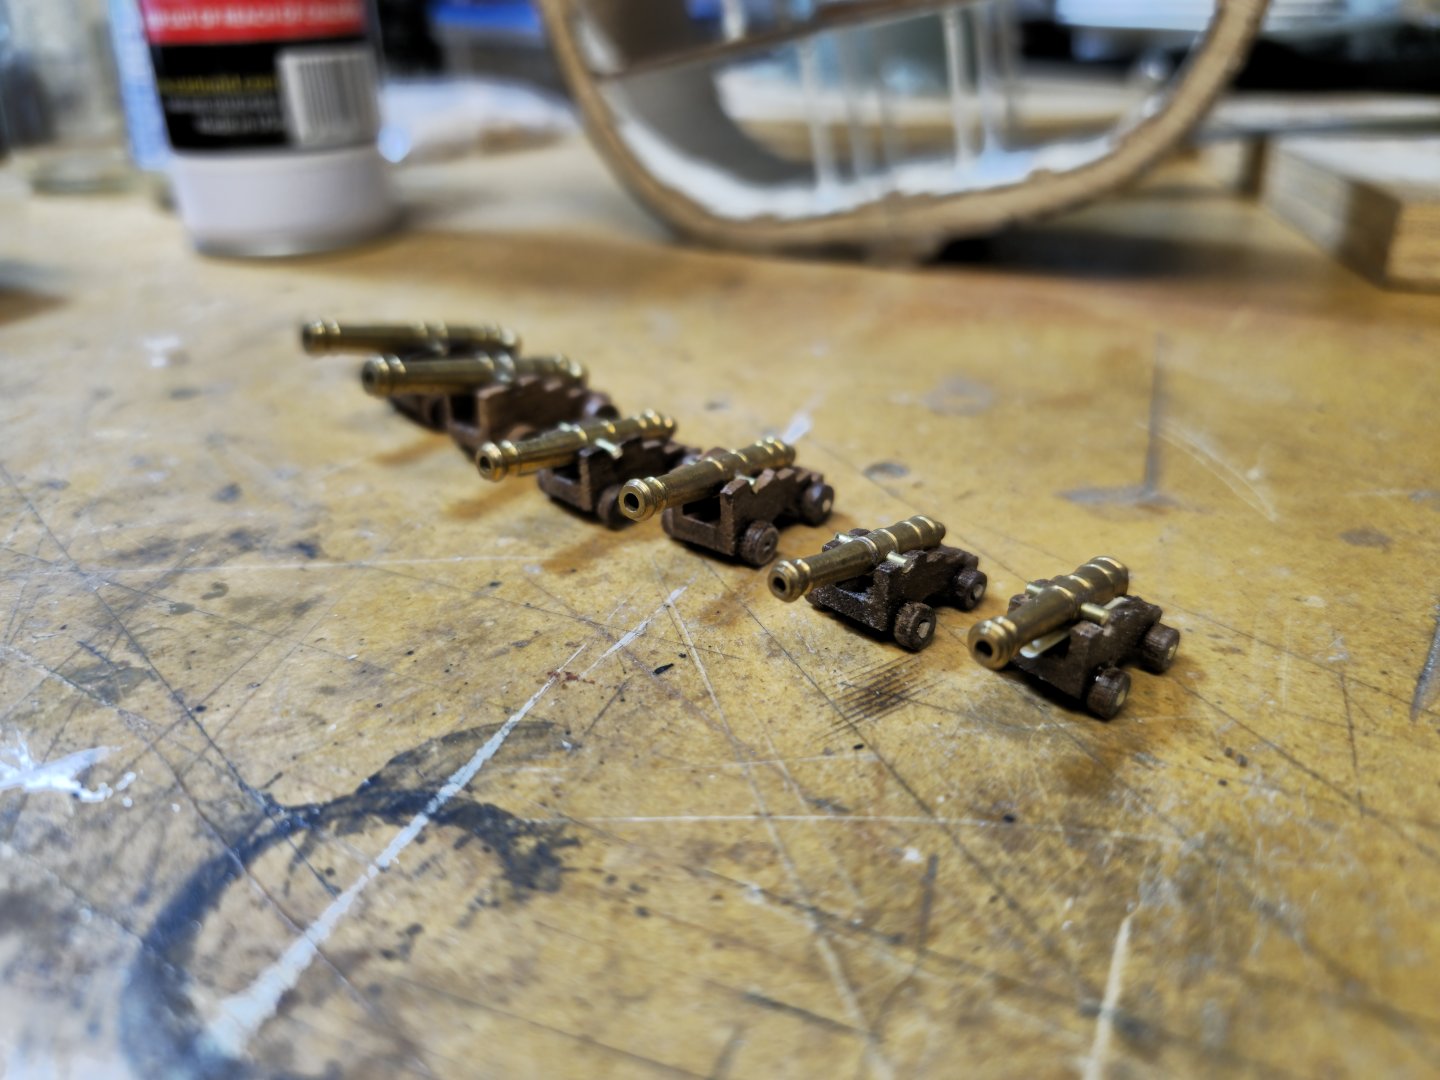
I assembled the various cannons for the model and finished the outer plank of the ship.
-
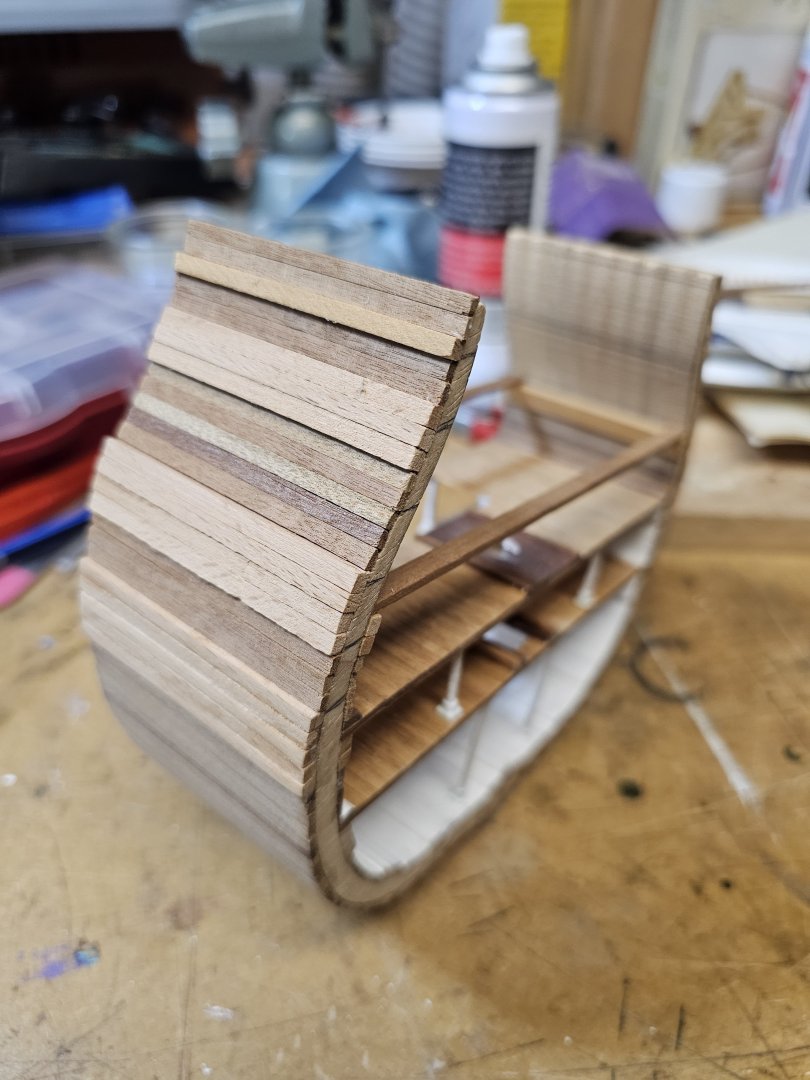
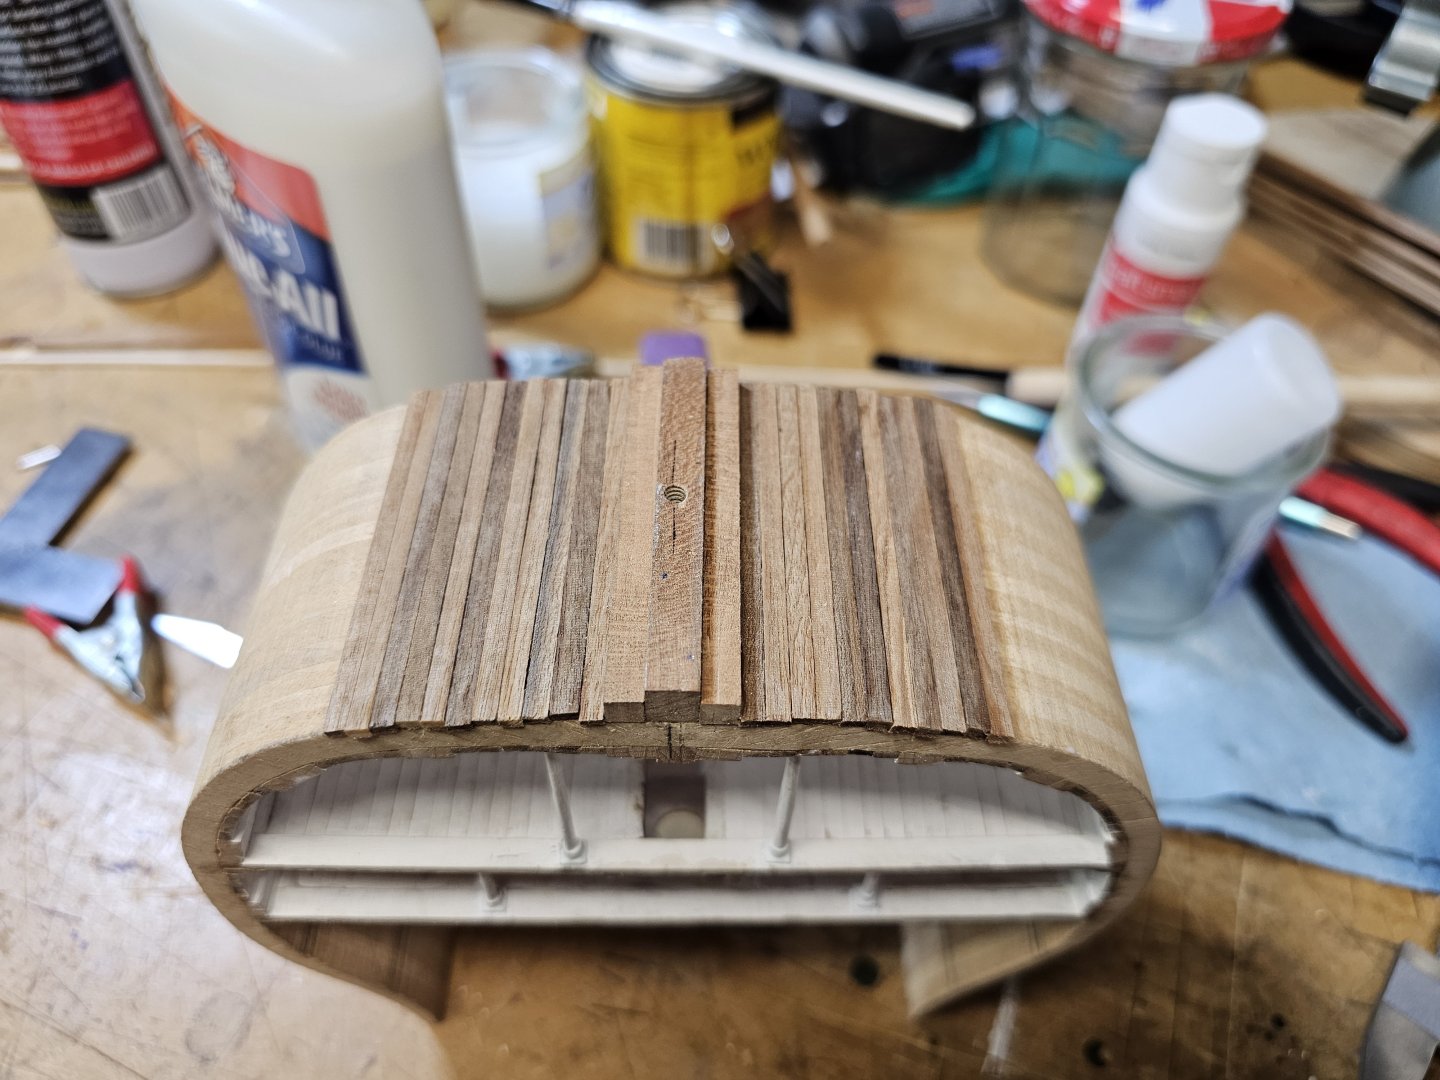
I took off the keel because it was not lined up correctly and was not fastened well. After fixing its position, I reattached the keel and started to plank the outside of the model. I drilled a hole in the keel to help attach the model to a base. I also added the lower wale.


-
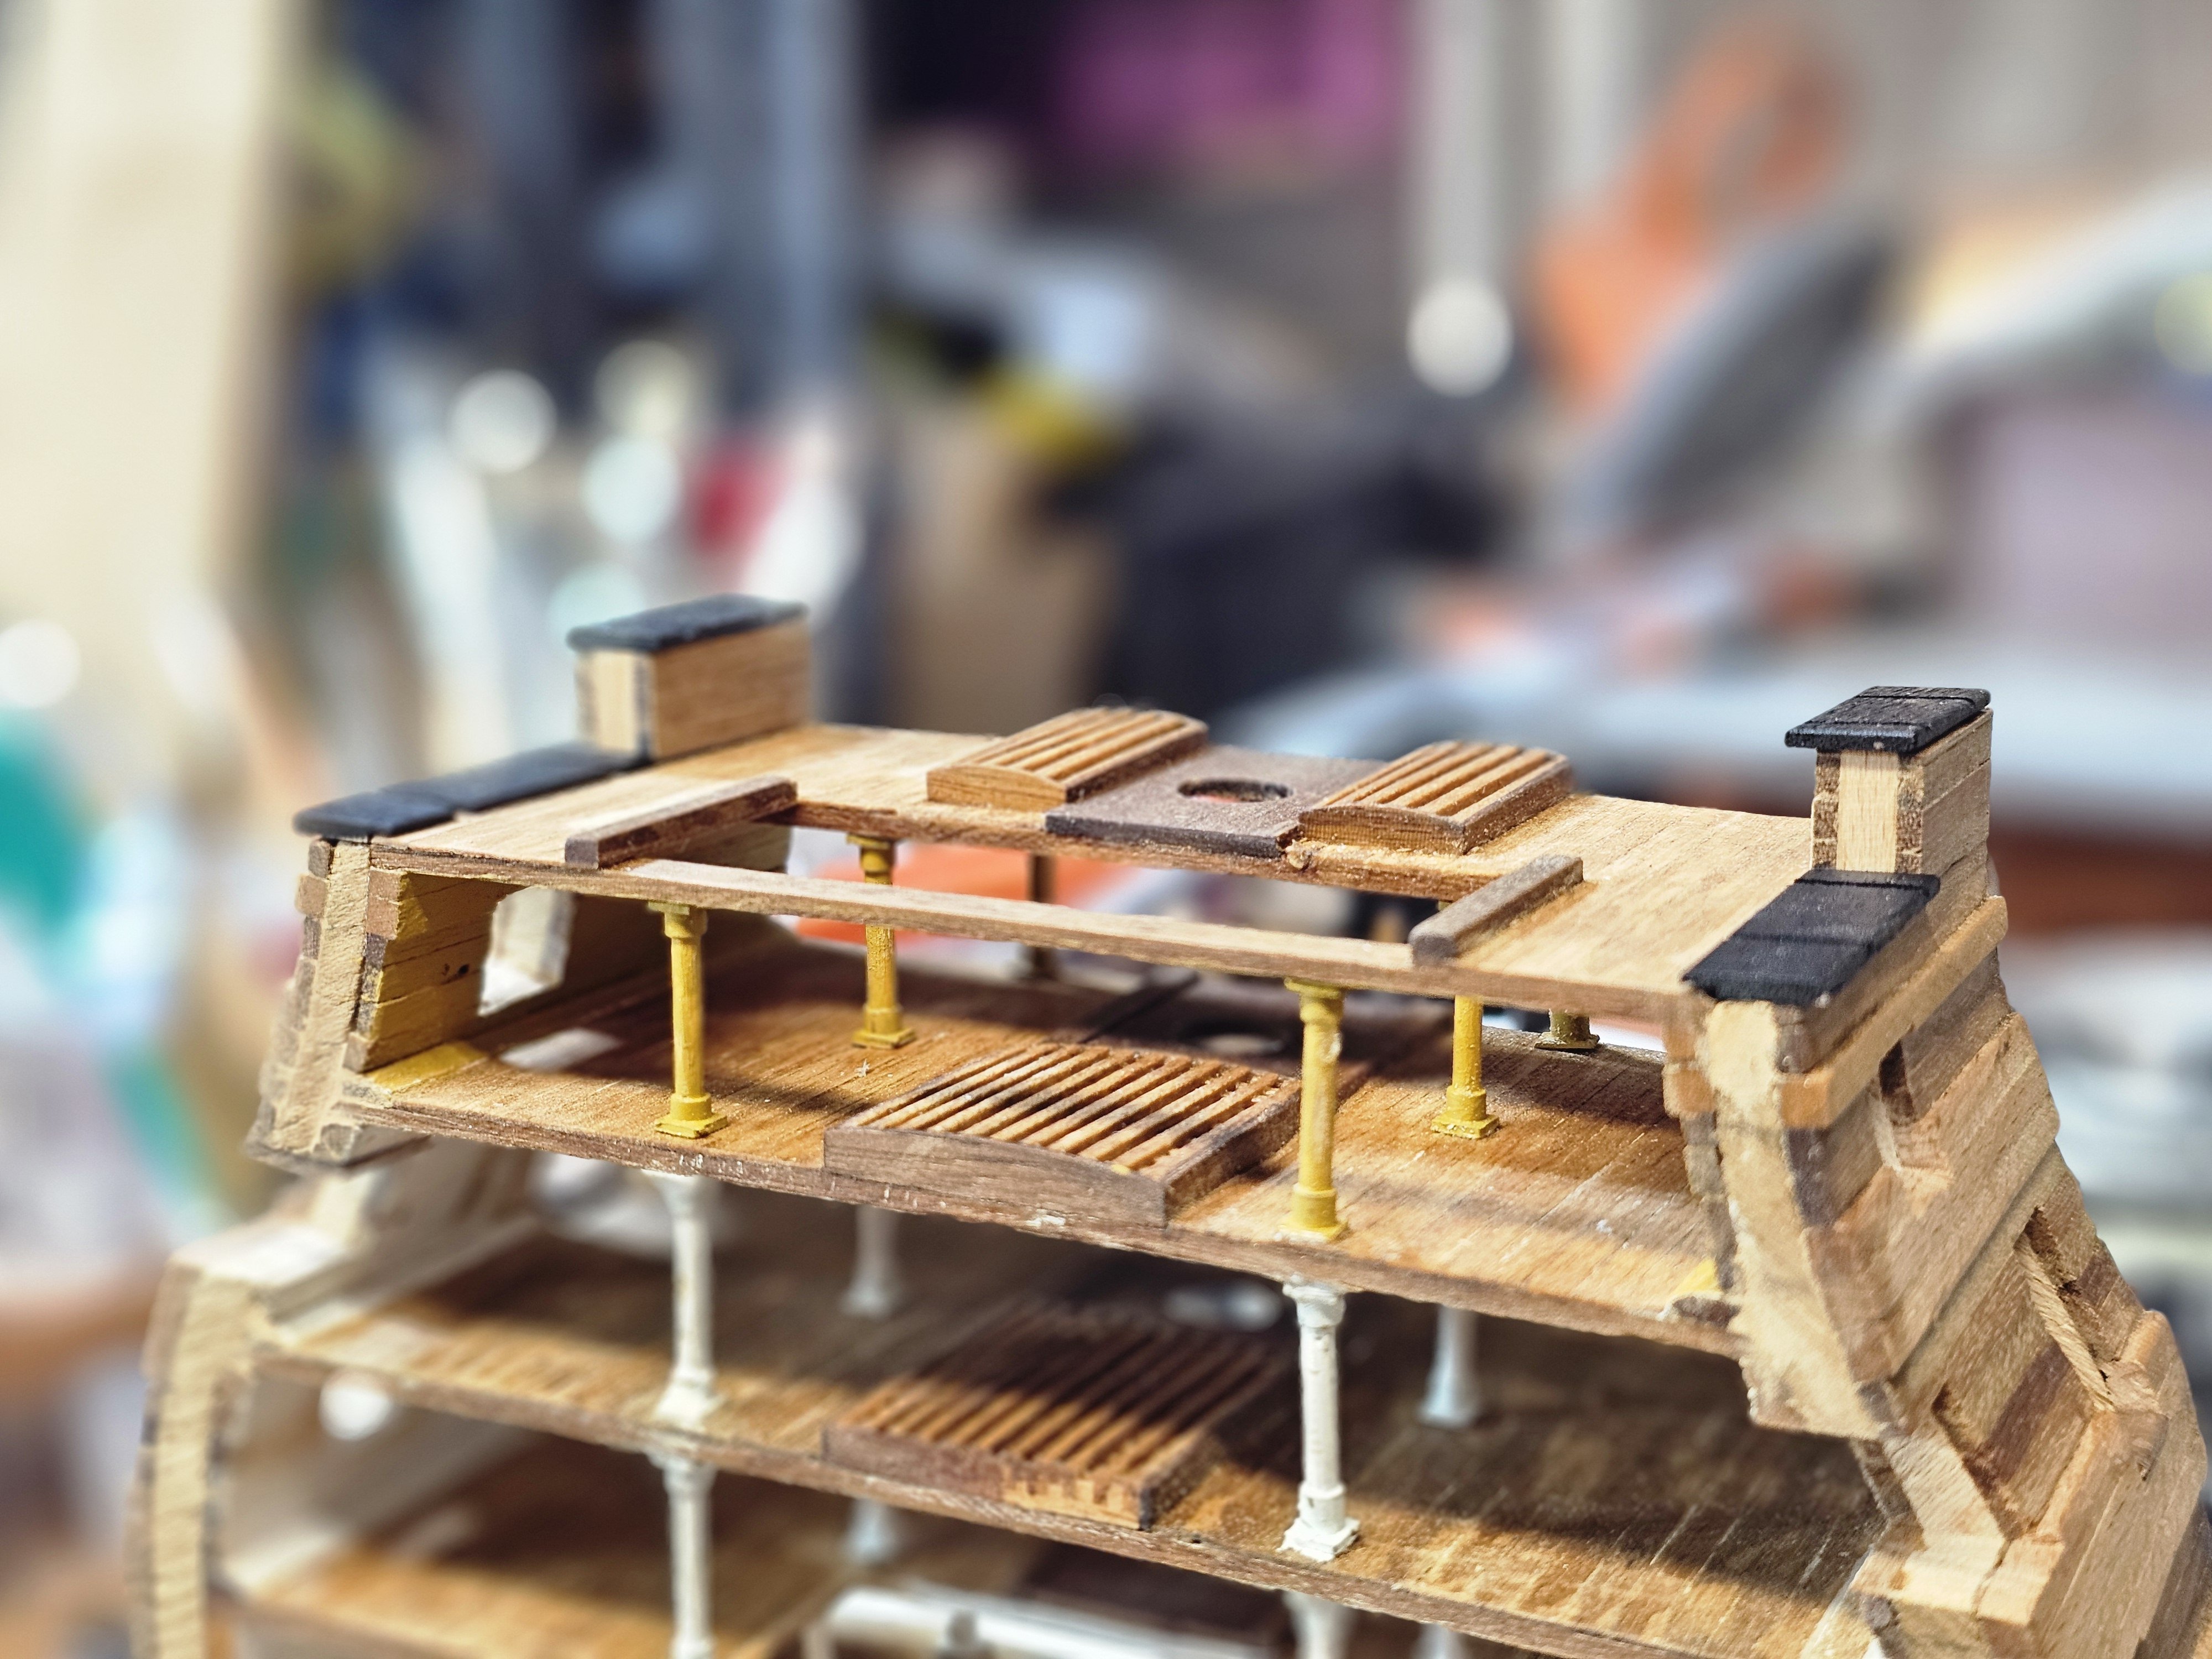
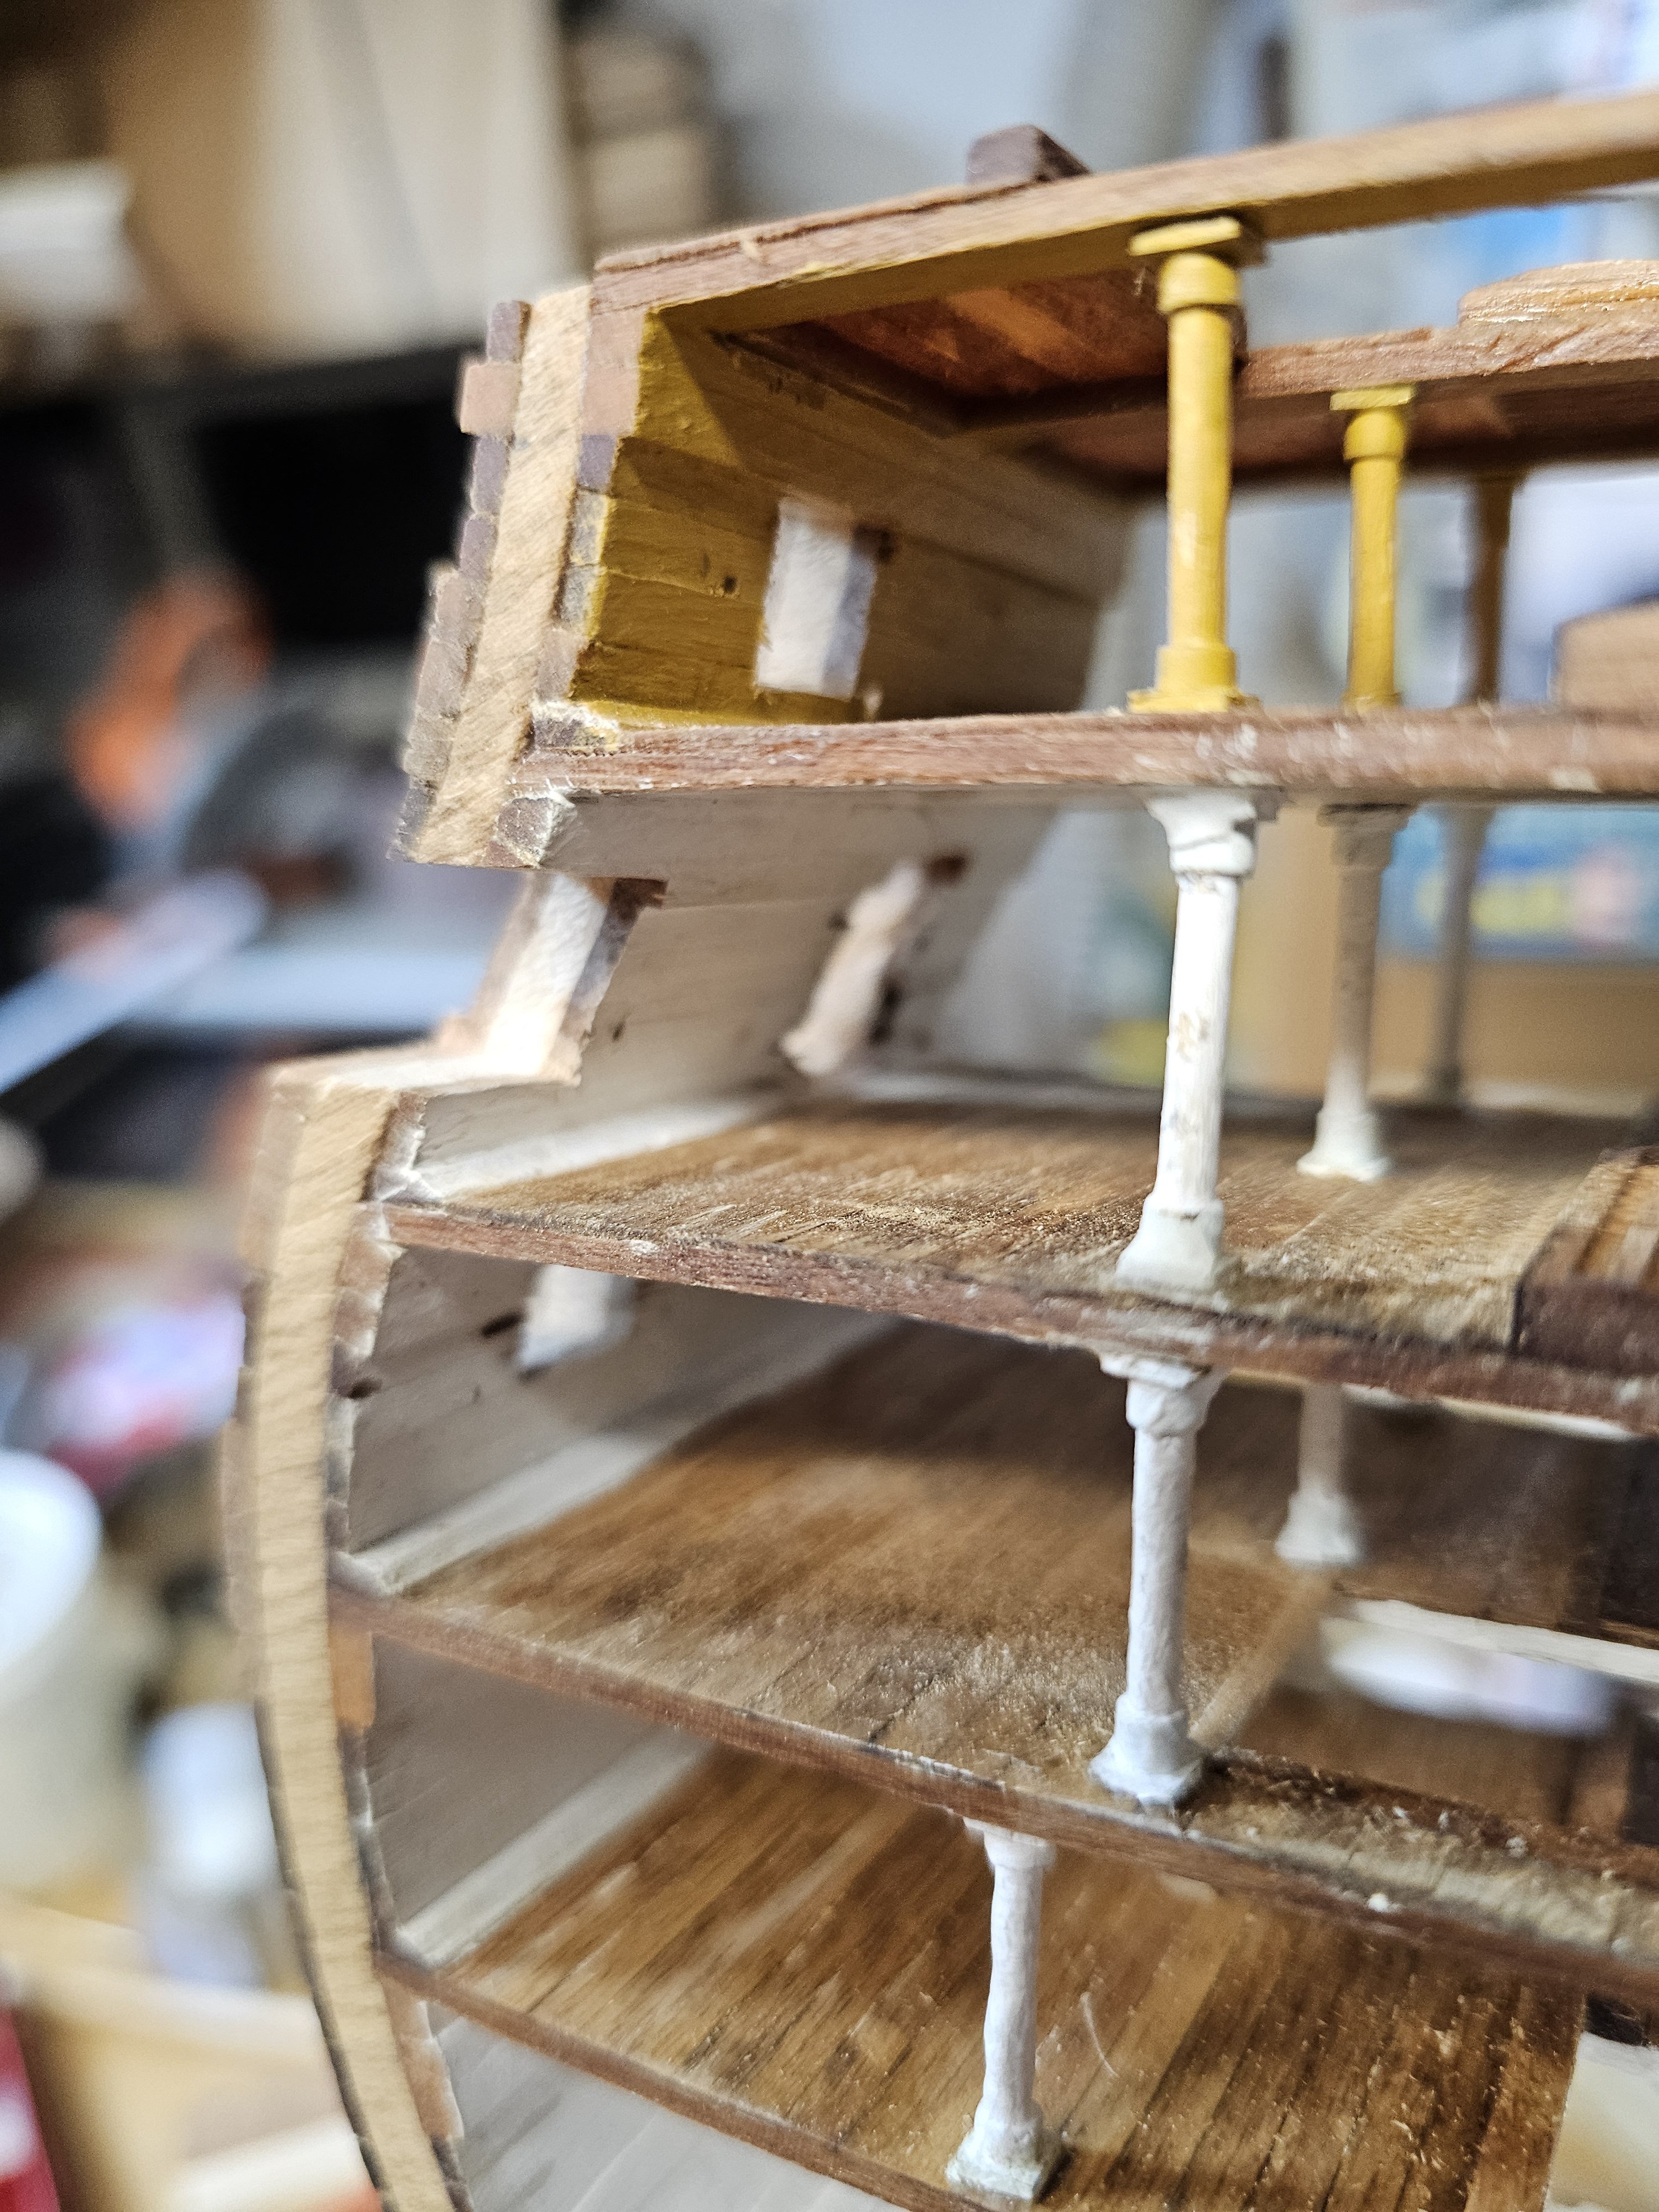
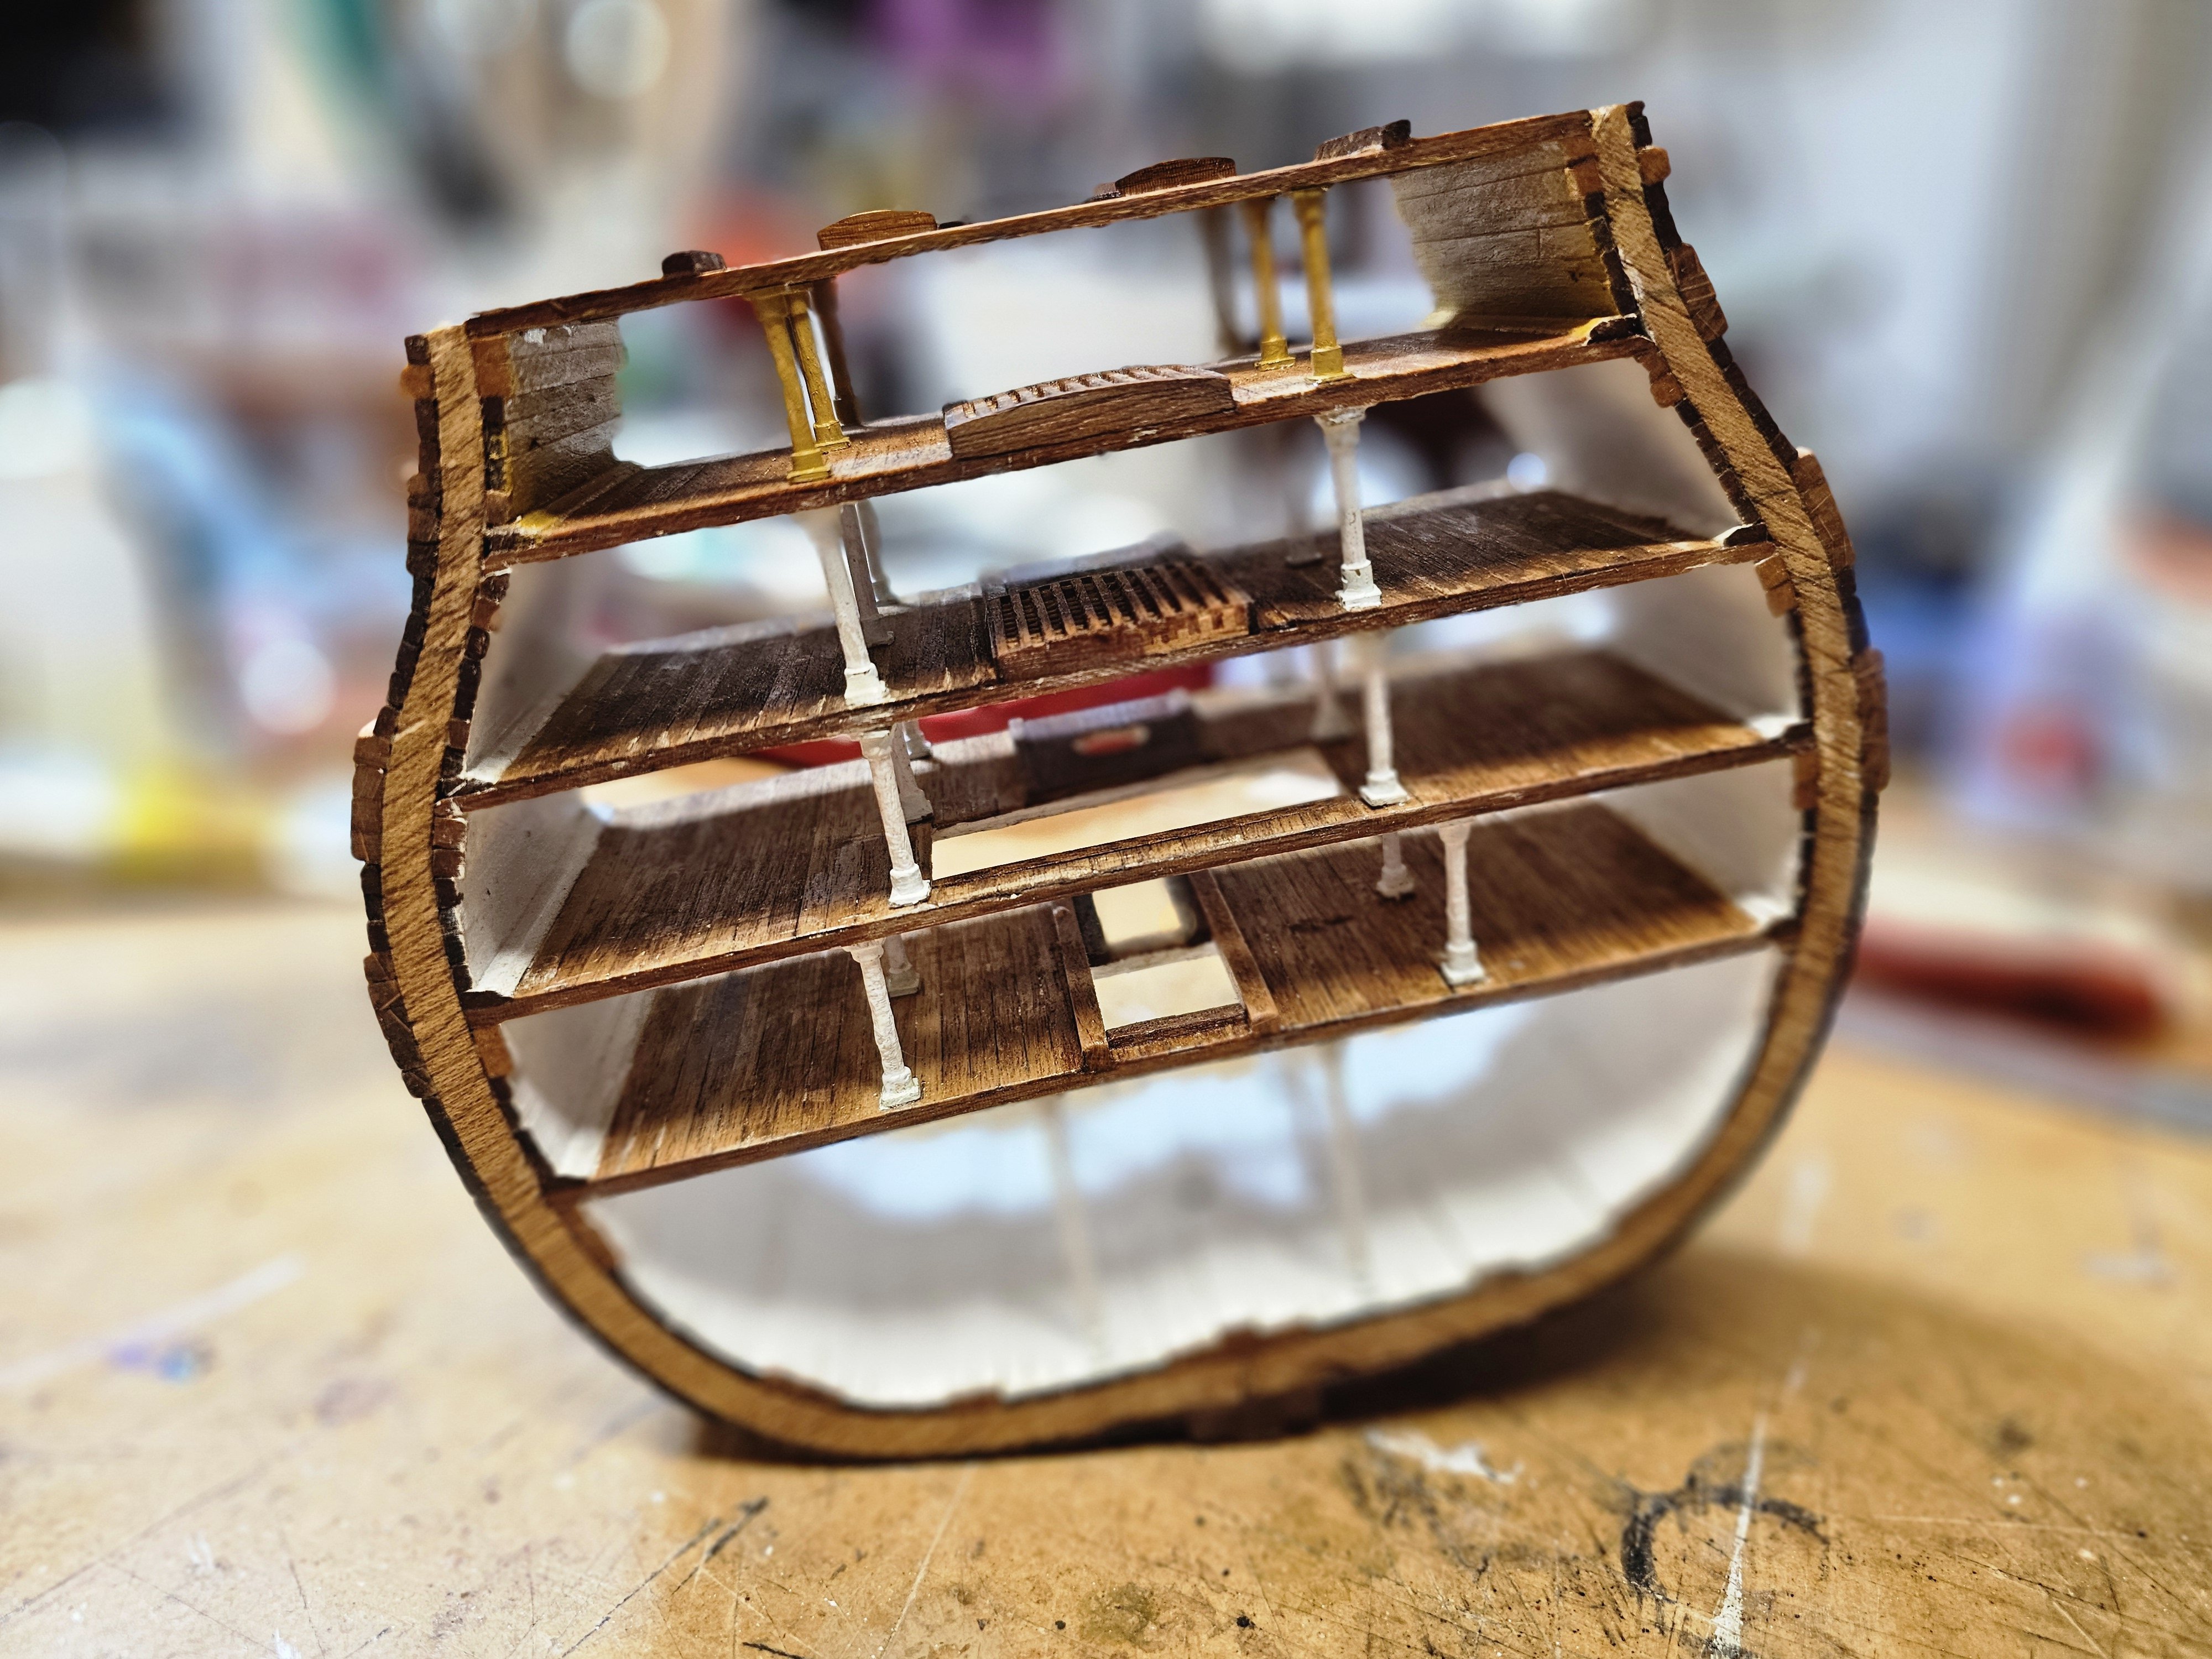
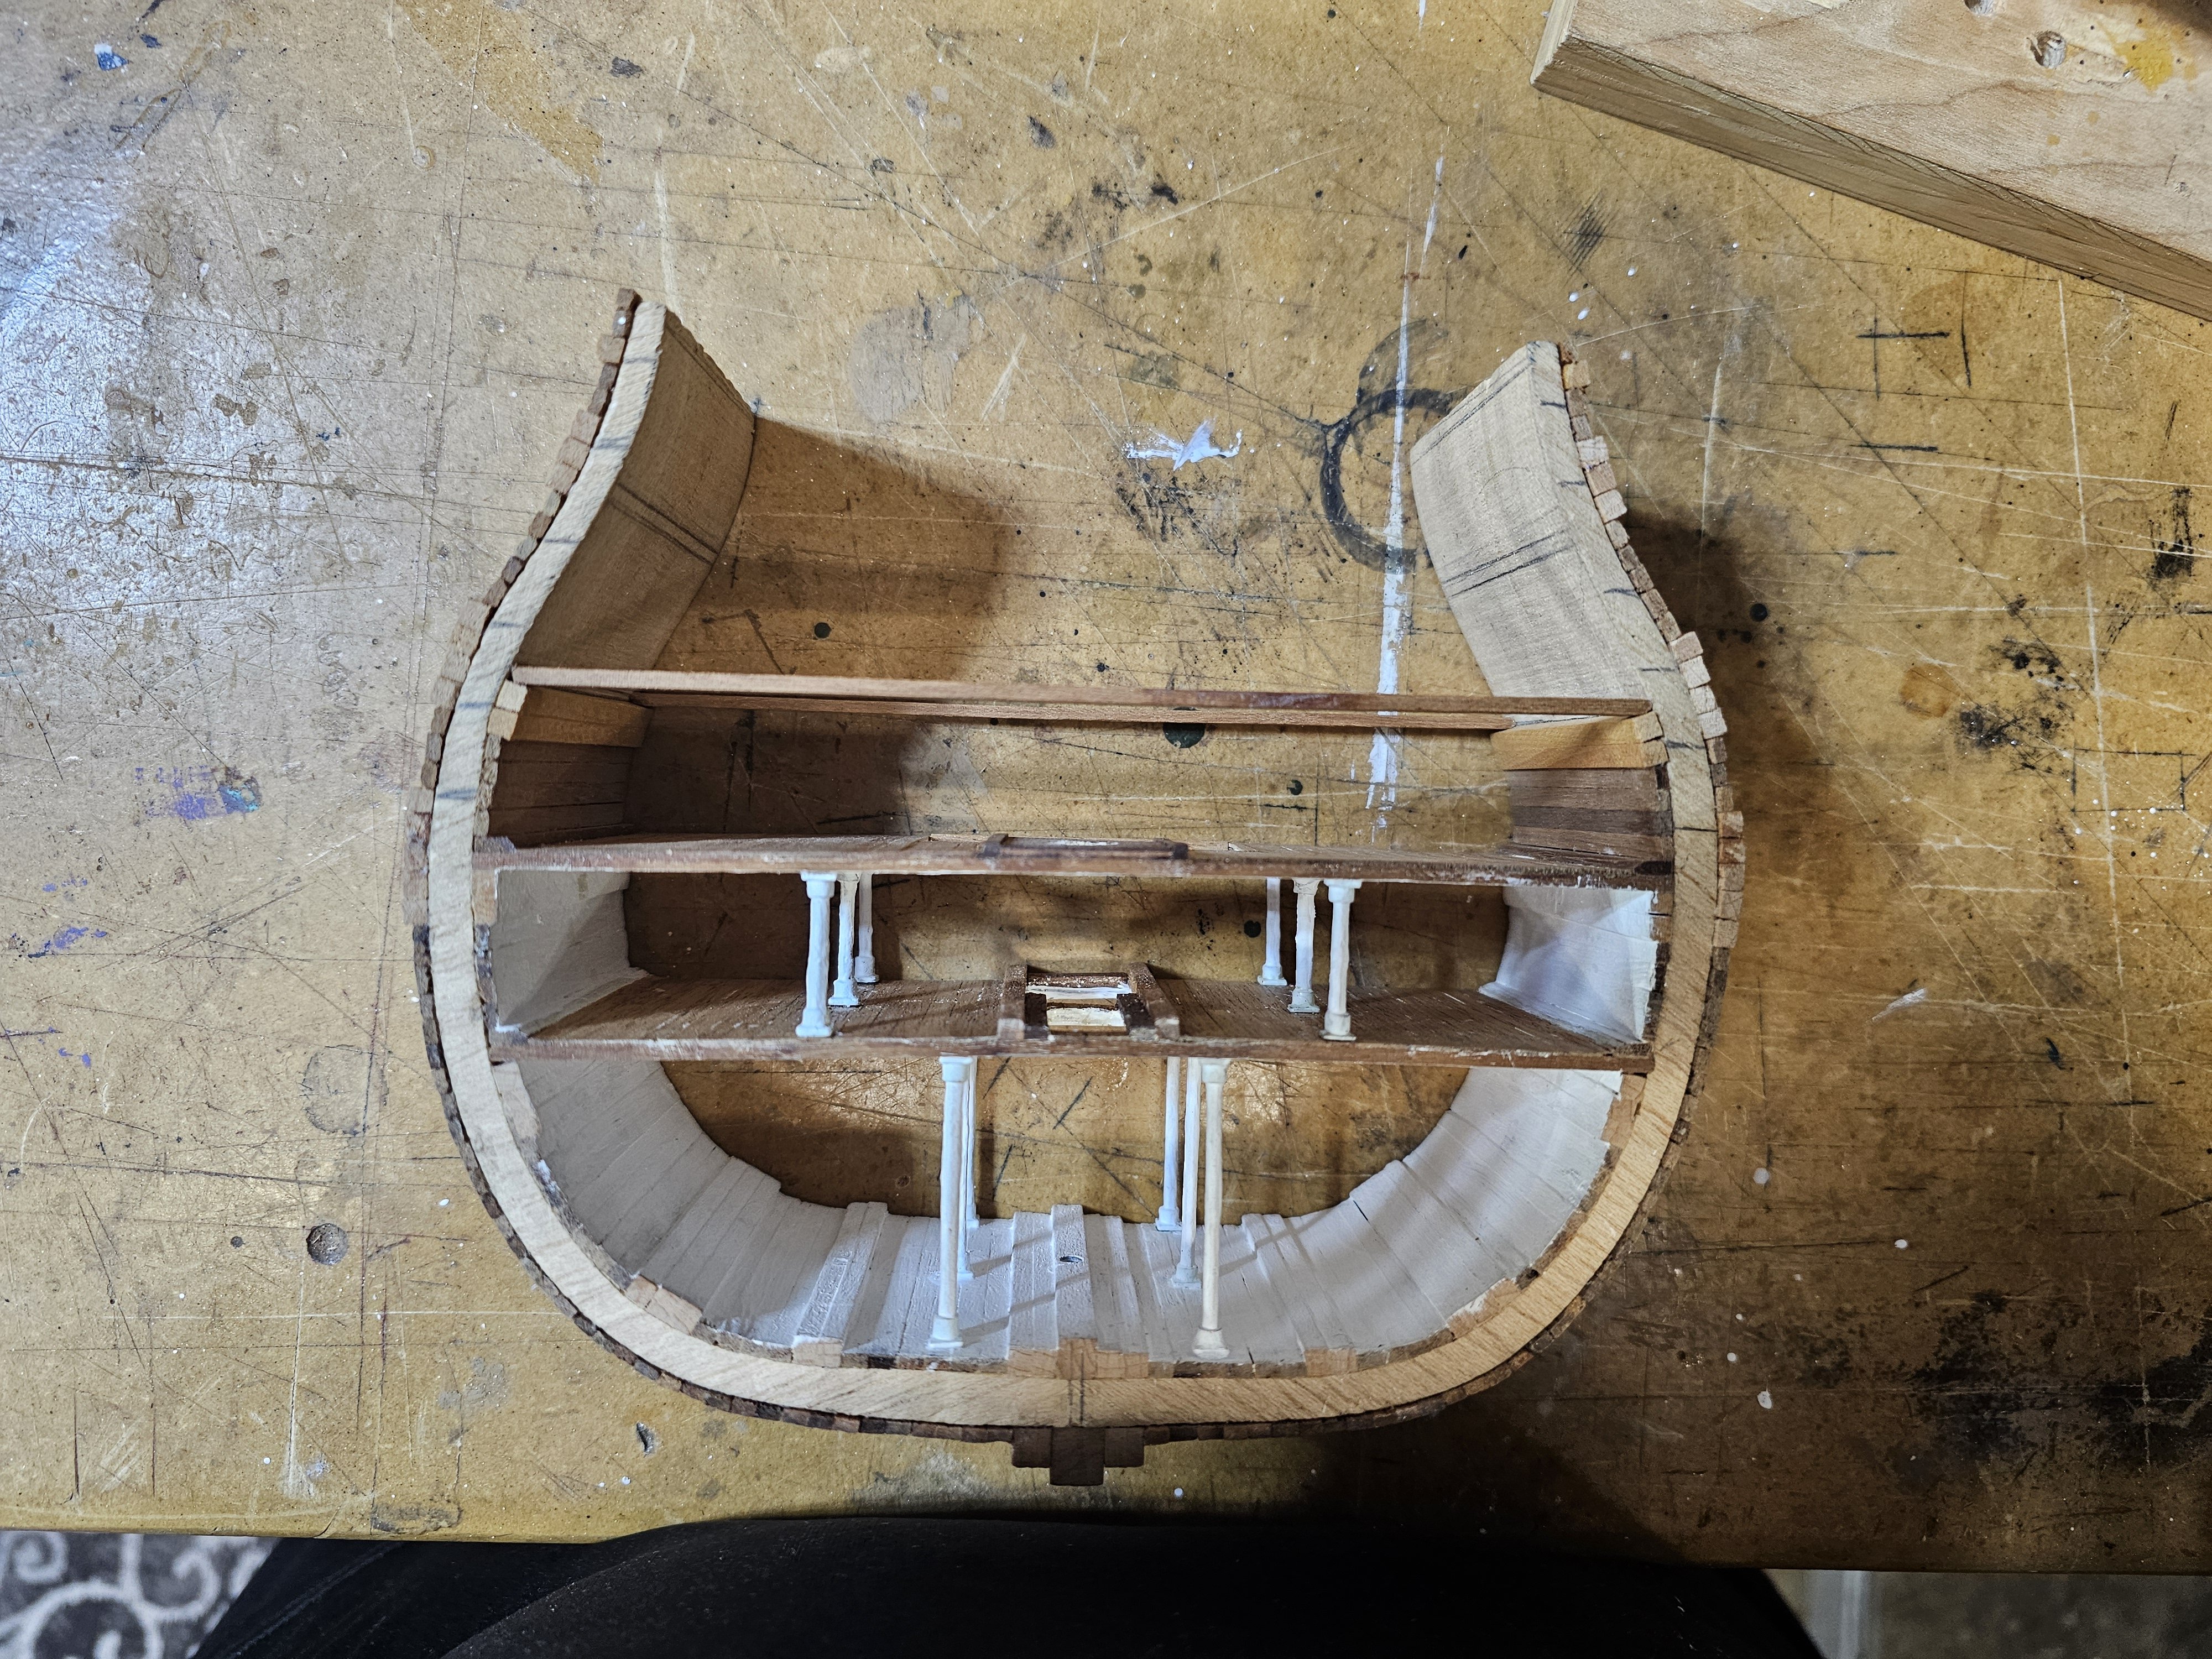
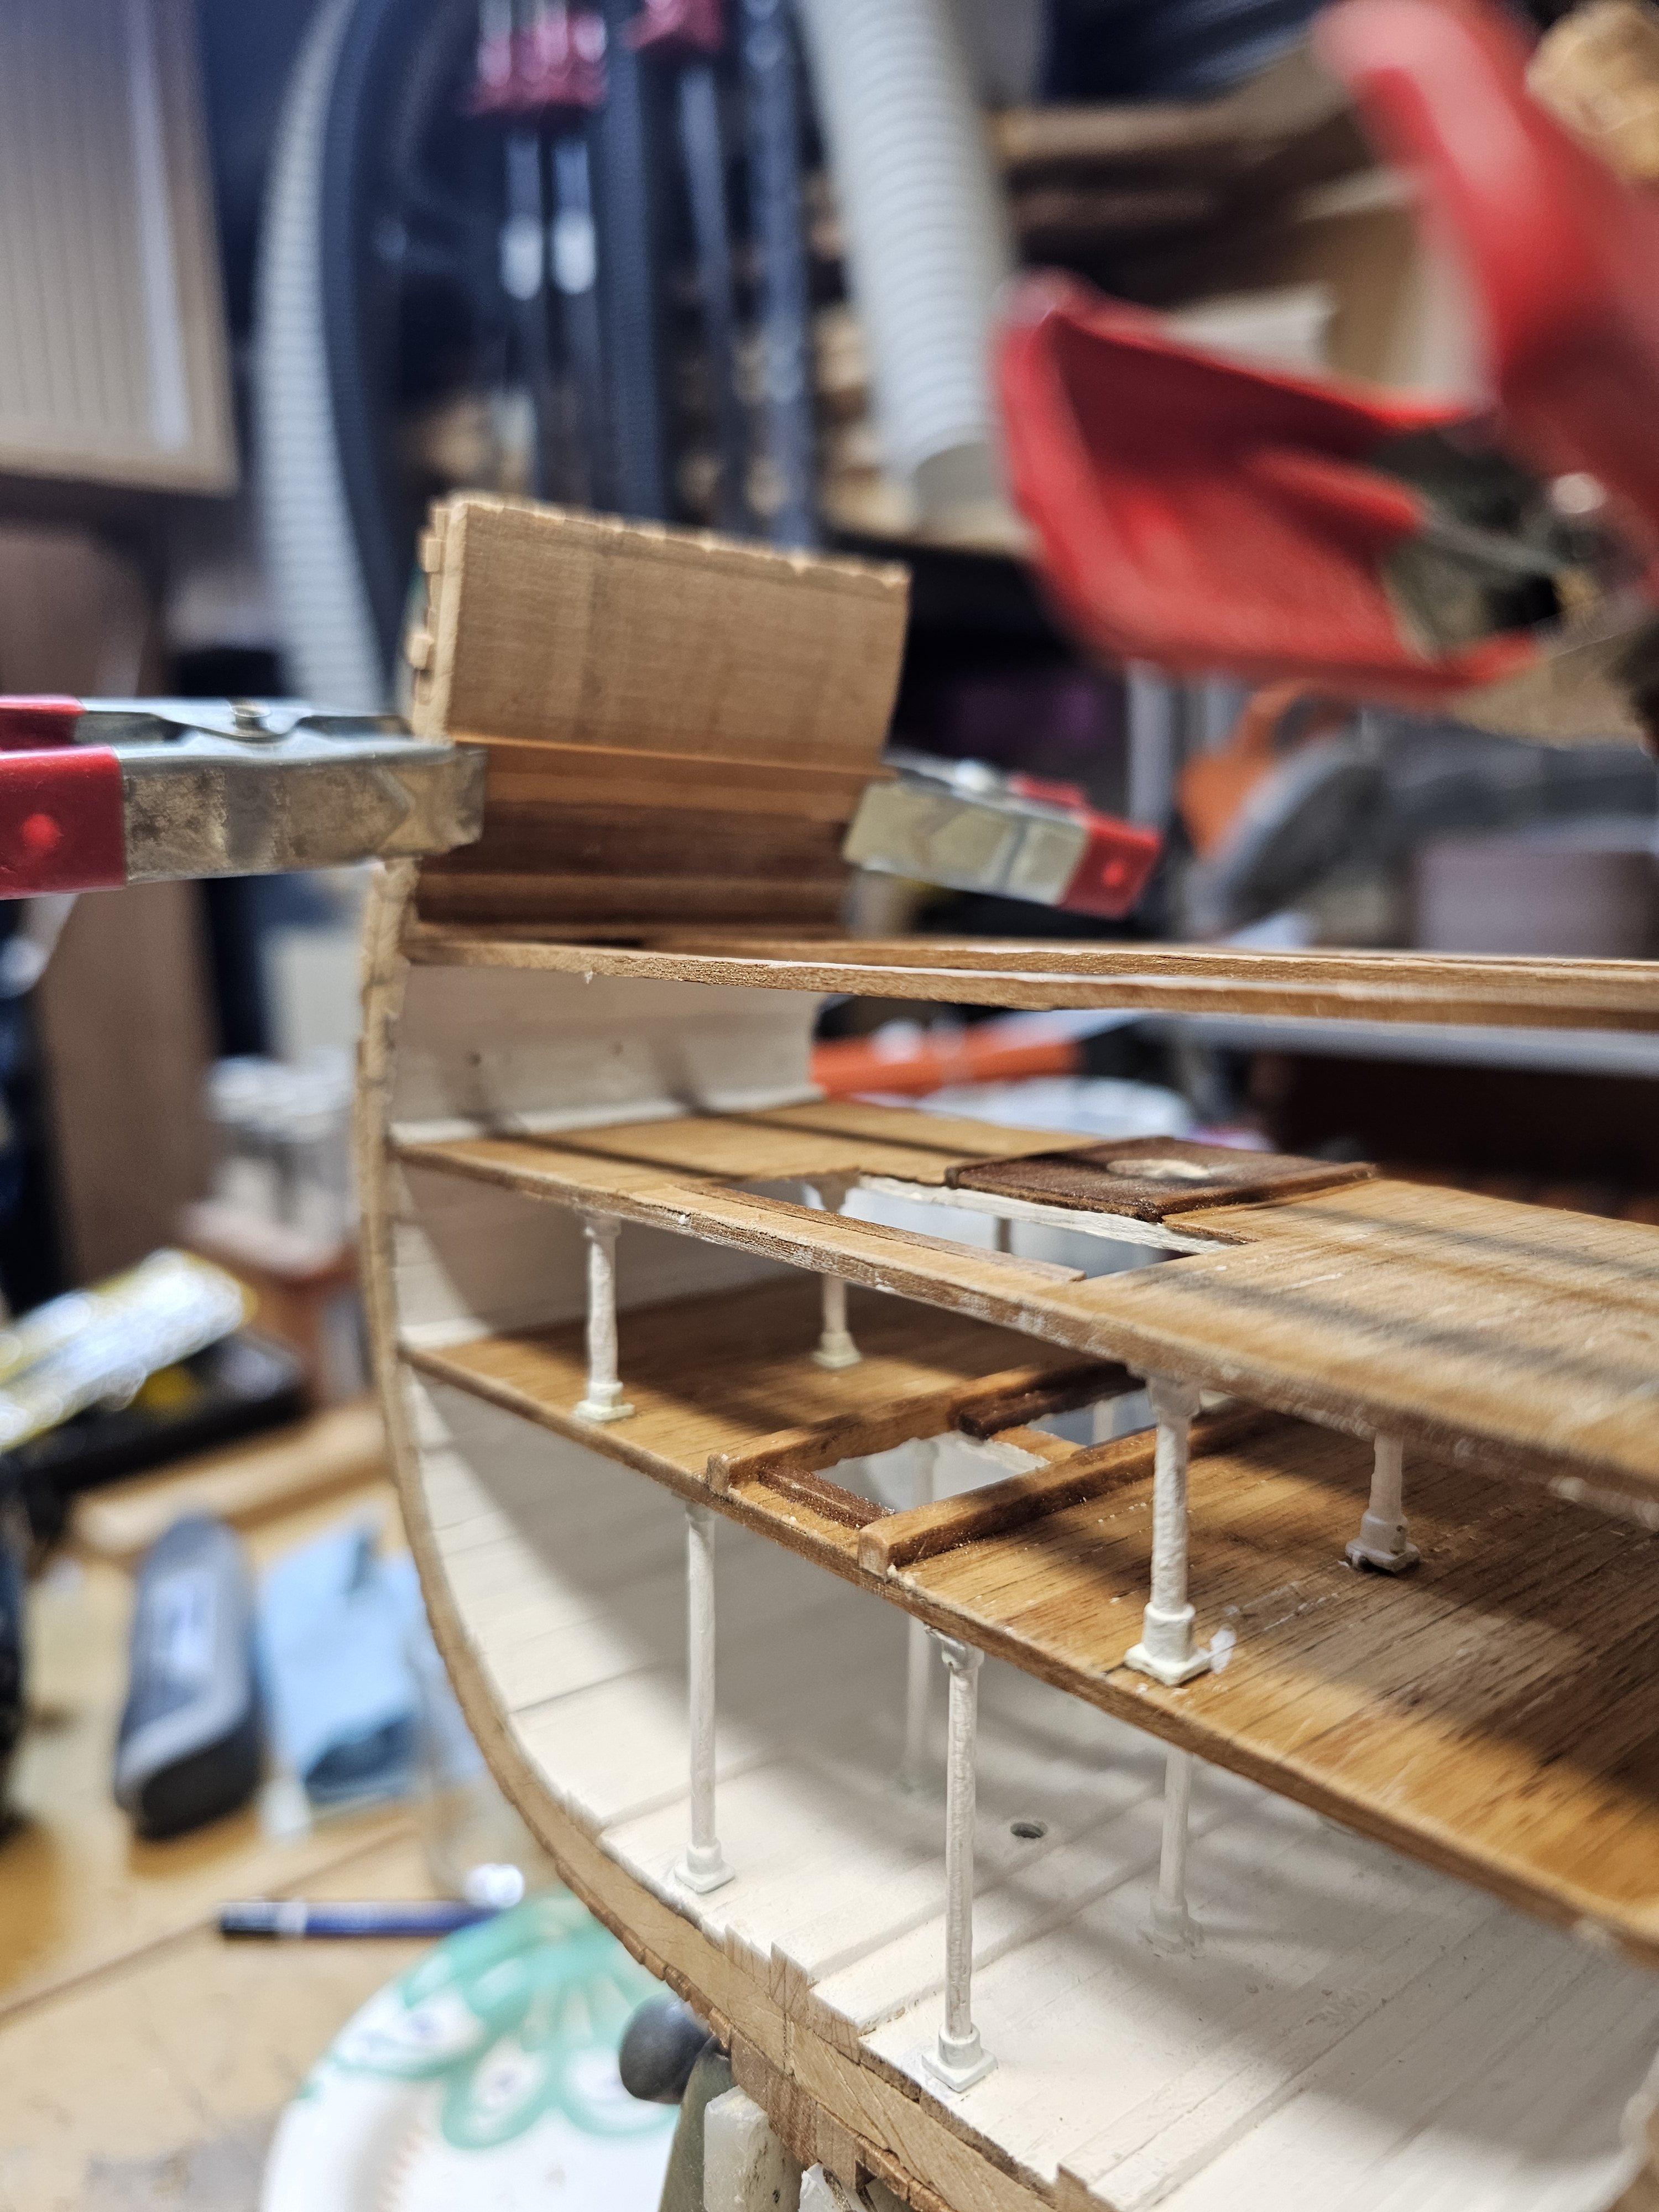
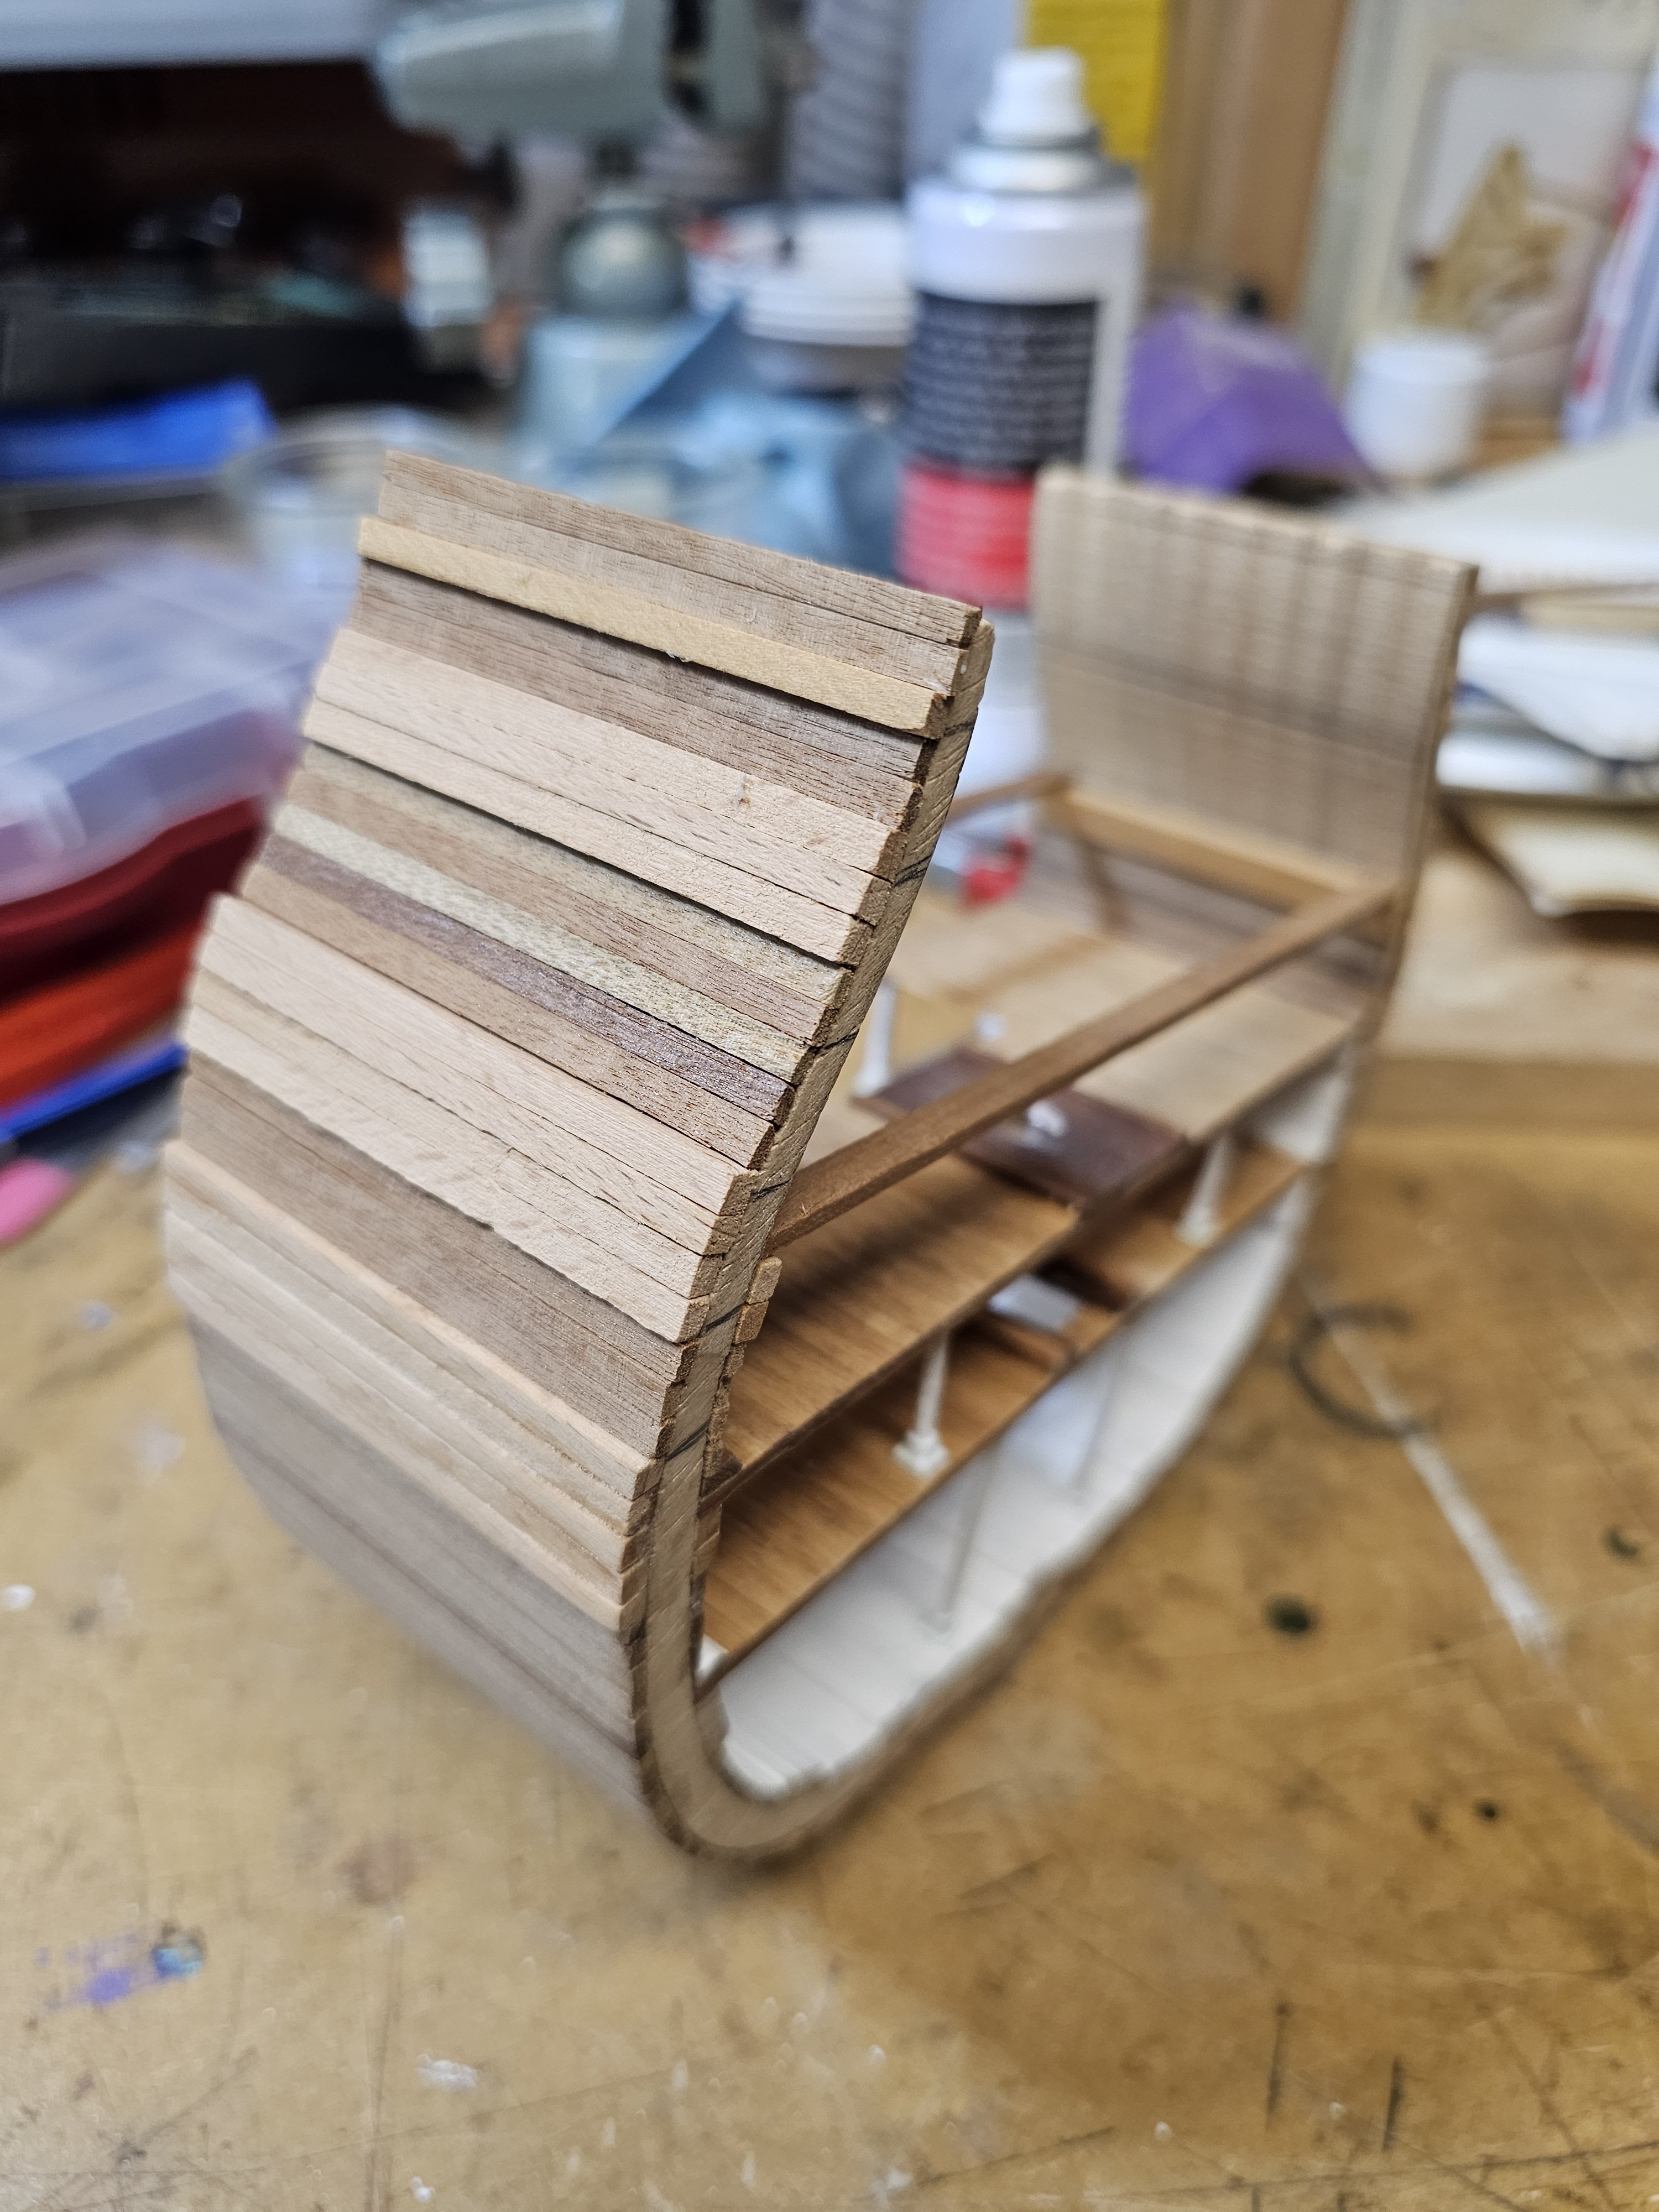
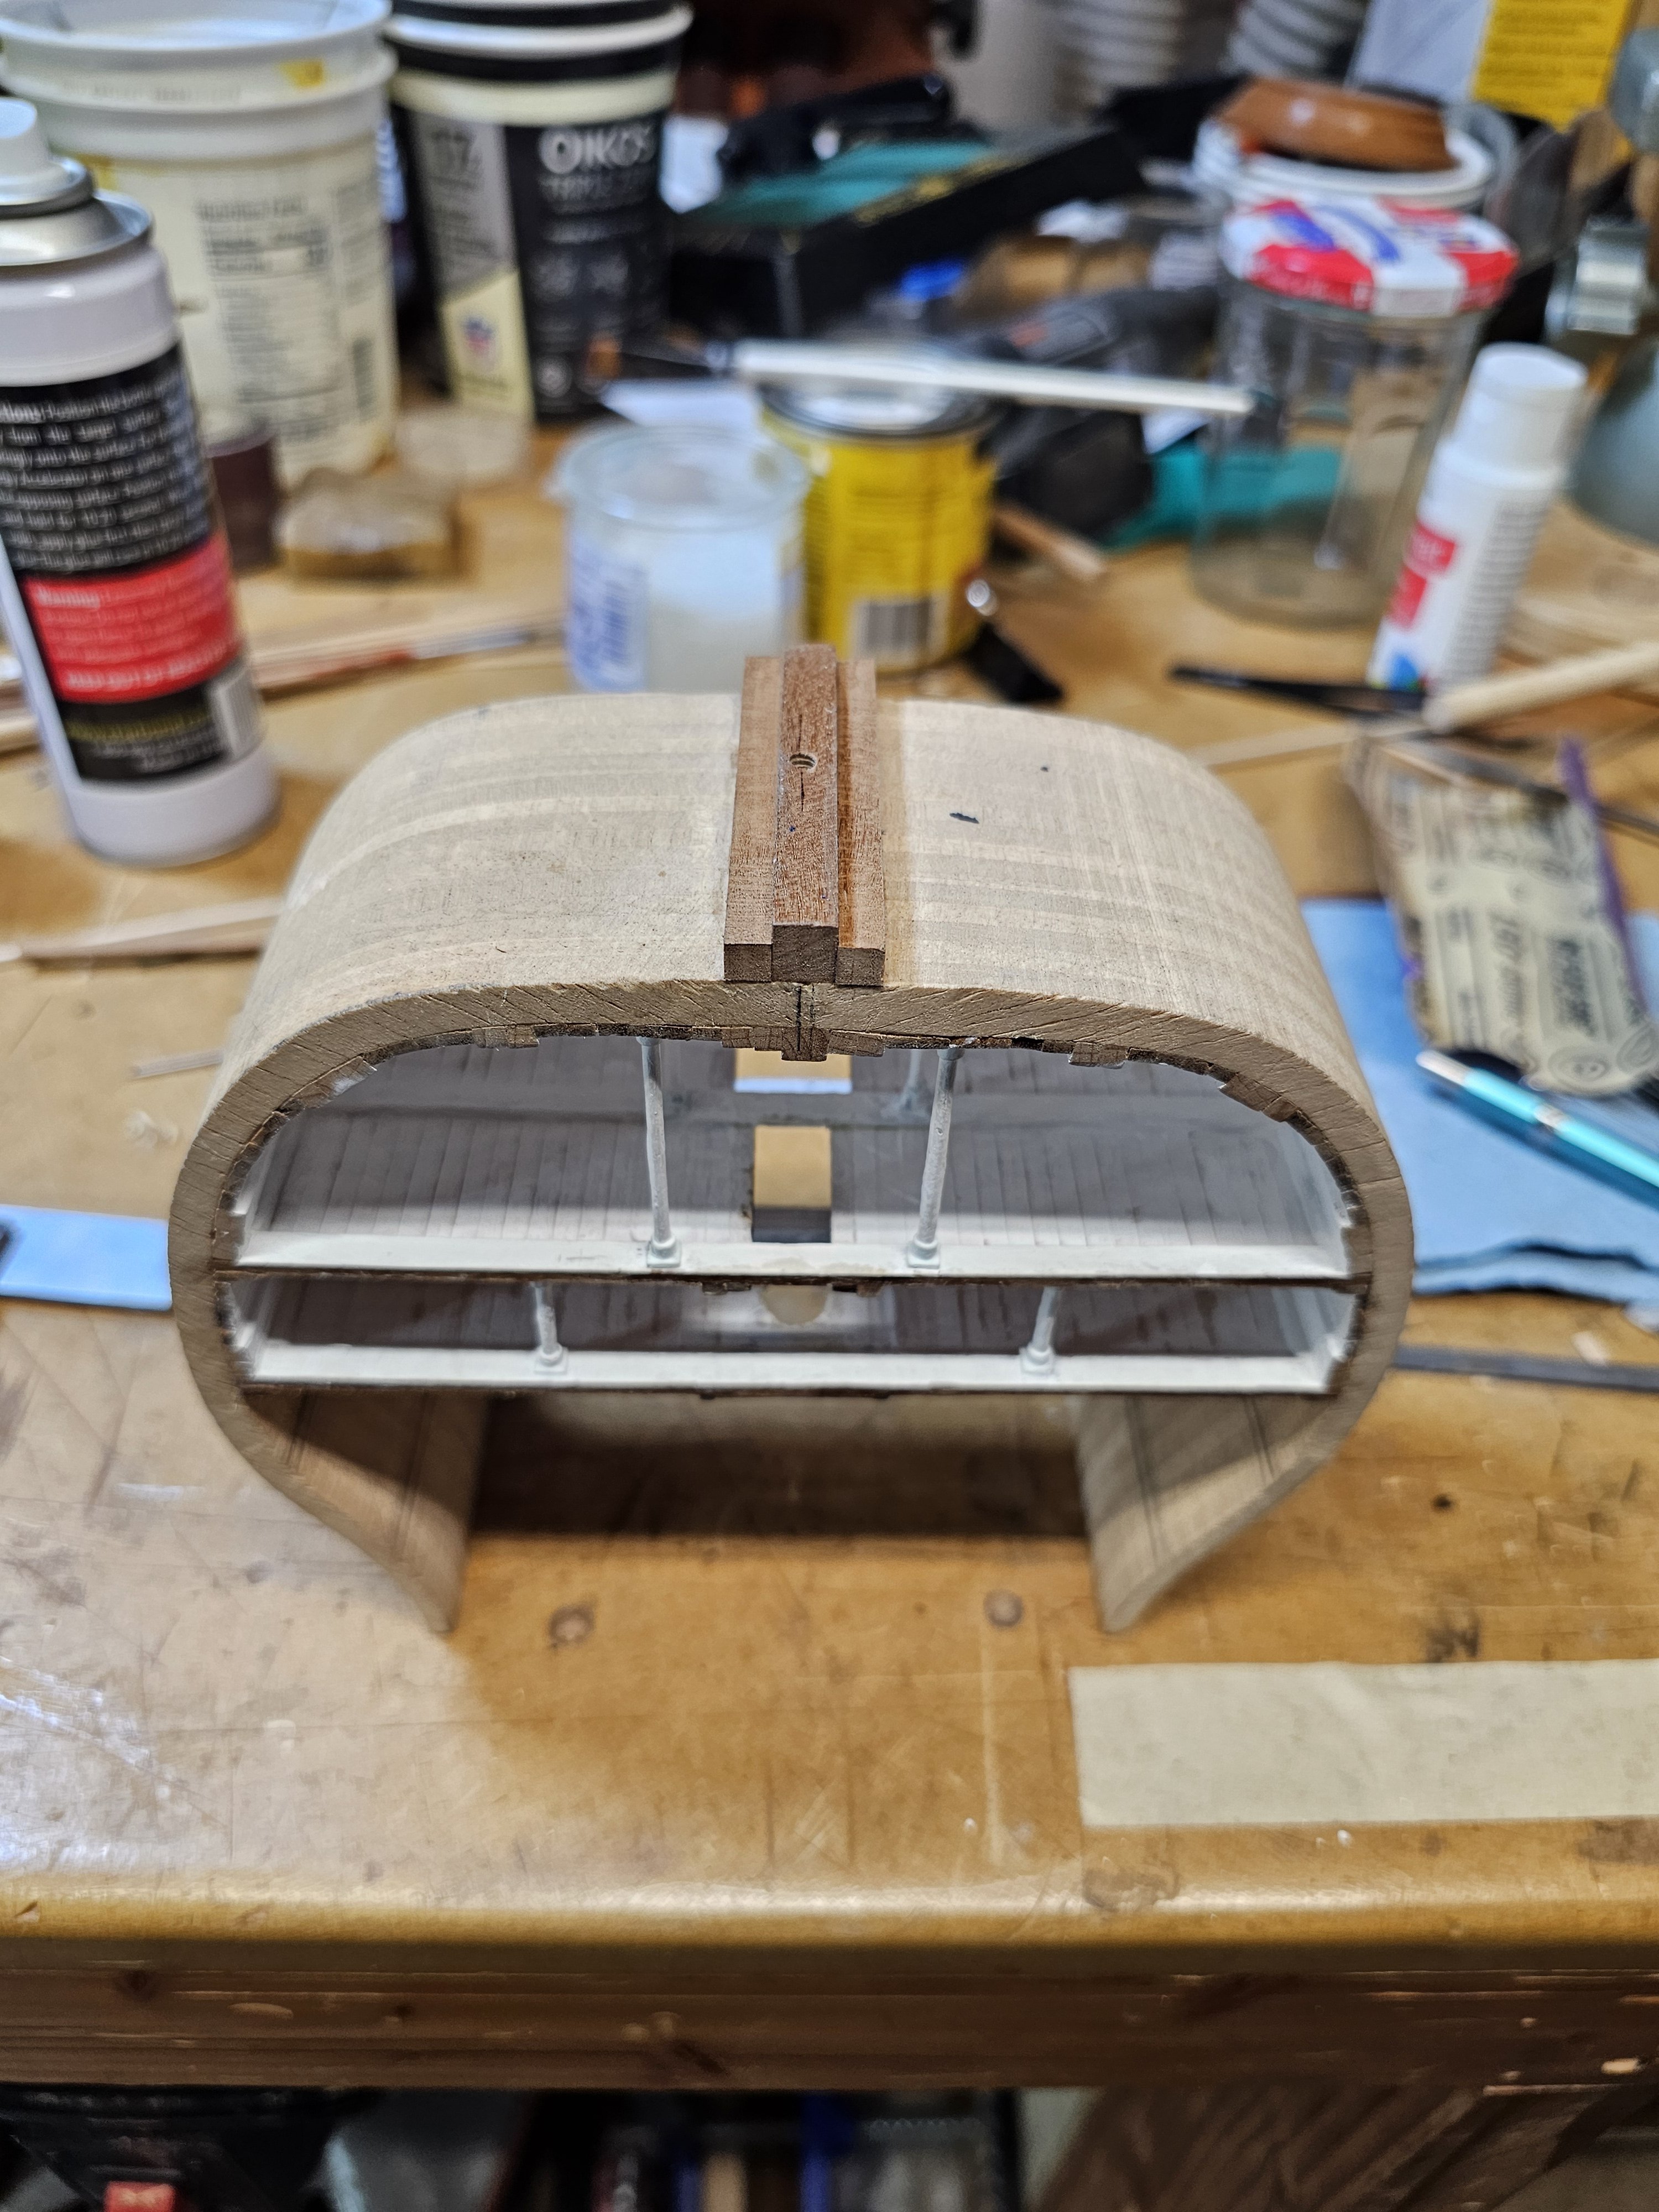
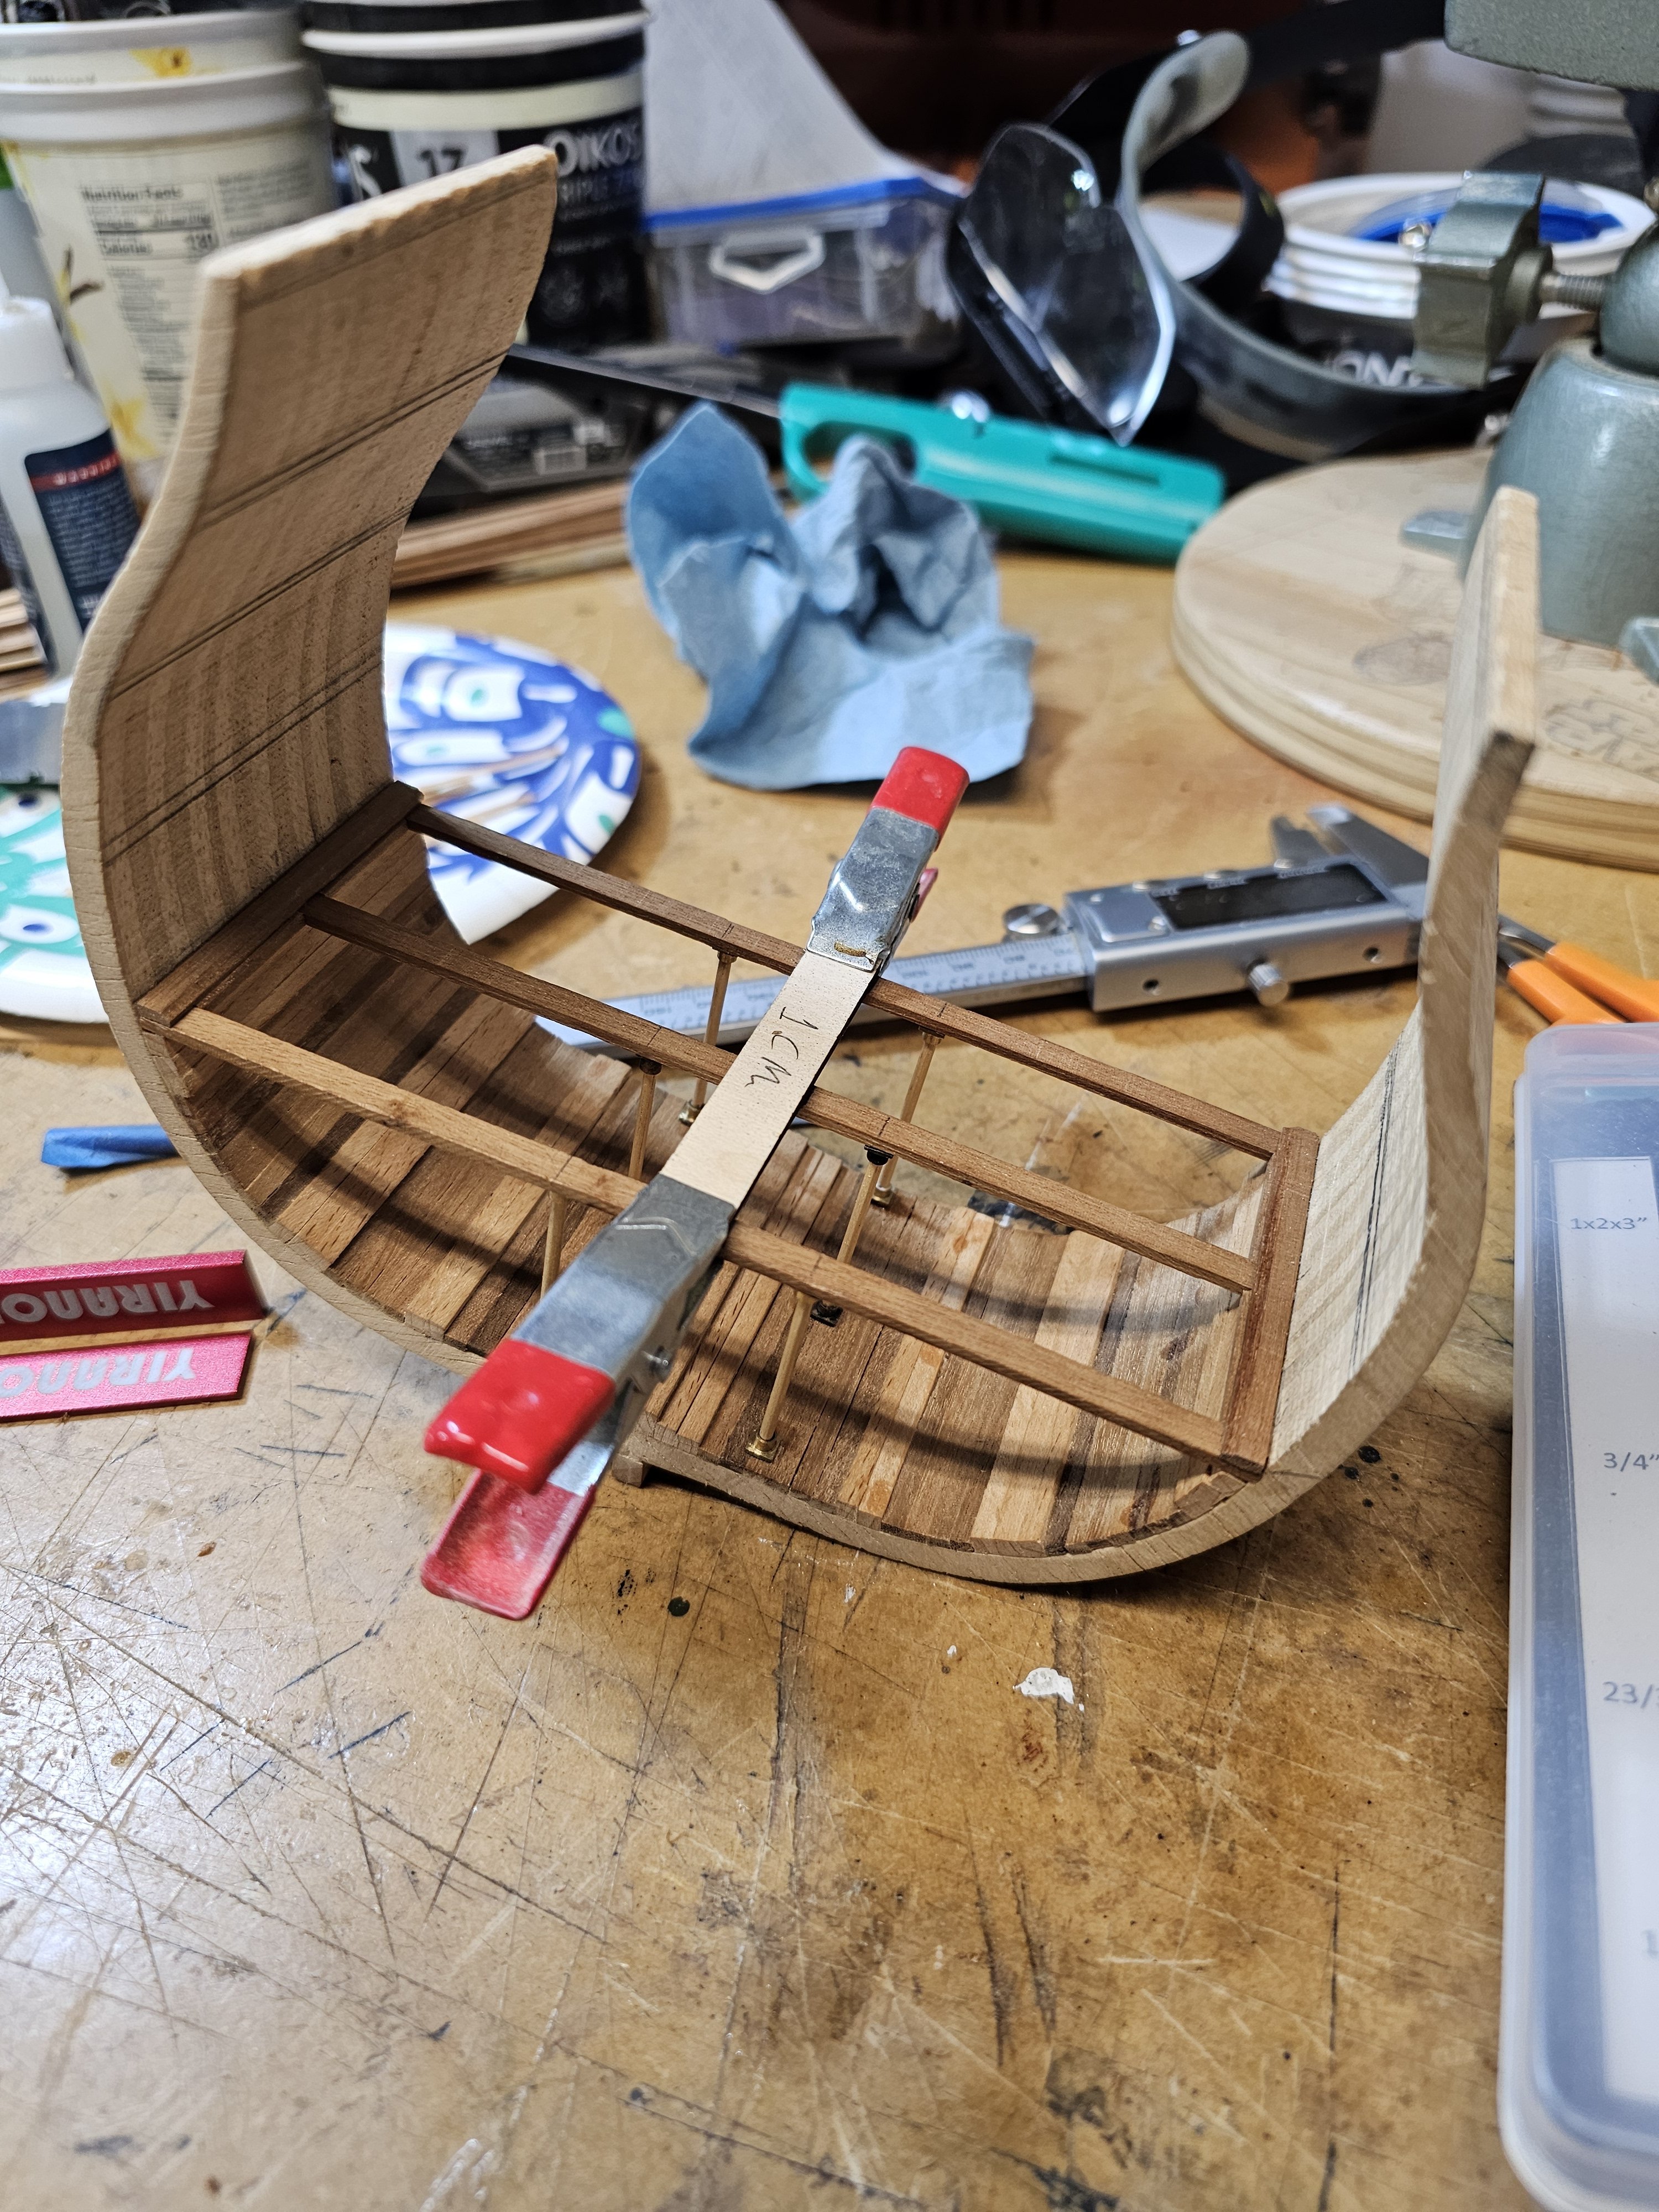
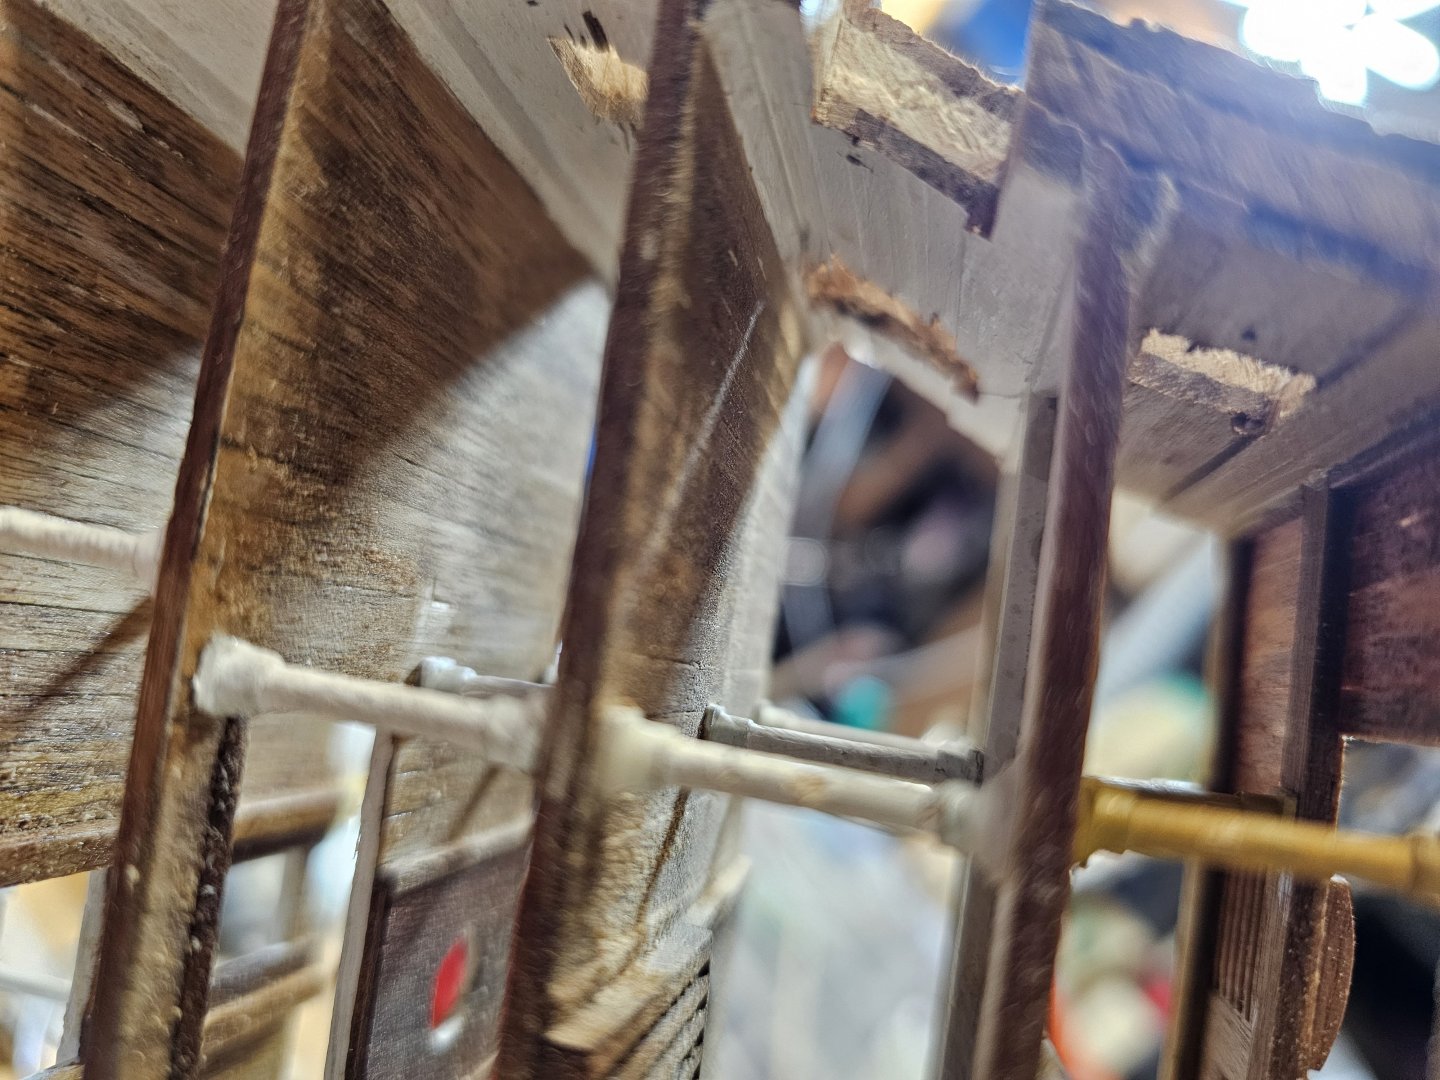
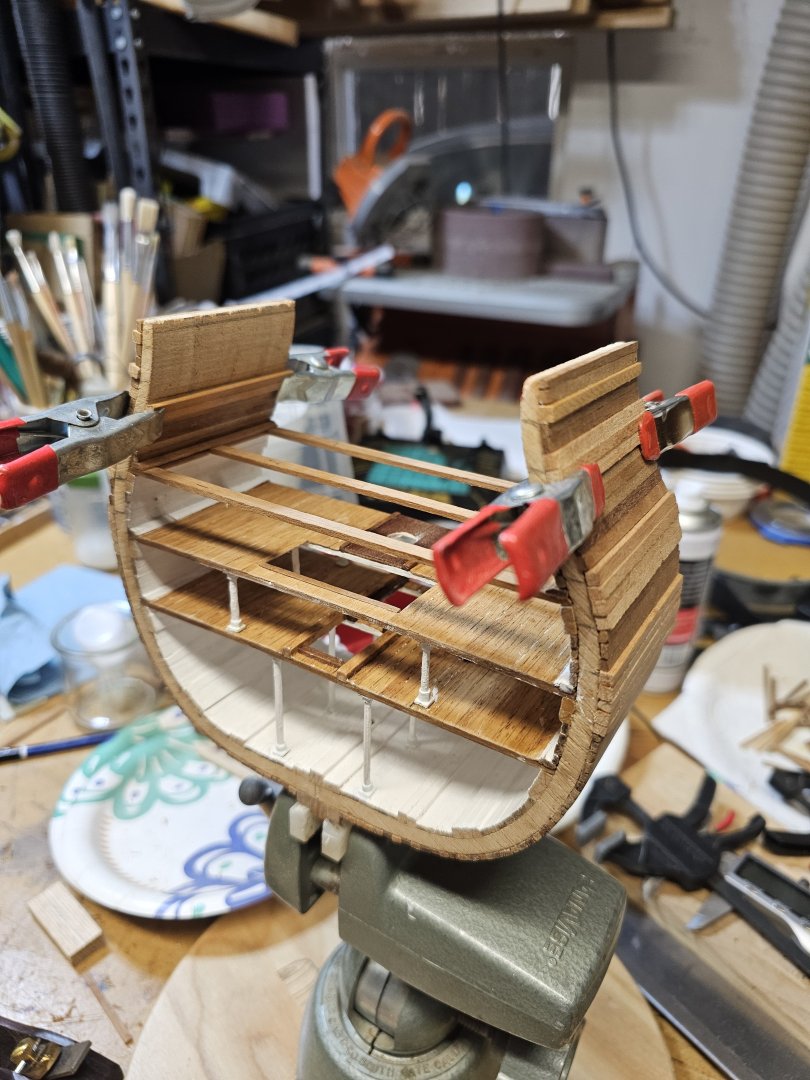
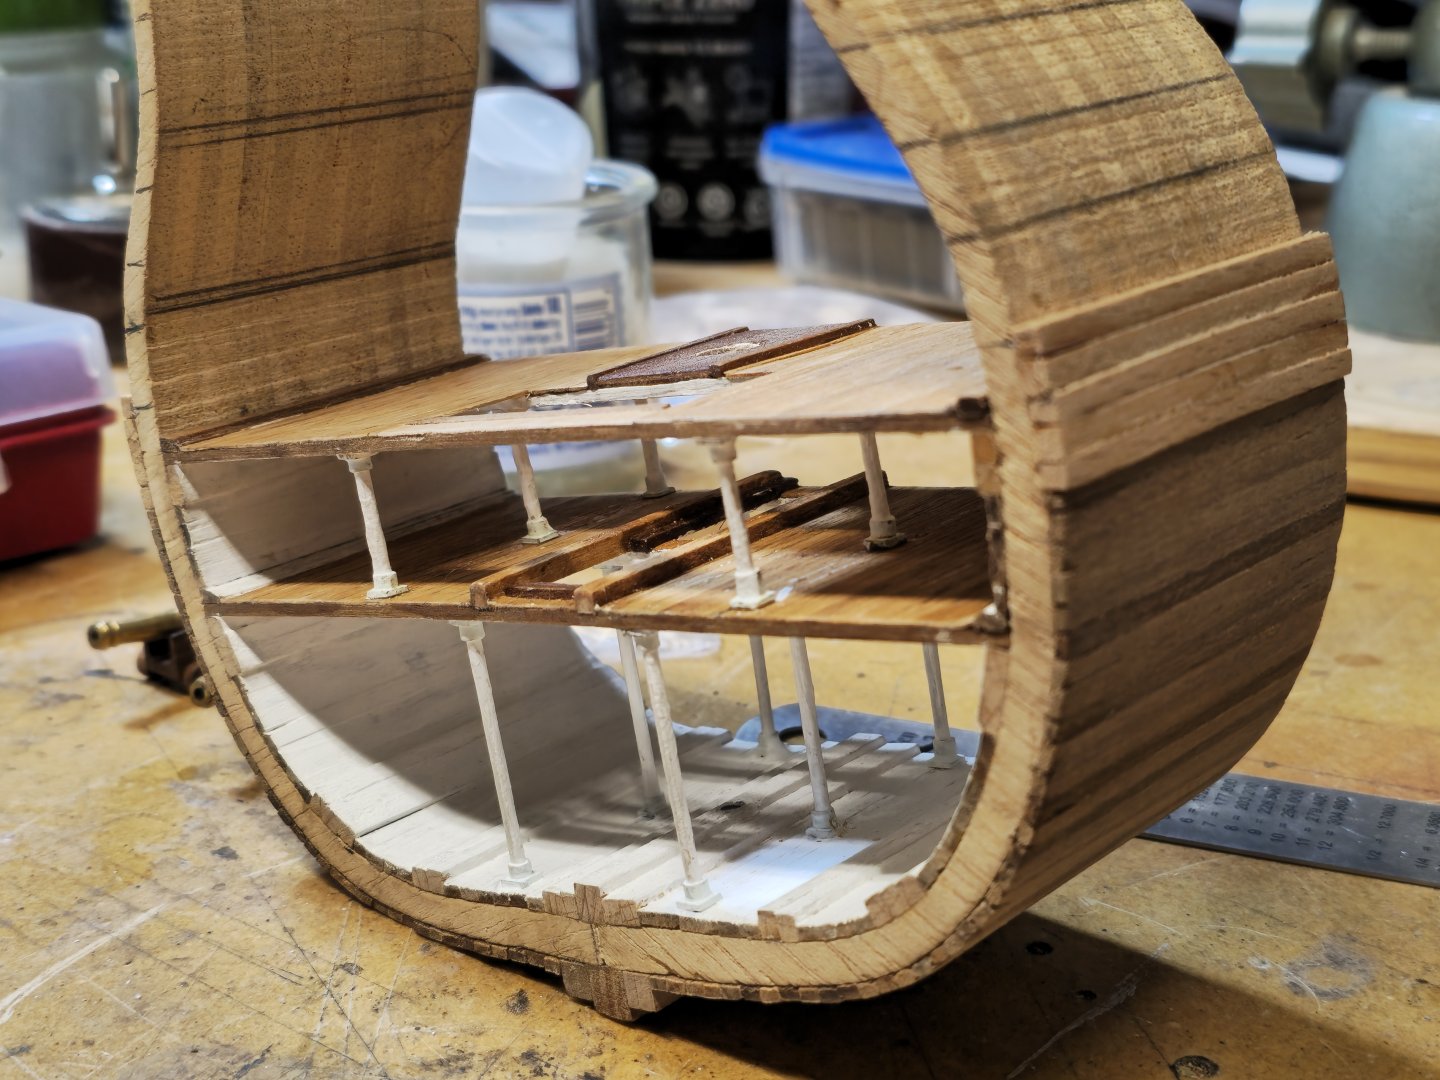
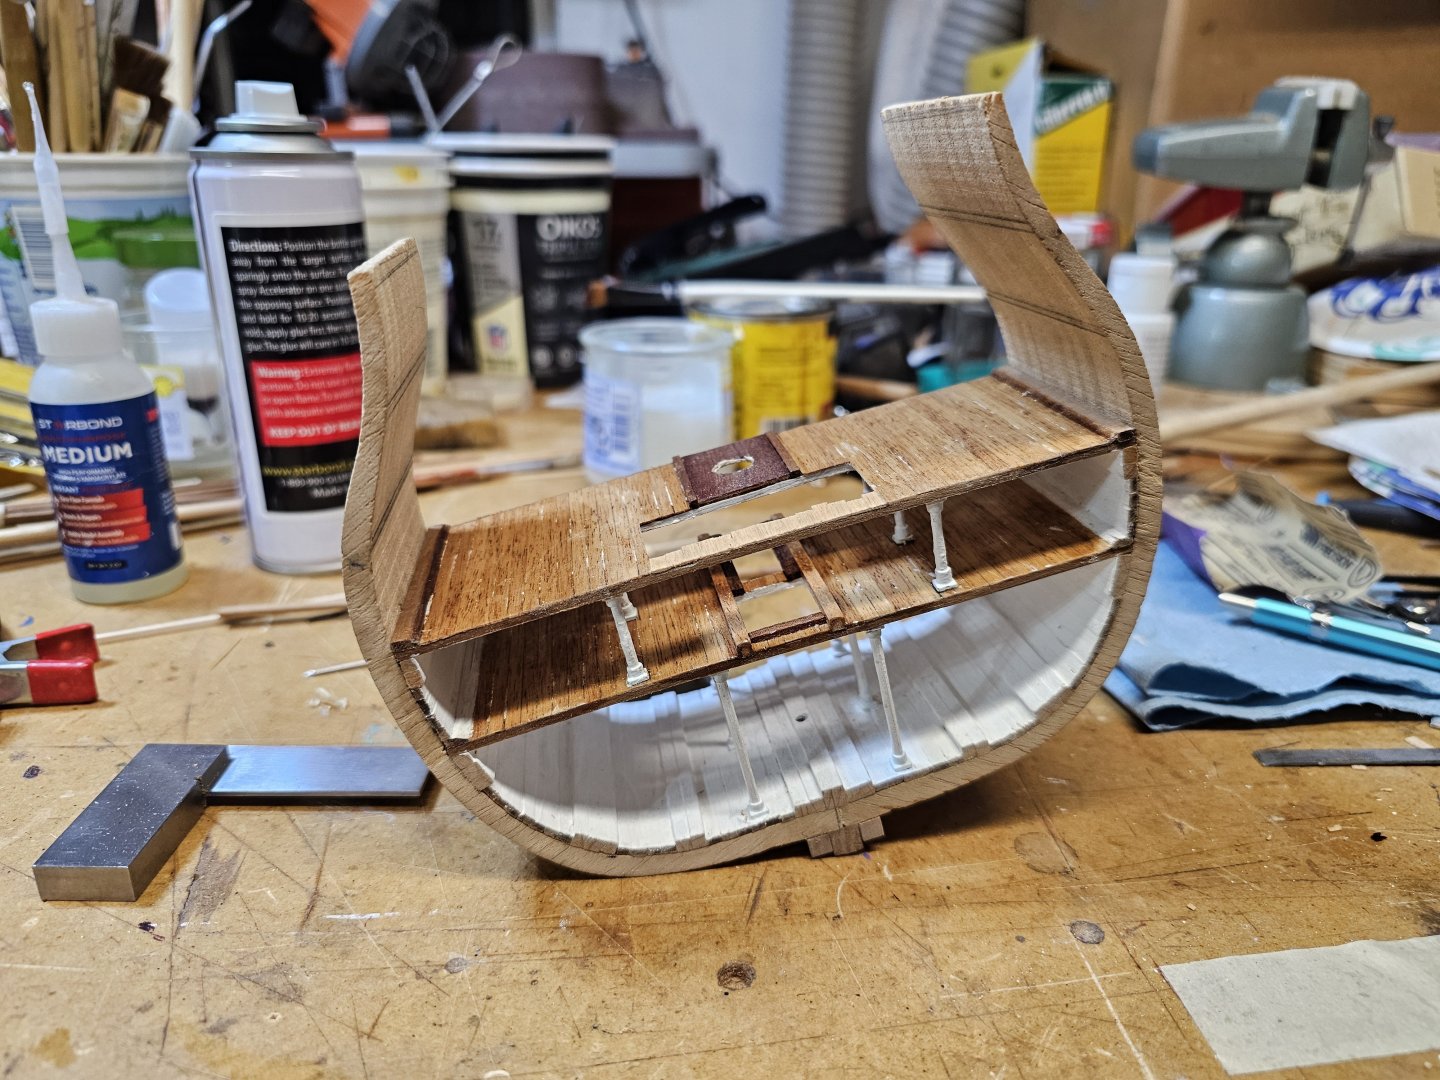
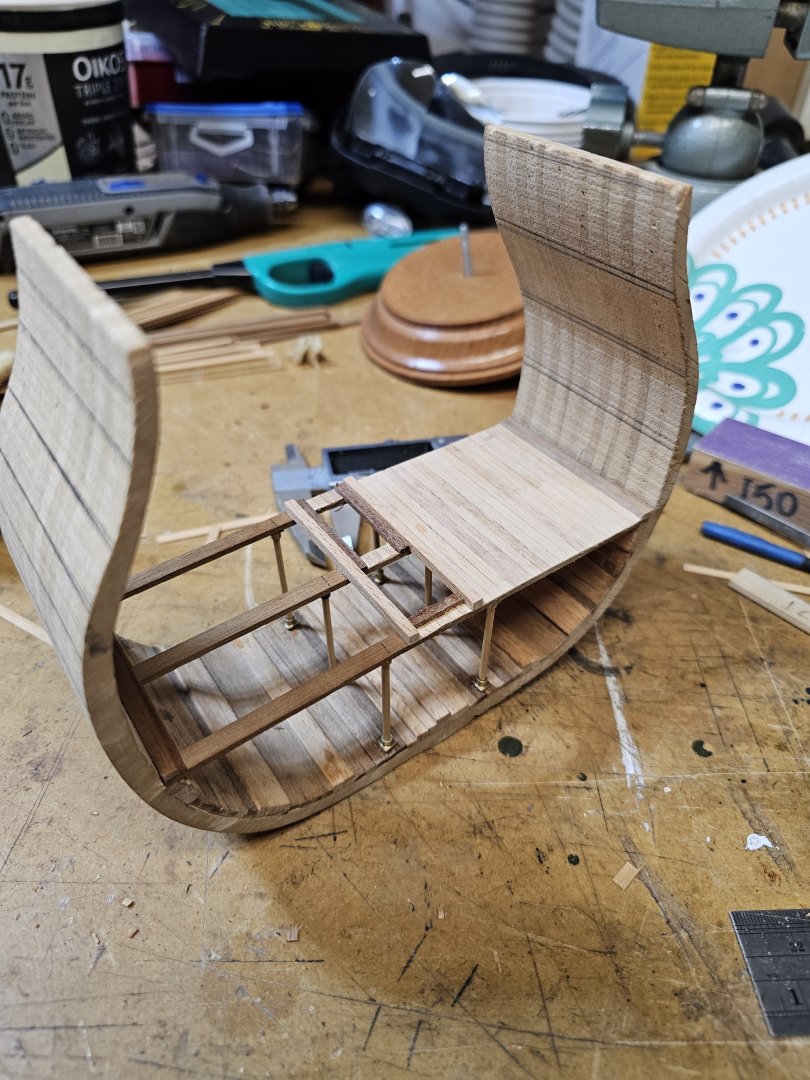
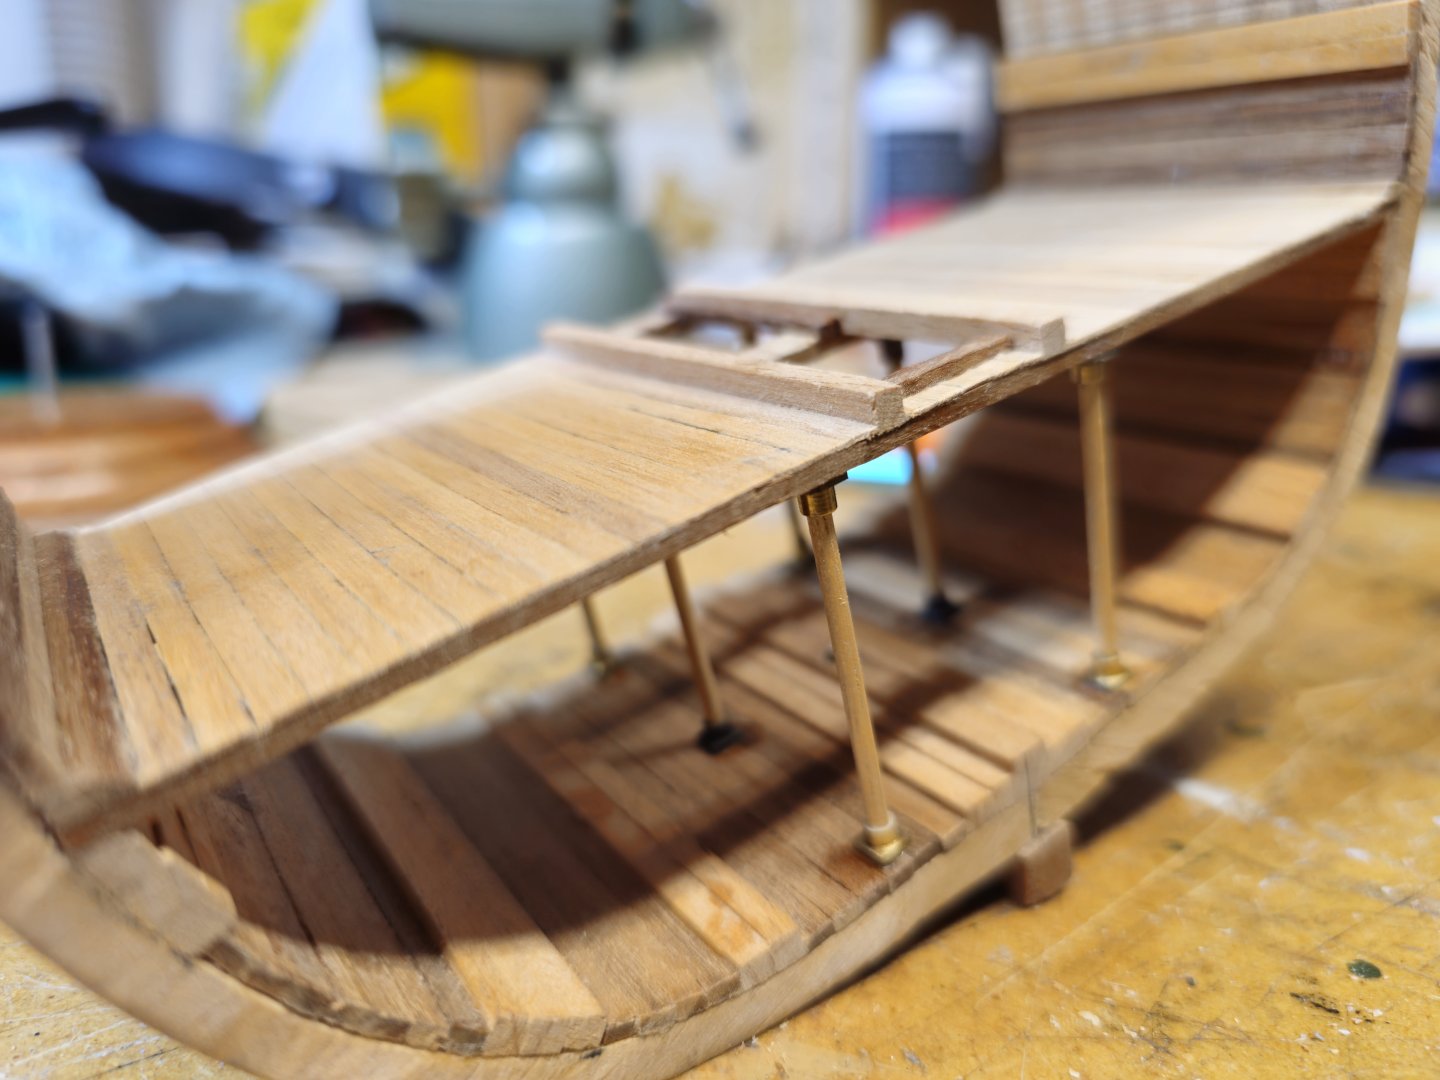
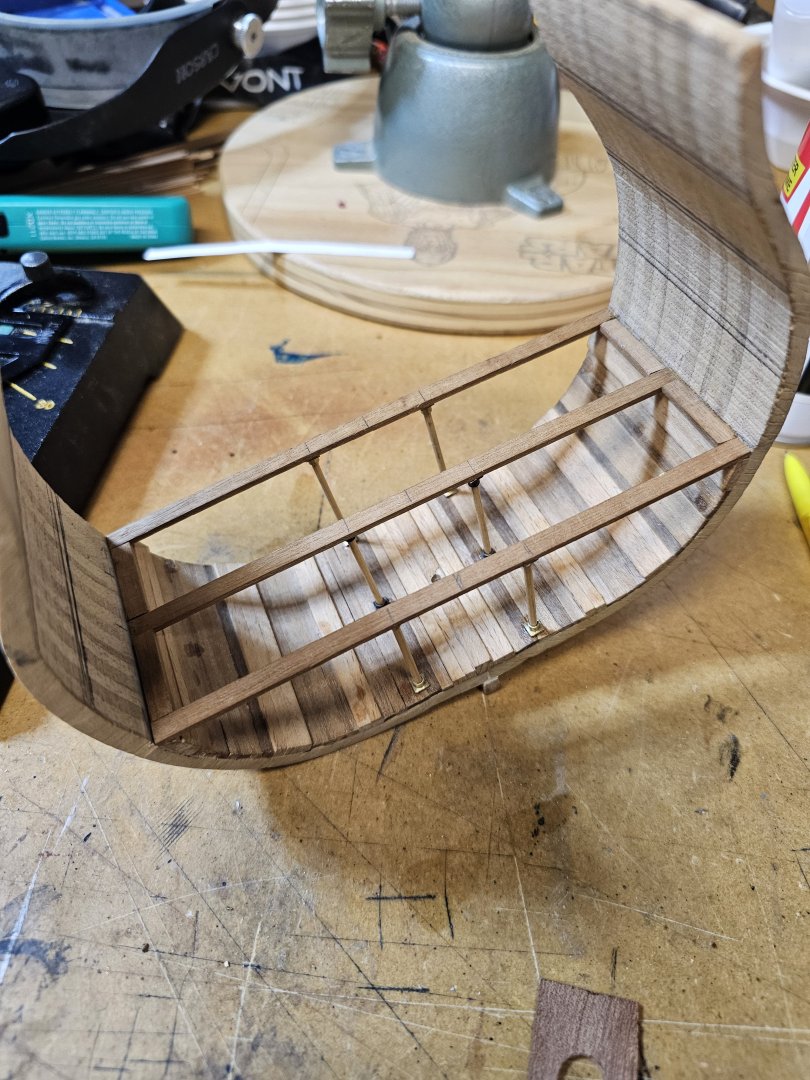
I am painting the hold a bright white to improve visibility. Right now, I'm working on the lower gun deck, attaching the support beams and columns for added stability.


-
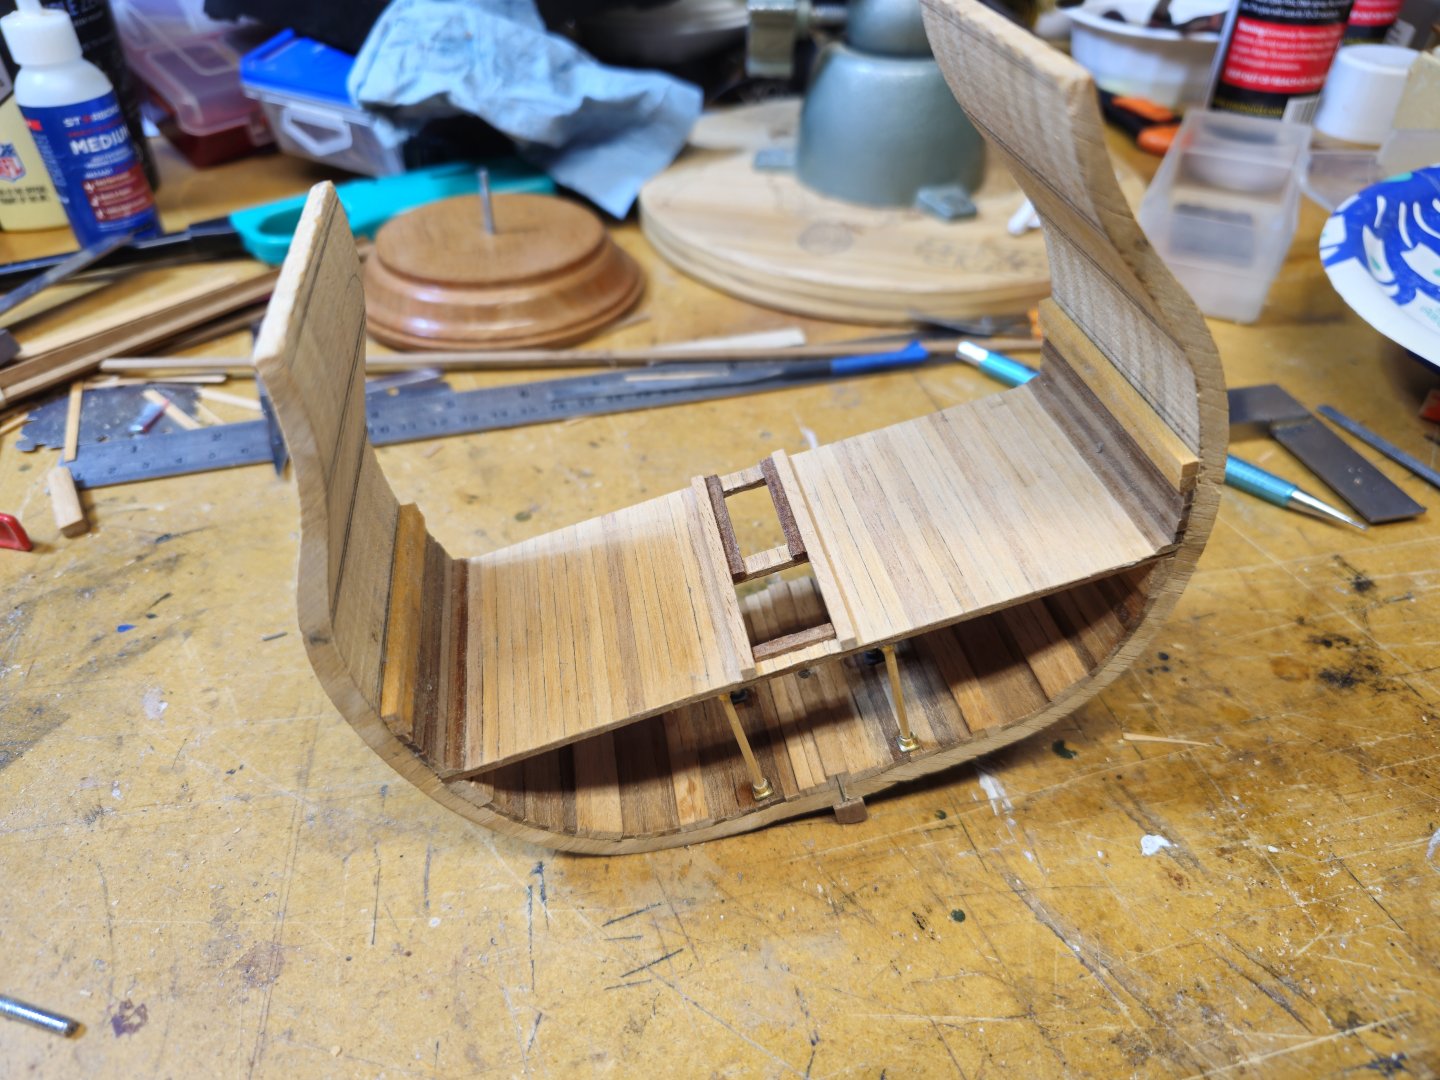
After a lengthy hiatus spent working on various other ships, I’ve finally returned to this model and completed it. It’s all too familiar, isn’t it? Juggling multiple projects and bouncing from one model to another, each one vying for attention and creativity. But now, I’m thrilled to see this particular model come to life after all that time. I decided to return to basics and follow the model instructions for internal construction. I abandoned the customization of the ship's hold. Additionally, I aimed to gather more details about the exterior. In this section, I am working on the construction of the Orlop Deck.


-
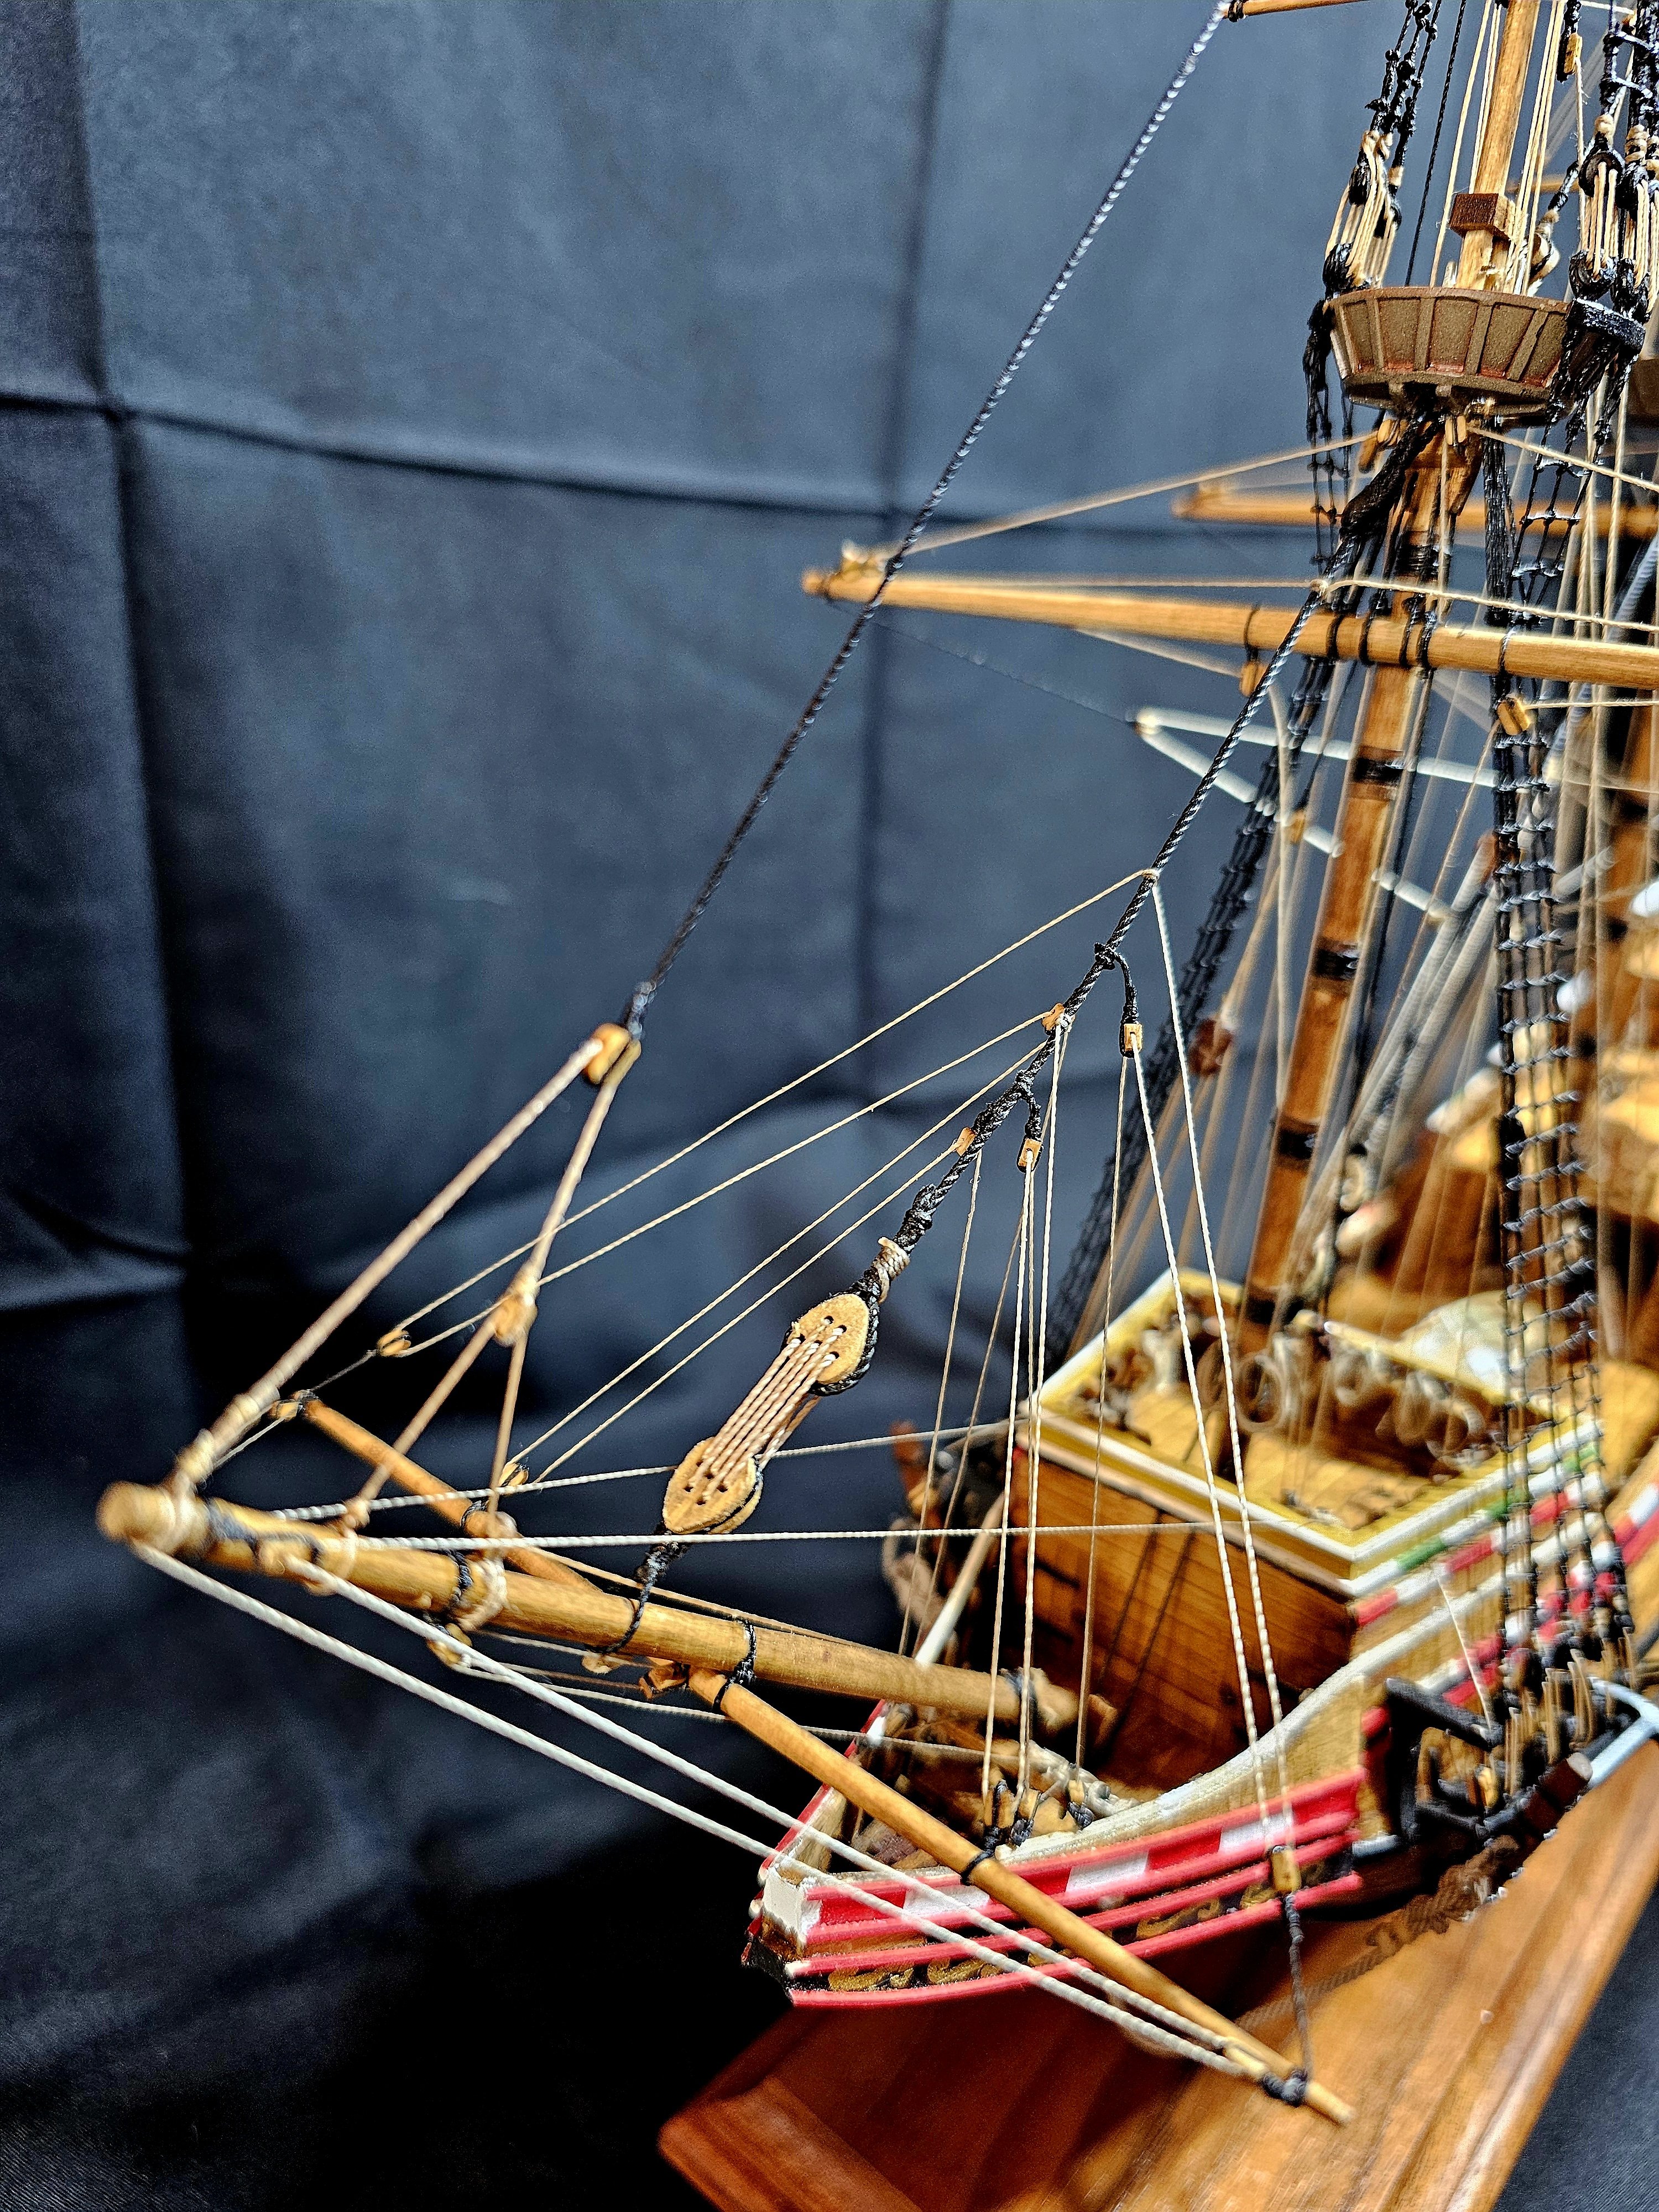
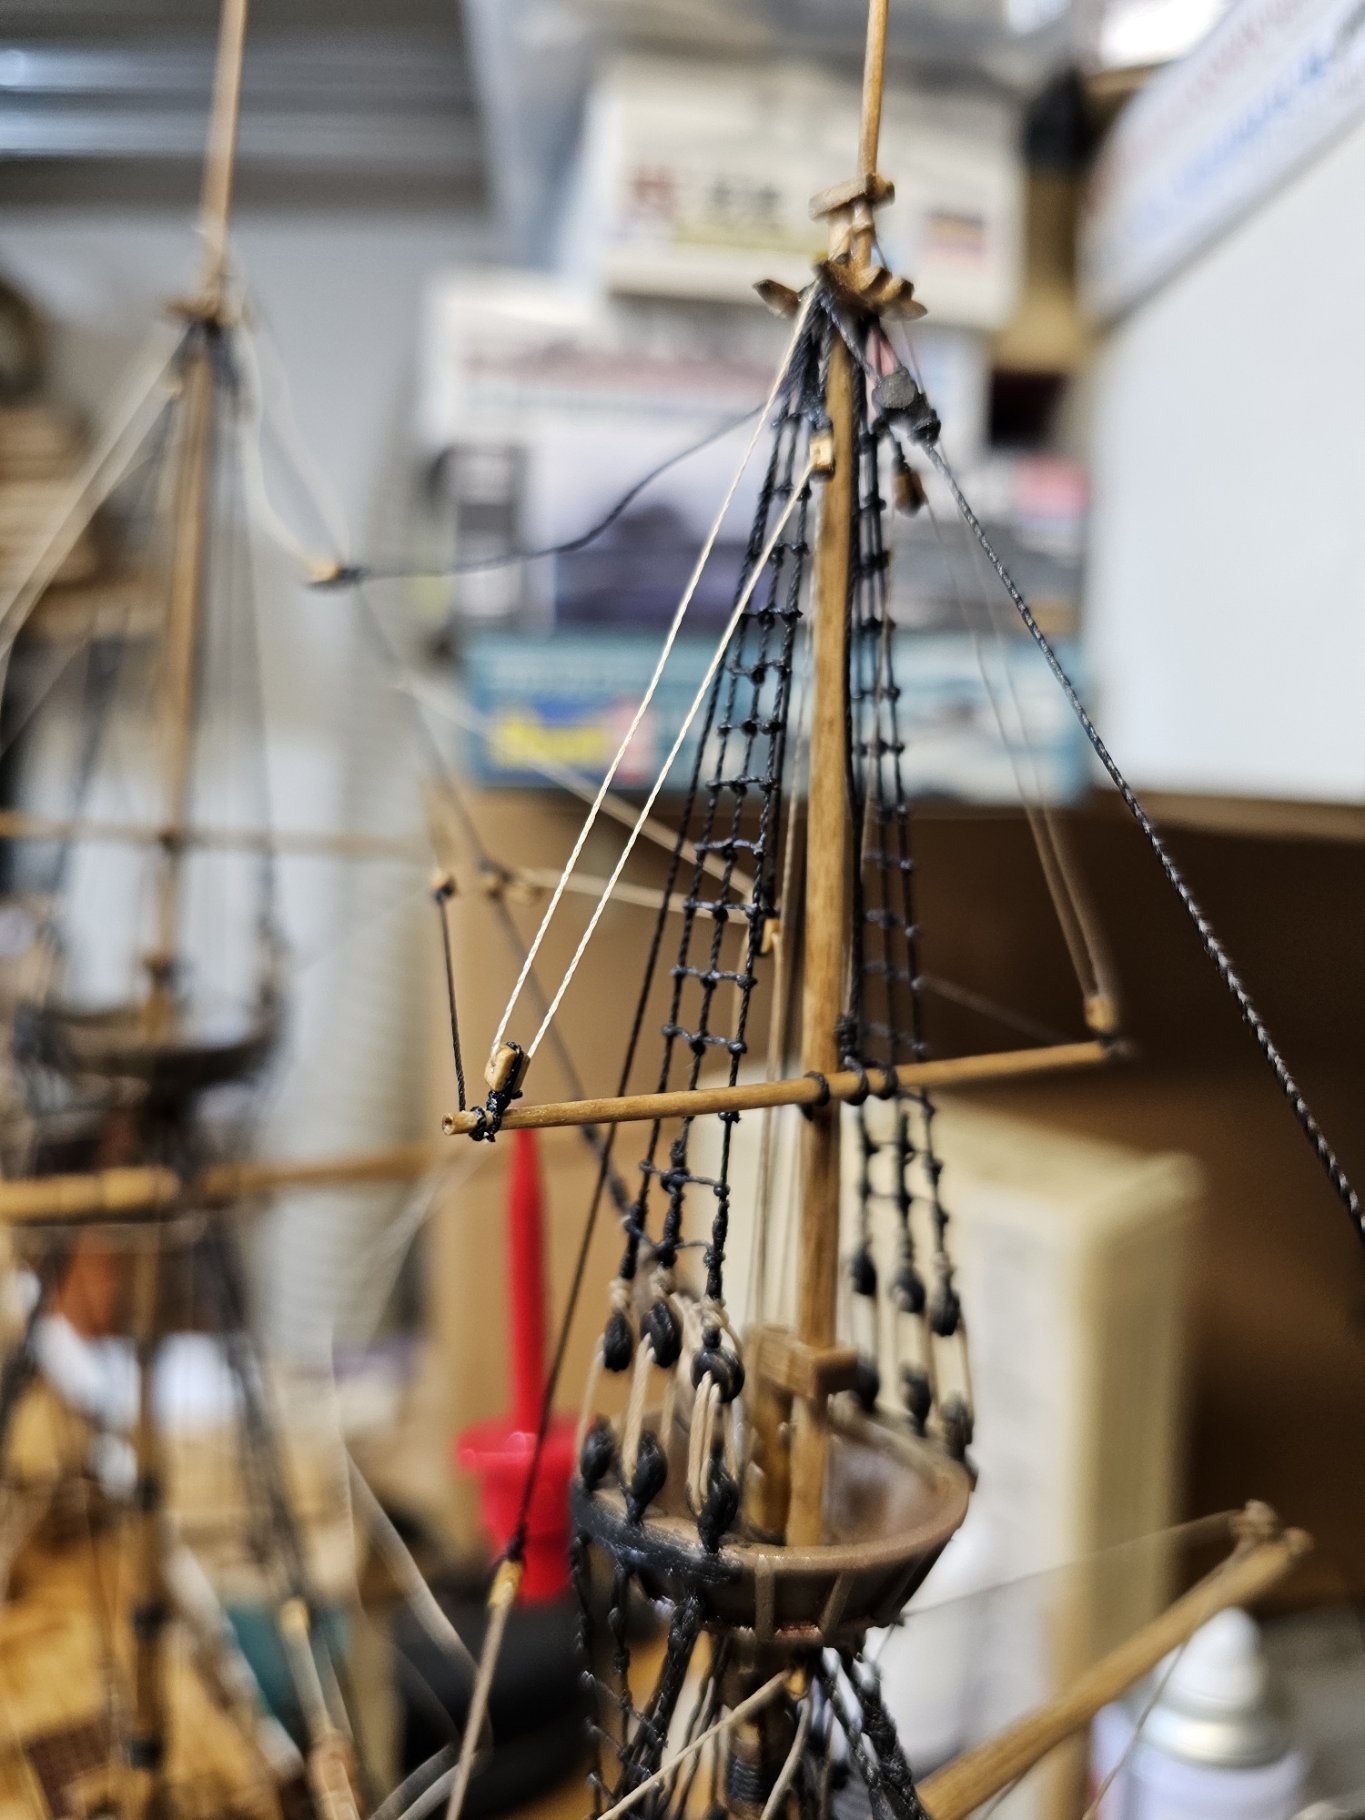
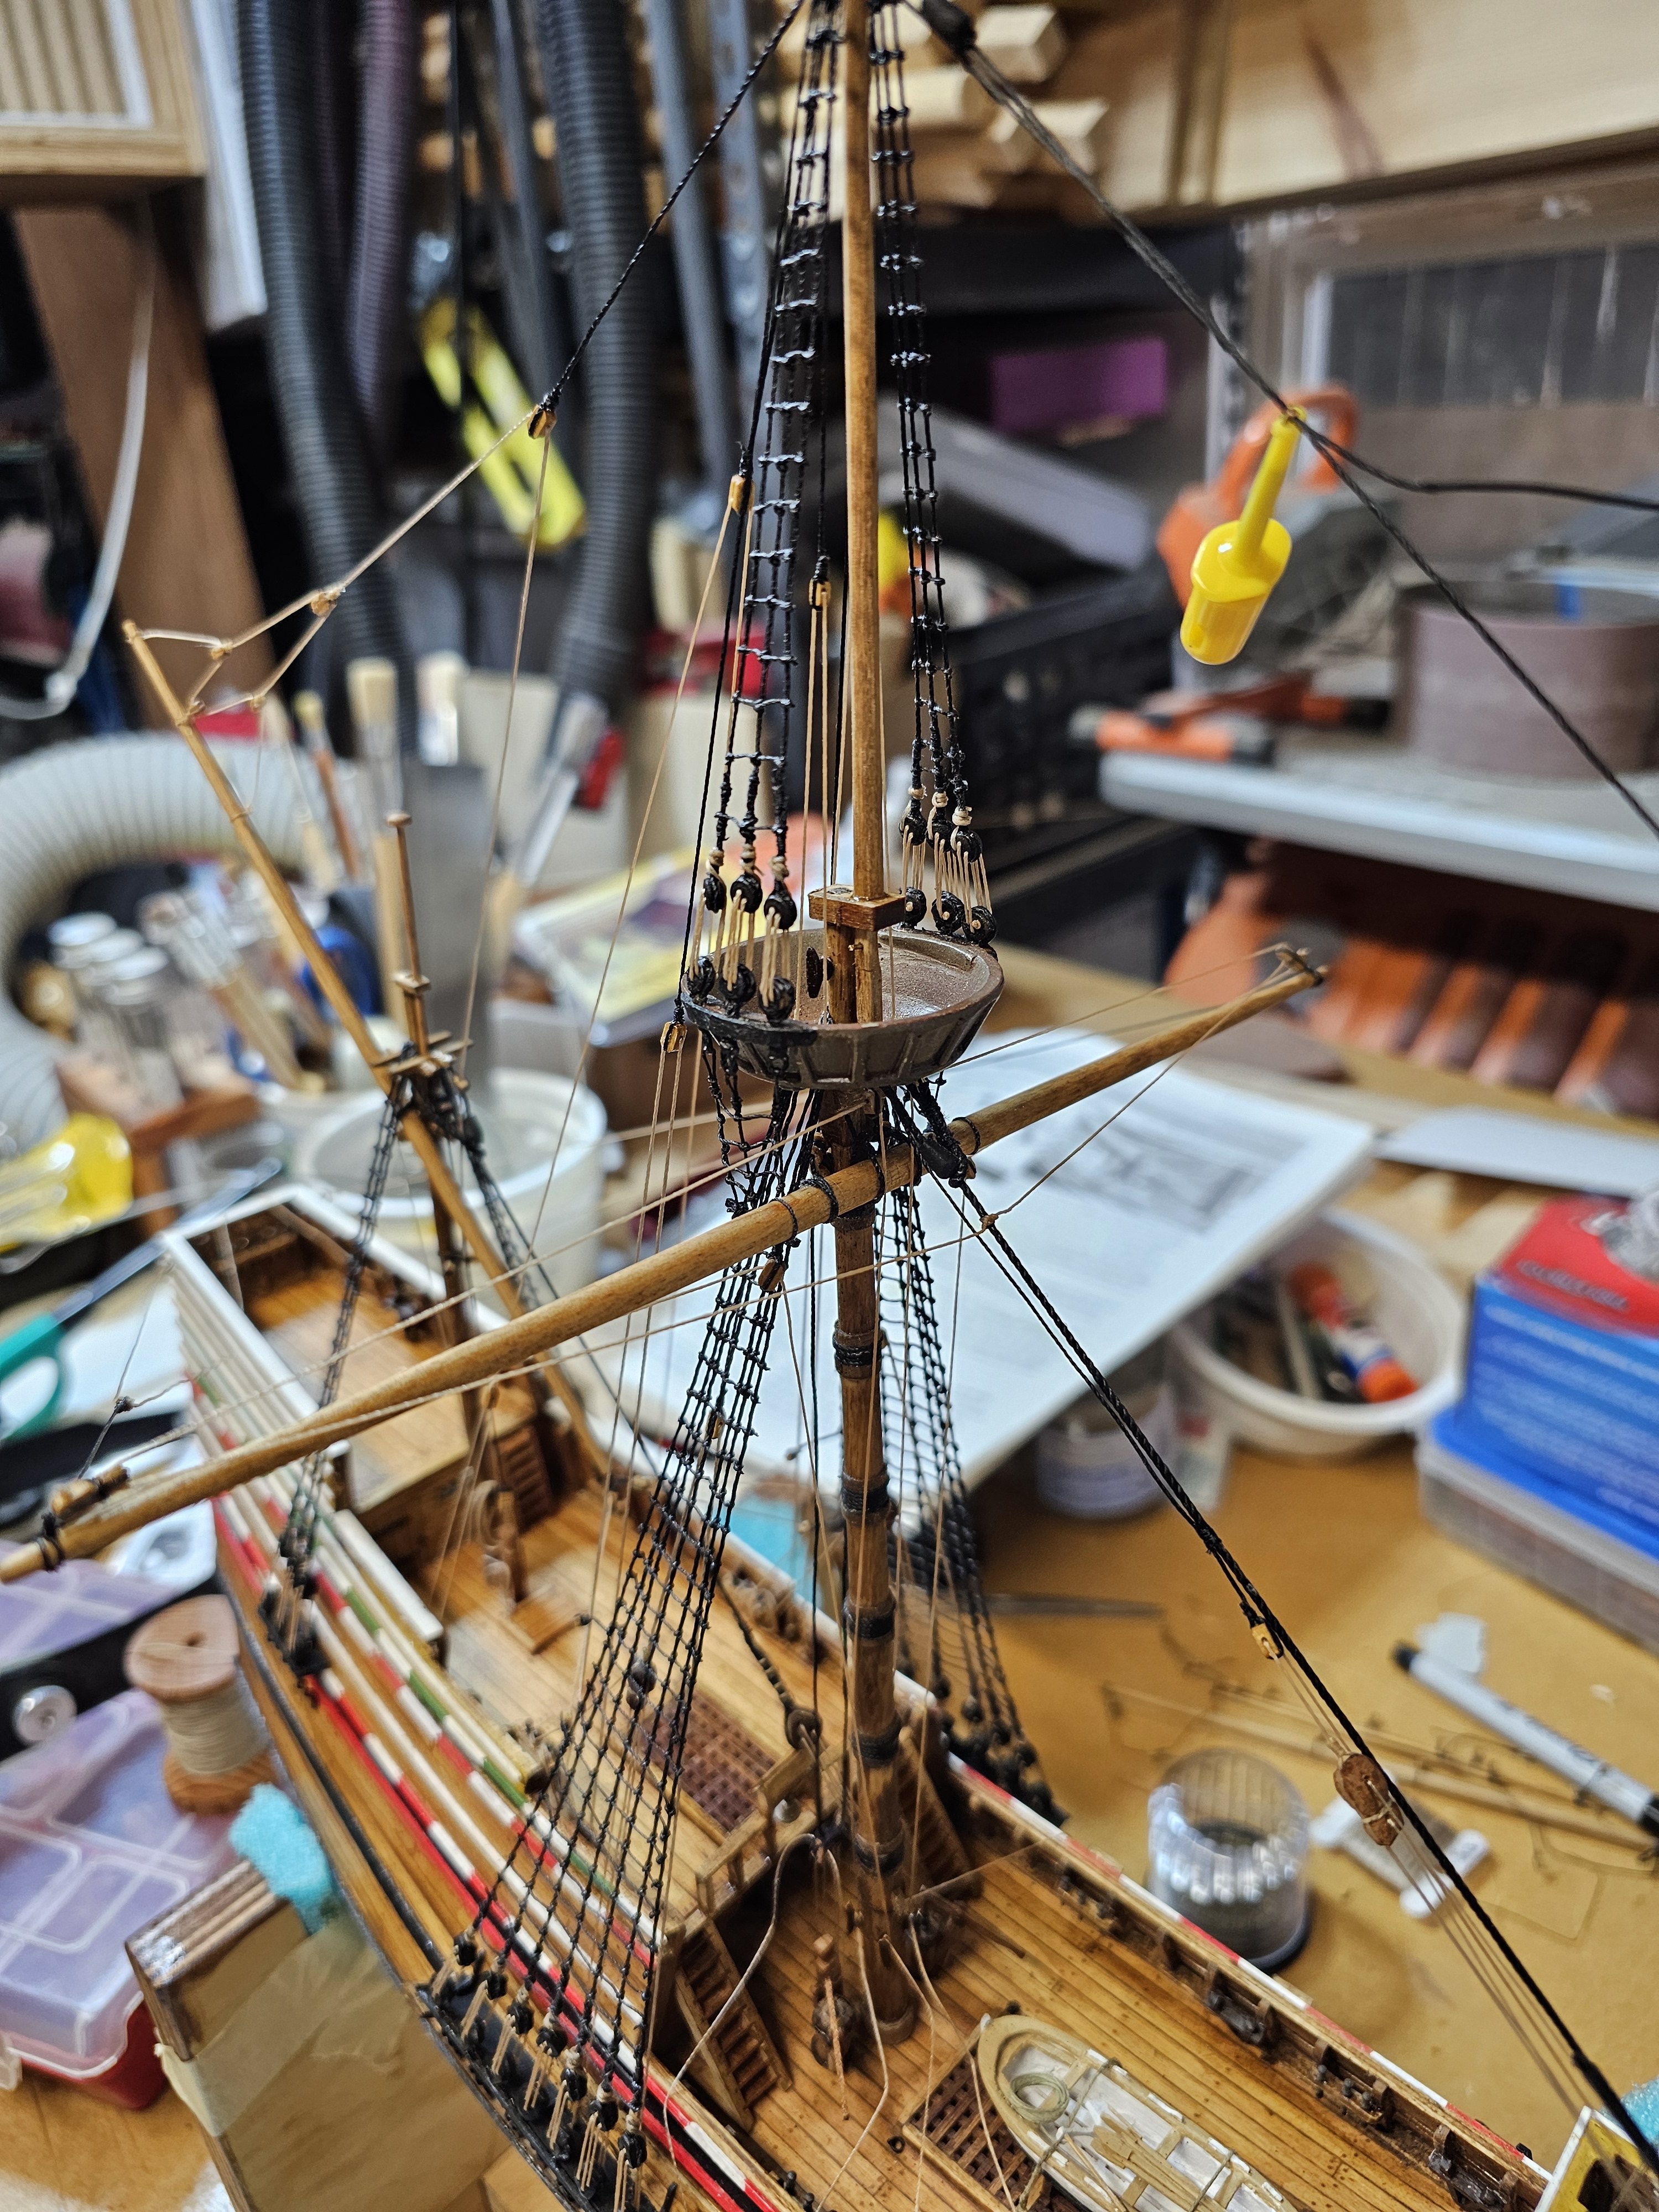
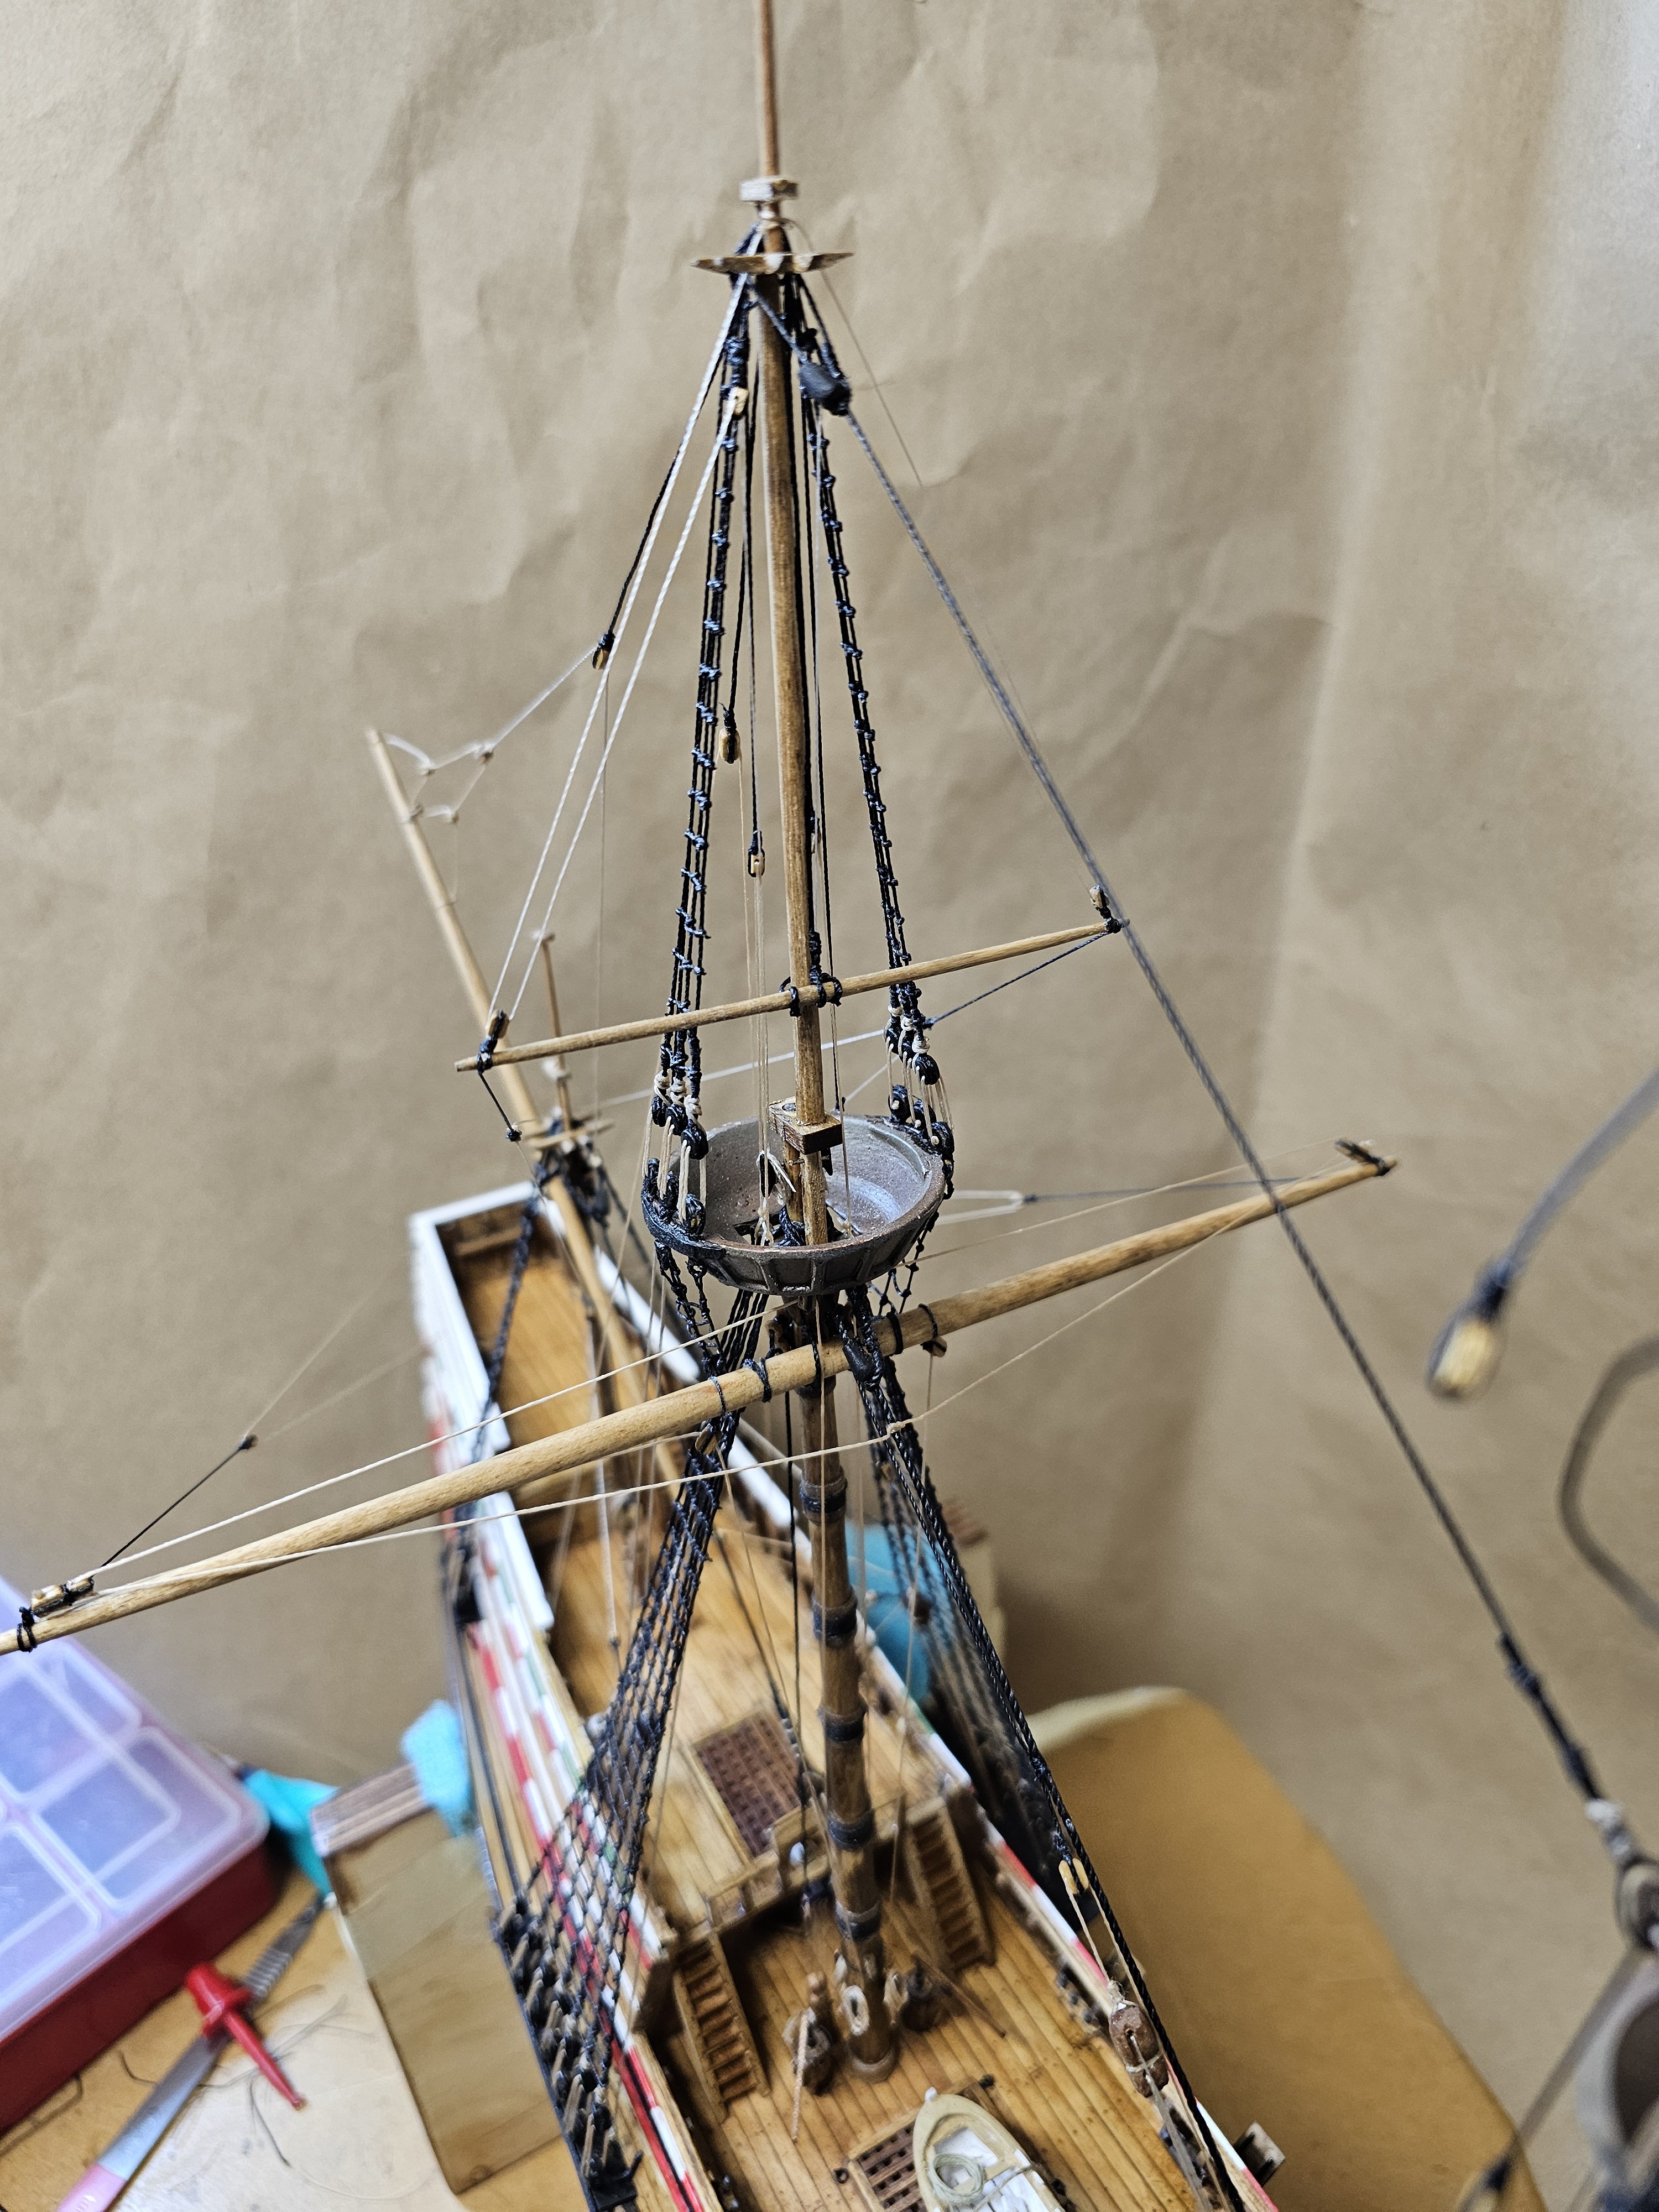
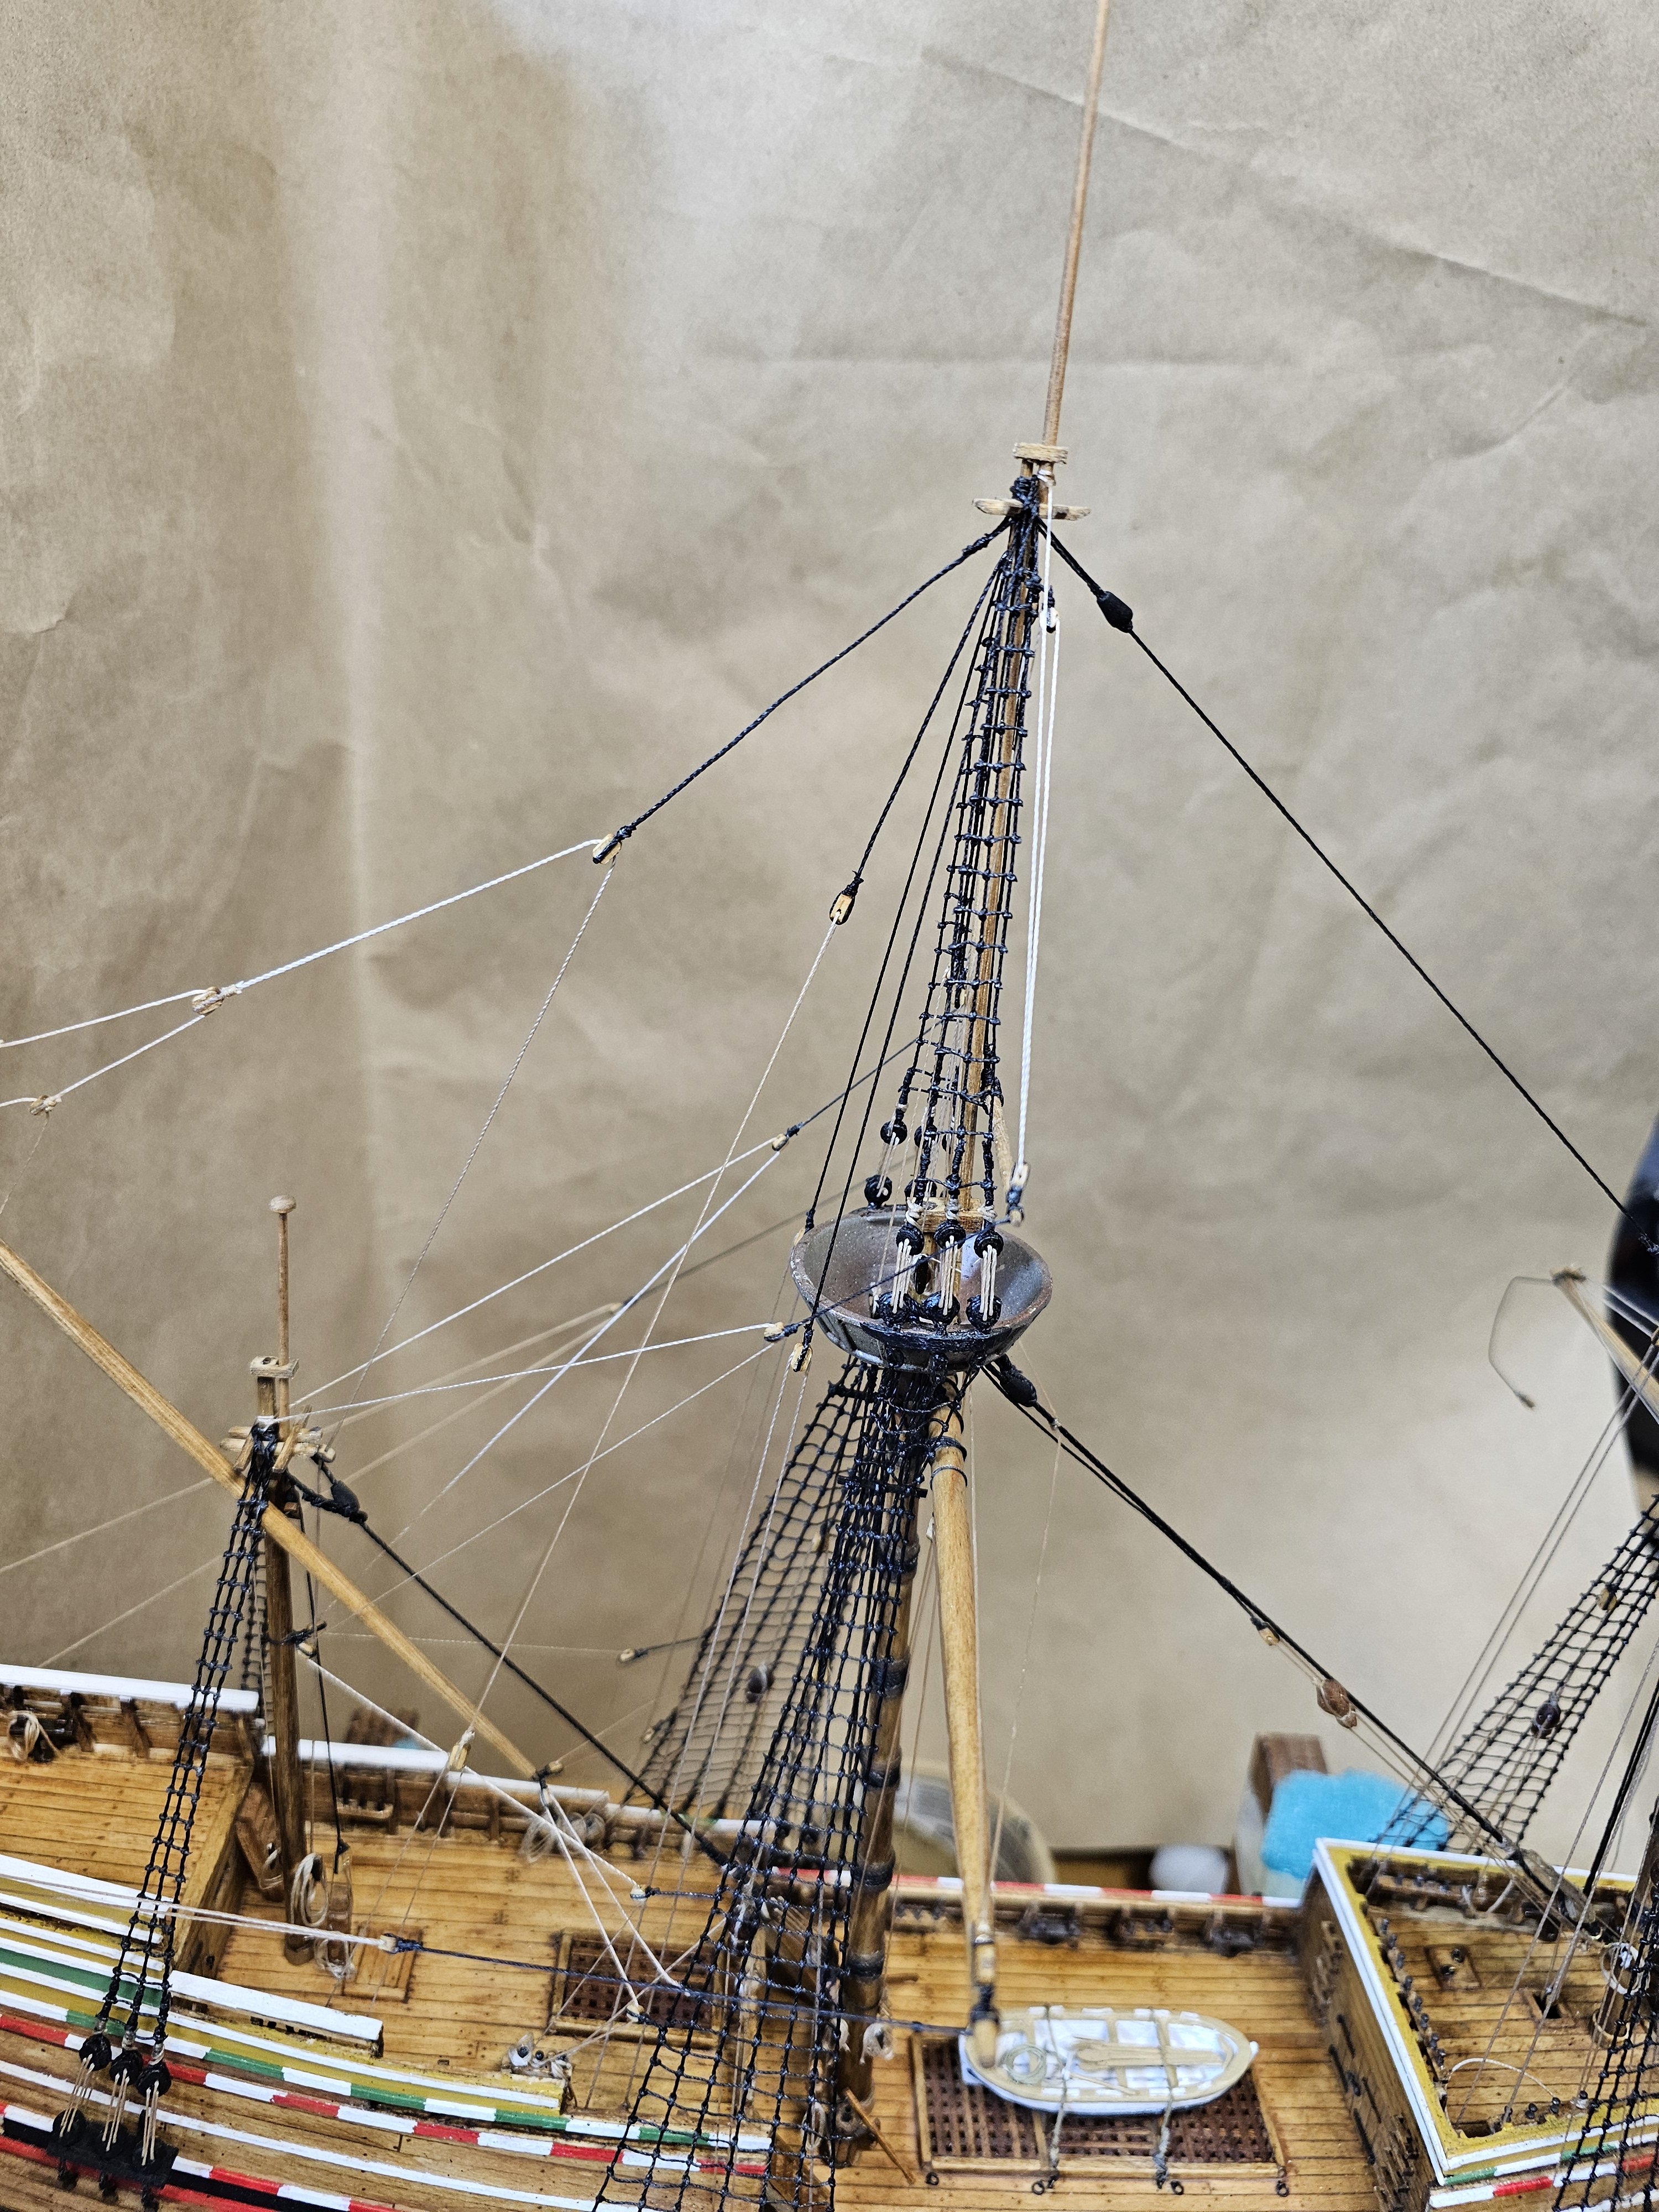
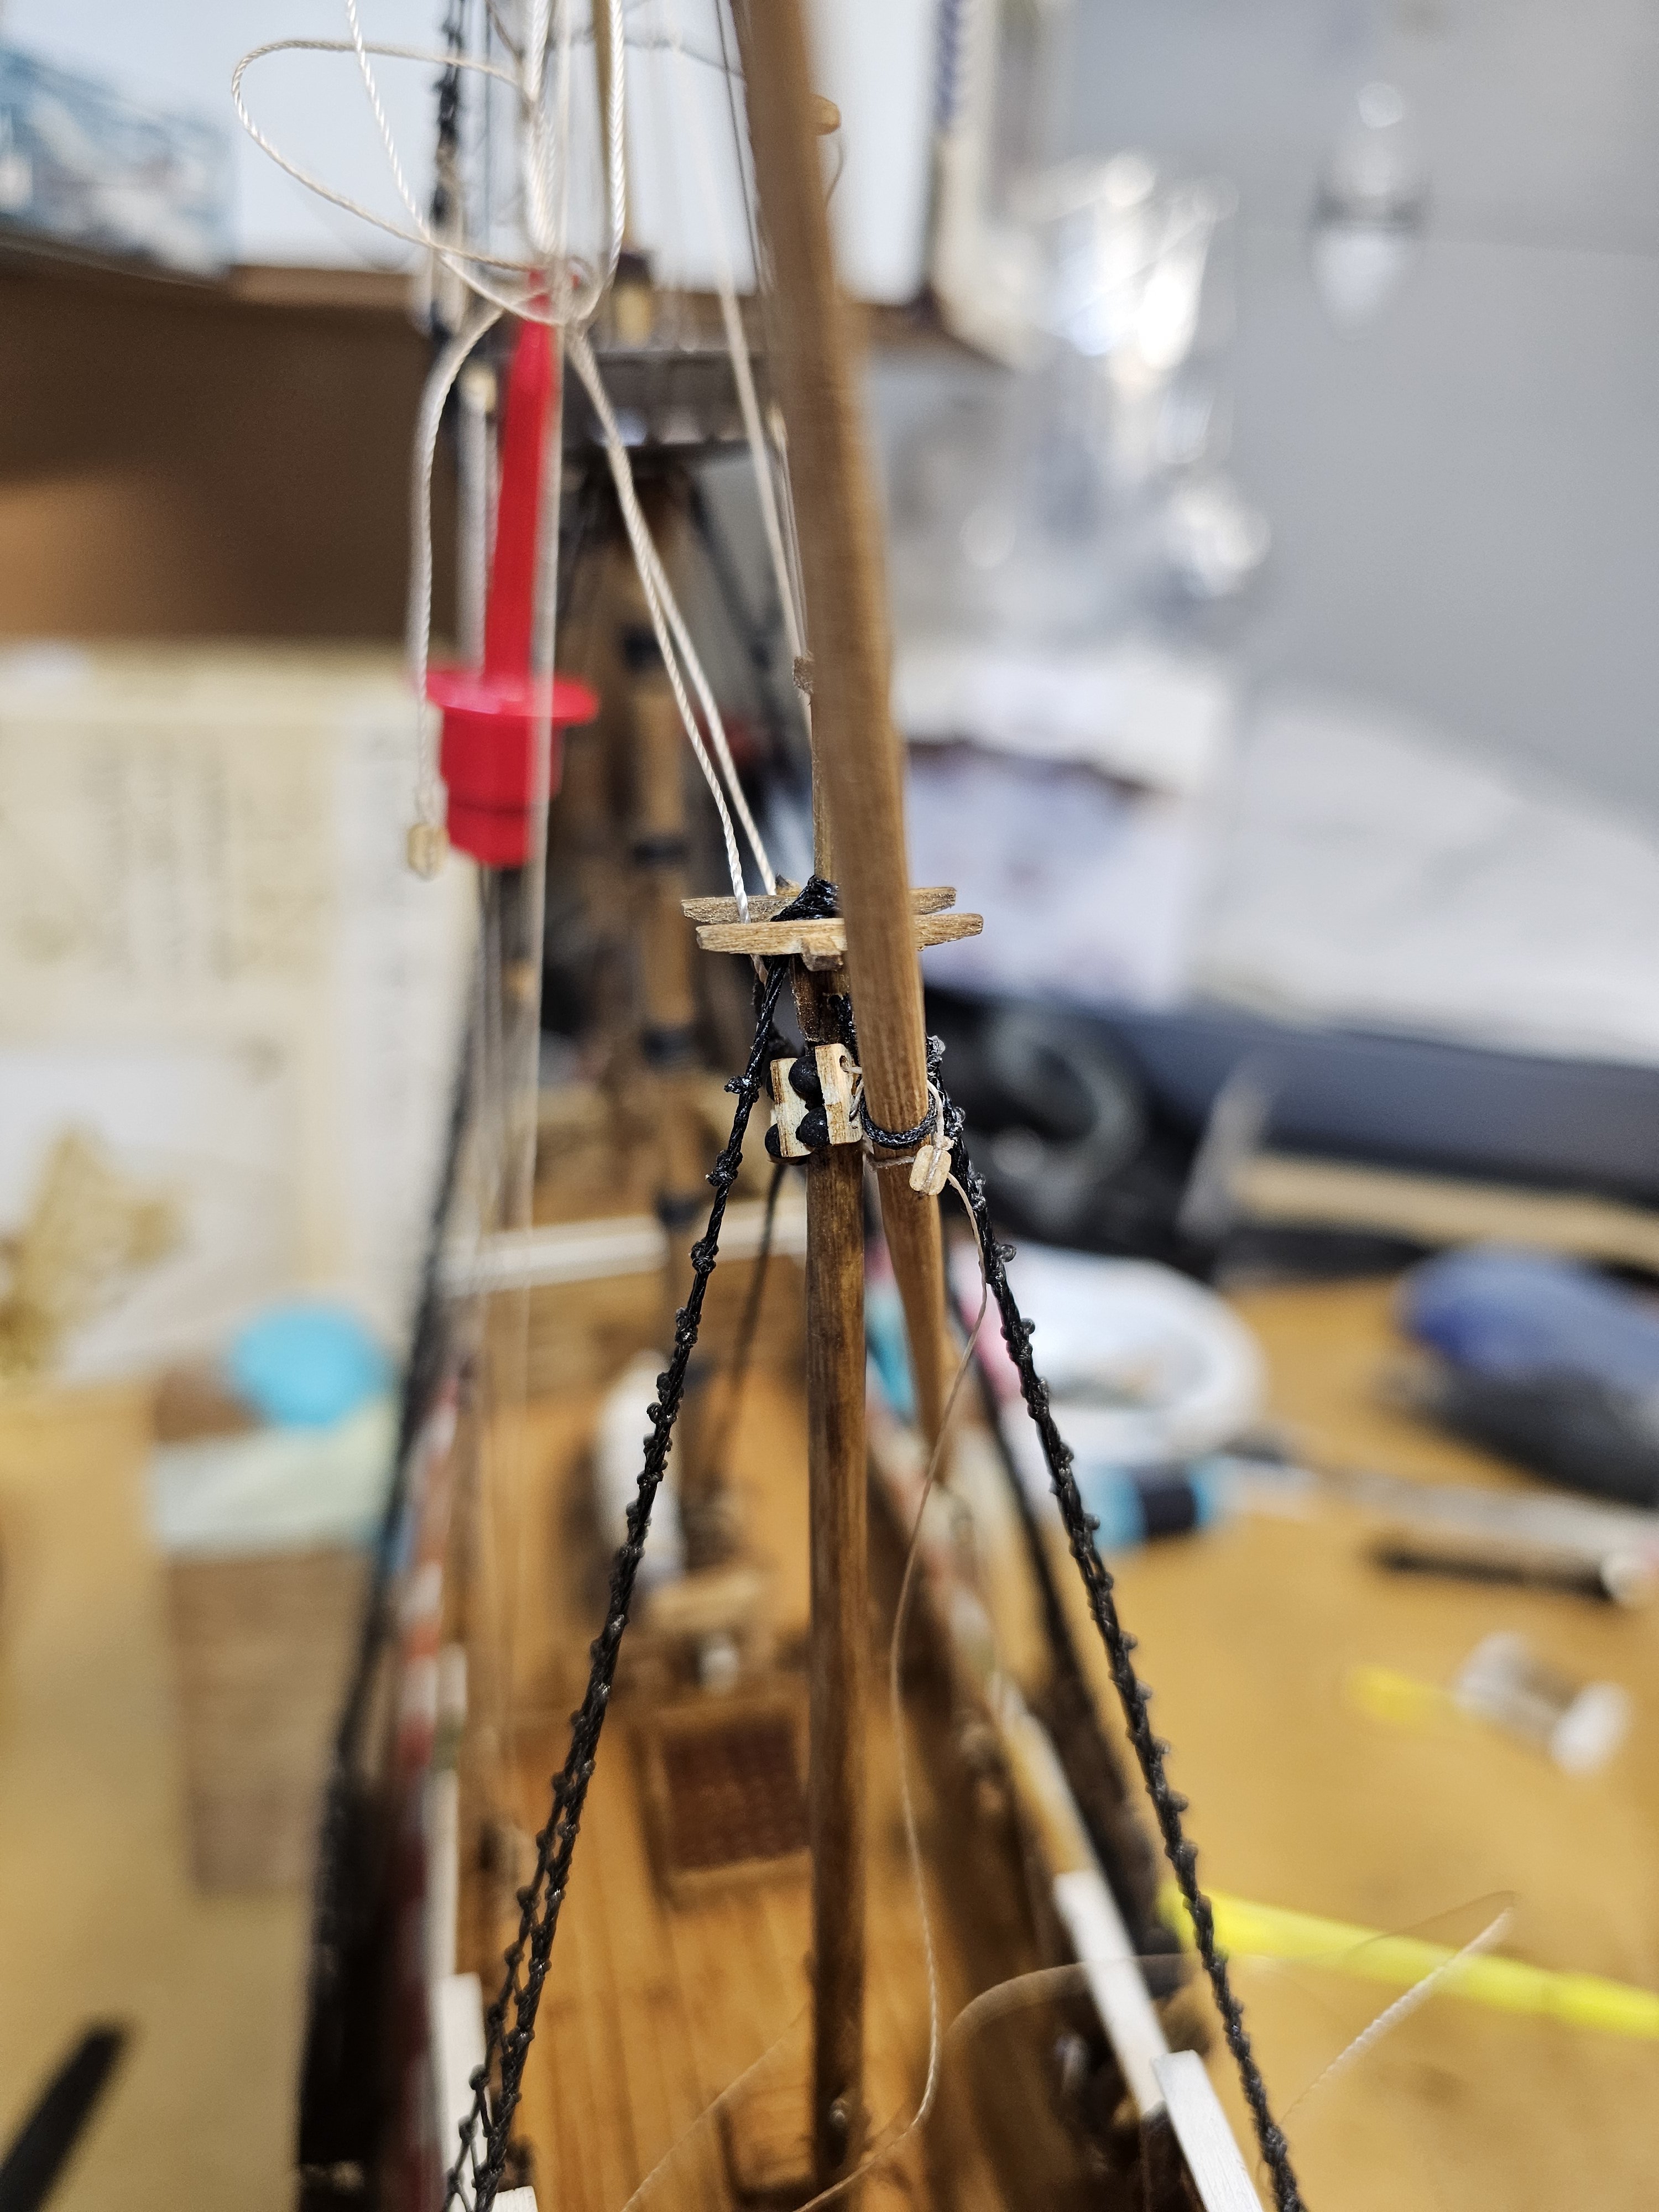
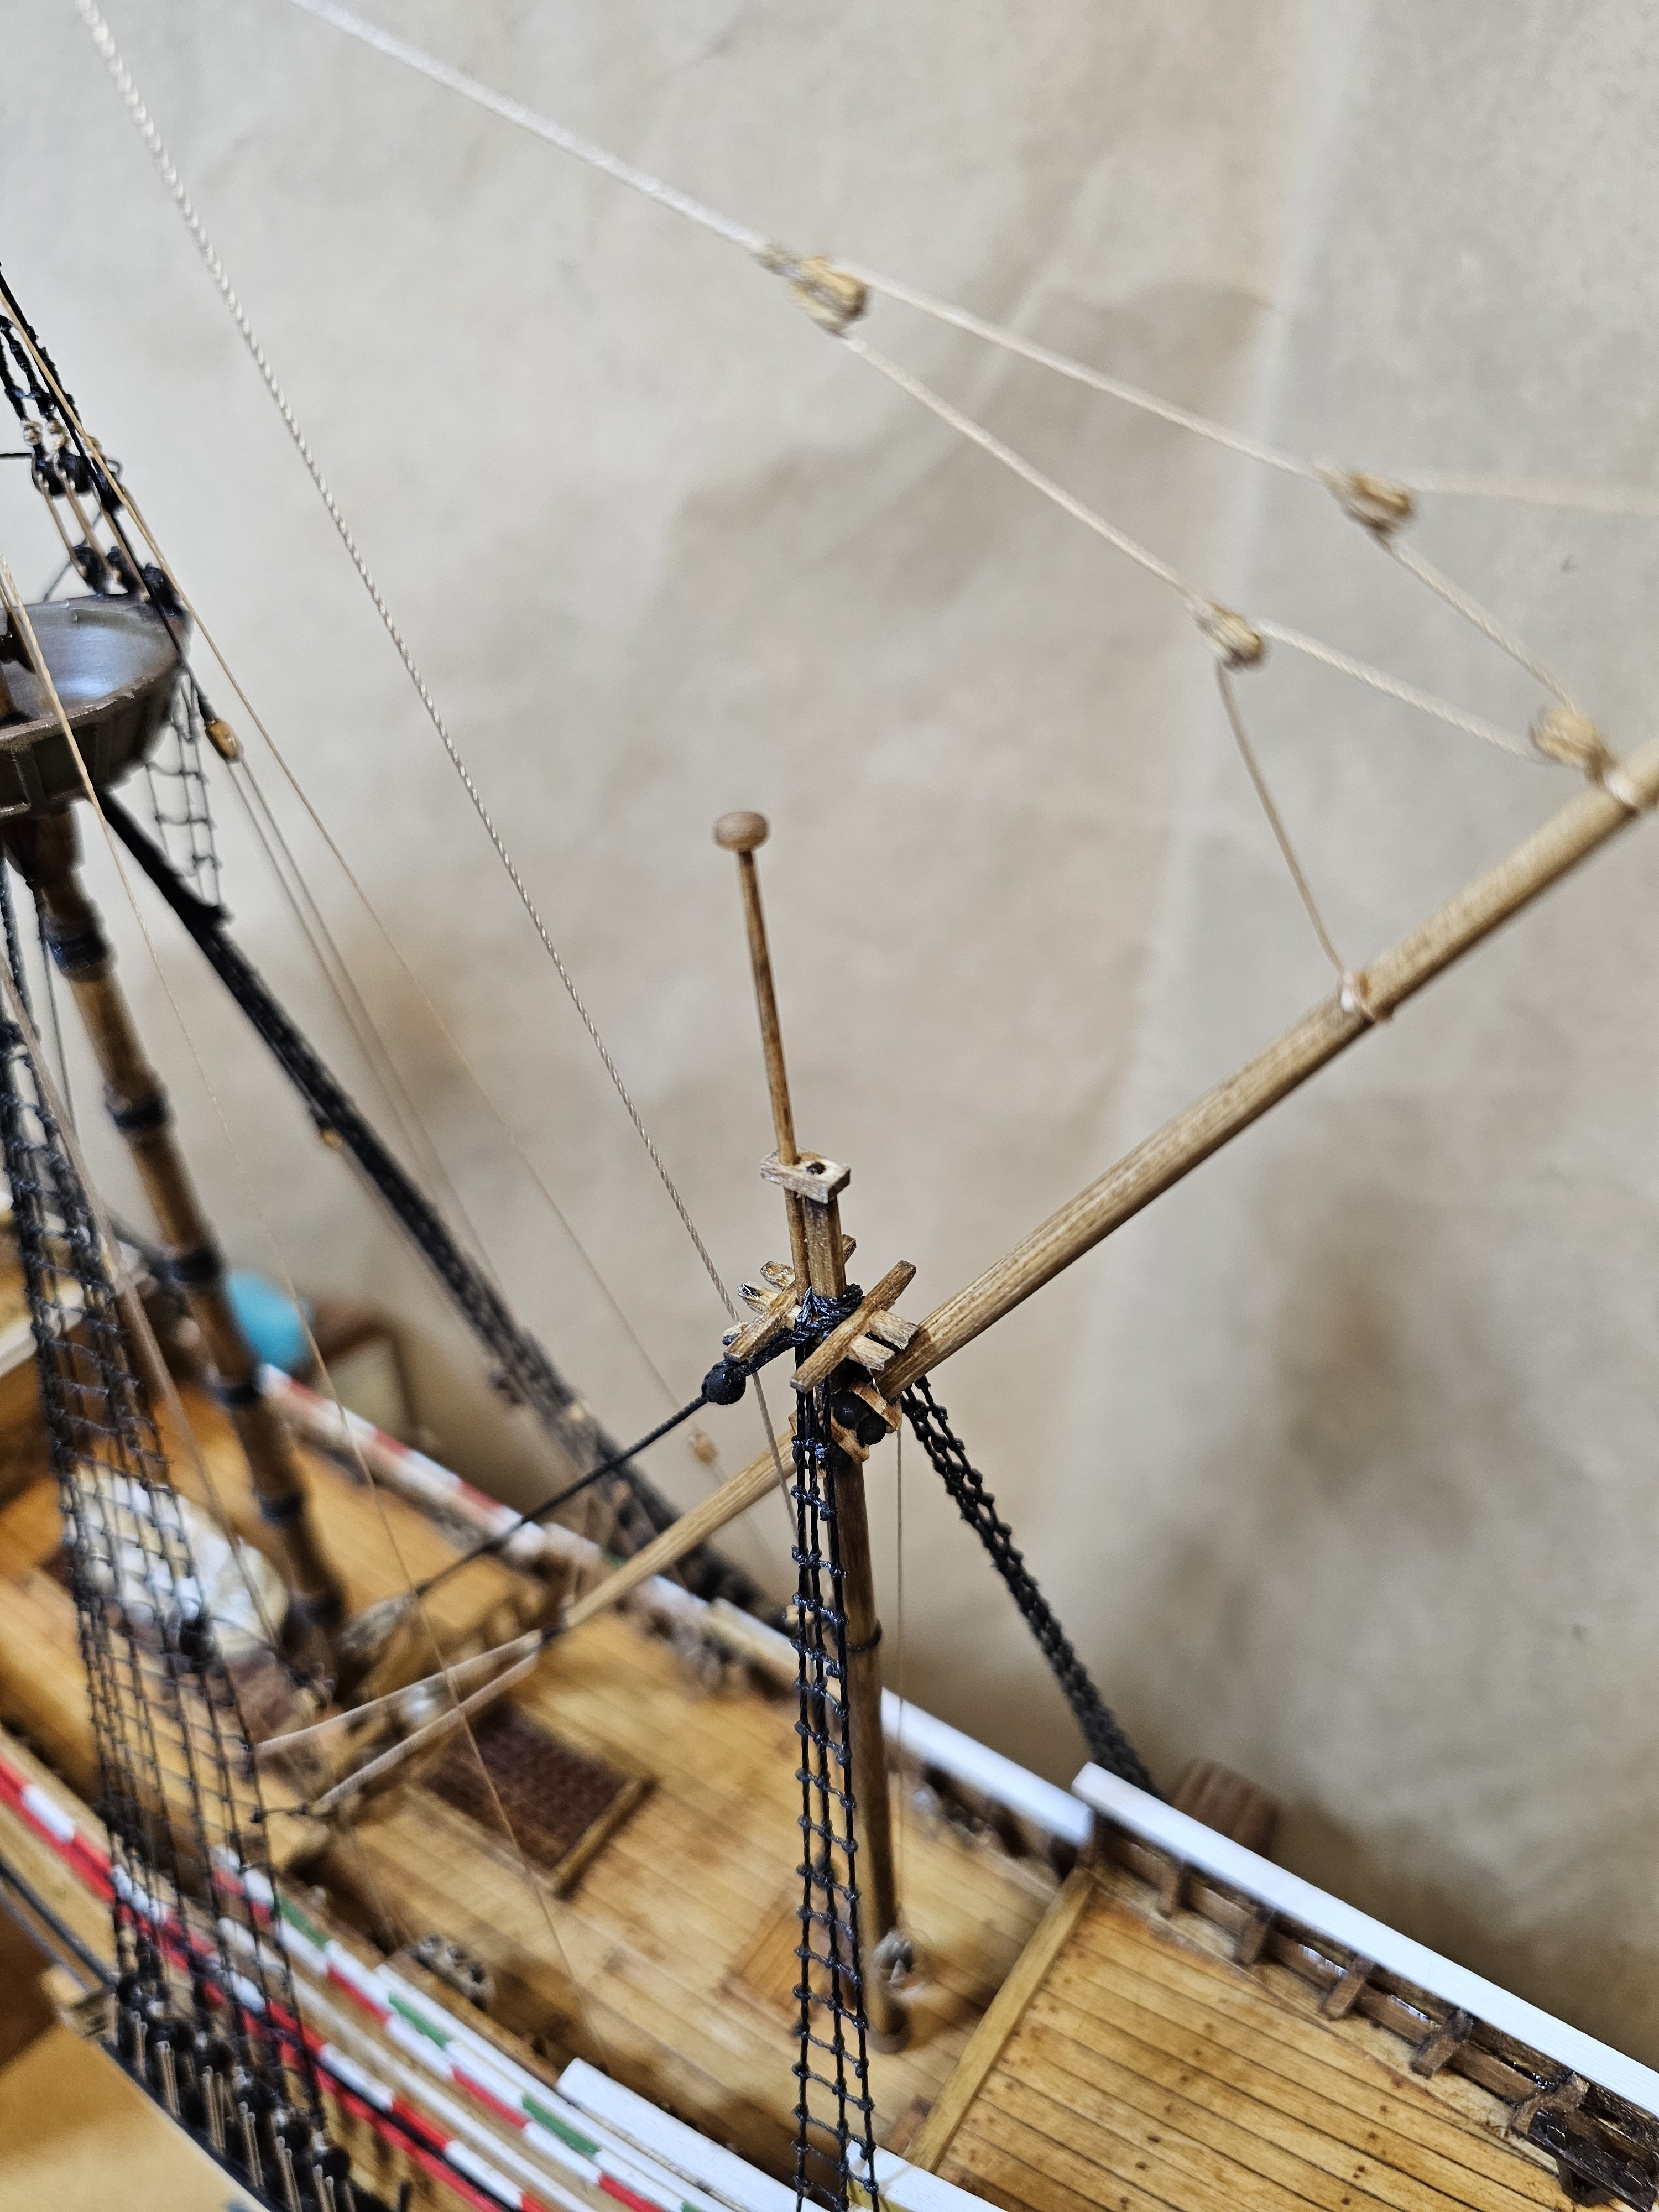
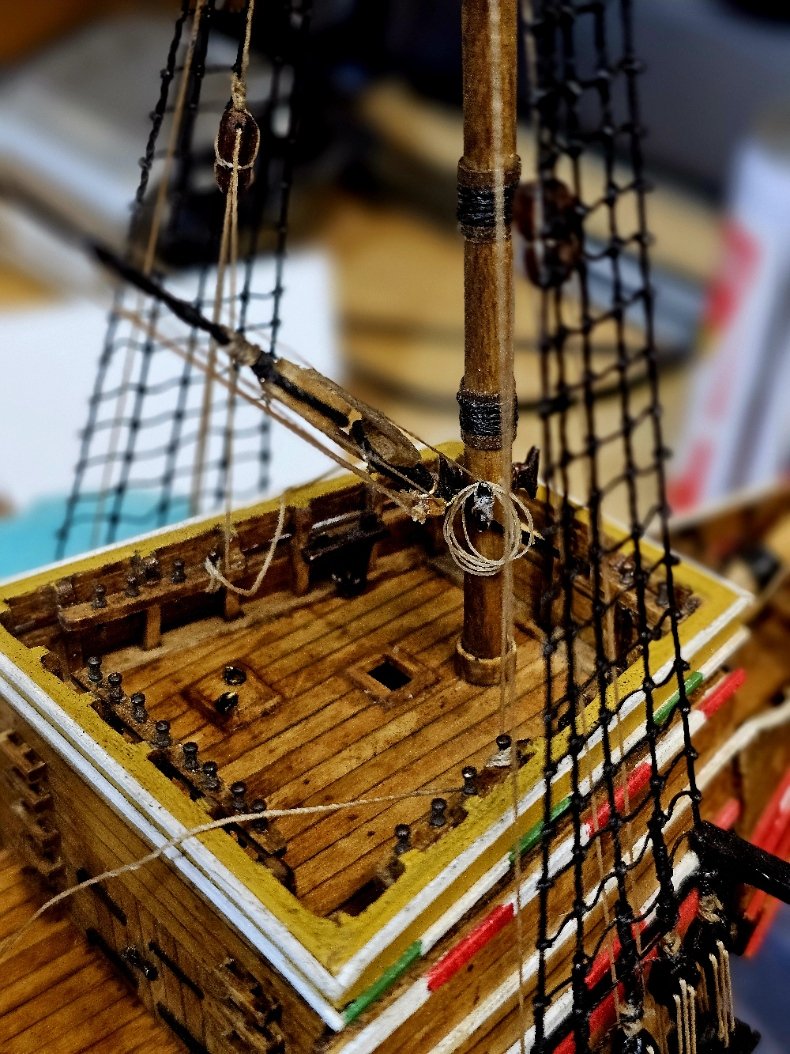
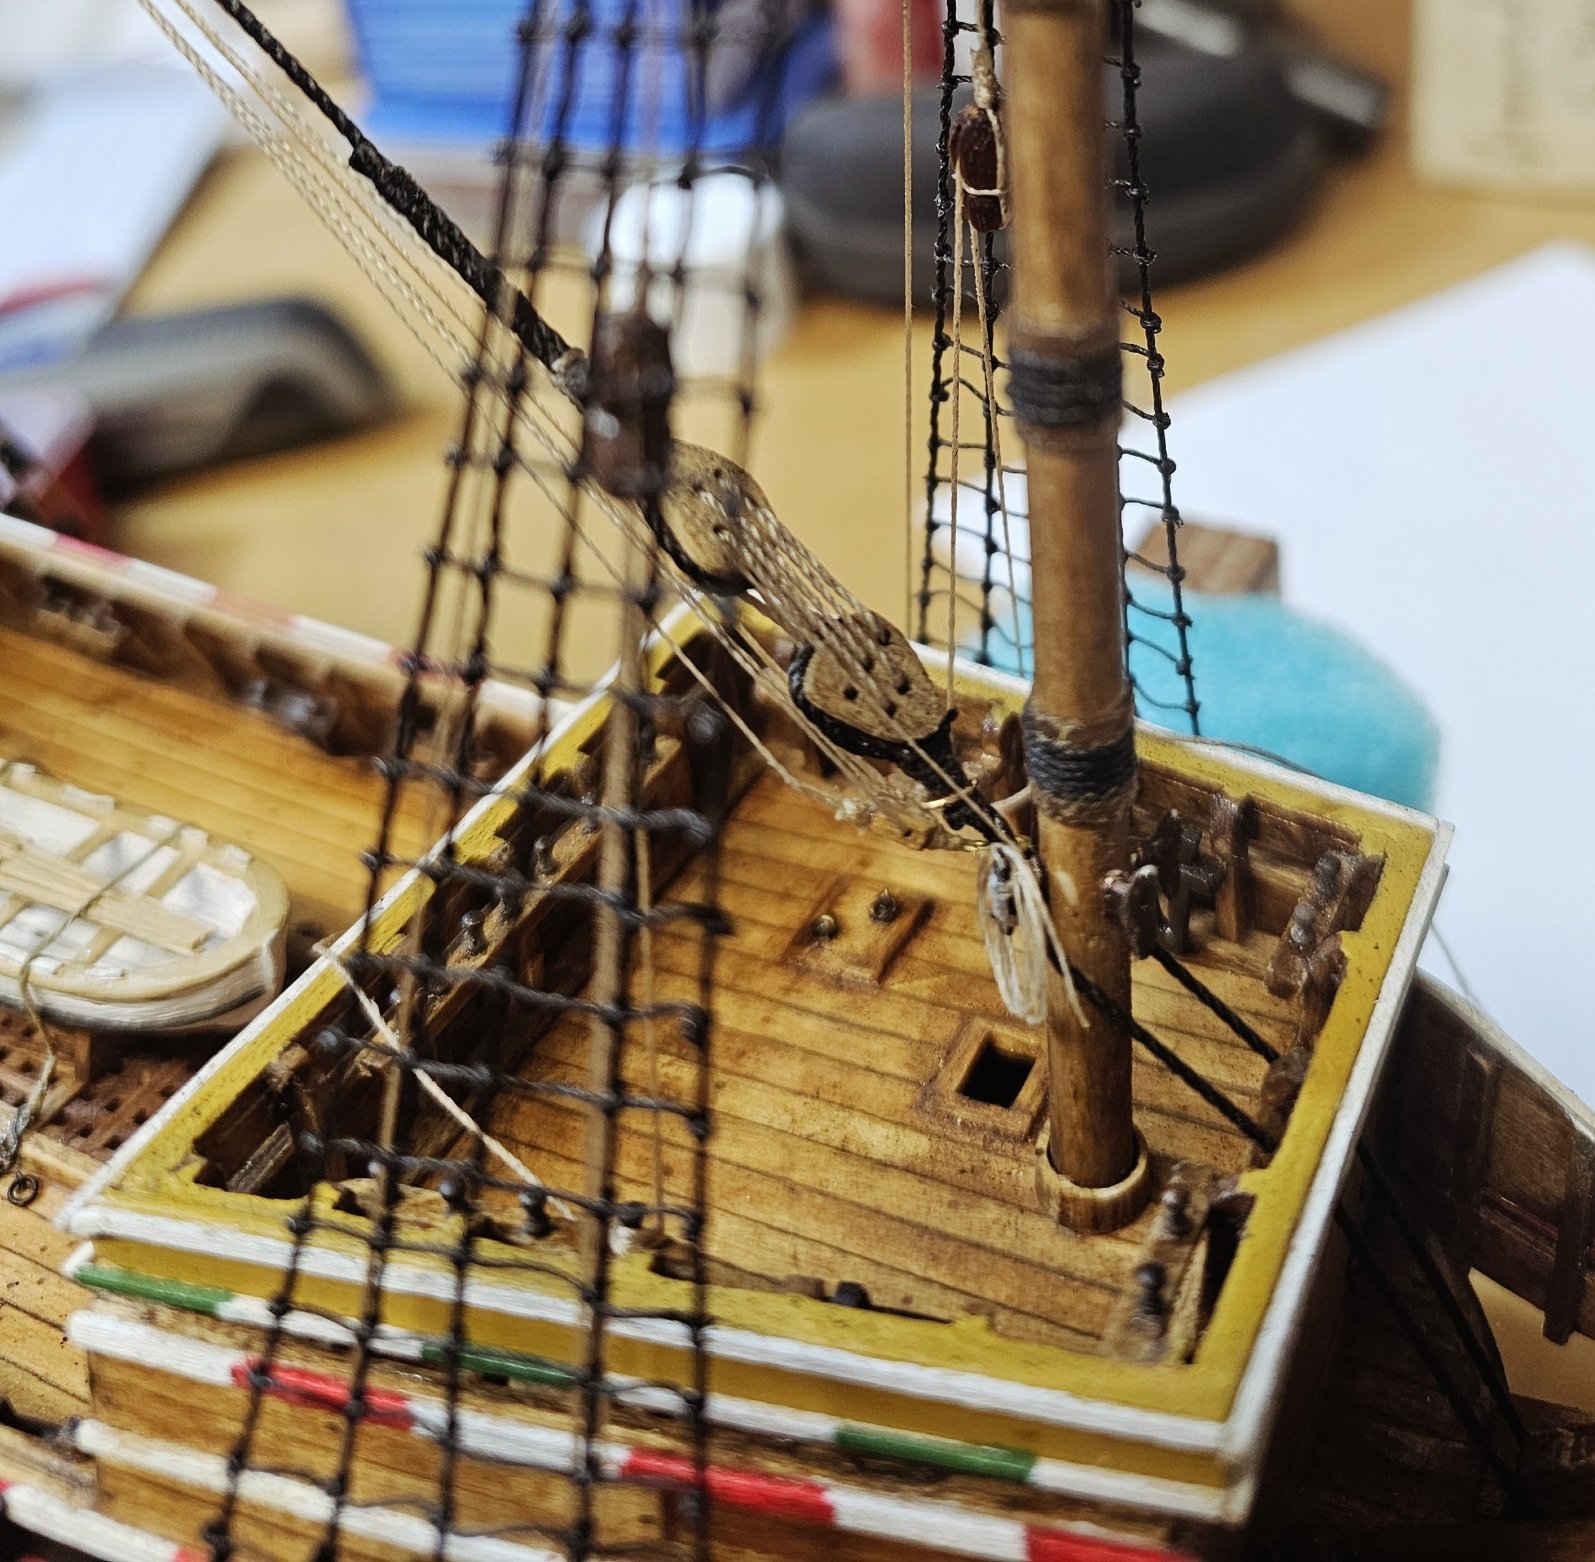
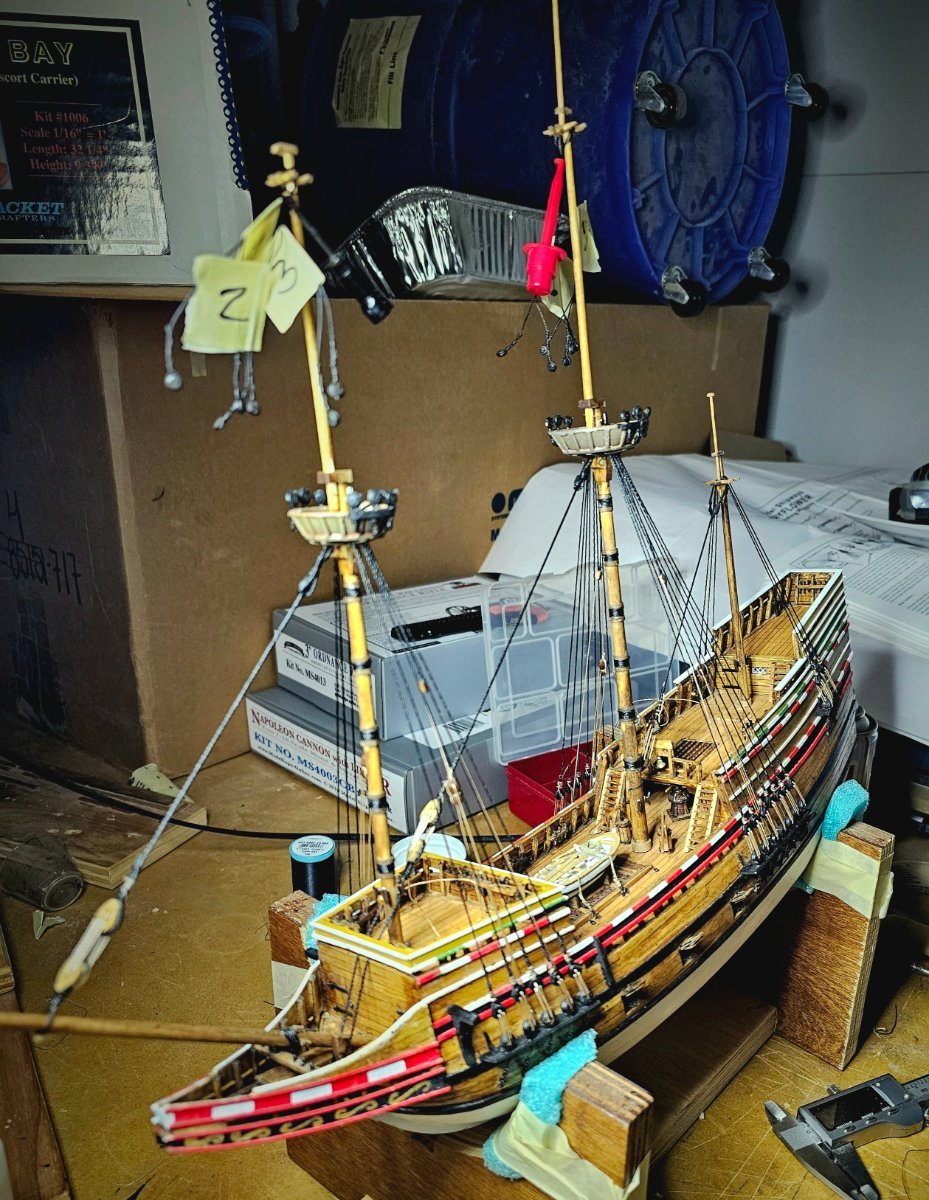
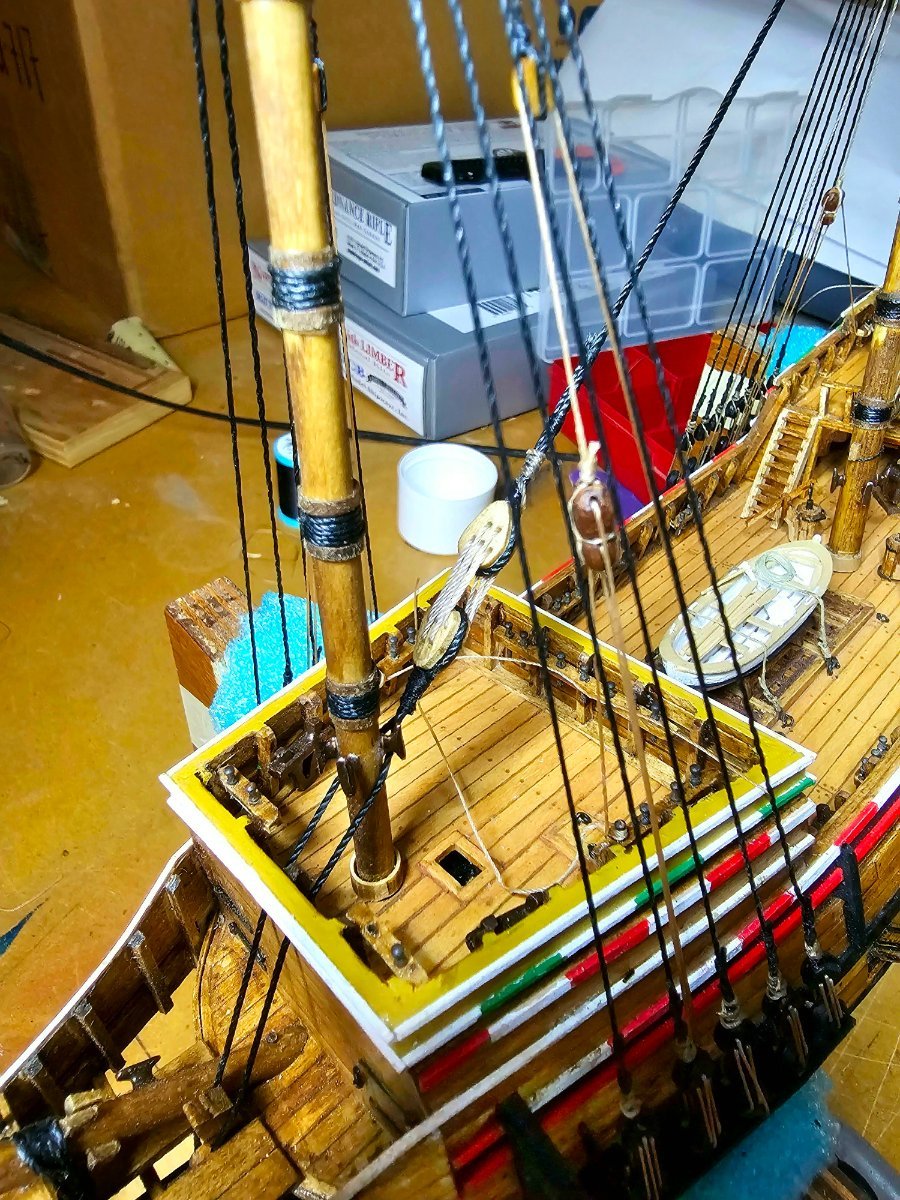
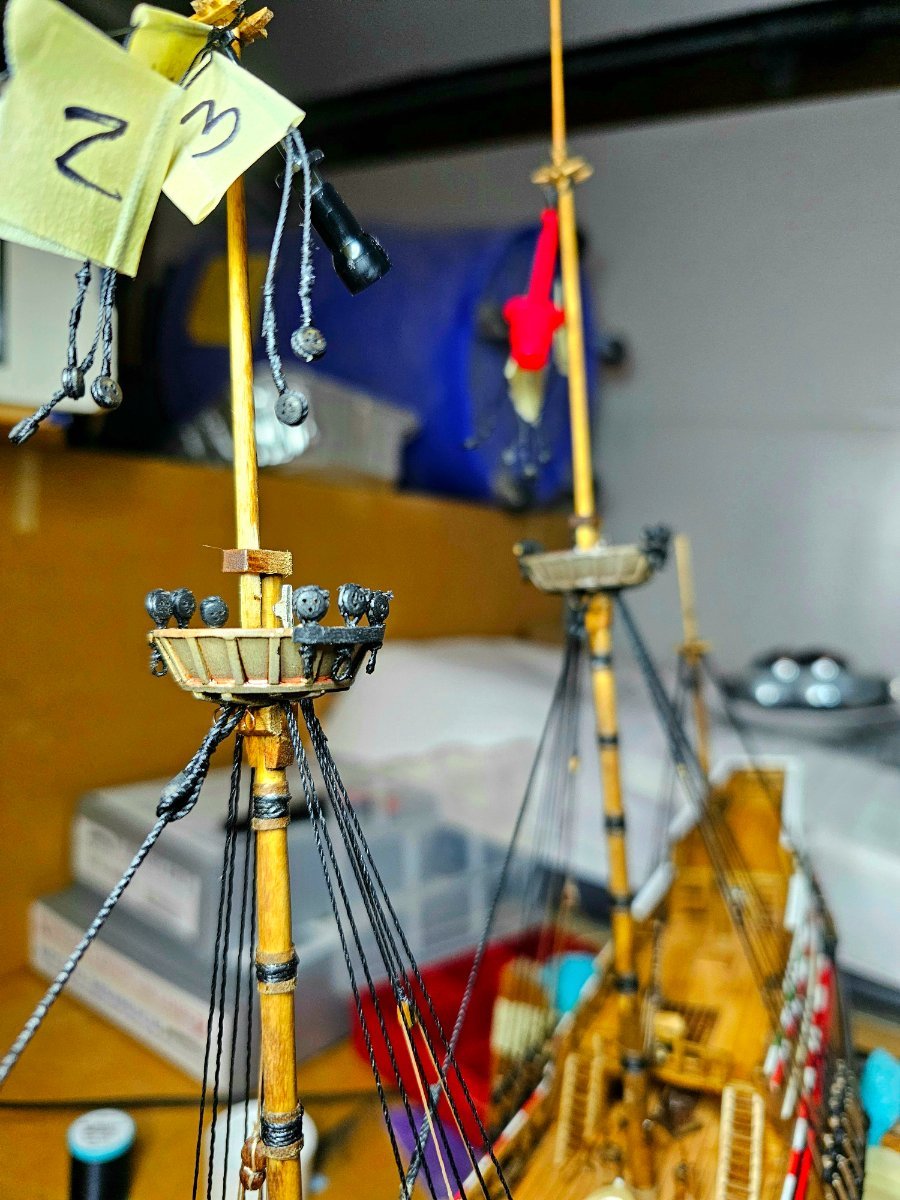
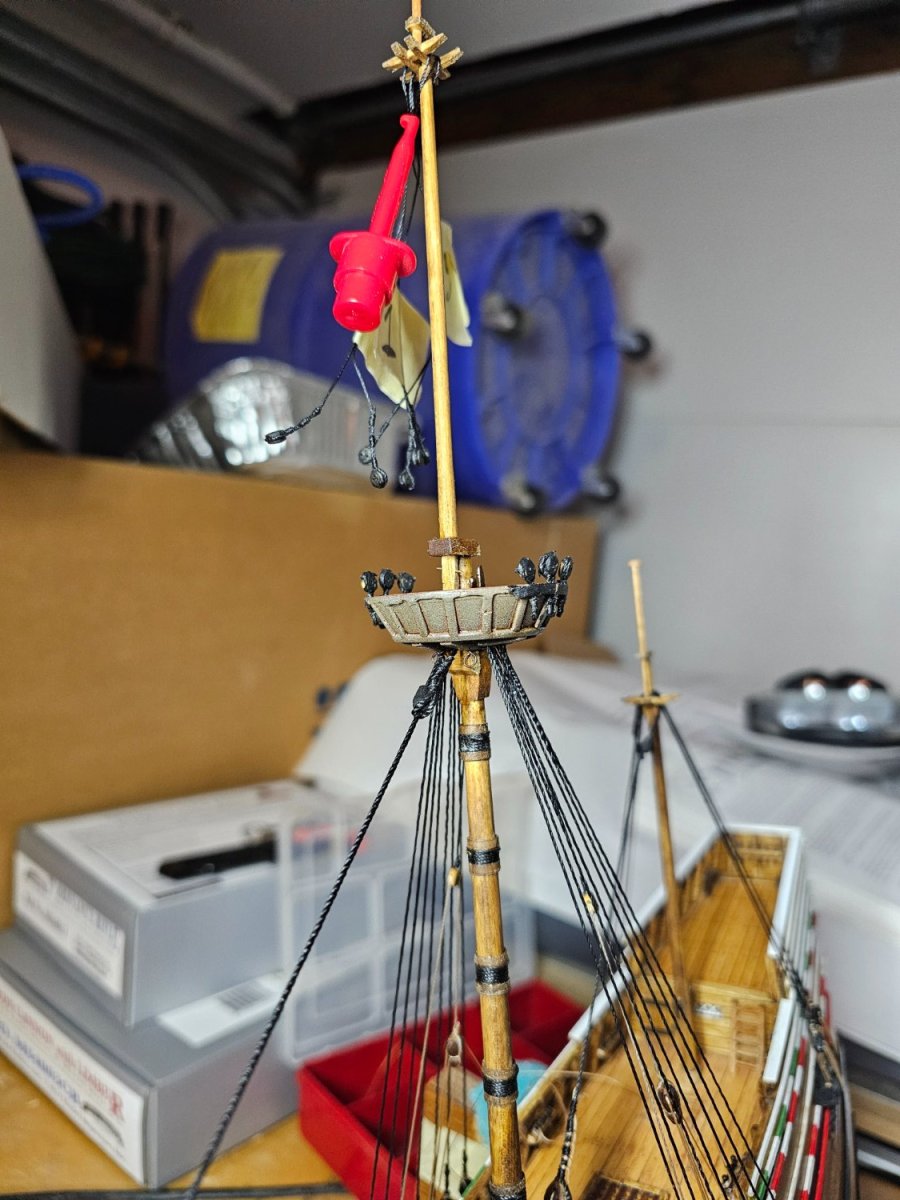
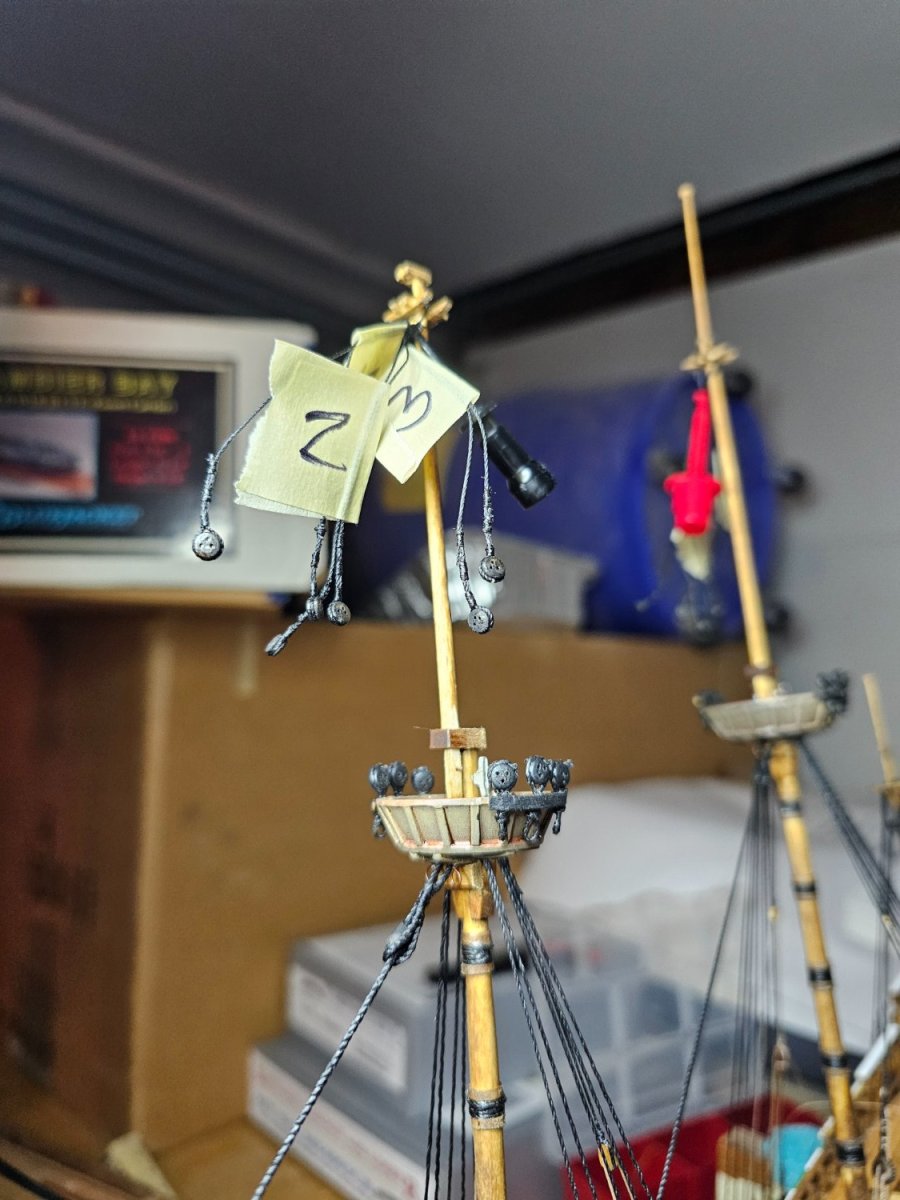
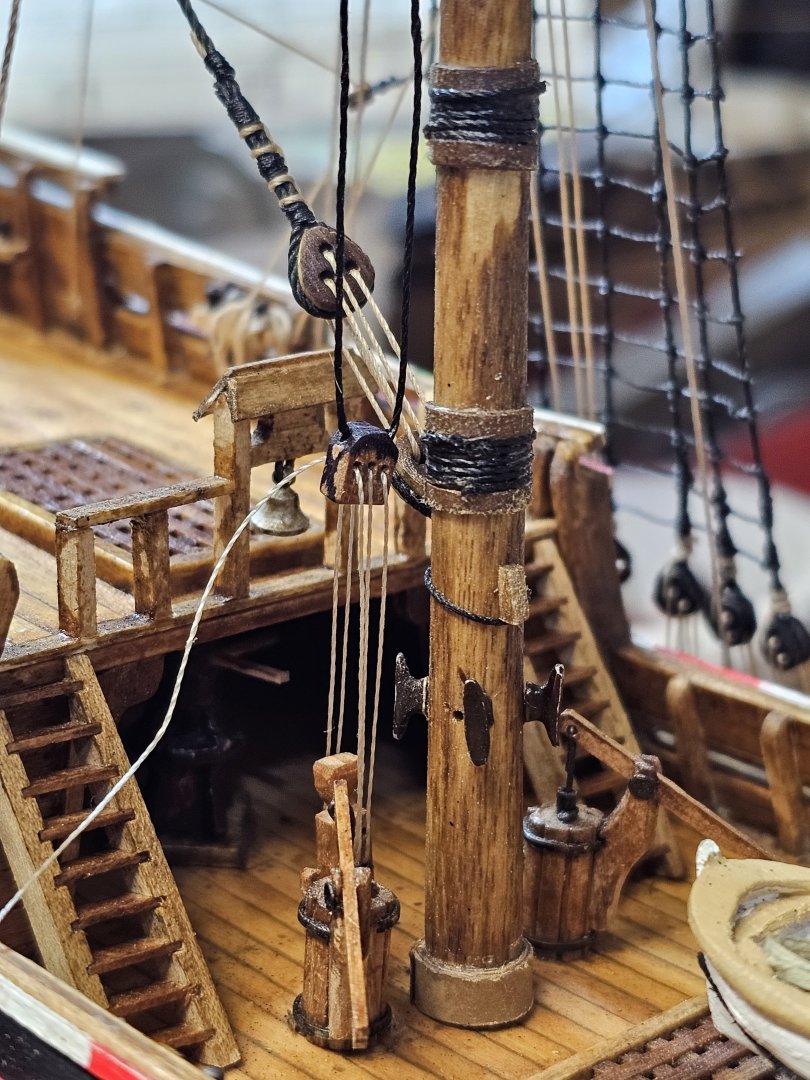
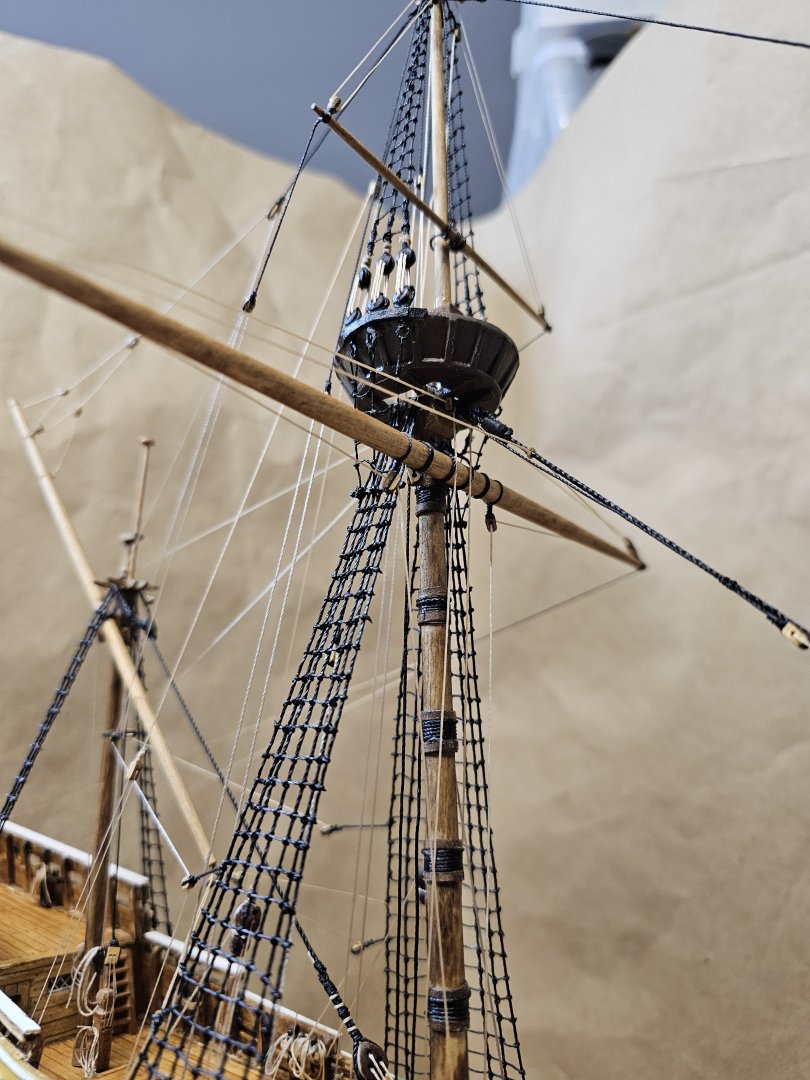
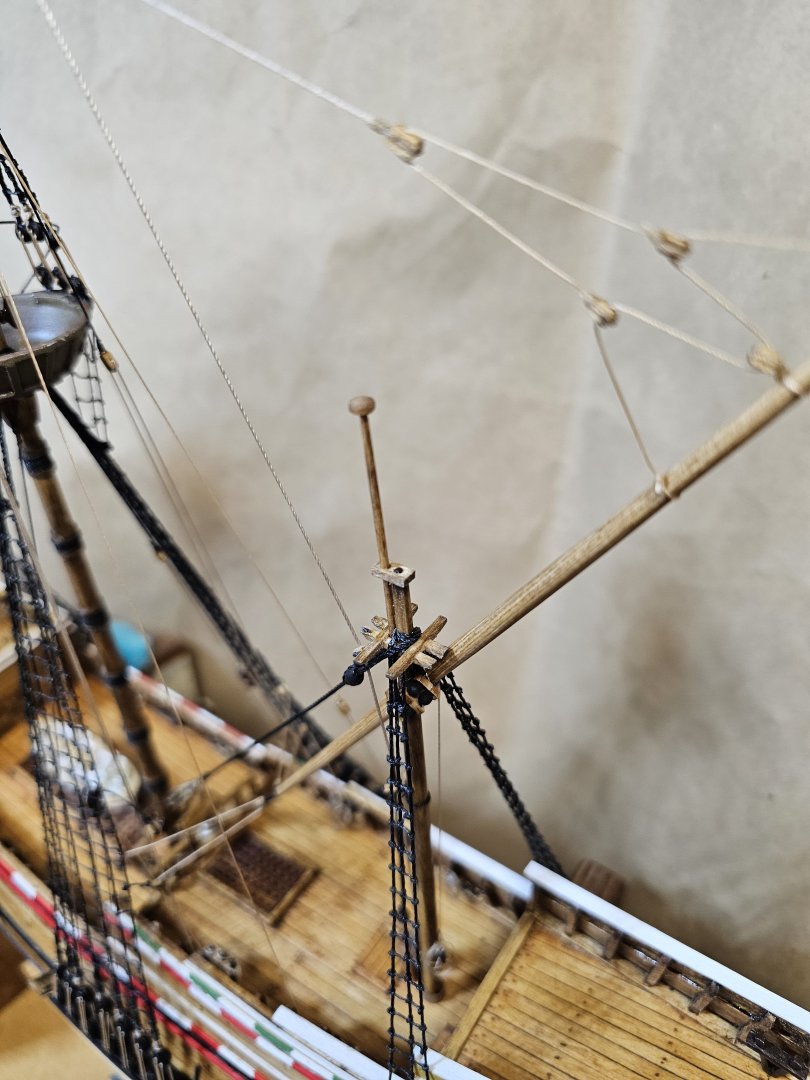
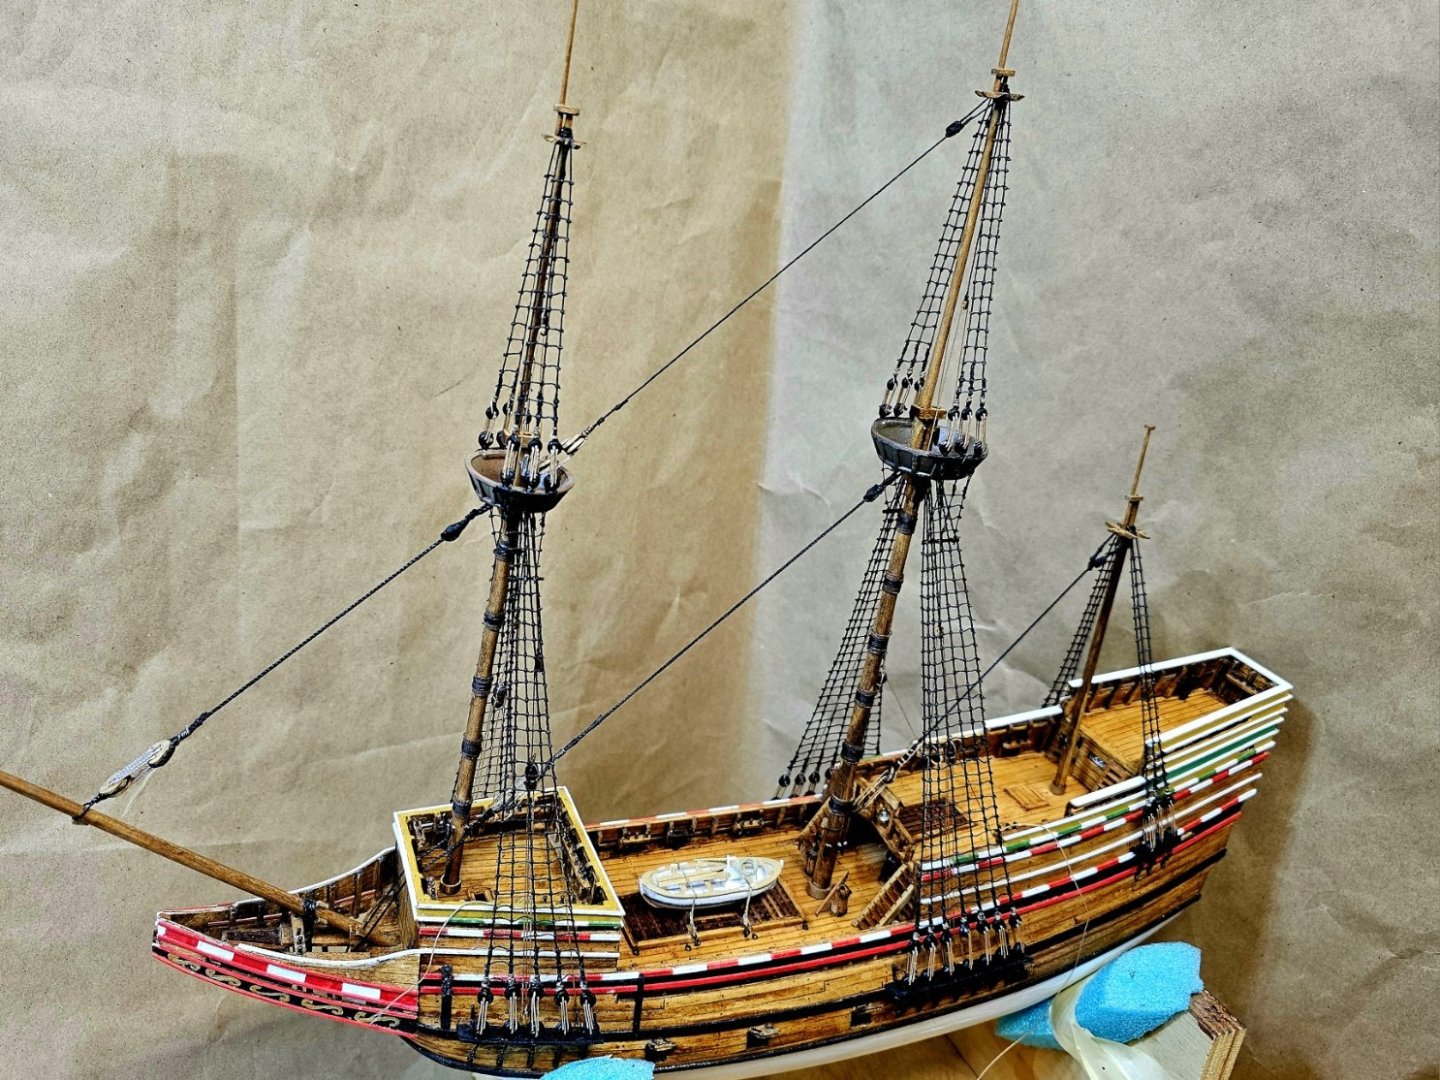
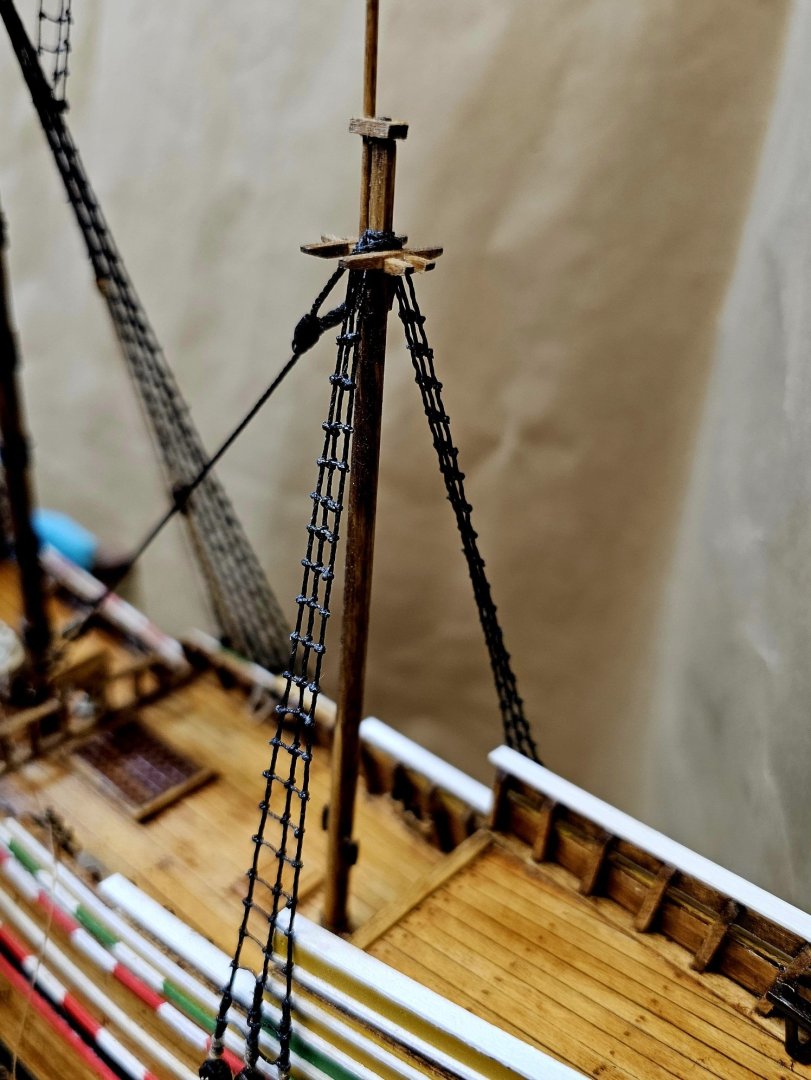
The main mast is done and I cleaned up the mizzen and lateen. A lot of prep work was done, so once it was time to add the spars to the model, it went pretty quickly.


- 73 replies
-
- 3
-

-
- mayflower
- model shipways
- (and 1 more)
-
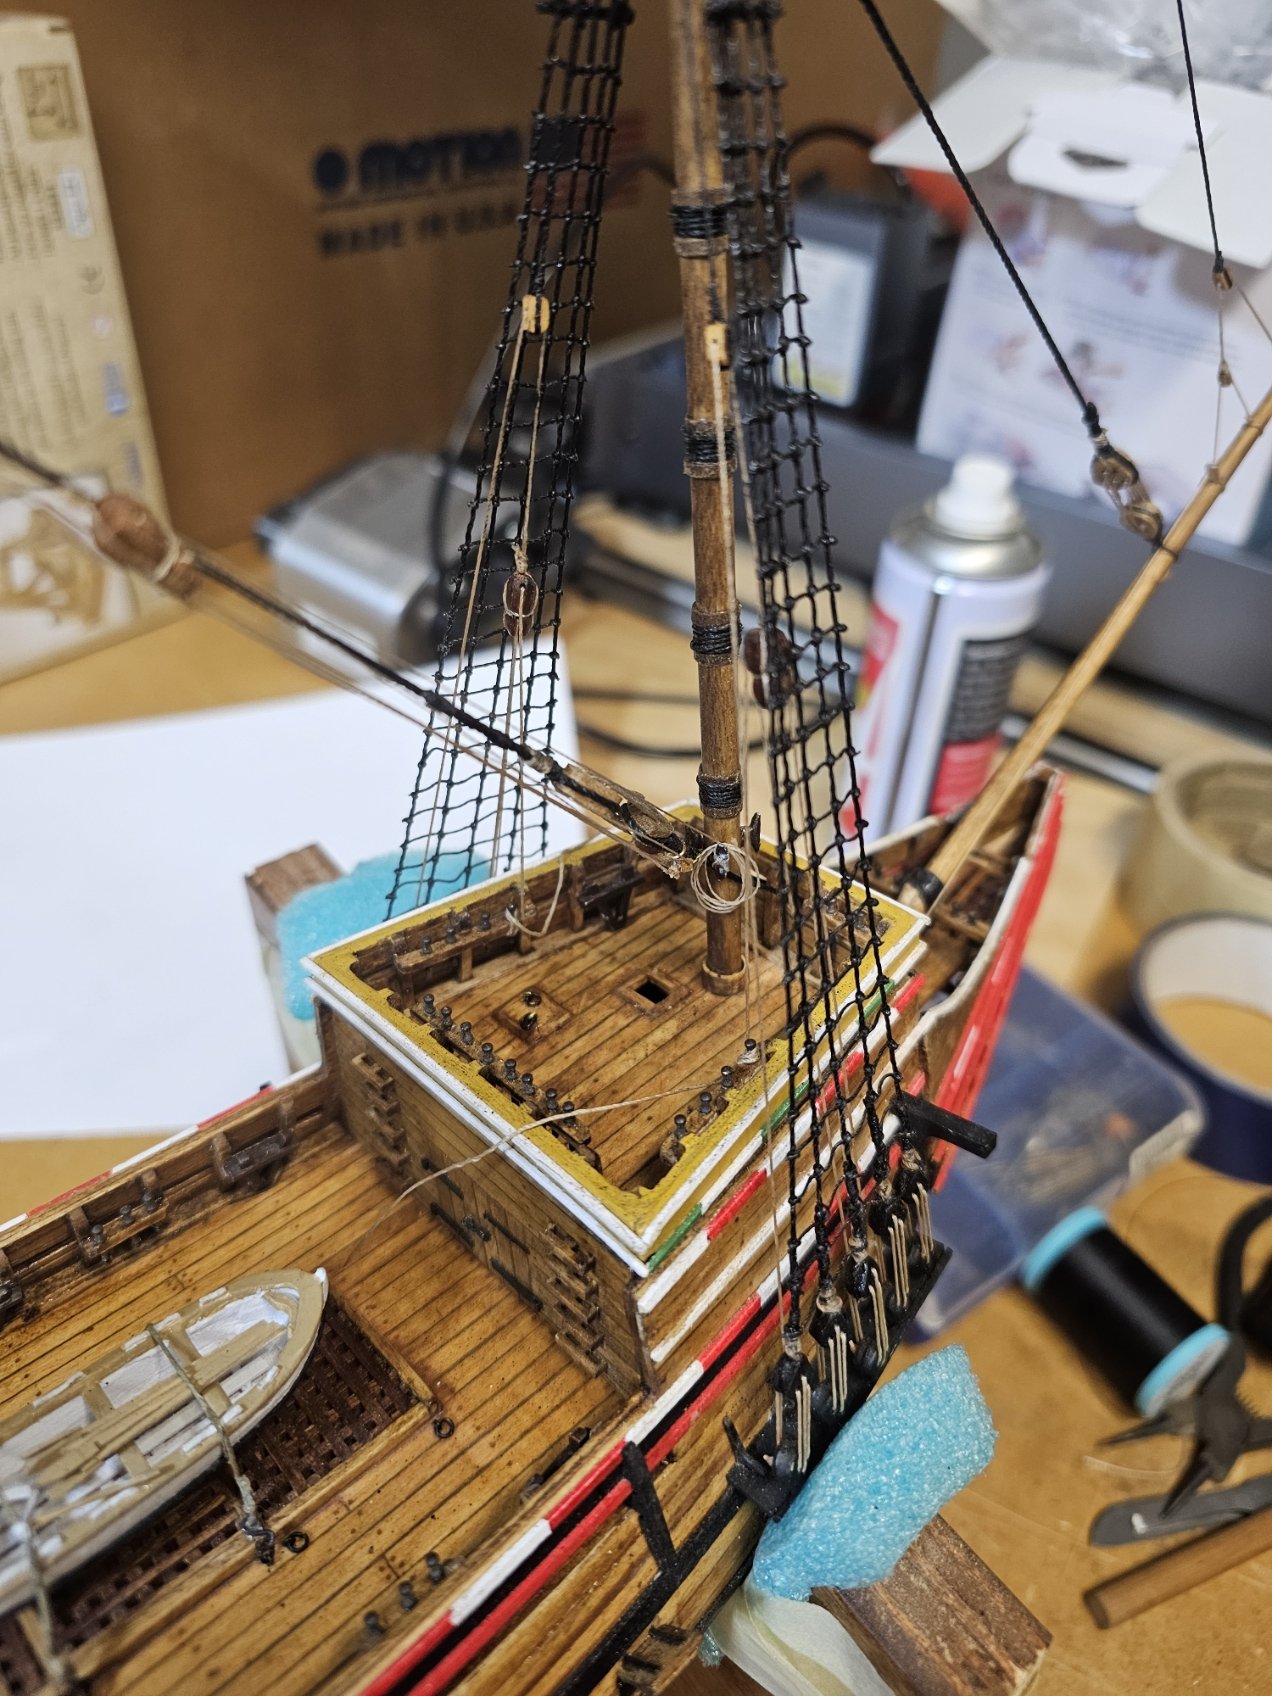
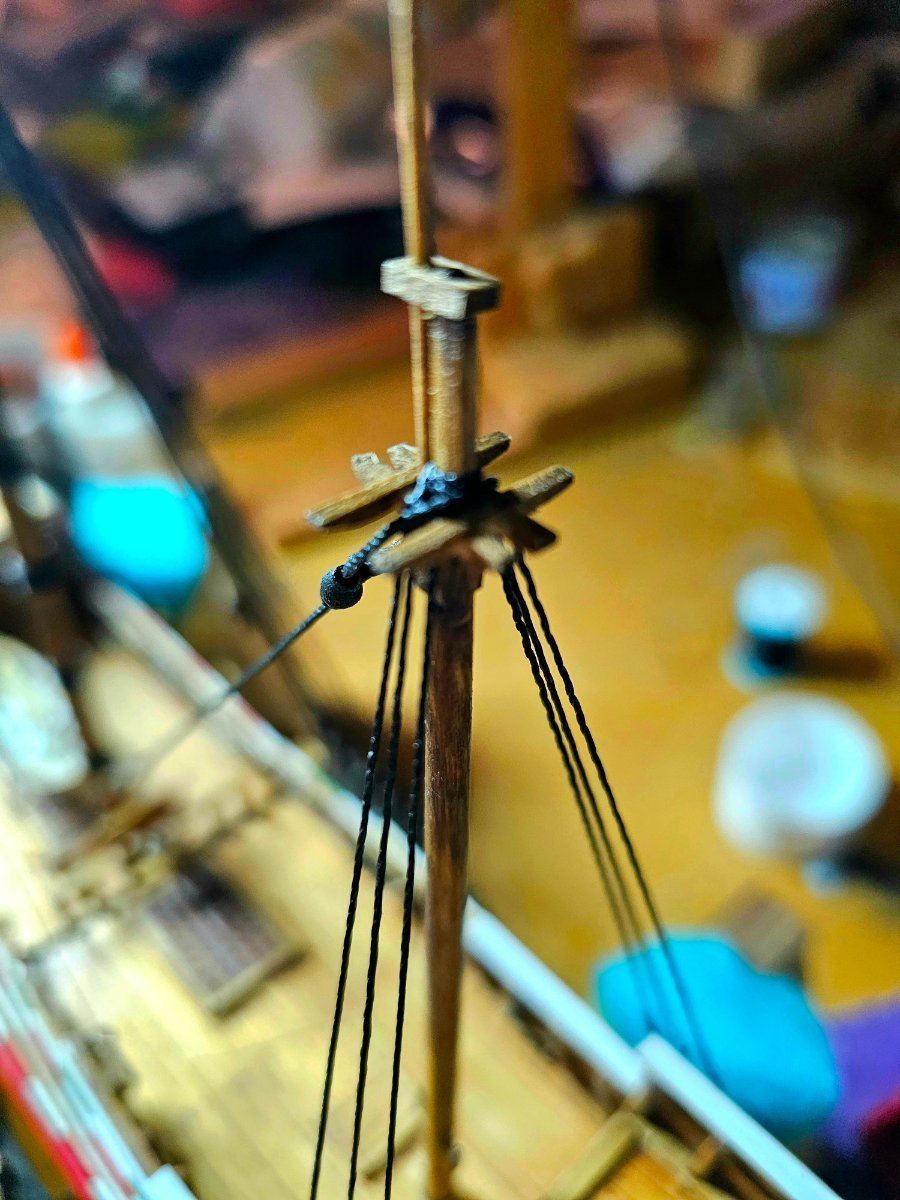
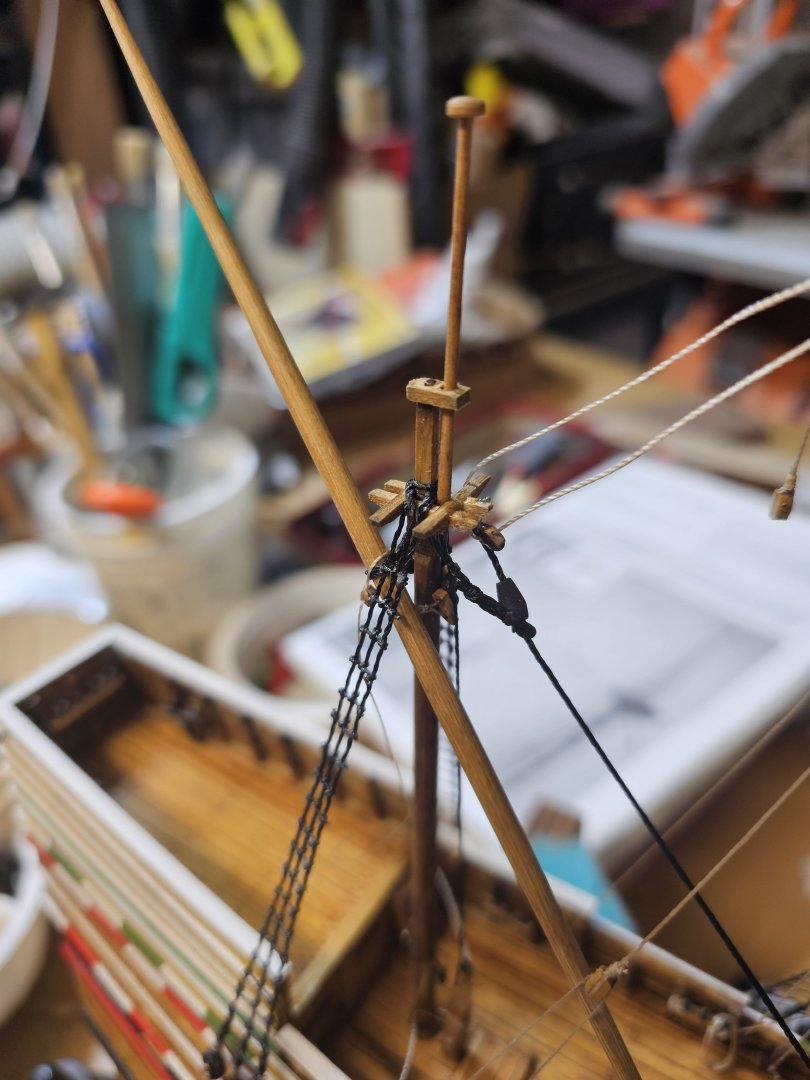
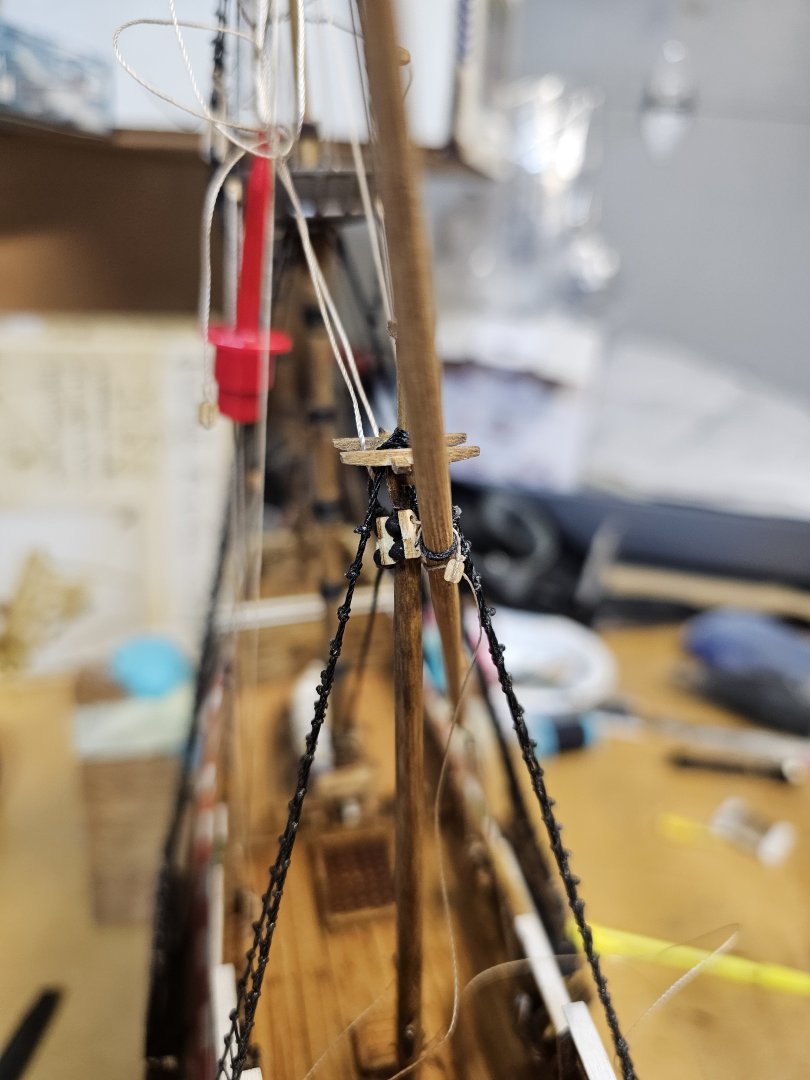
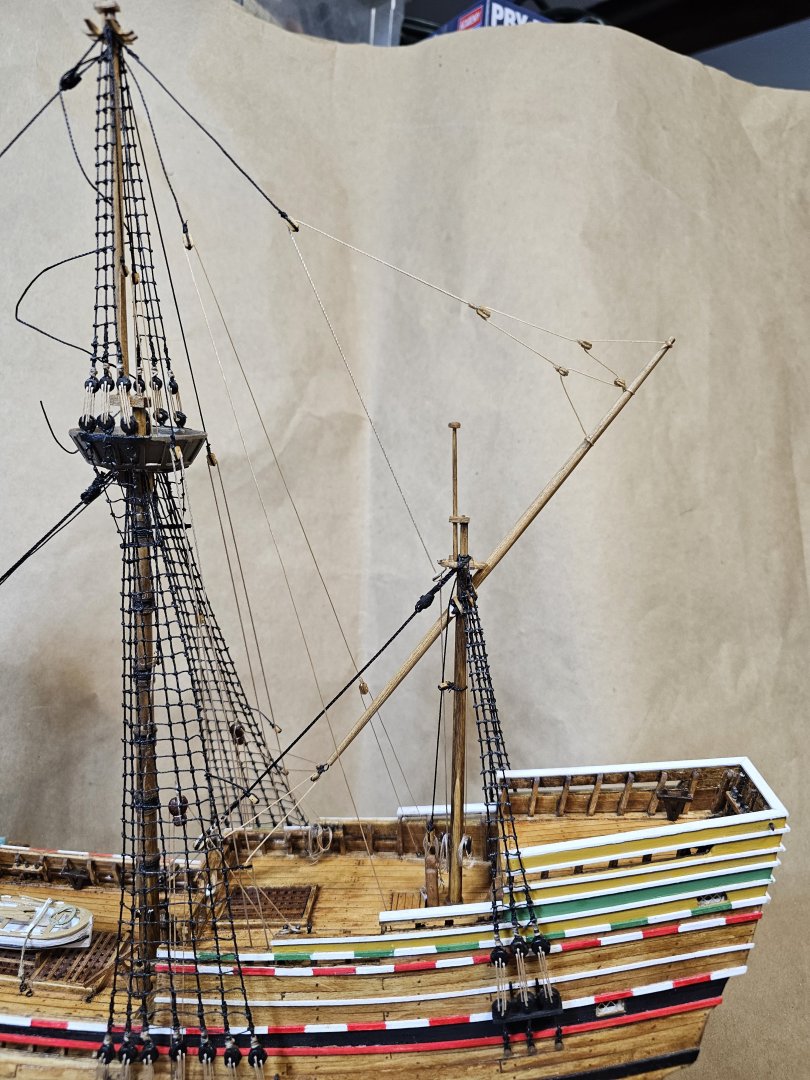
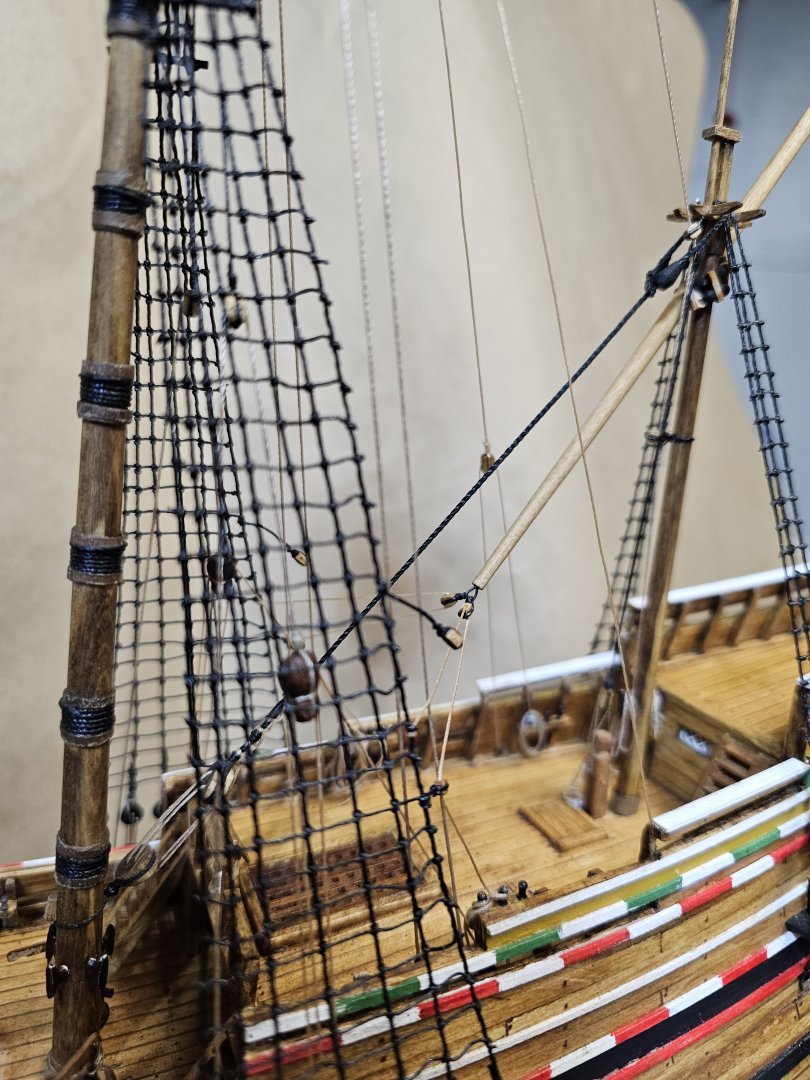
Rigged the lateen to the mizzen mast. Great progress these past few days. 😬

- 73 replies
-
- 2
-
-
- mayflower
- model shipways
- (and 1 more)
-
Thank you! Initially, I believed the build would be complete in just 1.5 years, but how mistaken I was—it's turned out to be a 6-year journey. LOL. I've been observing your progress from the early stages. Looking forward to seeing you get back at it😊
- 73 replies
-
- 1
-
-
- mayflower
- model shipways
- (and 1 more)
-
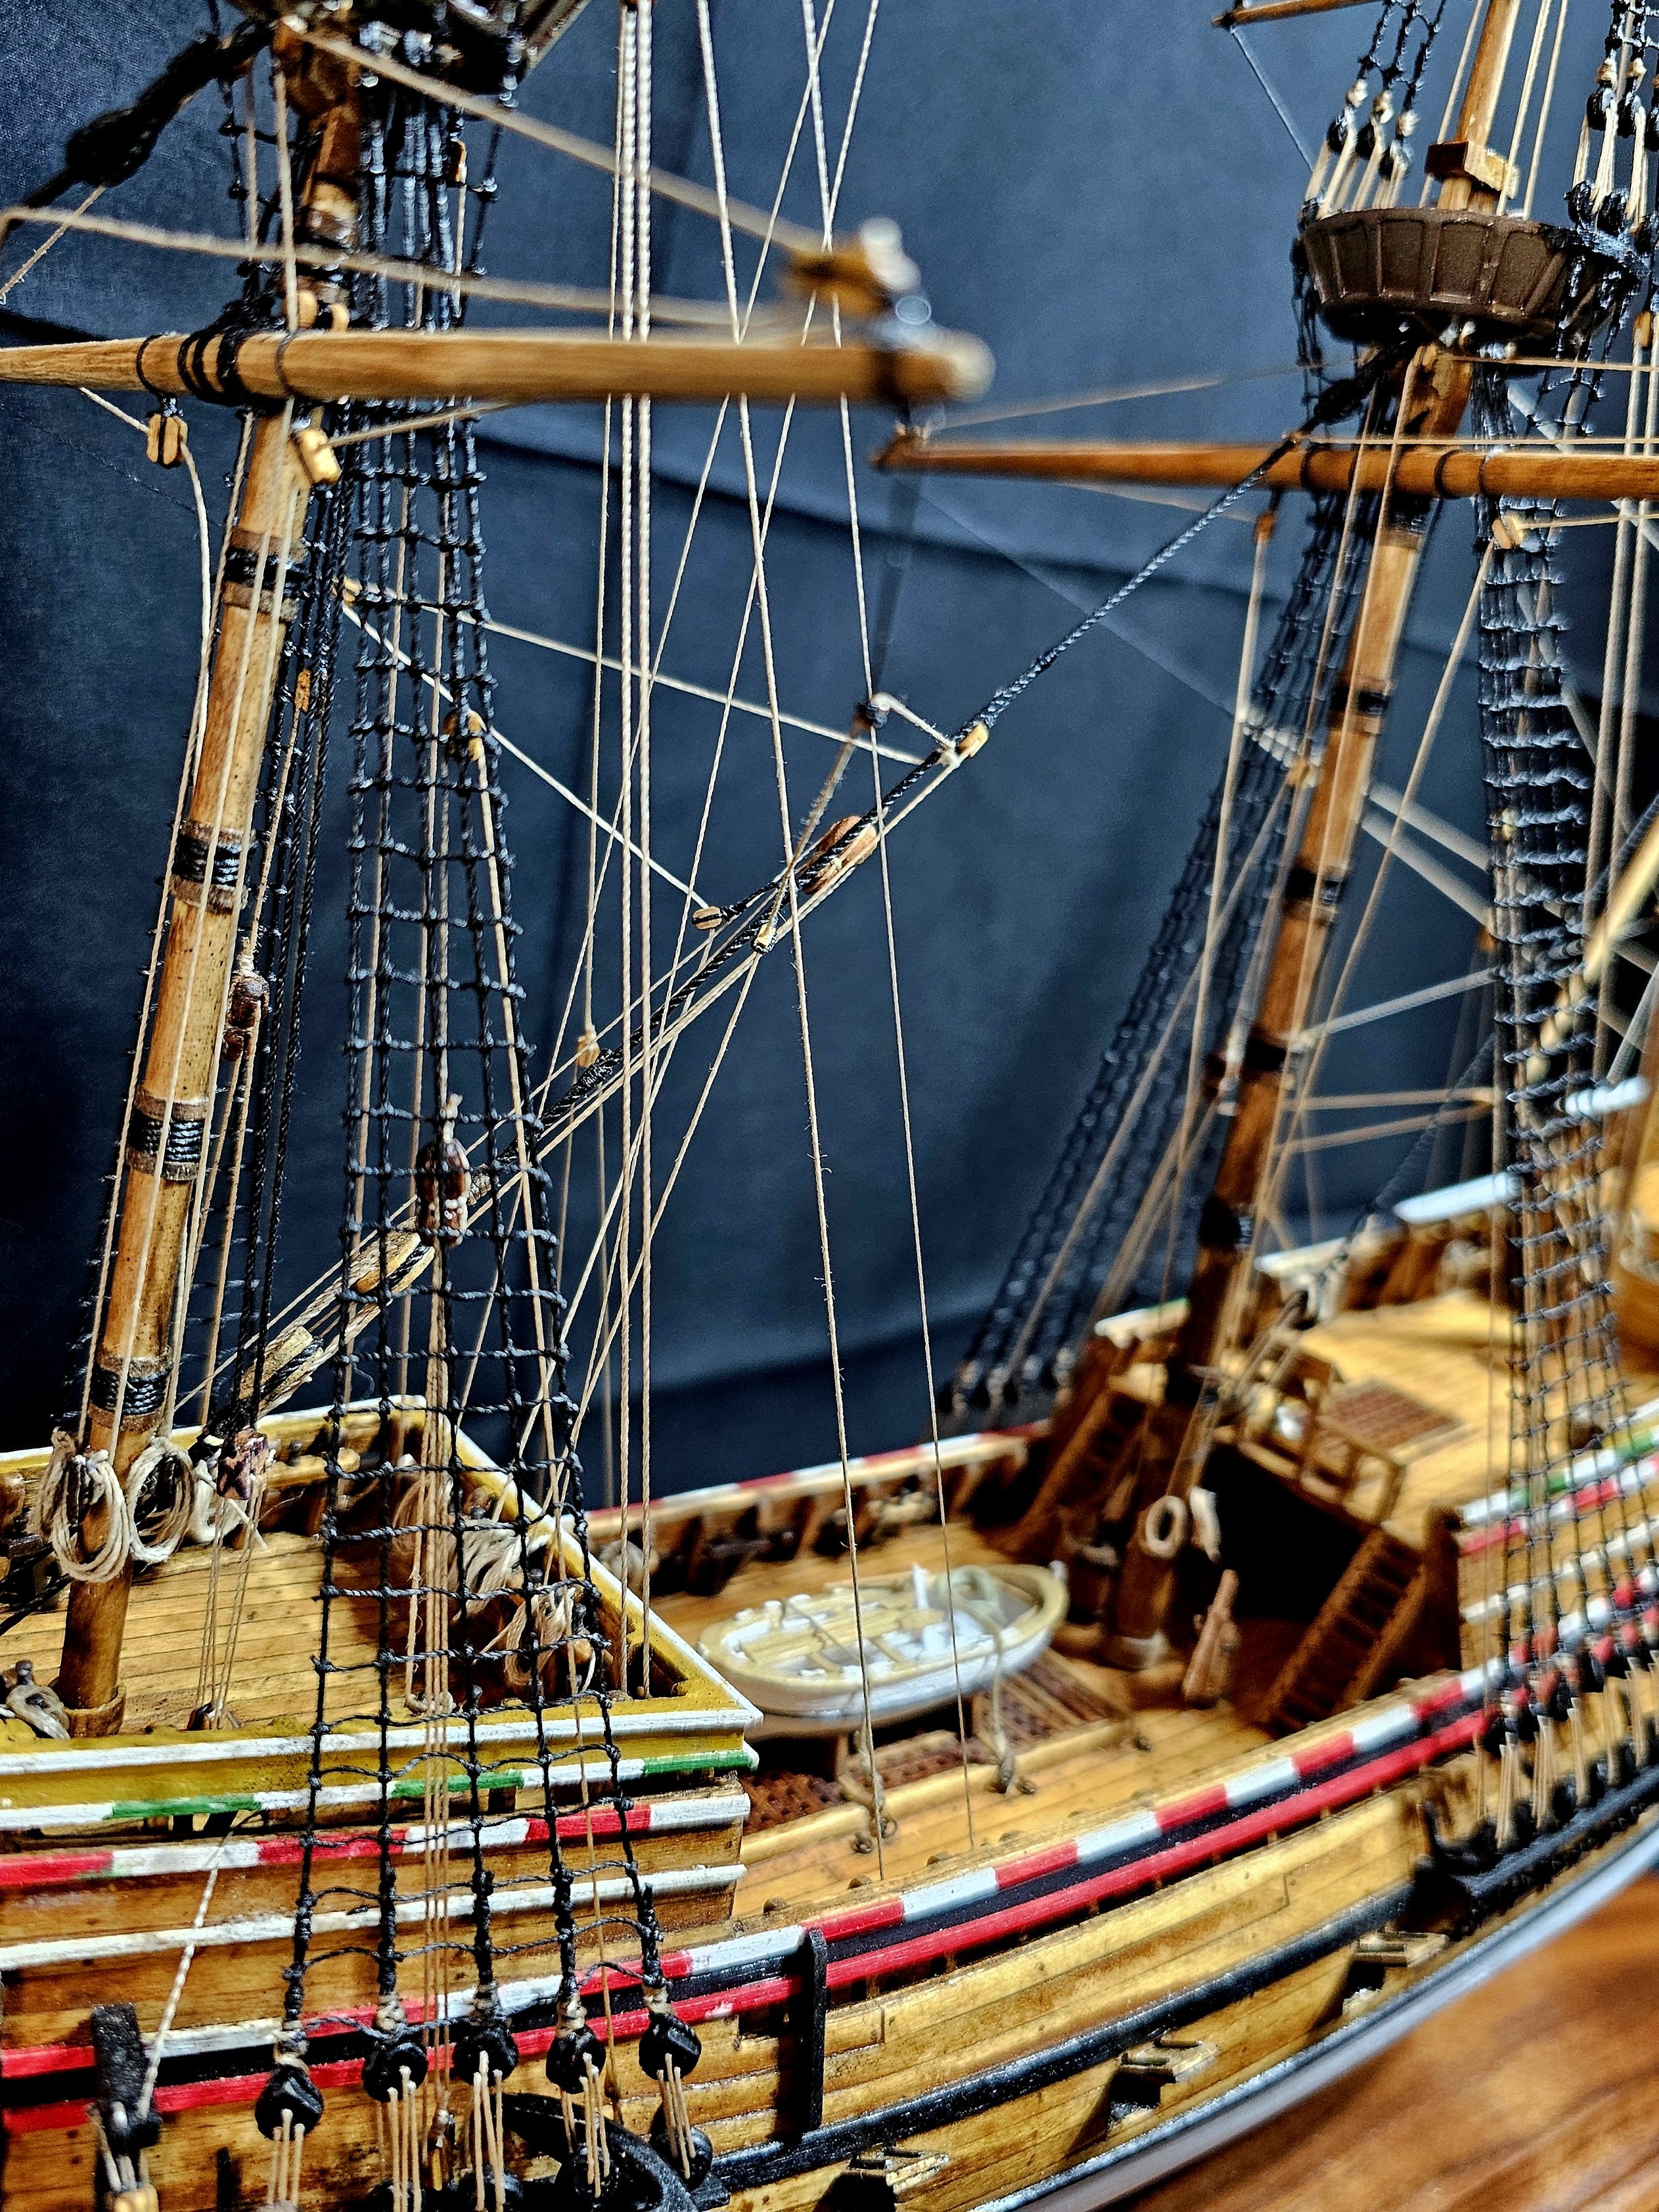
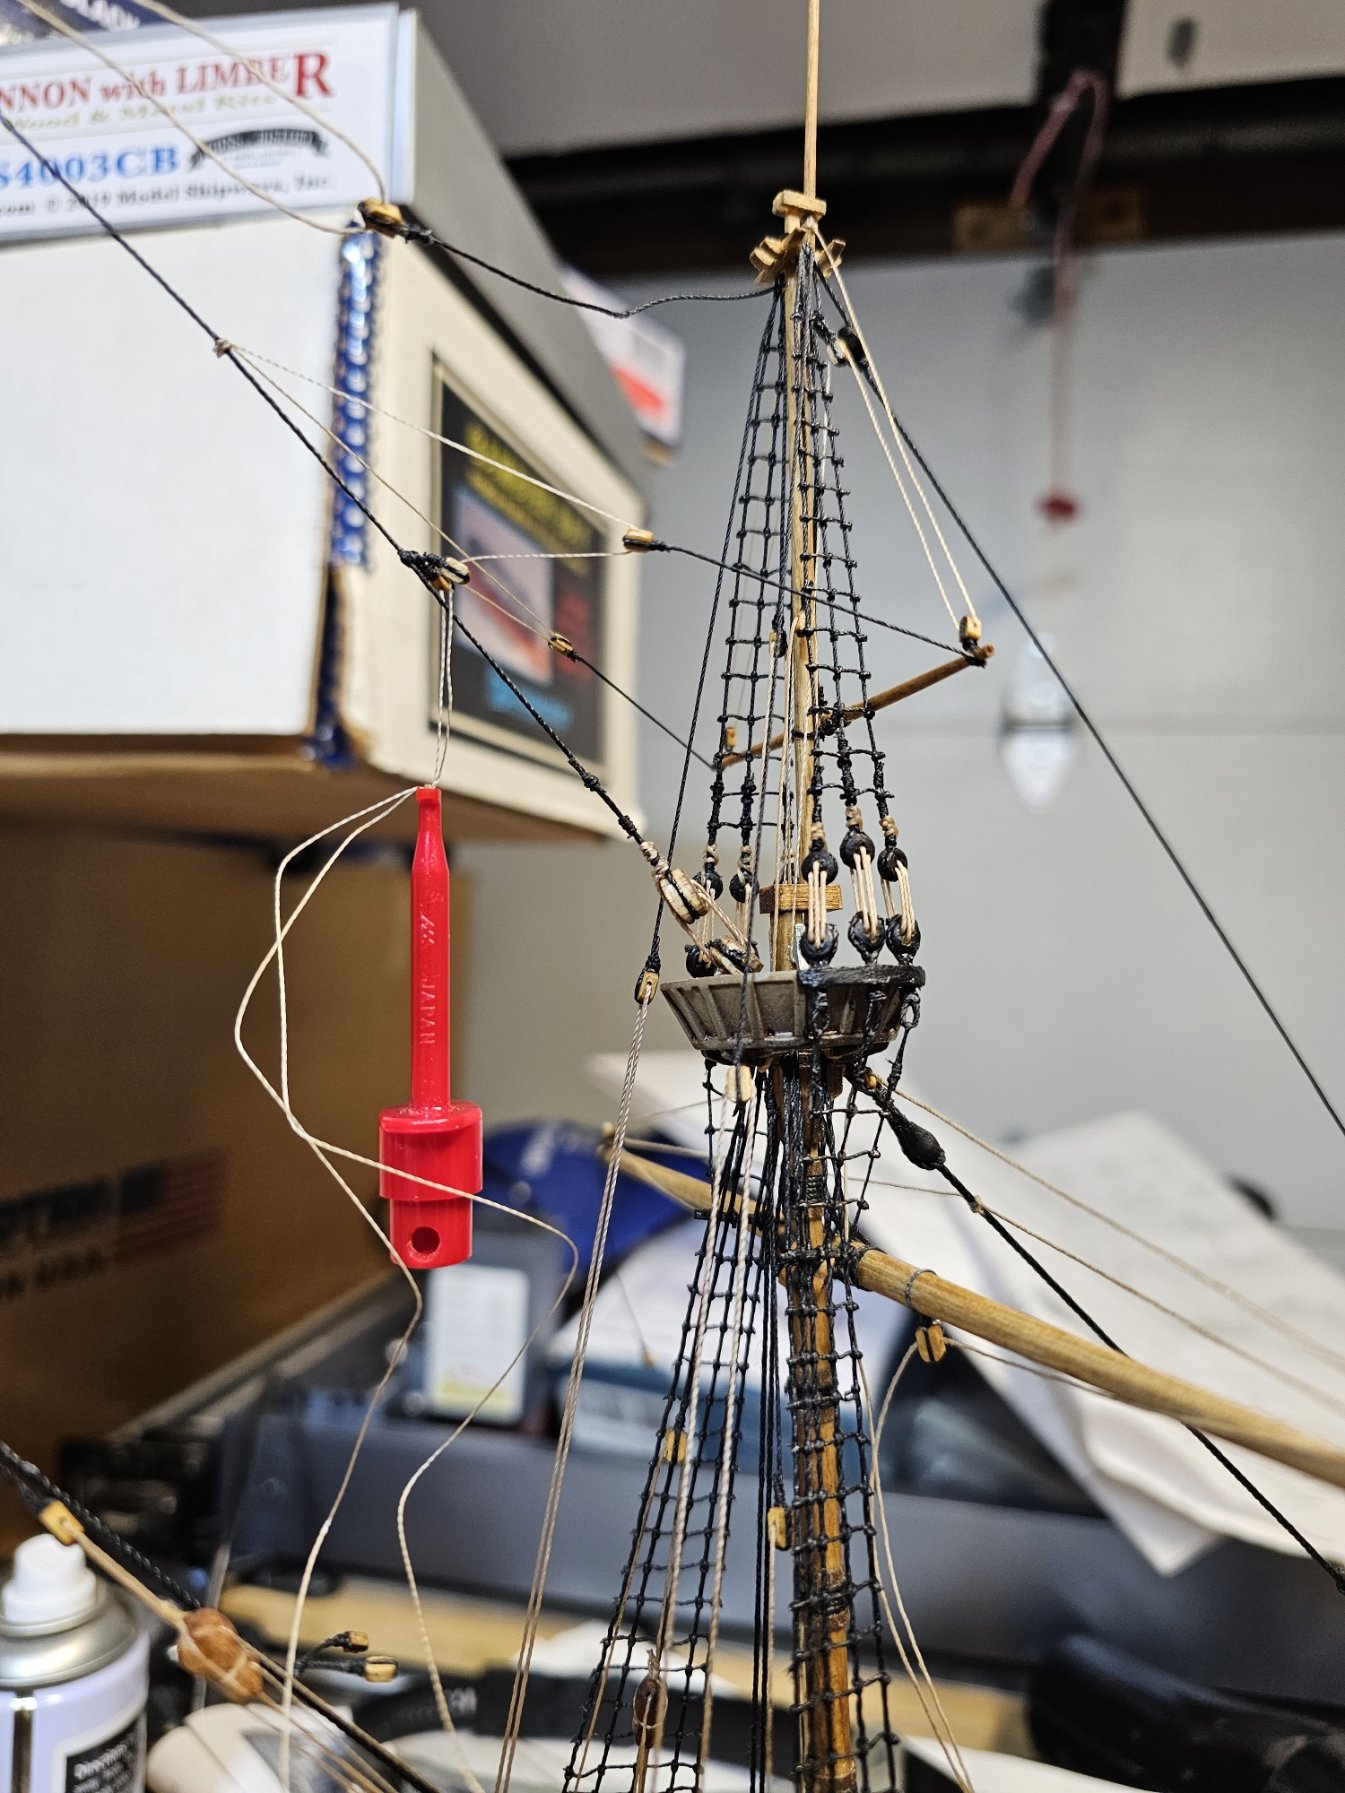
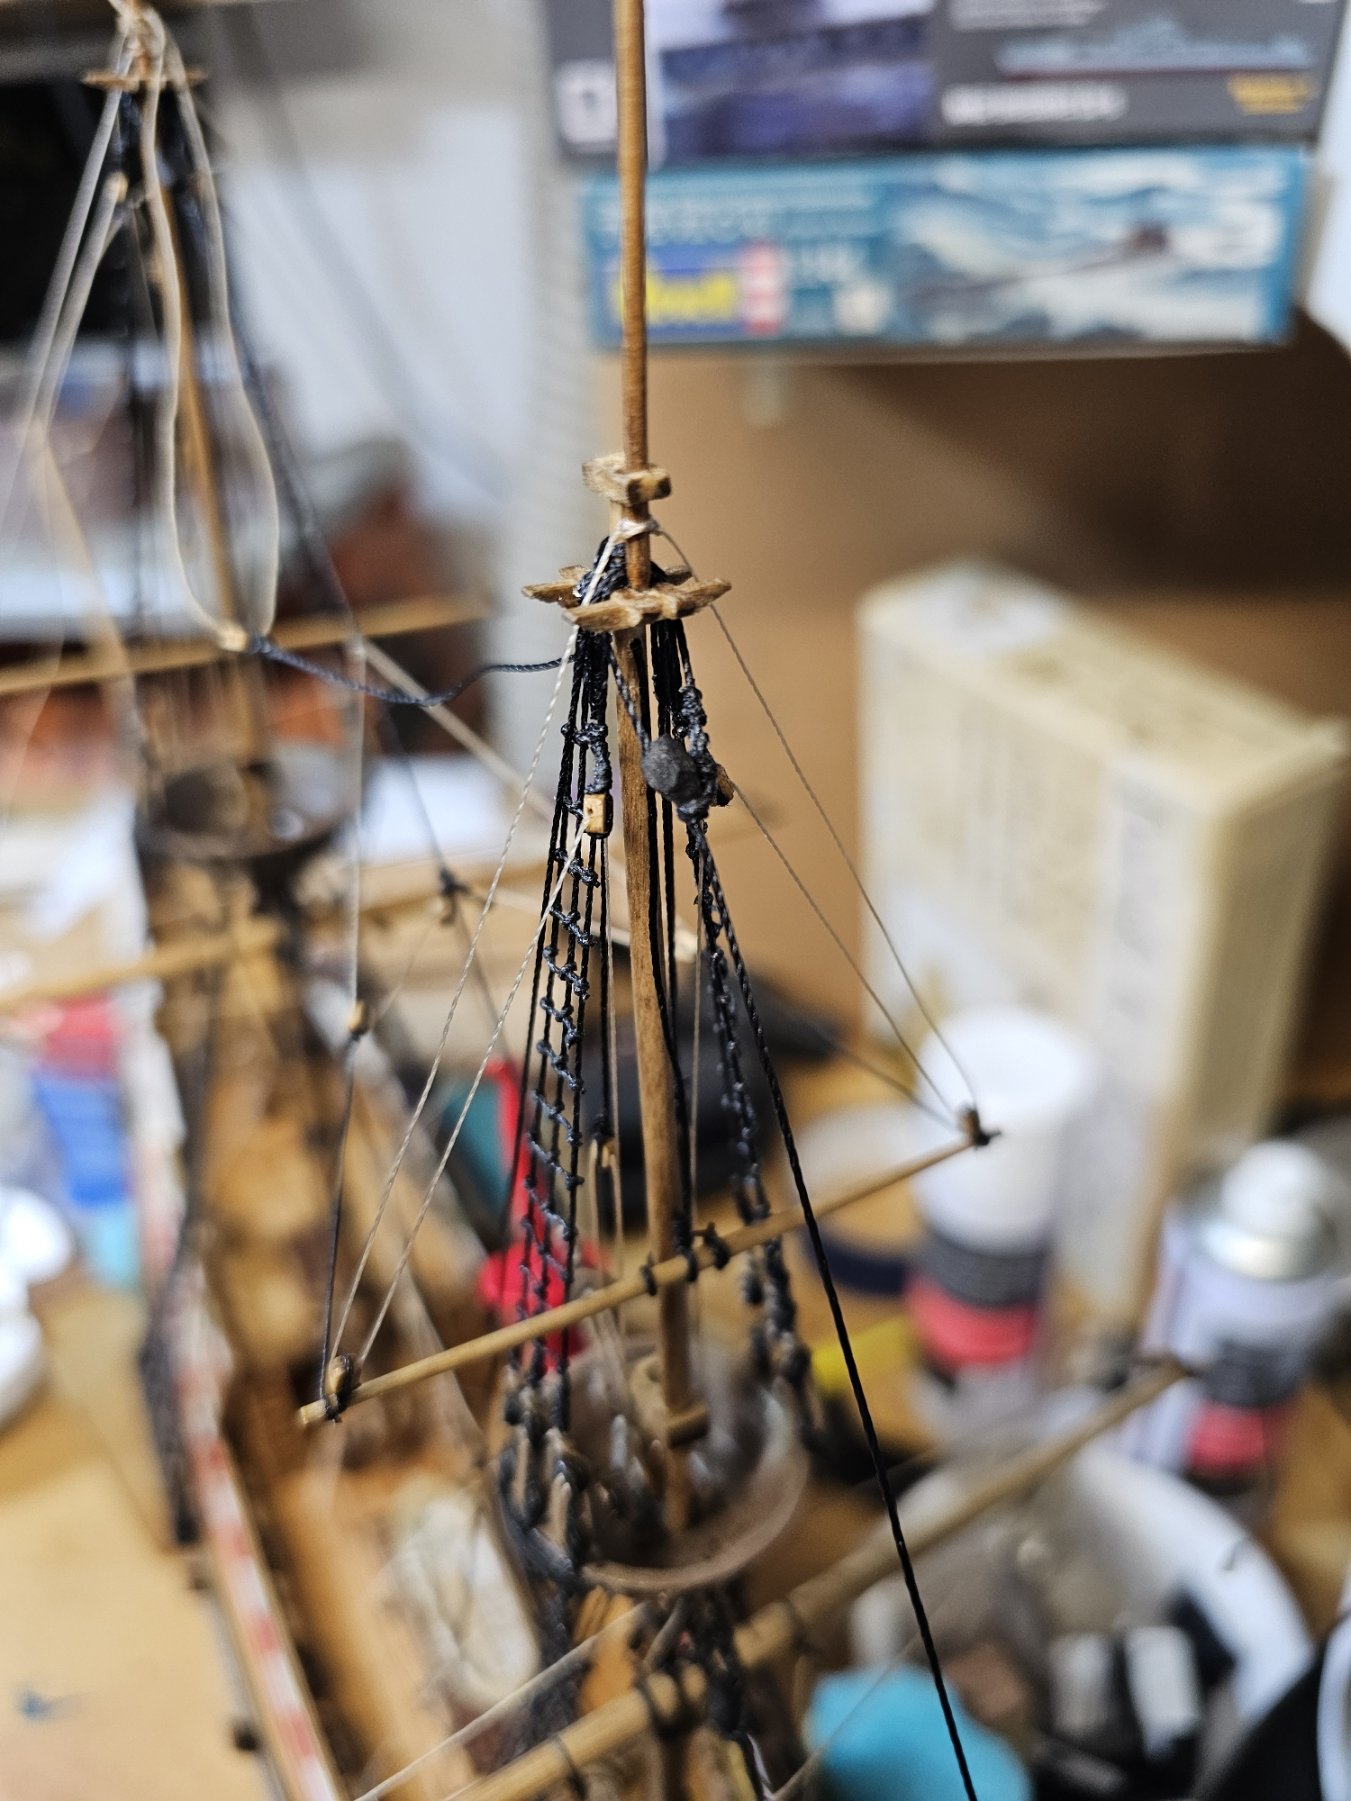
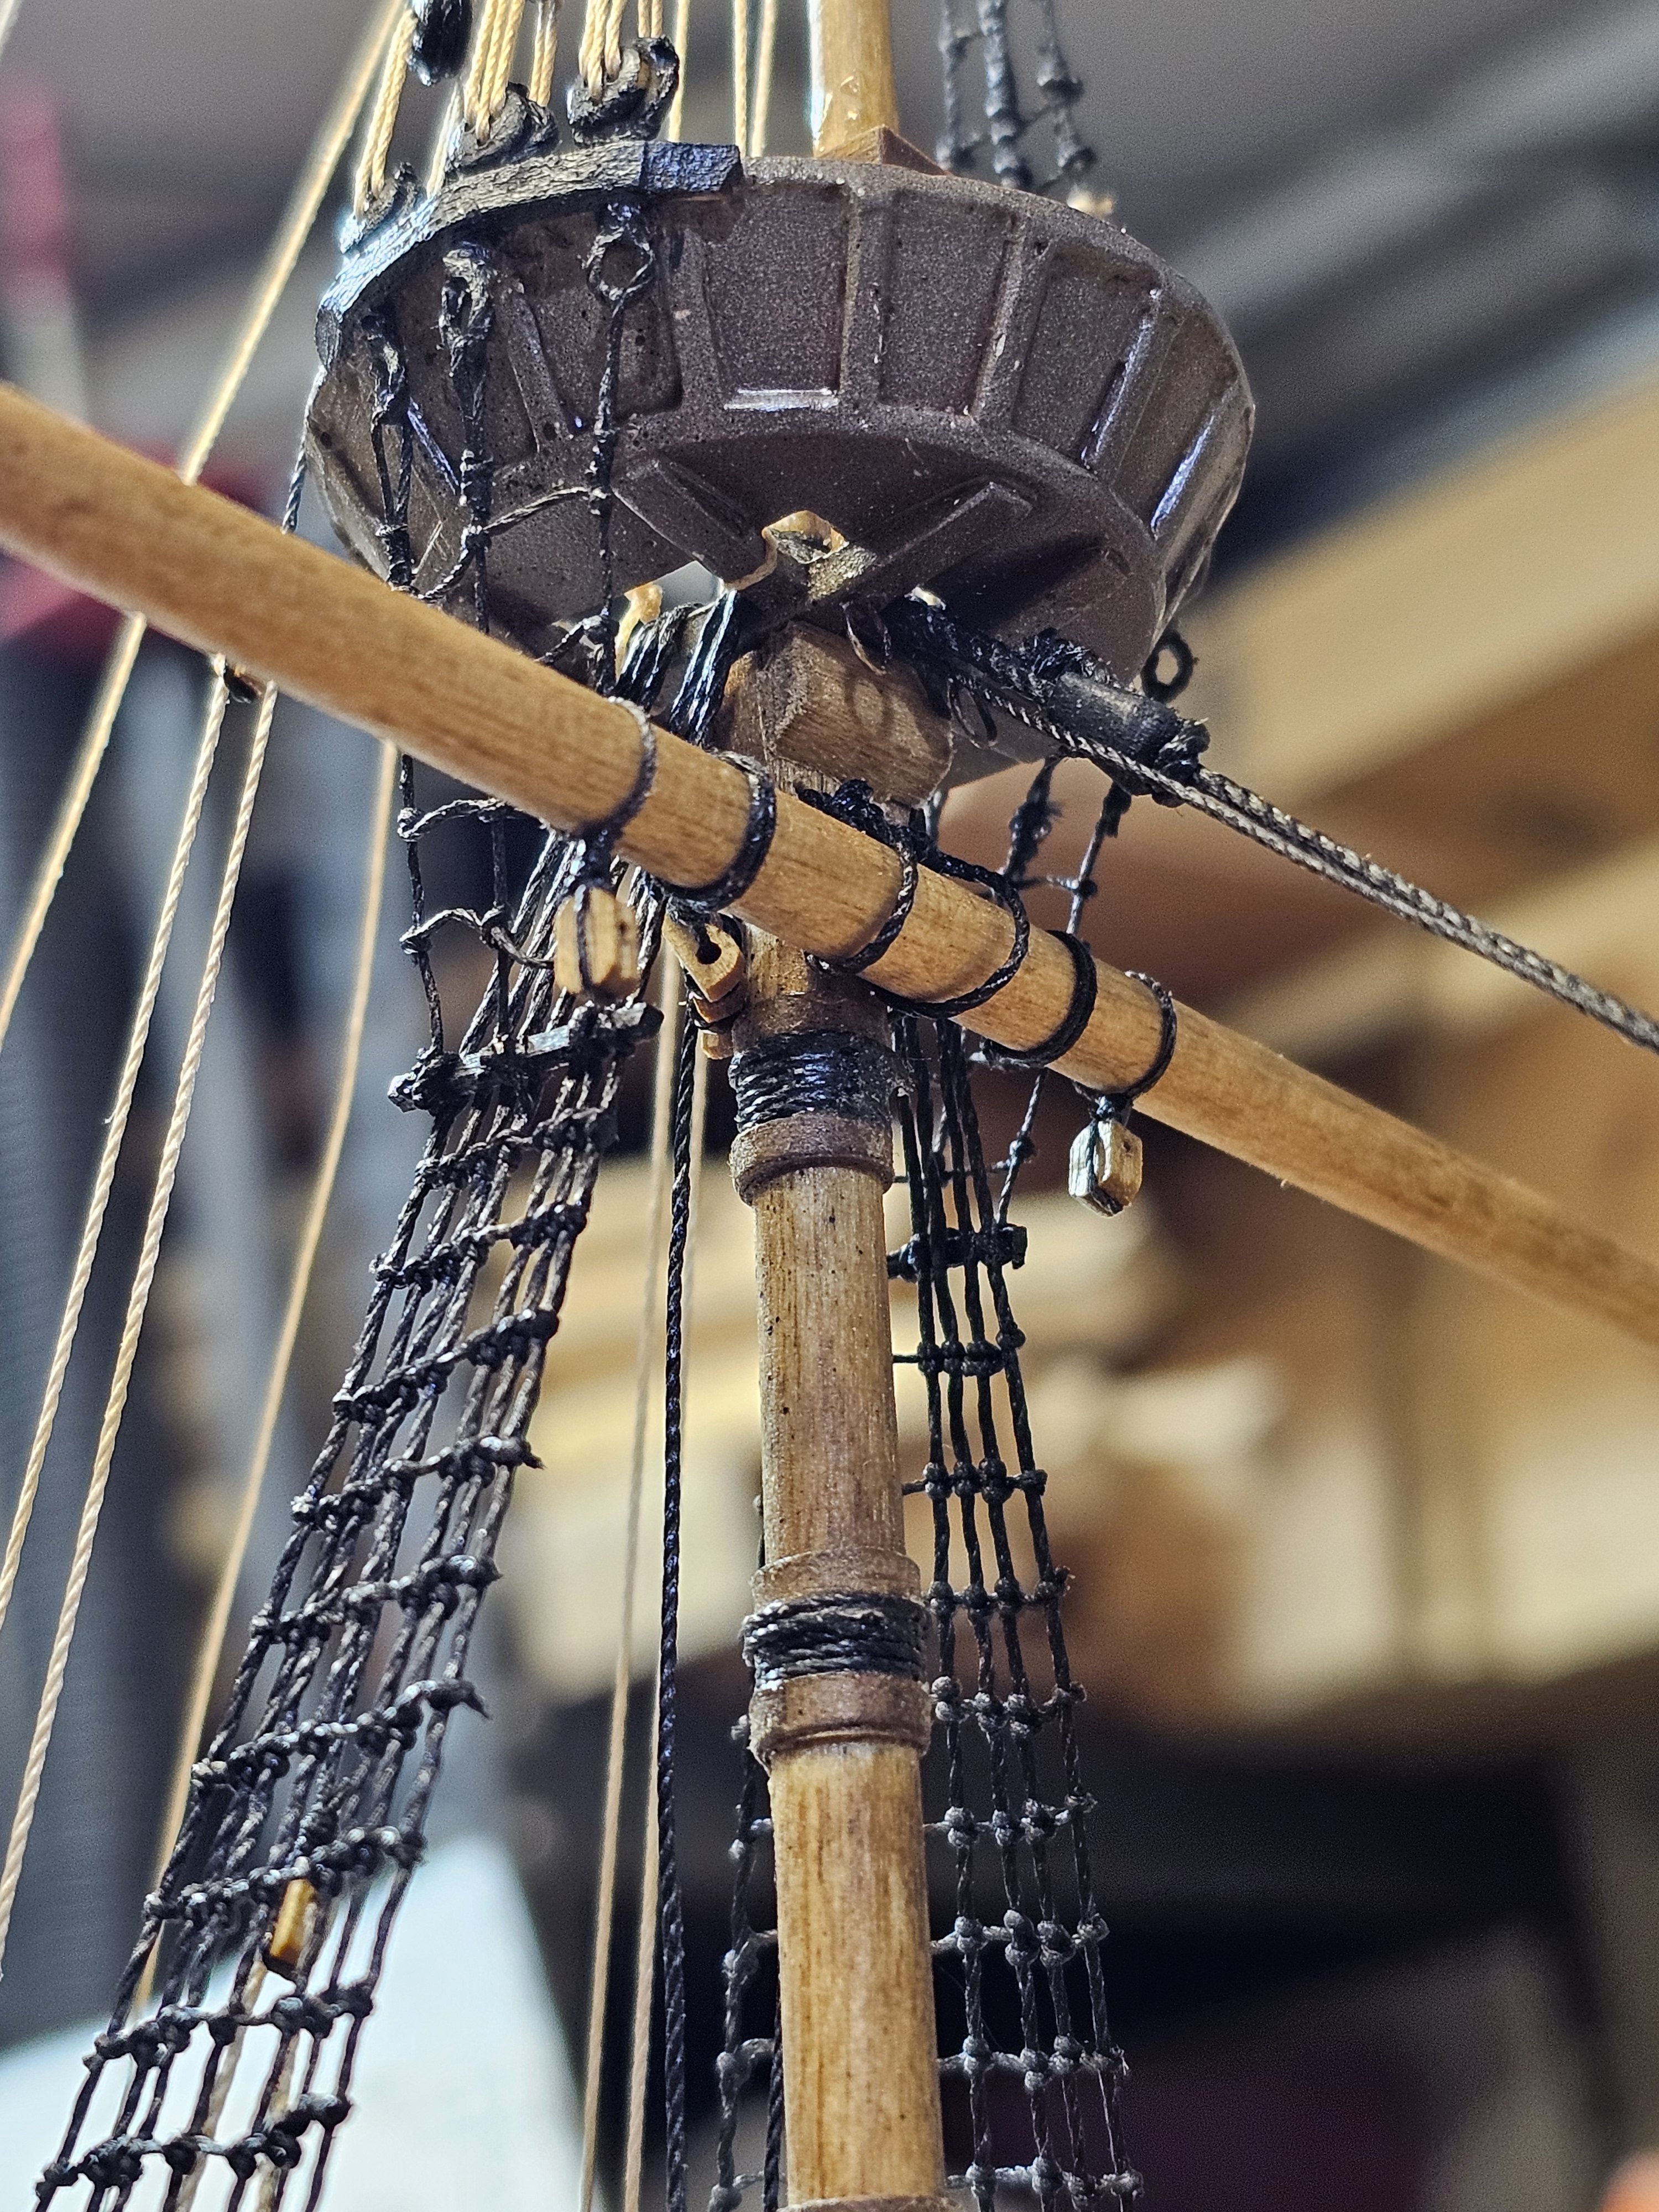
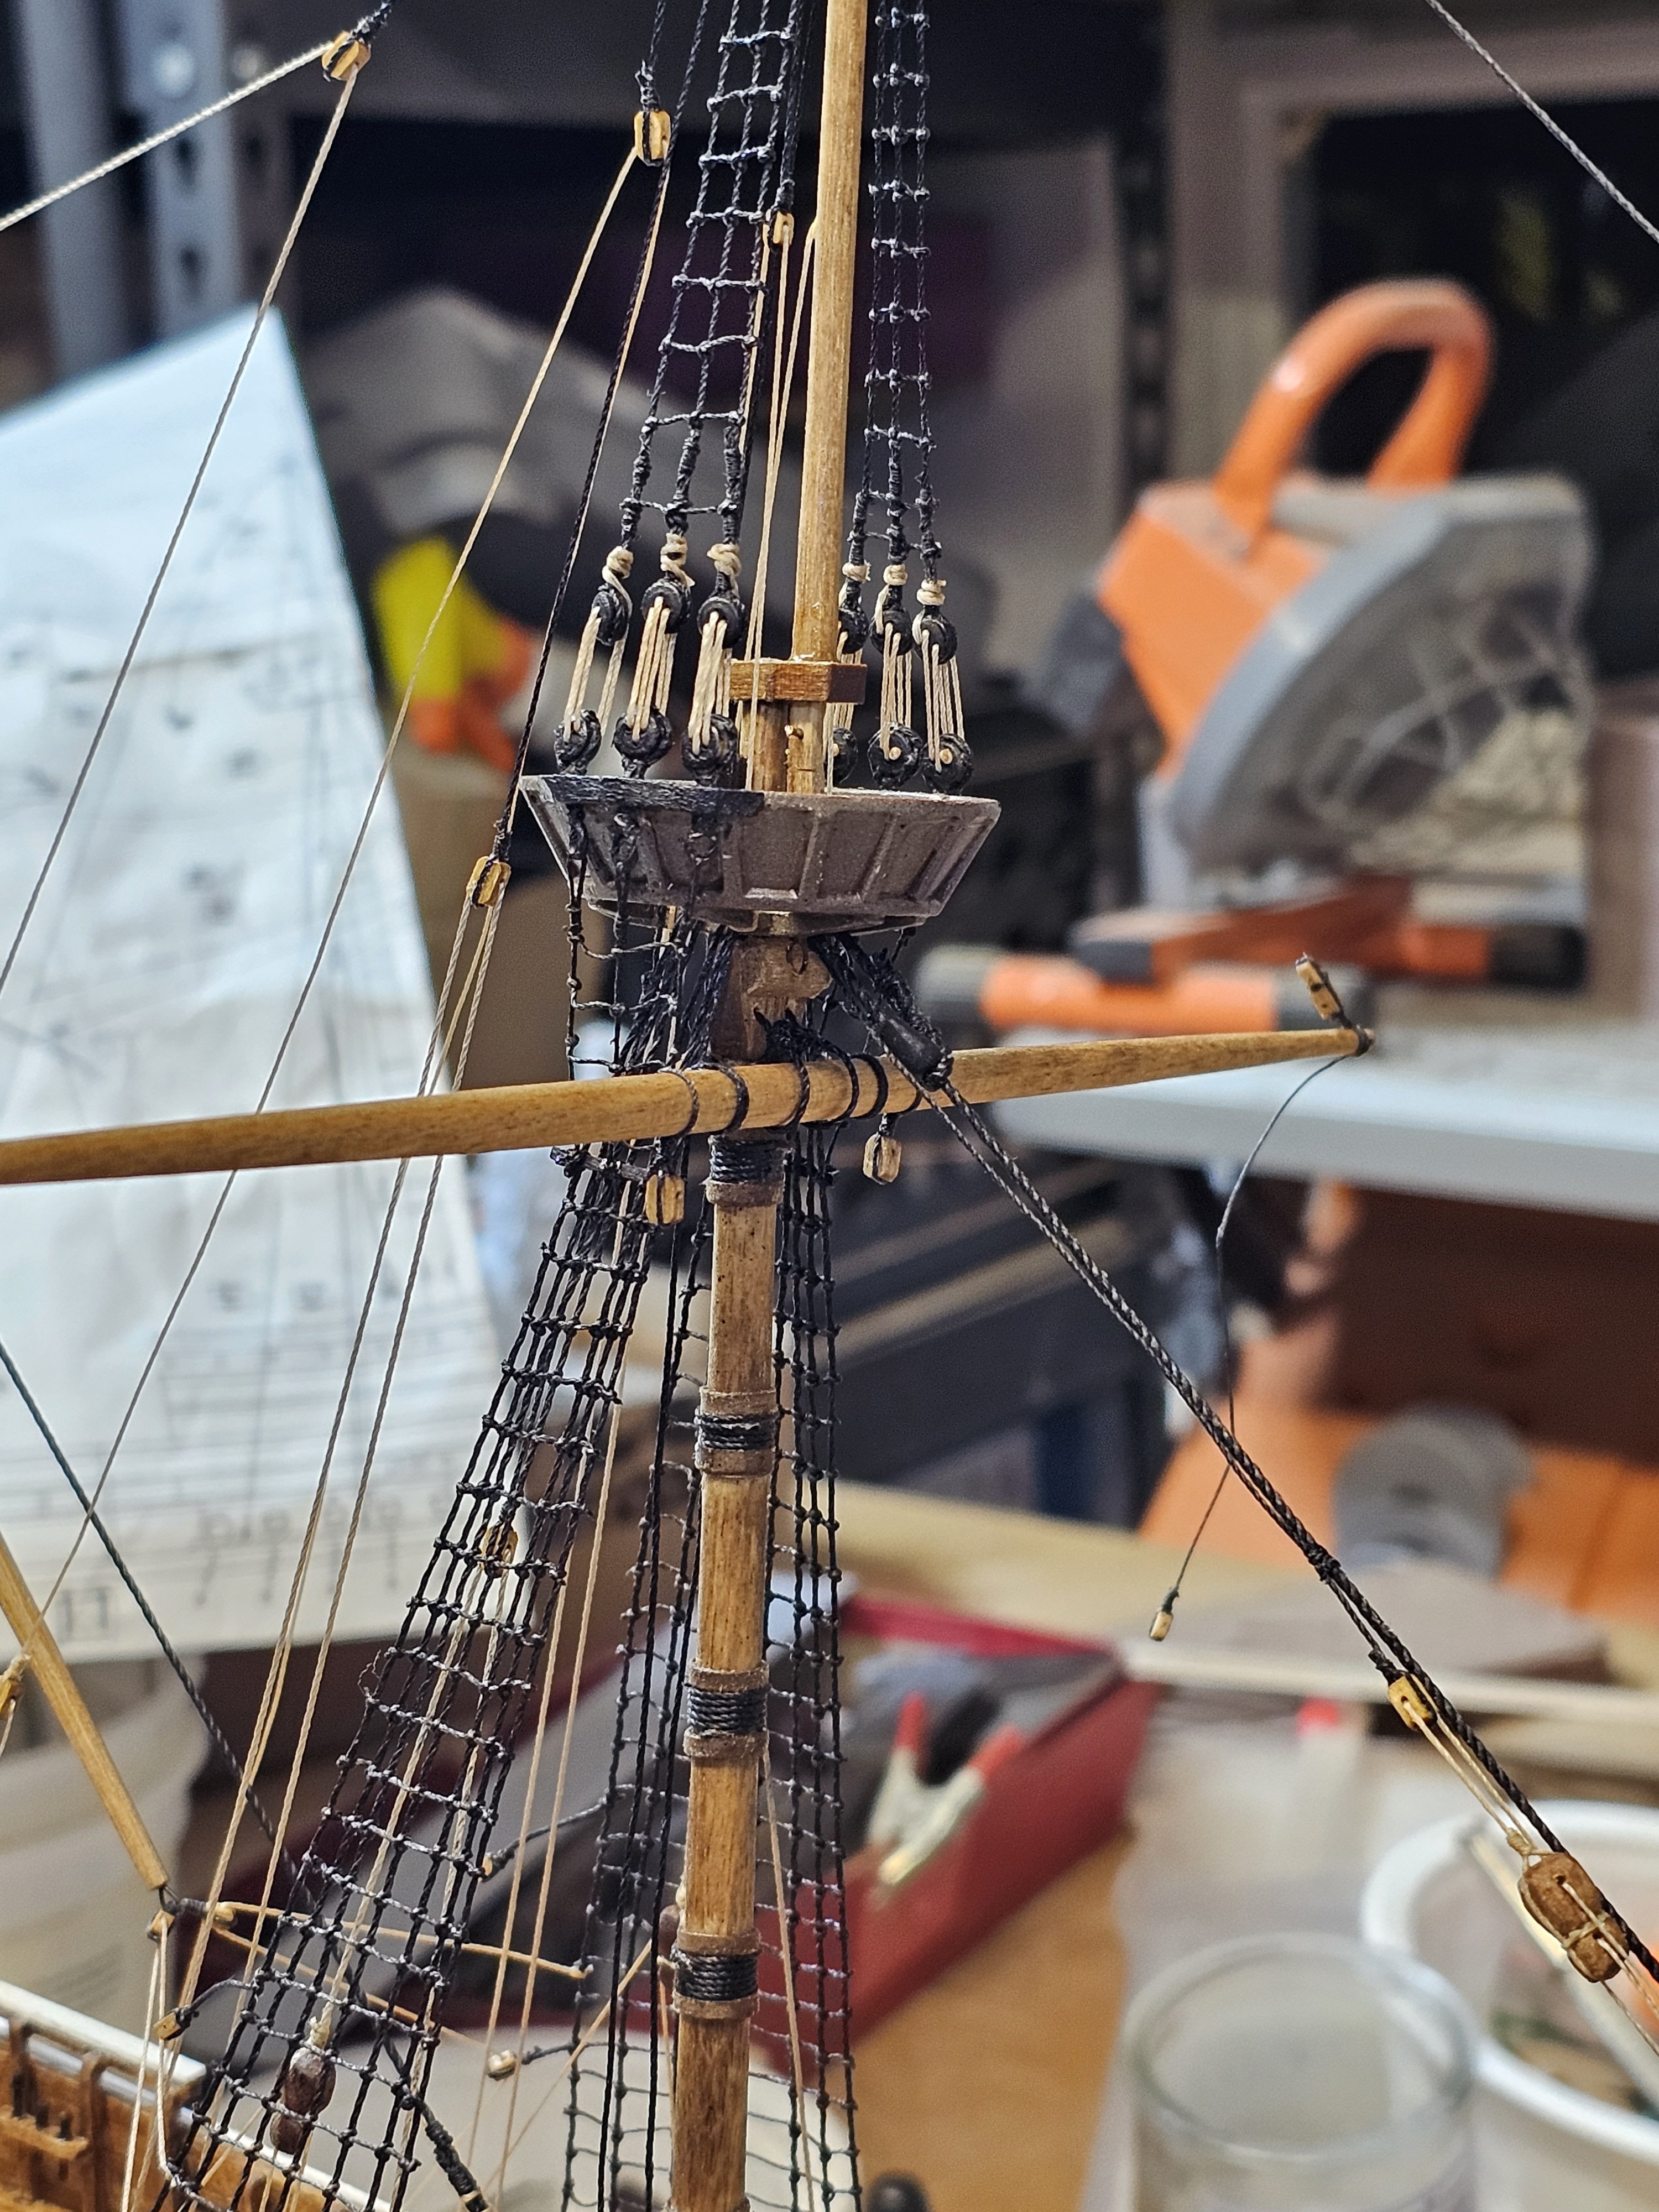
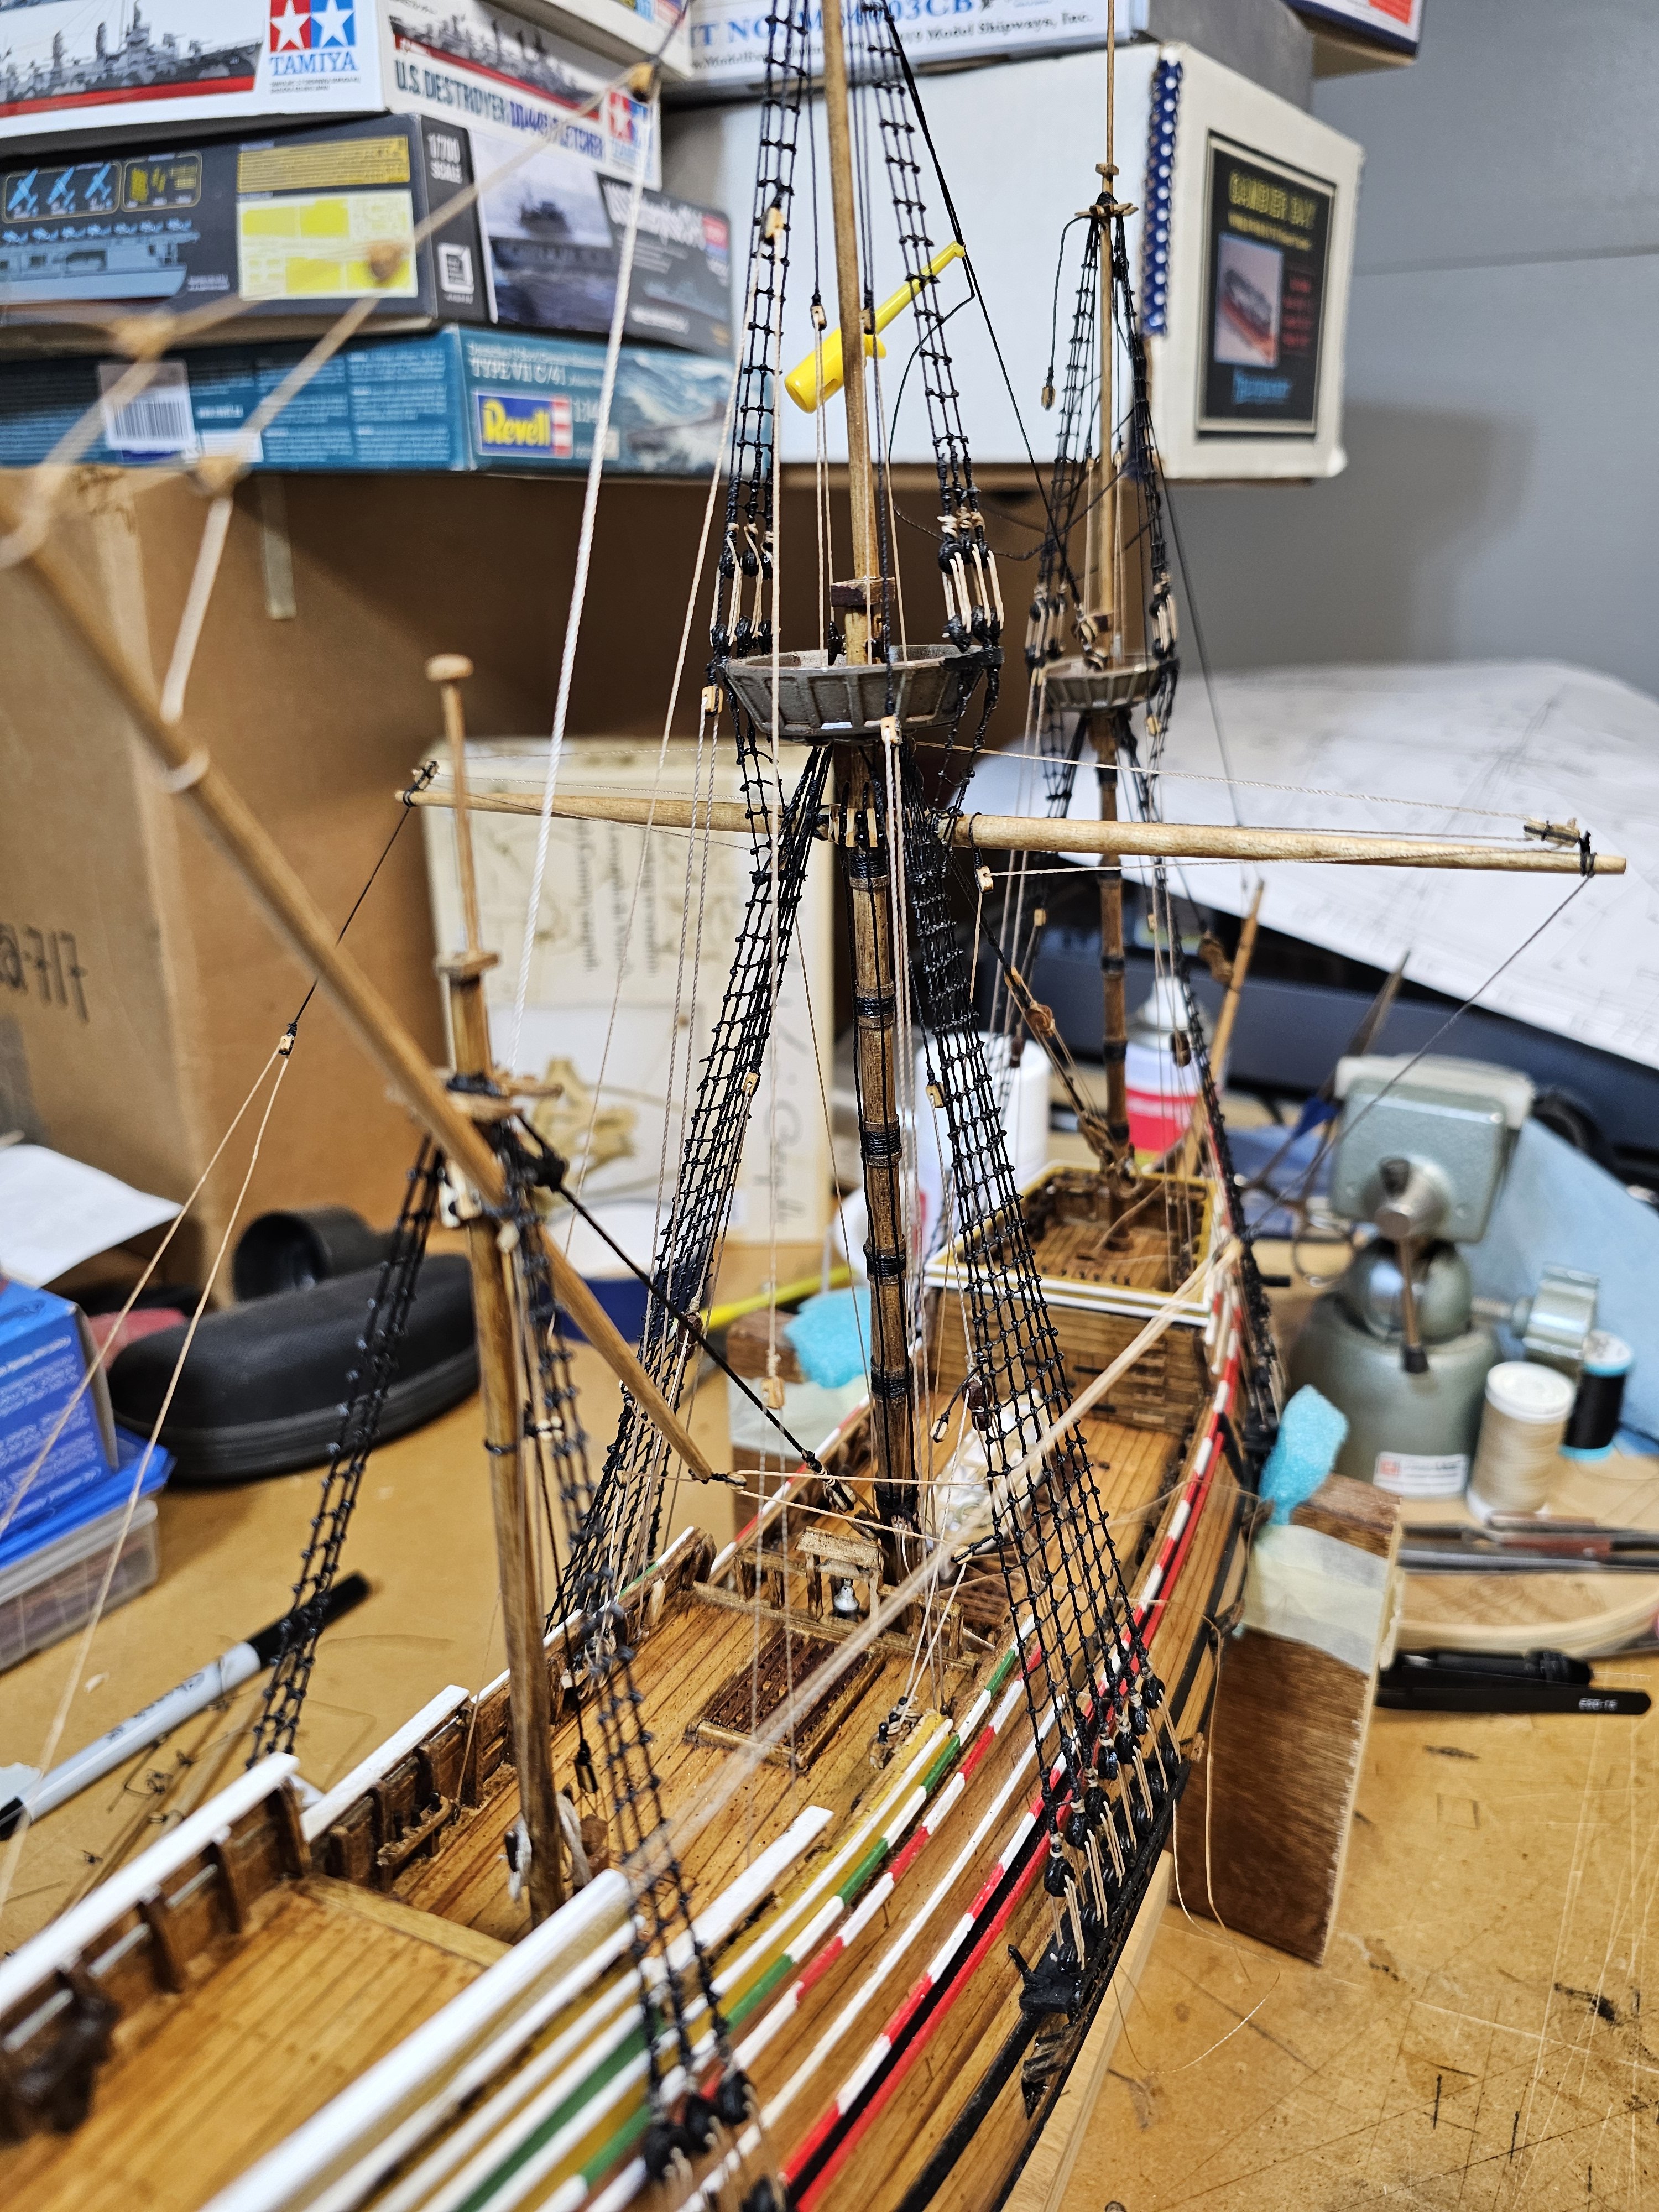
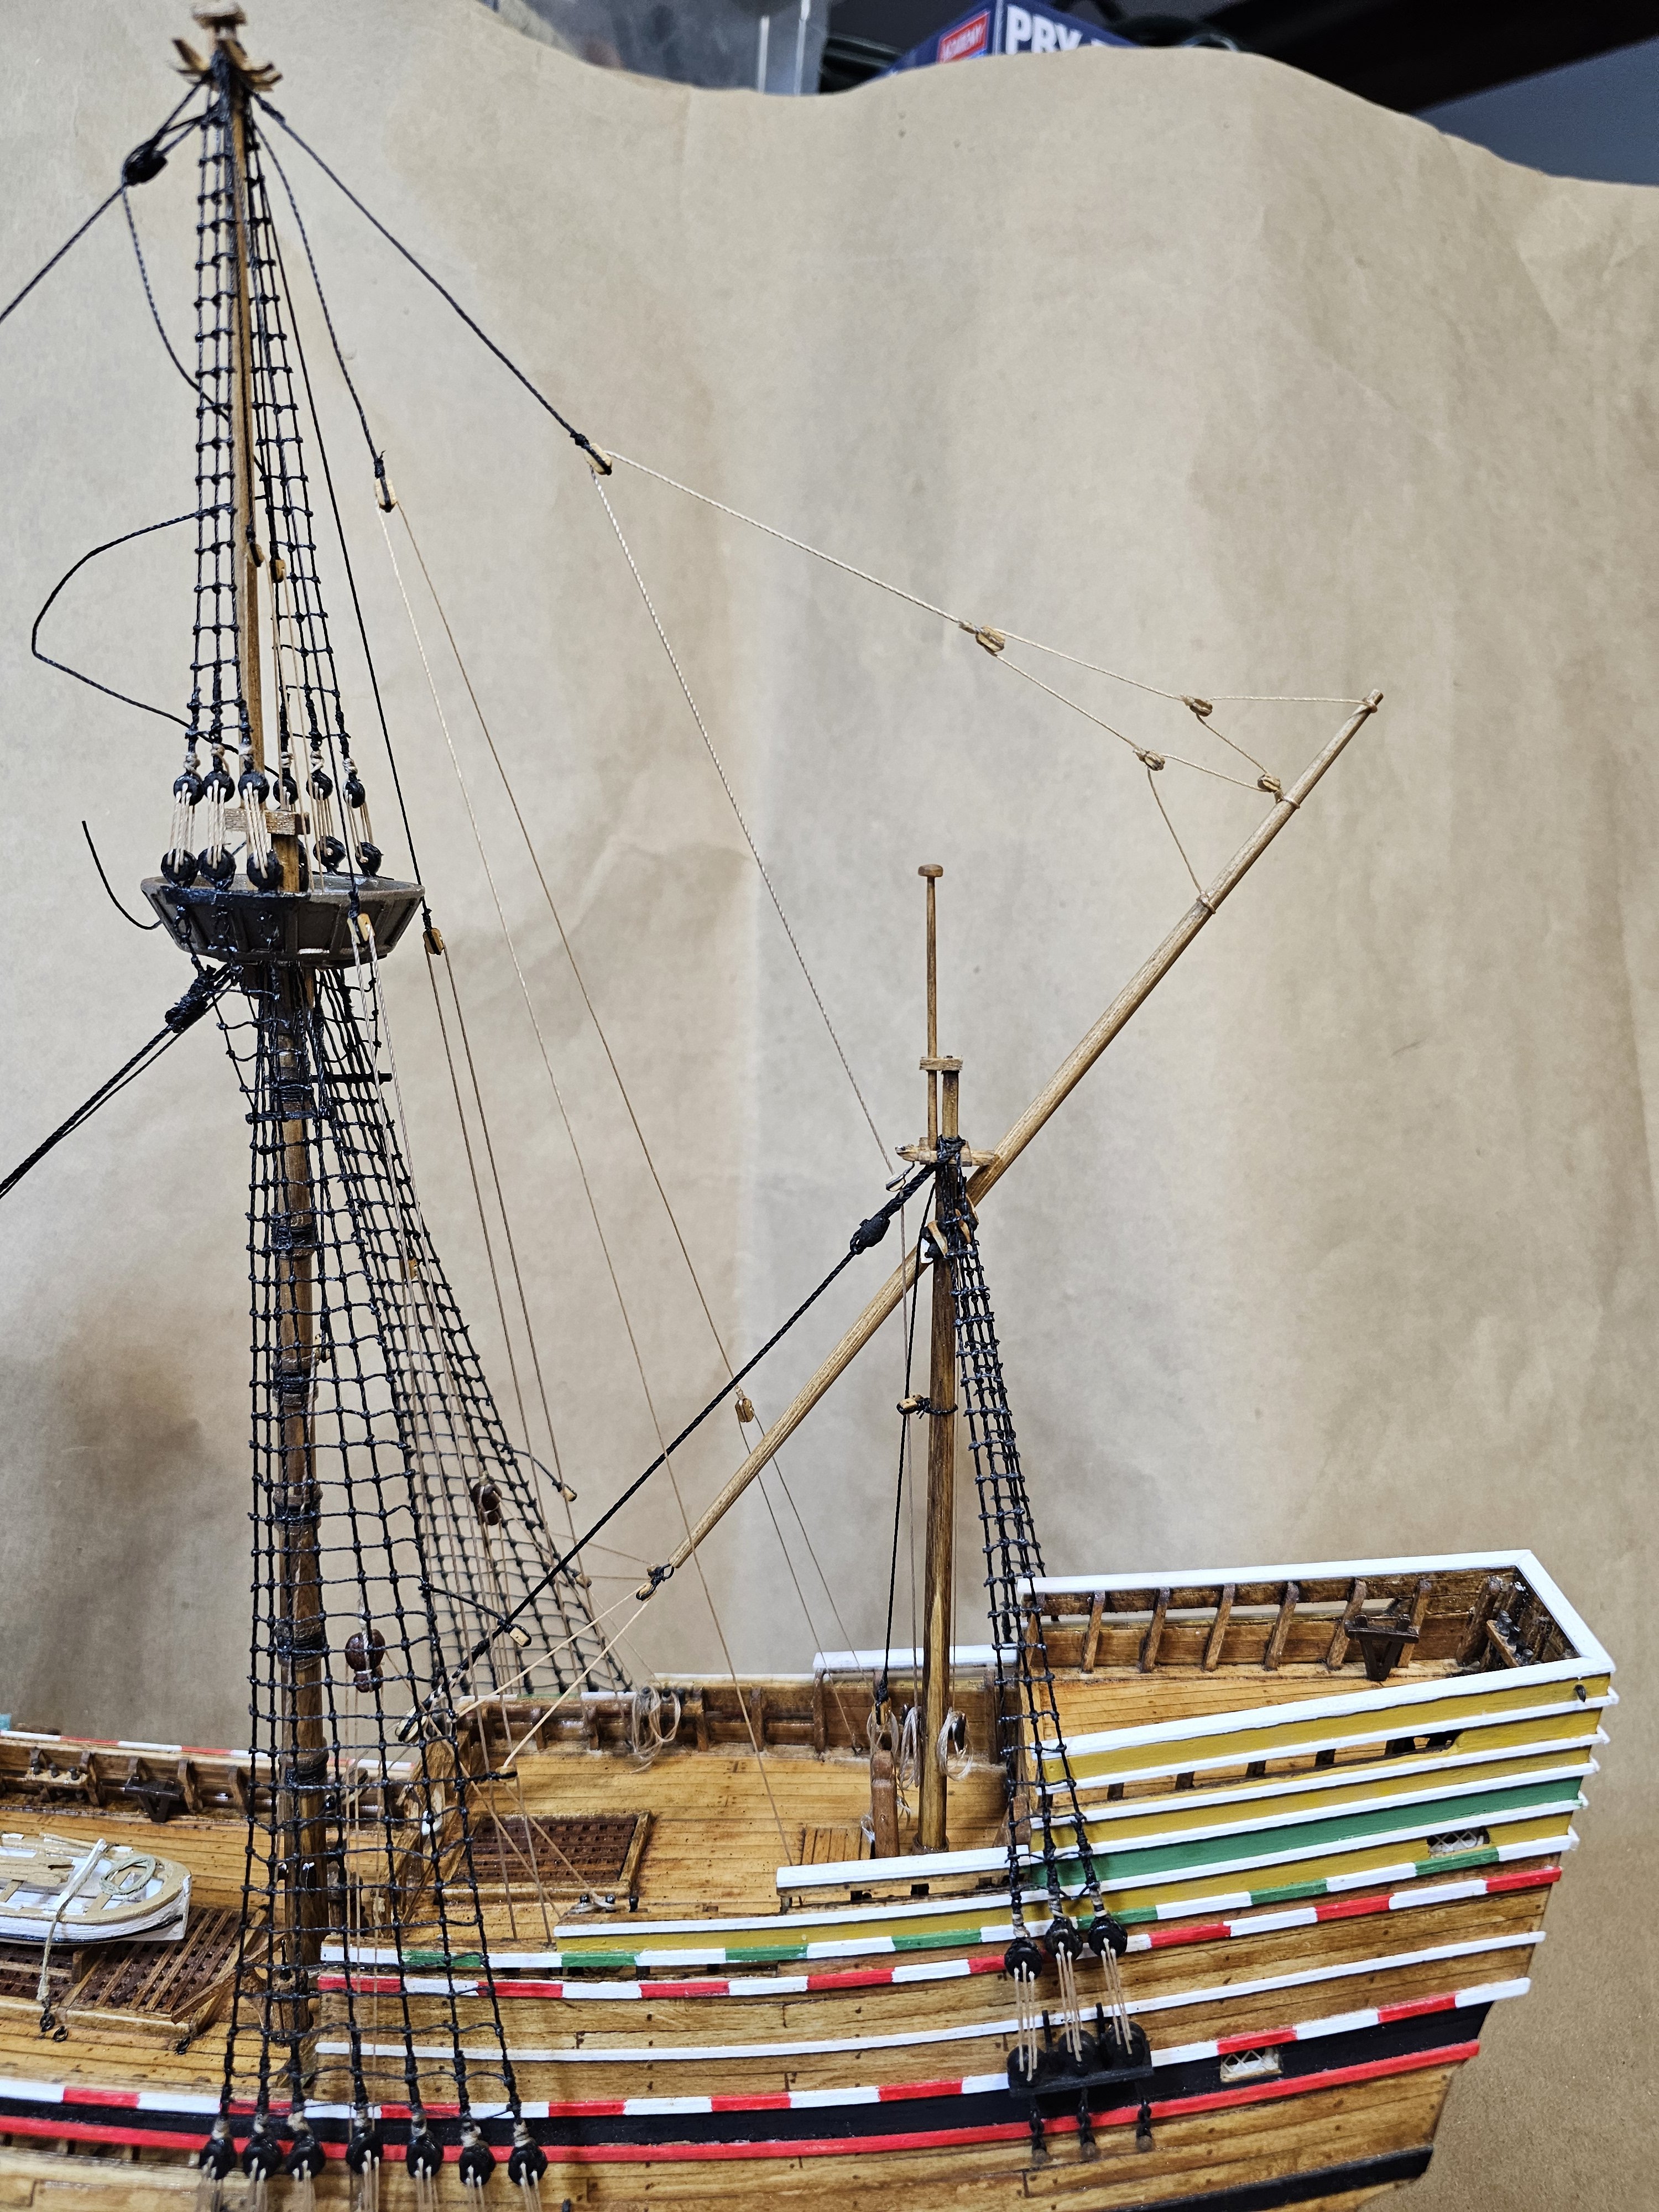
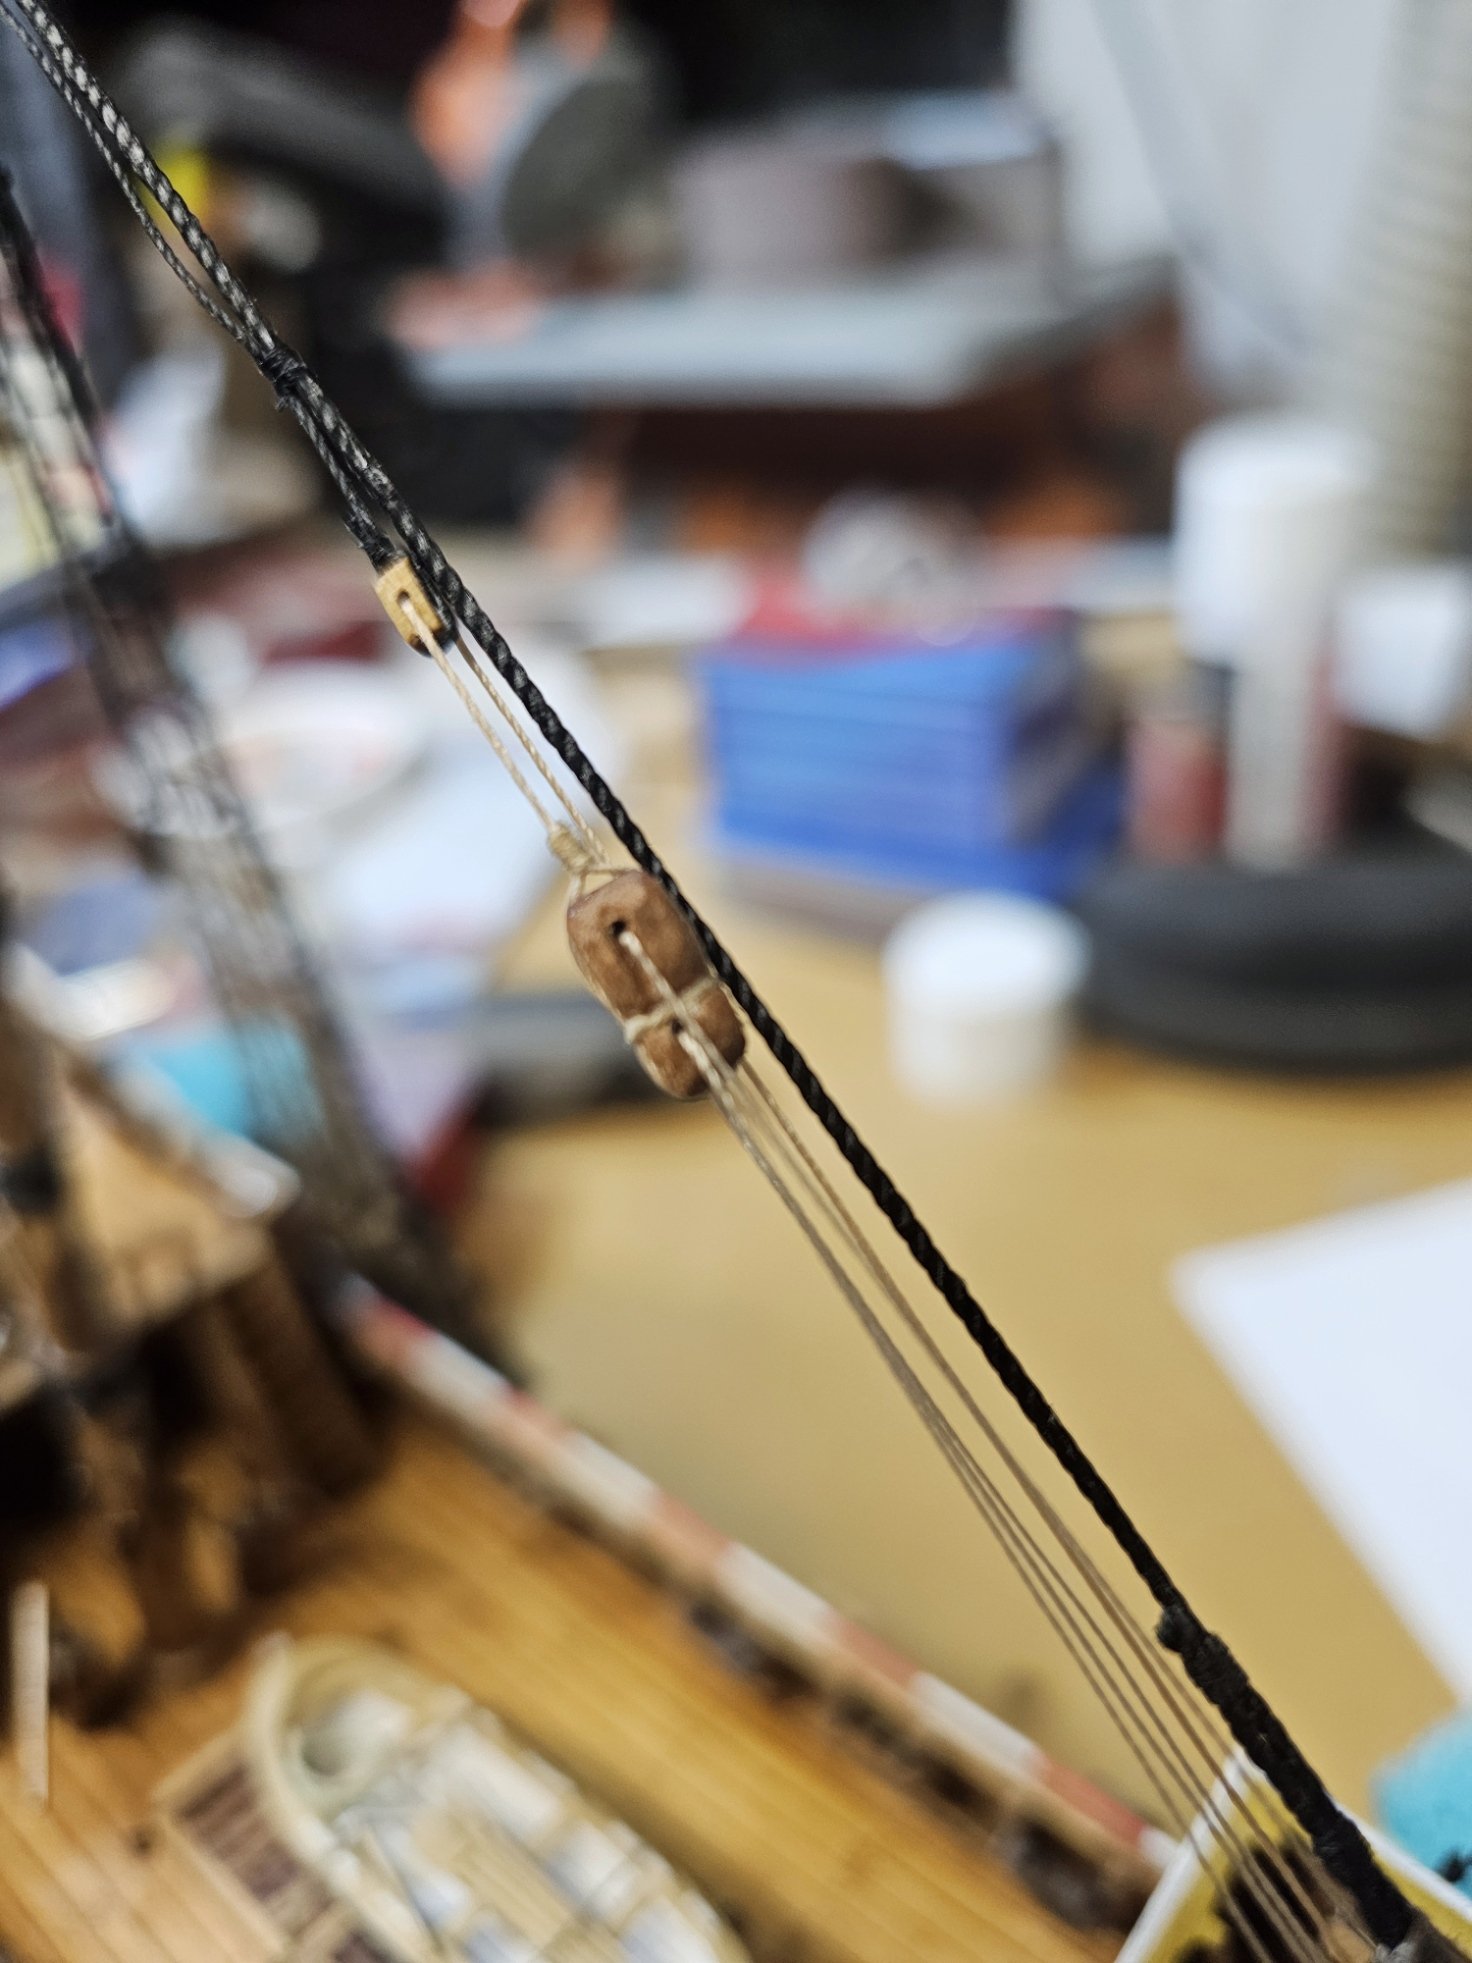
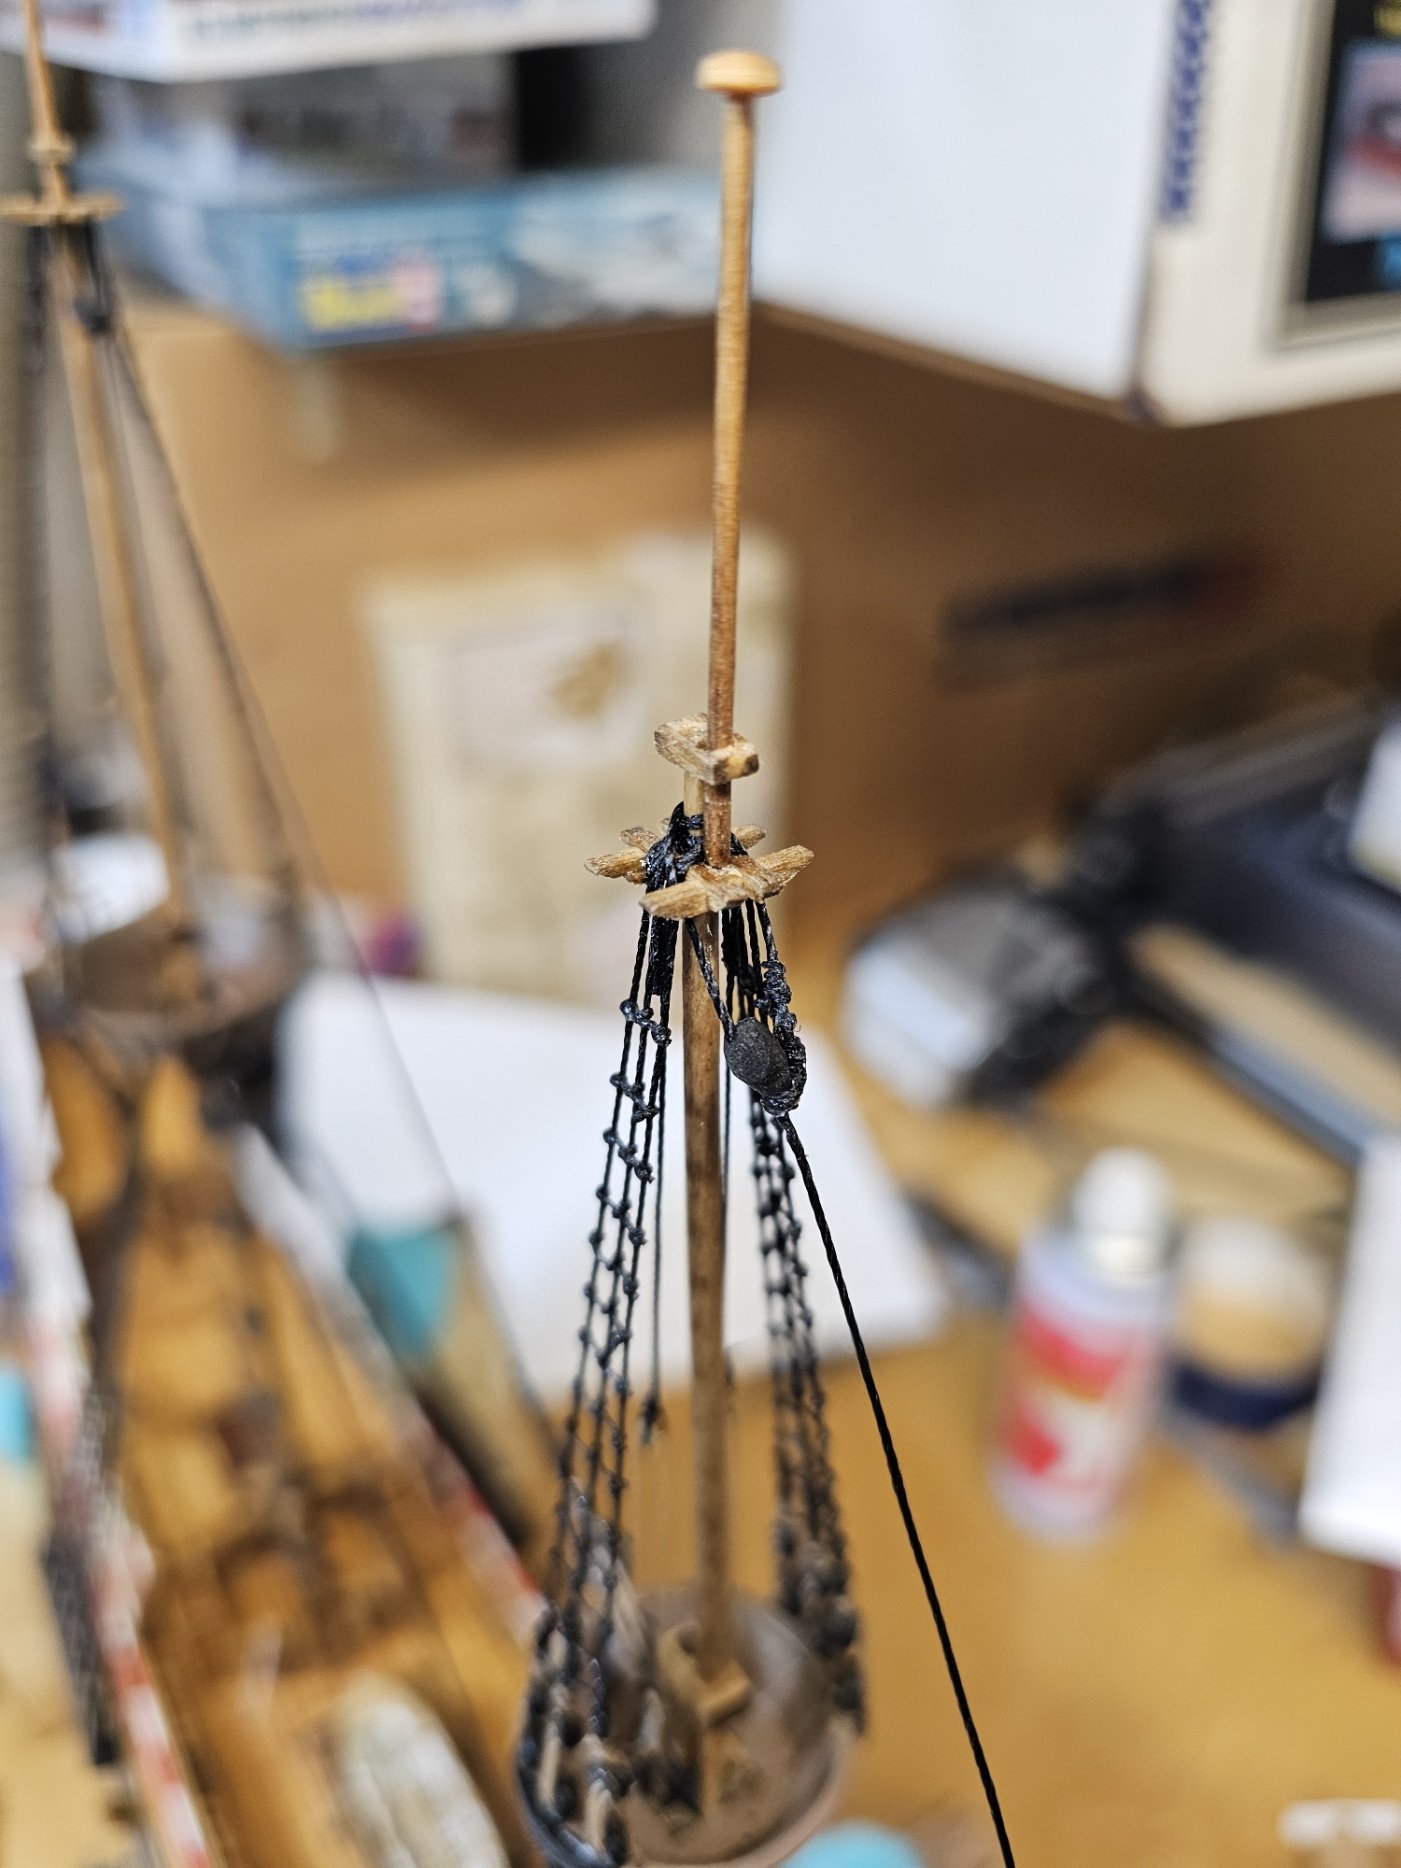
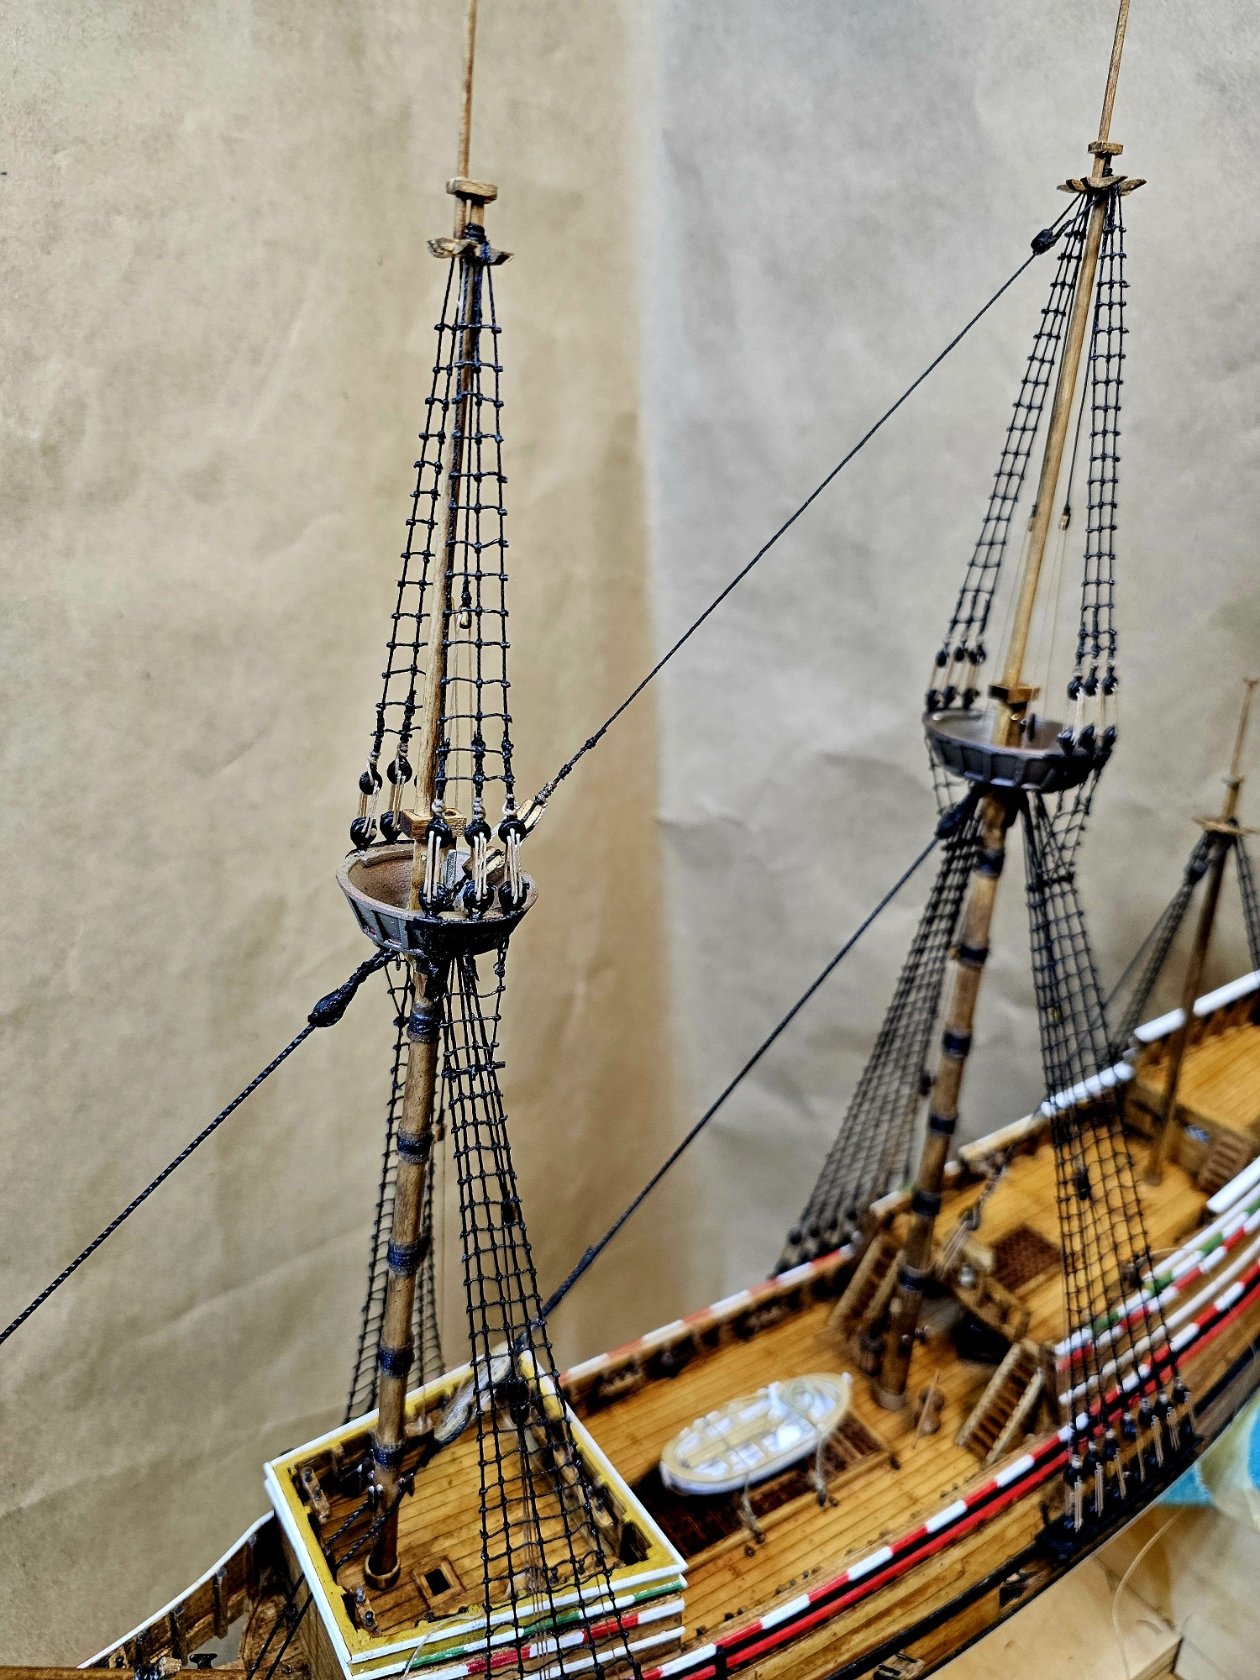
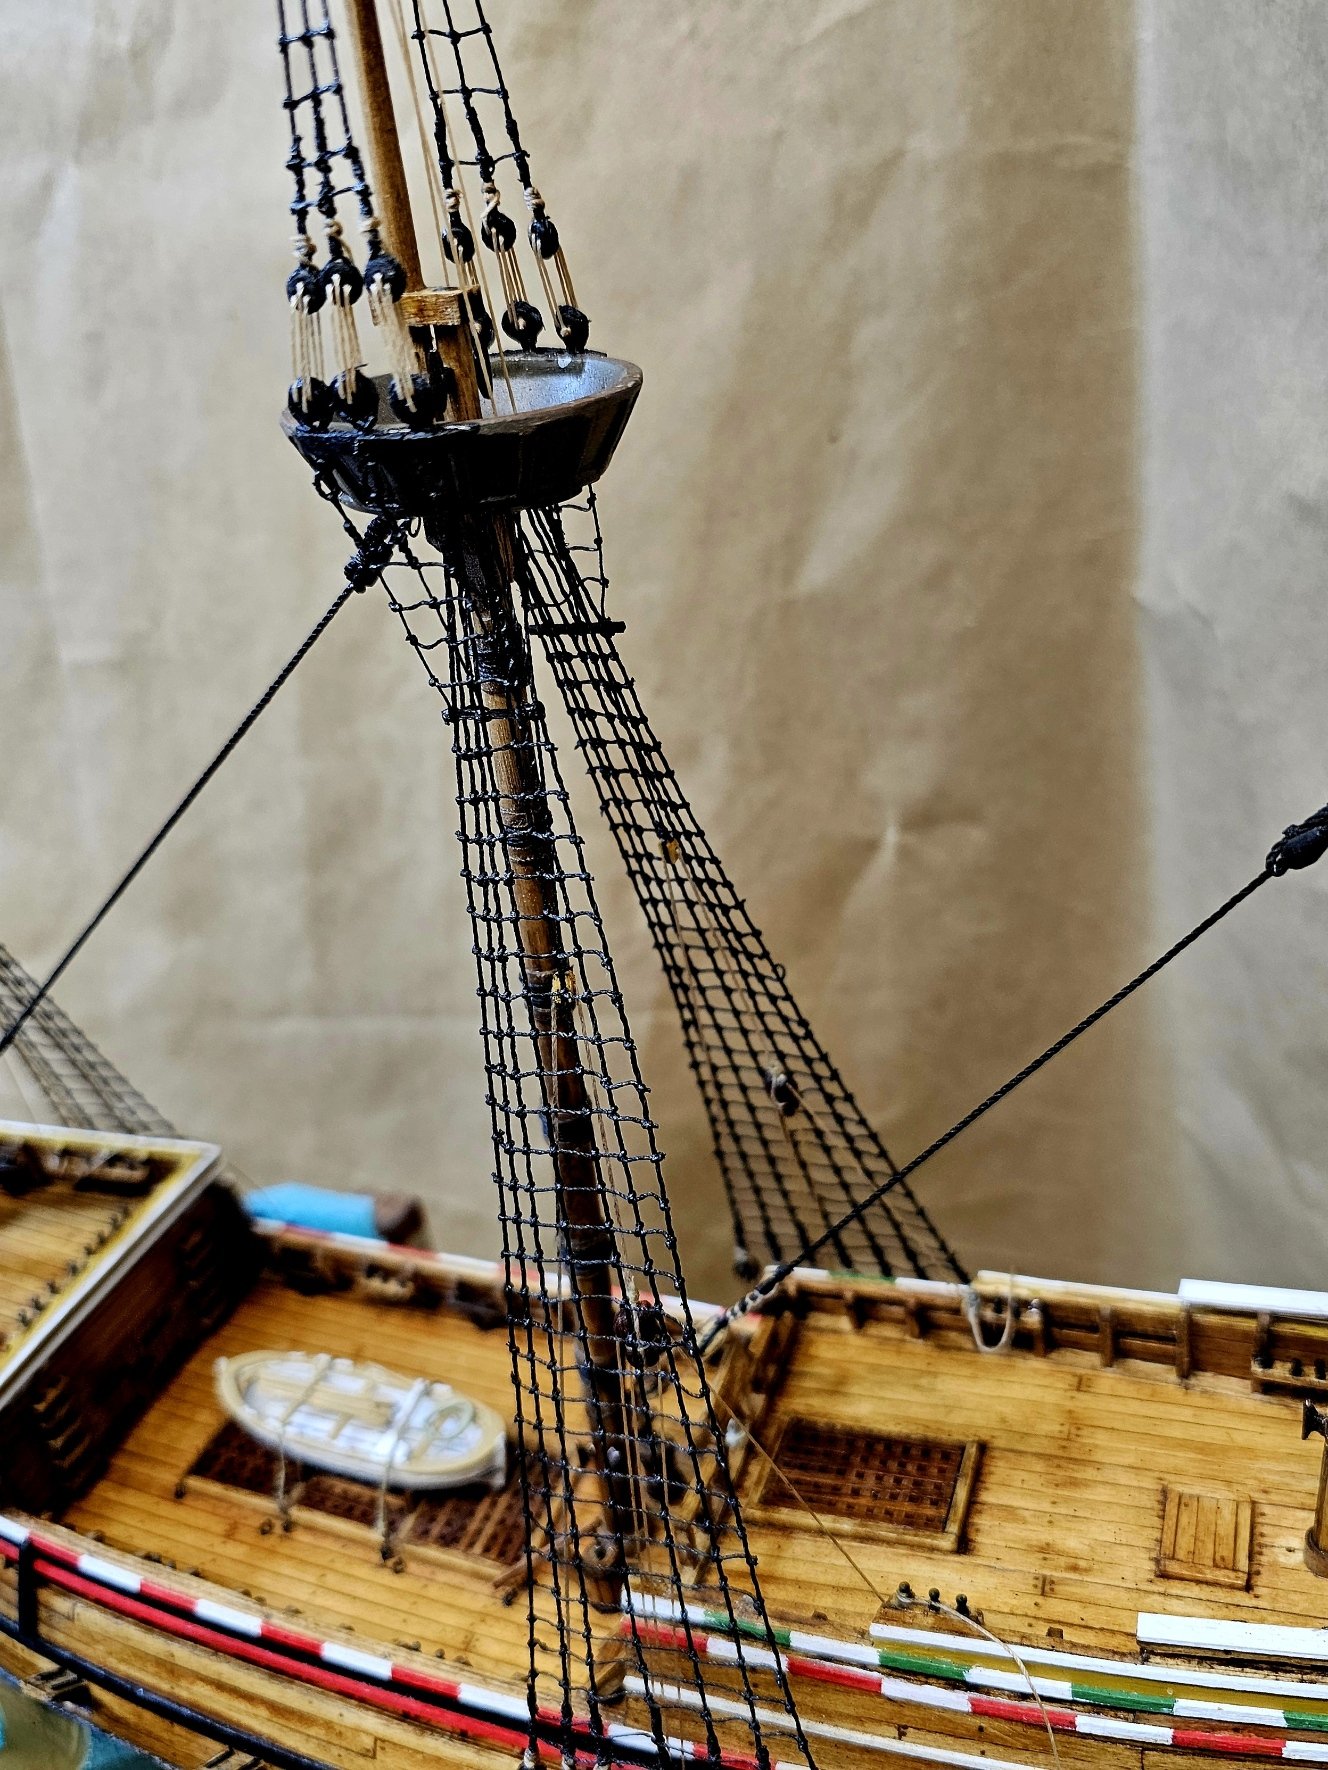
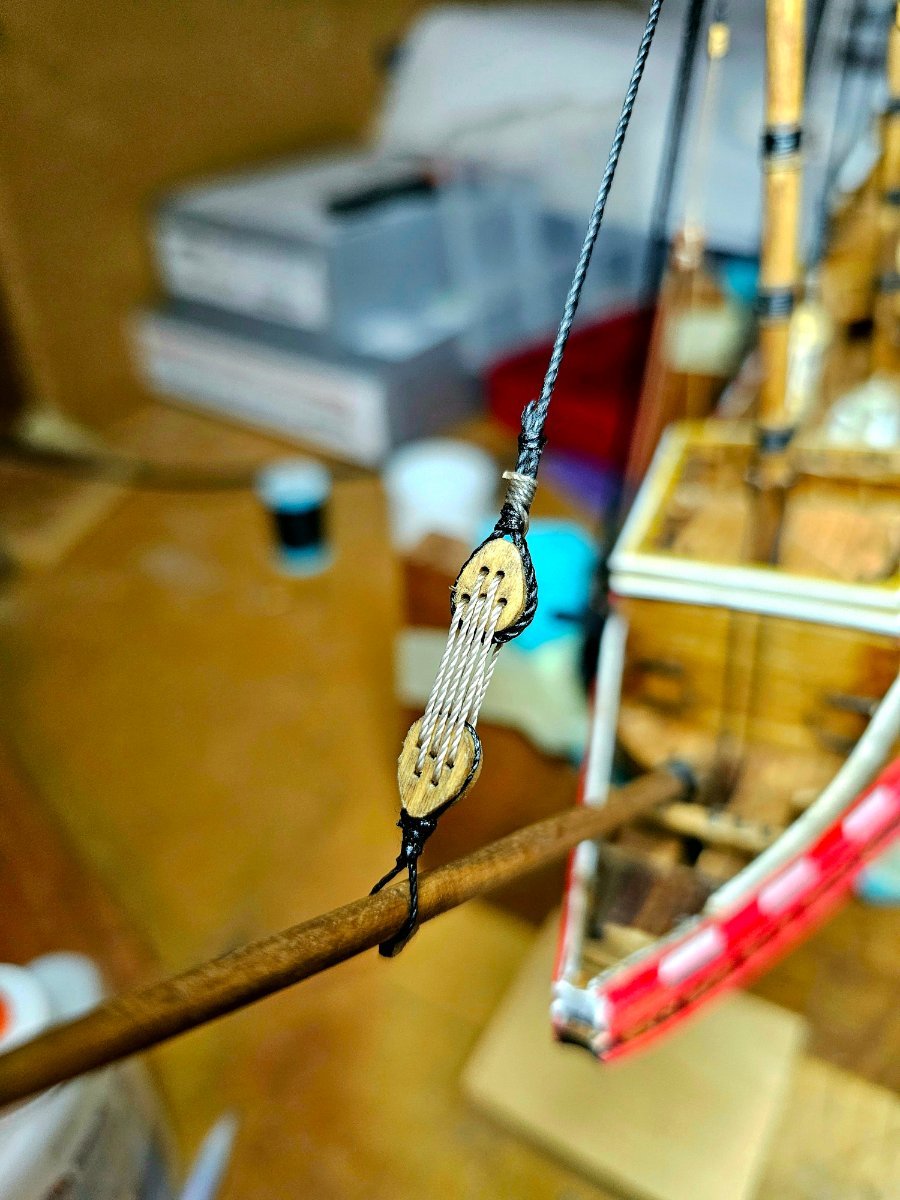
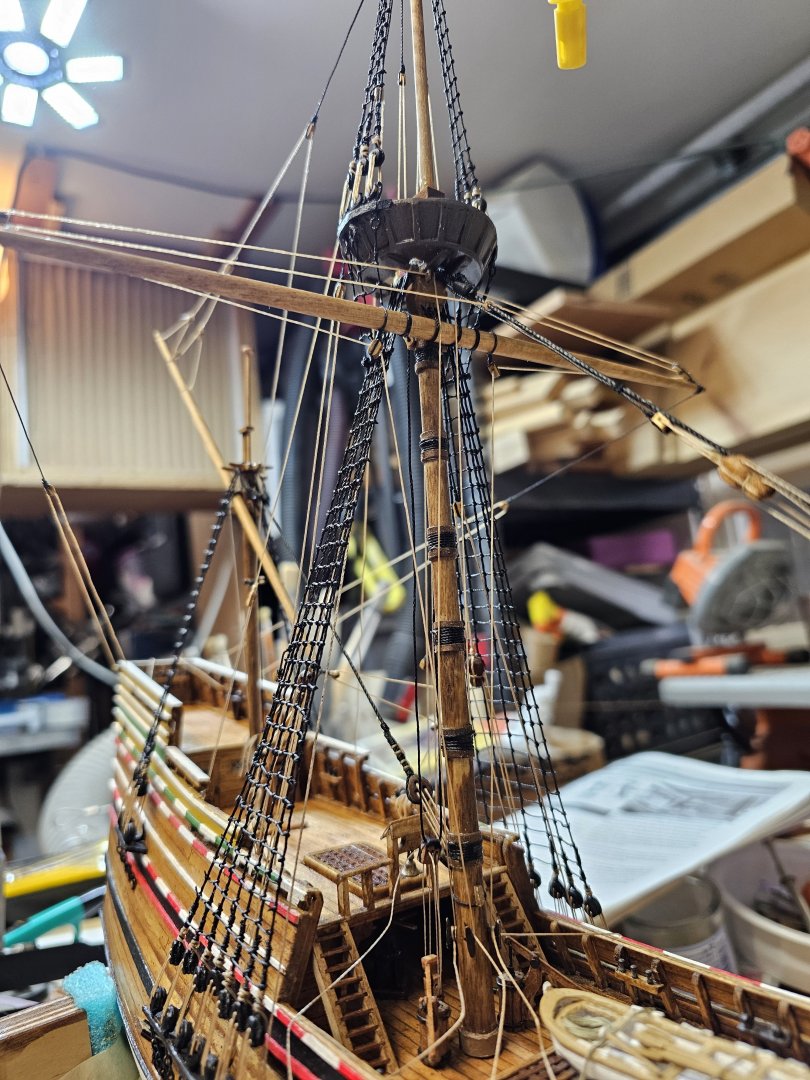
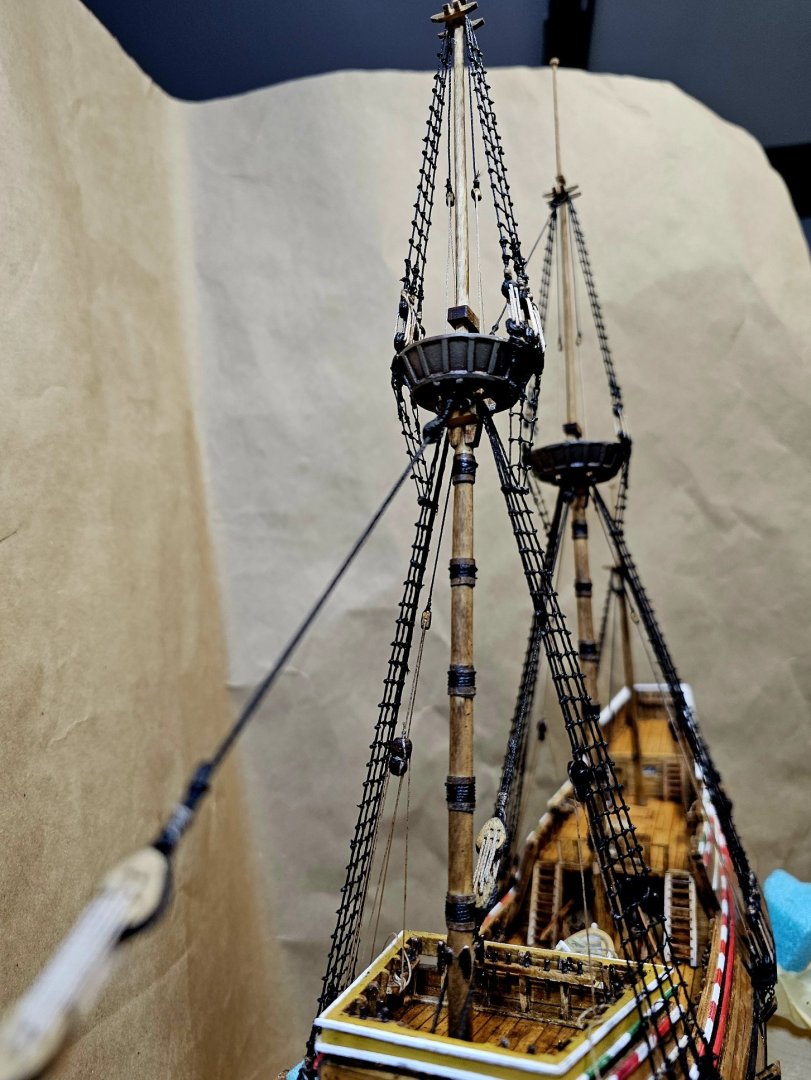
After hours of work, I finally completed the ratlines on the ship's rigging. Although the task was not particularly difficult, it was incredibly tedious, and my hands were tired from tying countless knots. But the sense of accomplishment I feel now that it's done is well worth it. I'm eager to move on to the next step and start working on the standing rigging. Regardless, I'm excited to keep making progress on this project and see it come together piece by piece.


- 73 replies
-
- 3
-
-
- mayflower
- model shipways
- (and 1 more)