HOLIDAY DONATION DRIVE - SUPPORT MSW - DO YOUR PART TO KEEP THIS GREAT FORUM GOING! (Only 20 donations so far - C'mon guys!)
×

captgino
-
Posts
620 -
Joined
-
Last visited
Content Type
Profiles
Forums
Gallery
Events
Everything posted by captgino
-
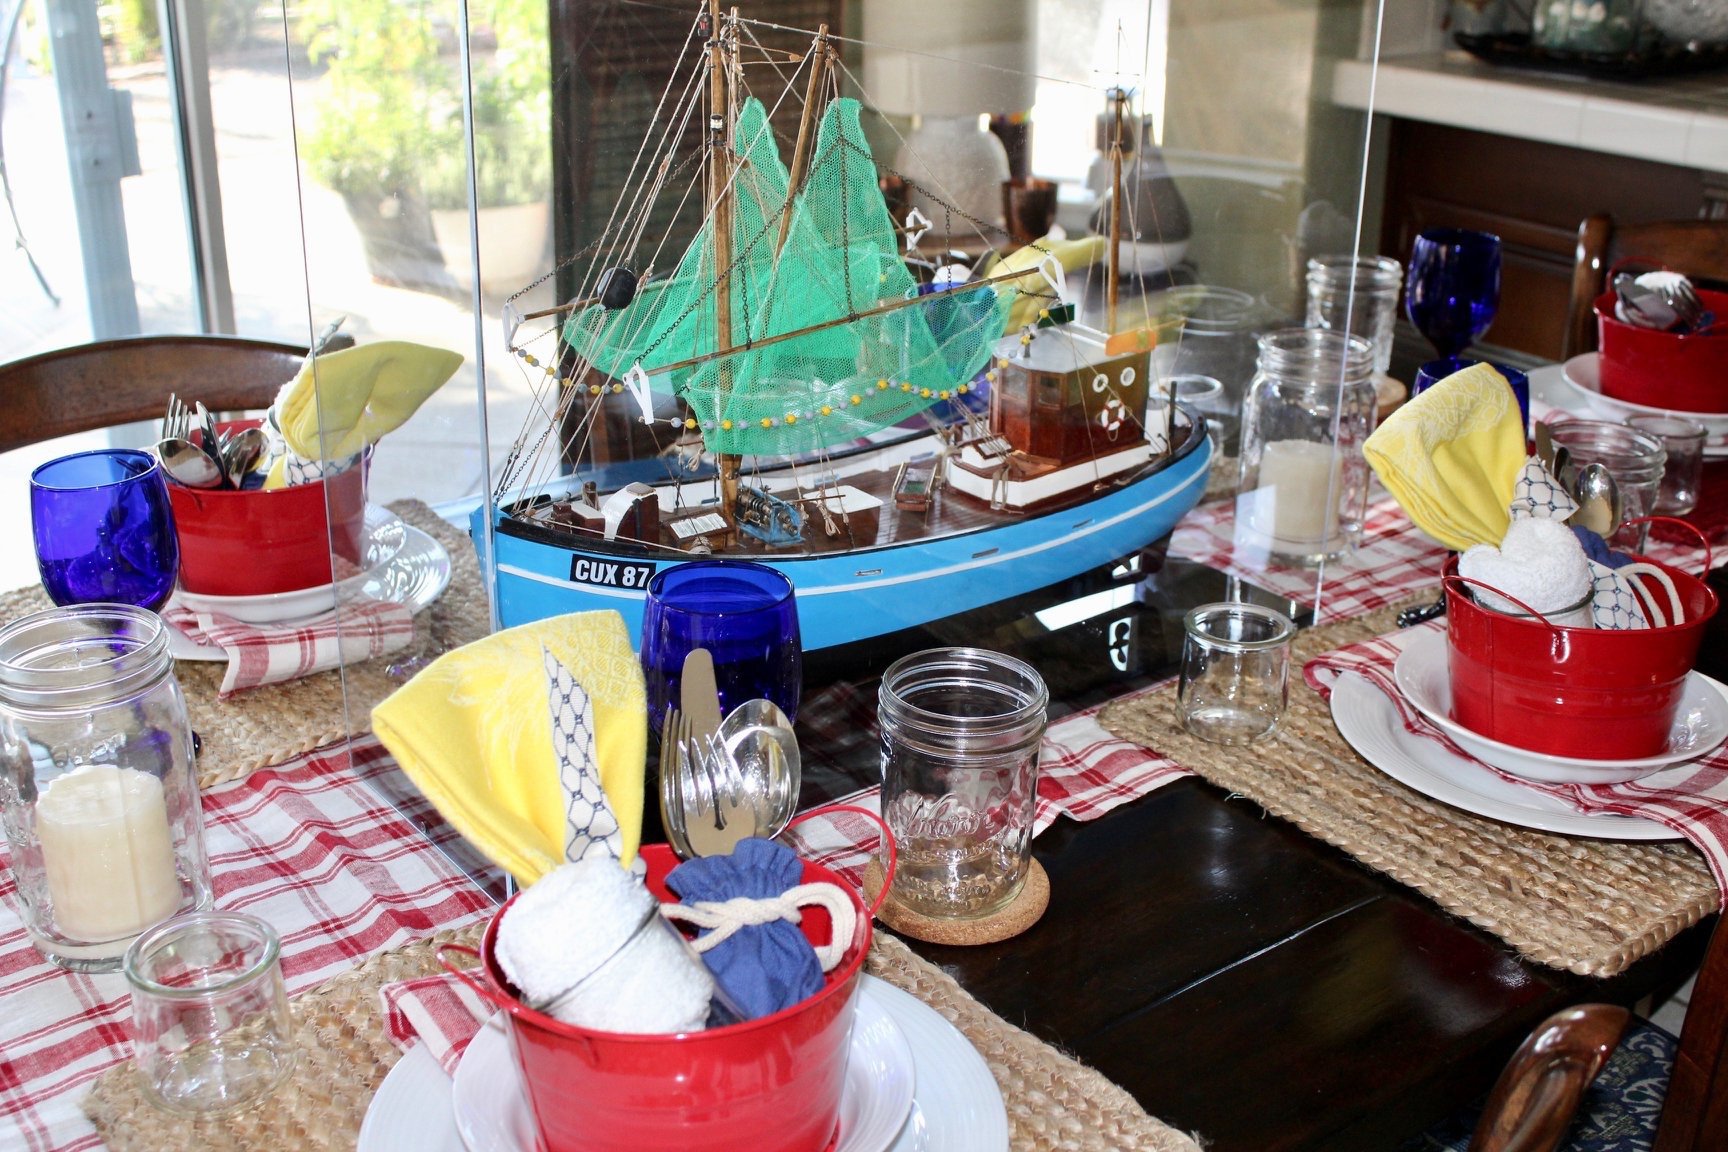
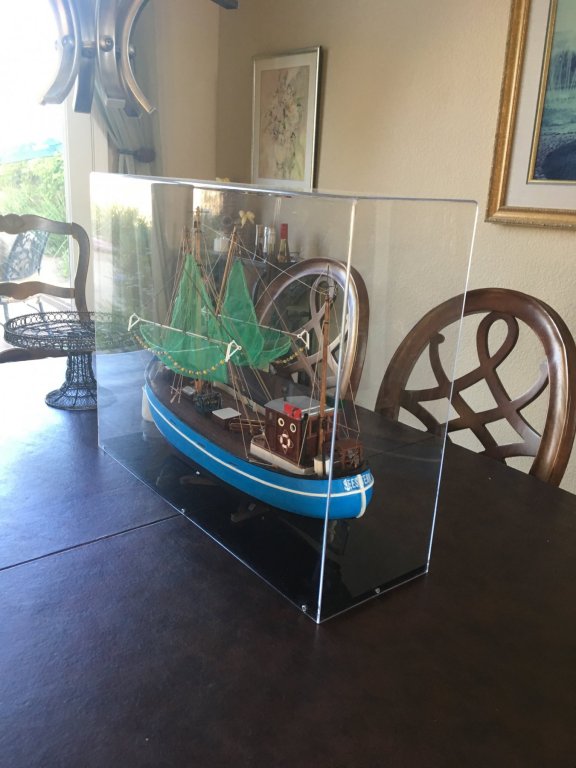
 An update I had forgotten to post 😊.... Before (as we received it) After... The case and a family welcoming party.
- 51 replies
-
- 5
-

-
- krabbenkutter
- billing boats
- (and 1 more)
-
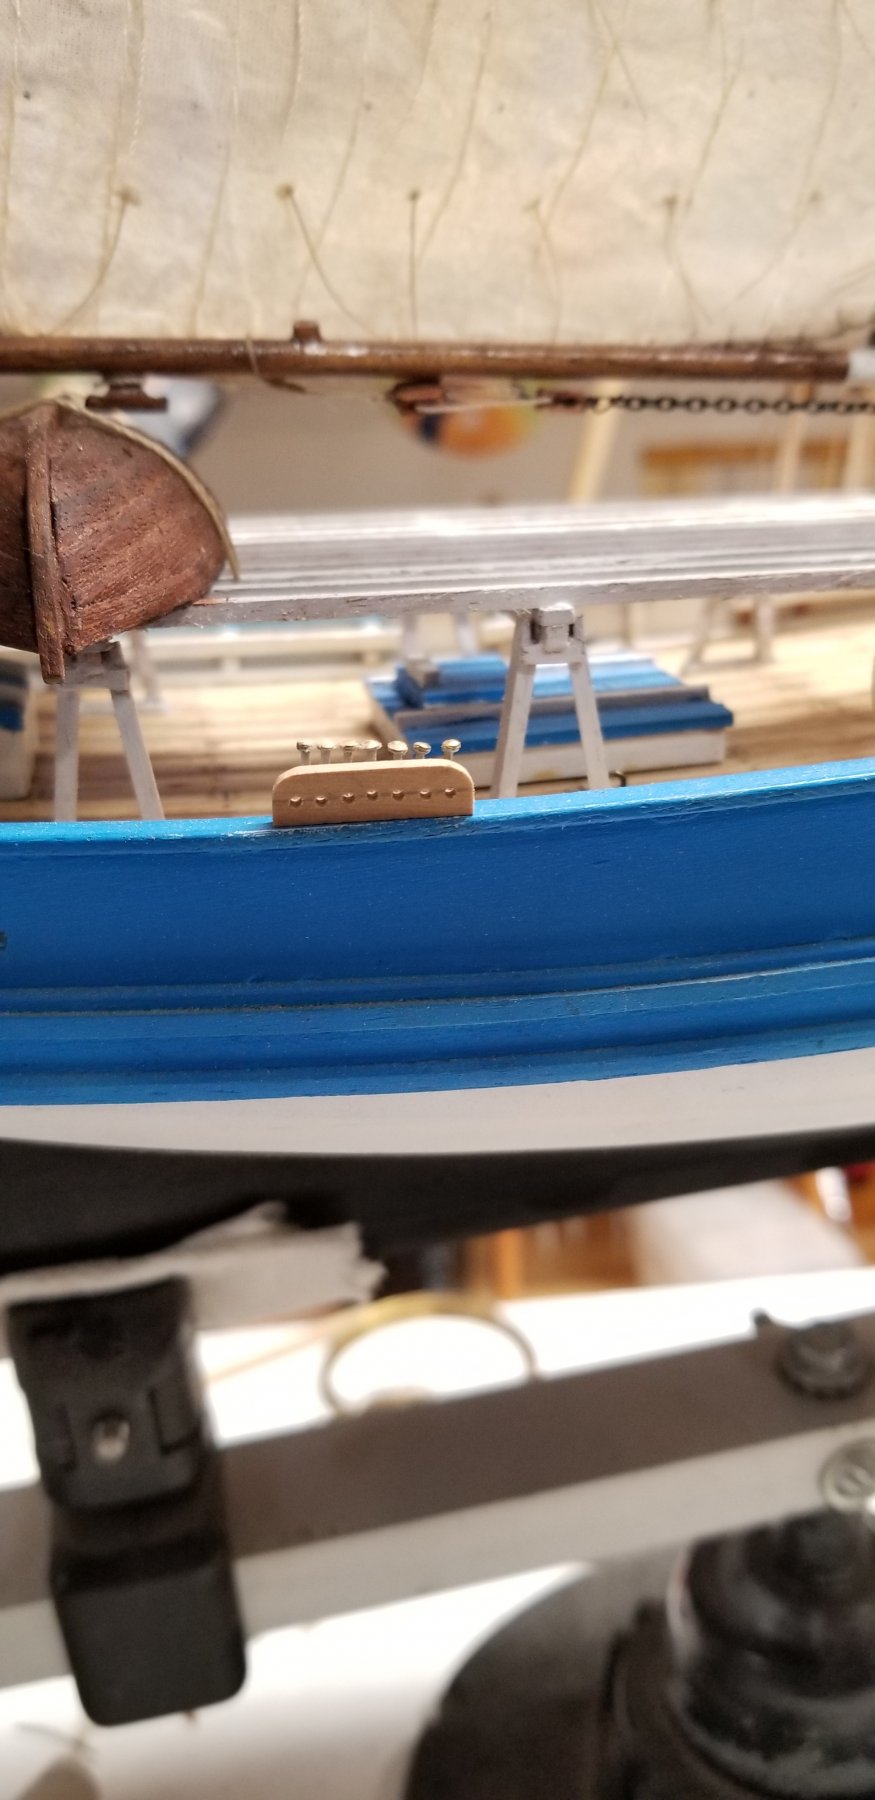
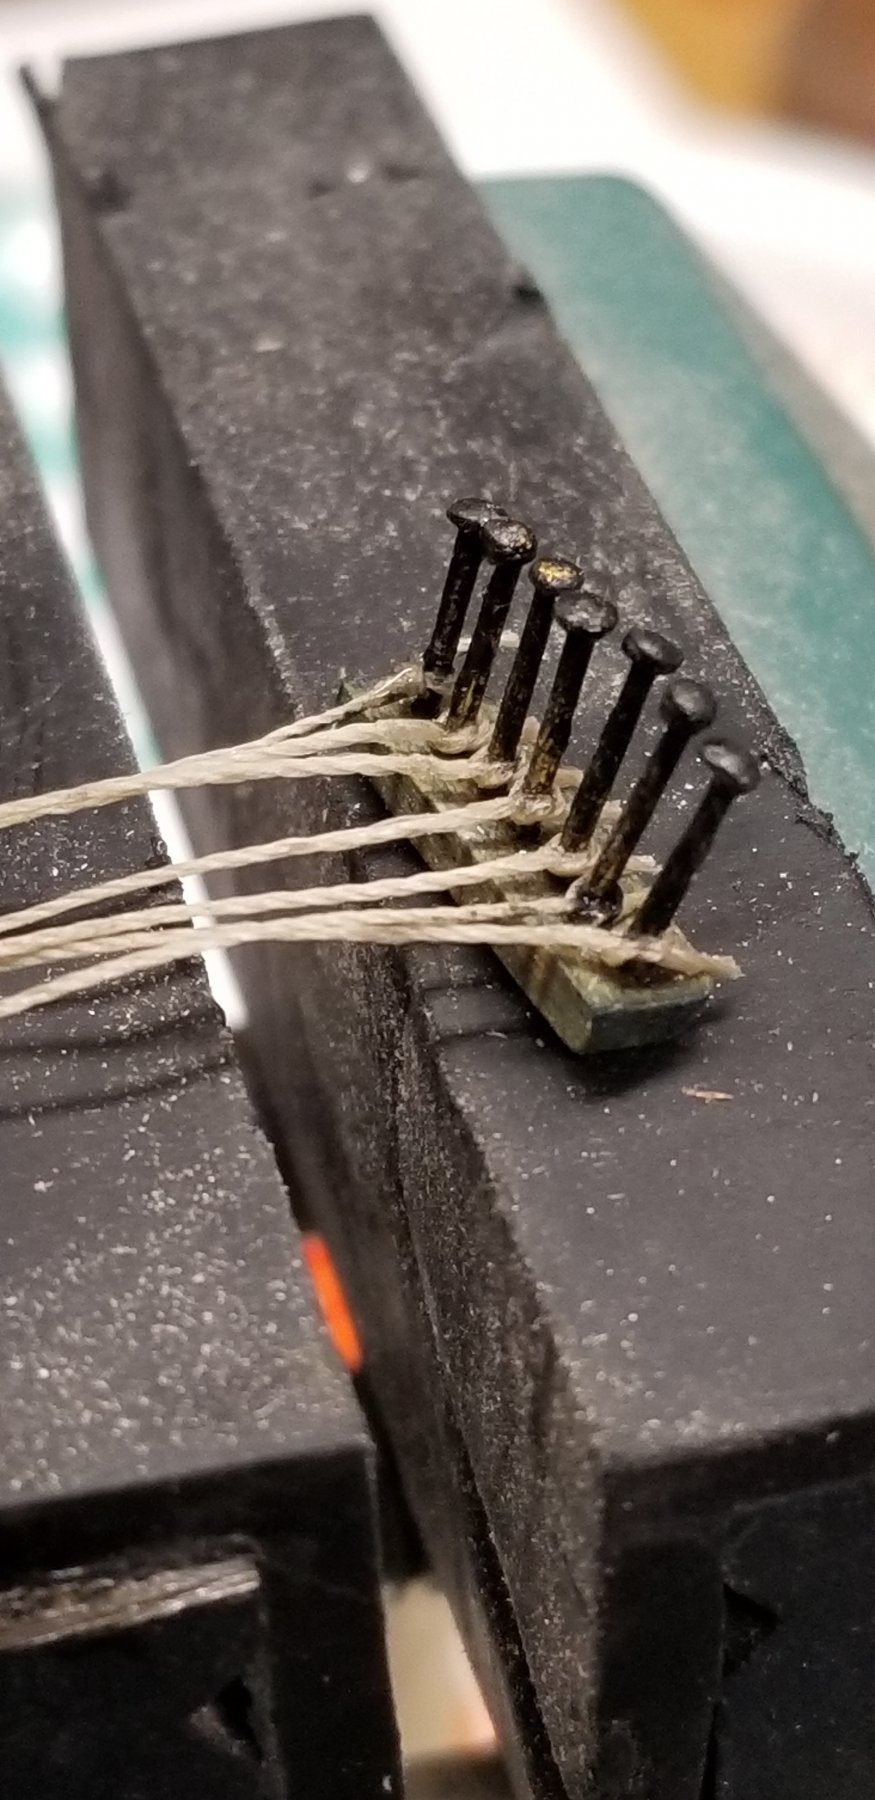
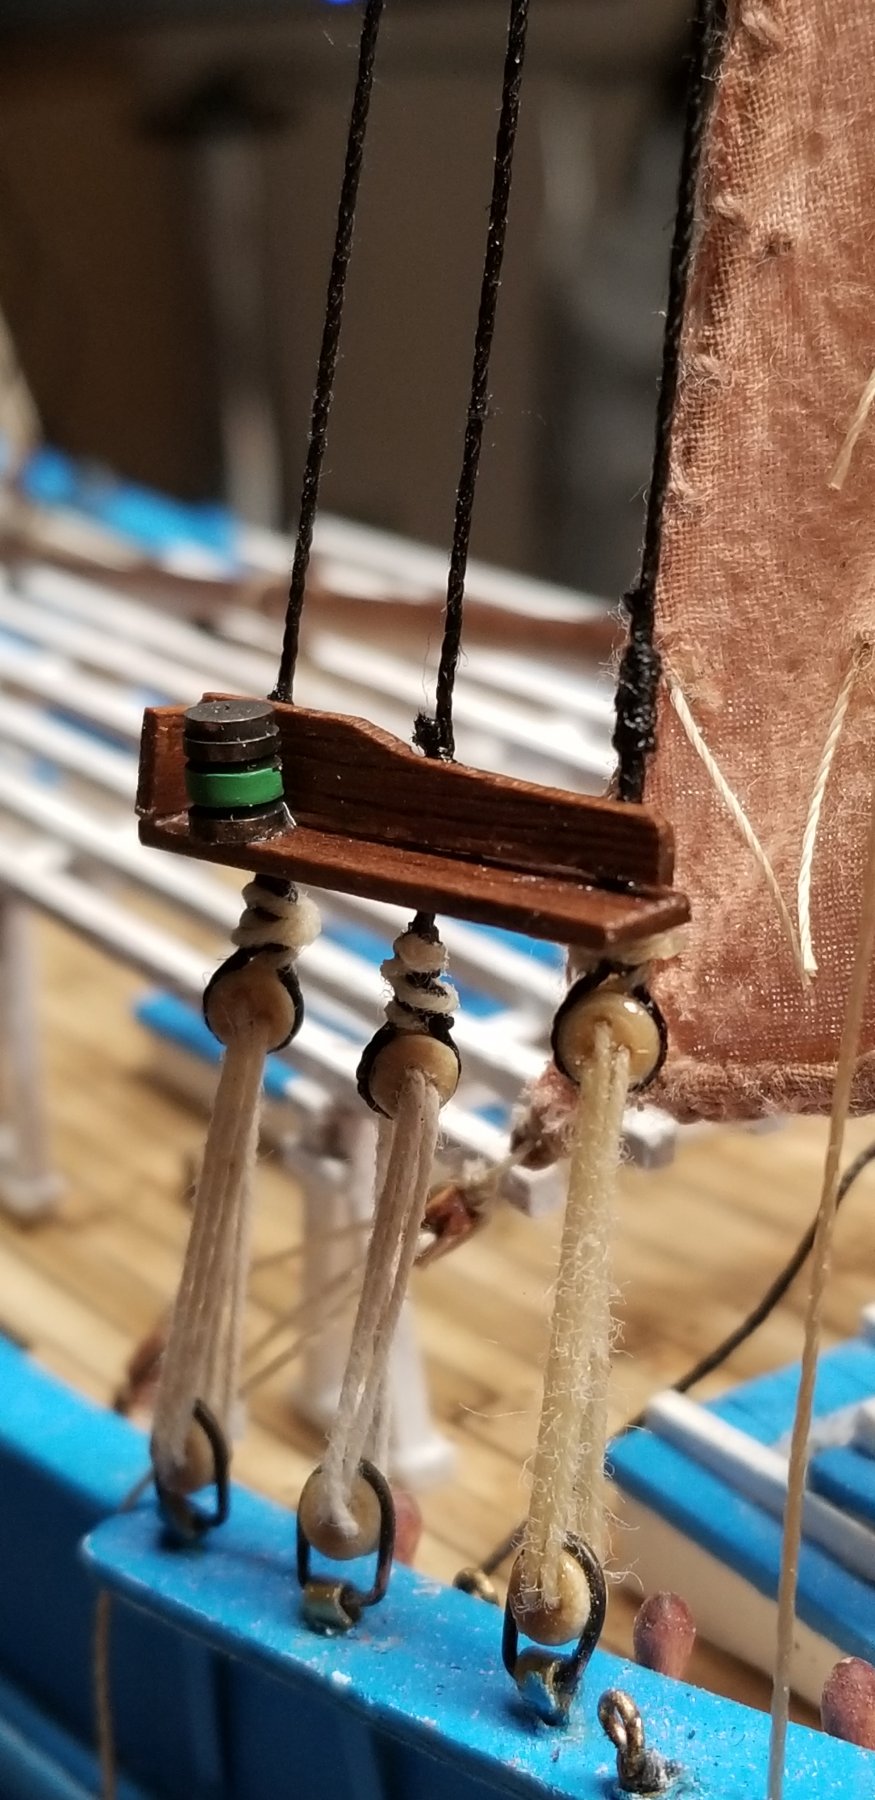
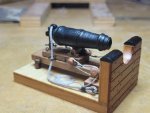
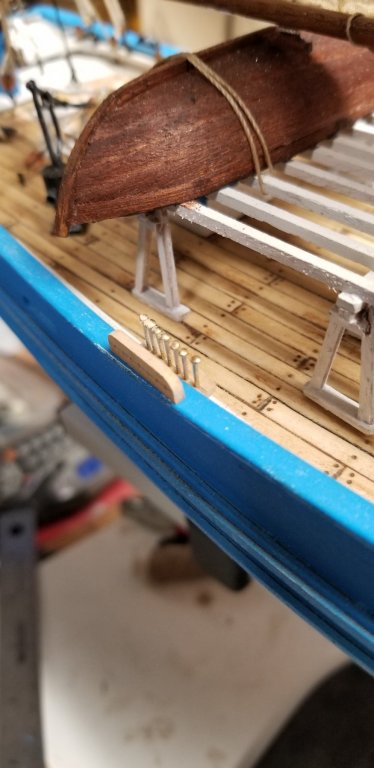
Construction of the tolet and the hale rack. The hale rack seats on the rail. The tolet will hold the lines. This is a system to hold and pull the fishing lines as they are been dragged. Finished assembly.


- 131 replies
-
- 4
-
-
- finished
- artesania latina
- (and 1 more)
-
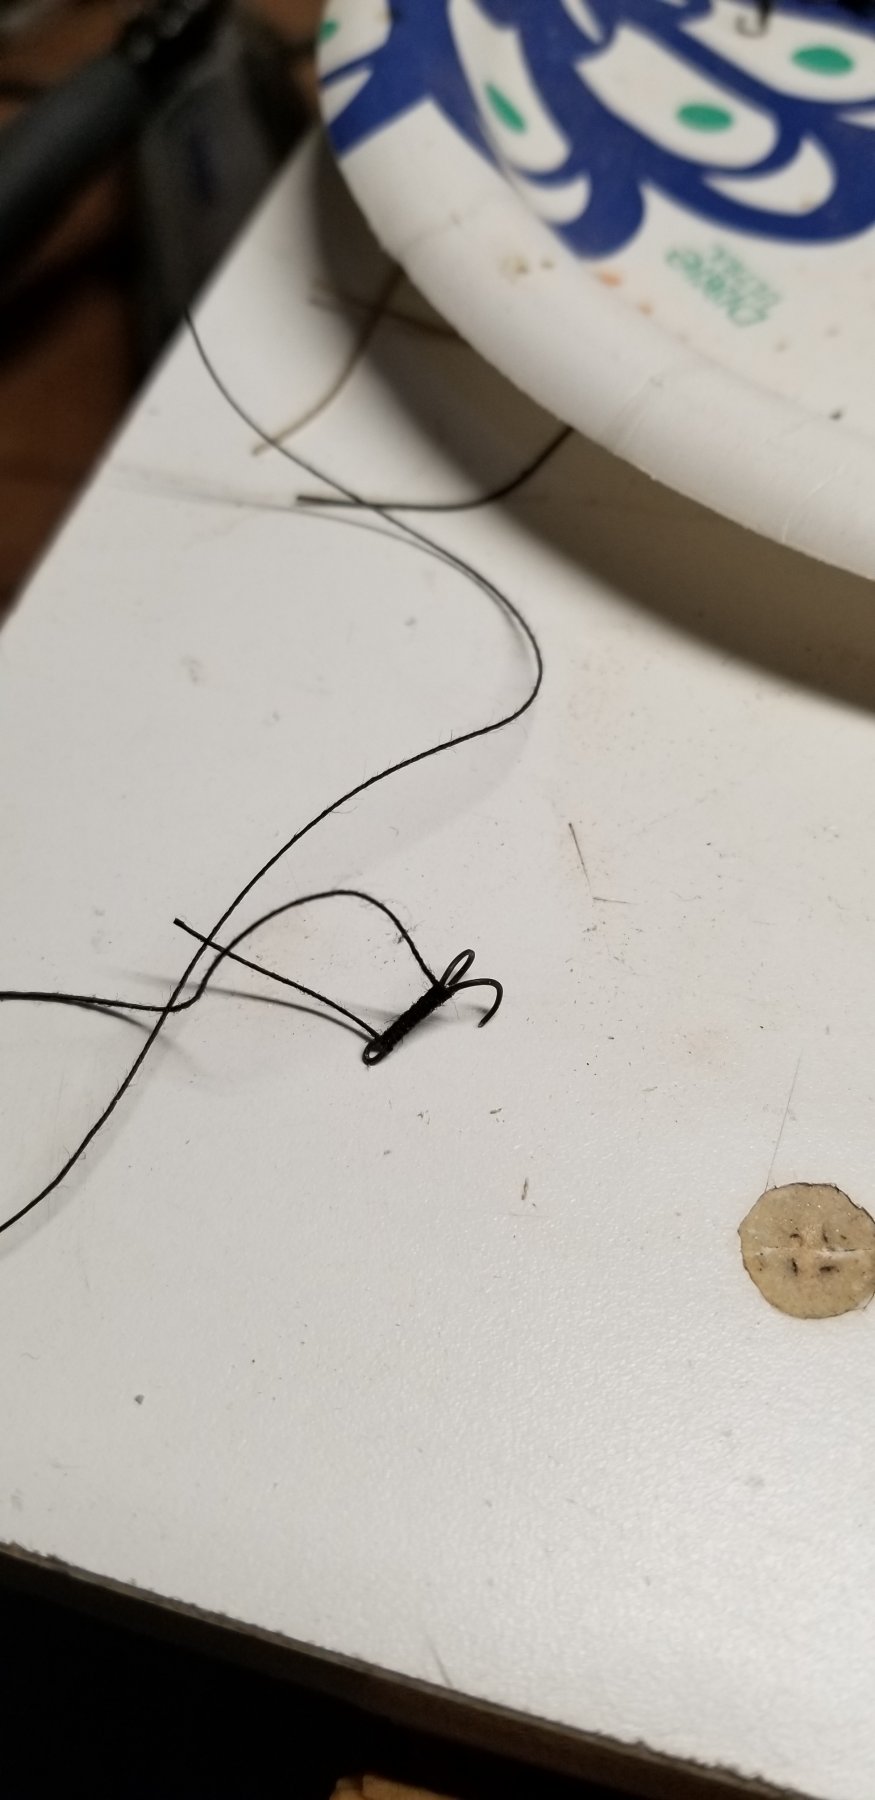
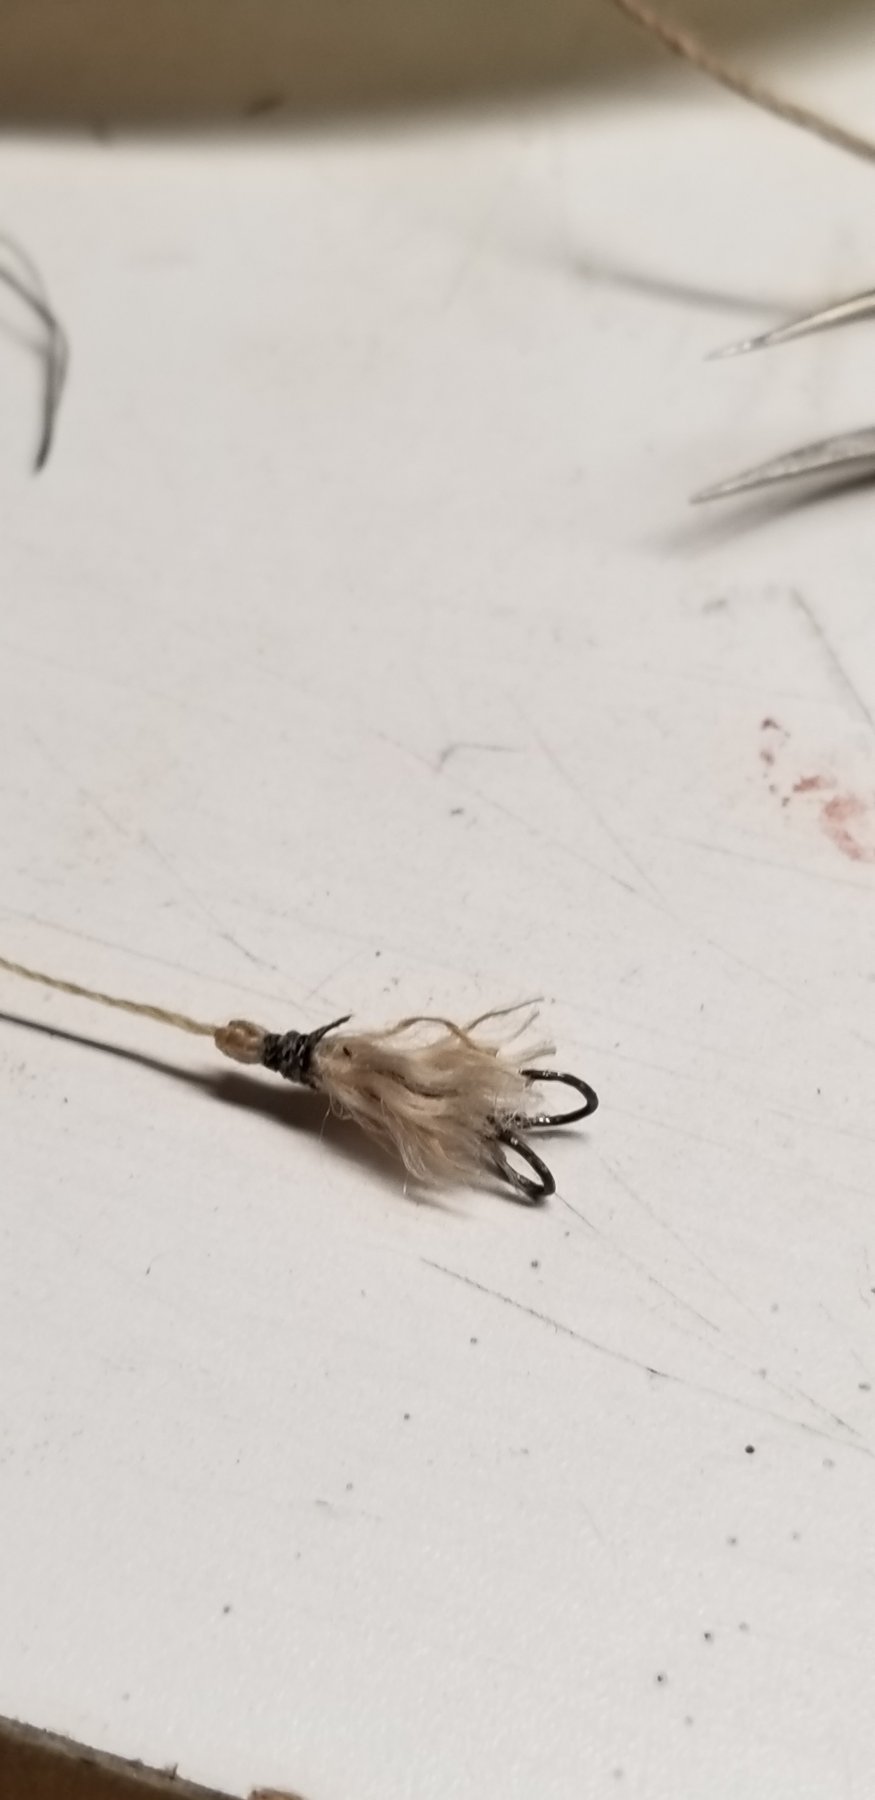
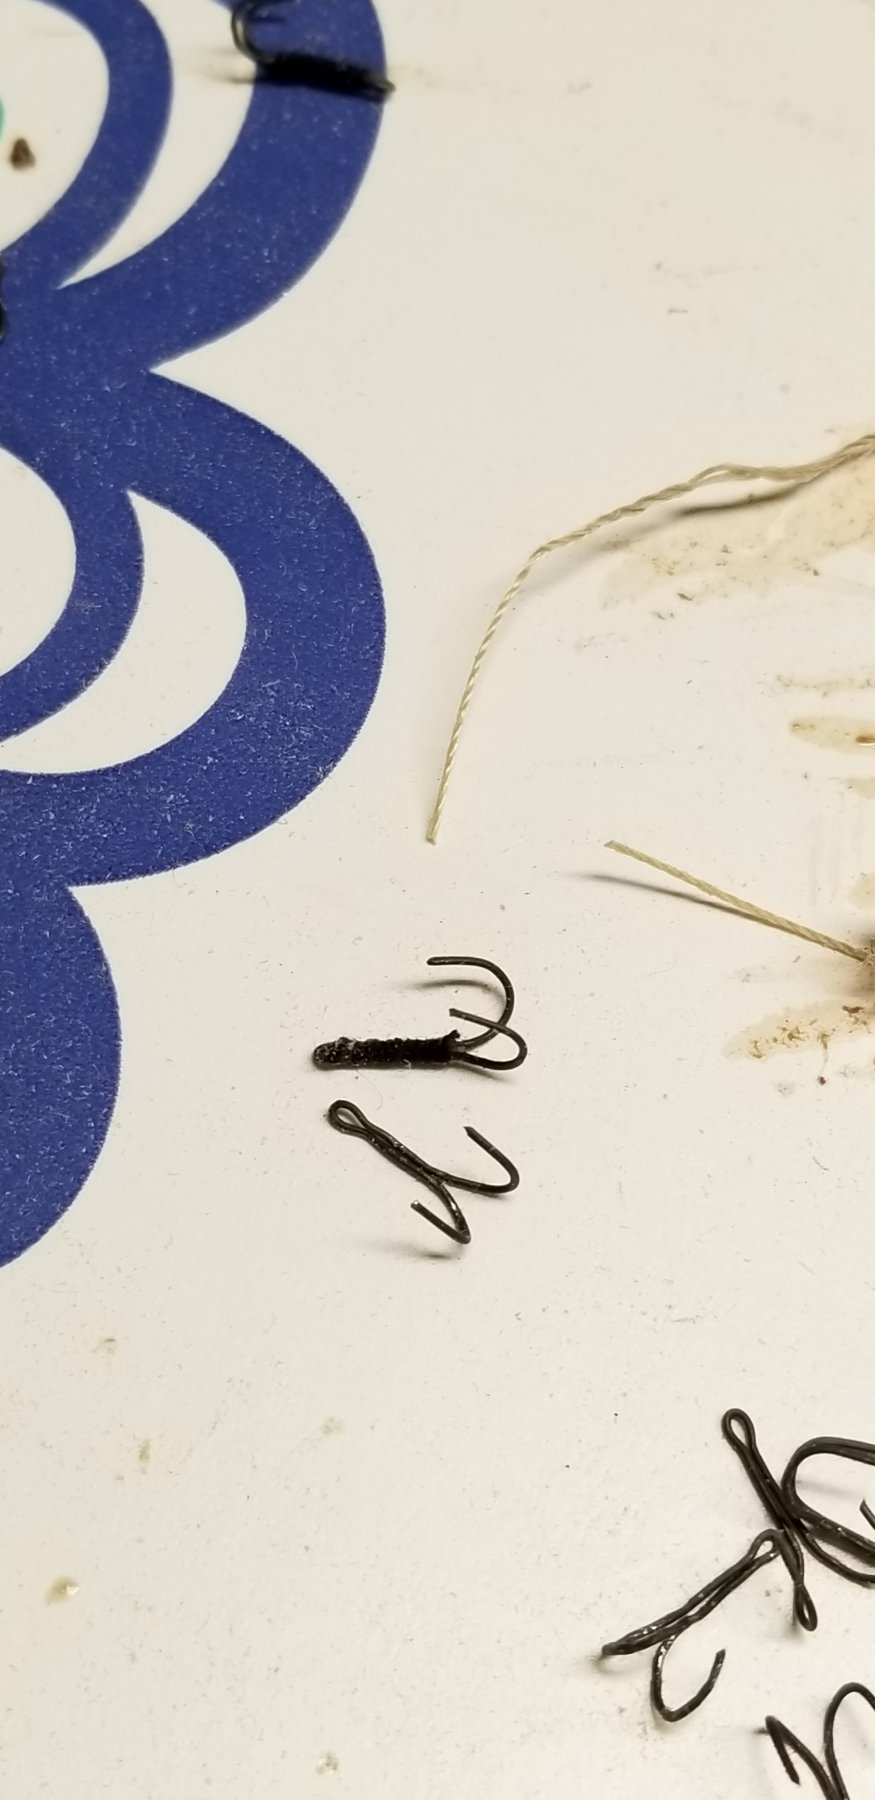
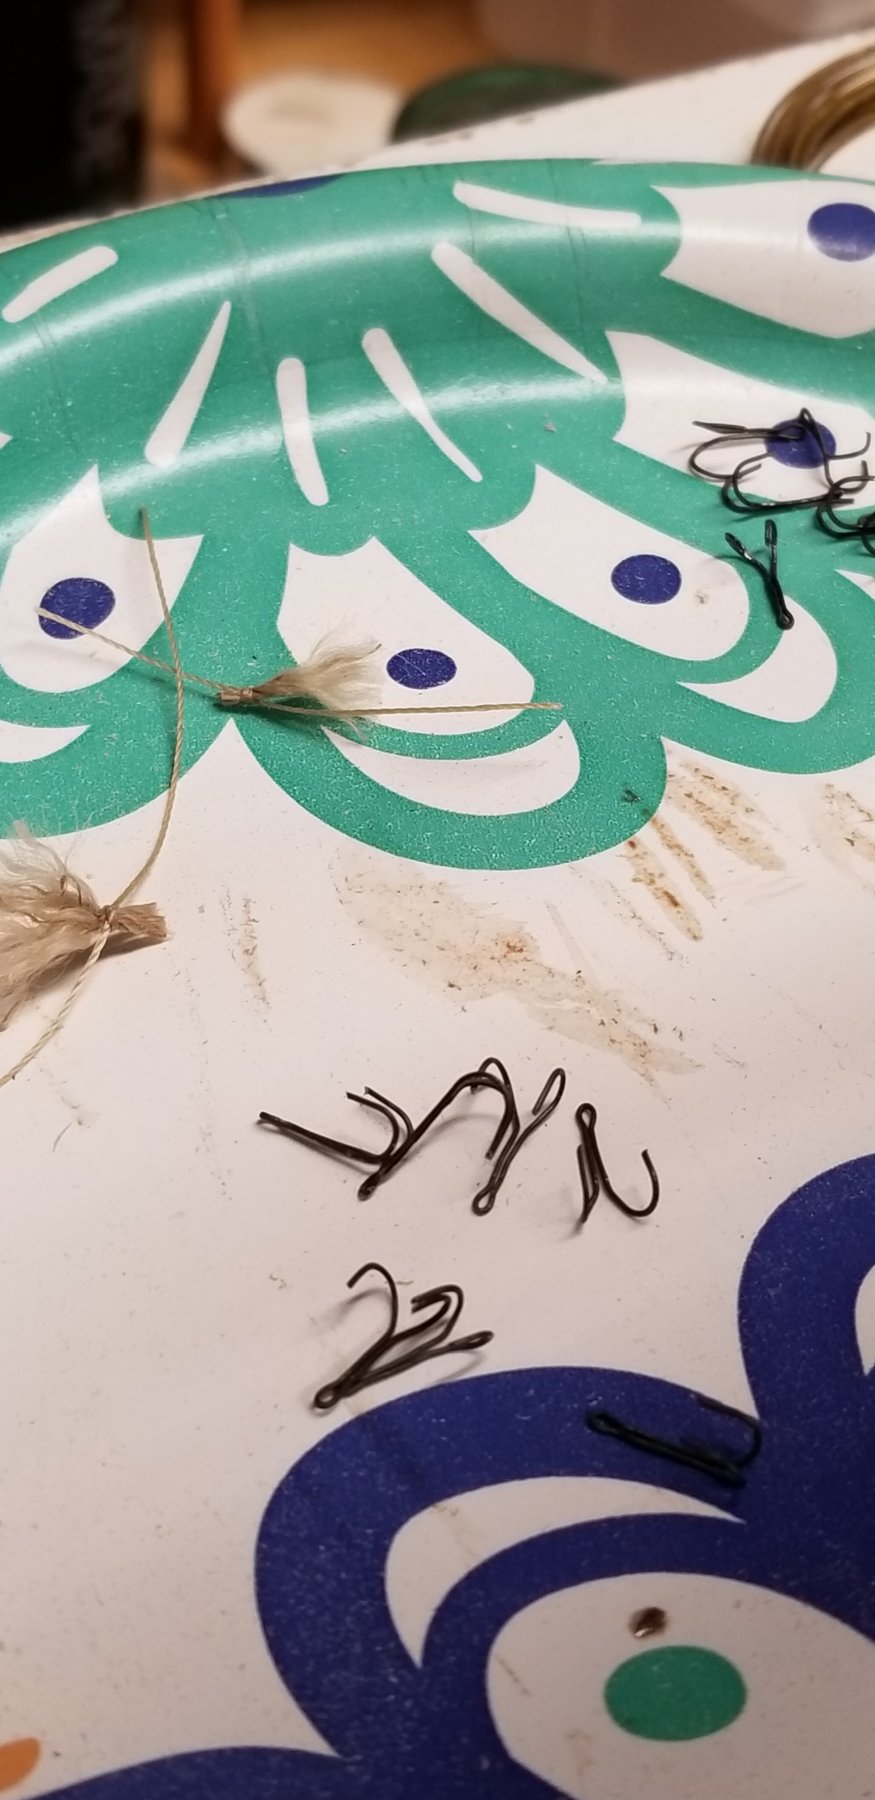
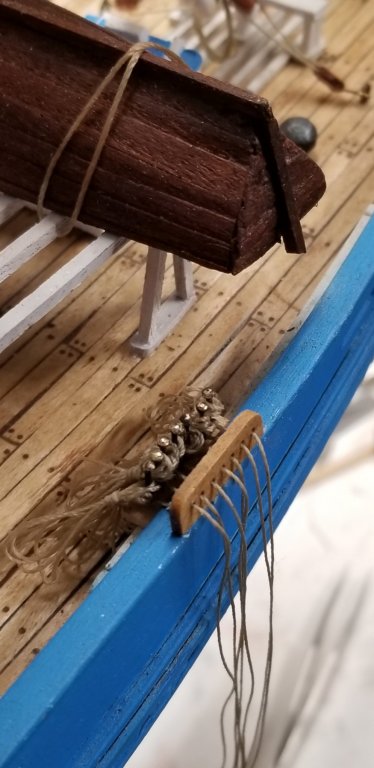
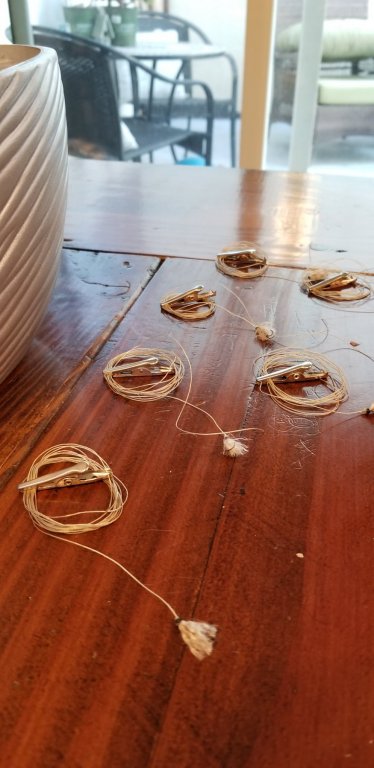
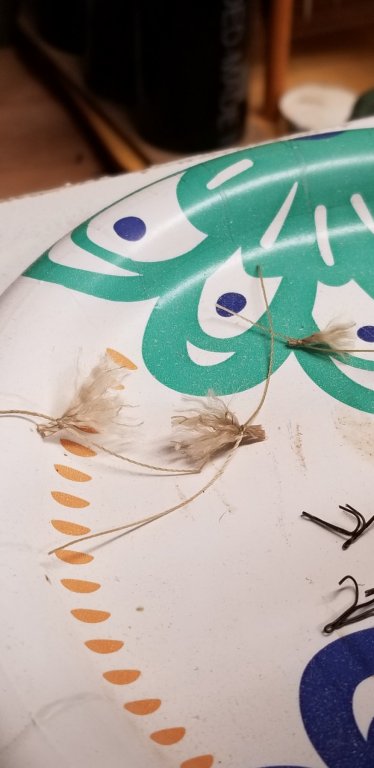
Production completed. 14 lines with hocks and lures. This afternoon I made 7 of them.
- 131 replies
-
- 5
-
-
- finished
- artesania latina
- (and 1 more)
-
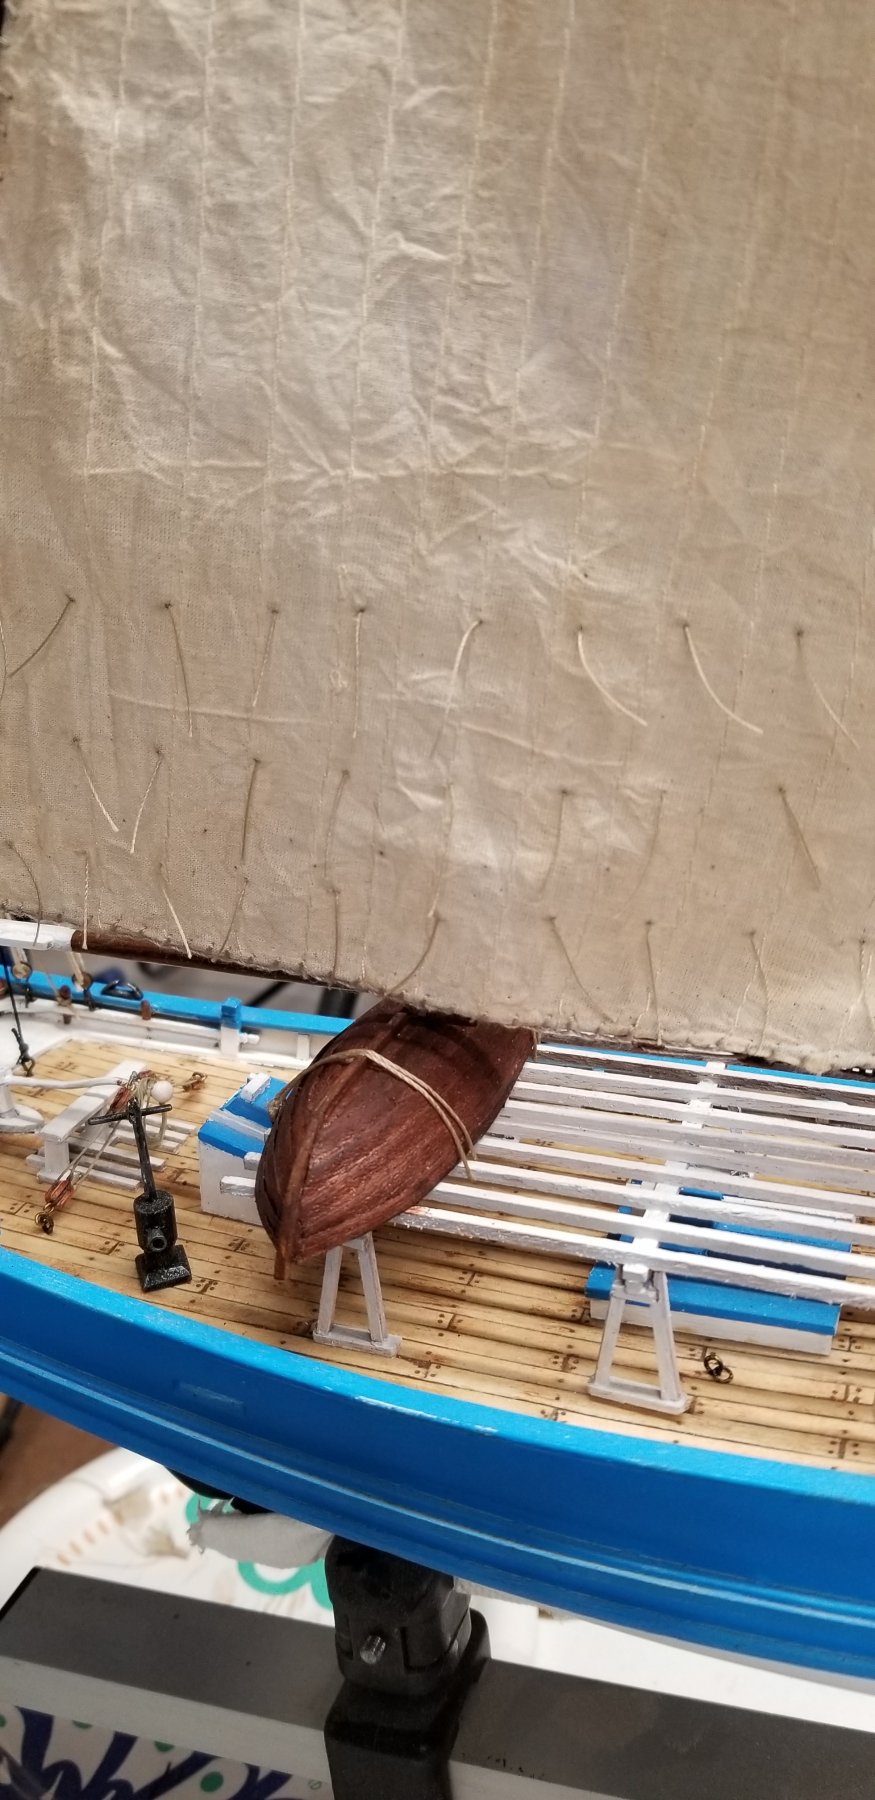
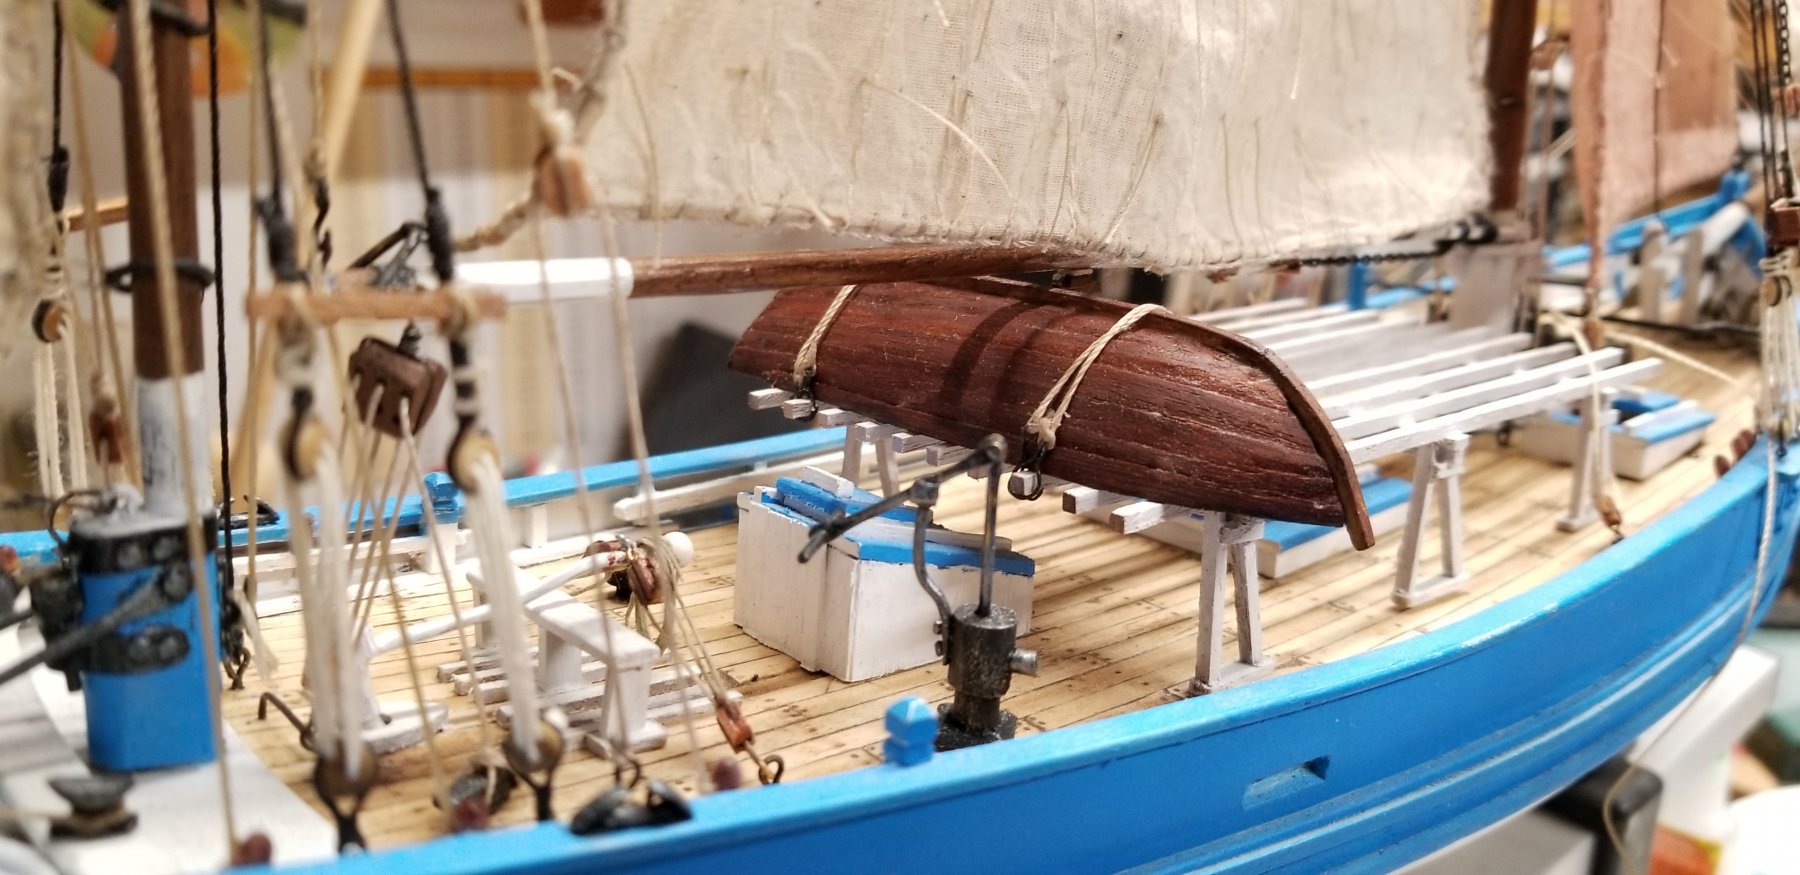
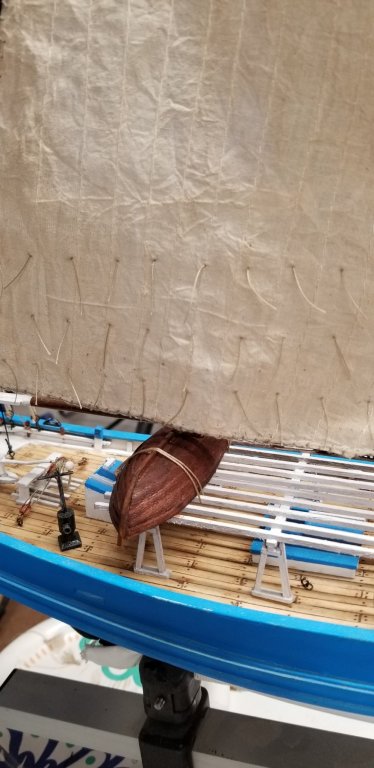
A few days for vacation.... but holiday season in full swing. Not a lot of progress. 😊 Planked, weathered and attached the canoe Worked on the fishing hooks Attempt to make some lures. I may change it.


- 131 replies
-
- 5
-
-
- finished
- artesania latina
- (and 1 more)
-
Beautiful finish. It is looking very sharp. Joyeux Noël !!
- 164 replies
-
- 2
-
-
- first build
- model shipways
- (and 2 more)
-
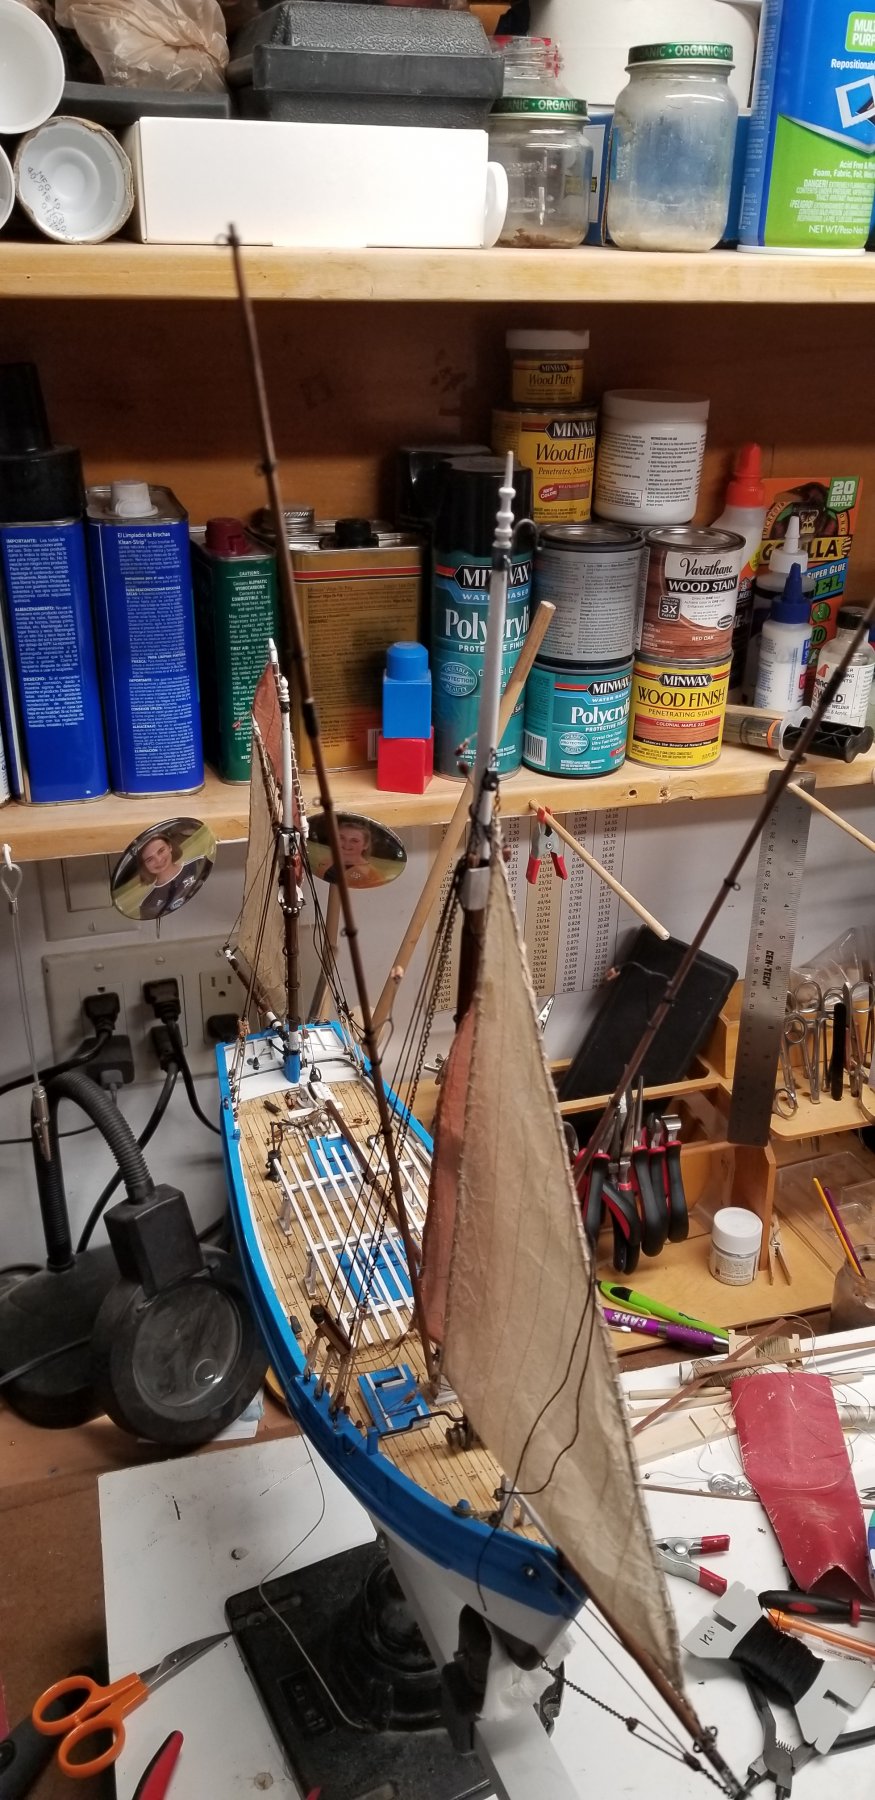
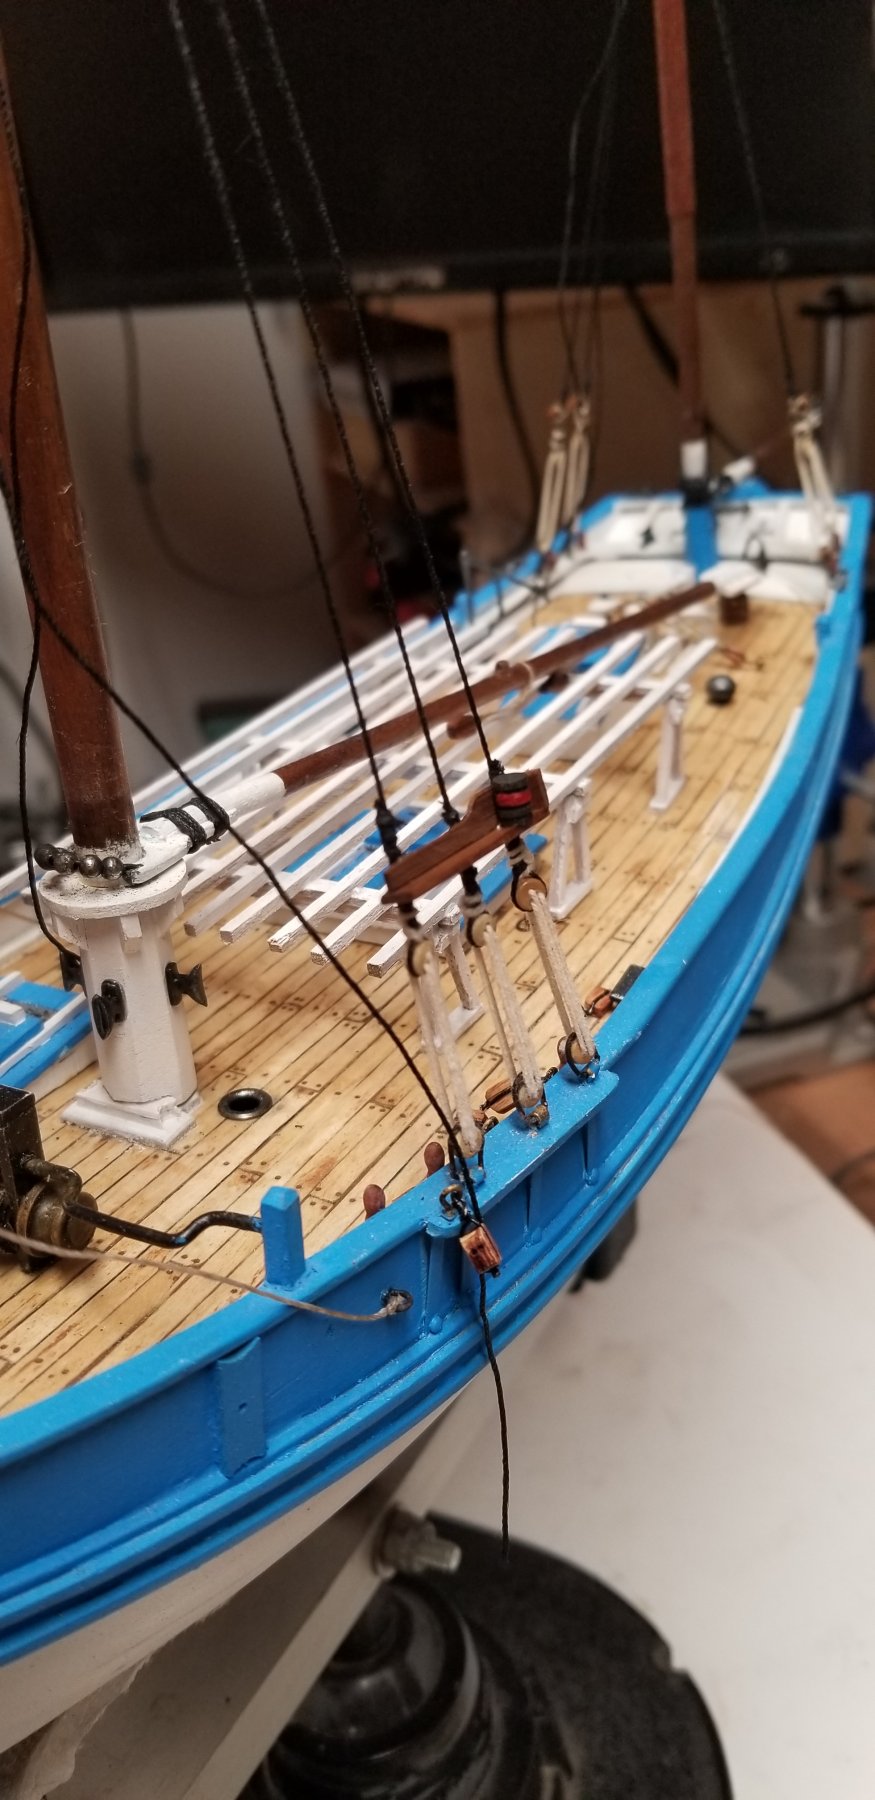
Rigging continues... The challenge is to find where each ropes is attaching too. I have to recognize that the majority of the time is spent on attempting to decrypt the plans.

- 131 replies
-
- 7
-
-
- finished
- artesania latina
- (and 1 more)
-
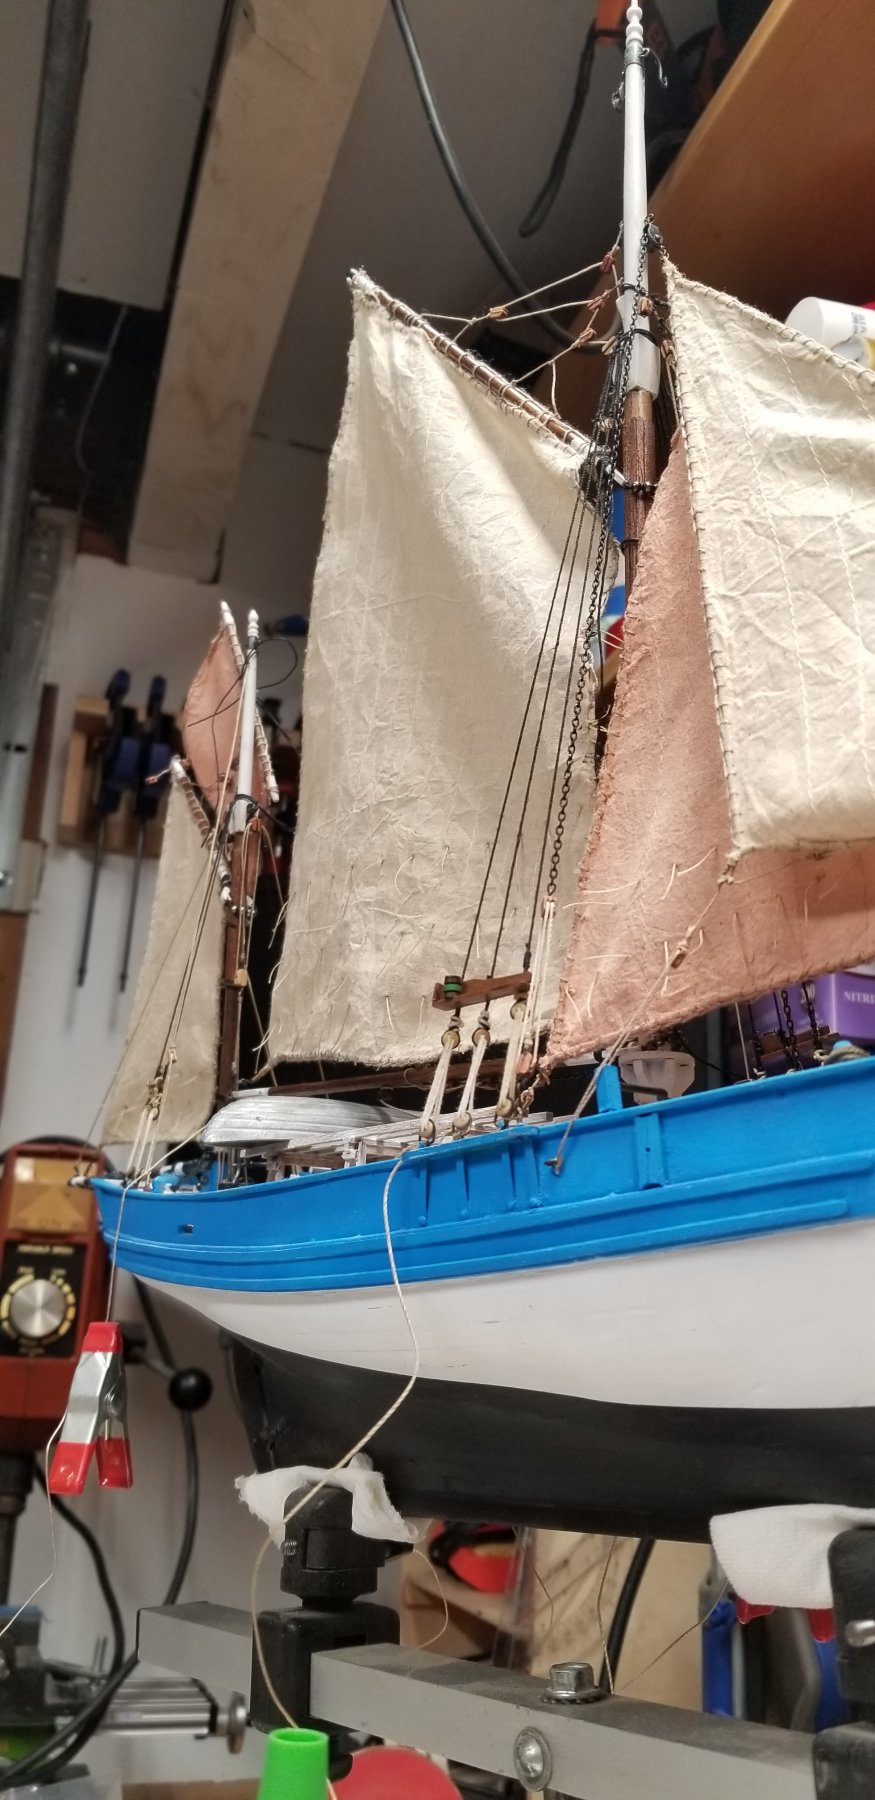
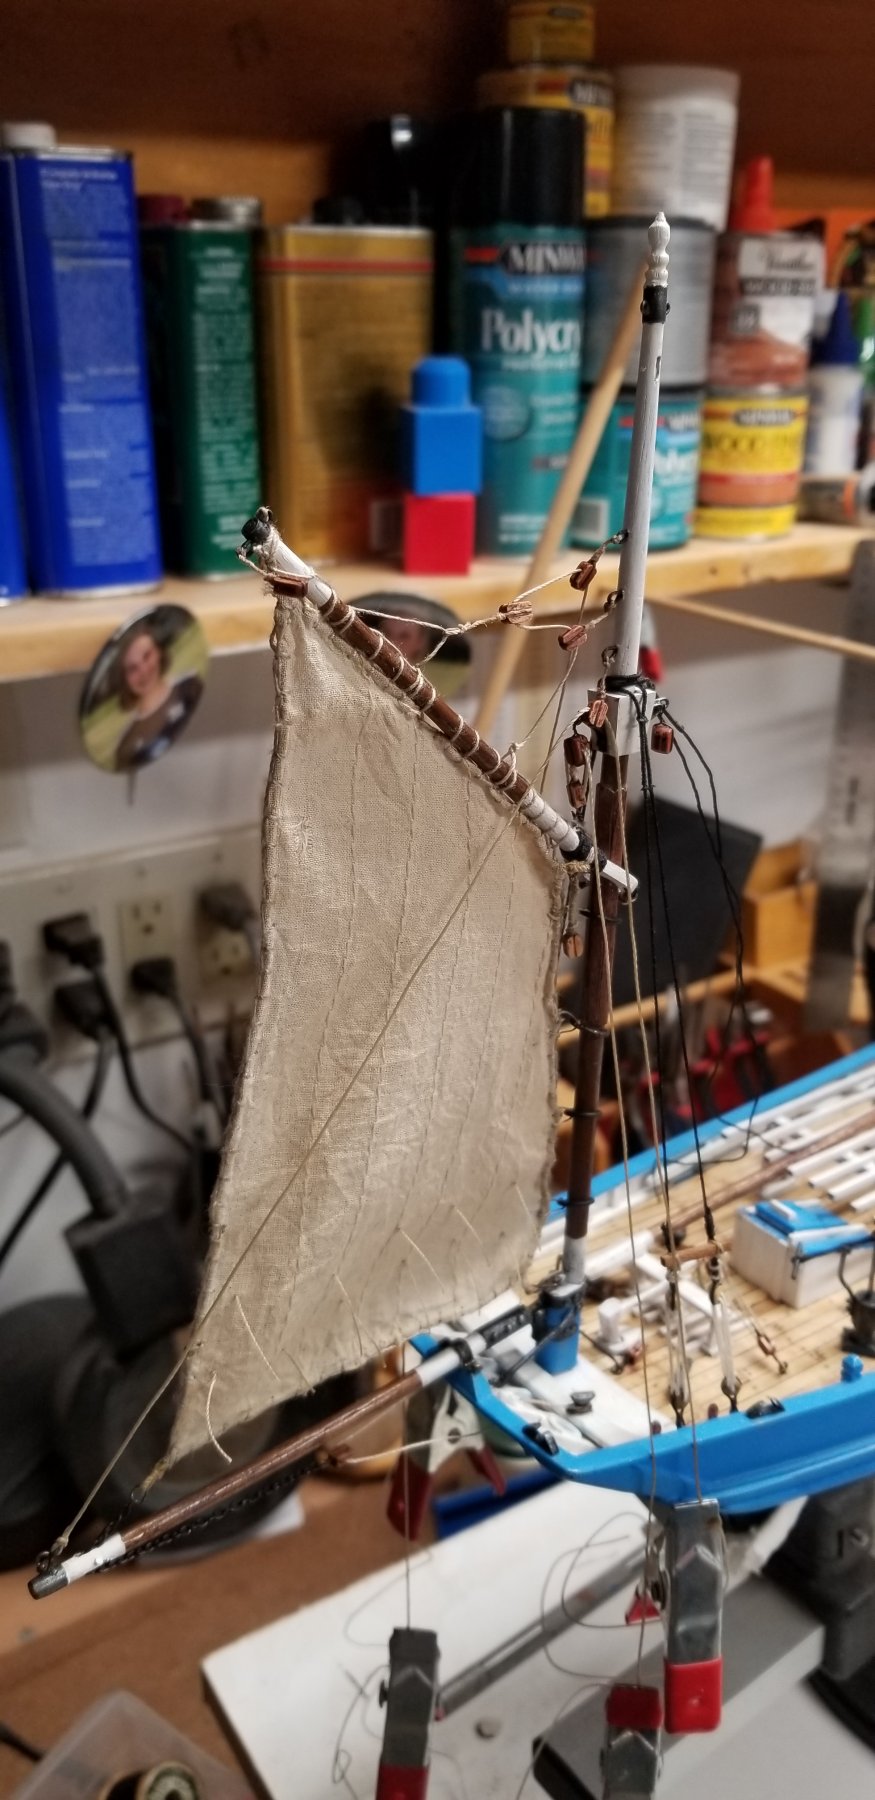
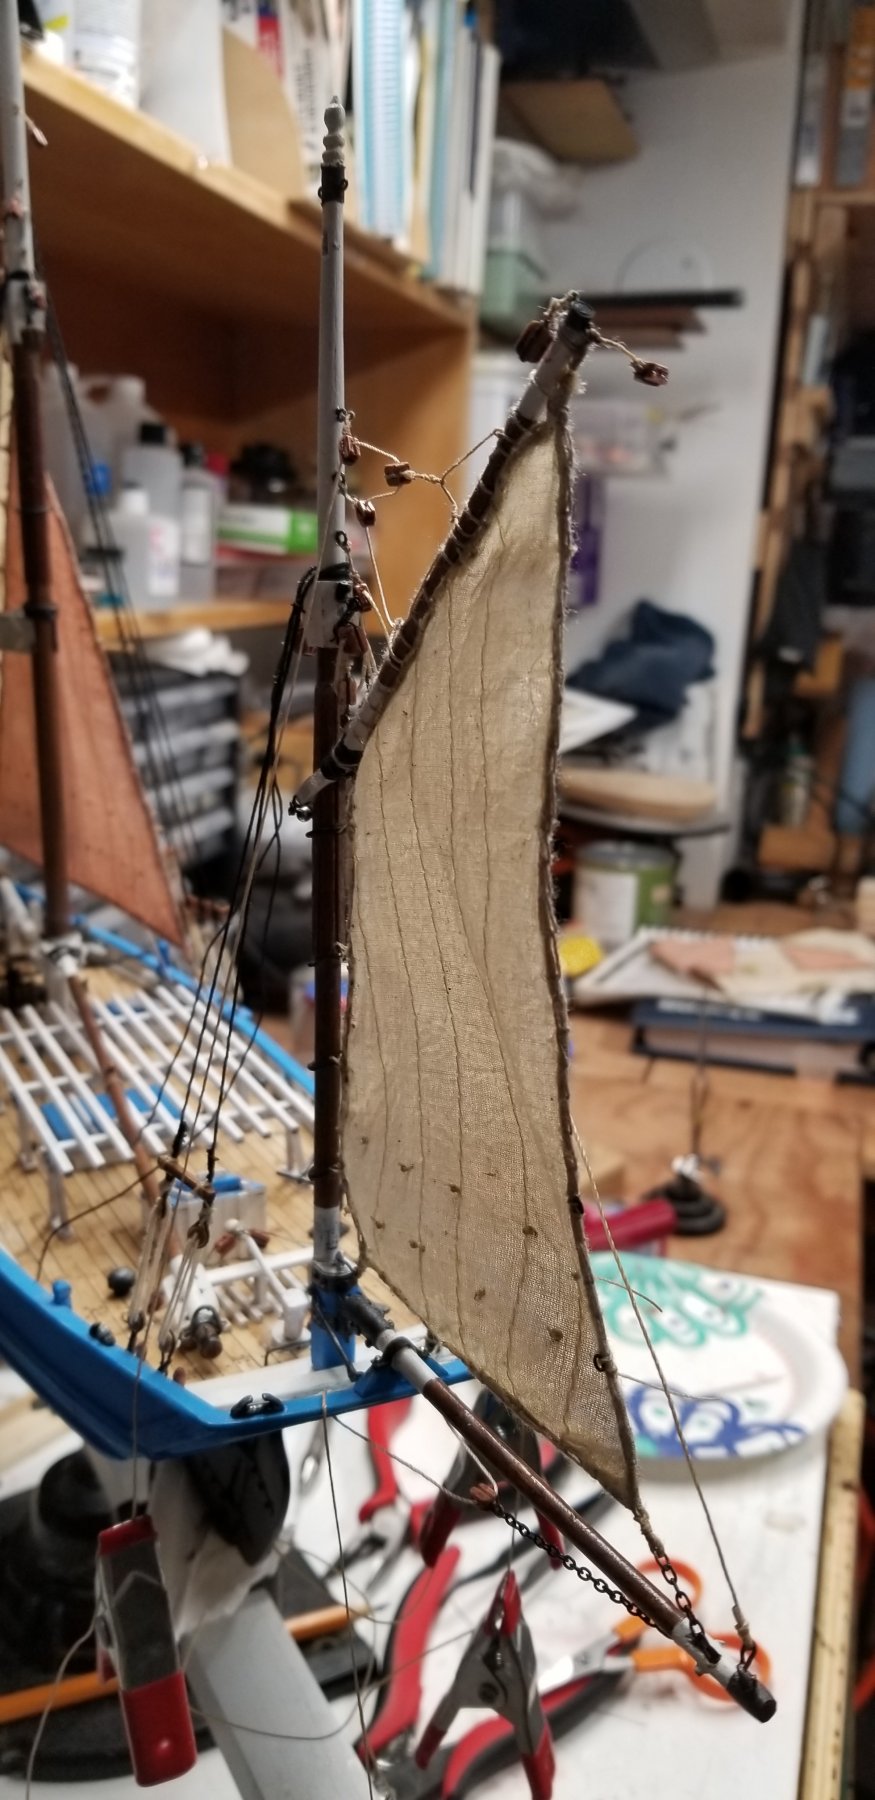
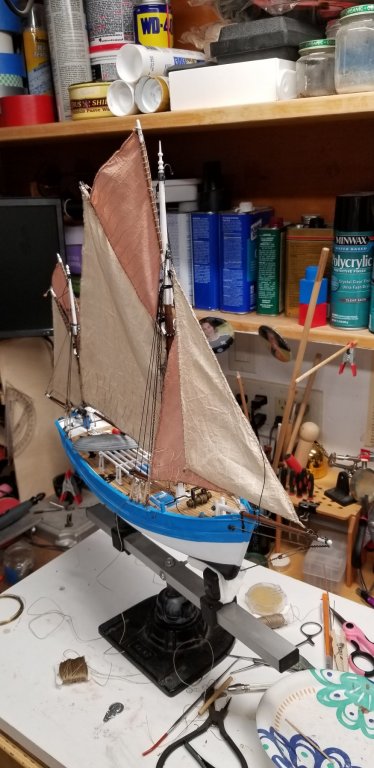
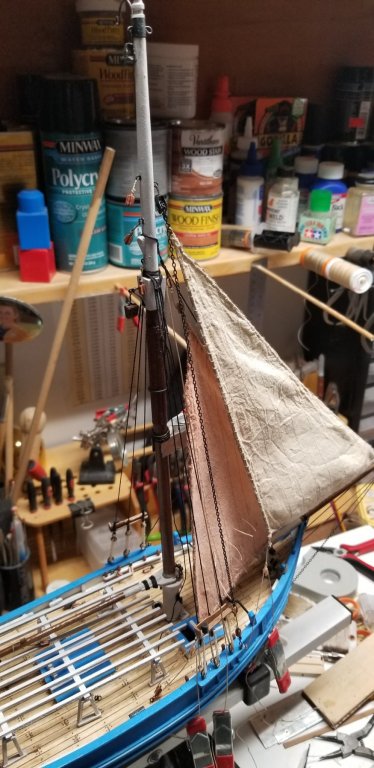
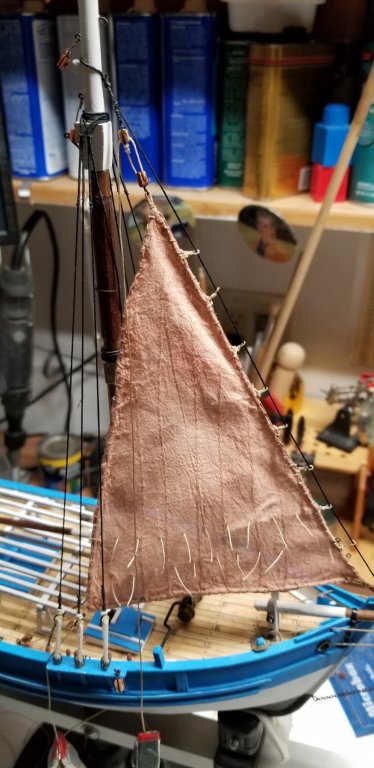
Main sail rigged up. I am still working on securing all the lines. I am waiting on the last sail to come up to ensure I can make the necessary adjustments.


- 131 replies
-
- 6
-
-
- finished
- artesania latina
- (and 1 more)
-
Interesting to have 2 French man relocated in the USA corresponding in English about ship. Modeling 😂
- 131 replies
-
- 3
-
-
- finished
- artesania latina
- (and 1 more)
-
Thank you Yves. Where did you grow up? I was born and raised in Annecy, Haute Savoie.
- 131 replies
-
- 1
-
-
- finished
- artesania latina
- (and 1 more)
-
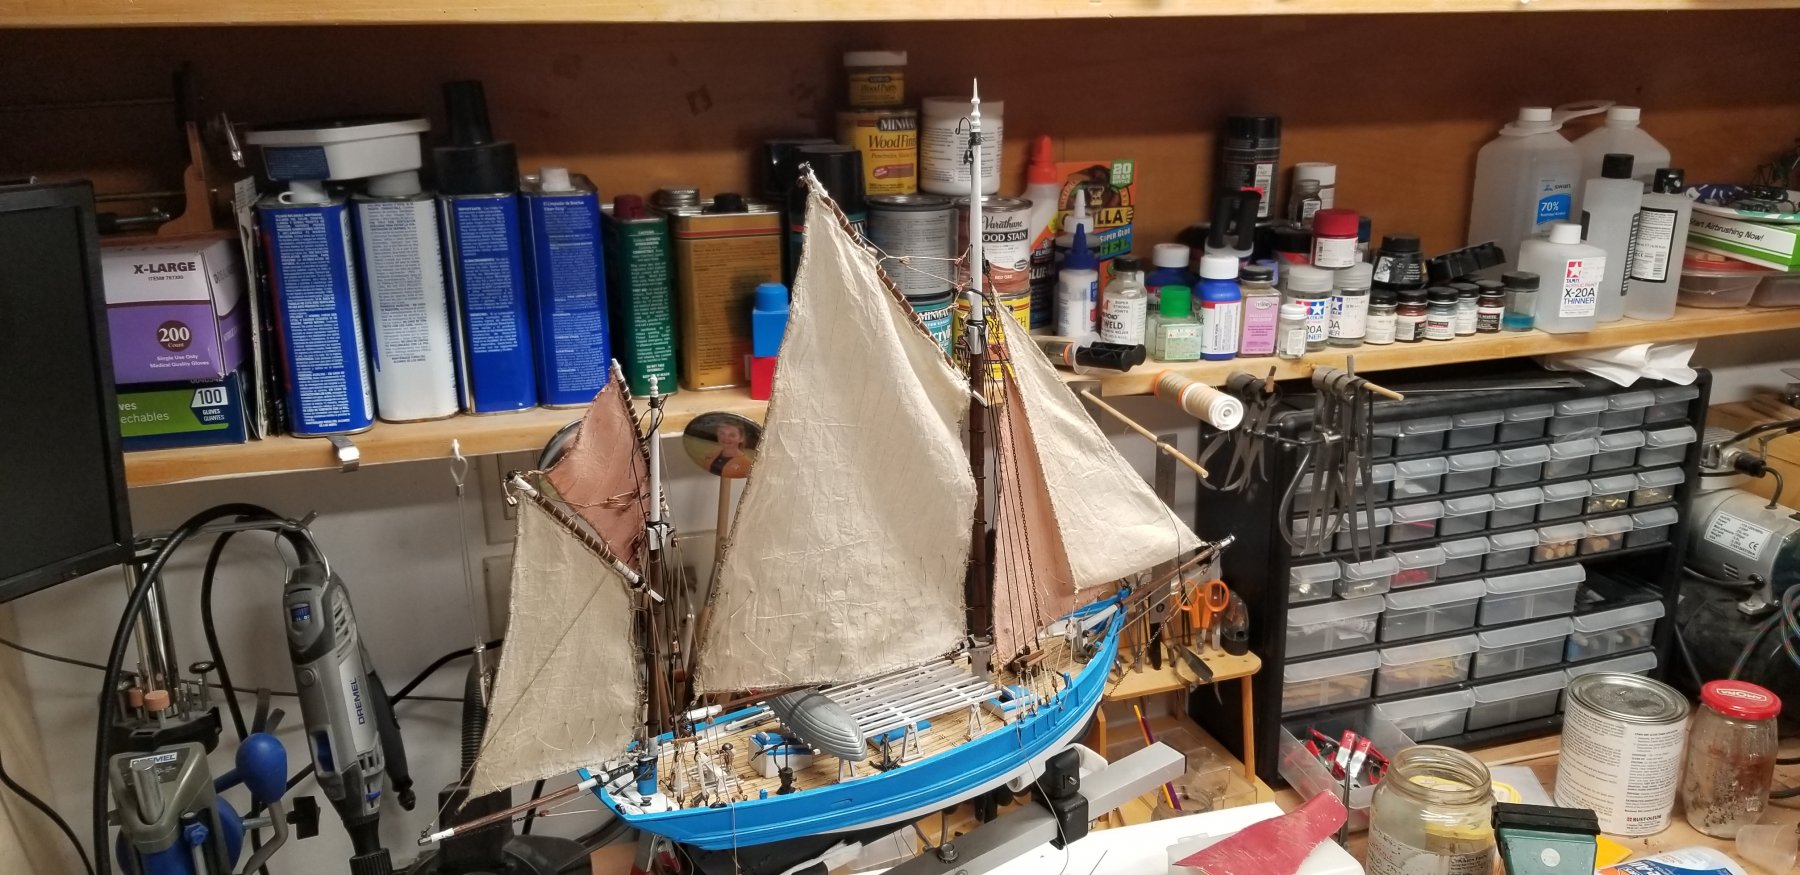
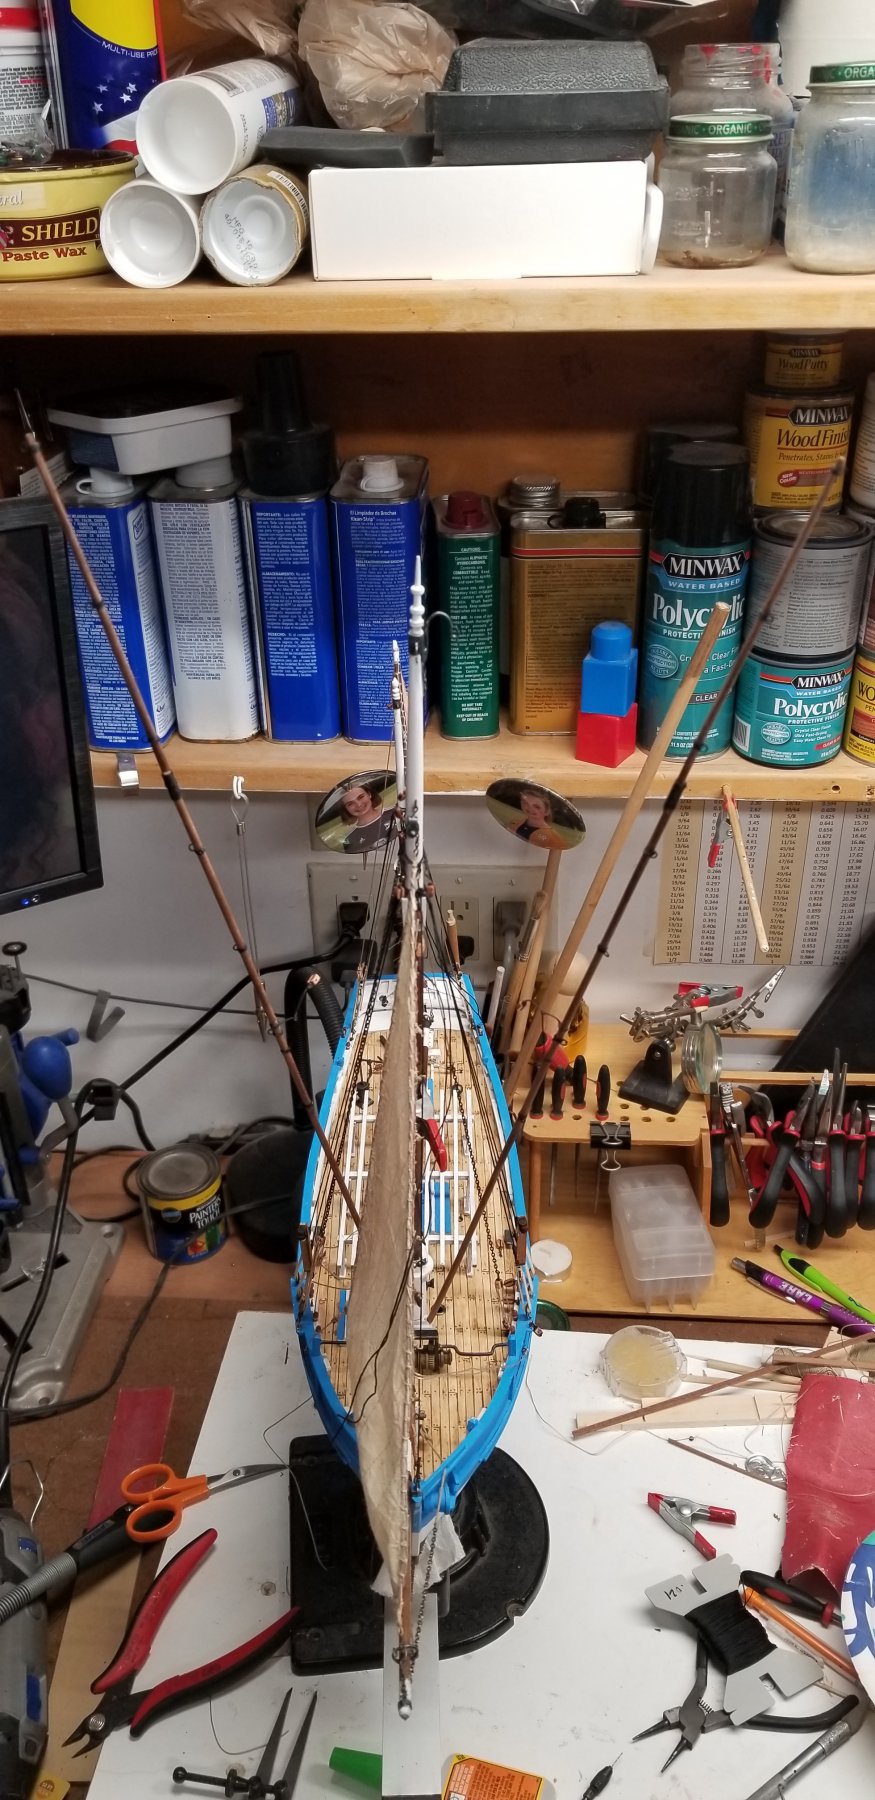
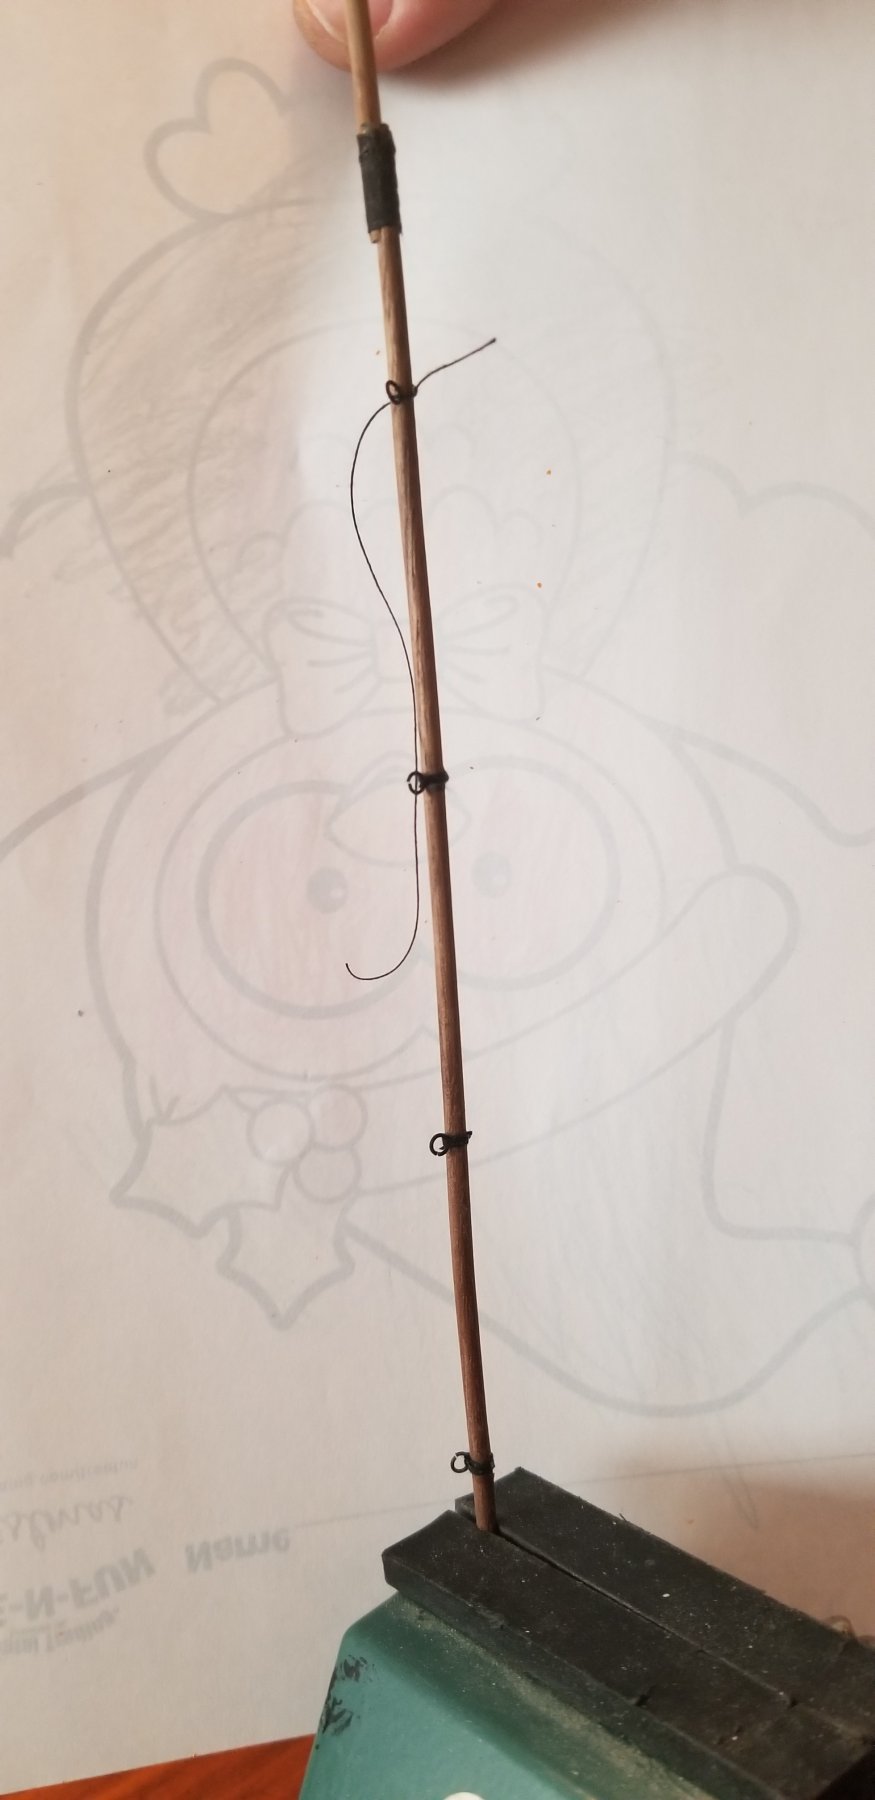
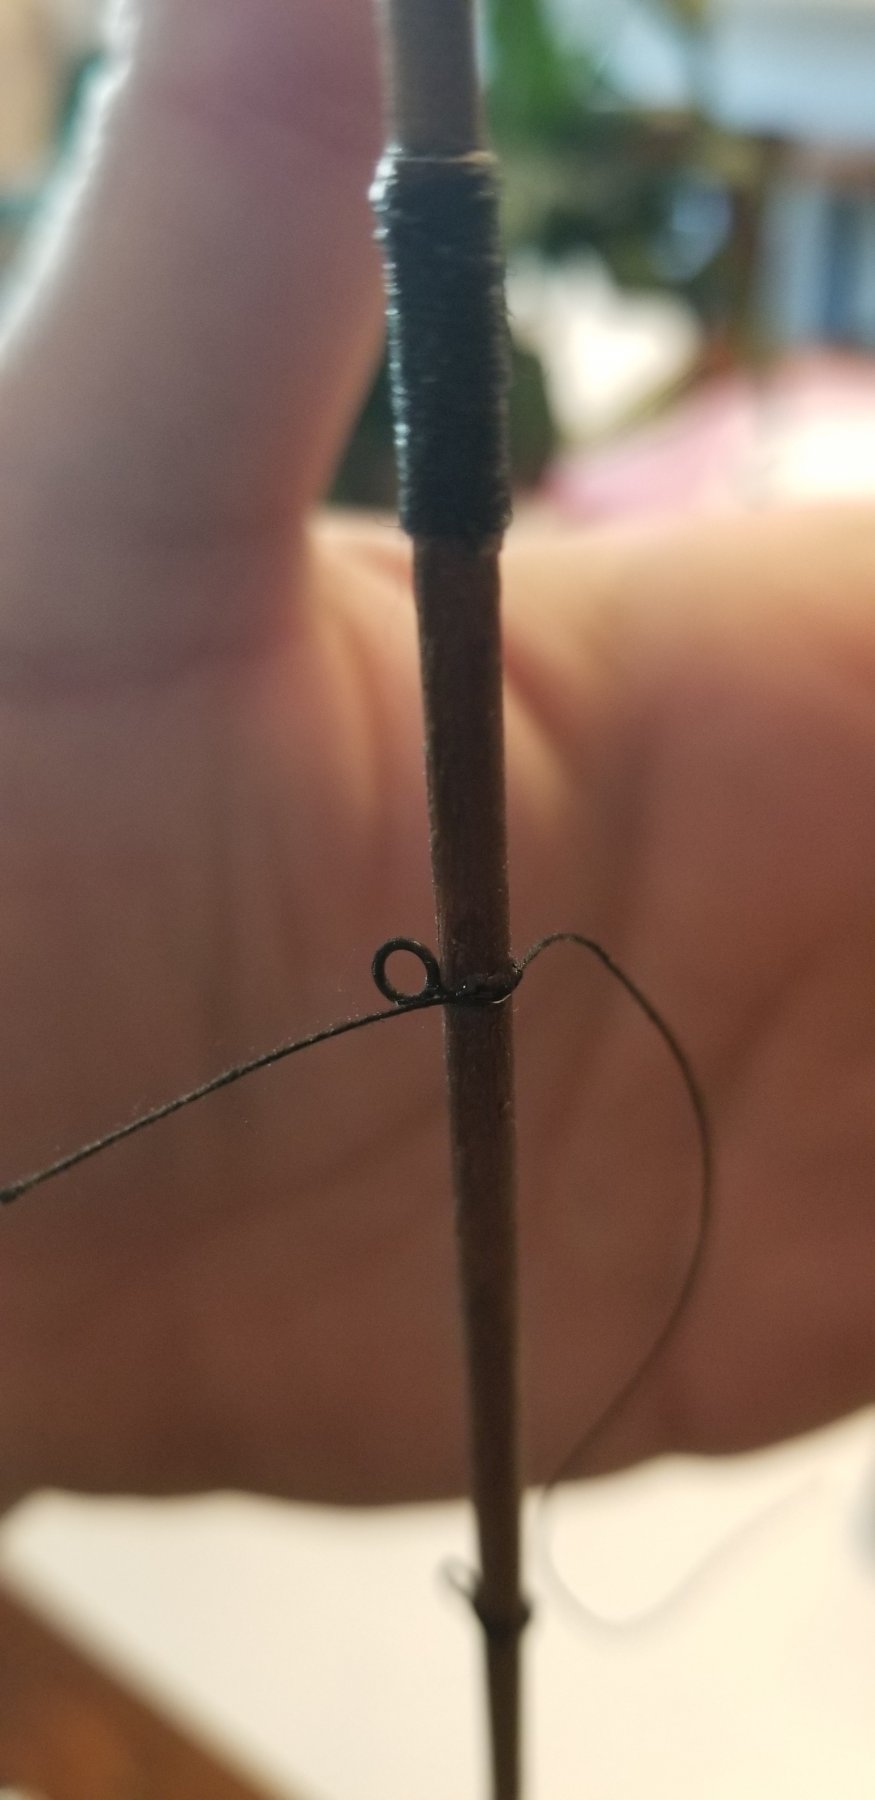
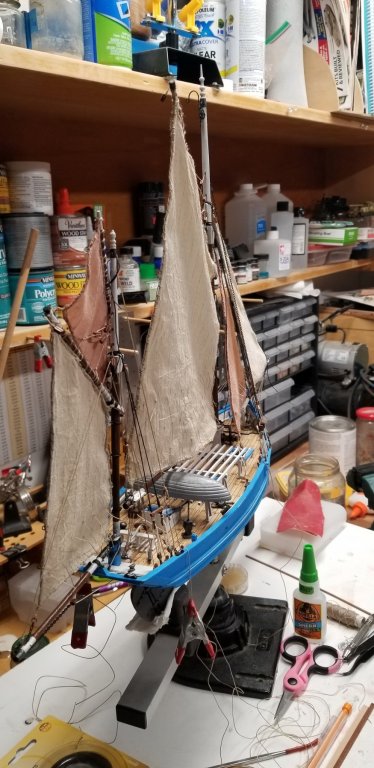
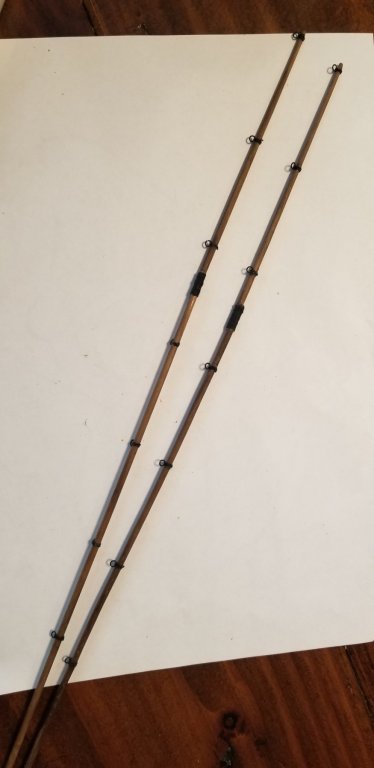
Quick update. Attached the various ropes and sails on the Mizzen mast. Pictures are coming. Worked on the fishing rods. Next is attaching the blocks and lines to insert on the ship. I am thinking about making some baits for the fishing lines. I will see if time and patience permit.


- 131 replies
-
- 4
-
-
- finished
- artesania latina
- (and 1 more)
-
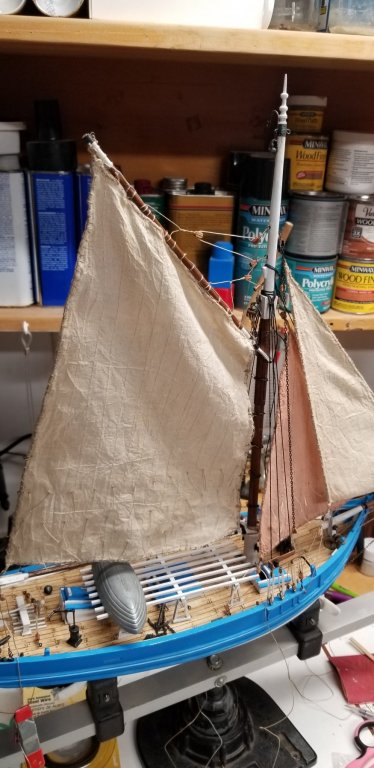
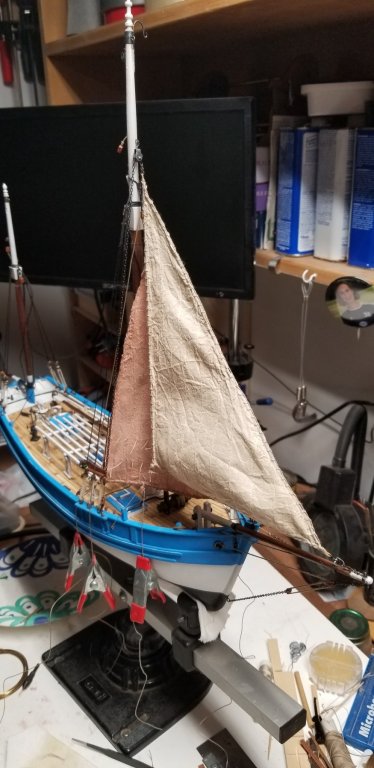
Last night activities. Added the second light. Second jib is up but not fully attached

- 131 replies
-
- 7
-
-
- finished
- artesania latina
- (and 1 more)
-
You are so right. It will be the first thing people will see. 😊
- 131 replies
-
- 1
-
-
- finished
- artesania latina
- (and 1 more)
-
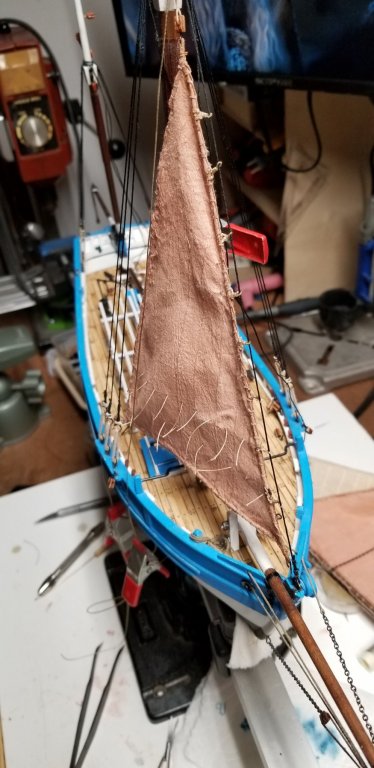
More details were added to the various sails. Time to mount one of the jibs. I still have to work on giving the sheet some life. What do you use?
- 131 replies
-
- 8
-
-
- finished
- artesania latina
- (and 1 more)
-
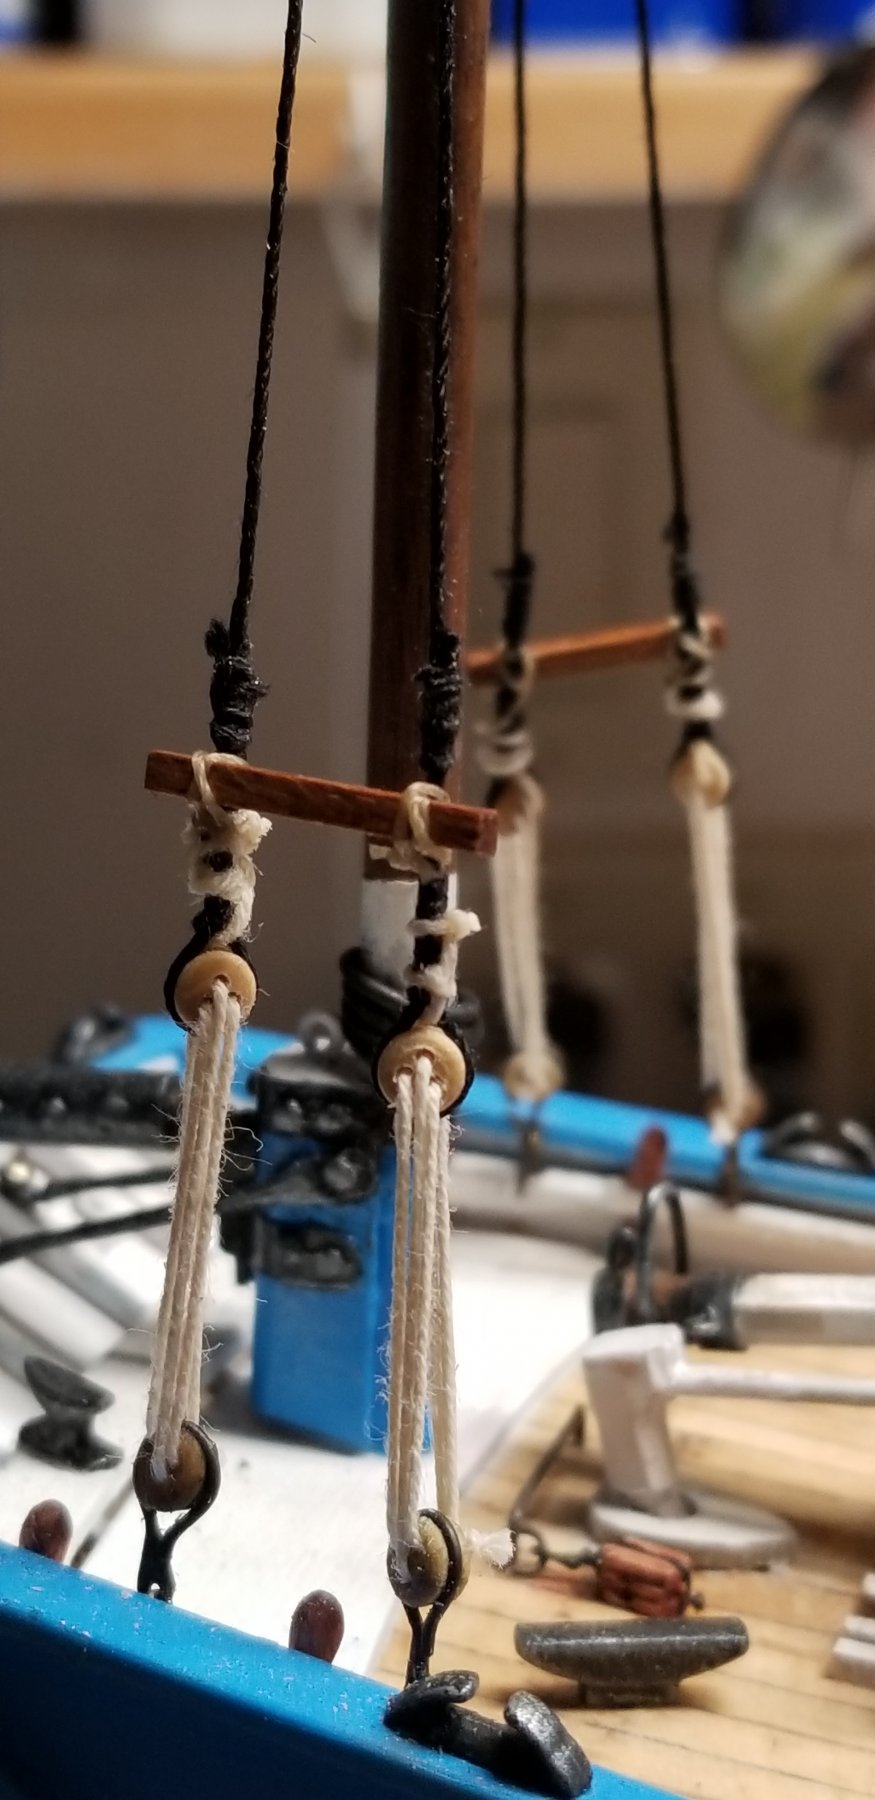
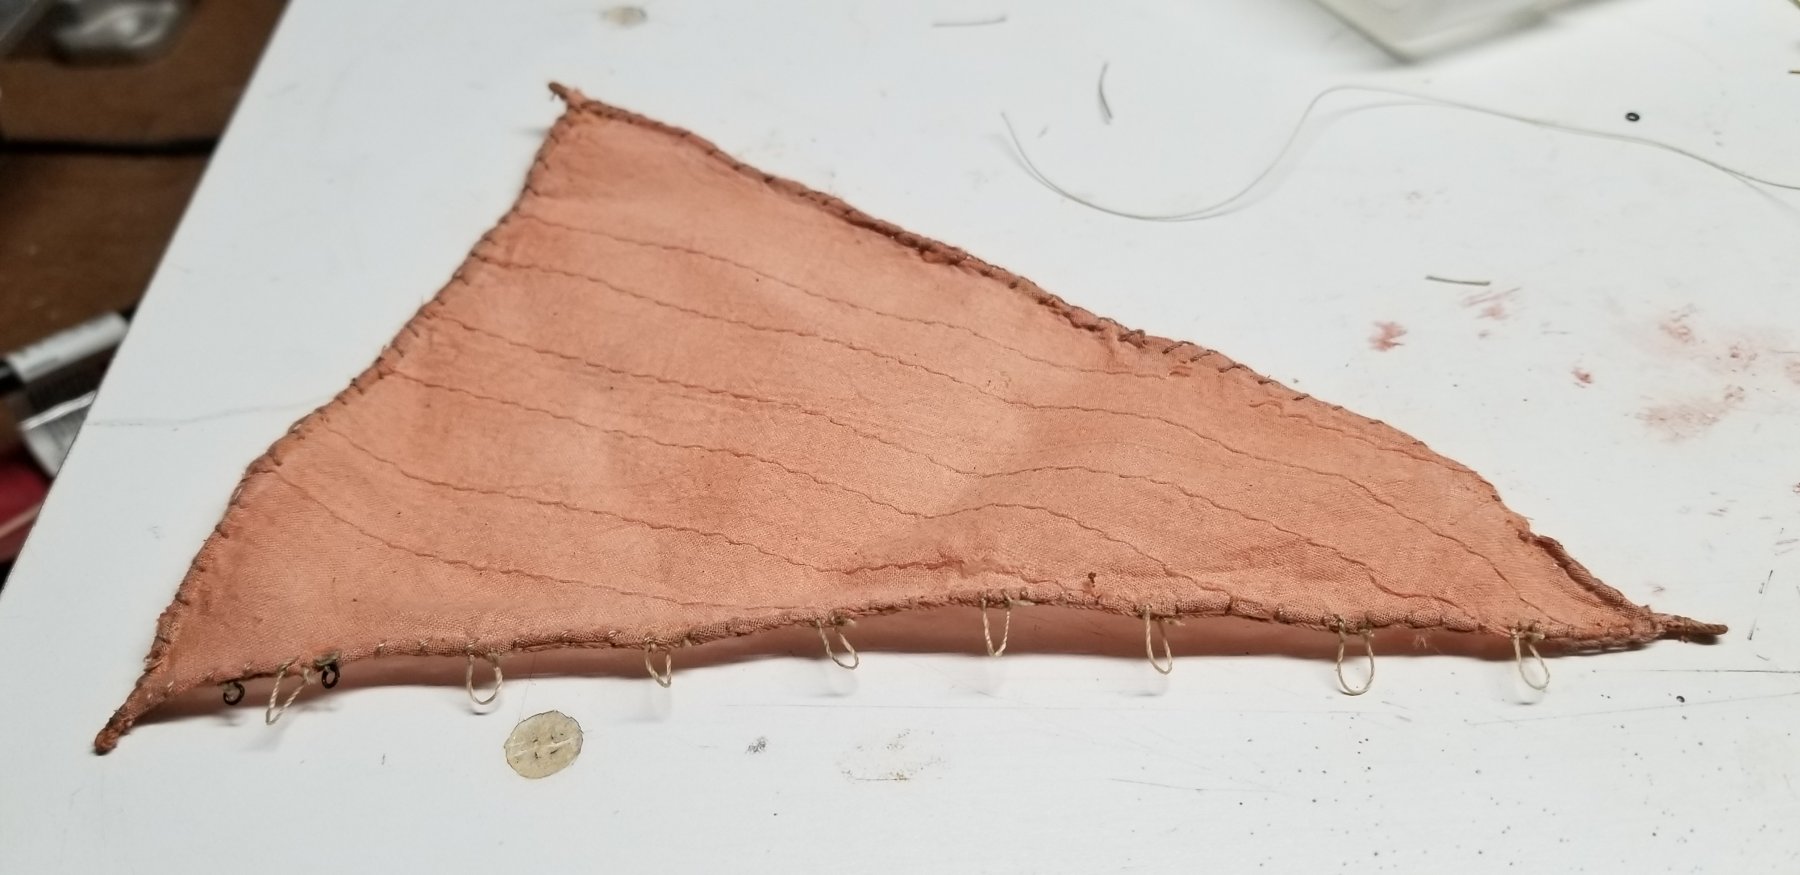
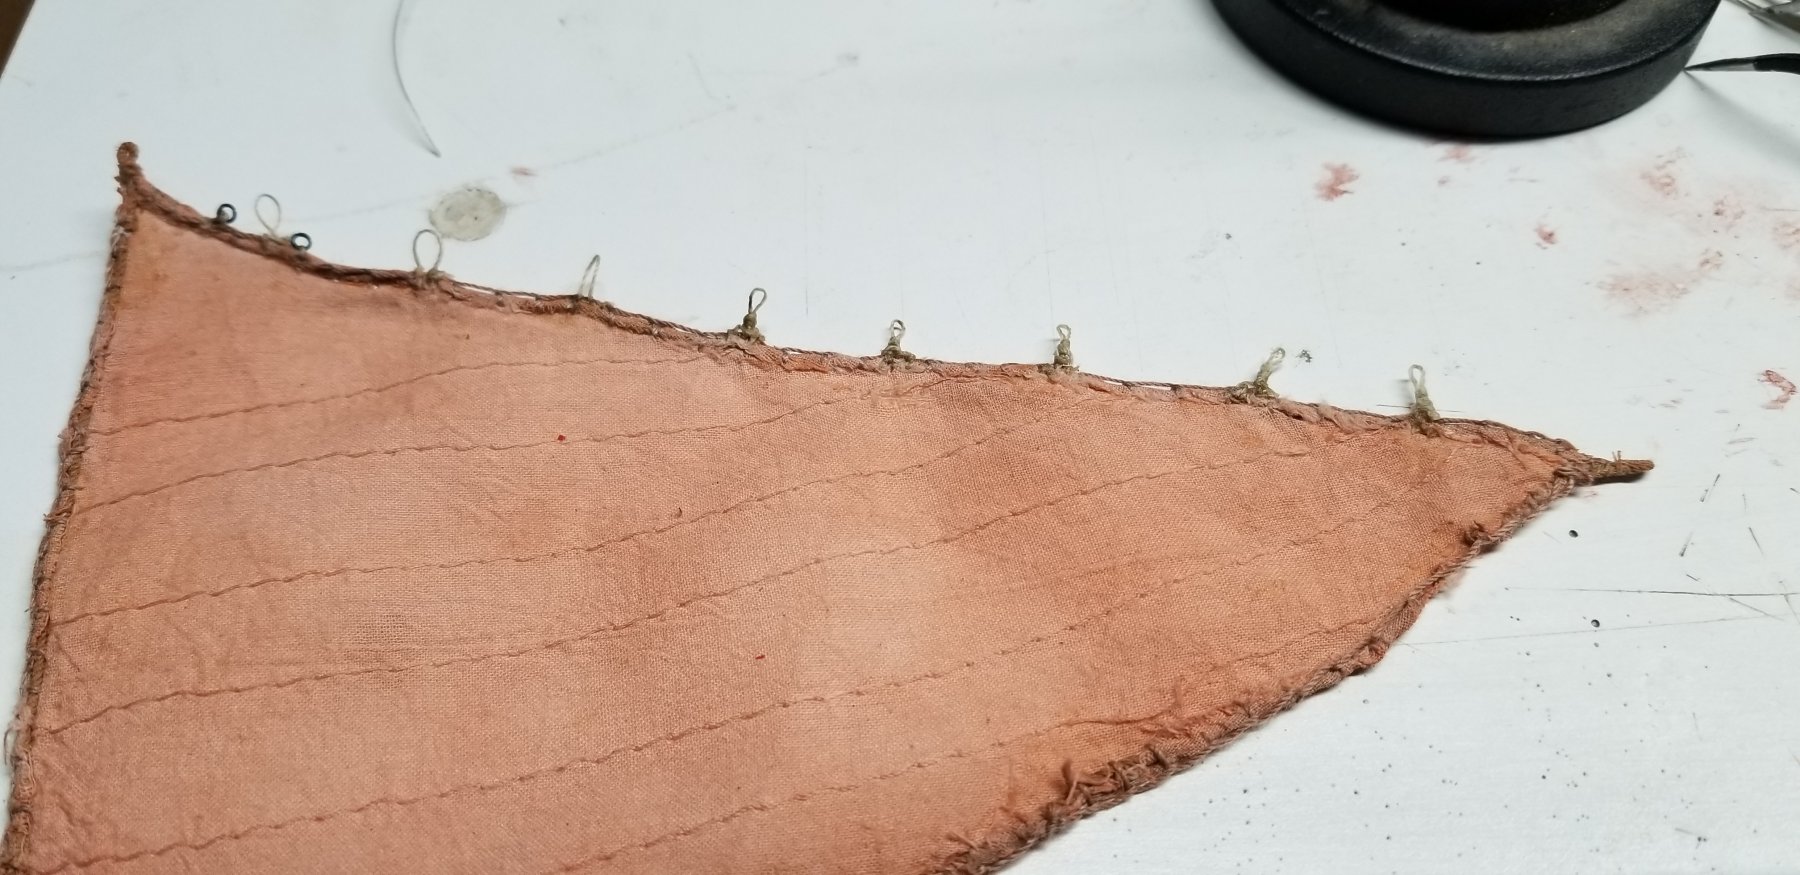
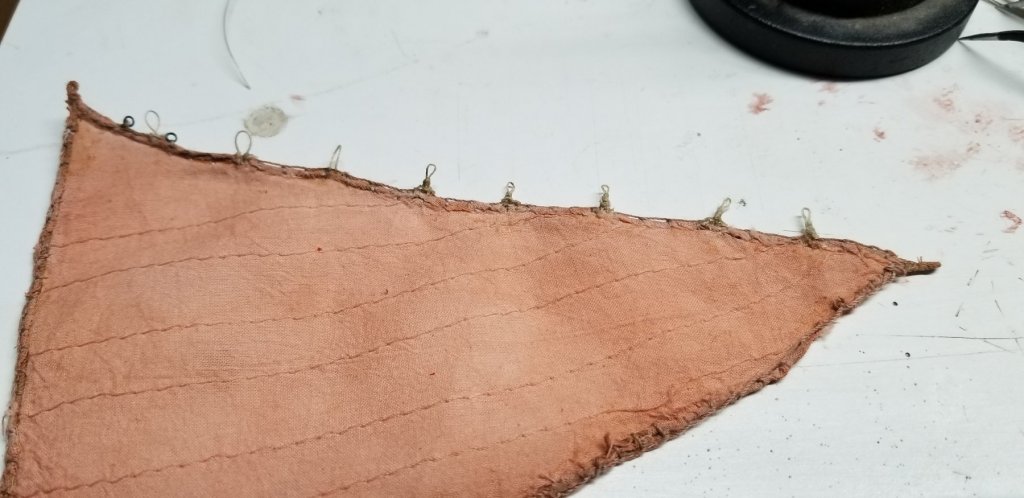
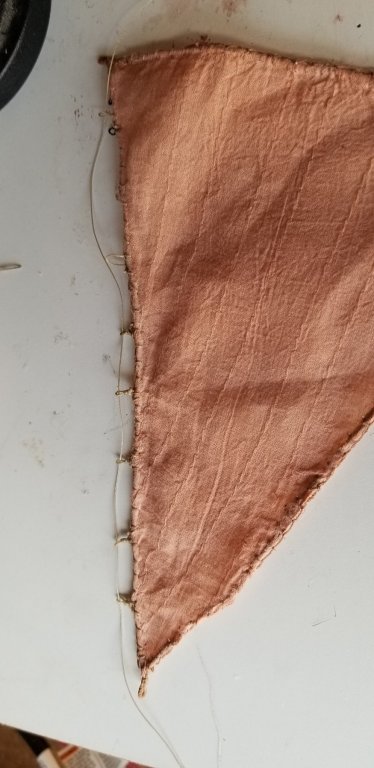
More work on the sails Preparing the lops for one of the jib. It is a long process but here is an idea of the final look and feel.


- 131 replies
-
- 6
-
-
- finished
- artesania latina
- (and 1 more)
-
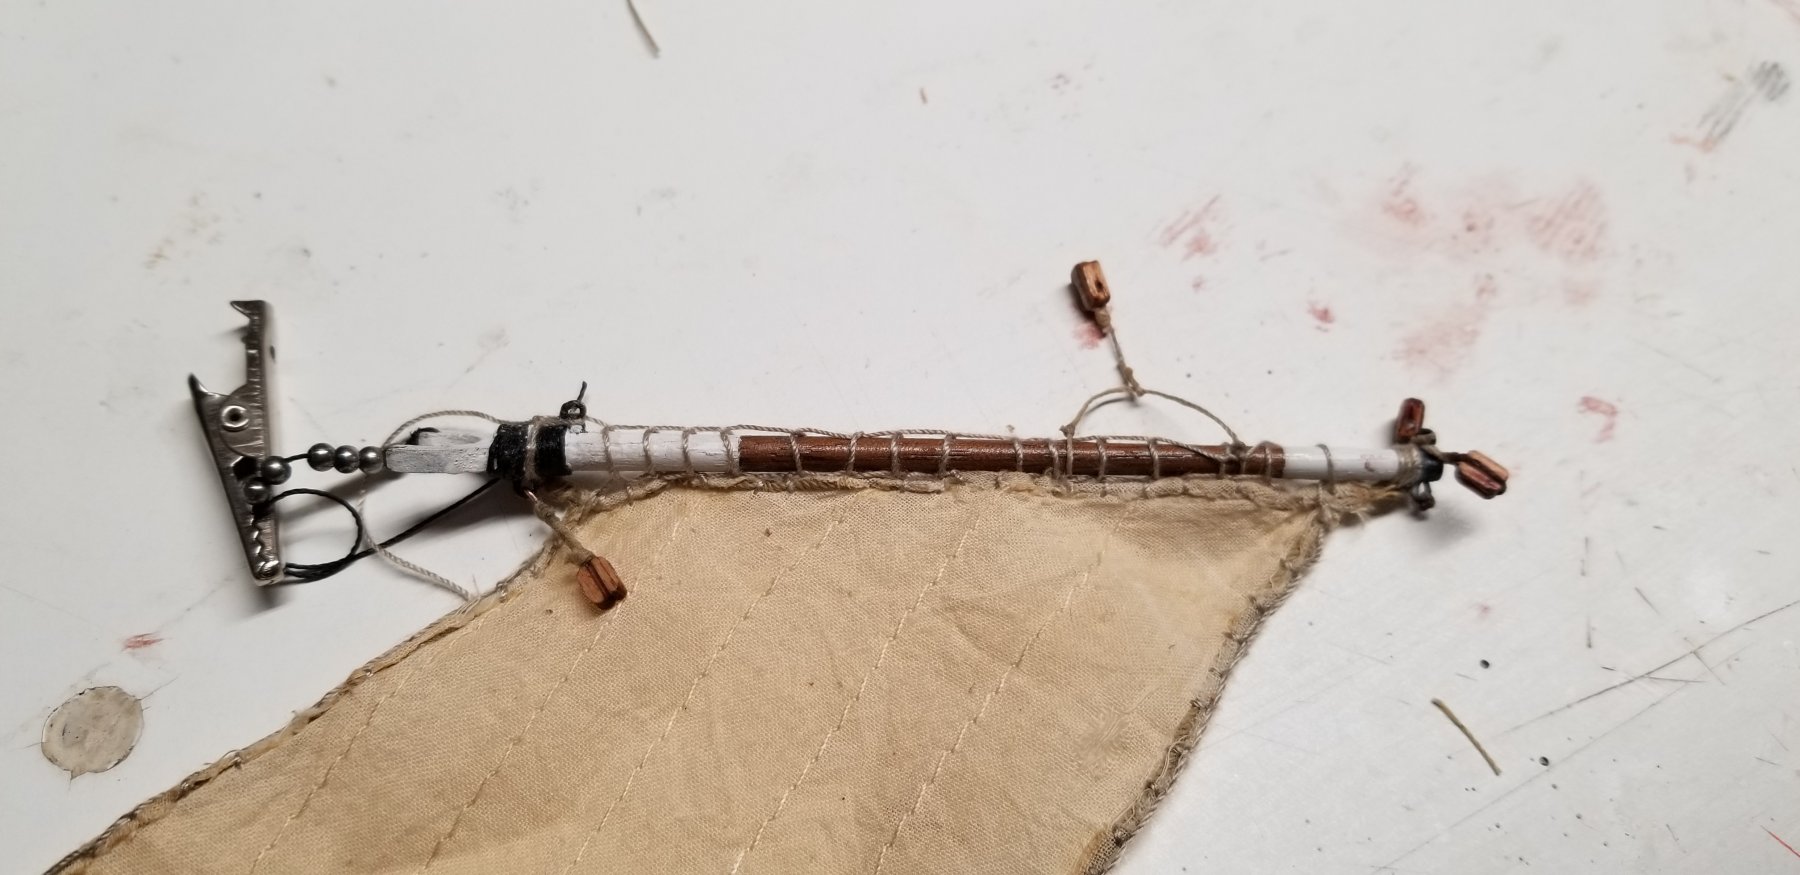
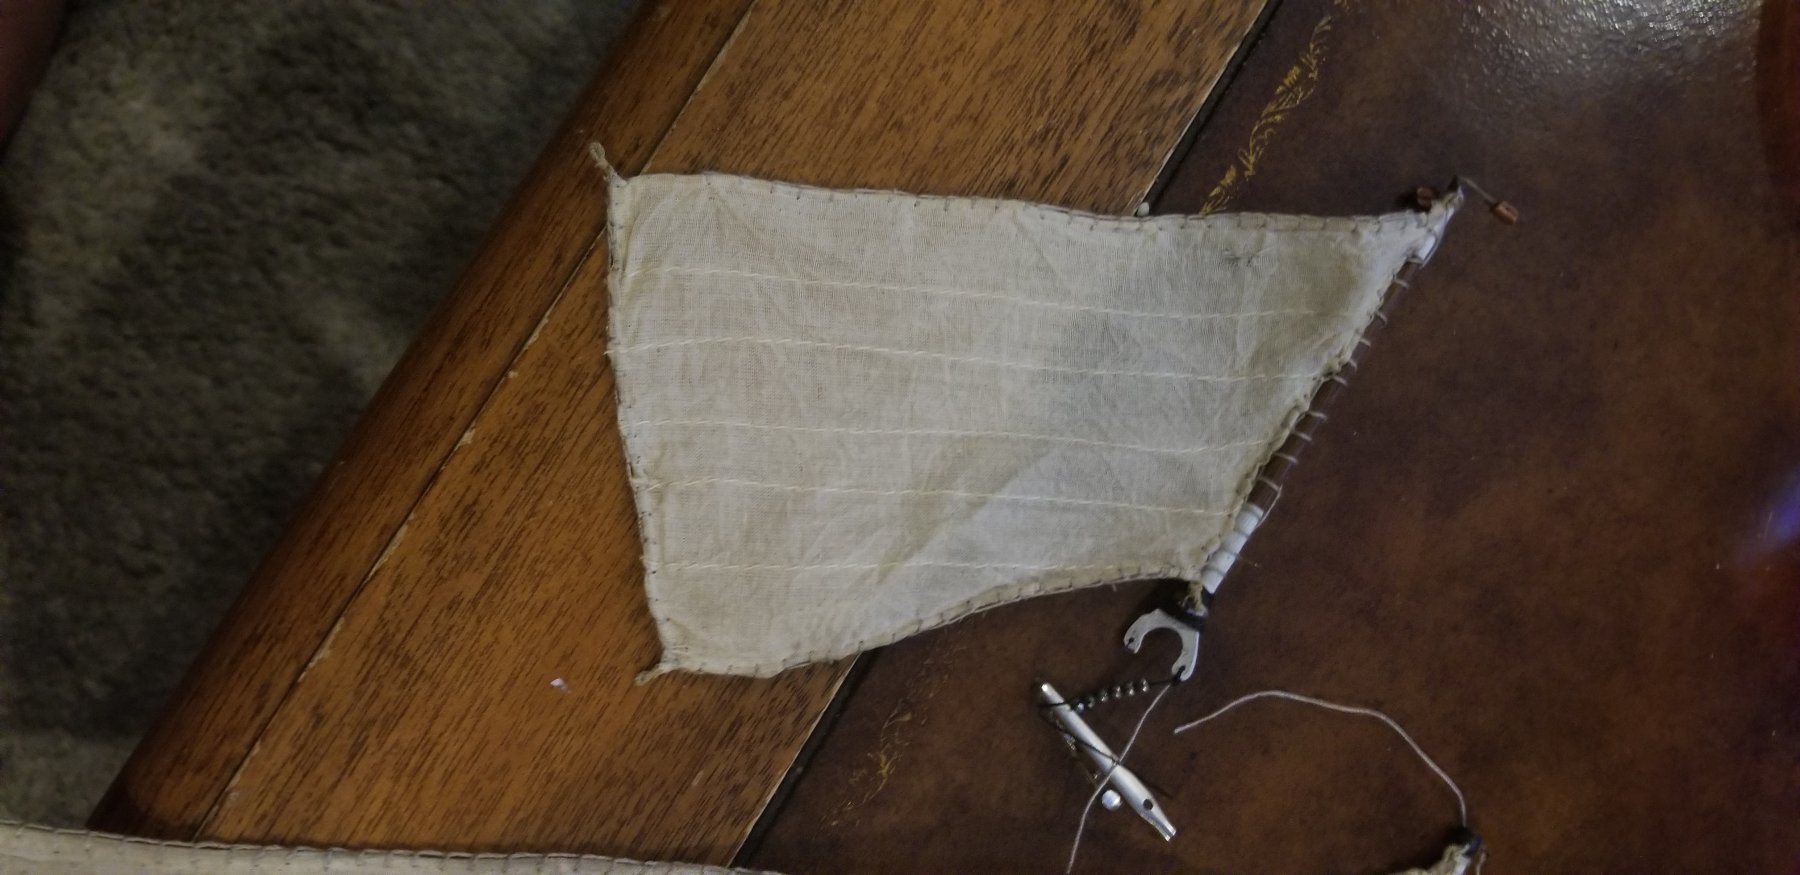
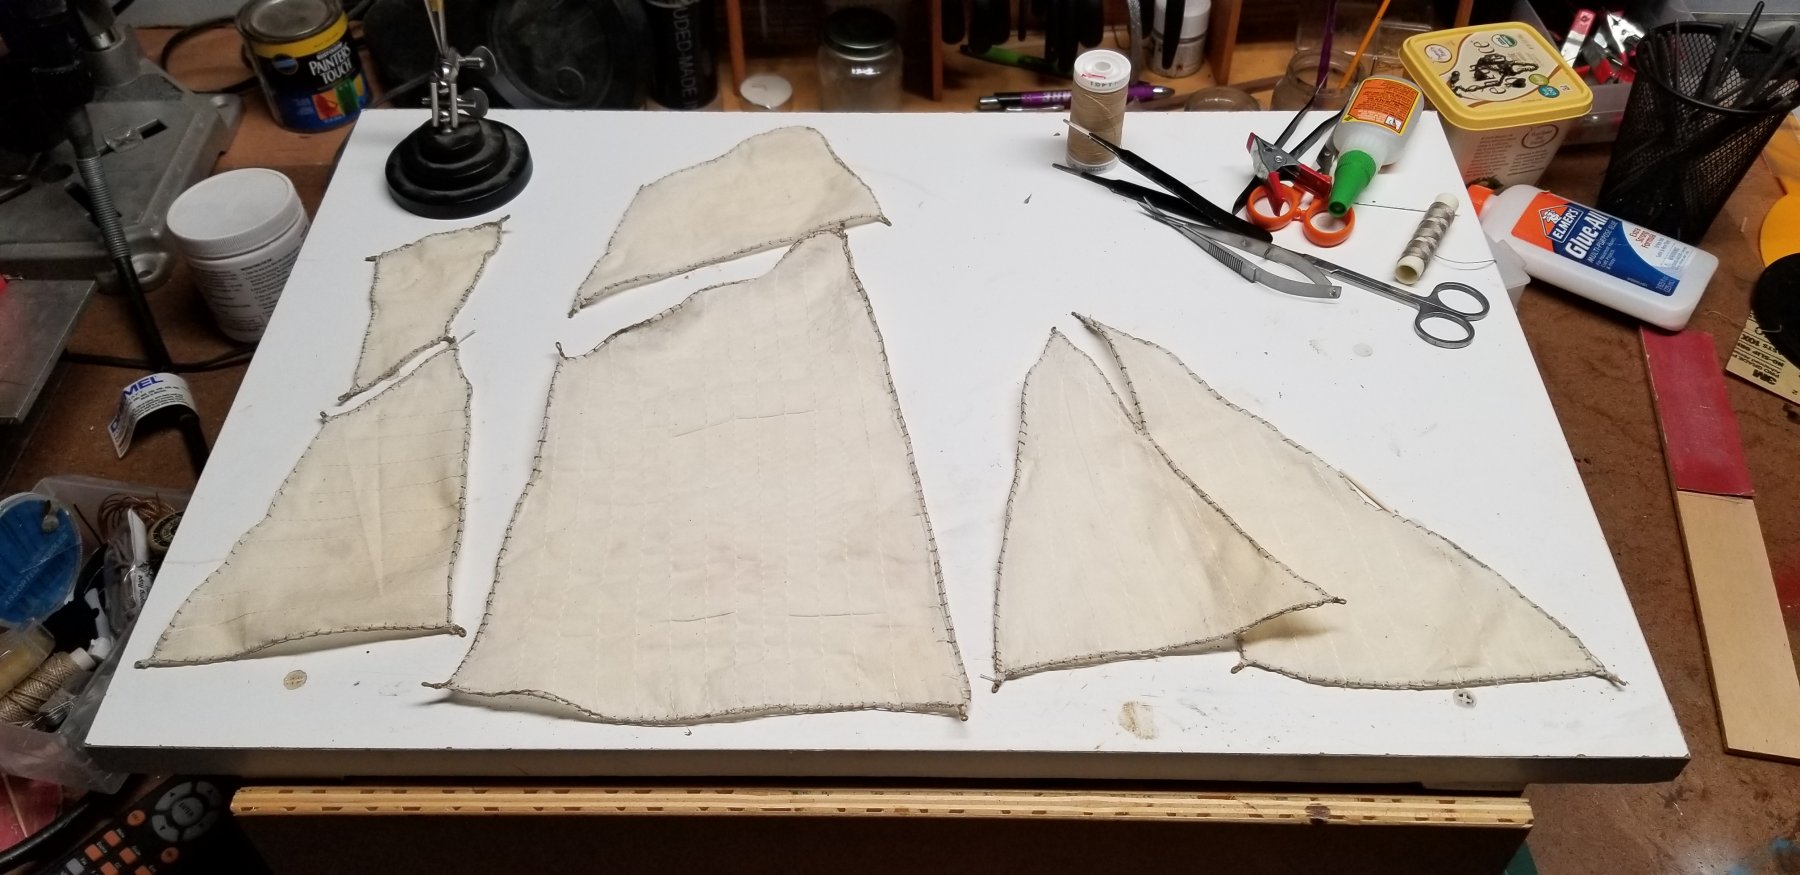
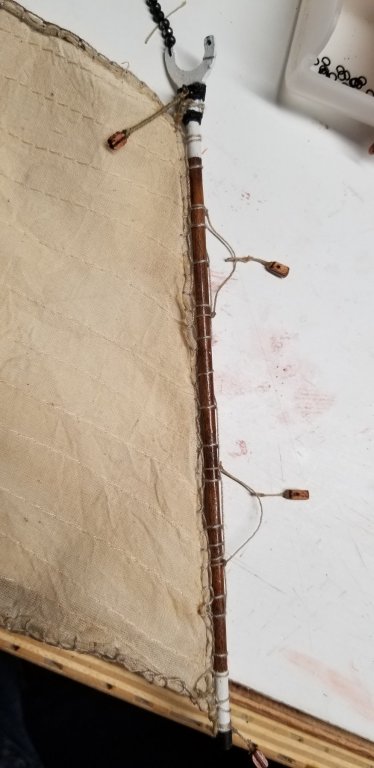
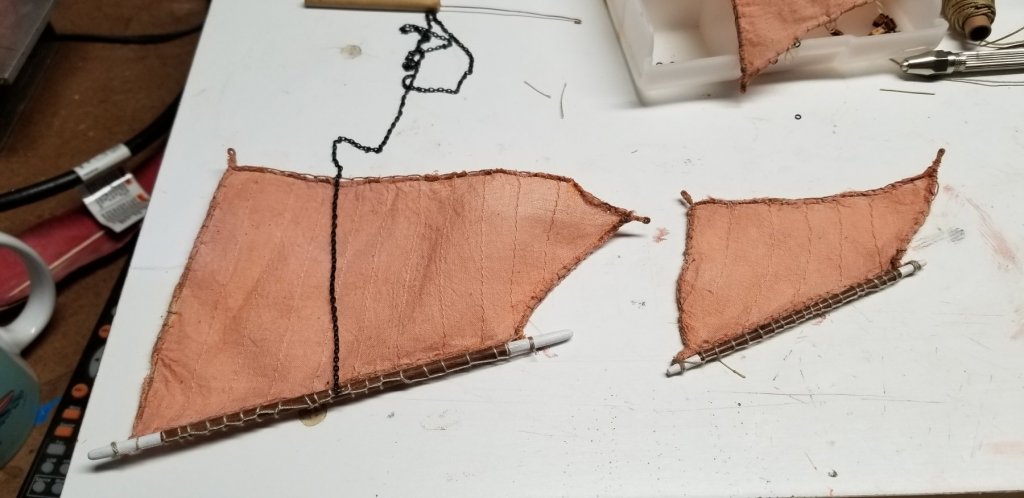
The sails are now dry. Time to start attaching them to the various booms.


- 131 replies
-
- 6
-
-
- finished
- artesania latina
- (and 1 more)
-
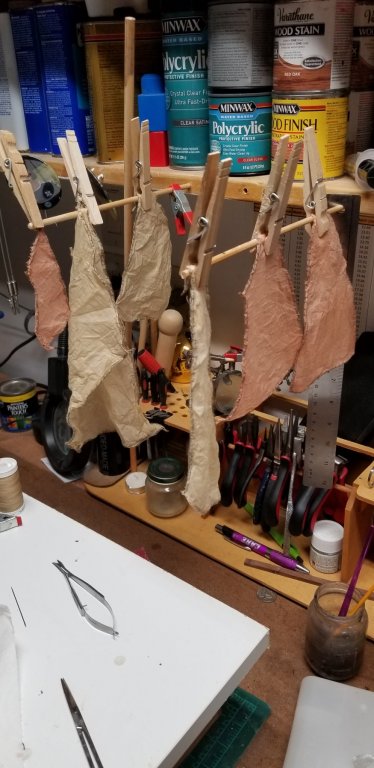
Staining the sails. I will start mounting them as soon as they are dry.
- 131 replies
-
- 3
-
-
- finished
- artesania latina
- (and 1 more)
-
Thank you so much for the kind words. This link is great!! what an awesome project to follow. thank you so much for sharing.
- 131 replies
-
- 1
-
-
- finished
- artesania latina
- (and 1 more)
-
Stitched up every sails to get them ready to be added to the model. Next step is to prepare the stain for fabric to color some of the sails.

- 131 replies
-
- 3
-
-
- finished
- artesania latina
- (and 1 more)
-
Thank you Derek. This is perfect. Great pictures and instructions to follow.
-
No I do not have a mill but I did ask Santa 🎅. I like the technique described above.
-
This is great. It is easy to implement. I will give it a try. Thank you.