HOLIDAY DONATION DRIVE - SUPPORT MSW - DO YOUR PART TO KEEP THIS GREAT FORUM GOING! (Only 20 donations so far - C'mon guys!)
×

captgino
-
Posts
620 -
Joined
-
Last visited
Content Type
Profiles
Forums
Gallery
Events
Everything posted by captgino
-
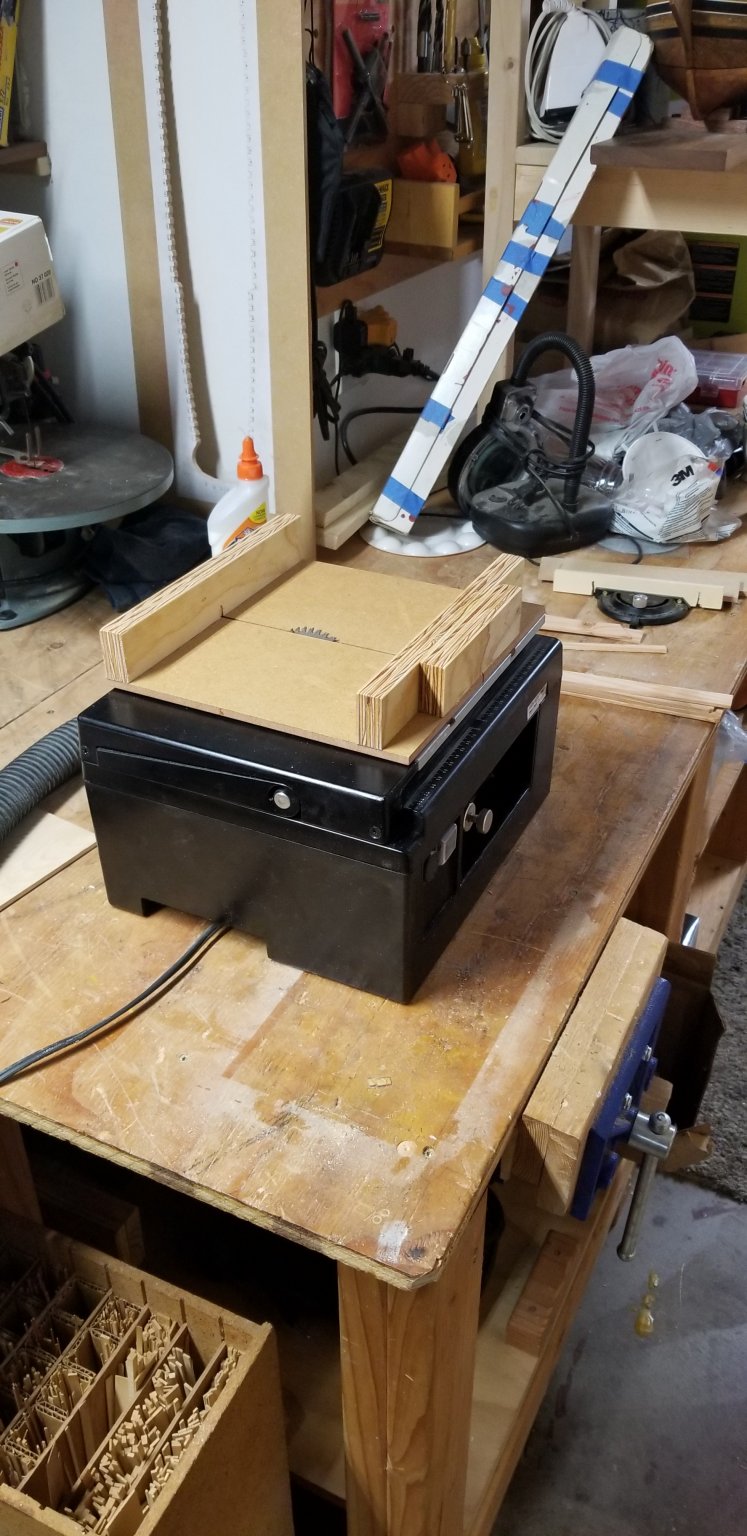
 Starting to work on the frame preparation. I need to ensure that they all have the same thickness. The plans show a thickness of about 5.6mm so I am making each side 2.8mm. I know that I will have to make micro sanding adjustments here and there..

- 50 replies
-
- 3
-

-
- rattlesnake
- brig
- (and 1 more)
-
Yes, you are right. It would not be as thin in a real ship. I thought about it last night and I decided not to redo it for now since it will likely be cover by a frame. Dilemma!
- 50 replies
-
- 1
-
-
- rattlesnake
- brig
- (and 1 more)
-
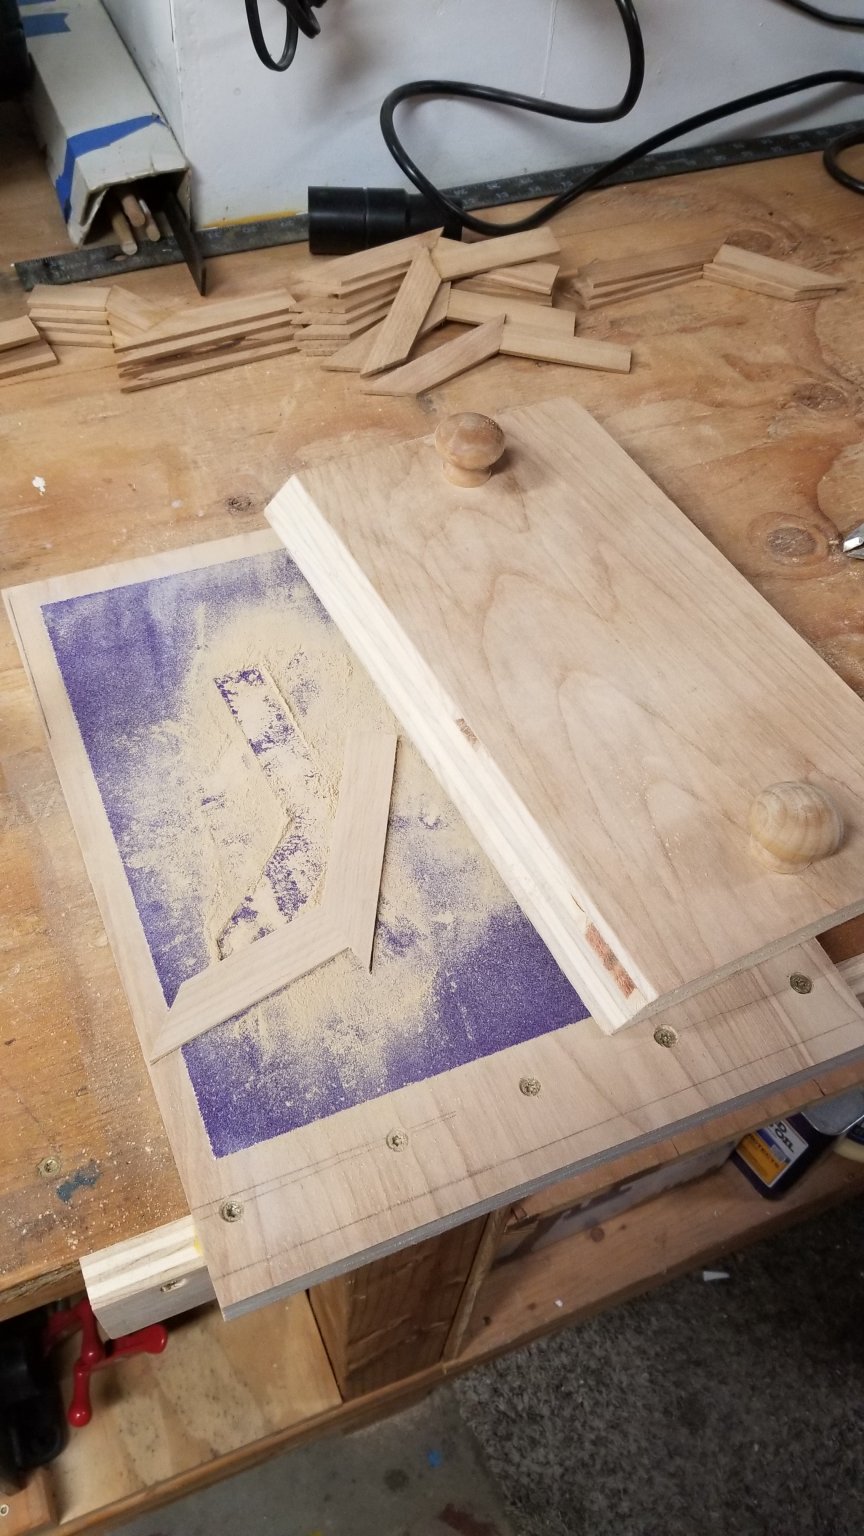
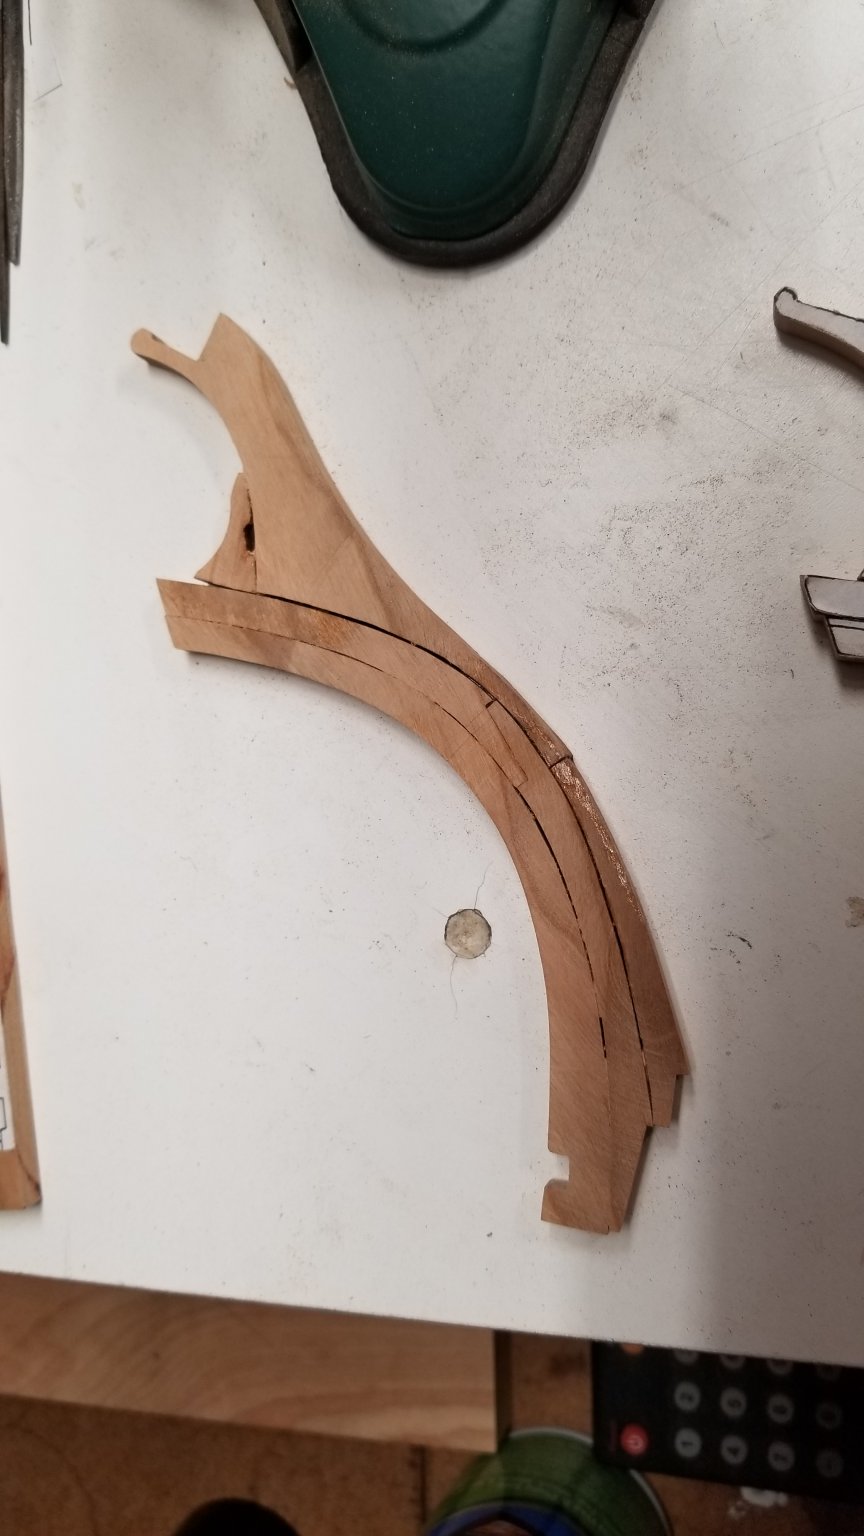
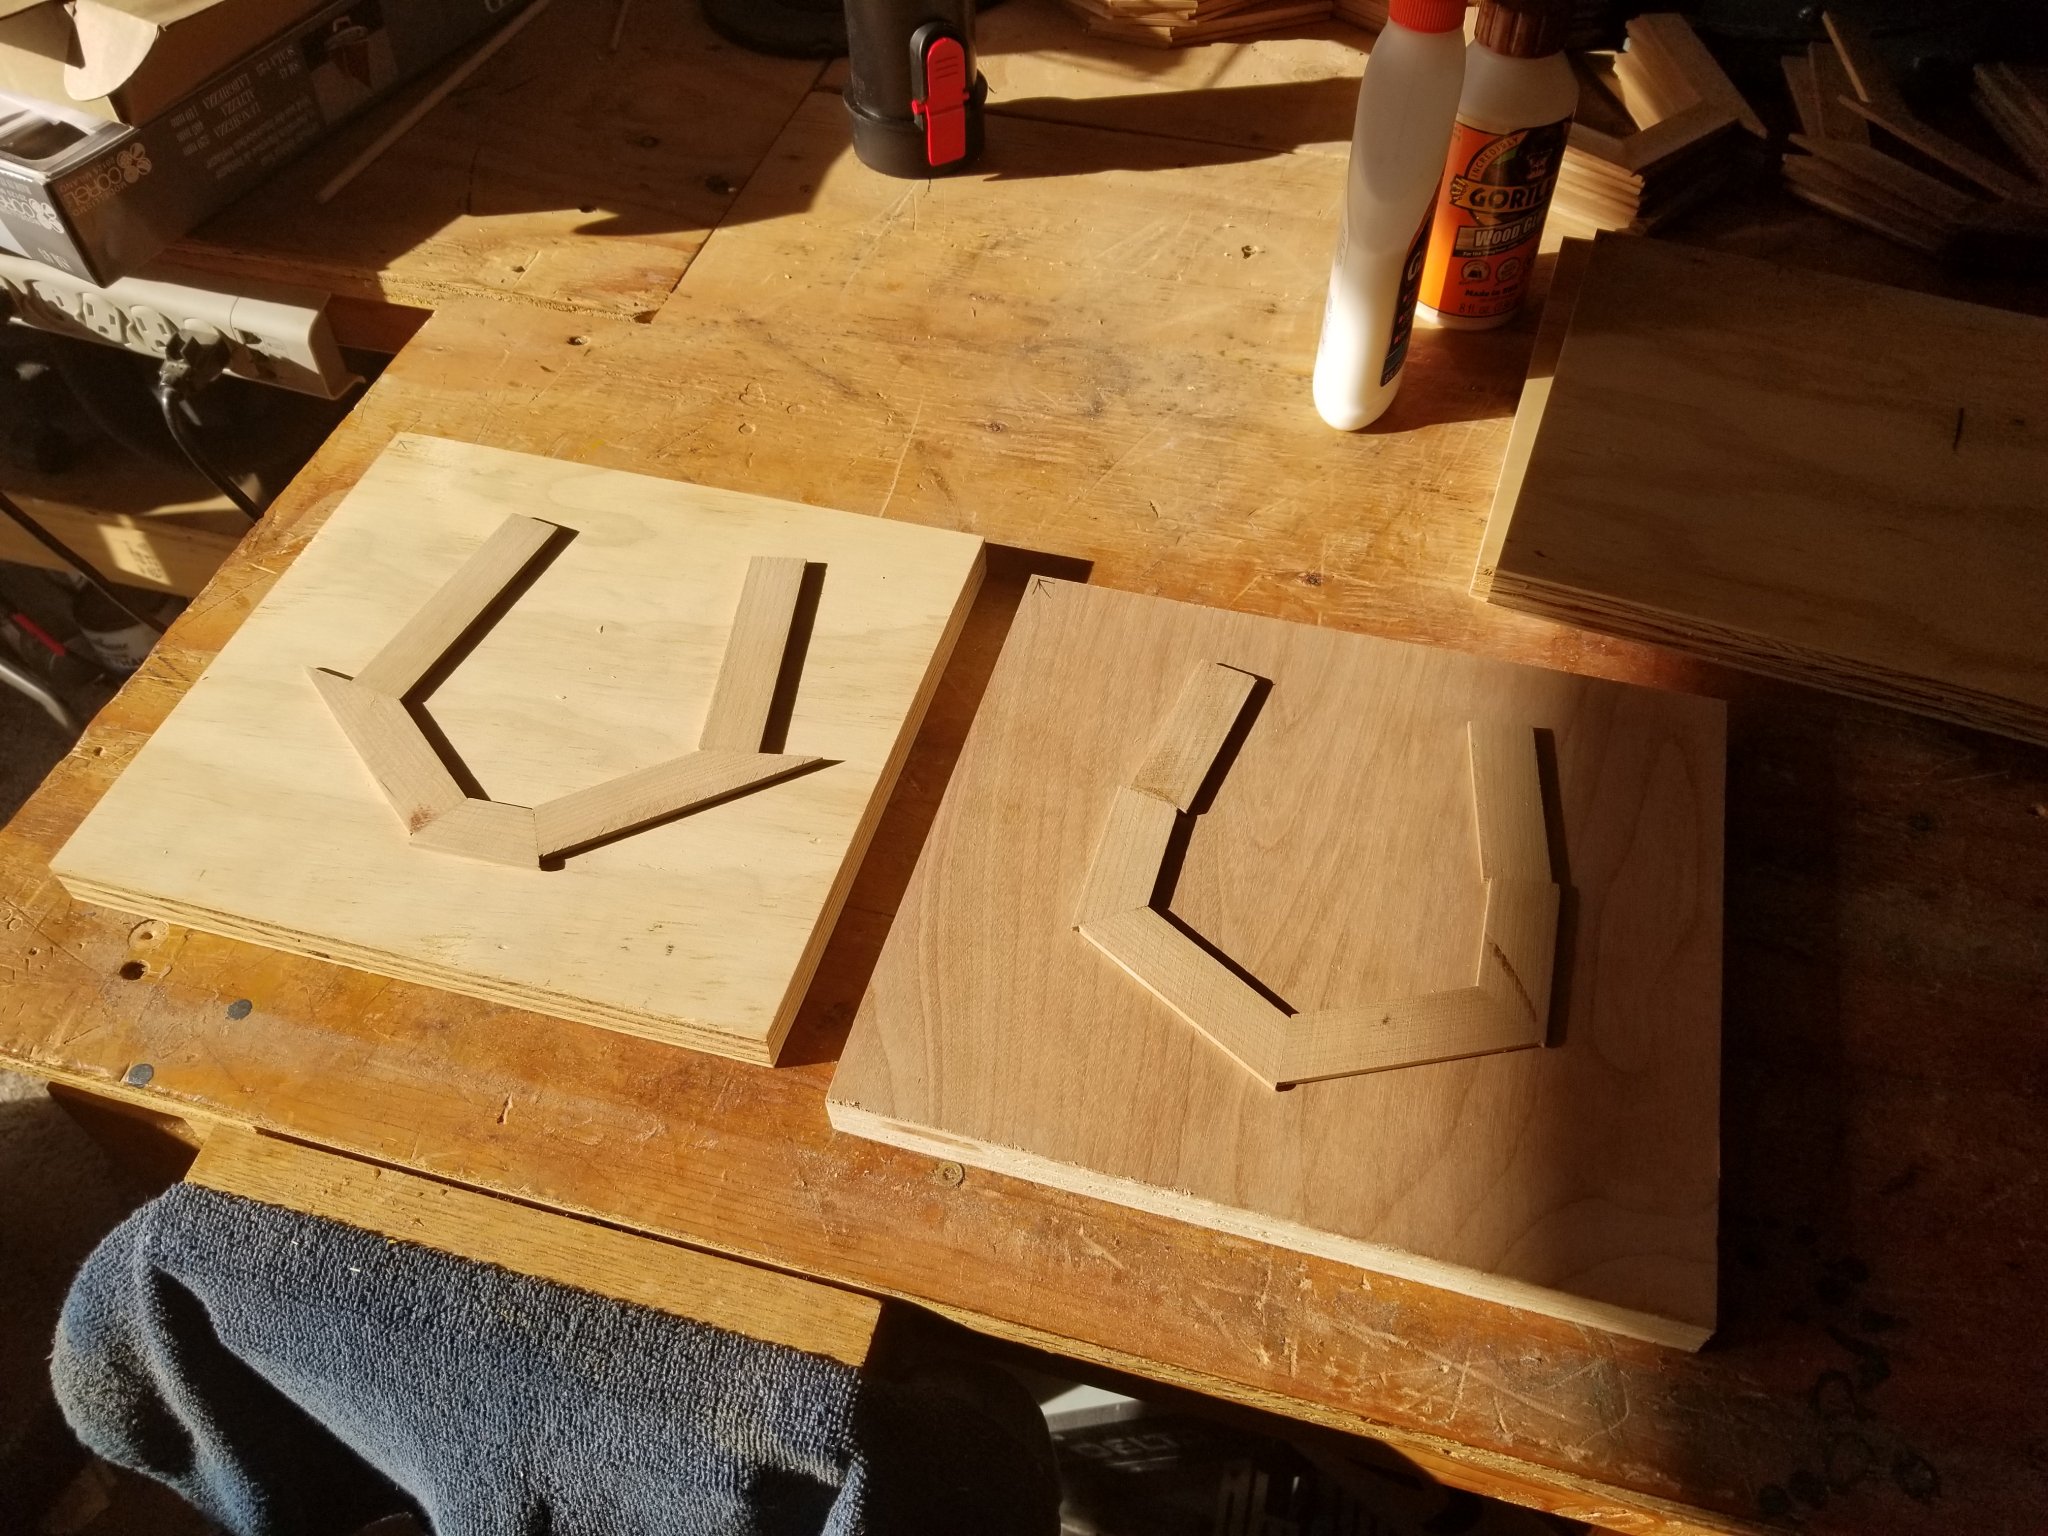
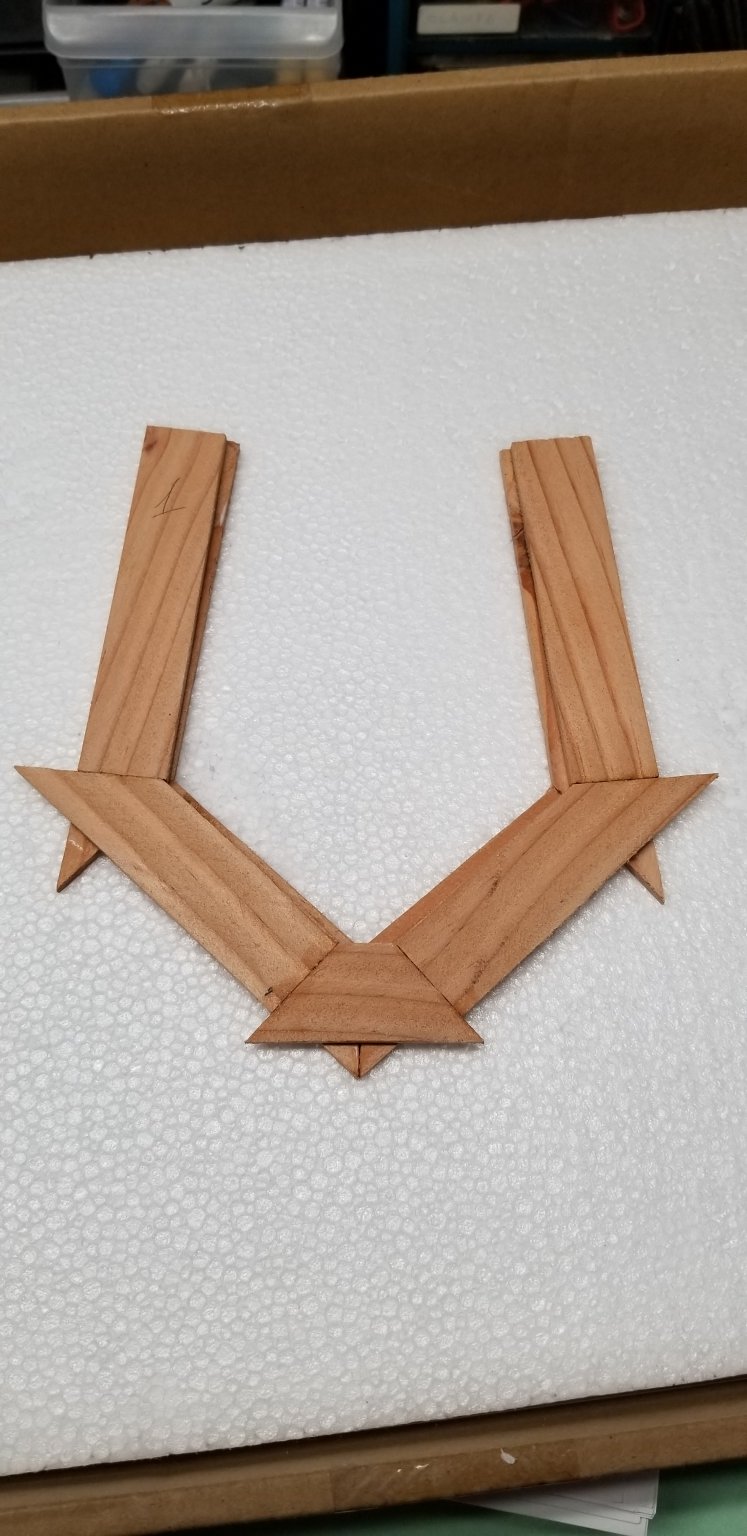
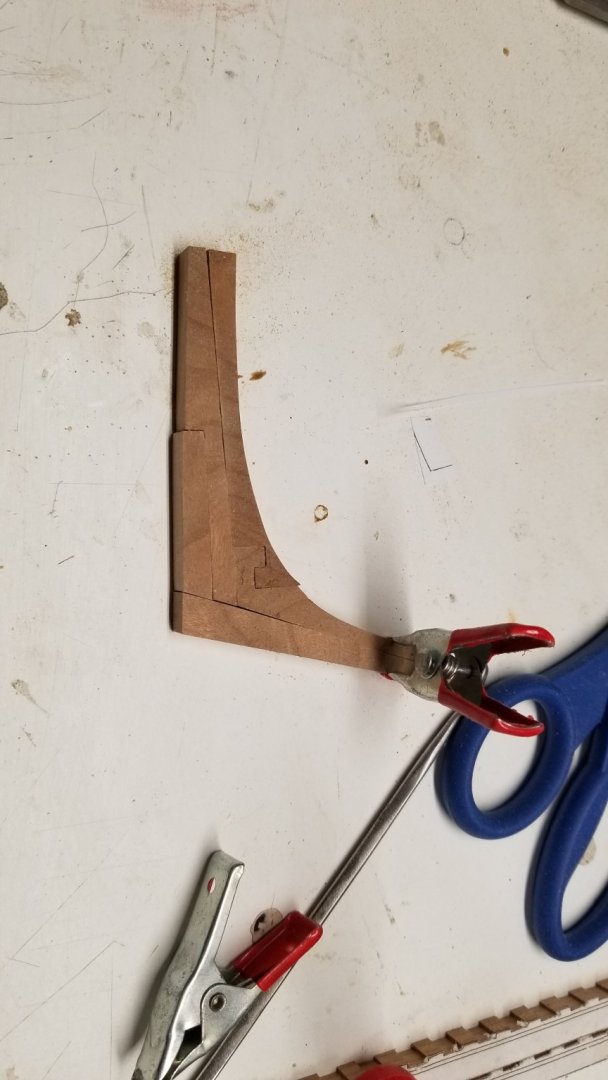
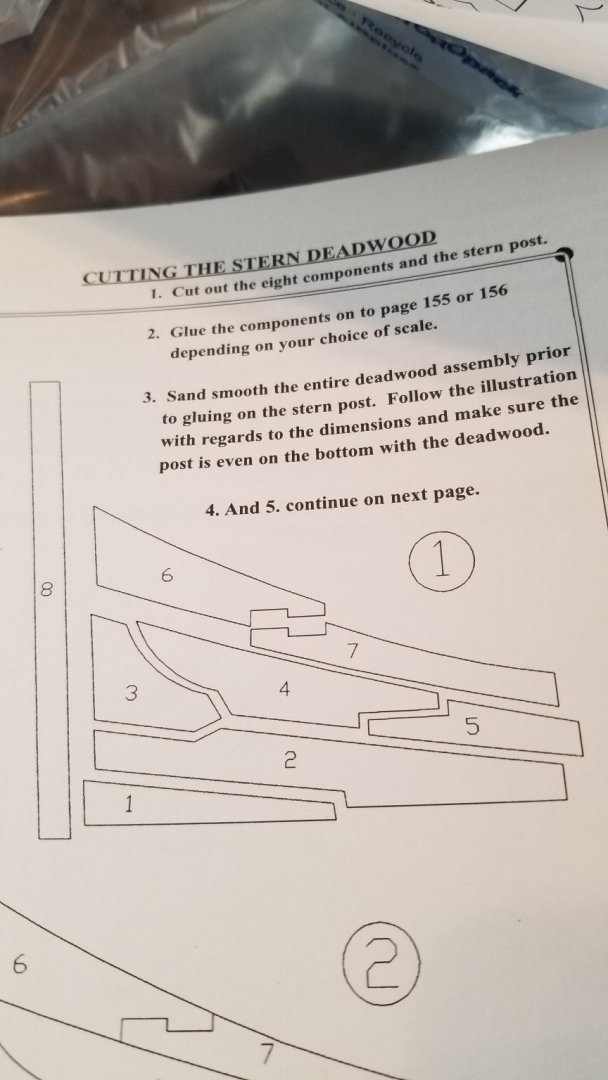
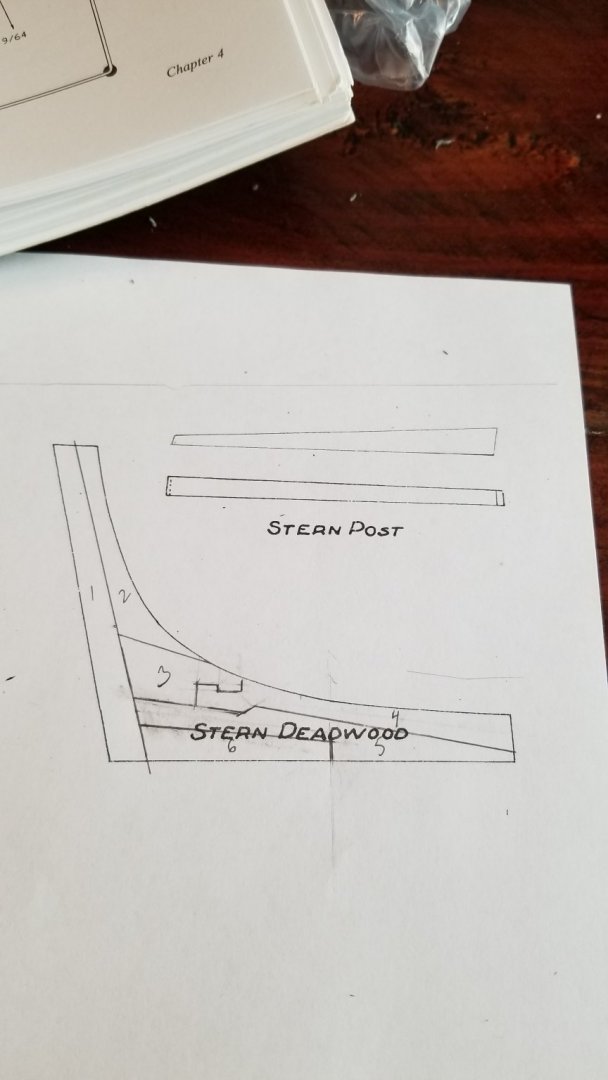
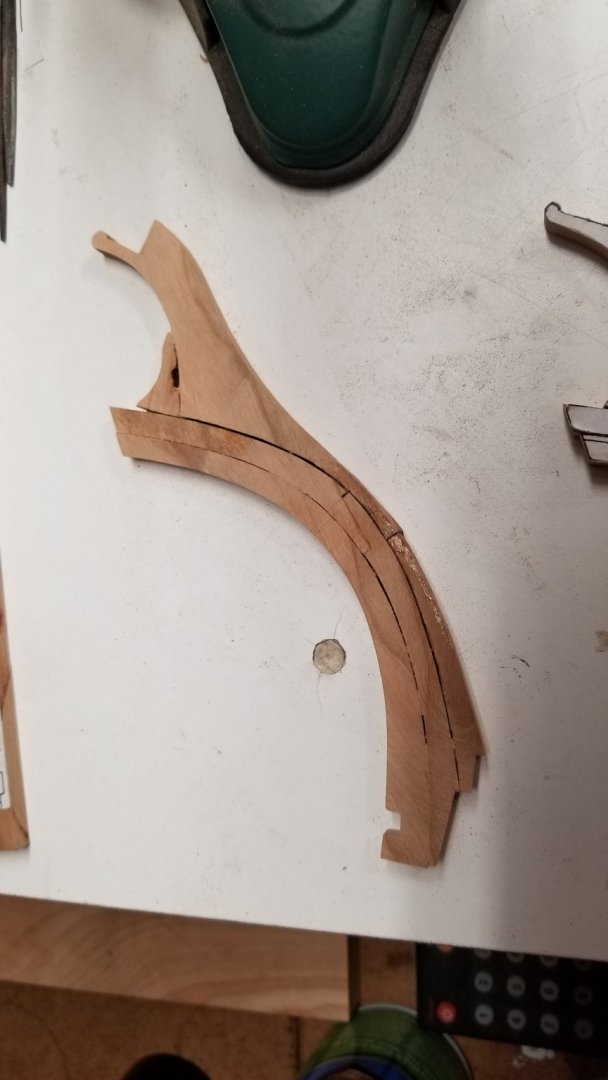
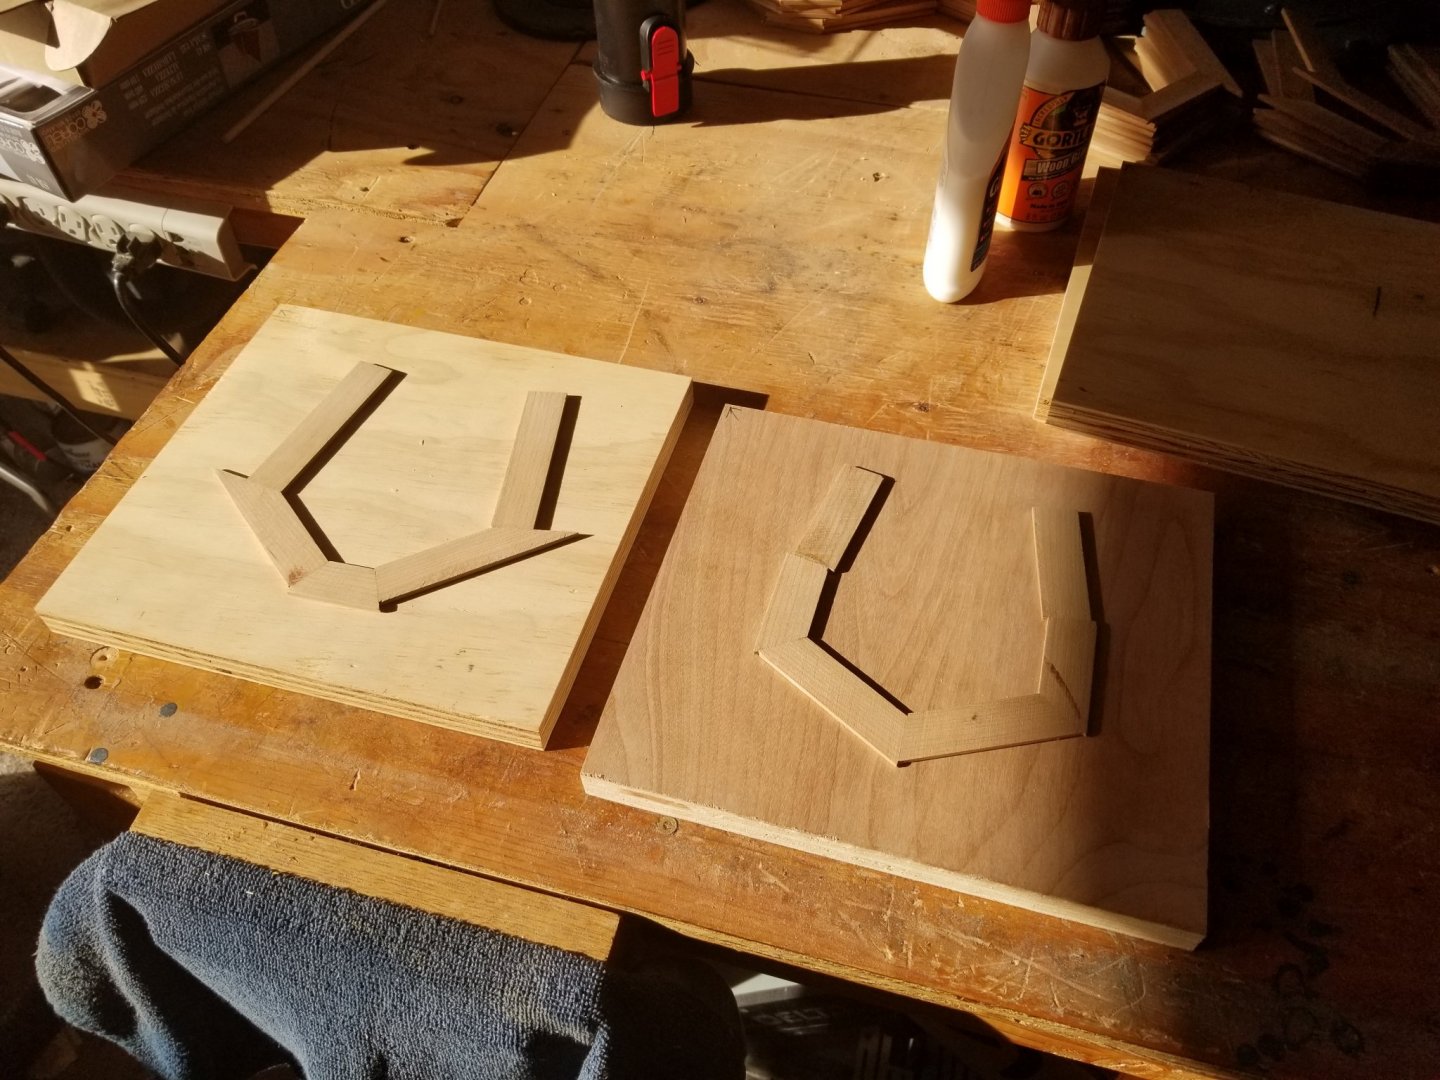
Last night I worked on the Deadwood. Here is the result. There will be some slight adjustments and micro sanding sessions. The joints are pretty tight and will be tighten when it glue them up.

- 50 replies
-
- 8
-
-
- rattlesnake
- brig
- (and 1 more)
-
I am not planning on fully planking her. So it sounds like making it simpler. I am just curious to see if some rules existed for this section.
- 50 replies
-
- 1
-
-
- rattlesnake
- brig
- (and 1 more)
-
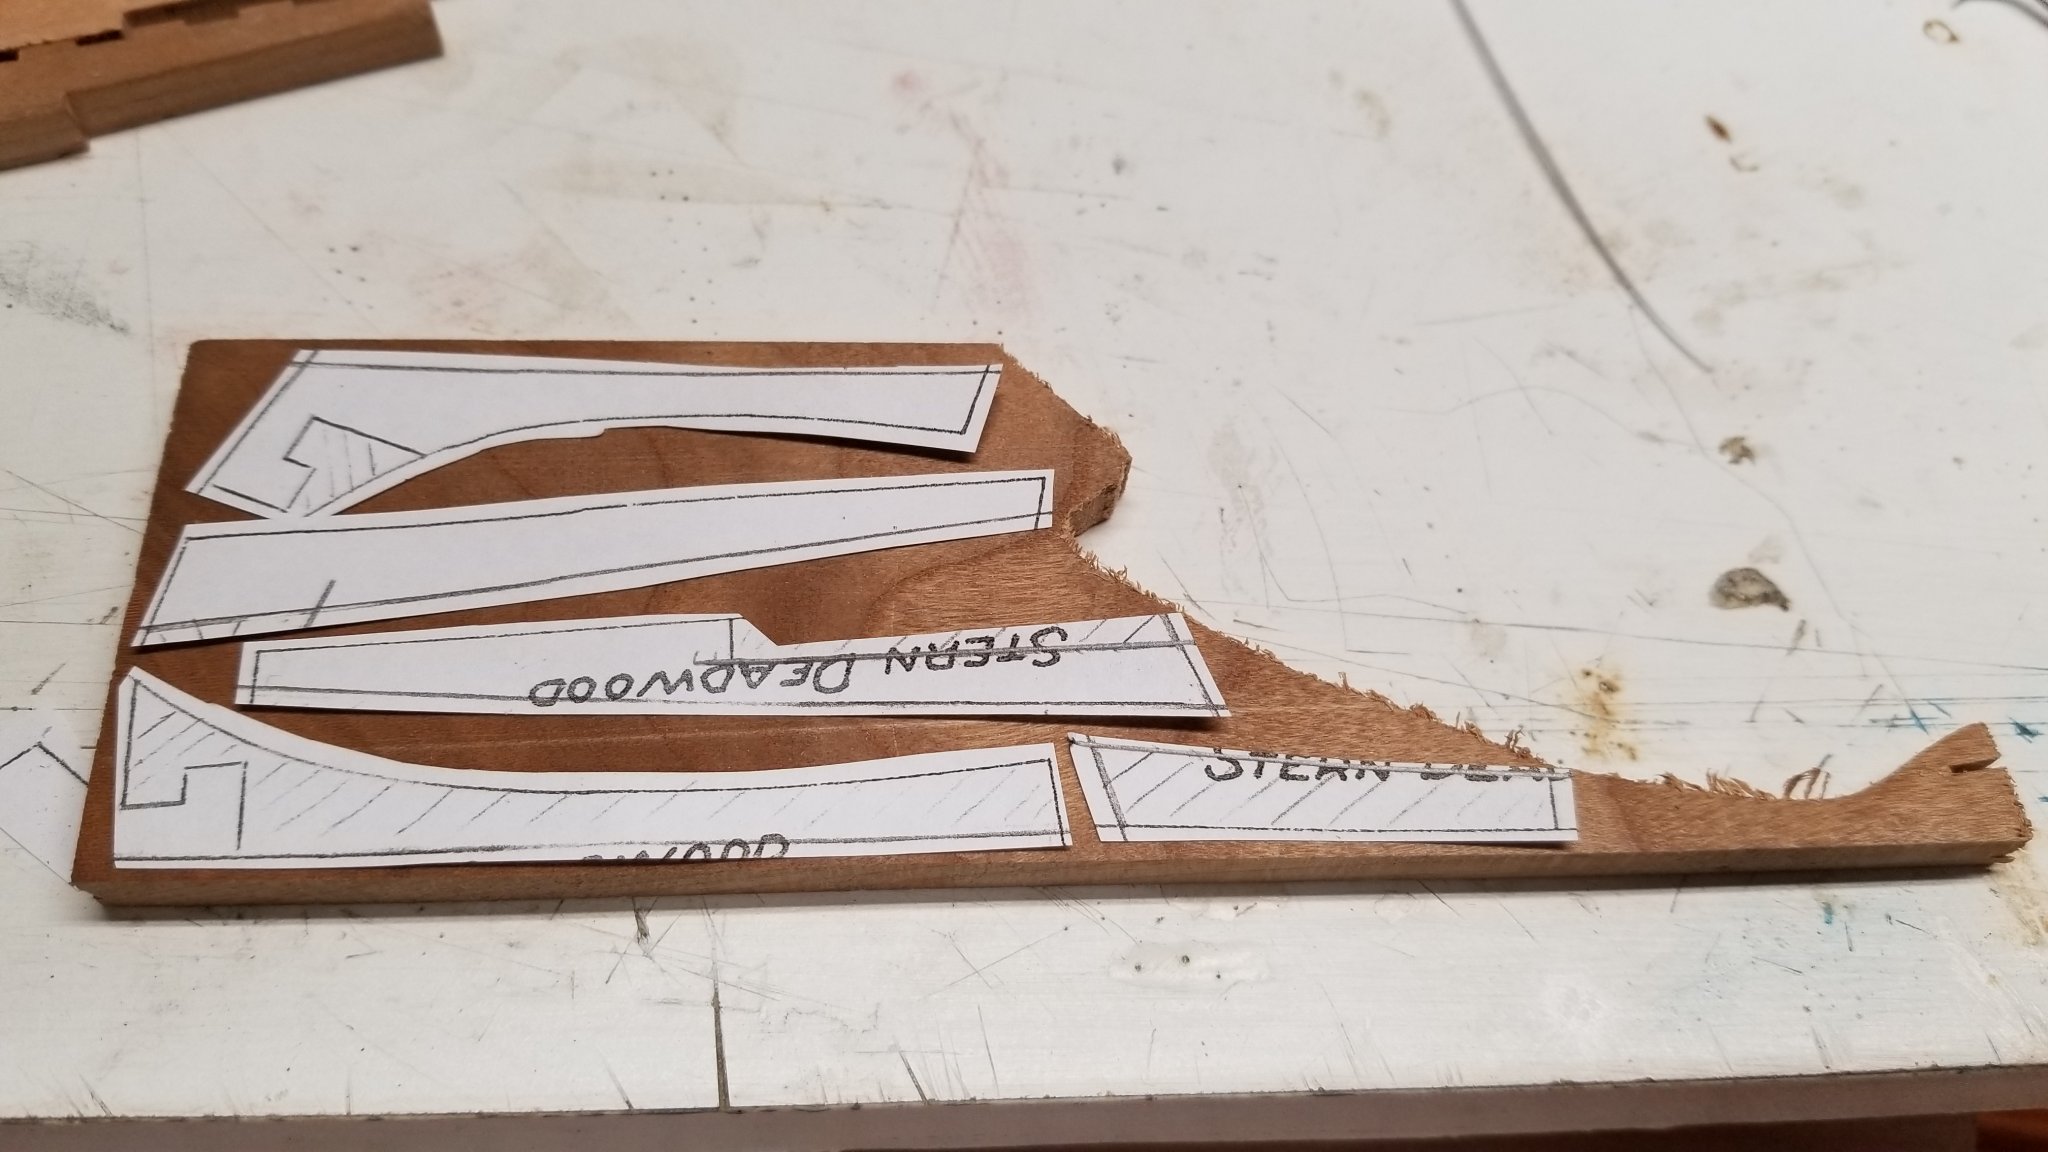
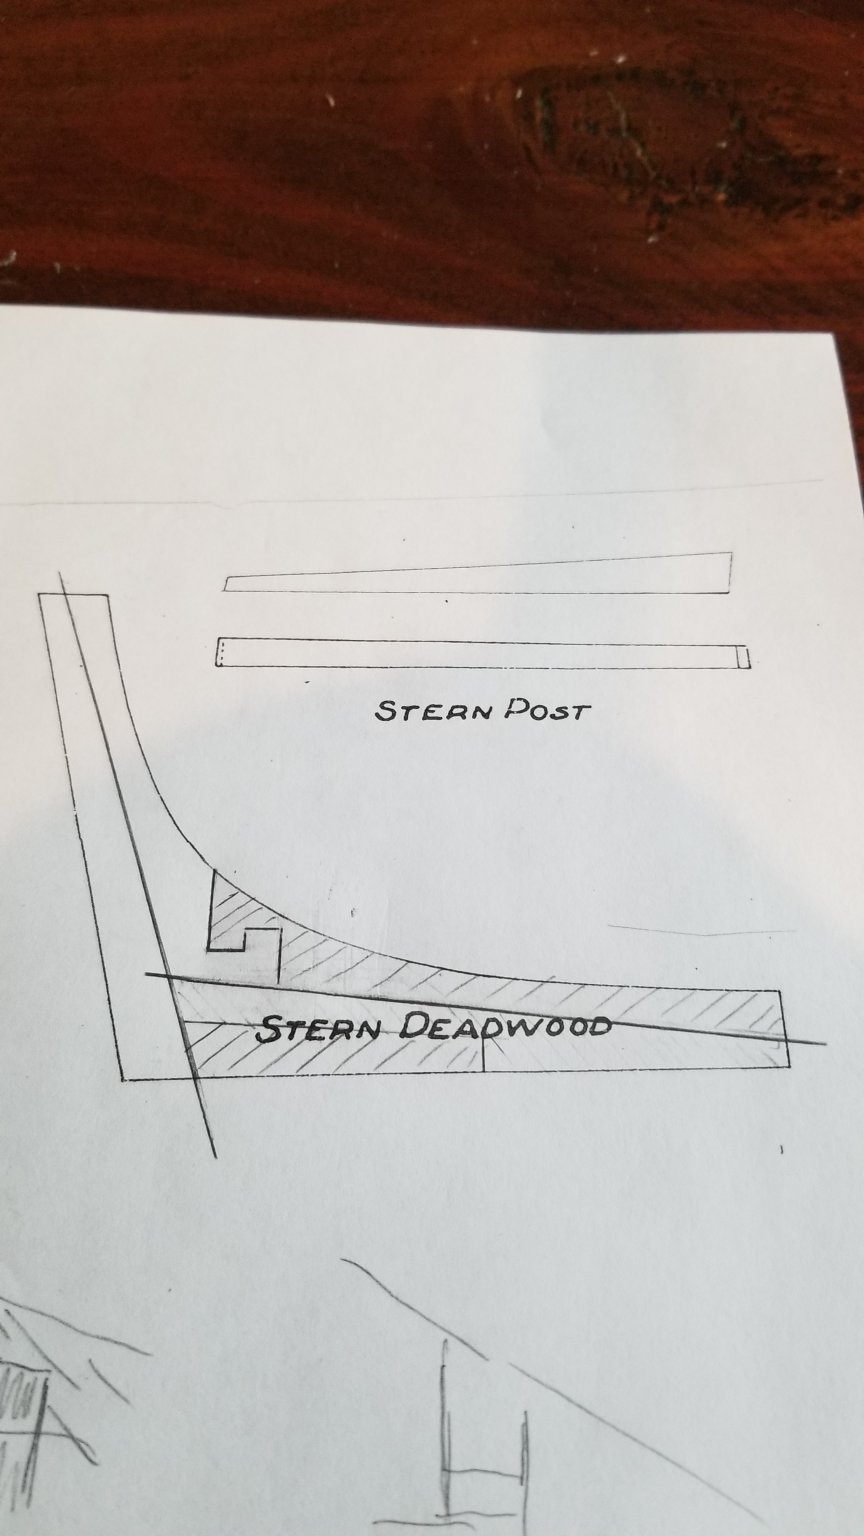
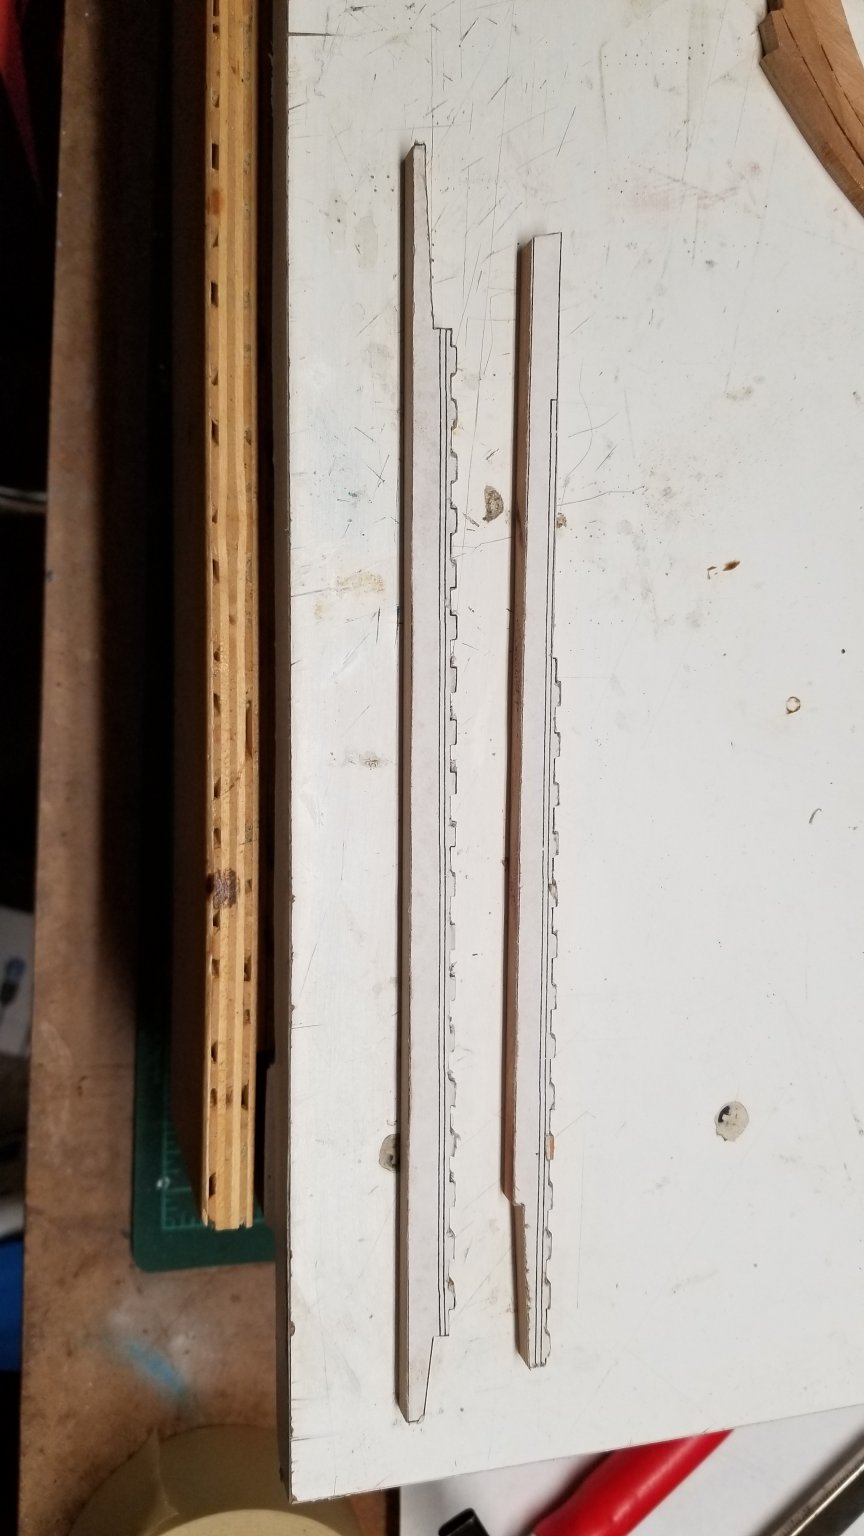
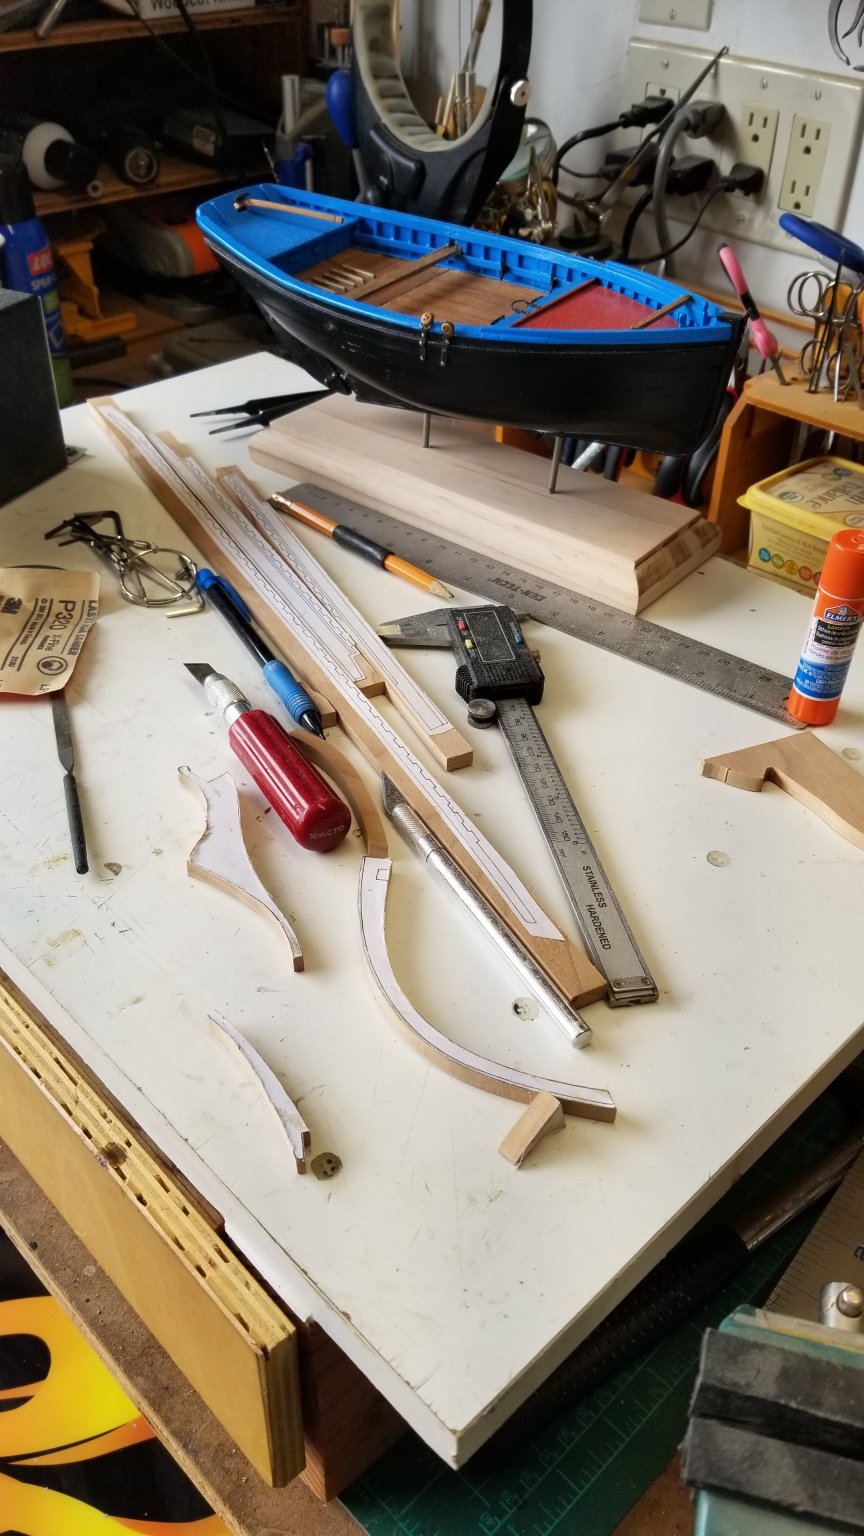
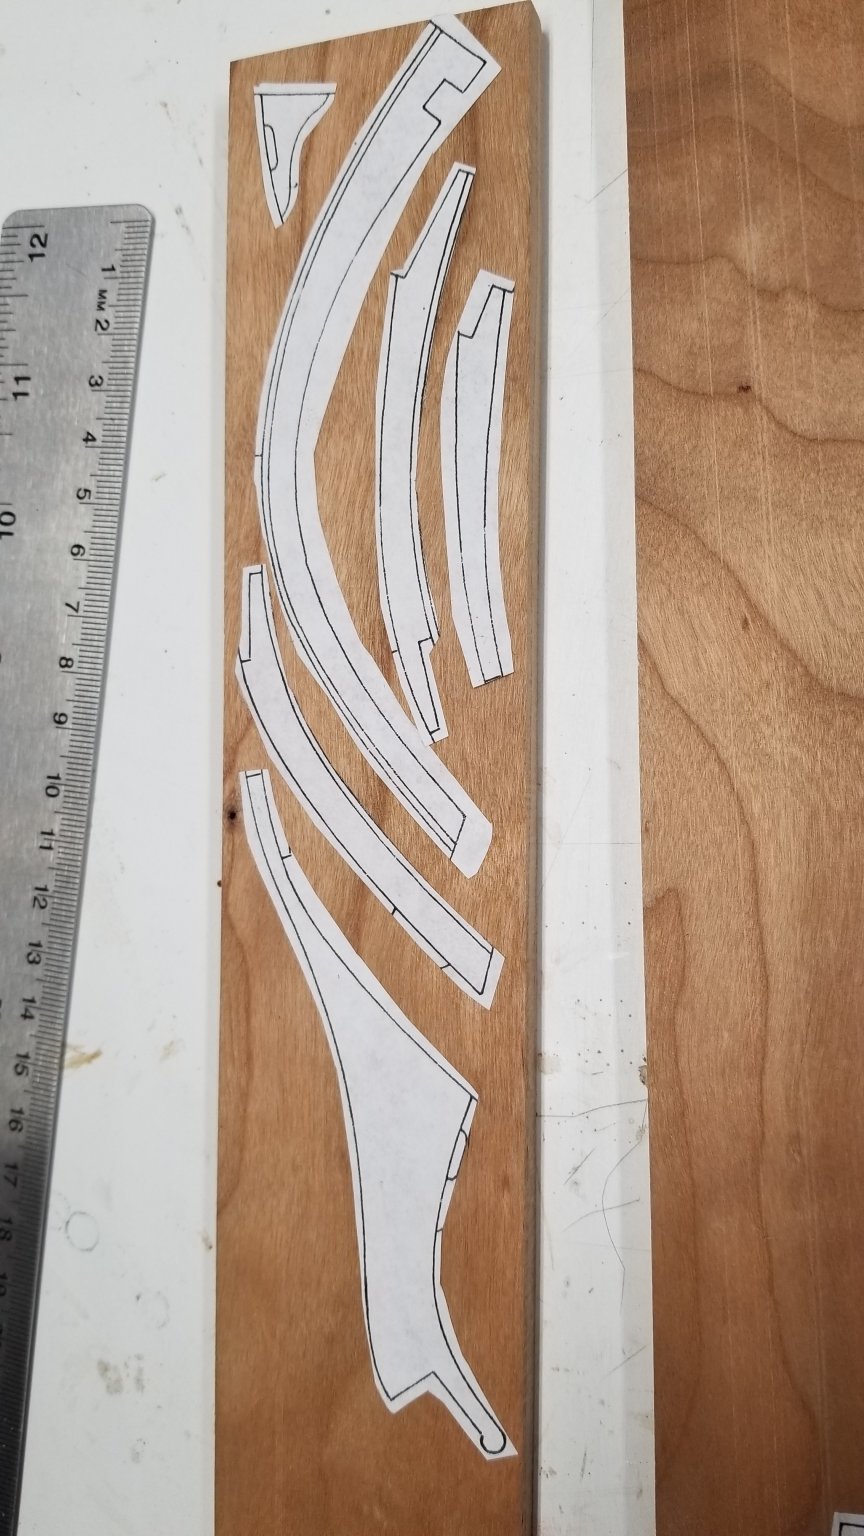
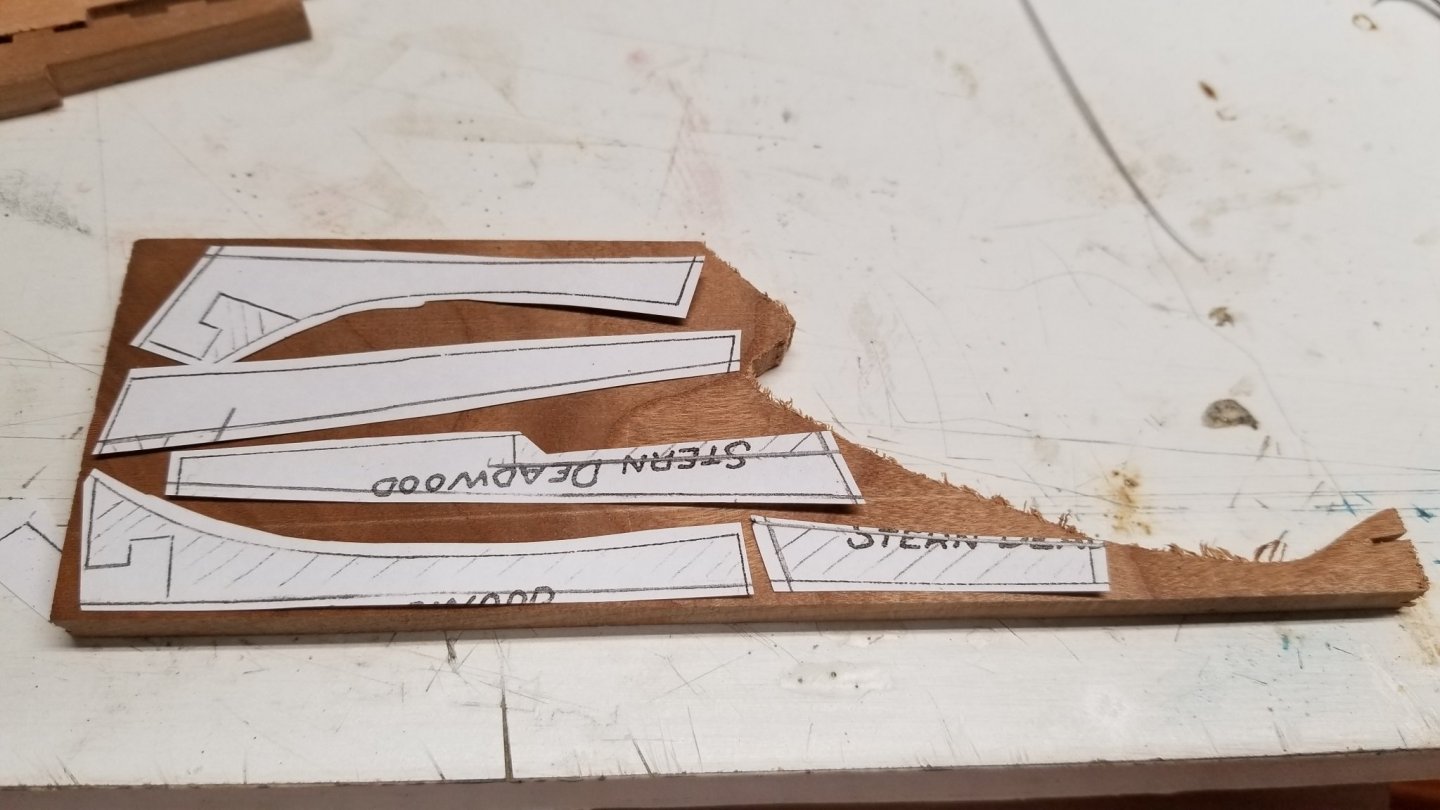
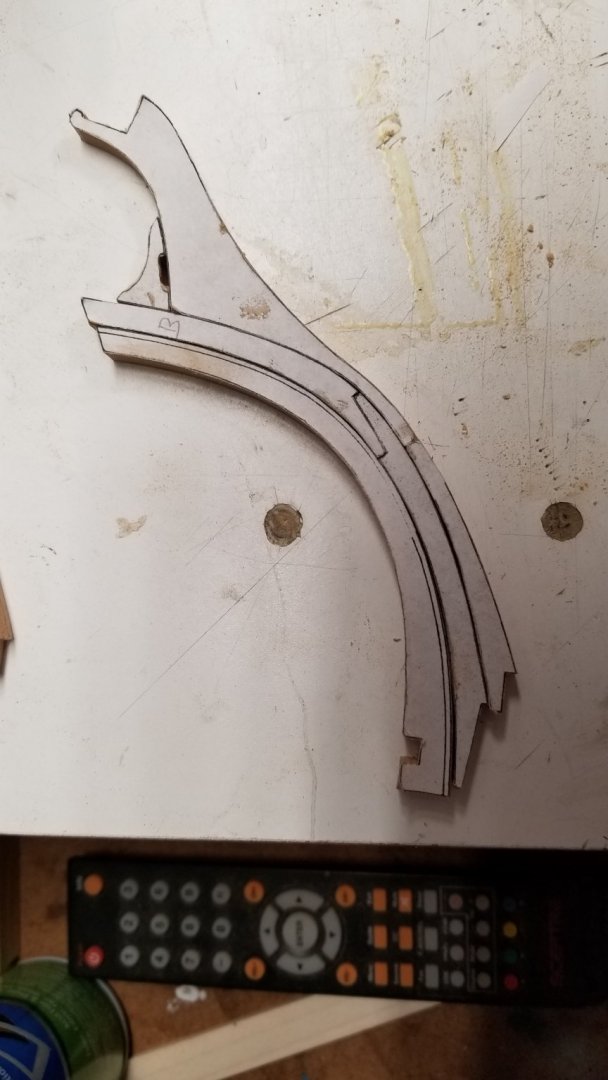
Question. The hahn plans do not have details on the Deadwood section. What pattern should I use a ship of this type? I inspired myself from the practicum for the hms warrior by Romero. Here is what I came up with. Too complicated for this ship?
- 50 replies
-
- 1
-
-
- rattlesnake
- brig
- (and 1 more)
-
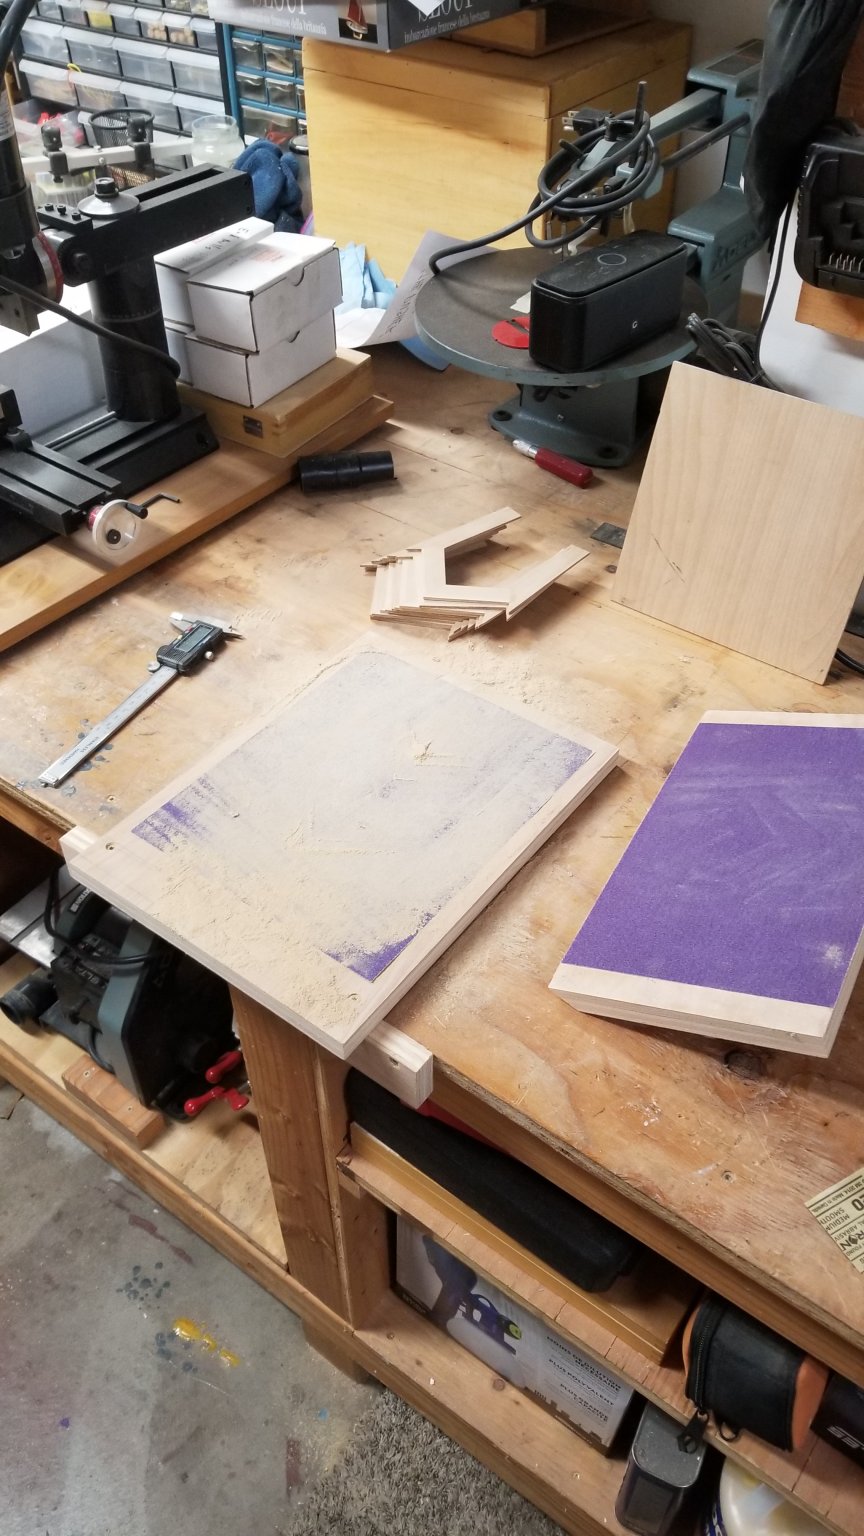
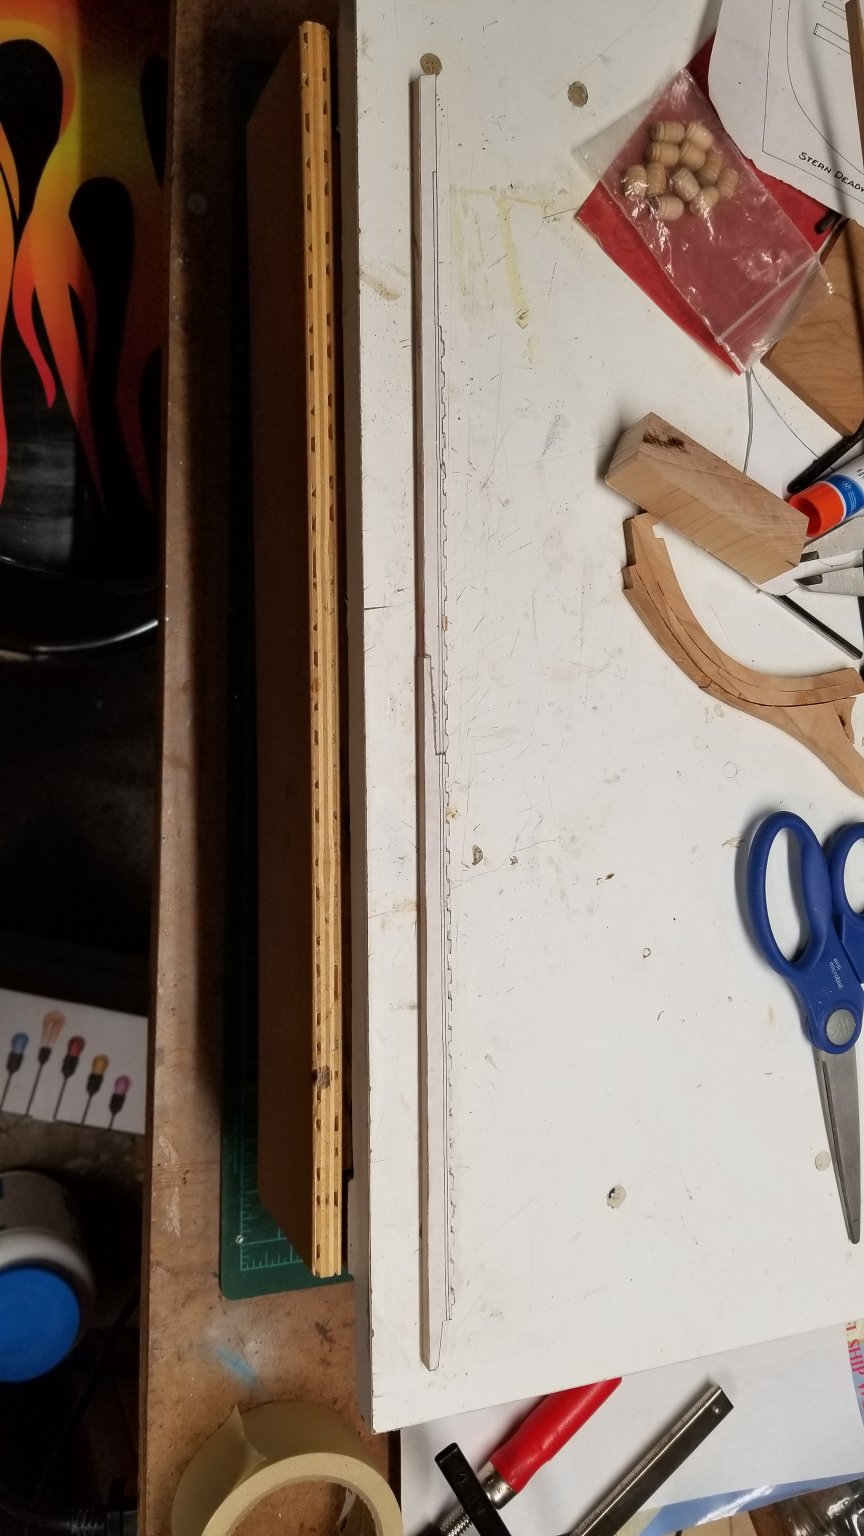
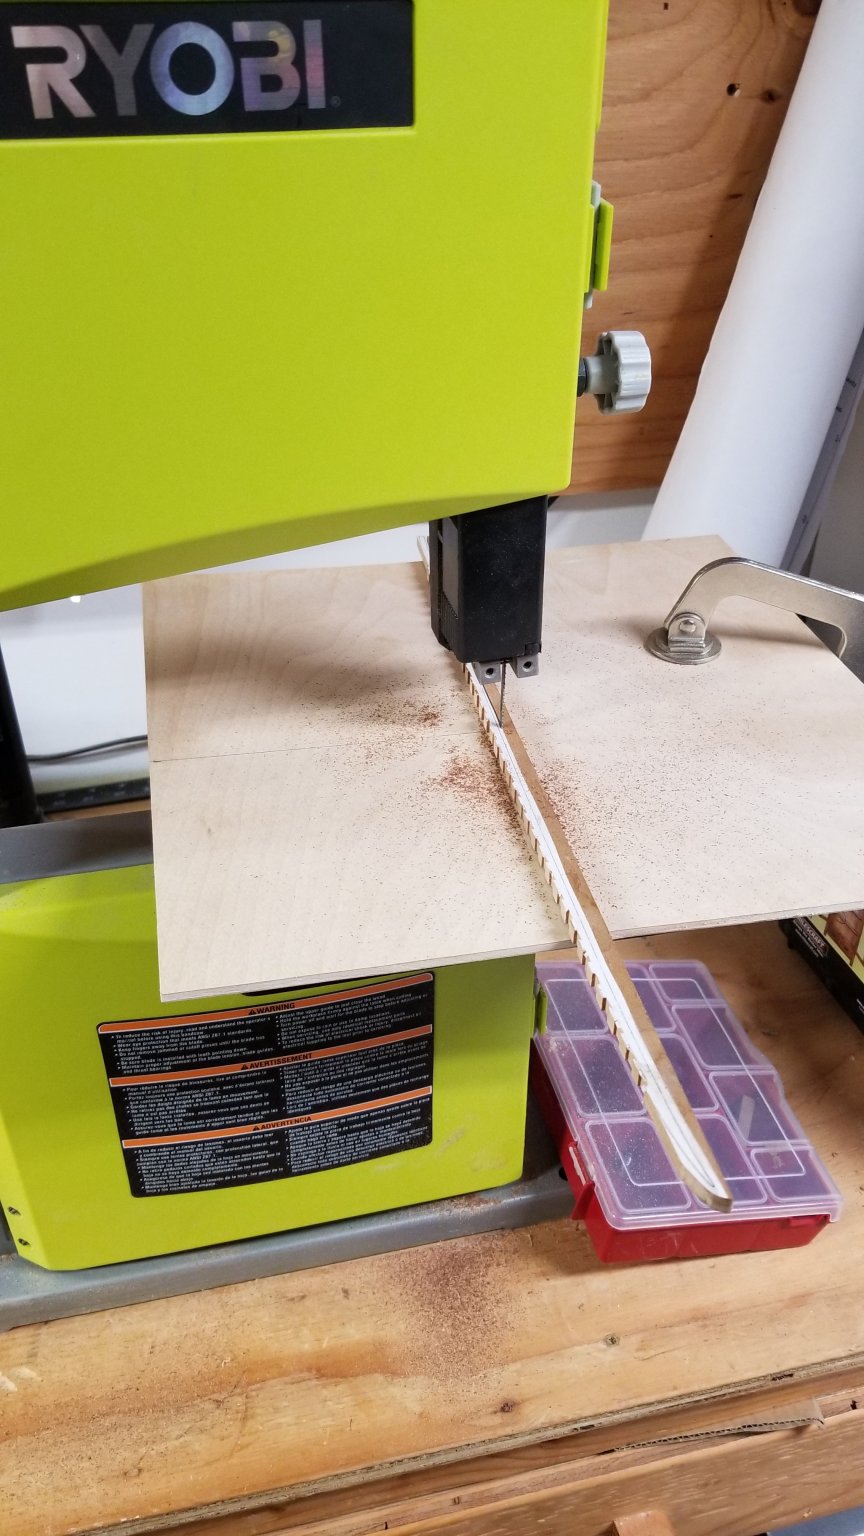
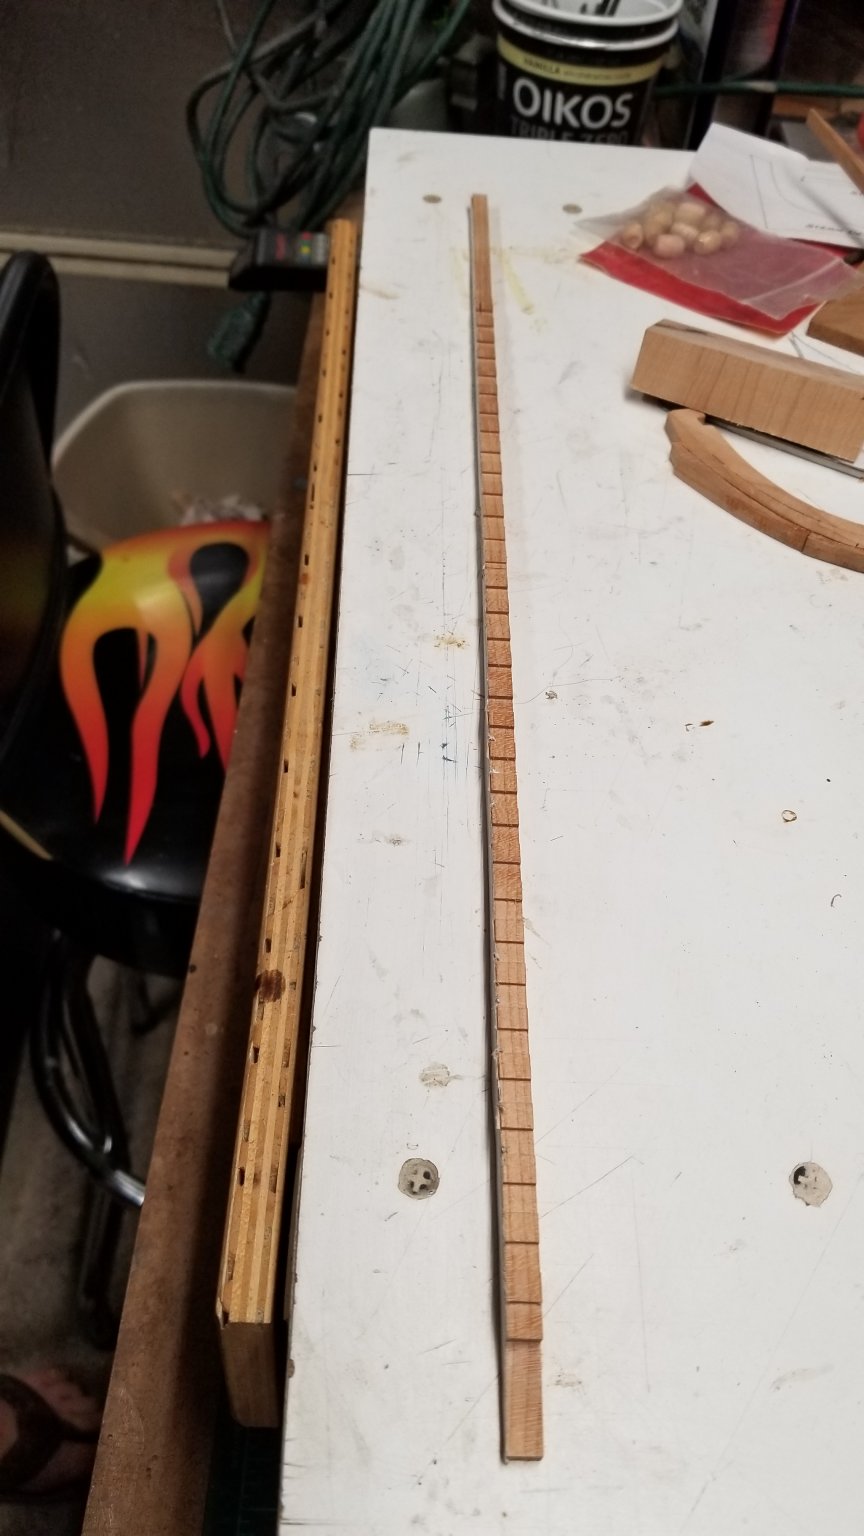
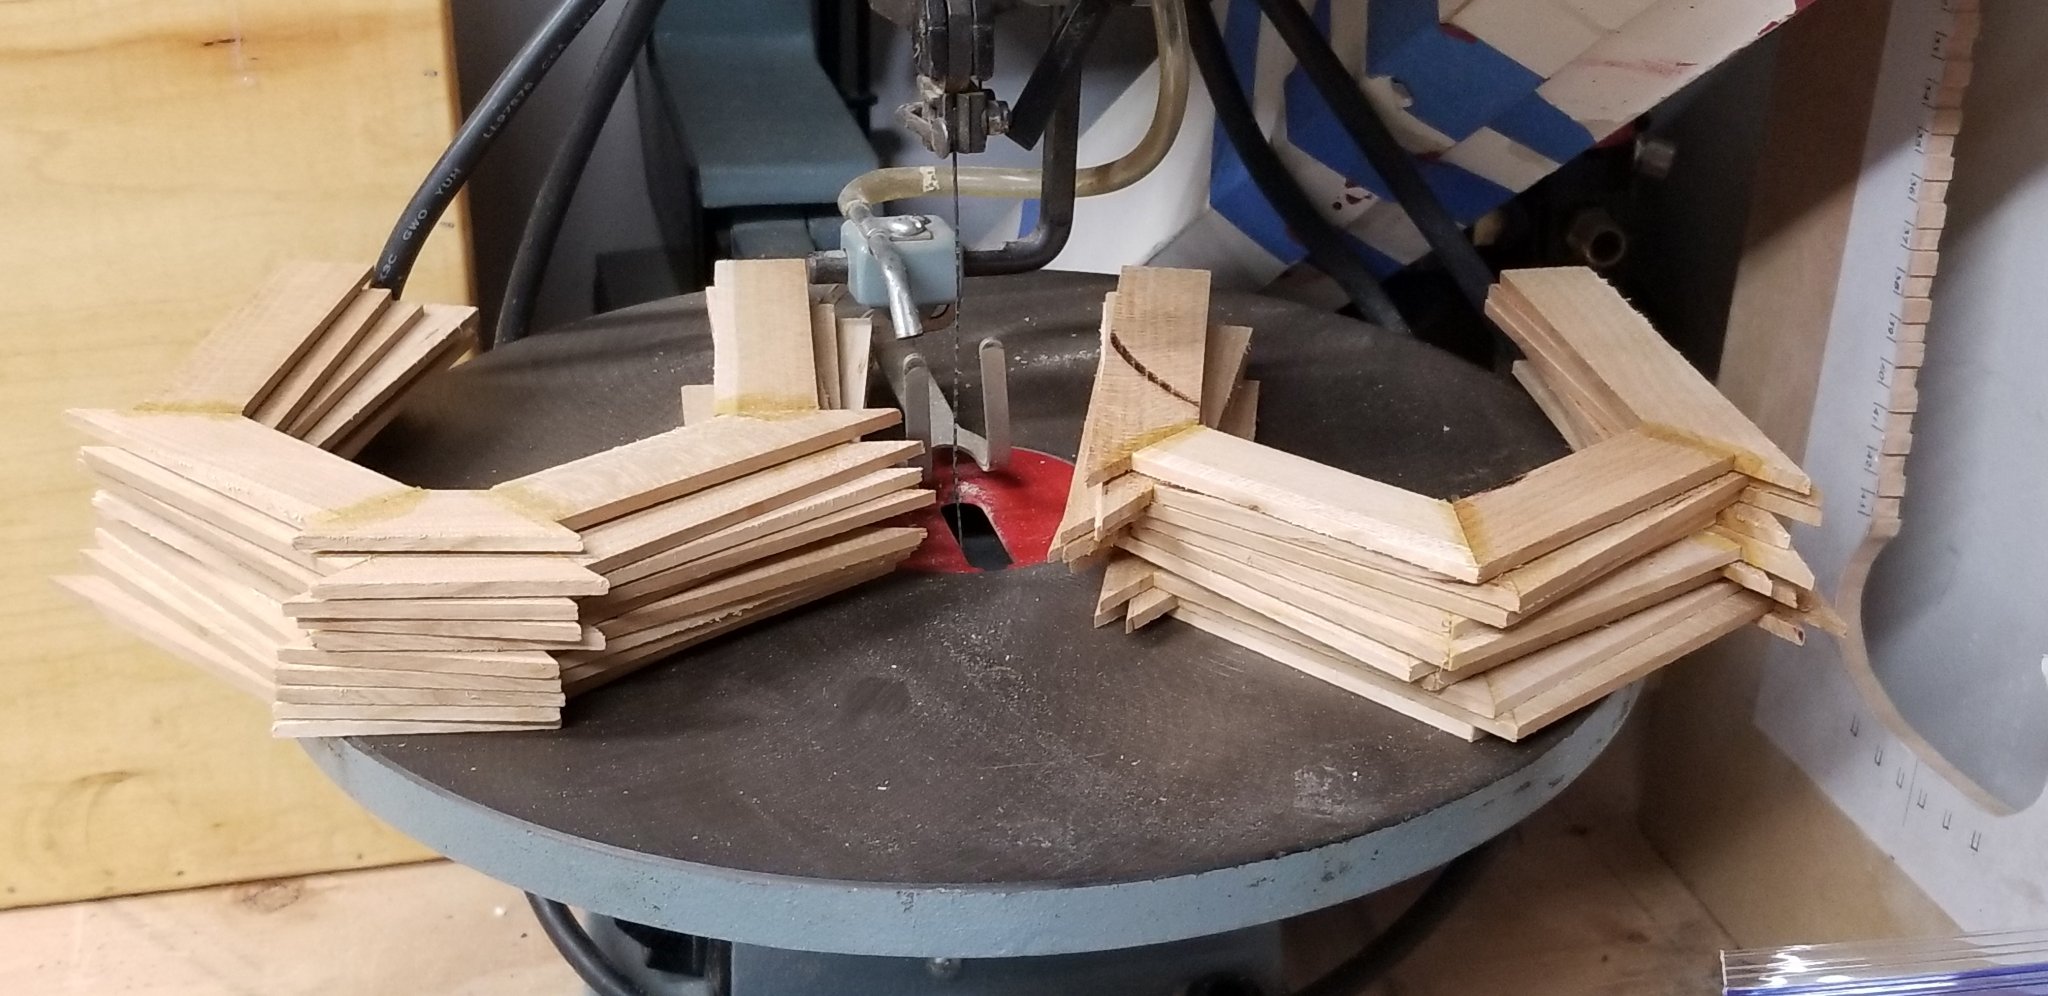
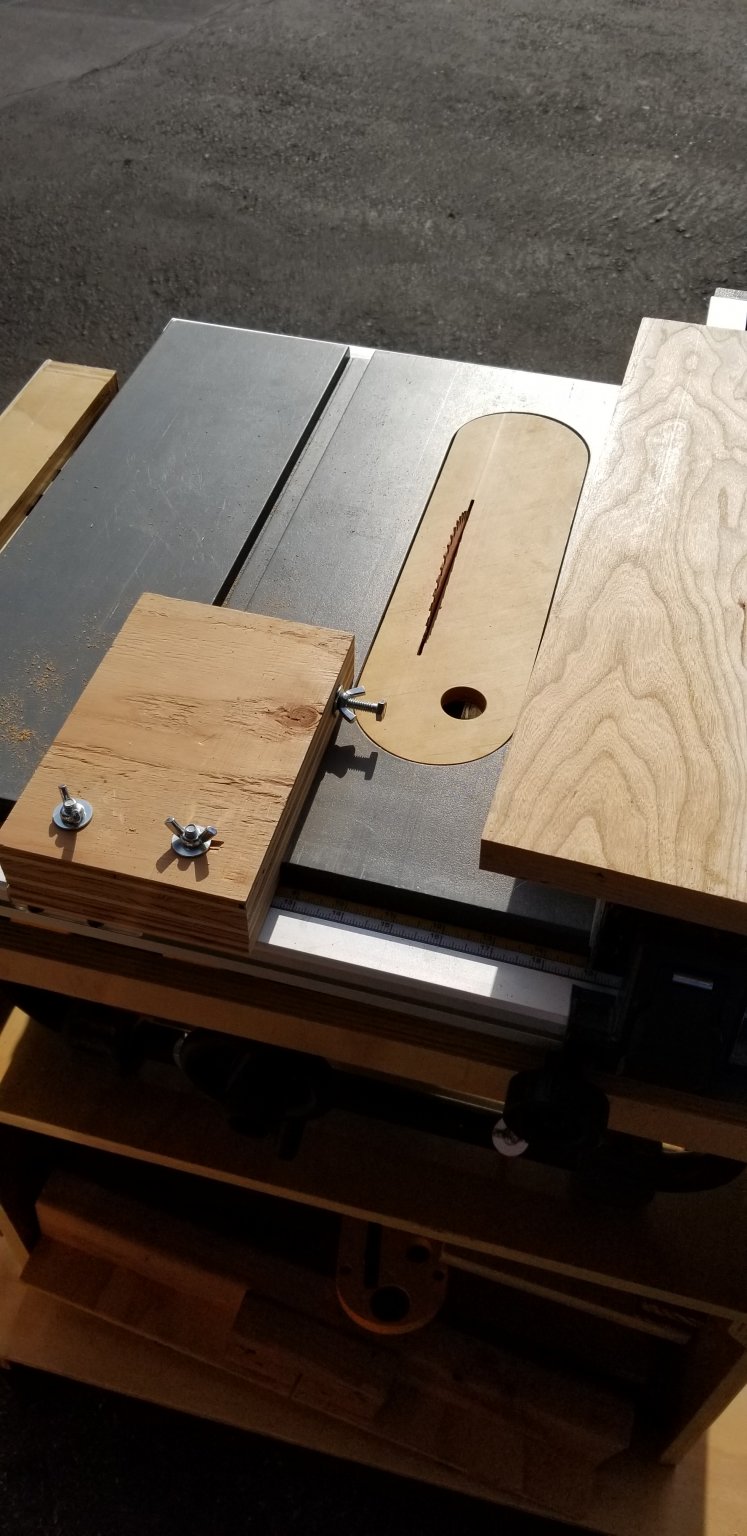
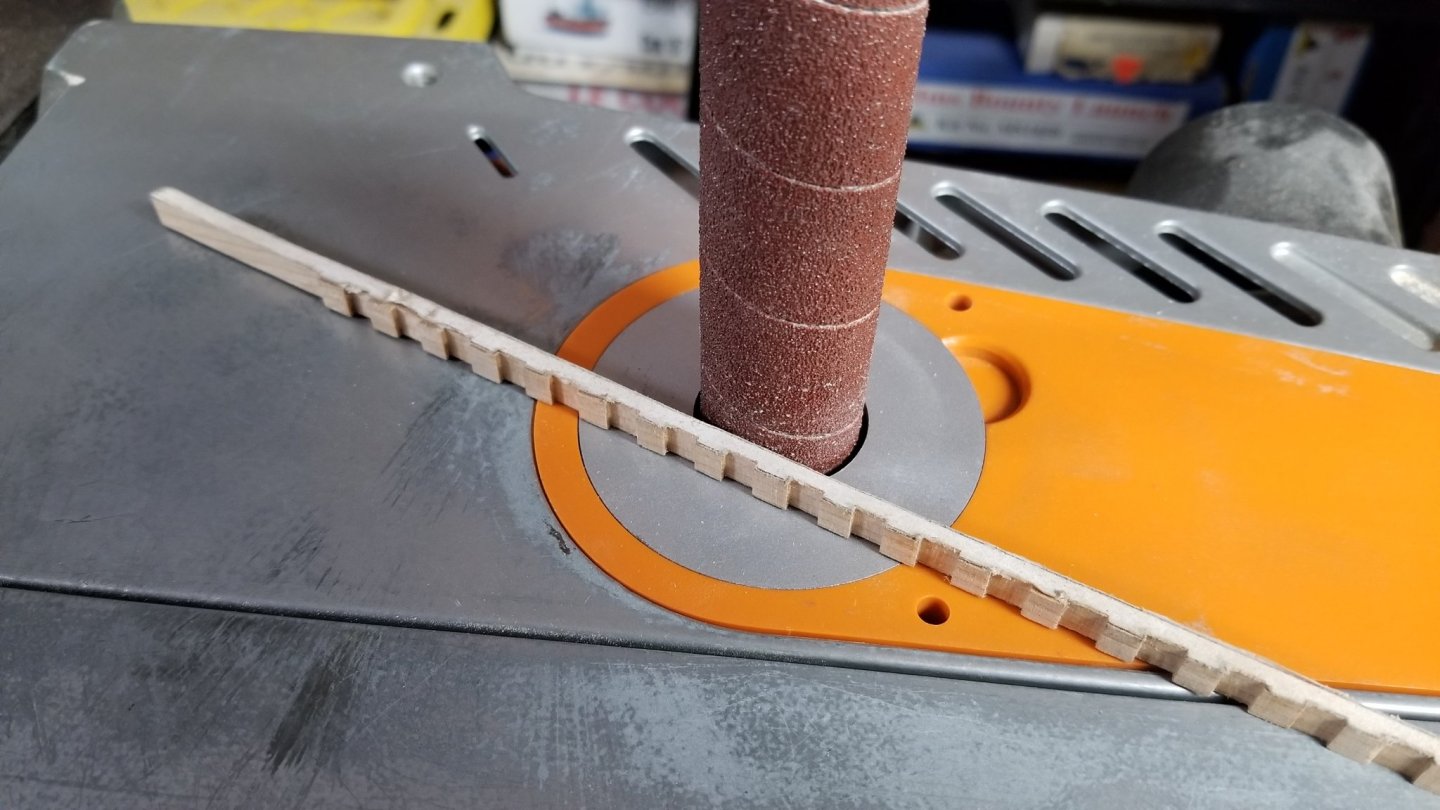
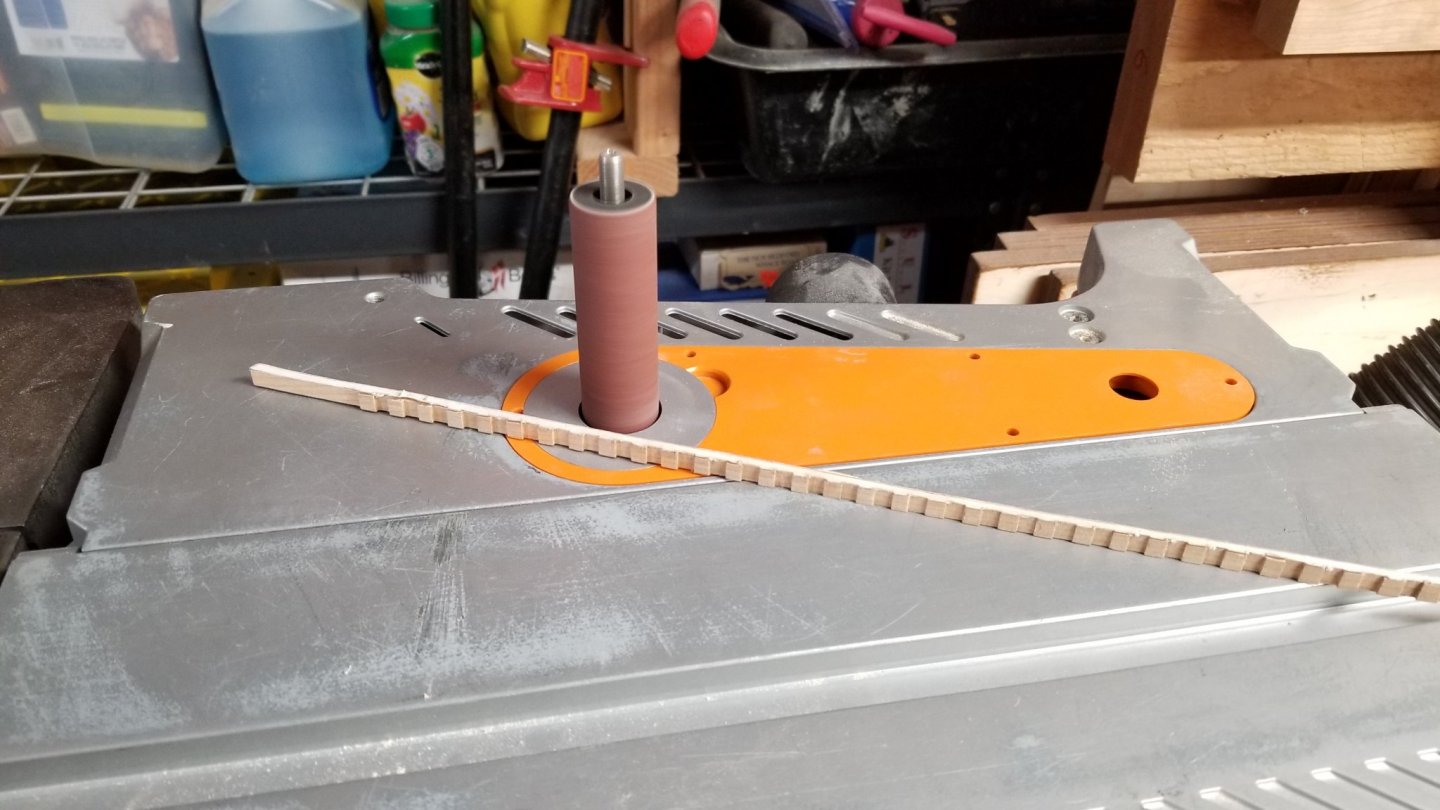
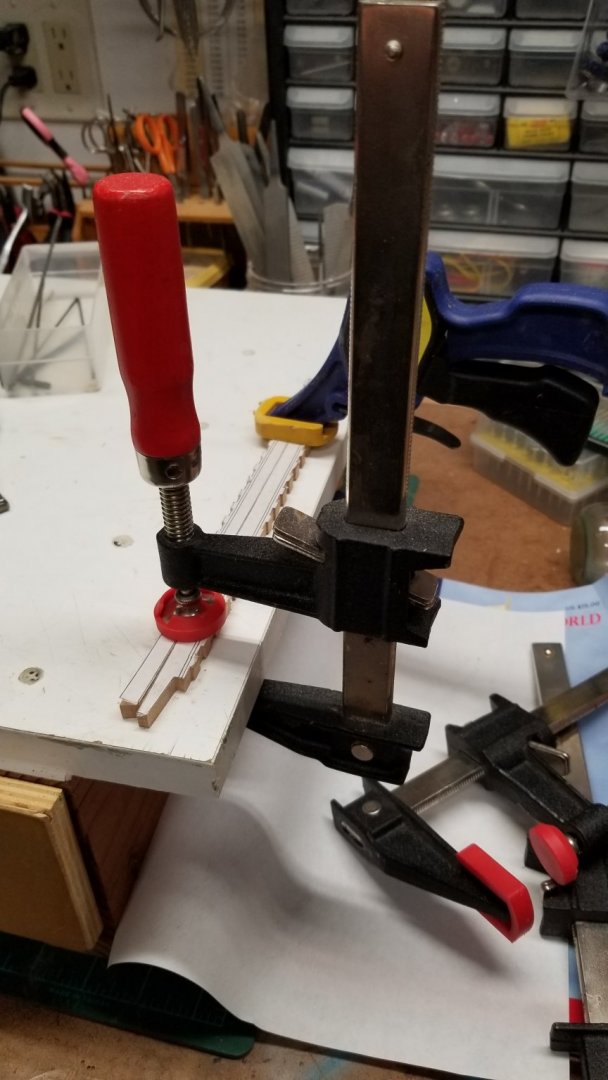
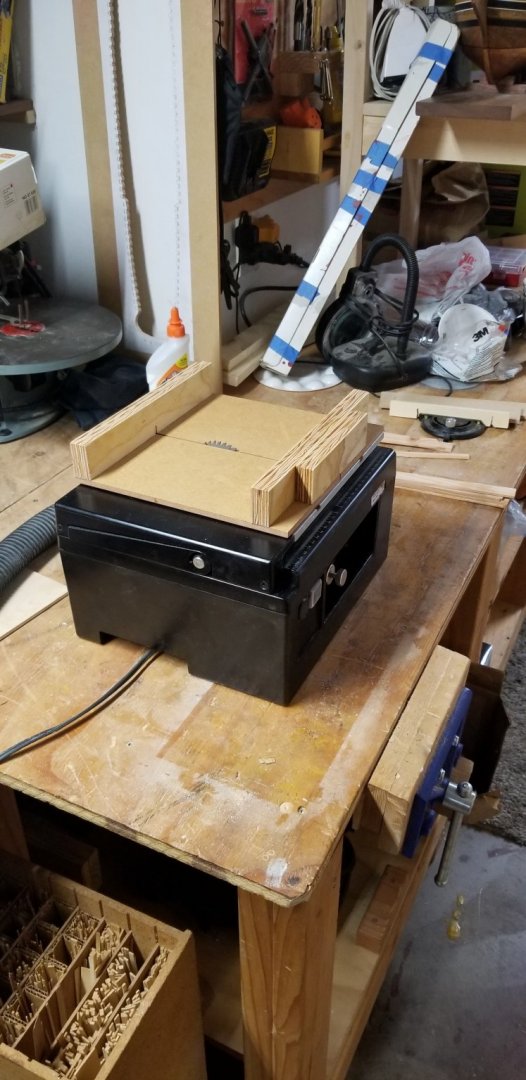
Finished the keel and keelson. I am sure I will need to make some adjustments as the build moves forward. A small bandsaw is very useful and much faster than a scrollsaw. Quick and dirty zero clearance surface. 😊 Spindler sander to clean up. Here is the finished product. Holding the parts to prevent any wrapping. Deadwood and stern post are next.


- 50 replies
-
- 9
-
-
- rattlesnake
- brig
- (and 1 more)
-
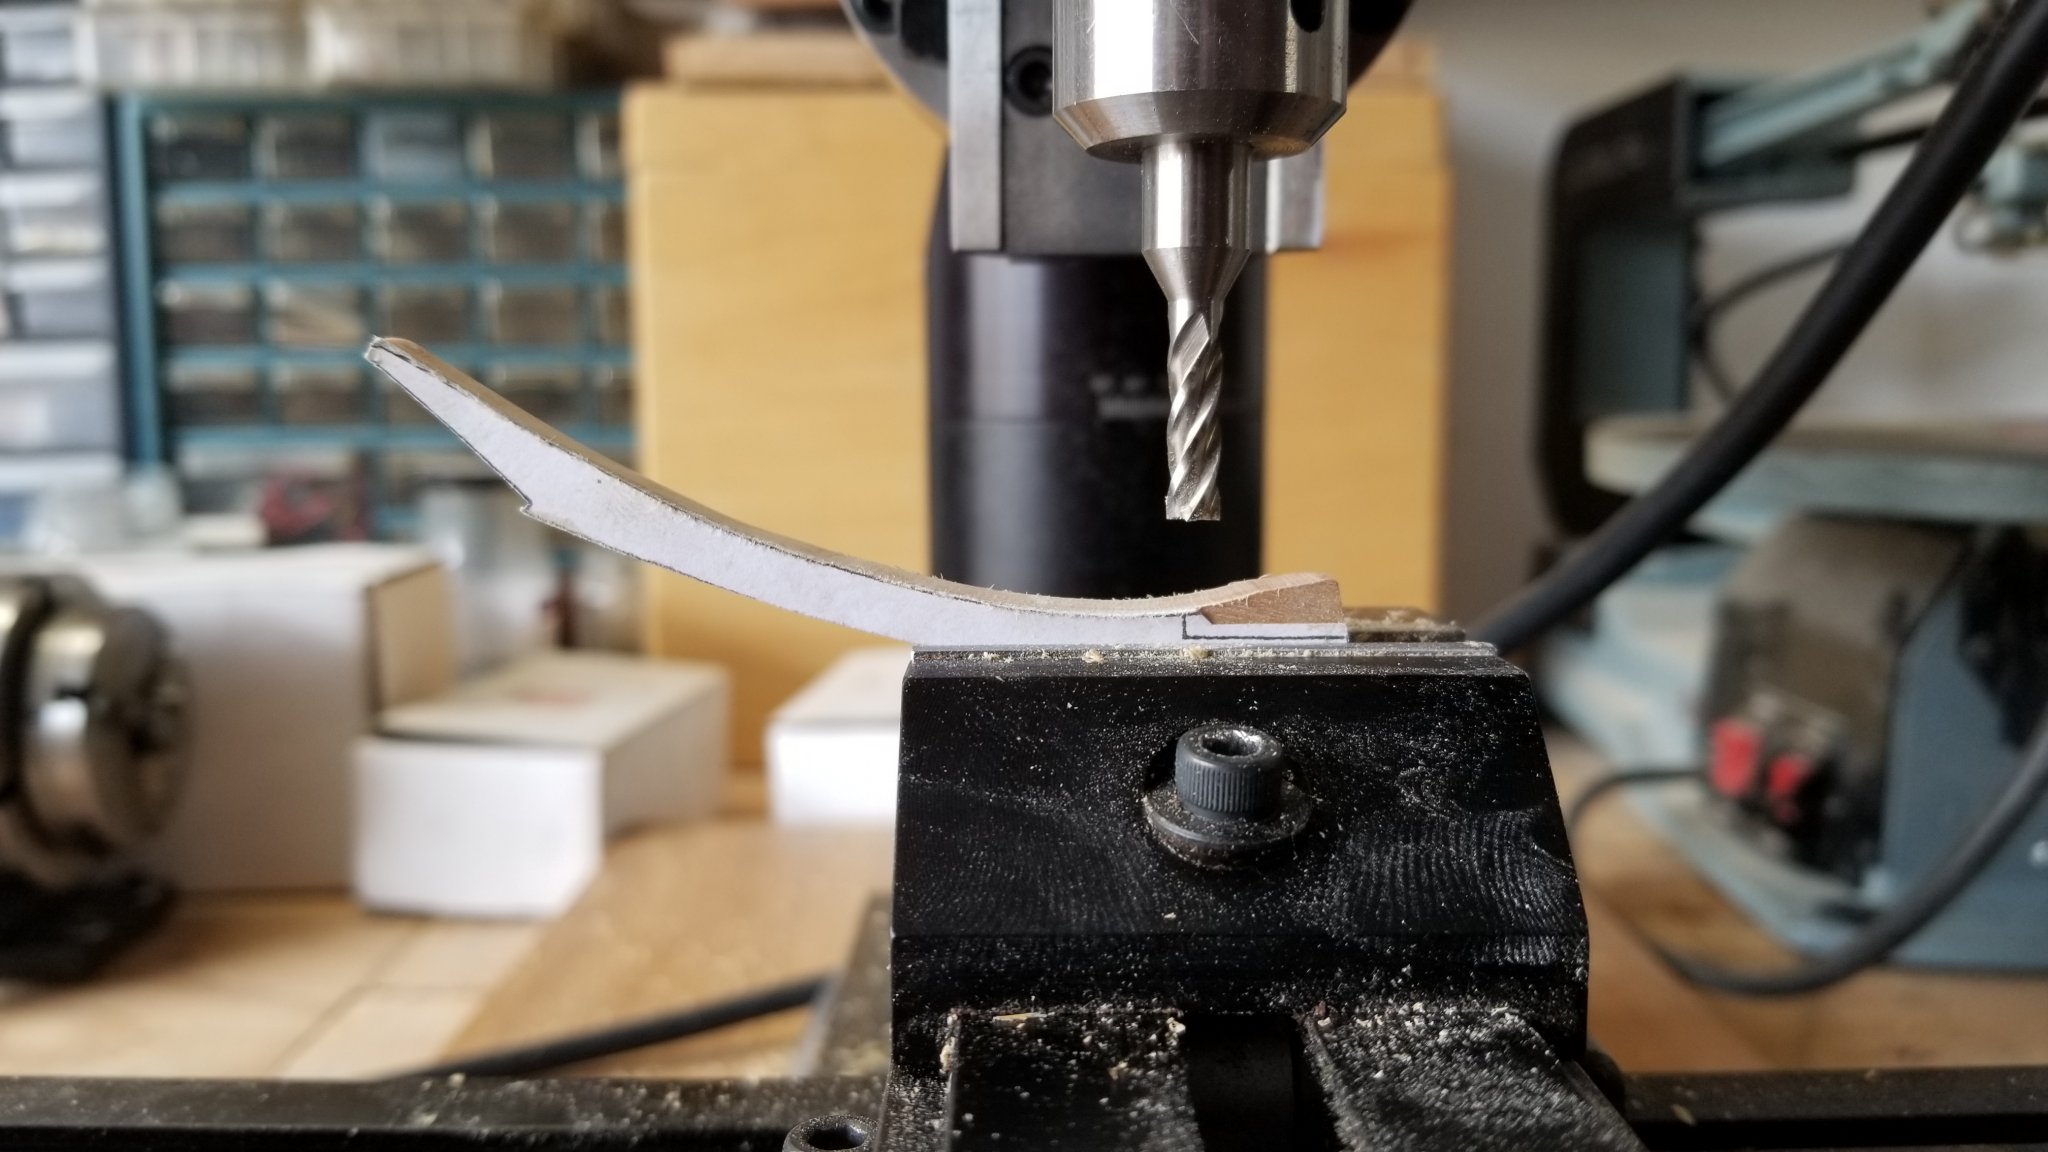
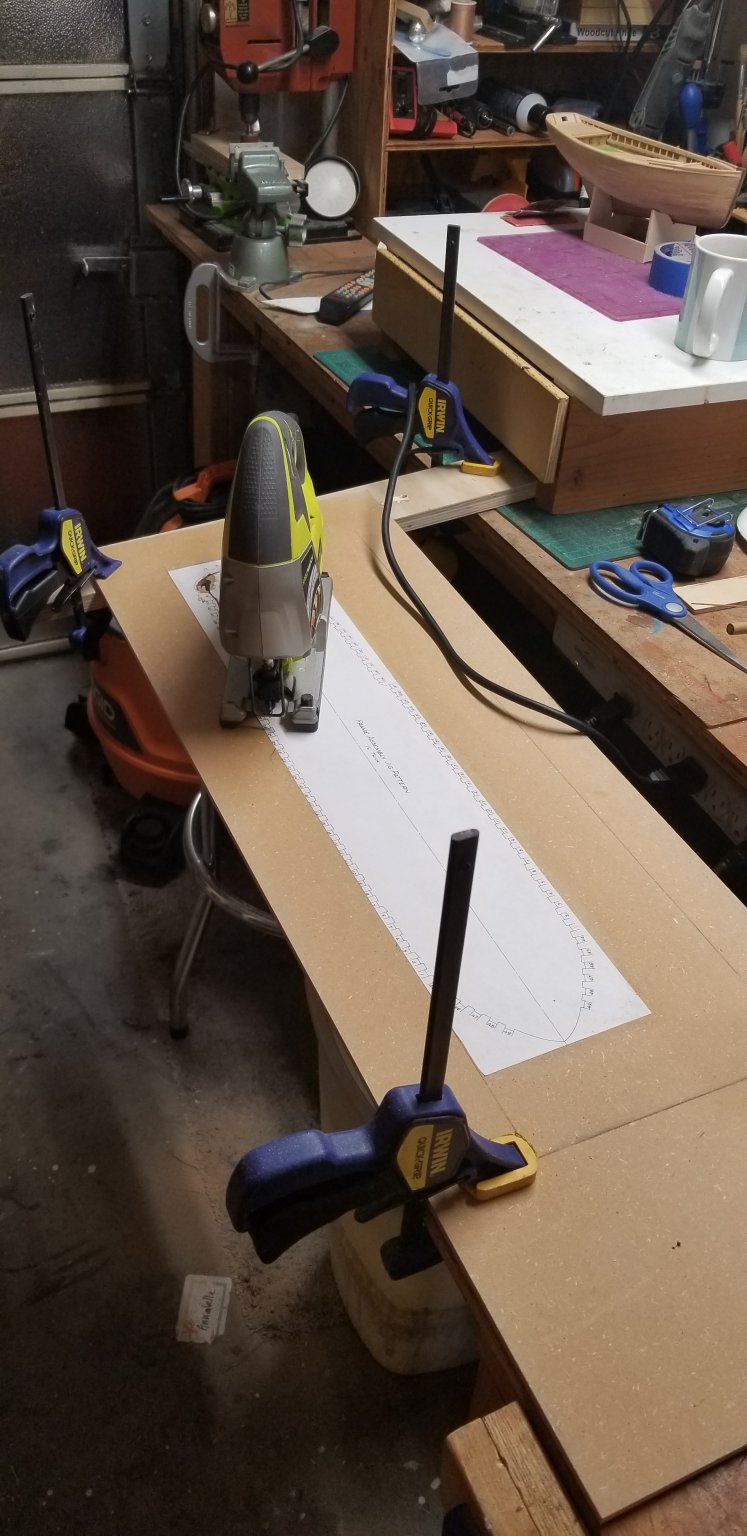
Worked on the stem for the past few days.  The jig saw session was pretty straight forward but working to sand each piece was very tedious and mistakes were made. See the result... 🤔 It was quite a learning curve. My first version was a complete bust. Lesson learned : sand to the line and leave it. Version 2 was much better and accurate. 😊 I was able to borrow a sherline mill. OMG was an awesome tool. Working on the keel now...


- 50 replies
-
- 7
-
-
- rattlesnake
- brig
- (and 1 more)
-
Painting done. I am waiting for the paint to cure before putting one or two coats of vernis.

-
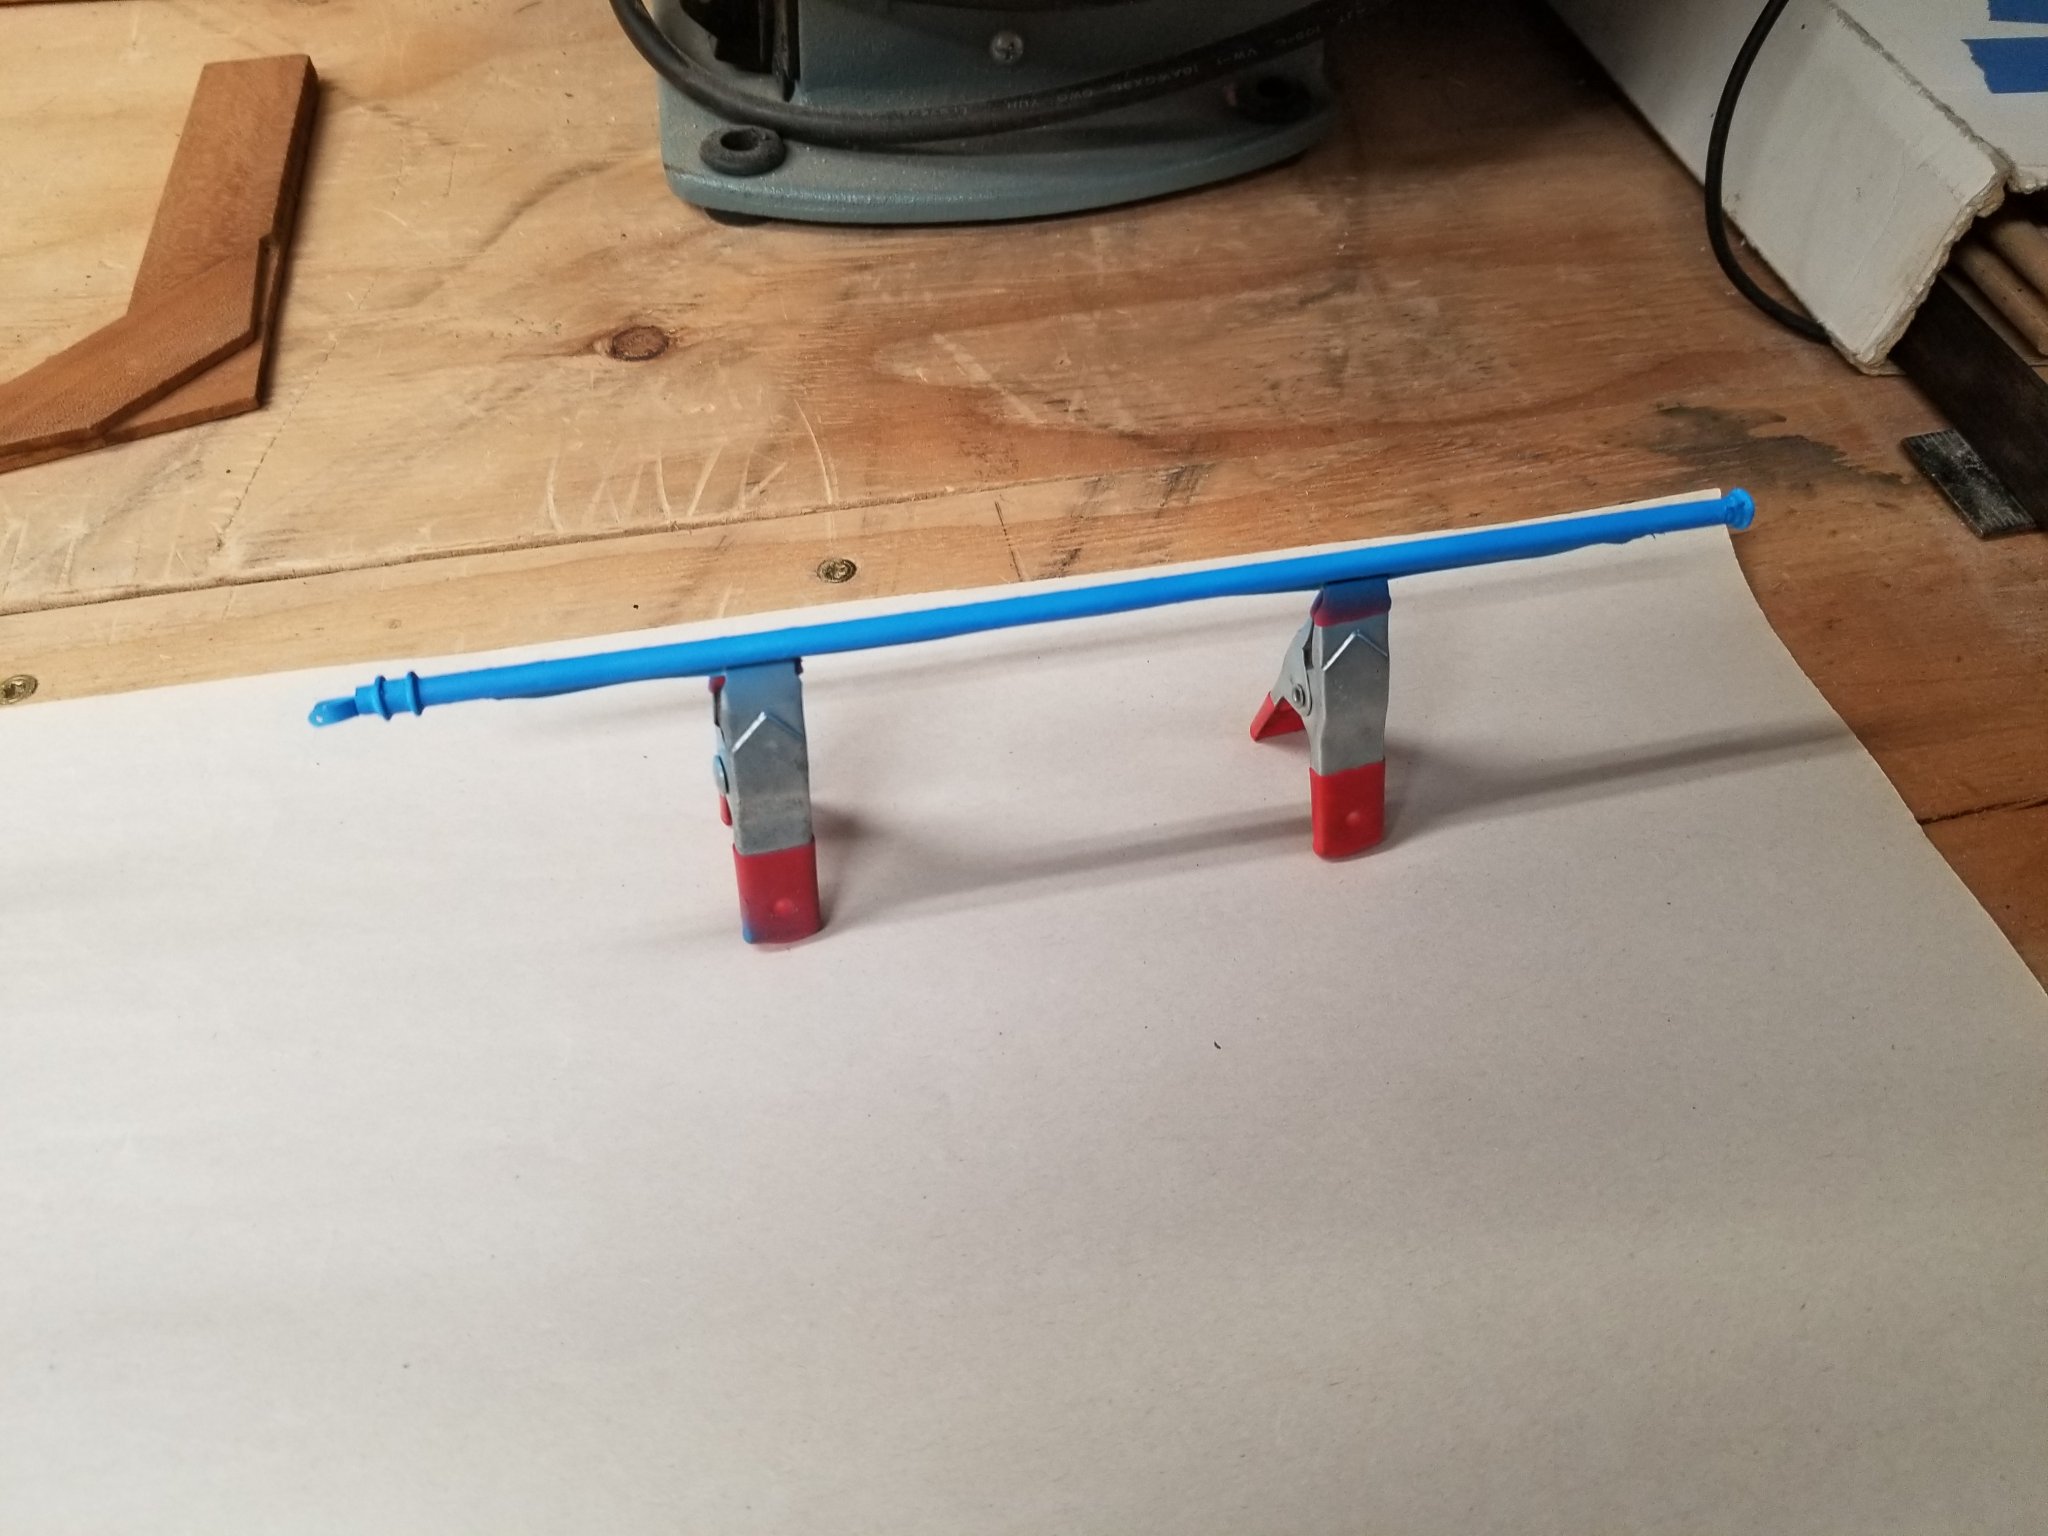
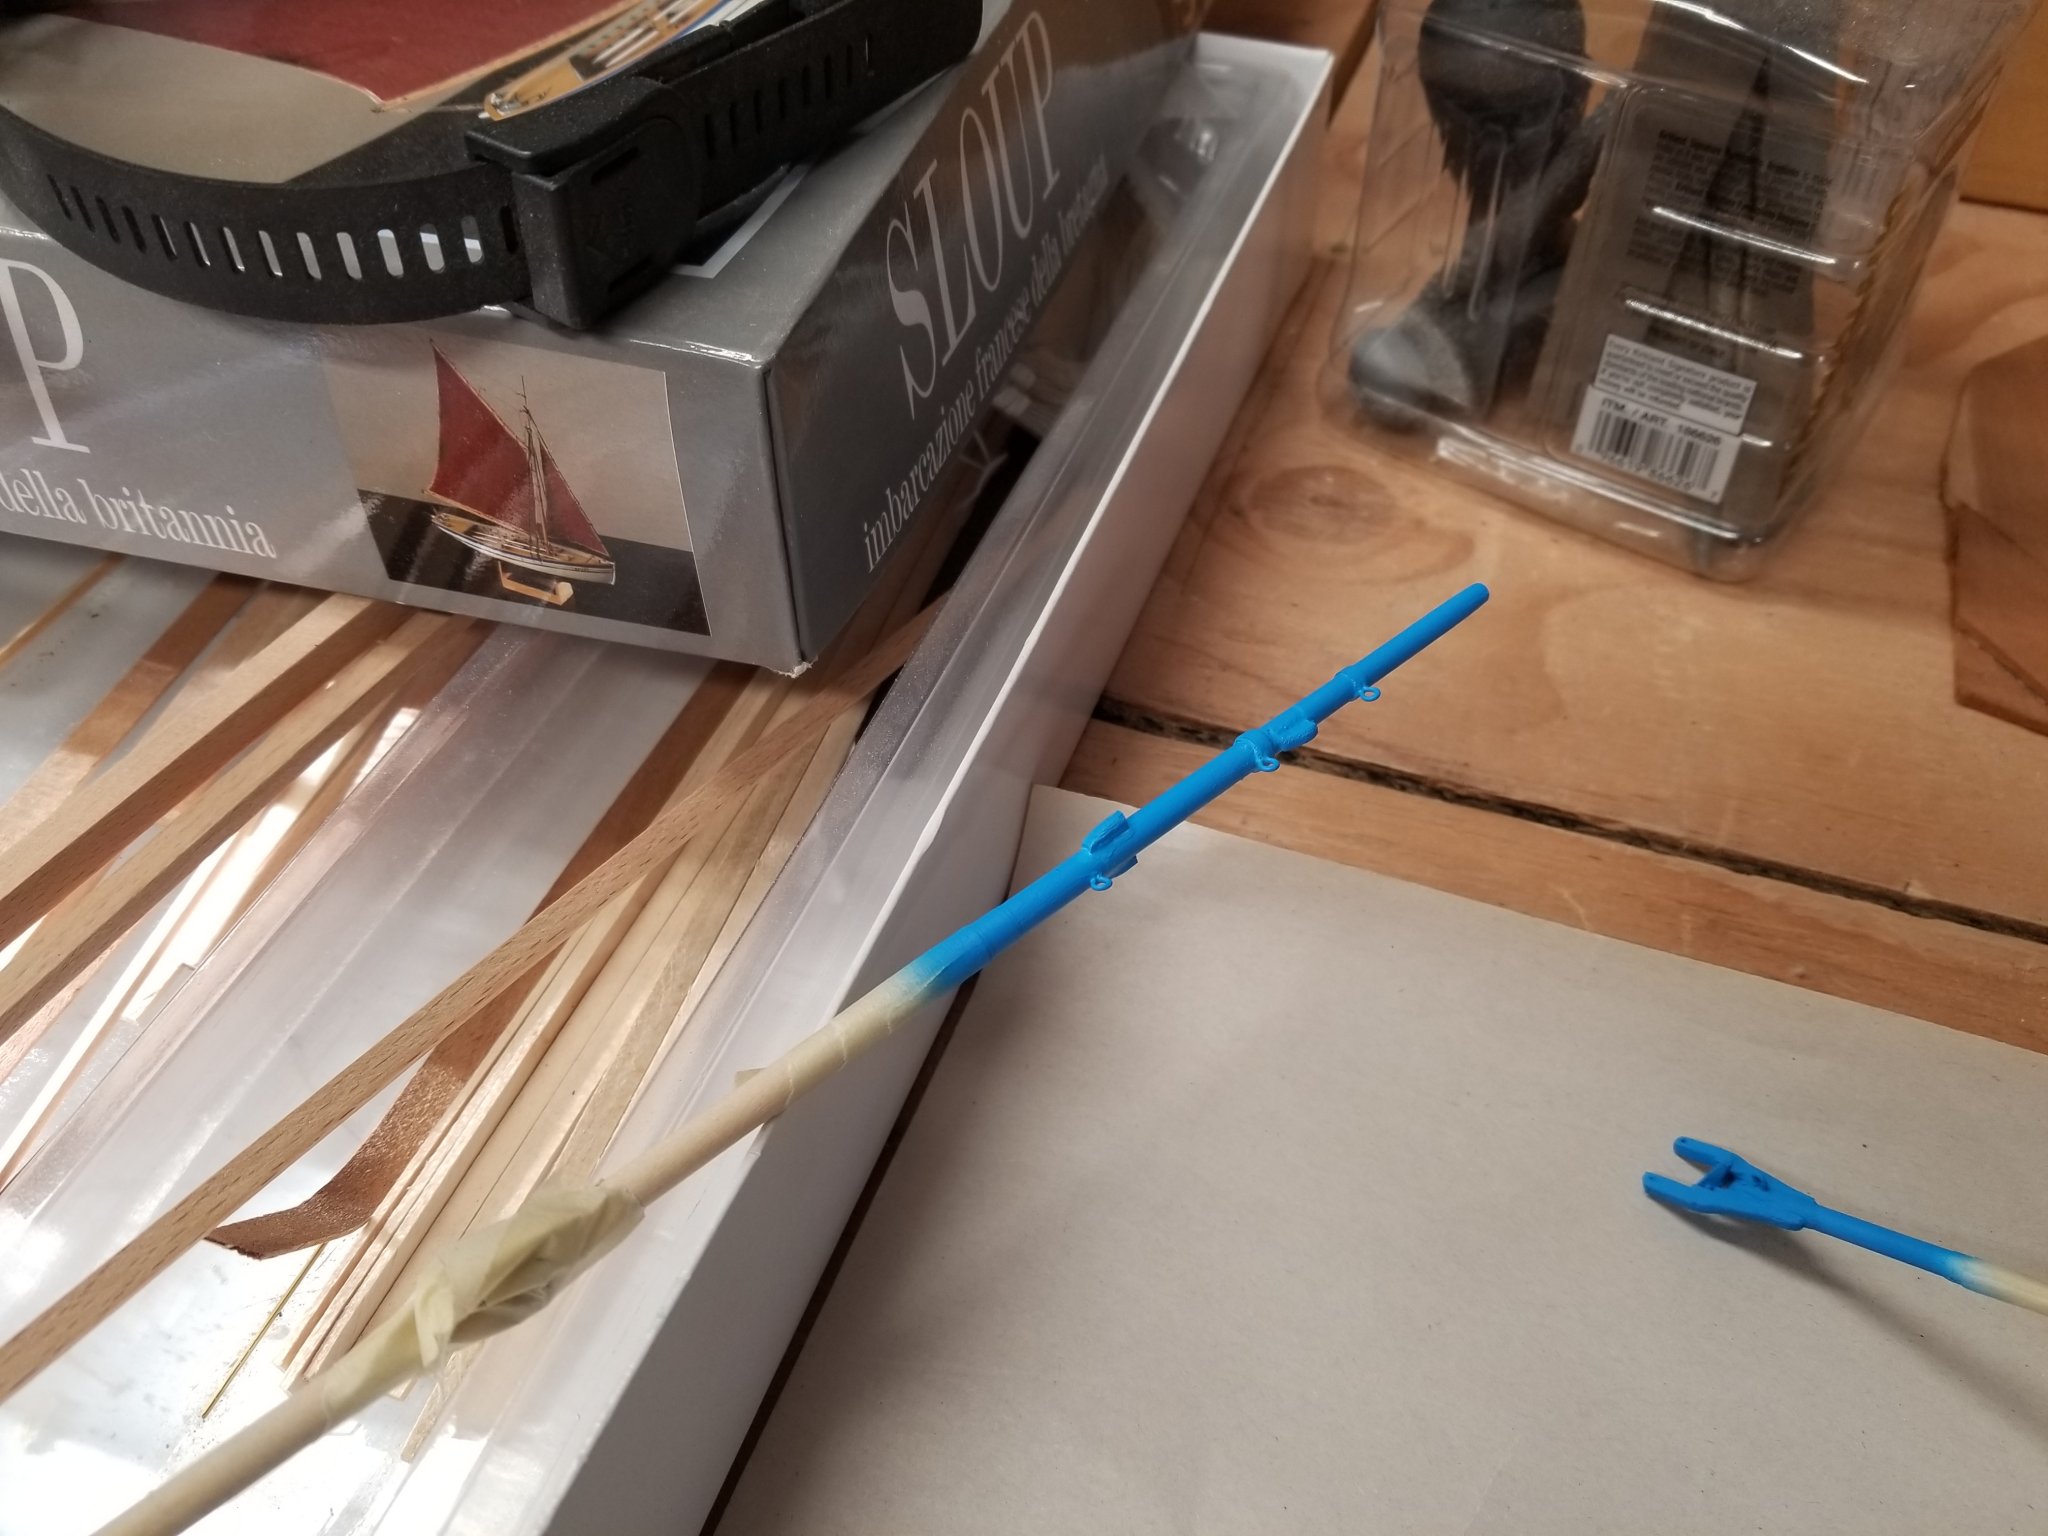
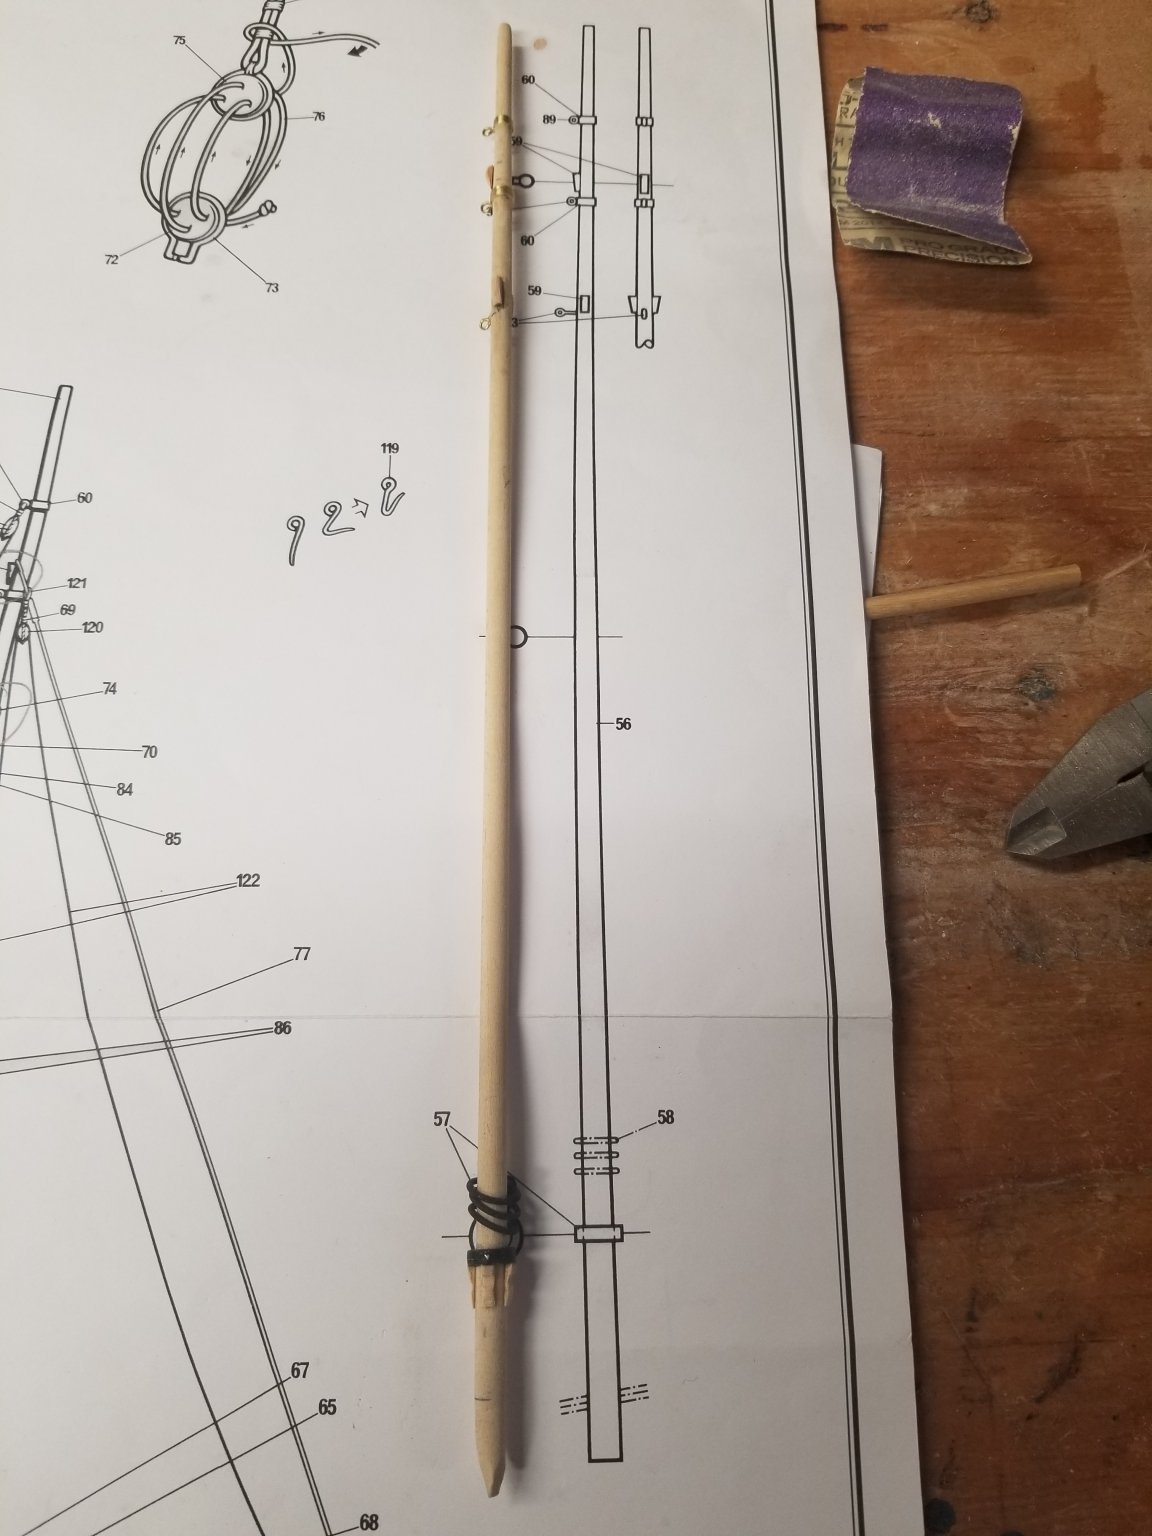
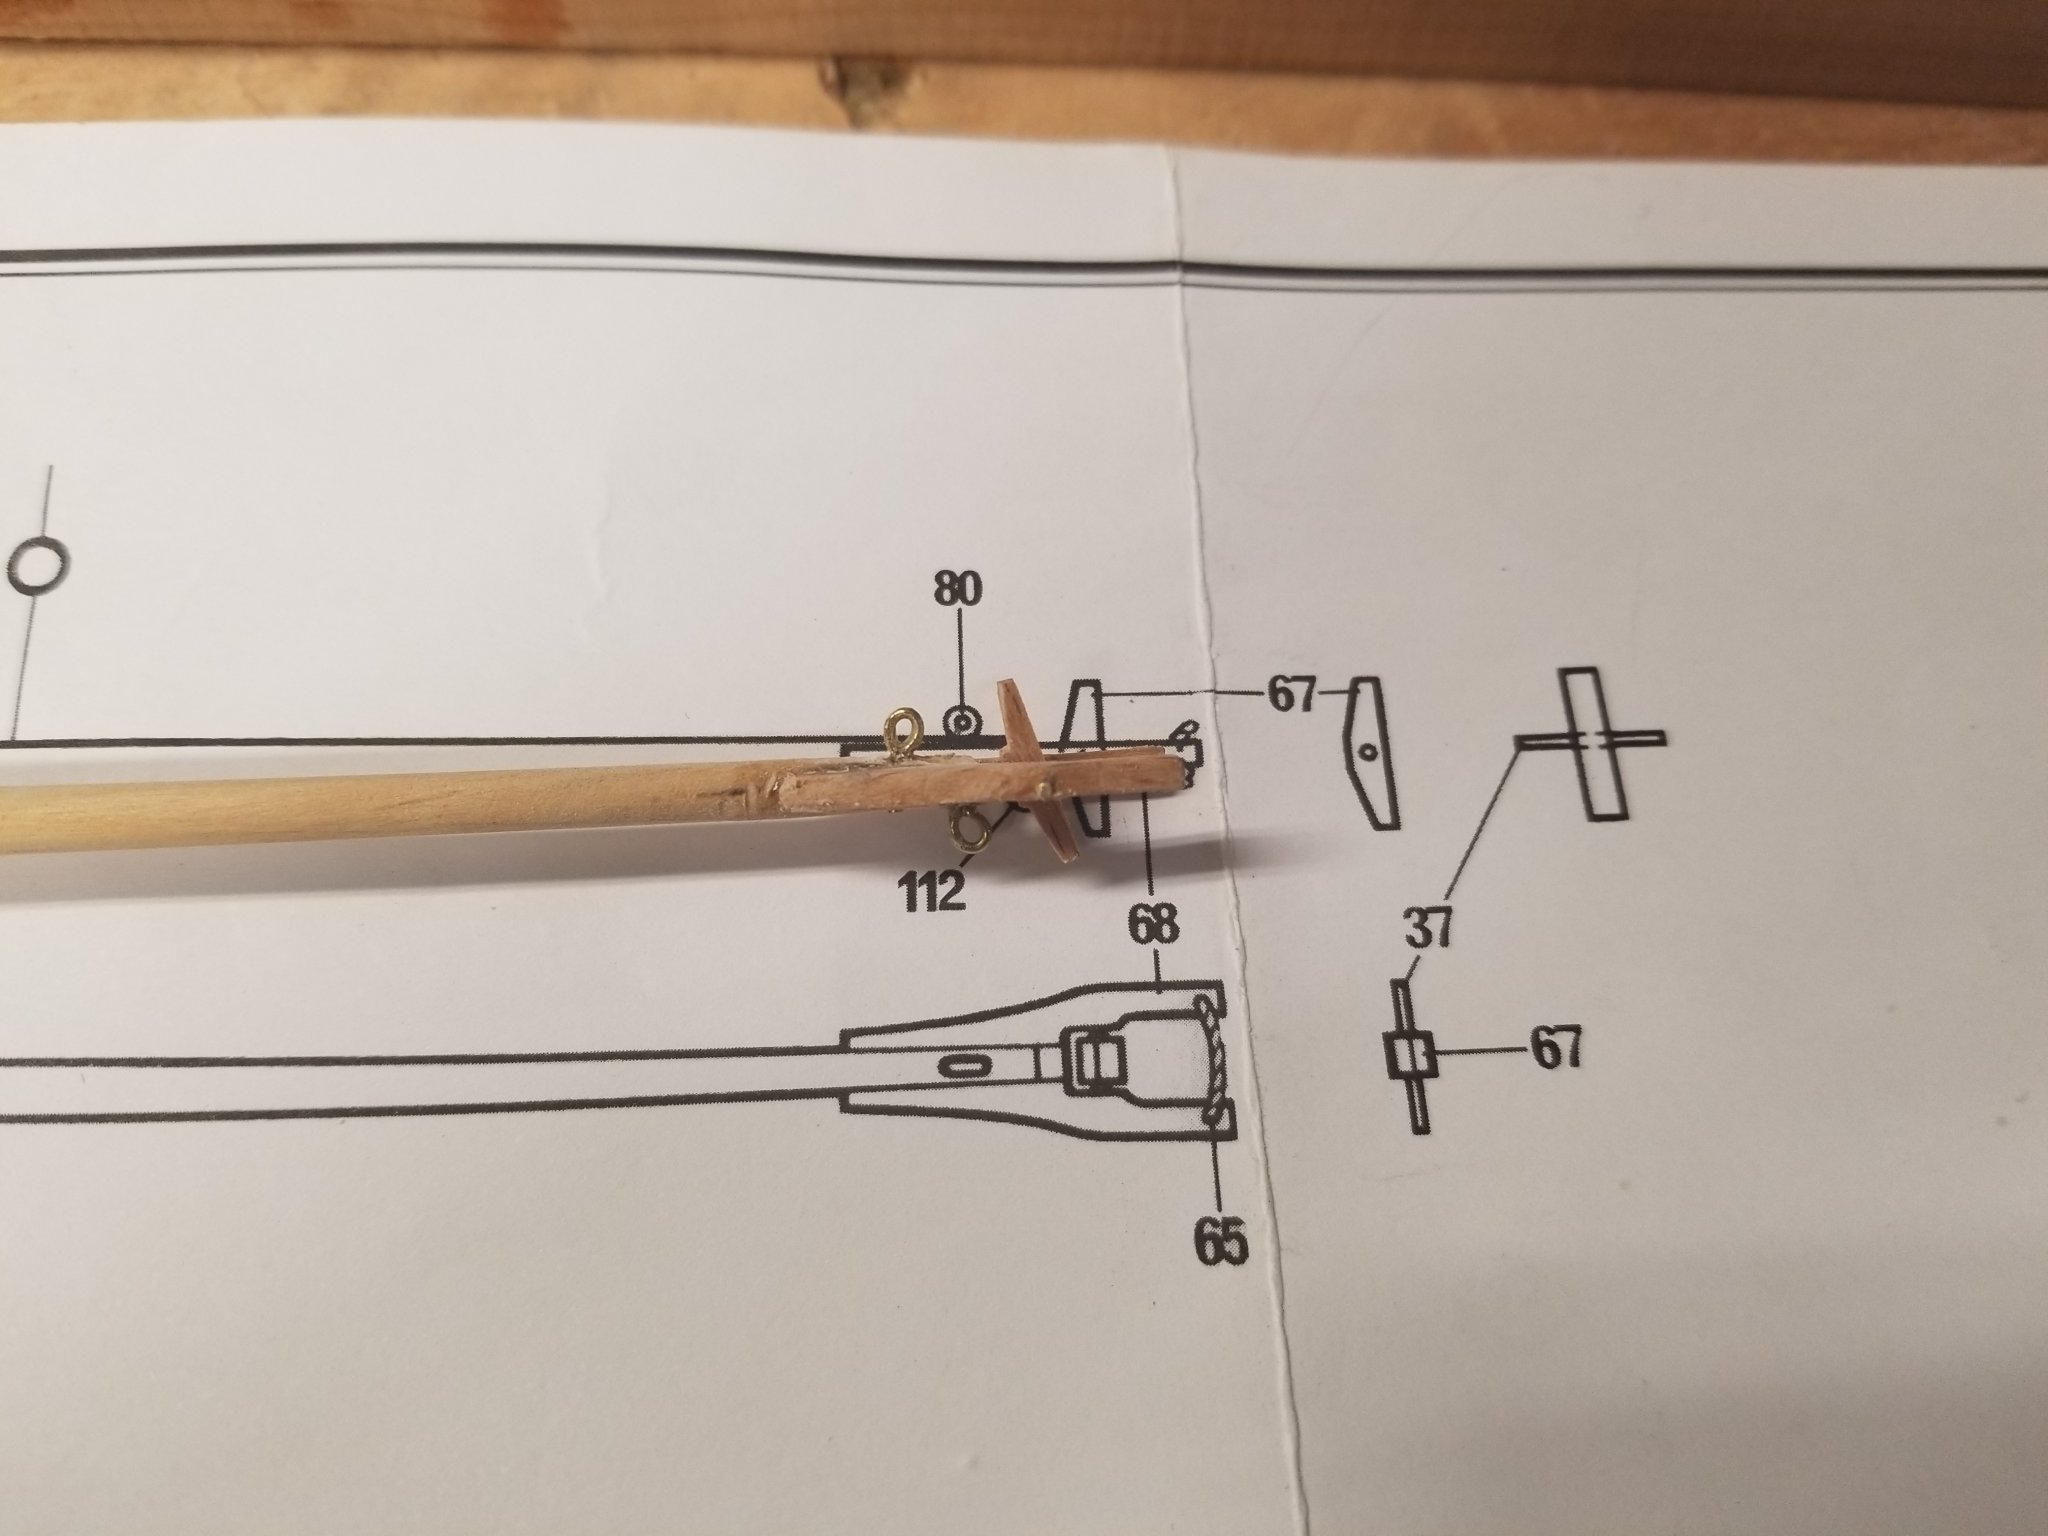
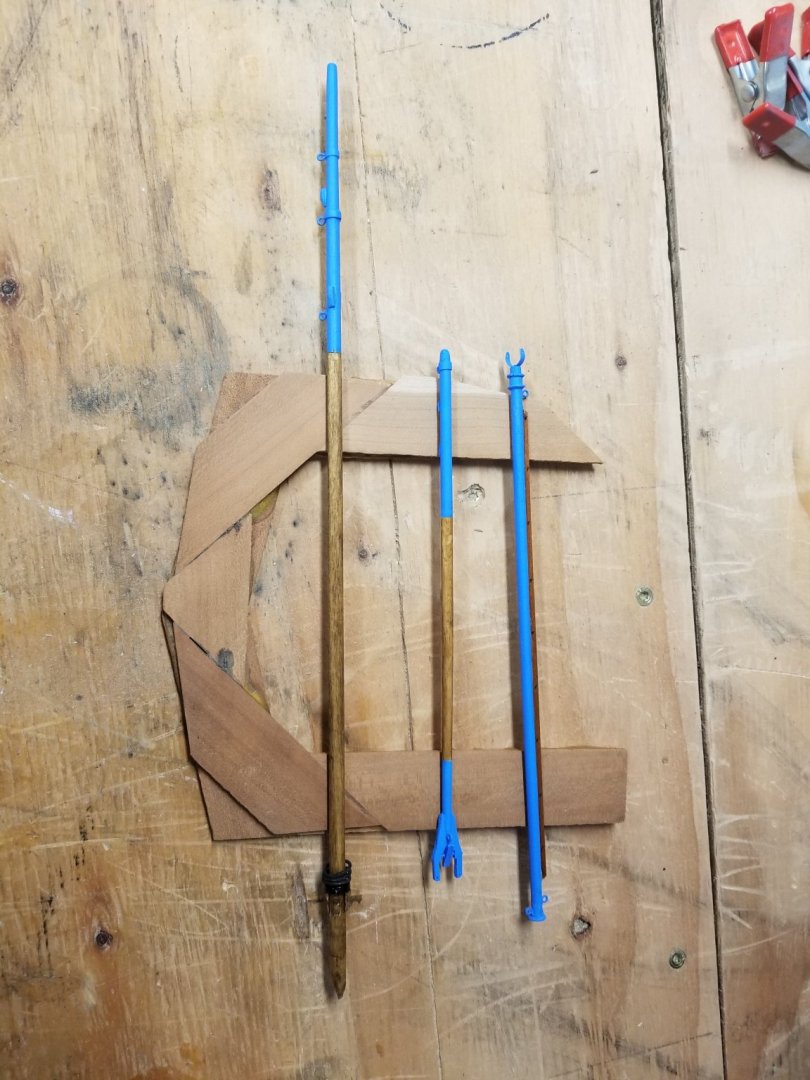
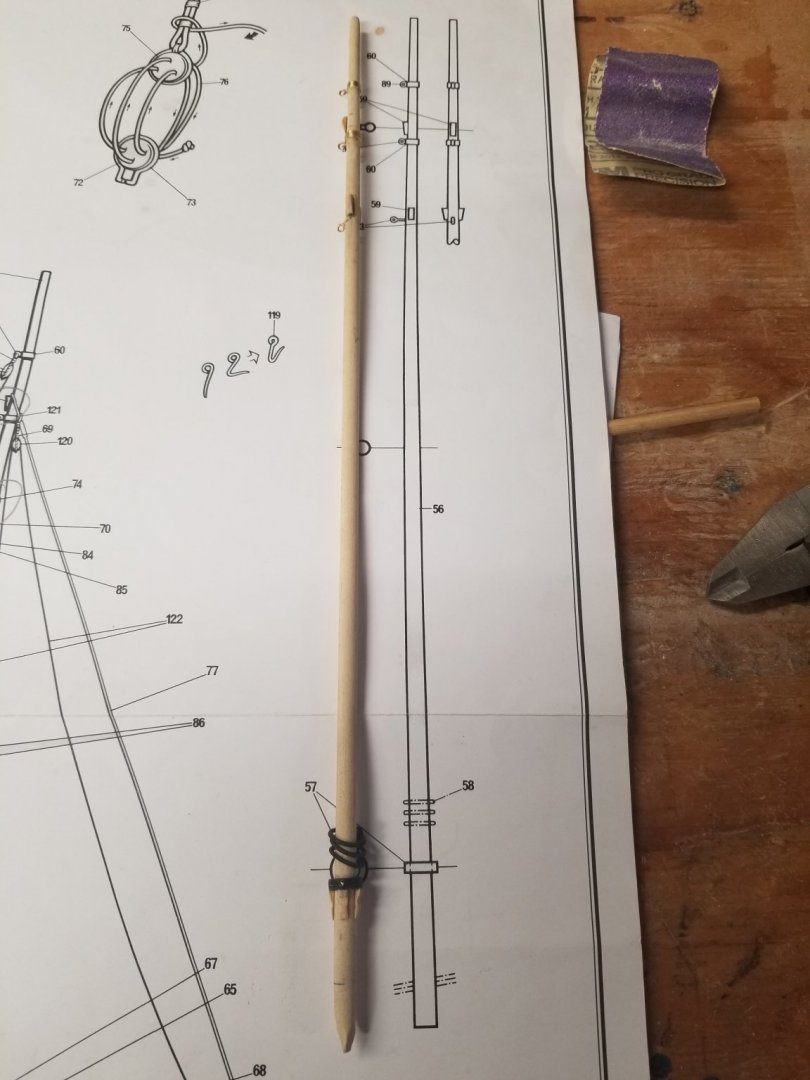
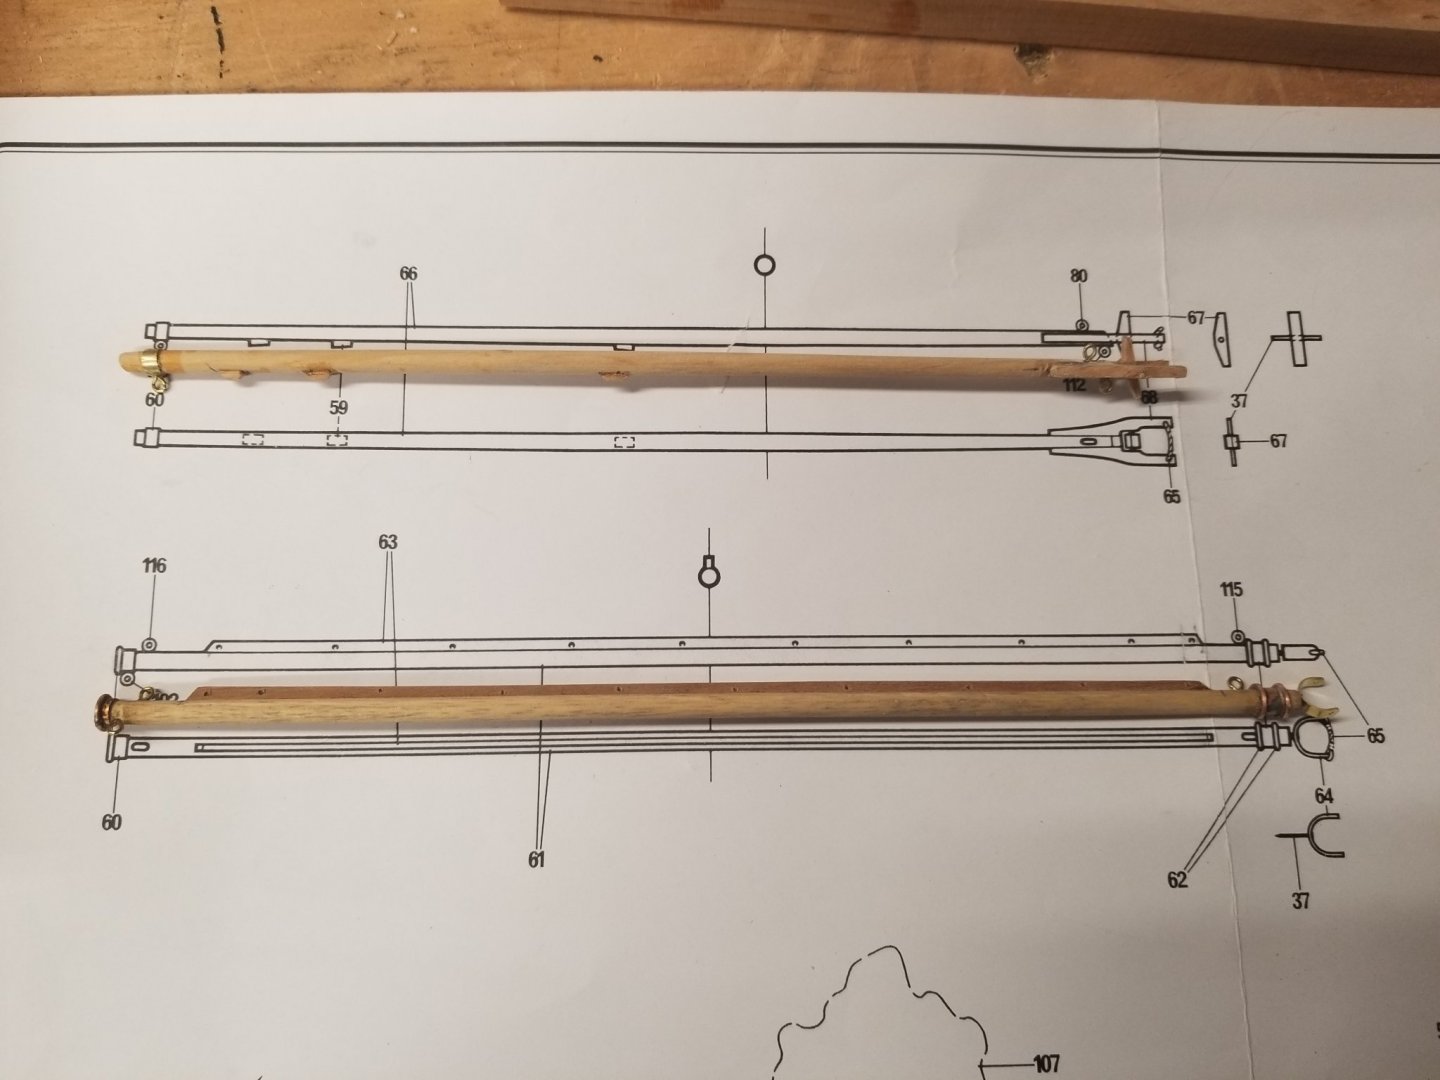
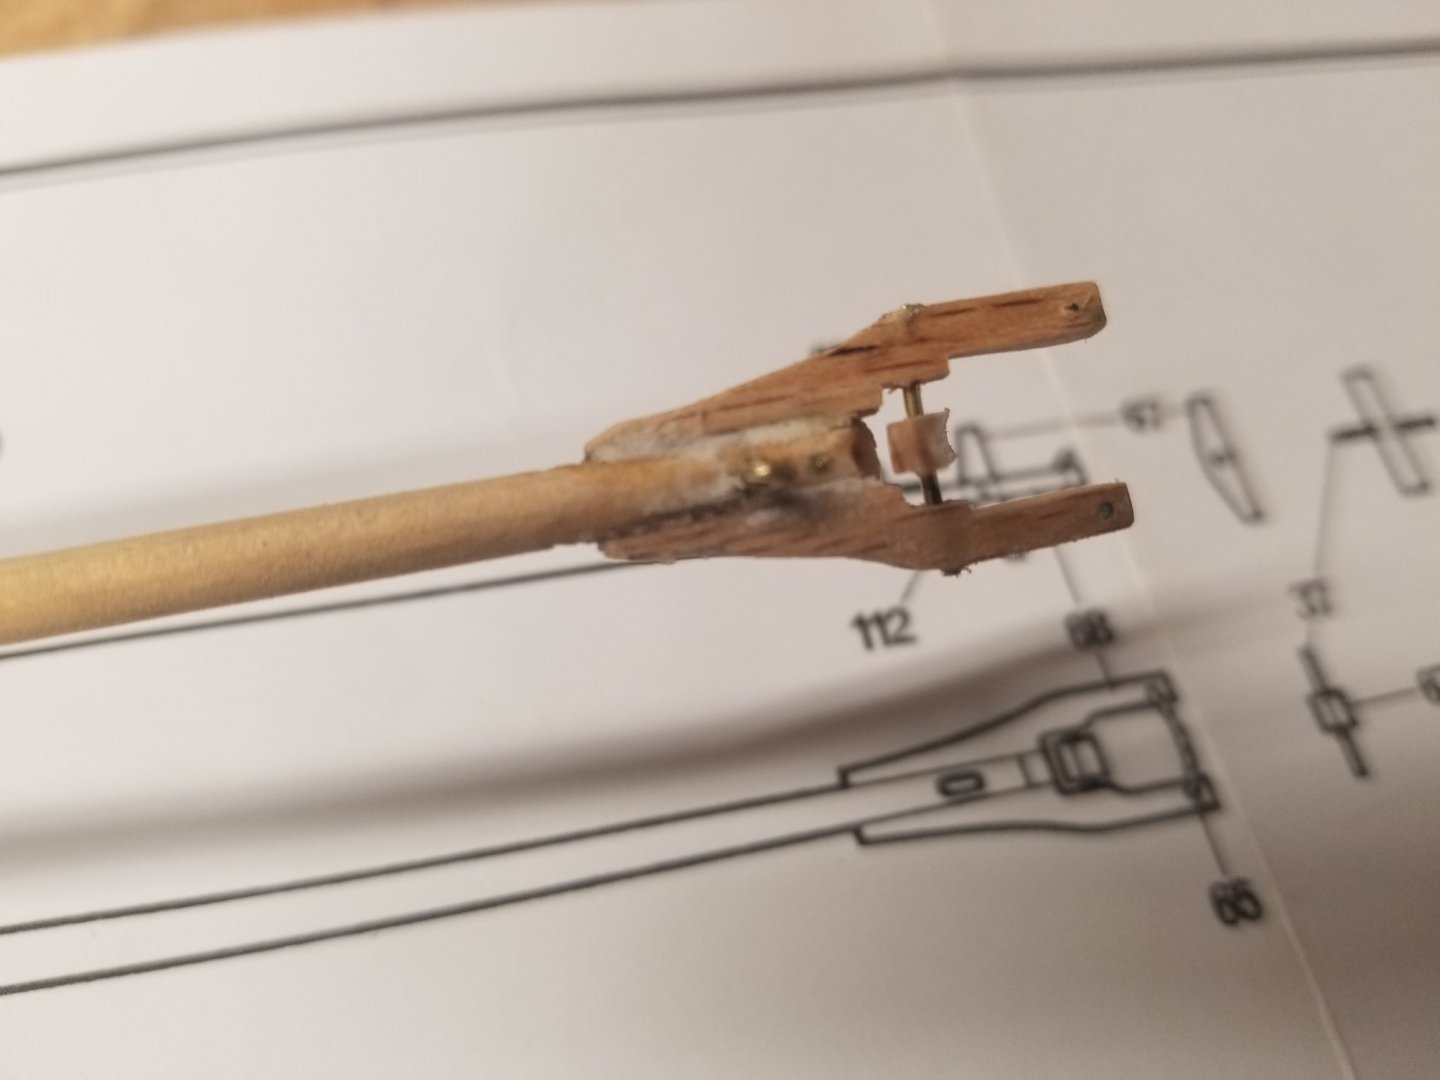
Completed the mast and gaffs construction. Next steps will be finalizing any sanding touches, staining and painting.

-
Dead-eyes and chain plates in position. I will be starting masts either tomorrow or the day after.

-
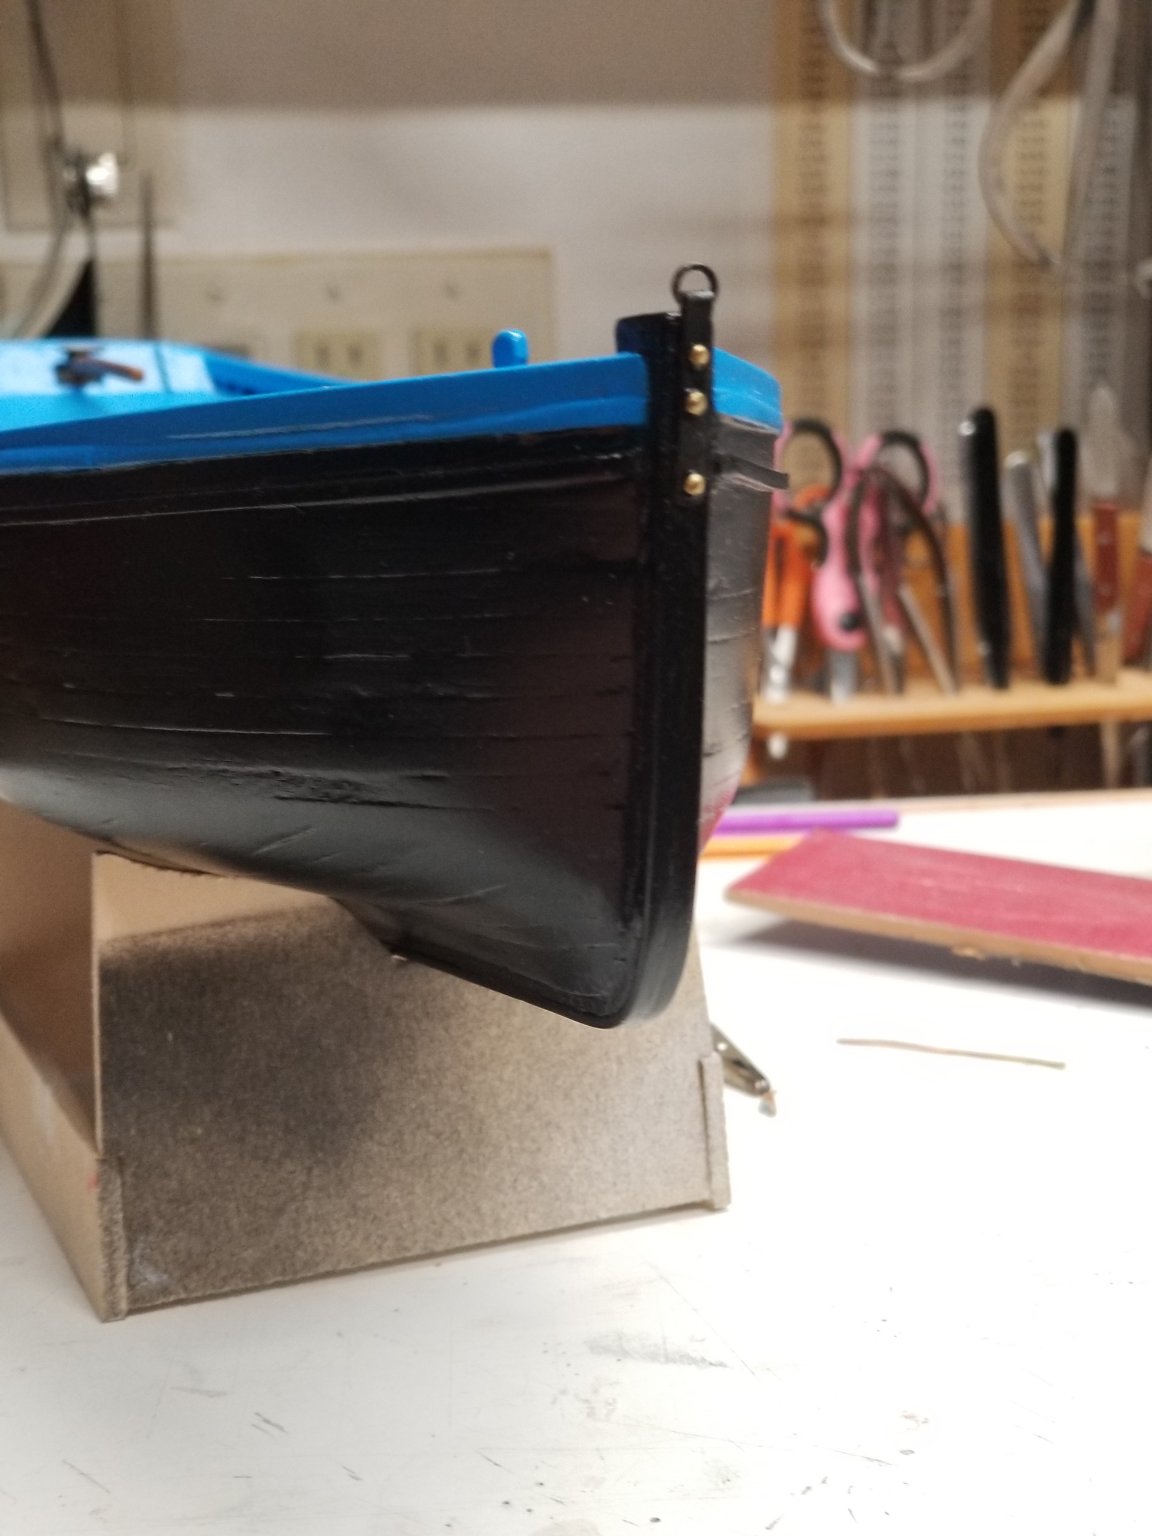
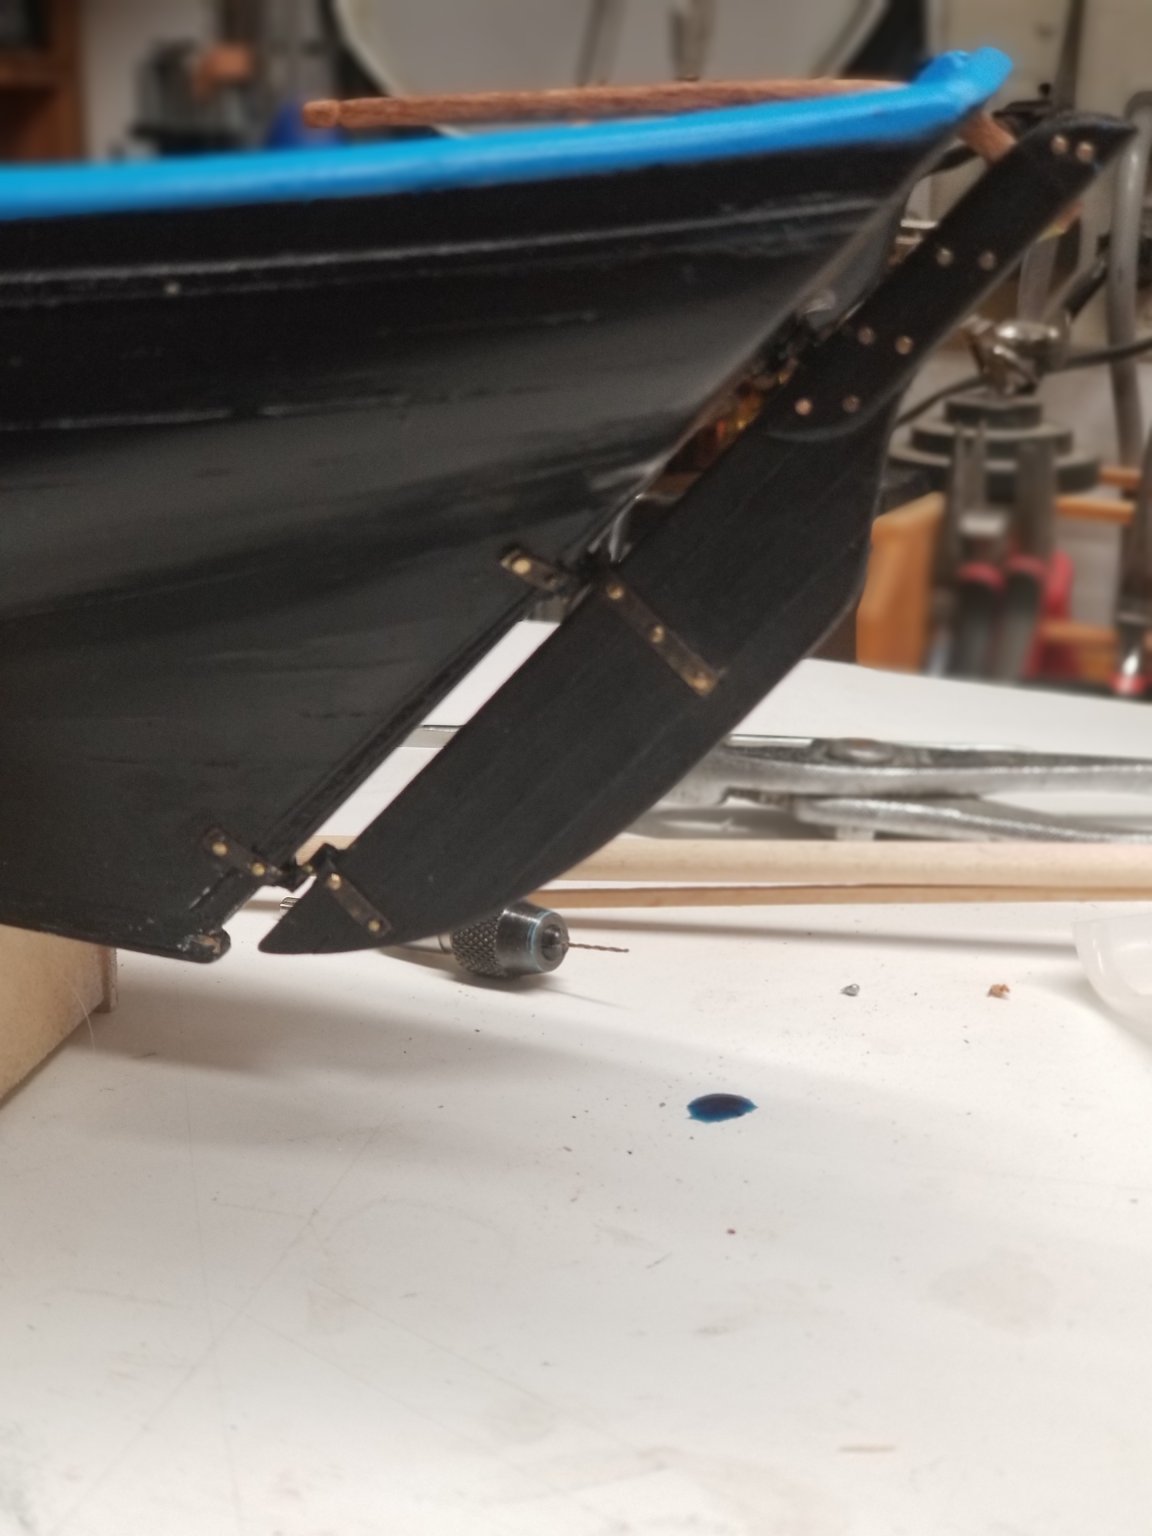
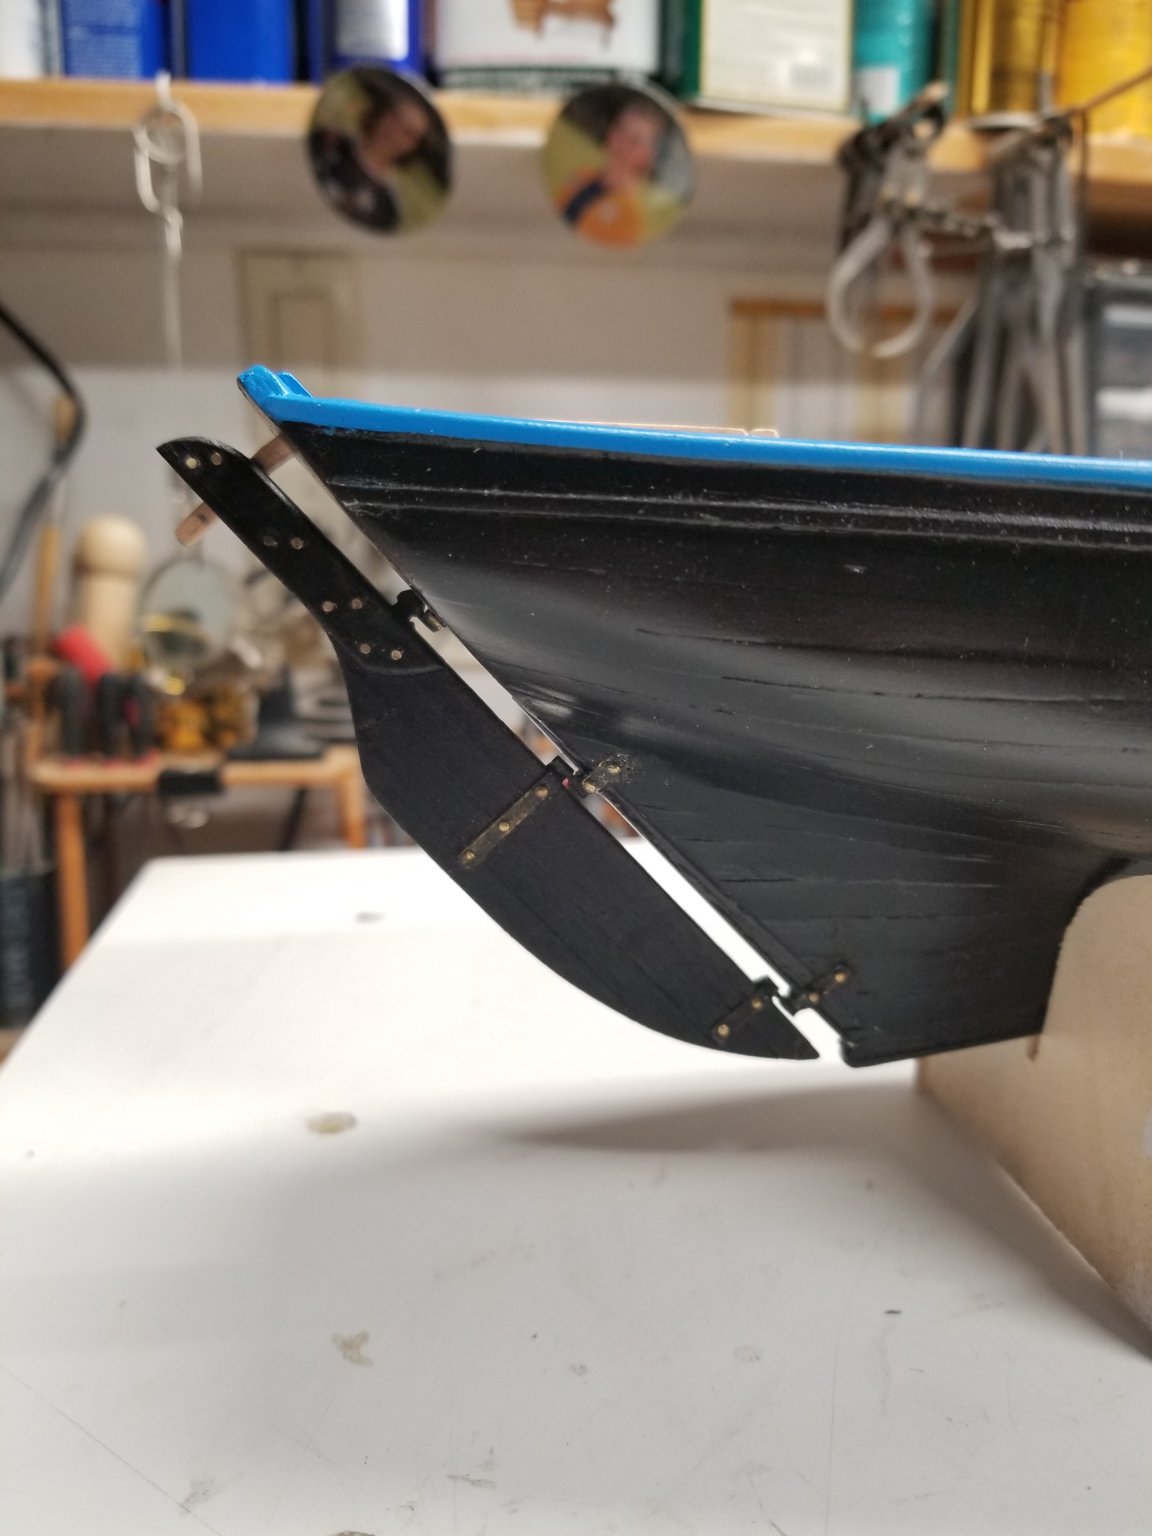
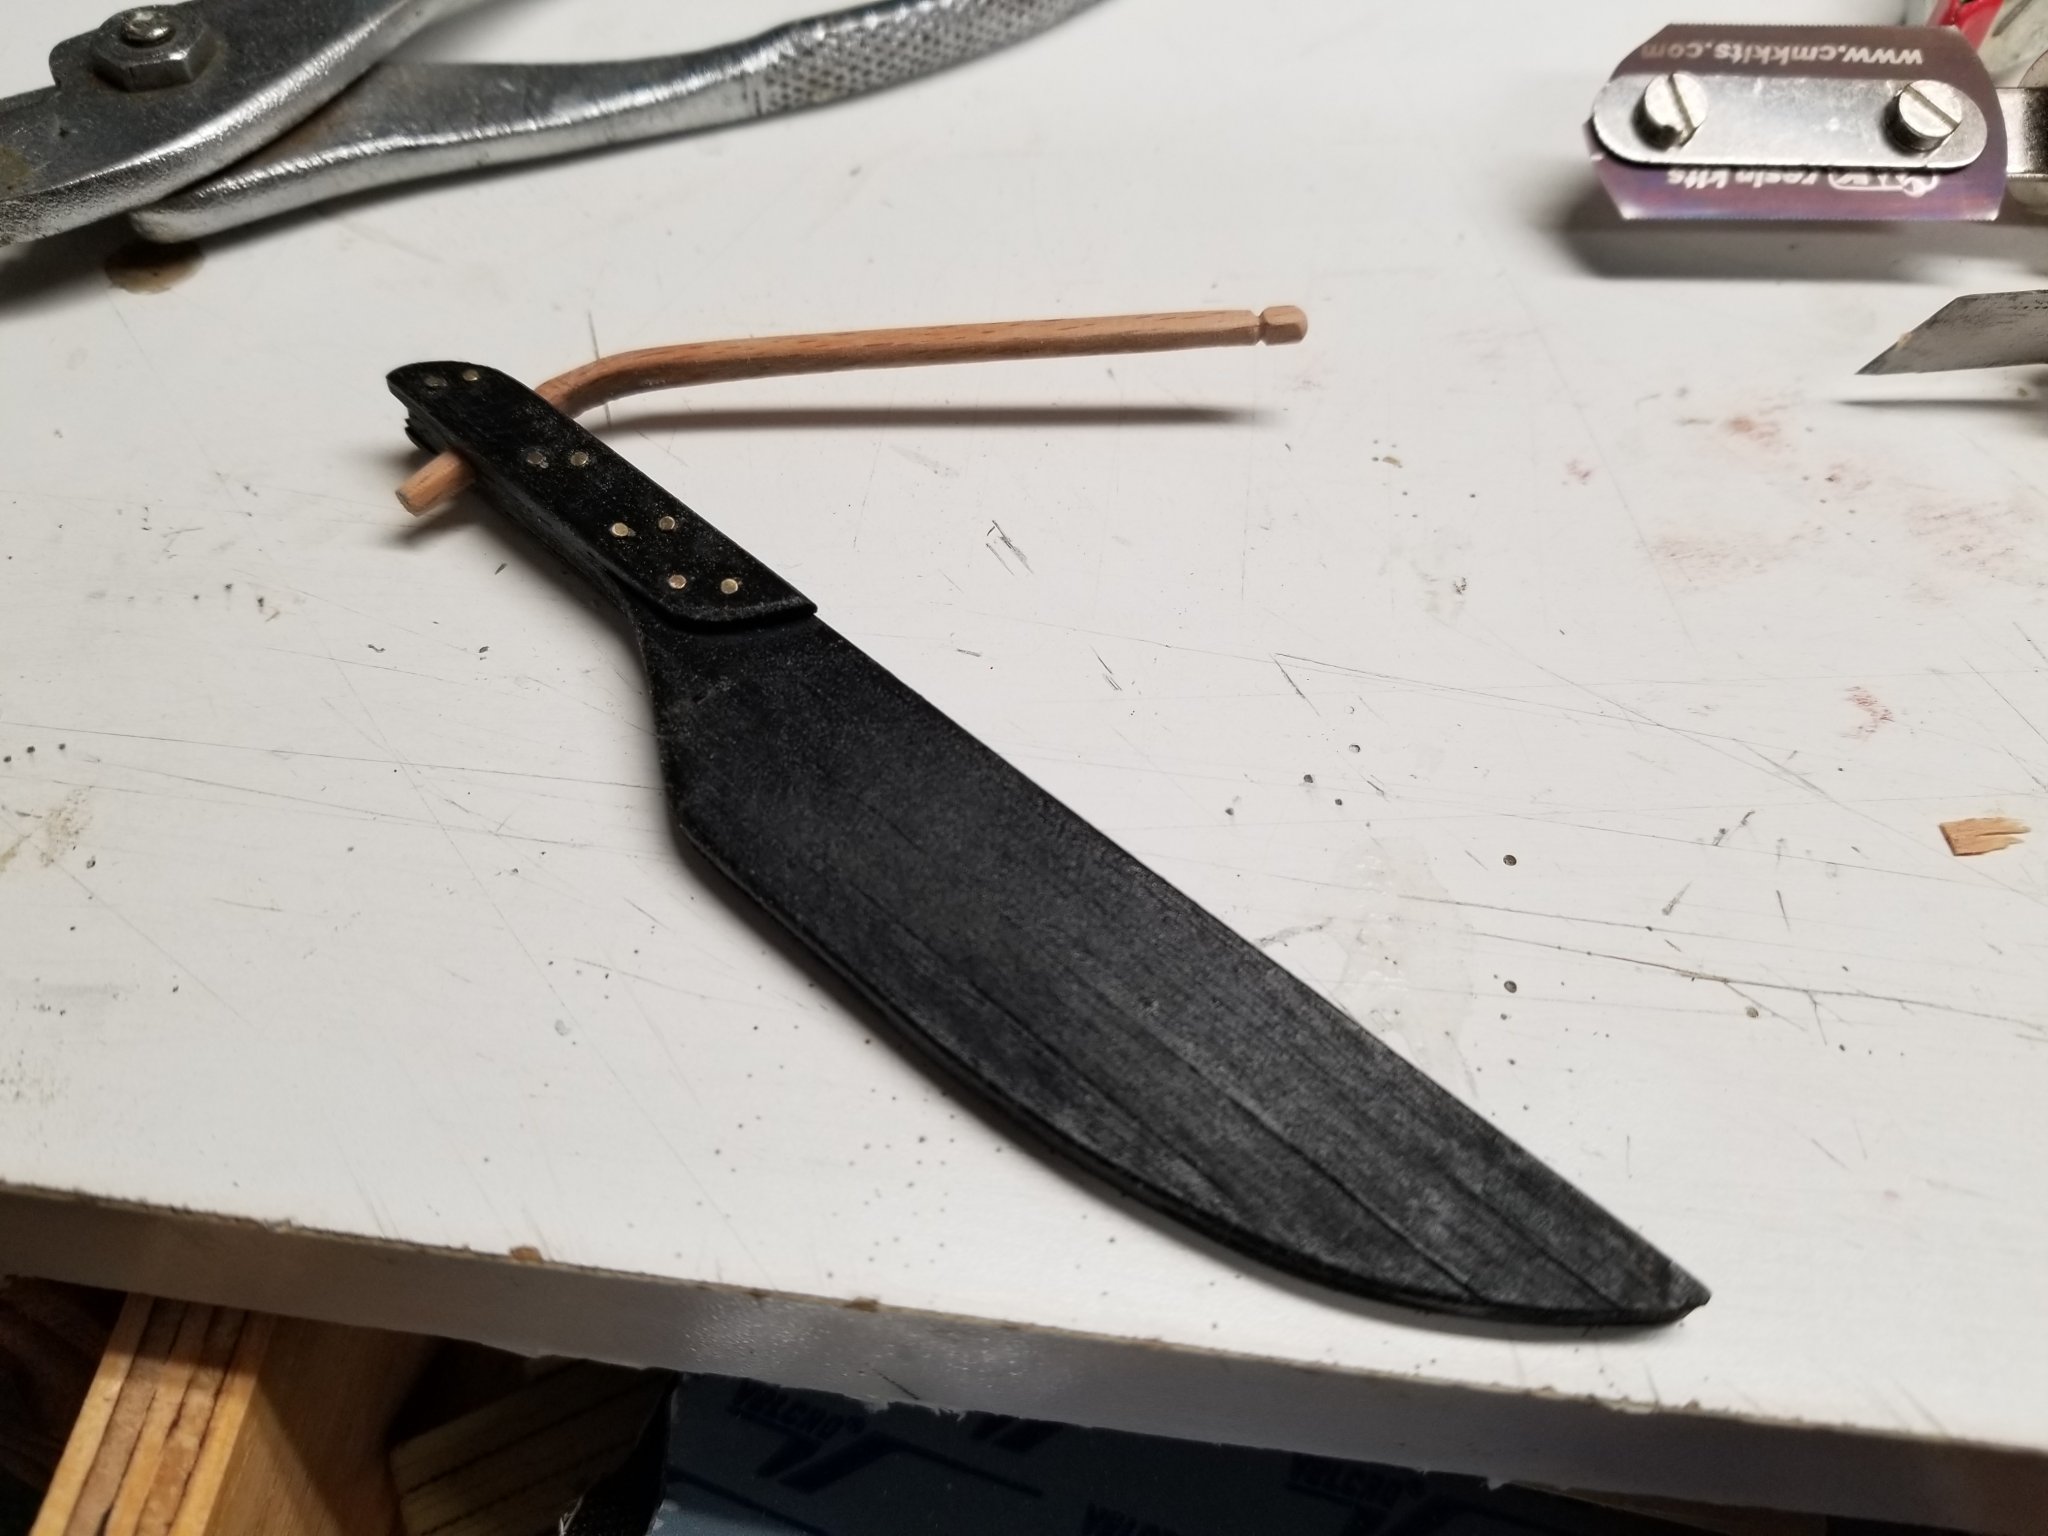
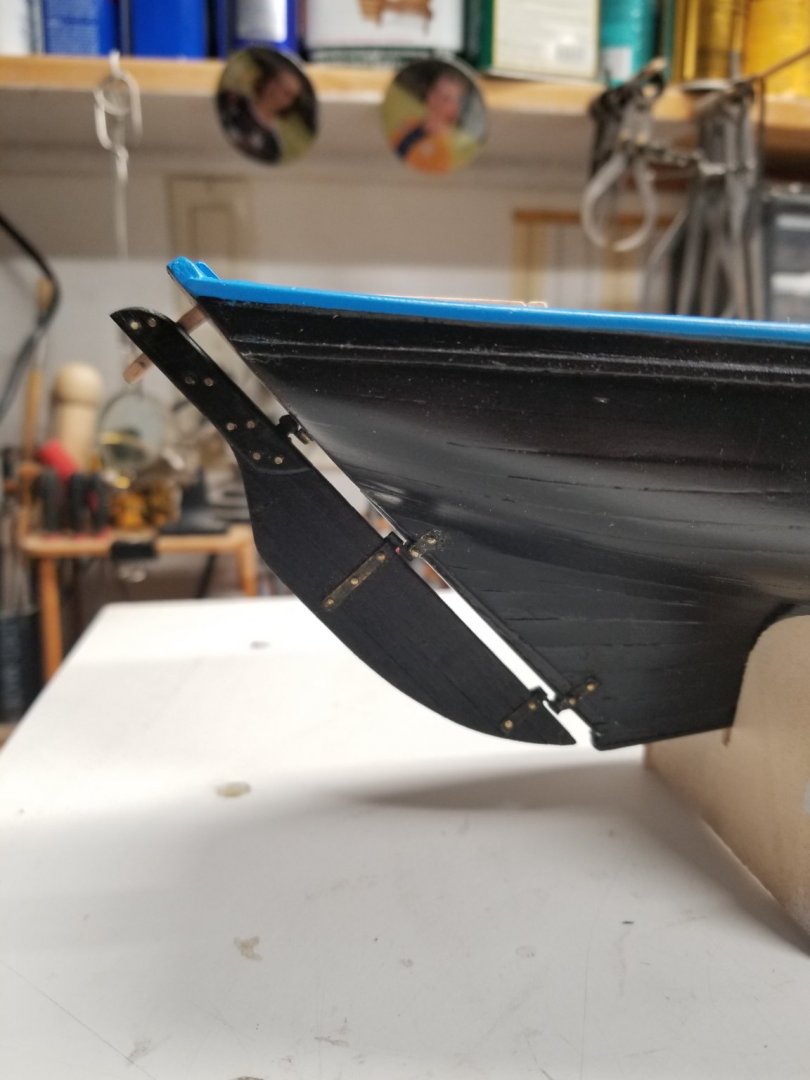
Working on the rudder continues... A liitte soldering and voilà! I still have to touch up the paint which was a little bit damaged in the process. 😕


-
Little jig to ensure the frames are perfectly flat and of the exact thickness.

- 50 replies
-
- 6
-
-
- rattlesnake
- brig
- (and 1 more)
-
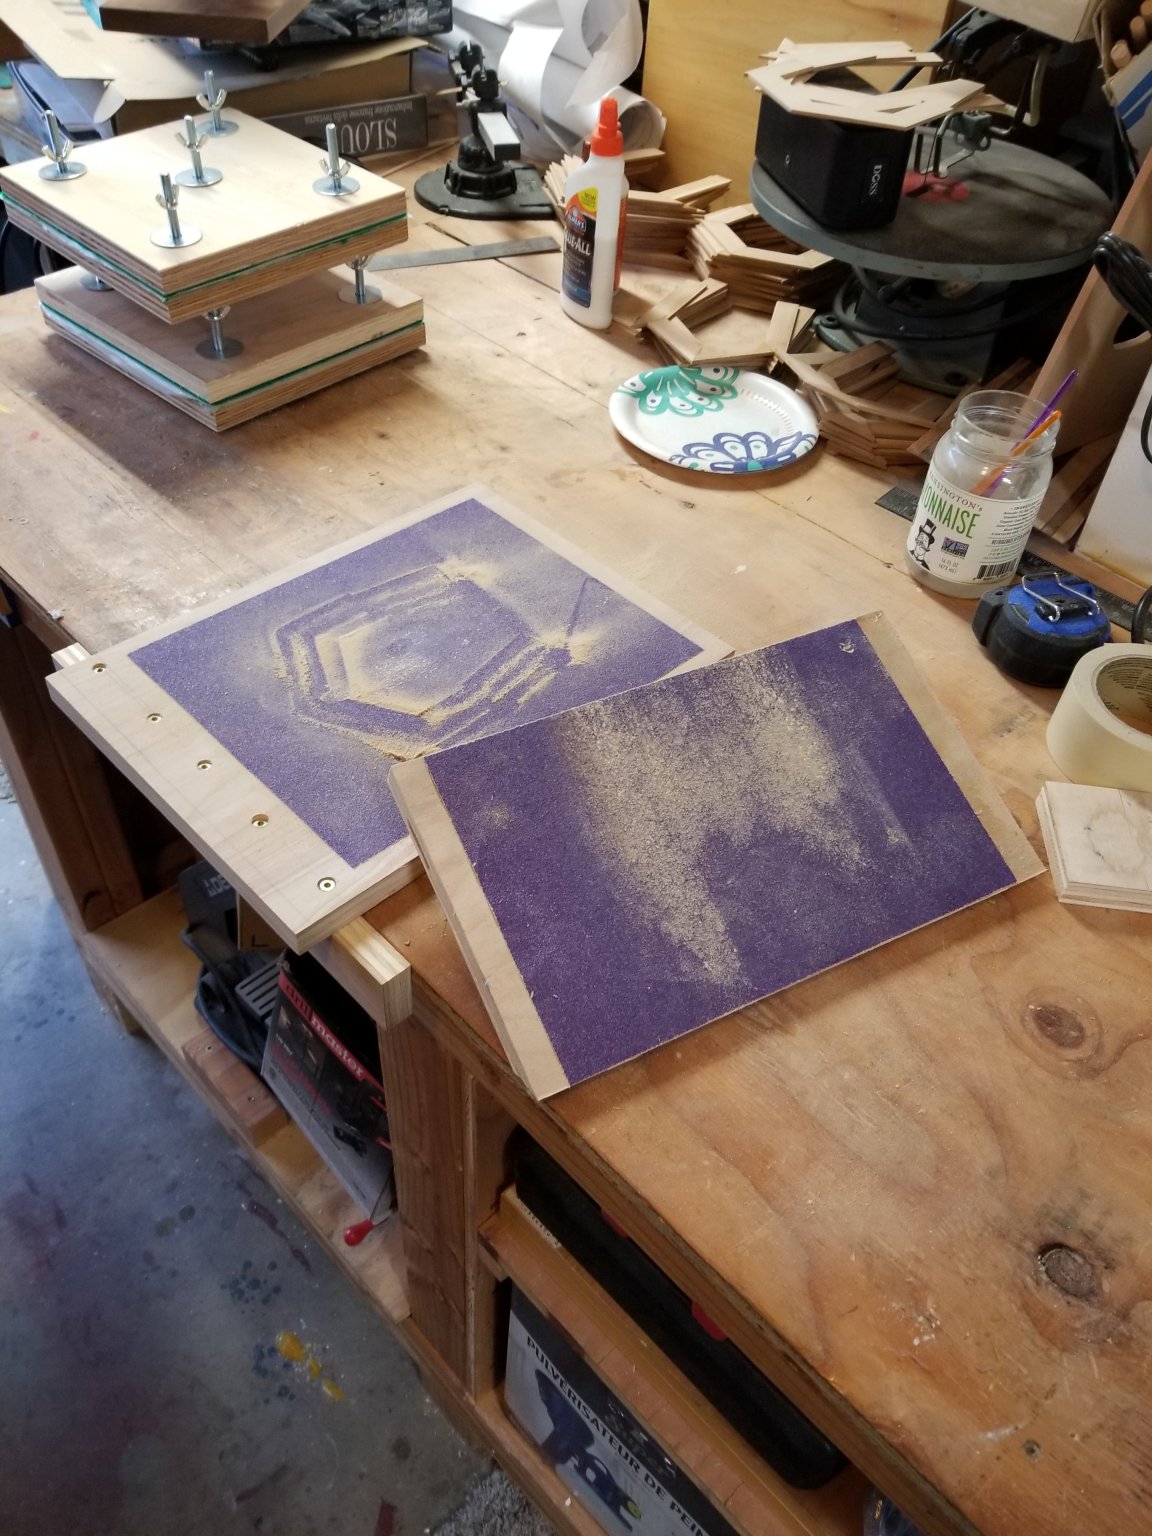
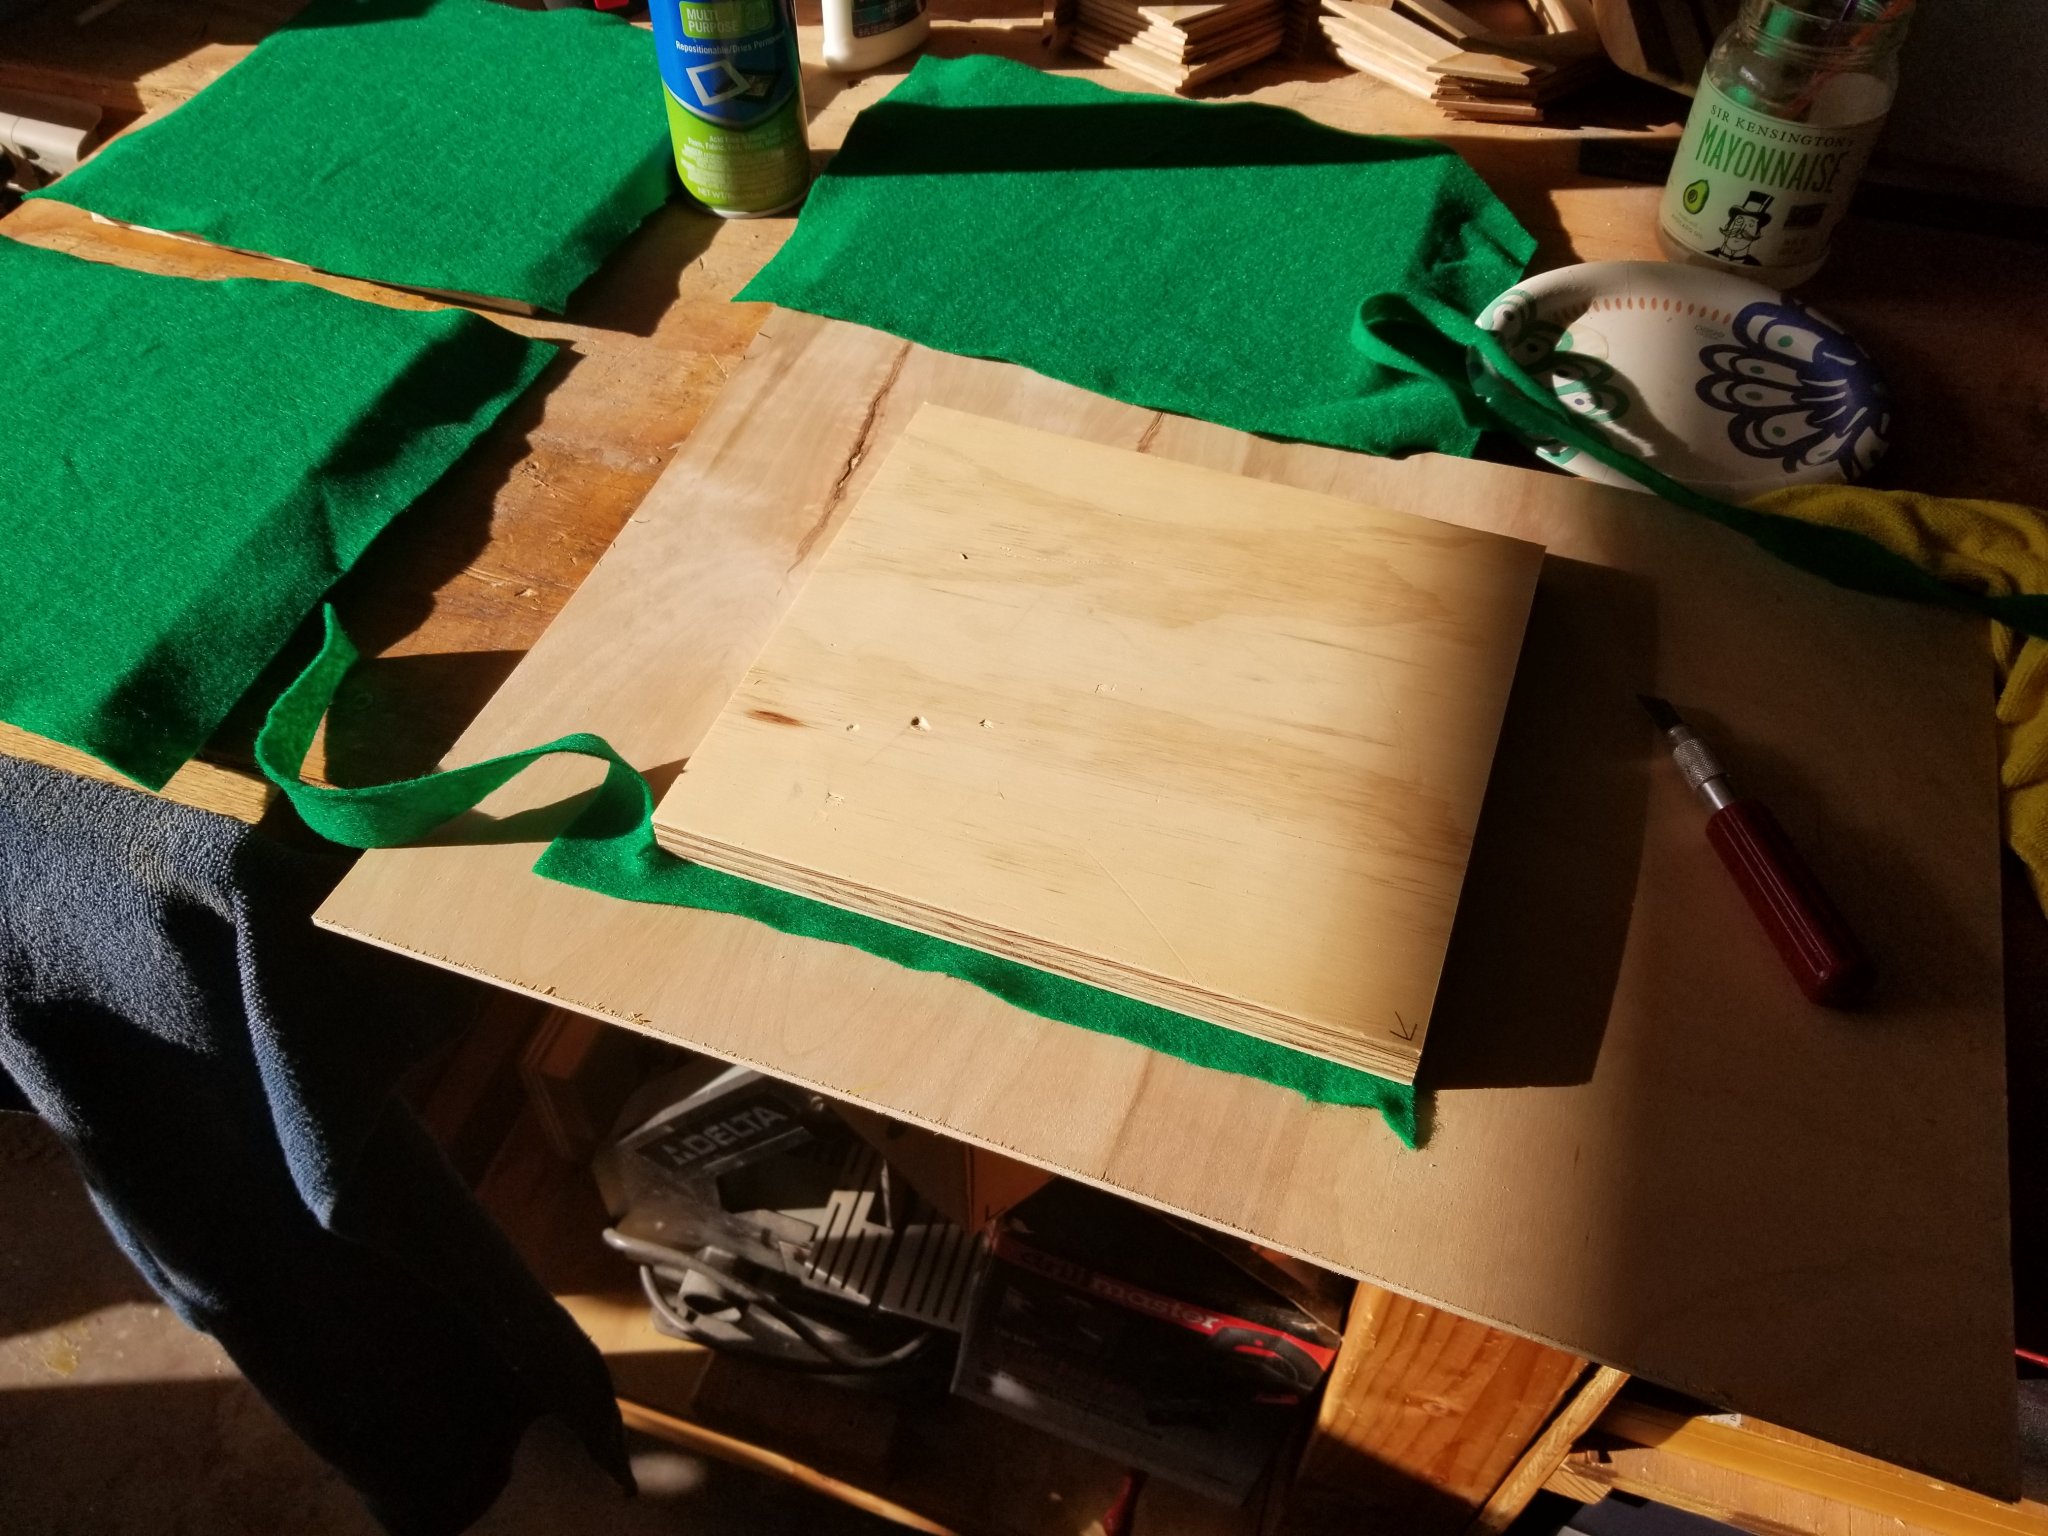
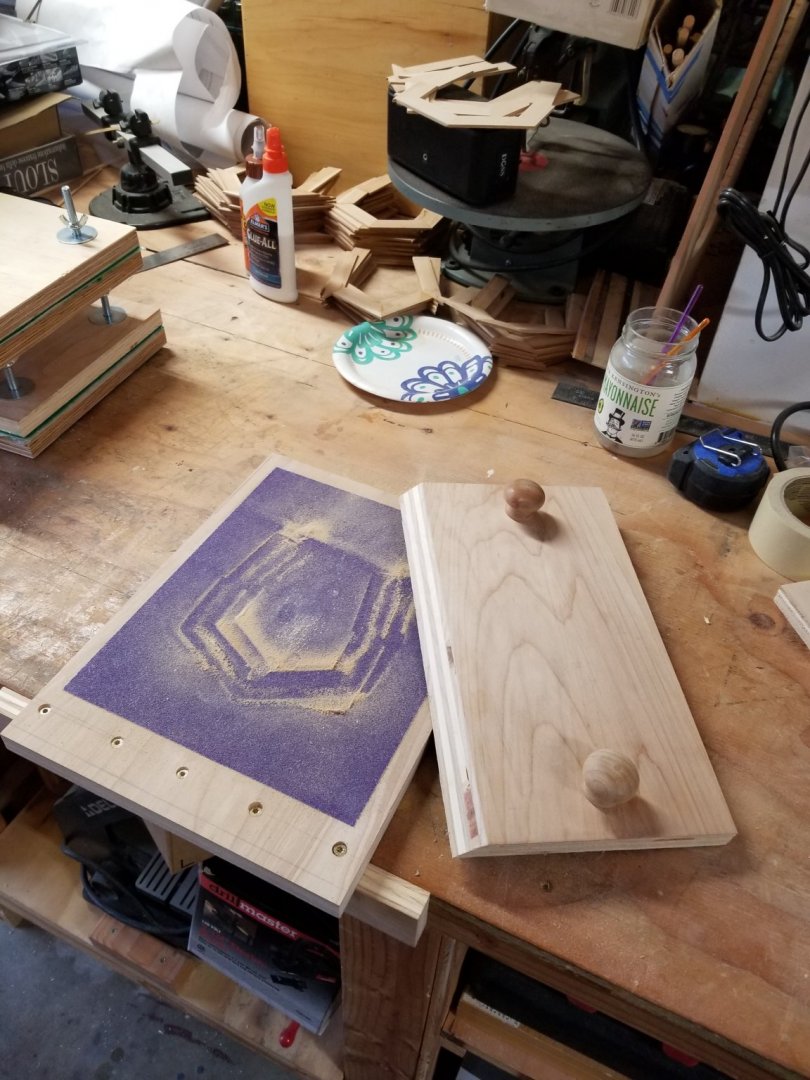
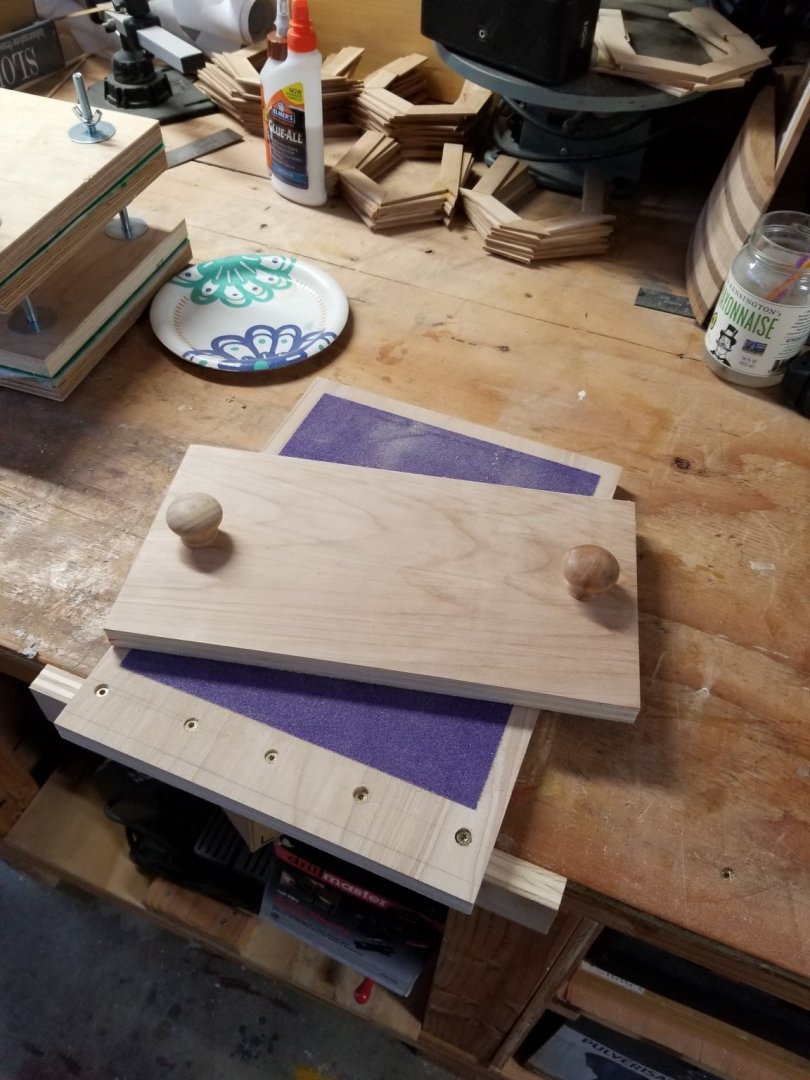
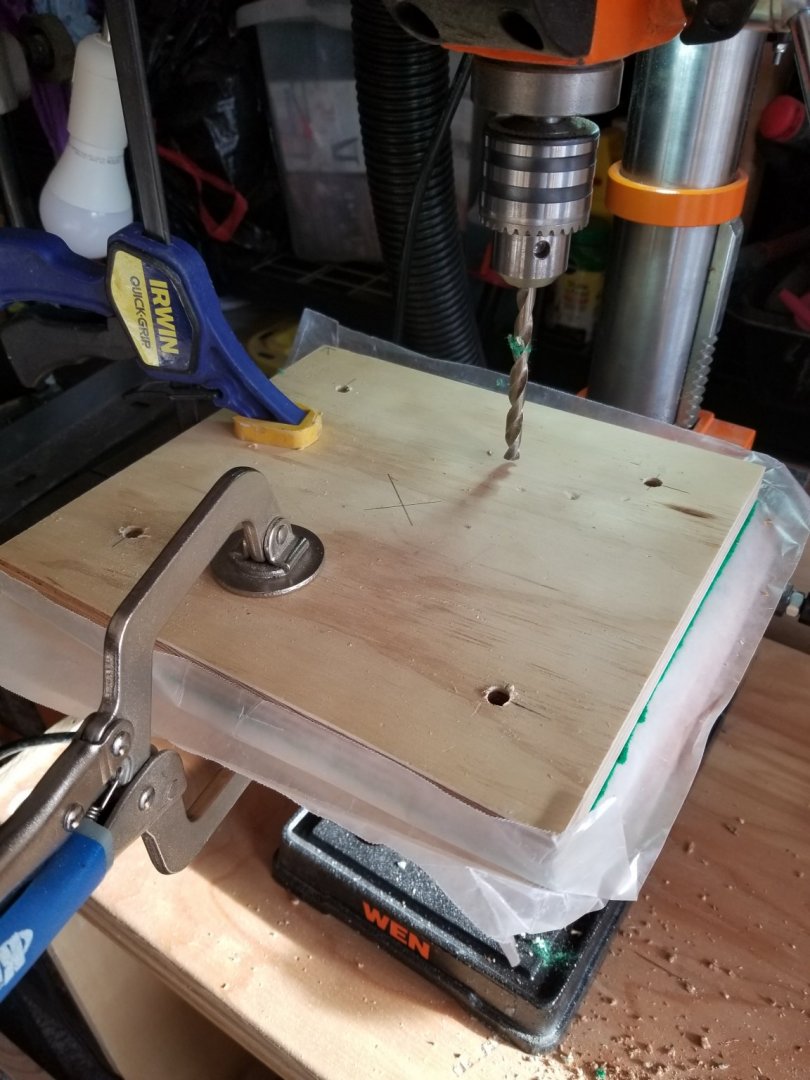
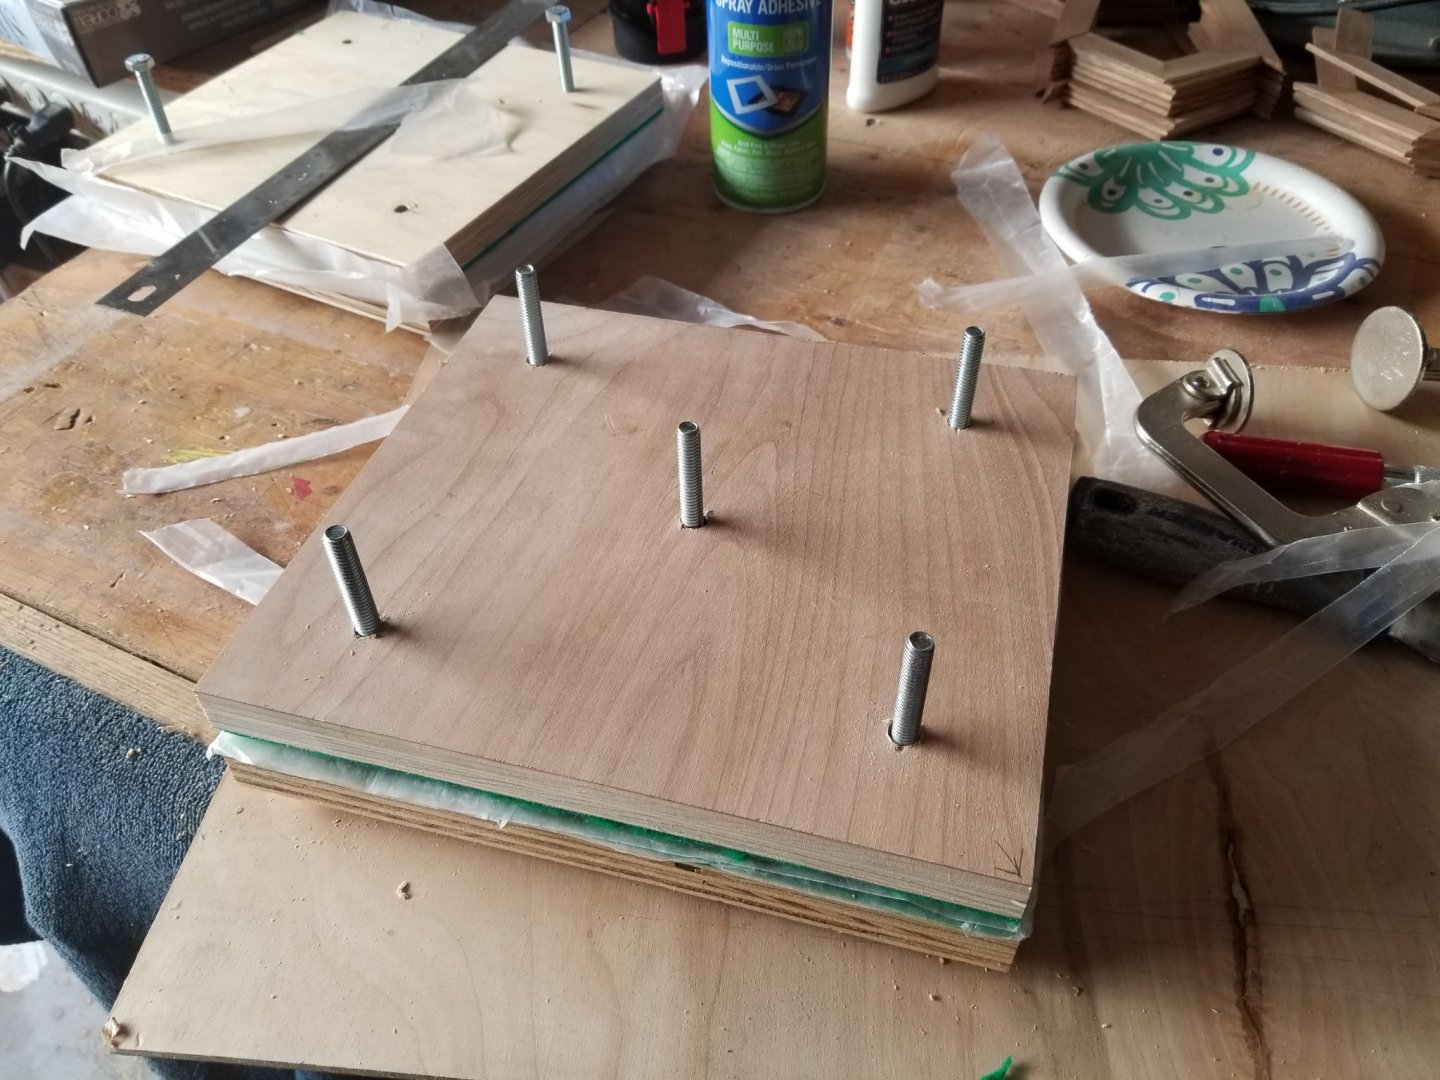
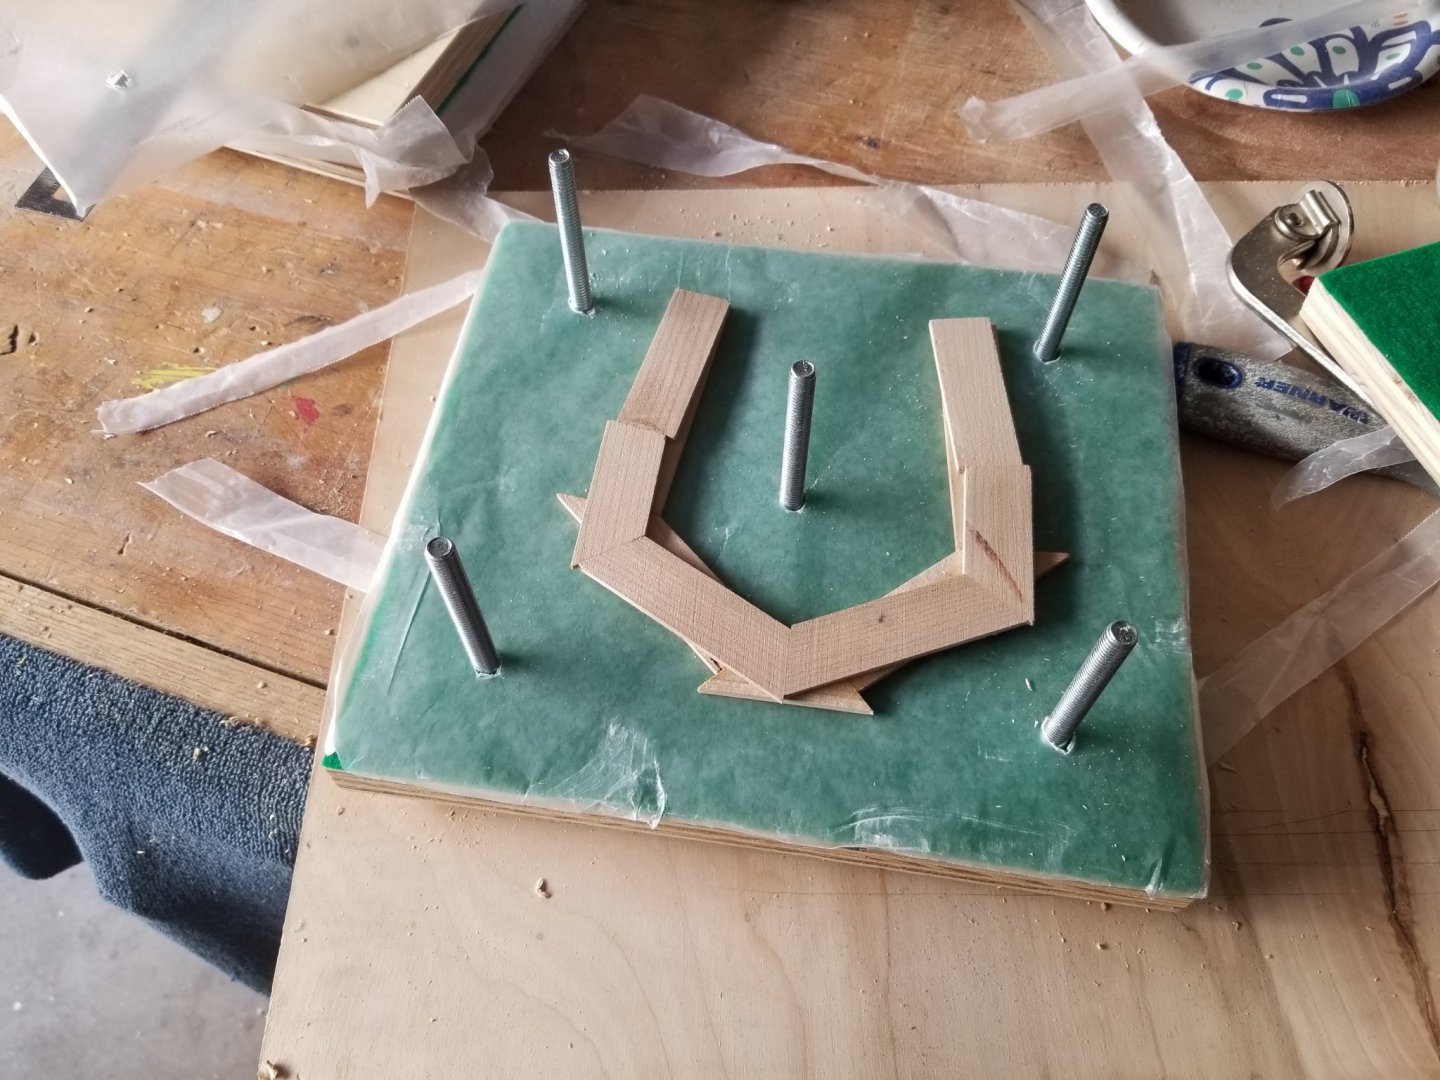
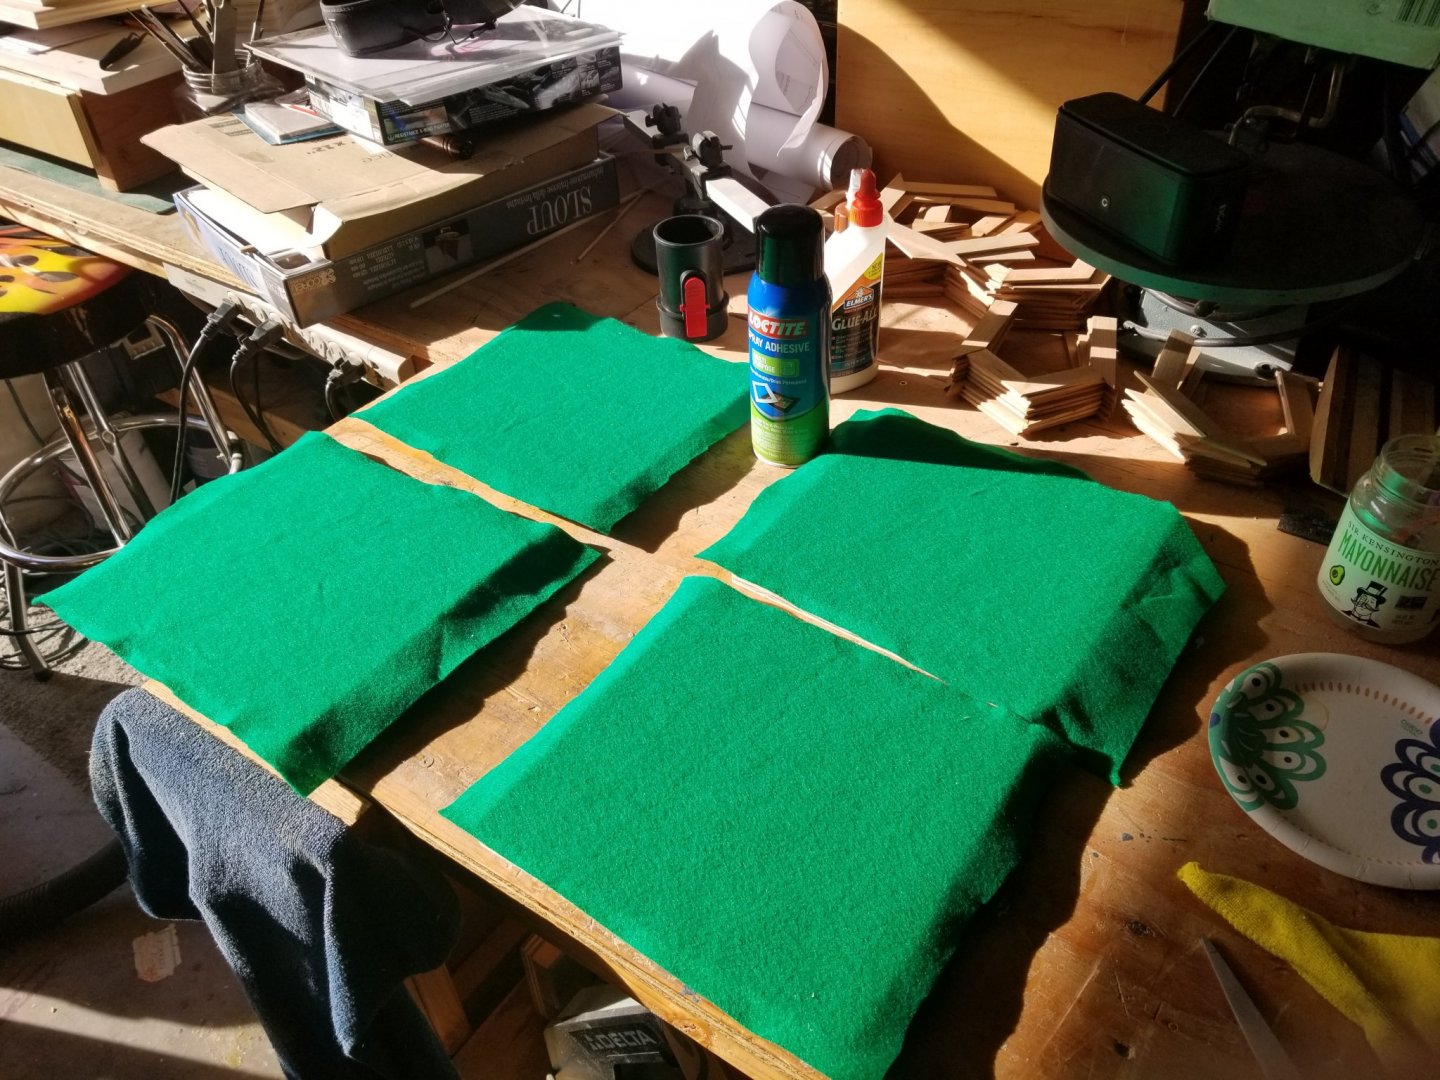
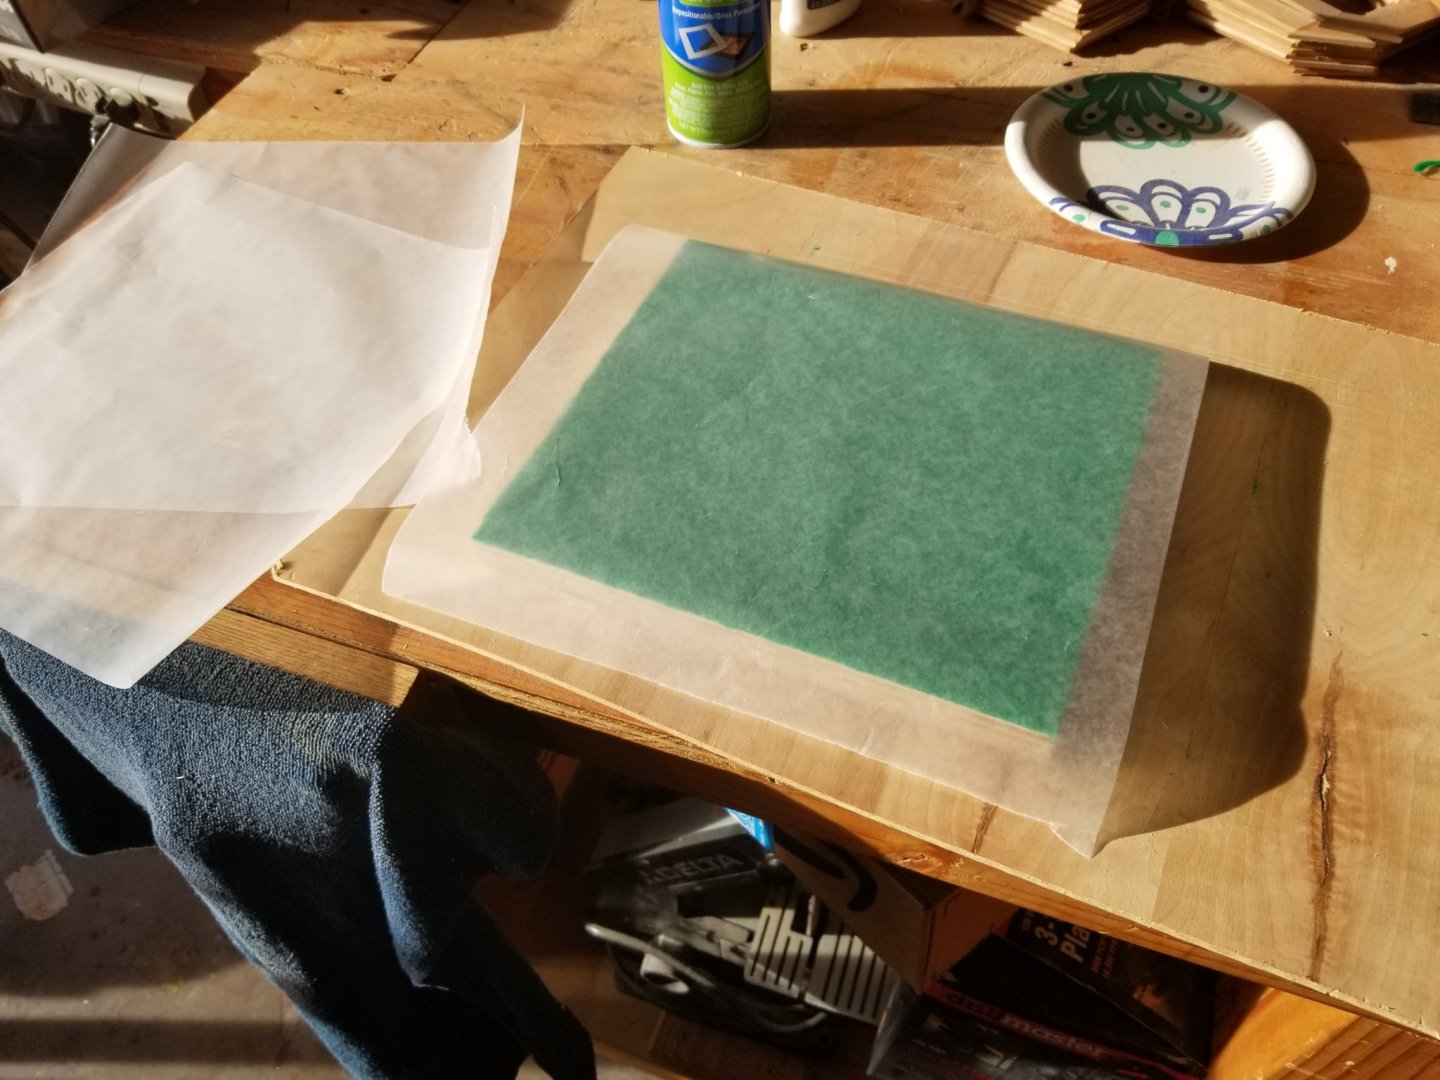
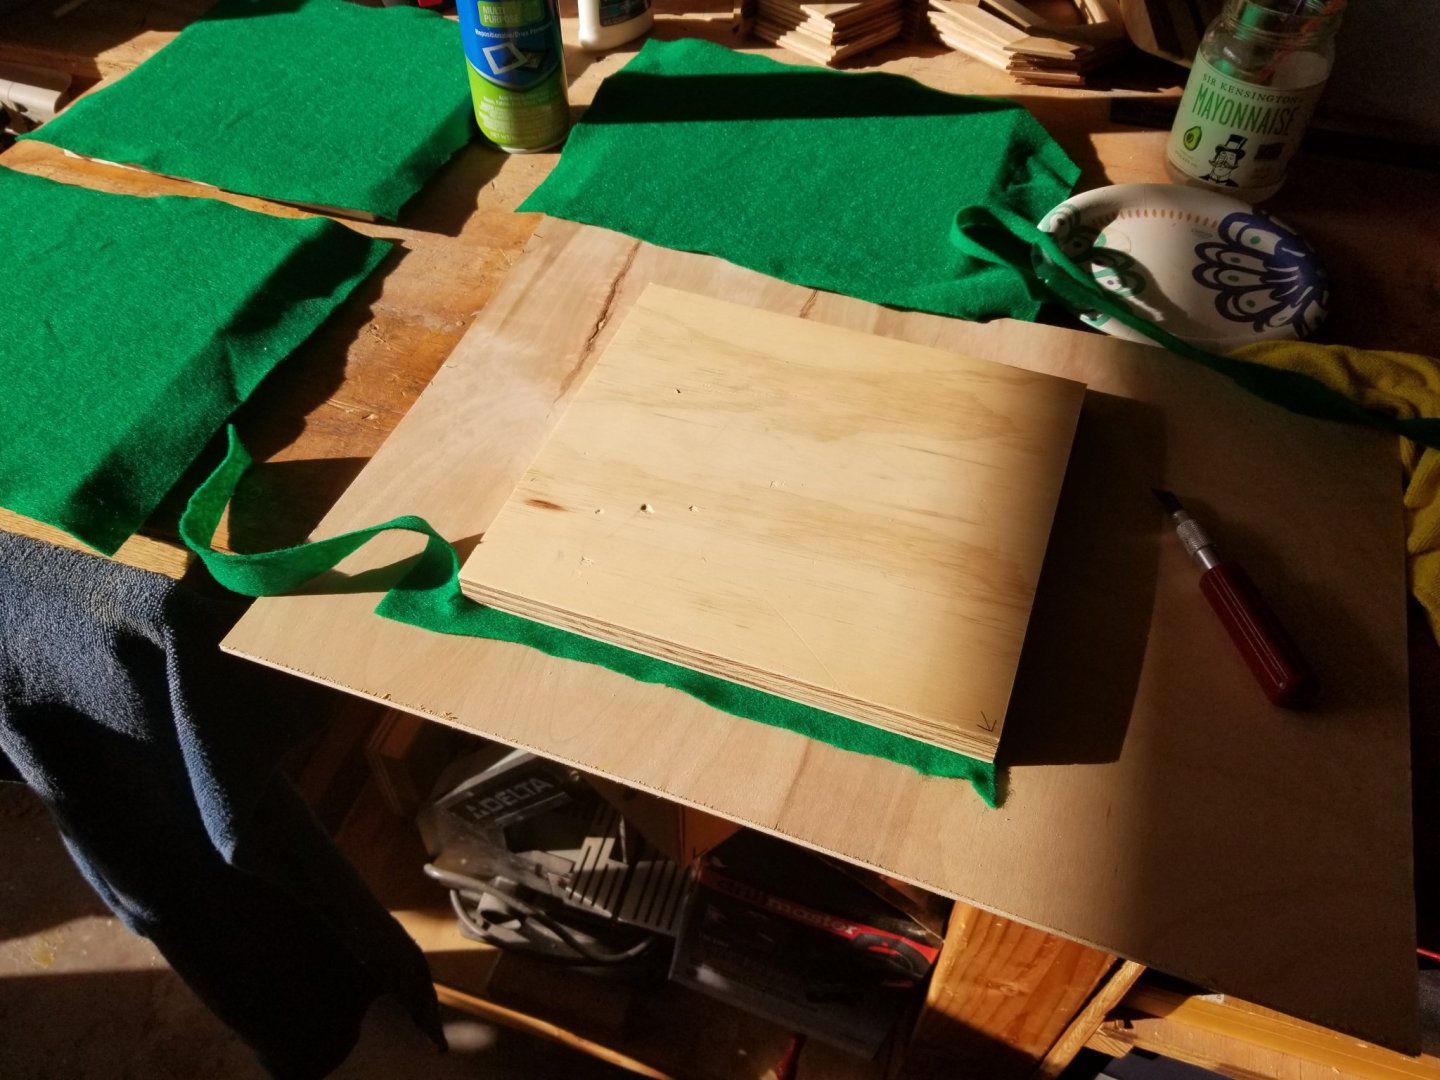
Ok.. Here is what I made to clamp/press the 2 parts of the frame together. High level construction method. Used scrap plywood to make the base. 10*8 inches Raided the wife sew cabinet to get some felt 😂 Triming Adding parchemin paper Making a sandwich... Used a frame to determine the position for the bolts. Drilling holes. Inserting 5/16 bolts Confirming that the frames will be happy. Final product.


- 50 replies
-
- 8
-
-
- rattlesnake
- brig
- (and 1 more)
-
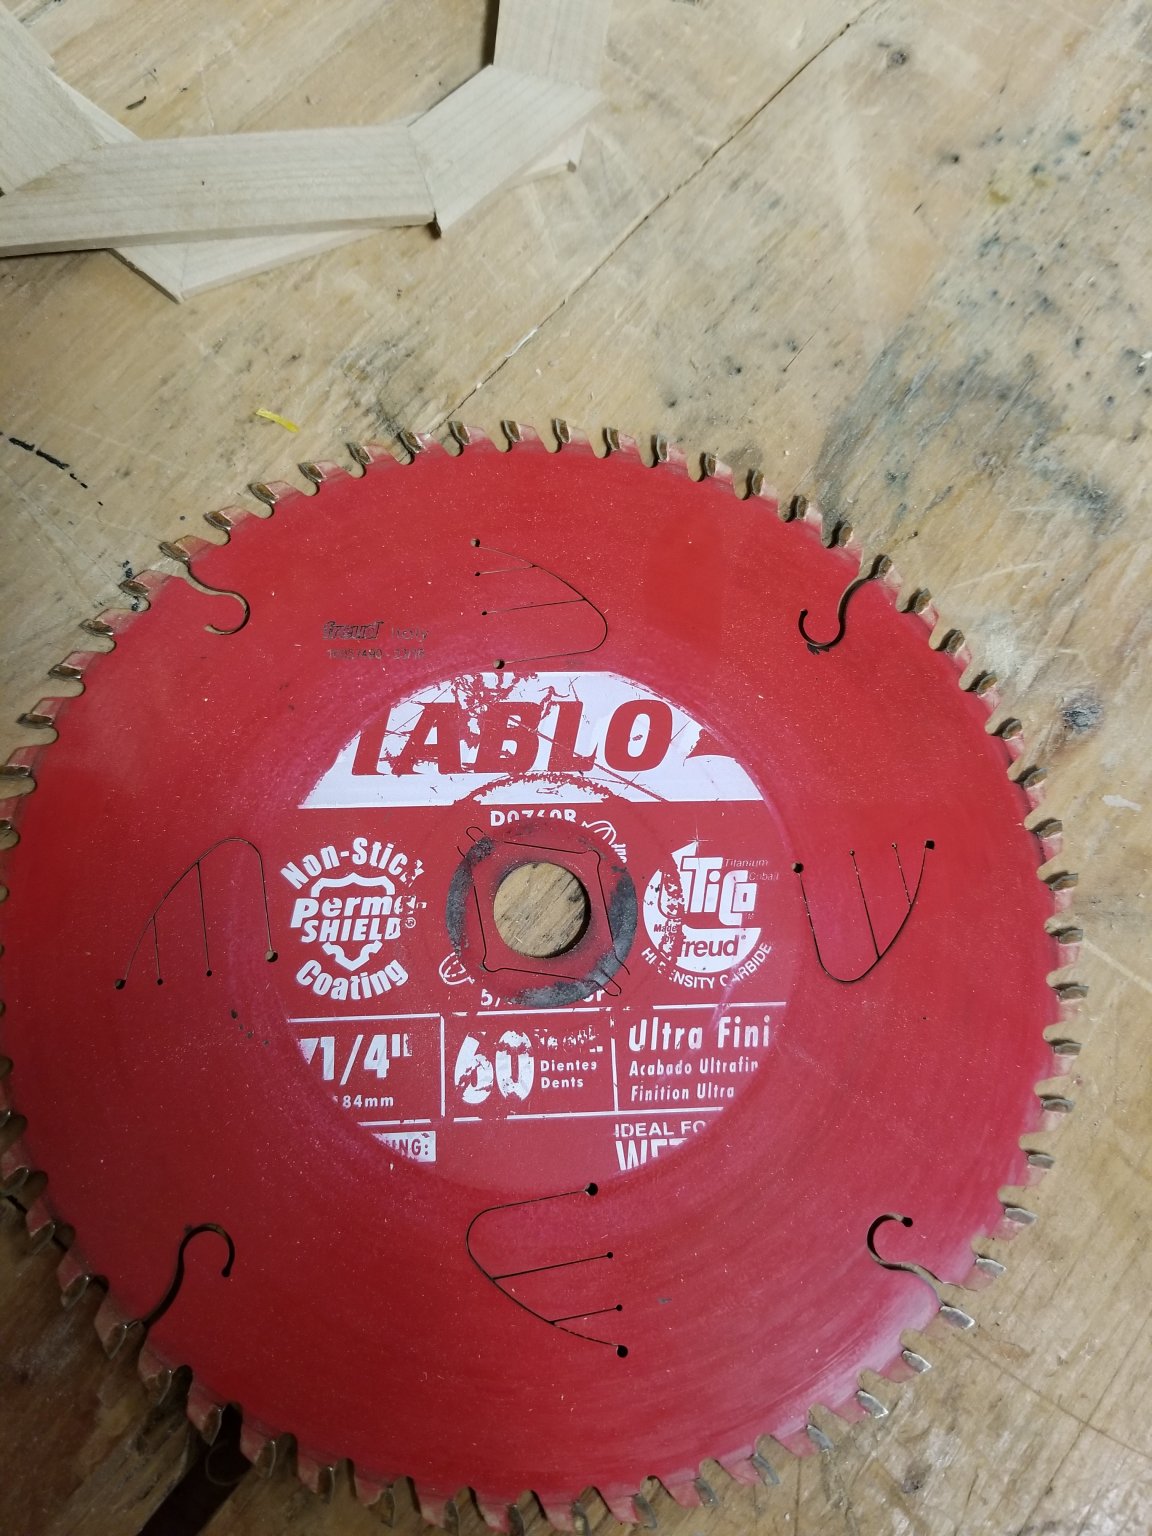
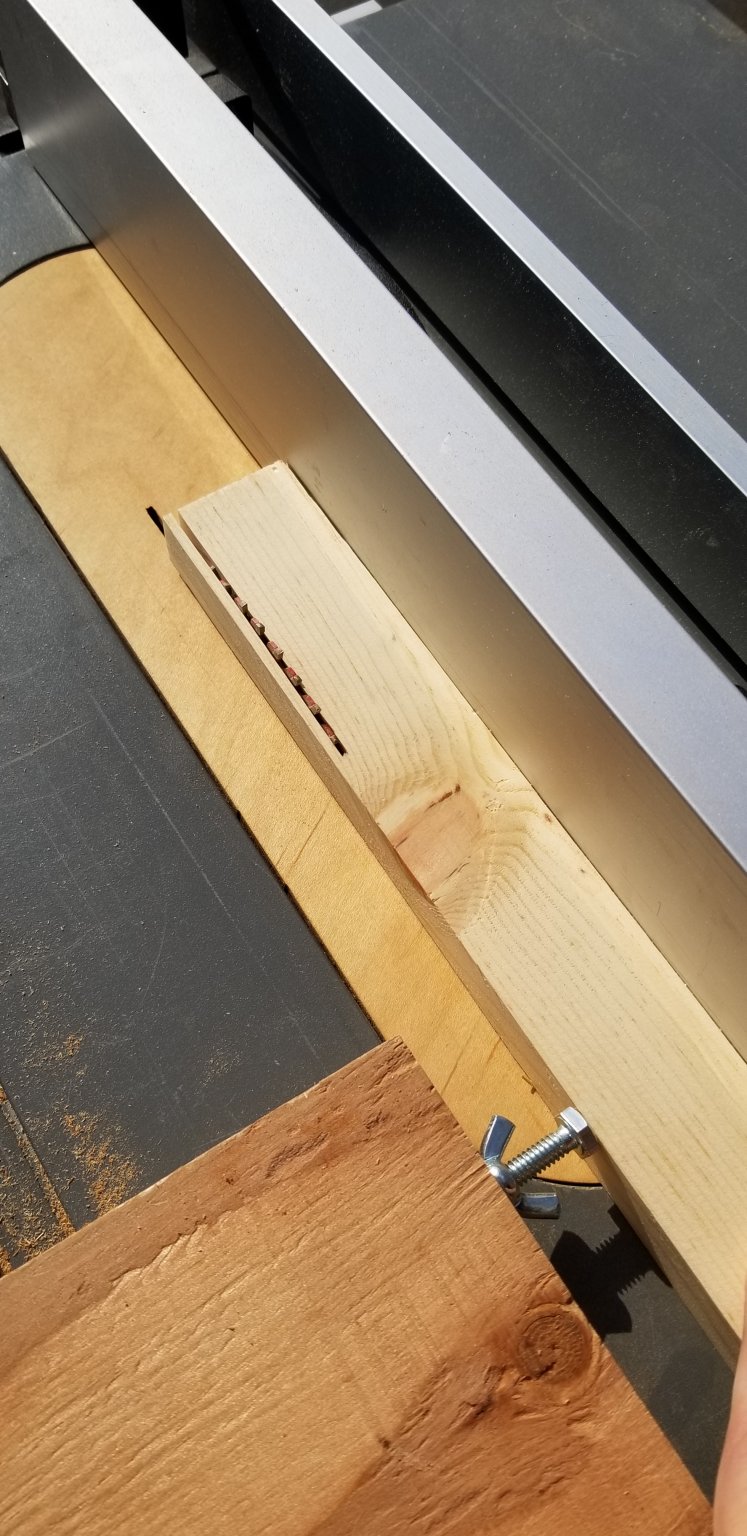
Thank you! I used a 7 1/4 in blade. The kerf is much smaller so you lose less material. The table arbor is 5/8 so any blades less than 10'' with that arbor size hole should work. Here is the blade is used. You definitely need to make yourself a zero clearance insert.

- 50 replies
-
- 5
-
-
- rattlesnake
- brig
- (and 1 more)
-
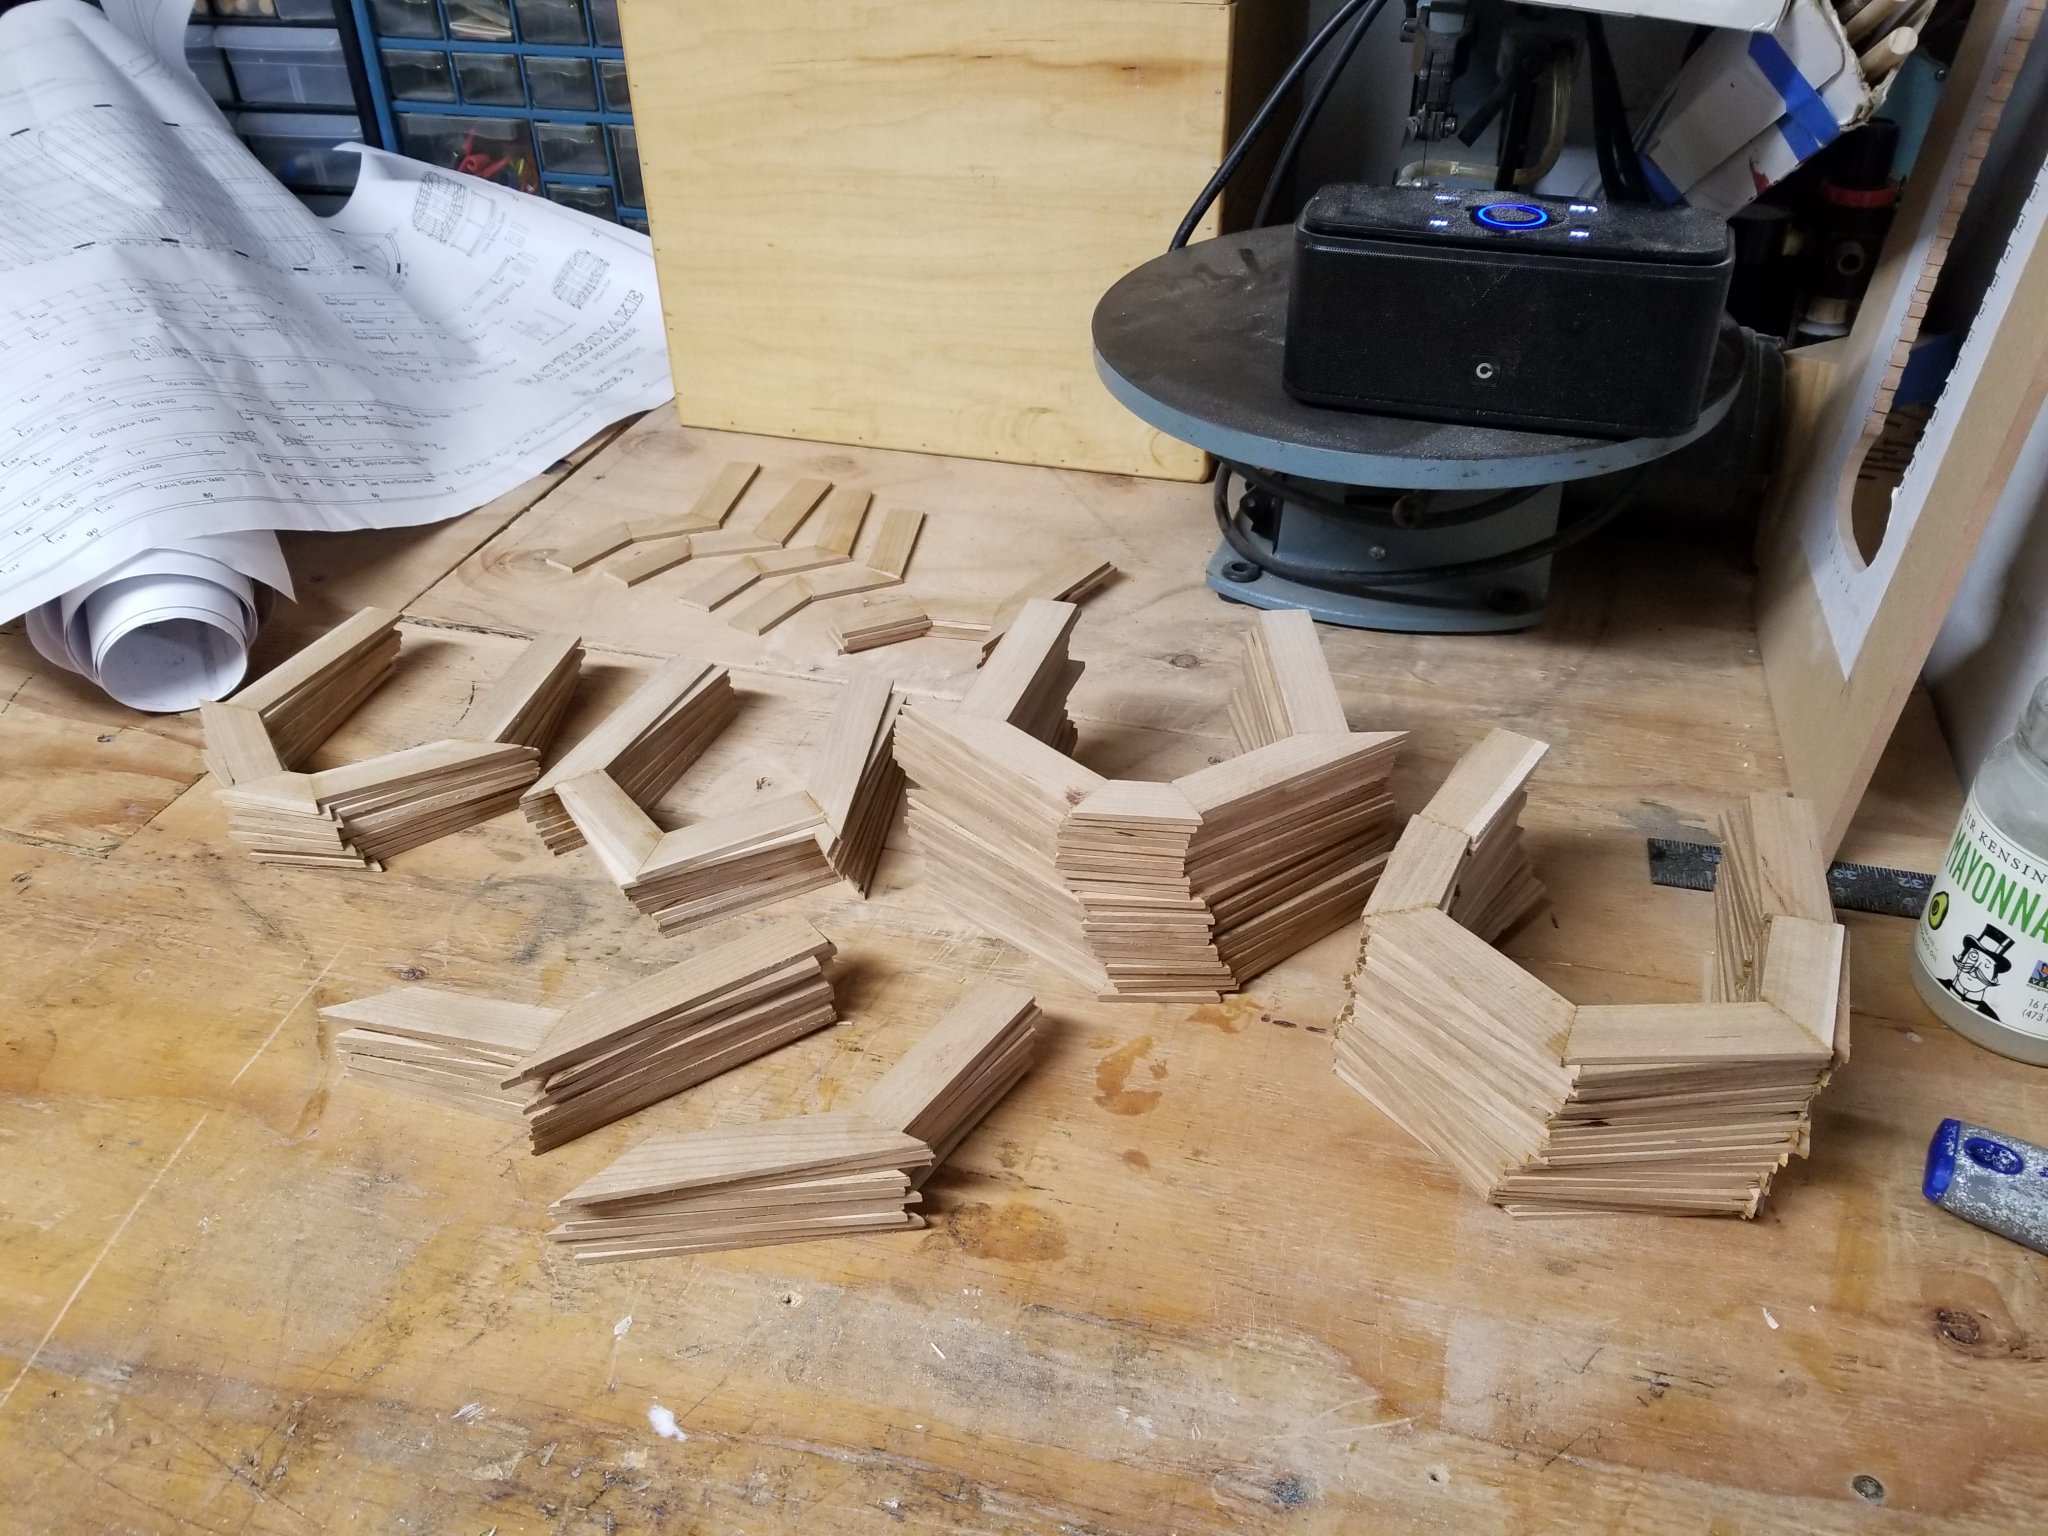
Small update. I am still working on making frames. It is proven to be a long and repetitive process. Nothing exciting I have about 15 left to do. The next step will be to sand them flat. I do not have a thickness sander so while the billets were fairly similar. there is some imperfections.More pictures to come. I am also working on a jig press together the 2 parts of the frame to make the final one. I would assume a final thickness check will be needed. More sanding in my future 😂


- 50 replies
-
- 9
-
-
- rattlesnake
- brig
- (and 1 more)
-
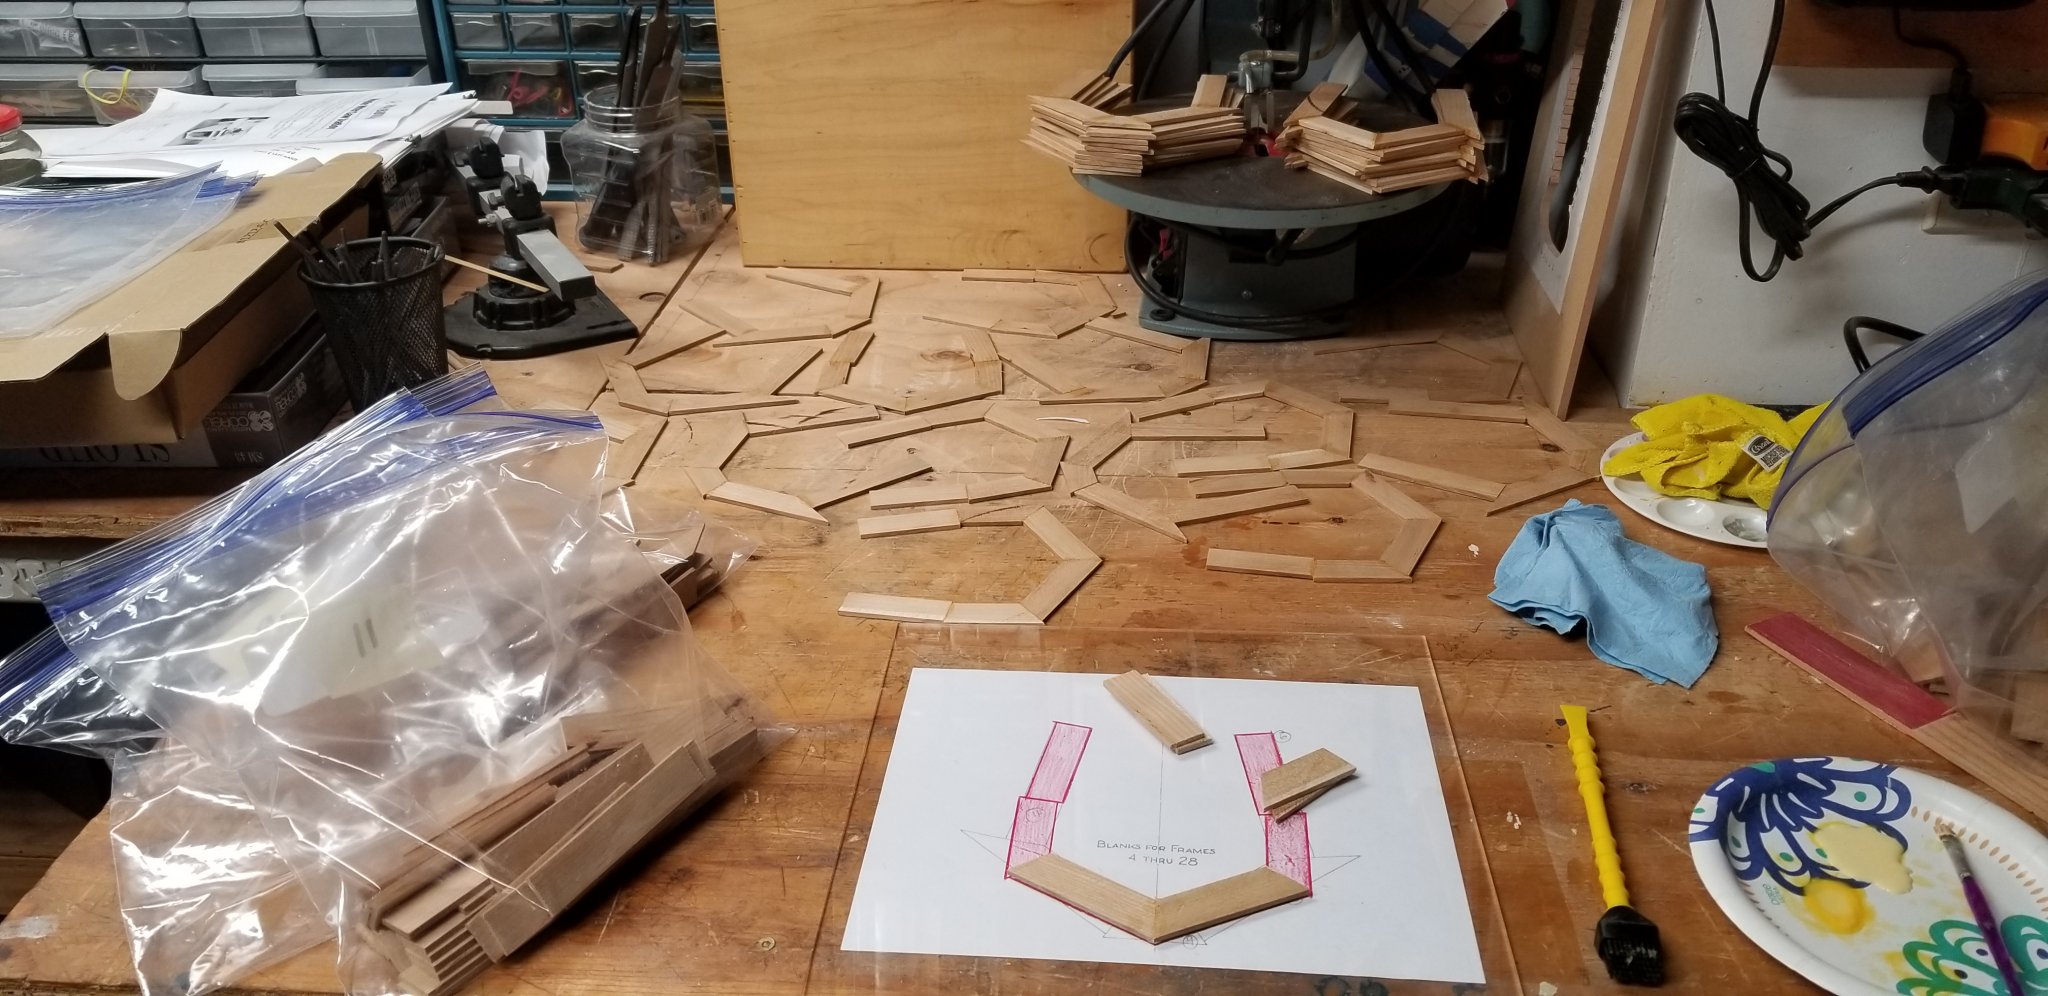
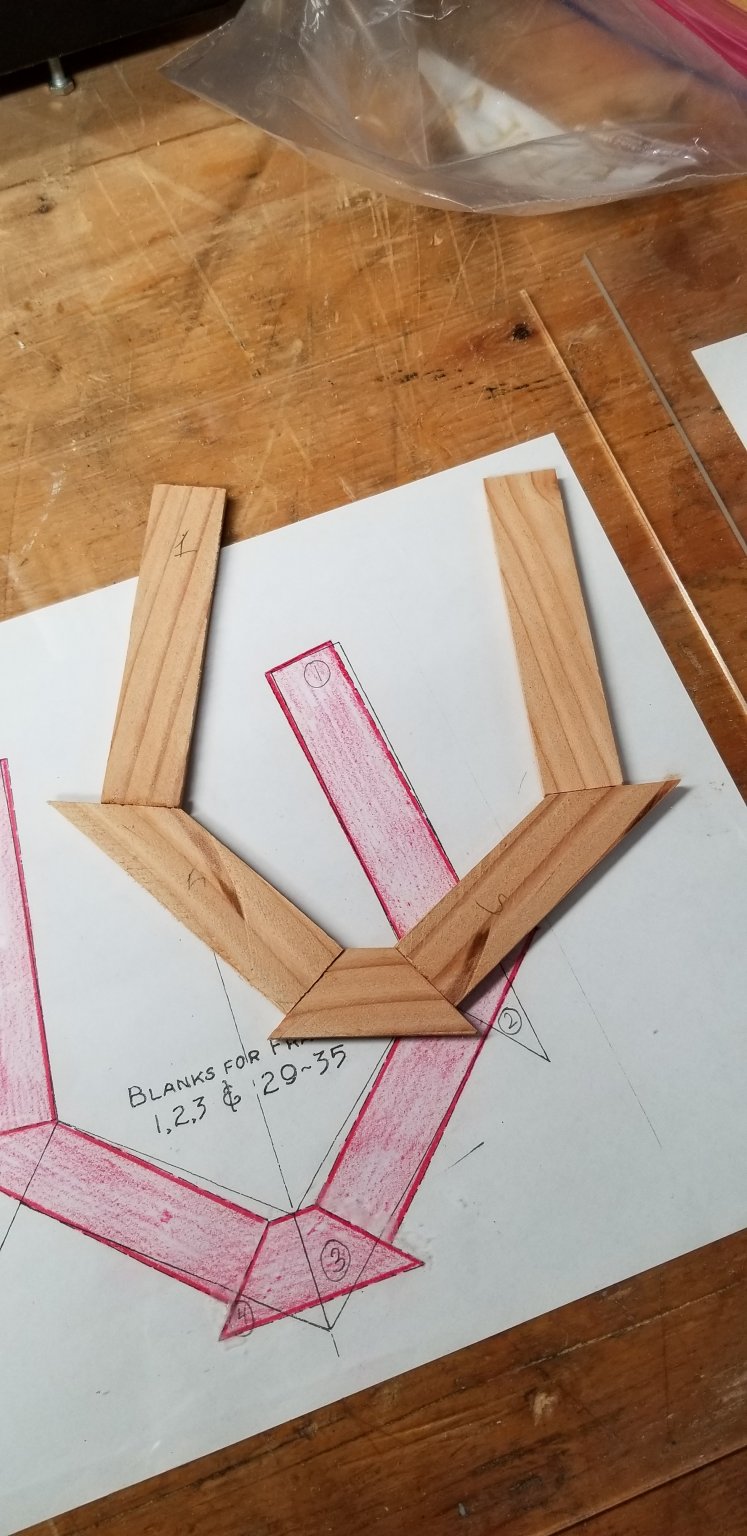
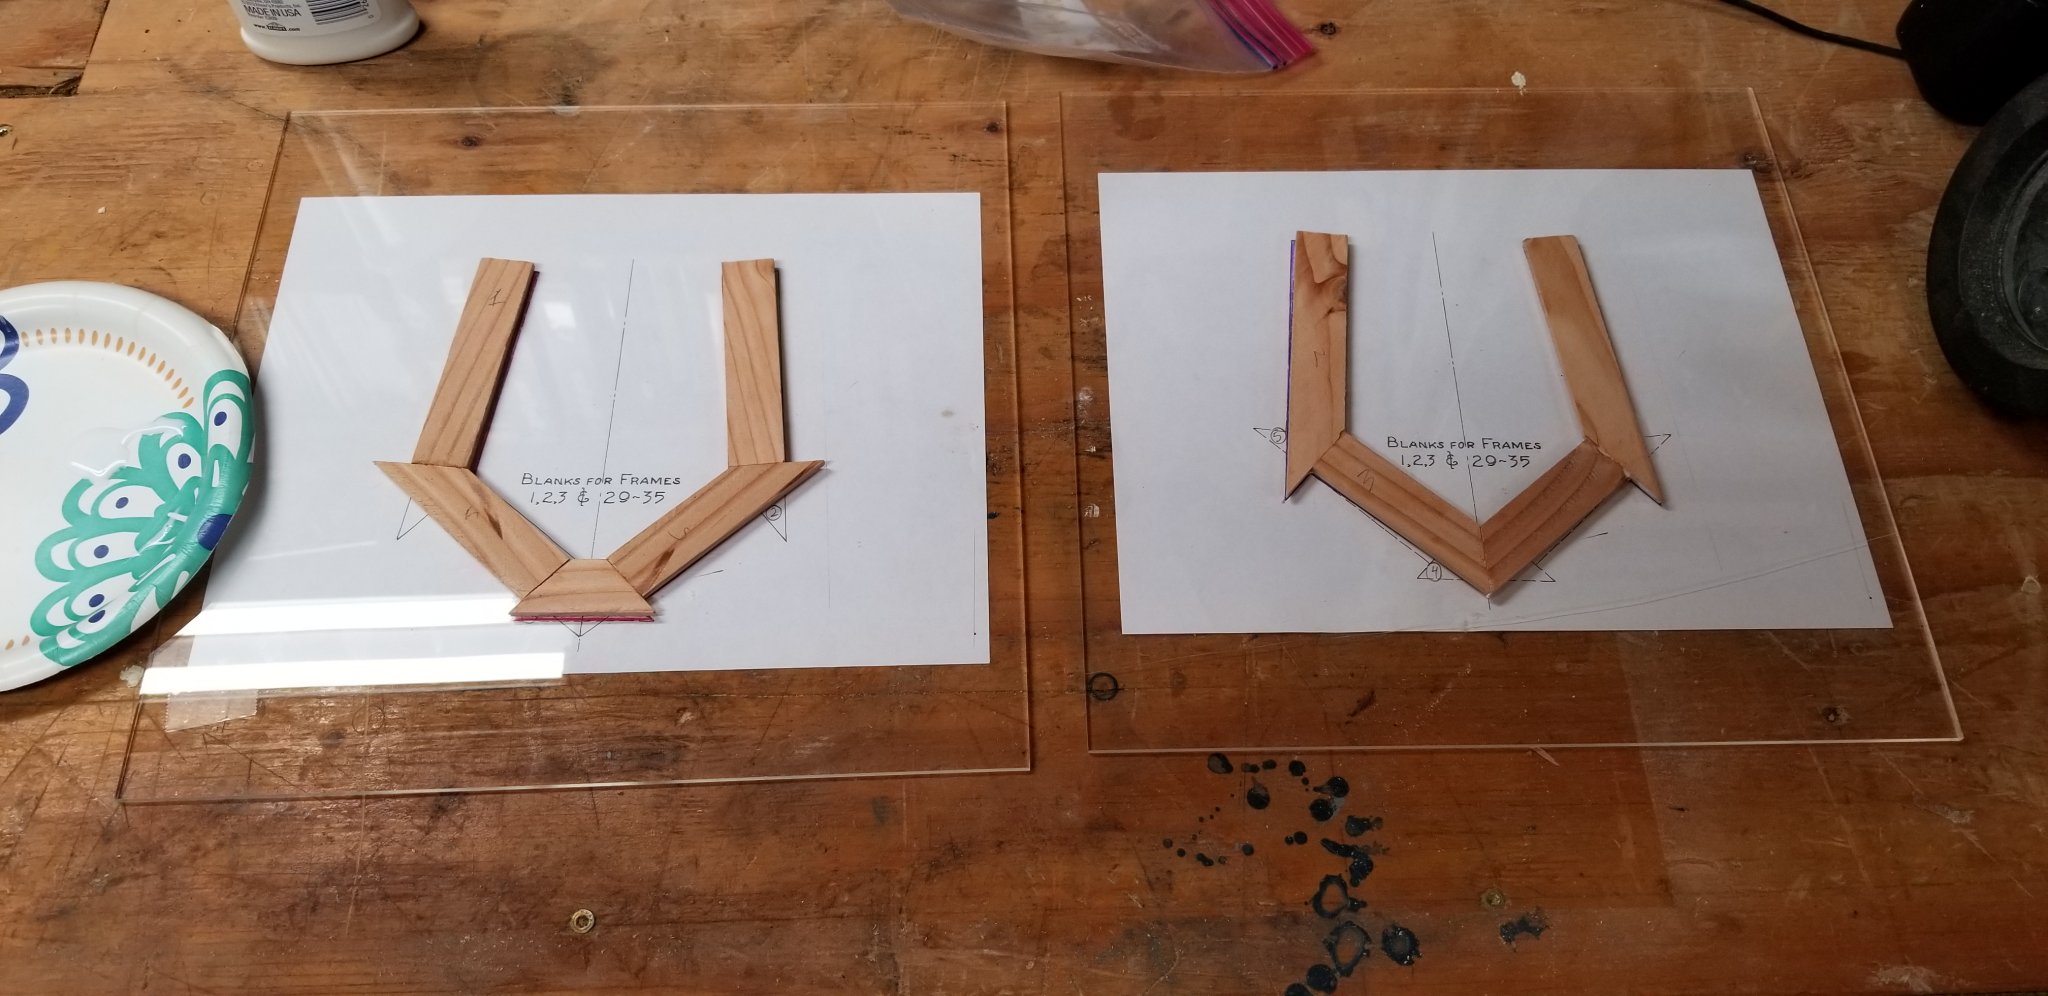
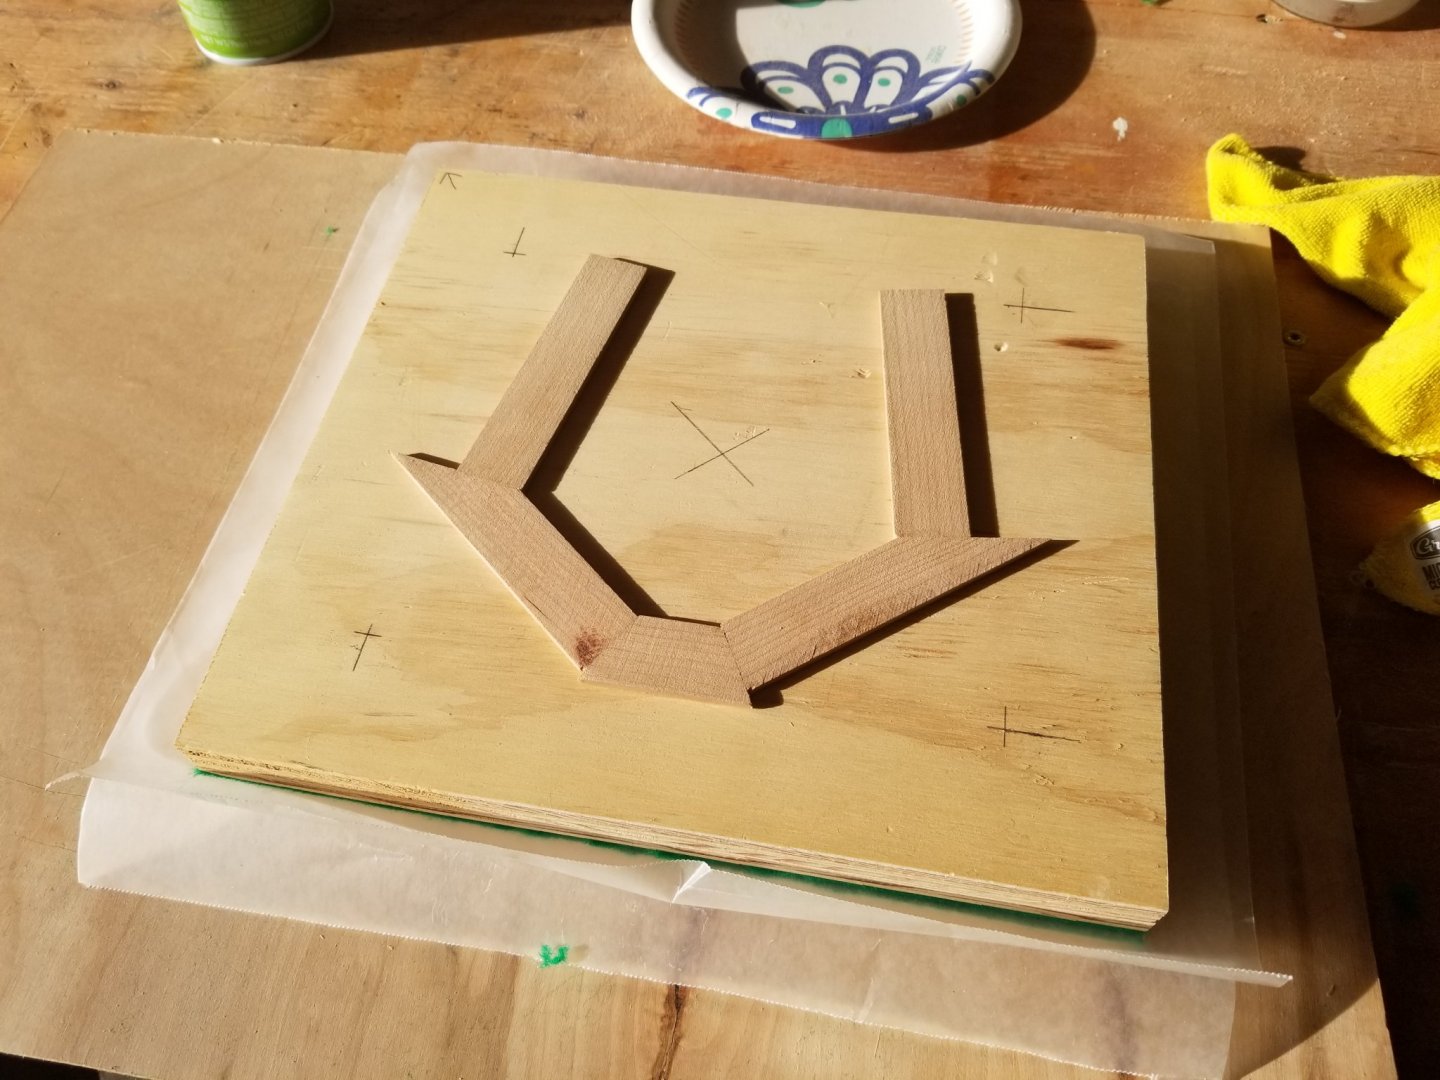
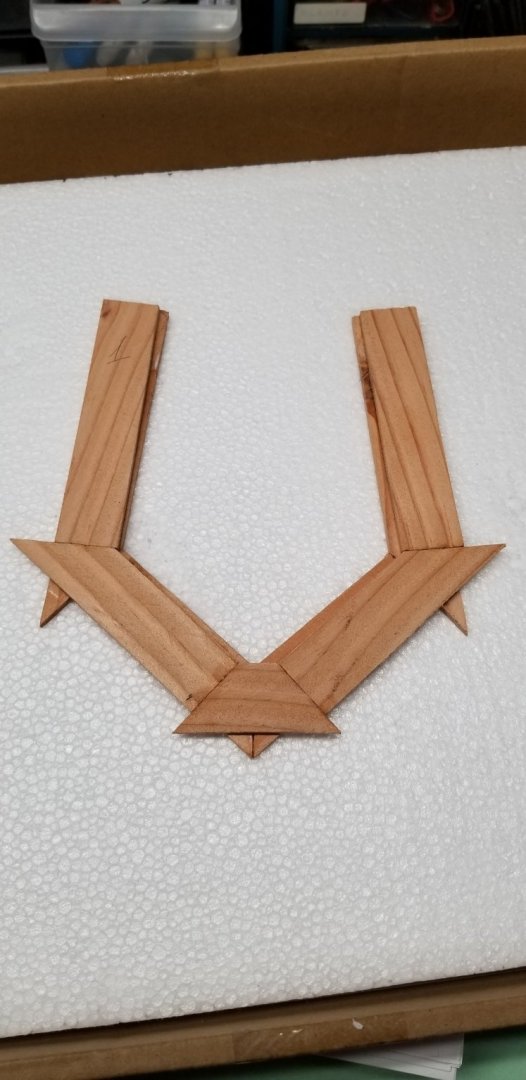
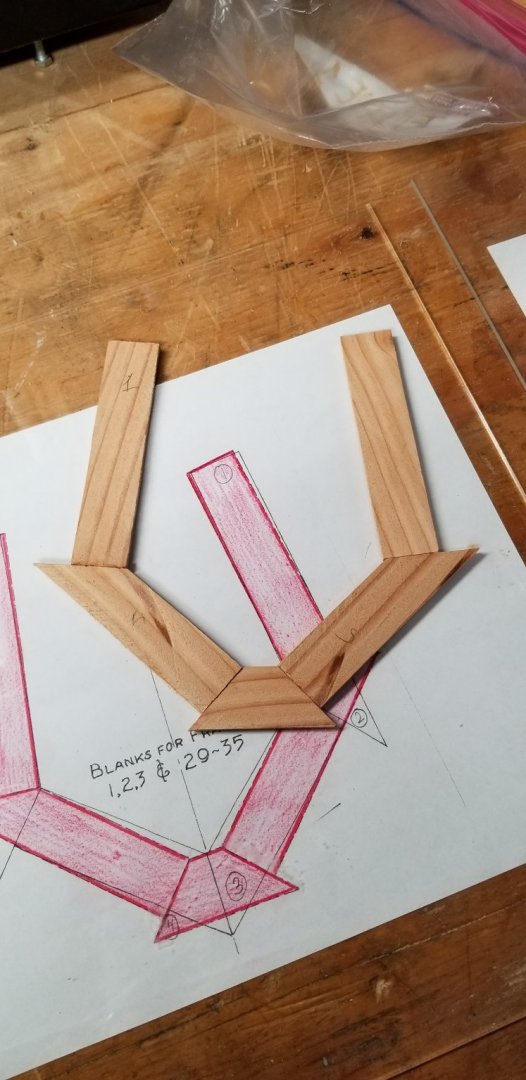
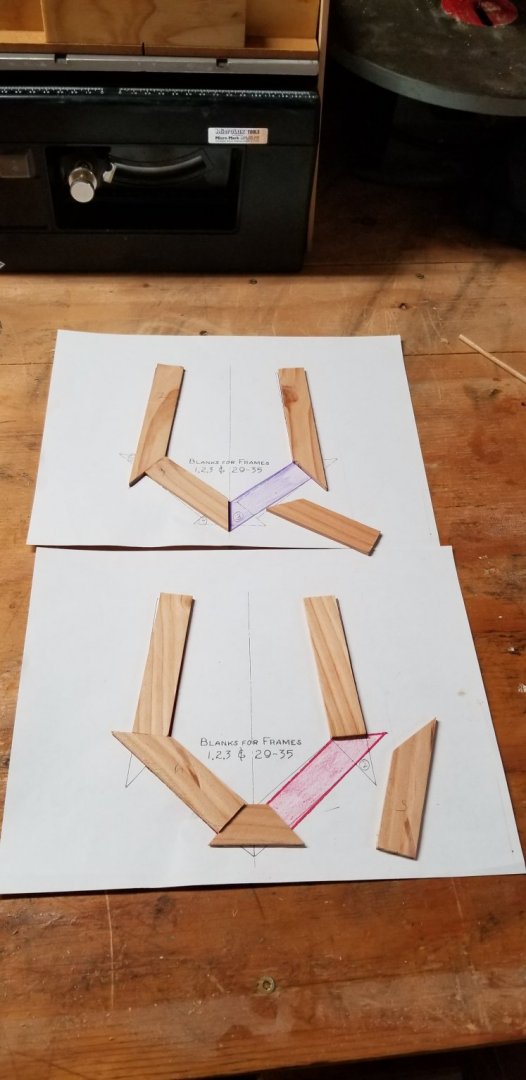
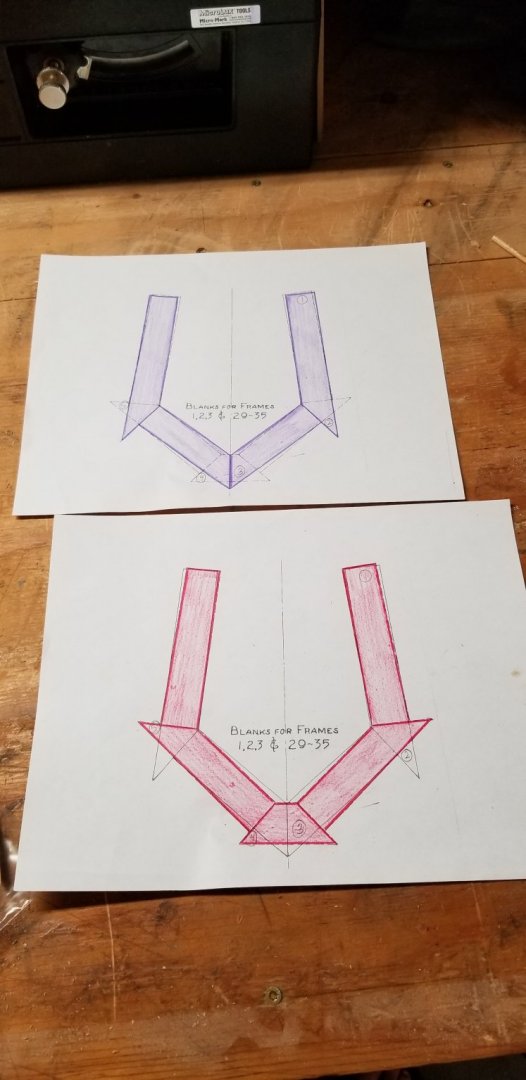
Préparation continue for the frames construction. I am using 1/8 acrylic sheets as platform to join the frames. Here is what it looks like. This is a test with my pine billets. it is not perfect but it gives me a good idea of what the process will look like. I will need to ensure that all joints are tight and crisp when cutting the cherry. I will be using a piece of plywood covered in wax paper to ensure the frames dry flat by adding some weight on the top. I am also working on making a press to join the 2 parts on the frame. Pics to come. I will be building frame type 2, 3, 4 to confirm the process and do any needed refinements.

- 50 replies
-
- 13
-
-
- rattlesnake
- brig
- (and 1 more)
-
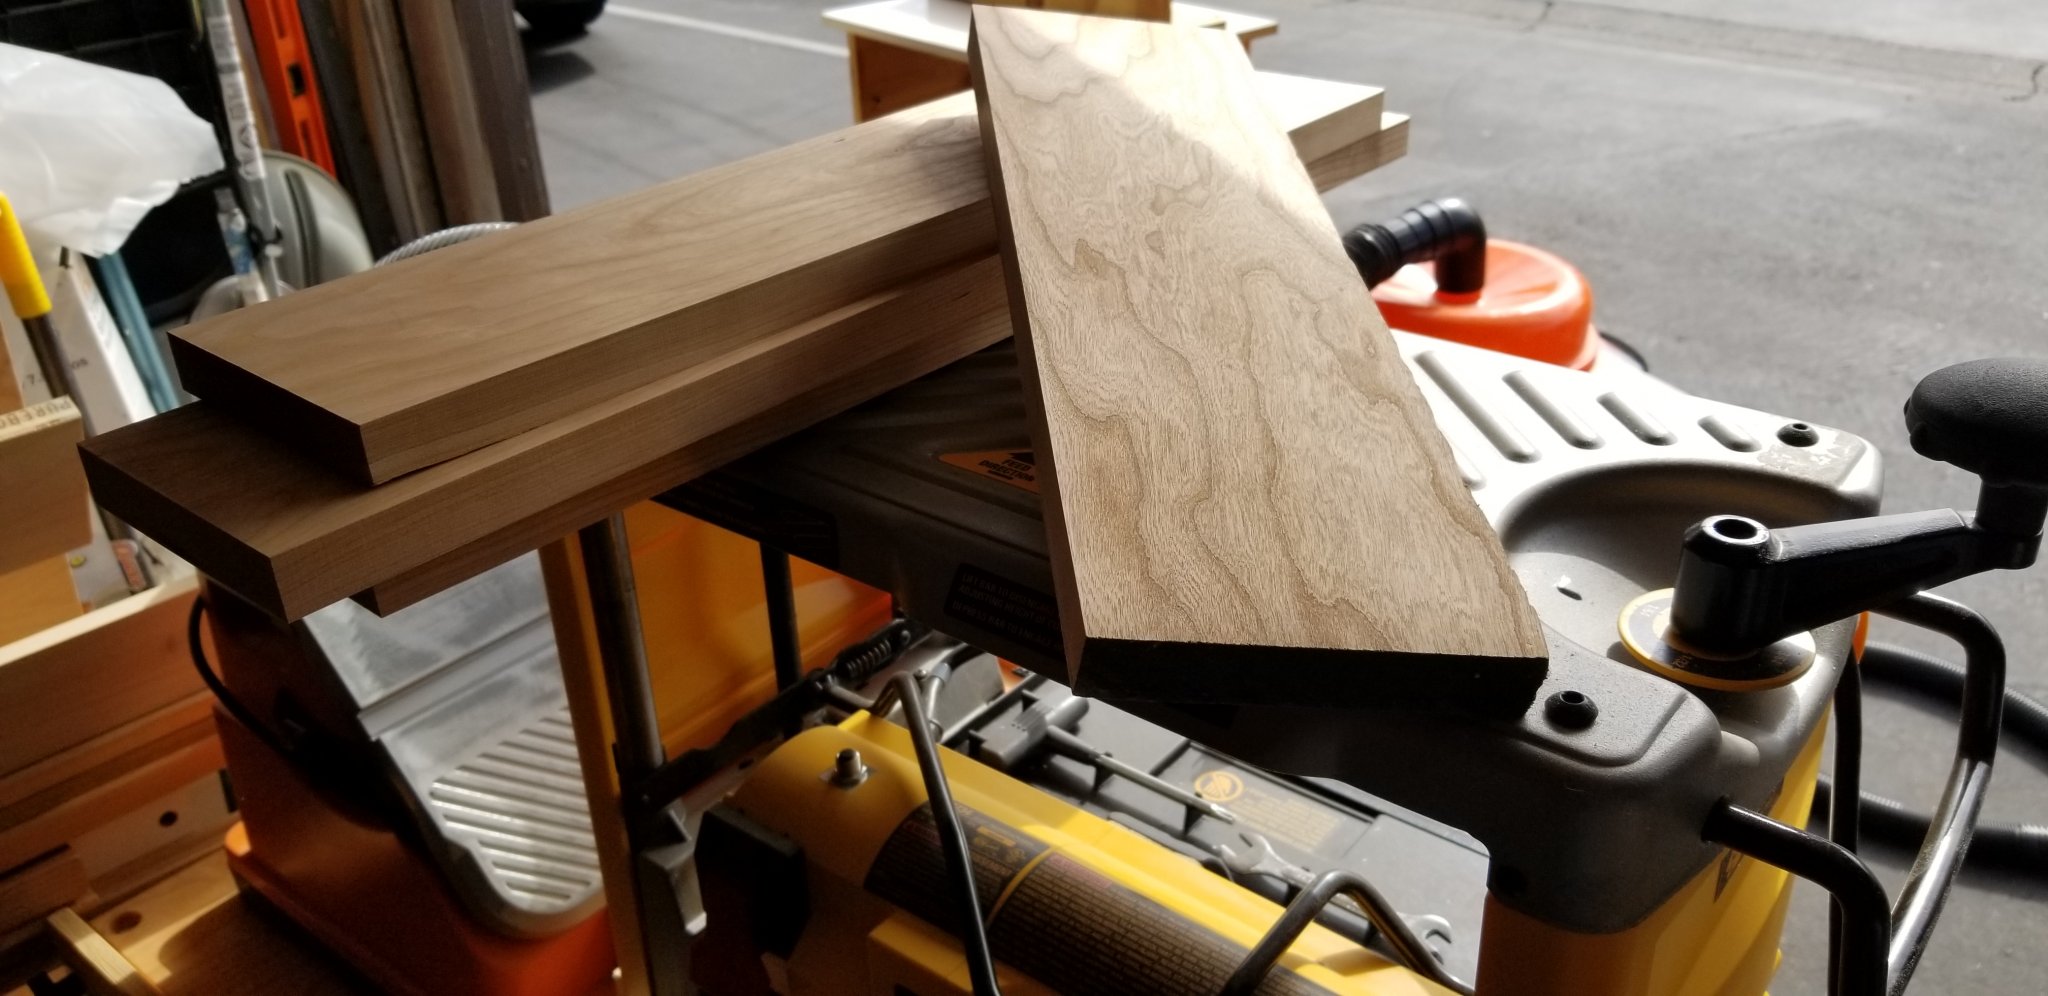
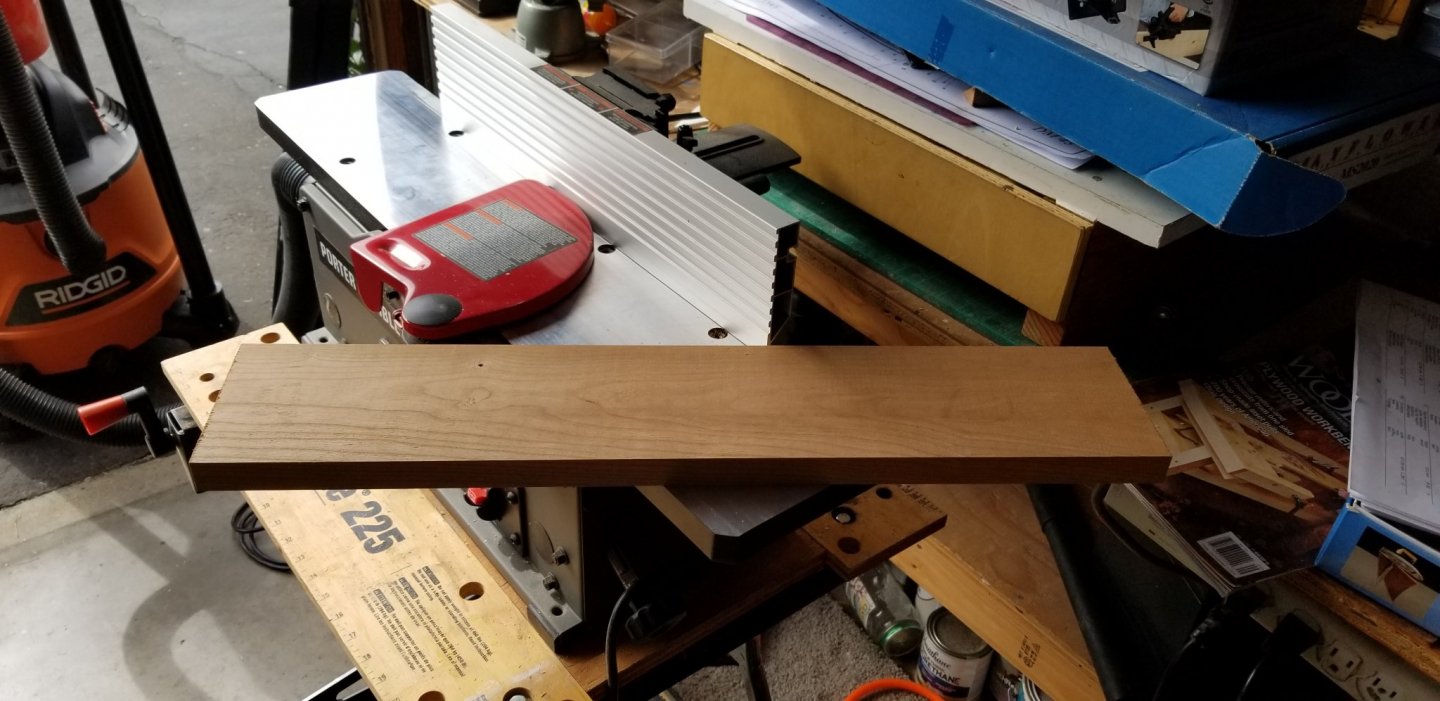
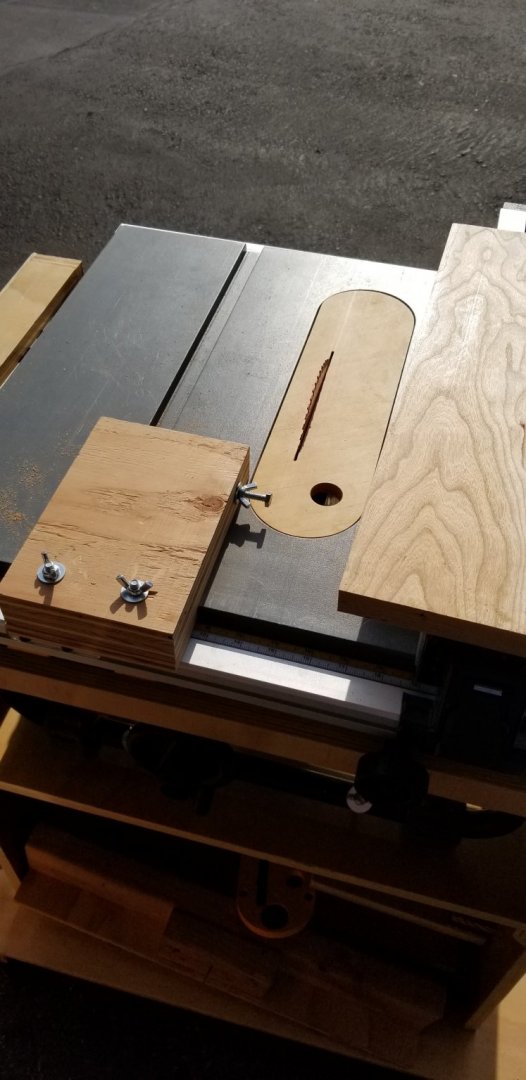
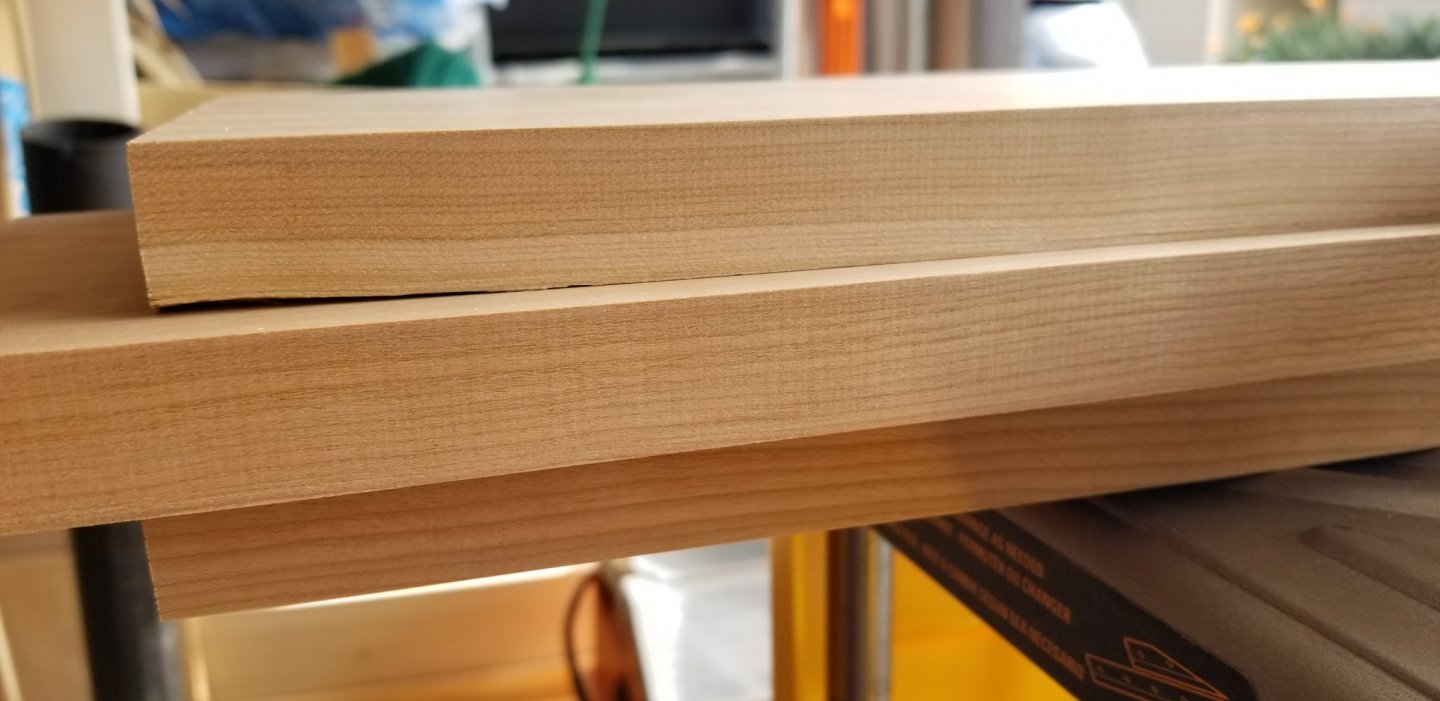
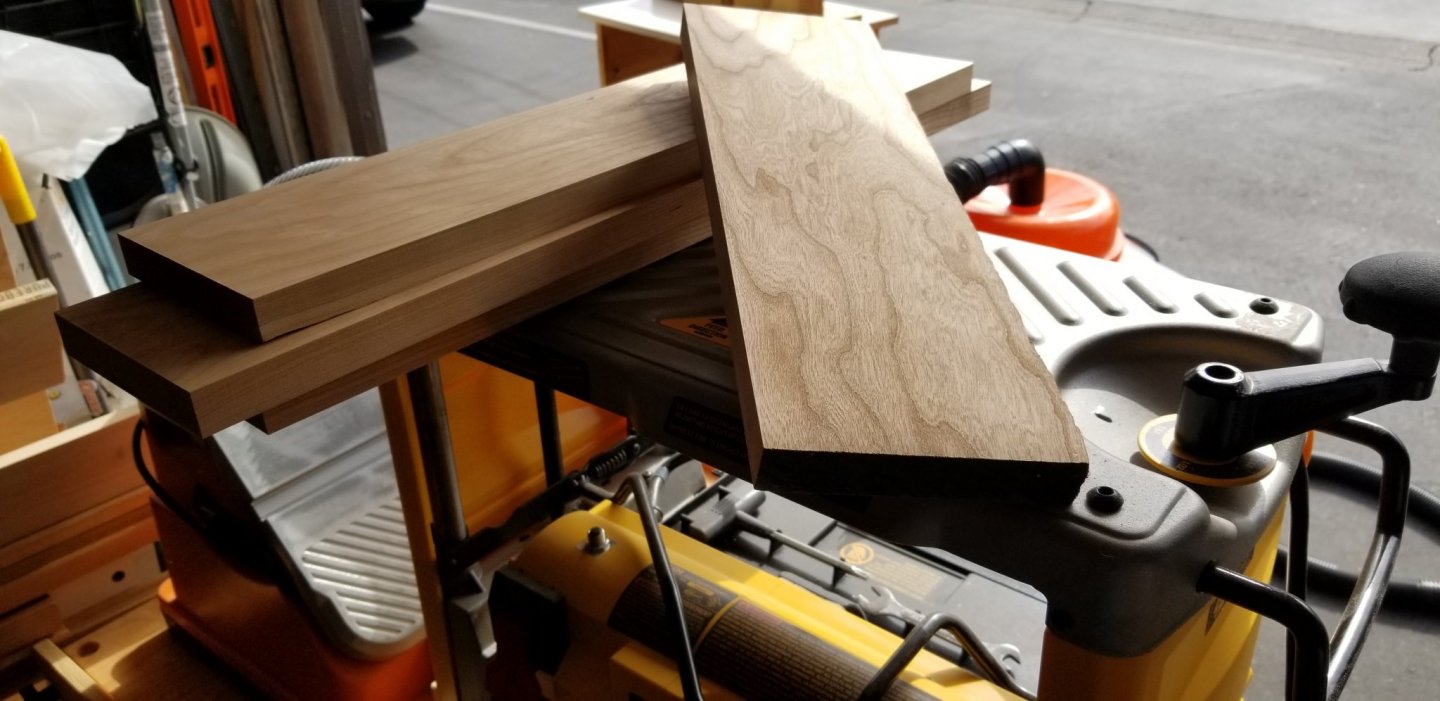
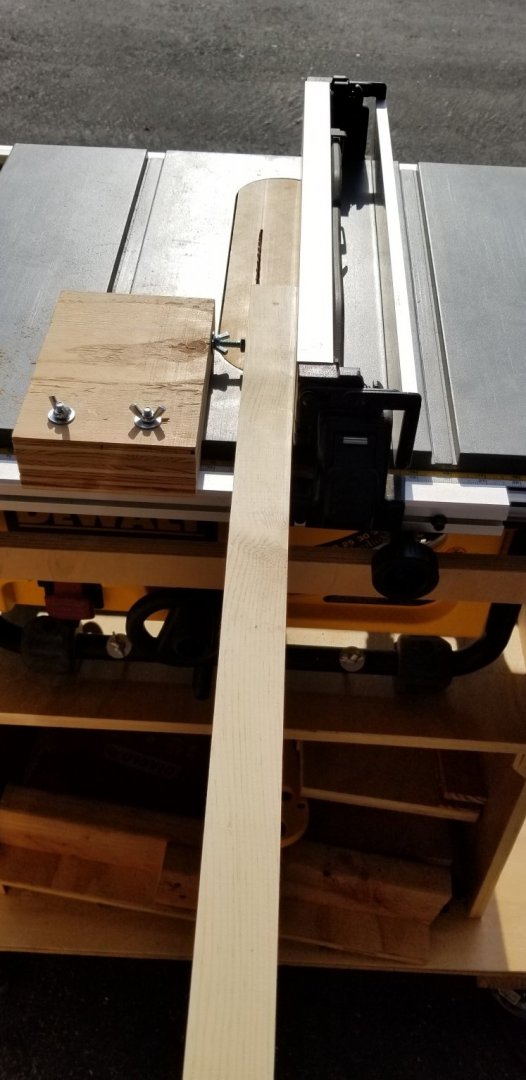
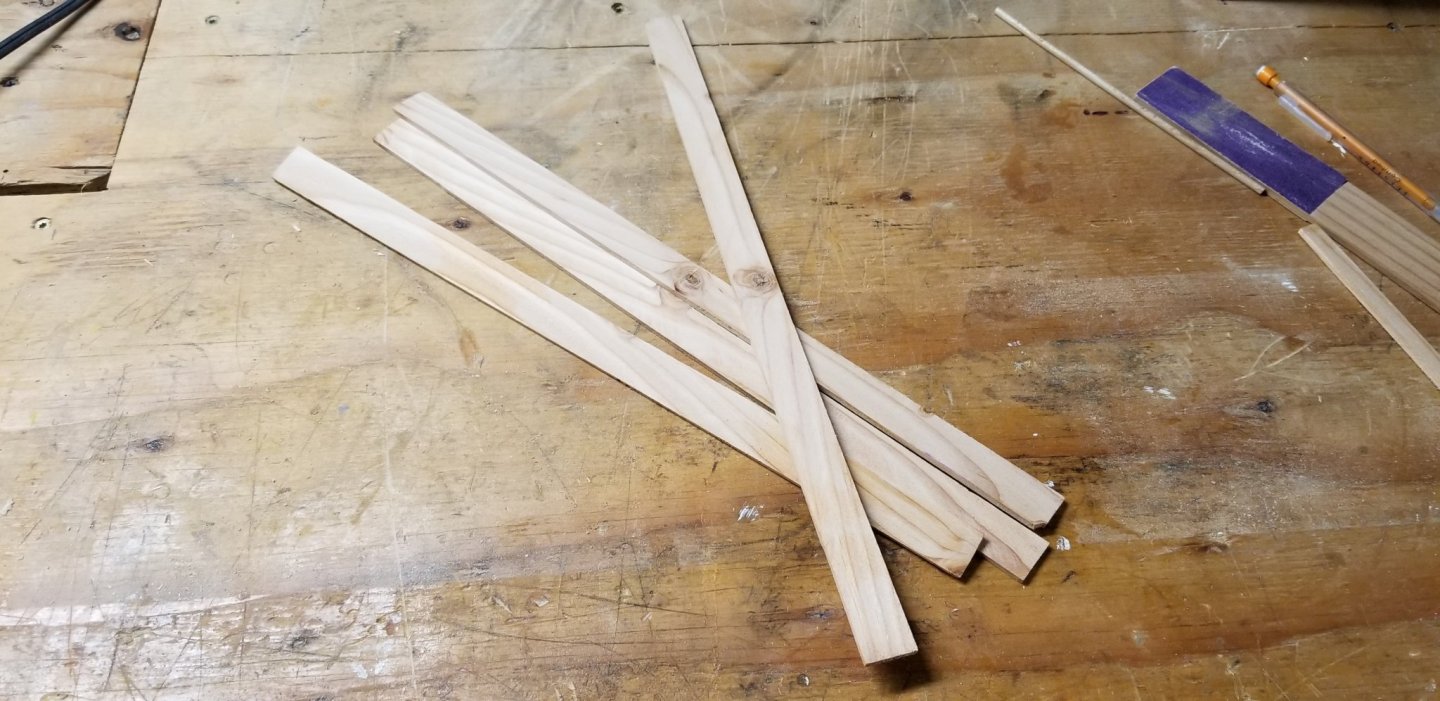
Preparing the cherry stock for making billets. Joiner Thickness Planer Thin strip jig
- 50 replies
-
- 12
-
-
- rattlesnake
- brig
- (and 1 more)
-
Thank you Elijah. While I think I will be rigging her, it is early. I might change my mind 😁
- 50 replies
-
- 1
-
-
- rattlesnake
- brig
- (and 1 more)
-
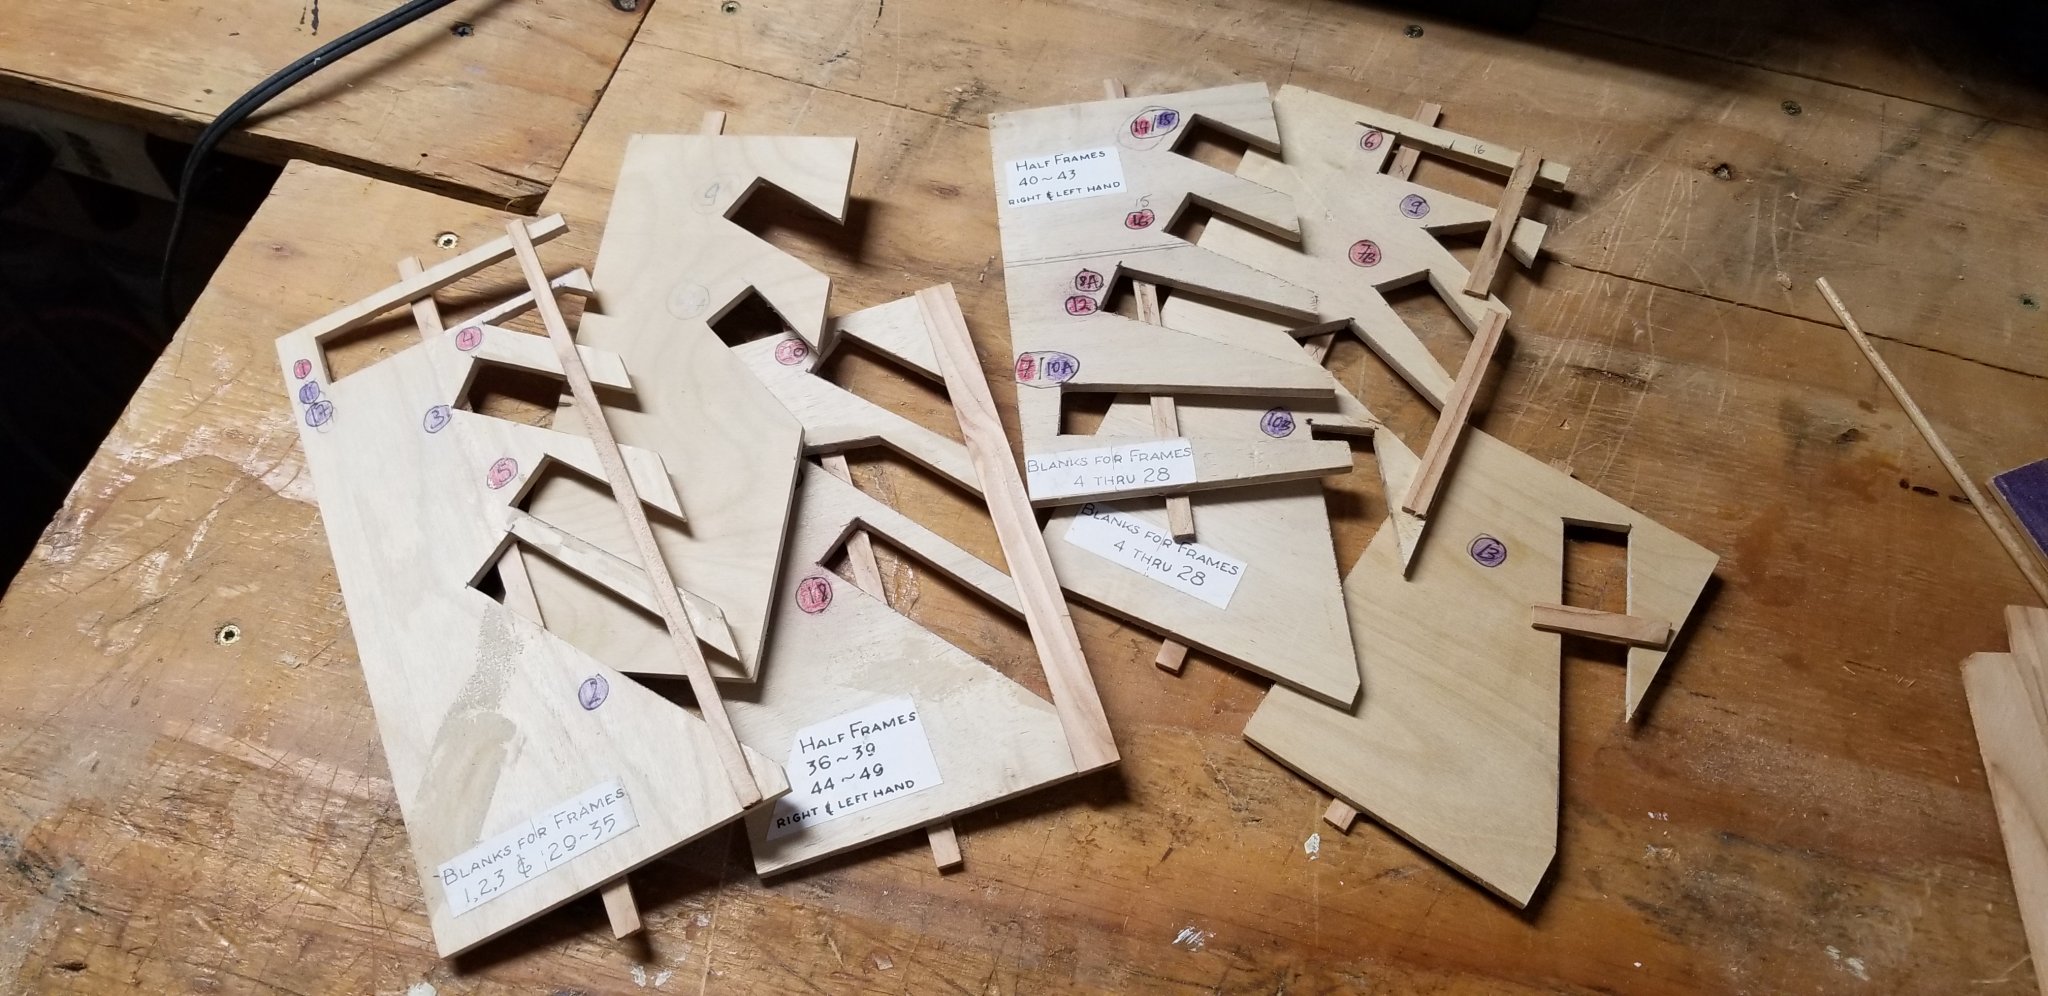
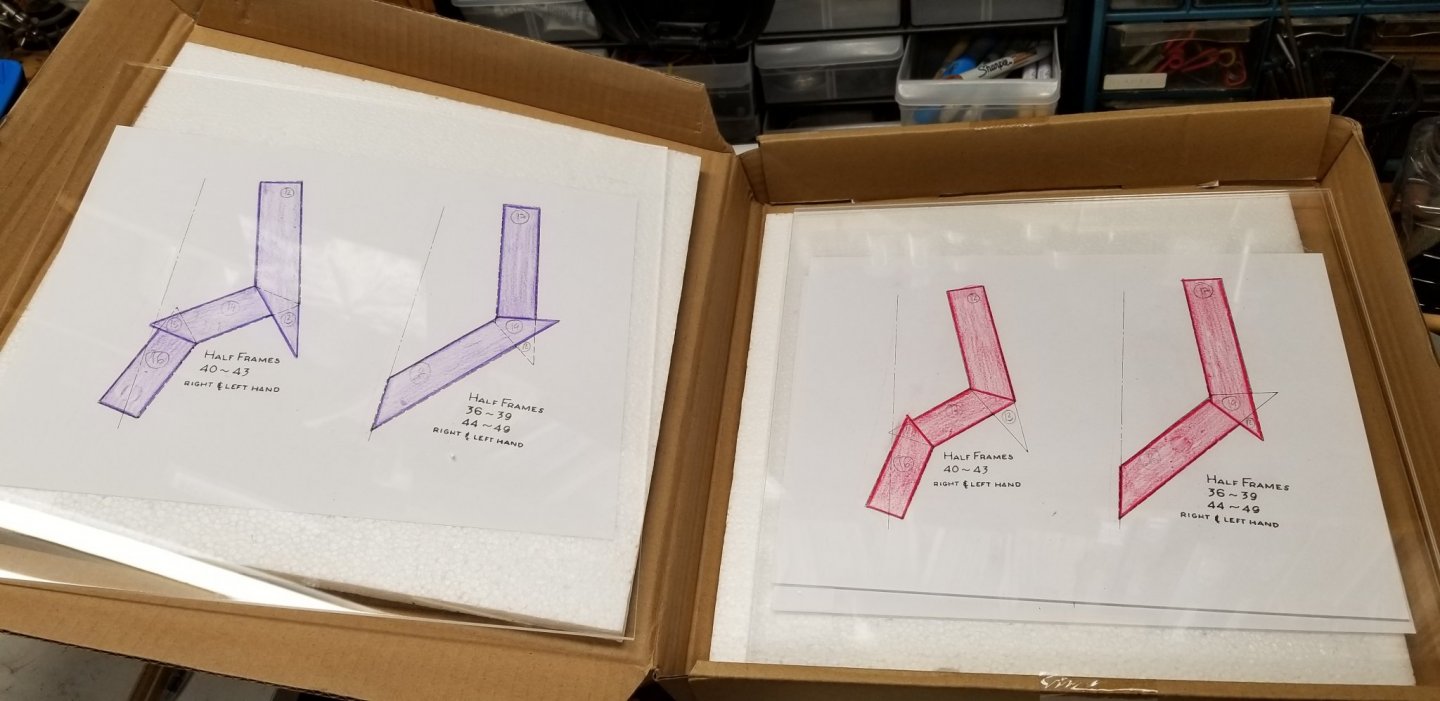
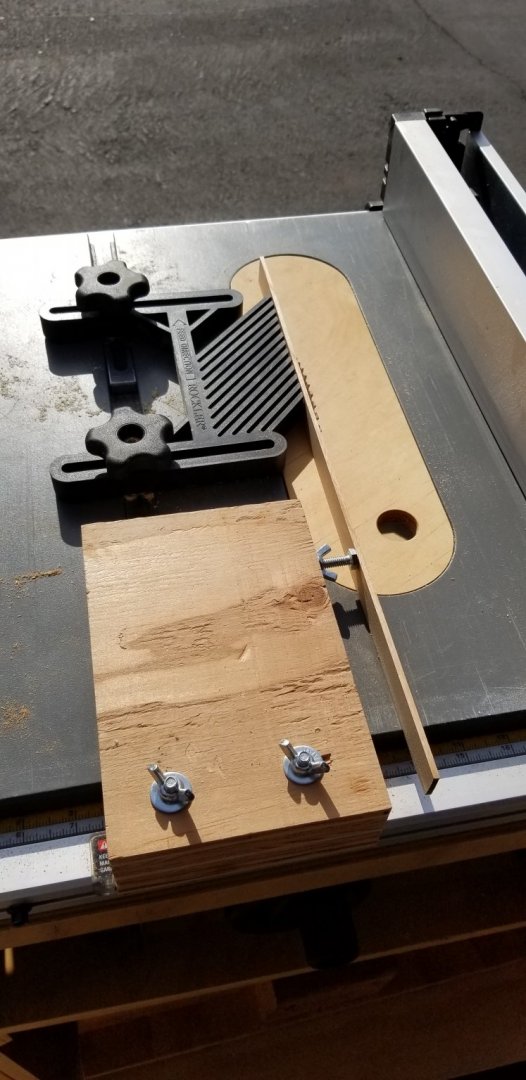
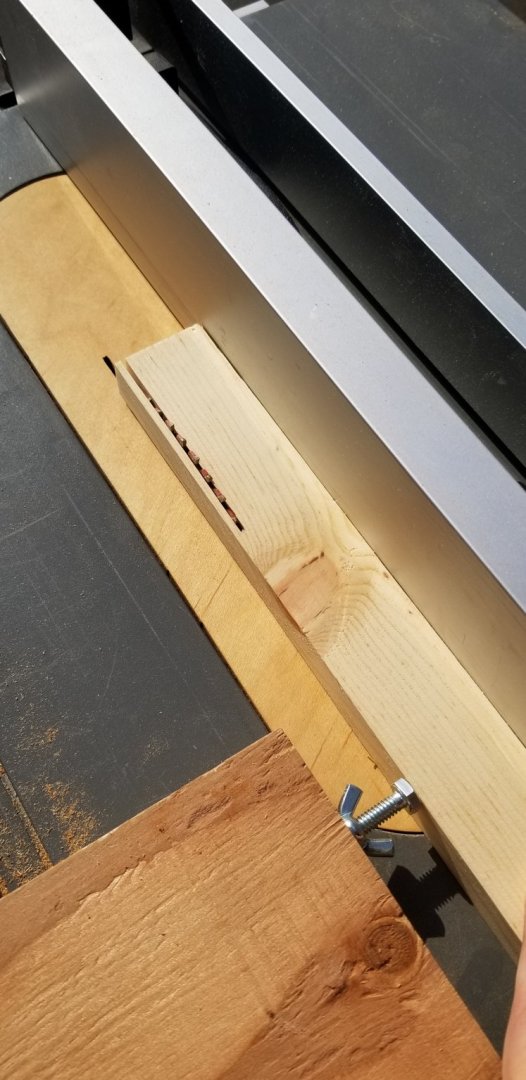
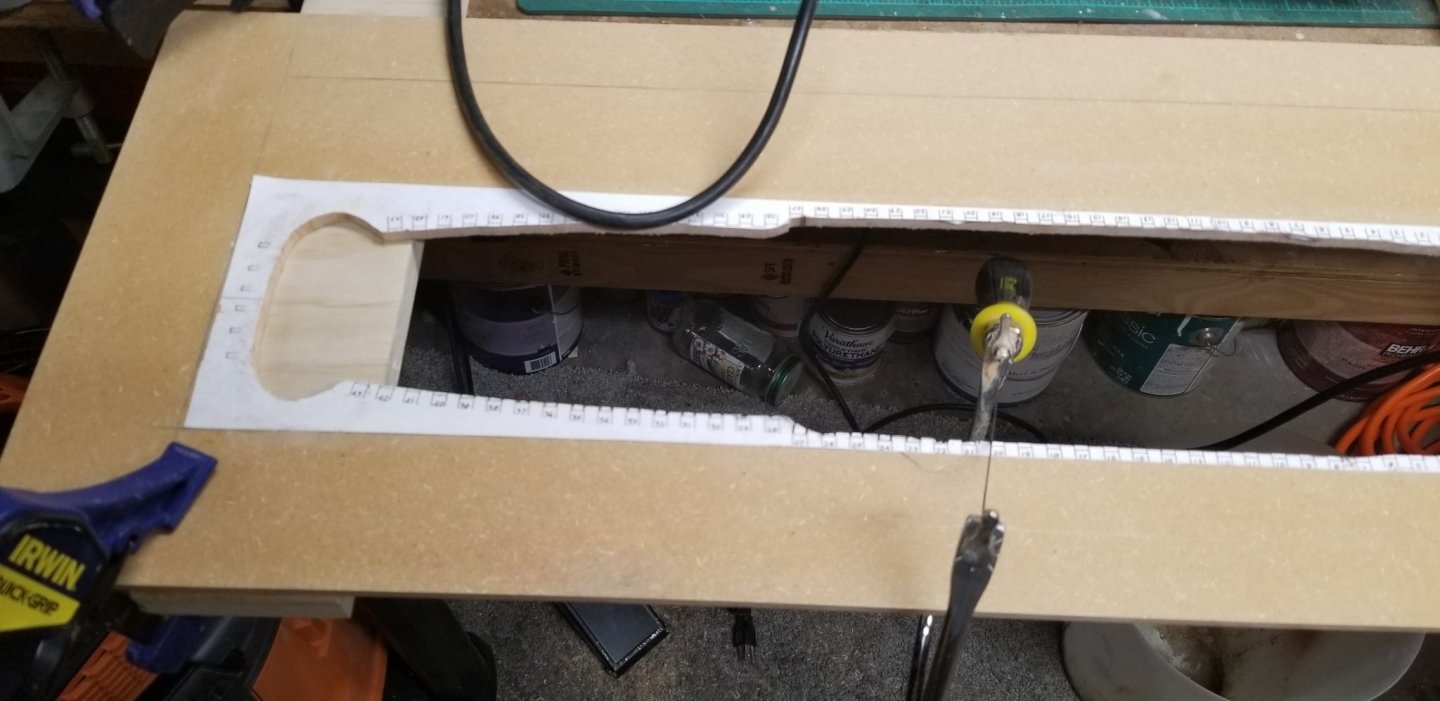
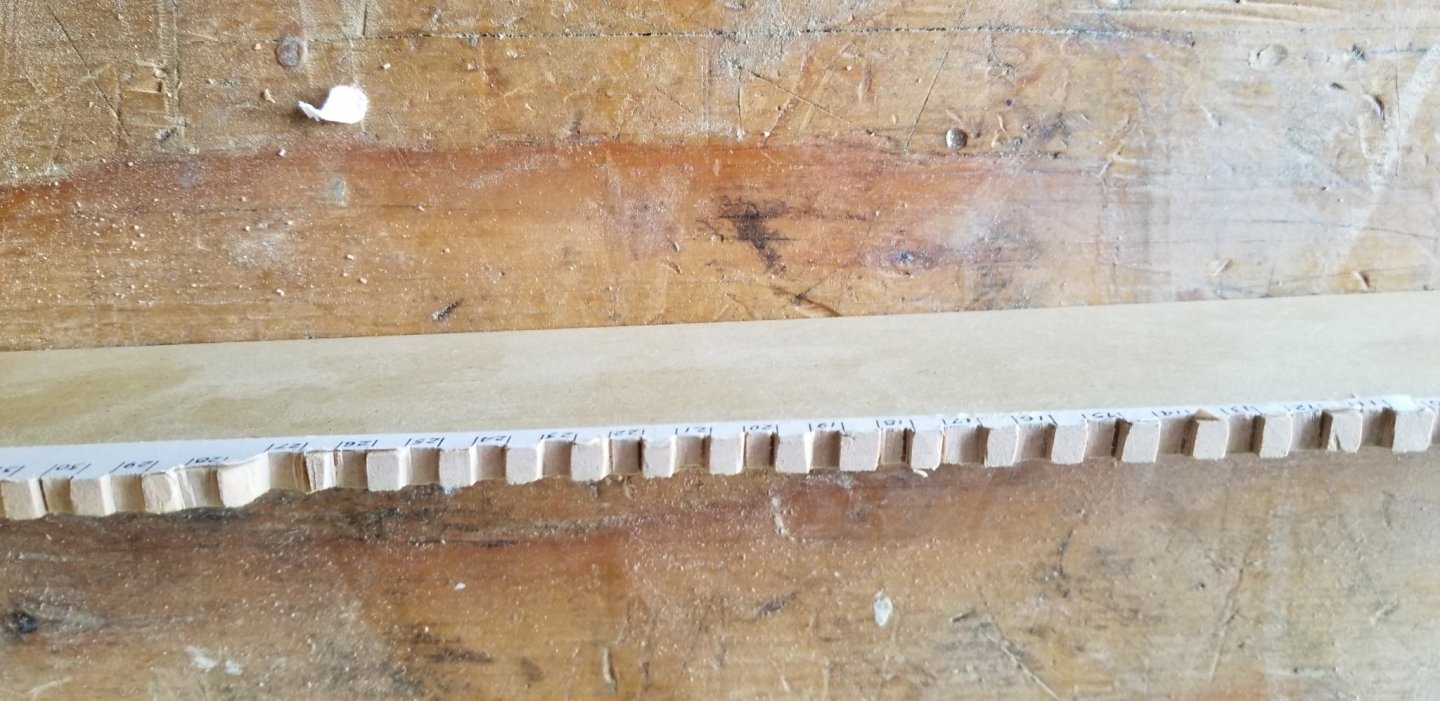
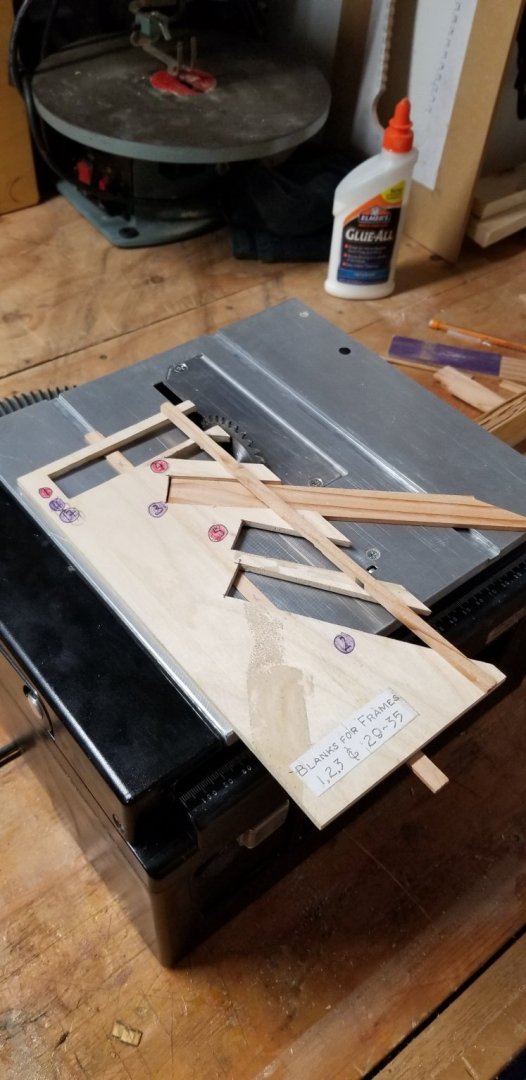
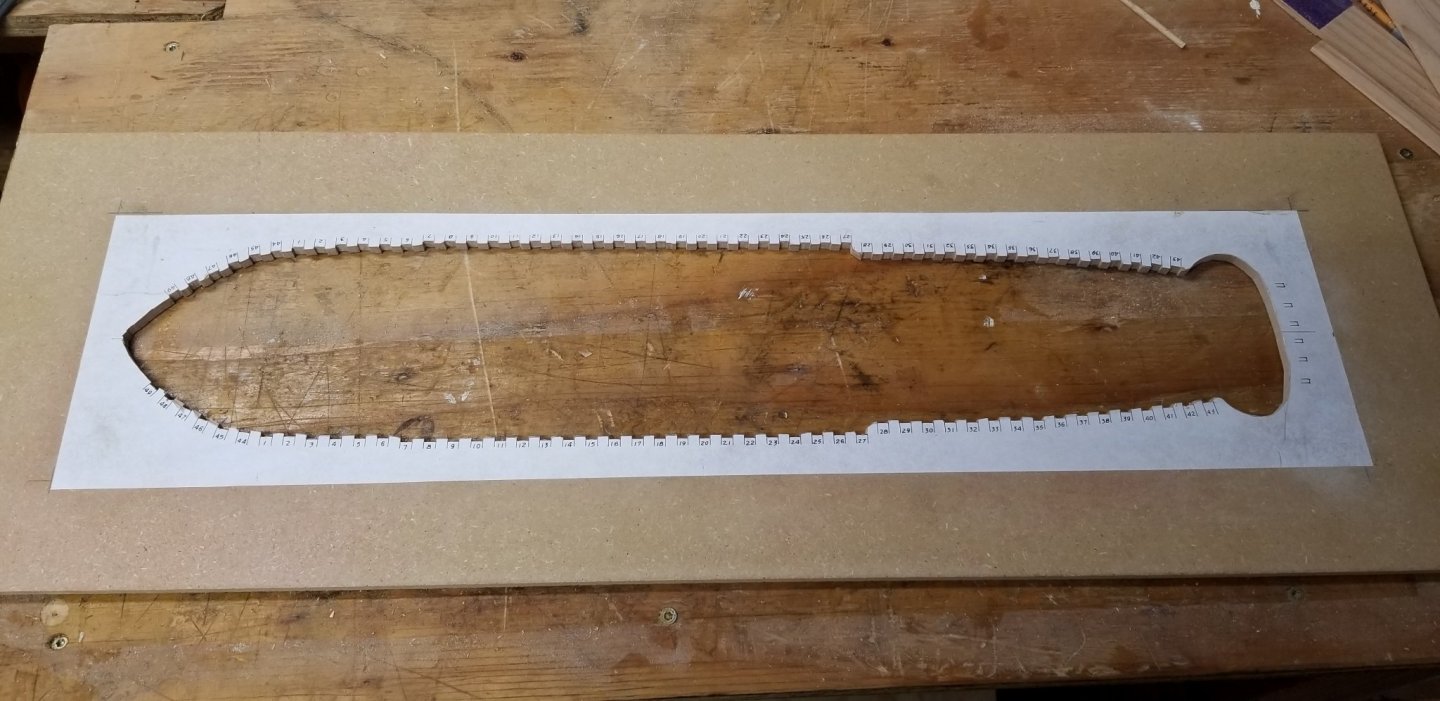
Hi All, It is time to start a new challenge for me in this hobby. I have been looking for a scratch build model for a while now. One of our club members gave me the plans for the Rattlesnake using the Hahn Harold method. After looking at the plans and reading about this ship, I decided to jump into it. Here are the fully rigged model dimensions: Length: 37" Breadth: 12" Height: 24 5/8" Some history HMS Cormorant was probably launched in 1780 at Plymouth, Massachusetts. She was commissioned as the Massachusetts privateer Rattlesnake in 1781. The Royal Navy captured her shortly after she set out on a cruise and purchased her. In November 1781 she carried to England the first news of General Cornwallis’s defeat. The Royal Navy registered her under the name Cormorant. In 1783 the navy renamed her Rattlesnake and paid her off and sold her in 1786. Rattlesnake was probably drawn by John Peck of Boston, Massachusetts, and probably built at Plymouth in 1780. She was very lightly built and was reputedly very fast. Rattlesnake had the appearance of a miniature frigate, with detached quarterdeck and forecastle. Rattlesnake was commissioned on 12 June 1781 under the command of Mark Clark (or Clarke). She had barely begun her first cruise when she encountered the 44-gun frigate HMS Assurance, Captain James Cummings commanding. Assurance captured Rattlesnake on 17 June. He sent her into New York, where she arrived on 8 July. The Royal Navy purchased her on 28 July at Boston. (Wikipedia). For the past few months, I have been asking a lot of questions to my club experienced builders, read a few books and studied the plans. I had decided to use Cherry for the frames. First, I created the jig to handle the frames. I used a jigsaw to remove most of the waste. Here is my first mistake. I am not sure why but I started to use a copping saw to cut the notches in the jig and few rasp. None of the angles were perfect. I have scroll saw, why did I not use it?!?!?? Here is the damage Here is the redo one with the scroll saw. Much better Jigs are cutting all the frame components. A lot of them but all angles and lenghts are covered I will need around 450 pieces to make them. To practice and test I made some billets made of pine (2by4). Here is the jig in action. Colored the frames for use of locating where each of the parts are going. Made a new crosscut sled. Next step, preparation of the cherry billets . Pictures to come....


- 50 replies
-
- 16
-
-
- rattlesnake
- brig
- (and 1 more)
-
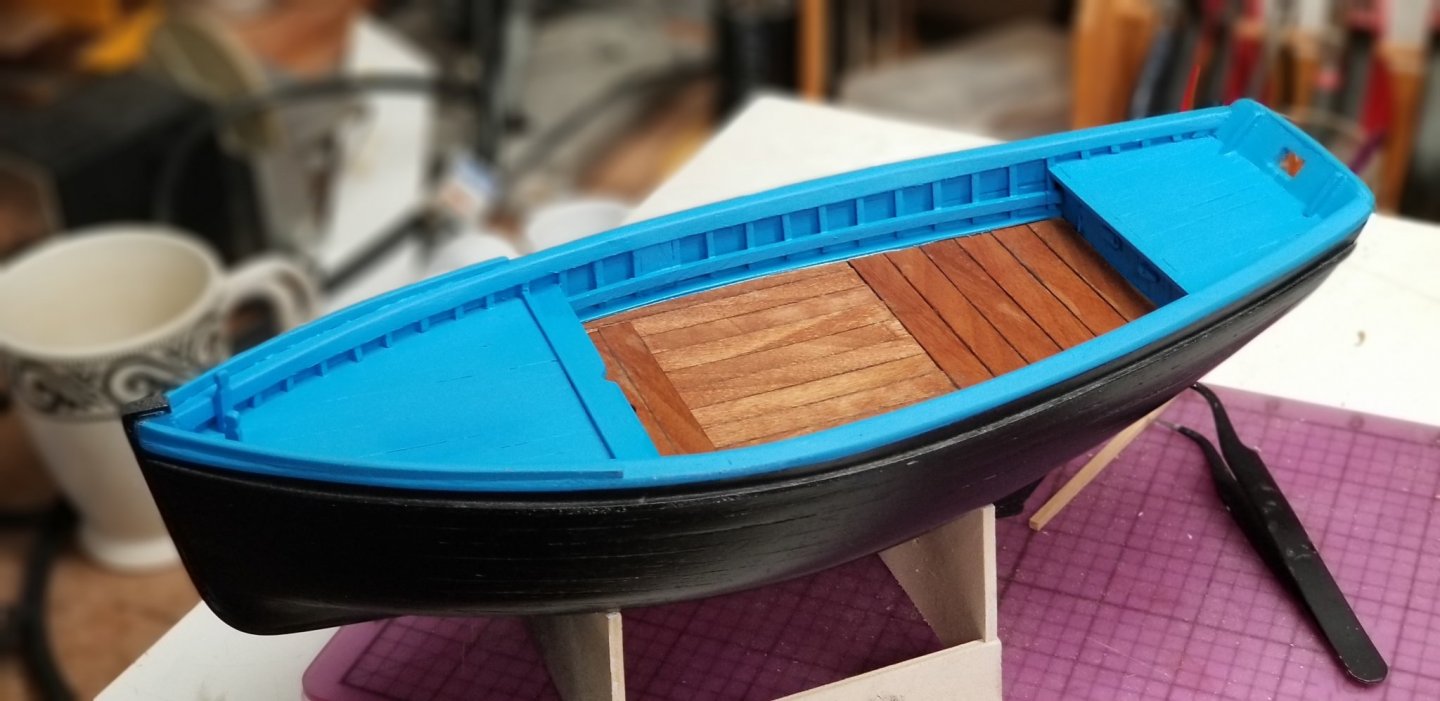
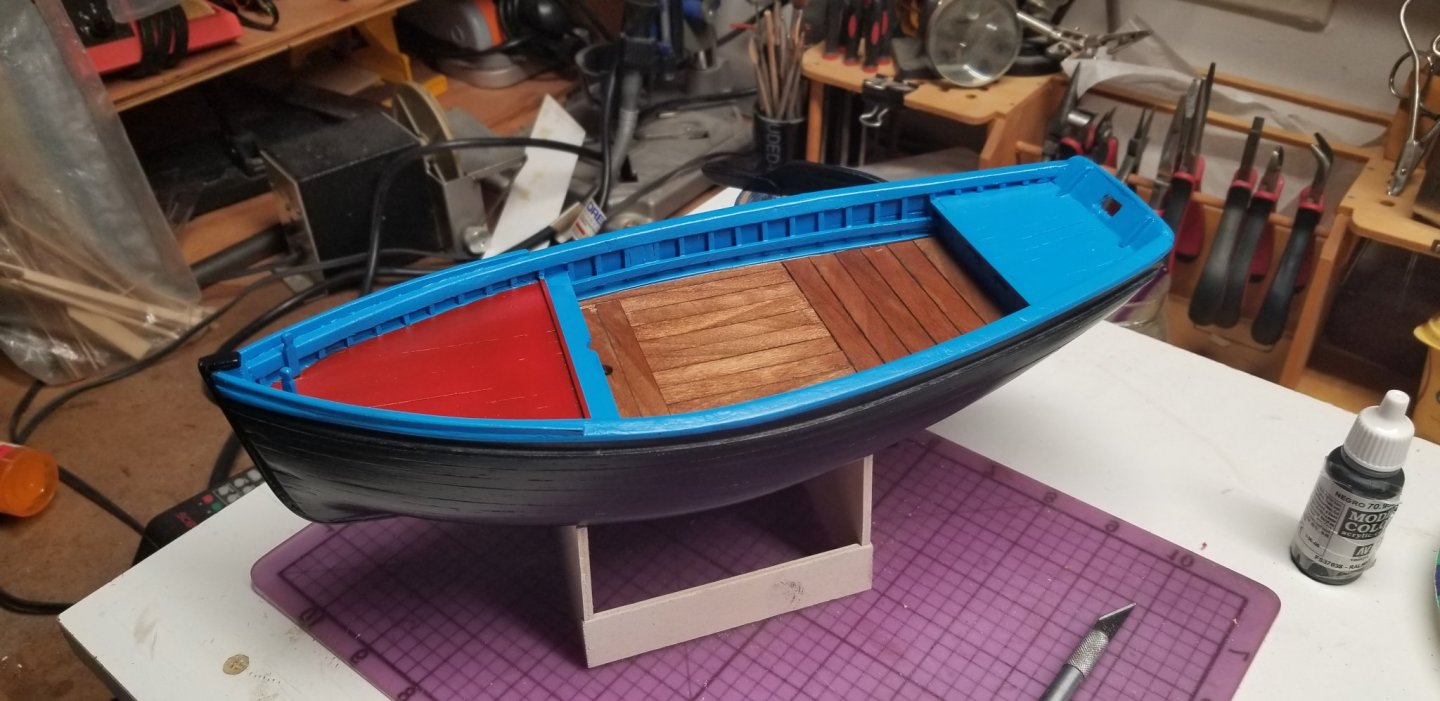
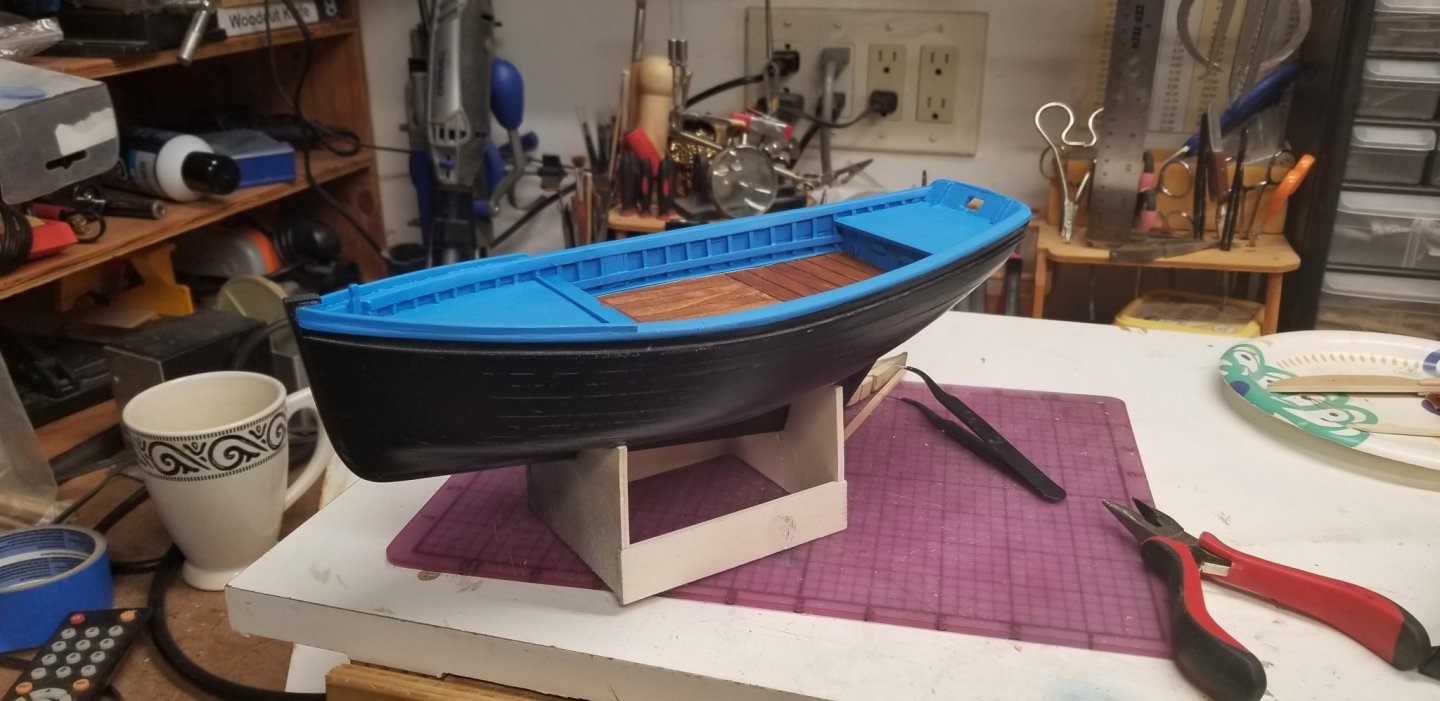
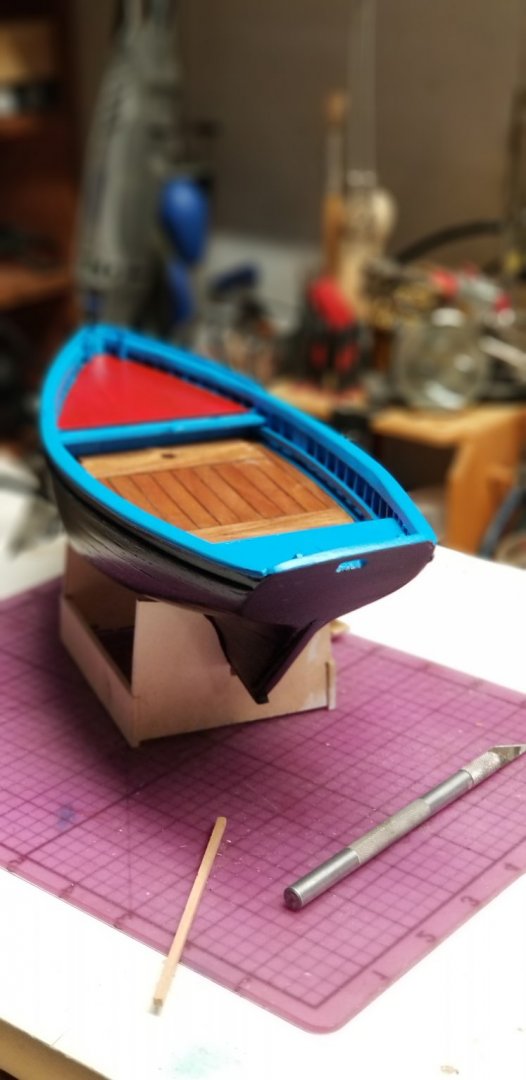
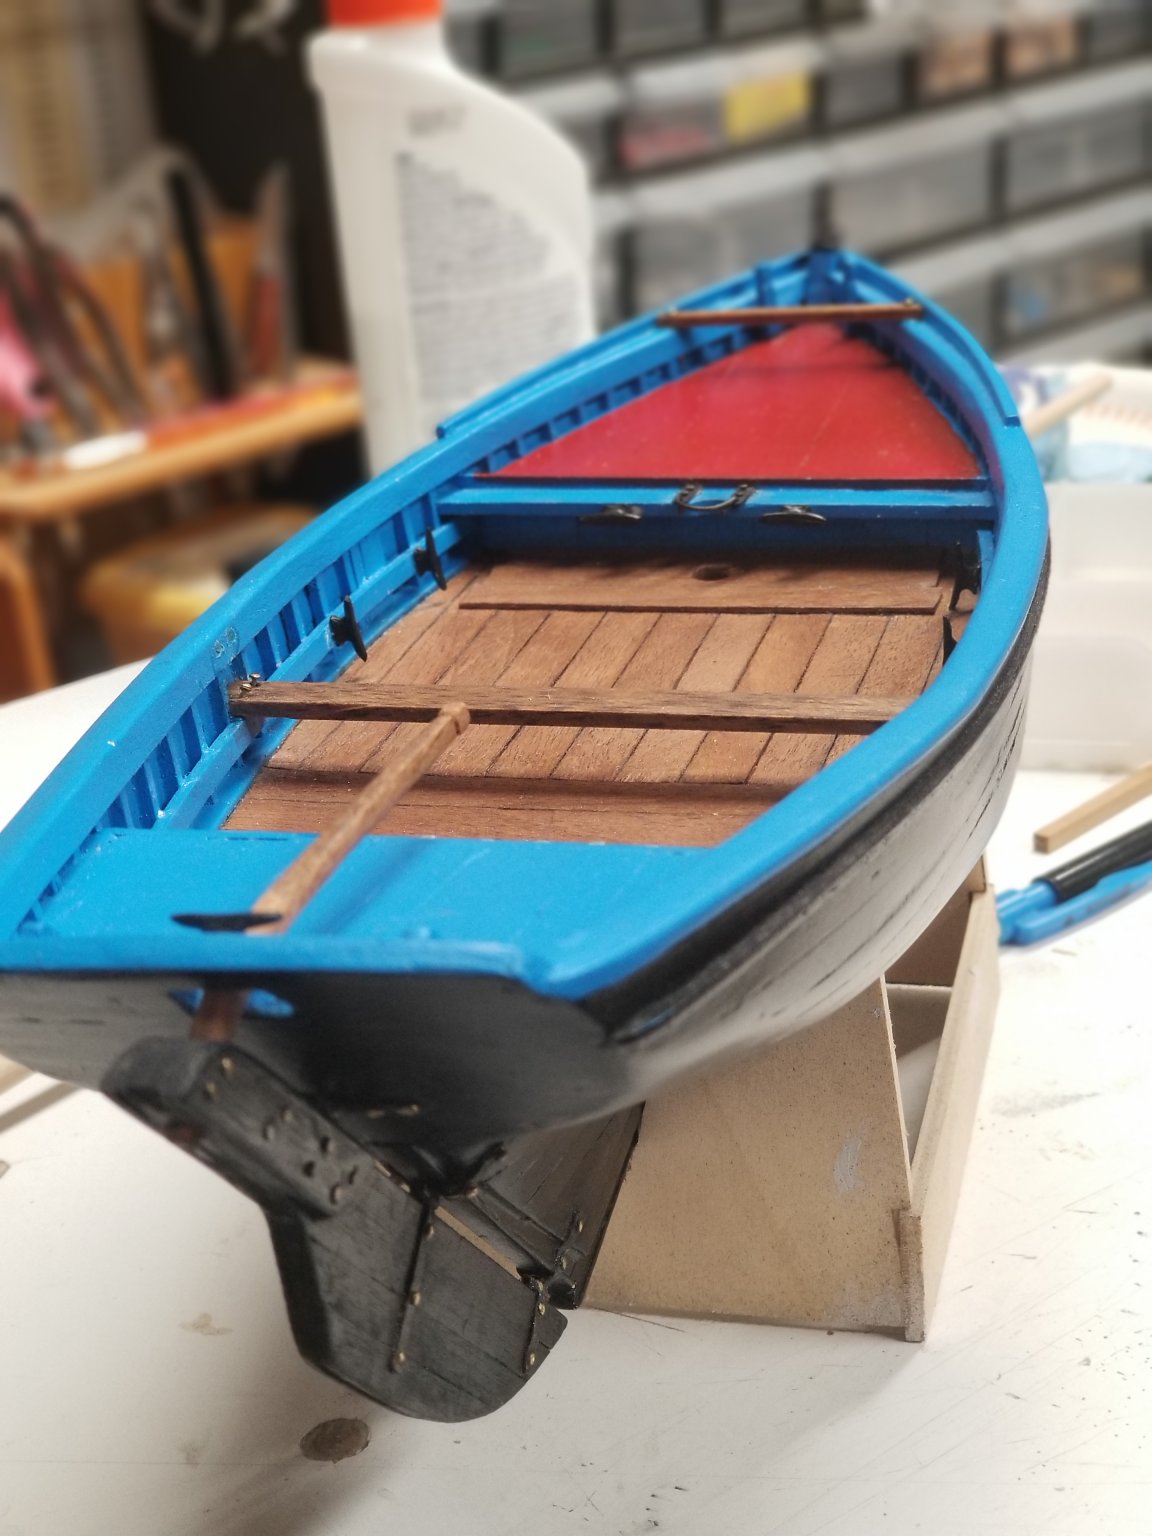
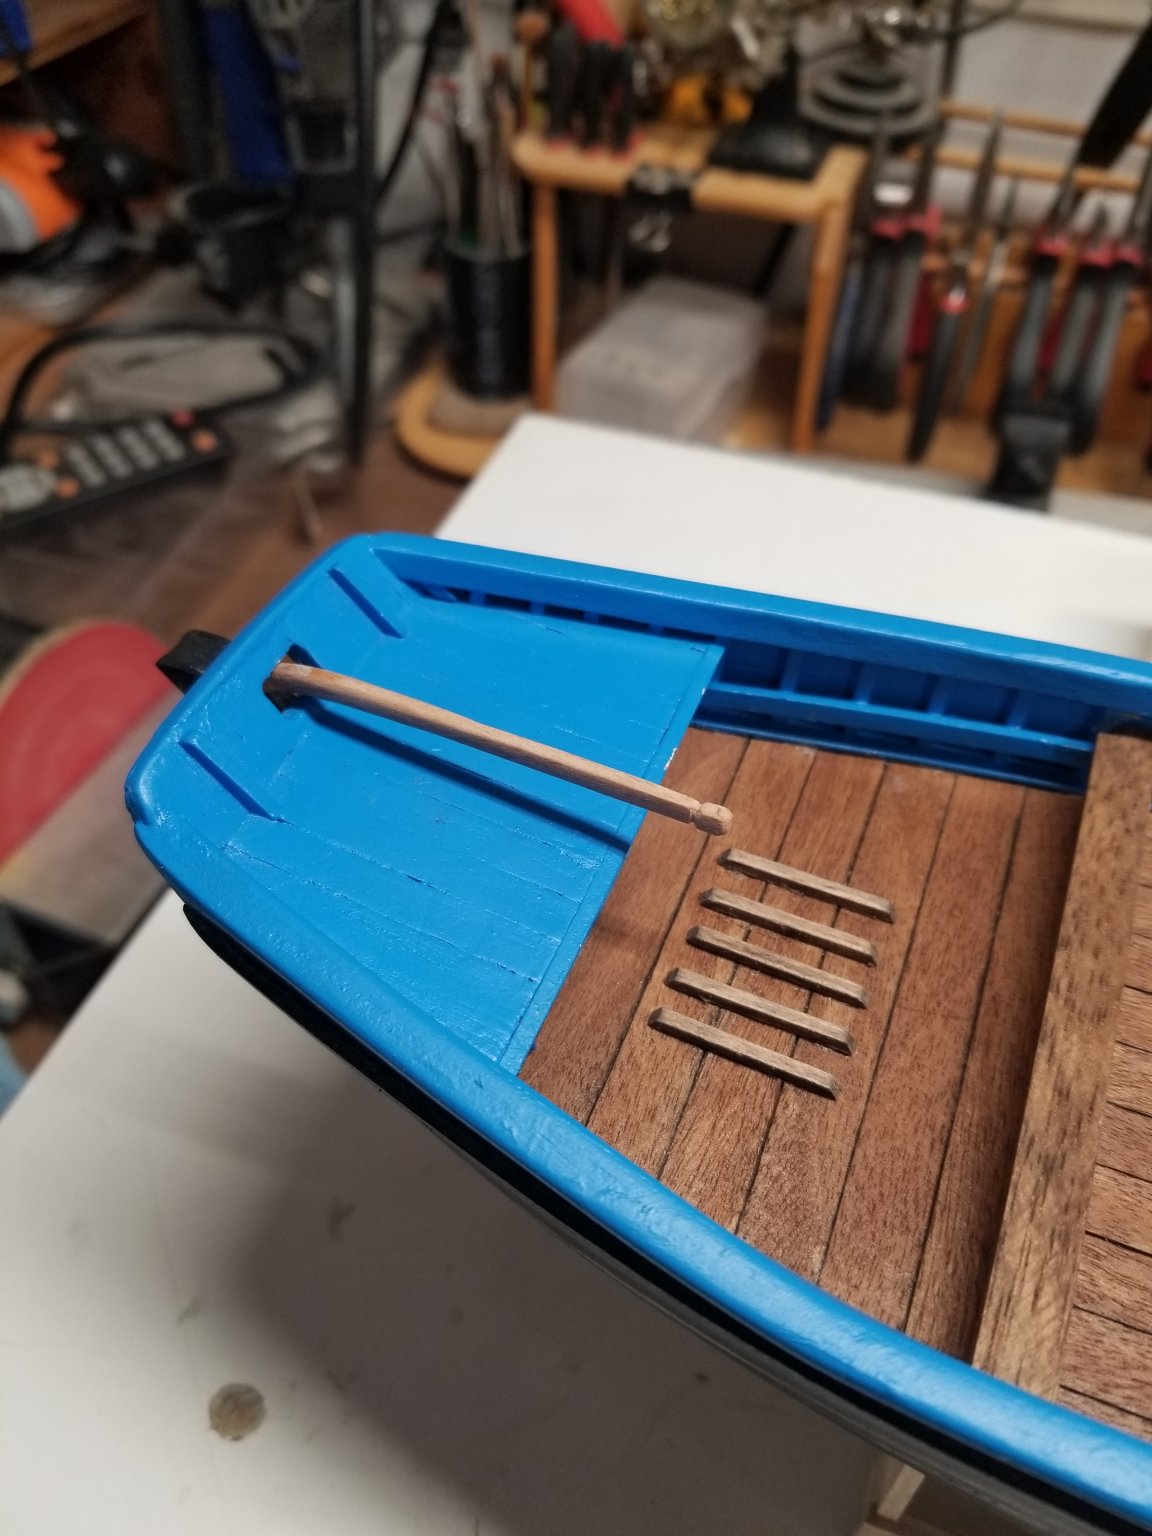
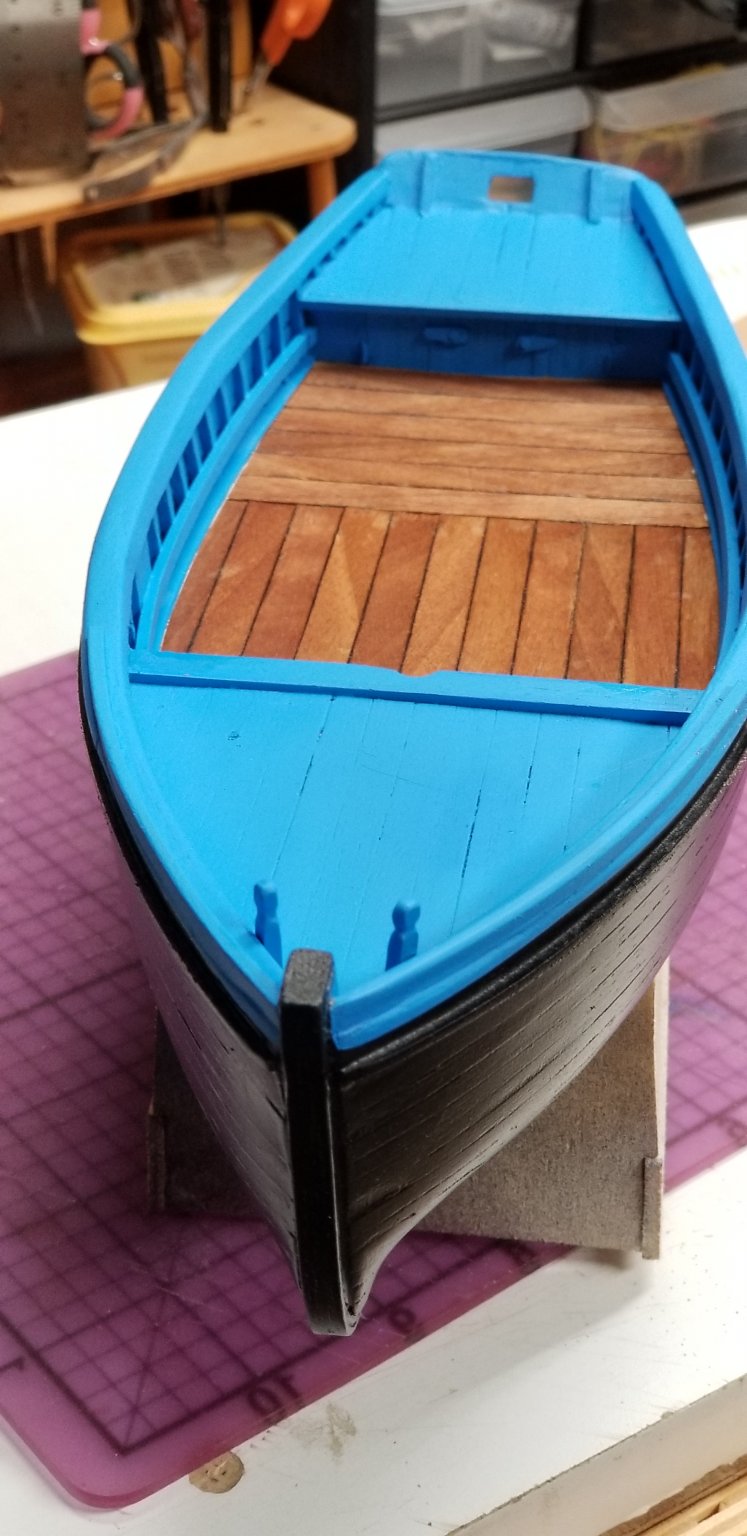
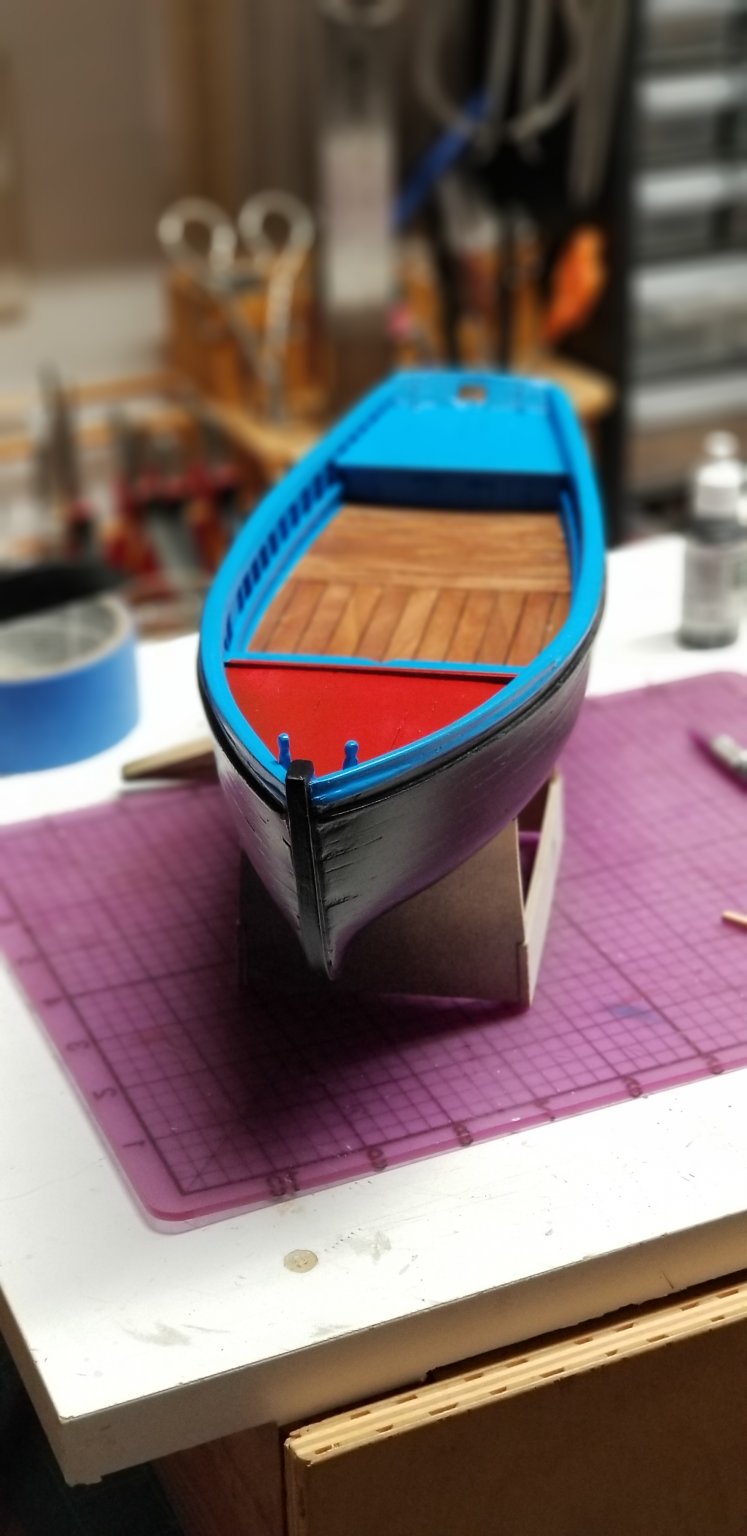
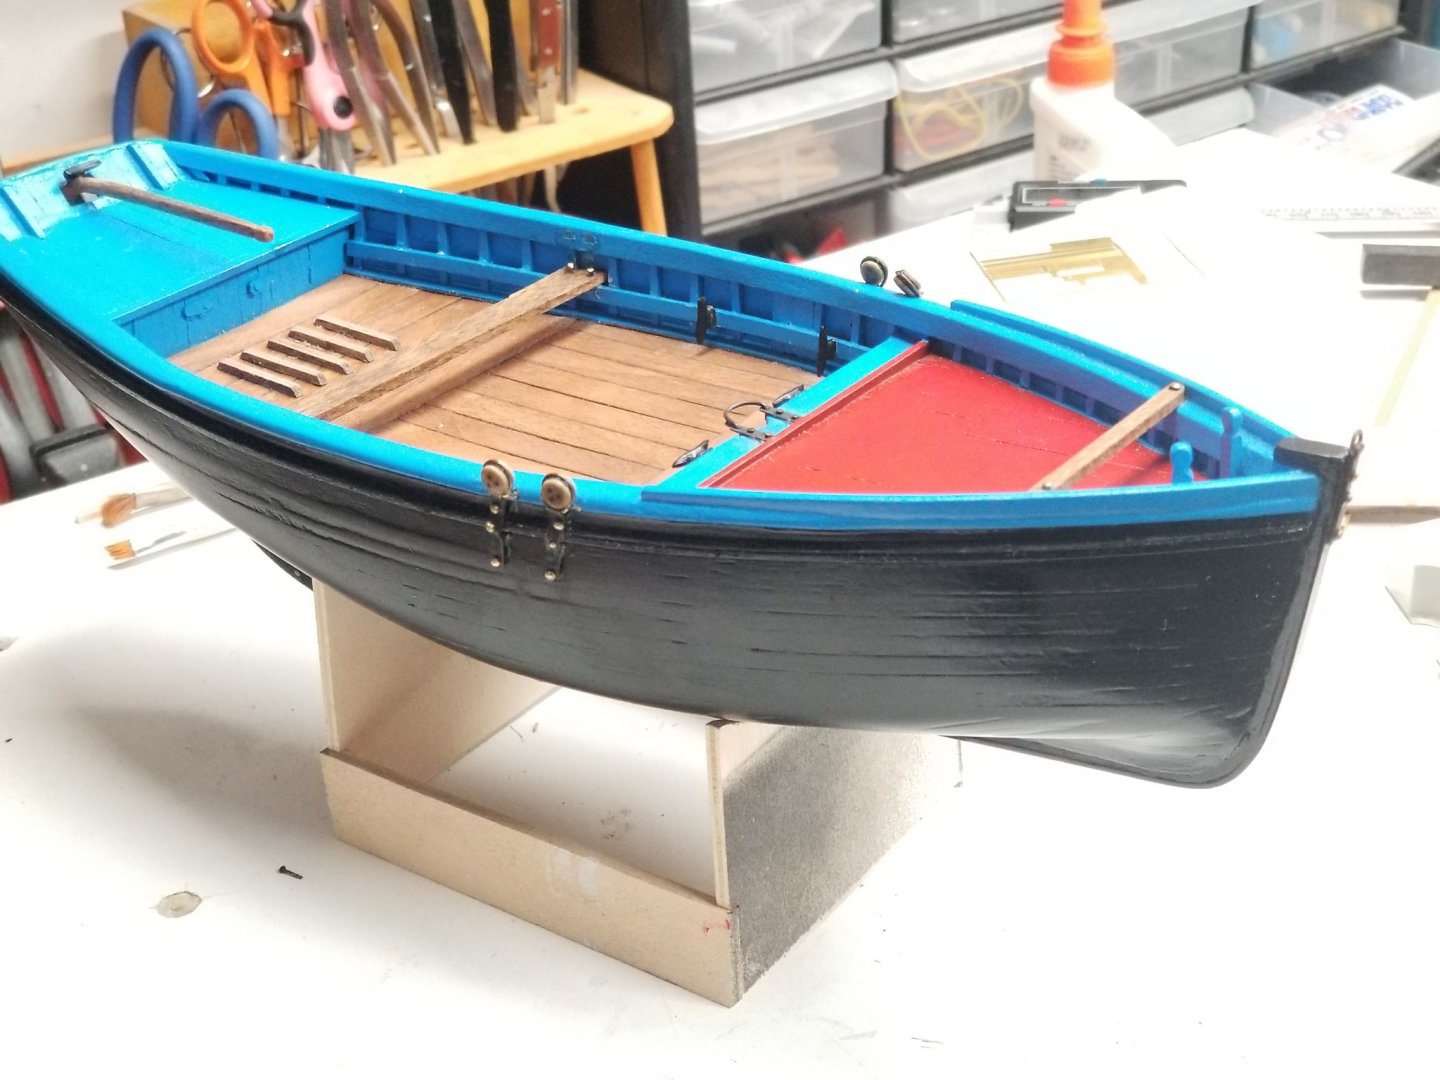
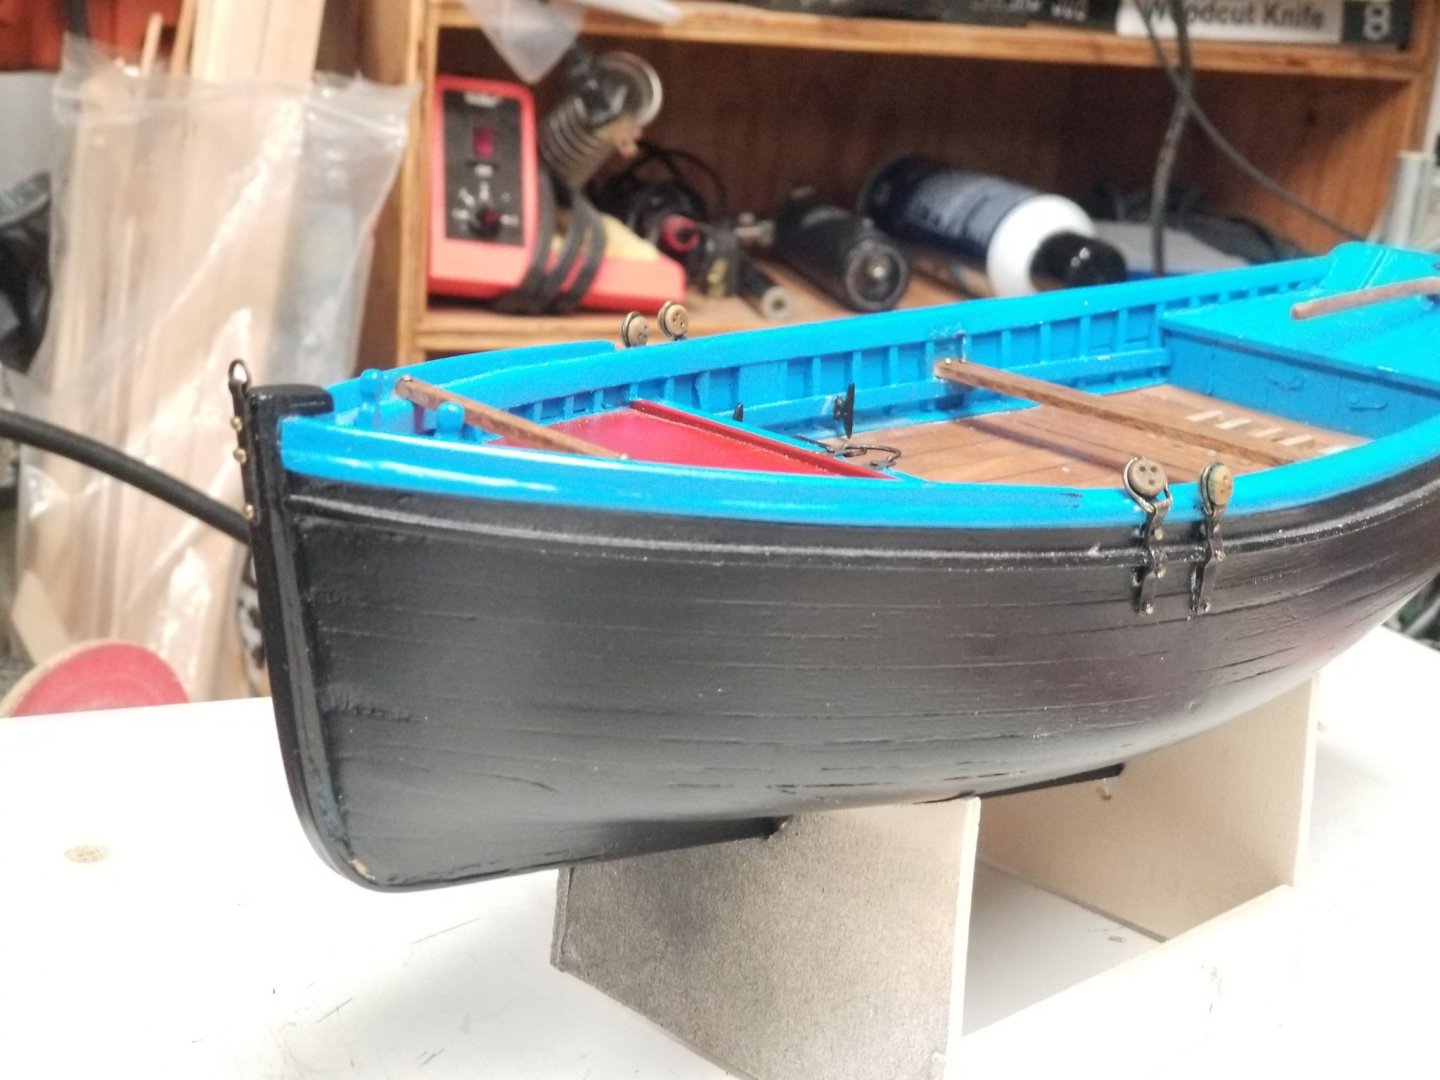
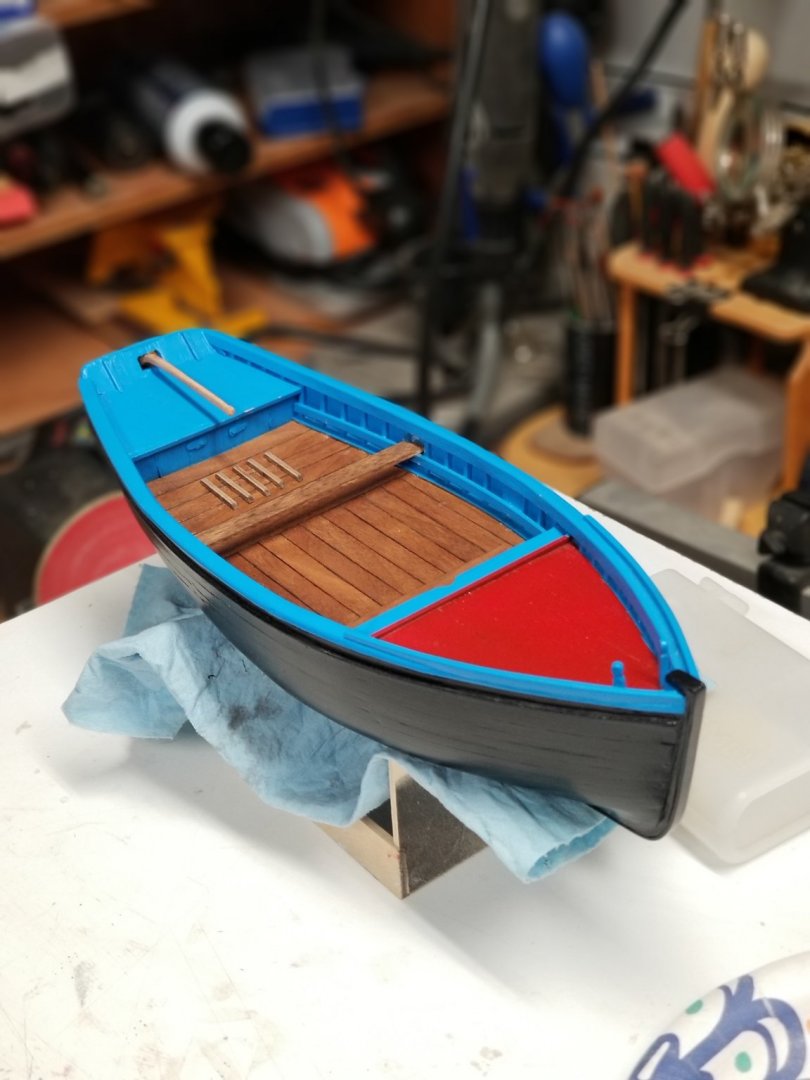
Painting time. I did not capture all steps as I was caught up in the process. Primed all the model. Painted Hull black and inside blue. After doing some research, the first part of the ship was red so I corrected that. After it all dried, I sprayed a coat of clear matte to protect the ship.