HOLIDAY DONATION DRIVE - SUPPORT MSW - DO YOUR PART TO KEEP THIS GREAT FORUM GOING! (Only 24 donations so far out of 49,000 members - C'mon guys!)
×

captgino
-
Posts
620 -
Joined
-
Last visited
Content Type
Profiles
Forums
Gallery
Events
Everything posted by captgino
-
 Video production of the stem. Part 1 Part 2
 -
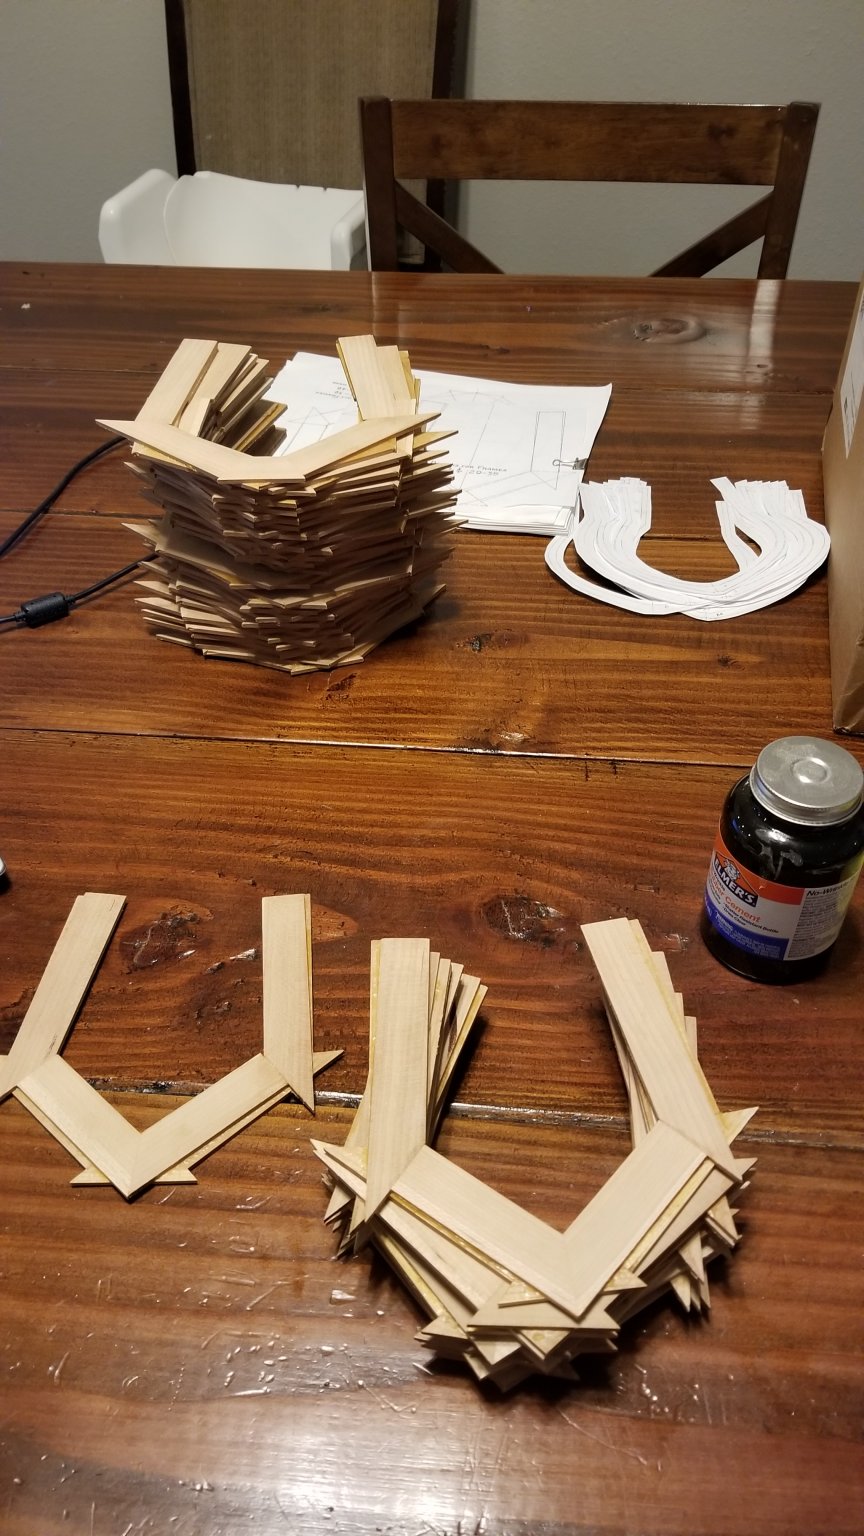
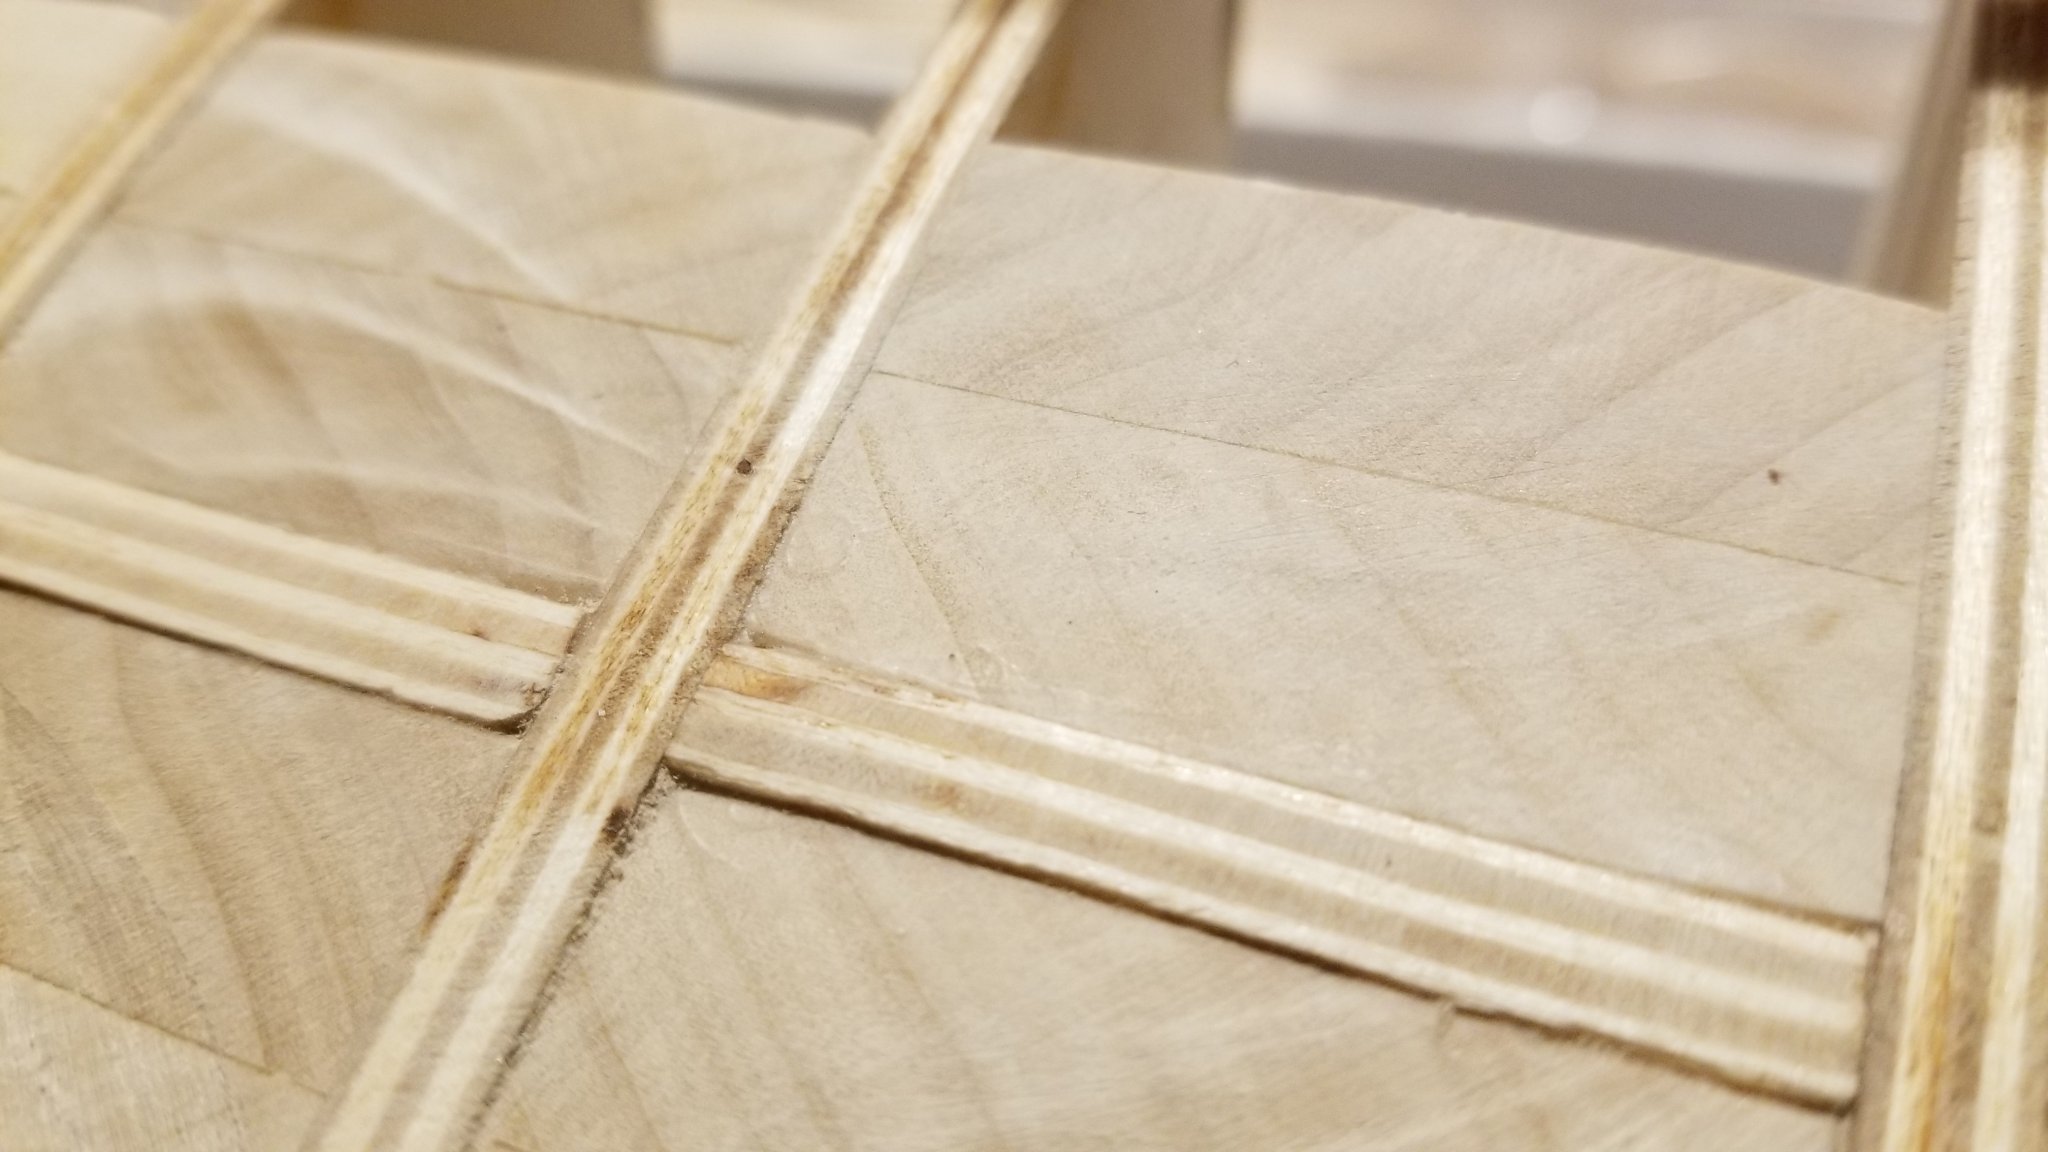
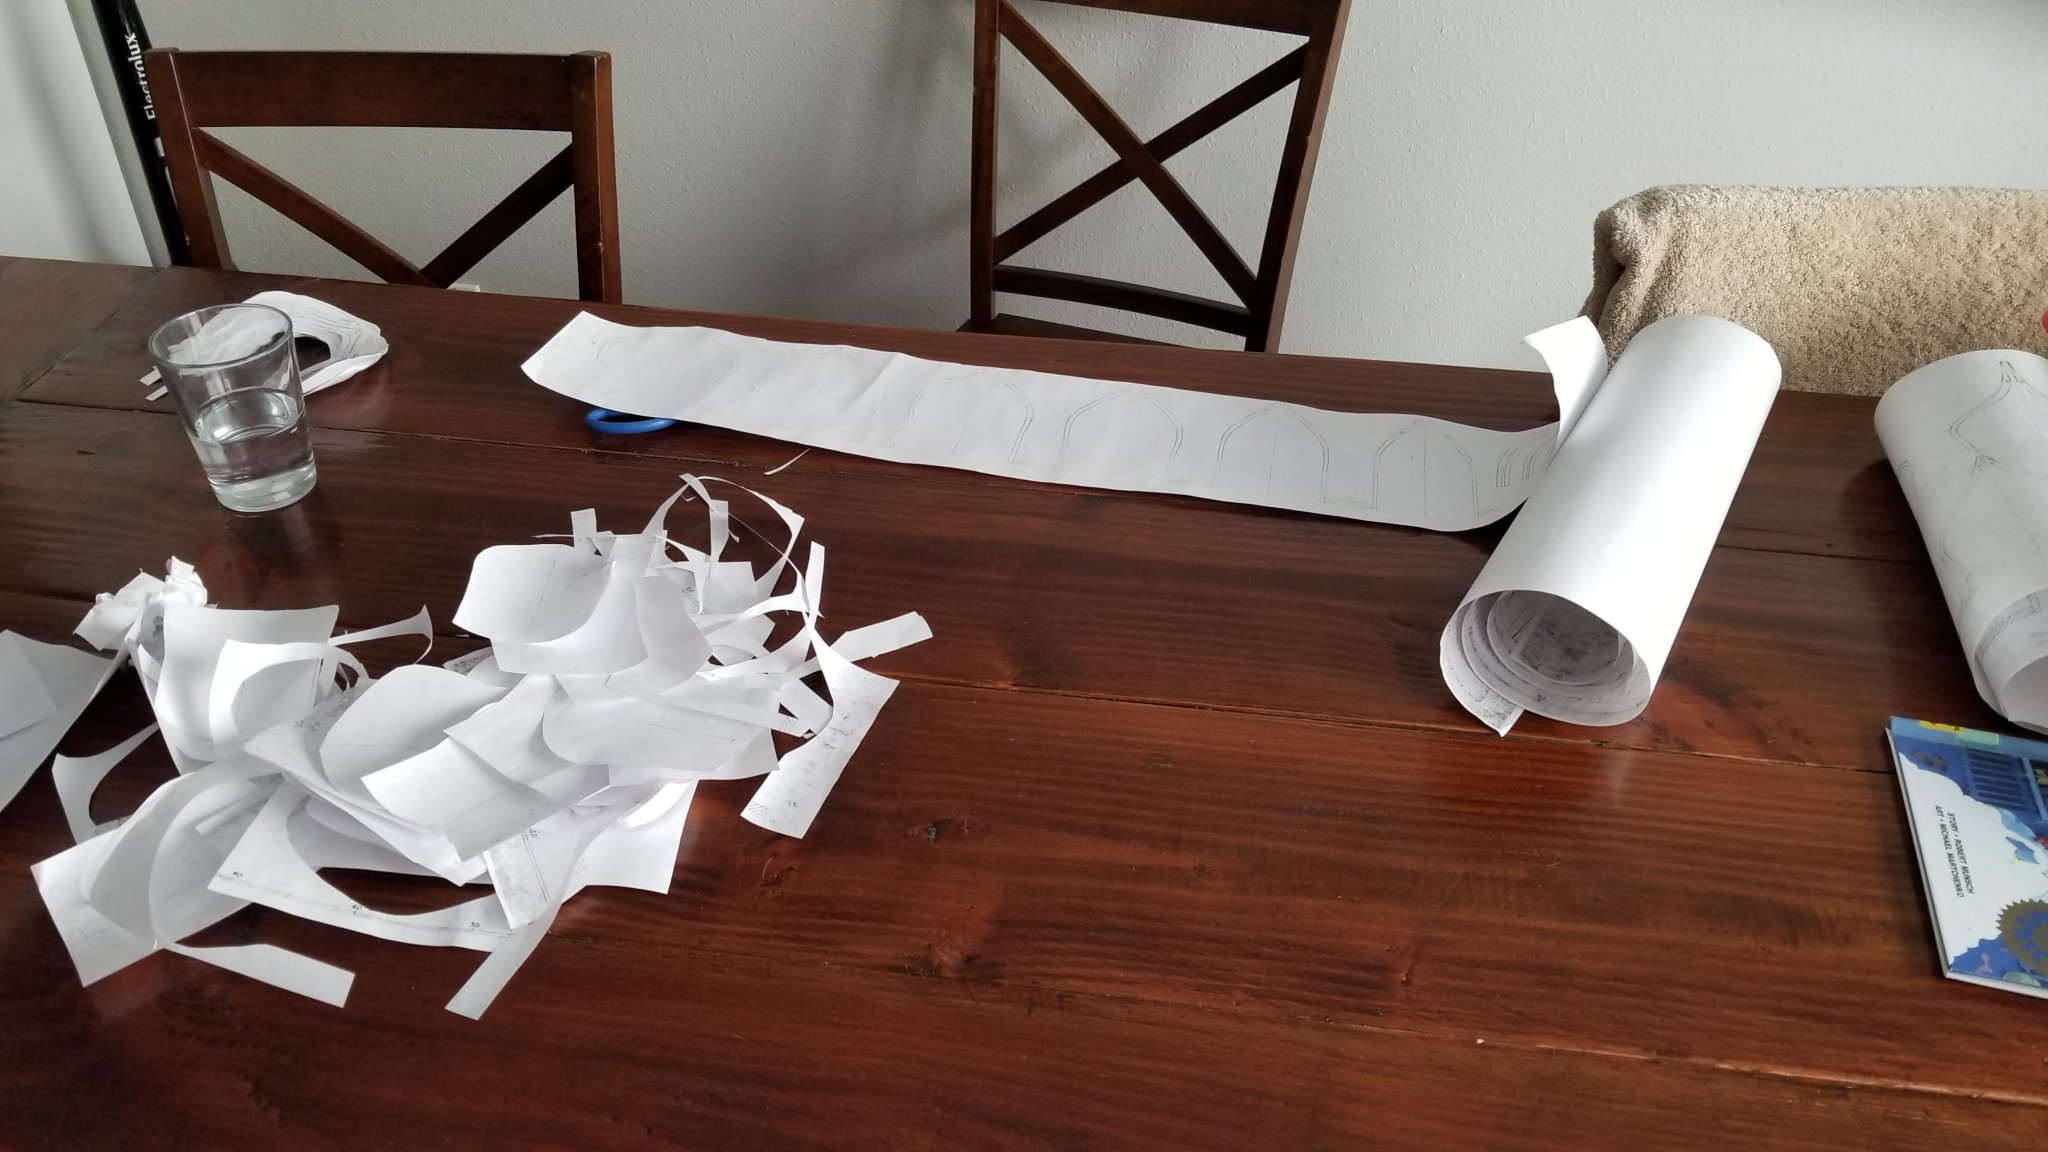
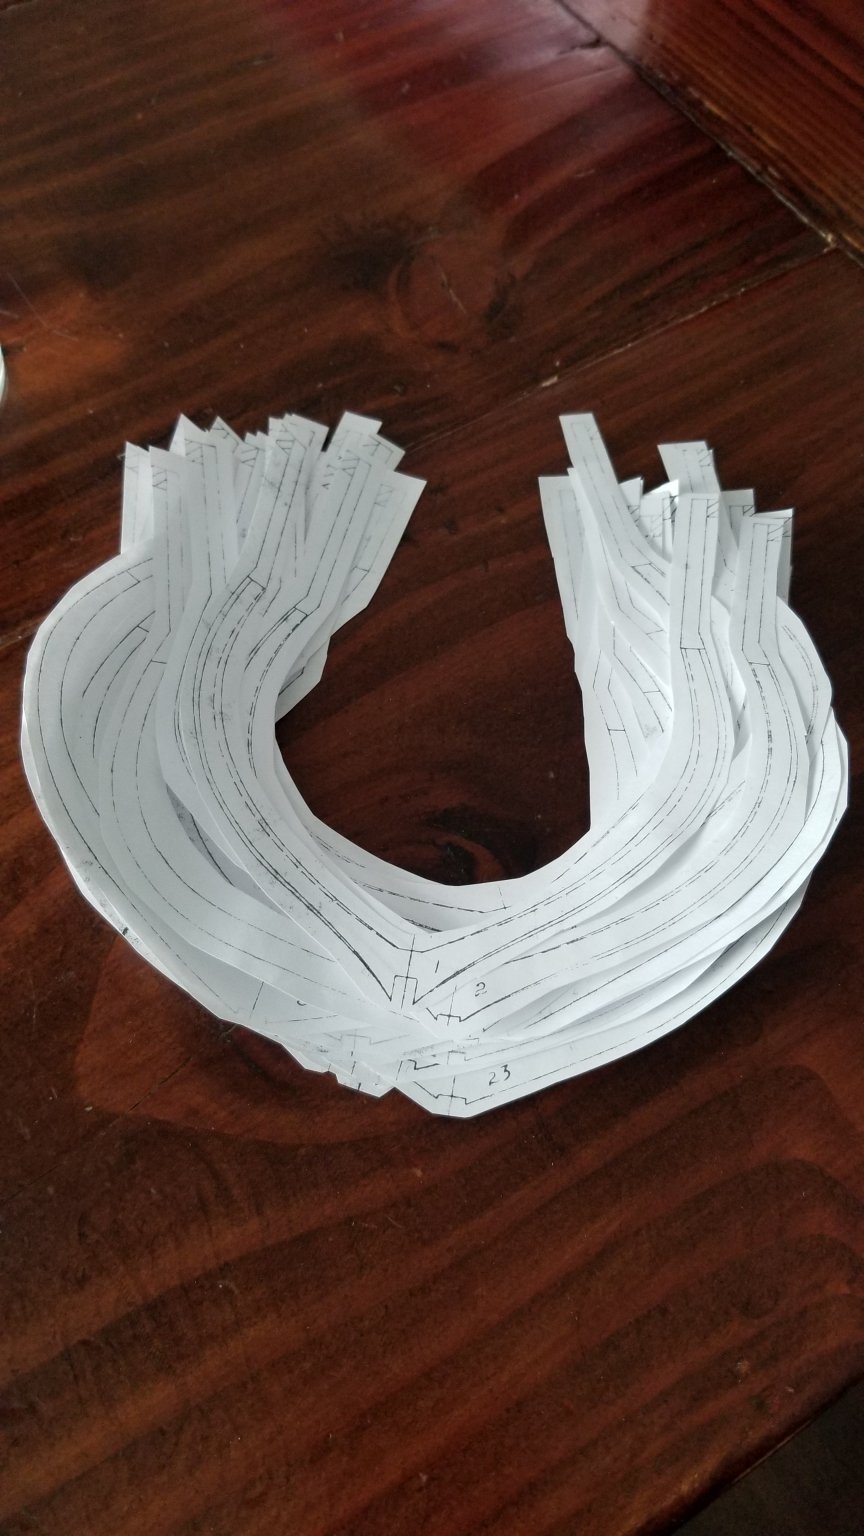
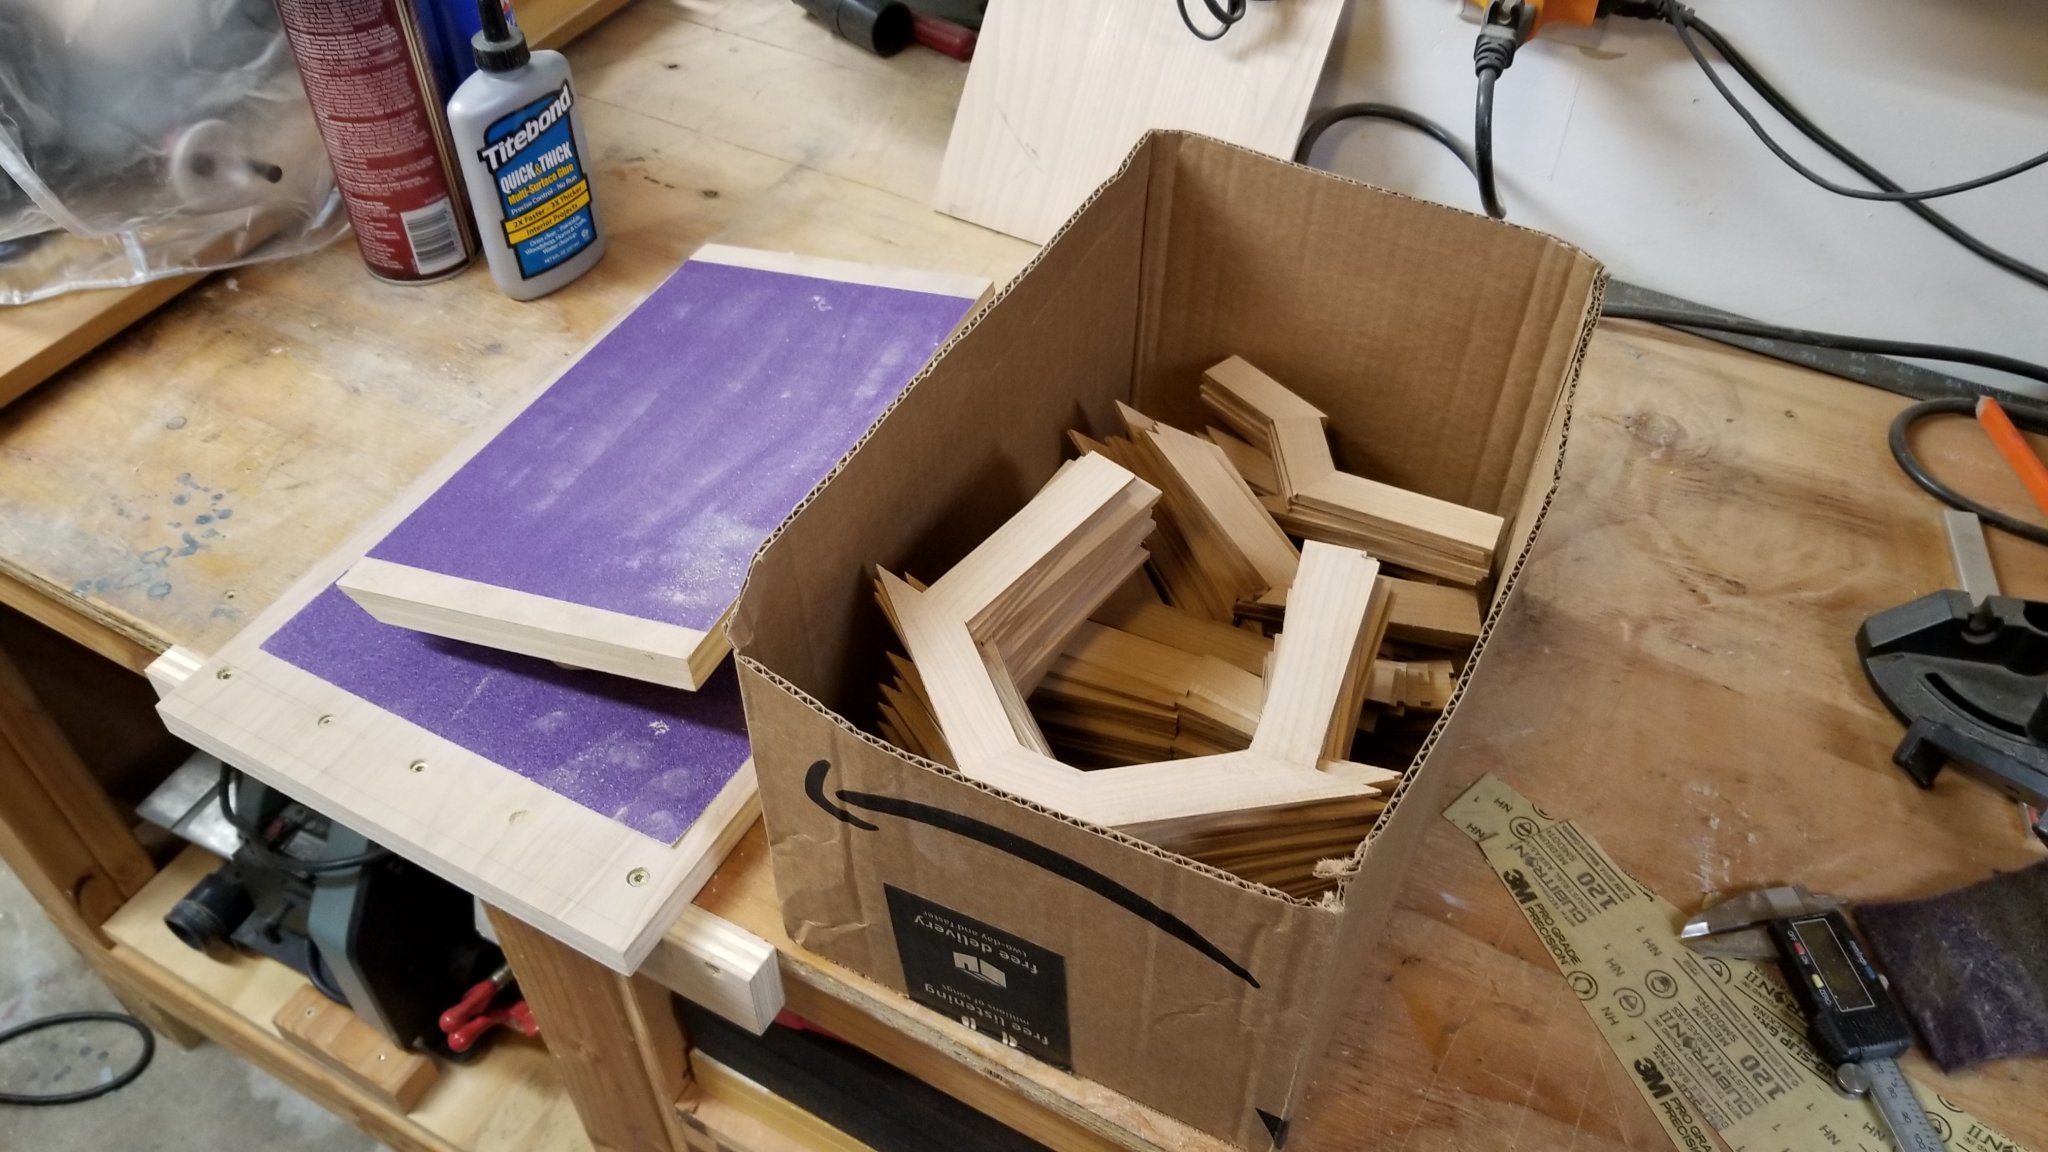
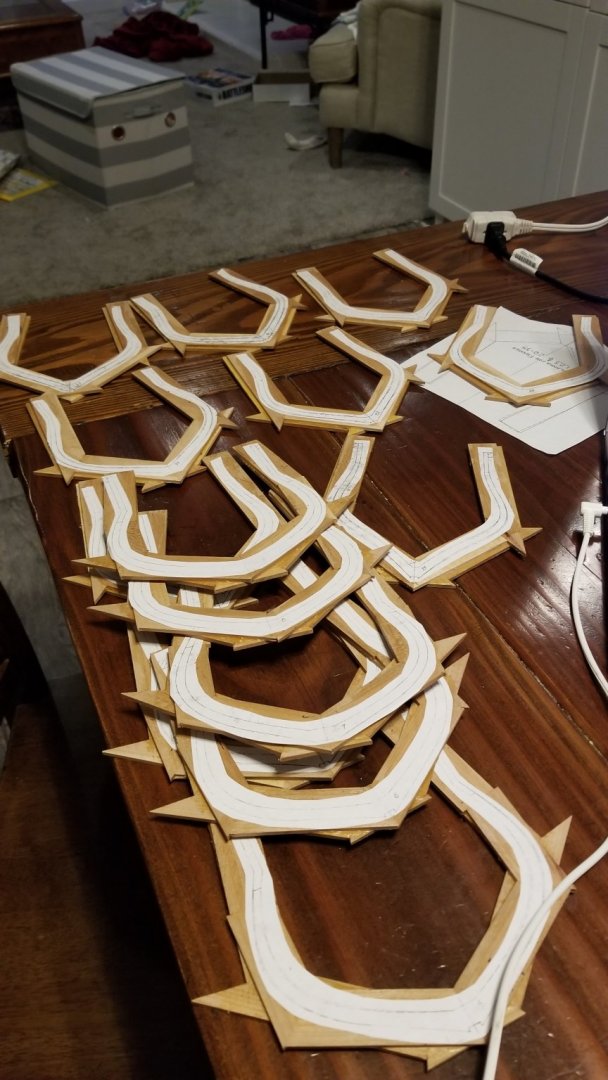
Thank you all for your comments and recommendations. I have started to glue some of the patterns. No distortion on the ones I did so far. You guys are right. It has a tendency to distort easily if you are not careful. I am being very careful and slow when gluing the pattern to minimize impact. It took me about 4 hours to glue 18 frames. I am going to make some additional photocopies to support the frames with a wider pattern. I also unfortunately discovered that I have a few frames in the middle of the ship that will need to be remade, as the pattern is too close to the edge or on it. I think it's a situation where small mistakes in the angles added up and end up distorting the frames. 🤬 Beginner stupidity!!!! I am in the process of surveying the damage. 😢
- 50 replies
-
- 7
-

-
- rattlesnake
- brig
- (and 1 more)
-
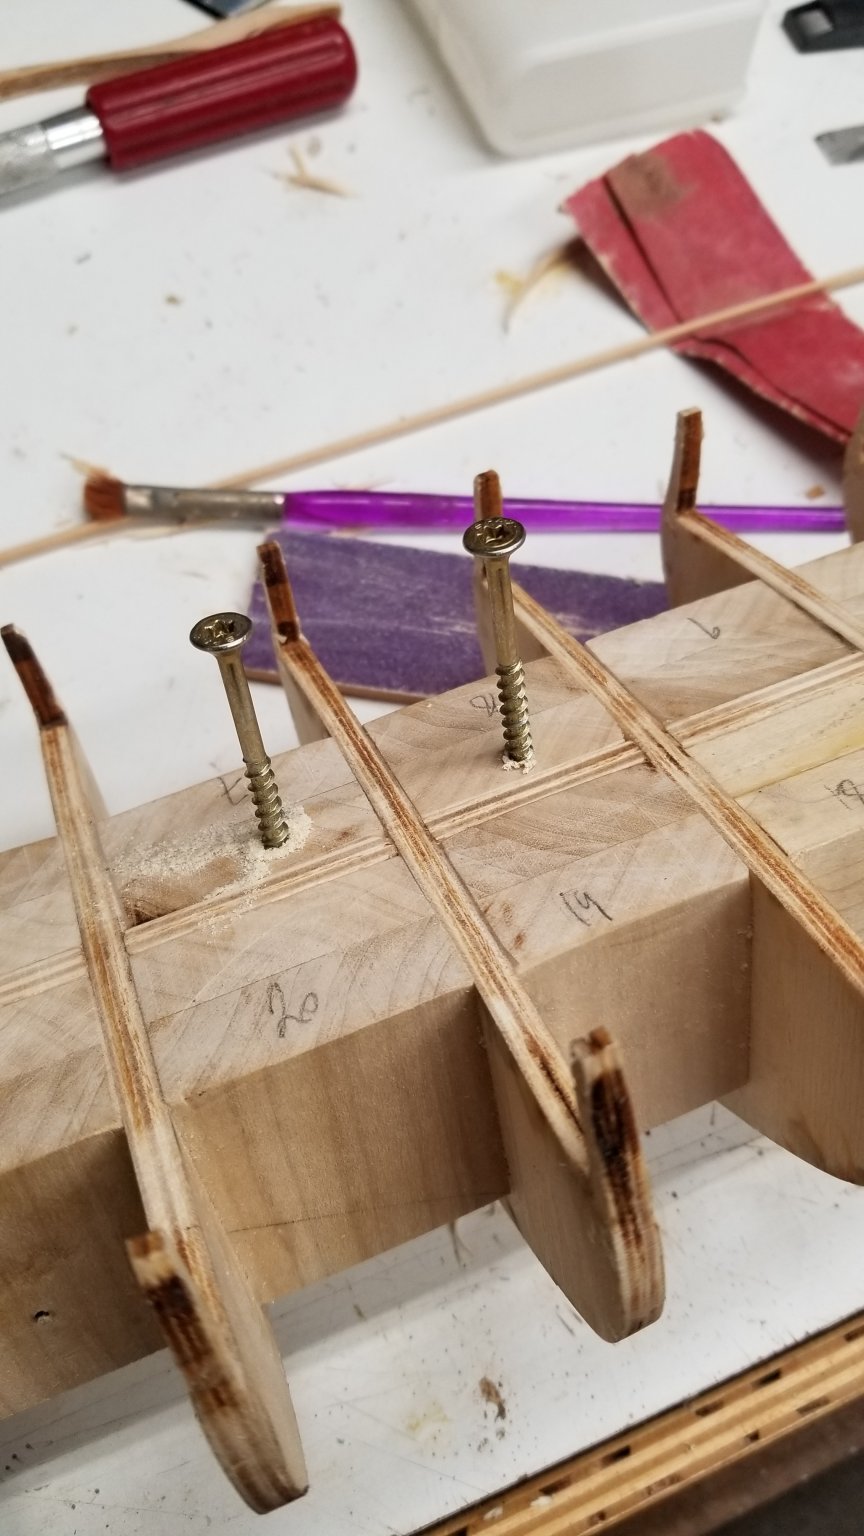
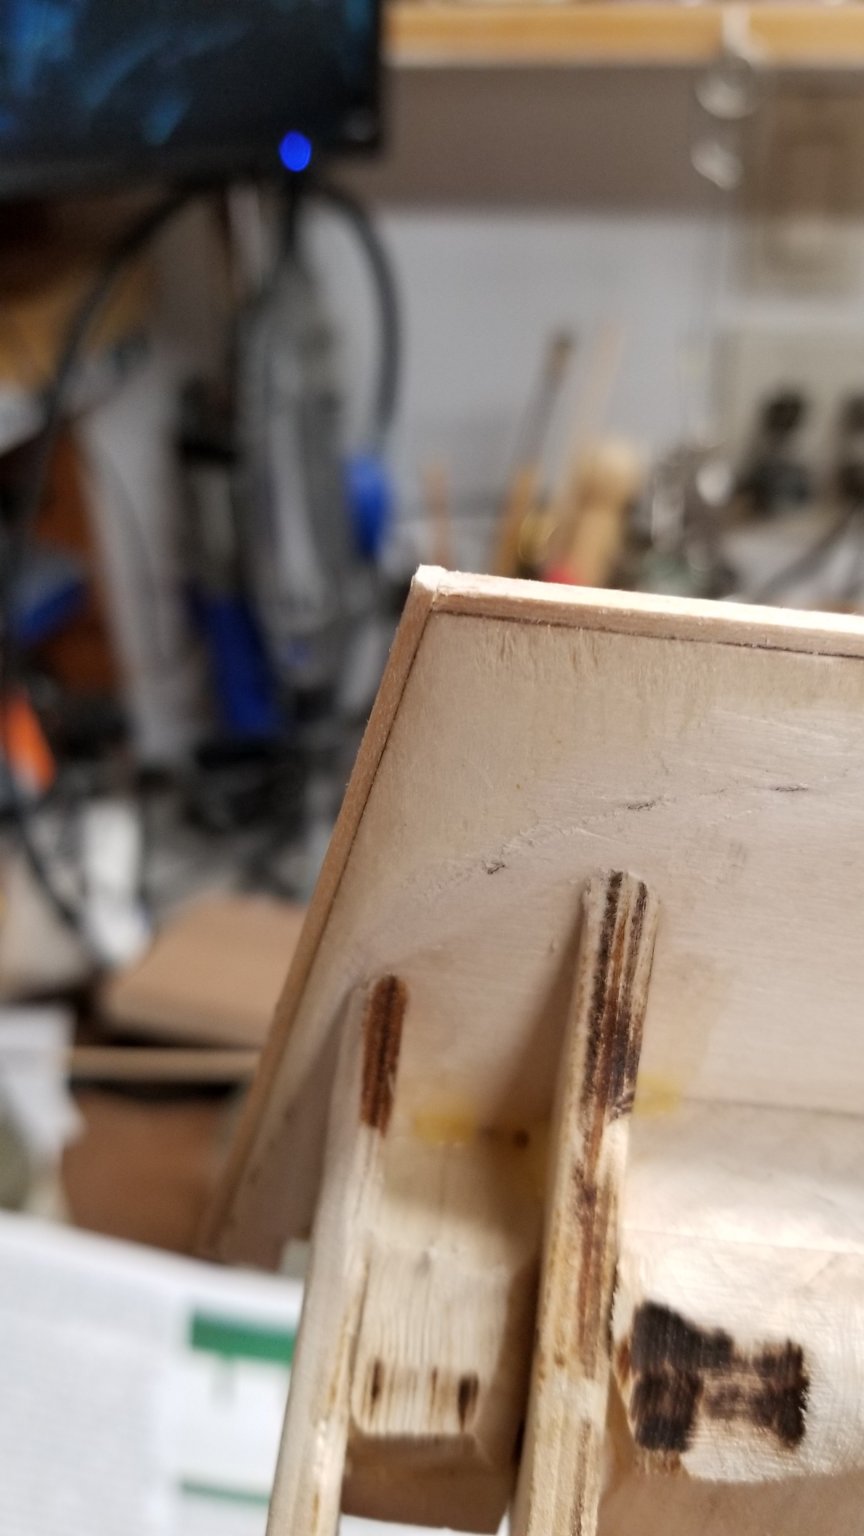
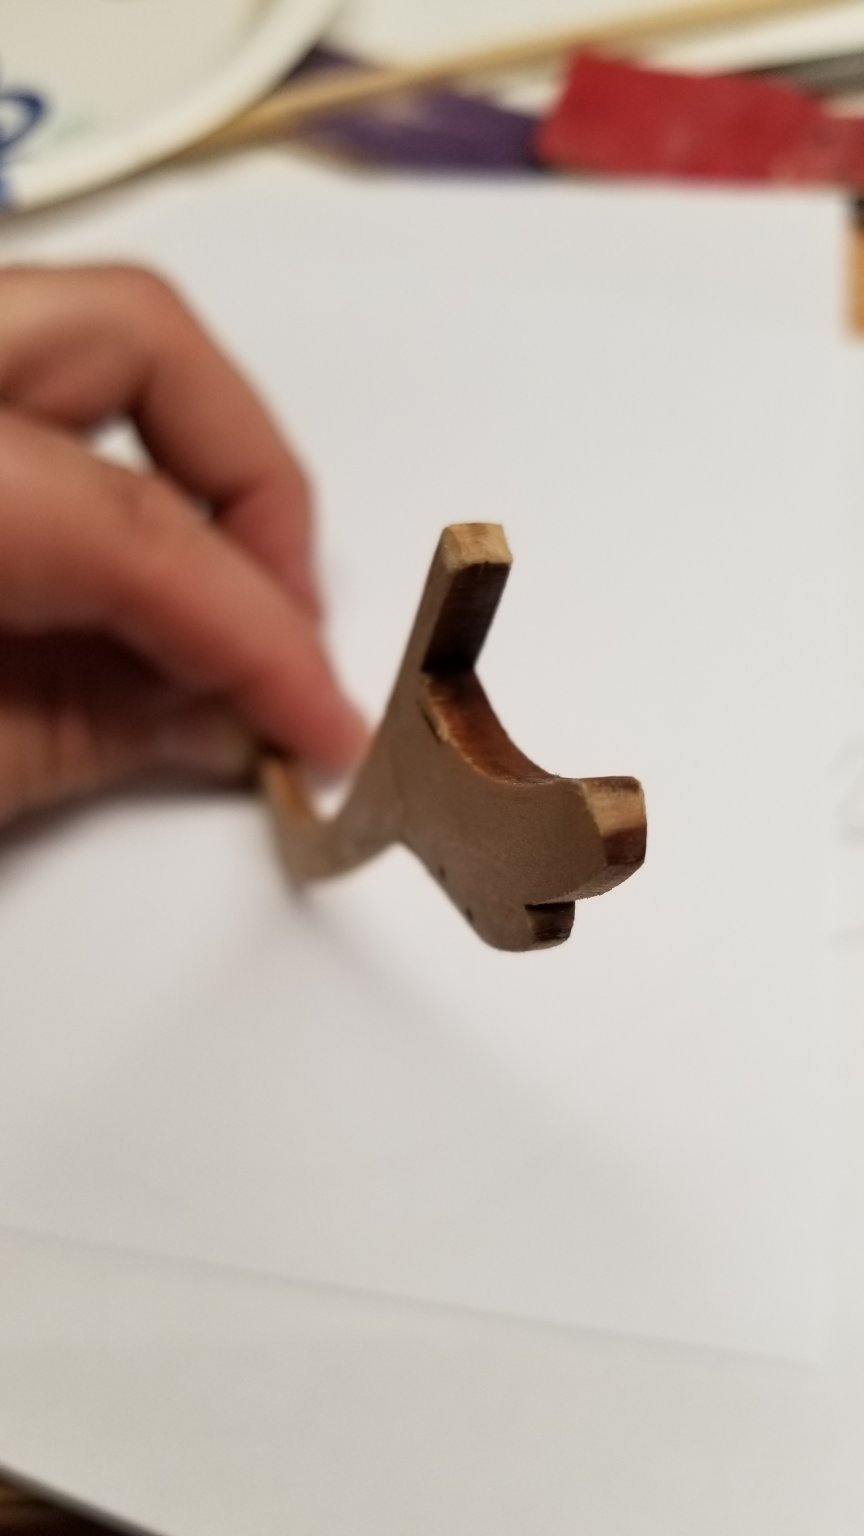
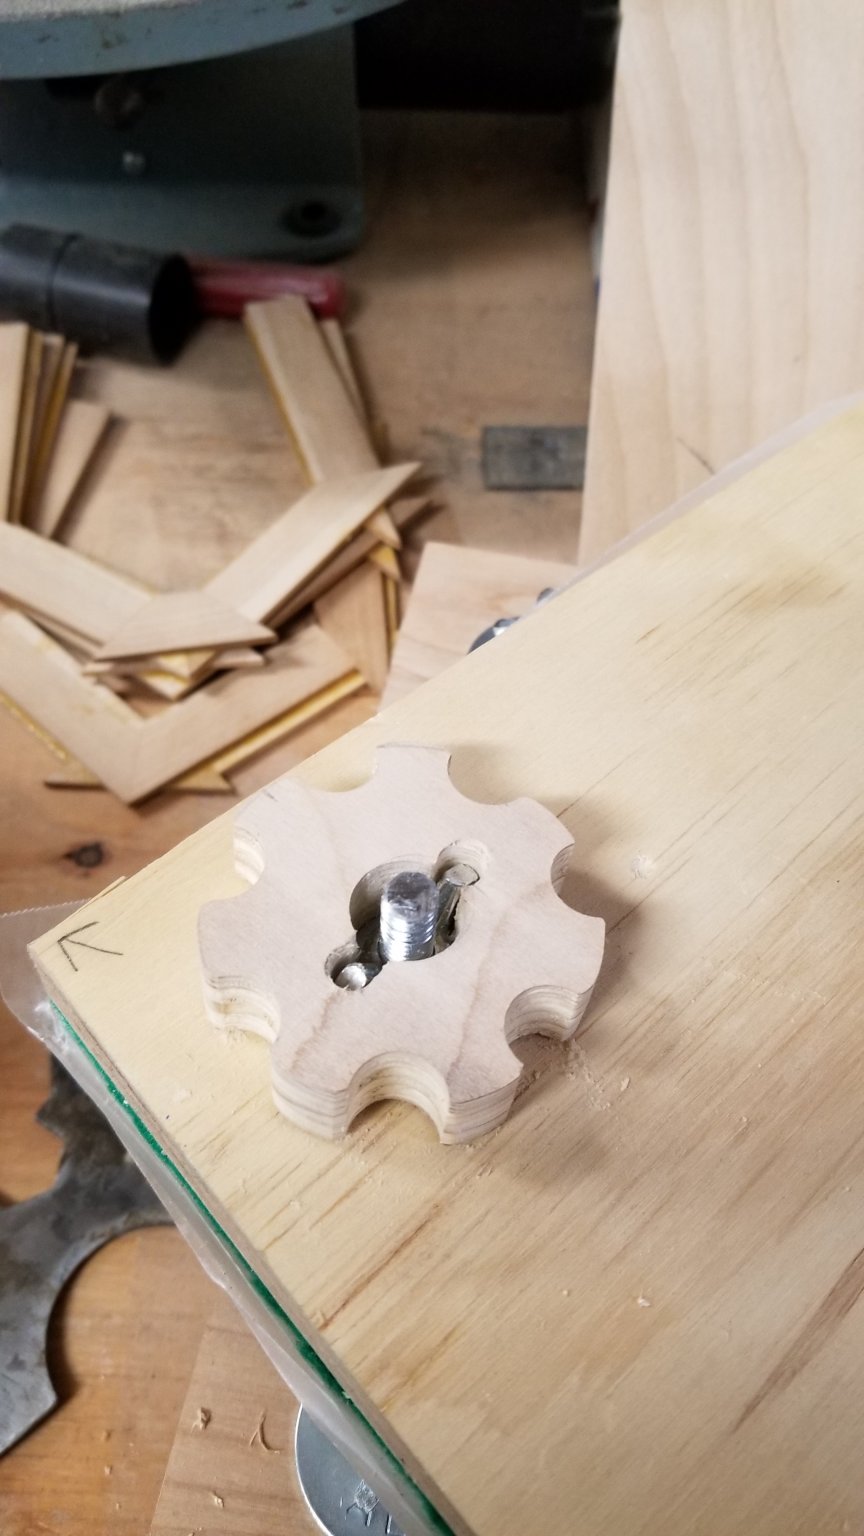
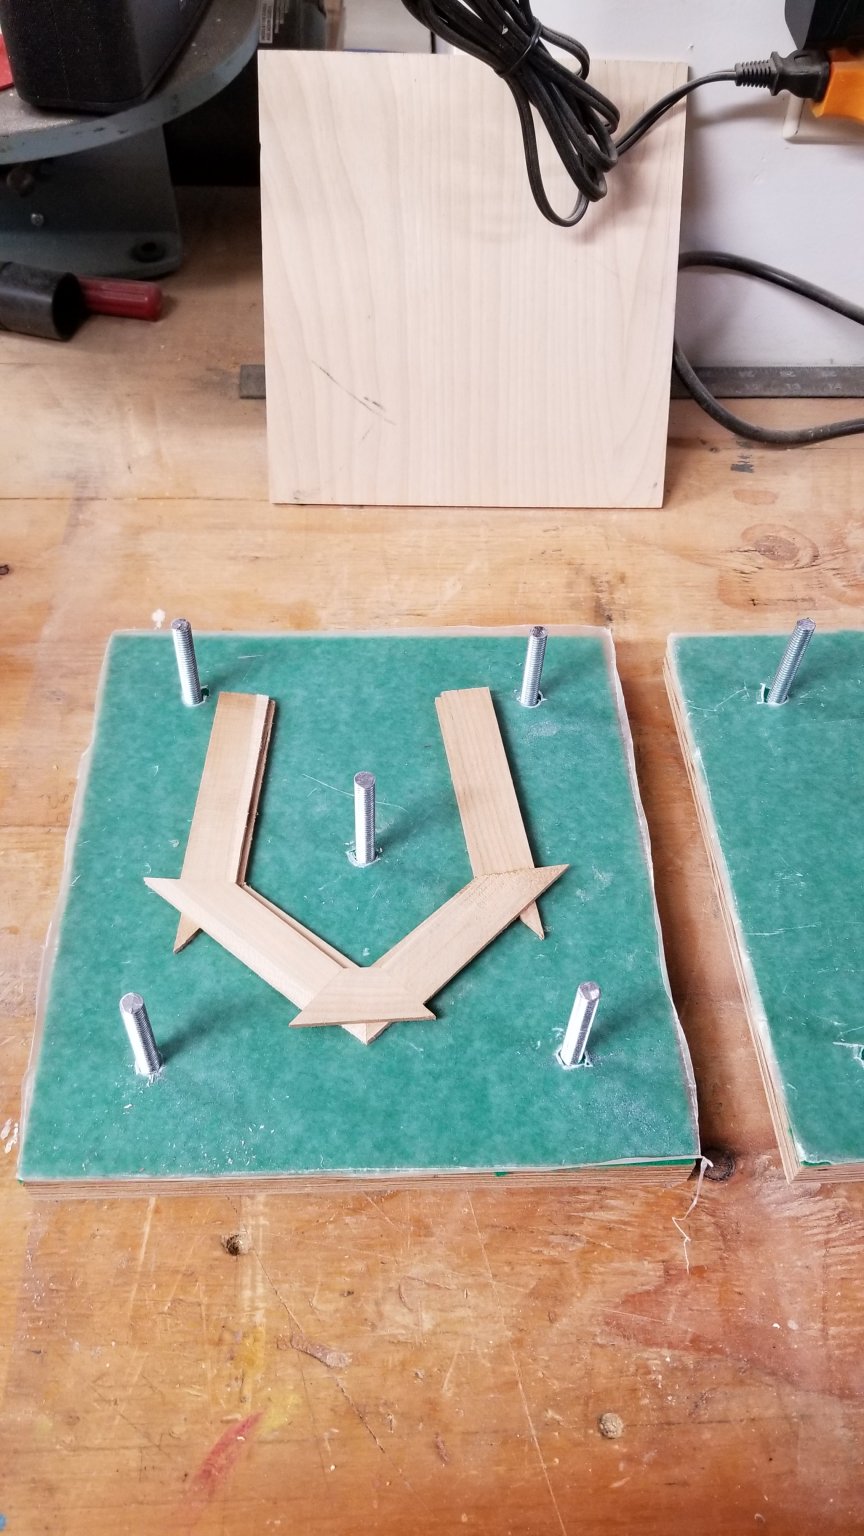
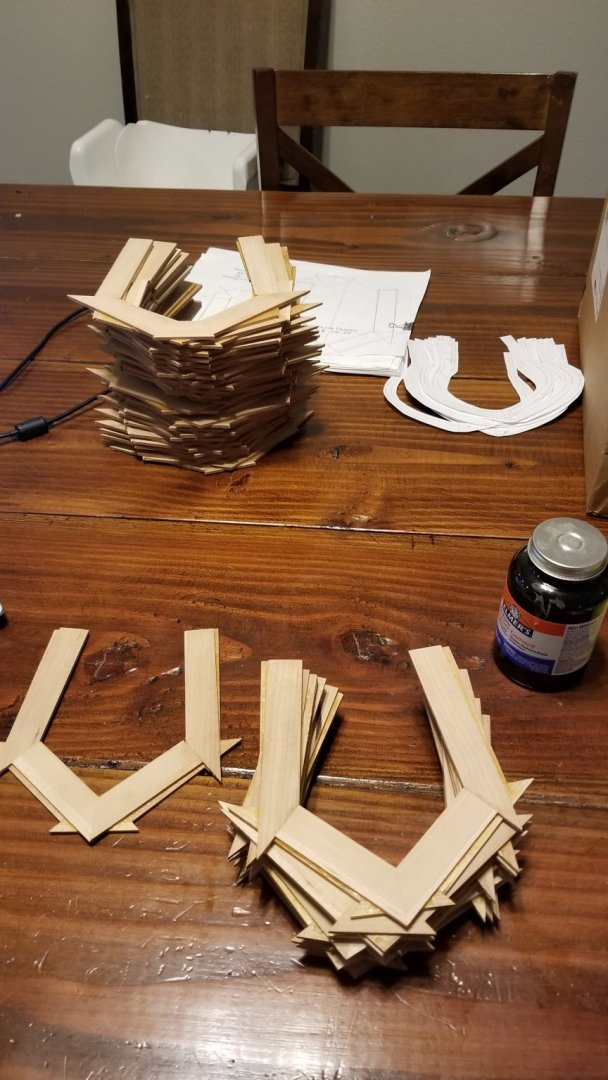
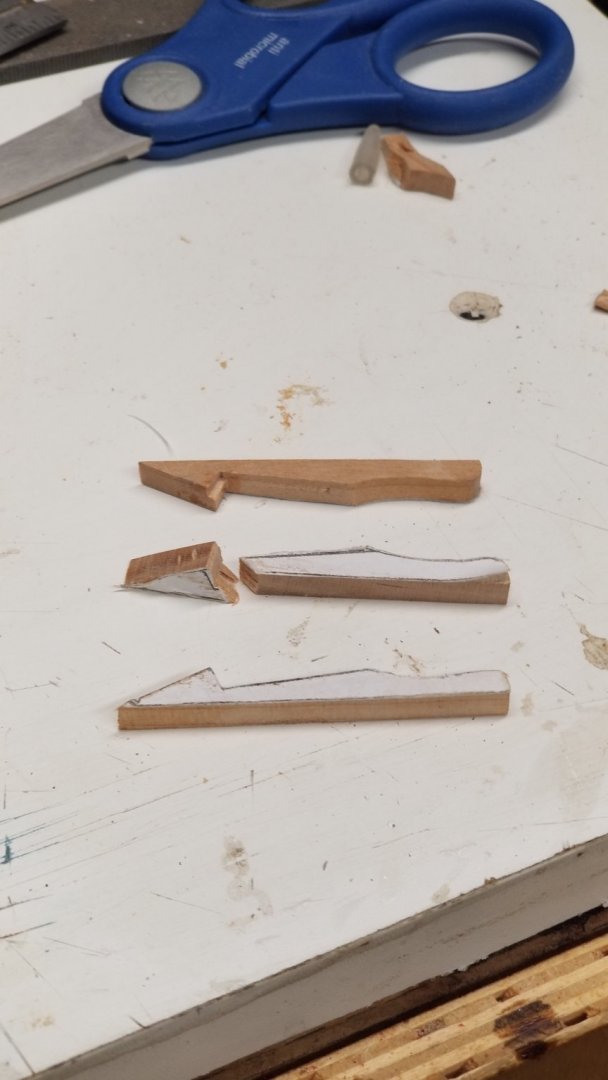
Productive weekend, from design to reality... it was not easy and I broke a few parts. 🤪 Next step :drilling the holes and glue up.

-
Thank you for this detailed information. I am sorry I completely missed it and did not respond sooner. I agree with you. I think it would be better to put the glue on the wood to avoid having The Paper distorting. I bought some rubber cement from Elmer, and I am trying it how to see how it holds the patterns. I am redoing the stem on my siren and I'm using it there I will see if it works out better. Are the dotted lines representing the front or the back of the frame? Did you tilt at all your bandsaw to get closer to the final shape?
- 50 replies
-
- 1
-
-
- rattlesnake
- brig
- (and 1 more)
-
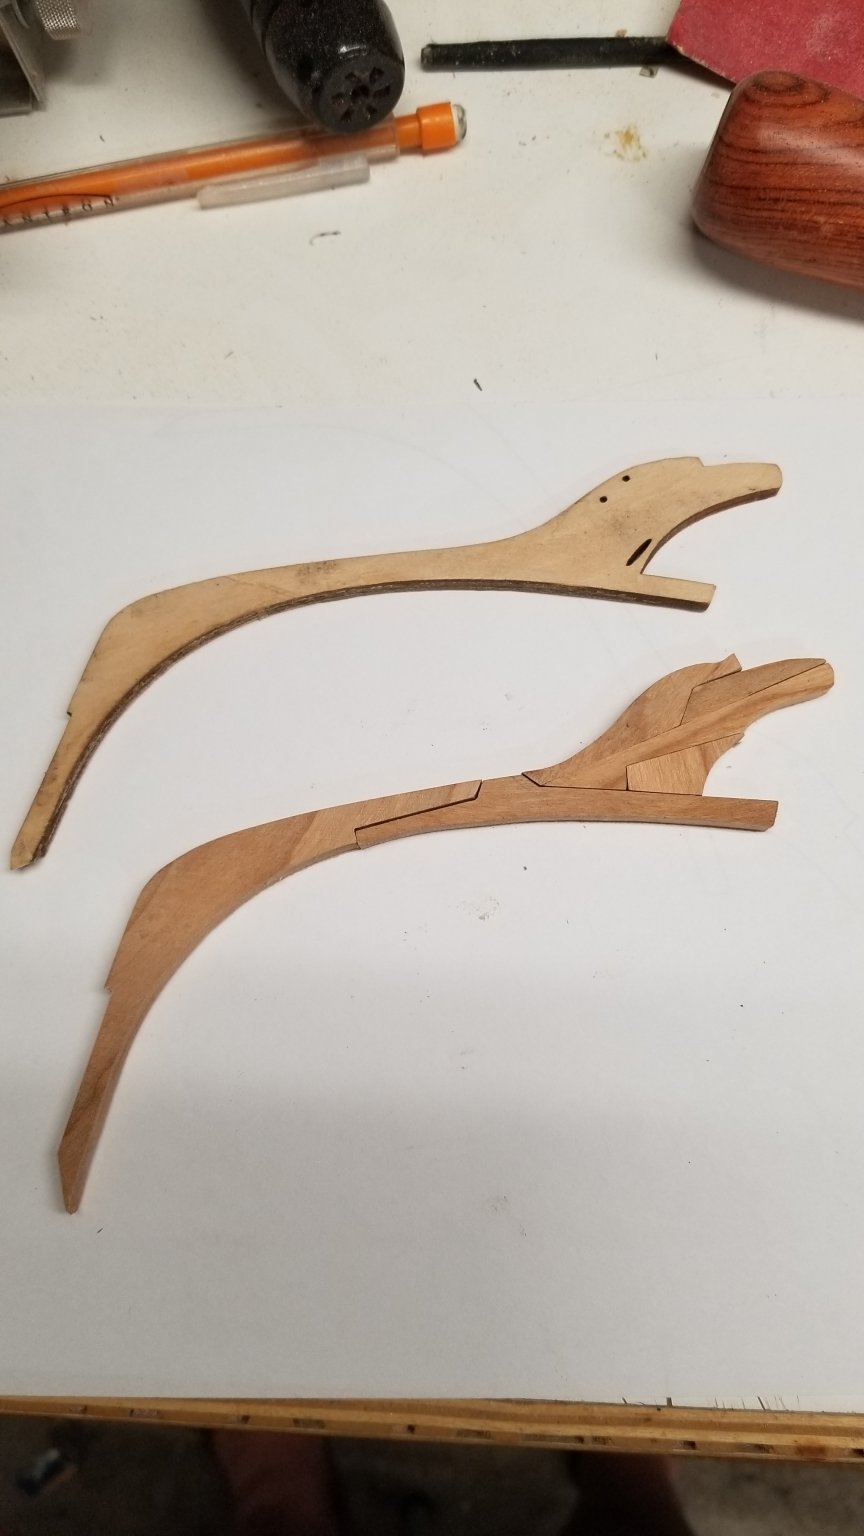
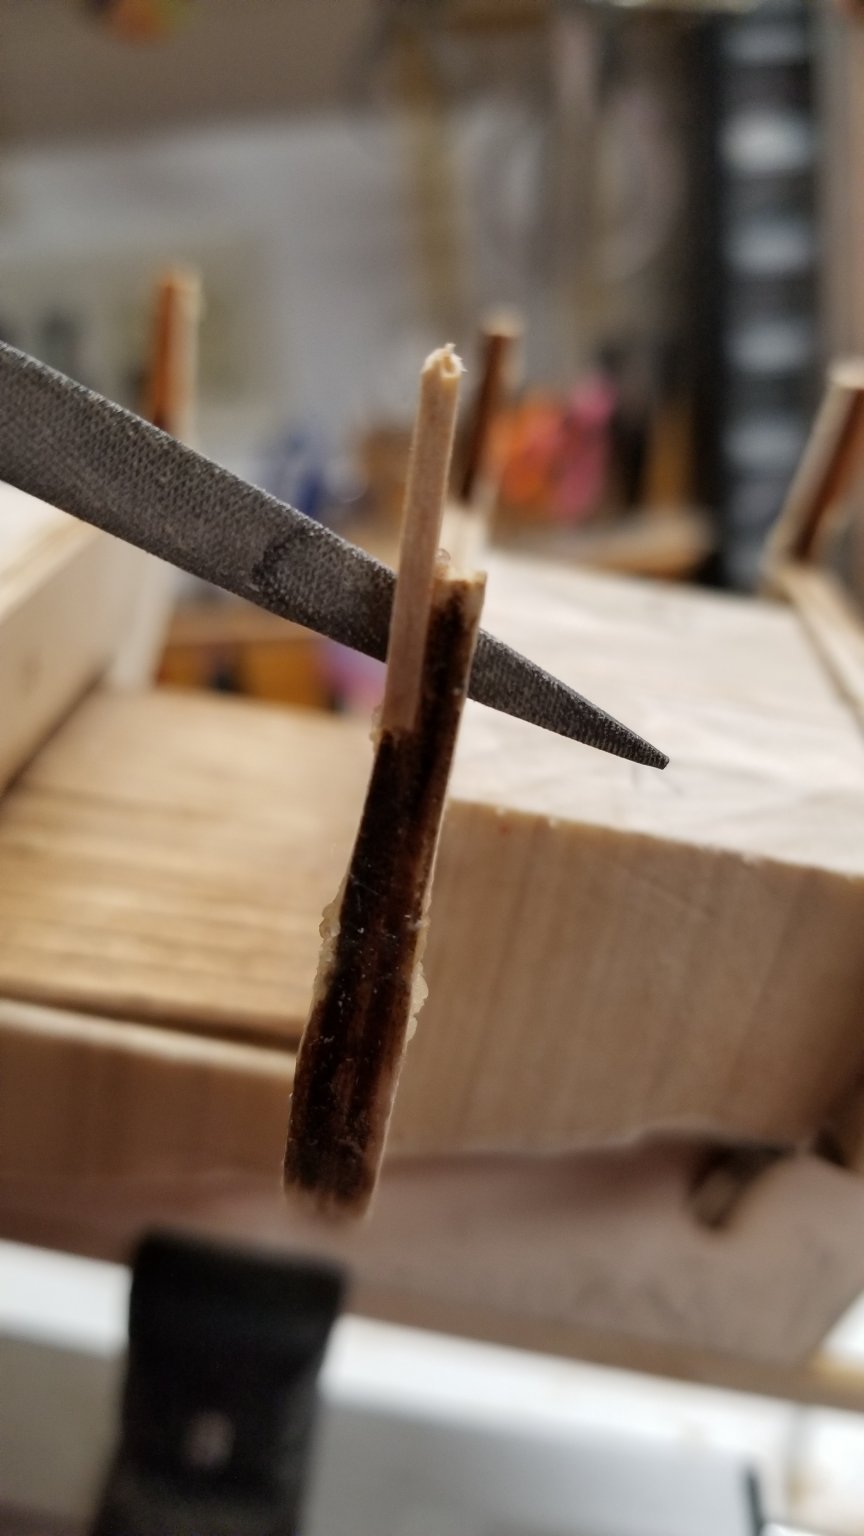
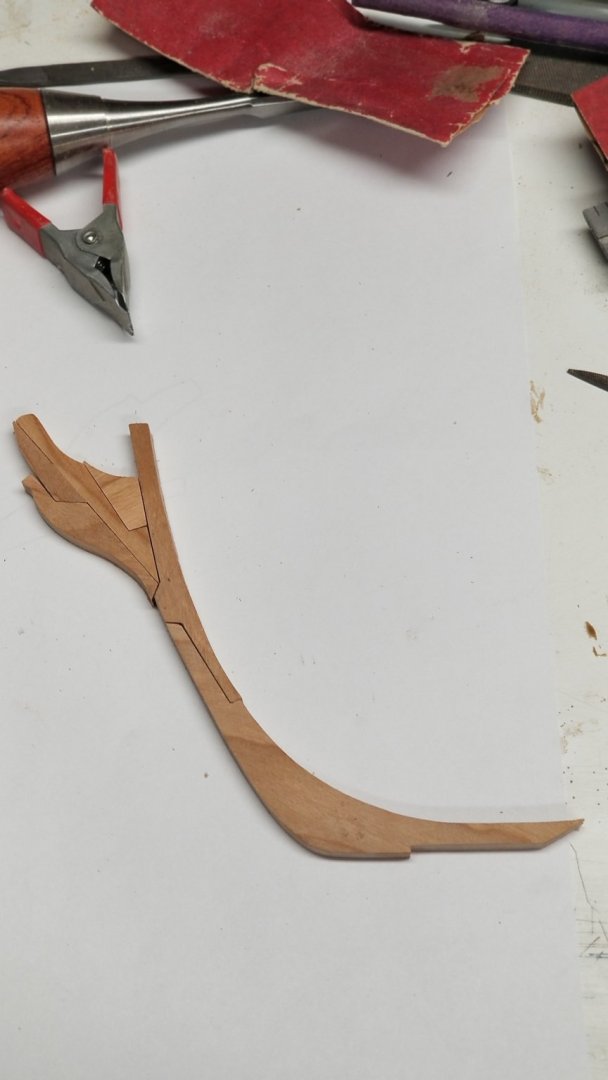
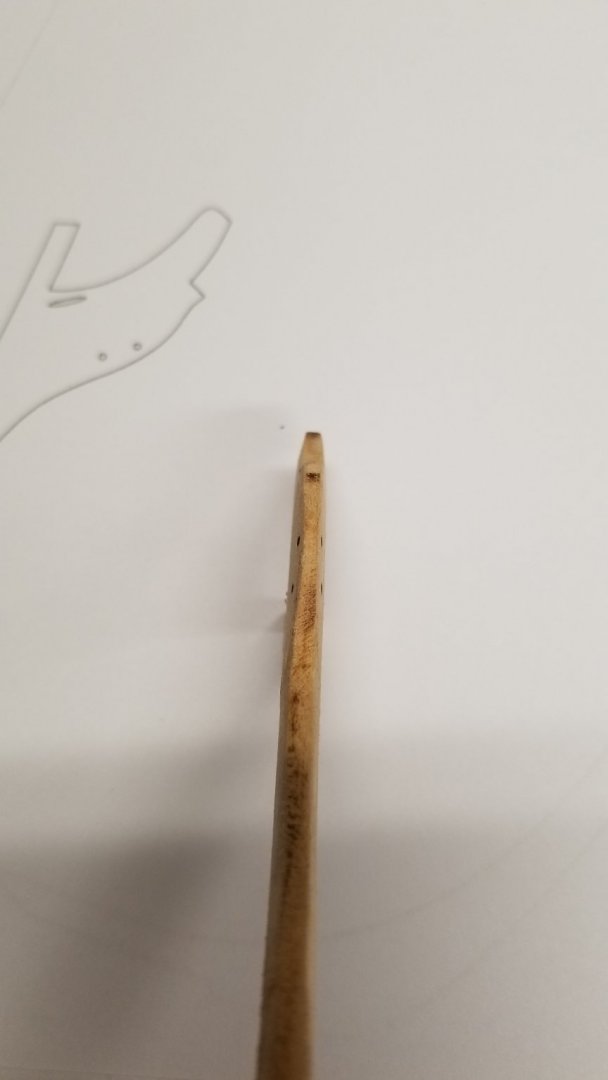
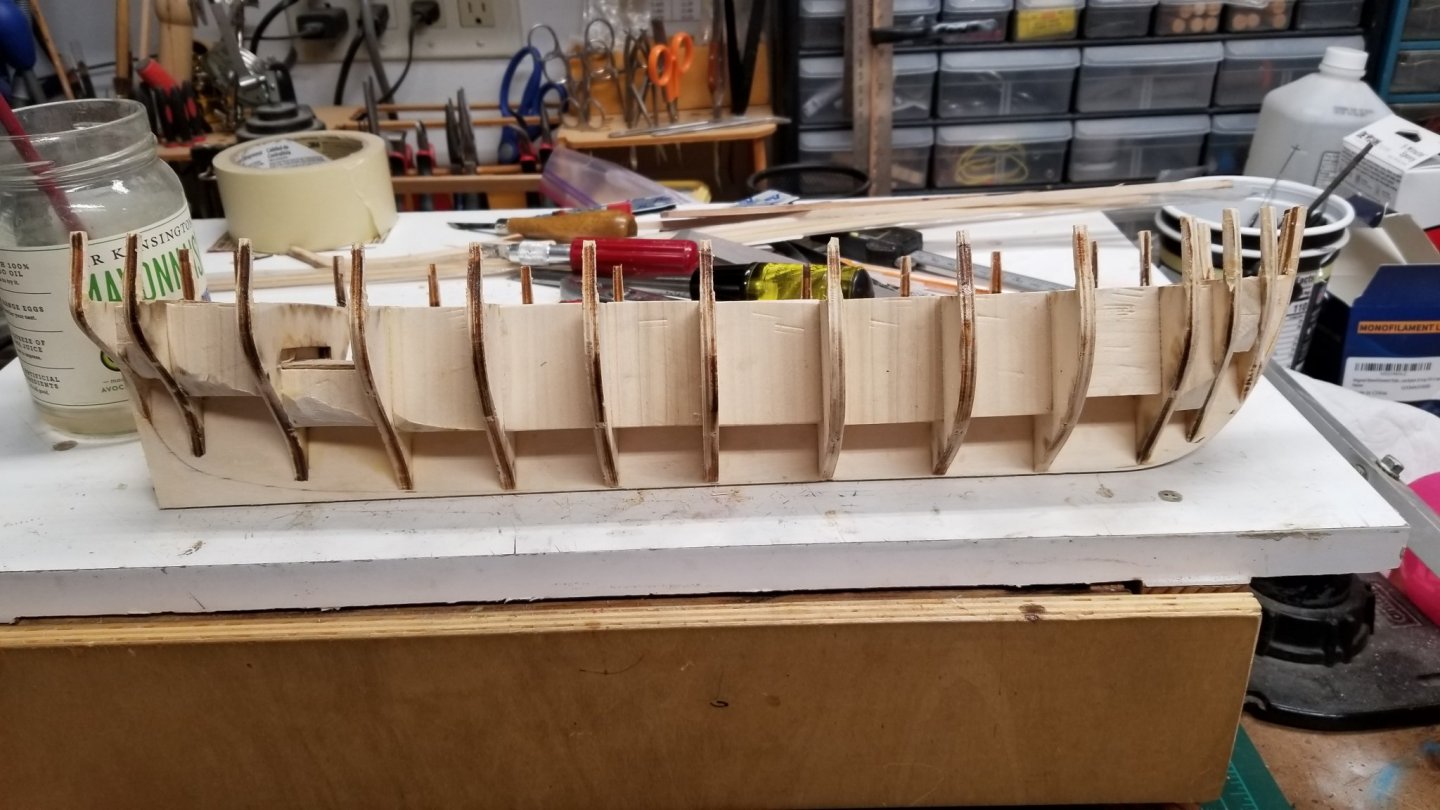
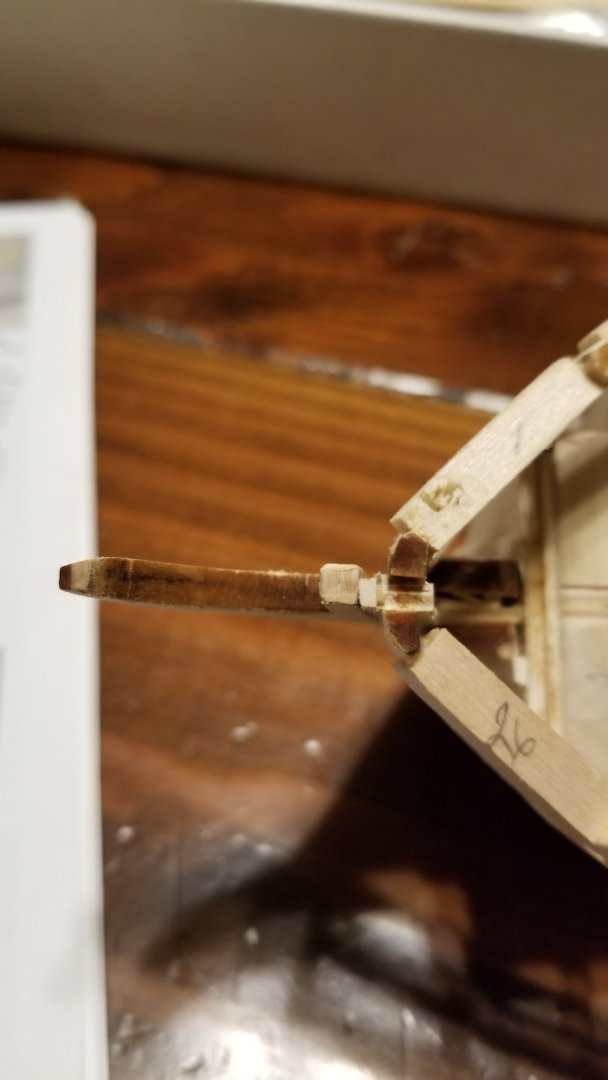
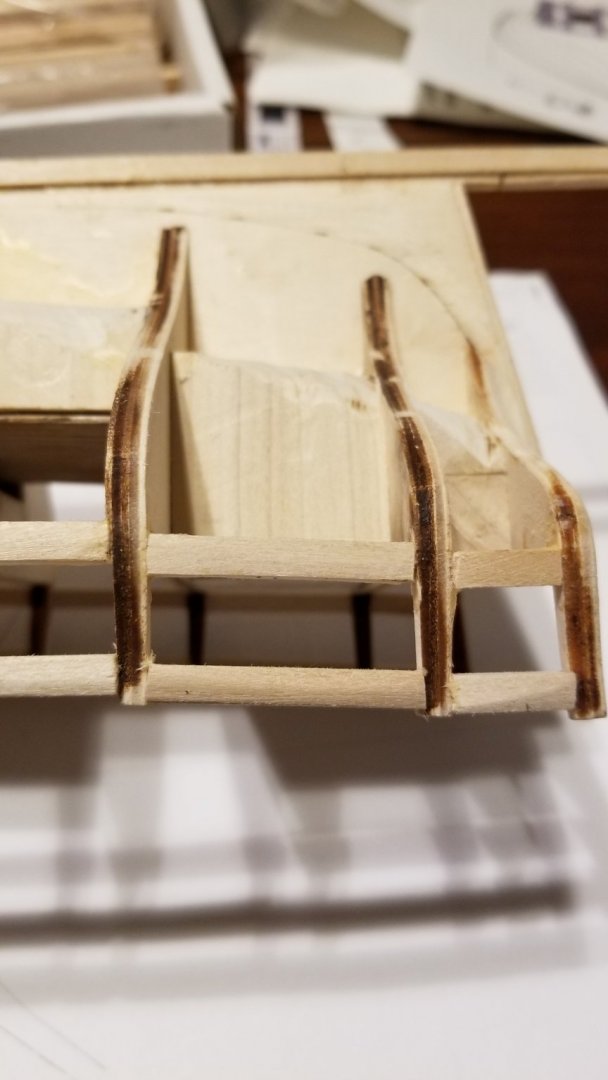
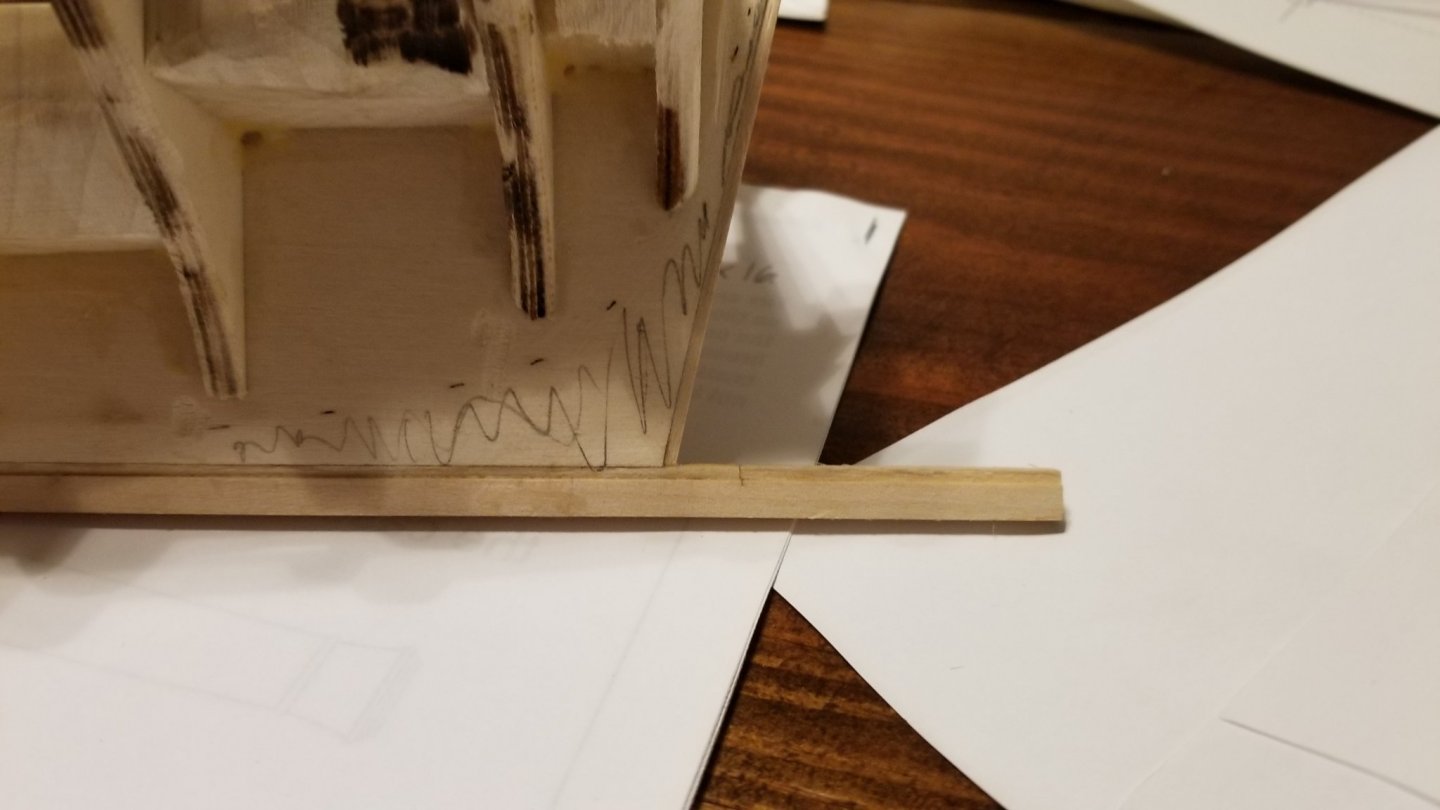
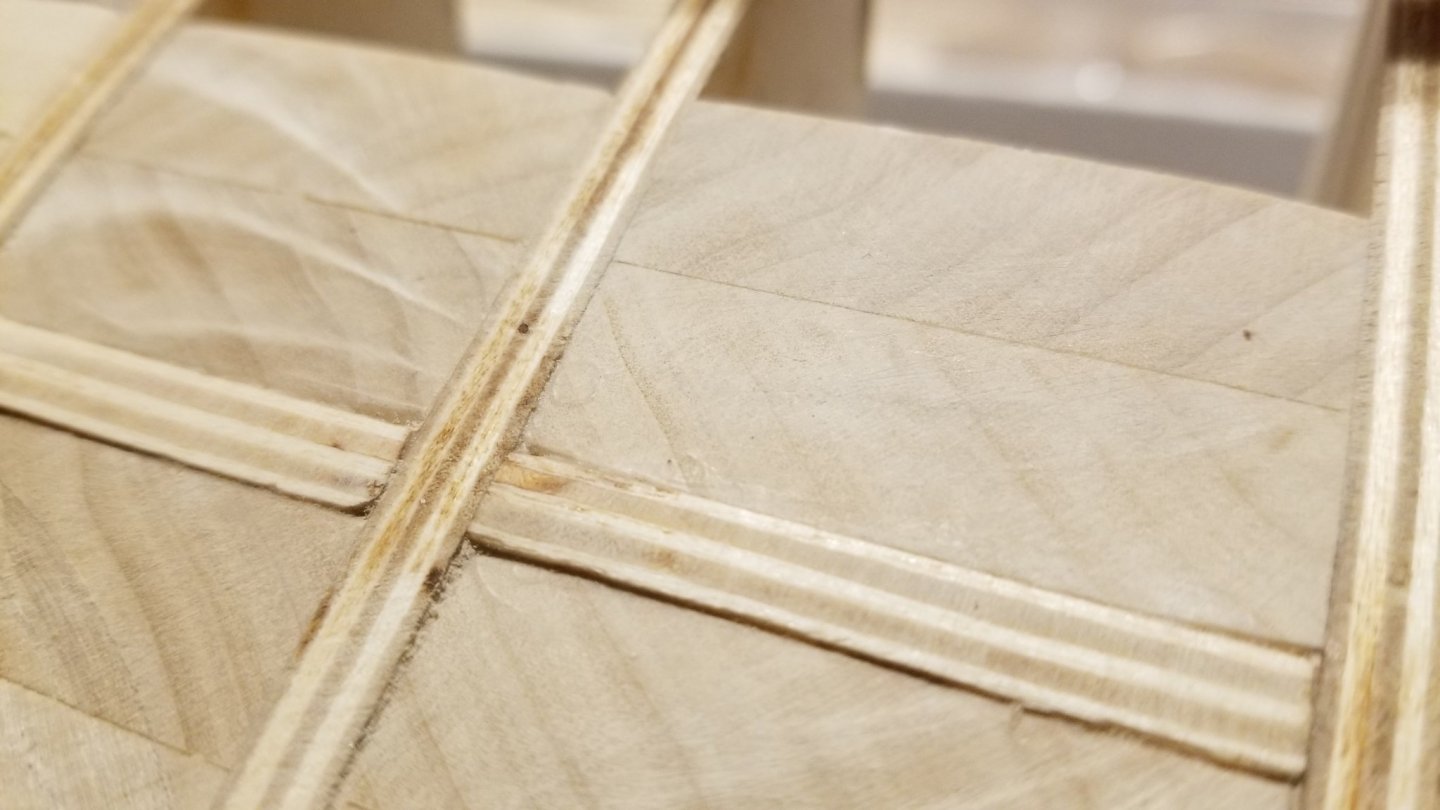
Getting crafty to hold the ship reversed. Worked on the Bearding line quite a bit last night to be able to meet with the 3/32 rabbet strip. The previous one was 1/8 so a lot to catch up to. And... Disaster the strip broke as I was putting rubber bands. To be expected when passing the bulkheads... Grrr. Here the result after fitting the strip on the stern. It will cover by copper so it will not be seen. Dry fitting the new keel and the old stem Stem needs to be redone from scratch. It was faired too much and unevenly. Draft stem design. Thoughts ?


-
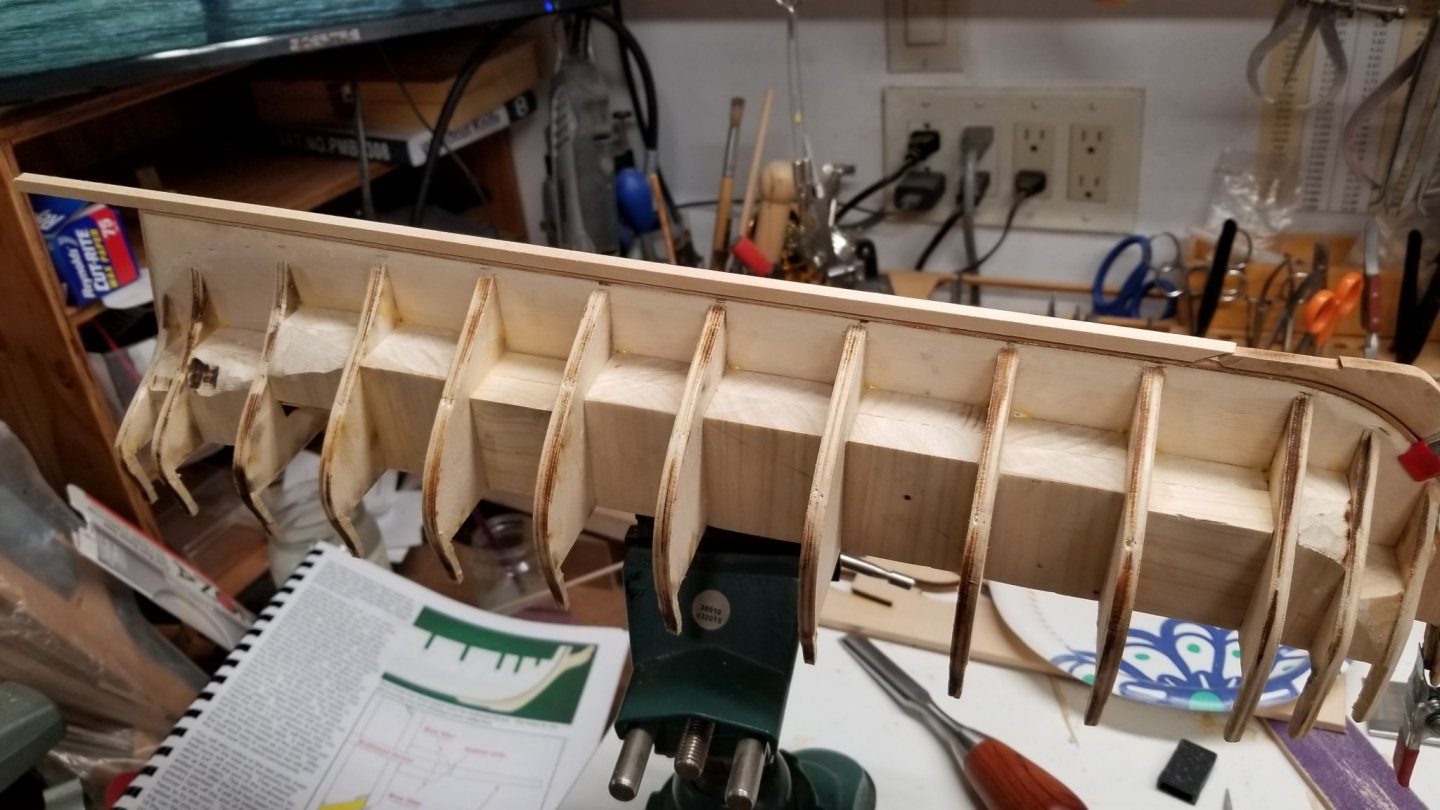
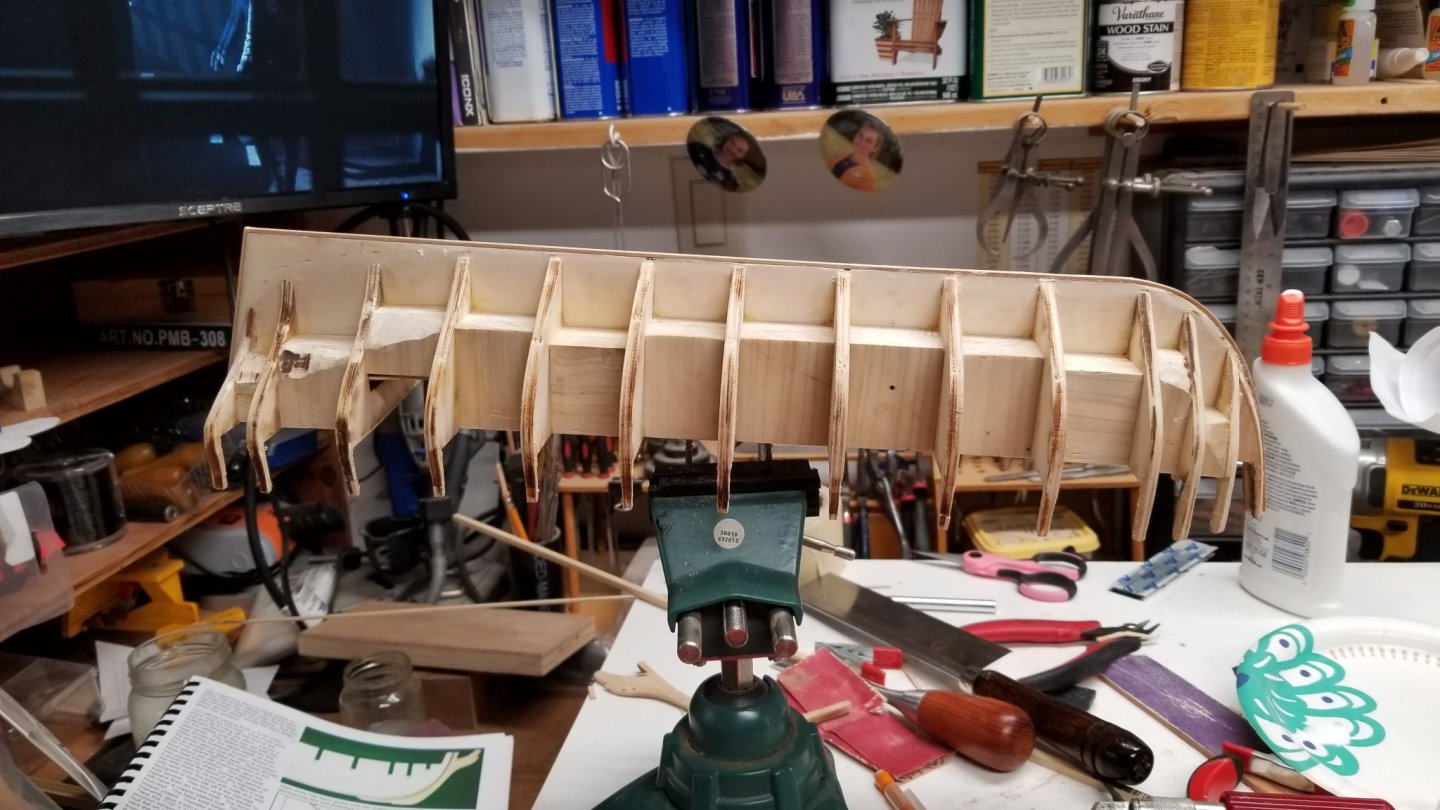
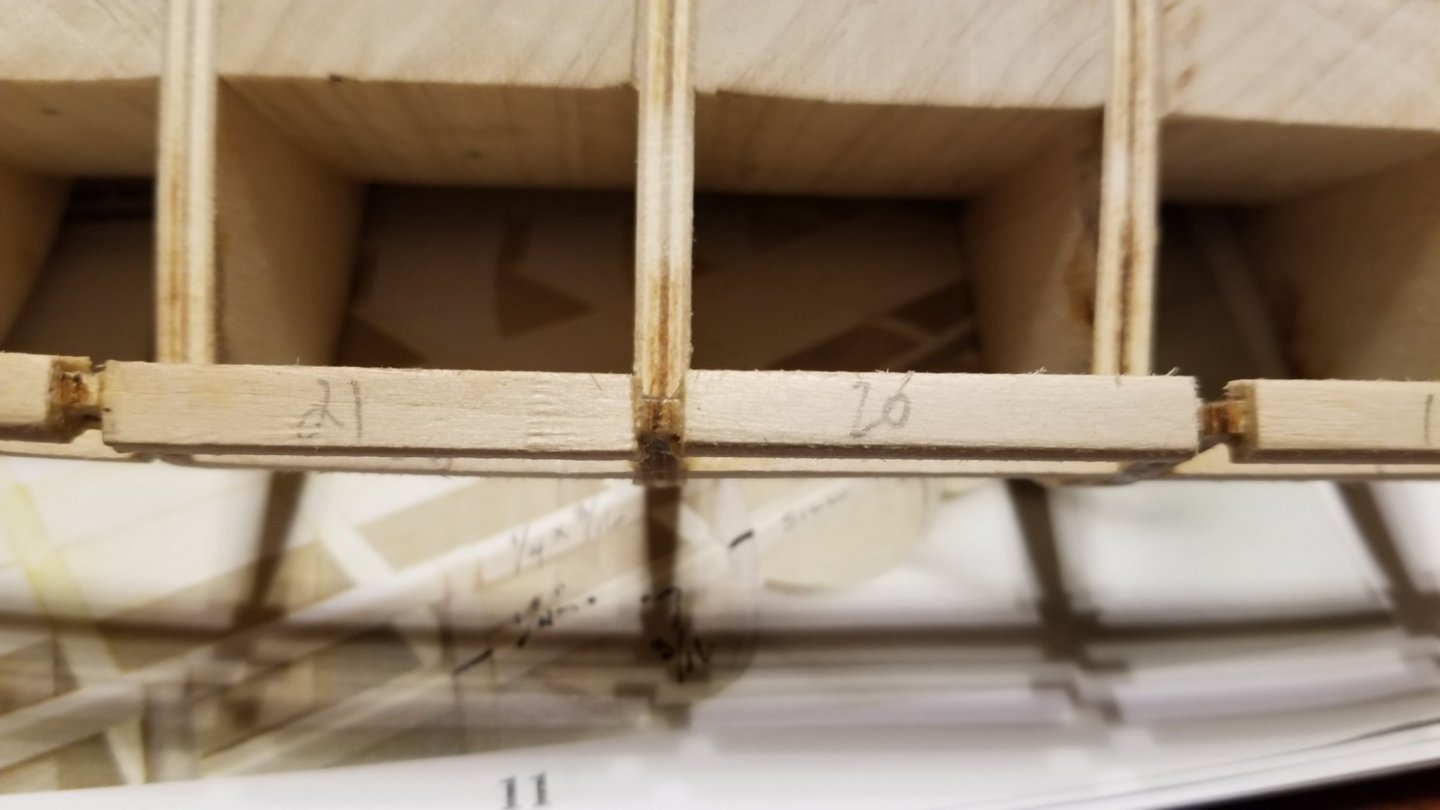
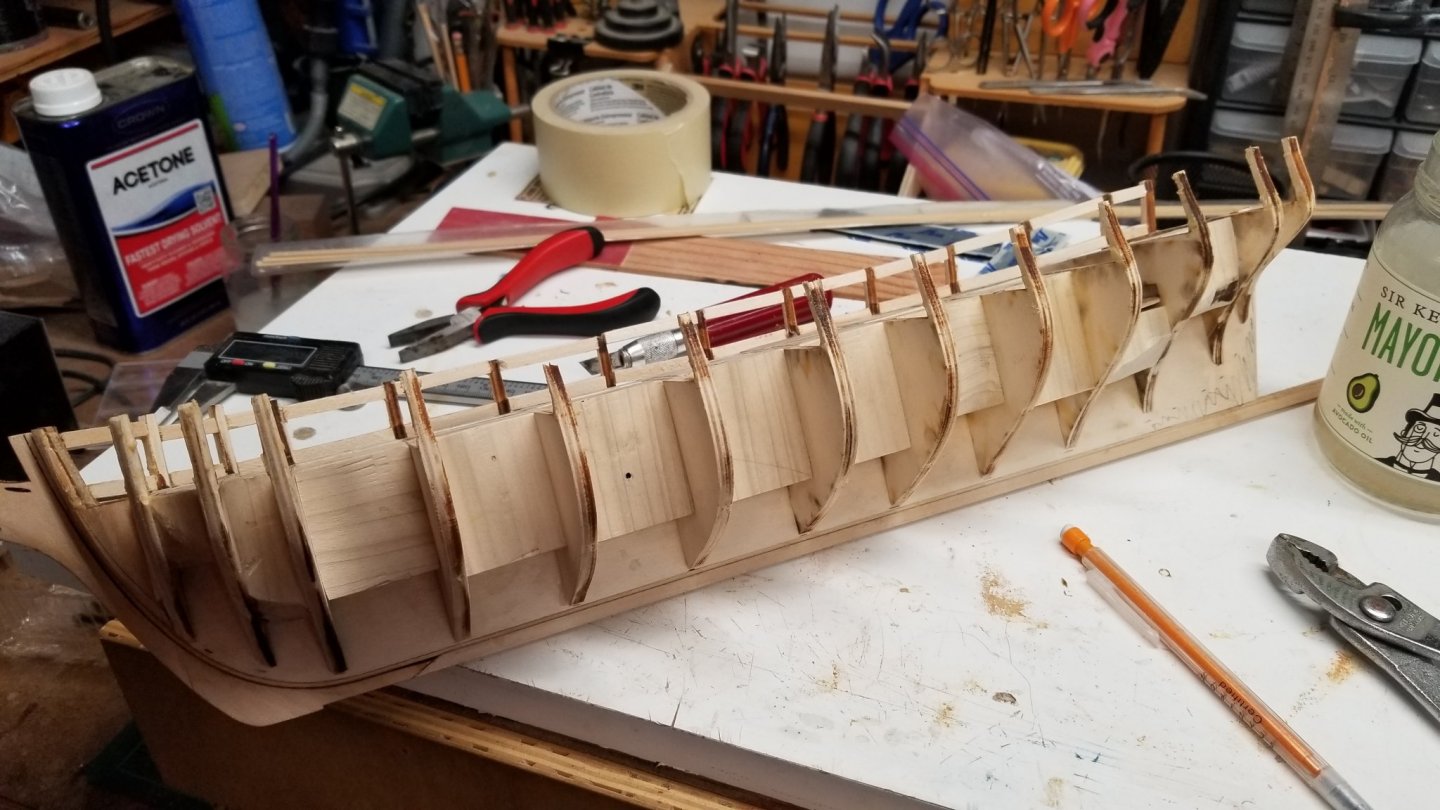
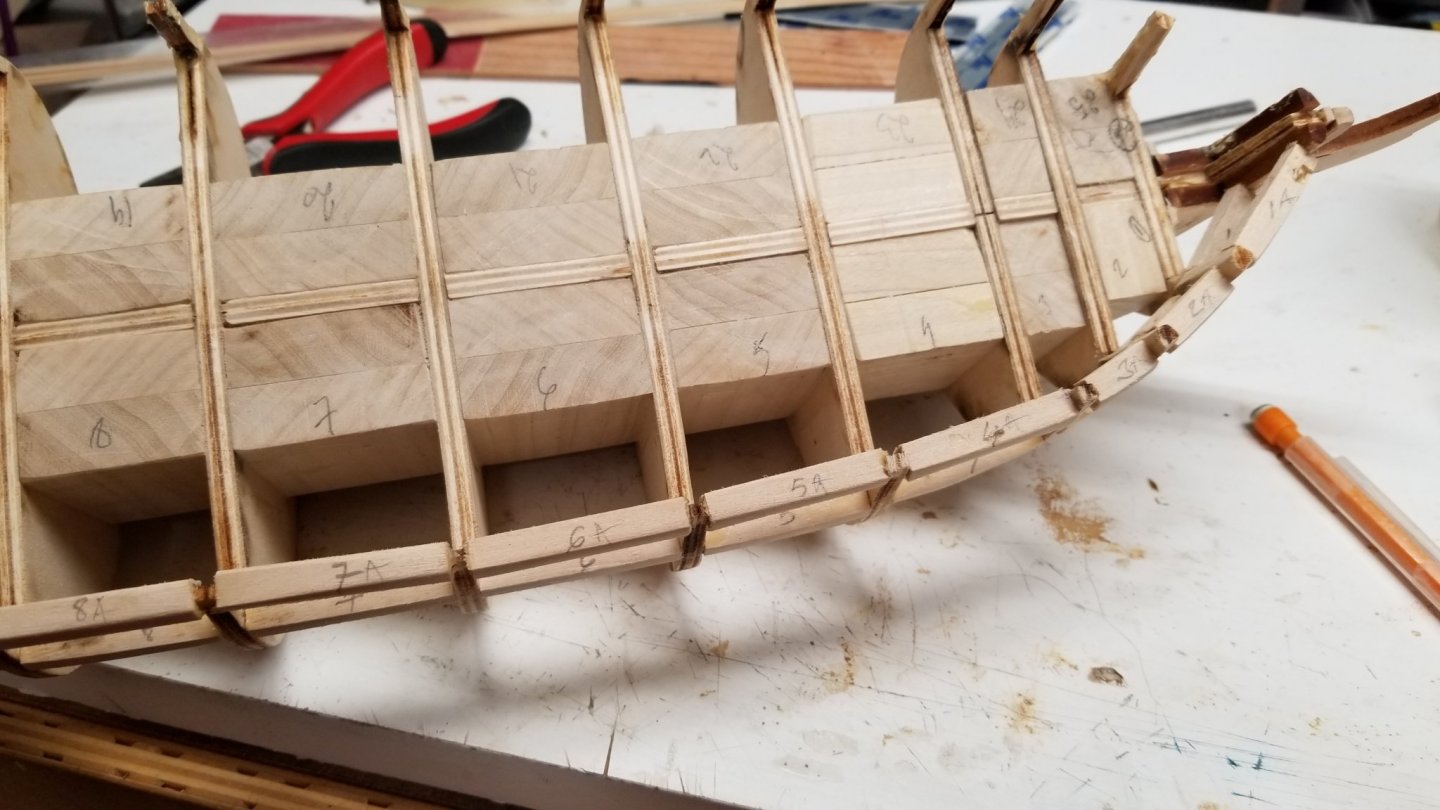
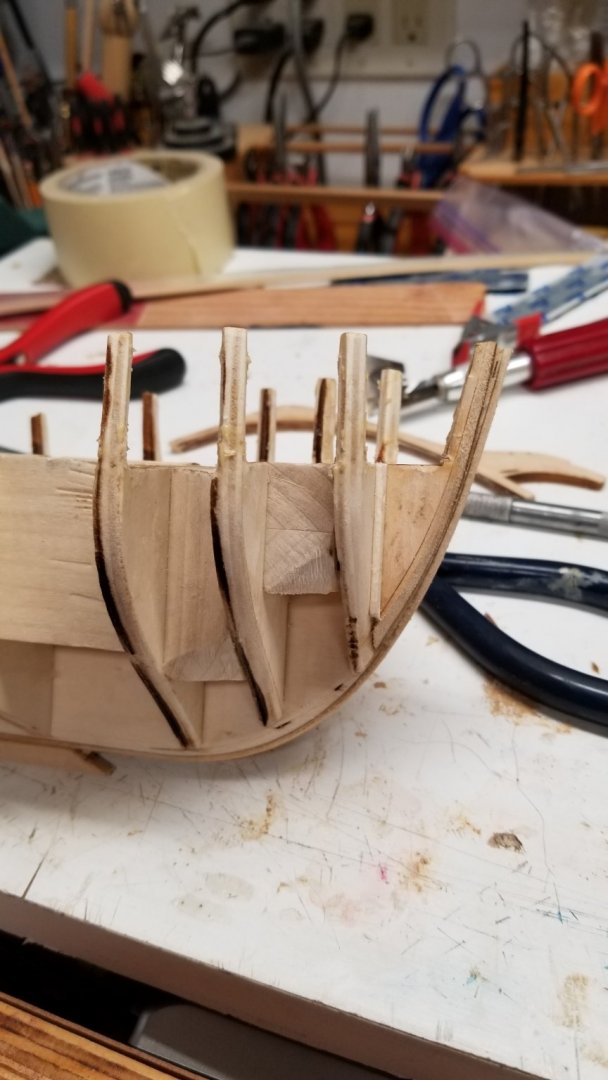
Deconstruction process. Numbering and removing Sills and Lintels. Removed the Stem. I will need to rebuild from scratch. And of course repairing the broken frame stems I also remove the keel and rabbet strip since they were damaged during my attempt to add the bearding line.


-
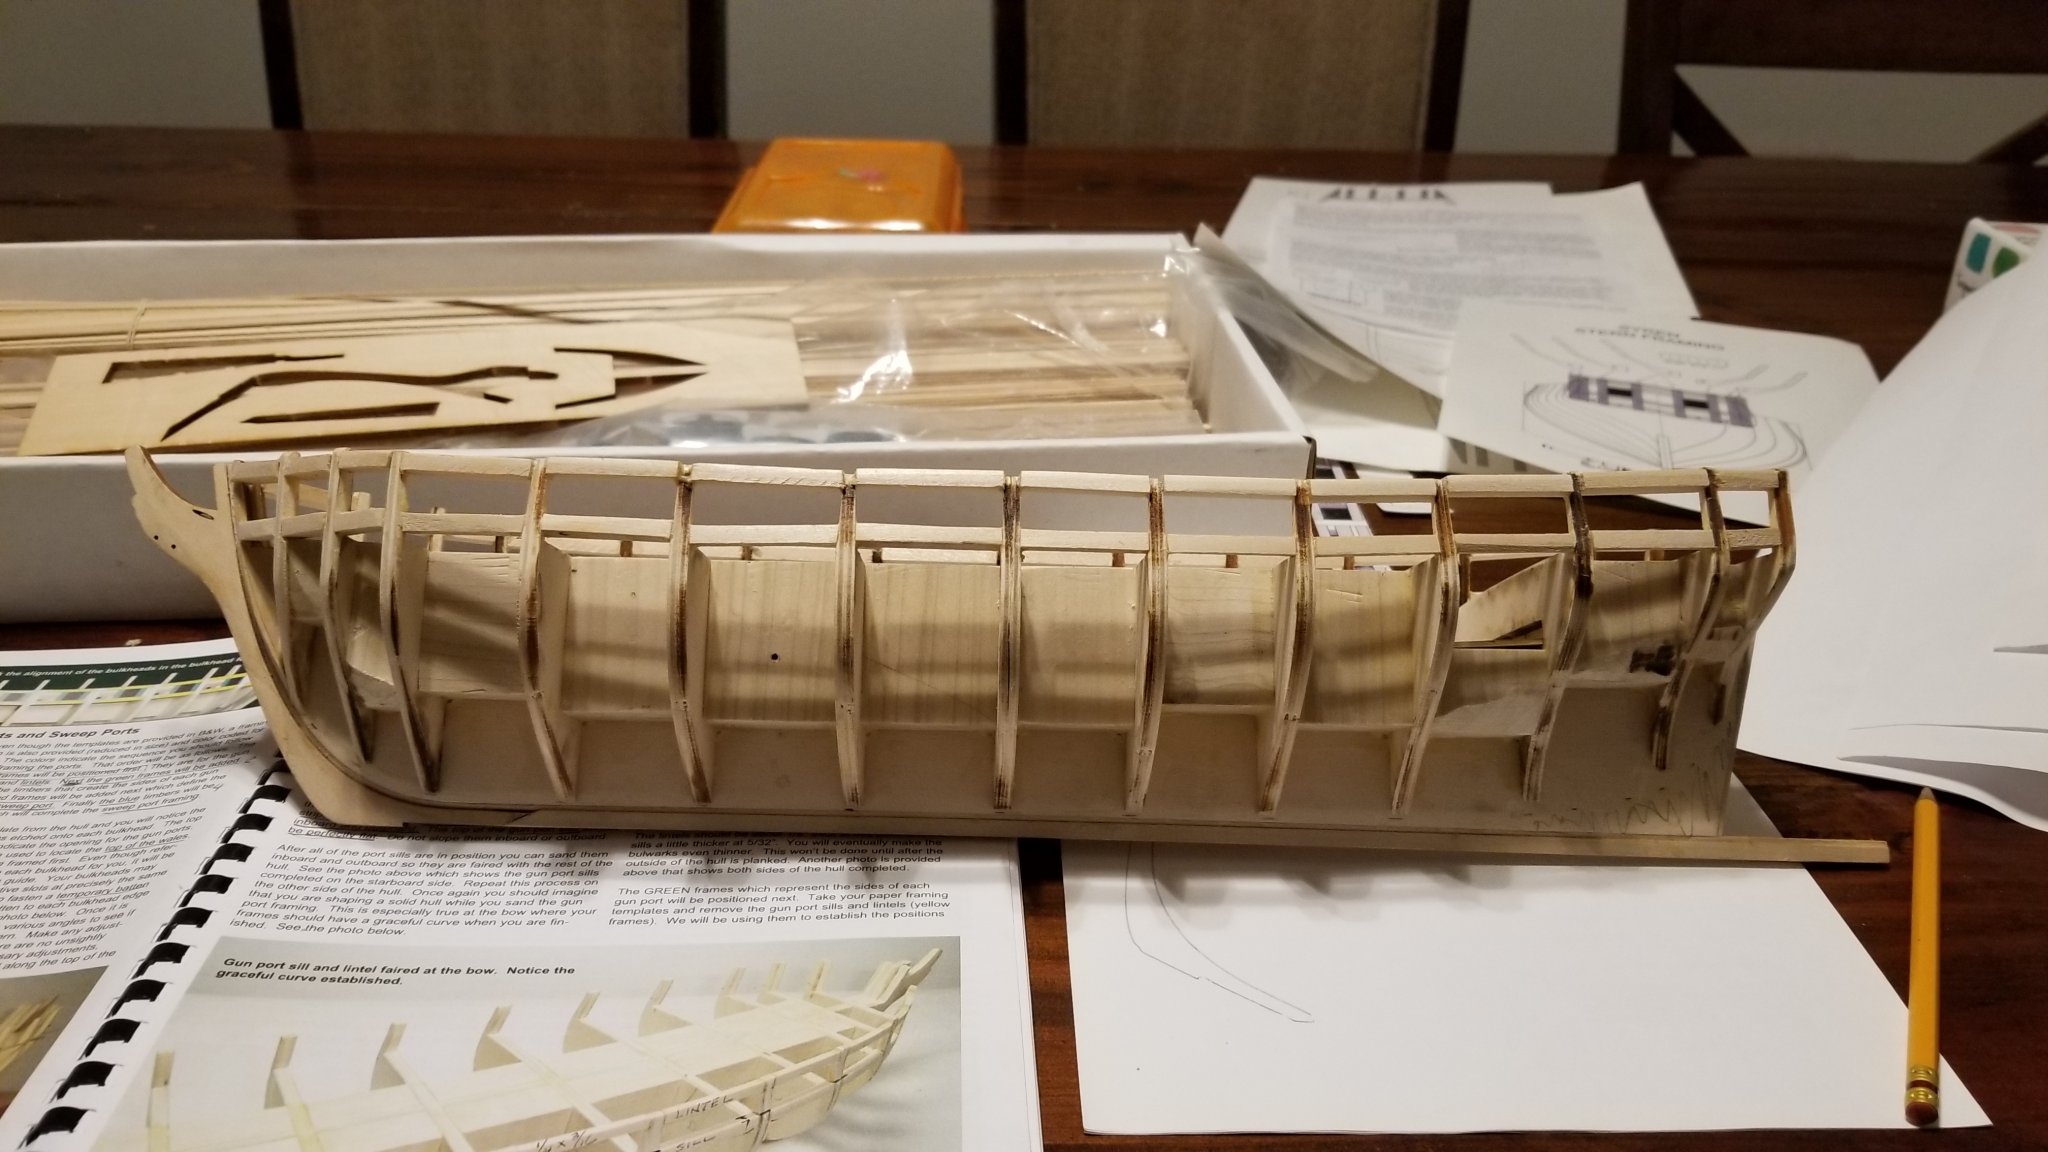
Reviewed the documentation and plan. I have a few items to correct. Bearding line missing on one side. Small adjustments for the deck, some of the blocks are a bit too. high. Sills and Lintels all over the place. Stem was over sanded on one side or miss aligned. I am getting to take it appart and correct as much as possible these issues.

-
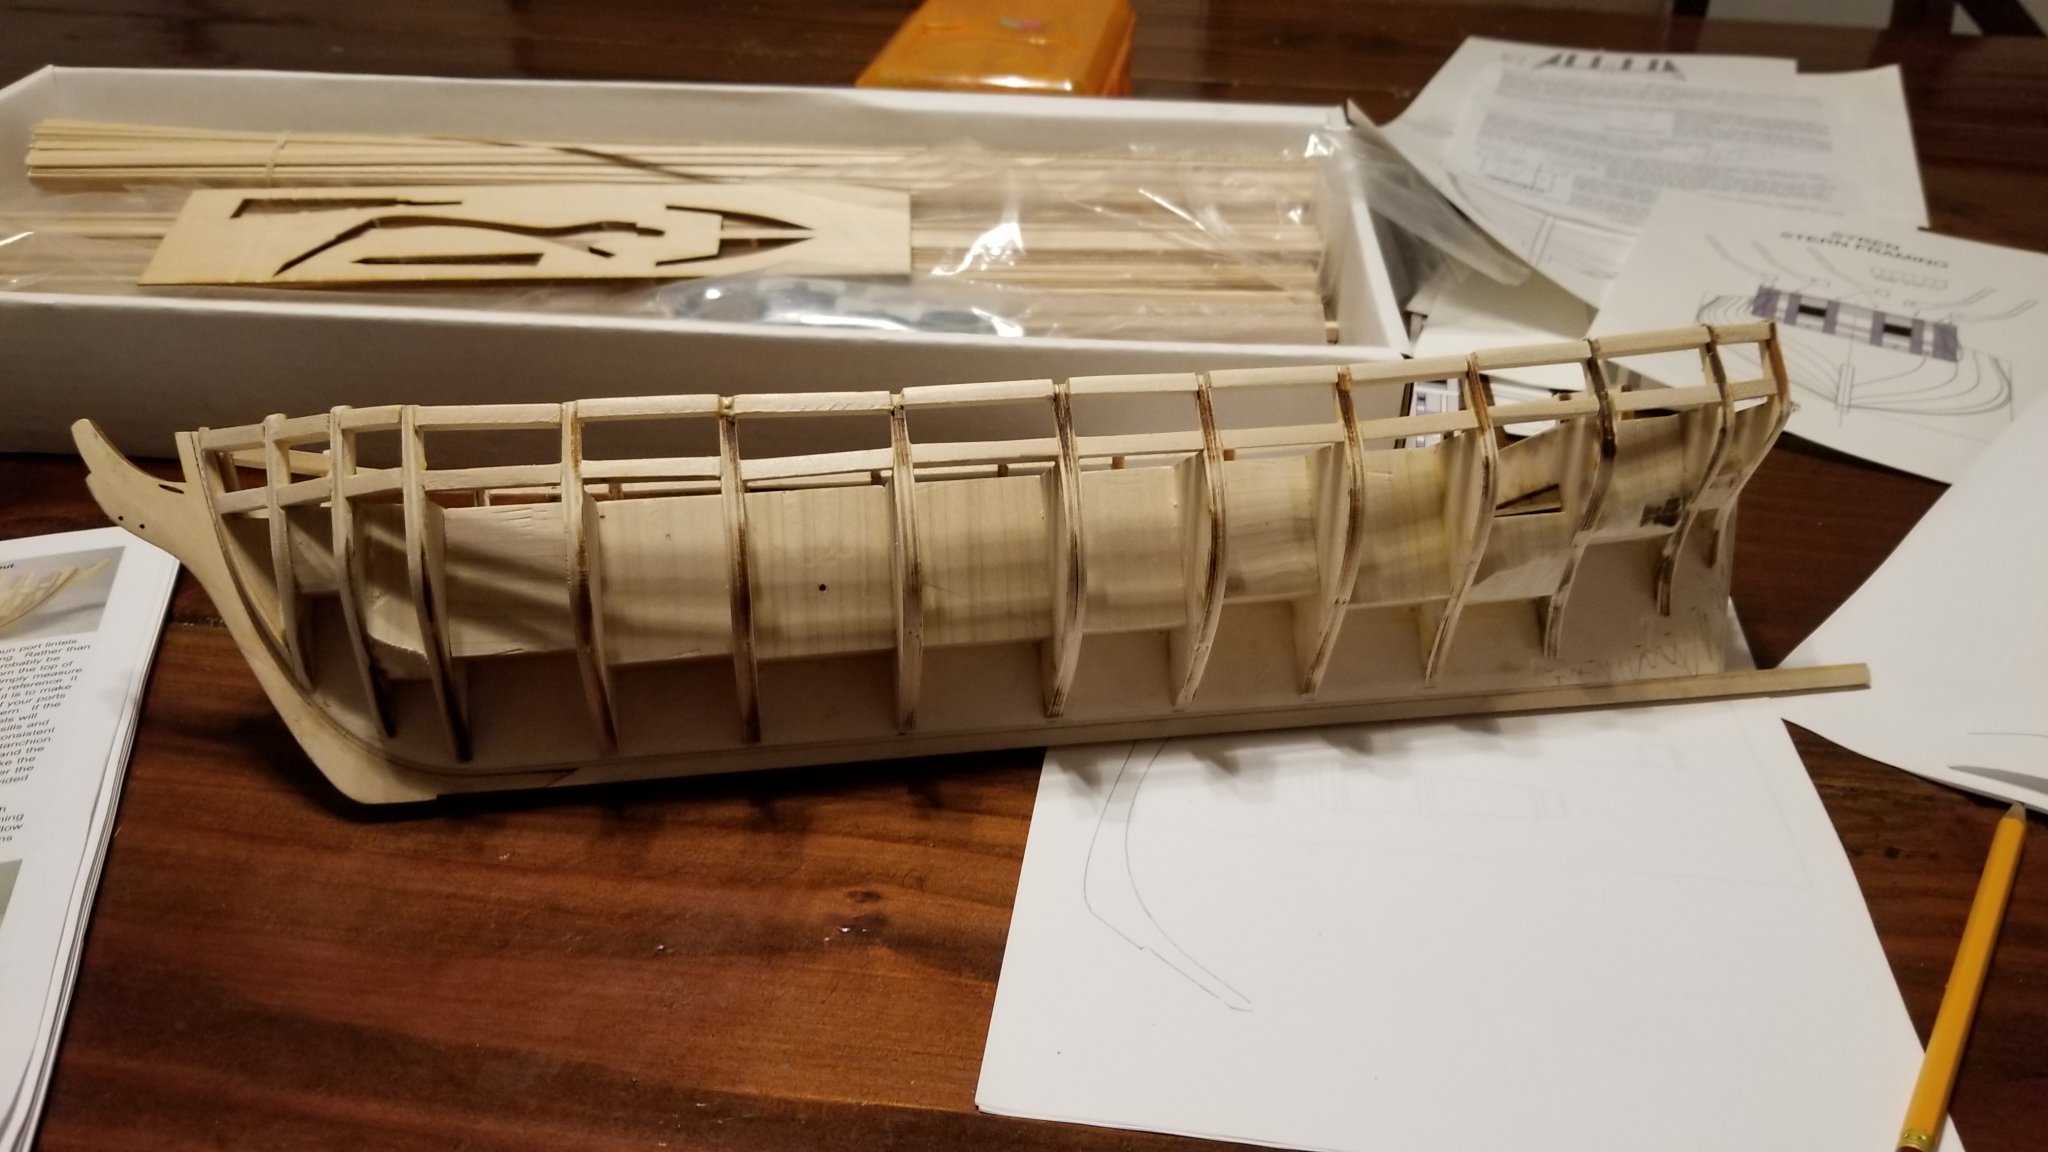
Hi all, As my Rattlesnake will likely take a while, I decided to work on a kit at the same time. I was recently given a already started Syren. Sweet gift 😊!! Some much beautiful models on this forum, I will try to do it justice. Here is the current state.

-
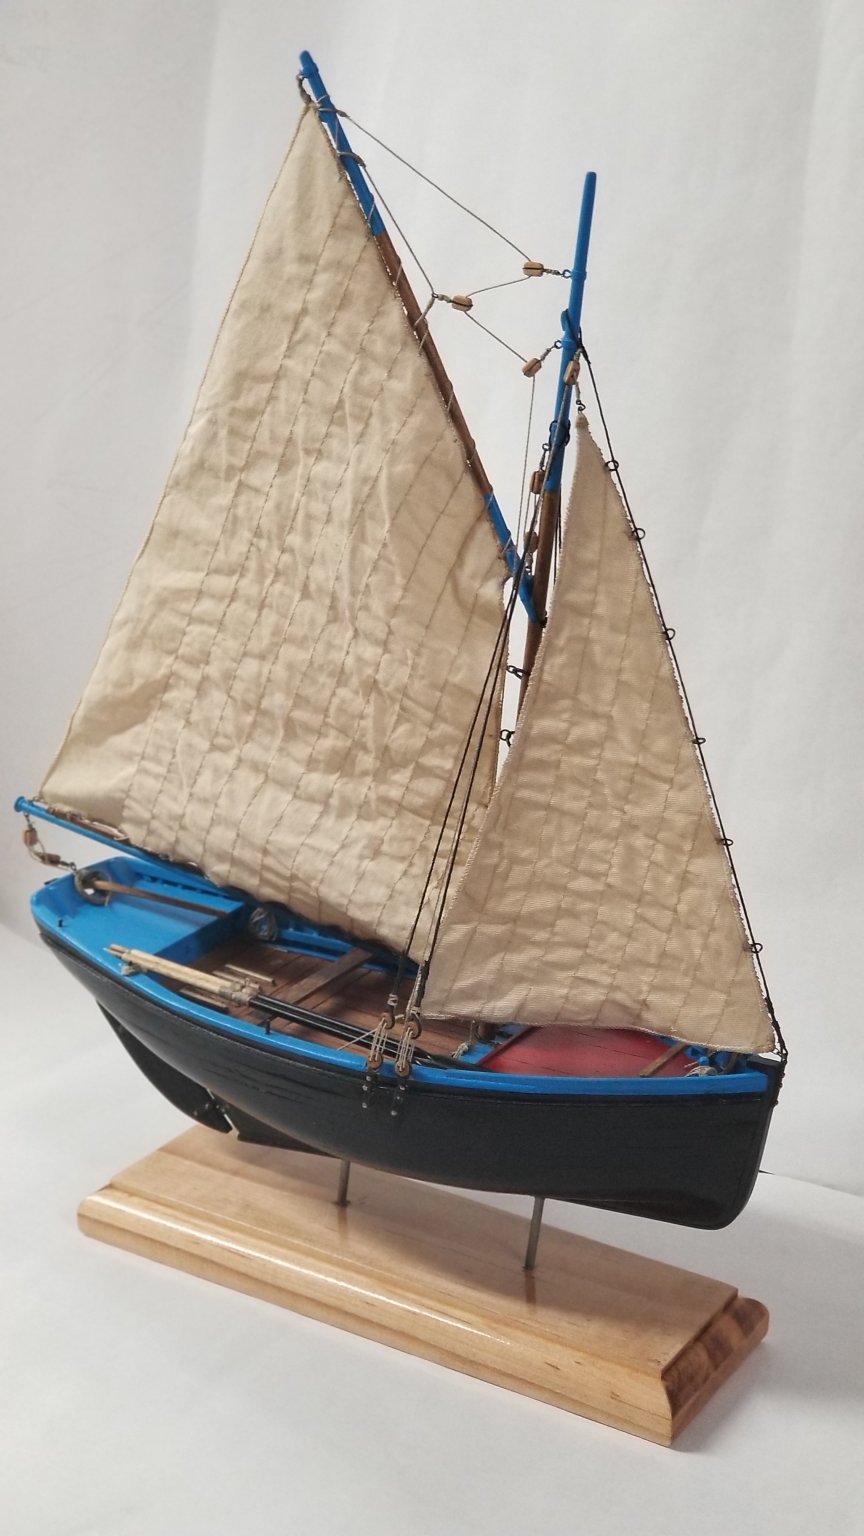
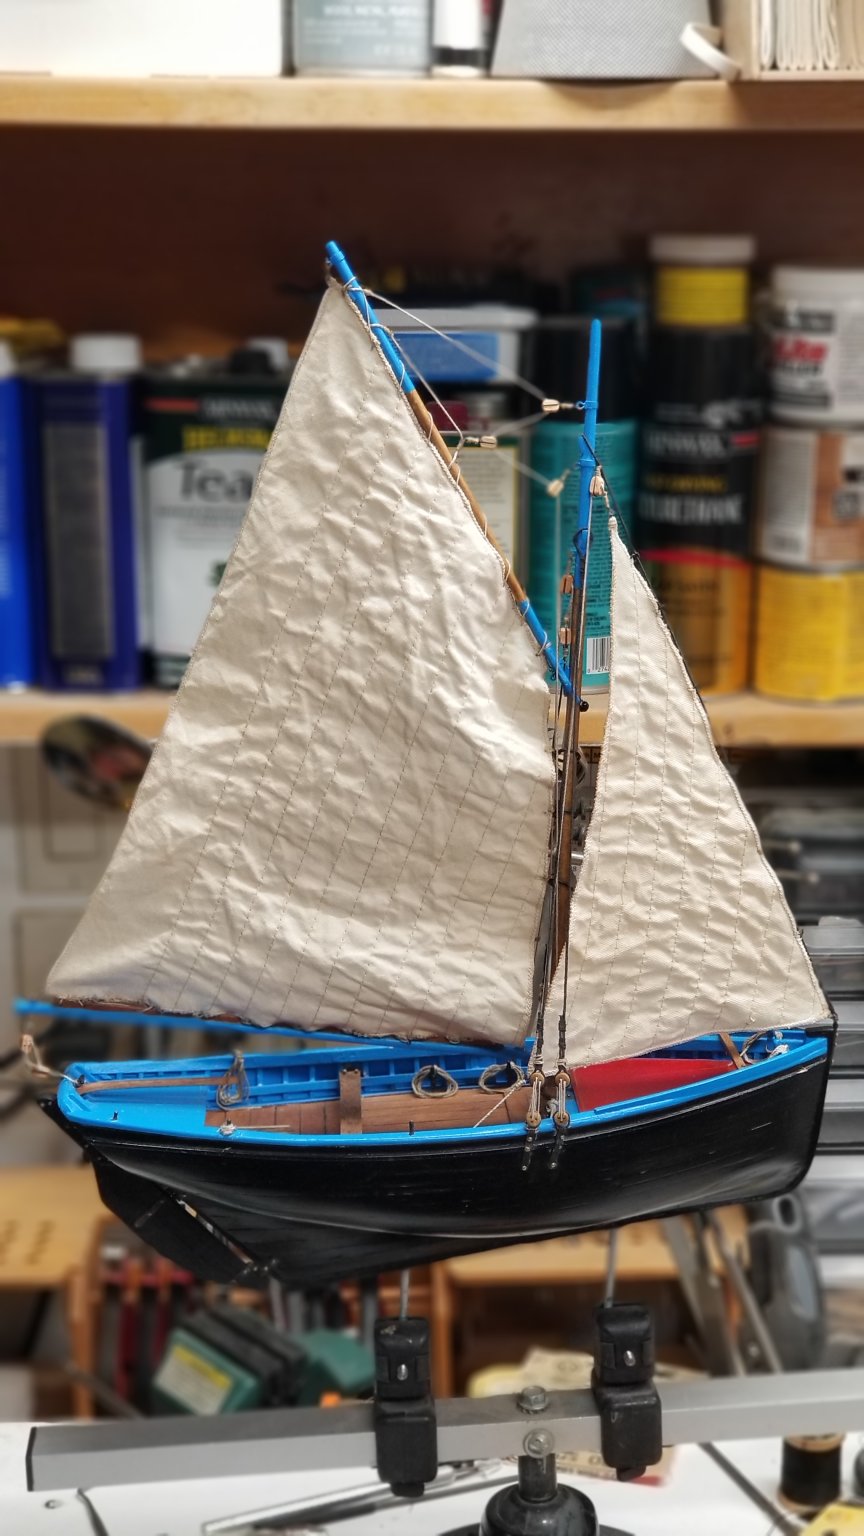
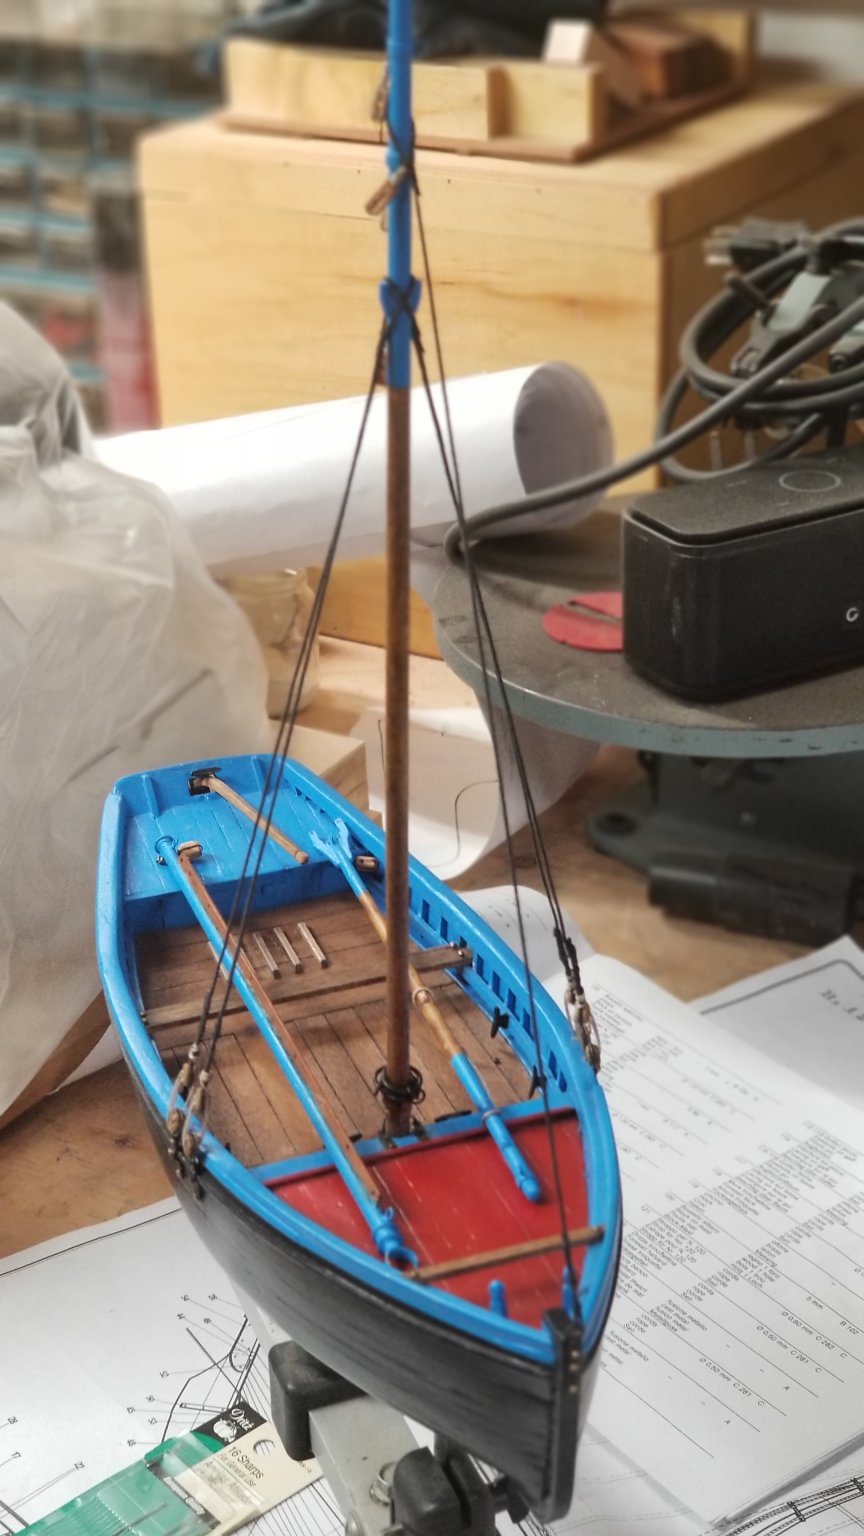
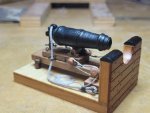
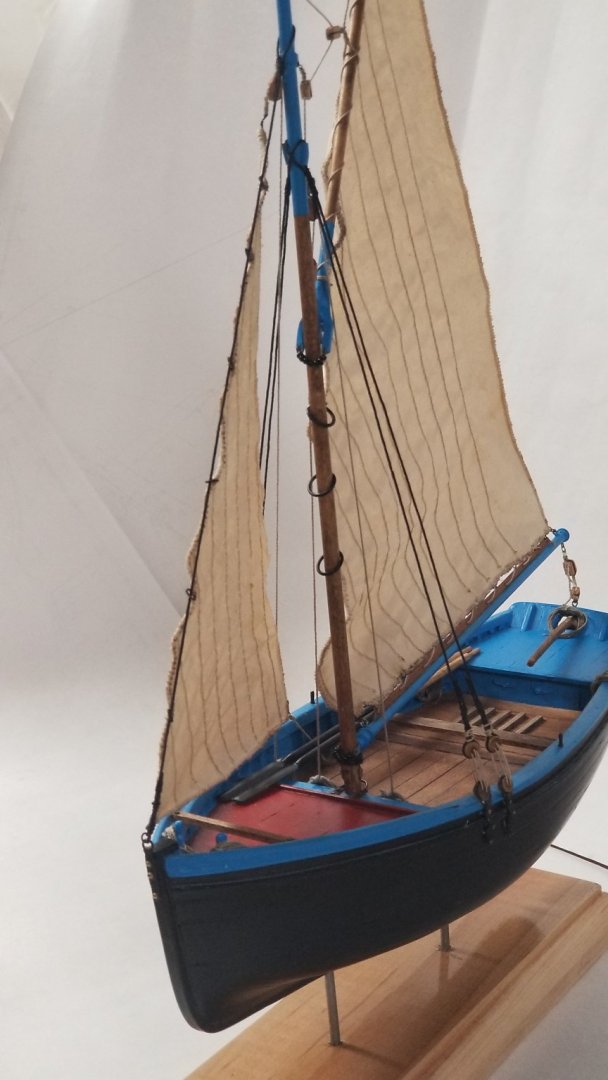
I think it is a wrap! I might spray paint my daughter's name as immatriculation AC2015 when I get my compressor back. I lend it to a friend 😊

-
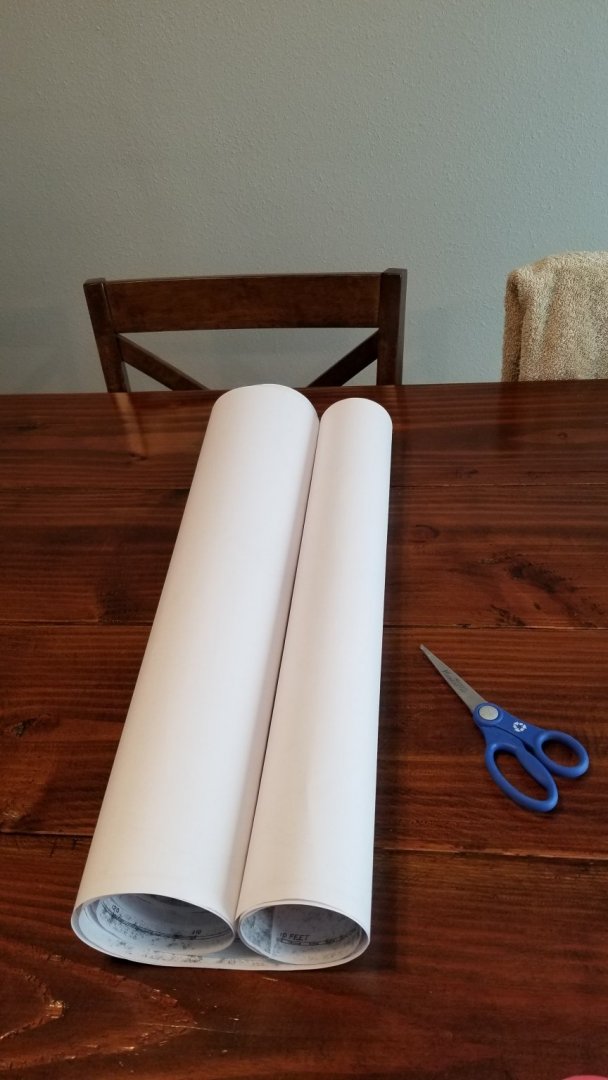
Darn, a few hours wasted... The bigger problem is getting new copies in this lock-down world we live in 🤔 I will see out bad it is.
- 50 replies
-
- 1
-
-
- rattlesnake
- brig
- (and 1 more)
-
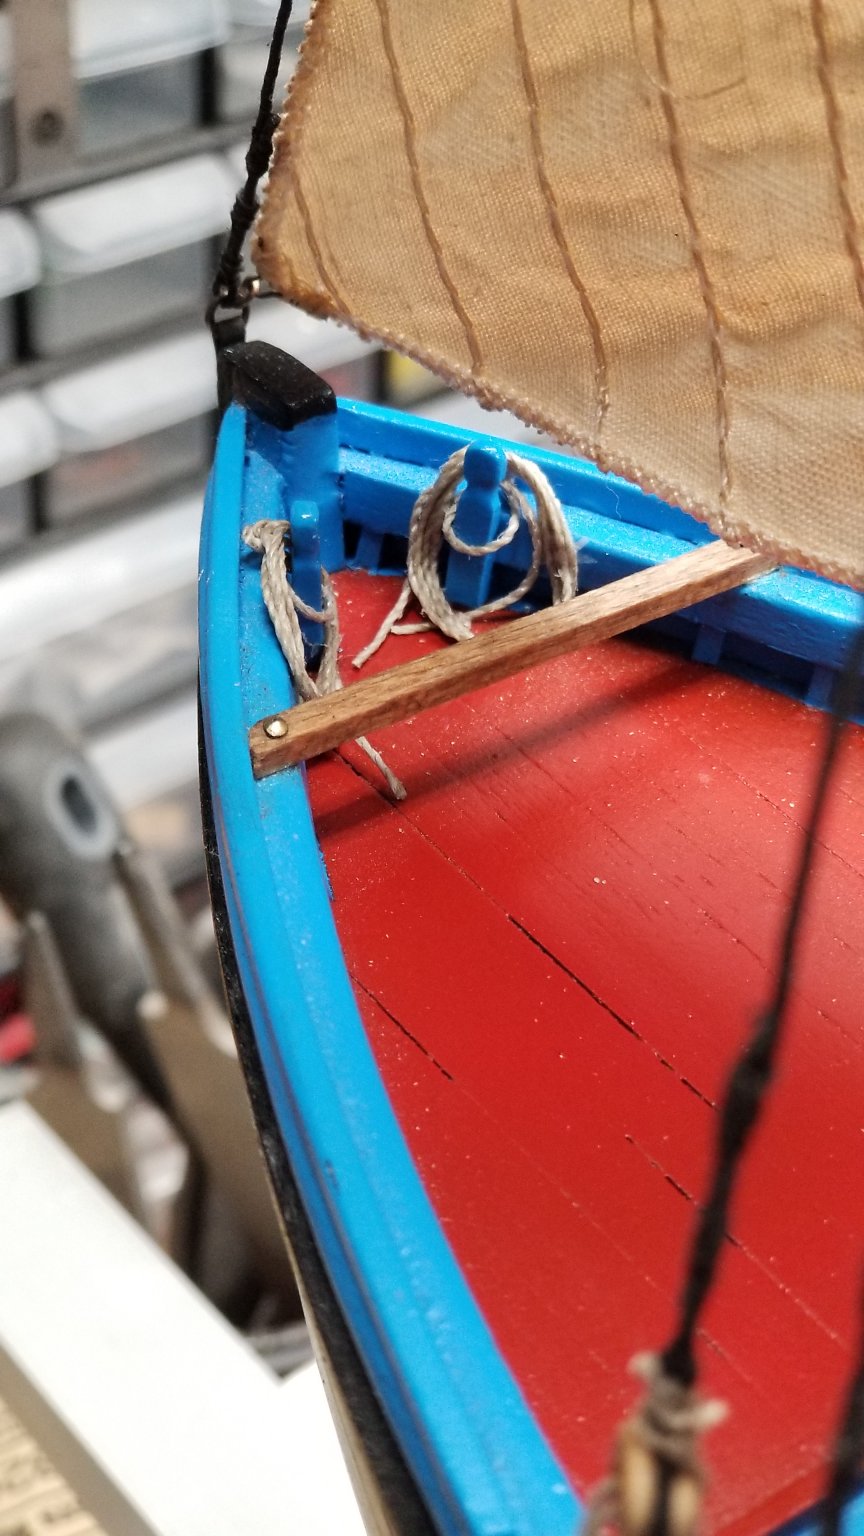
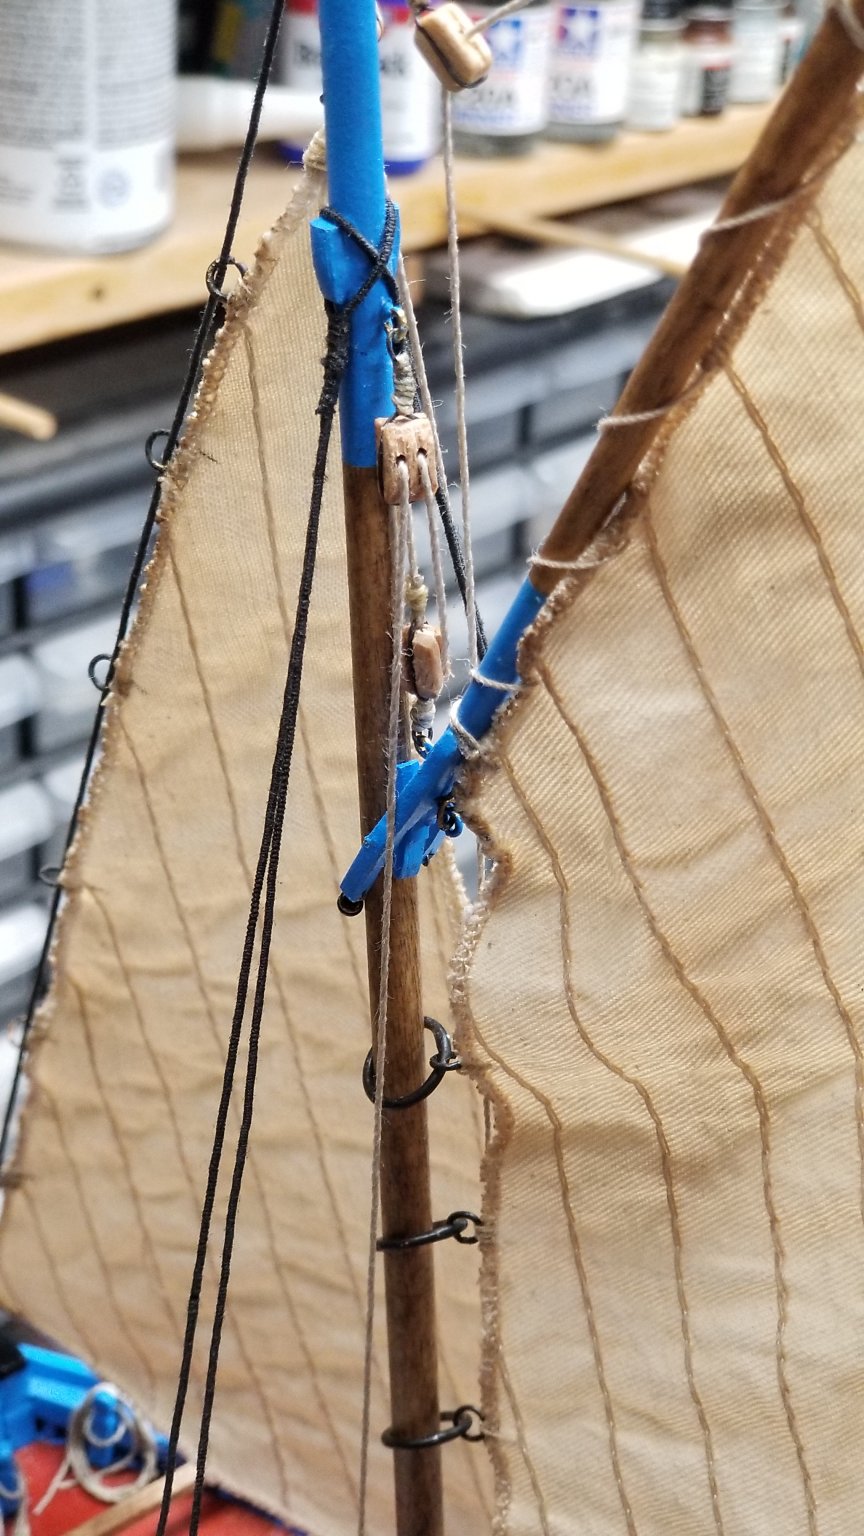
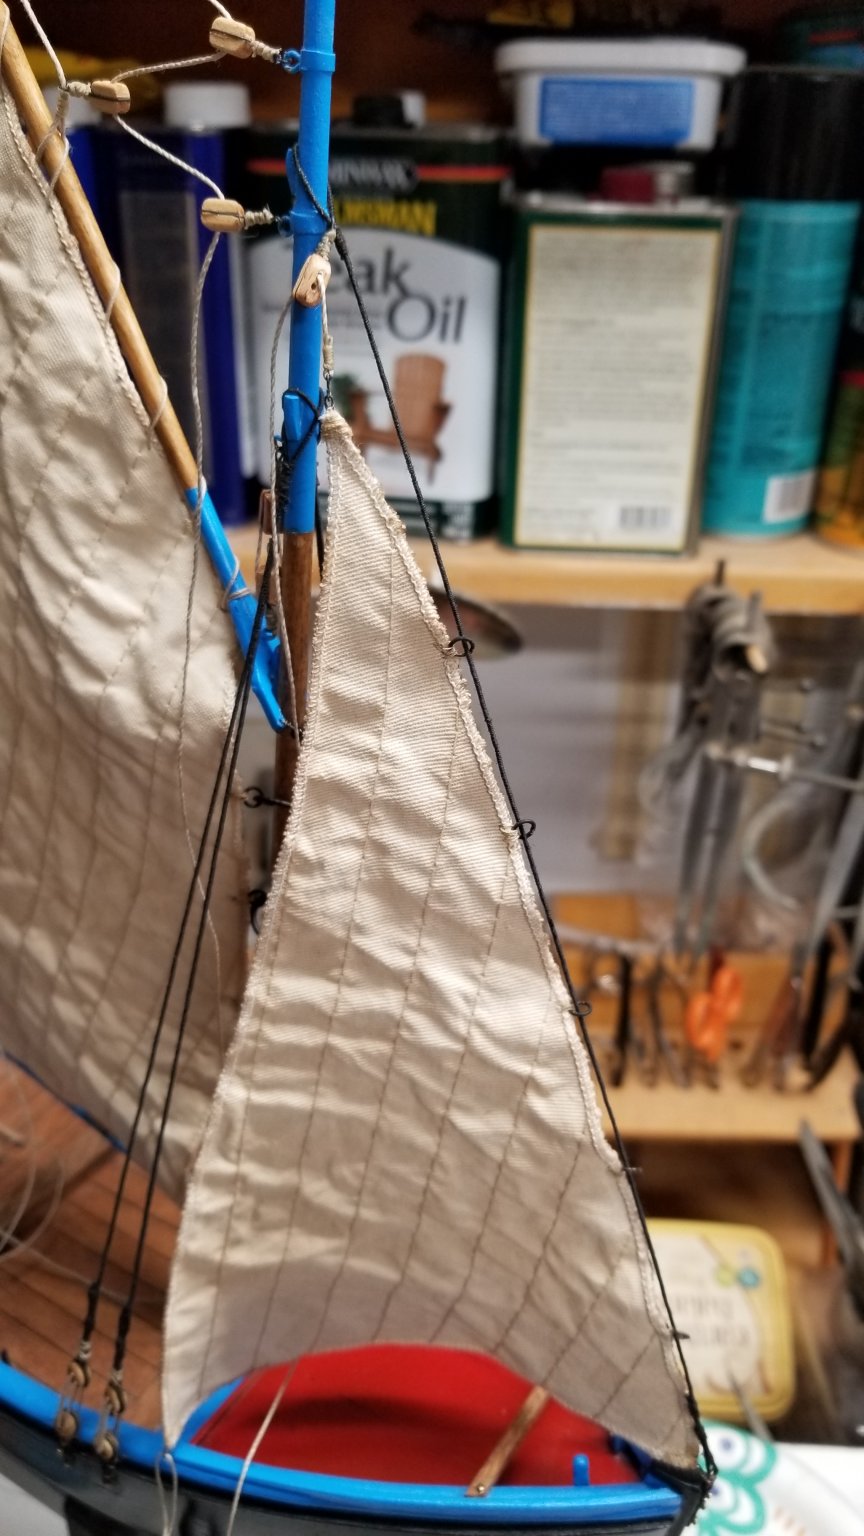
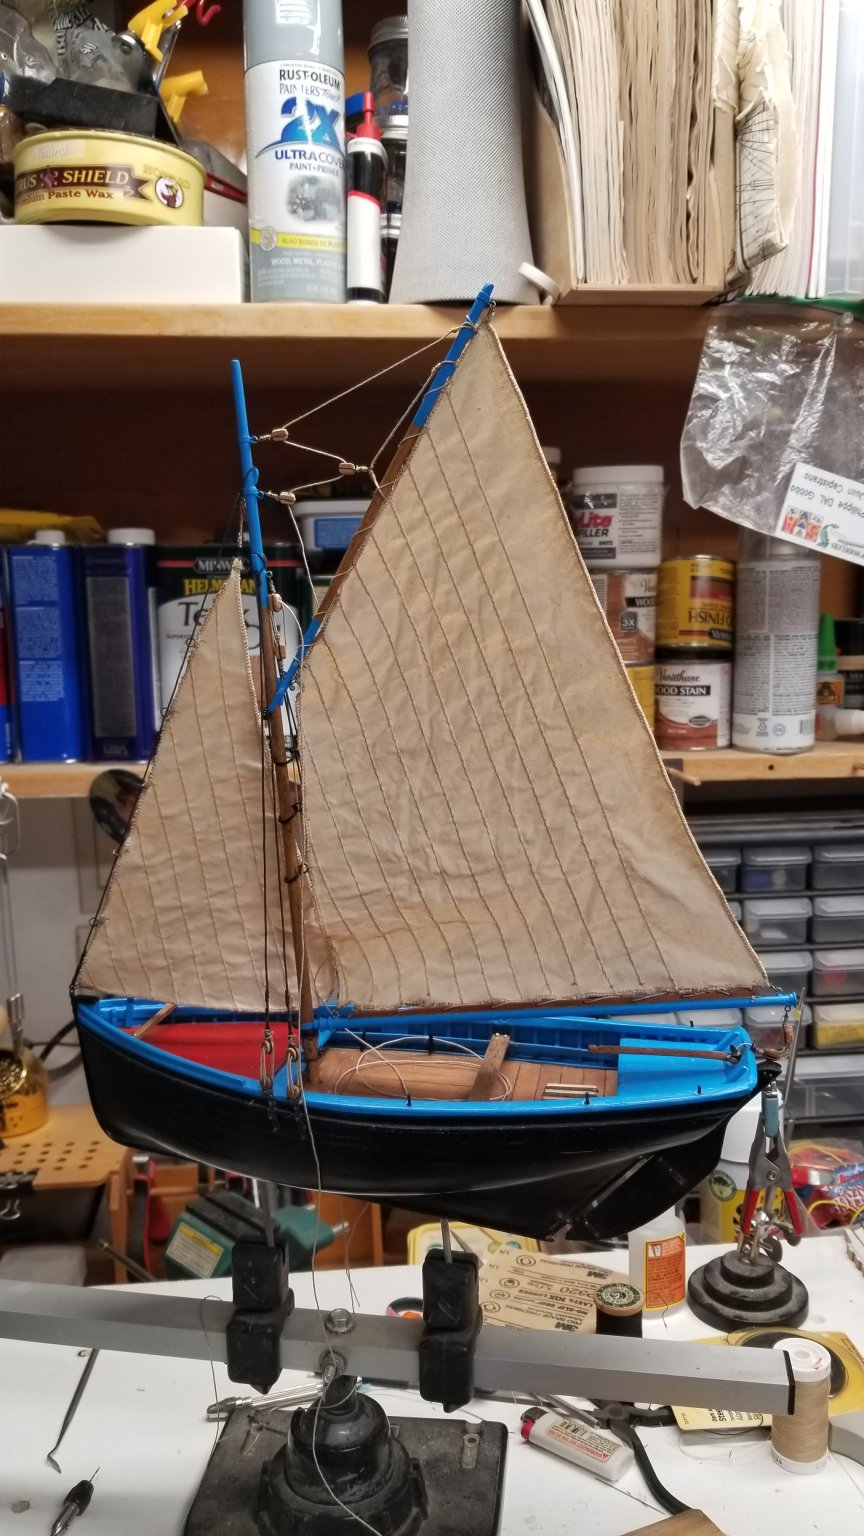
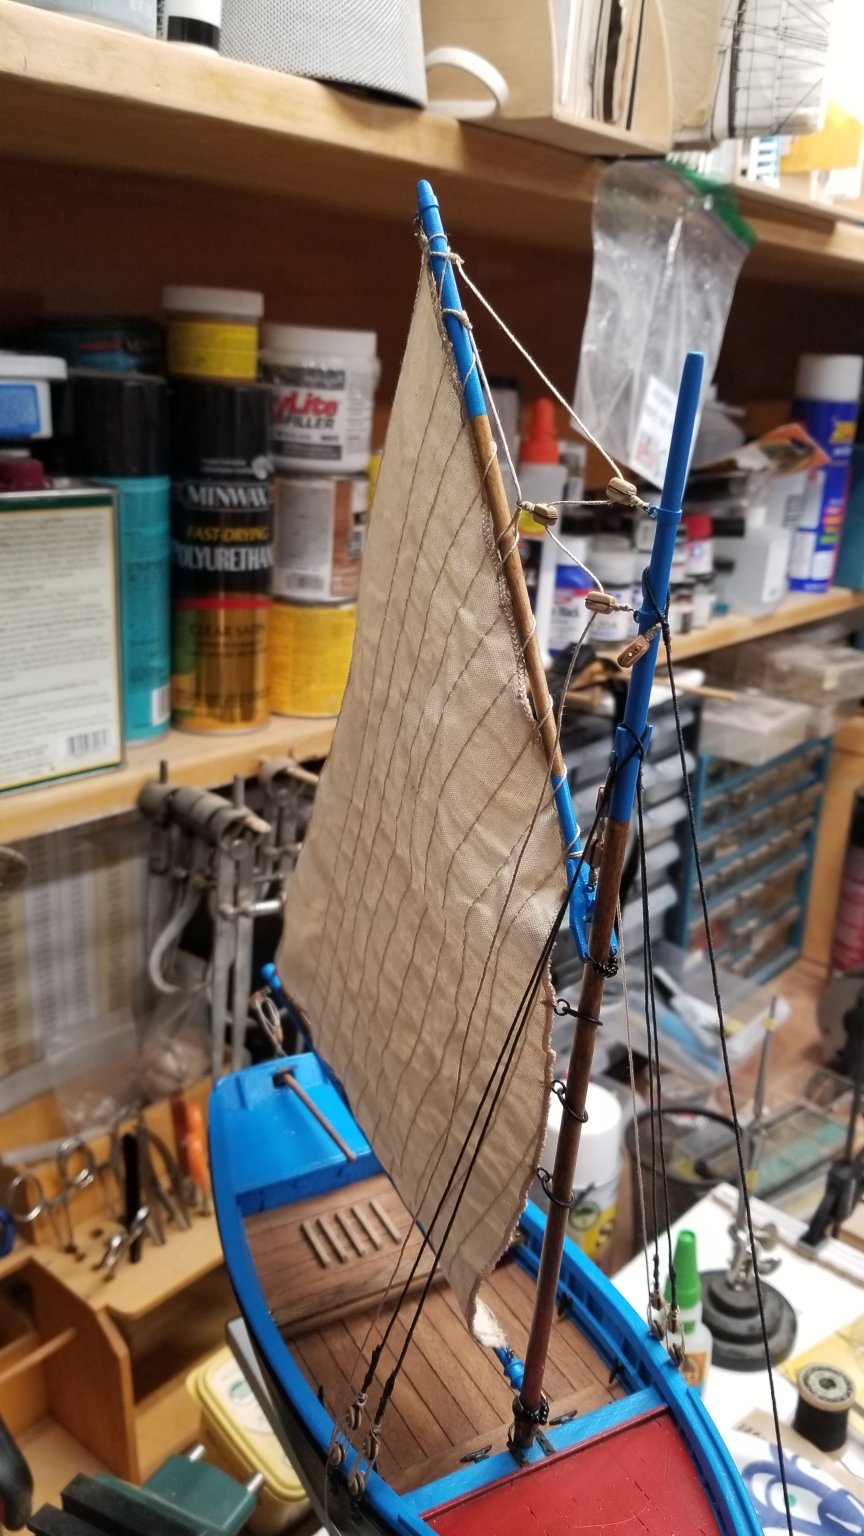
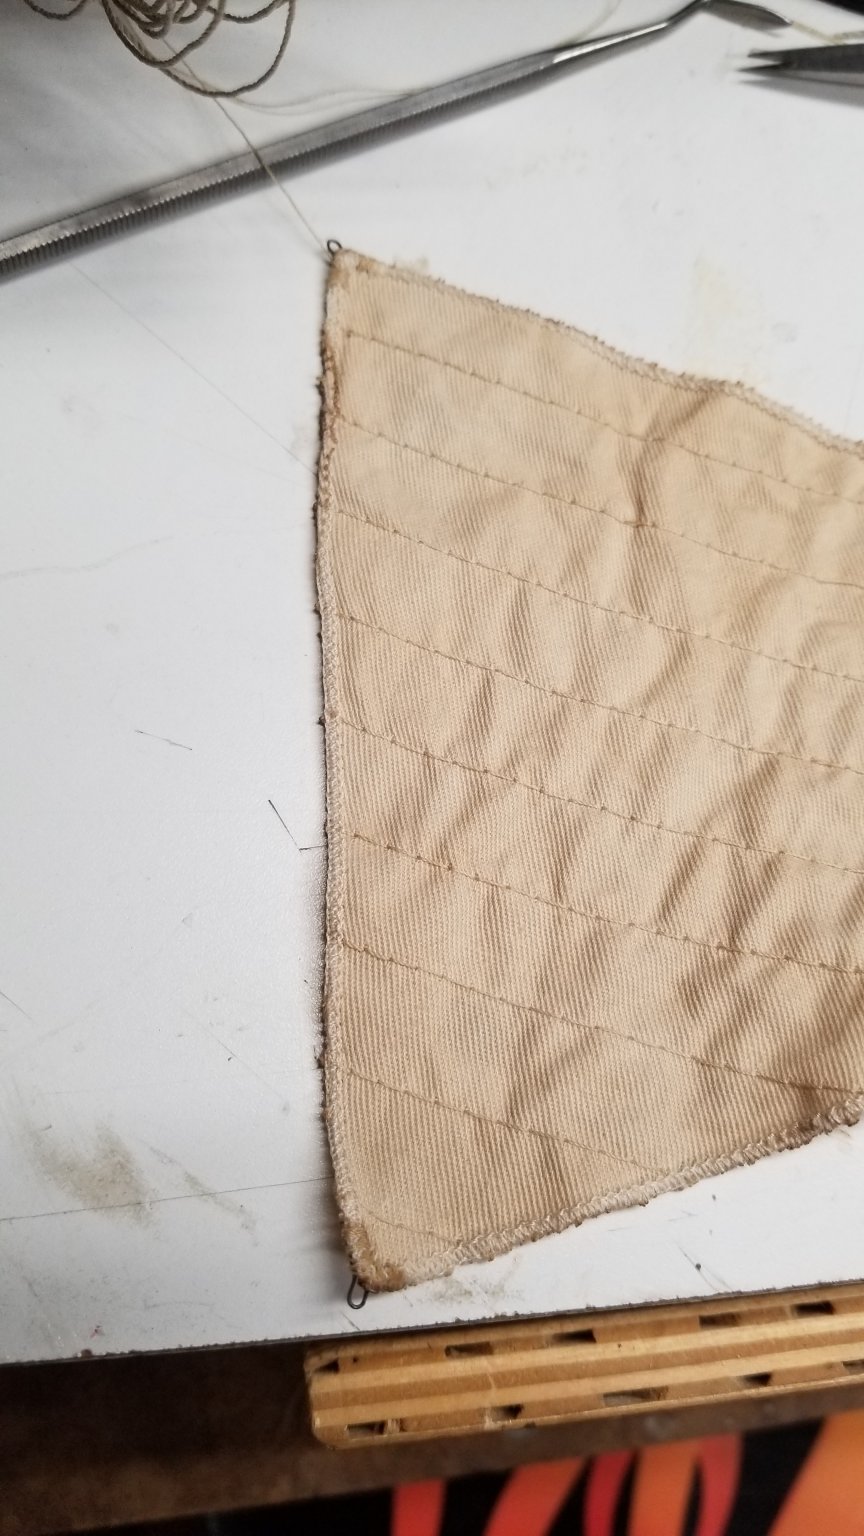
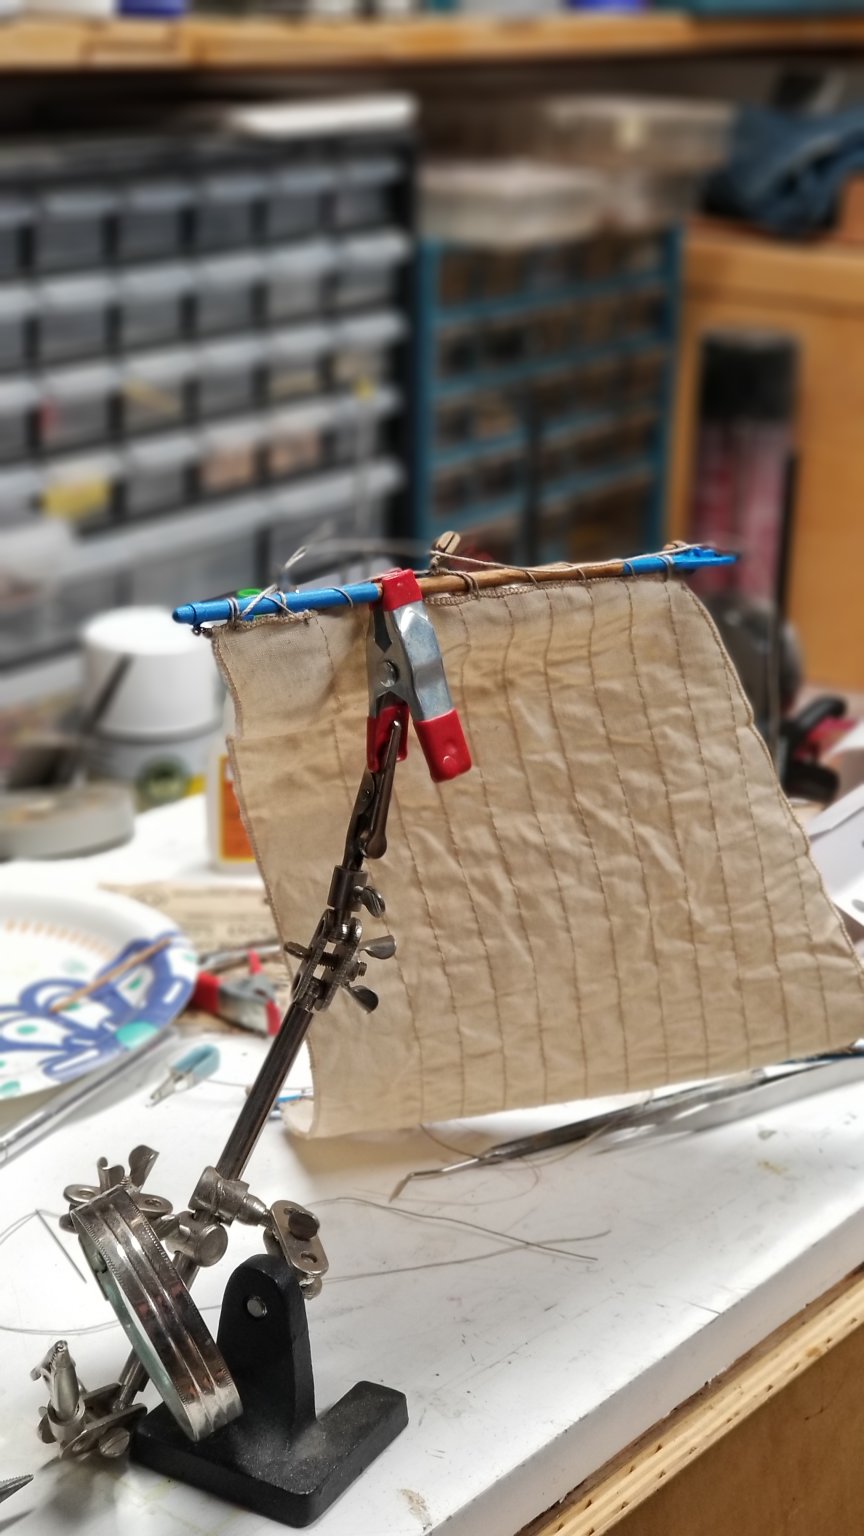
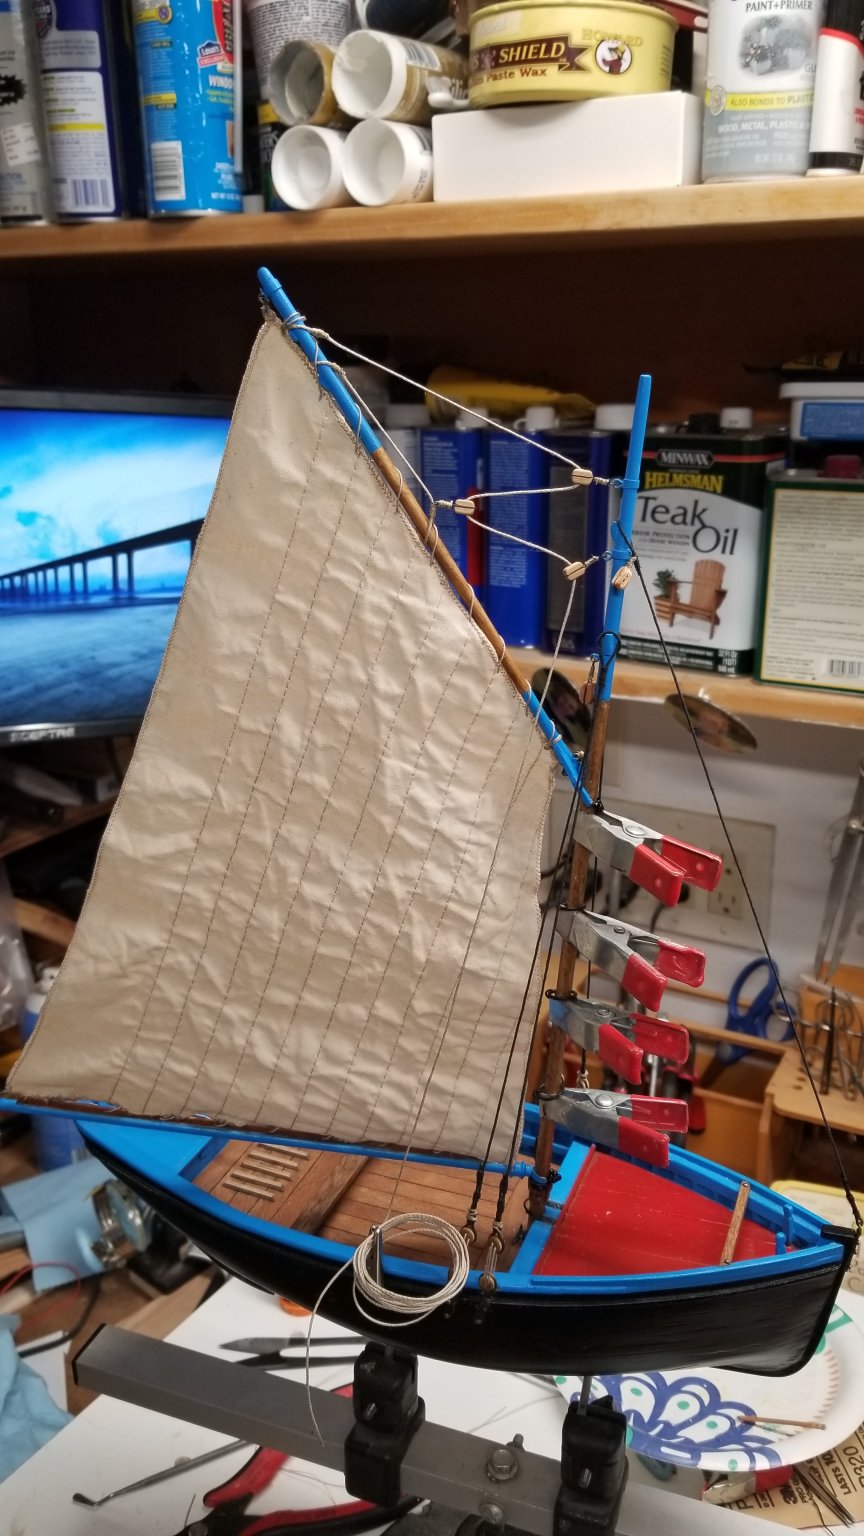
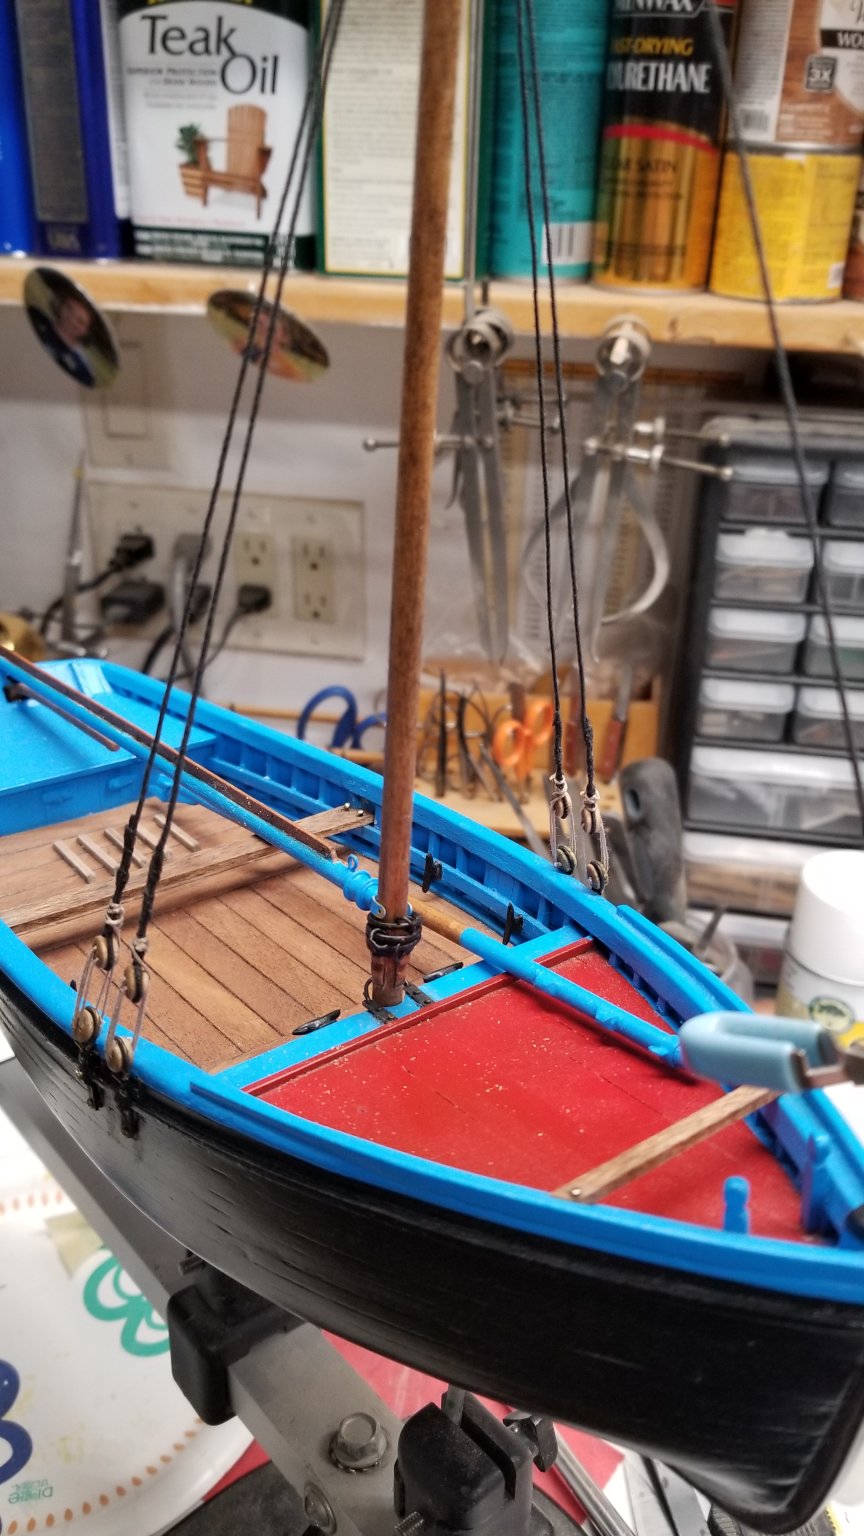
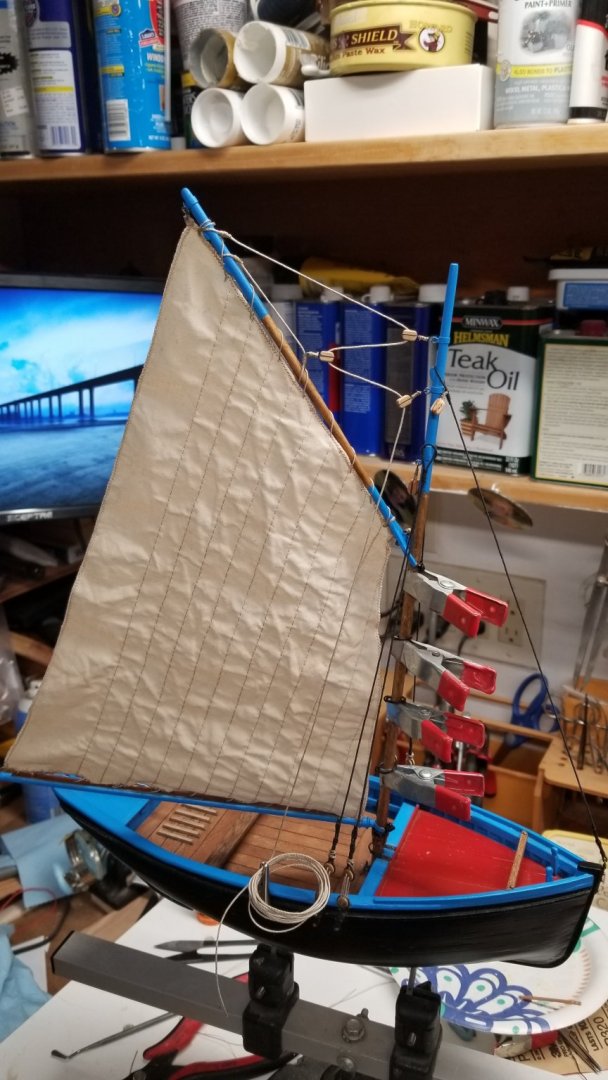
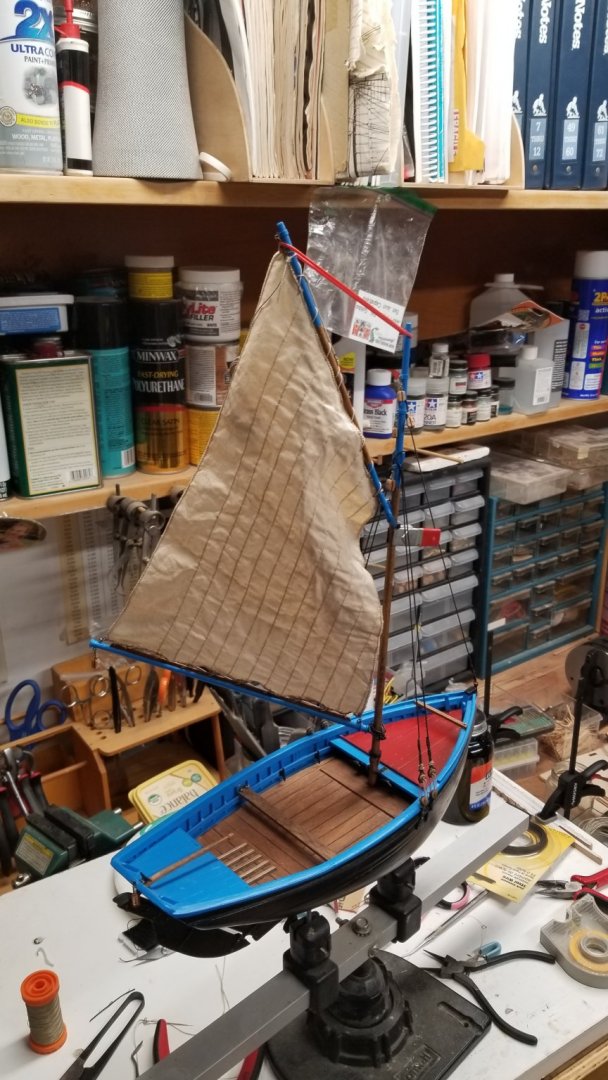
Working on the sails. Mounting one of them. Next is attaching the mast rings. Here is how I am going to hold them before sewing them up.


-
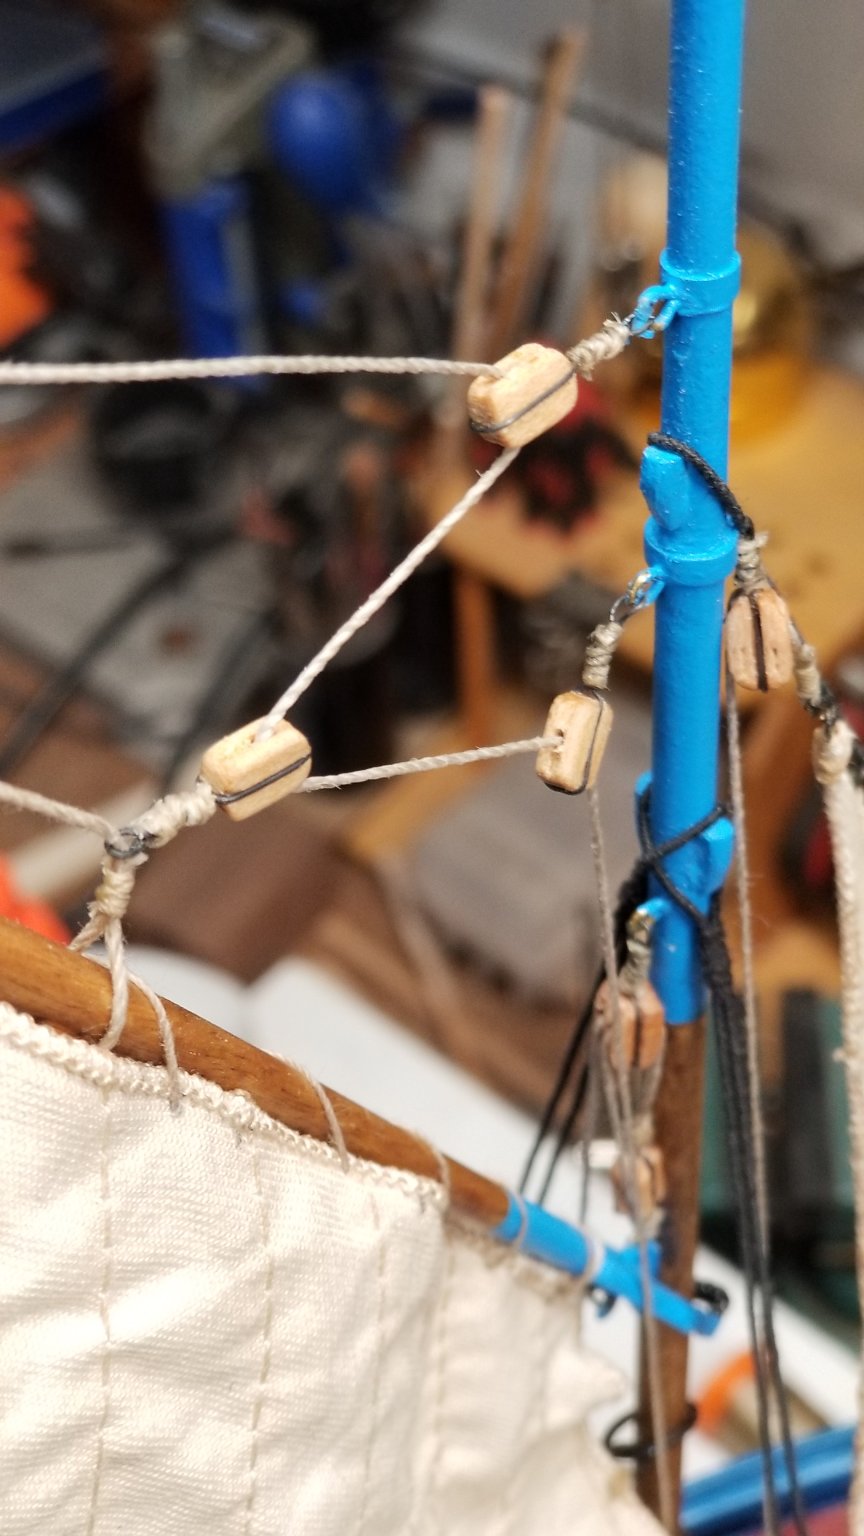
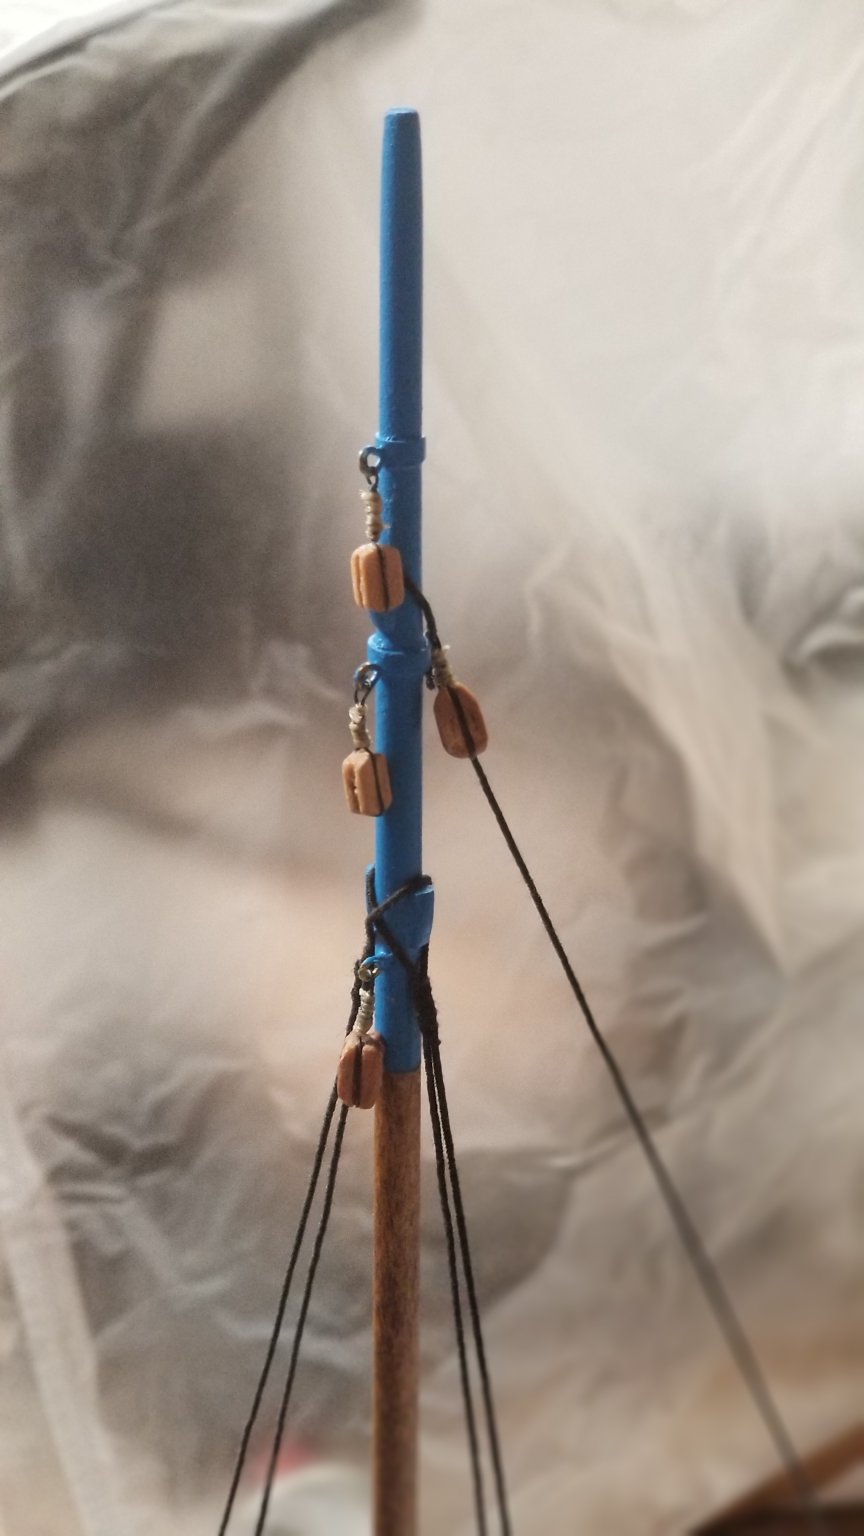
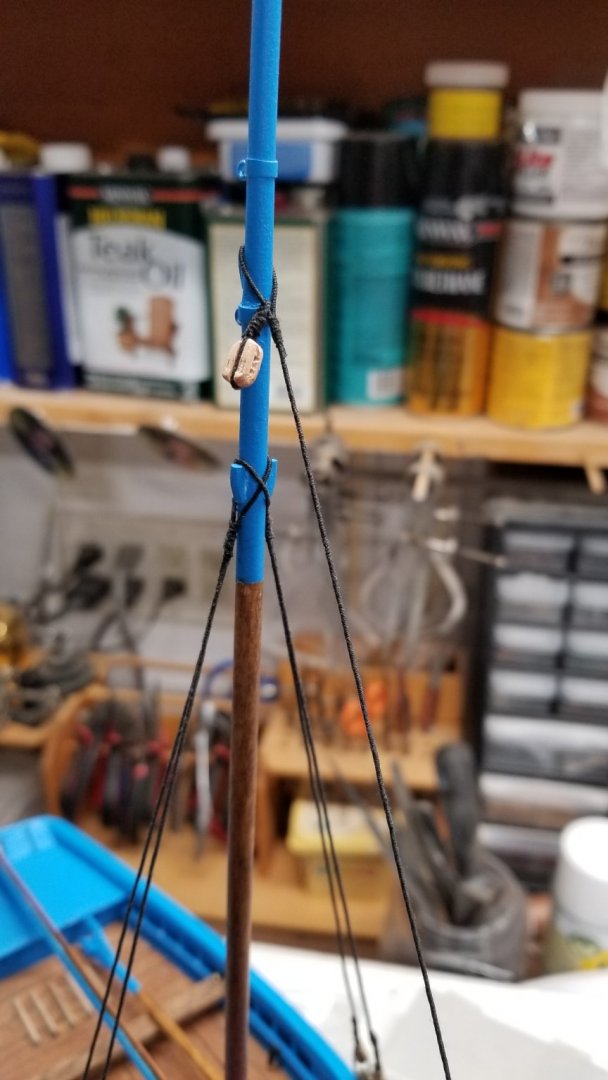
Attached the second shroud. Working on the mainstay. I served a rope and attached the first block on this build.. 😊

-
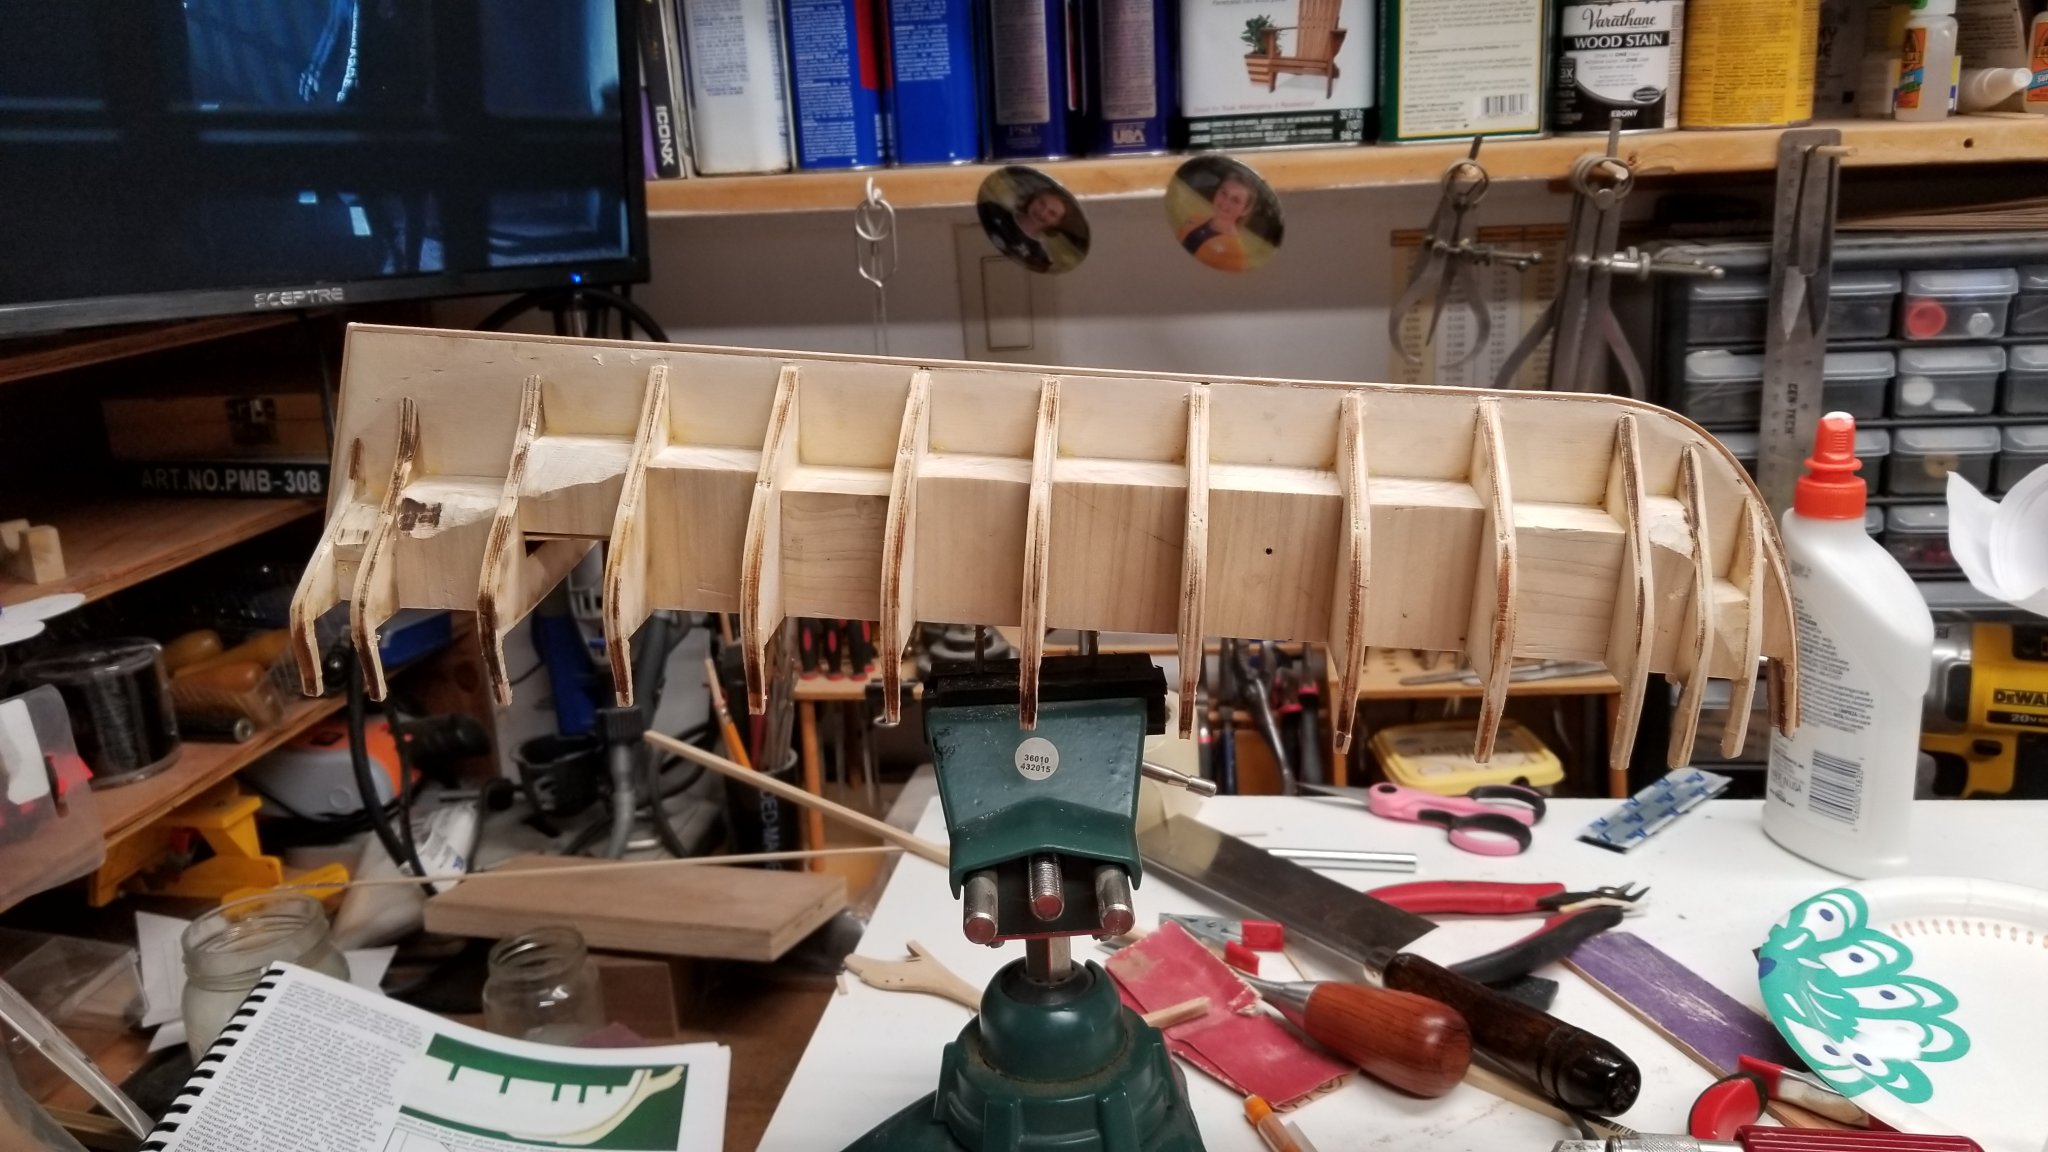
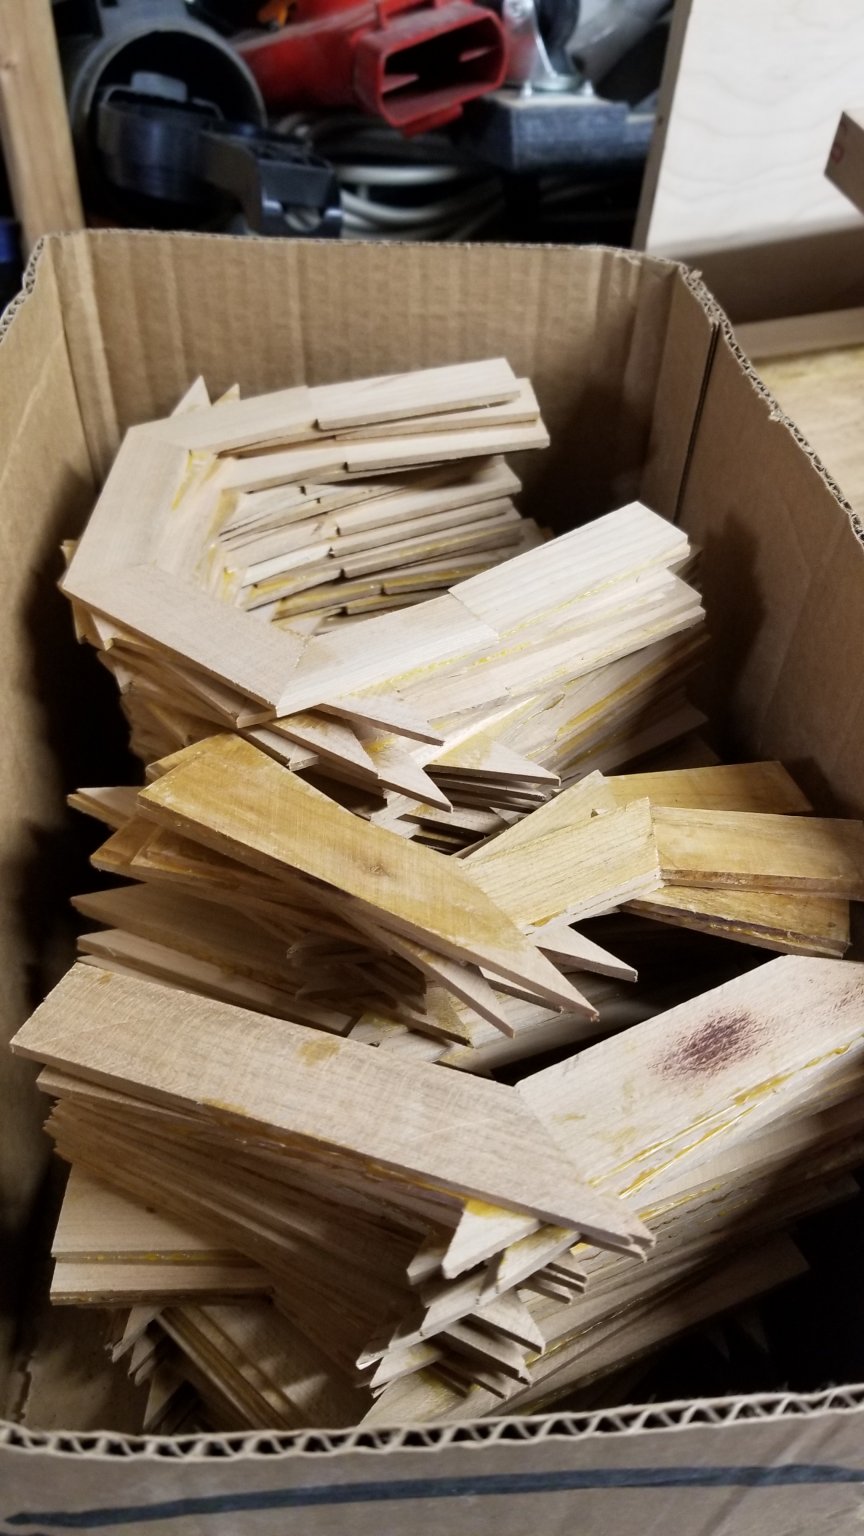
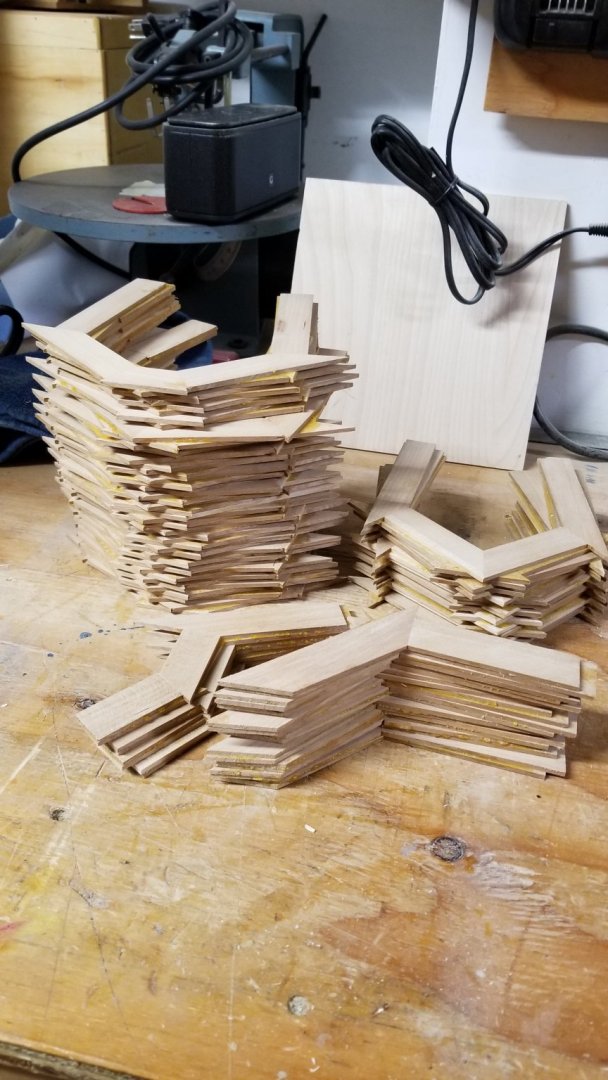
All frames are now glued. Next step: pattern cutting and gluing. ✂️✂️
- 50 replies
-
- 5
-
-
- rattlesnake
- brig
- (and 1 more)
-
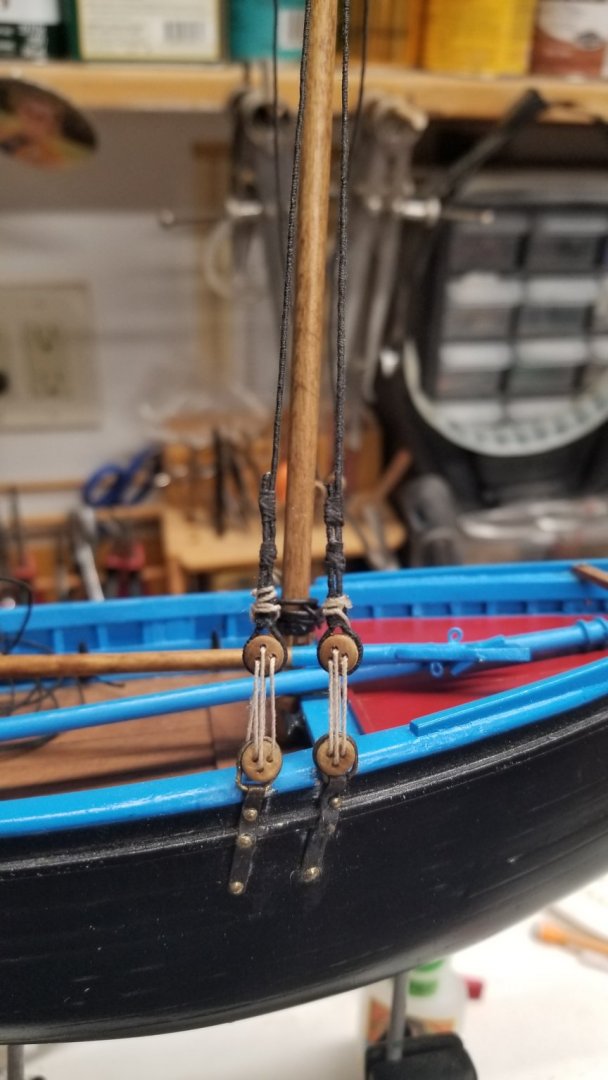
Time to start the rigging. Attached the mast. Worked on the shrouds by serving them, long and tedious process 🤪 then fasten the deadeyes. Finalized attaching on side.


-
Great recommendation. There are also a lot of French sites with a lot of pictures.
- 9 replies
-
- 1
-
-
- artesania latina
- marie jeanne
- (and 1 more)
-
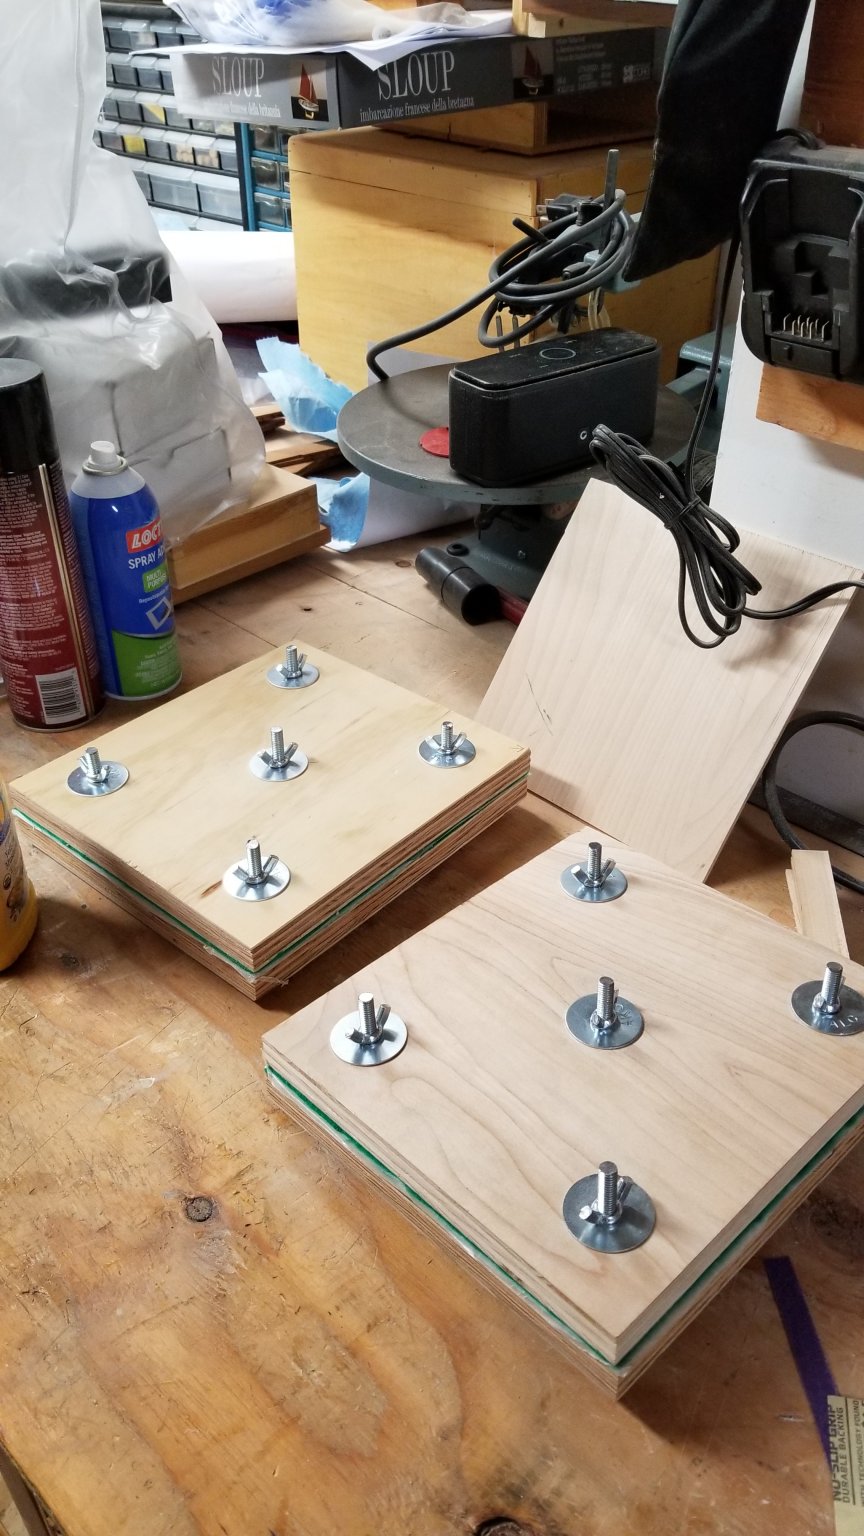
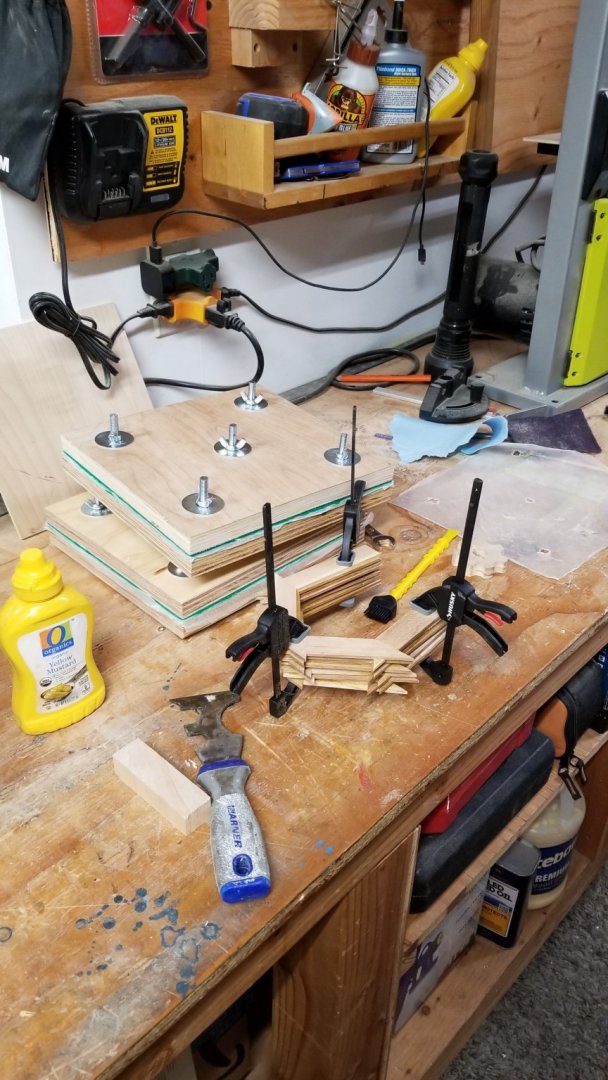
Fairly straightforward process. It just takes forever as I need to wait at least 30 minutes to let the wood glue to set. Made a key to help with the wing nuts. 😊 Here is the result after a few hours. In between glue sessions, I will be working on rigging my other projects.


- 50 replies
-
- 8
-
-
- rattlesnake
- brig
- (and 1 more)