HOLIDAY DONATION DRIVE - SUPPORT MSW - DO YOUR PART TO KEEP THIS GREAT FORUM GOING! (Only 20 donations so far - C'mon guys!)
×

captgino
-
Posts
620 -
Joined
-
Last visited
Content Type
Profiles
Forums
Gallery
Events
Everything posted by captgino
-
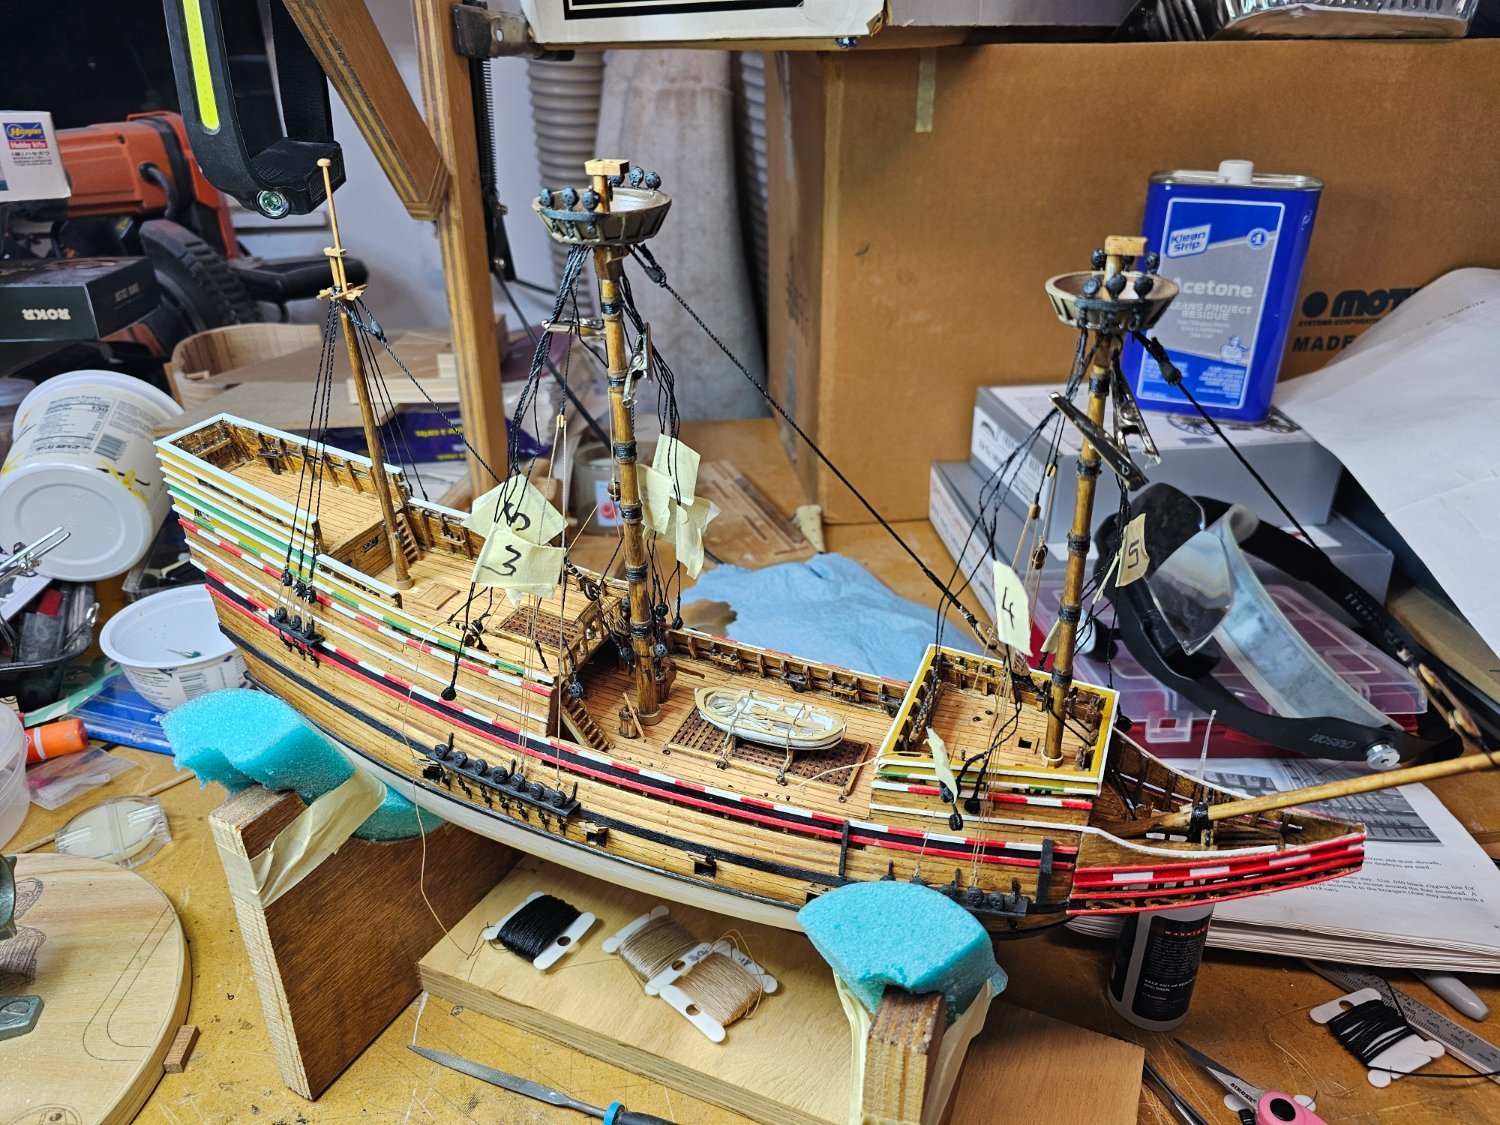
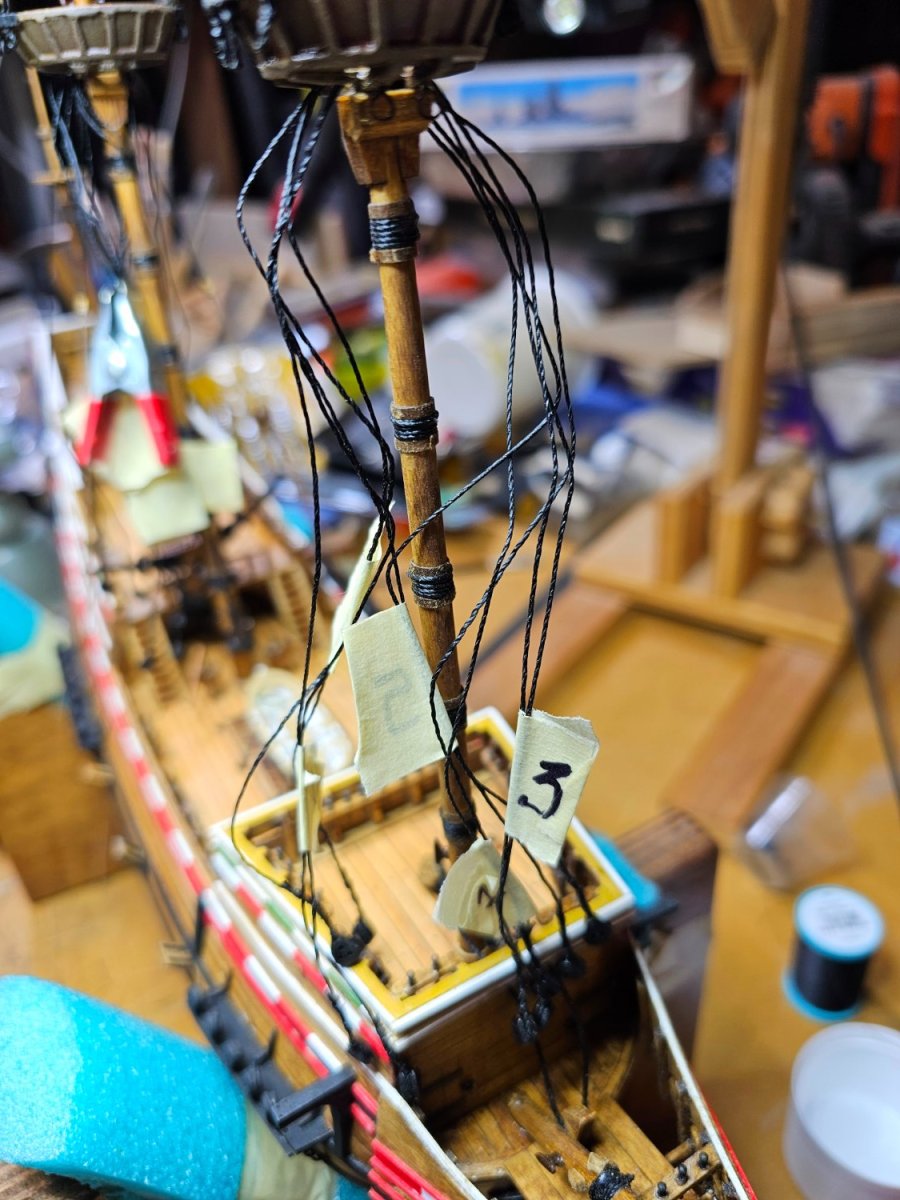
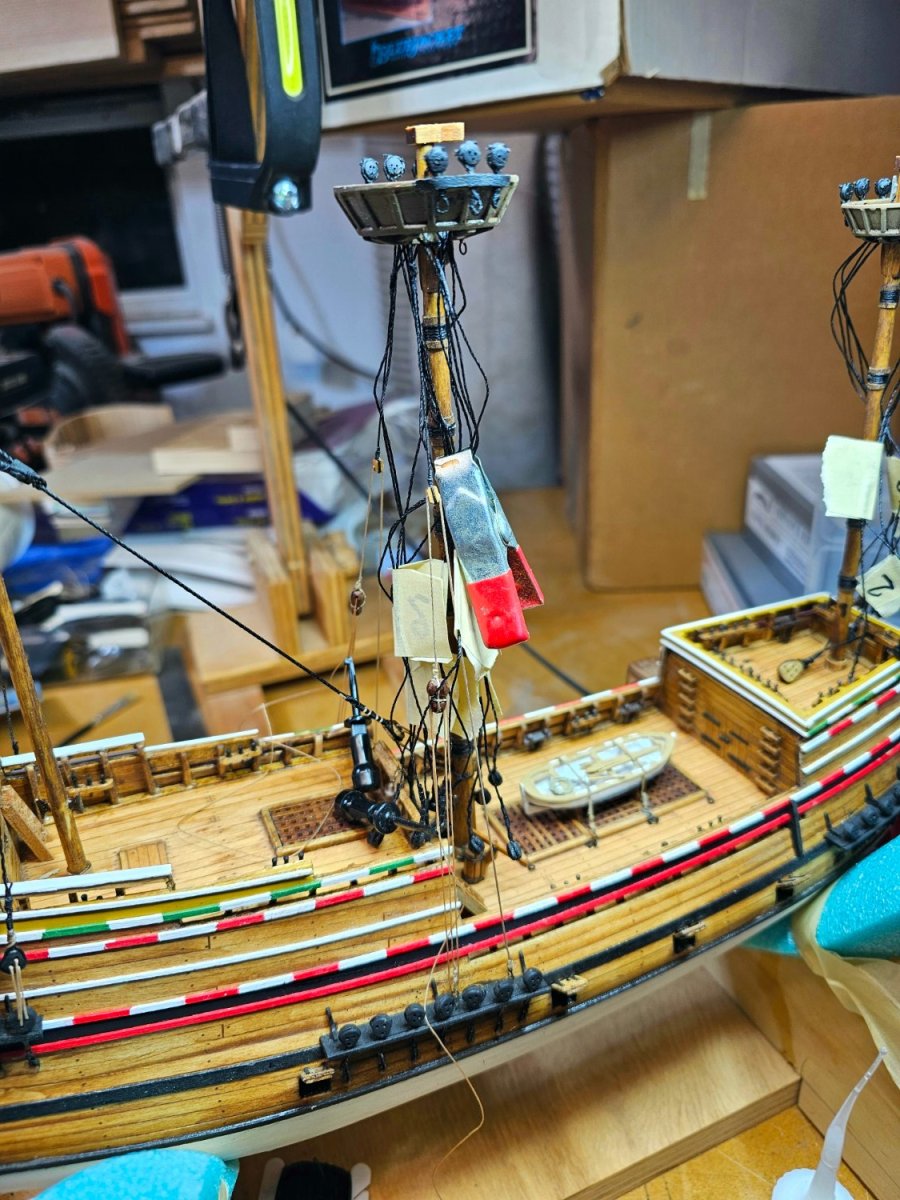
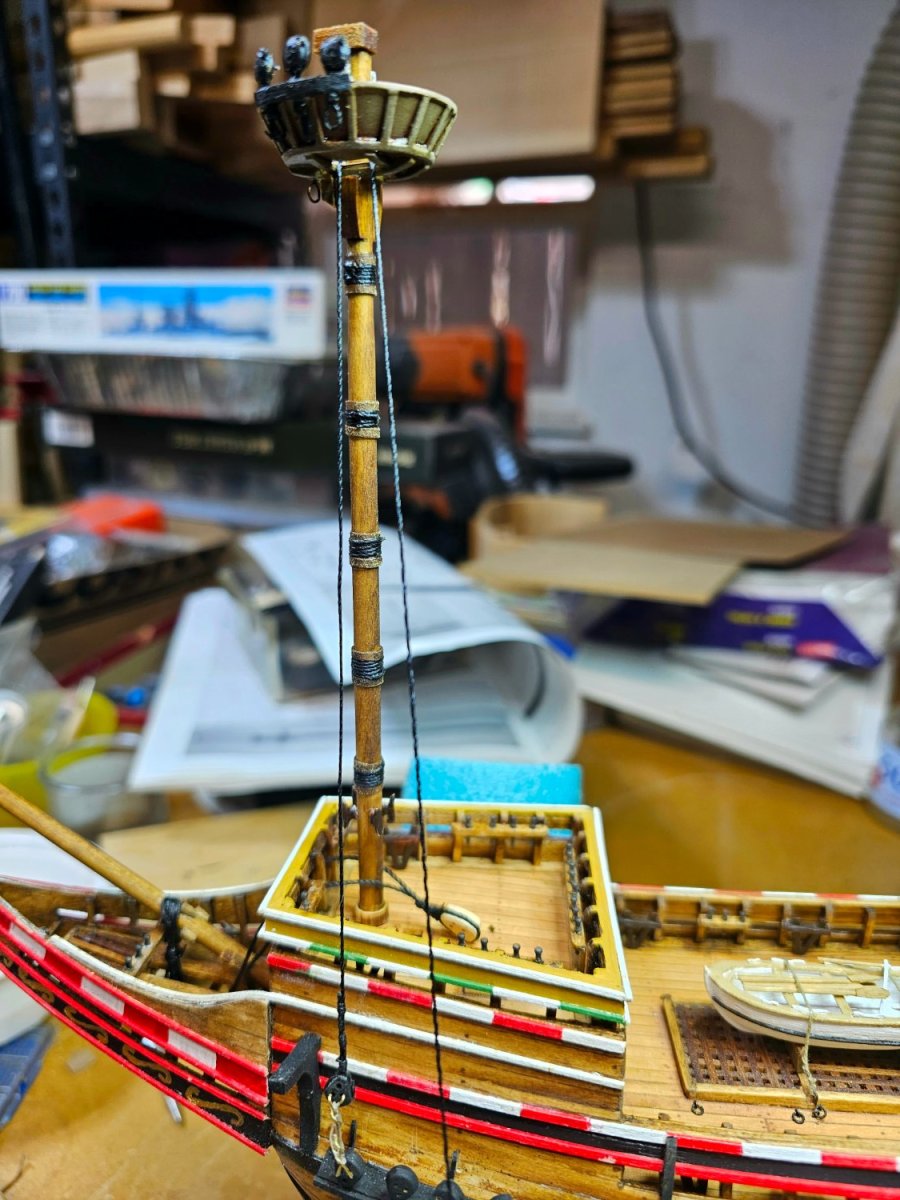
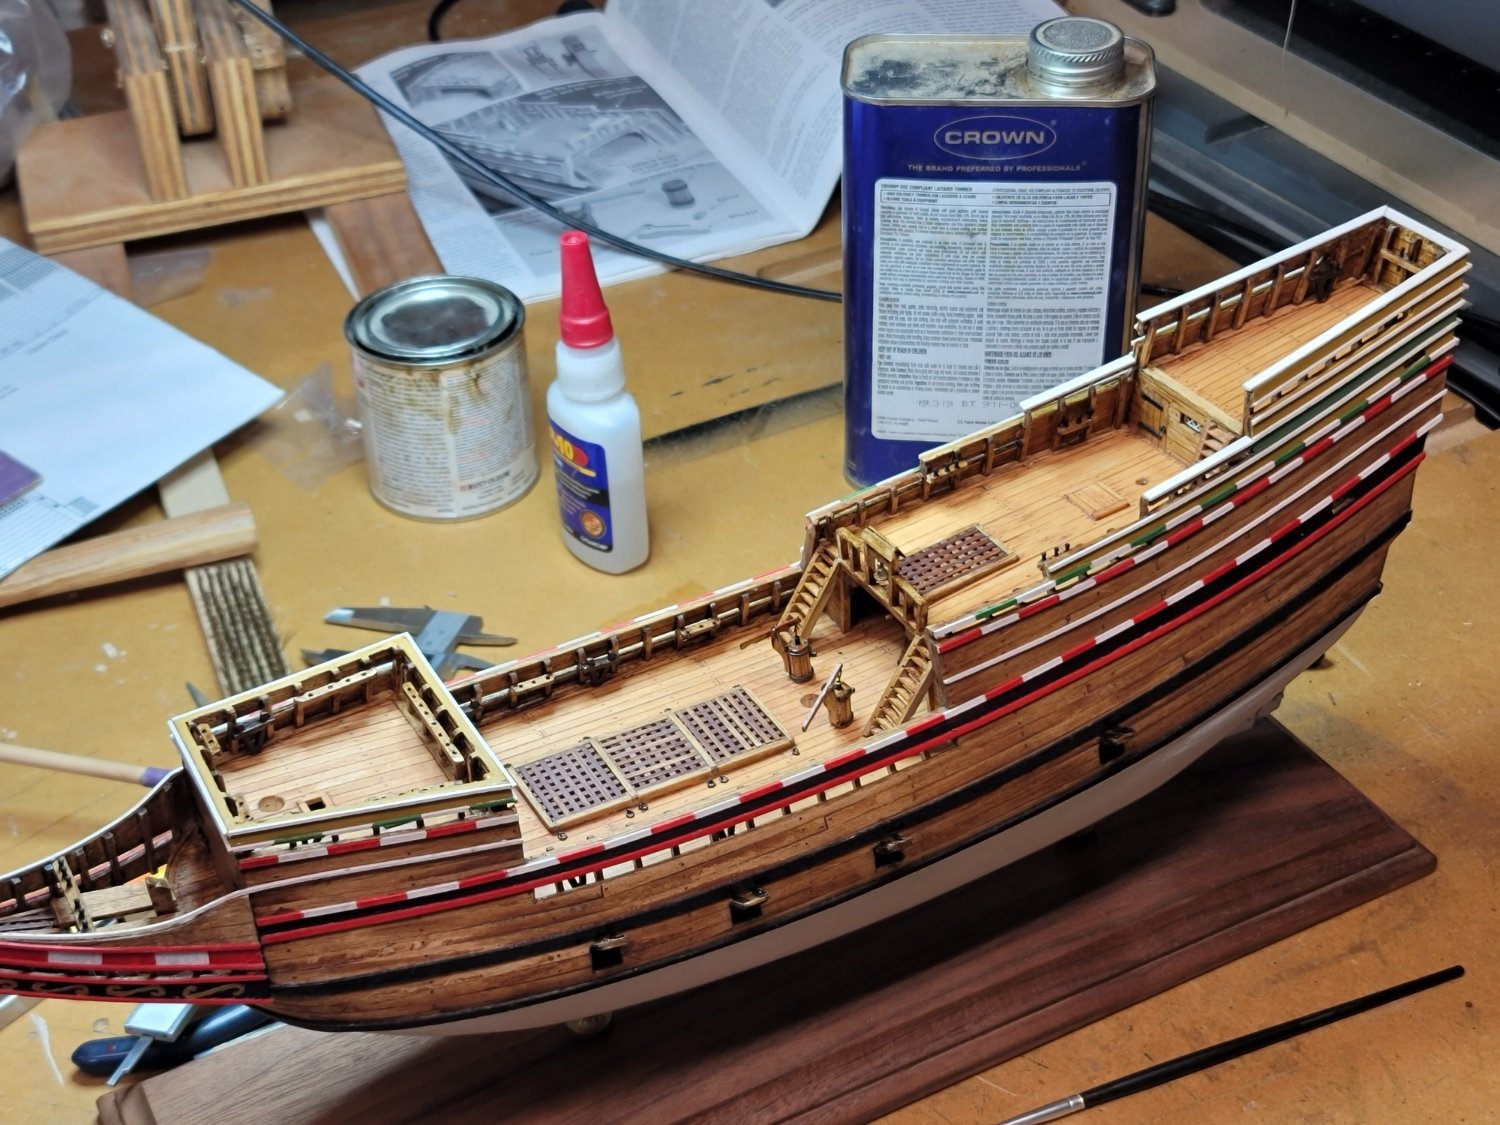
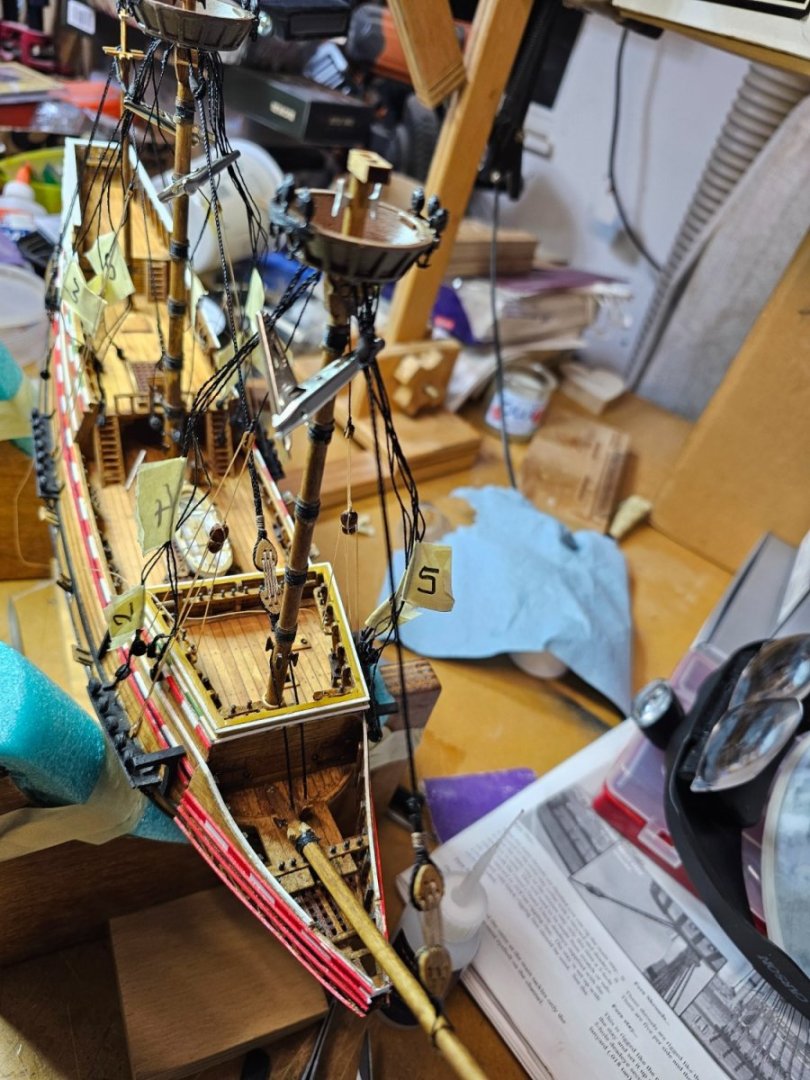
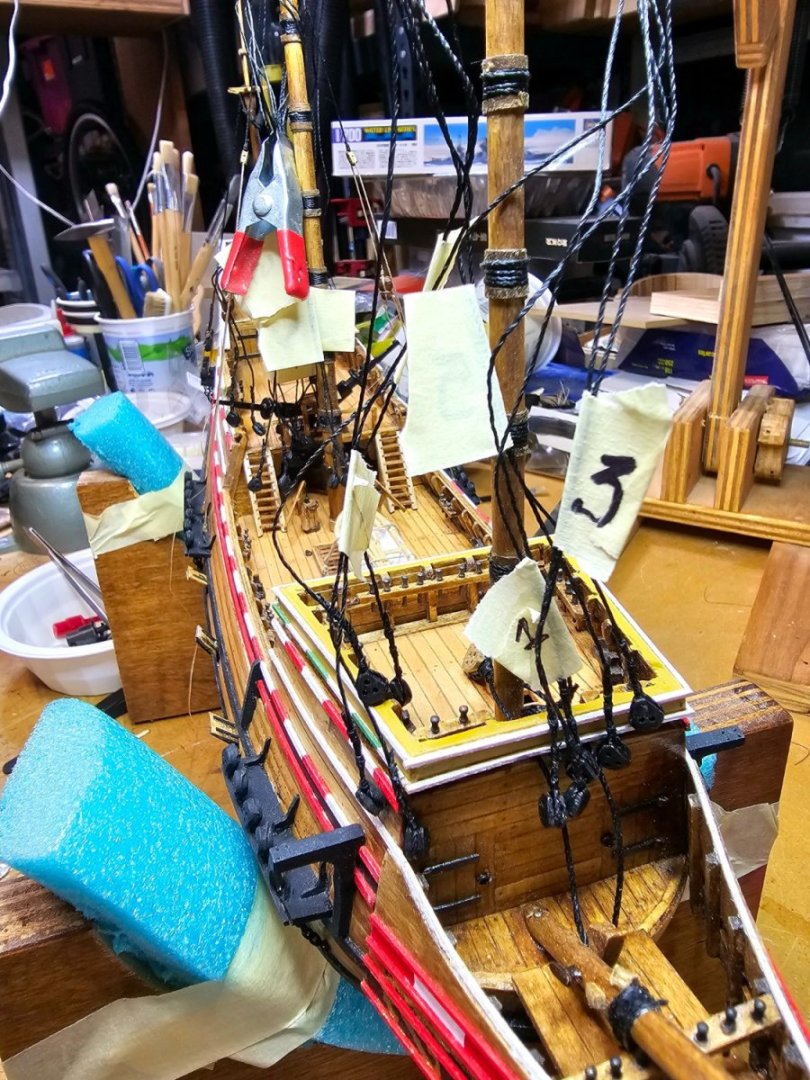
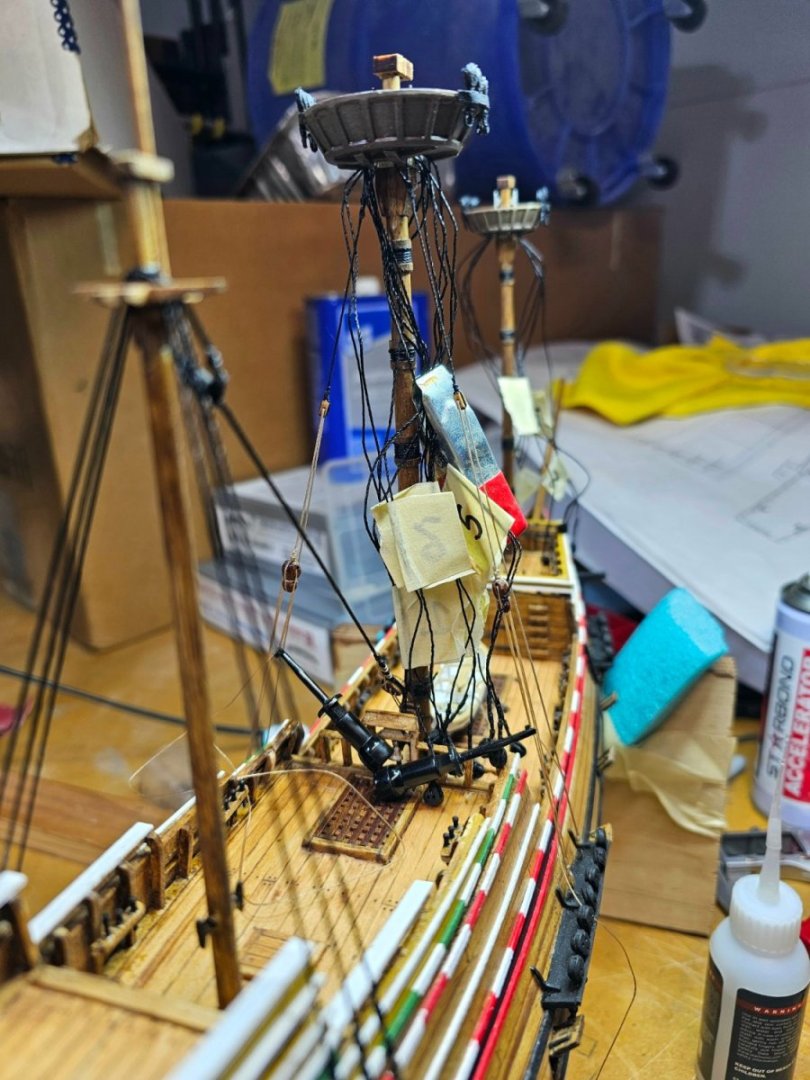
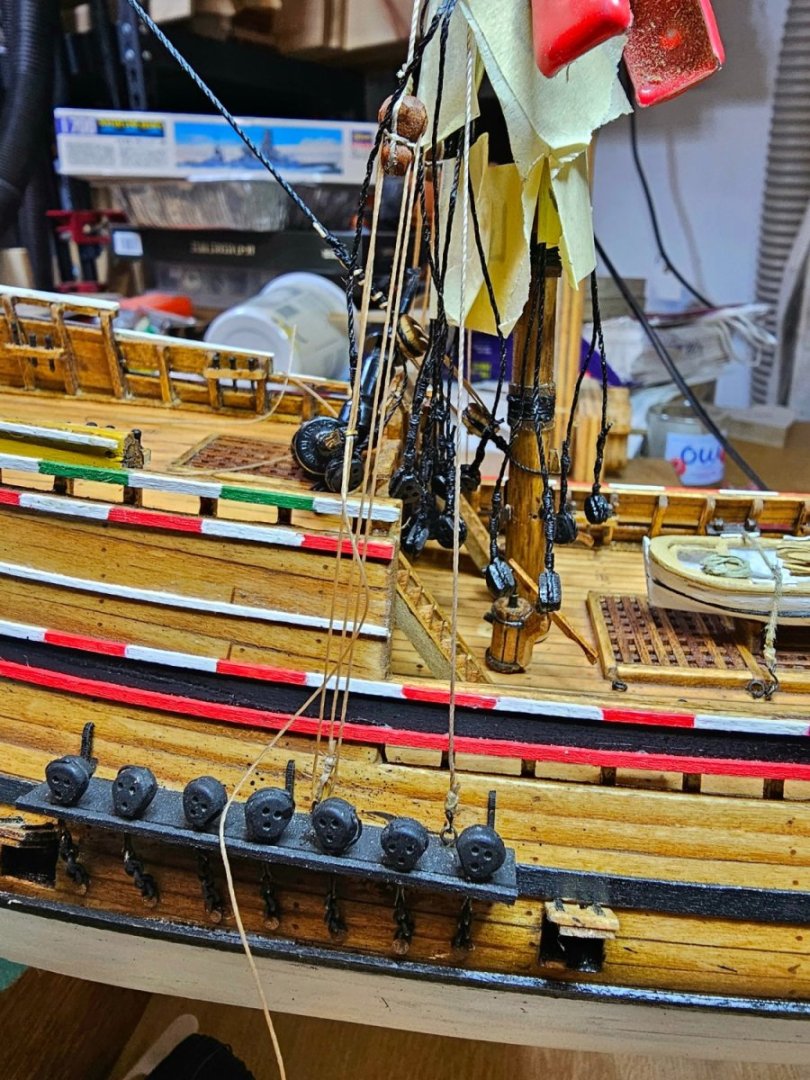
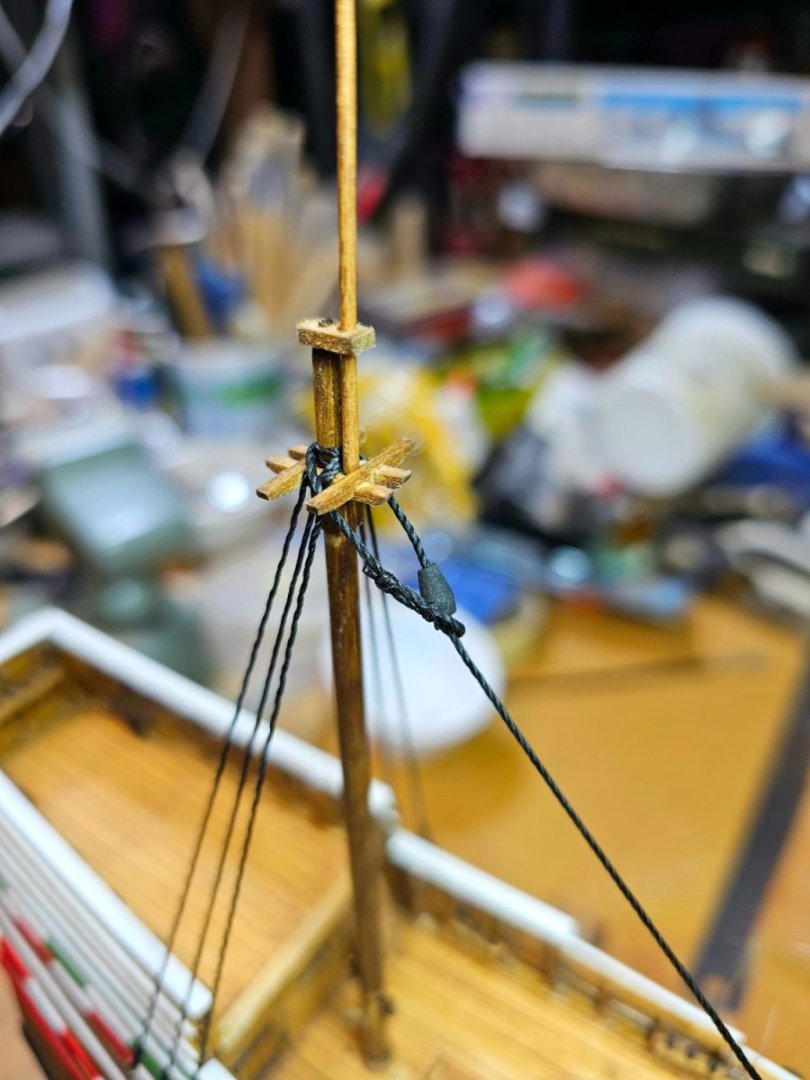
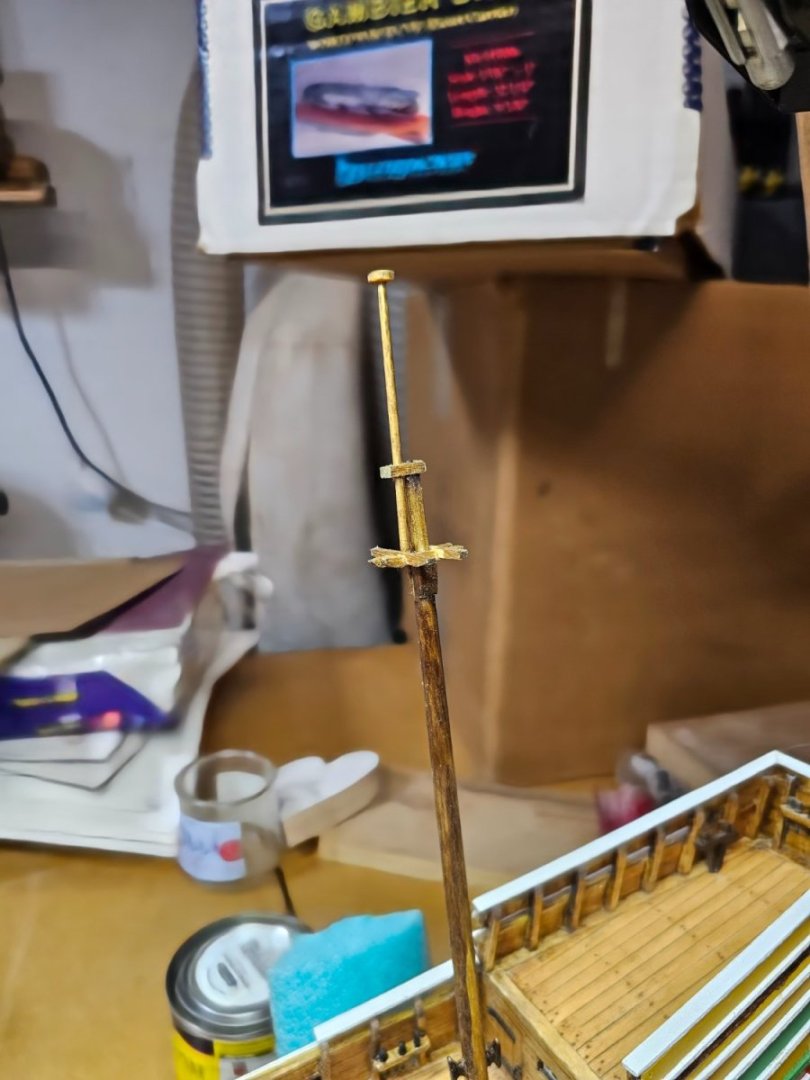
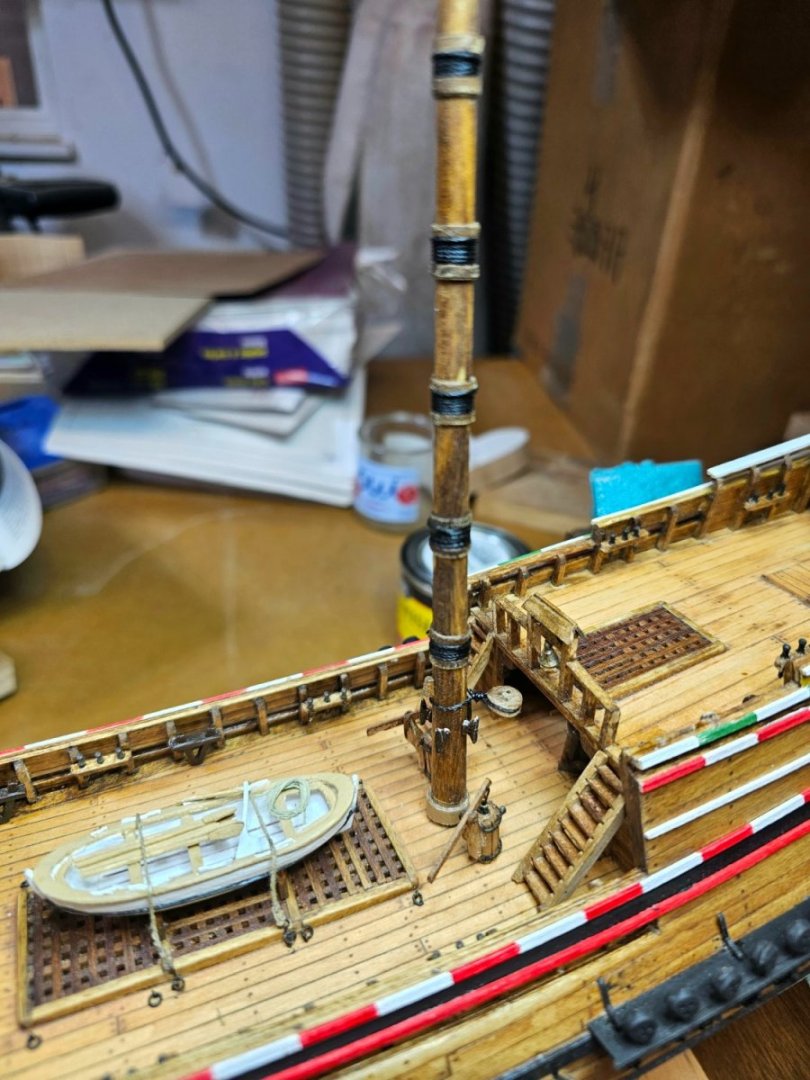
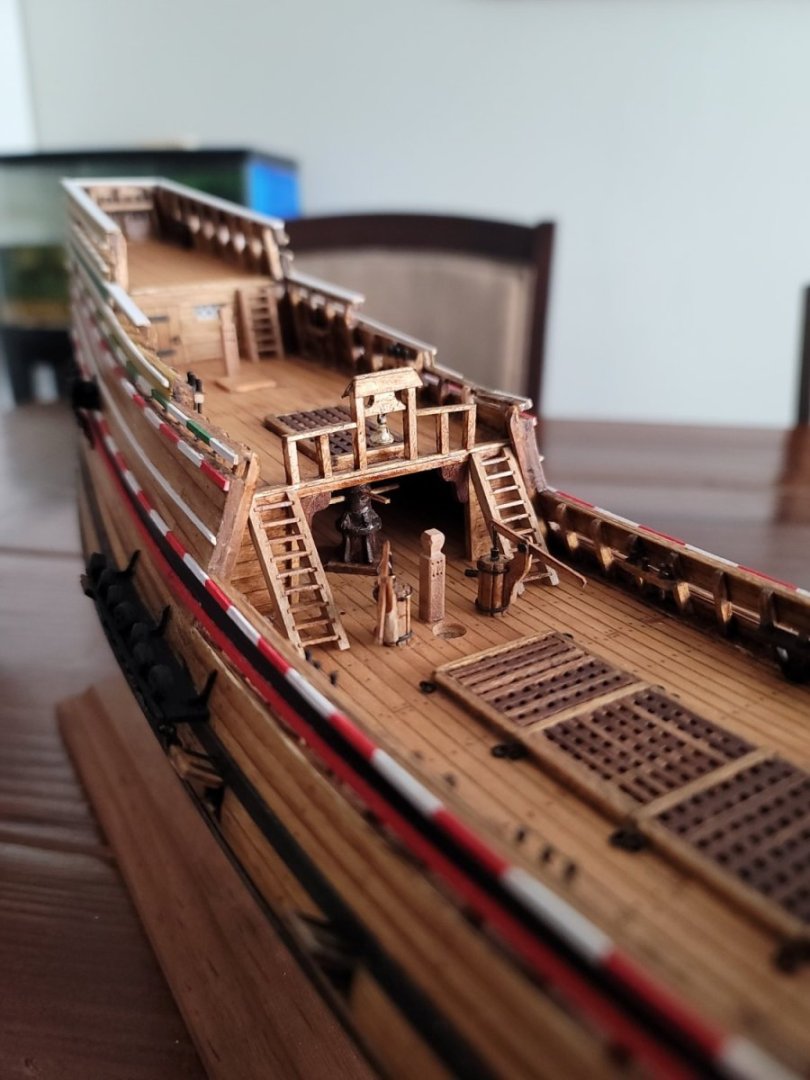
 More rigging

-
Rigging..... 😊😛


-
Sorry forgot to take pictures of the masts creation. This is all I have 😢 Jumping into the rigging already 😊


-
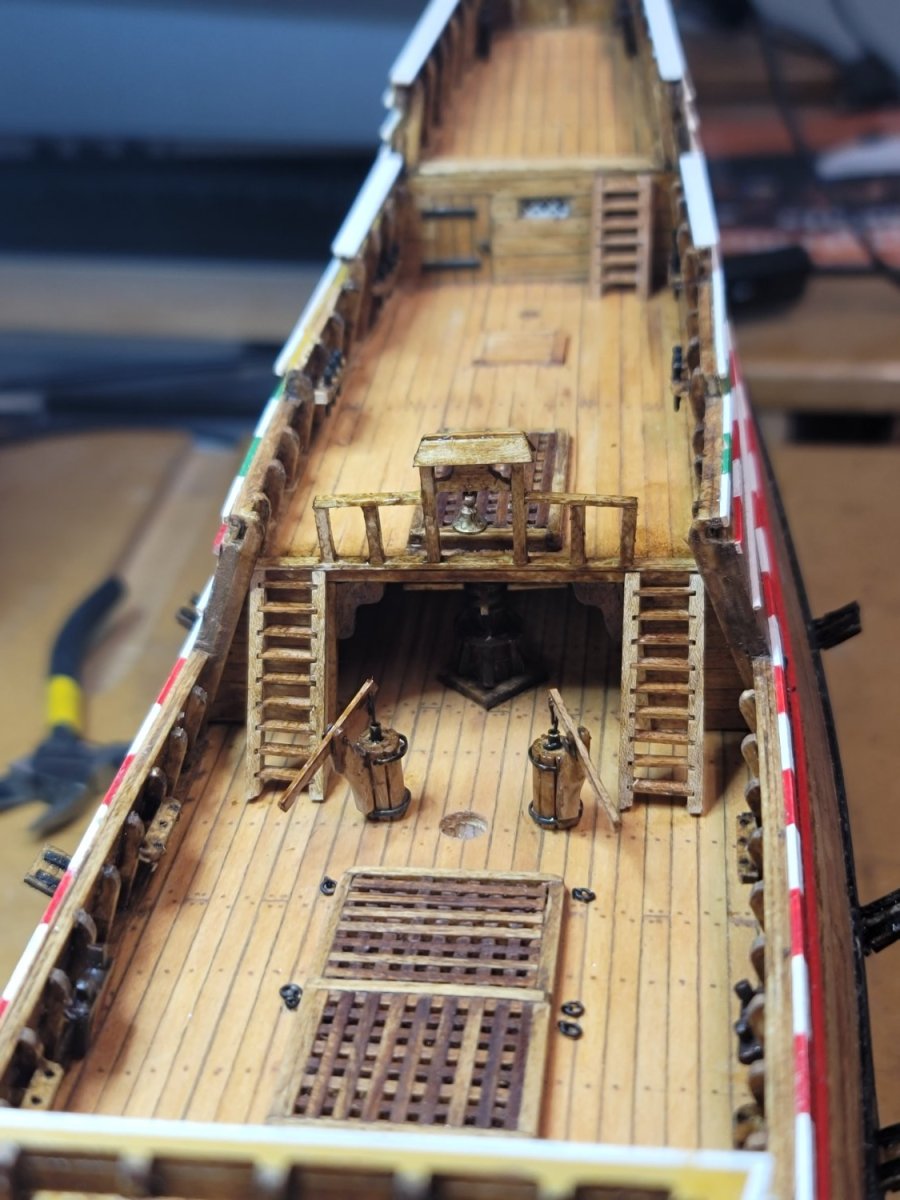
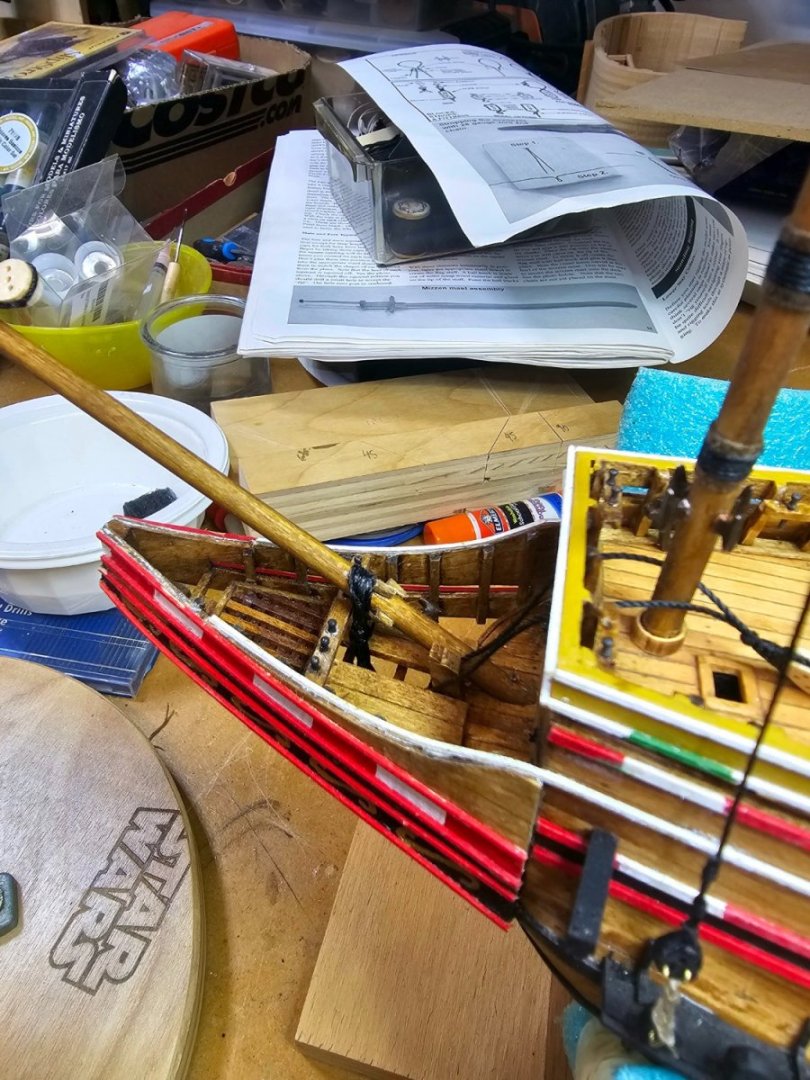
Worked a bit more and added the channels and deadeyes 20230218_114117 (1).mp4


-
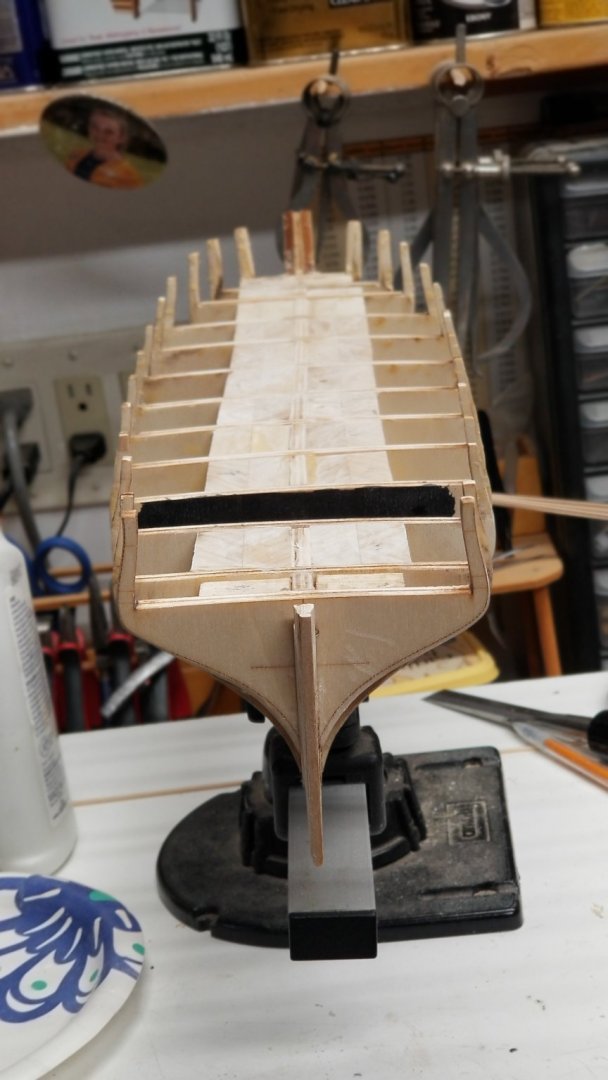
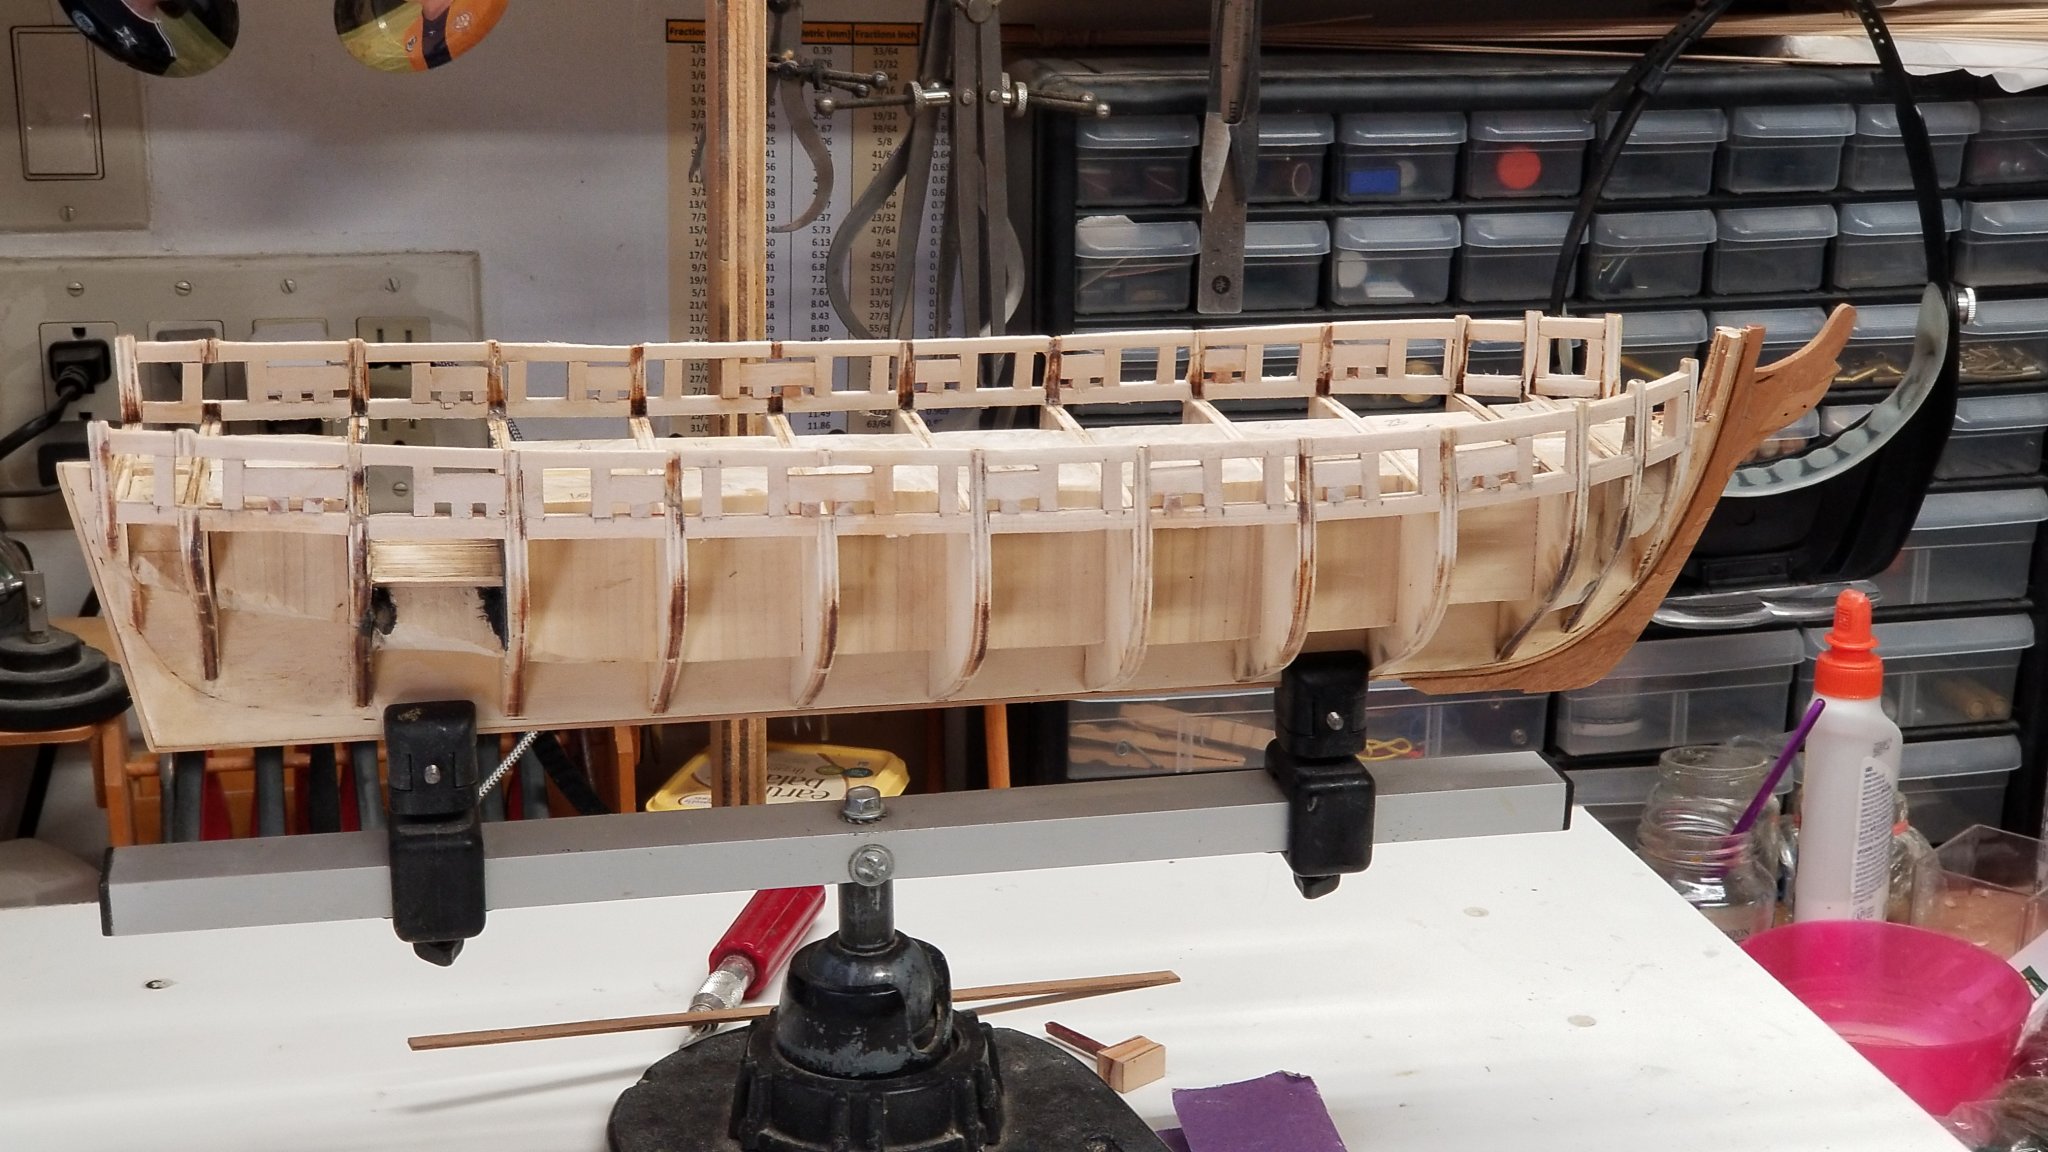
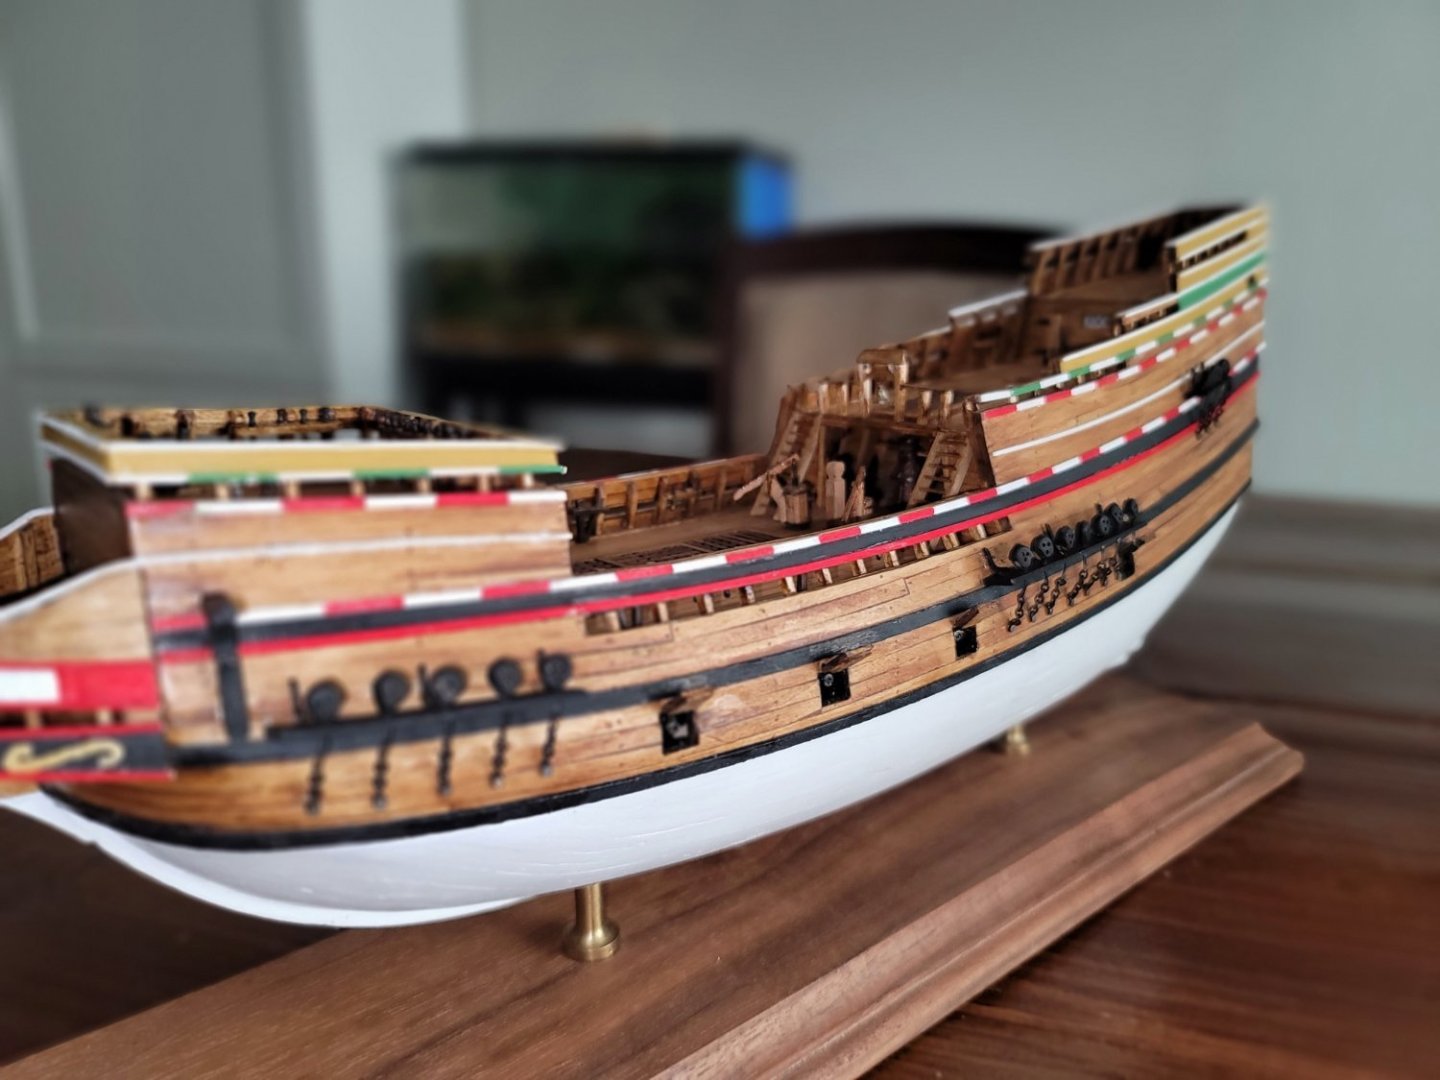
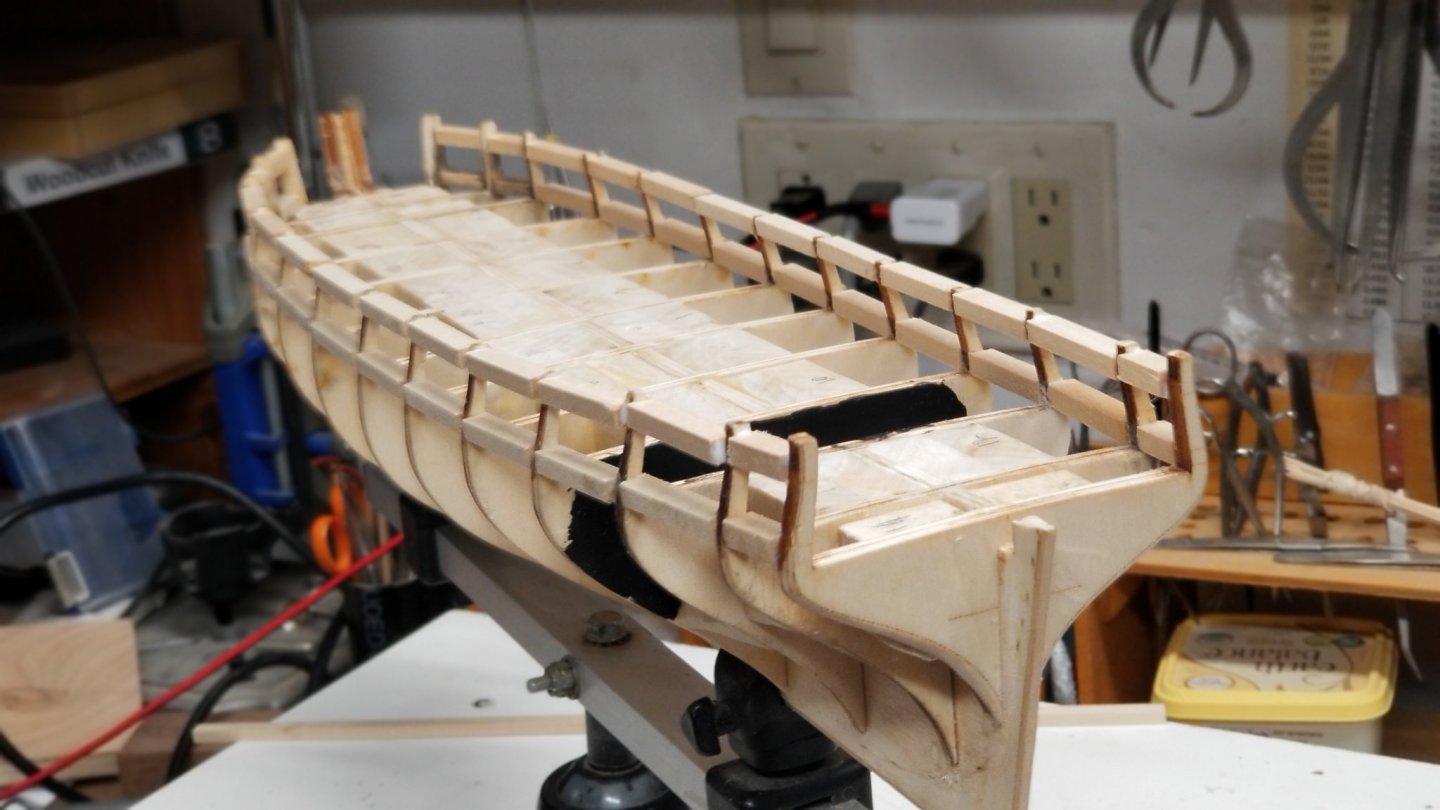
Here is a quick recap of the work completed


-
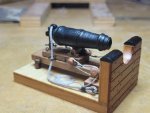
I have failed to finish it yet. I worked on a lot of other projects like a caronade, the Syren and a few models repair and upgrade for families of fellow Ship Modelers that could not finish their ships. But updates are coming.
-
Thank you for the recommendation. I am done with 80% with the sanding of the frames. It still need to get the bevel and various angles figured out. I am assuming that you first put together the stem and deadwood with the keel, right?
- 50 replies
-
- 1
-

-
- rattlesnake
- brig
- (and 1 more)
-
Hi All, I was given this ship and trying to identify what could be its name. it looks like a Cutty Sack or a Flying Cloud but either the bow or the stern varies. Thoughts?


-
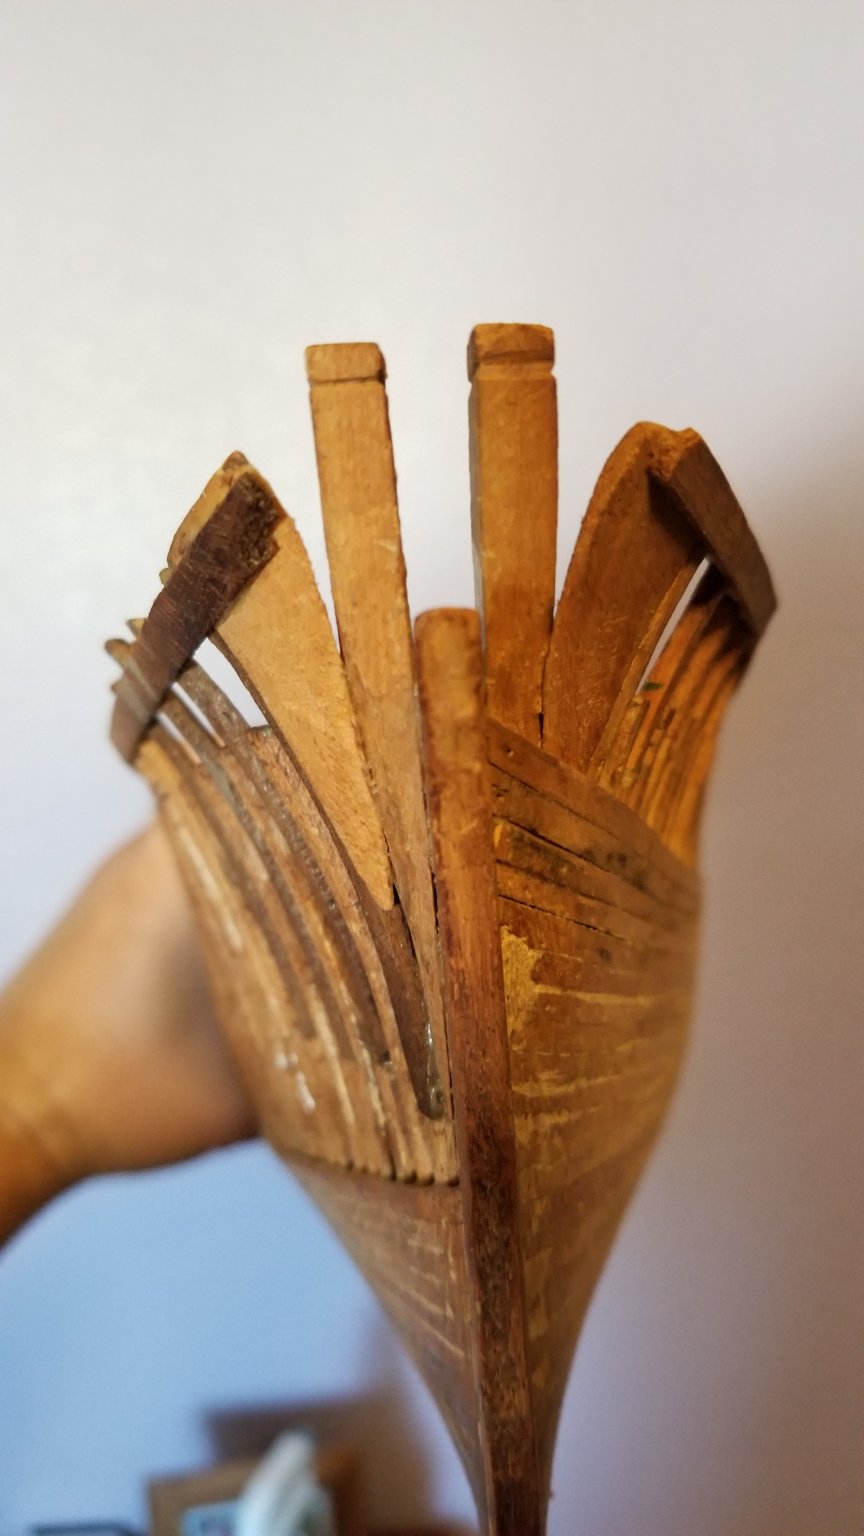
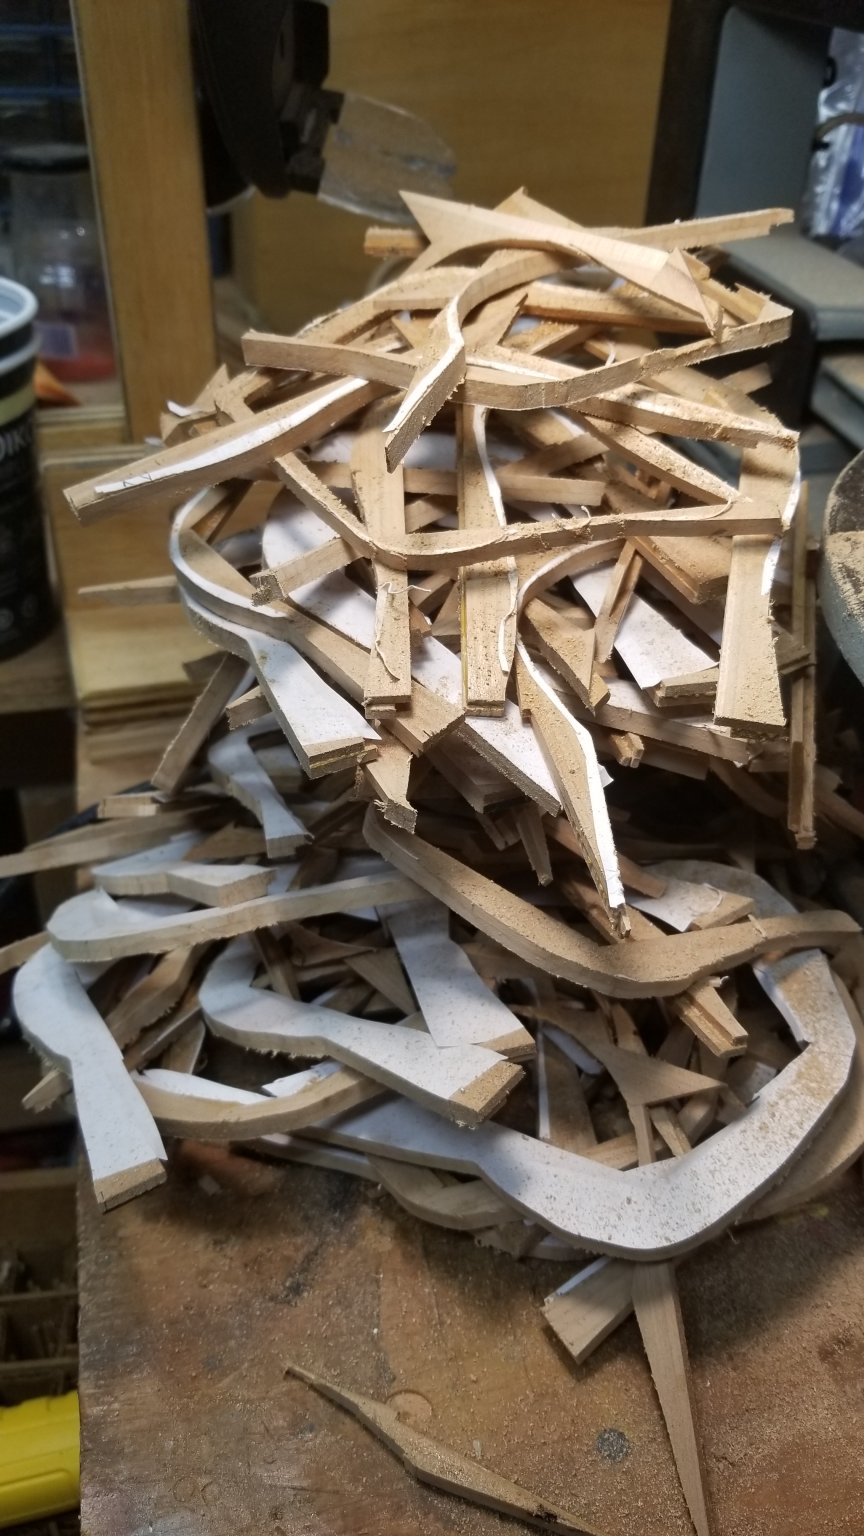
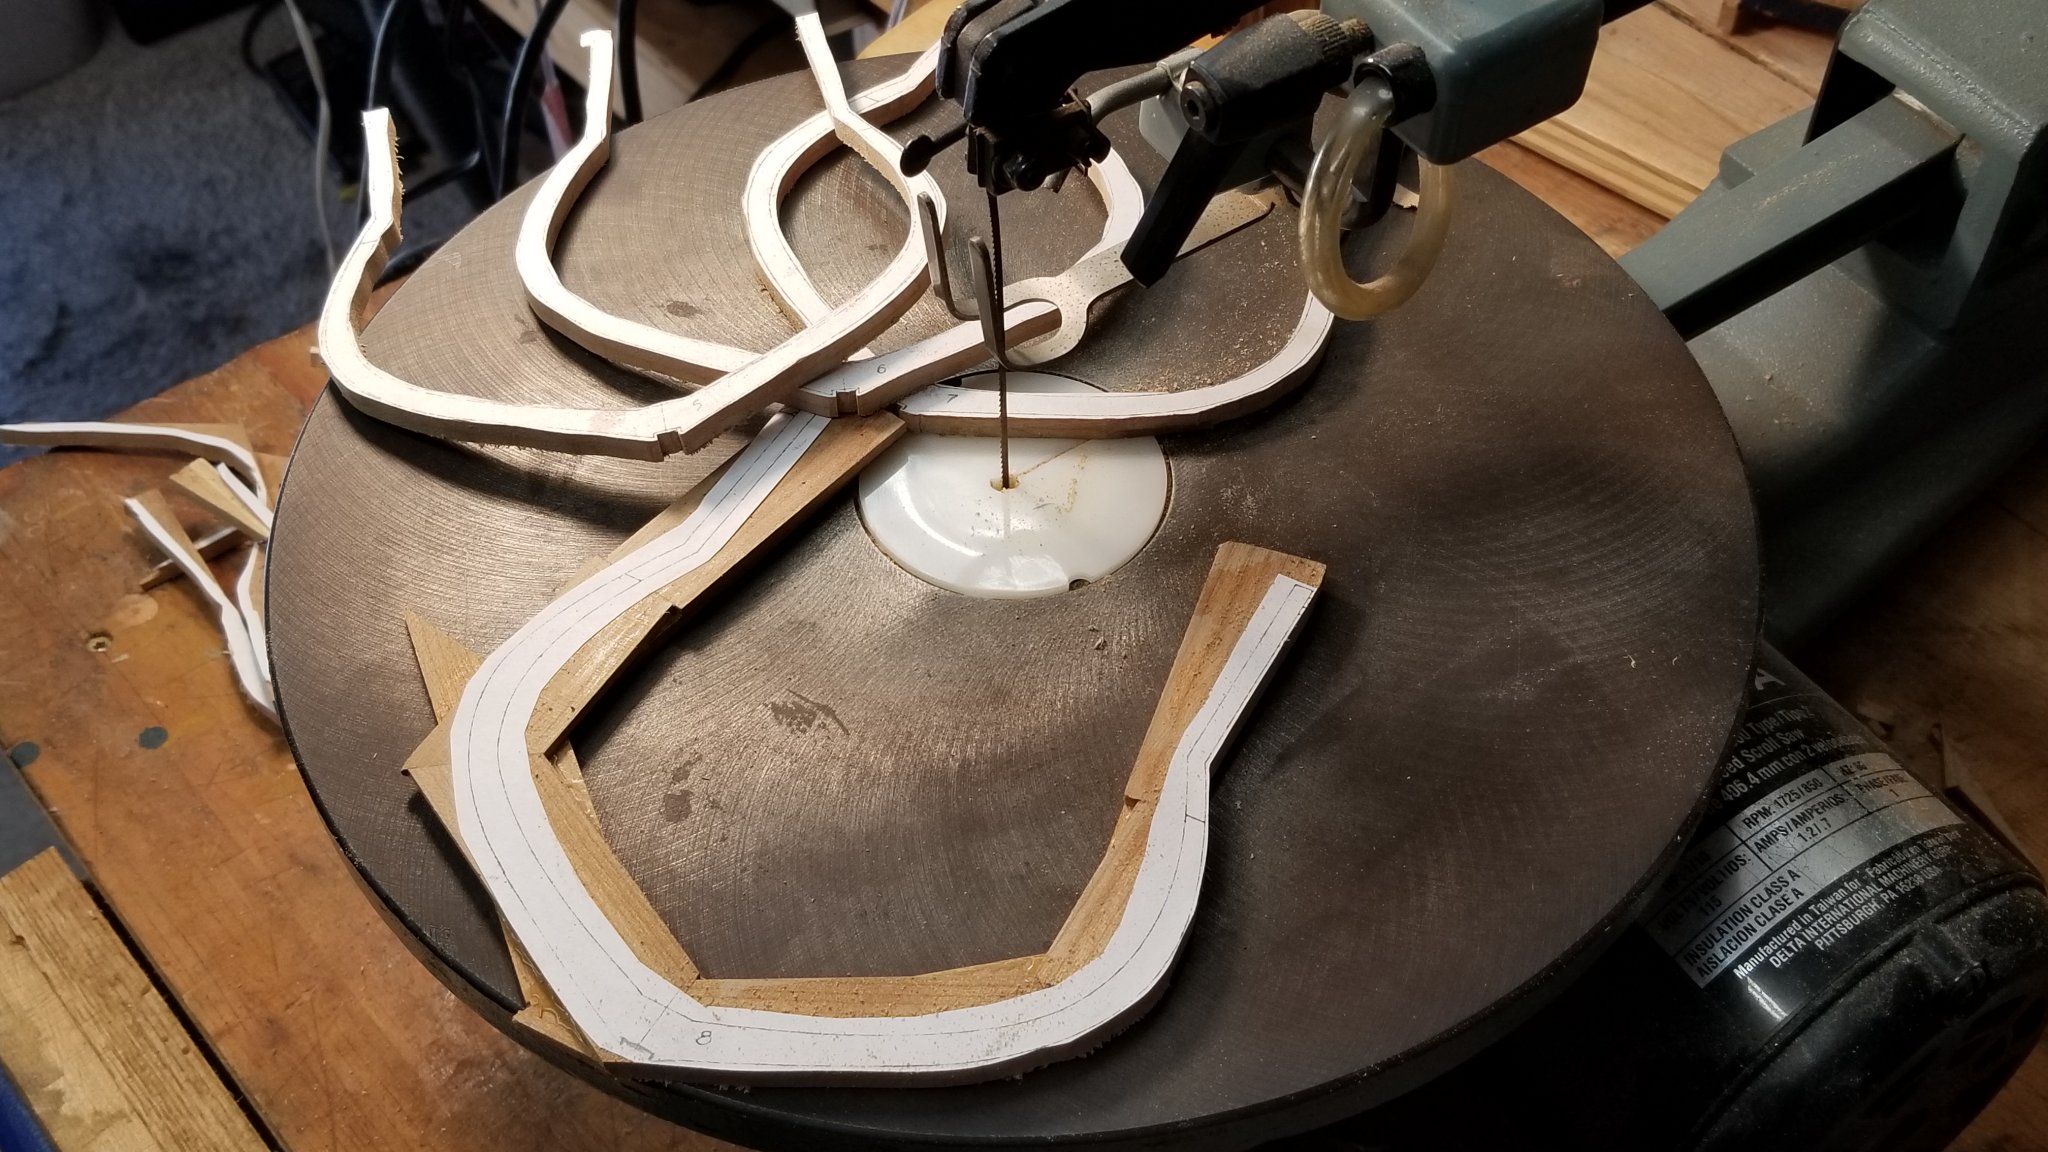
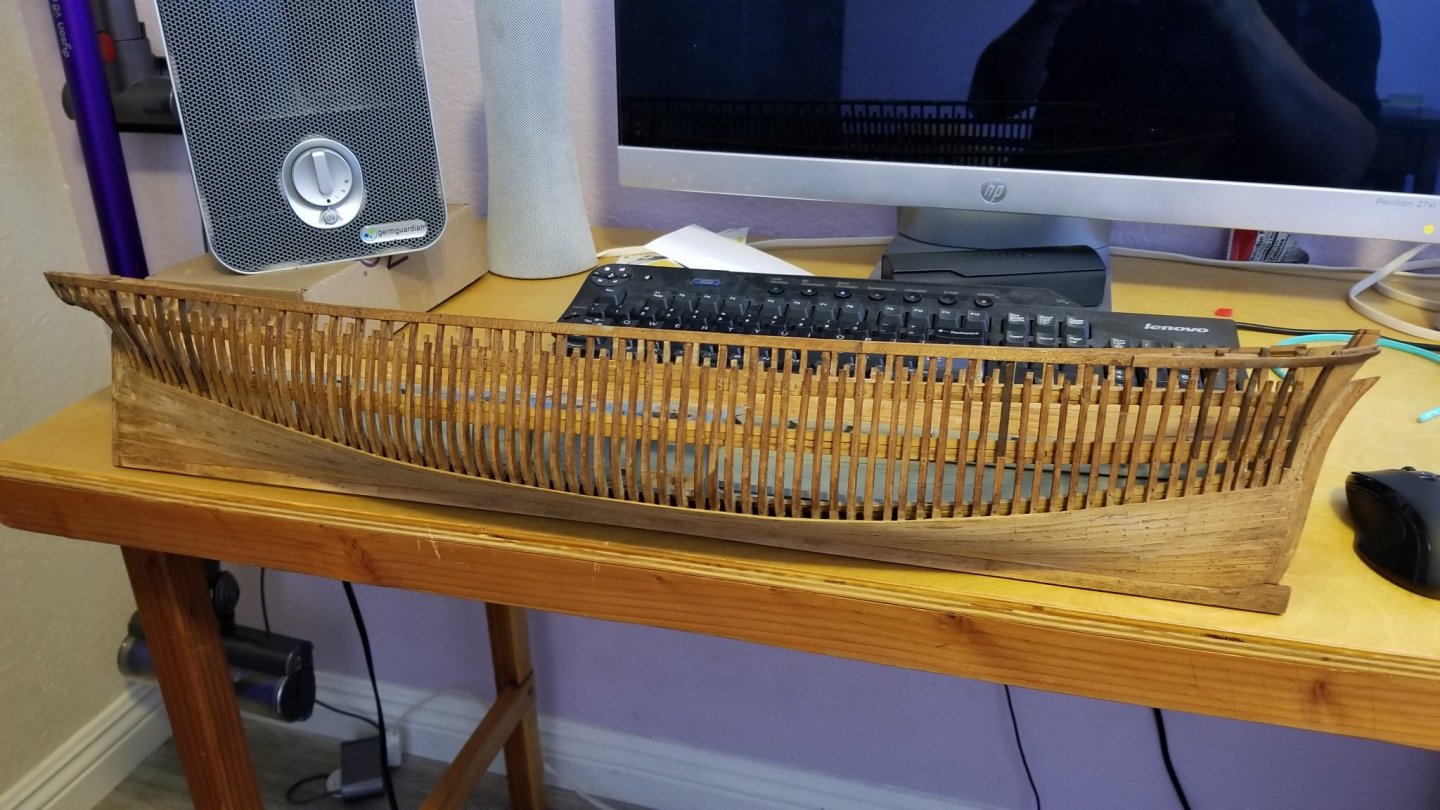
Starting to cut the frames. Stopped after 4 and ordered some new blades which will provided smoother cuts.


- 50 replies
-
- 4
-
-
- rattlesnake
- brig
- (and 1 more)
-
Here is the video of these activities.
-
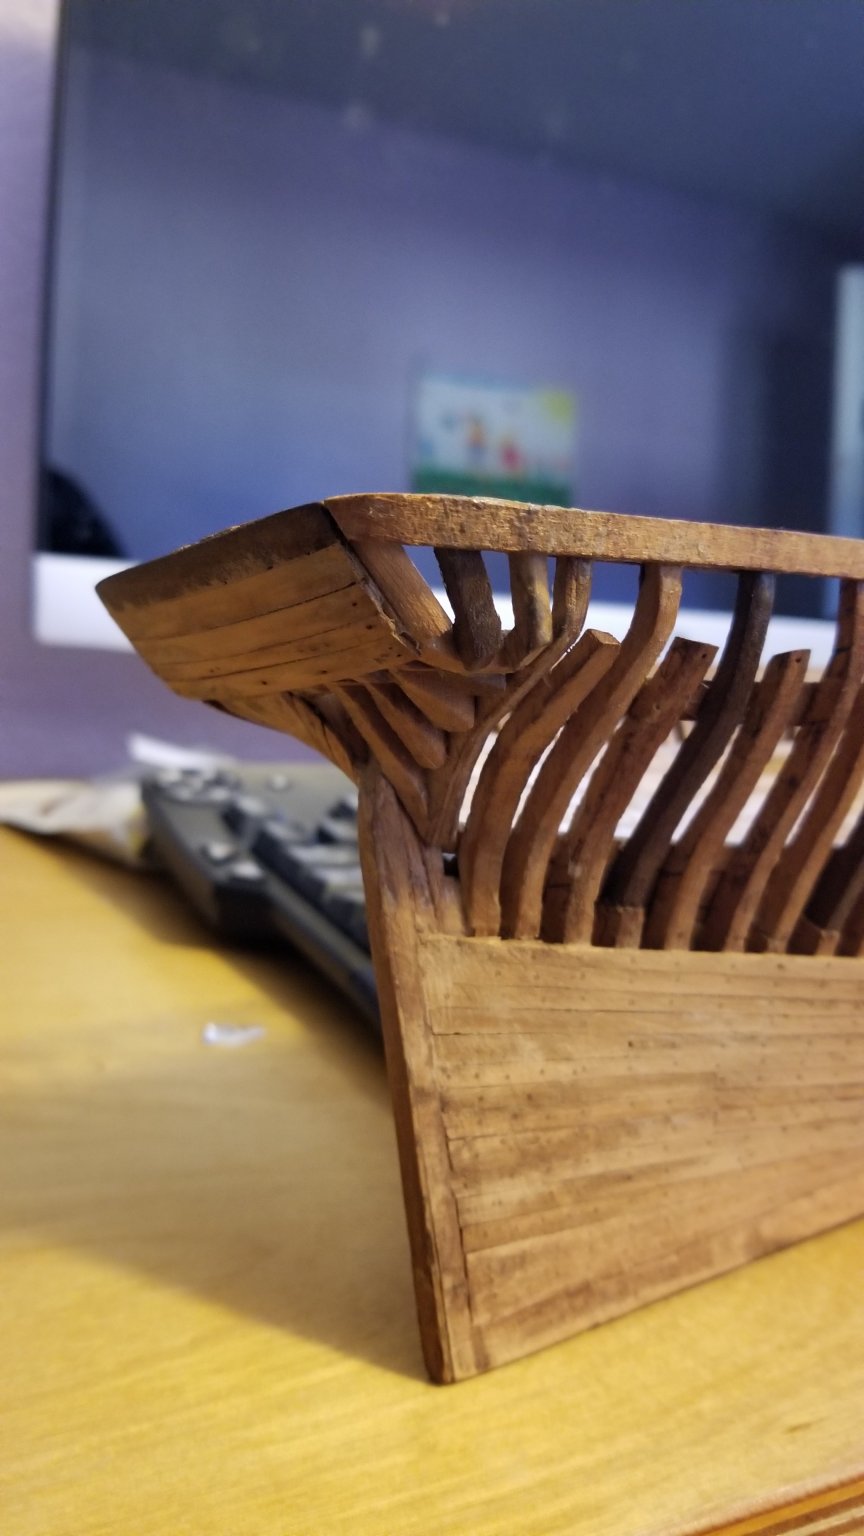
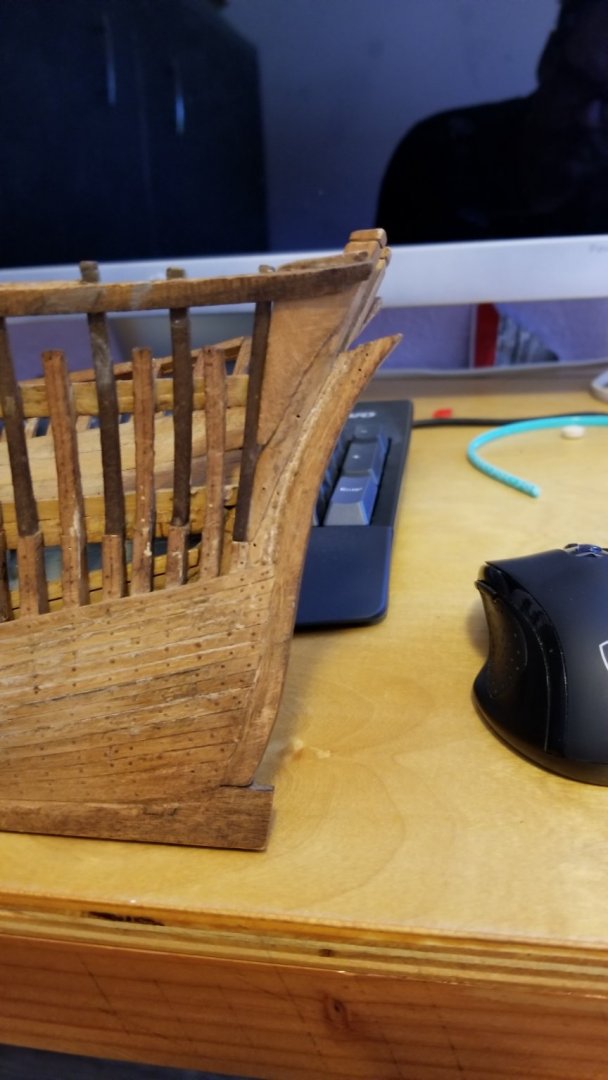
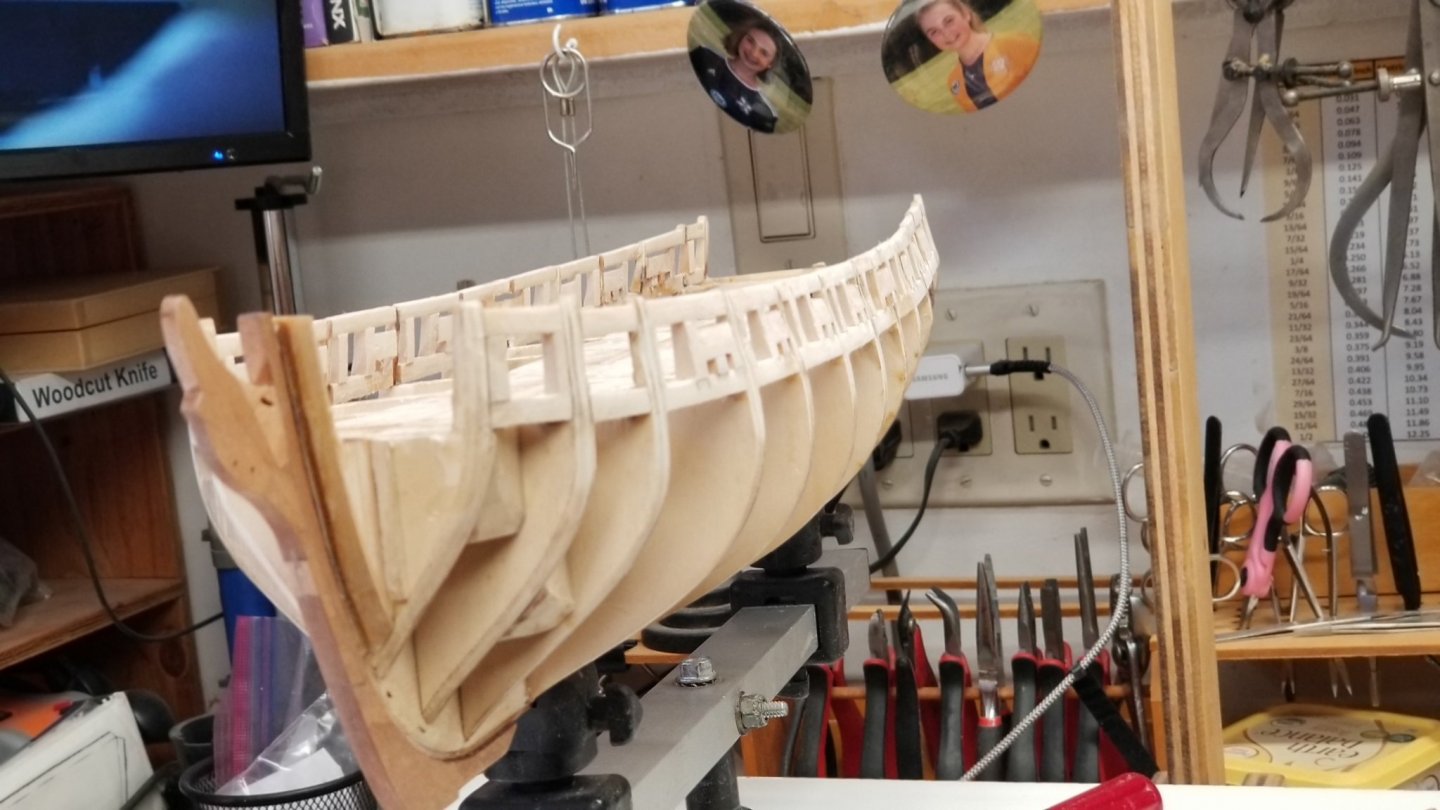
Worked on finishing up the stern shaping and sanding.

-
Here is the video of these activities.
-
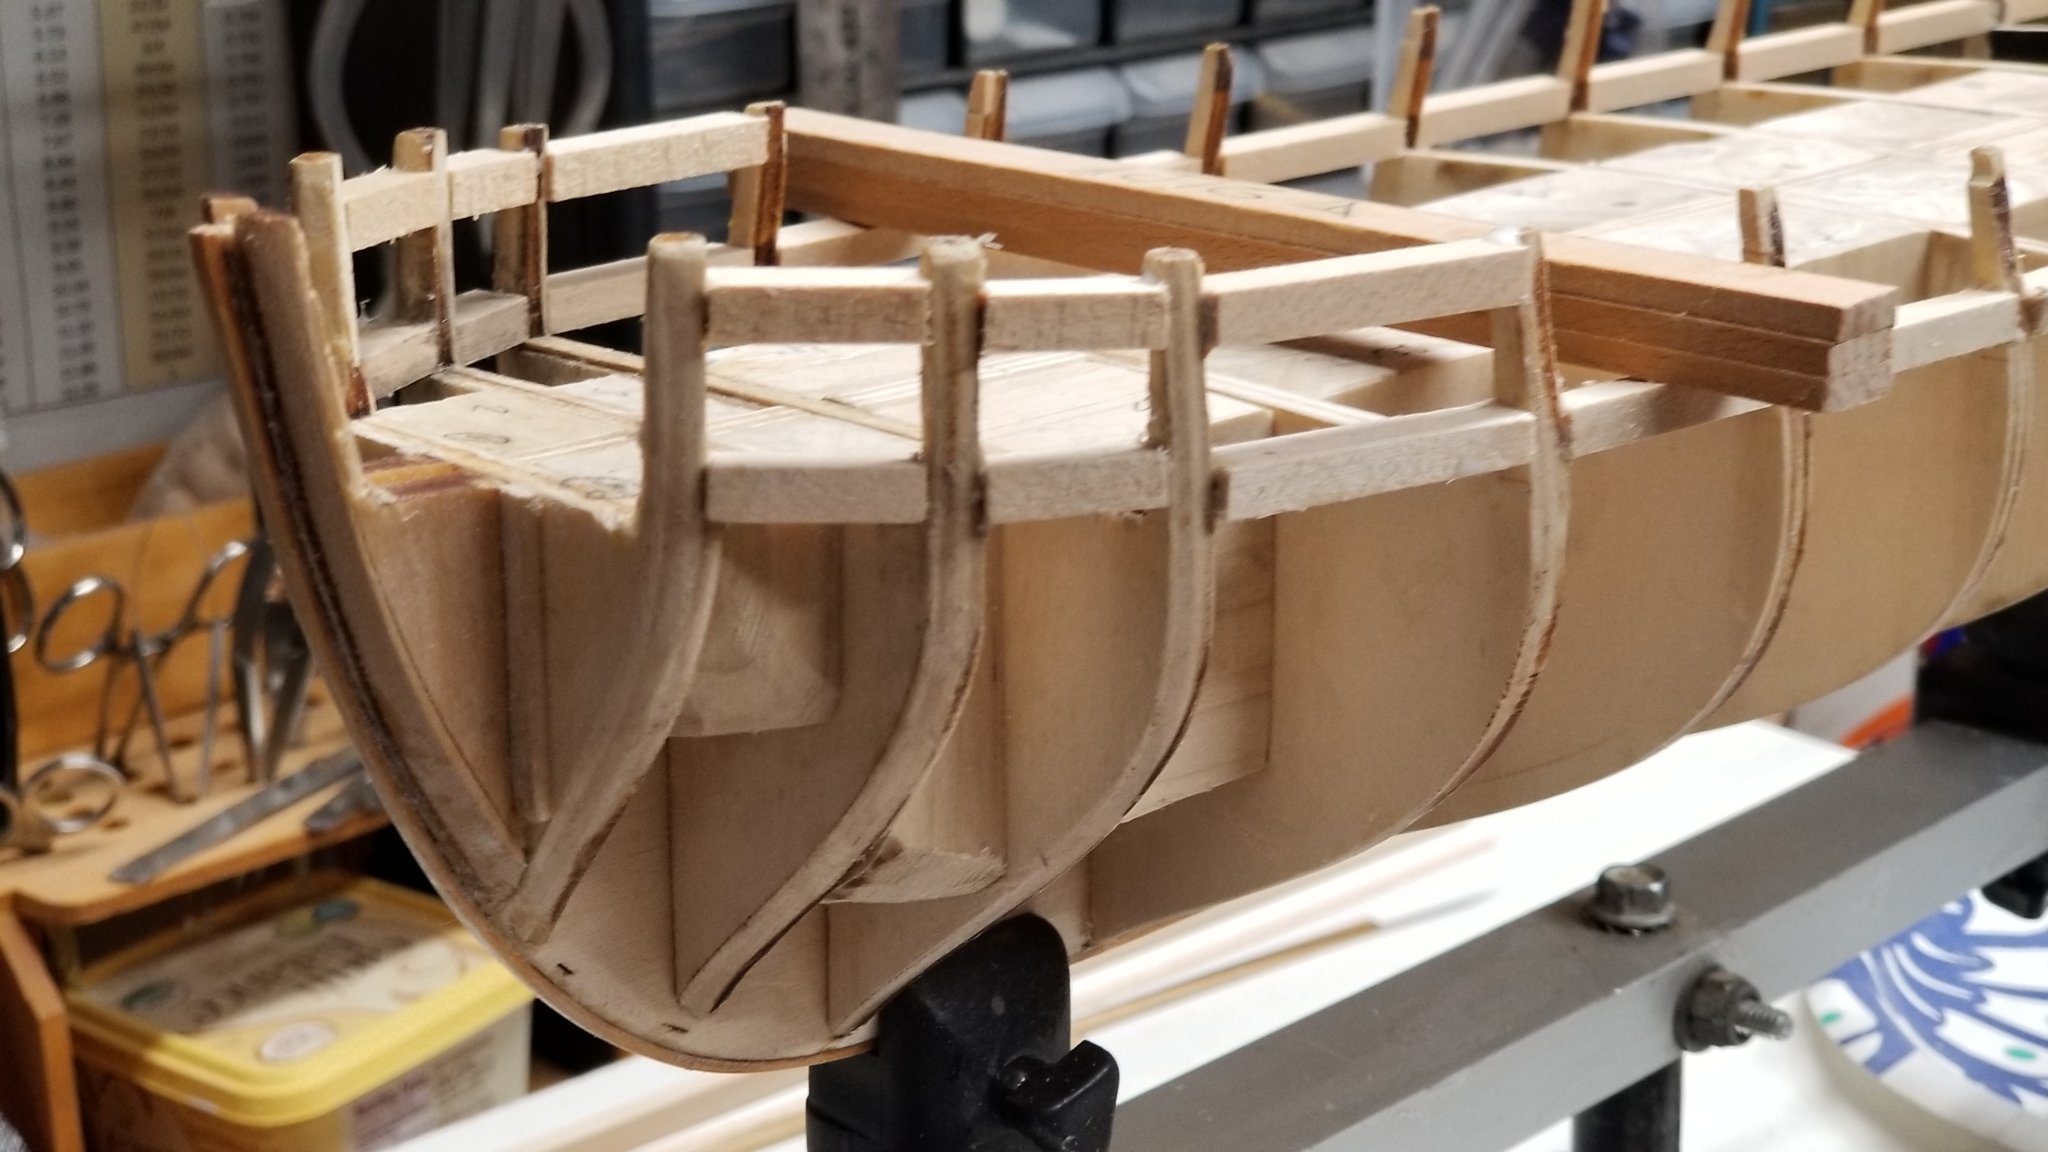
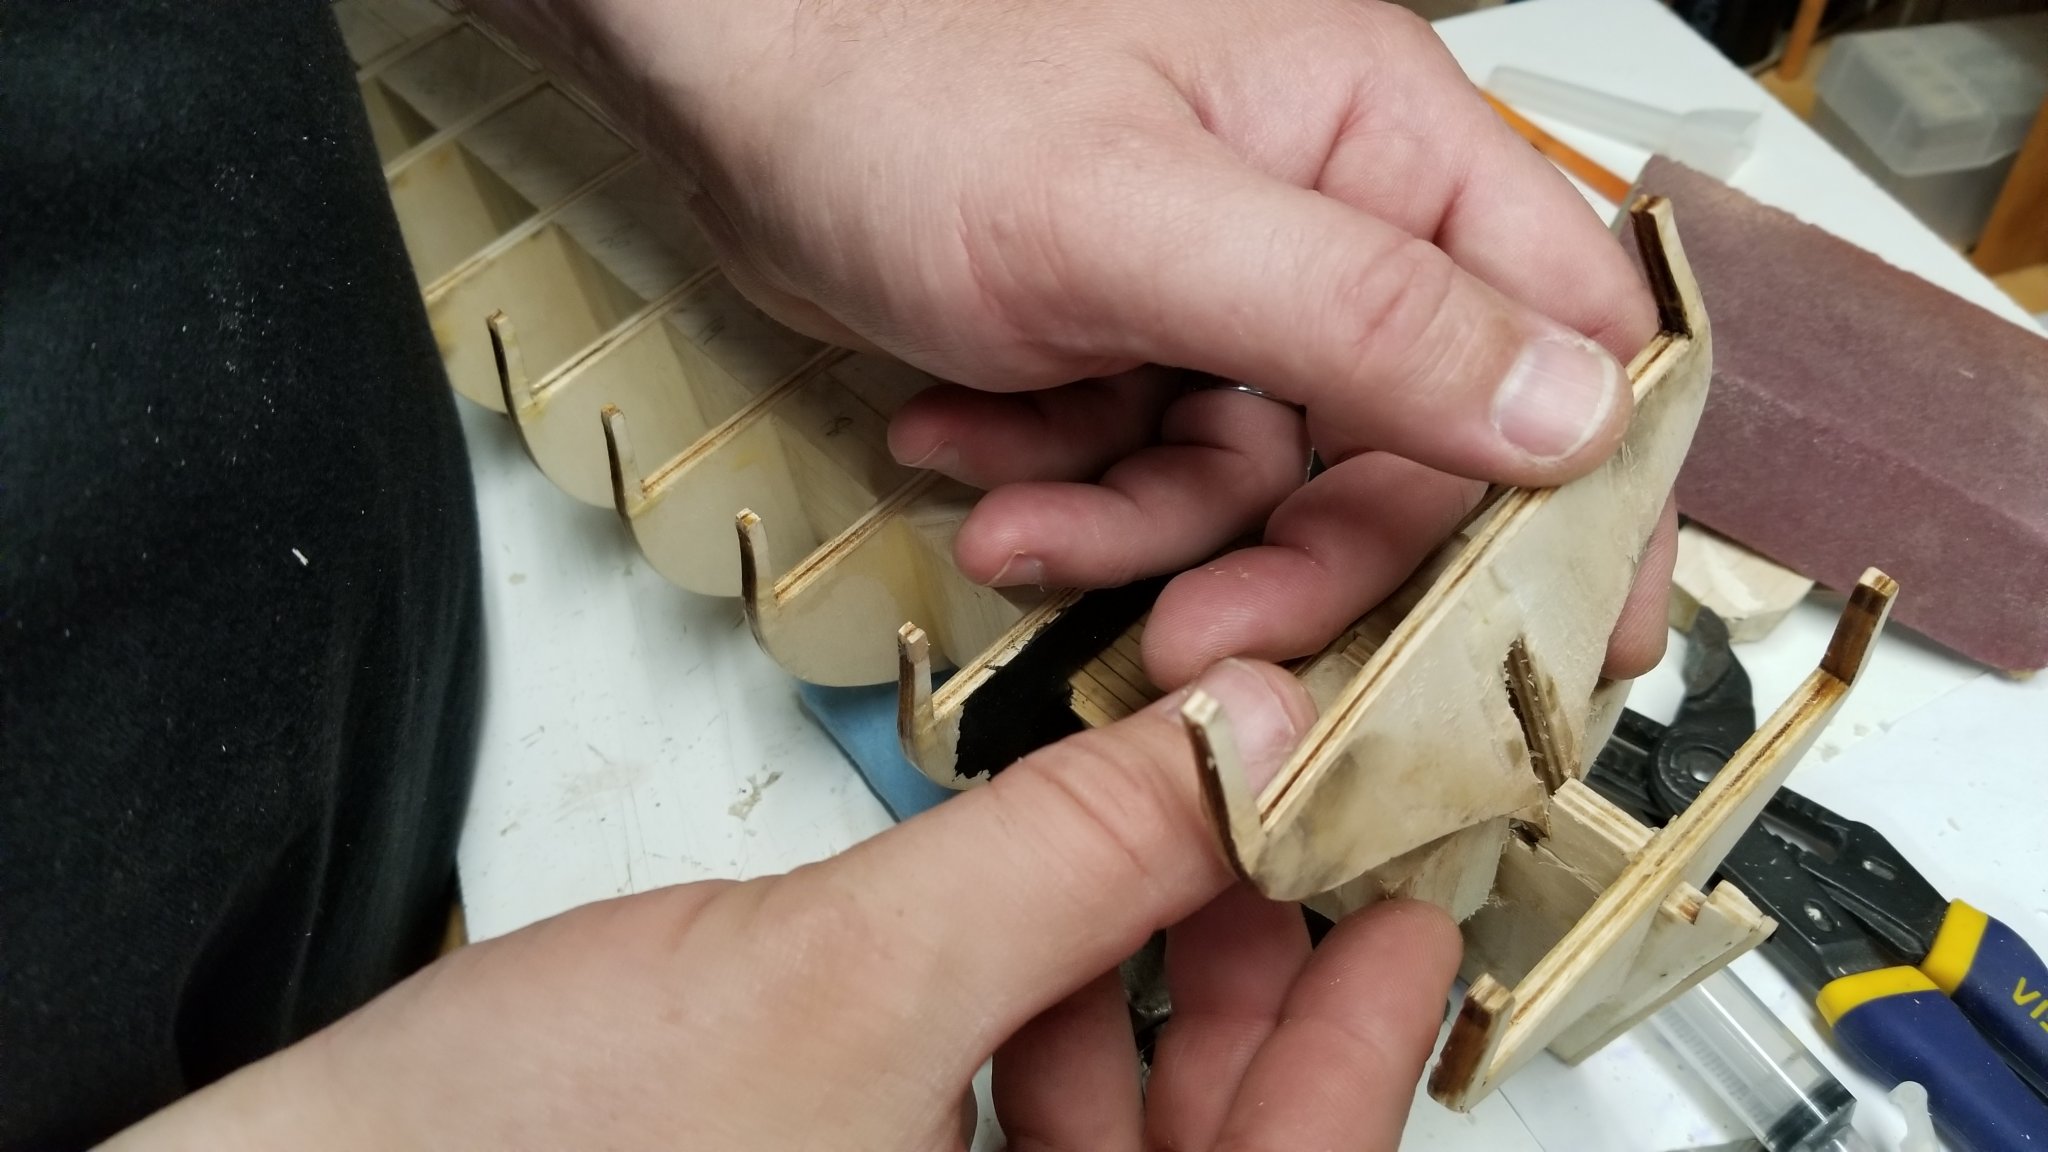
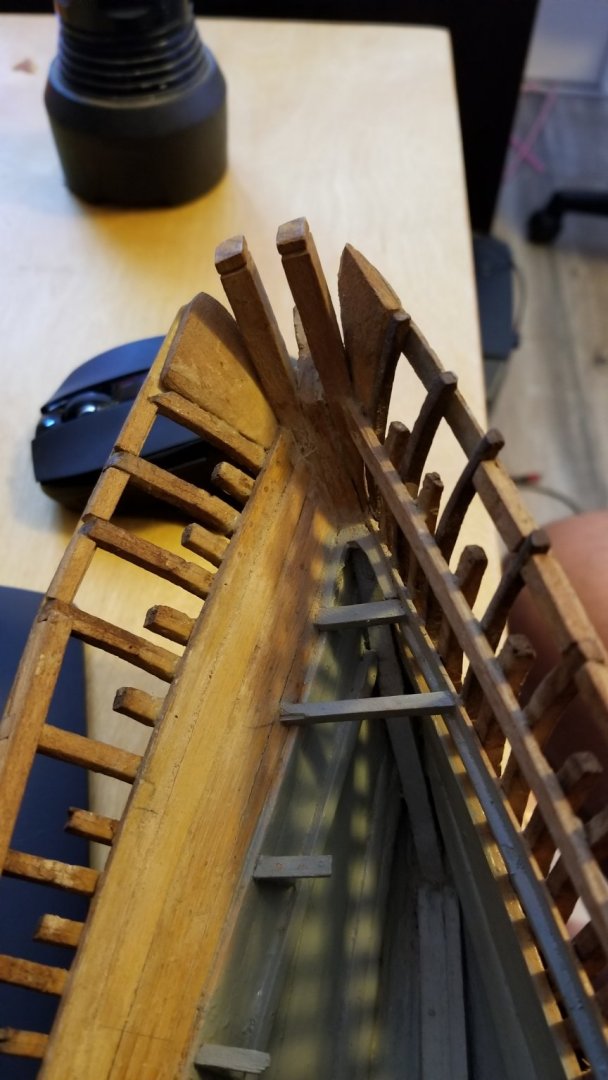
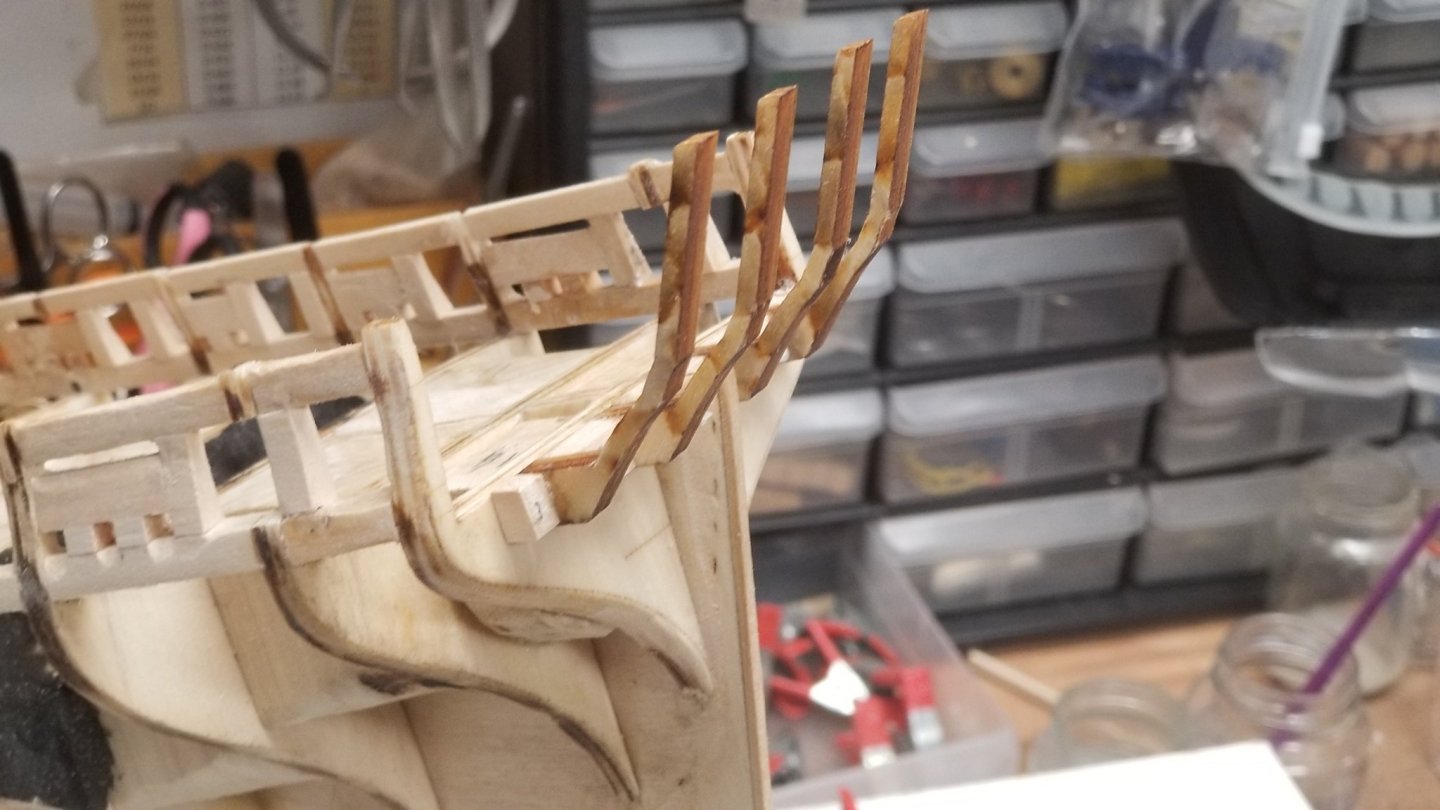
Framing the stern part started. Fairly challenging process to get the exact position of the gun ports.

-
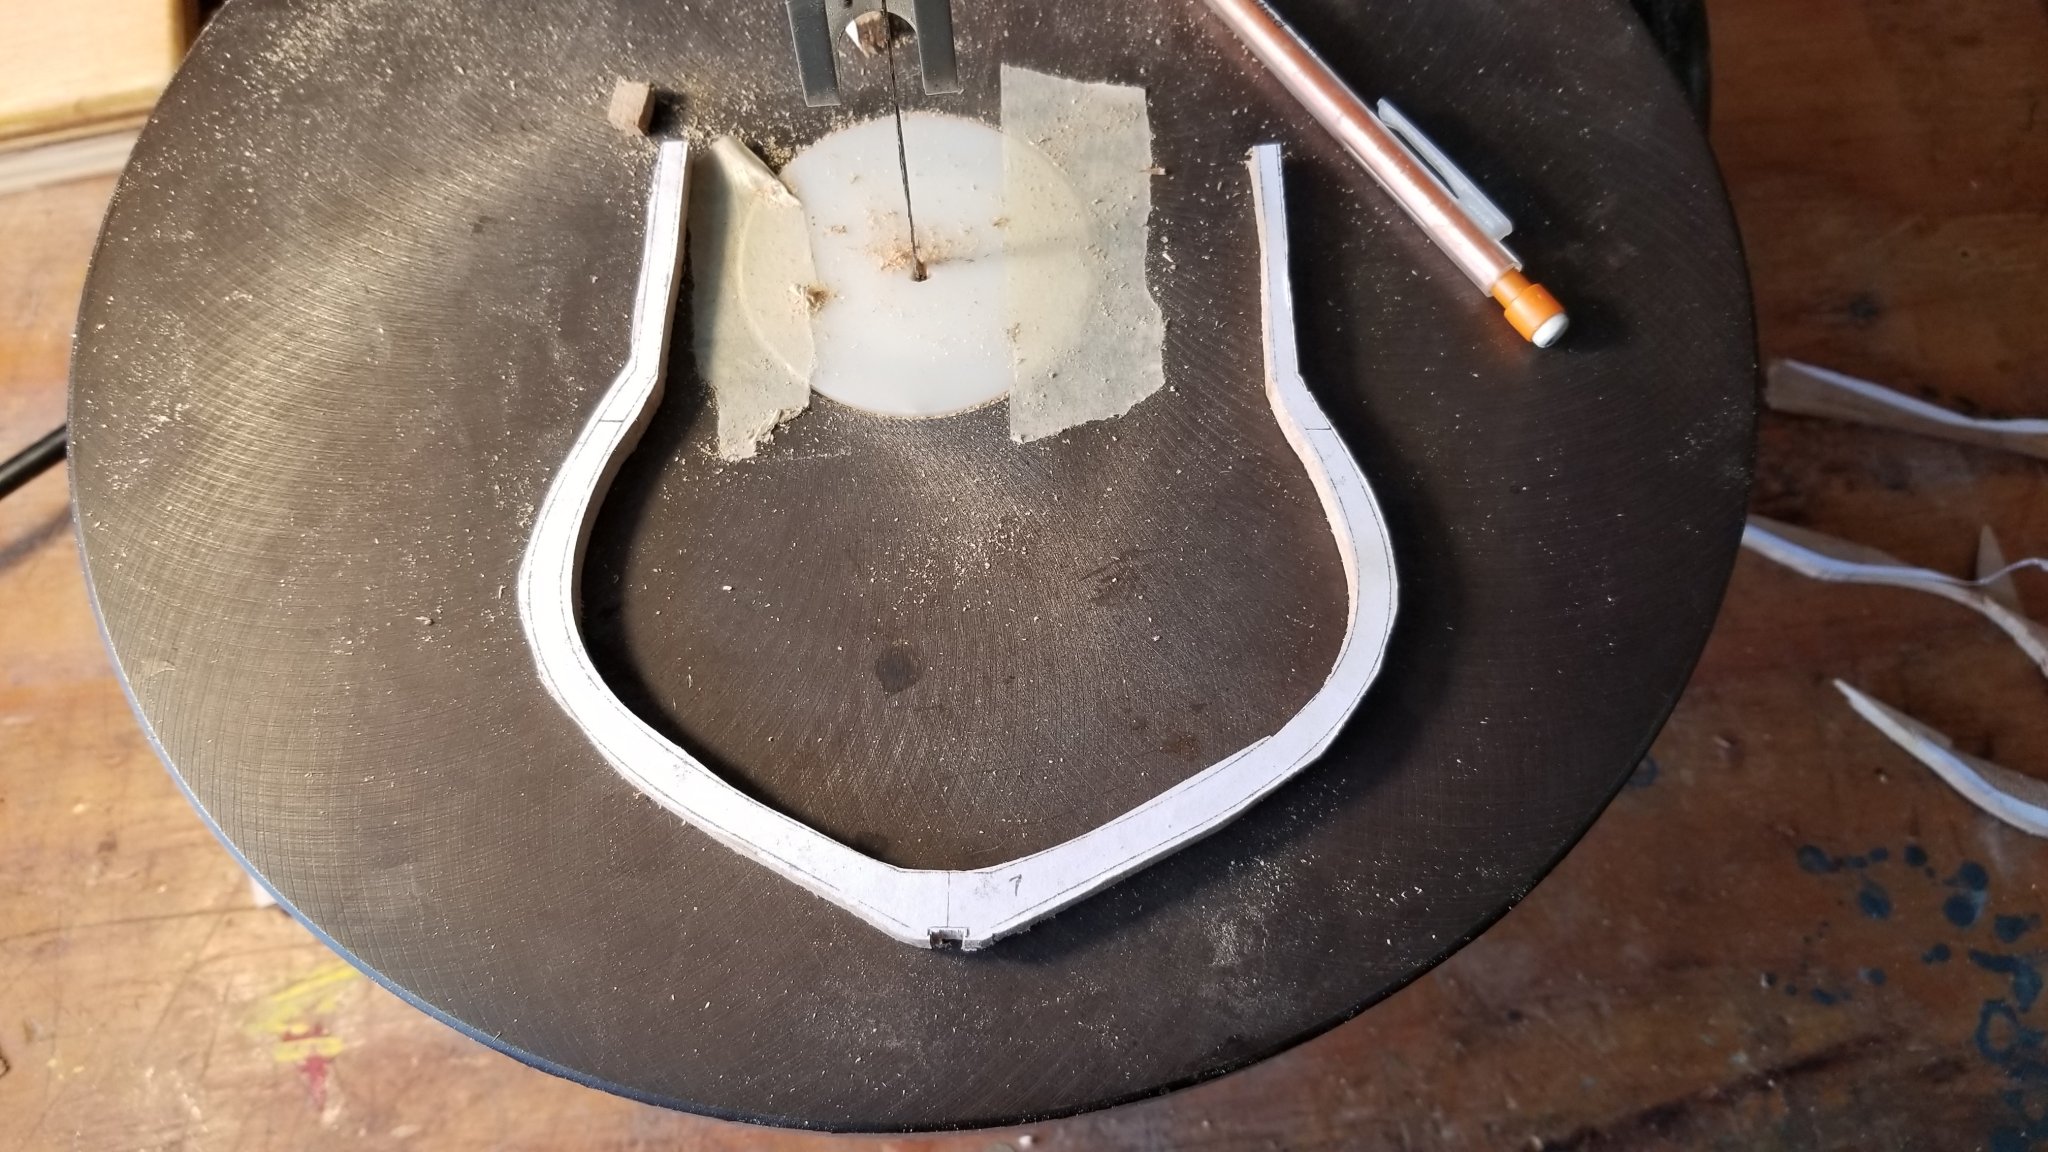
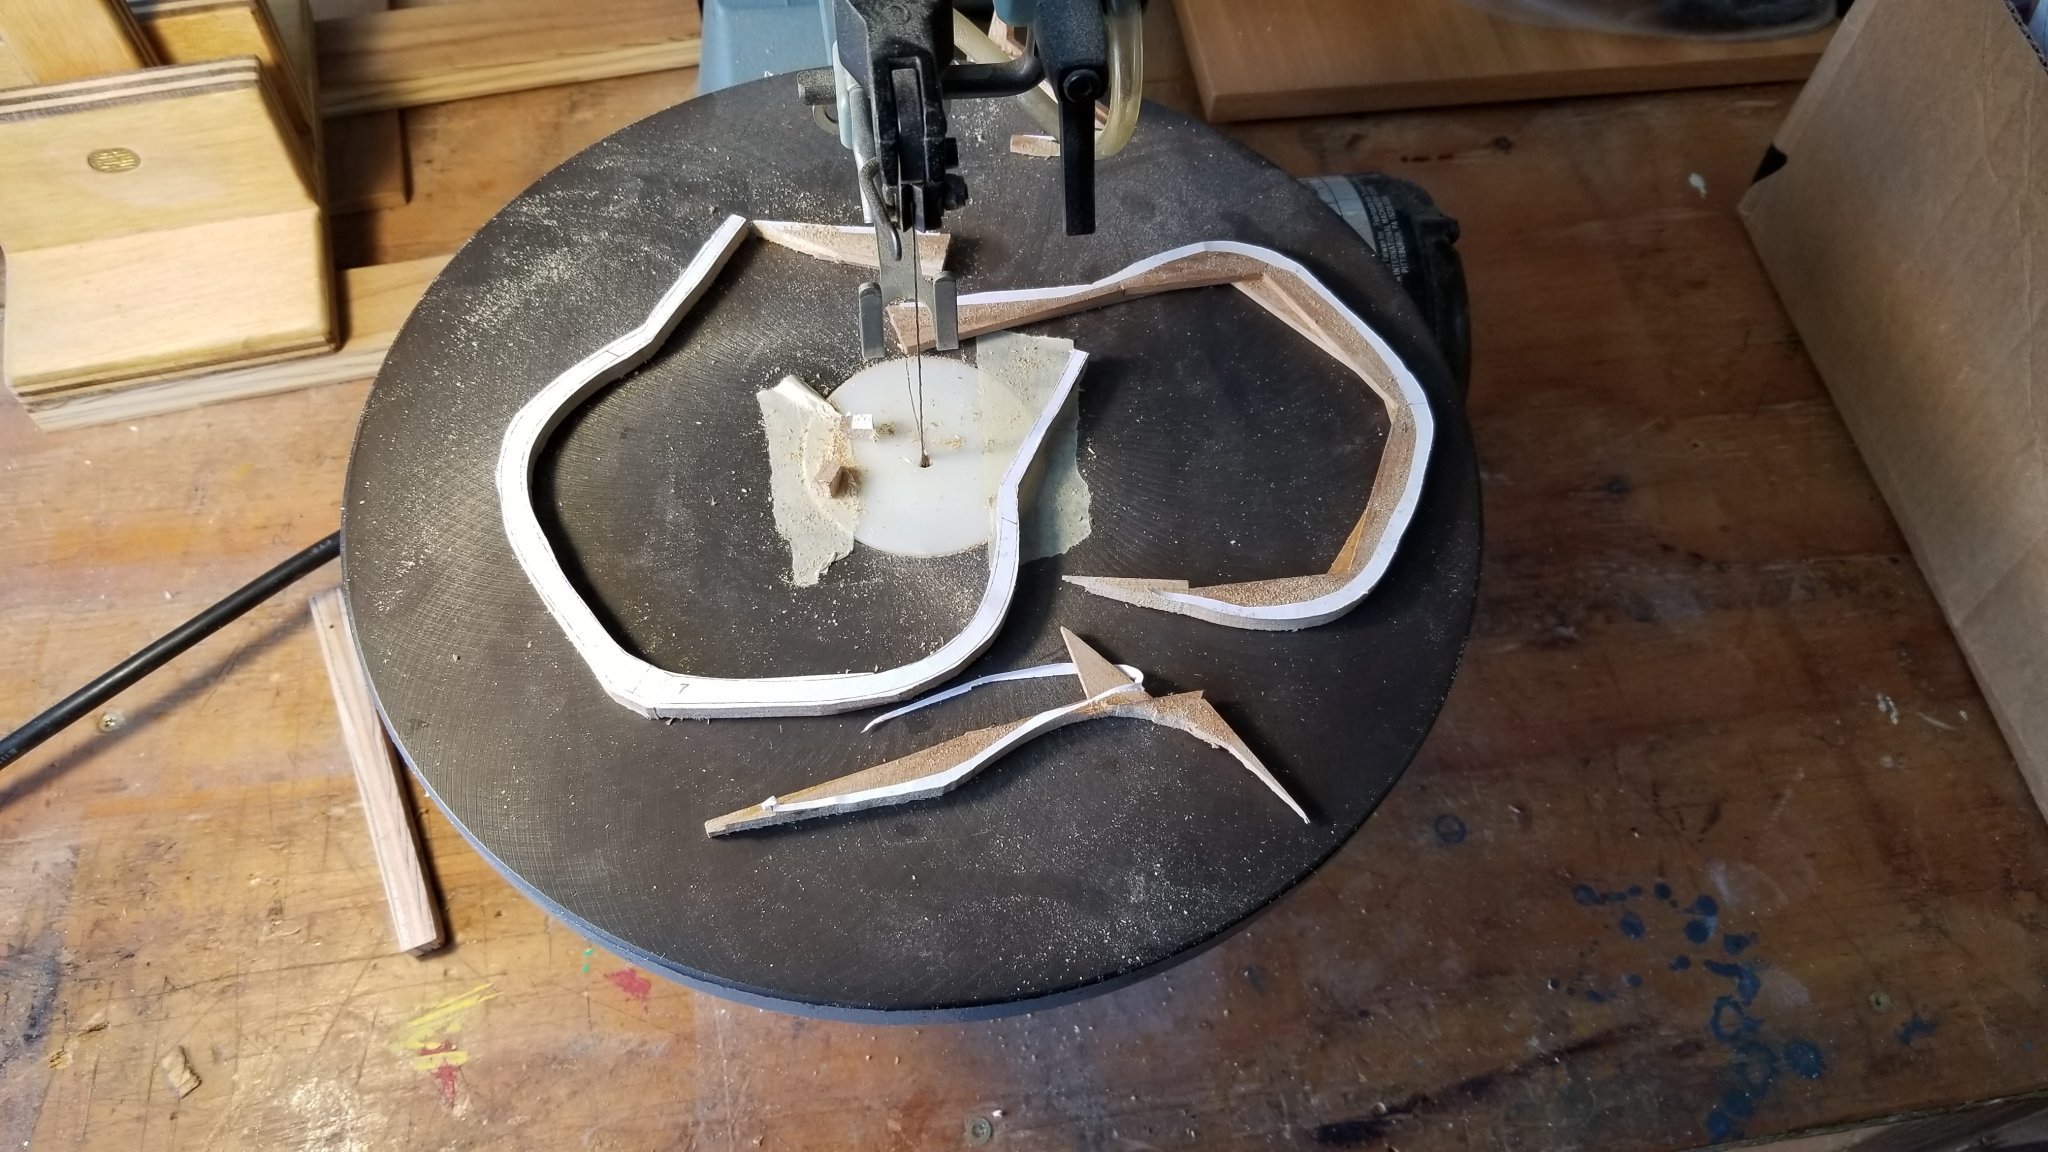
Working on finishing up the framing of the gun ports. Here are some pictures. And the video of the process.


-
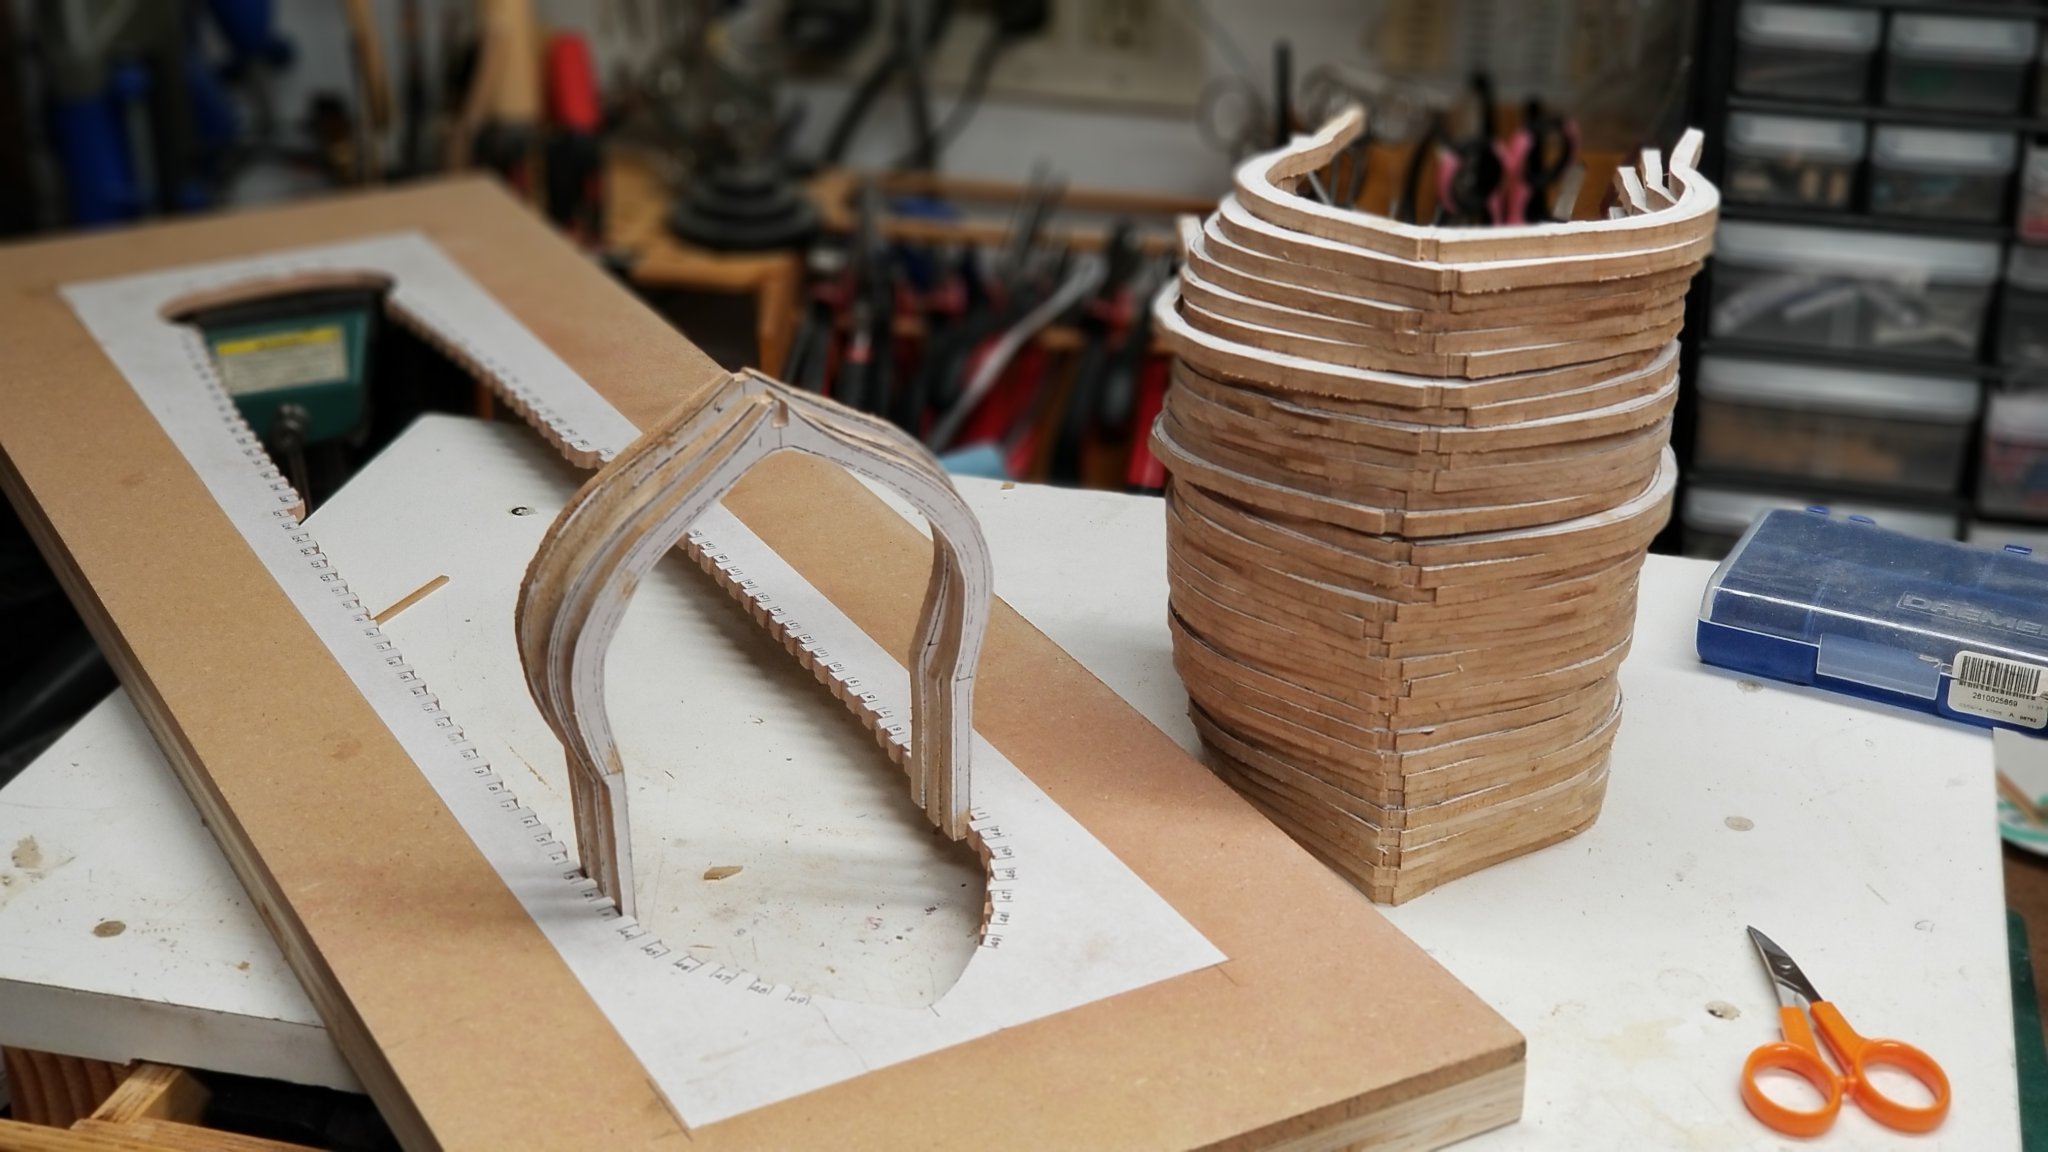
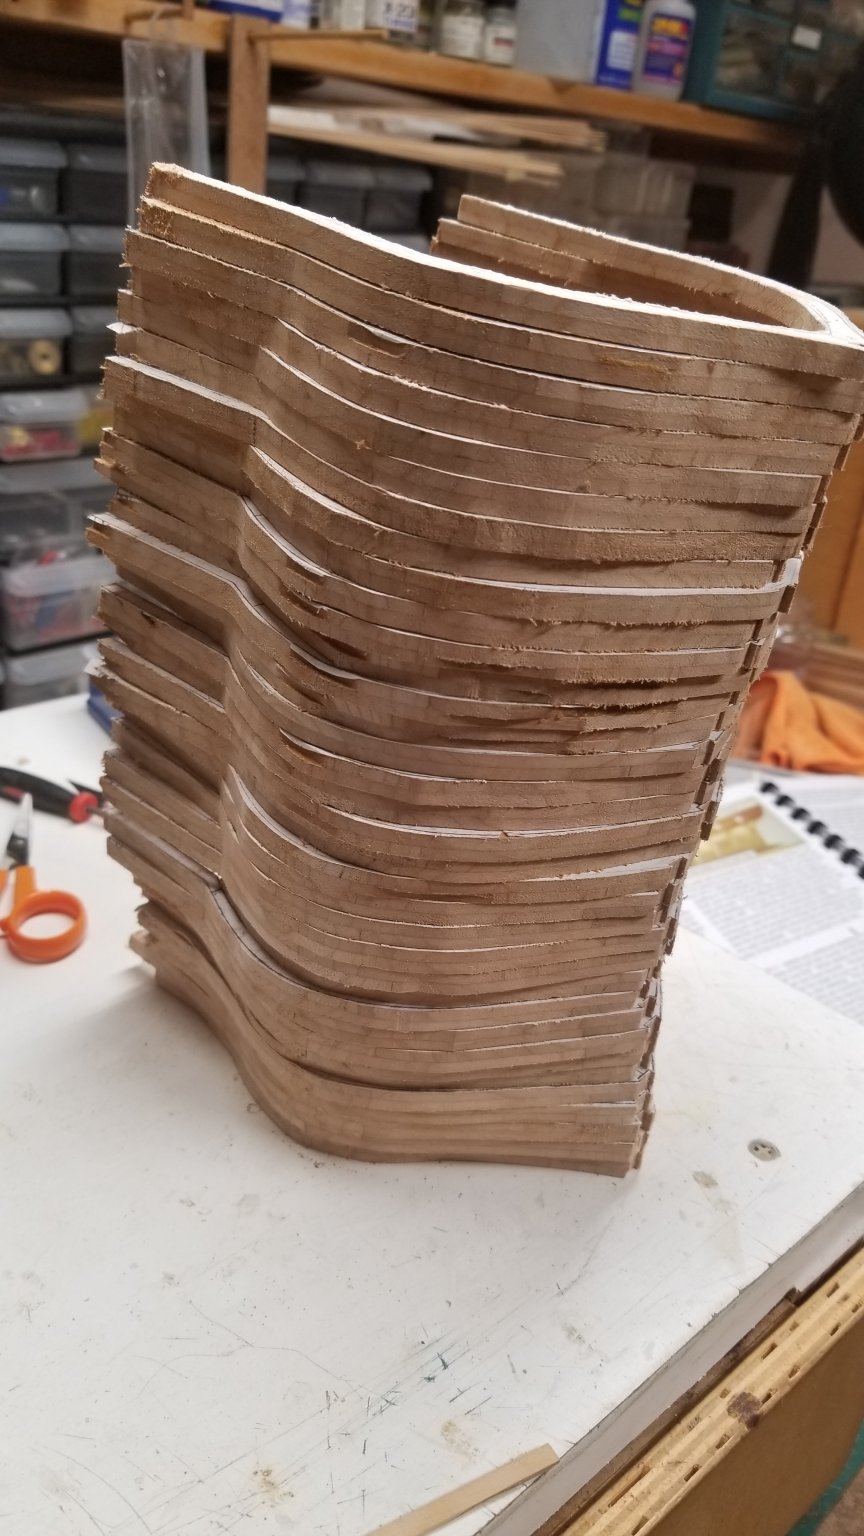
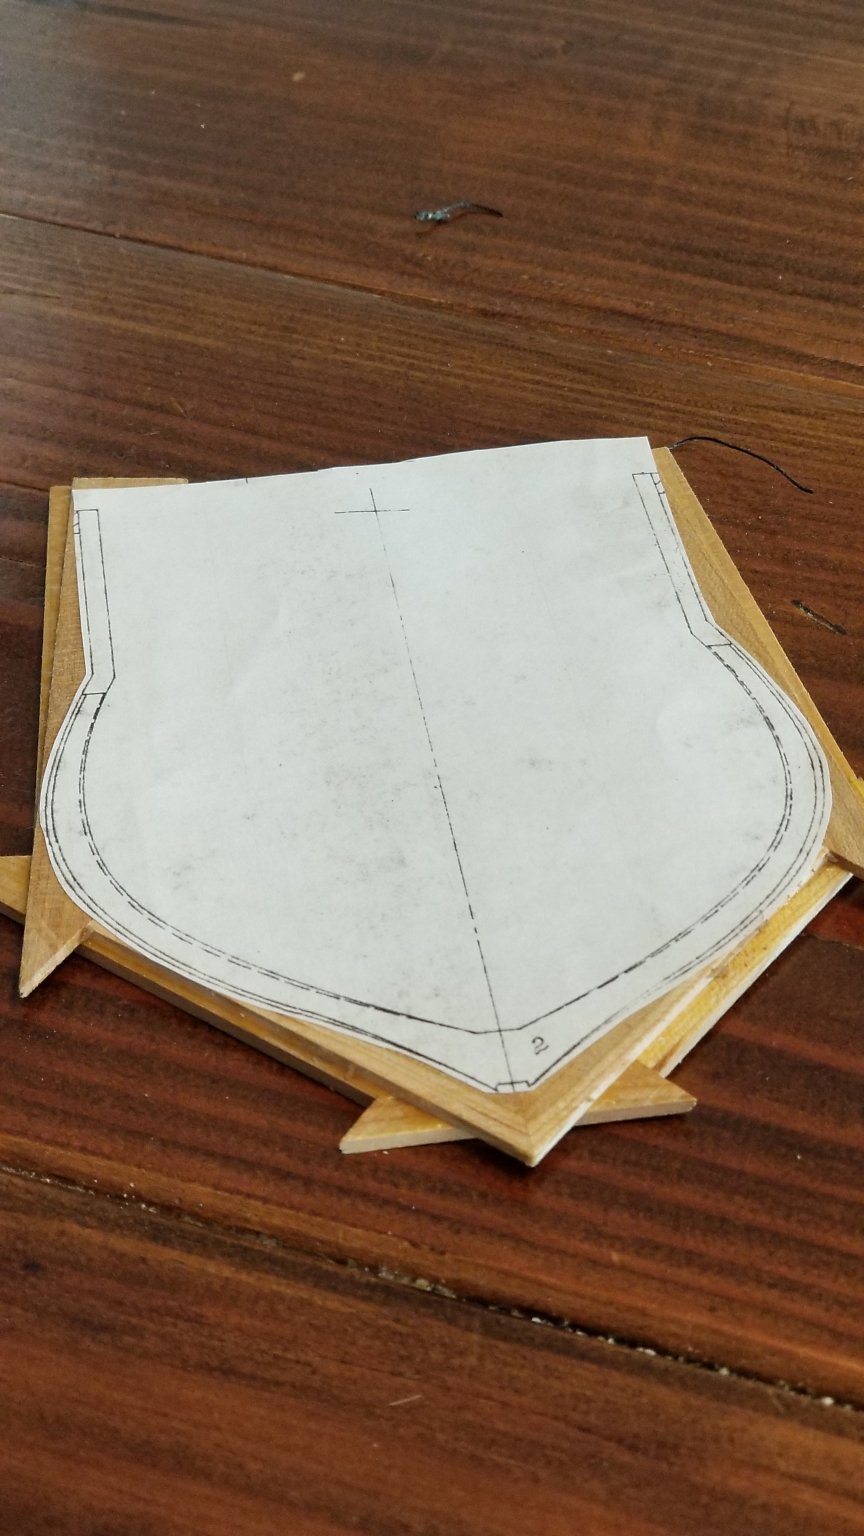
Thank you for the recommendation. Here are the last few templates glue to the frames.


- 50 replies
-
- 6
-
-
- rattlesnake
- brig
- (and 1 more)
-
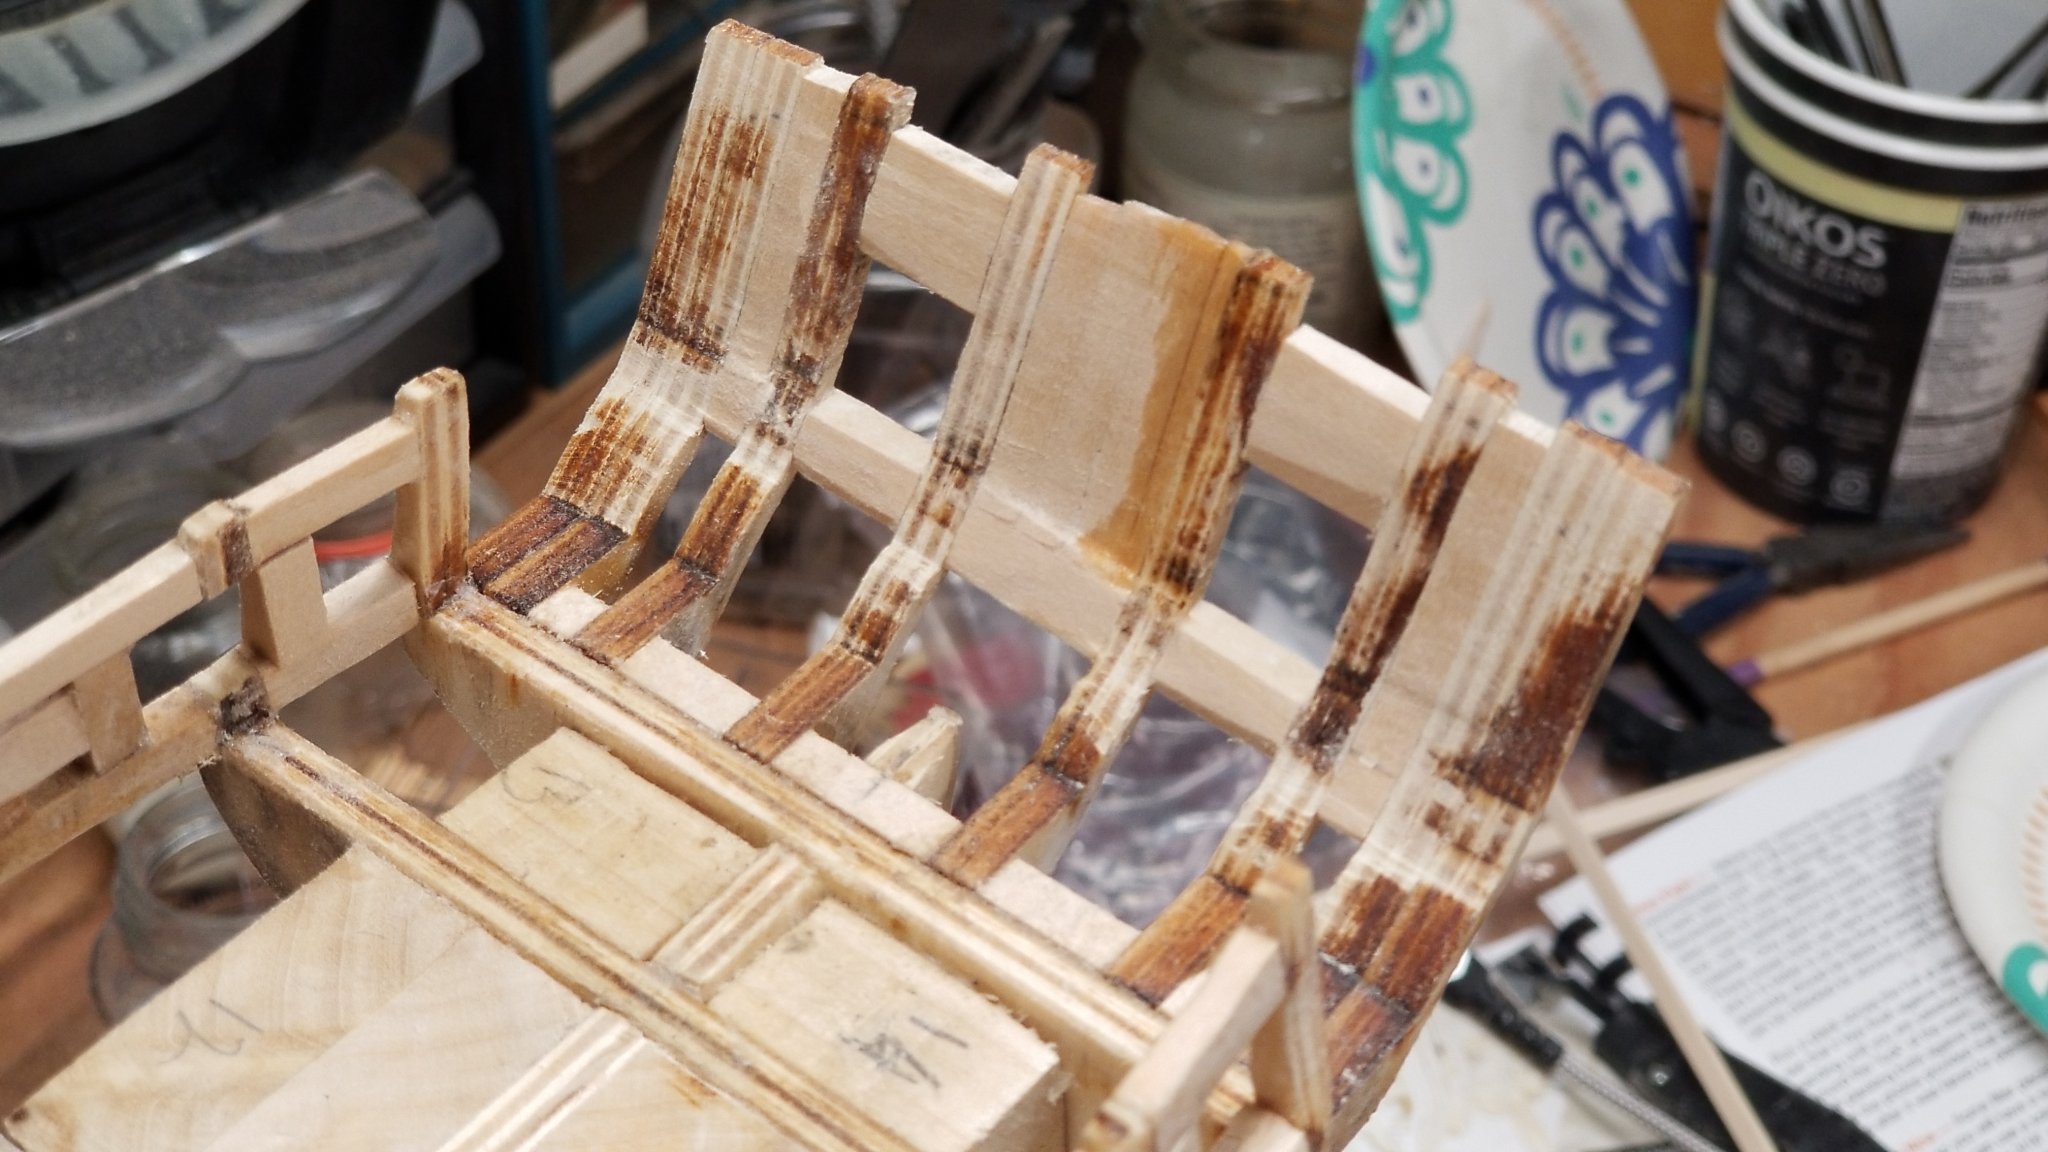
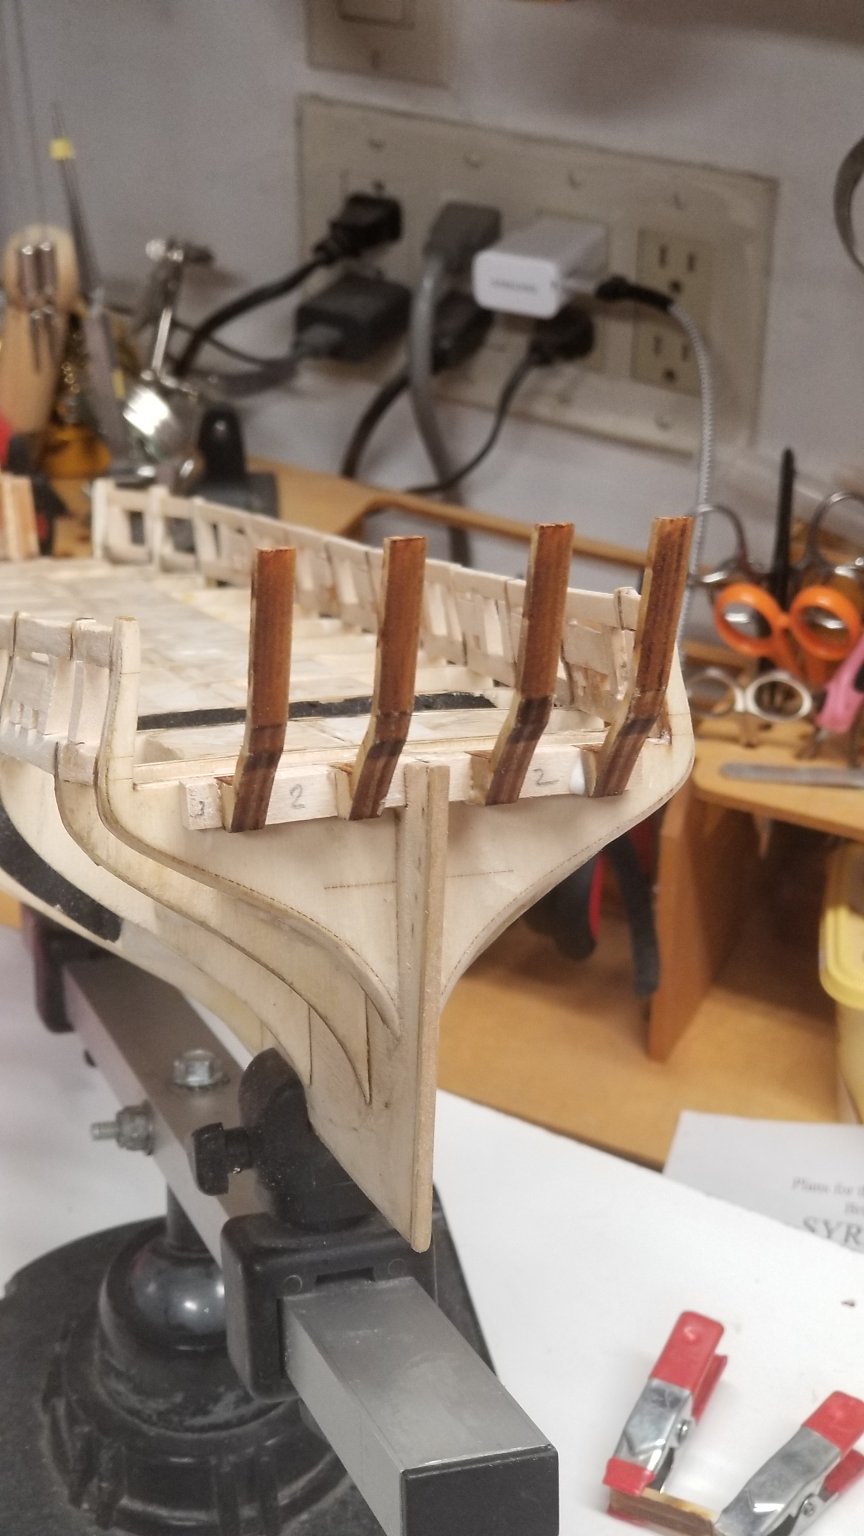
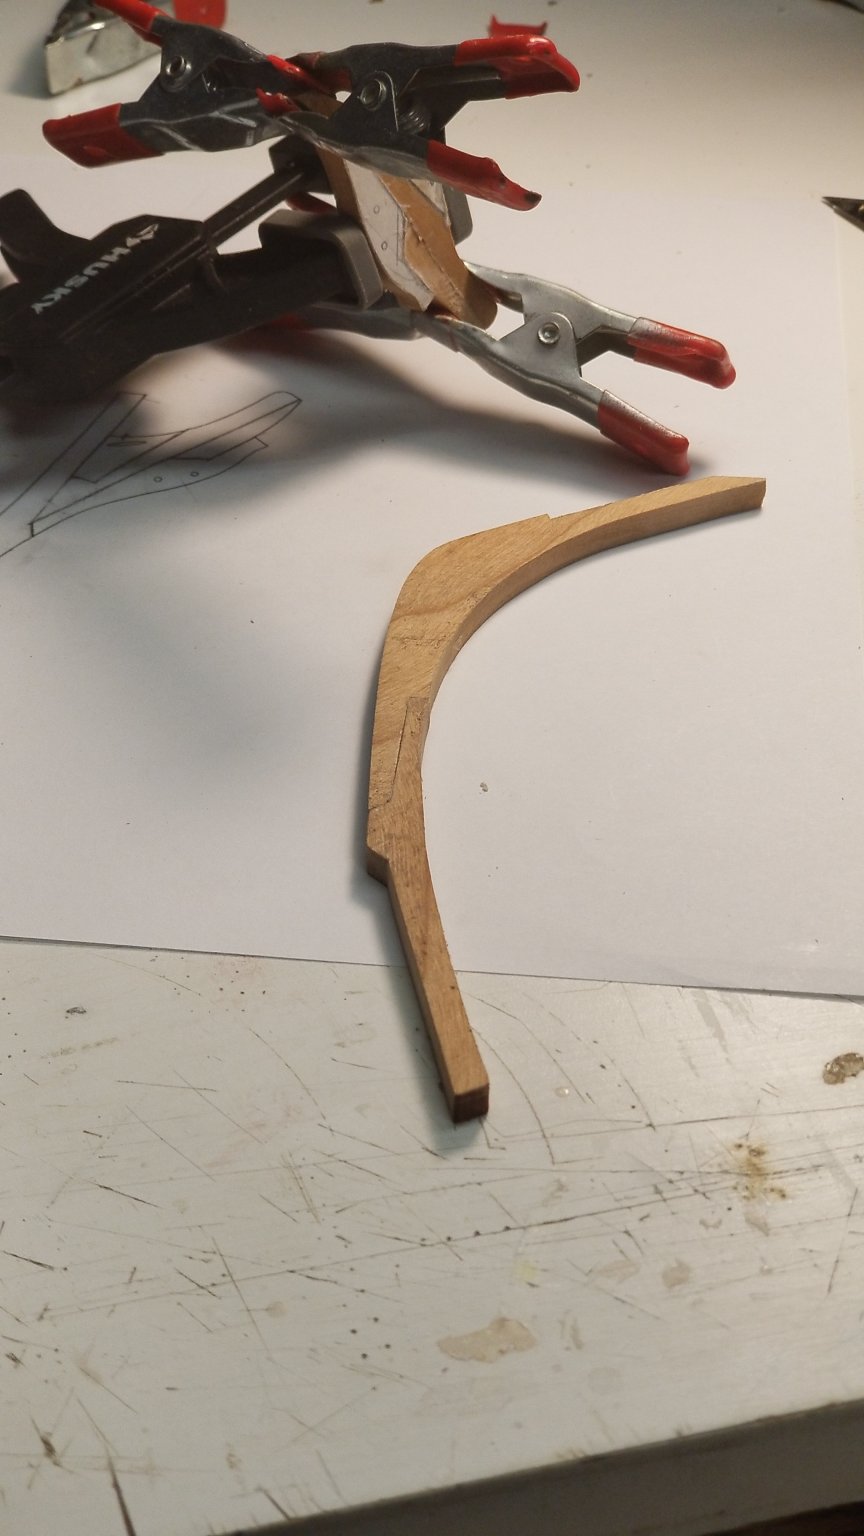
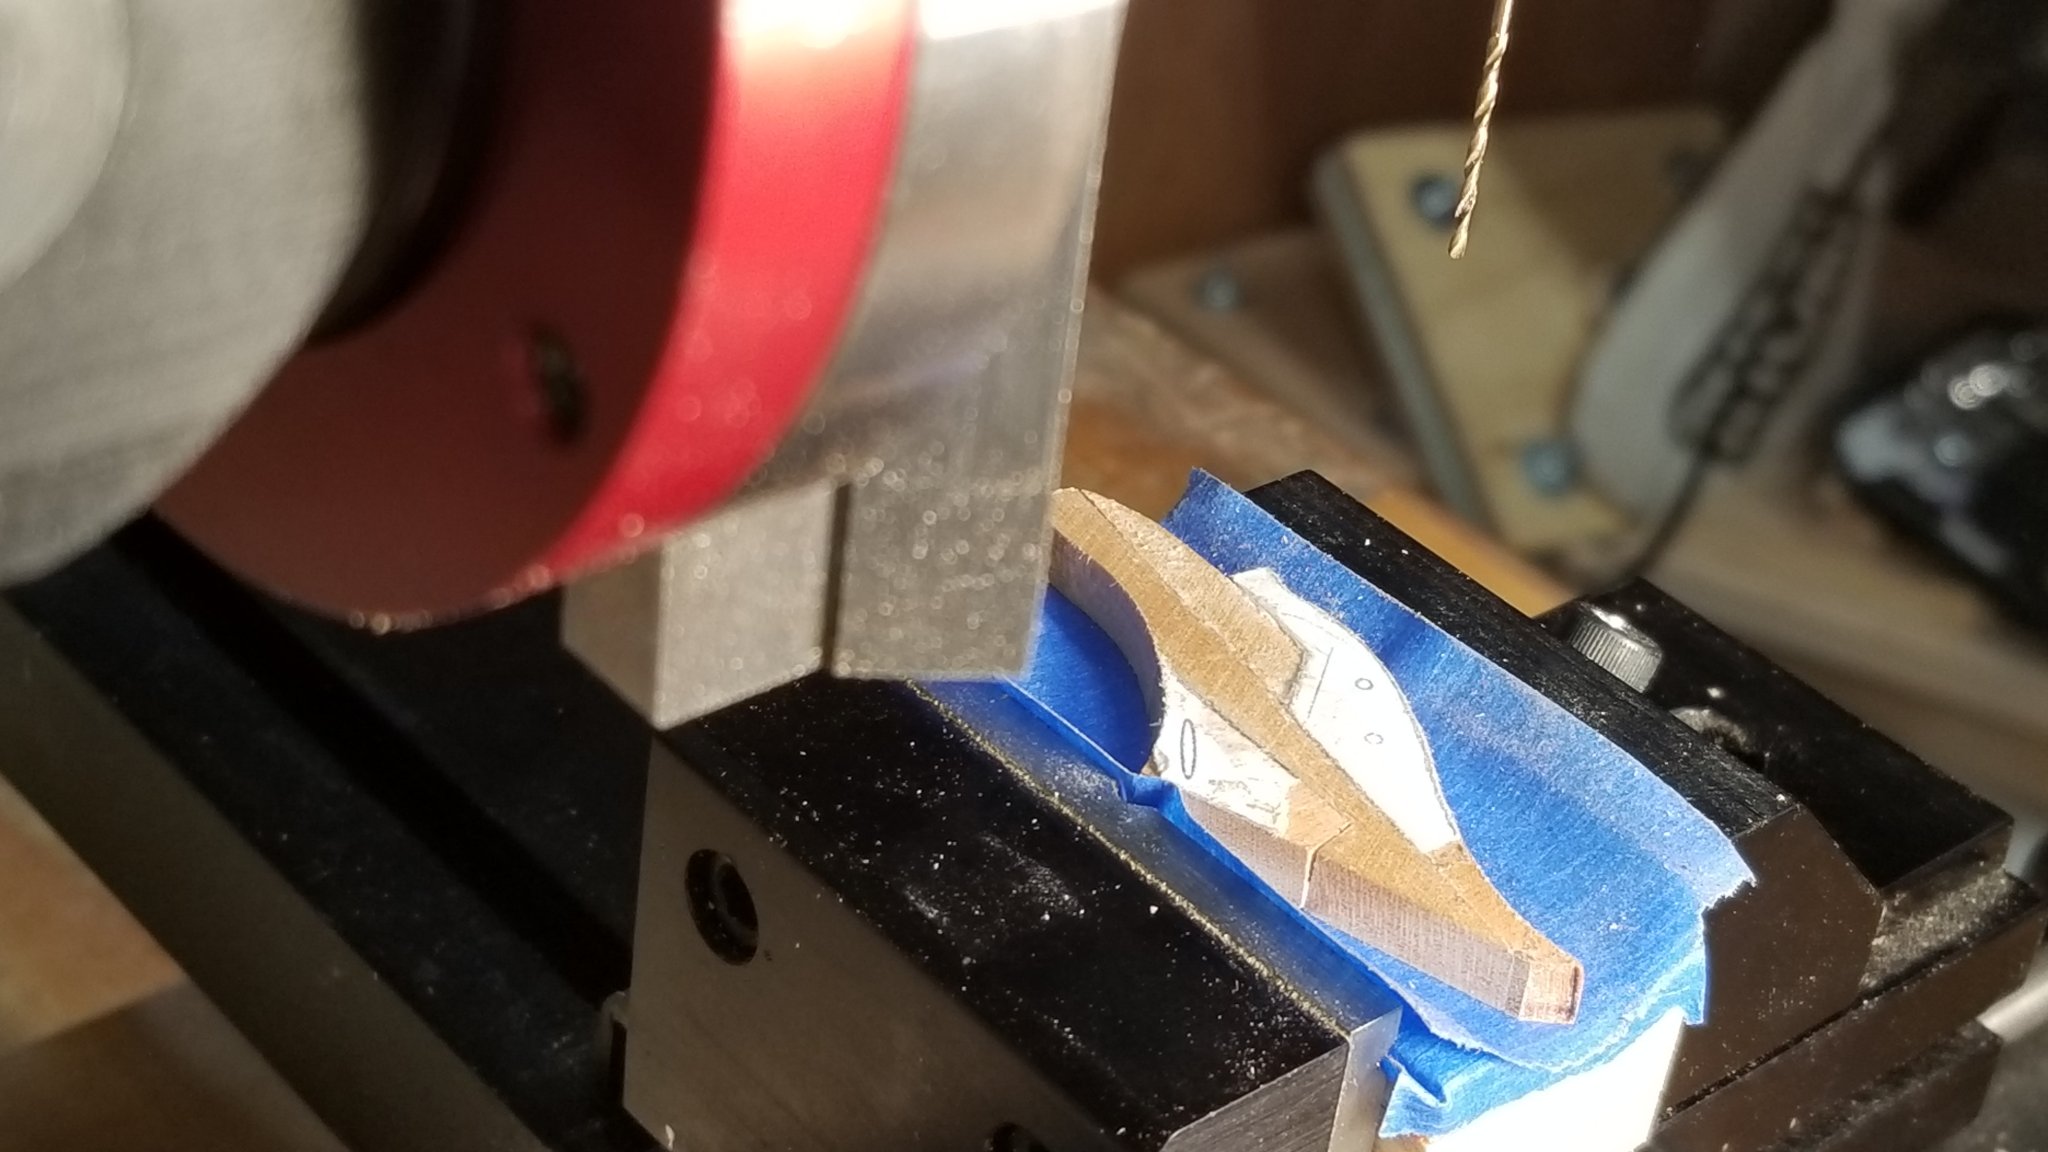
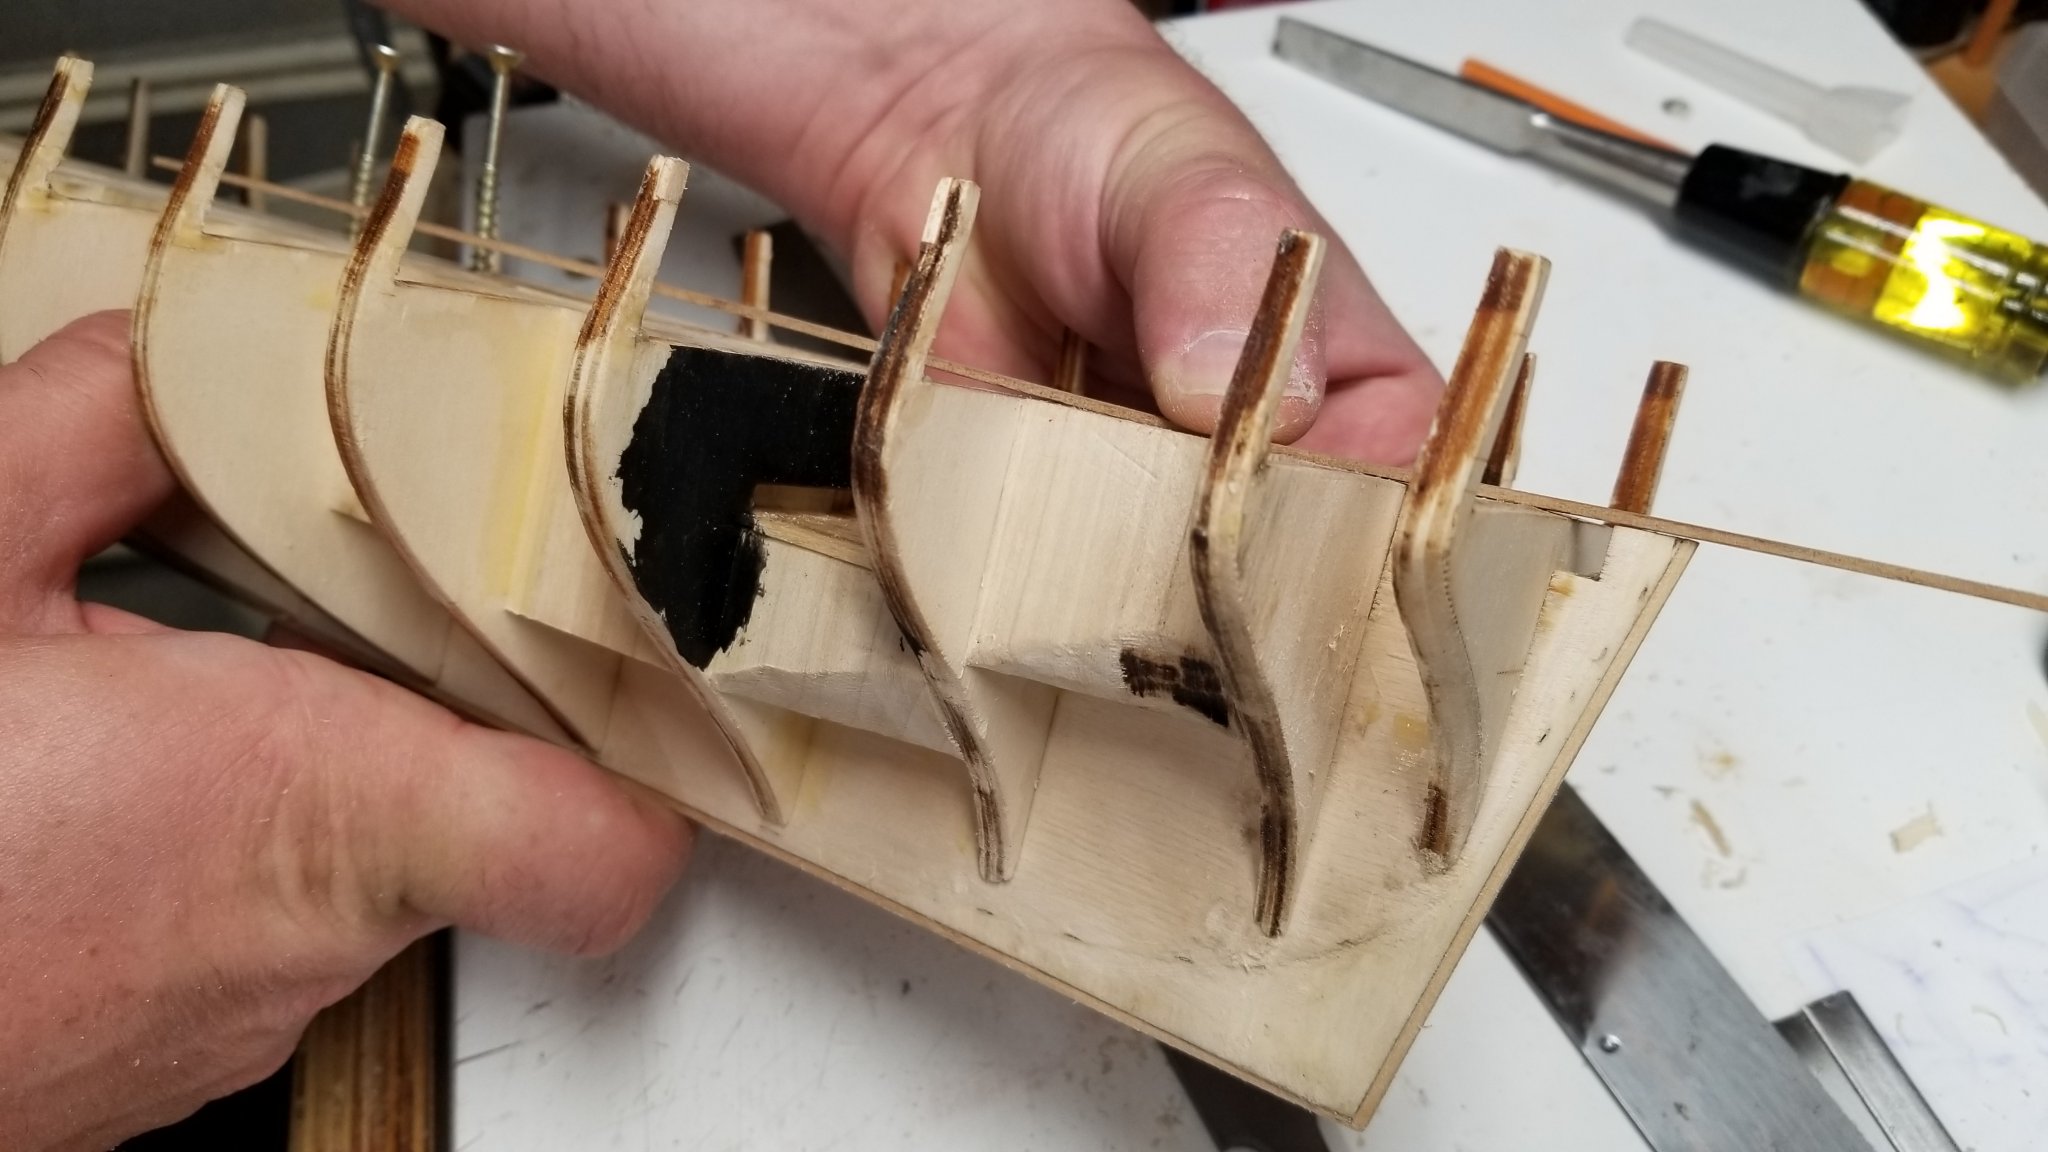
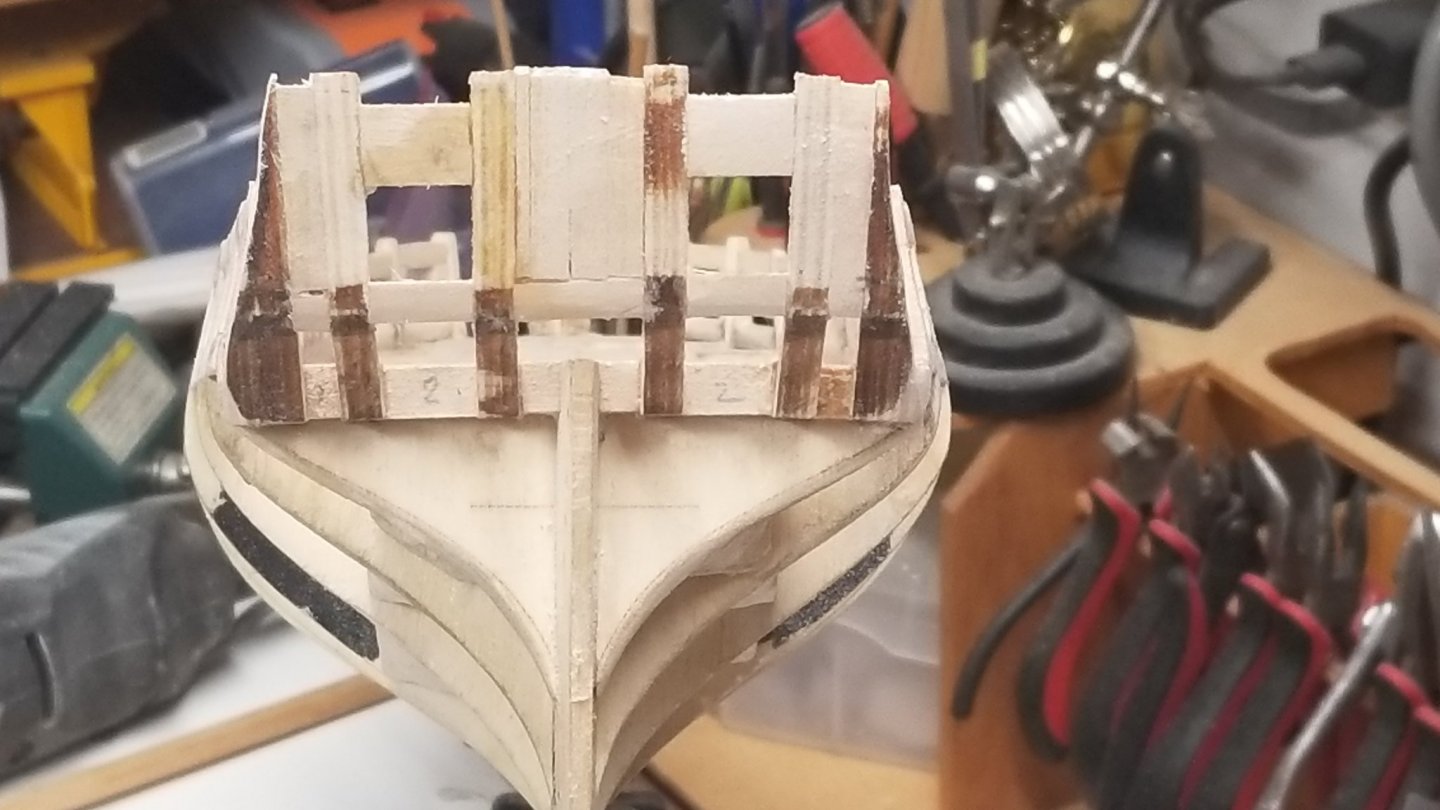
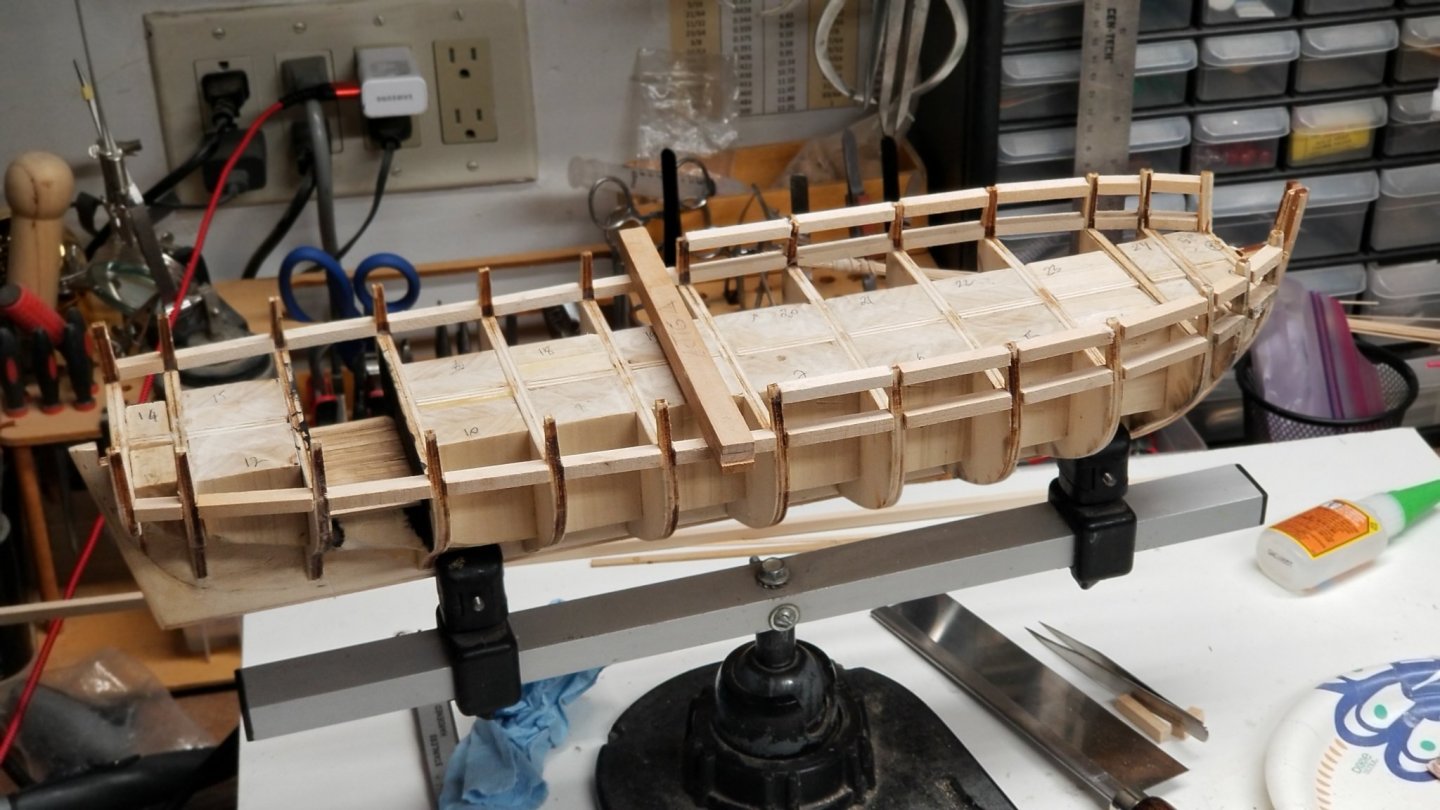
Shaping the Sills and Lintels for the gun ports.
-
Ha. Well I am far from been the expert so I will follow your build and you can help me 😊
-
Here is the video of these activities
-
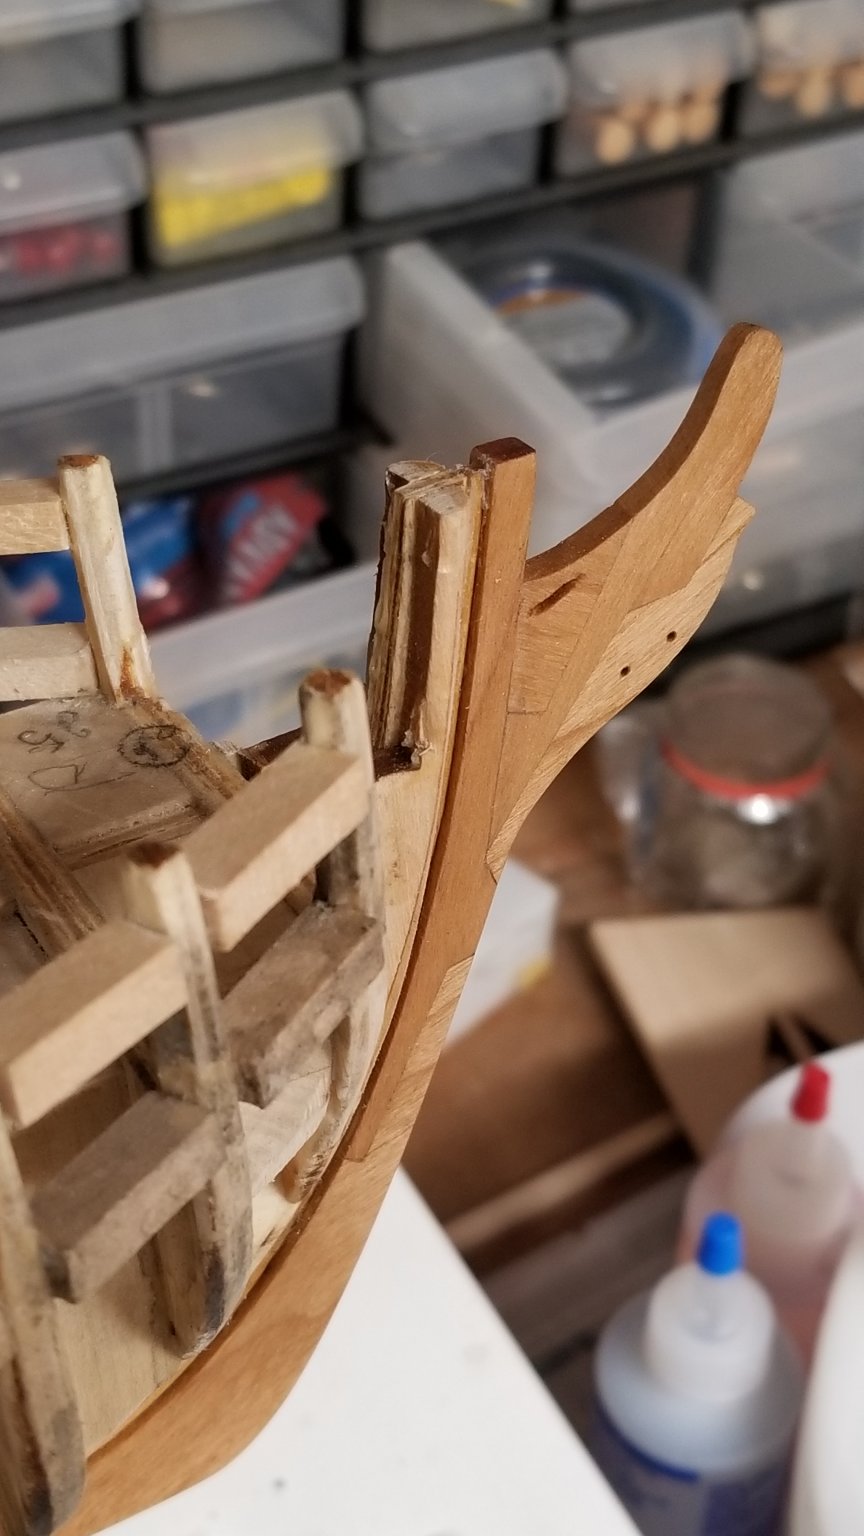
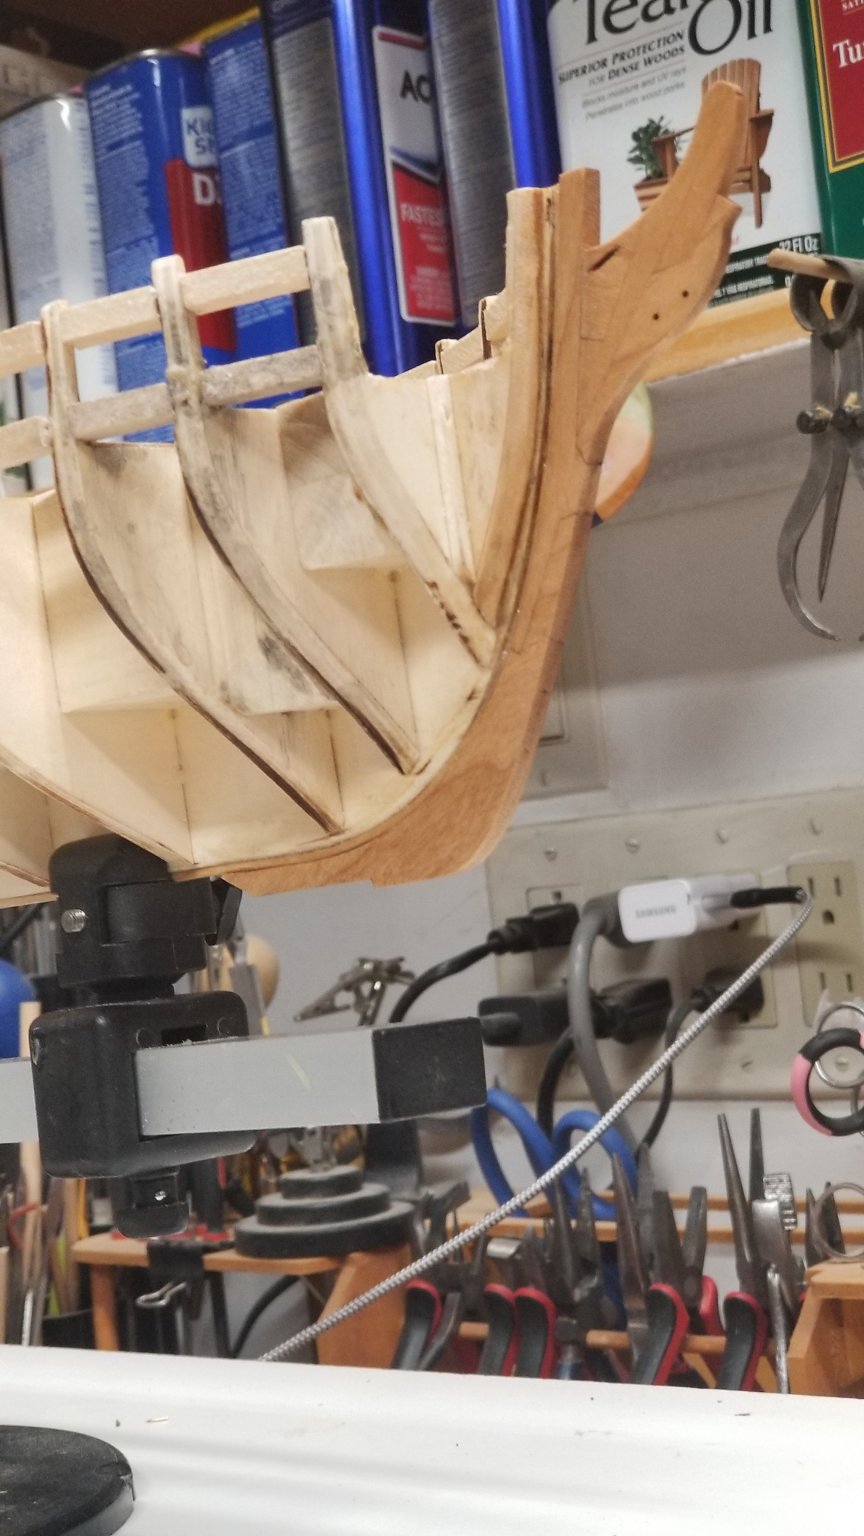
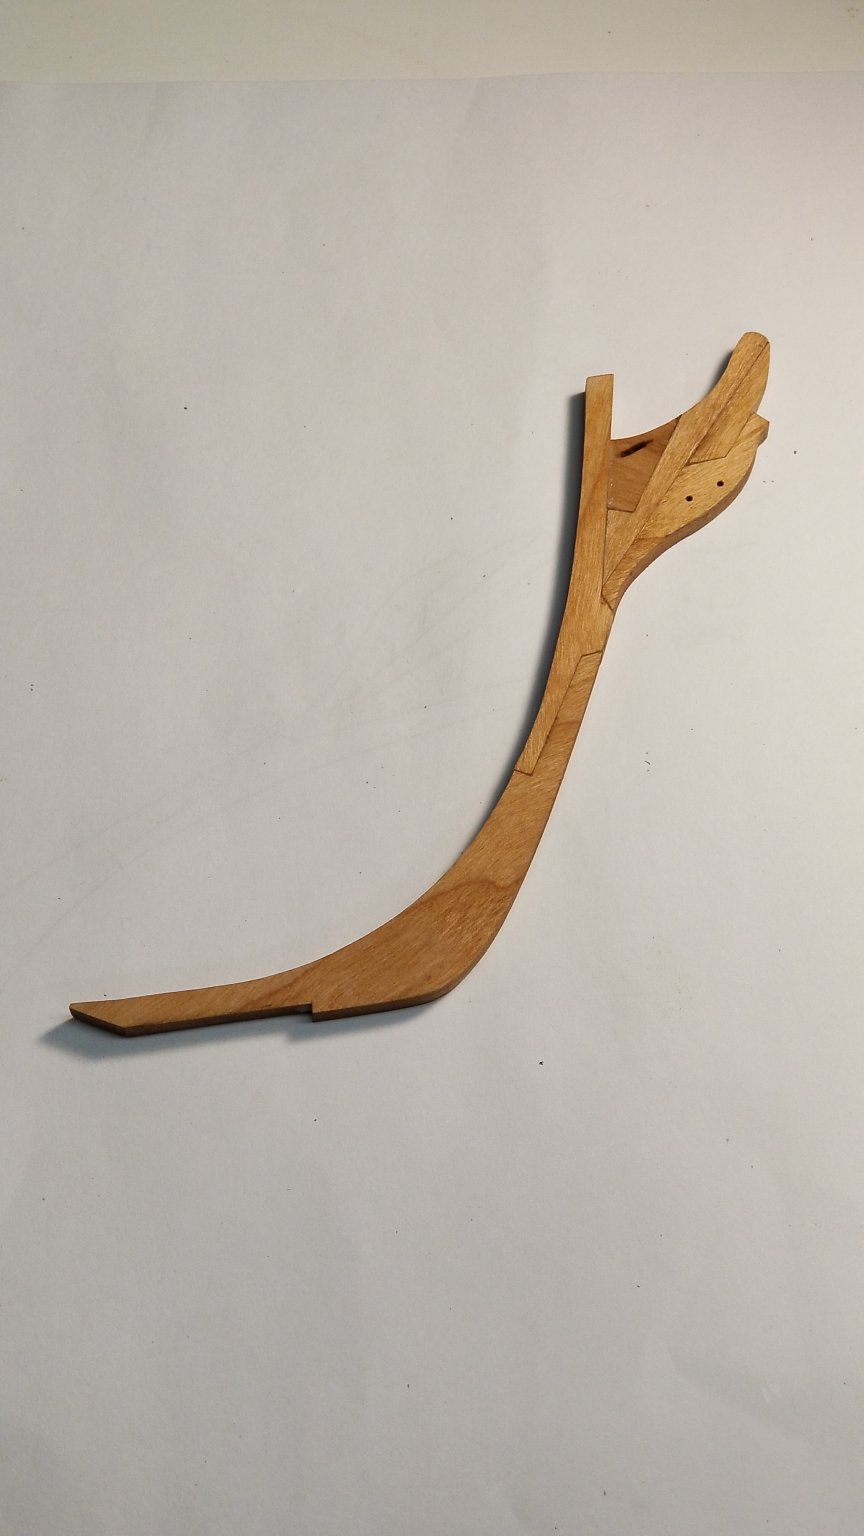
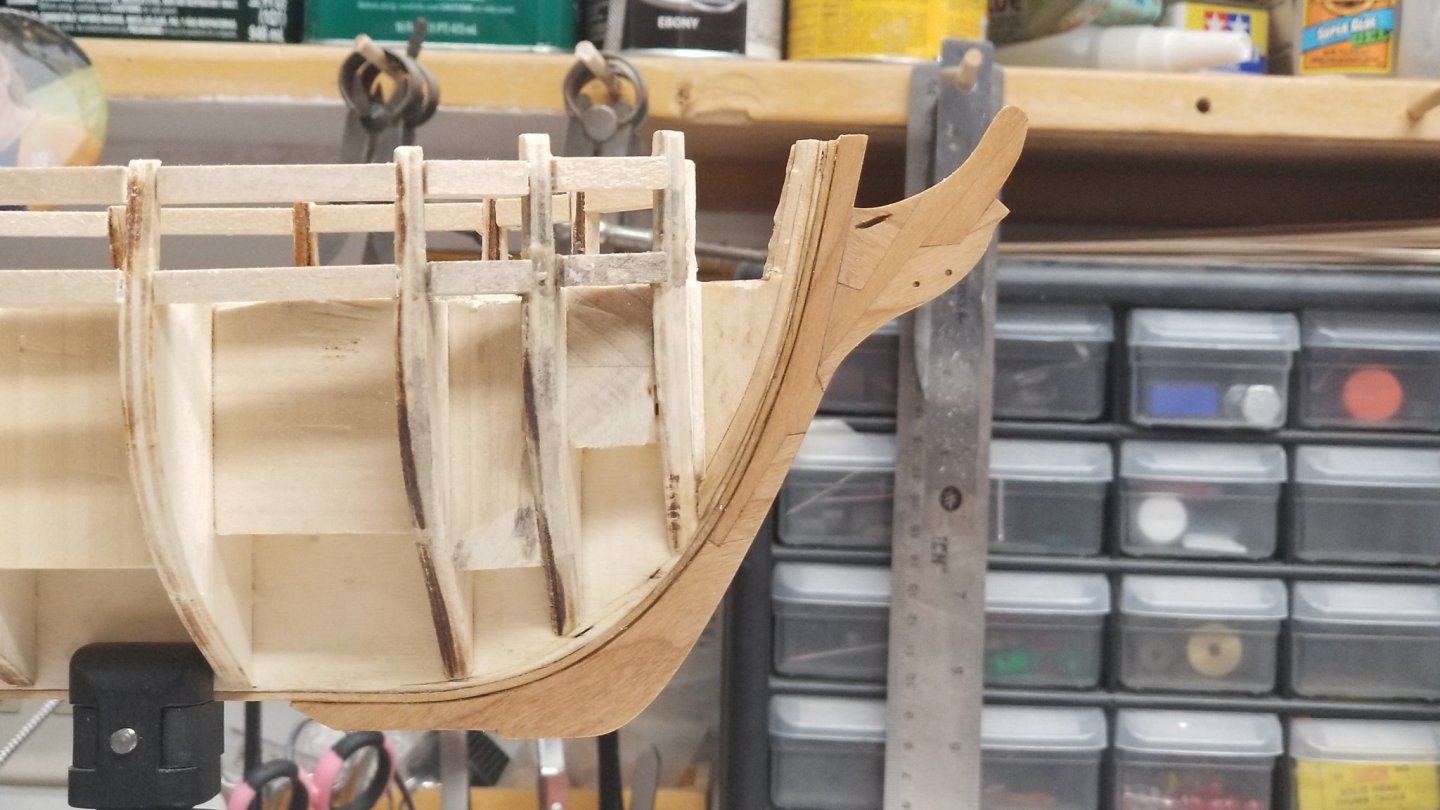
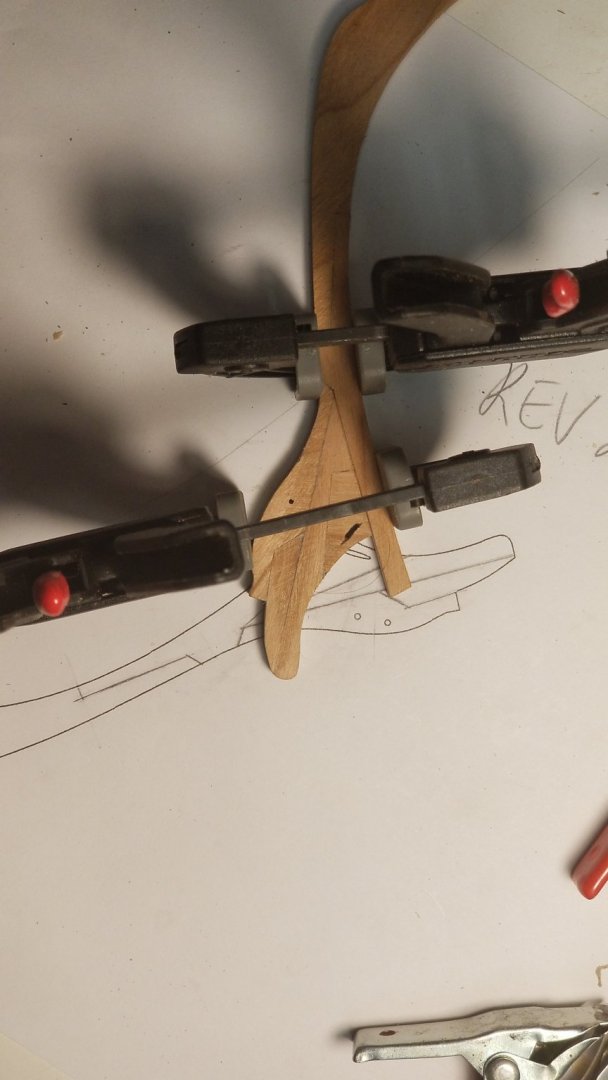
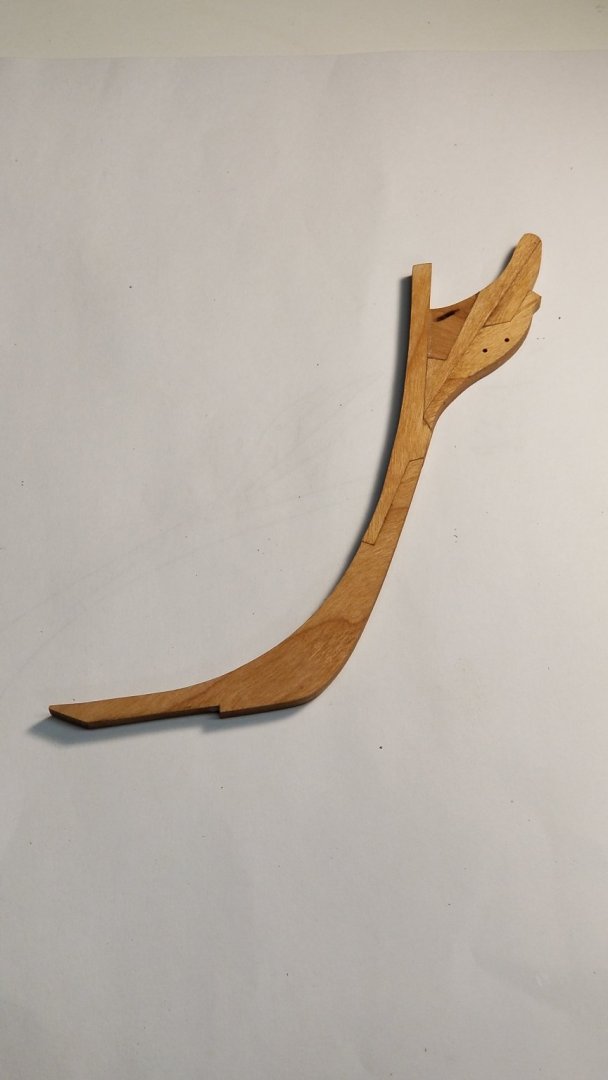
Worked on reattaching the new stem. Here is the result.

-
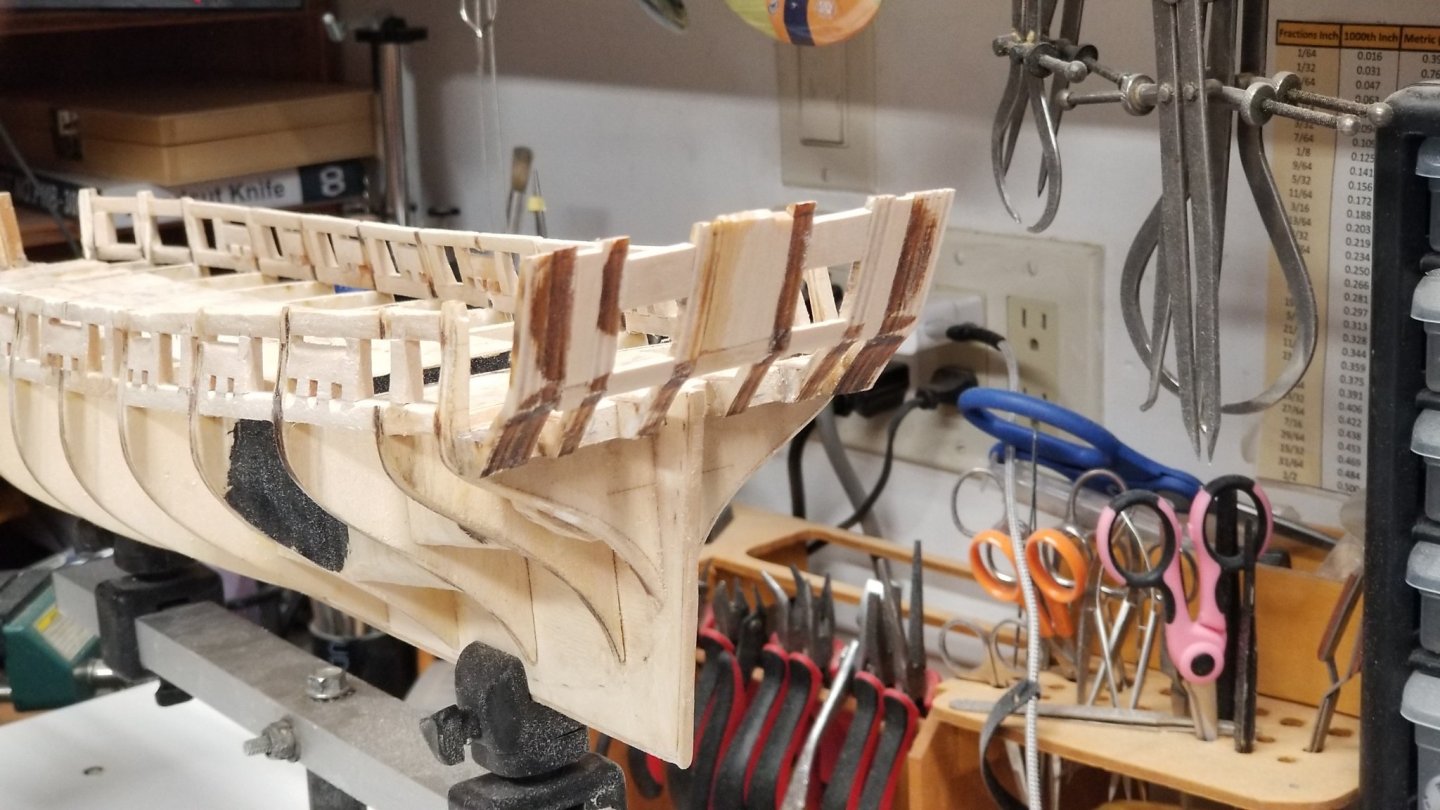
Finished attaching the Sills and Lintels.

-
If you would like to see a video for the stem glue up. Check out the latest installment of building the Model Shipways Syren on YouTube.
-
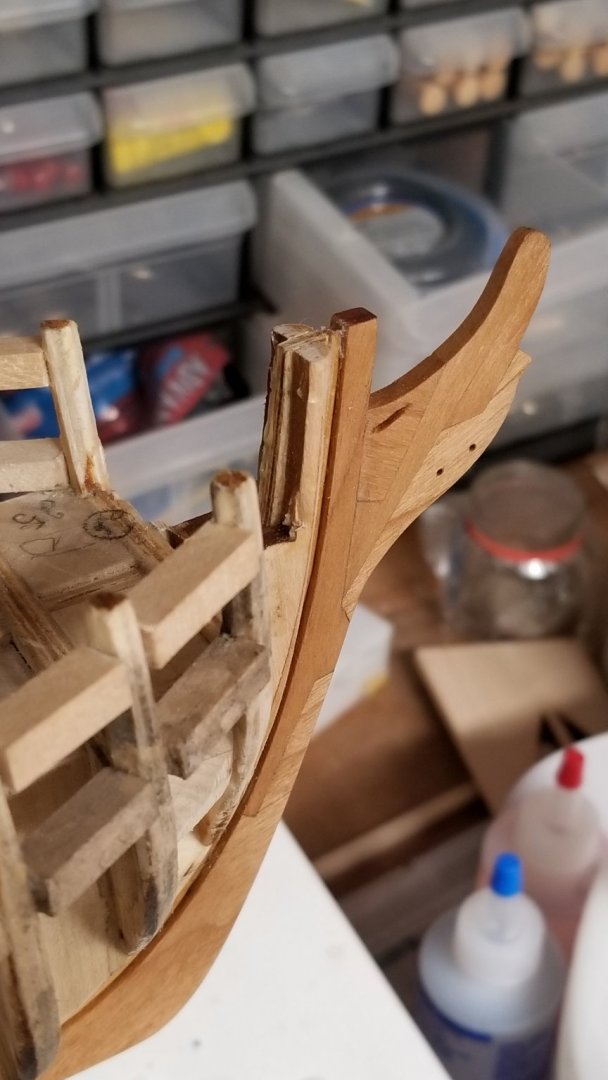
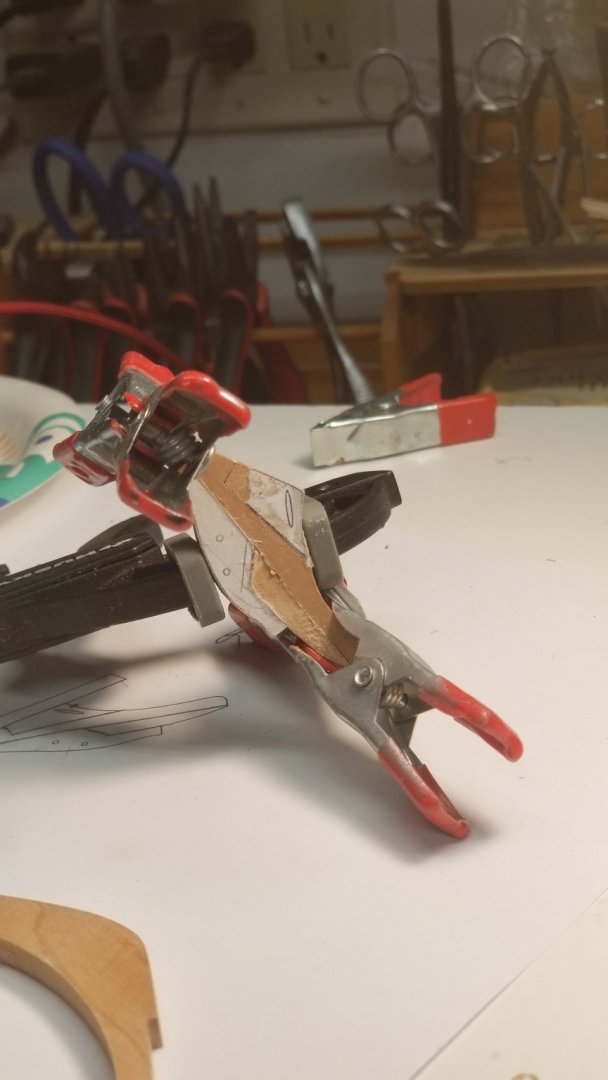
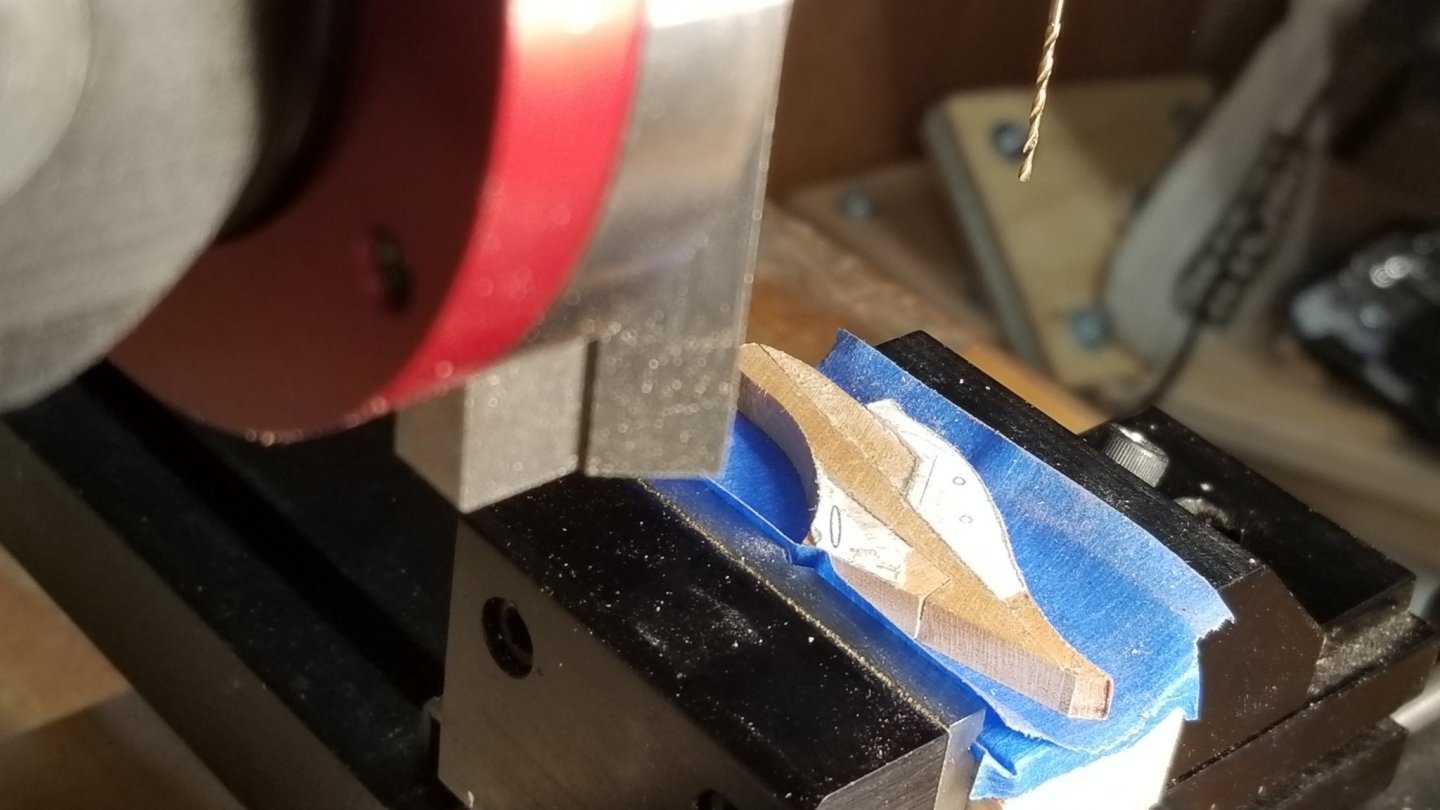
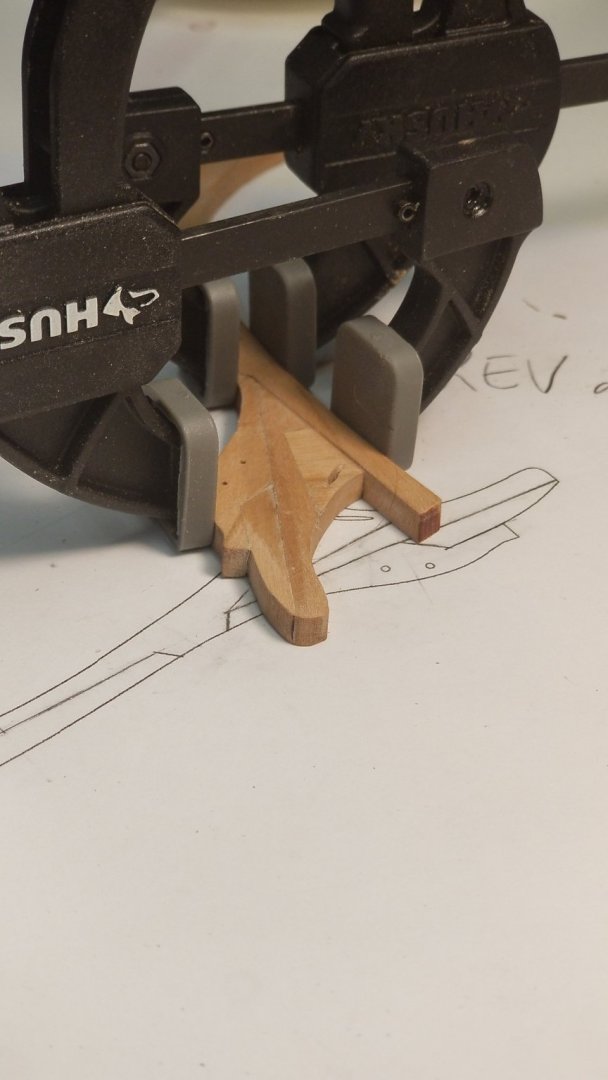
Glued up the stem. It took quite a bit of time to adjust each piece to fit as perfectly as possible together Here is the final result.

-
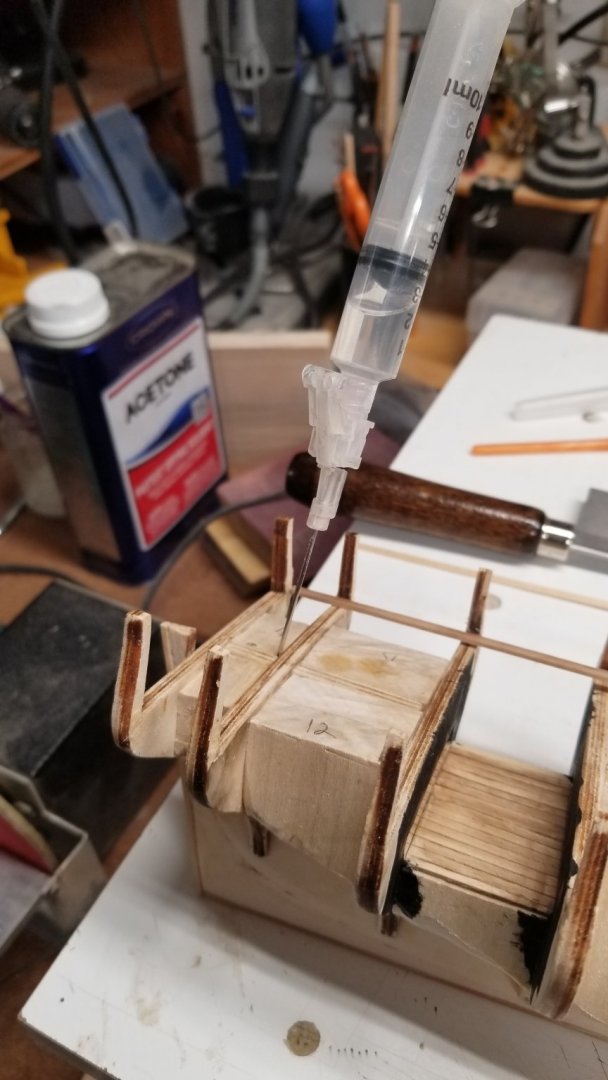
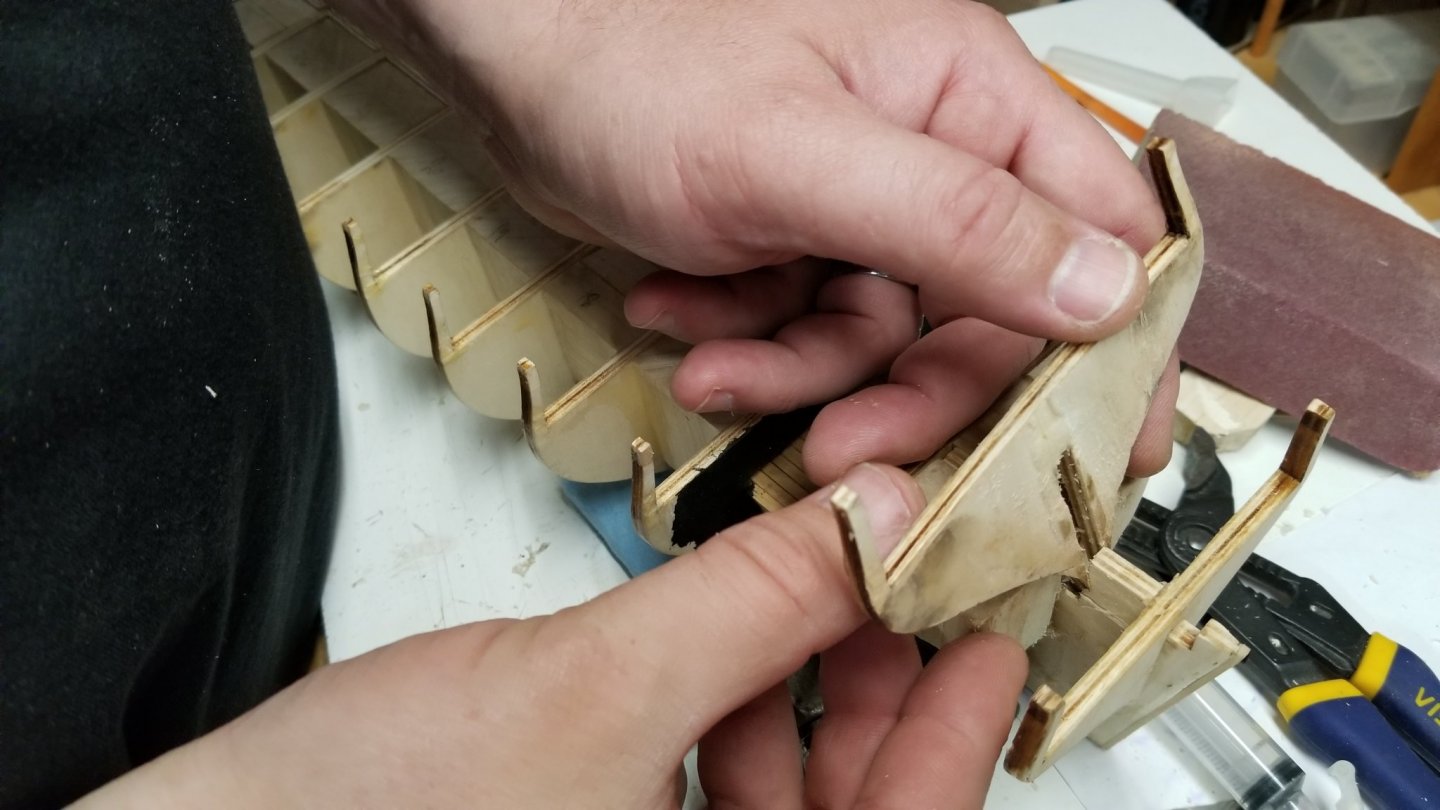
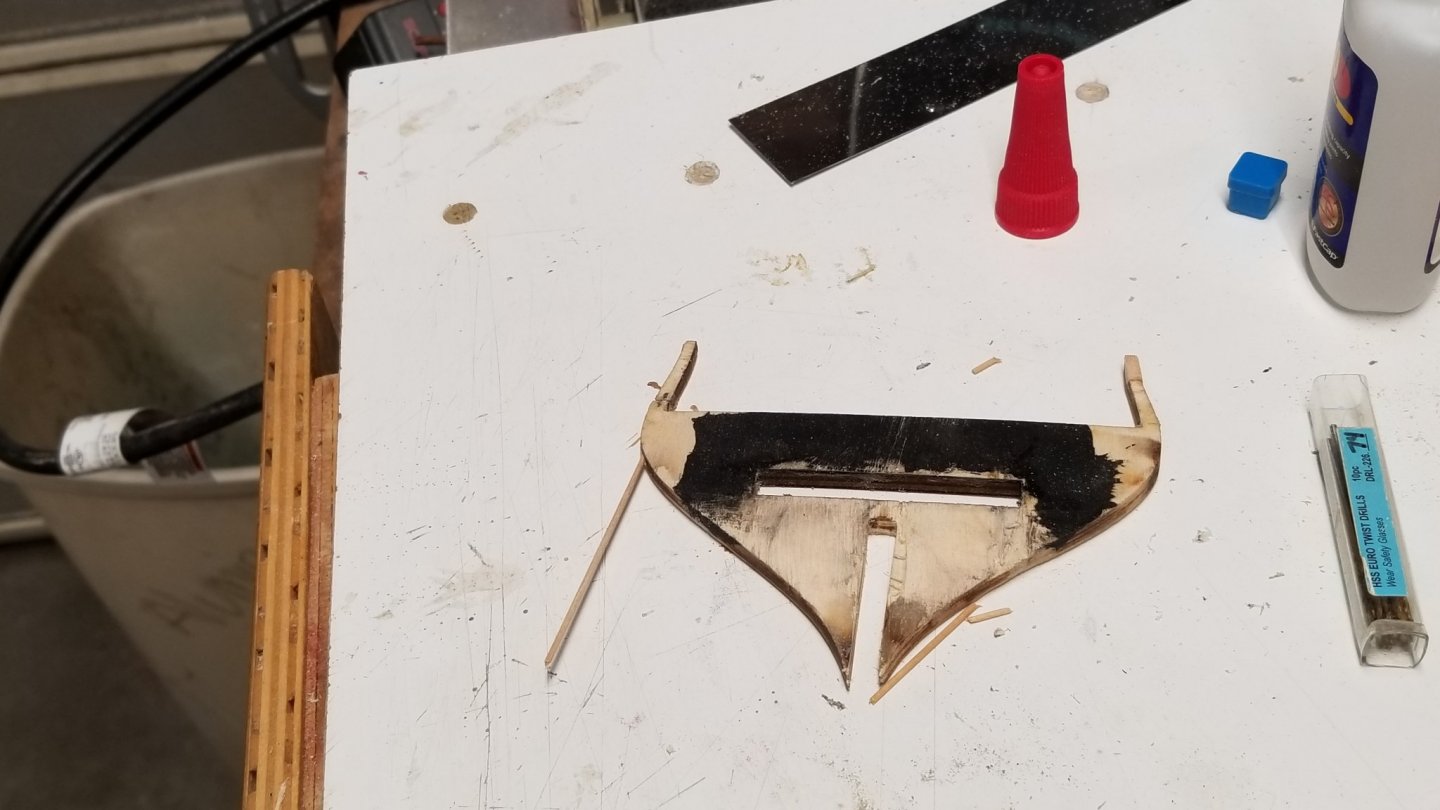
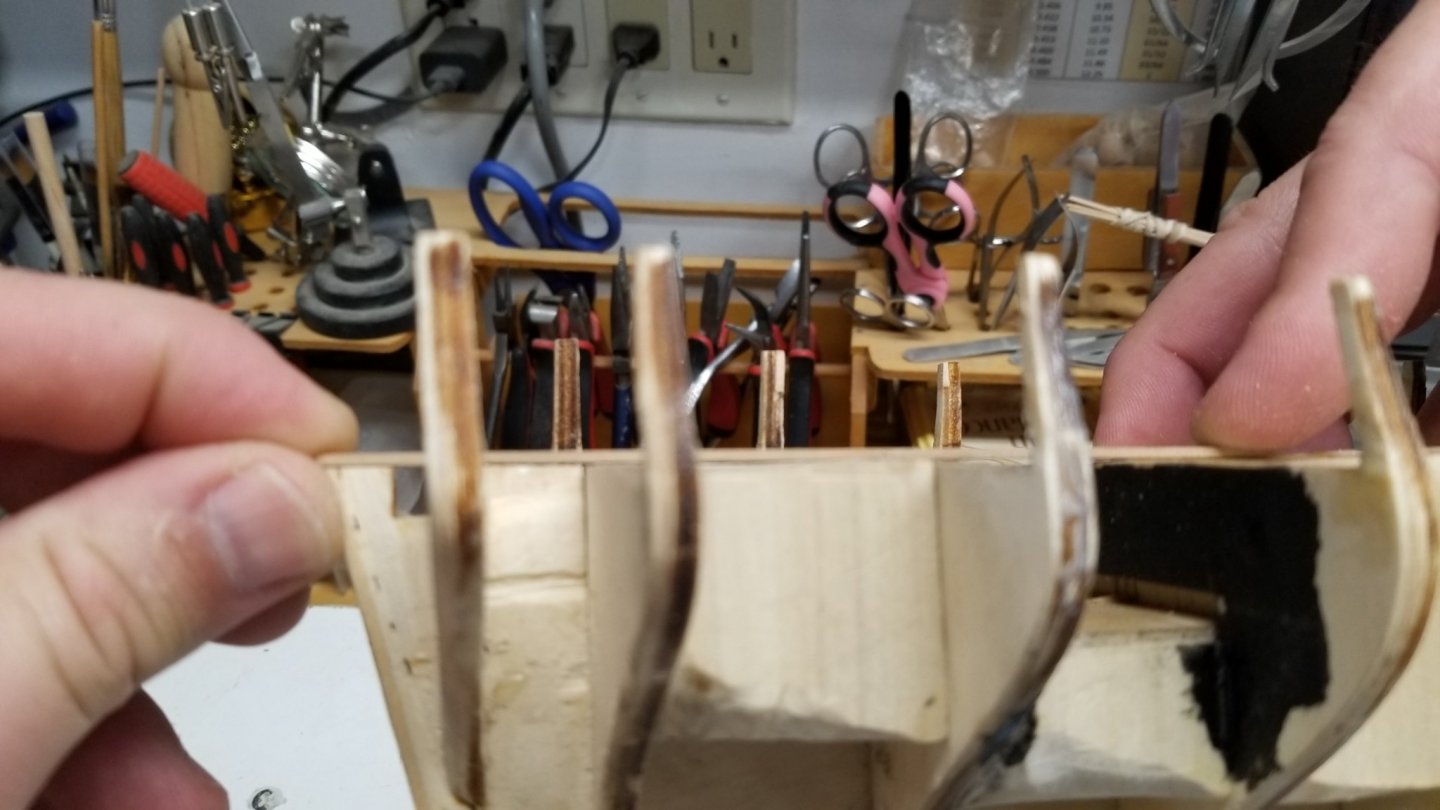
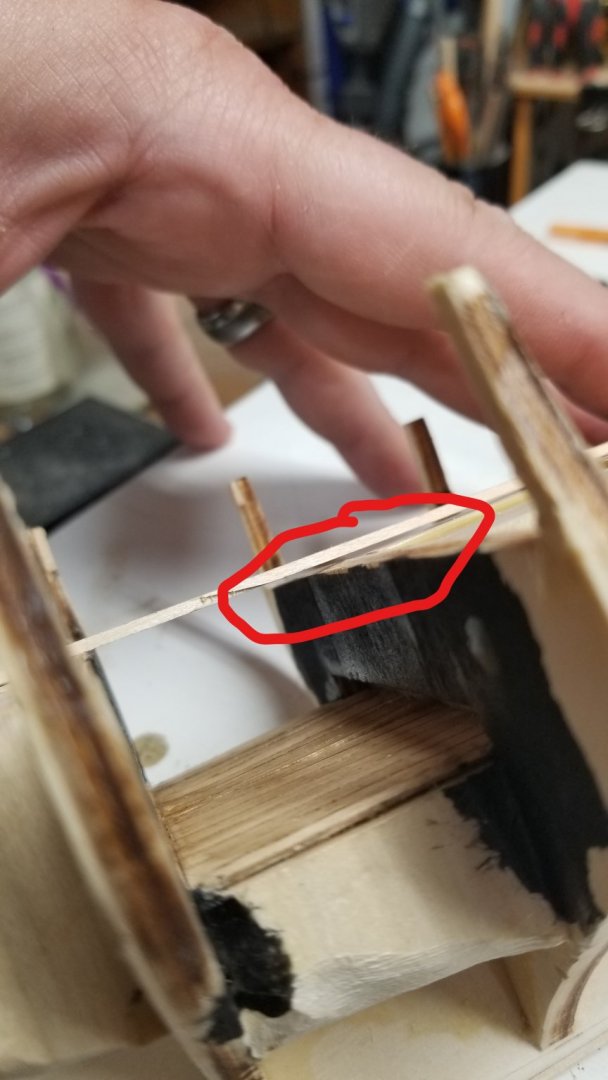
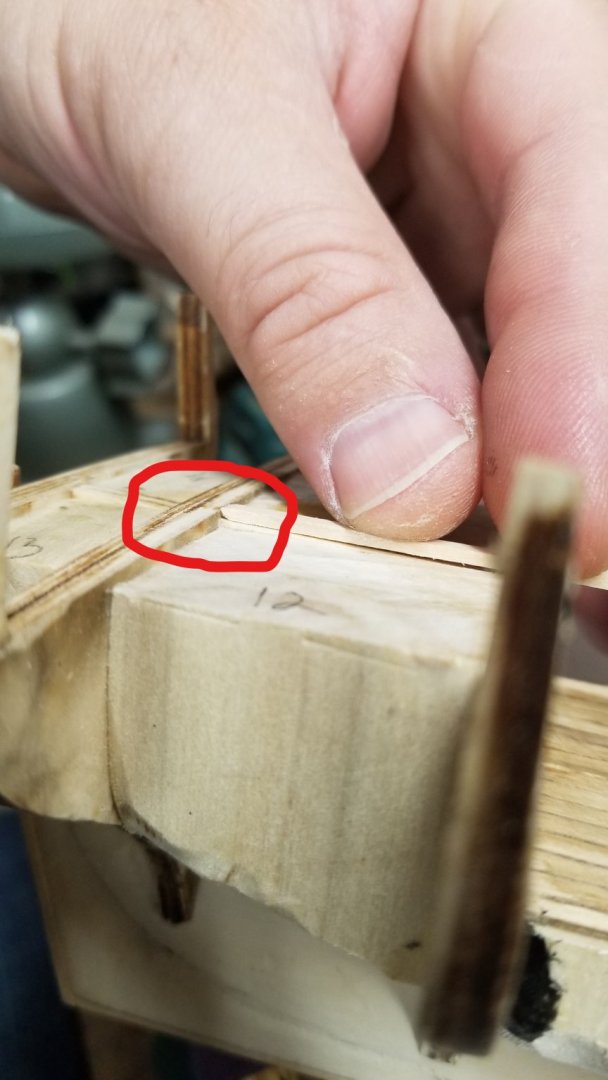
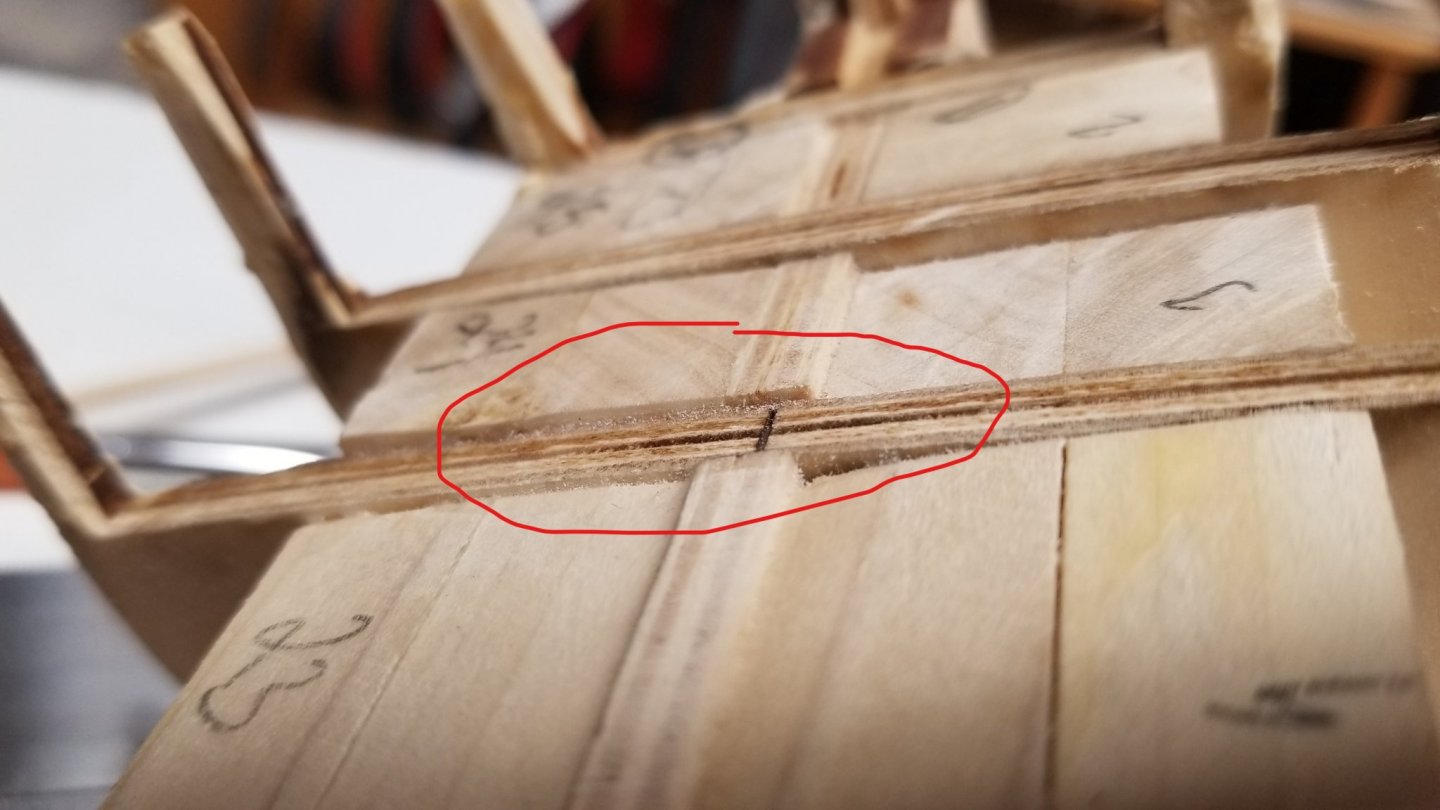
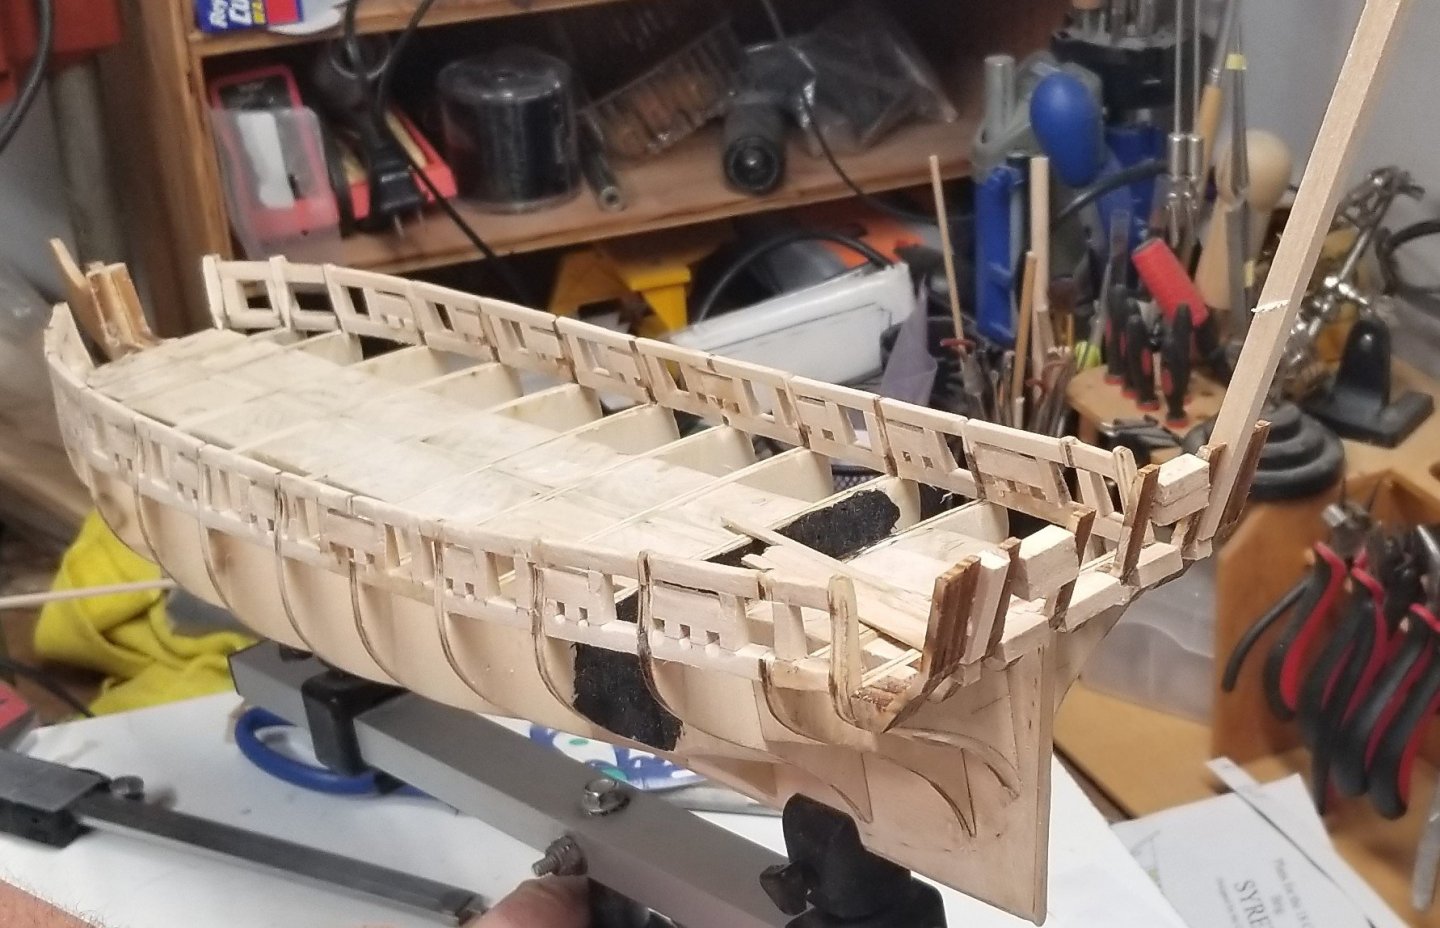
The deconstruction continues on my Syren. I noticed a few issues with frame adjustments. Here is what my survey outlined. The second and third frames from the stern were too high, resulting into a 1/16 gap between the top of the frame and the center 'spine'. See the red marks below. The solution was to remove them and the blocks surrounding them and push them down. I had a similar situation in the bow (see below). I was able to use a thin strip to provide a smooth transition across all frames for the deck planking. Deconstruction madness in pictures. Since the frames were glued with white glue, I used Acetone to soften the glue and a few tools to remove them. Time for your shot! Removal frame 2. Dry fitting frame 2. Drama with frame 3. The doctor is busy. LOL.... Dry fitting line with frame 2 and 3. MUCH BETTER !!! Gluing and rehabilitation.