

captgino
-
Posts
620 -
Joined
-
Last visited
Content Type
Profiles
Forums
Gallery
Events
Posts posted by captgino
-
-
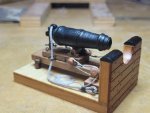
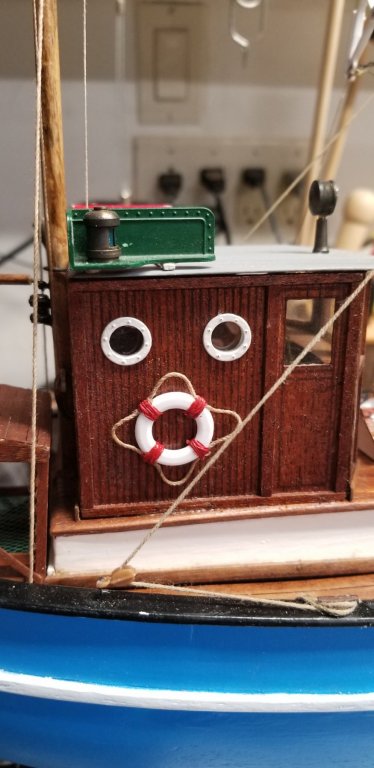
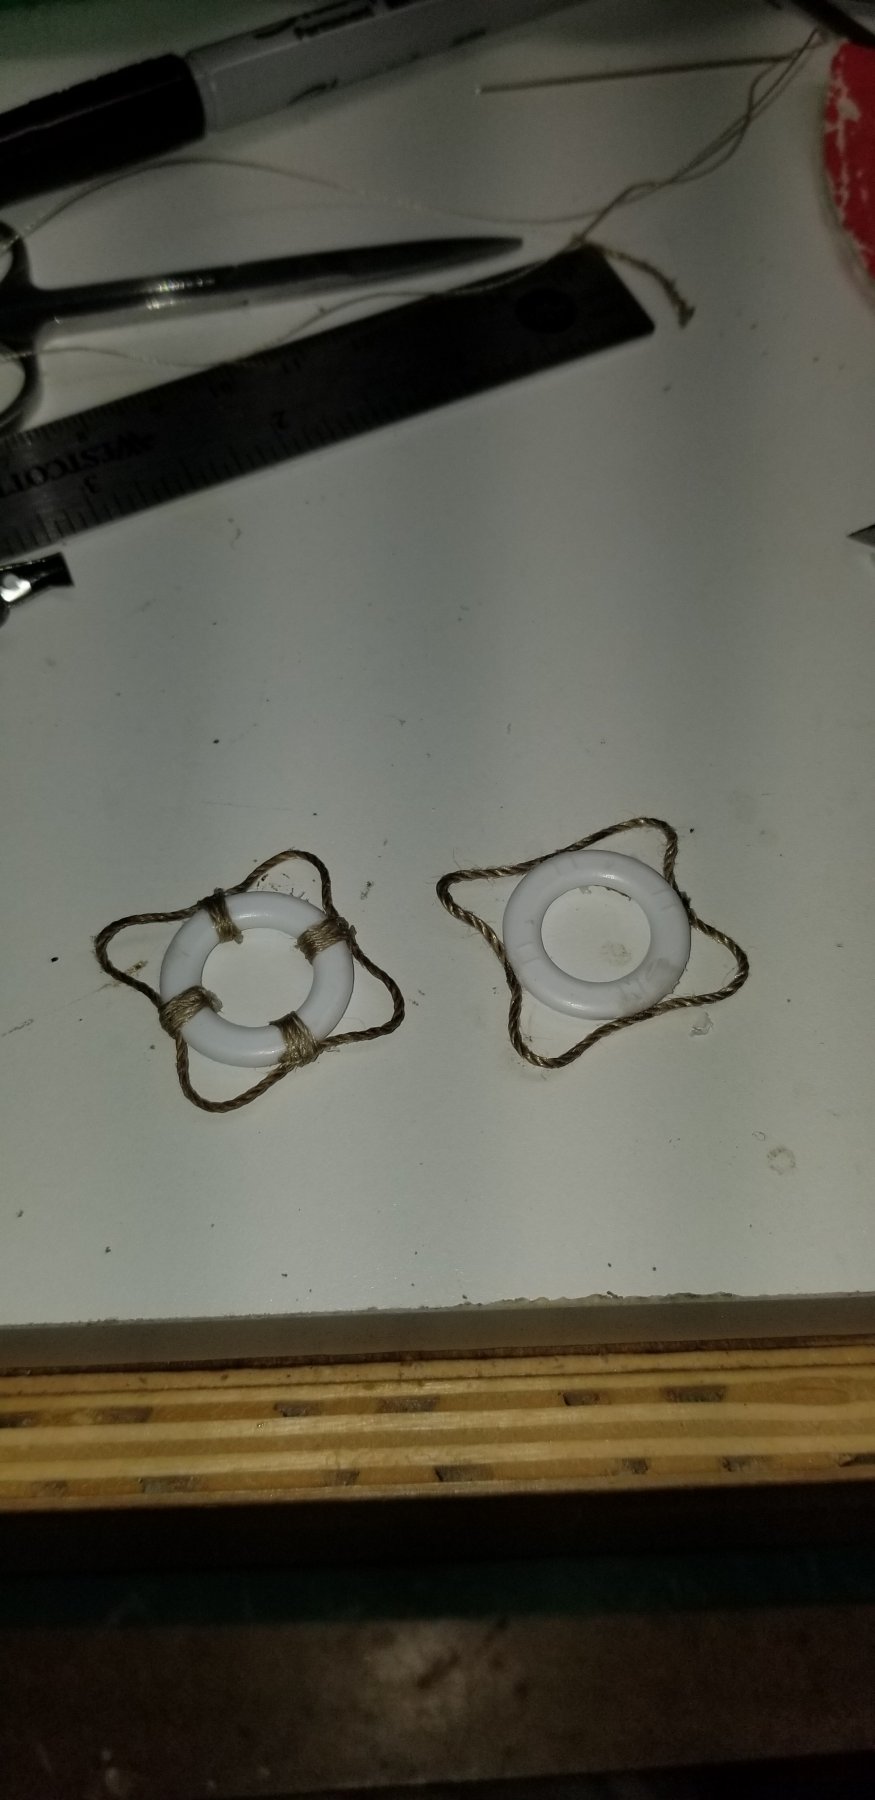
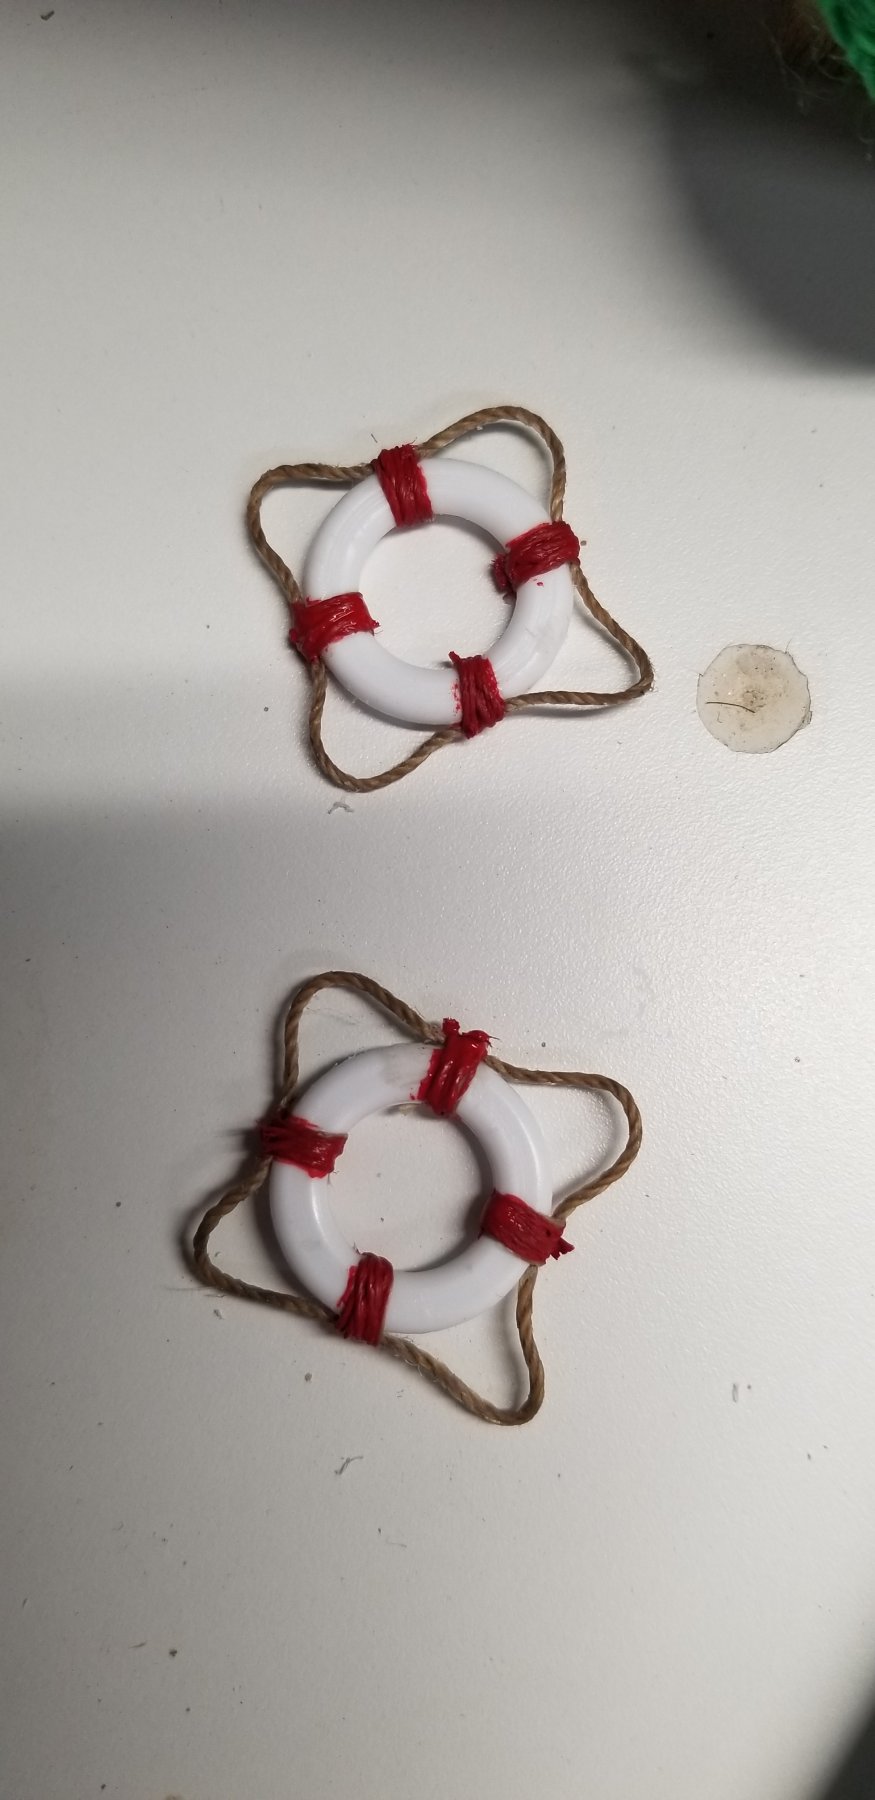
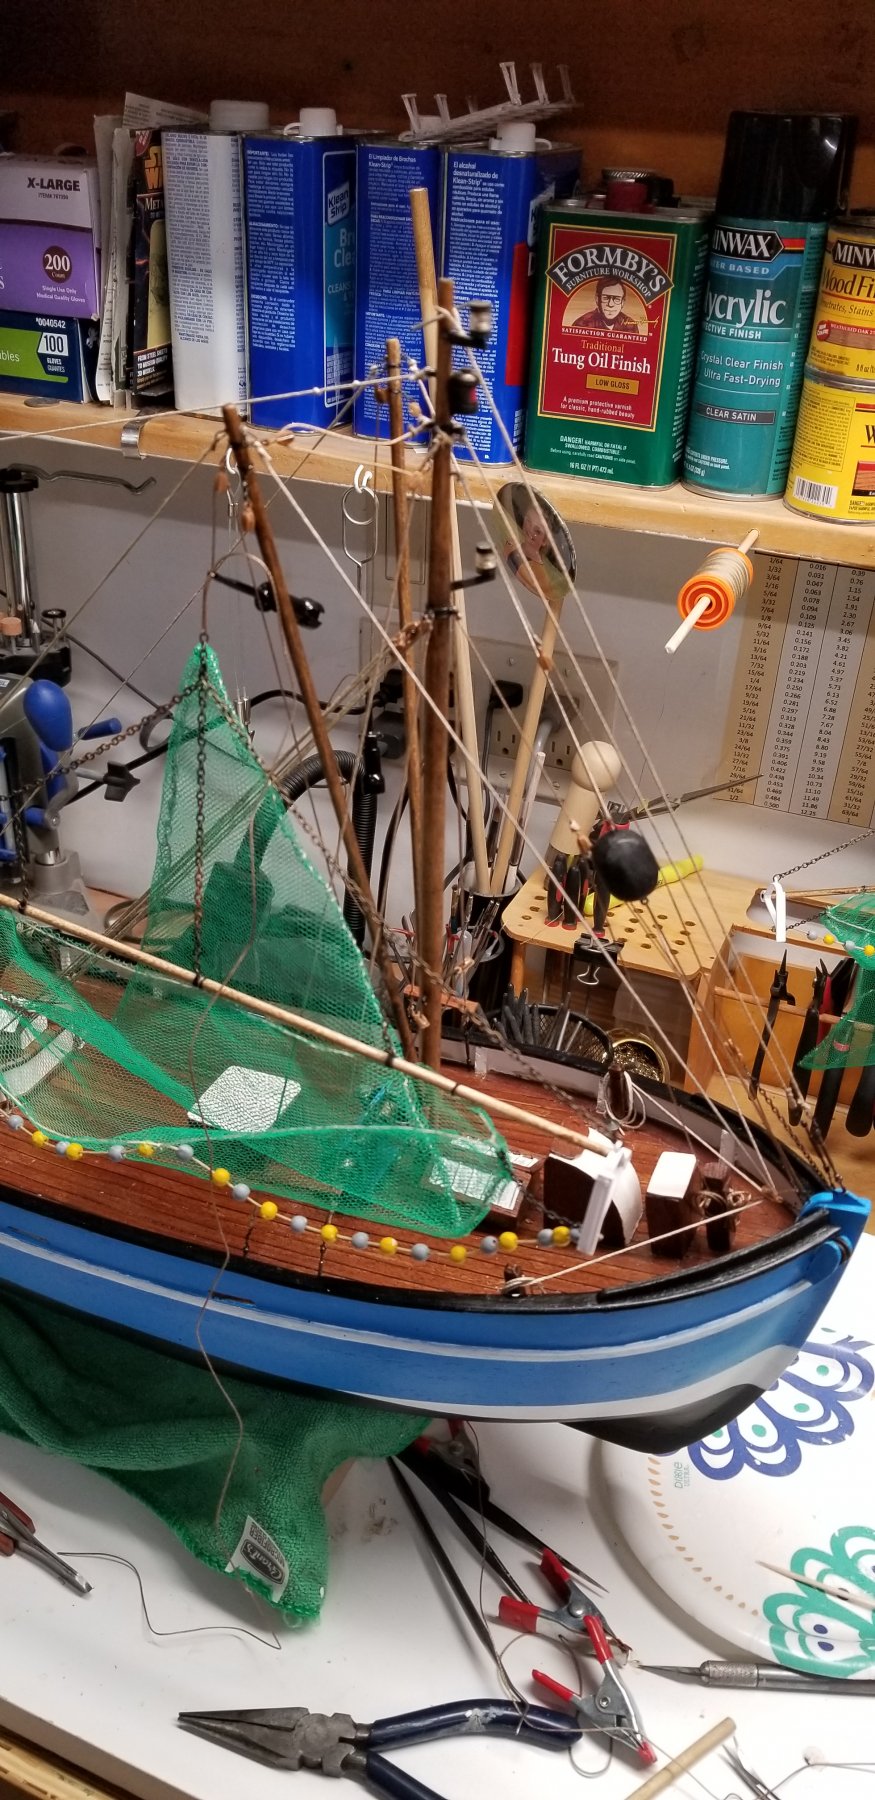
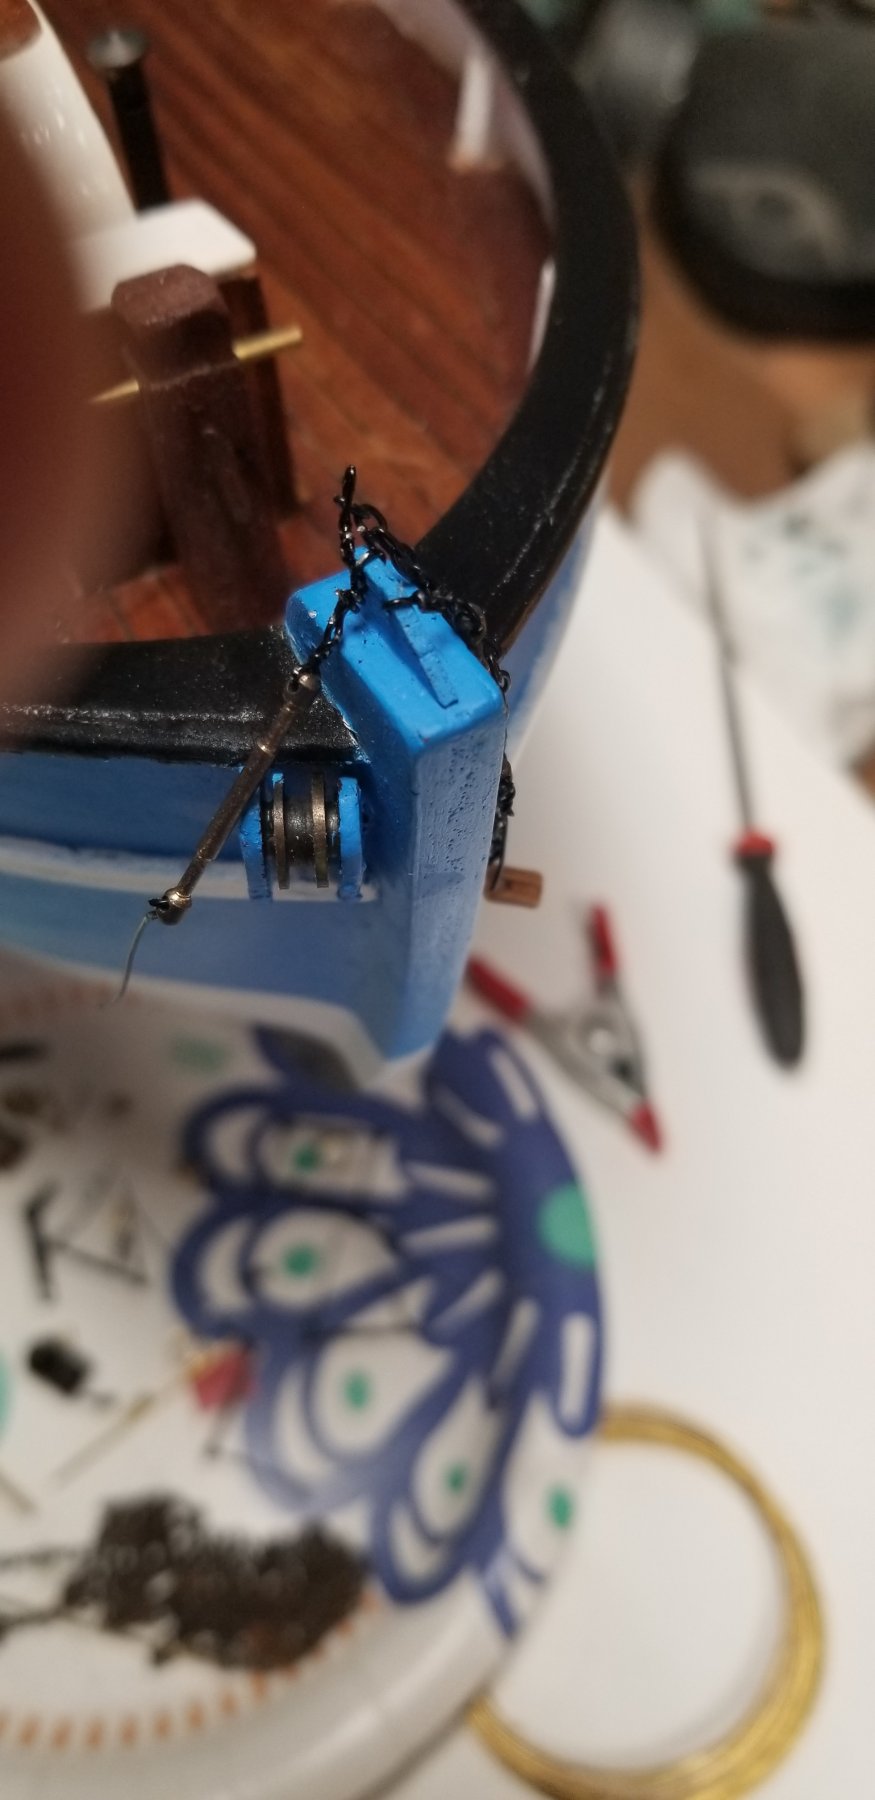
Last minute enhancement. Remove the plastic buoys from the ship. Cut off the fake roping and redid with real rope.
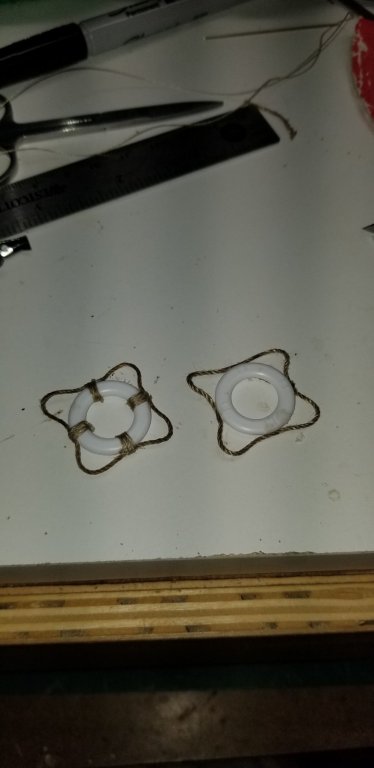
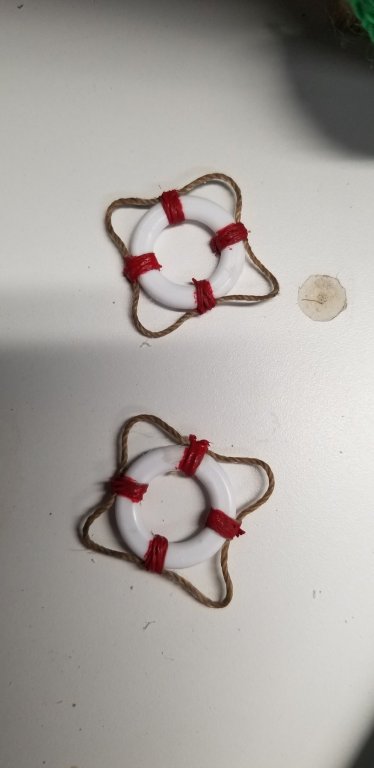
Mounted back on the ship
-
-
On 6/13/2018 at 3:39 AM, popeye the sailor said:
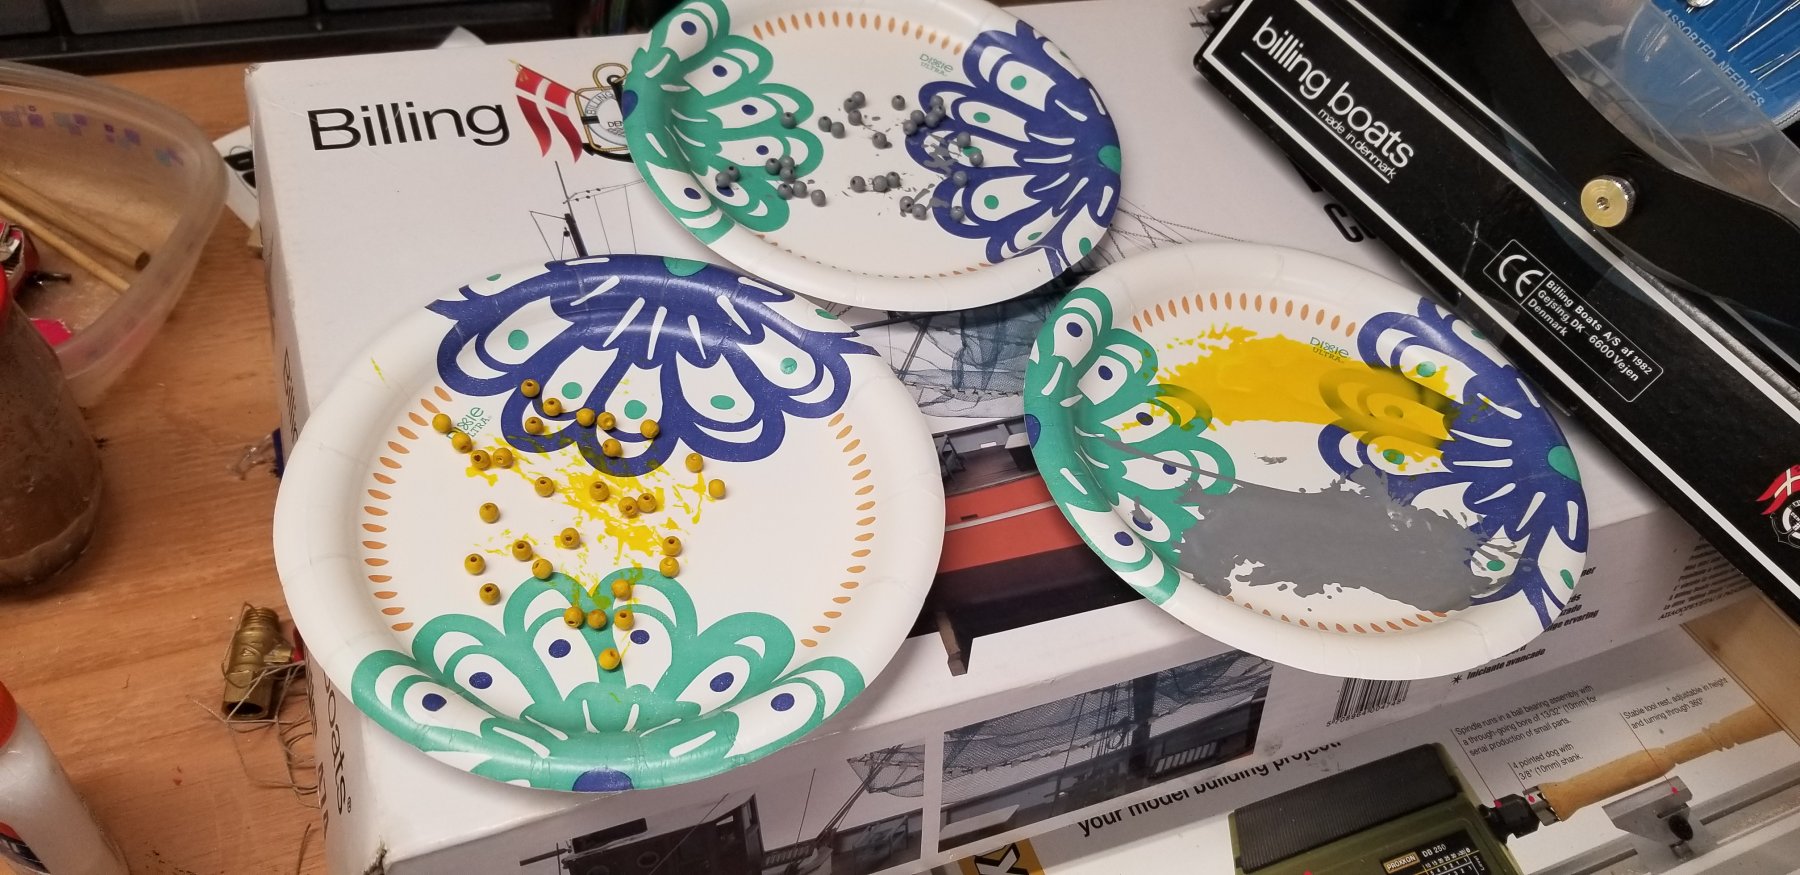
yea....I kept comparing the nets to the rigs, just to make sure they were wide enough. for the beads, I strung them on some thread and air brushed them. if that's the kit box under the plates, what is that box off to the side? did you get a fitting kit? good for you!!!! more parts the merrier!
")
This is just some replacement parts since some were missing from the kit when I received it.
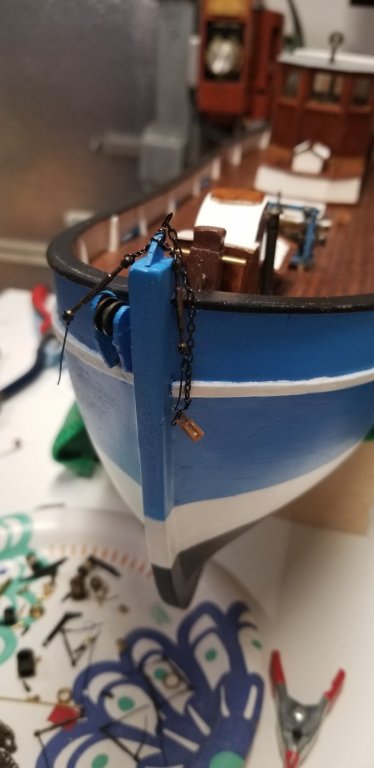
Do you have any suggestions on how and where to rig the anchor?
-
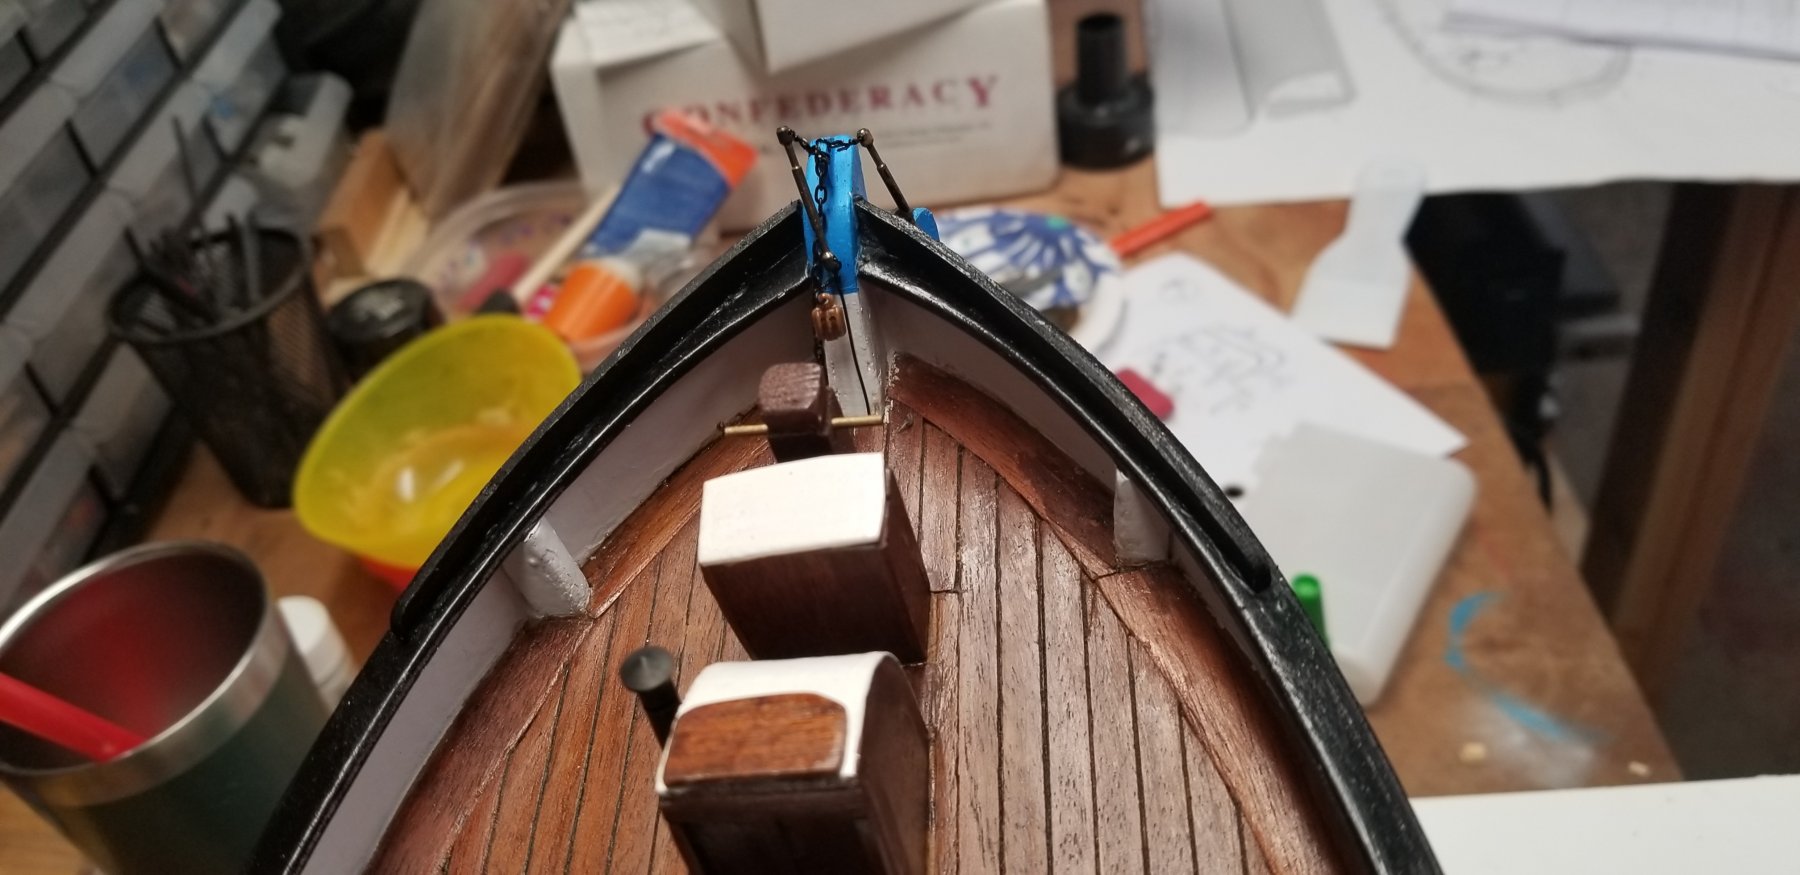
Time to attach the buoy line.


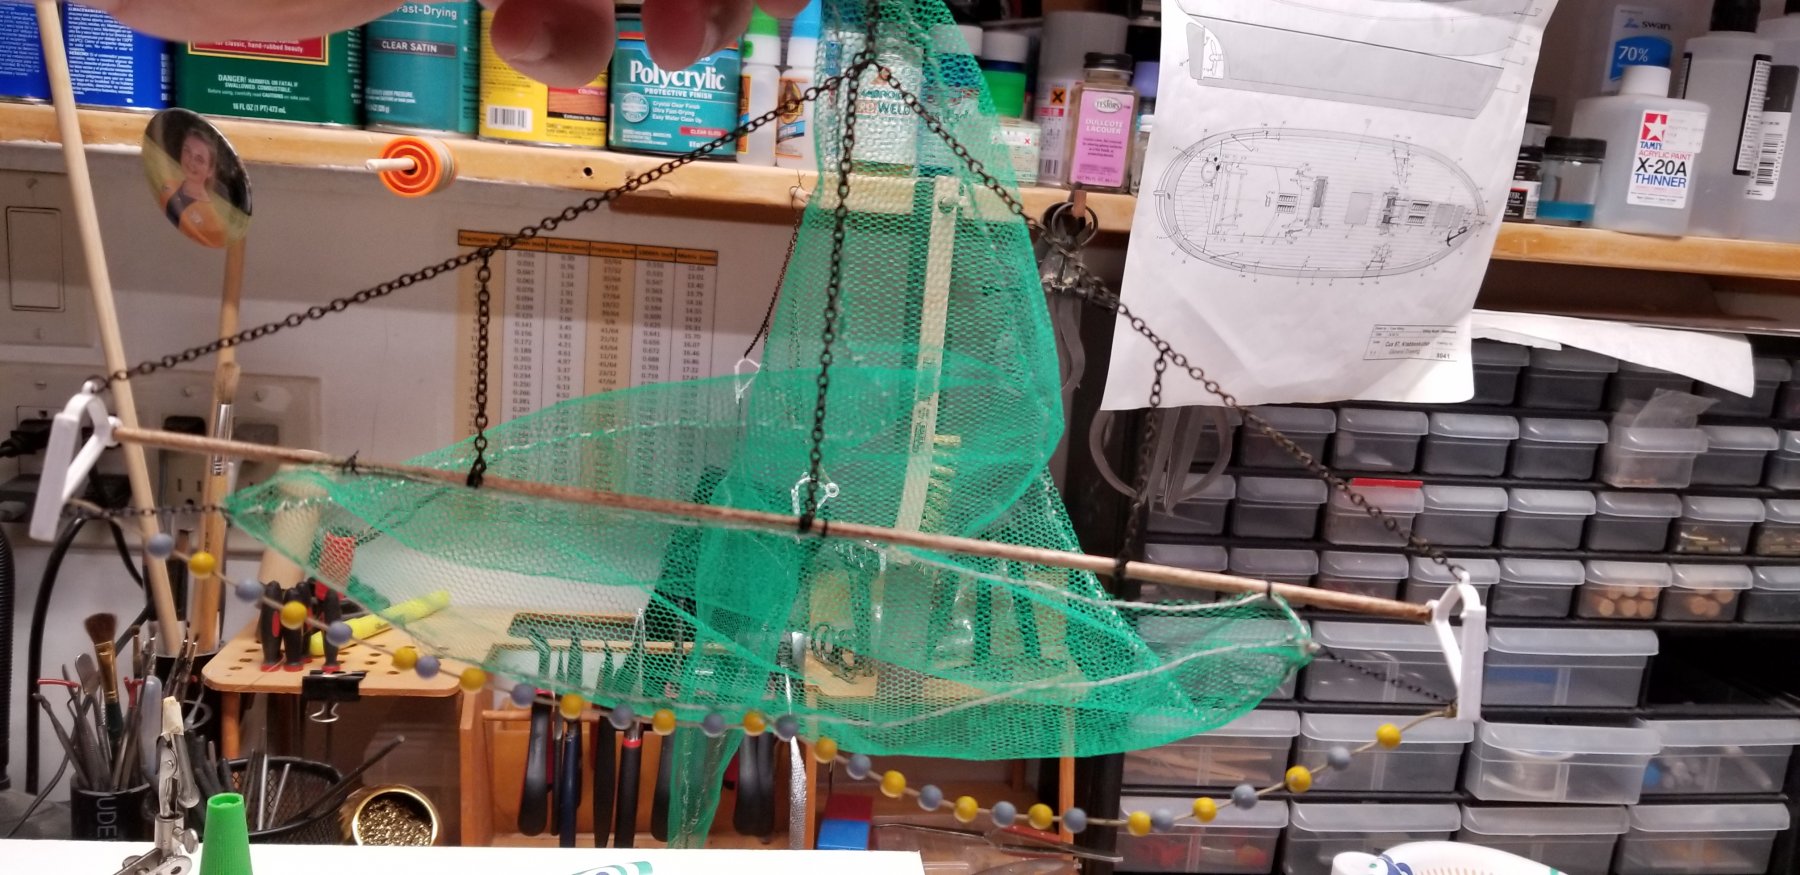
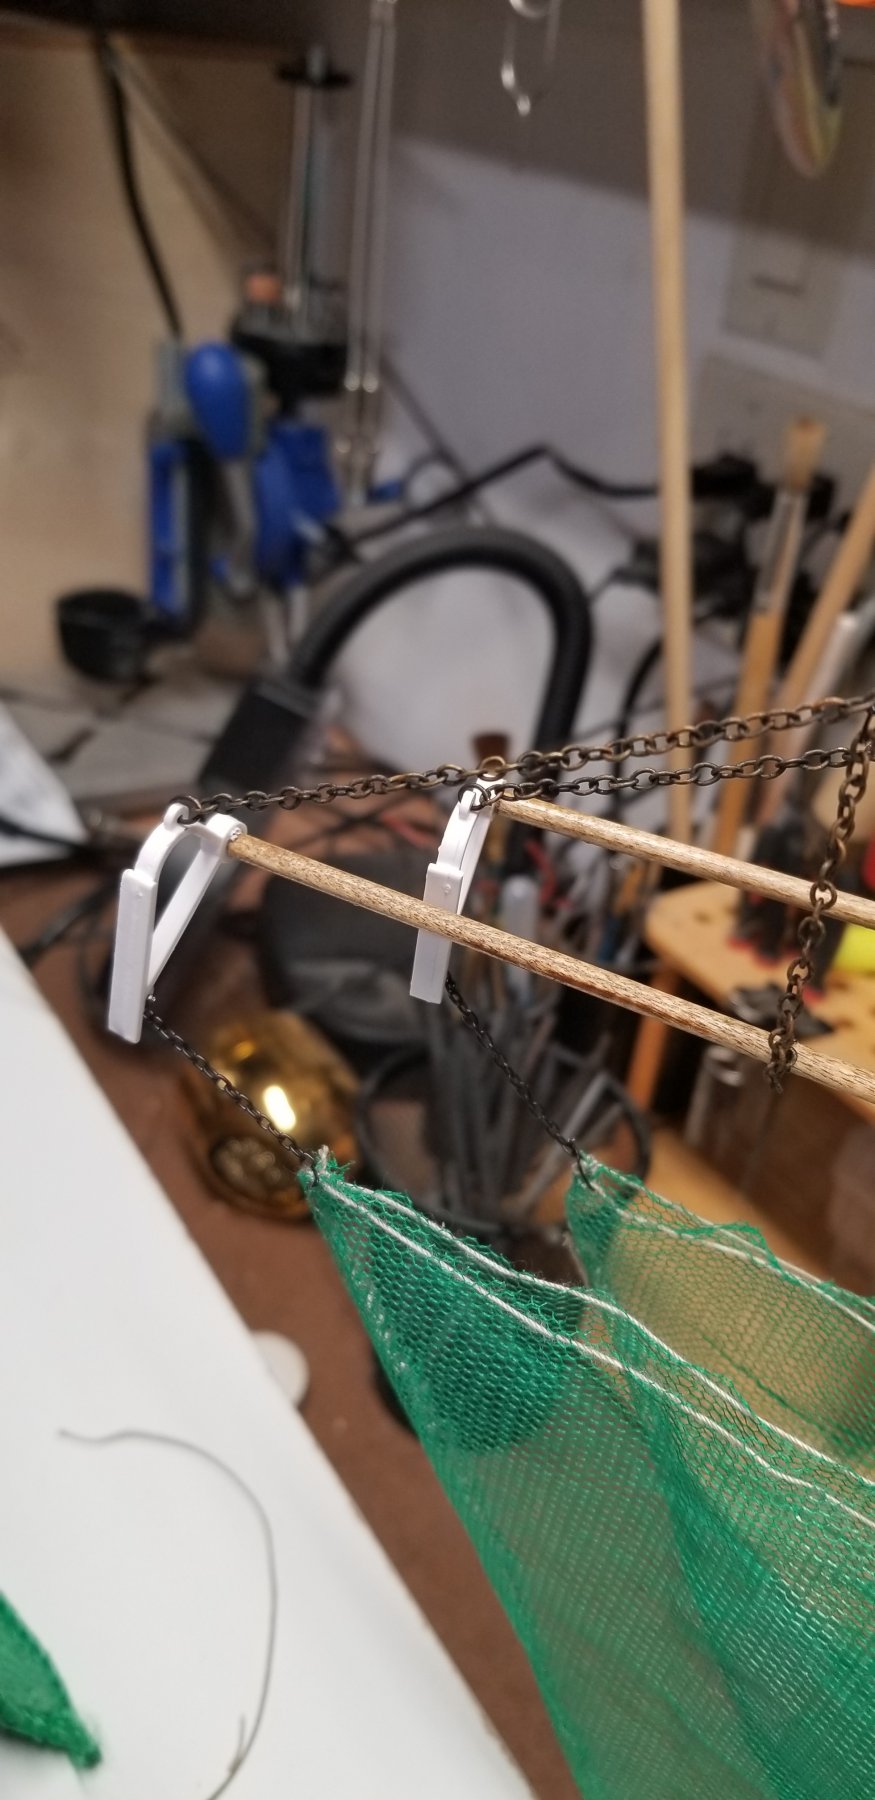
As I was preparing the dry fitting of the nets to the ship. I discovered that I made a mistake. The poles hold the nets were poining forward instead of back. This was making the nets been off-centered. I had to remove them and rigging them again. Not too bad, just a bit nerves racking.... 😥
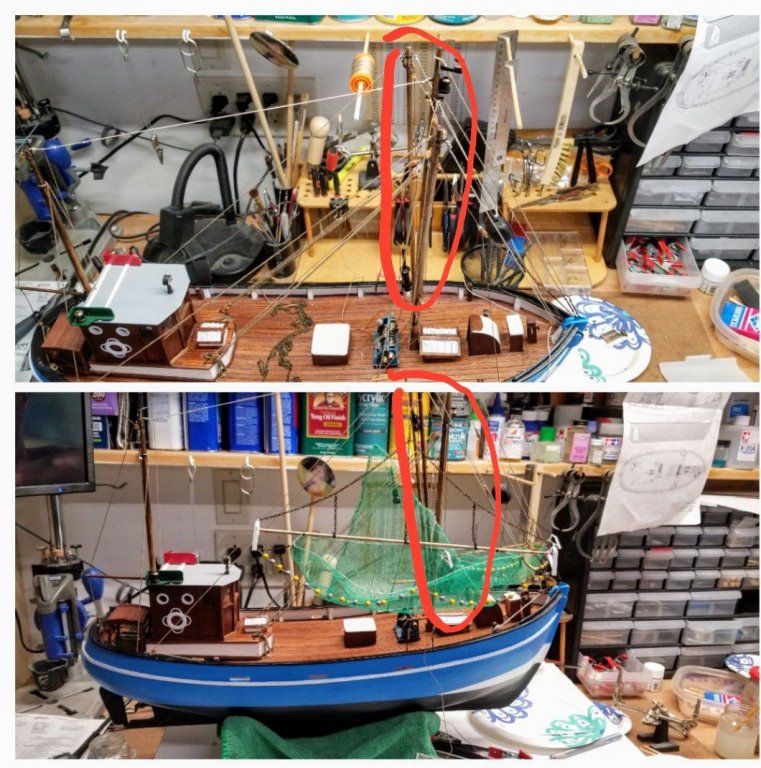
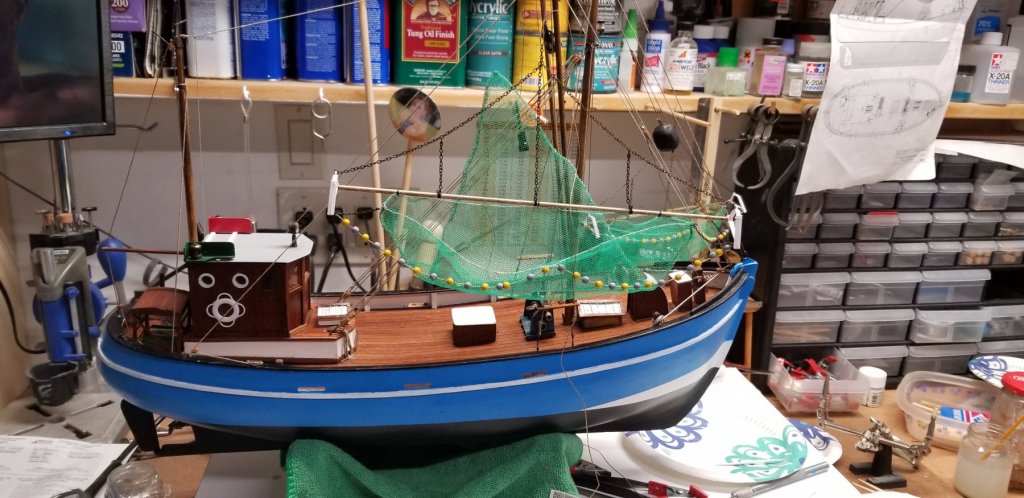
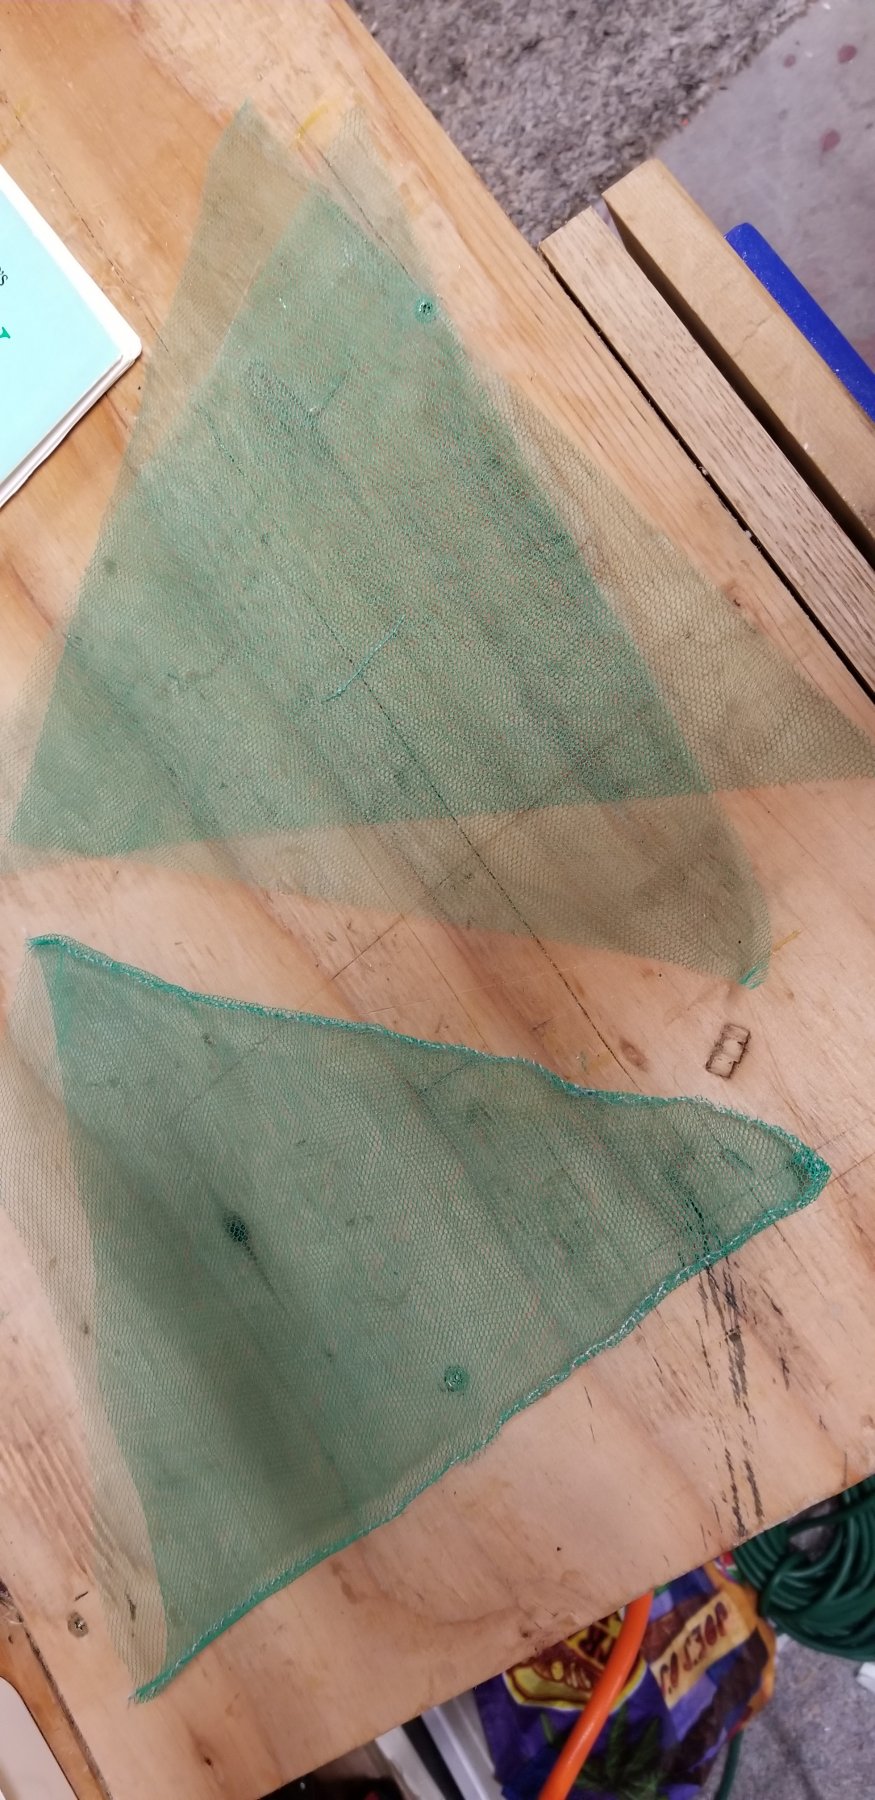
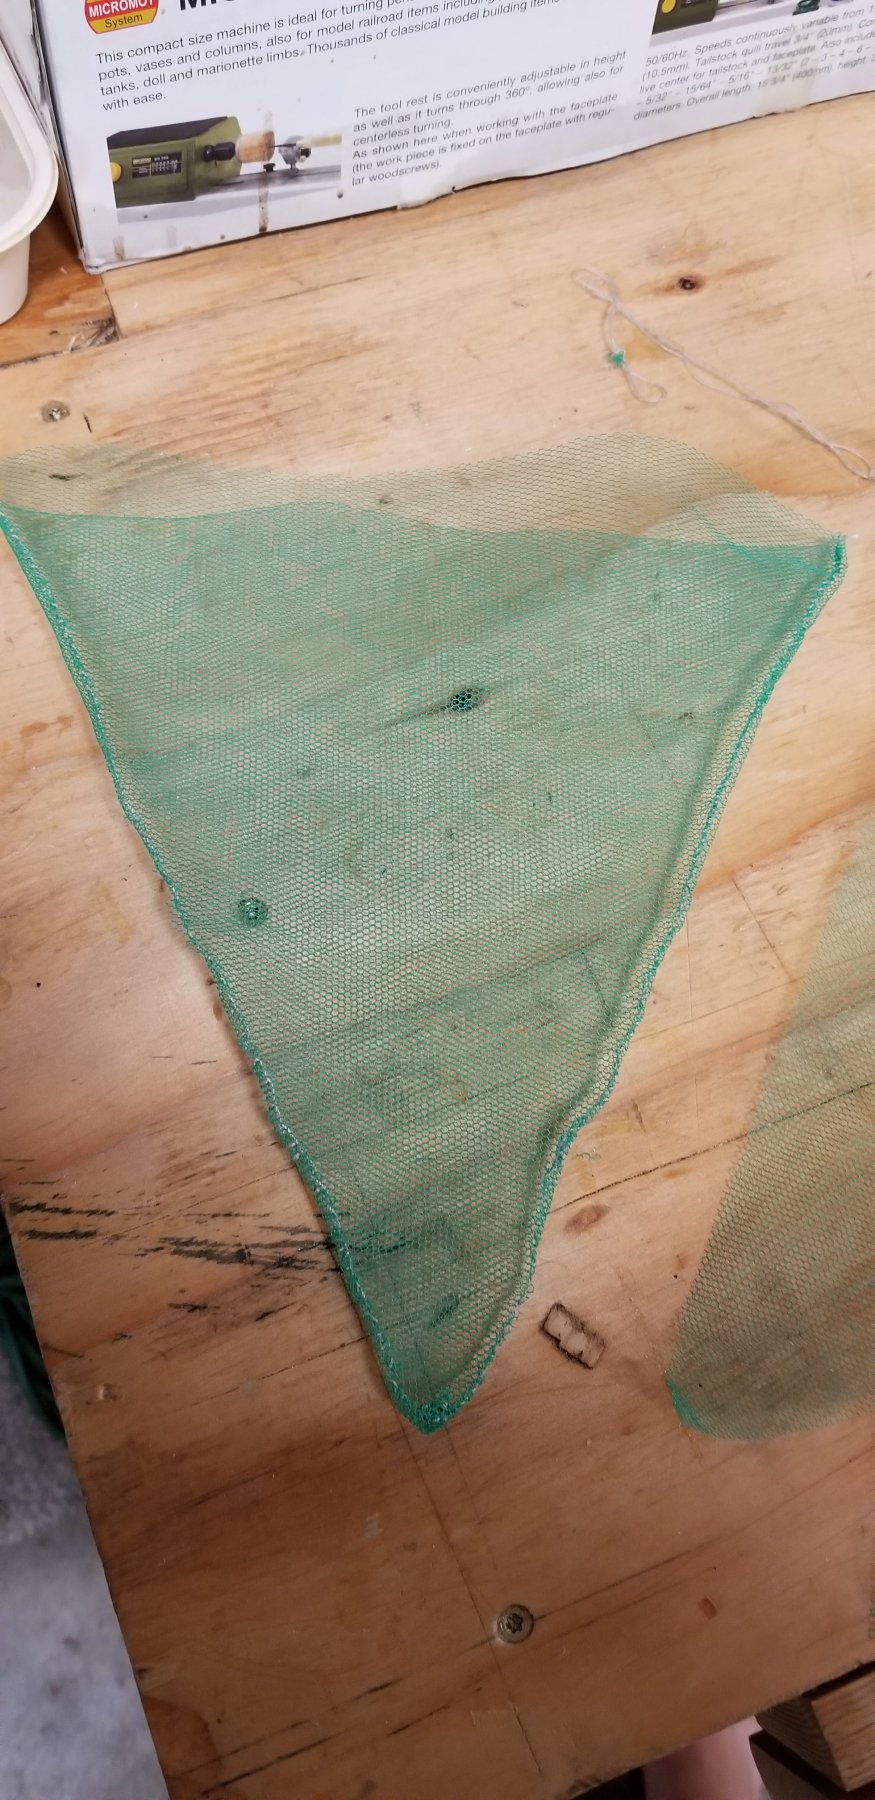
Here is an example of the dry fitted net. 😊

-
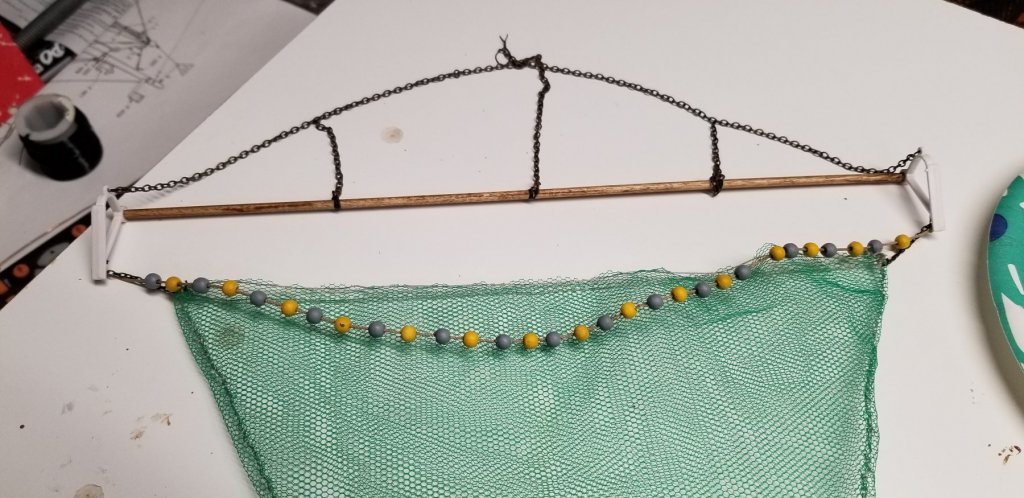
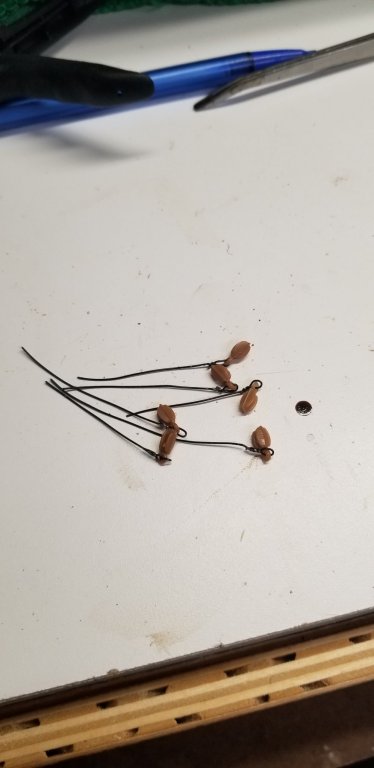
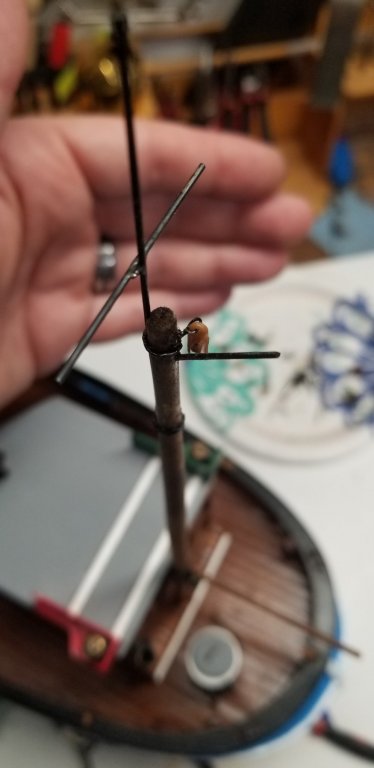
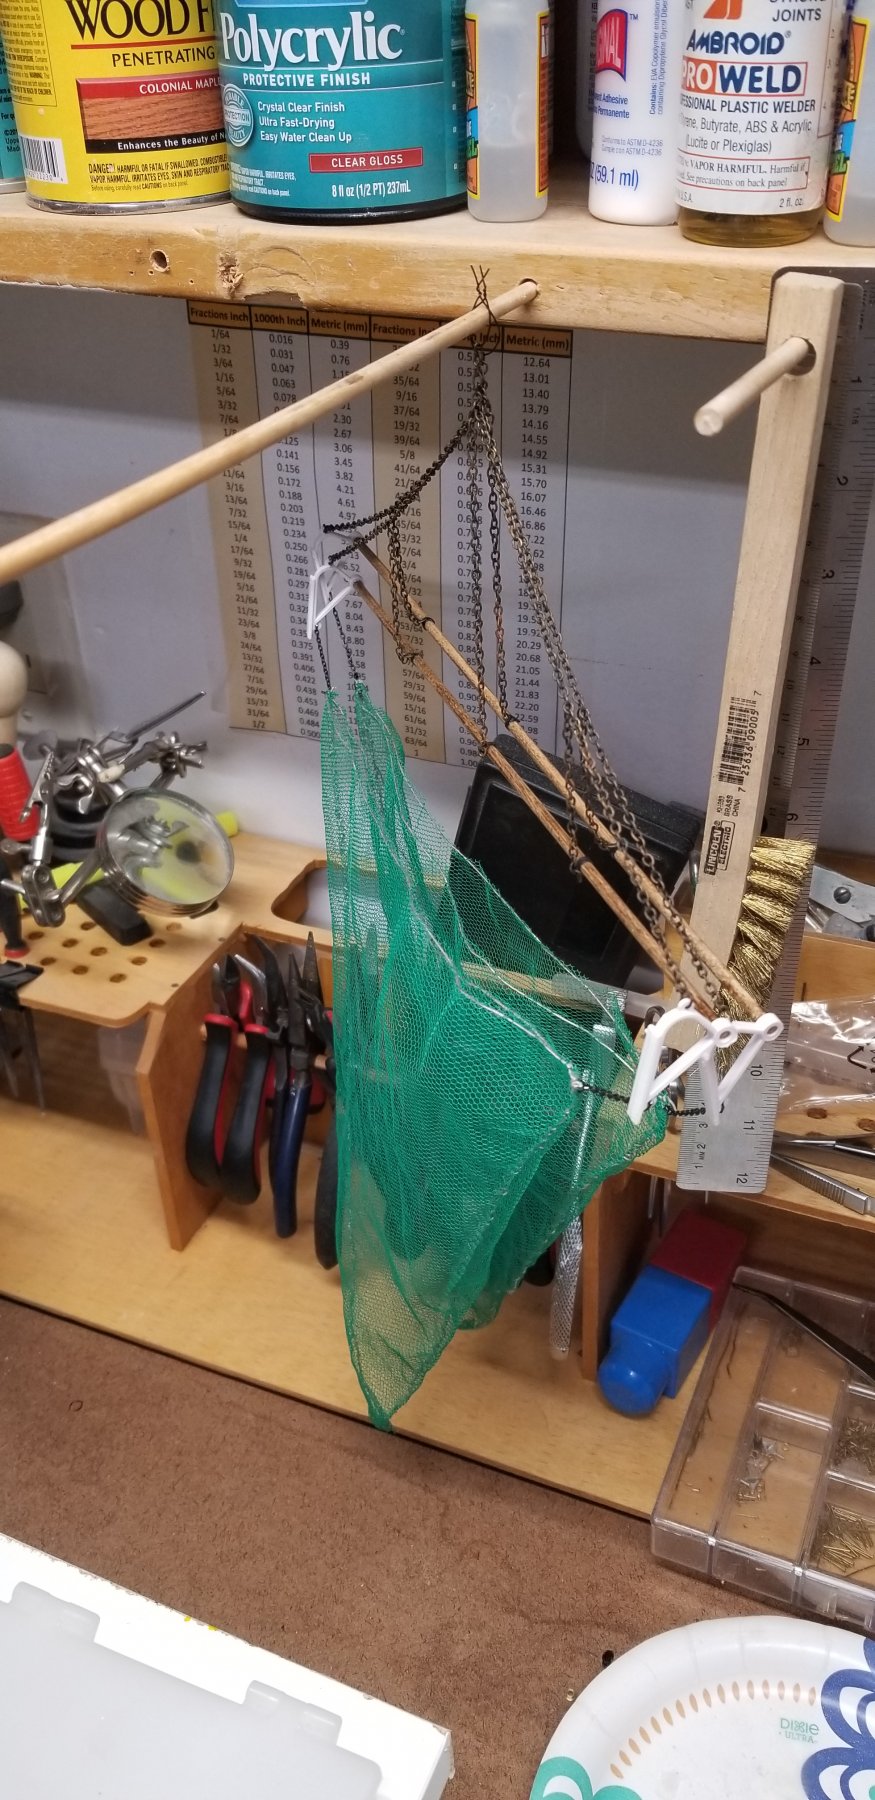
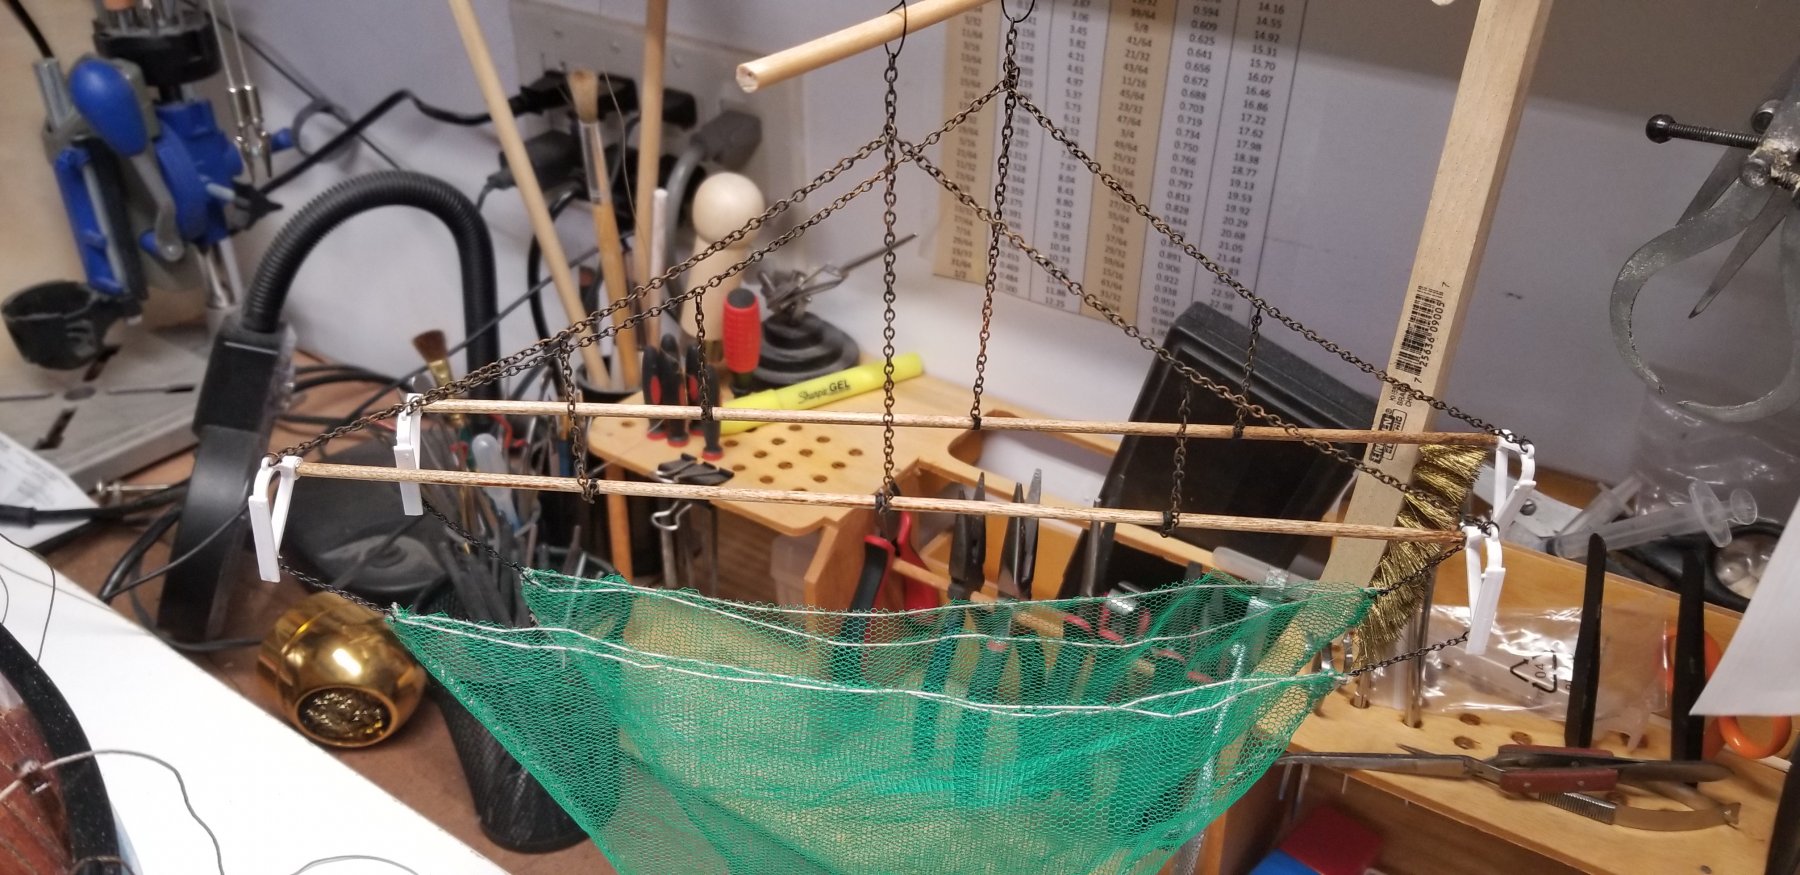
Continuation of the rigging for the nets.thenets were a little shorter than the holder y about 2.5cm so I used chains to attach them.


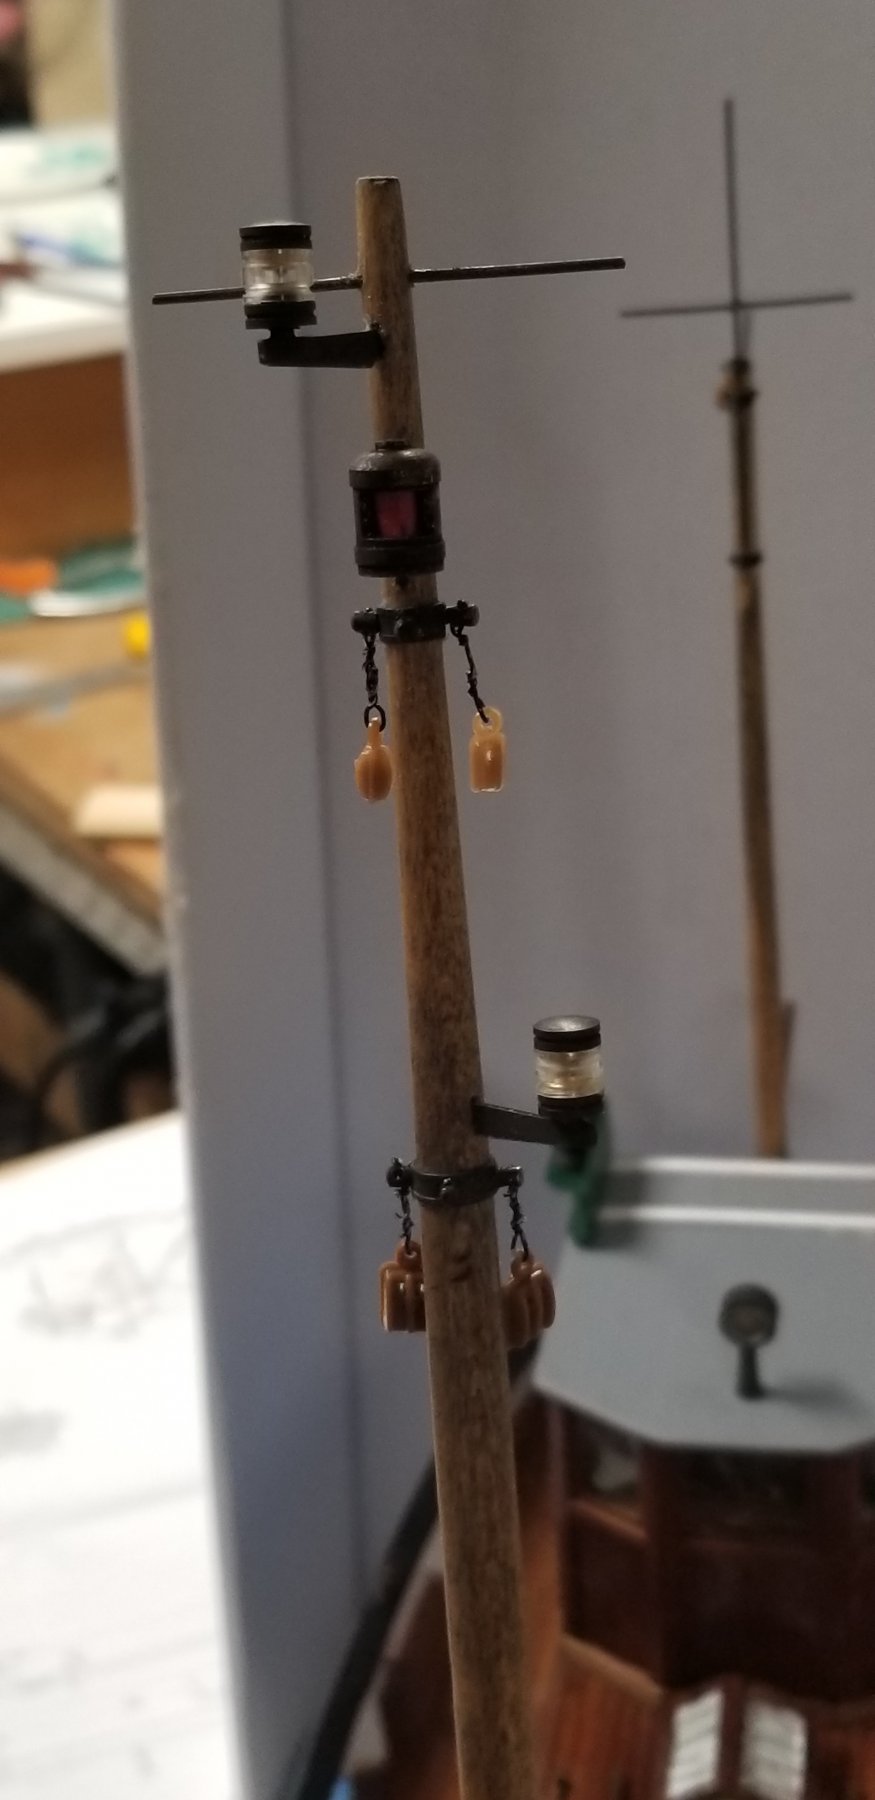
I painted the buoys for the nets

-
-
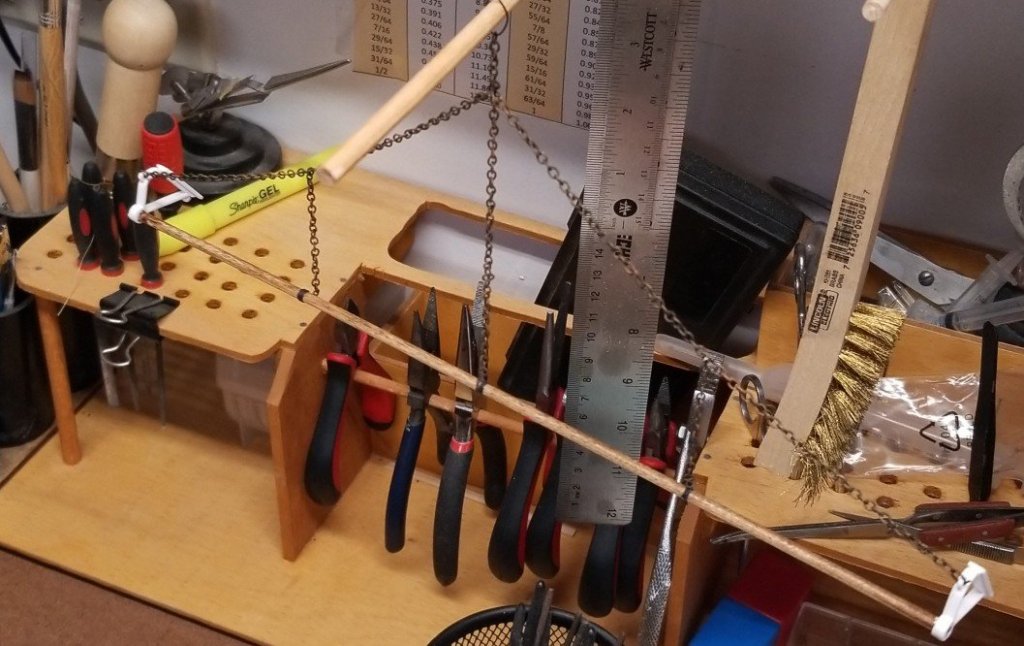
Working on the net holders.

-
-
Good idea. I will look into this evening. I saw this on your build and I think it is an easy change to make.
-
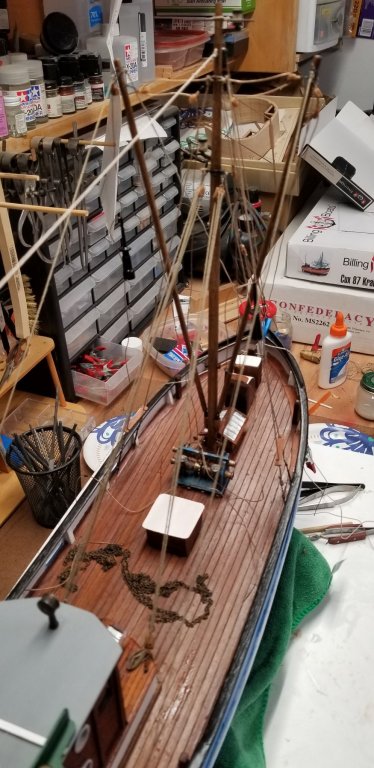
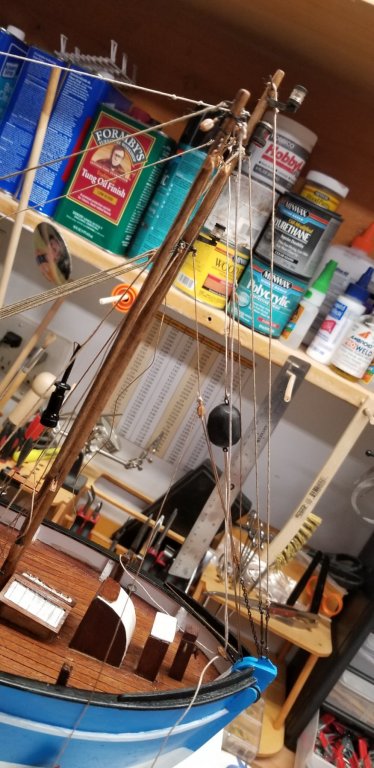
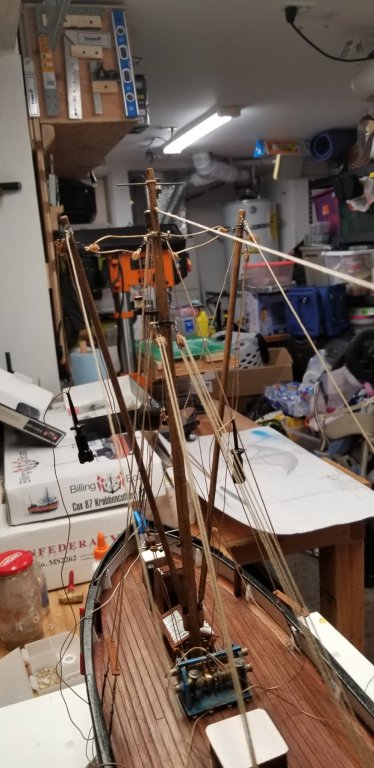
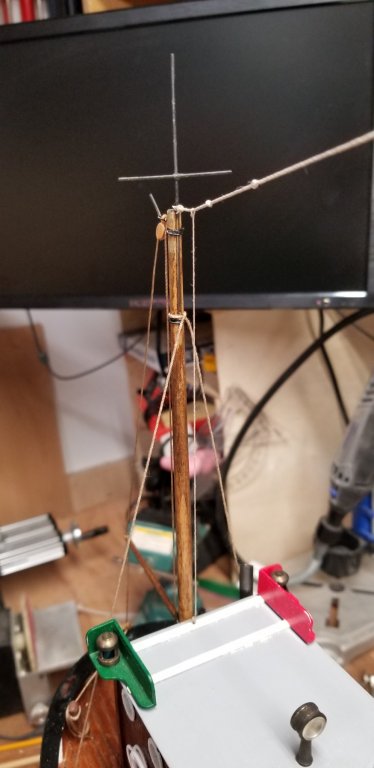
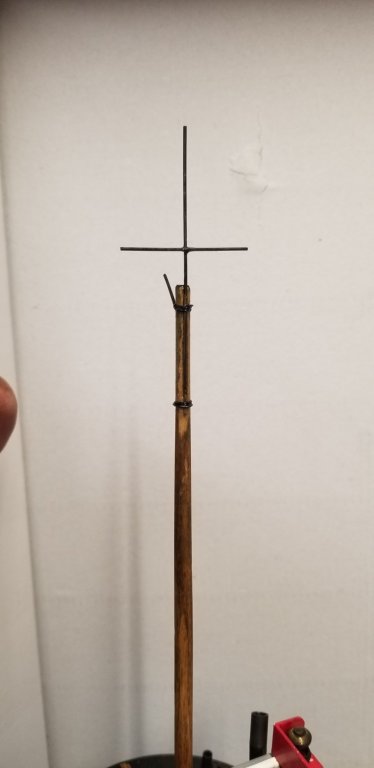
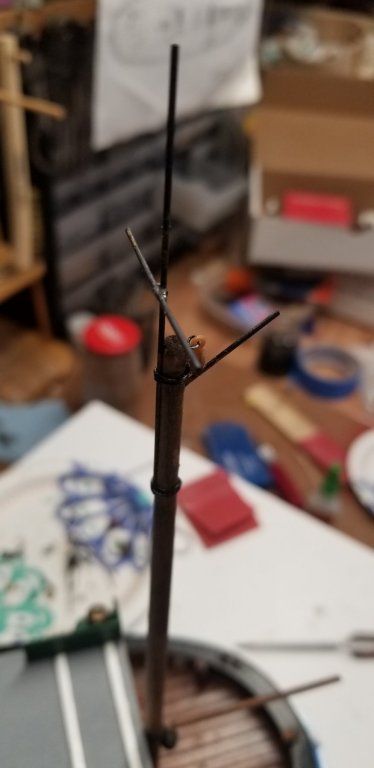
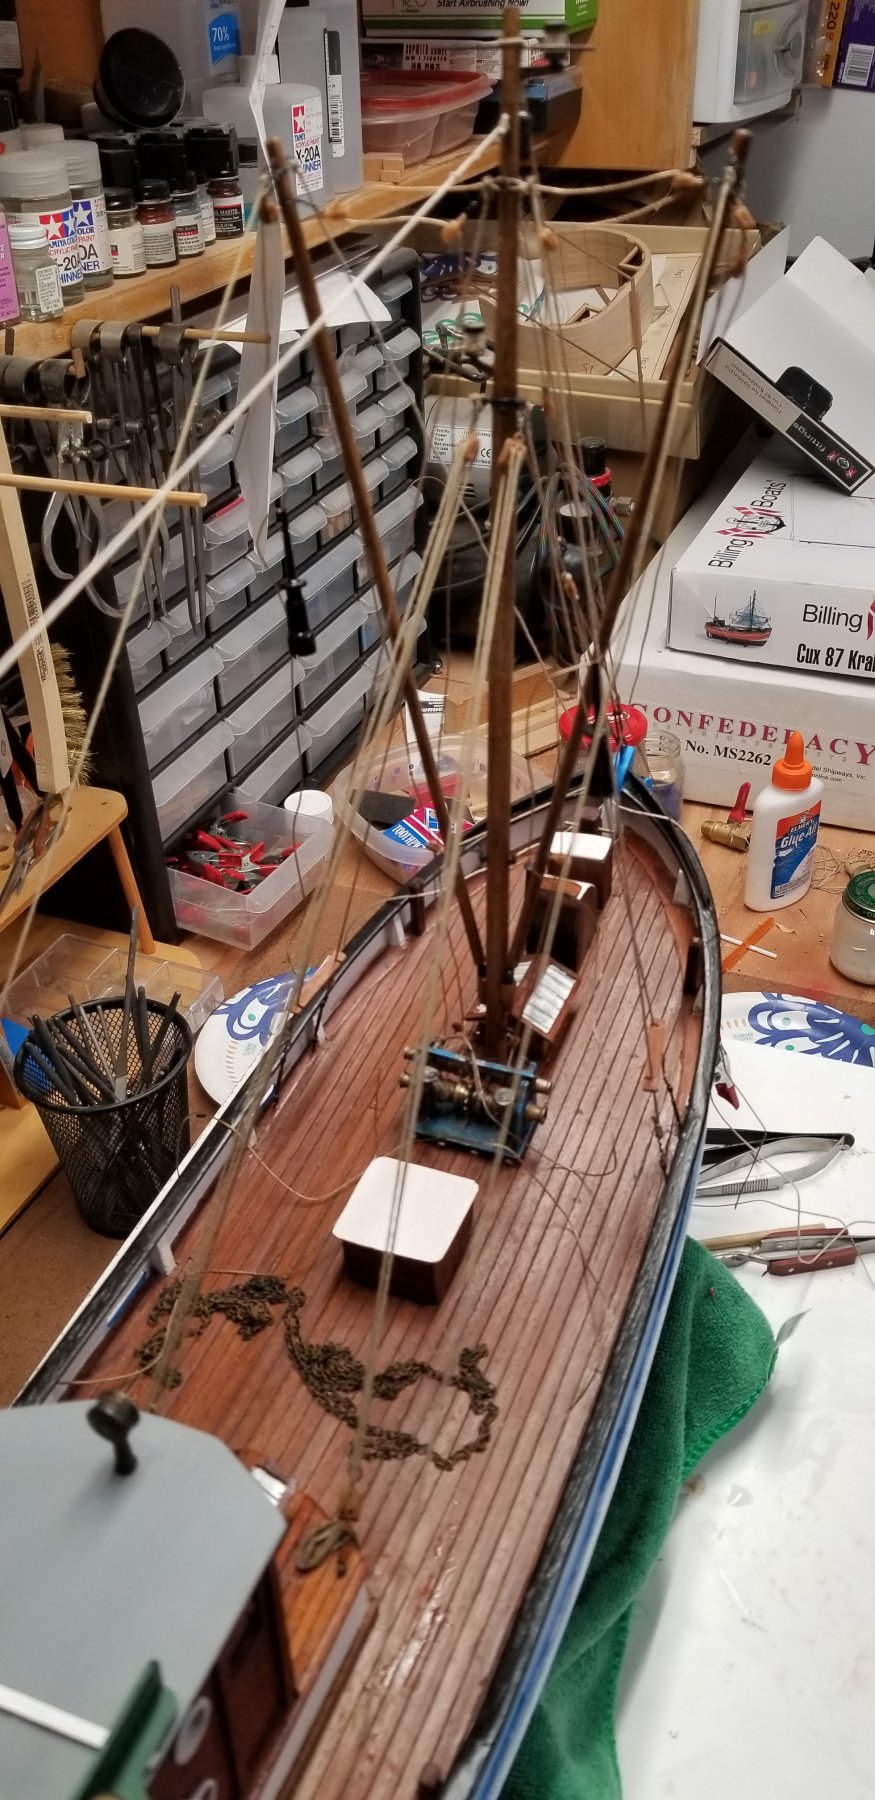
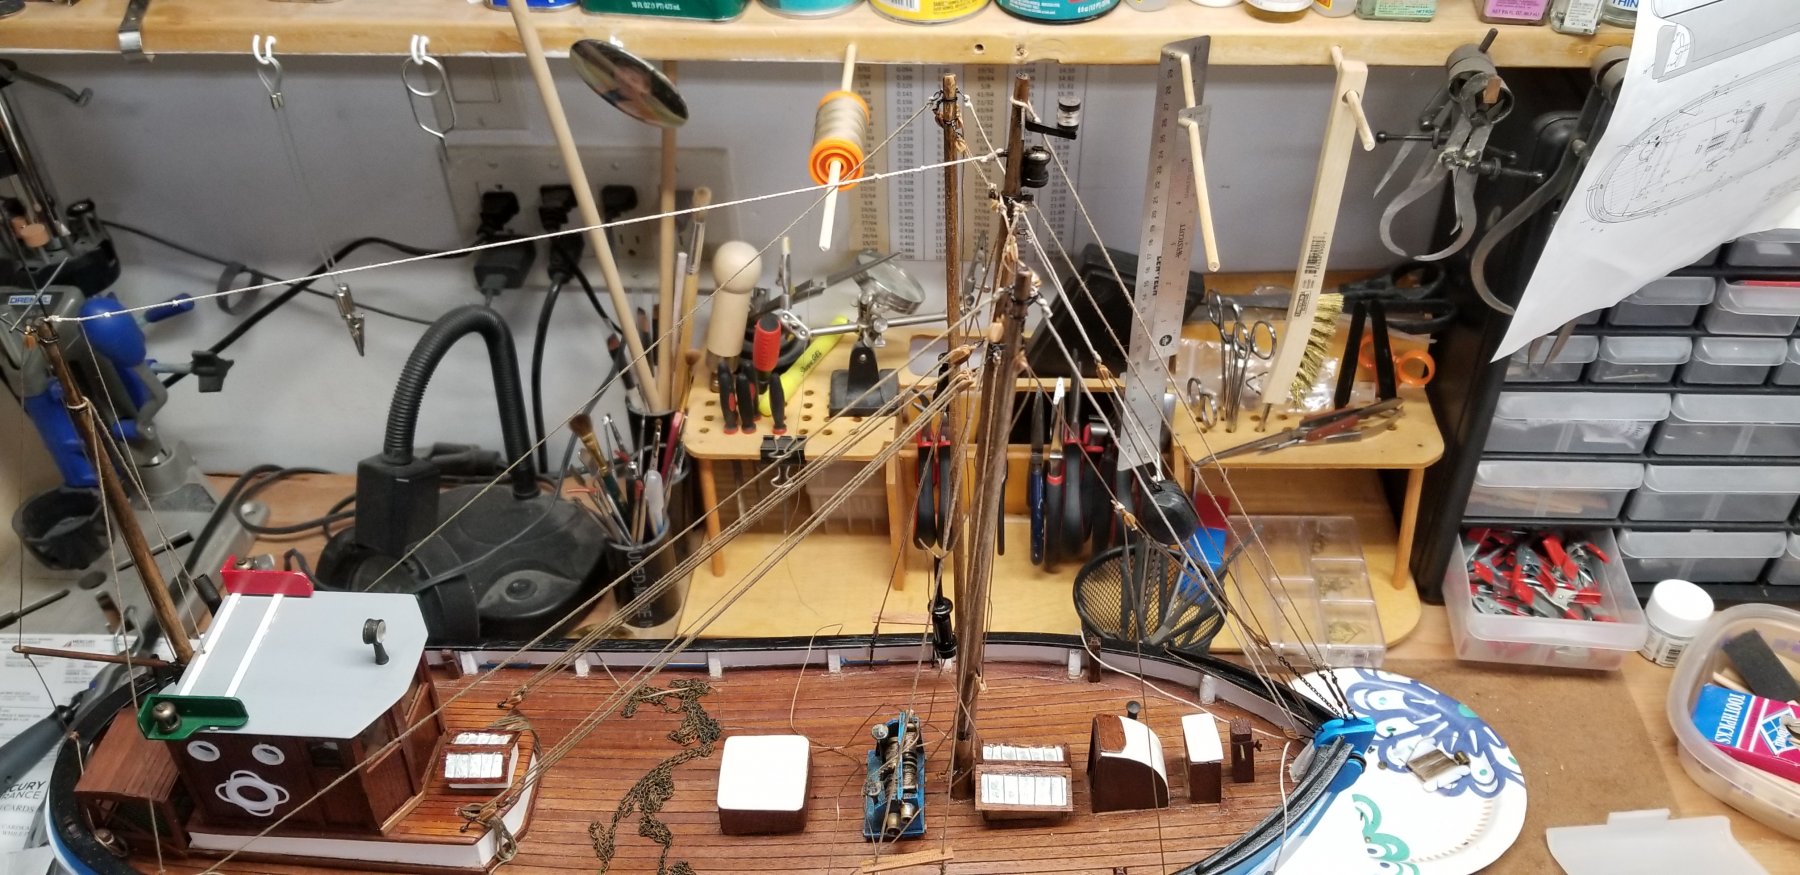
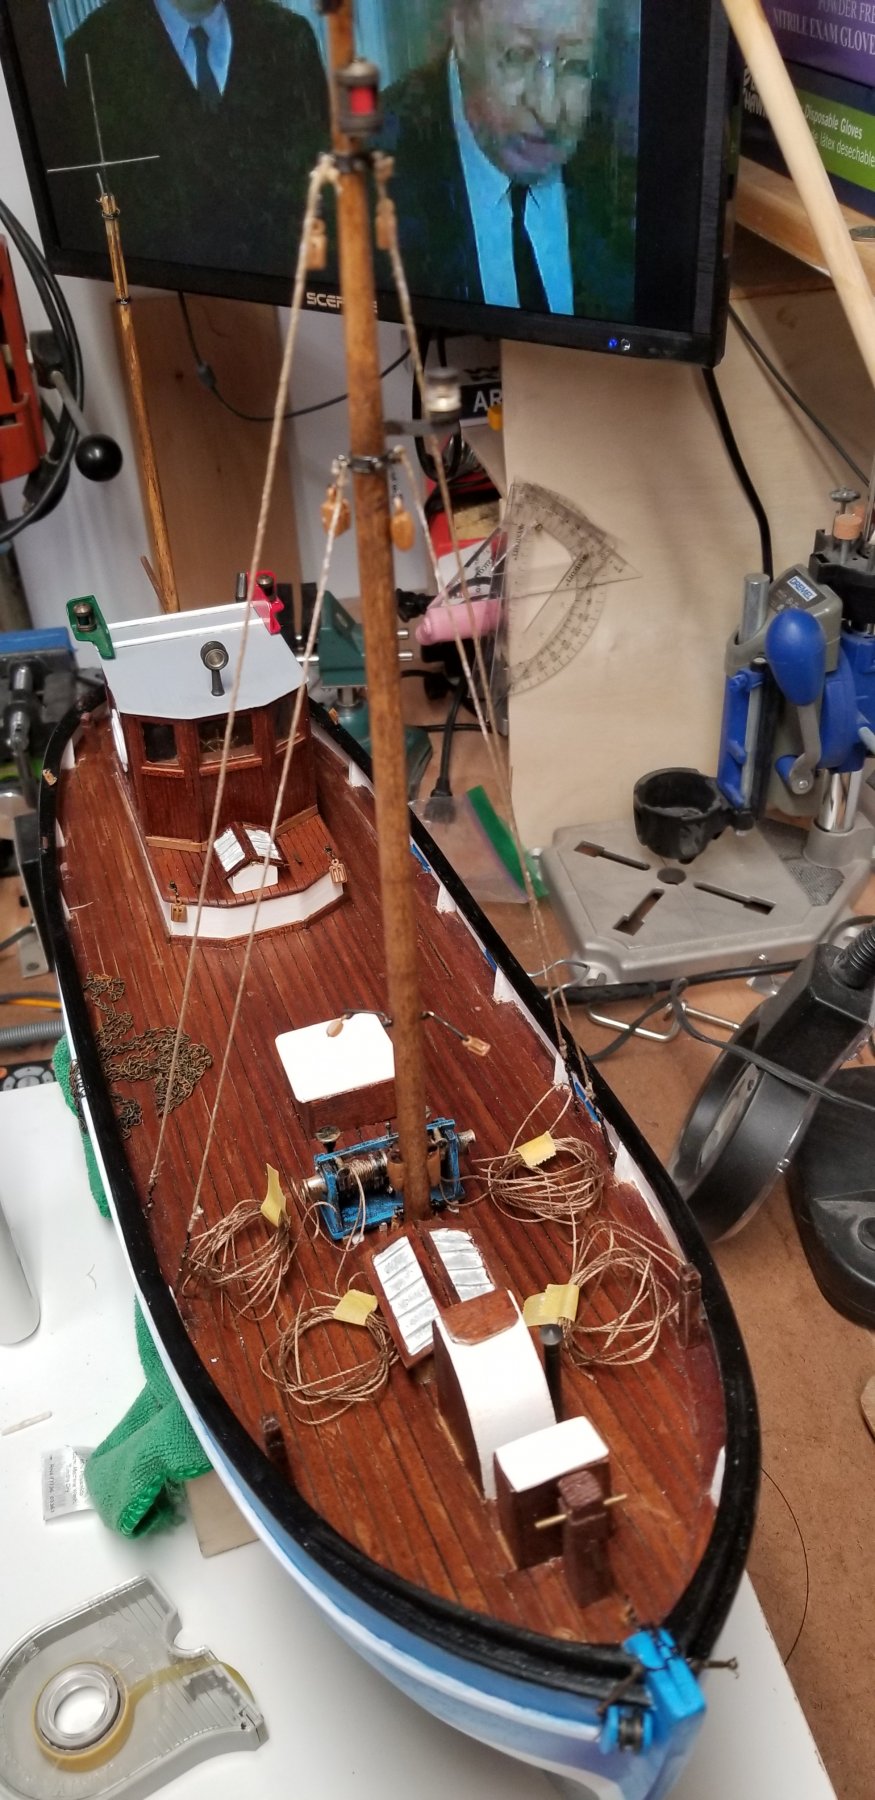
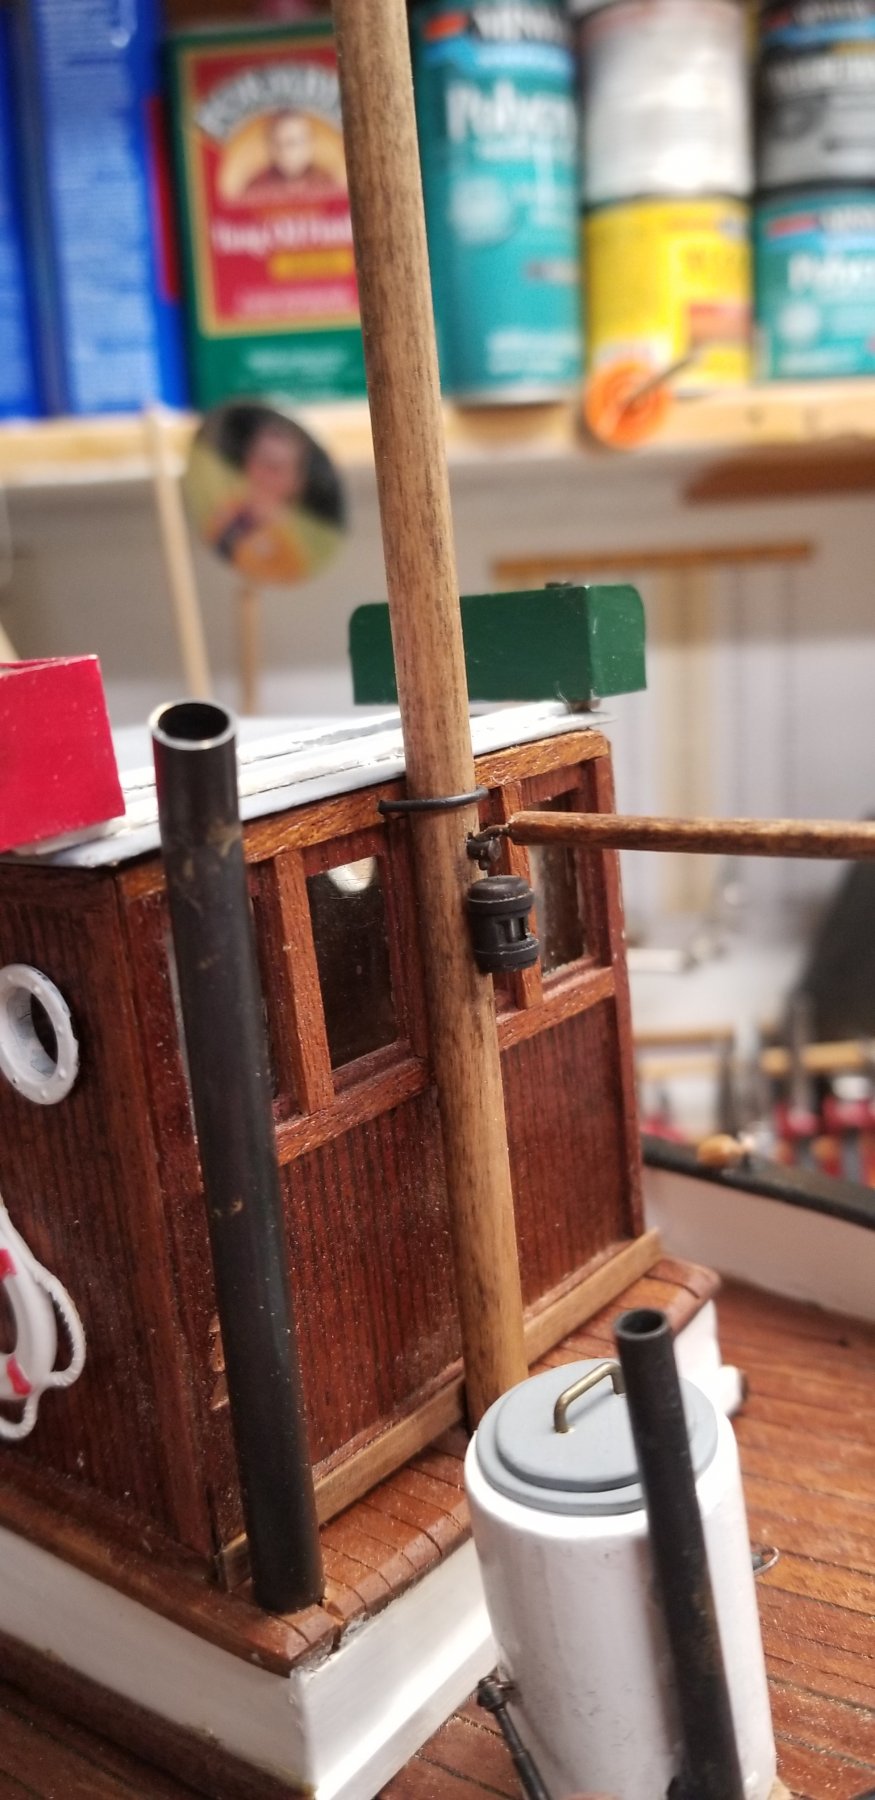
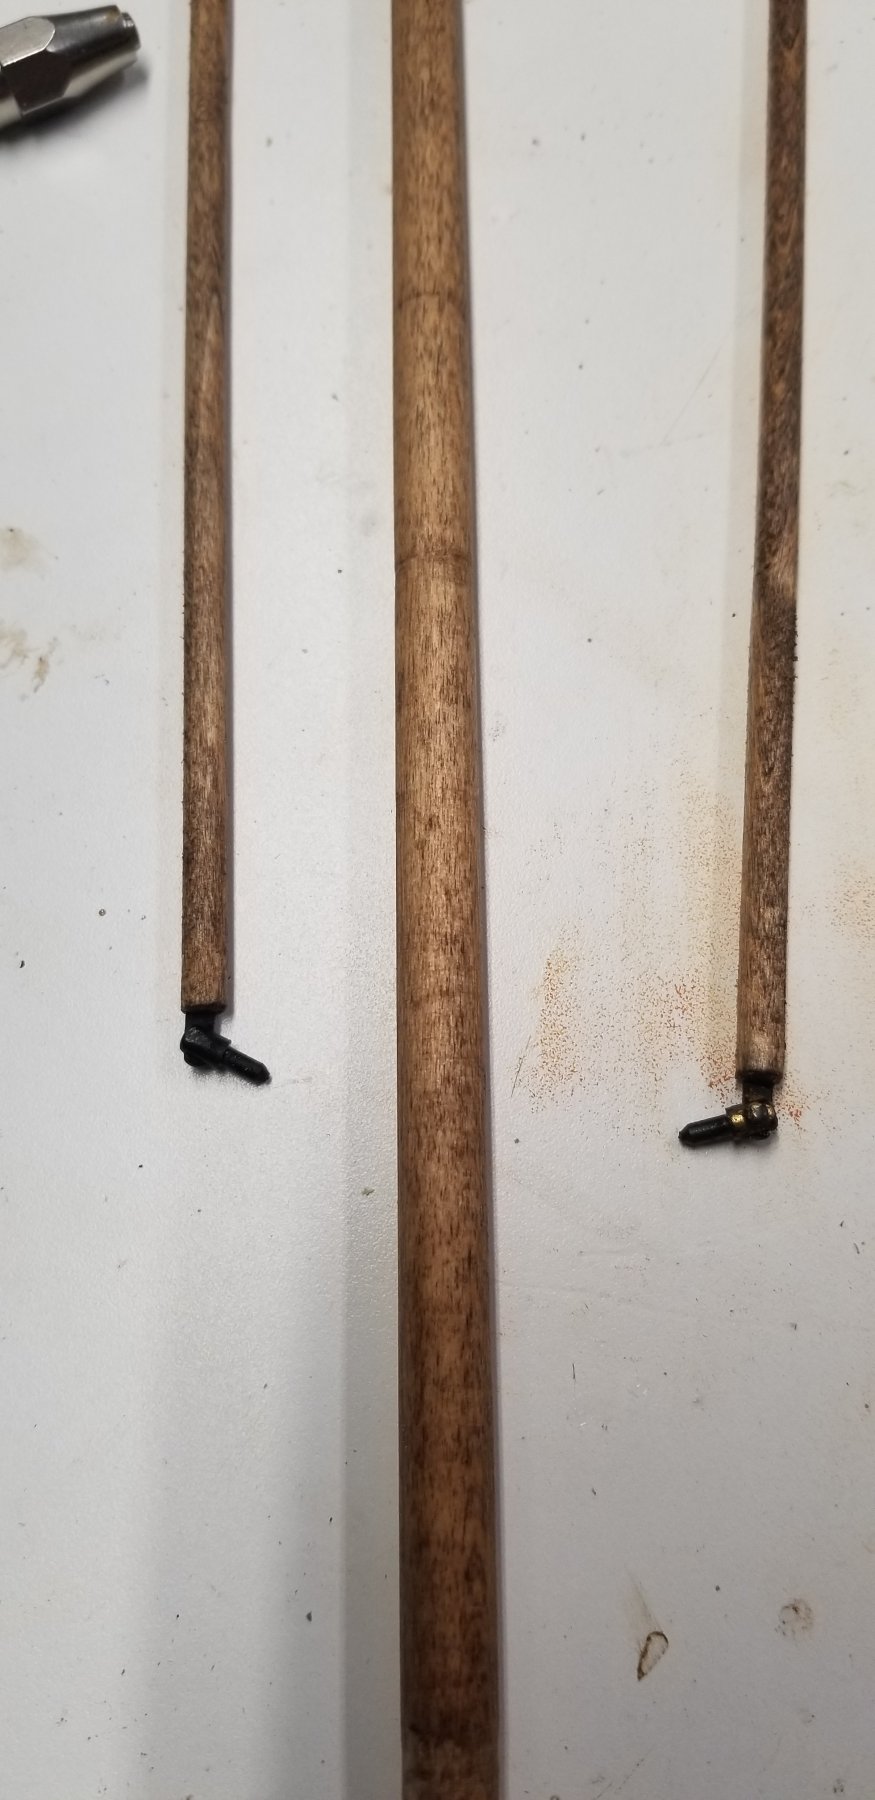
Continuation of the rigging for the main mast...

-
Rigging continues...
Main Aft mast
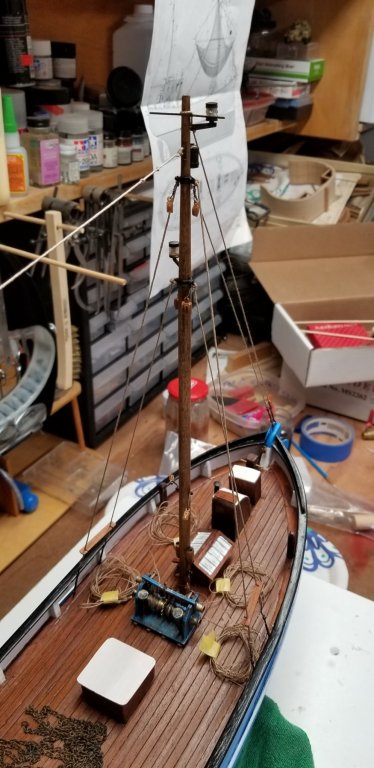
Mizzen mast

- popeye the sailor, JpR62 and yvesvidal
-
 3
3
-
-
-
-
Thank you for sharing this. I am checked and saw a lot of intersting items. Once I am done with this kit, I will have the equivalent of 3/4 of the same kit left on the replacement sent by billing boat. So I'm planning of making one for myself in the next few years. Maybe at this point in time, I will purchase whatever upgrade of fittings I can find on the site.
-
-
Thank you Denis !
I do not have a lot of freedom to do changes without affecting the 'original' work. As I was evaluating what was already doneand how to proceed, I came to the same conclusion as you and the previous builder did. This was the best approach.
-
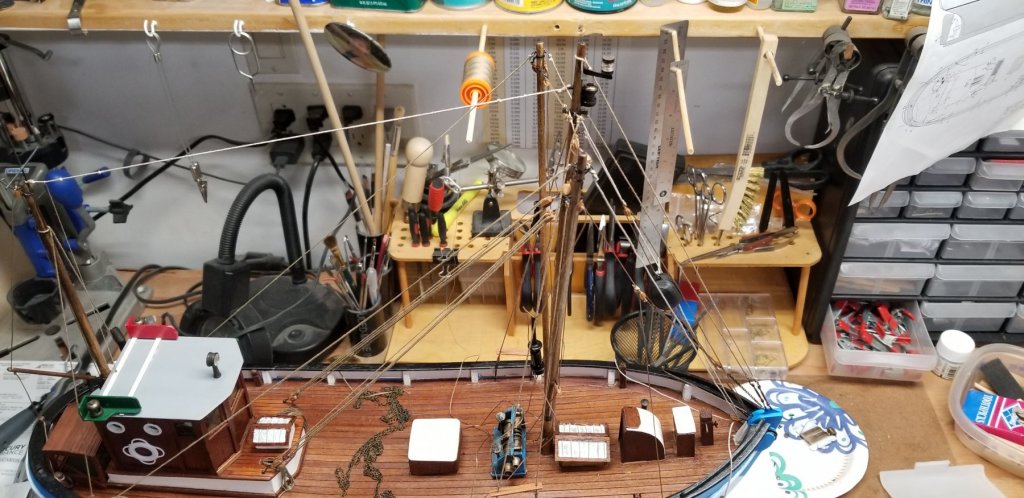
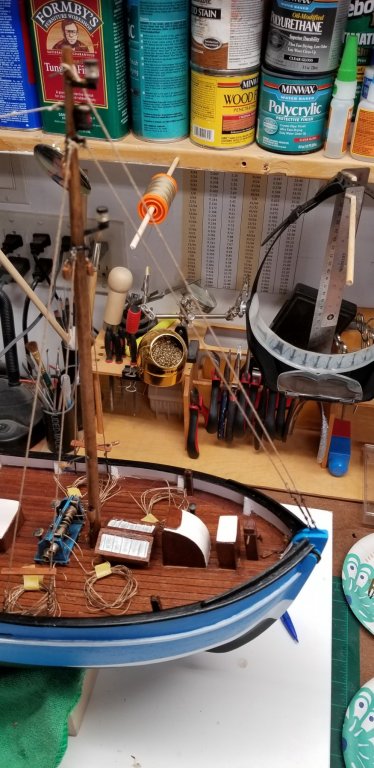
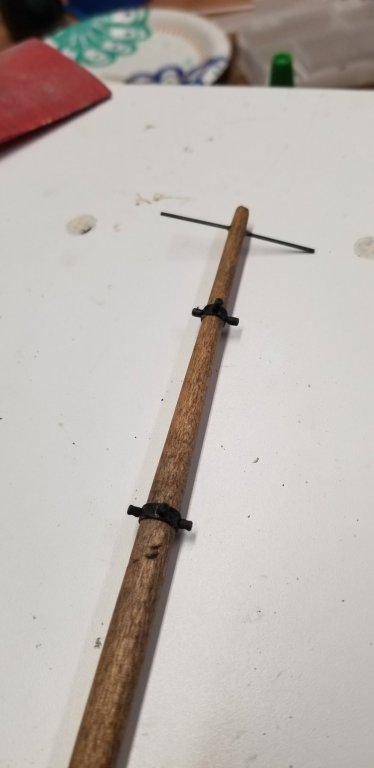
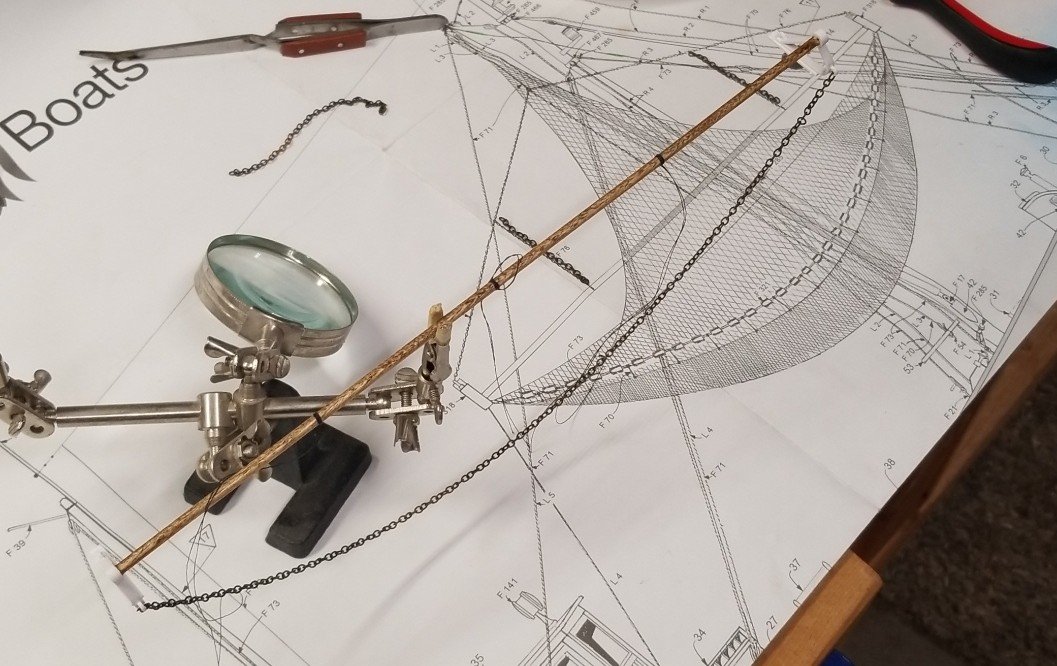
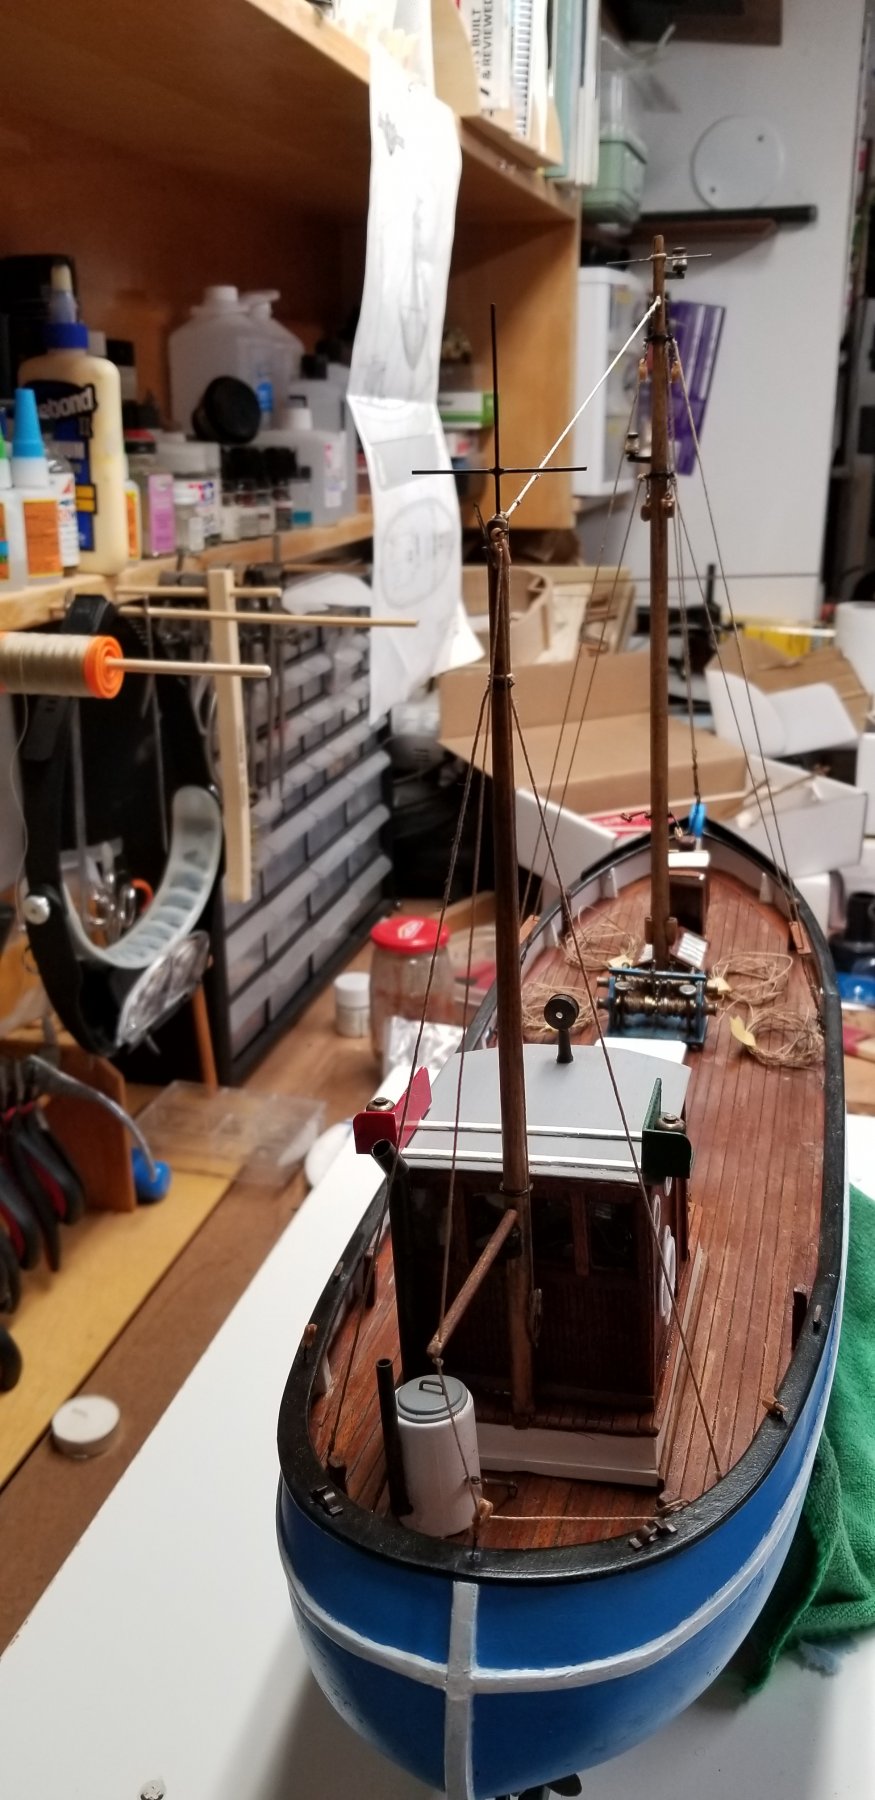
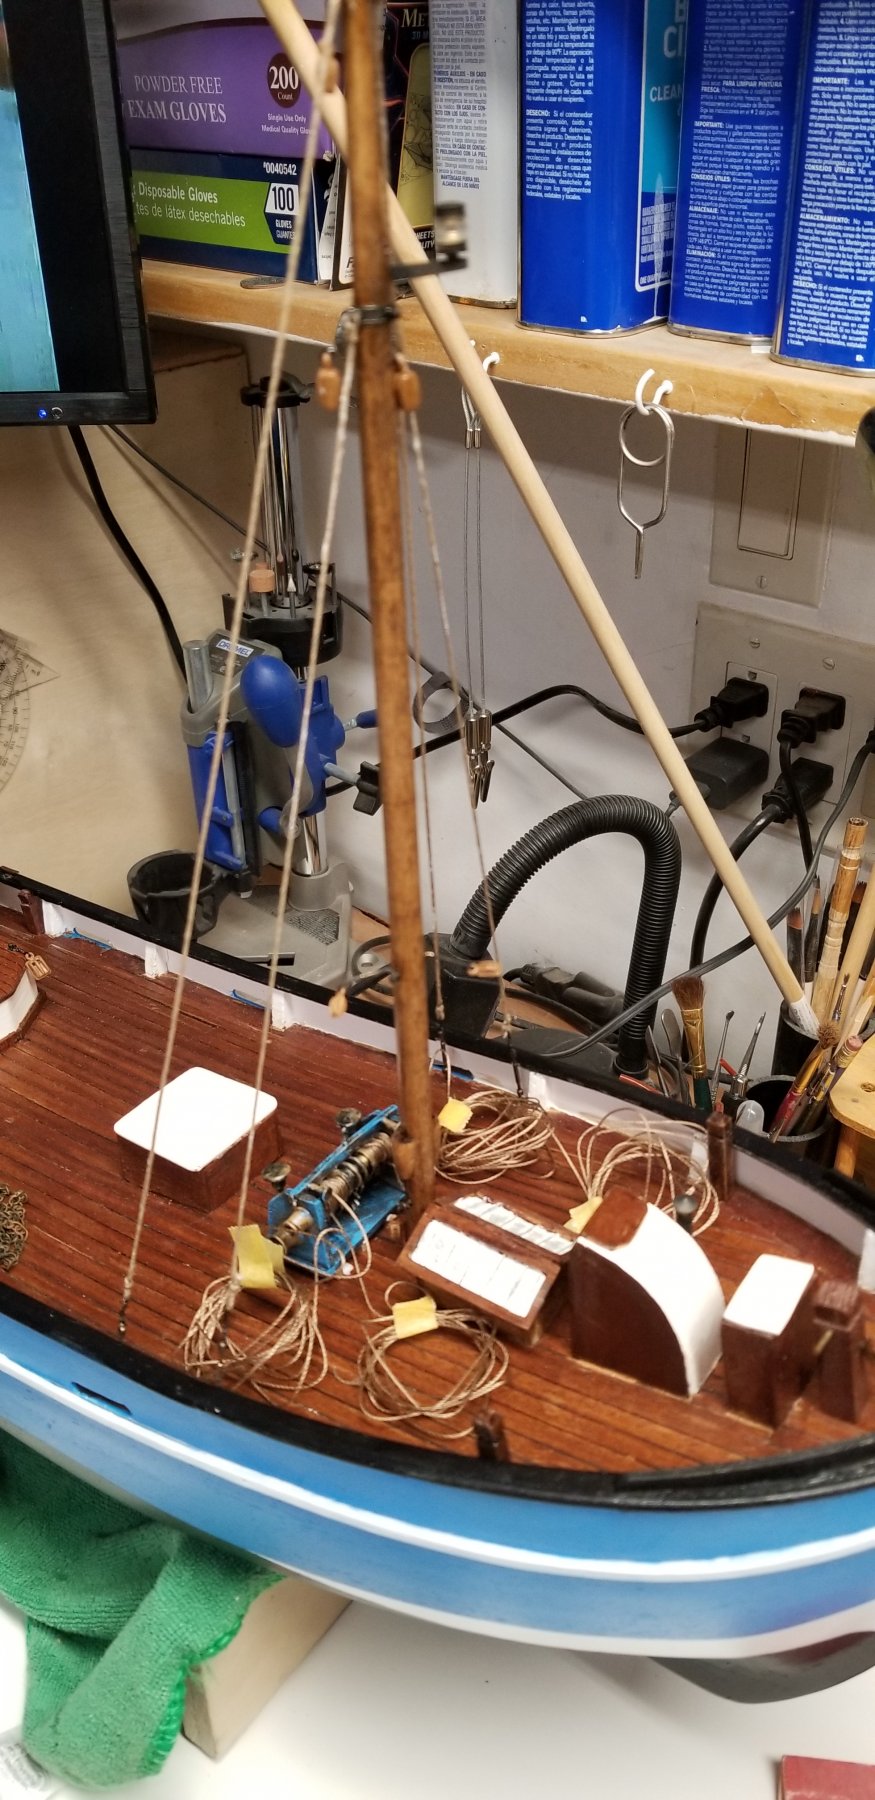
Update time. I am preparing for adding the masts and the rigging.


Worked on and completed the back mast with all its fittings. To shape the masts I used my wood lathe. Pretty straight forward. I then installed it.
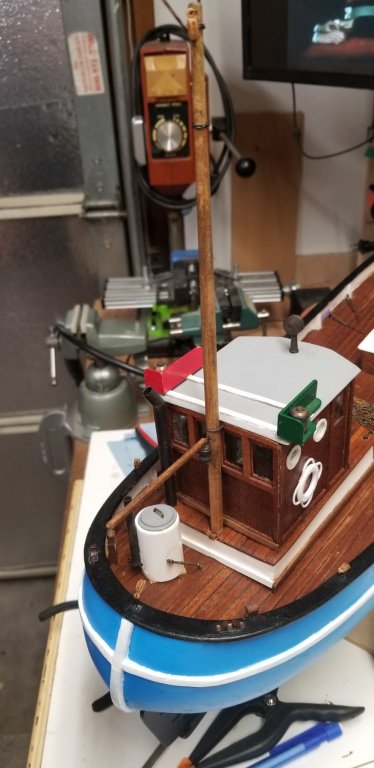

Now attention to the main Mast.
Here is where I am so far.


-
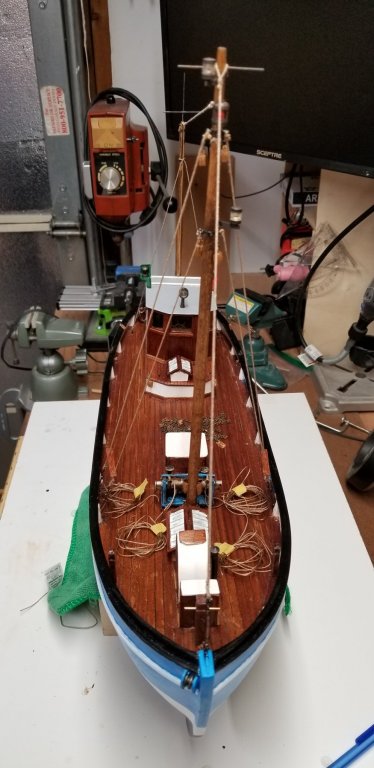
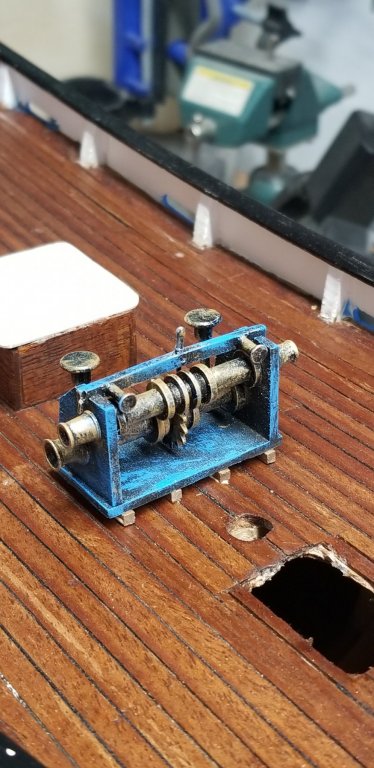
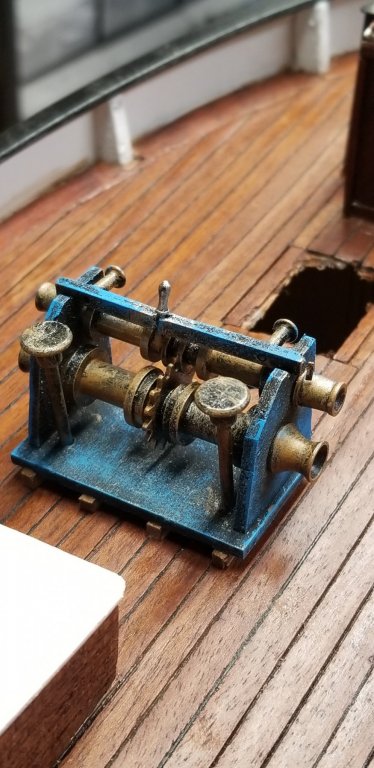
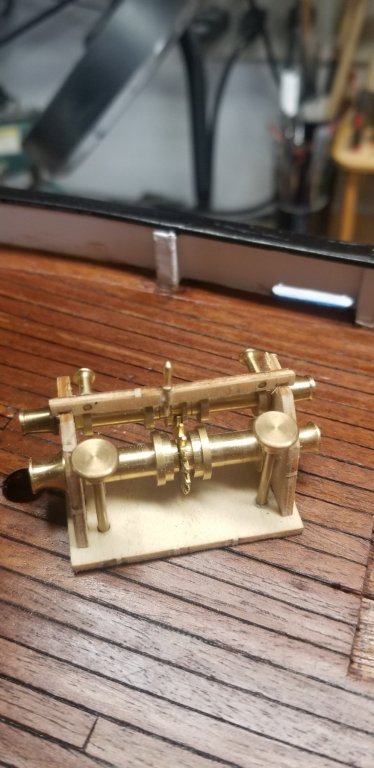
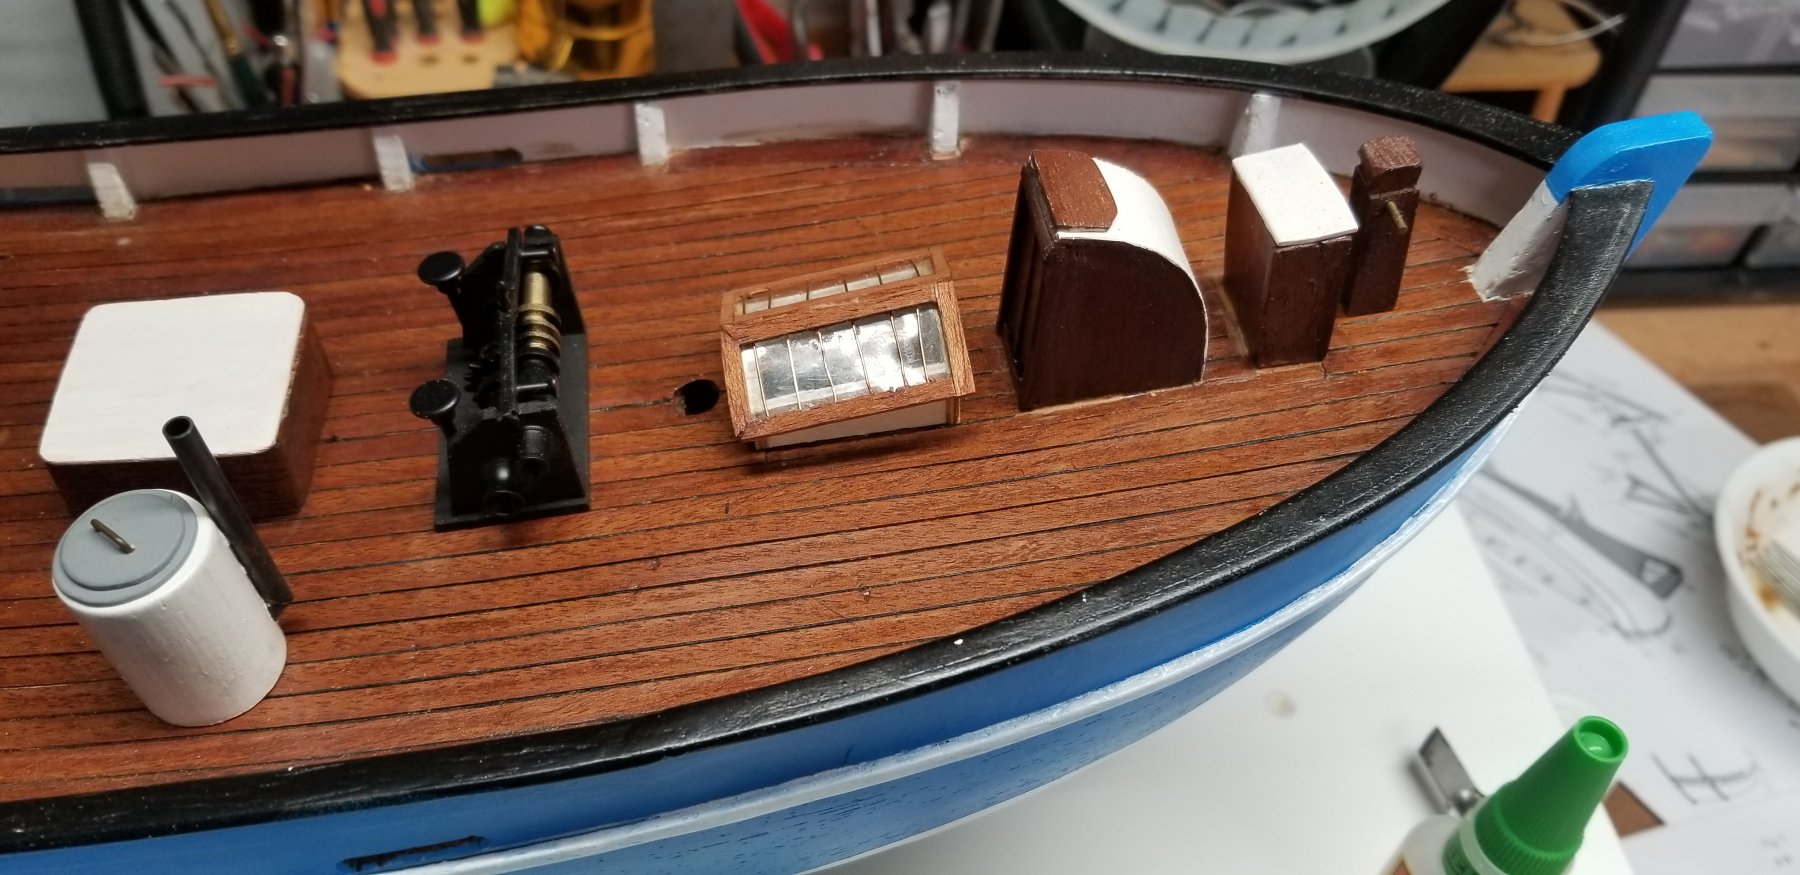
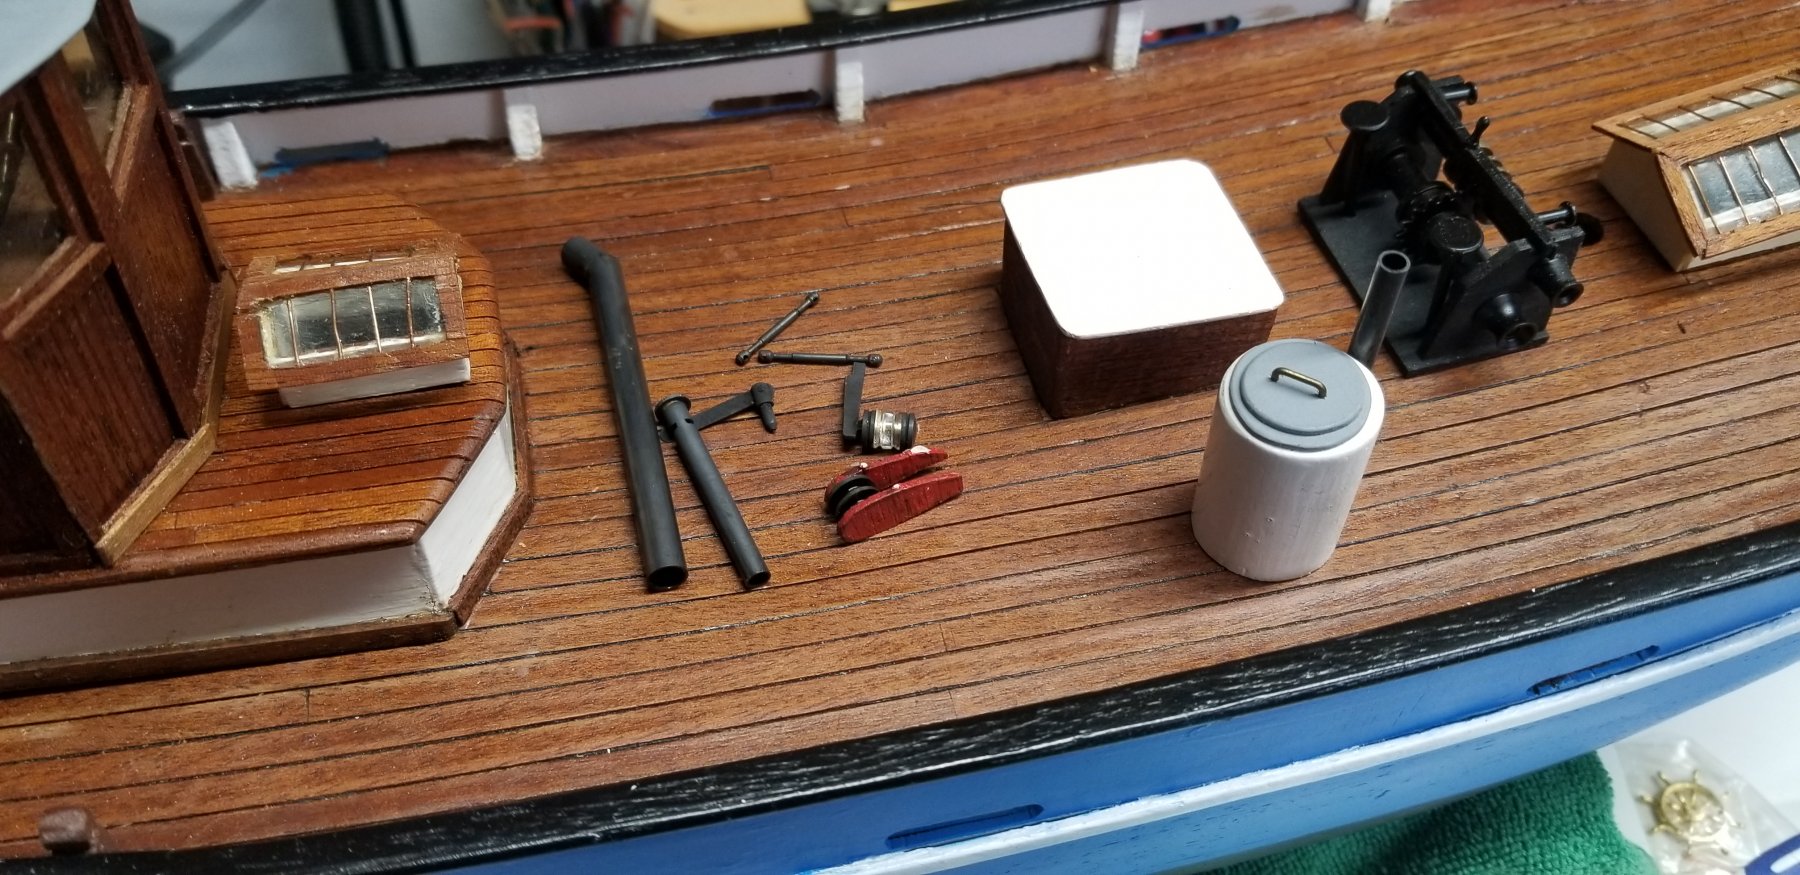
Finished and installed the winch system for the different net polls.
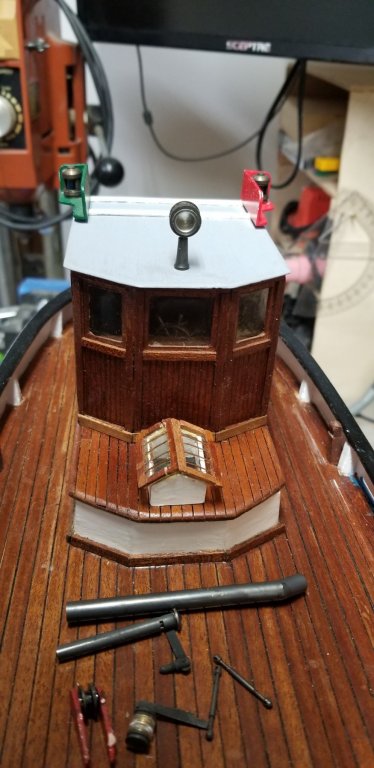
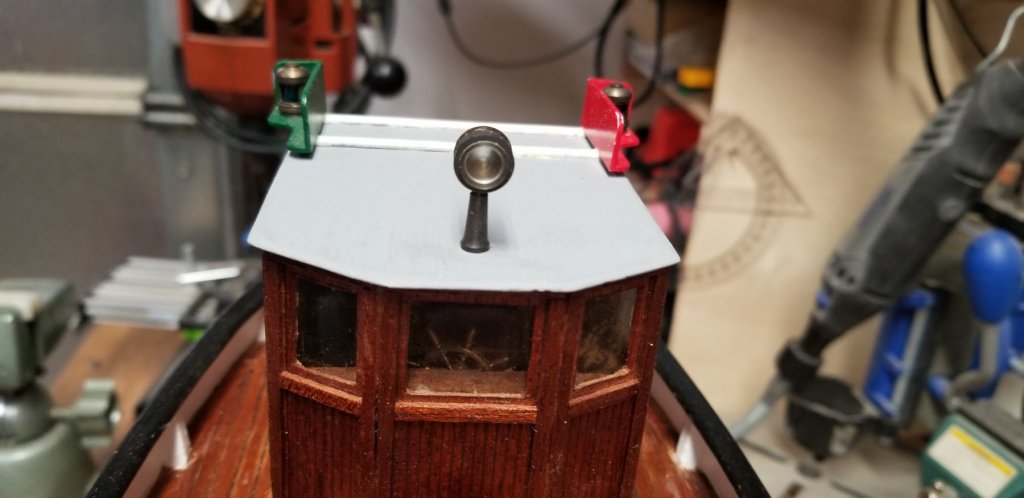
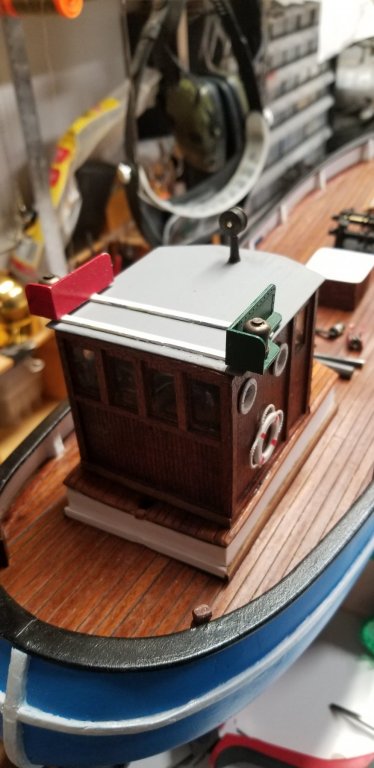
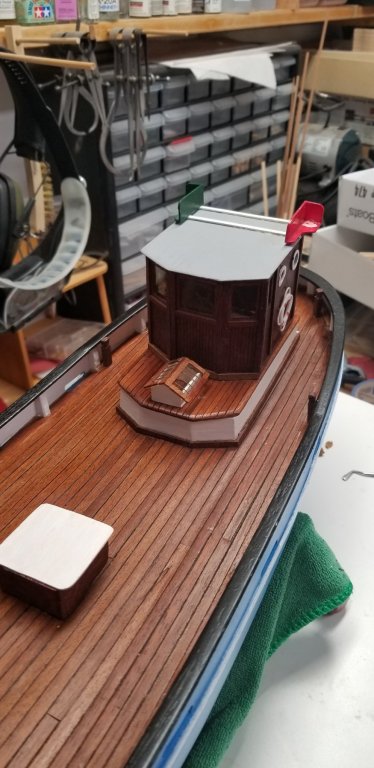
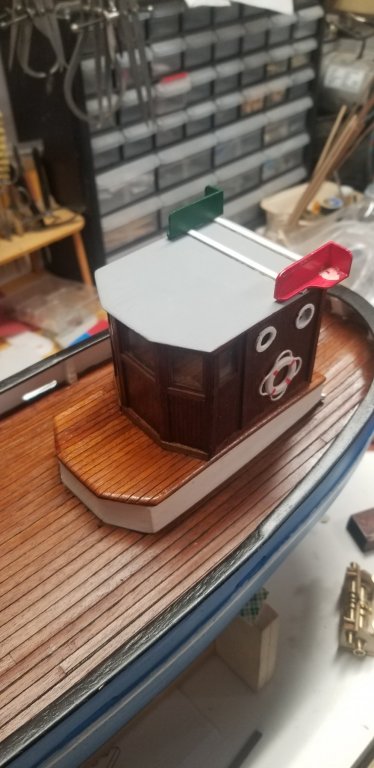
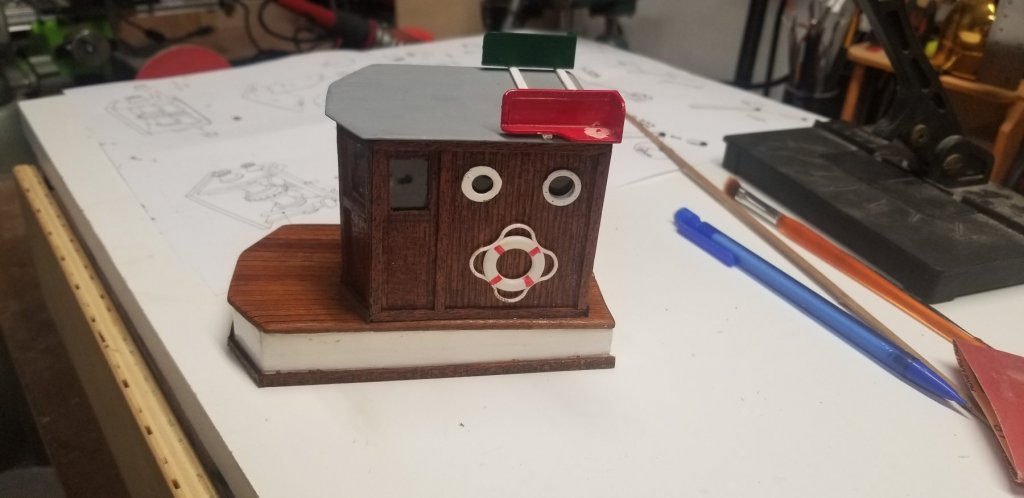
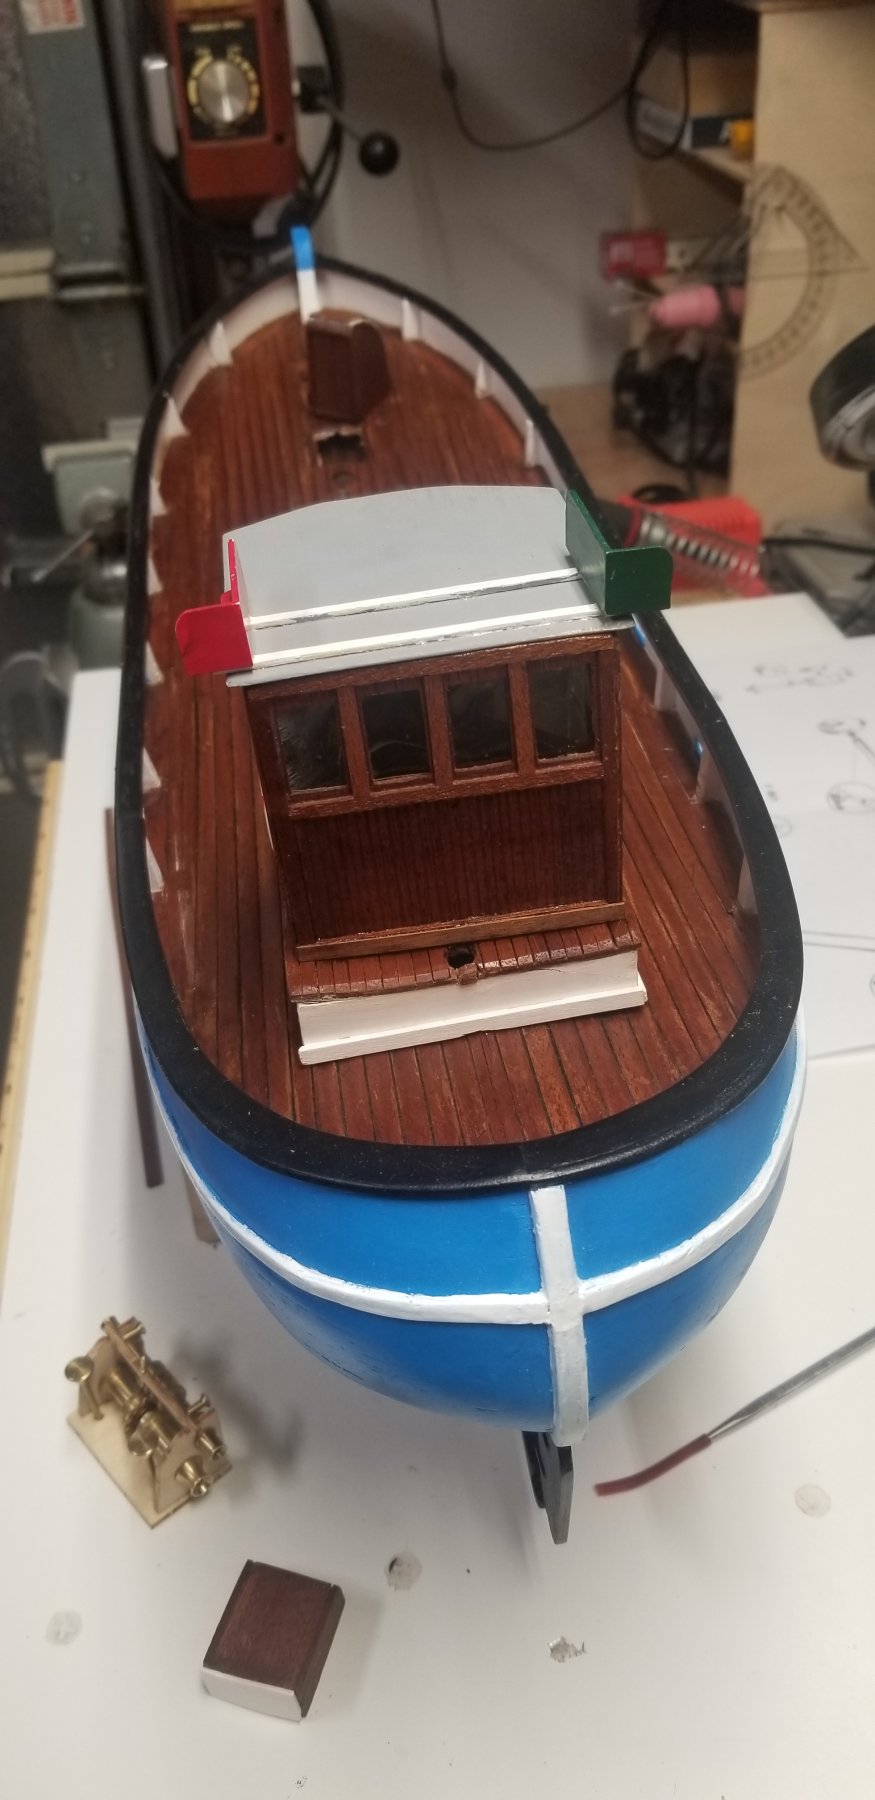
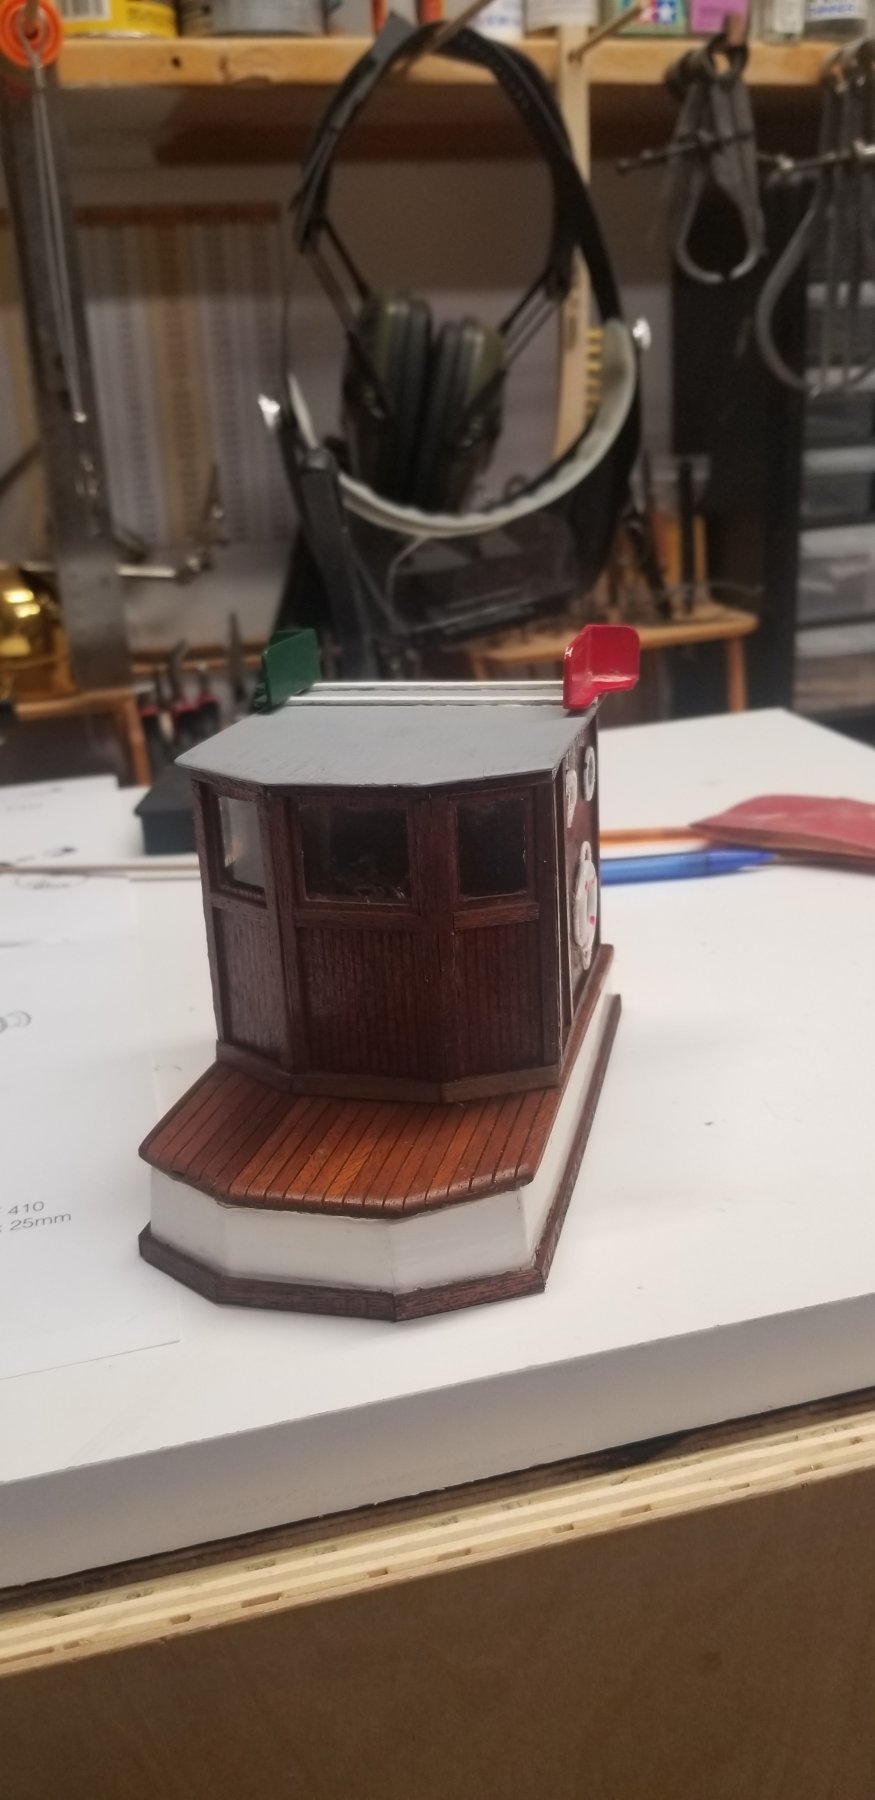
I would like to save as much of the work done by the previous owner but I do not like the transparency of the cabin. So I will paint it.

-
-
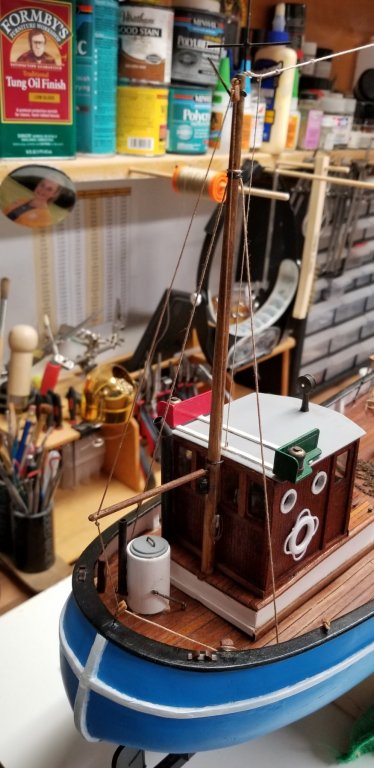
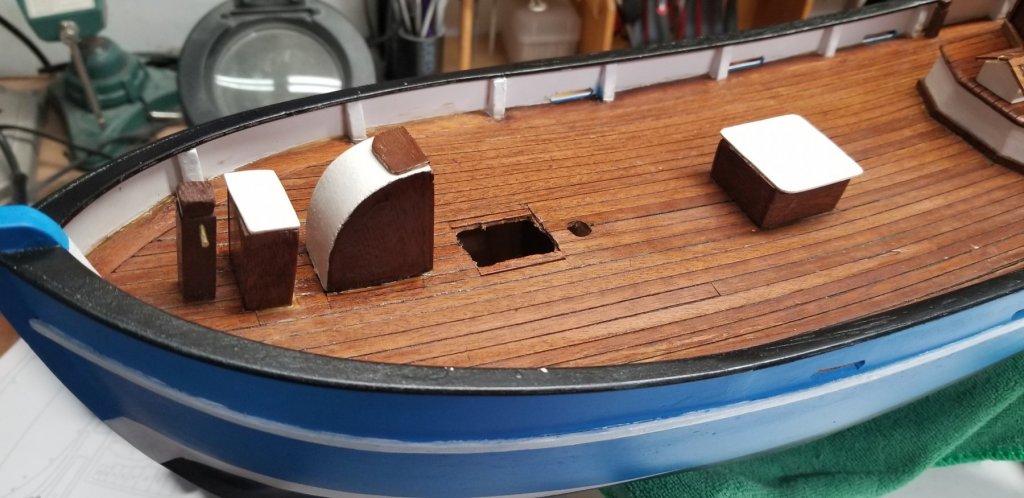
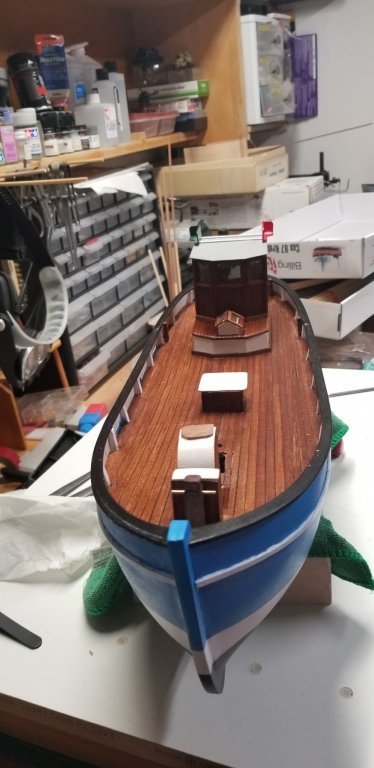
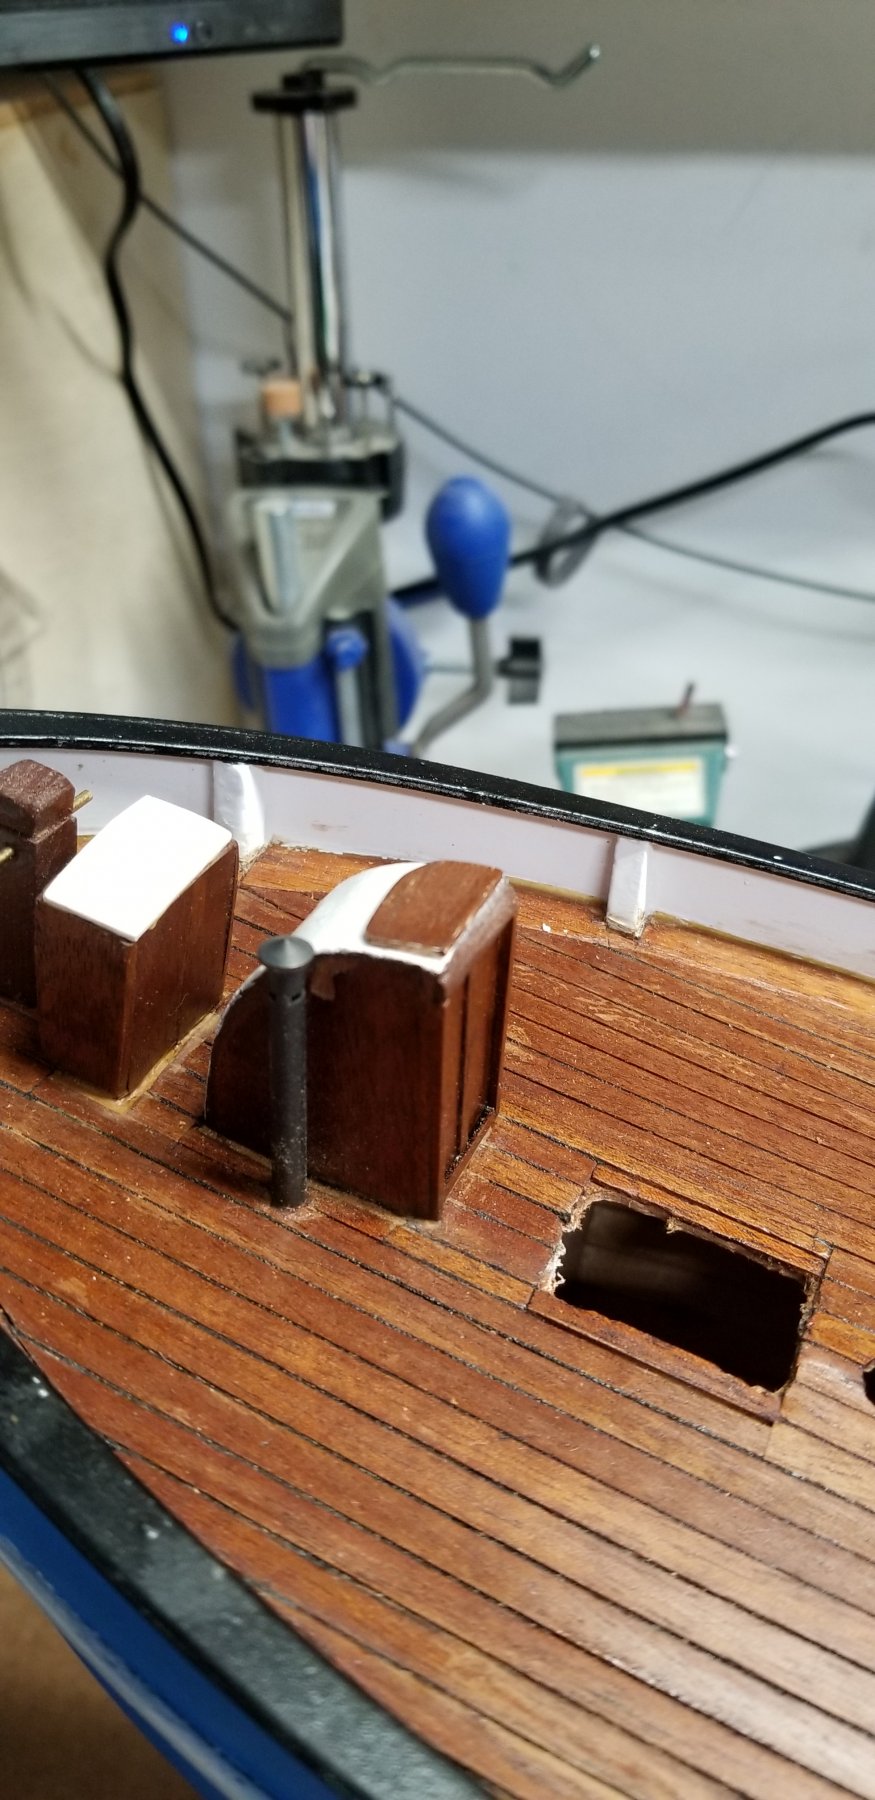
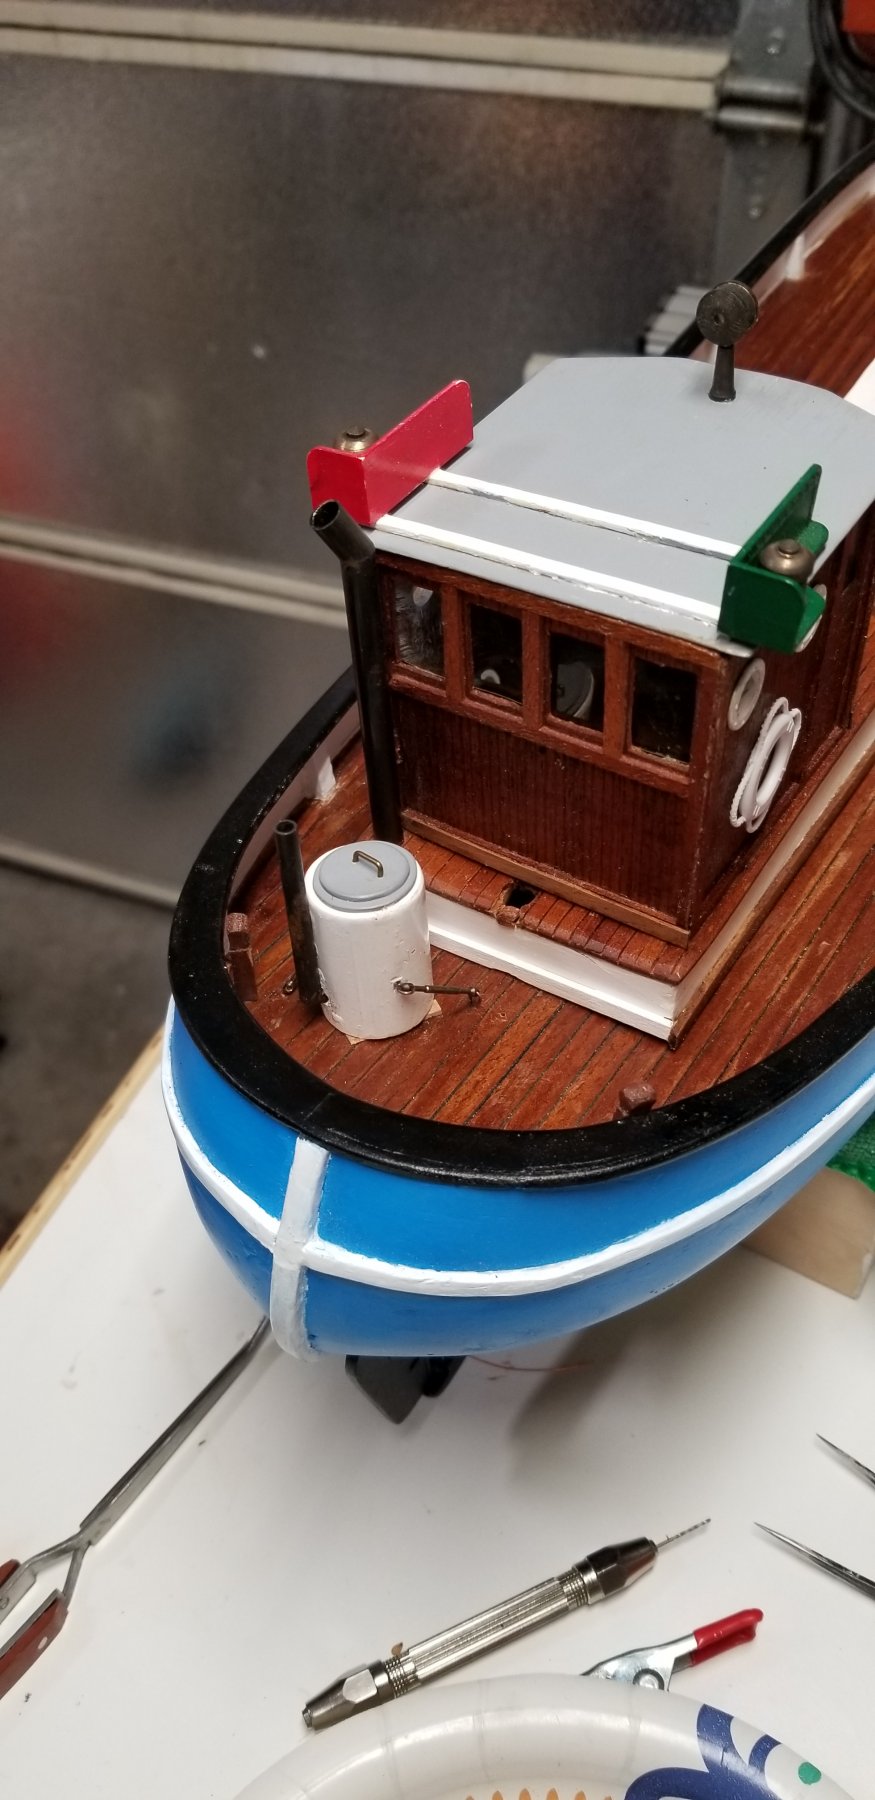
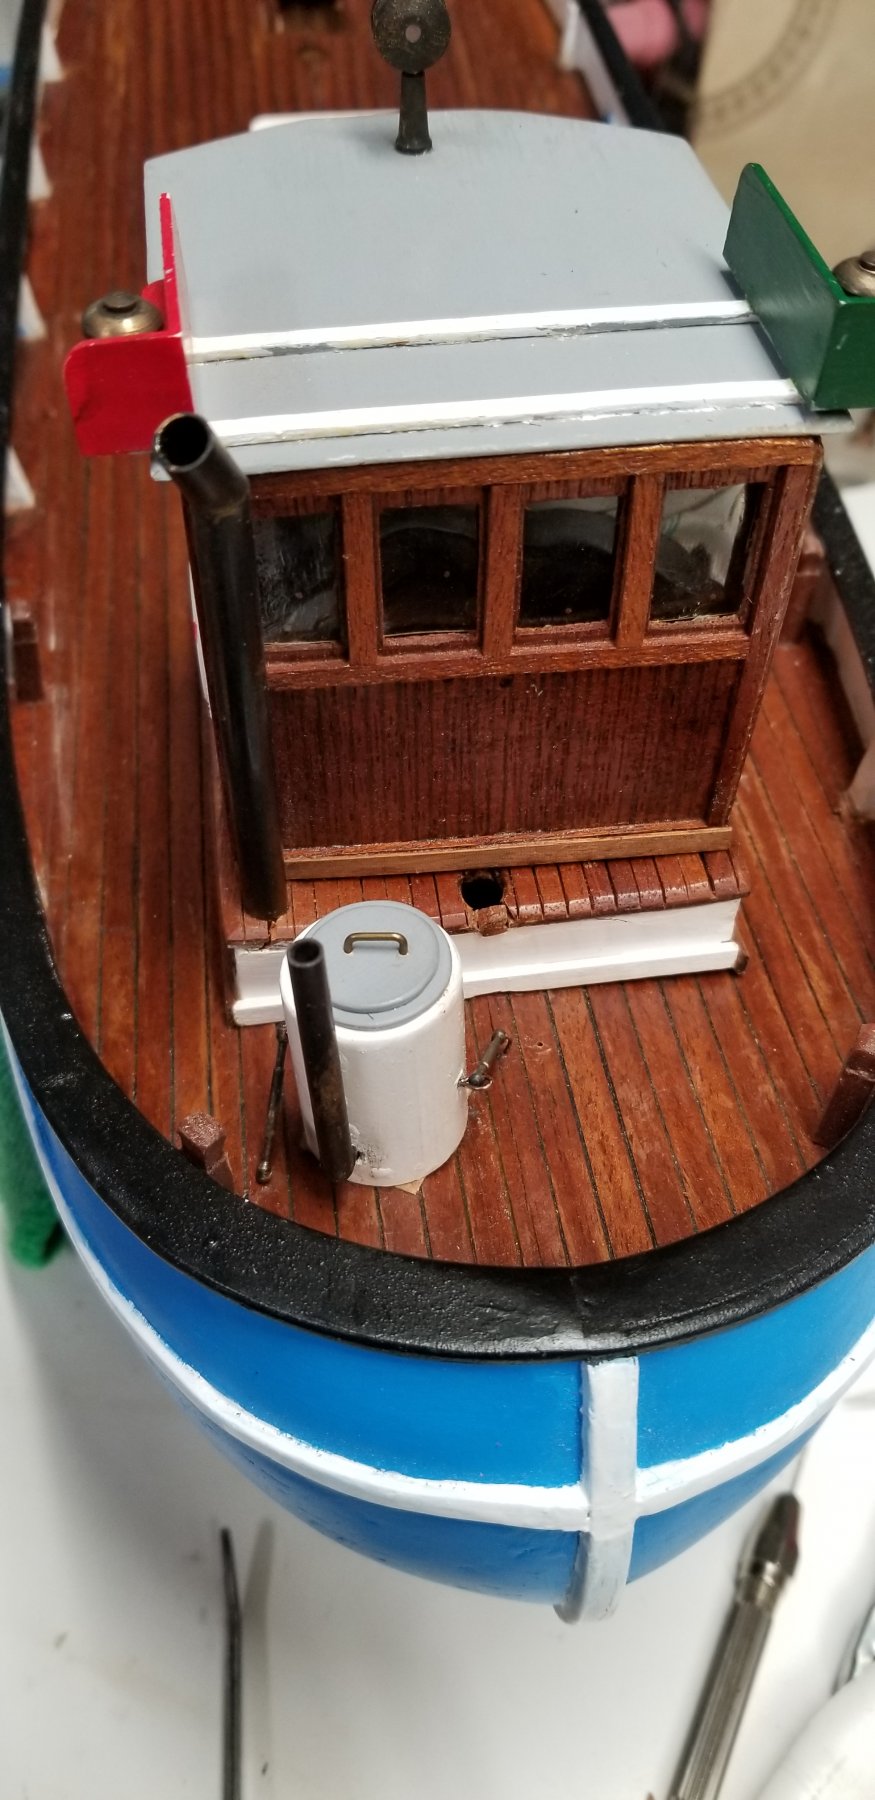
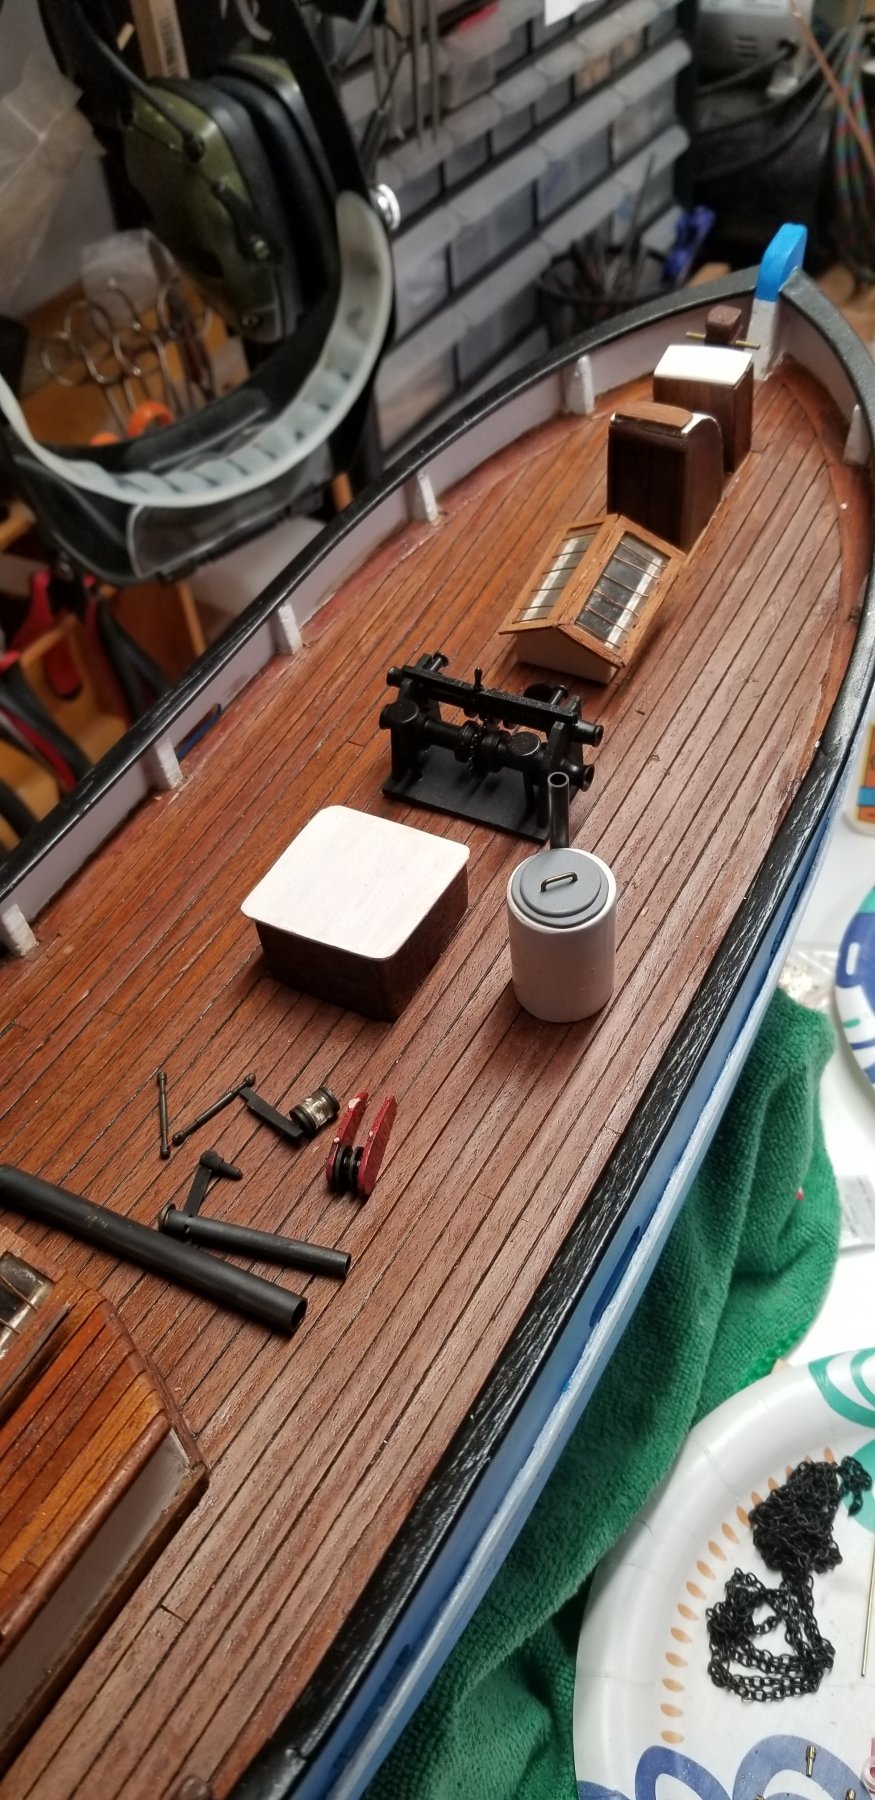
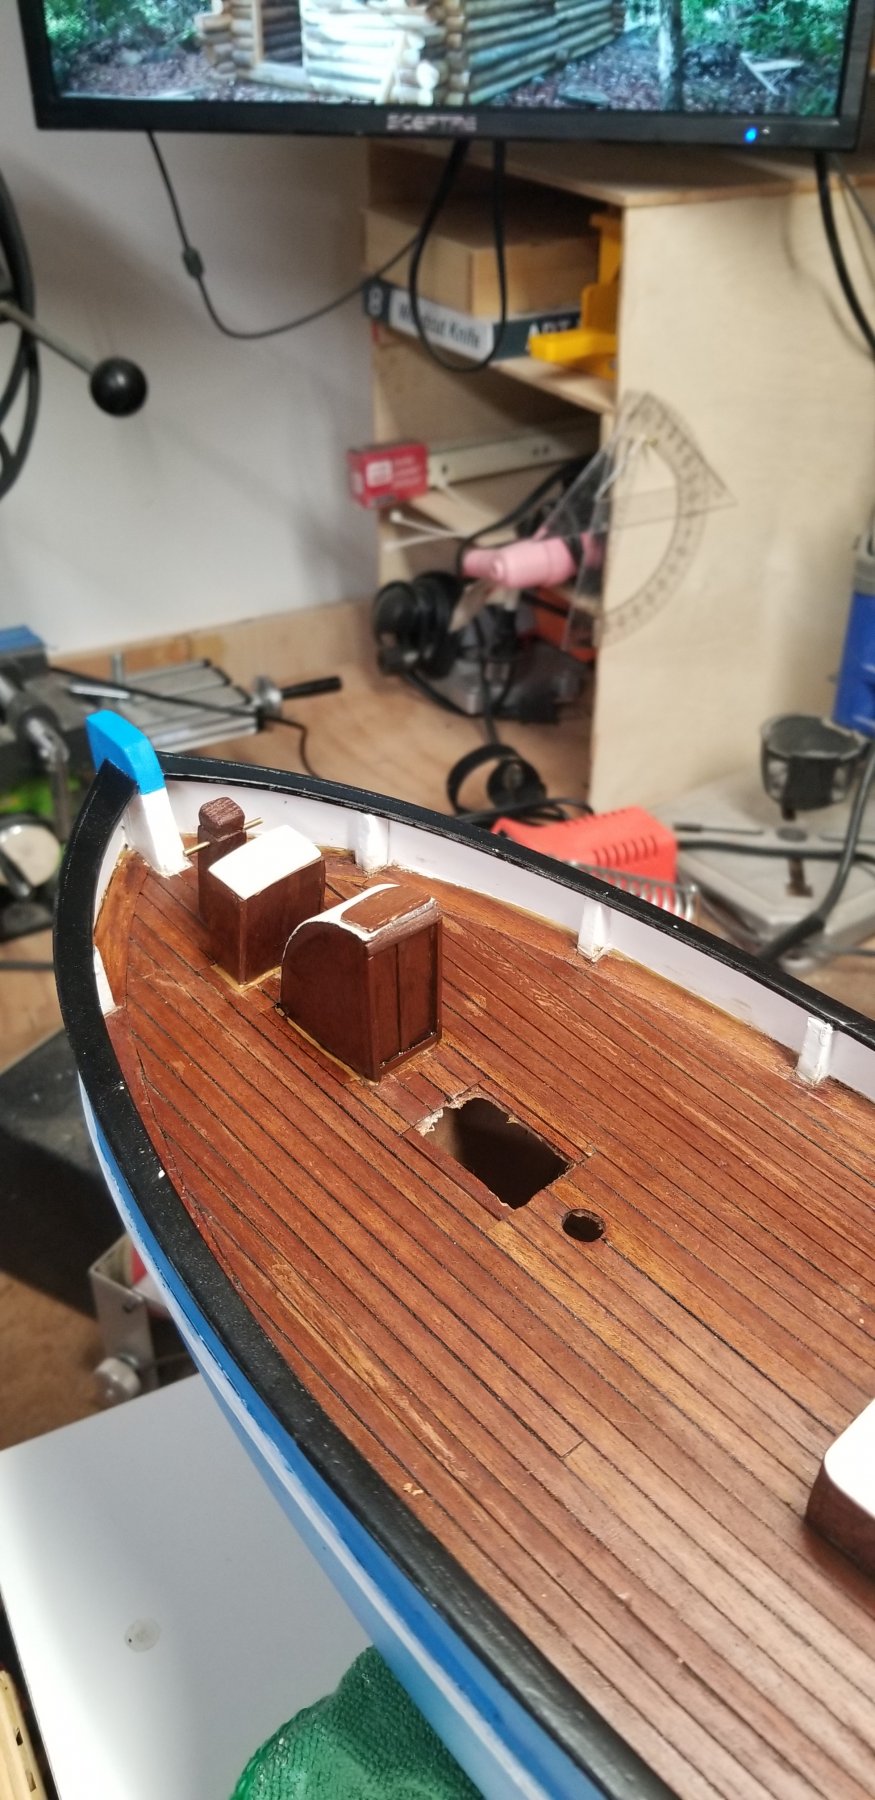
Working on attaching more deck furnitures. I am not redoing any of them and. Just using the ones provided.
I did decide to blacken the brass instead of the paint the previous builder used, I was not able to match the tint.
The only part I paint is this one as I am planning on adding rust effects.


-
Continue to work attaching the deck furnitures.
Nothing is even but I am trying to conserve as much as the previous builder work.
Use some wood putty to fill the gaps.
-
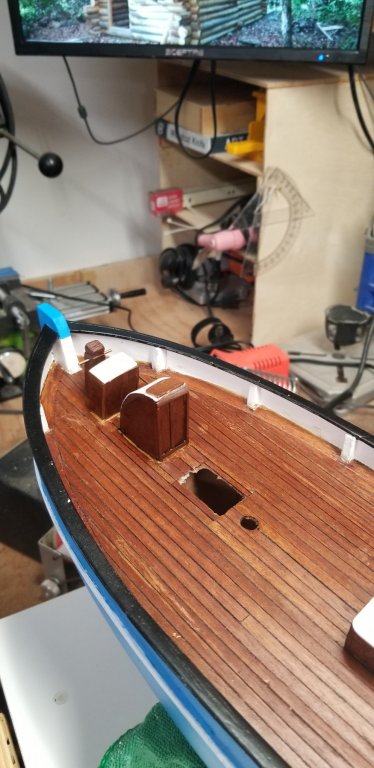
I have continued to restore and repair the kit started by the previous builder. I am trying to keep as much as the original work and color as possible.
1. resanded and stained the deck to match some of deck furniture colors. I am planning on doing one or two of wipe on Poly to blend in everything.

2. Added some trim to the main cabin to hide some of the huge gaps. They were everywhere, all around the pilothouse and base of the platform.

3. Constructed the ropes and nets lifting mechanism.
I am planning on painting it black and dry brushing metal and rust.
- yvesvidal, lmagna, popeye the sailor and 1 other
-
4
-
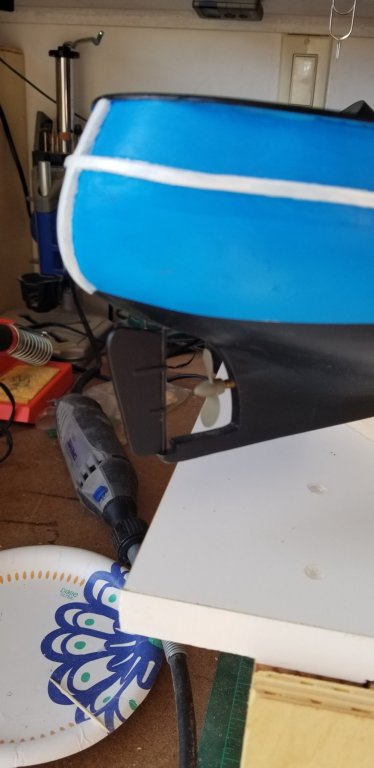
Starting to slowly get back to work on this ship.
Fabricated and attached the rudder.


CUX87 Krabbenkutter by captgino - FINISHED - Billing Boats - 1/50
in - Kit build logs for subjects built from 1901 - Present Day
Posted
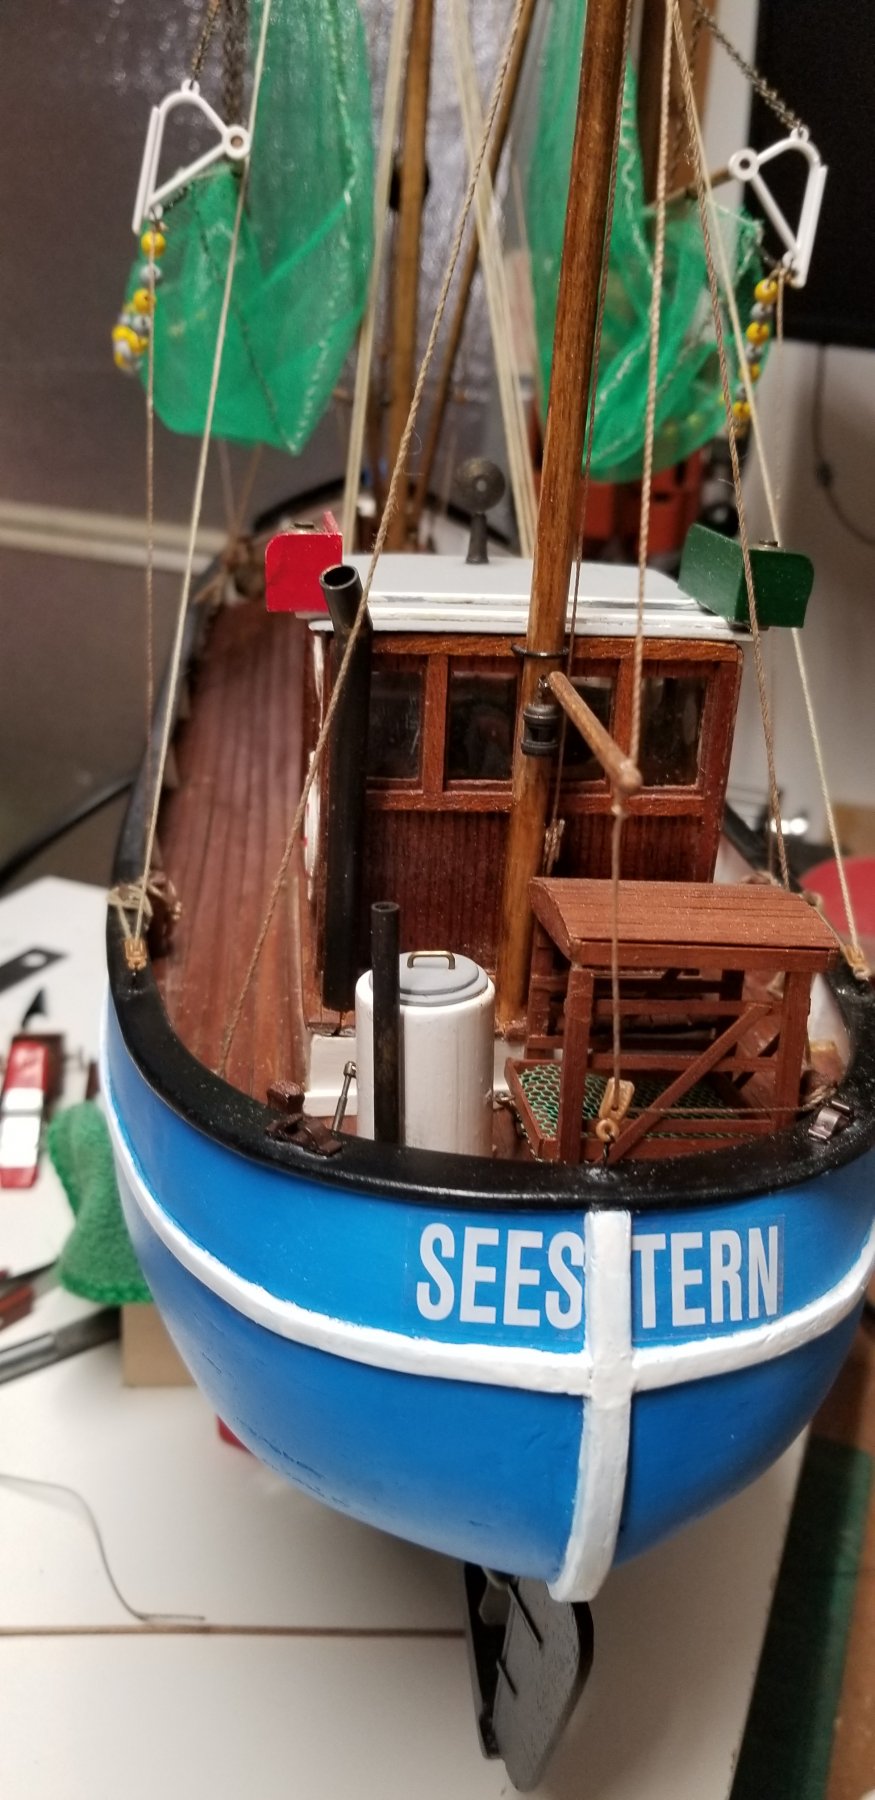
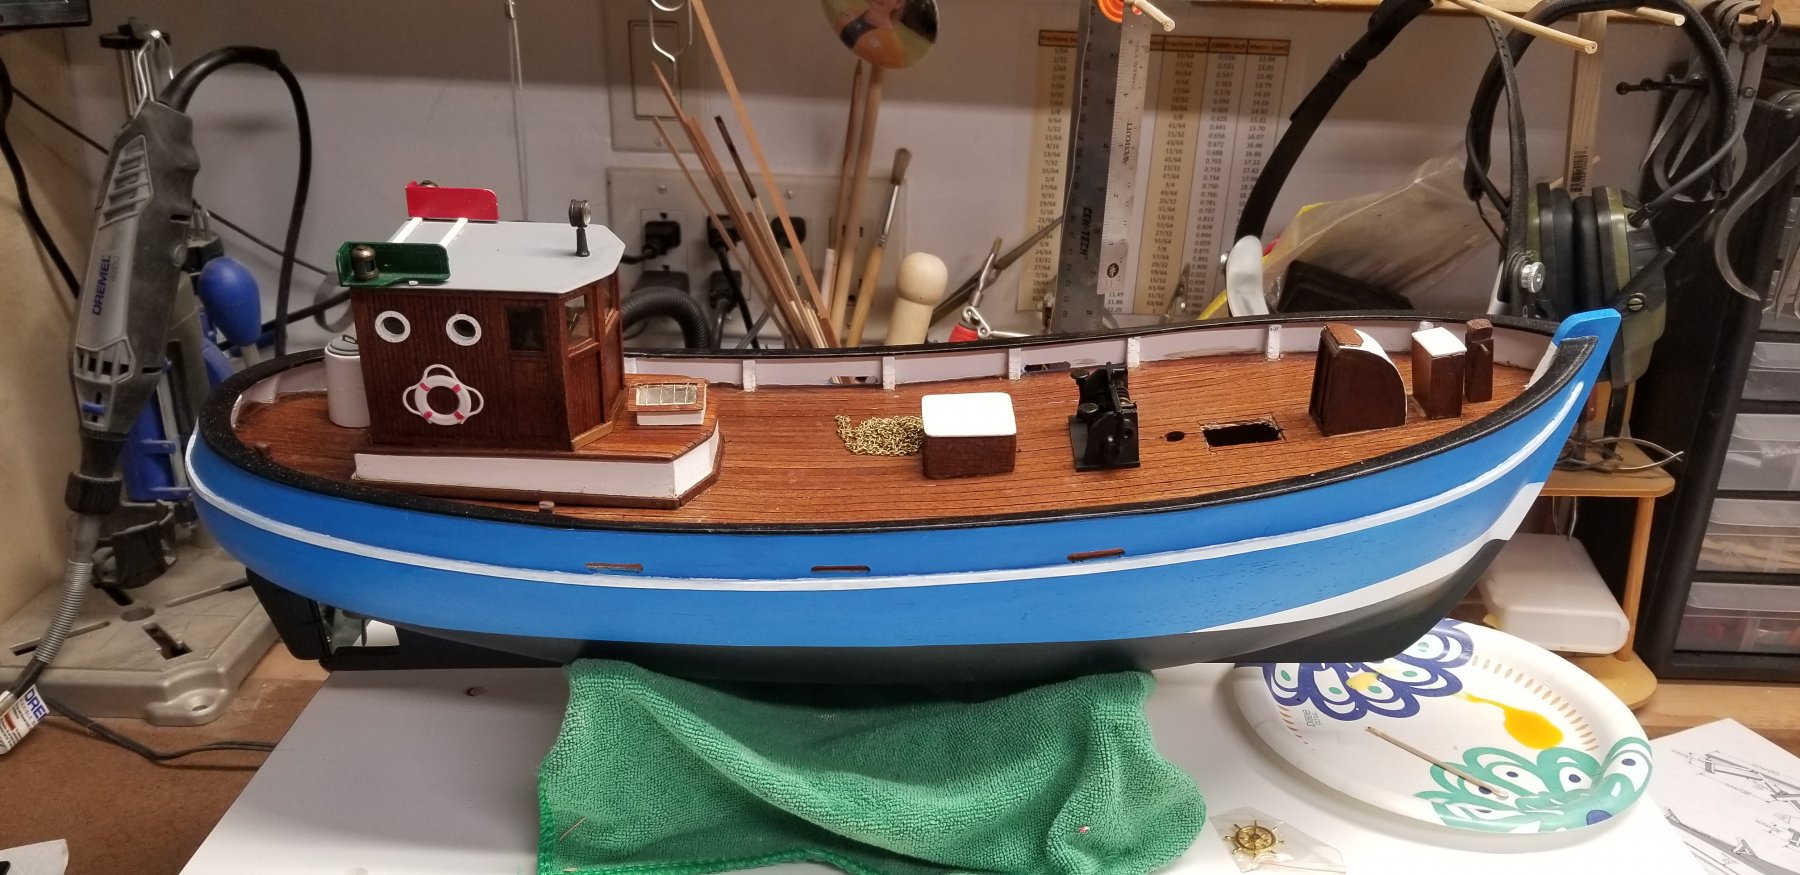
Finished. 🤔 I think... 🤣 Oh yes... I am ready to move to another project.
Here are some shots.