mrcc
-
Posts
578 -
Joined
-
Last visited
Content Type
Profiles
Forums
Gallery
Events
Everything posted by mrcc
-
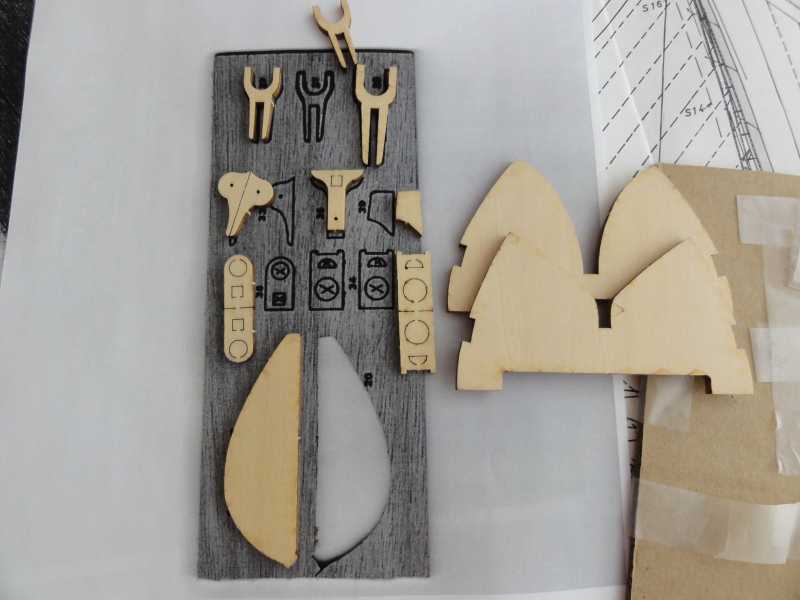
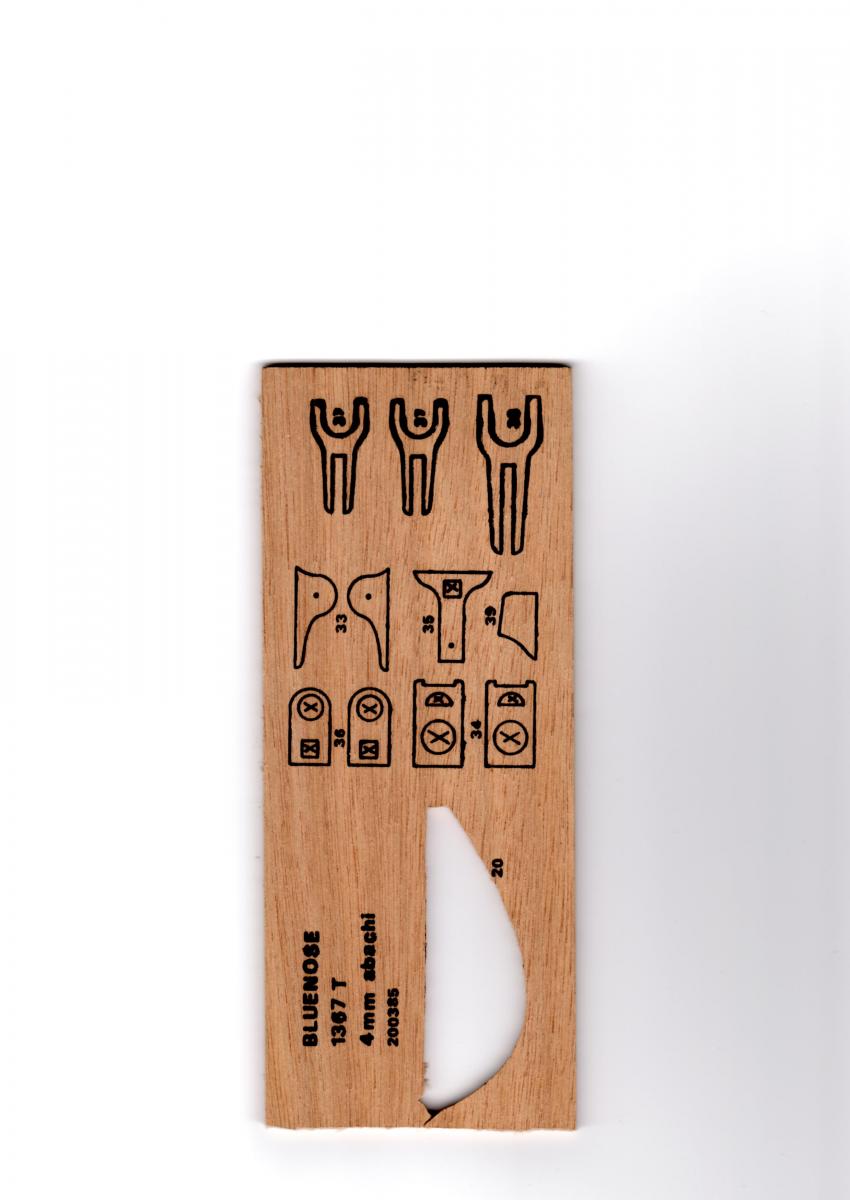
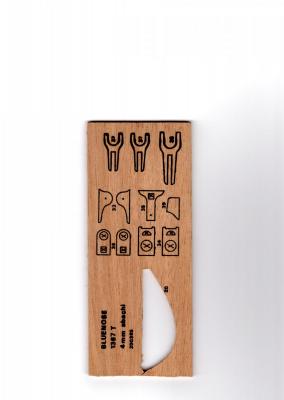
 I also had some replacements parts shipping out from Billing Boats here in Canada. Very good and quick service... The parts pictured is from the present Bluenose model that Billing sells and it is at the 1:65 scale, not the 1:75 scale of my present (old) kit. I obtained a photocopy of the missing sheet at 1:1 scale from the old kit marketed by Billing... (thanks again 7Provinces) and noticed that the parts are identical in scale in comparison. I think the old kit marketed at 1:75 was "way off". The only parts that don't work on the model, and present scale, (that was shipped to me) is the building cradle. Not sure how Billing got the scale off by so much. I think the scale of my kit is likely closer to 1:60 or even larger.
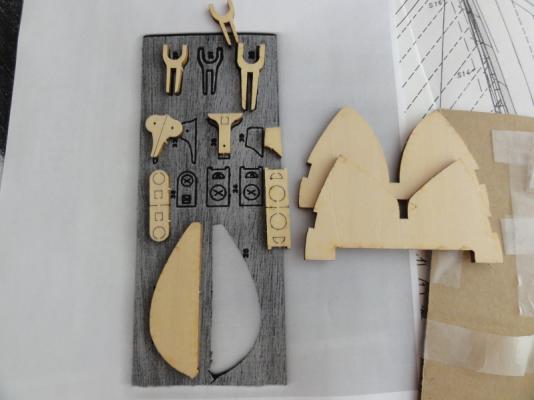
-
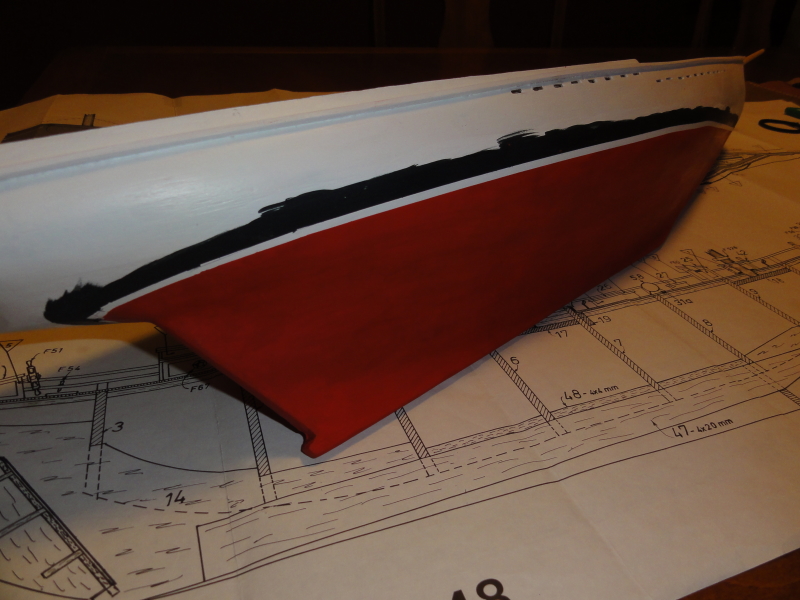
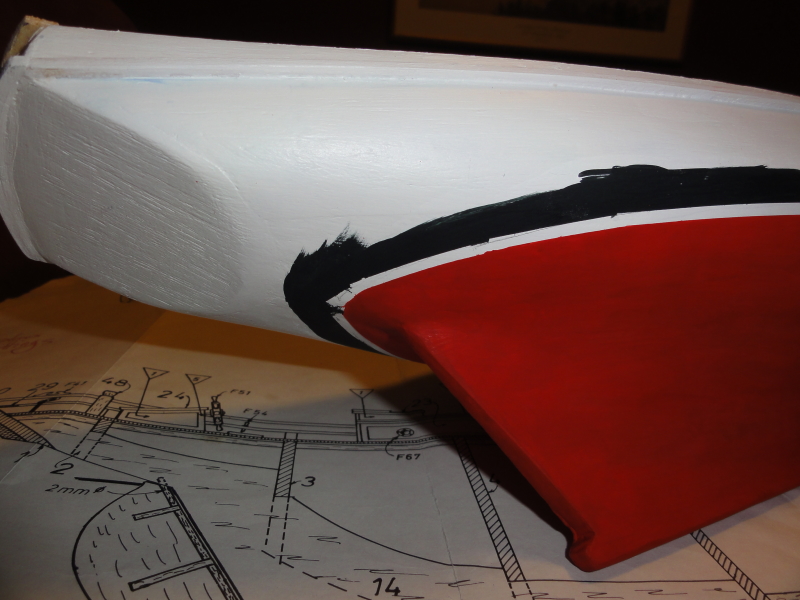
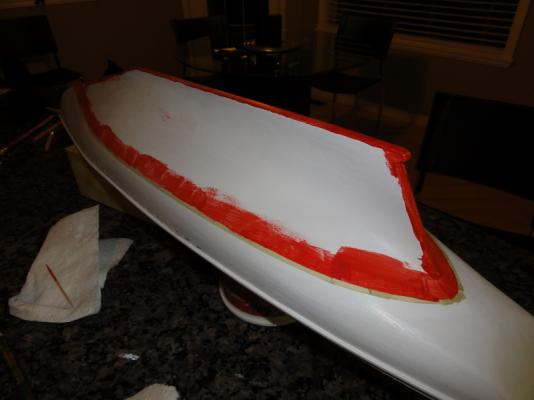
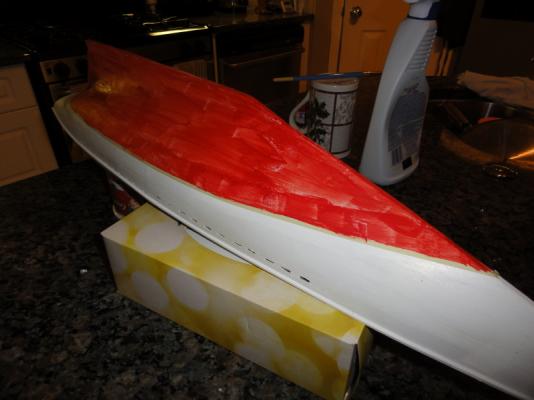
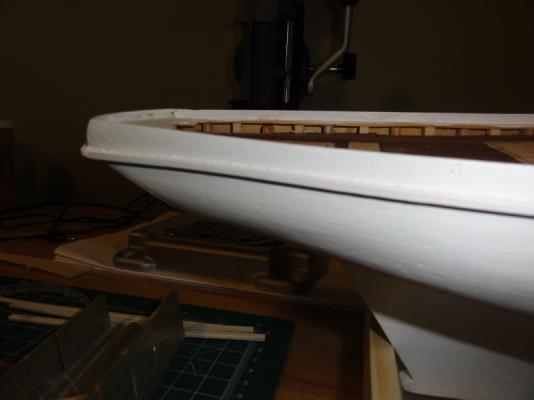
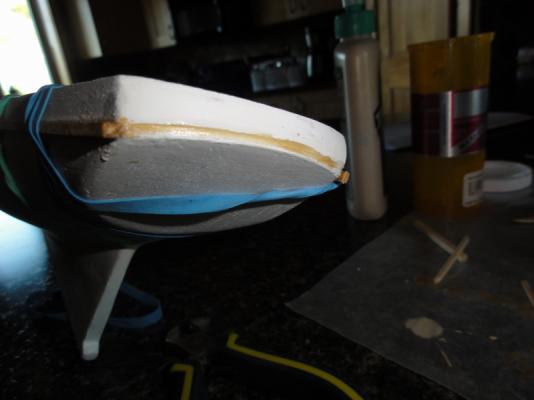
So I painted a rough swath of white on each side of the waterline and then I taped off with a 1/8 inch tape (not Tamiya as I couldn't find this size which I think may yet be a tad too thick for the present scale). I then painted a first light coat to seal the tape edge on each side and then 4 more coats (total of 5) which is the present state. I used Tamiya paint which I found a bit thin compared to Admiral paints which is a bit thick in my opinion. Looks like I need another coat or two of the red...? I also think the Tamiya tape is probably better.


-
Started some painting. The waterline was a bit difficult to get. My technique was to measure off the plans down from the top rail at the bow, mid way at two points and again at the stern, on both sides, and then took a pencil on a glass to scribe a rough line connecting all the points while the ship was upside down.
-
I agree Joe... I am usually quite easy going but I think I am at a bit of a boiling point on this matter. But I sense that since venting on this thread that my temperature is already falling. Hooray for me!
-
PS. That was what Mr Wright told me when I waited for my deck sheet to arrive (5 weeks). The first sheet must have gotten lost or held up at customs. He will send another, which fortunately for me arrived 3 weeks later.
-
So as a second point, I inherited a 30 year old Billing Boats kit, specifically the Bluenose, a kit that is no longer available and discontinued in the current scale. My neighbour, who passed the kit to me, many years ago lost a small sheet of the kit. Last week I sent a blind email to the Billing Boats distributor, PM Hansen, based out of Vancouver, British Columbia, and within 1 hour I had a reply, and 3 days later, the parts arrived in the mail. Remember this is a 30 year old kit, now discontinued, and I was still able to get parts replaced in "days". Now that is customer service! Sorry no excuses should be made for Jotika and Caldercraft. I sense that people are too forgiving of Jotika and their current level of deplorable "customer service". If Mr Wright is so busy that he can not return emails or get that sheet off to Australia, then he needs to hire some extra help, someone with the skills to assemble "all" the sheets and parts to complete a kit.
-
All's well, that ends well sometimes doesn't work for me. I noticed on lots of the logs involving Caldercraft builds, there is stages in which people are getting supplies and parts shipped out to them that were originally not supplied. Maybe if Jotika put more care in their packaging, they could drop the price on their kits. Instead we are paying the price in their original markup to ship , reship, and ship again, parts that are missing. They need to perhaps hire extra help and focus on the simple details. I am in business as well, if I had the same error and omission rates, I would be out of business. PS still waiting for an email reply. My first email was sent in early August to Jotika. I know it was read as I got the read receipt. I can't figure this out. Either too busy or too busy to care. Either way absolutely terrible customer service.
-
Nothing but problems for me as well trying to get hold of Jotika. I purchased my Granado kit in November 2012 and started the build and noticed into the build that an entire sheet was missing, specifically the sheet with the deck. Tried to get ahold of Jotika without luck and finally asked the retailer to work on my behalf which finally worked. Few months later, on an inventory, noticed that other pieces were missing, specifically unique plank and wood lengths, and again no luck with Jotika. The retailer in this situation just mailed out the wood lengths directly from their shop. I now noticed that I am missing some small white cast pieces. Didn't know that I should take an inventory and that I should never presume a kit has all it's pieces complete and supplied as expected. Personally I would expect better from a kit manufacturer, especially given the expense of these kits. My take is Jotika doesn't care. The guy putting together my kit must have been hungover or high. I have sent numerous emails to Jotika without a response. I have recently sent 3 emails to John Wright and various other email addresses without a single response. Very disappointed!
-
I am interested in seeing how they turn out...
-
Perfect, exactly what I was looking for! Thank-you! PS Jan-Willem, I sent you a PM as well.
-
Hi Jan-Willem, I agree with David in that it may detract from the beautiful deck you already have and I am not sure what the tree nailing would look like on such a dark wood. Certainly the choice is always yours. Julian
-
Thanks Keith for your reply... The challenge of inheriting a kit, as old as it is, is parts of a sheet missing, very poor documentation to begin with, and in my case no instructions at all, and plans on a double sided sheet that only show some parts in profile.The only reference I have is instructions of newer kits of a Billing Bluenose model that is not even of the same scale as the one I have and is poor to begin with. Julian
-
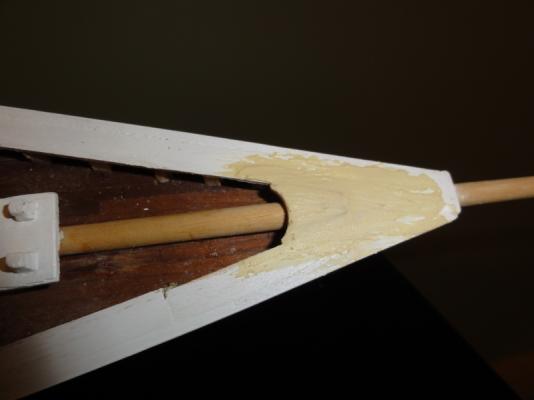
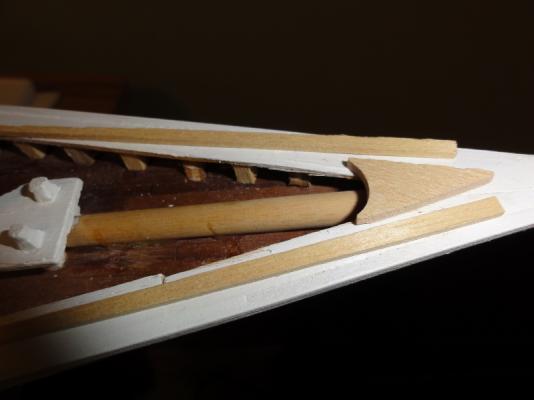
I have since noticed that I am missing some key parts / components from the 4 mm sheet, about 6 in total ( 4 of them have paired parts). Not sure what to do as the kit is long out of production now and whether Billing Boats would have the press yet available. I may email Billing or the other option is to get a photocopy or scan of the missing parts at 1:1 scale and just scratch build them. (*Hint, hint* to 7Provinces if not a huge bother).
-
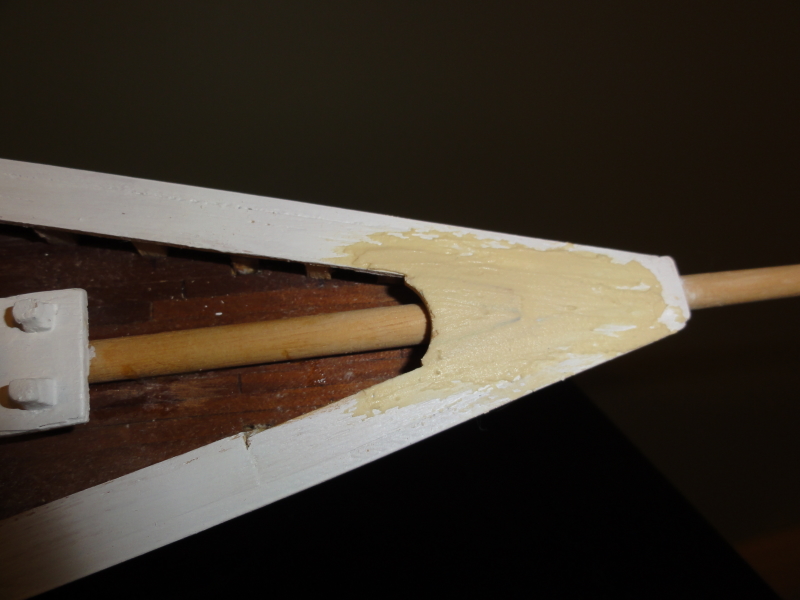
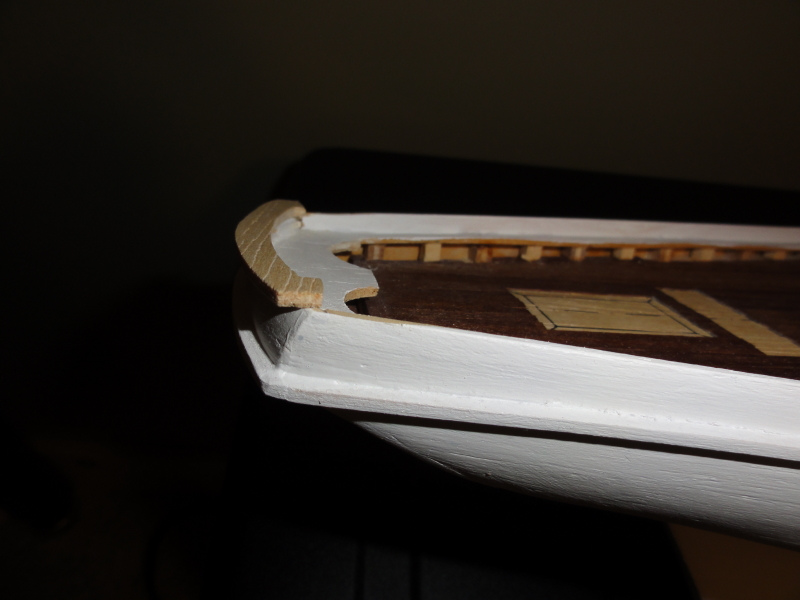
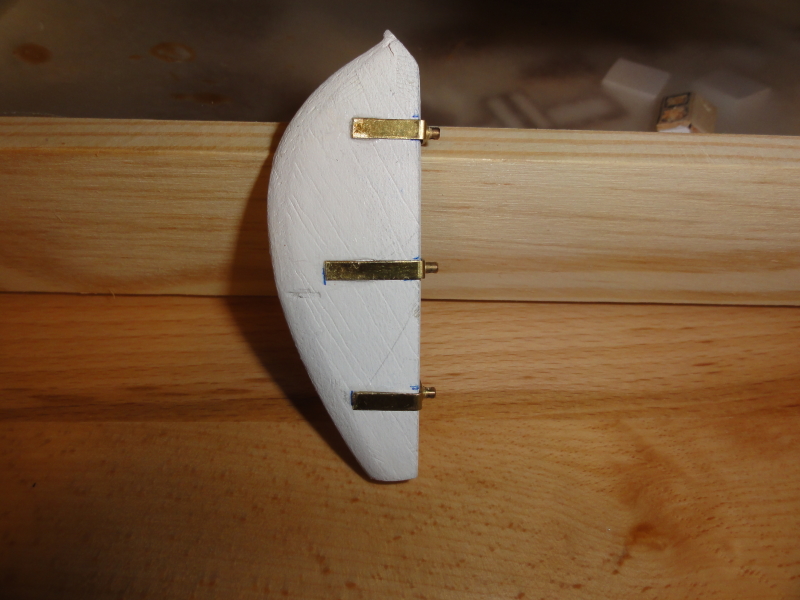
Some cleanup work involved adding the additional stanchions, now at three between every bulkhead, as evident in the post prior. I also cleaned up the bow as well, making some parts from scratch, as I have since found out that I am missing some parts from the kit that I inherited.

-
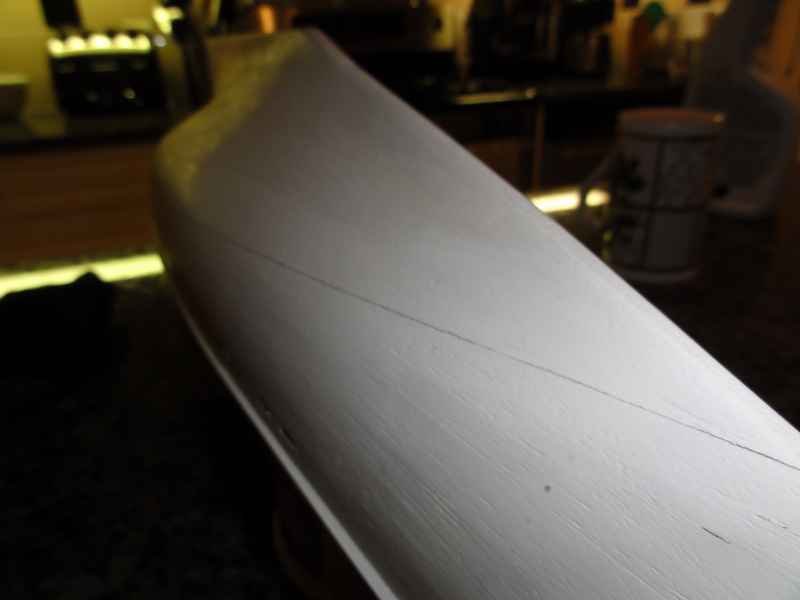
I also sanded and primed everything once again.
-
I have an update to report... I sanded back the primer and I used a bit of CA on both ends and middle of this long strake on its addition to the hull with wood glue along the majority of its length. I guess I should have added it prior to the first couple coats of primer.

-
I agree Jan-Willem... I love the wood and it will look great once varnished. At the end of the day, it is always what you like best or what you think looks best. PS I will have an update in the next day or two as well for you. PSS I certainly would not worry about treenails.
-
Good progress Jan-Willem, I think the stanchions look great. I was lucky enough to have the planks staggered when I assumed the build from my neighbour. Any thoughts on the darkness of the mahogany? Do you think it is too dark? I personally love the richness of the wood, which will look even better once clear coated. Are you aware that the original ship was likely not this dark? I just recently found this out. I have a local mentor who has built 3 Bluenoses, and has advised me that it may be more accurate to lighten with a paint or even bleach the wood. It would be such a shame to paint over the mahogany decking. Cheers, Julian
-
Thanks Keith for your advise... It is such a small (2.3 x 2.3mm) piece of wood that along the length of the hull, I might just take my chance and apply directly over the primed surface with wood glue. Worse case scenario, I will then try CA glue. Julian
-
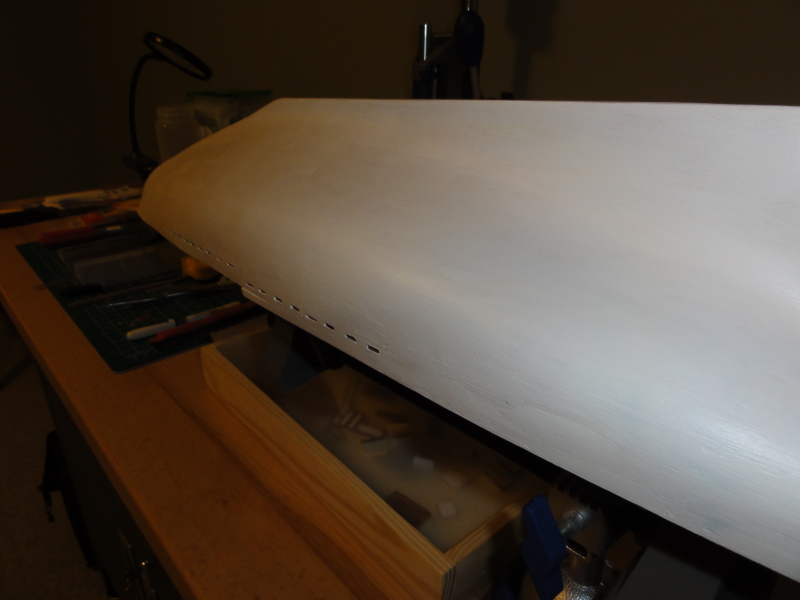
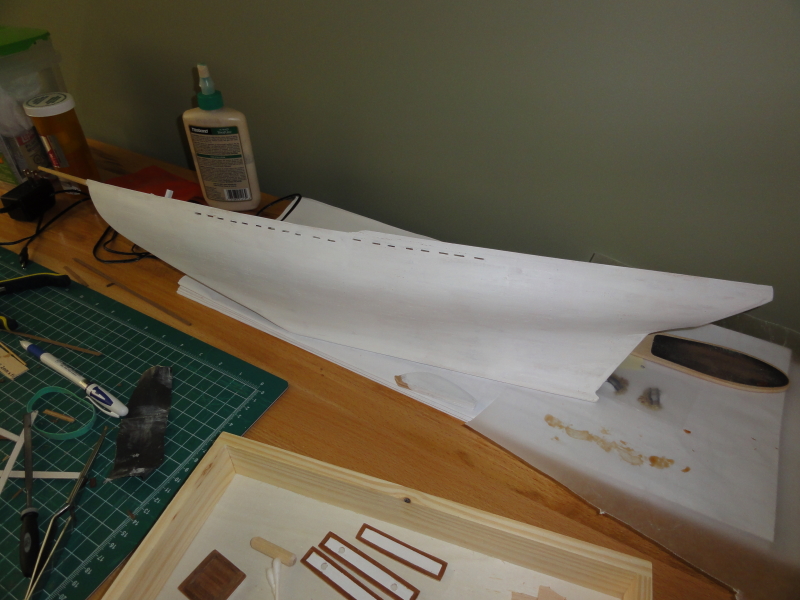
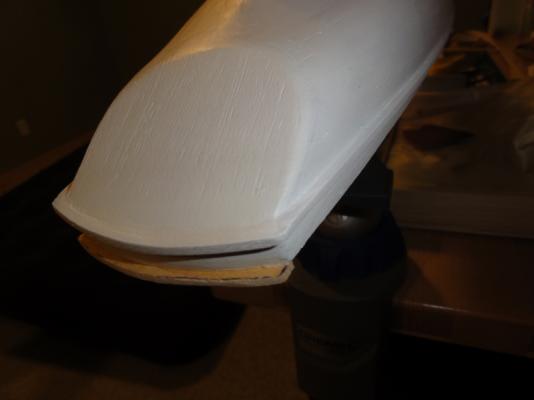
As I only work on my model on the weekends, I do not have much to report but I did manage to do the rudder and do a second coat of primer on the hull . The only concern is that I did some extra filling after the first coat of primer and found that I perhaps did not sand it back enough even though I triple checked for smoothness against the rest of the hull. Or perhaps I have to do a second coat of primer on the newly filled and single primed surfaces and then reassess. The other issue is that I have to attach the narrow strips of 2.3 x 2.3 mm strip of spruce that I bought at the local hobby store to create the narrow upper wale along both sides. I bought the spruce thinking it is a bit sturdier and of a harder wood that the basawood strips in the kit and can weather the "storm" this next year of modelling and handling the hull. The only worry on this is attaching to a primed surface - can I presume that PVA or wood glue will work or should I just use CA glue? I do not want to sand just a narrow strip on this newly primed and pristine surface just so I can use wood glue if CA will do the job, even though working with PVA is safer and easier. Any thoughts? Thanks.


-
Hi Jan-Willem, I have a very good quality brush and with multiple coats, I am sure my brush will do just fine.
-
Thanks Alan, Jan-Willem, and Keith... All excellent advice! All information and particulars that I was not aware of ie: two coats of primer and sandpaper grits between finishes. Julian
-
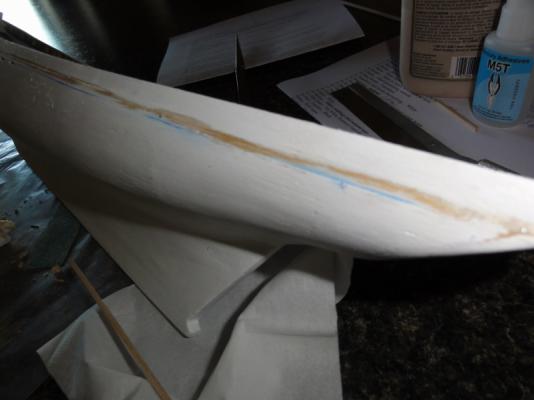
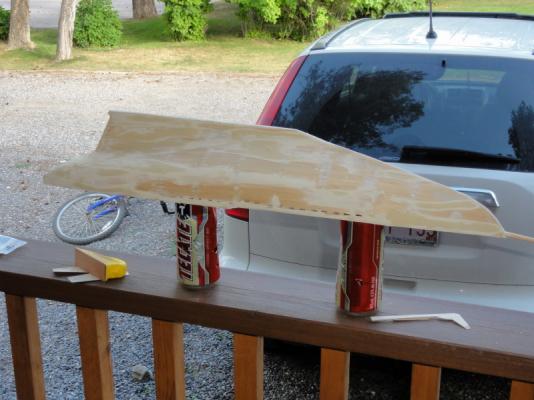
I then added some wood filler and with some sanding, got my first coat of primer on. This is my outdoor sanding station FYI. Very relaxing with or without Tecate. I will reassess the finish on the hull and with some minor wood fill and then another coat of primer should be ready for paint. Between coats of primer, I was planning on using 220 grit sand paper. Too much or should I go higher in grit?

-
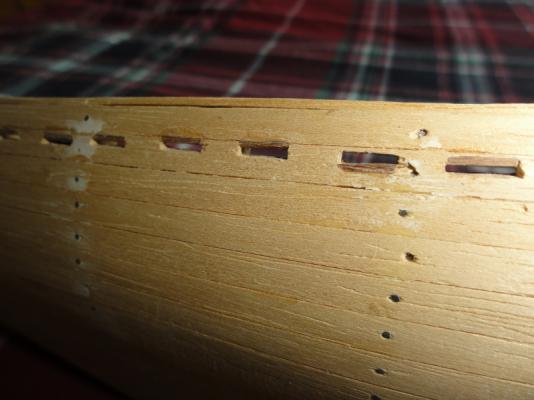
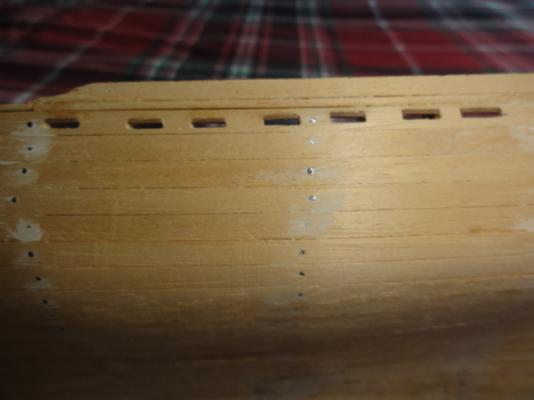
Last weekend... I worked at my correction on the scuppers. I filled the top or bottom of the scupper with a small 1mm width of plank and inserted it to where I thought the proper line would be as some of my original cut outs wandered a bit and with the fill and then sand was able to correct that issue as well. I think it turned out well.
-
Wonderful job you are doing! I am just curious why you primed and sanded back so much? I am about to prime my Bluenose hull and wondering if it provides a better surface to paint?