mrcc
-
Posts
578 -
Joined
-
Last visited
Content Type
Profiles
Forums
Gallery
Events
Everything posted by mrcc
-
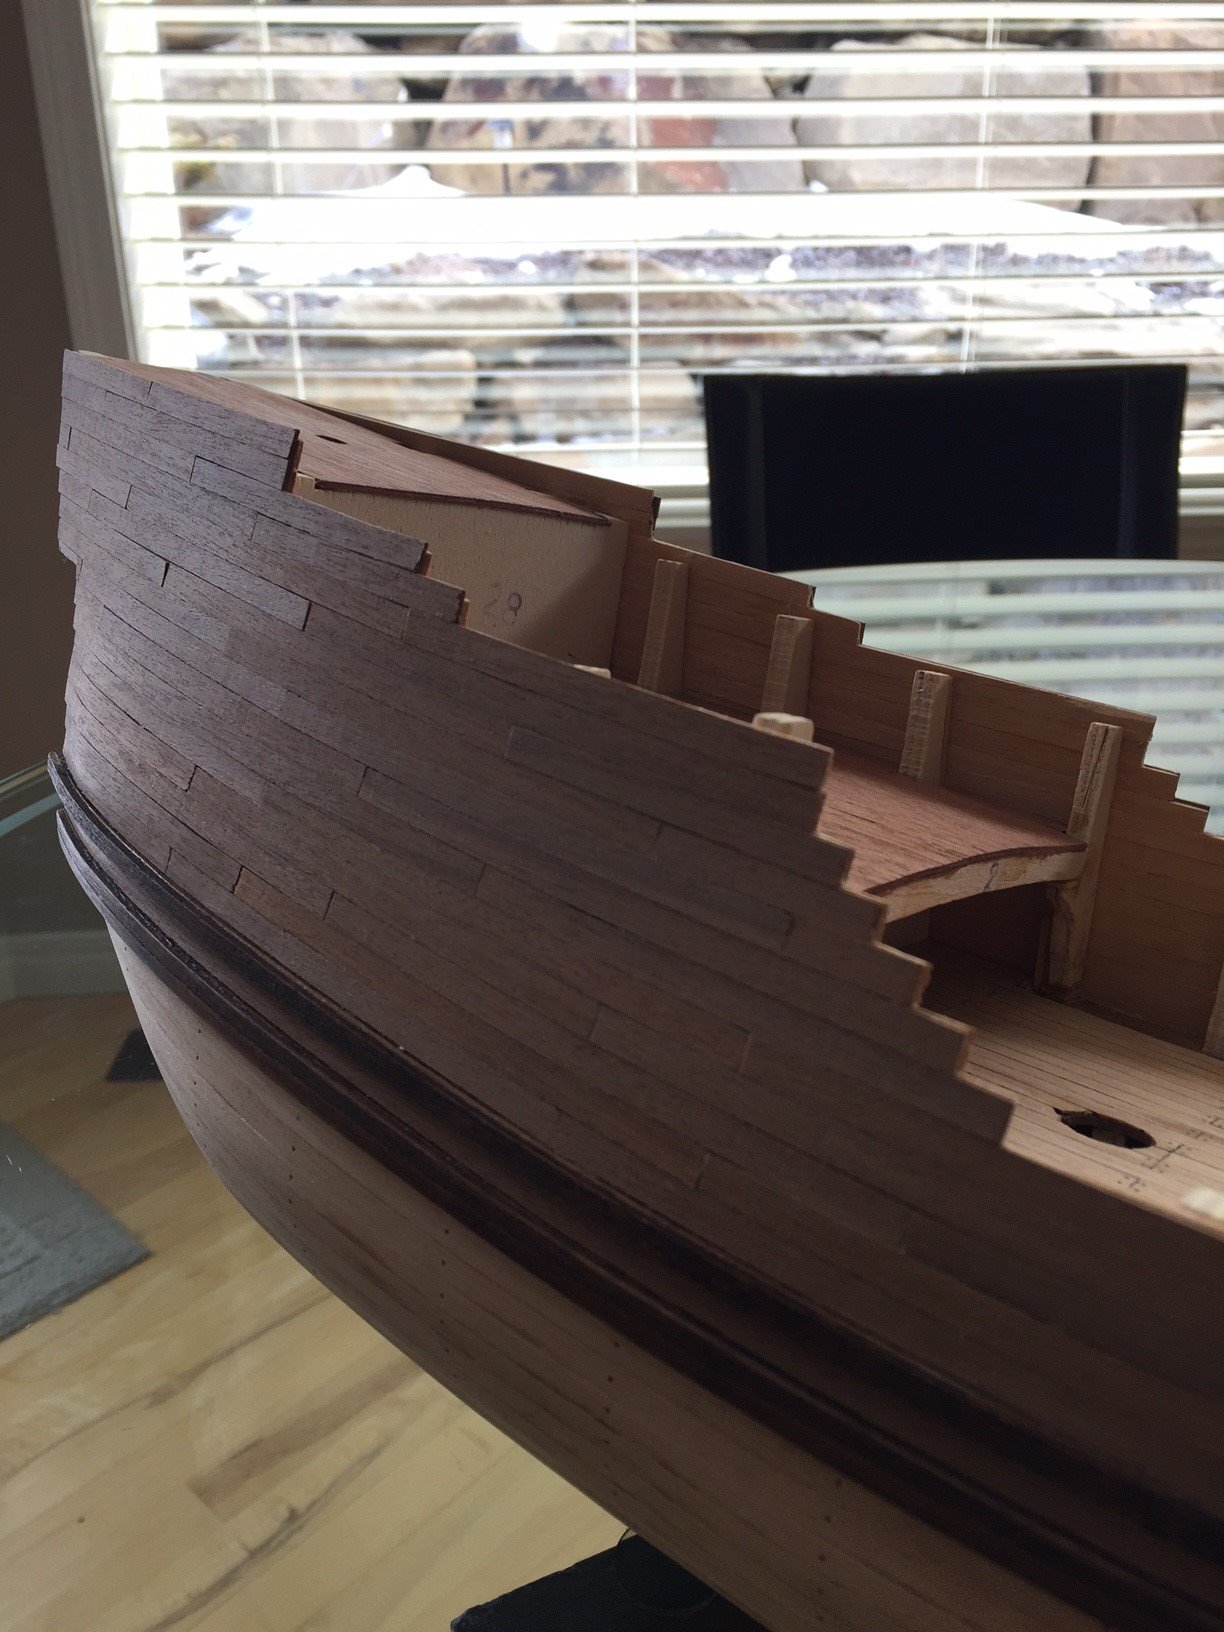
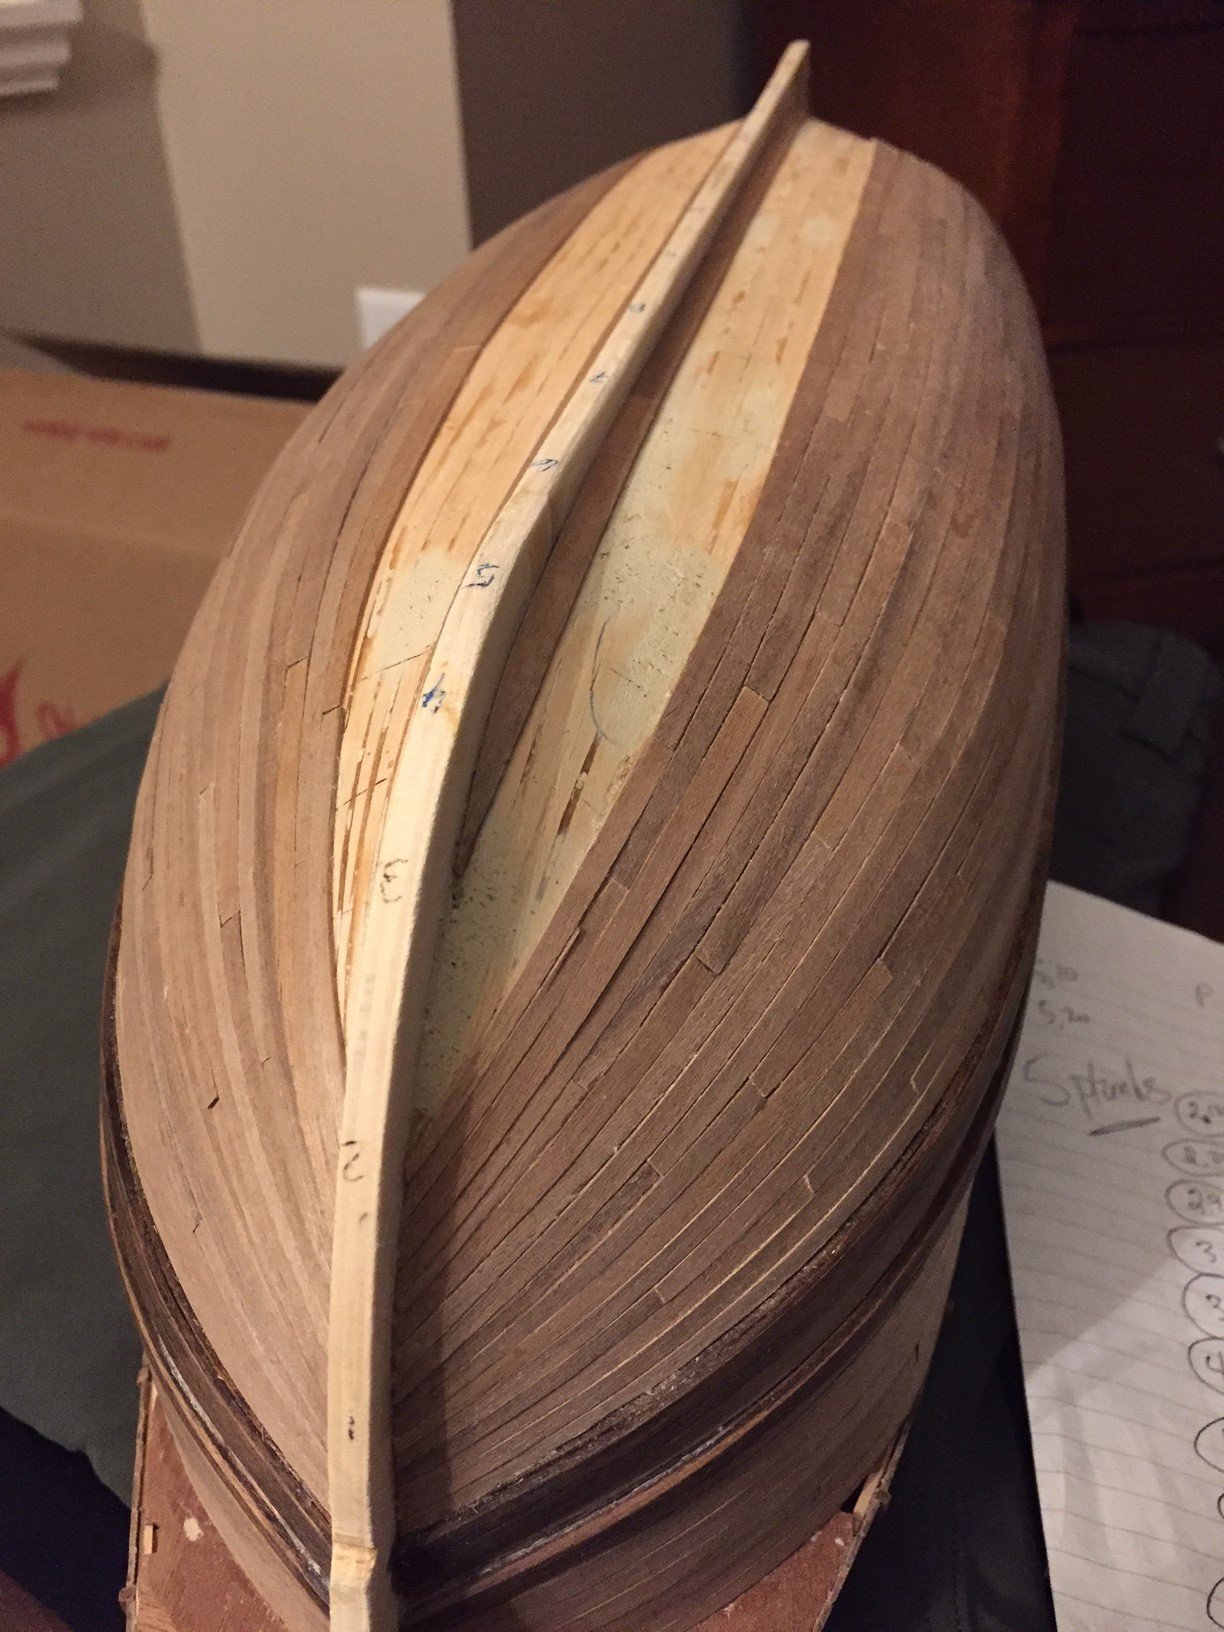
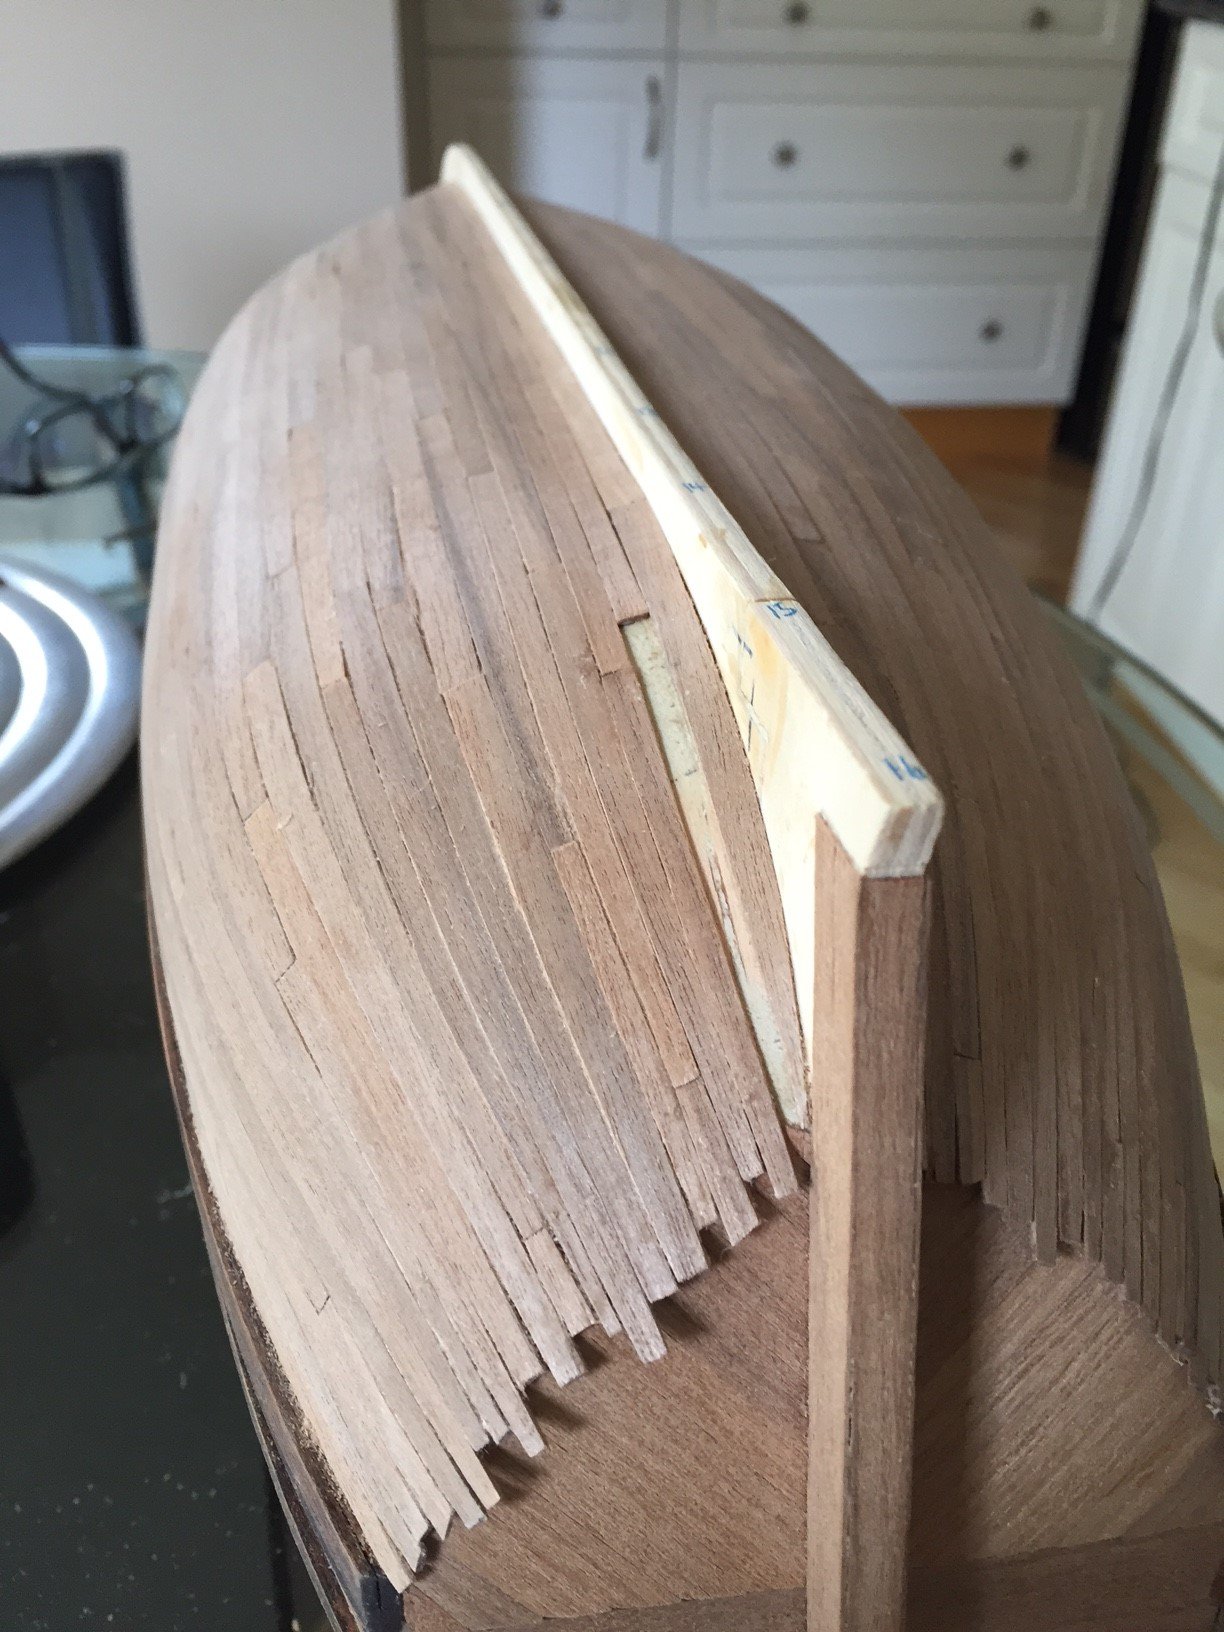
 And here is my efforts on the second planking... This being my second effort as I inherited a kit (Billings Boat - Bluenose) that had already been planked. My first effort was a challenge to say the least on the Caldercarft - Bomb Vessel Granado. On this kit I measured the port and starboard sides and divided the values at each bulkhead (below the wales) to the width of the plank and tapered the bow and stern planks accordingly. (Above the wales) the planks were all pretty much full width and the steam bending at the bow was quite easy... I was very happy with the quality of the walnut strips as in no splintering at all, in comparison to the supplied wood in the Caldercraft kit. Sorry about the lighting on the first 2 images... Just have to do a light sanding and good to go!


- 181 replies
-
- 5
-

-
- santa maria
- mamoli
- (and 1 more)
-
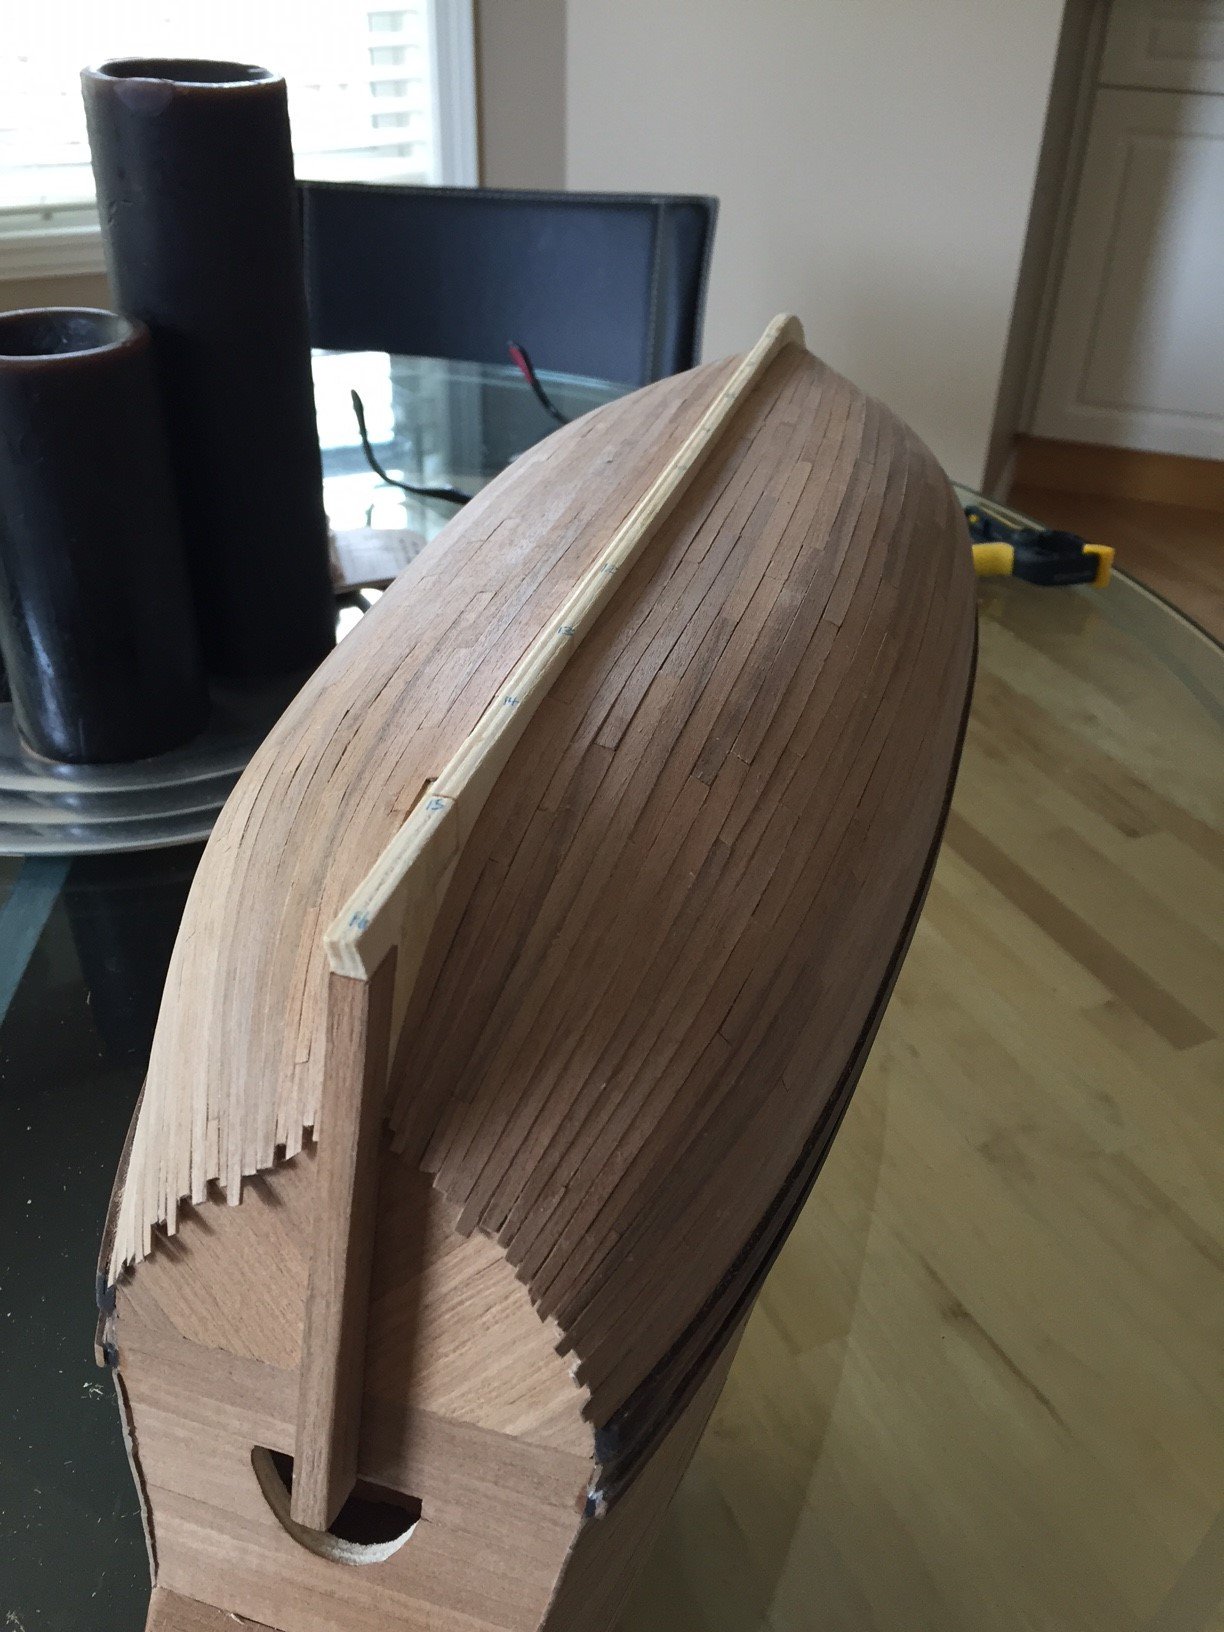
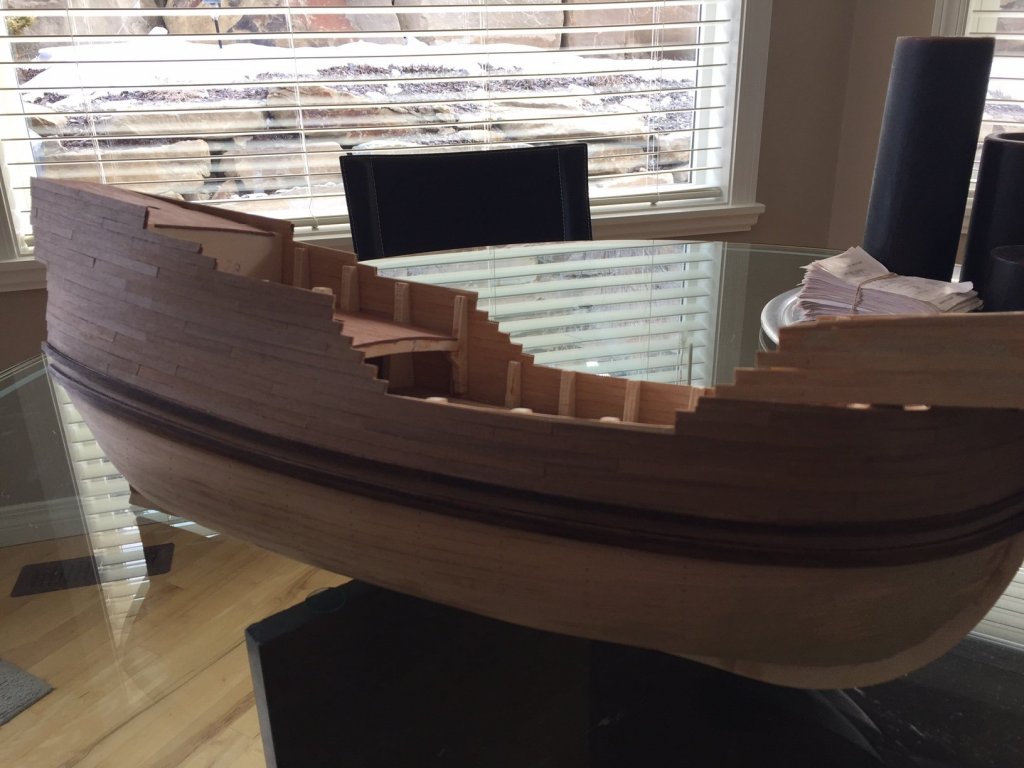
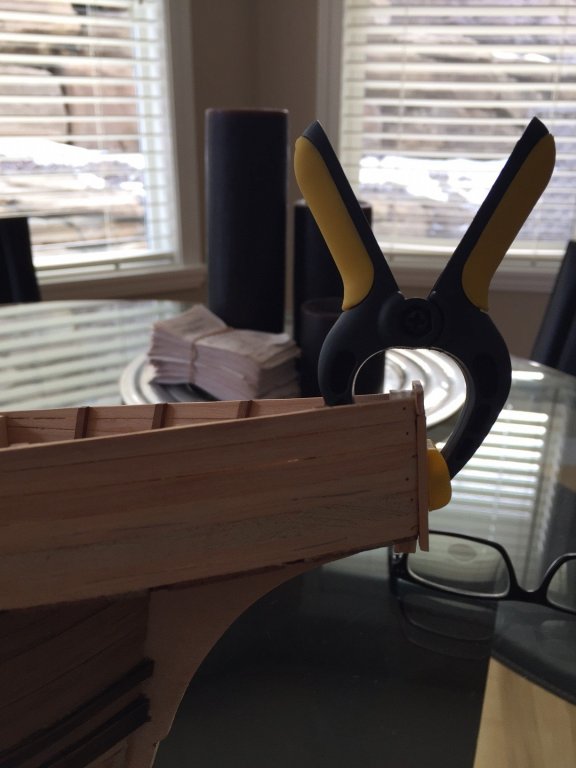
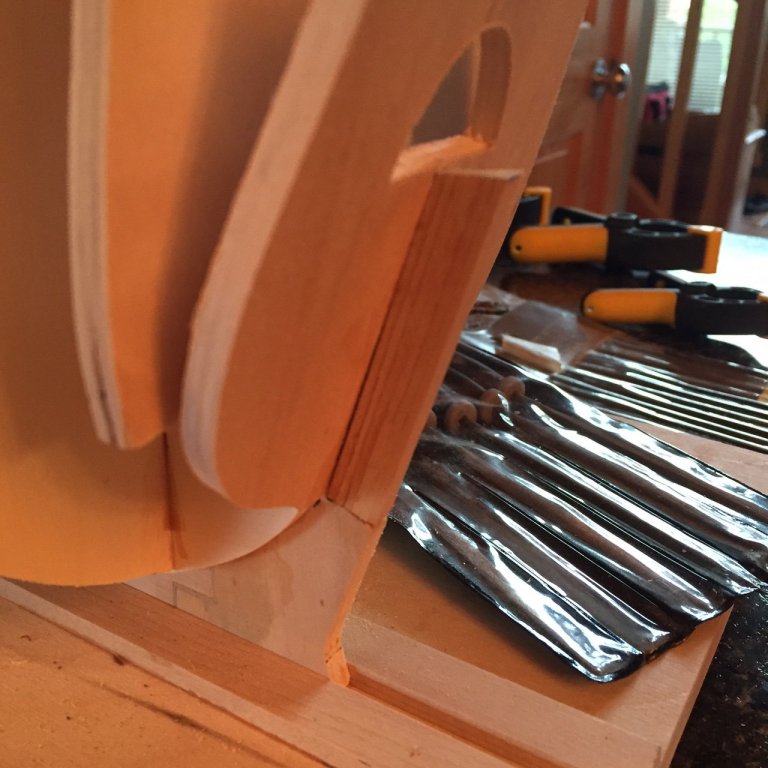
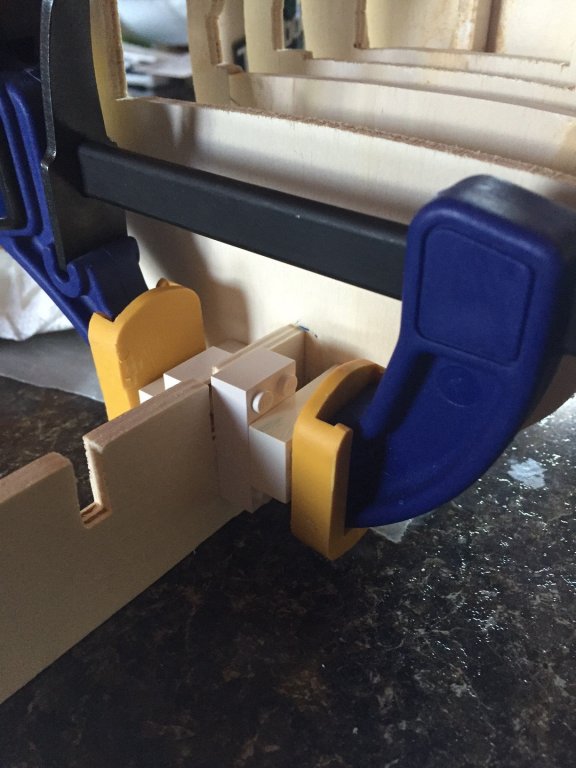
Here is more progress on the forecastle bow which started off in error... When I glued the bulkhead forecastle bow piece I noticed later from the plans (that I should have read in more detail) that I should have leaned forward the top edge in a forward incline. I solved this to a degree by building up the bow piece and sanding back the bottom edge to recreate a slight forward leading top edge. Sorry as I do not have a picture of the correction. Looks better anyways...

- 181 replies
-
- 2
-
-
- santa maria
- mamoli
- (and 1 more)
-
Hi Mustafa, I have been posting updates from work that I did over this past winter. It took me about 3 weeks to do the first planking. I am quite slow normally and I took even more time to do the second planking. Thanks again for checking in...
-
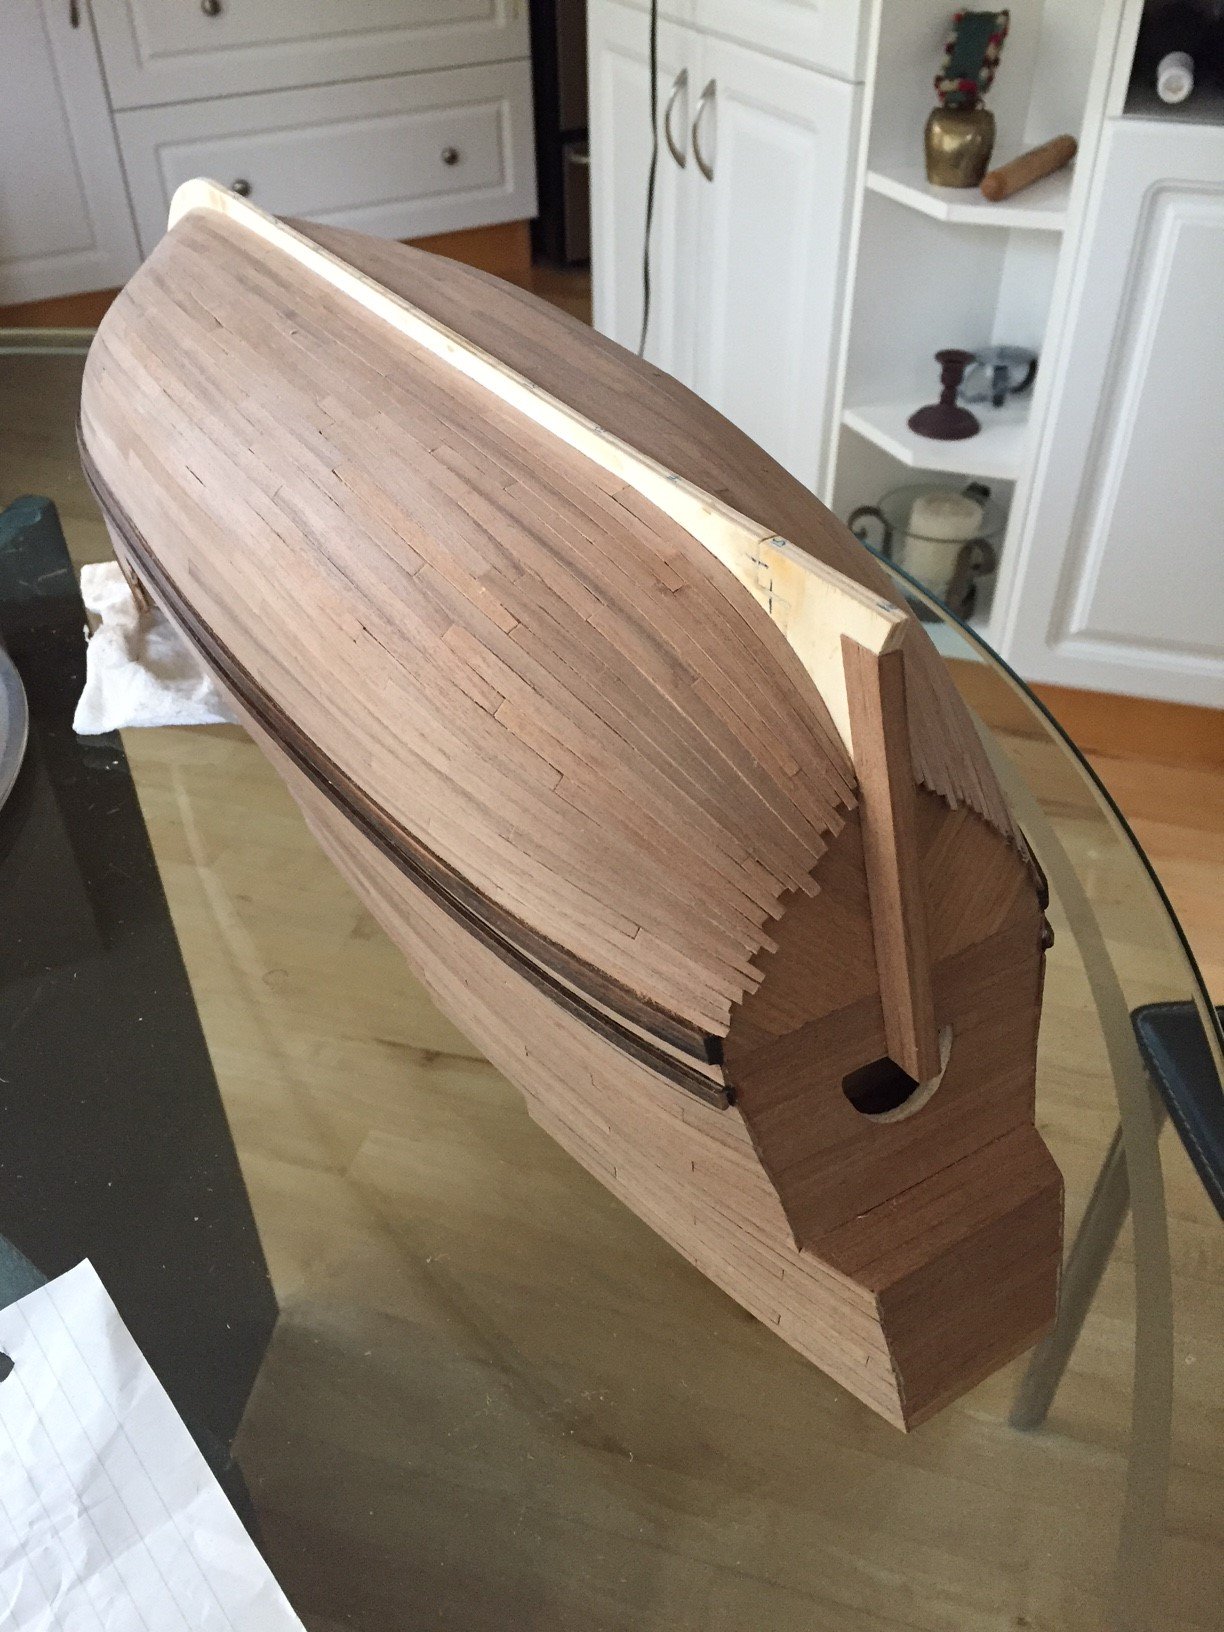
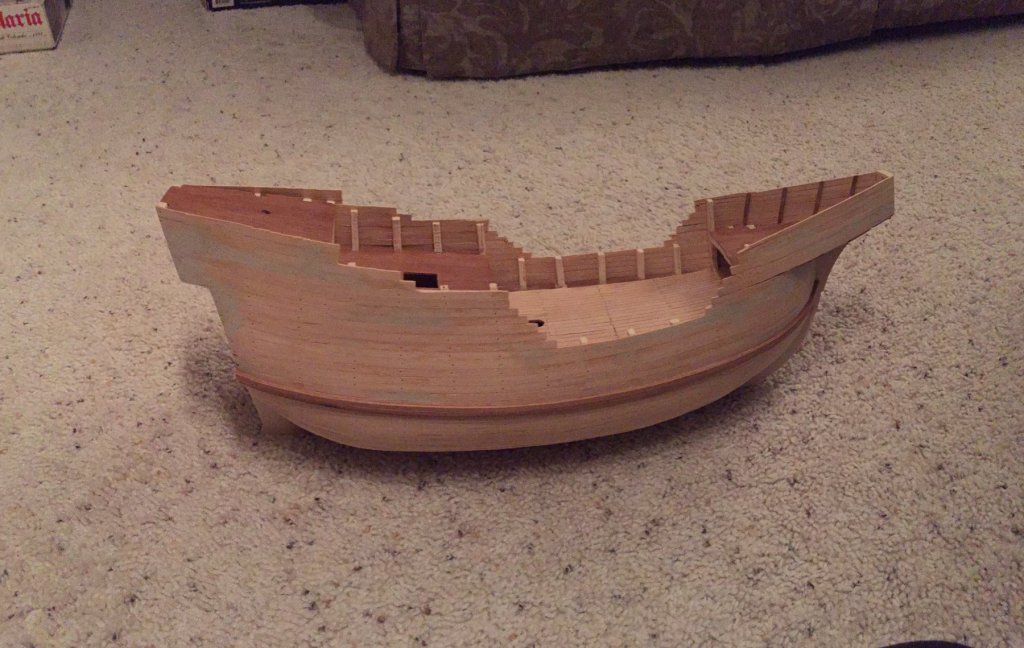
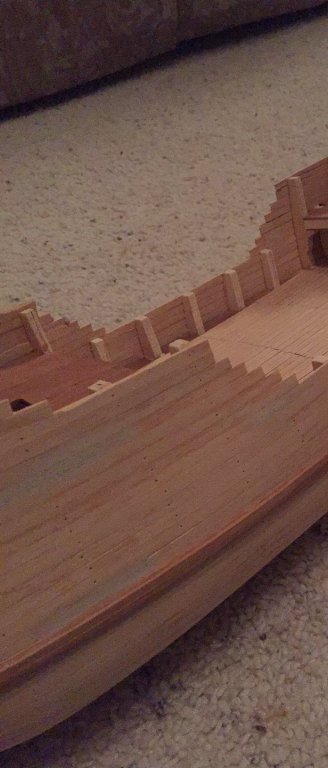
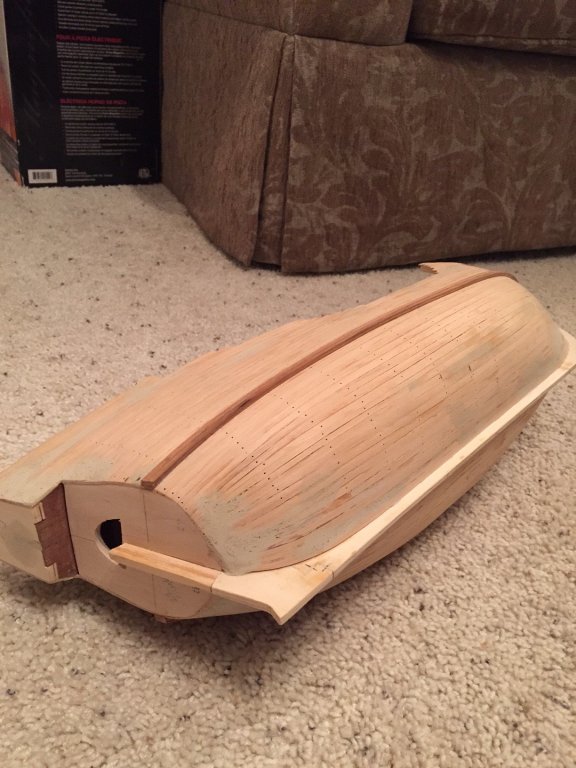
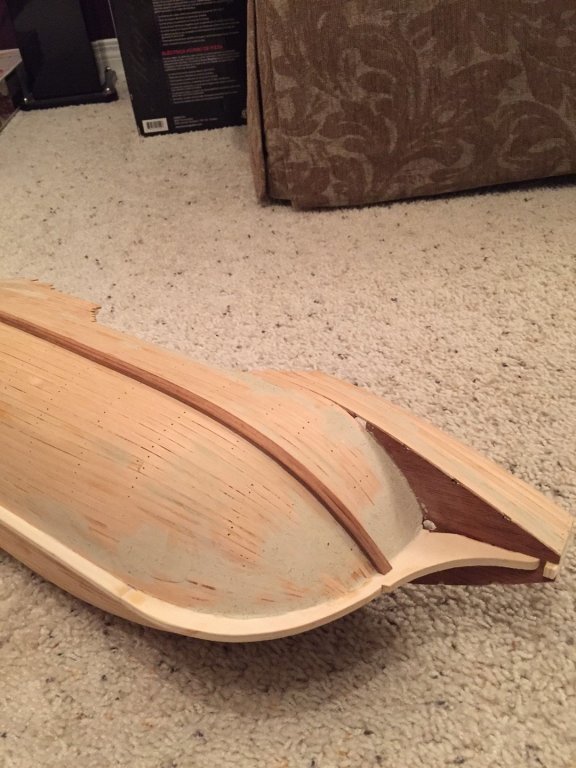
More progress... (from the past) I am very happy with how the first planking went. I perfected some techniques with regards to steam planking and though the wood was quite solid, I was able to get all my bends at the bow and stern by soaking for 10-15 minutes and then with my wife's flat hair iron, I was able to get all the bends I needed. Some fill was needed at the bow and stern, but mostly because of problems with the bulkheads, rather than problems planking. On these images, I was also able to get my first wale plank perfectly placed on both sides. The kit recommends to paint black, but I will be doing a darker stain for the wale and wales to follow...

- 181 replies
-
- 6
-
-
- santa maria
- mamoli
- (and 1 more)
-
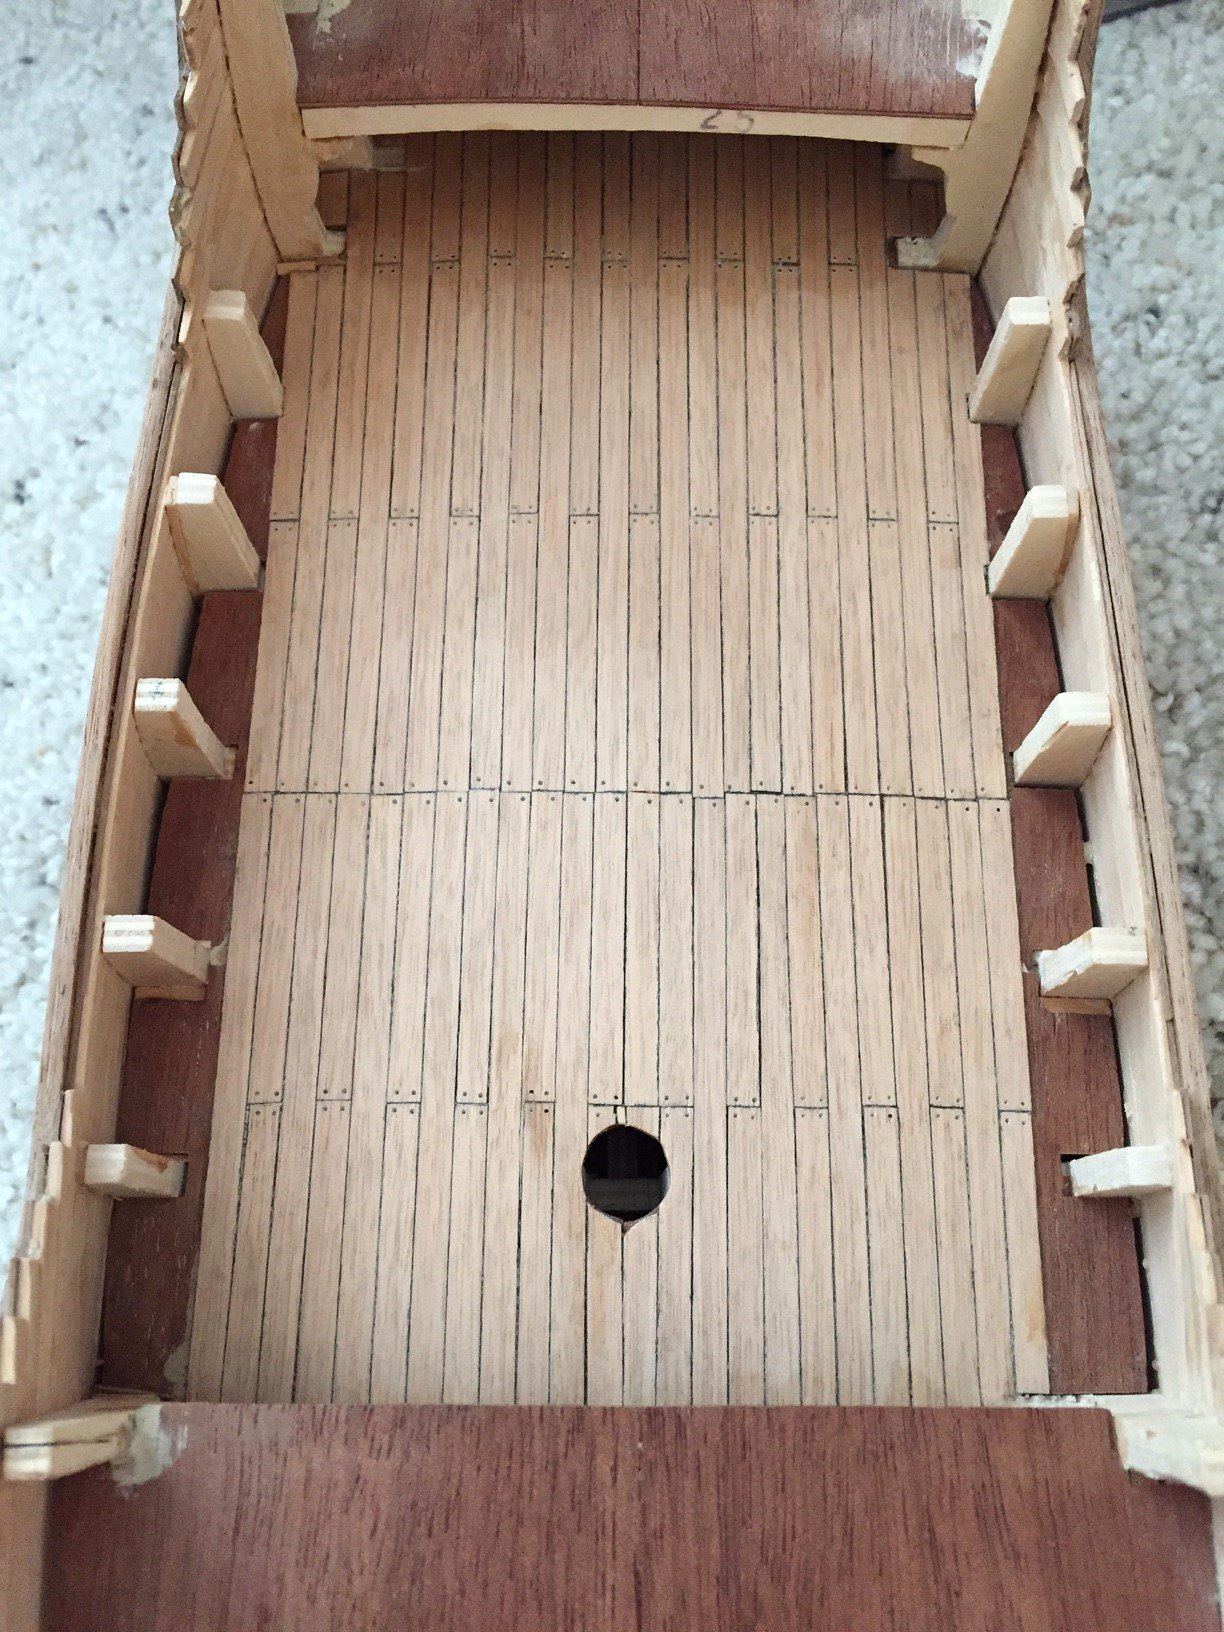
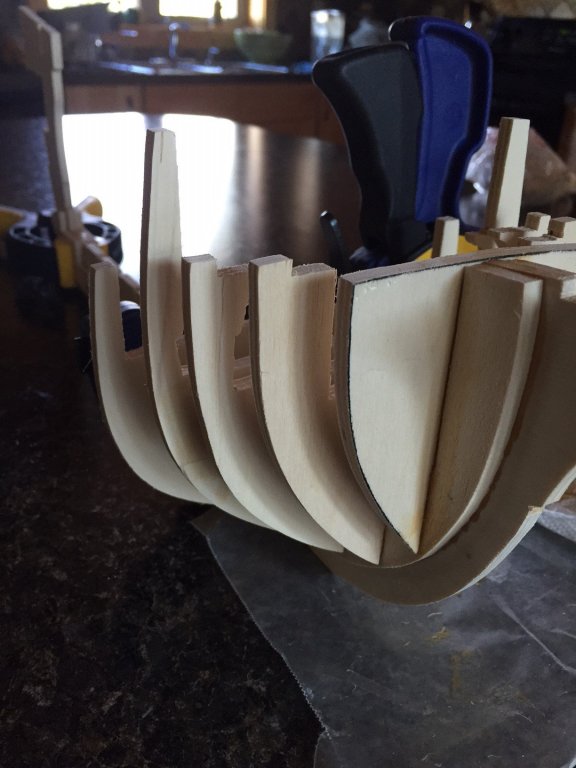
More progress... (from the past) I planked the main deck, and after the fact, I should have been more careful about the planks when they touch the bulkhead margins... I should have left more space as at a later step I have to remove all the bulkhead extensions and then finish the planking to the sidewalls. Also if you look closely at the picture attached, you will see some of the additions I had to add to the exterior surfaces of some of the bulkheads to achieve a true surface for the full run of the external first planking layer.

- 181 replies
-
- 1
-
-
- santa maria
- mamoli
- (and 1 more)
-
Thanks Zoltan for following along... always nice to have some company! PS did you notice how many bulkheads are included in this Mamoli kit in comparison to the Mantua kit? I thought it was a bit of overkill in the Mamoli kit... Cheers!
- 181 replies
-
- 2
-
-
- santa maria
- mamoli
- (and 1 more)
-
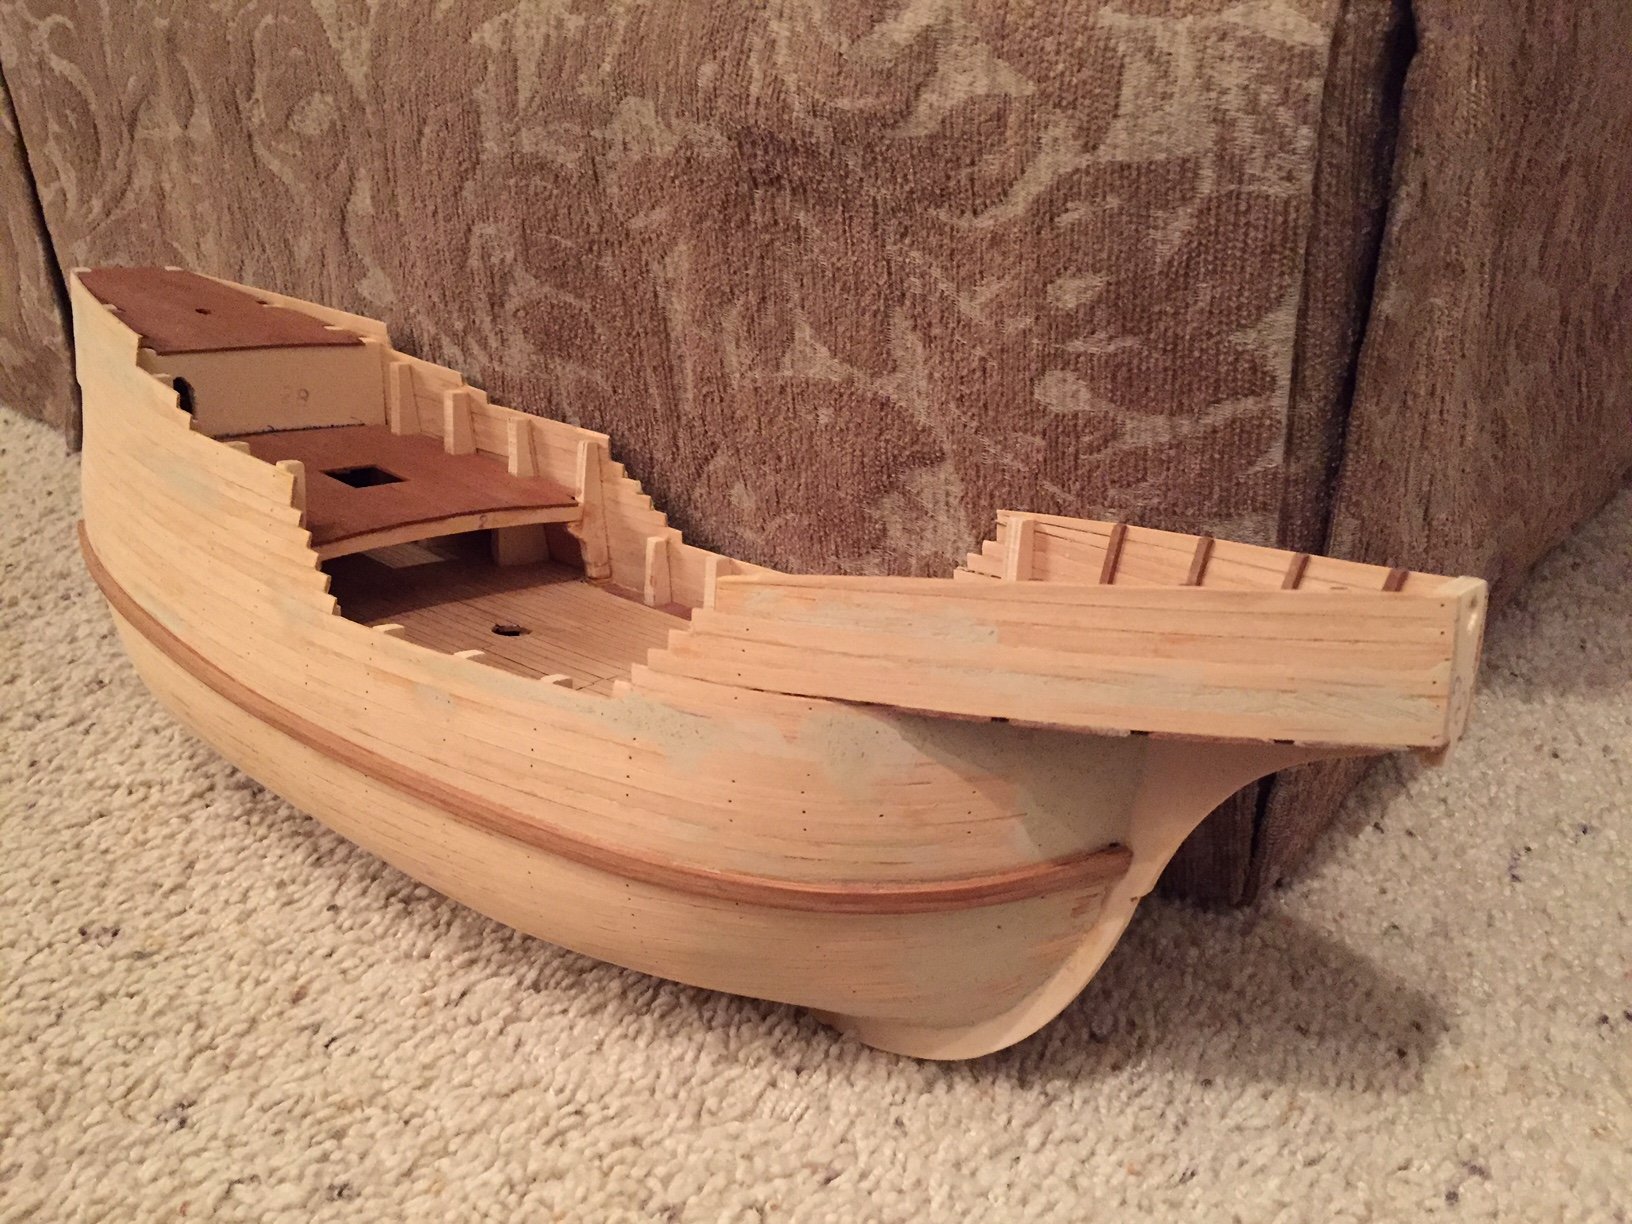
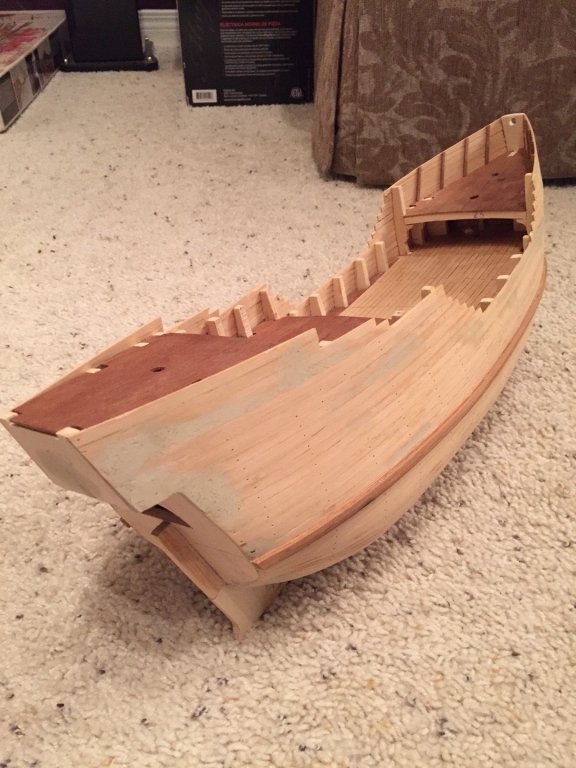
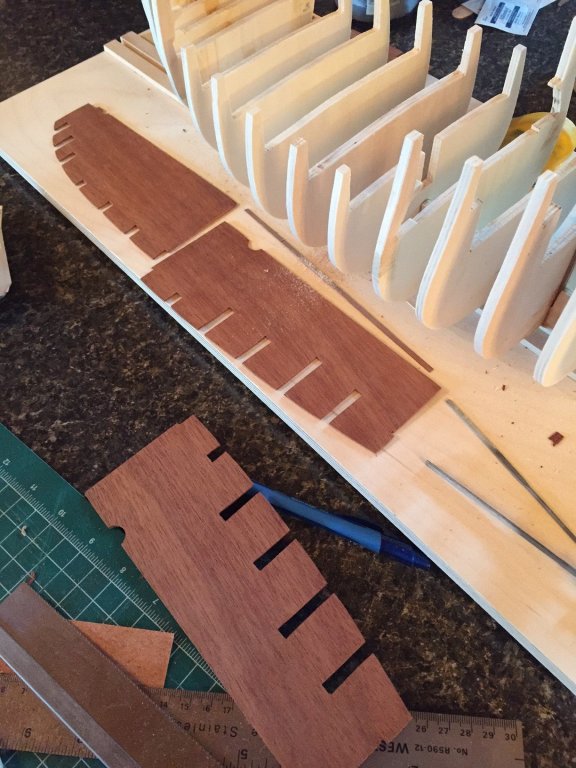
The deck would / should normally fit past the bulkhead extensions and fit in one piece over the deck base. The bulkheads were so off, some even twisted in their slots that I had to cut the deck into quarters in order to fit them in. Some of the slots in the deck were widened substantially in order for them to fit past the bulkhead extensions, down flush on the base. The last image shows some of the fill to level out the deck topside surface. My fault certainly in not taking extra care and extension when fitting and gluing the bulkheads... I did lots of fairing and sanding and adding of strips to outside bulkhead surfaces to achieve perfect bulkhead / hull surface preparation for the planking to follow. This I certainly took the time to do correctly...


- 181 replies
-
- 5
-
-
- santa maria
- mamoli
- (and 1 more)
-
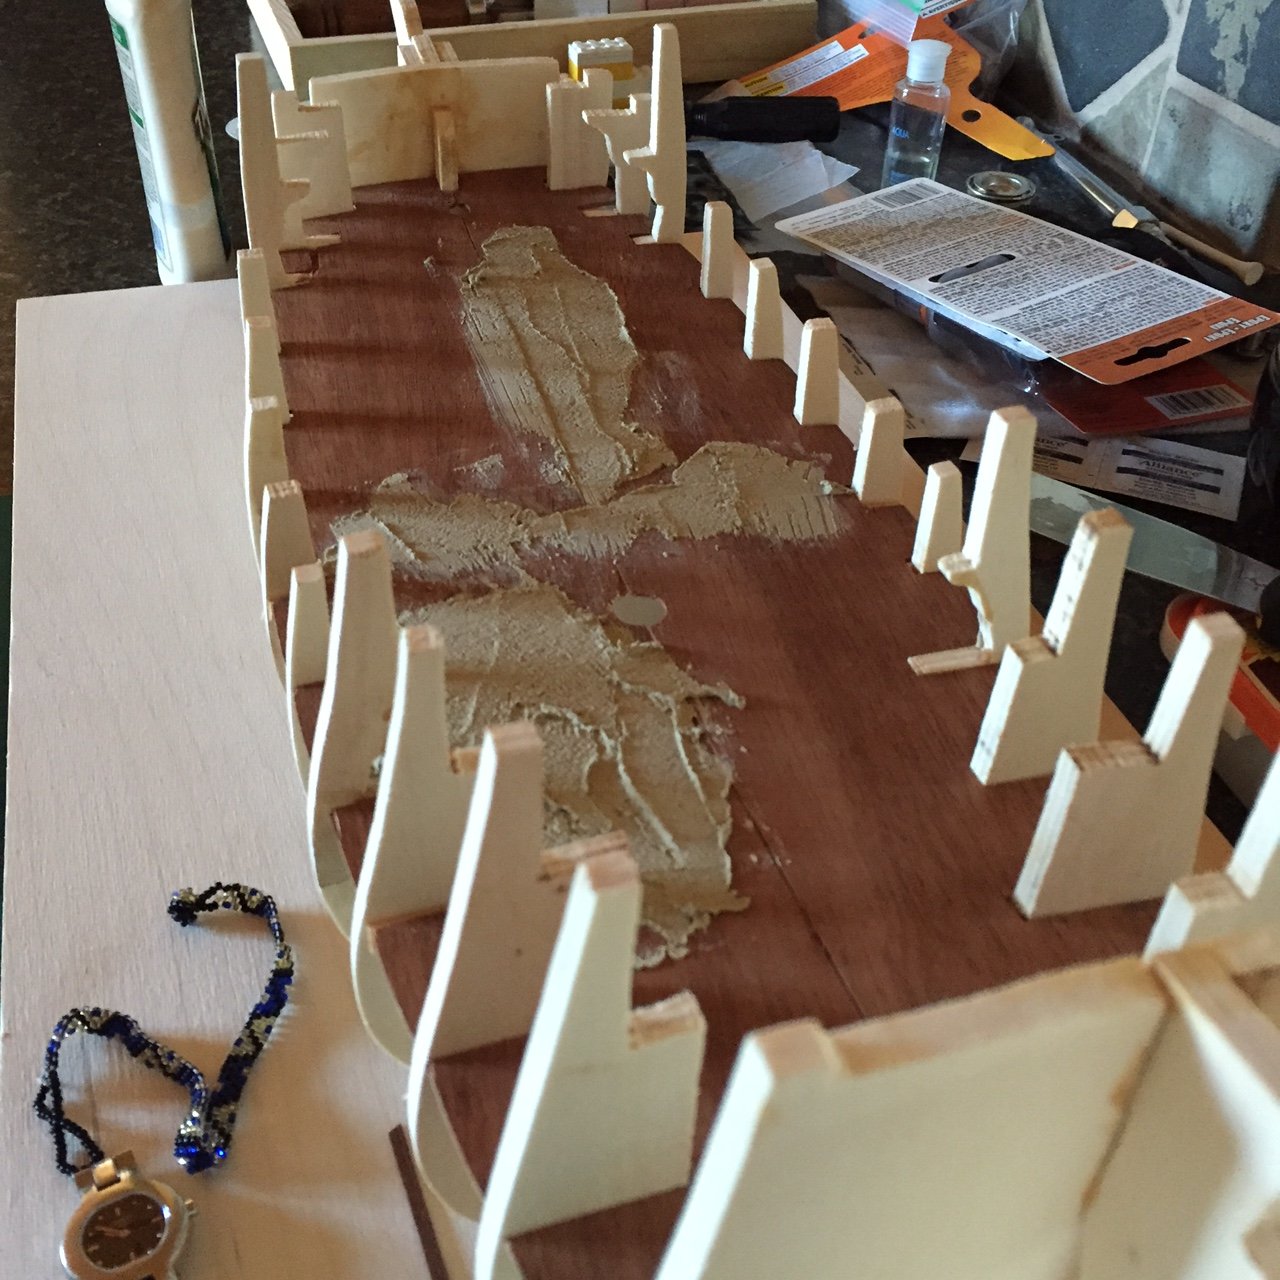
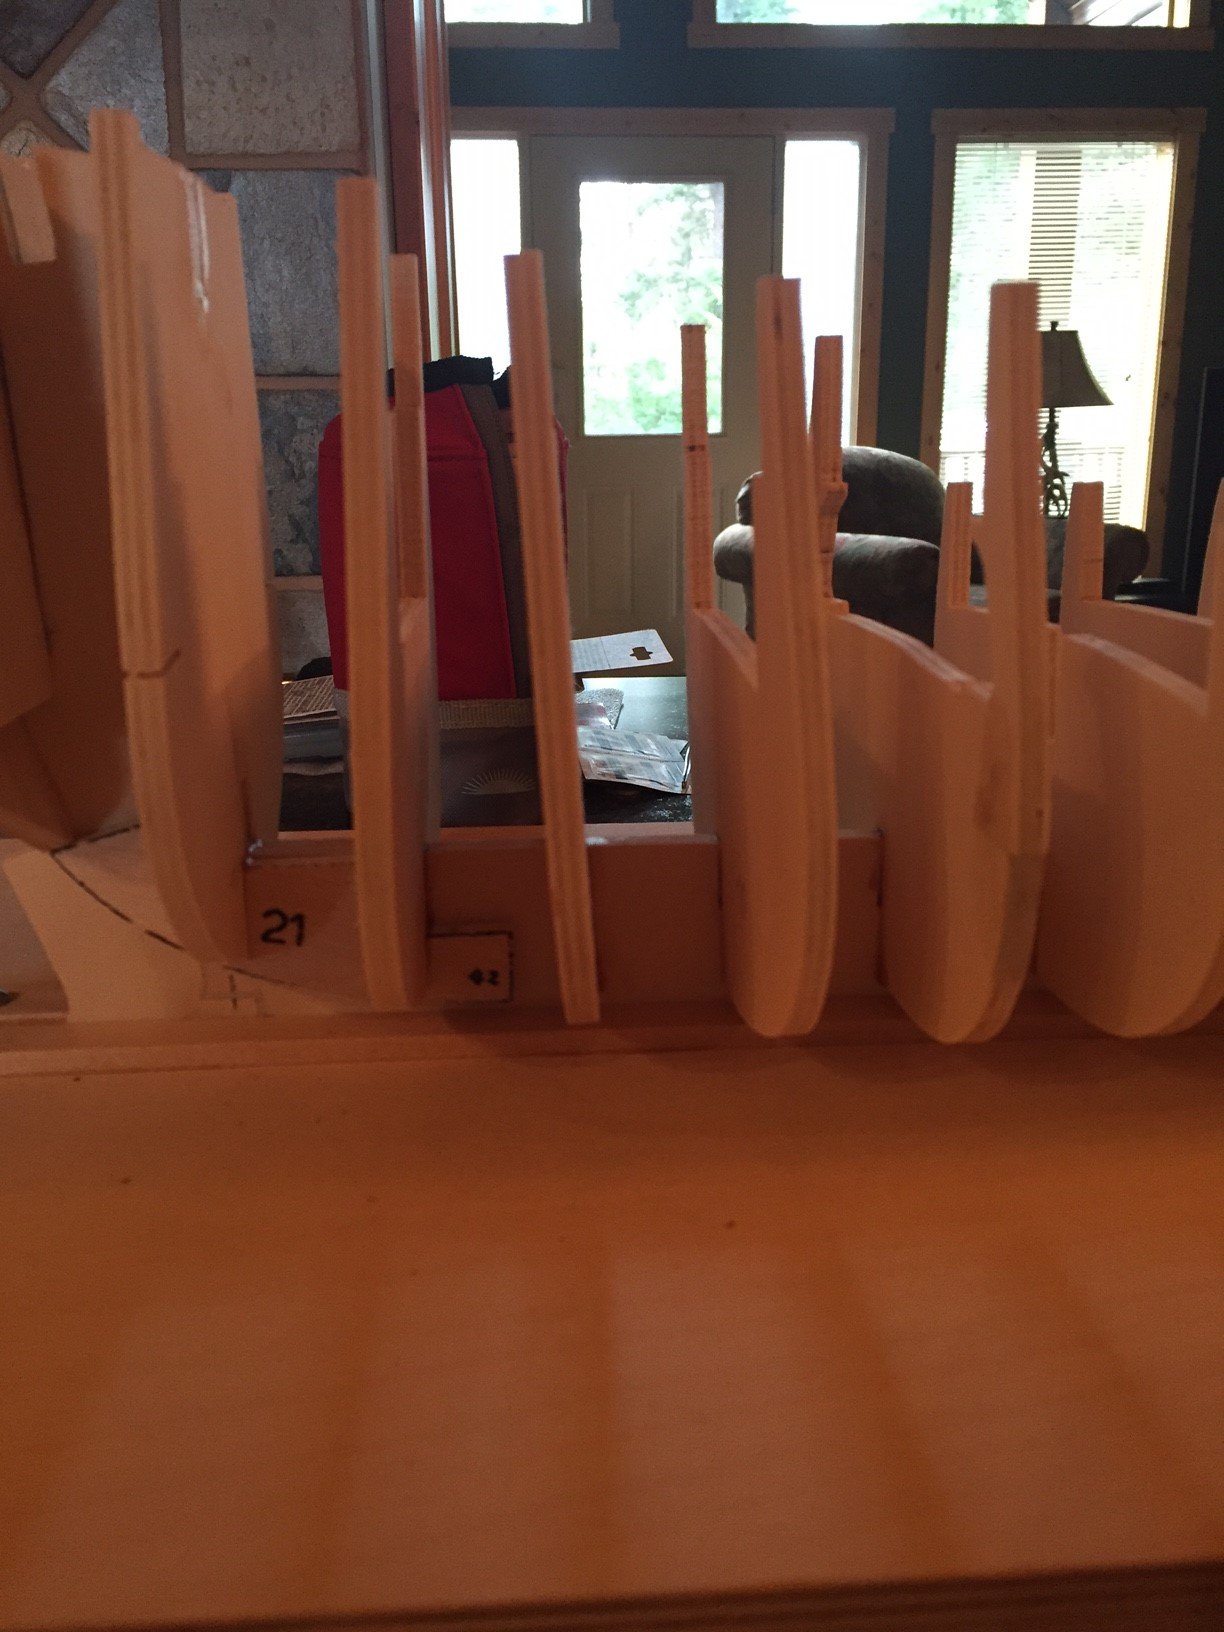
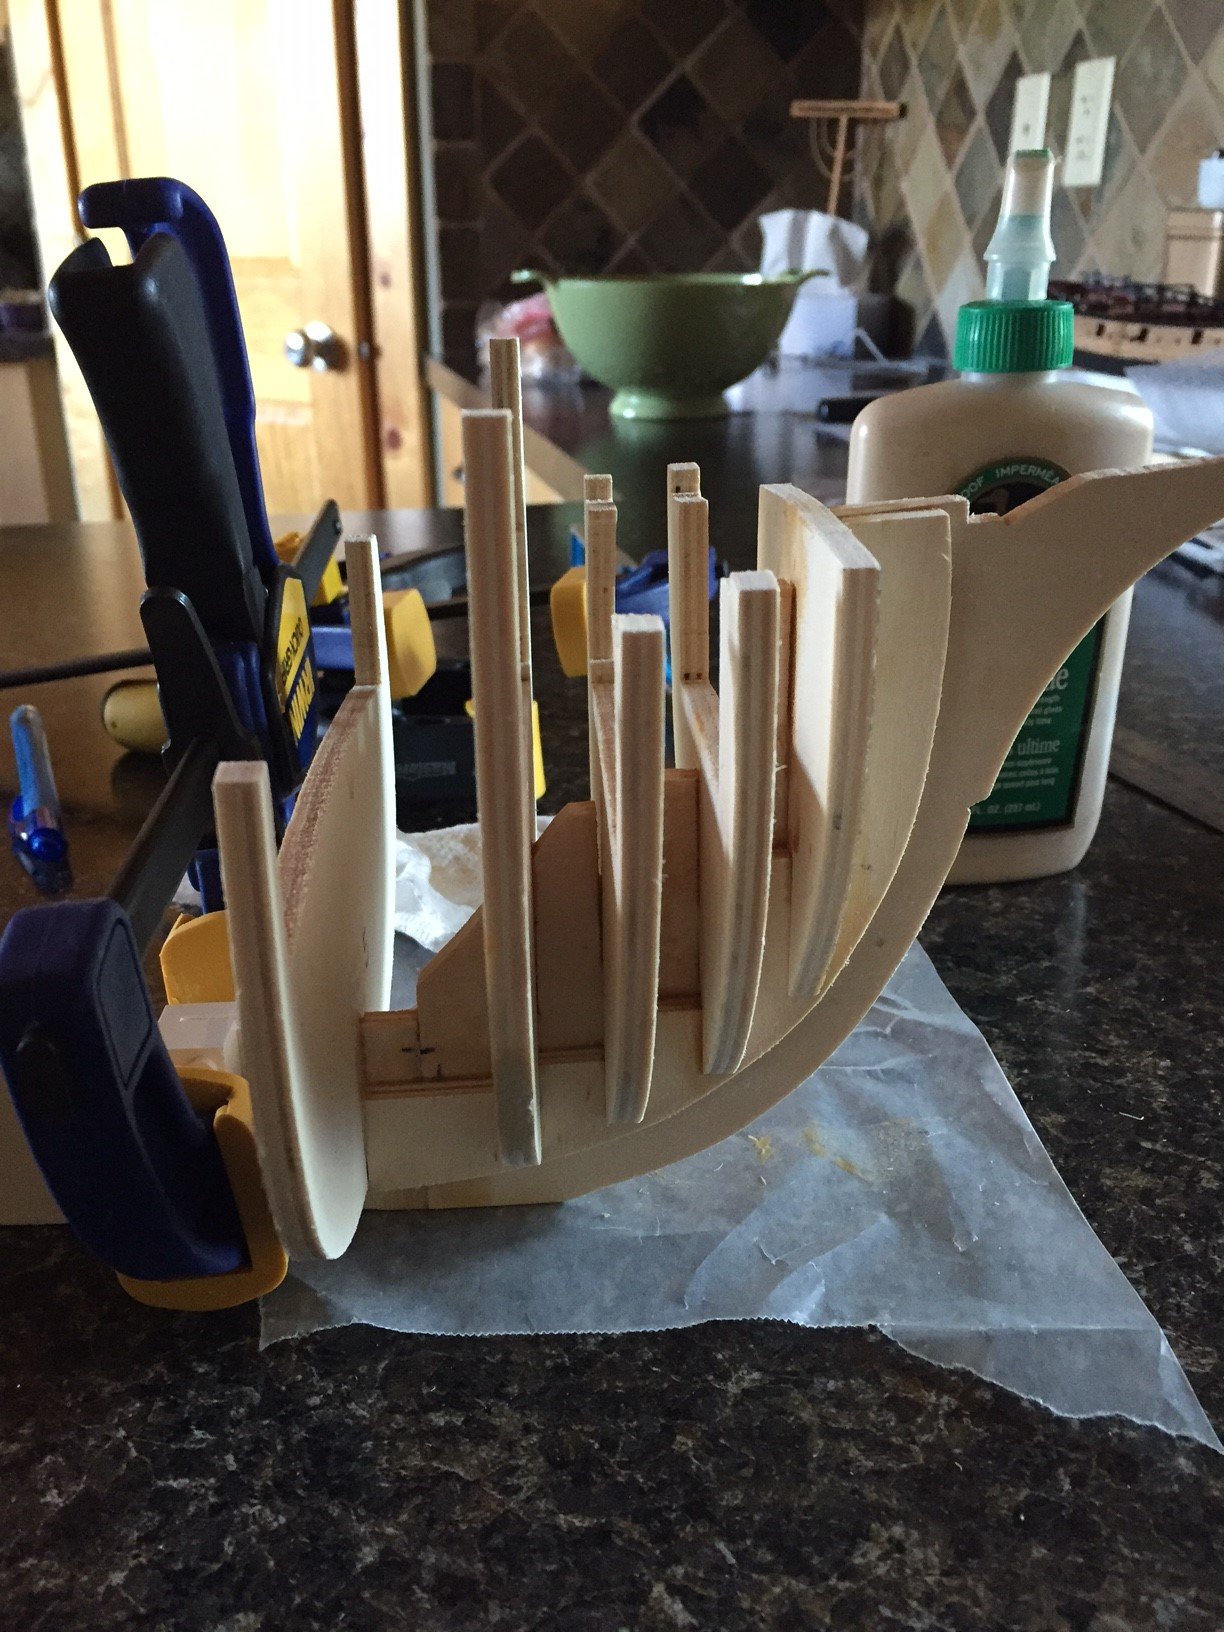
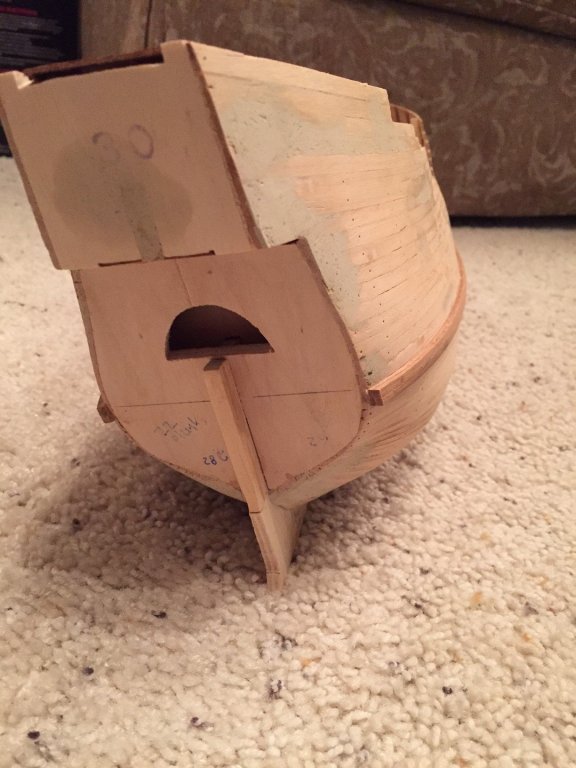
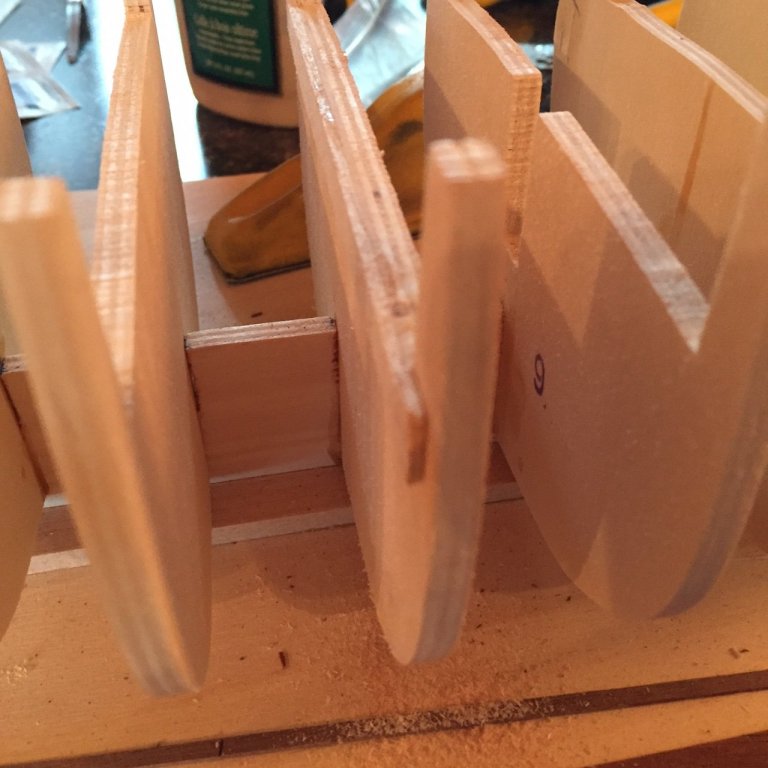
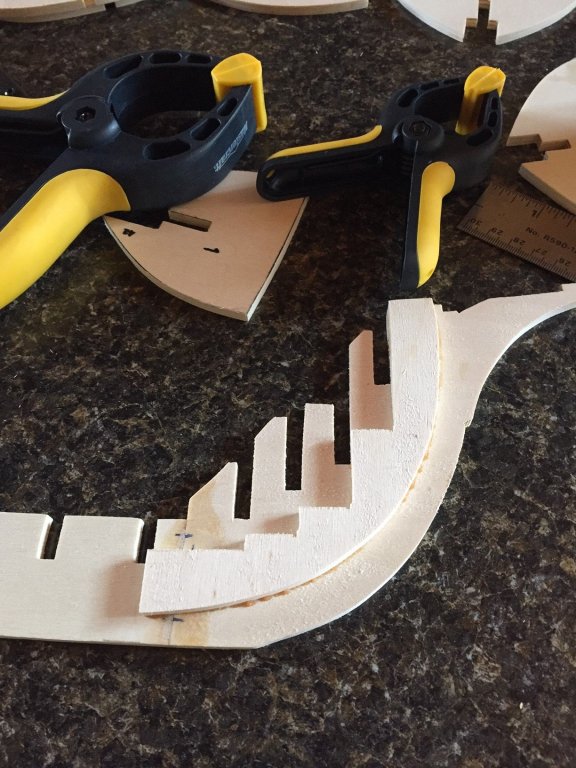
More progress... Certainly on this first image you can see some of the challenges with the frames or bulkheads not lining up well and being loose in the slots of the keel from side to side and fore and aft. This was basically the story along the whole length of the keel.

- 181 replies
-
- 3
-
-
- santa maria
- mamoli
- (and 1 more)
-
Thanks Mustafa for checking in, I am quietly following along a few of the Santa Maria's being built at this time... in particular yours and Zoltan's build which is the Mantua version.
- 181 replies
-
- 2
-
-
- santa maria
- mamoli
- (and 1 more)
-
Hi Mustafa, I have been quietly following your build right from the beginning. I love everything that you have done to date on your Santa Maria. It is amazing how much variation from kit to kit on this particular model and it is so much more interesting to see what you have done on this "handmade" effort. PS Thanks for following along my Santa Maria... Cheers, Julian
-
The bulkheads were incredibly loose in their respective slots along the length of the keel, and that is not exaggerating! Loose from side to side and top to bottom (from where they should have been sitting) in the slots... I carried on as best I could, not realizing completely the true importance, with regards to making sure everything was lining up perfectly square and true. Needless to say, some problems were had later in the build...

- 181 replies
-
- 2
-
-
- santa maria
- mamoli
- (and 1 more)
-
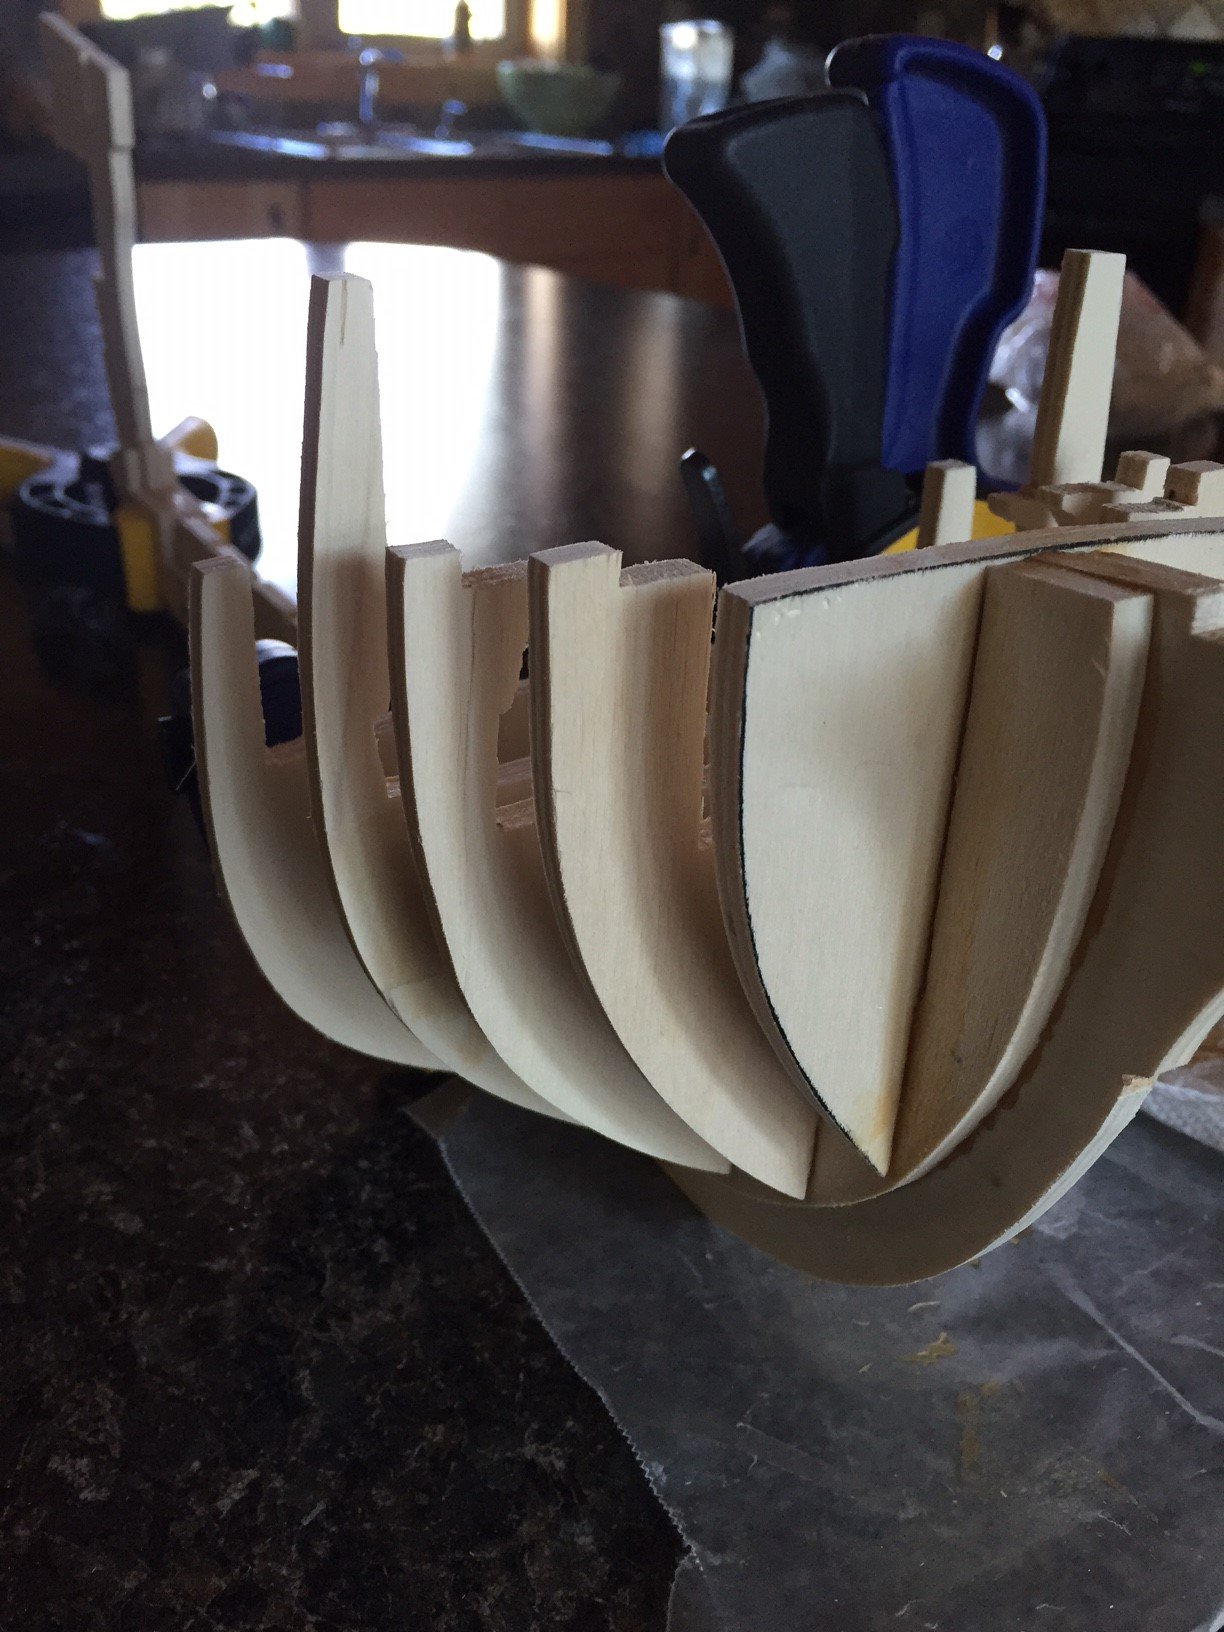
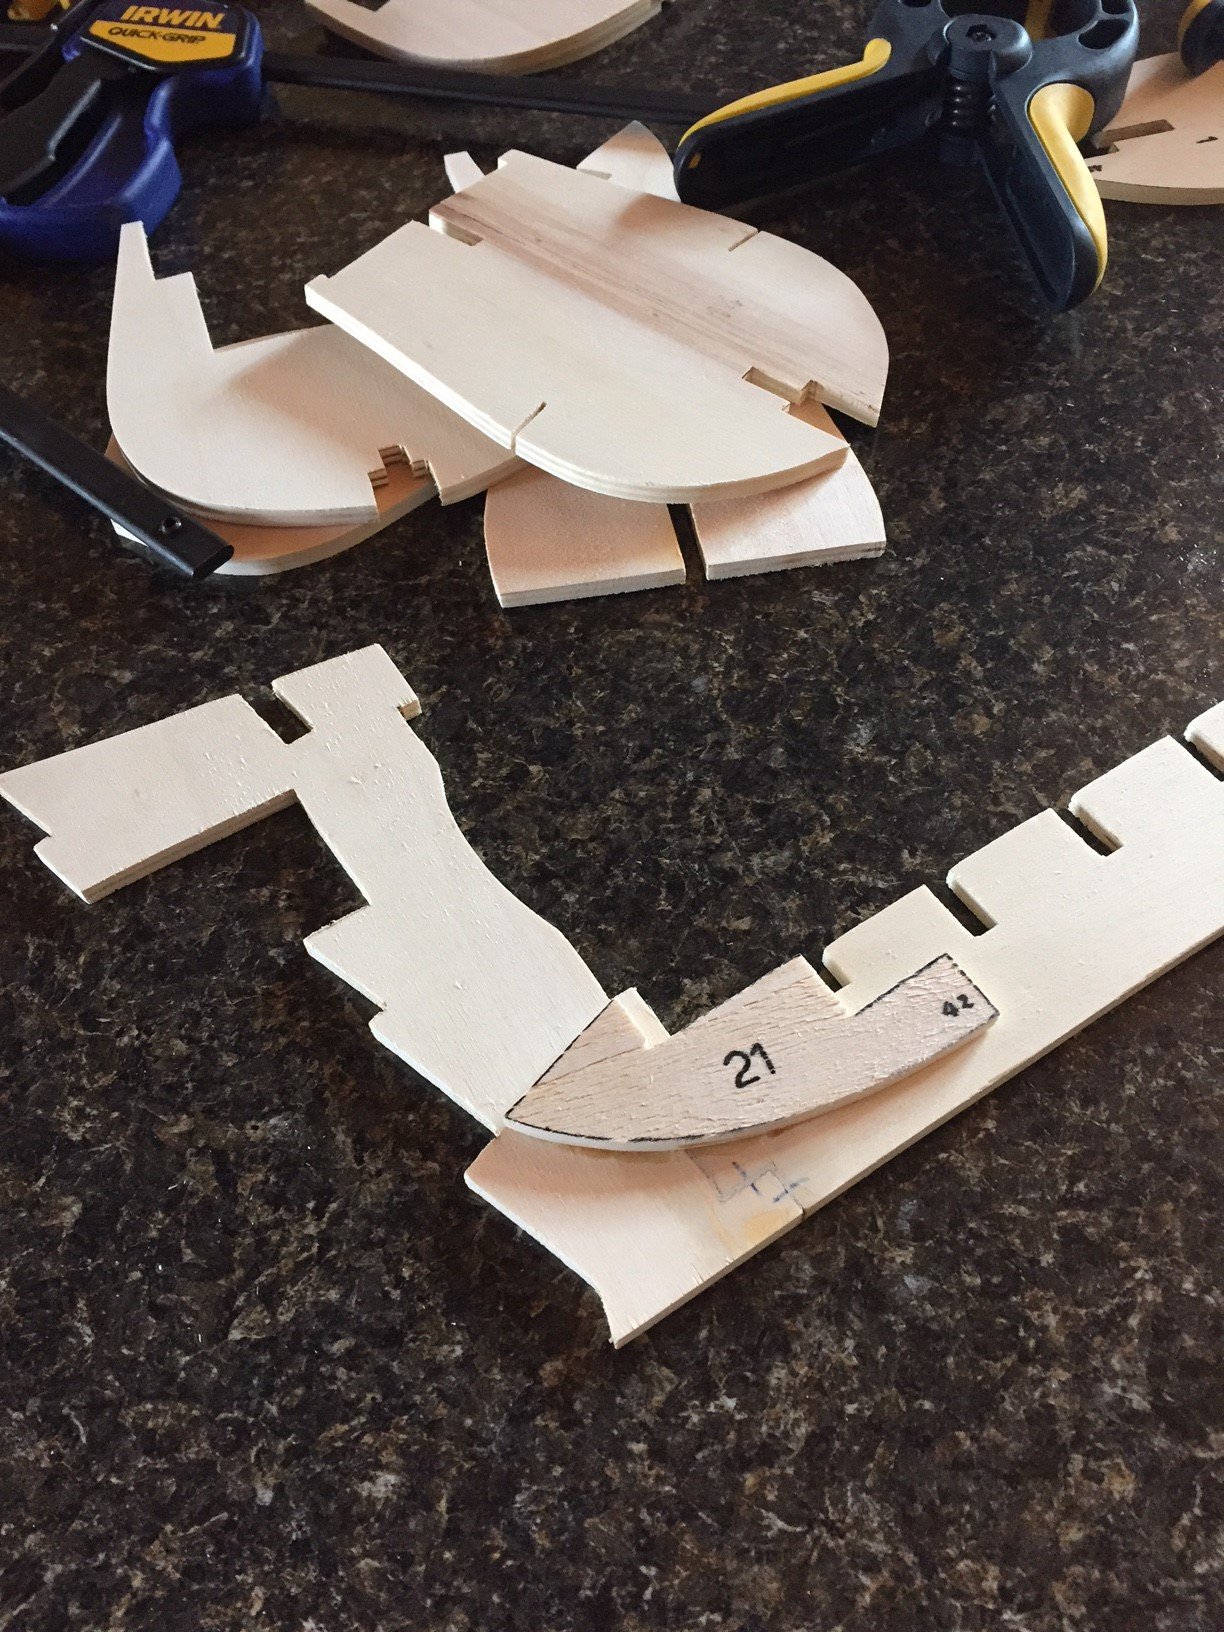
My favorable first impressions faded fast as I assembled the keel and added the frame supports at the bow and stern...

- 181 replies
-
- 2
-
-
- santa maria
- mamoli
- (and 1 more)
-
This kit is perhaps 20 years old and no such luck with regards to laser cut parts... I have started a Caldercraft kit, finished a Billings Boat kit, and this now my 3rd, having started a Mamoli kit. First impressions were excellent with regards to the plans and documentation and supplied parts, especially with regards to the planking strip wood - beautifully milled wood with tight dimensions and excellent wood grain and colour.
- 181 replies
-
- 1
-
-
- santa maria
- mamoli
- (and 1 more)
-
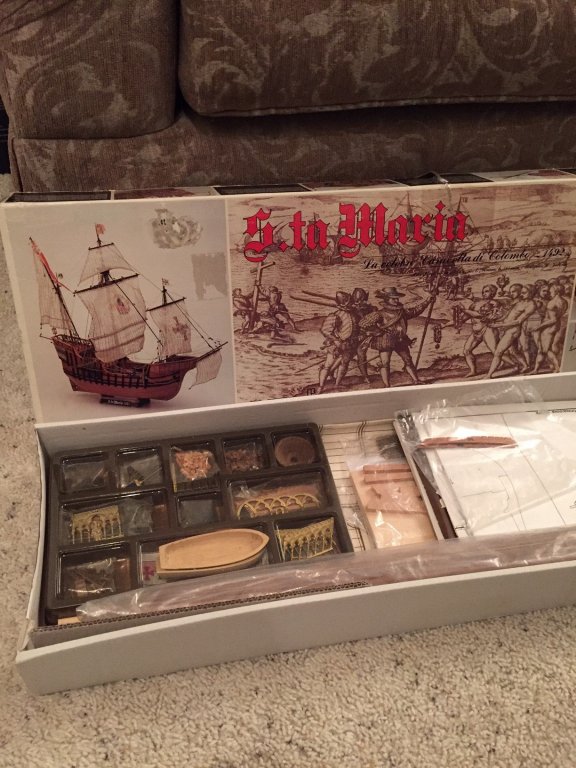
So here I start another Build Log... This being my 3rd wooden model ship started, and only one being completed (the first perhaps a little bit over my head), I purchased this model kit on Ebay for a very good price about 20 months ago and actually only began this kit in the late fall last year. At first I was not going to do a build log as I always find my time limited with regards to posting progress and updates but given the lack of build logs for this particular Mamoli kit (another one, the first on this forum, just recently started this last month), I thought I would start one. I have always found the age of Exploration of the most interest, and especially with regards to Christopher Columbus... and that being said here is the token picture of the opened box.
- 181 replies
-
- 2
-
-
- santa maria
- mamoli
- (and 1 more)
-
Hi Jon, I love the scale you are working in and of course the work you are doing on this Bluenose. PS I am originally from Edmonton myself.
-
Hi Jon, Just reviewed your log and I am very impressed! What a great job and very cool that you are able to get it into the water... Cheers! Julian
-
Thanks Jon for the kind compliments... Sorry for getting back to you so late as I unfortunately do not for whatever reason get notifications when people post on my build log. Yes of course any questions, please "ask away"! Cheers, Julian
-
Thanks Jan-Willem for the compliments and of course being around for the "entire journey" with me.
-
Thanks Popeye, thanks Bob for following along and providing guidance and of course flattery. Also thanks to all for the "likes". I just have a few more pictures of the model in its case that I have just recently built and finished... Will post them soon!
-
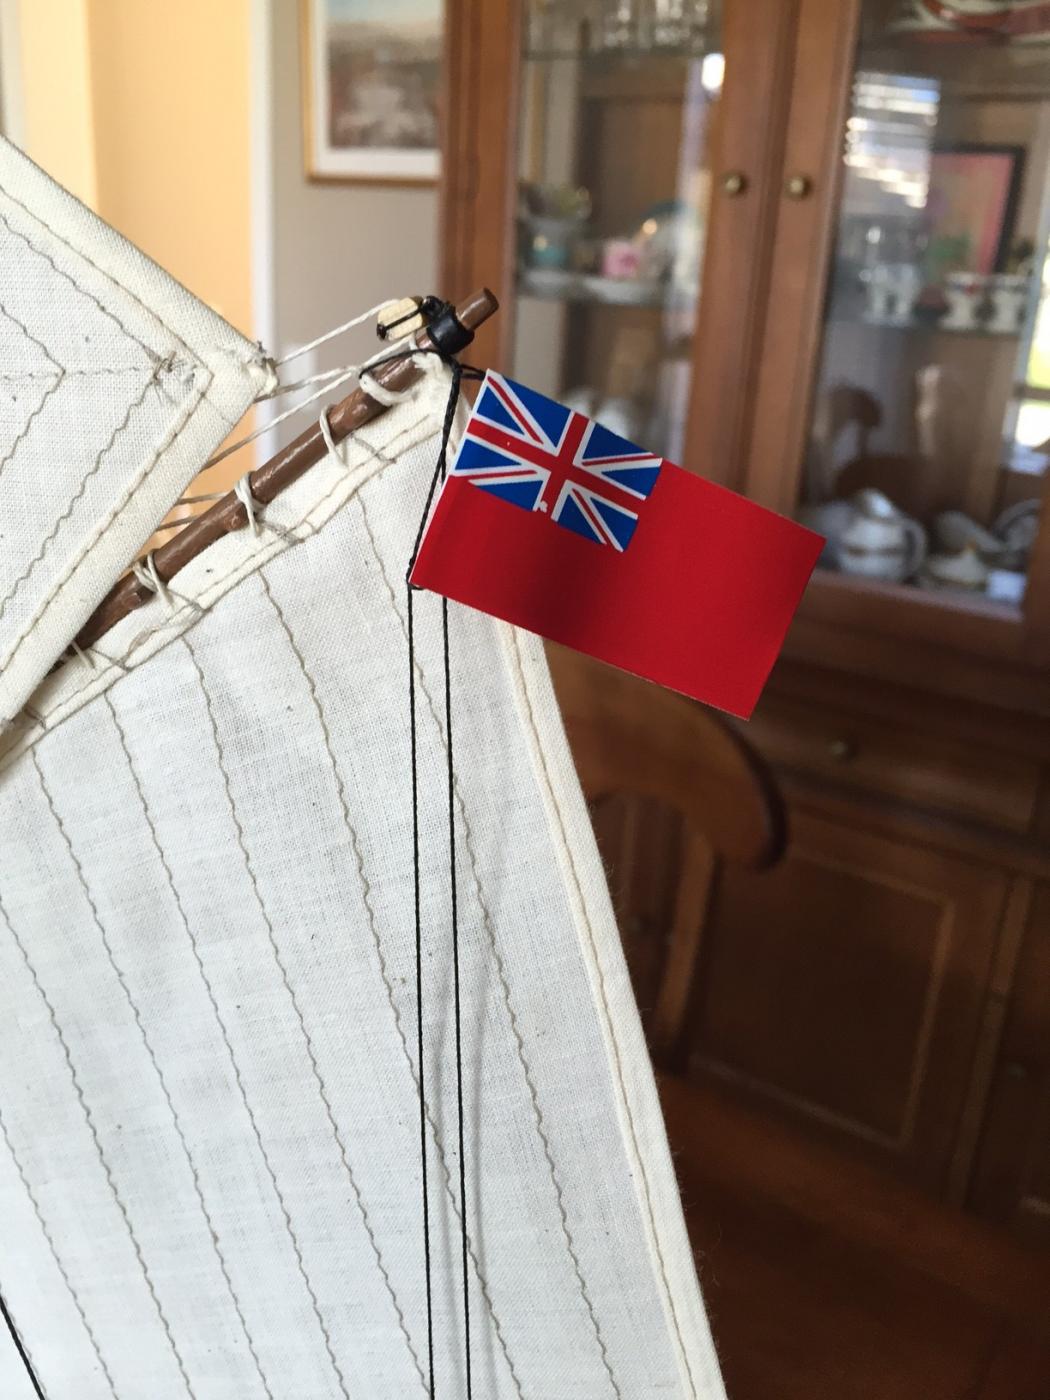
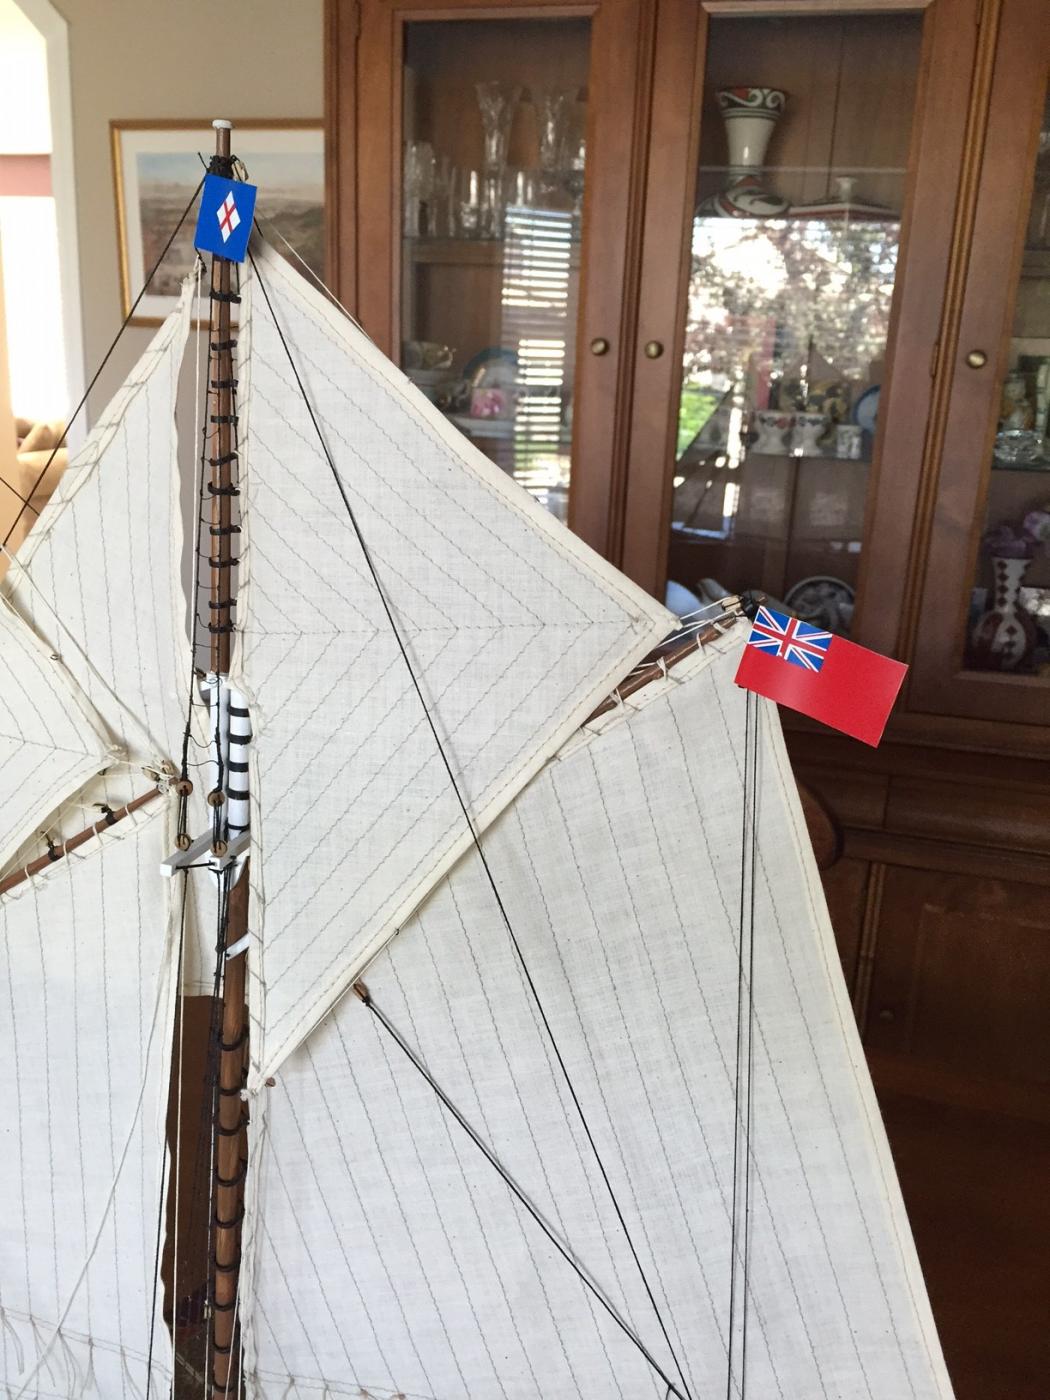
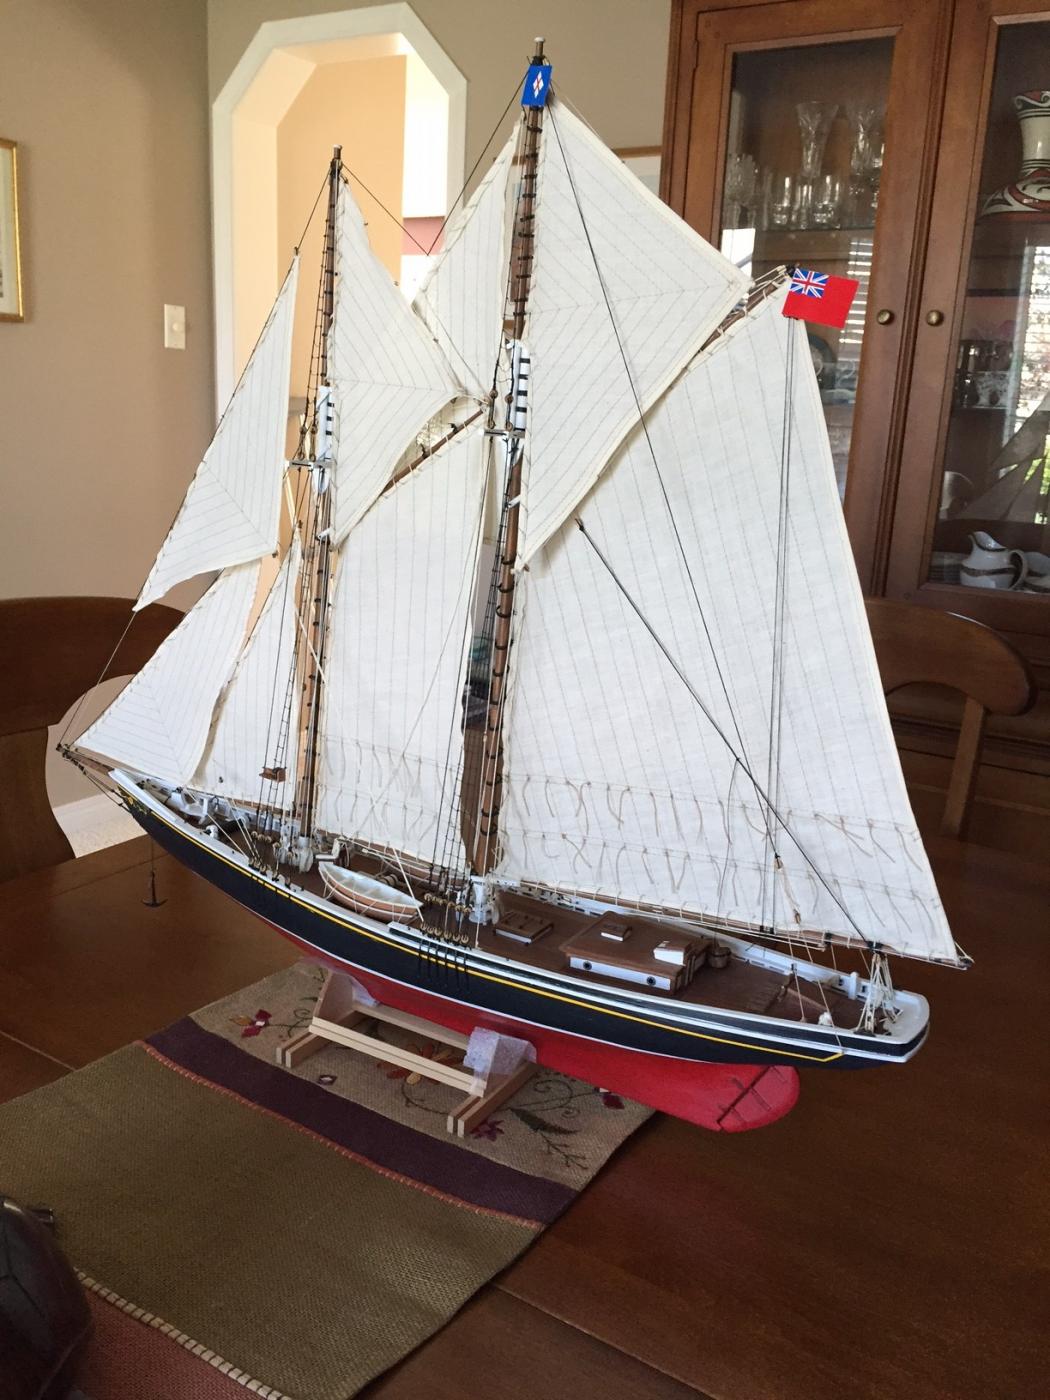
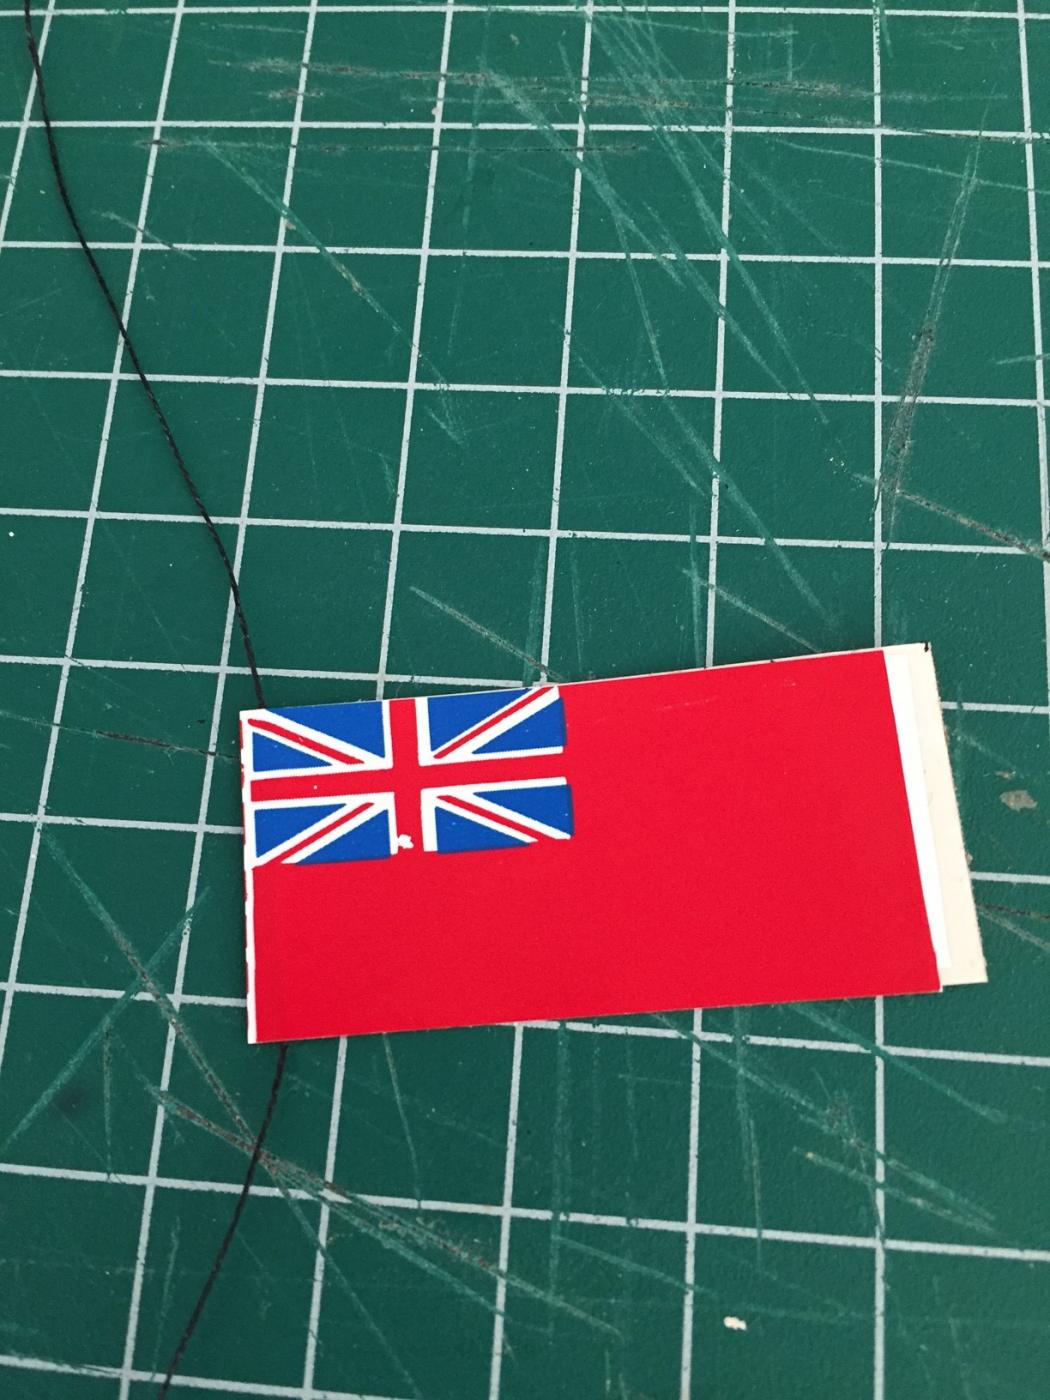
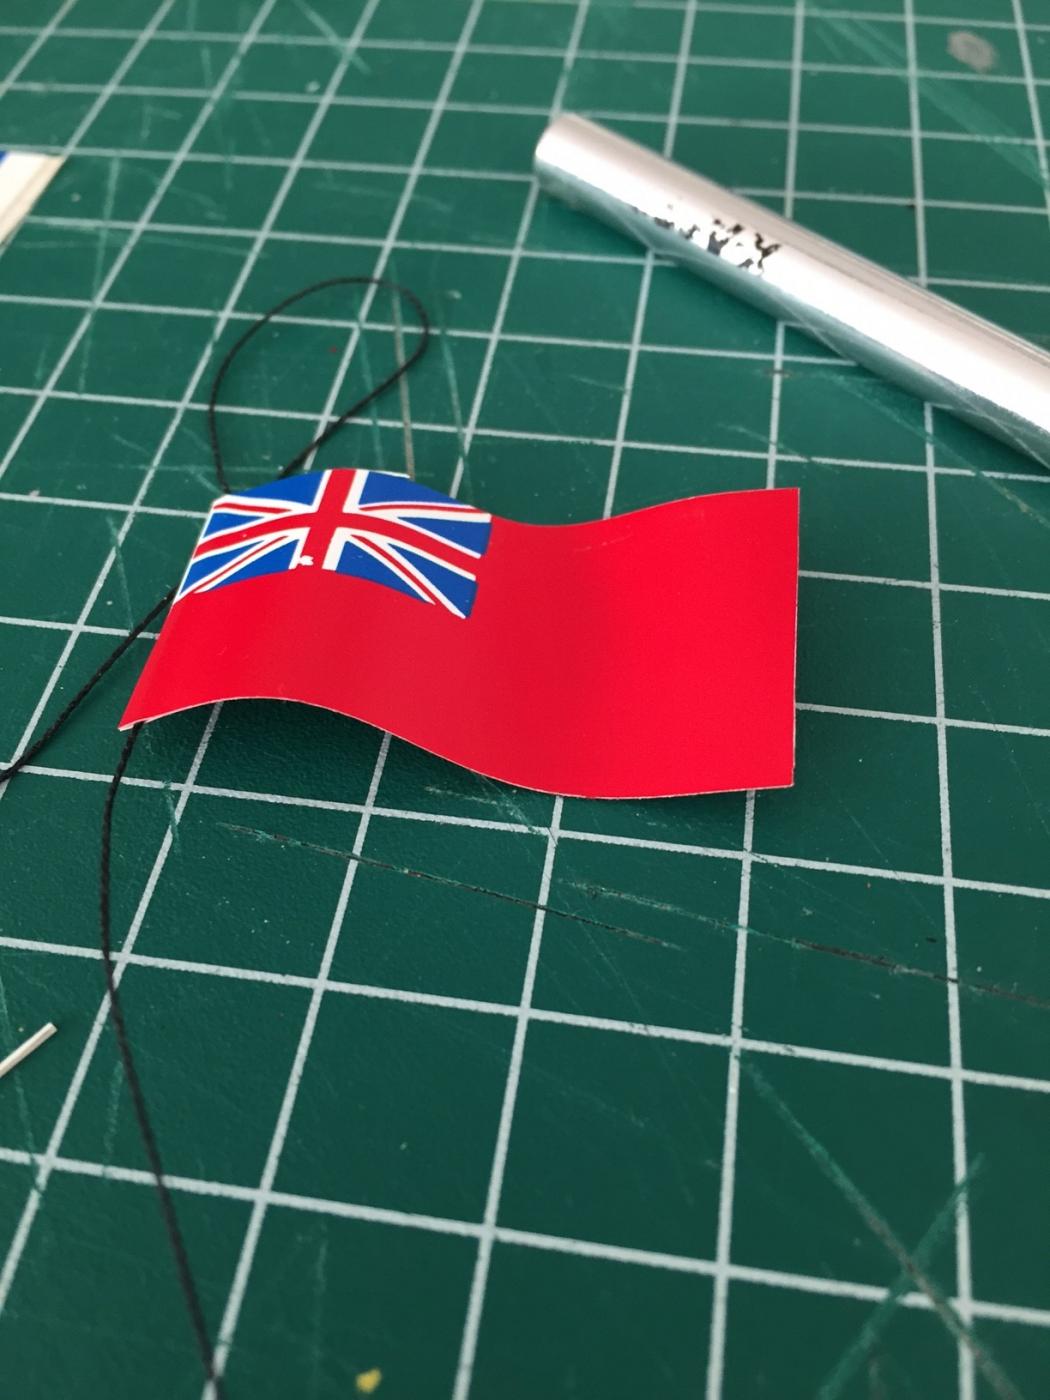
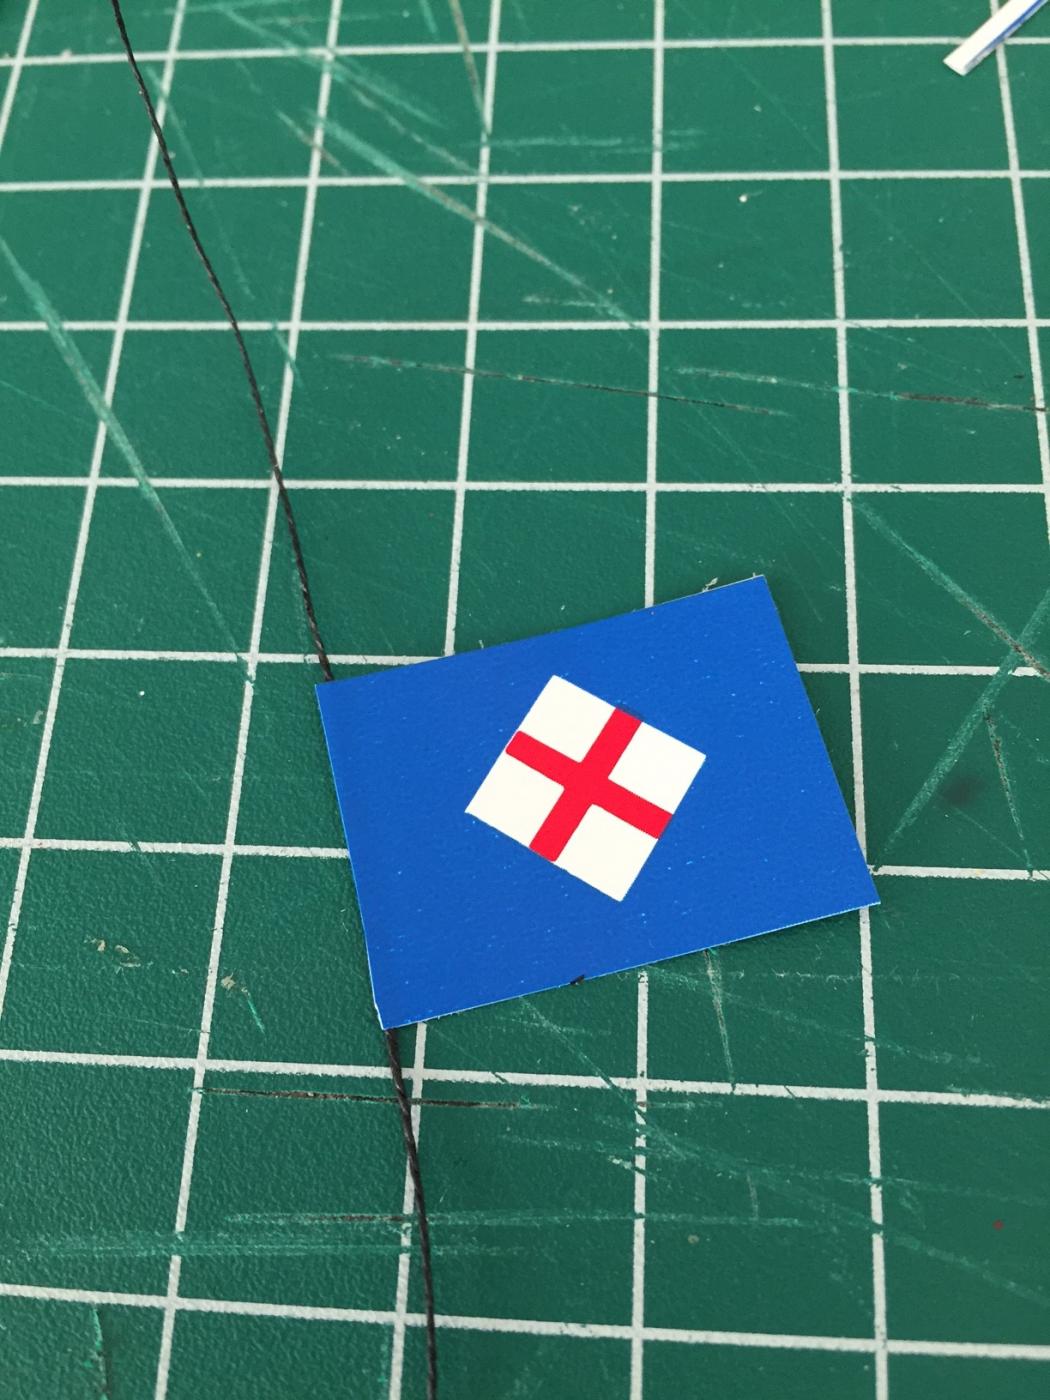
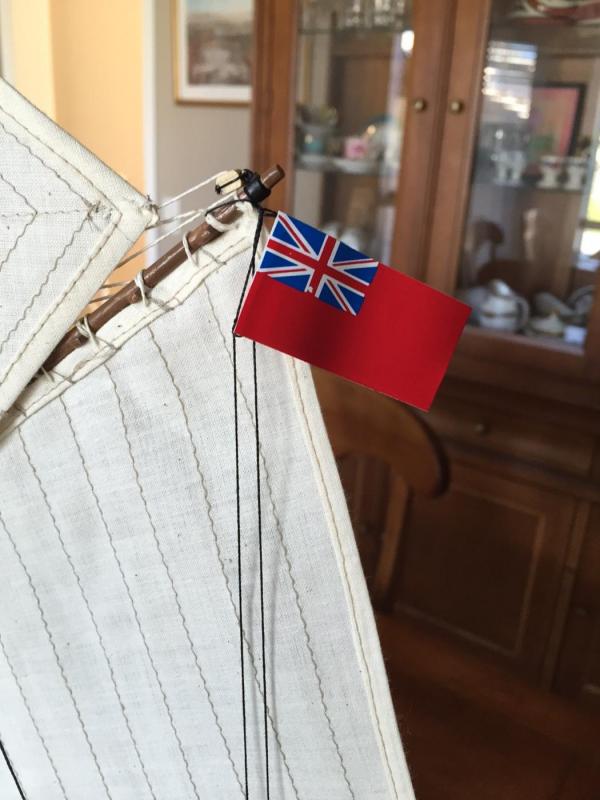
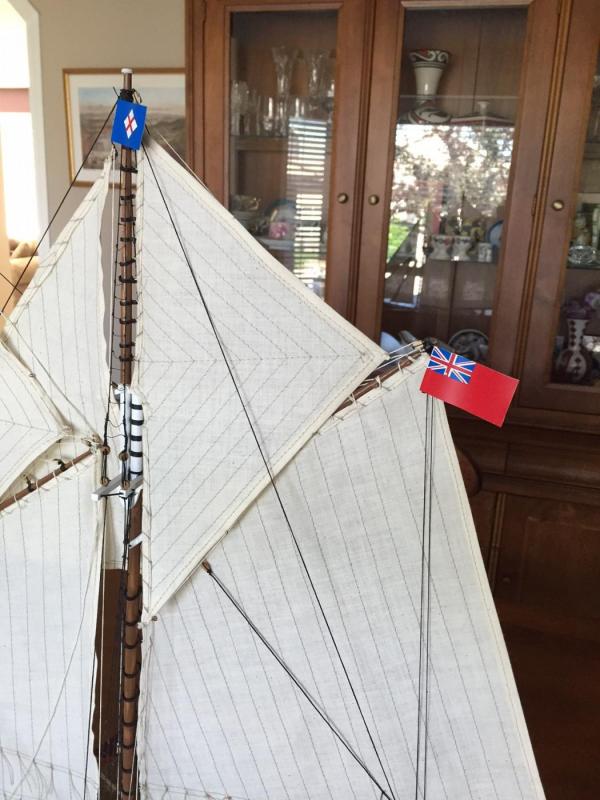
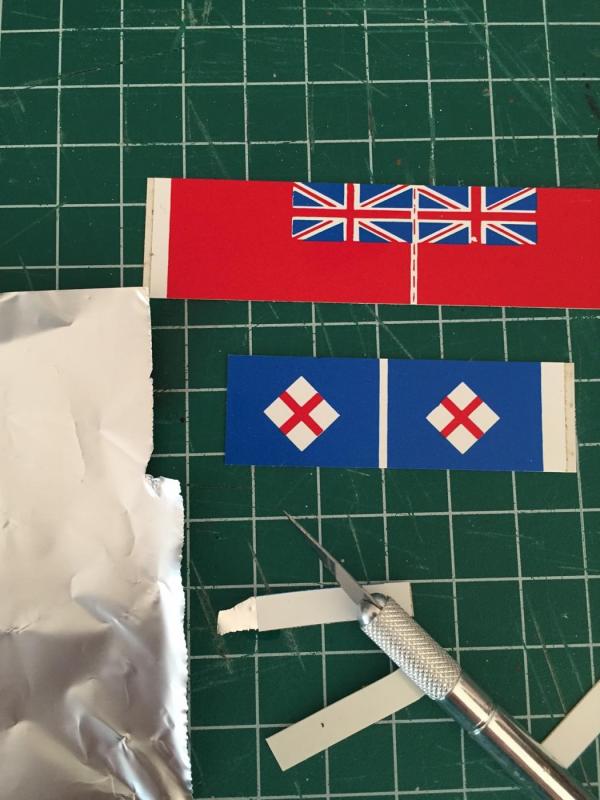
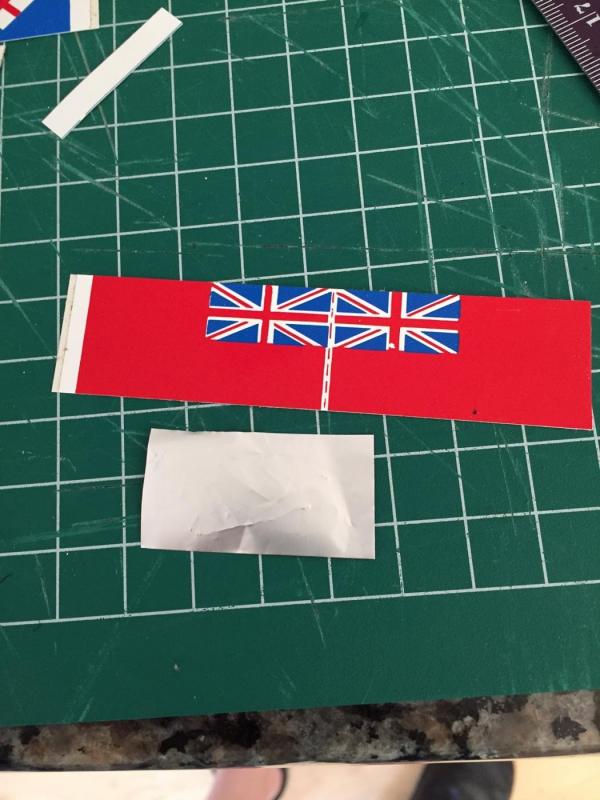
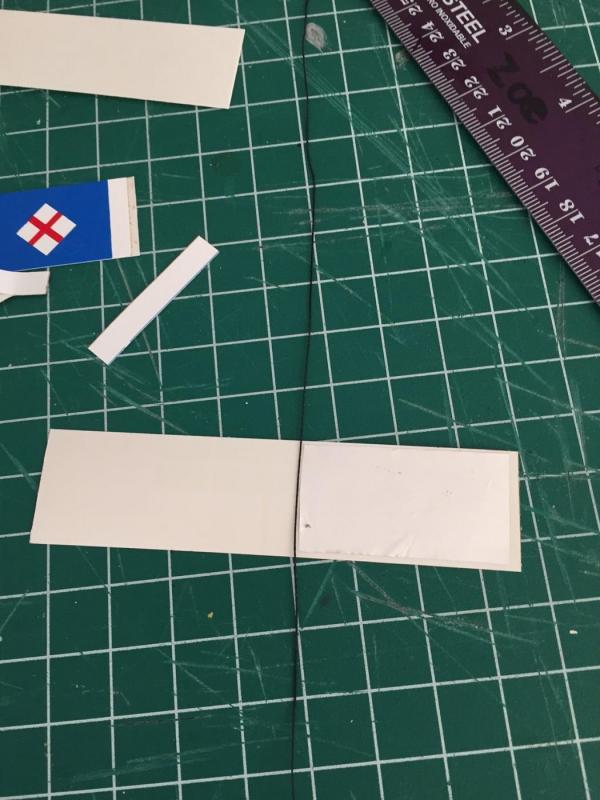
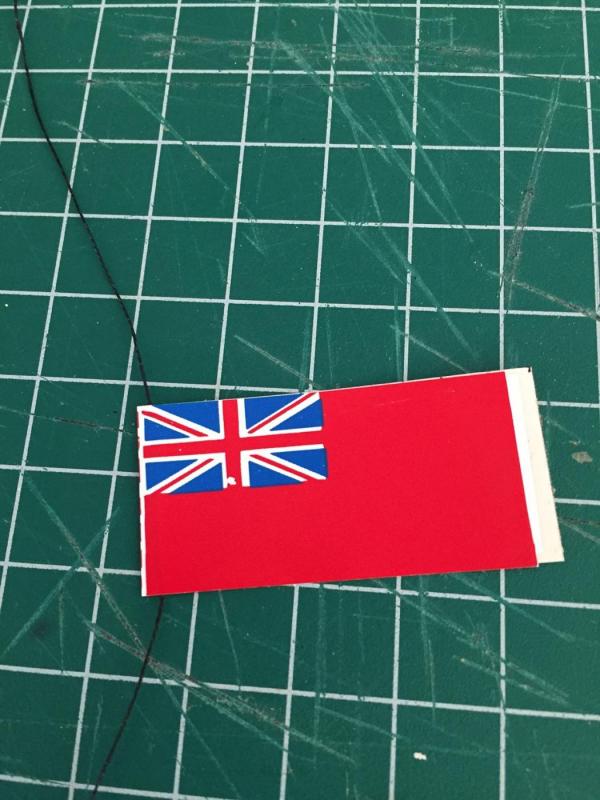
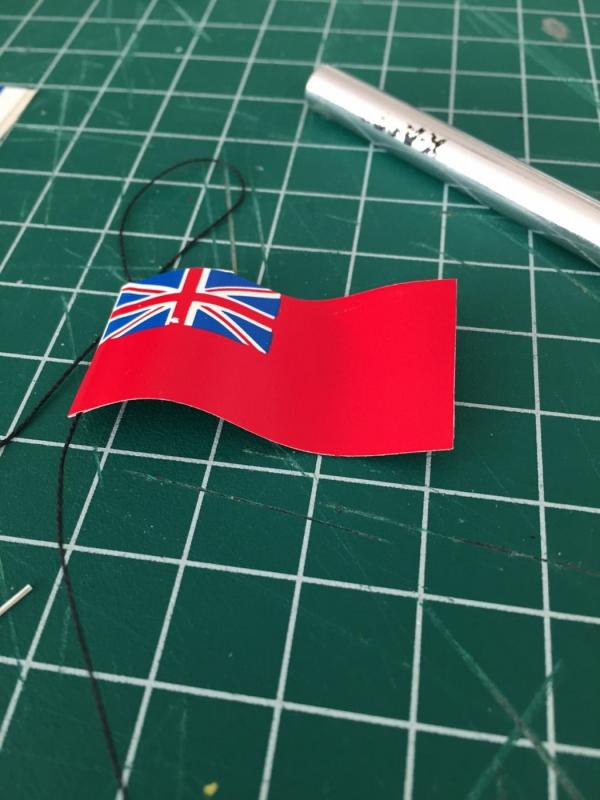
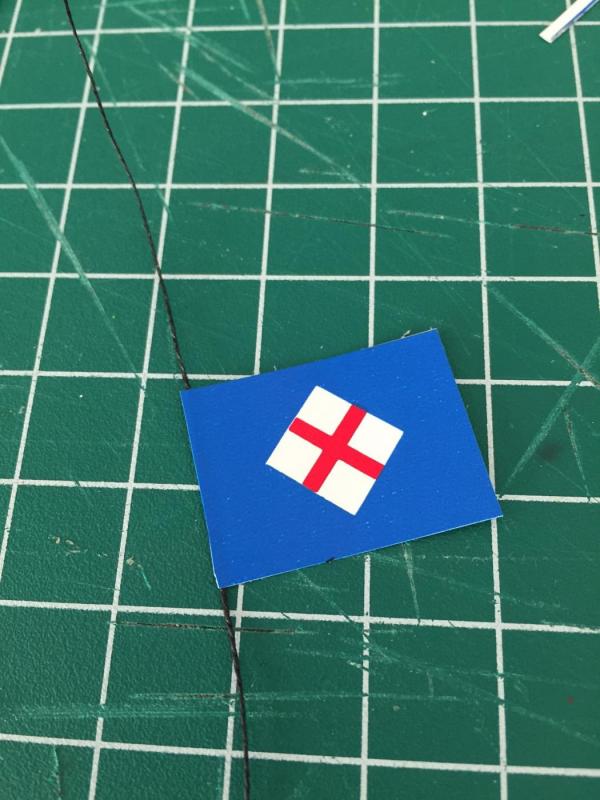
Here is some pictures of the flags on the model...

-
Sorry for no recent updates as just limited with time these days... I have completed the model yet in August but only now posting an update with respect to the little details on the making of the flags. Yes, I could have done better... but the paper flags will have to do. I cut the supplied paper flags and sandwiched a piece of tin foil between the two halves. I used simple white glue to affix the tin foil, folded the flags back over the other half, and trimmed off the margins accordingly. At least with the tin foil, I could create a more realistic look to them.
-
Thanks for the compliments and likes everyone... And yes, Bob you are absolutely right... my mistake. Bit more work that switching them out as the lights are set in epoxy and I know the box shelf they sit it has to be forward facing with respect to the inside corner. I will try to switch them out tonight and just hopefully I don't thrash any of the rigging lines... Cheers!
-
My absolute last items to make / do on this model are the flags... Such a good feeling to be almost done!
-
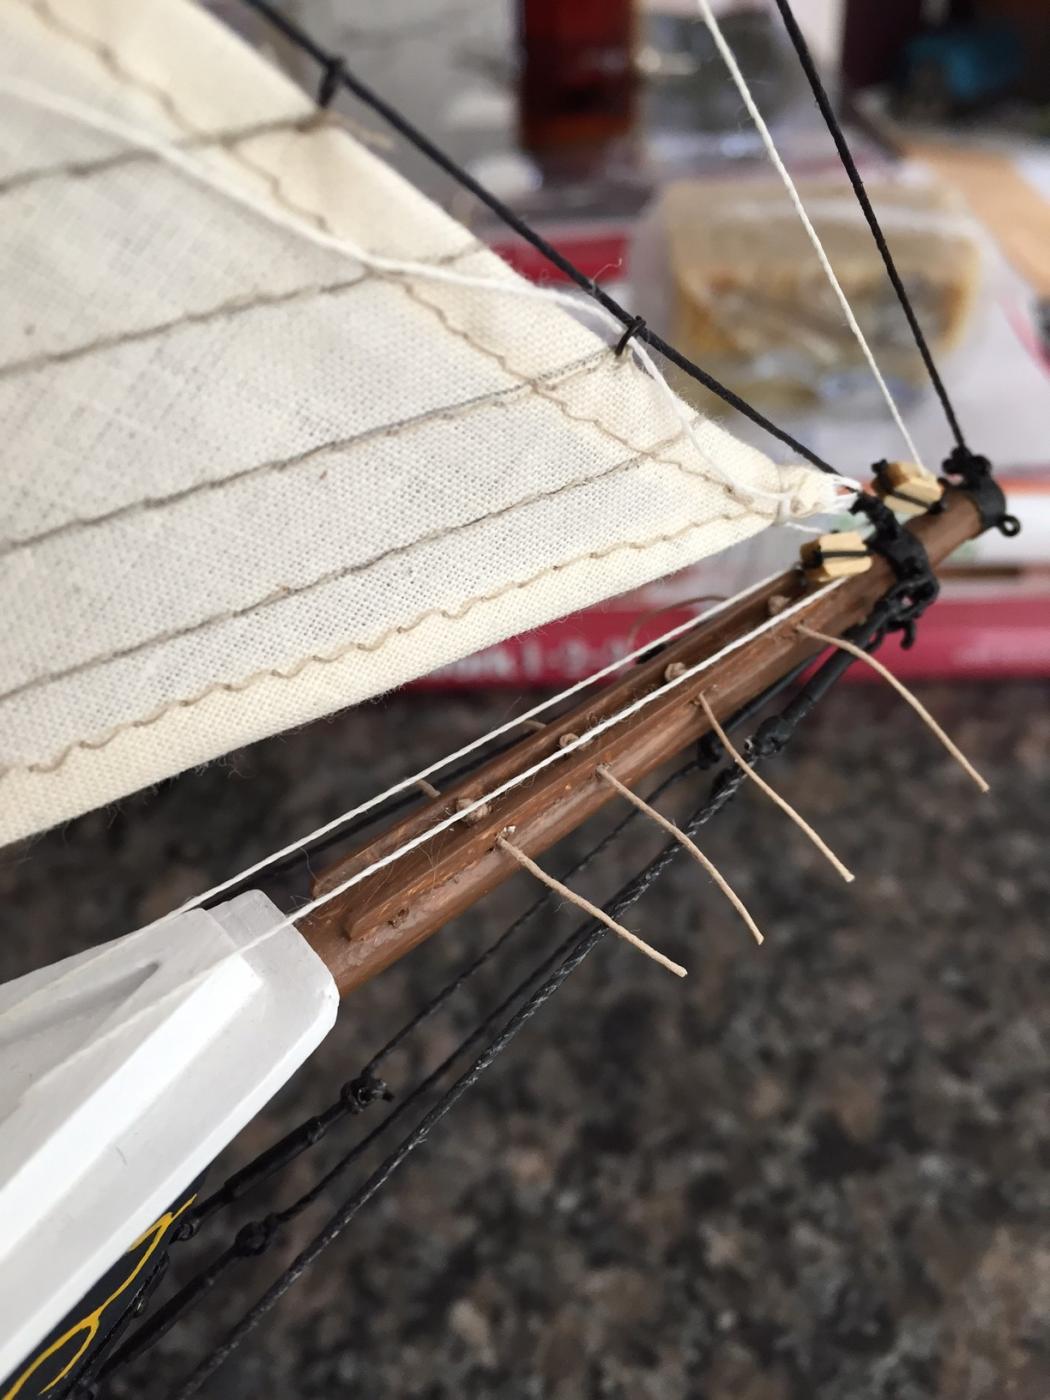
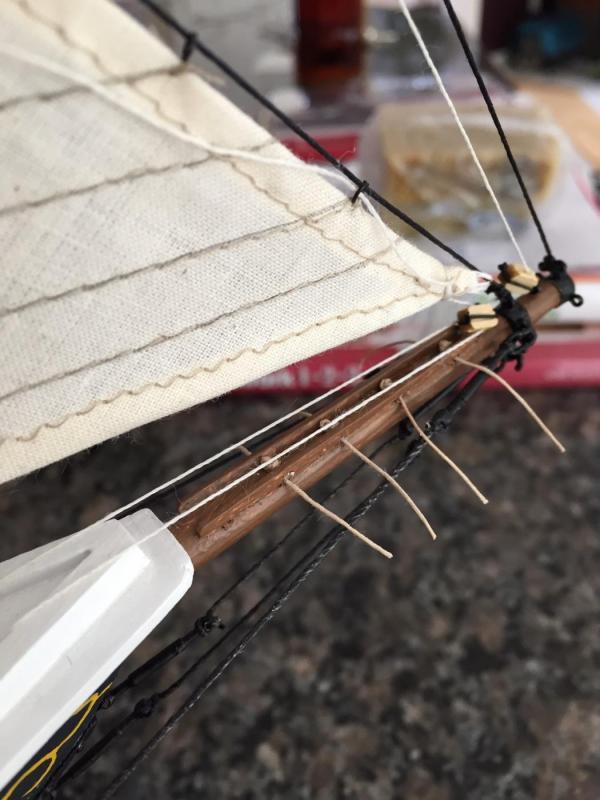
Here is some extra detail on the bowsprit as well... Of note is I cut out the original wire lines that I did for the standing rigging and replaced them with 1mm black rigging thread. I could not get the wire tied taut and the wire lines just looked sloppy at the bow... much better now!
-
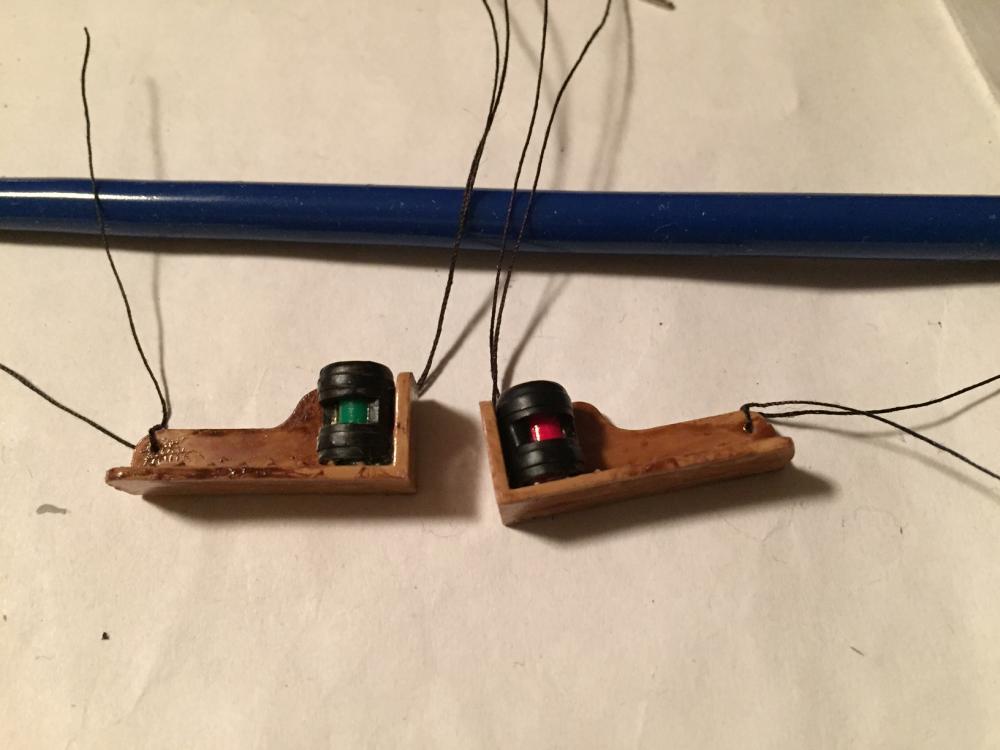
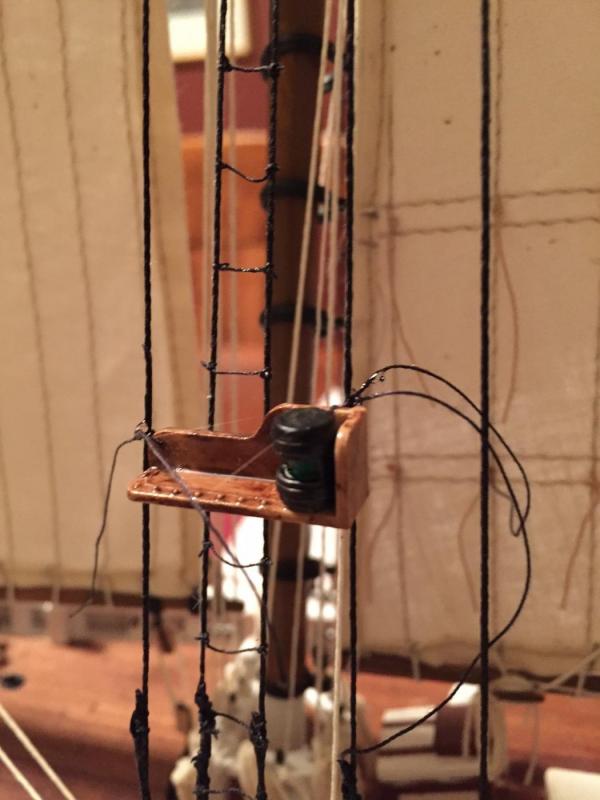
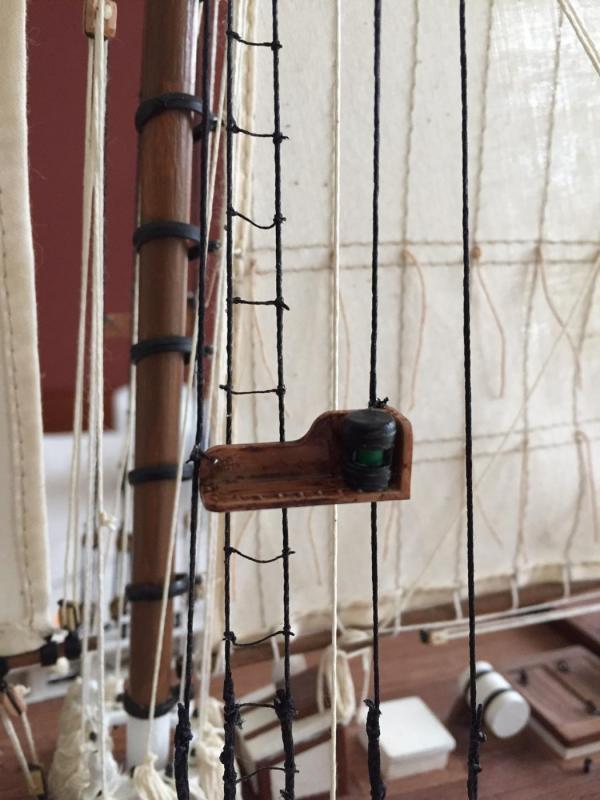
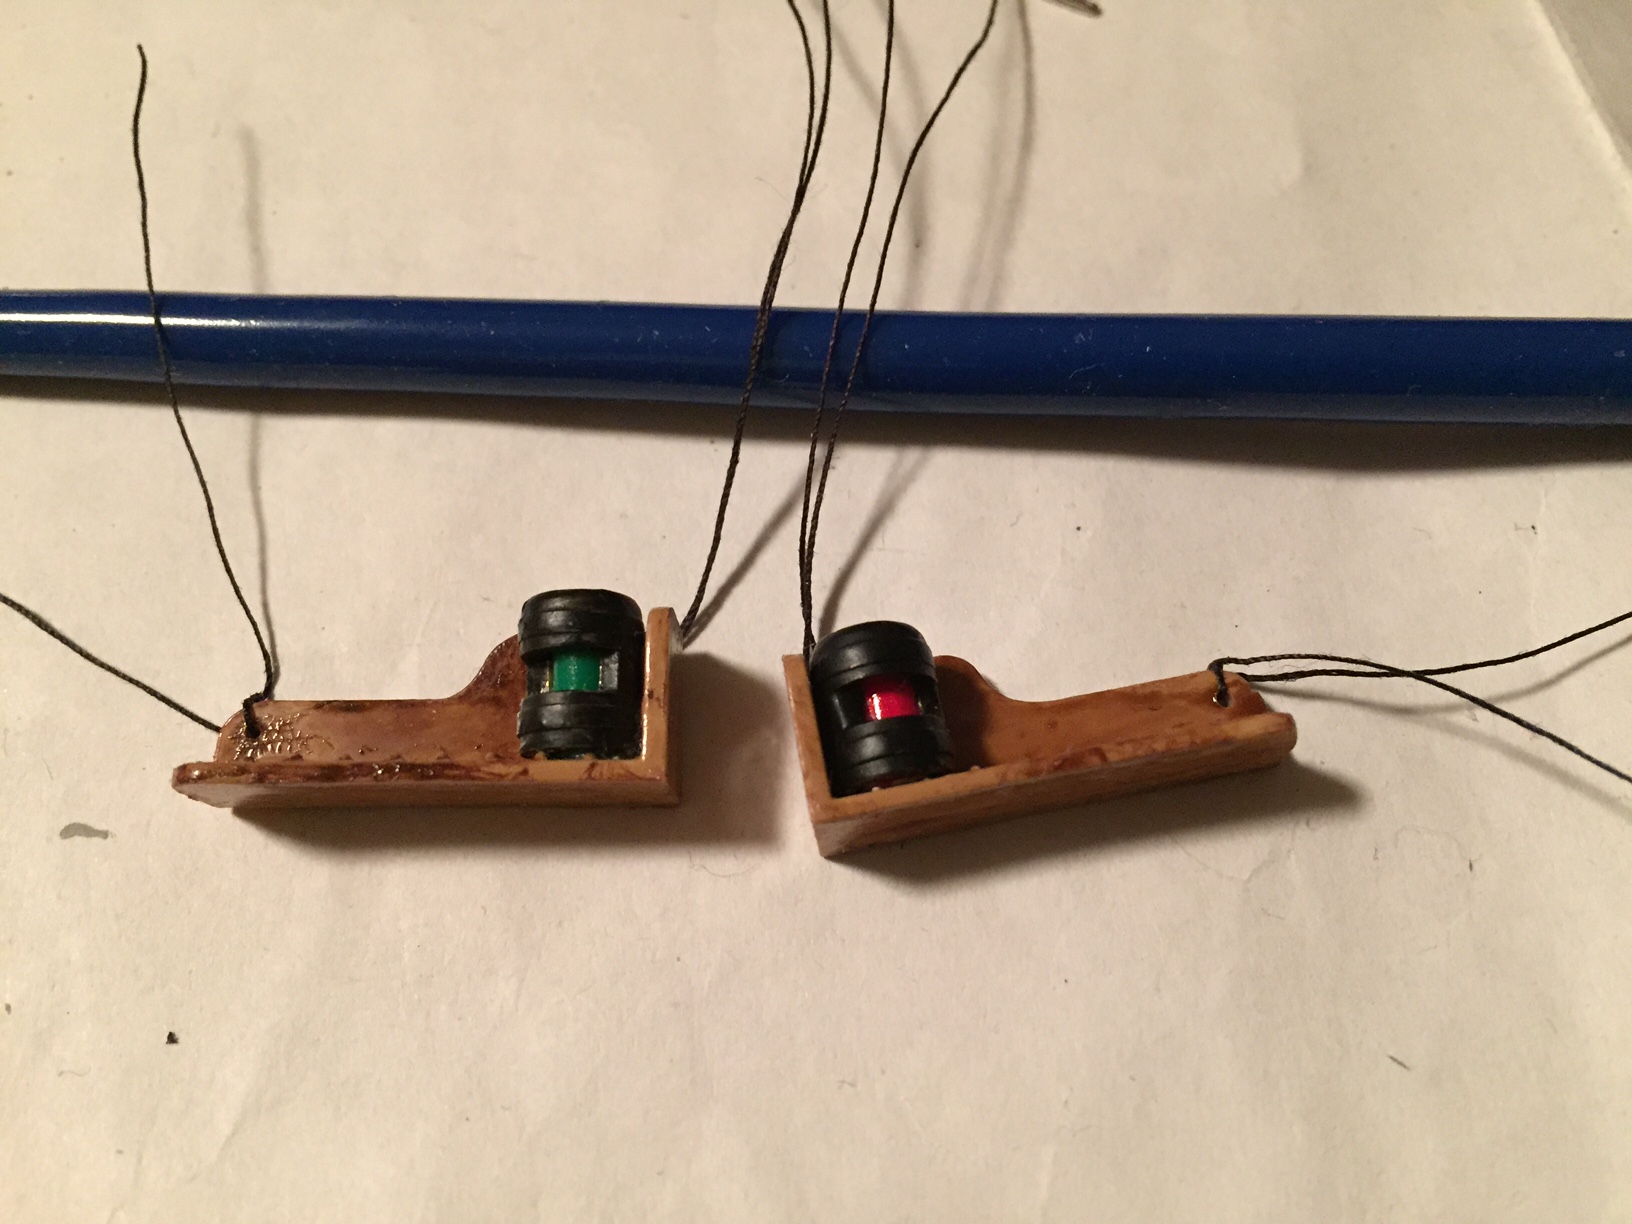
Finally an update... Spring and summertime is always busy with outdoor activities and of course the last 0.05% of work on this model has been the most difficult to get done. In this post I have created the light beacons and tied them to the lower shrouds... The light itself was created with the stock kit supplied plastic base and the brass light fixture with a small tube of red plastic in one and green tube in the other. I made these probably 12 months ago and remember painting a plastic tube both red and green, which was the end of an applicator stick for glue, and stuffed them into the brass piece replicating the fixture..