-
Posts
578 -
Joined
-
Last visited
Content Type
Profiles
Forums
Gallery
Events
Everything posted by mrcc
-
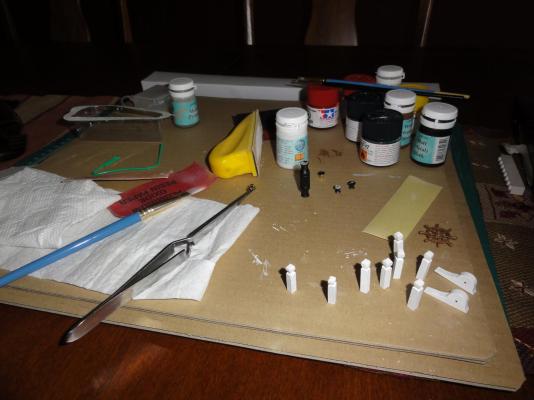
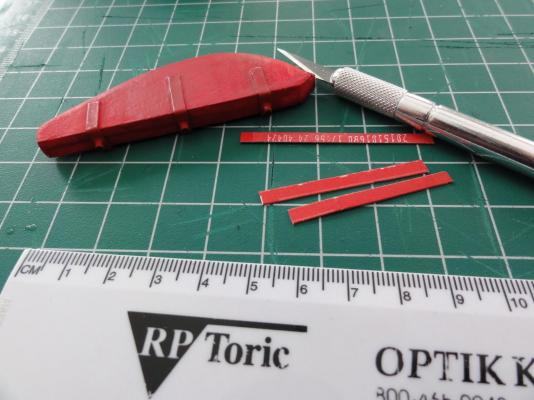
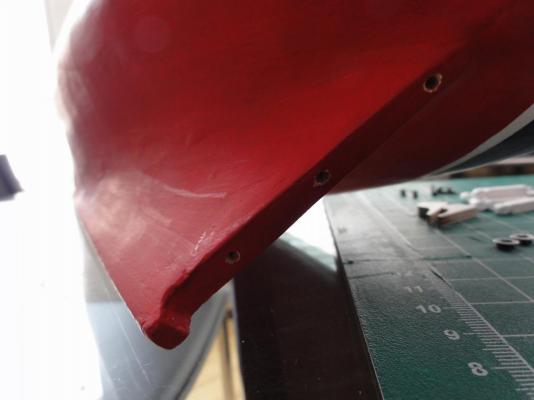
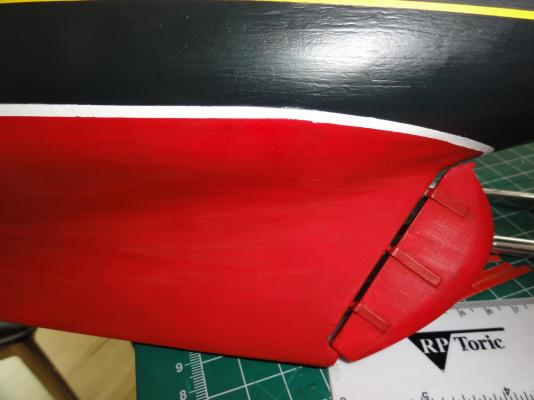
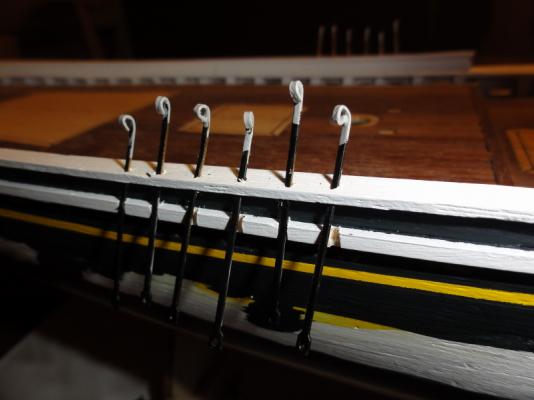
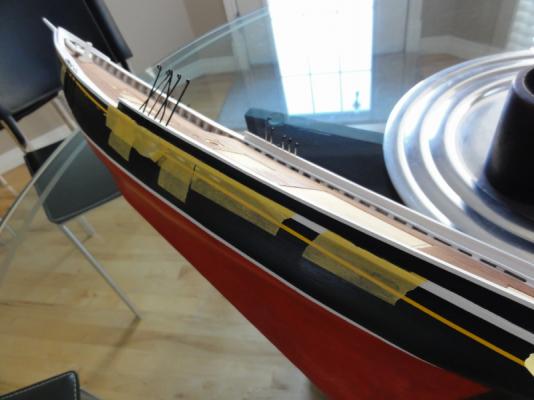
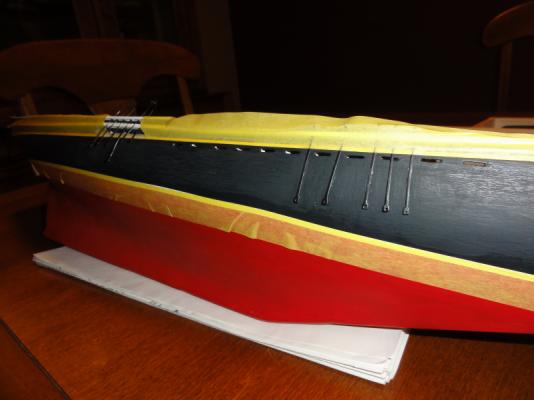
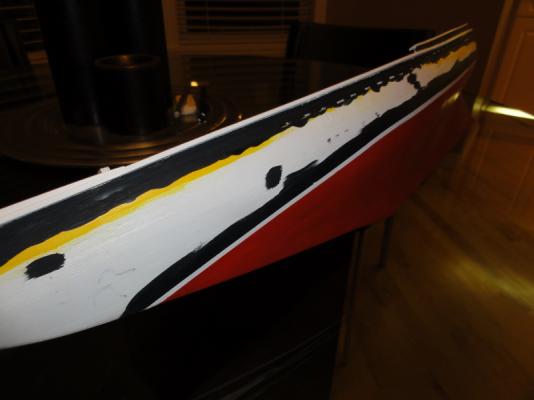
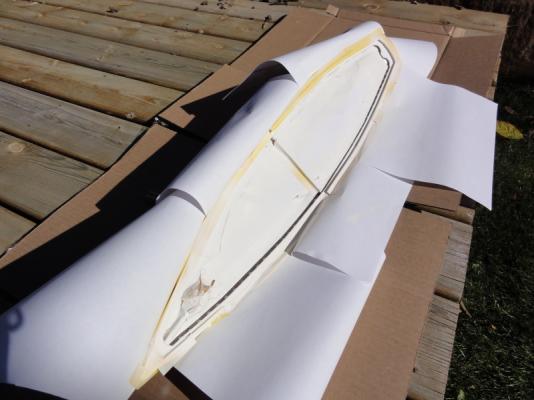
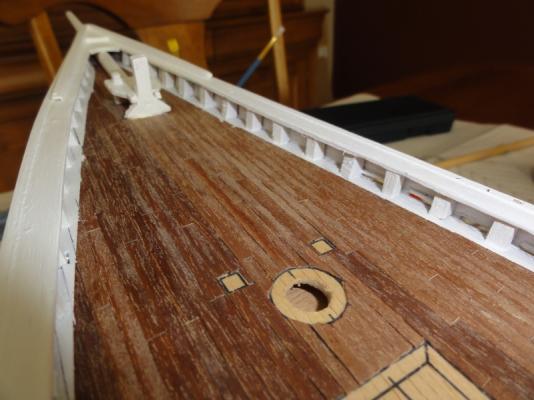
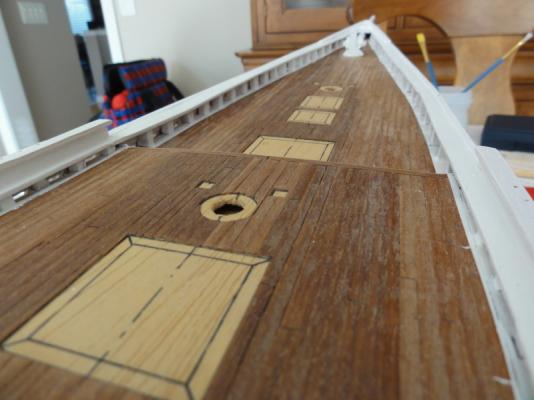
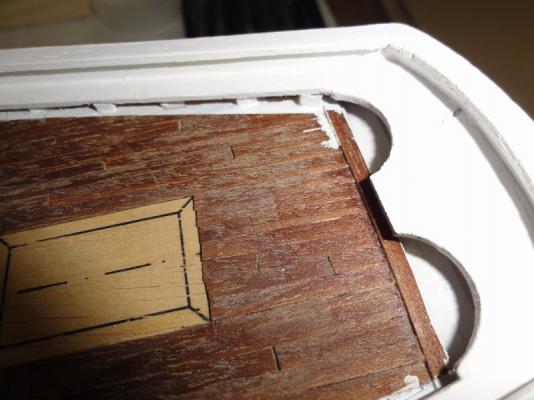
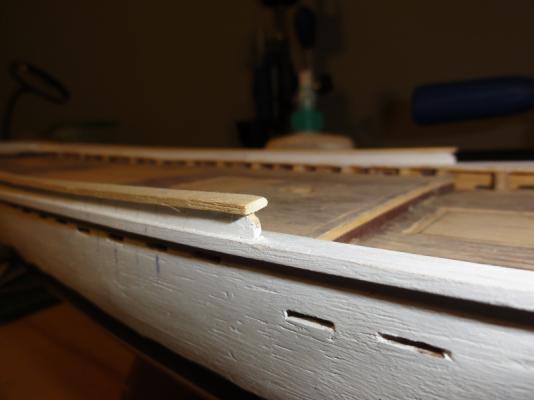
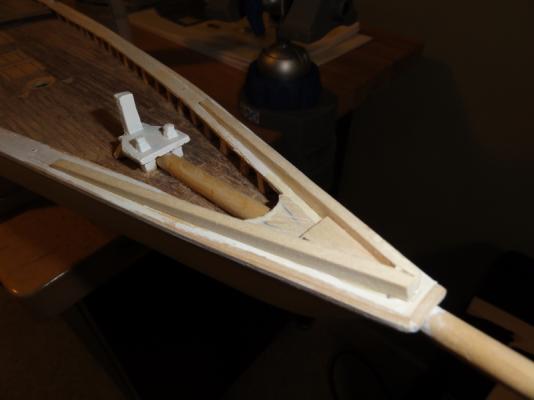
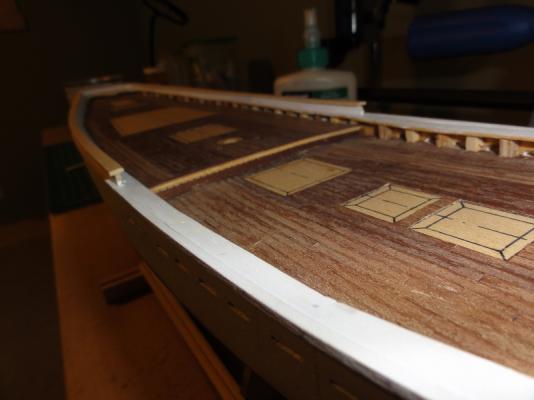
Finally some progress... I am very pleased with where my skills are as compared to my yet uncompleted first build (HM Granado). I have found this Billing Boats kit very enjoyable to date to build. I am enjoying all the various stages and aspects of this build, especially with regards to painting. Though the kit instructions are minimal, I find that I am doing more research and more study, which I particularly enjoy. The only concern is all, and I mean all the variations you see on the Schooner Bluenose models with respect to the current and past builds you see on the internet. Though there is the Nova Scotia archives, the resources and pictures are all black and white and quite limited in number of pictures available. Although it is my sense that the Model Shipways kits is perhaps more historically accurate, with more details included in the model and kit, it certainly doesn't distract from the "fun" factor in this Billing kit. I hope my opinion does not change when I start rigging the model given the absolute lack of instructions available in the Billing Boats kit. In the following pictures, I am showing some of my prep work now going into the deck fittings. I have also posted some details in affixing my rudder to the hull. The one mistake I noticed is I used from the big batch of fittings supplied by Billing Boats, some mast fittings as pintles, that I trimmed down and glued onto the rudder. This is the problem with the old instructions supplied with my kit with respect to the lack of a clear detailed parts list. I have already sourced from Cornwall Model Boats these mast fitting to replace the 3 of the 4 that I used on the rudder. I then drilled three holes on the base of the hull and with epoxy secured the rudder to the hull. The only question I have to others is should I glue down the cardboard strips (I already precut as shown in the second picture) to the hull and if so, what glue would work best on the already painted hull?
-
Hi Bob, I have been quietly following your build log. Wonderful, wonderful details, especially with respect to your instructions and perspectives on the various challenges to your MS kit. Thank-you! Certainly lots of practical information for my Billing kit and log. PS Do you mind PMing me your spreadsheet of all the small deck fittings and deadeyes as it is hard for me to keep up the details and with the Billing kit, there is very little information, and I always strive to add the little "extras" that make a model truly great. Cheers, Julian
-
Wonderful work! Two questions for you: 1) Did you file the backside of the quarter badges at the bottom a bit to allow it to sit more flush against the wale? 2) Did you use CA or epoxy to anchor the quarter badges against the hull? Thx, Julian
- 302 replies
-
- granado
- caldercraft
-
(and 1 more)
Tagged with:
-
Here is a picture of the chainplates. I pierced the railing and anchored the fore 5 on each side directly flush to the hull. This picture is the aft chainplates, notched in the railing just slightly, ready to be anchored onto the hull. These are not flush to the hull along its full length, obviously sitting up off the hull where the railing runs. The other note is that when laying out the angles of the chainplates, I stuck the dowel in the mast hole and basically eyeballed the angles of the chainplates to get the best orientation with a mark on the dowel representating where the shrouds are to meet above. They seem to be OK and line up well, but time will tell when I begin the rigging.
-
The oiled deck looks great but can you apply varnish over it?
- 127 replies
-
- Bluenose
- Billing Boats
-
(and 1 more)
Tagged with:
-
Hi Jan-Willem, in my opinion to varnish the deck would be more practical and in the long-term easier to maintain as reapplying an oil treatment every 4-5-6 years might be more problematic with all the fittings and furniture and masts on the deck of the finished model. PS I agree on the treenails.. tough to see. I would probably contrast more with a different stain or color on the treenails themselves. Perhaps varnish, then drill your holes and put in a wood putty, sand back, and final coat with varnish. That is what a lot of people on MSW seem to do. Just a suggestion as I have limited experience on this. Julian
- 127 replies
-
- Bluenose
- Billing Boats
-
(and 1 more)
Tagged with:
-
Hi Jan-Willem, I think I prefer the look with the pencil... more subtle in my opinion. PS The tree nail effect looks great!! In the bottom picture, do you have a varnish on the planks and if so, what kind as it looks very good! Julian
- 127 replies
-
- Bluenose
- Billing Boats
-
(and 1 more)
Tagged with:
-
My post today is more recent work where I painted my yellow cove line and then masked off and painted below and above the masked off strip. I will do one more coat of "sea blue" from Tamiya and then pull off the masking and see how it looks. from there I will affix my chainplates and then paint the rest of the hull above the waterline.
-
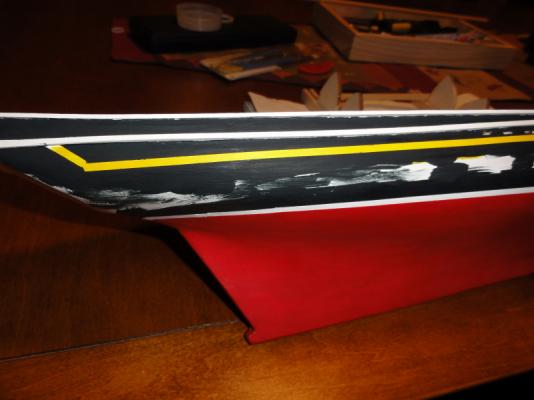
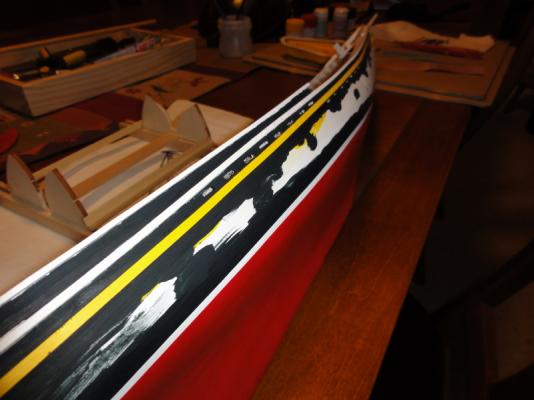
The next day, I masked off the deck and hull and spray primed and painted the stanchions and waterway. I must say much quicker and easier than painting by brush. The only problem is in a few spots where the Tamiya masking tape was not pressed down firmly enough, I had some creeping of the paint underneath. I have since scraped off some with a razor blade and sanding, but there still is a blemish on the wood. It is a tough and tight corner to completely erase the blemish. Any suggestions how to completely rid the paint blemish?
-
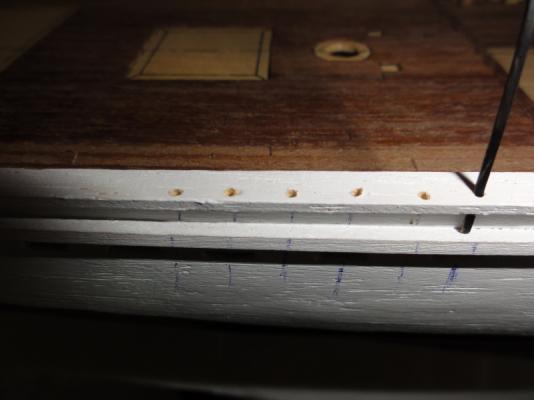
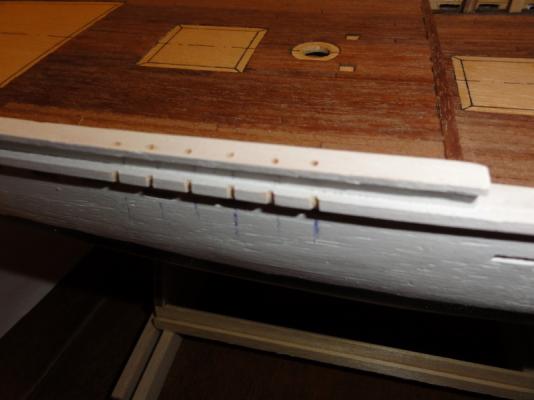
This is work from a few weeks back... I drilled the holes in the cap railing in order to accept the chainplate and then with the dowel to simulate the mast, sighted where the shrouds would end (on the dowel) and marked the slight angulations via the marks shown onto the hull. From below I sighted to the hole on the cap rail and cut out the notches to later accept the chainplate.
-
Jeez, hope you didn't send your "message" via email. You will likely not get a reply!
-
I sent an email in August. I sent an email in September... No reply and still no parts on my doorstep.
-
I know finishing carpenters just prior to painting or staining use it on the wood. You should be able to get it at any hardware store, in North America anyways. A slightly damp cloth may work OK as well.
- 127 replies
-
- Bluenose
- Billing Boats
-
(and 1 more)
Tagged with:
-
Looks good! Once completely sanded, I would buy some tack cloth, and this will allow you to wipe down the deck and pick up all the fine sawdust, and you are ready to varnish/seal. Julian
- 127 replies
-
- Bluenose
- Billing Boats
-
(and 1 more)
Tagged with:
-
Thanks Jan-Willem, The paint is Tamiya's Flat Red. I agree it is a bit bright but nonetheless I am still happy with the color. Perhaps it could have had a bit more of a copper tinge to it. Tamiya's paint line is a bit sparse on color variations unless my hobby store did not carry their full line. Cheers, Julian
-
This is funny... some people have luck with getting replacement parts and some don't as myself. Equally funny is that when you check build logs of members, there is always people stalled waiting for parts that were originally missing. PS I wouldn't worry about registering as I guarantee you, you will not get a response. That I am sure of.
-
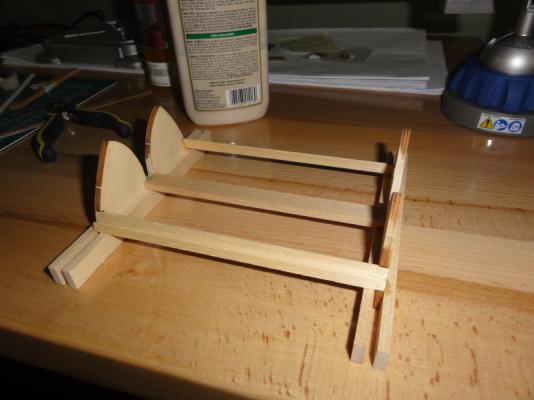
Thanks Keith, With regards to the waterline, yes, that is how I did it on a previous build of mine. The issue here is that I was missing a building cradle until just recently. The new one shipped to me is out of scale (too small) but I am going to open it up and stabilize it with some build outs (with wood). Julian
About us
Modelshipworld - Advancing Ship Modeling through Research
SSL Secured
Your security is important for us so this Website is SSL-Secured
NRG Mailing Address
Nautical Research Guild
237 South Lincoln Street
Westmont IL, 60559-1917
Model Ship World ® and the MSW logo are Registered Trademarks, and belong to the Nautical Research Guild (United States Patent and Trademark Office: No. 6,929,264 & No. 6,929,274, registered Dec. 20, 2022)
Helpful Links
About the NRG
If you enjoy building ship models that are historically accurate as well as beautiful, then The Nautical Research Guild (NRG) is just right for you.
The Guild is a non-profit educational organization whose mission is to “Advance Ship Modeling Through Research”. We provide support to our members in their efforts to raise the quality of their model ships.
The Nautical Research Guild has published our world-renowned quarterly magazine, The Nautical Research Journal, since 1955. The pages of the Journal are full of articles by accomplished ship modelers who show you how they create those exquisite details on their models, and by maritime historians who show you the correct details to build. The Journal is available in both print and digital editions. Go to the NRG web site (www.thenrg.org) to download a complimentary digital copy of the Journal. The NRG also publishes plan sets, books and compilations of back issues of the Journal and the former Ships in Scale and Model Ship Builder magazines.


