mrcc
-
Posts
578 -
Joined
-
Last visited
Content Type
Profiles
Forums
Gallery
Events
Everything posted by mrcc
-
 Hi Jan-Willem, I love your methodical approach... all in the goal of attaining historical accuracy! I think it is worth the work and effort. With regards to all the builds and kits on this forum, I think only the Model Shipways kit would get an "A" grade in that respect. Take care!
 -
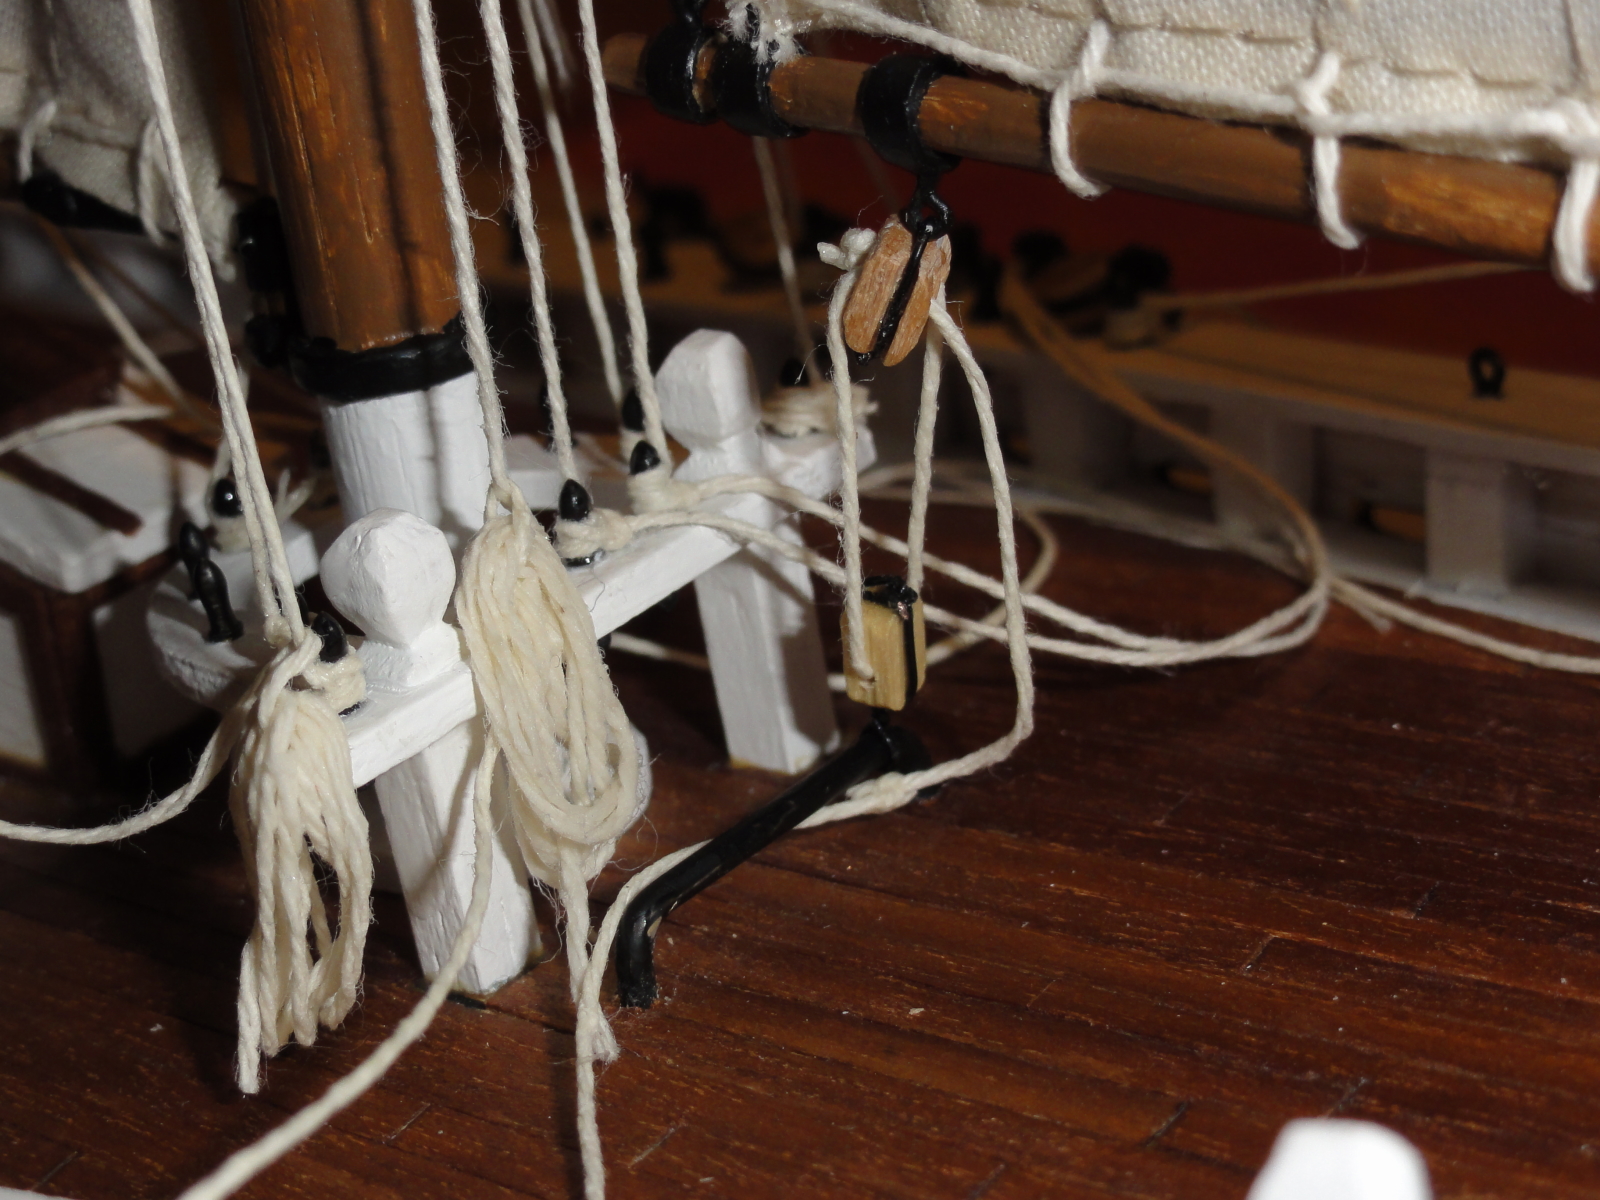
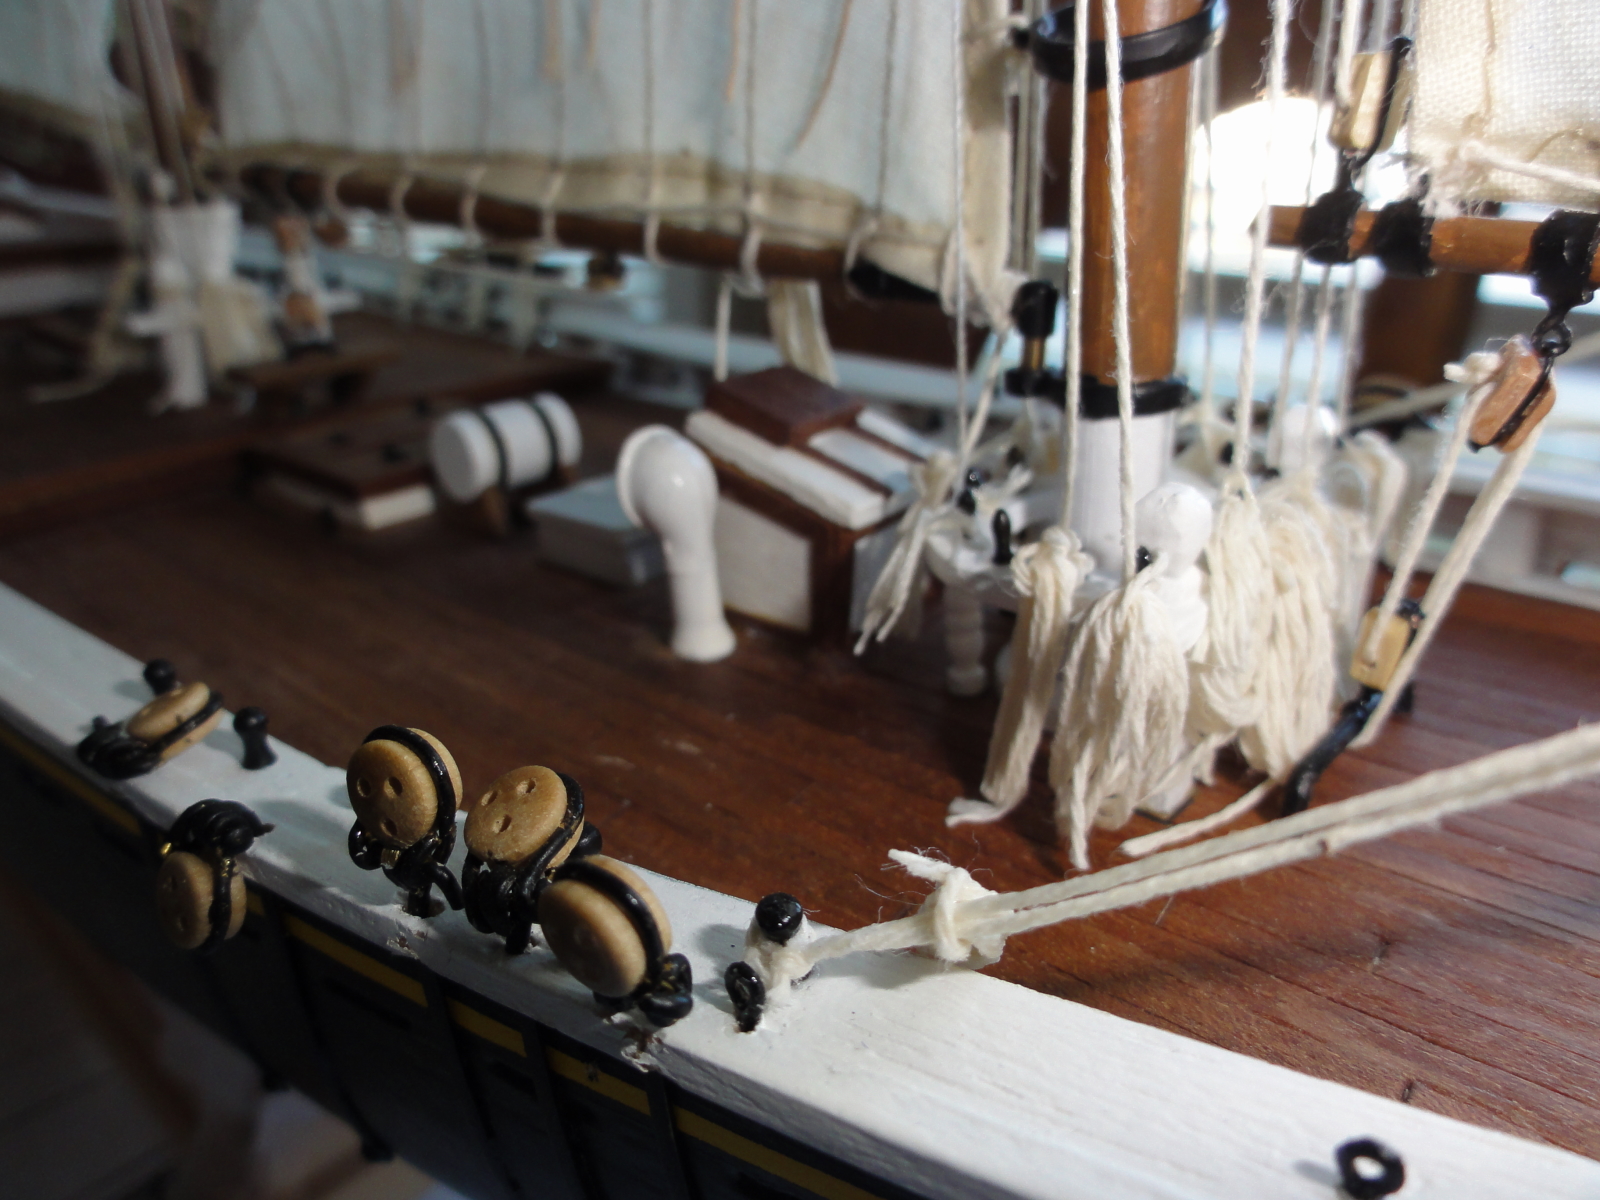
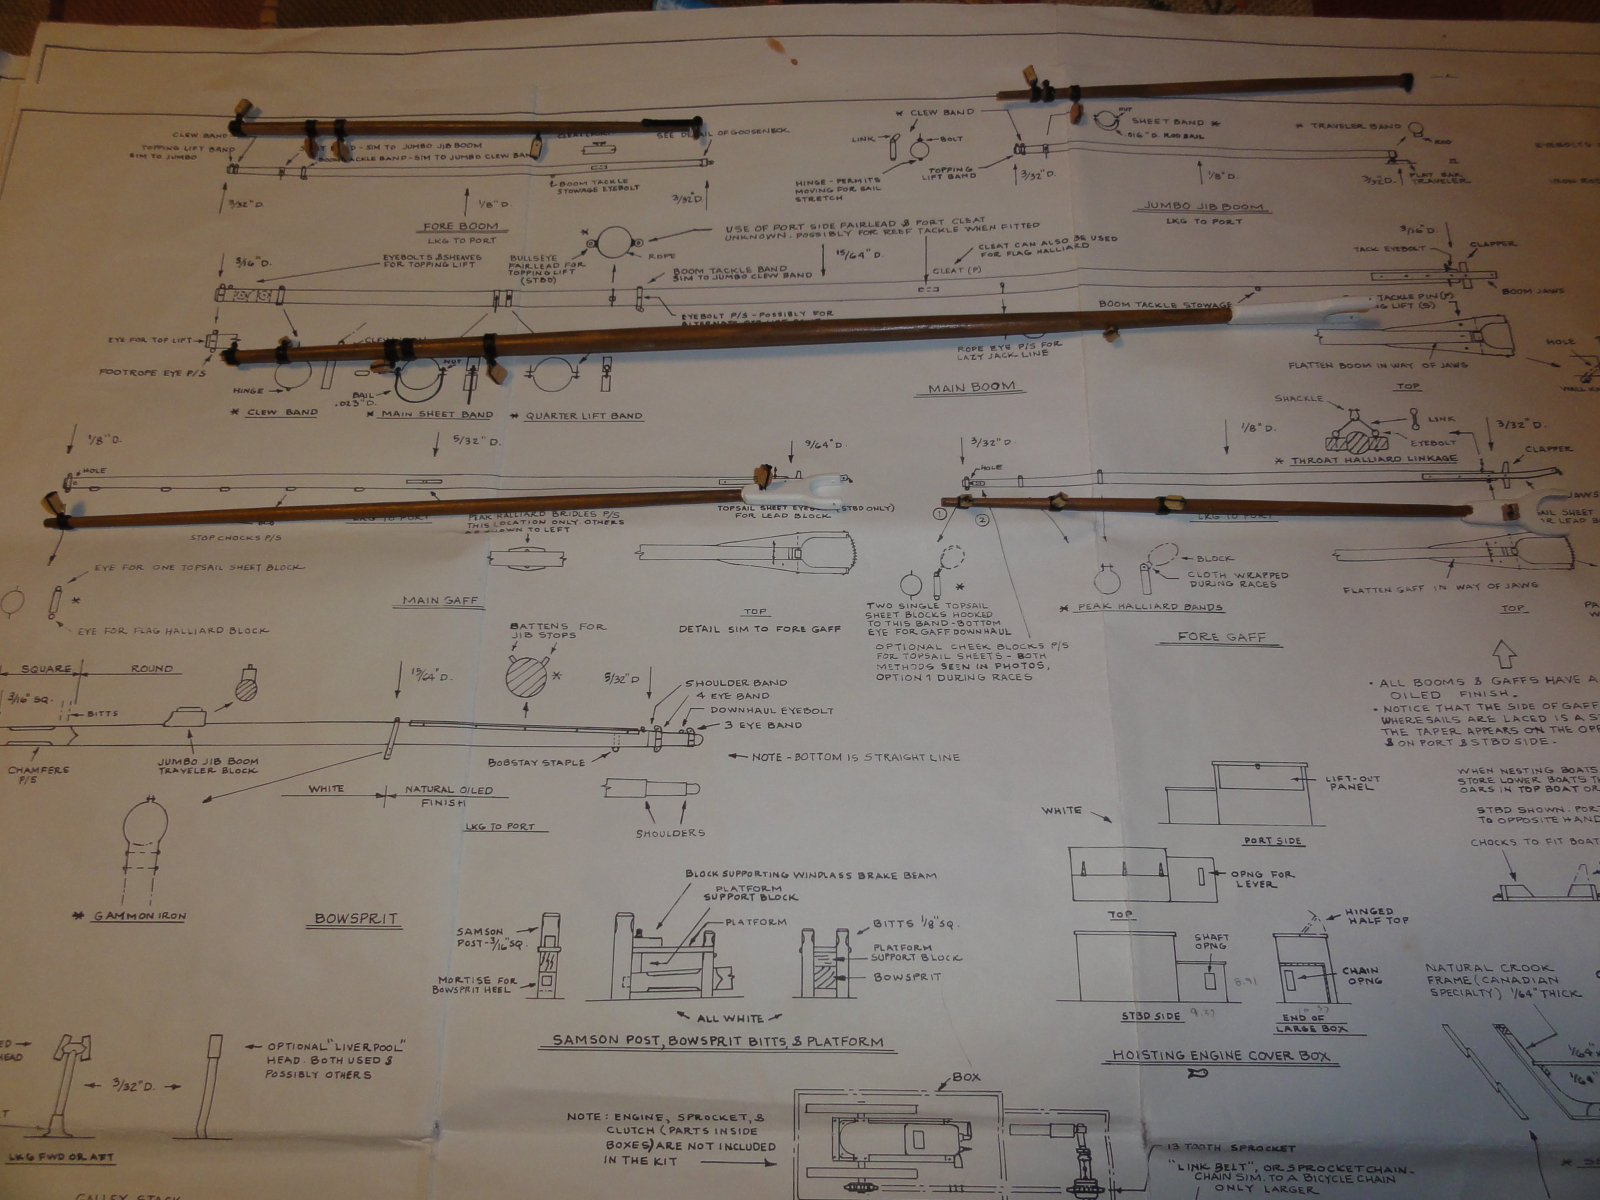
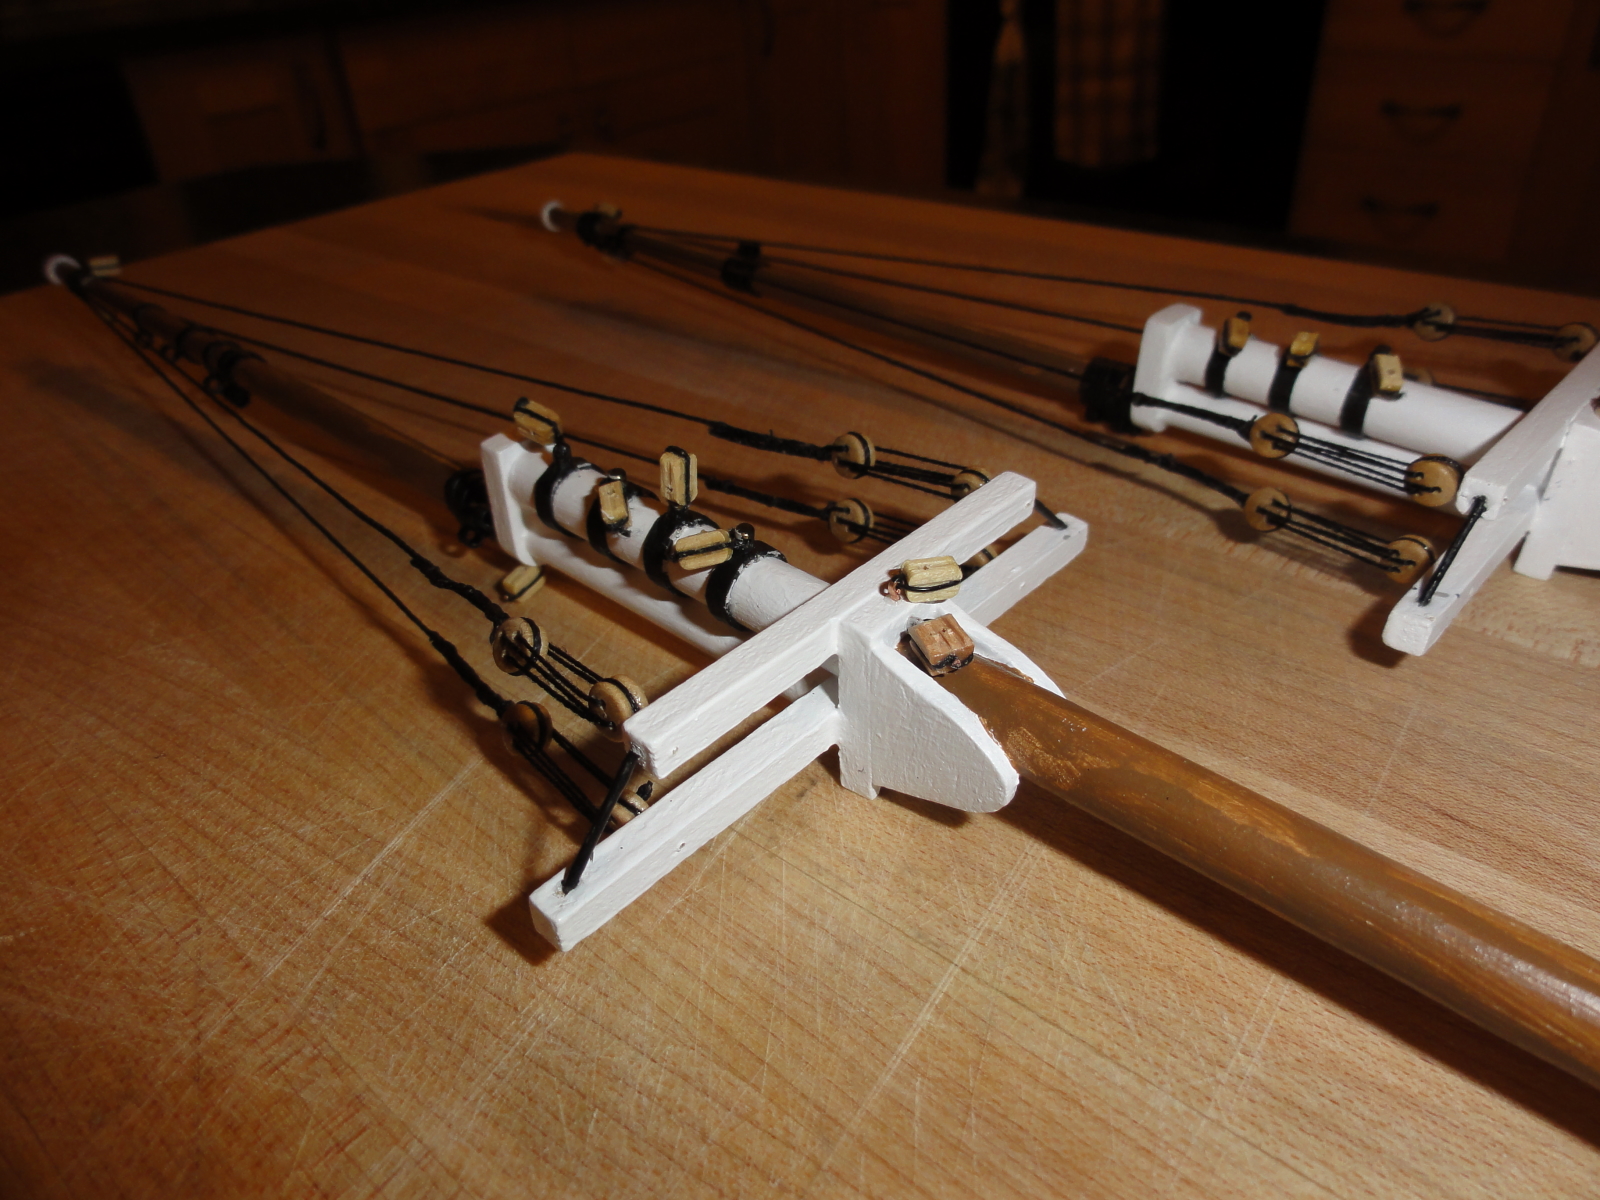
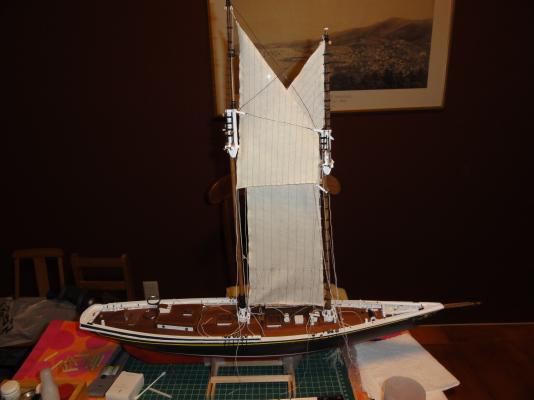
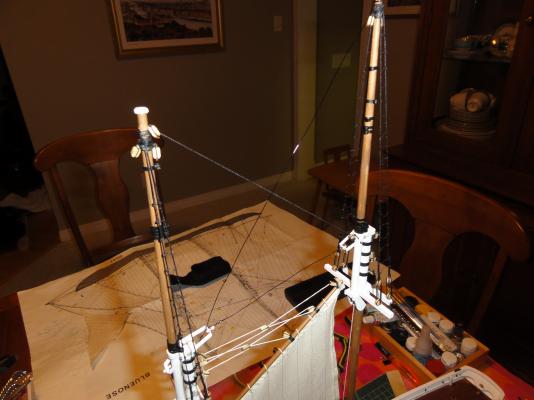
And with this posting, I am showing some of the details that I added with respect to the standing/running rigging. Again most of the details are gleaned from the Model Shipway plans... I have a few more lines to add and then I can add the lower shrouds (which I have been procrastinating doing...)

-
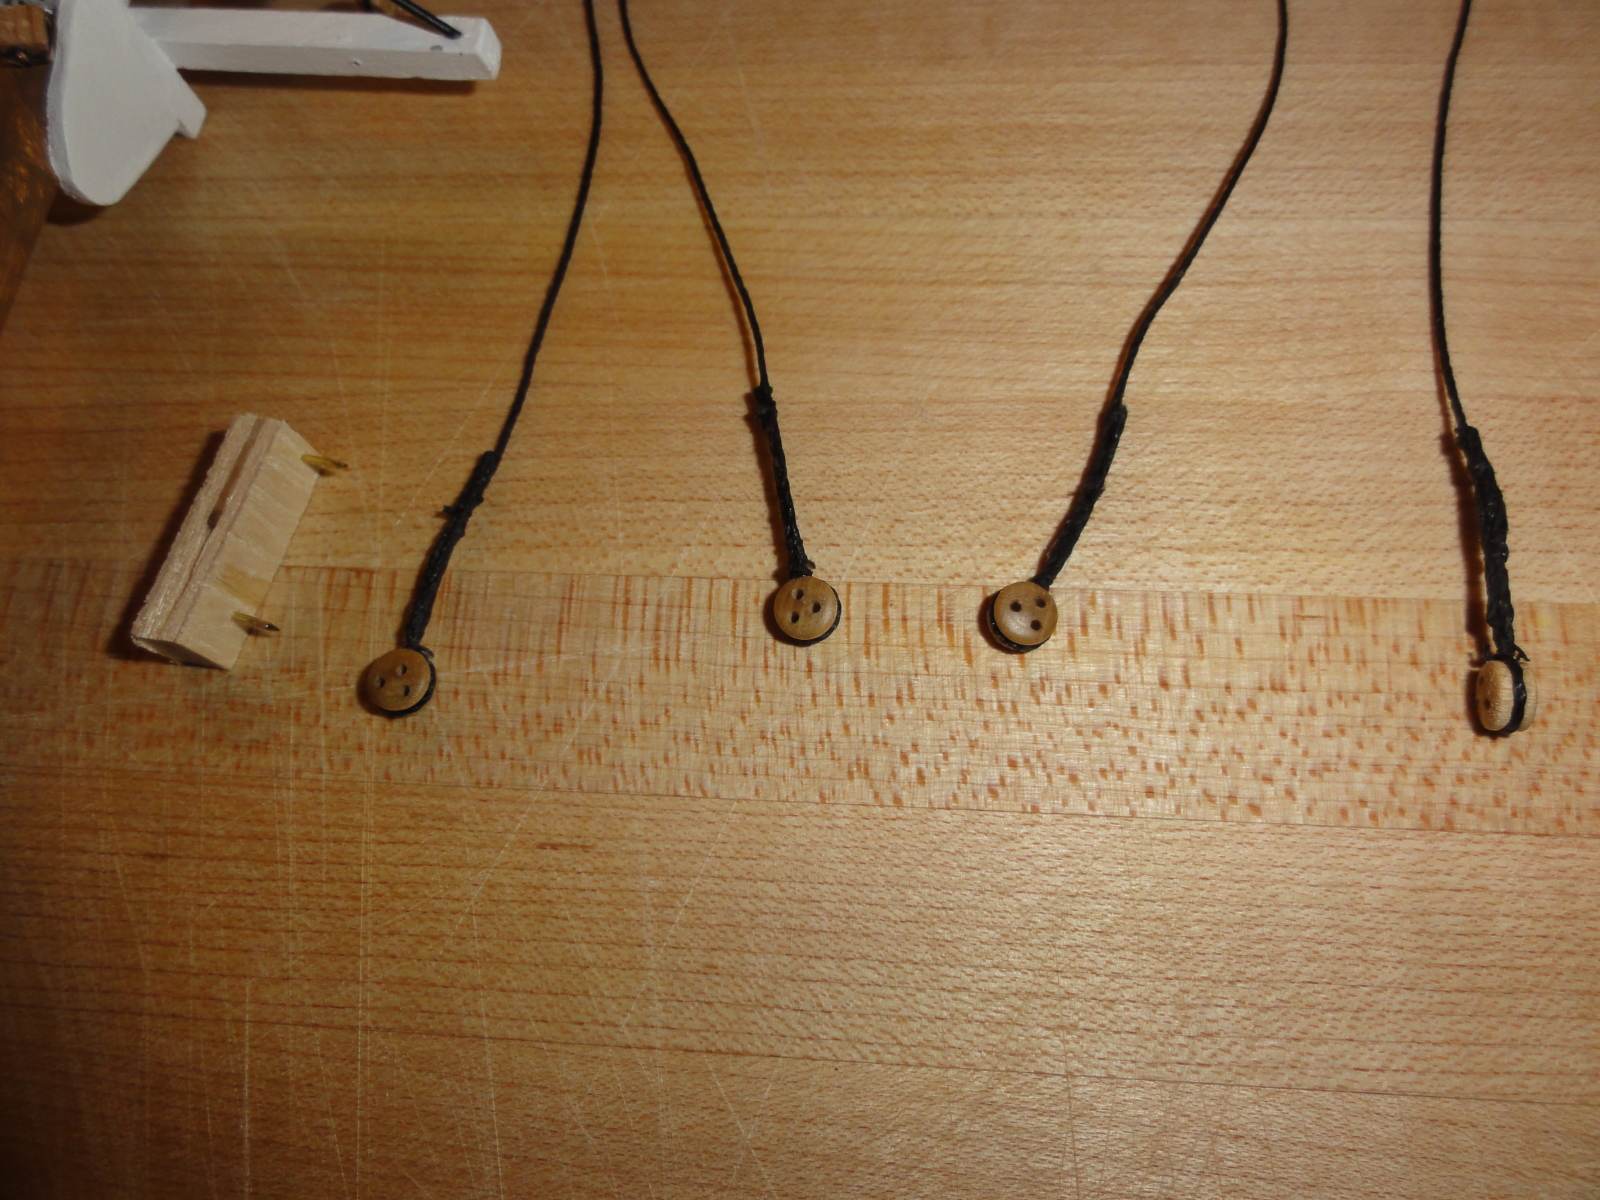
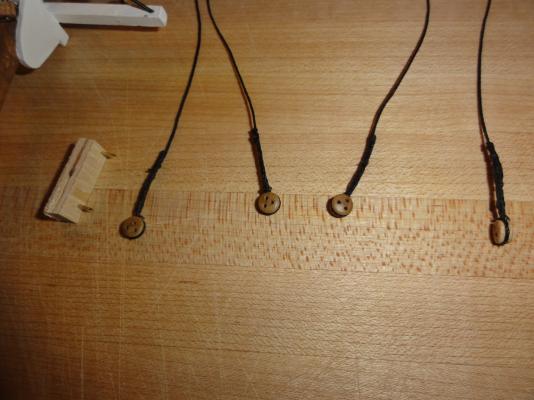
Thanks Rick for your kind comment and sorry for getting back to you so late. I have taken a bit of a break and with me now not able to get email notifications about comments, I find that I am even further "out of the loop". With this posting, I have shown some of my efforts in creating ropes and hanging them.


-
Thanks Jan-Willem... I think it is all about adding the extra details. PS. Looking forward to seeing your progress on your build.
-
Thanks Popeye for the feedback, and my instinct was to do the shrouds absolutely last. This was my first attempt at rigging and I must say that I actually enjoyed the process and quite proud of how my Bluenose looks. ... mind you it is quite a simple rigging setup compared to the big frigates that you see on others' build logs.
-
Thanks for all the likes! CKNavy, I used Tamiya paints which are in my opinion, great. My experience in the past, has been with Admiralty paints, and I find them very thick compared to Tamiya. The colors were Sea Blue and Flat Red.
-
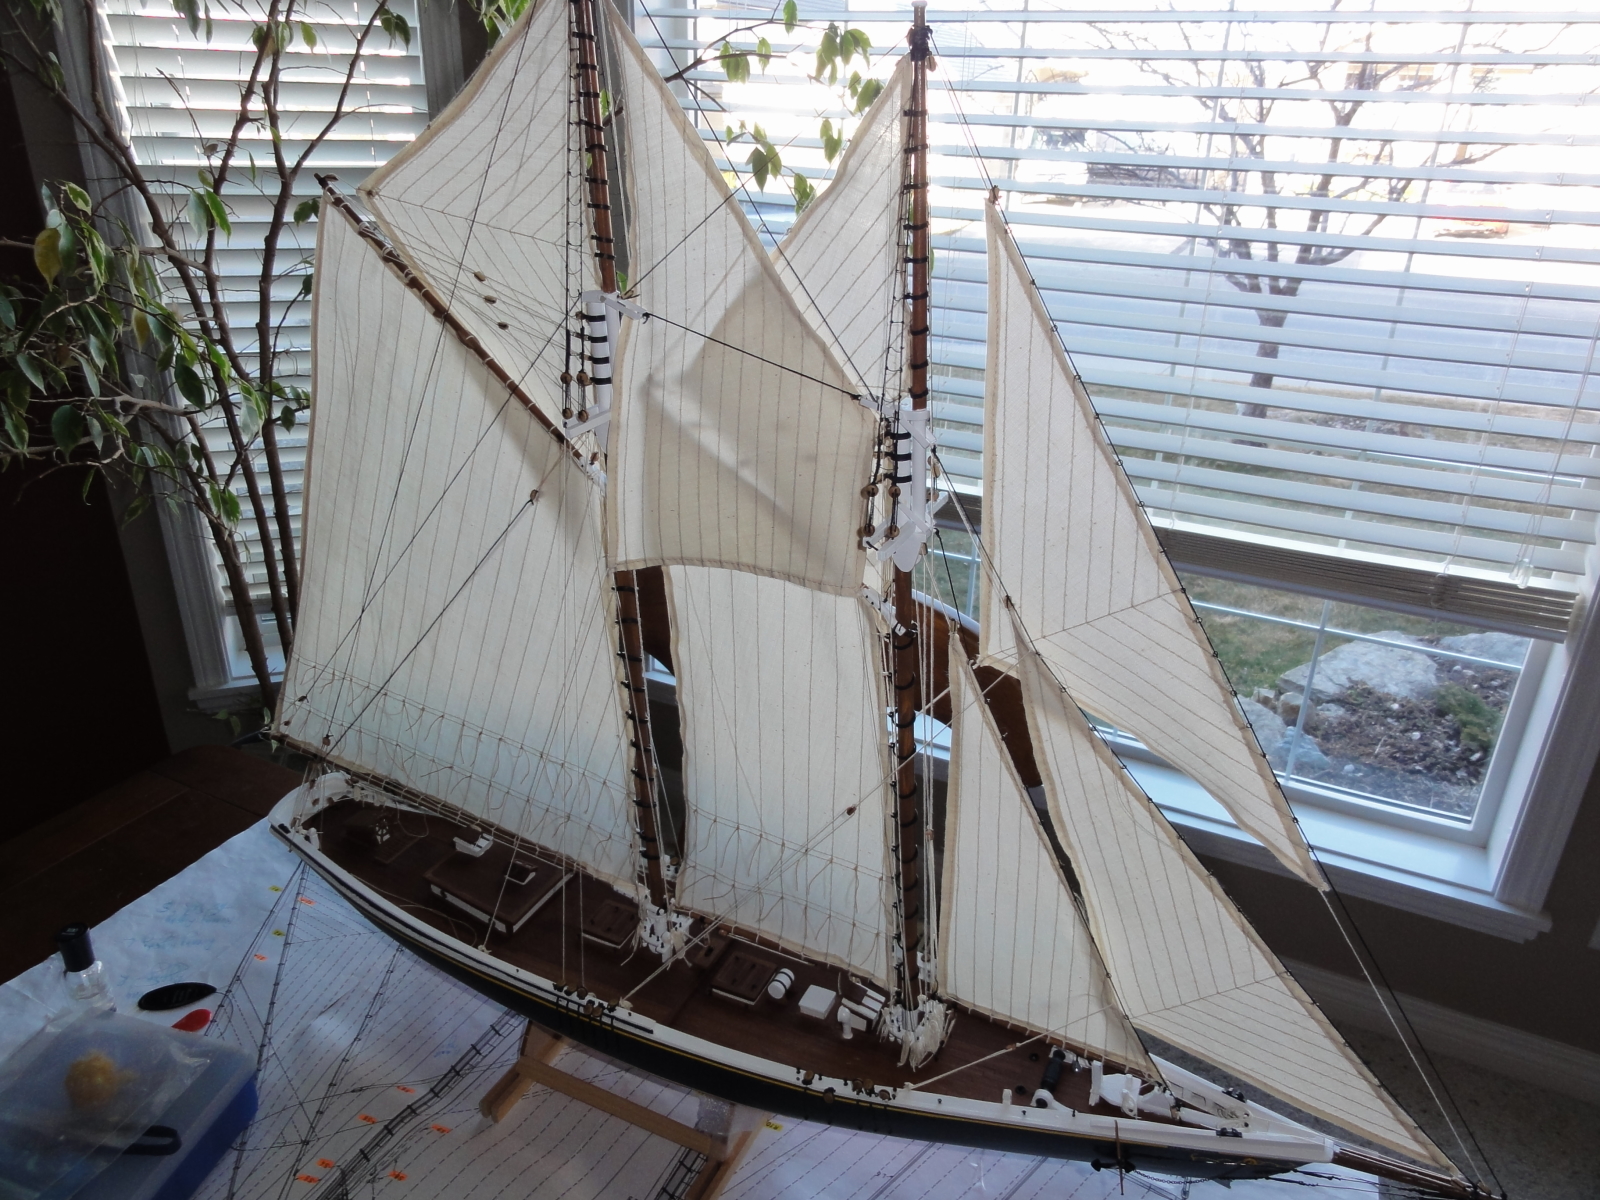
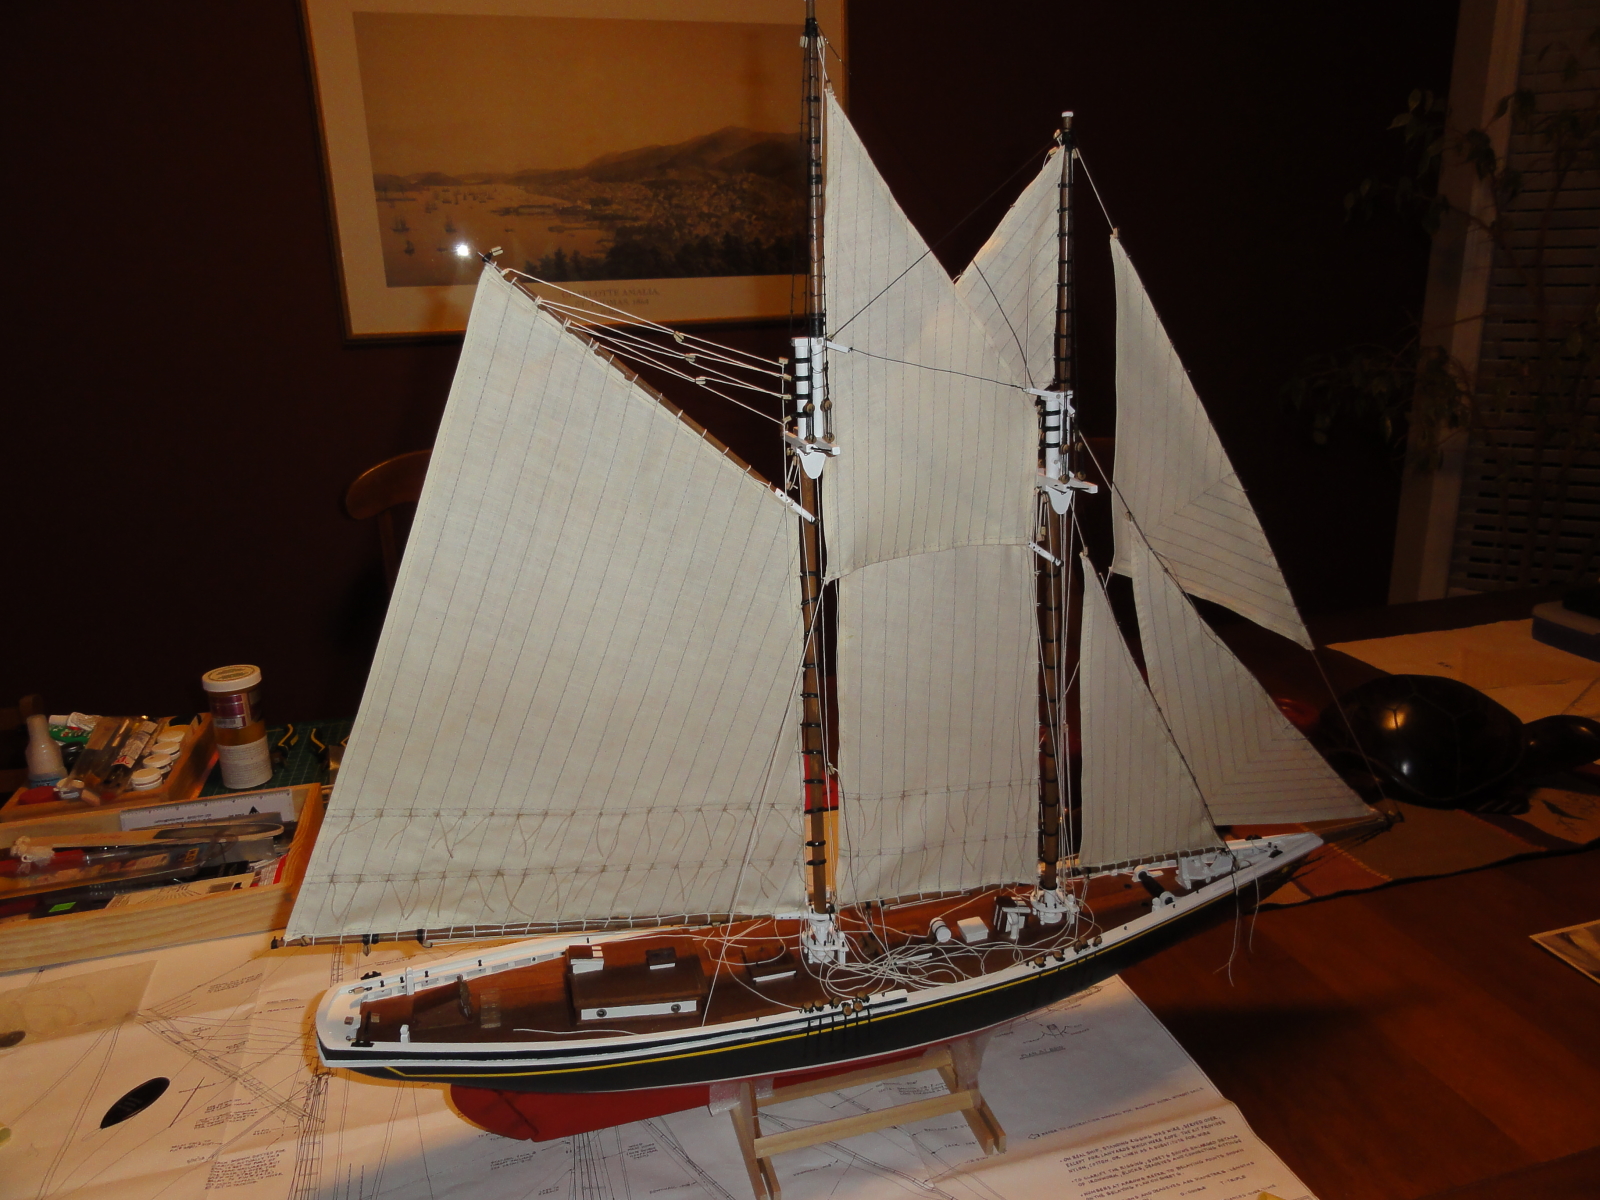
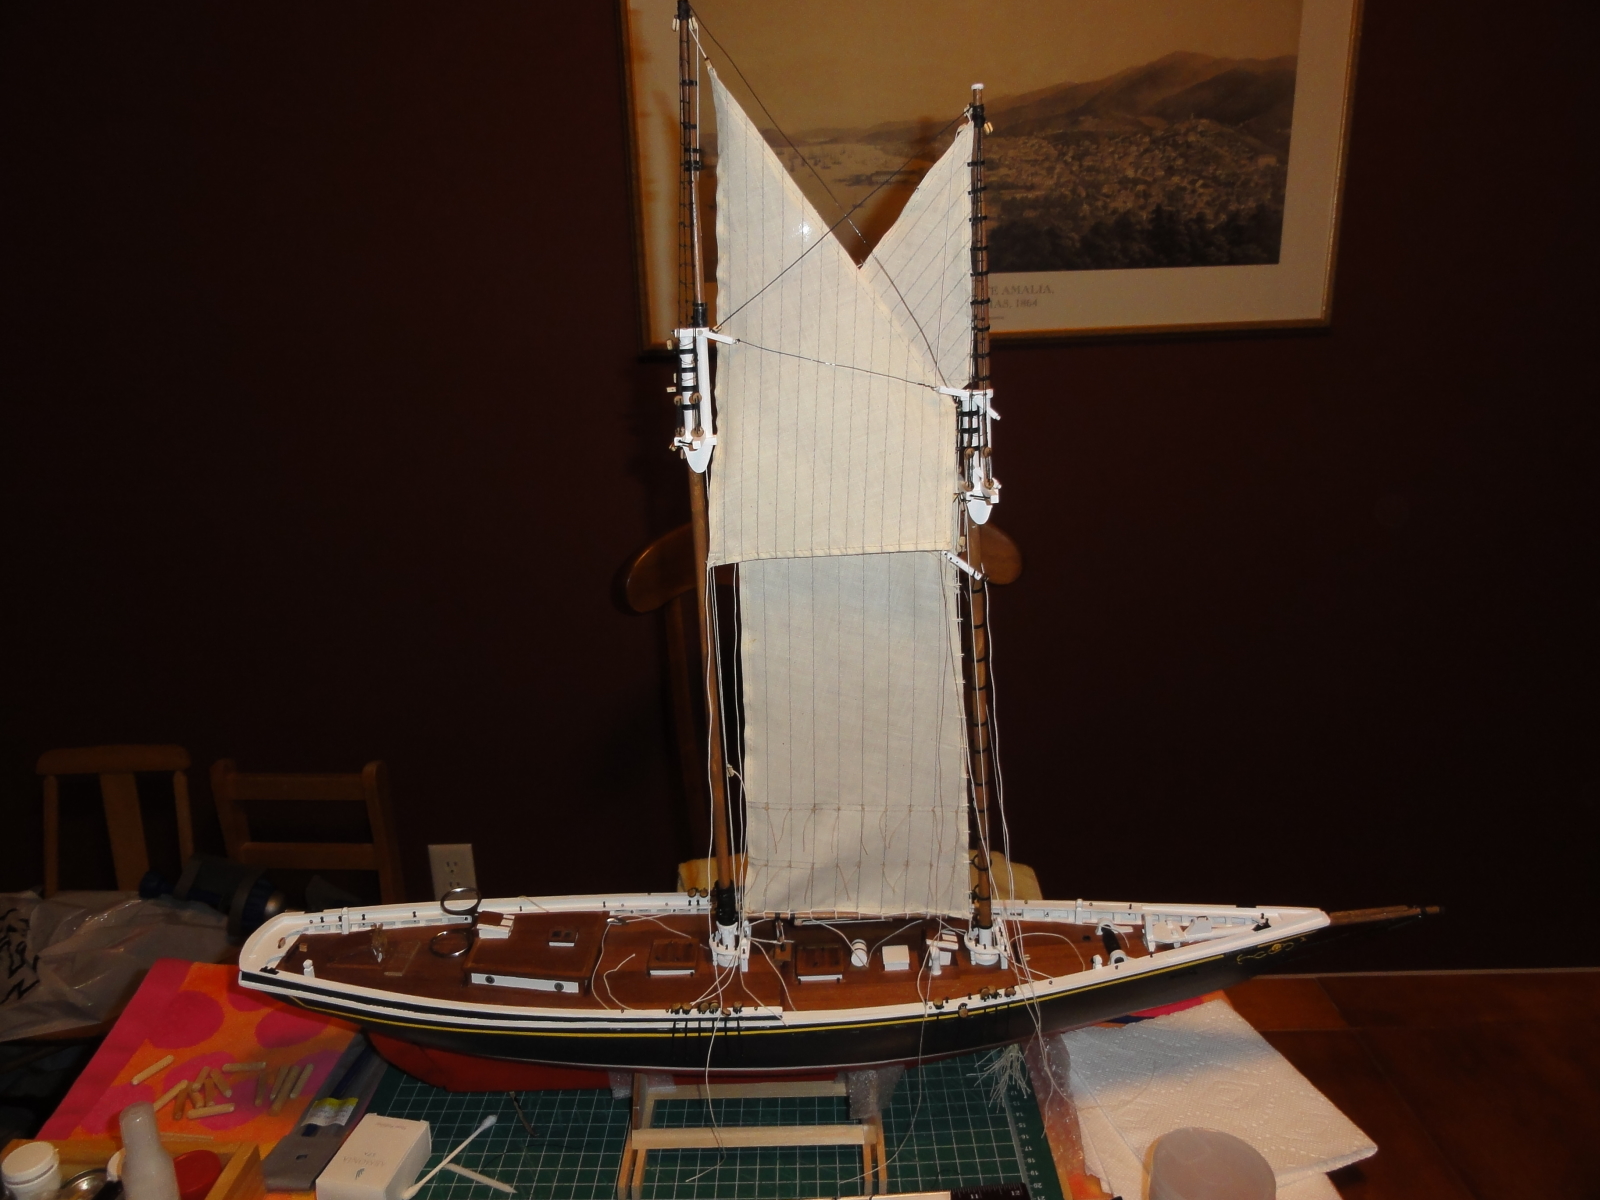
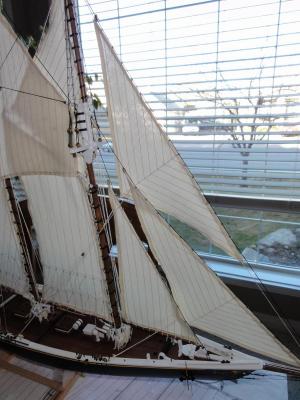
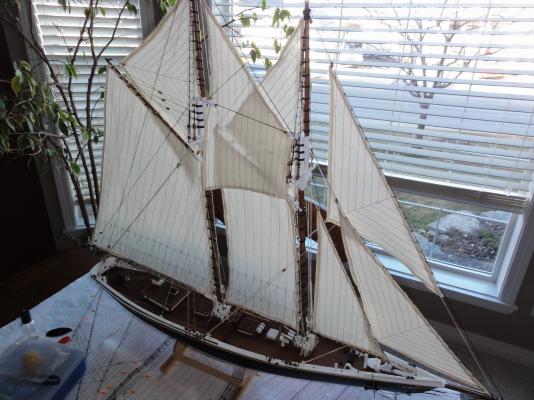
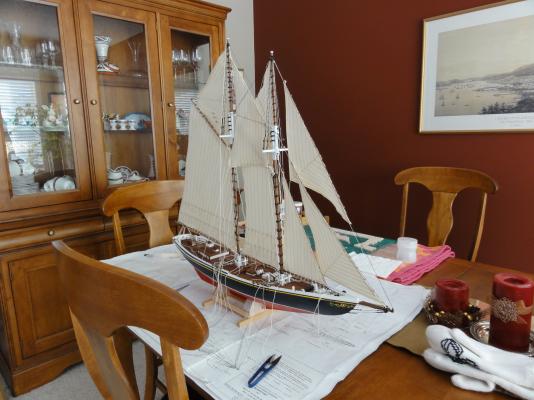
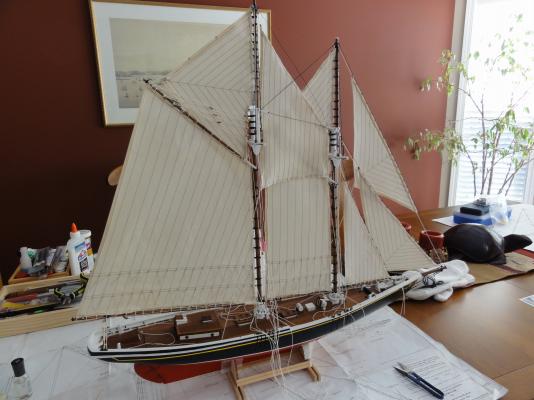
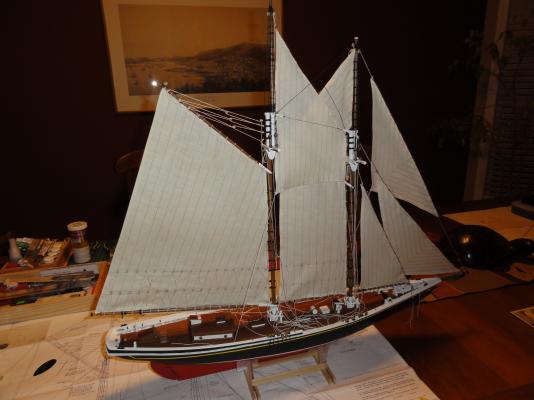
I must say that as I get closer to completing this, yes though my second model started, this is my first completed and it is a very nice sense of accomplishment with lots of pride for me when looking at my "almost finished" Bluenose. I have certainly enjoyed the rigging more than I thought I would, perhaps because this kit was easier and more manageable compared to perhaps the rigging plans of more complex and larger models. And as I look at it at this stage, I certainly feel that the Billing Boats kit is decent as long as you take the time to add the "extra details" and that the plans and instructions provided are not all the bad... and of course it certainly does not hurt to look at such a beautiful and handsome ship as the Bluenose! Cheers,
-
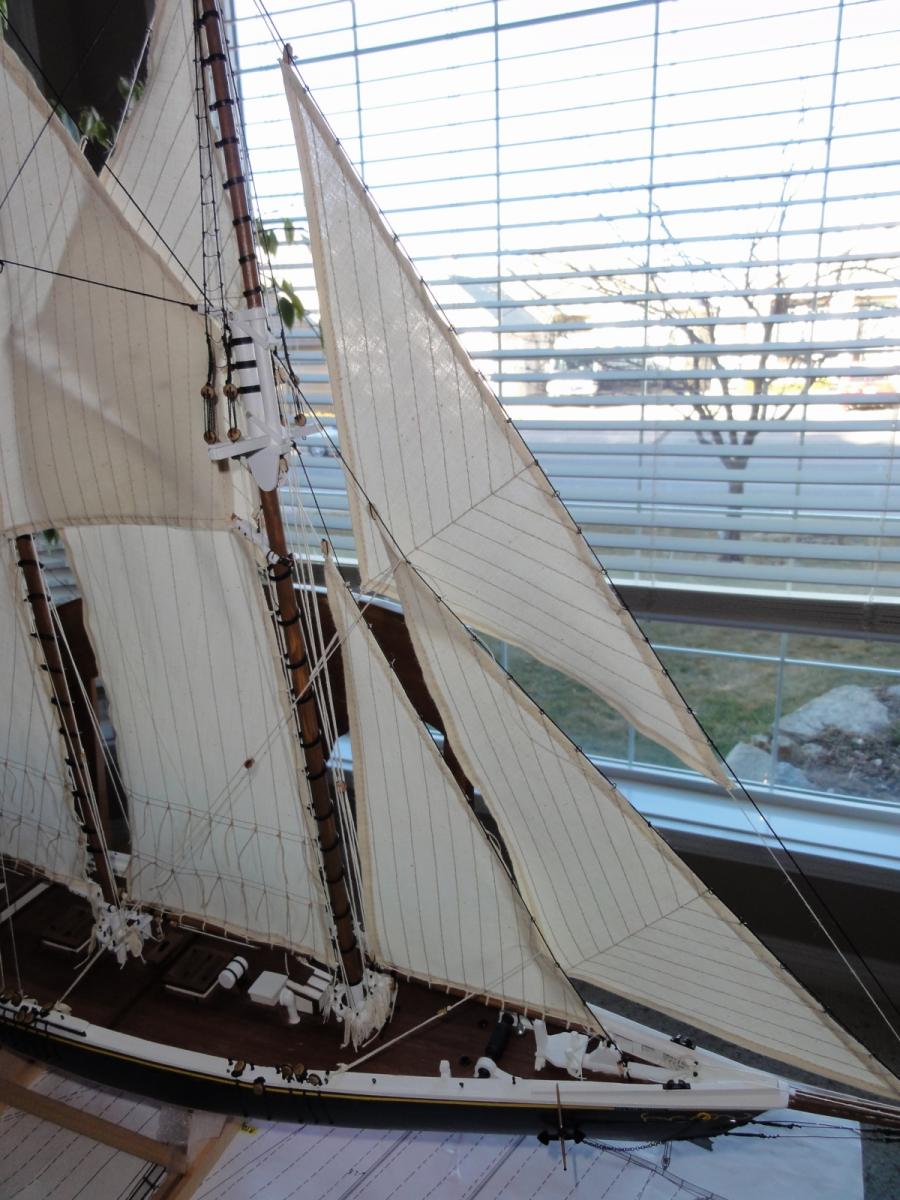
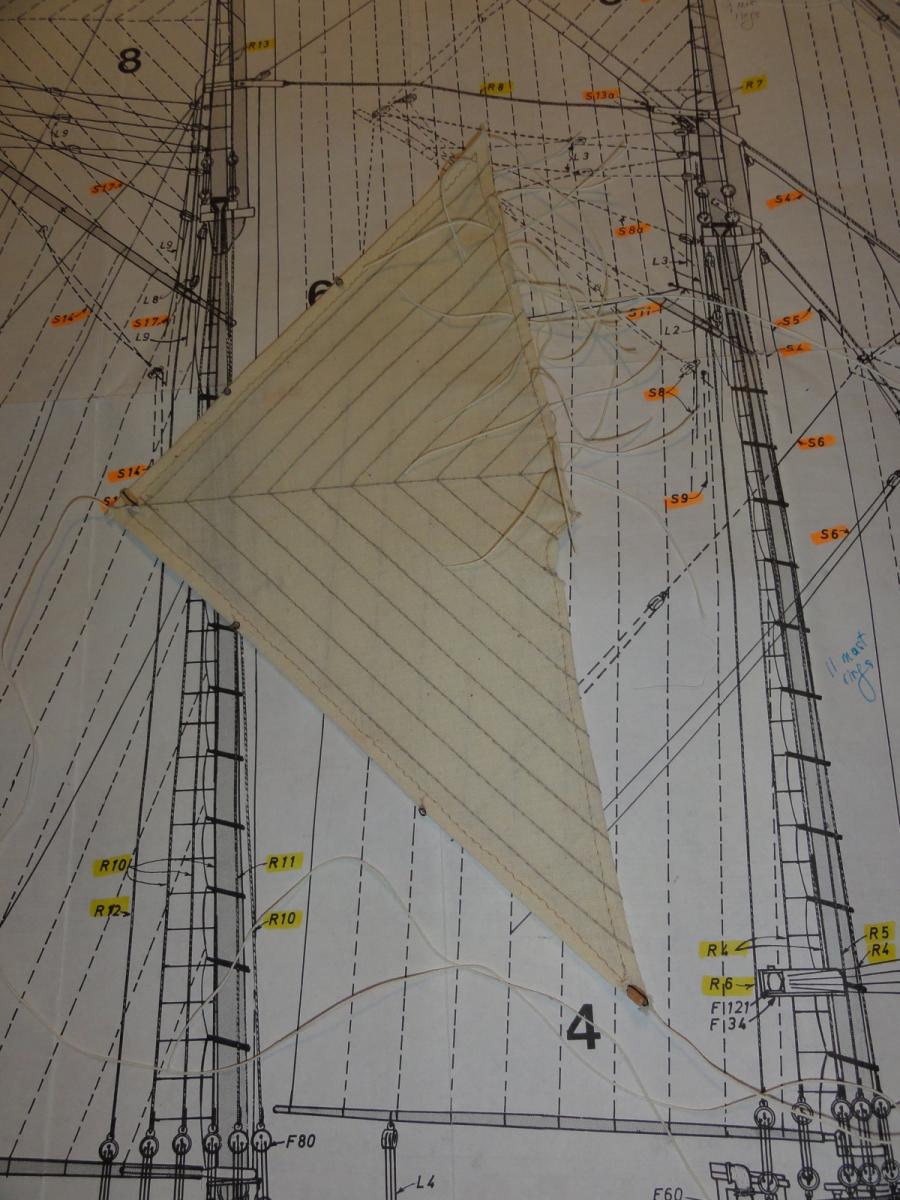
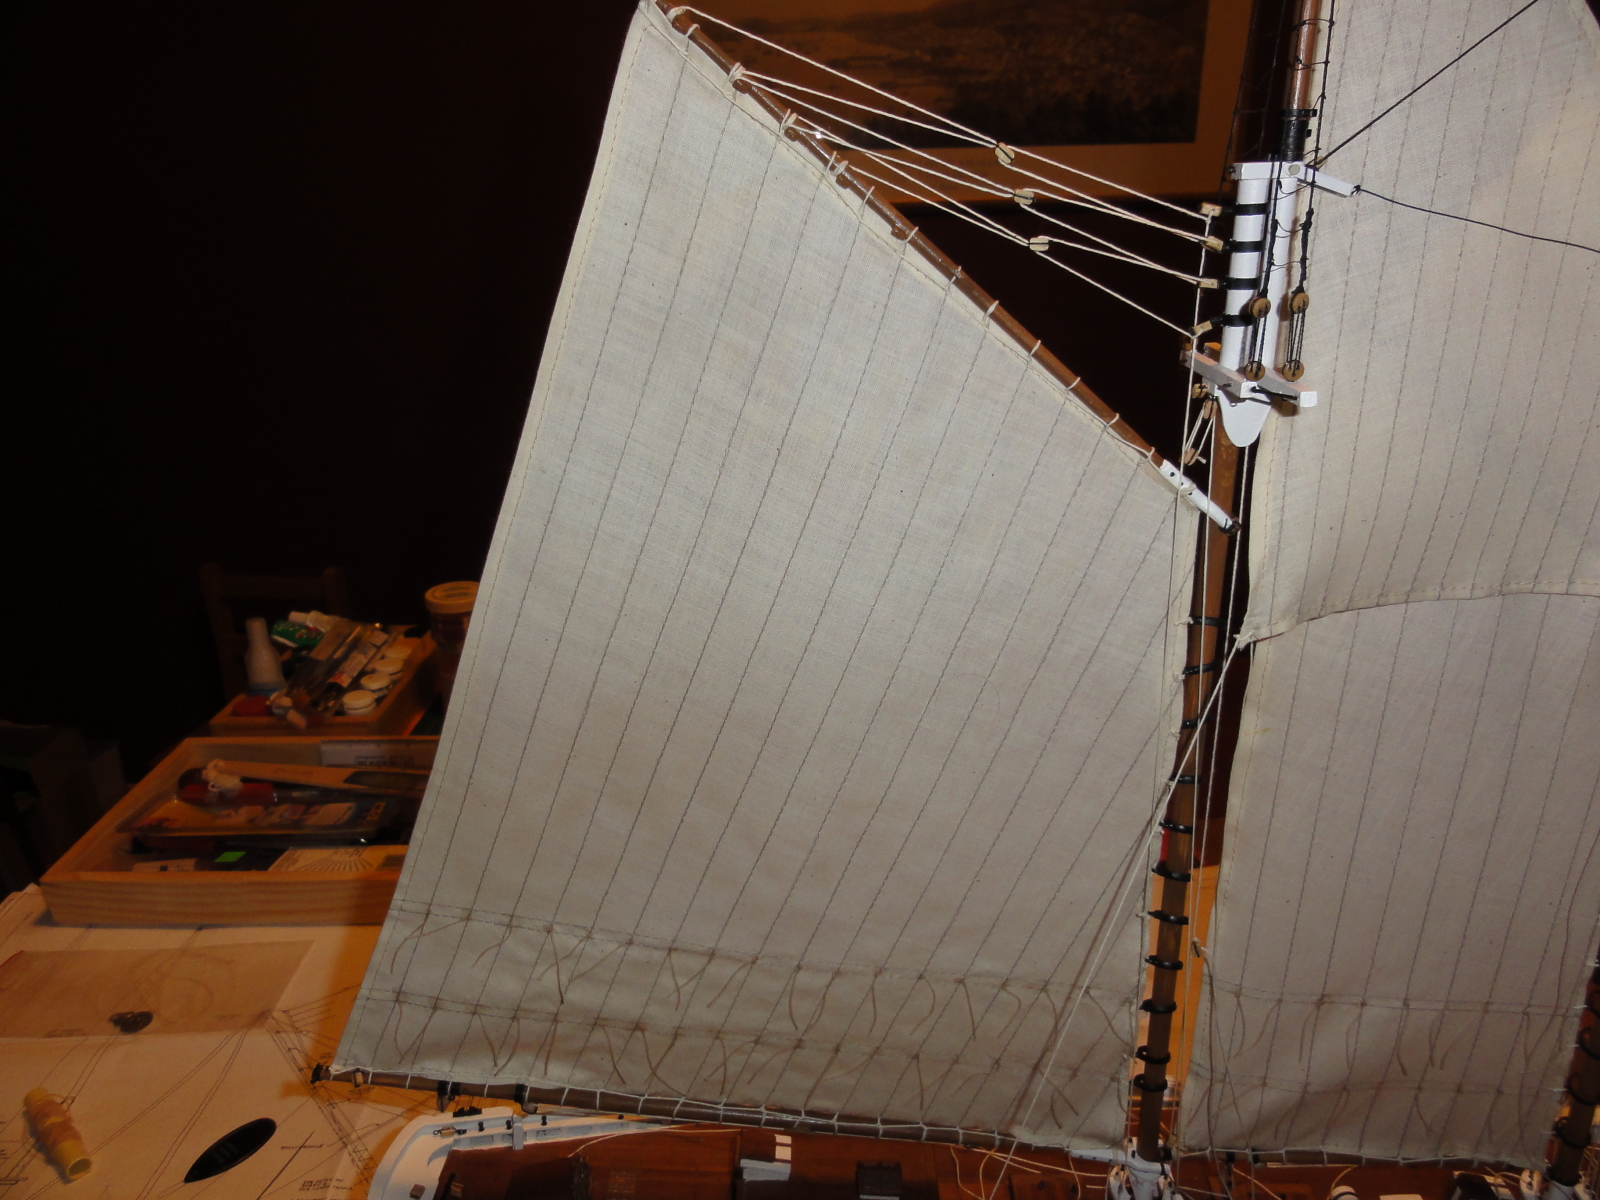
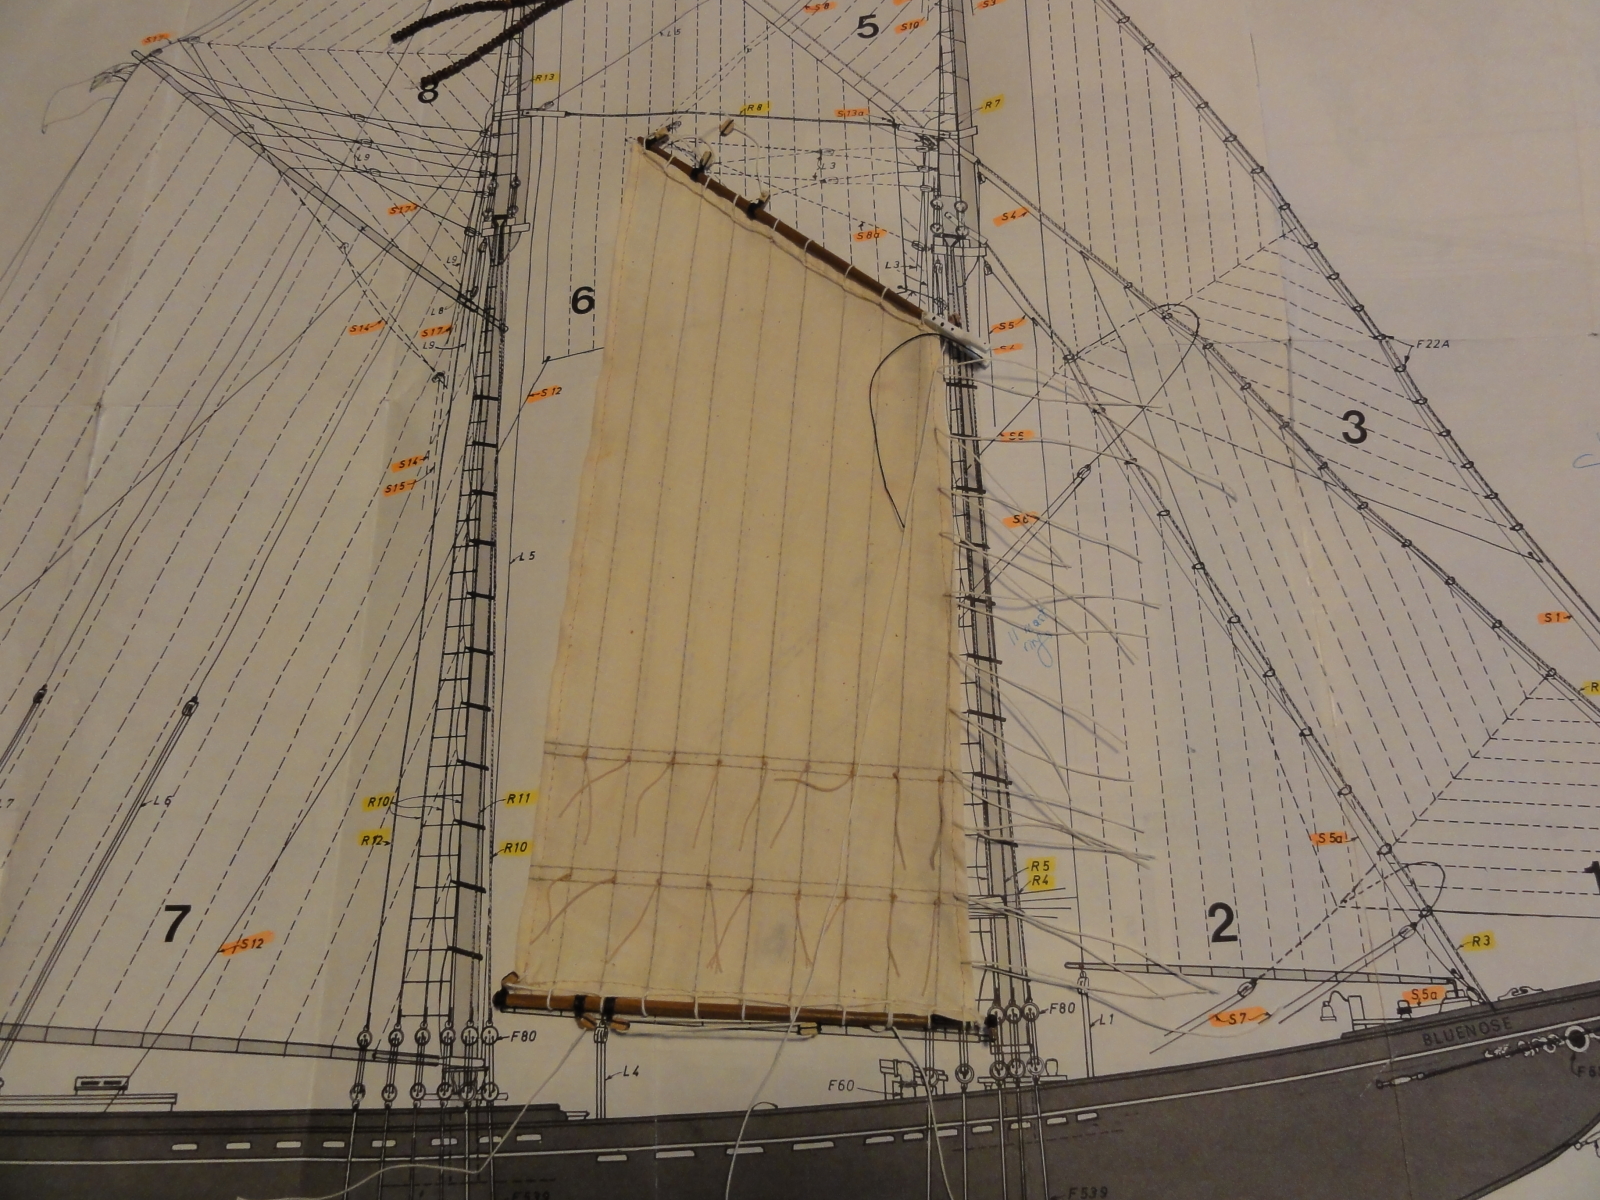
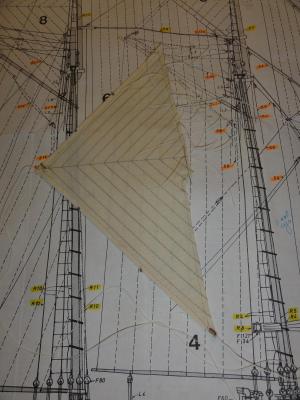
And here is my technique on the main top sail...
-
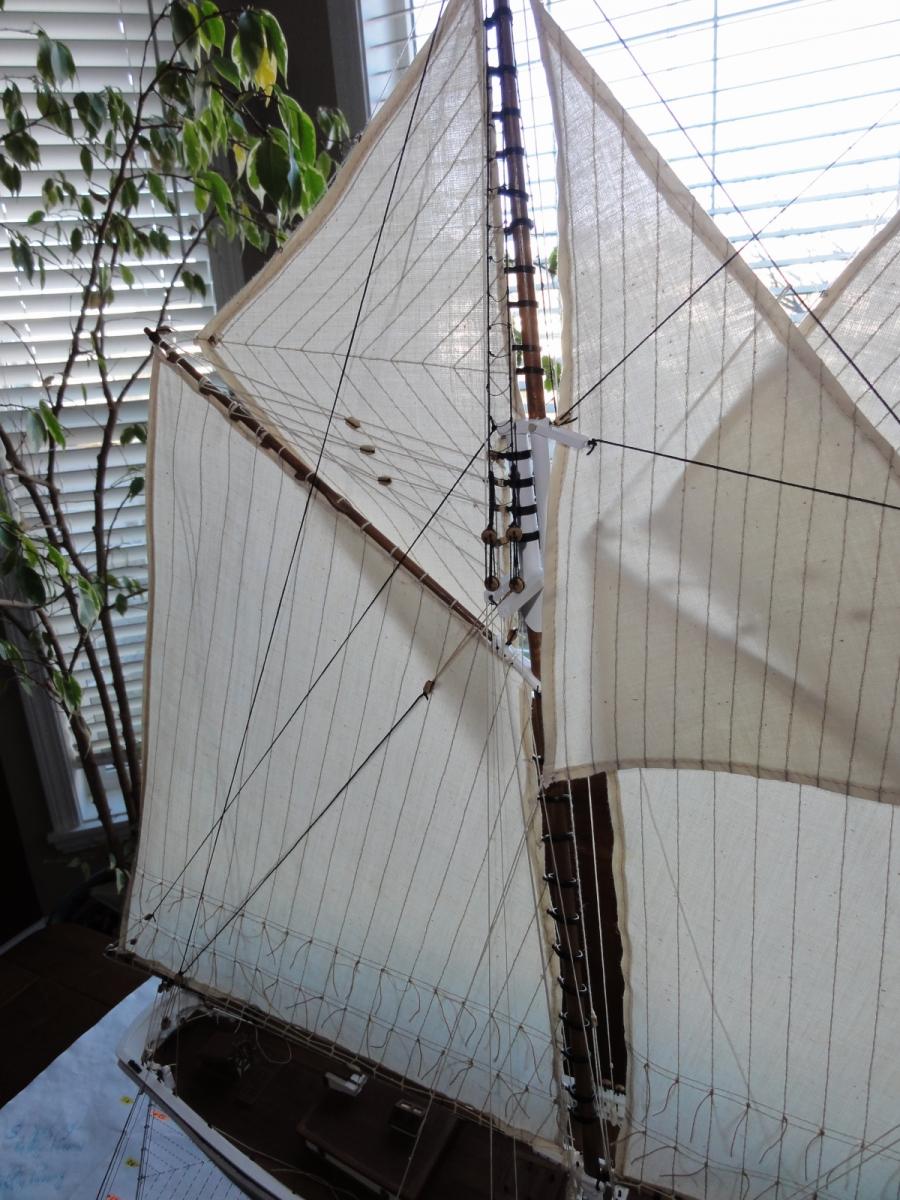
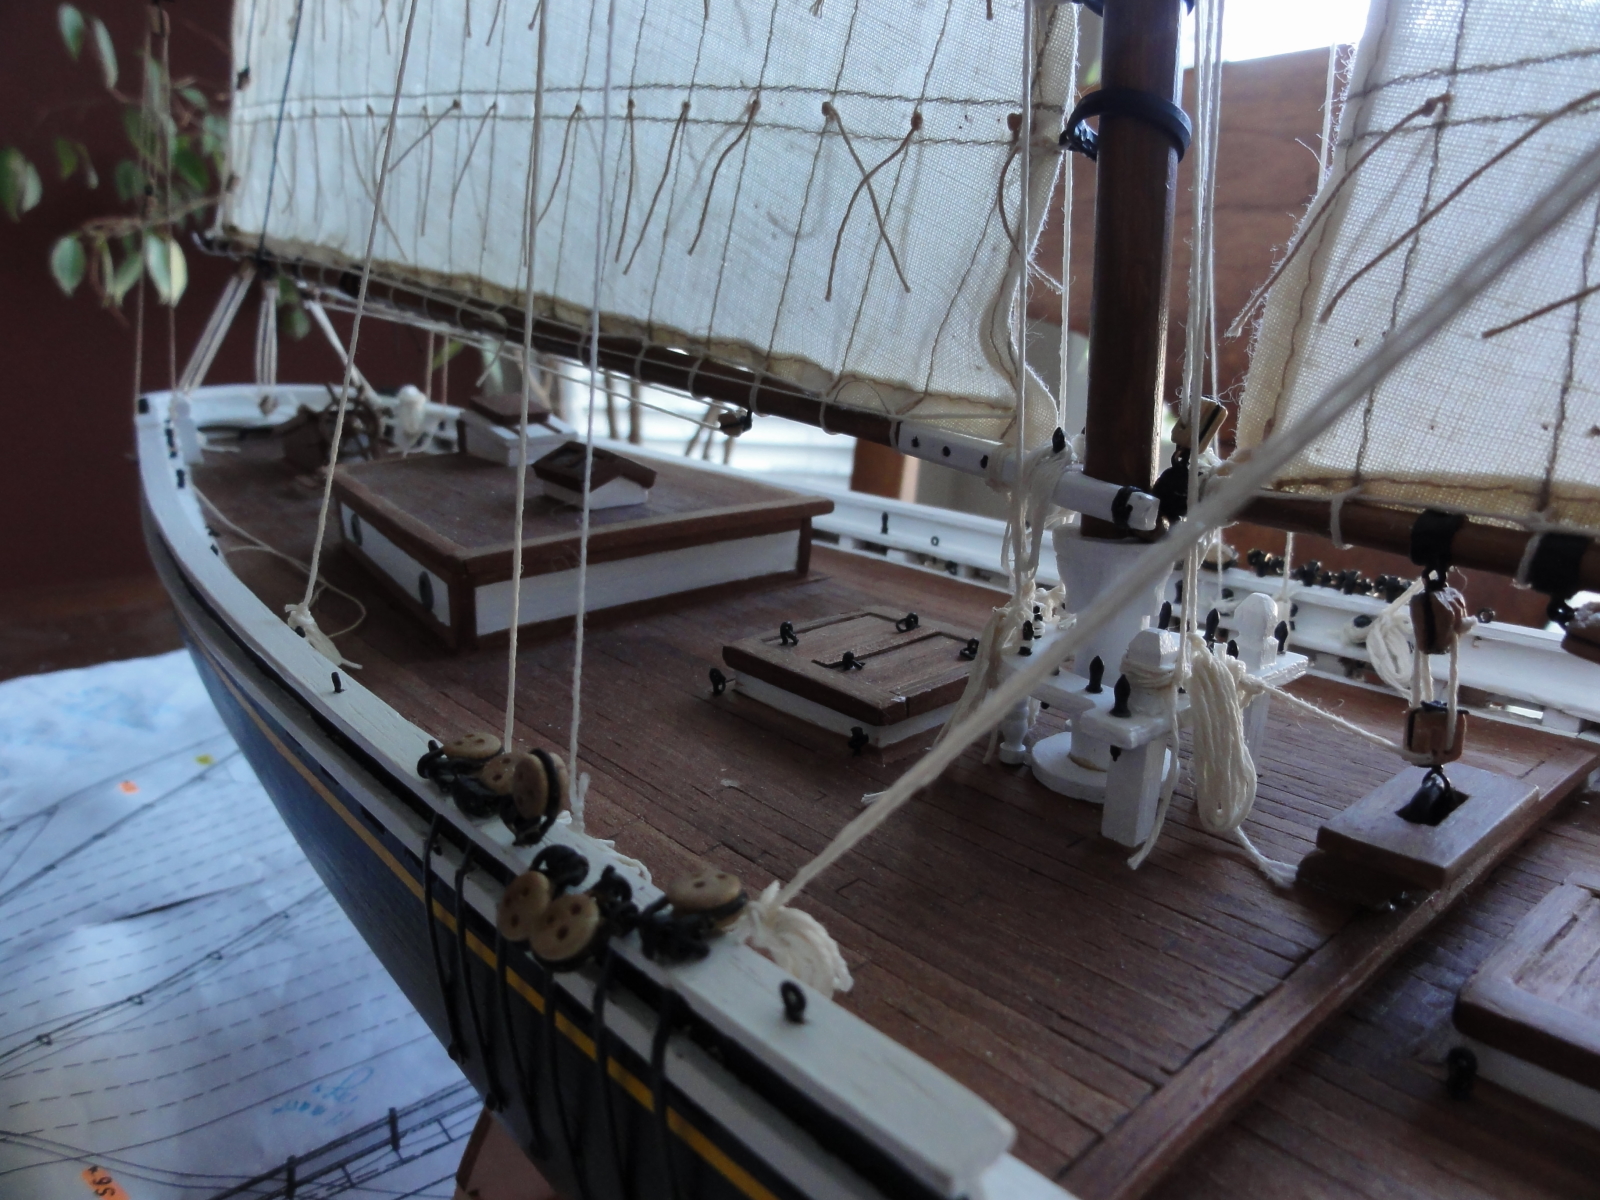
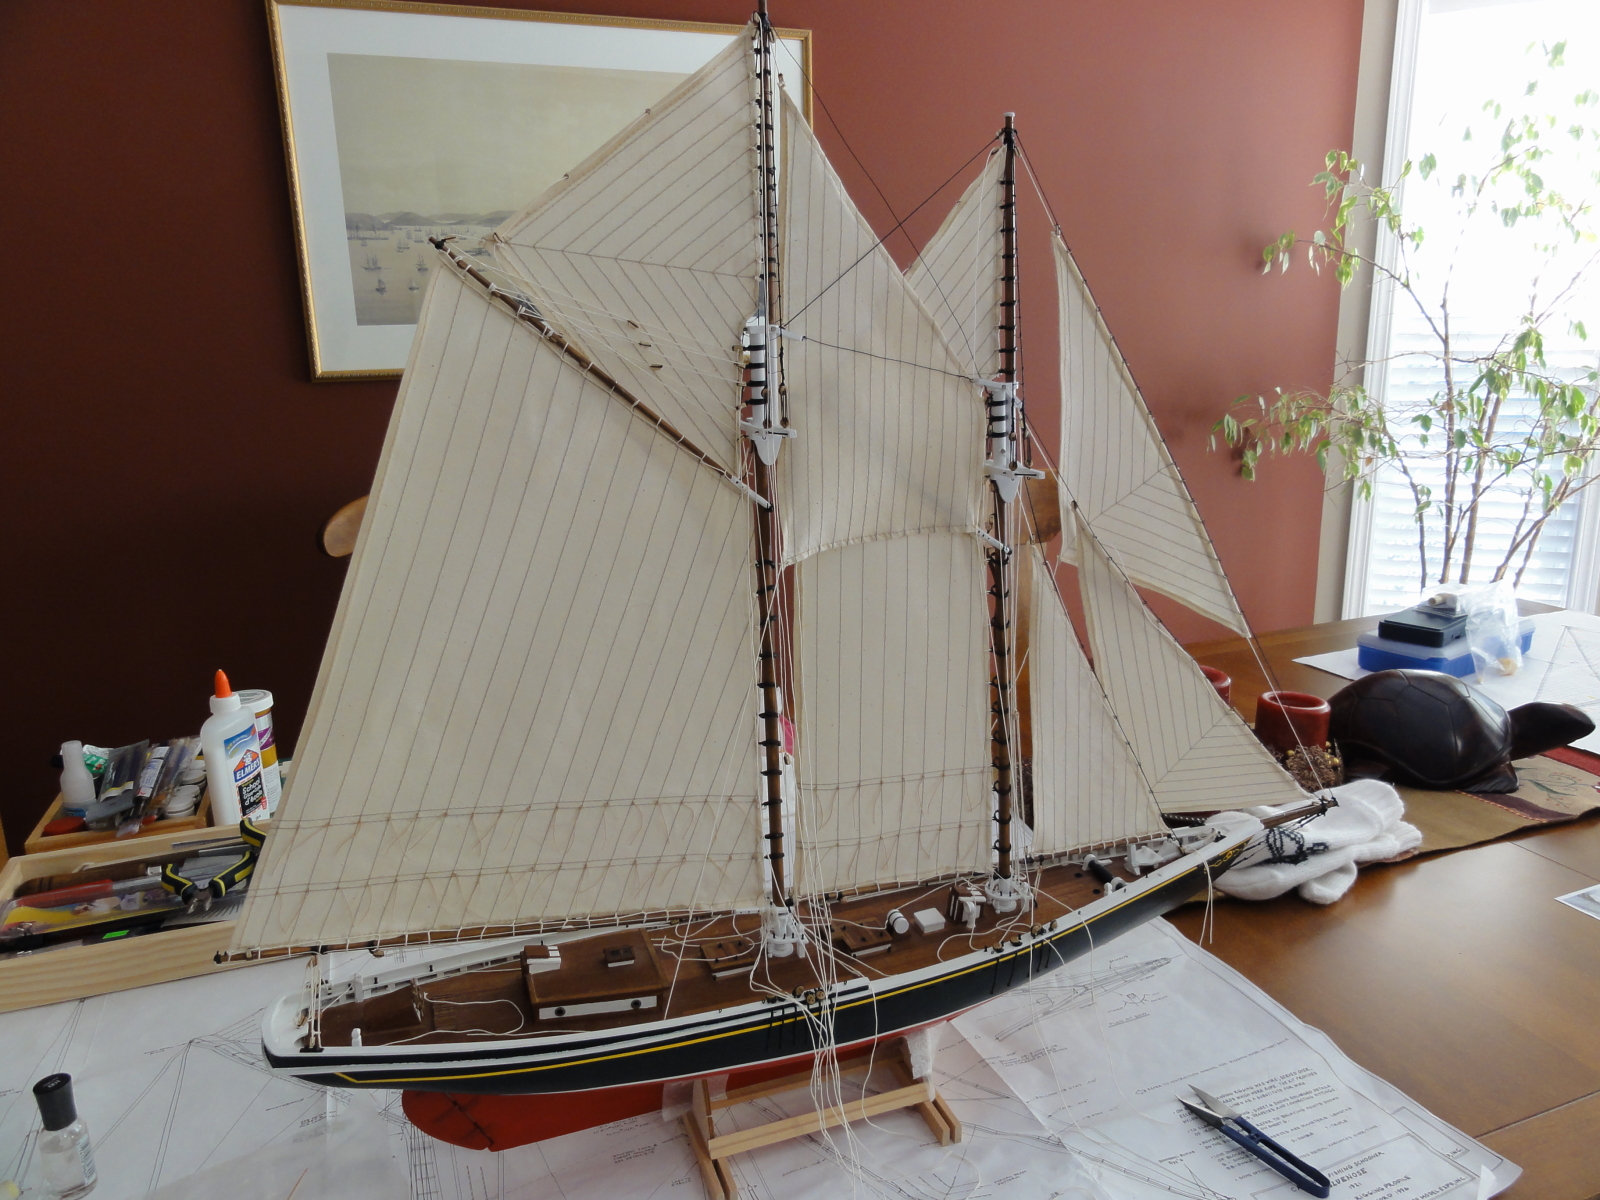
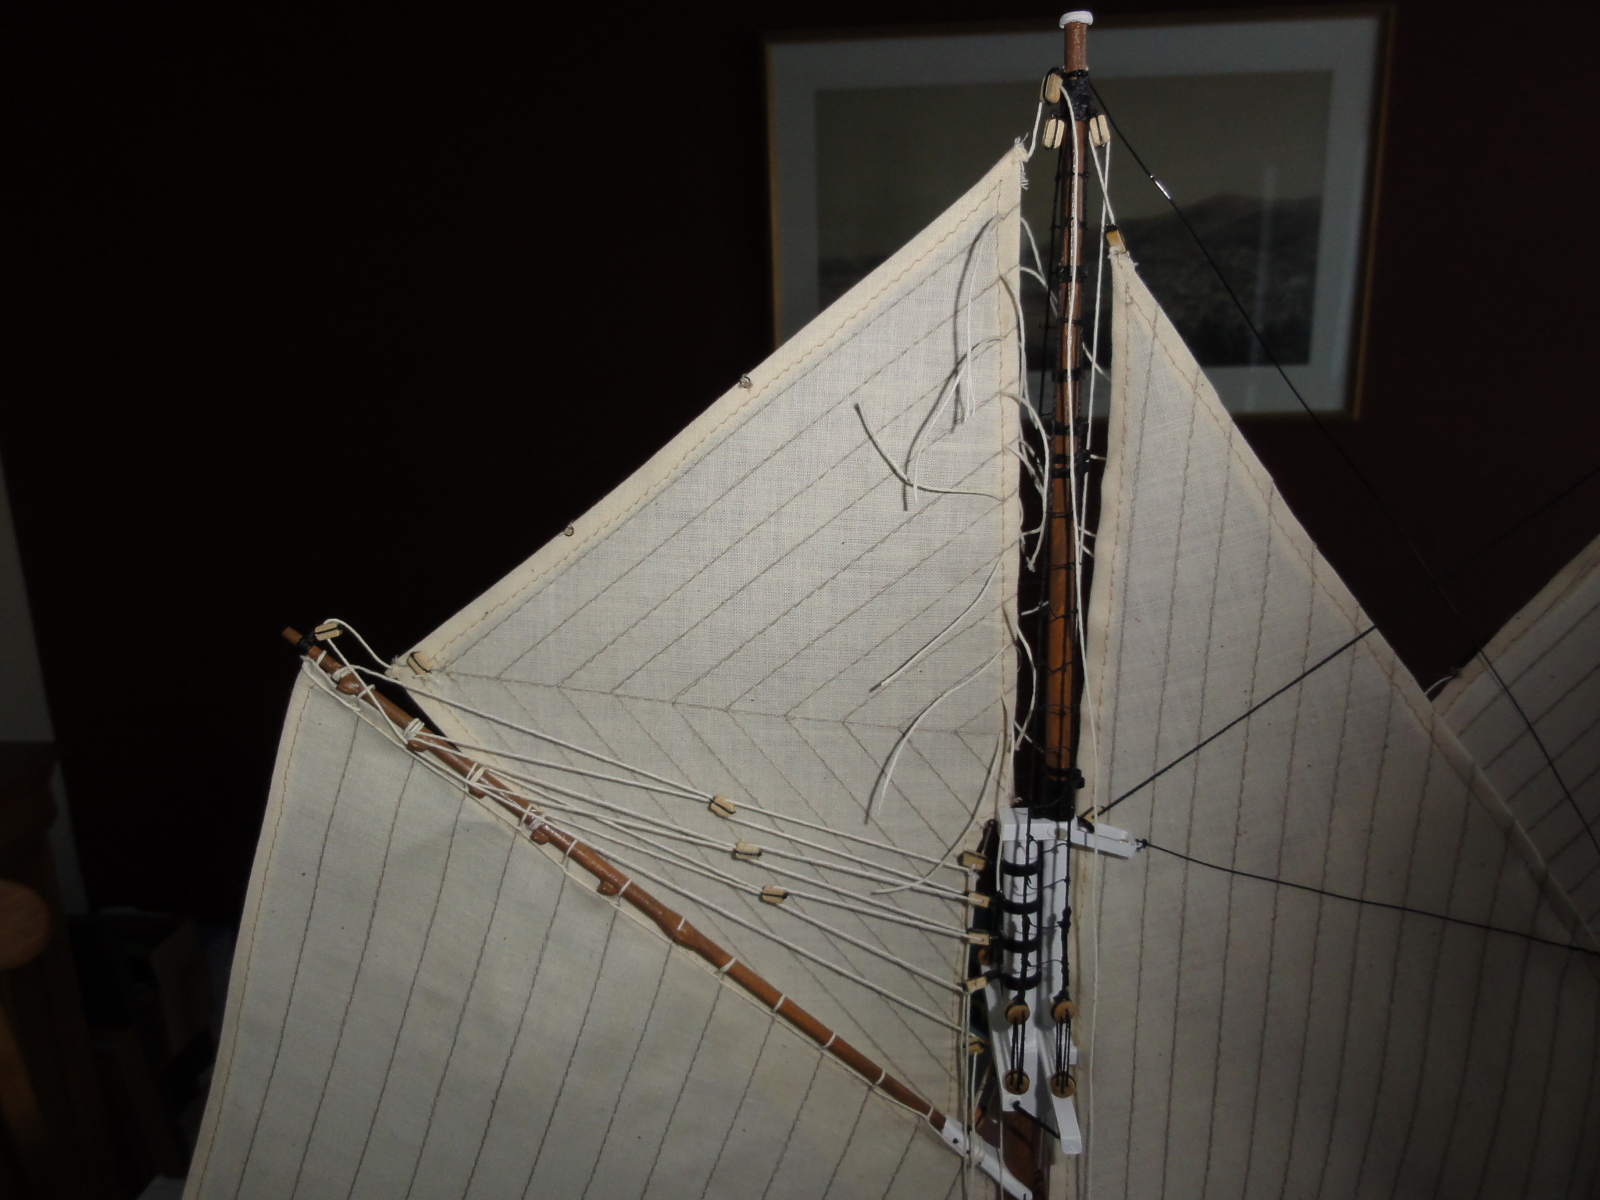
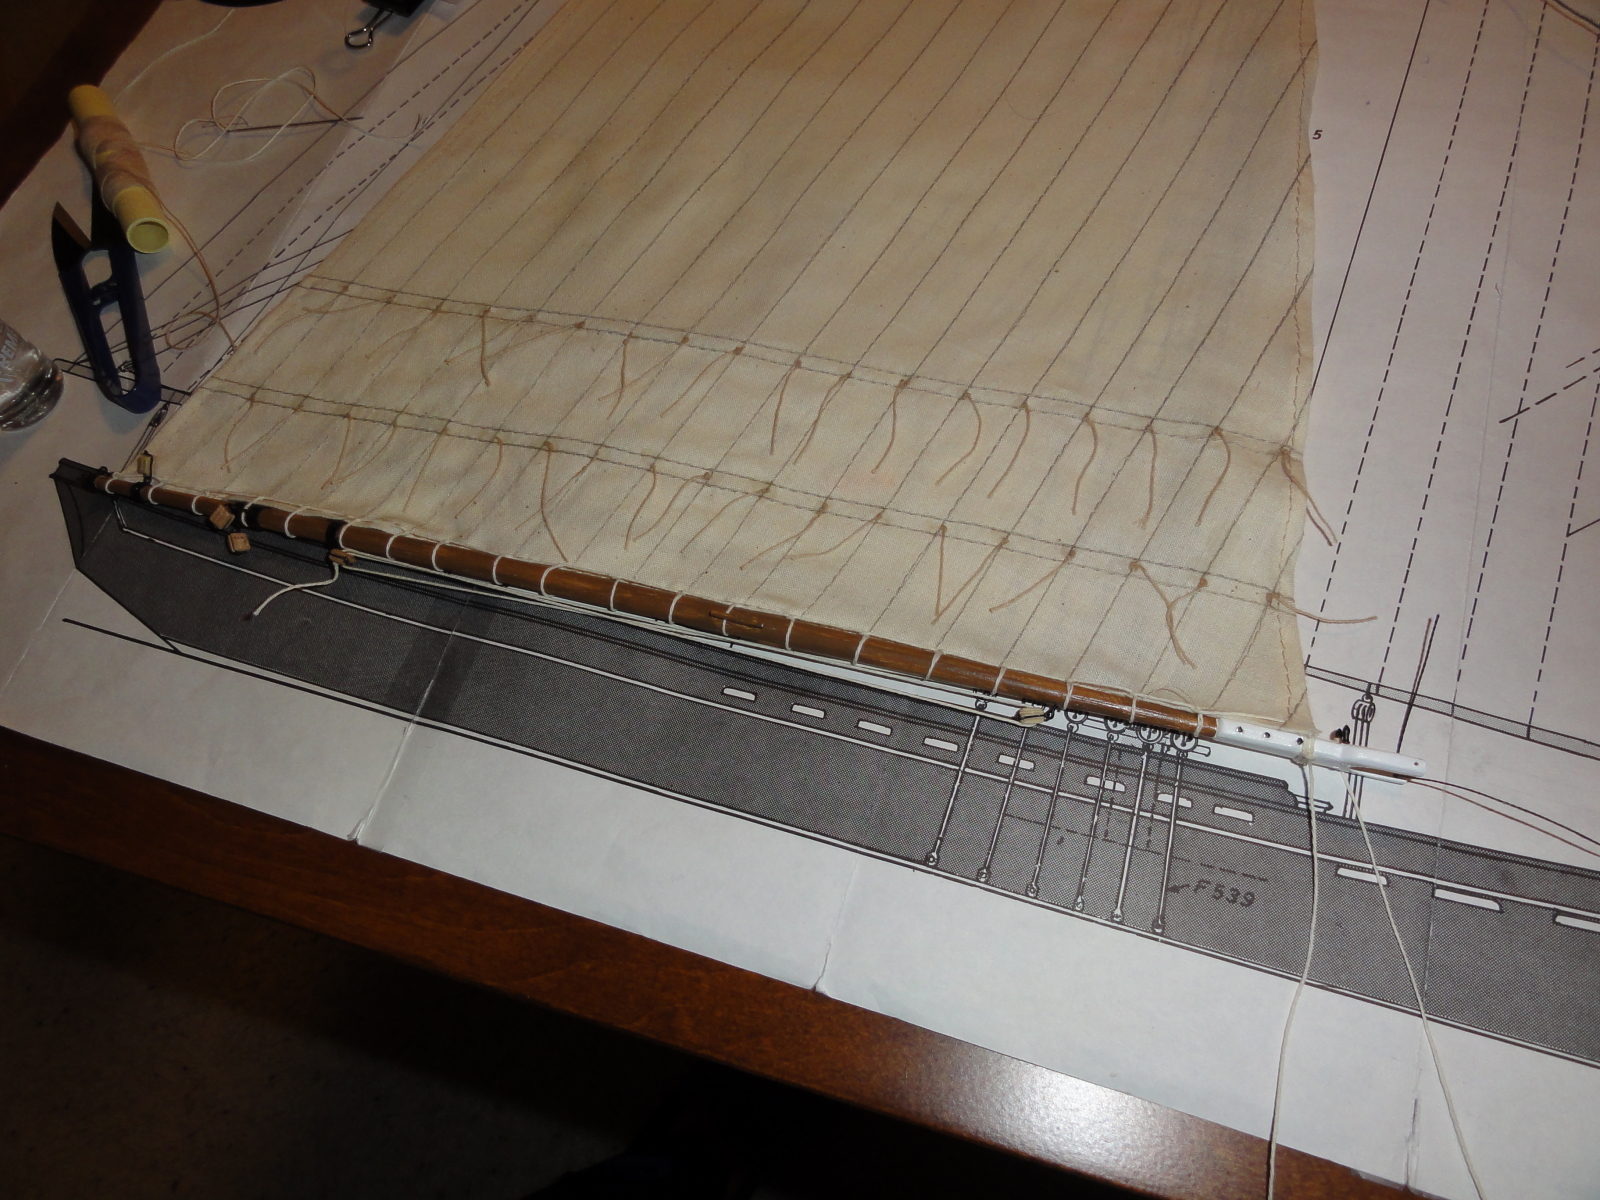
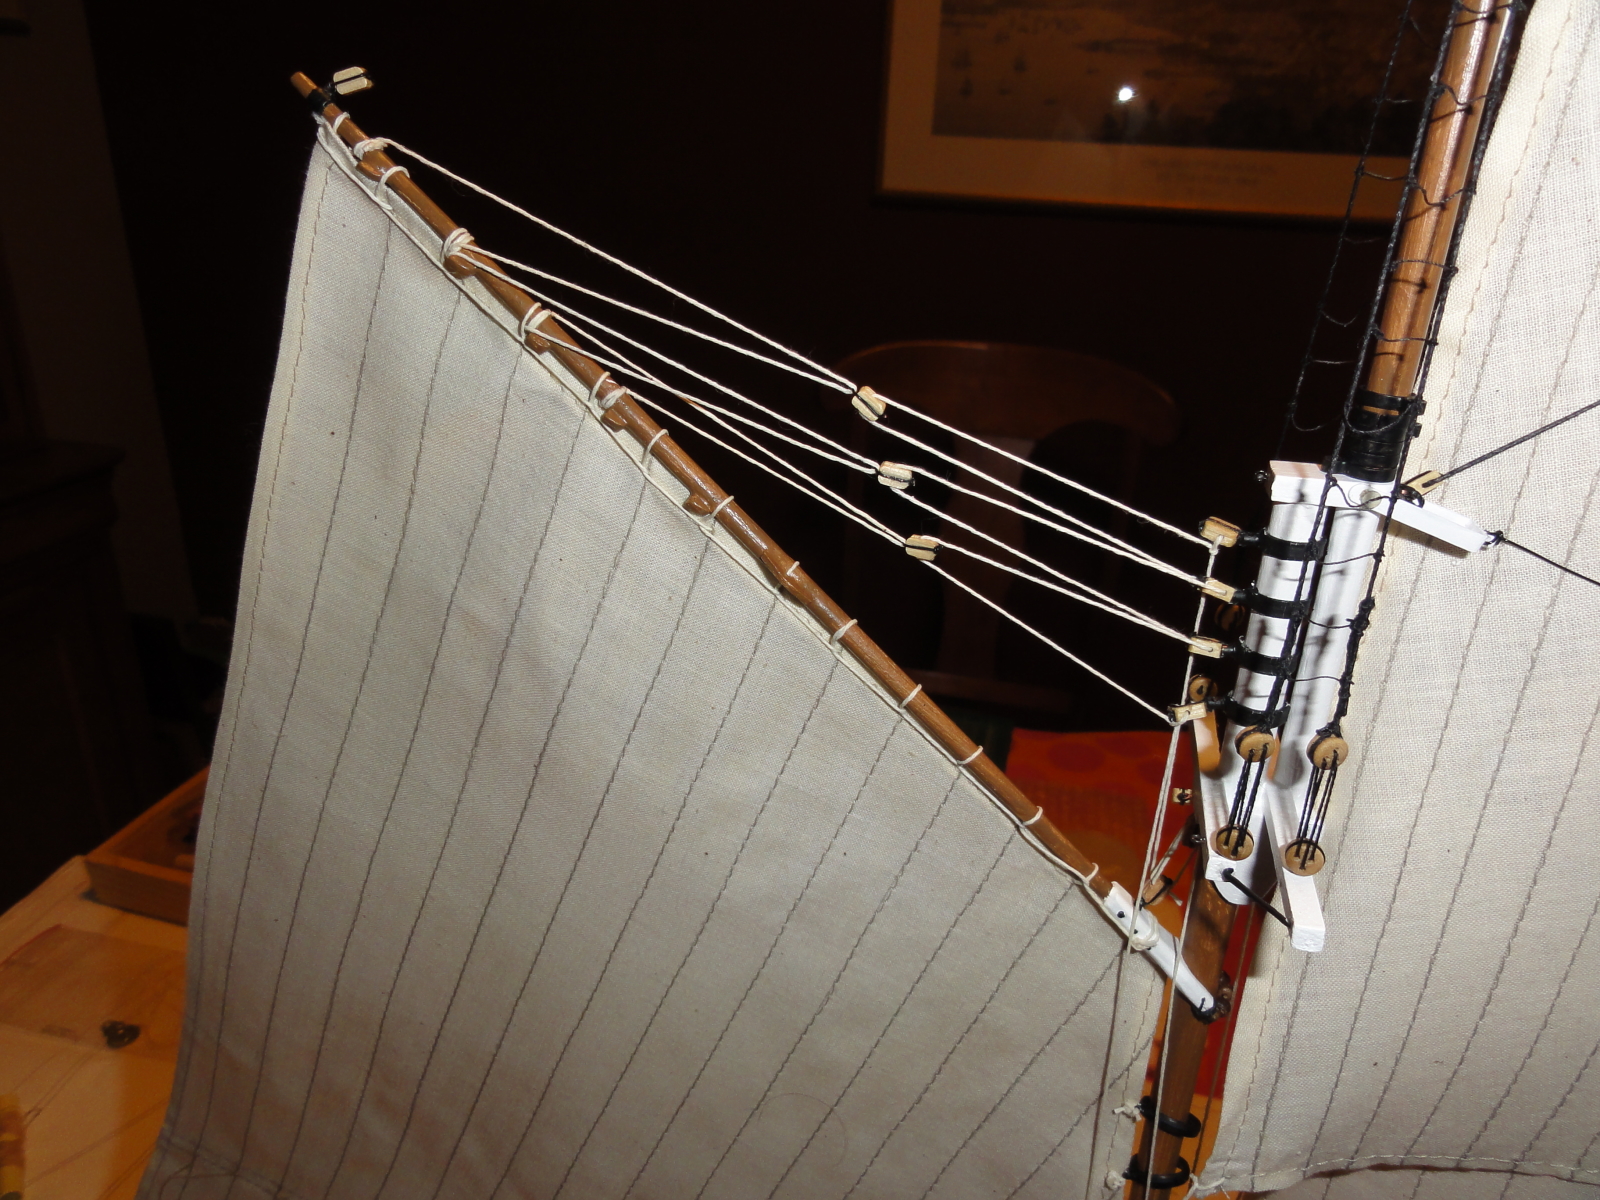
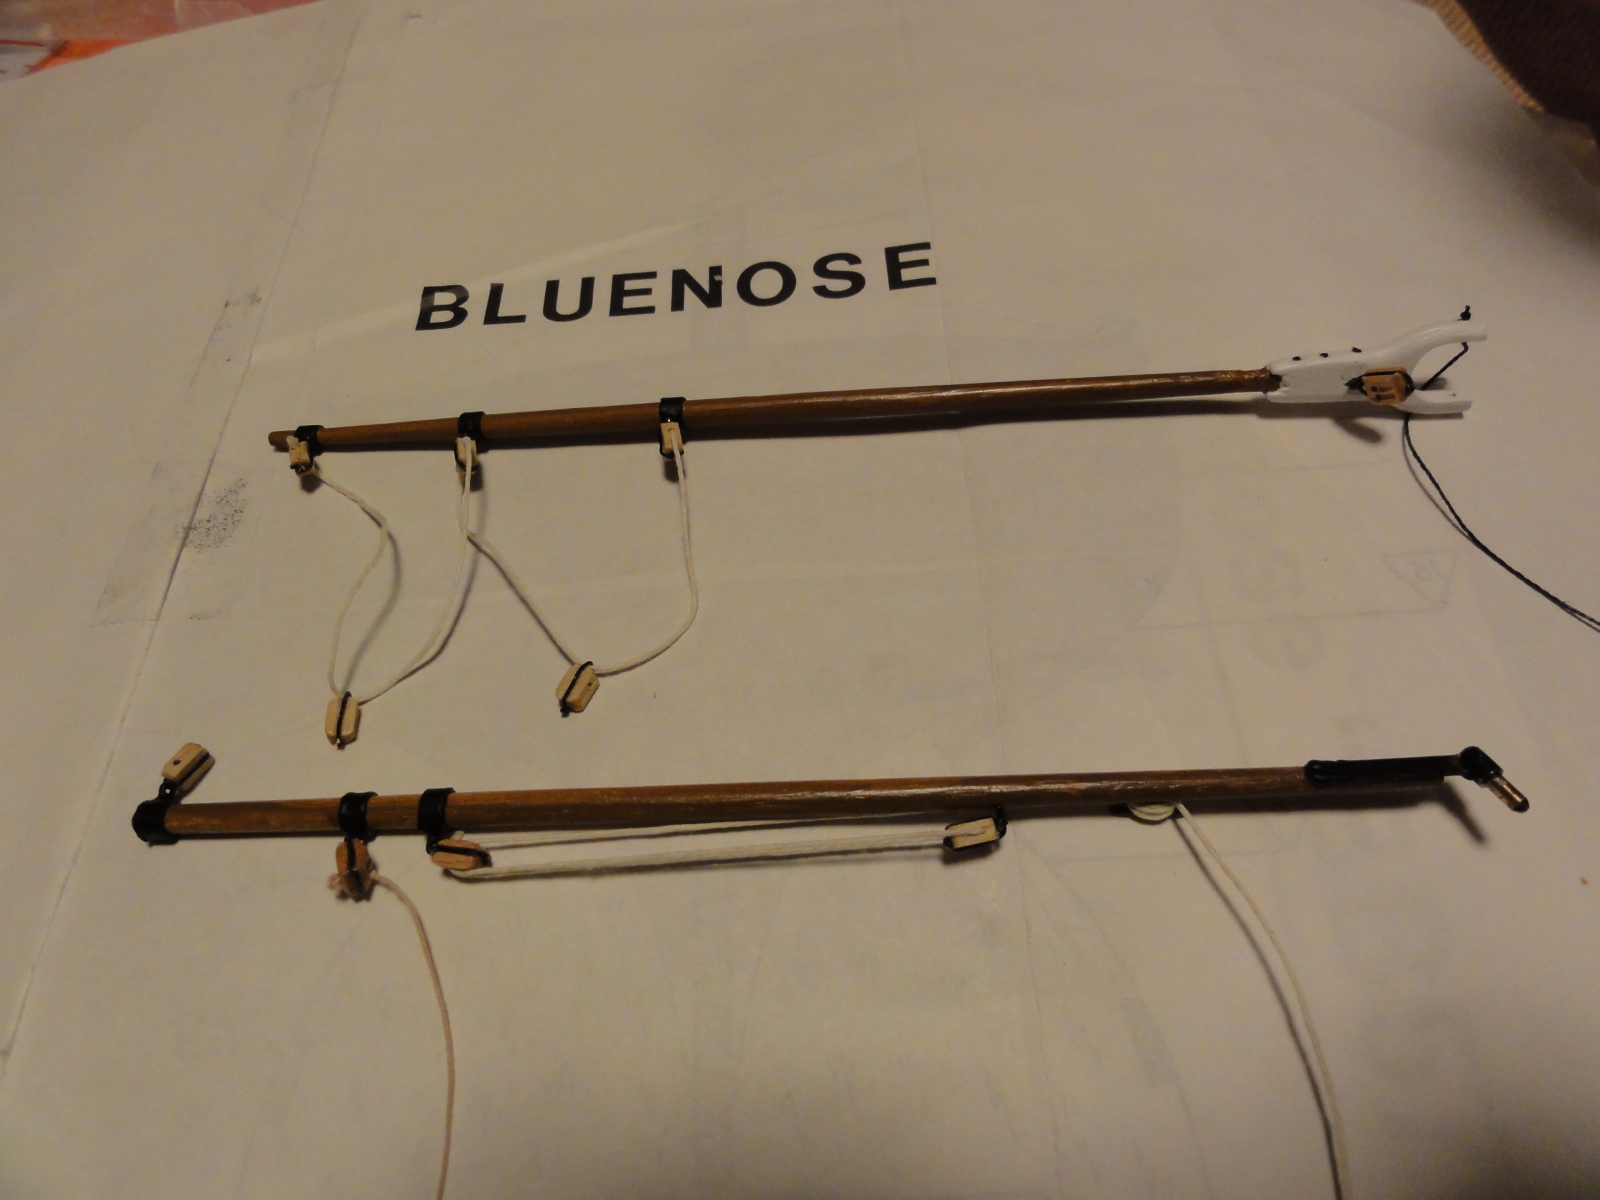
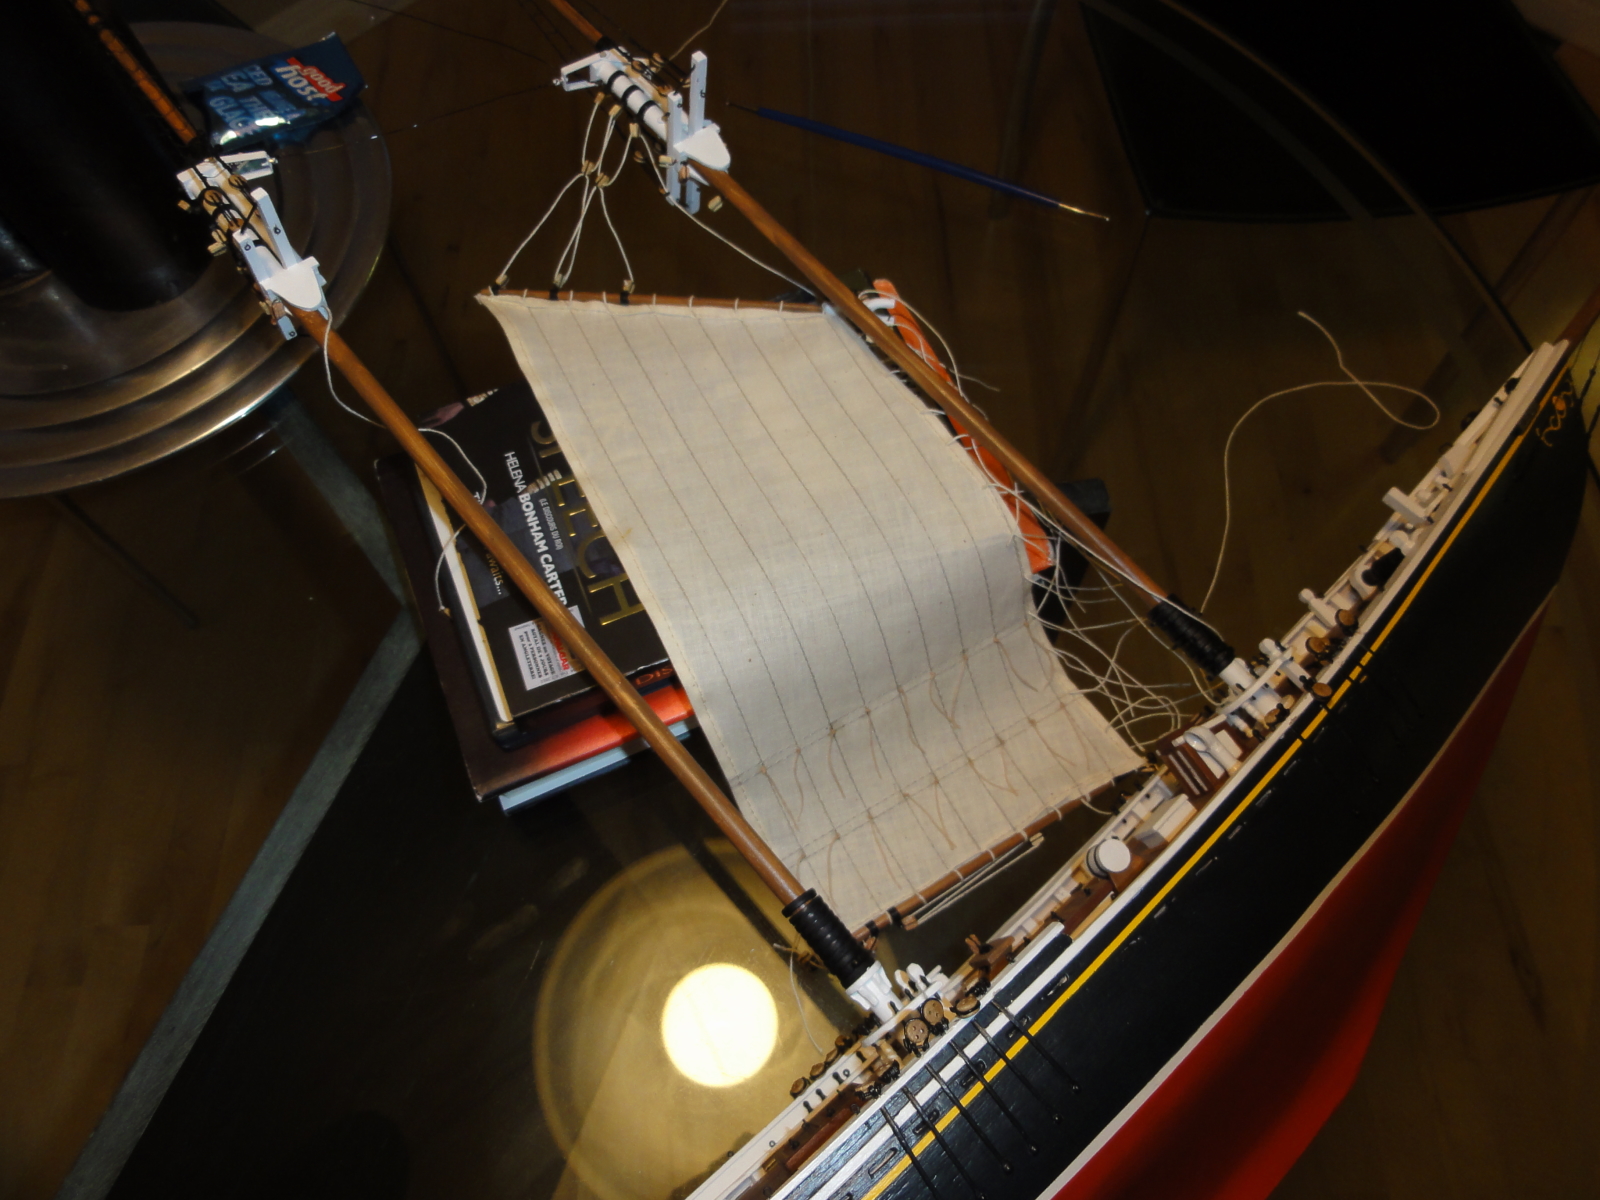
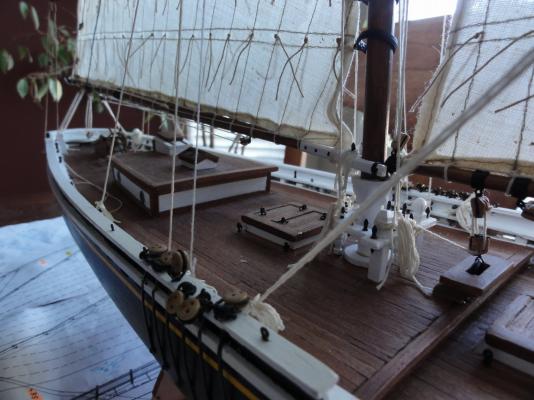
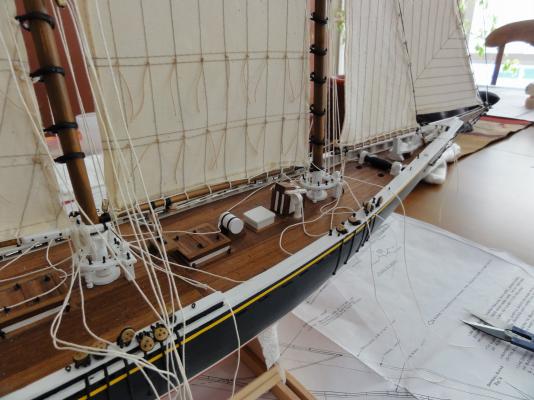
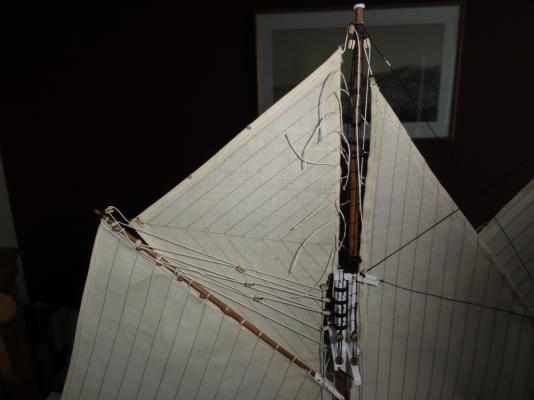
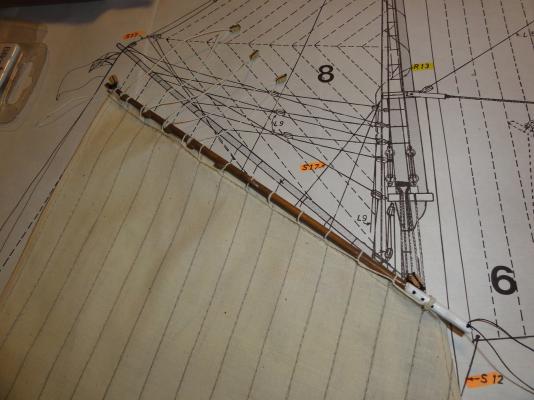
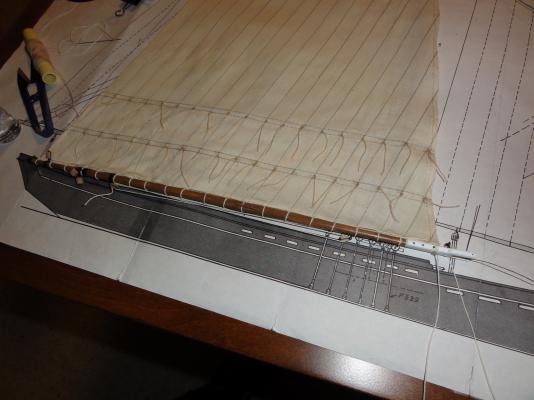
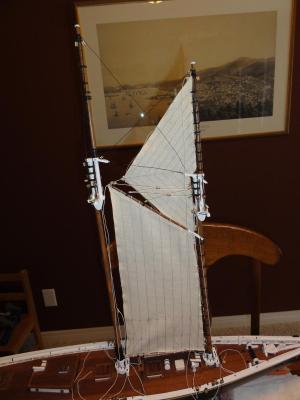
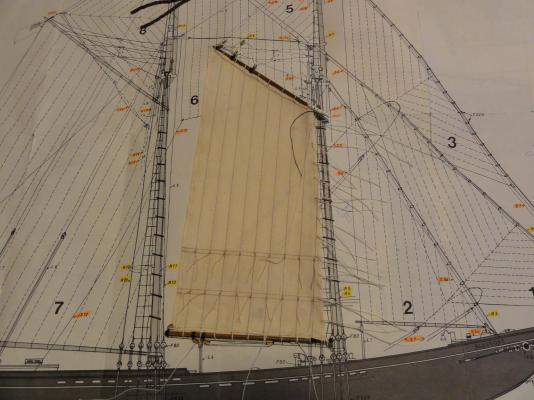
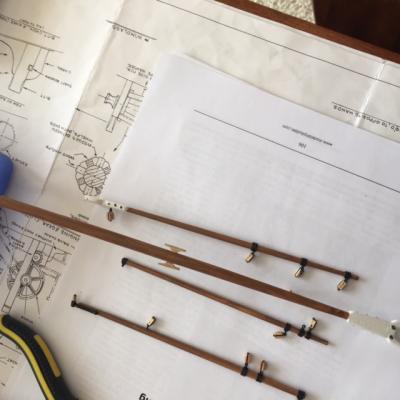
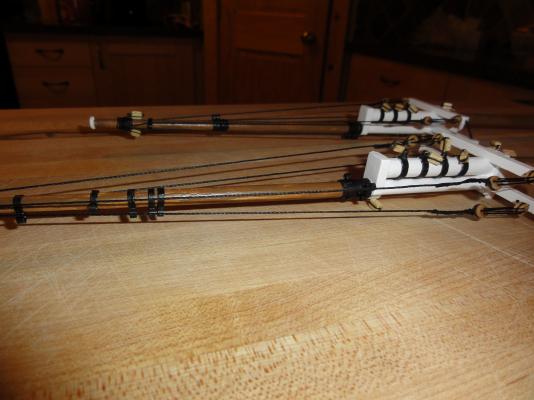
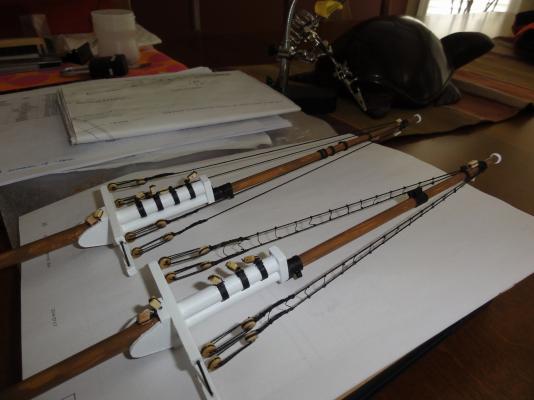
More progress to report... My approach to rigging has been to study the plans and add all the details prior to attaching the sails and here I have added the blocks and bridles to the main gaff. For this particular model, I then attached all the running rigging details to the sail and then attach the sails to the respective booms and gaffs, in these pictures, to the main boom and gaff. I always made sure that the running rigging lines had more than enough length to the line to anchor to the blocks on the masts and then let the lines fall so as at a later time (in the next few days) anchor them to the pins and blocks on the deck.


-
Thanks Popeye... I have been through all your logs and love your work and narrative that you write!
-
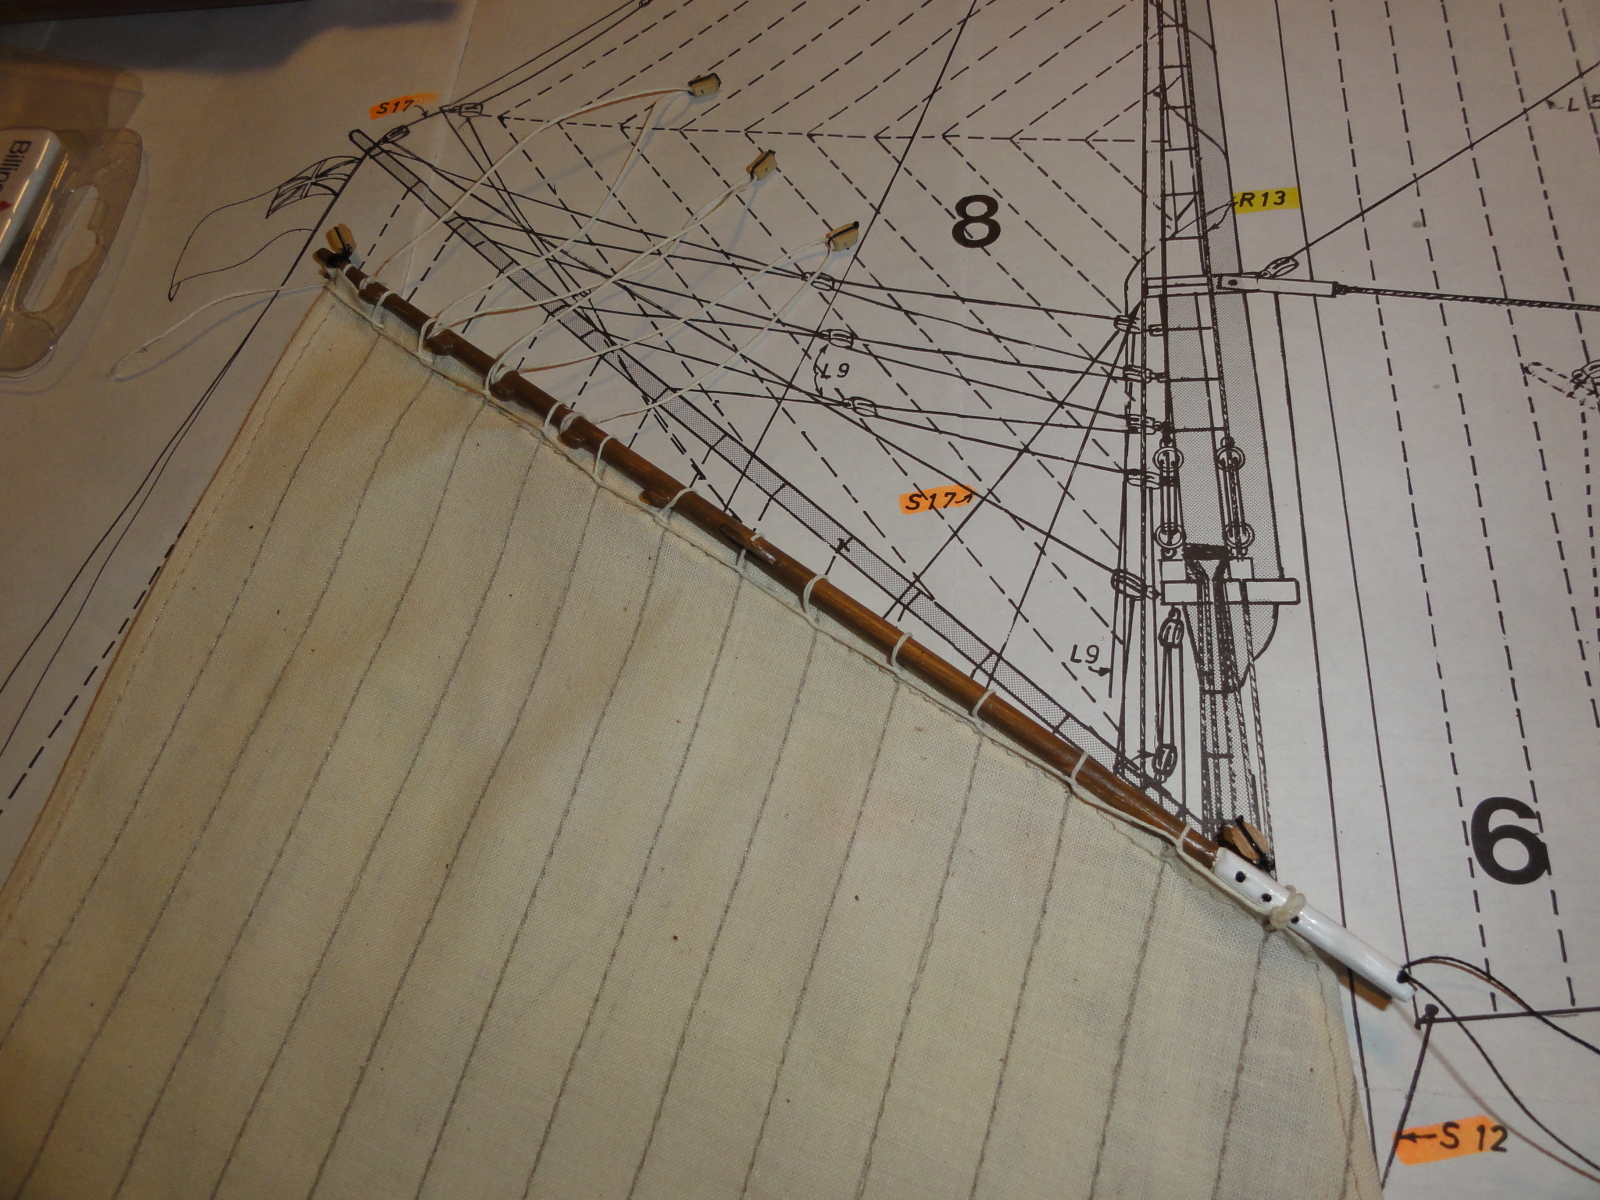
The fore topsail and staysail was done in the same fashion...
-
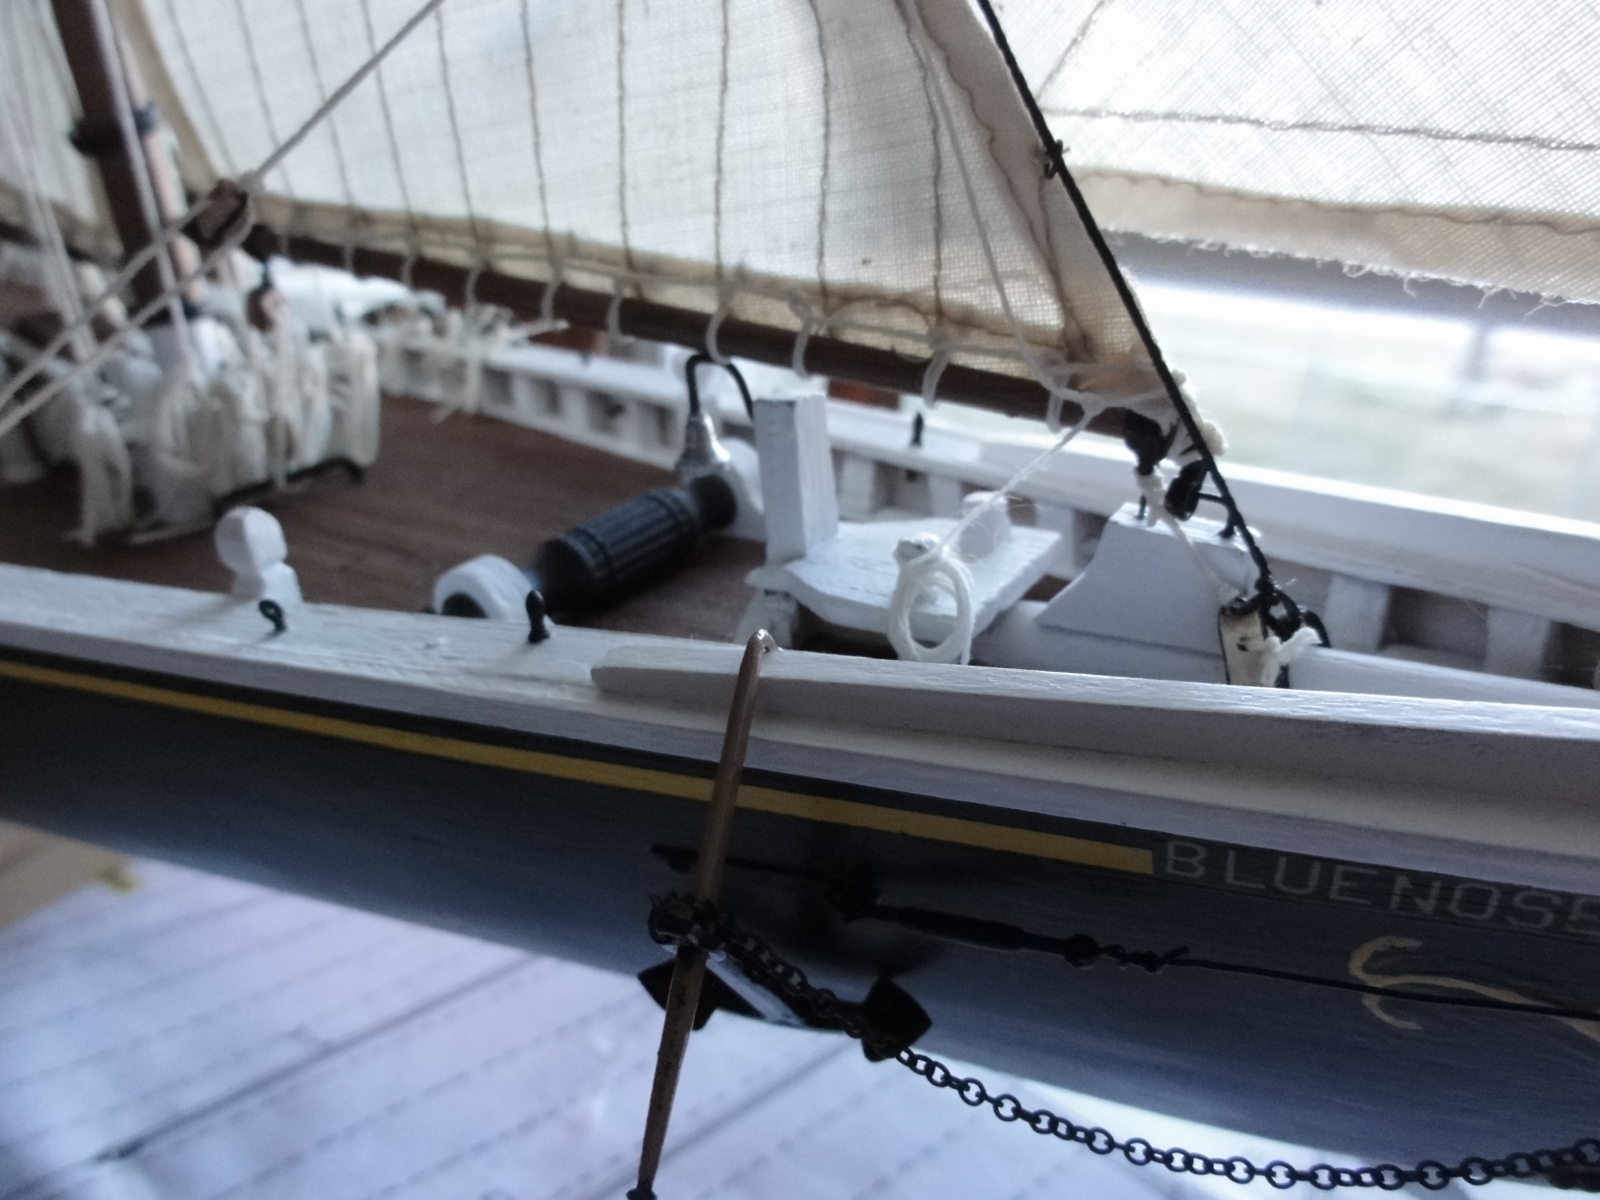
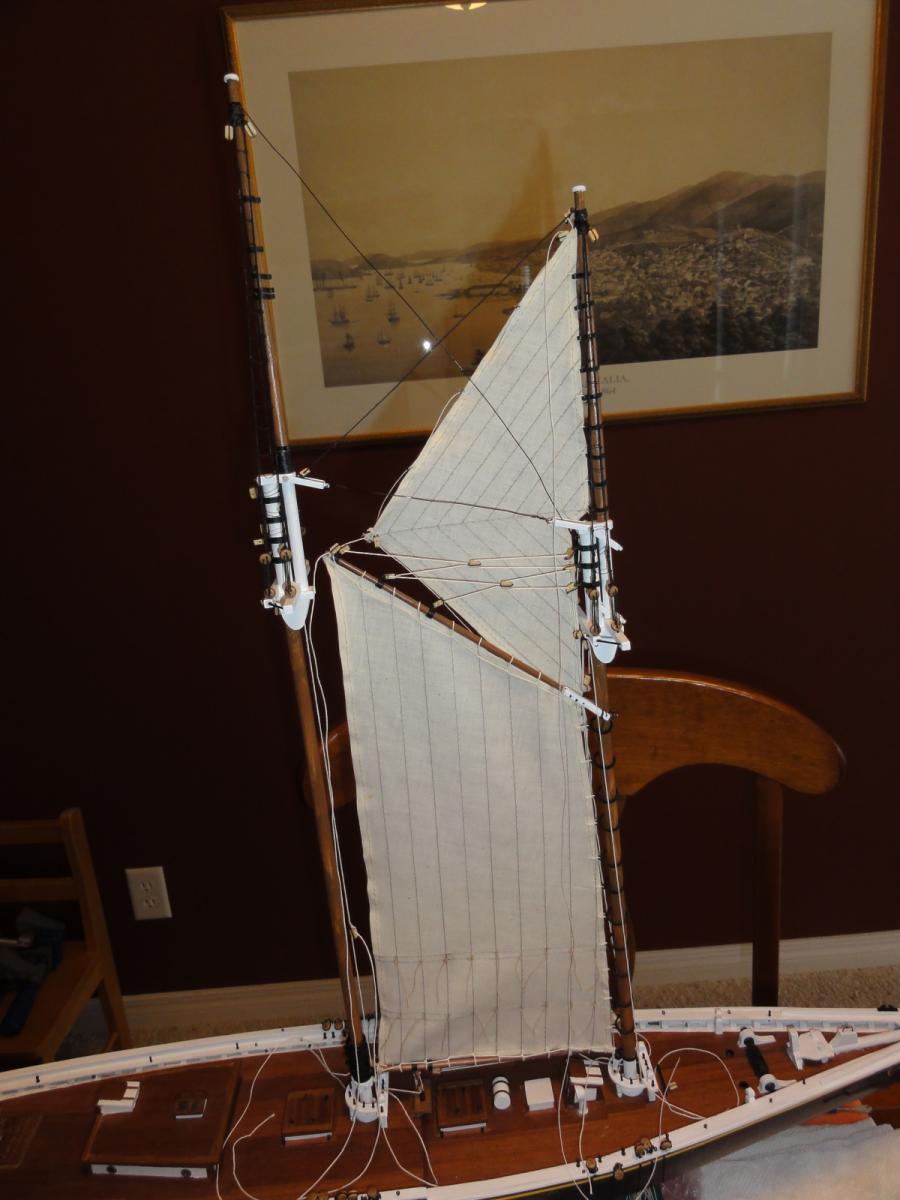
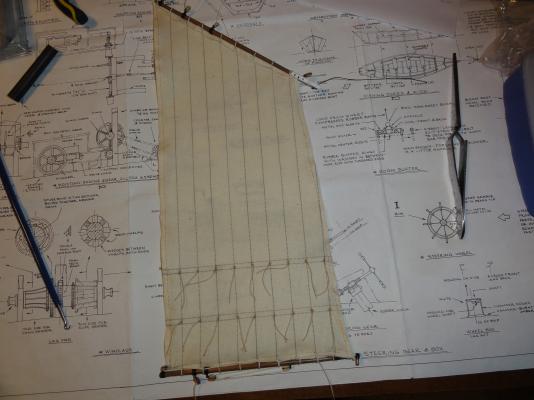
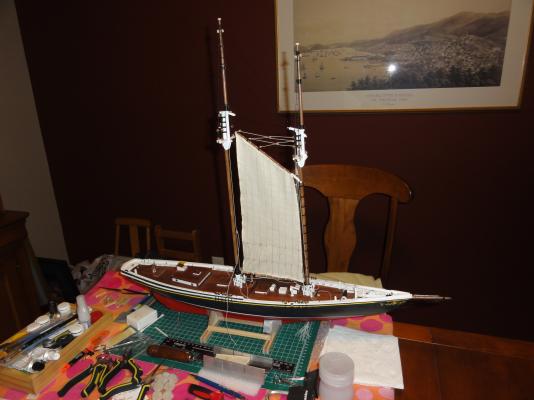
Thanks for all the likes... I also hope everyone had a wonderful Xmas season. I had completed a lot of the present work in early December, but with a week in Mexico and then with Xmas, only now have I had time to post some progress. I had my sails professionally sewn by a seamstress and with the details added to the booms and gaffs, using both resources from my limited Billing Boats plans and then the greater details added from the Model Shipways plans, I think both aesthetically and historically (at least I hope to think so), everything has turned out very well. The fore boom and fore gaff details were done first and then I added the block and bridles to the gaff before lashing the sails to them. I then further prepped the mast so as to do all the blocks and rigging lines before sails were added. And oh yes, all my stays between the foremast and mainmast were done prior to attaching the sail.

-
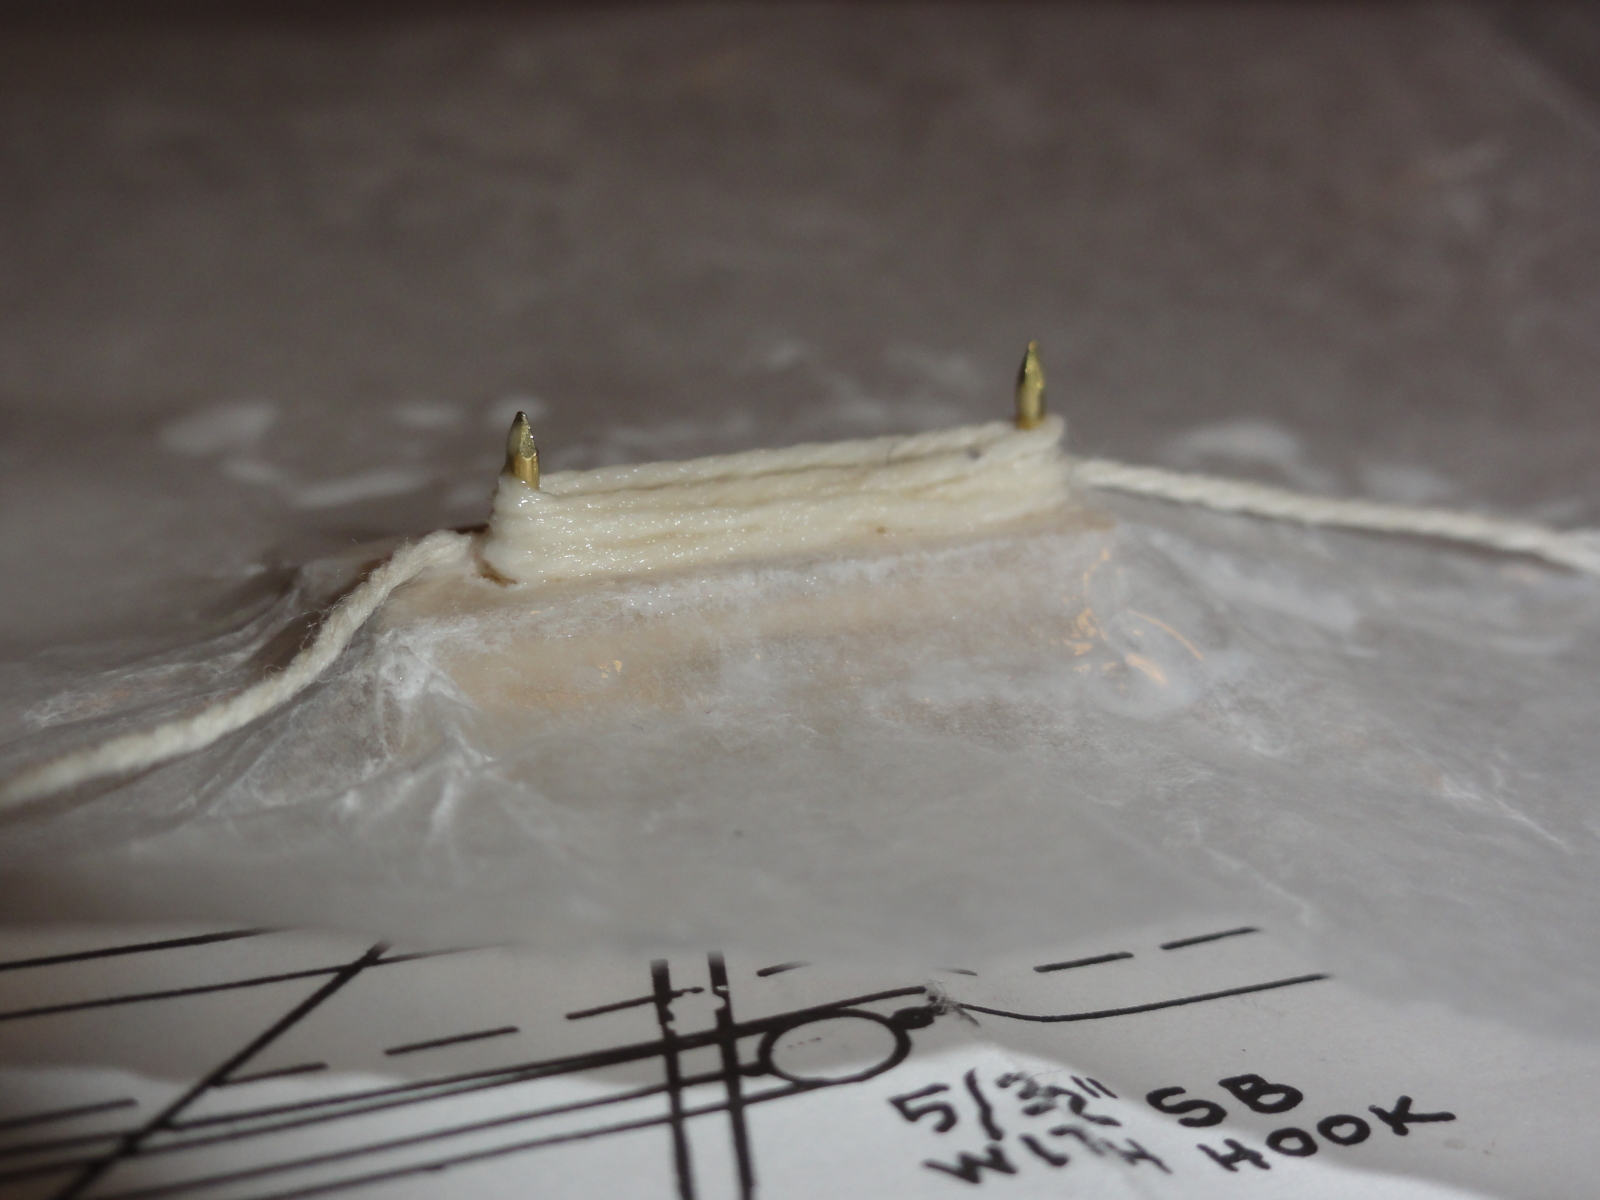
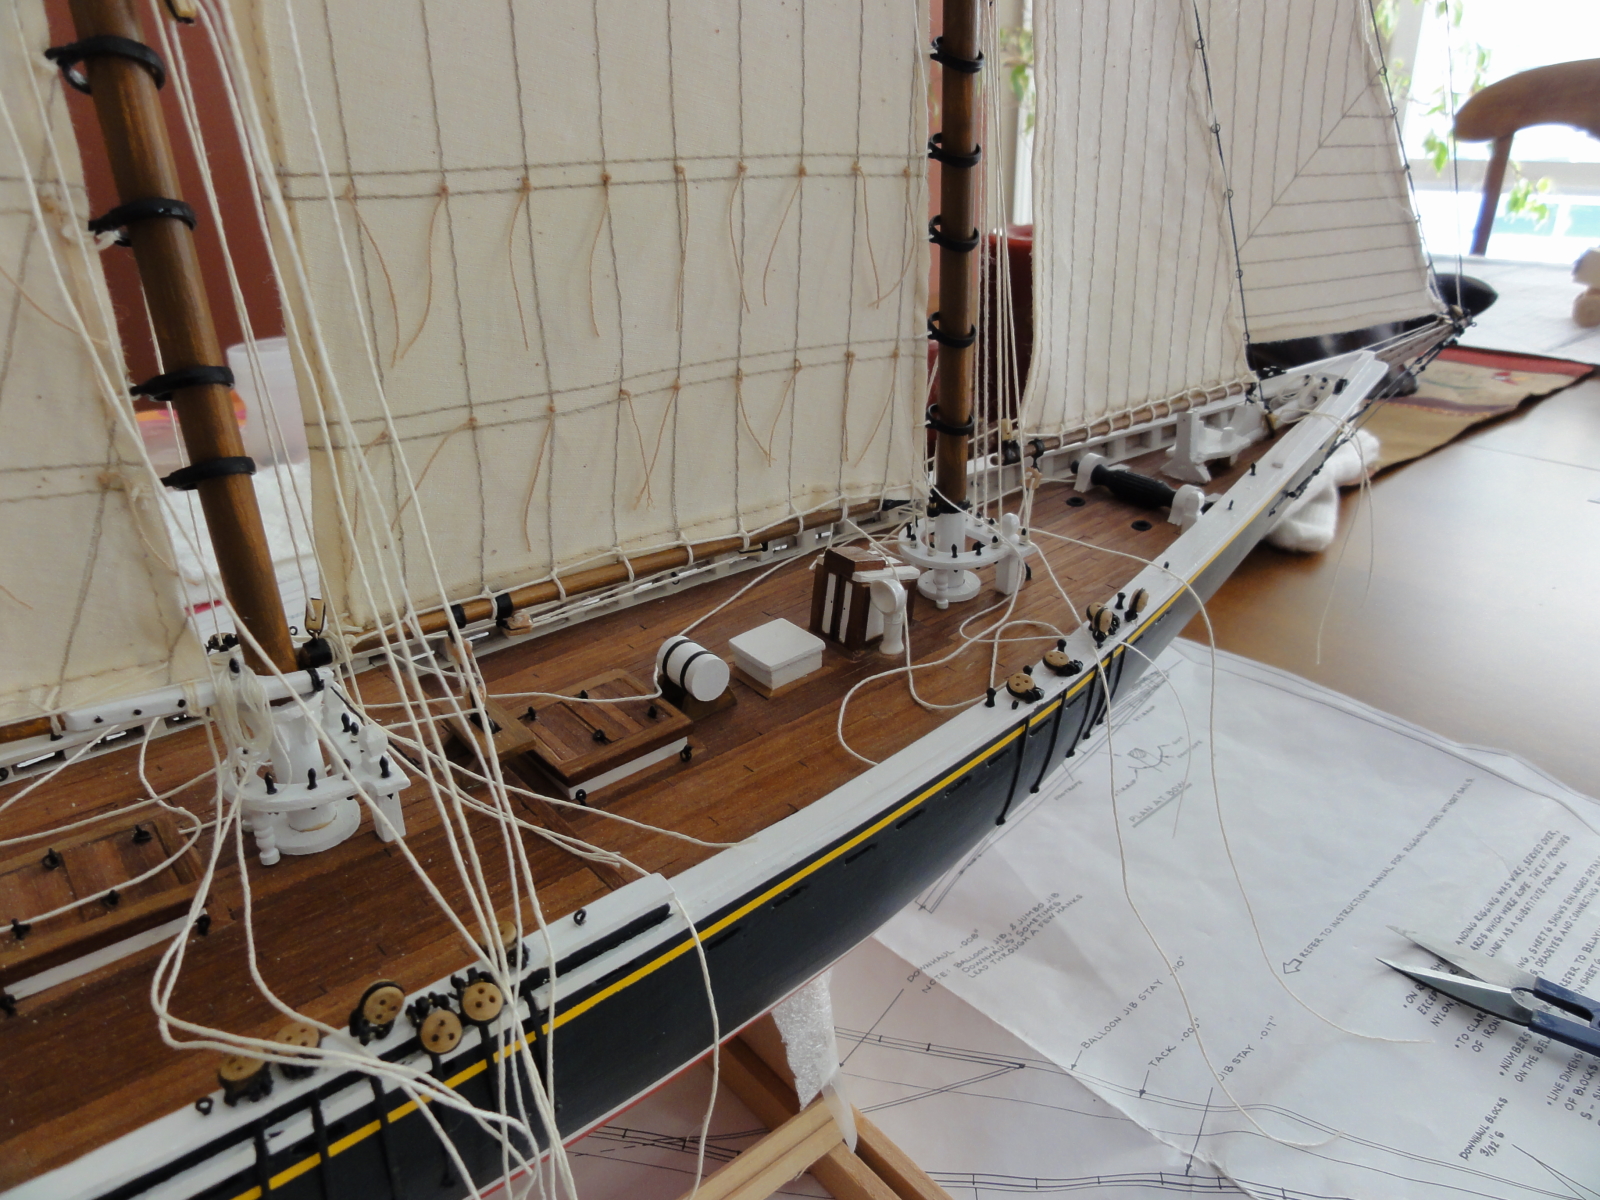
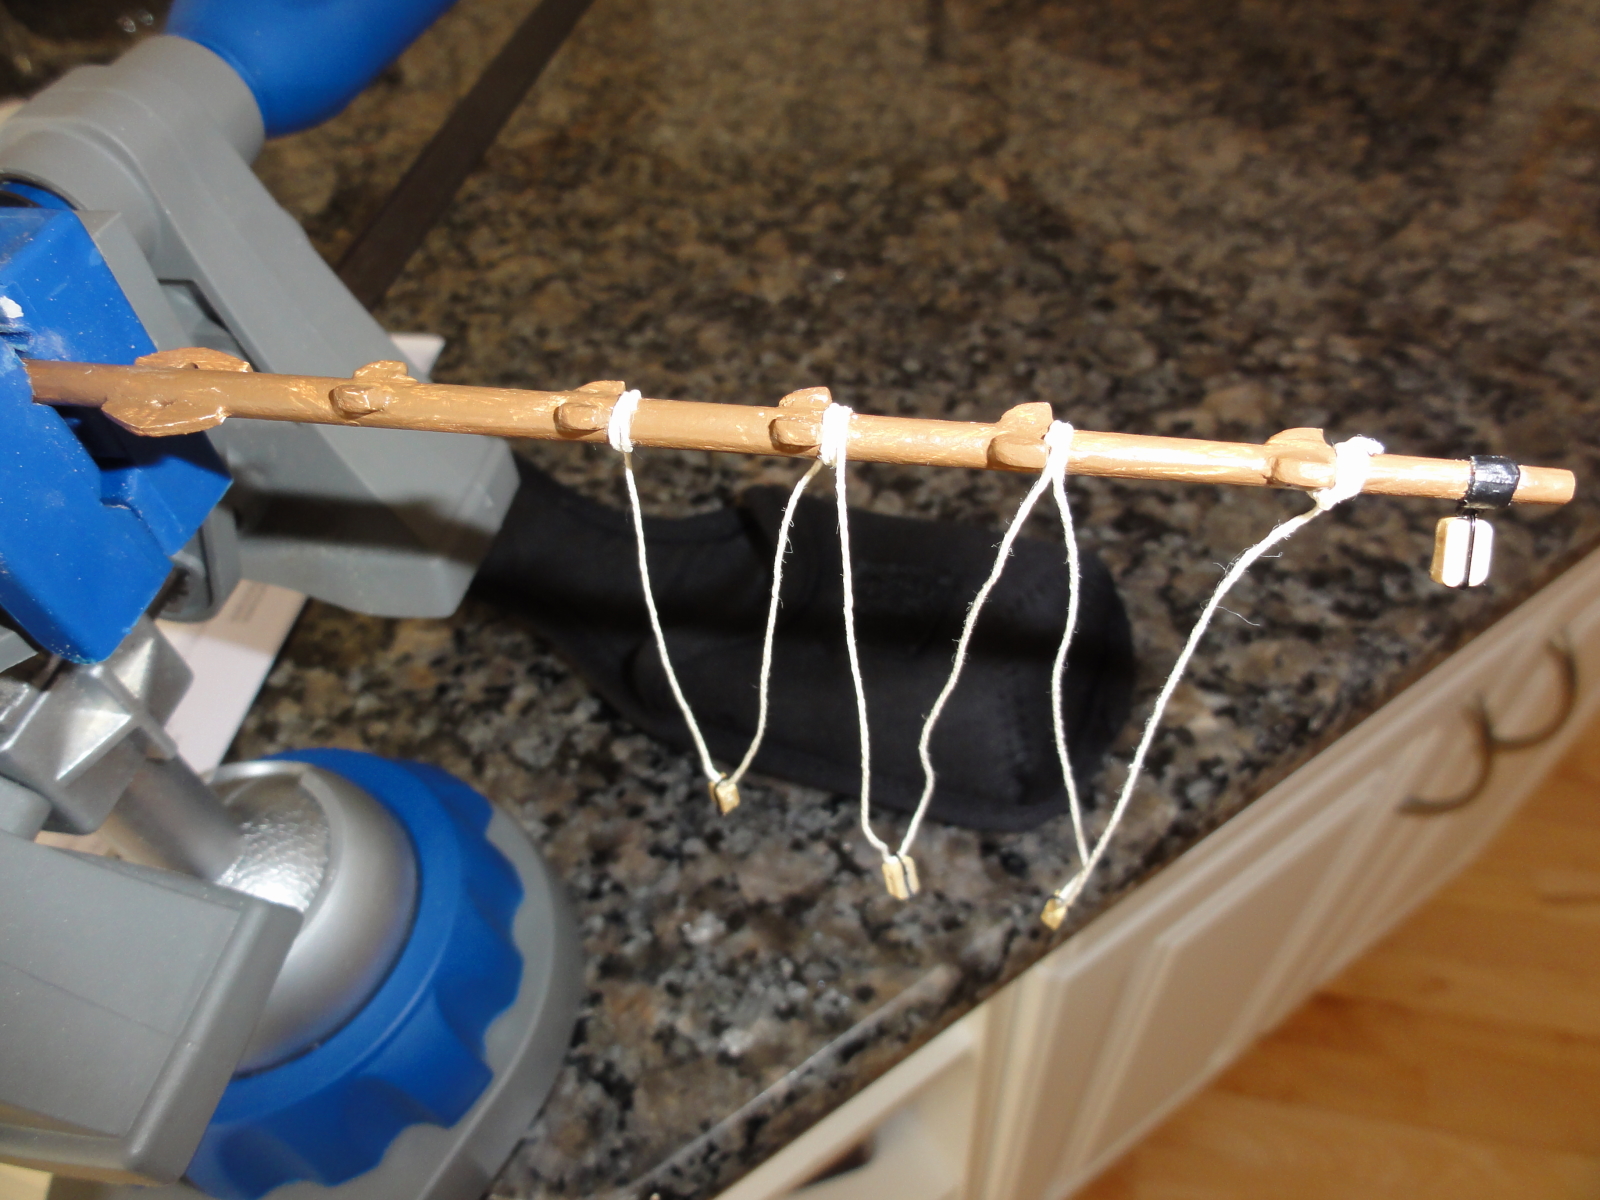
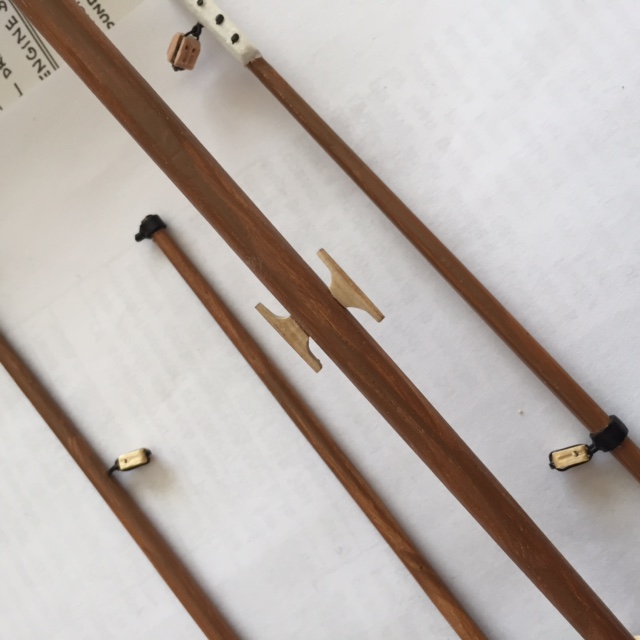
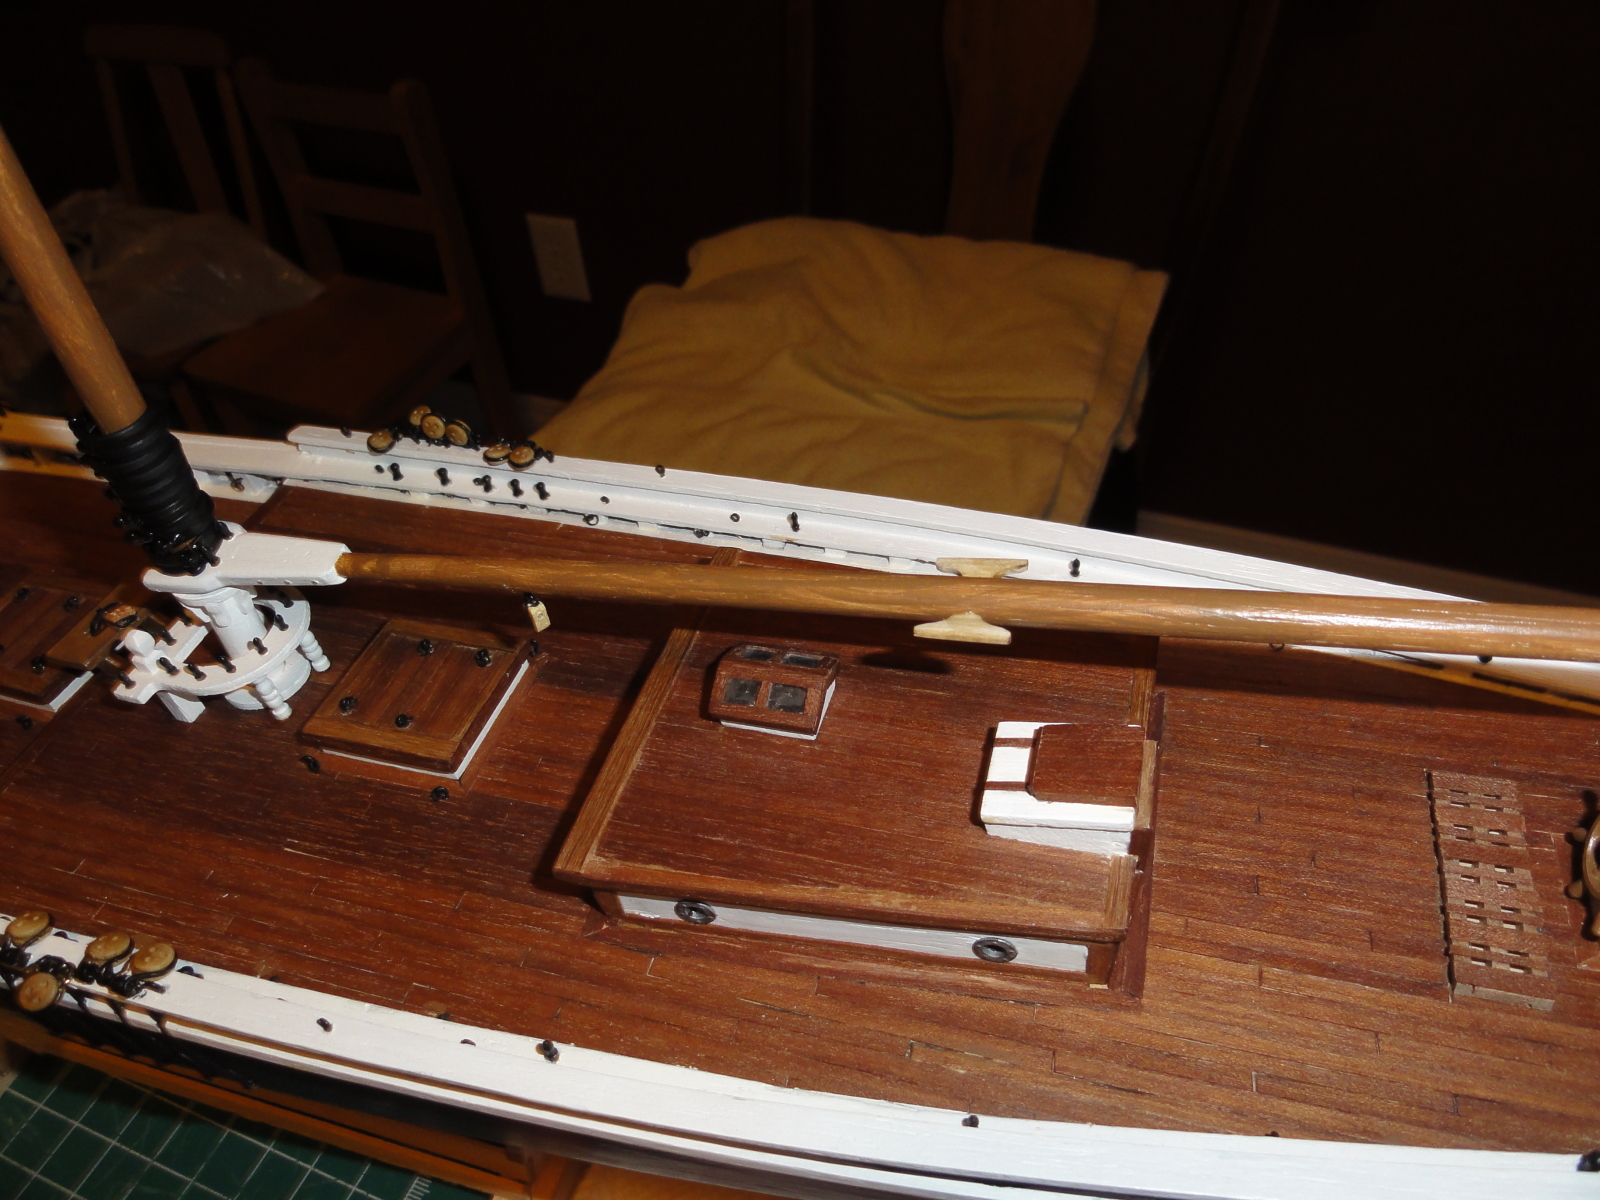
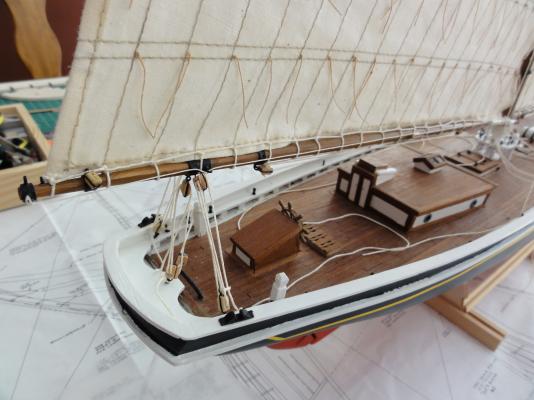
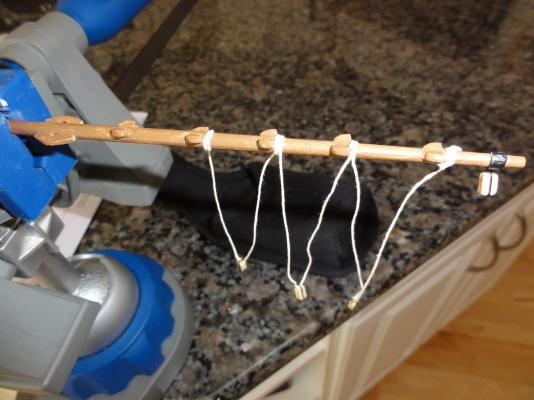
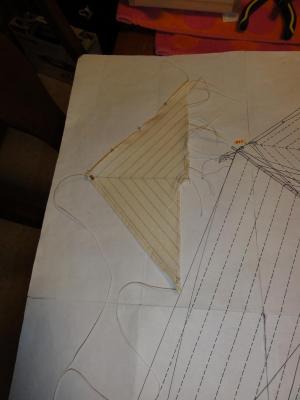
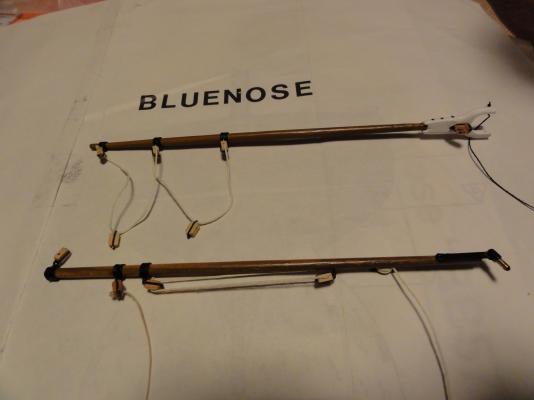
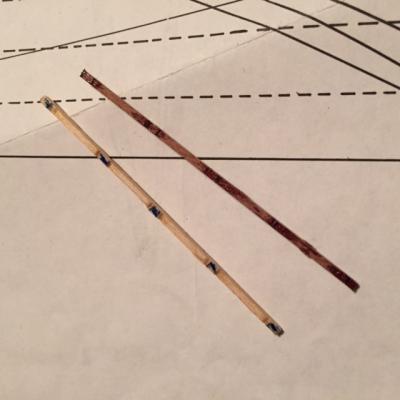
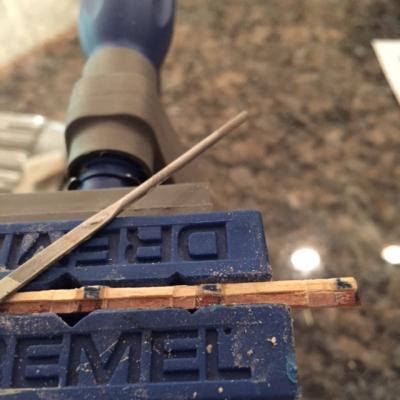
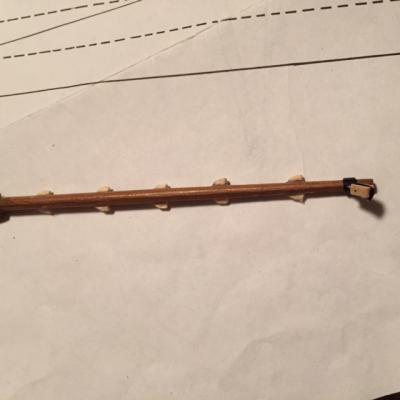
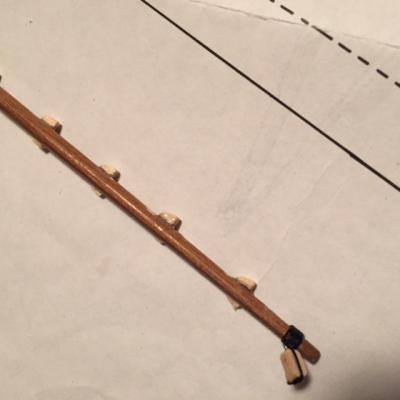
More progress... inching ever so closer to hanging the sails. Adding details to the fore gaff, per the Model Shipways plans, by creating / sanding the cleats and gluing to the gaff and then cutting back, sanding and shaping to the final profile.
-
Thanks Jan-Willem for the archive photo! I forgot about those images on file with the Nova Scotia archives. PS. I did sand them down but have not yet posted the images, and yes they look better. Cheers,
-
Now that I have posted this and looked at them again... They still may be out of scale
-
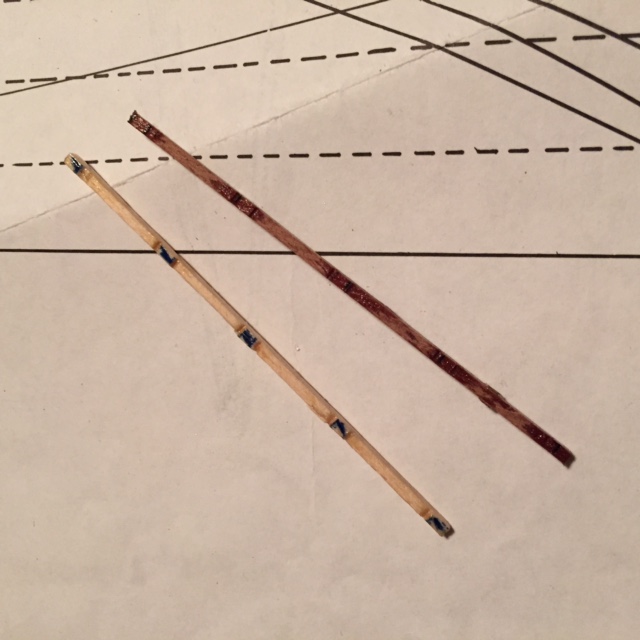
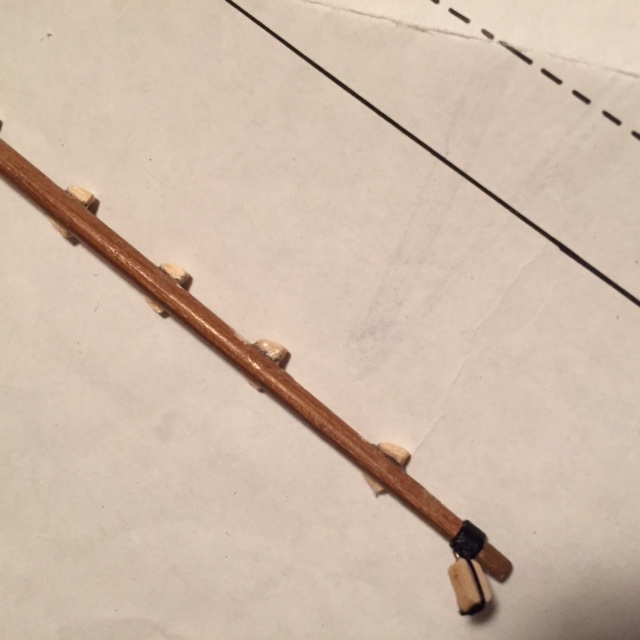
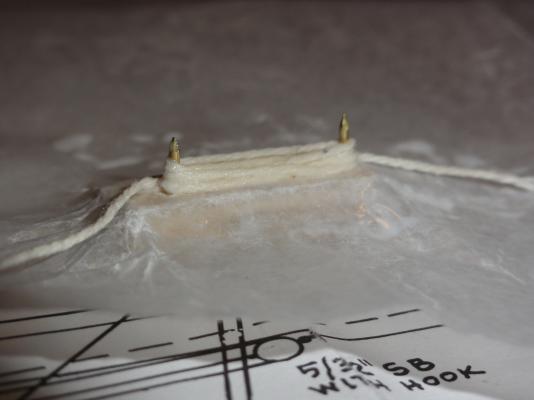
Well I reworked the cleats and they look much better and more to scale on the main boom...

-
One problem that I see is that when adding cleats to the main boom... they appear out of scale to me. It is one thing when they are in your hand and you are sanding them down from a scratch piece of wood and they look small enough... until they are glued in and in place on the main piece. Is this another redo?

-
Now my focus is adding all the extra details to the booms and gaffs according to the Model Shipways Plans that have been absolutely invaluable to me for adding all the extra details that make a model more interesting. I might be adding sails in the next week or two...
-
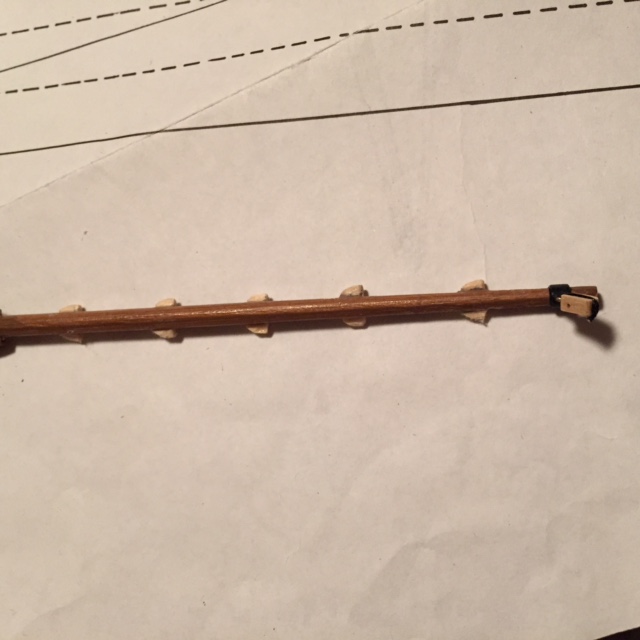
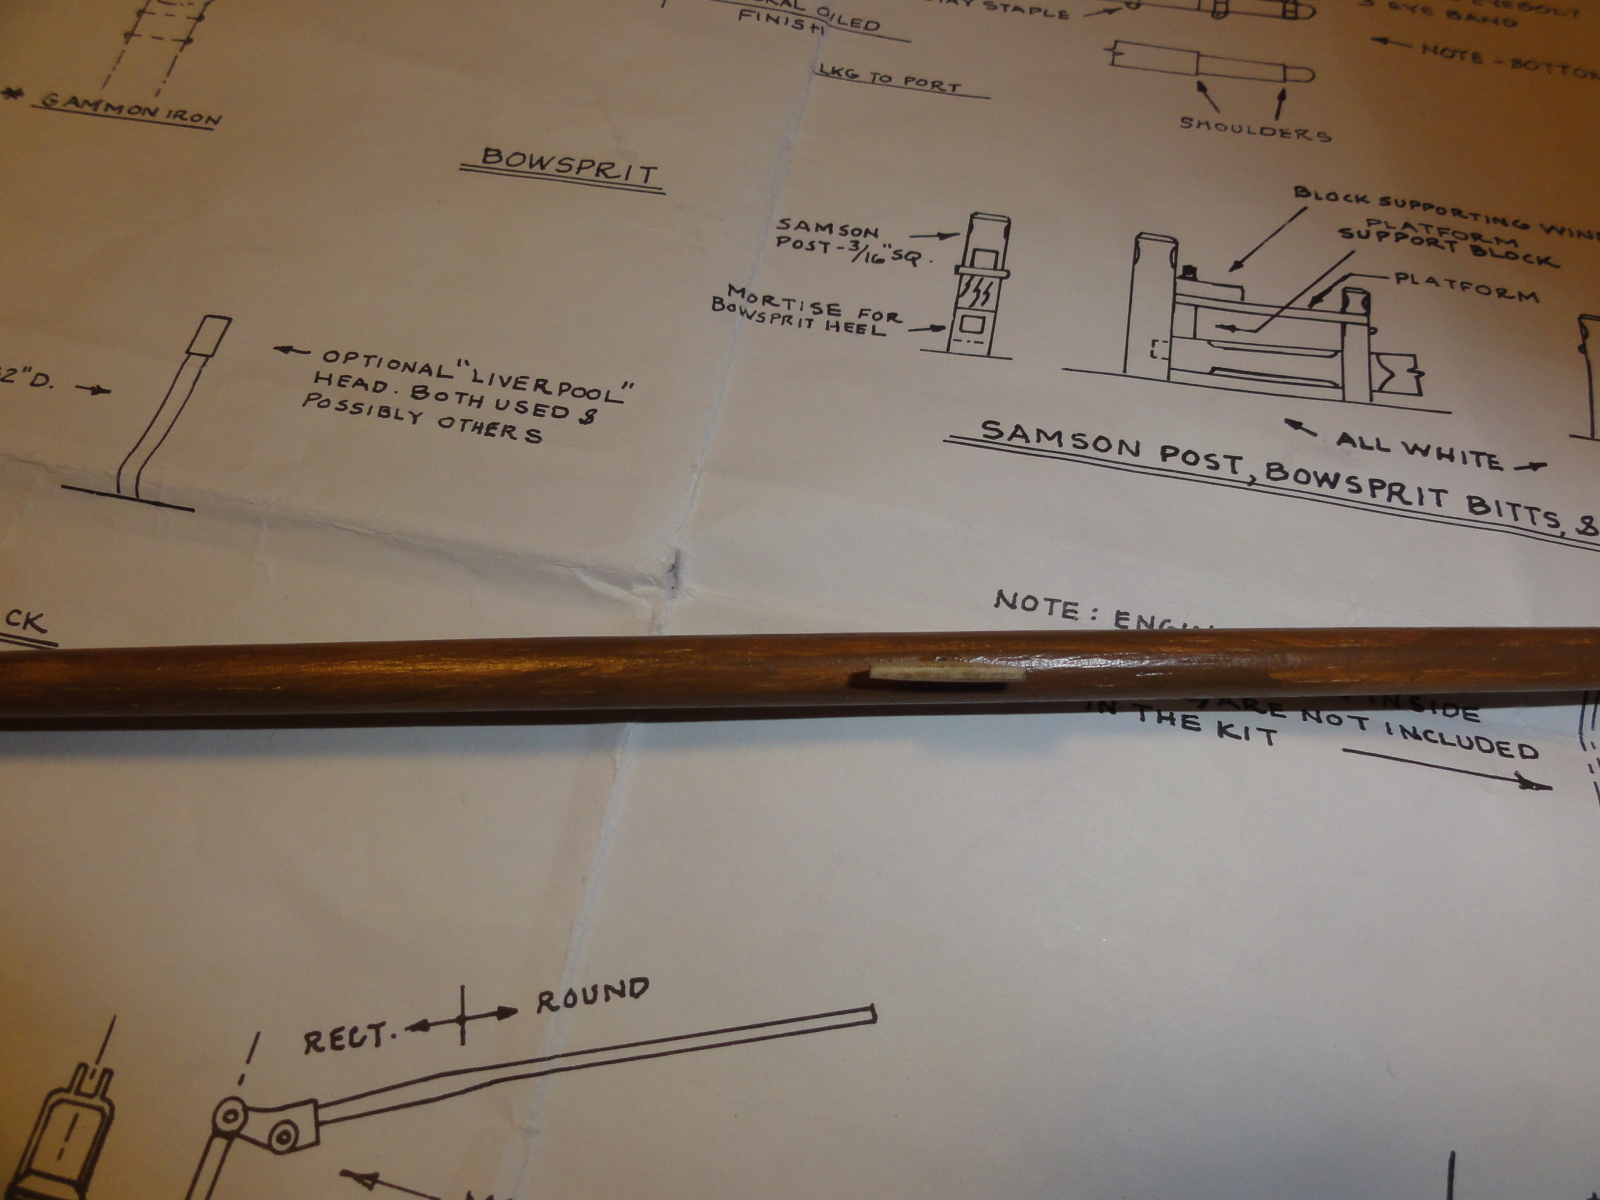
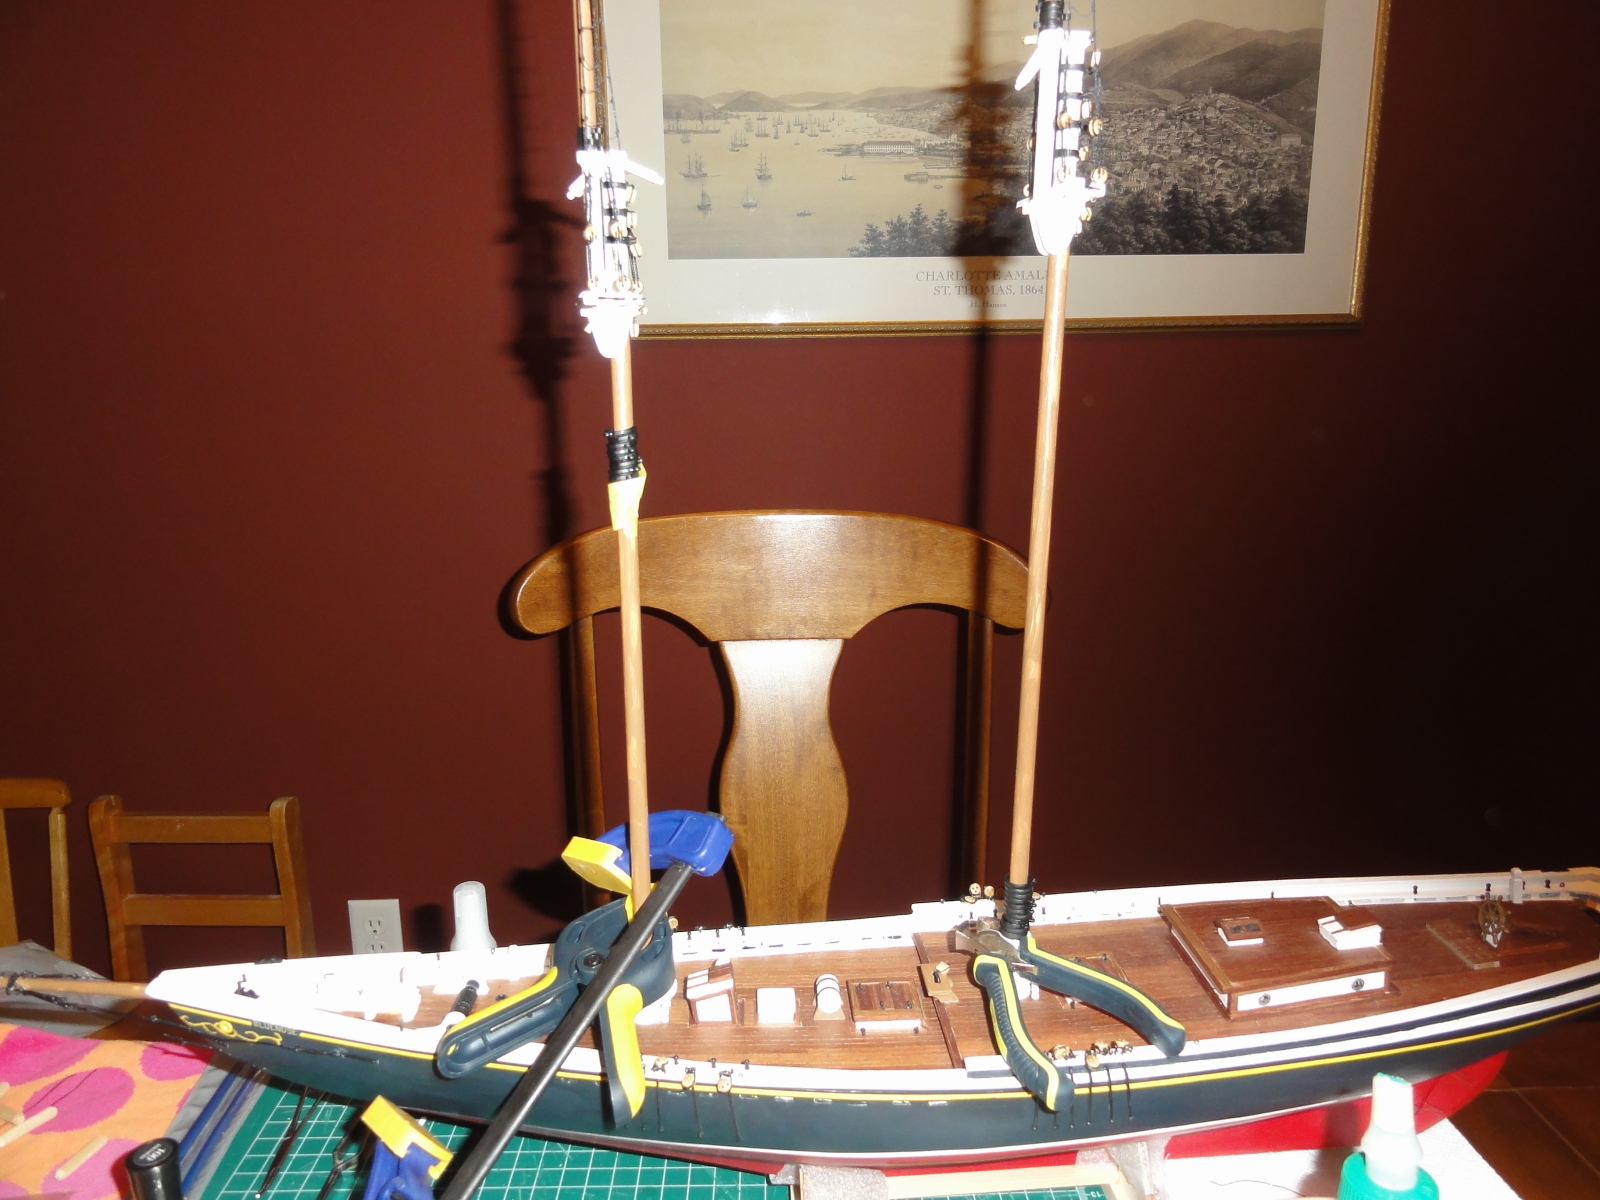
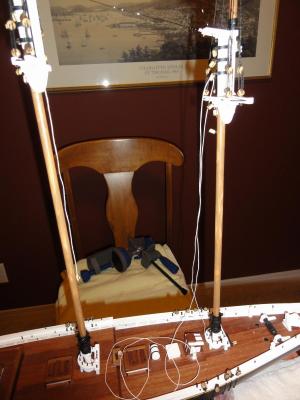
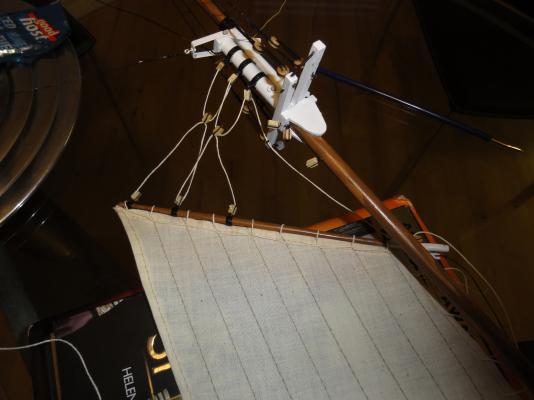
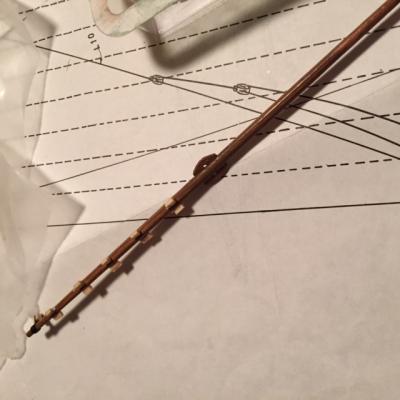
I also added a few extra details to the masts ie: ringbolts and spring stay bails (that's what the Model Shipways Plans called them anyways). The next item on my agenda was to set the masts... and I noticed lots of debates whether to glue them in or set them with the stays and shrouds alone. The problem for me was that when I made the mast holes and then the mast collars, I noticed lots of sway to the masts and thus went for the glue... I basically just eyeballed it... From the picture, it looks like I was using a heavy duty clamp but in fact was only using it to prevent the mast from leaning to the side. Everything looks good to me...

-
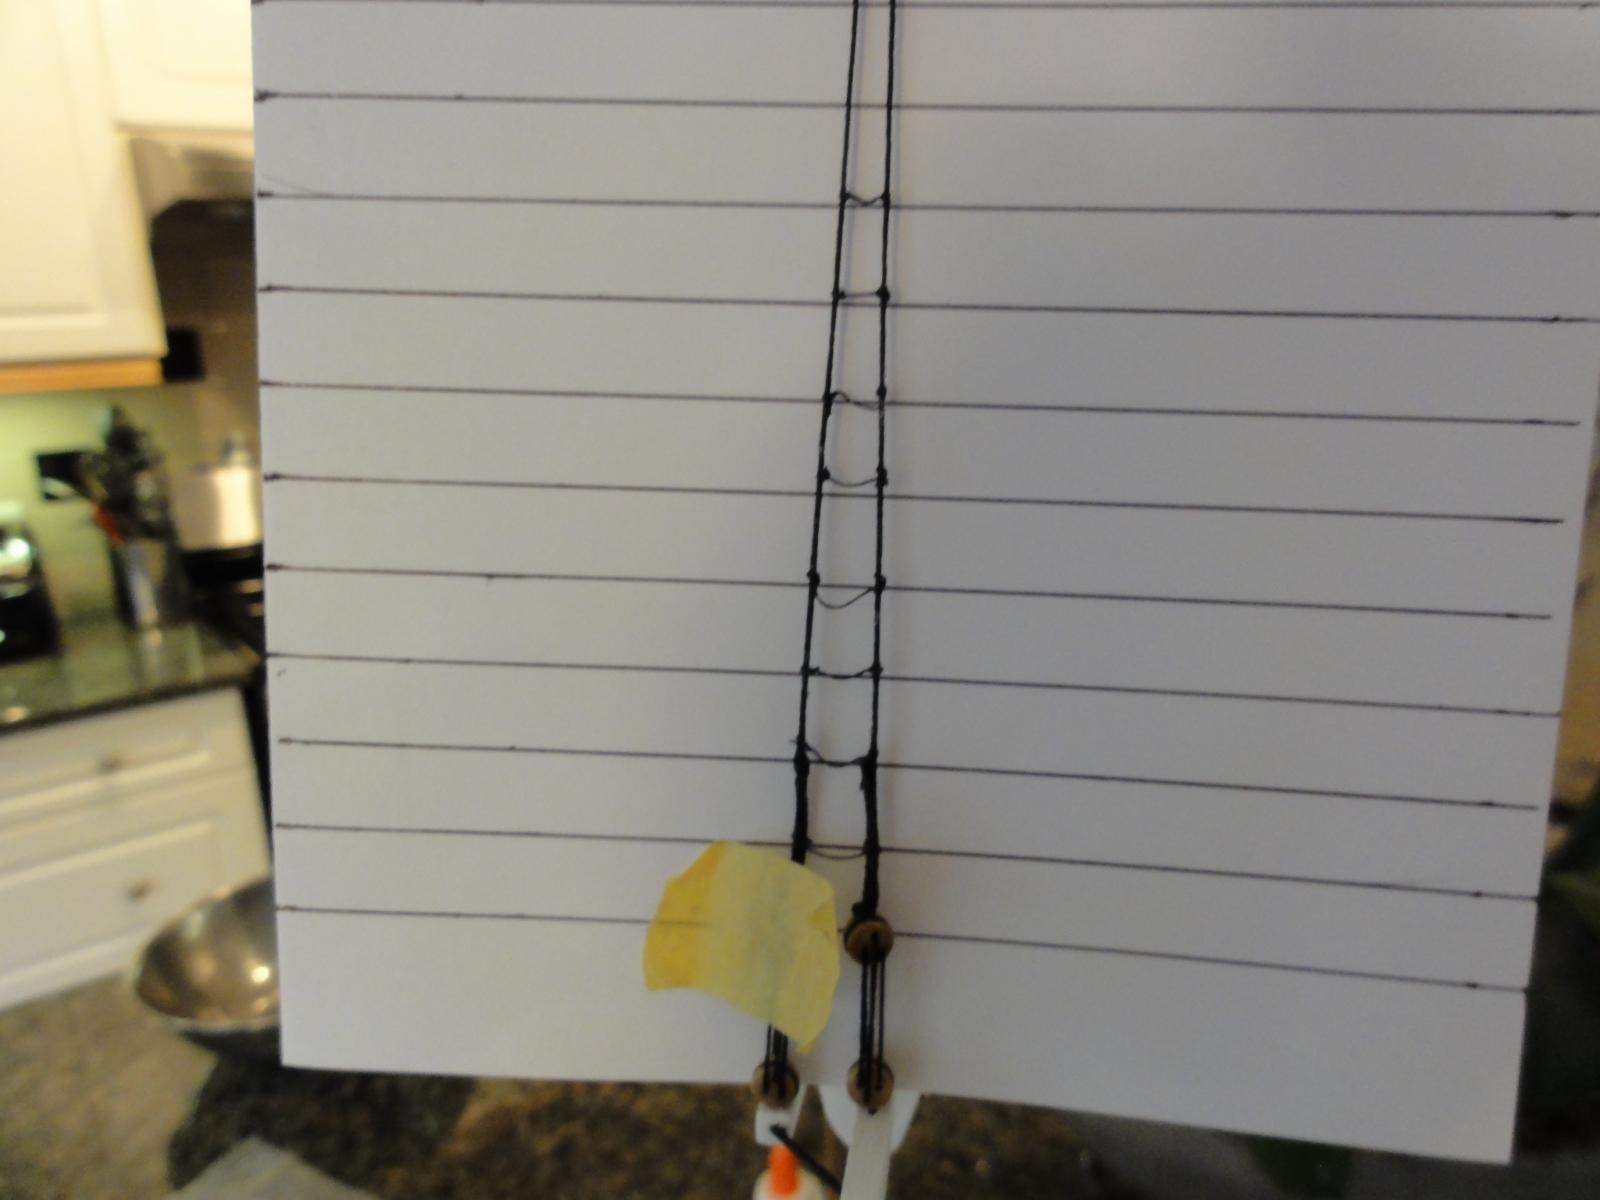
Seems like I am always good for a posting once a month... and since the last discussion I created my upper (topmast) shrouds going with the 0.75 mm thread from Caldercraft, also using regular cotton thread for the ratlines that is perhaps 0.15 or 0.2 mm in diameter in my estimation. I then compared the look to the previous mast that I had done, and quickly realized the redo was much better.


-
Thanks Jan-Willem, Bob for the wealth of information... much much appreciated. I will experiment and look again at this as I have to take down want I already put up (topmast shrouds) and look at this issue again with all this new information. With regards to the wire standing rigging, I know the bow details and just a couple of the lines of the lower masts were wire (according to the Billings Boat plans anyways).
-
Hi Jan-Willem, Rat lines should be the thinnest, at this scale, I believe I have to actually go smaller than what I previously stated, perhaps 0.1 or 0.25 at the largest size.
-
Thanks so much for your advice Alan, Jan-Willem... I think 0.85mm would look "dead on" per the Model Shipways plans (to my eyes). The Billings Boat kit did not come with black rigging thread and what I bought at Michaels (craft store)was some regular thick black thread that is just to soft and light. The rigging thread from Caldercraft is nice and stiff, perfect in my opinion for this stage of rigging and shroud lines. At the end of the day, you have to go with what looks right and I think I will go with the 1mm shrouds and 0.5mm rat lines.
-
Thanks Alan for your reply... It is funny as when you look at the rigging with the mast set on the boat, it just looks funny and small to scale, and when you step back a bit and look at it, it almost looks like the shroud lines look "miniscule". I can only imagine that when you put the thinner ratlines on, those lines may completely "disappear"....? Thanks for your input, as this is my first rigging attempt, and I will have to think about this further. Much appreciated!