


peterwwebster
-
Posts
55 -
Joined
-
Last visited
Content Type
Profiles
Forums
Gallery
Events
Posts posted by peterwwebster
-
-
Thanks for the link Rich.
I am hoping I can sort it by doing the second side and learn from my mistakes. So far , touch wood, it looks better.
I have pulled off a few tiles and used them for the cut tiles I need so I think my wastage is low . Once I have done the stern on side two I intend to go back and do side one so fingers crossed. At the moment I am about 8 rows down midships so early days, Shipyard Sid's pics look helpful so we shall see
Its a long job
-
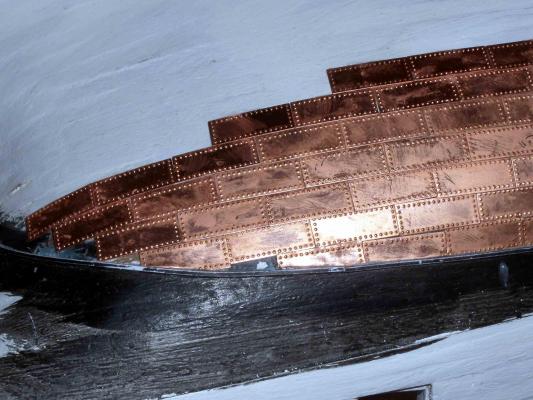
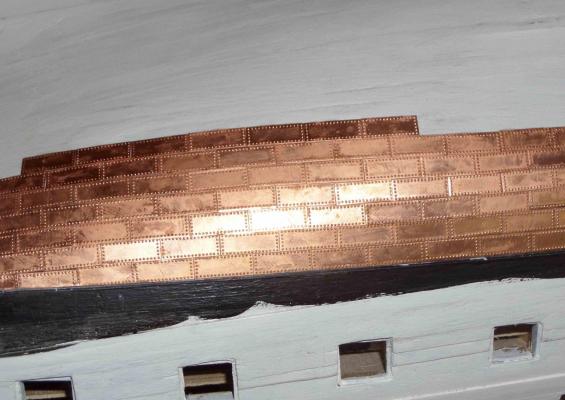
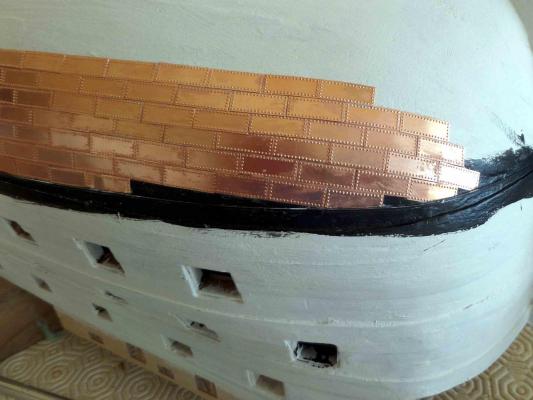
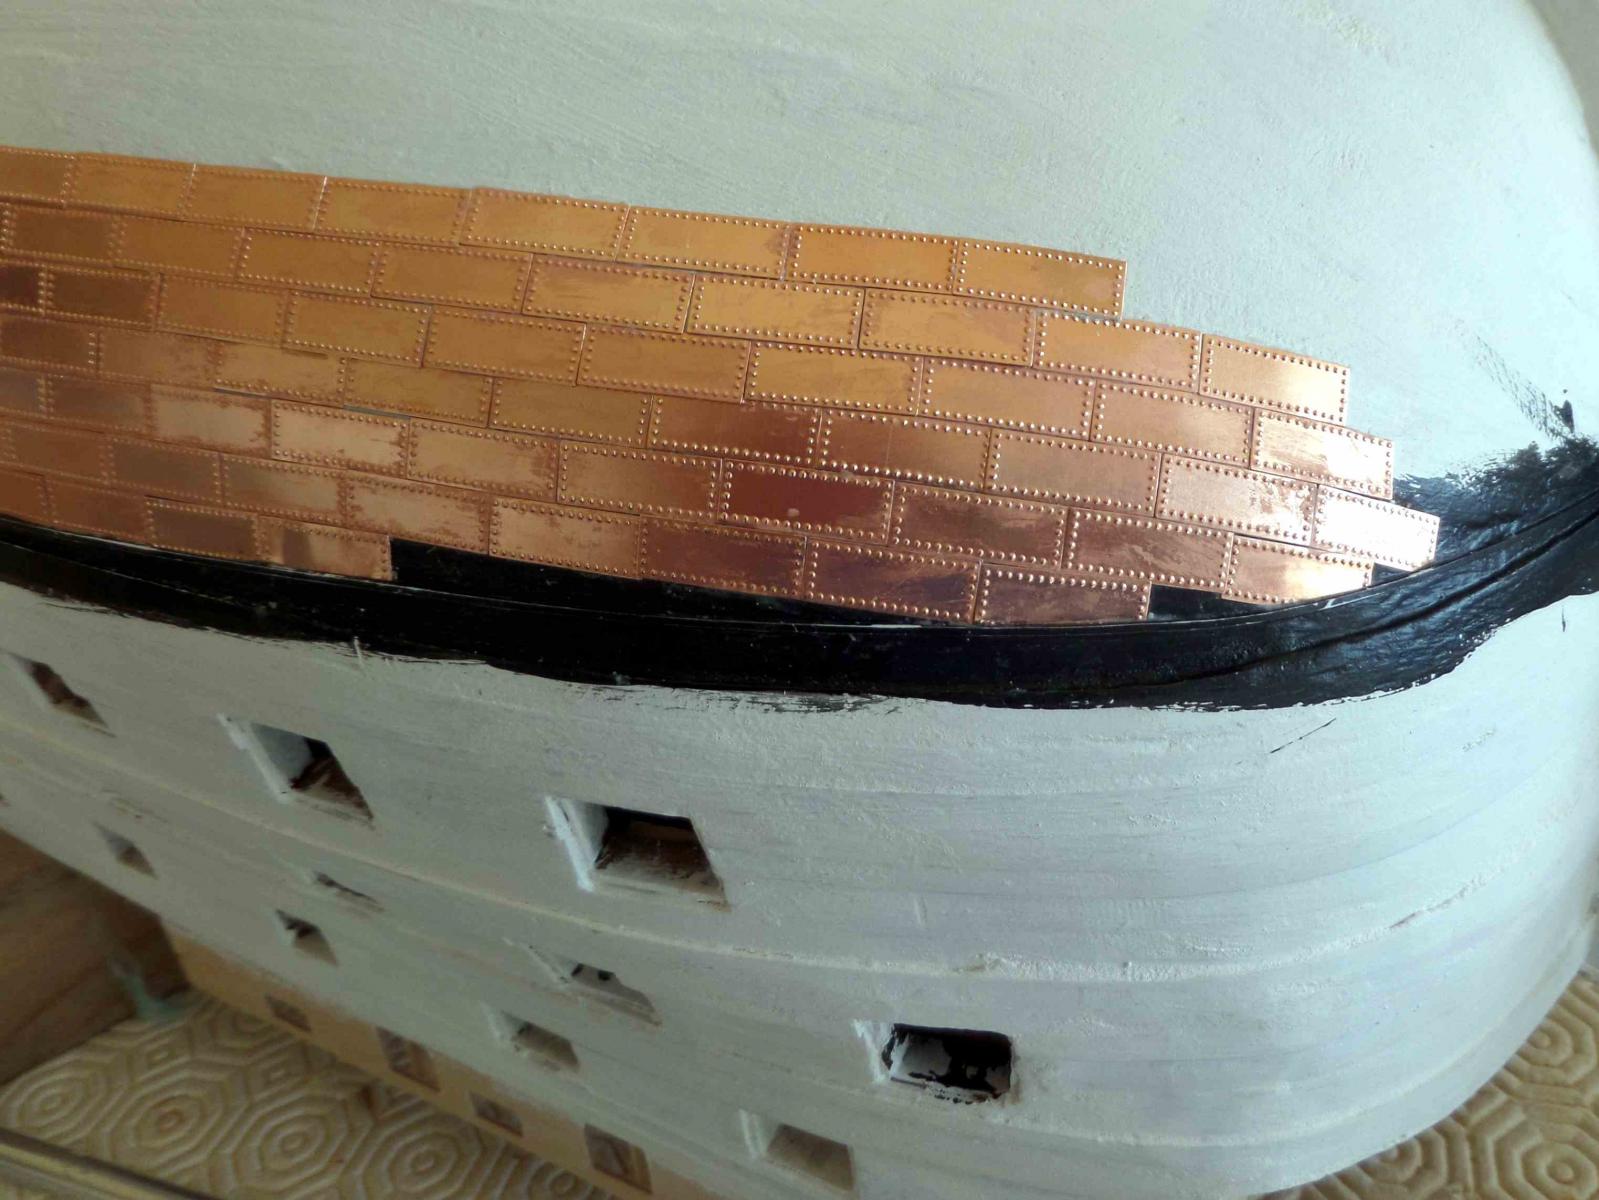
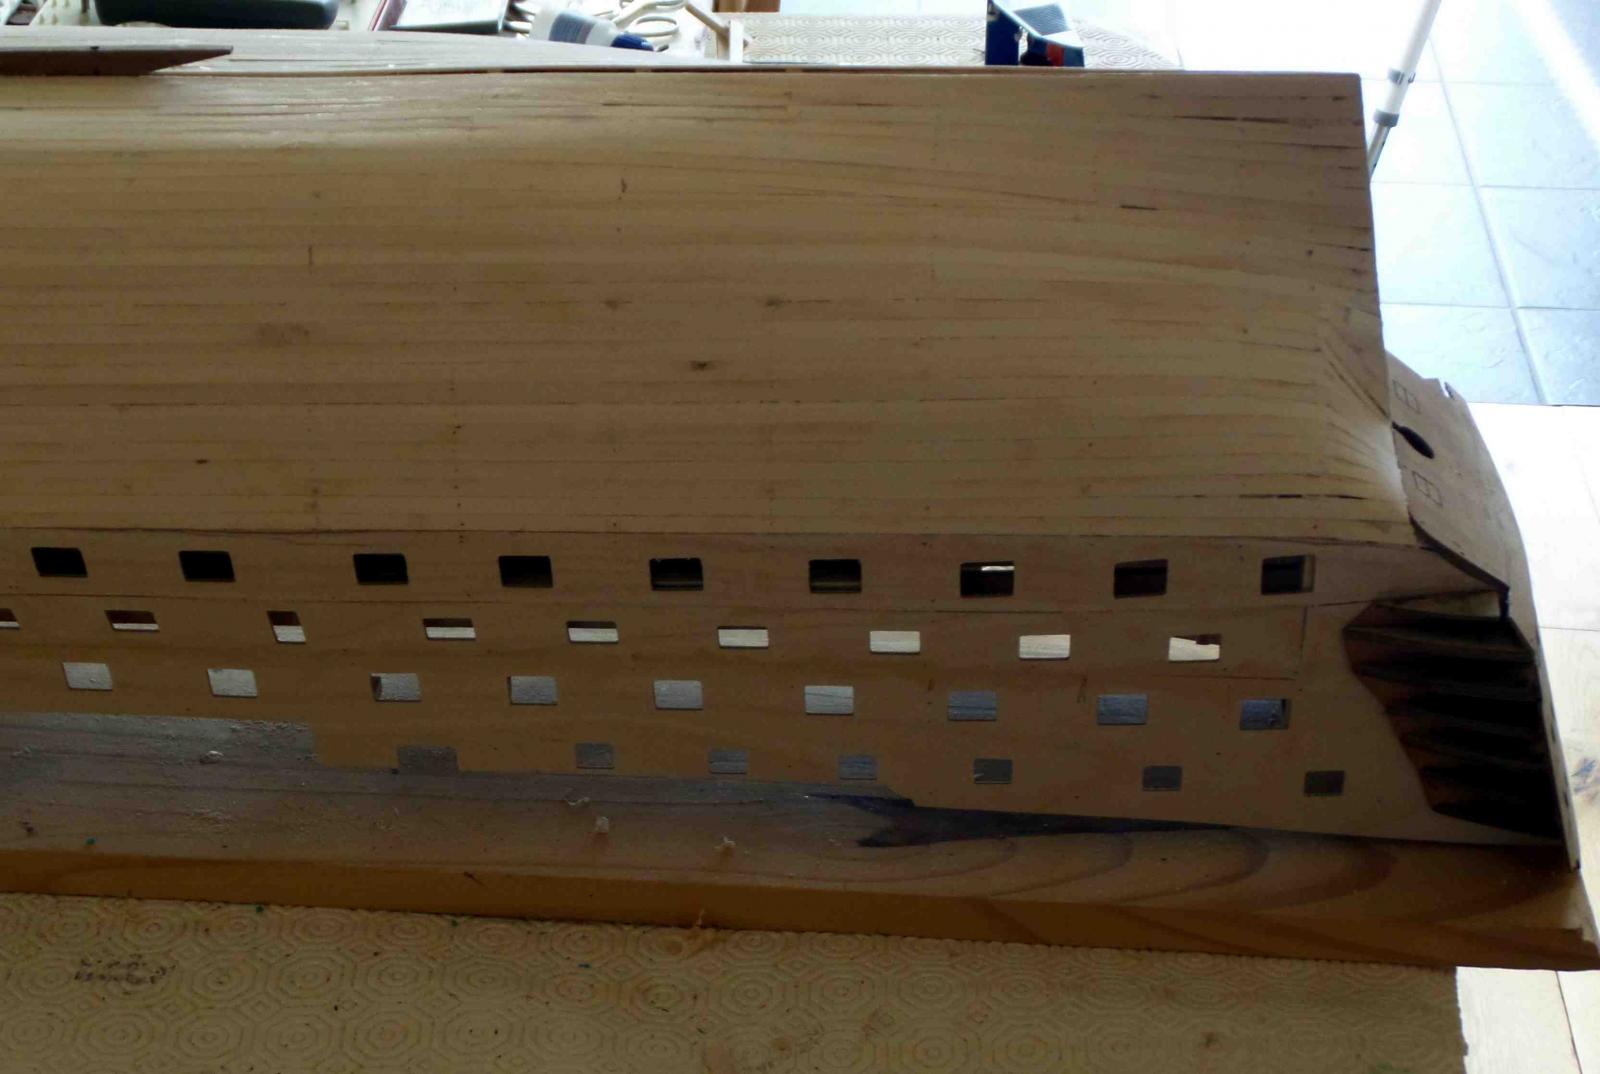
I have been plodding on with the copper plating and sort of run out of steam at the stern where its got very messy and does not look right.
So me being me I started on the other side and havong done two rows suddenly thought where I could have done it better.
A few thoughts for anyone following
If you prime the hull to give a good finish for the tiles use copper or bronze coloured paint. I think it is impossible to get every tiles hard against its neighbour particularly when curves are involved and I can see little white flashes where the primer shows through the gap.
I used styrene strip on the water line. I now see it is not dead straight so when I butt the tiles up to it the lower edge is not dead straight and I get gaps.
On my second side I laid the first row on a straight pencil line a little less than one tiles depth from the styrene strip. I can then infill the gap with tiles cut to fit, I know this means some of the nail head details may get lost but the cut edge is masked by the shadow from the strip. These tiles are laid below the side entry port and run fore and aft and I hope that as the curves kick in the necessary adjustments can be made. I will post some pics later.
Can anyone tell me how many tiles I should have when I have finished the hull, in other words can I take off bits that are not quite right and redo them?
-
Hi Rich.
Black bands see page 12 and photos on page 11. I assume that's what you are asking about
I don't want to pry but what was wrong with your copper tiles that warranted such drastic action? They looked fine to me
Regards
Peter
-
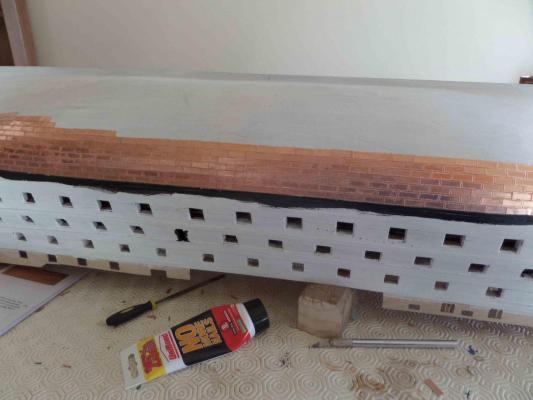
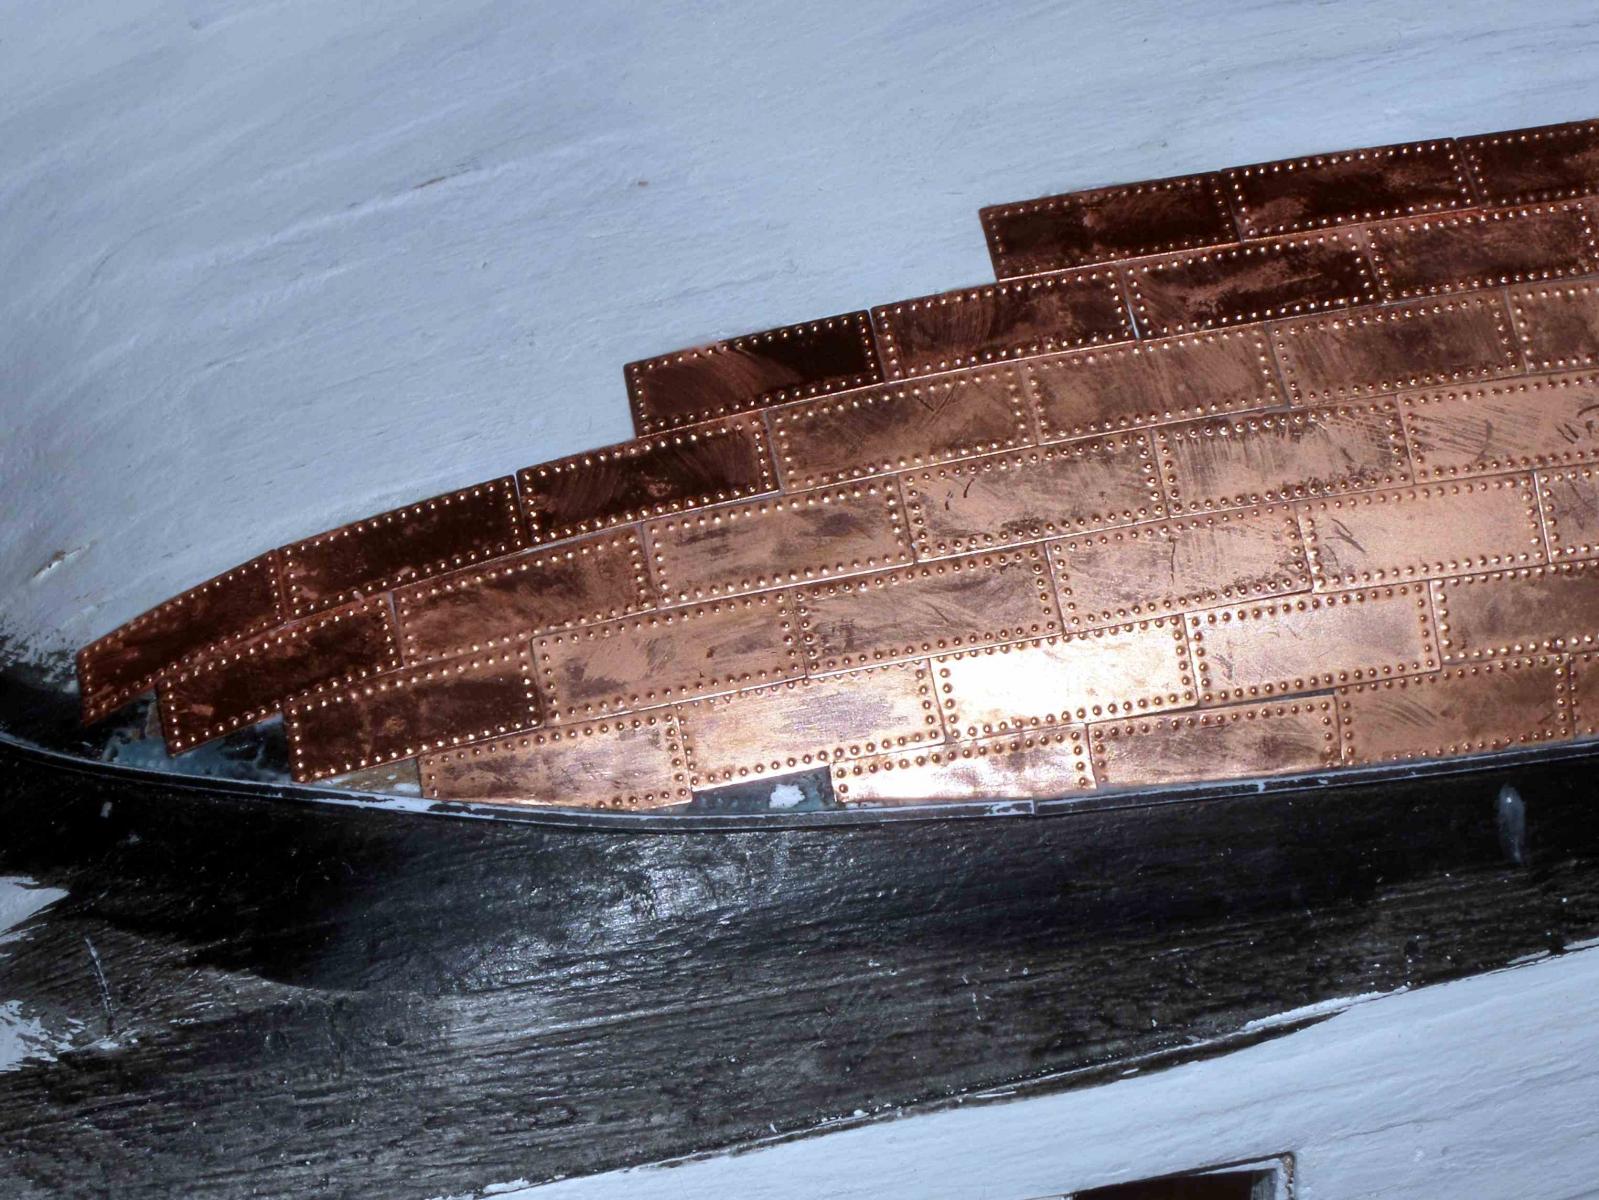
No Nails still seems ok.
It cleans off when dry with a damp cloth so here are some pics of work in progress
- mort stoll, garym and Rich.F
-
 3
3
-
Hi Rich
Saw your post. Your tiles look good with a nice curve developing. Its a bit fiddly isnt it!!!!
I am finding No Nails good and I am sure it is better than CA because you can slide the tiles around, take them off and just like wall tiles if there is a dip just add a bit more glue and squeeze it out. The tiles were difficult to remove once the glue had gone hard so I think I will carry on with No Nails.
I noticed people advise that you should wear gloves when sticking tiles so as to stop the oils in ones skin marking the copper. I find it almost impossible to use polythene gloves and I am wiping No Nails off with a damp cloth as work progress. All this means the tiles are getting marked so I plan to try a bit of silver polish. In any event I think an oxidised copper finish is to be preferred over a bright shiny varnished finish so I am happy to see how things develop.
I will post some pics in the next few days
Keep up the good work
Peter
-
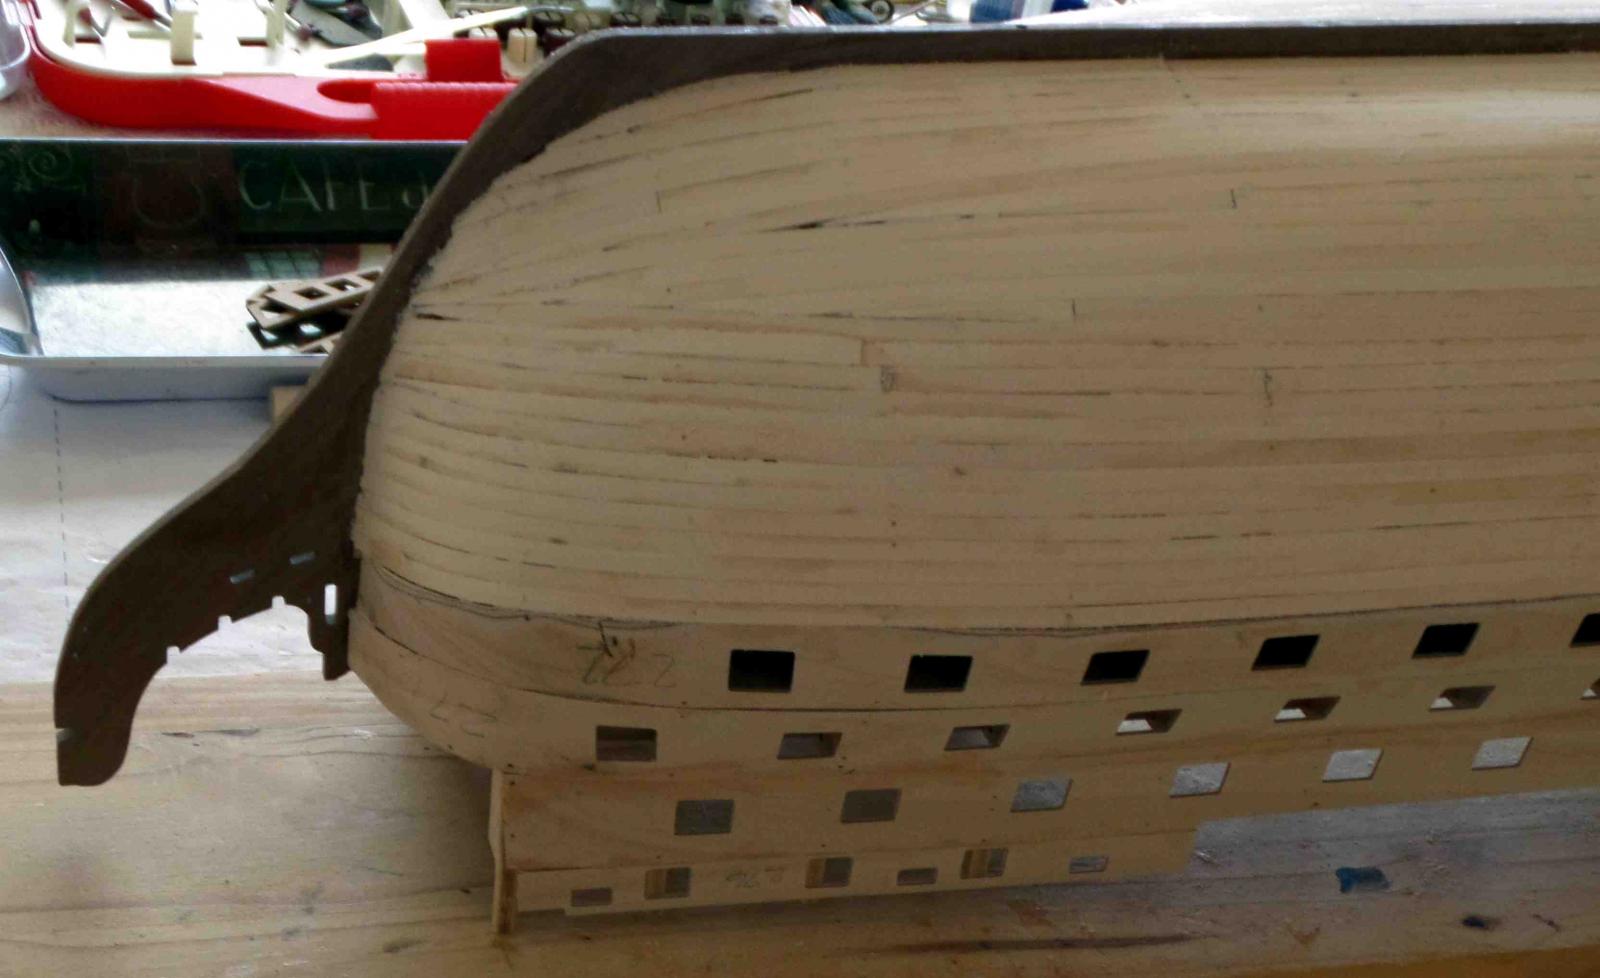
Managed to apply almost a row and a half of tiles and got into trouble on the curves at the bow so sought advice. Consequently the tiles towards the bow have been removed and I will try again.
What was good was I found it difficult to get the tiles off so in my beginners view the "No Nails" is a good idea. Maybe someone more experianced will give it a try and post their thoughts.
I will post my pics once I am more advanced
-
My first tries at using "No nails" to stick the tiles on is good. A little dab of glue on the hull and then placing the tile on top, press doen to squash the glue out, clean it off and then slide the tile into place, They also seem to be staying on. Time will tell but so far so good.
- Shipyard sid and Glenn-UK
-
2
-
I am about to tackle the copper plates and have been discussing glues.
My problem is that my wife cannot tolerate fumes from Evostick due to her health and as I don't want to incur her wroth I am looking at alternatives. She does not seem to find CA a problem but I find I get that on my fingers.
I have wondered if "No Nails" has been tried . I have seen a small tube, sold as a glue. I thought it may be useful as it will form a bed to level up any imperfections in the planks. It would be a bit like applying wall or floor tiles. Has anyone out there tried it?
I am also seeking advice on how to tile the keel.
I thought about starting by laying a tile centrally on the keel and then folding it down the sides to give a neat folded line. The tiles can then be fitted to the side up to the hull so that when the hull is tiled the tiles on the hull will cover the raw cut edge on the side of the keel. Has anyone tried this or is it all to complicated and ambitious
Thoughts please
-
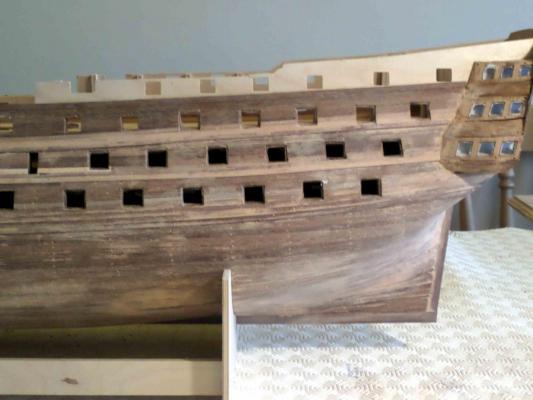
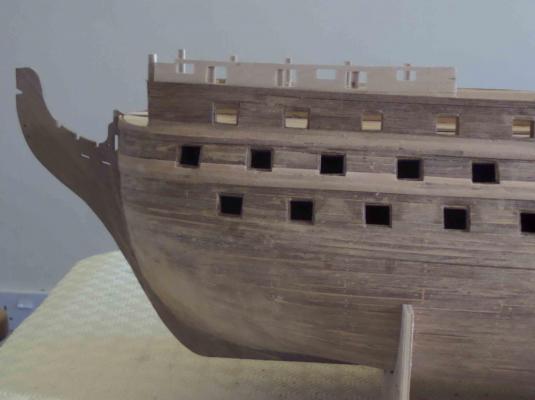
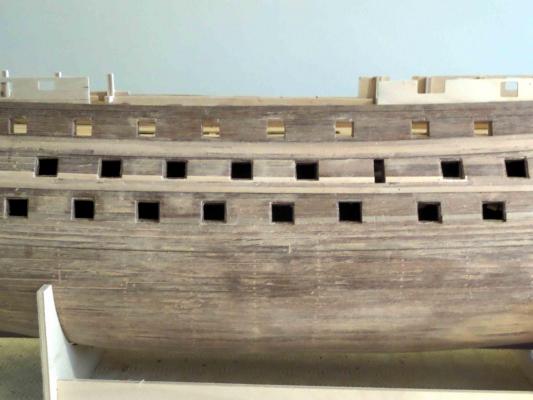
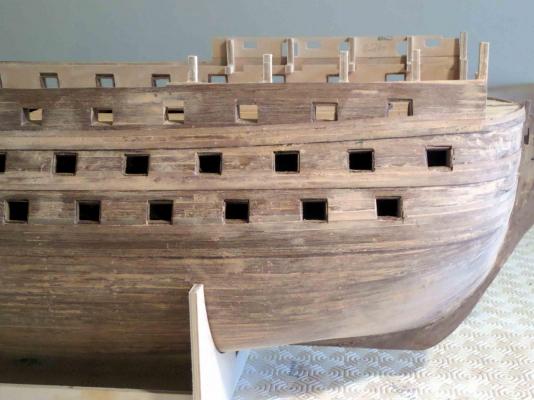
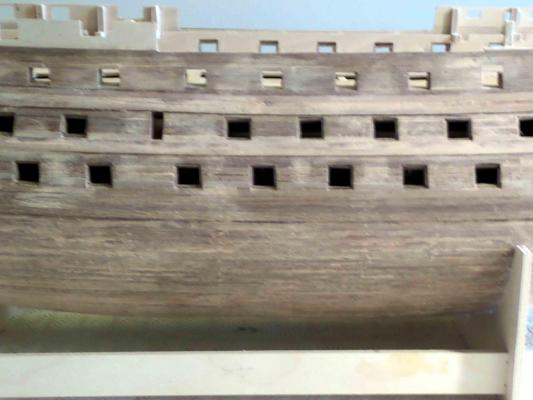
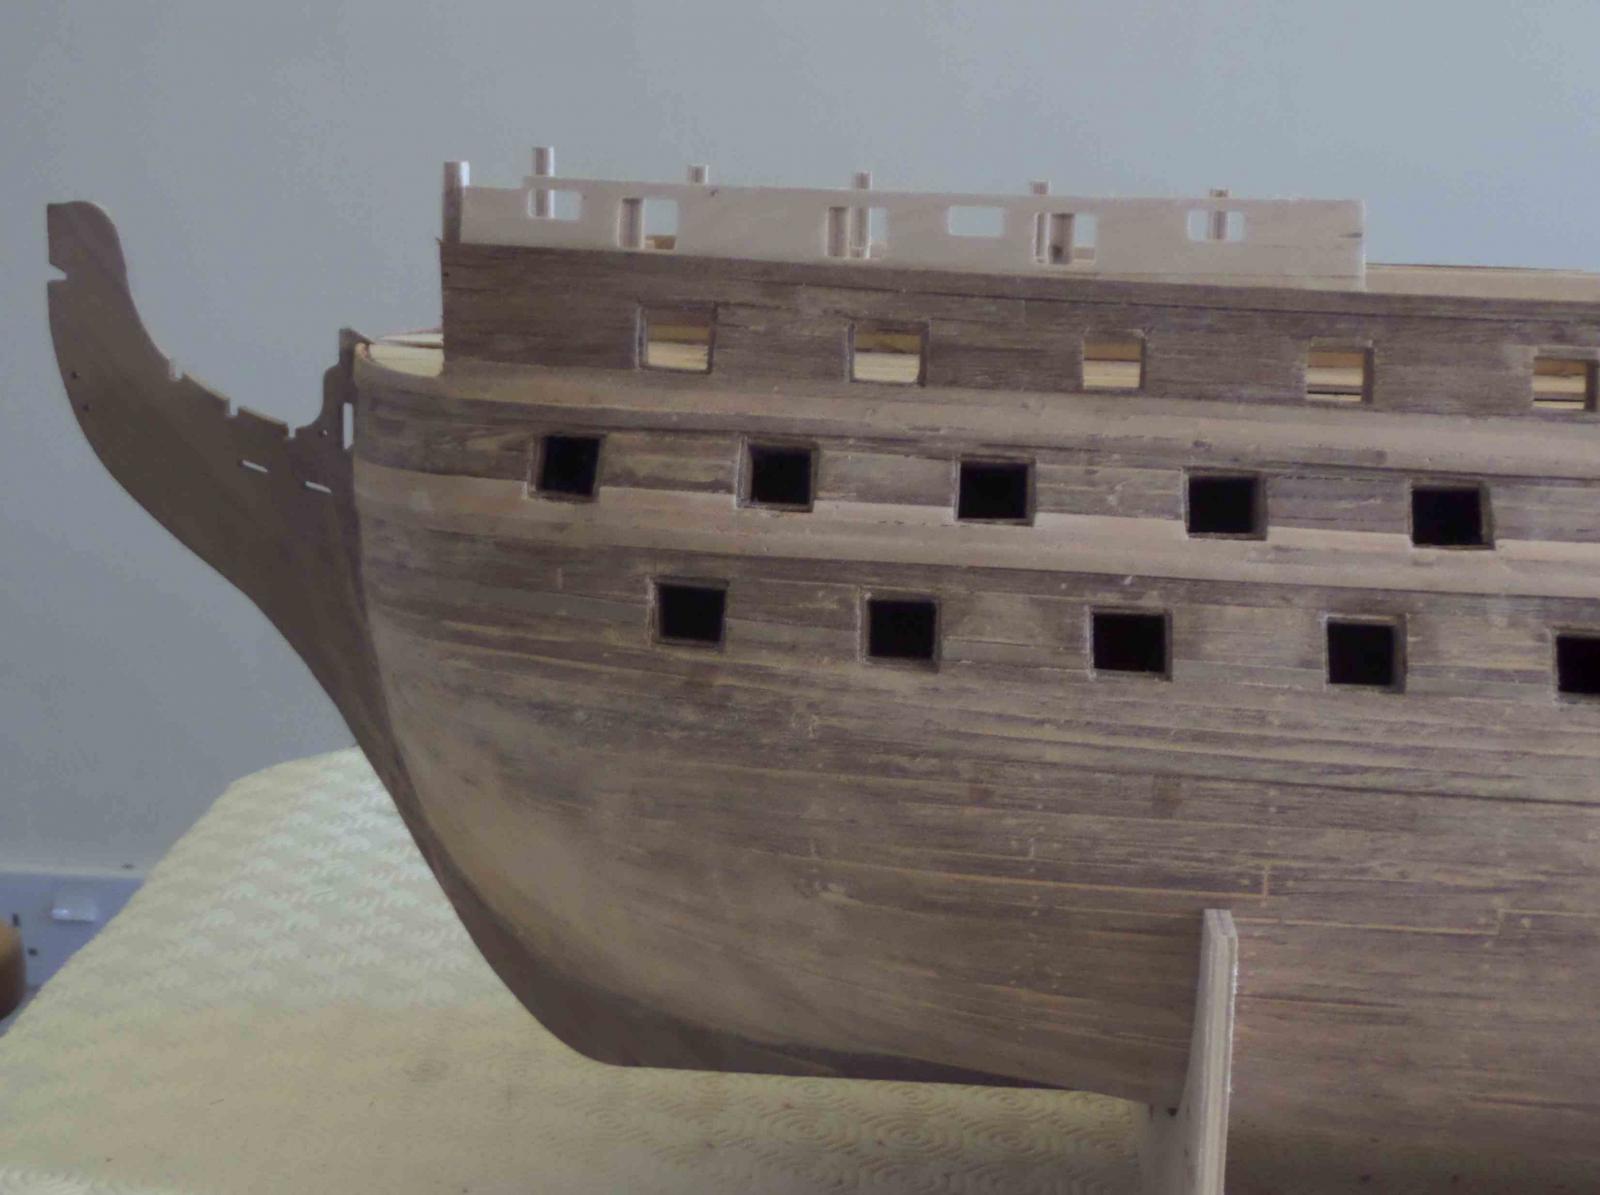
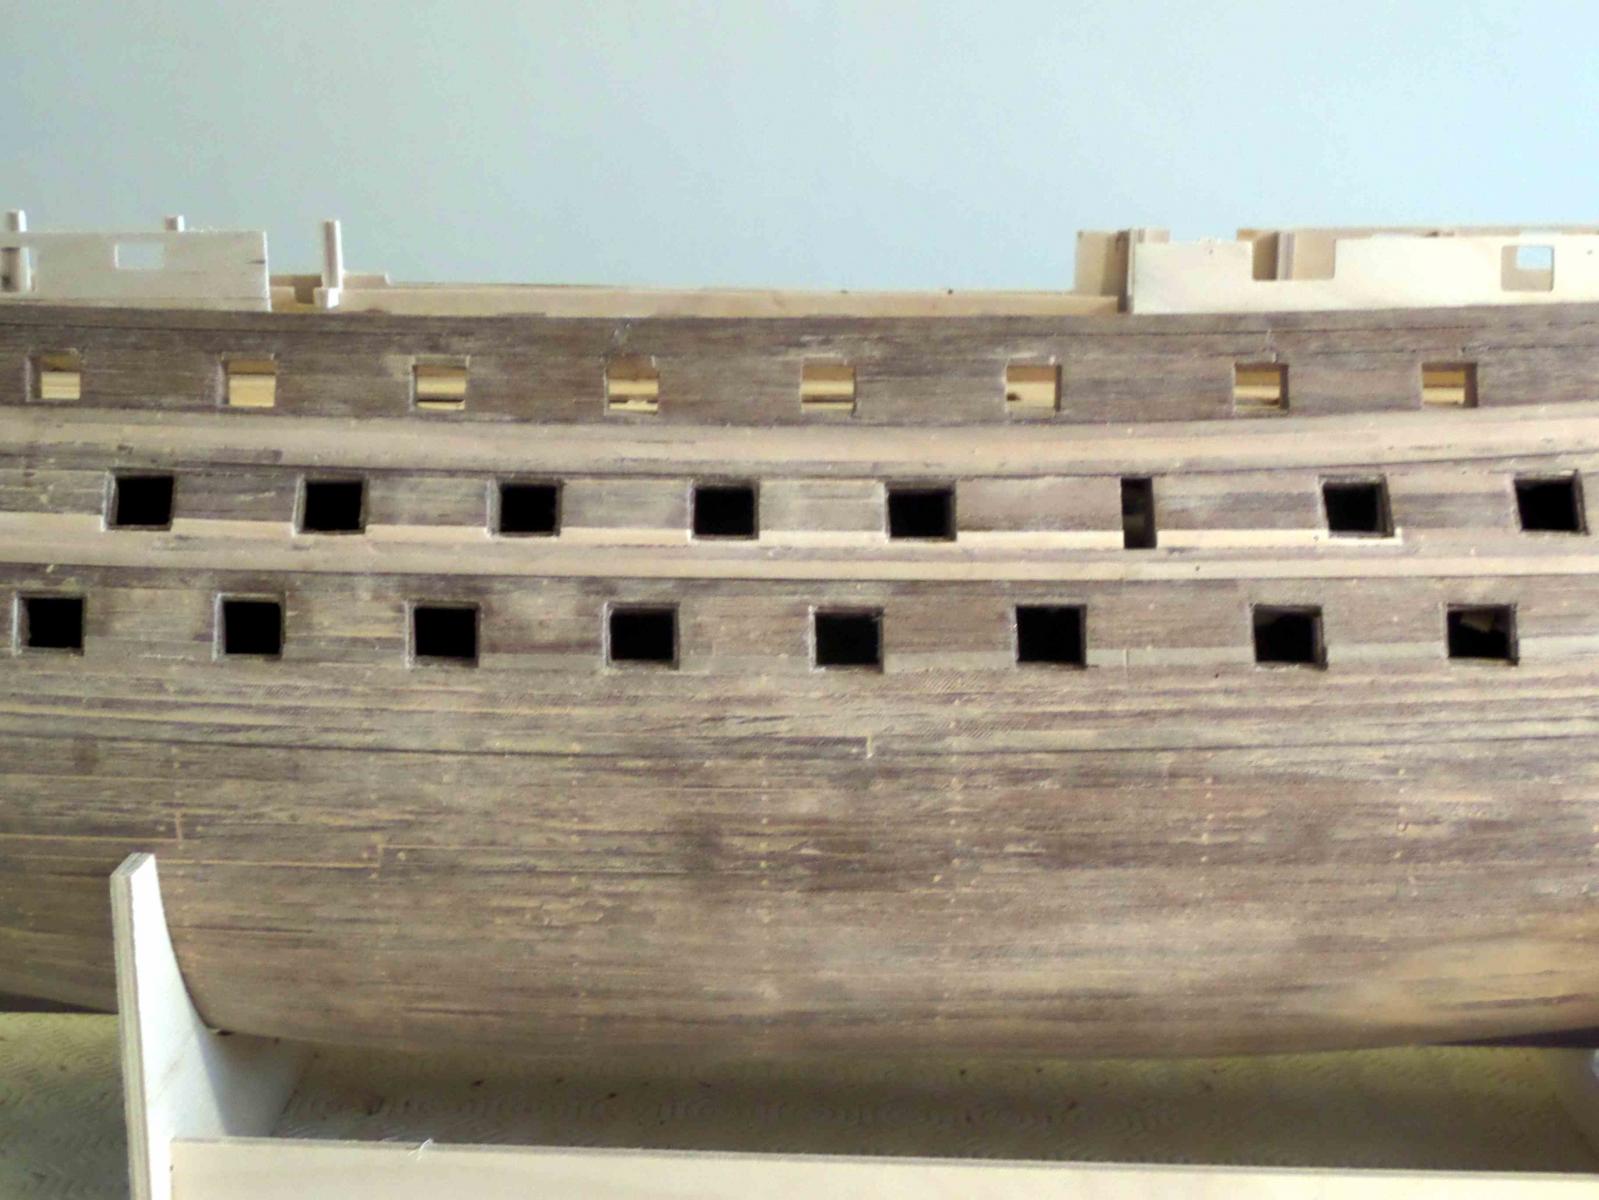
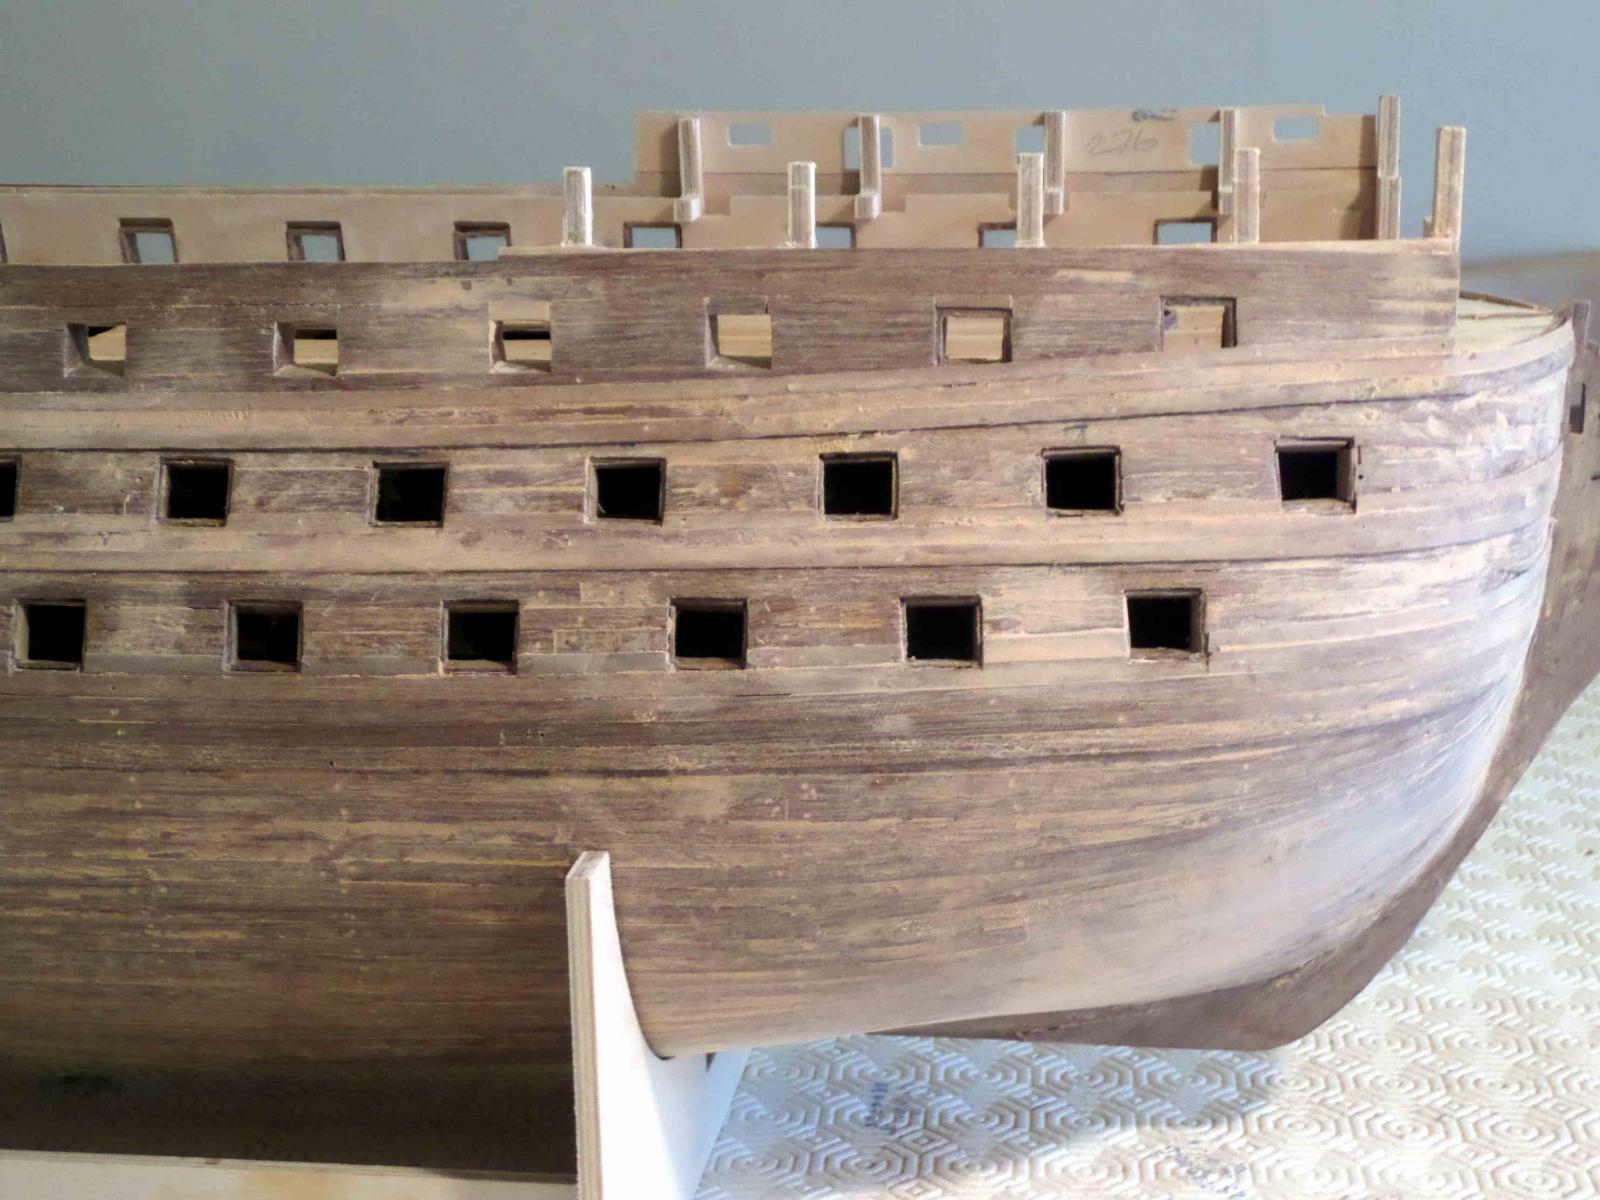
I have been very busy what with planking, lining gun ports, etc but I think I am now about ready to tackle the tiles!
I decided a long time ago to use Pva glue for the planking and use pins so I have been busy filing the holes and some open joints..
I think one of the pitfalls in doing the planking this way is one lowers ones standards and I ended up piecing in small bits of plank rather than cutting planks to fit. Having now done some filing and sanding I decided to apply a coat of primer to fill the grain etc so I will now be doing some more filing and sanding until I have had enough.
Here are my pics to date
-
I am intrigued as to what was wrong with the way you were doing the tiling.
I am not far behind you in the build so if you can spread the word!!!
Peter
-
I found this high definition picture ( http://upload.wikimedia.org/wikipedia/commons/thumb/0/0c/HMS_Victory_%28ship%2C_1765%29_-_stern_view.JPG/1280px-HMS_Victory_%28ship%2C_1765%29_-_stern_view.JPG%C2'> on the internet which I think shows the copper plates being cut to run into the stringer as per Jokata instructions. It also shows the gun port linings well.
It looks like you can drive yourself made doing this!
-
As one of the new boys I like the batten to keep the plates straight but how do you align the batten?
Peter
-
Hi
All that cutting and fitting all those hardwood strips and we then have to paint it.. At least those in the know understand how difficult this hobby is and appreciate the hard work. Your ship looks great.
Well done
Peter
-
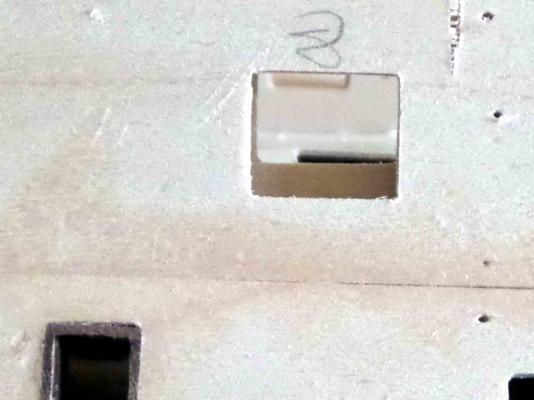
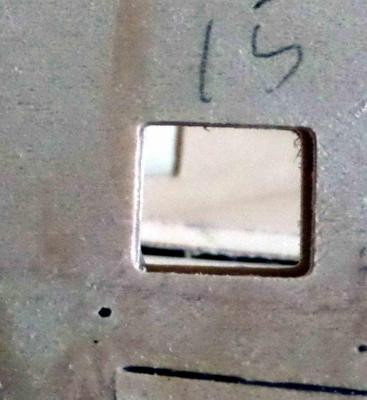
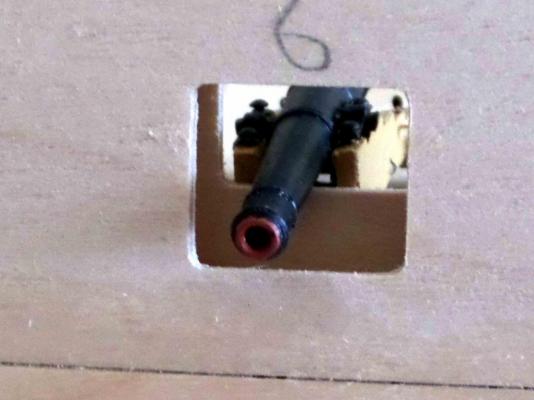
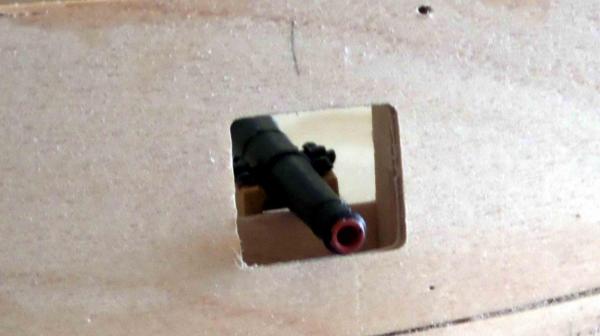
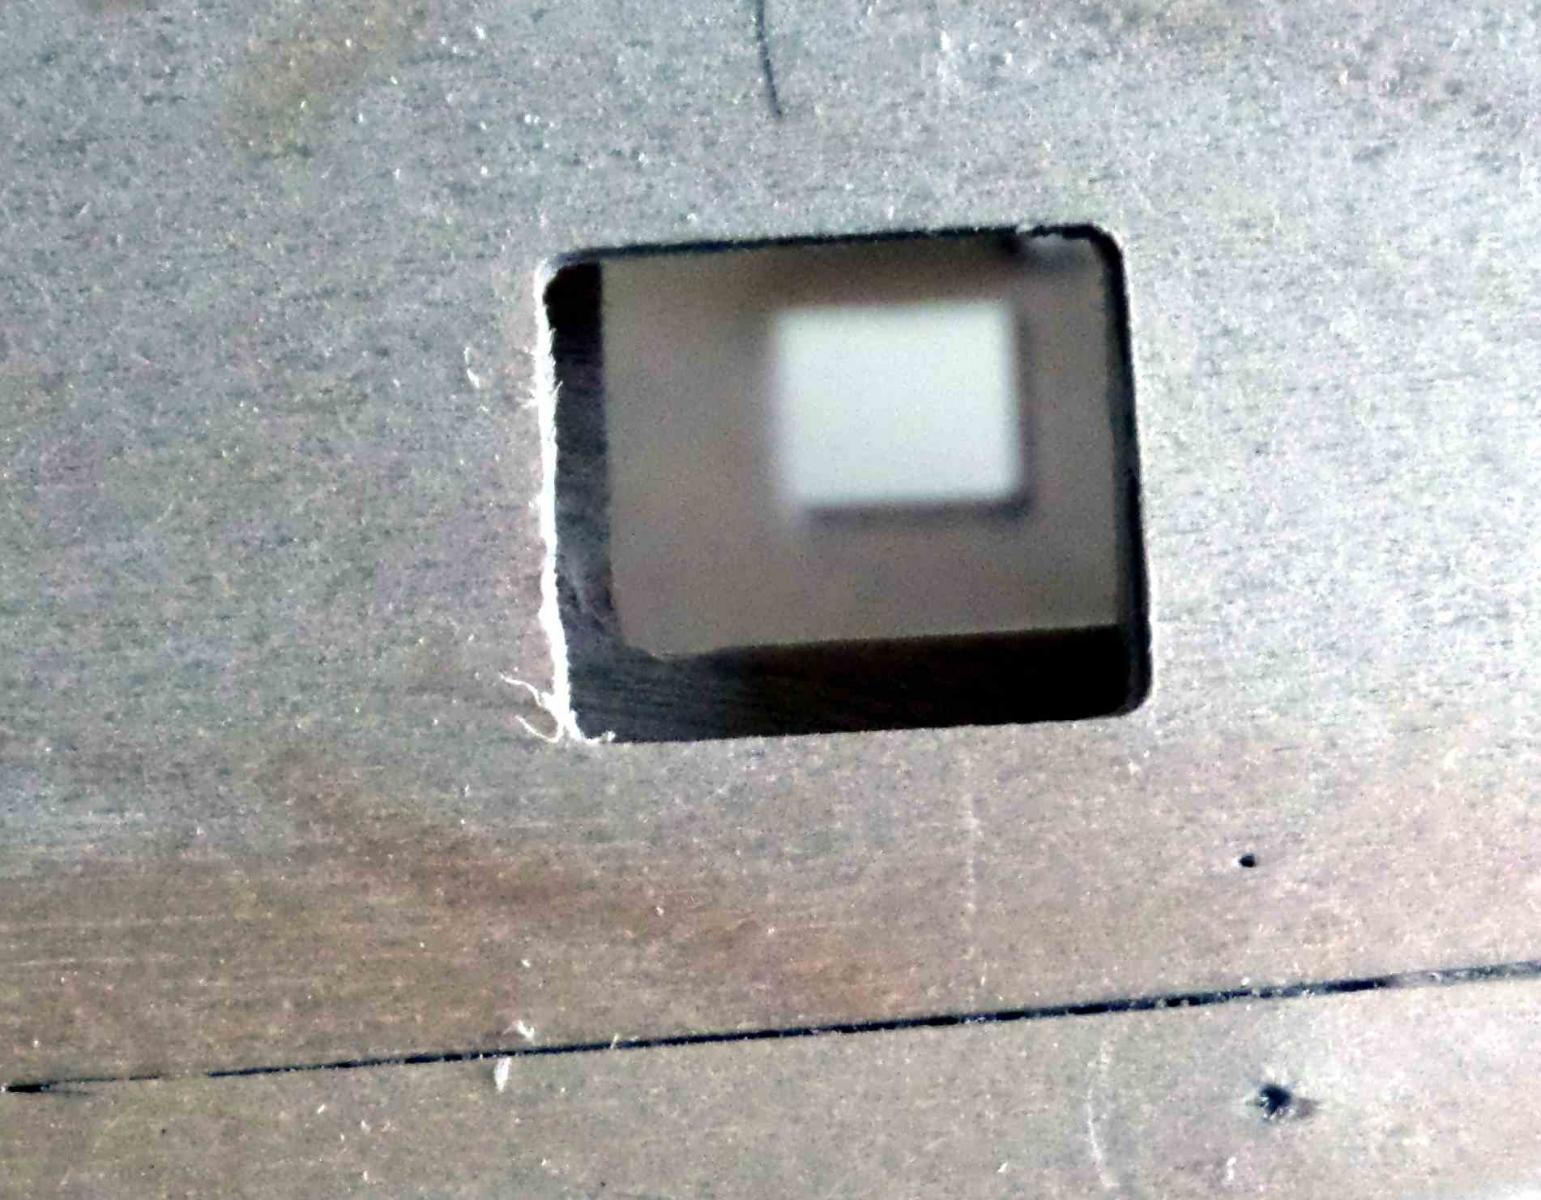
I am switching between planking the upper gun deck and the upper gun deck linings. I remain unclear as what to do with the gun ports (See my post re John McKay's book which shows the lining outside the lids) If one makes the linings bigger so the lids sit inside the linings there seems no point in setting the linings back 1mm.
Maybe I need to stop thinking too much and follow the instructions . Its just as a retired Building Surveyor it makes more sense to set the lids inside the port. I will have a look on the victory web site and see what other info I can find
Peter
-
Hi Rich
I am about to line my gun ports and have just posted this on my log. Since doing this post I have looked at the size of the lids and they are the same size as the openings in the hull so if i do it my way all the openings need to be enlarged!!! I would appreciate your thoughts
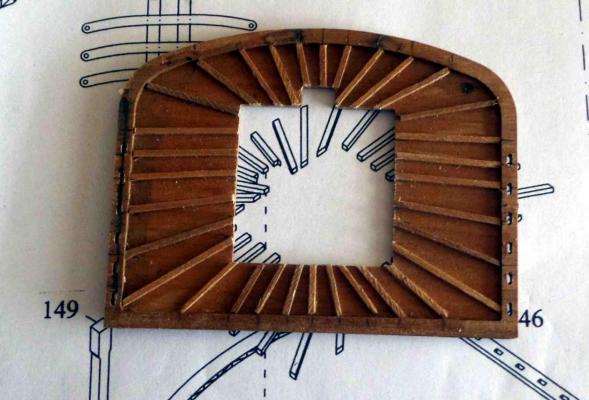
On the subject of gun port linings. I am just about to line the gun ports on the upper gun deck.
I have seen much discussion on this web site and I have John McKay's, Anatomy of the Ship on Victory. Looking at this book it seems the linings on this upper deck, ports 3 to 10 have linings visible on the outside so they project forward of the first planking and the second planking runs into the side of the lining. Page 10 of the instruction manual seems to say the second planking goes over the outer edge of the linings. In this case the linings are hidden.
McKay shows a similar detail on the ports with lids where one can see the out edge of the linings around the ports, with the planking again running into the side of the linings. The lids in McKay sit inside the linings. I have not yet checked to see if the lids actually fit inside the linings.
It would be good practice for the linings to protect the end grain of the planking assuming marine detailing is similar the building construction.
I have a problem where on my build where the line of the cills of the upper gun deck on the outer skin is lower than on the inner bulwark and the linings would slope down from inside to outside. The difference is less front and rear than in the middle. I have decided to lower the cill on the inner bulwark a little so the slope on the cill linings is less pronounced.

Peter
-
On the subject of gun port linings. I am just about to line the gun ports on the upper gun deck.
I have seen much discussion on this web site and I have John McKay's, Anatomy of the Ship on Victory. Looking at this book it seems the linings on this upper deck, ports 3 to 10 have linings visible on the outside so they project forward of the first planking and the second planking runs into the side of the lining. Page 10 of the instruction manual seems to say the second planking goes over the outer edge of the linings. In this case the linings are hidden.
McKay shows a similar detail on the ports with lids where one can see the out edge of the linings around the ports, with the planking again running into the side of the linings. The lids in McKay sit inside the linings. I have not yet checked to see if the lids actually fit inside the linings.
It would be good practice for the linings to protect the end grain of the planking assuming marine detailing is similar the building construction.
I have a problem where on my build where the line of the cills of the upper gun deck on the outer skin is lower than on the inner bulwark and the linings would slope down from inside to outside. The difference is less front and rear than in the middle. I have decided to lower the cill on the inner bulwark a little so the slope on the cill linings is less pronounced.
Any thoughts?

-
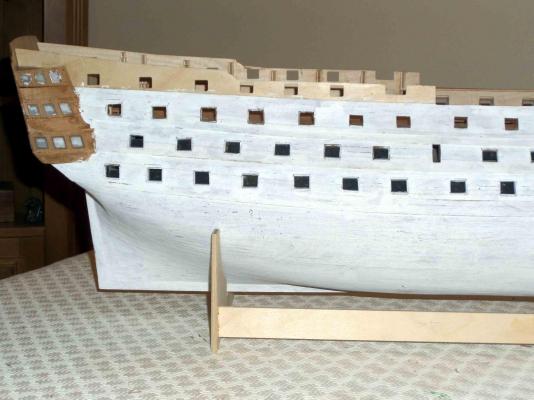
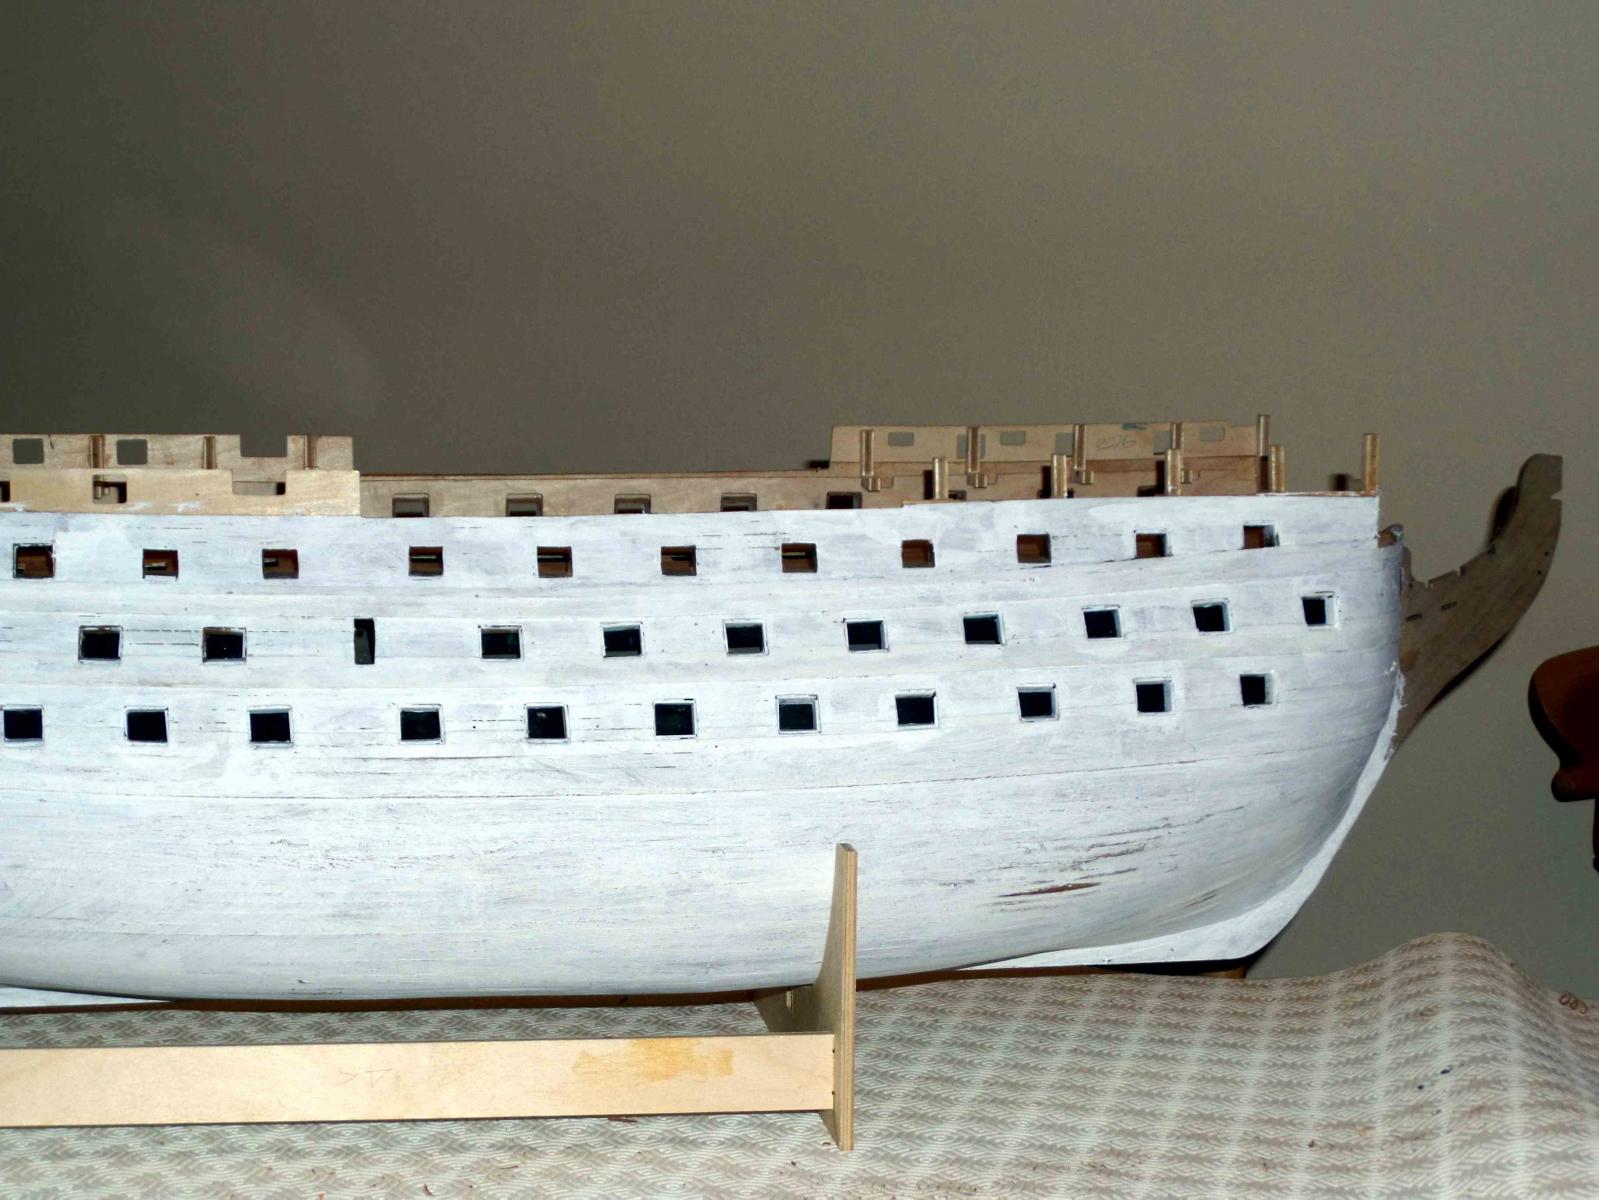
Hi
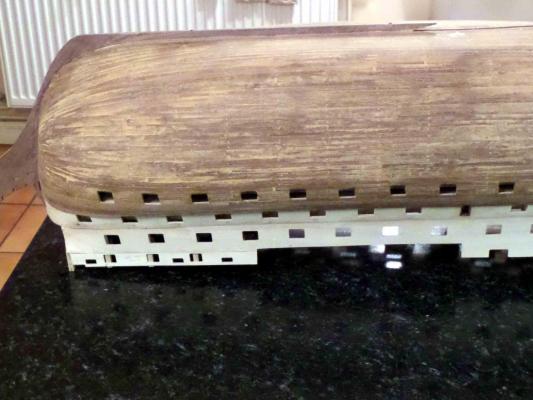
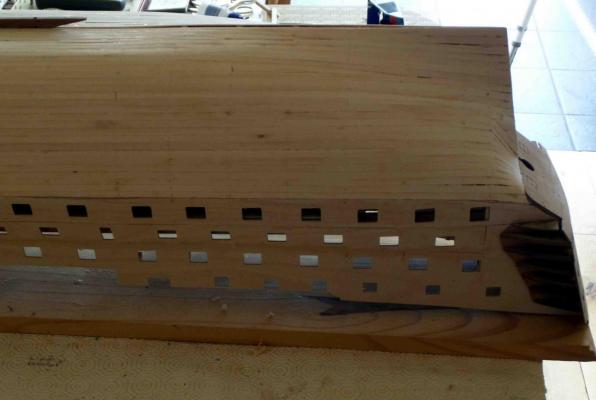
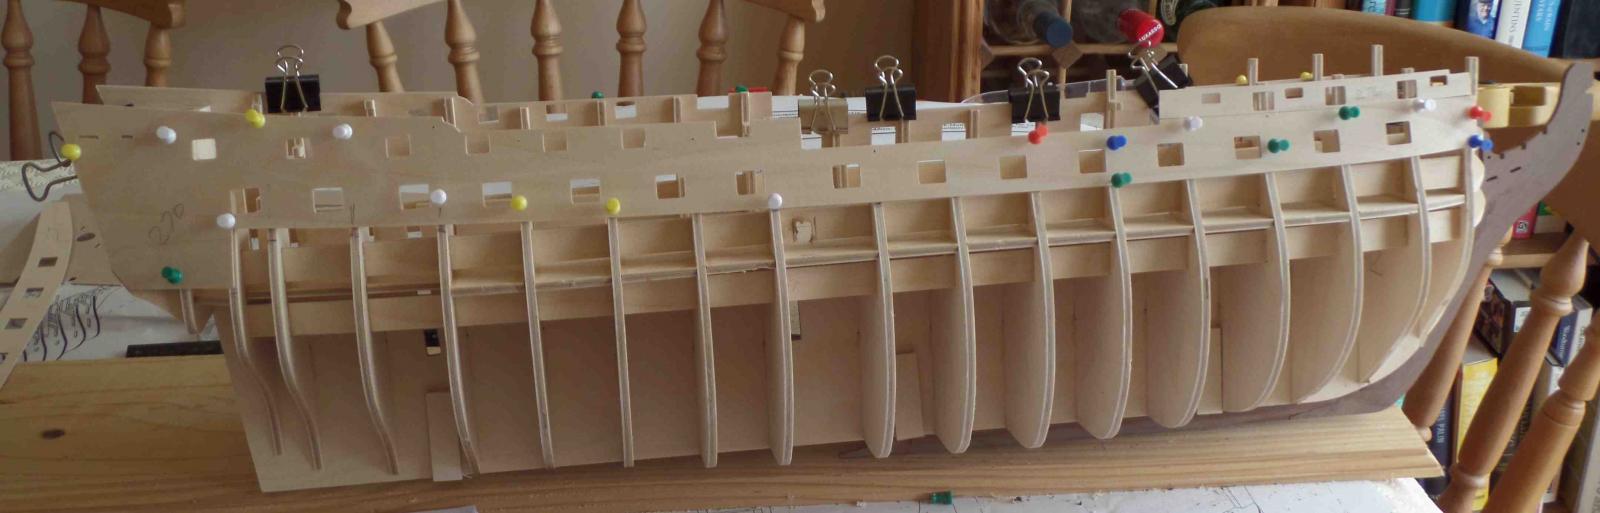
Now about 8 weeks in and I have done the first part of the second planking.

I decided as the planking was to be covered by the copper tiles and paint I would use Pva glue rather than the superglue and that I would need to fill the odd gap. I used Ronseal wood filler which I happened to have and I think that was a good idea as it seems better than the polyfiler type (Less dust and harder) but time will tell.
I started painting the gun strips as instructions. What a shame I didn't do this before the gun port strips were fitted rather than have to paint through the gun ports.

Anyway onwards and upwards to the stars and beyond !!!


-
Hi Gil
I am in awe of your build and refer to it regularly being a new boy to the Victory.
I see the pics on the coiling of ropes etc has no photos. If possible could you please add them for us beginers
Many thanks
Peter
-
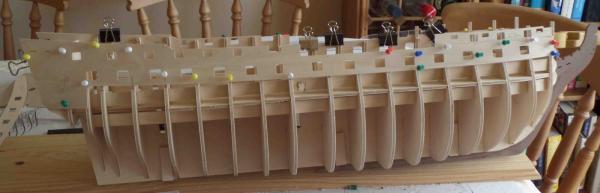
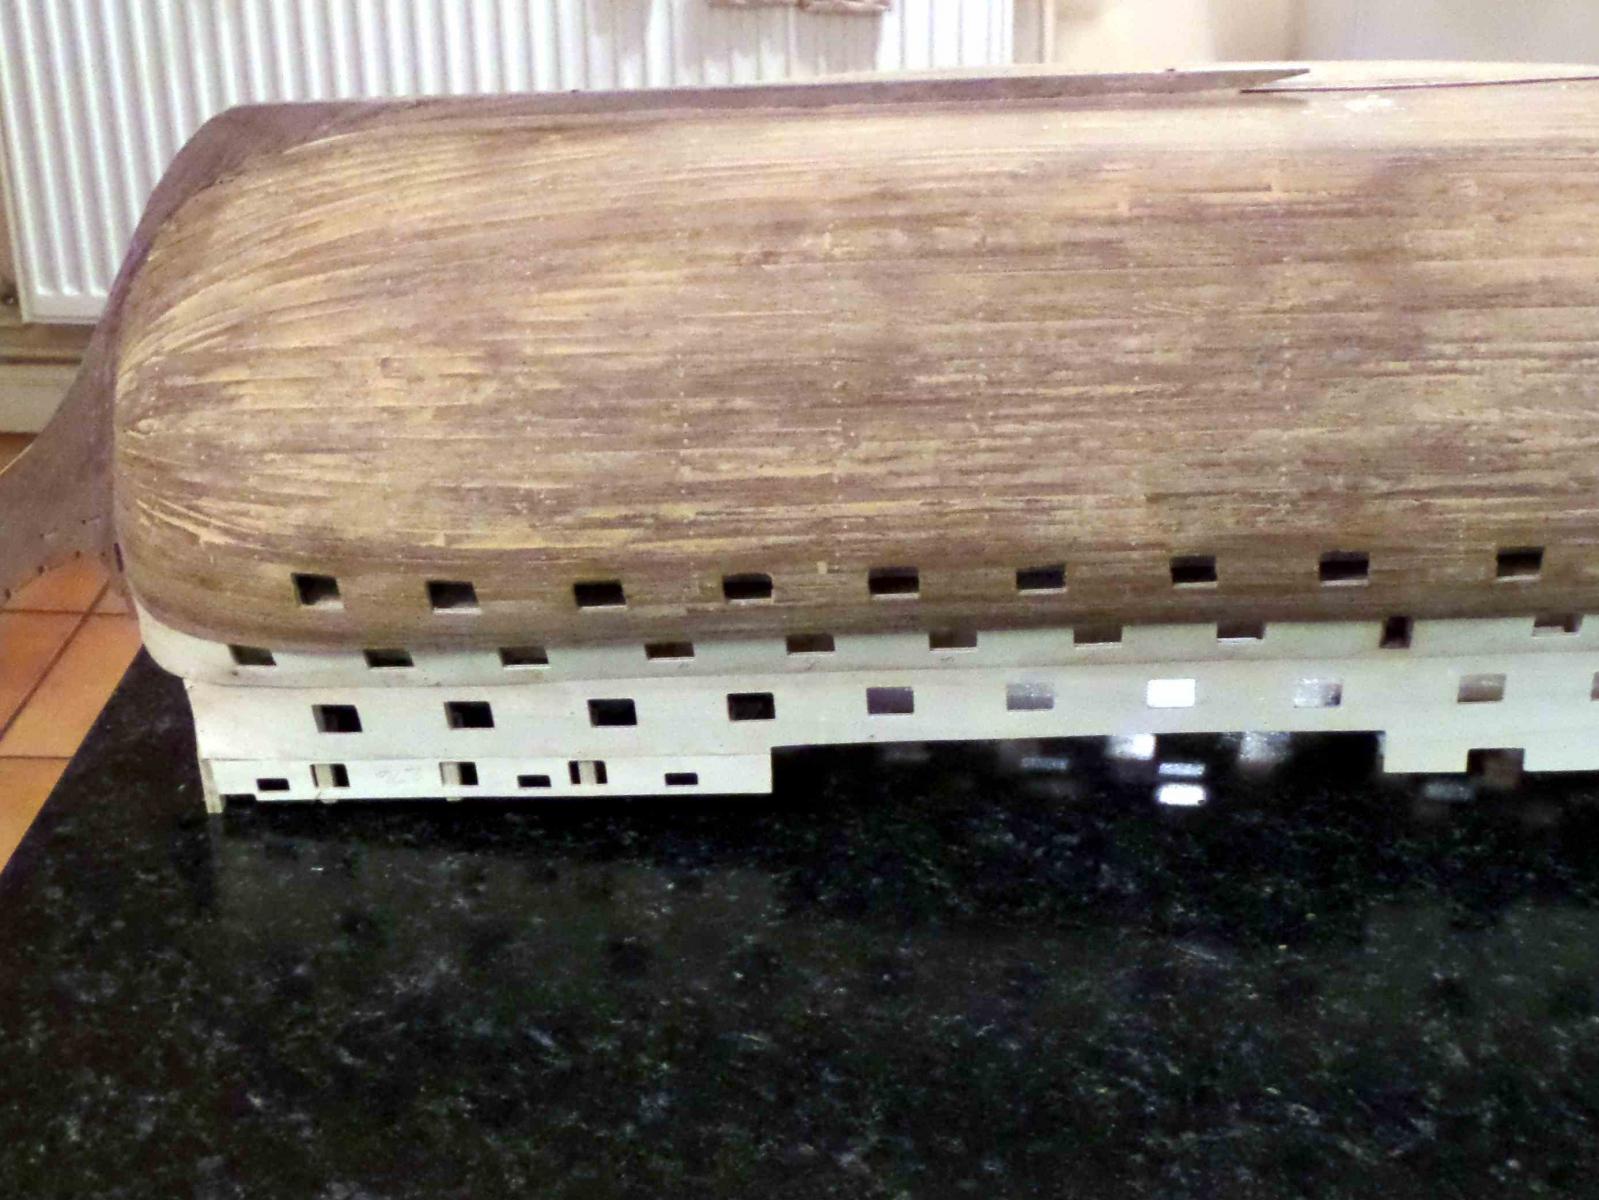
Virtually finished the first planking, 5 weeks work but I am happy with the results particularly as it gets covered with the second planking and paint. Finished 30 cannon and made the tops so progressis being made. Managed to damage the top gunport pattern when the hull was upside down by snapping the thin strip which runs over the gun port but a repair will be possible later. I keep telling myself to keep the table clear but I dont do it so only myself to blame.
Thanks for the help given to date.
Just started making the foremast lower section which was fun.


- Harvey, garym, mort stoll and 1 other
-
4
-
-
Hi Patrick
Thanks for the pics. I need all the help I can get with this kit. Yours is a work of art
Peter
-
Hi
Can anyone please tell me why I cant see the photos on this page? I can see the space and title eg Victory 154.jpeg but unlike the pages before this and much later I cannot actually see the photos.
It is a shame note to be able to see all the hard work
Peter
-
Help.
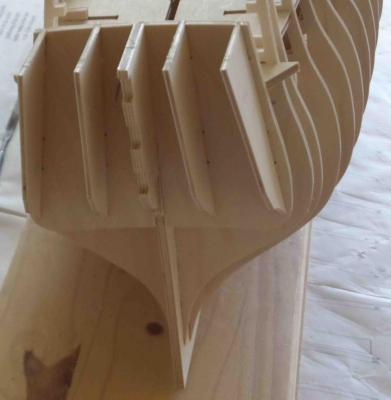
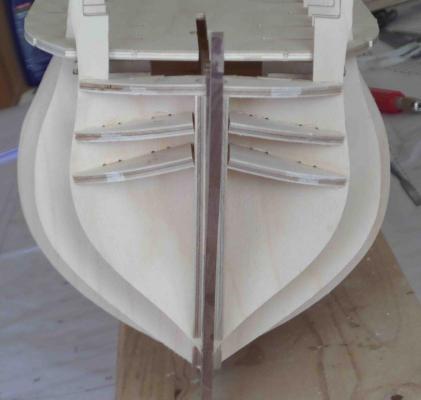
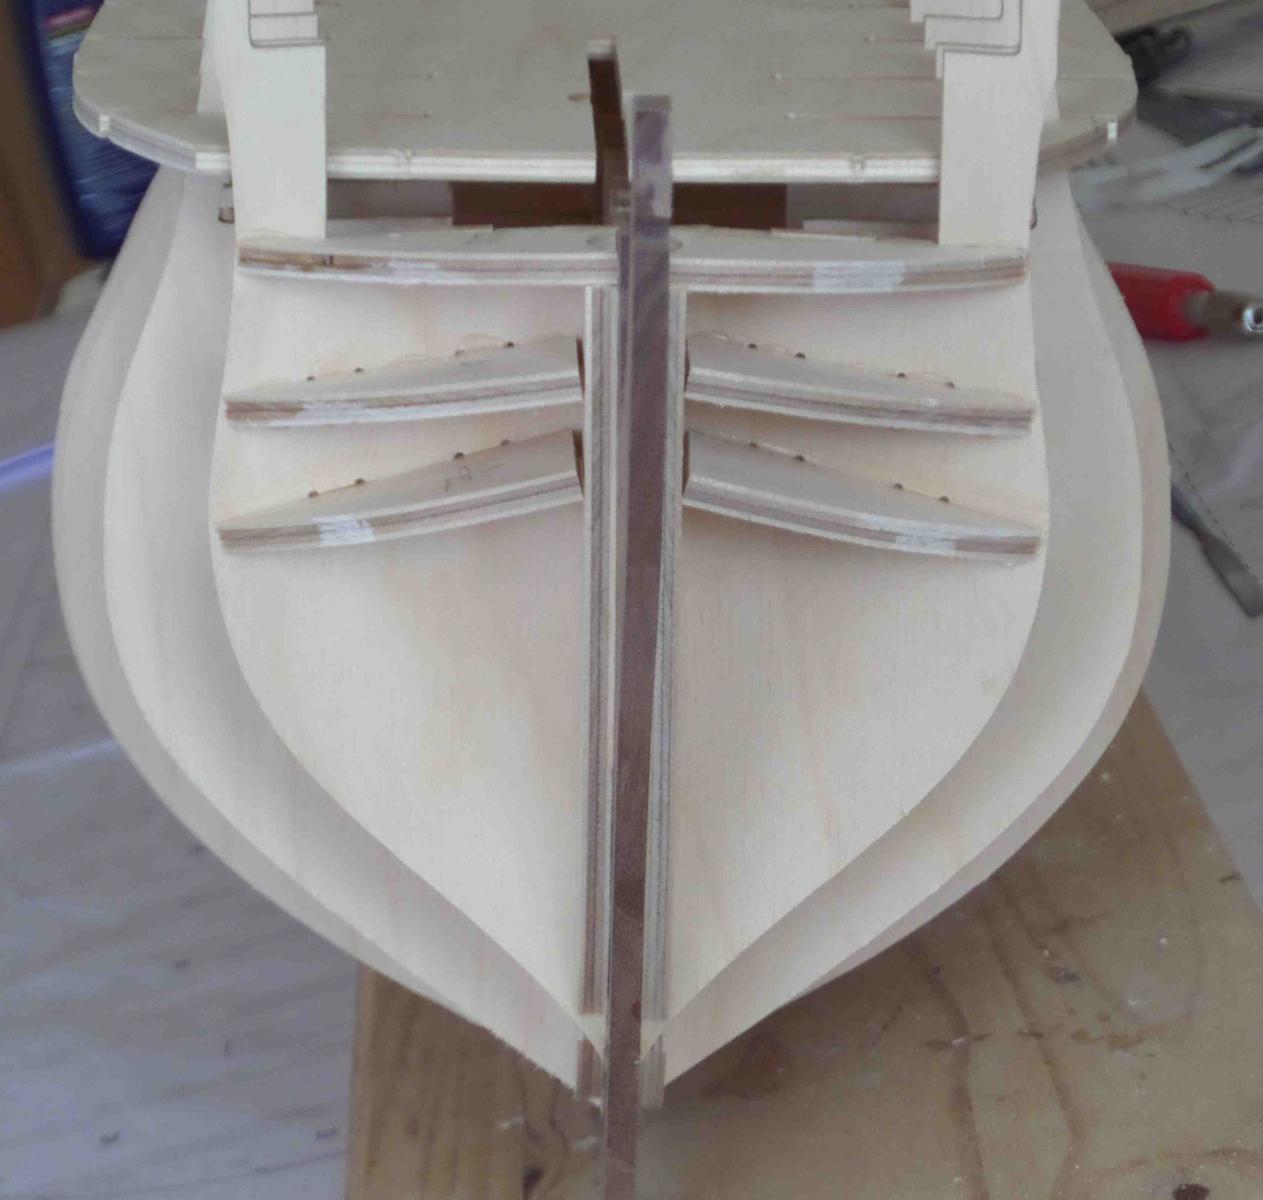
I am confused, I am shaping the bulkheads before planking the hull.
I have marked the bearding line and see that the back edge of the keel needs to be 2mm and the keel forward of the bearding line is left full thickness, 5mm ply. Do I file the keel only front to back so the angle on the line of the keel is shallow but the angle higher up the keel post line is steeper?
The photos on the kit manufacturers web site seem to show the keel on the stern post line full thickness and the first planking in place. This suggests the keel has not been shaped.
Any guidancewould be appriciated.
In the meantime i will trawl the buld logs
Thanks
-
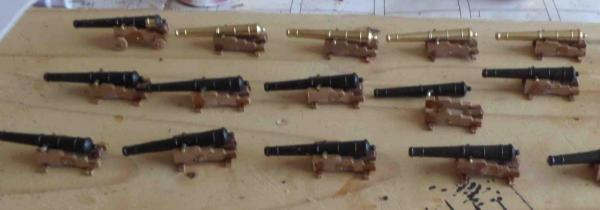
Thanks for the all advice, which I know is dead right given the errors I have made so far.
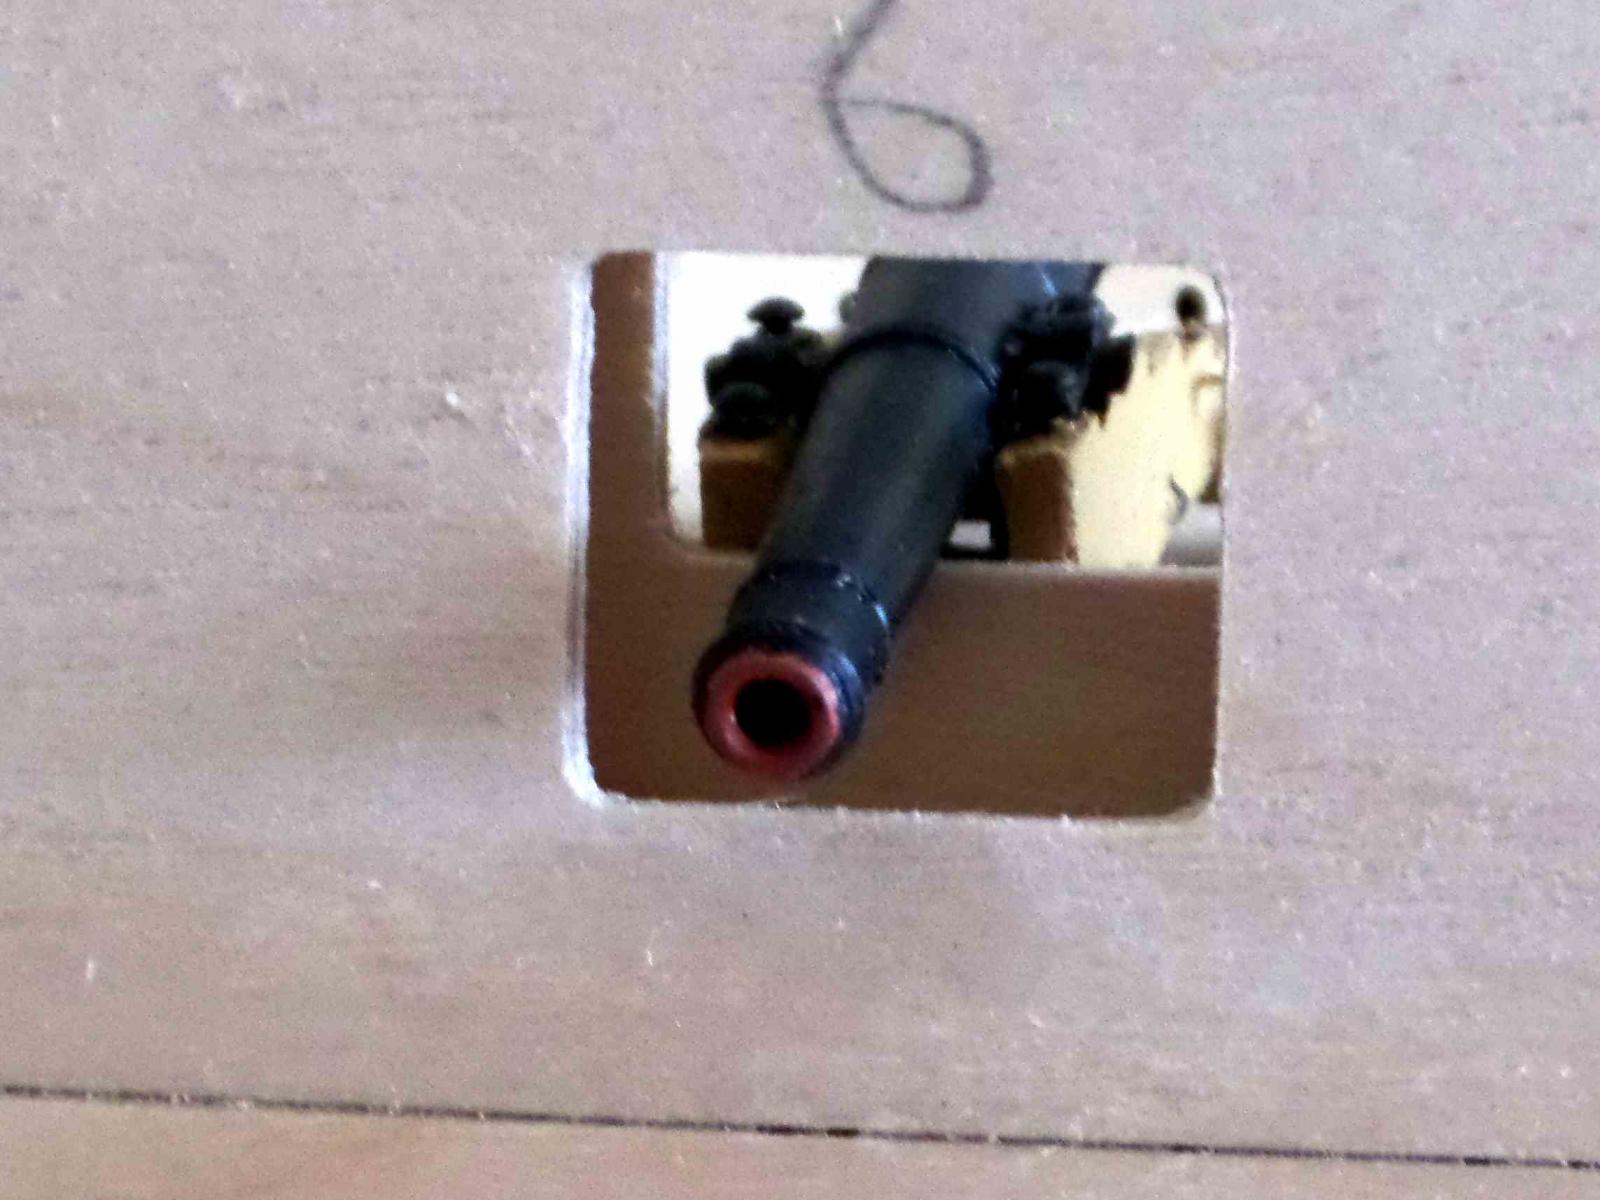
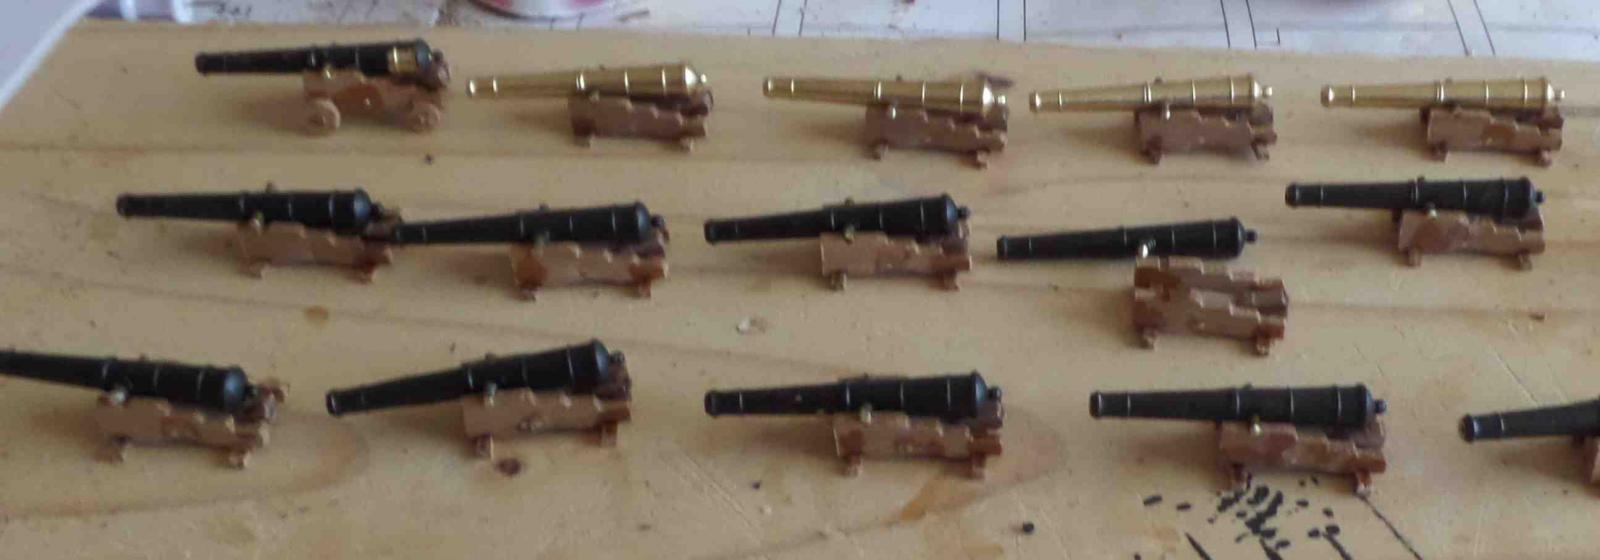
Anyway I have managed to get diverted into gratings and canon building and got carried away with the long canon. I am amazed at the intracy of the canons. It takes a while to find the best technique and after a few tries I found that assembly of the carriage is easier if the two side frames are put onto the 1mm brass wire bed bolt which holds things in place whist the axles are fitted. I found it dificult to fit the trunnion brackets particularly in forming them over the trunnion.
I am very pleased wiith the results so far although I am rather daunted with the fitting of the eyelets not to mention rigging them.
My wife has lost our big table (but we dont use it anyway)


HMS Victory by Rich.F - FINISHED - Caldercraft - Scale: 1/72
in - Kit build logs for subjects built from 1751 - 1800
Posted
Hi
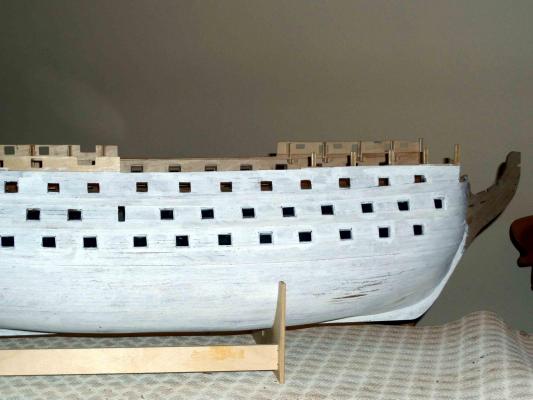
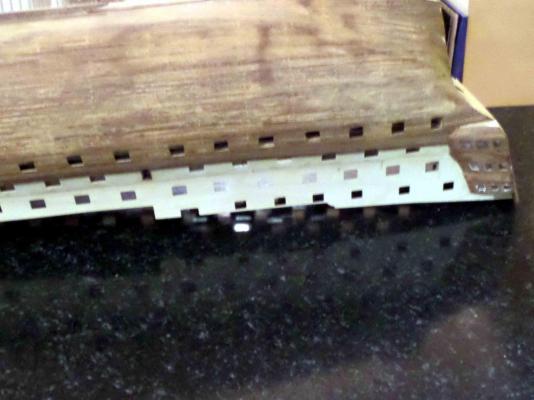
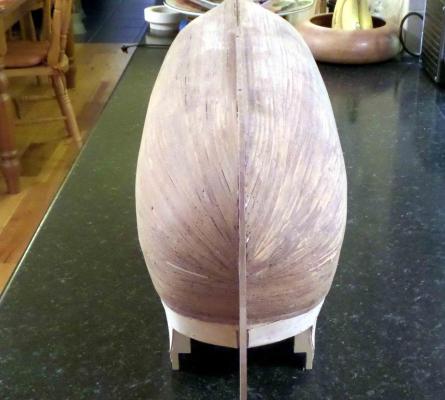
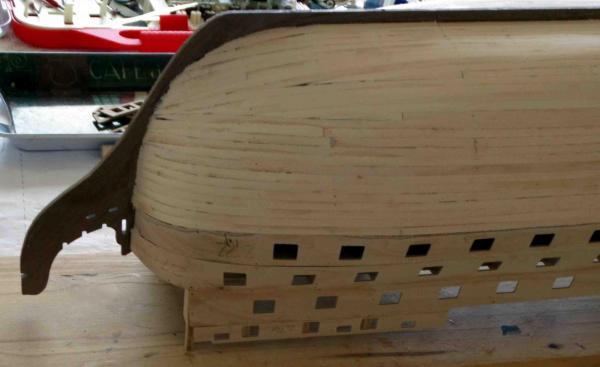
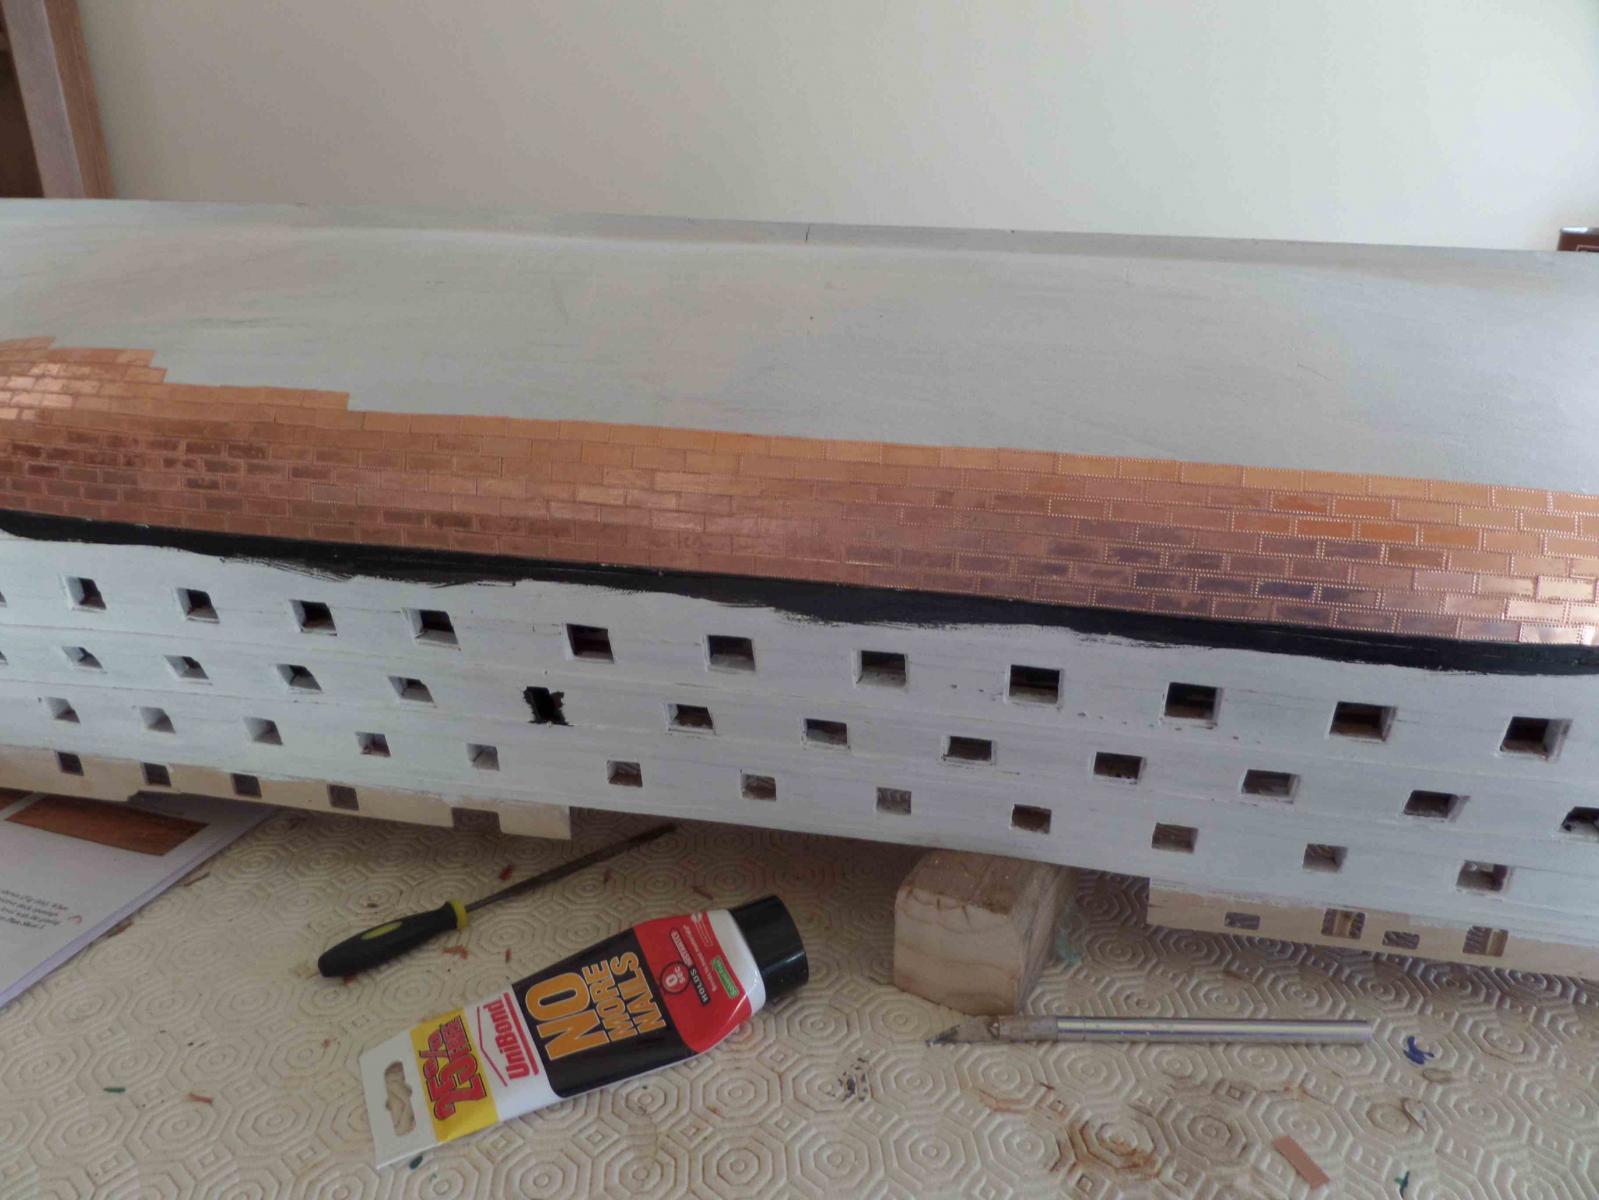
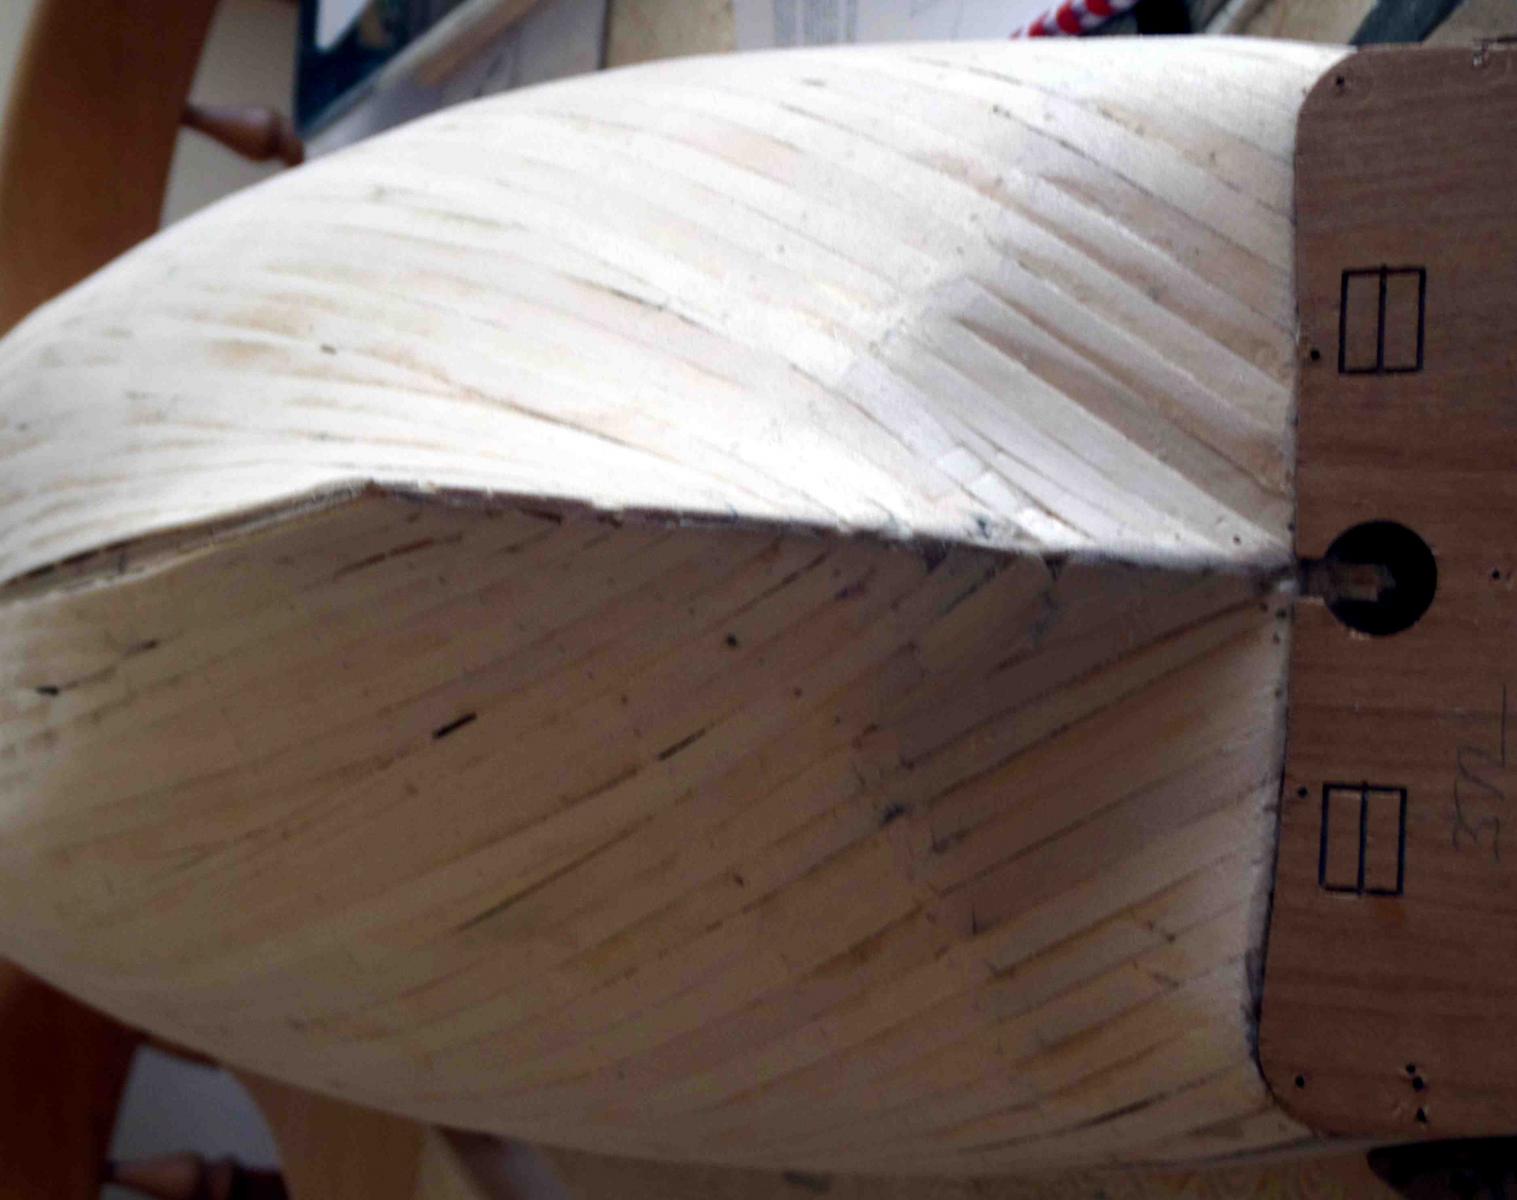
I have been busy coppering from water line down and I am almost totally befuddled now.
I cant help thinking it would have been better to work from the keel up. I think you can run a nice straight line along the bottom of the keel and work up from there. You are still left with a nasty gap between the first line of tiles and the line where the hull joins the keel whichever way you go. I have decided to paint the underside of the keel in copper paint rather than trying to plate it but I don't know how to finish the bow & stern. So far I have tried folding the plates around the stern post and it looks OK but I don't think it will work on the bow.
Whichever way you go I think the big issue is keeping the butt joints close and trying to avoid tiny infill bits which I think is impossible. I think I will be left with a few very thin infill bits which I will fill and paint!!
I am sure the purists are thinking I am mad but if you are not careful you go mad. Whichever way you go good luck. They tell me this is a form of pleasure but I am having my doubts.
I did trawl the internet etc for guidance but I couldn't find any help on the difficult bits so I suspect there is no right way, you just do your best
Peter