HOLIDAY DONATION DRIVE - SUPPORT MSW - DO YOUR PART TO KEEP THIS GREAT FORUM GOING! (89 donations so far out of 49,000 members - C'mon guys!)
×

Siggi52
-
Posts
1,155 -
Joined
-
Last visited
Content Type
Profiles
Forums
Gallery
Events
Everything posted by Siggi52
-
 Keith, don't worry, I bought the bricks. That are real clay bricks, but not burned. Jaager, no I would't make it easy Tobias and all others, thank you
 -
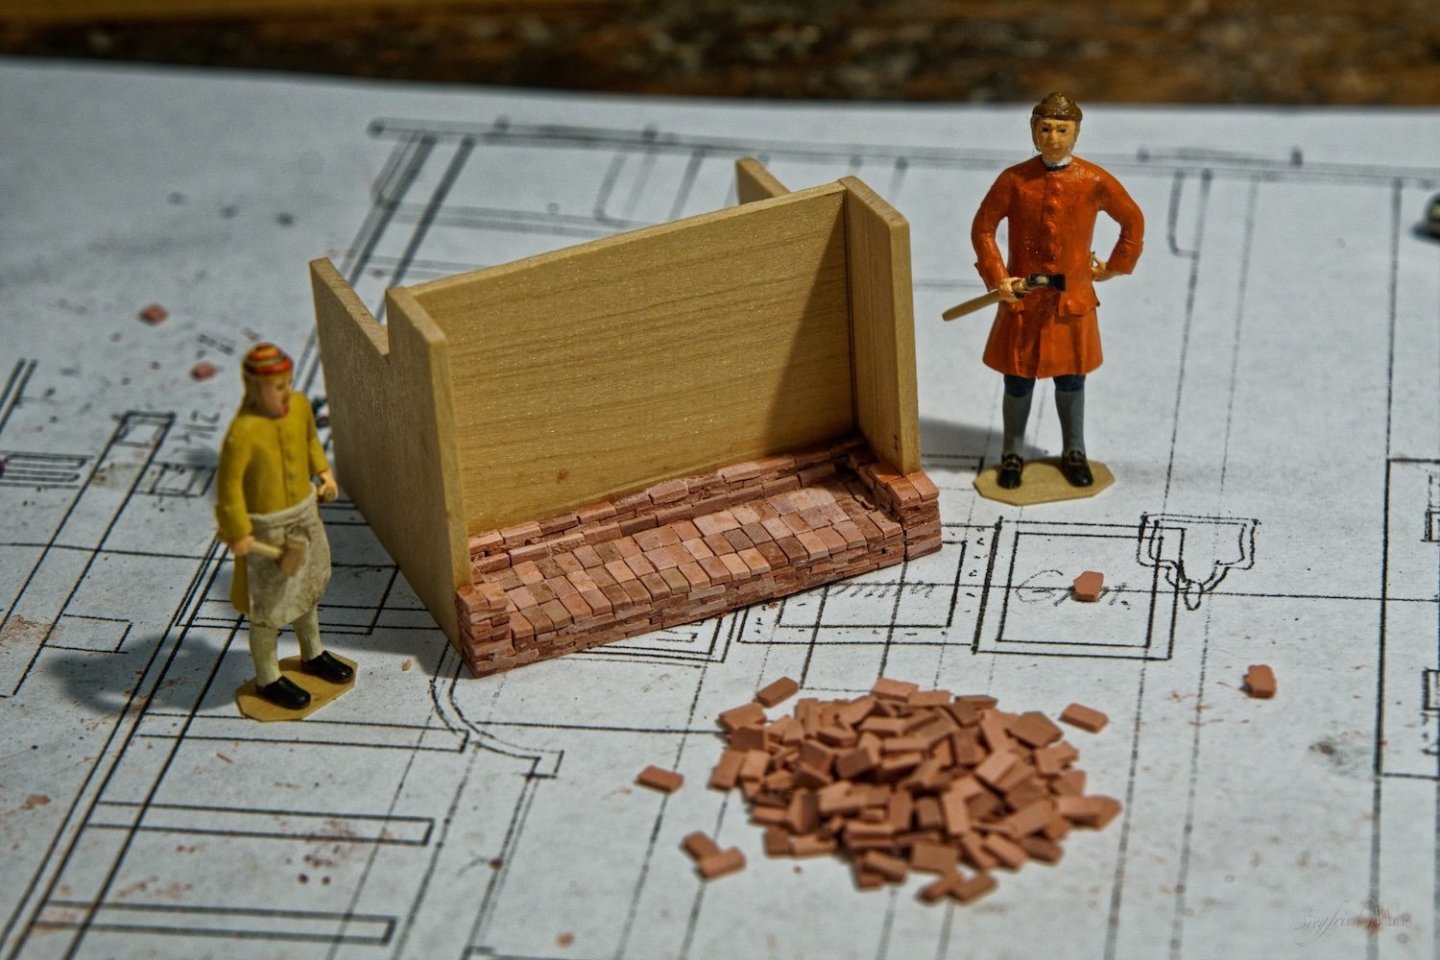
Hello, after I have my other yard more or les ready for spring, I'm back at the ship yard. The carpenters have build the basic scaffolding for the galley and I'm do now the masonry work. I think, it's easier doing it 1:1
-
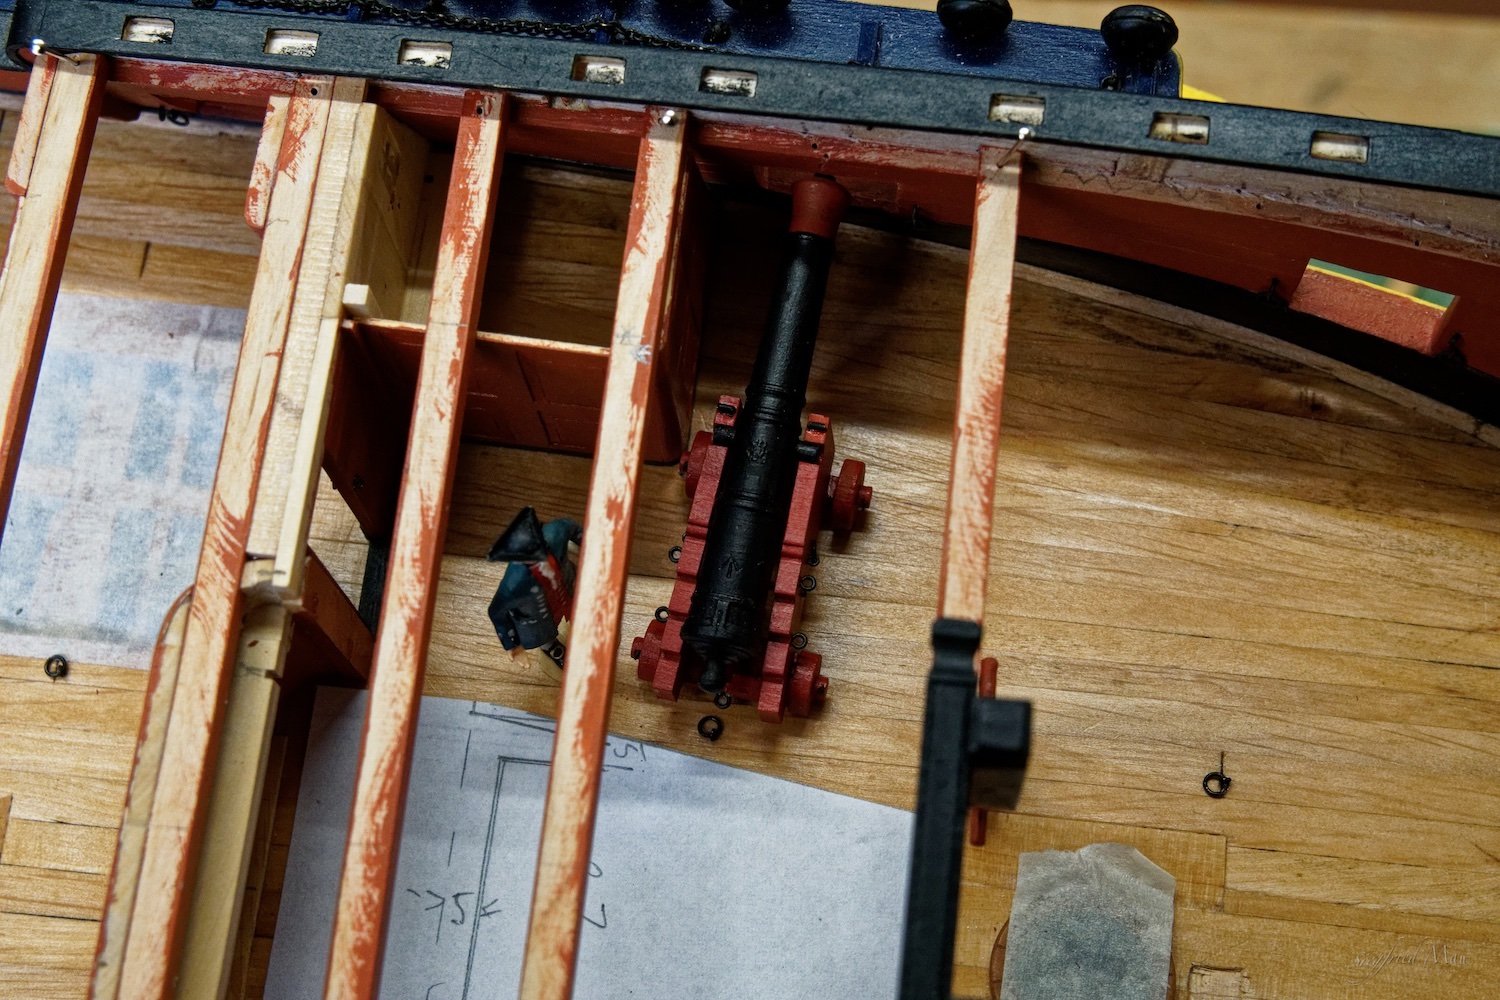
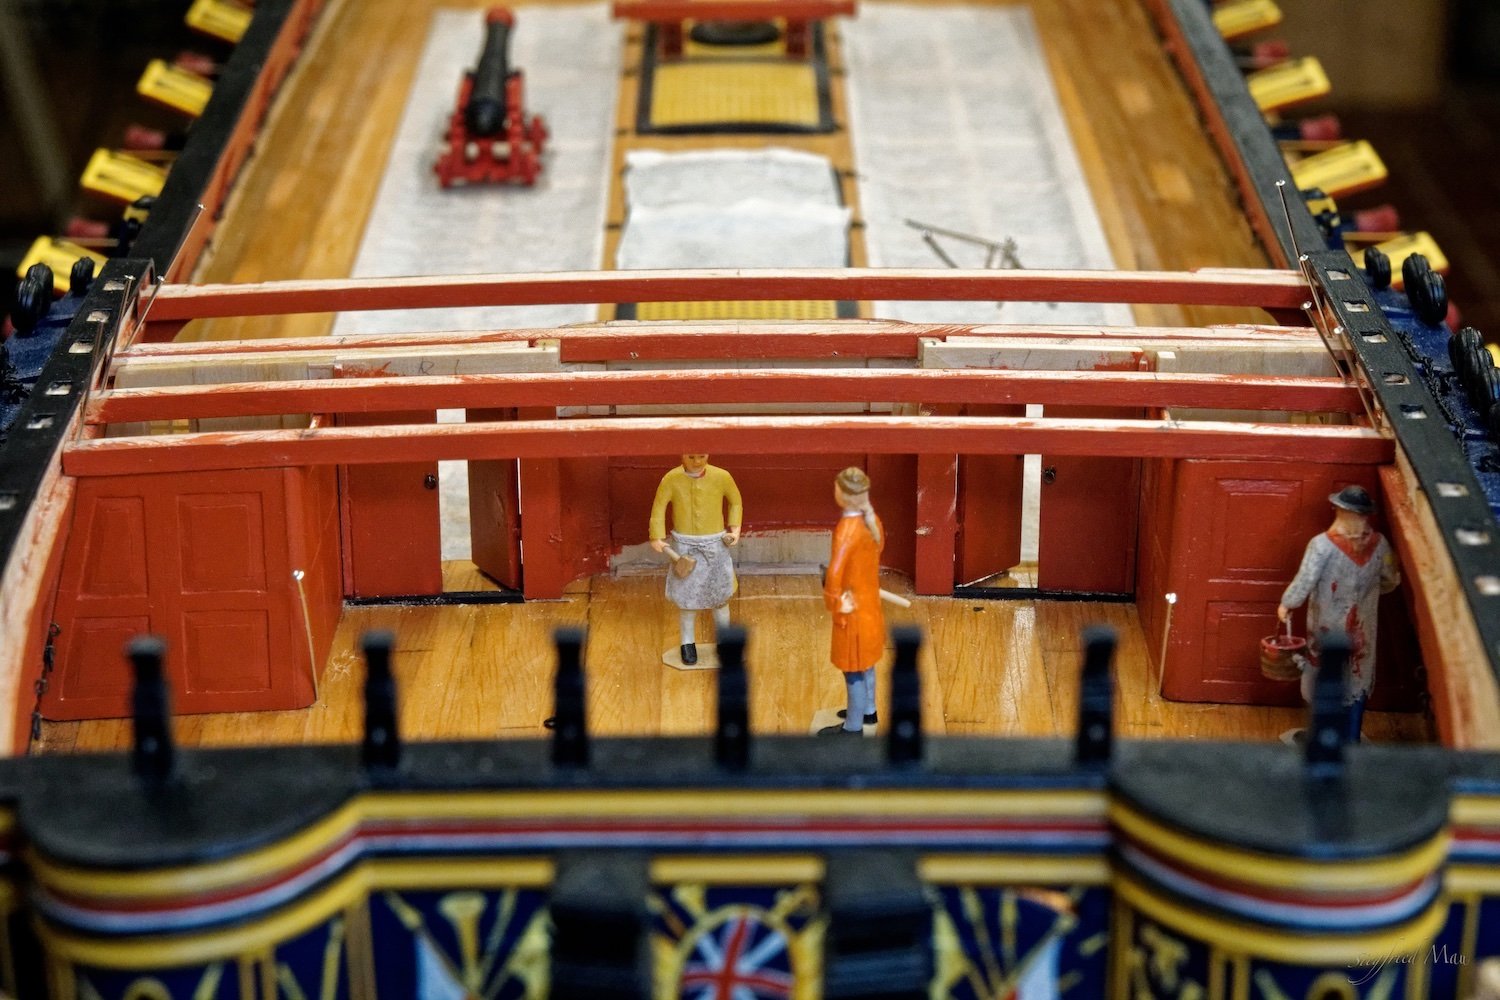
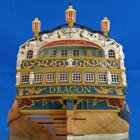
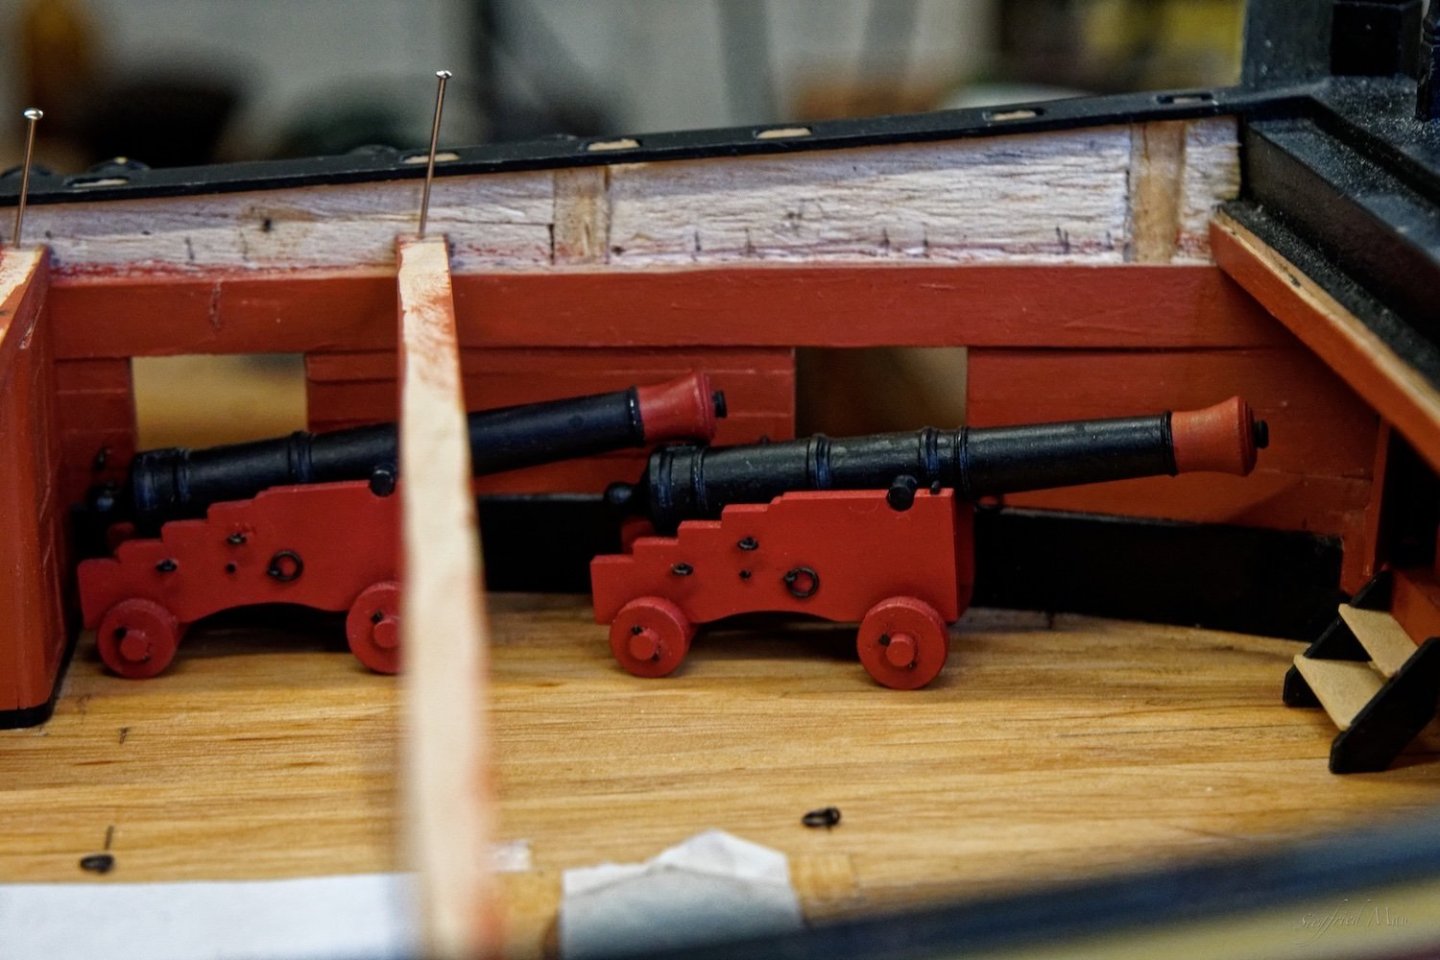
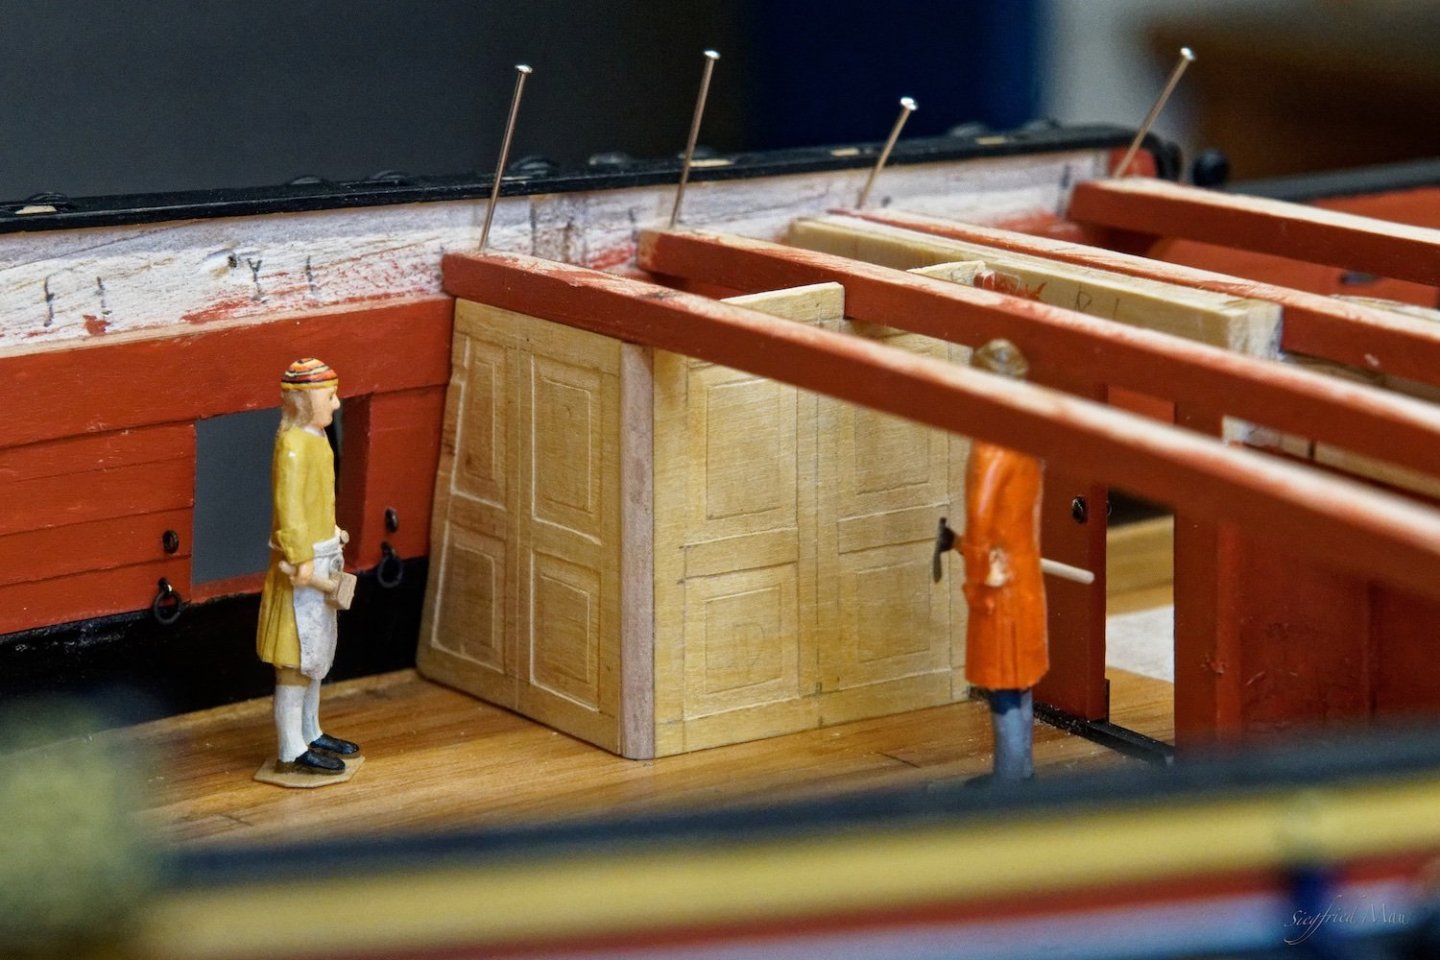
Jason, could you please tell me where they stored cannons in the hold and where I could find that written down. Not just I know that, or I have read it somewhere. In most stores in the hold where barrels stored. There was not somewhere an empty space to lay down some cannons. And they need heavy gear to get them out there. Not just one man at each end and away with them. The wight of the cannons you see above in my last post. Did you think that could be done within 15-30 minutes. That was a larger task. And yes, I know that they lashed cannons to the side. I build that already for the Dragon. For the Tiger it would also work, with the help of some extra rings. To the right you see the door to the roundhouse. So, you wouldn't have many friends when you blockade it. And permanent bulwarks are permanent. See also the drawing for the 1745 establishment in my post #875

-
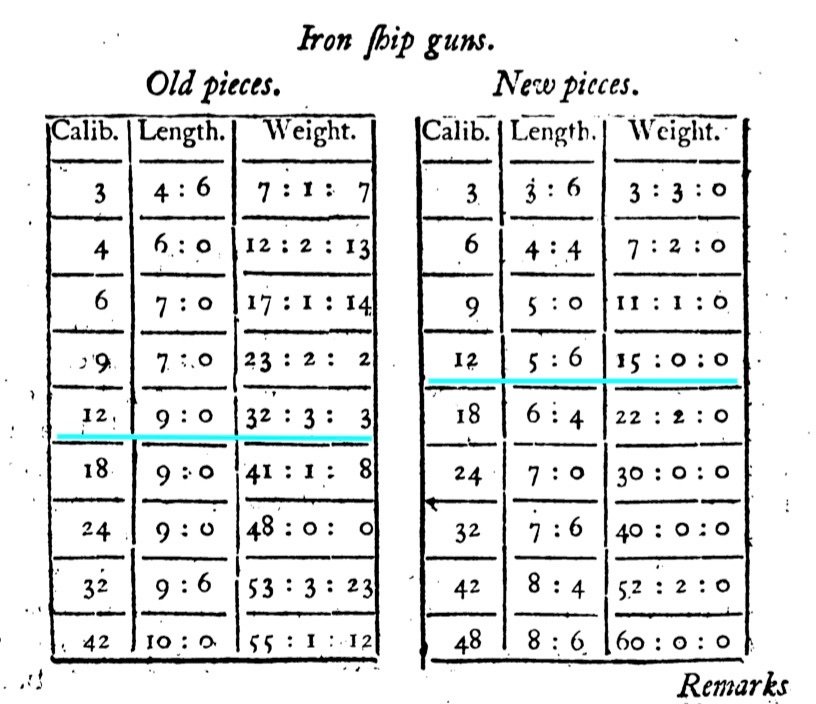
Hello, Shipman, that where at least guard ships. Usually a ship of the line fitted in peacetime with part of her armament and rig and a nucleus crew, capable of acting as a floating battery for the defence of a port she was at, and also capable of being rapidly fitted out in an emergency before the ships in „Ordinary“ (reserve) became available. David Lyon And I don't think, that they had the rest of there cannons in the hold. I read the passage for ship guns in Muller's Treatise of Artillery fron 1768 (page 53-60) and it showed to me, that there where no shorter guns up to this time. There should come shorter guns with the next establishment. 😐 That meant to me I could use the guns I have build and because I show them run out, all others should not bother me. Here the passages that say that at least

-
Hello and many thanks for your thoughts, yes I know that when ships where not in use, they stored the cannons at shore. Not in the hold. And yes, when in action the cabins where dismantled and brought into the hold or in the boots, who where brought outside. But not the galley and the bulwark. At this time the bulwarks where permanent. It was a „bulwark“ in times ships where entered. I remember a picture, I think in the Kriegstein collection, with a cannon port in the doors. And yes, they where practical men, shorter cannons is the simplest solution. But did they have them, and how long where they? I know, it would be a lot of extra work 🙁
-
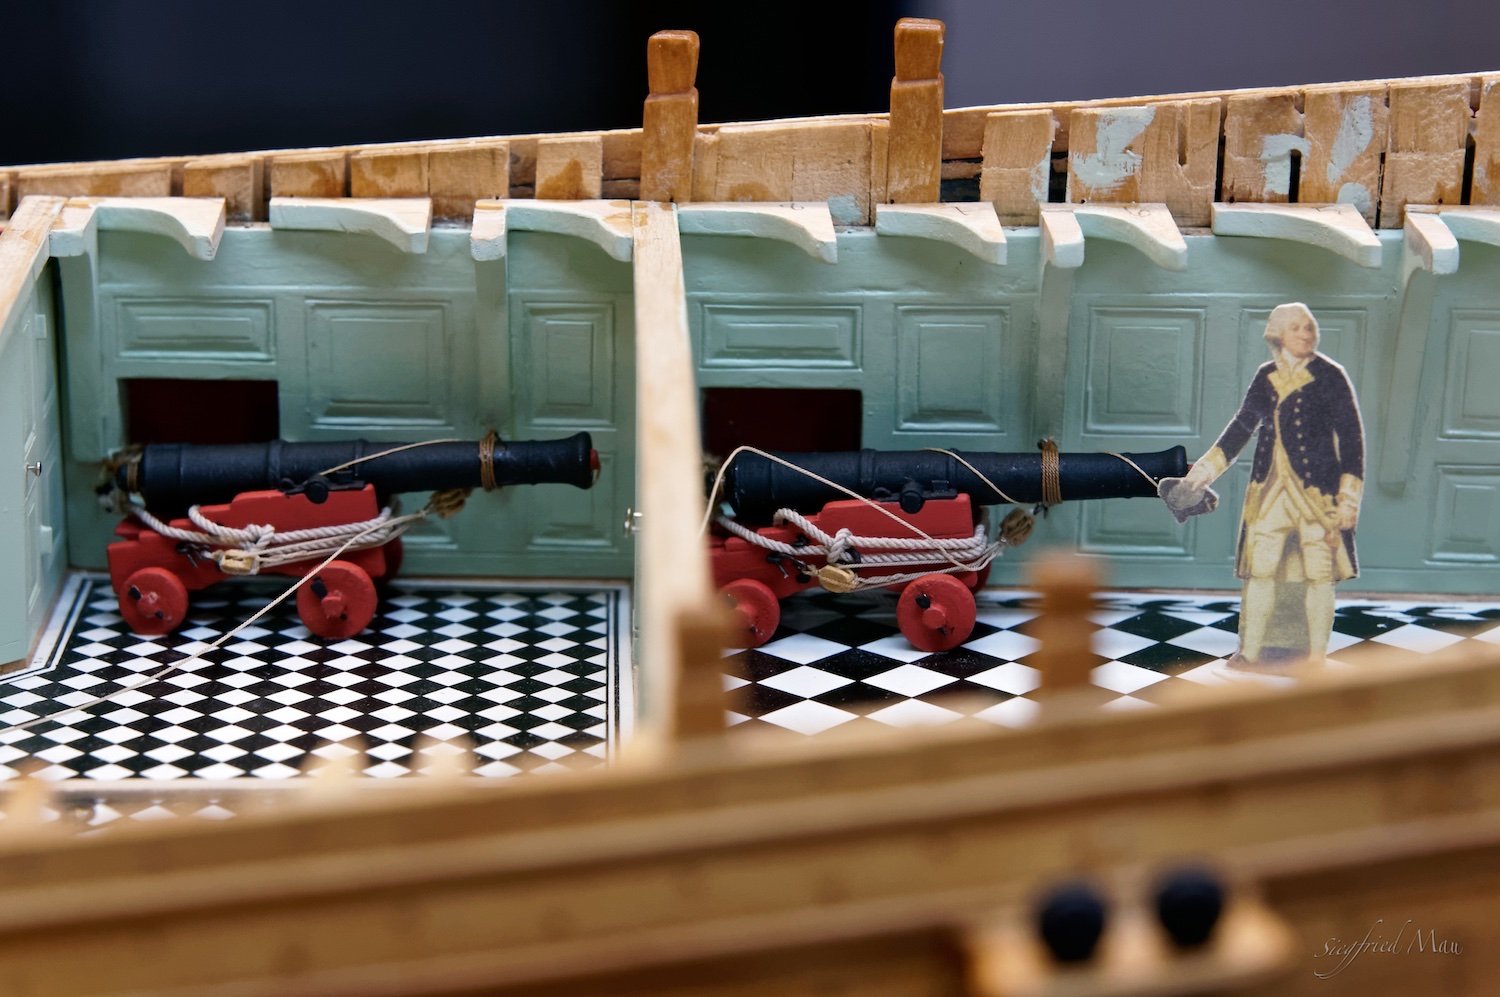
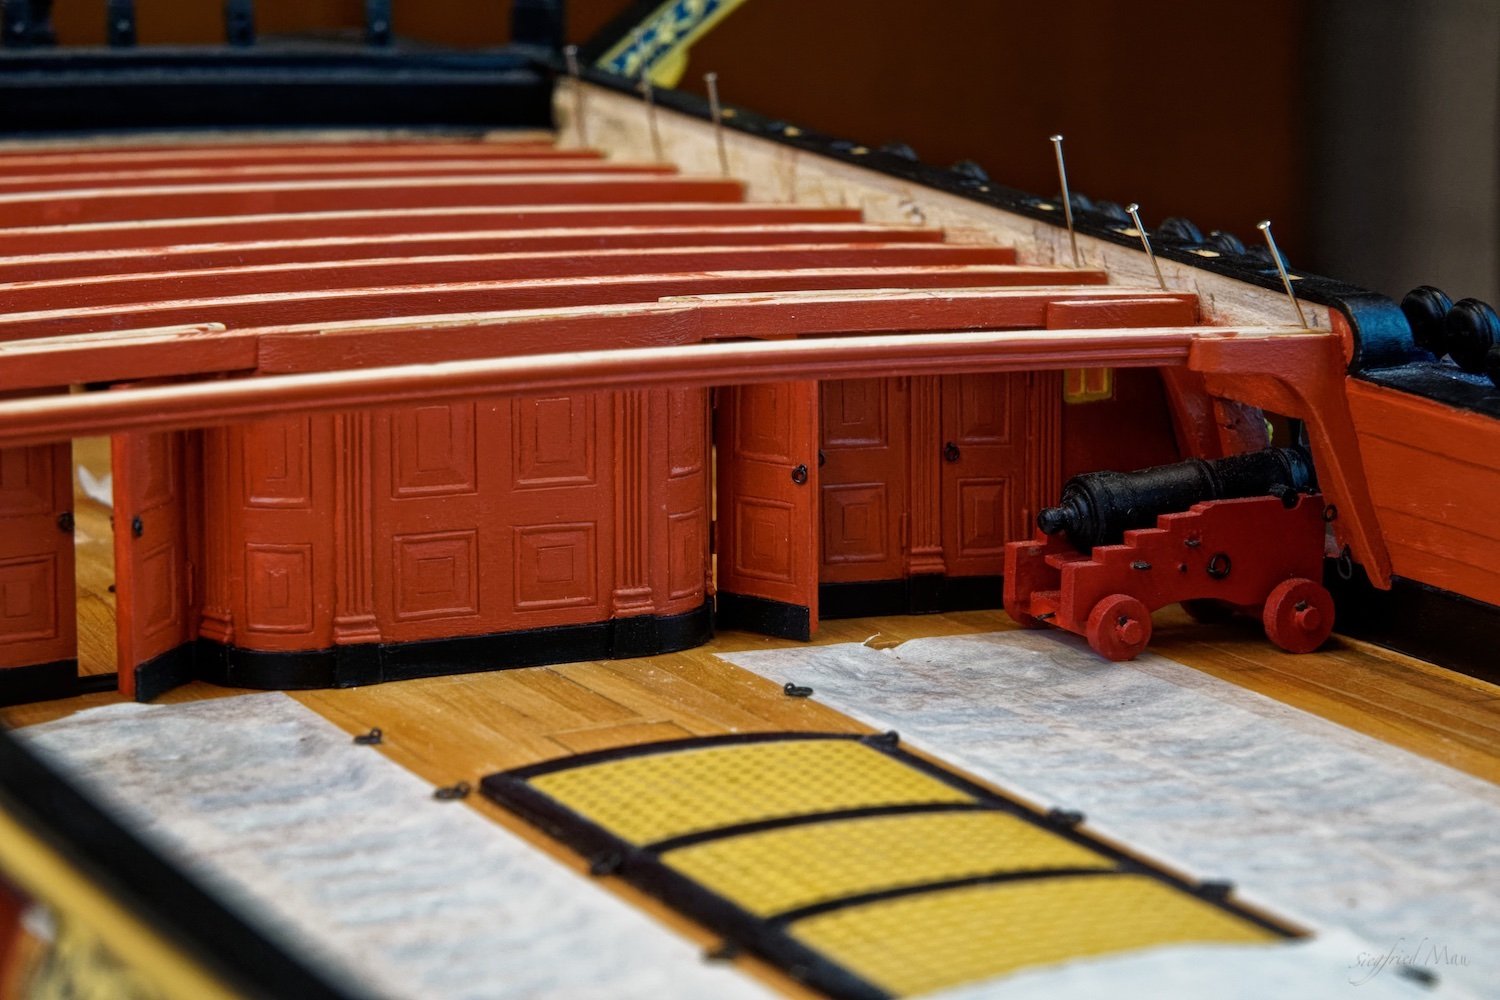
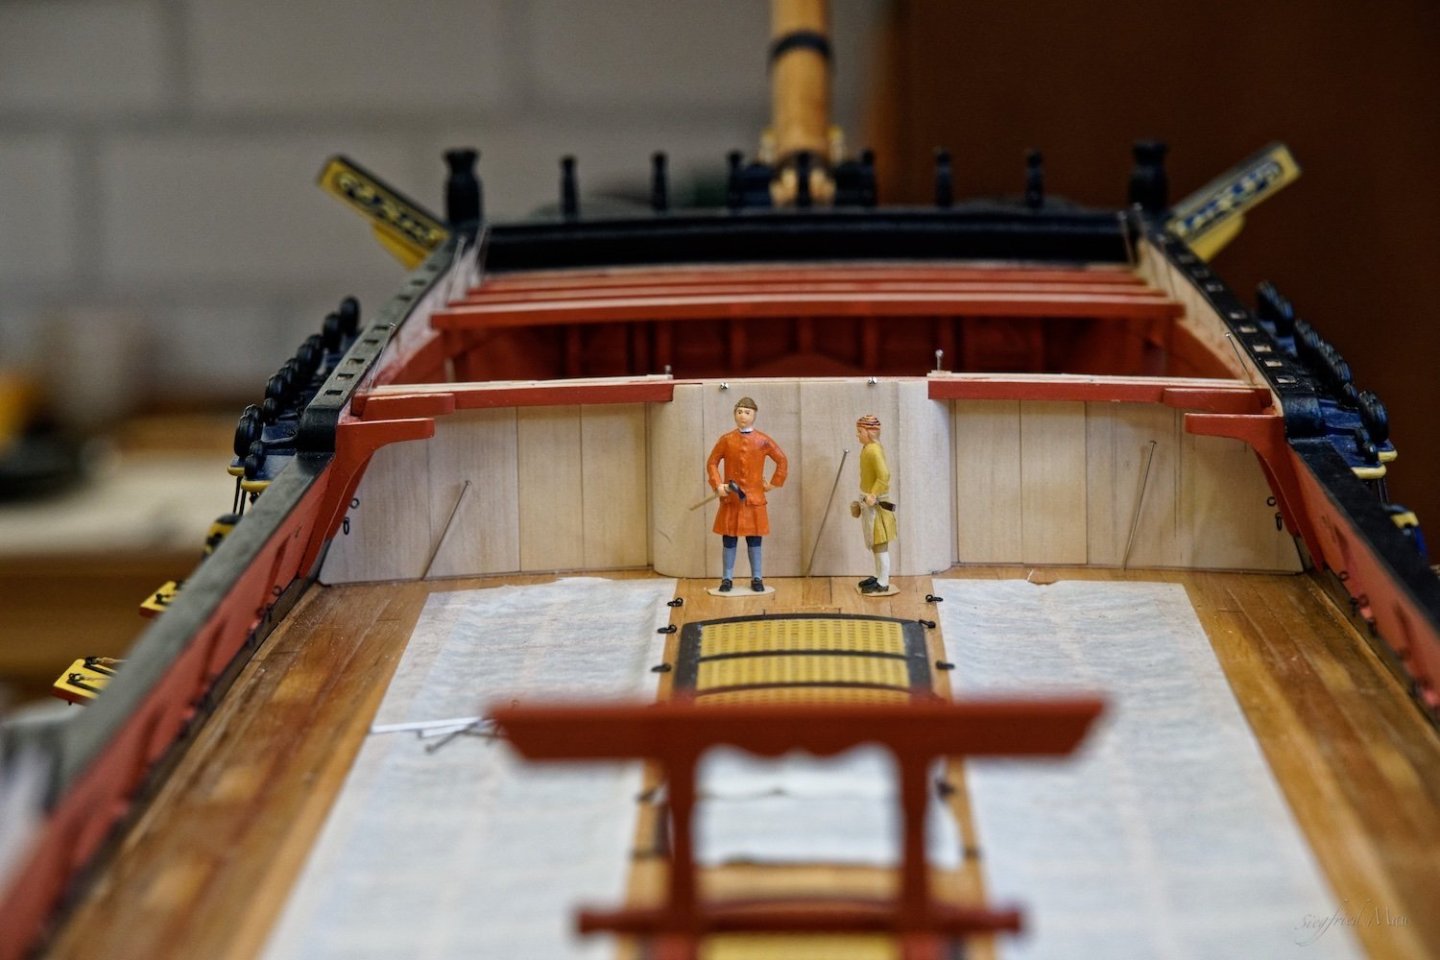
Thank you Druxey, but even then it is tight there. There are two cannons in front of the cabins and some ships have between them at the port side a second cabin. I chose the 9 ft cannons, because Falconer listed them for iron guns used in the sea service, according to the mensurations in 1753. And he has for every caliber only one length!
-
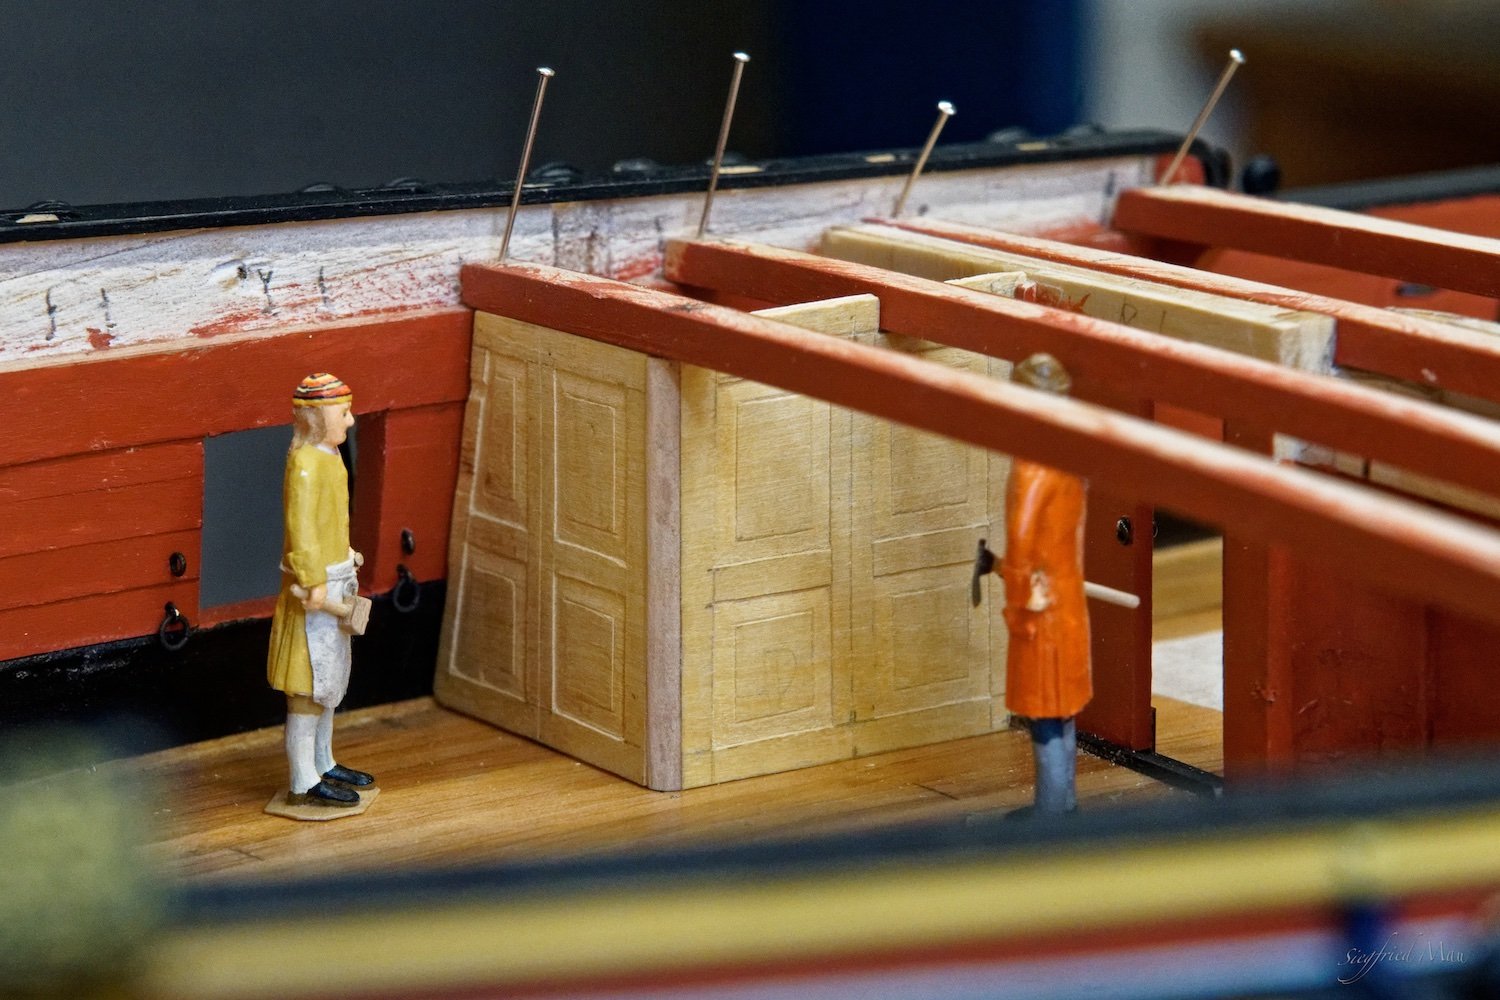
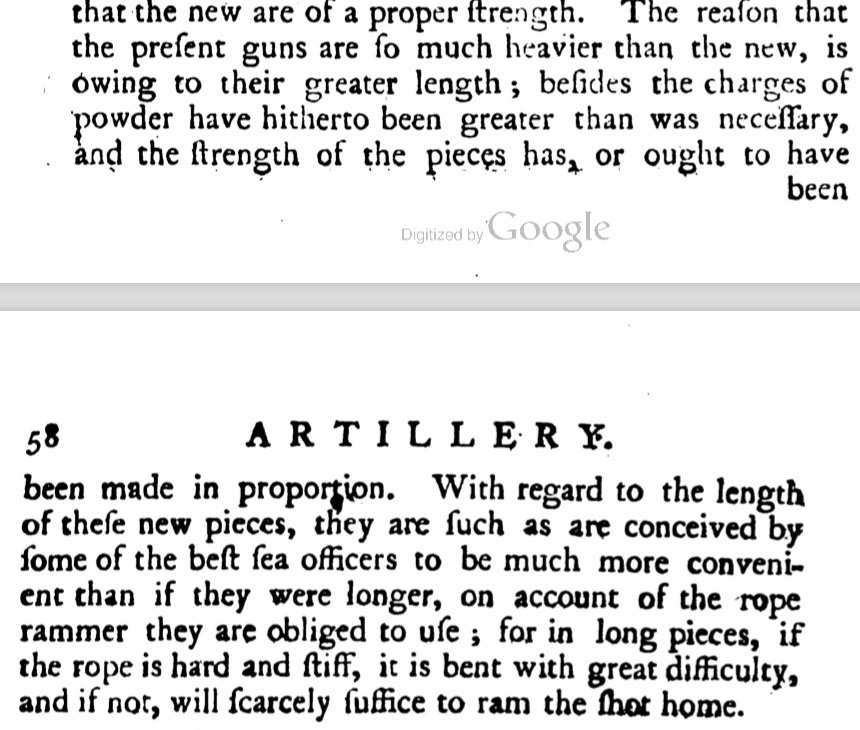
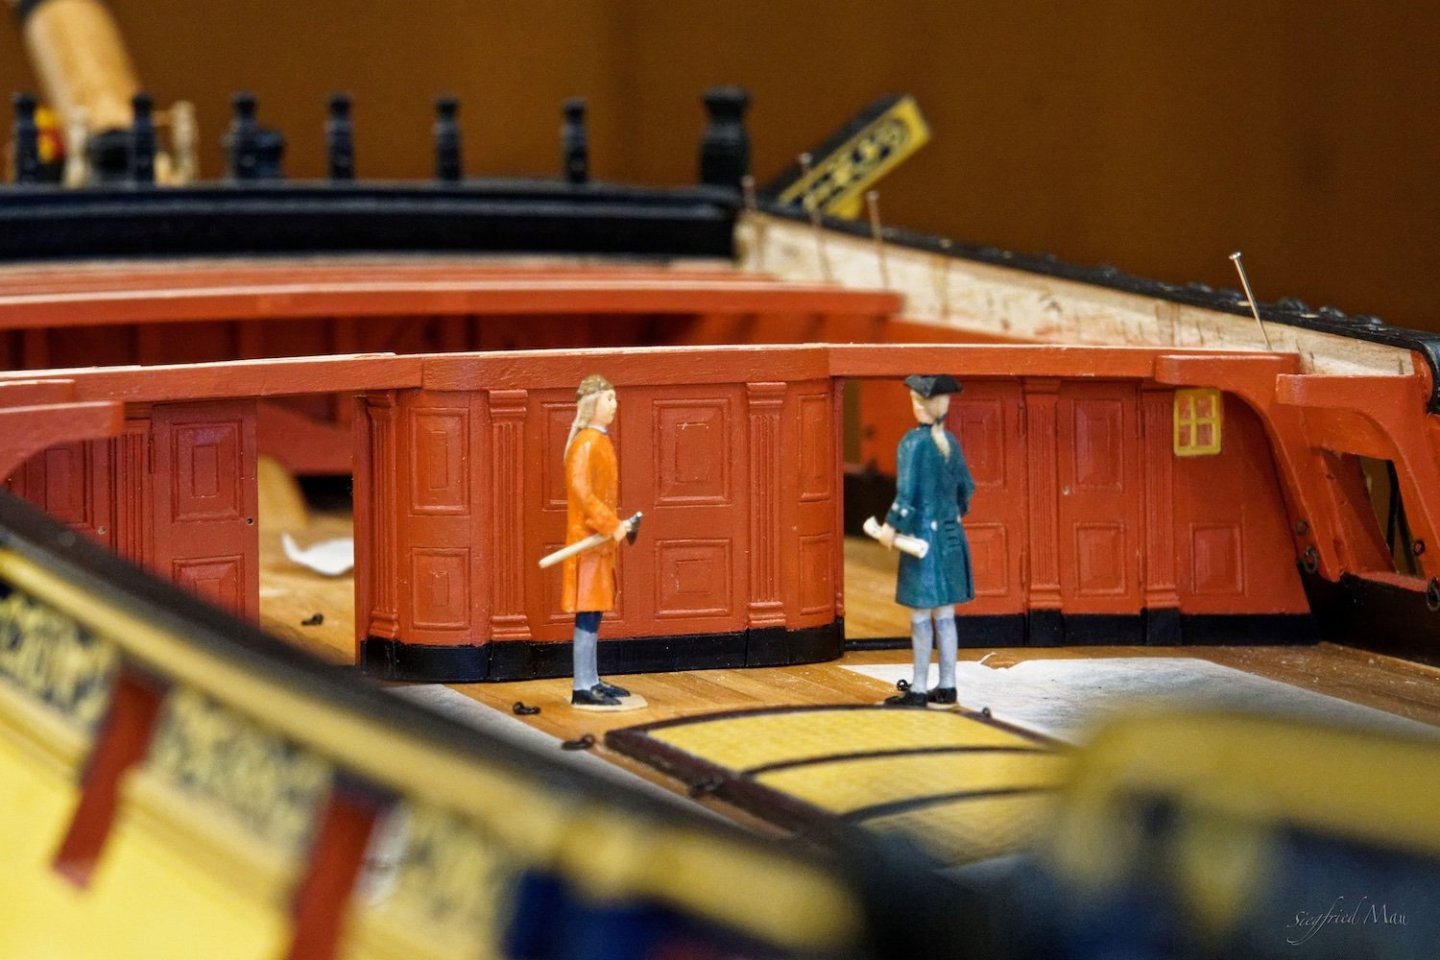
Hello and many thanks for the likes, but I have a serious problem. The 12 pdr 9 ft cannons are too long! If they are secured inside, nobody could pass without being an artist. And this is a very often used way to the head. The Armstrong design has 3 lengths for 12 pdr's, 7,5, 8,5 and 9 feet. In the next picture I used a 7,5 ft cannon and here the 8,5 ft cannon. From the aspect of space I would prefer the 7,5 ft cannon Also for the cabins, the 9 ft cannon would be an obstacle. So my question: did anywhere know if they had these cannons at that time? At least the 7.5 ft 12 pdr? Many thanks in advance.


-
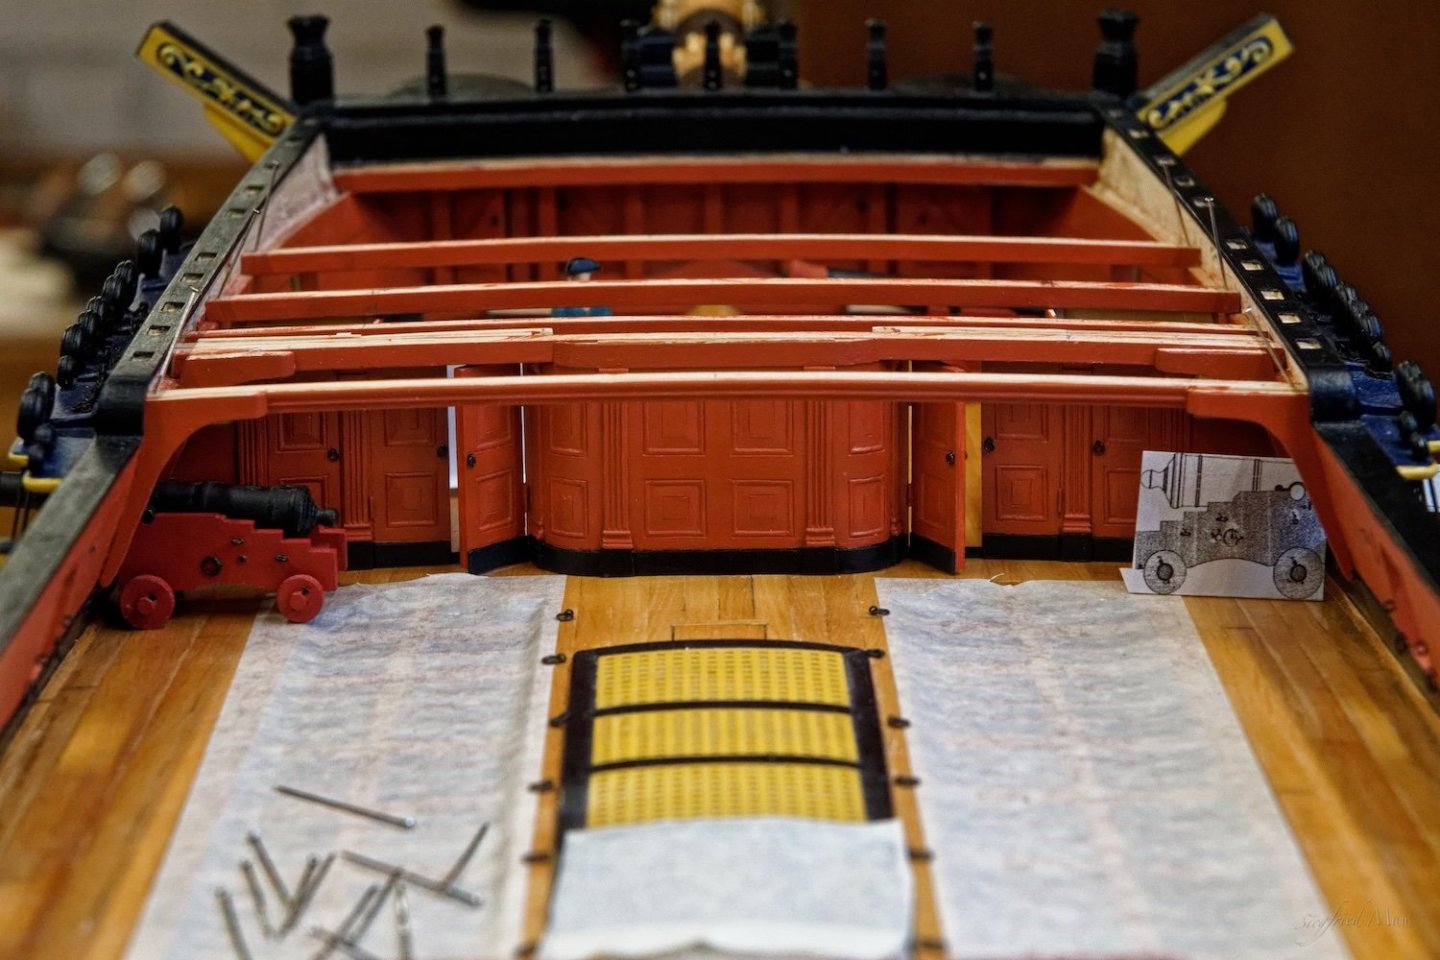
Hello, the carpenters fished mostly the cabins and the painter painted them. They will get now some free days till Eastern, but the shipwright has to think about the galley. Some bricks are ordered, but there are some more questions to solve. If you want to find the dust, make a picture 😄

-
Hallo and many thanks, today the carpenters where fit Keith and started with the cabins. 😉
-
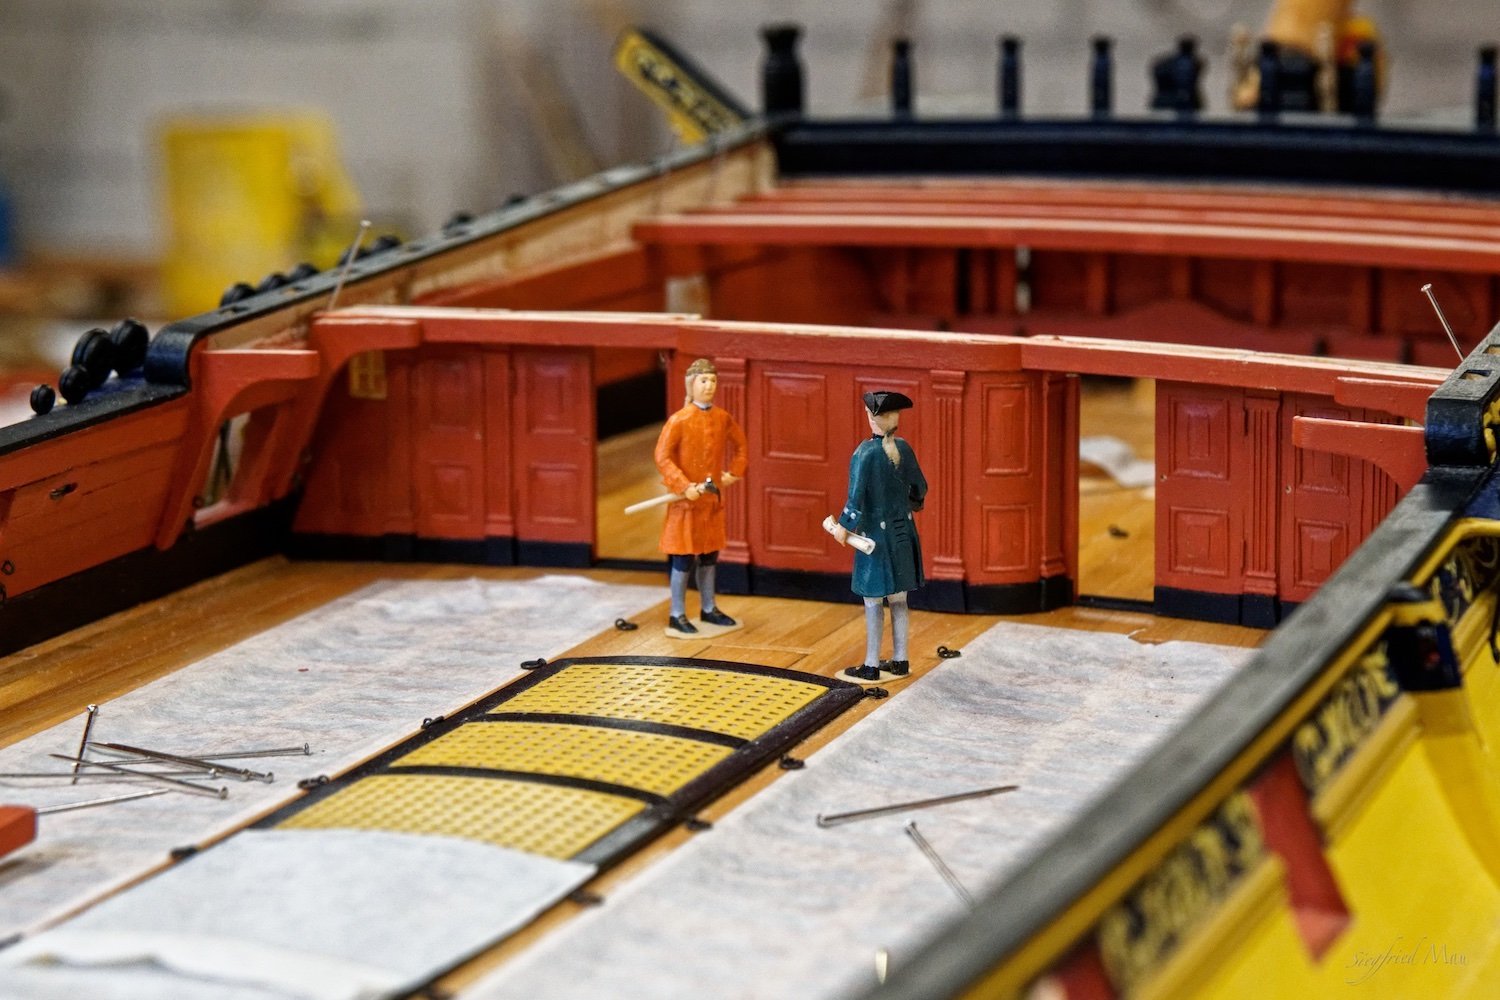
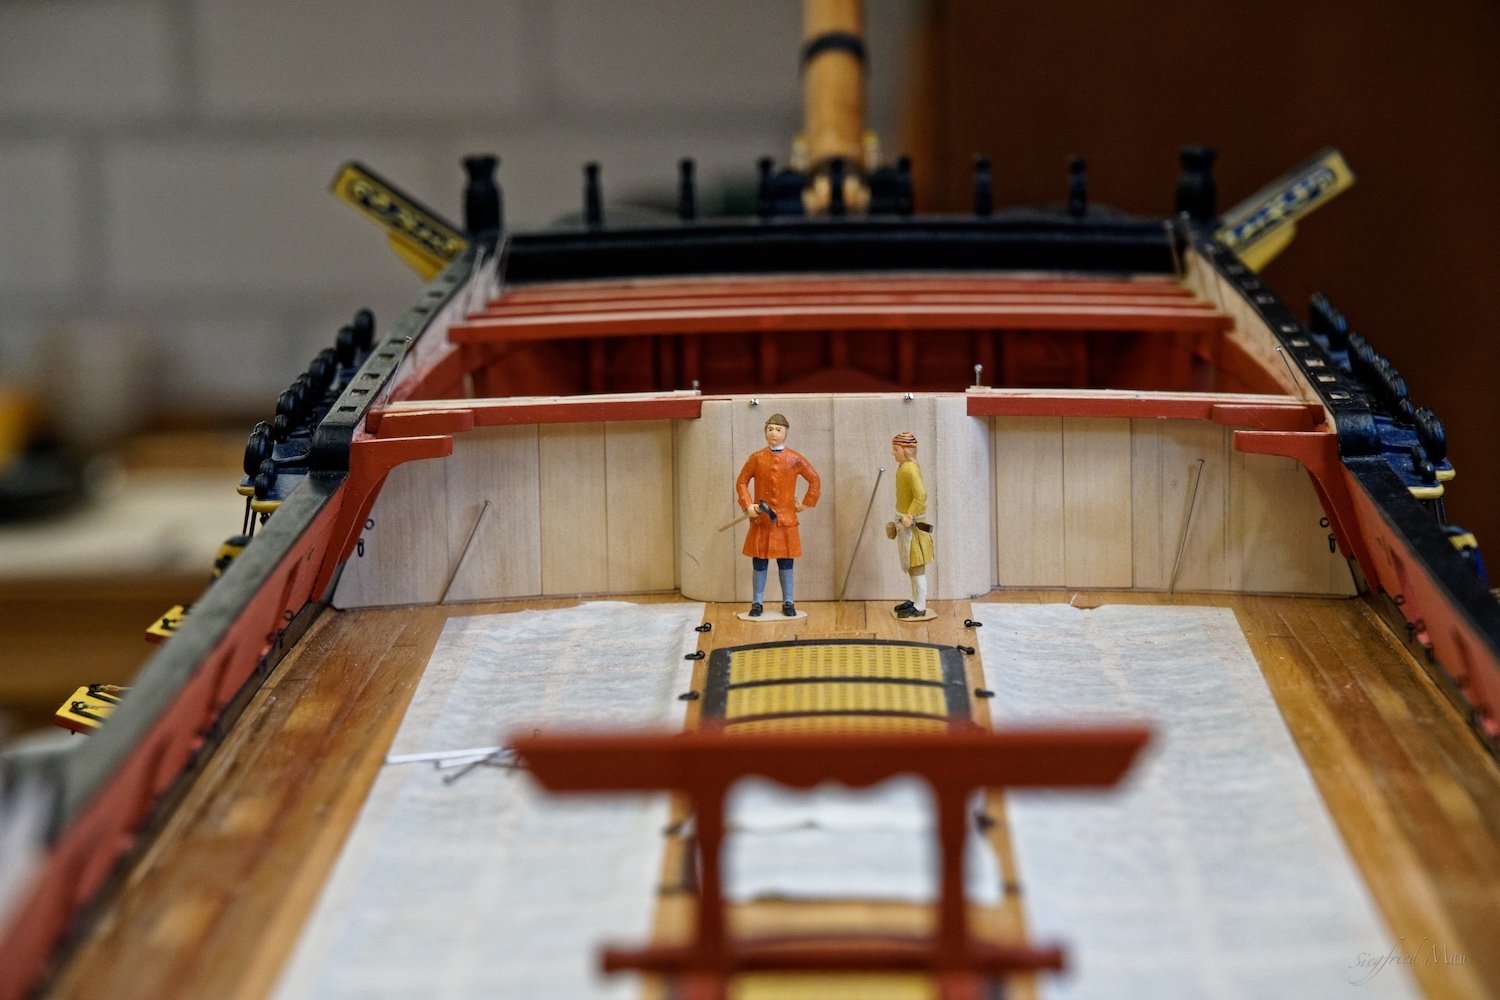
Hello and thank you Keith, the bulwark is ready and fast The workers got a free afternoon, I think they are now in on of the pubs around here. And that is what you will see later from it. The next things to do are the cabins.


-
Hello, we where all busy over the weekend and the shipwright is pleased. Some small spots he found, where the painter must rework his painting. But at least most of the parts are ready. Even the windows for the cabins. Tomorrow the blacksmith should come to installed the door handles.

-
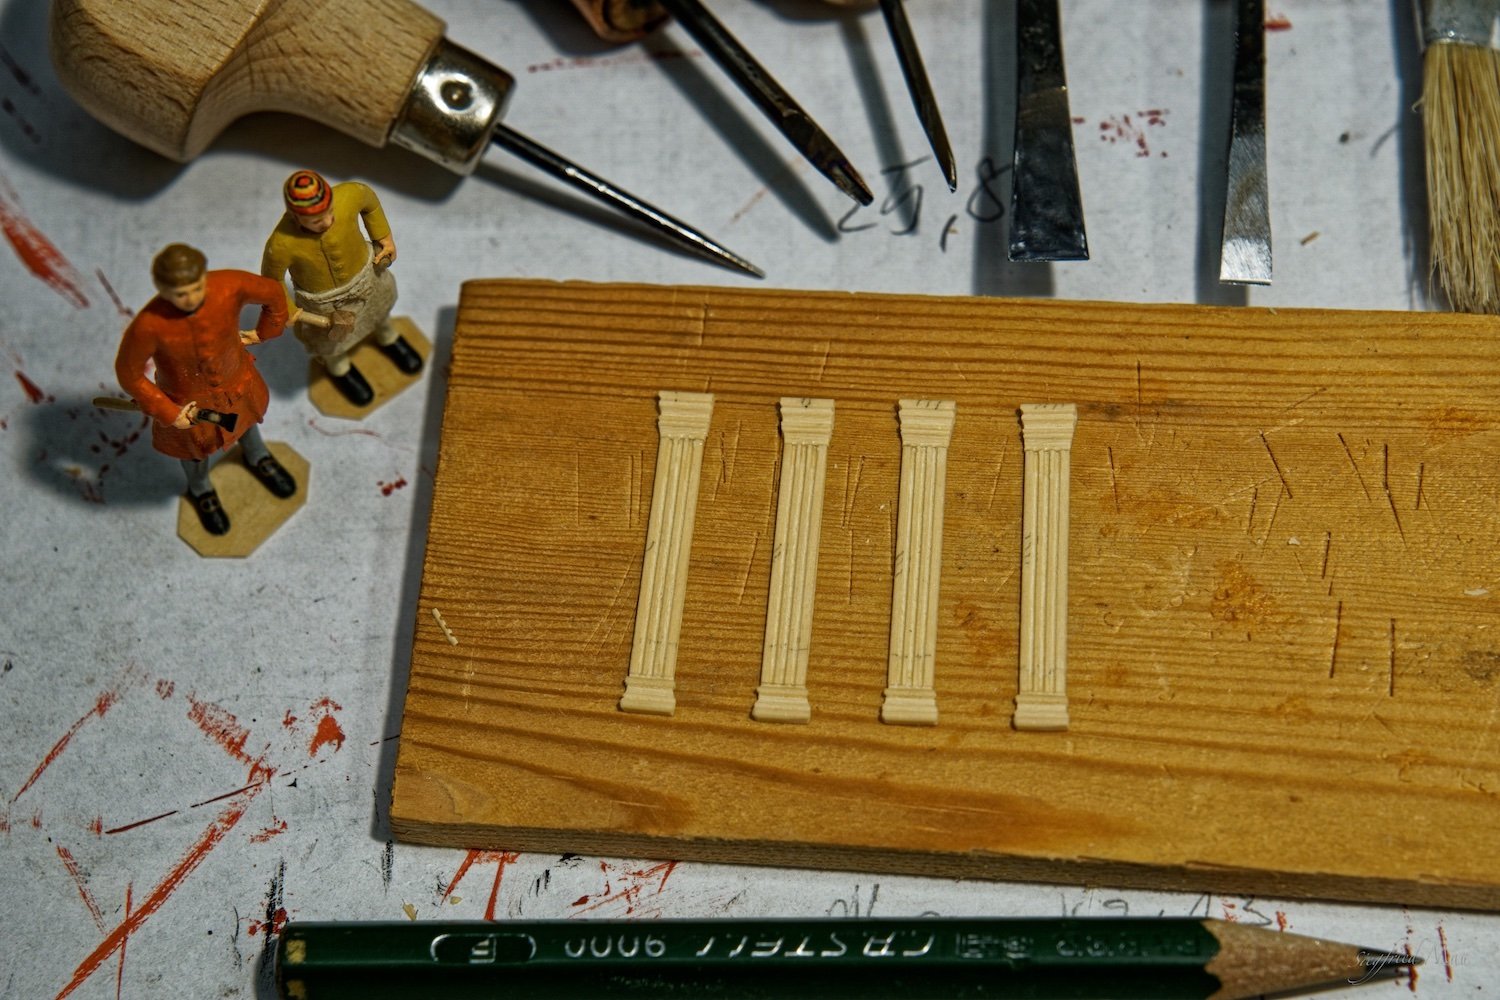
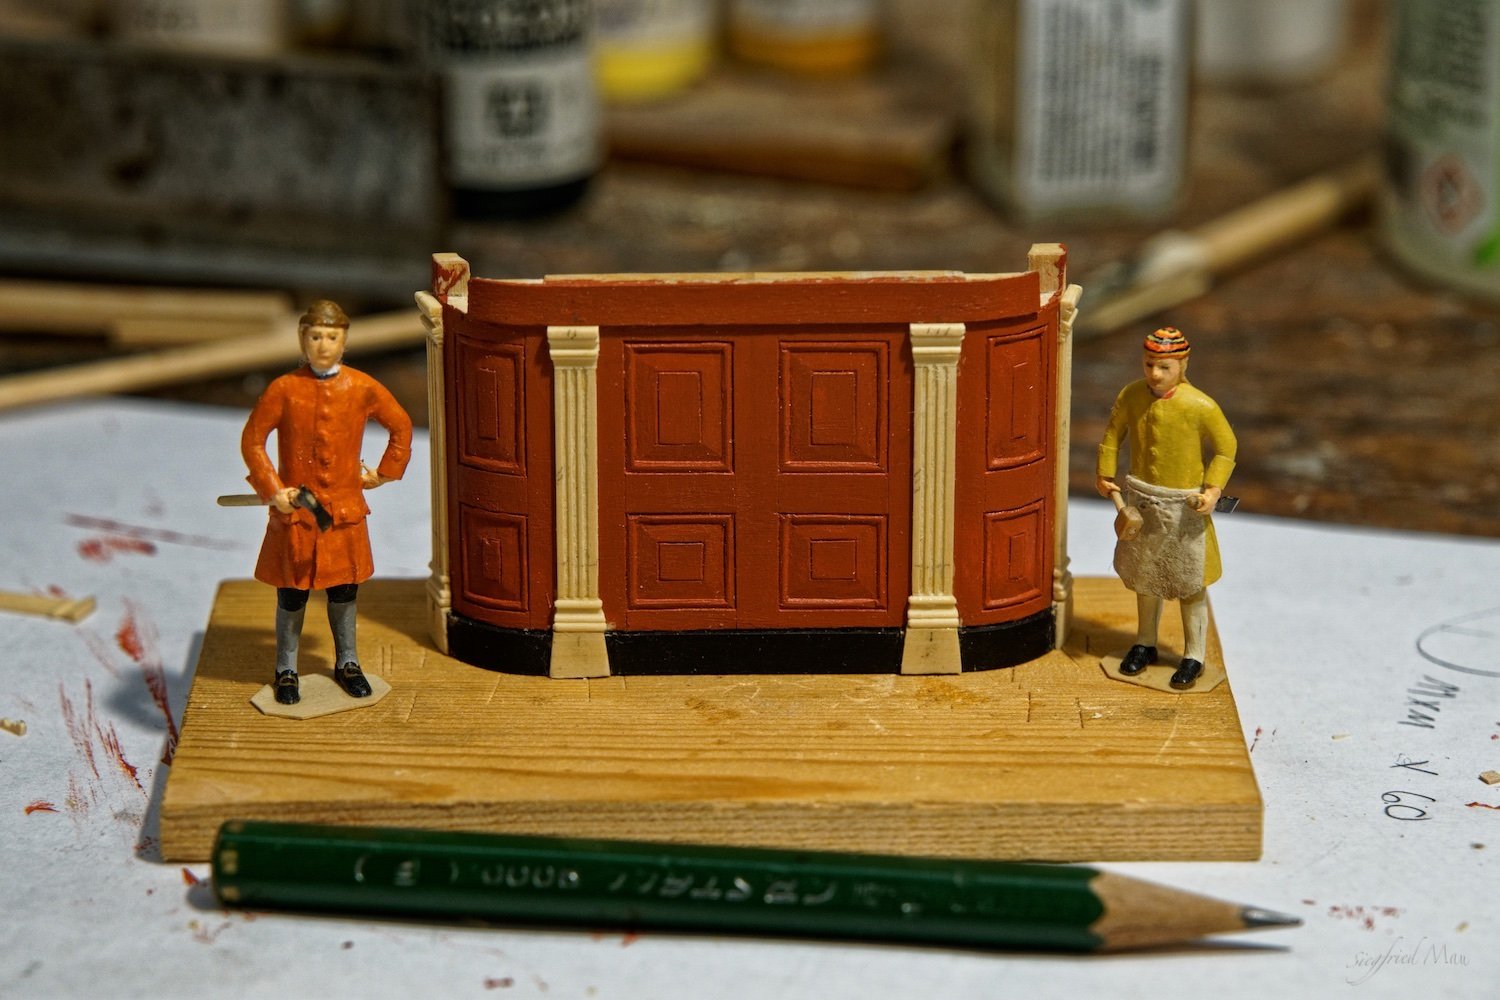
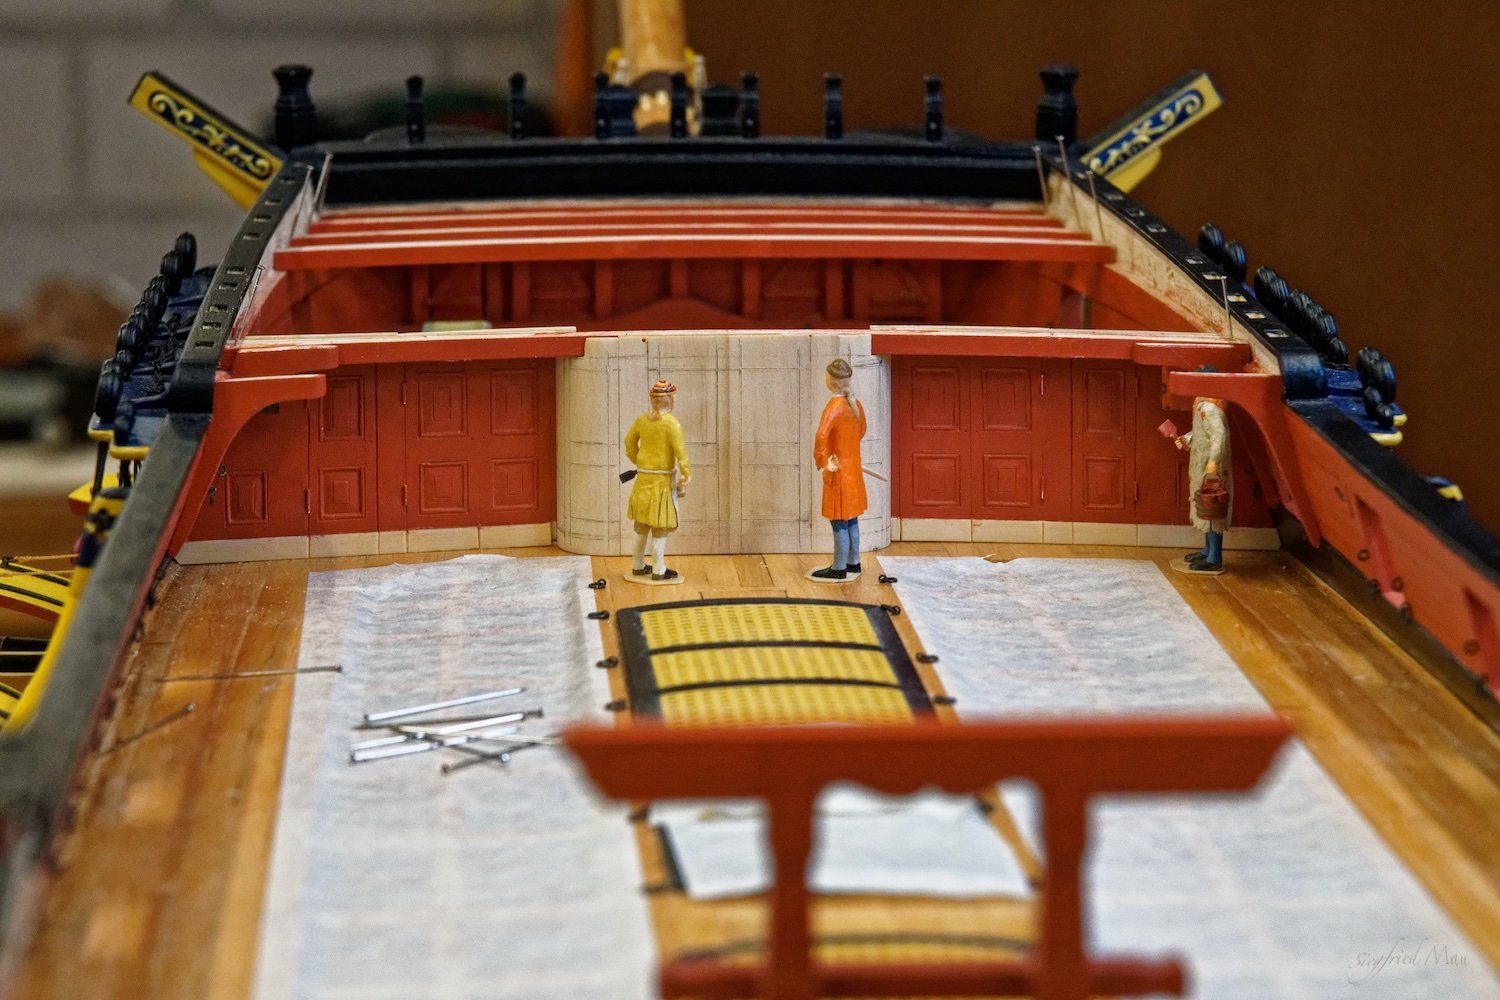
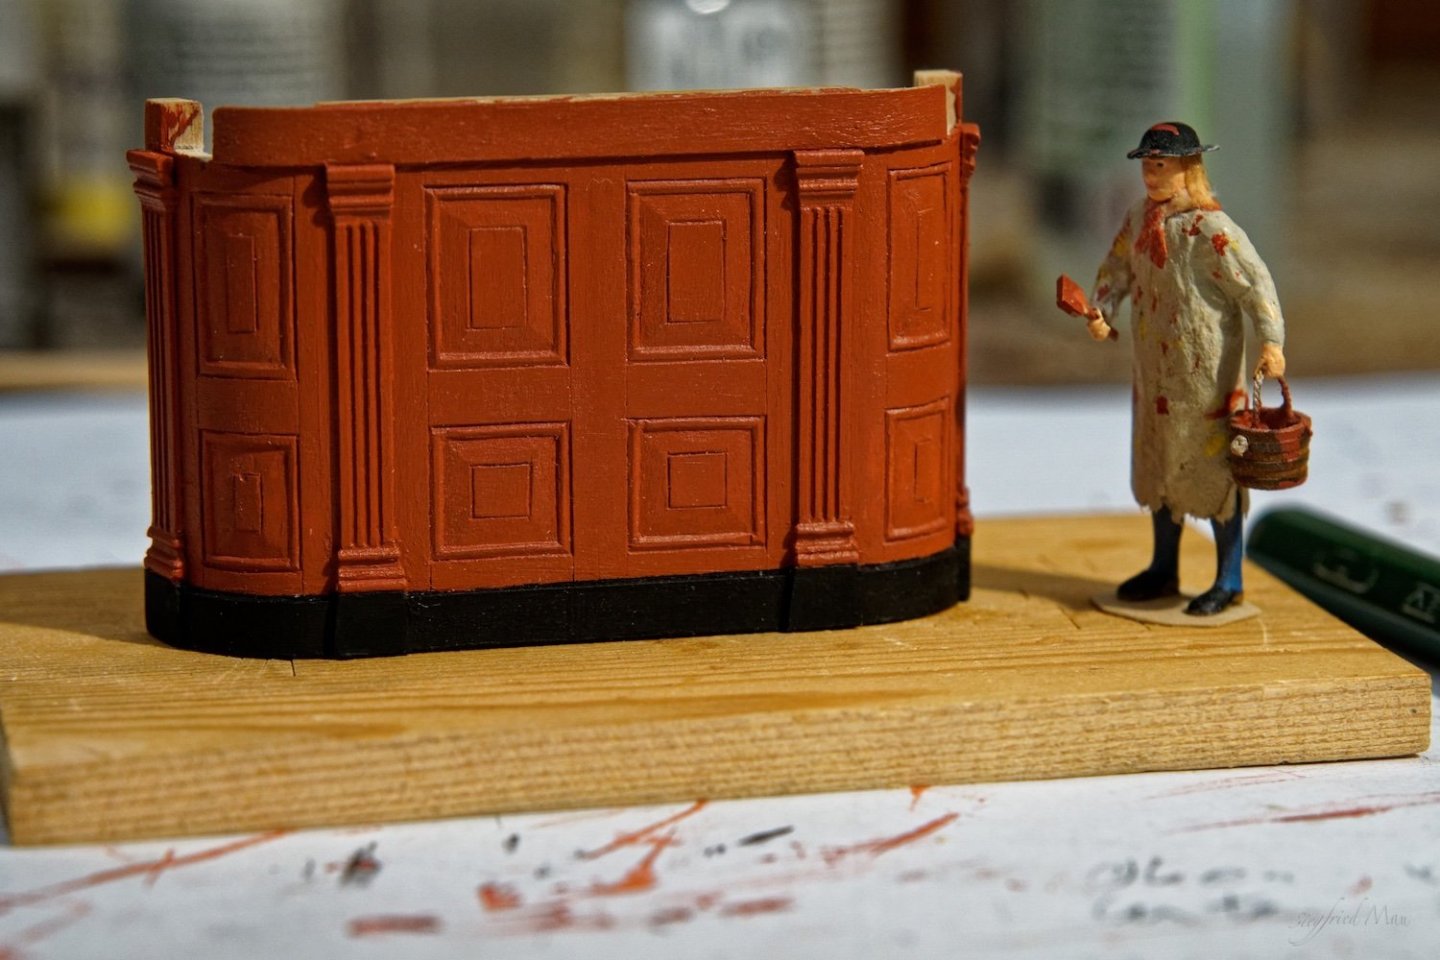
Hello and many thanks for your nice comments and likes, the carpenters build today the columns and installed them to the middle part of the bulwark later the painter painted them. I hope that when the paint is dry, it looked a little better, sharper. There are 4 columns left for tomorrow 🤭


-
Hello Keith, that could be a solution. 🤪 I had a look at my pictures from the Dragon, and they did't look better there. At the model they look great. So I hope paint and time would do it. I don't know if I build them there from Batoia, or also from Castello, it's softer.
-
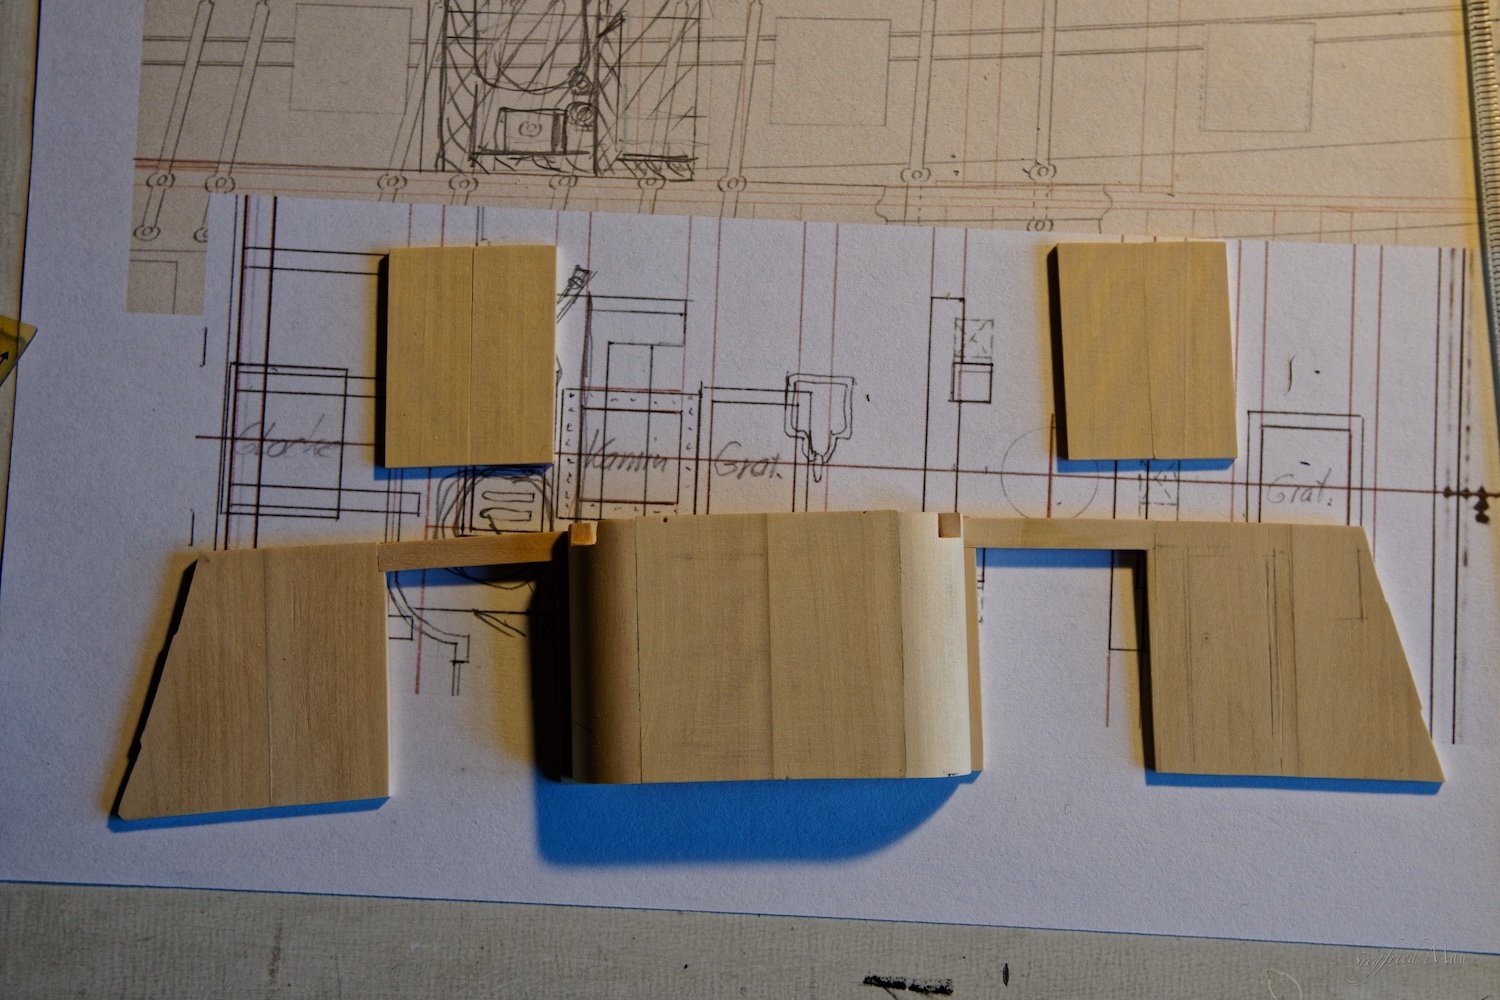
Hello, today was't my day. I made the first panelings, but I could do it better and I did it better.
-
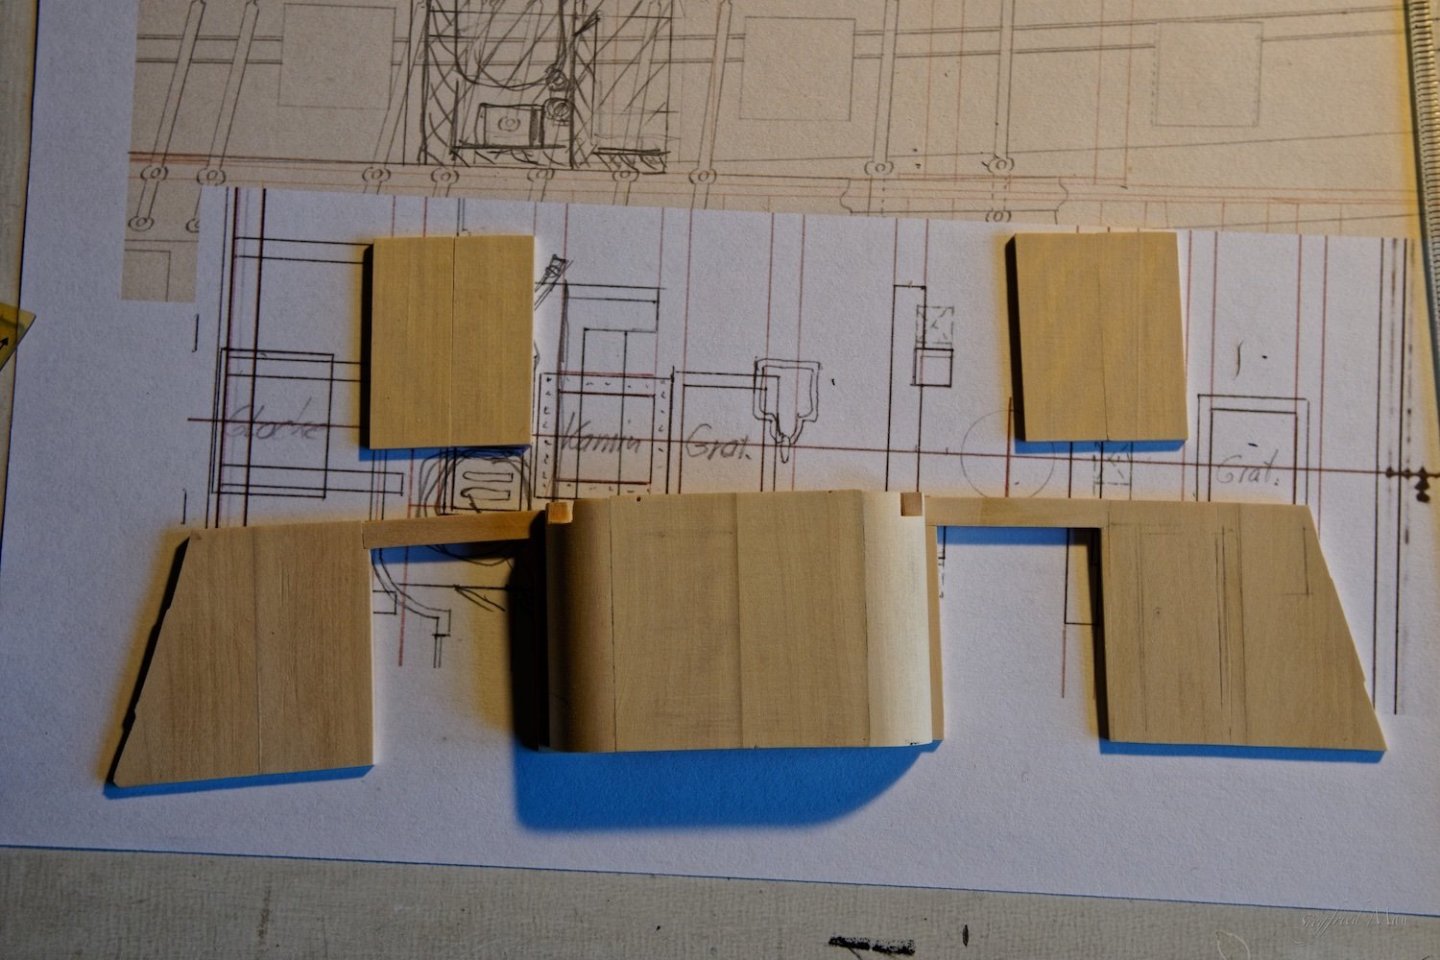
Hello Keith, no it's not so dramatic. Some small things I changed already and tomorrow I must cut new wood.
-
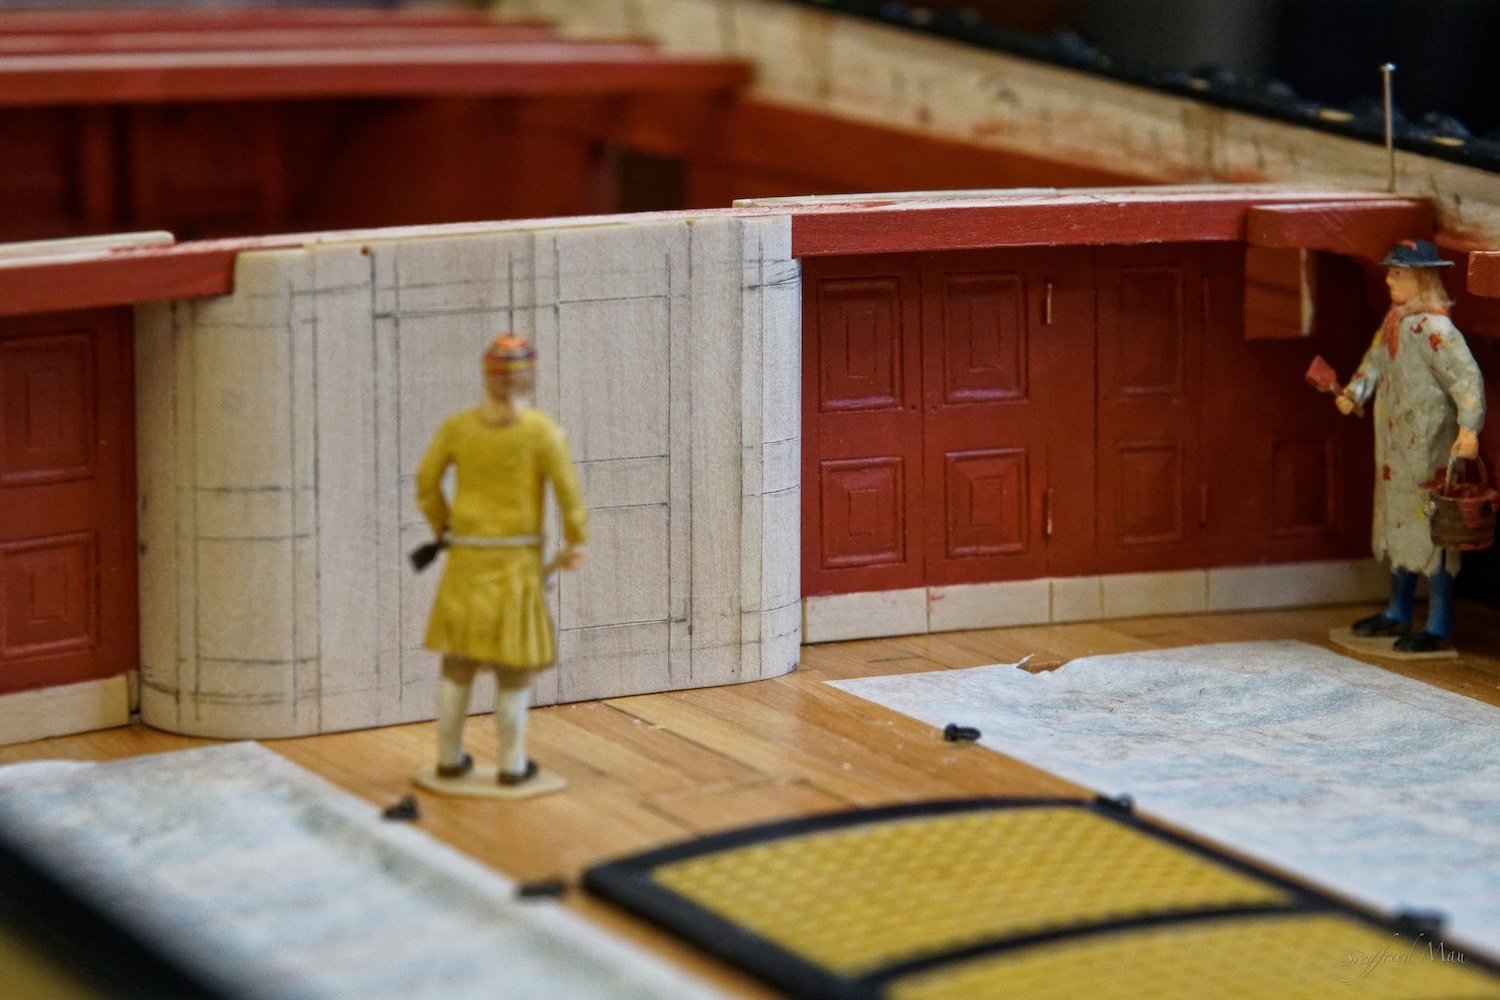
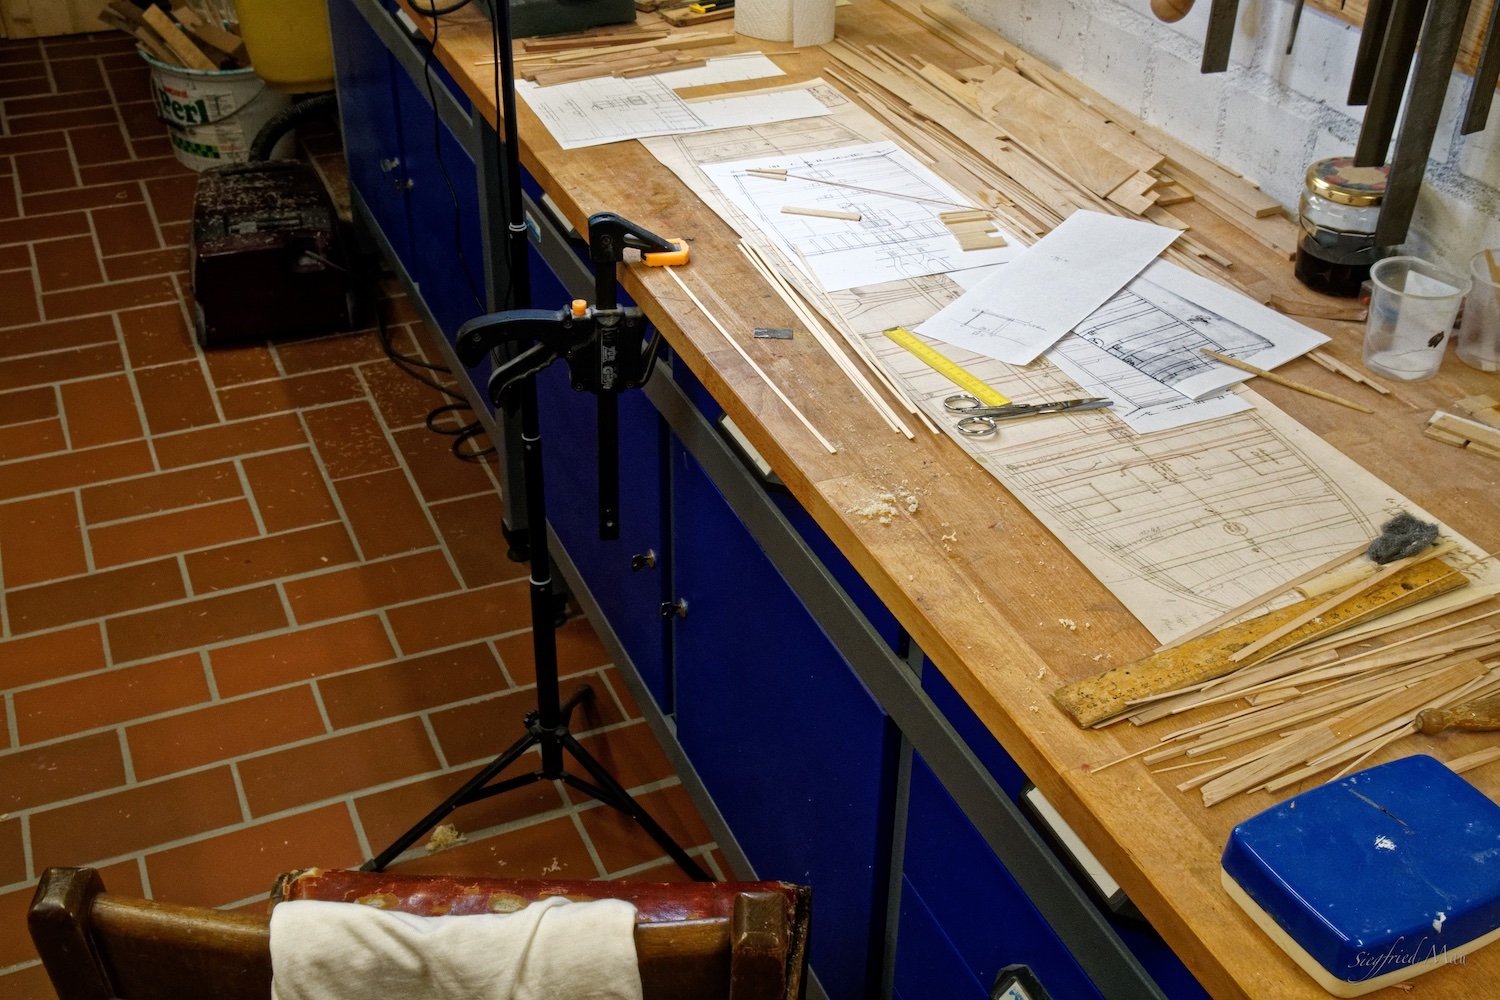
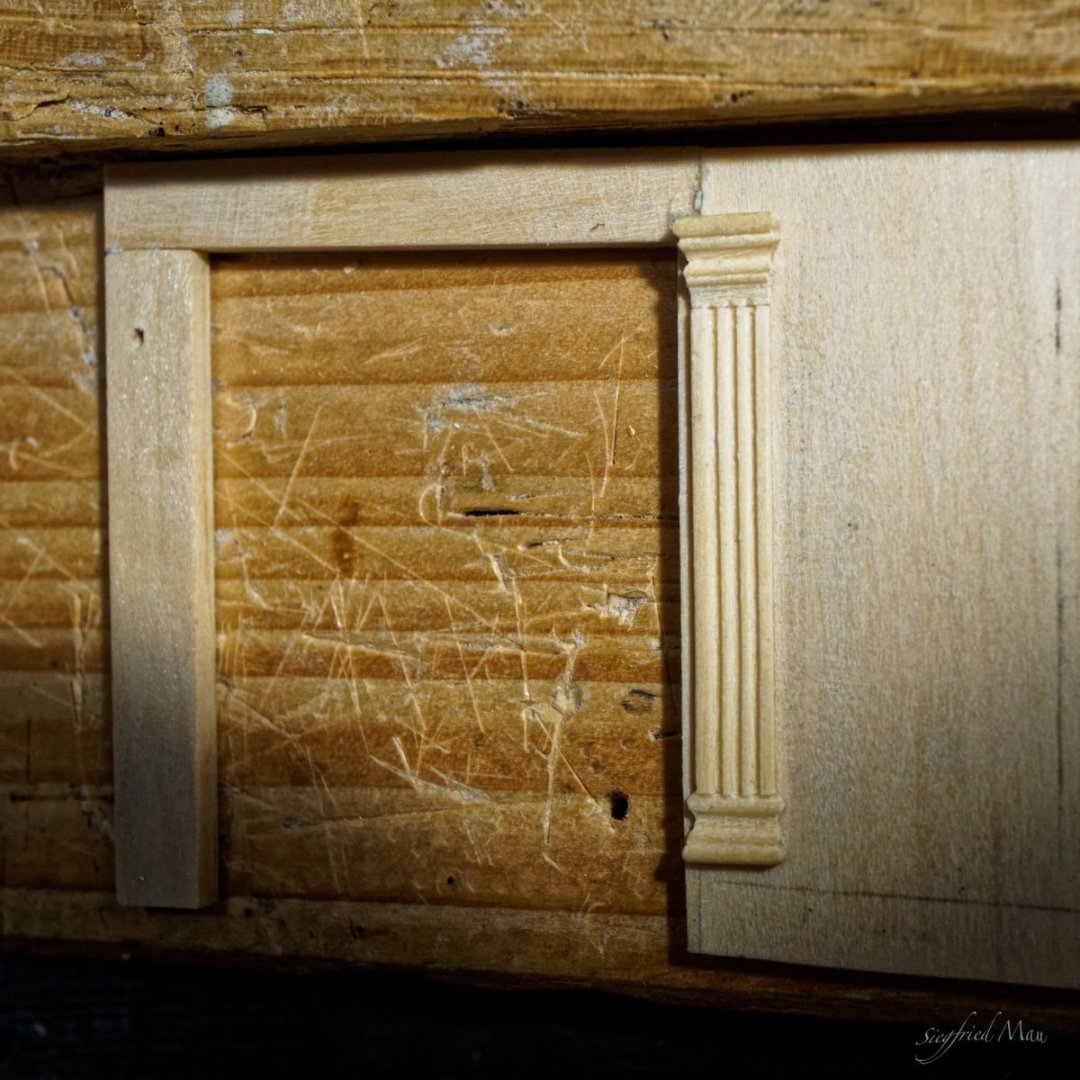
Hello, after a serious cold I'm back at the shipyard. I started now with the pillars. At the first picture you will see my method to draw the battens. At the last picture a prototype of a pillar. Just to see how the look and how wide they are, to plan the paneling. And tomorrow I have to change also something.


-
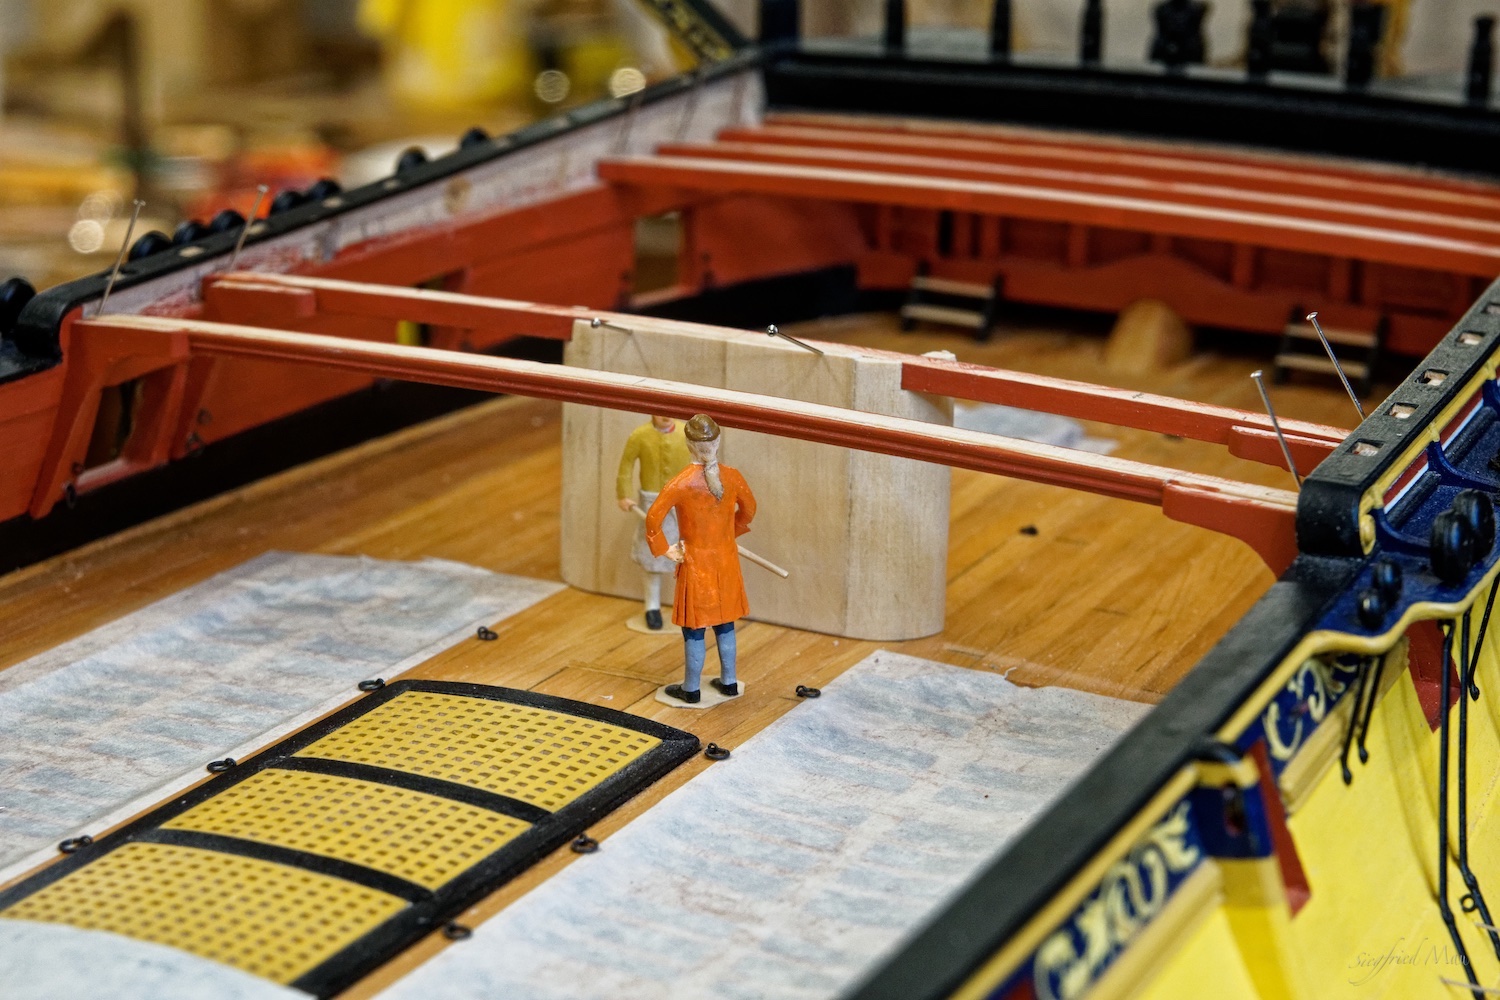
Hello, the carpenters have the bulwark ready. Next thing is then carving the panels, but first I must find a design.
-
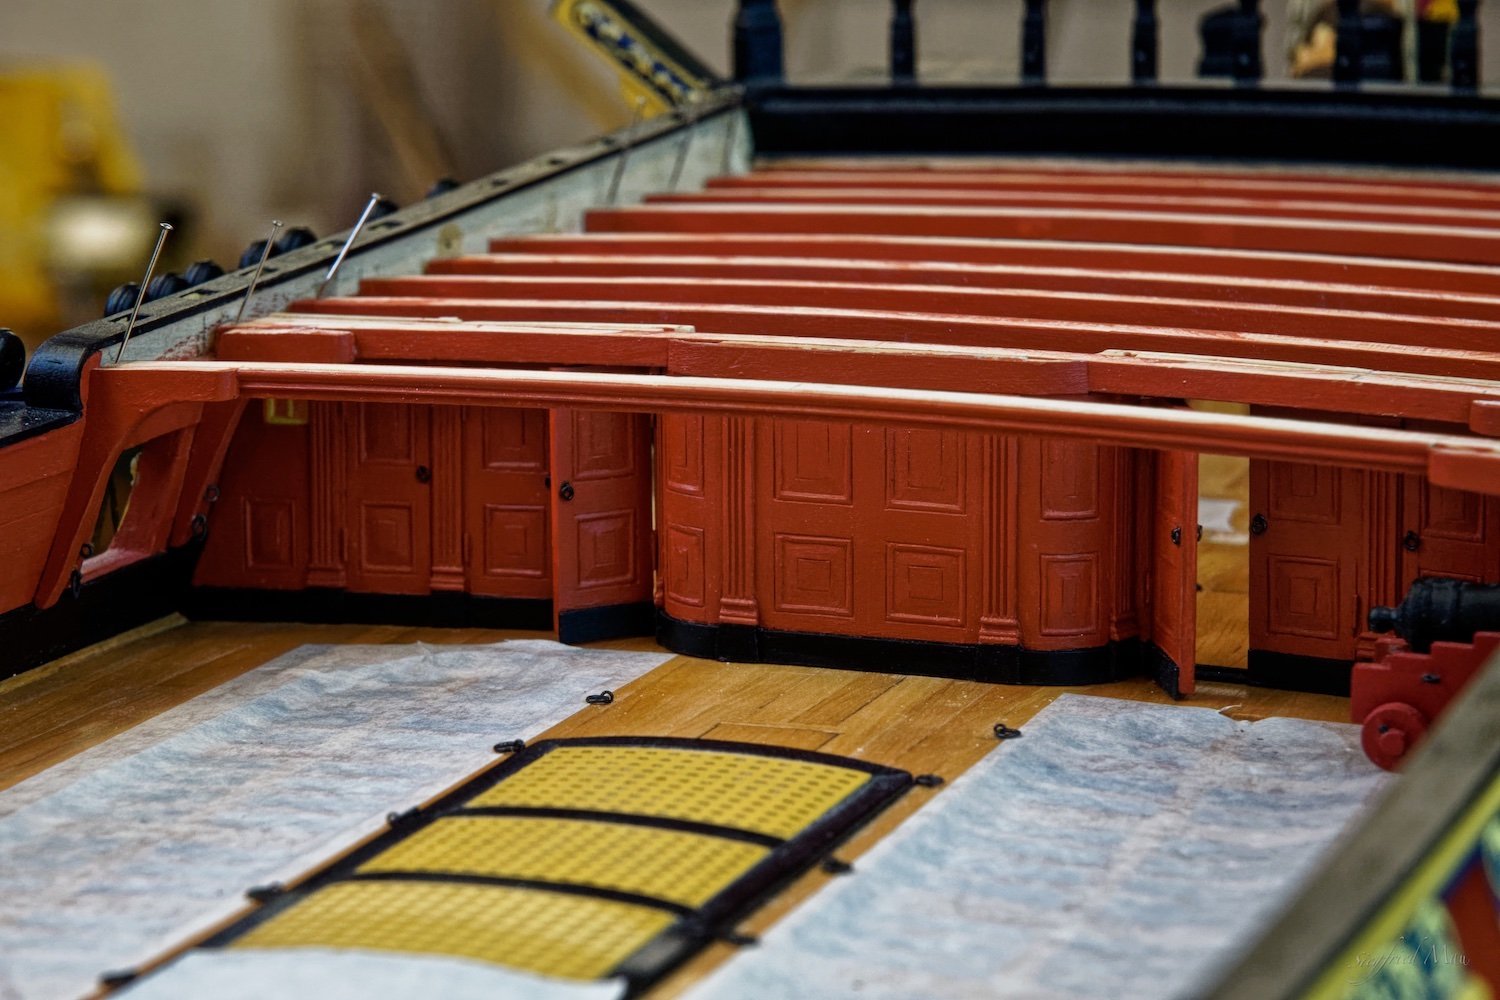
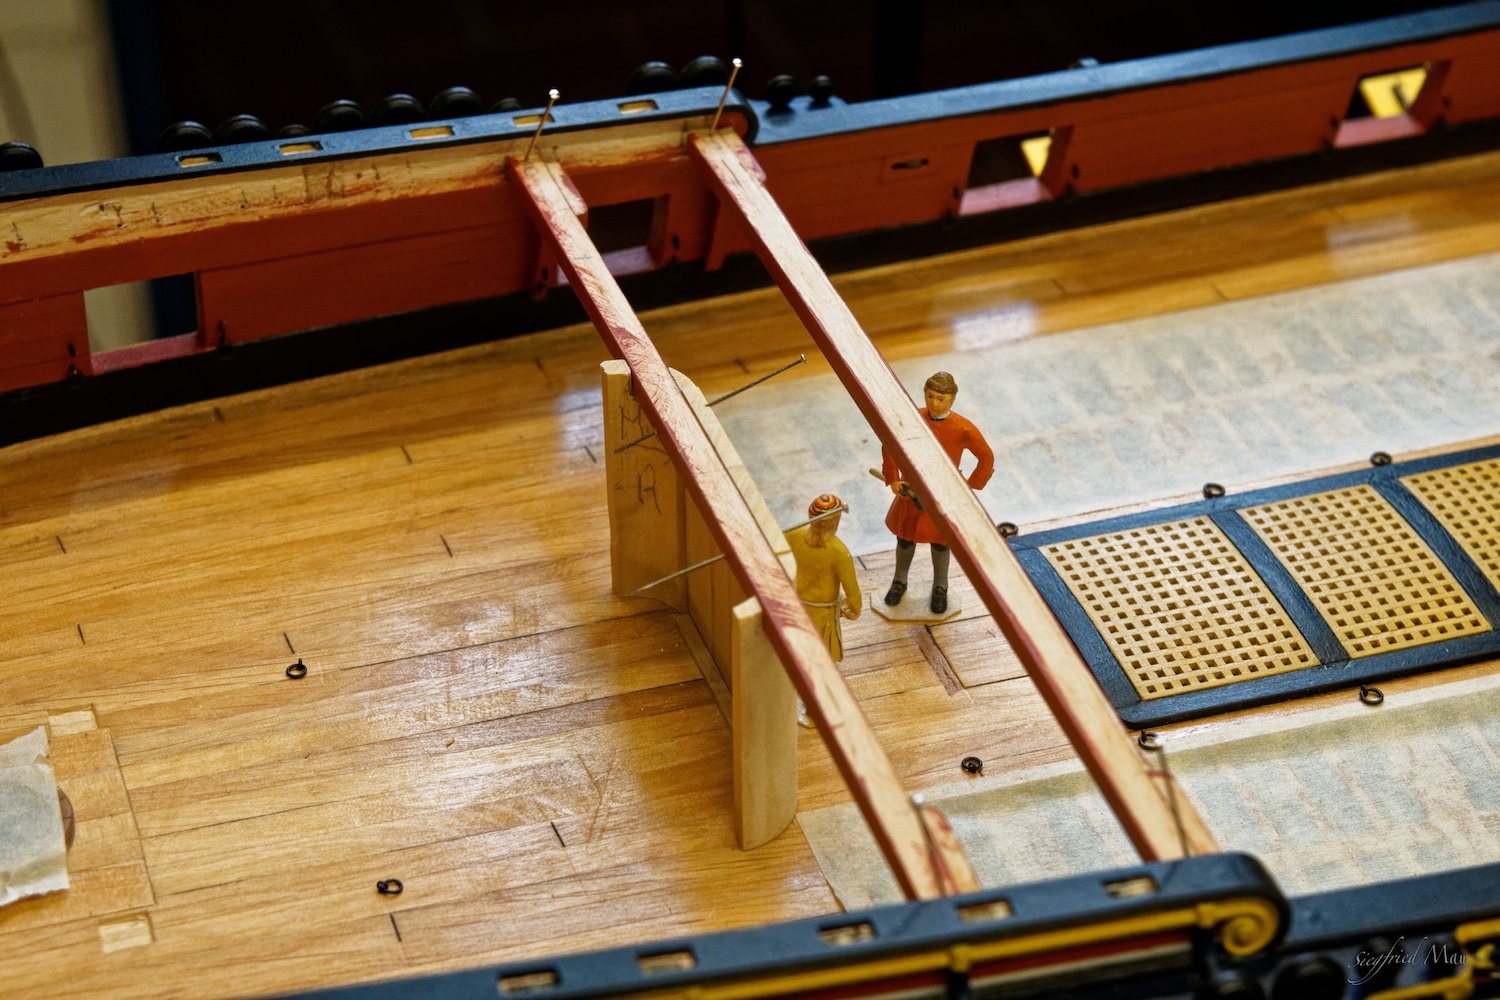
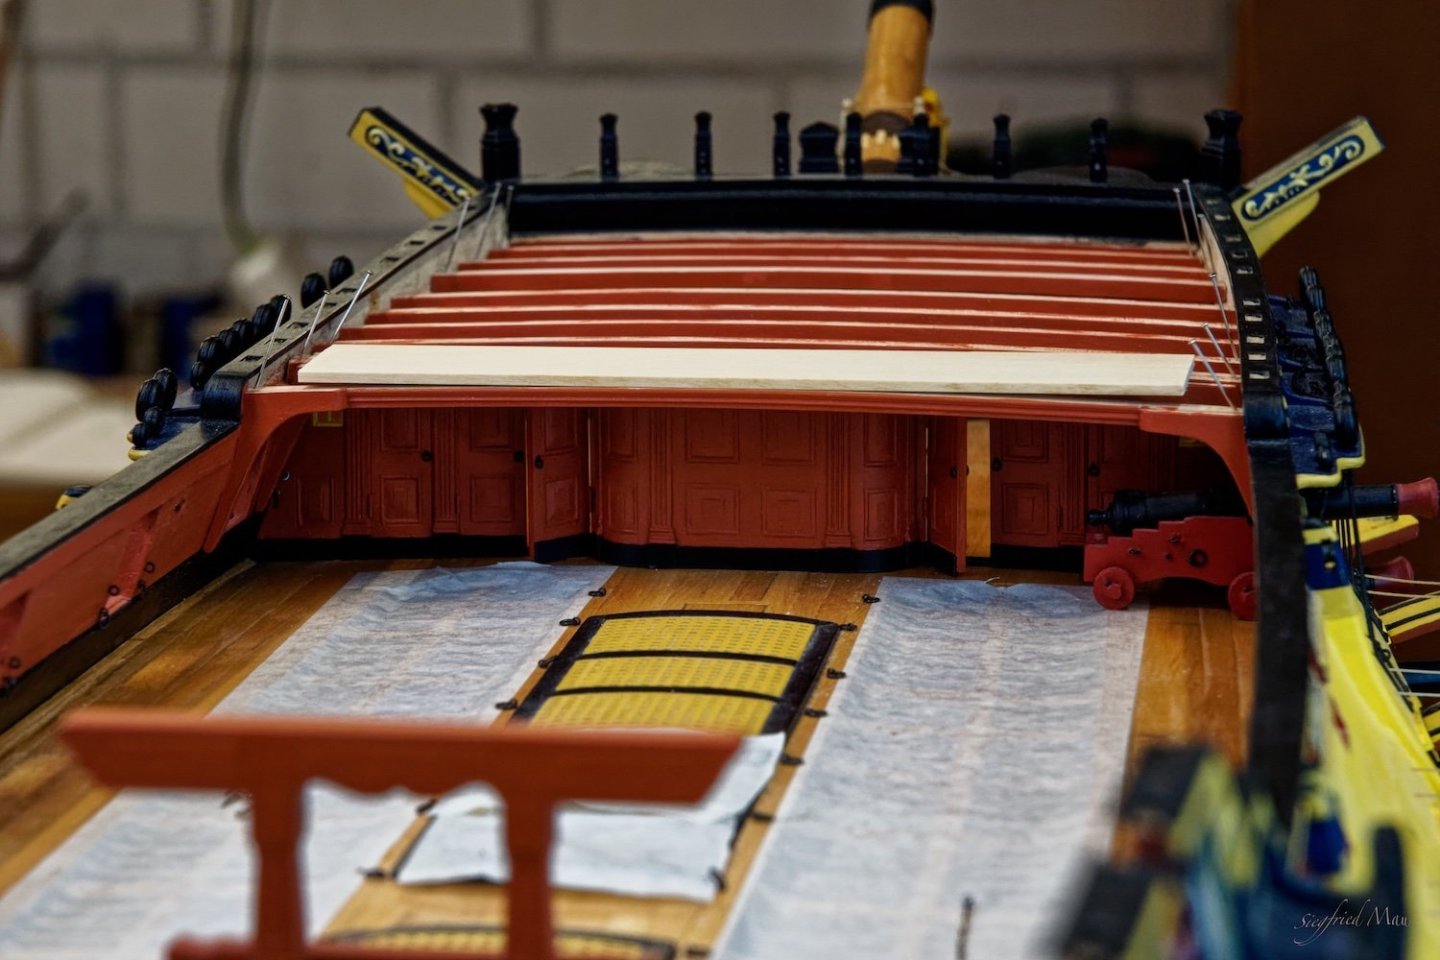
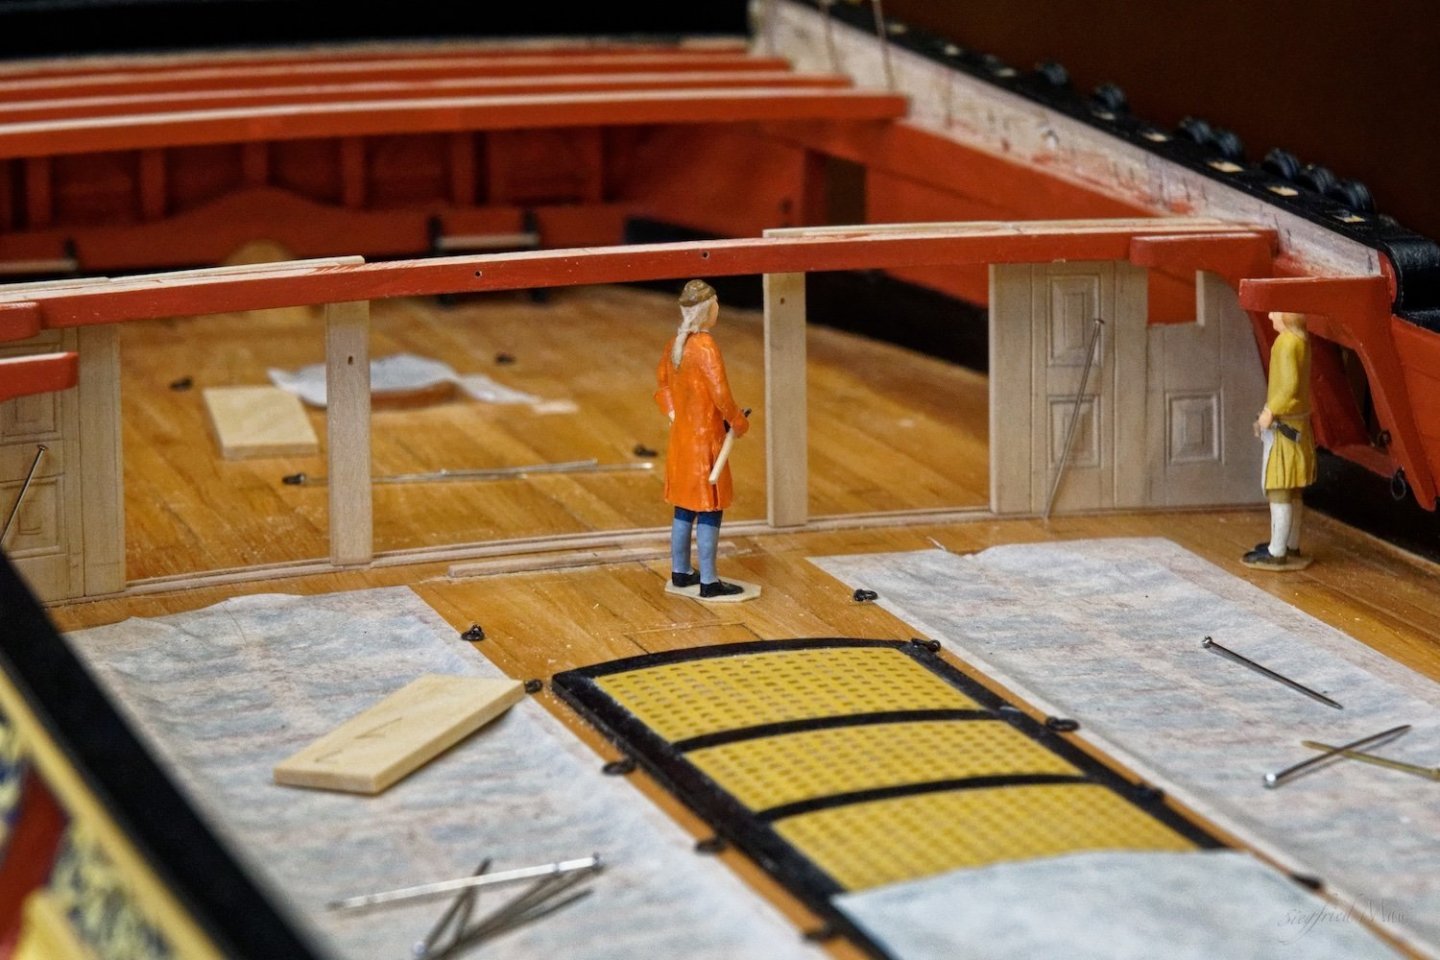
Hello Keith, to the beam it's 36 mm, that would be 1,72 m, to the underside of the planks it's 40 mm, that is 1,92 m. So, there could also large men stand upright
-
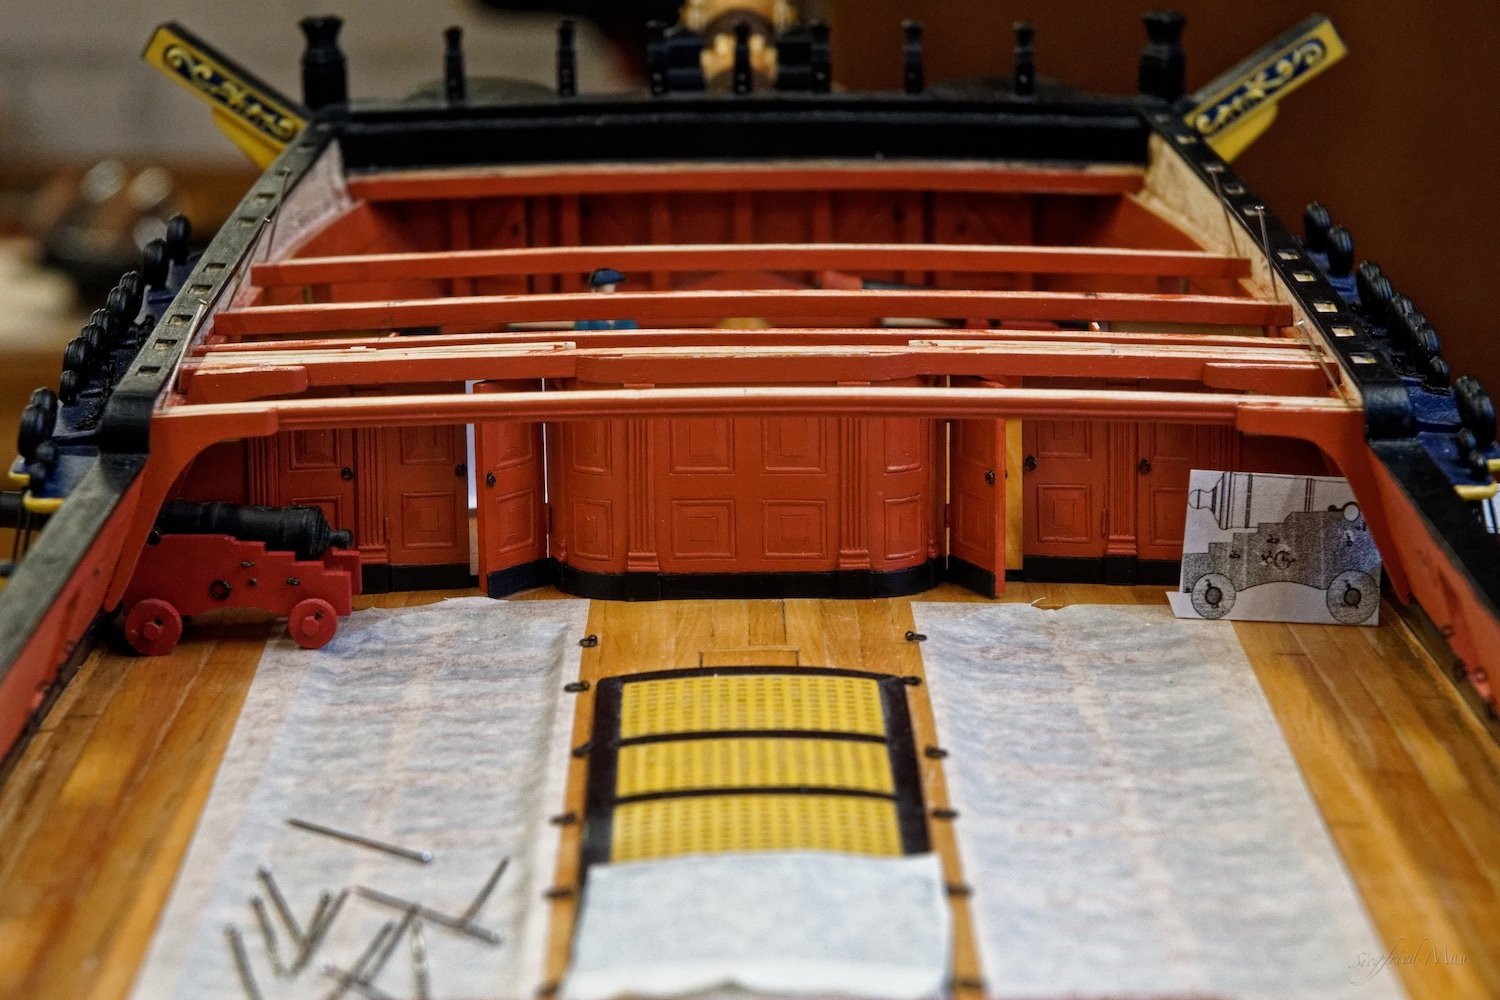
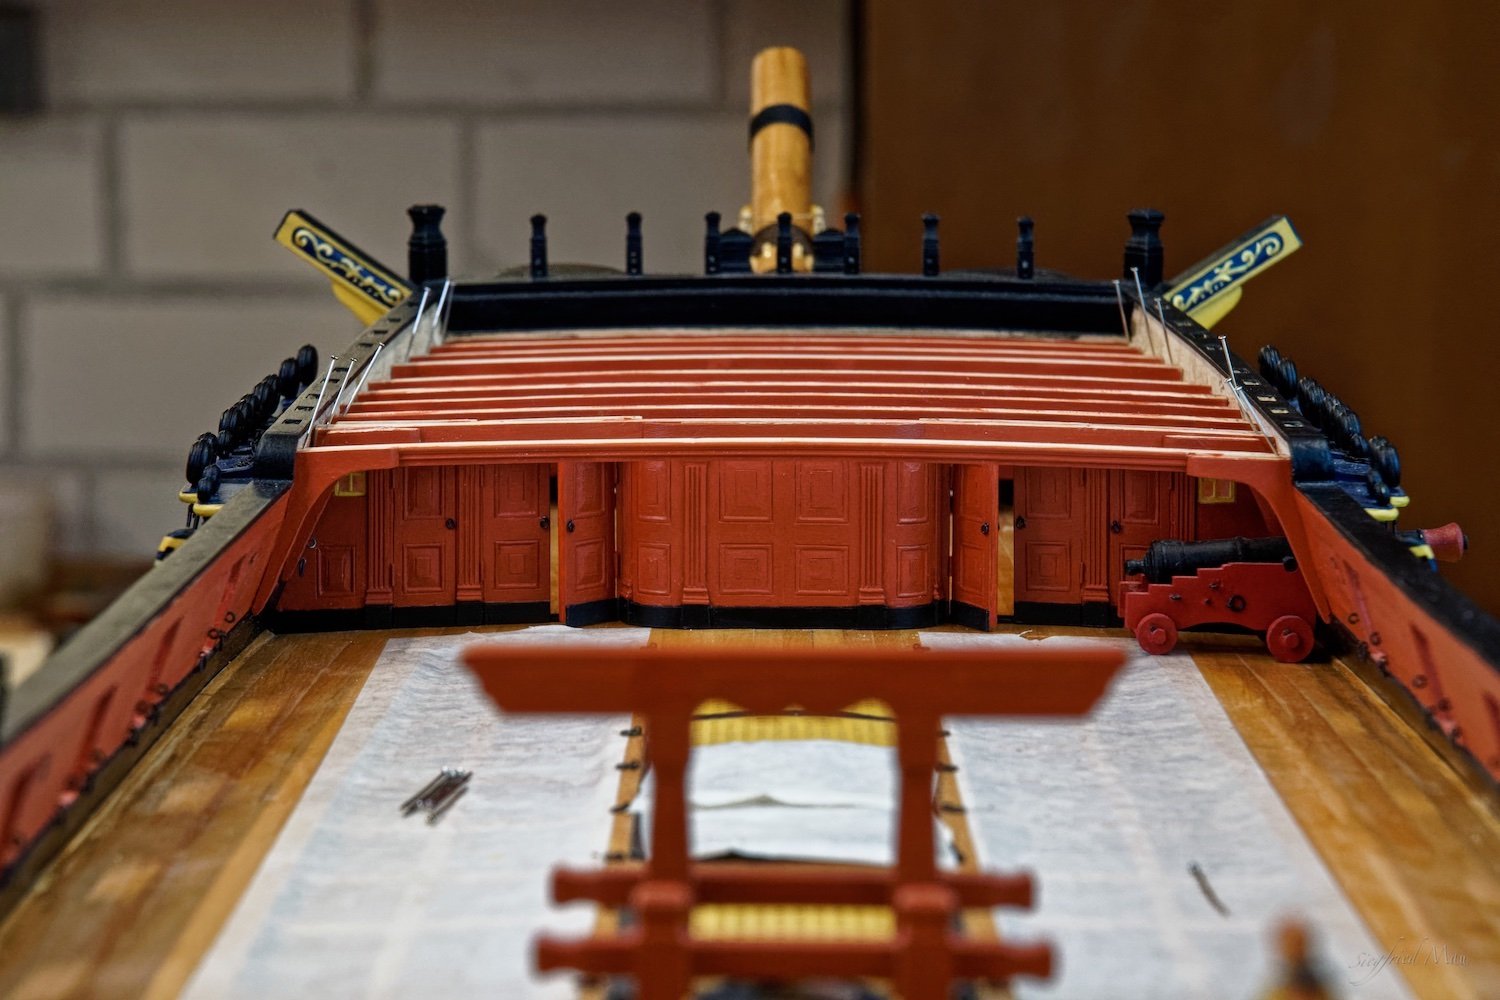
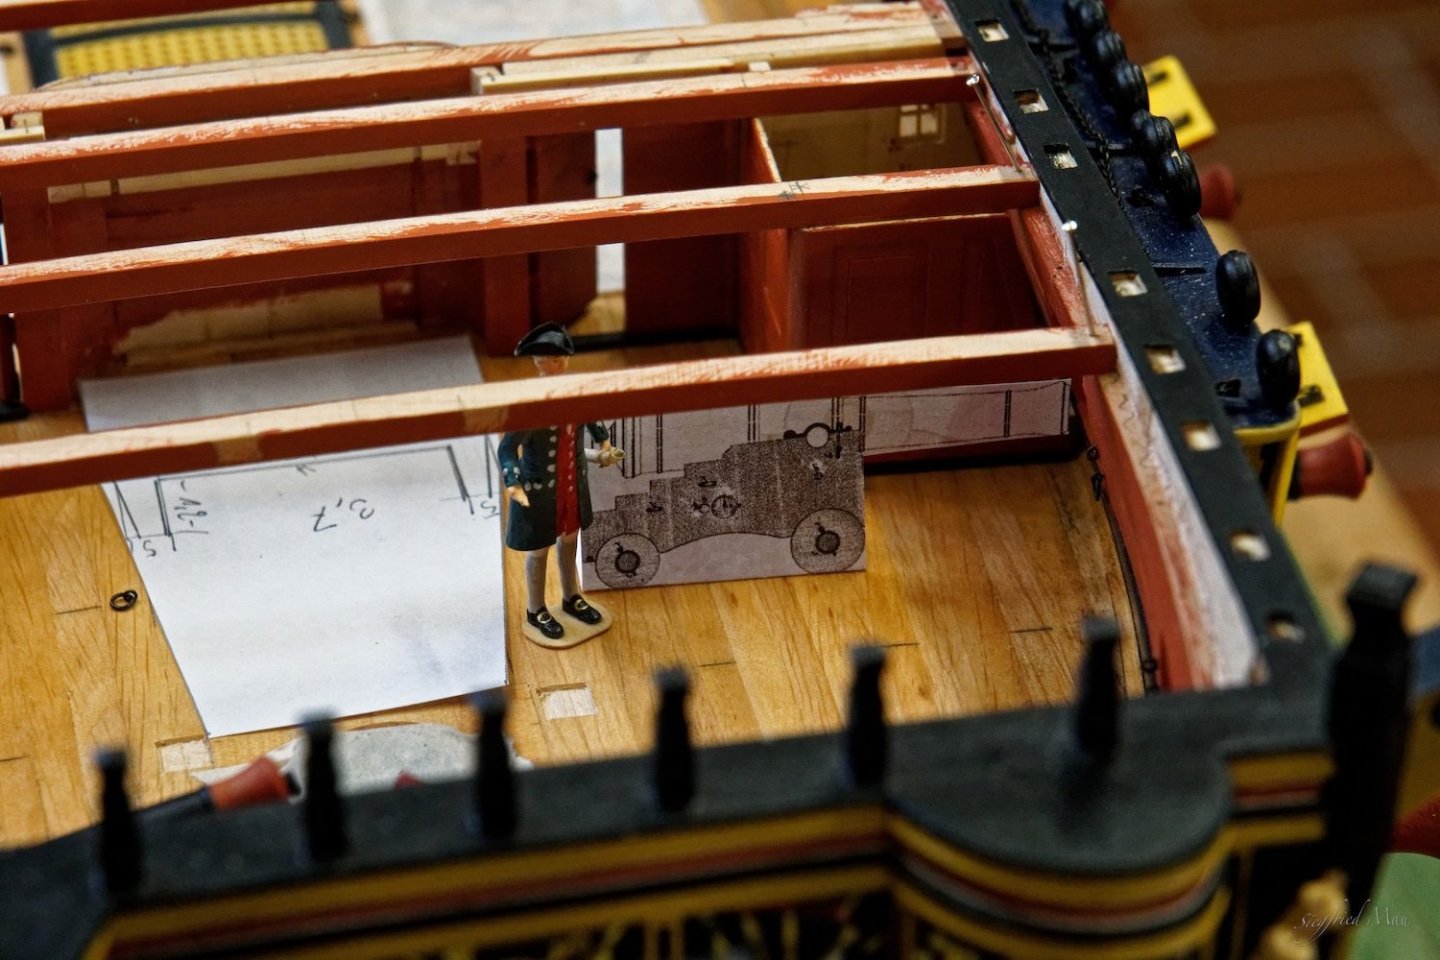
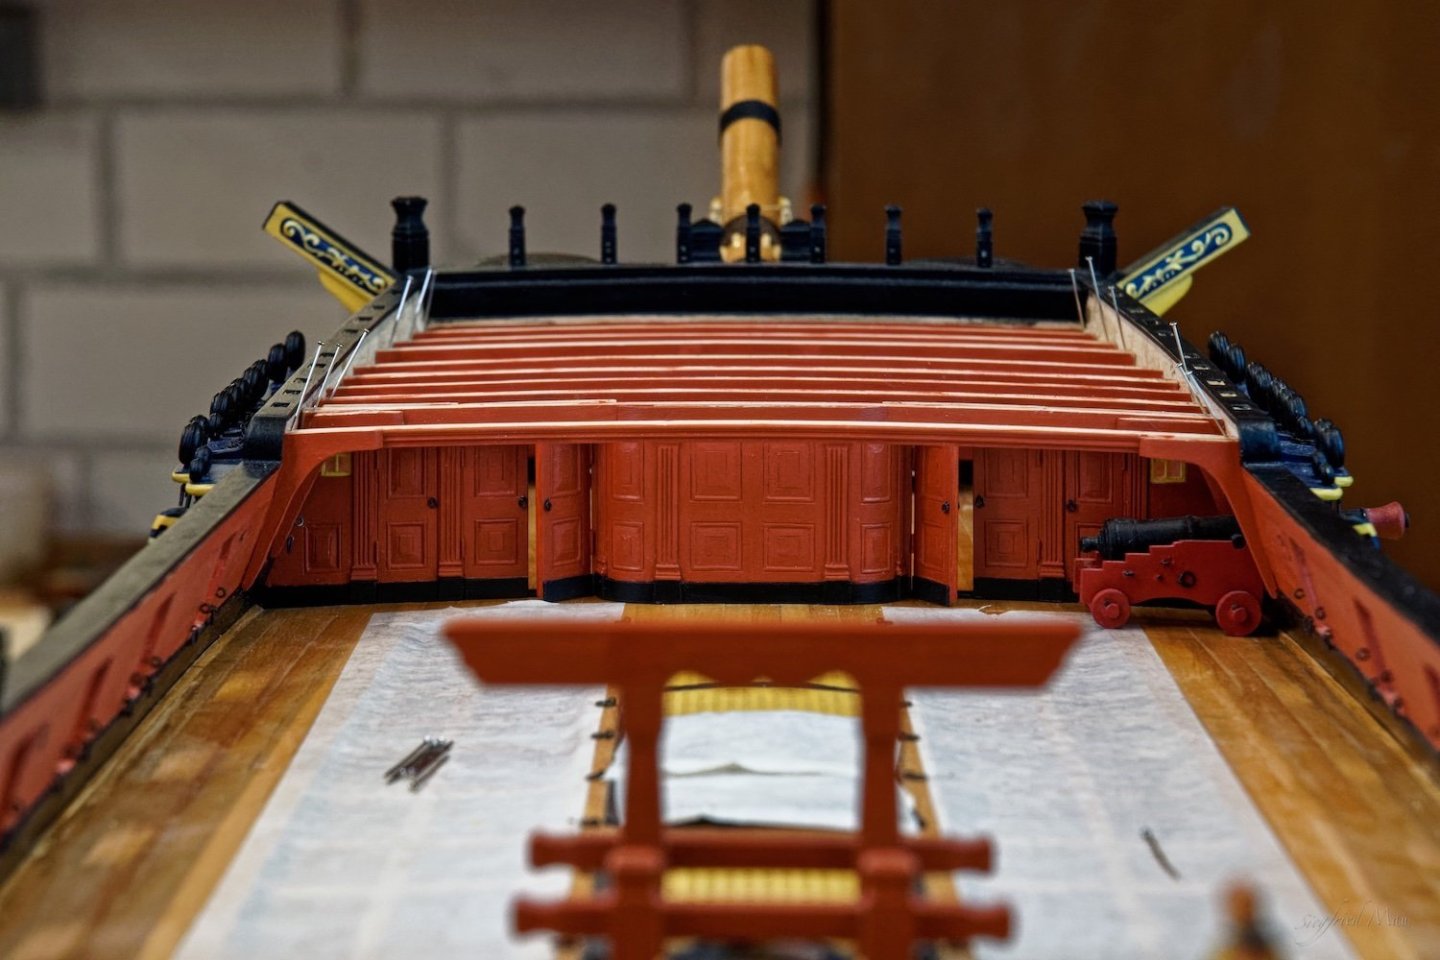
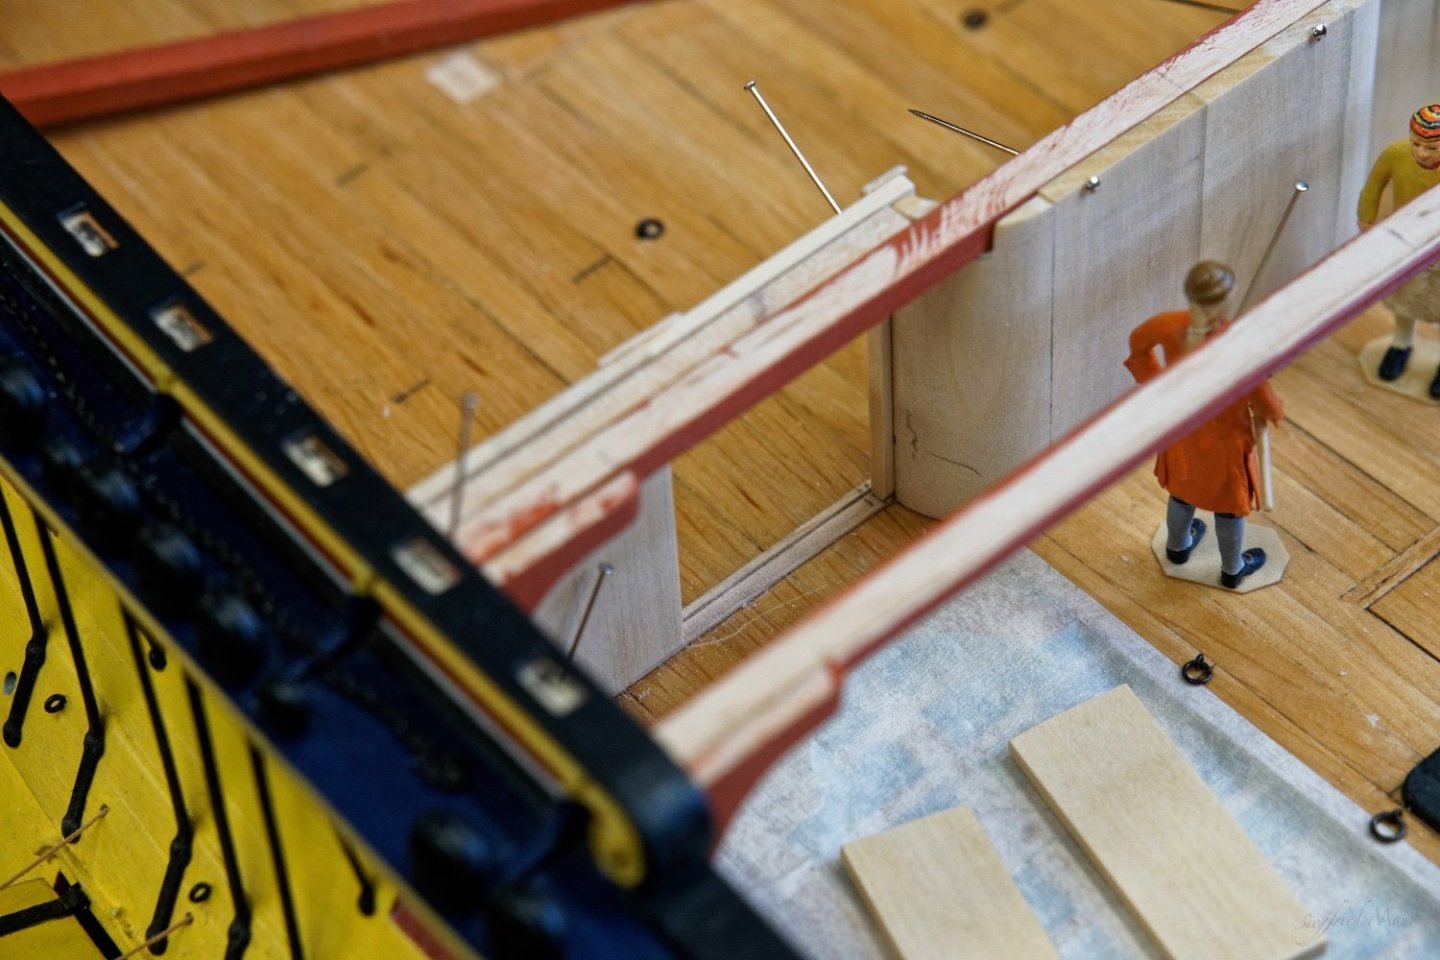
Hello, the carpenters started building the bulkhead. This was a permanent bulkhead. As you may see, there was not much headroom under the beams.


-
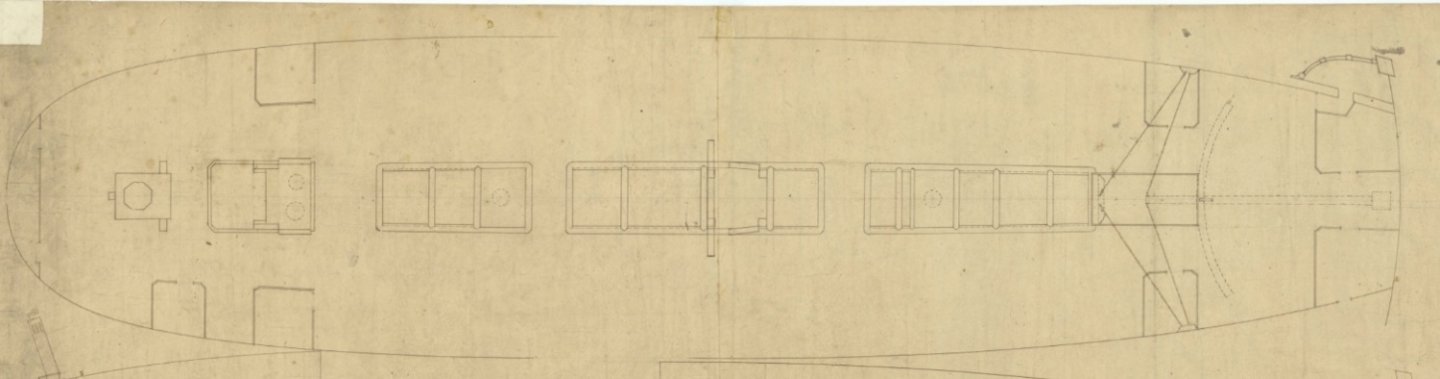
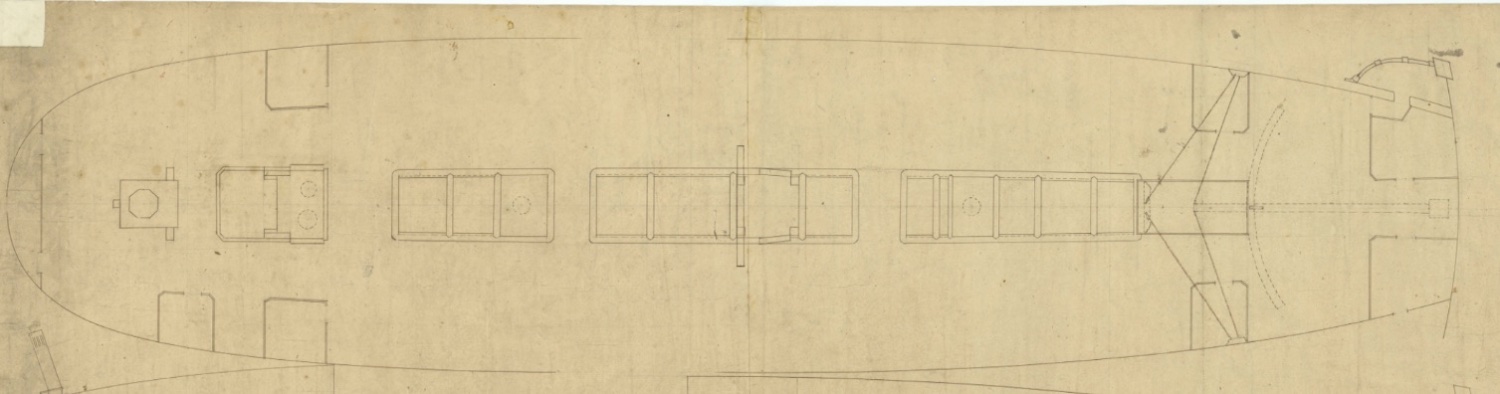
Hello, yesterday I thought more about that problem with the pantry or not. The draughts for the 1745 establishment show the cabins for the captain at the upper gun deck but not a pantry there around the mizzen mast. That space there is too small to be a pantry, but may be not. So I thought that that is may be the reason to build the pantry in front of the galley. But the Royal Oak has the captains cabin at the quarter deck and also a pantry around the mizzen mast. And there are also no doors drawn. So that is not the reason. Here is the plan of the upper gun deck of the Royal Oak and may be also that of the Essex. But Druxey, it looked a little different of that what you described in your post #877. That are the only floor plans for the Royal Oak 1741 and may be Essex 1741 the NMM has.