HOLIDAY DONATION DRIVE - SUPPORT MSW - DO YOUR PART TO KEEP THIS GREAT FORUM GOING! (Only 20 donations so far - C'mon guys!)
×


palmerit
-
Posts
1,021 -
Joined
-
Last visited
Content Type
Profiles
Forums
Gallery
Events
Everything posted by palmerit
-
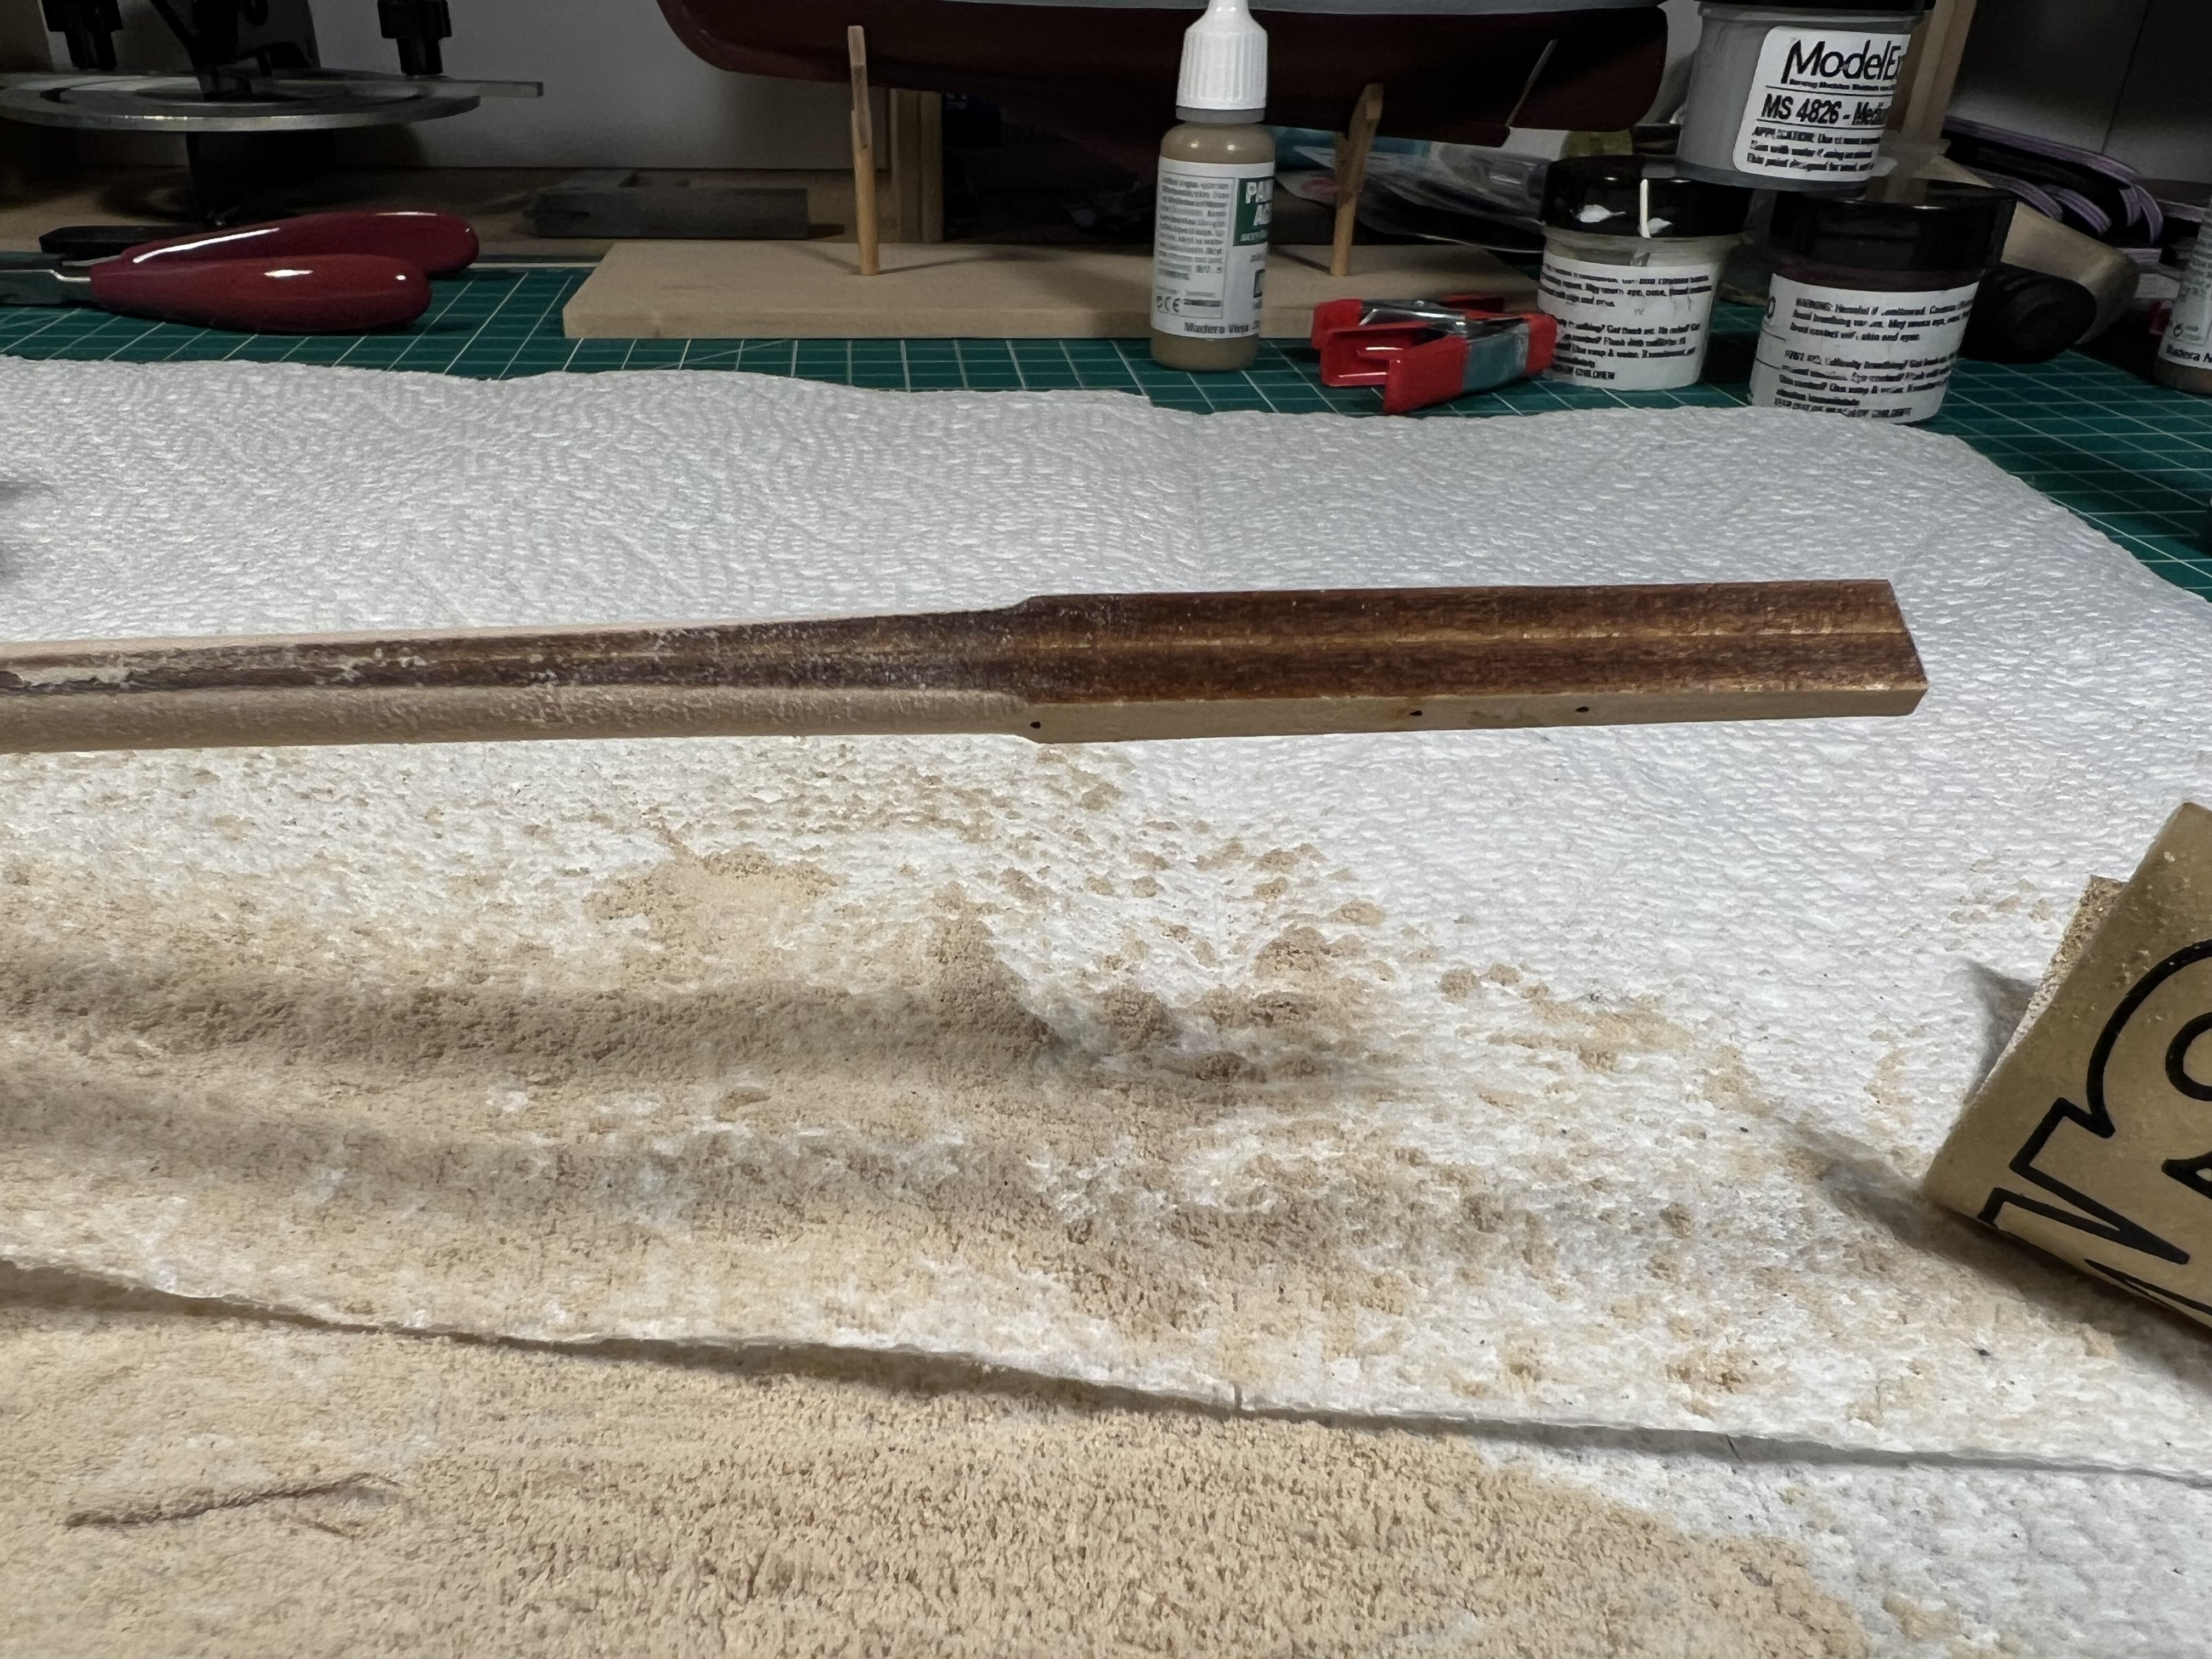
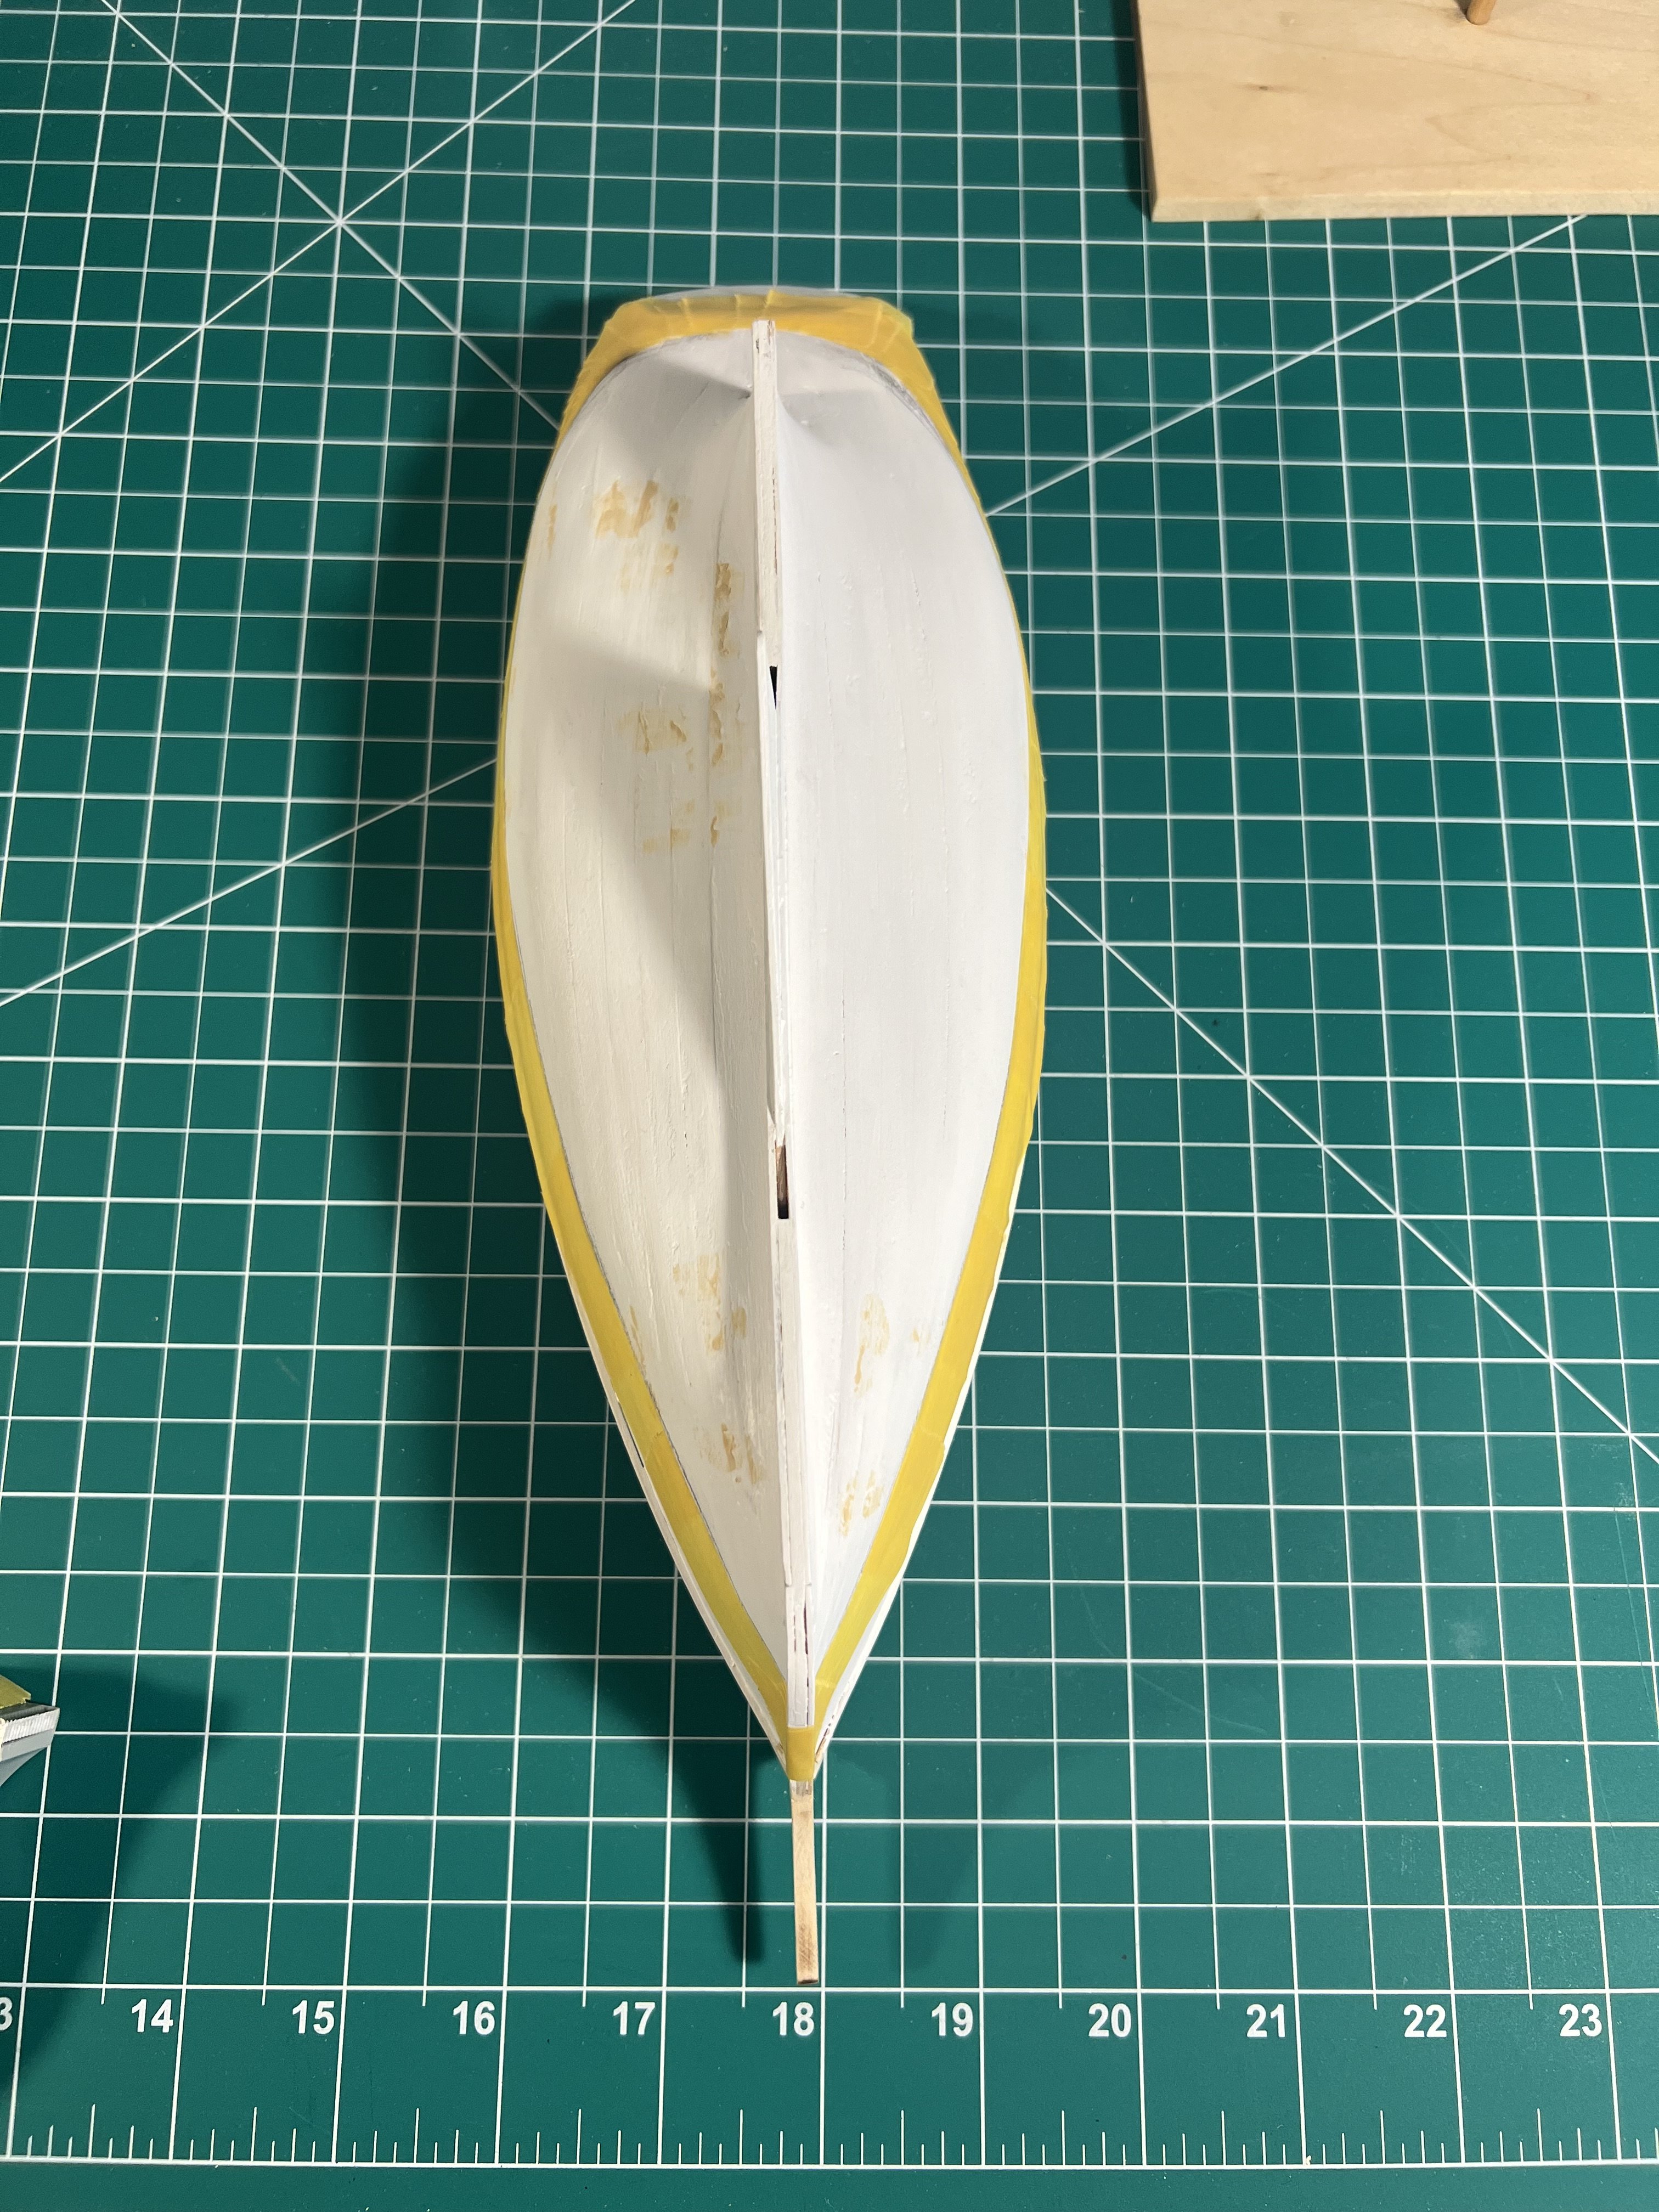
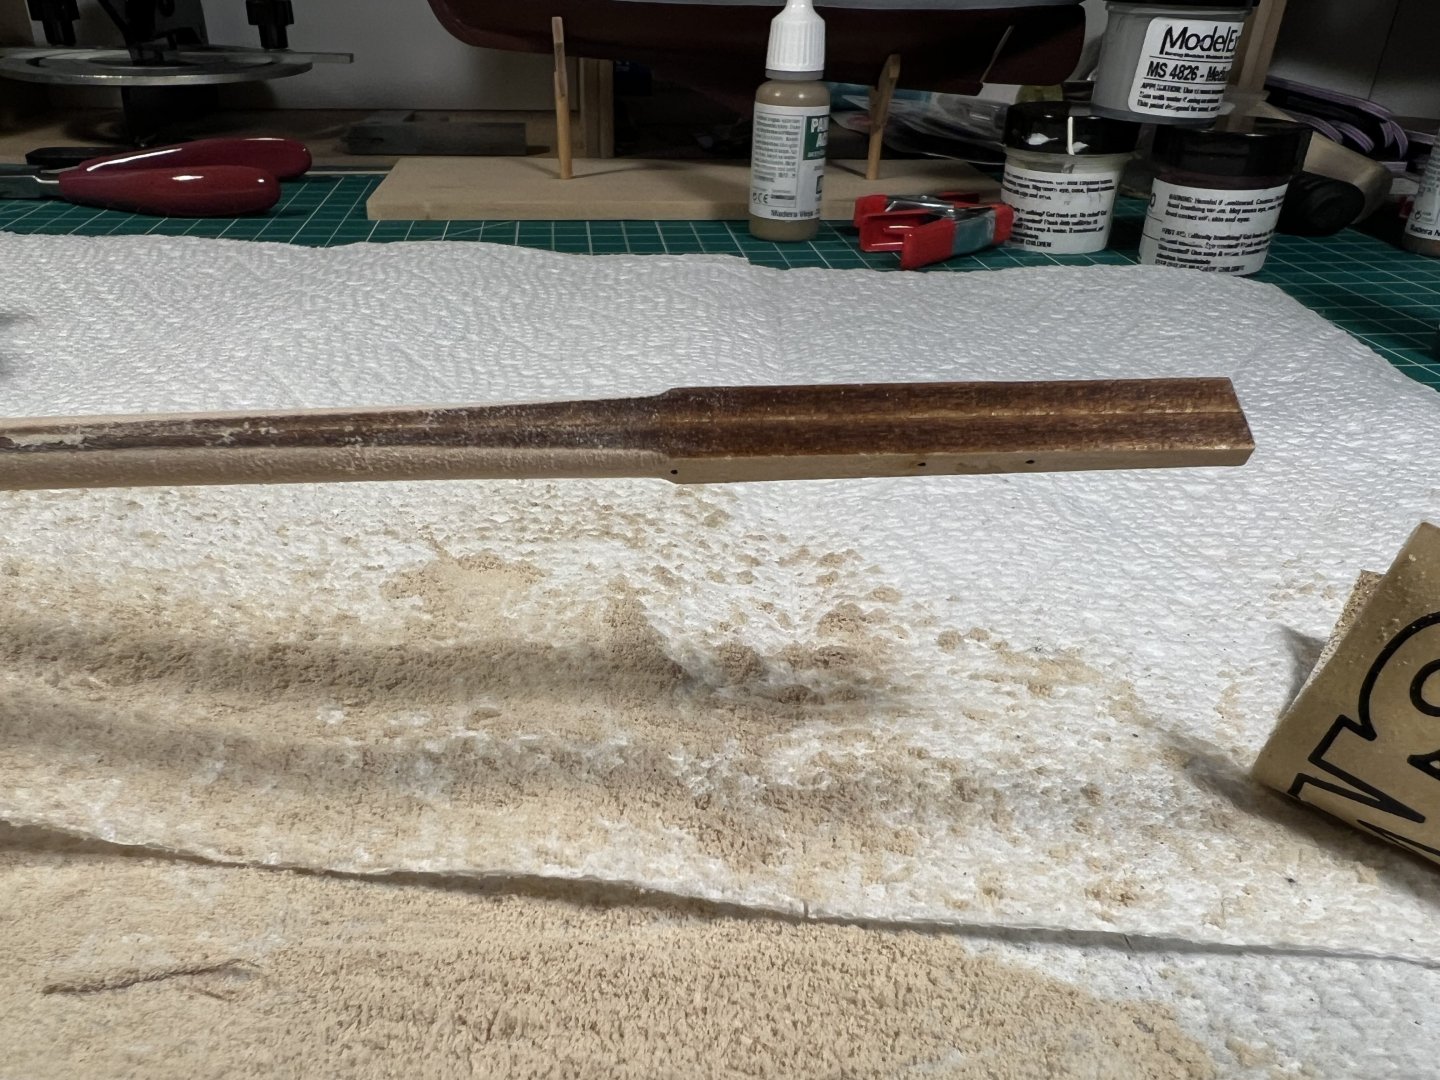
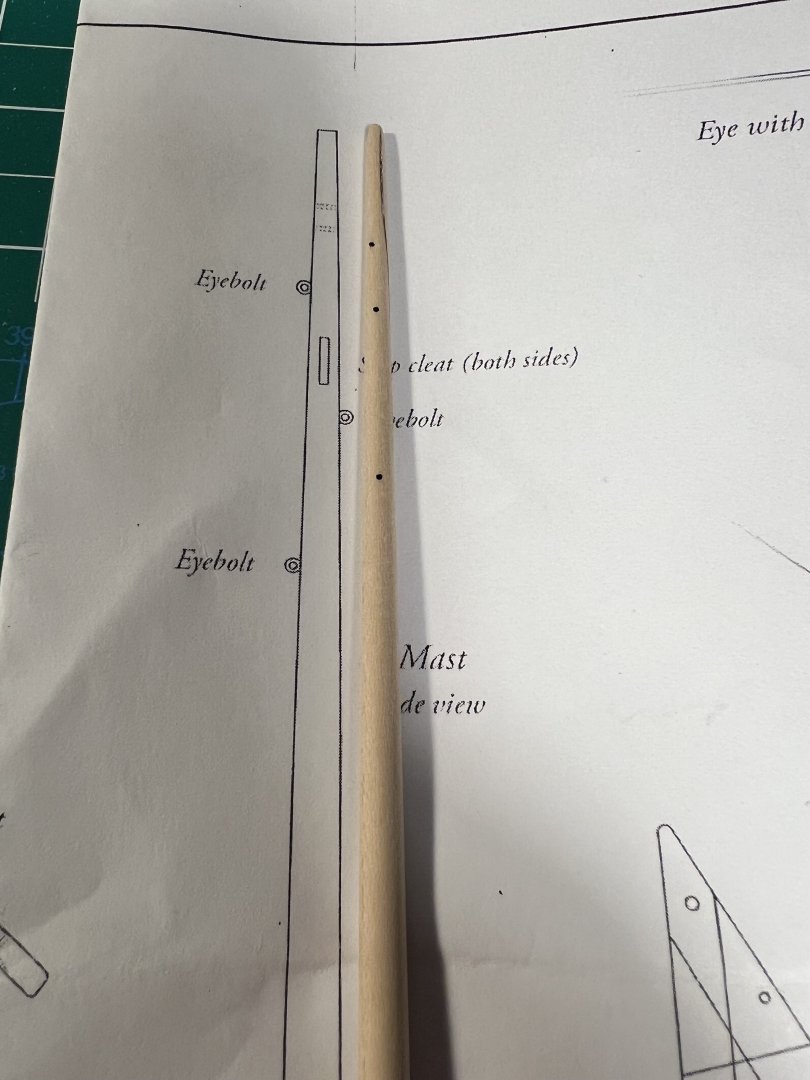
I shaped the mast using the drill and sandpaper method. The starting point is two pieces cut from a sheet and glued together. It took a lot of sanding to get it round. There was a tiny bit of residual char, but I was worried I’d repeat what happened with my Pram and oversanding with the predrilled holes might cause the mast to snap. Yet again, there’s a mismatch between reality and the instructions unfortunately. The predrilled holes do not line up to anything shown on the plans. They’re not just slightly off, they’re off by a bunch. Frustrating.

- 59 replies
-
- 4
-

-
- muscongus bay lobster smack
- Model Shipways
- (and 2 more)
-
What are the names/brands/types of those metal cubish blocks used as weights. I’ve seen others with similar ones. But I can’t seem to use the right search terms to find them.
-
Makes sense. “Black Pearl” + “Elizabeth Swann” - “n”.
-
The Black Swan https://www.youtube.com/watch?v=1tFAMj5xlIg
-
Did you try to create the build log within the subheading of the period of the ship (e.g., inside “- kit build logs for subjects built from 1801-1850”?
-
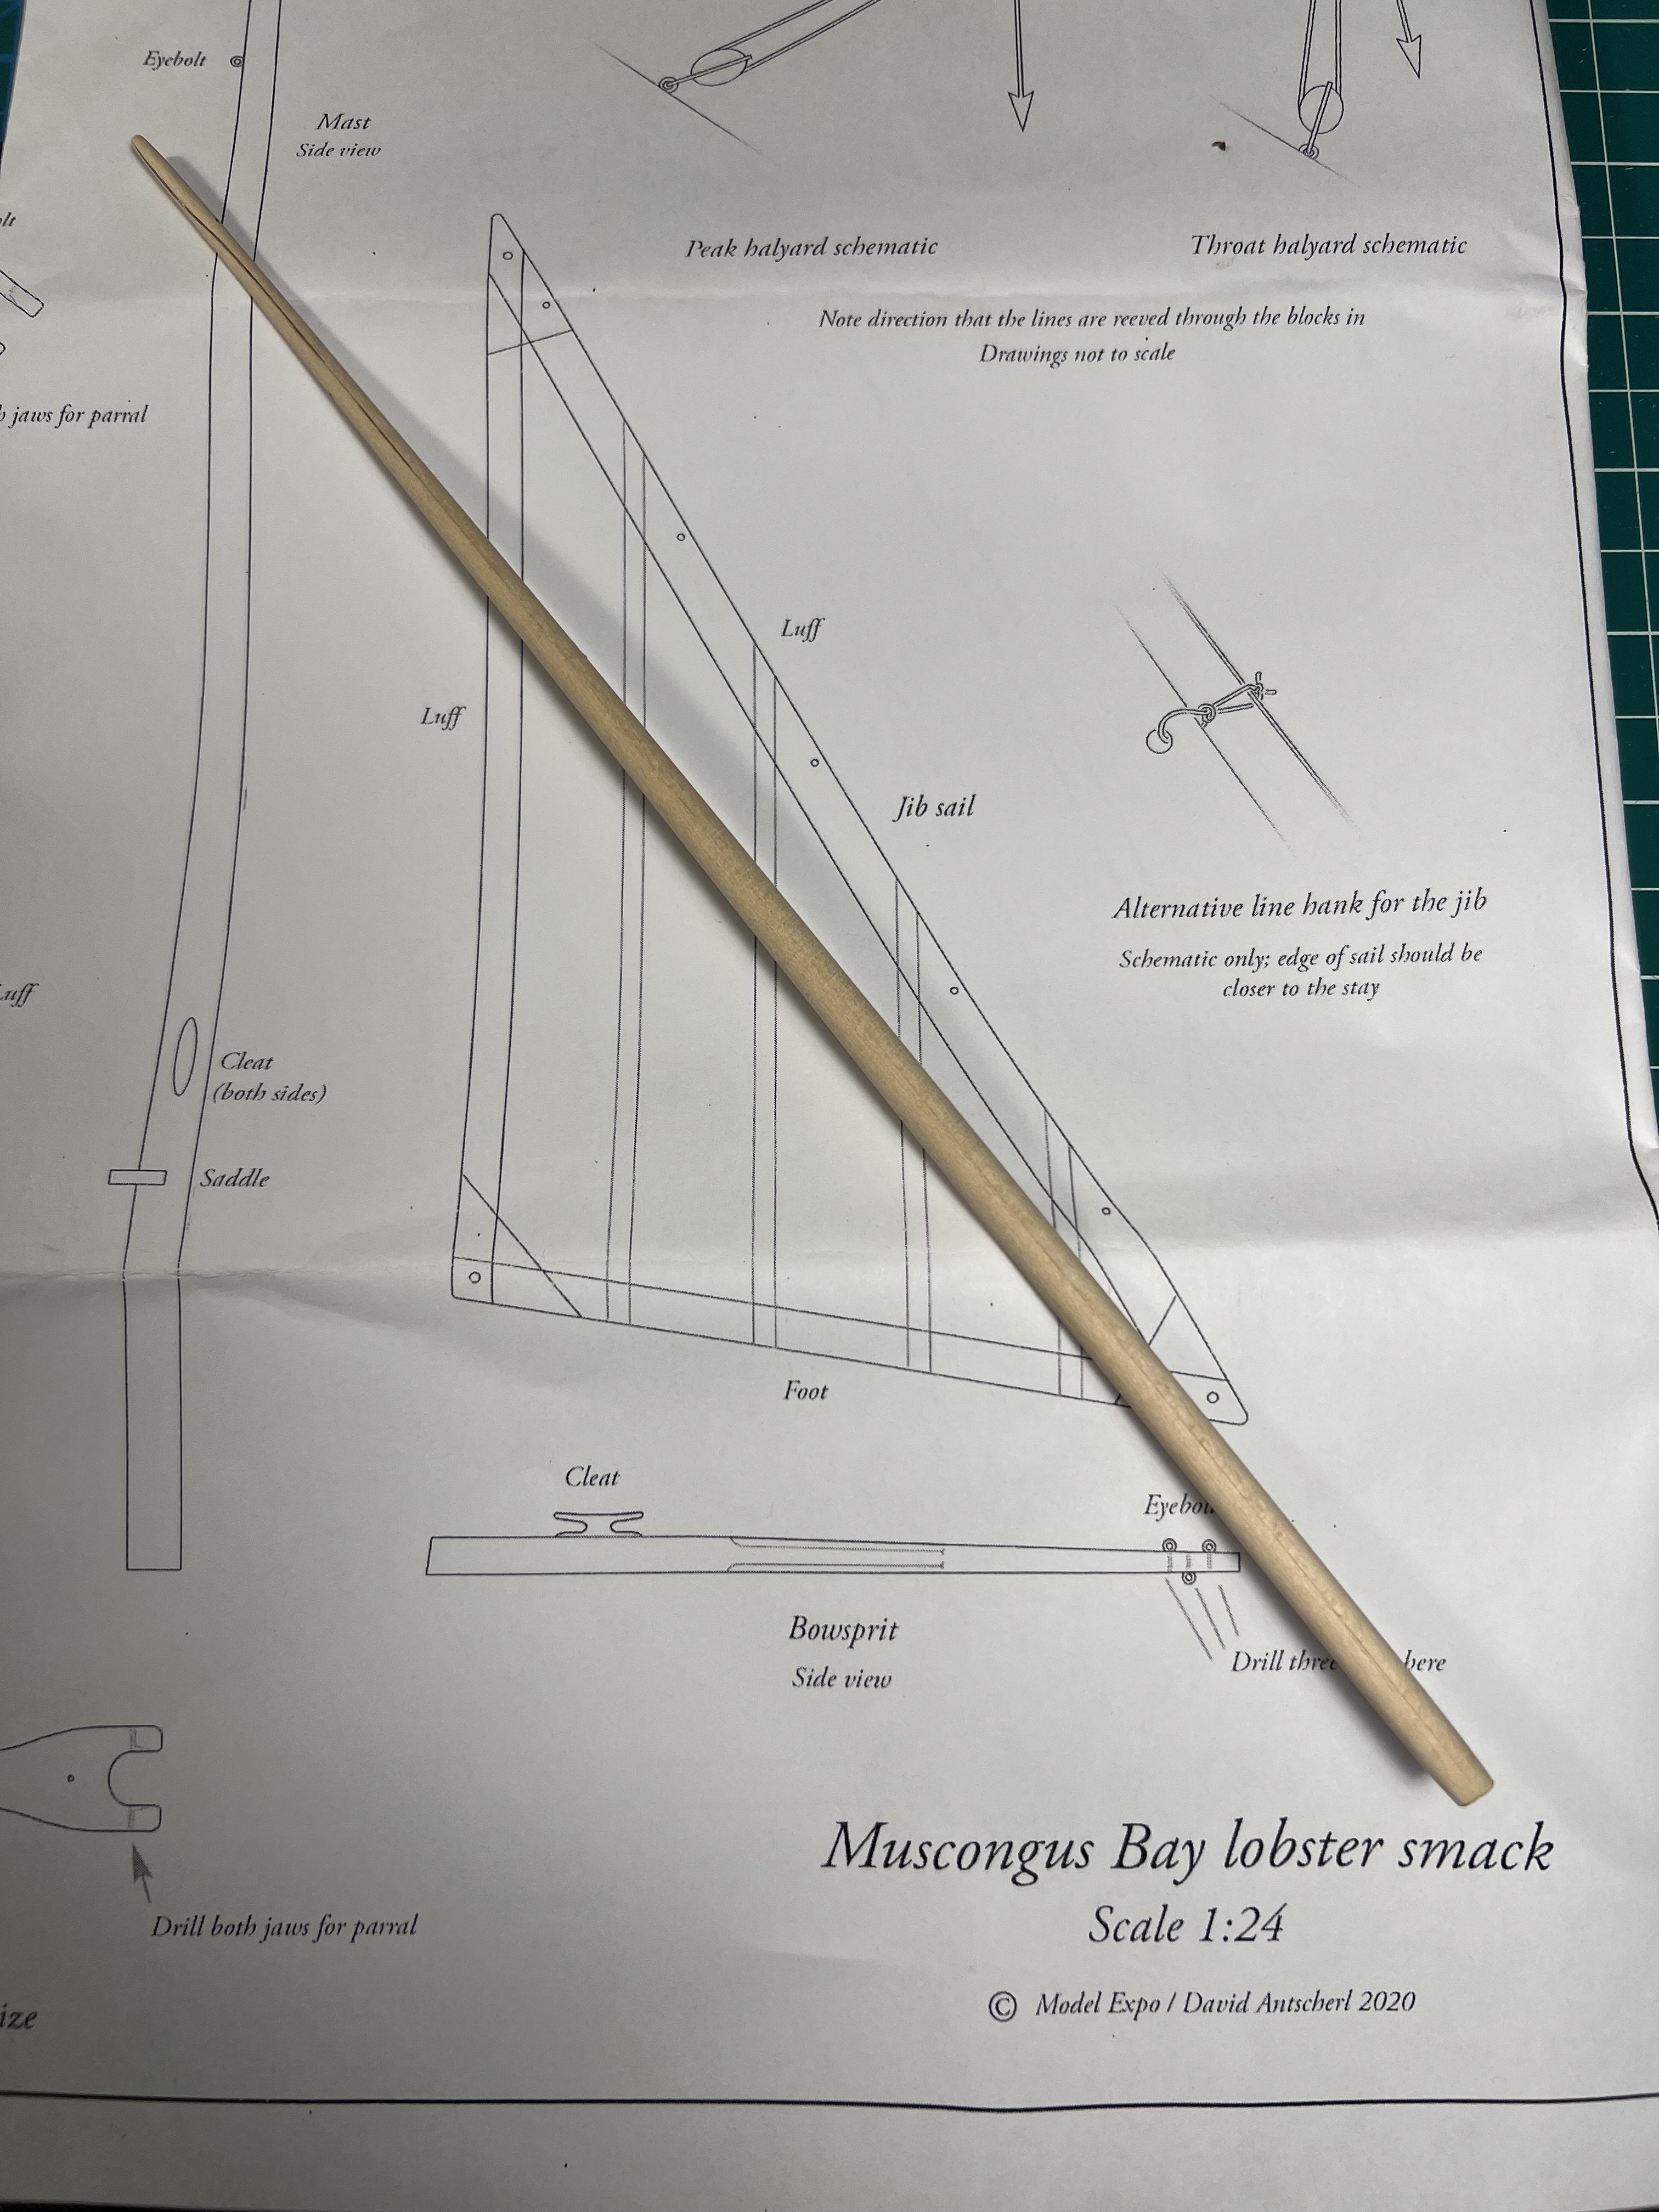
I was able to do the mast and spars with the drill method. One thing I did was wrap the ends in a long loop of paper (about an inch wide) - to protect the end, especially after shaping one end and then working on the other end. I also went slow. if I had to remove a ton of wood (e.g., going from 4mm to 2mm) I'd start with a bit of 100 grit. But I quickly moved up to 160 grit and then finished with 320 grit or finer when it was close to being done. I checked it often with my calipers in several places. I think drill method helps ensure that it's closer to round - it's also easier. With my Pram and Smack models, some of the yards are made with rectangular pieces of wood and because I had broken a yard for my Pram using the drill method (at the point where there were pre-drilled holes in the kit) I ended up doing it by hand. I left the yards a bit more oval because I didn't want to end up having the piece break again.
- 129 replies
-
- 1
-

-
- vanguard models
- Sherbourne
- (and 1 more)
-
I asked a similar question. CA dries too fast for me and it was hard for me to use and it made a mess. Someone suggested Super PHATIC ALIPHATIC Glue because it’s kind of in the middle in terms of drying time. I haven’t tried it yet. https://www.amazon.com/gp/aw/d/B0047YMZBC?psc=1&ref=ppx_pop_mob_b_asin_title
-
scissors, shears, cutters for rigging
palmerit replied to palmerit's topic in Modeling tools and Workshop Equipment
How much do they usually cost? Suggestions on a place to buy them? -
If you get one, order directly from quadhands.com. The real ones had the logo on the heavy base and have high quality arms. And on the real quad hands, the arms are attached to the base with strong magnets so that they can be moved around. I saw some posts various places of quad hands not working - mainly that the arms wouldn’t stay in place - and the photos or videos they had didn’t have the quad hands logo (they were painted the same color and kind of looked the same). Clearly they were knockoffs.
- 63 replies
-
- 2
-
-
- Norwegian Sailing Pram
- Model Shipways
- (and 2 more)
-
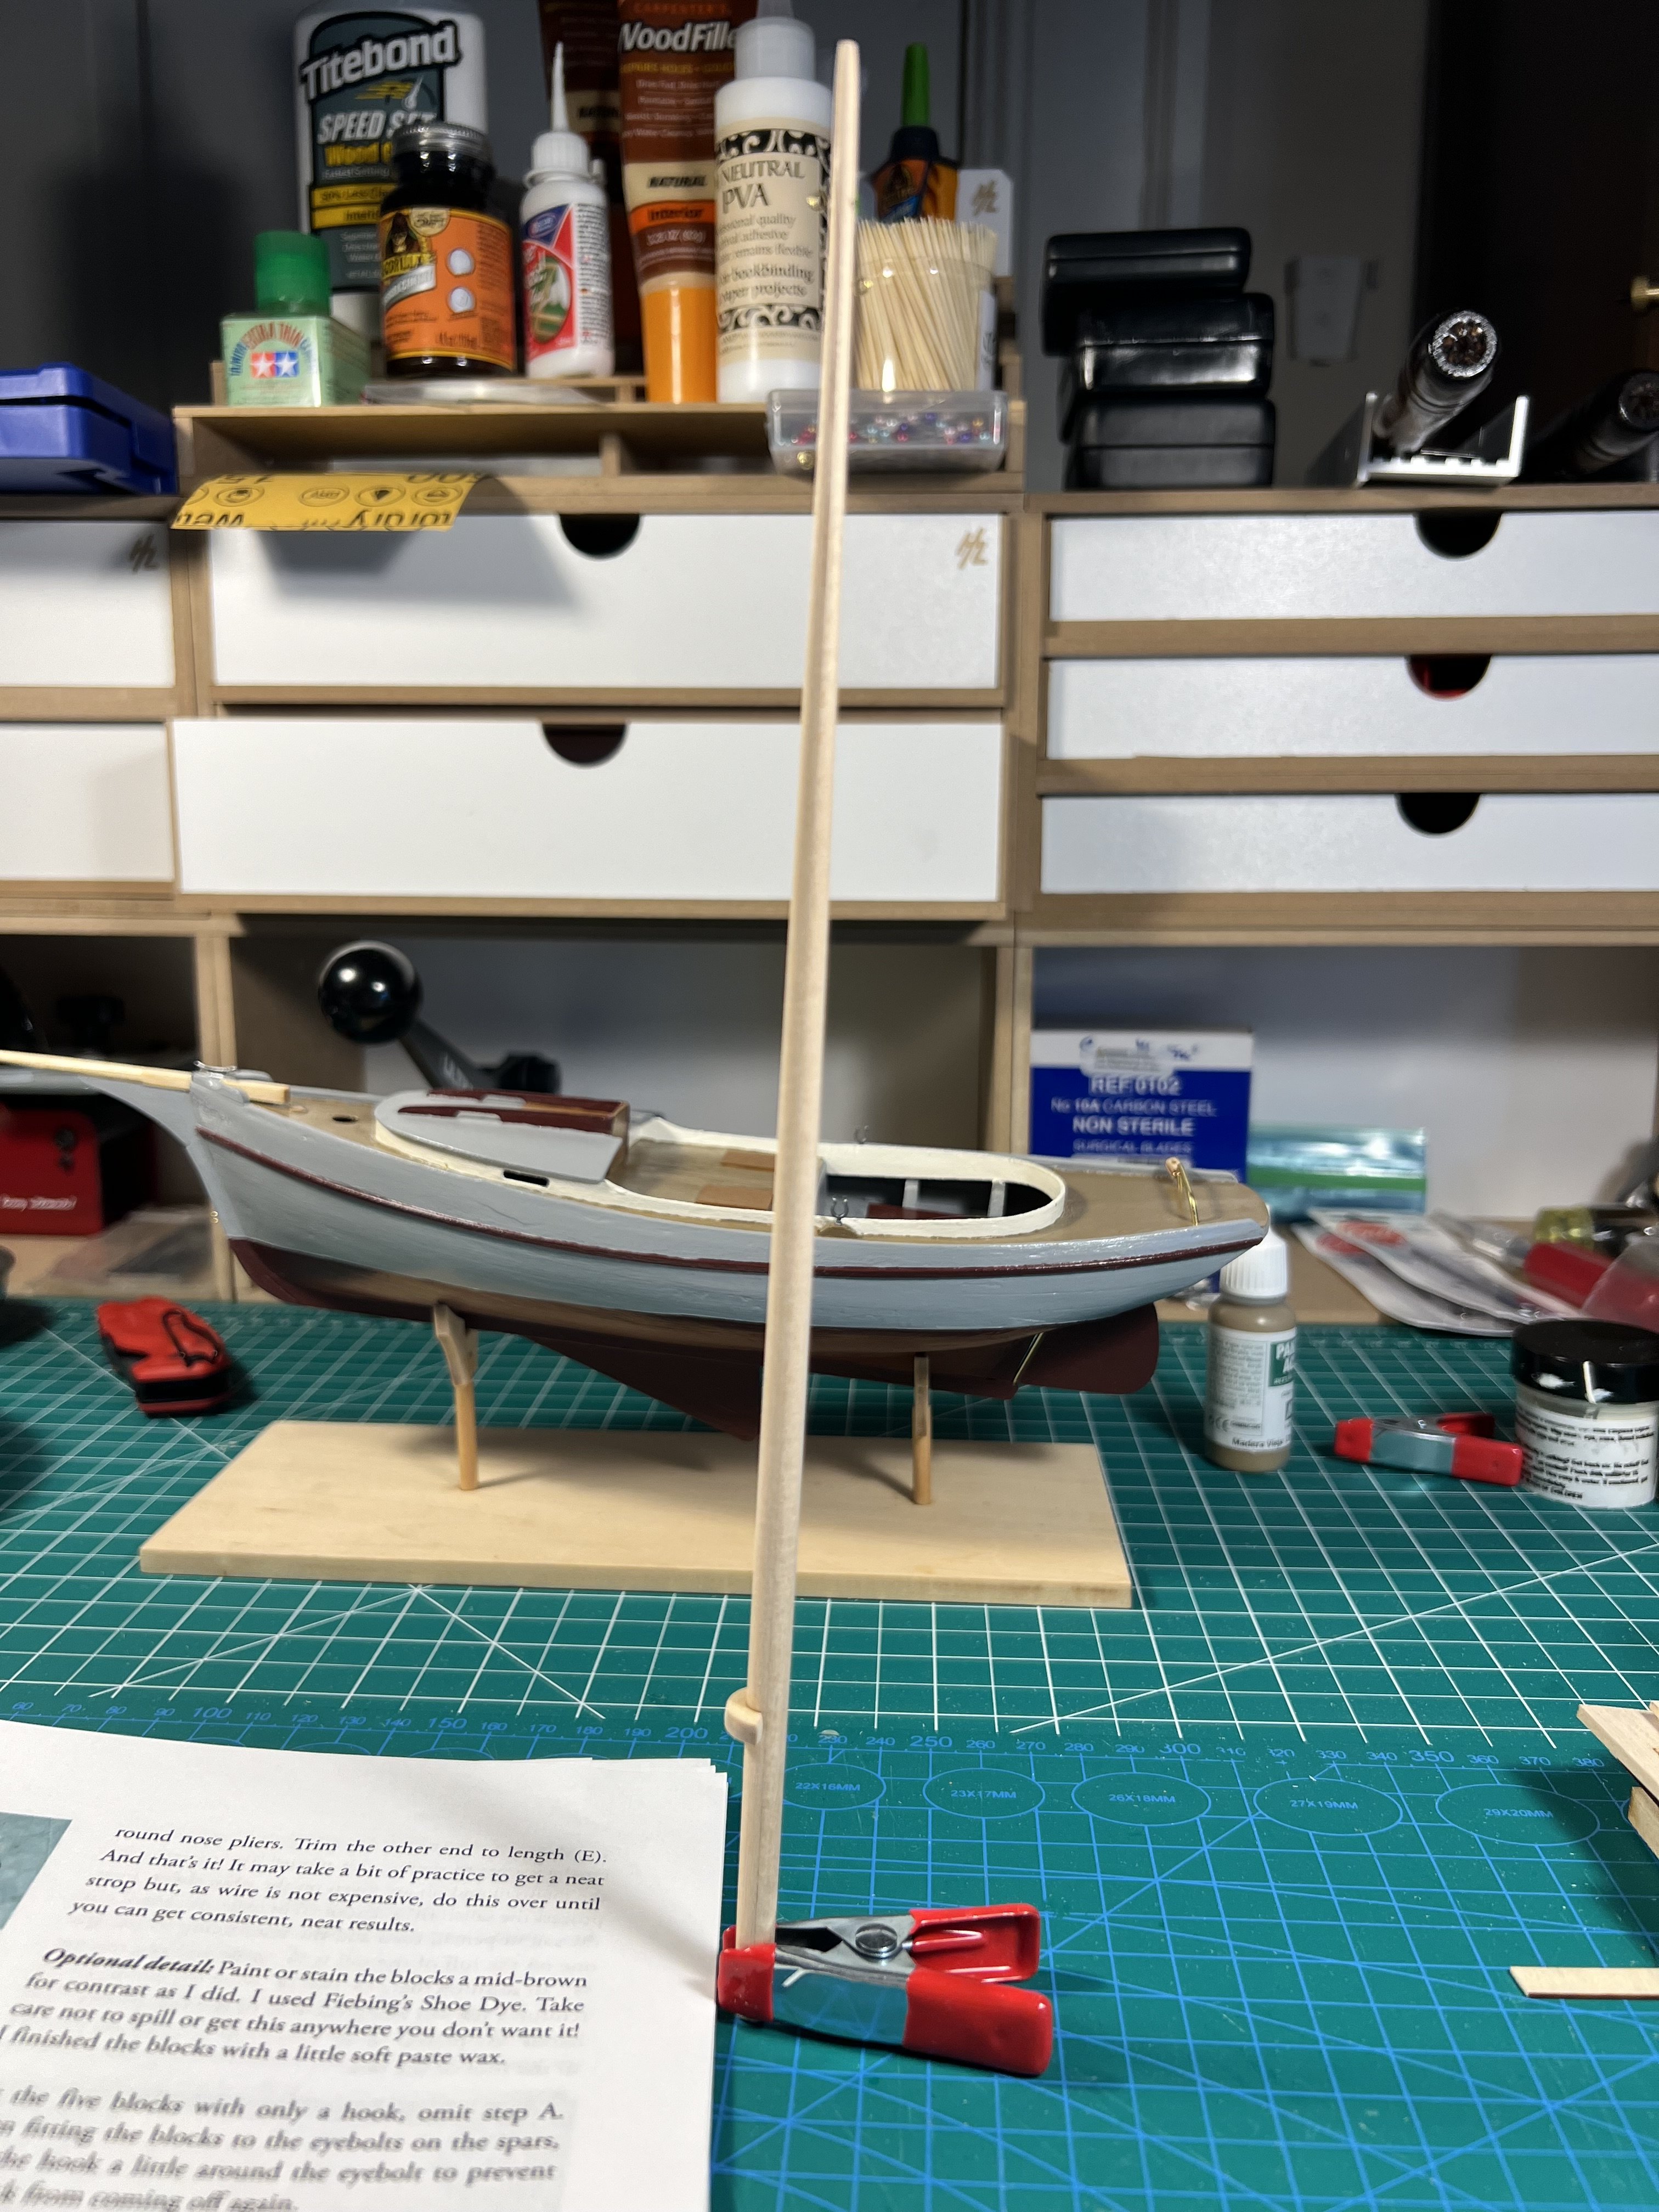
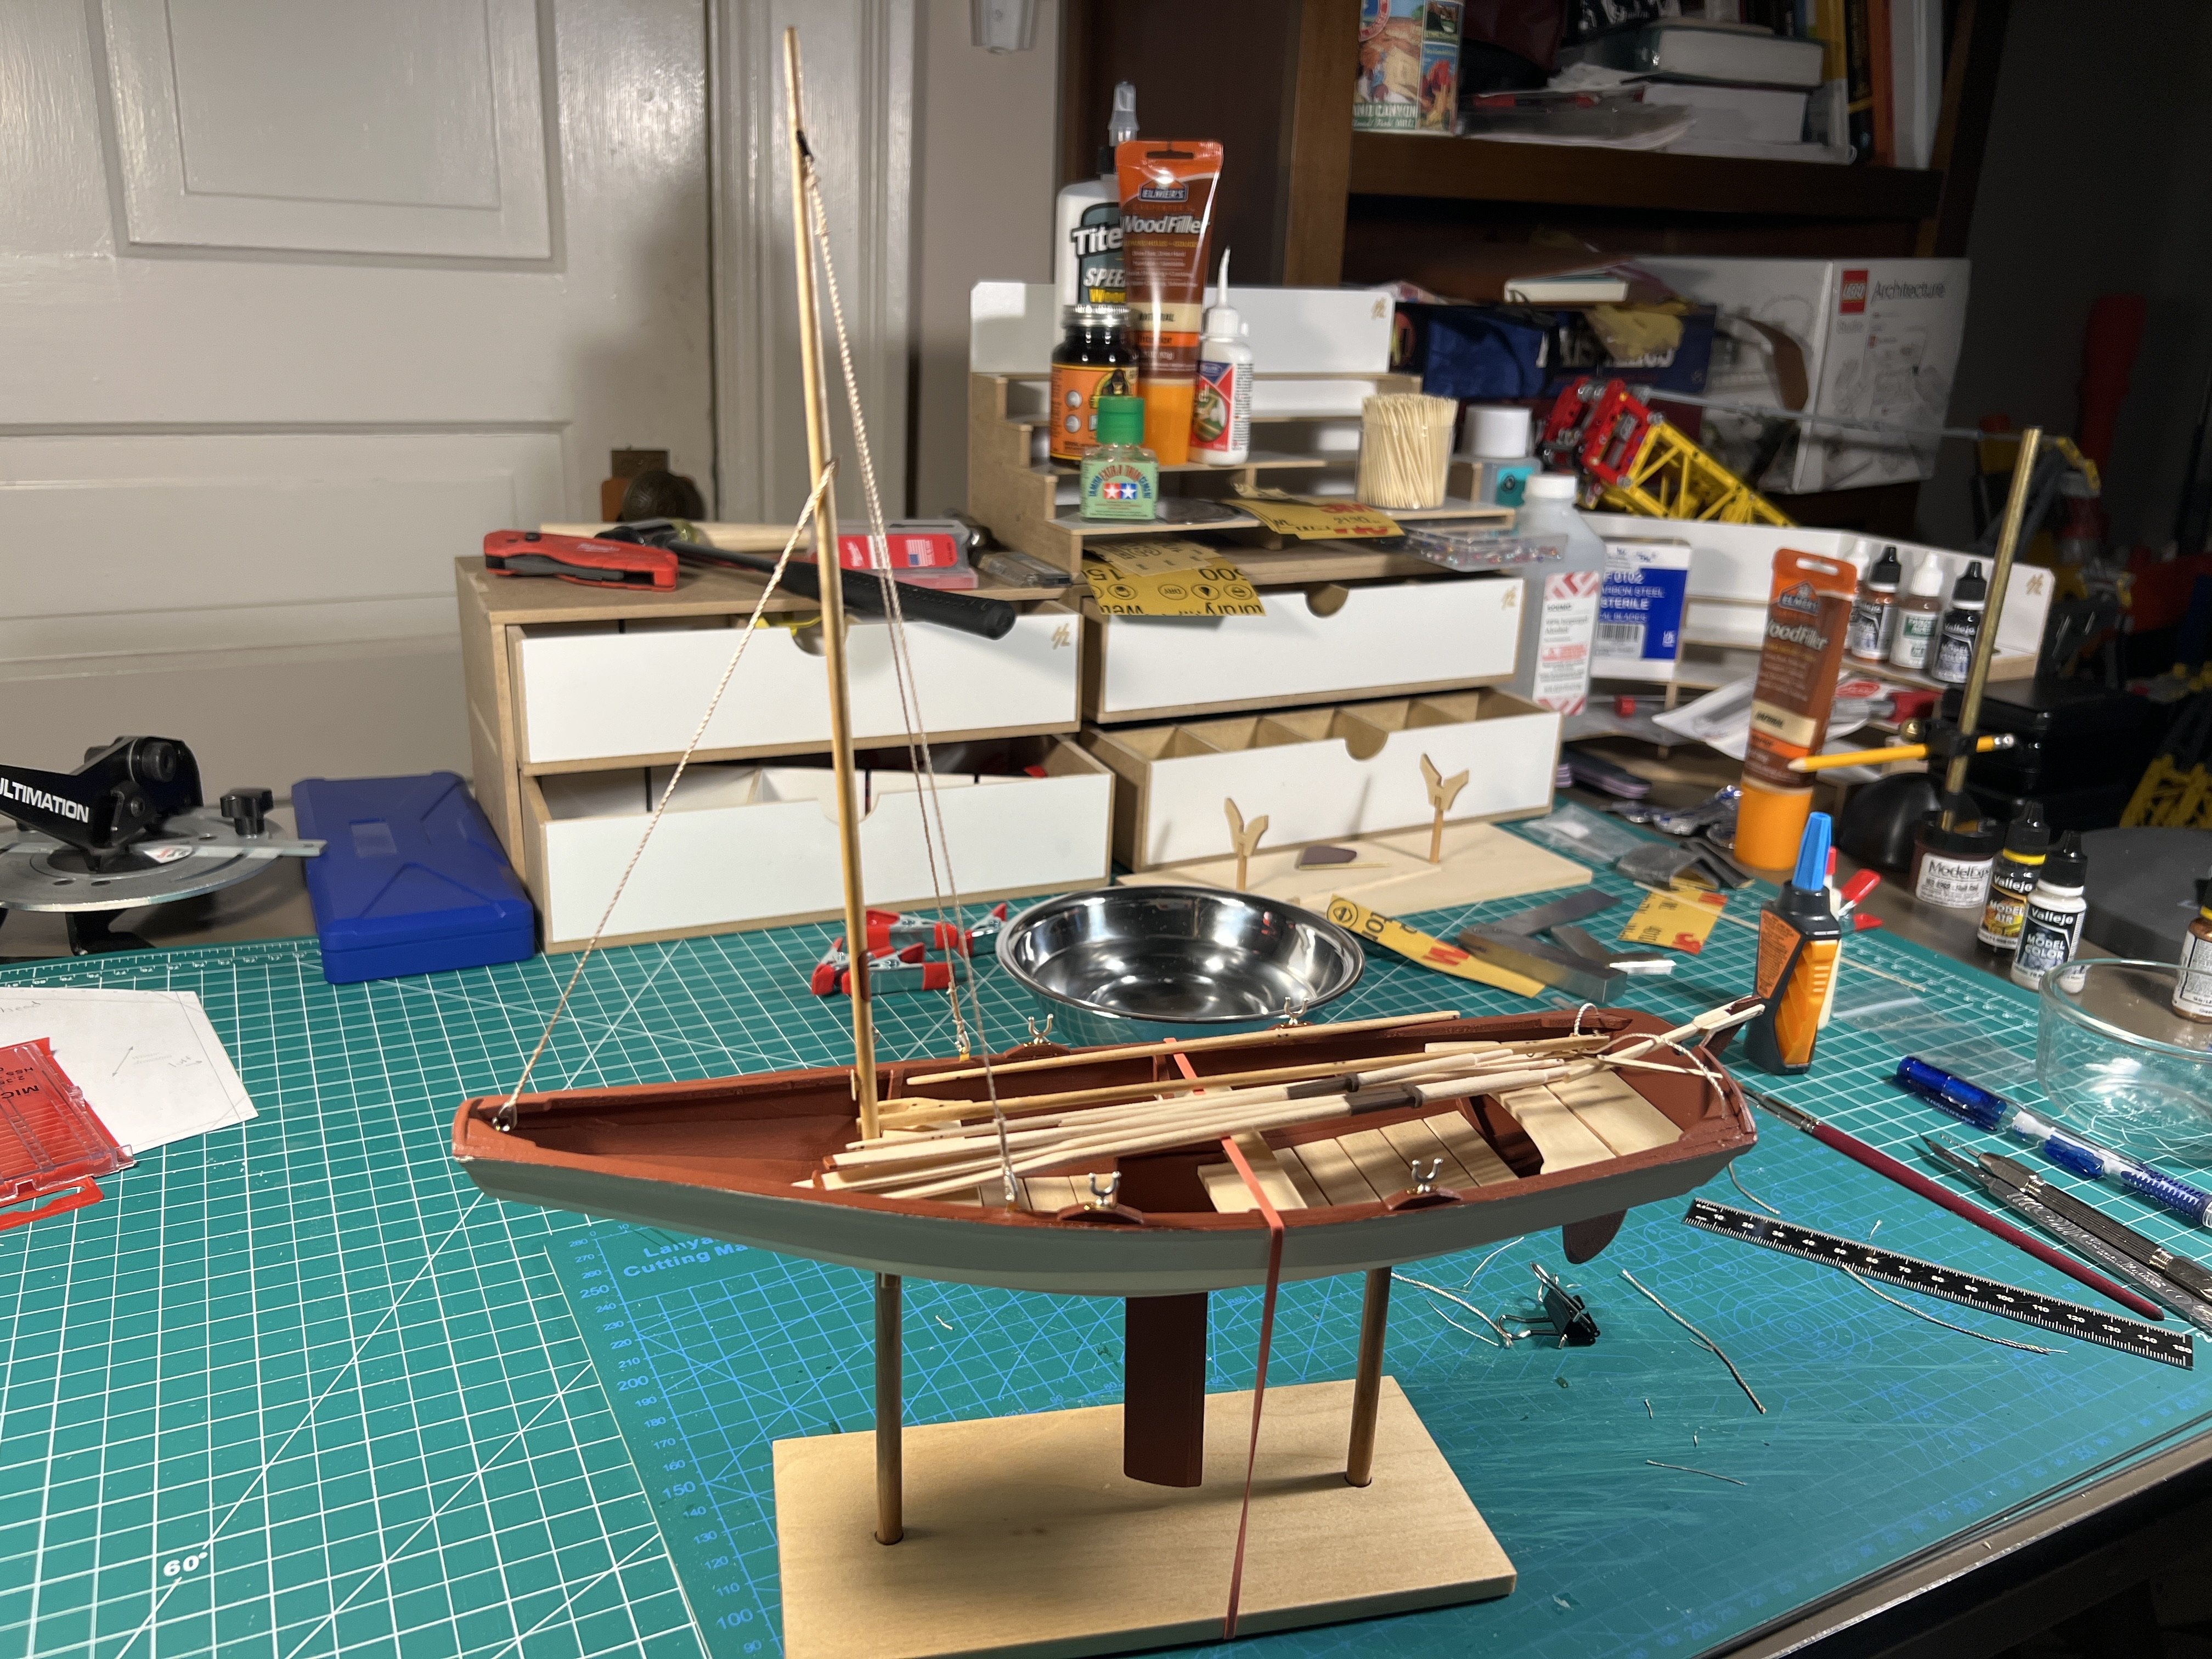
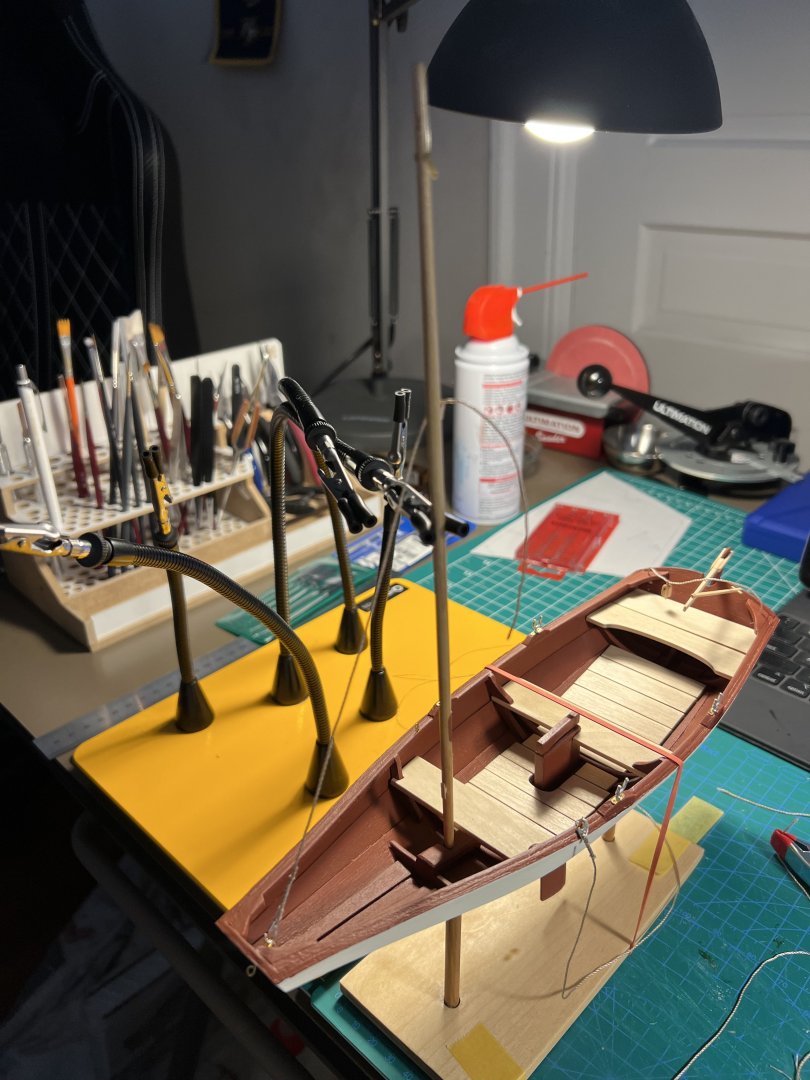
Not a quality issue, but I ended up having to order a new sail because I followed the instructions of taping the sail to a cutting mat. While the mat was clean, it had been used some, so some of the green from the mat ended up staining the sail. I tried airbrushing with some paint but that didn’t work. Next time maybe I’ll try putting some Saran Wrap down and then taping to that. I have to say that I’m really not sure how someone would mount the mast and add the rigging (and have the rigging taught) without helping hands. Maybe I could have held the mast with my mouth? I suppose I could have done something to clamp the mast in place.
- 63 replies
-
- 2
-
-
- Norwegian Sailing Pram
- Model Shipways
- (and 2 more)
-
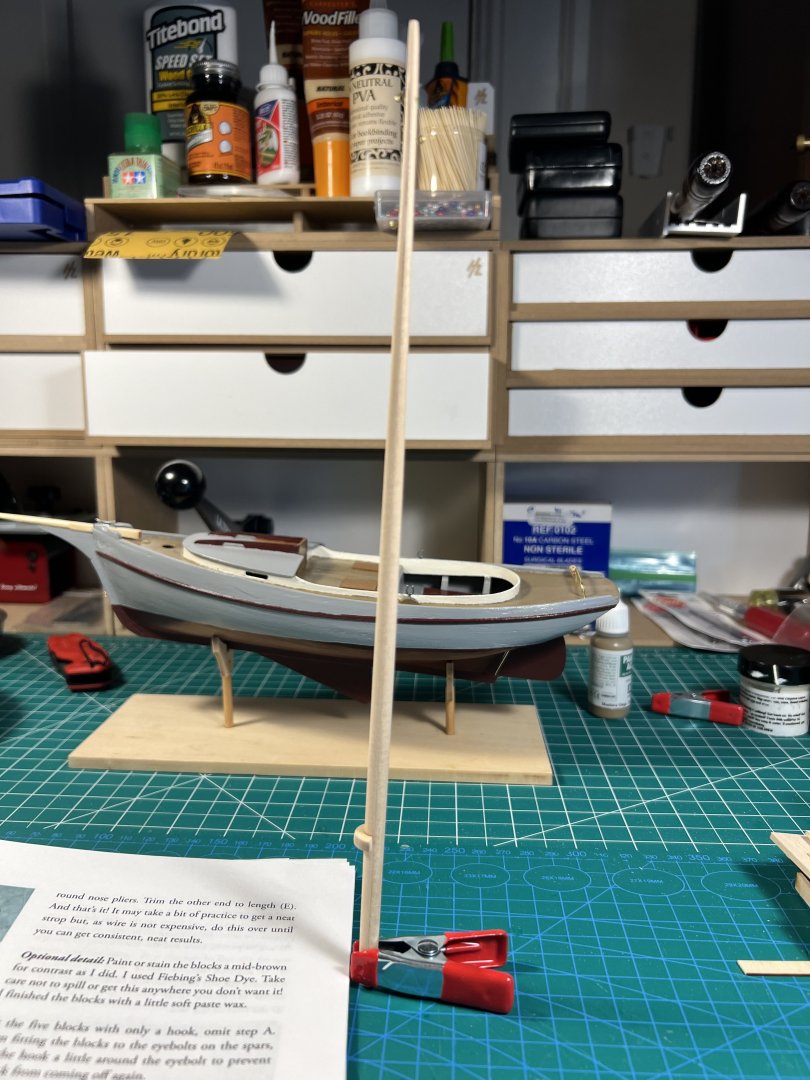
I have the mast up and rigged. I had to order a new sail from Model Expo. Once that comes I’ll be able to finish. (I’ll tidy the rigging when my fly tying scissors I ordered arrive.)

- 63 replies
-
- 10
-
-
- Norwegian Sailing Pram
- Model Shipways
- (and 2 more)
-
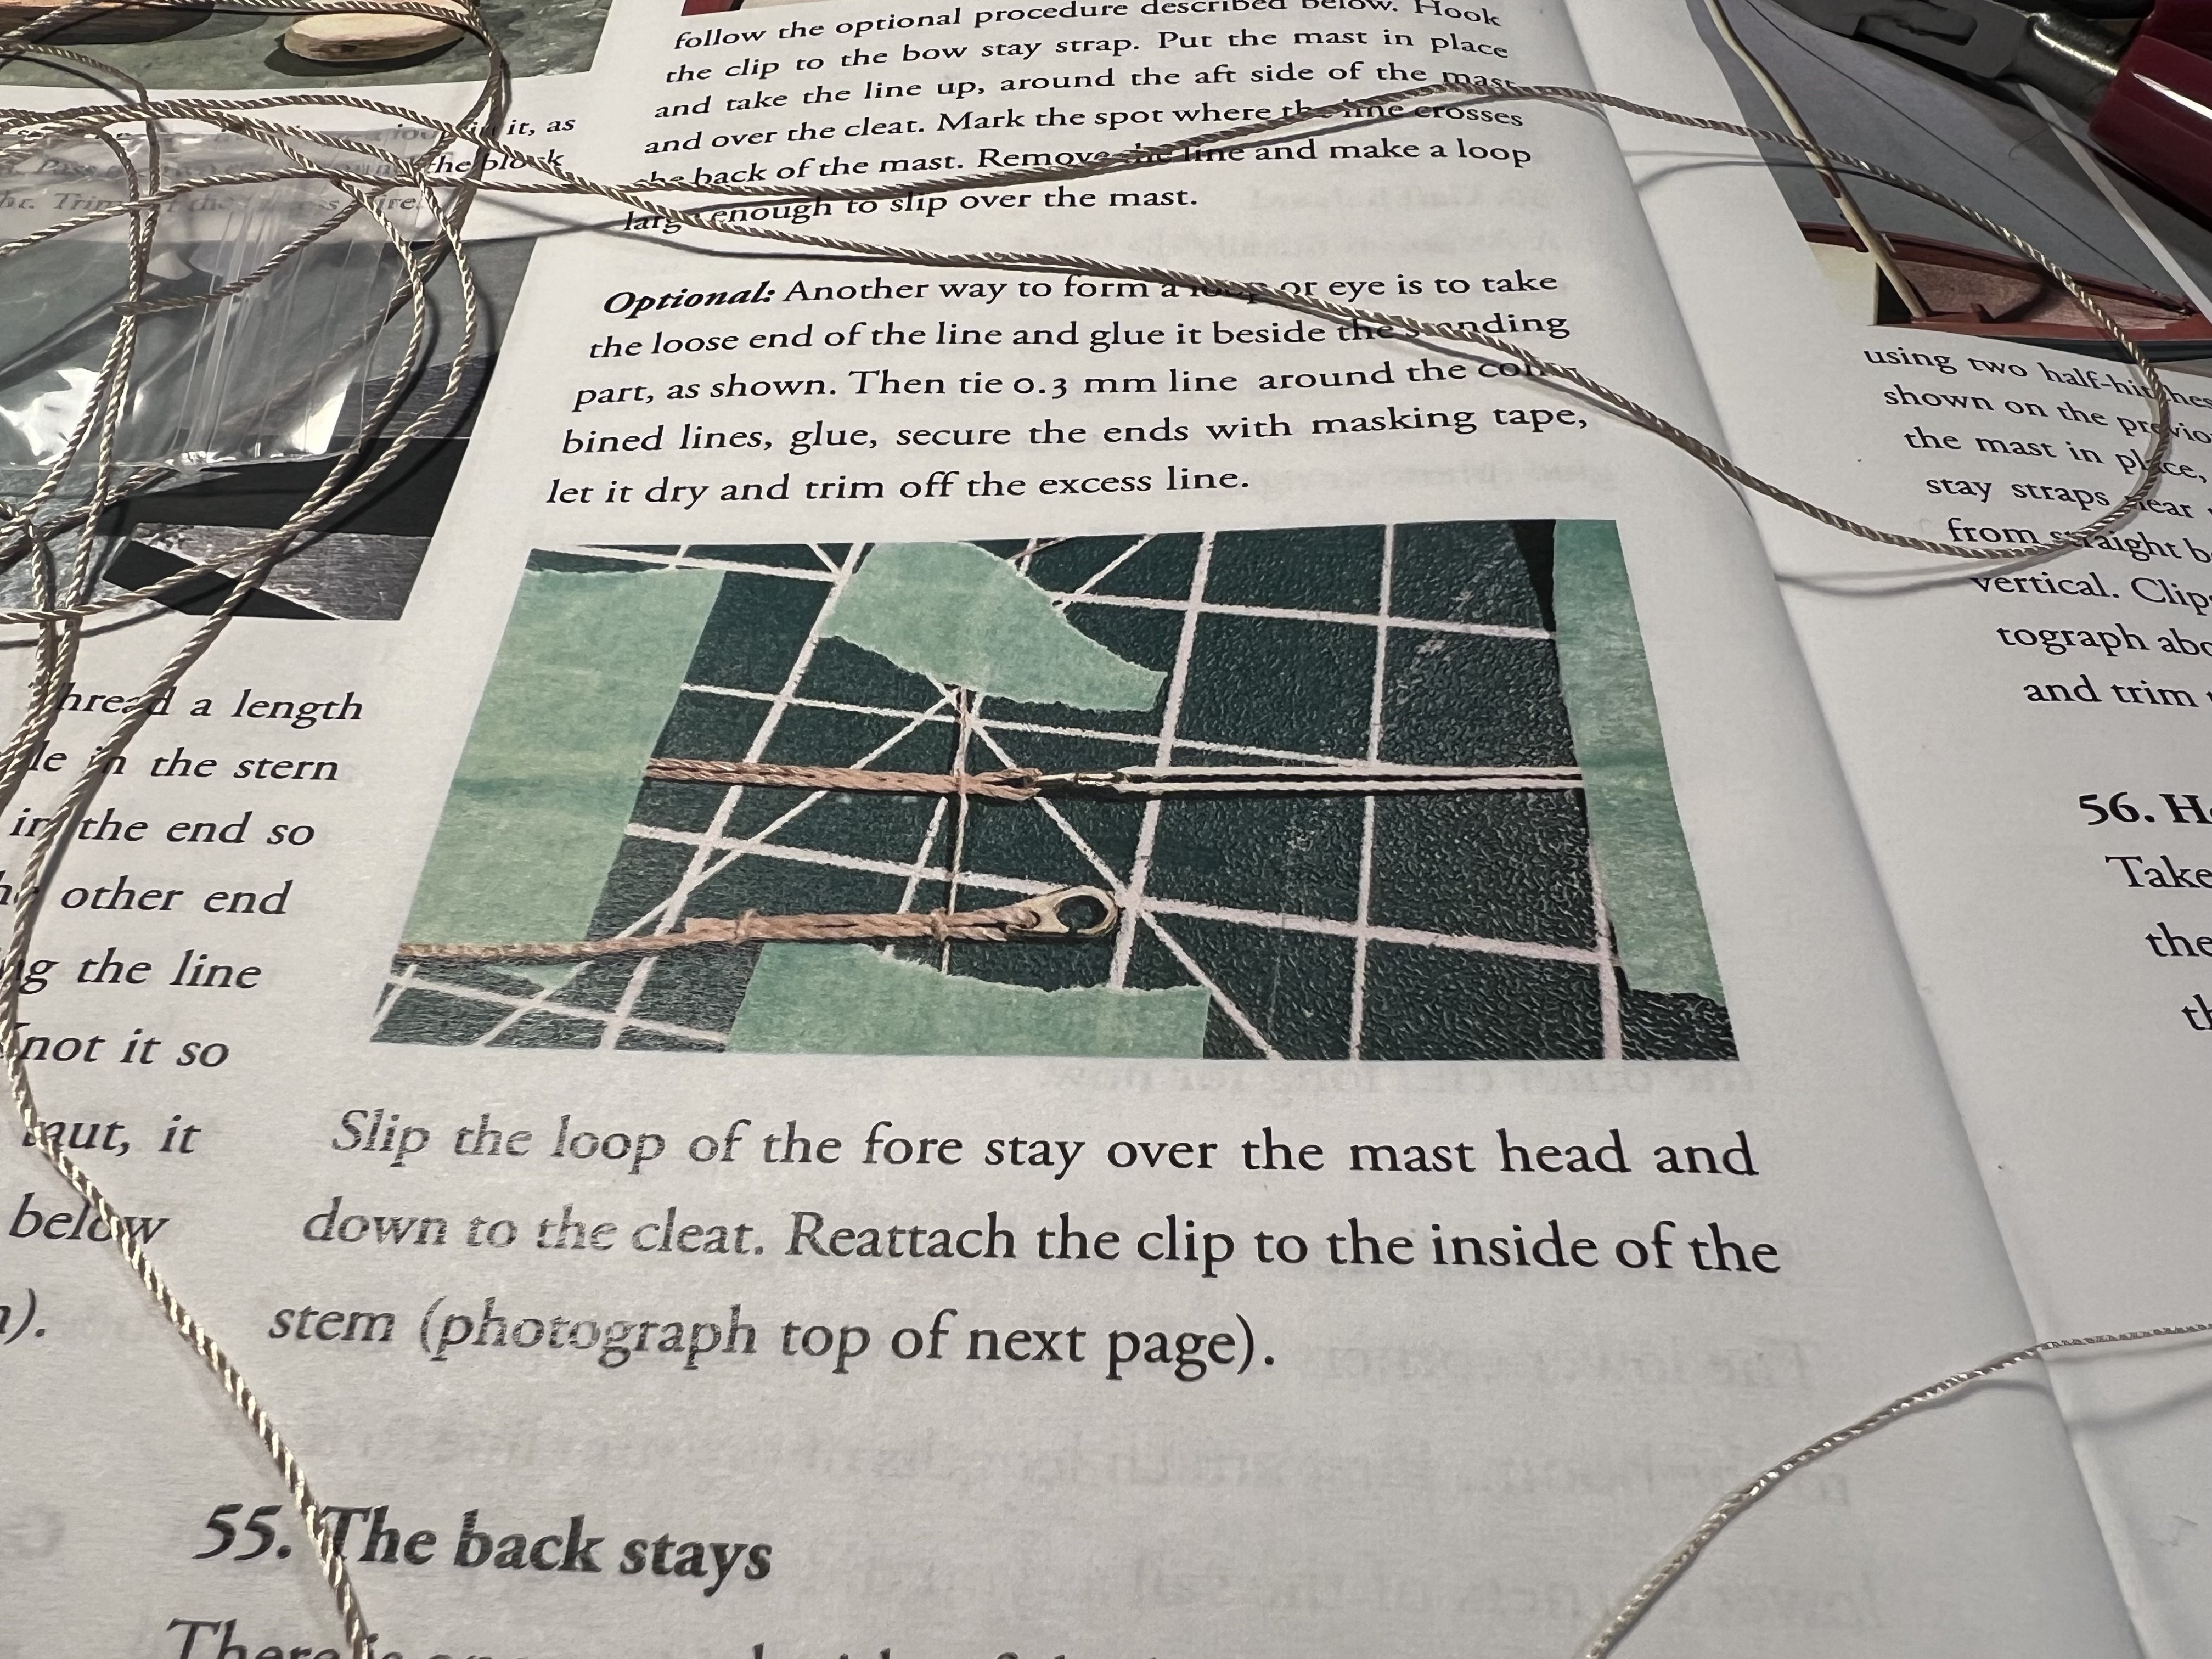
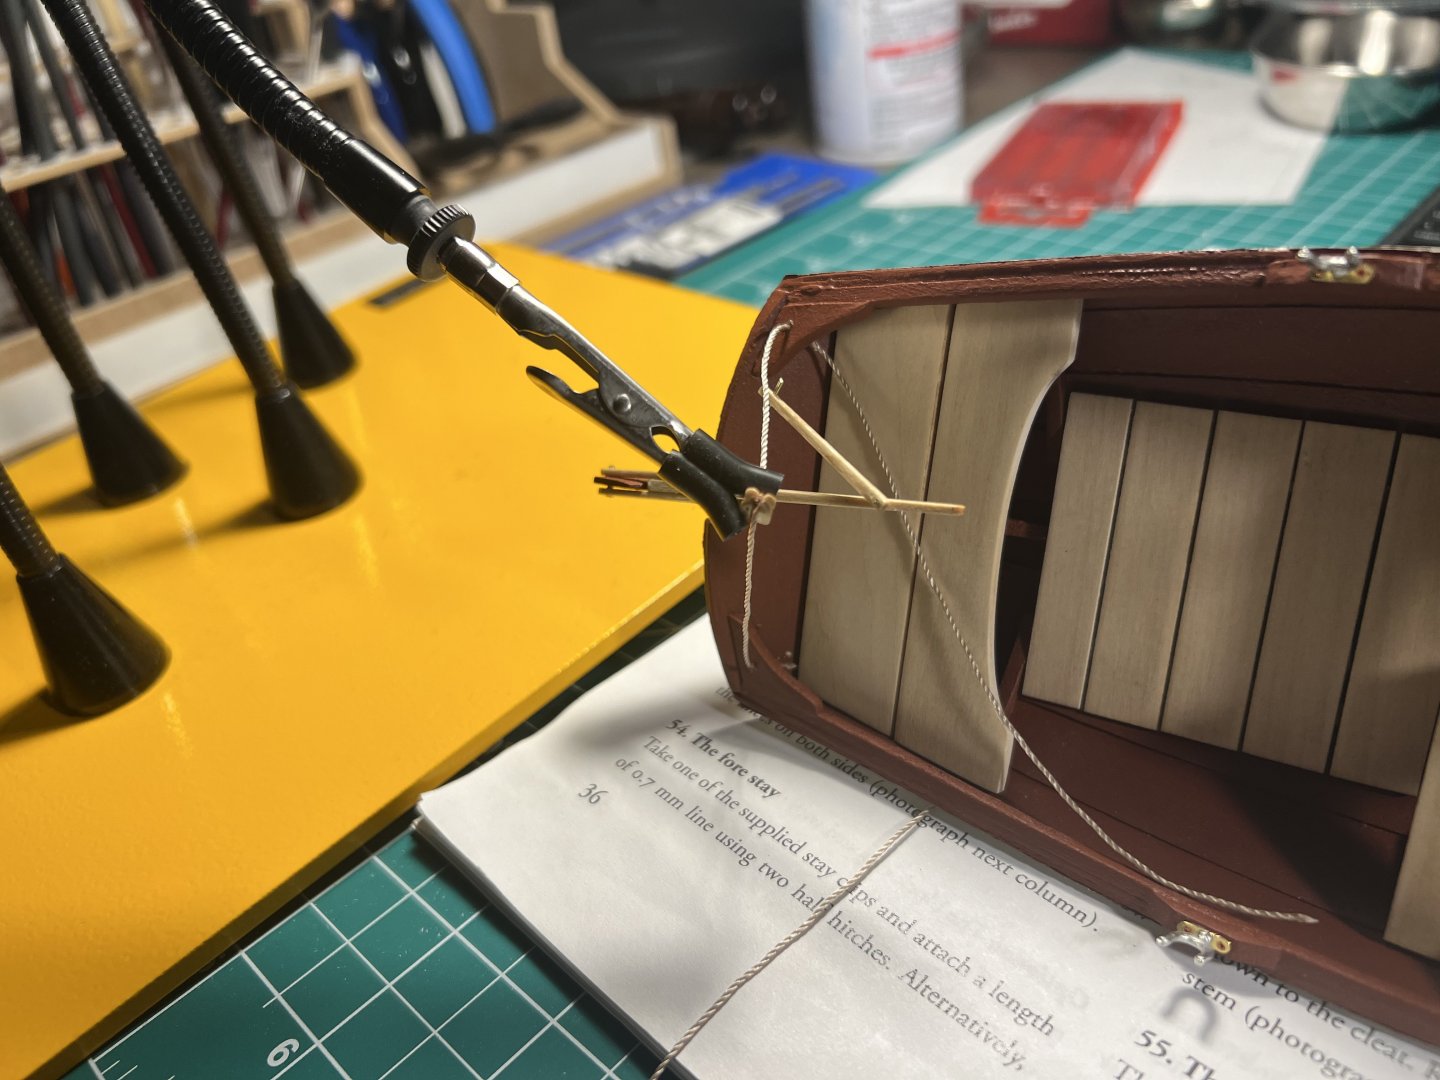
I don’t know how I would have added the fore stay and two back stays to a mast that’s not intended to be glued in place without quad hands.
- 63 replies
-
- 8
-
-
- Norwegian Sailing Pram
- Model Shipways
- (and 2 more)
-
scissors, shears, cutters for rigging
palmerit replied to palmerit's topic in Modeling tools and Workshop Equipment
I ordered some Dr. Slick Razor scissors. They seem to be highly recommended for fly tying. And when googling "Dr. Slick and site:modelshipworld.com" I found a few people recommending them. Someone recommended to keep them completely closed because they'll cut completed rigging otherwise - I'm guessing that was from their personal experience. I bought a couple different ones. I'll post again with my thoughts after they arrive and I get a chance to use them. I ended up buying from a fly fishing supply place online (jsflyfishing.com) rather than amazon. While I order from amazon probably multiple times a week, all they had for the Dr. Slick scissors was third party resellers and I was certain that some of them could well be knock-offs. I ended up paying a few dollars for shipping instead of getting the shipping "free" with my Amazon Prime, but at least I'll know that they're legit (and new, not used). I once ordered batteries from amazon priced too good to be true and I'm certain they were expired batteries, or even used batteries, that someone took out of the packaging and repacked in a plain brown box. Lesson learned. -
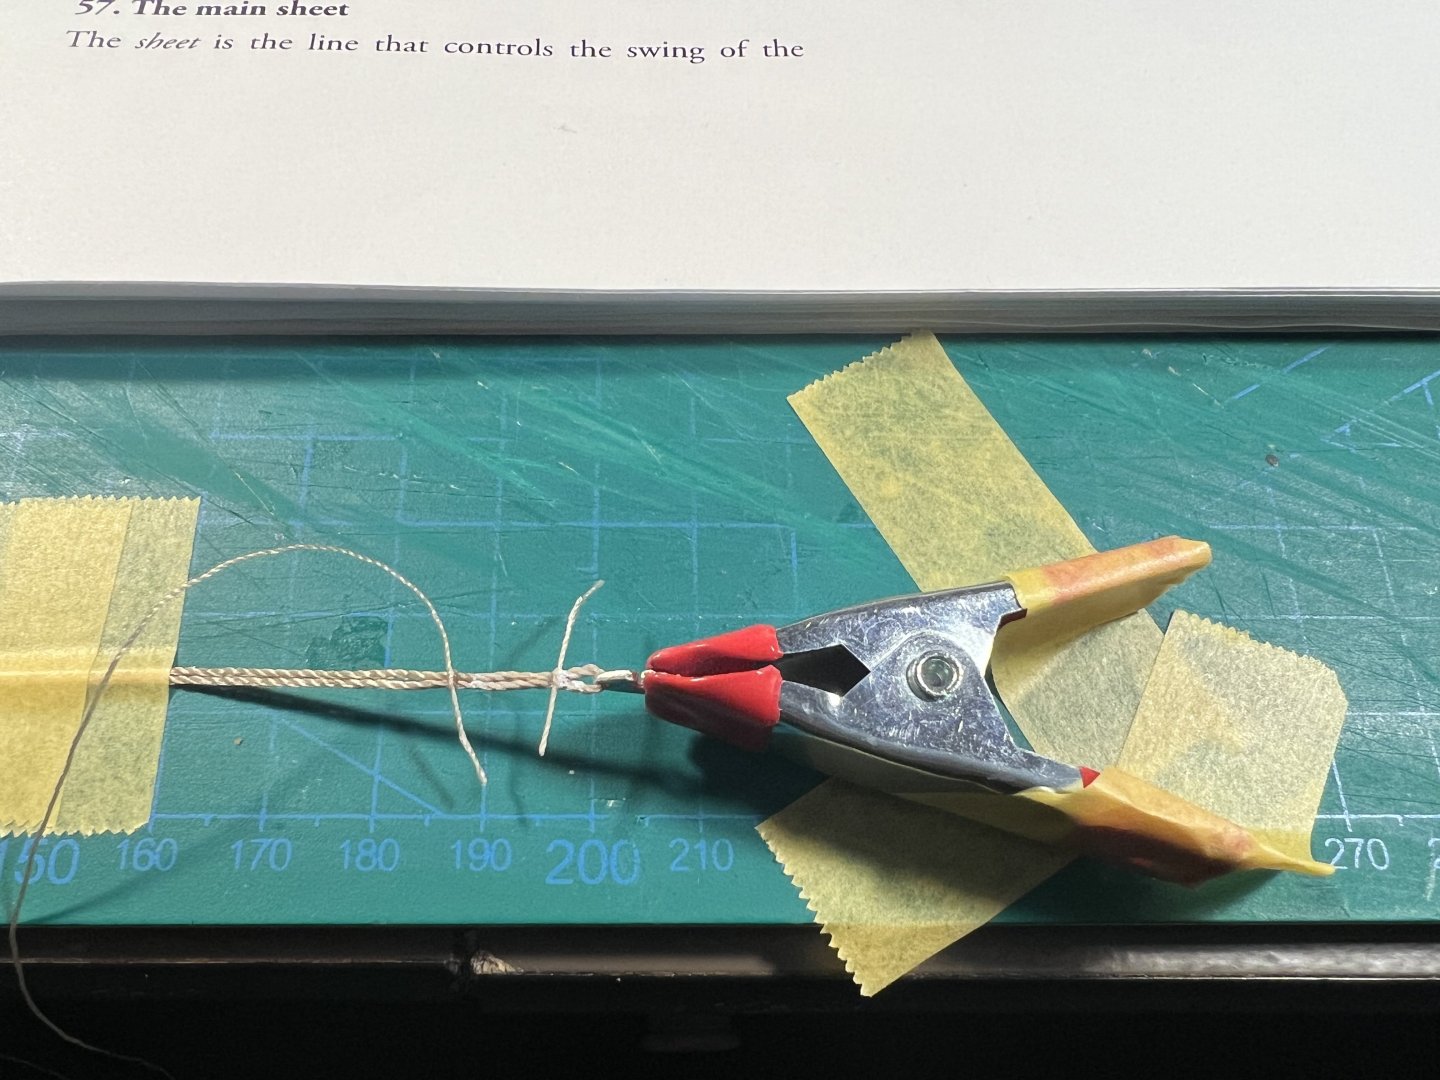
What's the best option for scissors, shears, cutters, clippers, or something else for cutting rigging line? I tried sprue cutters (side cutters) and they weren't great (even though they're a nice Tamiya version). Neither was a Xuron PE cutter. These might not work great because I've used them for lots of other things (plastic, metal, wood) and I know from my wife whose a quilter not to use "cutters" for fabric on other things. I can use my scalpel, but that doesn't work (well) if the line is elevated. I've seen some people suggest nail clipper - we have a nice pair and I might try those. I was frustrated because I was trying to do a really tight cut on a little bit of line after a knot (that I have glued with CA) and couldn't get anything to trim it as close as my OCD brain wanted it done.
-
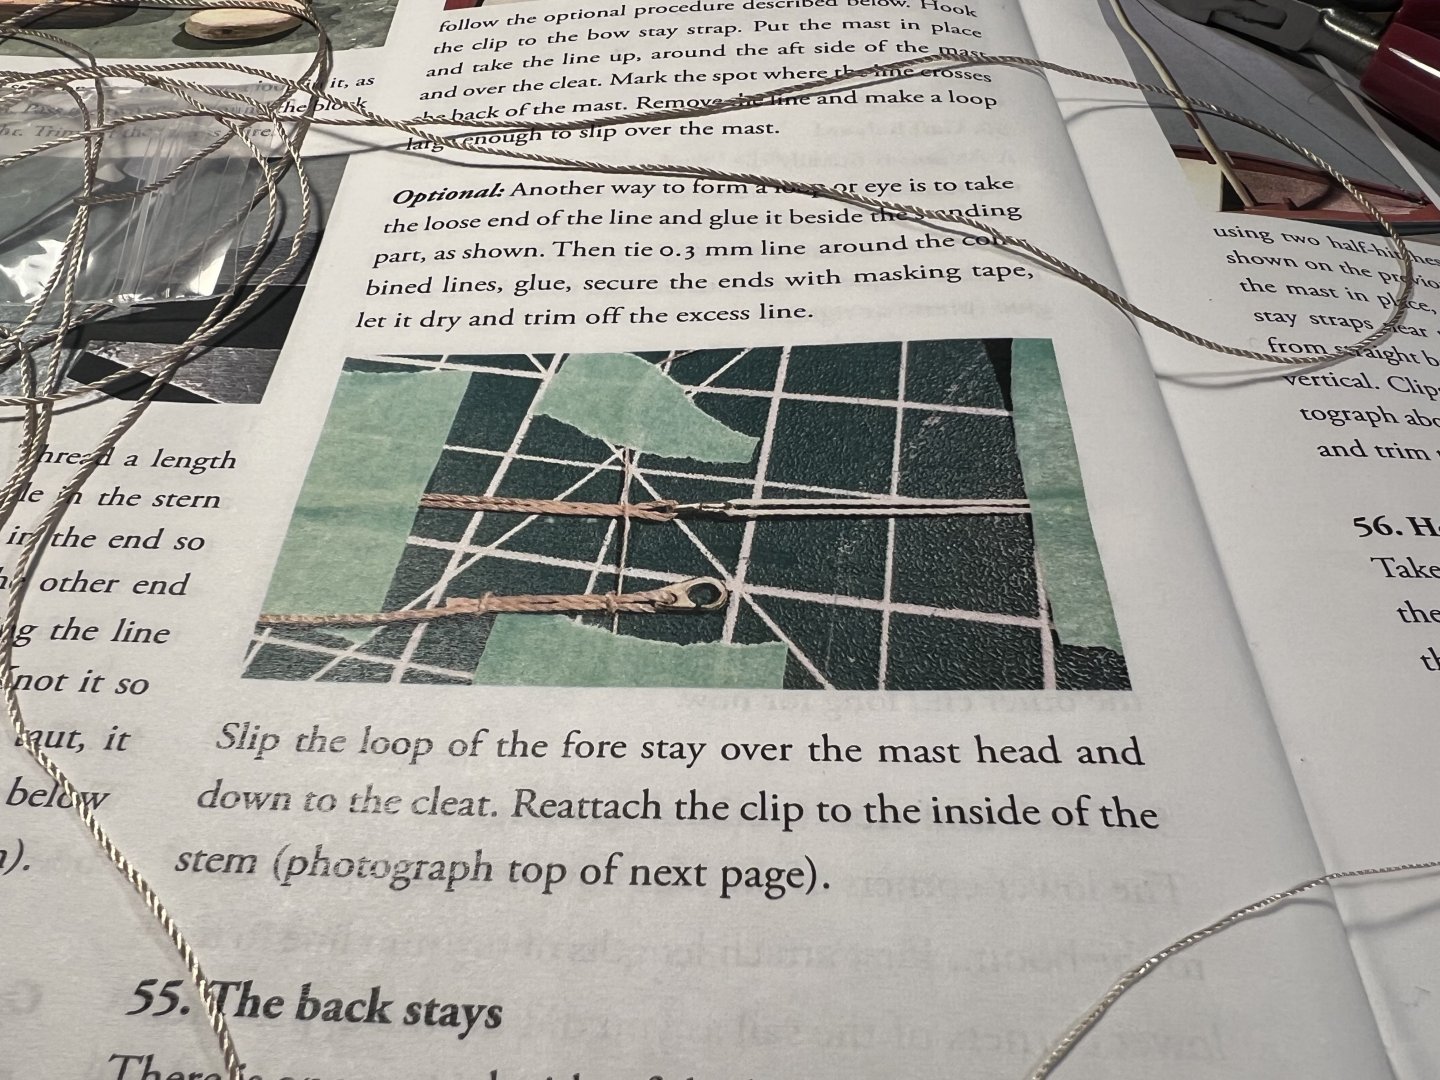
My first stab at anything approaching rigging. The instructions are not entirely clear and I’m trying to follow them. First use of my quad hands (quint hands). (Don’t order one from amazon - order directly from the company - I’ve seen scam versions on amazon and then people complain that they don’t work.)
- 63 replies
-
- 9
-
-
- Norwegian Sailing Pram
- Model Shipways
- (and 2 more)
-
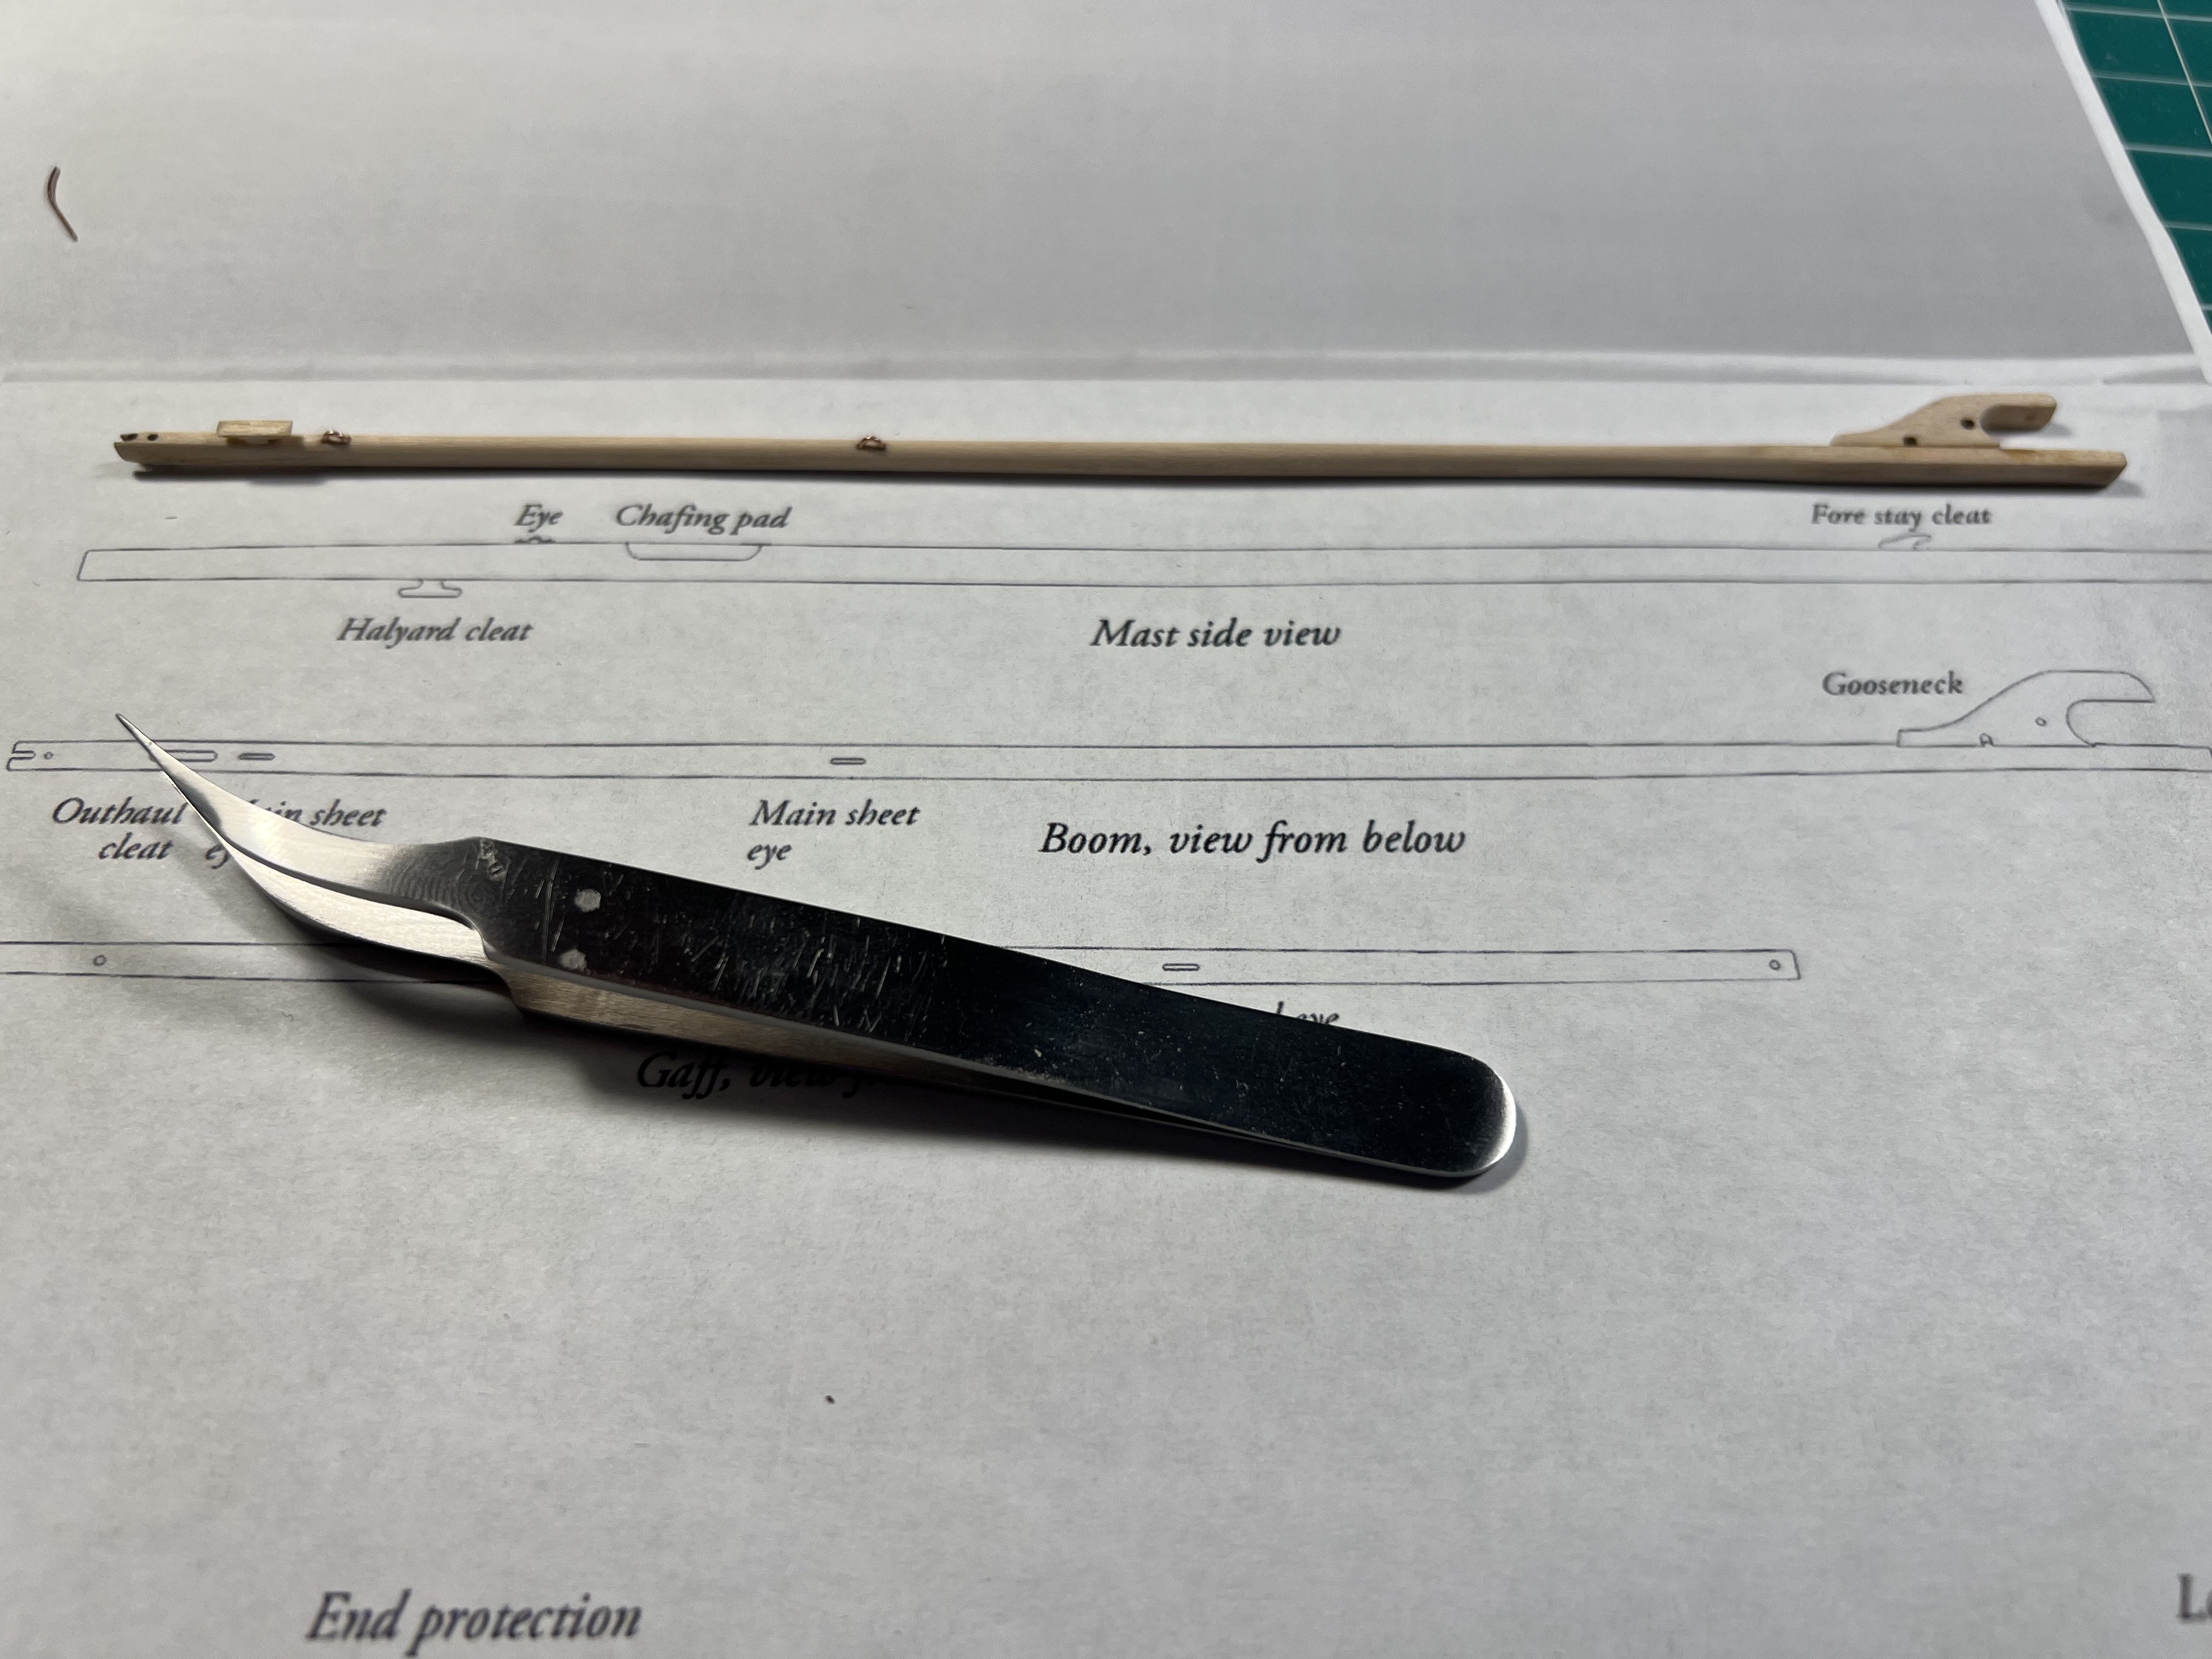
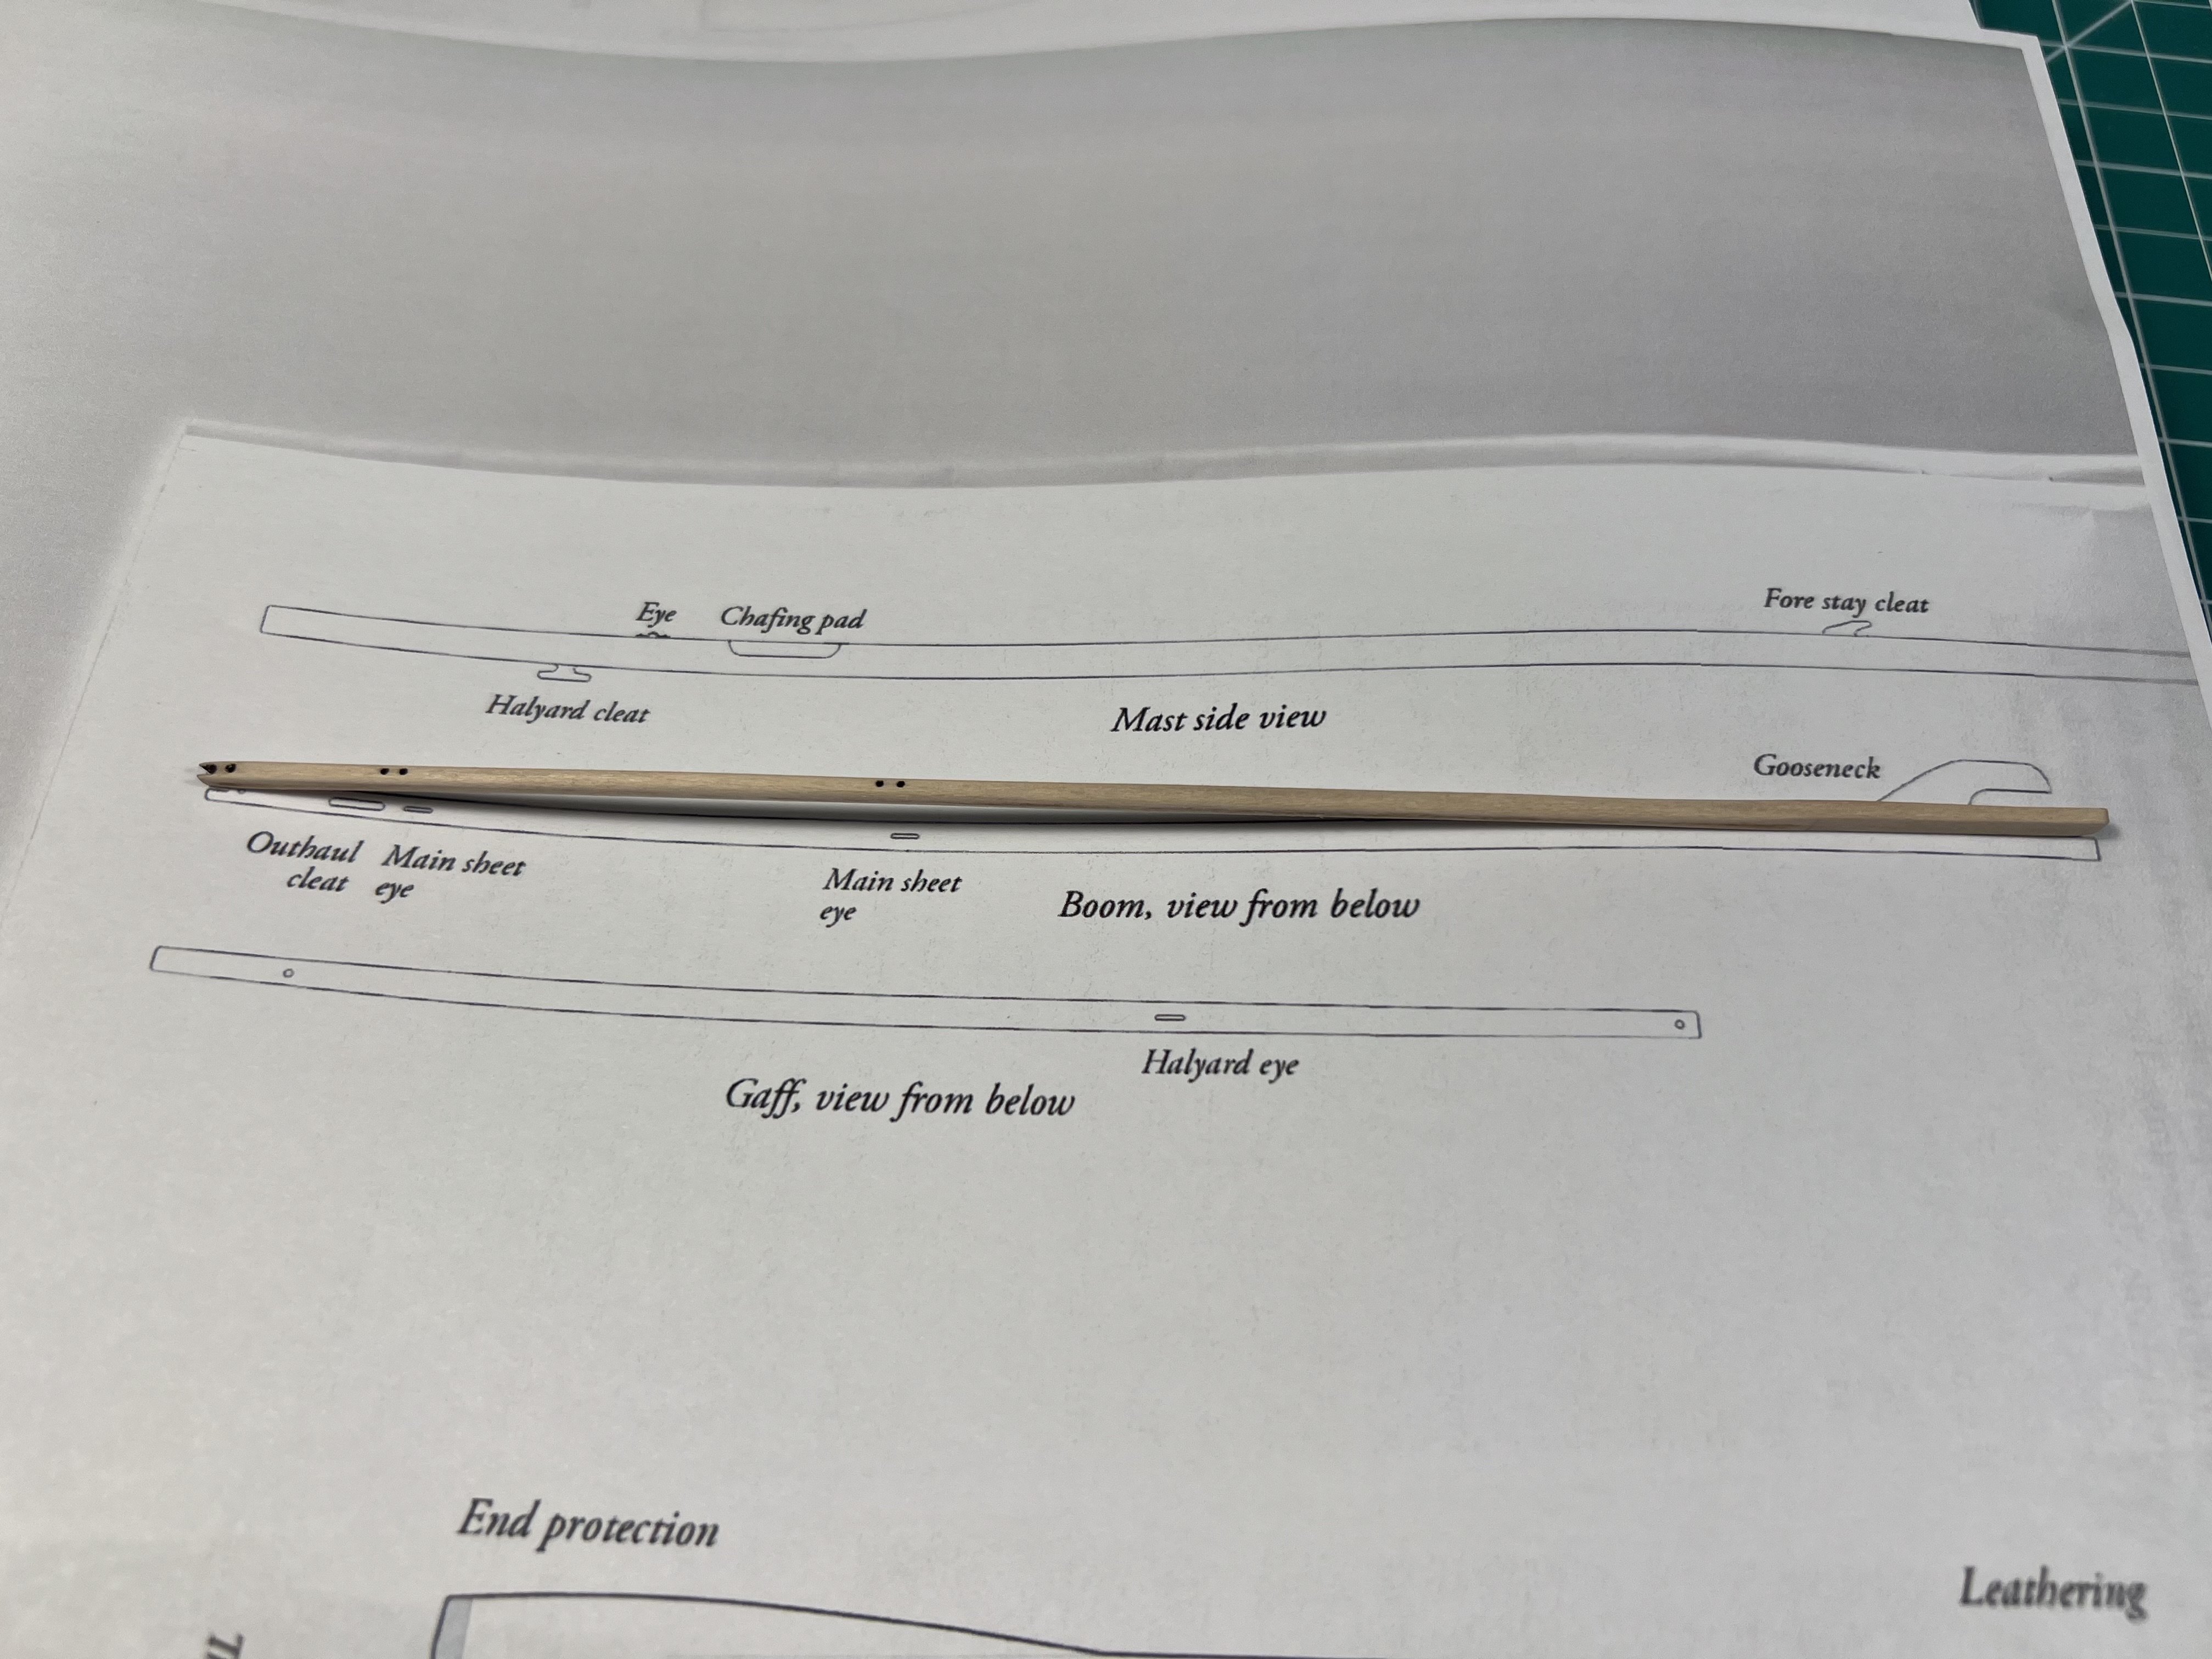
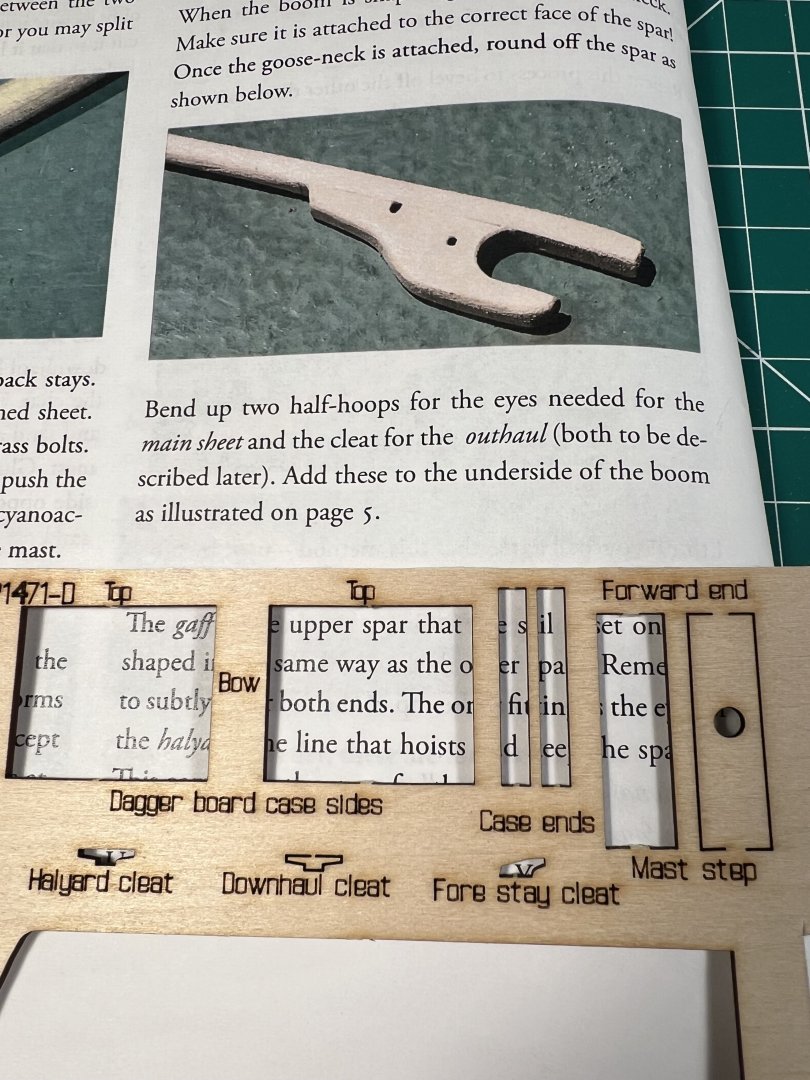
The instructions call for the outhaul cleat to be attached to the boom. I could not find an outhaul cleat, but there was a downhaul cleat. I’m going to use that. It a future steps calls for a downhaul cleat I’ll fashion one scratch.
- 63 replies
-
- 4
-
-
- Norwegian Sailing Pram
- Model Shipways
- (and 2 more)
-
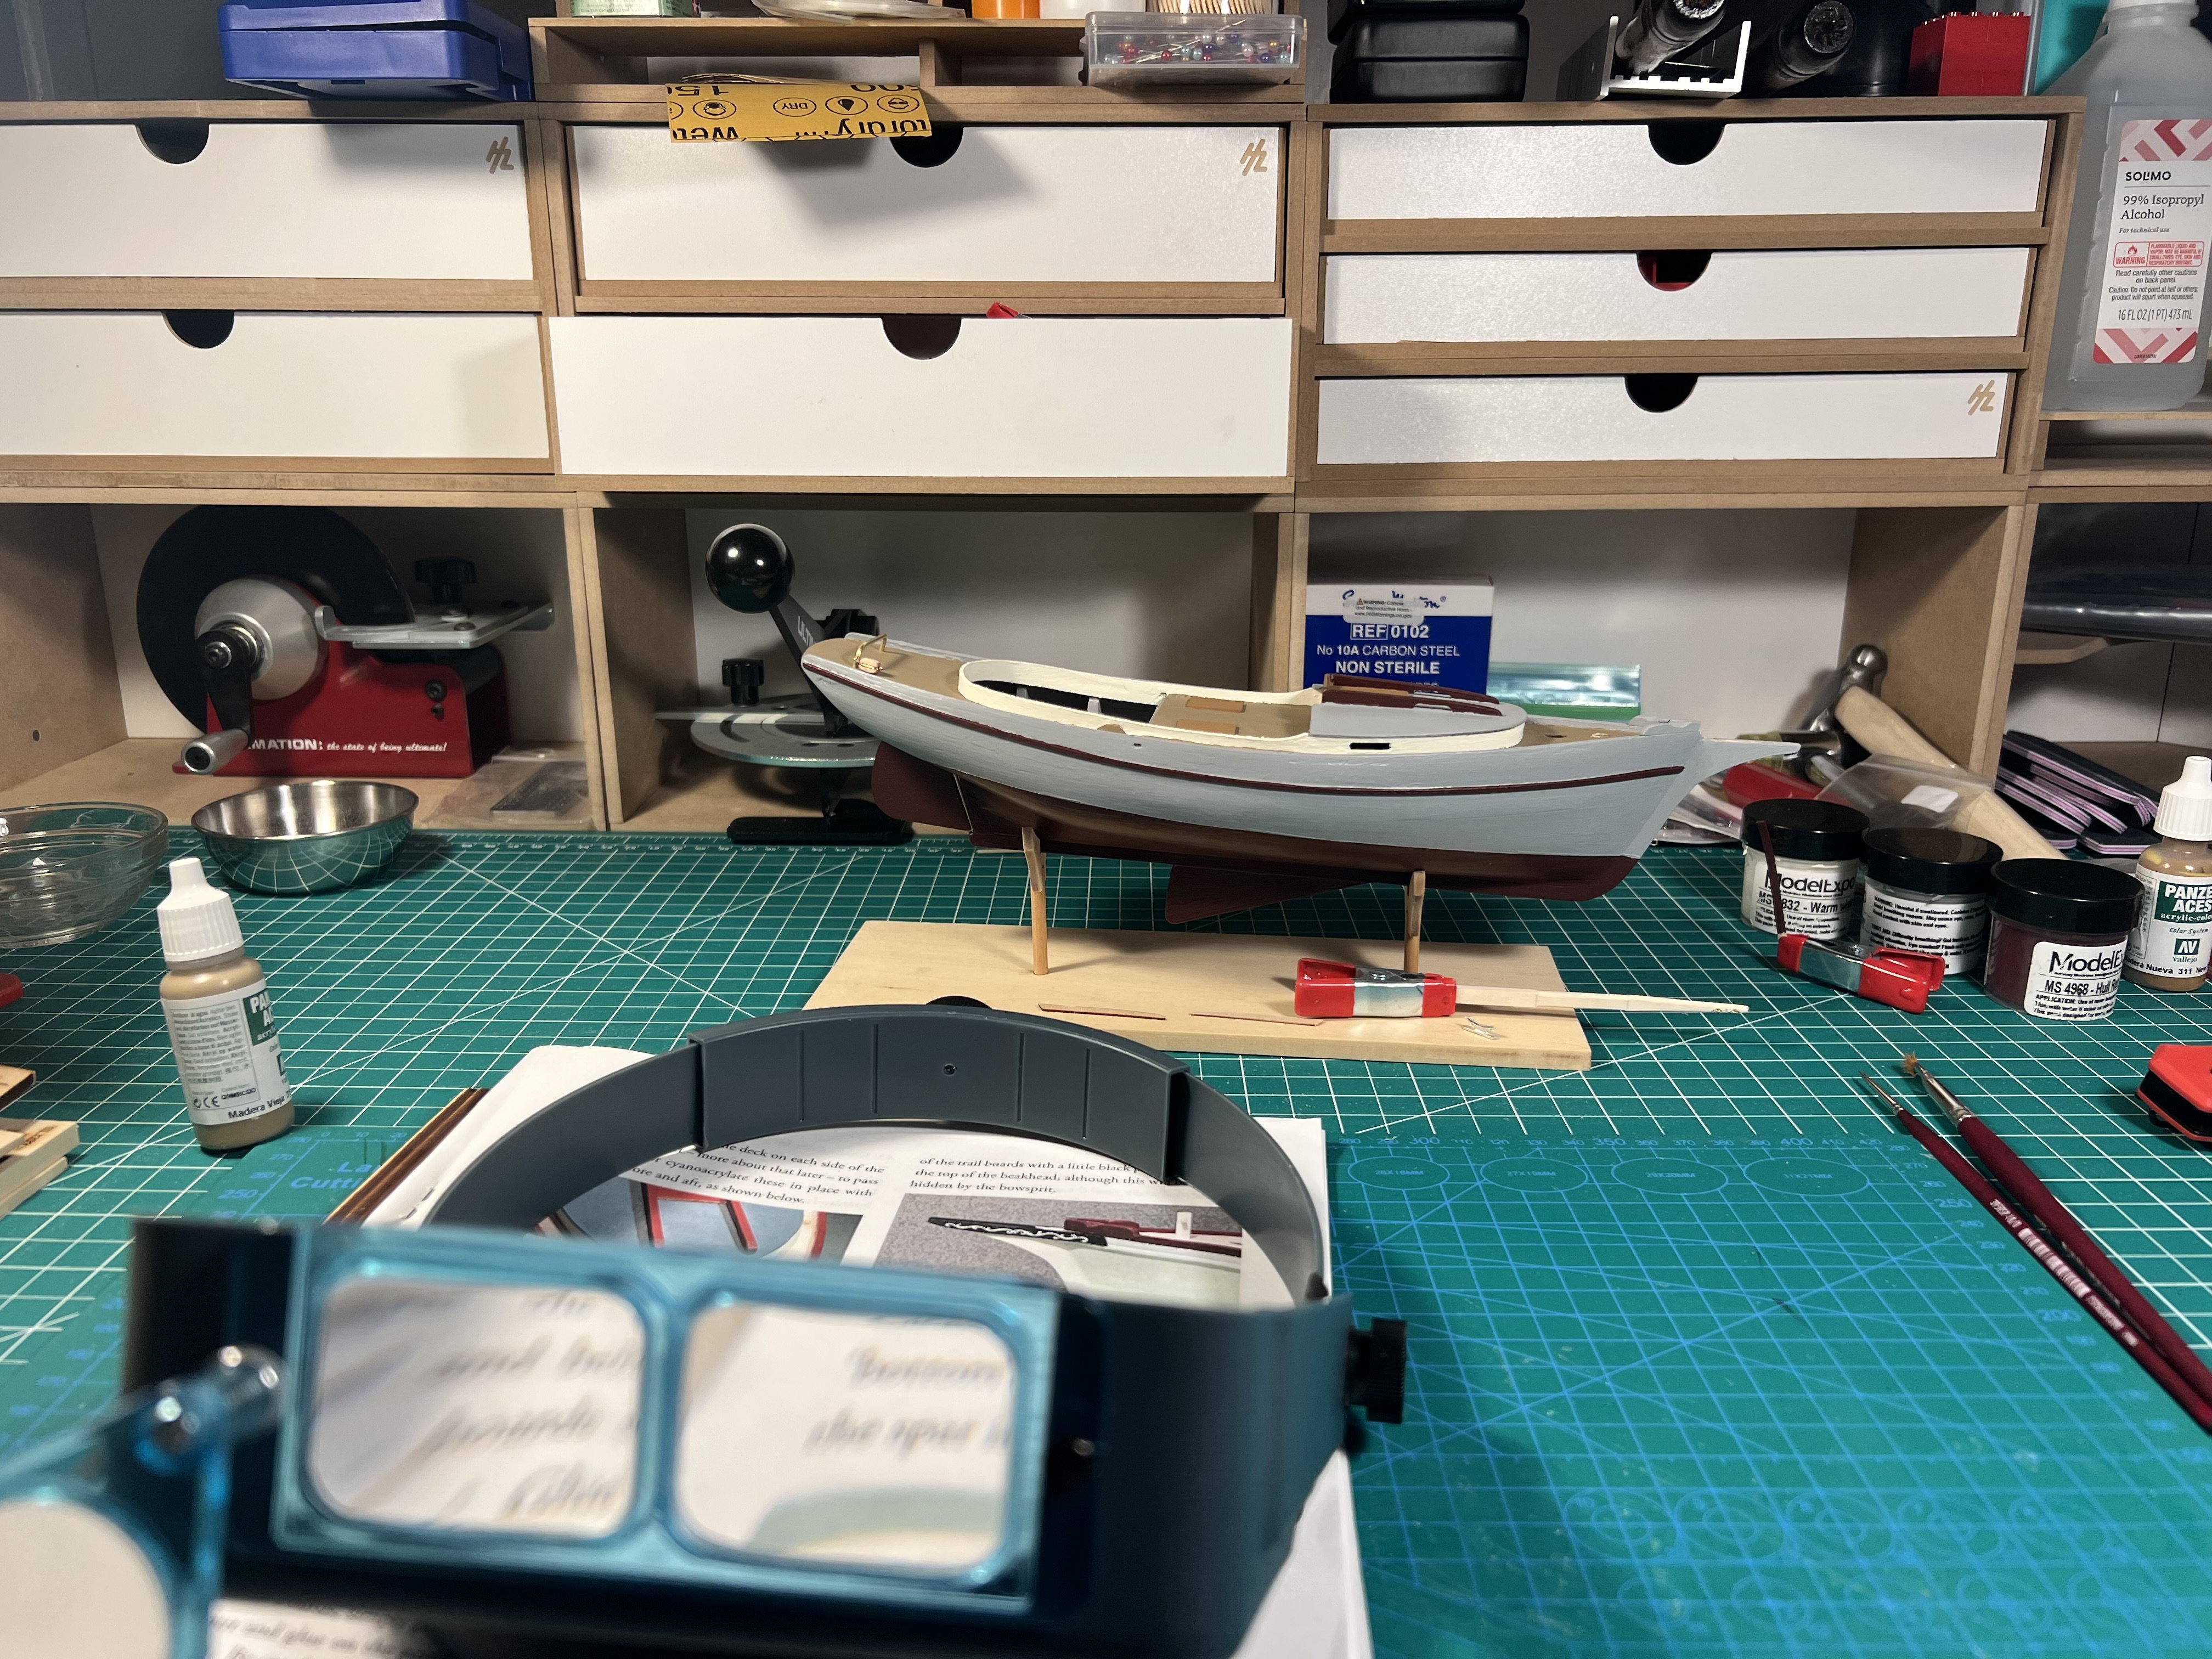
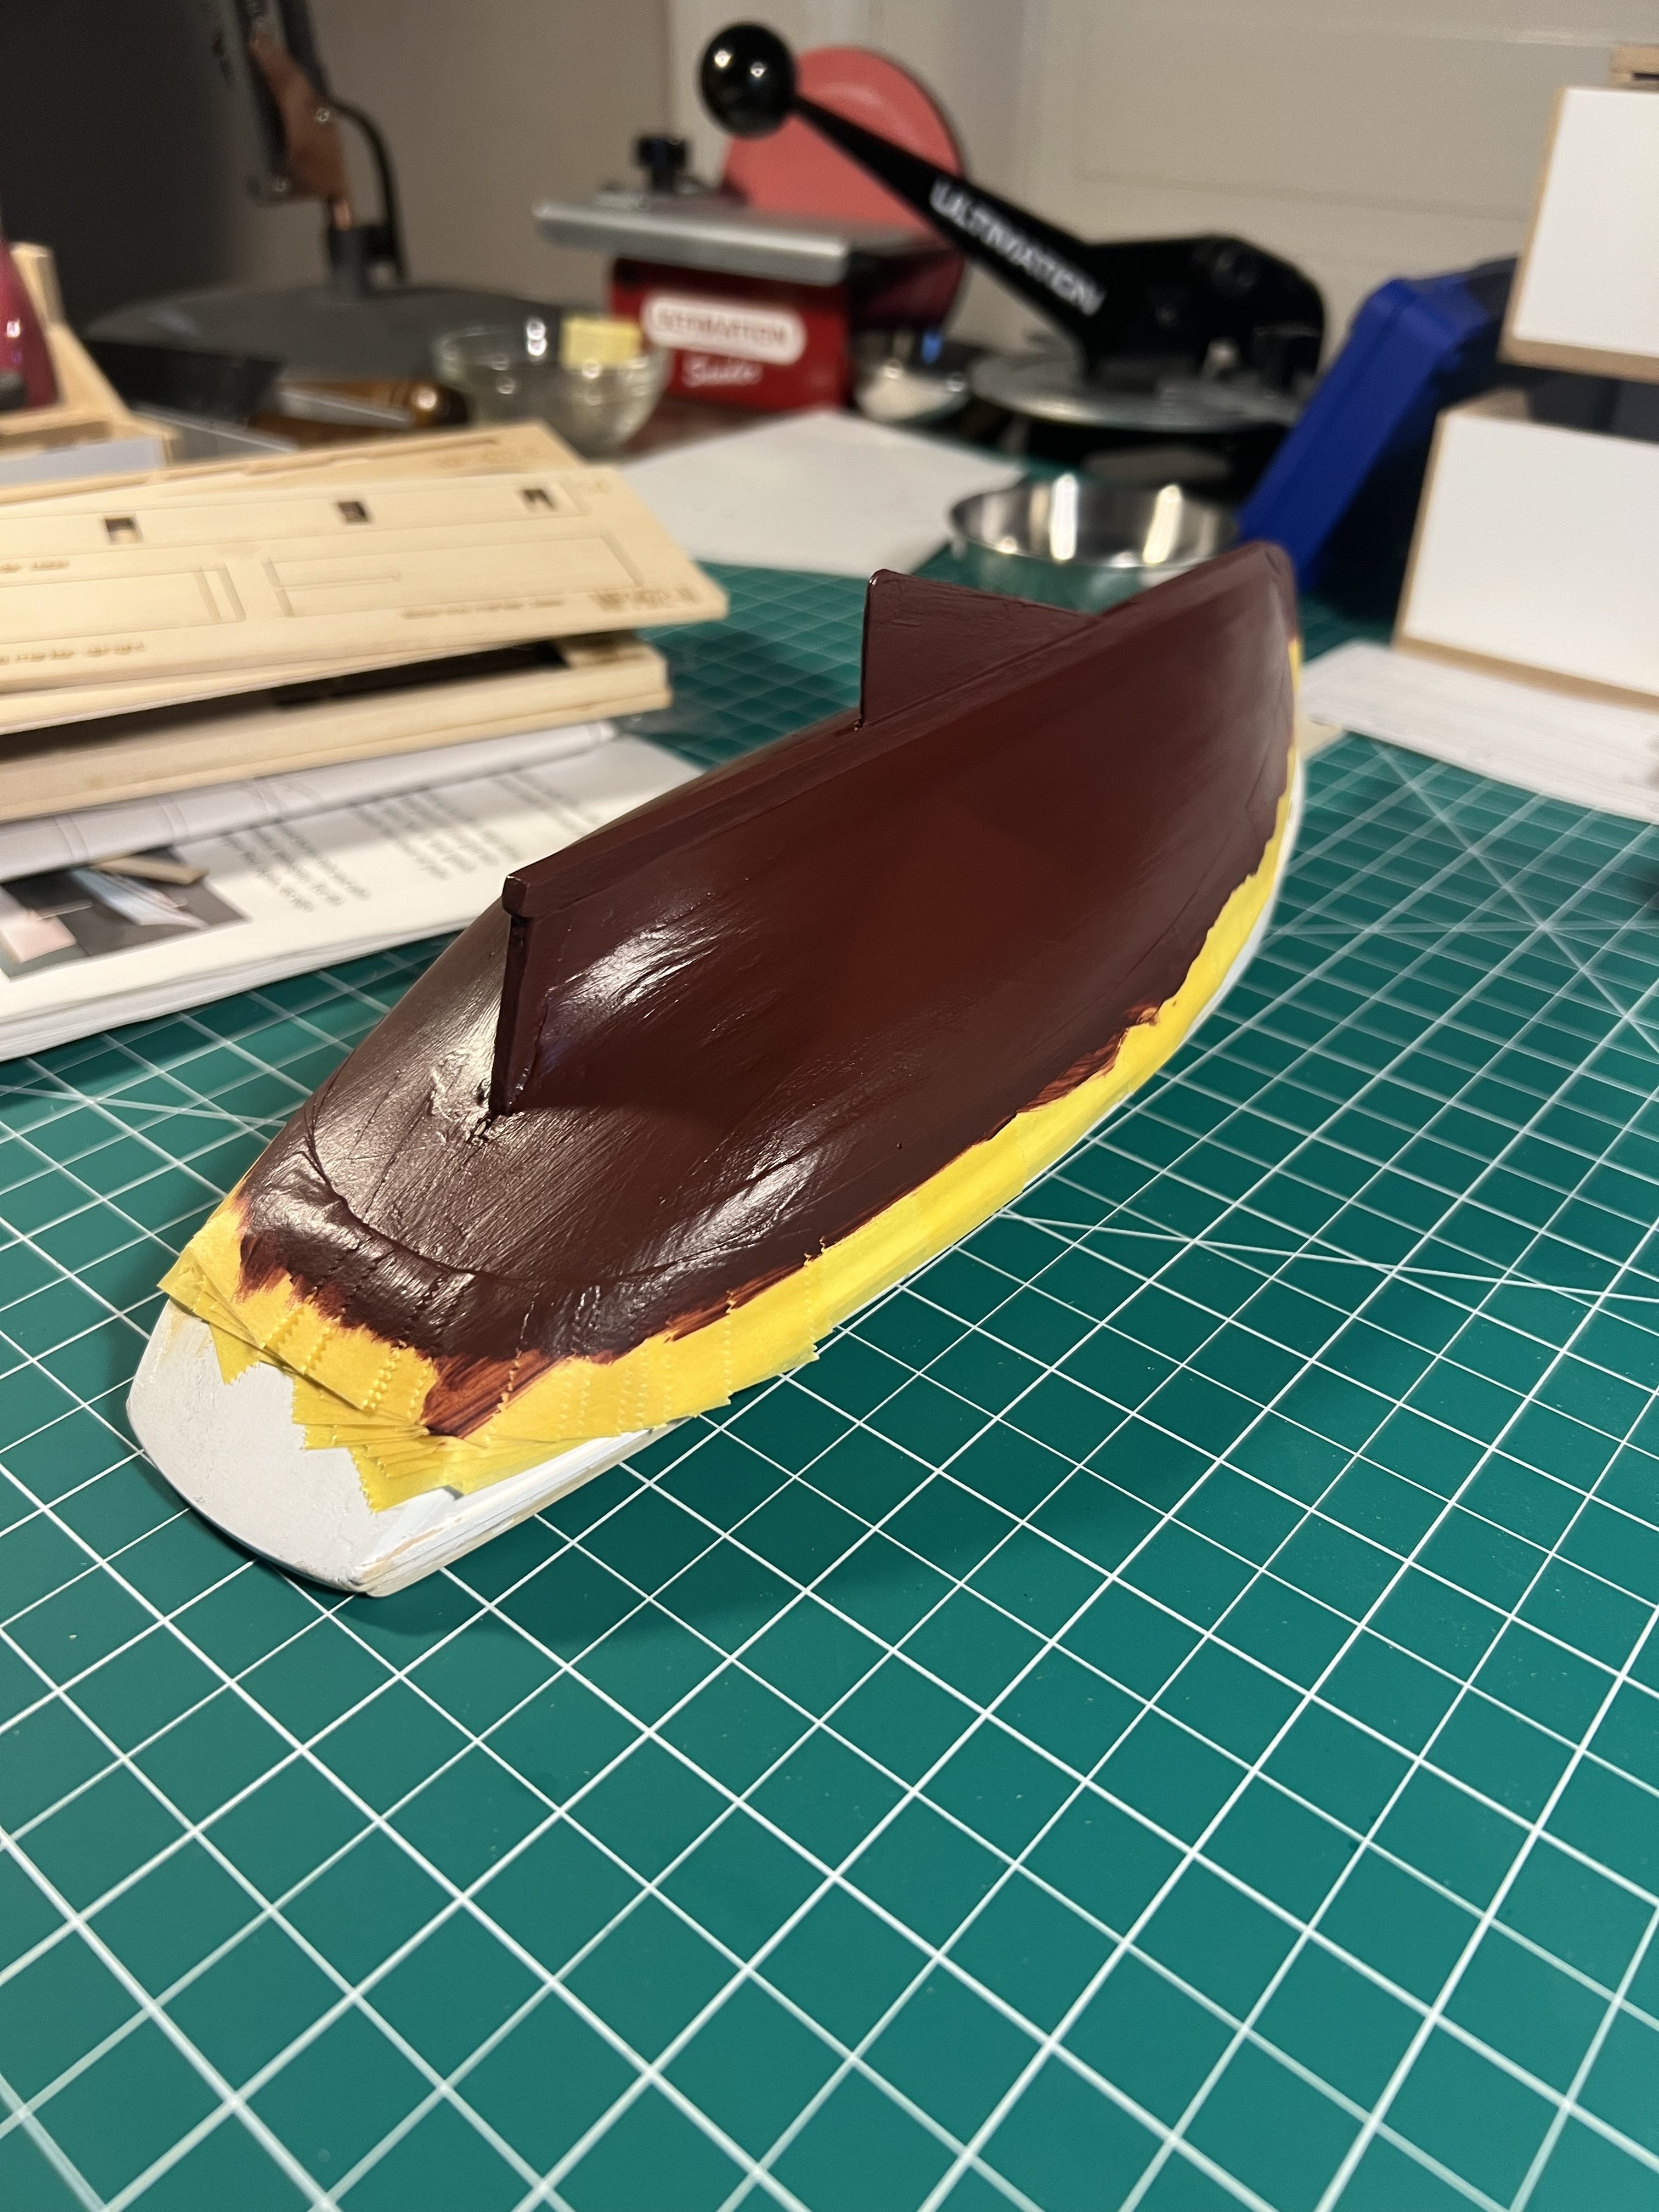
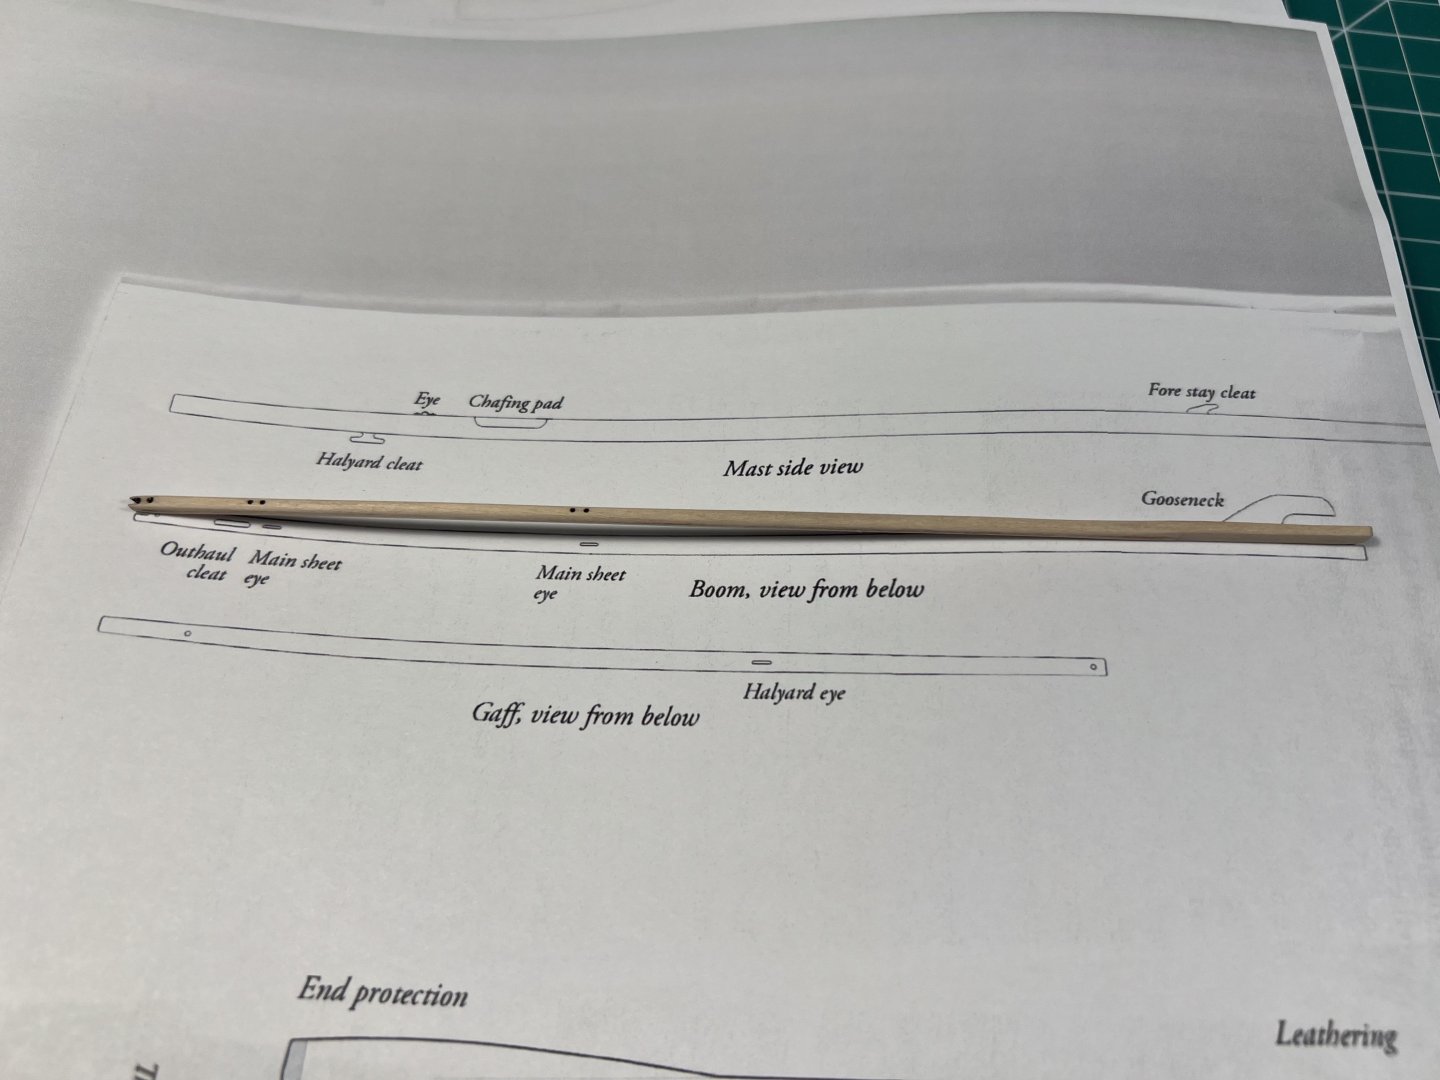
The replacement parts I ordered from Model Expo arrived today. They were a bit delayed in shipping (holidays and inventory). But they were free (free replacement parts, free shipping). I’m shaping the boom and gaff by hand with sandpaper. I’ll probably leave them a bit oval just to minimize the chance they break at the spot of the predrilled holes (like last time).
- 63 replies
-
- 7
-
-
- Norwegian Sailing Pram
- Model Shipways
- (and 2 more)