rexnuktia
Members-
Posts
34 -
Joined
-
Last visited
Profile Information
-
Location
Parsippany, New Jersey
-
Interests
RC airplanes, RC sailplanes, FPV and AP drones, Plastic airplane modeling (WW II) 1:48, Plastic armor modeling (WW II) 1:72, Wood small boat modeling, restoring and riding bicycles
Recent Profile Visitors
-
 Pitan reacted to a post in a topic:
4-Oared Yawl by rexnuktia - Master Korabel MK0103
-
 GrandpaPhil reacted to a post in a topic:
4-Oared Yawl by rexnuktia - Master Korabel MK0103
-
 yvesvidal reacted to a post in a topic:
4-Oared Yawl by rexnuktia - Master Korabel MK0103
-
 yvesvidal reacted to a post in a topic:
4-Oared Yawl by rexnuktia - Master Korabel MK0103
-
 shipman reacted to a post in a topic:
4-Oared Yawl by rexnuktia - Master Korabel MK0103
-
 shipman reacted to a post in a topic:
4-Oared Yawl by rexnuktia - Master Korabel MK0103
-
 shipman reacted to a post in a topic:
4-Oared Yawl by rexnuktia - Master Korabel MK0103
-
 shipman reacted to a post in a topic:
4-Oared Yawl by rexnuktia - Master Korabel MK0103
-
 Moab reacted to a post in a topic:
4-Oared Yawl by rexnuktia - Master Korabel MK0103
-
 gieb8688 reacted to a post in a topic:
4-Oared Yawl by rexnuktia - Master Korabel MK0103
-
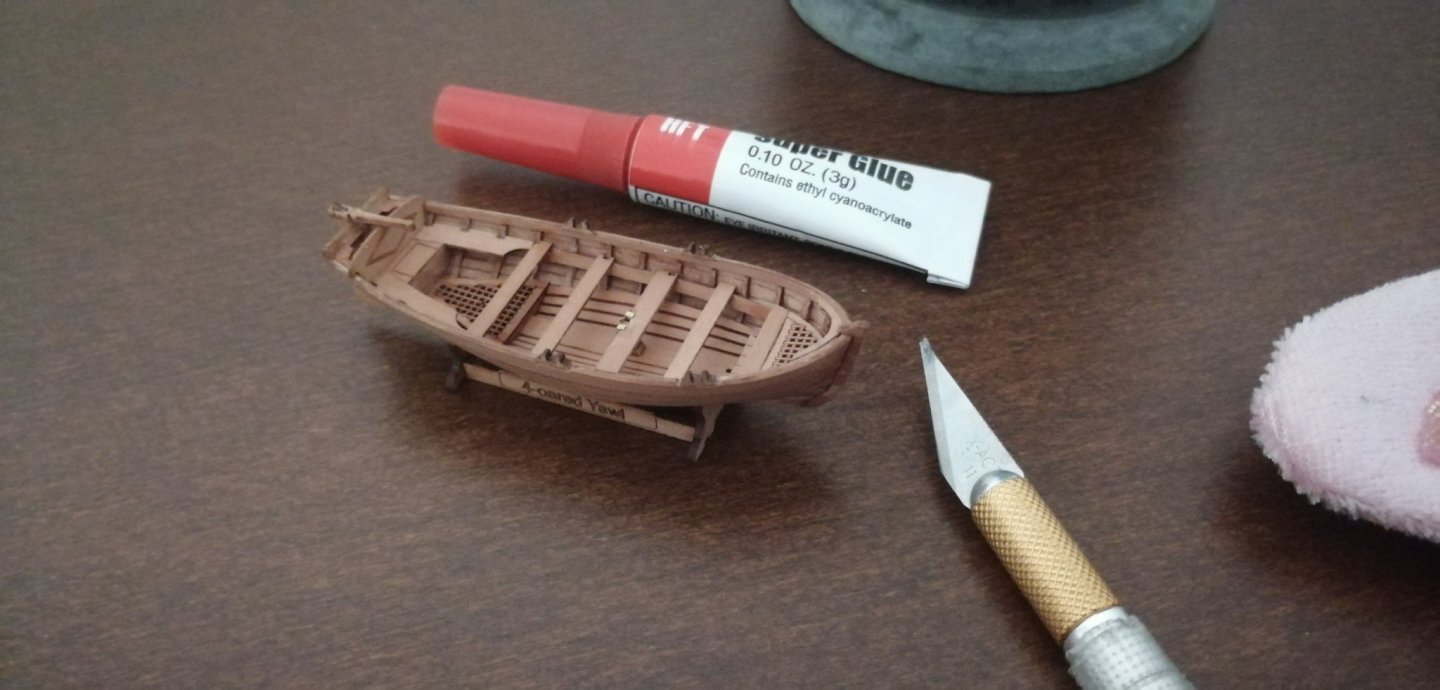
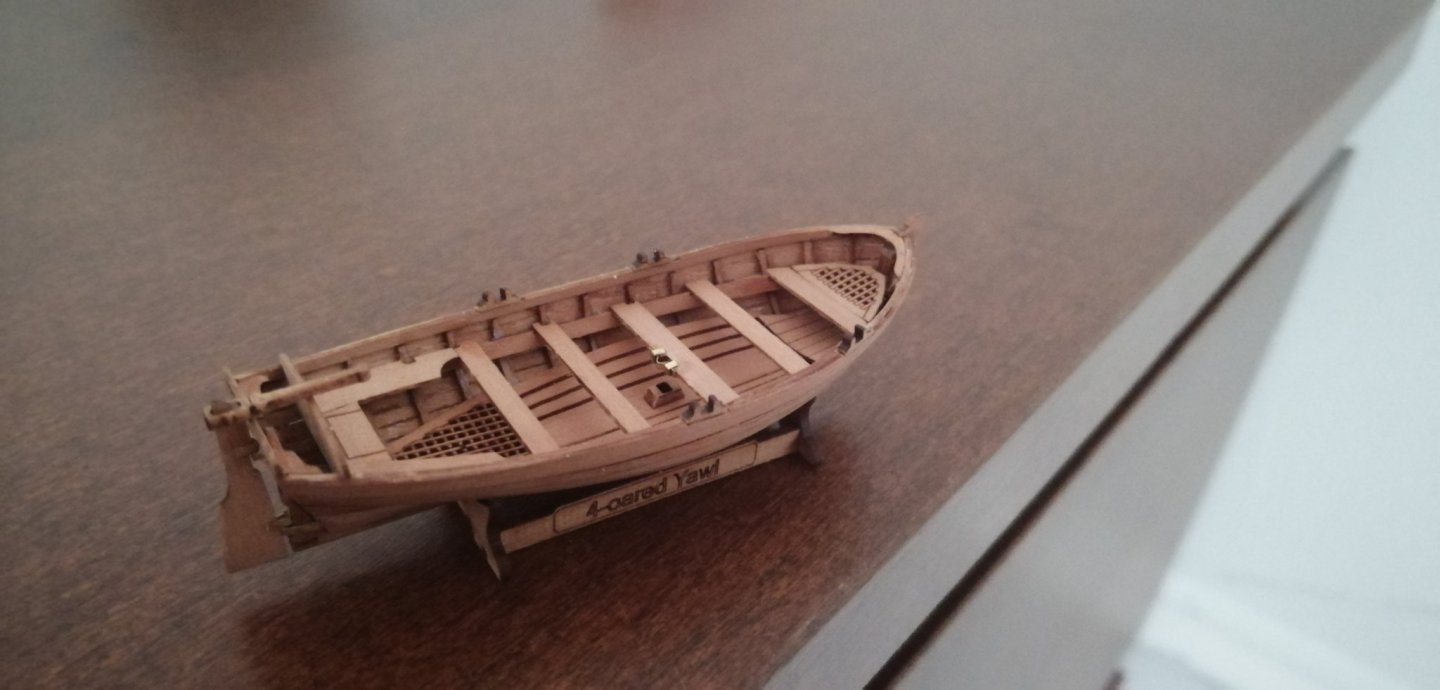
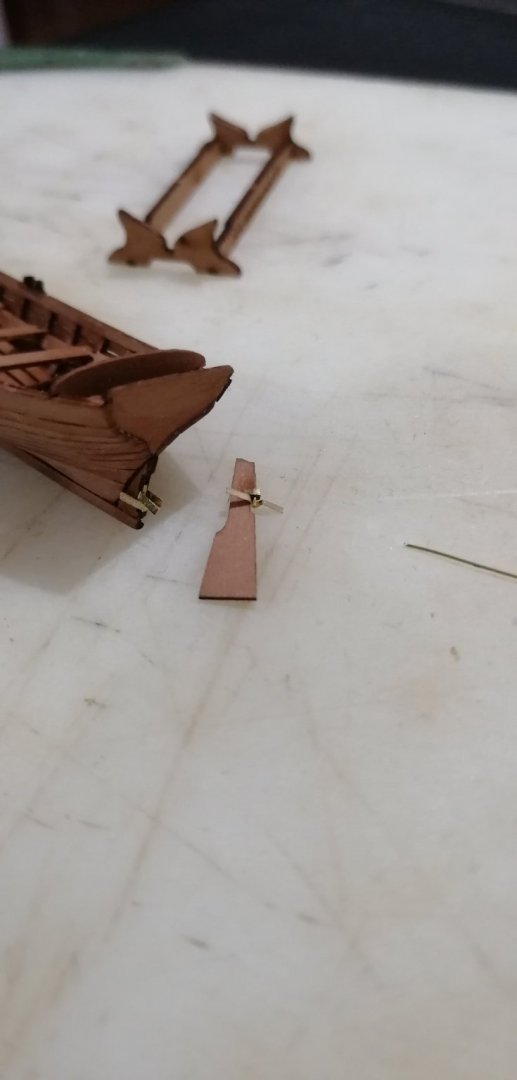
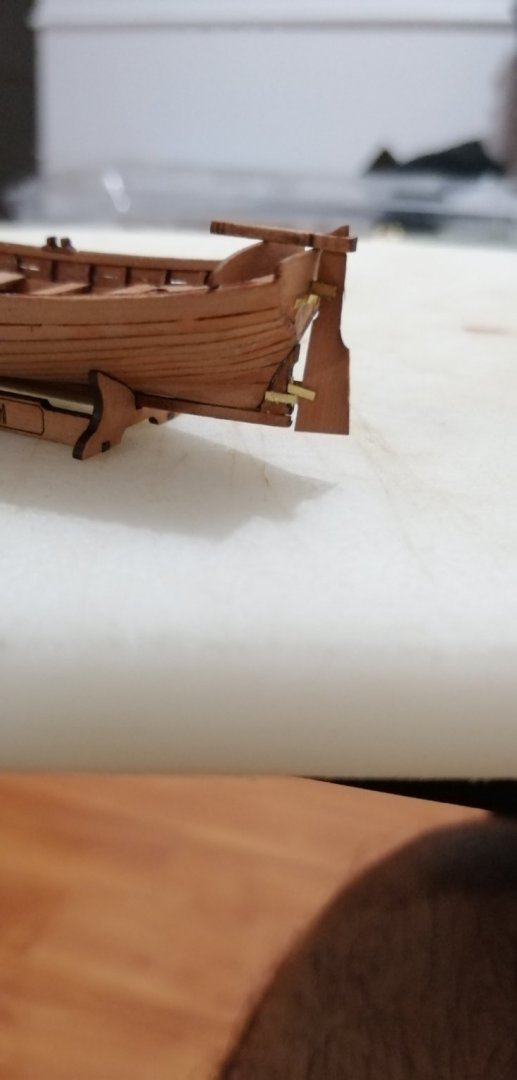
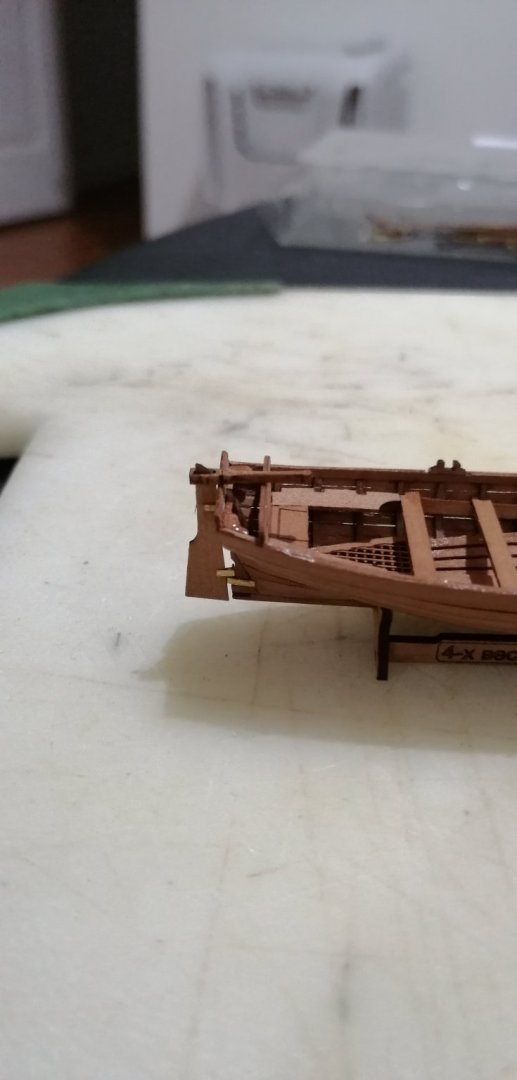
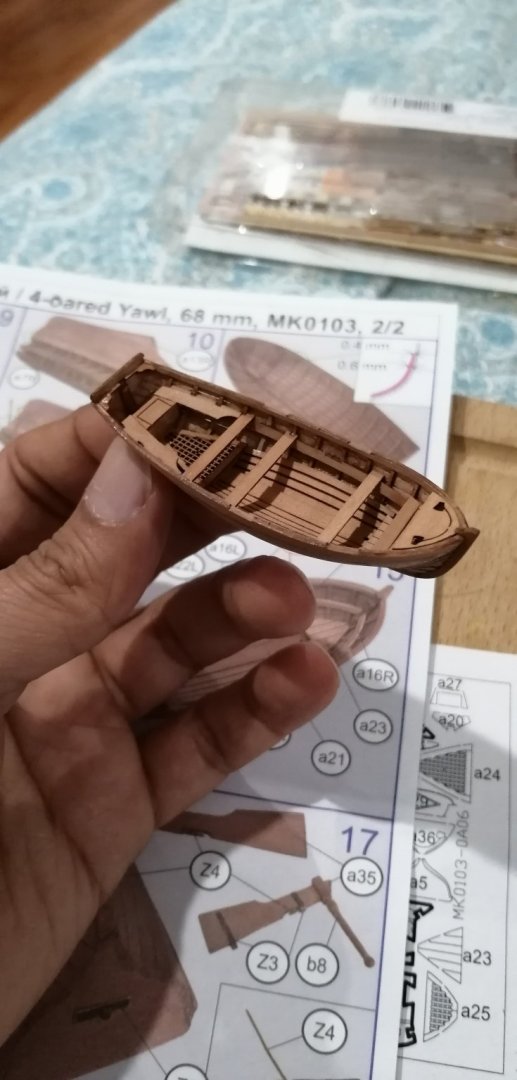
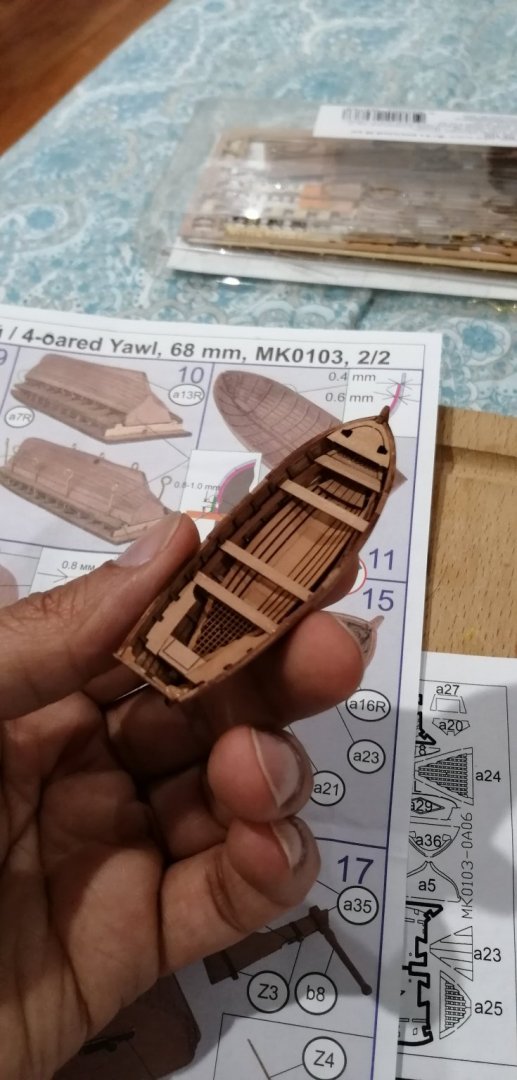
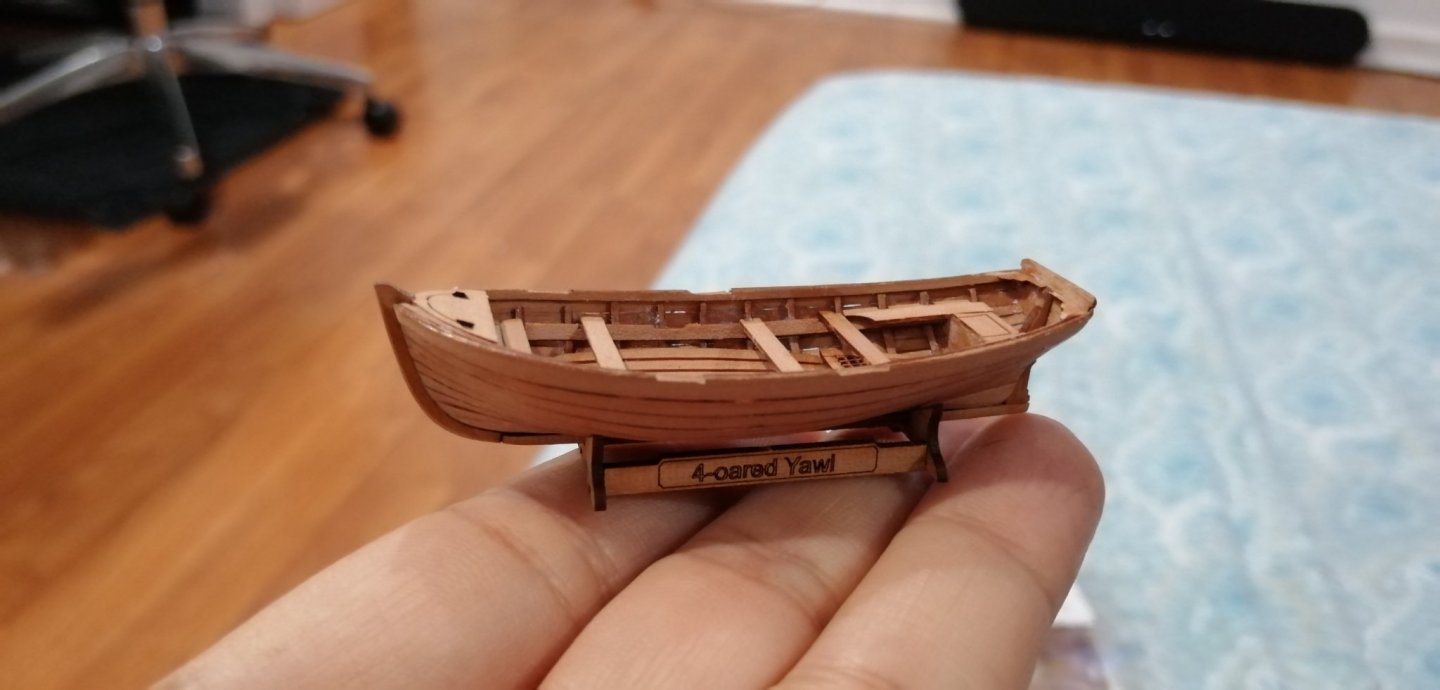
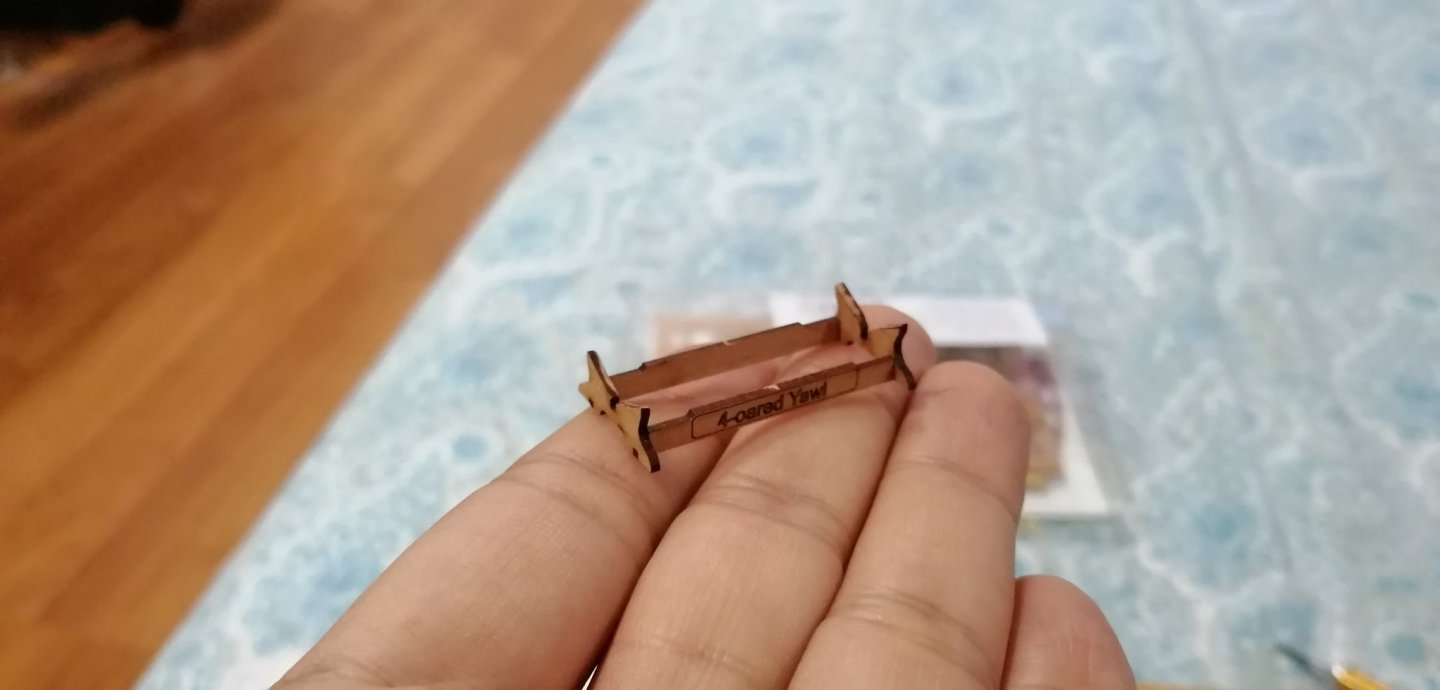
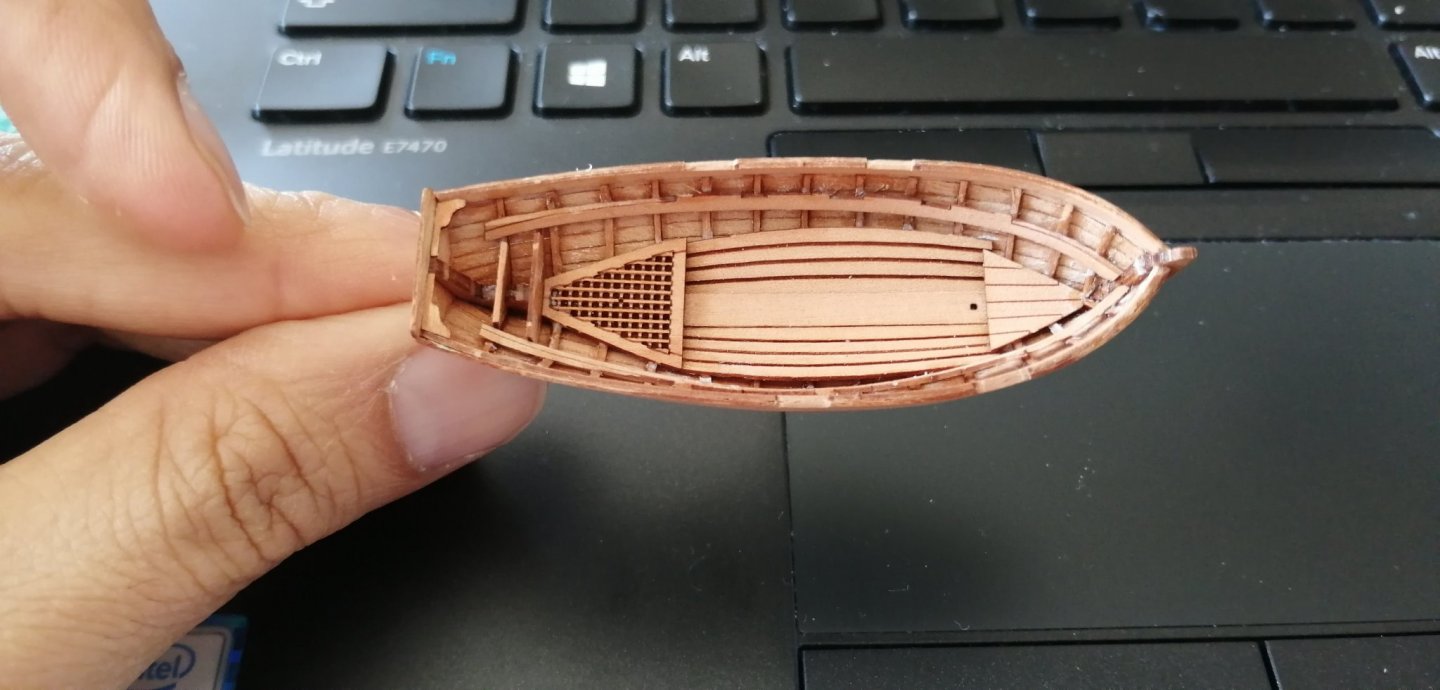
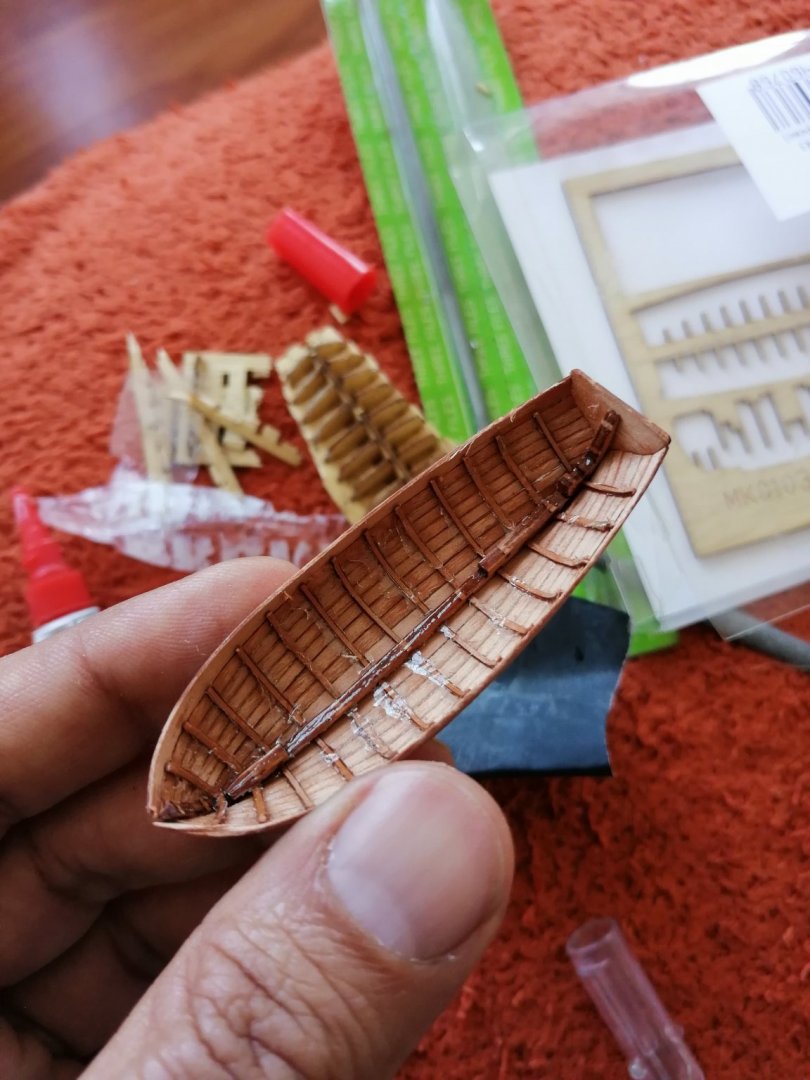
So using wood glue now, I find tiny pieces stay in place long enough to stick without clamping. I do let the glue thicken a bit (by waiting for a couple of minutes) before putting the pieces together. Front nose jig will be removed after curing timorrow morning. The back board will not sit properly. I'll need to shave off some pieces from the aft sitting boards which will be done tomorrow as well after the glue is dry. Center board left off as per instructional recommendation. It needs the metal bracket and mast to align base mast holder first. Also built the stand as glue was drying. Pieces stayed at right angles while the glue was drying.
-
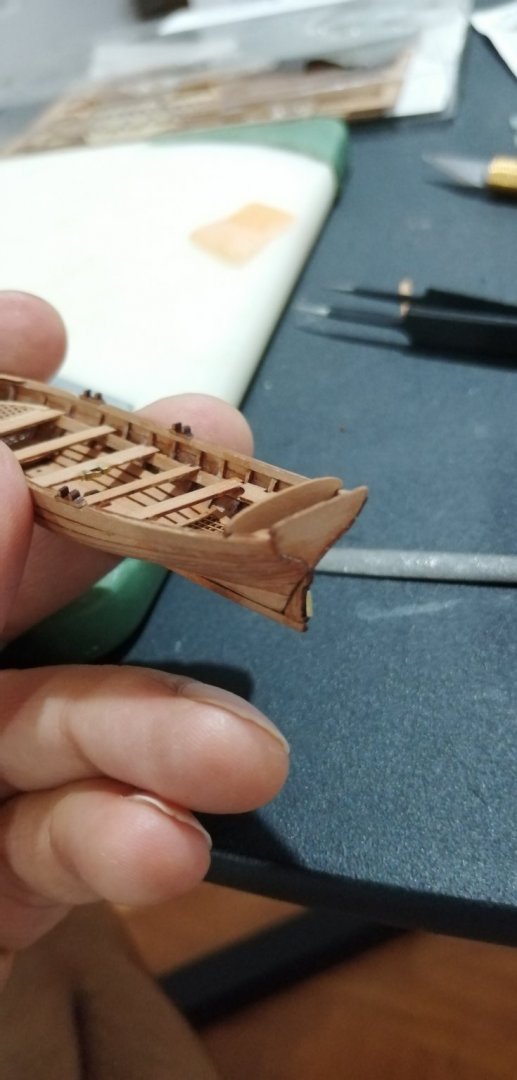
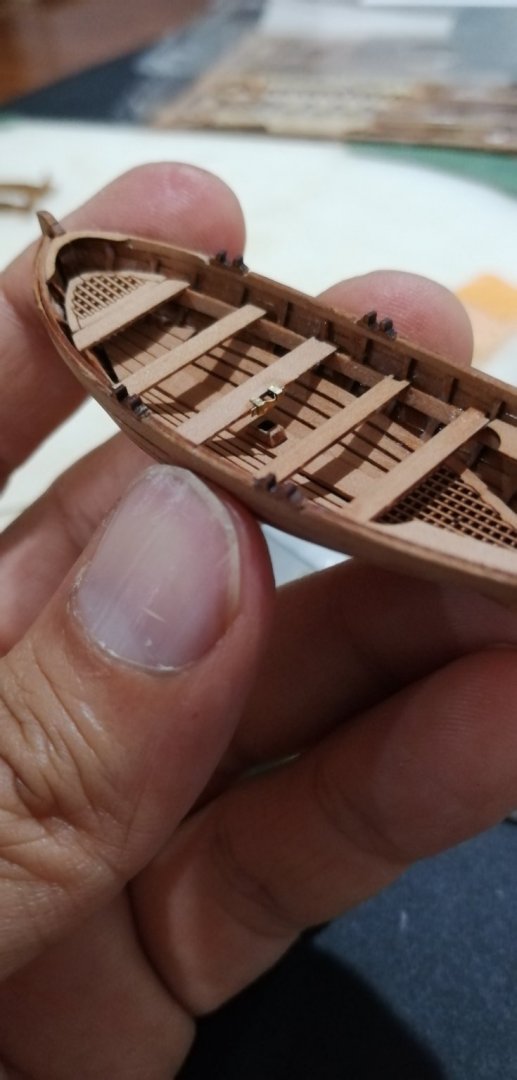
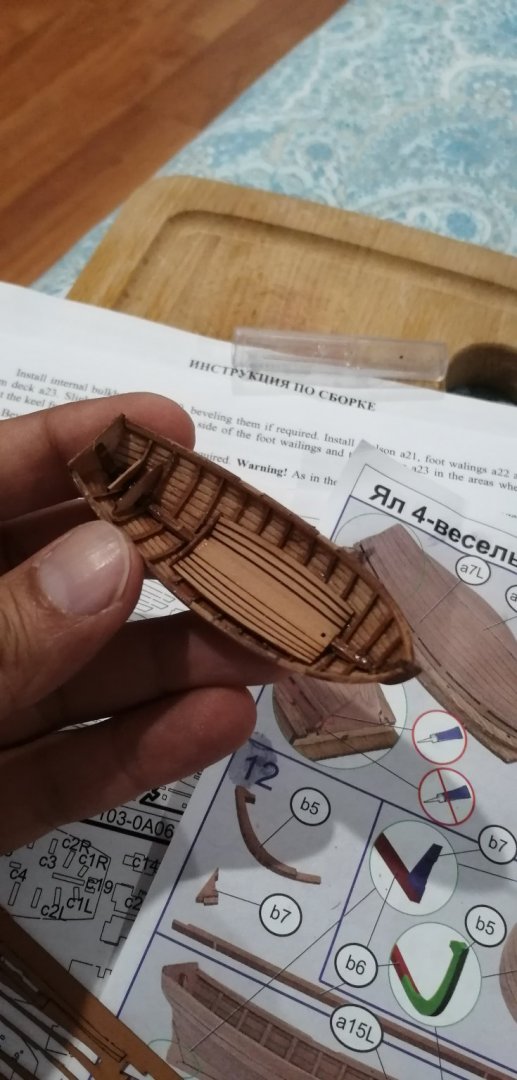
On the home stretch now. Having the foot boards in one piece is a brilliant design move. I was dreading putting these on one by one... A couple of things were glued a touch out of alignment as my patience is running out. Will continue tonight as kids are a full time job during the day. Also just wanted to add that I tried to glue the rear grating using wood glue, but after a few minutes, the part curled up. Had to go back to superglue to tack it in place.
-
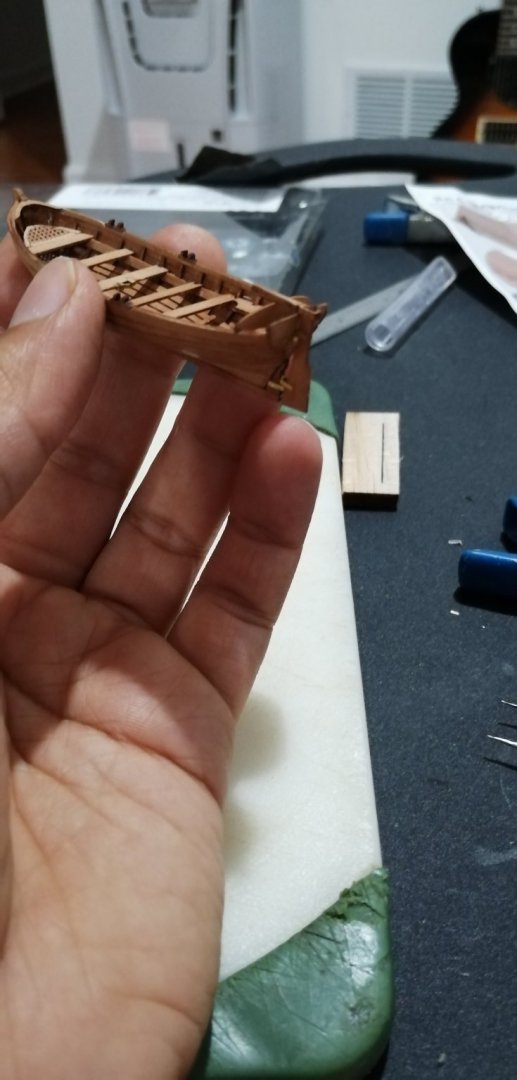
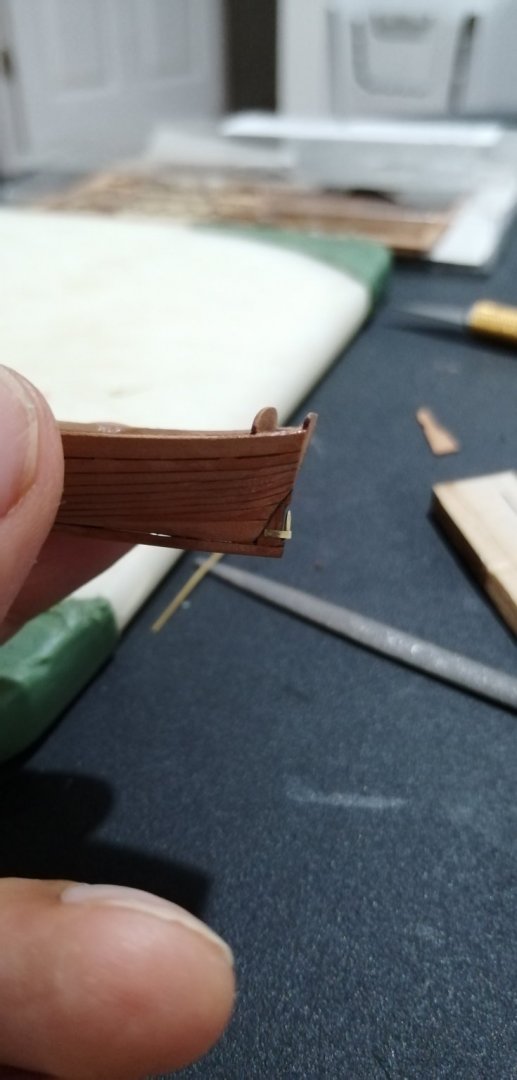
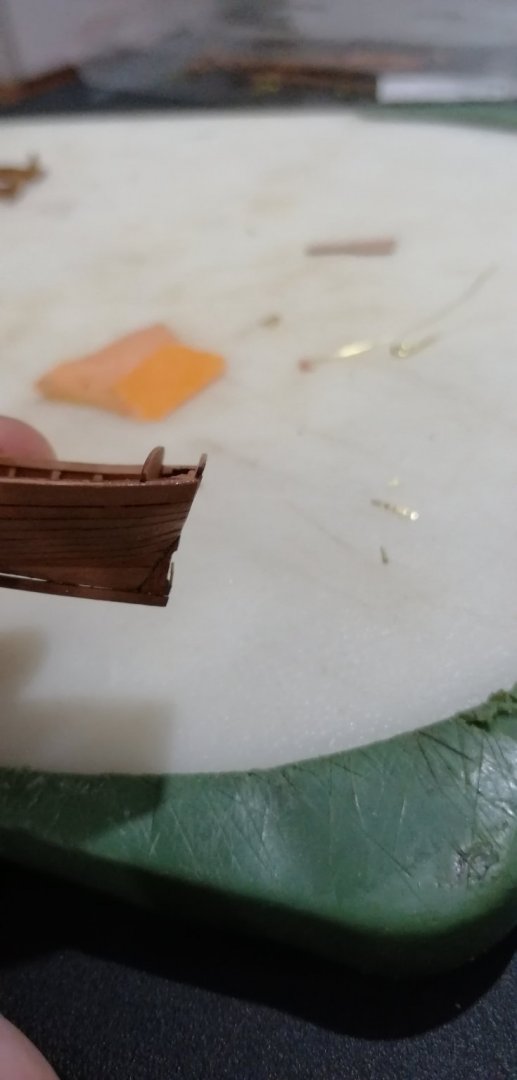
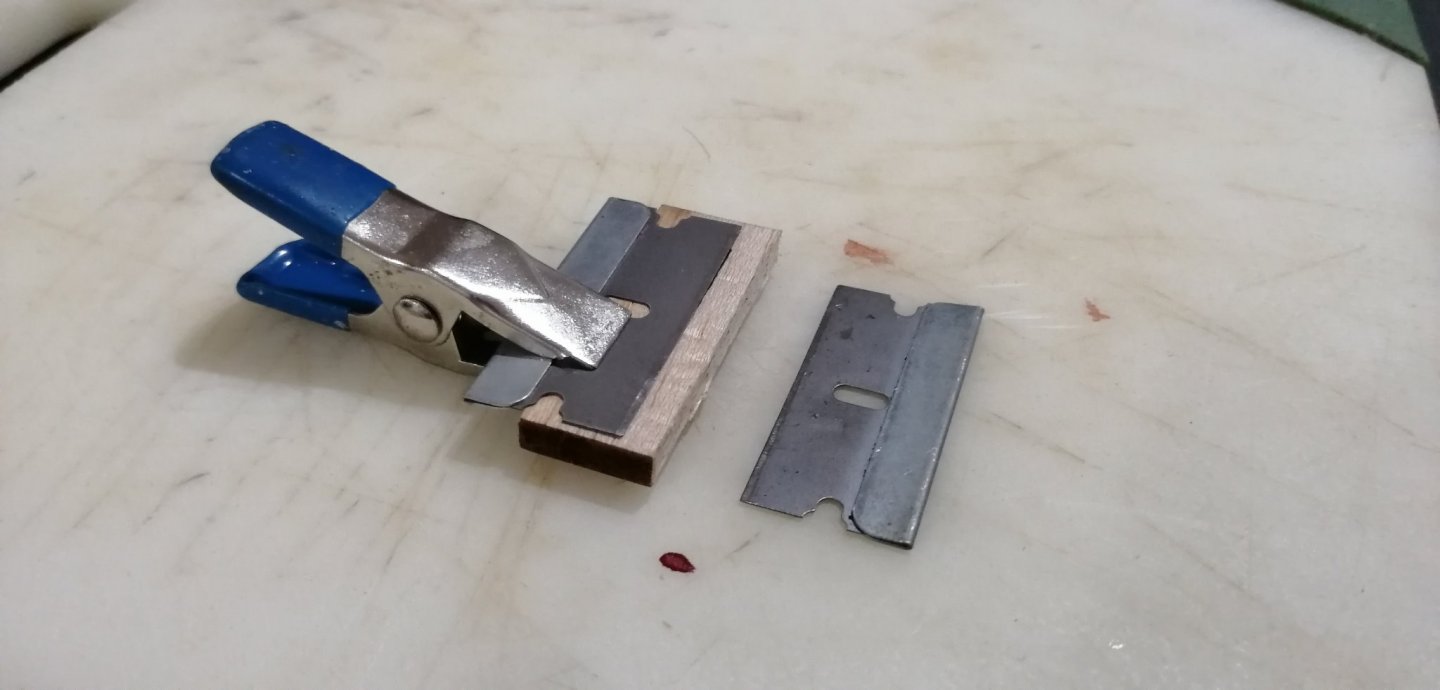
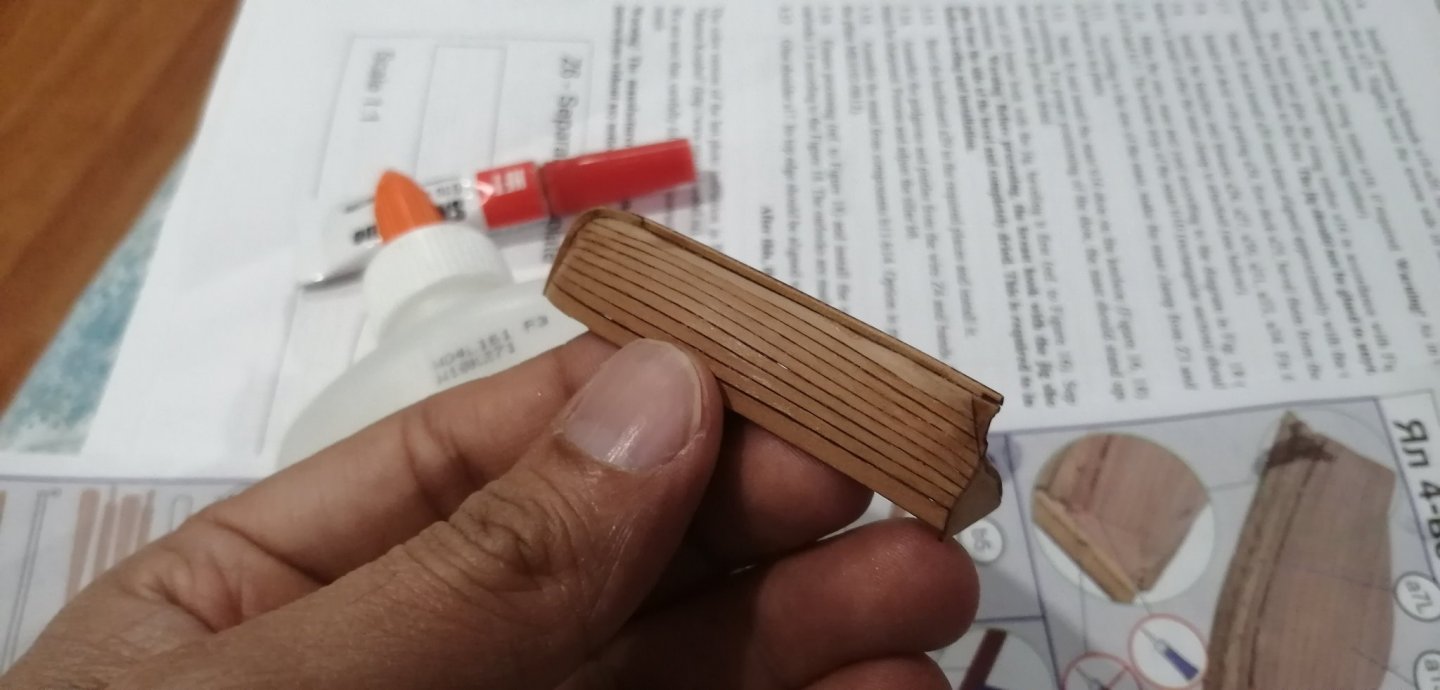
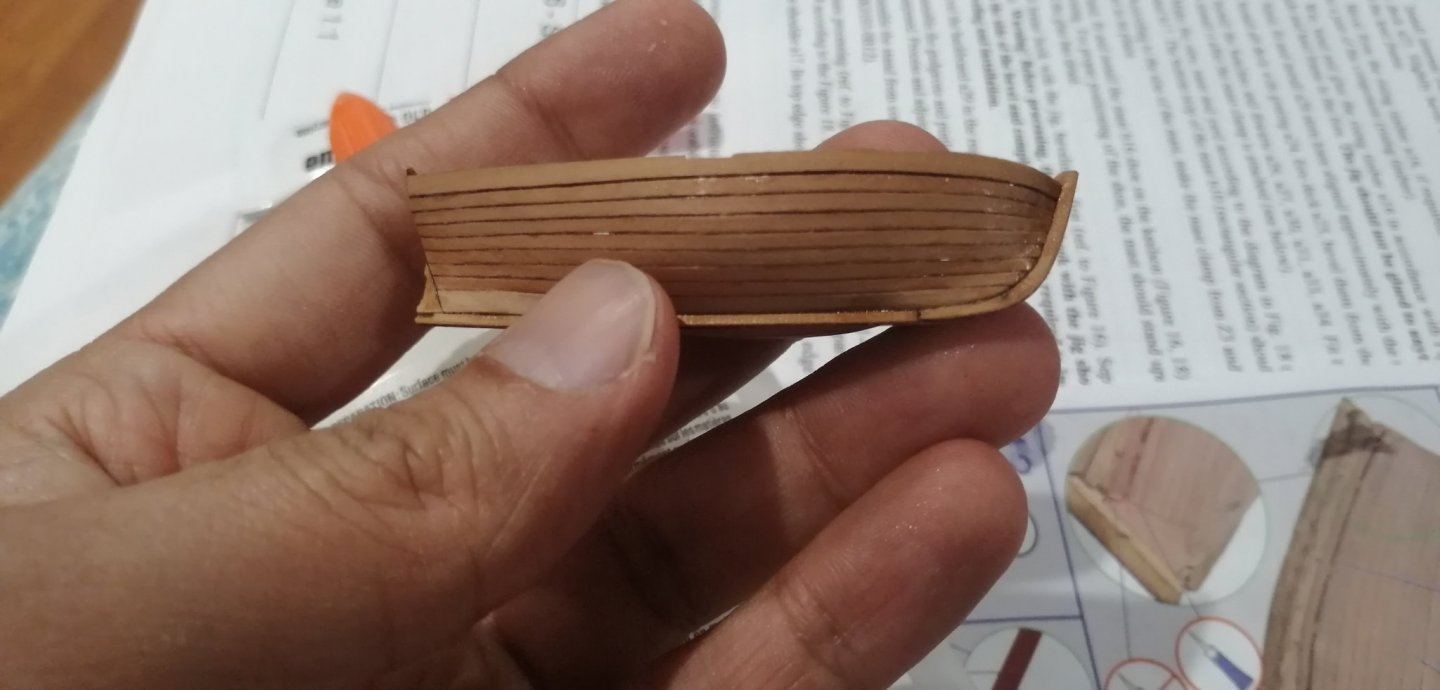
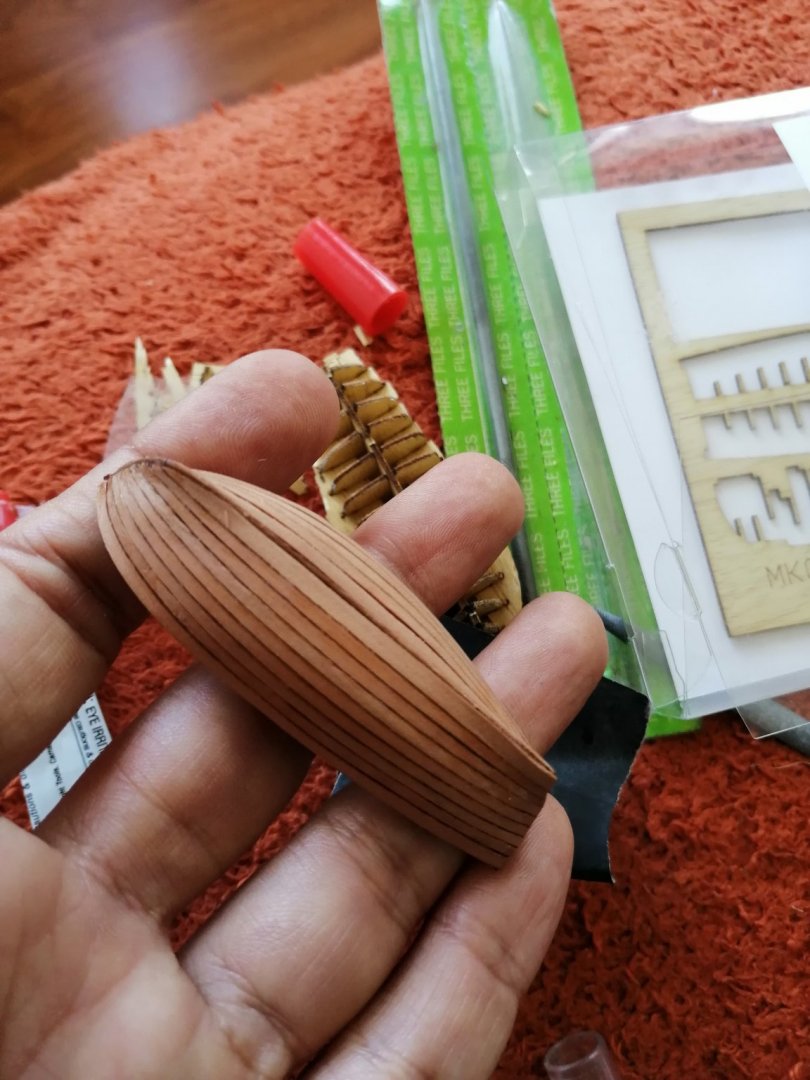
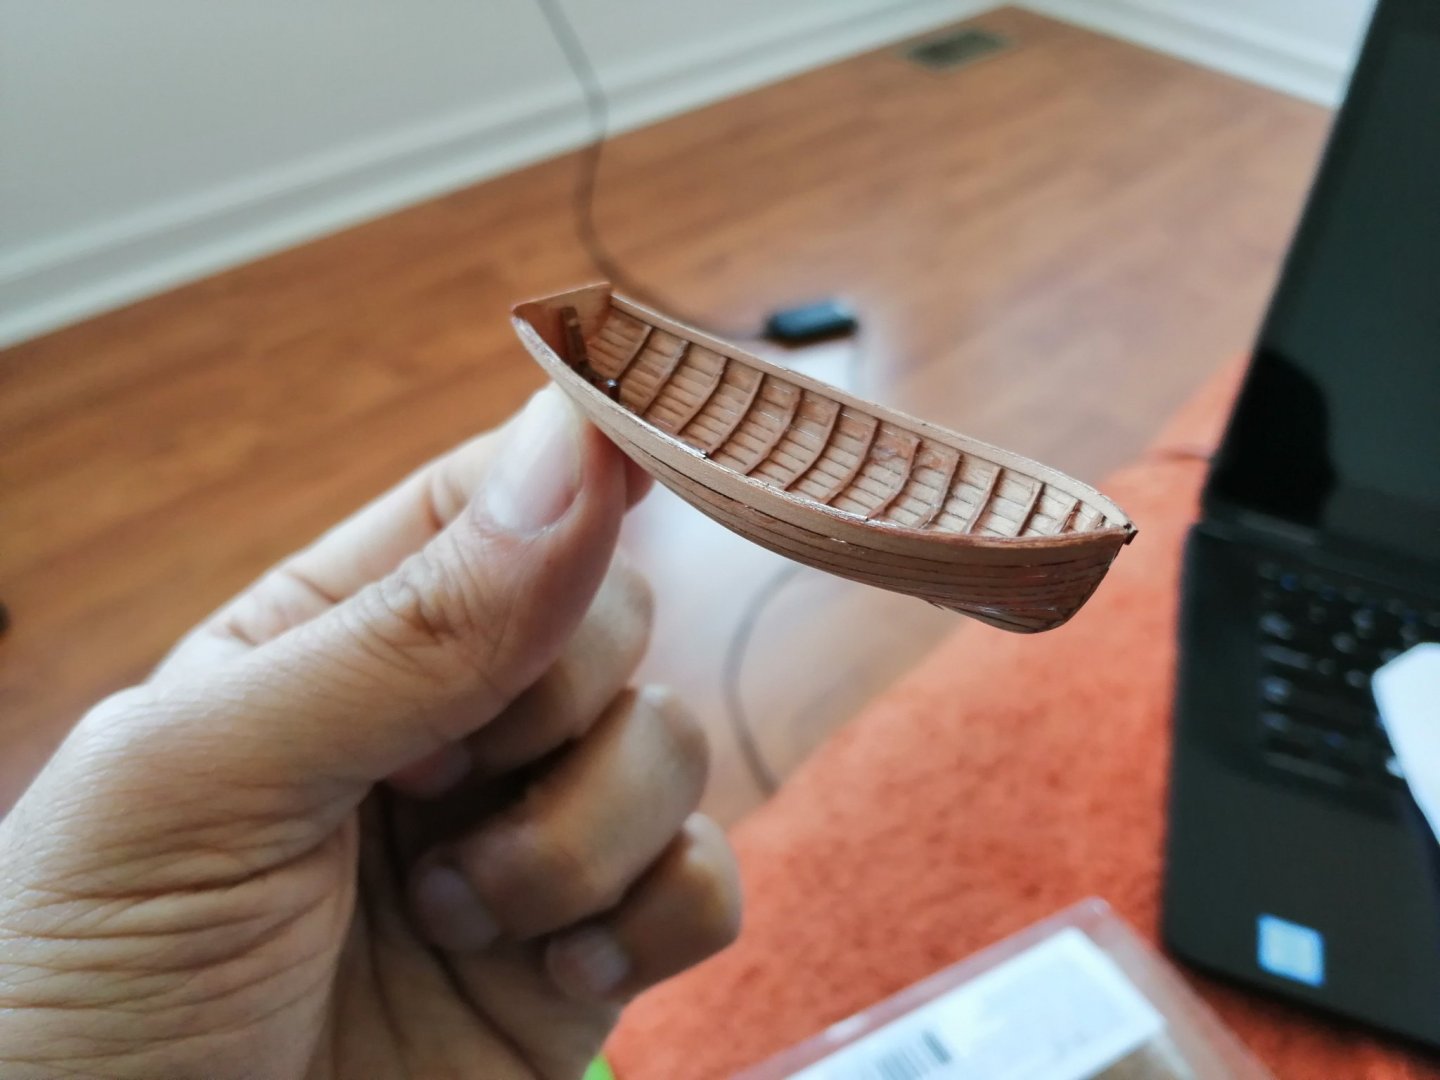
So today was really a struggle. Easily the most difficult part of the build was cutting the ribs 1 mm apart to attach the final top plank. Despite using a brand new blade, I ended up breaking a few formers. Then it got worse as the rear hull got stuck to the jig. Some man handling and jig demolition was required, but luckily I got the boat out in one piece.
About us
Modelshipworld - Advancing Ship Modeling through Research
SSL Secured
Your security is important for us so this Website is SSL-Secured
NRG Mailing Address
Nautical Research Guild
237 South Lincoln Street
Westmont IL, 60559-1917
Model Ship World ® and the MSW logo are Registered Trademarks, and belong to the Nautical Research Guild (United States Patent and Trademark Office: No. 6,929,264 & No. 6,929,274, registered Dec. 20, 2022)
Helpful Links
About the NRG
If you enjoy building ship models that are historically accurate as well as beautiful, then The Nautical Research Guild (NRG) is just right for you.
The Guild is a non-profit educational organization whose mission is to “Advance Ship Modeling Through Research”. We provide support to our members in their efforts to raise the quality of their model ships.
The Nautical Research Guild has published our world-renowned quarterly magazine, The Nautical Research Journal, since 1955. The pages of the Journal are full of articles by accomplished ship modelers who show you how they create those exquisite details on their models, and by maritime historians who show you the correct details to build. The Journal is available in both print and digital editions. Go to the NRG web site (www.thenrg.org) to download a complimentary digital copy of the Journal. The NRG also publishes plan sets, books and compilations of back issues of the Journal and the former Ships in Scale and Model Ship Builder magazines.

