

jfesterman
-
Posts
42 -
Joined
-
Last visited
Content Type
Profiles
Forums
Gallery
Events
Posts posted by jfesterman
-
-
On 11/5/2022 at 8:50 PM, dbharmon64 said:
Your Harvey is coming out strong, I got mine from someone and don't know if there are 2 full sheets of plans or more but the ones I have are of the masts and spars and the side you have shown of the side of the ship , they aren't in very good shape as they look like they've been folded a couple of a hundred times. One side has a big broken spot and don't know what I should do, fix it the best I can or hate to say it, scrap it, any ideas?
You have all the parts, just missing some of the plans?
-
4 minutes ago, jfesterman said:
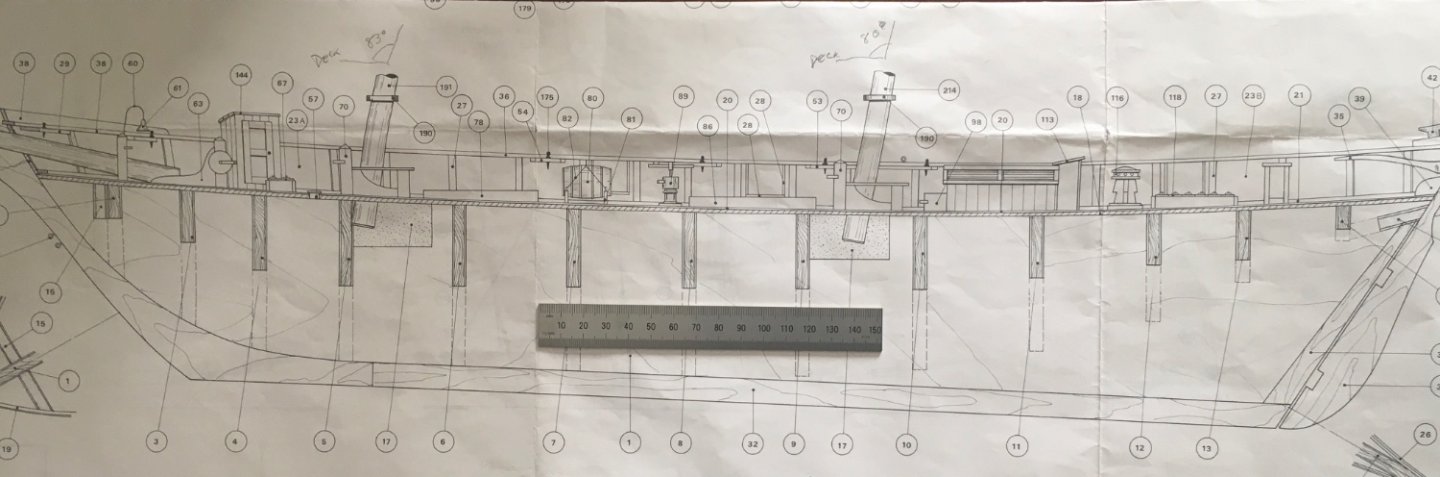
This should be all you need to replicate the frames.

And the false keel.
-
11 hours ago, jfesterman said:
I’ll see what I have. Scanning and posting while maintaining scale, might be a trick, but if I have them, I’ll give it a go.
This should be all you need to replicate the frames.
-
On 7/2/2022 at 12:14 AM, Earl K. said:
I have recently obtained an 1847 Harvey 1:50 scale kit. However, the kit is old and used and incomplete. From what I can tell, the pieces that are missing are the wooden sheets that contain the framework of the hull. These pieces are not available from the manufacturer any more as this kit is no longer in production. If I could get a copy of the scale drawing of these pieces I have the ability to recreate them myself. I don't know if the original kit came with a scale drawing but if it did I don't have it. I would dearly love to put this kit together. It would be my first attempt at a wooden ship. Does anybody have any suggestions?
I’ll see what I have. Scanning and posting while maintaining scale, might be a trick, but if I have them, I’ll give it a go.
-
Sorry folks, Hannah is on hold for a while. Thanks for sticking with me, as you all know hobbies can take a back seat to life sometimes. I’m ok, everything is good, I just had to dismantle part of the shipyard to concentrate on a different mission. I hope to get back to it soon.
-
-
-
J Brent’s videos on YouTube made rigging the spars much easier today. Not sure if that fella’s still with us, but man, he pulled me out of a dark place. Much of the frustration of yesterday had to do with threading those little parrels. Pick one up, drop it, pick it up, five times. Pick up another and pew! Gone forever. Still, I think I only lost 2.
-
Rigging blocks and stuff on the spars was getting really frustrating today. Had to walk away.
-
On 5/28/2021 at 1:22 PM, jfesterman said:
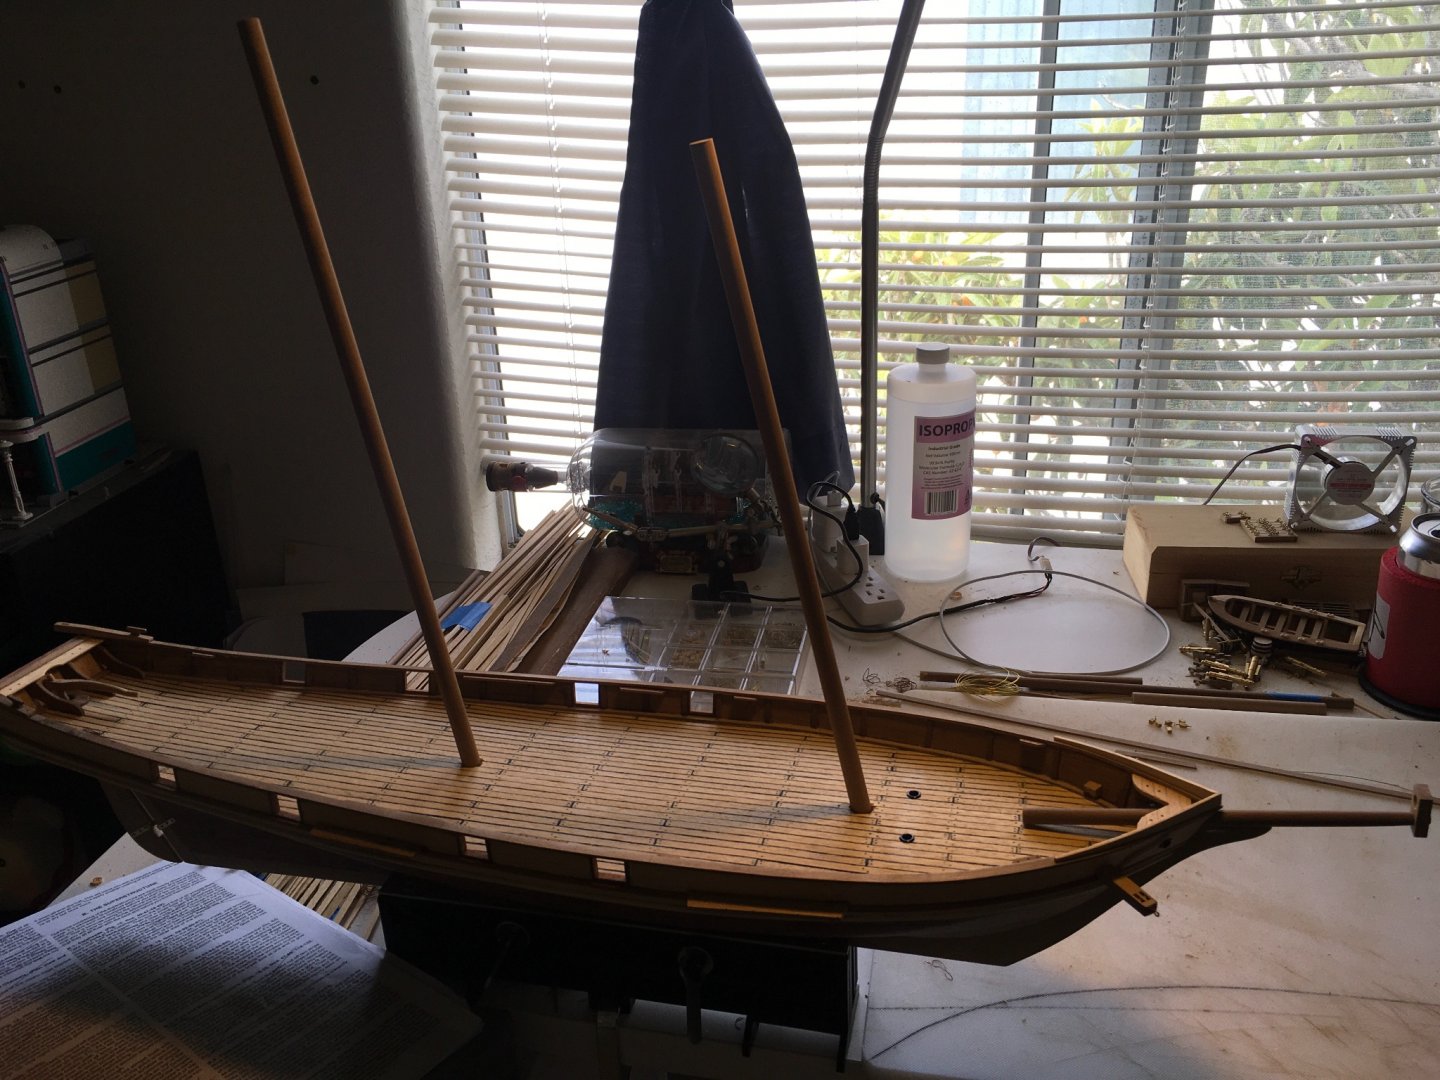
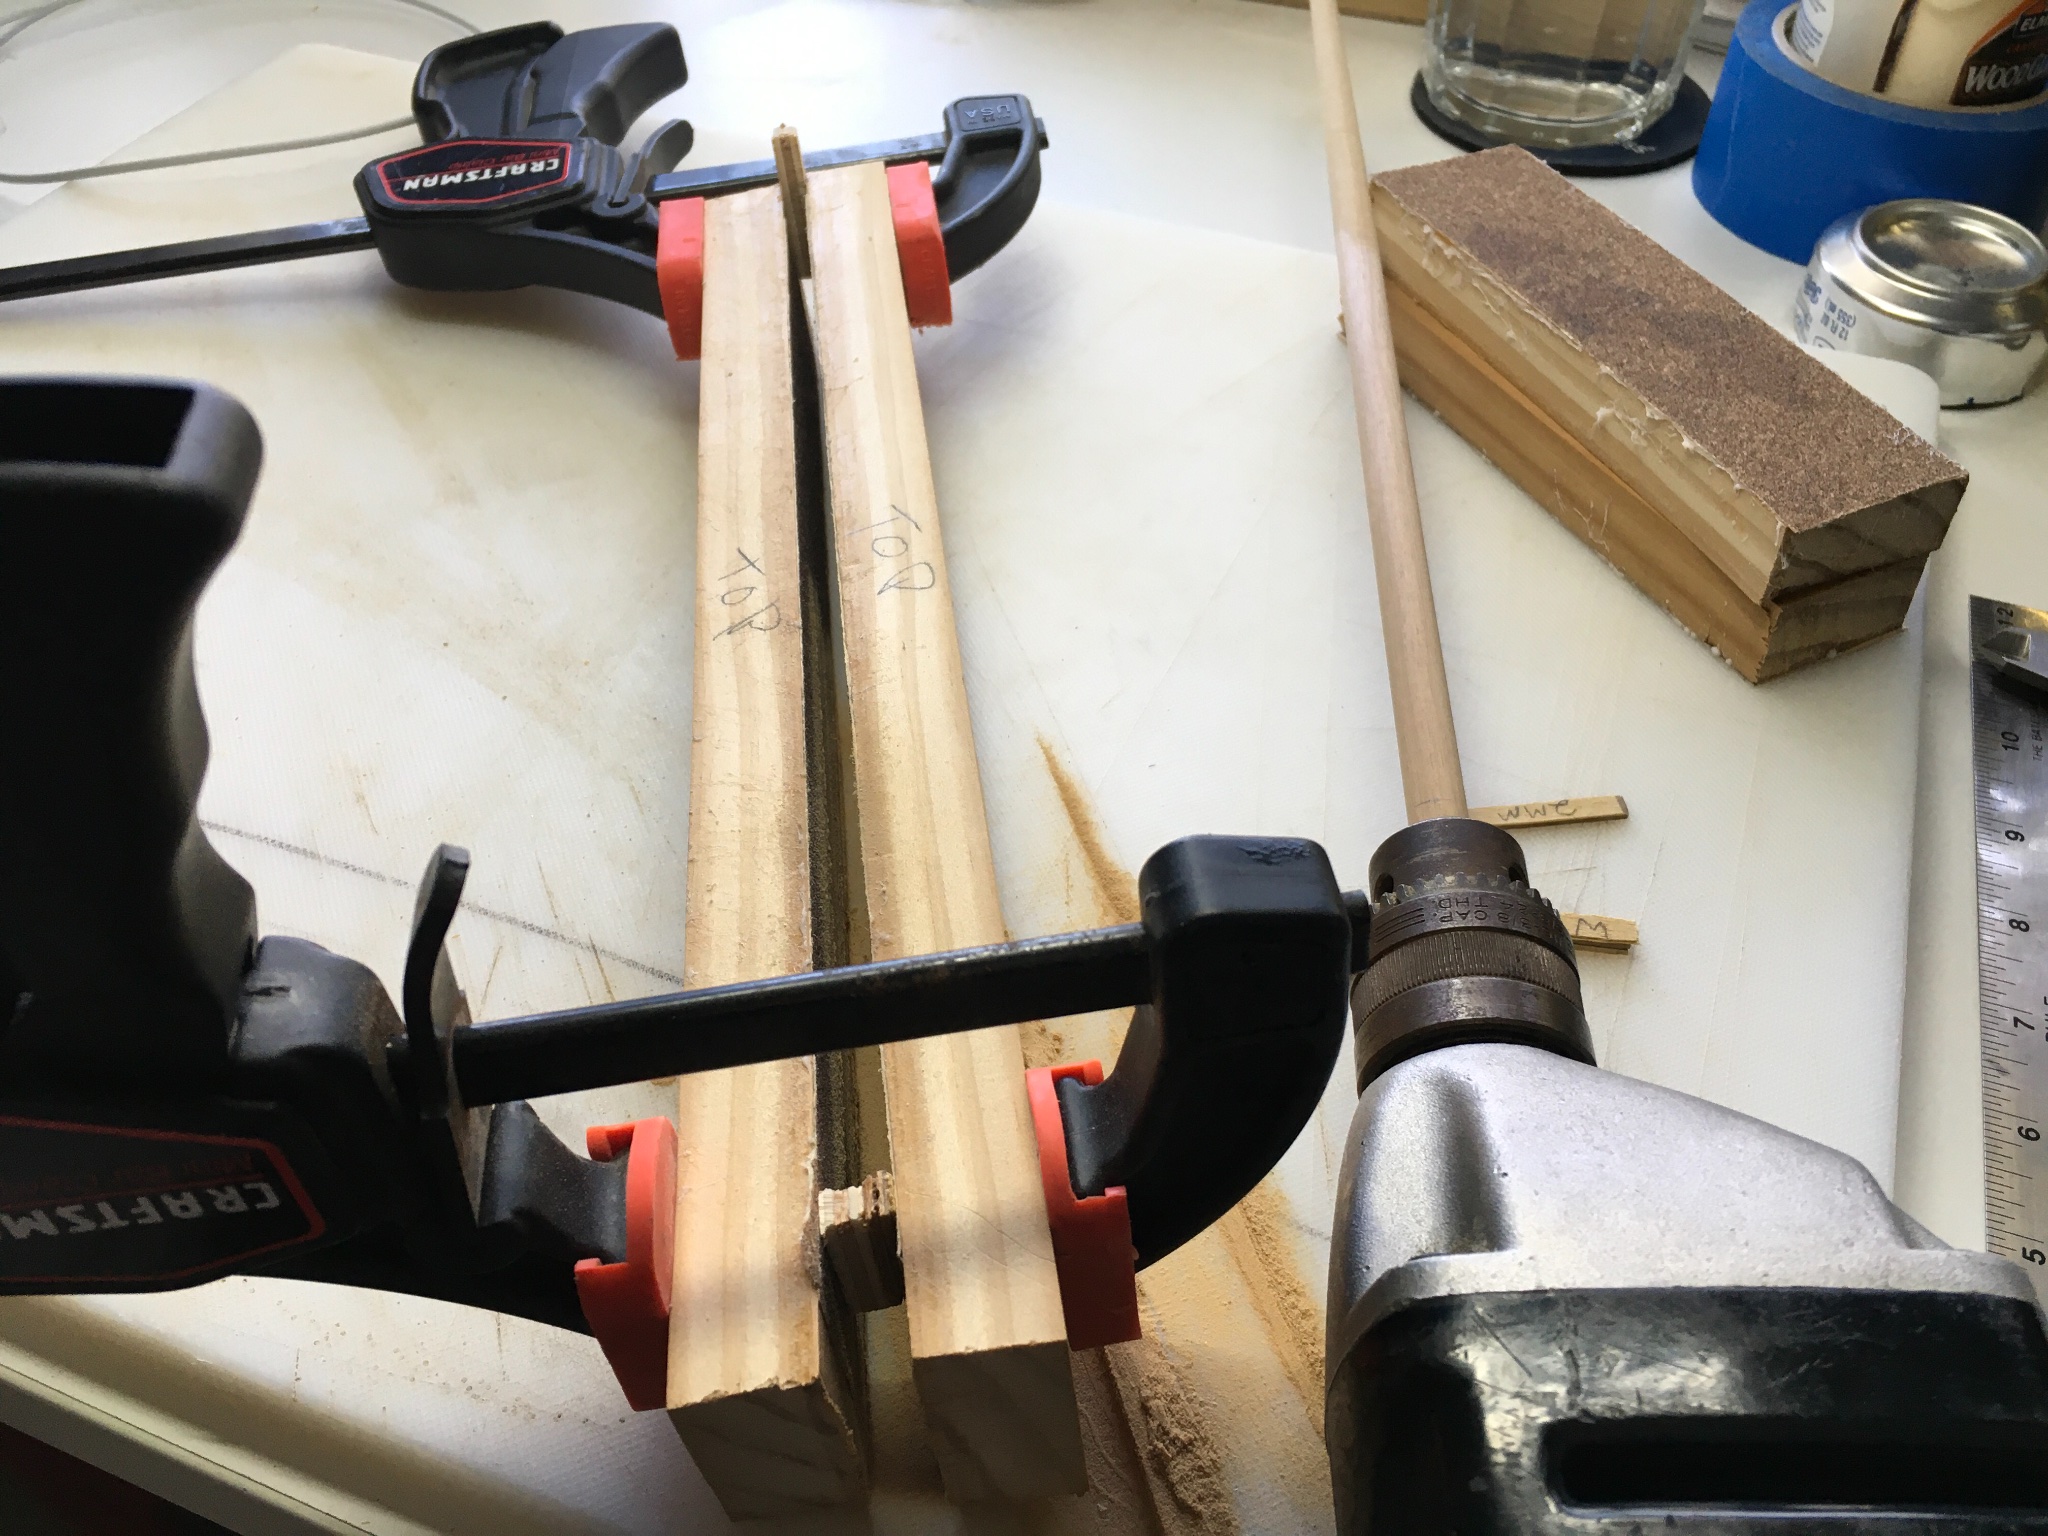
Prototype 1 of dowel tapering jig. Two one-by boards with 80 grit adhered w/ spray adhesive. Main and fore masts are 10 mm and need to taper to 6 mm over a 30mm (or so) span.. Block at the top is 6 mm, block at the bottom is 10 mm. Chuck in the drill and SLOWLY run it through until it comes out the other end. I made a shorter version for the spars. The original vision in my head was something more permanent, affixed to a plank, with carriage bolts and wing nuts, etc. Would have been way more complicated and required a trip to the hardware store. So far, working fine. Unfortunately, it’s really noisy and my son’s trying to sleep in the next room. Maybe I’ll wait a little while to finish these up.
Nah…
Side note, I had this idea before I found a similar example in another MSW forum, which used paint stirring sticks, which in my opinion, might work ok for spars, but definitely not strong enough for these bokapi (?) masts. His original idea was linked in his post to a Polish model ship building forum. Here it is:

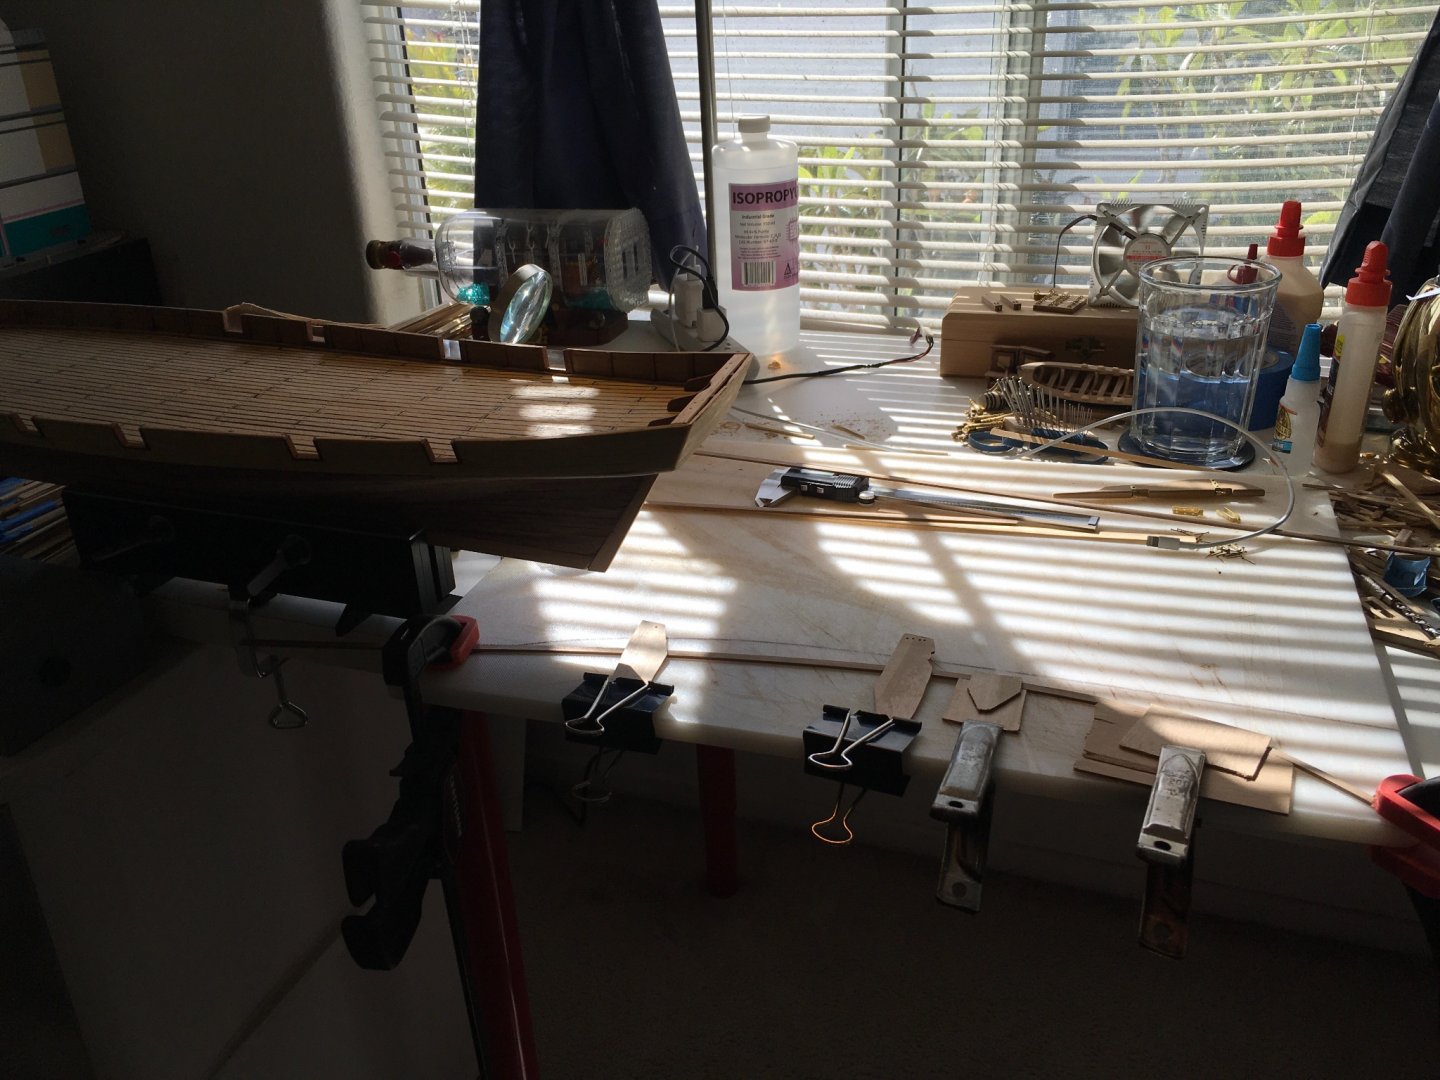
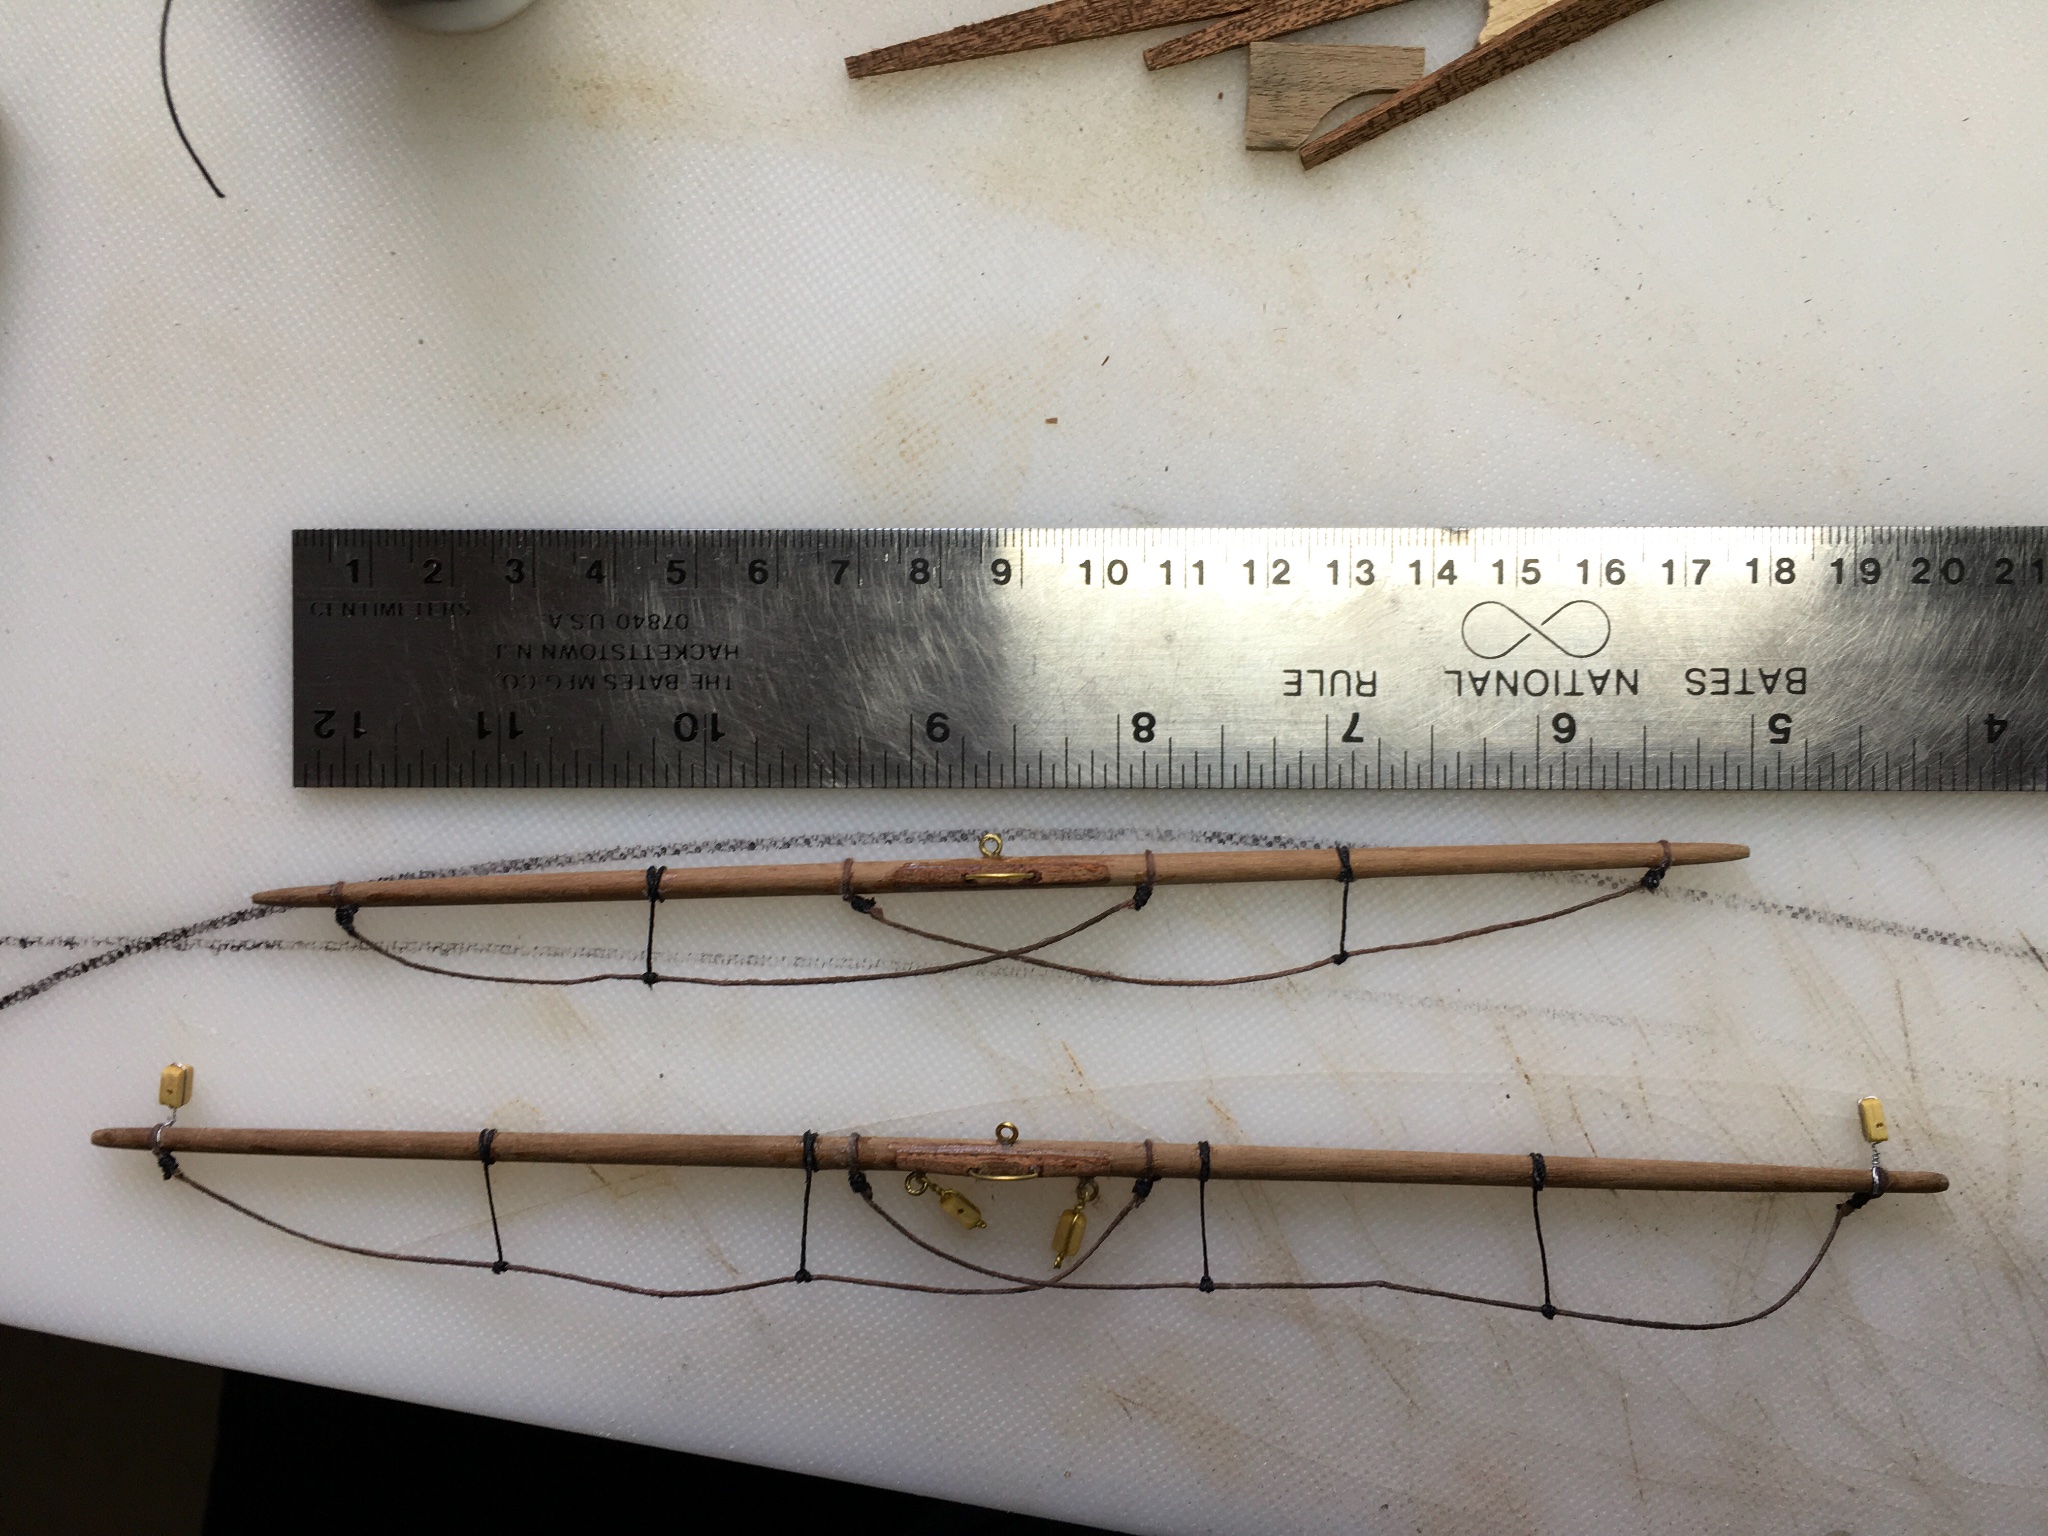
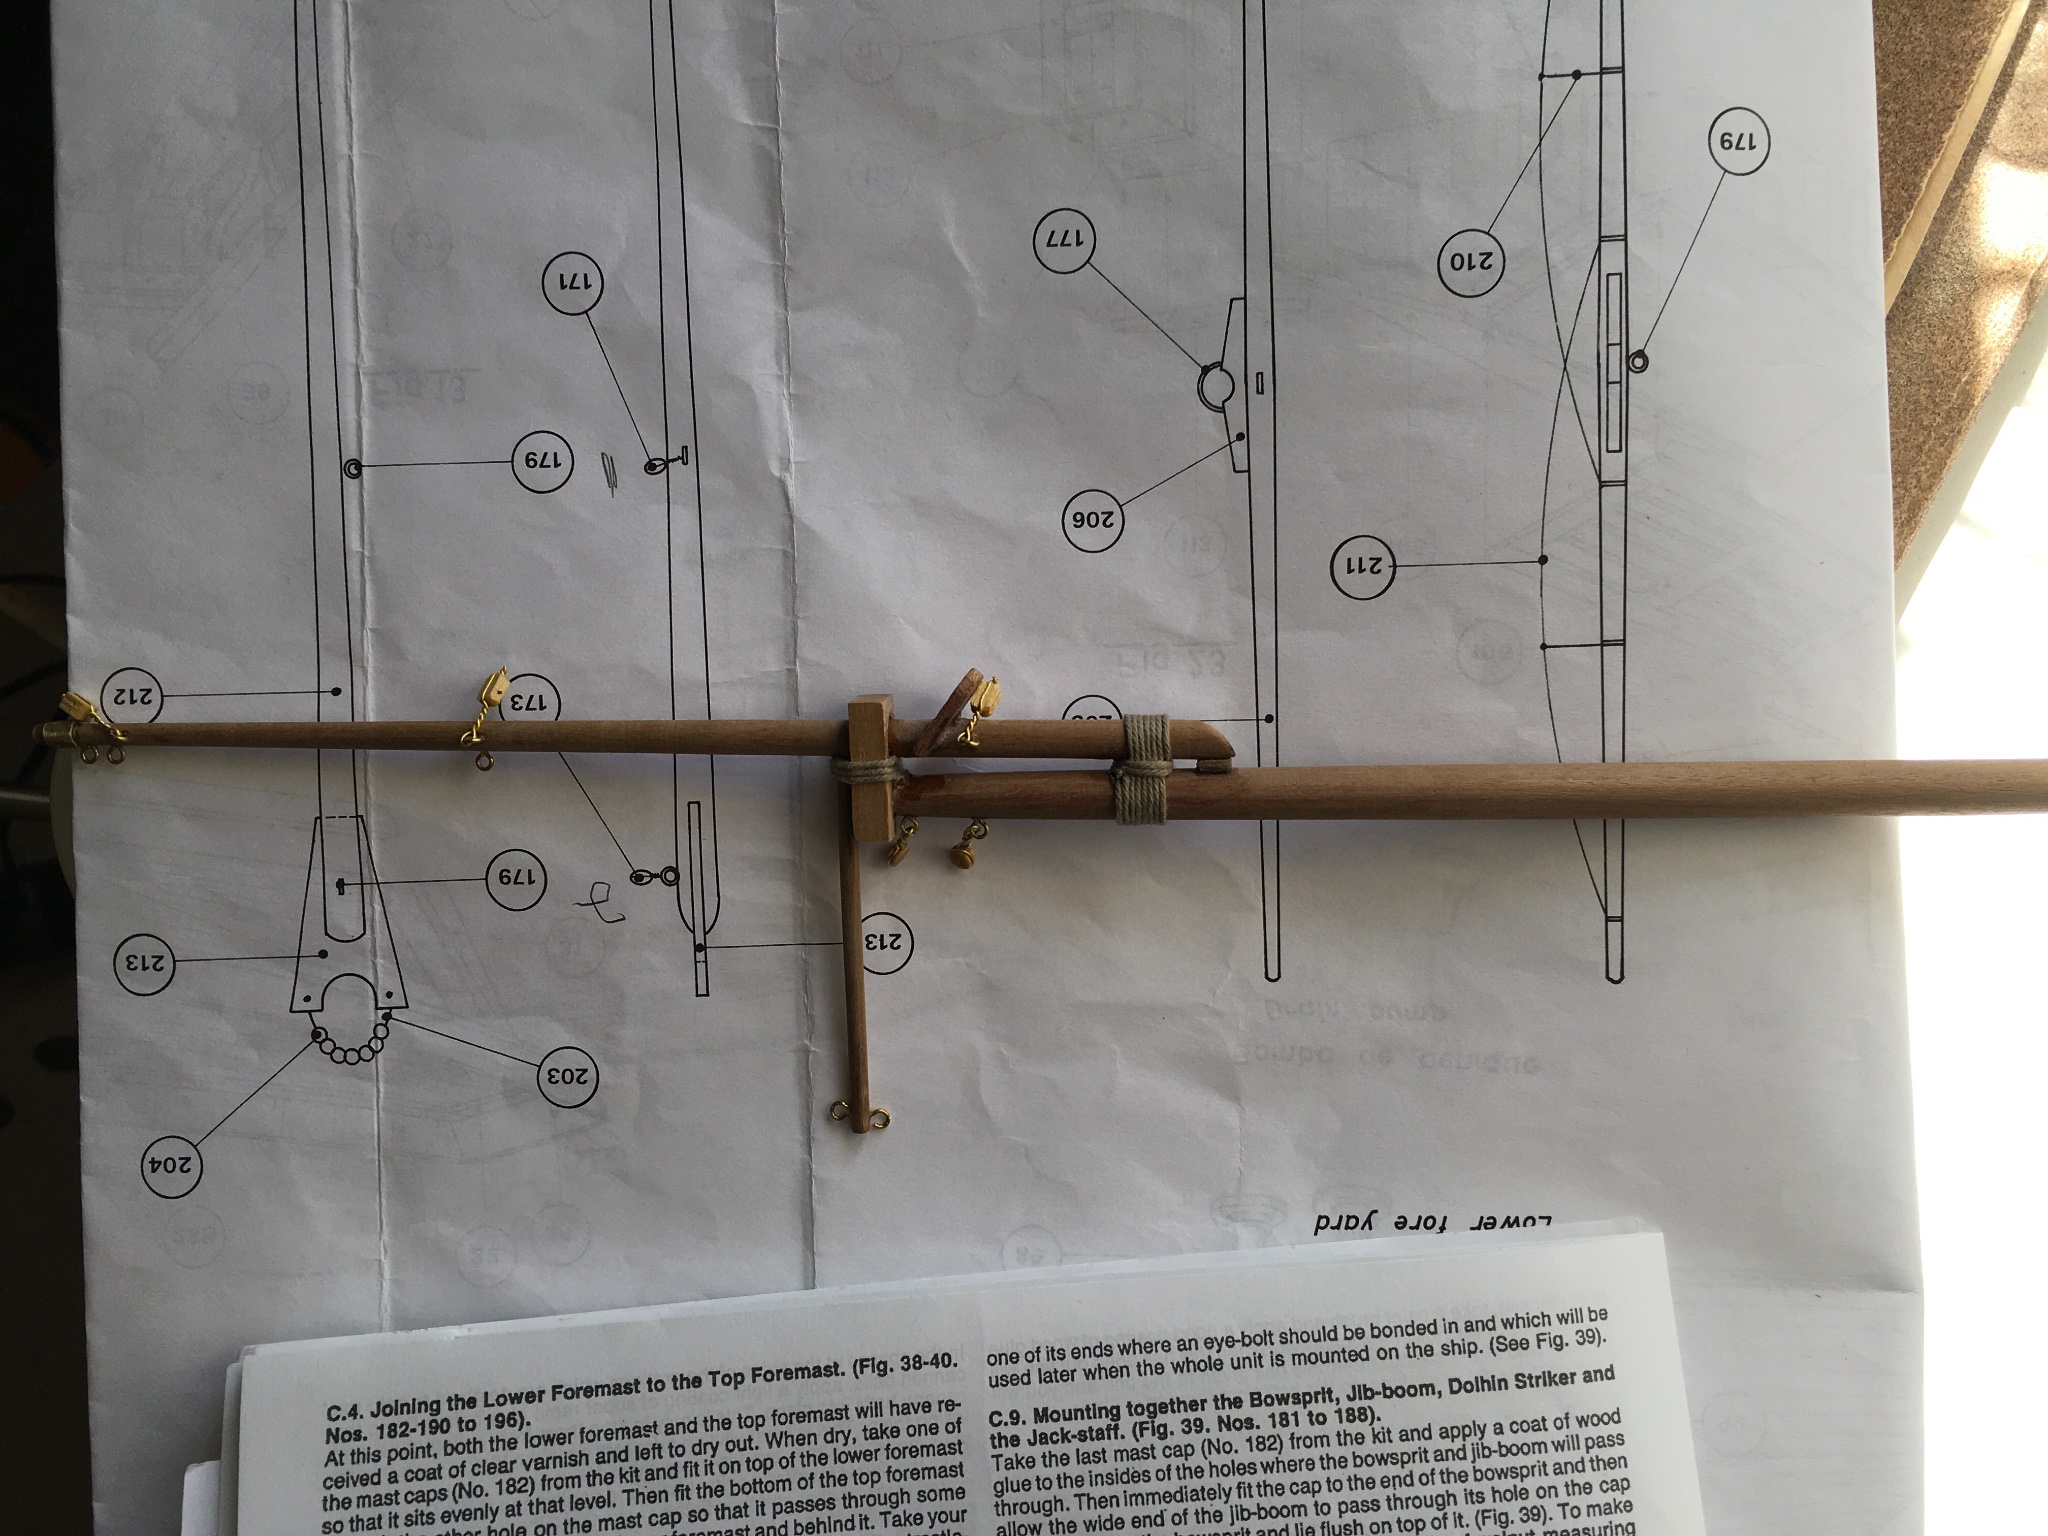
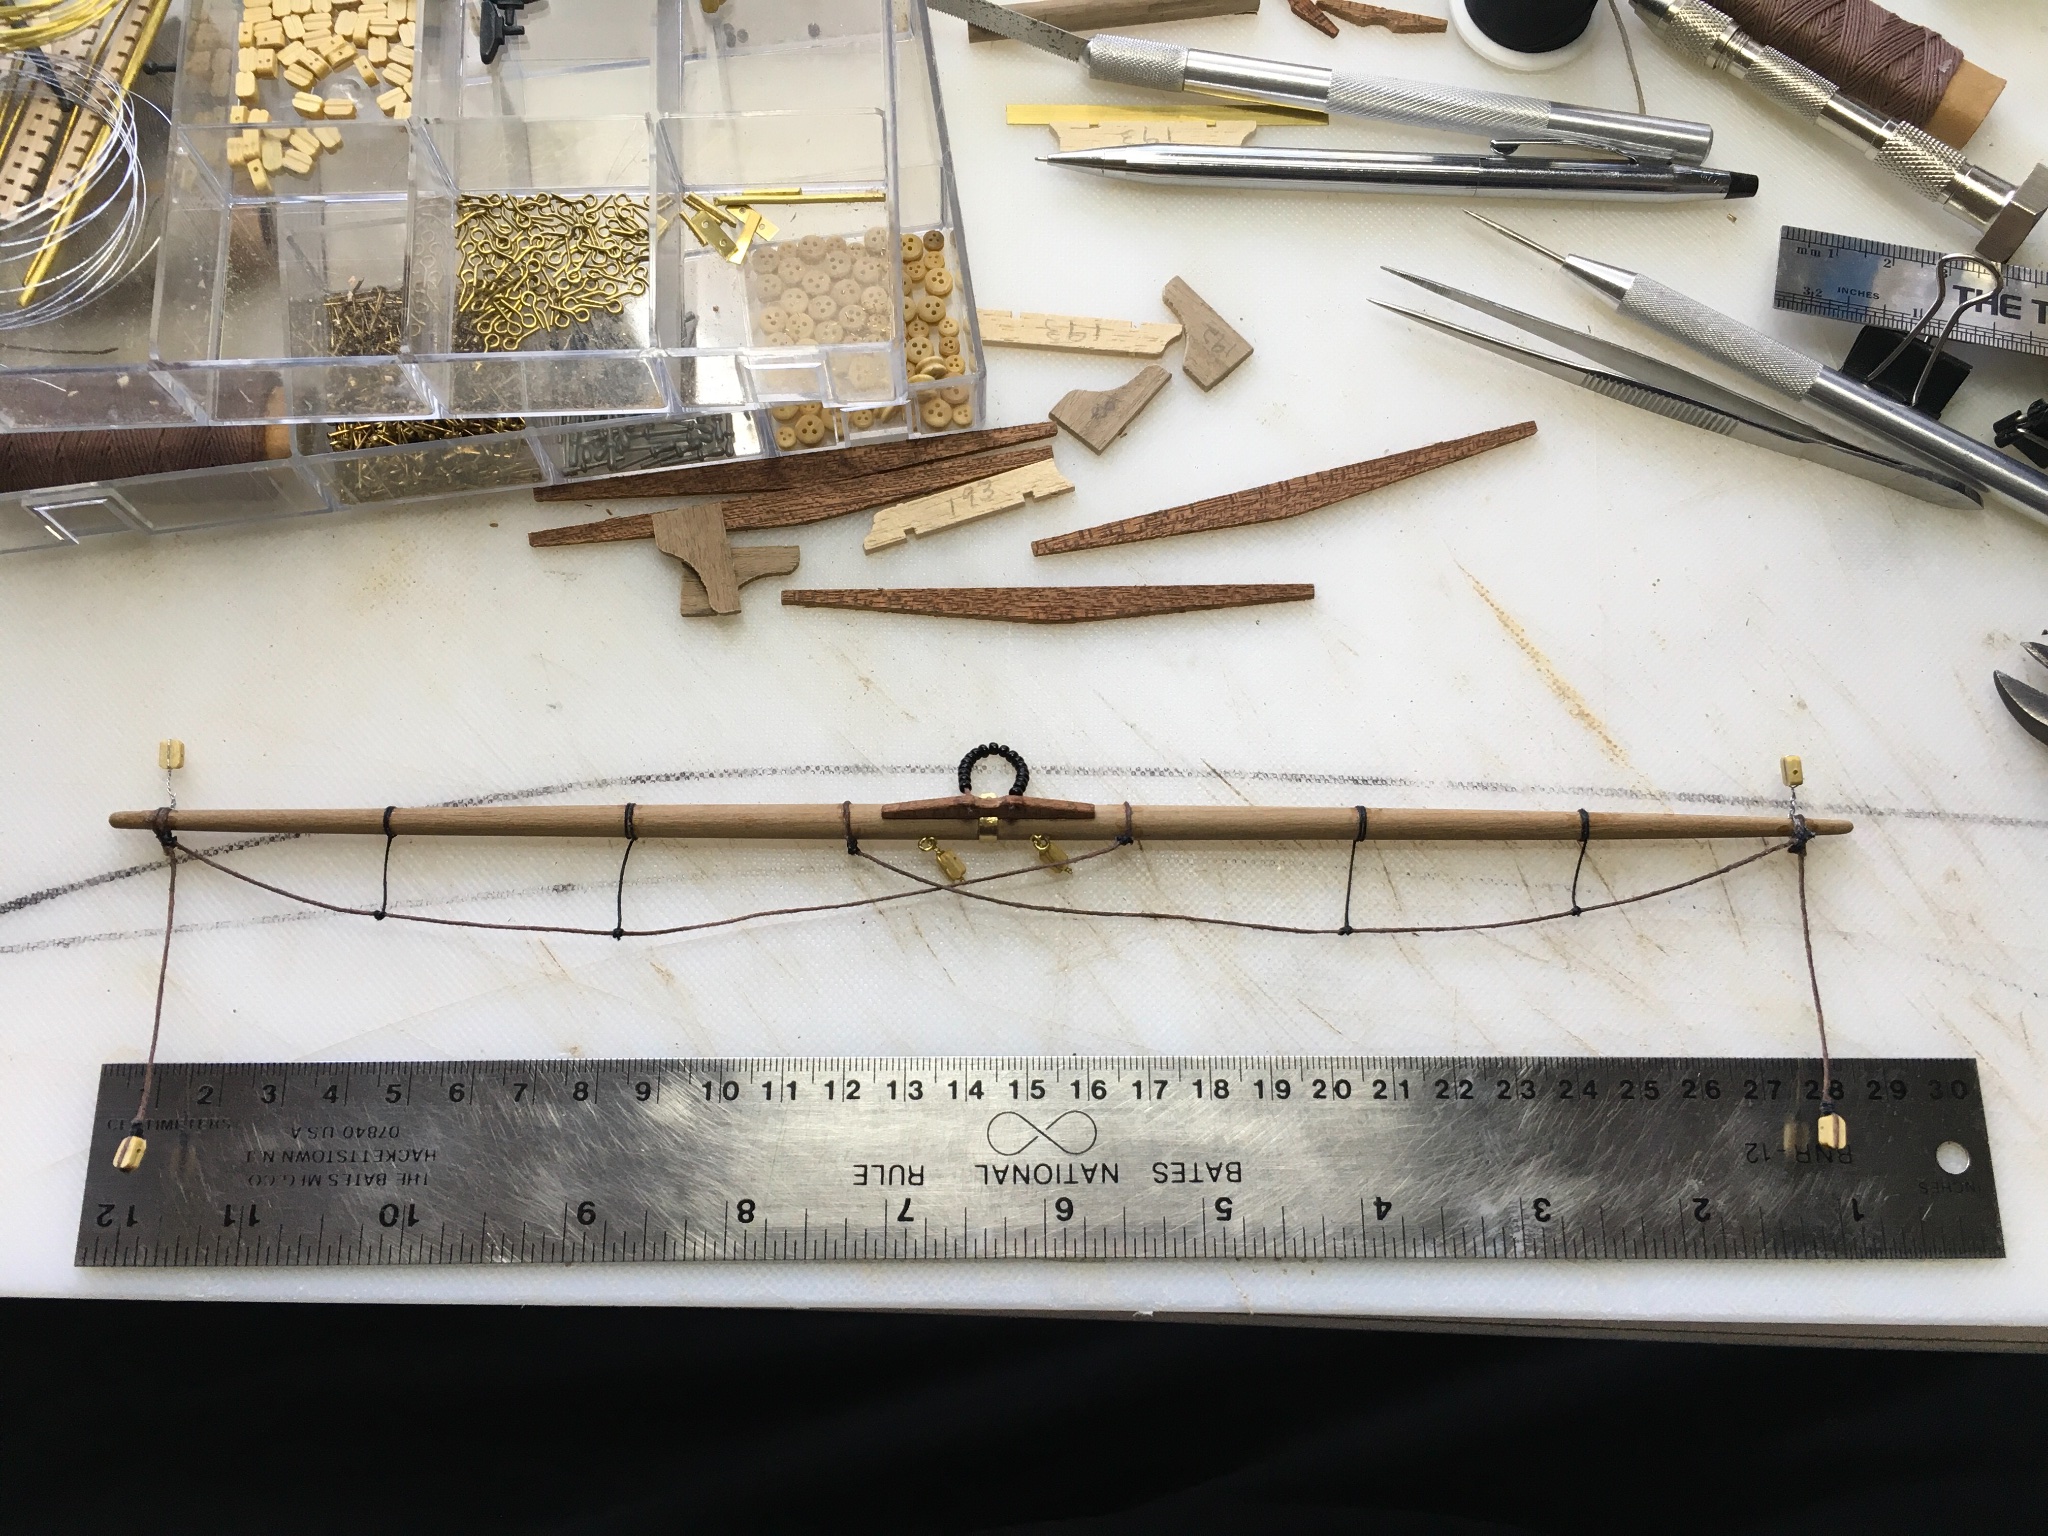
Well, the 6 mm stock was no match for the jig. I snapped the main boom twice! Good news is, with a furled sail on it, you’ll never see the repairs. Shorter lengths of the 6 mm stock faired better, like the jib boom, gaffs and mast tops. I ended up shaping the 4 mm stock mostly by hand. The lower fore yard will just have to be about a cm short… don’t tell anyone. I’m glad I made the sanding blocks anyway, they came in handy even for hand shaping.
-
Prototype 1 of dowel tapering jig. Two one-by boards with 80 grit adhered w/ spray adhesive. Main and fore masts are 10 mm and need to taper to 6 mm over a 30mm (or so) span.. Block at the top is 6 mm, block at the bottom is 10 mm. Chuck in the drill and SLOWLY run it through until it comes out the other end. I made a shorter version for the spars. The original vision in my head was something more permanent, affixed to a plank, with carriage bolts and wing nuts, etc. Would have been way more complicated and required a trip to the hardware store. So far, working fine. Unfortunately, it’s really noisy and my son’s trying to sleep in the next room. Maybe I’ll wait a little while to finish these up.
Nah…
Side note, I had this idea before I found a similar example in another MSW forum, which used paint stirring sticks, which in my opinion, might work ok for spars, but definitely not strong enough for these bokapi (?) masts. His original idea was linked in his post to a Polish model ship building forum. Here it is:
-
-
6 hours ago, SpyGlass said:
Gawd I remember building this kit when I was stuck in New York for months on a long project -that must have been at least 30 years ago.
I think I remember the wood wasnt very good even then !!
But I liked the old AL kits - I have been looking for years for another "Liberty
"
so i can bequeath a matched set to my grandsons ( an also correct some of the glaring errors from the first time round!
https://www.ebay.com/itm/293563503023?hash=item4459bf91af:g:K6AAAOSwHmNZvHEl
-
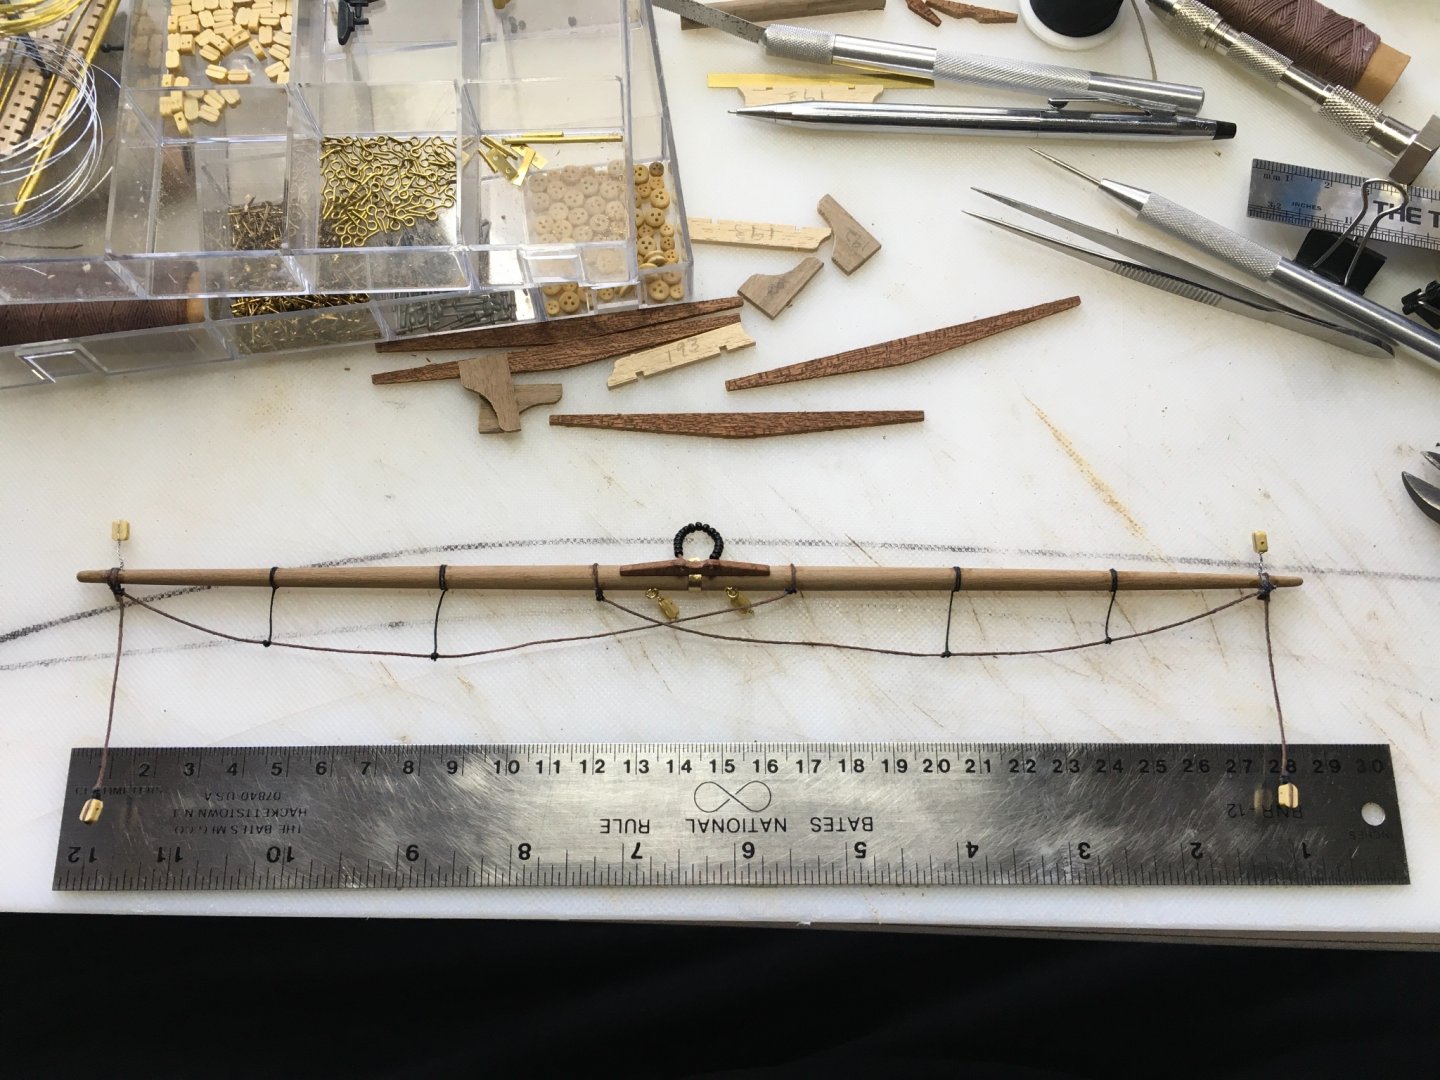
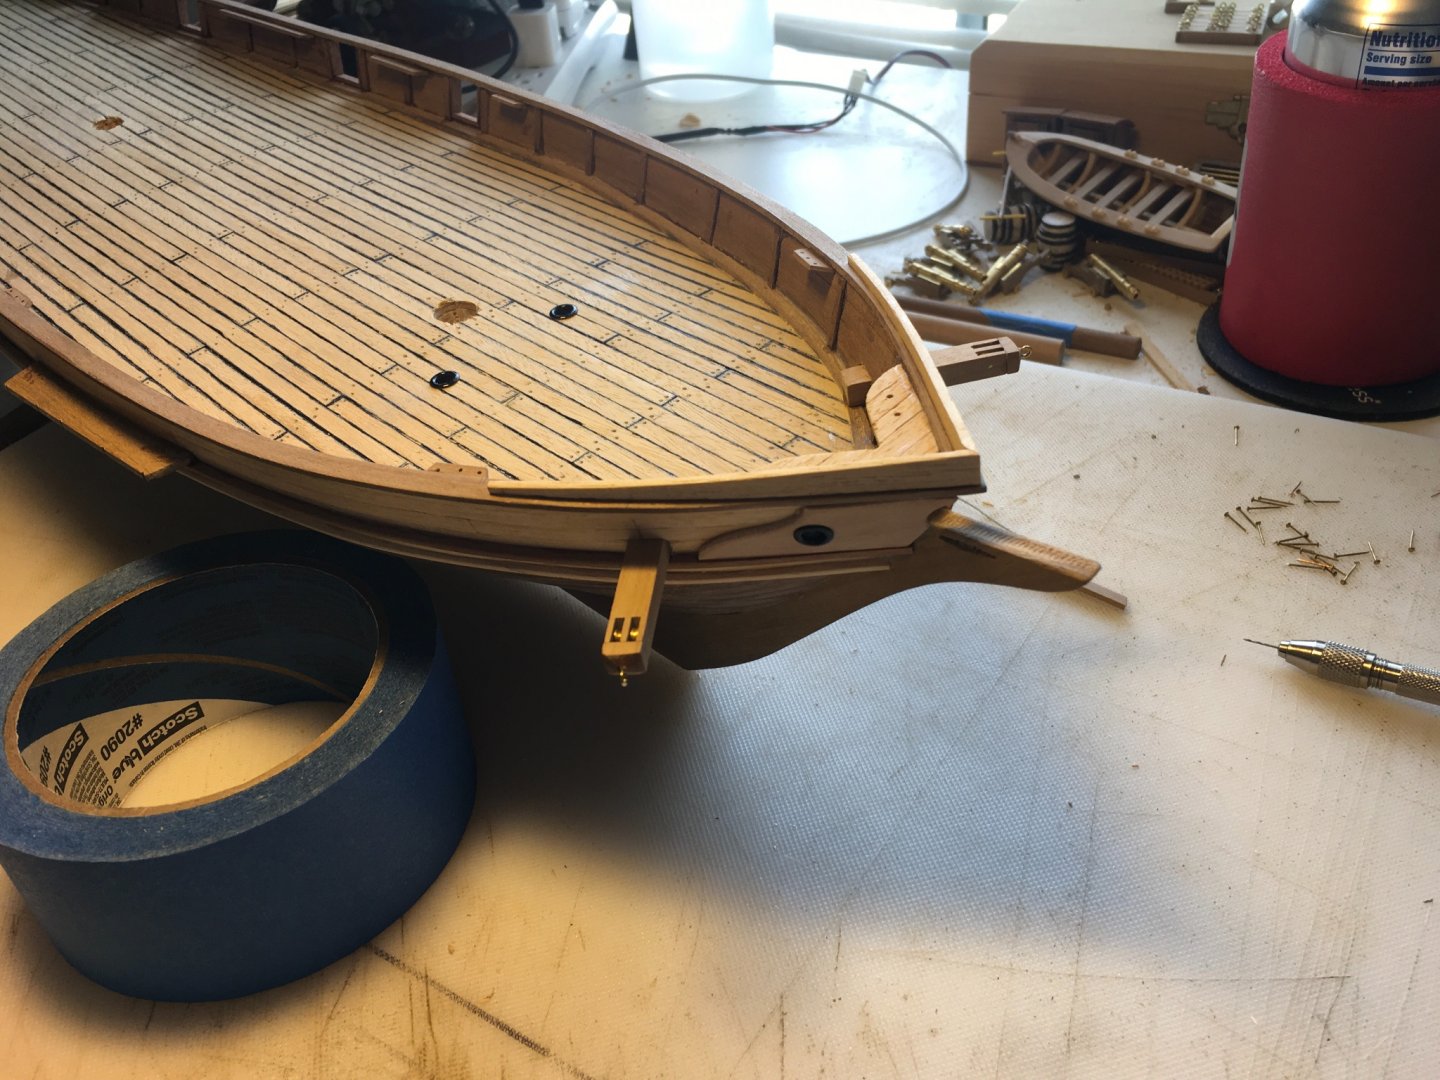
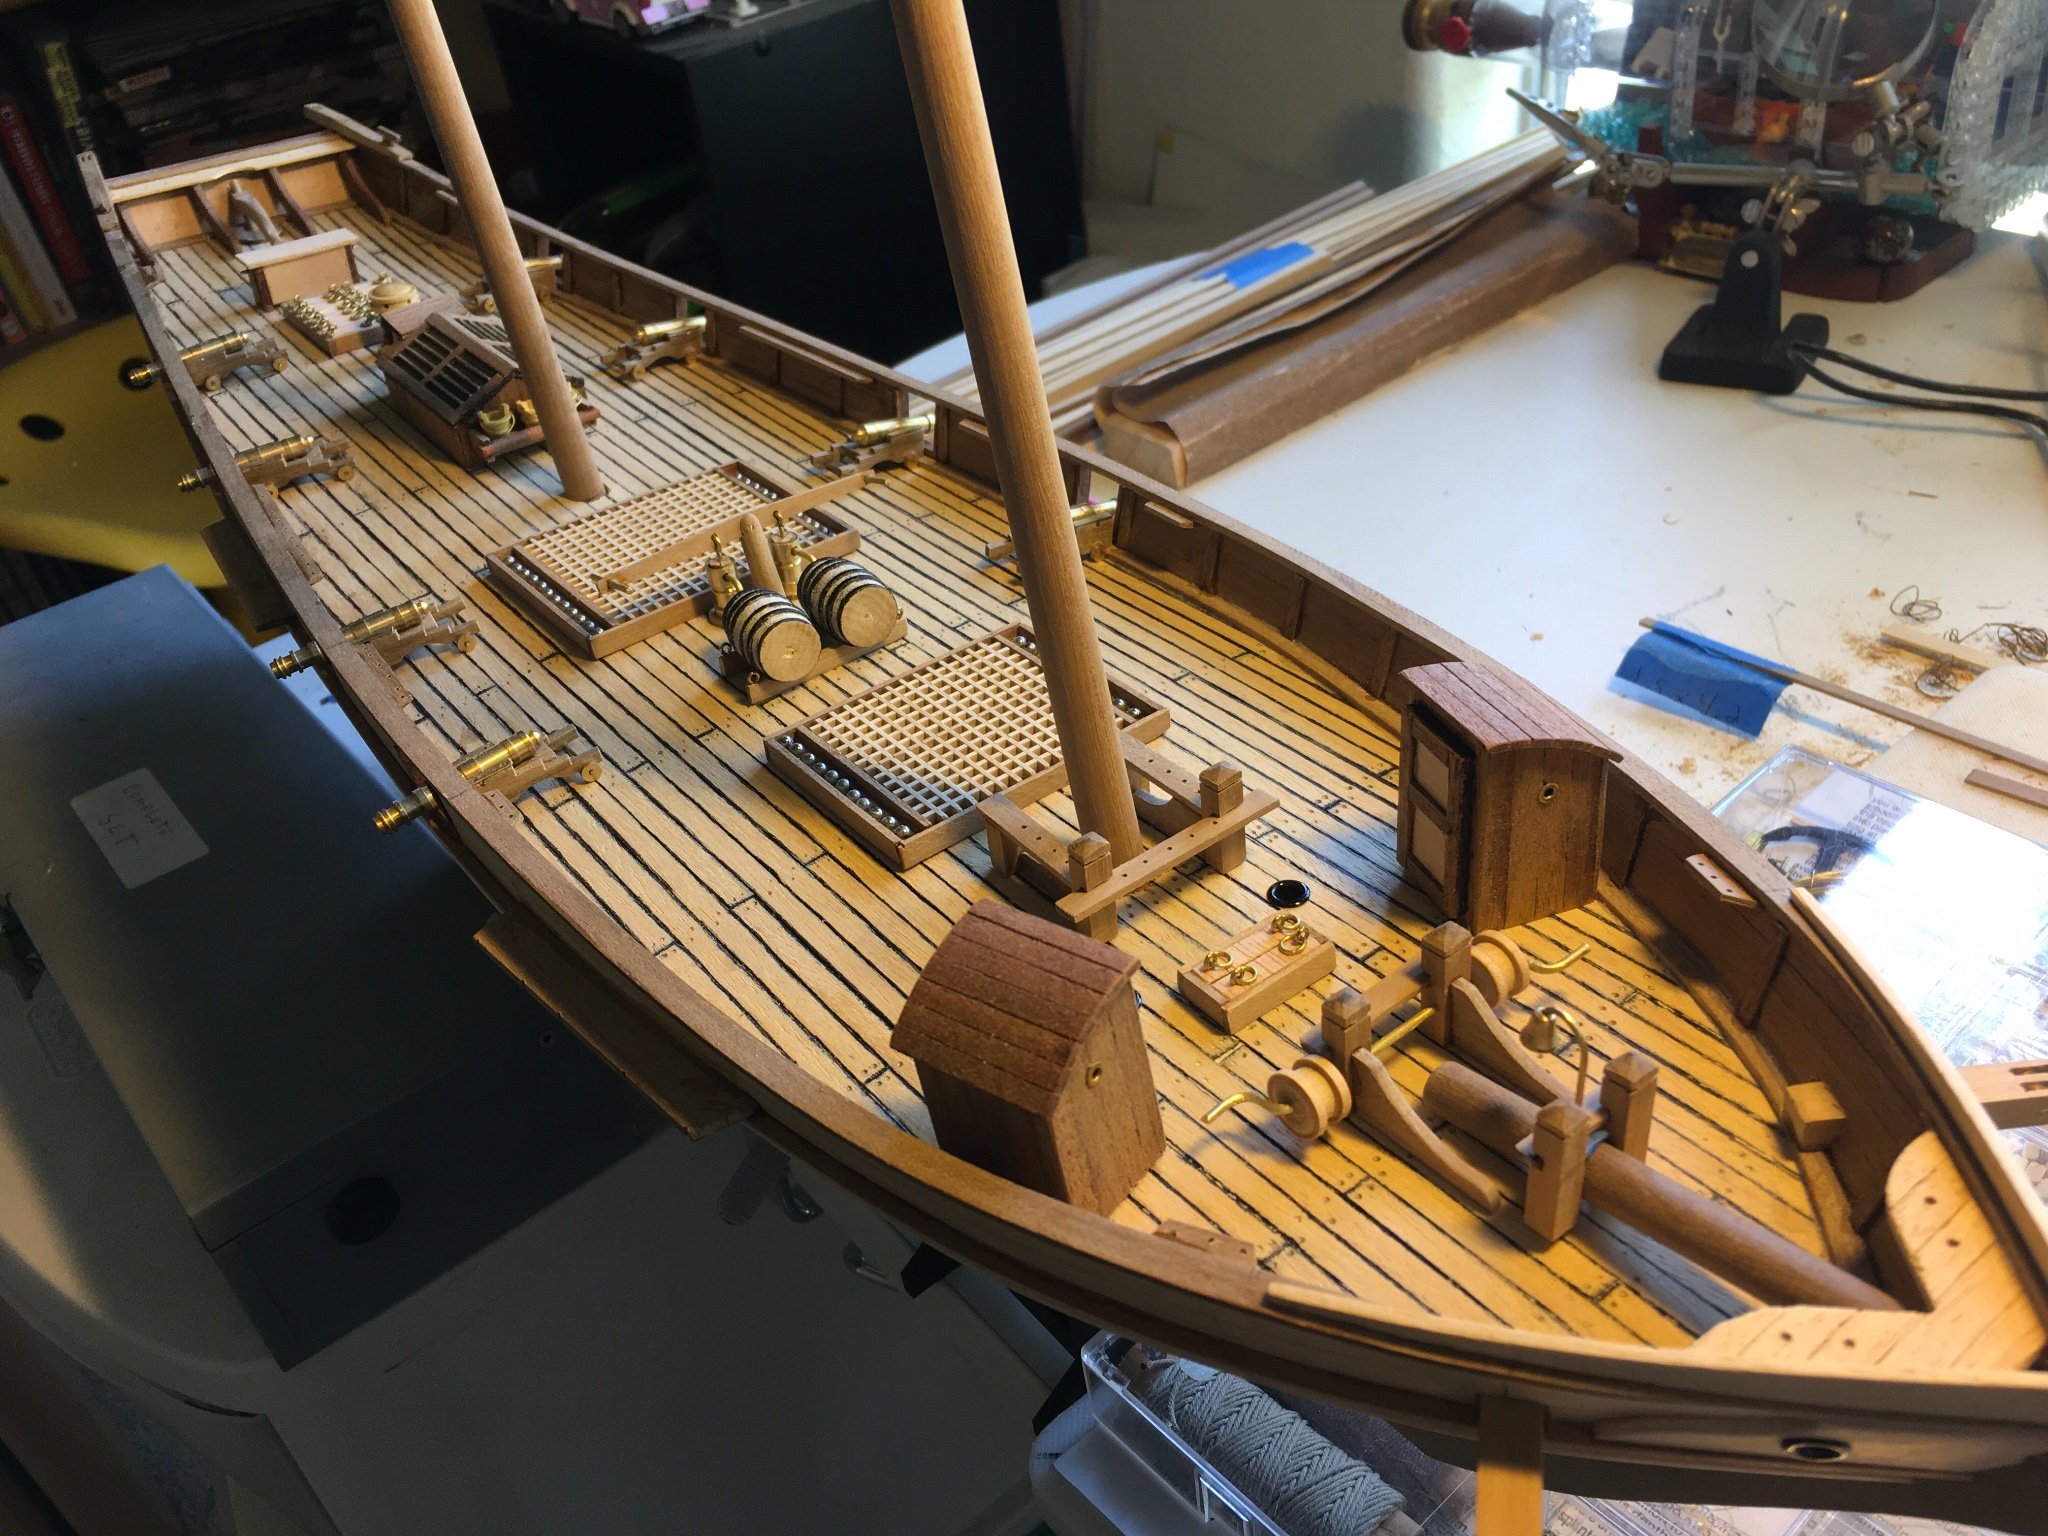
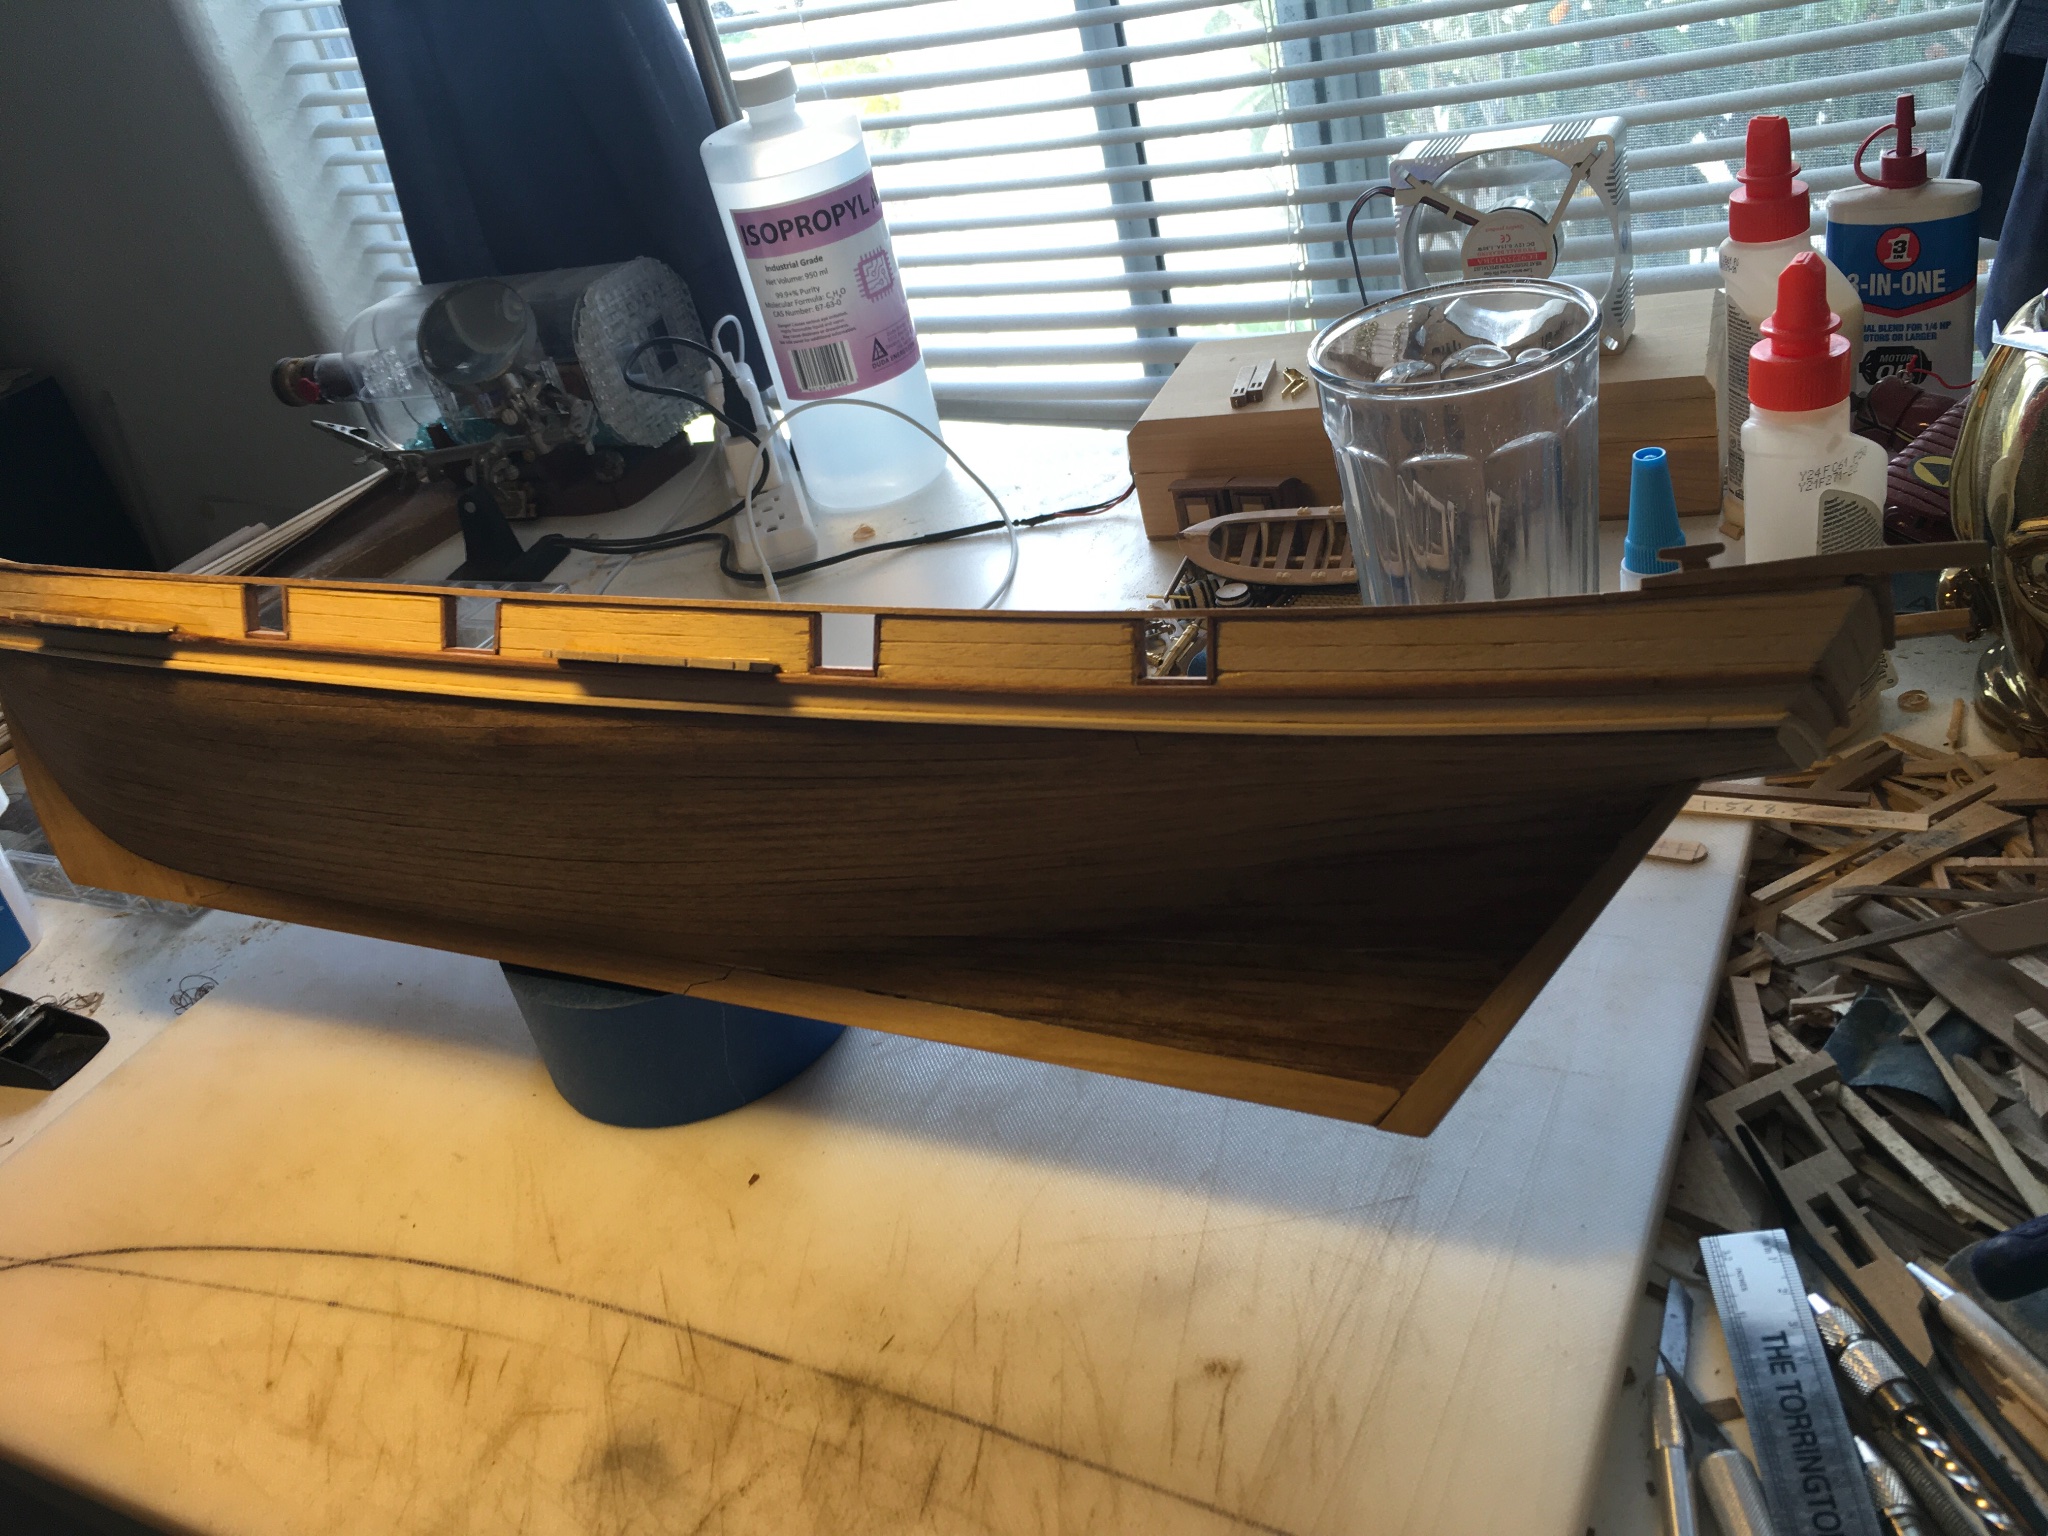
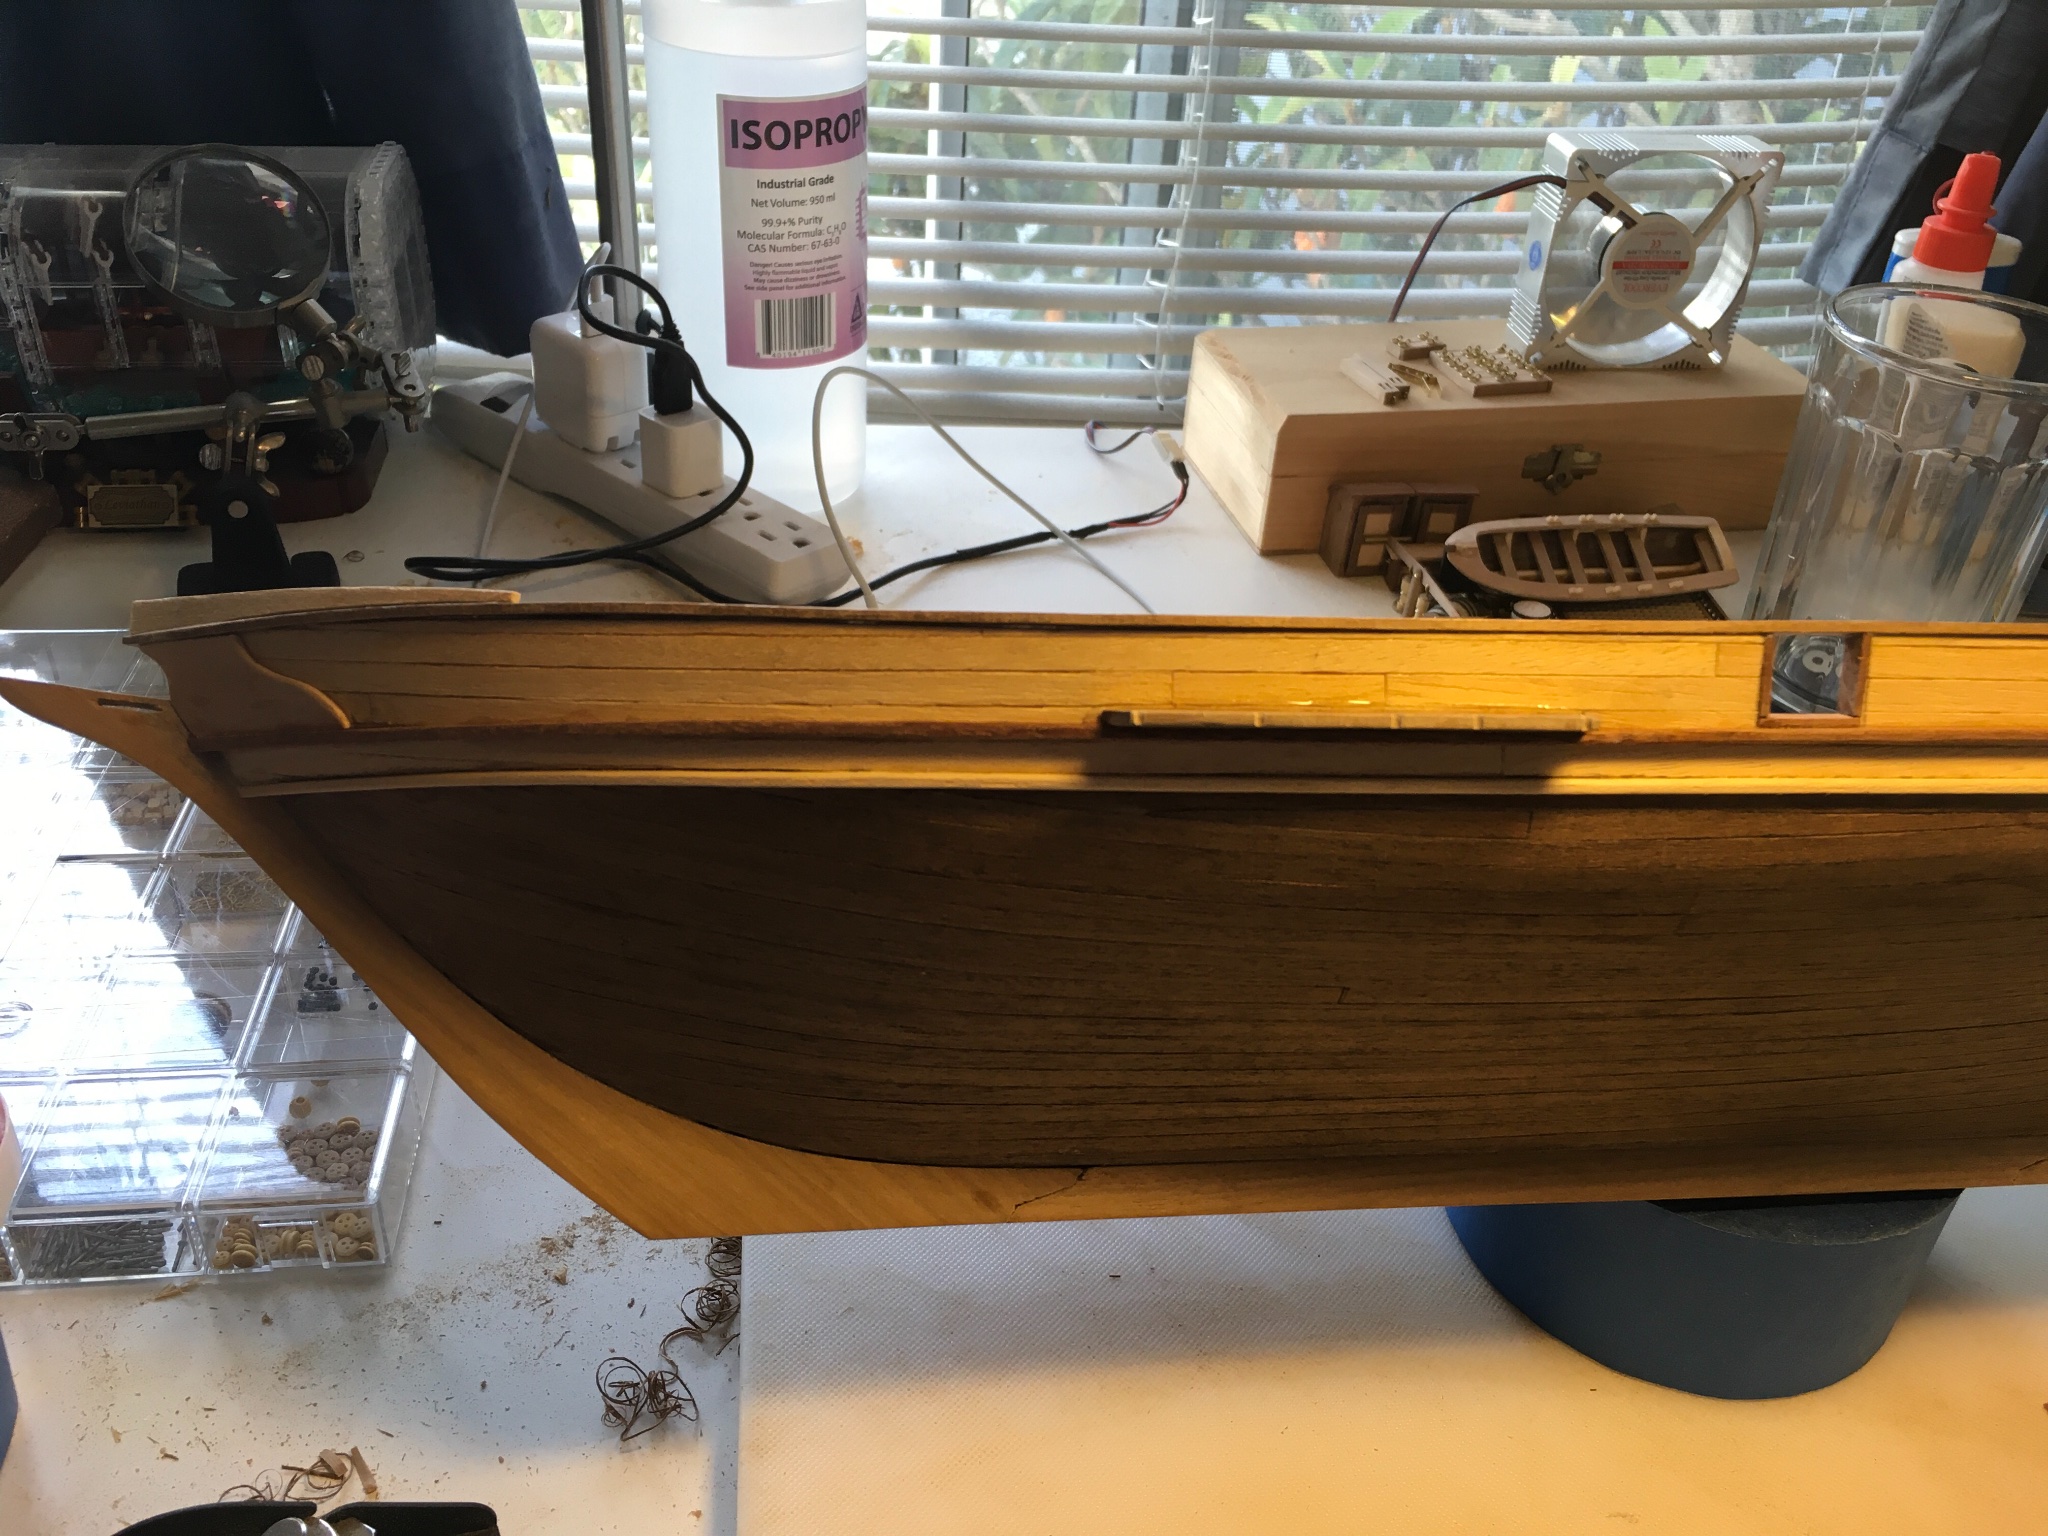
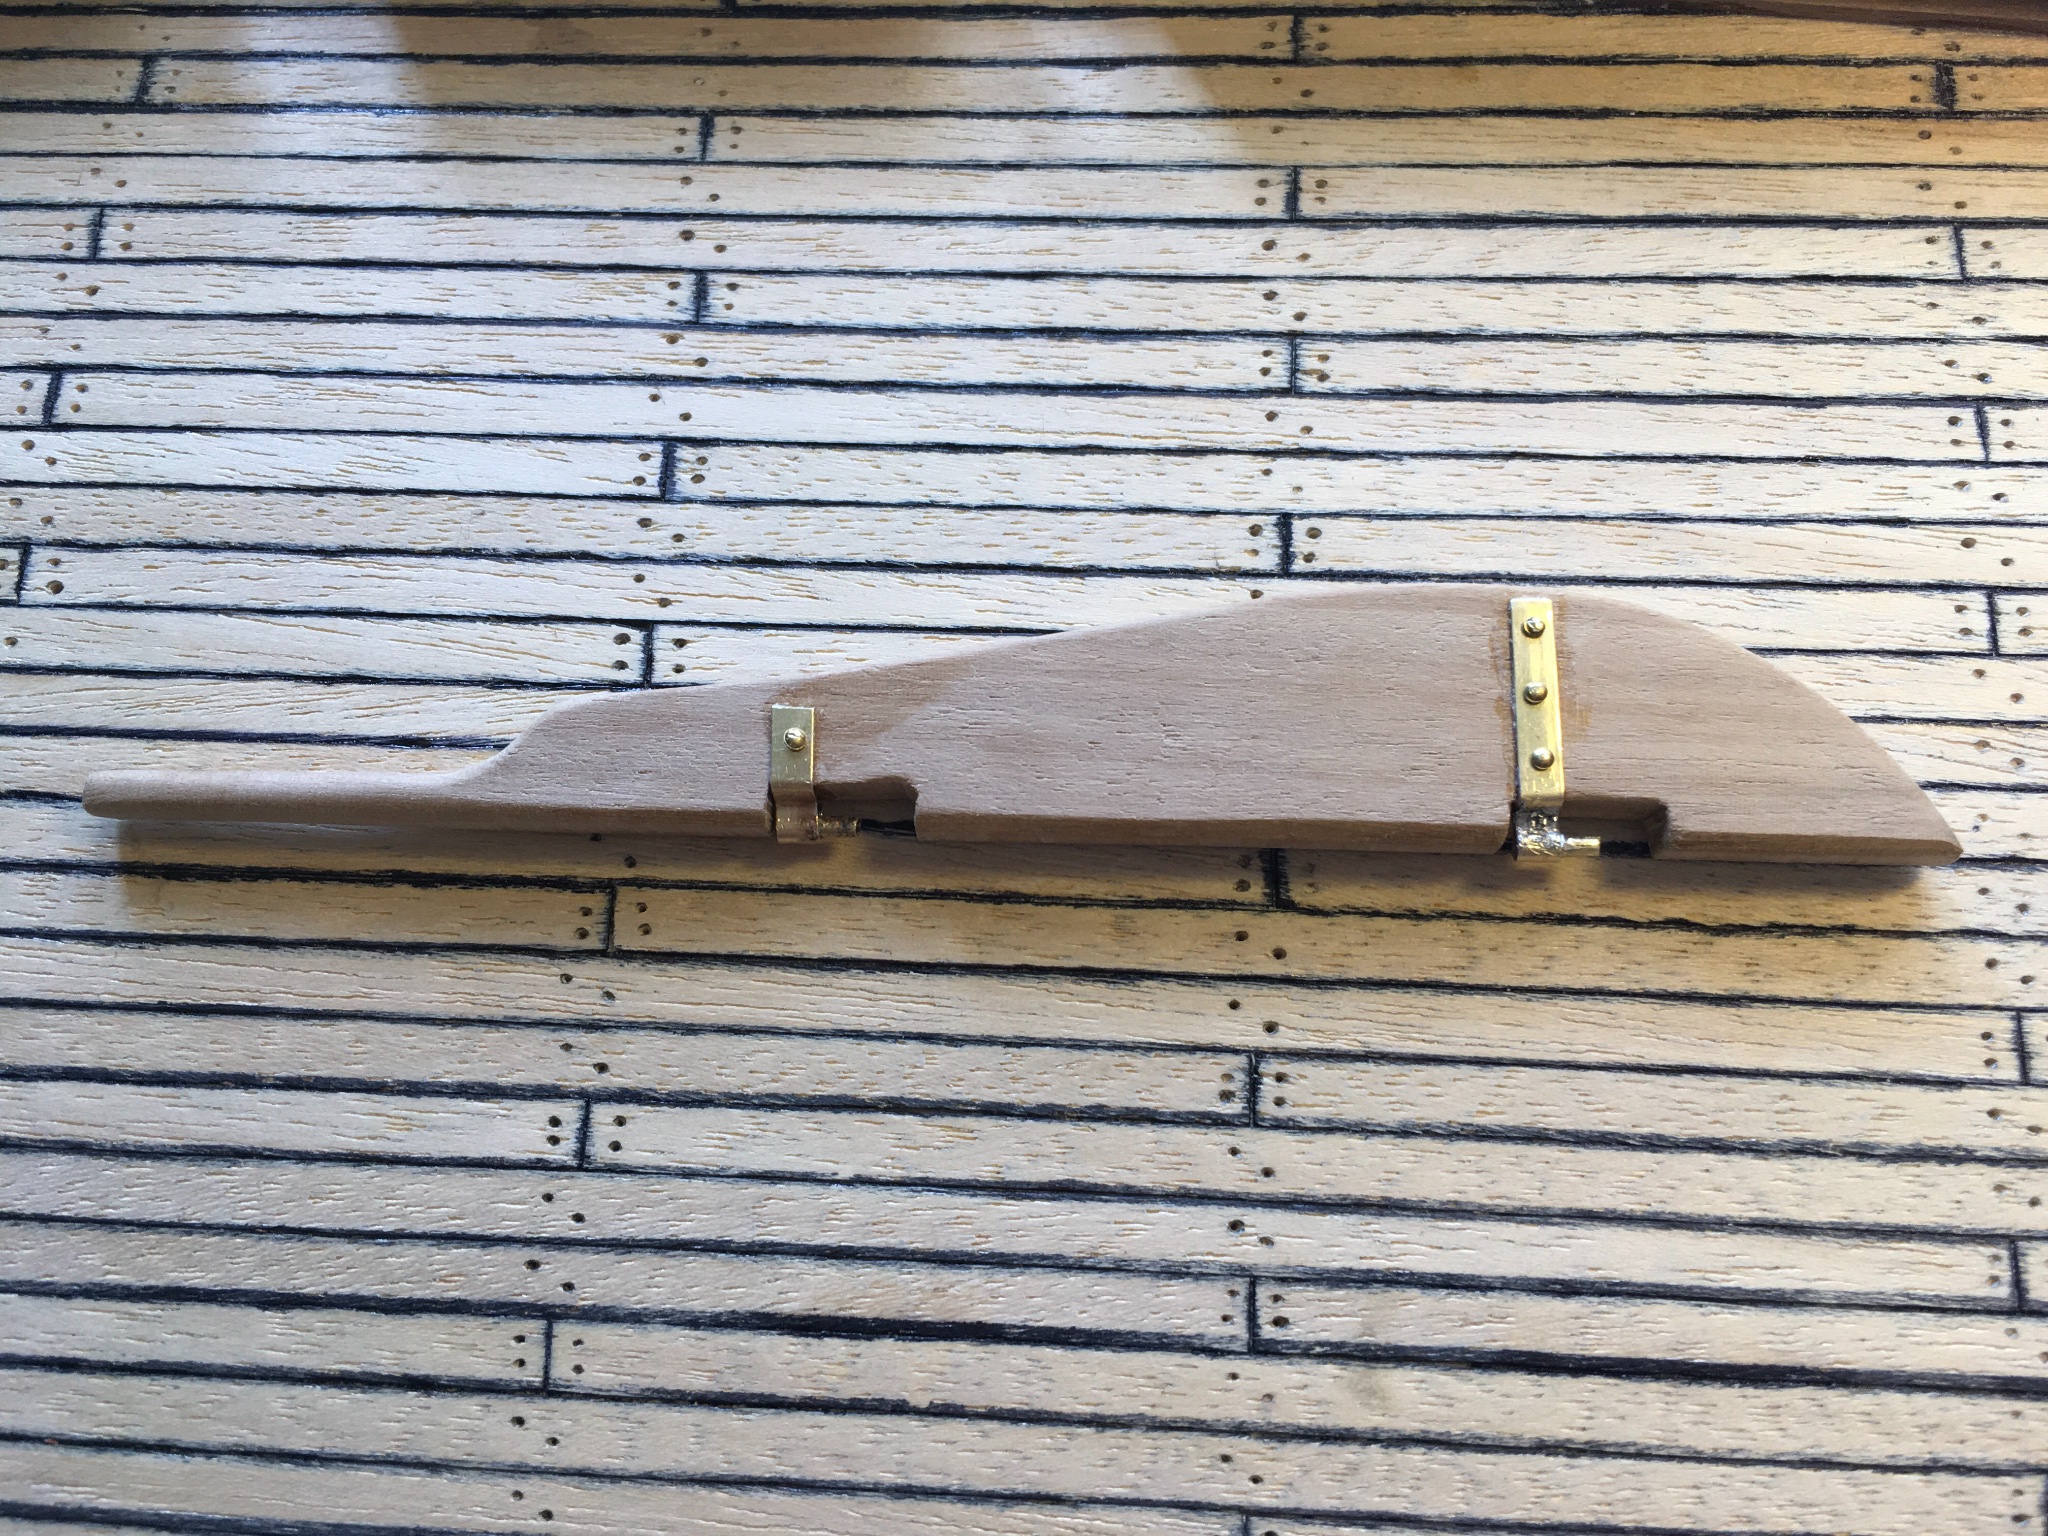
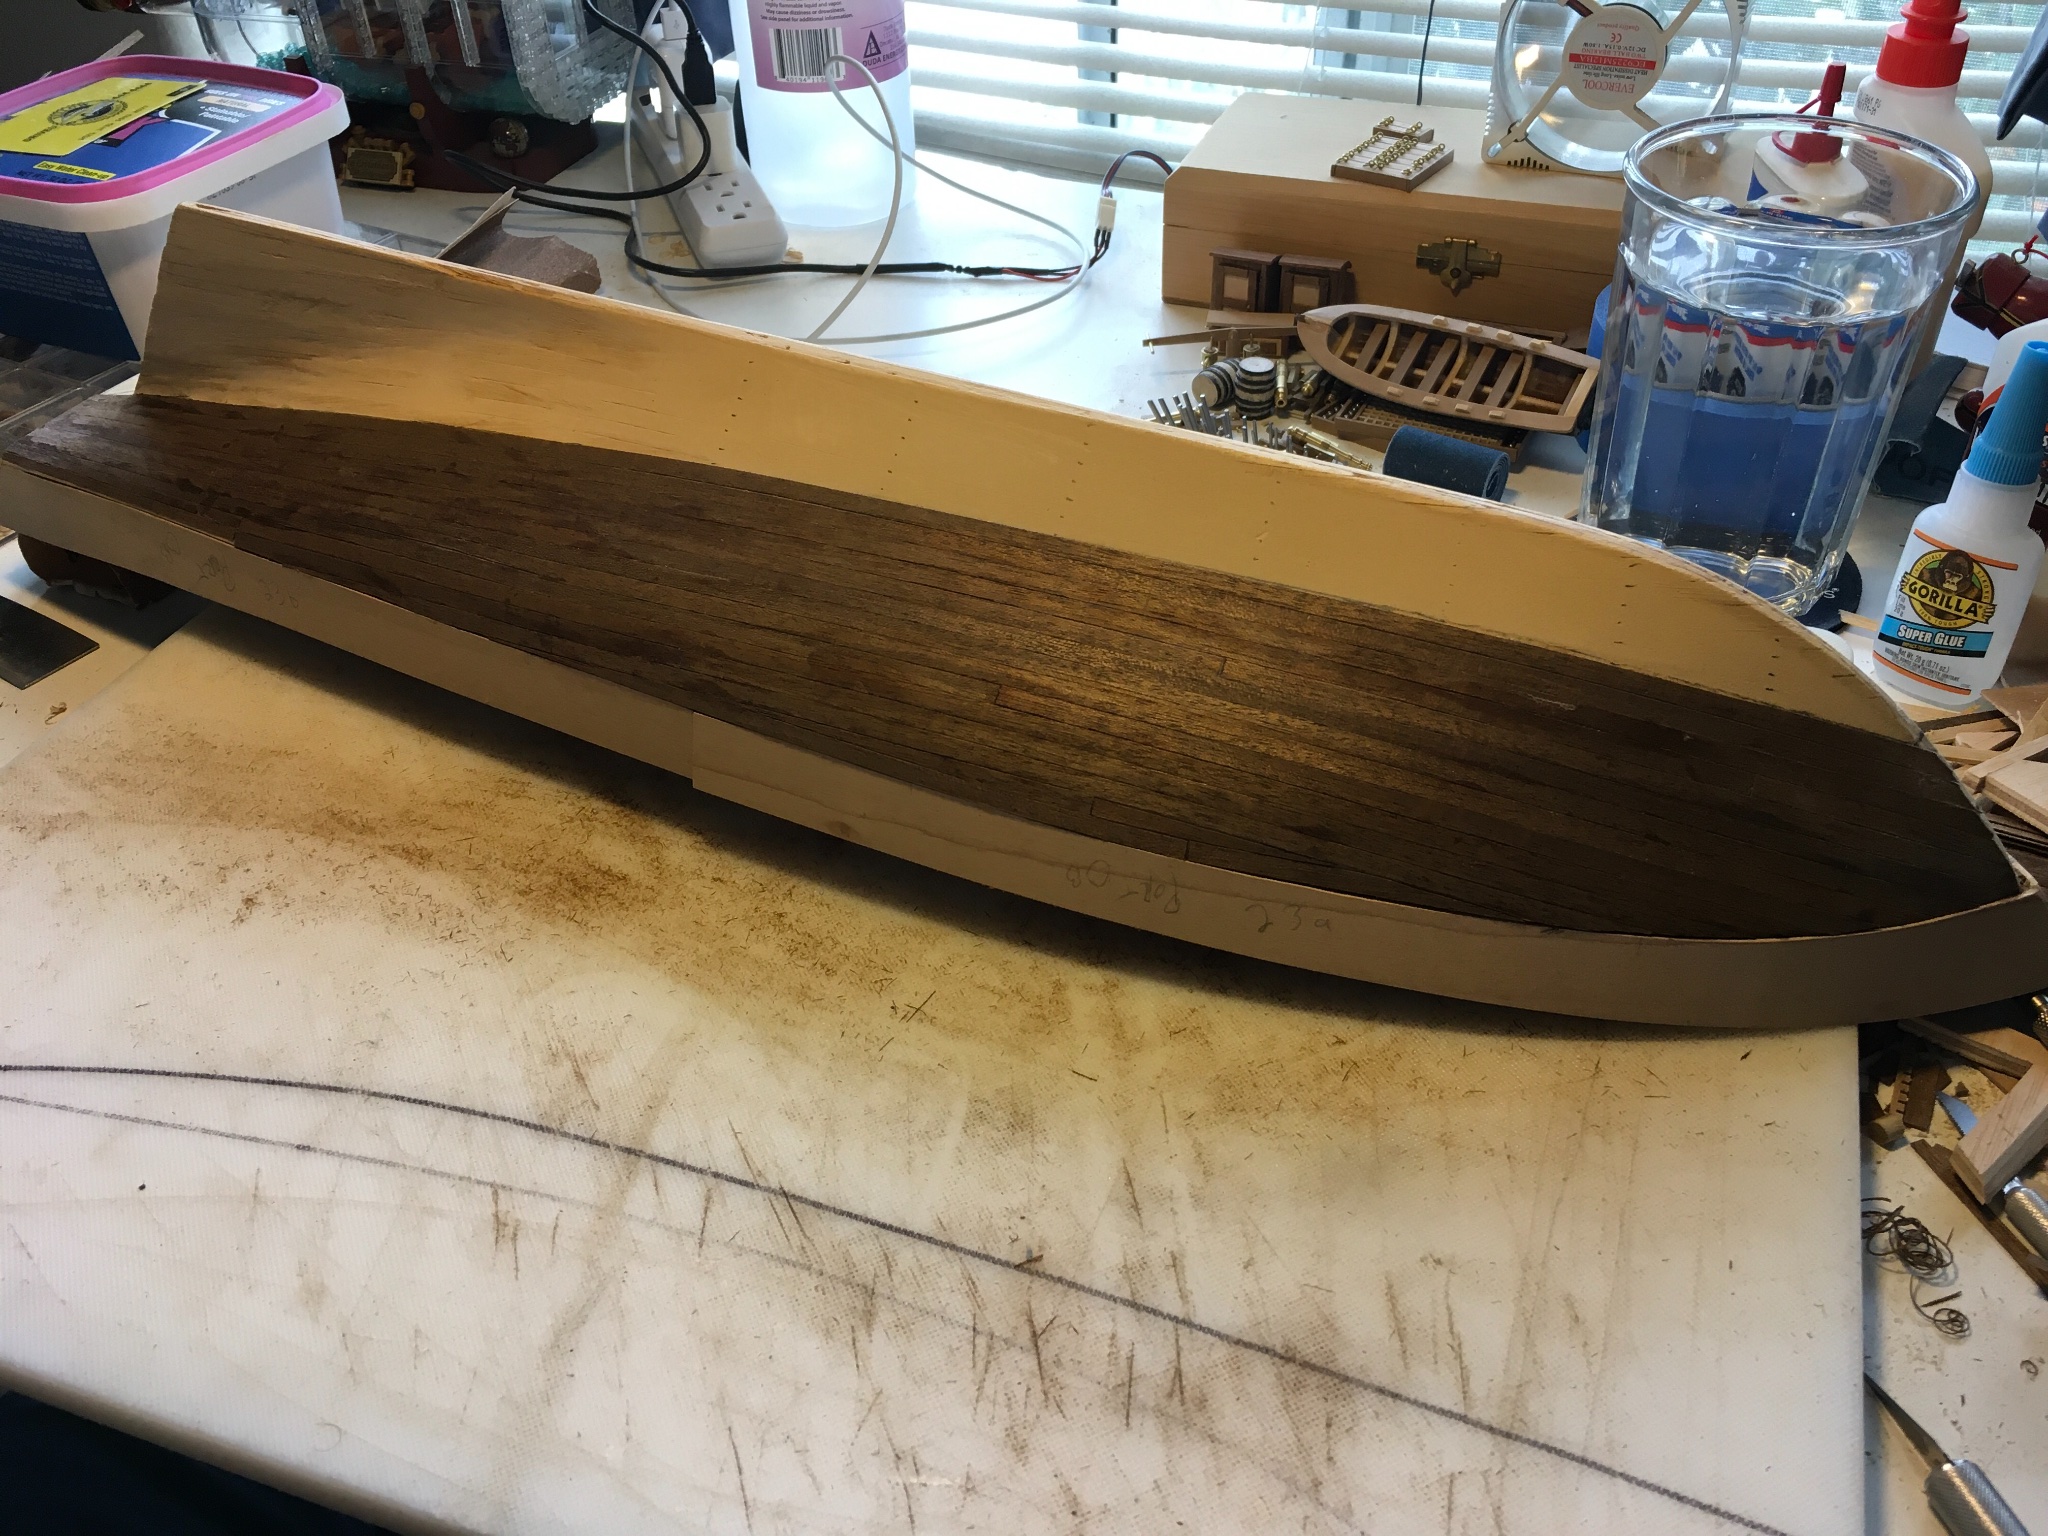
I’m not super happy with it, but the rudder is mounted. Definitely tired of fiddling around with it! Catsheads, hawse holes, and belaying pin racks installed. Mast holes too. Planning a dowel tapering jig. When I have a working prototype, I’ll post some photos.

-
-
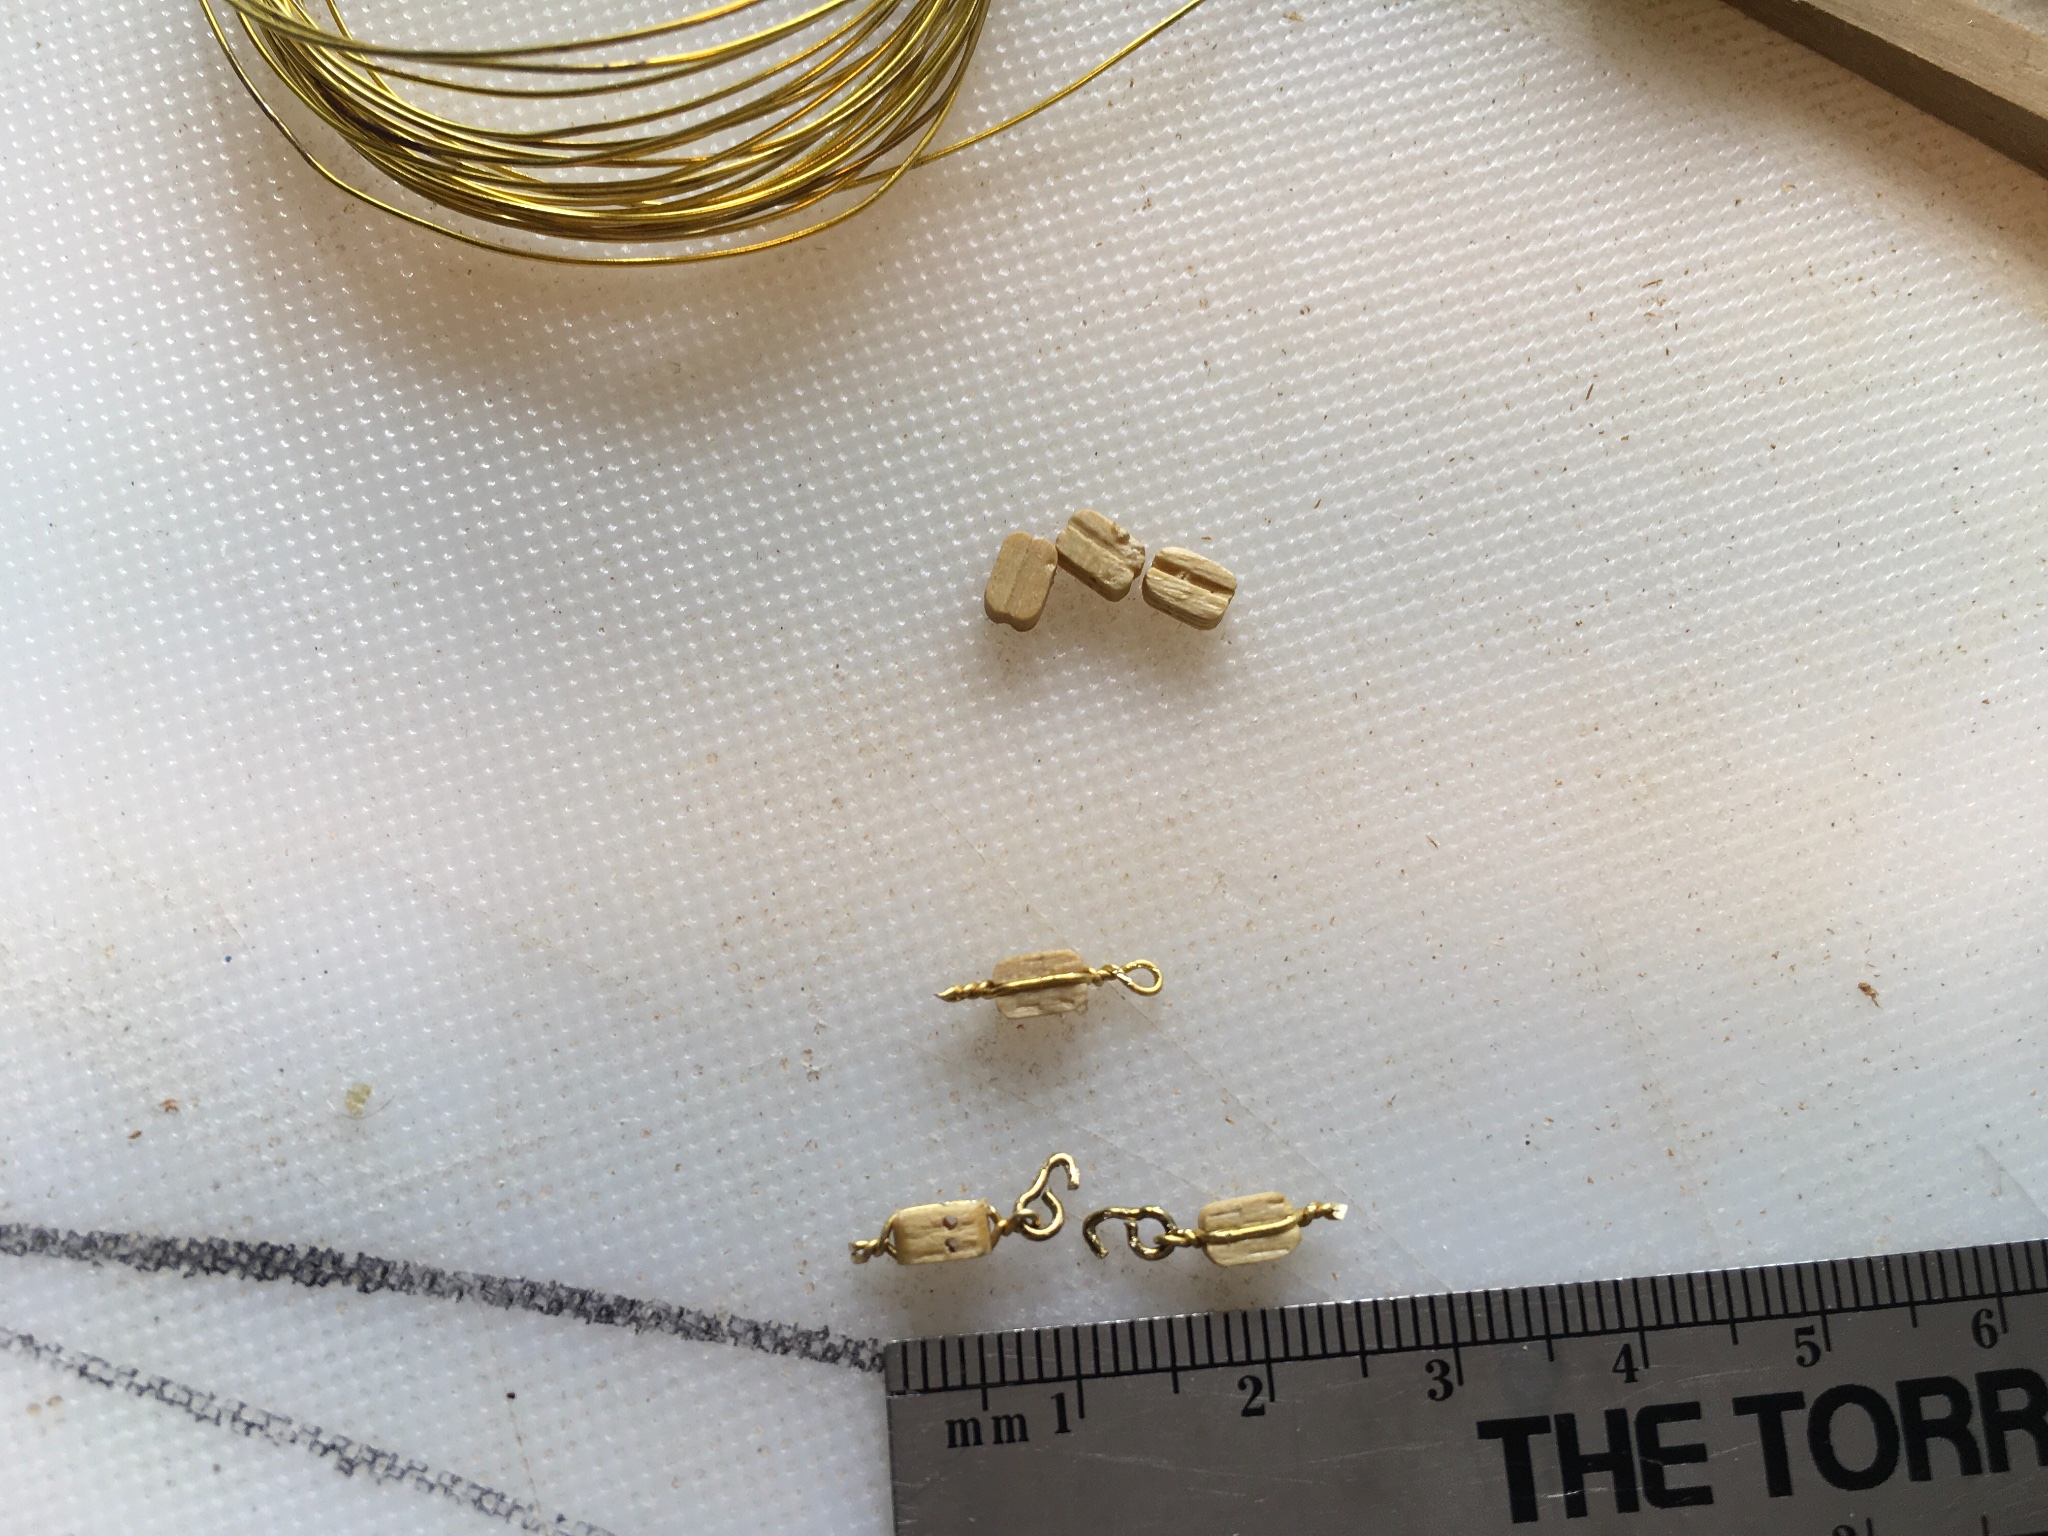
Tried my hand at making some blocks today. 1st try above, loop a little too long (too many twists)? Anyone have any better ideas for these?

-
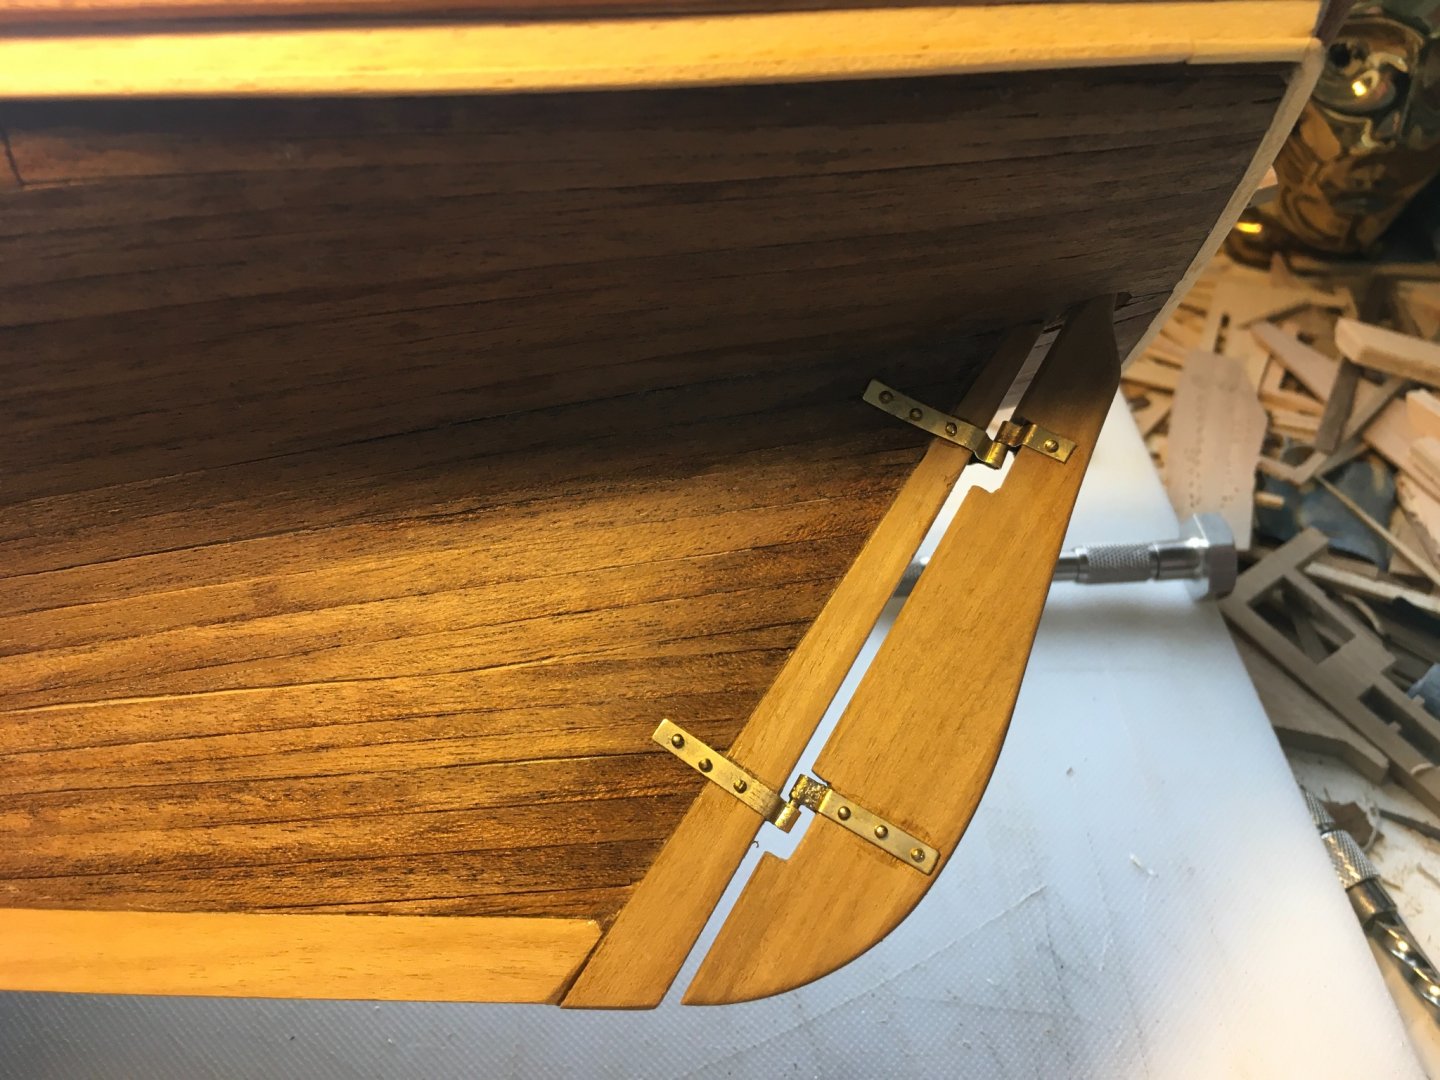
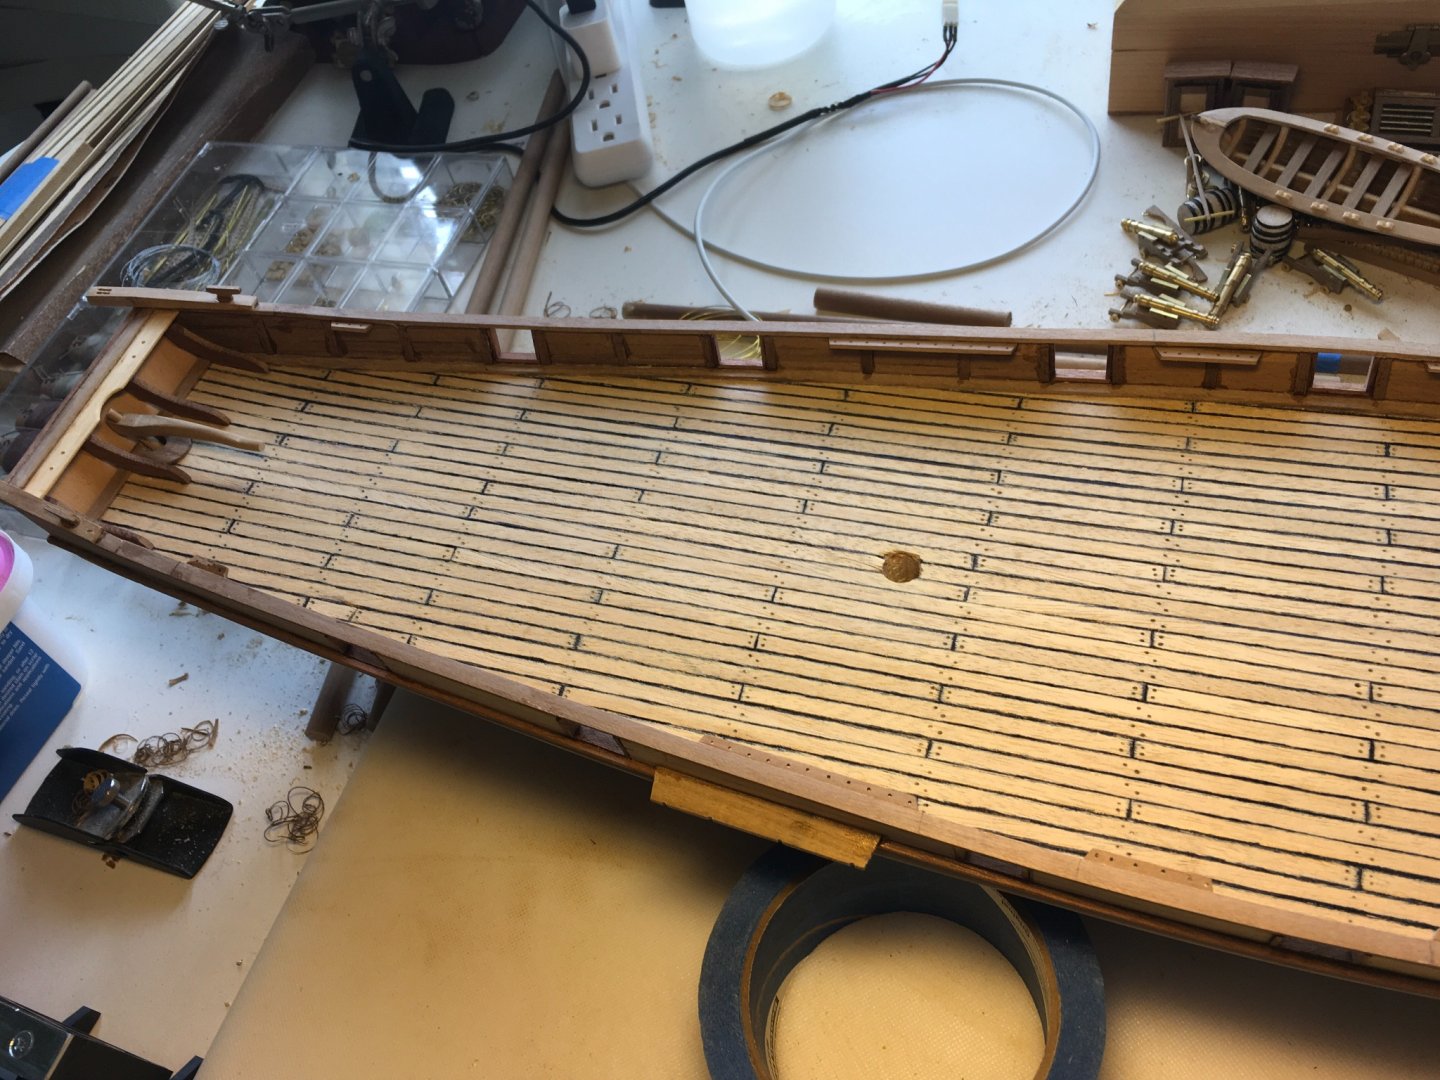
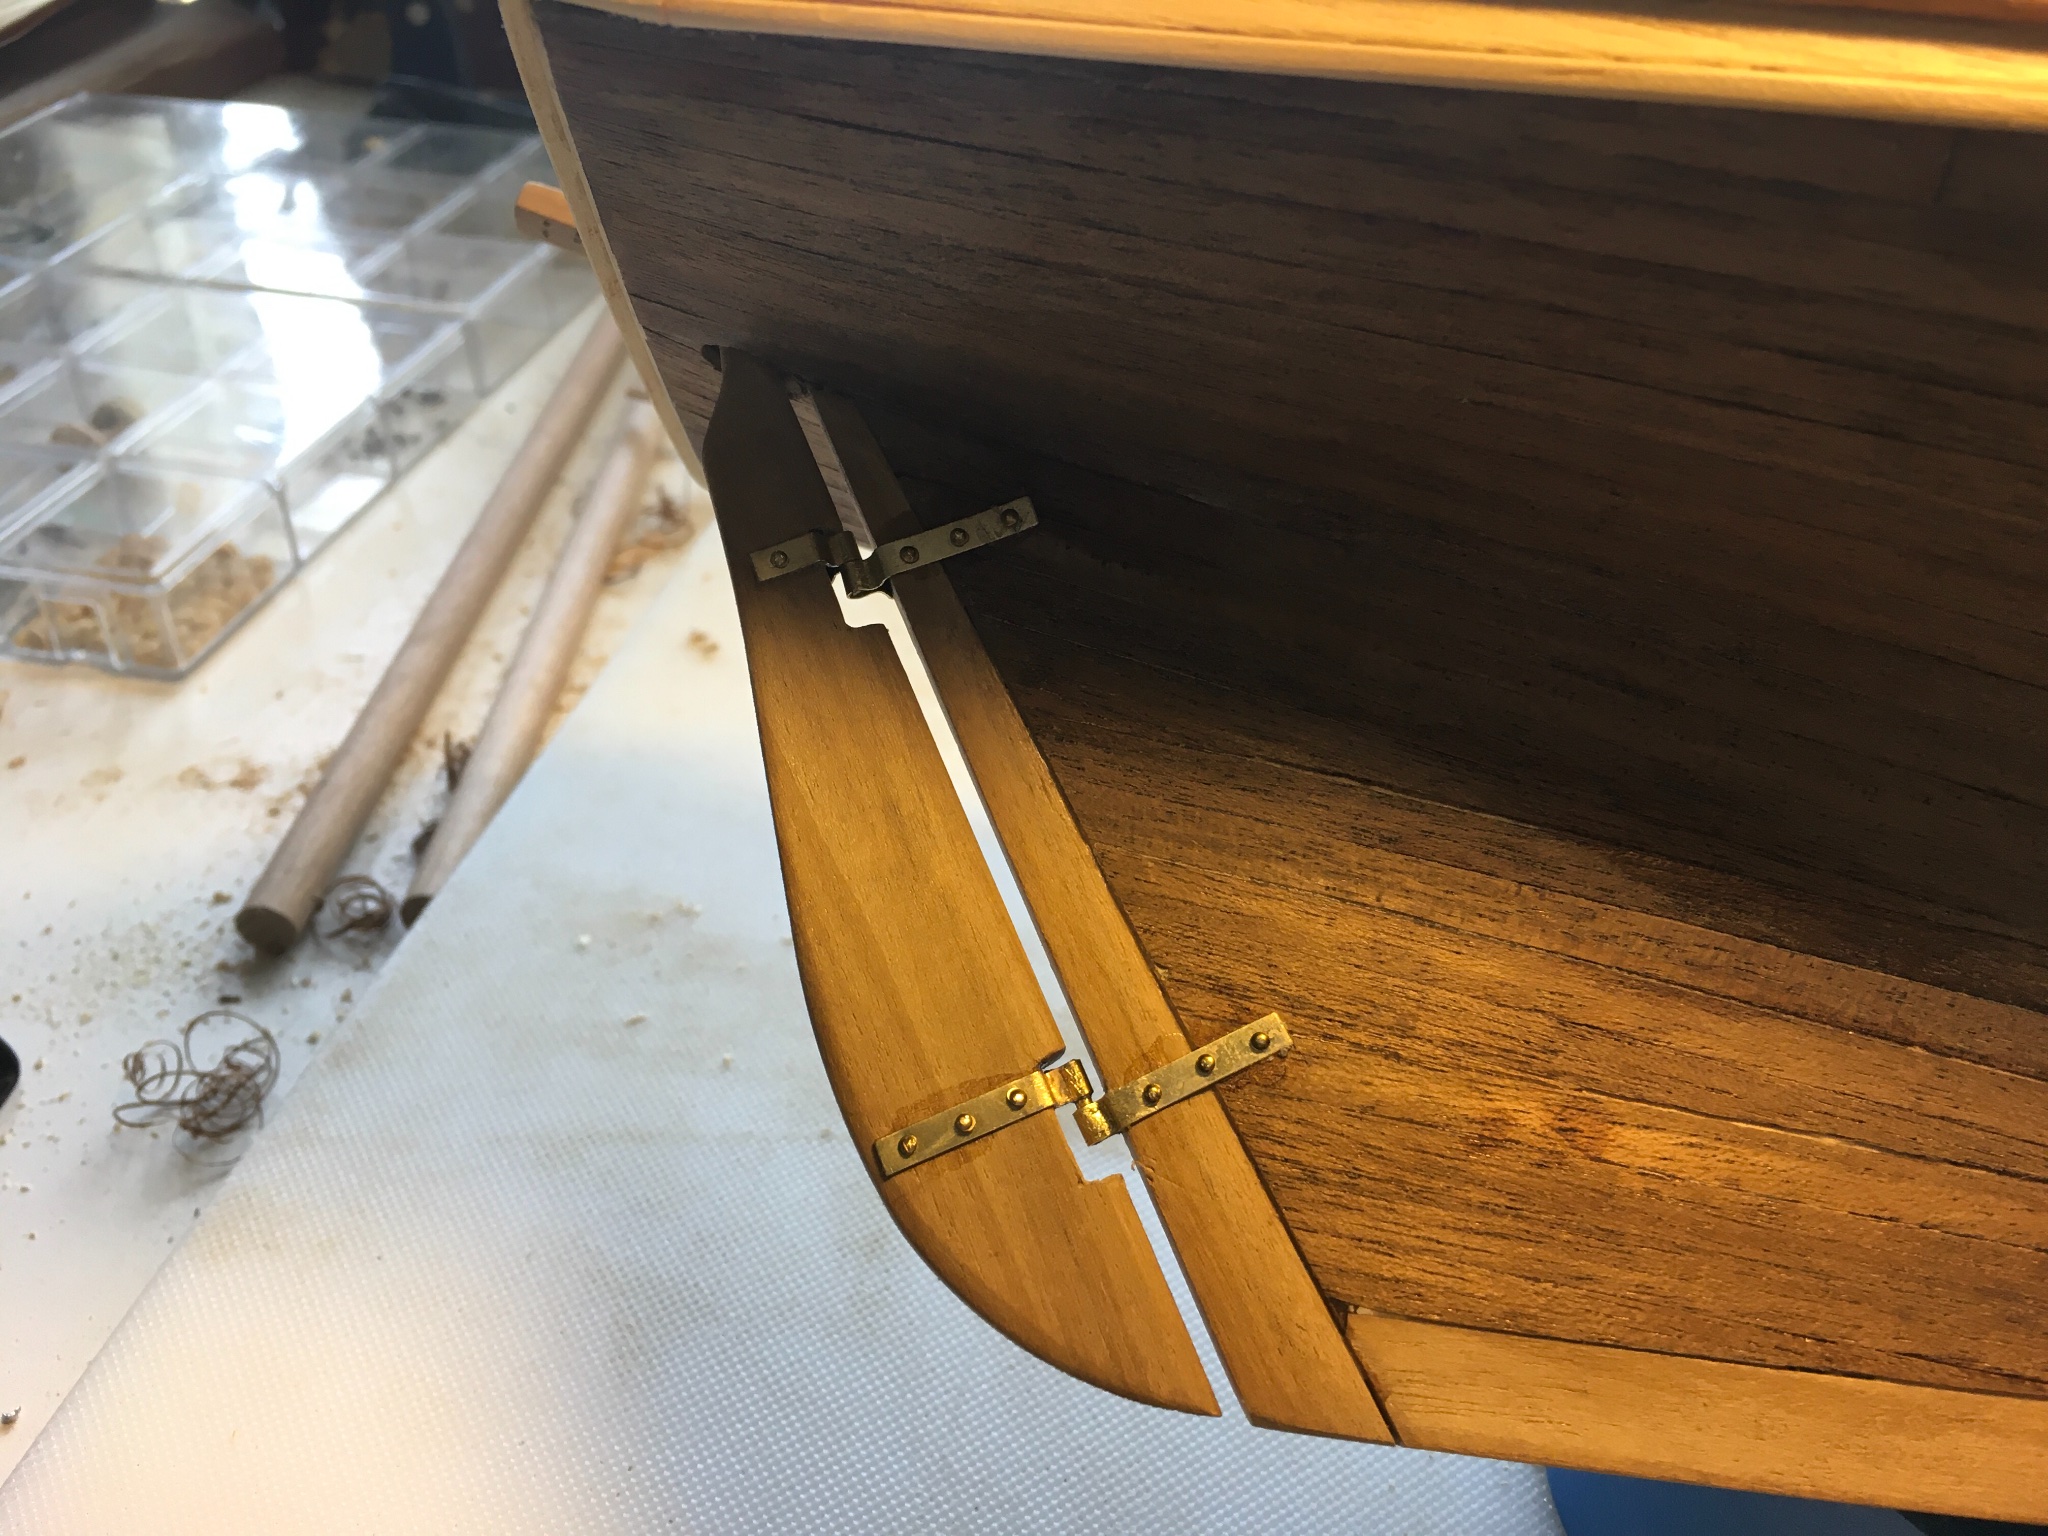
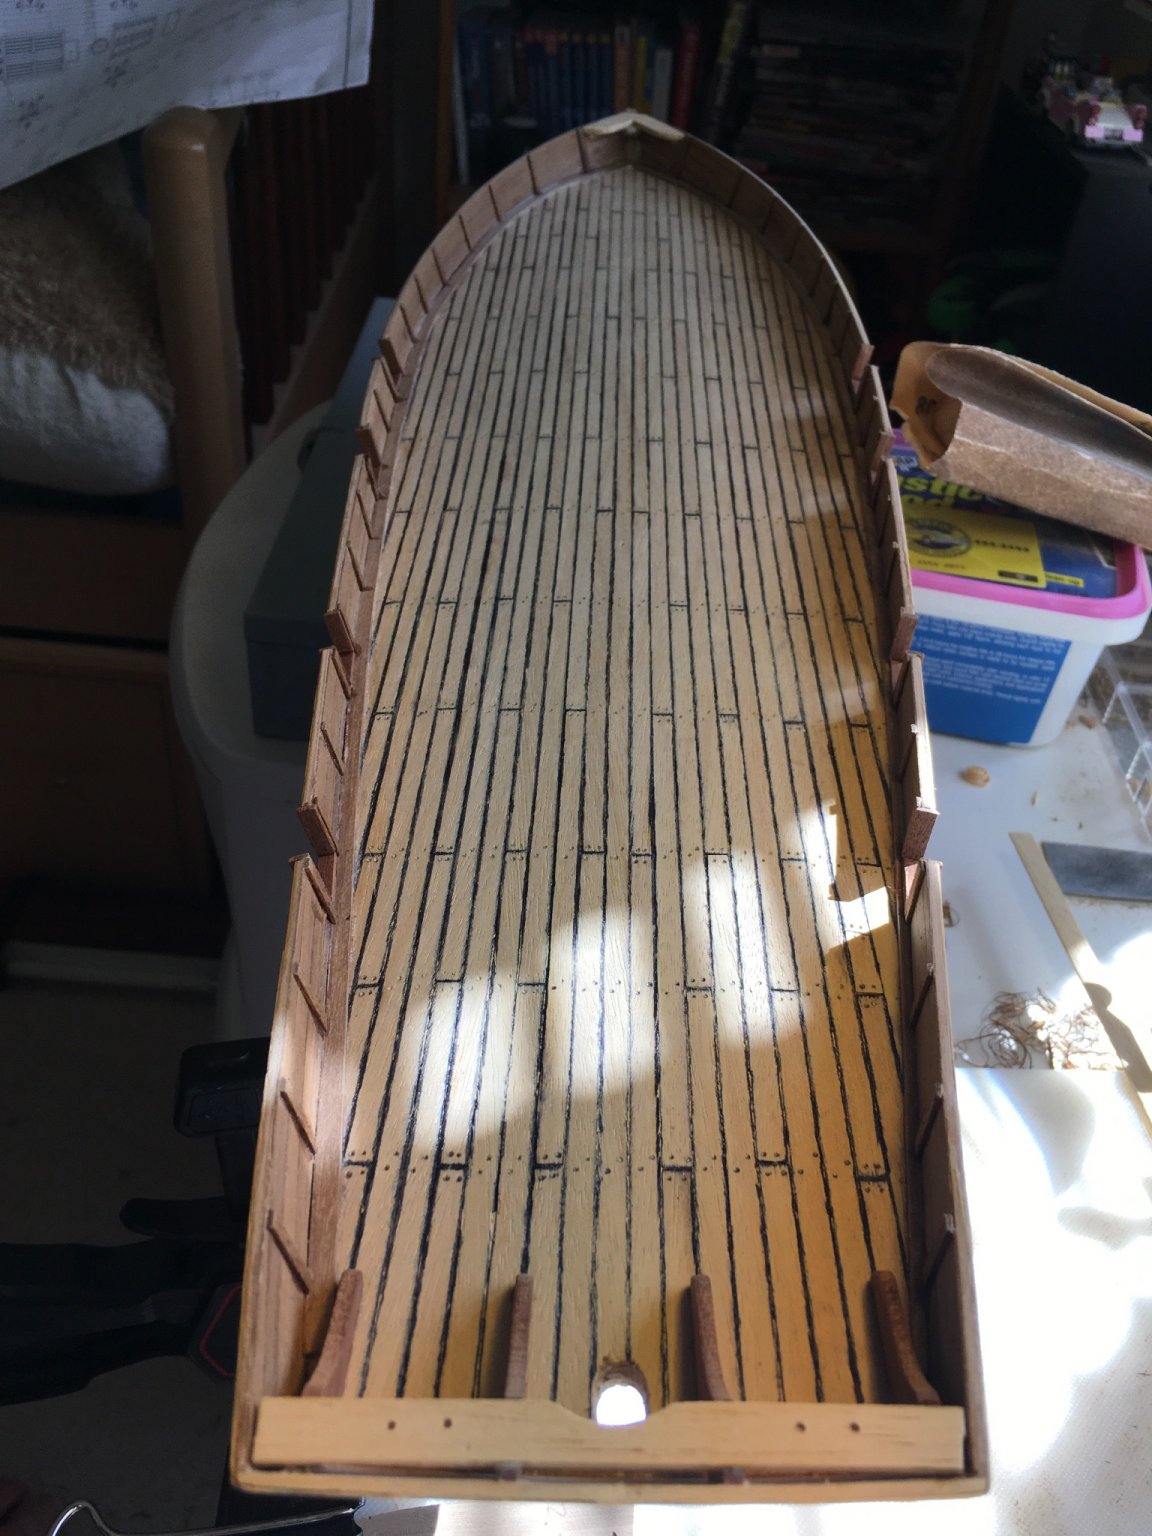
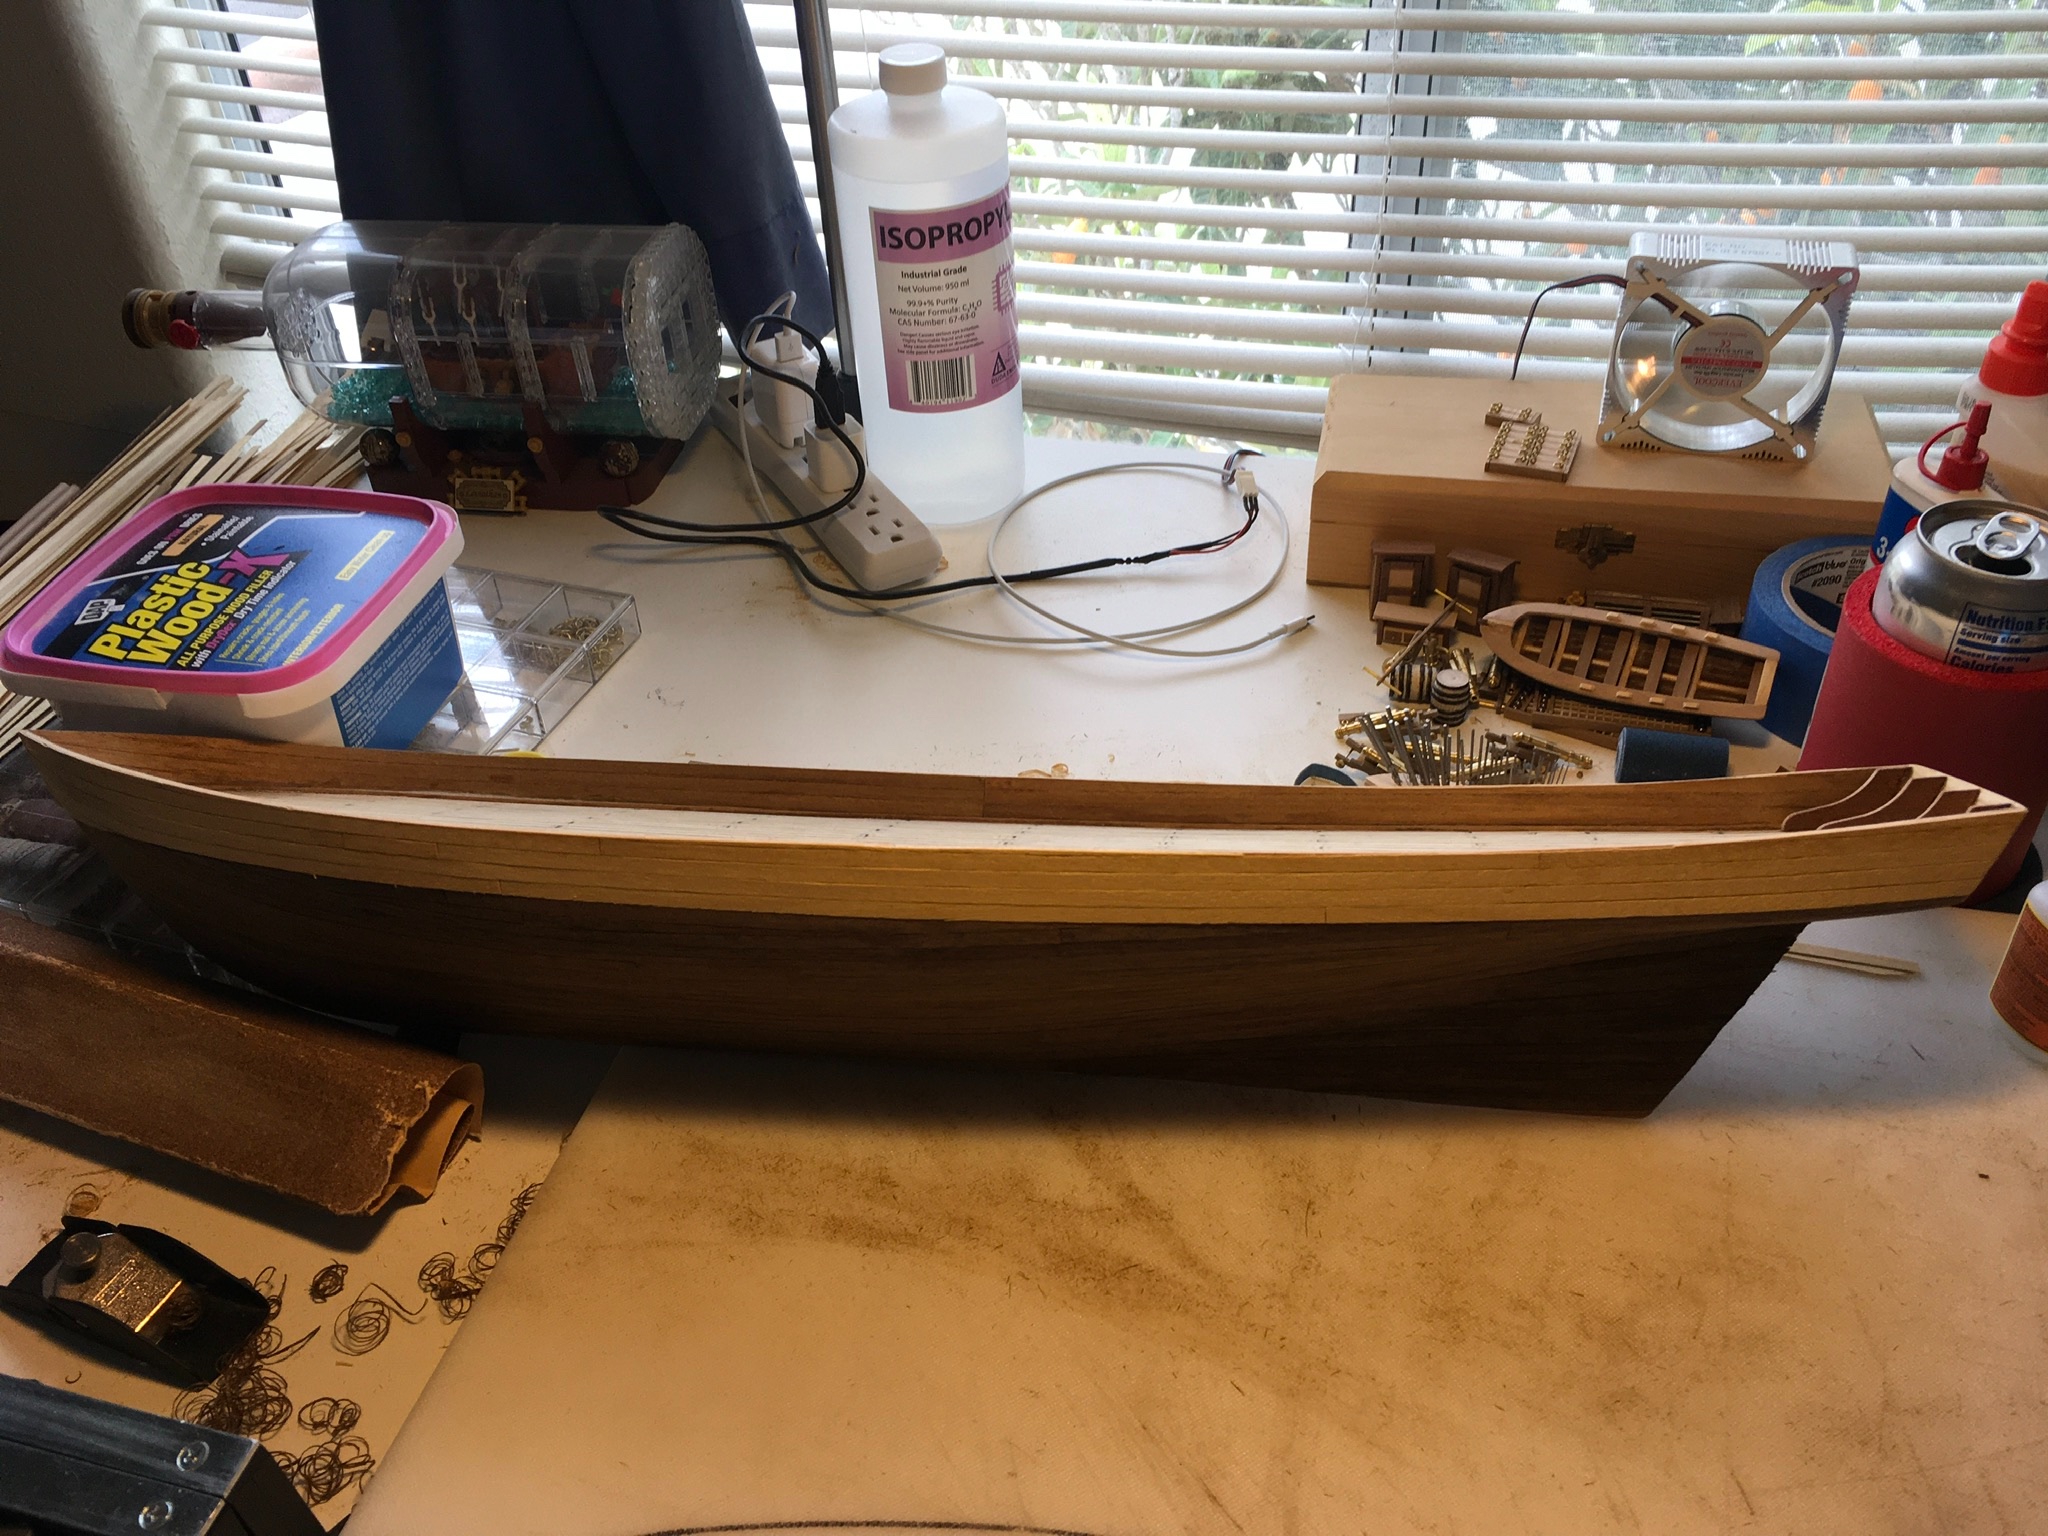
Making more progress. Mounted stem, keel, and rudder post. Drilled holes for bowsprit and rudder. Cut cannon ports and framed them. Installed bulwark stanchions, breast plate, and stern belaying pin rail. Bending up the hand rails. I also constructed the rudder and hinges, all ready to go. I made sure the rudder would be removable for now.


-
-
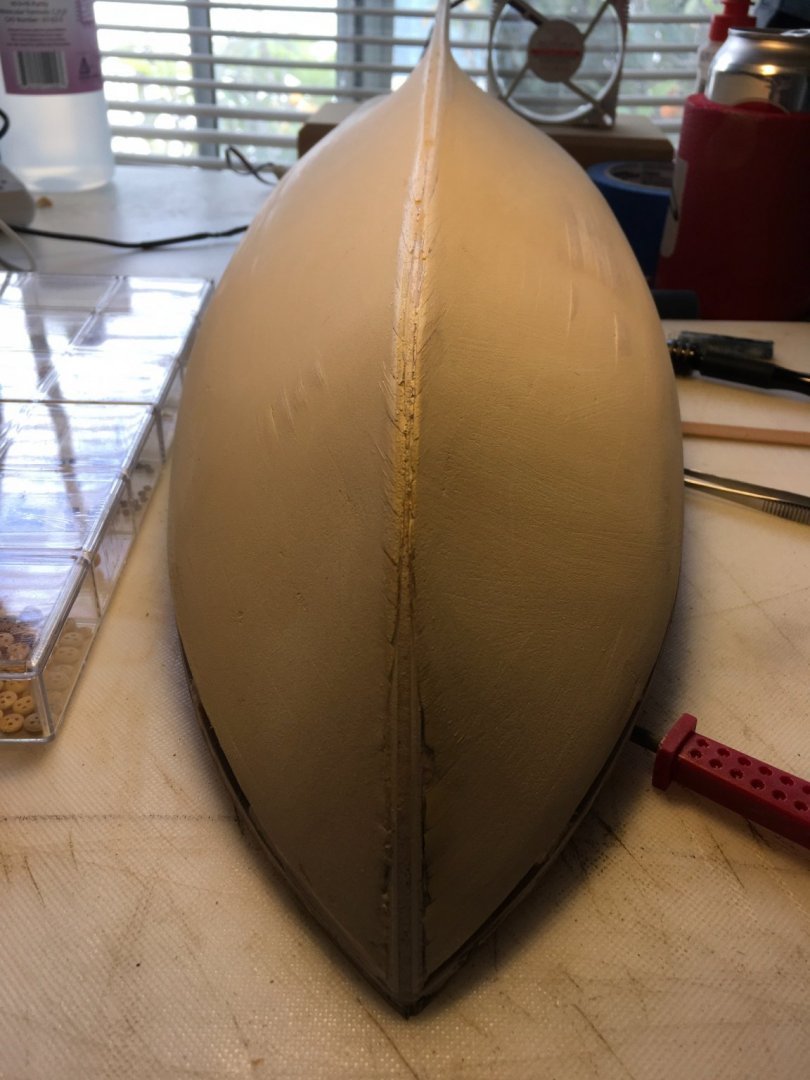
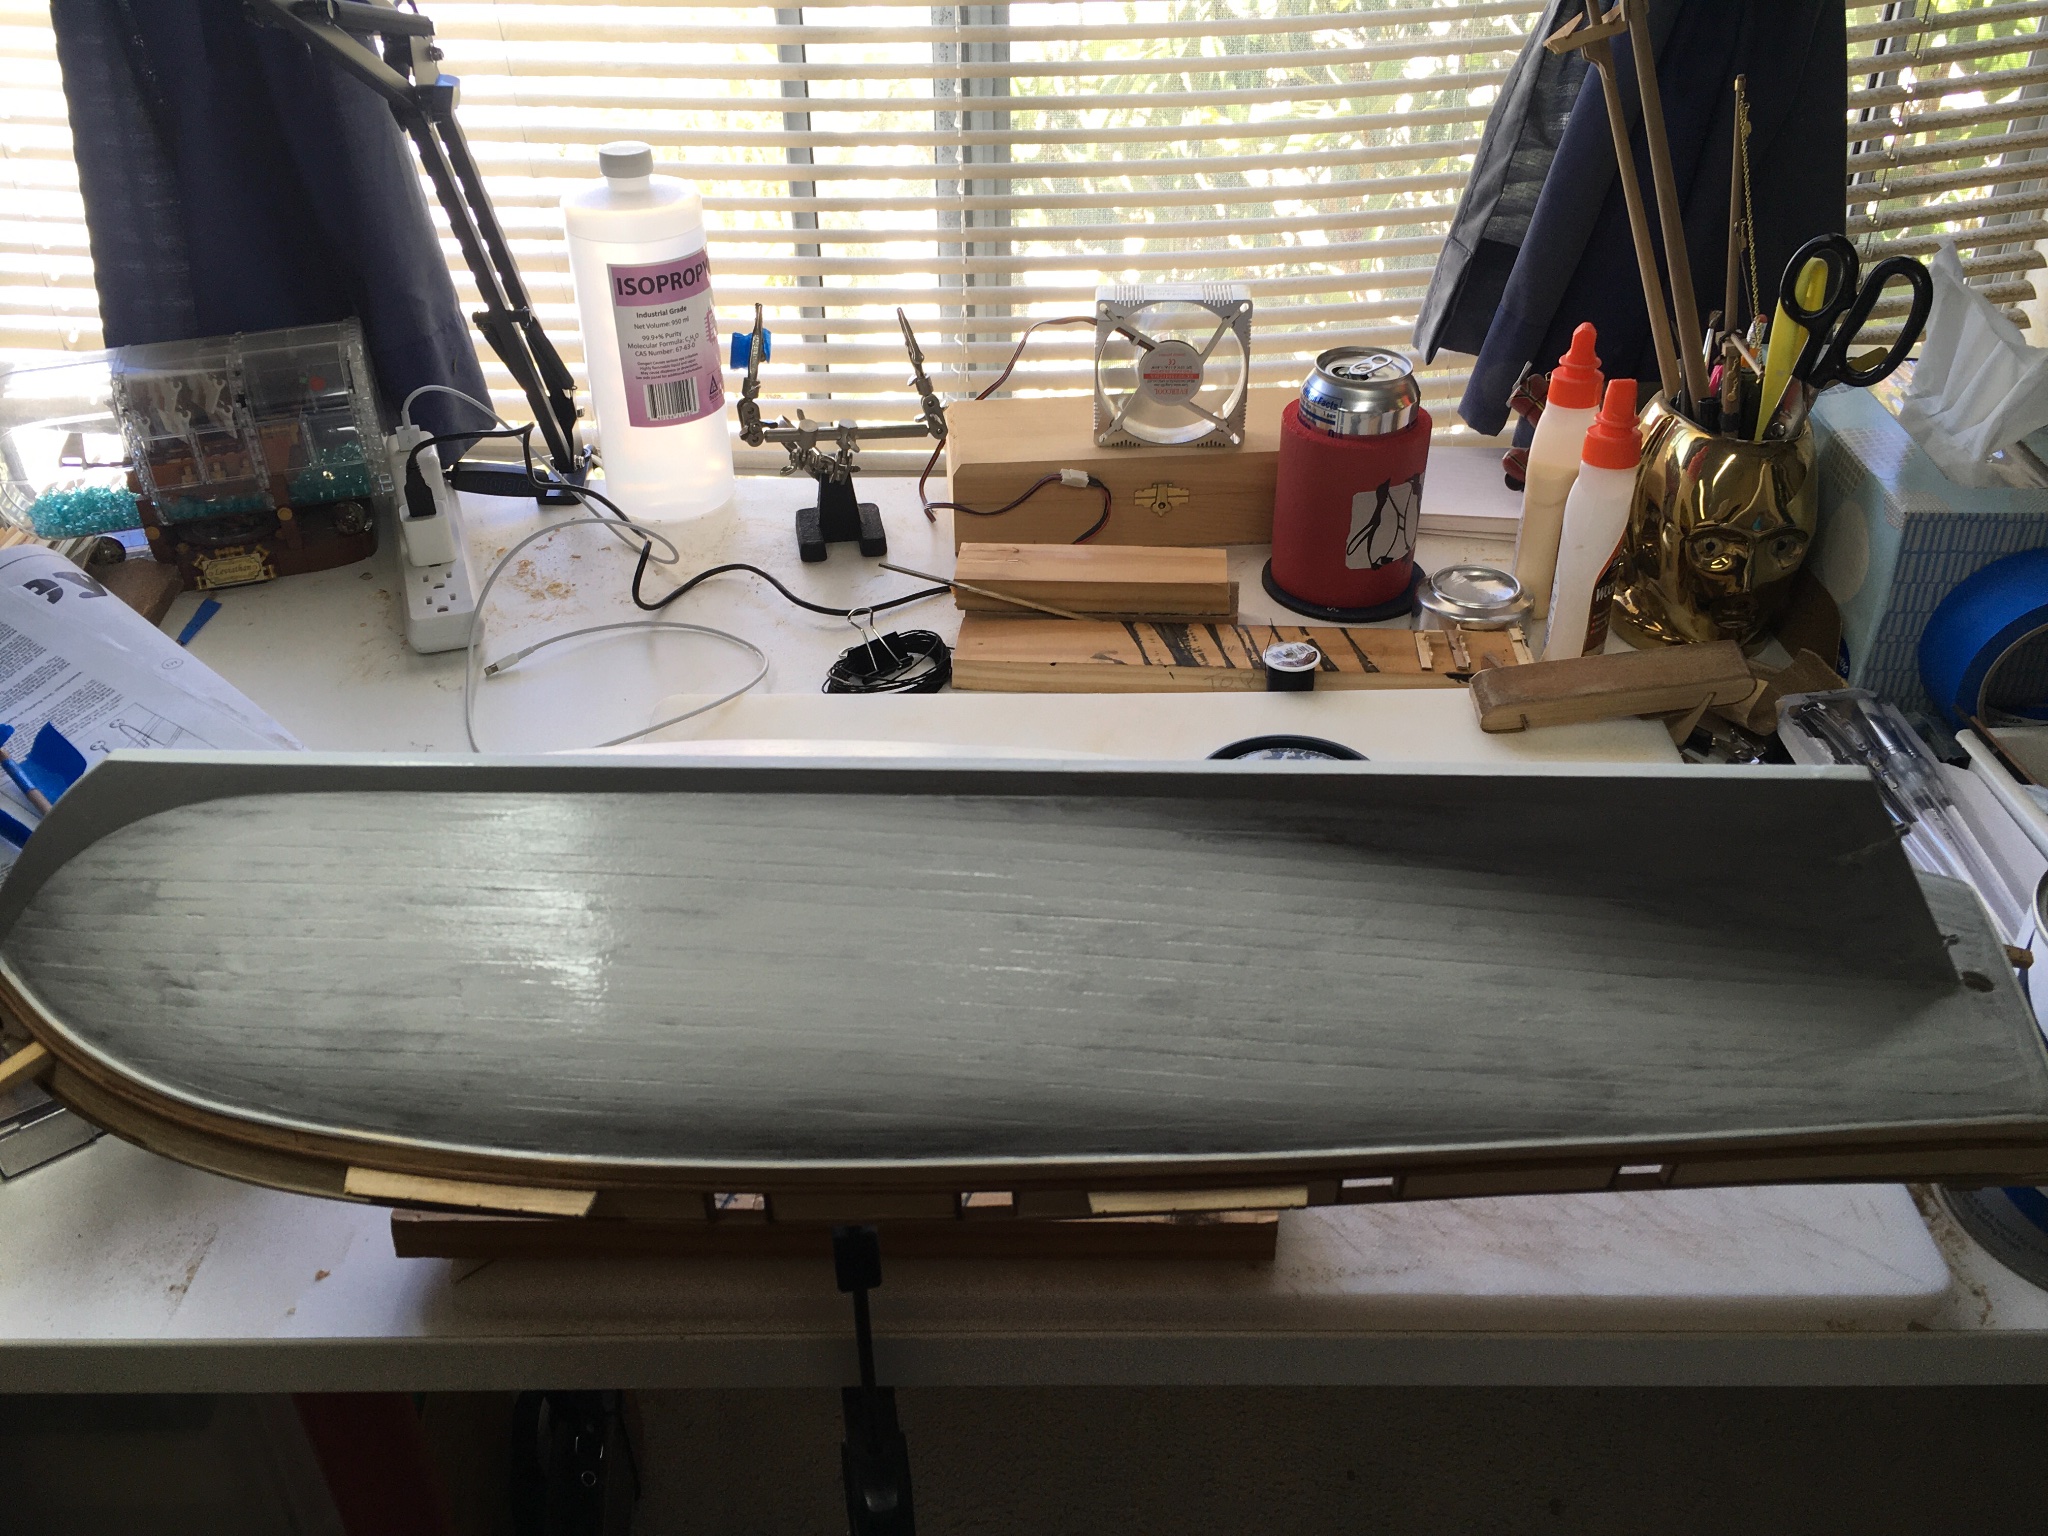
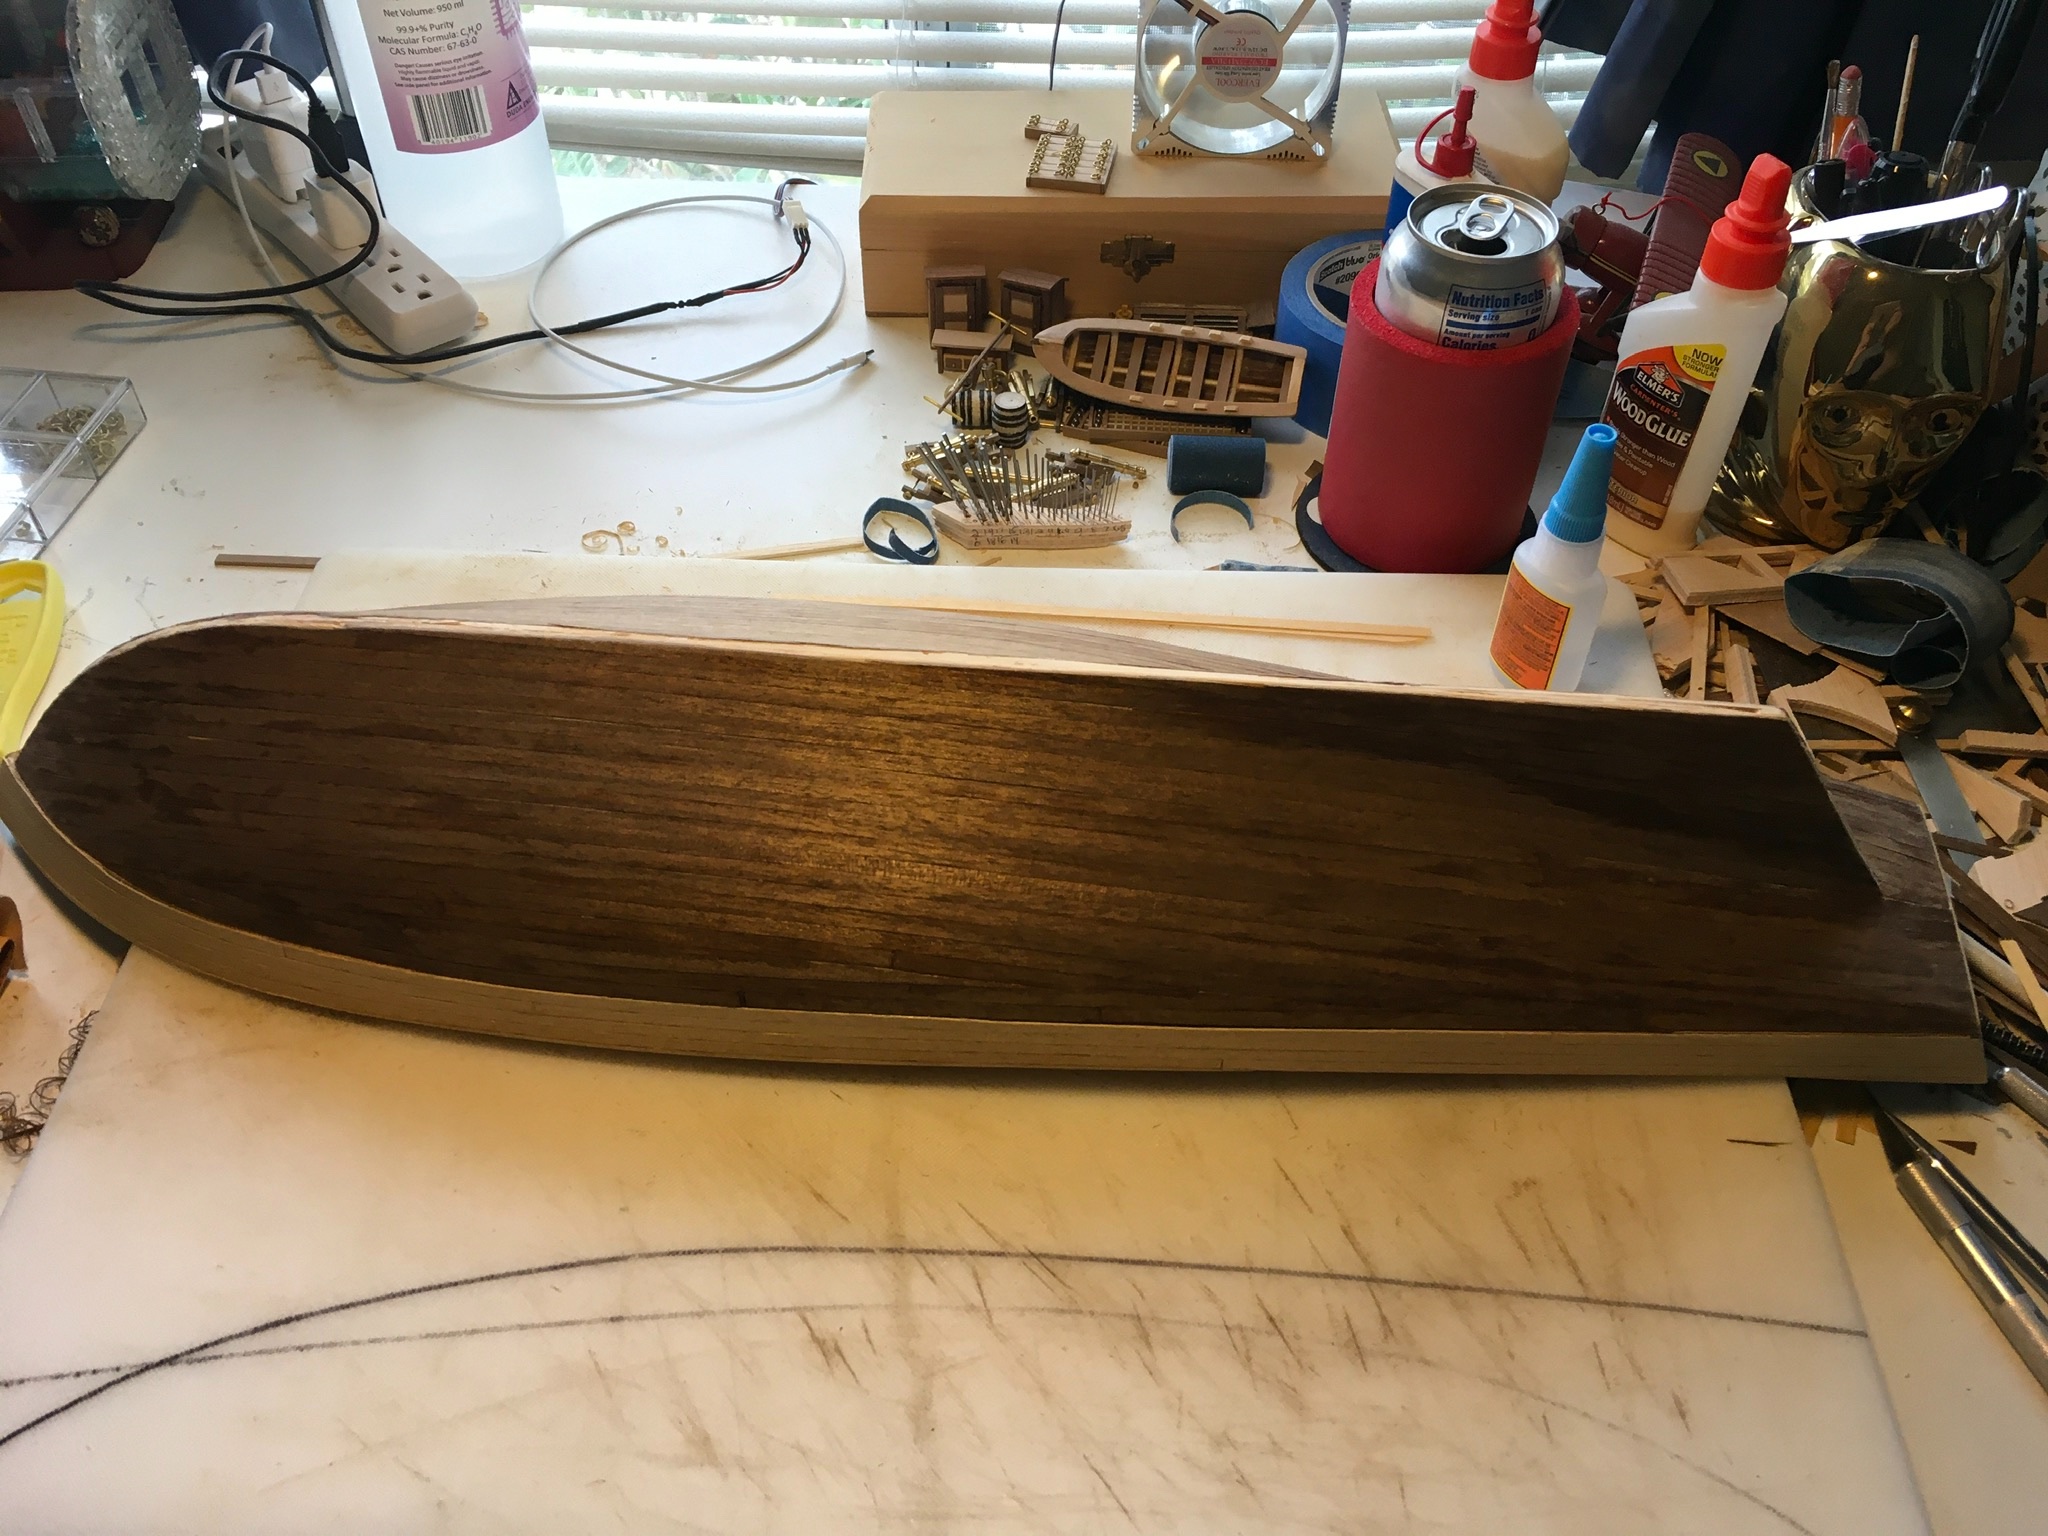
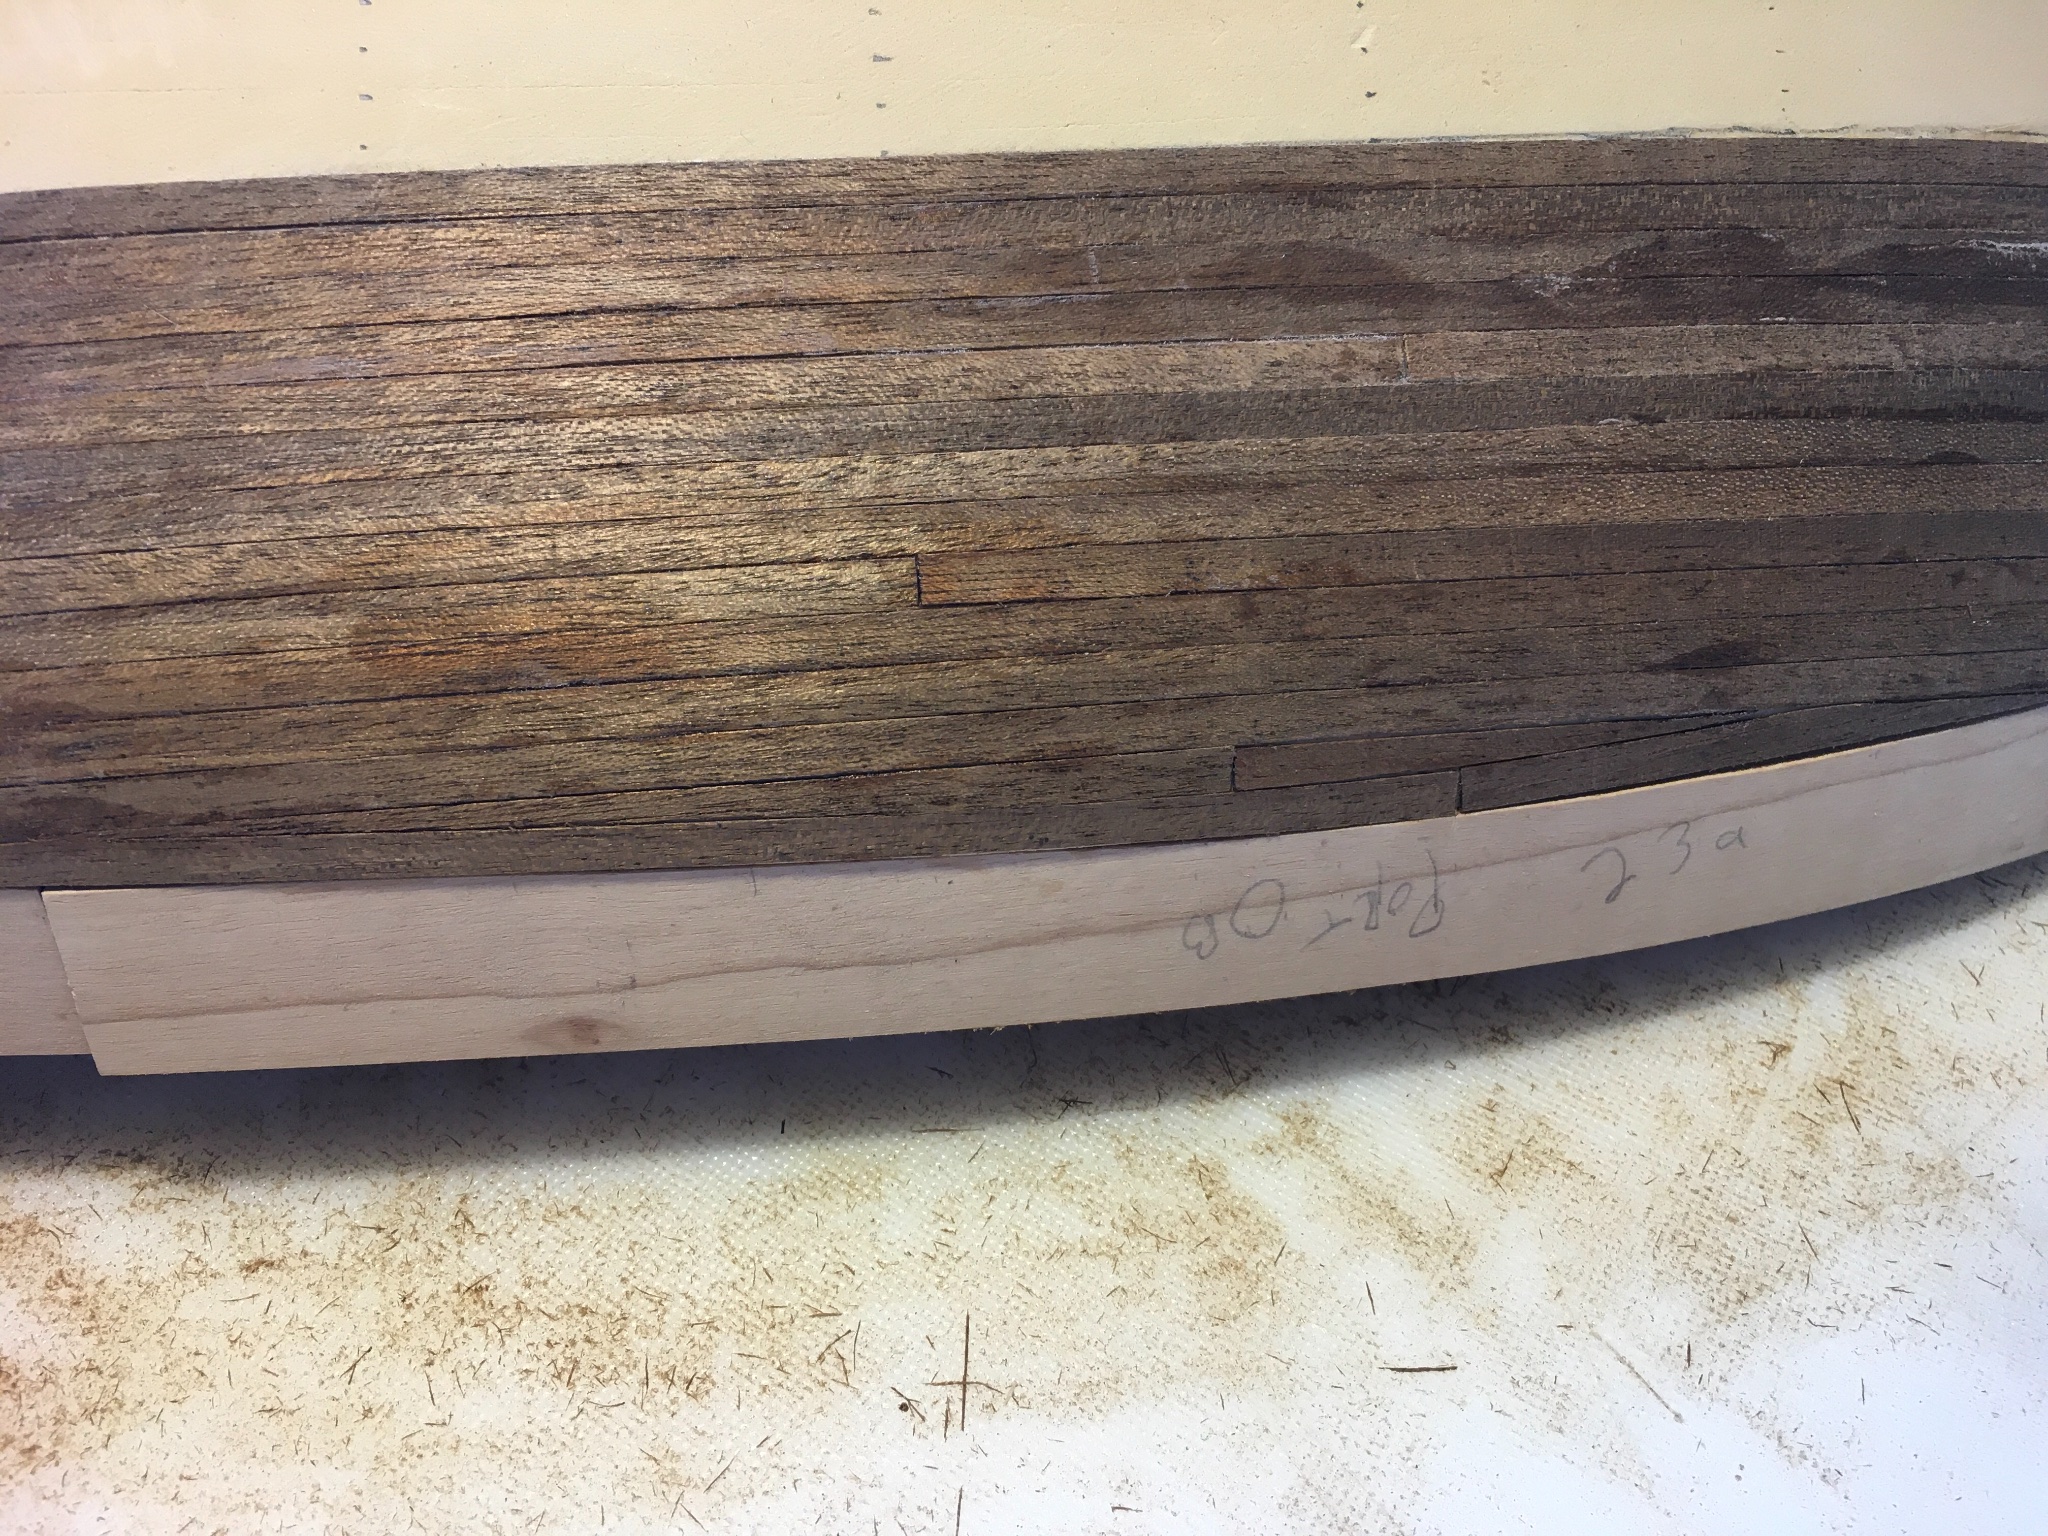
Ok, so here’s the thing… I know this is technically wrong, but I will be painting this hull. That said, working with these .5mm walnut strips is challenging. Unless they are cut very thin, like half a plank or less, they absolutely will not edge set without splintering or twisting up. They’re also very hard to thickness plane in long lengths. I opted to go with an easier, more natural lay, using more of a “magic line” approach, rather than an extra amount of spiling and stealers. I ended up with one small section just under the shear where there’s an odd shaped filler plank, which still manages to get to full thickness in the middle, but tapers way more than is acceptable.


-
This ought to be good enough for the second layer of planking.
-
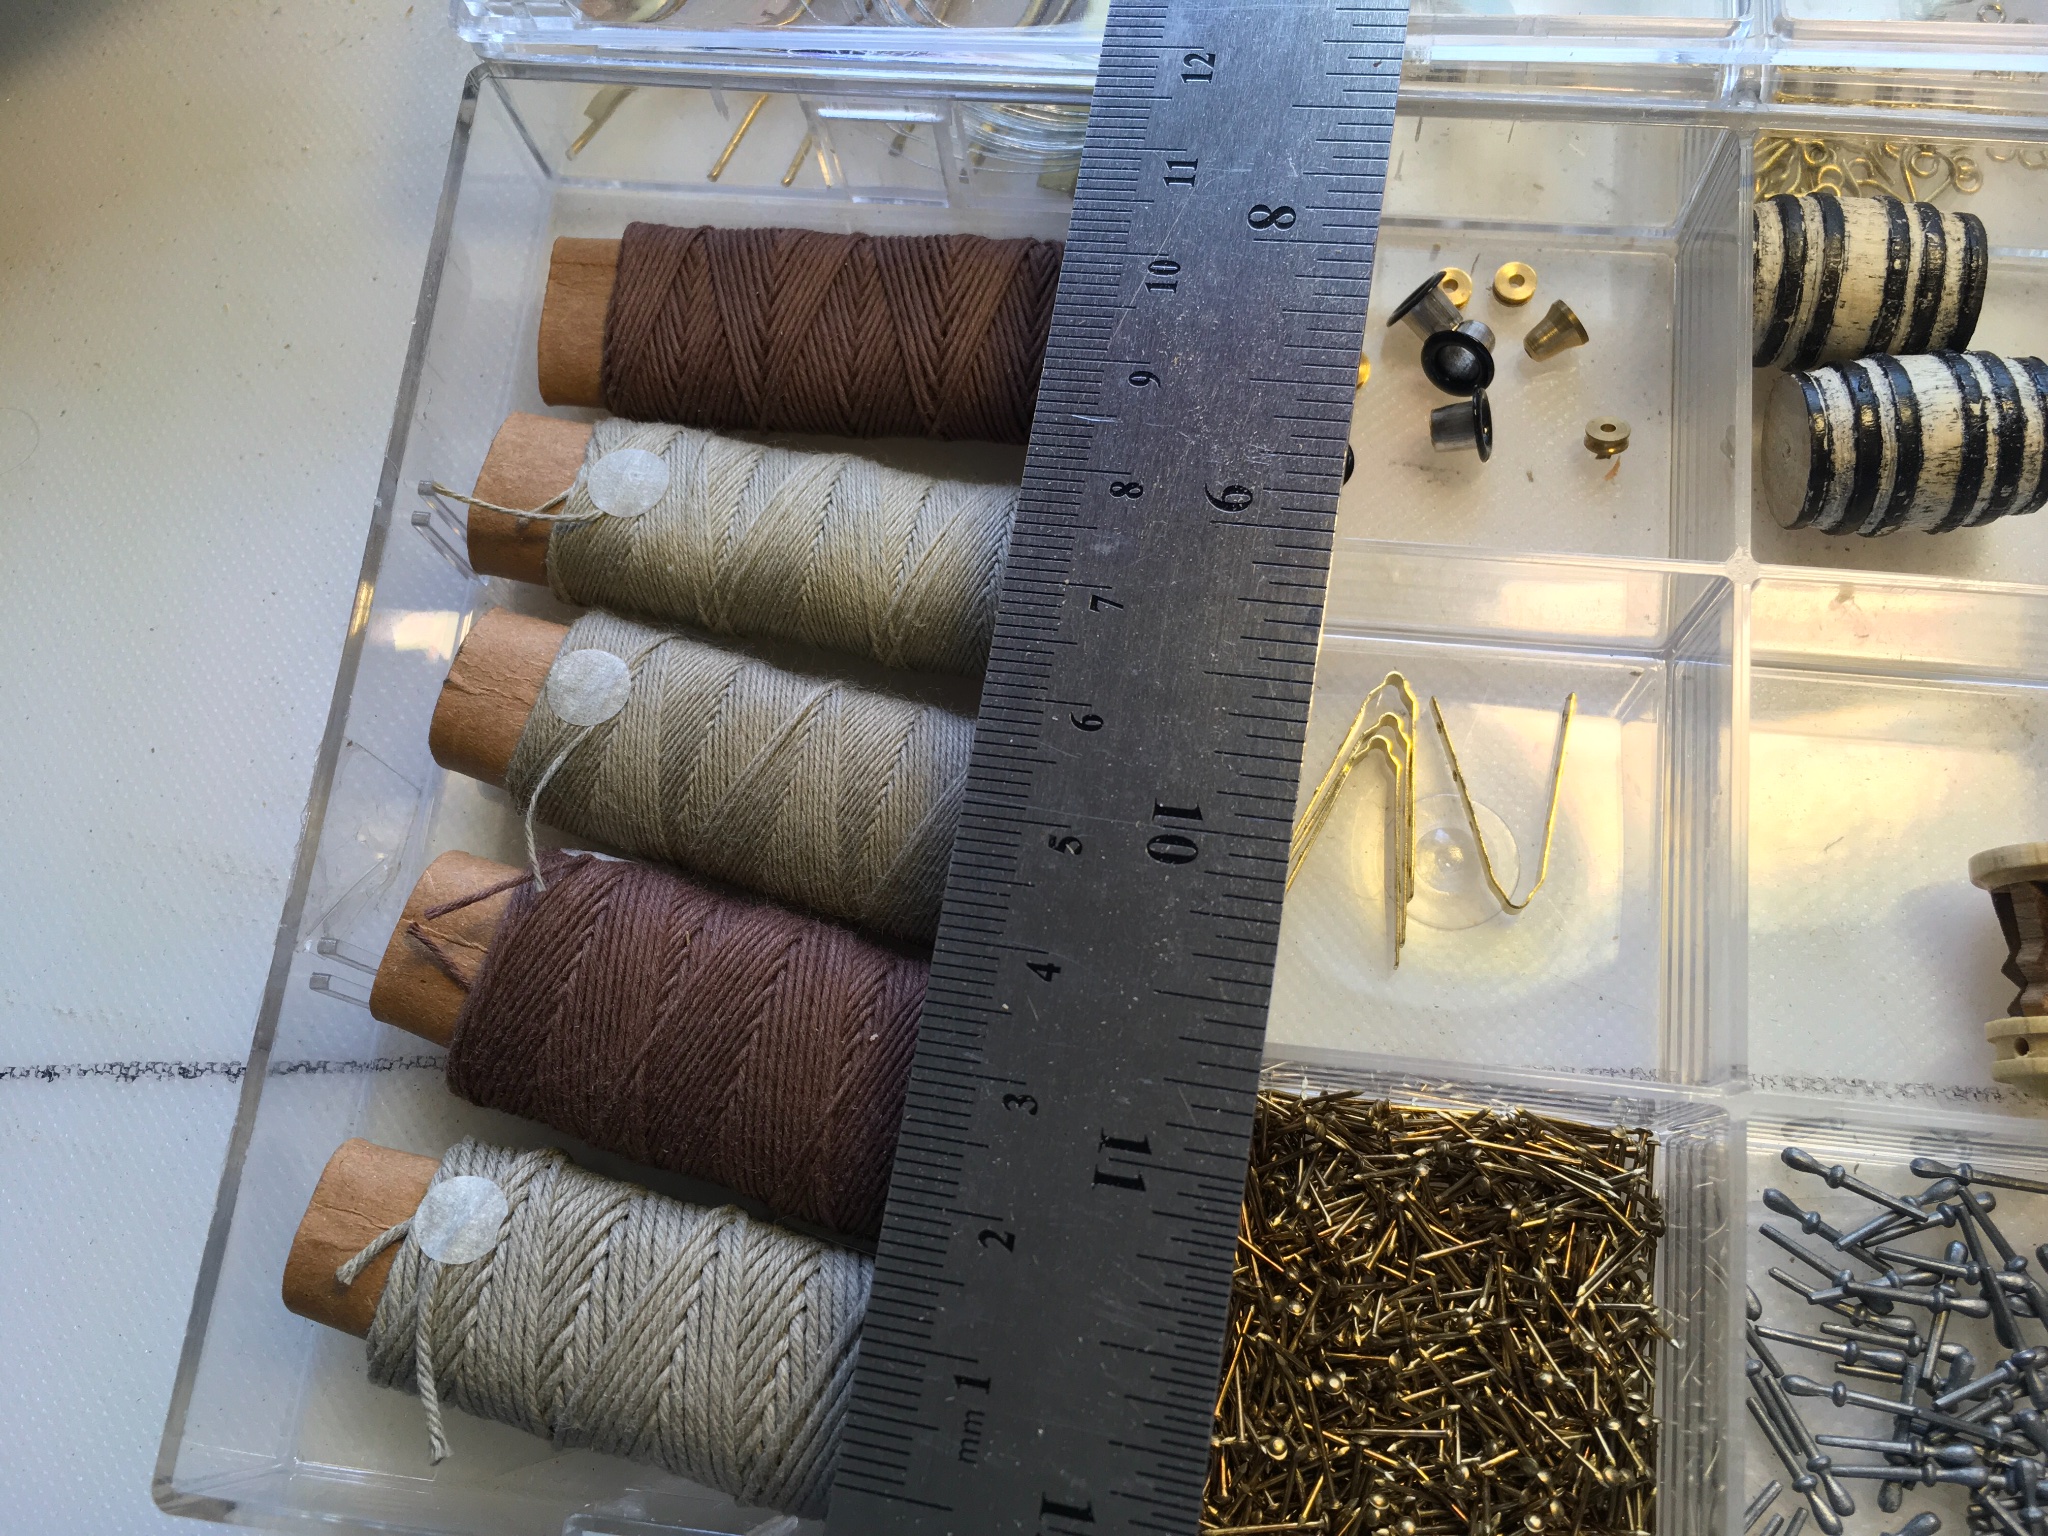
Bilge pump and bucket shelf. Modified the bilge pump design a bit and used wire for bucket handles, because none of the line included in the kit seemed to be the right scale for rope bucket handles. When it comes rigging time, I might source all new line. I’m not happy with the looks of this stuff.


-
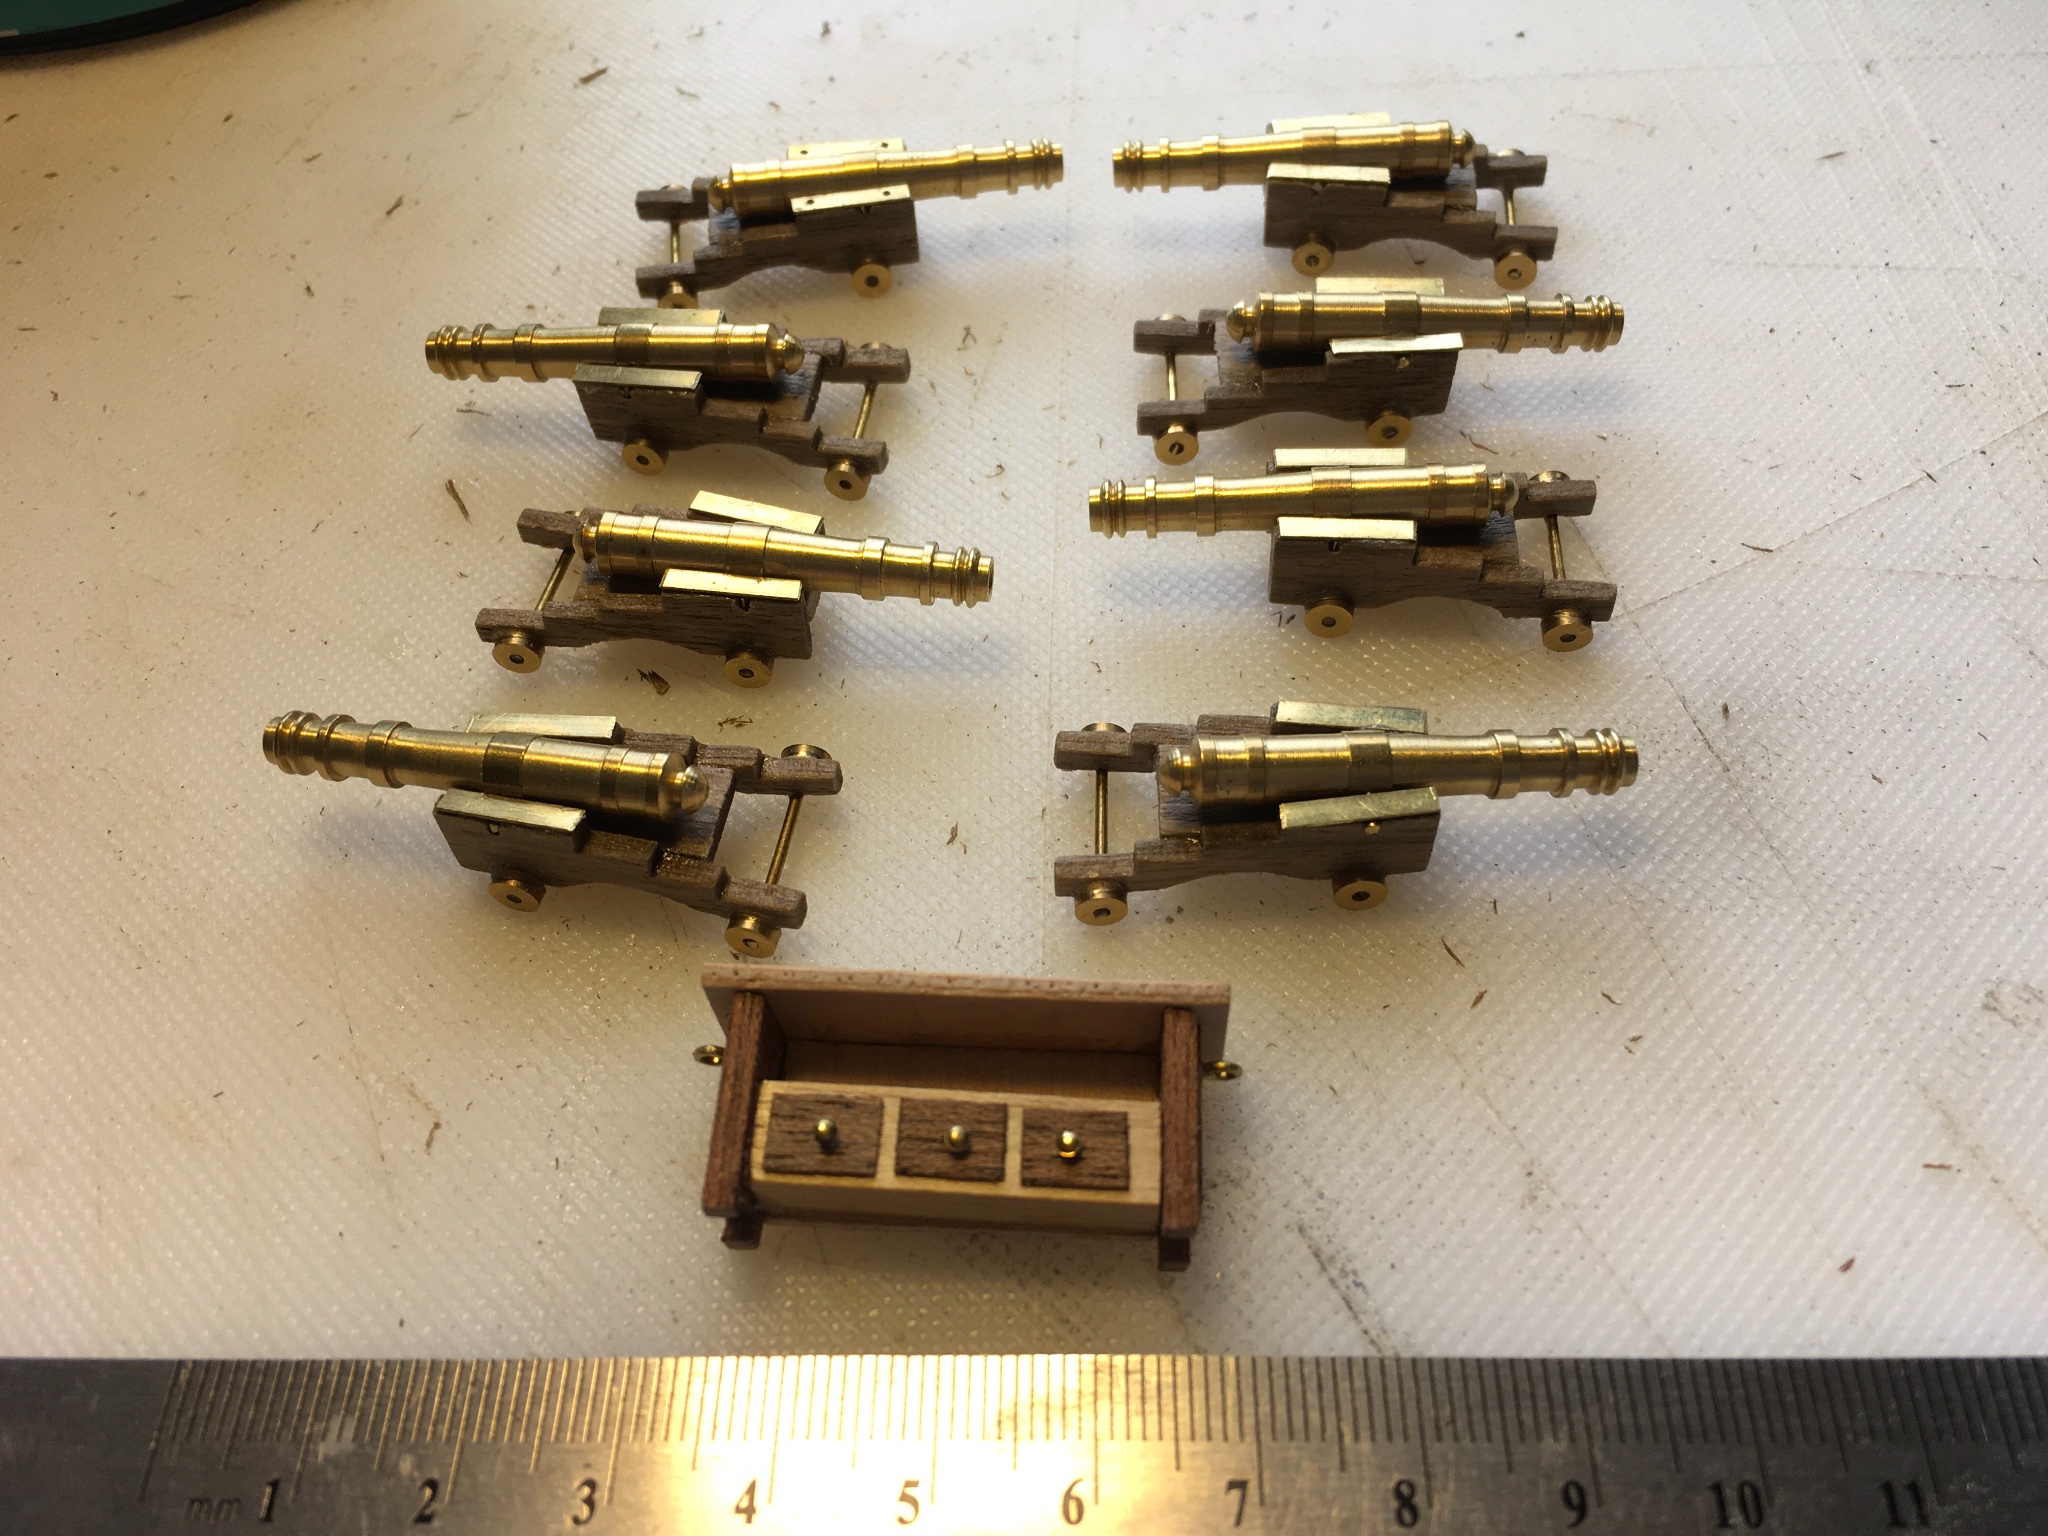
Compass bench and cannons.

-
On 4/30/2021 at 2:11 PM, jfesterman said:
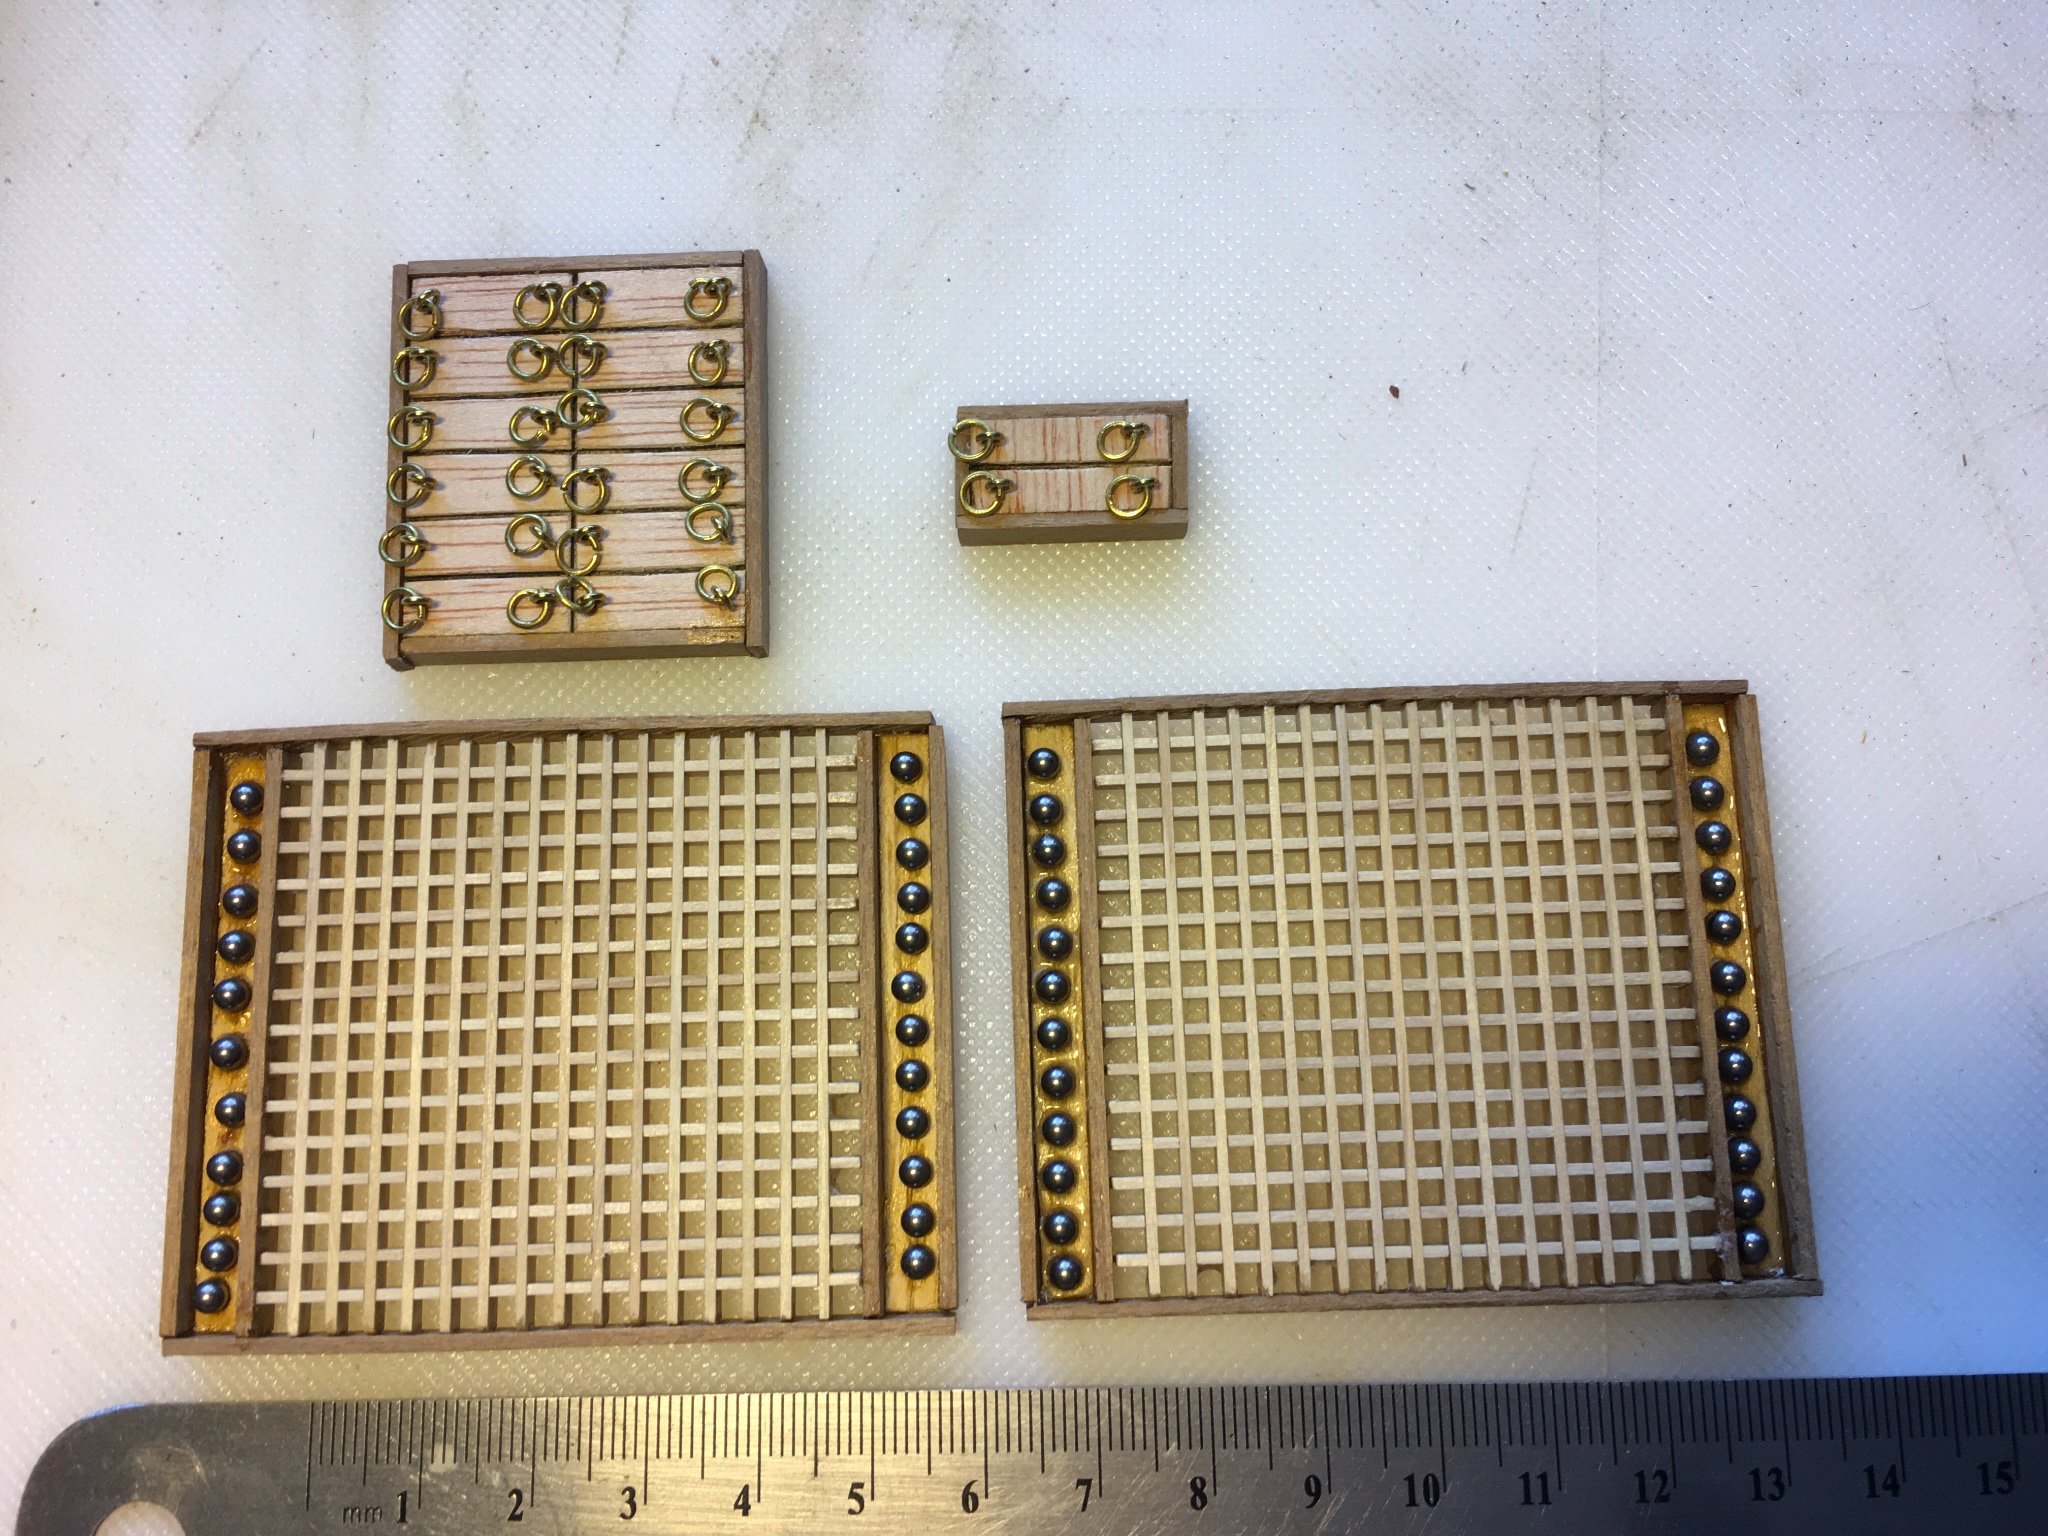
Hatches and gratings. New game - spot the missing cannon ball. 🤬😢🤨😂
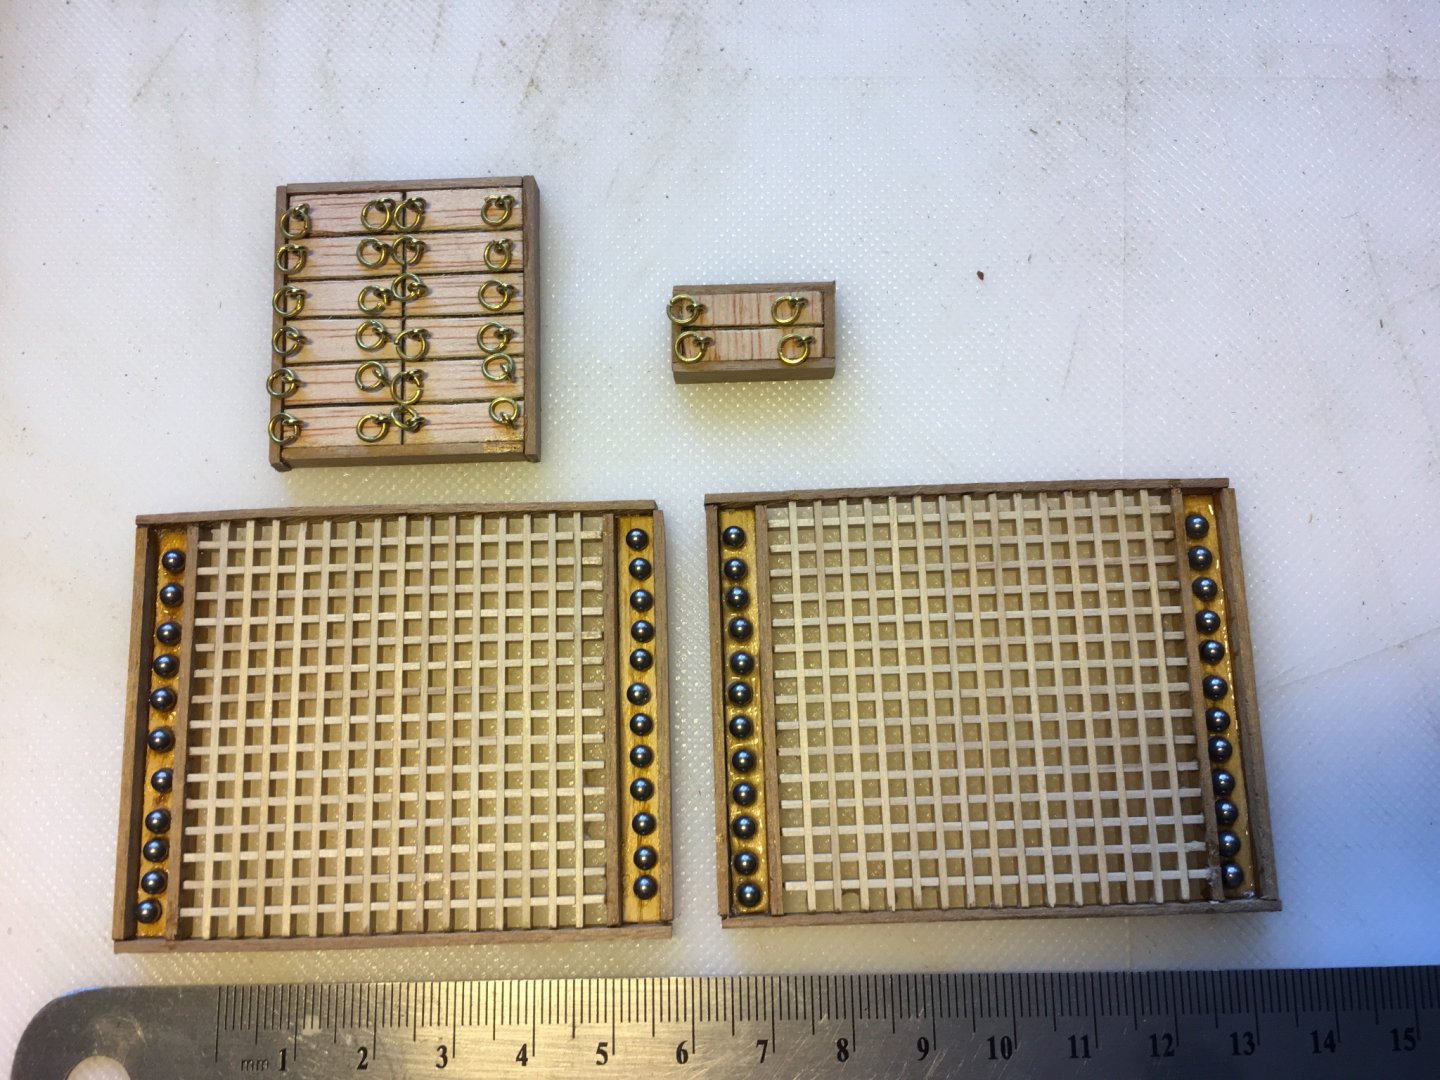
Yes, I made the gratings the same size. Upon a more thorough examination of the instructions and plans, the forward one is supposed to be a bit smaller. Might fix it later.
-
My (limited) understanding of the word “head” is a board over the side with a hole in it, forward, at the head of the ship.


Harvey 1847 by jfesterman - Artesania Latina - 1:50
in - Kit build logs for subjects built from 1801 - 1850
Posted
The instruction booklet was the only thing I could find on AL's website.
https://artesanialatina.net/en/index.php?controller=attachment&id_attachment=221