HOLIDAY DONATION DRIVE - SUPPORT MSW - DO YOUR PART TO KEEP THIS GREAT FORUM GOING! (89 donations so far out of 49,000 members - C'mon guys!)
×


giantdog
-
Posts
87 -
Joined
-
Last visited
Content Type
Profiles
Forums
Gallery
Events
Everything posted by giantdog
-
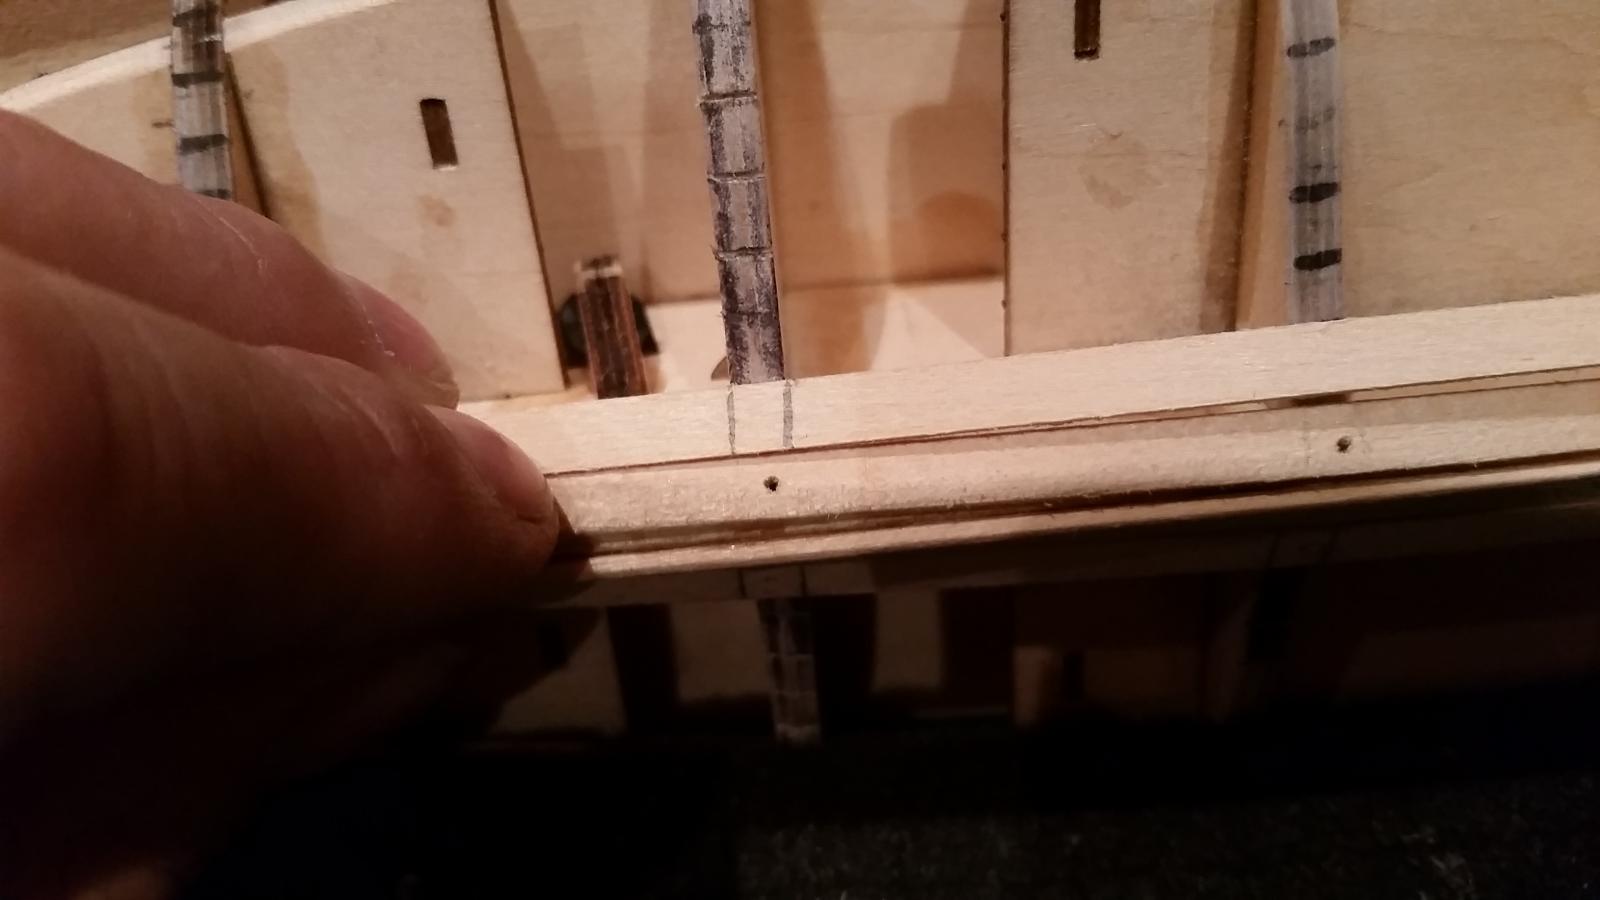
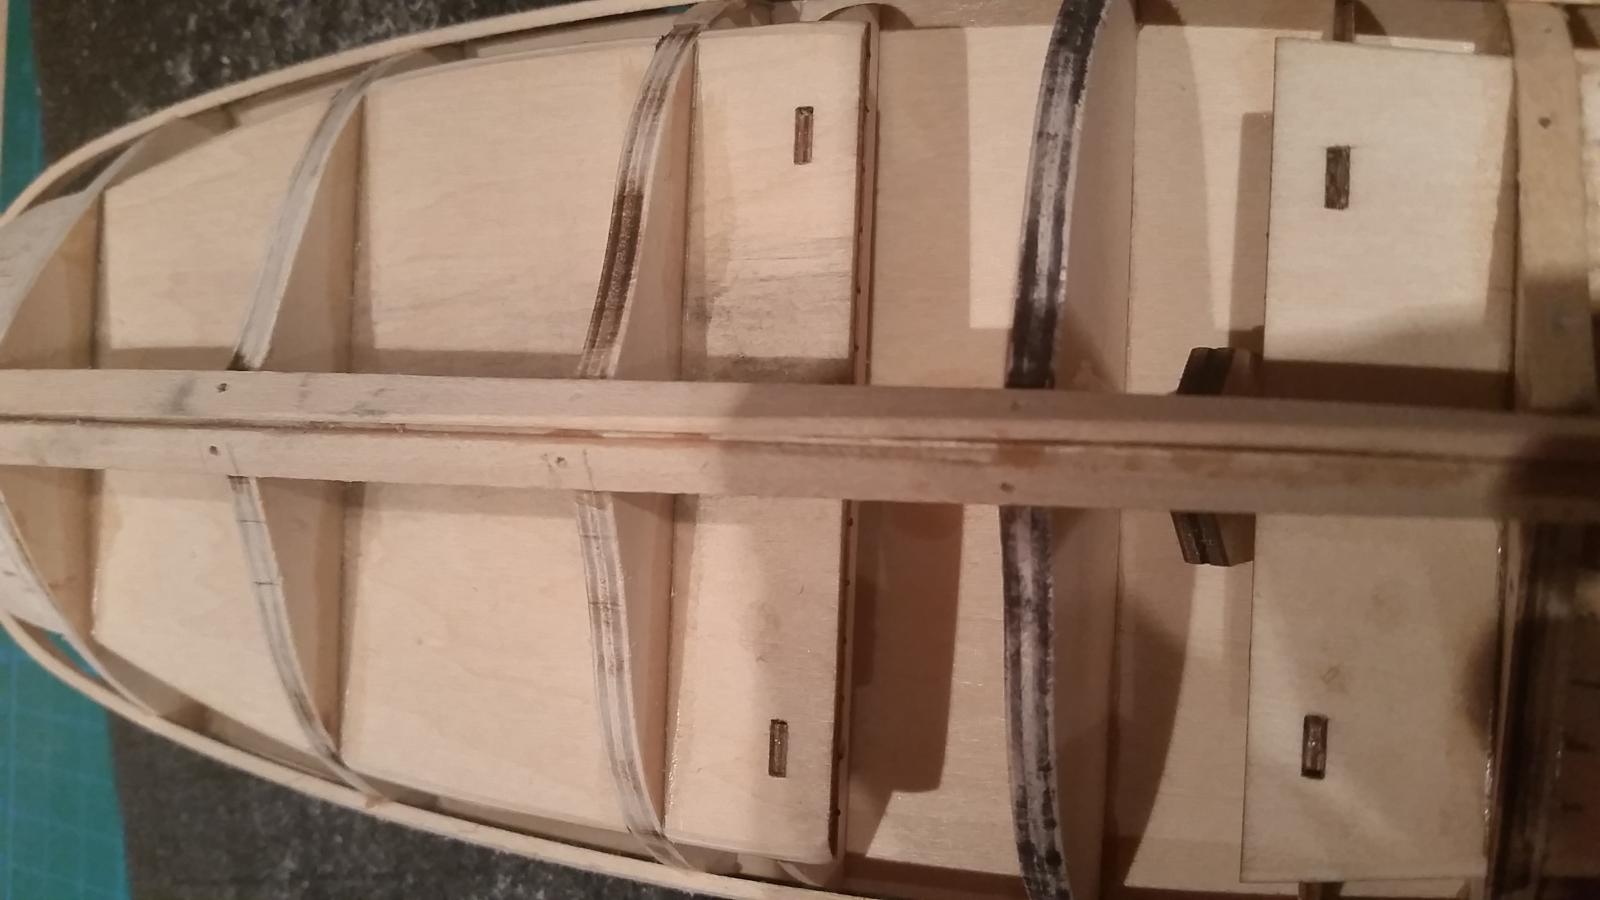
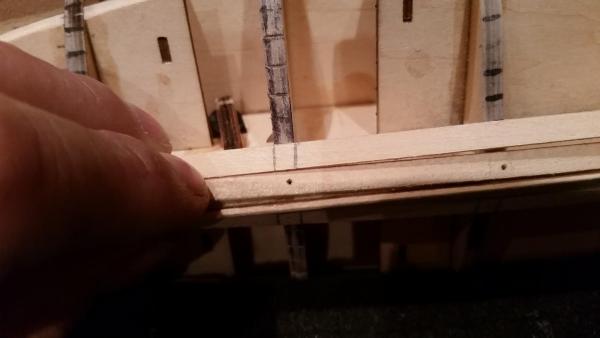
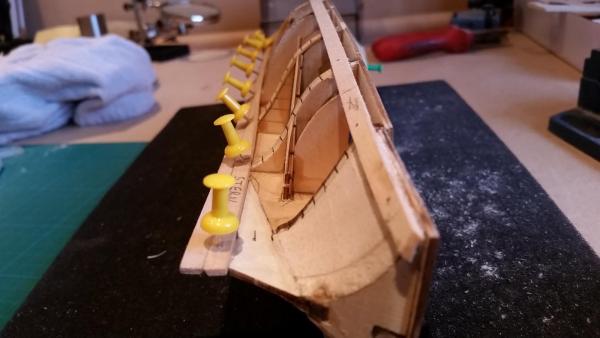
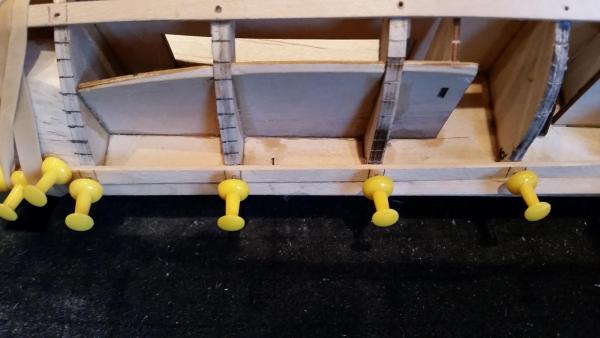
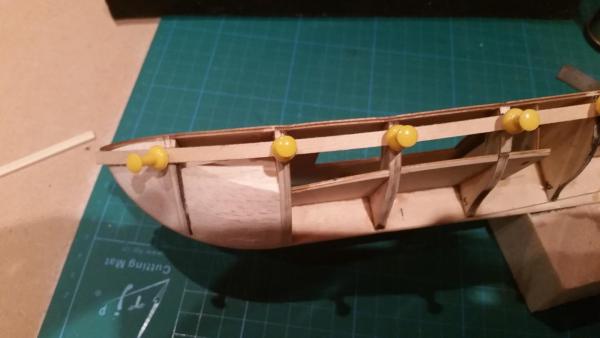
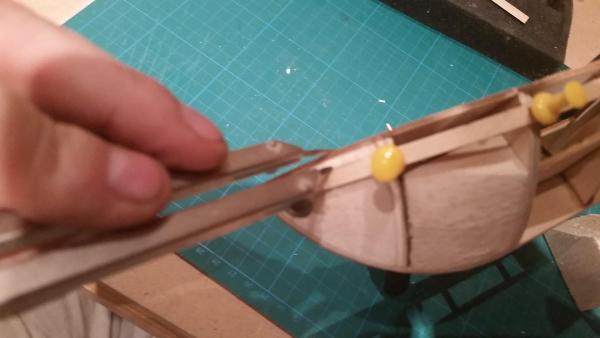
I've now fitted the other side (next to garboard) plank and will try and explain the process I went through. Please keep in mind this is my first ever build so may not be the correct/best way to do it. I welcome all corrections to how I've gone about this. 1...I roughly cut the plank to length, making sure I'd left enough for final trimming. 2...Placed the straight plank along the bulkheads to see how it lies, to mark any places where spilling is required (on my build there was just a very small amount around bulkhead #6). 3...I soaked in hot water and as previous post put in the pre fit twist and prow curve. Once dry I dry fitted. 4...Now this is where I think I departed from the using 'scotch tape' method and used a combination of a compass and the marks I'd put on the bulkheads with the planking fan marked the spilling line on the plank. (I hope this makes sense). I notched the new plank to mate up against the garboard plank. Then dry pinned it in place. Using the opposite side plank as a guide I set the compass so that the needle point ran along the underside of the false deck and the lead to the top edge of the plank. I then used this set-up to draw a line on the dry fitted plank, I kinda thought this would make the planks match?
- 153 replies
-
- 1
-

-
- swift
- Artesania Latina
- (and 1 more)
-
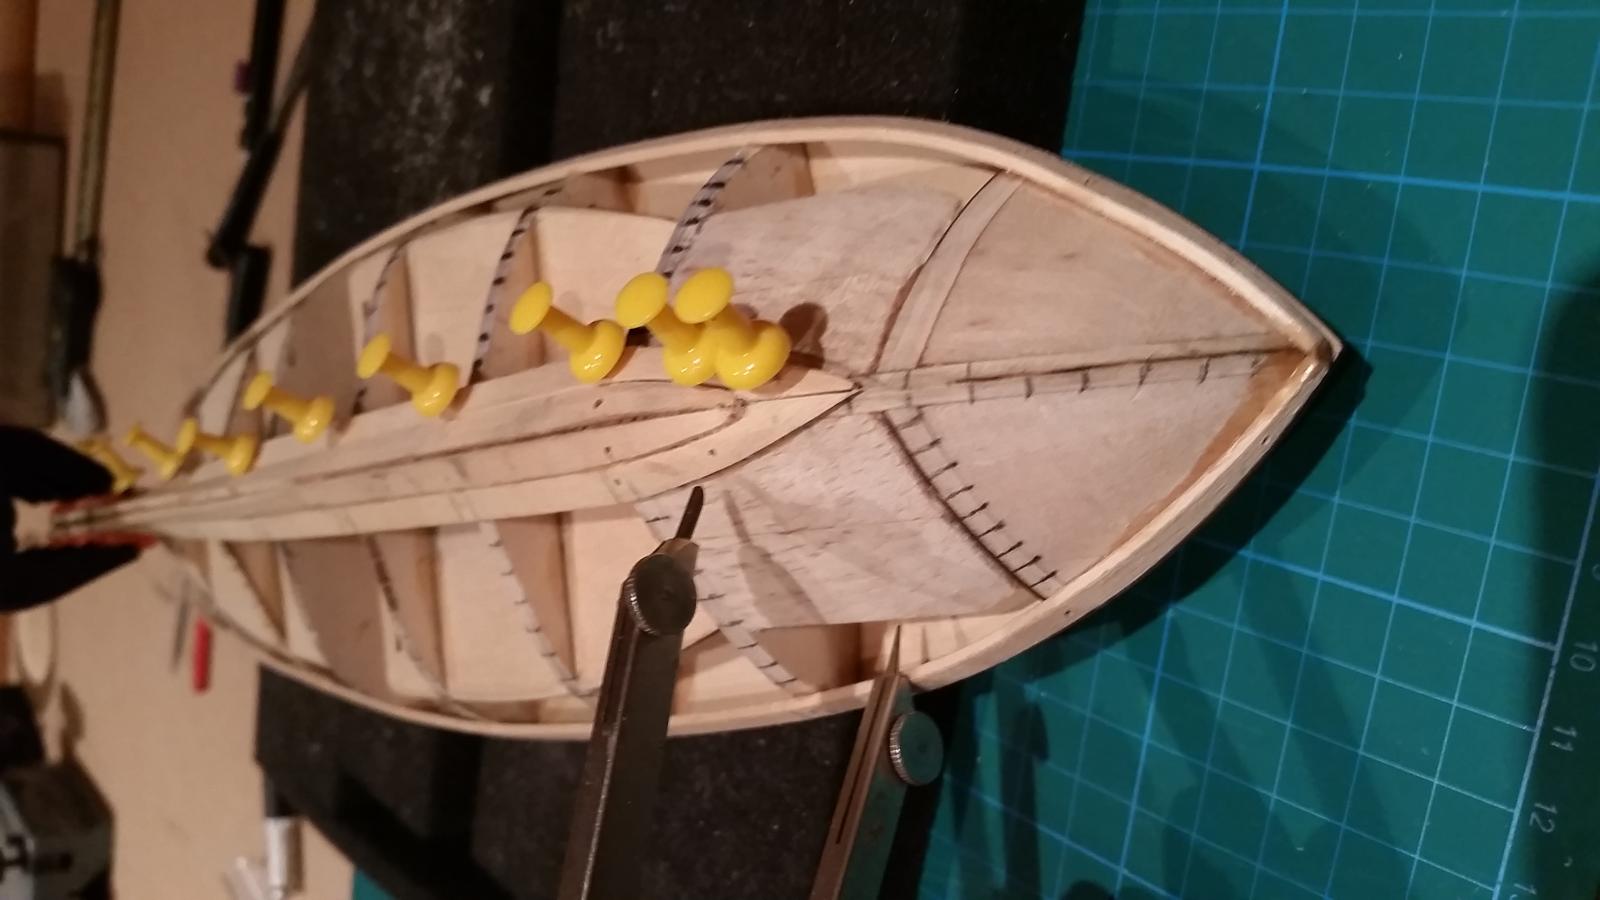
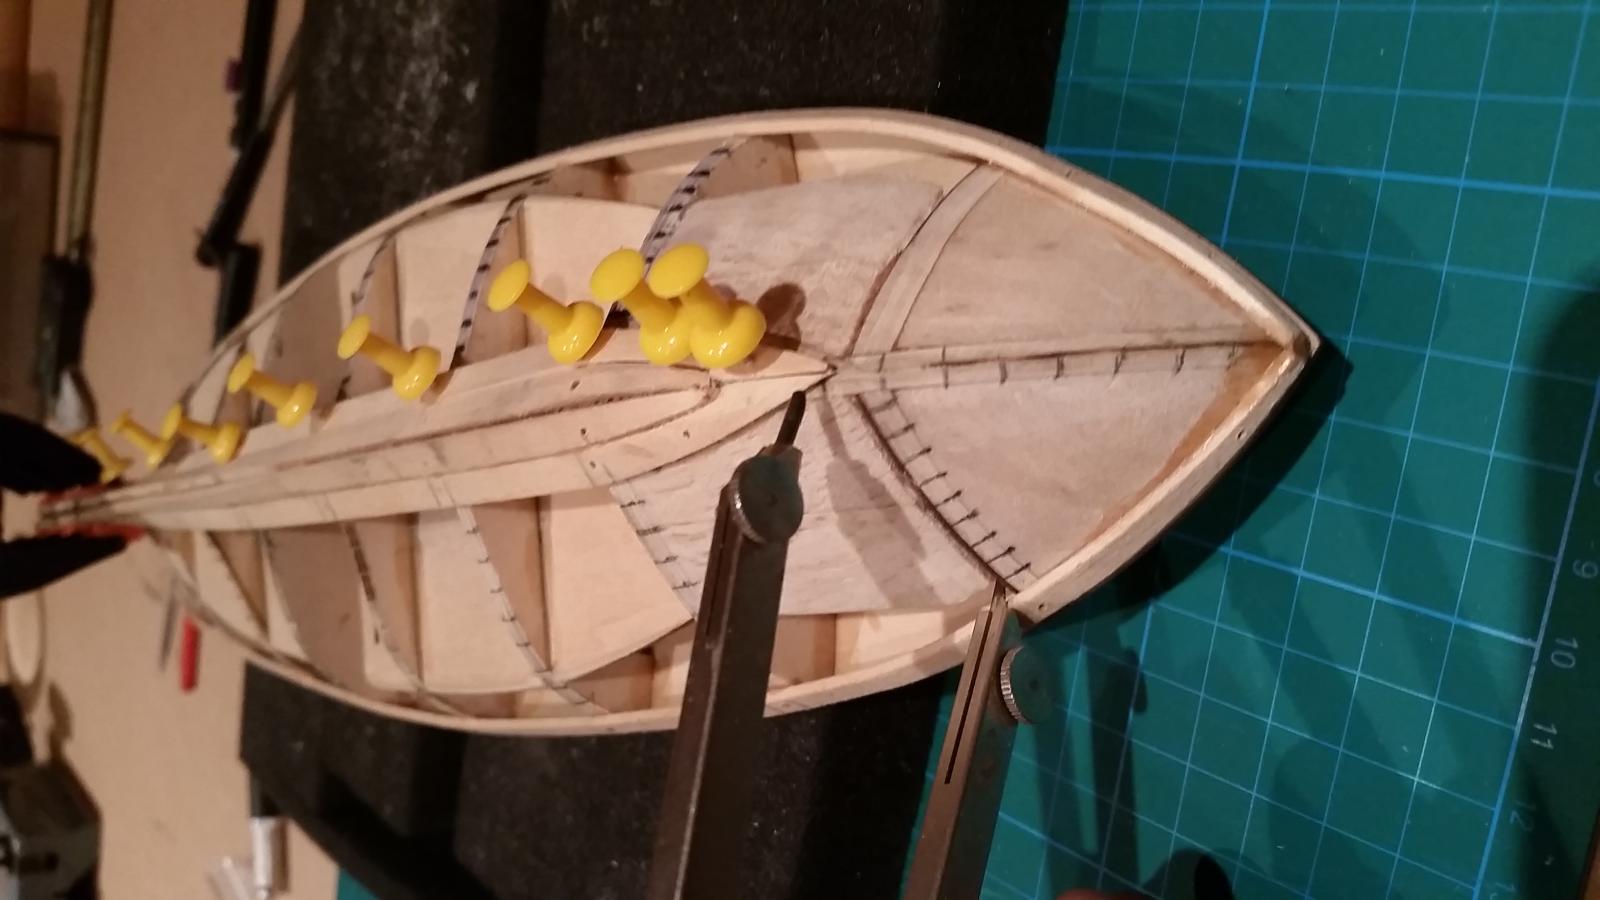
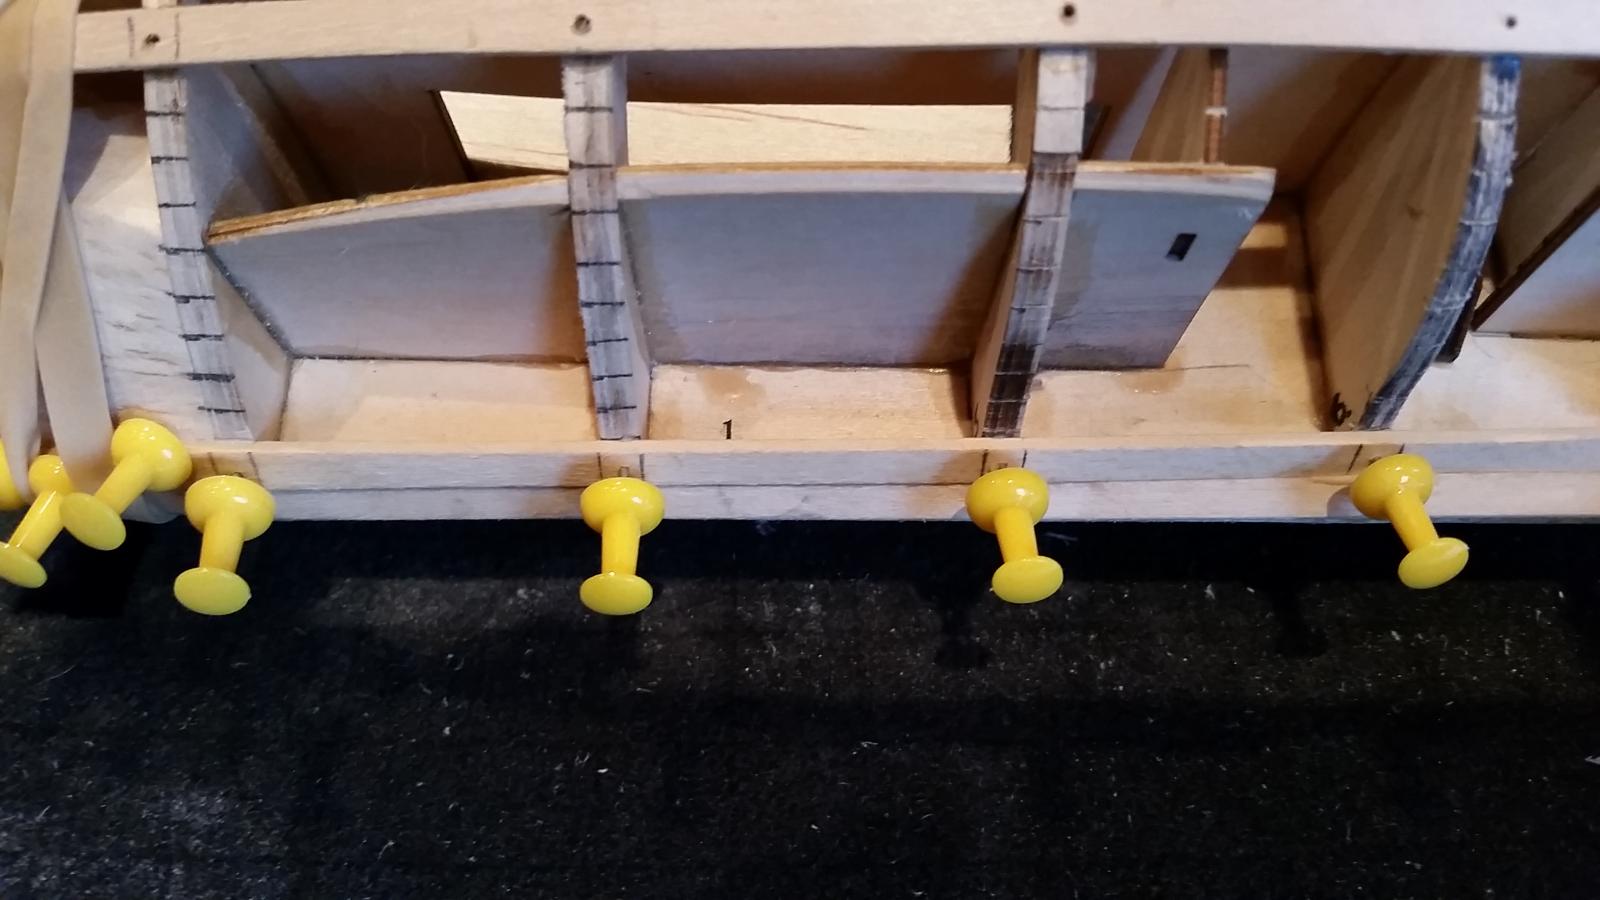
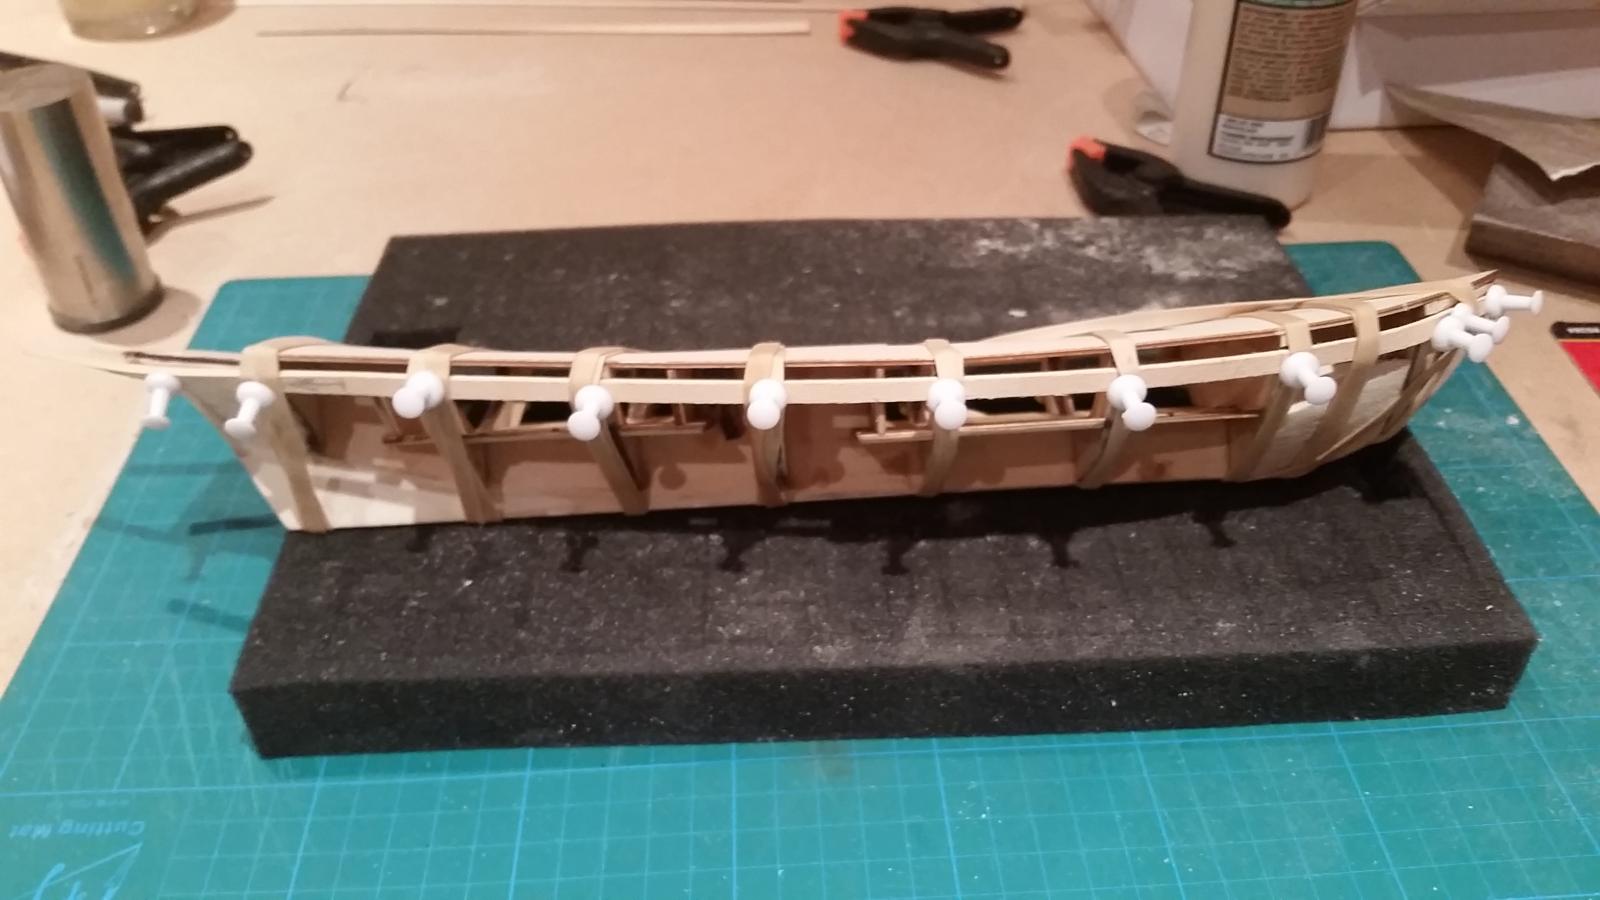
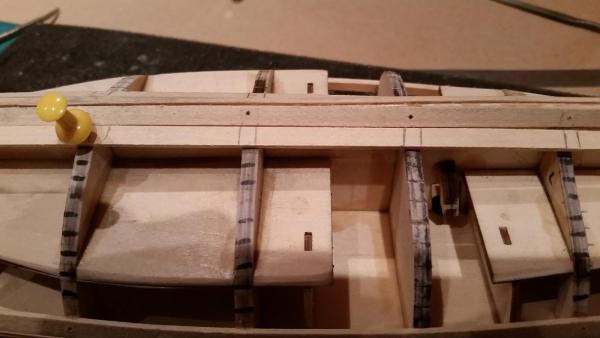
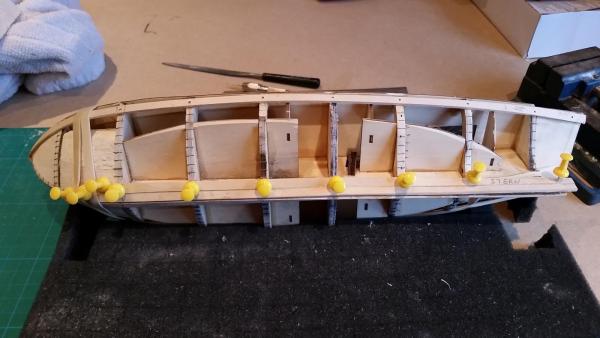
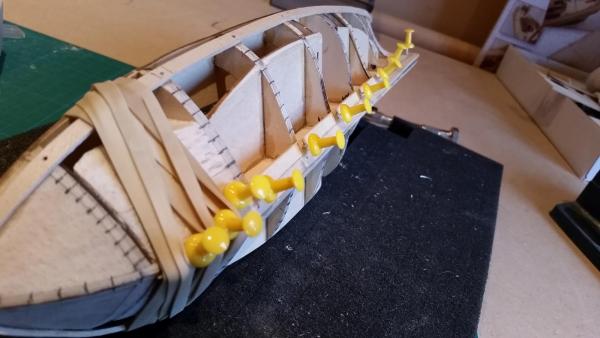
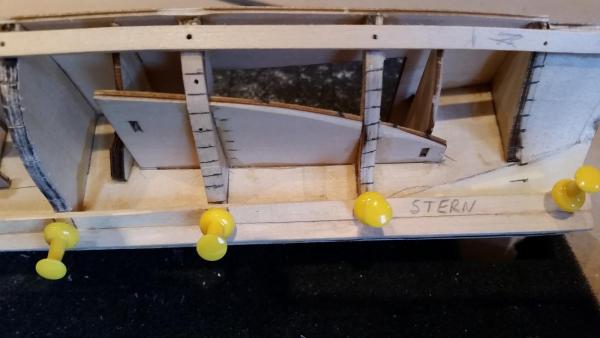
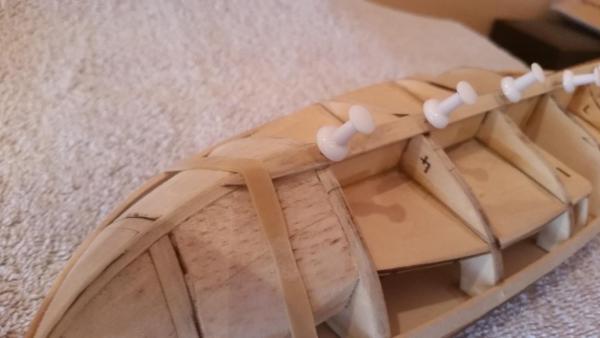
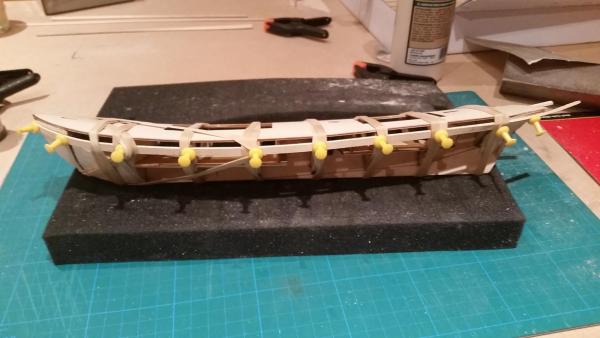
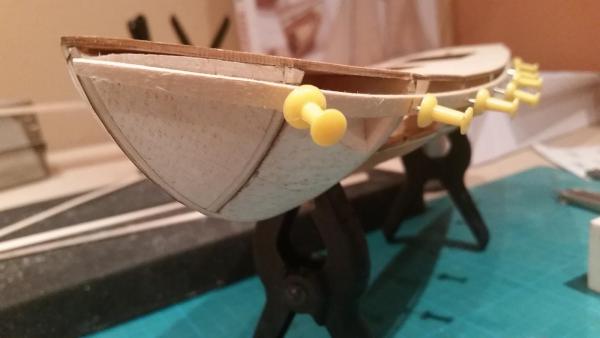
Right, back to boats. I've took the plunge and fitted the first of my 'next to the garboard' planks. I forgot to take photos of the process I went through to come to the final fitting, I'll do that for the next post. It may come across a little backwards, sorry about that. The plank itself didn't actually need too much spilling (little worried about that), only the prow end needed work and I must confess at this point. I did apply sideways bending. You can never have enough pins, I haven't used the tiny pins that came with the kit. Just hope the glue holds over time. The lines seem quite nice. Again at the stern at this point needed very little work? Edge to edge fit seems good and of course glue was applied along the mating edges.
- 153 replies
-
- 3
-
-
- swift
- Artesania Latina
- (and 1 more)
-
Hi Keith, He is indeed a Marmaduke aka a Great Dane and his name is Bram, quite an old boy now aged 9 (I lost my bitch Great Dane 2 years ago). Believe it or not he's the smaller of my two dogs as I have an Irish Wolfhound too. I've been working my way through the videos, they are brilliant.


- 153 replies
-
- 2
-
-
- swift
- Artesania Latina
- (and 1 more)
-
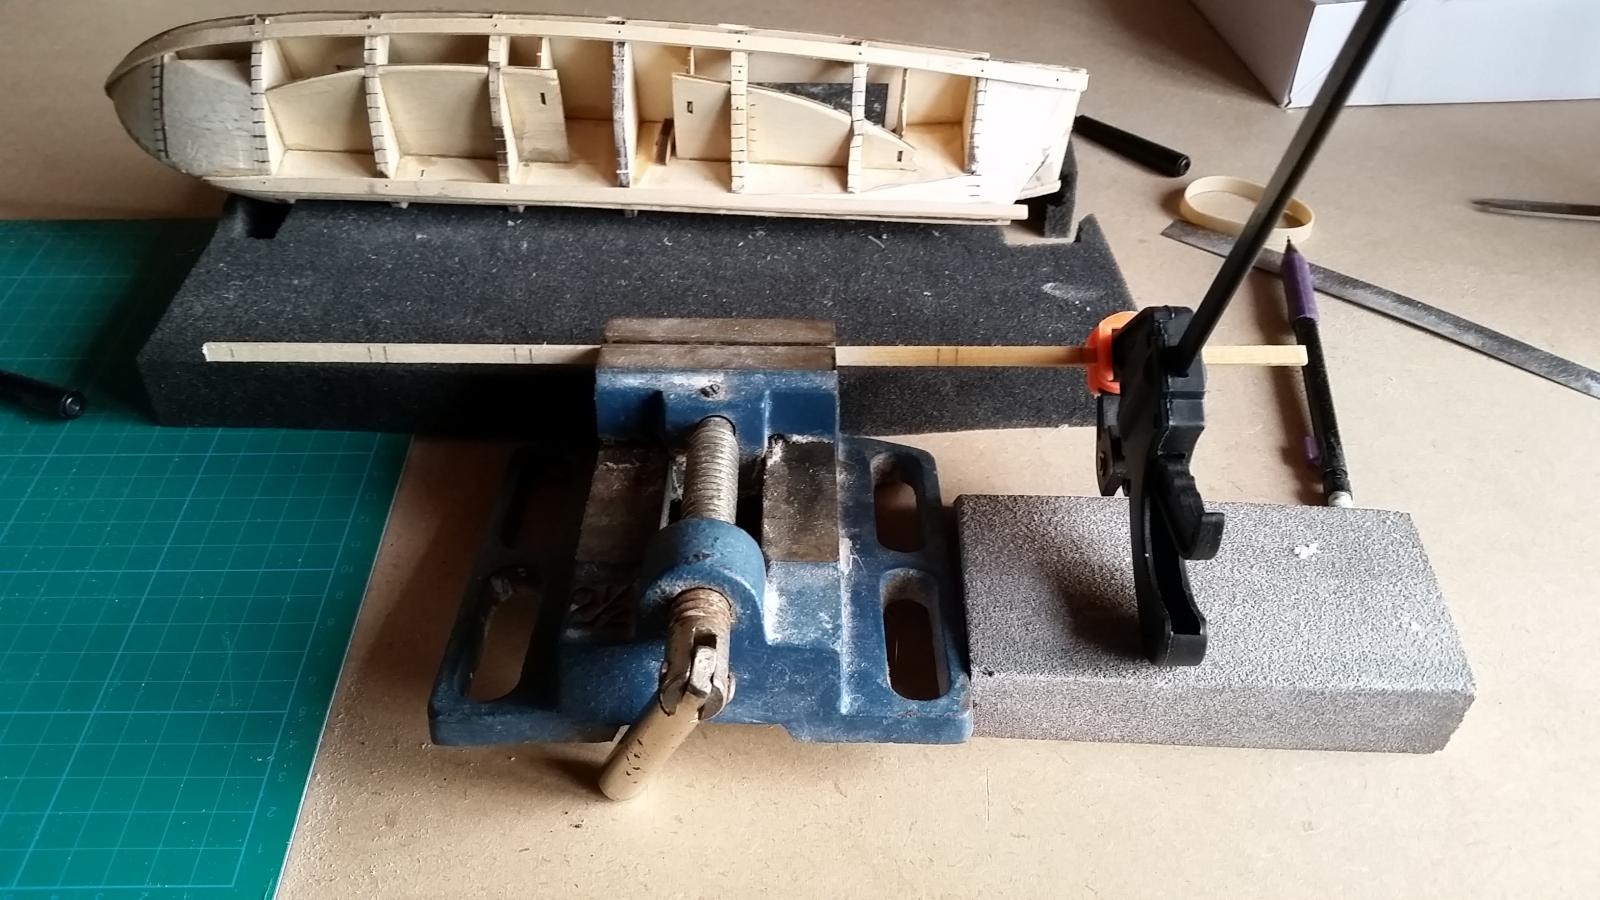
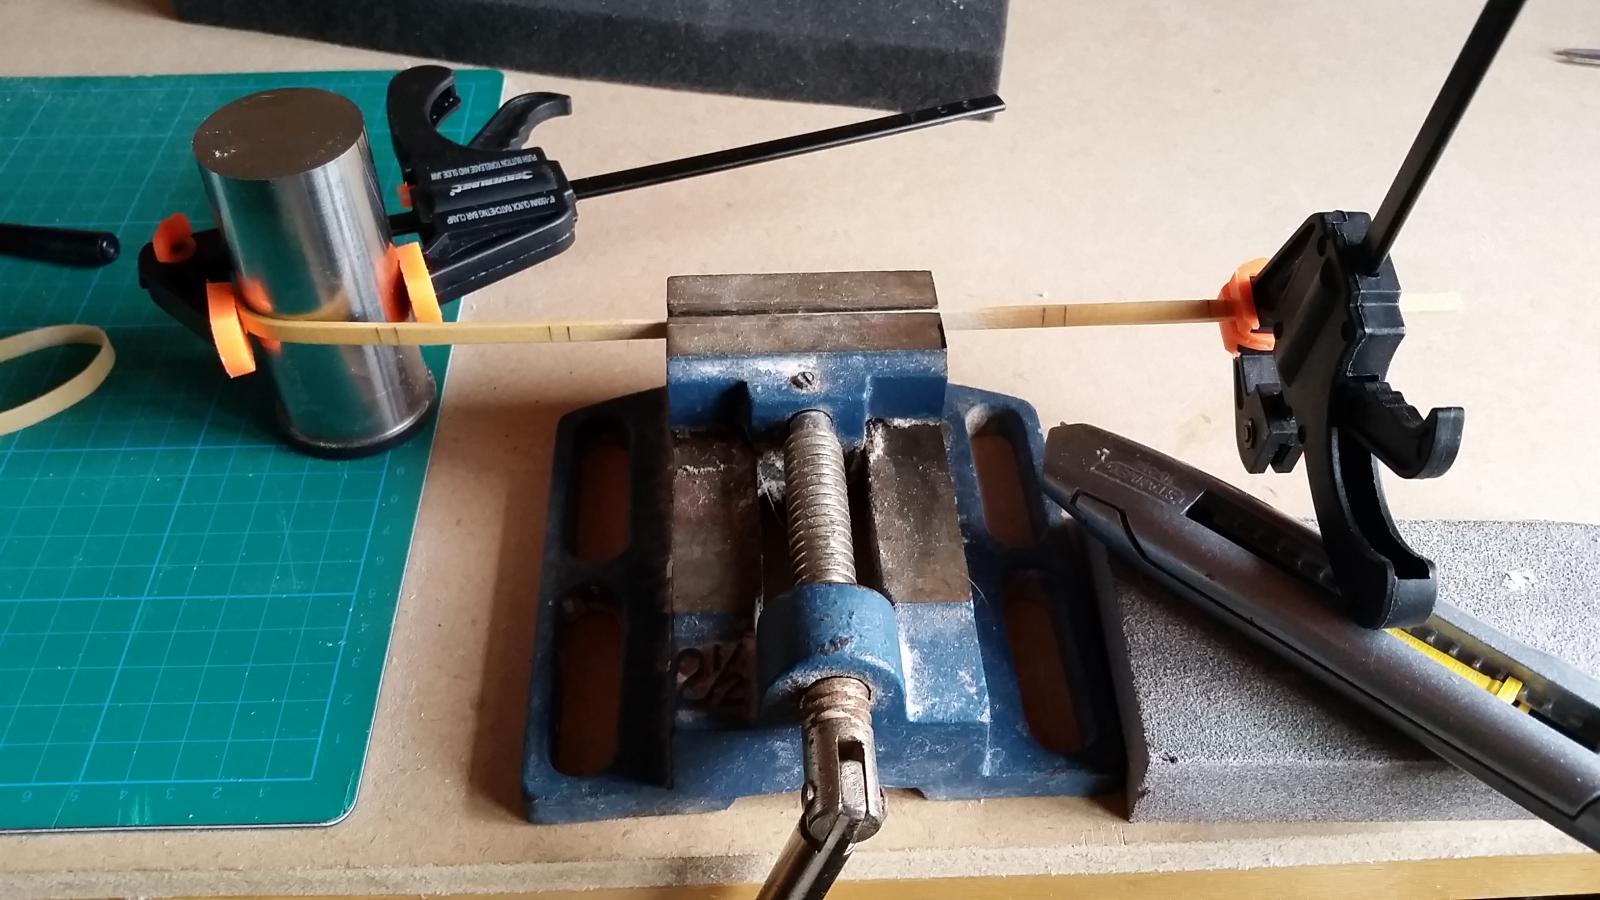
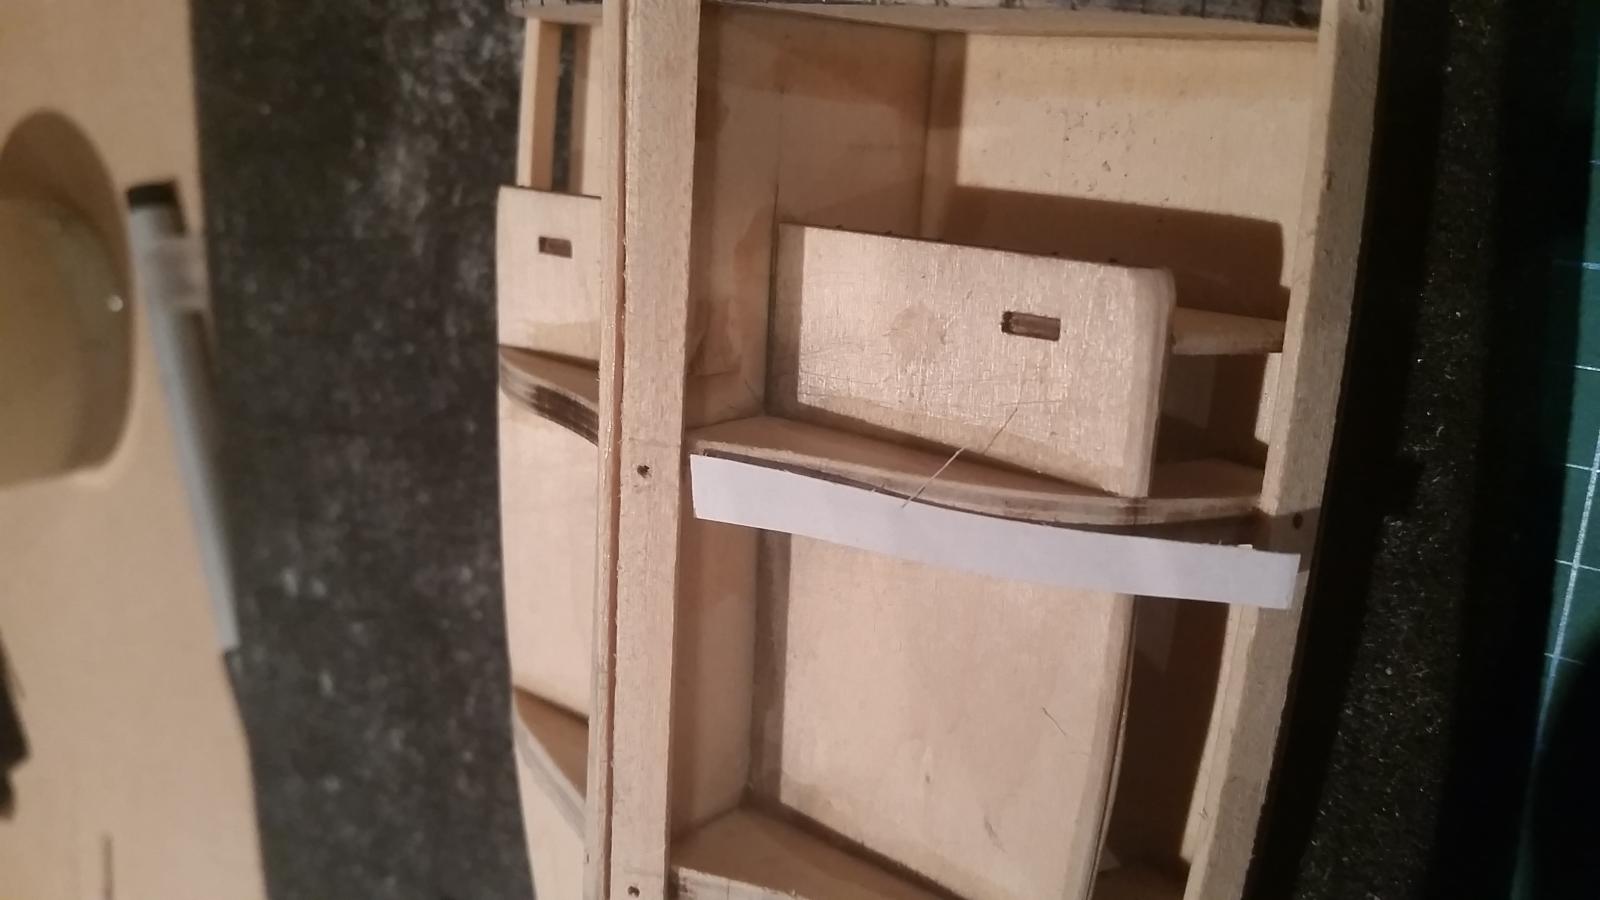
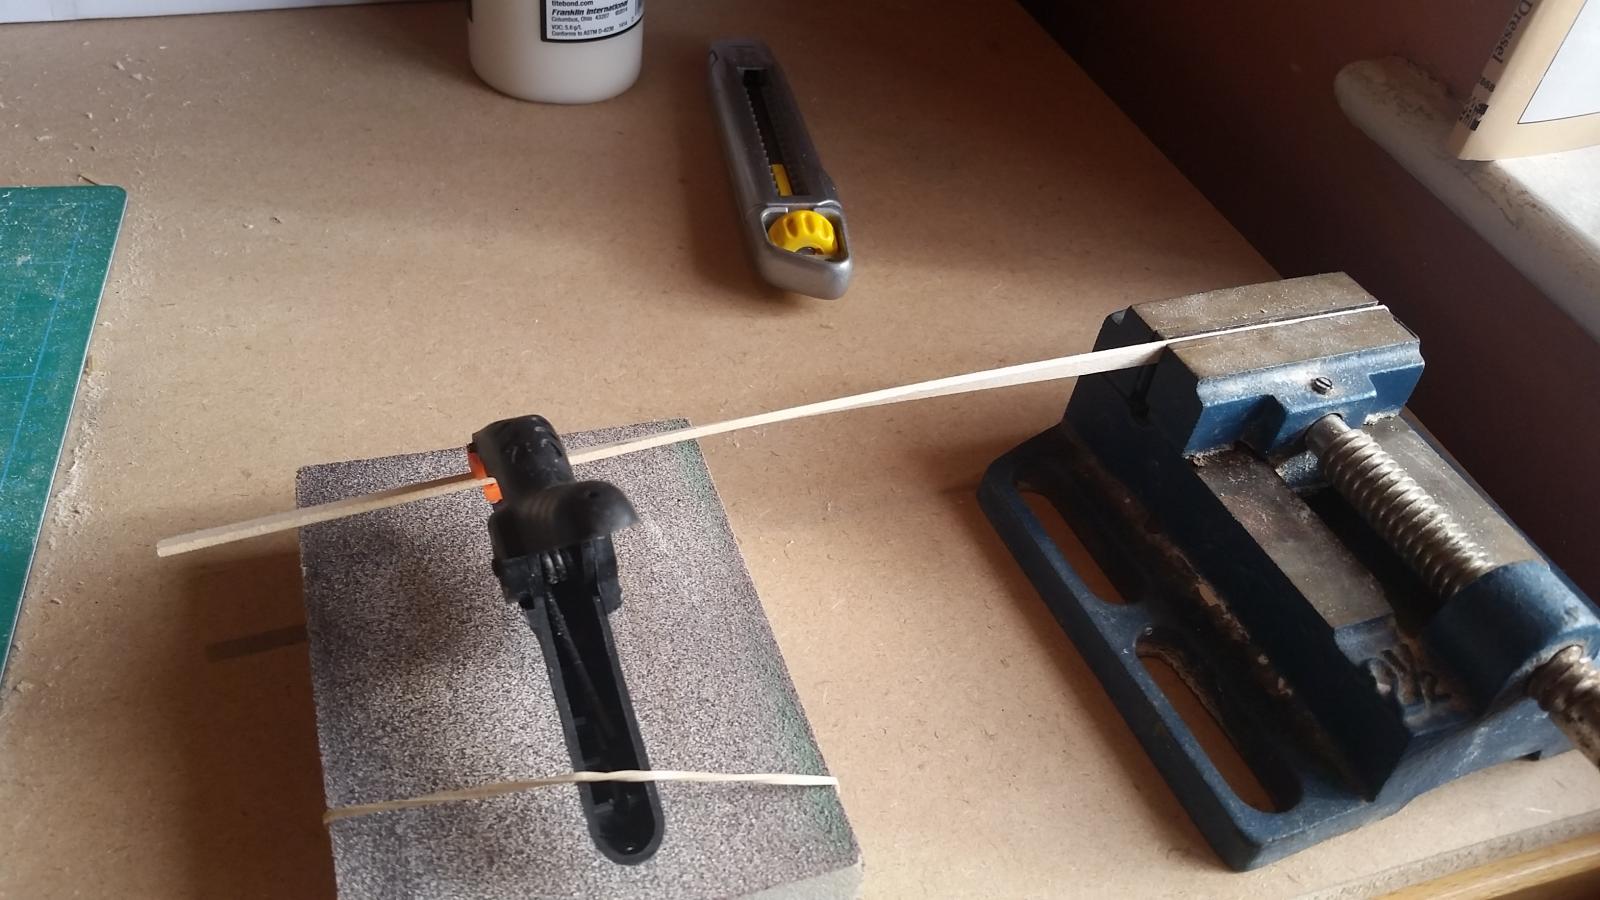
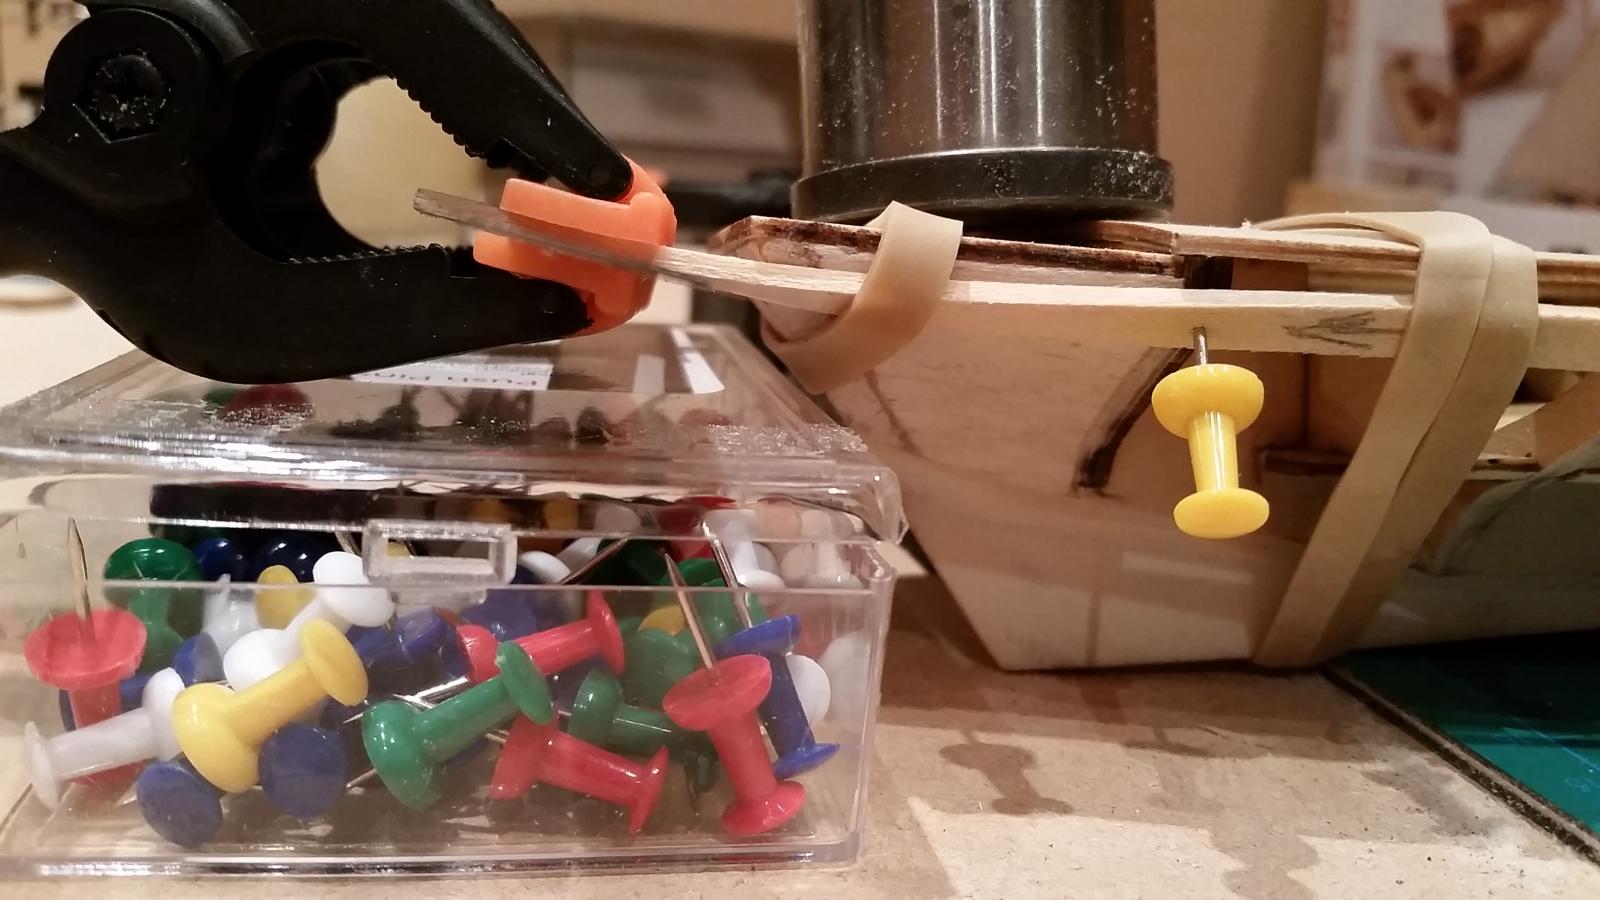
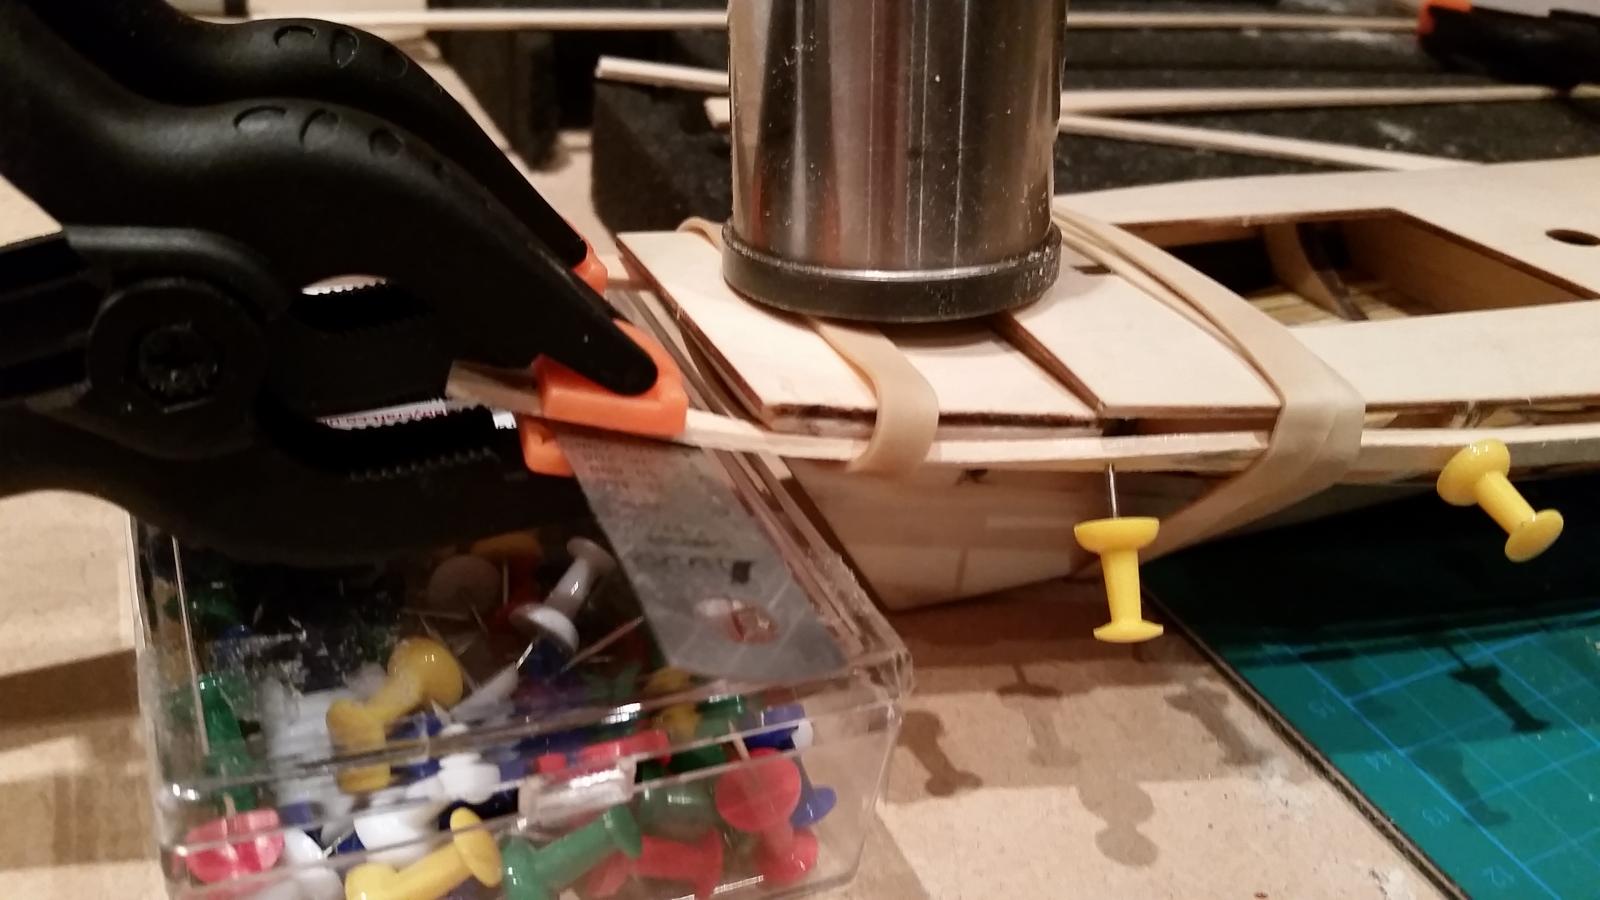
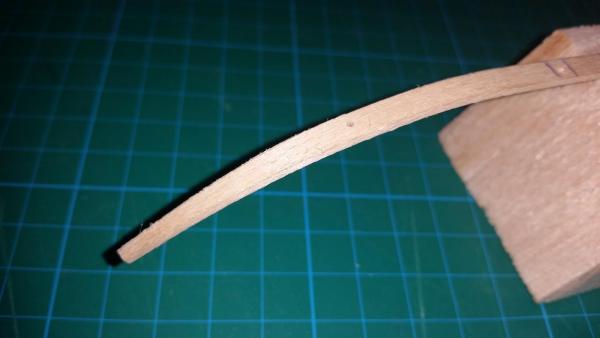
Working on the second plank, the one next to the garboard plank. Not sure whether it has a name. It doesn't appear to need too much spilling (is this the correct term?) The first step is to pre-bend the plank so that I can lay it along the bulkheads. Soaked both ends of the plank in hot water for about 20 minutes. Using the small engineers vice and a clamp put the twist in the stern end of the plank. Using a cylindrical steel block, elastic bands and a second clamp, put the prow curve into the plank. Now, this is one of the parts I like about model ship building. You wait. I shall leave the plank until tomorrow to dry and take the shape, in this time I shall think. Think how I'm going to get this plank to fit, how I'm going to spill it, how I clamp it in place etc. I'll keep you posted :-)


- 153 replies
-
- 1
-
-
- swift
- Artesania Latina
- (and 1 more)
-
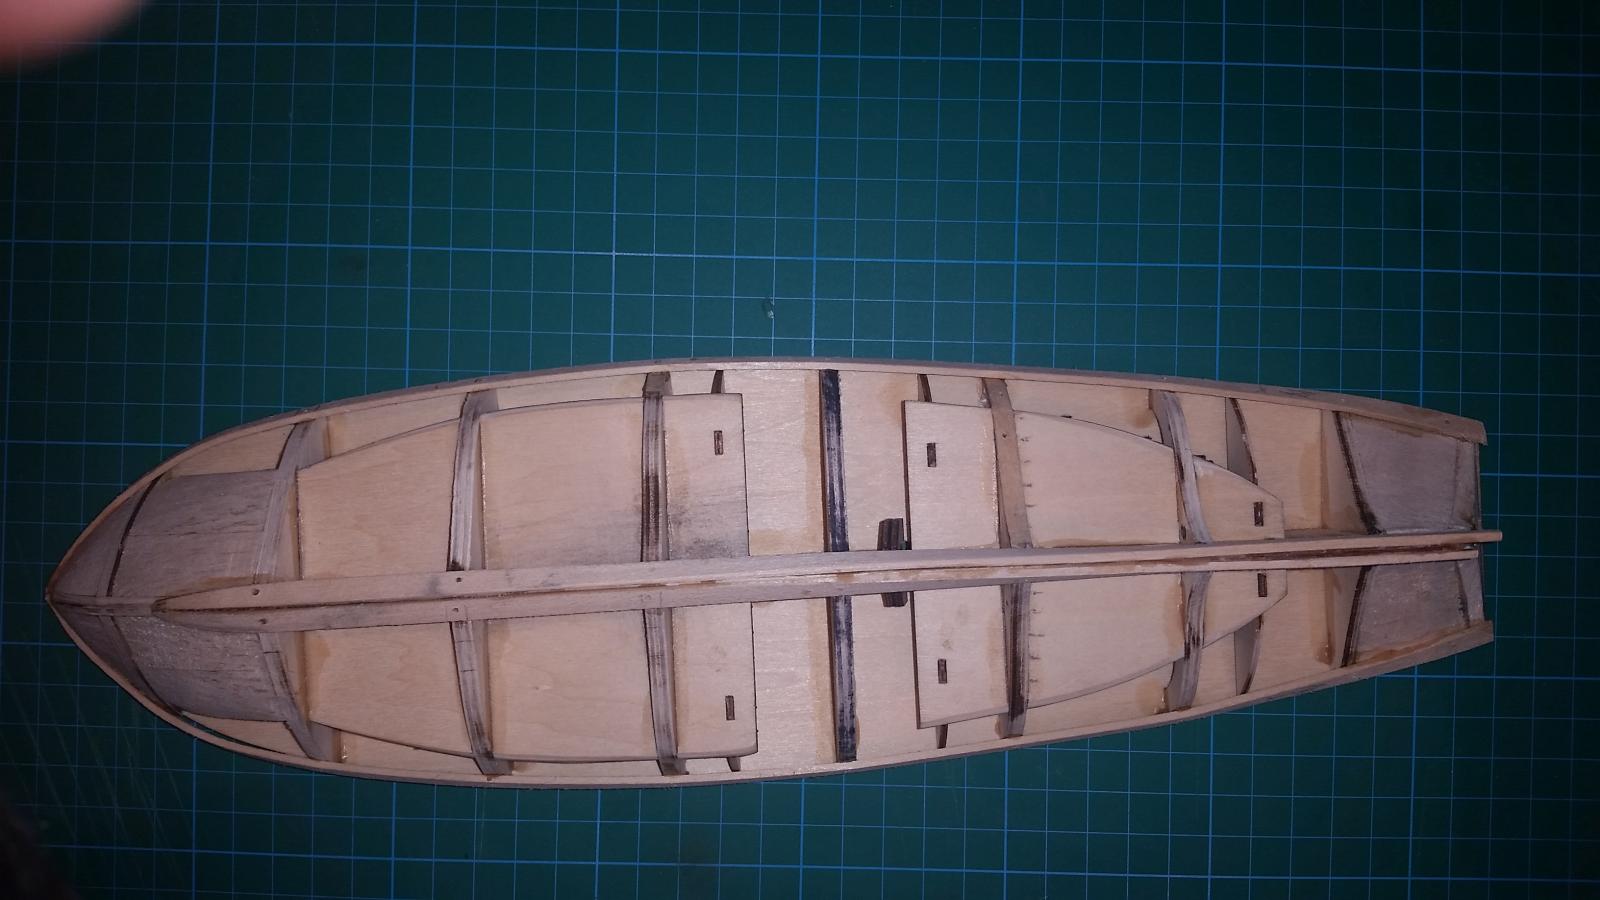
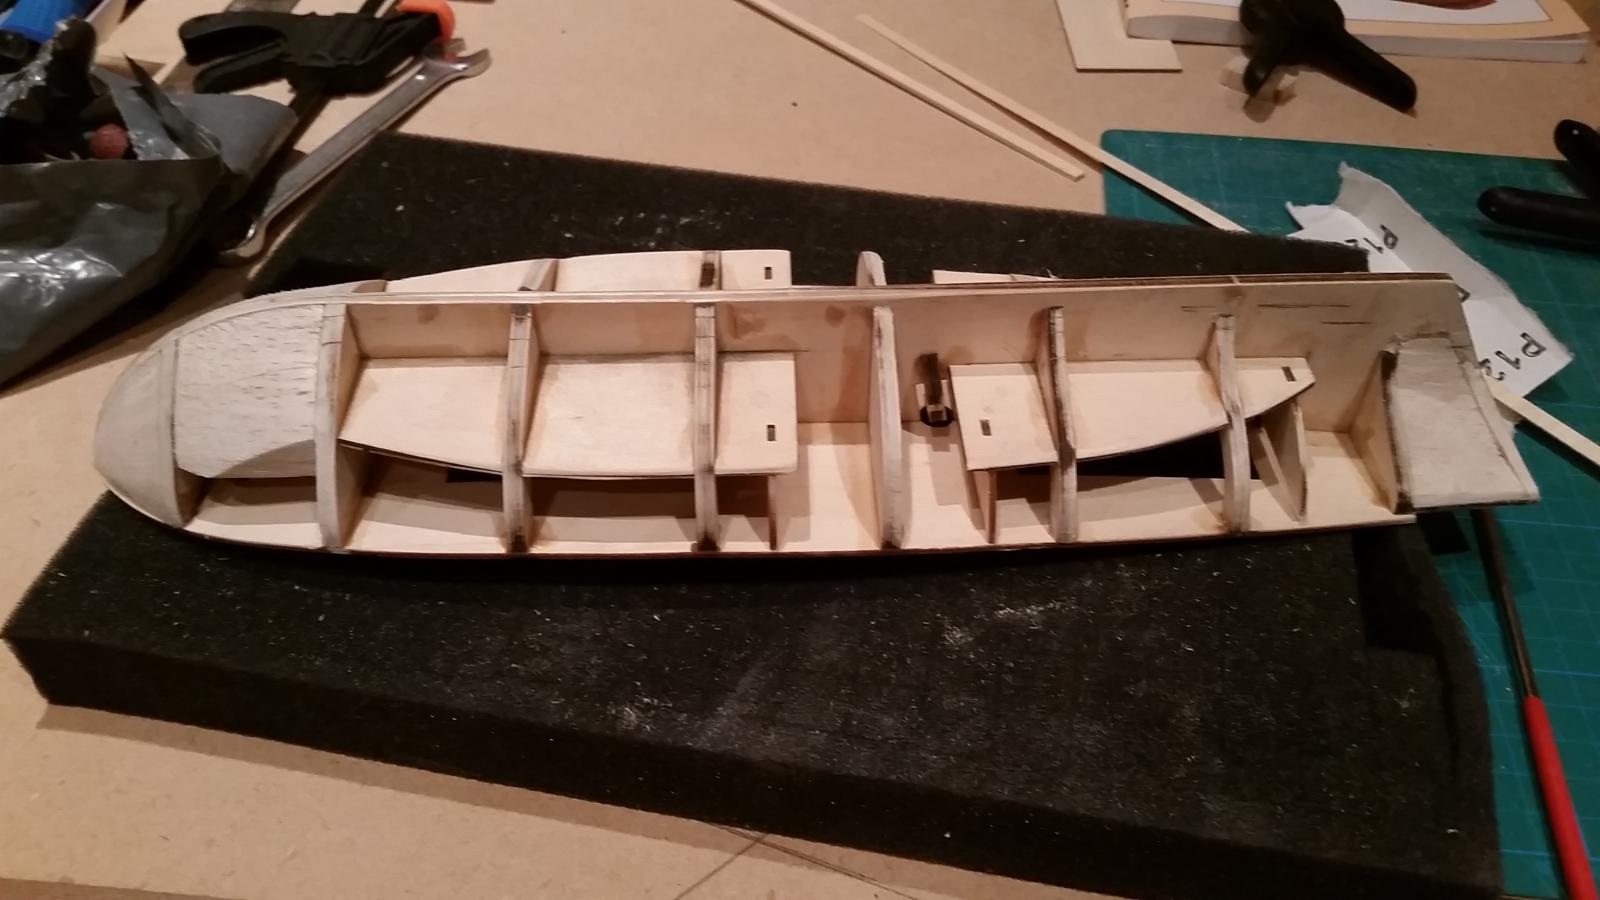
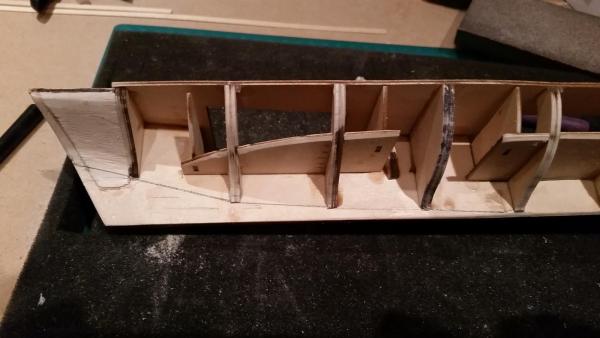
I forgot to add some photos of the garboard planks. false keel was thinned down to 2.5mm The twist in the port side board isn't as smooth as the starboard side, still deliberating what to do about it.


-
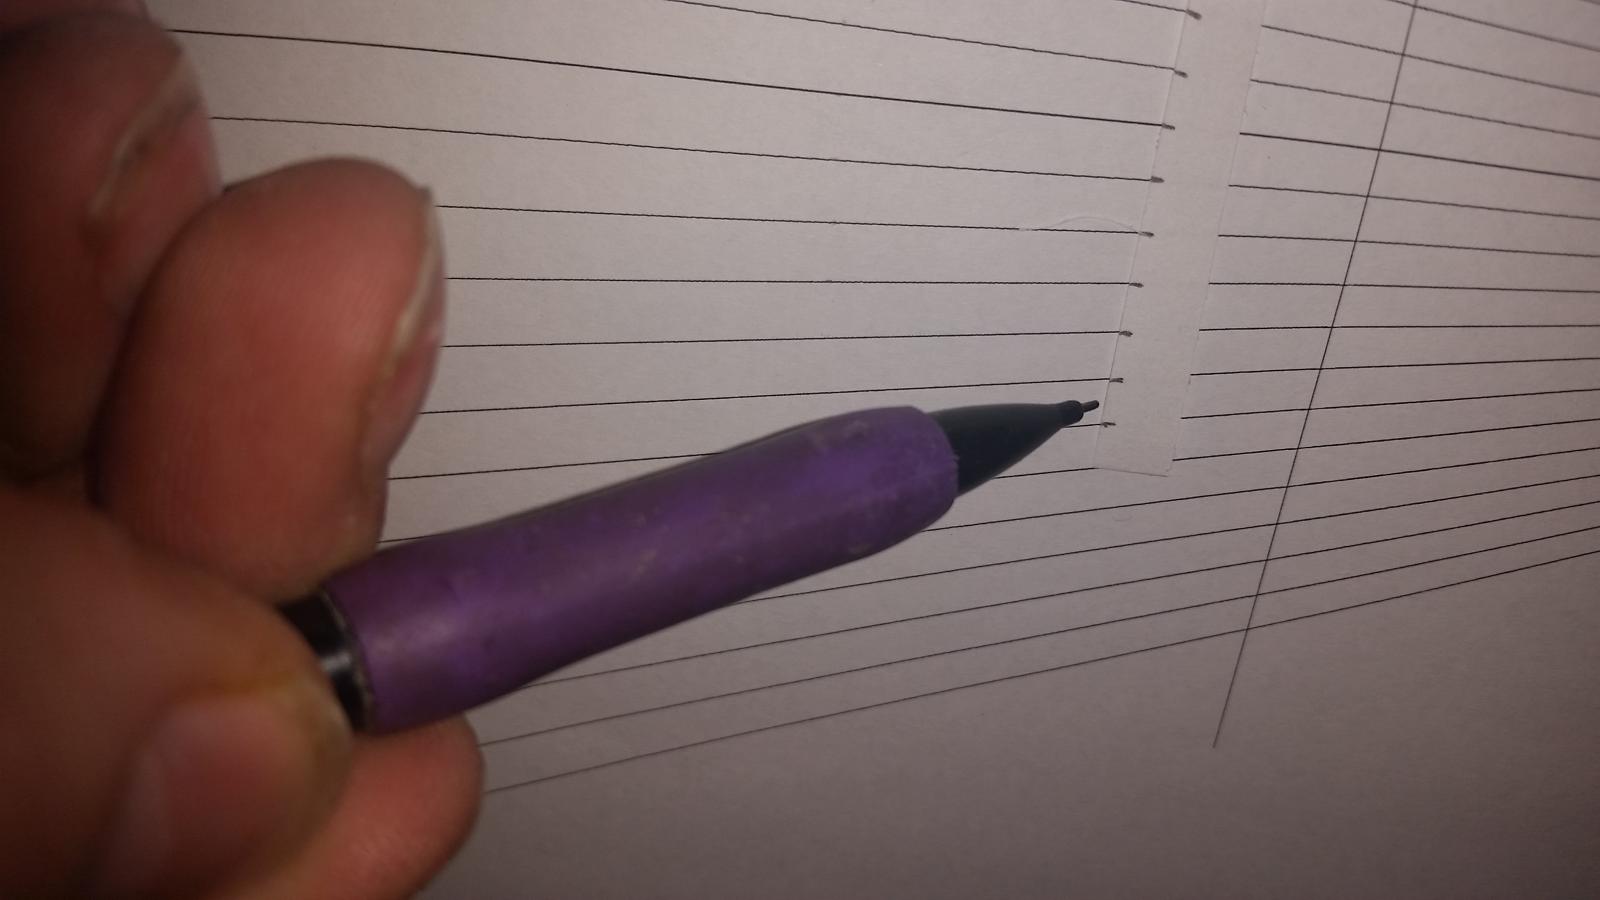
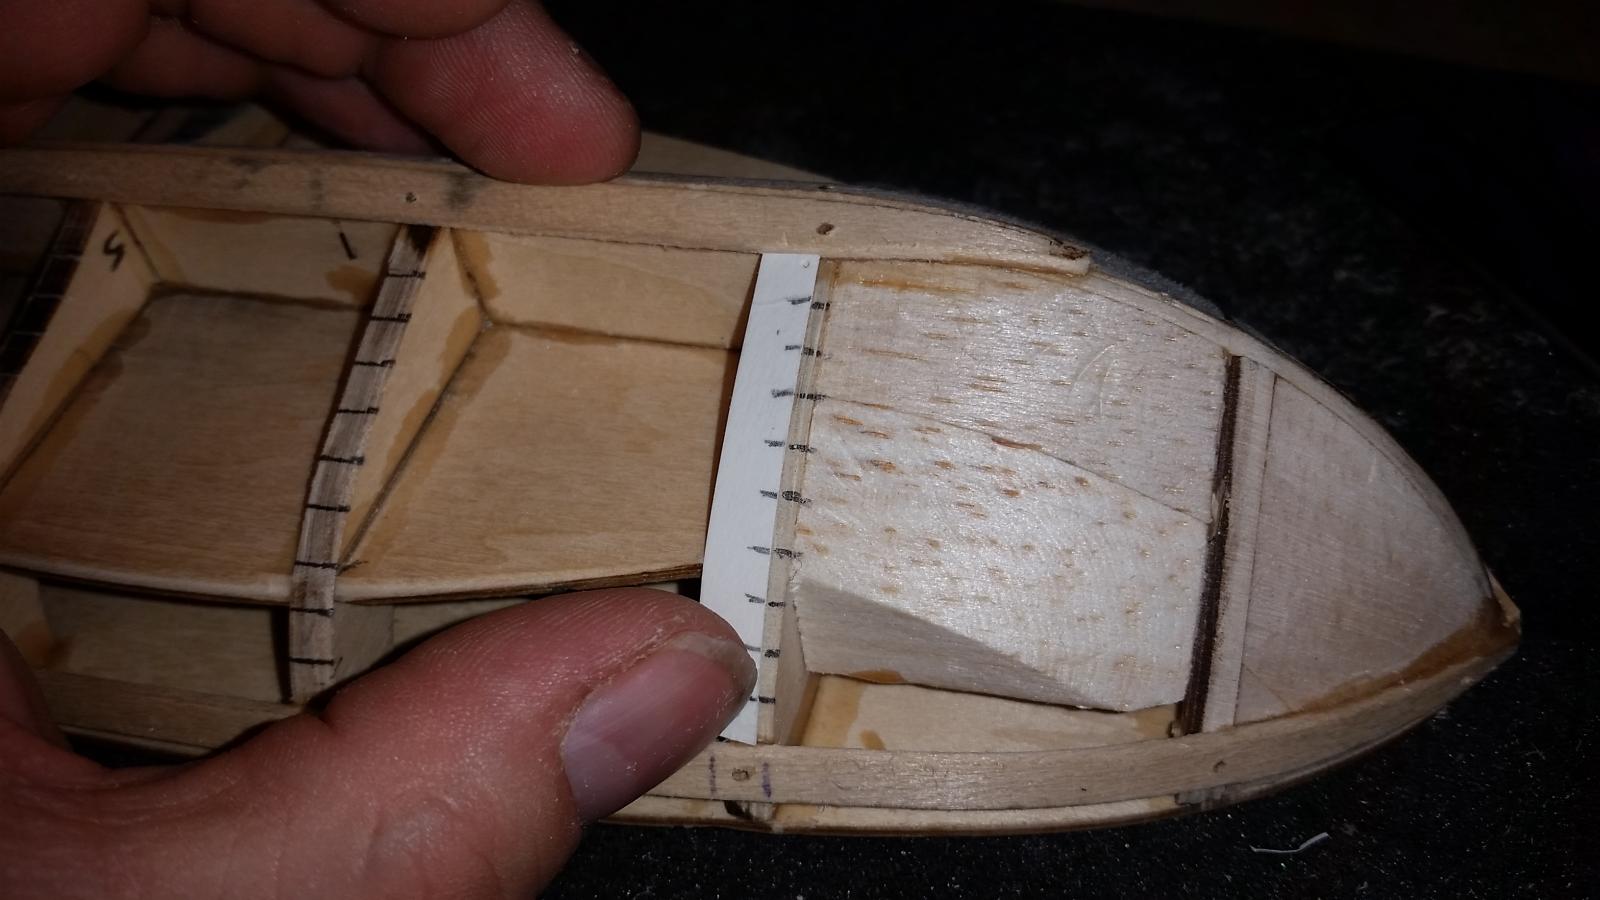
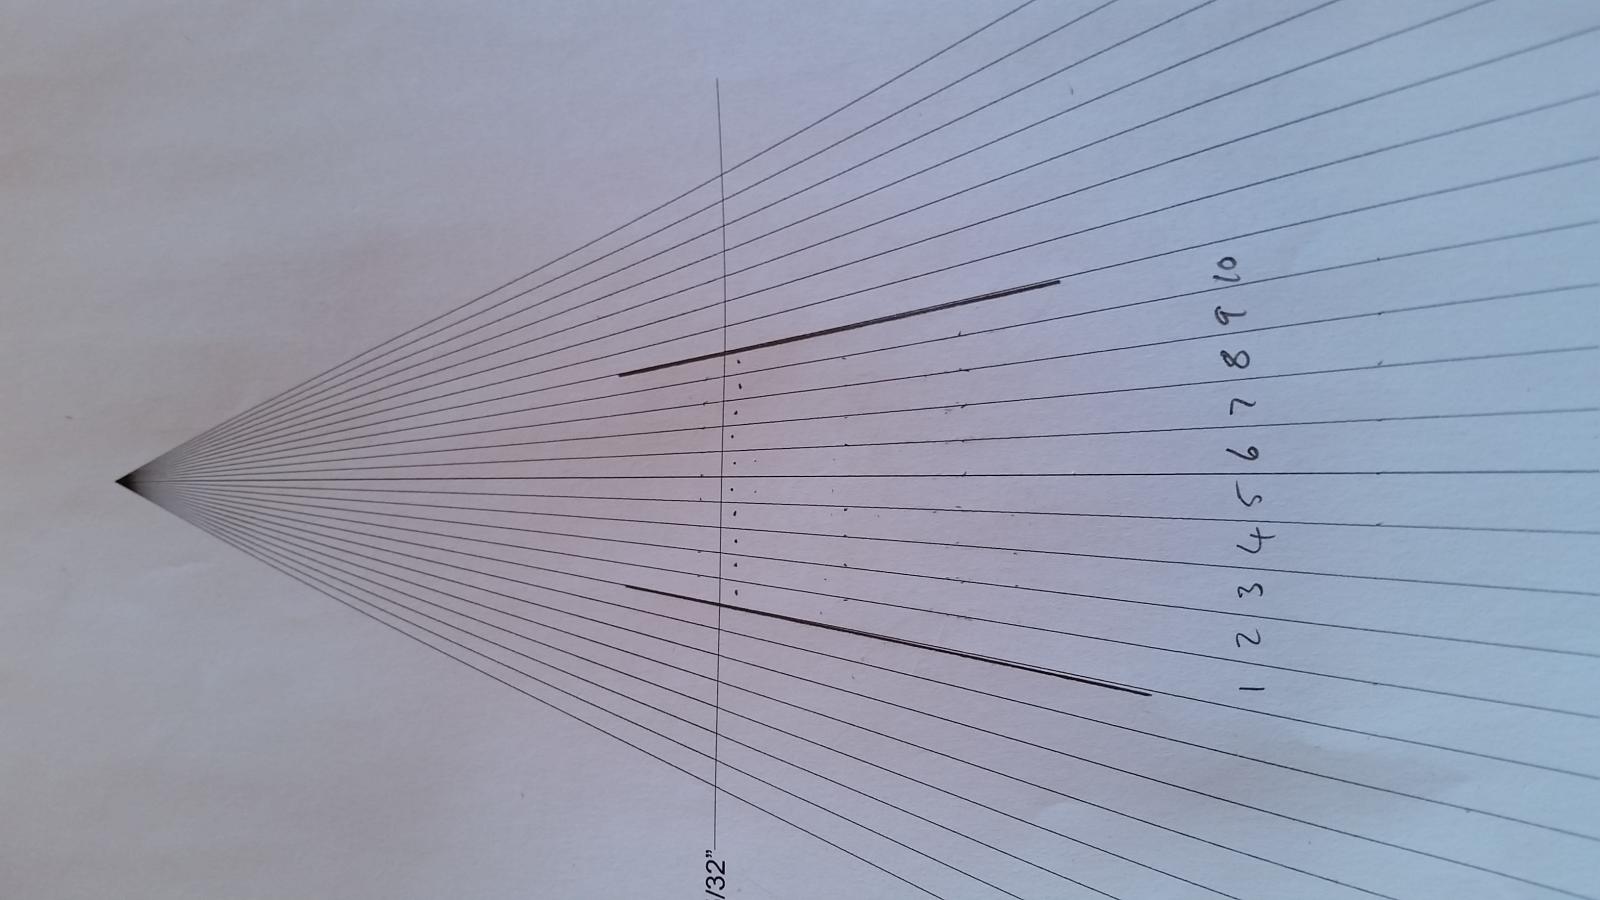
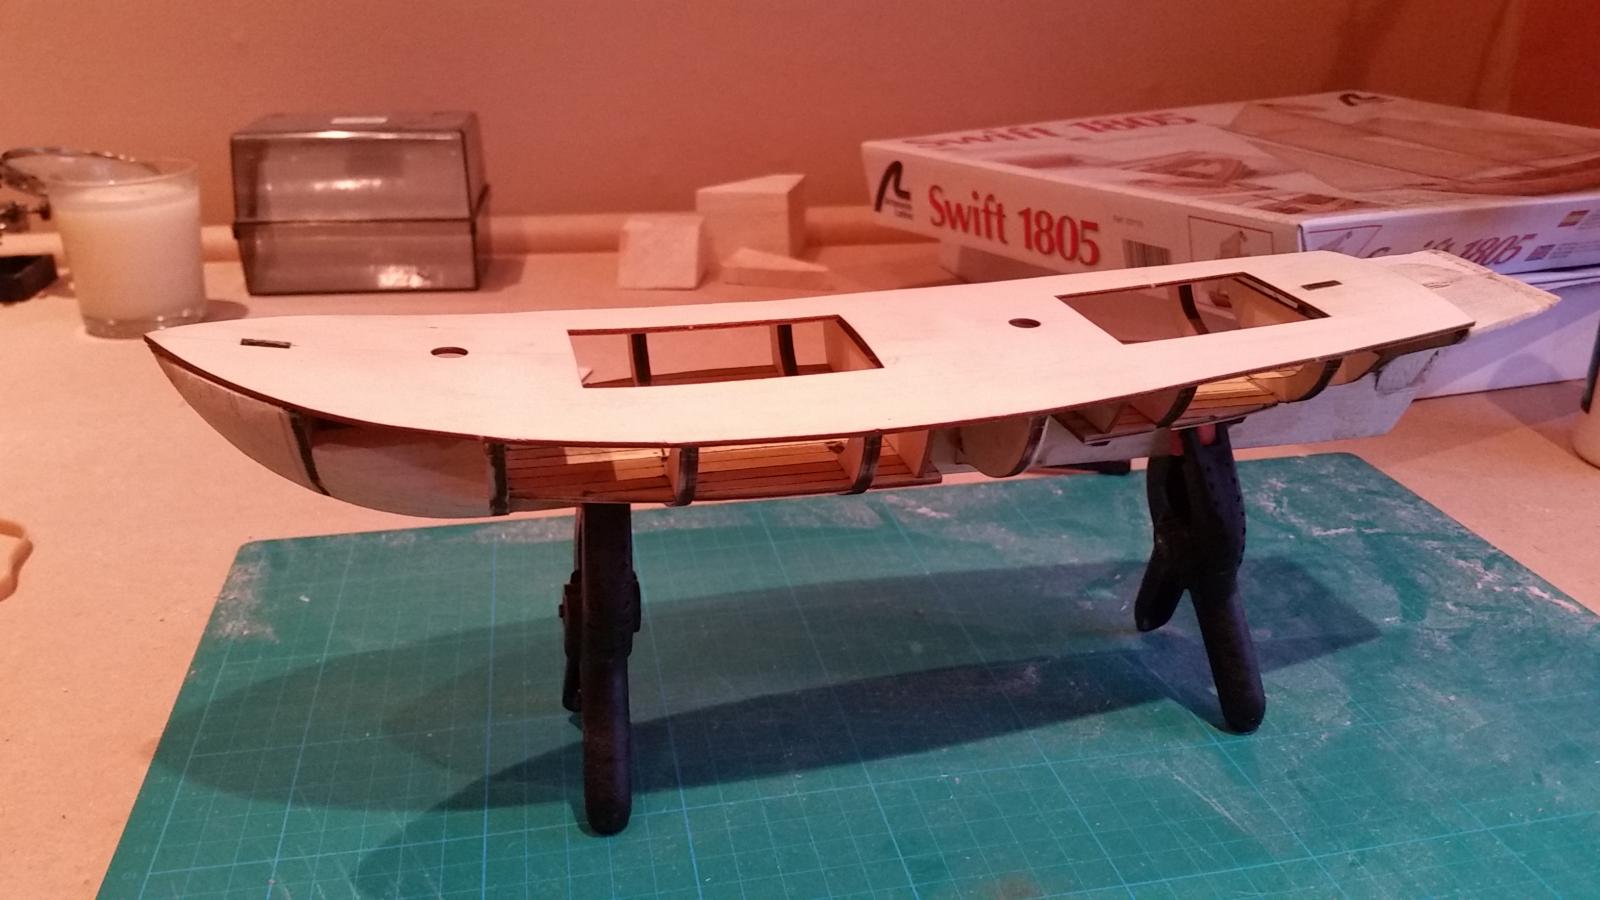
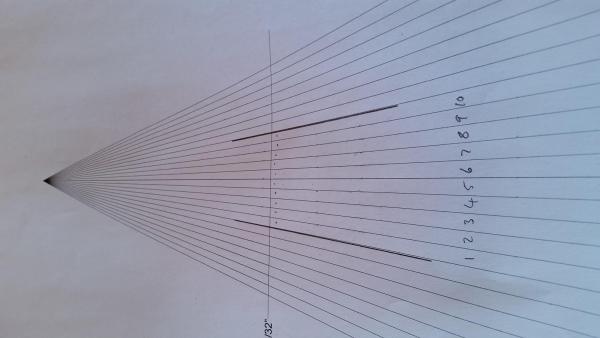
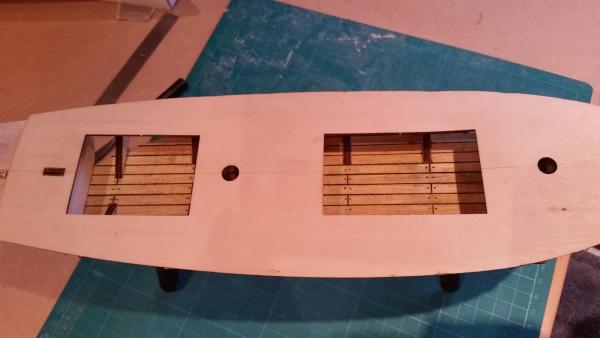
Marking out the bulkheads for planking using a planking fan. Please let me know if I've got this step correct. I cut a piece of thin card to fit the centre bulkhead (#5), this gave the true length of the bulkhead between the garboard and sheer plank. I laid this card strip on the planking fan so that each end of the strip was touching a line. I slid the card strip along the planking fan until I had 10 planks (the space between each line represents a plank width). I then marked the lines on the card strip. Laying this strip with pencil marks back on the bulkhead I transferred the marks onto the bulkhead (please note the following photo is not bulkhead #5) I repeated these steps for each bulkhead. It can be noted that the width of the planks will vary as the true length of each bulkhead is different thus the 10 planks will vary in width to fit.


- 153 replies
-
- 1
-
-
- swift
- Artesania Latina
- (and 1 more)
-
Absolutely fantastic explanation, thank you Dee Dee for taking the time to give such indepth input. I'm learning so so much from you guys. Thank you everyone who is contributing to my build log. I genuinely would not be able to do this without you.
- 153 replies
-
- 1
-
-
- swift
- Artesania Latina
- (and 1 more)
-
The instructions, I'd forgotten them . I knew I'd seen it somewhere. Did no one follow this stage? I must admit I've been using the forum for instruction and had genuinely forgotten the ship came with some. Mind you the wife says to me all the time 'you never read instruction, is it a man thing?'. Nothing new there then.
- 153 replies
-
- 1
-
-
- swift
- Artesania Latina
- (and 1 more)
-
Quick question Did no one put a plank half way between the sheer plank and the garboard plank?
-
thank you all for your encouraging comments, it really does help spur me on.
- 153 replies
-
- 1
-
-
- swift
- Artesania Latina
- (and 1 more)
-
Garward I'm such an idiot, thanks for the correction. I've got the plank on the other side now. The twist doesn't match up as well as I'd like, I'm currently considering what to do about it (probably see what it looks like after sanding). So it's out with the planking fan to mark out the bulkheads but not before checking out the other swift build logs I'm following.
- 153 replies
-
- 1
-
-
- swift
- Artesania Latina
- (and 1 more)
-
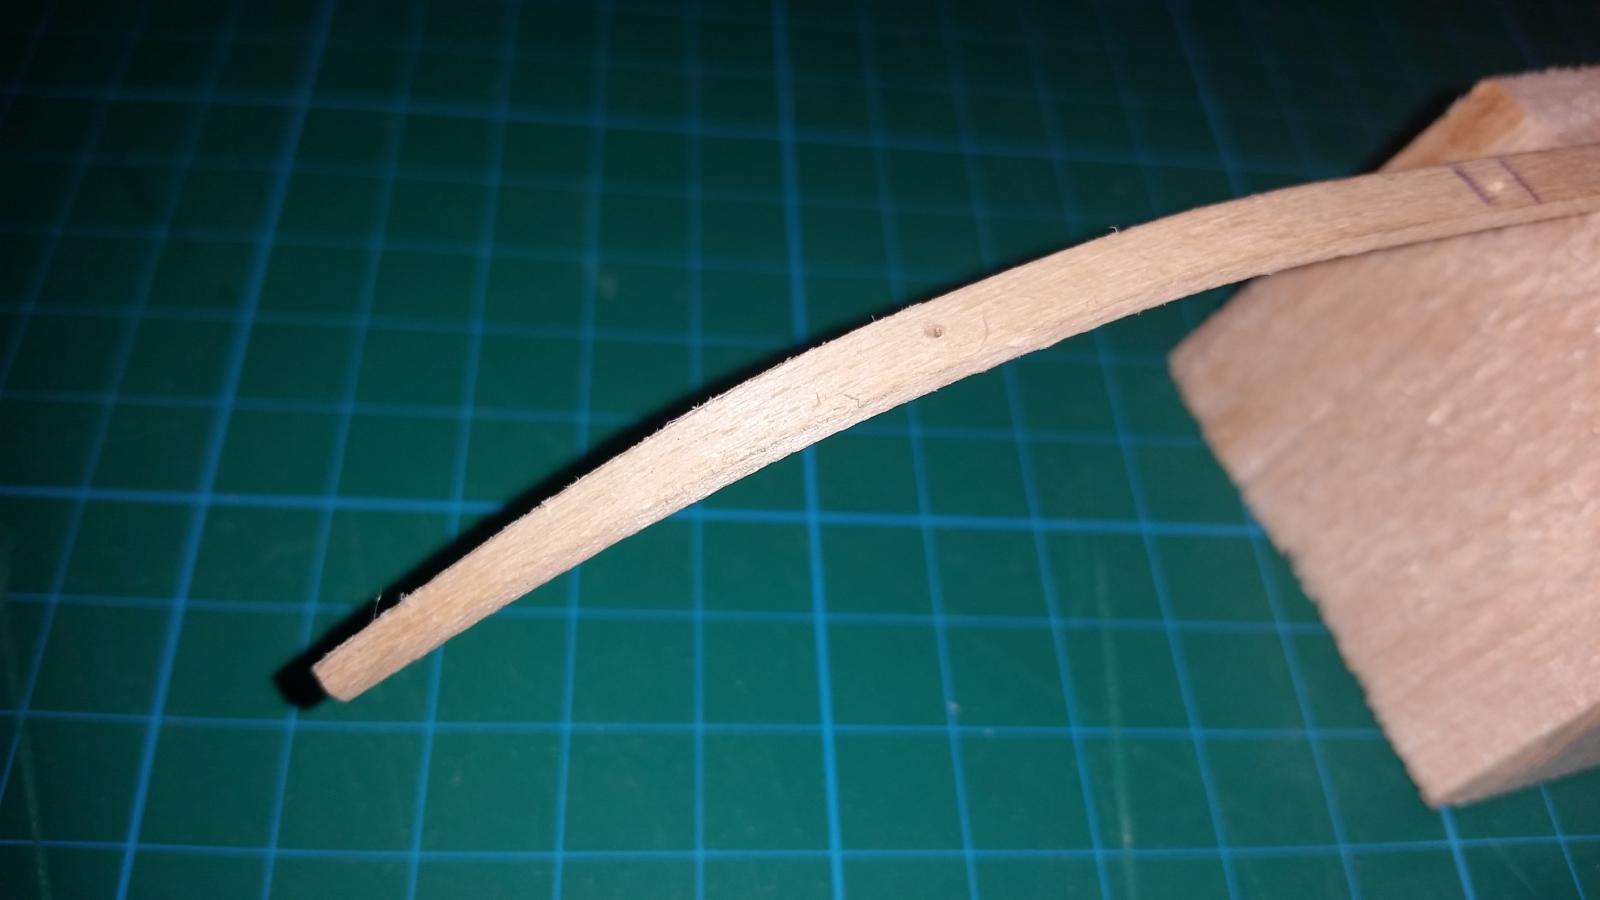
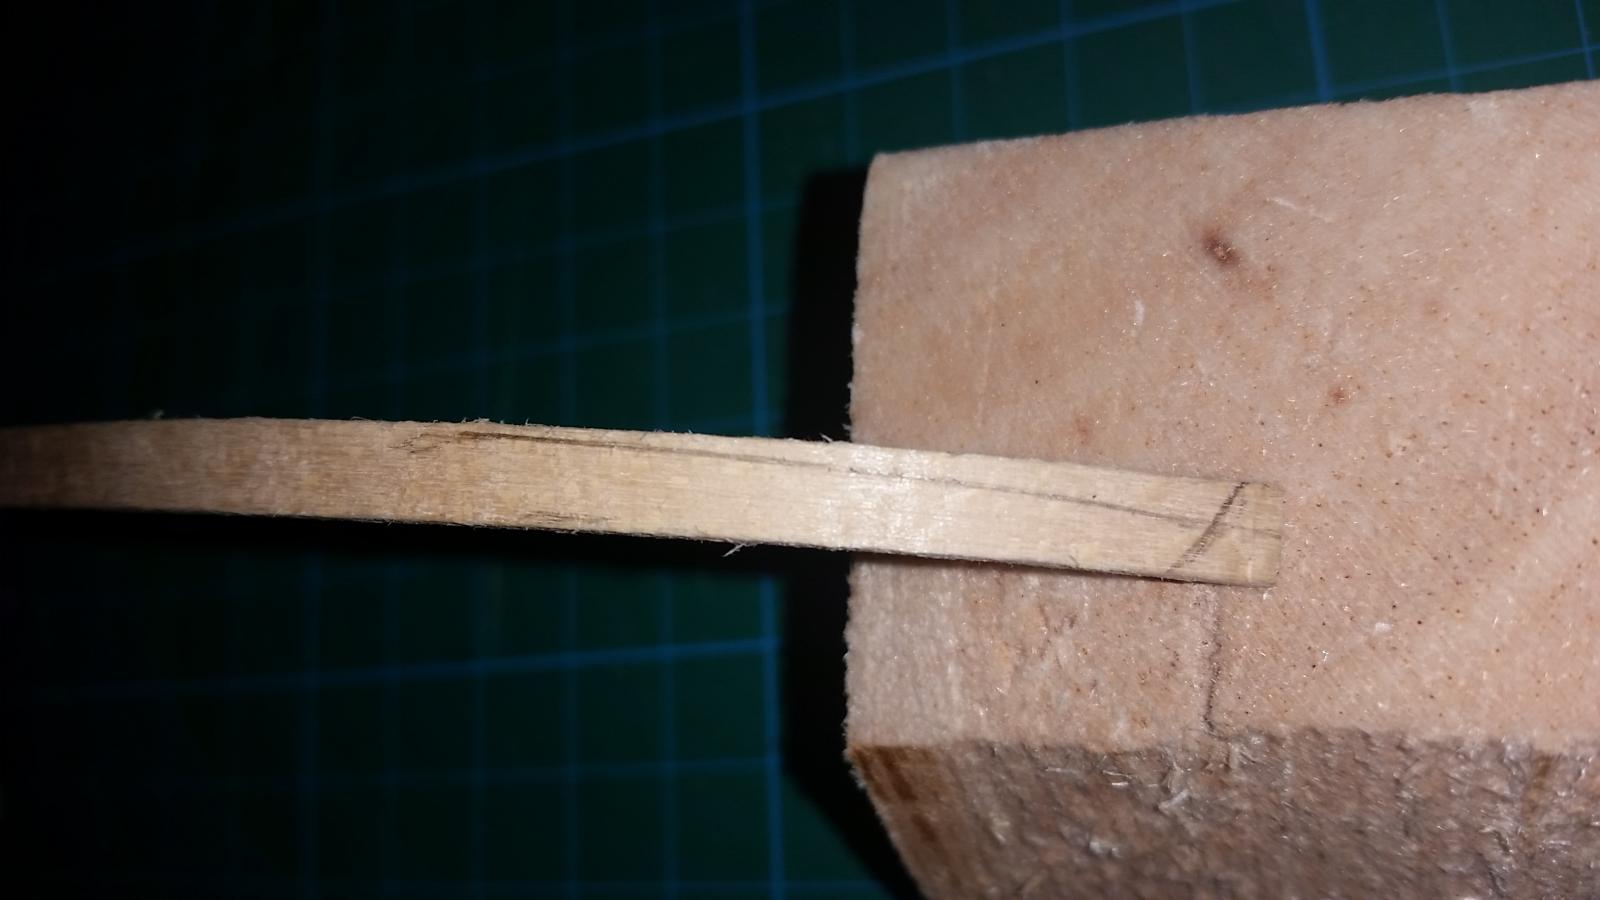
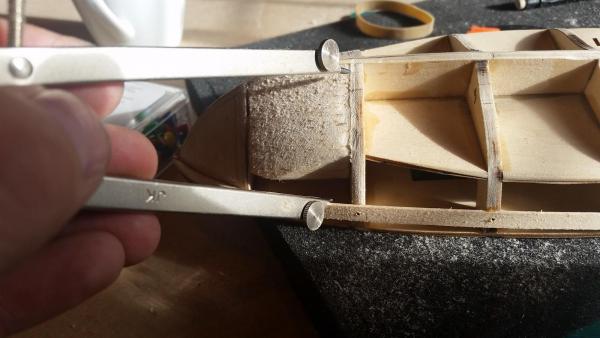
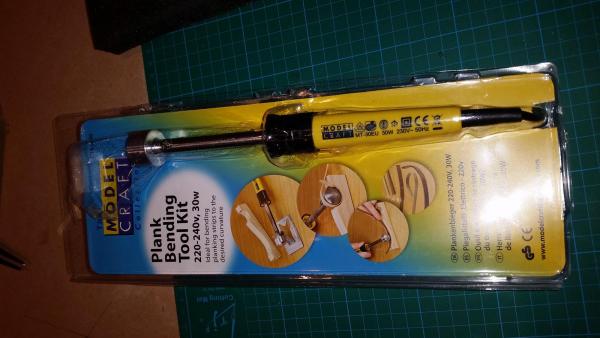
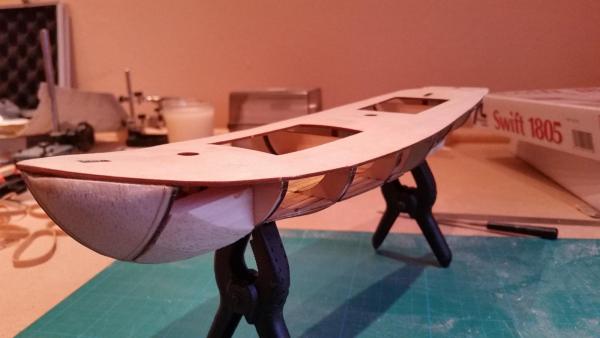
It's garward time. Here's what I've done. Having thinned down the false keel I started work on the garward planks (garward? I think that's the right term). The twist Firstly I soaked the two planks (cut slightly over length) in hot water for about 20 minutes. I then clamped one end in my machine vice and placed a clamp on the other end. Rotating the clamp through 90 degrees and left to dry. Secondly, I took a compass and set it to the distance from the underside of the sheer plank and the top of the garward plank in the area of the middle bulkhead. Placing the pre bent garward plank (soaked in water and bent using my fancy electric hot plank bender) in place I drew the line I wished to sand to. The needle of the compass ran along the sheer plank and the pencil simply drew a line on the garward plank. Sanding the plank to the pencil line and chamfering the top and bottom edge to allow close fitting to the following planks, with a lump in my throat I glued the planks in place.

- 153 replies
-
- 2
-
-
- swift
- Artesania Latina
- (and 1 more)
-
Thanks for the heads up, I moved the bands as you suggested and it did give a better line.
-
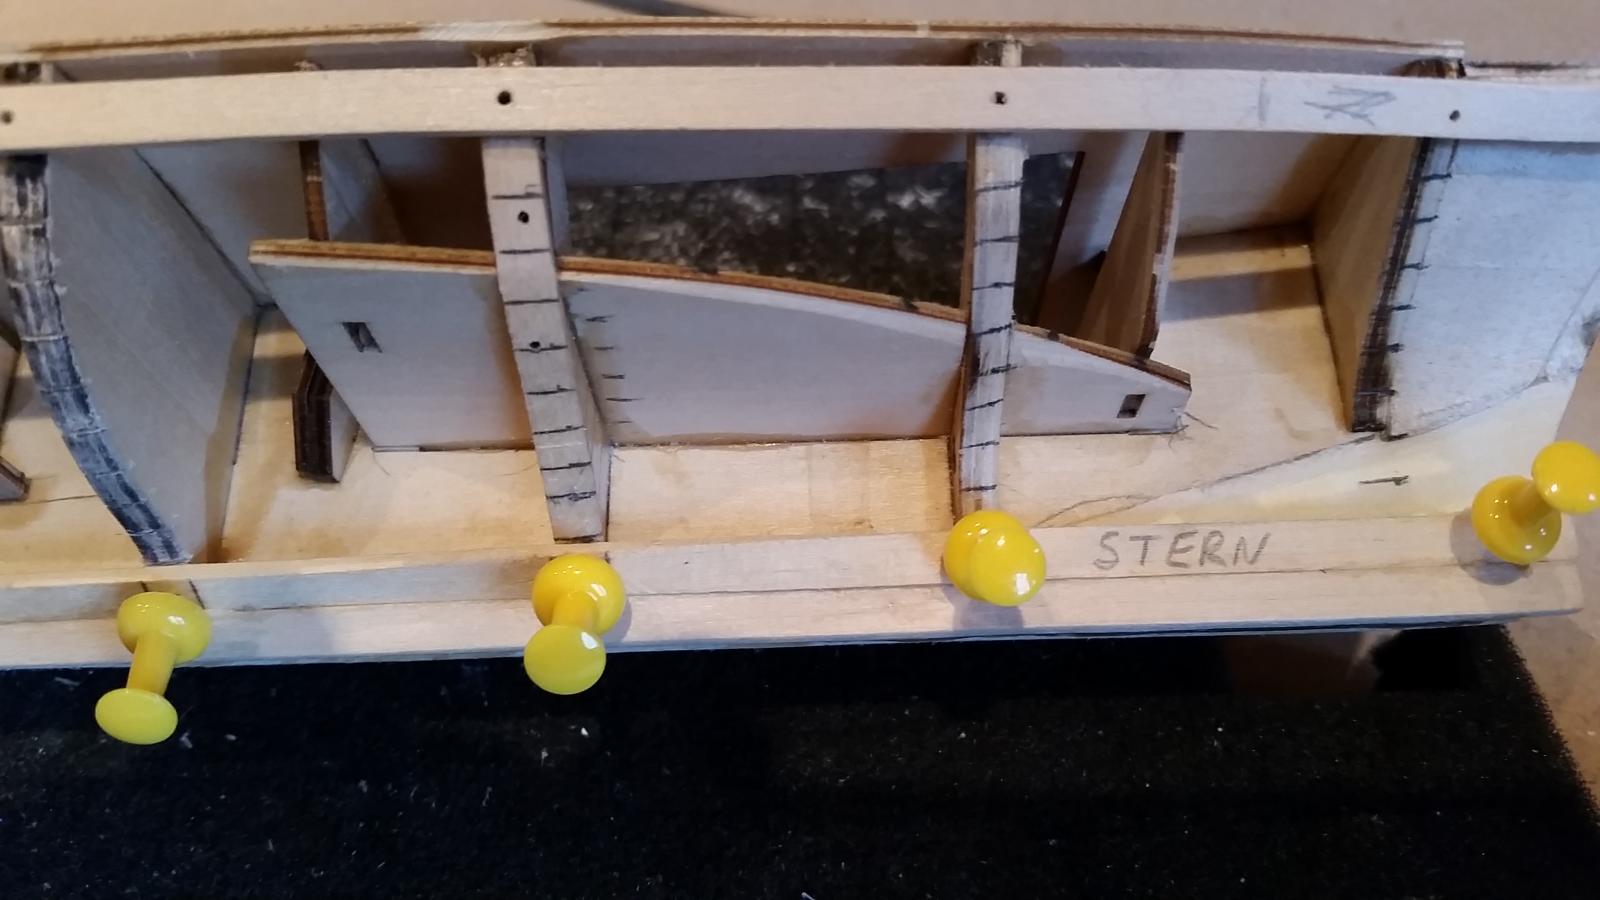
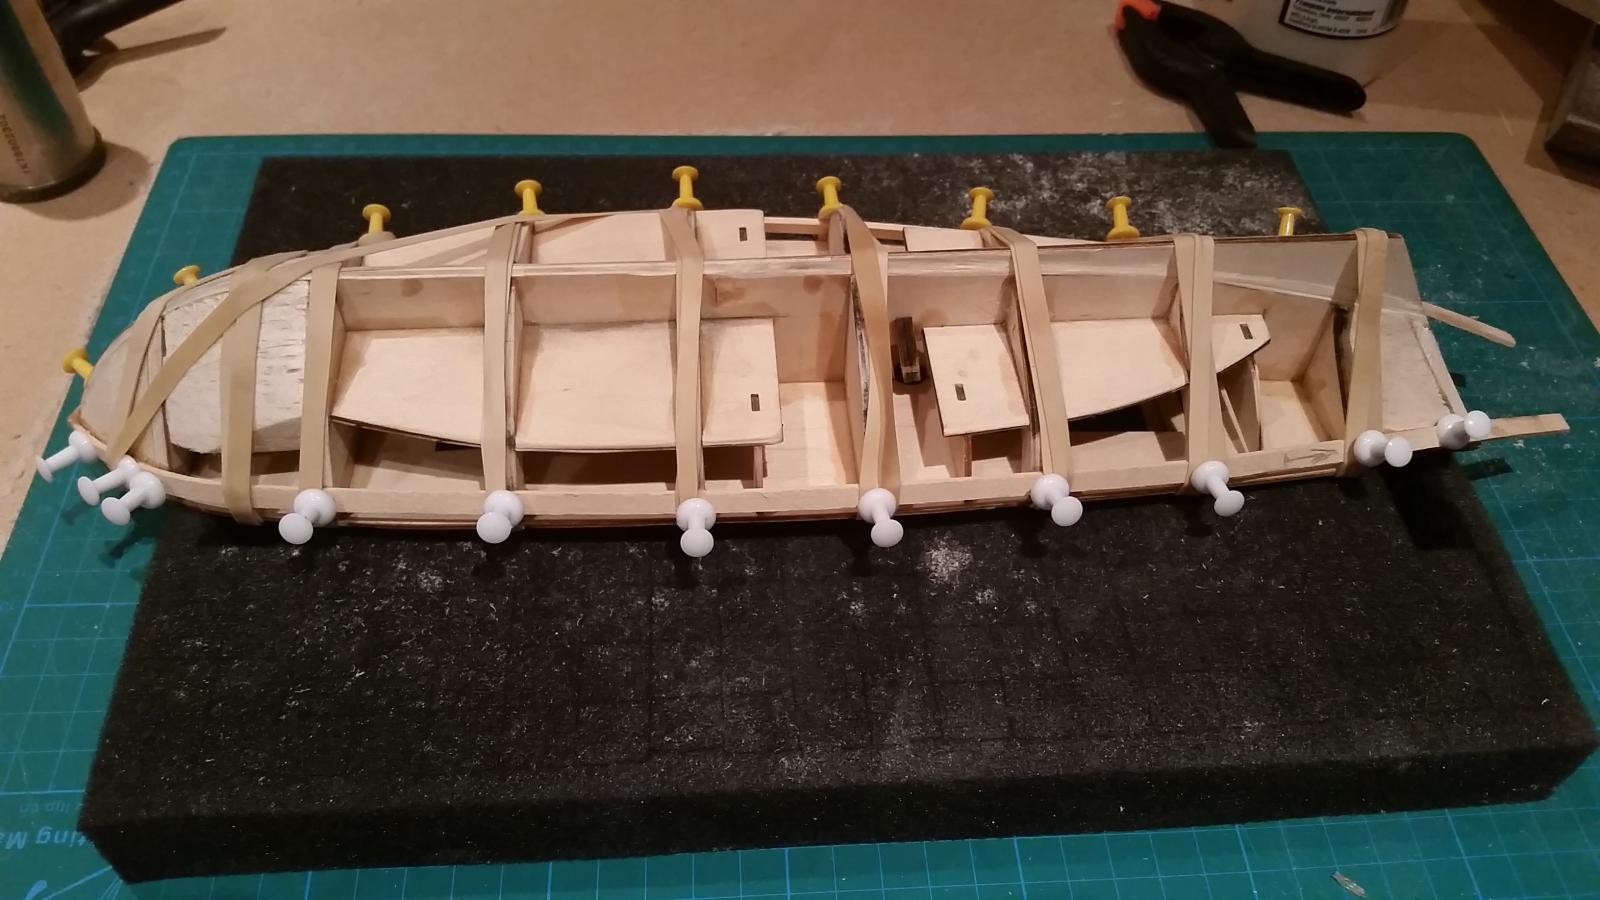
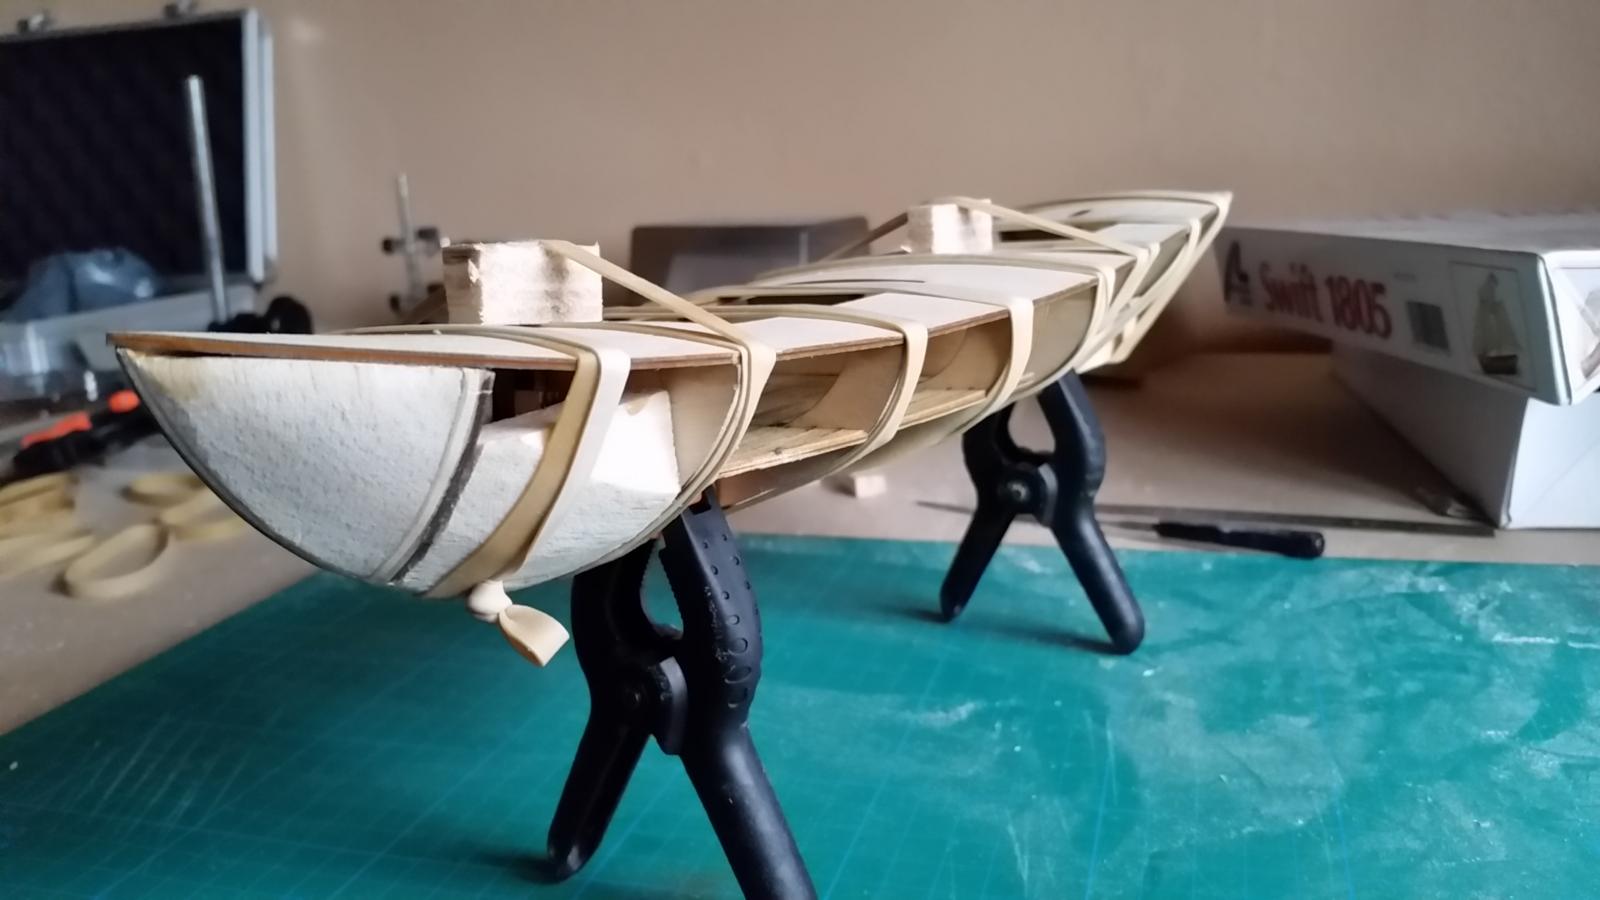
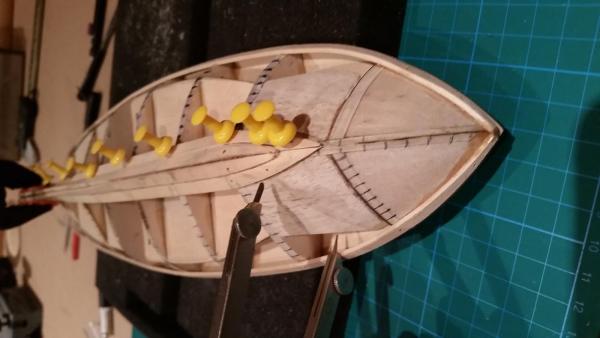
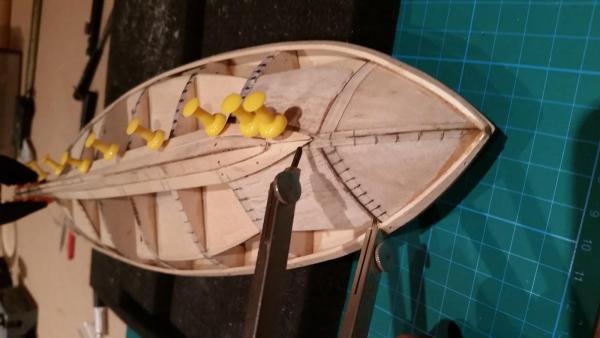
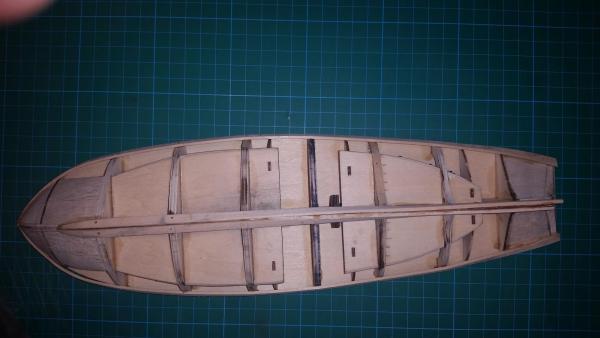
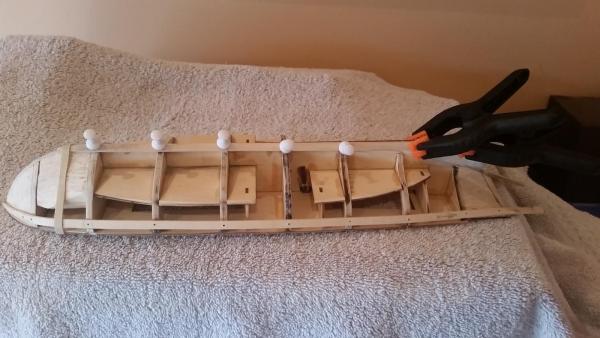
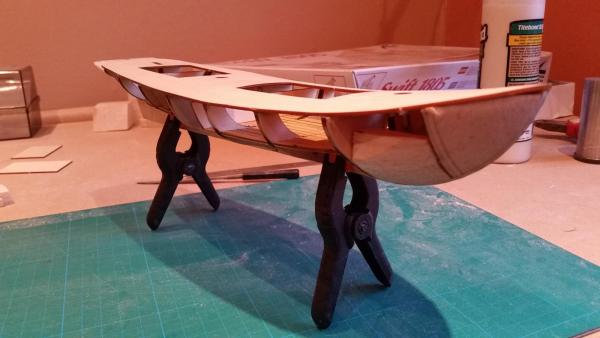
I've only gone and done it!!! Fitted my first two planks, I sooo hope they're right. After dry fitting to ensure I'm happy and that they look pretty even on both sides I glued them in place. Pinned and elastic banded, just to be sure they do not move A bit of extra weight to to help hold the transom area in place. oh, and a new toy too.


- 153 replies
-
- 2
-
-
- swift
- Artesania Latina
- (and 1 more)
-
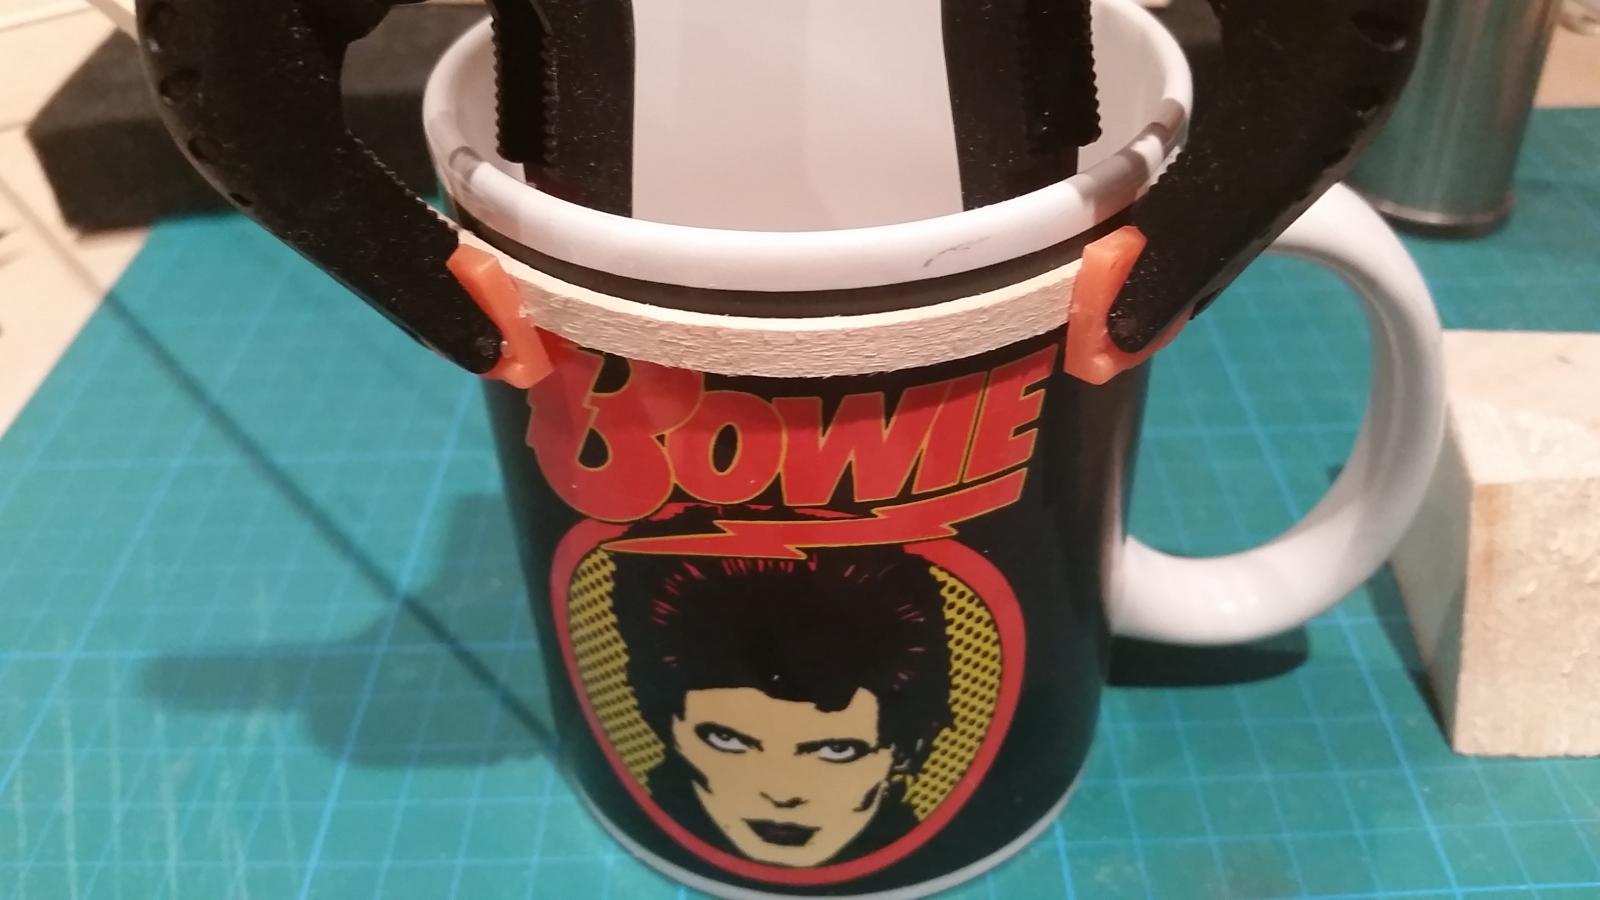
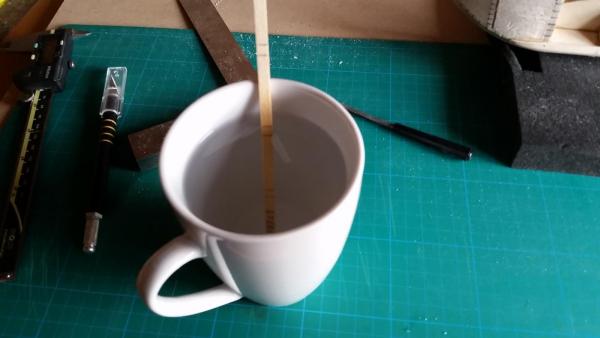
OK, thanks in great part to Keith for the great and patient advice I think the first penny has dropped. Please let me know if I'm barking up the wrong tree. Dry fitting the sheer plank. 1...I soaked 2 planks in hot water for about 15 minutes, then using my favourite mug and a couple of spring clips I wrapped the planks around the rim (following my mentor Keith's example of rock inspired bending). I put a clip on the end of the plank and eased the plank around the mug for just over a quarter of the circumference 12 o'clock to 4 - 5 o'clock if that makes sense. I left the planks overnight so that they would largely hold the curve. 3...Now, I'm hoping that the next step is correct? I took a compass and set it too 3mm (the measurement from the top of the bulkhead) + the thickness of the false deck. Using the compass set at this measurement, I drew the point along the top of the false deck drawing a line along the top edge of the dry fitted plank. This produced a line on the plank. 4...Using a craft knife, I whittled the plank to this line finishing by sanding. The bottom edge of the plank is untouched and simply follows the line it naturally wants to. Refitting the plank the top edge now follows a 3mm line from the top of the bulkheads. So my question, Have I got this correct?


- 153 replies
-
- 1
-
-
- swift
- Artesania Latina
- (and 1 more)
-
has anyone got a description on how to do this method?
-
wow, what great work.
-
It's hard to put into words what your thinking sometimes. I mean the planks go from a gentle convex curve to a somewhat concave curve. I noticed that on one build log there was a fair bit of filler added to this area, I've faired to try and smooth this area out. I'm with you, I ideally want the 1st planking to be just as good as the 2nd.
- 153 replies
-
- 1
-
-
- swift
- Artesania Latina
- (and 1 more)
-
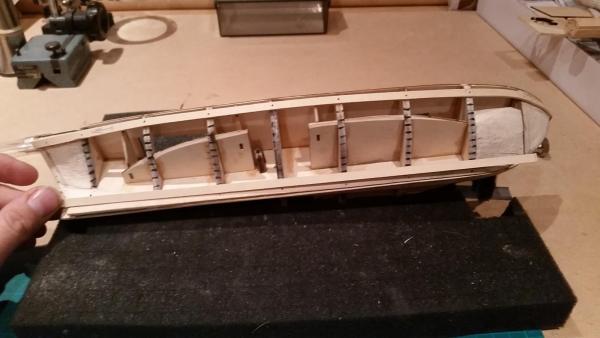
OK, I think I've faired enough and I can put off the planking process long enough. I questioned on another build log the point that: 2nd planking = 0.6mm 1st planking = 1.5mm the false keel = 4mm 1st planking = 1.5mm 2nd planking = 0.6mm total = 8.2mm the stern and keel pieces are only 4mm So to that end I've decided to thin the false keel down to 2mm to minimise the amount of sanding I have to do to the 1st planking. May work out, may not. Time will tell Thin down below this line.


- 153 replies
-
- 1
-
-
- swift
- Artesania Latina
- (and 1 more)
-
Does anyone else's planks 'neck' at bulkhead number 6? I'm trying to get a nice line for my 1st layer of planking.
-
Glue seems to be holding !!! please please please glue hold
- 153 replies
-
- 2
-
-
- swift
- Artesania Latina
- (and 1 more)
-
you can never have enough rubber bands. but dare I take them off is the burning question.
-
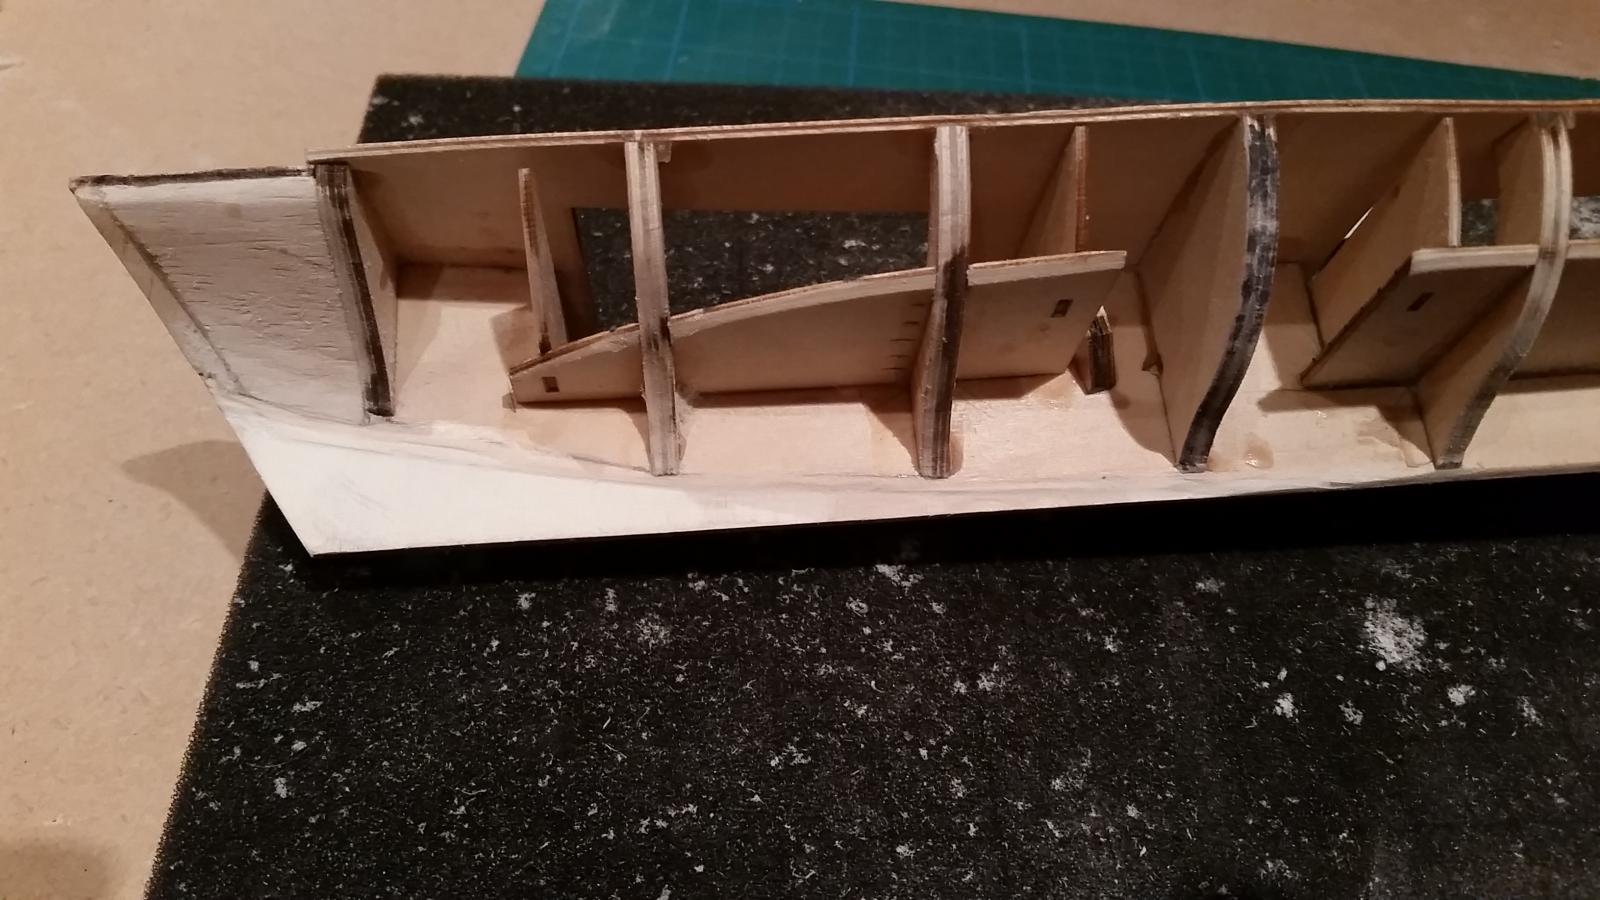
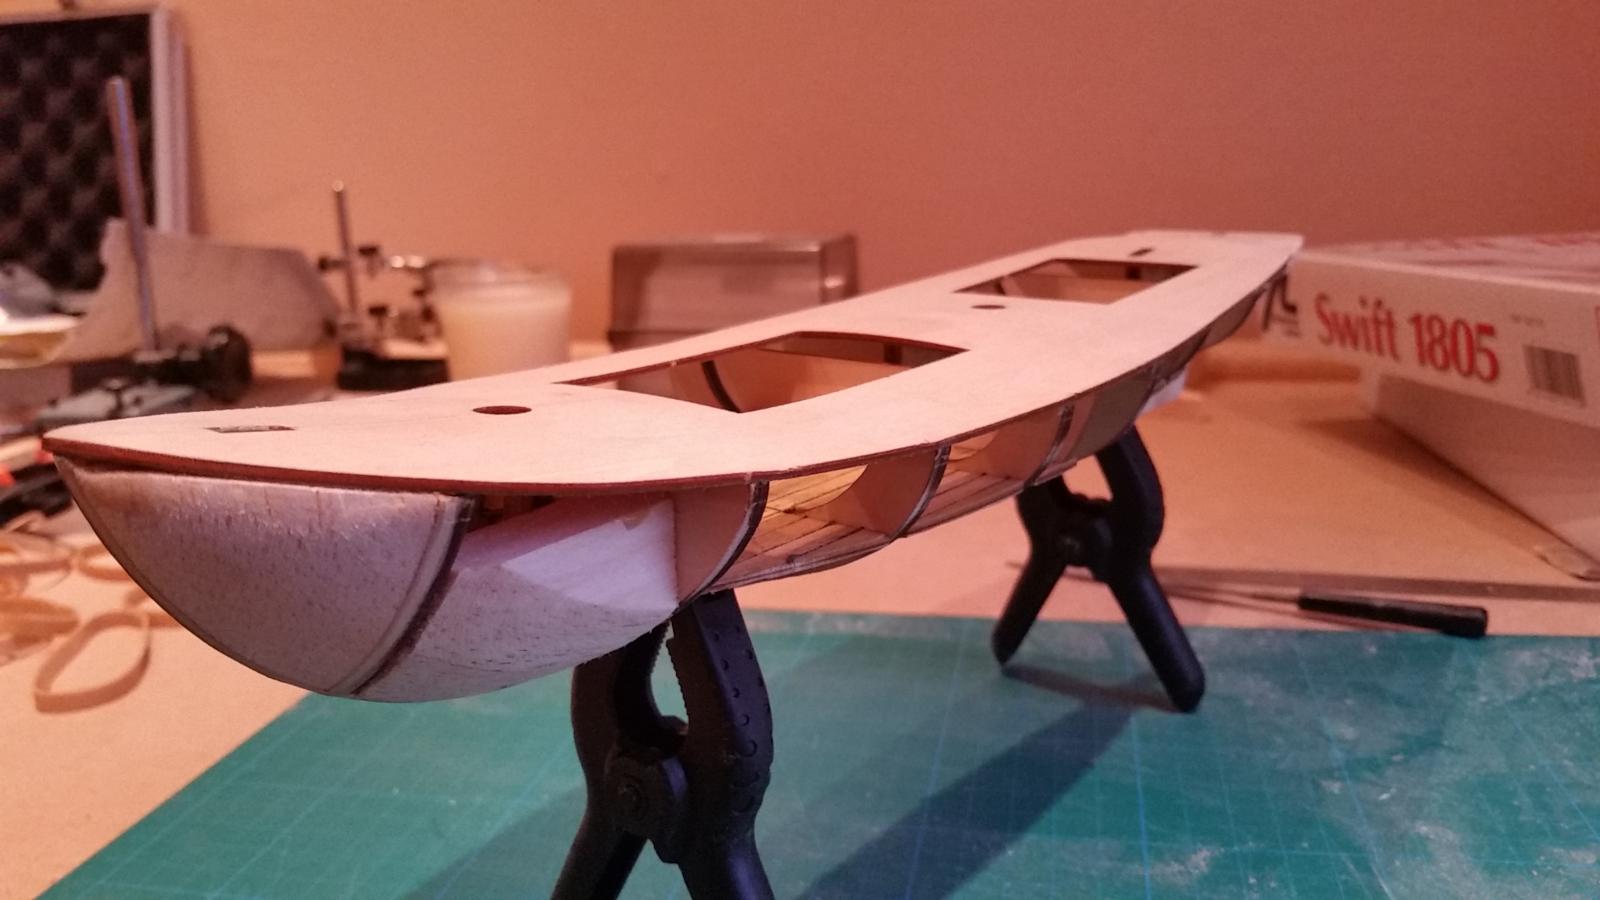
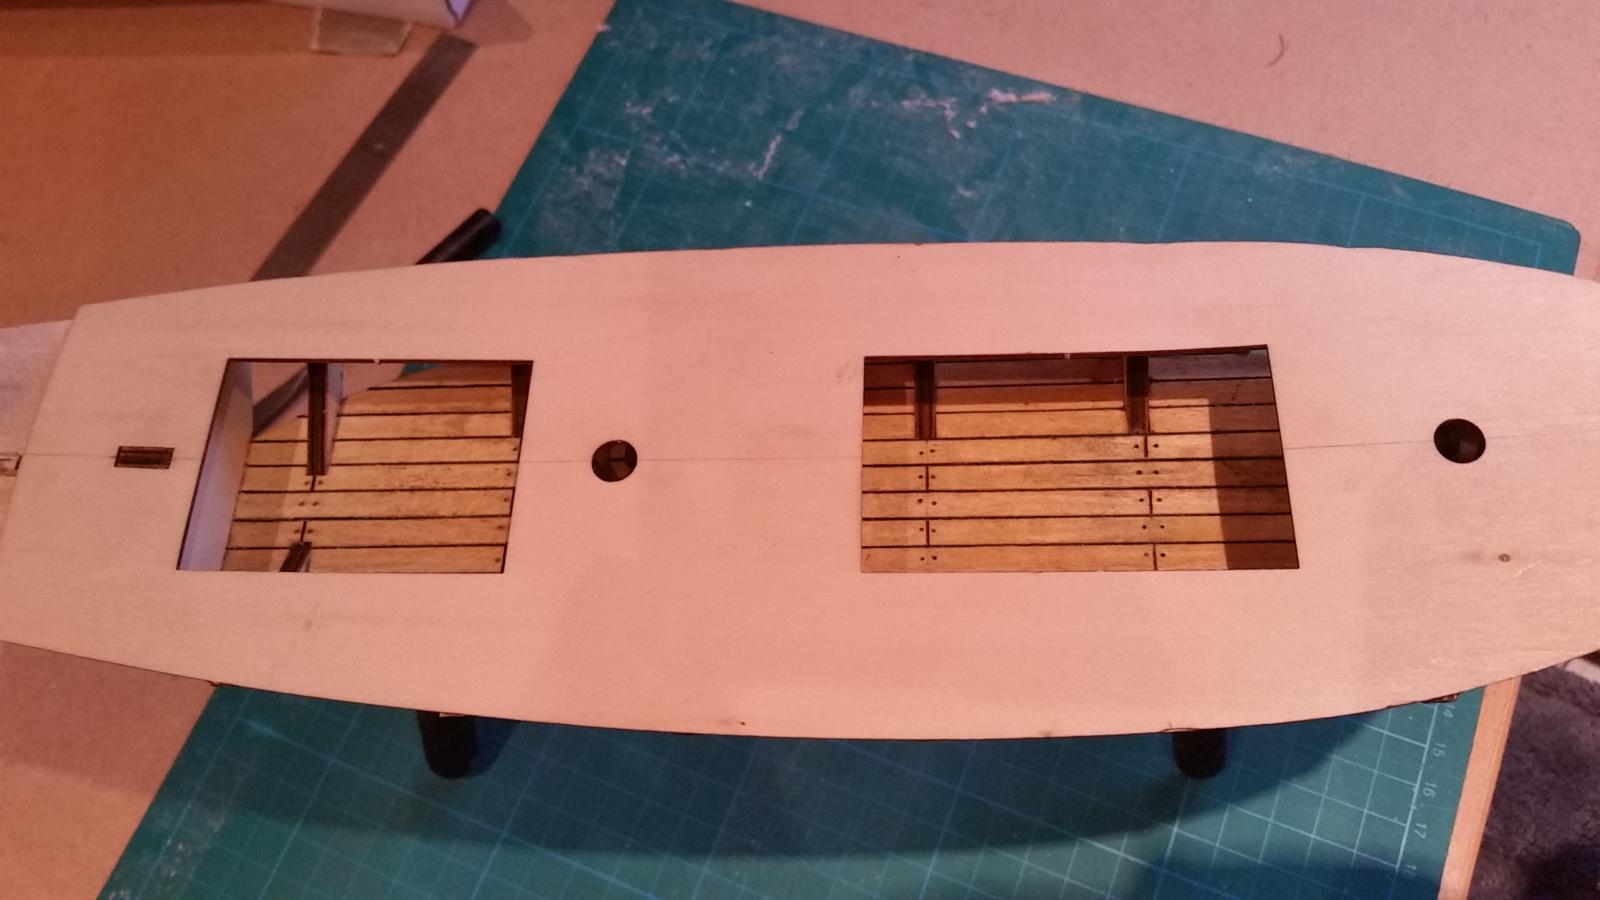
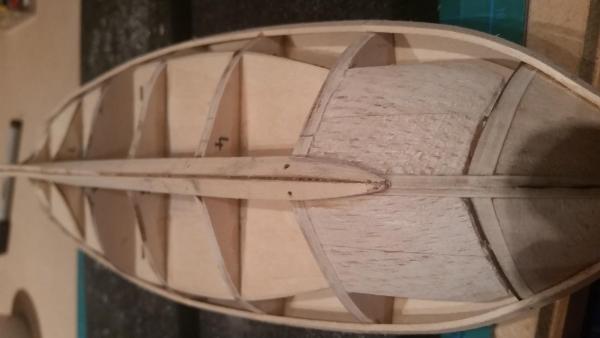
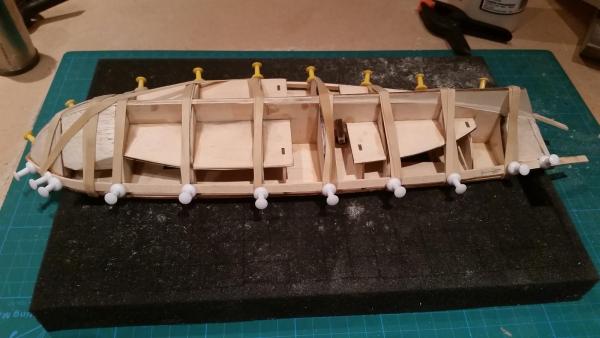
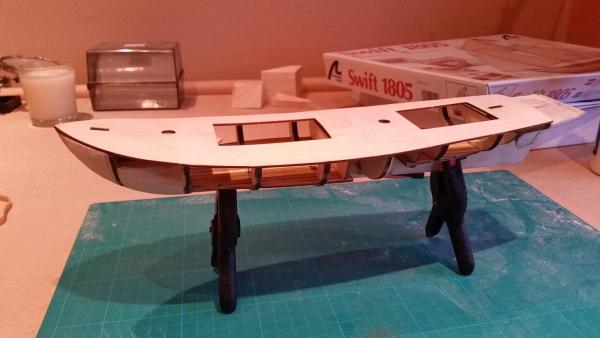
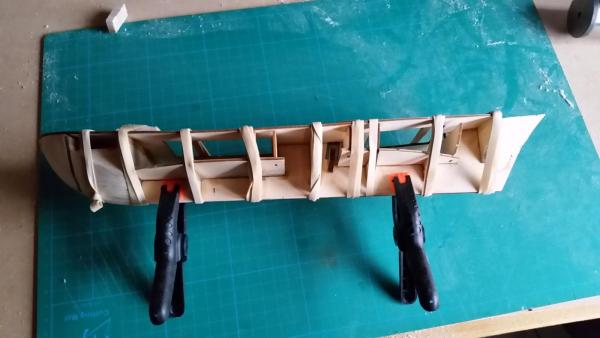
Thank you all for your input, I'm slightly less terrified of the planking stage (slightly). In preparation I've put the false deck on to help stiffen the bulkheads, give me a better idea of the ships lines and something else that I can't quite remember at this moment (it'll come to me). I steamed the deck for 20 minutes and dry fitted, leaving this to cool over night and it did seem to hold it's shape pretty well. I've now glued it in place.


- 153 replies
-
- 2
-
-
- swift
- Artesania Latina
- (and 1 more)
-
That is so so nice, if mine comes out half as good I'll be very happy indeed.
-
Thank you for holding my hand through this process guys, I'm a like a rabbit caught in a cars headlights I've printed a planking fan. Question. What does the 5/32" line mean? I am really sorry if this is a dumb question.