Cricket
-
Posts
20 -
Joined
-
Last visited
Content Type
Profiles
Forums
Gallery
Events
Everything posted by Cricket
-
 Wow. A masterful work of model ship building.
- 421 replies
-
- 3
-

-
- medway longboat
- Syren Ship Model Company
- (and 1 more)
-
Thanks guys. Any chisels that I've used in the past resembled flat head screwdrivers. I've put these in my "stuff to get list" and really appreciate the info.
-
I saw that looking in on your build. I may make the attempt as I would have nothing to loose at this point. I'll do some research on separating the joint and go from there. Thanks.
-
I agree. Sticking with Plan B and using the experience to practice was a big part in my decision to participate in this build. Looking around at other builds, I'll have many techniques to work on. For me it is what makes this a great hobby.
-
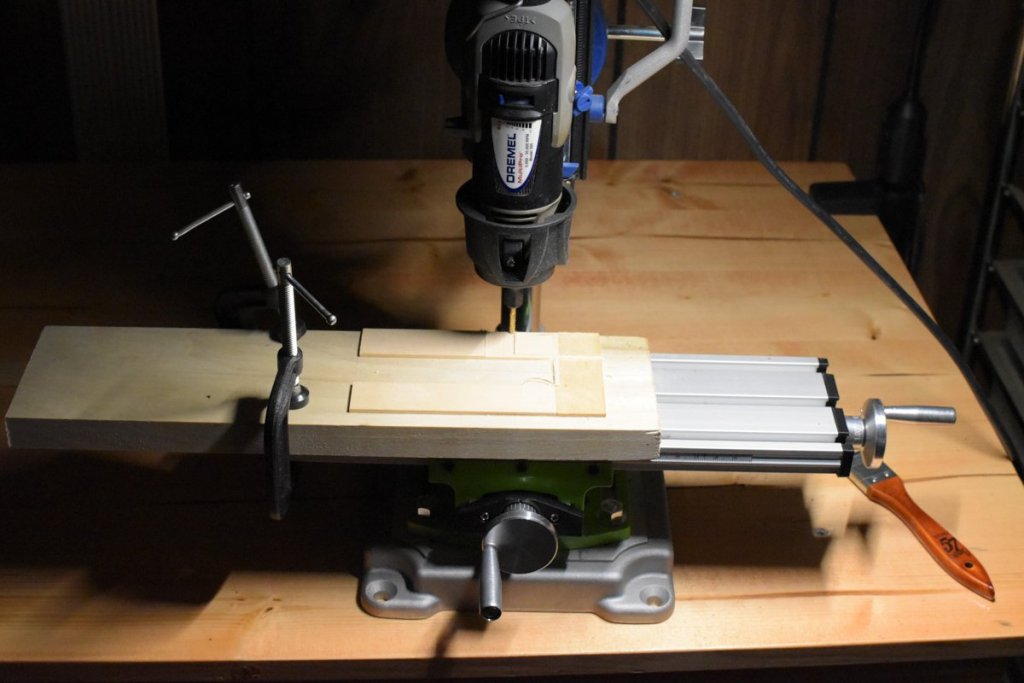
Hi Chuck. Your correct. I mounted the Dremel to the Dremel work station and purchased the Multi-function work table on Amazon from MySweety for around $40.00. It's probably no good for fine accurate work, but so far works good for me. Jeff I'll give the #10 a try. I really just need to practice, and to get some finger/hand/lap 🙄 protectors. Jim, could you recommend a source for mini chisels? I wouldn't know a good set from a bad set, and I almost always question third party product reviews. Thanks much.
-
They both look fantastic Kevin. Especially the scratch built. You did her justice. Gives me something to aspire too along with all the other excellent builders here. Hope it's ok to include a couple pics from our Tobago Cays vacation back in 2010. We flew over from St. Lucia. The last one of Petit Tabac is my current screensaver. Flying in to Canouan A visit to Mayreau And my current screen saver Petit Tabac


-
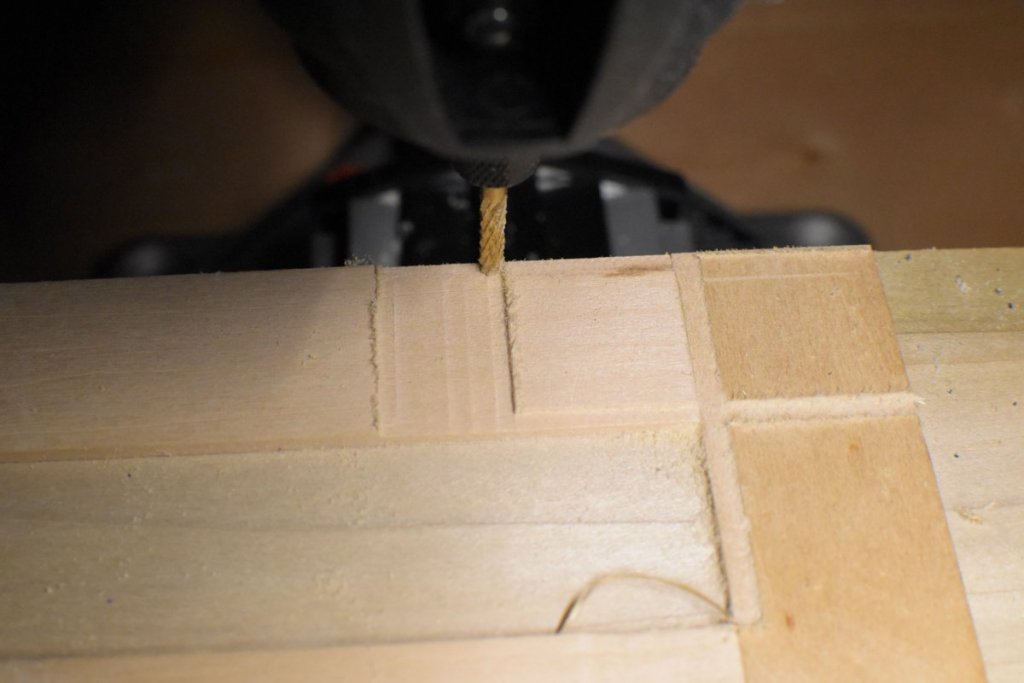
Here's something I found online I should have looked for earlier. It's basically converting my Dremel tool into a small milling machine. With this I could have milled down the keel close to where it would need to be, and finished off carefully with 320 sandpaper.
-
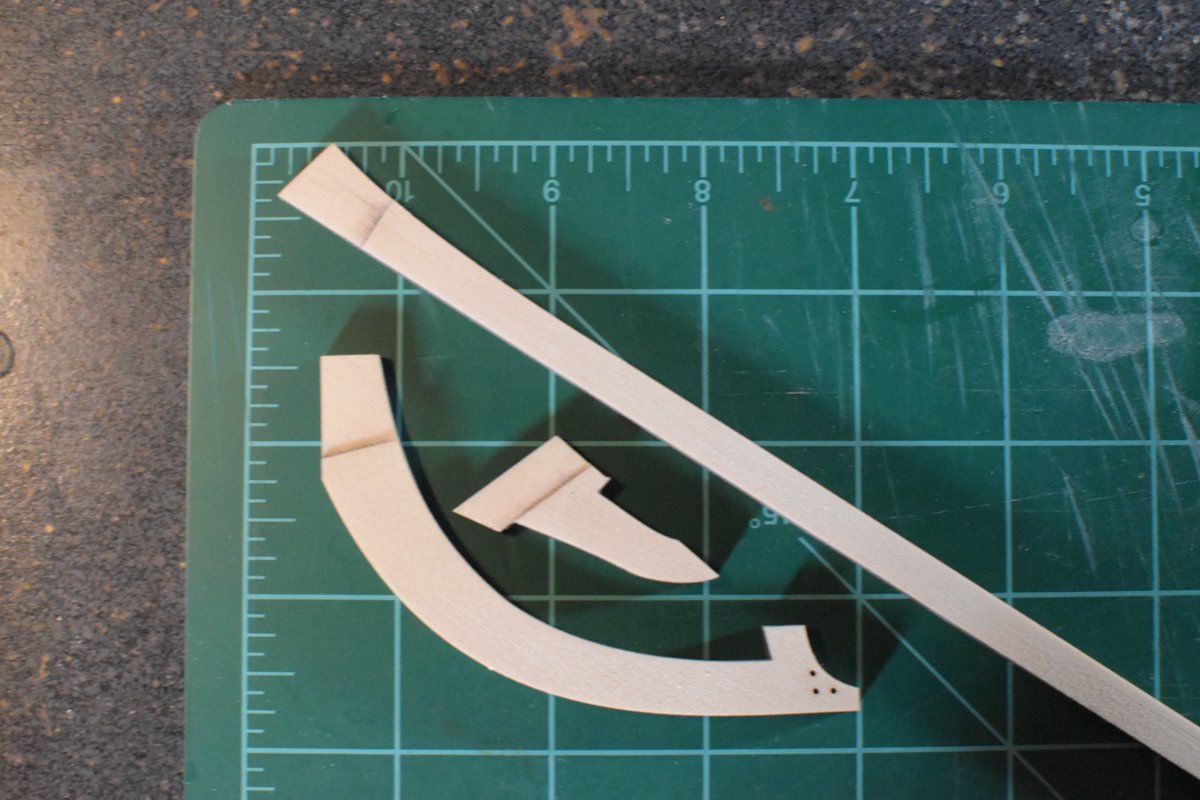
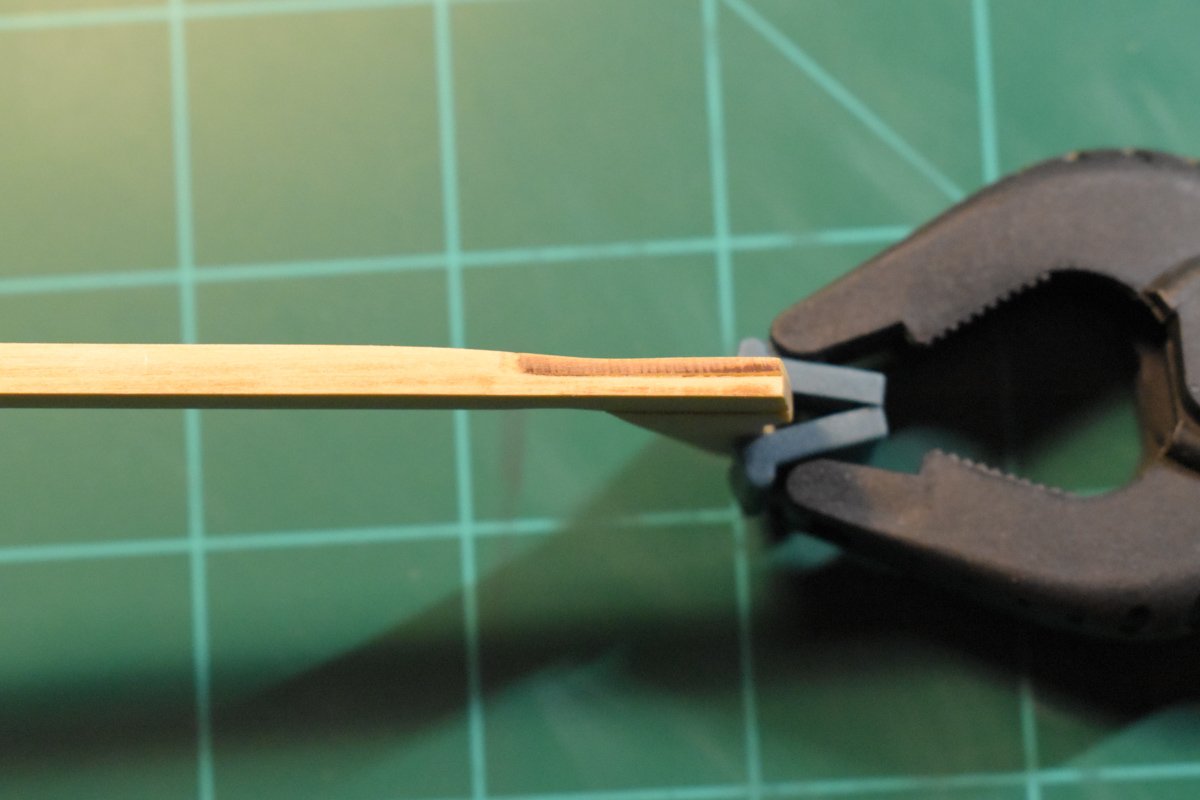
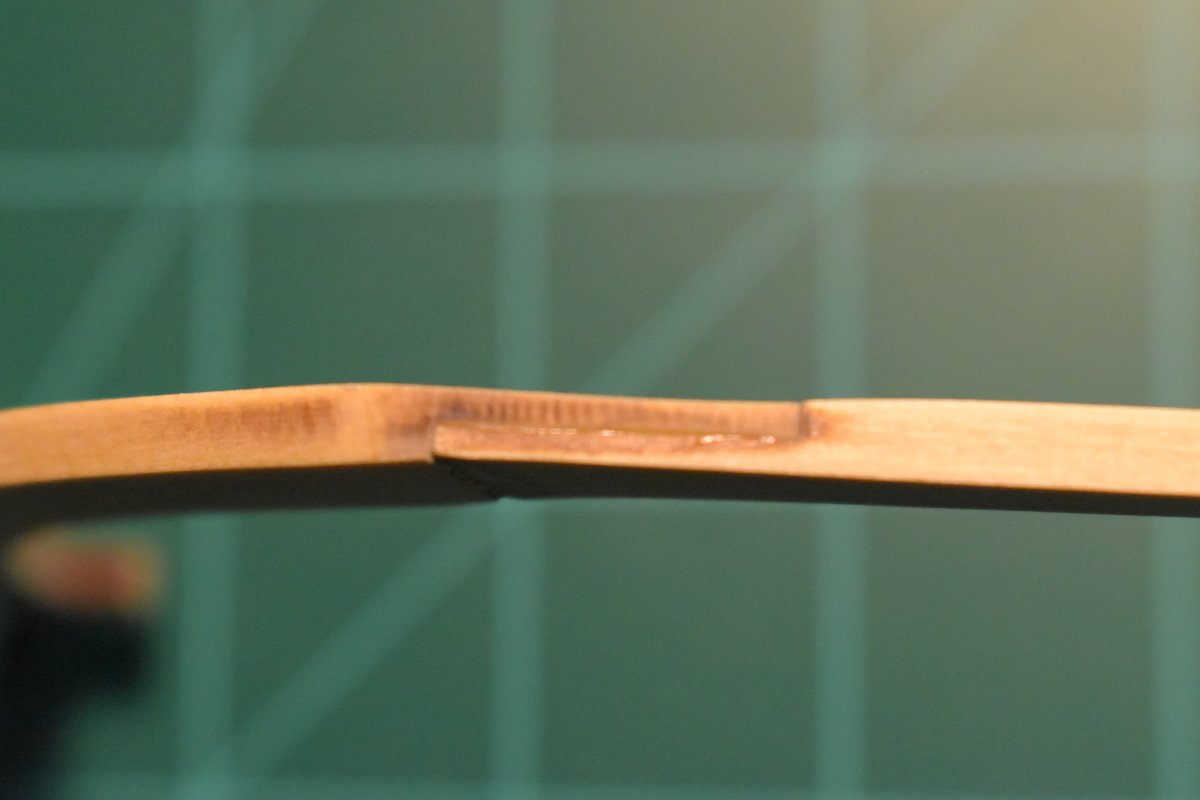
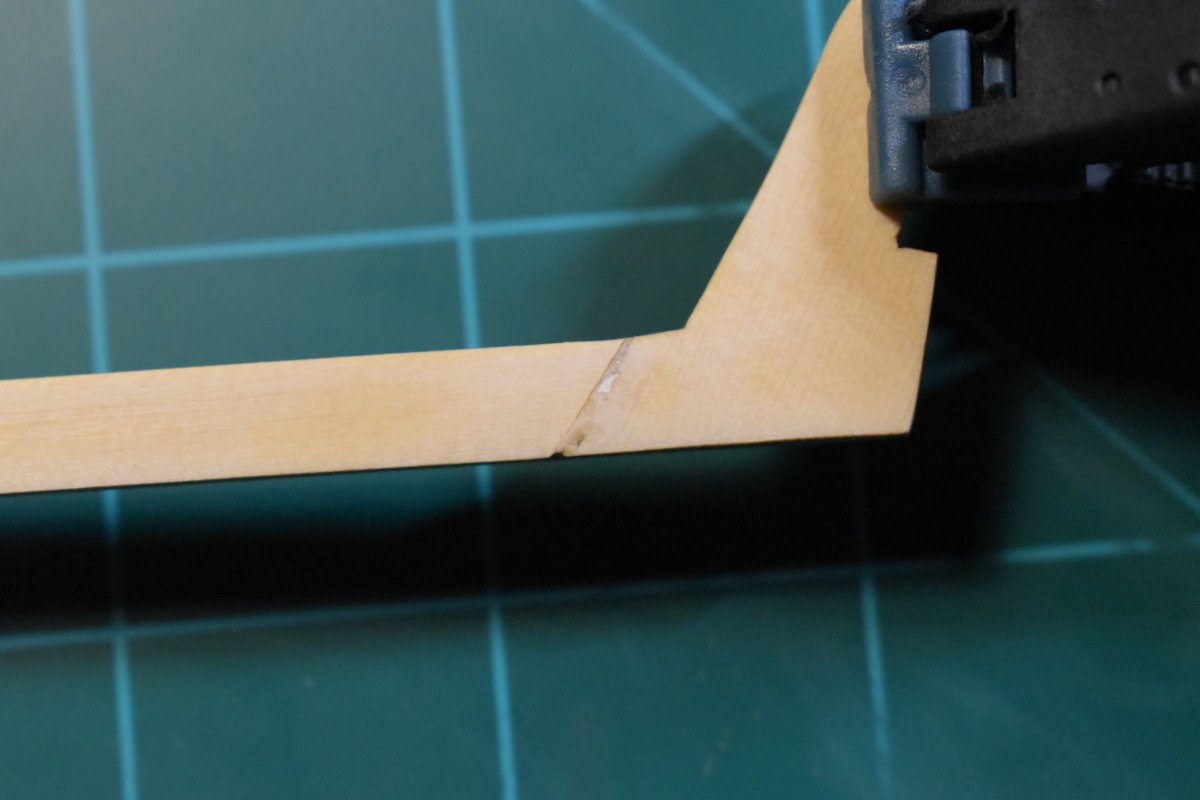
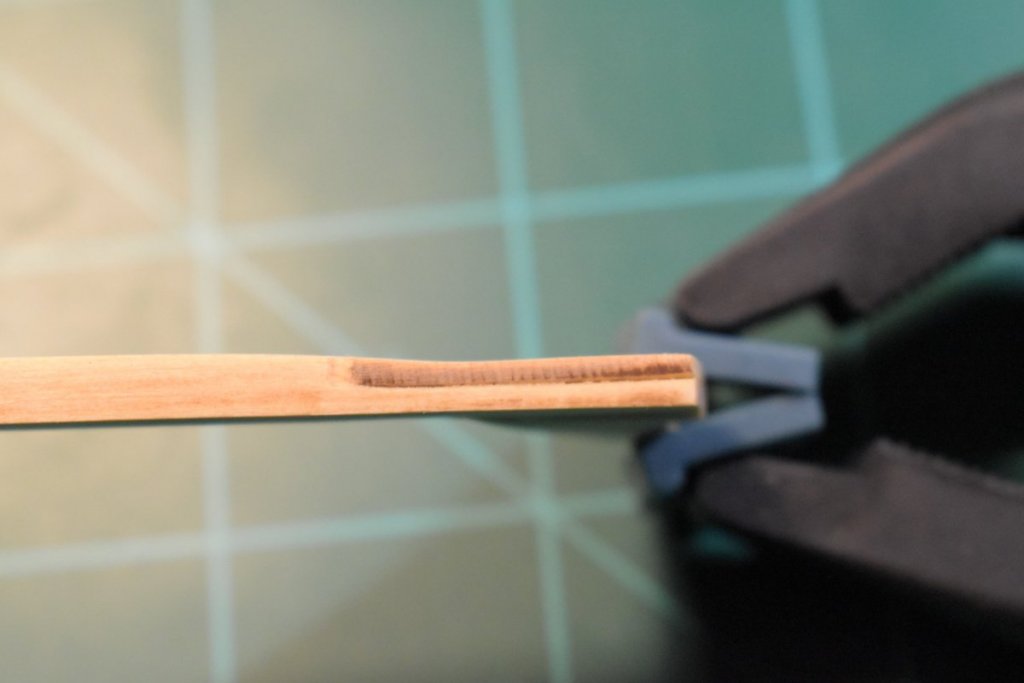
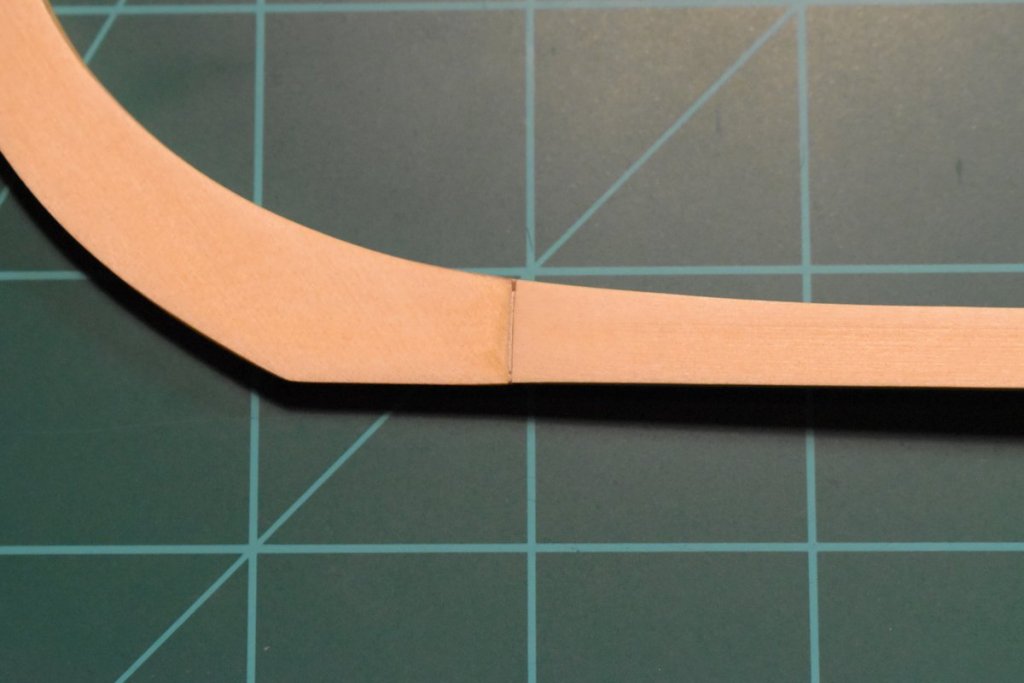
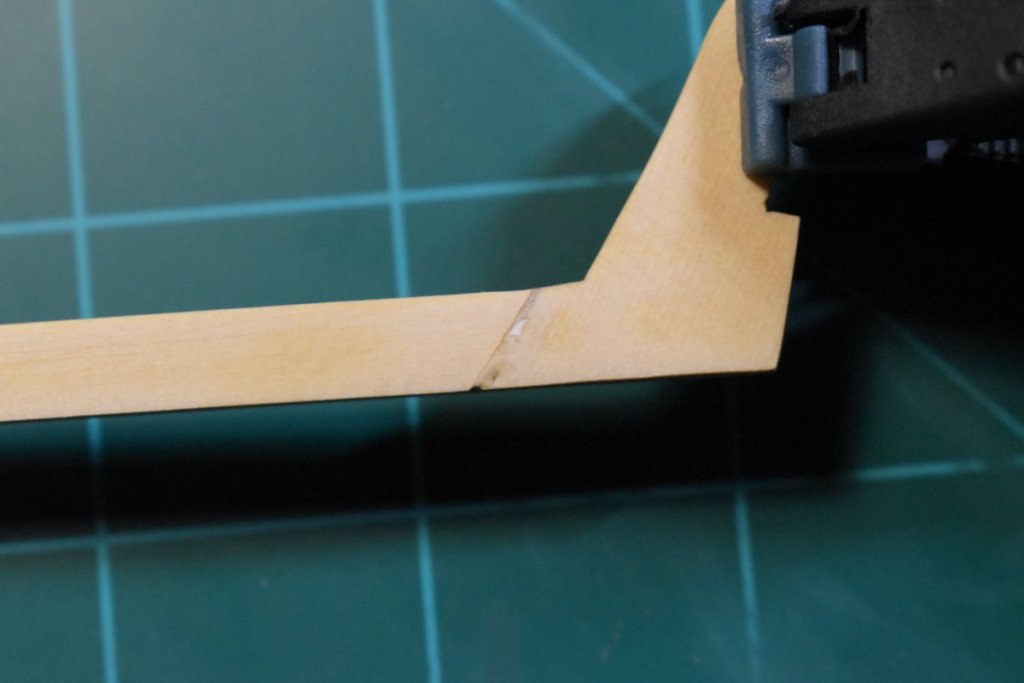
The kit arrived in perfect condition and I proceeded to start on the keel with the lap joint. I realized that I don't currently own any cool power tools except a Dremel, so I started off with the #11 X-Acto and some 220 sandpaper. I found out 2 things. I'm not good at all with the #11, and sand paper. Also I realized I would need to make these joint perfectly level. As per my normal method, I hacked away best I could till I biffed it up. Oh well, this will be added to my list of "things to learn better" and I proceeded with the other keel.


-
I finally found time to sit down and put together where I'm at on this build. As this is my first log, please be patient with any abnormalities or photo aberrations till I can come to grips with this. It's all new. I'm going to start off with a test pic to go through the process, and will go from there. Thanks. Thanks
-
I tried both on a test board of poplar and there is a difference. I'm not an expert on this type of thing, but this is how I tested. I applied three coats of each letting each coat dry with a light sanding between coats using 220 grit sand paper. The end result was as mentioned by Chuck. The water based was splotchy and even a bit shinier in places, while the oil based was smooth and even. There may be a way to apply the water based and achieve the same finish as the oil, but for now I'm going with the oil based.
-
The hard work really paid off. They look fantastic. Sail making is a way off for me as I decided to just show the rigging. When I get ready I will check out Tom Lauria’s videos.
-
Thanks for all the replies guys. I read somewhere that the water based had a duller look so I'm just going to go with the oil. That being said when the kit comes in ( just ordered like 5 minutes ago ) I will give both a try and get back.
-
Quick question on the wipe on poly. Any difference between using oil or water based?
-
Thank you Chuck for doing this. Looking to learn the correct way to model, and there's no better way to learn than from the masters.
-
Mr. Kenny your modeling skills and practicum instructions have inspired me to complete my own Constructo Model of the America. Your two models look fantastic. This kit was a first for me, and in hindsight I wasn't prepared for the lack of detailed instruction. My bad. I have learned from your build, and thank you for that. I look forward to learning more. On a more personal note, my wife and I day sailed the Tobago Keys. The day was perfect. Thank you.
- 163 replies
-
- 1
-
-
- america
- constructo
- (and 1 more)
-
Just wanted to say I've been following your build log and while I don't have a whole lot of time to spend on modeling, I have picked up some nifty tools for when I do. I applaud your attention to detail and efforts for a fine strong model. I look forward to your continuation after you've settled and have the time. Fair winds, following seas, and a fair lee.
-
double planking a hull
Cricket replied to pugman11's topic in Building, Framing, Planking and plating a ships hull and deck
Thanks Mark. It's all fun and a learning experience. -
double planking a hull
Cricket replied to pugman11's topic in Building, Framing, Planking and plating a ships hull and deck
Hi pugman11, I was not considering a second planking of my build of the America (Americas Cup 1851) from Constructo as I felt I did a decent job of the first planking. In fact, I was ready to just move on to the water line and paint. Then I was reading up in Ship Modeling Simplified that to do a second planking, and make it possibly look better, apply some modelers paste, allow it to dry, sand smooth, then use an electric plank bender along with carpenters and acc glue to apply the second plank members. I decided to do the second planking, and purchased some Liquitex modeling paste as recommended by the book. I applied and let dry. Sanded smooth, and now I am second guessing my decision. The modeling paste is white, and now I'm afraid if my second planking layer isn't perfect I will see white first planking between the second planking stripes. I'm kinda at a loss here. Has anyone ever used the modeling paste before applying the second layer of planking? There is nothing in the instructions concerning the second layer. I guess they put it in the kit as a value add thing or something, but no instructions on what to do with it. I guess if it all goes wrong, I can hack it into some kind of cargo plane with mast and rigging.