HOLIDAY DONATION DRIVE - SUPPORT MSW - DO YOUR PART TO KEEP THIS GREAT FORUM GOING! (Only 36 donations so far out of 49,000 members - C'mon guys!)
×


maturin52
-
Posts
128 -
Joined
-
Last visited
Content Type
Profiles
Forums
Gallery
Events
Everything posted by maturin52
-
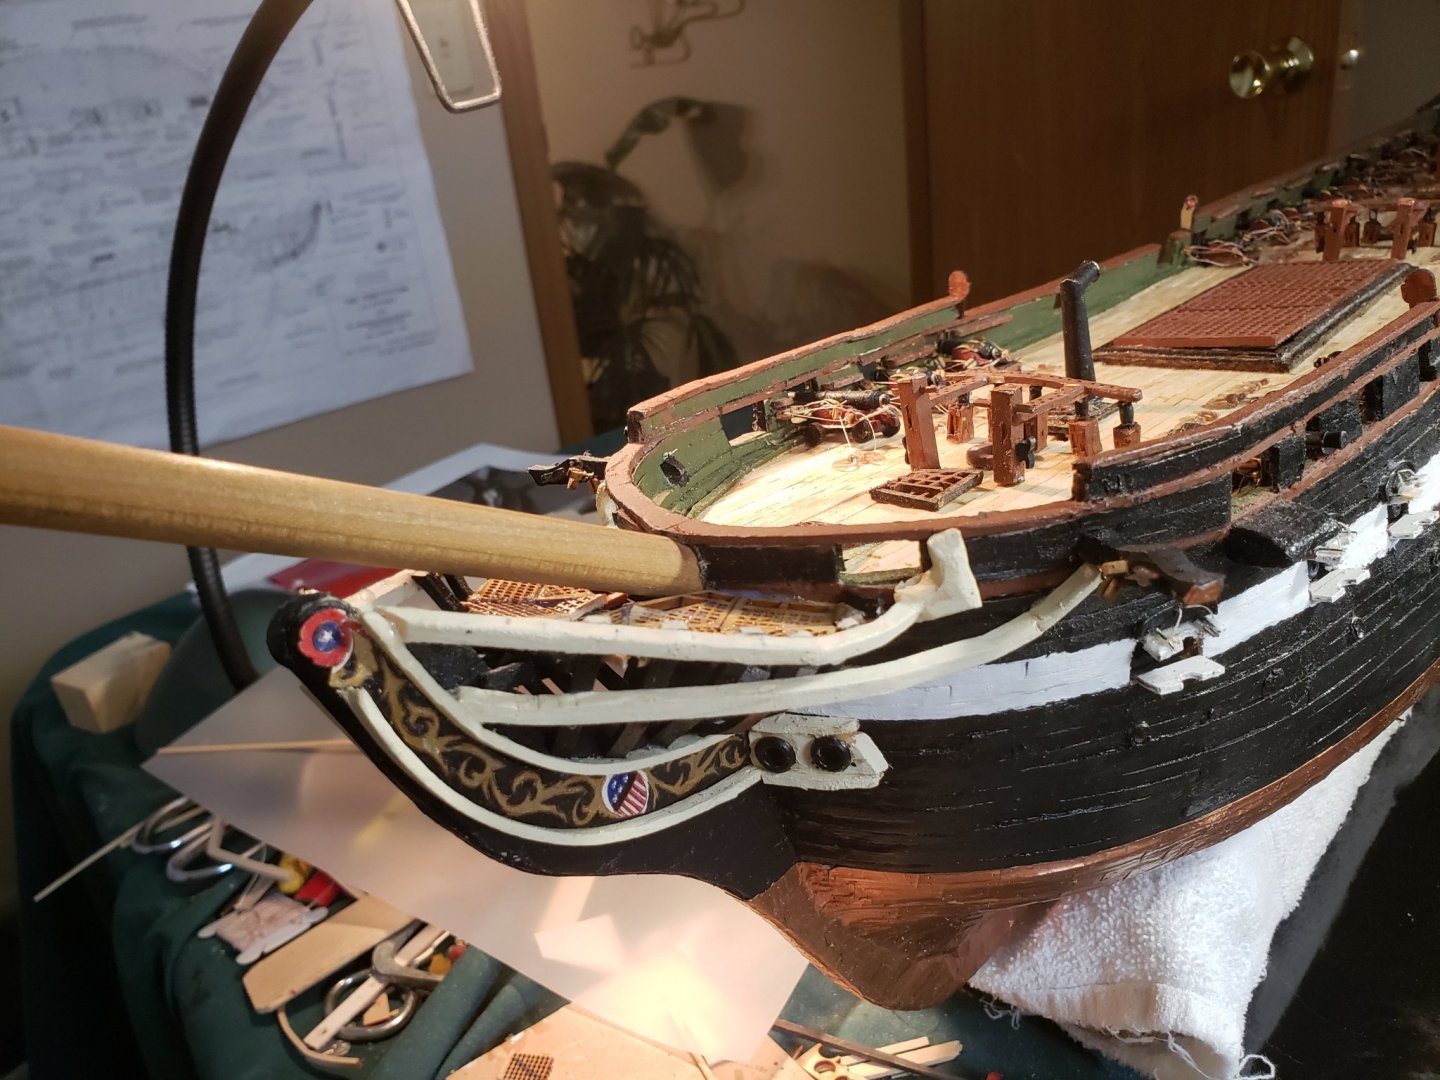
 Here are a couple of profile shots....
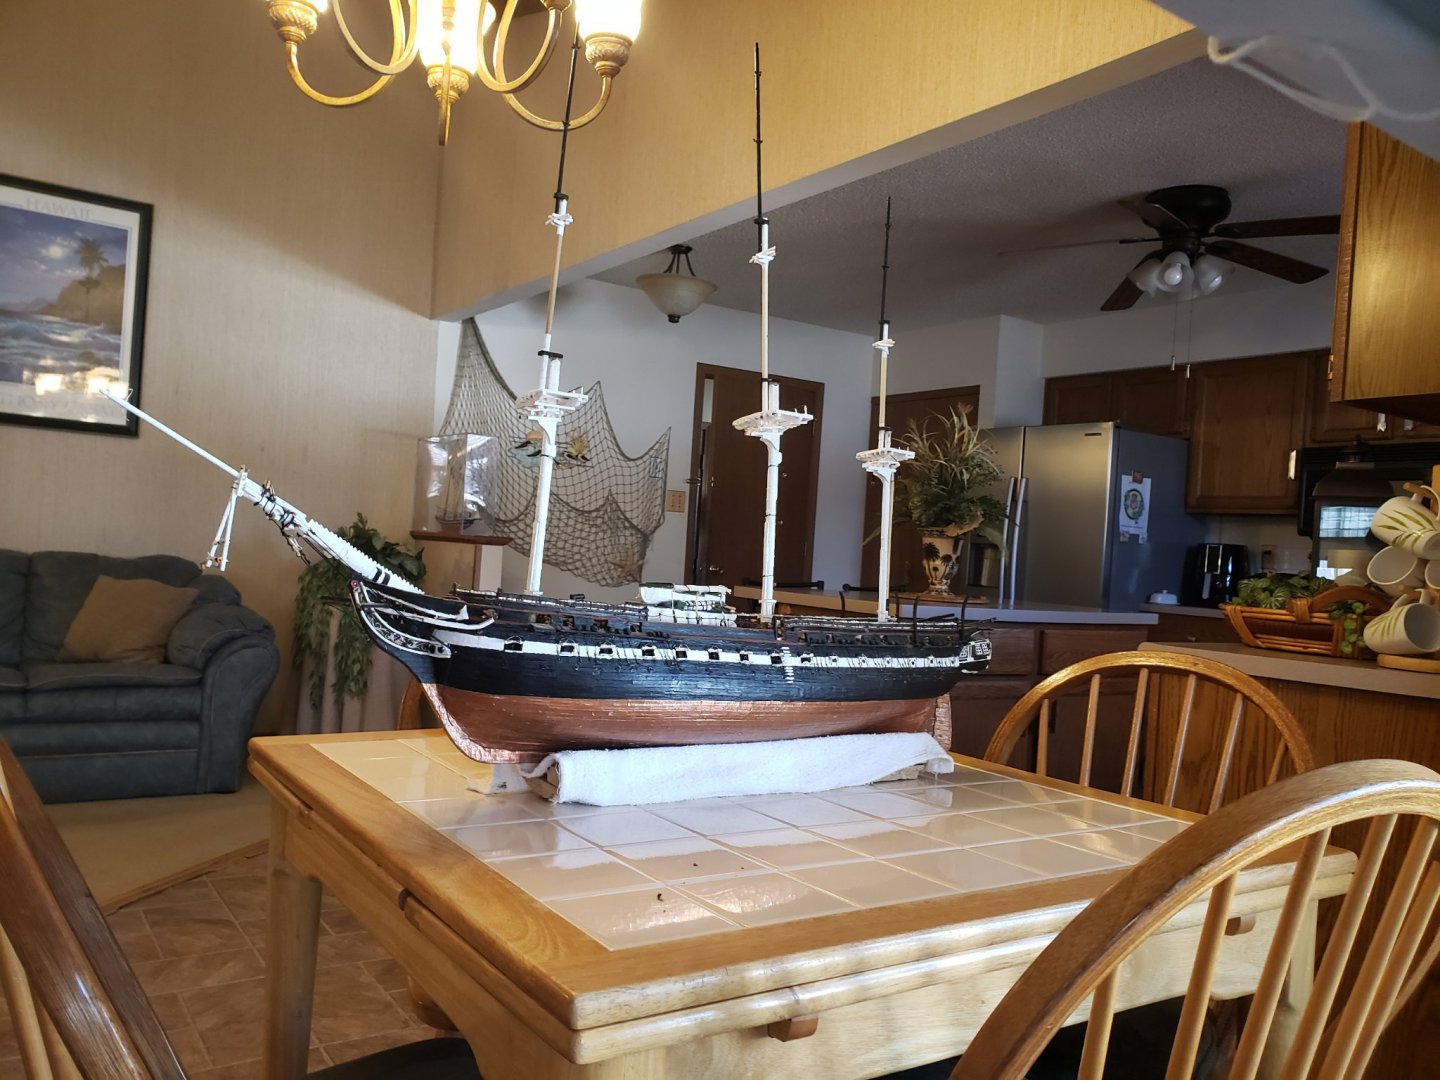

-
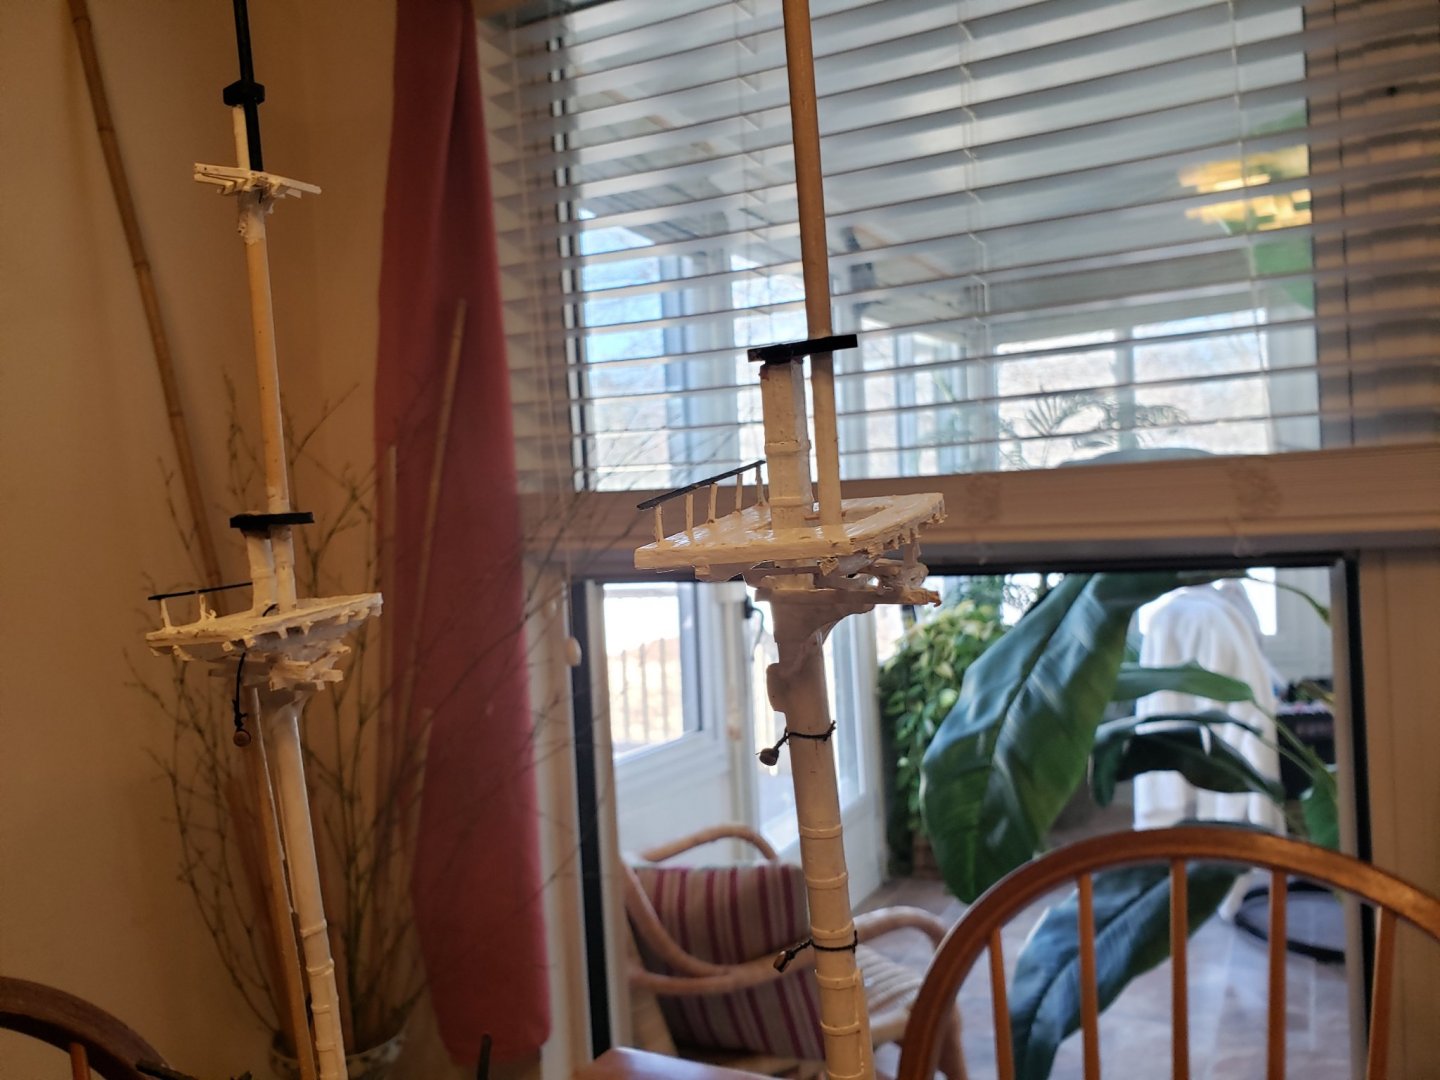
The main and mizzen tops can be seen here. I'm not crazy about the understructure, but I'm sure that much of it will be hidden by the ratlines and other rigging.
-
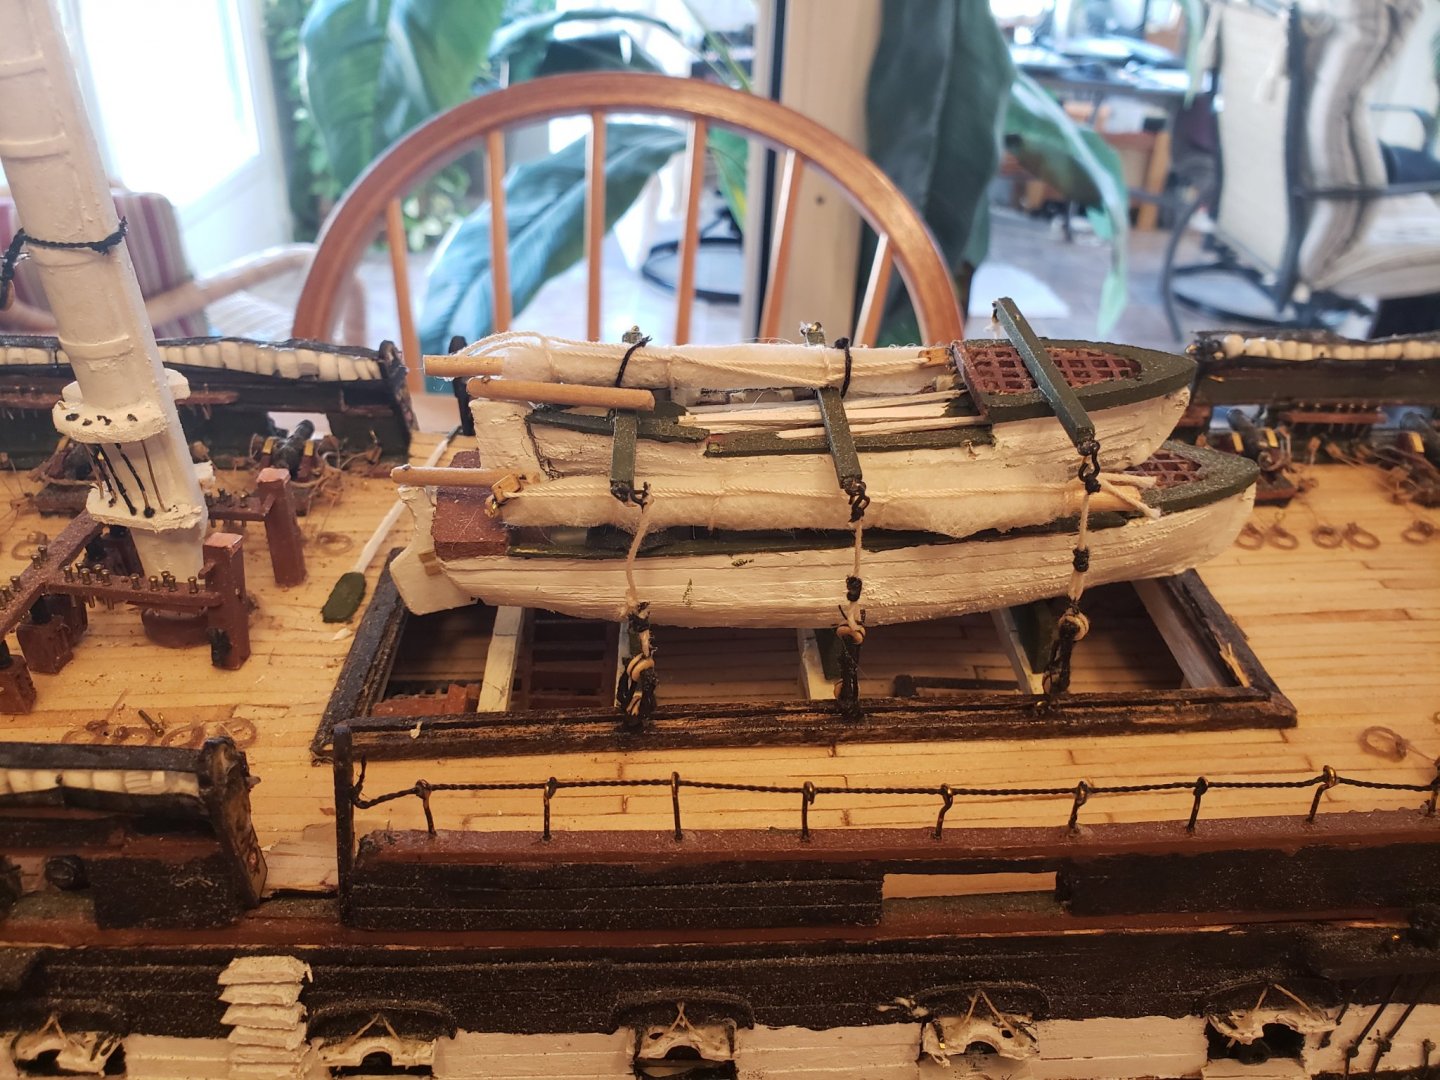
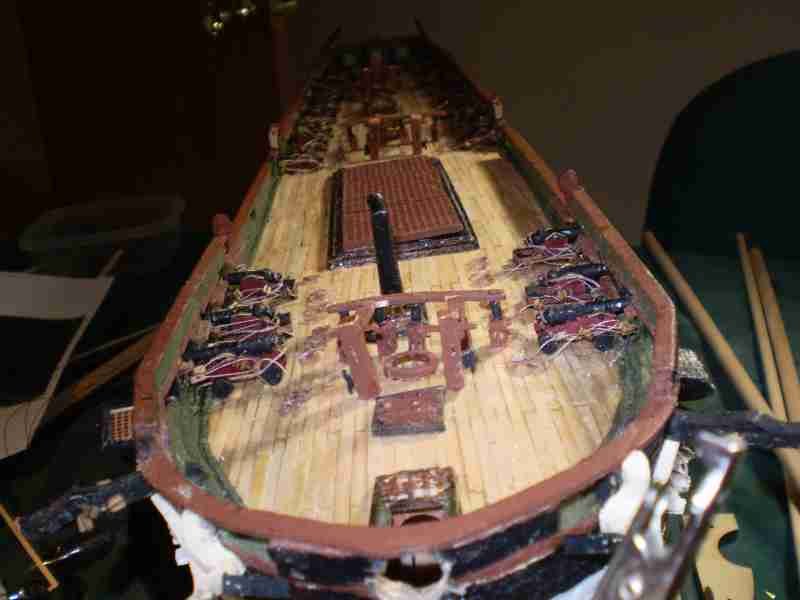
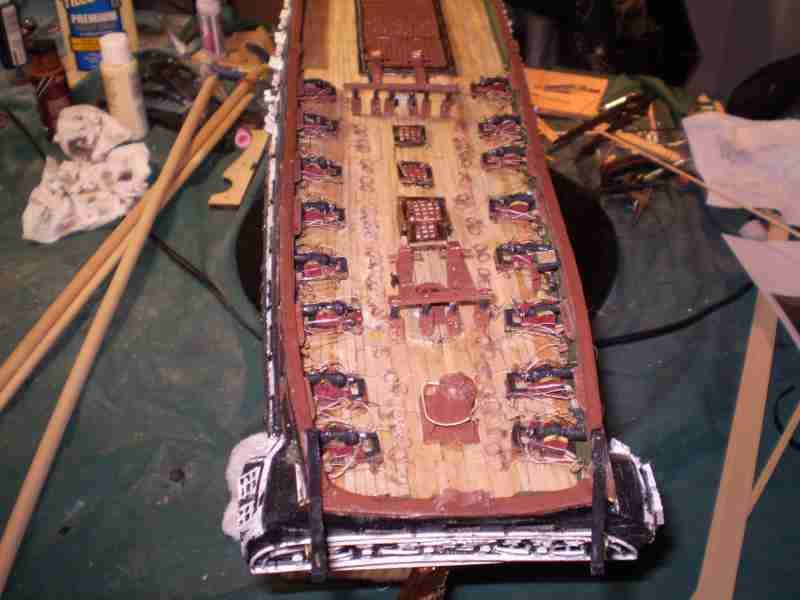
The ships boats are complete with oars, boathooks, and sails. I opted to leave the gratings off so the gundeck can be seen, since I put so much work into thoses mods.
-
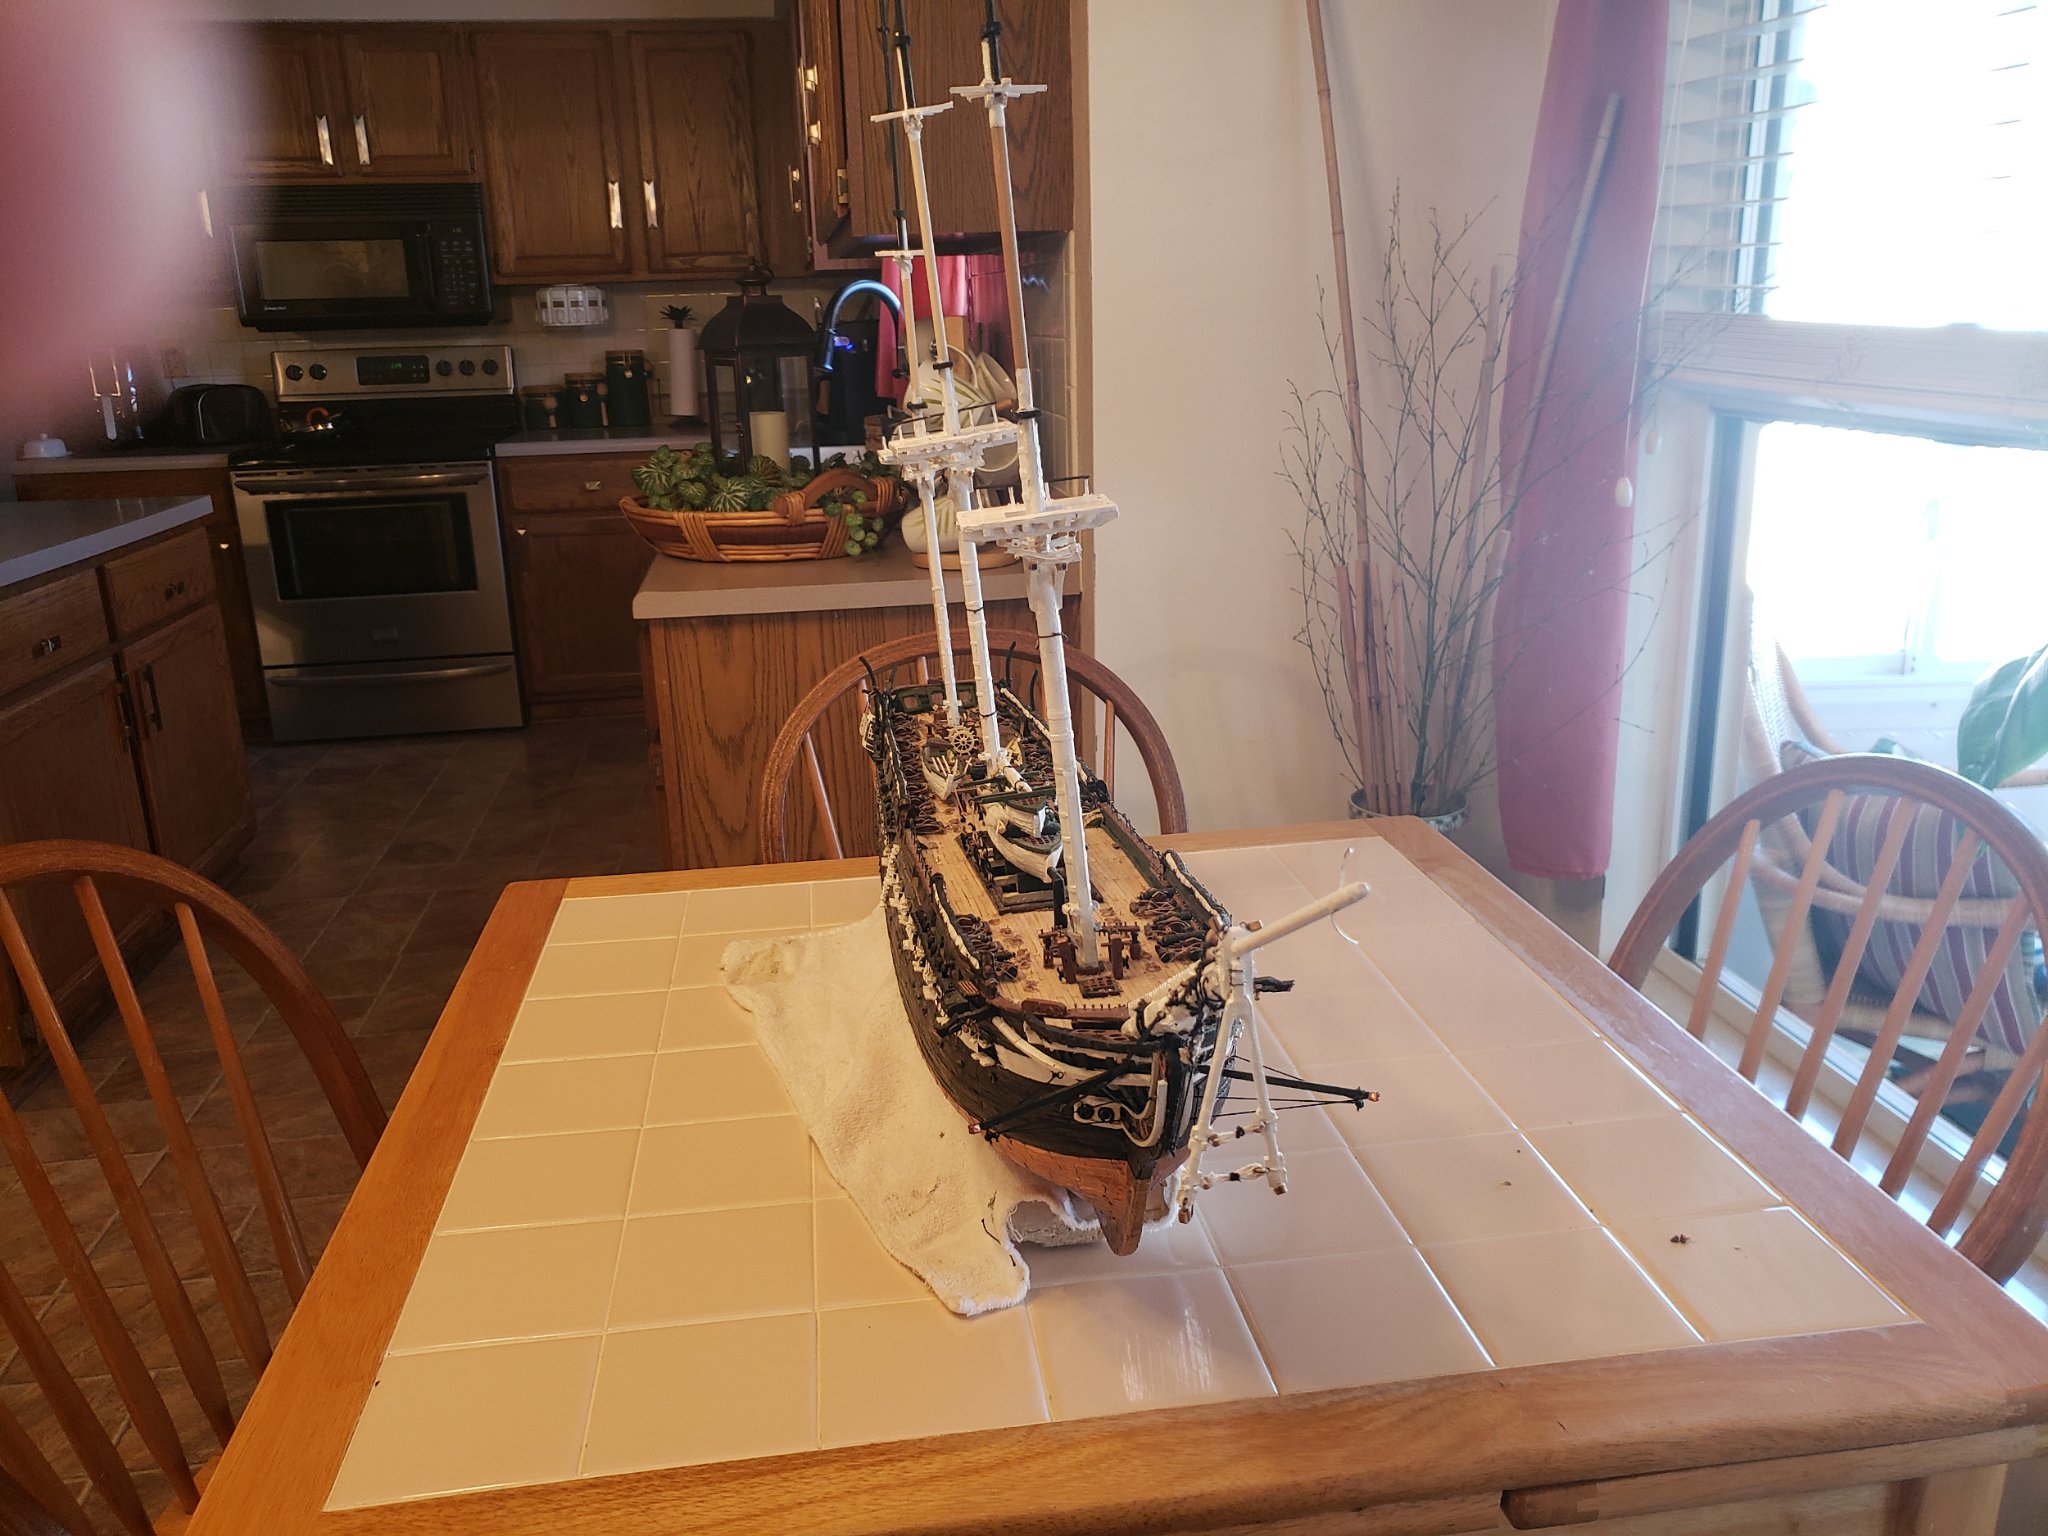
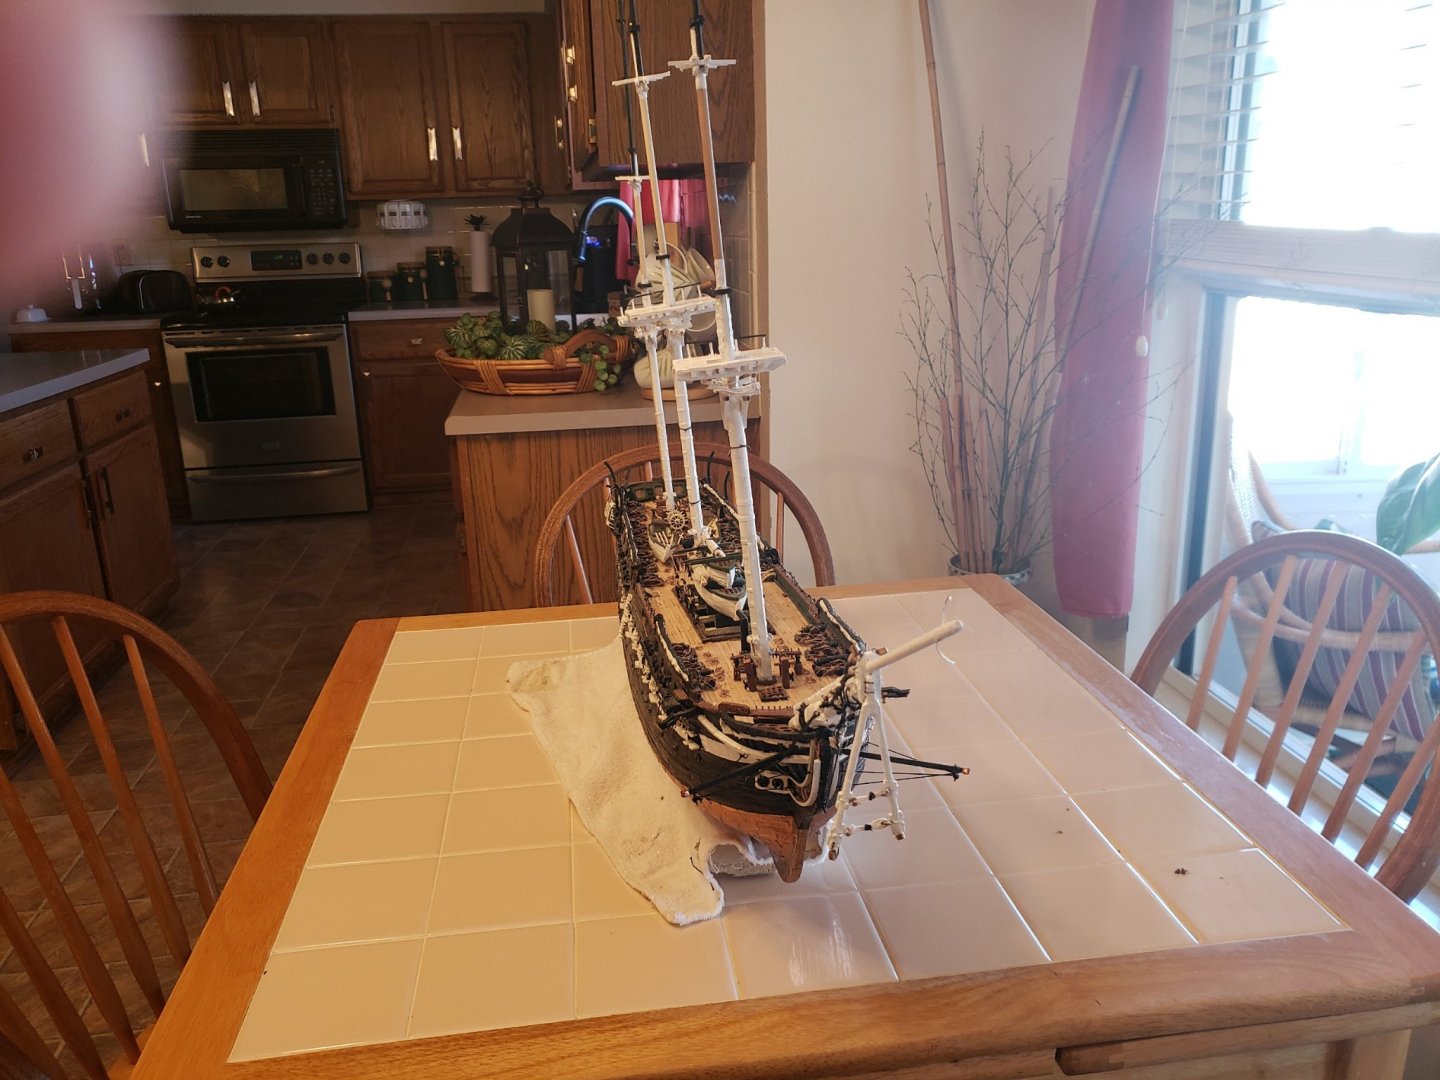
March is here. Pandemic is STILL here. I work half an hour to an hour on my Constitution most days, but somehow I never find time to update this build log. The hull and decks are finished. The ships boats are built and installed, except for the 2 that will hang from davits. The masts are constructed, painted, and installed. The tops and cross-trees are in. Now the rigging begins! To those hardy folks who have followed my build, here a couple of pictures. I brought her up to the dining room to let the Admiral see that I really am making some use of the time I spend down in the basement. She gave me a flat-screen TV to install in the workroom, so it's easy to pass time down there.....
-
Still at it, finding a little time to work on her most days. I've finished the head area, added the ships wheel, took a stab at fabricating some rudimentary binnacles, installed the capstan (I wish hadn't painted it, but there ya are). Following Tom's sequence, which I've found to be eminently logical, I'm now looking at installing the dead-eyes, chain plate, etc. I spent a bit of time poring over pictures on build logs and google, and I think I've figured out how the process will work. It's long and will take a lot of time, but with some patience I know I'll get there. Once I get a few in place I'll snap some photos. Also will try and get a decent shot of the wheel and the capstan. Allons-y!
-
If it's anything like your Connie, it will be a work of art!
- 135 replies
-
- 2
-

-
- billing boats
- half moon
- (and 1 more)
-
PS It was nice to see that free issue of the Nautical Research Journal. I especially enjoyed the article on the Canadian Navy's Corvettes. My dad served as a radio officer on Corvettes throughout WW2, and has guided me around the HMCS Sackville in Halifax.
-
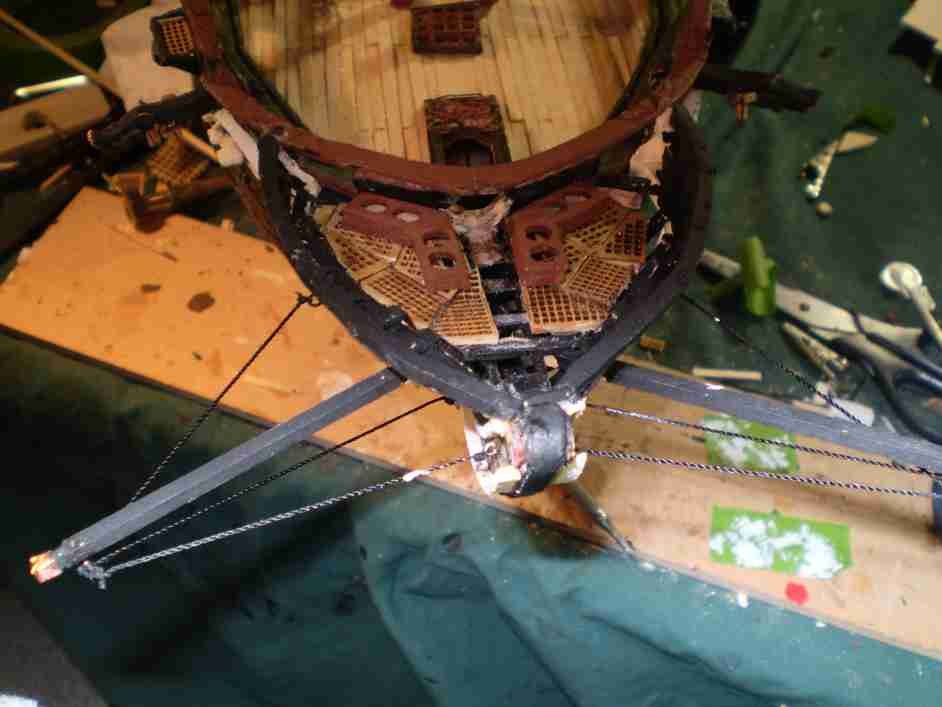
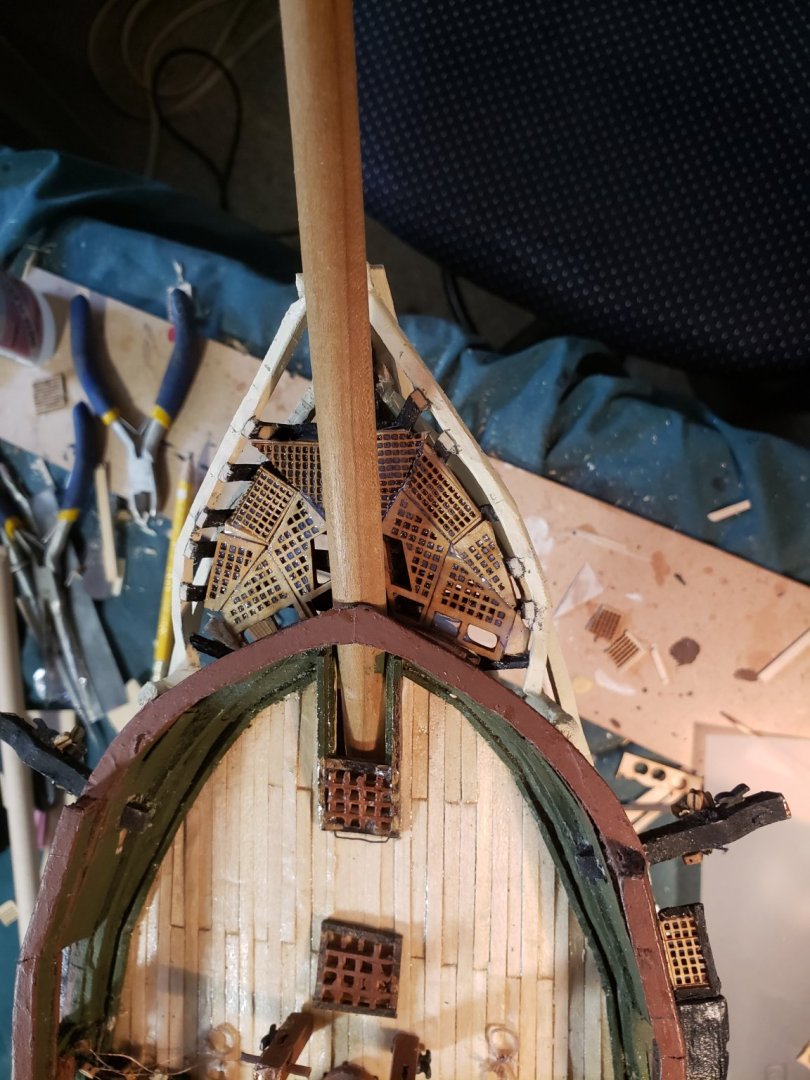
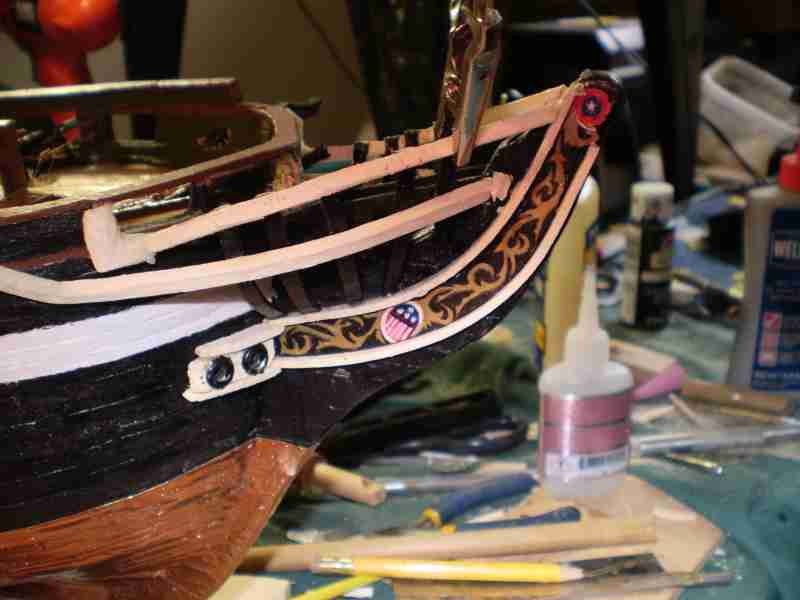
Basically finished the head rail area, except for the "seats of ease" as Tom named them. They are built, but not painted and installed yet. The gratings in the bow area look kind of patch-worky (yes, that's a word) right now, but I am sure that will be less so when the furniture is installed and all the staining and painting is done. The dowel that is in the bowsprit position is simply a placeholder, nothing to do with the final part. It's good to be back making progress. Rigging and installing all those cannons seemed to take forever! I am not sure why there pictures are so huge. I've used the same resolution as in previous posts. I must investigate....
-
It's coming up on a year and a half since I've posted any pictures! I'm determined to correct that situation, since my Connie project is still very much alive. I've moved my shipyard to a new room in my basement which gives a permanent home for all the paraphernalia that goes along with this hobby. The Admiral also gave me a nice flat-screen, which I've mounted on the wall and I have a laptop on my worktable dedicated to this project. Well, mostly it's dedicated to usedtosail's build log, which has become my go-to source for ideas and information. I've finished the hull and the decks, and (long project) all the cannons are installed and rigged. I was very unhappy with the stern gallery and its port and starboard projections, so I ripped them down and redid them. I'm happier now. I am now working on the bow, specifically the head-rails and the outboard gratings that go with them. Here a couple of not very good images. I'll try and post some more in the coming days. The main thing is, the USS Constitution is still alive and well in Missouri!
-
I can't believe that it's been almost a year since I posted anything in this log. I've had some health issues, and we had a minor flood in the basement that shut down my workshop for a while, but my USS Constitution project is still very much alive and progressing. I've finished the hull, and the spar deck is planked. I was very unhappy with my first attempt at the stern gallery windows, so I ripped them and redid them. I'm currently working on fife rails, pin rails, cannonades, and all the other deck furniture that needs to be done before the masts go in and rigging begins. I'll try and get a few photos over the next day or so, and get them posted. I know a few folks were following my build, so, rest assured, it's not one of those abandoned builds. I'm still kicking!
-
Congratulations, Tom. I have been impressed with your modelling skills throughout. Perhaps even more to the point, for me, is my appreciation for your excellent work in constructing and maintaining this Build Log. I am working away on my Connie, and this log is my go-to resource when I get lost or confused. My Constitution does not hold a candle to yours, but she is infinitely better than she would have otherwise been. I do hope the Administrators leave this log available as I anticipate another 2 years of work at least (I am currently planking the spar deck and building fife rails). Thank you so much, Tom, and Congrats again. Maturin (Mike McMullon, St. Louis, MO - late of Halifax, NS)
- 1,350 replies
-
- 2
-
-
- constitution
- model shipways
- (and 1 more)
-
I did the same thing that Tom did, and could not find the cannons as a set. I called Model Expo in Florida, however, and they sold me the needed number of cannons at the old set price. Sadly, I don't remember what that price was. Yes, Tom, I'm still around and still working on my Connie, following very much in your footsteps. I've just finished building the various hatches and will soon begin planking the deck. I've had a couple of surgeries recently which have slowed me down, but I am still at it. I'll update my log soon. I'm glad your move when well and that you're back to work in your new workshop.
- 1,350 replies
-
- 1
-
-
- constitution
- model shipways
- (and 1 more)
-
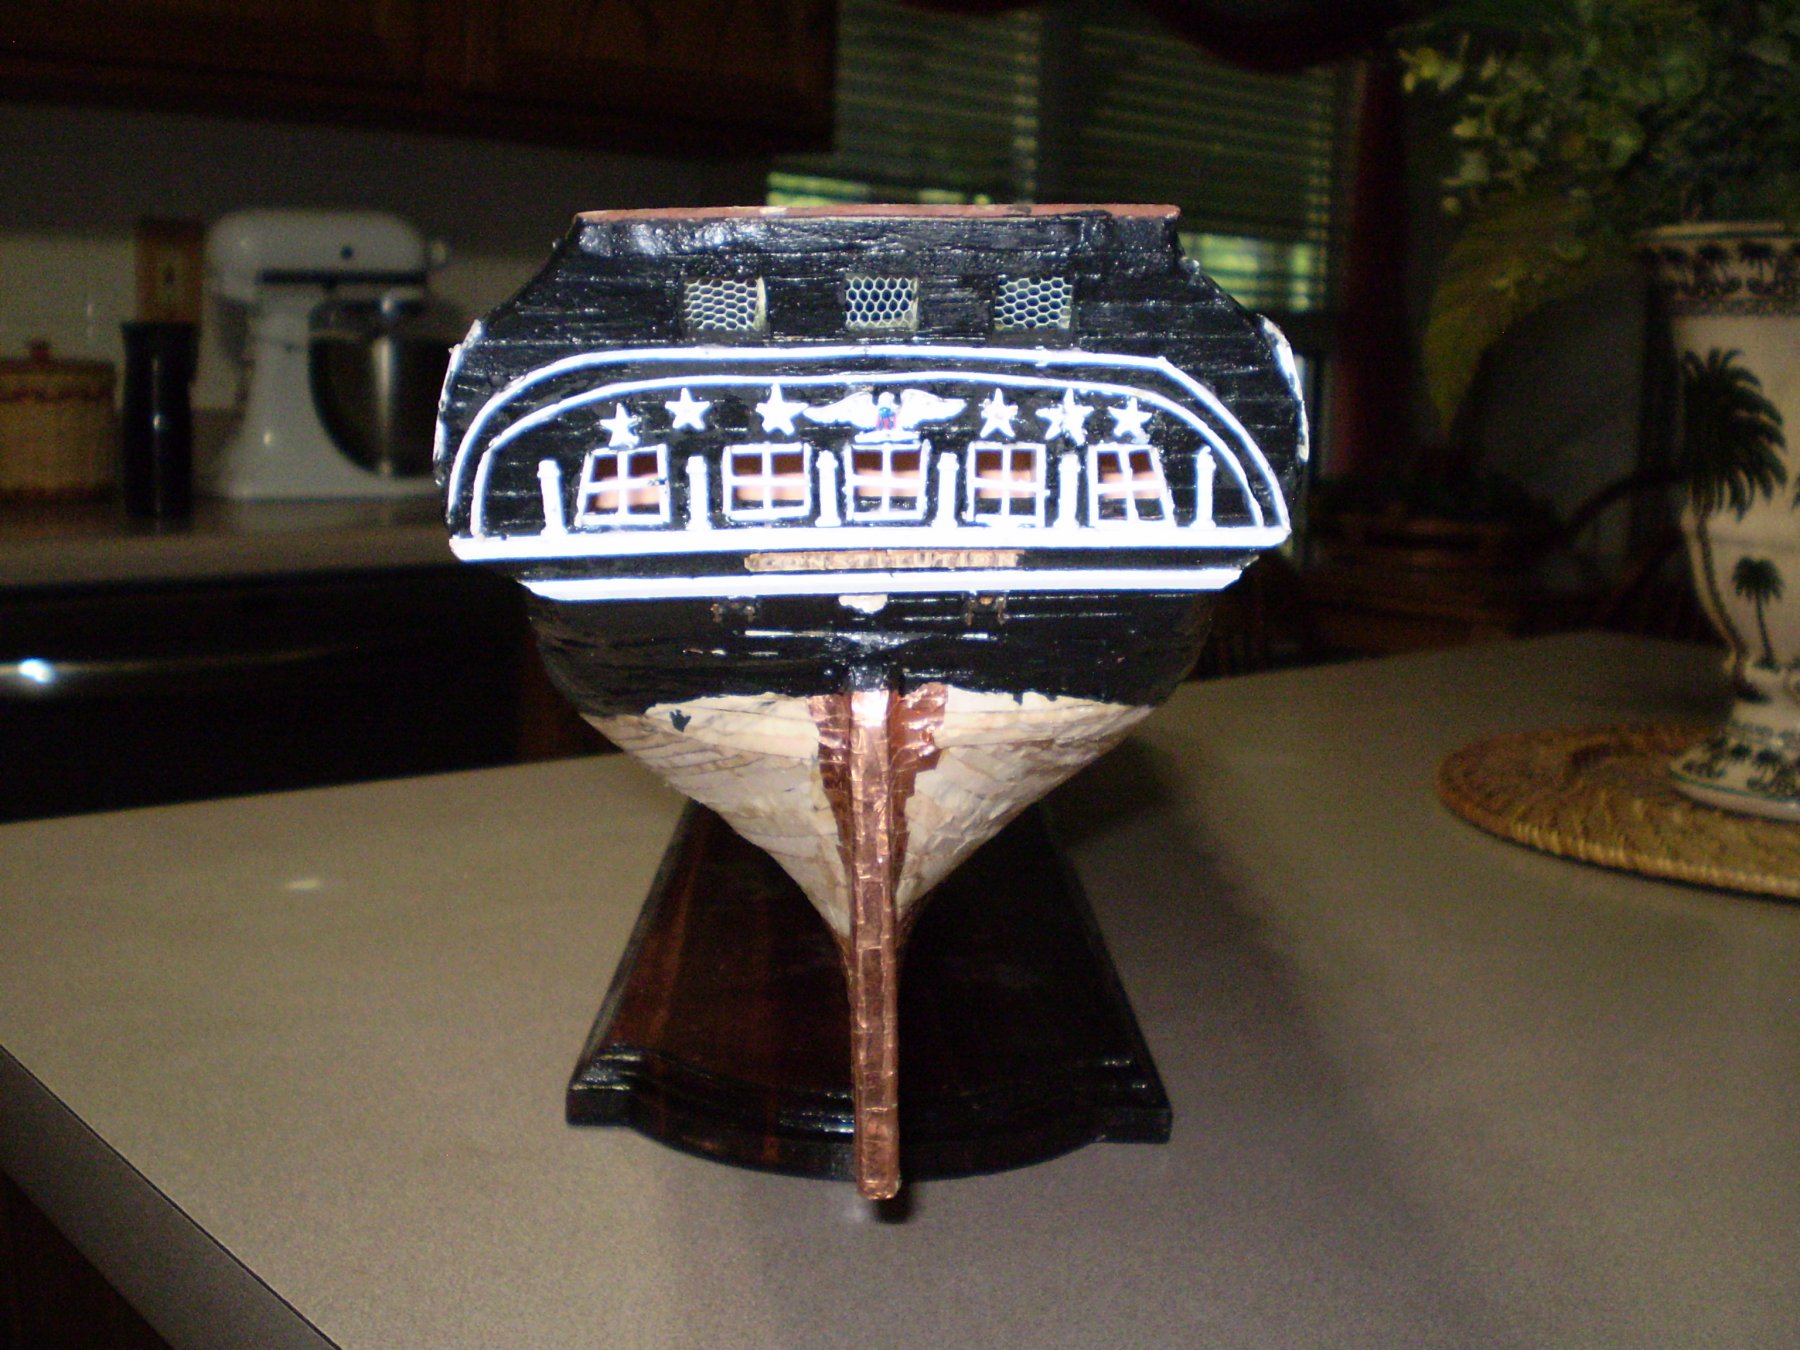
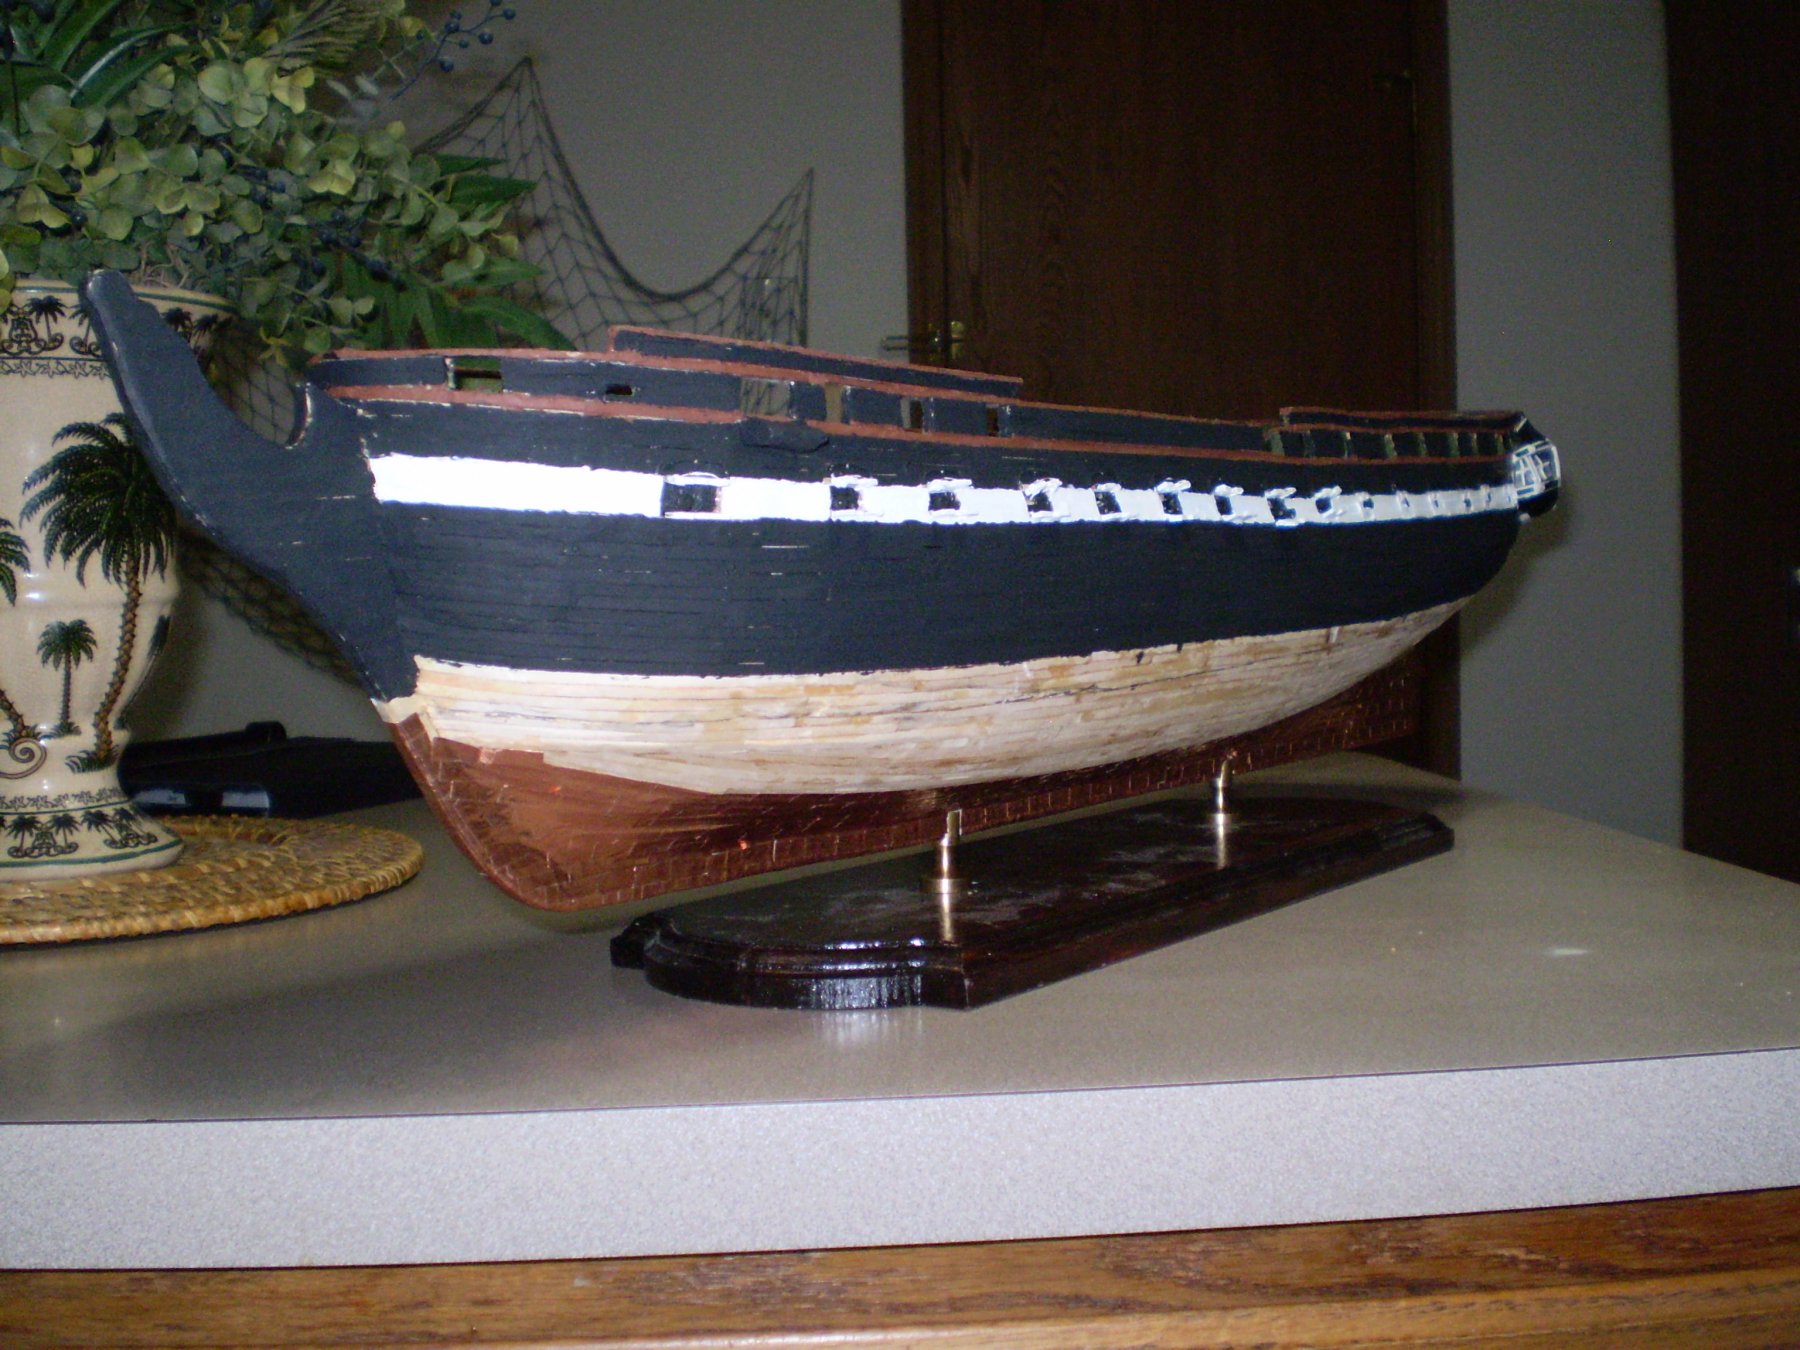
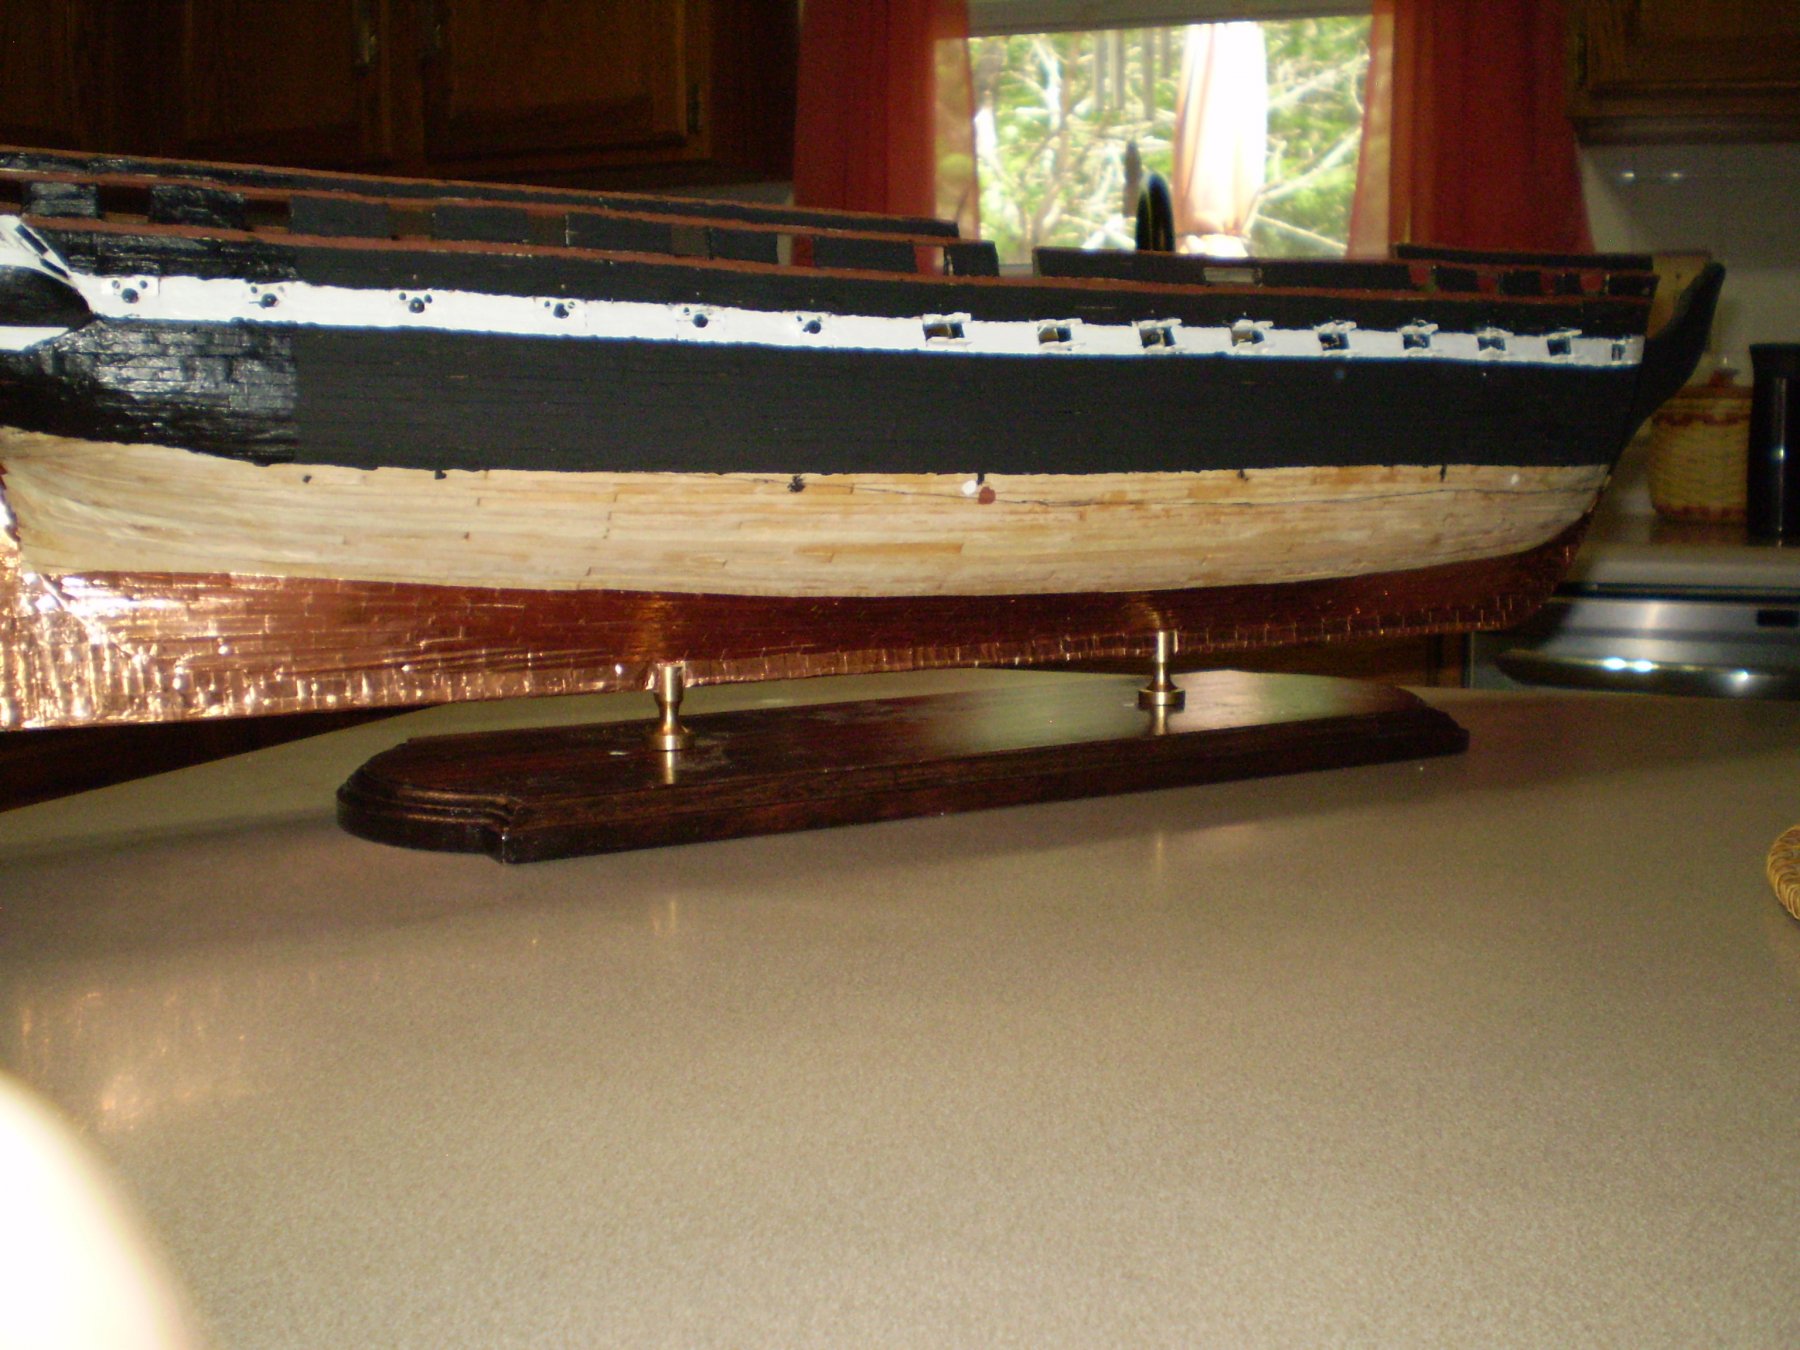
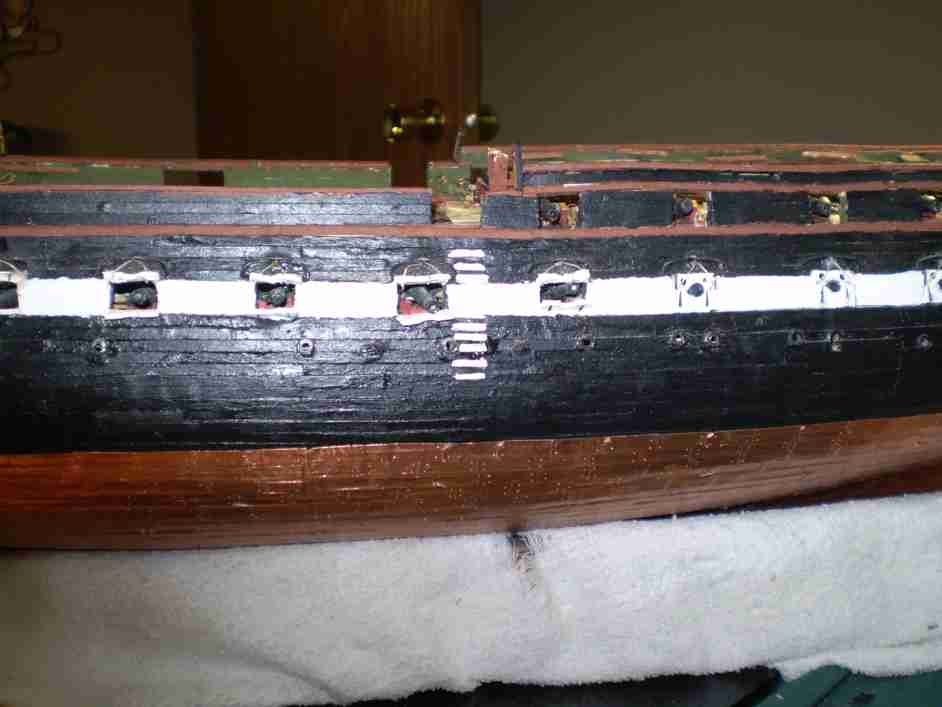
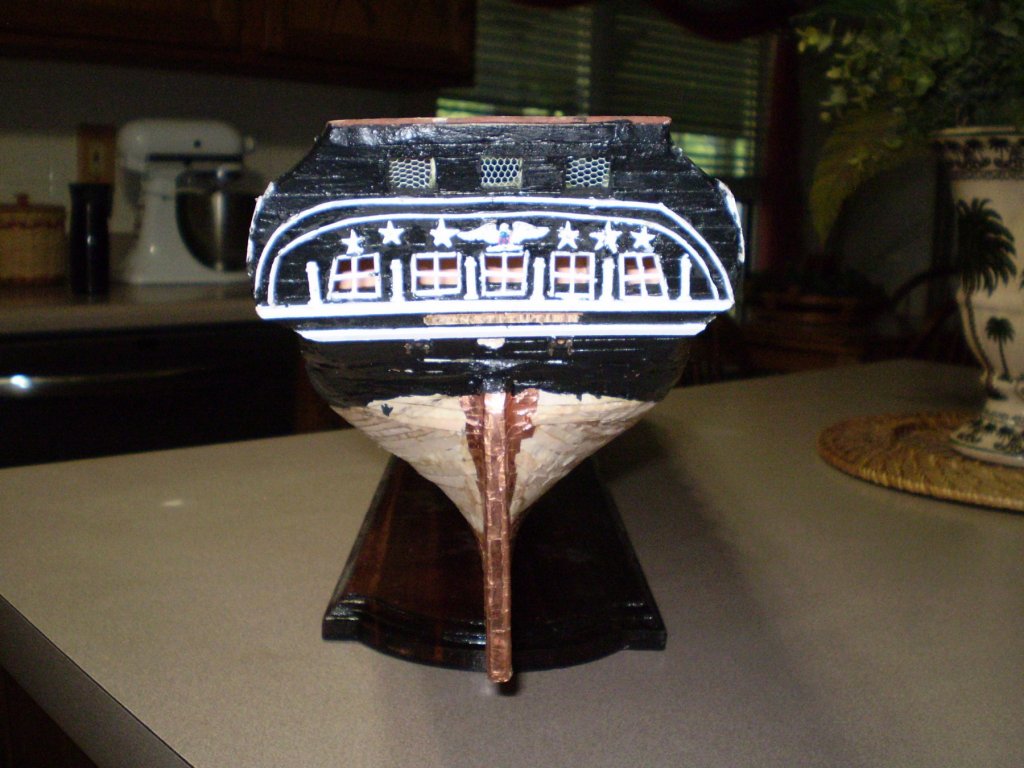
As I mentioned, despite not posting on a timely basis, I have been continuing work in my model. I've found painting the hull (on coat #3 now) and coppering to be incredibly time consuming procedures, but progress is being made. Here are a couple of photo of her set up (temporarily) on her stand, as the Admiral was interested in my progress.


-
I have been very bad about posting to this log. I have, fortunately been much better about continuing to work on my Connie. I have not taken any pictures recently, but I've been working on her most days. The current state of the build does not make for interesting photos since all I'm doing is painting and coppering the hull. I will try and get a picture or two posted in a day or so.
-
As can be seen in the shots above, I've decided to go with the basic 5-window stern. I really want to build a ship with a balcony at the stern. I think my next build may well be HMS Surprise.
-
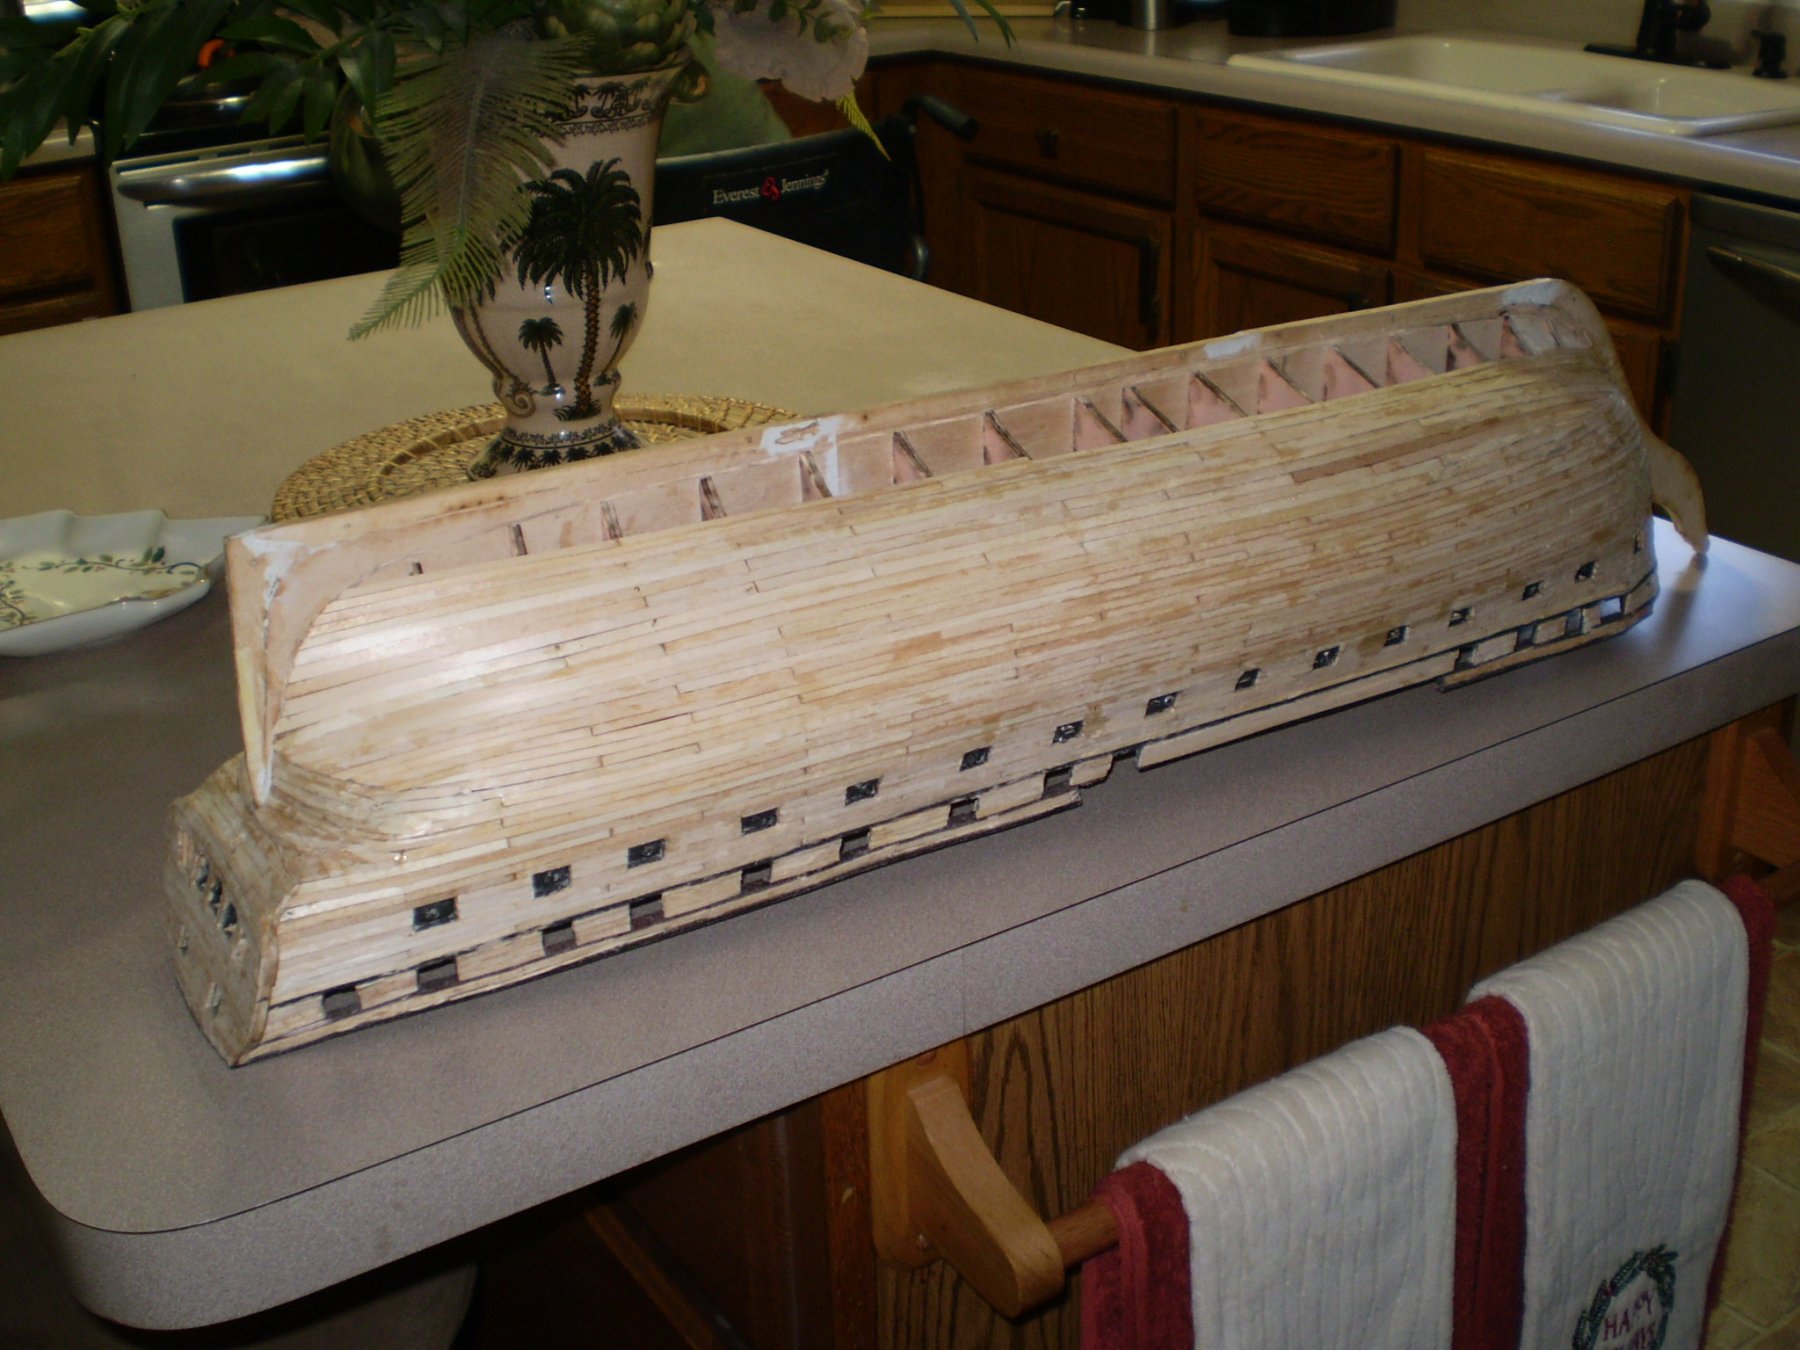
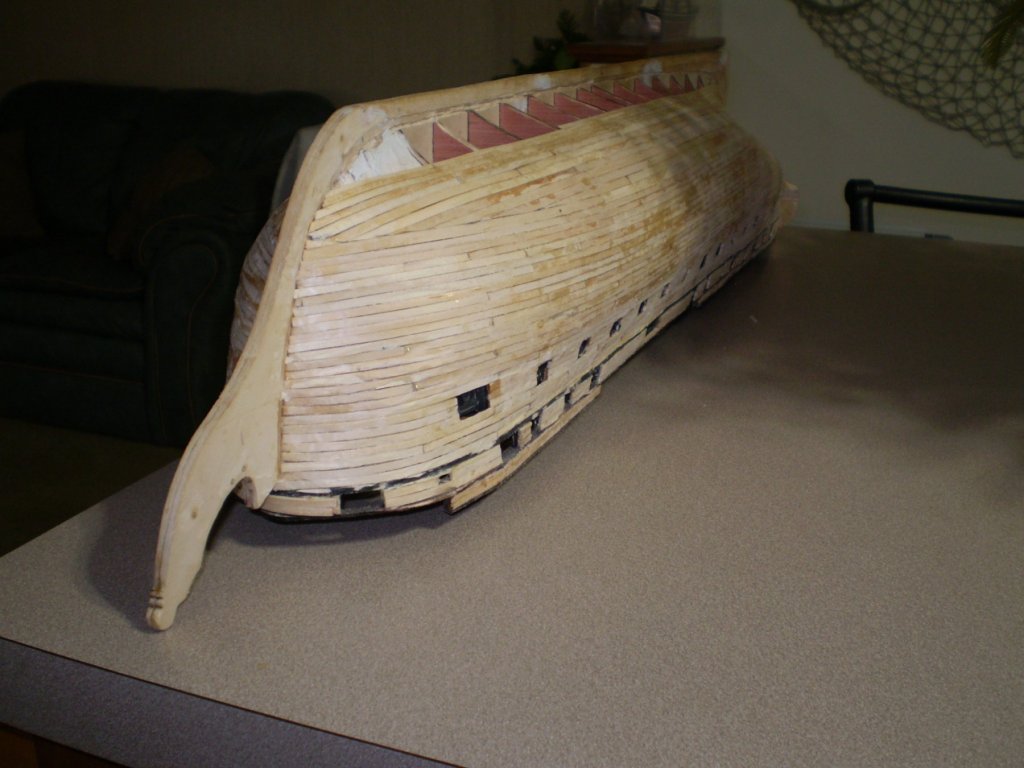
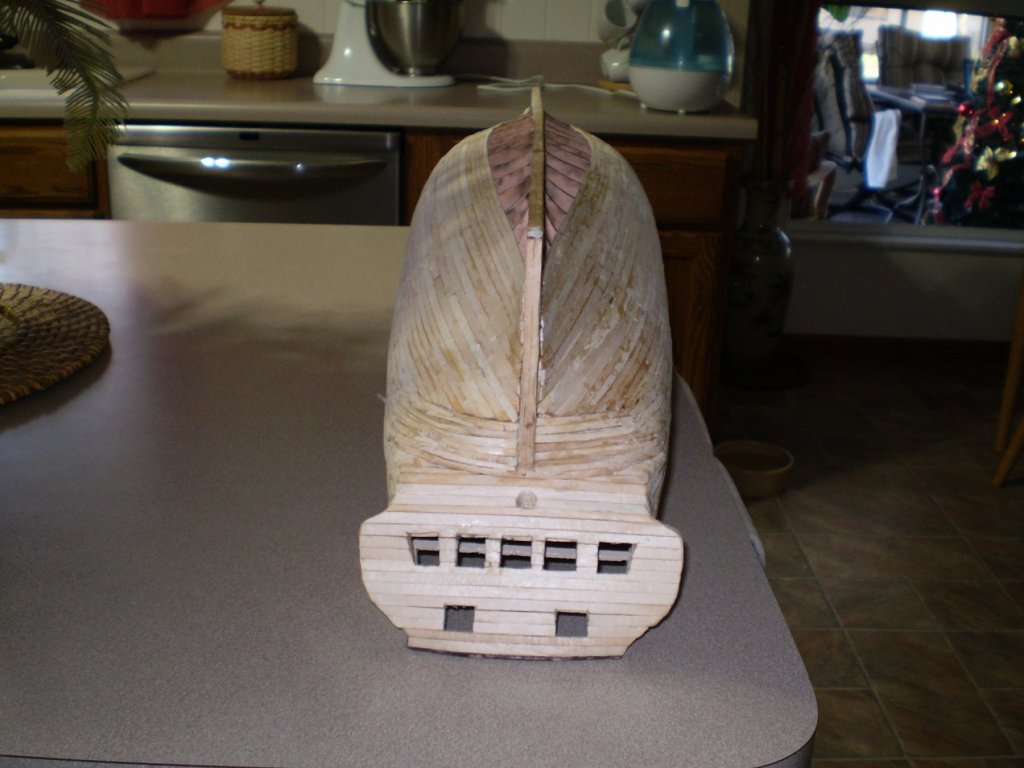
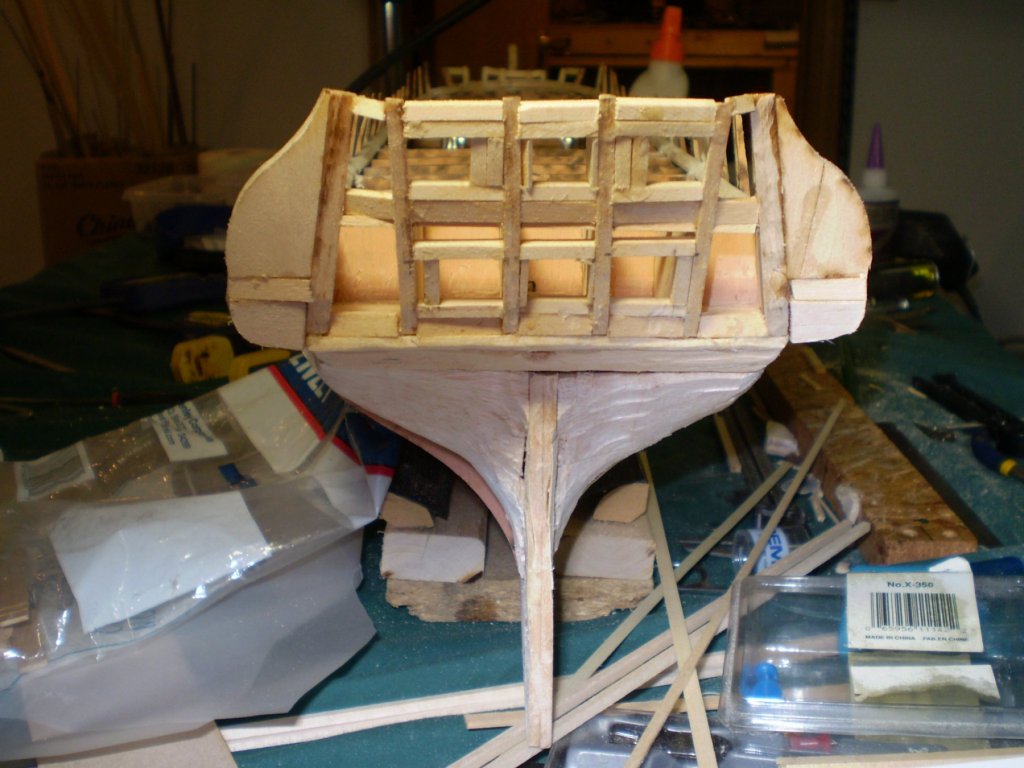
Well, once again, I have been very bad at posting pictures to this site. Fortunately, my ship-modelling has been a little more disciplined. I've finished the gun deck, and roughed in the transom. I've been working (for months it seems) on planking the hull. The end is sight, of the basic planking, at least. Much detail work remains to be done, and I've been dreading trying to figure out how to construct the quarter-galleys. I've got some ideas, and have actually begun to rough out some structure with balsa wood that I can shape as needed, glue in place, then plank.

-
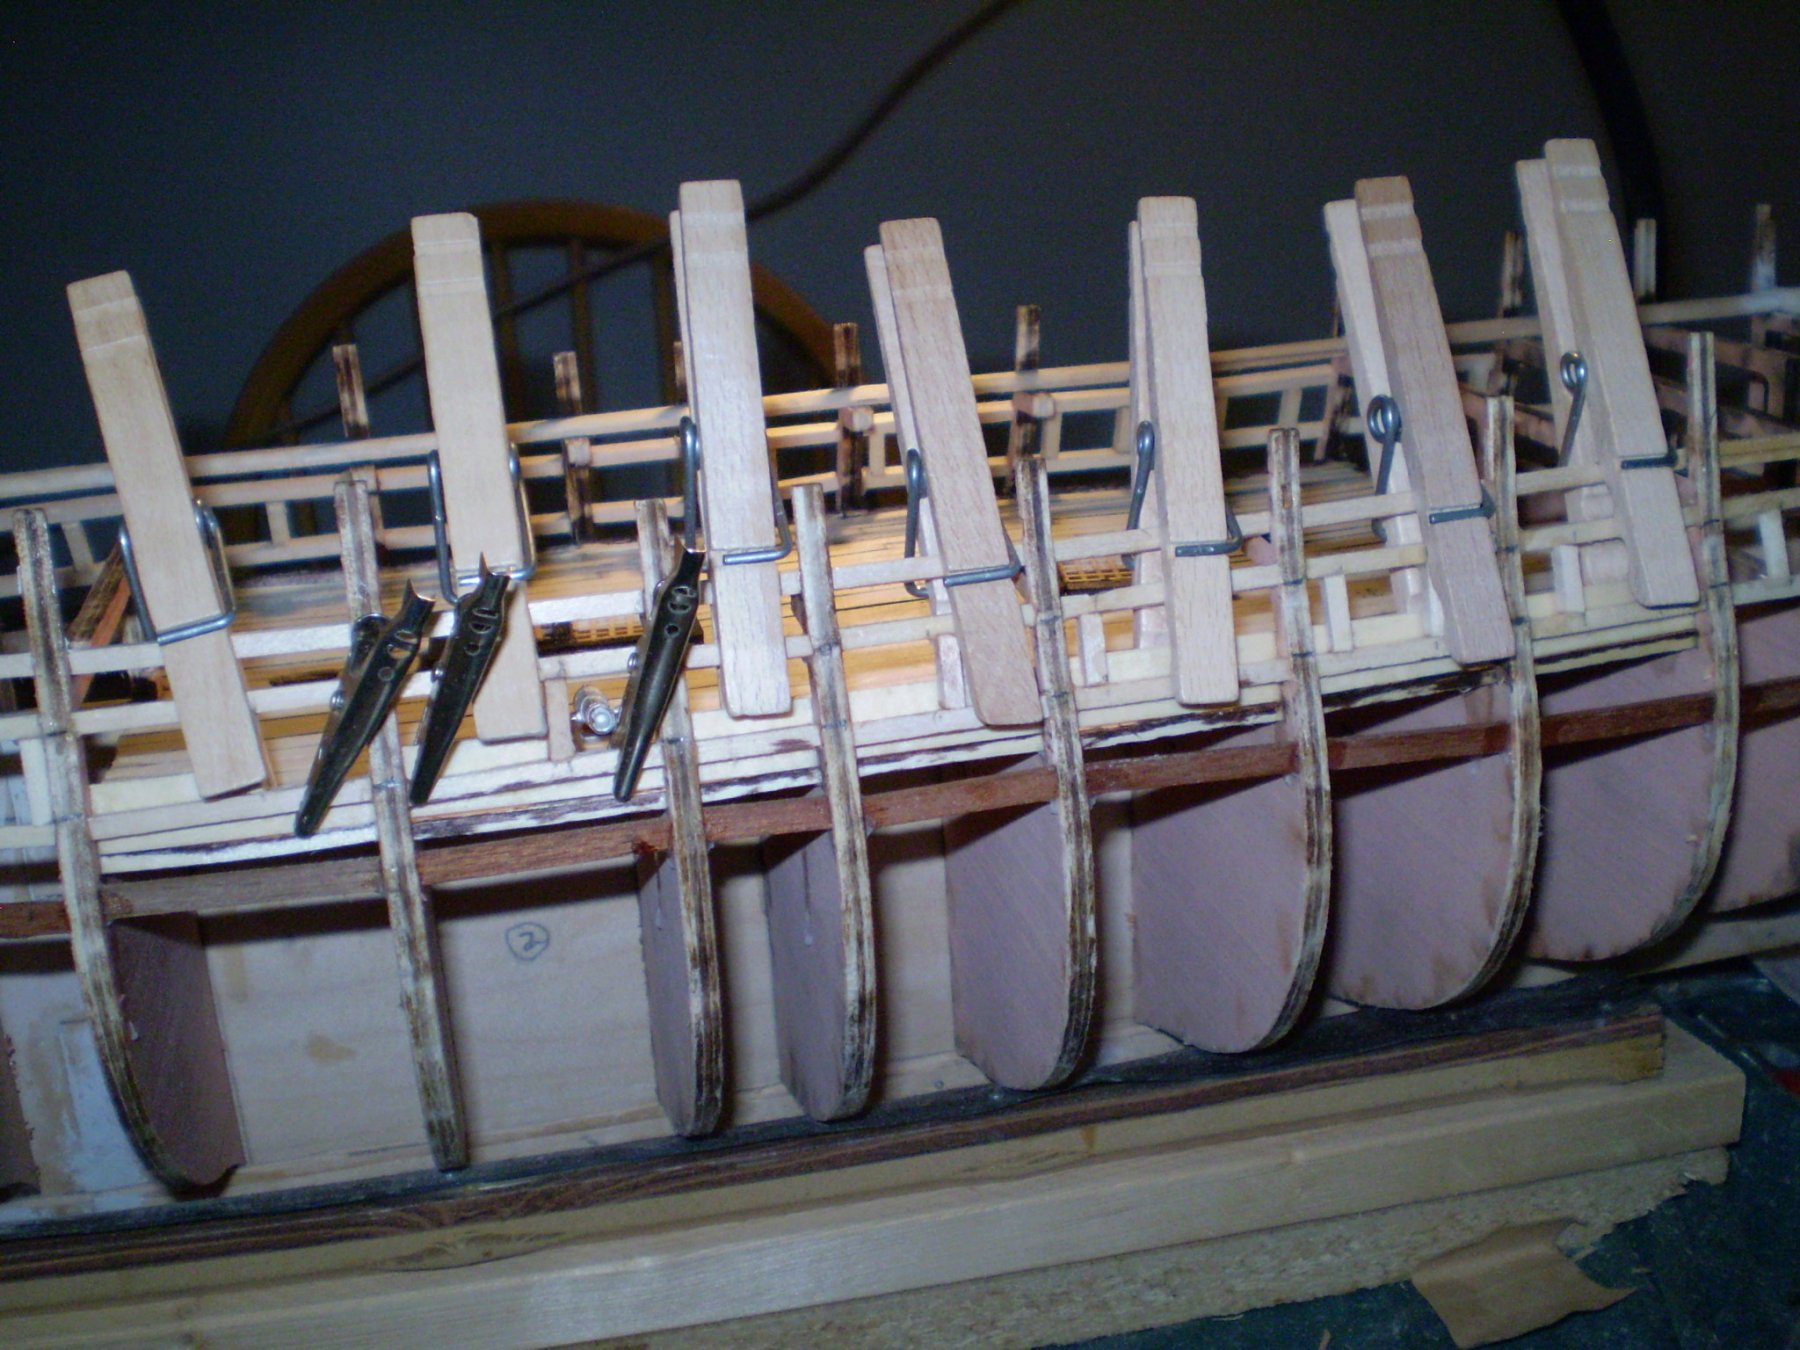
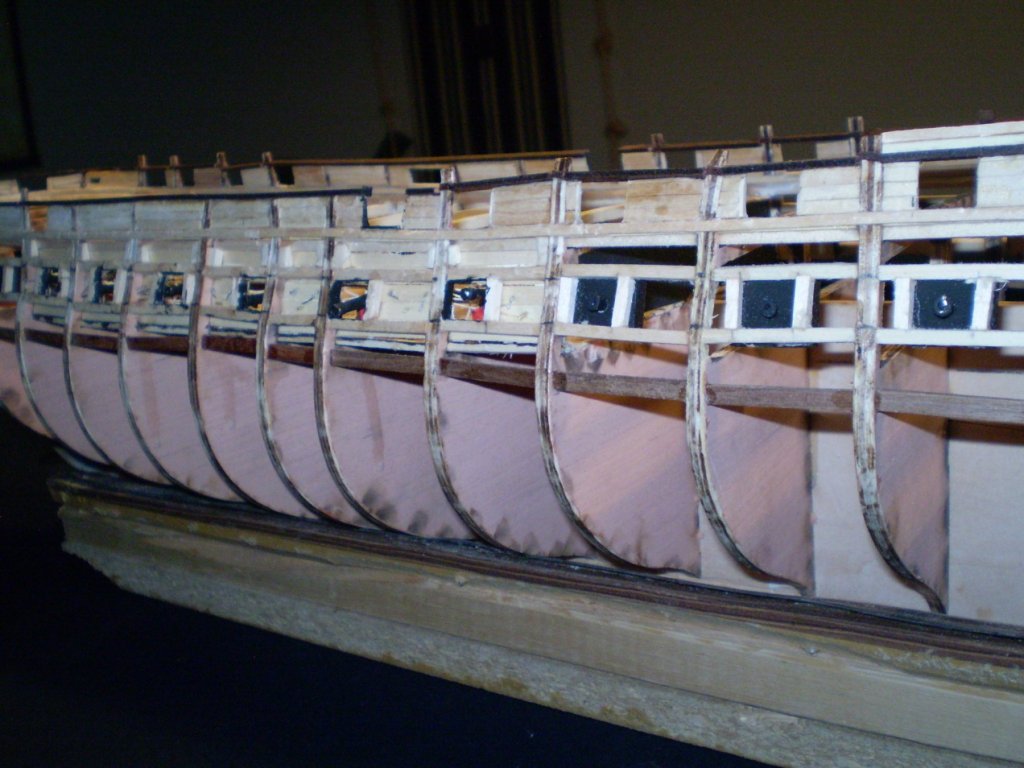
Note that the filler that I put in to frame the spar deck gunports and to support the rail are just backing. There will be a layer of finish planking both inboard and outboard. I decided to fill the inner section completely to provide a consistant gluing surface and to prevent any gaps or hollows on the outer layer of plancks. I've been using 1/8" pieces of softwood that I purchased at a local hobby shop. I have been following the instructions and plans as closely as I can, with a lot of guidance from this site when the provided materials aren't clear.
-
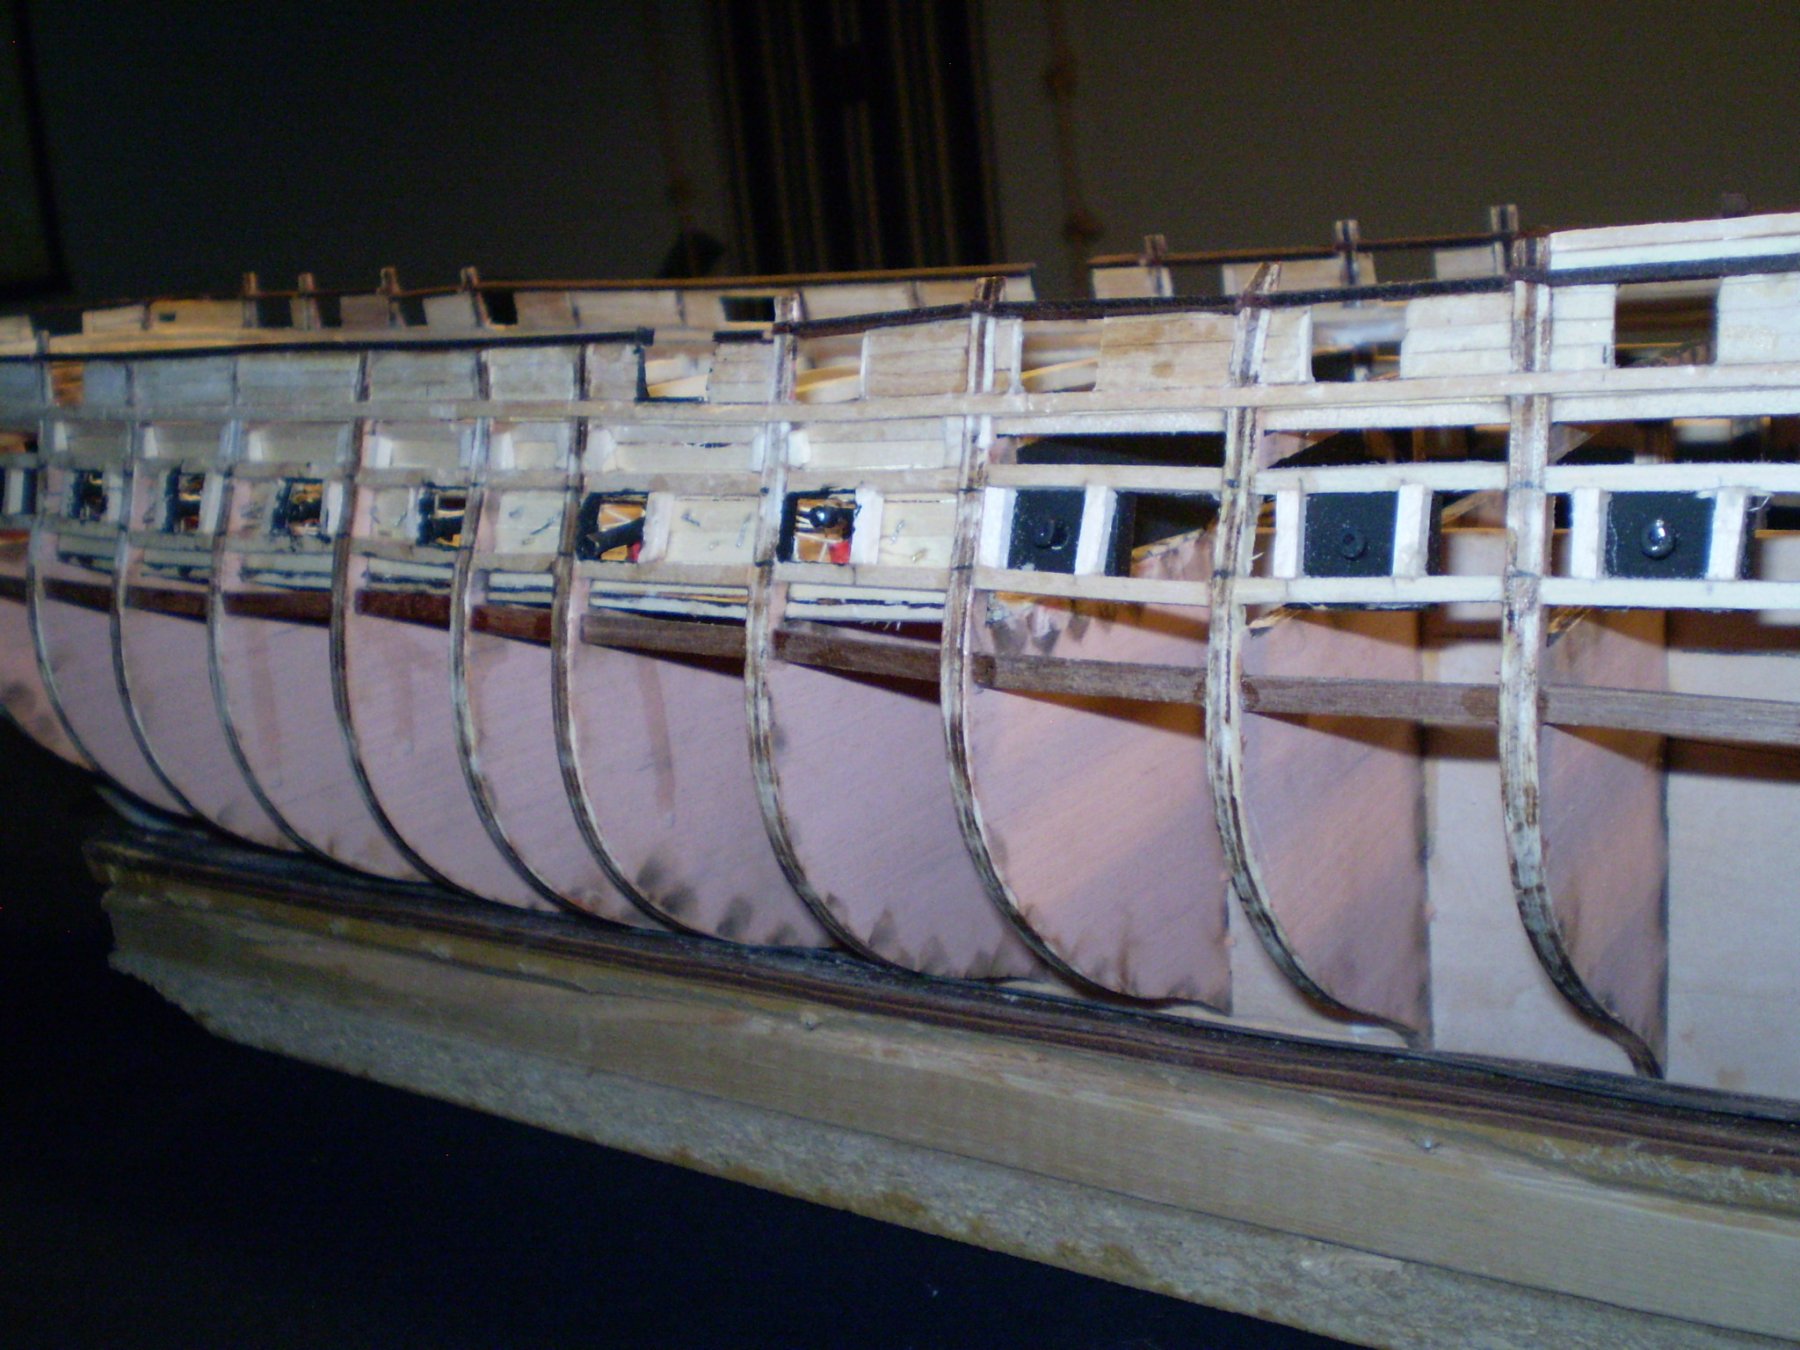
Well, I've been very slack in posting to this log. I have, however been reasonably diligent in working on my Connie. In the 2 months since I've posted here, I've managed to log an hour of shipyard time most days, except for a 3 week period when I was away in Nova Scotia, visiting family and breathing salt air. Having lived much of my life near the ocean, I miss it constantly. In any case, the gun deck section is finished and I've been working at installing the bulkhead above the waterways, the t'gallant rail, and beginning to set up for the main rail. Planking the hull is rapidly approaching, and I am looking forward to it! Here are a few shots of where my model currently stands:

-
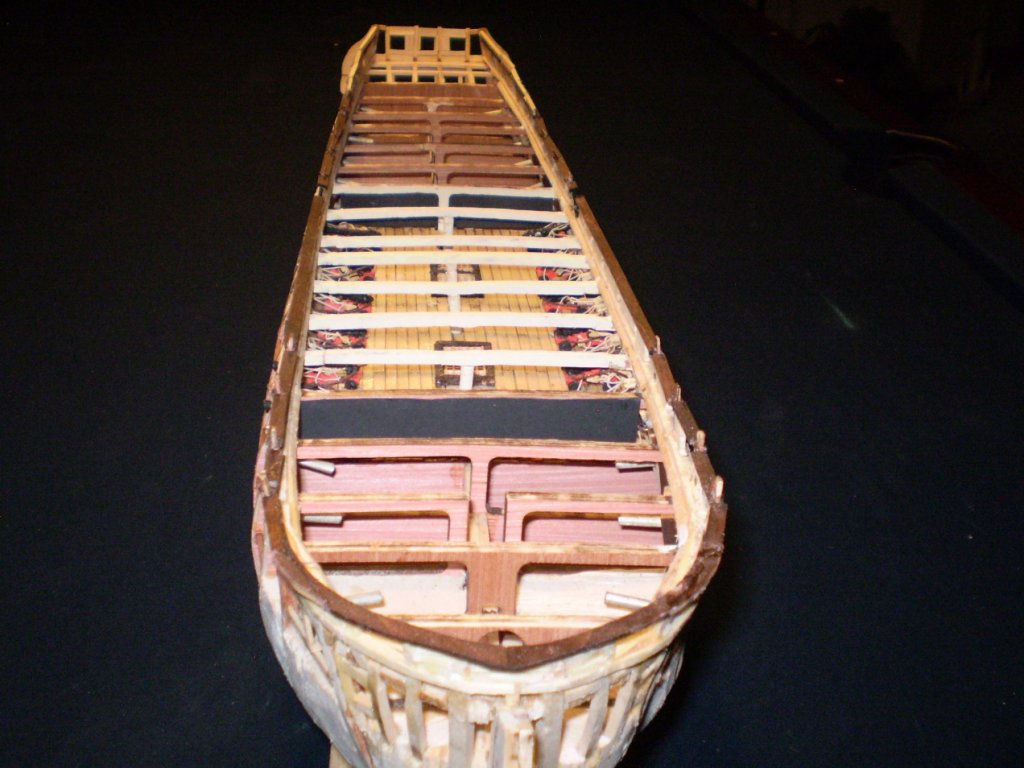
Adding the partial gun deck has turned out to be a lot more work than what I anticipated going in, but I'm glad I've done the extra work. It's been an excellent chance to practice some techniques that will be valuable later. When the time comes to work on the spar deck, I'm going to have to make a few modifications to allow at least some visibility down to the lower deck.
-
The gun deck is in, and the gun deck cannon ports are framed. I've planked and painted the bulkheads and the first coat of varnish is on the deck itself. I've received the cannons I ordered and will be installing them over the next few days. Here's a couple of shots of the current state of affairs.
-
I've ordered the cannons I need for the lower deck, as well as a couple of pedestals to use in building a stand. I've also order the Model Shipways set of paints for this ship. John at Model Expo has been a great help in getting these parts. Professionalism is always appreciated.
-
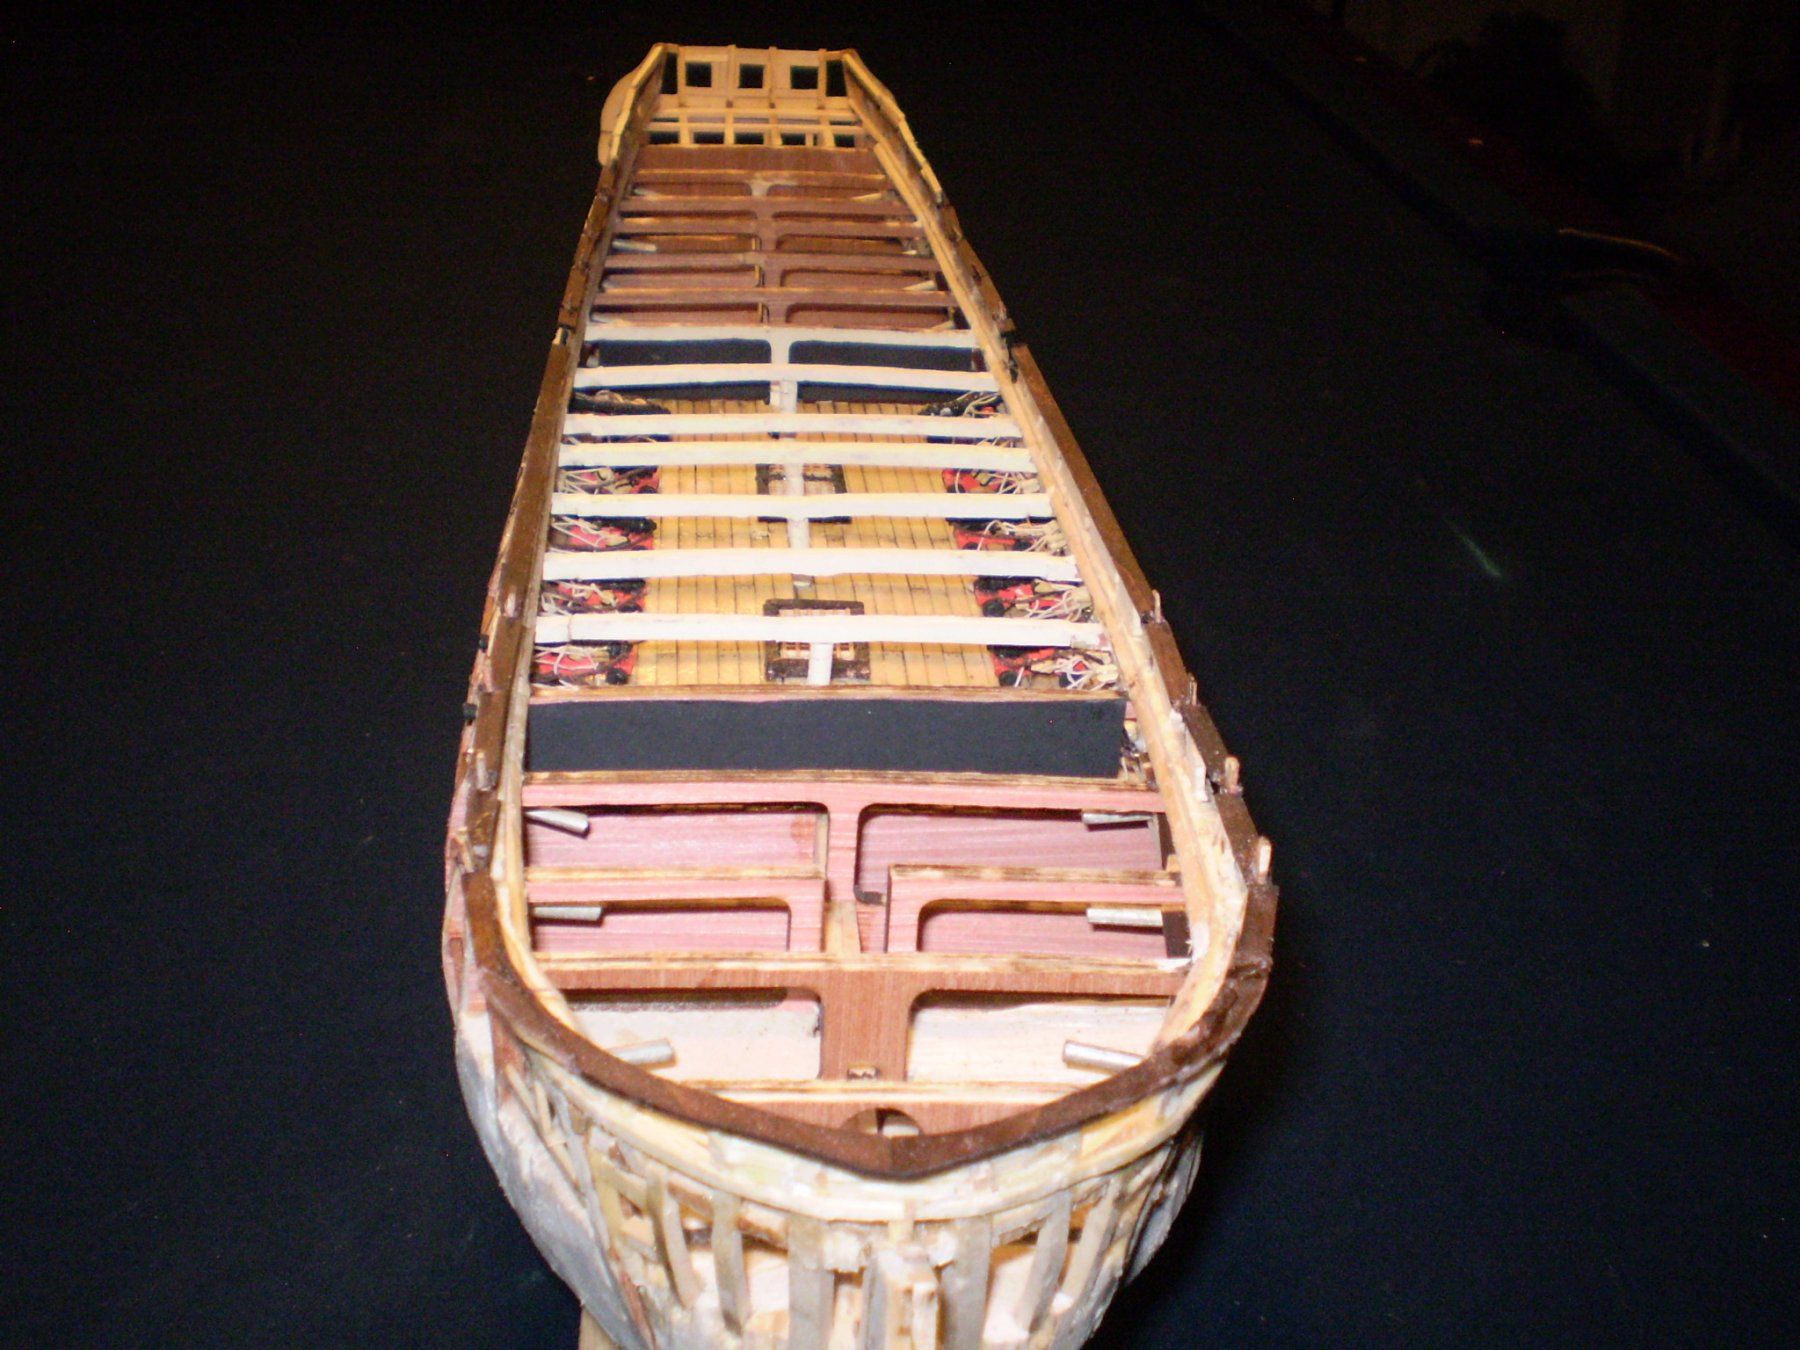
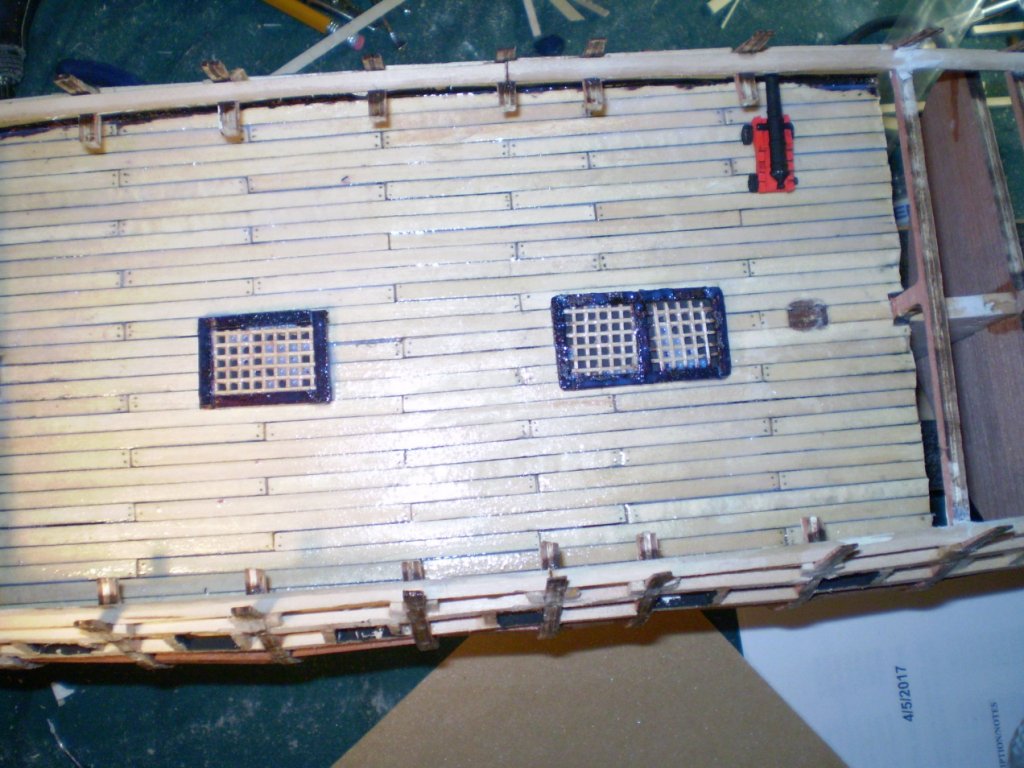
Well, the gun deck is in and rough-sanded.. final sanding yet to come. I've built the gratings, and stained the frames, but no varnish as yet. Work on the inner bulkhead is underway, and most of the gun deck cannon hatches are framed. Here are couple of shots of my current progress.


-
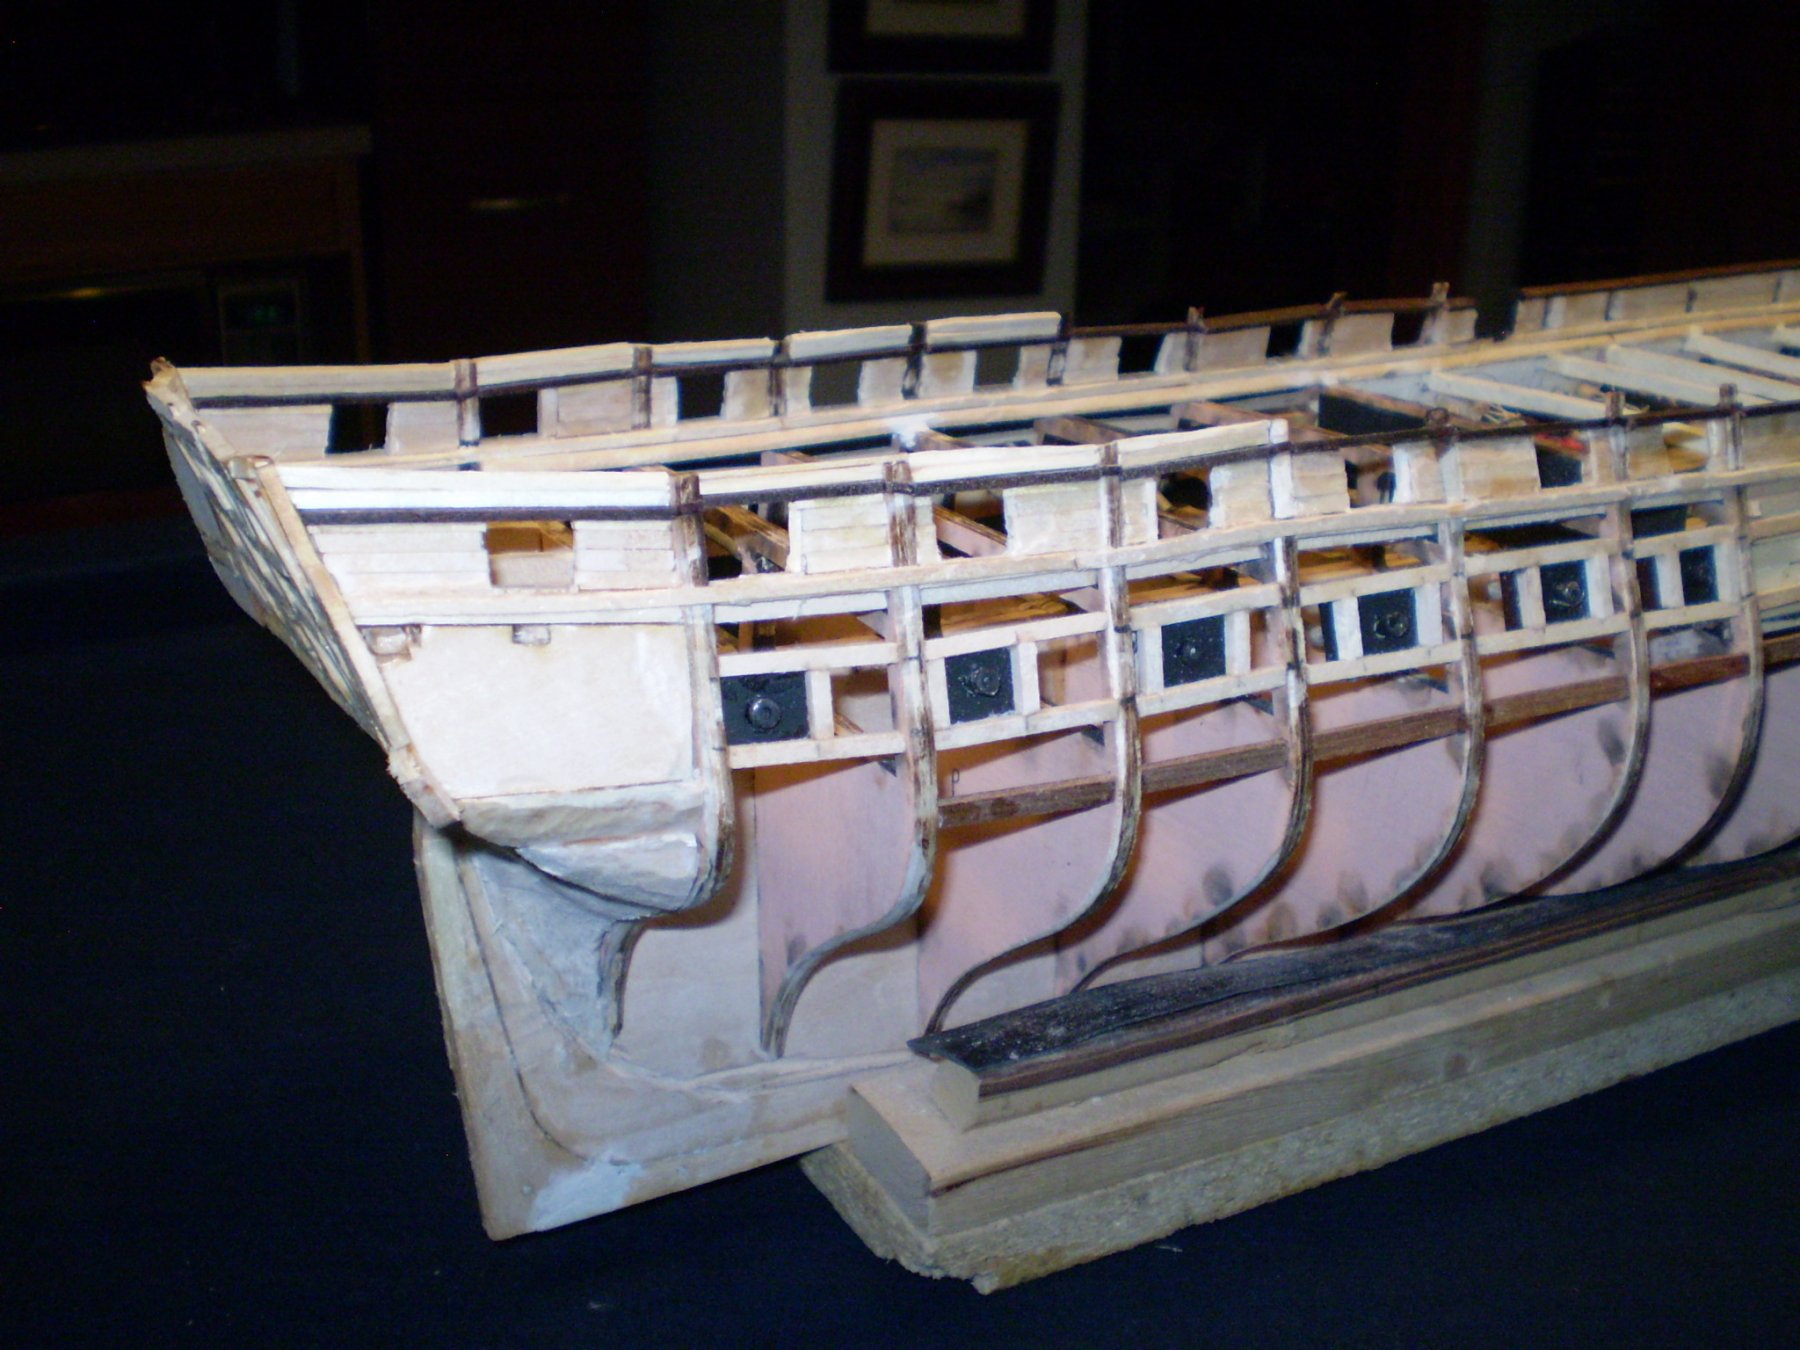
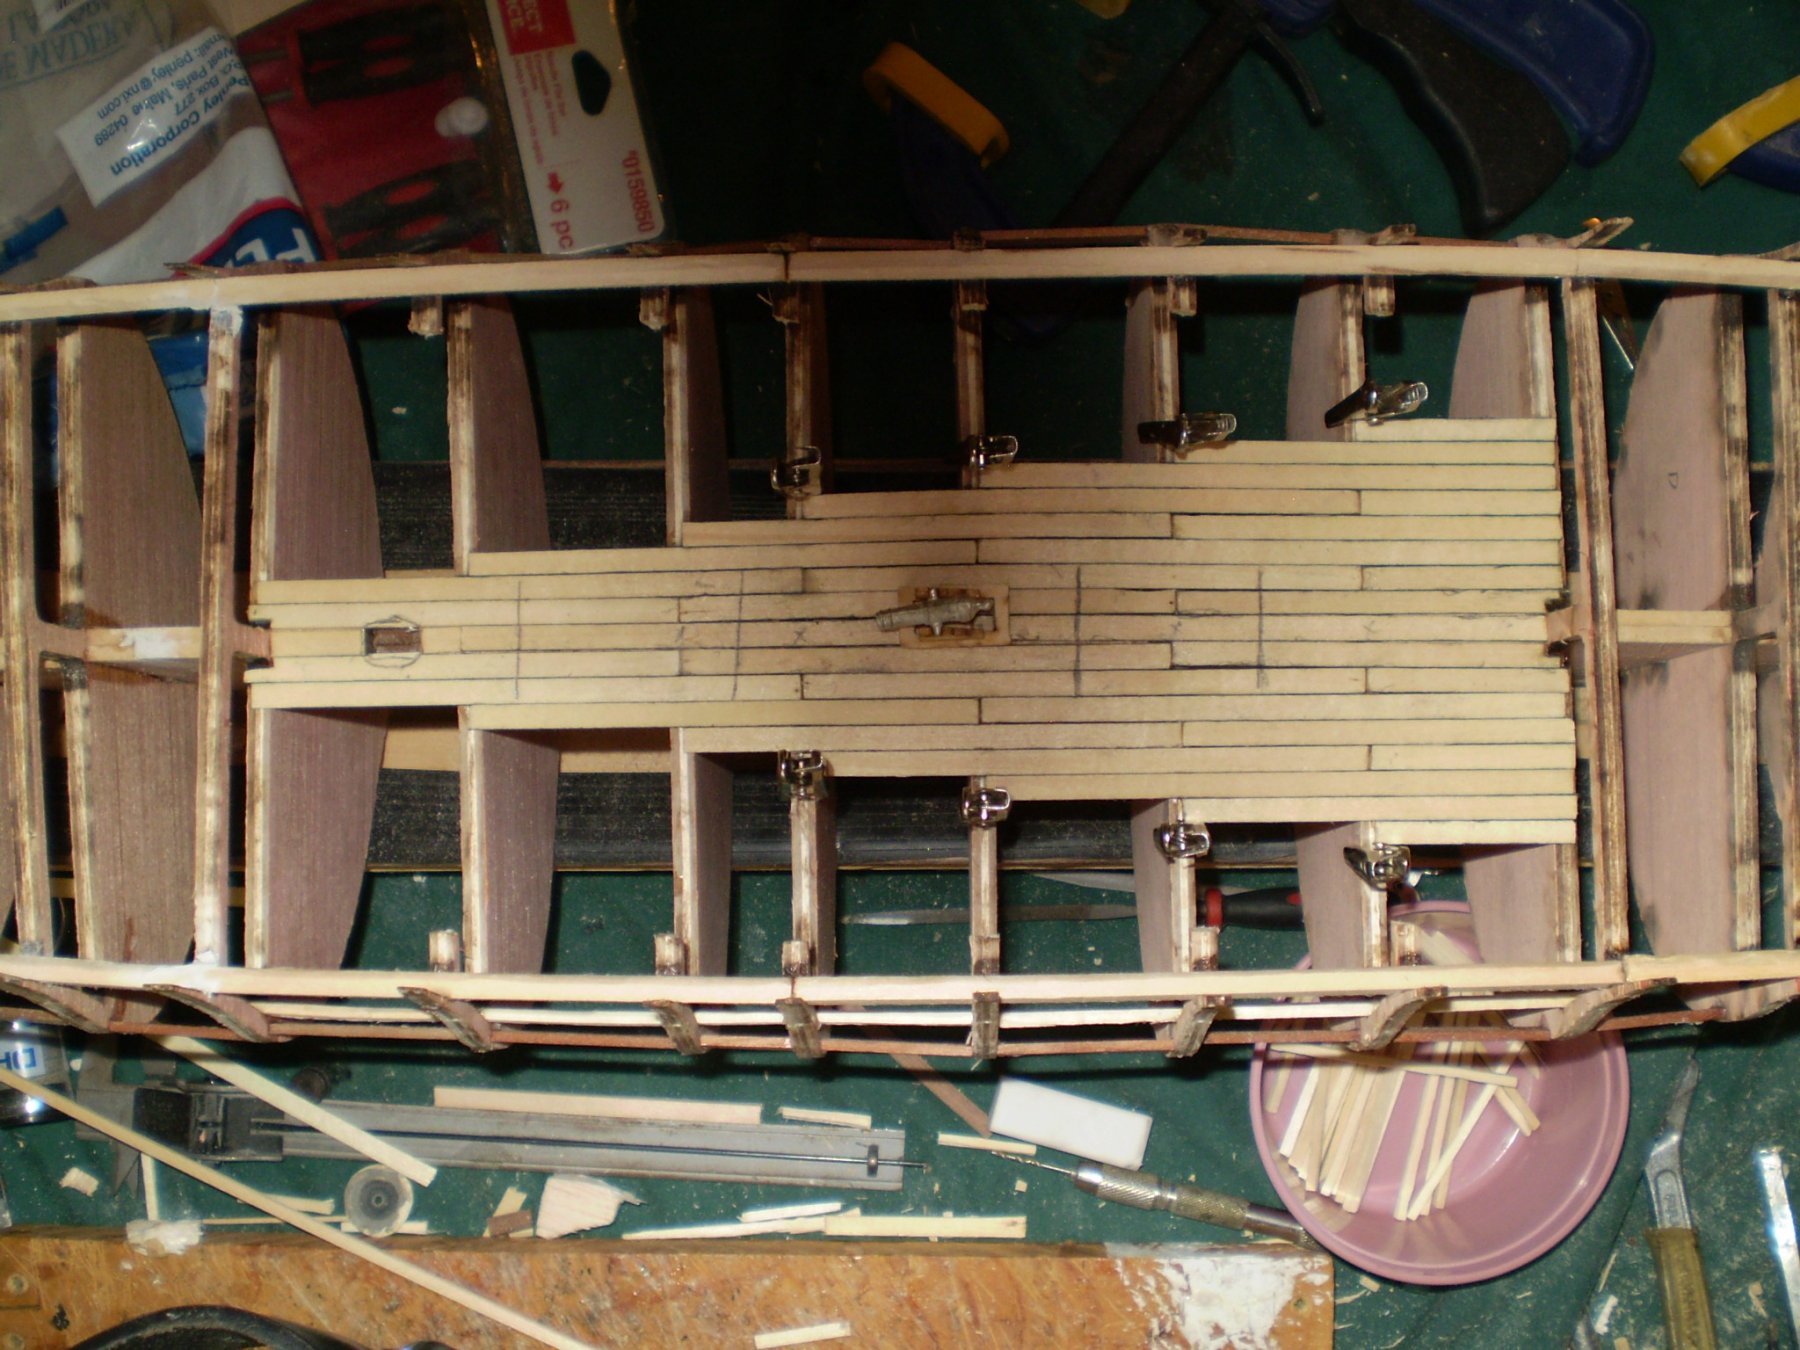
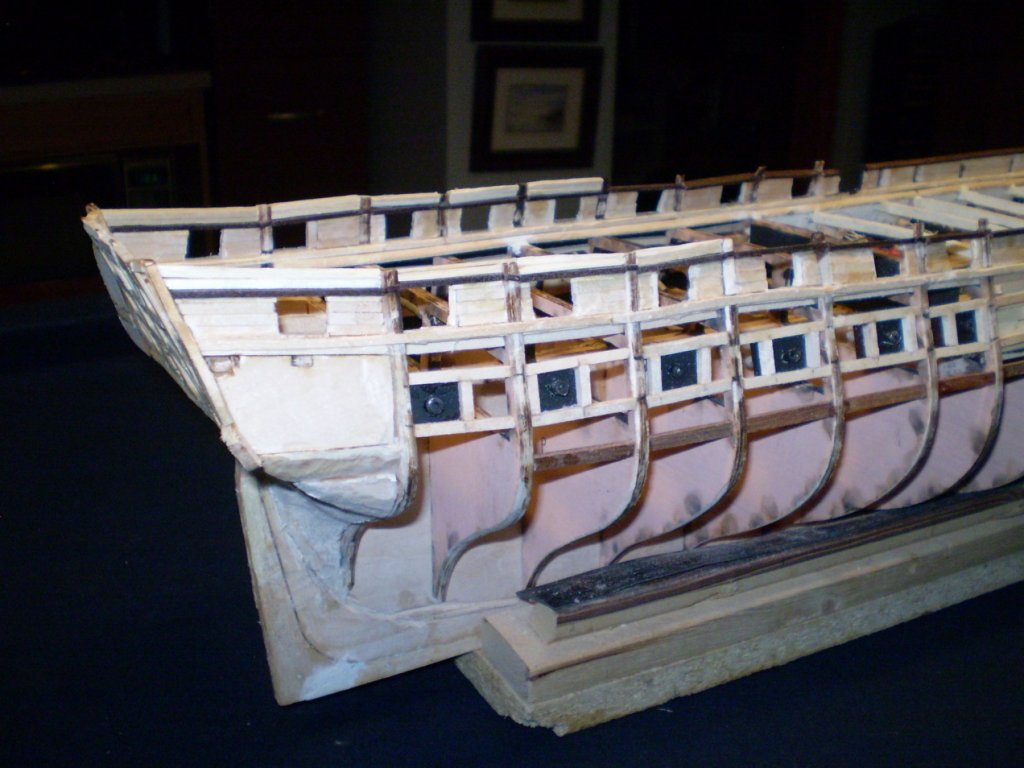
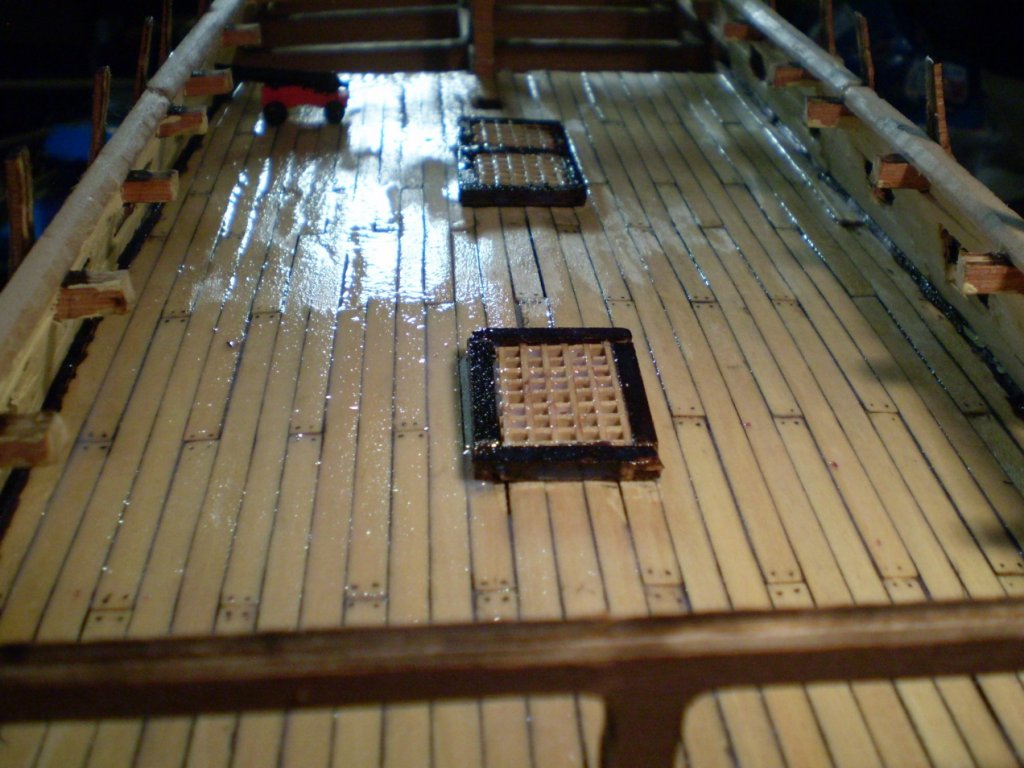
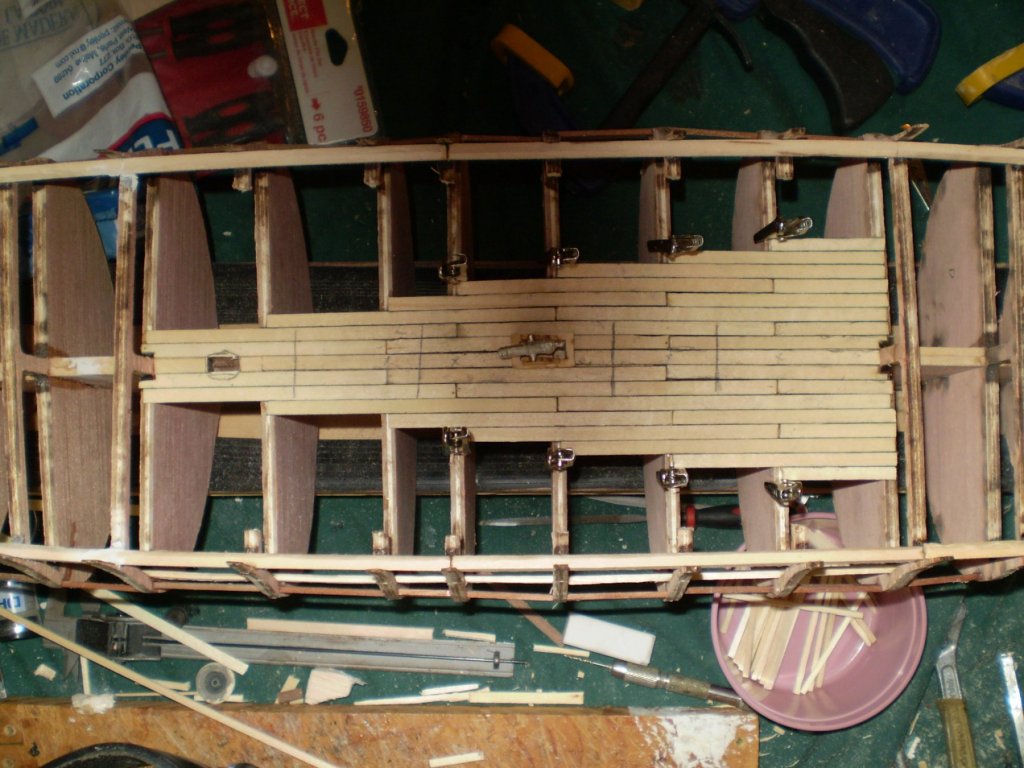
The stern framing is roughed in, but not sanded or faired yet. I've been side tracked by work on the gun deck. As can be seen, planking of the deck itself is well underway. I'm using some 1/16" planks leftover from the Bounty, blackening the edges with a soft pencil, and staggering the joints in a 3 board pattern. The cannon shown in the picture is one I've put together simply to check the port height when I get to that point. Once the planking is done, I'll sand it smooth, stain and varnish it, then add hatches sitting on top. The rough position of the hatches is penciled in on the existing planking. I'm glad I read usedtosail's build log, I think the addition of this partial gun deck is going to be a real enhancement to the finished model.
-
Here are couple of shots of my recent progress.....
-
I've since finished the stern framing, and begun work on the waterways. I've decided to follow 'usedtosail's build and install part of the gun deck. I've removed the beams from bulkheads F through K and will install waterways and deck planking on that part of the gun deck. I will also order the cannon set from Model Expo to provide the extra gun-stations required. I've decided on a couple of departures from usedtosail's approach however. Rather than build decks based on planking over cut deck pieces, I am going to try to plank directly on to the bulkhead cross-members in order to reduce the amount of material added. In addition, rather than cutting holes in the gun deck for the hatches, I'm simply going to construct them from left-over material from other builds and glue them directly onto the planking, perhaps with a black construction paper backing. I'll try and get a few shots of the ongoing work as it proceeds.