HOLIDAY DONATION DRIVE - SUPPORT MSW - DO YOUR PART TO KEEP THIS GREAT FORUM GOING! (Only 36 donations so far out of 49,000 members - C'mon guys!)
×


maturin52
-
Posts
128 -
Joined
-
Last visited
Content Type
Profiles
Forums
Gallery
Events
Everything posted by maturin52
-
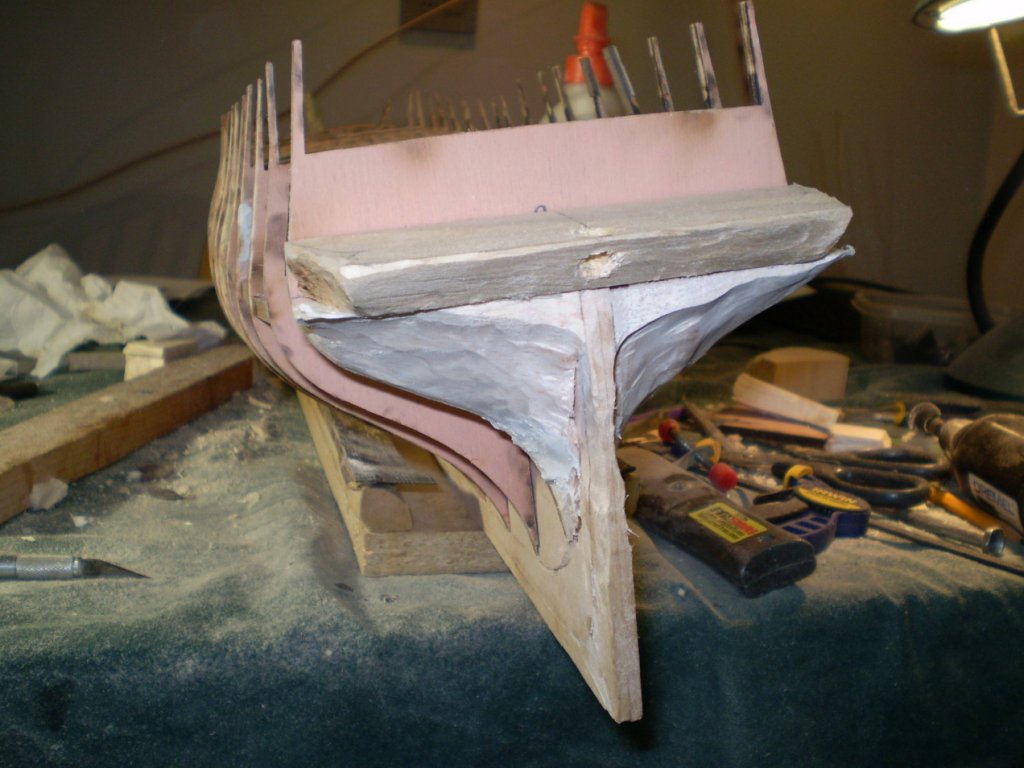
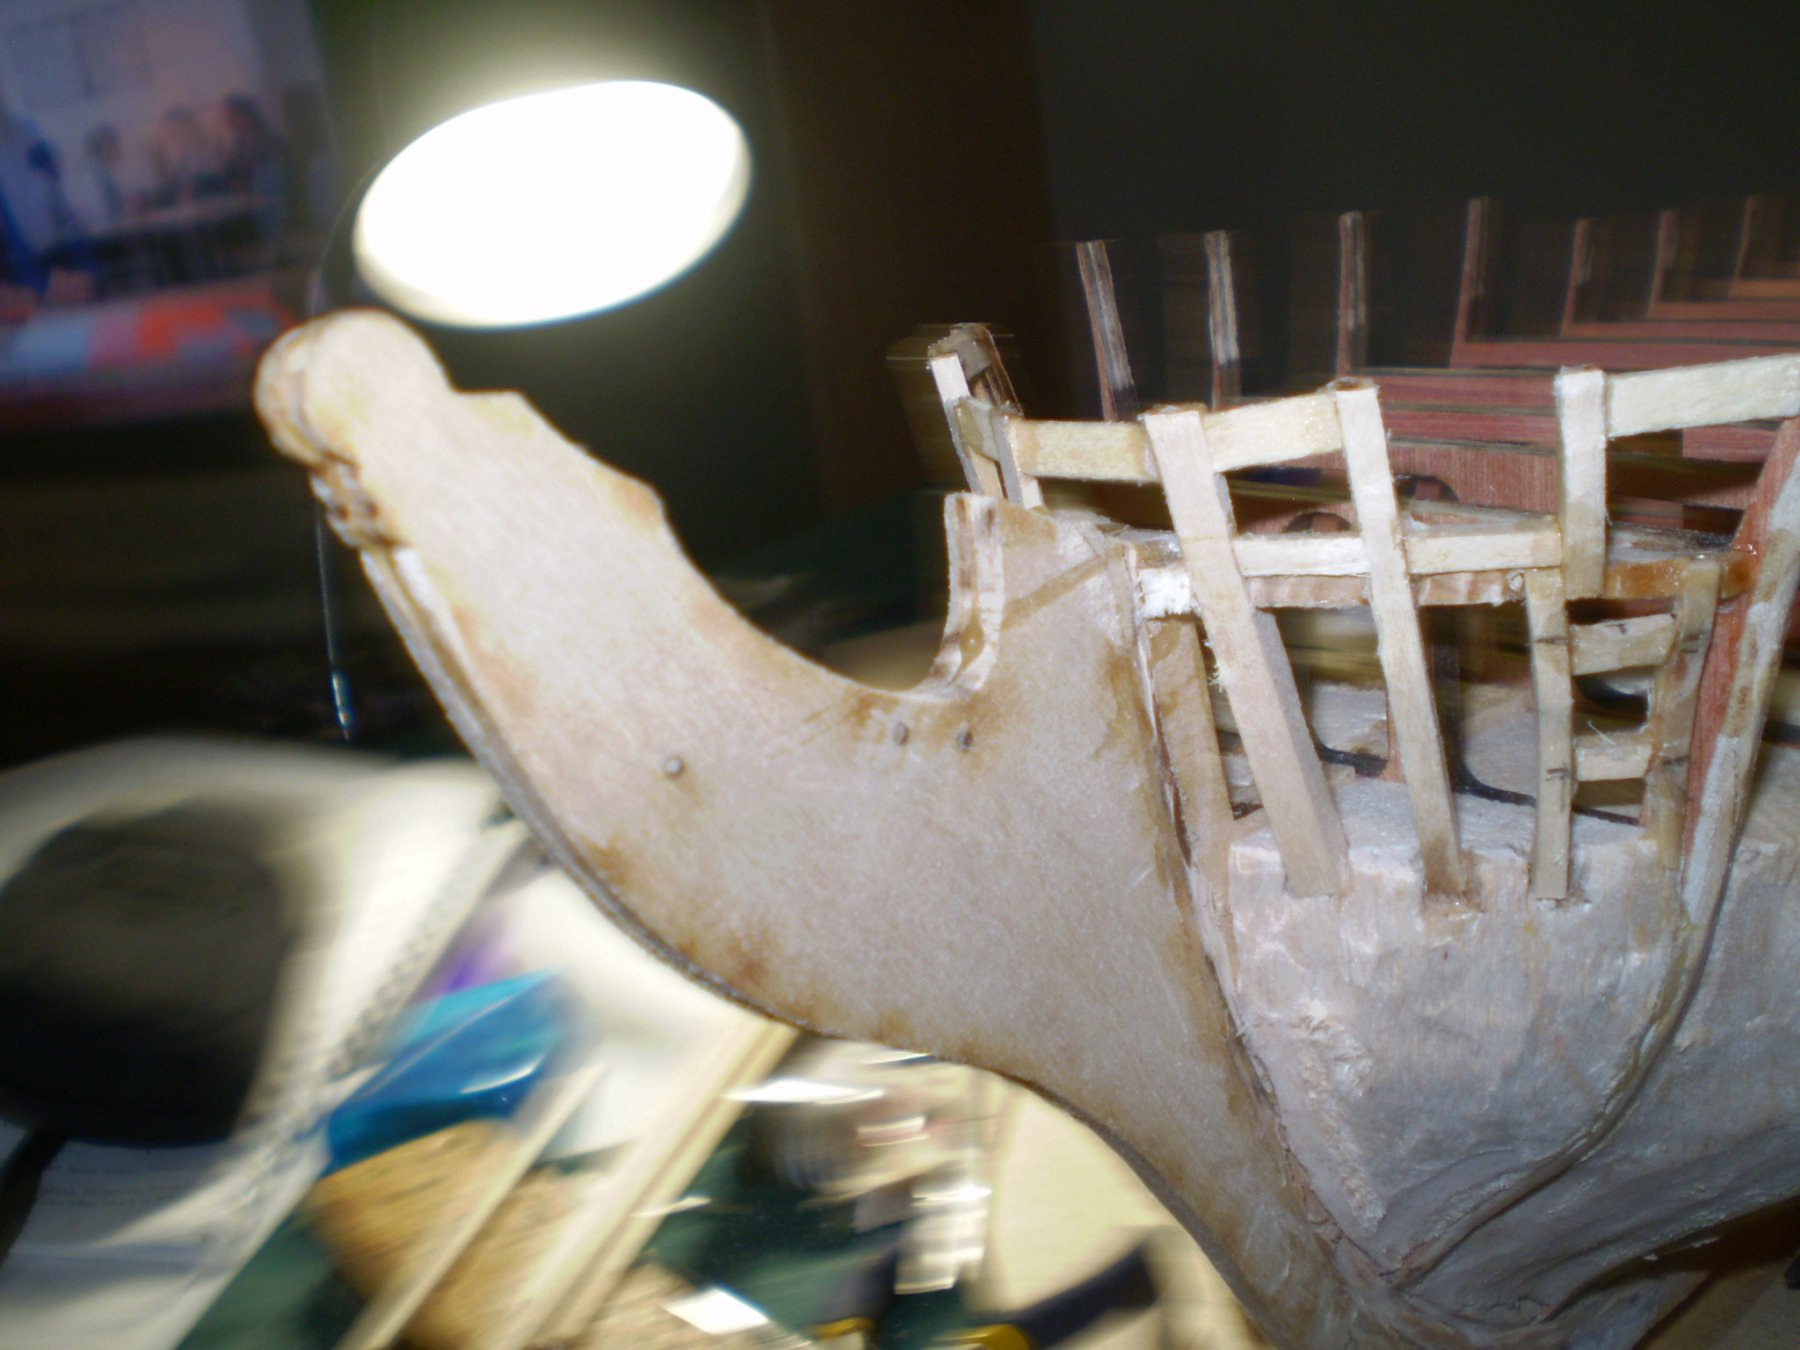
 Well, work has progressing, though this log hasn't been as scrupulously updated as it should be. I've been working on the bow and stern framing, as well as repairing some over-zealous sanding on the stern-post. I've most been focusing on 'rouging-in' the blocks and the framing, leaving fine fairing work to be done when the time comes to plank the pertinent sections.
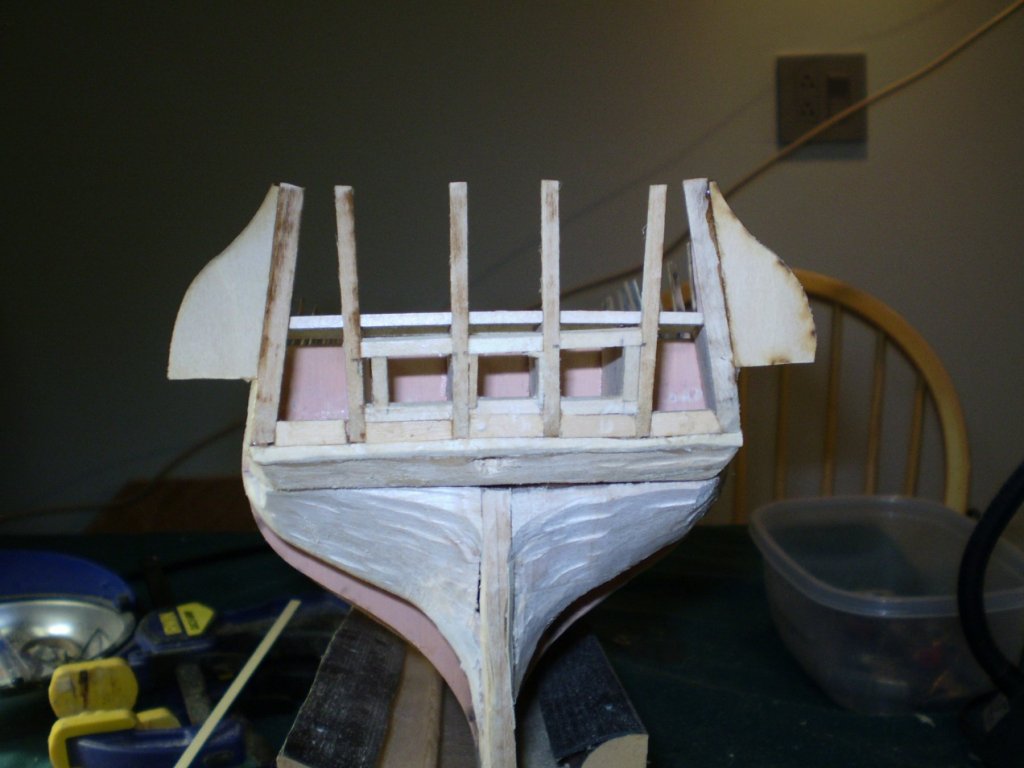


-
I think you may be right. I'll have a look. Shouldn't be hard to repair at this point, more of an issue later! Thanks.
-
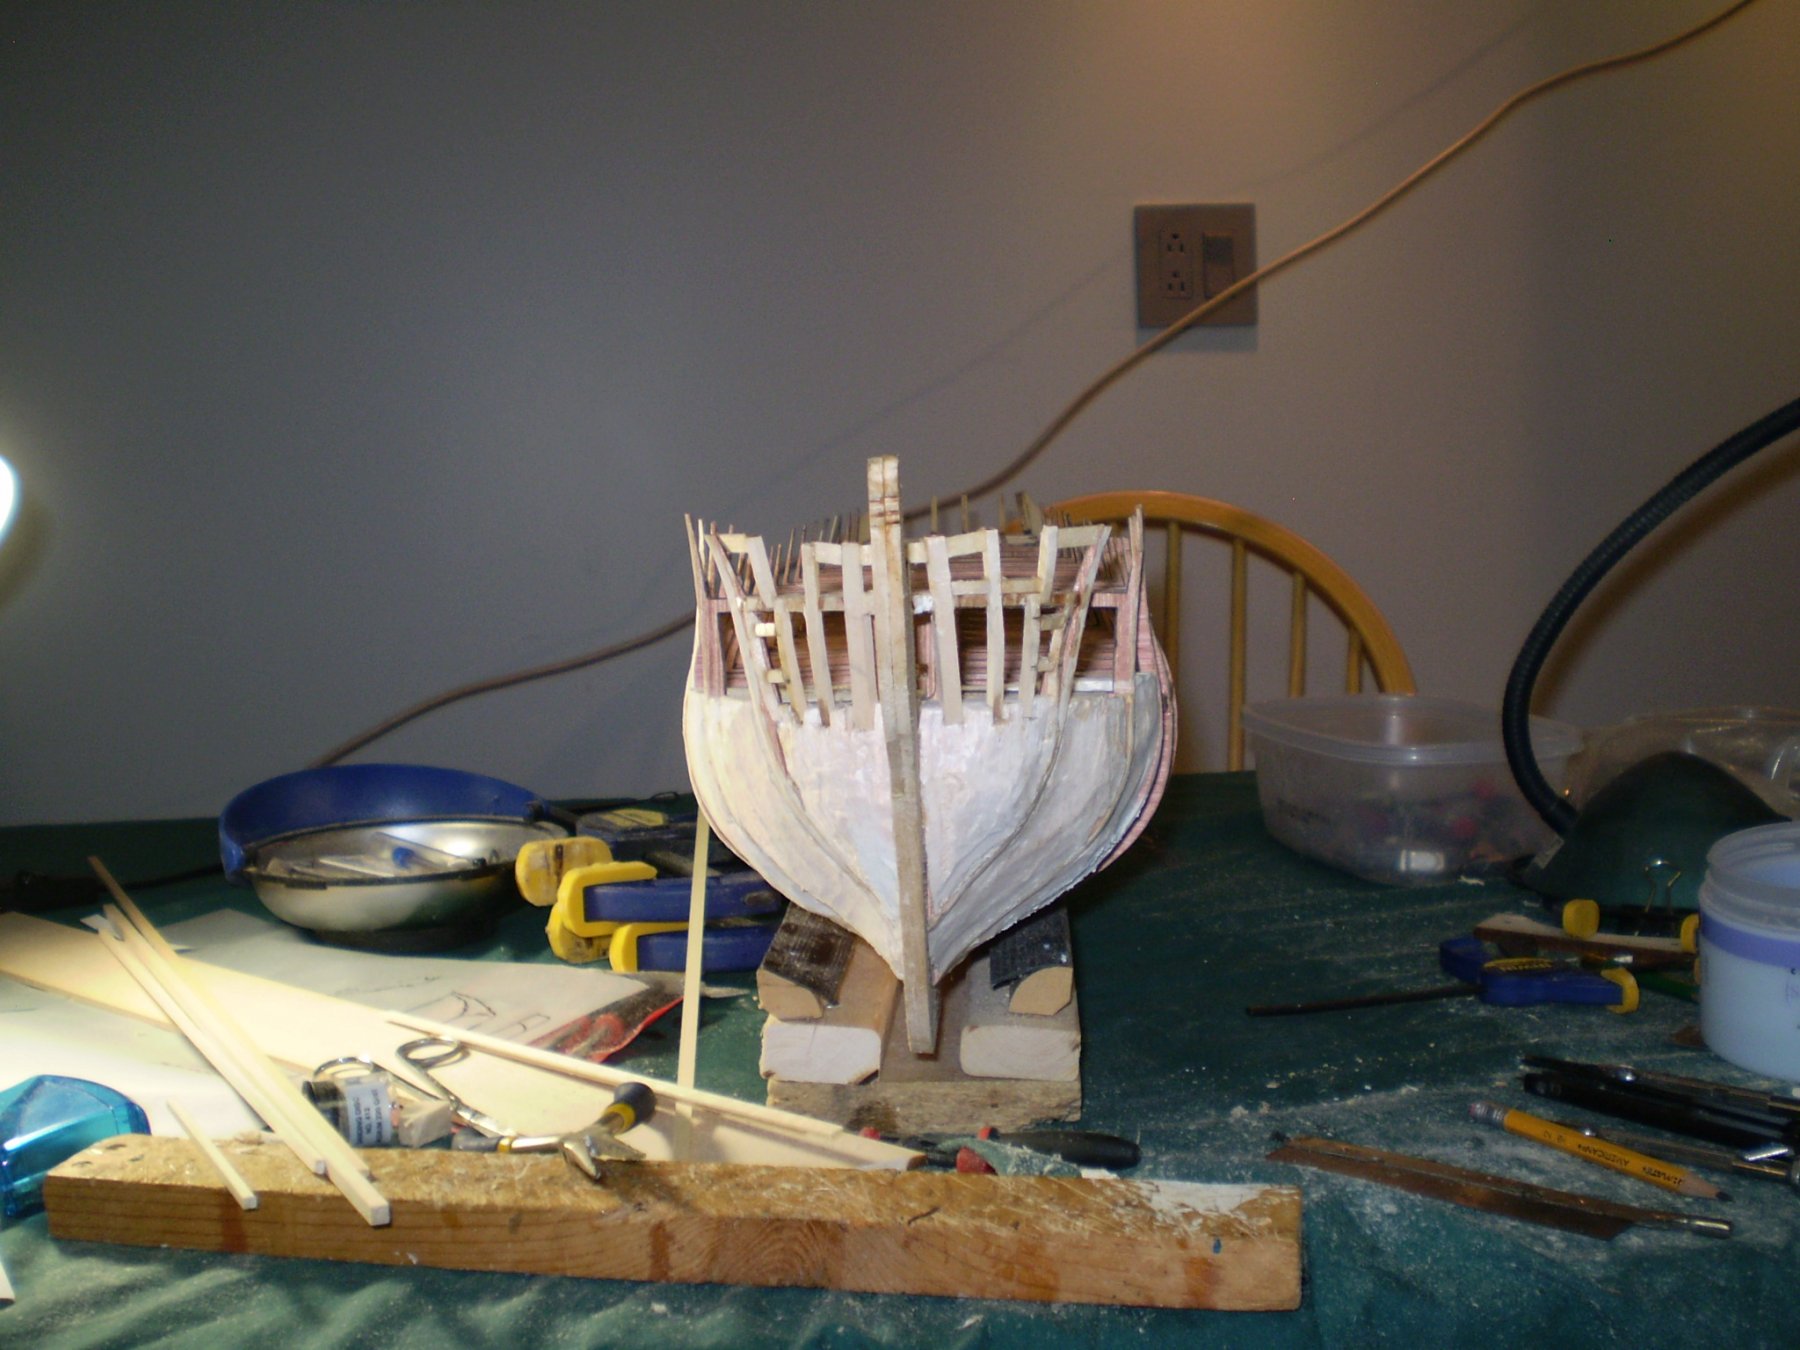
PS My workbench is not usually as chaotic and messy as it appears here. The amount of sawdust created is overwhelming, and mostly it's waiting until this phase is done!
-
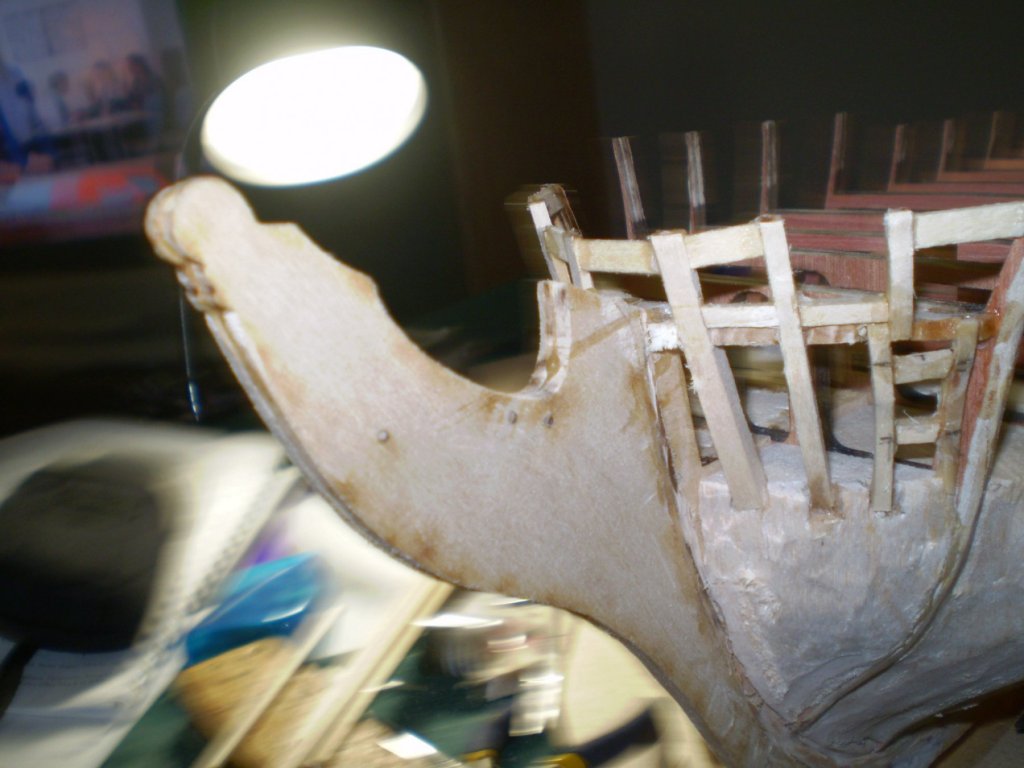
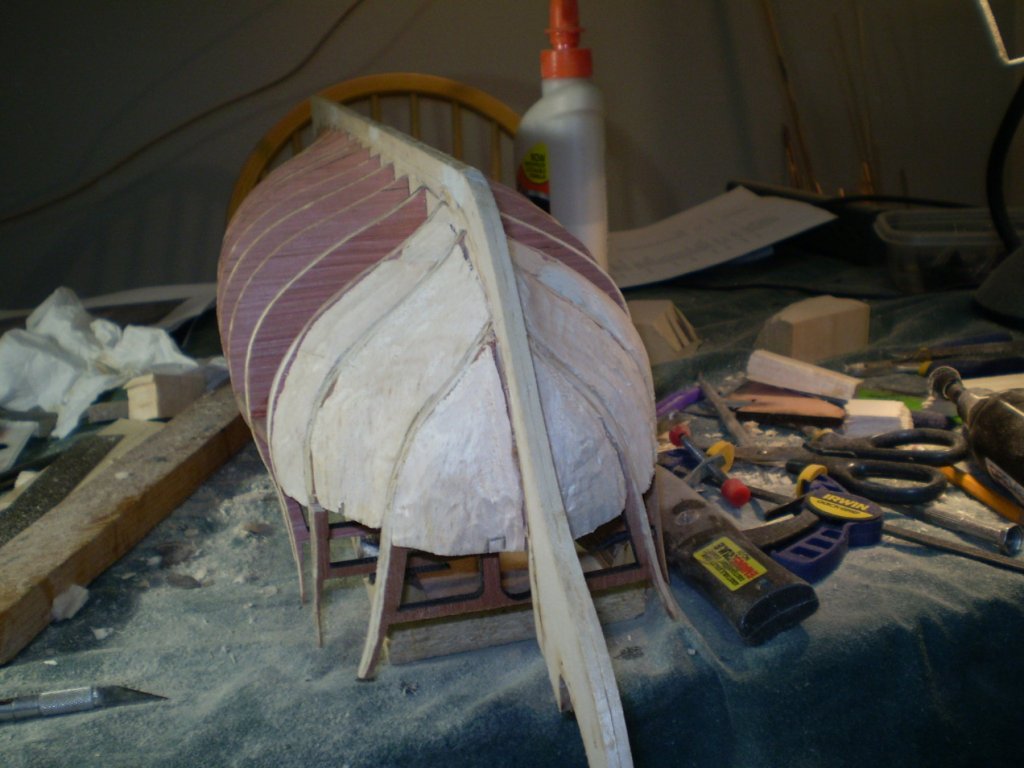
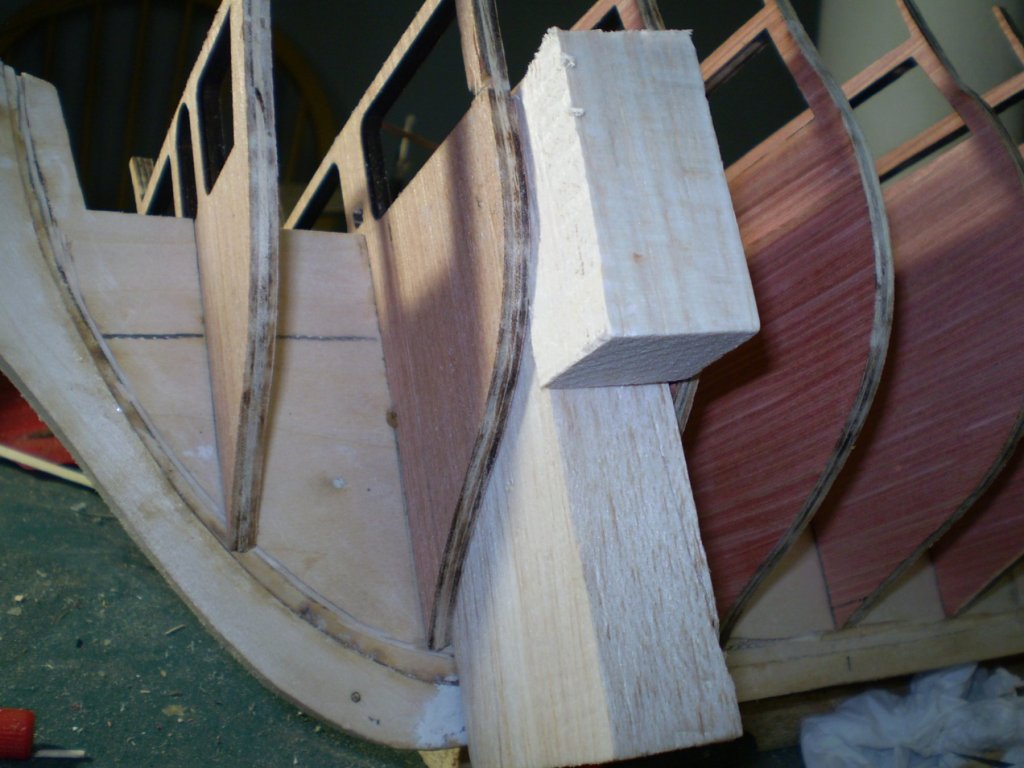
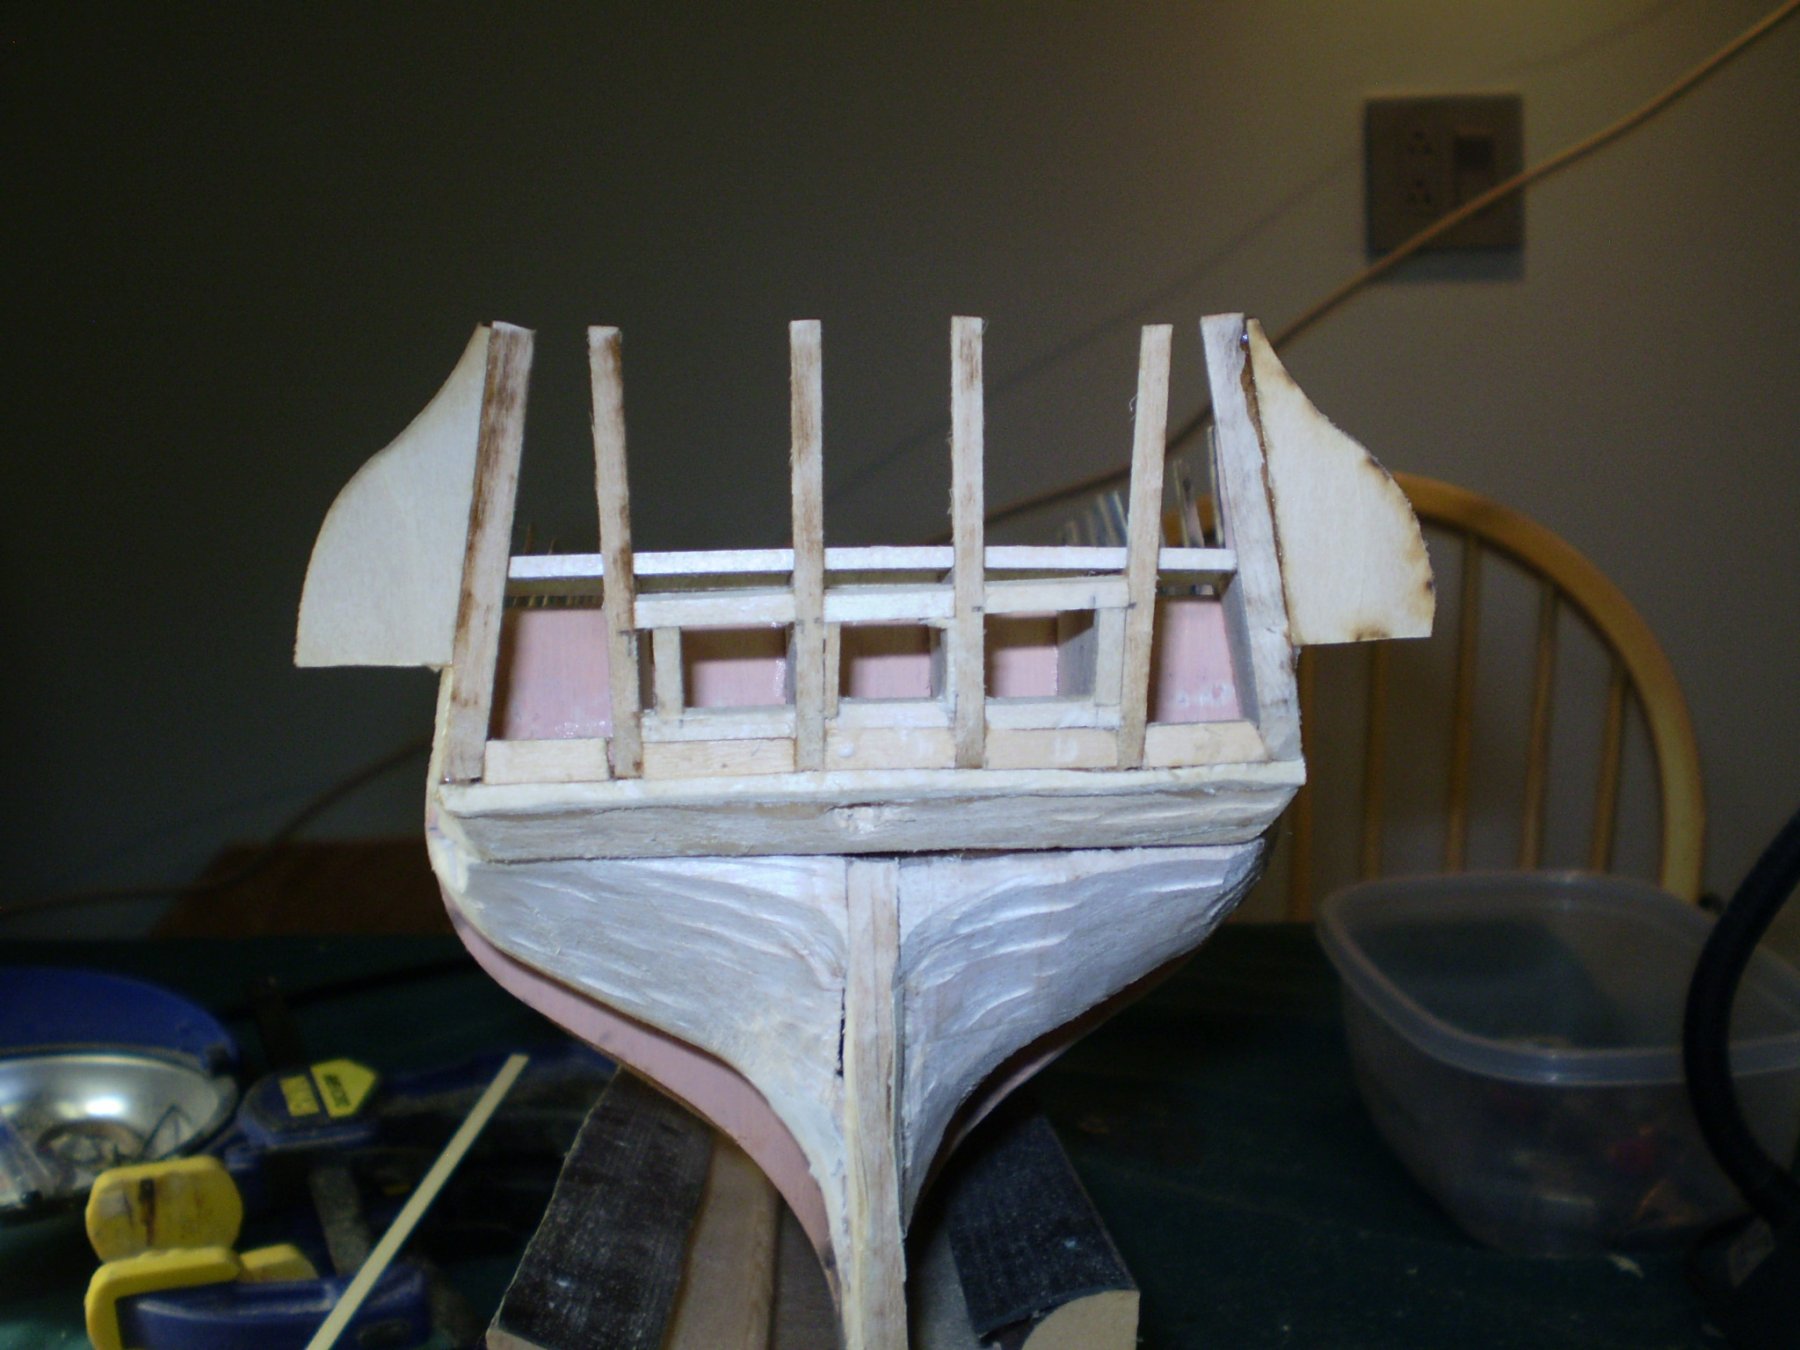
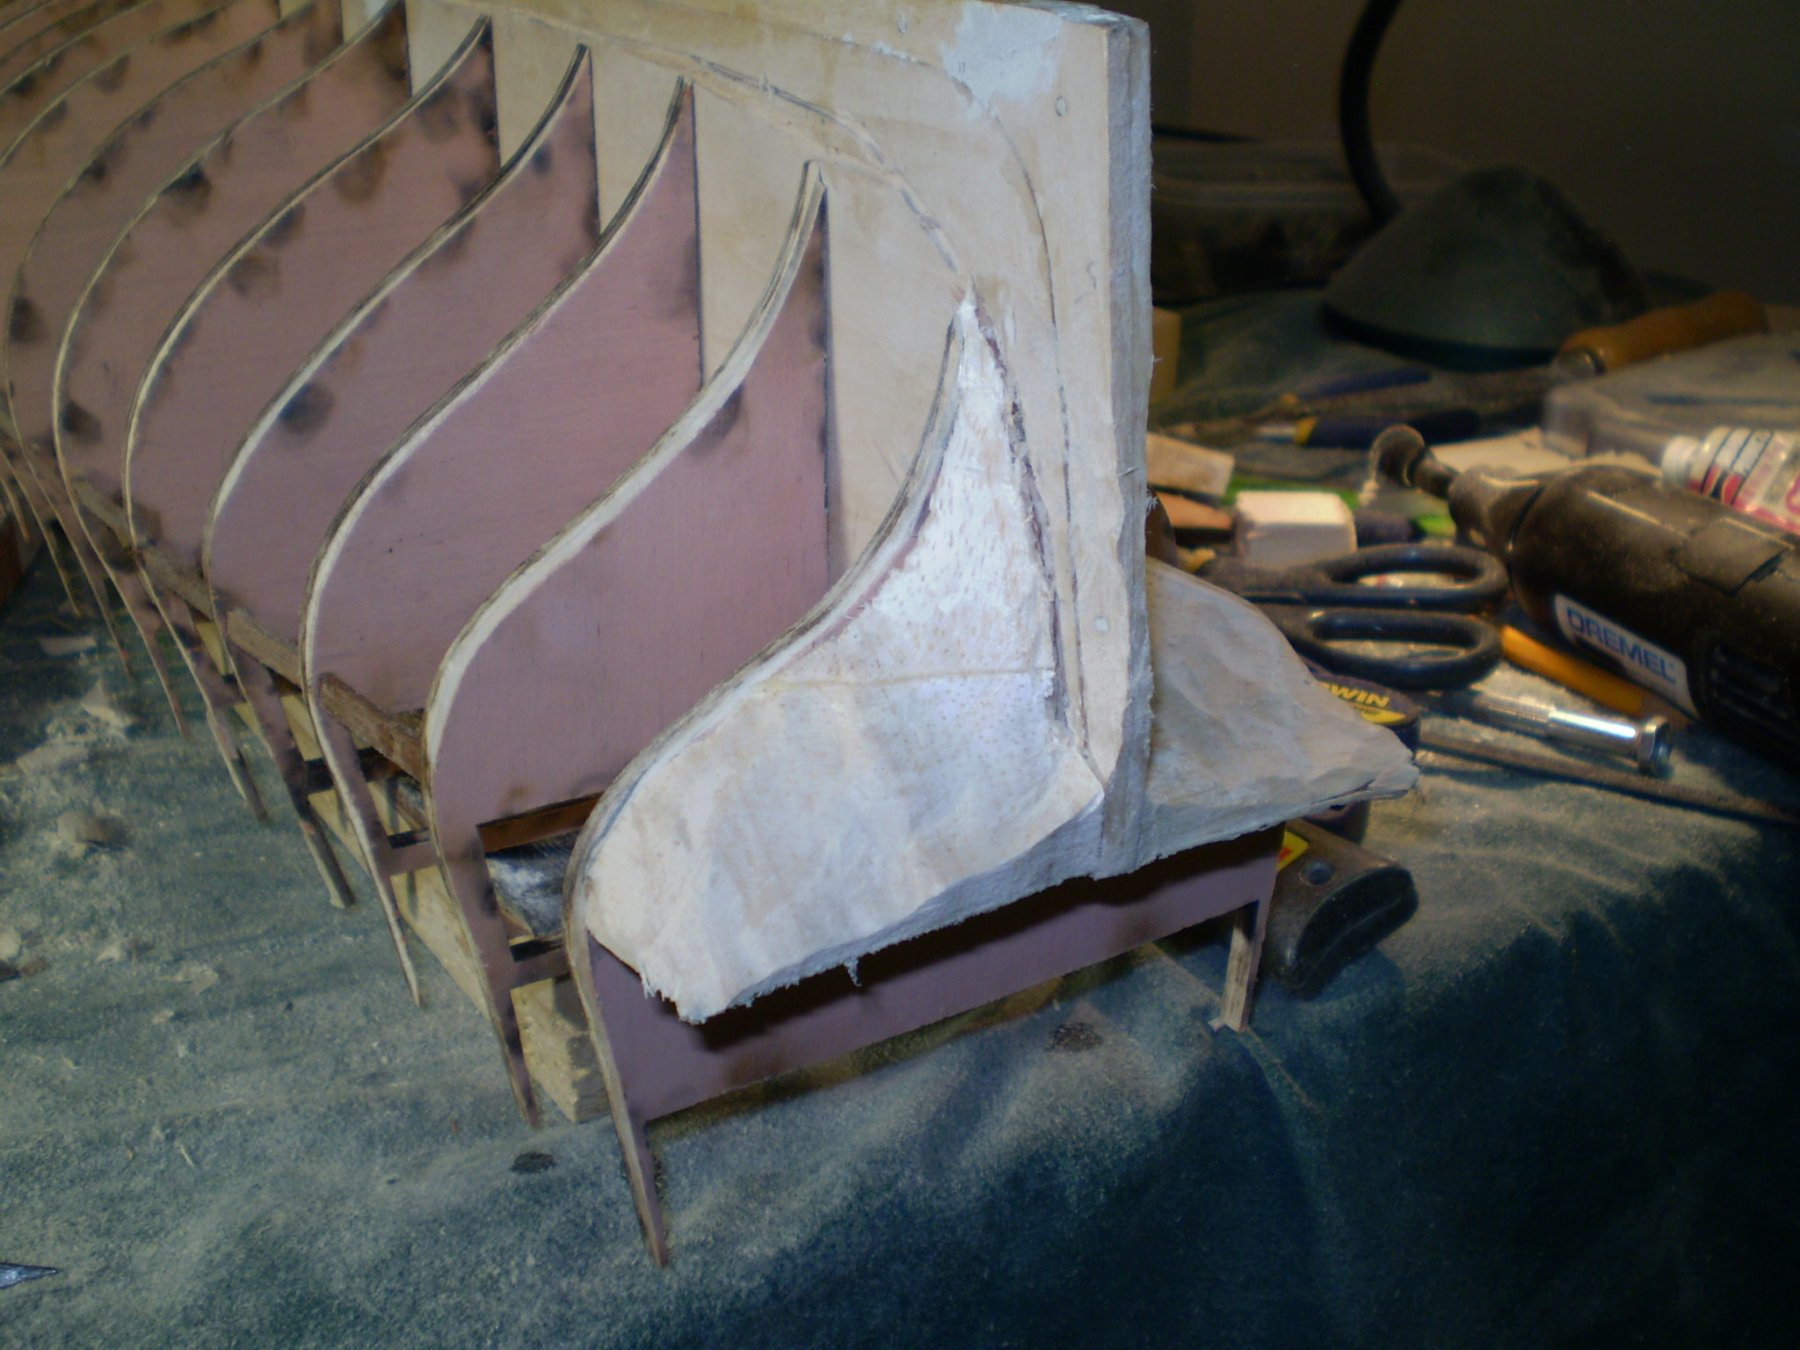
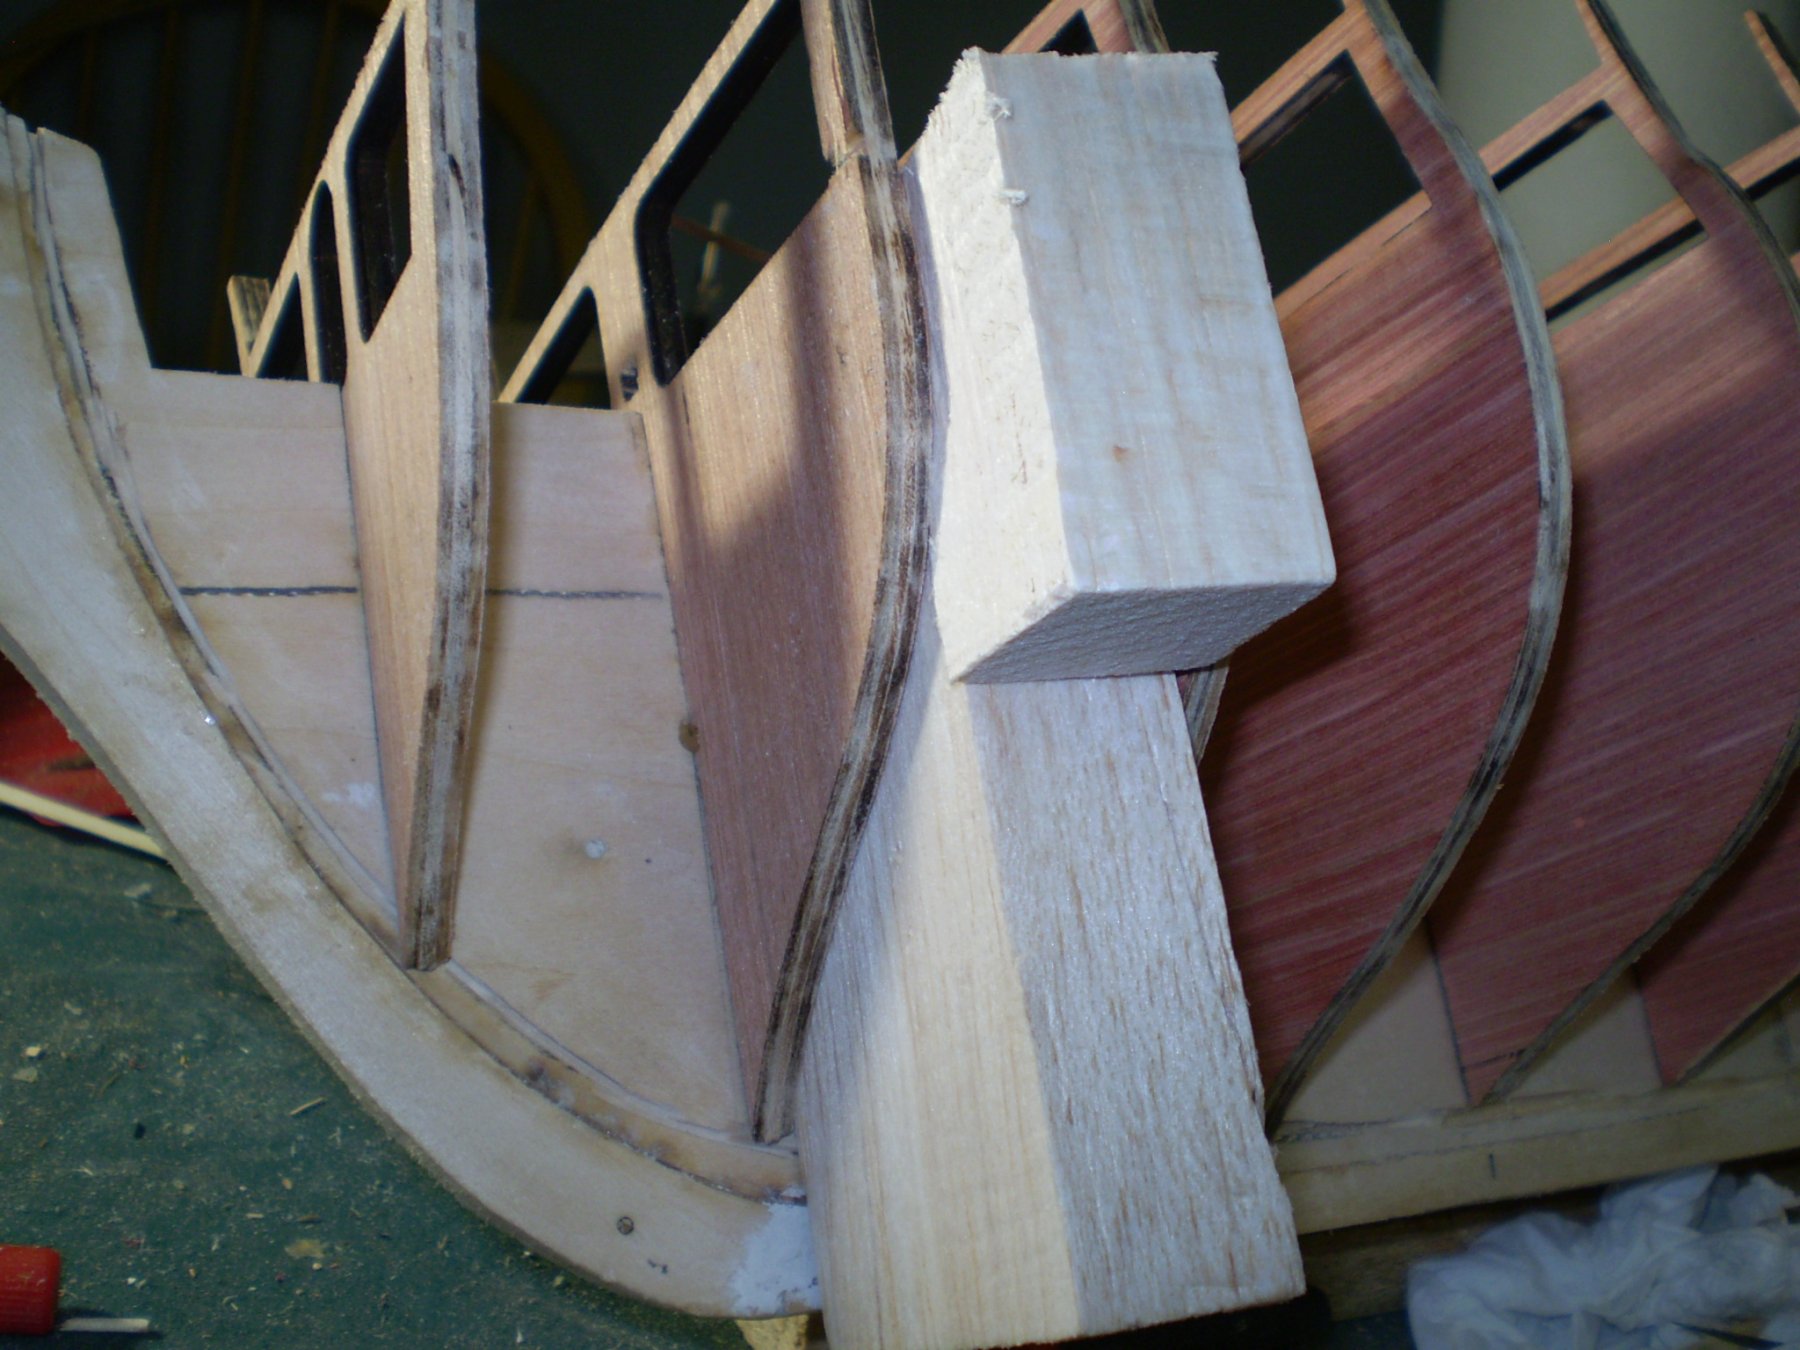
The stern section has been even more of a challenge, since the filler blocks are much smaller, more delicate, and more dramatically curved. I approached this challenge by roughing them out in balsa wood, gluing them in, and I'm now in the process of shaping them in place. The block above (whose name escapes me at the moment) is made of kit-supplied wood and is neither finalized nor glued in as yet. Perhaps another few days of fine sanding will see this small part of the larger project behind me.

-
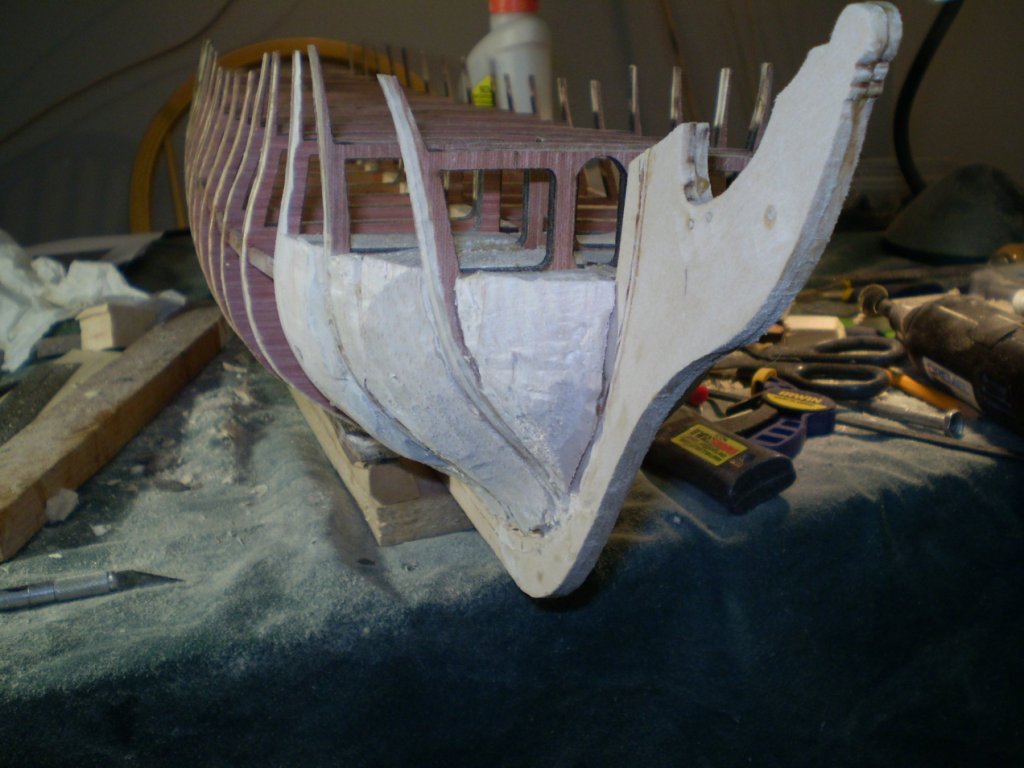
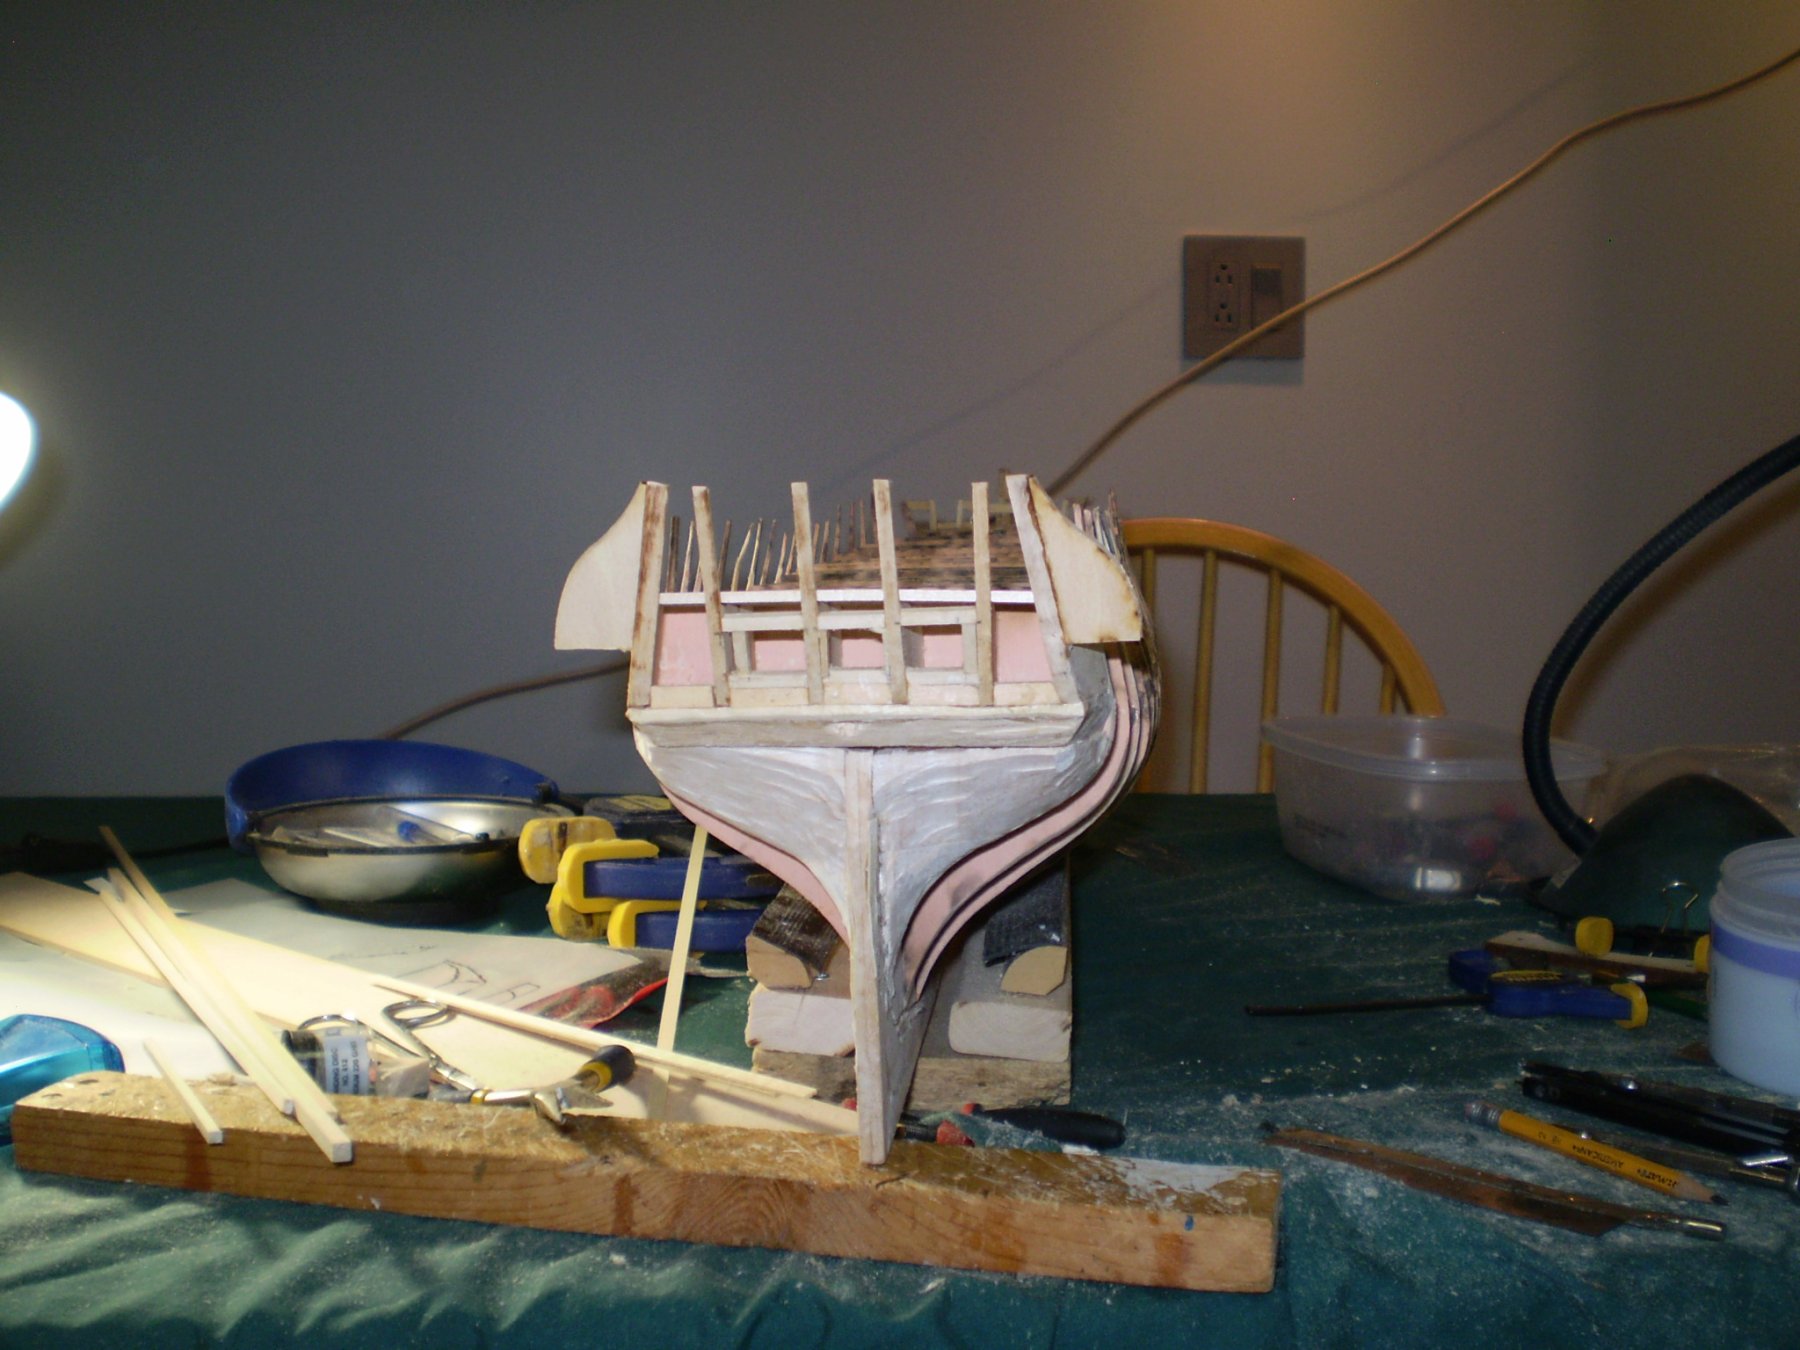
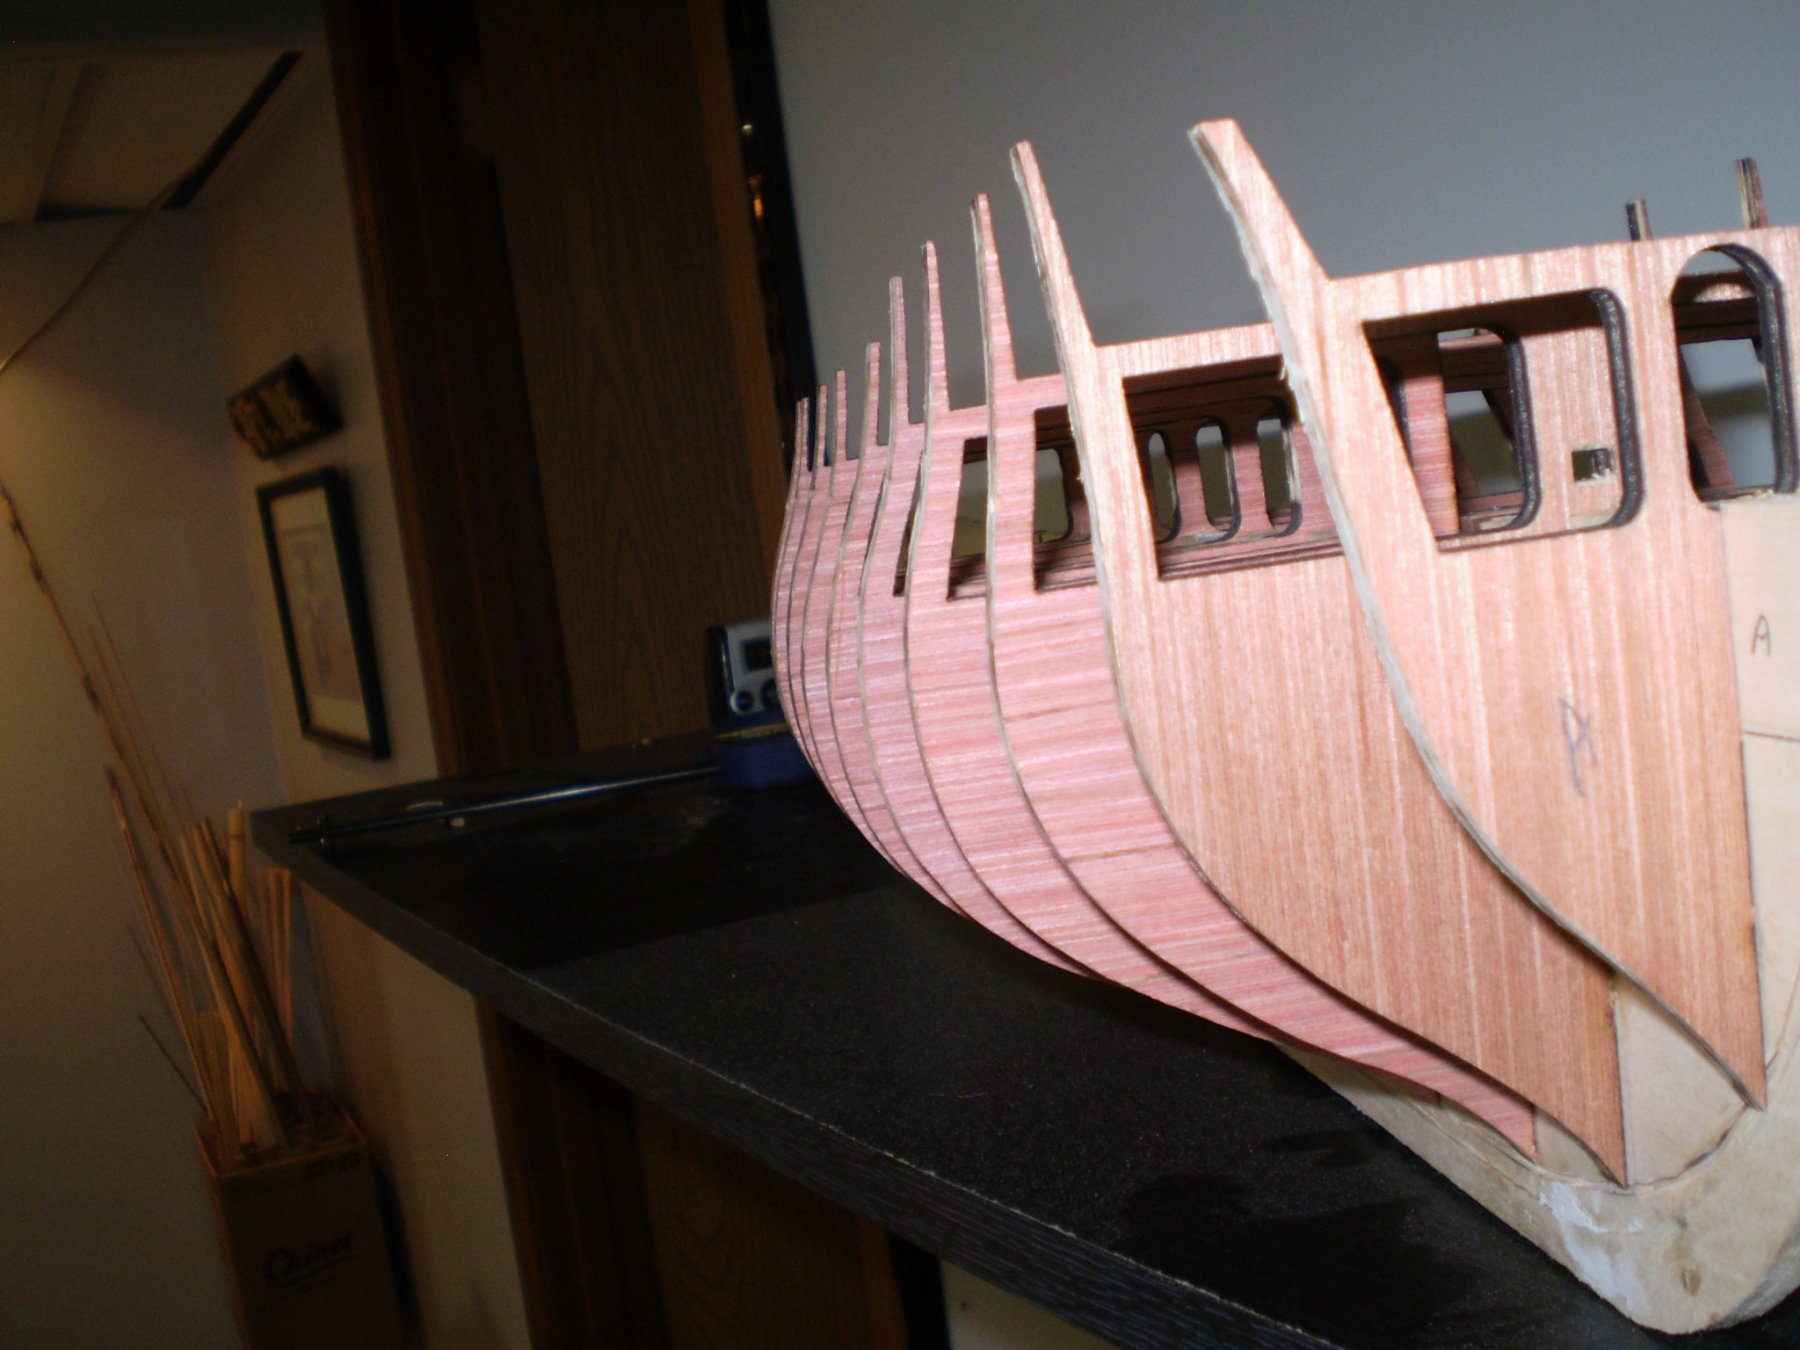
Well, the past few weeks have been dedicated to fairing the bulkheads and to installing and carving the bow and stern filler blocks. Even using balsa wood, which I did for all but one piece, there is an incredible of carving and sanding to be done. Much of the extra work is of my own doing, however, since I decided to add a couple of extra filler blocks to the bow. They are all in place now, though much fine sanding remains to be done. I have to keep reminding myself that these parts will not visible on the final model and are only there to provide structural support. Here is the roughed in bow section:
-
I have followed the advice received, and have been gluing each bulkhead as I proceed. I've also elected to take an 'optional' suggestion from the kit's instructions, and have been adding a reinforcement between each pair of bulkheads. This gives further insurance against shifting, and will, of course, be invisible after planking. I've also purchased a few chunks of balsa wood and I plan to fill the first 3 bow sections, and the last 2 stern sections with wooden blocks, sanded to shape, to give me a full backing surface for gluing up the more radical curves at bow and stern. That's the plan, how reality comes out is yet to be seen!

-
An excellent idea, Don. A bead of CA along the joint would do fine a job of locking everything in place once it's all squared, trimmed, and beveled. Yes, kmart, that's the correct Maturin. I used to date a lady in Boston, we visited the Constitution together a few times, and she gifted me with several volumes of O'Brian's wonderful series. The current Admiral graciously picked up the tradition, and I now own a complete set all 21 novels is sumptuous hard-cover editions.
-
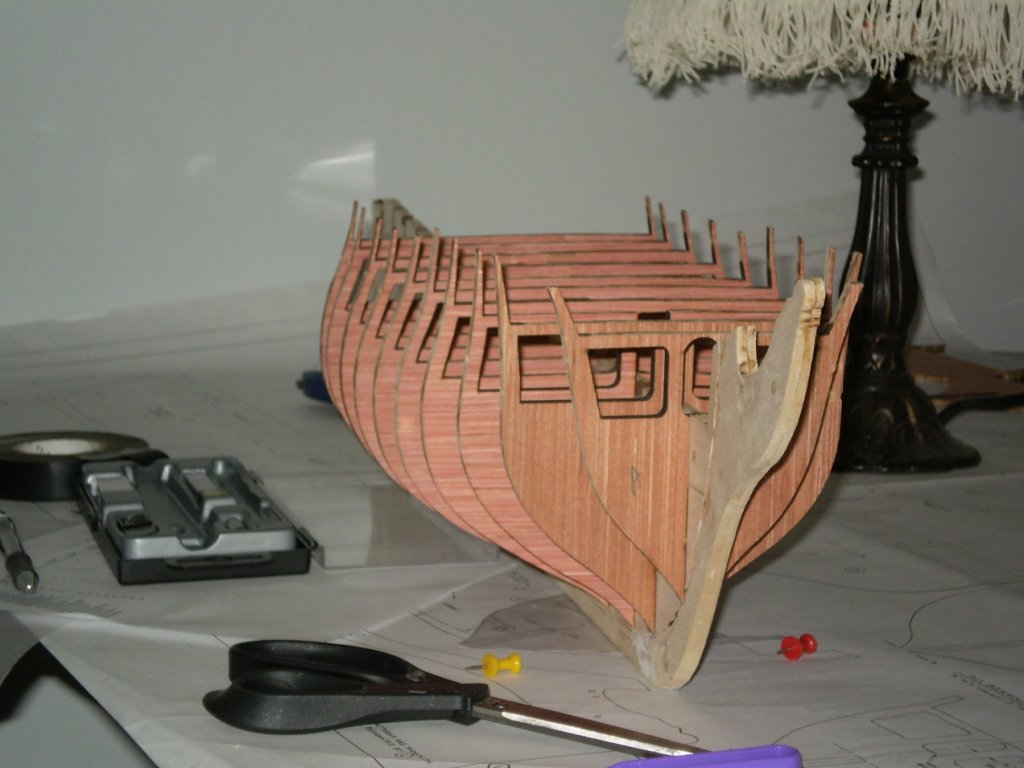
The center keel is finished, and I'm working on installing the frames. The wooden pieces match the plans wonderfully, and are well constructed. They can be removed from their backing with reasonable effort, and with little danger of breaking. I haven't found any warping yet and, so far, have just been dry fitting the parts for fit and alignment. They fit perfectly, lining up well with the 'bearding line' cut earlier. In fact, I may have a little difficulty in removing a few of them for gluing. I'm sort of thinking that if they fit that well without glue, glue may not be needed. We'll see.

-
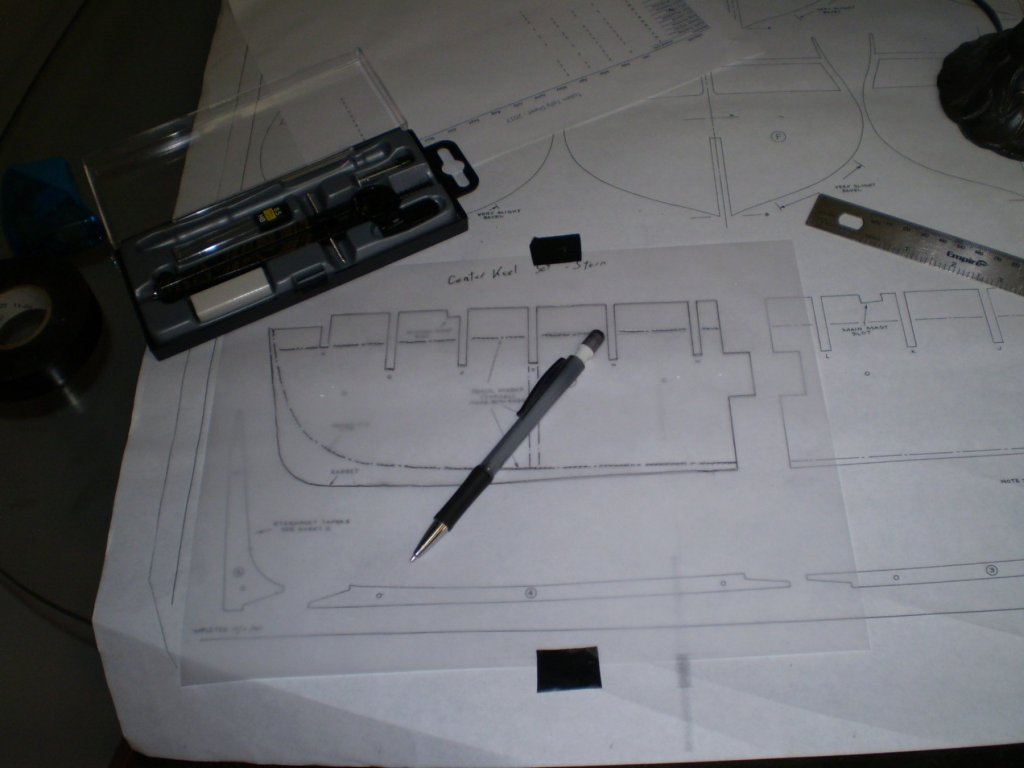
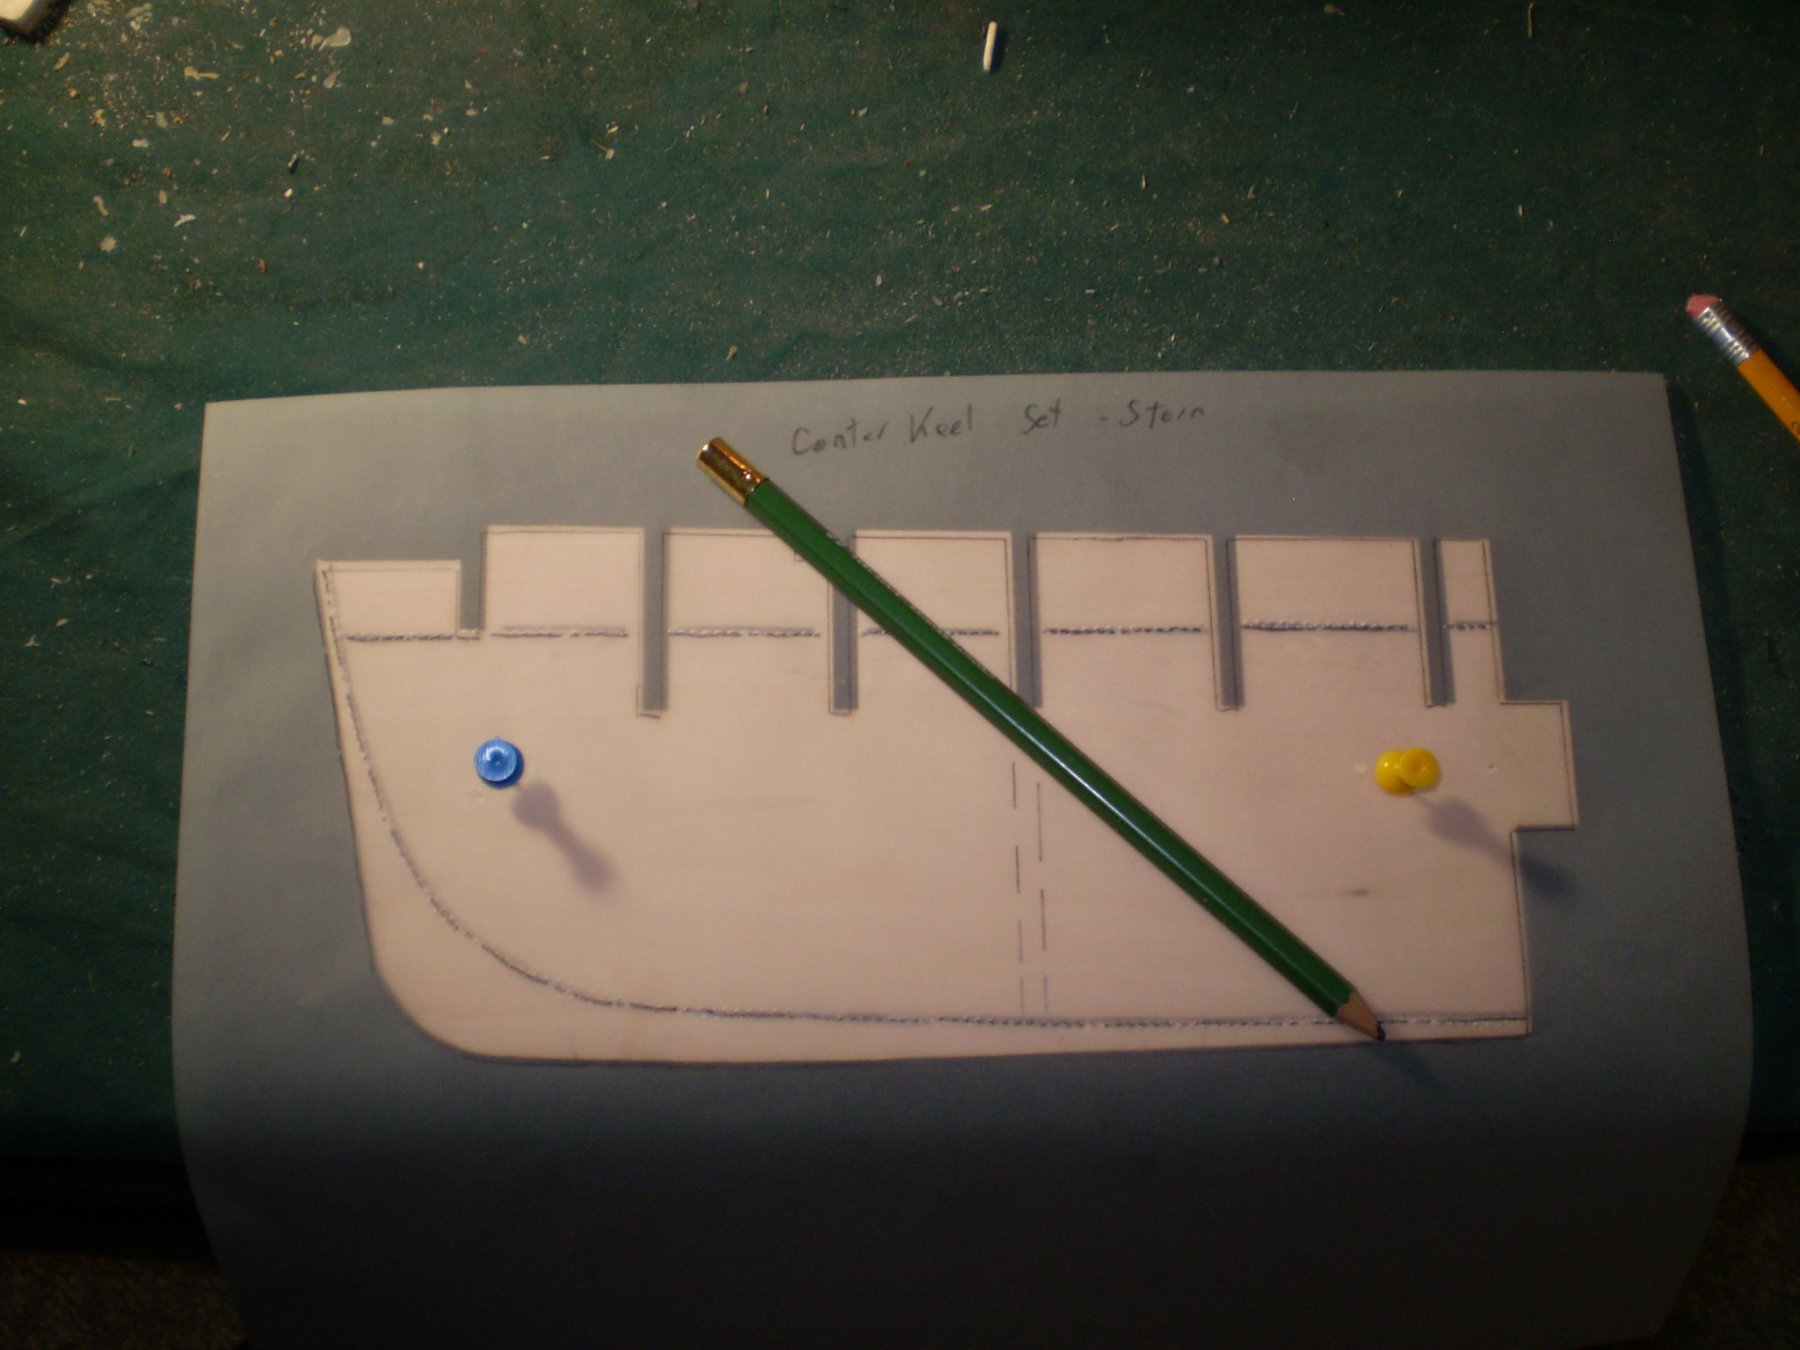
So, work is underway. From reading the instructions, it is clear that close adherence to the prints is going to be critical for a good result. I expect inaccuracies and carelessness at this early stage will multiply in consequence as the project progress. Since I have little trust in my measuring and drawing skills, I wanted to devise a way to transfer reference lines from the schematic to the actual parts in question. The plan I came up with seems to be working well. In the first picture, I tape a piece of tracing paper to the plans and copy the needed features to the paper. Next, I pin the tracing paper to the part being worked on and use a tracing wheel to transfer the lines to the wood, filling them in with pencil after marking. As picture 3 shows.... Viola... reference lines successful copied from my plans to my Center Keel sections!


-
It is daunting. But I have time, patience, and more time. One step at a time!
-
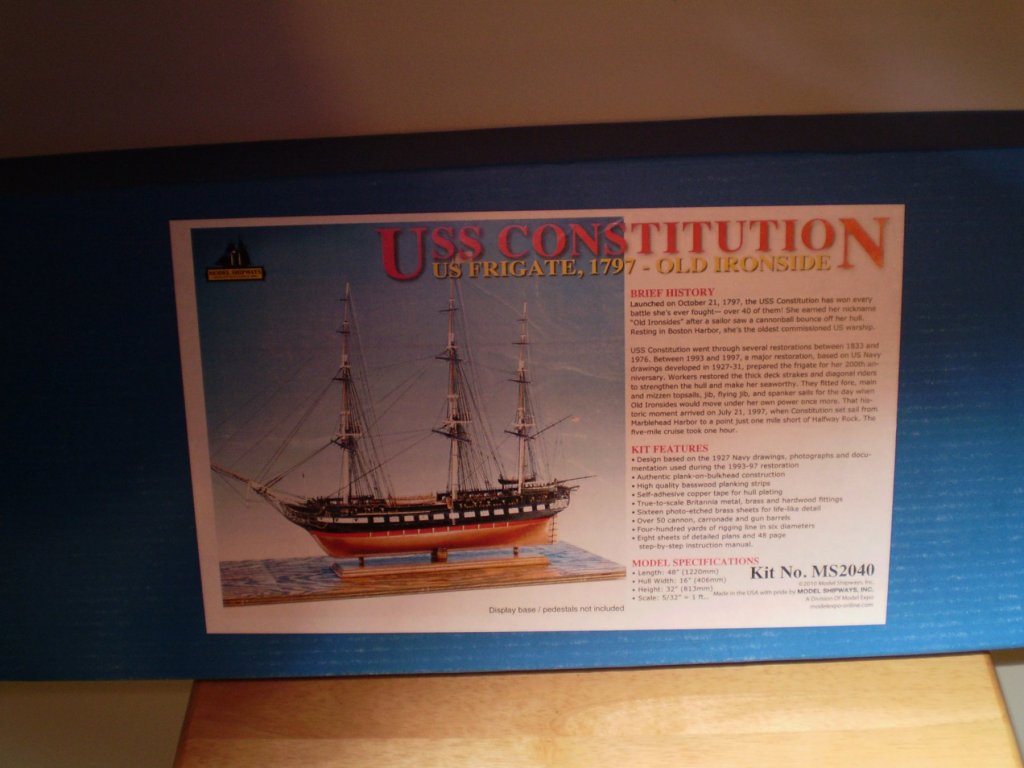
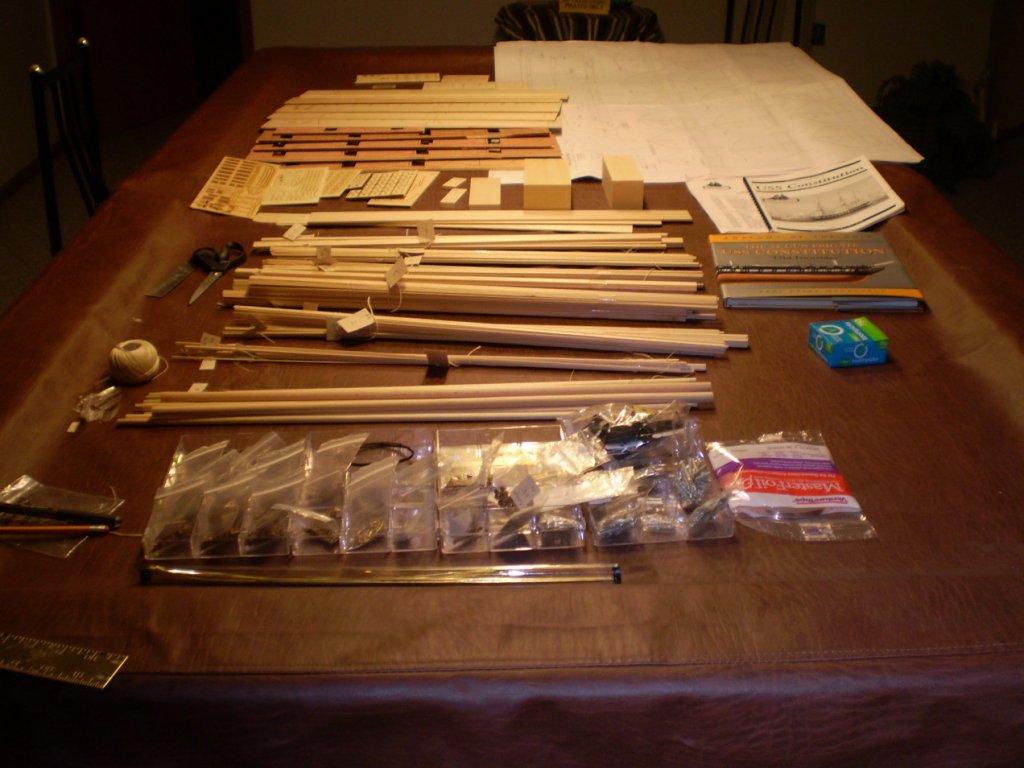
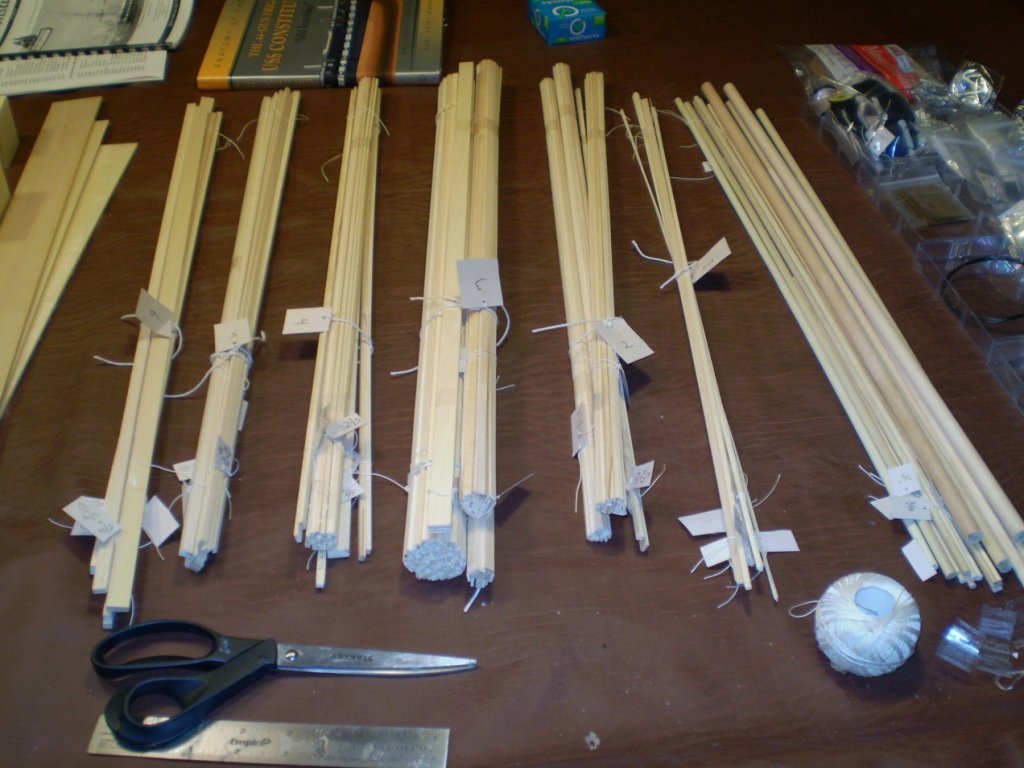
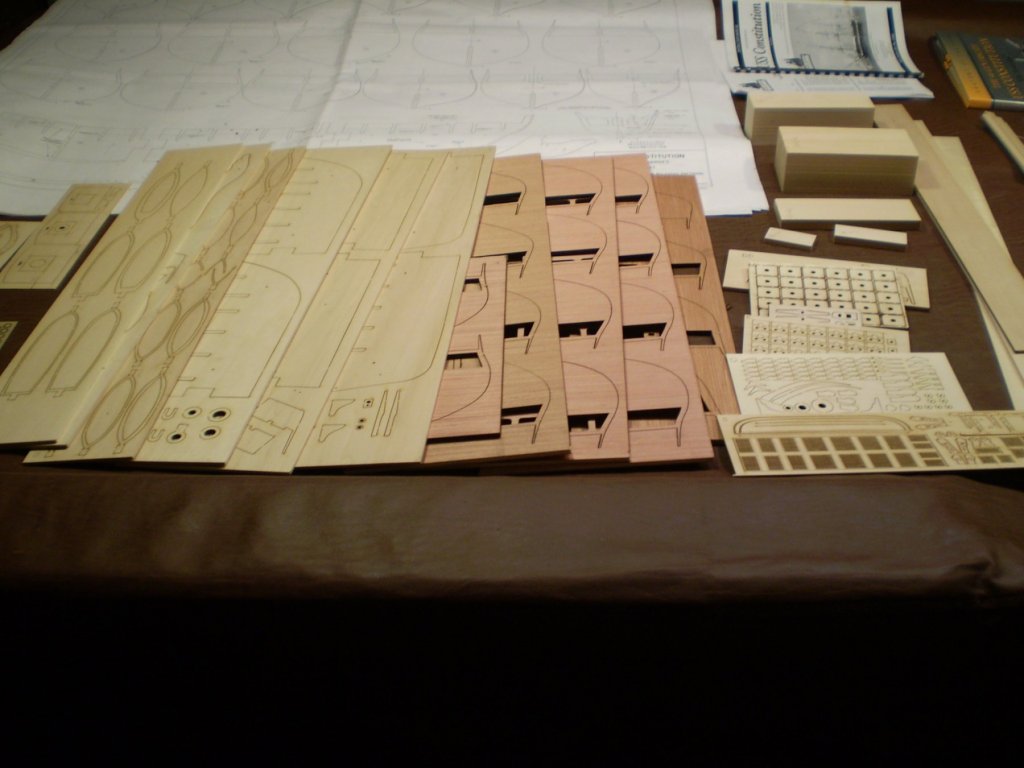
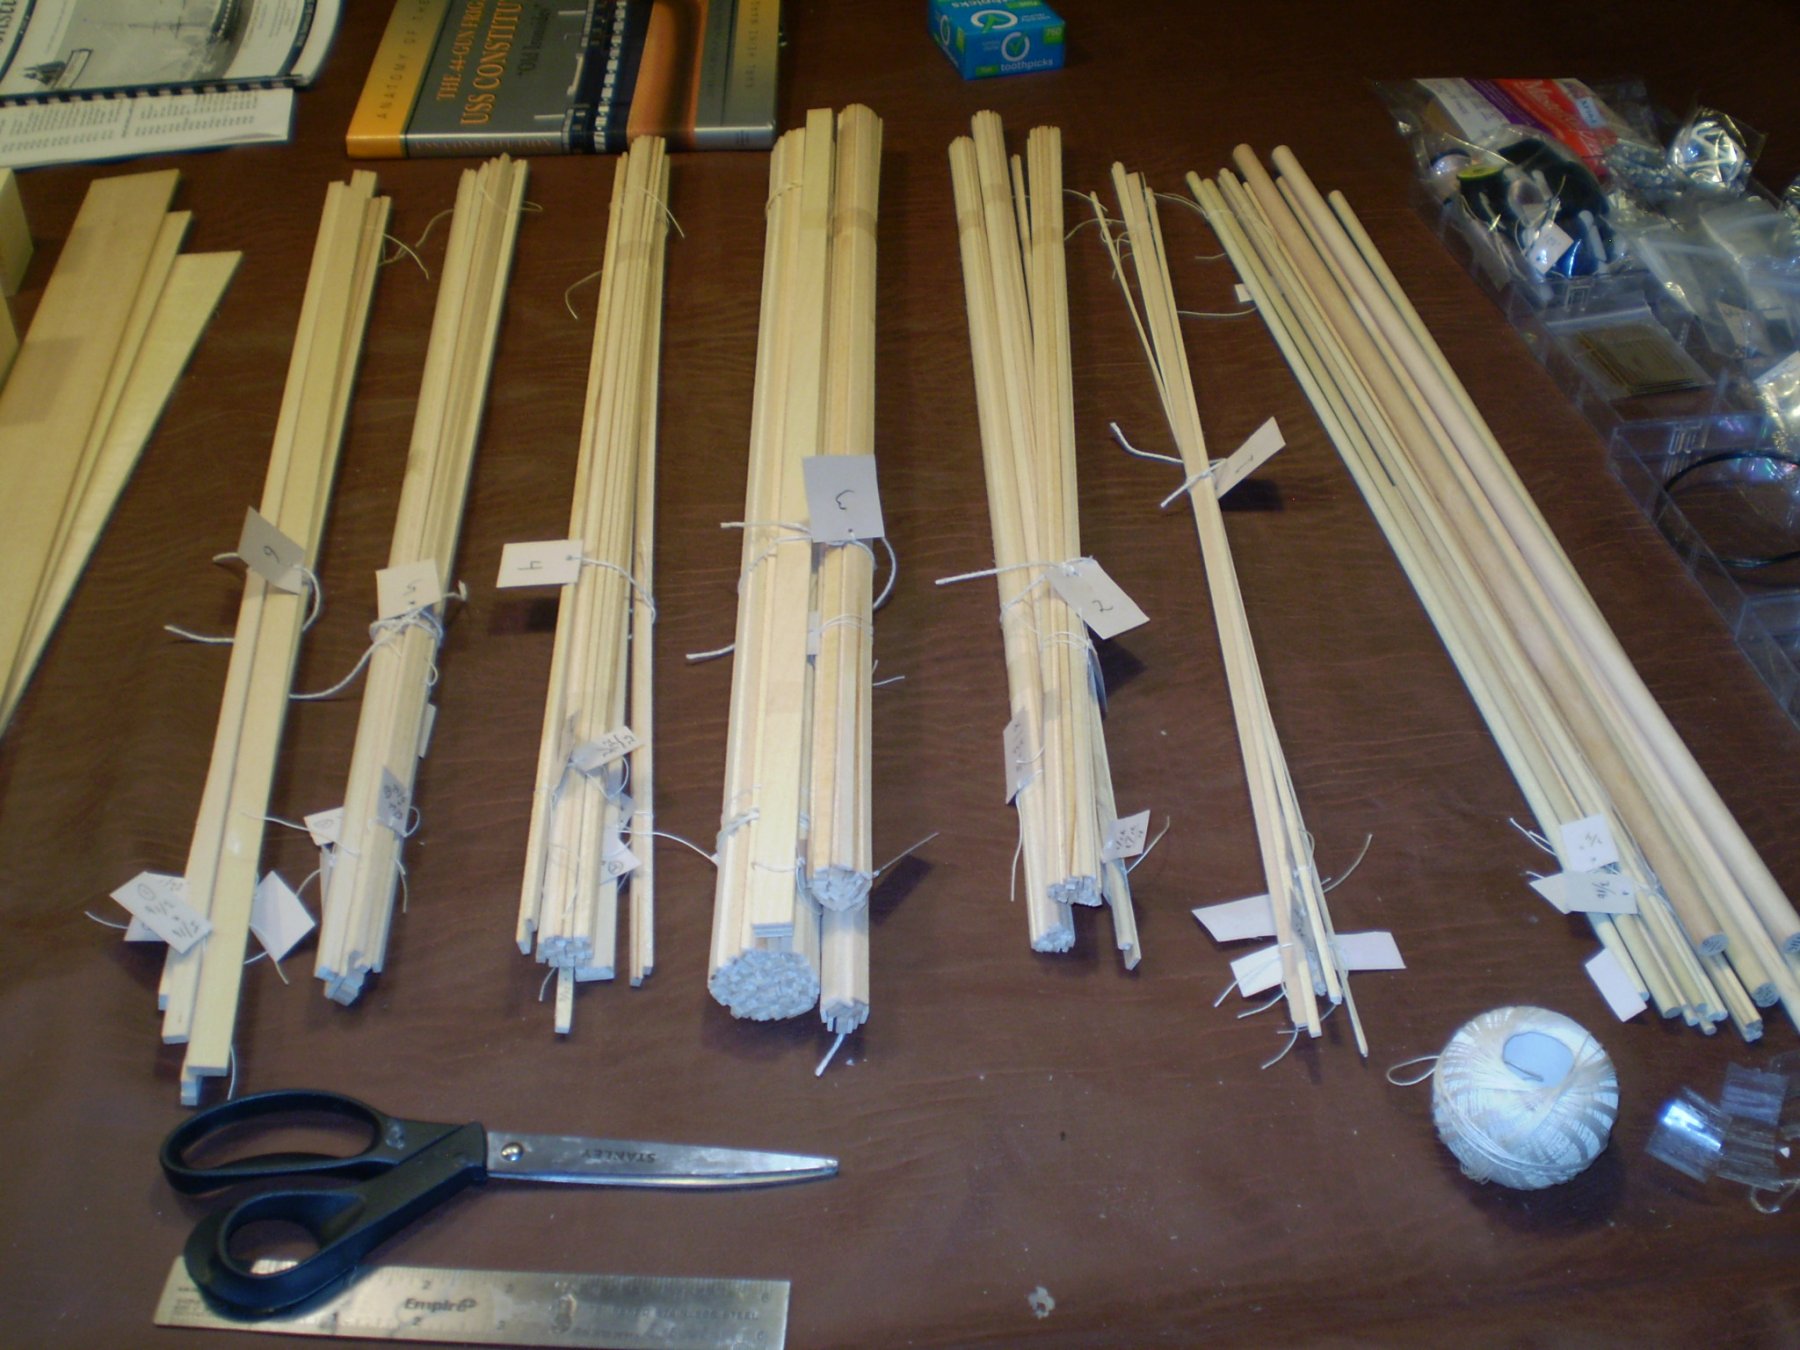
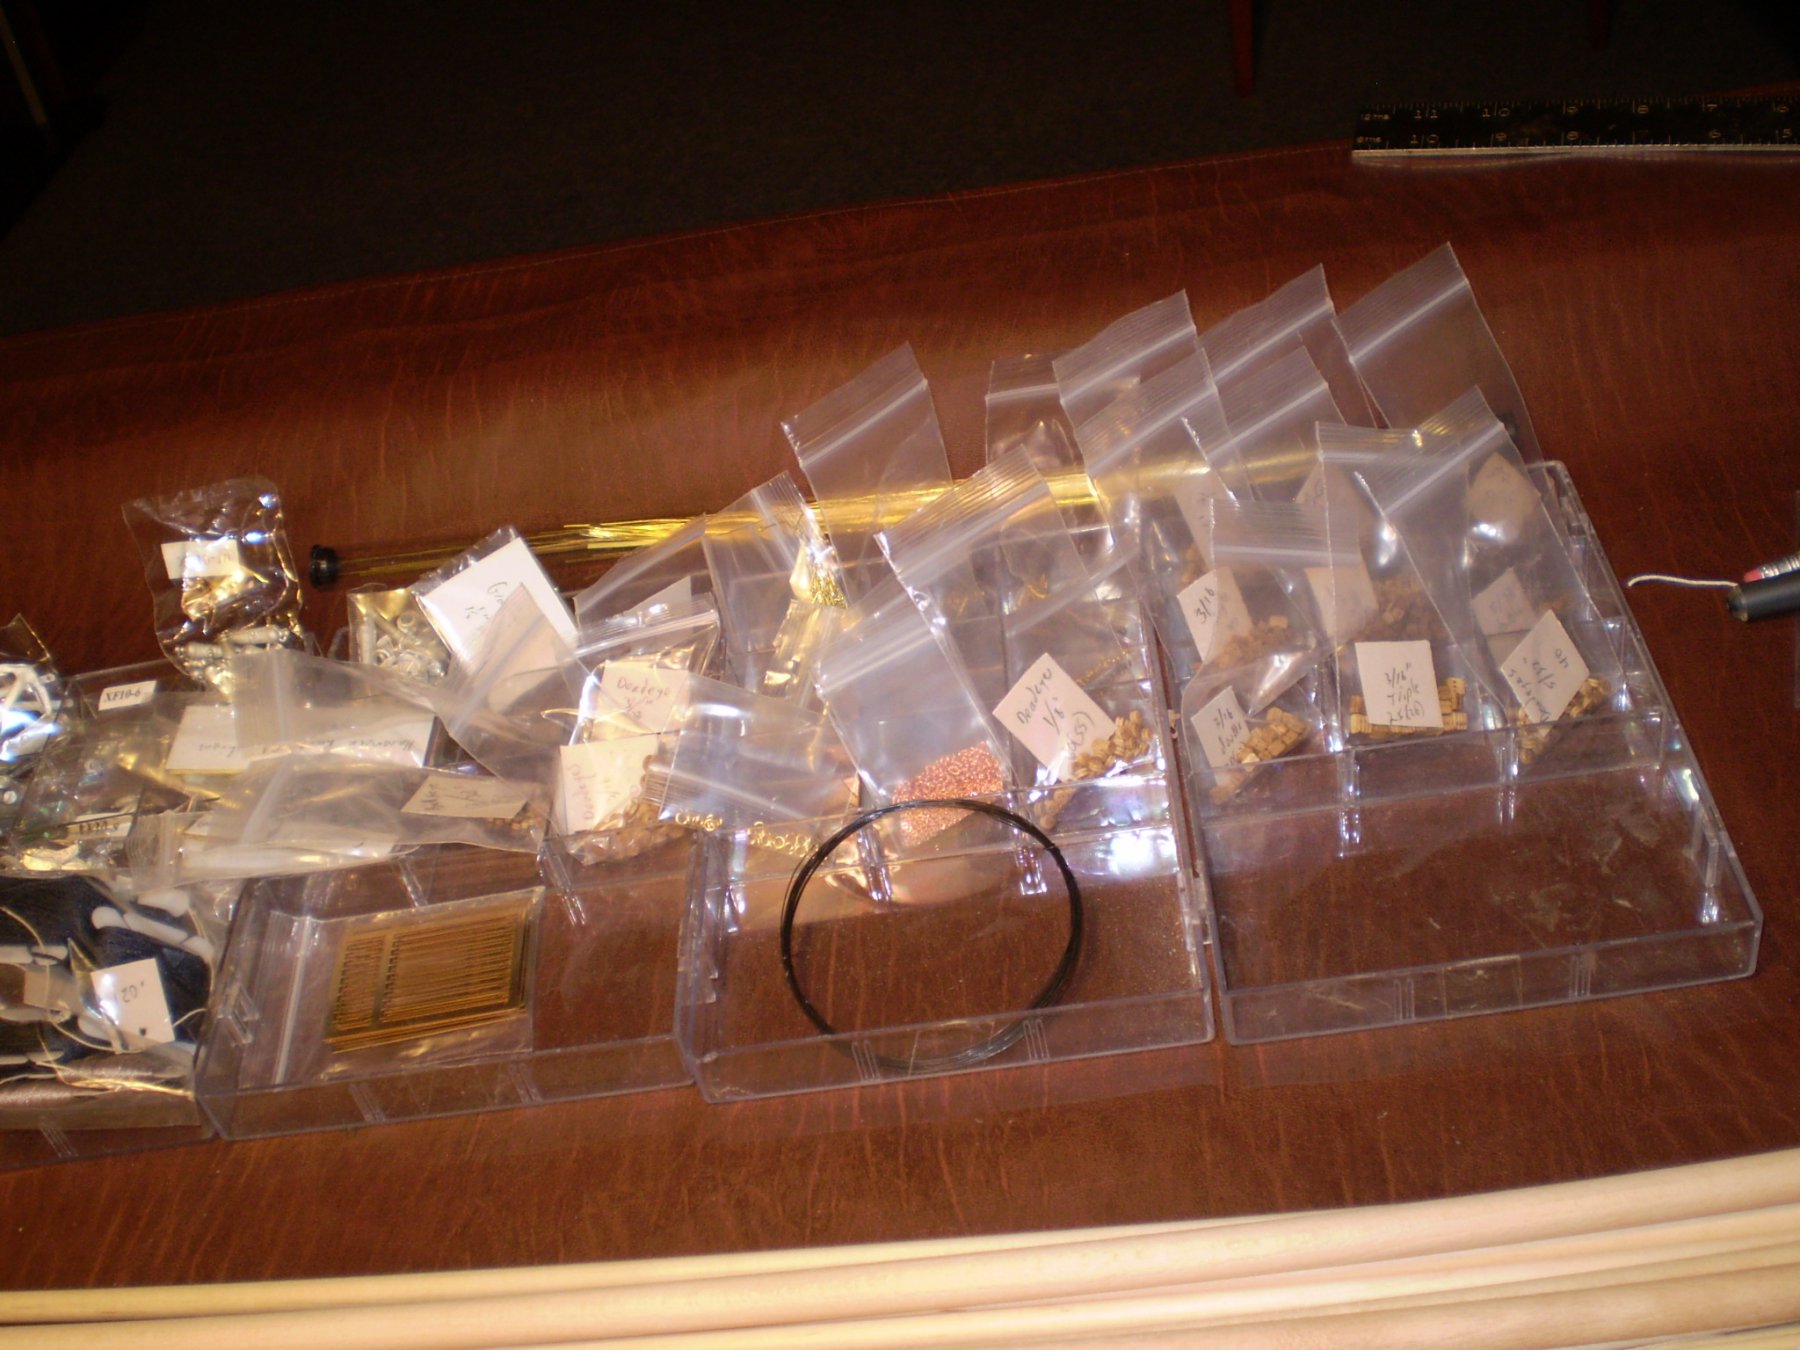
Well, here goes. This will be my 3rd build log on this site, the previous ones being the King of the Mississippi and the Bounty. Both of those projects were Atesania Latina kits. While I enjoyed building them, I did feel that the instructions left much to be desired. I was only able to complete the Bounty thanks to the full-scale plans and to the excellent advice, support, and direction found on this site. Anyway.... the USS Constitution! The Admiral gave me the Anatomy of the Ship book last Christmas, as I have been planning this as my next project for some time. The box arrived a week ago and I've commandeered my pool table as a good spot to spread everything out and check for damaged, missing, or warped parts. As far as I can tell, everything is in the box that is supposed to be there, though there does appear to be some discrepancy between exactly which sheets contain exactly which parts. This will the subject of some investigation over the next day or so, but I suspect it is only the result of some changes and additions to the supplied parts since the contents list was written nearly 20 years ago. I've already decided on one likely deviation from the supplied instructions, based on what I've seen in Captain Al's 'Mayflower' work. The Constitution kit does provide a fair amount of balsa filler blocks, but I am going to augment what was provided with enough filler blocks to give complete gluing surfaces to both the bow and stern curves. At least, that's my current plan. Here a few shots of the sorted contents of the kit...

-
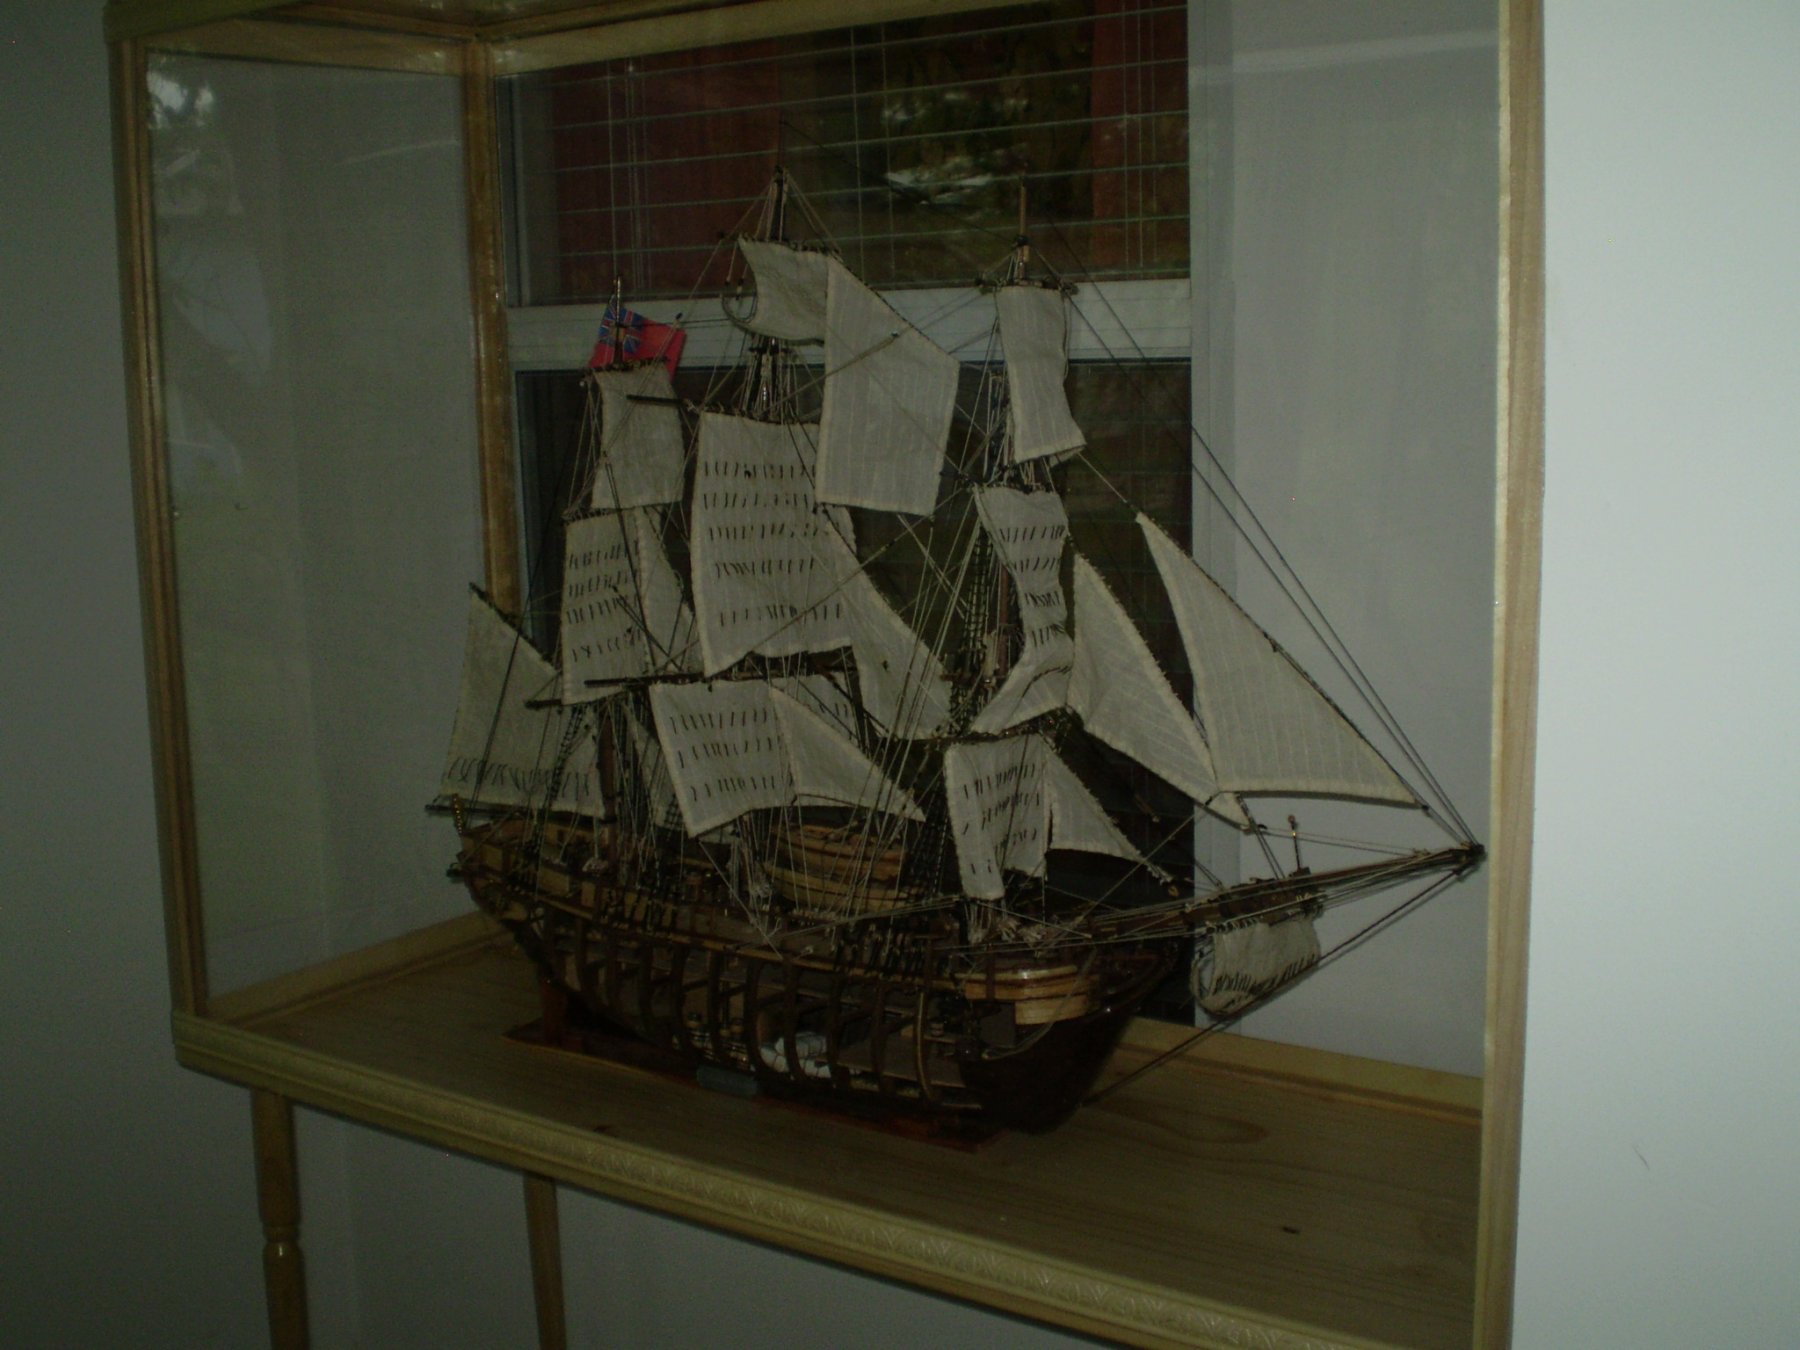
And that is nearly two years of work. Please join me in the next few days. when I start my build log for my USS Constitution, currently undergoing inspection and inventory. She'll be underway as soon as I clean up the shop. Once again, thanks to all you fine builders for your advice, guidance, and encouragement along the way. The result is far from perfect, but I'm happy with her, and confident that my next build will be that much better. Ahoy!!
-
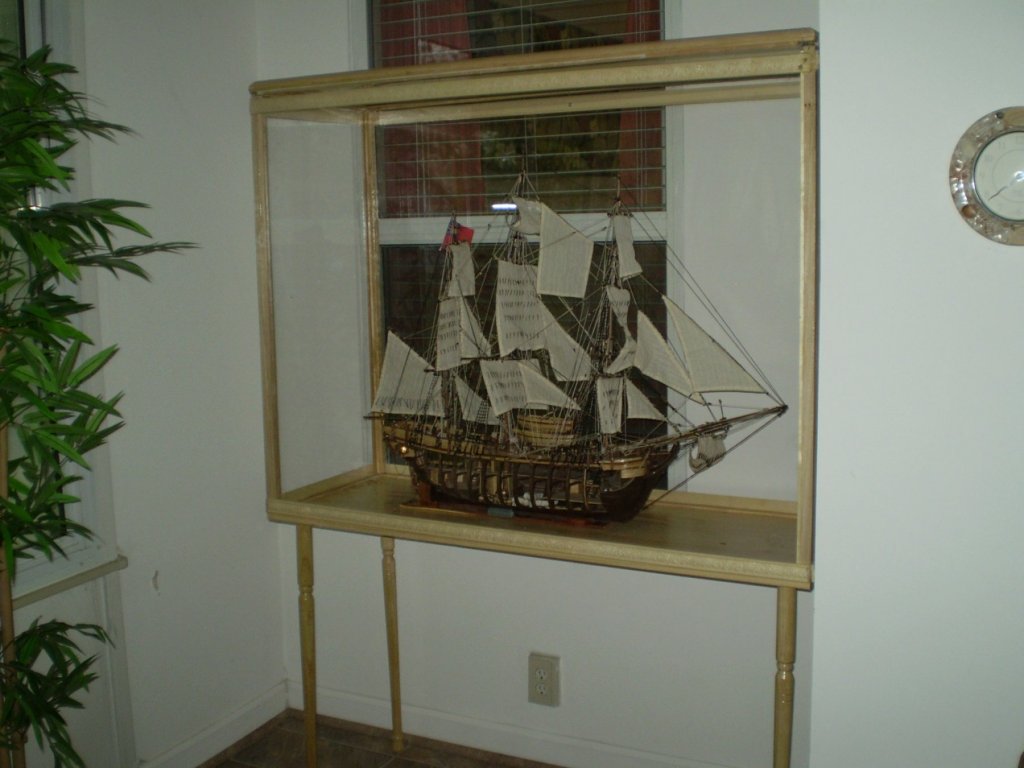
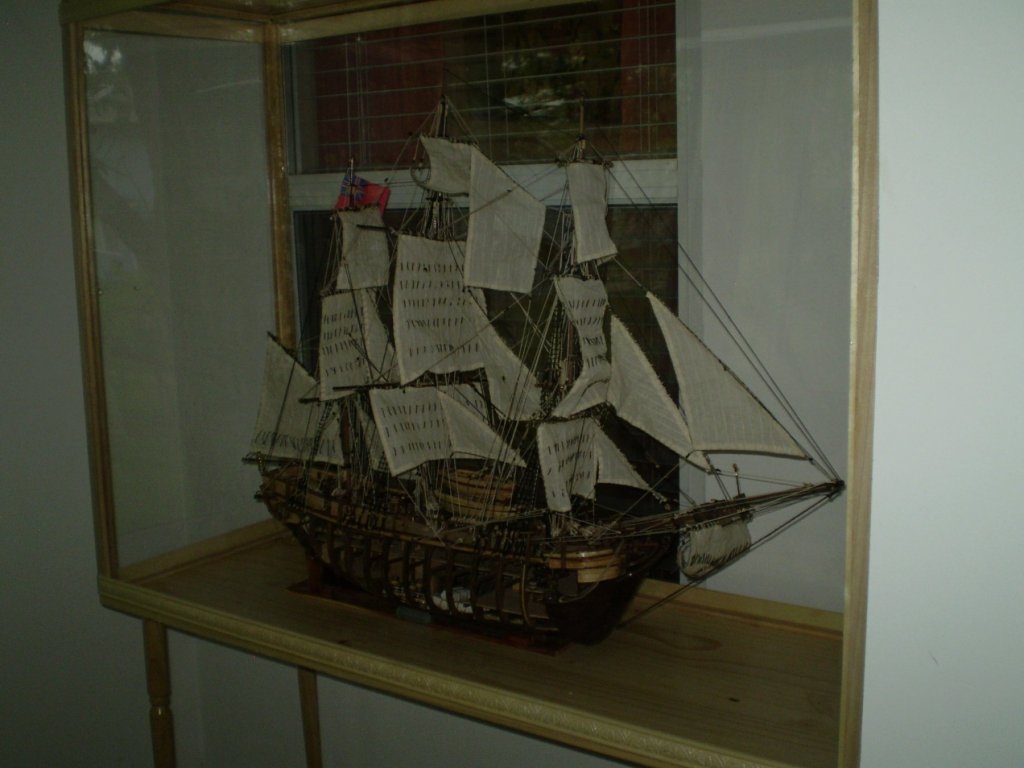
And finally, two views of the Bounty, moved from workroom to her new home in her display case in our wonderful sun room.
-
Another aft view, showing rudder and chains, and her stern....
.thumb.JPG.04381e6734da219cbb00ebc02a8a0c41.JPG)
-
A view from aft, showing mizzens sail and Ensign....
.thumb.JPG.a3f65bcef7846f6e8e4c8adee523b44a.JPG)
-
Mizzen mast, with wheel, cannons, etc.
.thumb.JPG.2e6db7e3423cecfcc2153b1c5e4e172a.JPG)
-
The foredeck showing details of the foremast pinrails....
.thumb.JPG.9876c6a5f090b89dd958a4fab2e1c79a.JPG)
-
The repurposed main cabin and wardroom showing some of the stowed breadfruit. (Obviously after departing Tahiti and before the infamous Mutiny.)
.thumb.JPG.0071466f14dbb2b4003995b5477f9e20.JPG)
-
Next, a look below decks at the cargo hold and cable tier...
.thumb.JPG.ac62834324e940846fdee8dca26a7ce3.JPG)
-
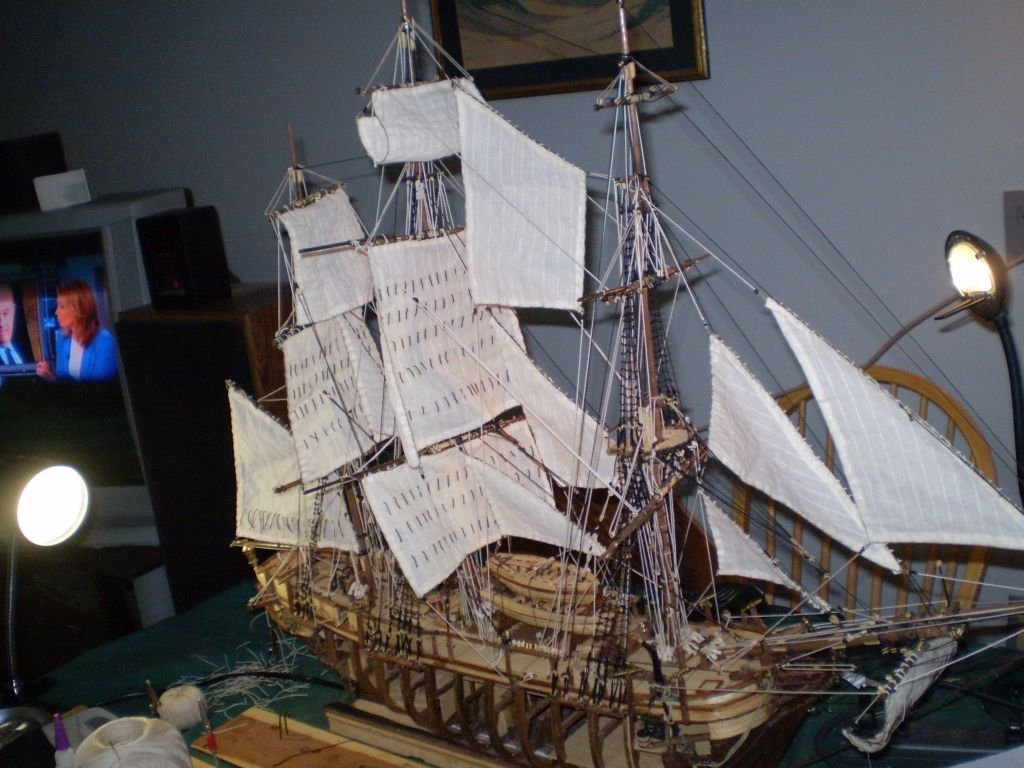
Well, here she is. Completed, all done, finished! First, a shot from the front, showing her fores'ls and jib boom sail.
.thumb.JPG.e5b633d40aedc91065346e5c2ba28bc4.JPG)
-
Well, it's been a little over a year and a half, but today, I finished my Bounty. Pictures to follow.
-
Thanks, Captain Al. I am pleased with her, though, of course, there are a few things I would have done differently. Bounty is actually my second completed build on this site, but my previous ship, King of the Mississippi, seems to have disappeared from the forums. At least, my limited skill haven't found her yet. I have also completed AL's Bounty's Jolly Boat, but that was not a full log on here - I discovered Model Ship World part way through that build. I look forward to moving this build to the "Completed" category within a week or two. I've already begun reading instructions and taking inventory of my next build, USS Constitution, which arrived from Model Expo last week. As I've mentioned else where, your build log, and a few others, have been of immense value in my work on this project. I am sure I would have quit in despair early on if not for the encouragement, guidance and fellowship found on this forum. Thanks to all of you!
-
Here is a quick snap of the Bounty as she now stands. Only the foresl's left to go. And of course, a great deal of finicky cleanup and tweaking. My next ship will be built without sails. I begin to feel that this one getting 'cluttered.'
-
Al, I'm looking forward to following this log. Your Bounty build was of great assistance to me, and has immensely improved to outcome of my own Bounty build. I'm still working on the Bounty, but I'm within a week or two of the end. I have just received my next kit. Like you, I decided to go with a Model Shipways kit; in my case, the USS Constitution. I've been aboard the Connie in Boston several times, and she has a special place in the nautical area of my heart. (I took a woman there on a first date, once - long story). Anyway, I am fed up with AL's lousy instructions, but with what was included in the Constitution box and the addition of the Anatomy of the Ship book that the Admiral gave me for Christmas, I think I'll be good. I hope to close out my Bounty log soon and open a new one for Old Ironsides. The Artesania Latina instructions for the Bounty's rigging are a joke. I've had to be very creative, and I'm sure very inaccurate in my work, but I'm determined.


.JPG.f627fc3581b7a9c9288bbd1cf5fa9159.JPG)
.JPG.9848a7510457868fdfd15e20145c963a.JPG)
.JPG.06aa314208512668082b7a188dc91655.JPG)
.JPG.320052472f66cf502c9c4b0dab92772a.JPG)
.JPG.bb96dbdbbe9135cf01adc3913ae97c29.JPG)
.JPG.7b6bf1864551cc4ff9b802391f6ca1e5.JPG)
.JPG.01a788777794aaa223268834ac2e294f.JPG)