Lt. Biggles
-
Posts
231 -
Joined
-
Last visited
Content Type
Profiles
Forums
Gallery
Events
Everything posted by Lt. Biggles
-
 Thanks everyone. Im leaving the country for a year or 2 so might be awhile before I get to start my next project! take care
 -
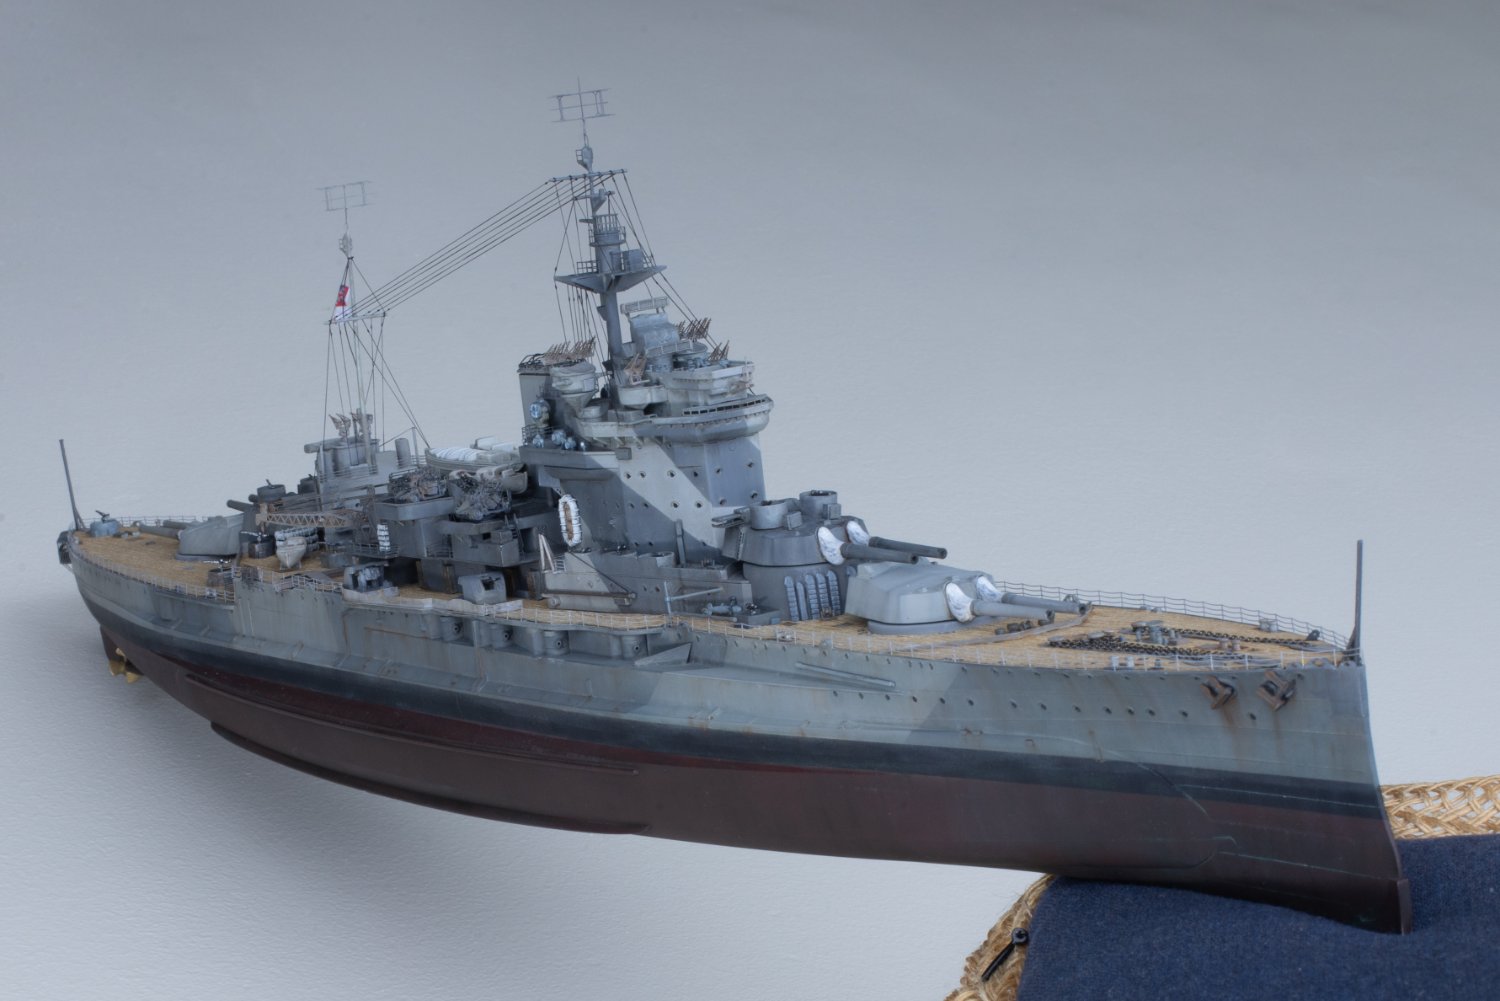
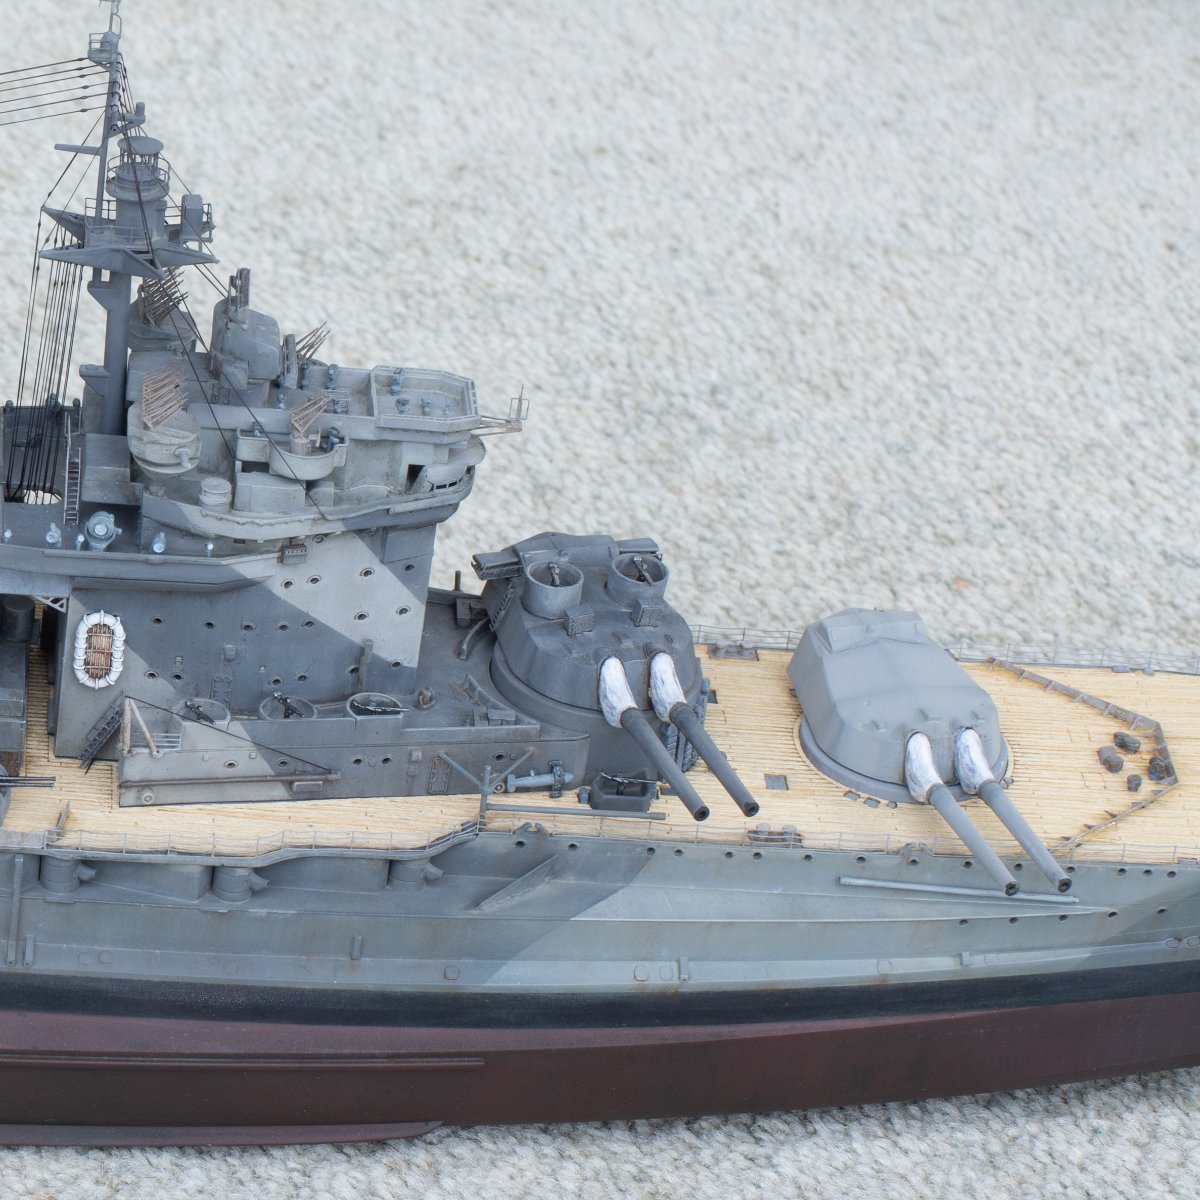
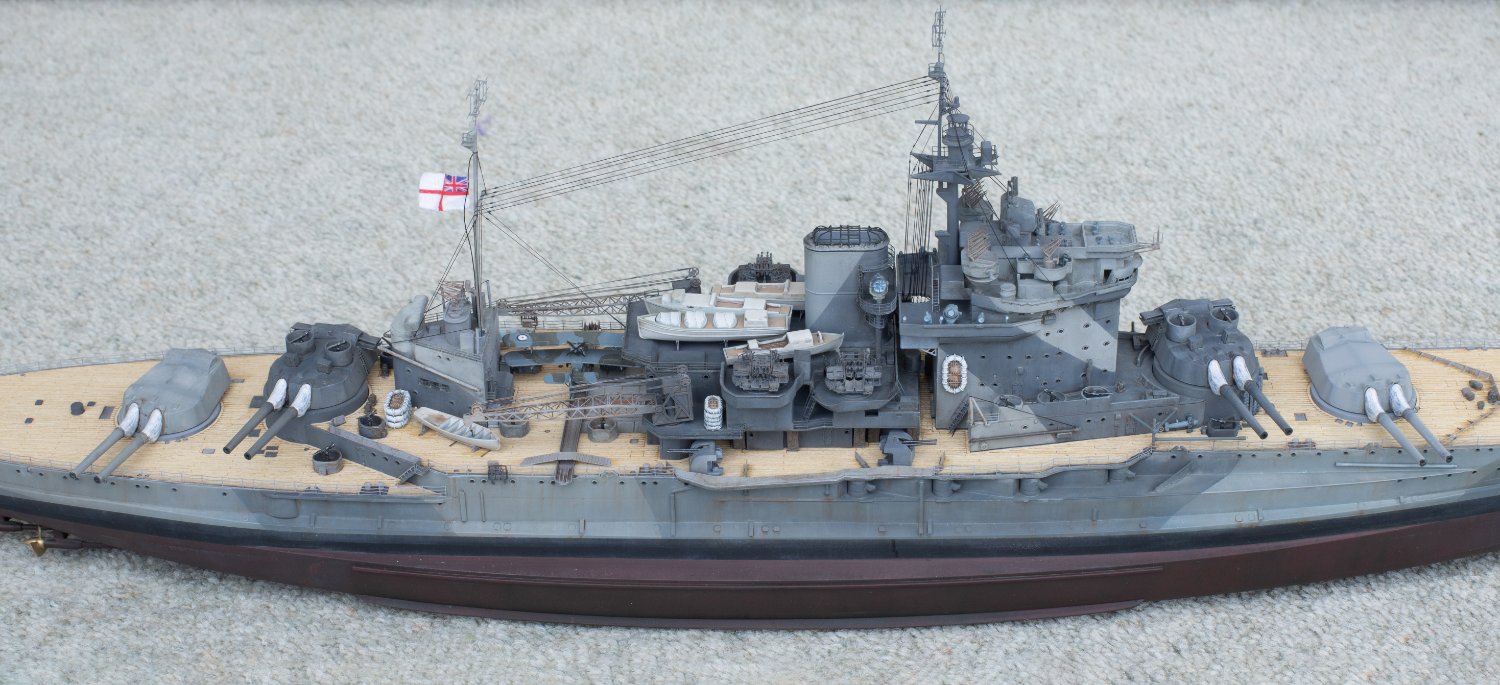
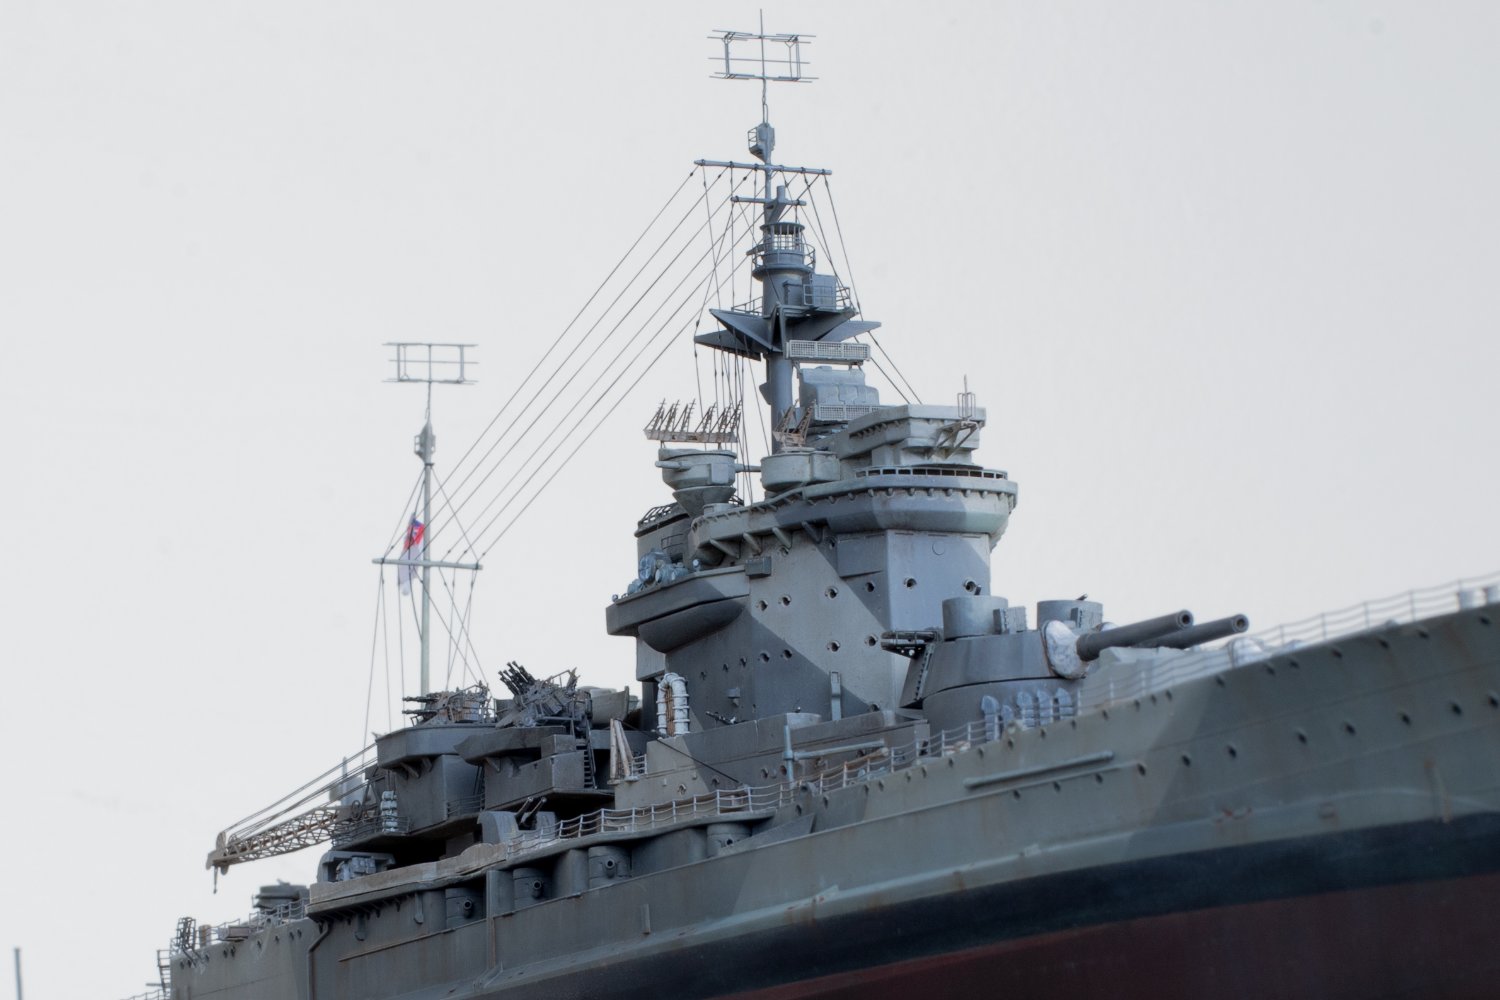
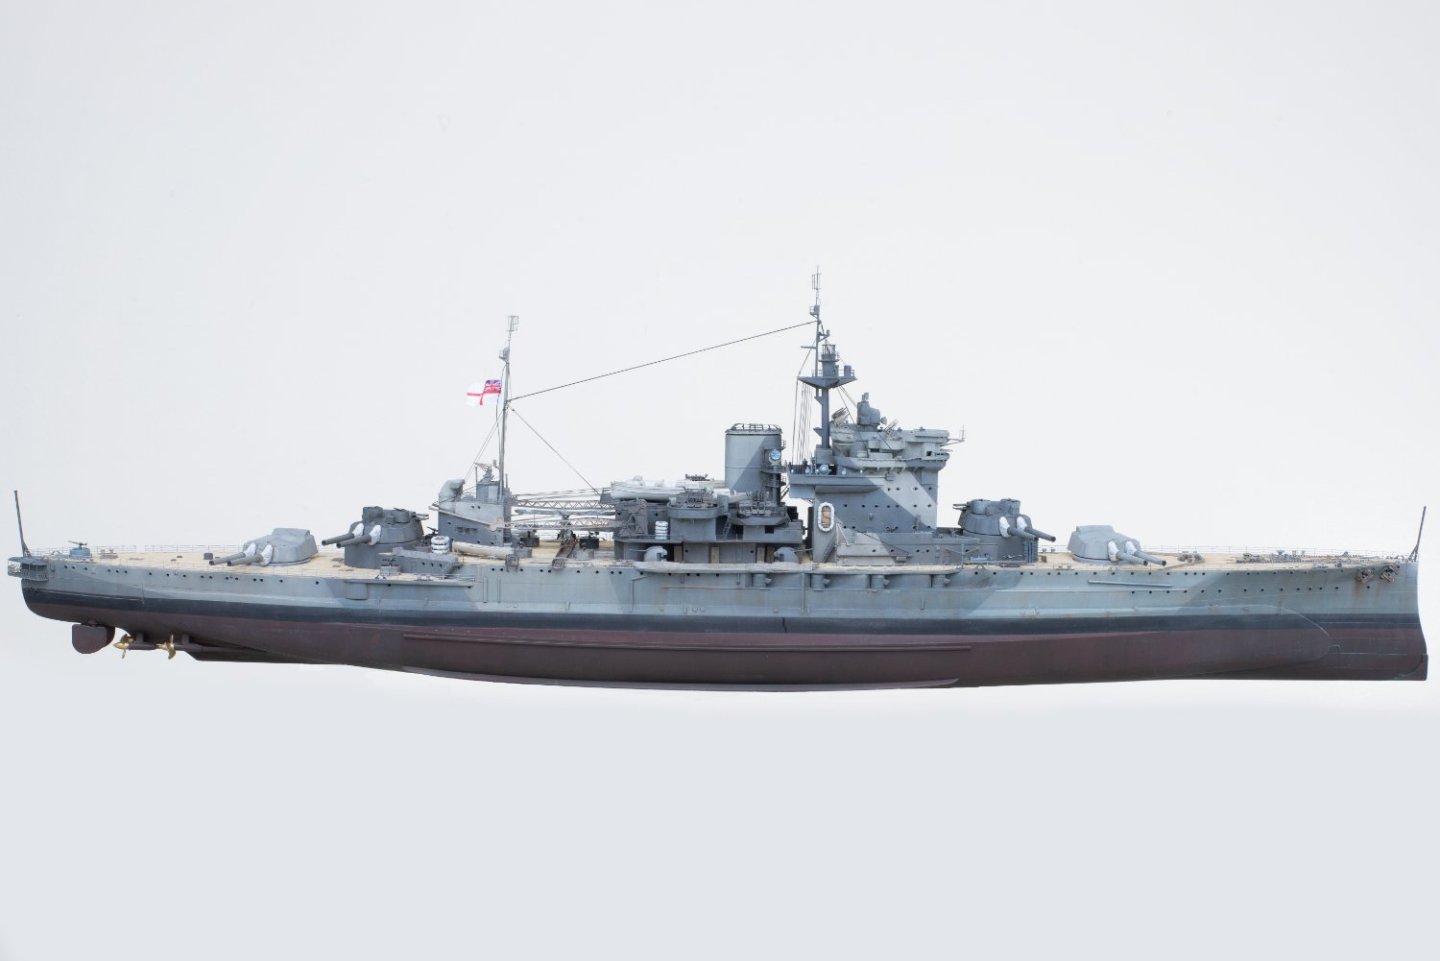
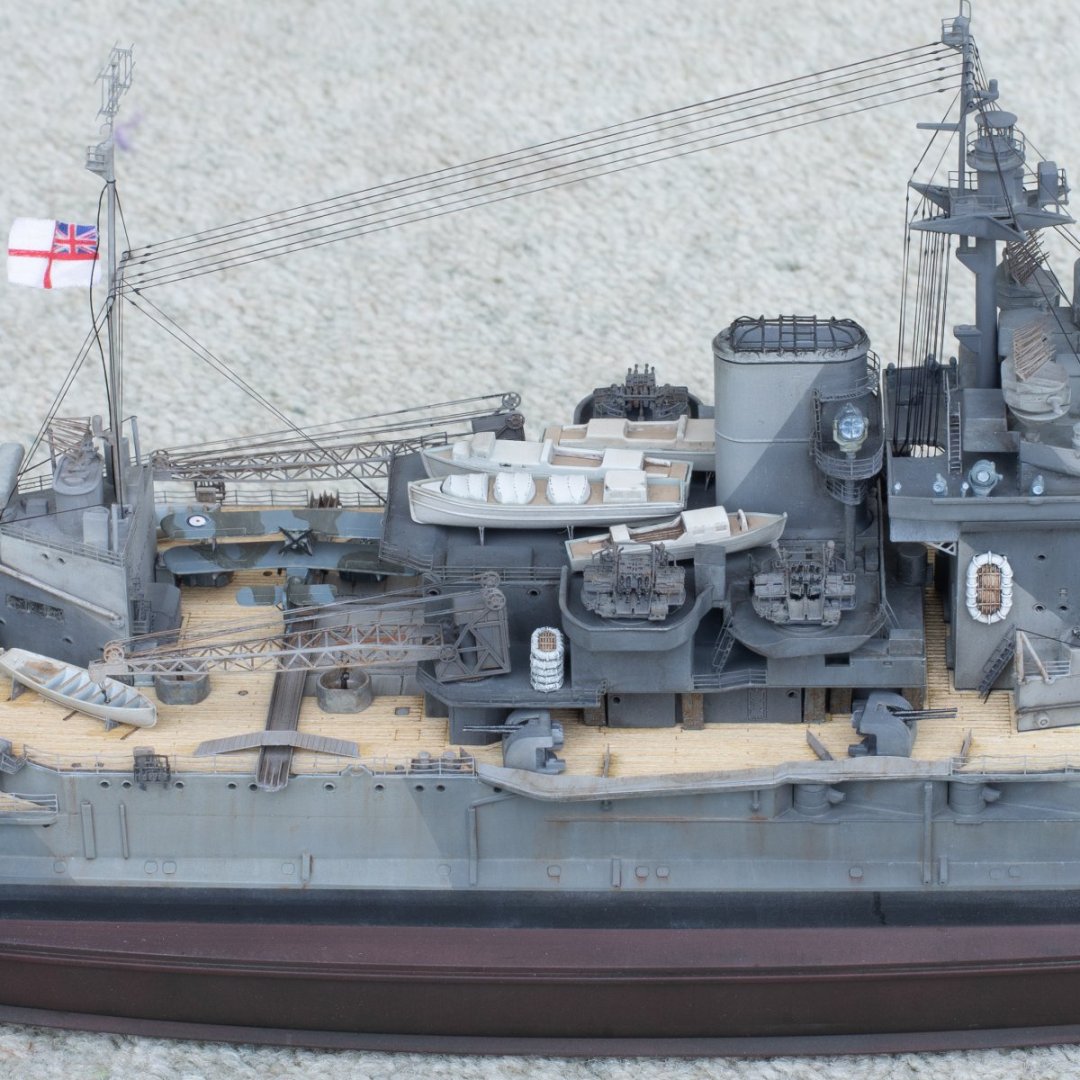
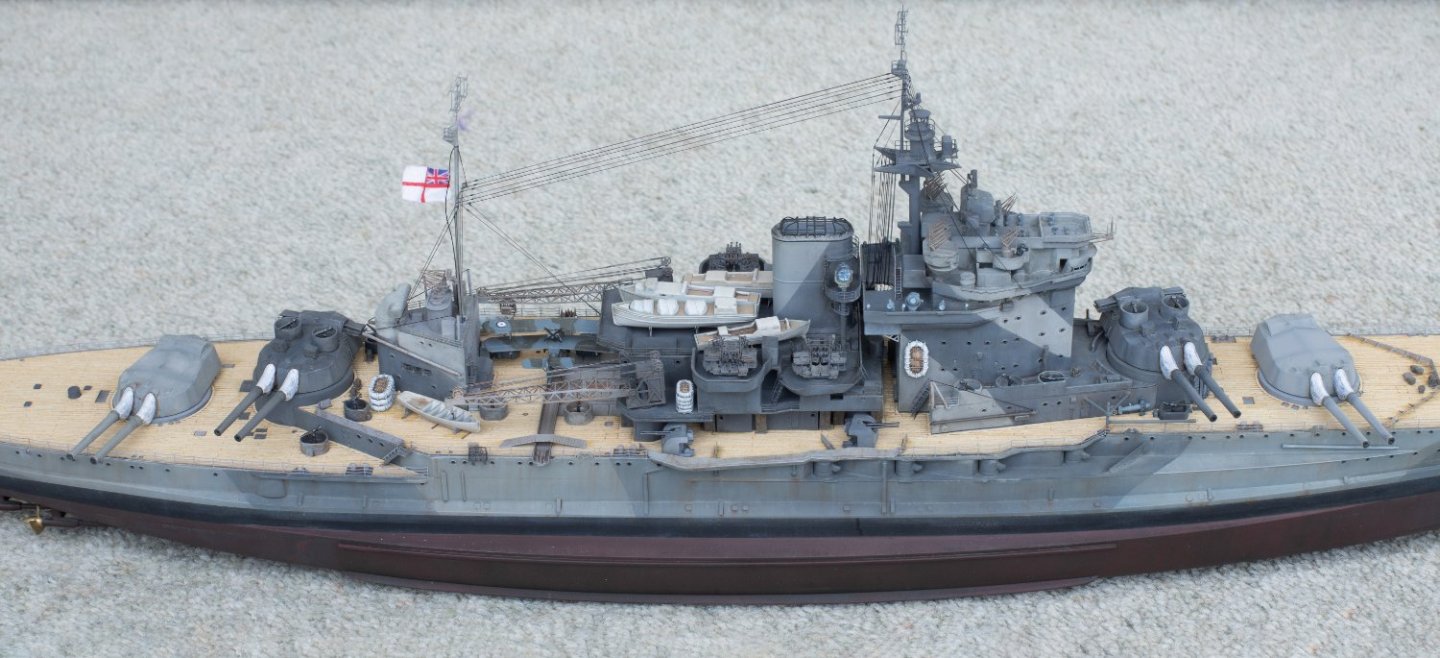
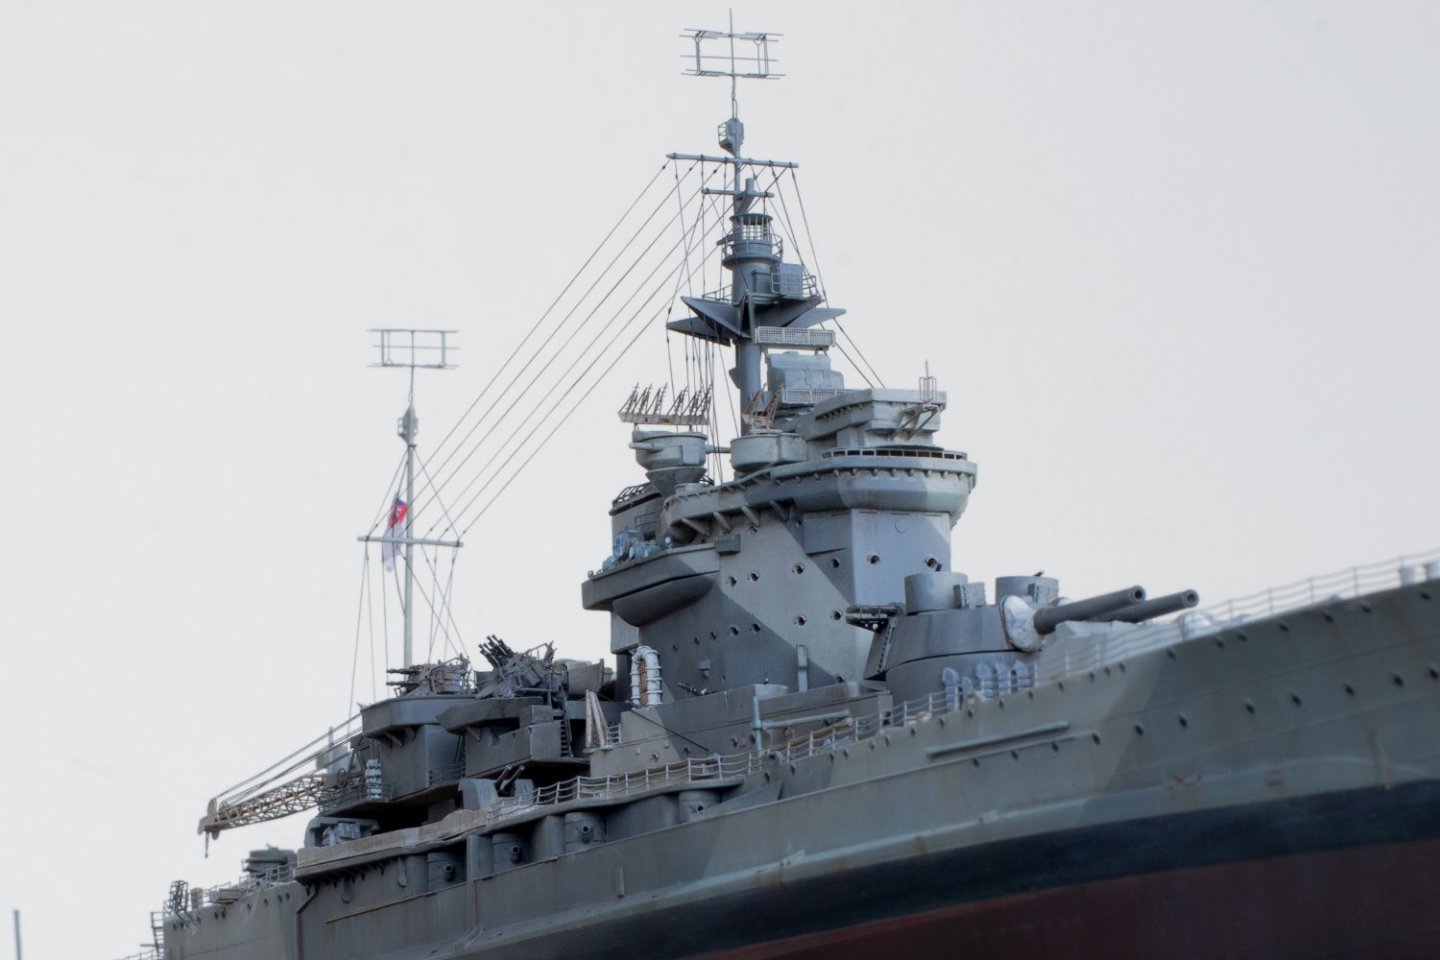
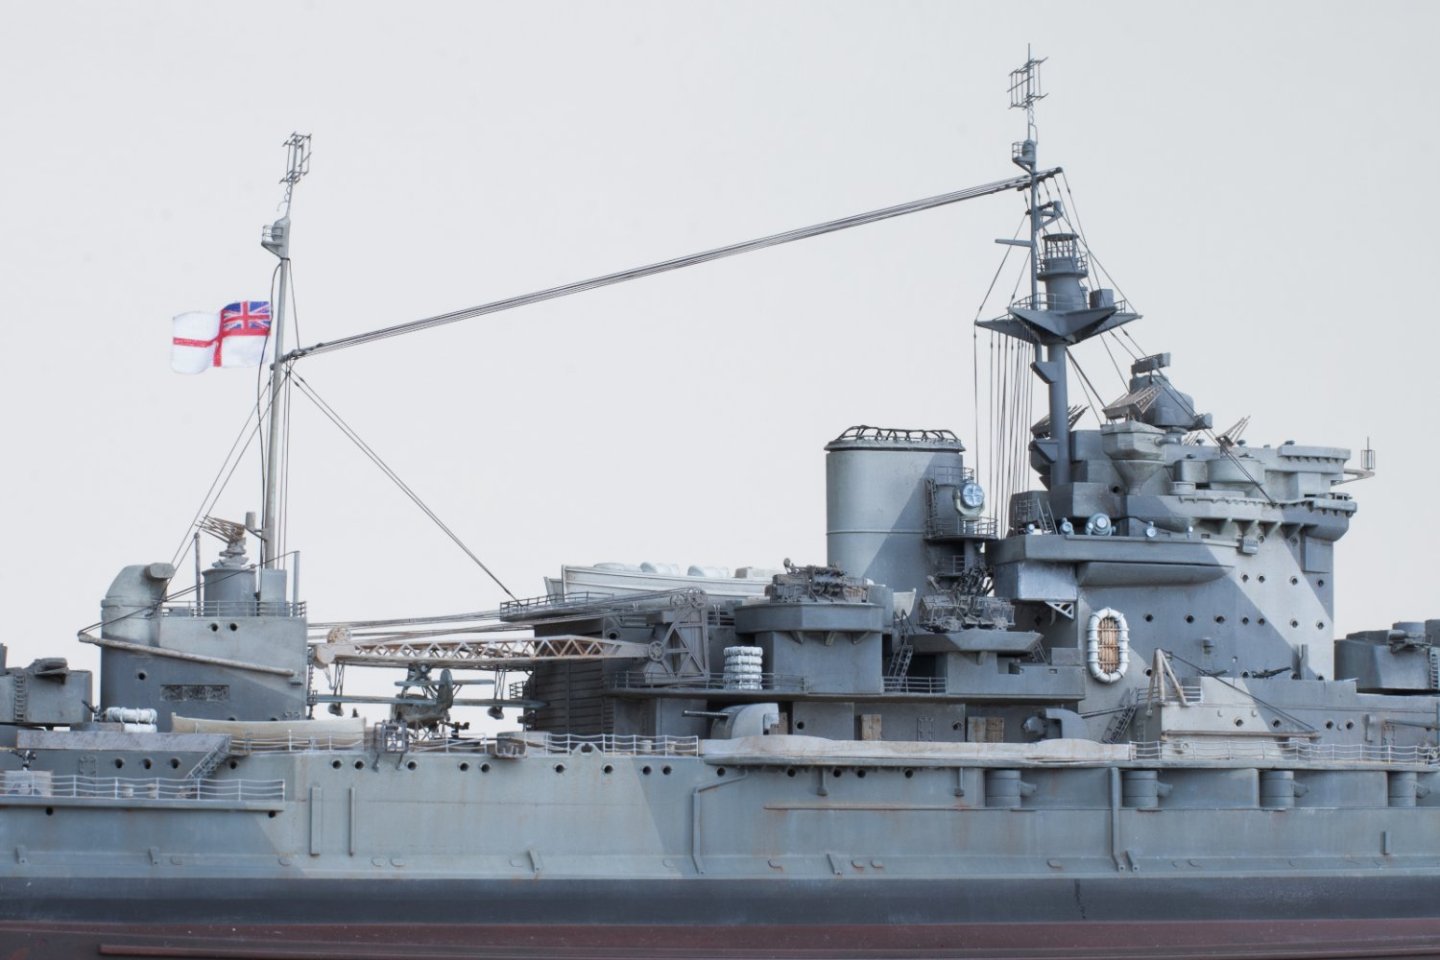
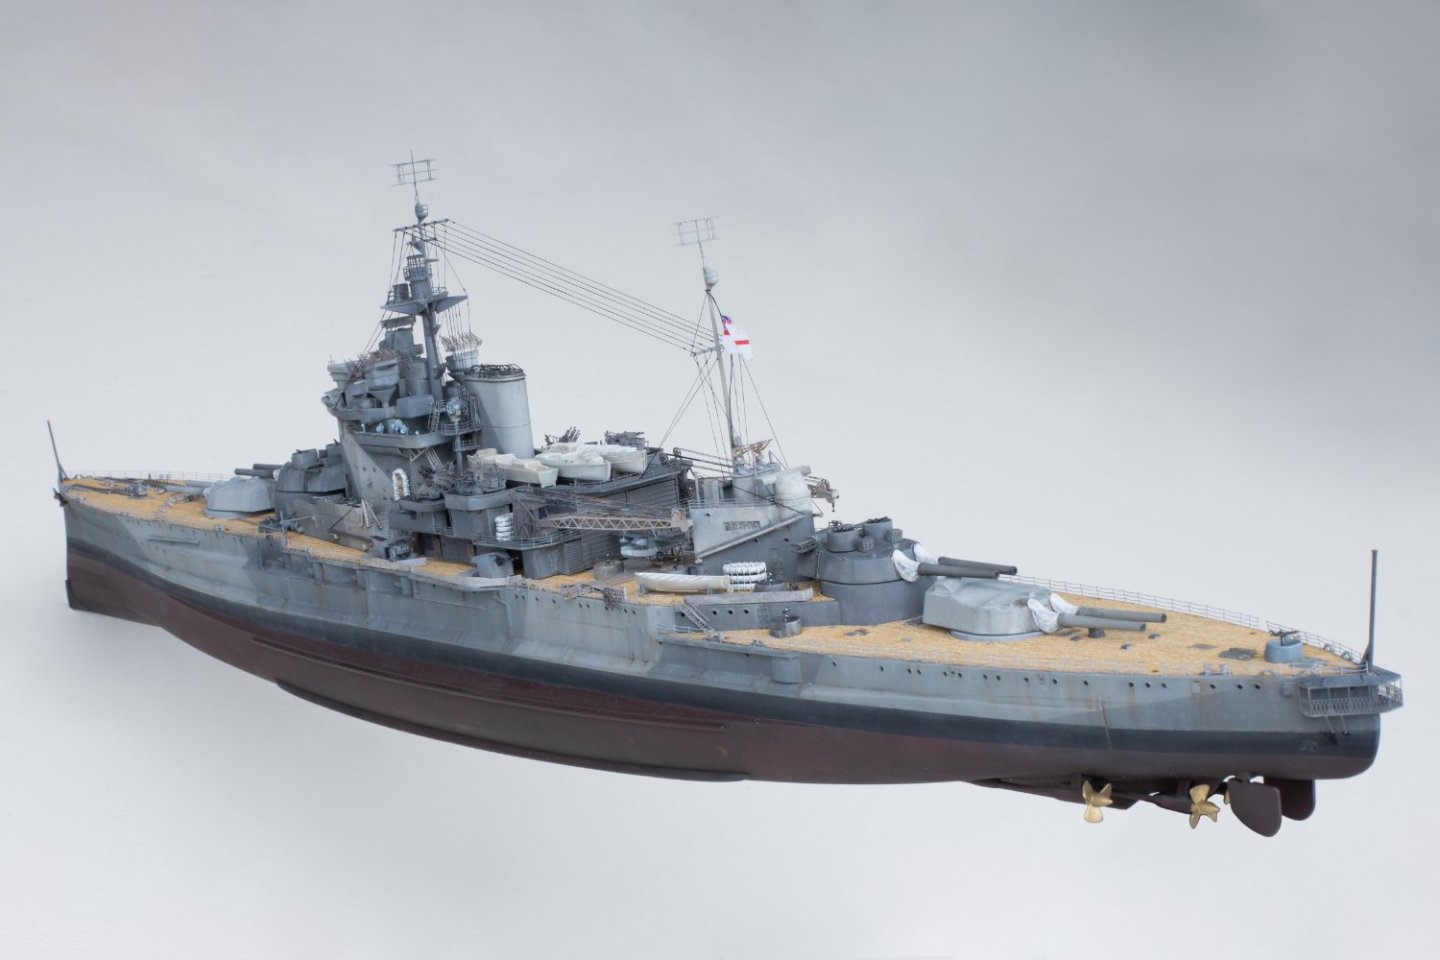
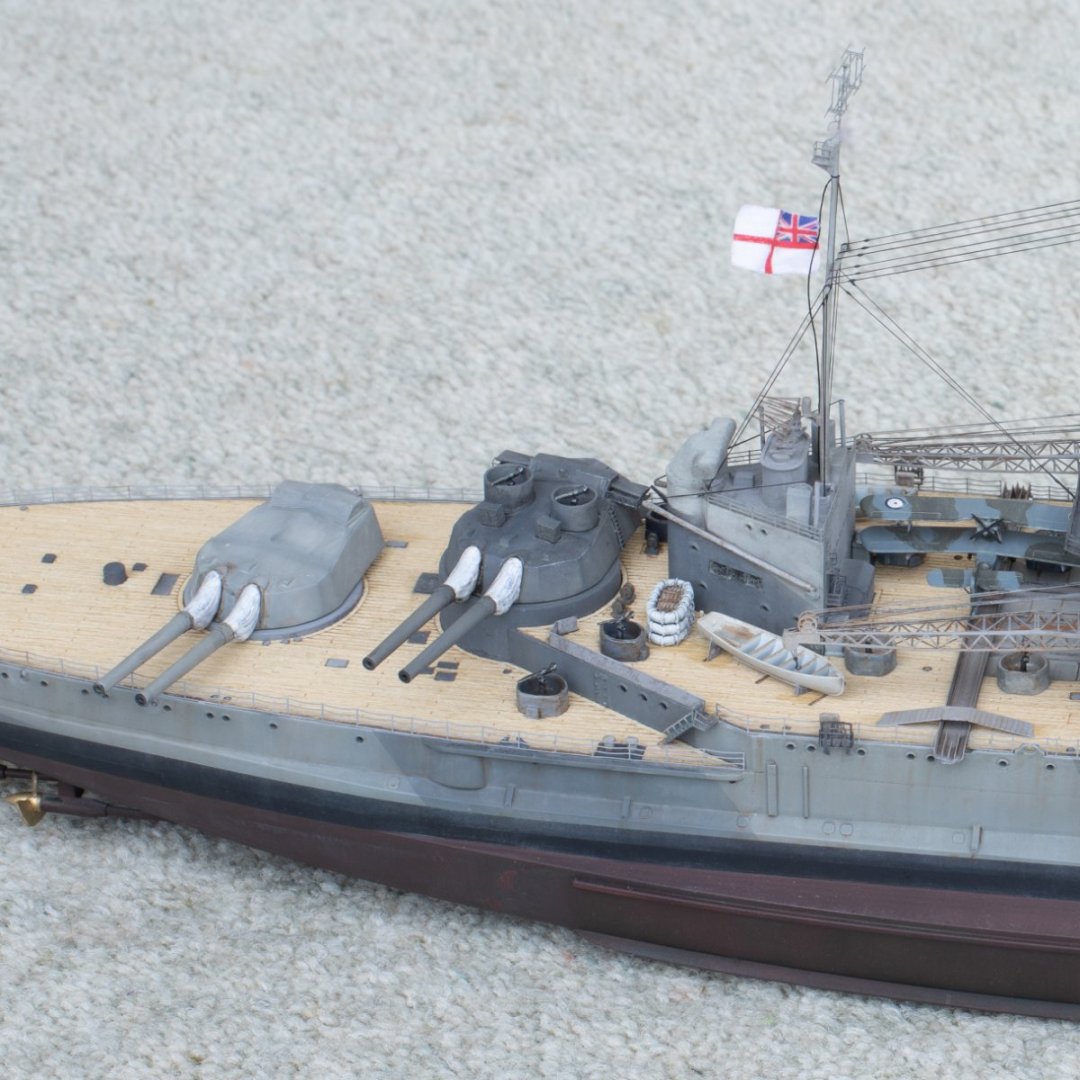
Hello, hope you are all well! Its taken me a lot longer than i thought but I've been slowly working on her. Sorry I've not continued with the build log but there were a few disasters in the build and I had to just leave it and come back to it when i was ready. First one was when the shelf it was being kept on fell over during the night and it fell over 1.5m to the ground and across the room, many hours in the carpet finding as many parts as I could and was quite disheartening... it sat in a sad state for awhile. Then I slowly repaired it and continued with the build and was going pretty well, painted the superstructures and was doing the weathering and instead of using white spirits to remove excess and blend for some unknown reason I used Isopropyl alcohol!! and not just a little bit because when i first started to notice the paint being stripped right off I for some unknown reason thought the washes were causing the damage and decided in a hurry to clean the wash off everything as fast as I could to reduce further damage of course using the Isopropyl so everything (apart from the hull which was already complete) was totally stripped back to the primer or worse... so it kinda feels like I've built the ship twice. had a few other mishaps but none as bad as the 2 major ones. So it wasn't touched for most of the last year until I was back in the mindset to continue. After all it is a hobby so meant to be a fun and enjoyable in the whole right. So here She is all complete. I did enjoy the build a lot and thanks again to you all for the help and advise, in a way you guys helped me get back on the horse and keep going.


- 162 replies
-
- 14
-

-

-

-
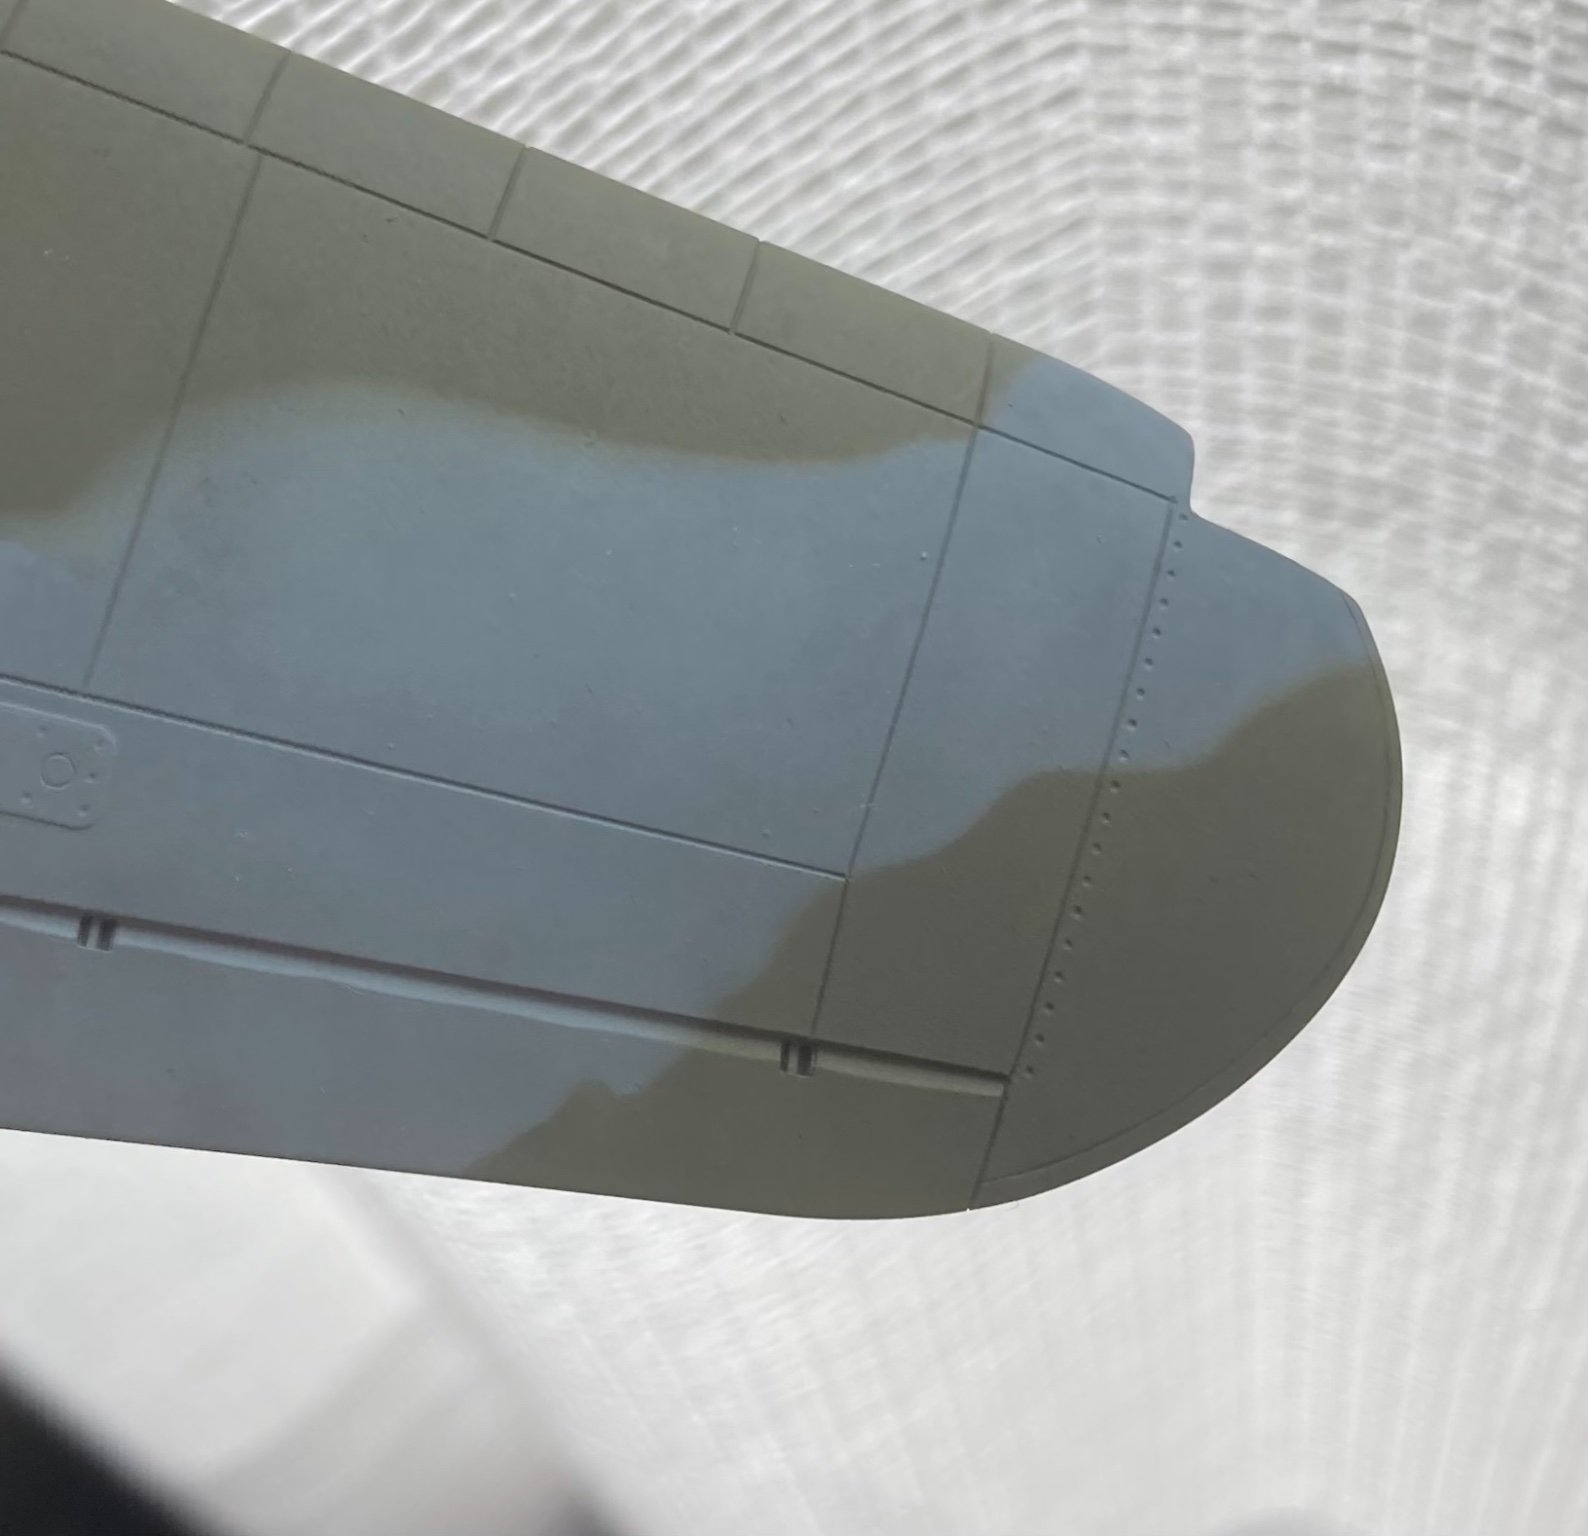
Thanks mate, yea you are right they did have hard edges it’s more a personal like. Just found a hard edge in the small scale was to violent. I went for a very subtle feather and seeing as it’s the base coat will get a few more layers to soften it all up. Here is the feather it has. the blue shade really pops out against the green. Thanks for the info on the rubber mats as a mask!

- 107 replies
-
- 11
-
-
Hey, yea I had seen bluetak used before but was worried it would rip the paint off! It can be really sticky!! I have been thinking how best to do it for many many weeks! Just bit the bullet
-
Hey mate, yes all going well. Lots of Astro really enjoying it. Thought I better pop in for a little update. Hope all is well with you too?
-
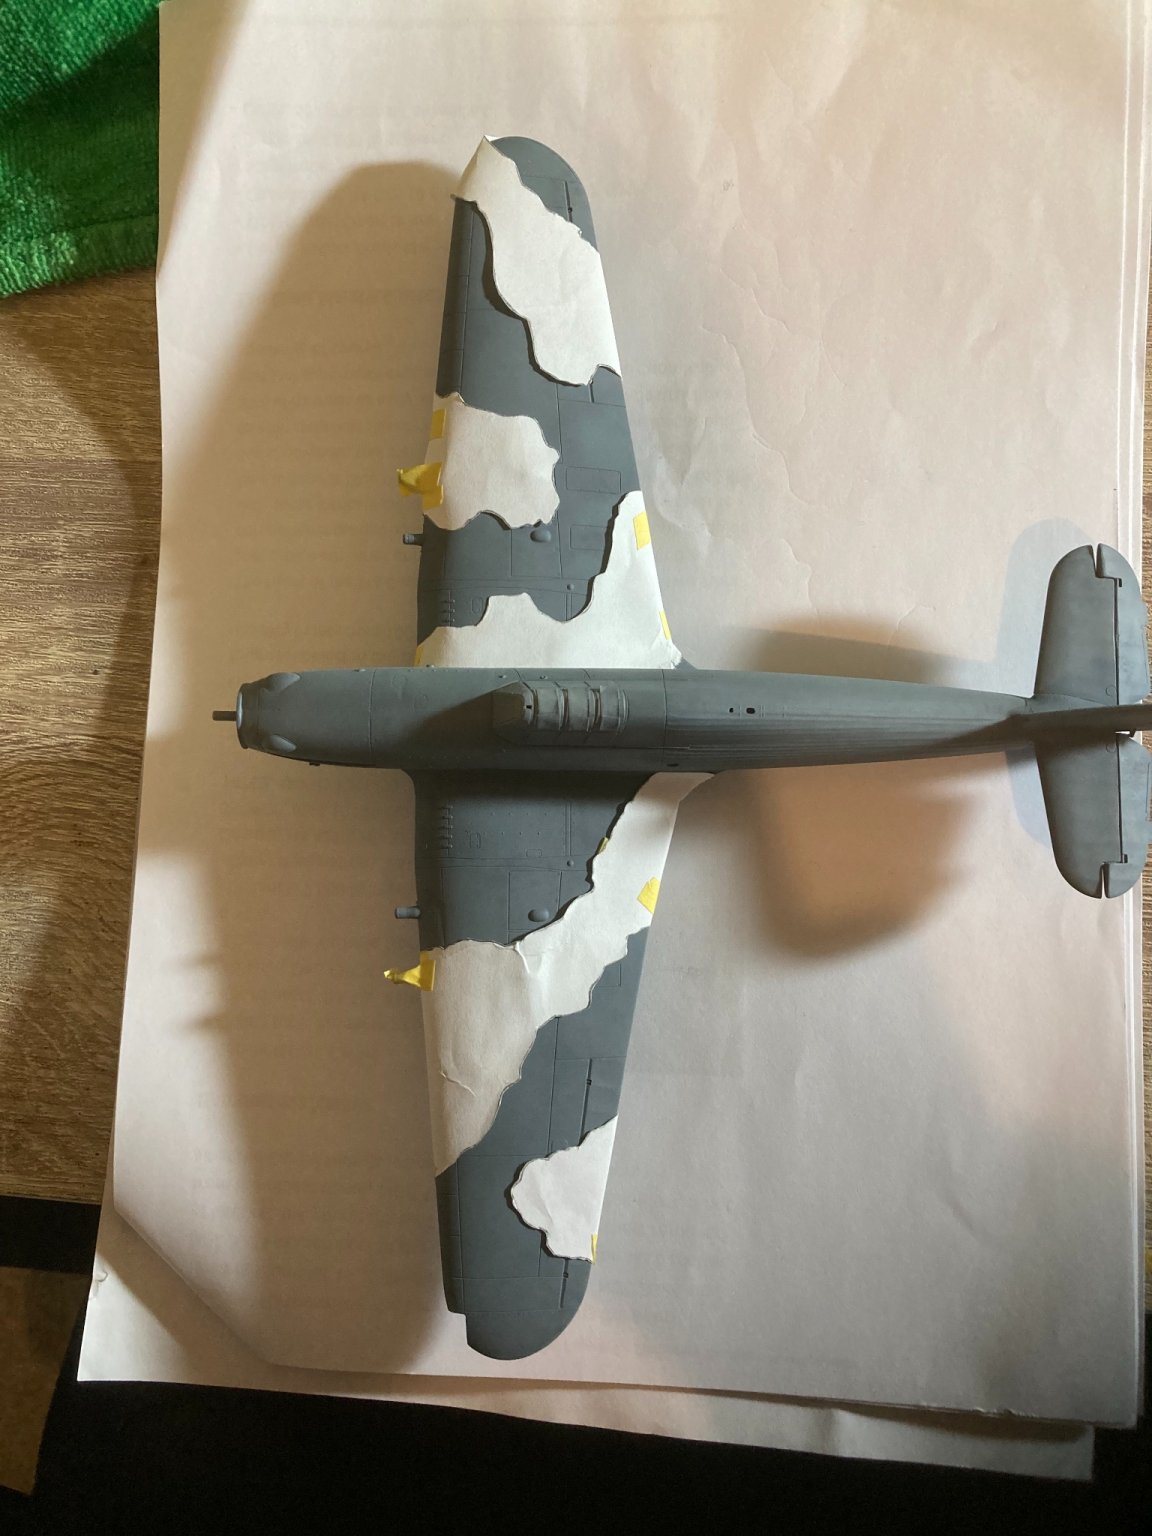
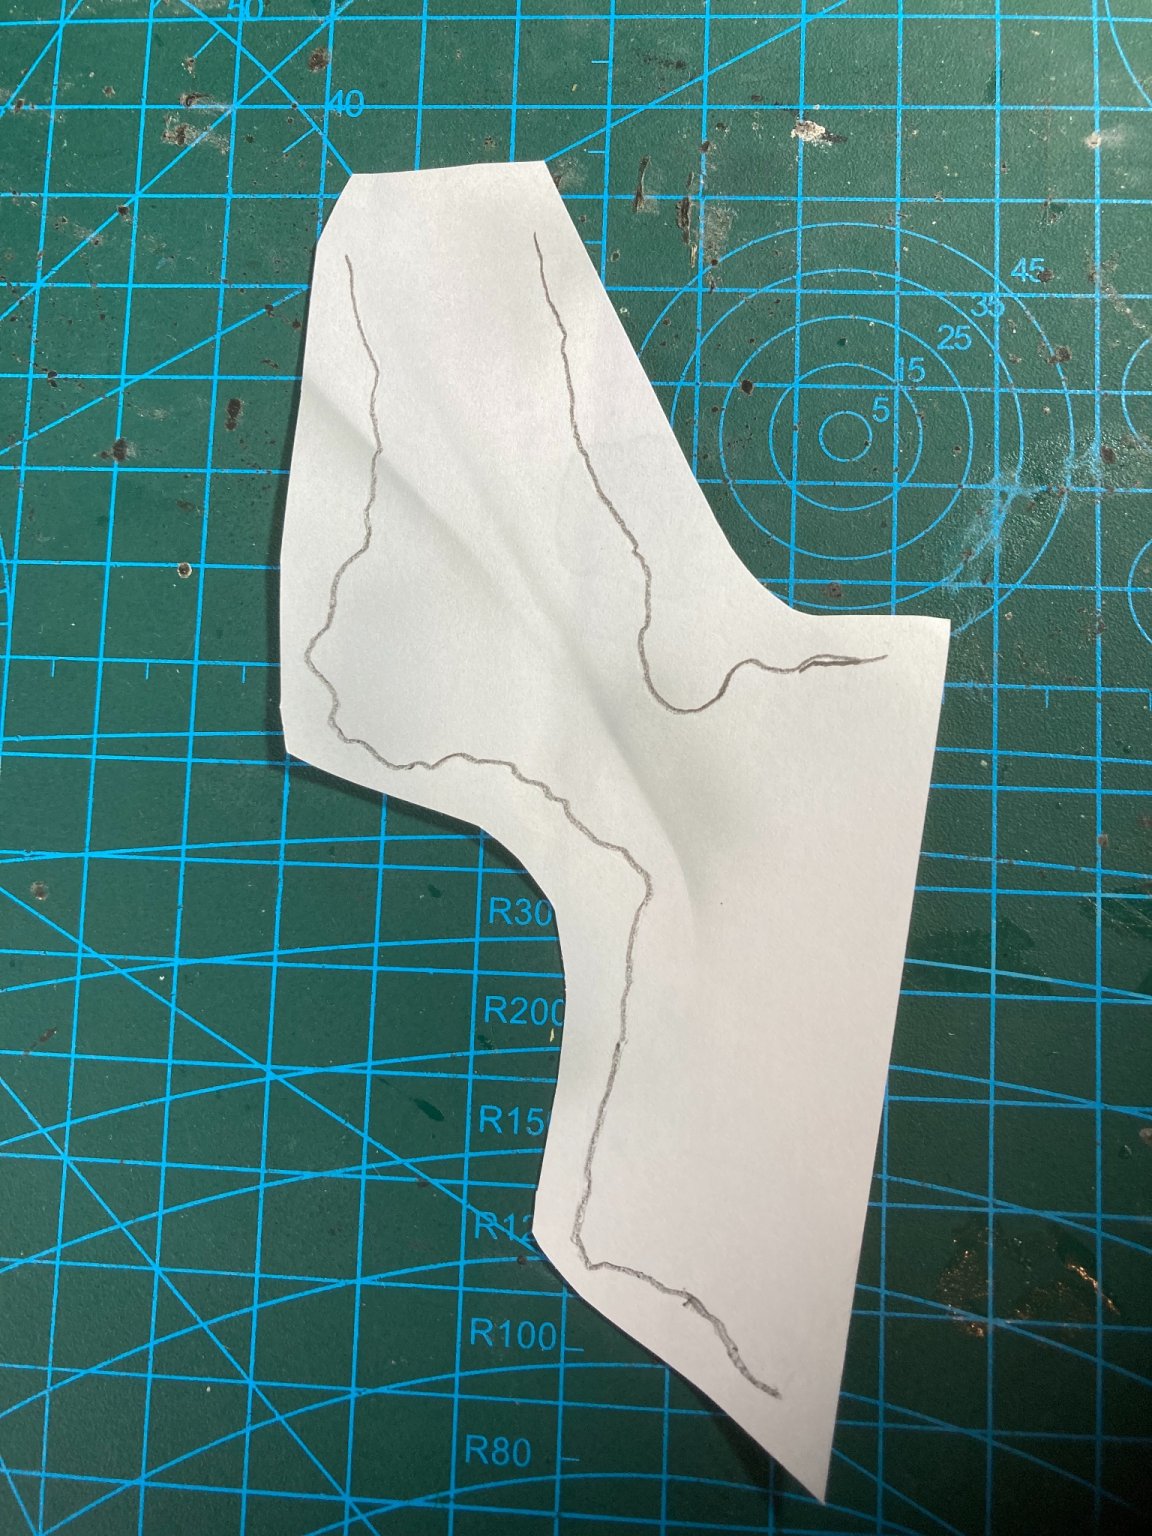
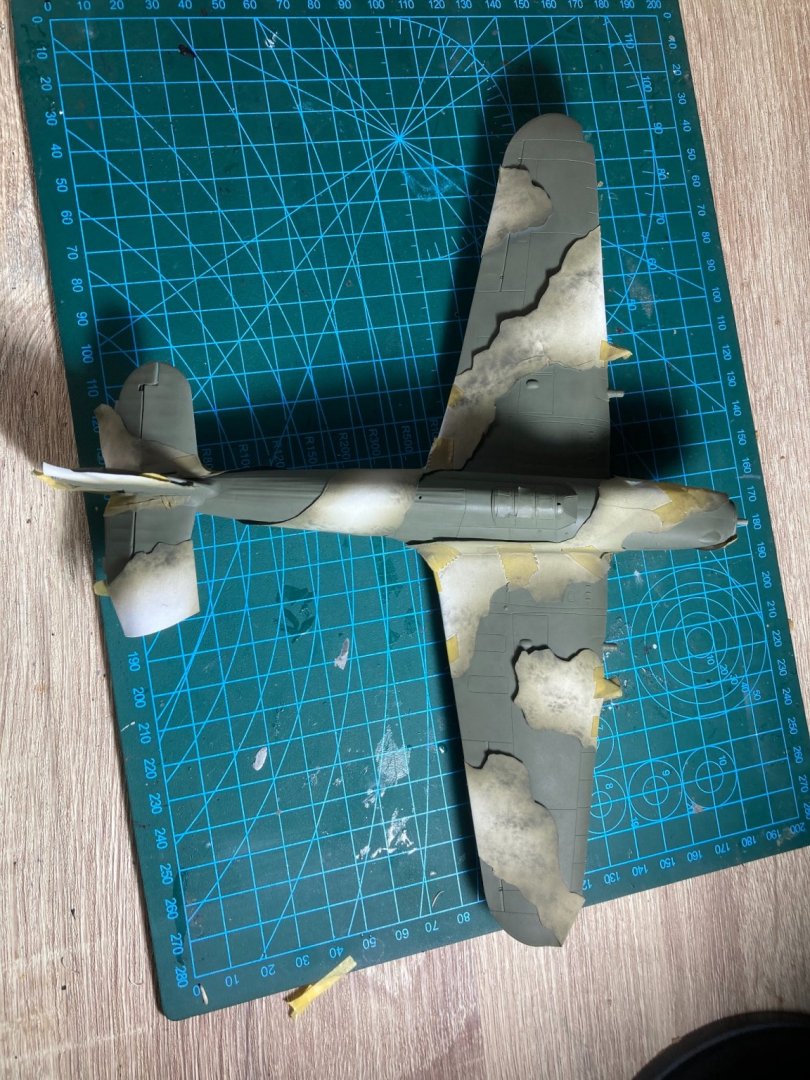
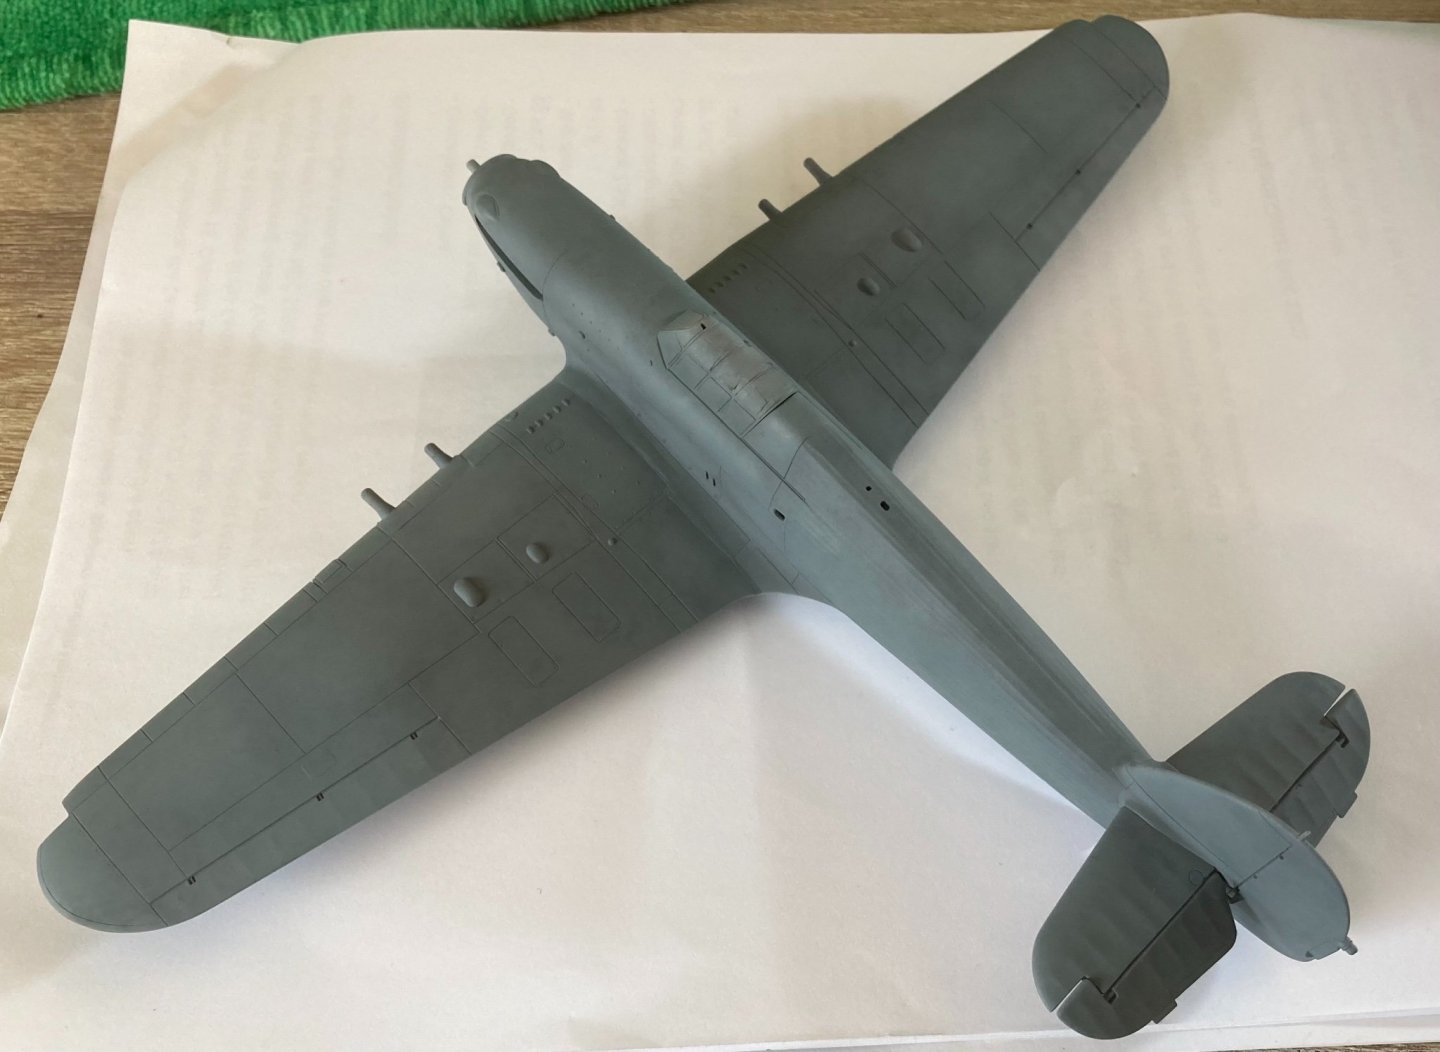
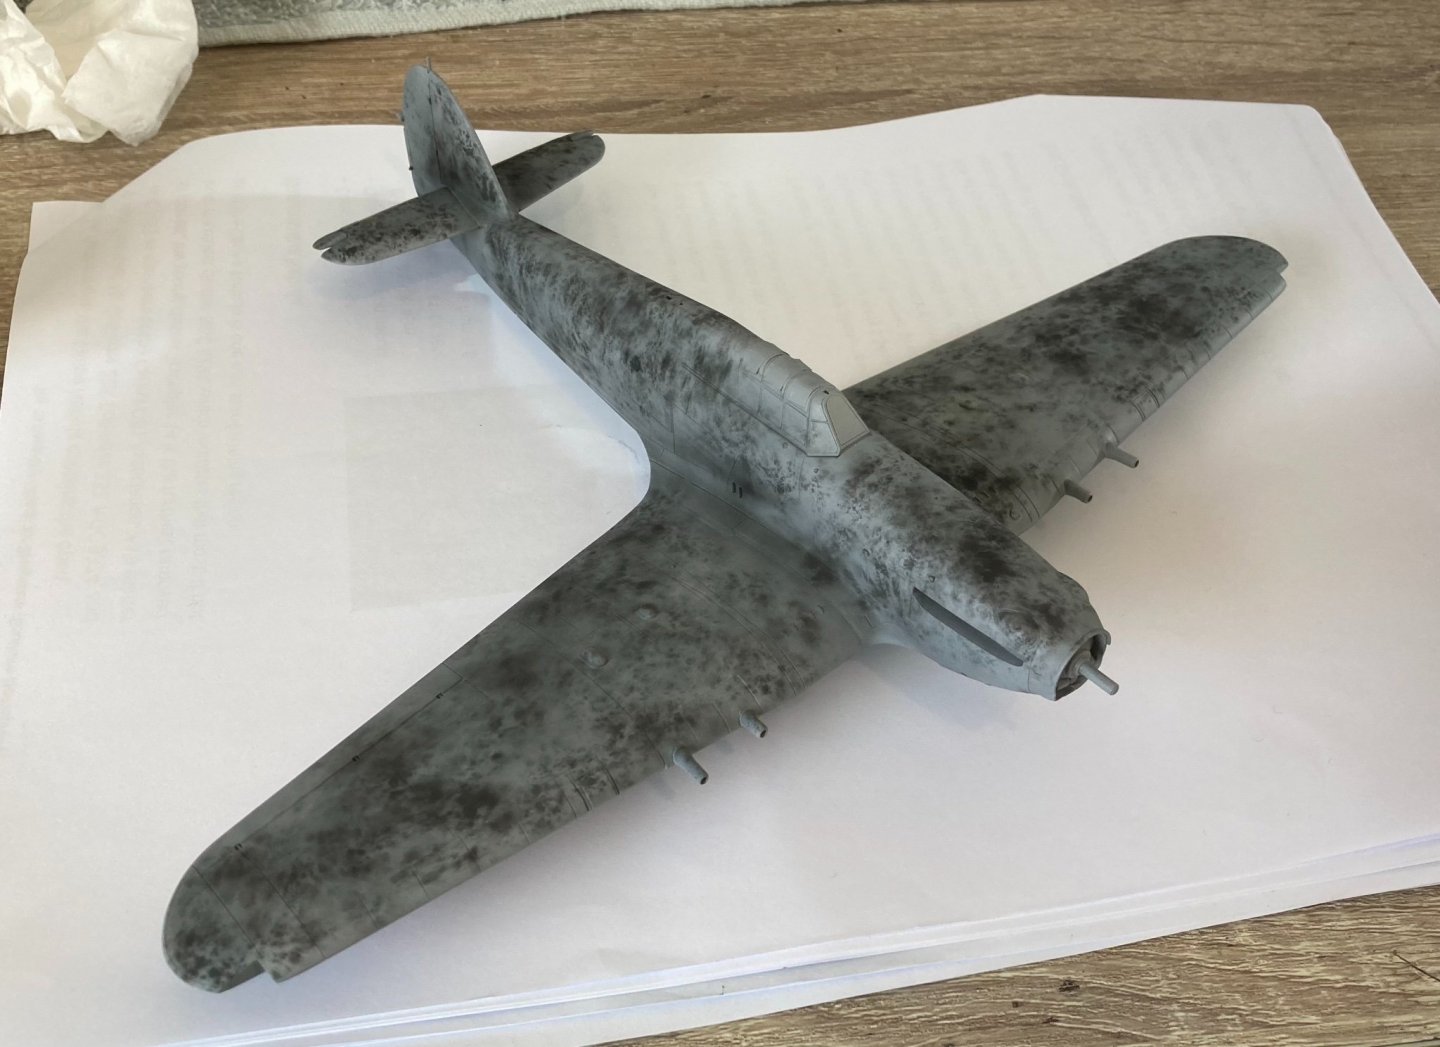
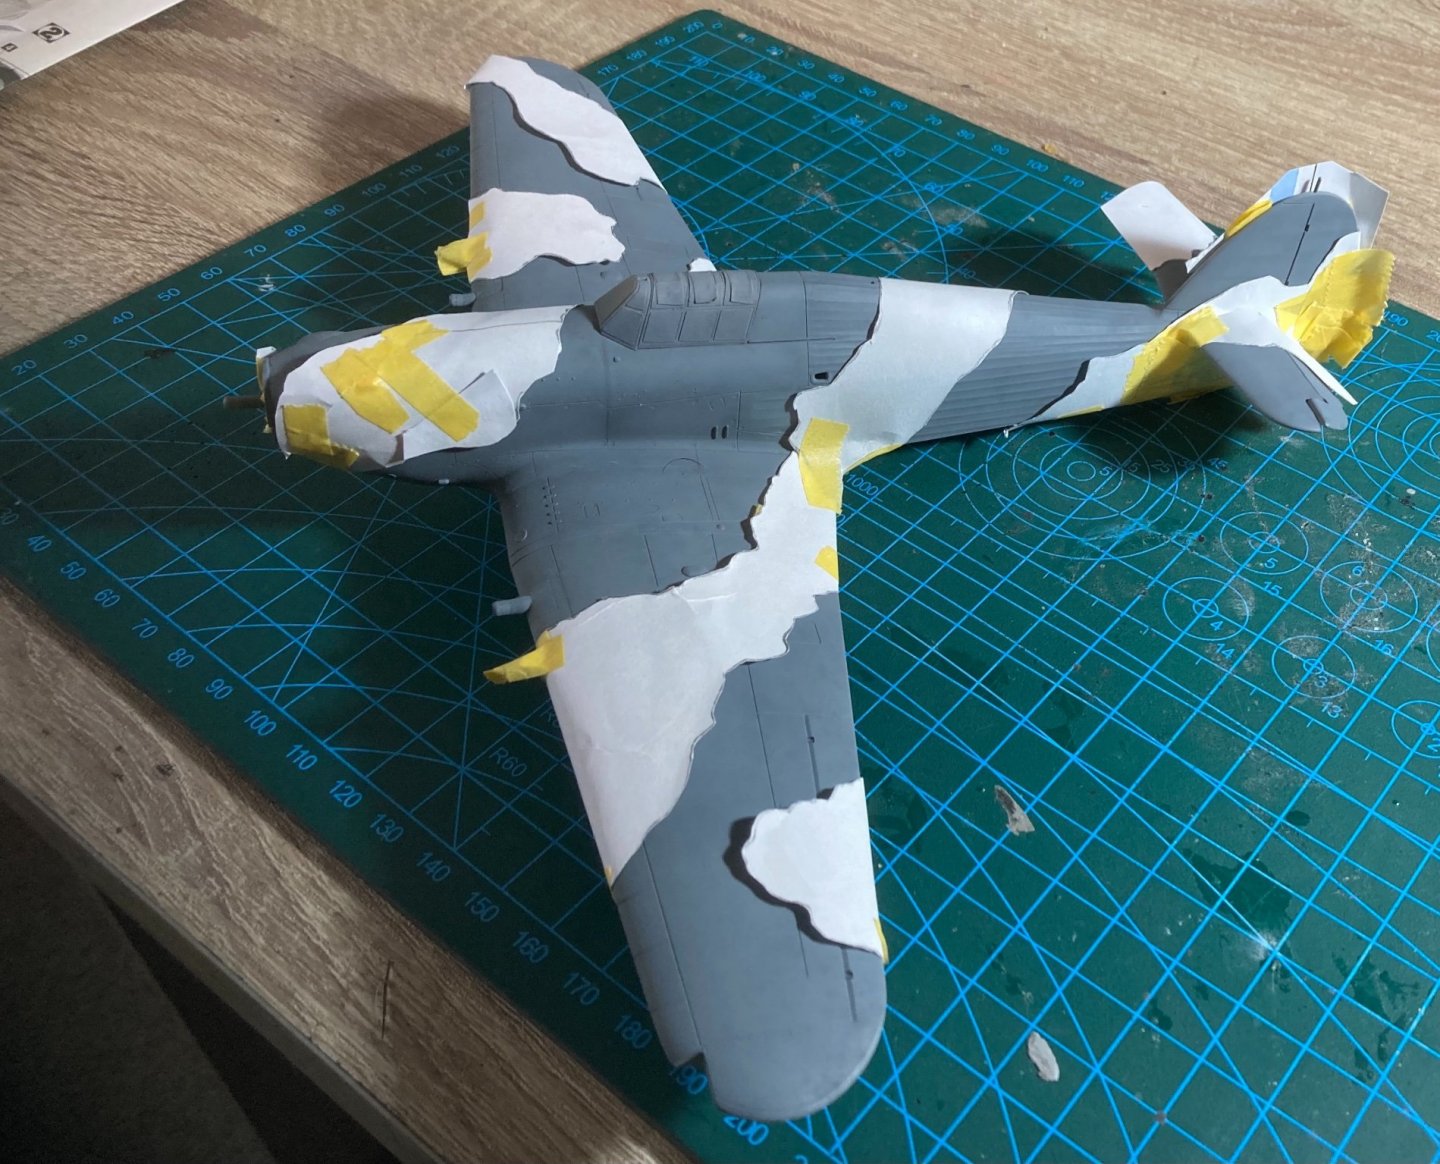
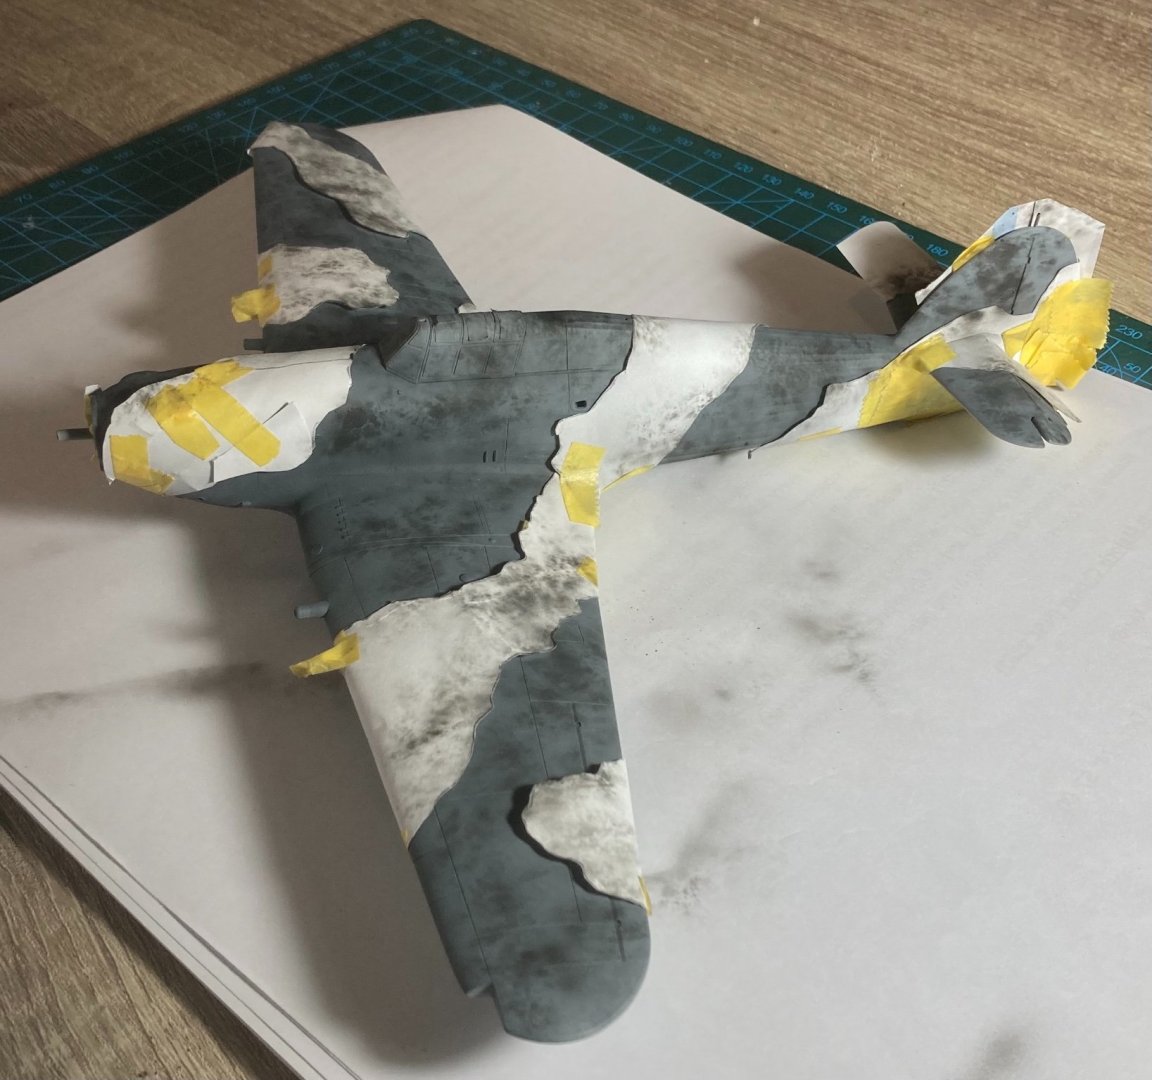
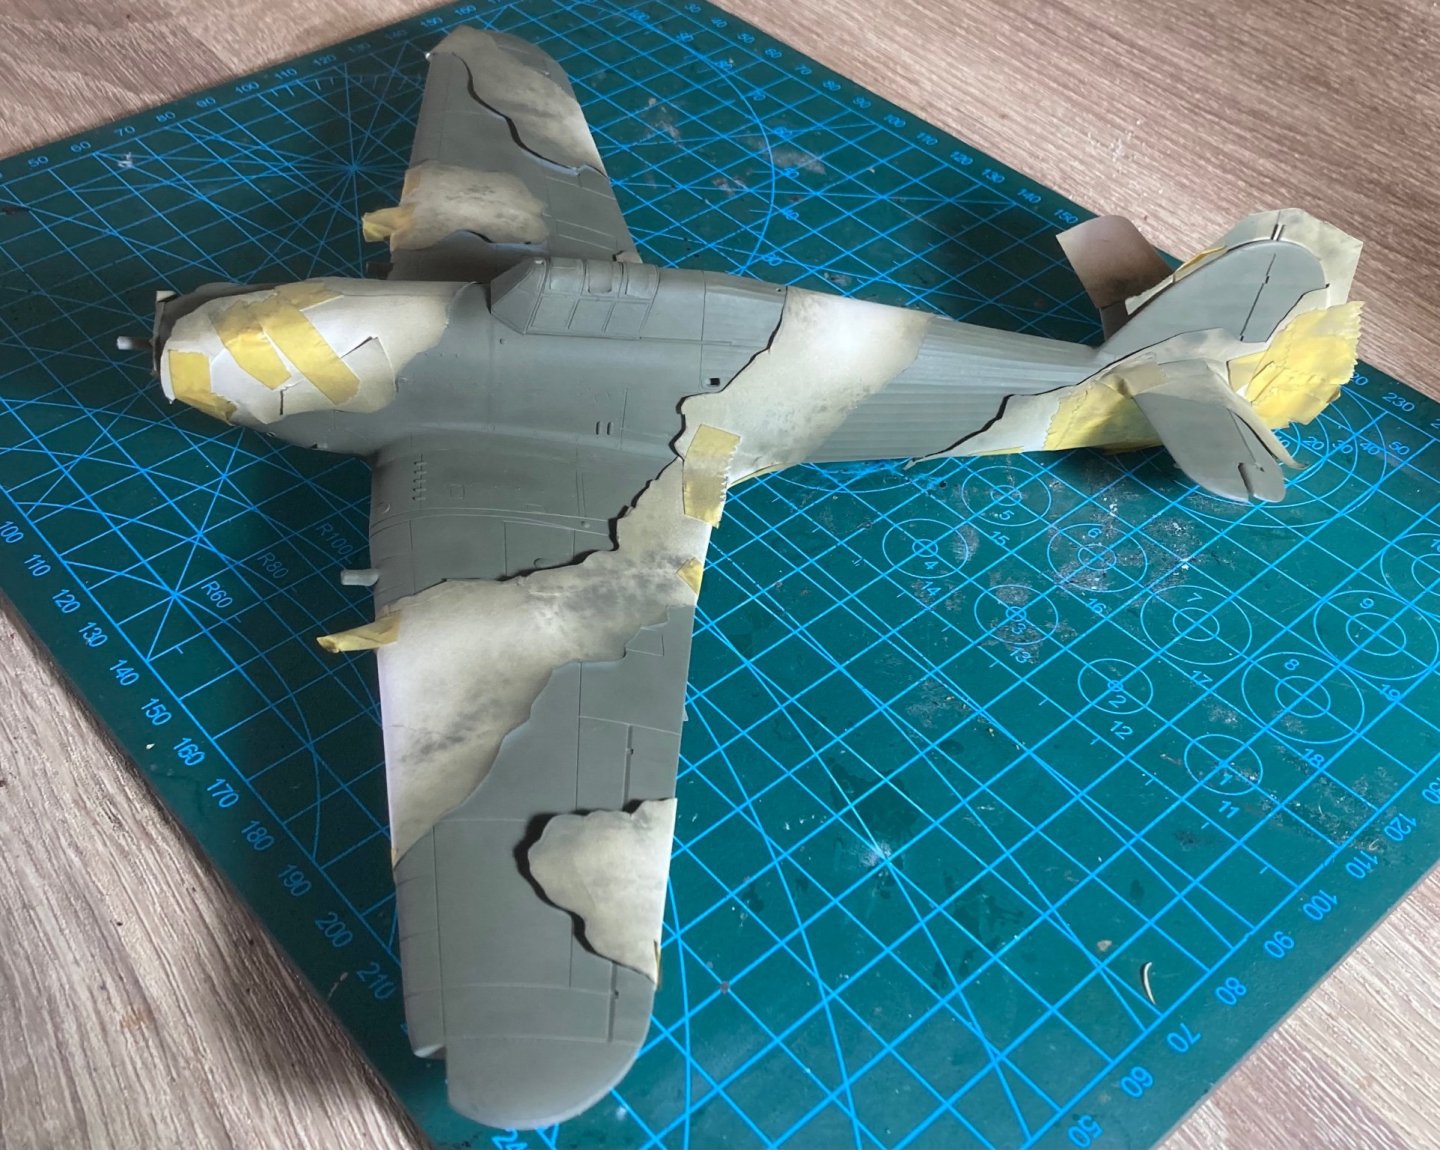
So it’s been awhile since my last update, she says in my cupboard for a while between little bits and pieces. So thought I’d do an update. planning how to do the camo was what caught me out and it just sat there. primed and then some base work by airbrushing through a sponge. then grey coat of paint. took awhile how to work out the best way to mask so it has a slight feathered edge. Tape would have been a last resort. So using ziplock bags traced the camo with a pencil. then traced it to paper cut them out and stuck them on with Tamiya tape turned on itself to be double sided, took a few days! I then redid the base effects and applied the green top coat


-
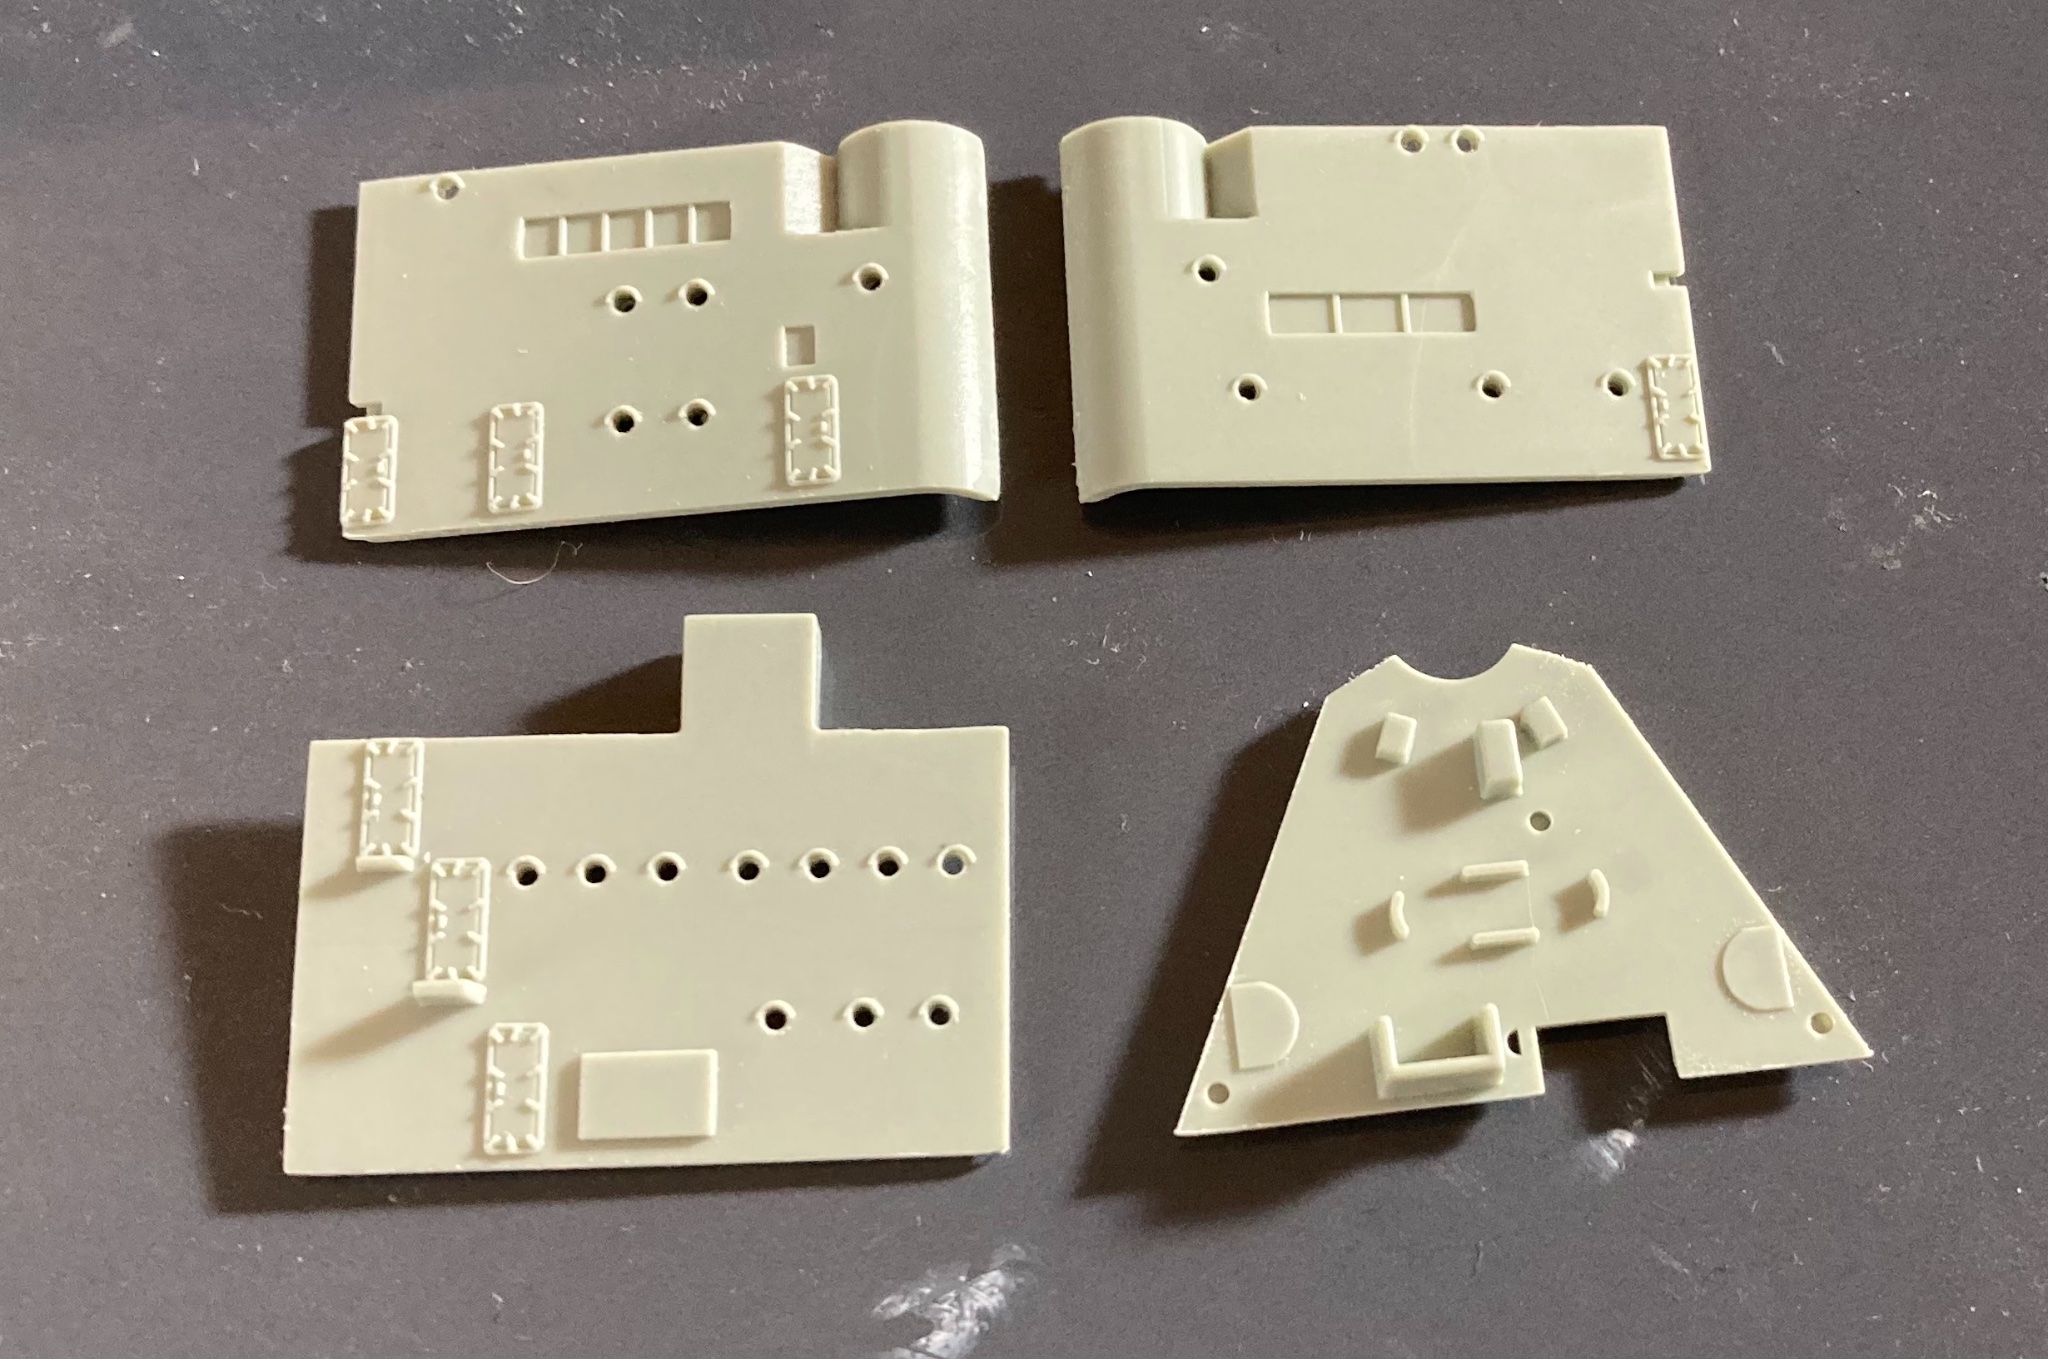
Thanks, Just doing a bit here and there. With the camo It will change how I put it together so will build the lot and paint it as one rather than sections. A good chunk of the initial parts done just a few more levels and the PE
-
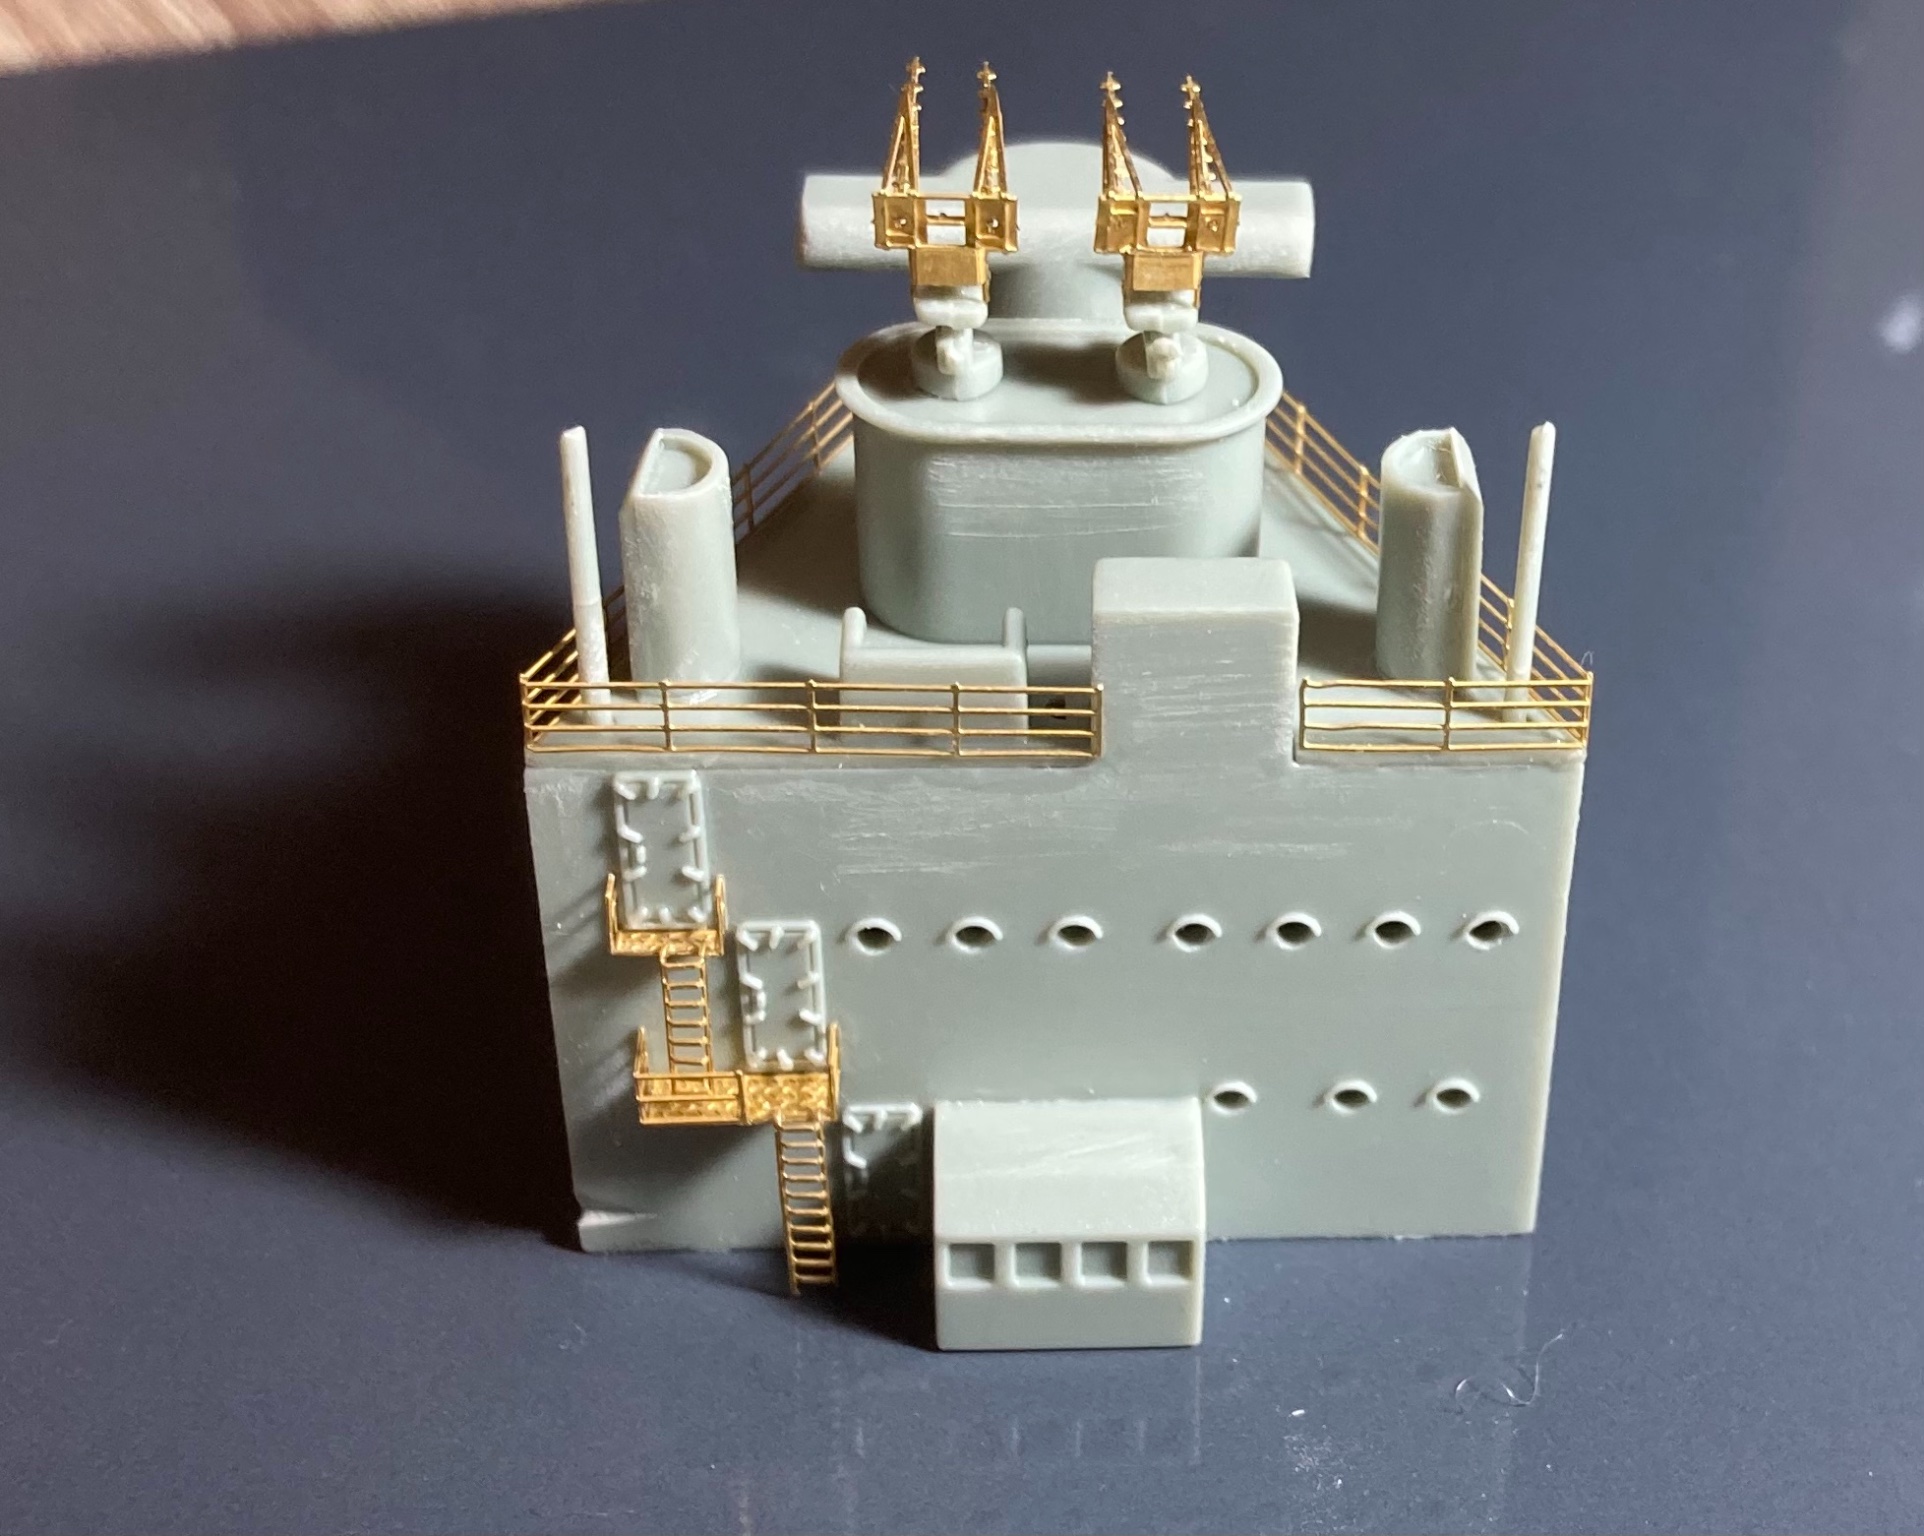
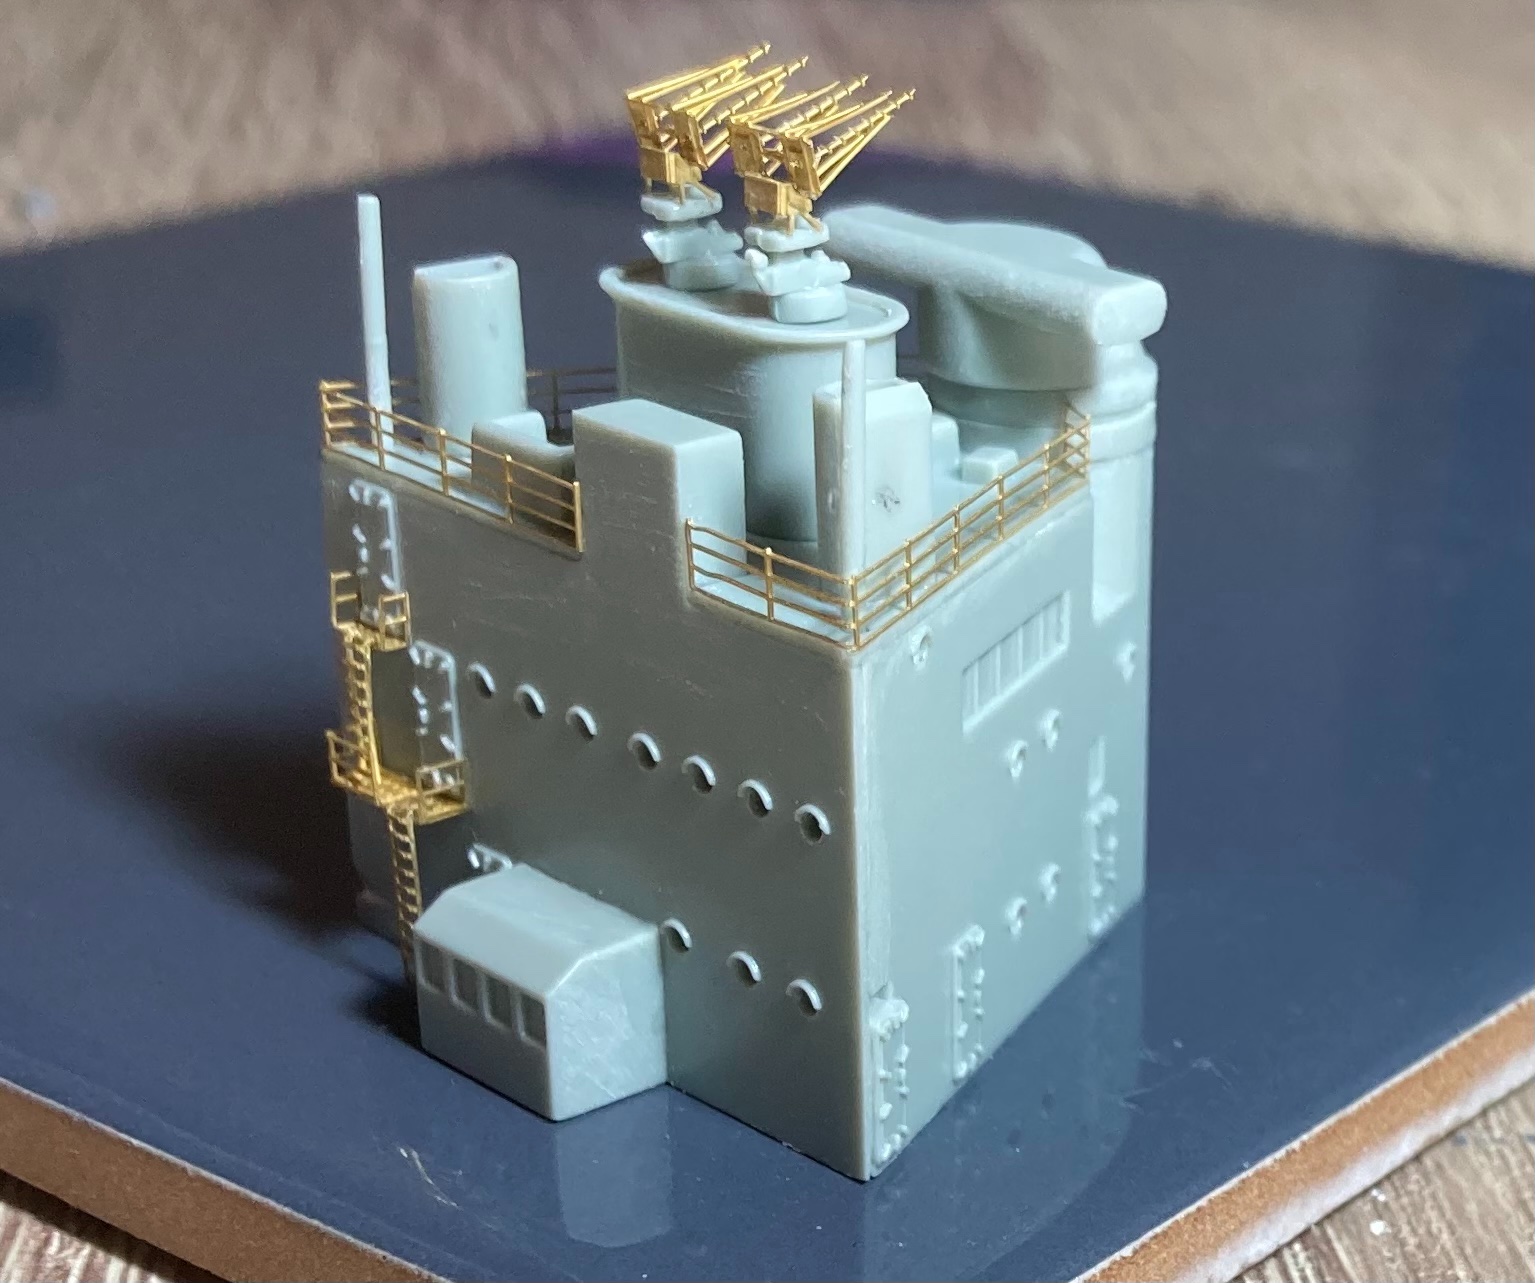
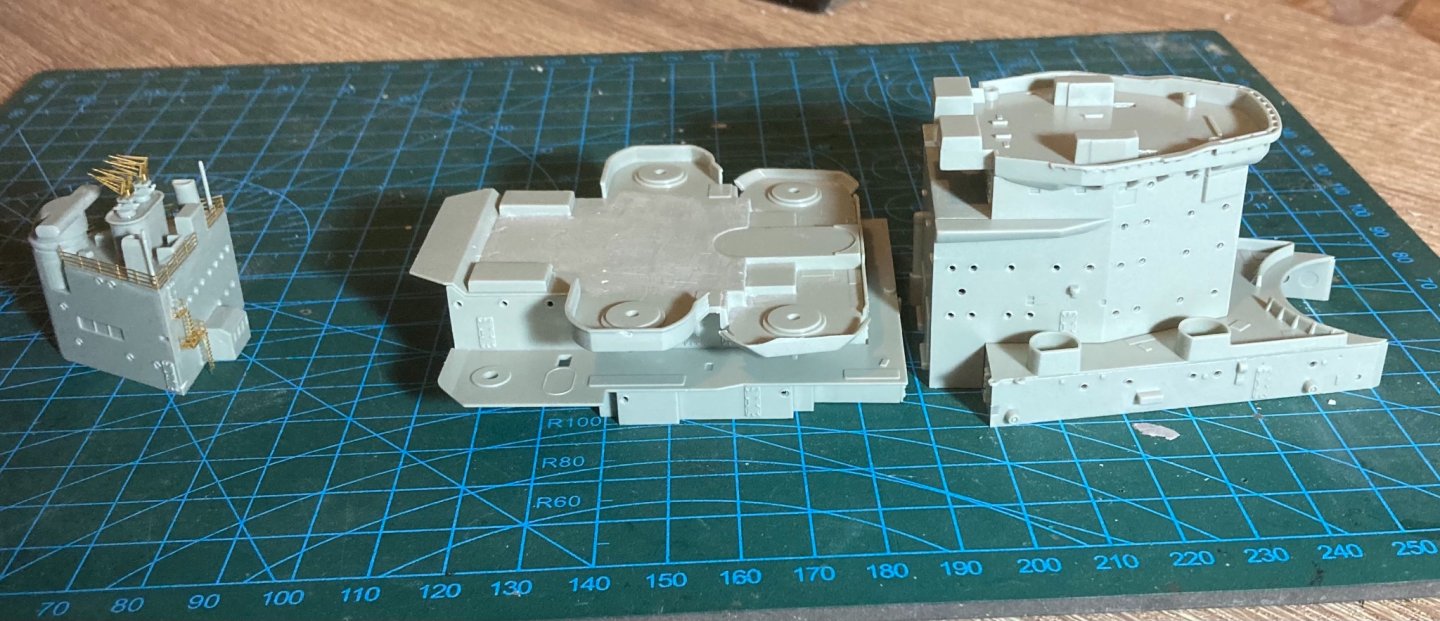
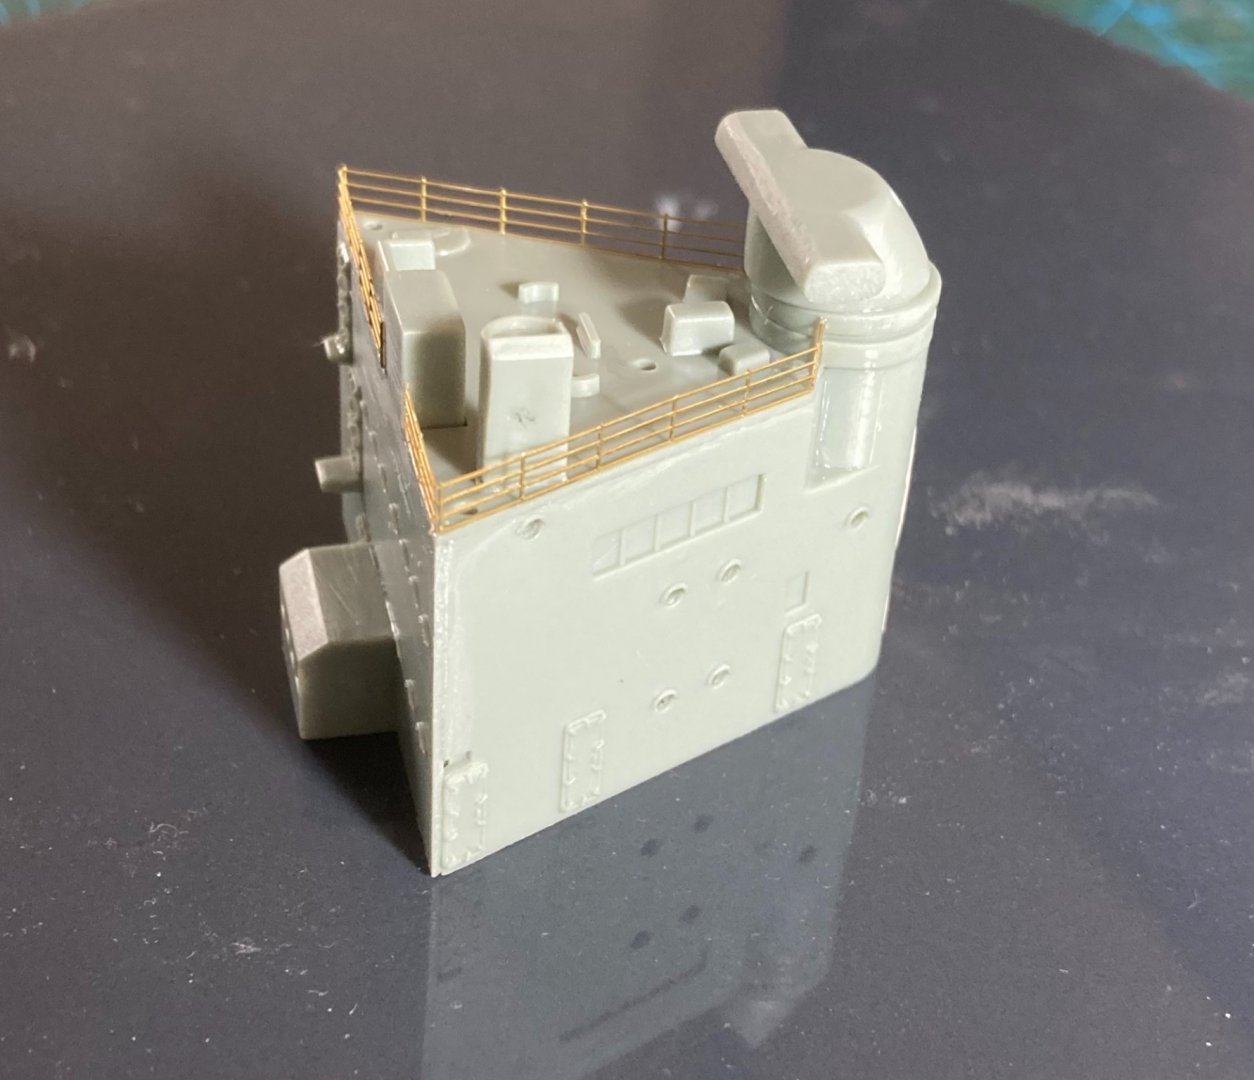
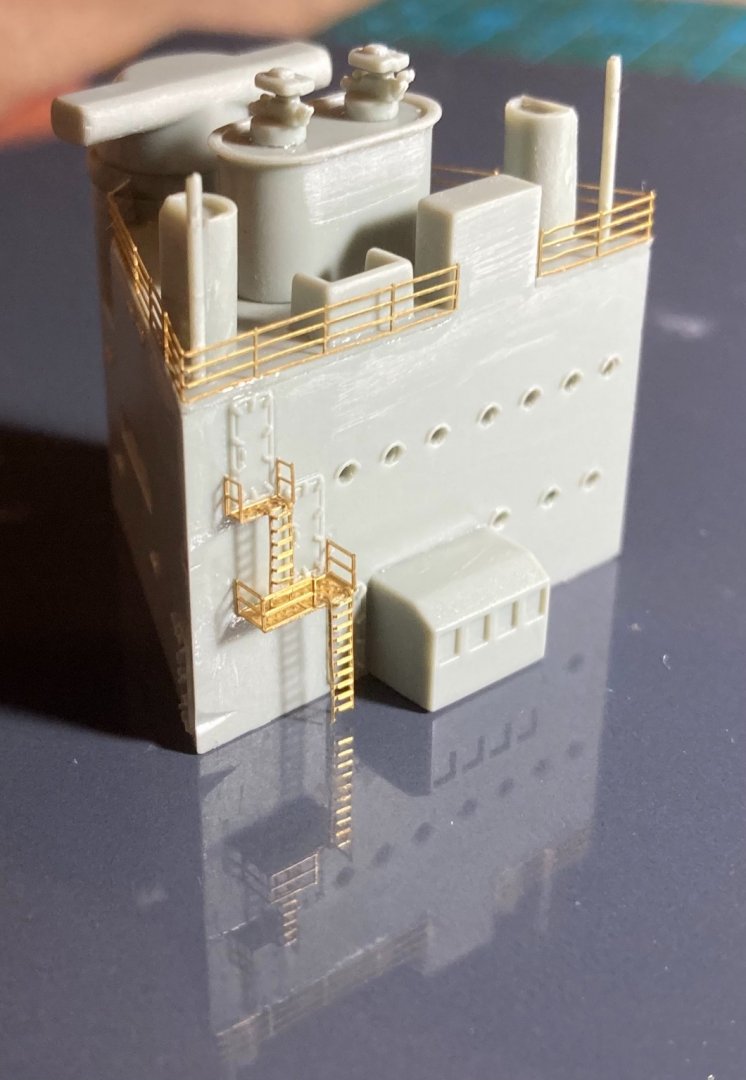
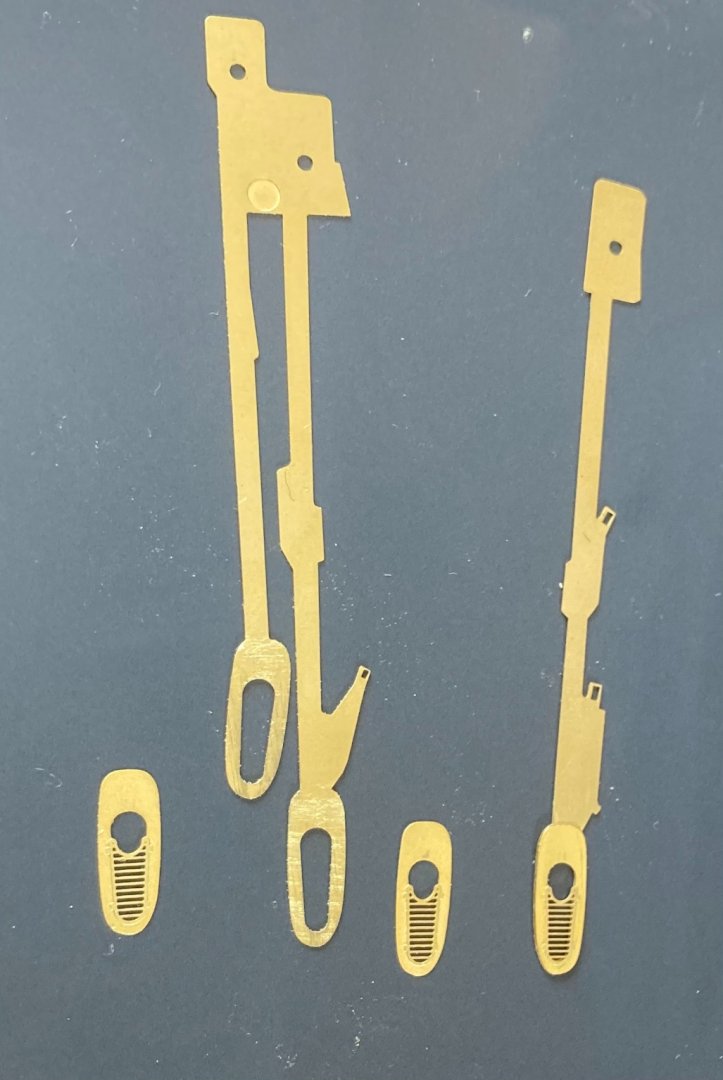
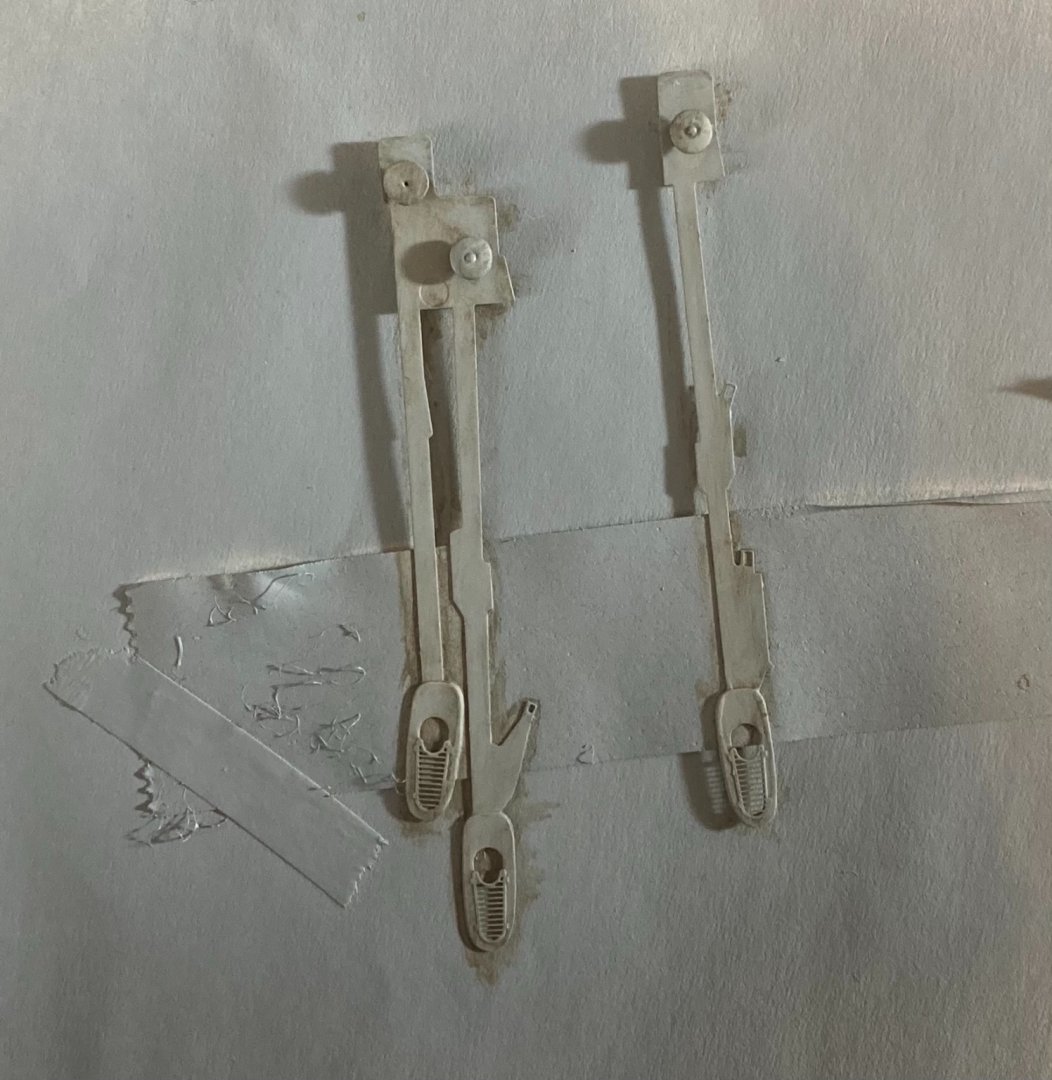
Hello, it’s been awhile! But had some time and in the right frame of mind to do some work on her. Started working on some of the super structure. Took only alittle bit to get back into the swing of things. Glad I’ve already done a ships PE set otherwise I’d not have a clue how things went together! They sure don’t make it easy! Haha The ships Woden deck only needed re glueing in 3 places where it had bubbled up so was quite pleased. The CA glue is new as my last lot got way too thick over the summer so it’s now stored in the vegetable fridge but it’s so thin I really struggled to get anything on my glue device (a thinned out tooth pick) so took awhile and lots of re glueing happened!


-
I’ve been super slack at the moment. But generally doesn’t take too long of a break to get back into it. Been spending more of my time doing Astrophotography and will have to knuckle down and keep going with the ship soon... it’s a hobby after all! I did add some more details to the deck, just got to get into the PE mindset and get the superstructure underway. will blend them in once the rest of the deck furniture is complete too. The wood deck is glued well and I’m happy with the hull so it’s been fun. here are some of my Astro shots I’ve been taking and distracting me from my build haha! I shall be back into the ship building in the next little while though
-
Yes that’s great thanks. I’m still just pondering how to attach the chain. Might drill a hole and feed it through otherwise it will not look right just glued to the outside
-
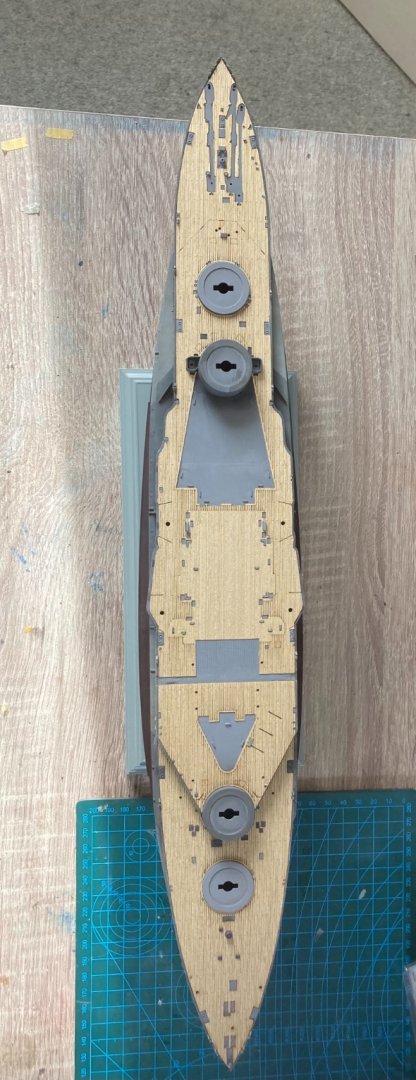
Have let the deck dry over a good few days, the parts that were glued down just using it’s own stick got quite a few lifts so is now probably 60% glued down with the gel medium. So if there is ever a next time I’ll definitely use gel medium or at least something to really stick it down as the stock glue doesn’t give a good bond even with the surface nicely prepared for it. I’ve not had much time so maybe the build will slow down alittle now, but have done some work on the anchor area. The kit seems to only want 2 chains to be on it, even though it provides 3. I’ve checked heaps of pics and can see all 3 chains on her. But the kit doesn’t have a opening for one of the chains to go below deck to storage. So might have to make one to try match the other two. Otherwise I’ll have the chain going from the anchor and then ending by just sitting on the deck which makes no sense.

-
When I get to that part I’ll take extra care mate, thanks. I’ve been abit slack lately haha! I think I’ll have to tone the nice shiny new deck down. Will see if it fades on its own too. Think a very runny light grey wash airbrush misted on will work great.
-
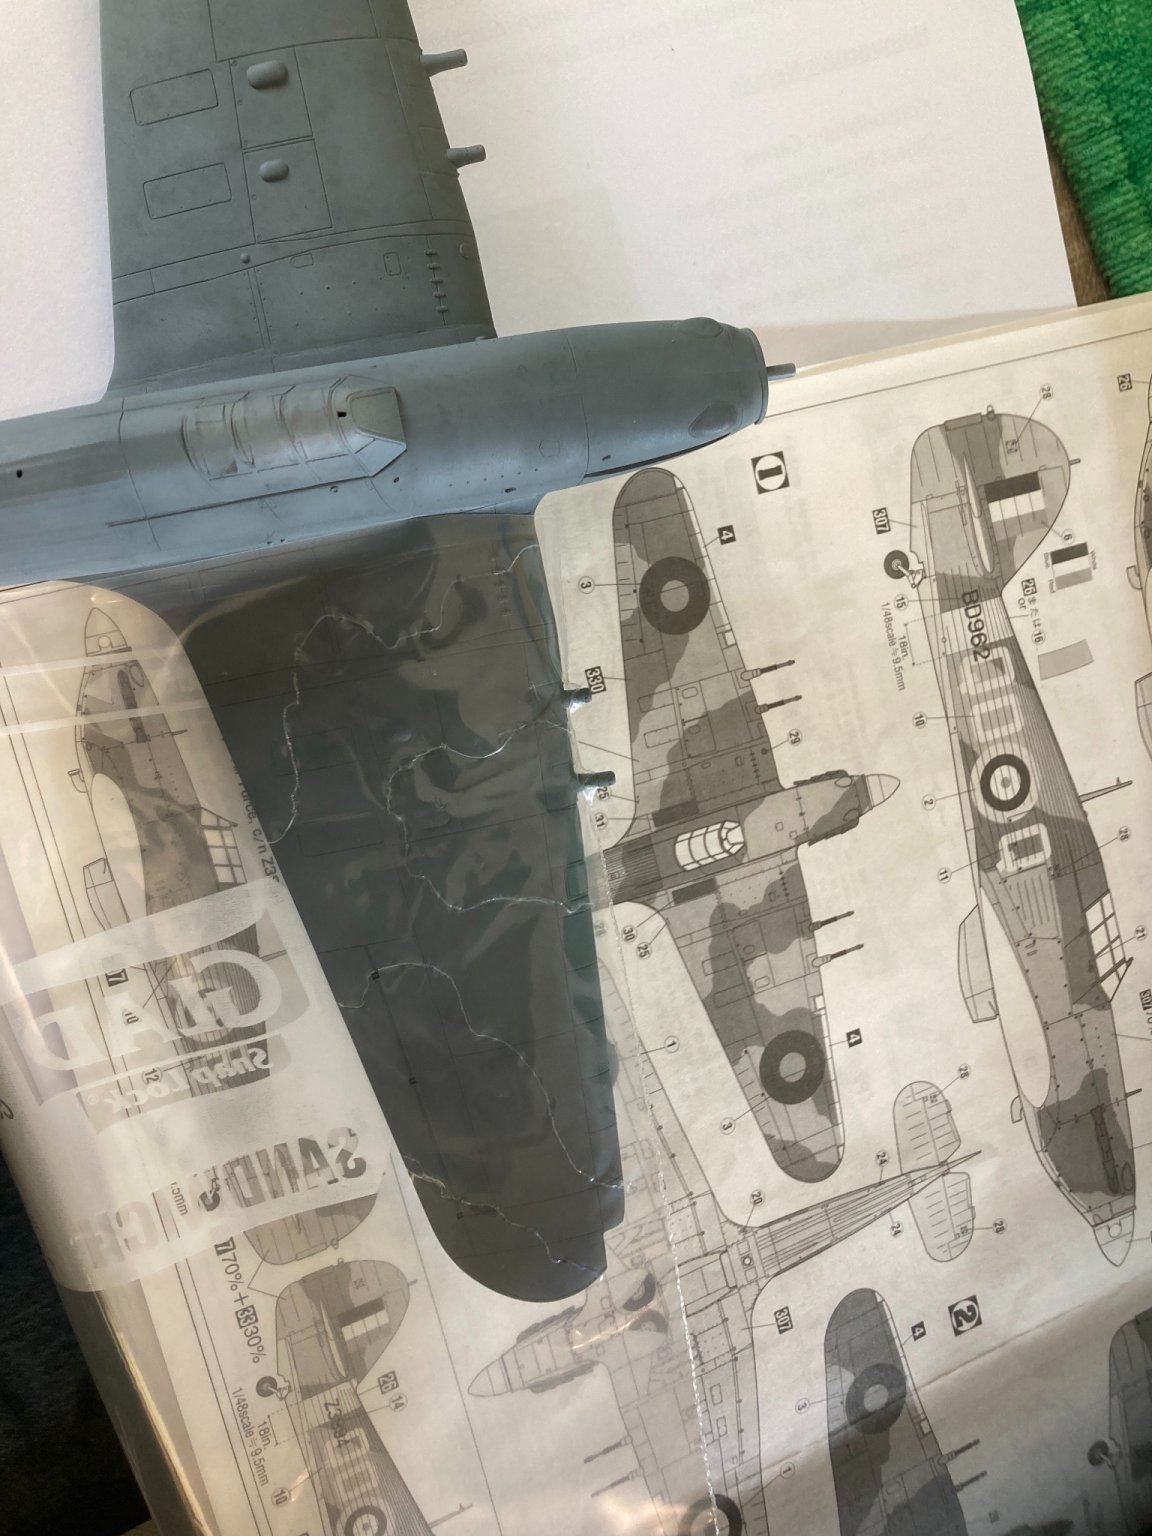
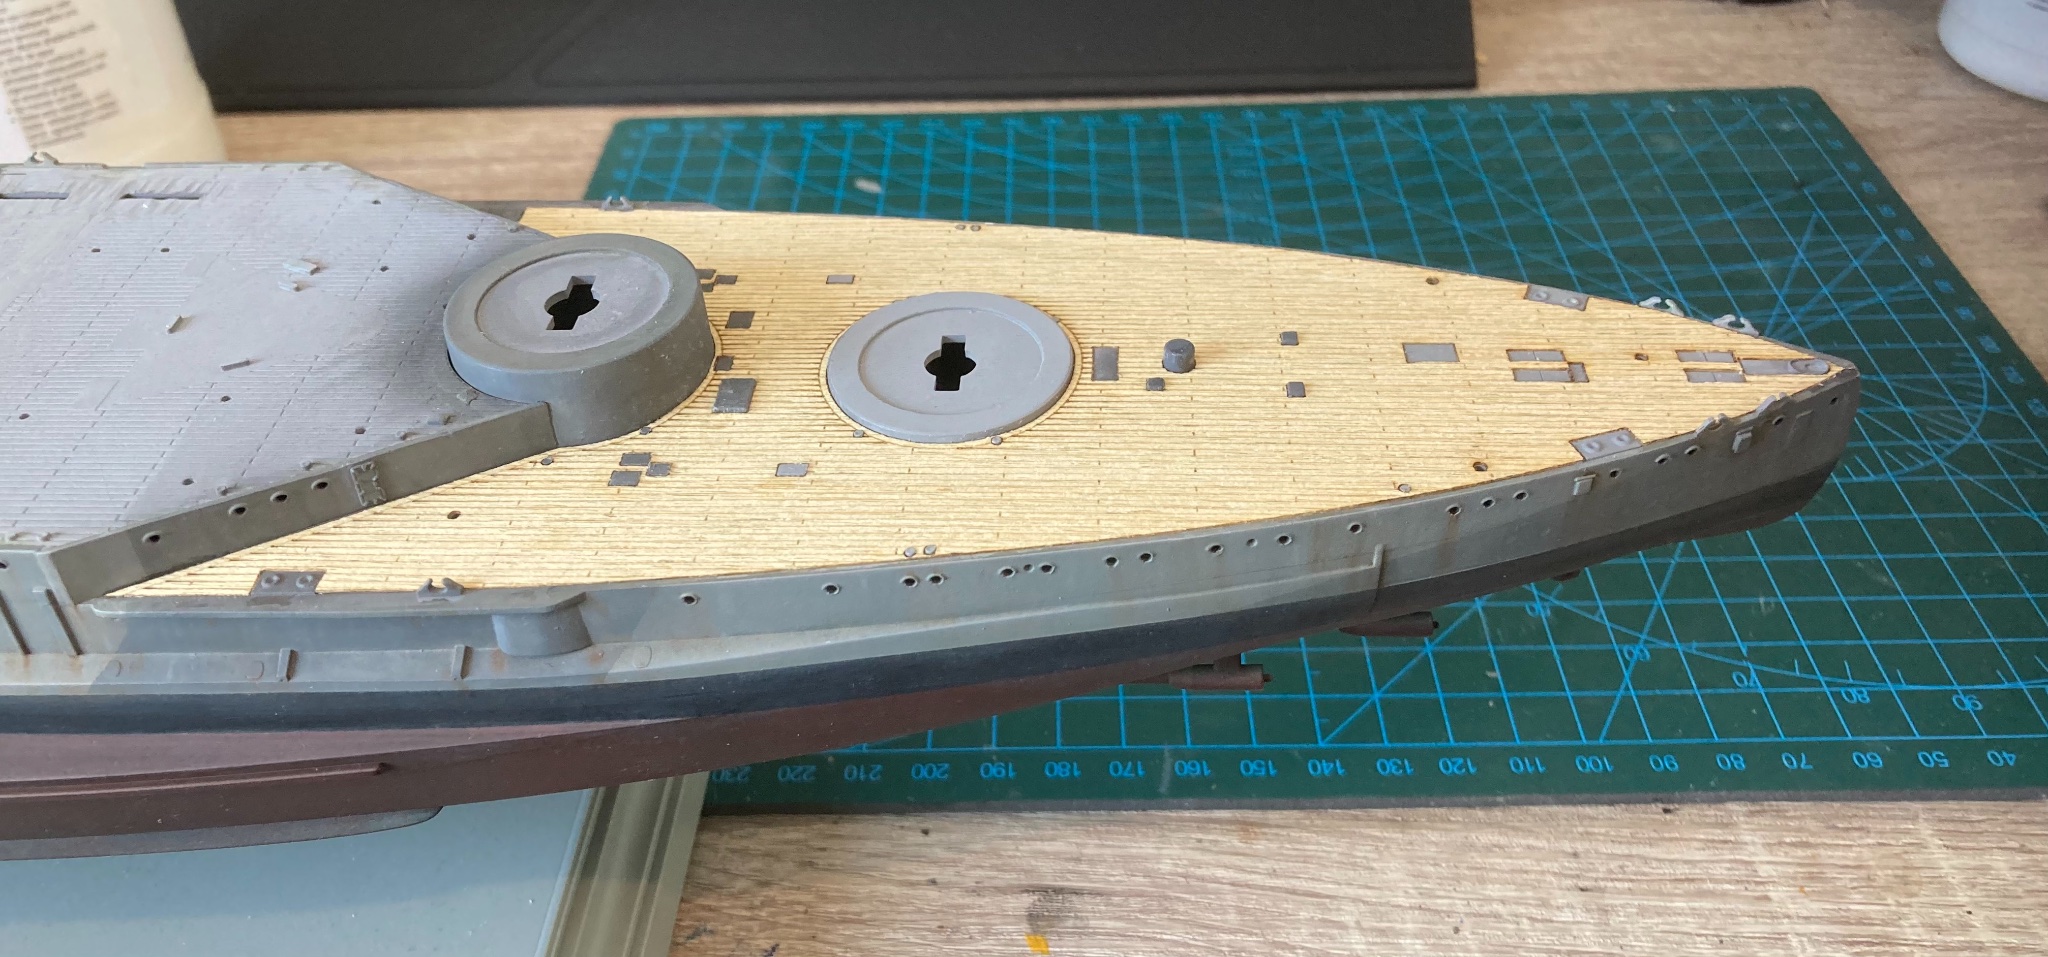
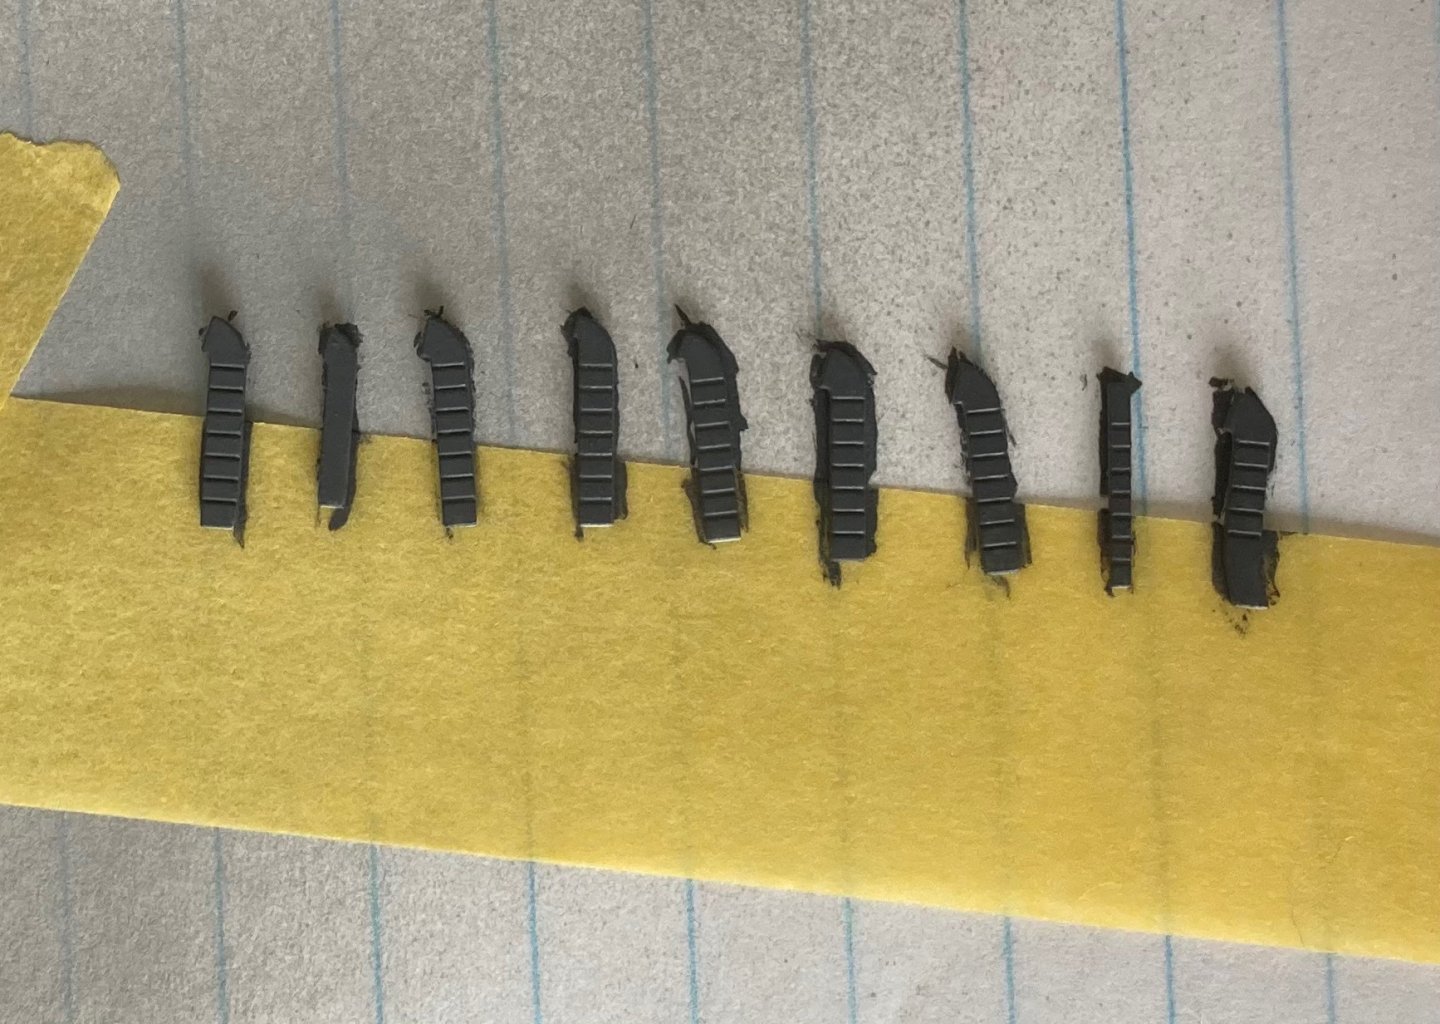
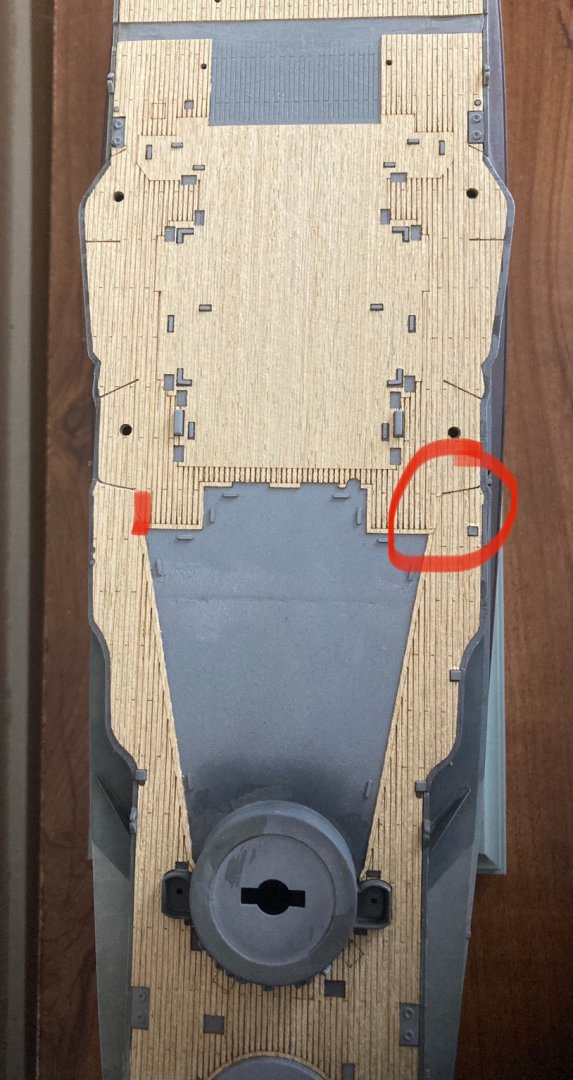
I searched a way to cut as small amount as I could. And found this spot where I could cut with the plank direction. Ended up doing it here where I assume are armoured handrails. Everything doesn’t quite line up in one big sheet unfortunately.
-
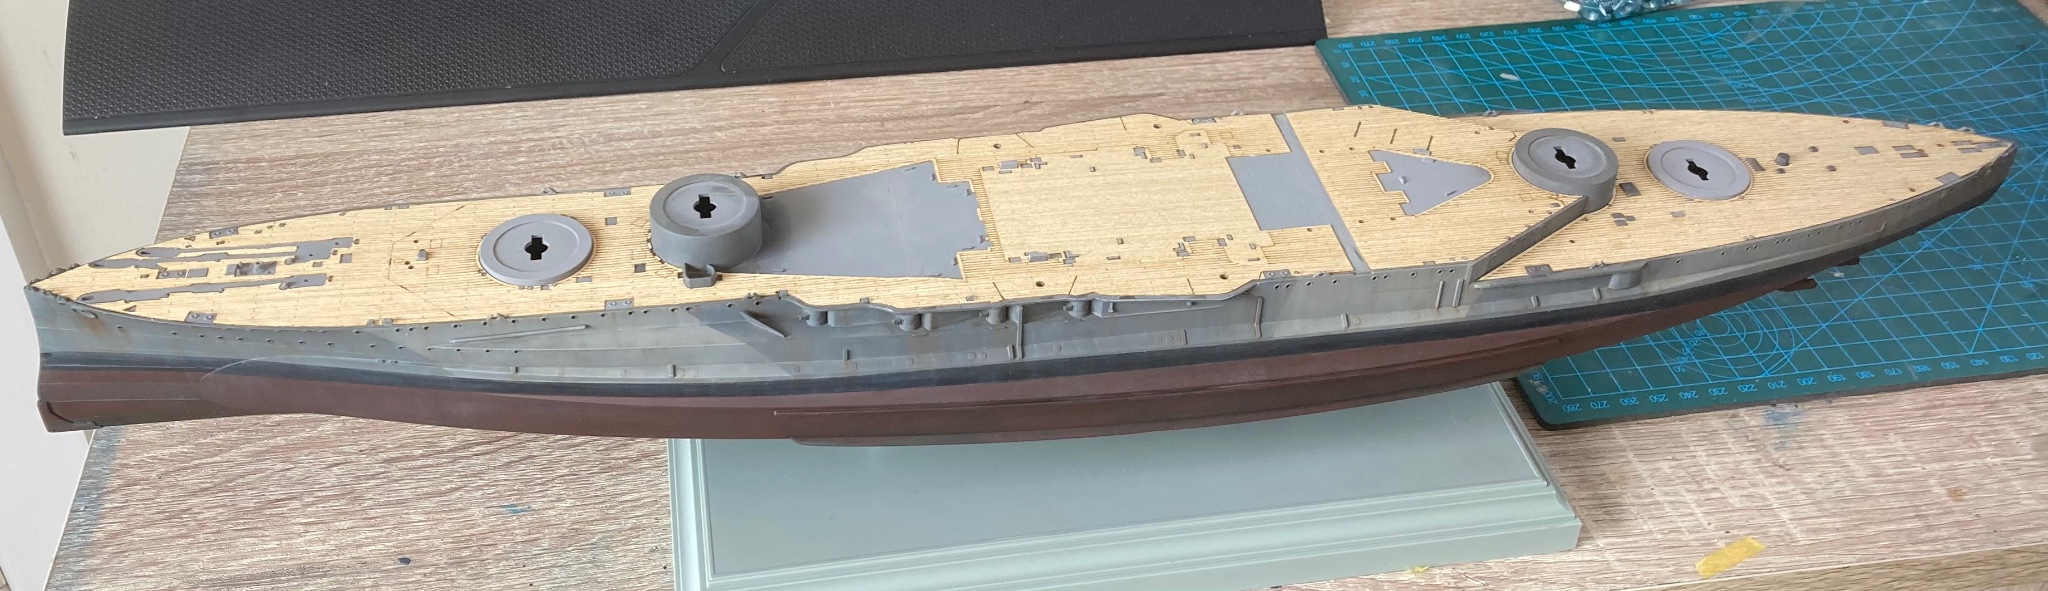
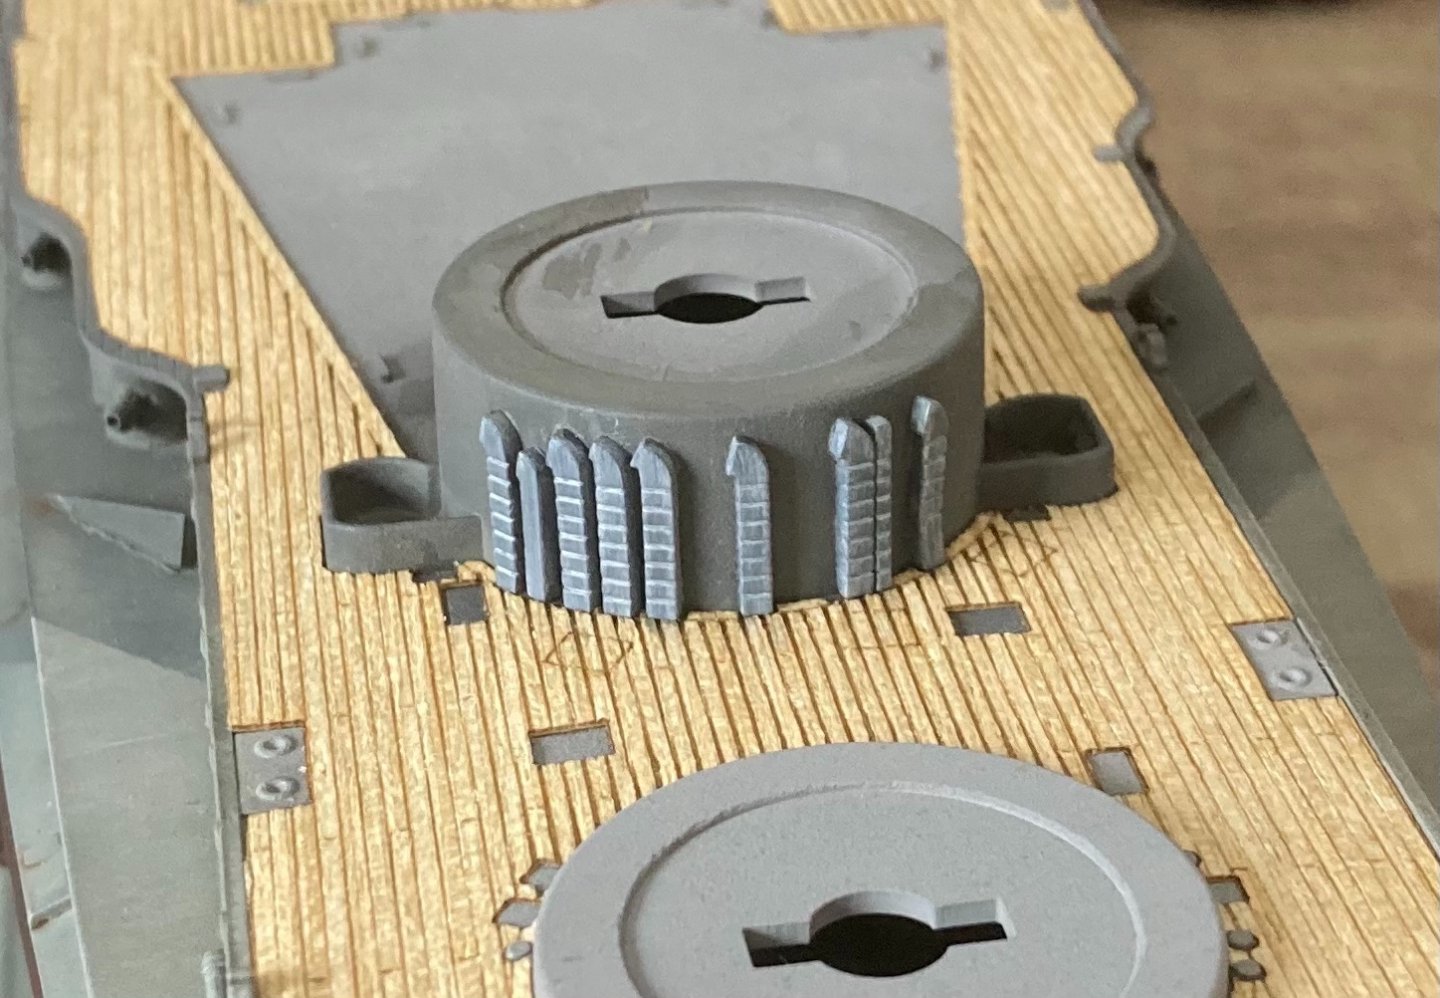
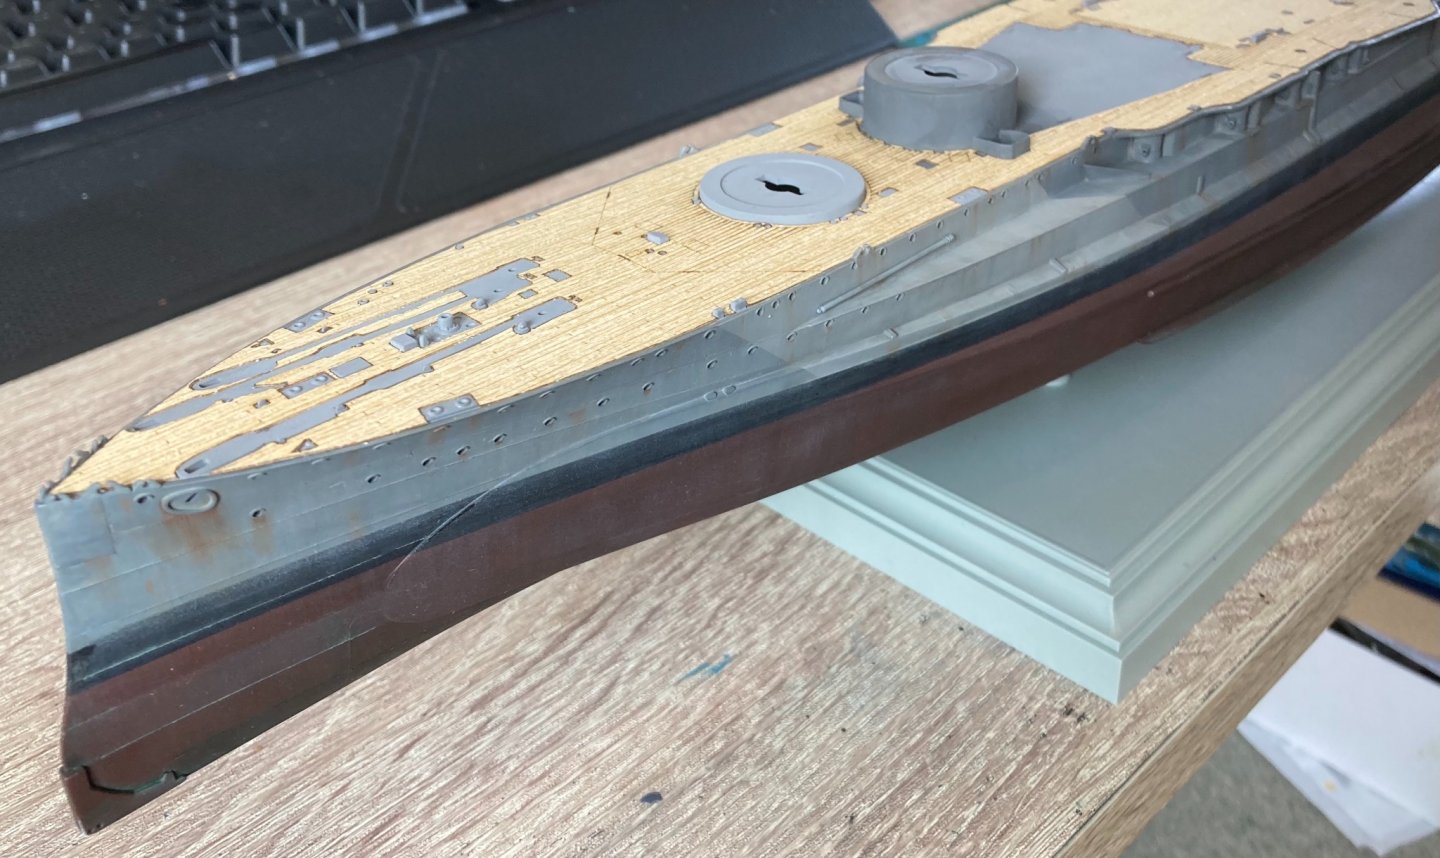
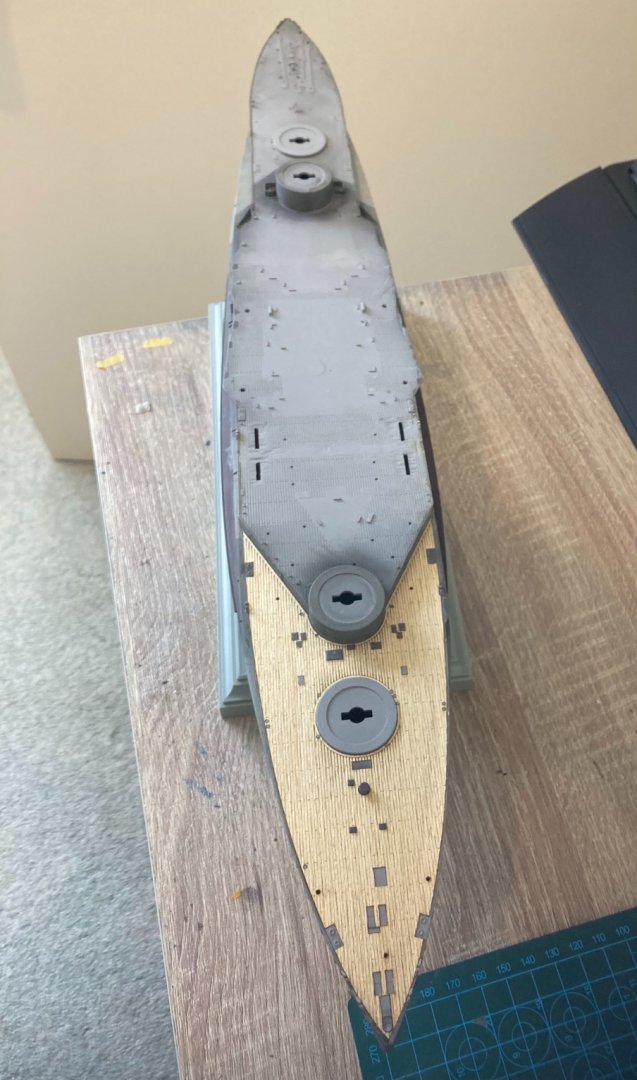
Rest of the wood deck went on. Stuck straight down with its own stickiness. In order to get the very front long one to match up I cut it very sneakily otherwise the middle part didn’t want to stick down. So all sitting flat and in the right place. Will give it some time to see how much of it will lift. having the deck on really changes how it looks.

-
Bet that set up give crisp pics! Do you have the IFR nav planning maps so you know where each of the waypoints are? The glue on this one seems sticky but will test it. The nose part is all in one big long one so might have to split it up somewhere secretly as the dry fitting seems to show it looses alignment at each end. So far I’ve not had an issue with the medium not drying but the deck is thin and many of the plank lines are right through so heaps of little gaps. My trouble is the medium dries too fast! Have to use thin layers otherwise it all squirts out at the edges and have an annoying clean. sounds like a fun story hidden behind that word “penance” haha!! the F4 seems like a fun jet to fly!!
-
I’m going to experiment with the next half and compare. You want a good bond as a lifting deck would just be a pain!
-
Yea way points are used everywhere if you don’t have GPS can still track a way point route by using radials from a ground beacon and distance equipment. But GPS is so much easier than the other type, its really just used as a back up system. Well that’s how it is here in NZ and I’m sure we are still 30 years behind the rest of the world haha
-
So decided end the hull weathering there and once all complete can do any changes I want... which means! Started on the wooden deck! I painted over the sticky side with gel medium and then painted the deck with gel medium and stuck it down that way rather than use the adhesive that it comes with. Apparently it’s got a better stick and also had a tiny bit more give for sliding it into the best place.

-
It would be really inconvenient if GPS isn’t available for navigation! Back to VORs and NDBs 🤣 but probably a high chance one day it may have to happen! Did you fly single pilot with celestial navigation? Surly it would be a full time job itself?
-
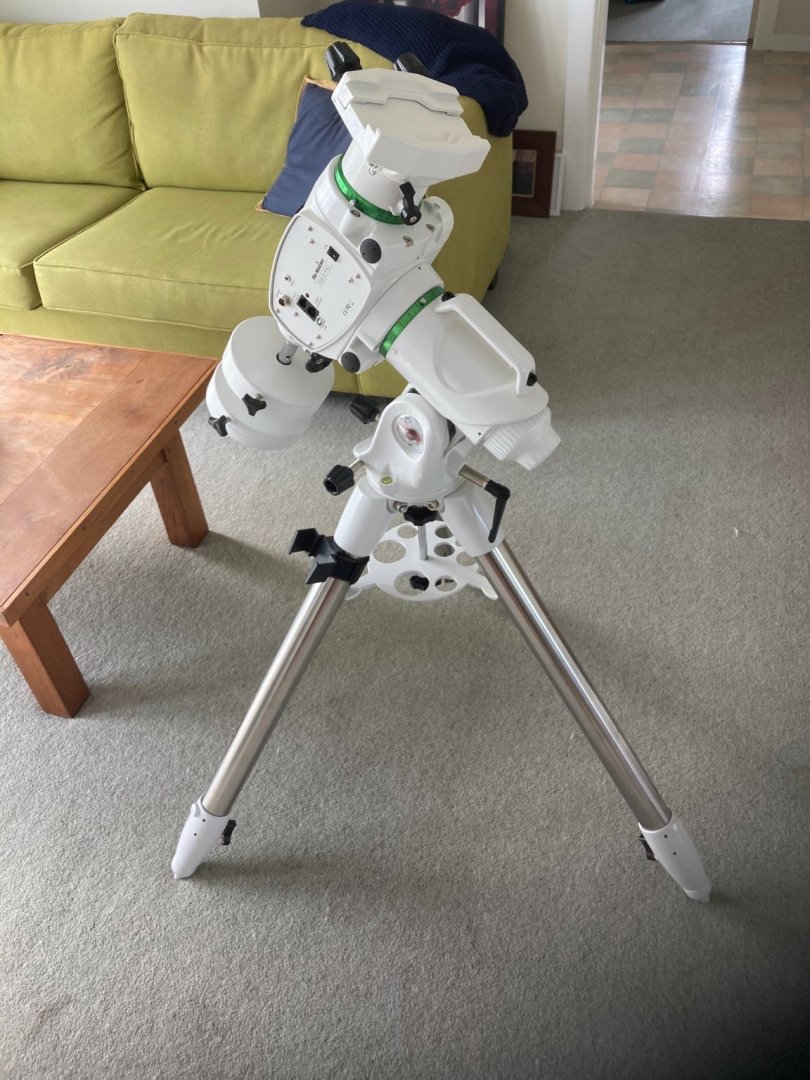
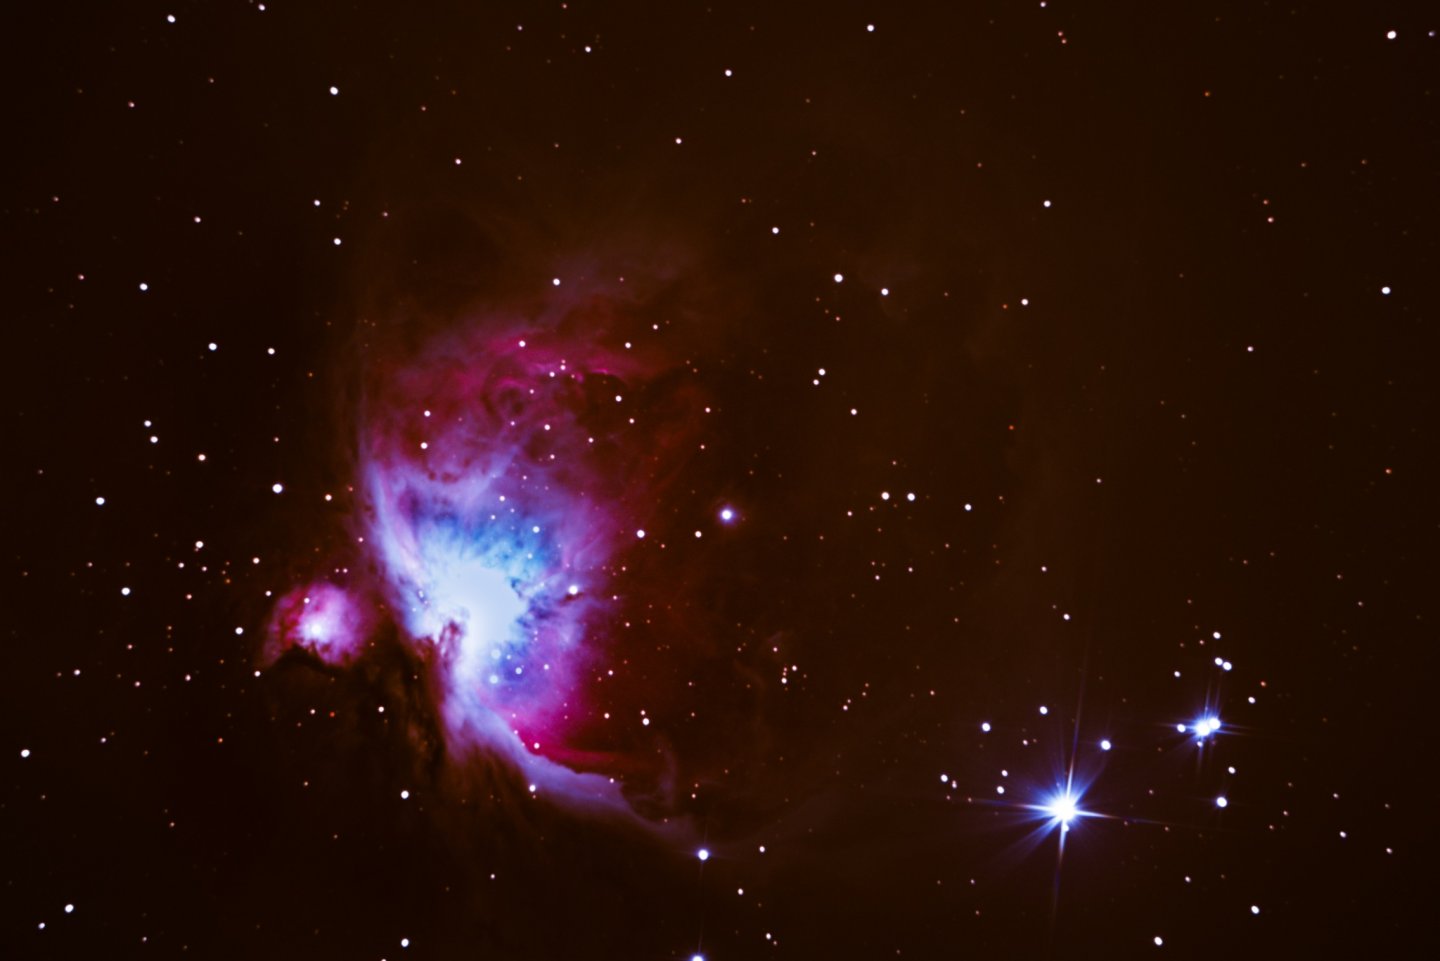
Haha yea those 2 are always visible even with jus your eyes. There is a nice nebula in the big one called the tarantula nebula but I’m yet to try find it. I’ve got the mount and the telescope but waiting on the rings so I can attach them together... then I’ll have a 1200mm lens! If I can guide it accurately it should be fun!
-
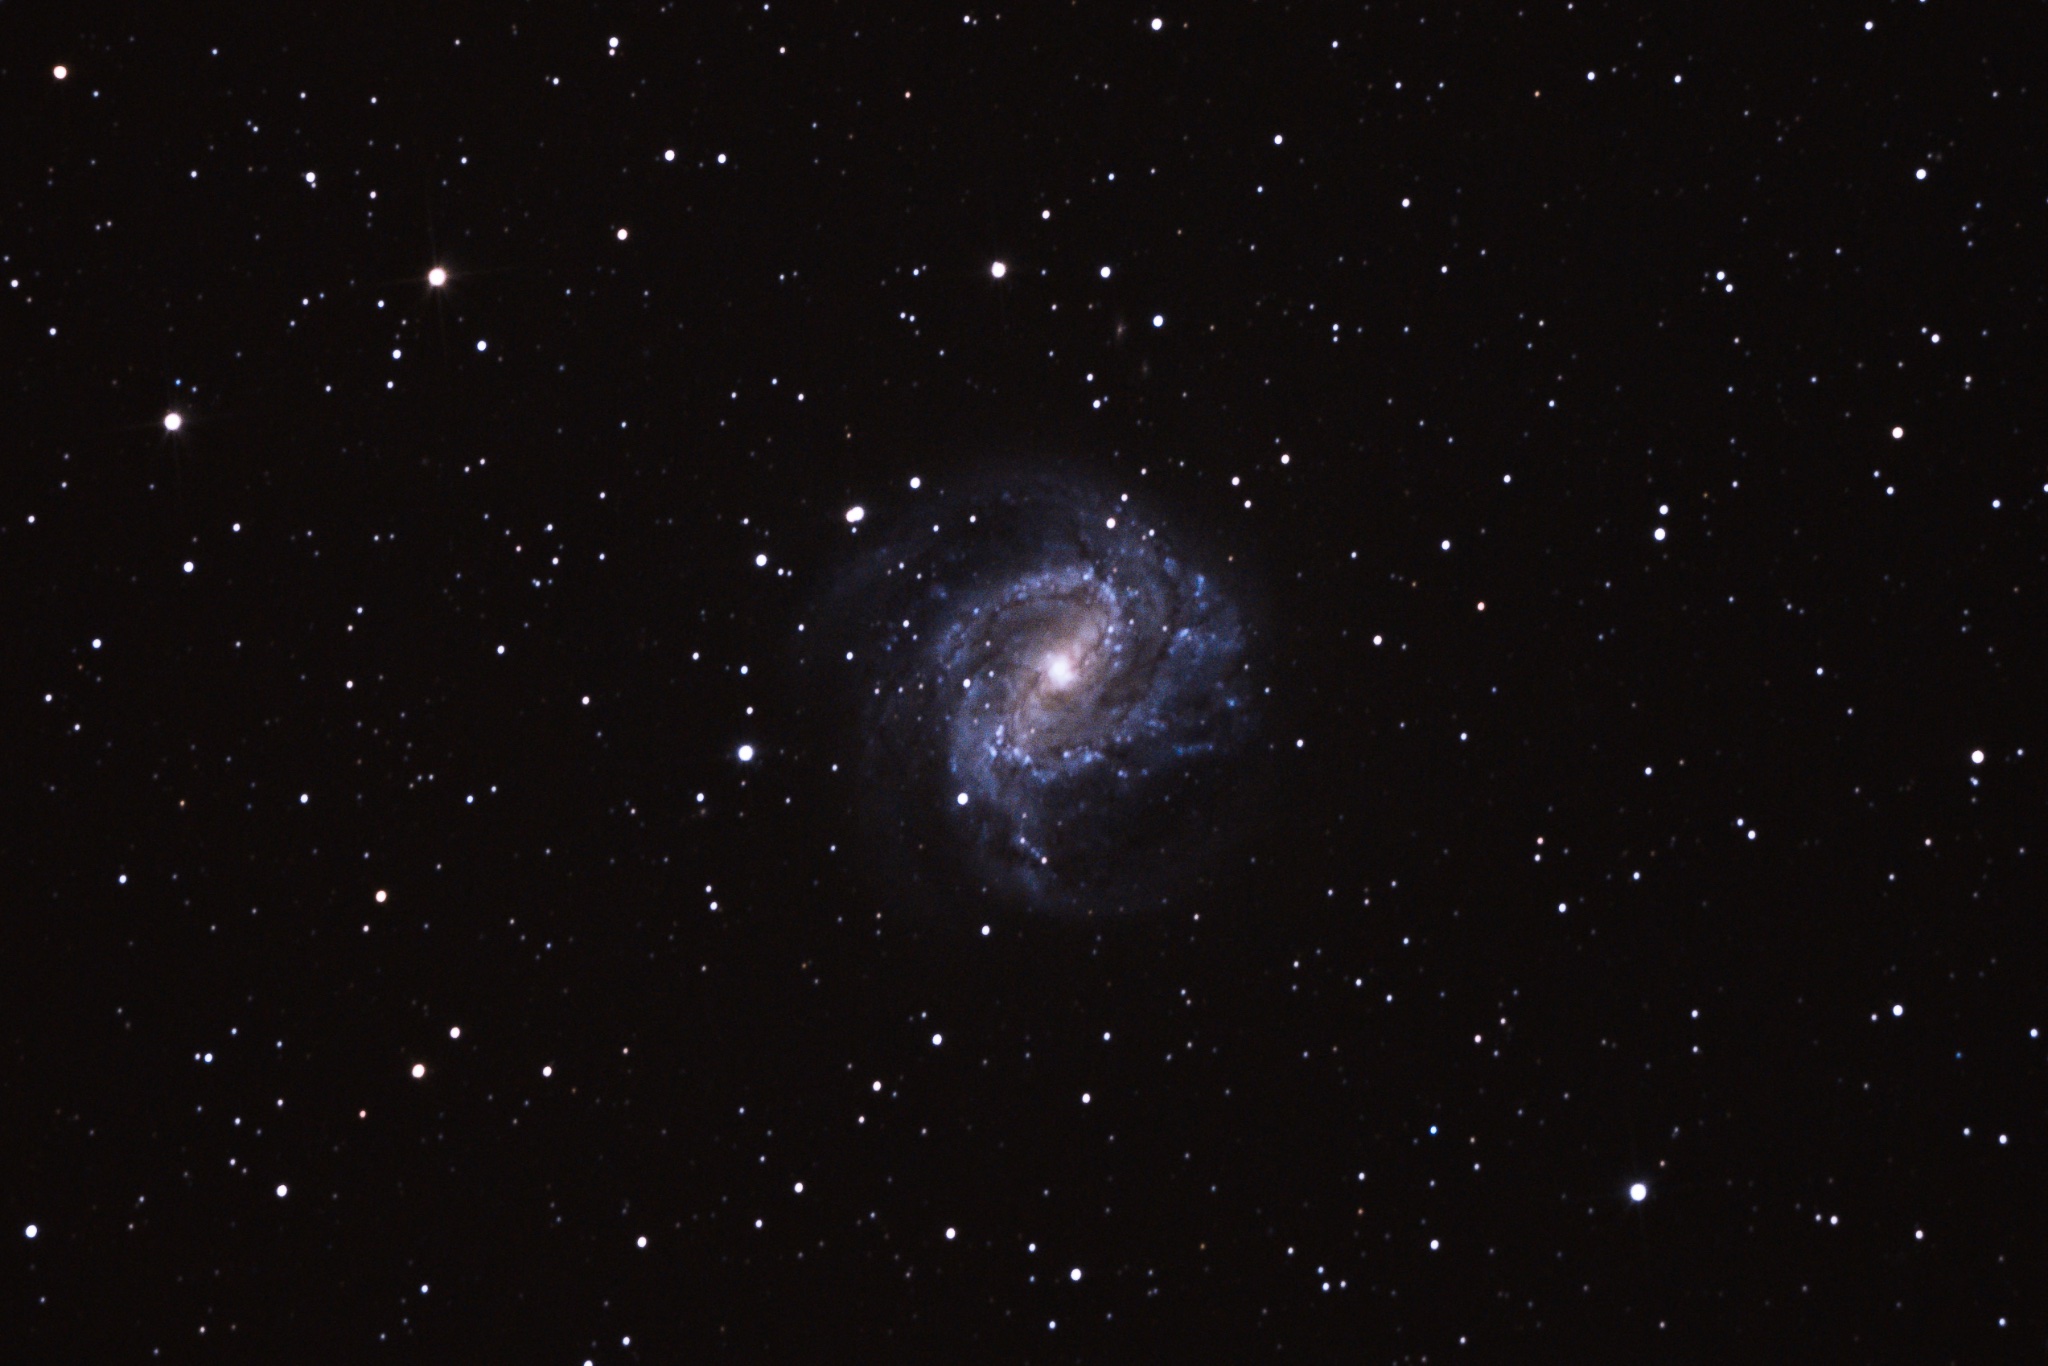
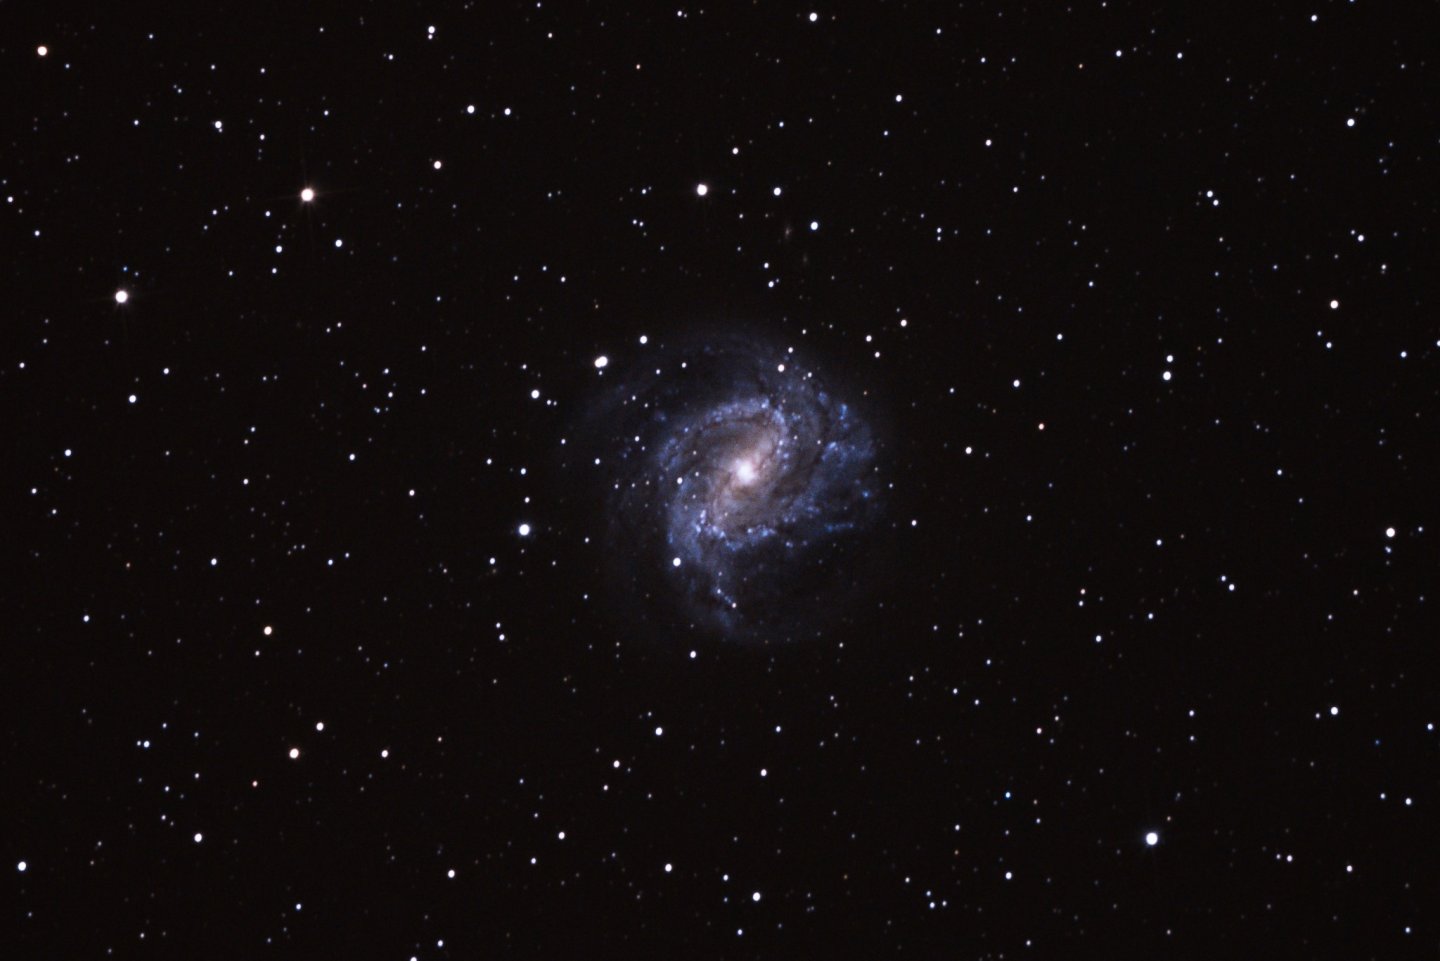
I'm a 15 min drive to bortle 1 skies so pretty lucky here. This was a few days ago. It's just the middle of the closest spiral arm of our galaxy. In about 4 months the core of the Milky Way will be visible nice and high so am looking forward to then! but while I wait I'm happy with the edges, we do get treated with the core a bit nicer here than up in the north.

-
They are great shots!! Love the colours in the seven sisters! That blue is fantastic! I don’t know how high they get in out southern skies!! The northern hemisphere gets so many more cool galaxies! I’m abit jealous haha! that moon is pretty crisp! Looks nice too with the blue background
-
Nice! Since I’ve had my gear only Mars has been up and it’s so far away I have to wait till dec 2022 for it to be close again and the other planets aren’t in the night sky till about August so I’ve got the moon and nebula to practice on till they show up! Hoping the mount will help with the deep space long exposures! I’m looking forward to seeing Jupiter and Saturn for the first time. Over here the seven sisters is called Matariki and it rises in June, I’d like to get some shots of that. You didn’t use “deep sky stacker” for your pics? Please feel free to post those pics! I’d love to see them!
-
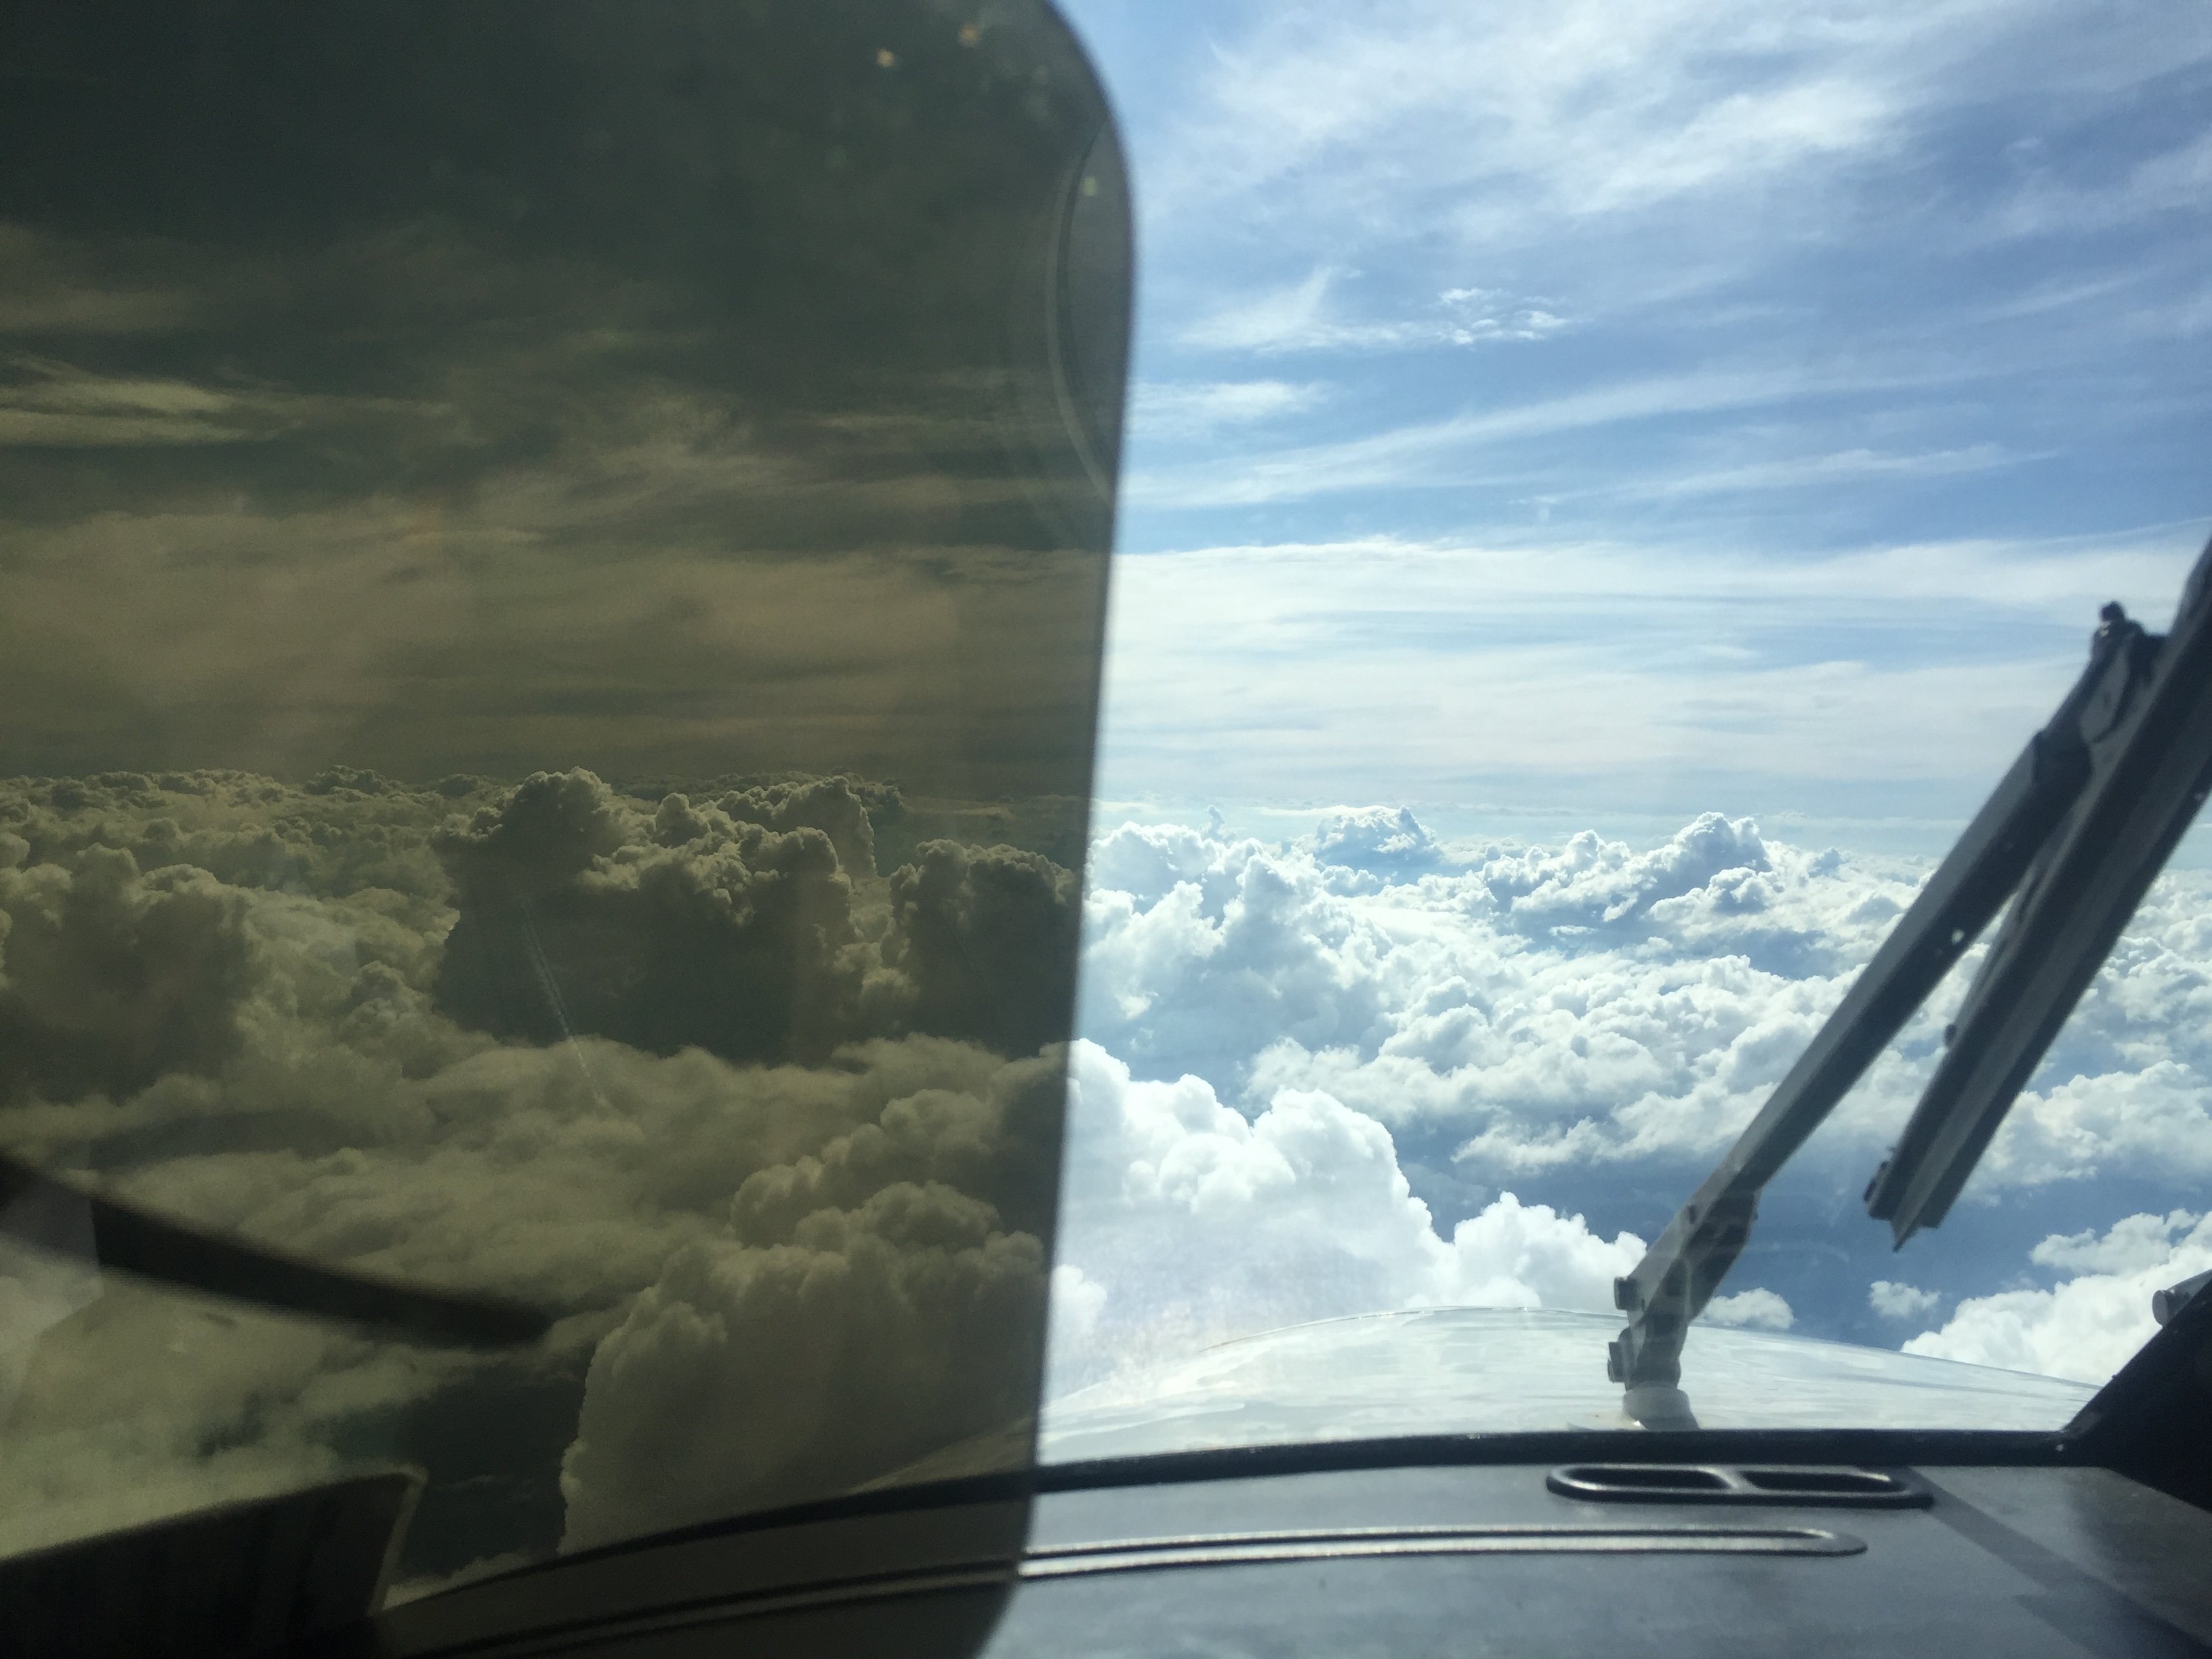
I’ve got a wooden deck with the upgrade set so will use that. Will look much better than my attempt at painting a teak deck! I might have to fade it abit so it’s not looking brand new on a old weathered ship though. thanks mate, yea since travel is off the cards I’ve had to find new hobbies to fill the void! Haha. Do you photograph them or did you do visual? I’m slowly setting up to photograph mainly nebula and galaxies if I can. Got one of these EQ6r pro mount, looking forward to testing it out. Unfortunately the box came filled with clouds so might be a week or two to get to test it! I always brush my washes on and off. My airbrush takes a lot more to clean oils so it puts me off using it. Except might airbrush a very thin grey wash on my deck to give it a more faded out look. Were you also wanting to know what washes I use?