HOLIDAY DONATION DRIVE - SUPPORT MSW - DO YOUR PART TO KEEP THIS GREAT FORUM GOING! (83 donations so far out of 49,000 members - C'mon guys!)
×

Lt. Biggles
-
Posts
346 -
Joined
-
Last visited
Content Type
Profiles
Forums
Gallery
Events
Everything posted by Lt. Biggles
-
 Thanks all for the tips and sites! Looks like those 2 coffees really did their job this morning LandLubber Mike! seems I had the right rough idea! But now have some good places to start my searching! It’s abit like researching a build, looking for those gems in all sorts of places! Move got enough aftermarket for this Hurricane but wondering if my next build is as internal as external. No idea what a/c that will be though but I do like the WW2 era European theatre.
 -
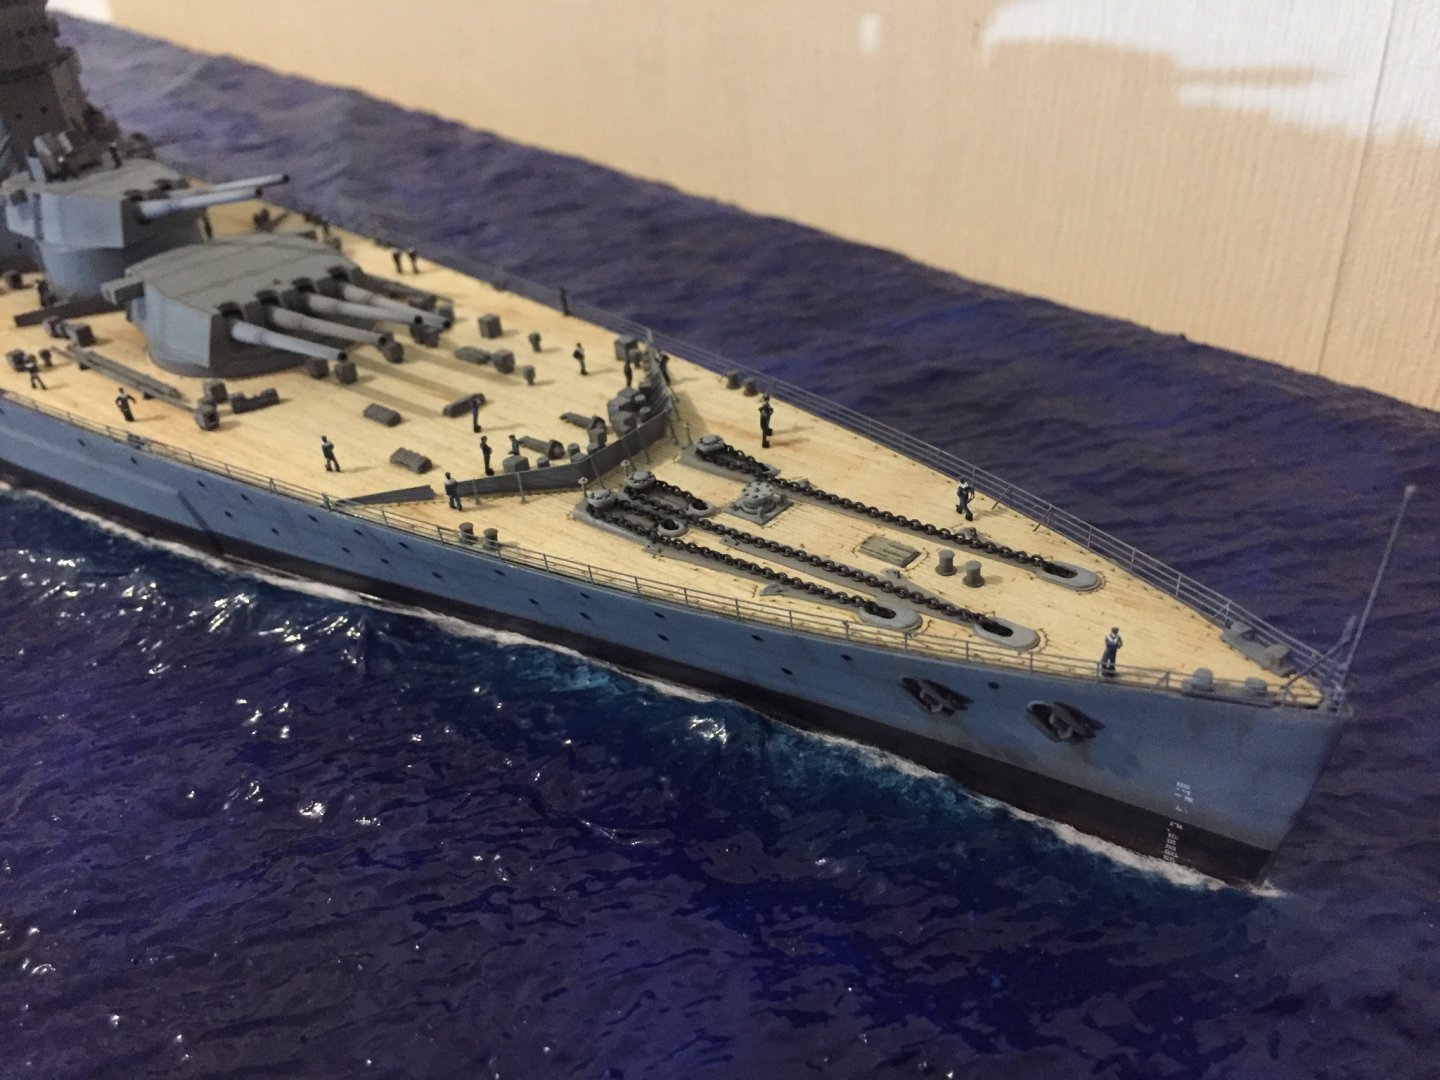
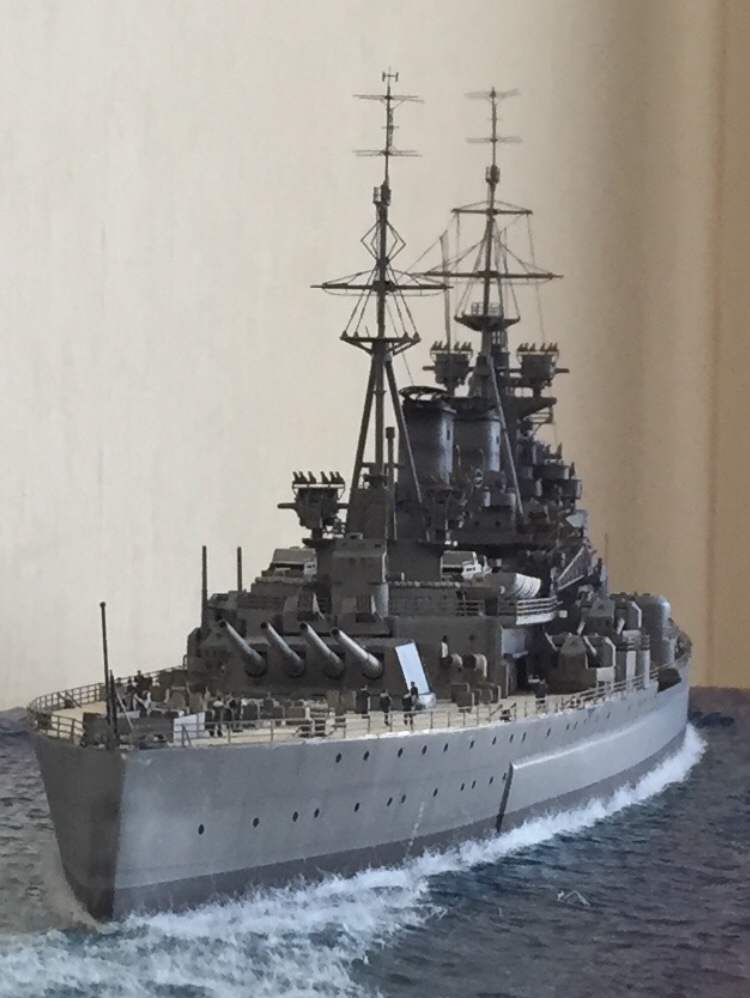
I hope she is ready for trouble if it comes as I’ve put brass barrels on her! haha i had to fill in some gaps between ship and water so just did another thin round and tomorrow I’ll go over it and fit it to size with a coat of varnish. thanks again for the tips
- 211 replies
-
- 4
-

-
- prince of wales
- tamiya
- (and 2 more)
-
Too much of a good thing is an even better thing? Haha
- 211 replies
-
- 4
-
-
- prince of wales
- tamiya
- (and 2 more)
-
Thanks heaps for those. The only way I was finding aftermarket parts was by looking at build logs and hoping they said that upgrades they used then google and hunt them down. Not ideal!
-
Is there a special site that has all the aftermarket parts for each model? Landlubber Mike has got me wondering what bits are available even not for this build but for a possible next... Id like to have an open cockpit for this build but the kit one is too thick and cast closed. But any google searches just brings drips and drabs of available parts and for all the hurricanes not just my particular brand. Maybe there is a one stop info page with what’s out there that I’ve been kept in the dark about. I see Aires talked about a lot.
-
Looks great! And all the open panels and having all the internals to fit looks like a huge job! Good work
-
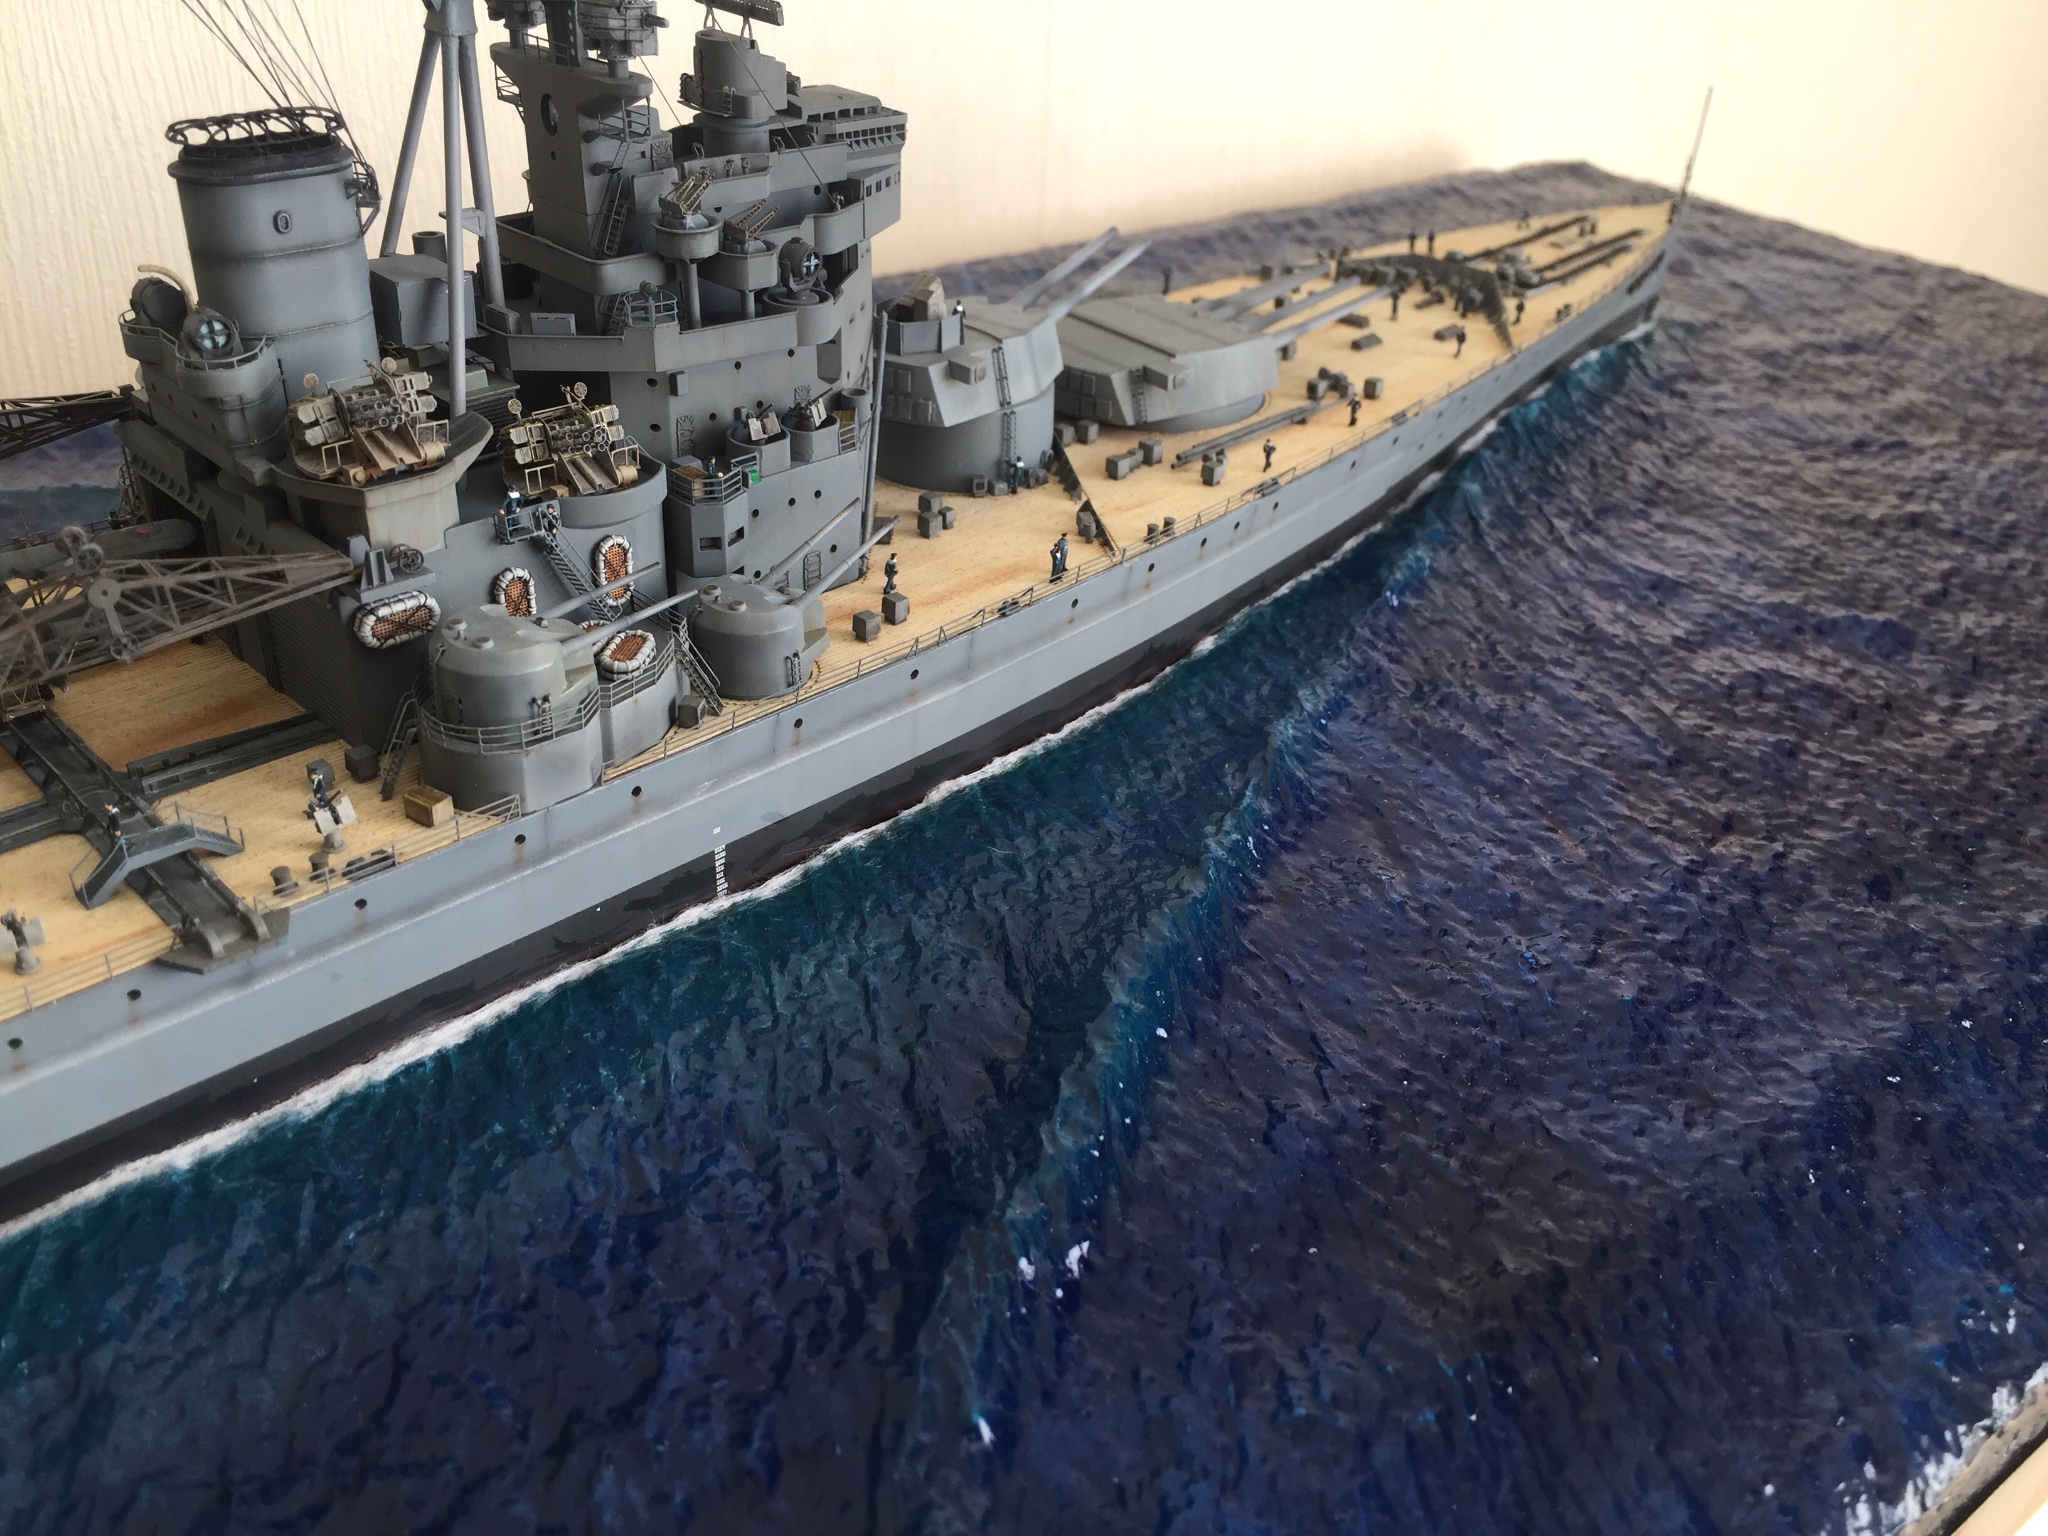
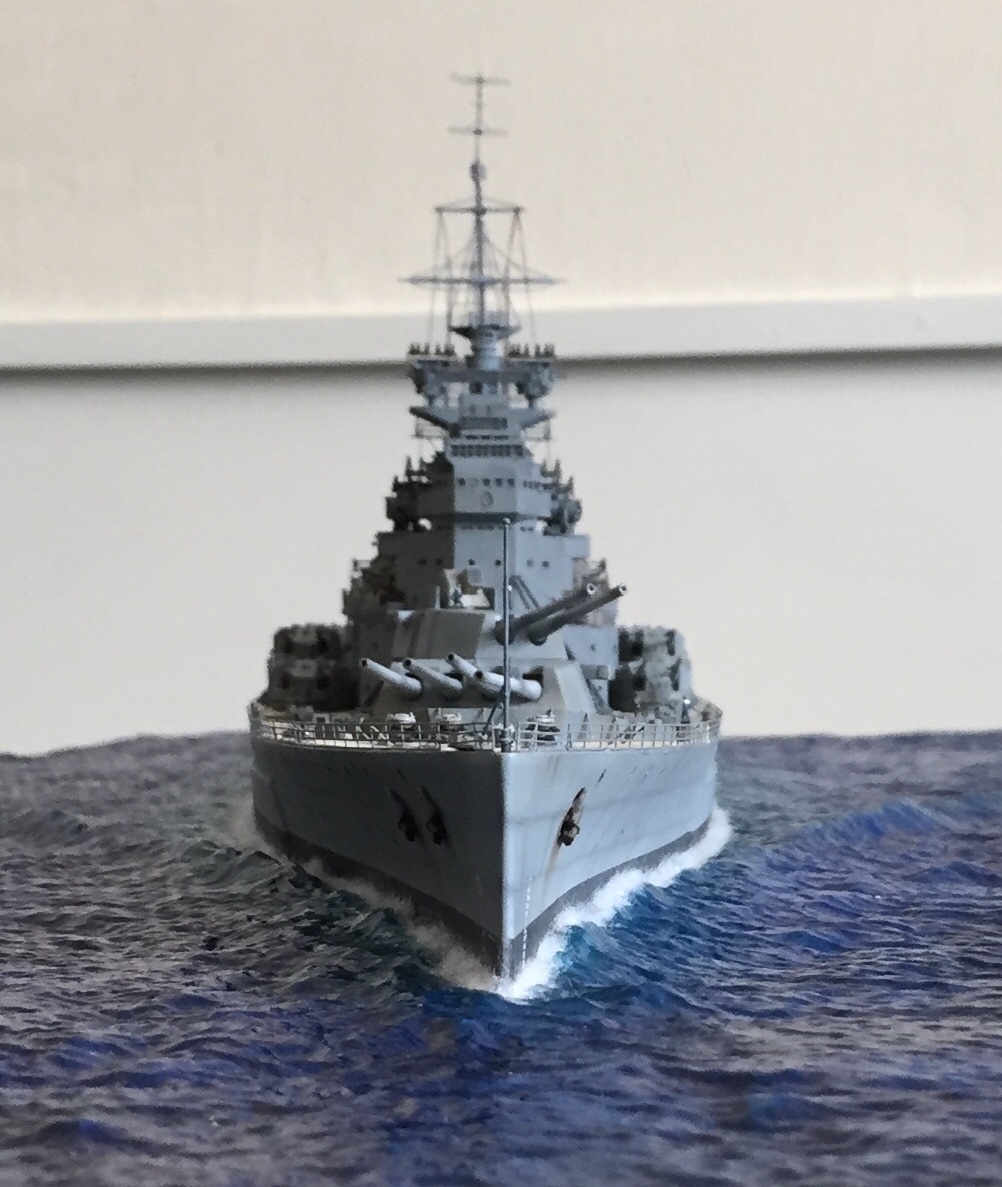
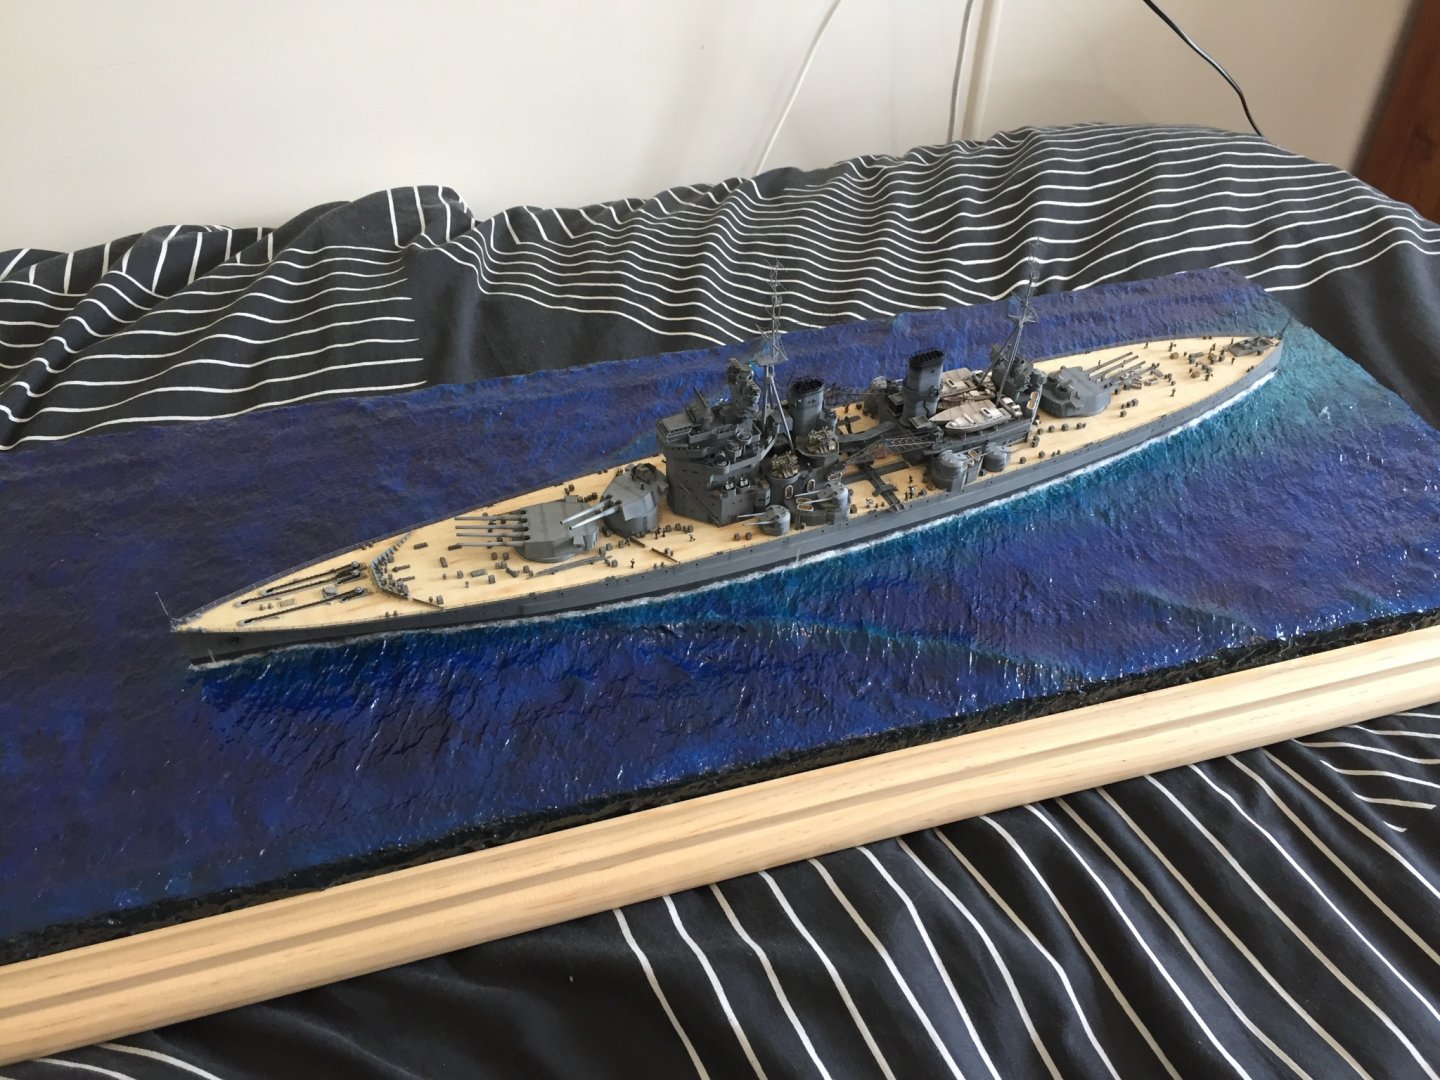
Thanks for the input. You have changed my mind on what to do. I’ll fix up the boundary layer wake that has some gaps and also touch up the prop wash area but I’ll not add white water to the “bow ripple” haha. I’ll keep the white water down to a minimum. After seeing pictures of ships going fast and the whole rooster tail wash it’s a mess and would be very hard to replicate well without heaps of practice which is why I went for the cruise look. My intention was having her cruising about quietly confident while looking for trouble type impression.
- 211 replies
-
- 5
-
-
- prince of wales
- tamiya
- (and 2 more)
-
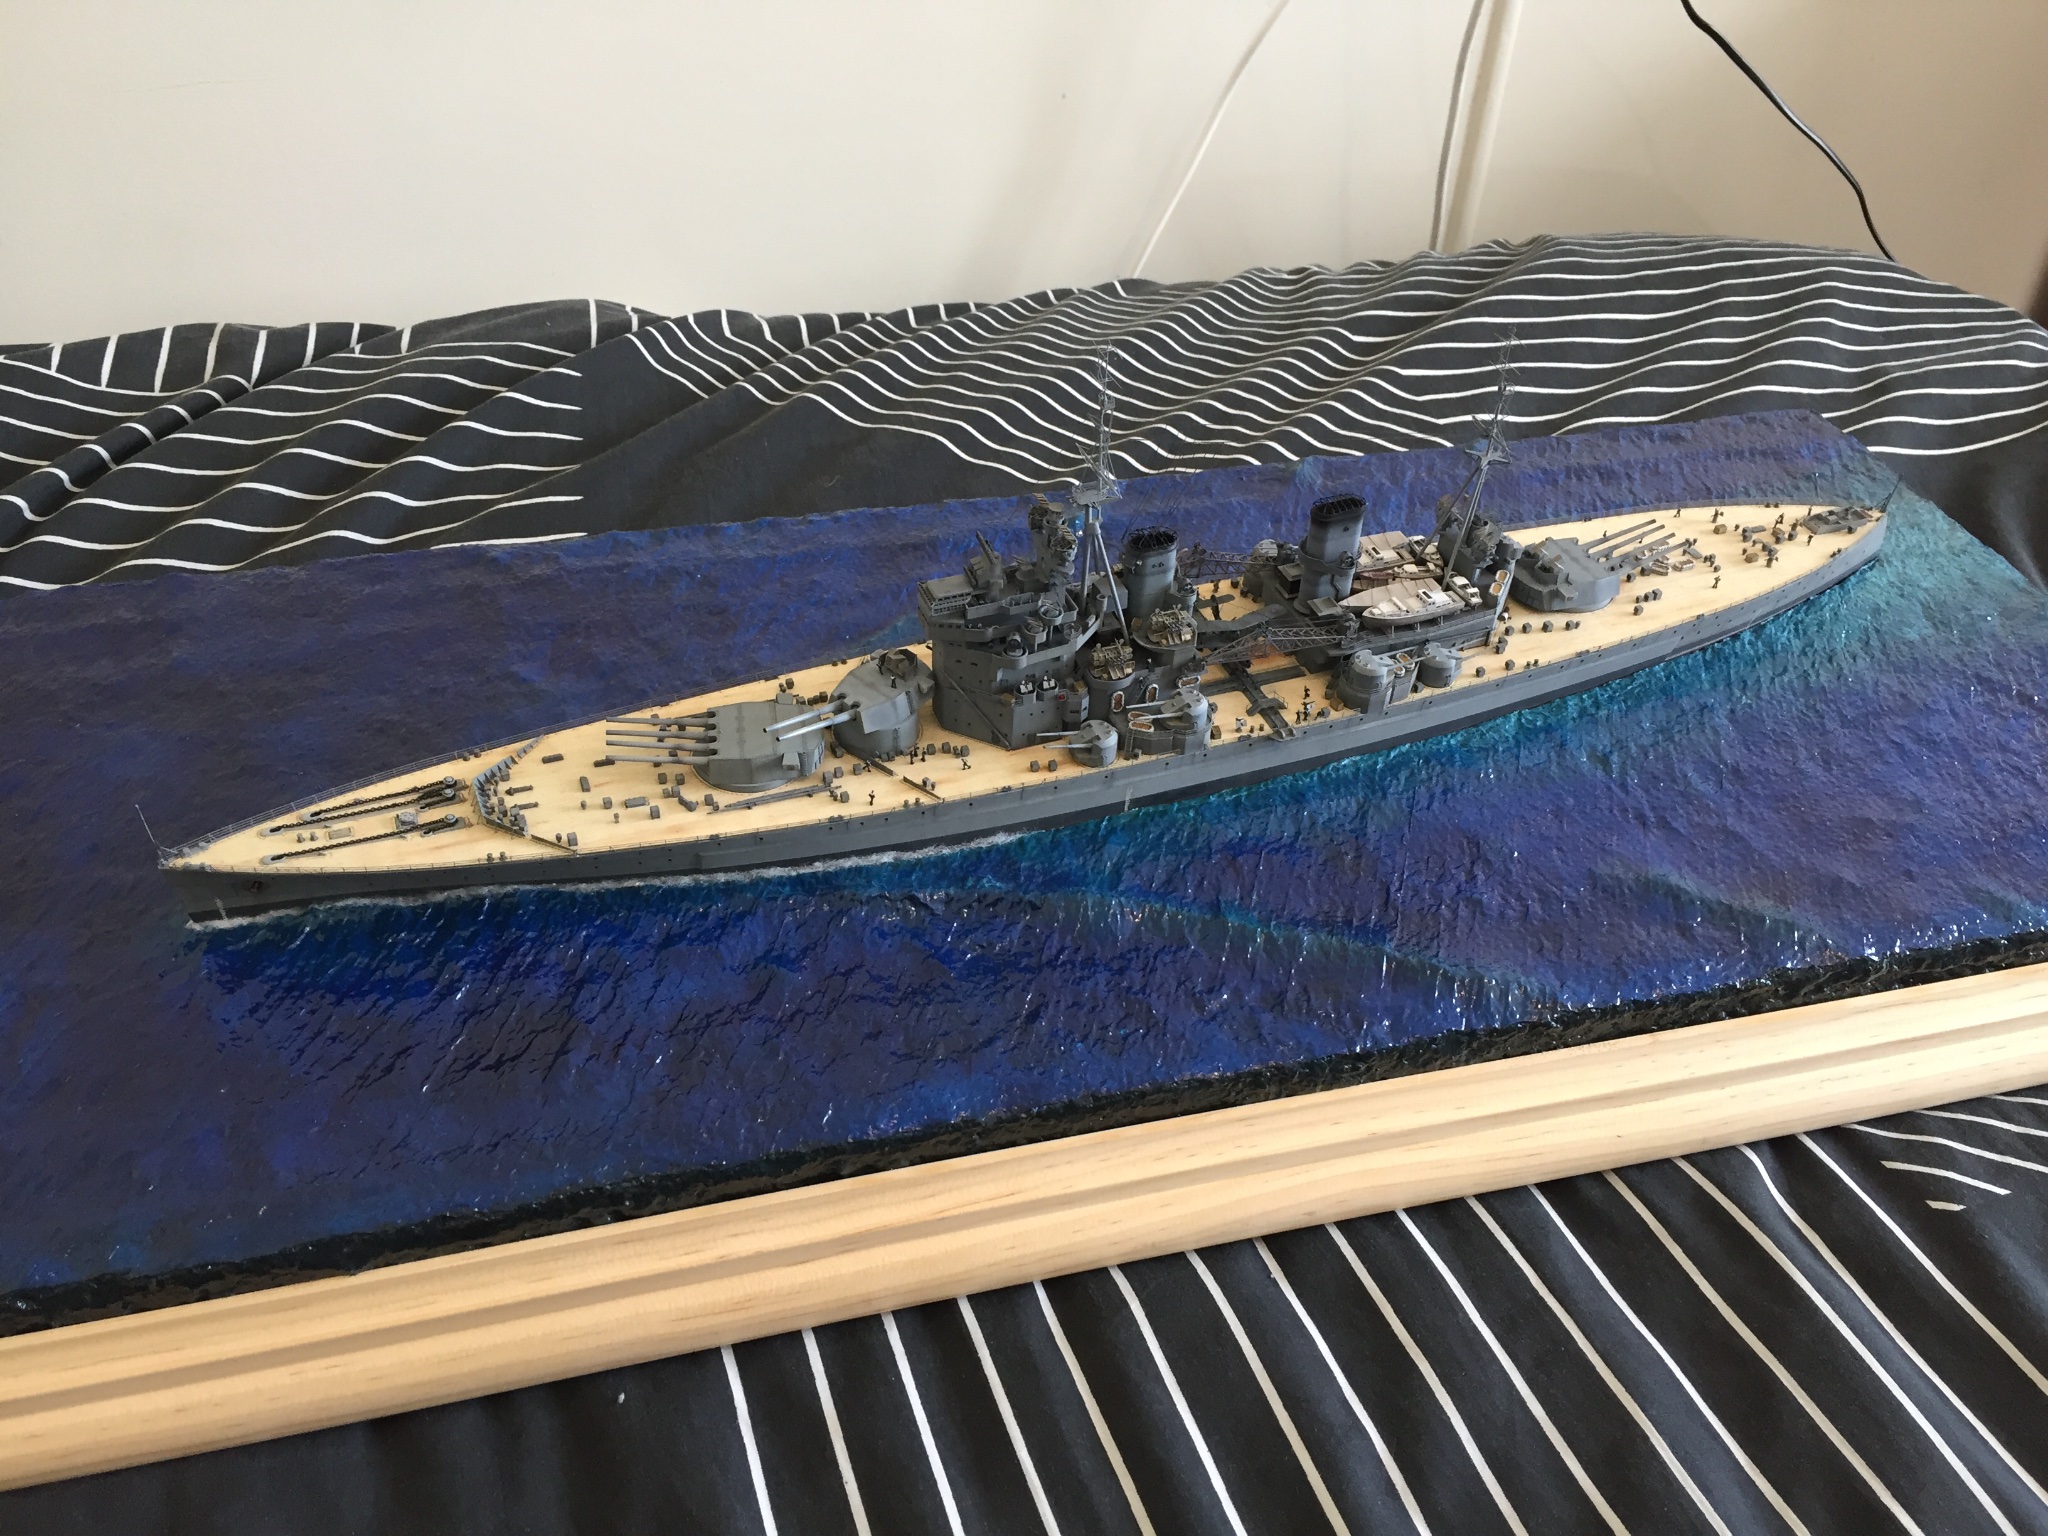
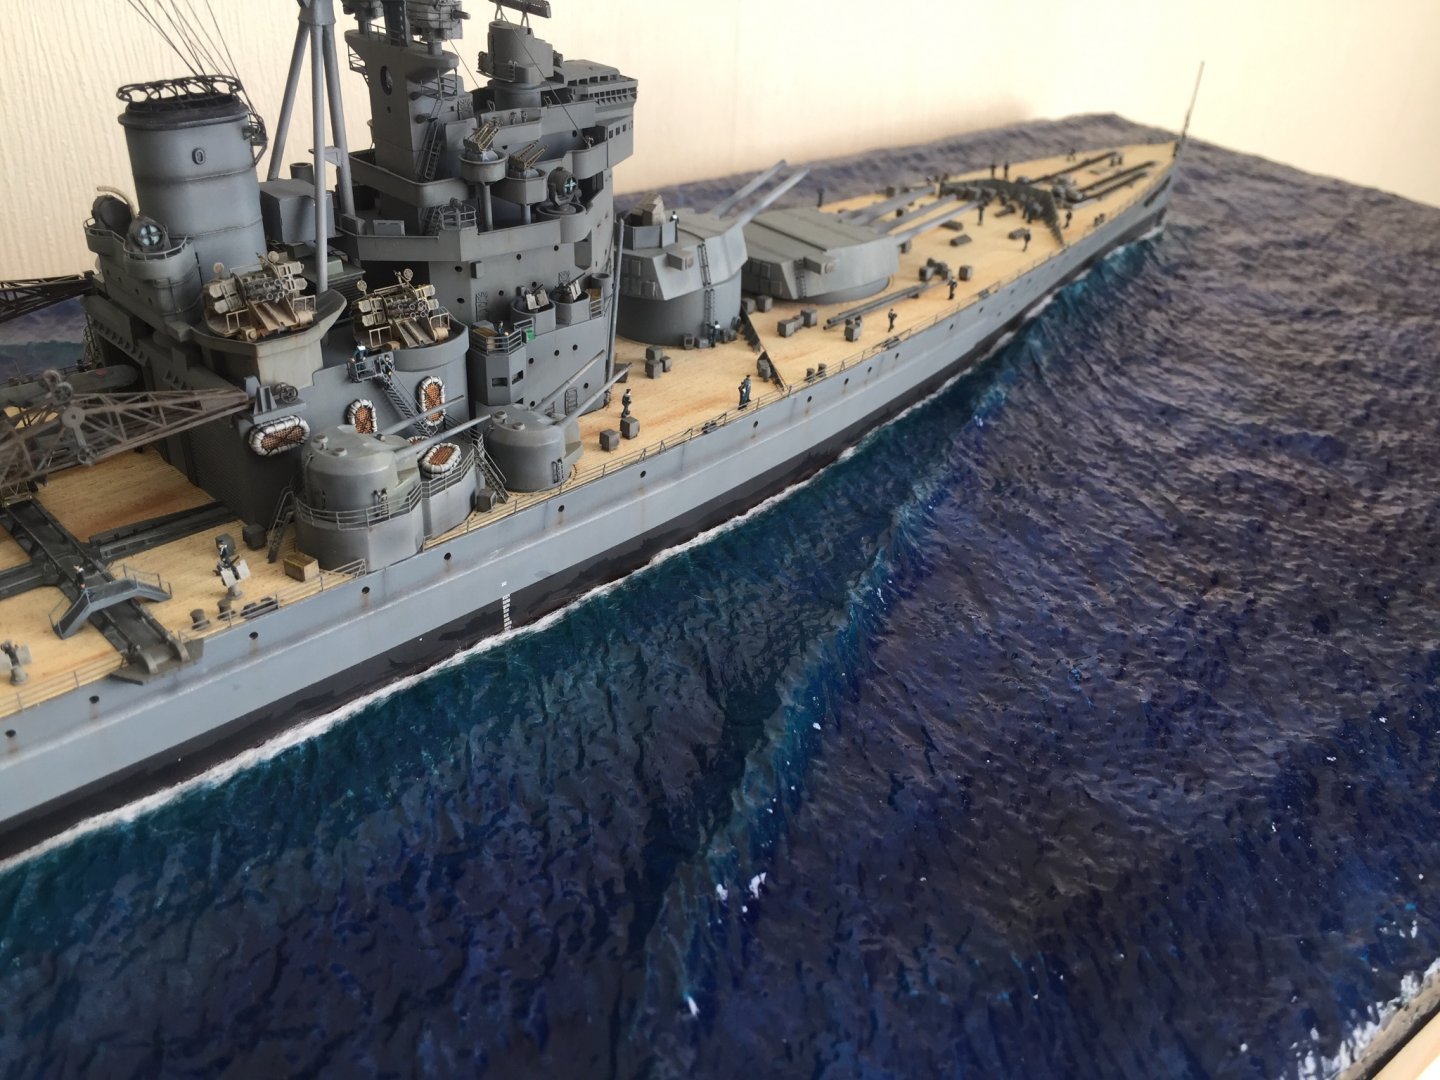
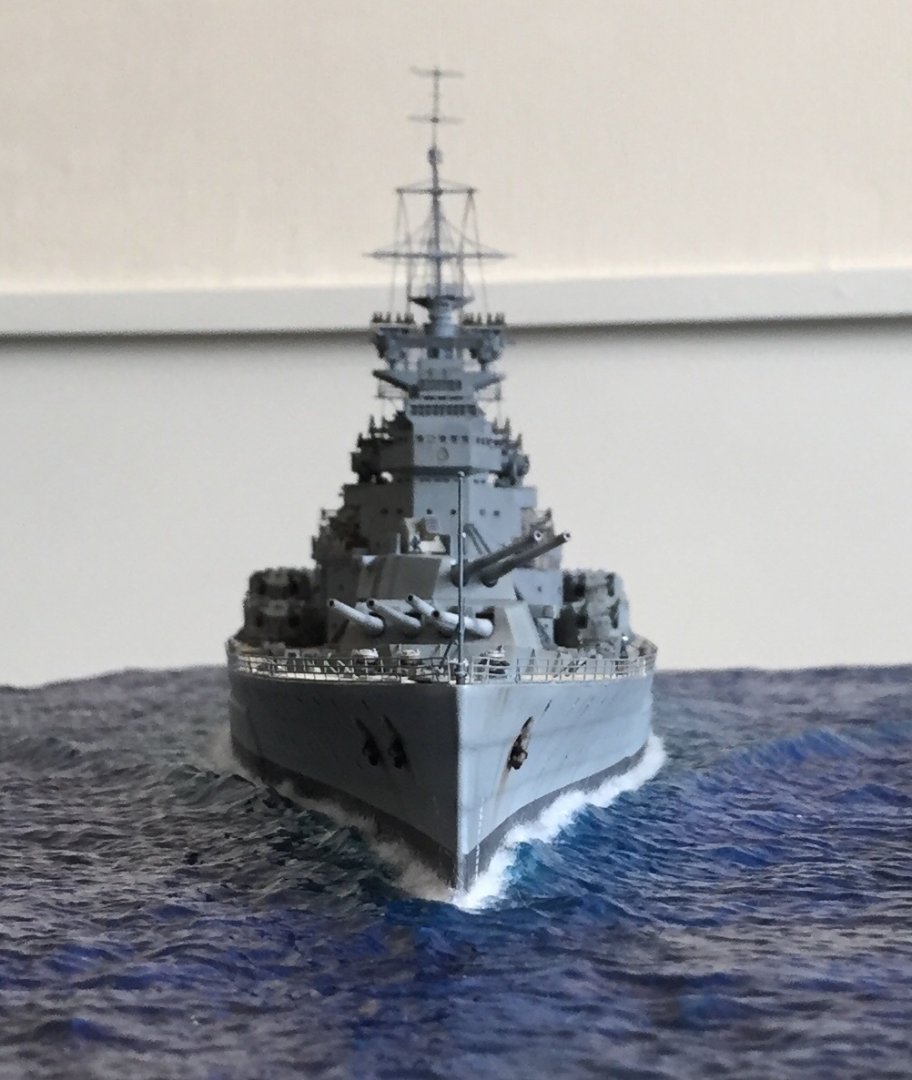
This is good stuff thanks mate. I’m more than happy to get this right and I’m no expert in the field so please don’t hold back this very useful information I really appreciate it. so maybe I’ve not quite got the sea base correct as I did add a bow wave to it. Here are some pic that make the wave stand out so you can see. I measured angles and all sorts using all the bow wave formulas I could find online. Should that bow wave not exist for a speed of no more than 12 kts? or would it be there just with no white water on it? Its about 5mm high so head on it hardly sticks up. but it is there and shaded to show the light passing through. perhaps the wave is ok and I shouldn’t add white water or it’s too big and has to go. From what you have said so far I’m happy with just the boundary layer and wake having the white water. I’d always thought the bow wave was related to the ships speed as the water the ship is displacing has to go somewhere... so it went sideways. please keep the info coming


- 211 replies
-
- 7
-
-
- prince of wales
- tamiya
- (and 2 more)
-
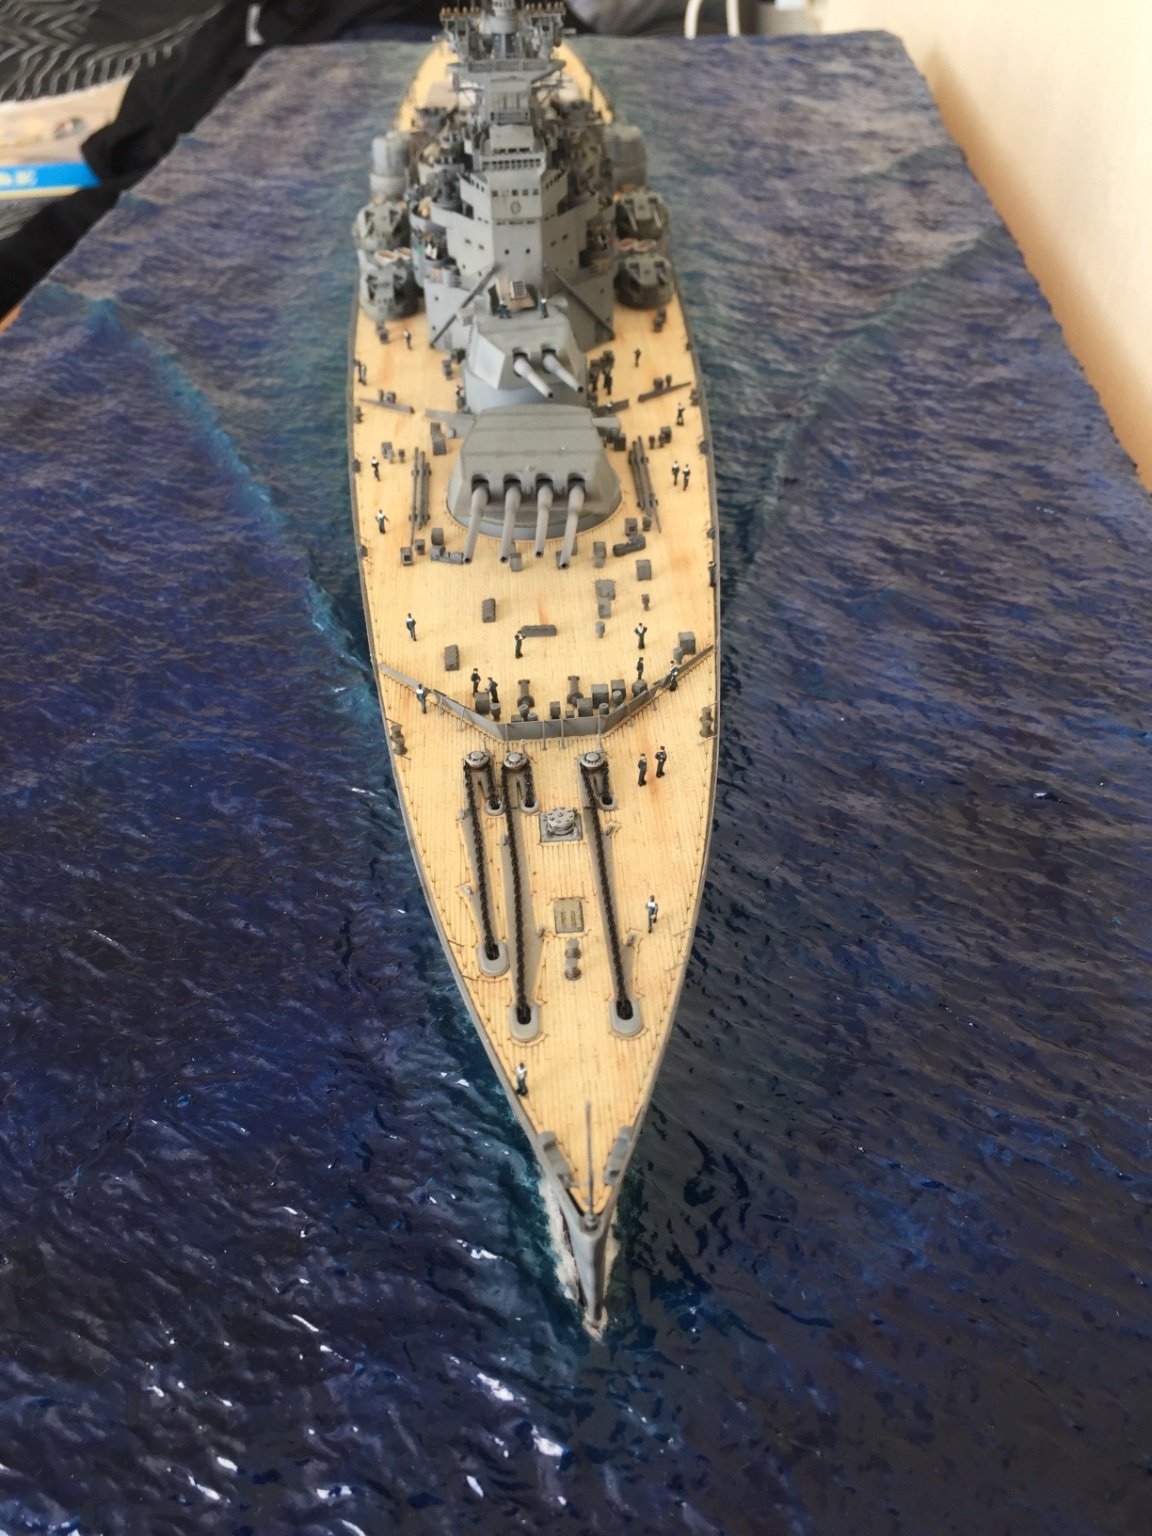
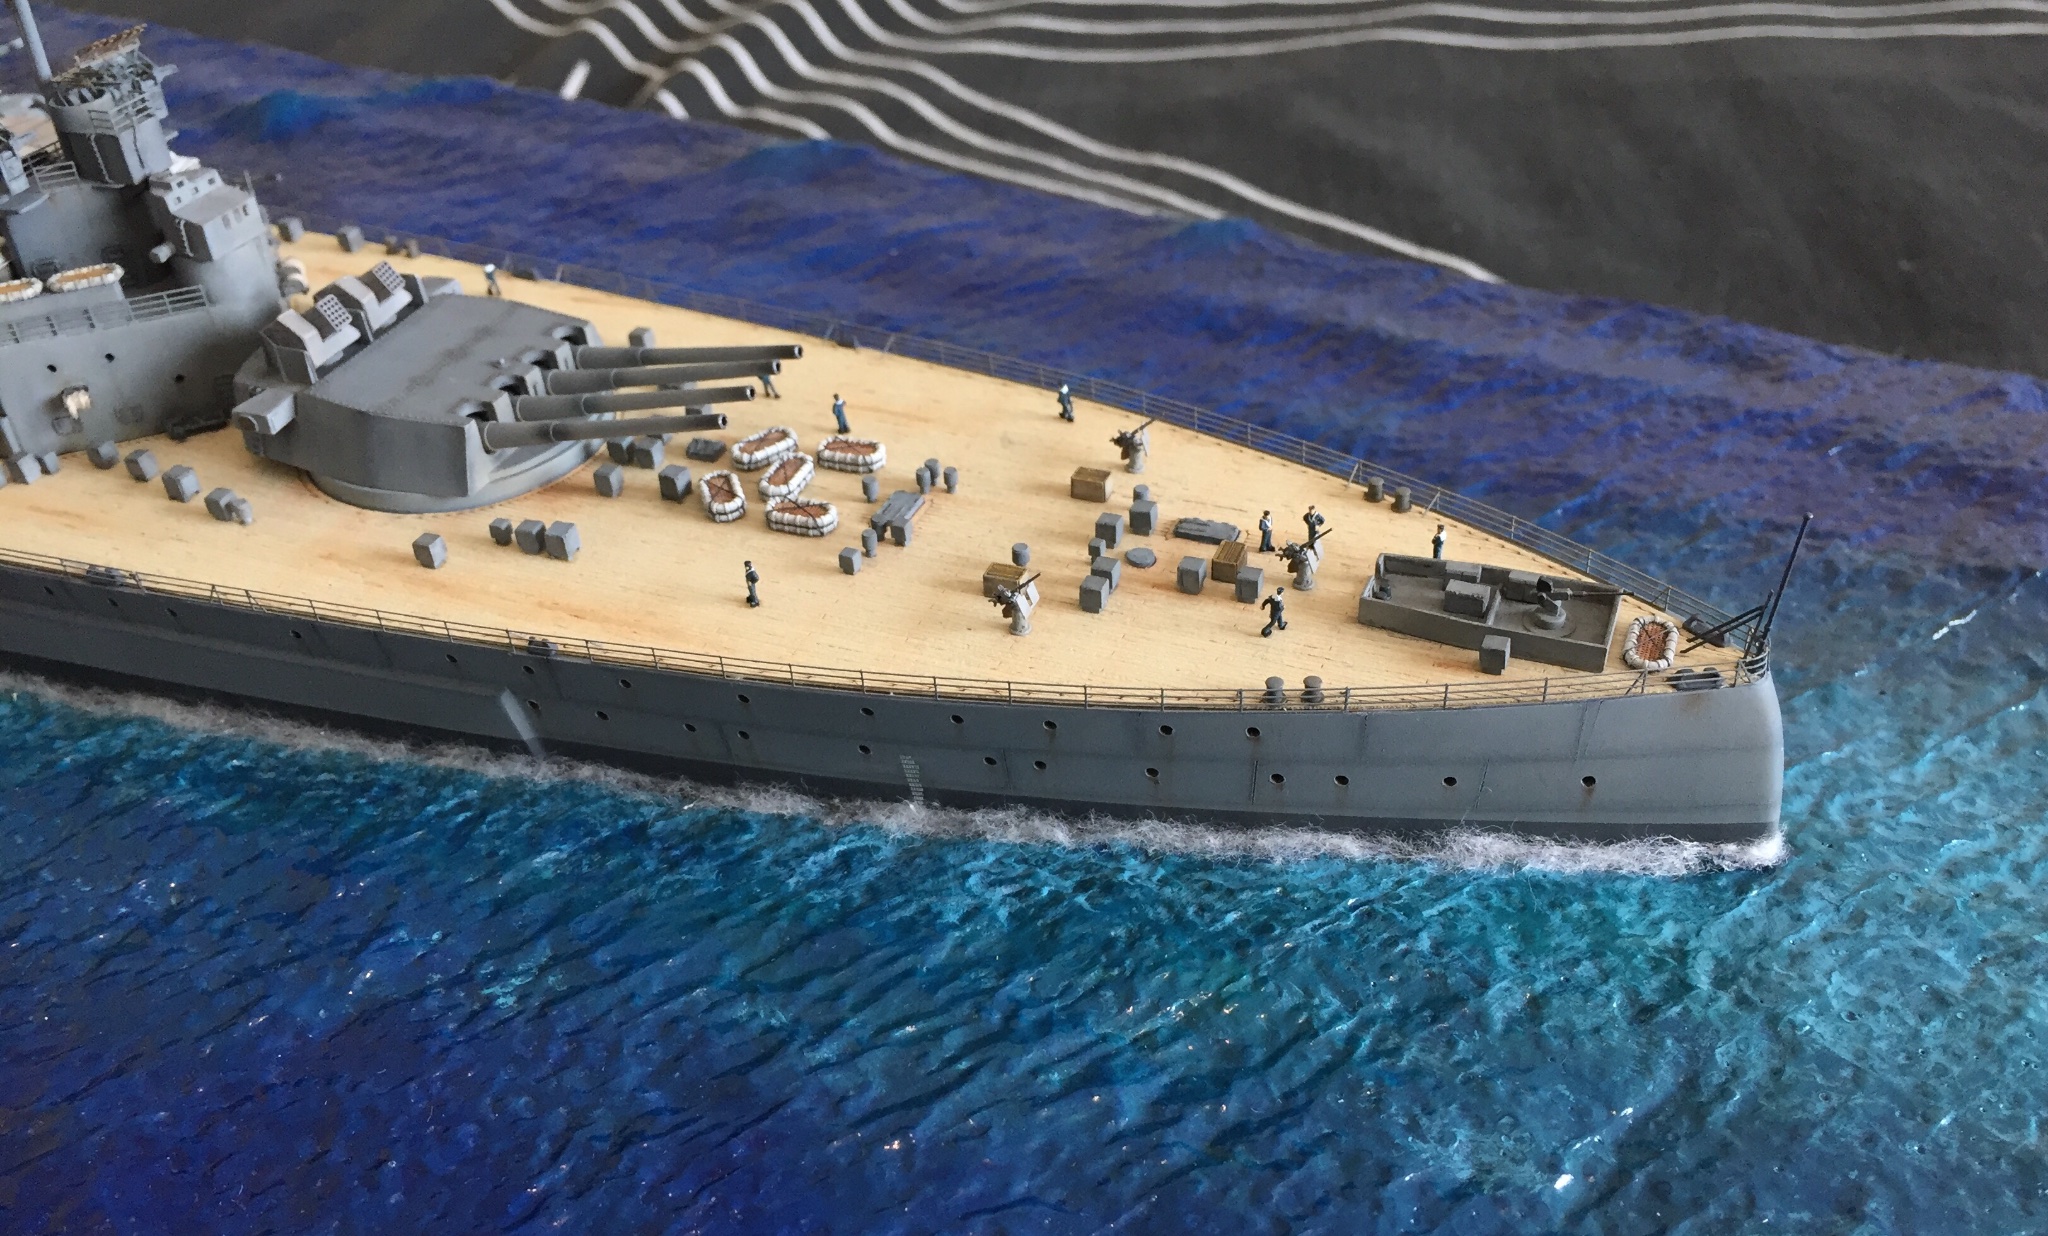
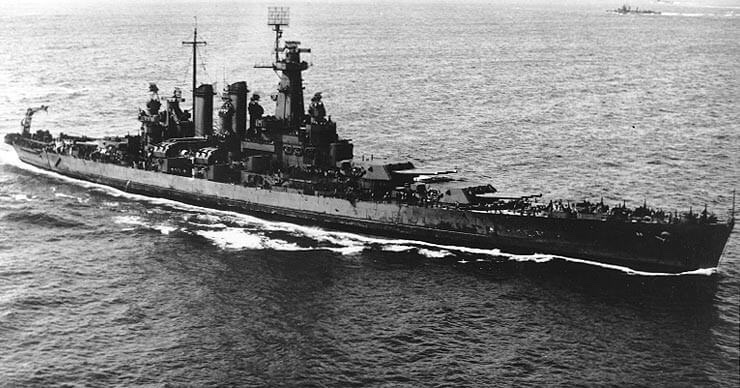
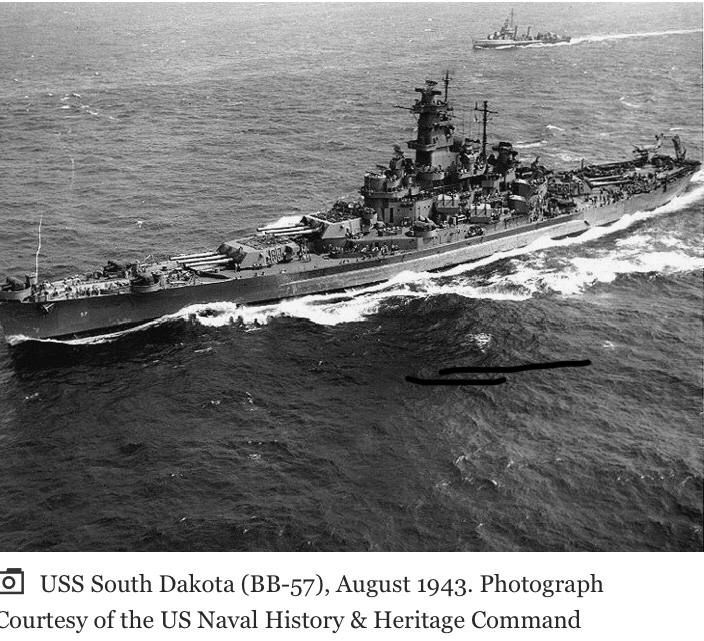
Thanks, and spot on. I did the workings out for a bow wave height at 10 kts and her size and for the scale would be 5-9mm high. Which is what I made on the sea base. I agree there isn’t too much white water and am not planning to add much more but would like alittle on the first few Cm of the bow wave that kinda just stops and has abit of residual white just outside the boundary layer white water. A bit like this shot of an American BB (I think) this next shot shows it well but want a much reduced version of this. but you can see the two two different layers of wake well here. I’d like to have about 20% of what’s here. I like how the bow wave white water seems to run out of energy and then gets left behind as it slowly dissipates.
- 211 replies
-
- 6
-
-
- prince of wales
- tamiya
- (and 2 more)
-
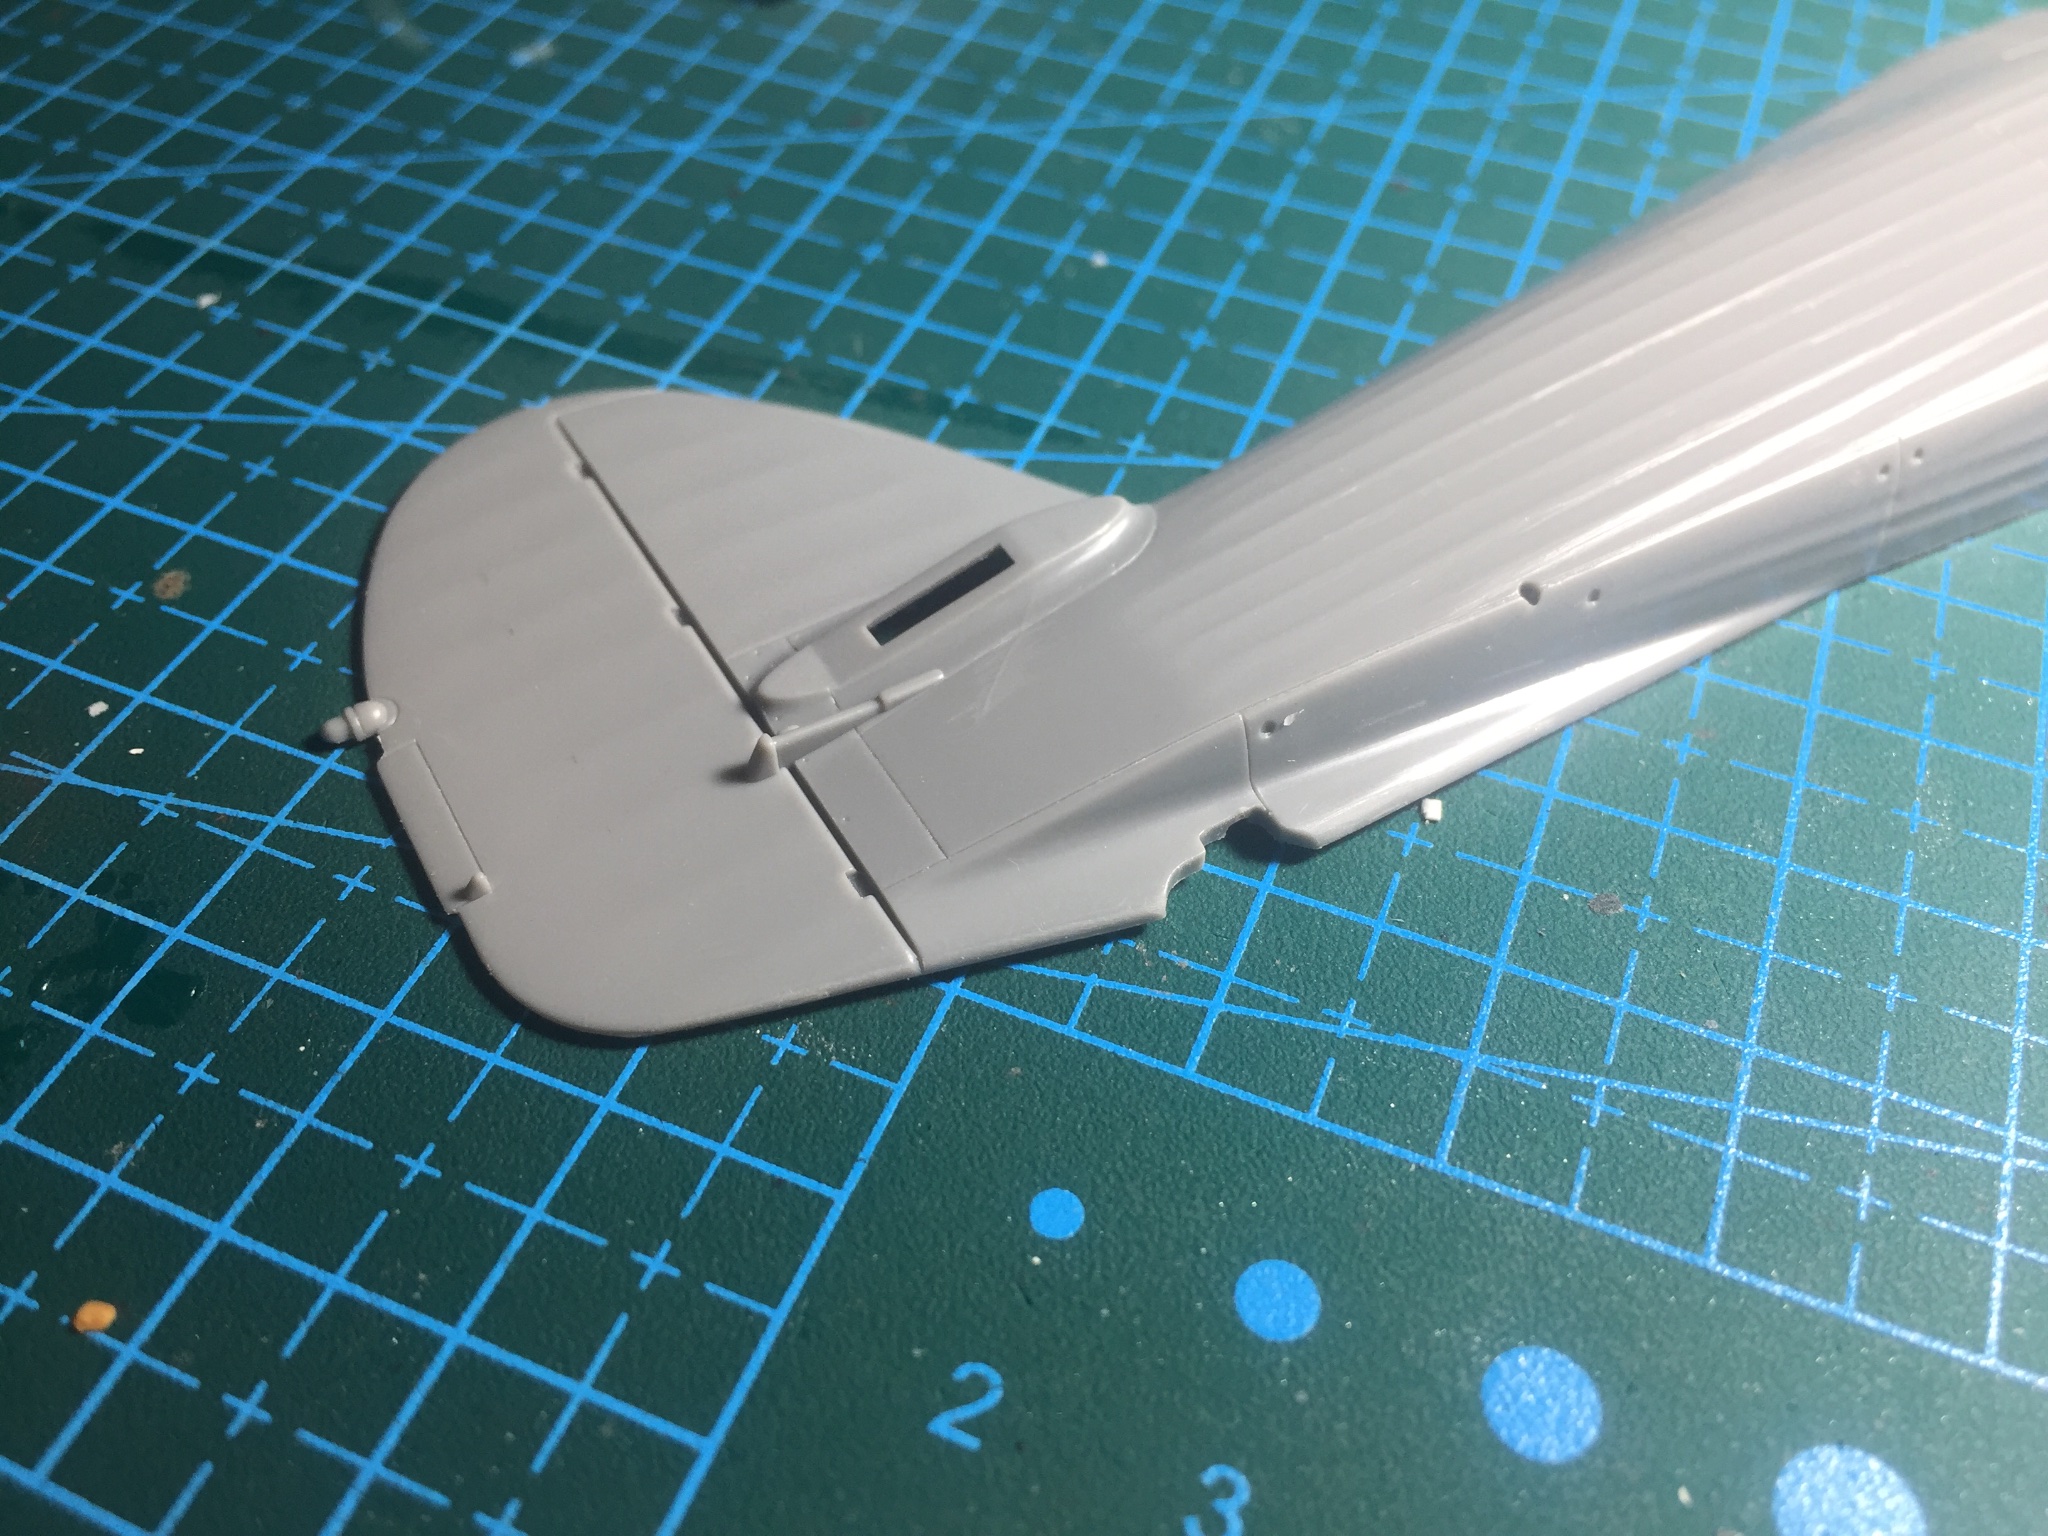
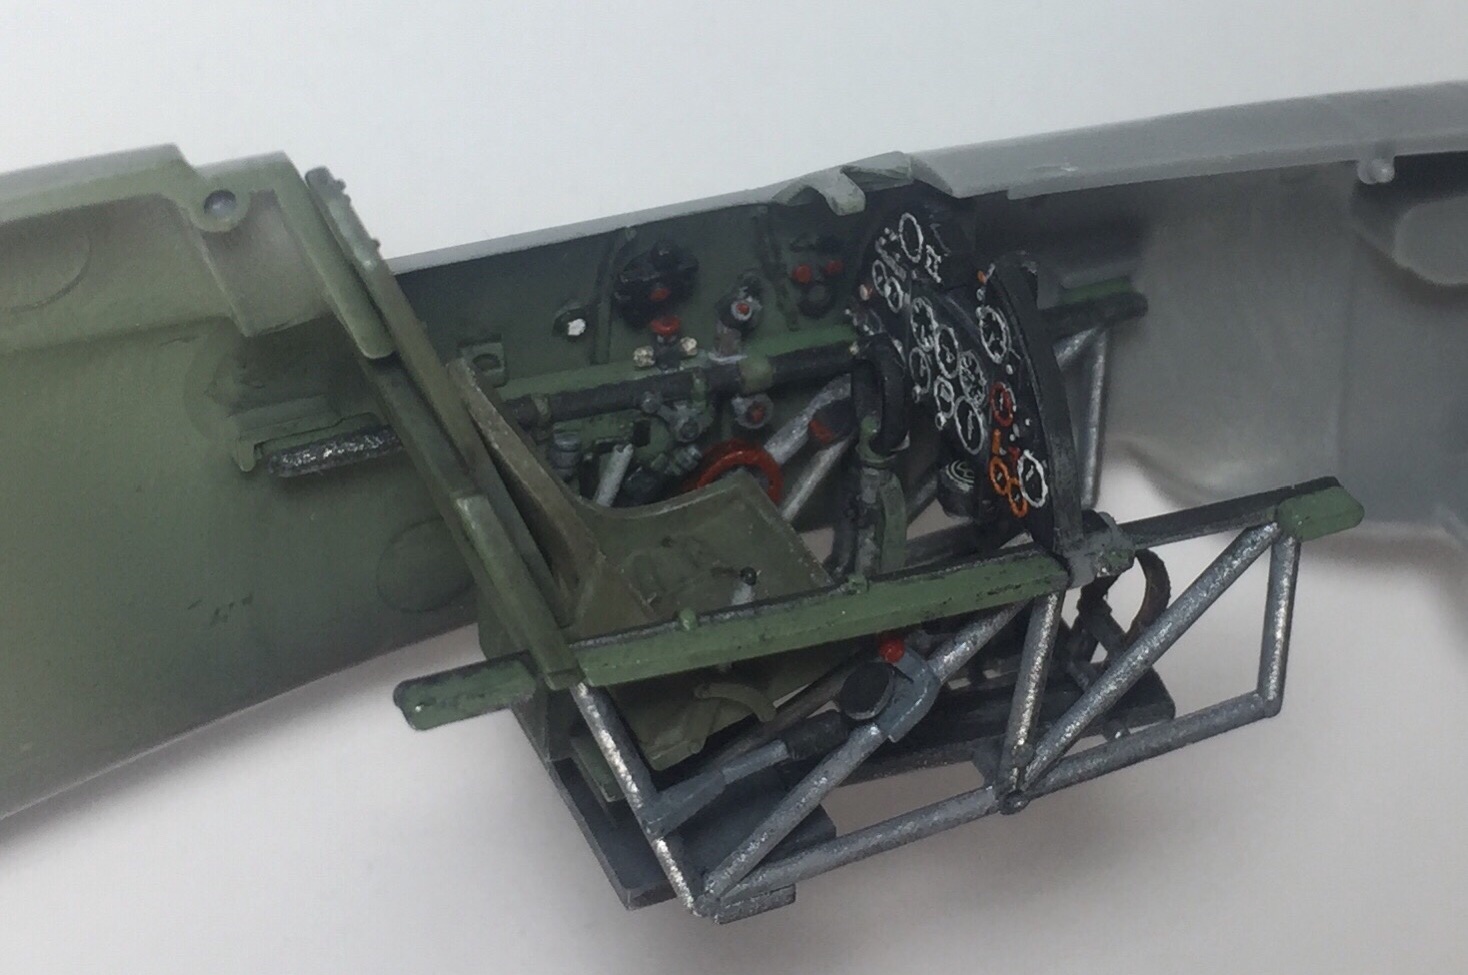
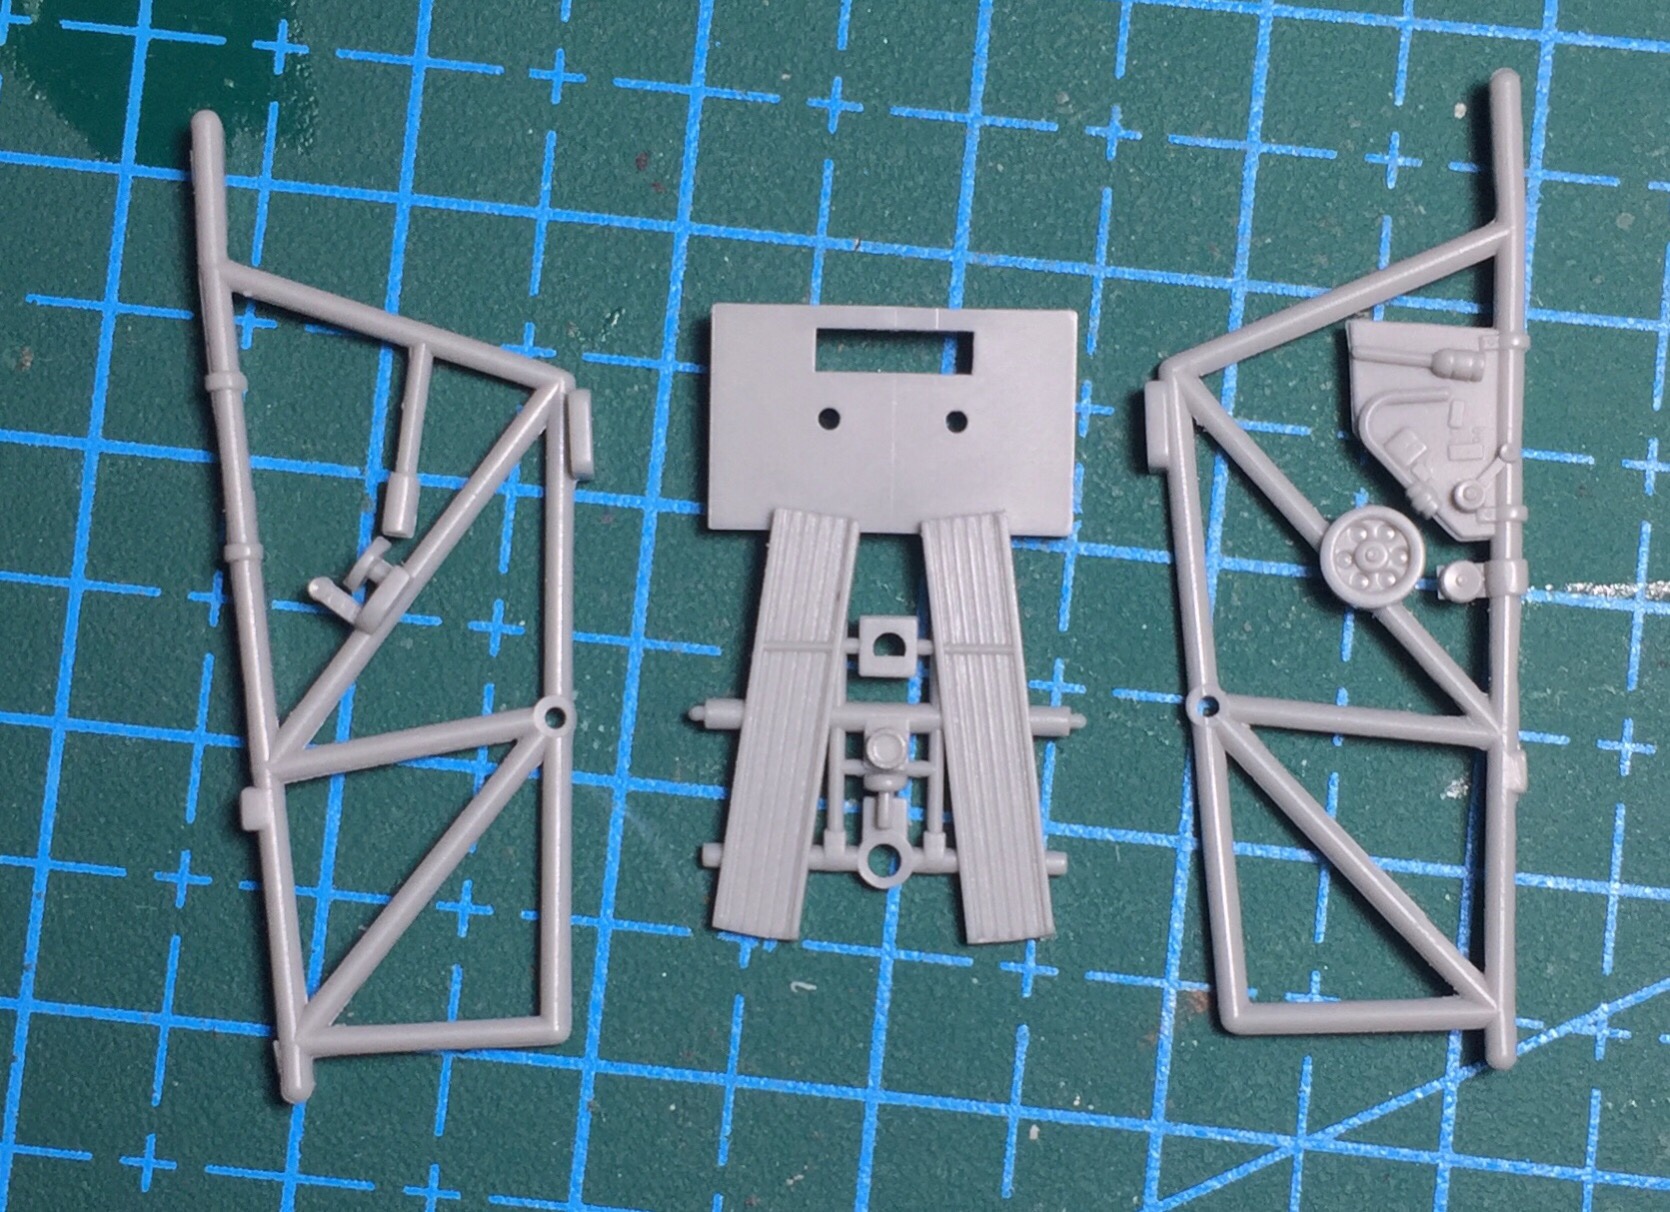
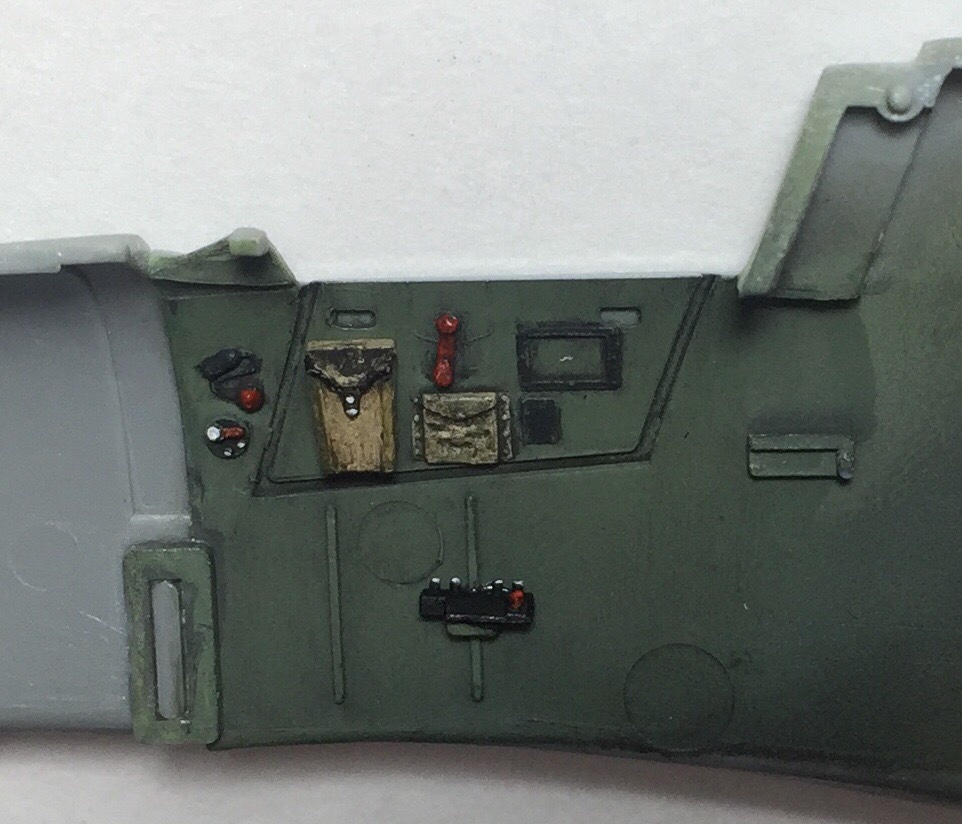
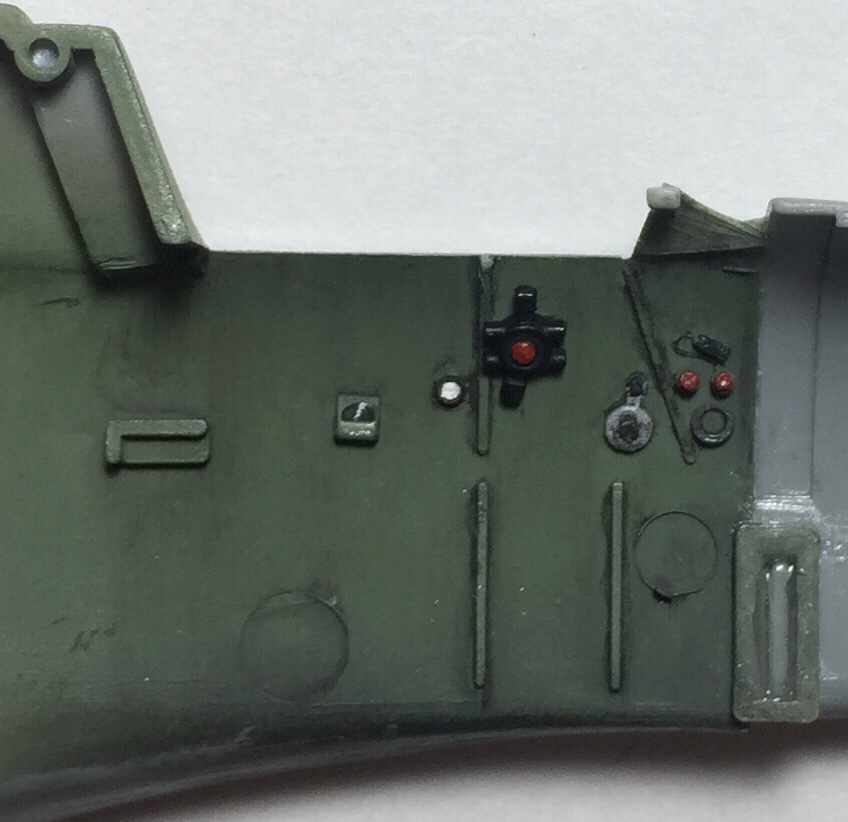
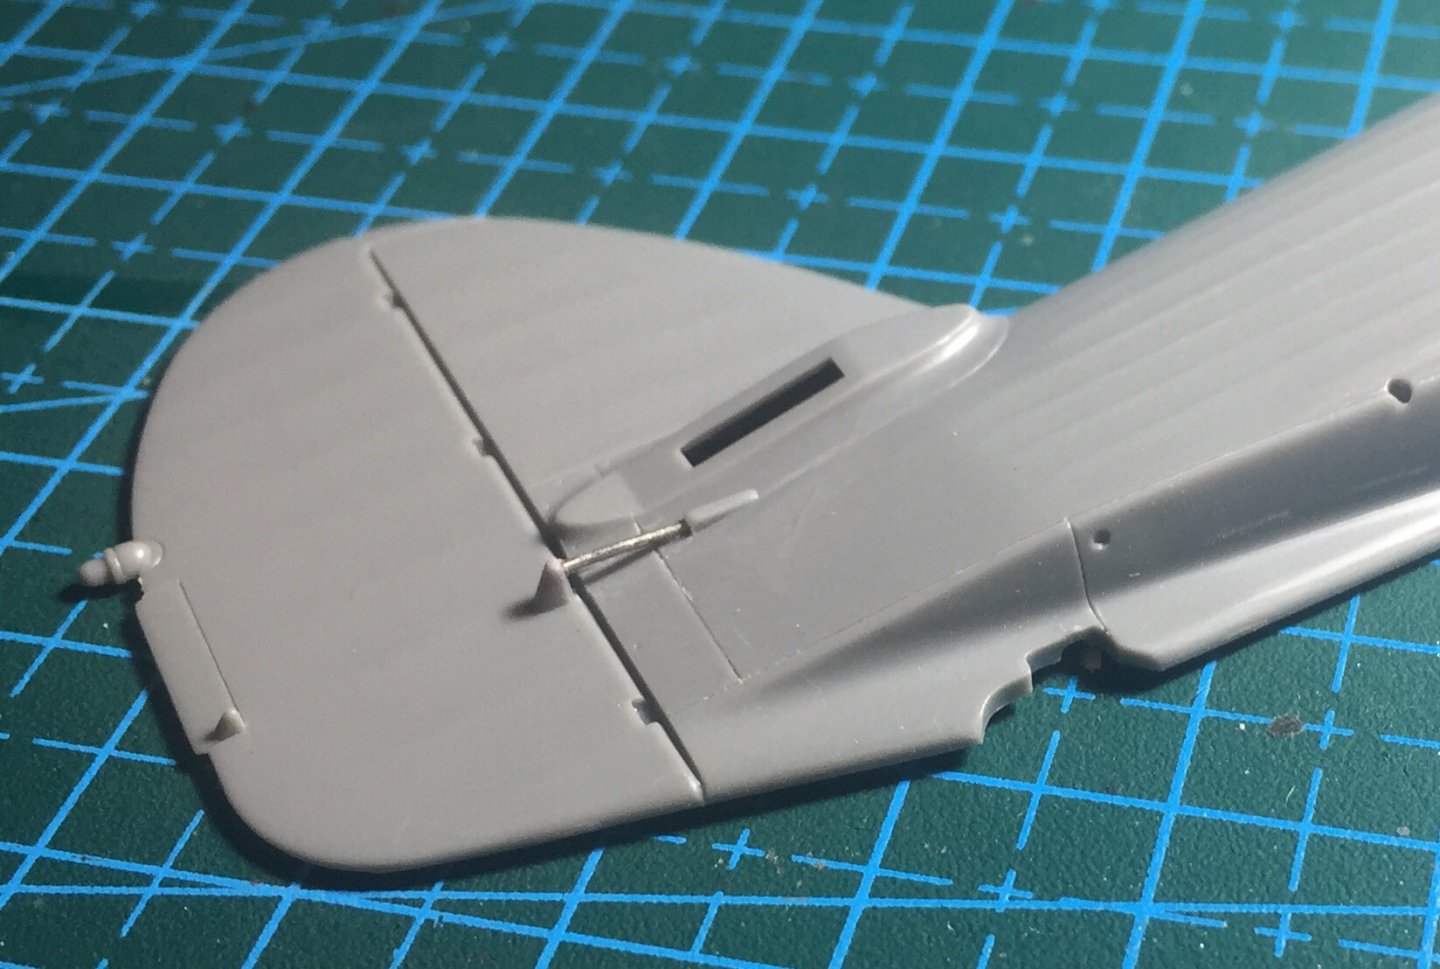
Thanks, I think if it was a full aftermarket cockpit the detail would be crazy! Might have learnt enough for the ground work side of a type rating to be complete! Learnt enough just doing this stock one! It’s a shame everything then gets closed up and almost becomes invisible. So here are the two side walls seeing they will be pretty much lost. Also on the rudder added a rod for the actuators rather than the solid block. subtle changes

- 107 replies
-
- 11
-
-
All those little things make all the difference it’s crazy! I’ve been looking at so many pics and videos about the movement of water that when I’m at the beach I look out over the ocean and the first thing I think is “that looks fake” then I laugh at myself and wonder if I’ve gone abit crazy 😂
- 211 replies
-
- 7
-
-
- prince of wales
- tamiya
- (and 2 more)
-
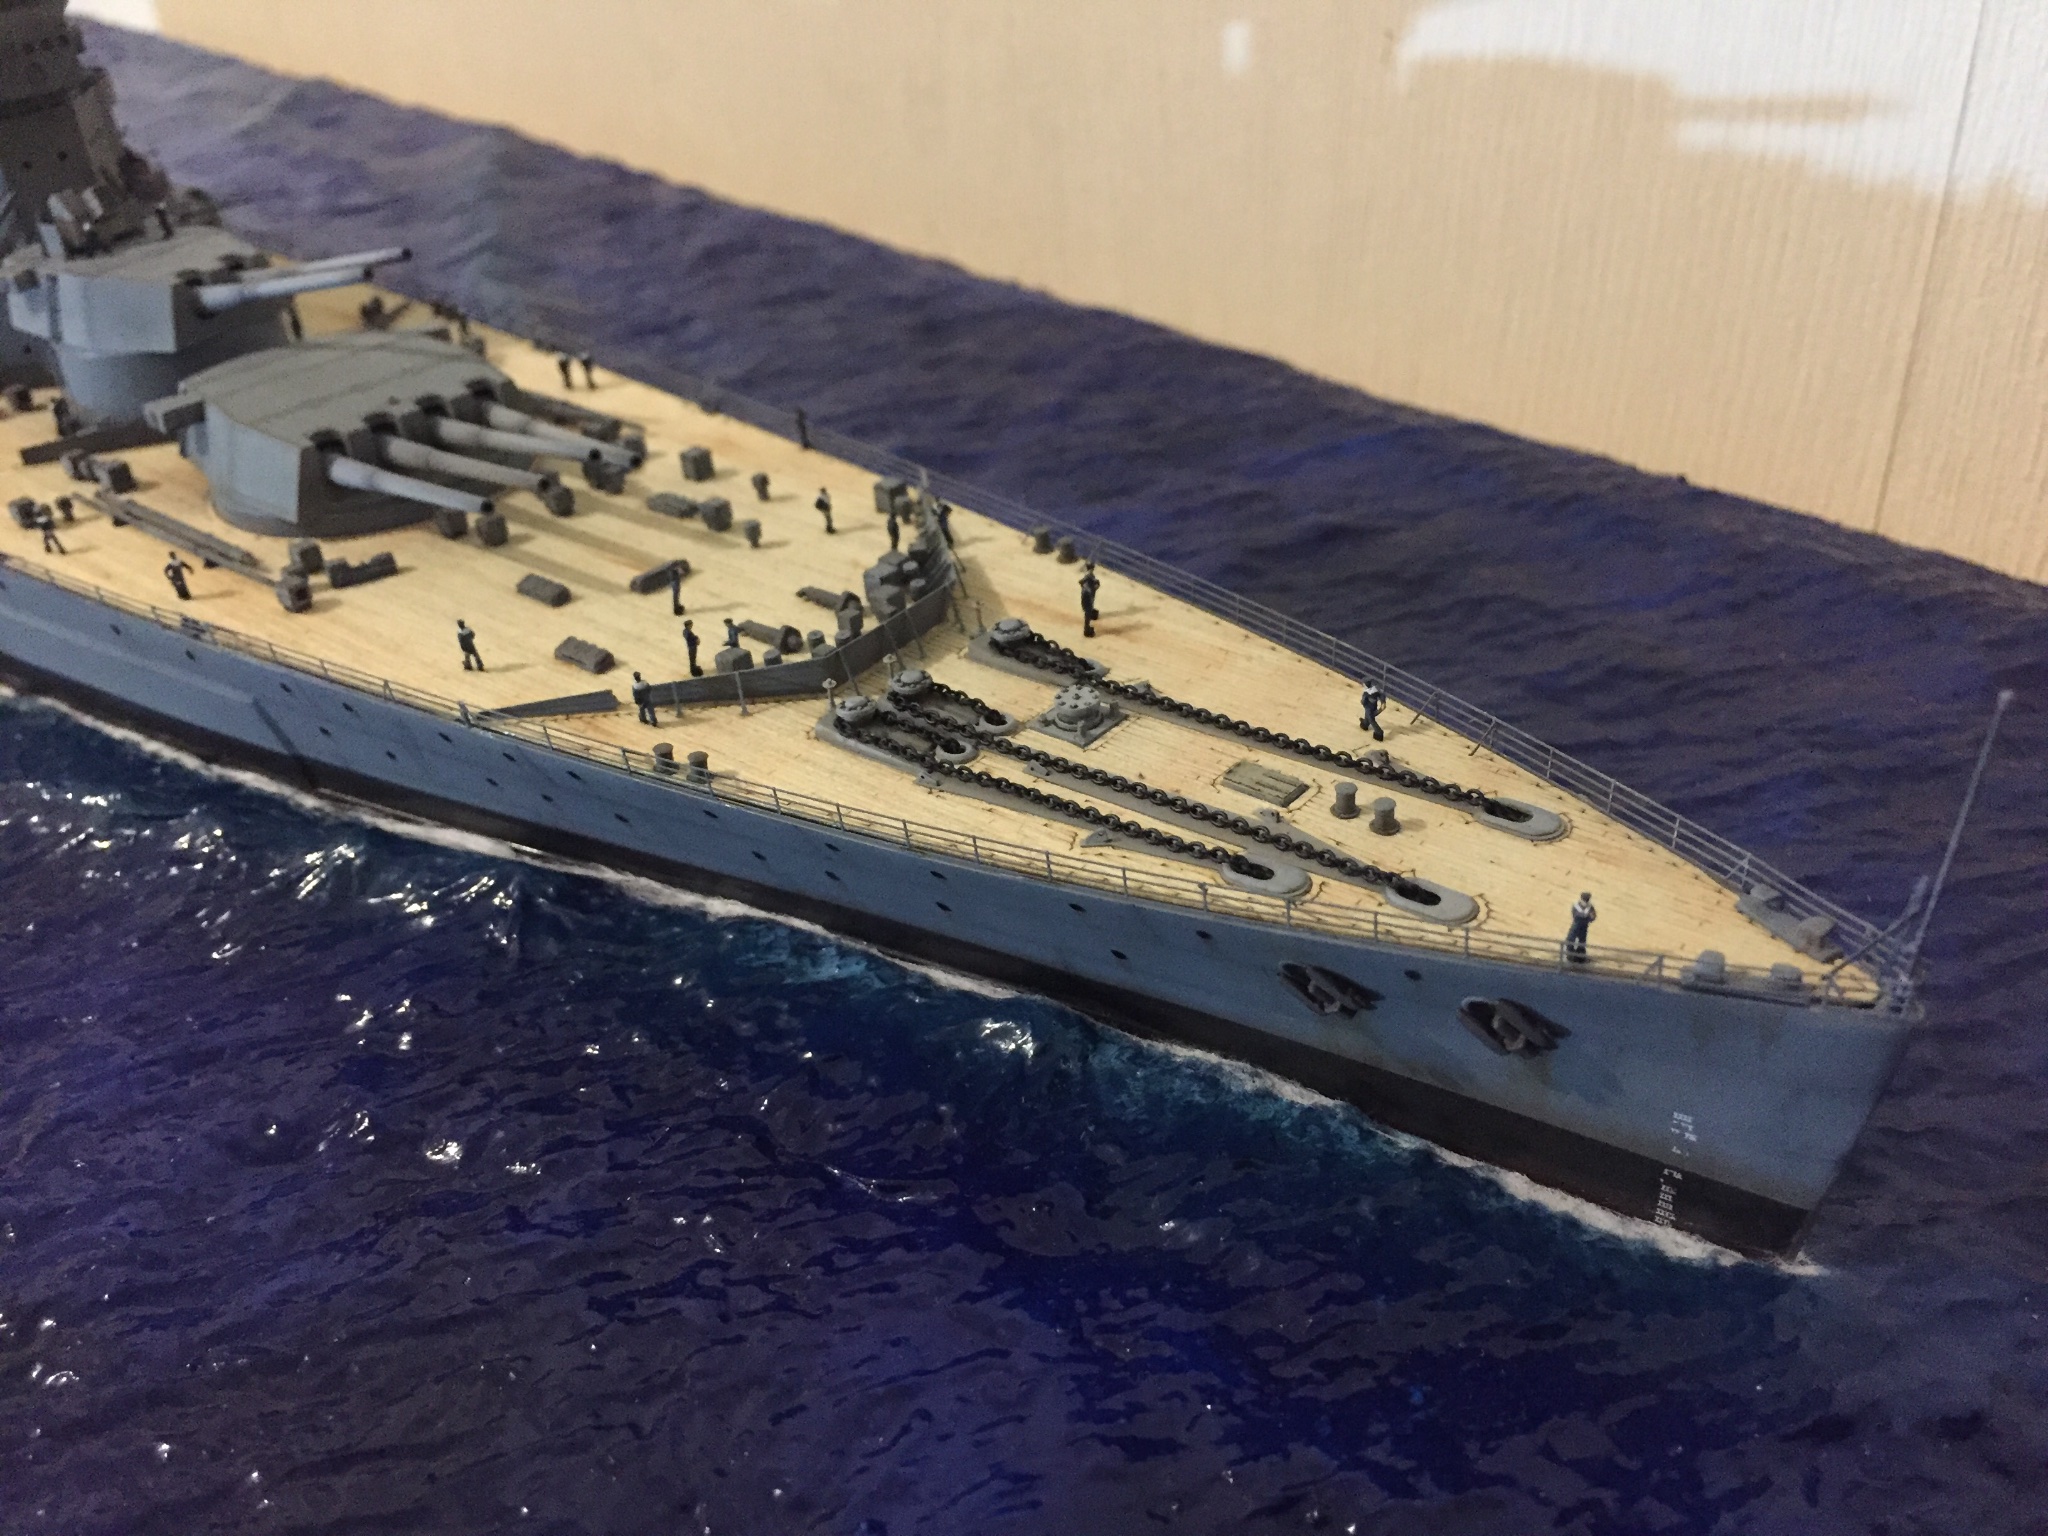
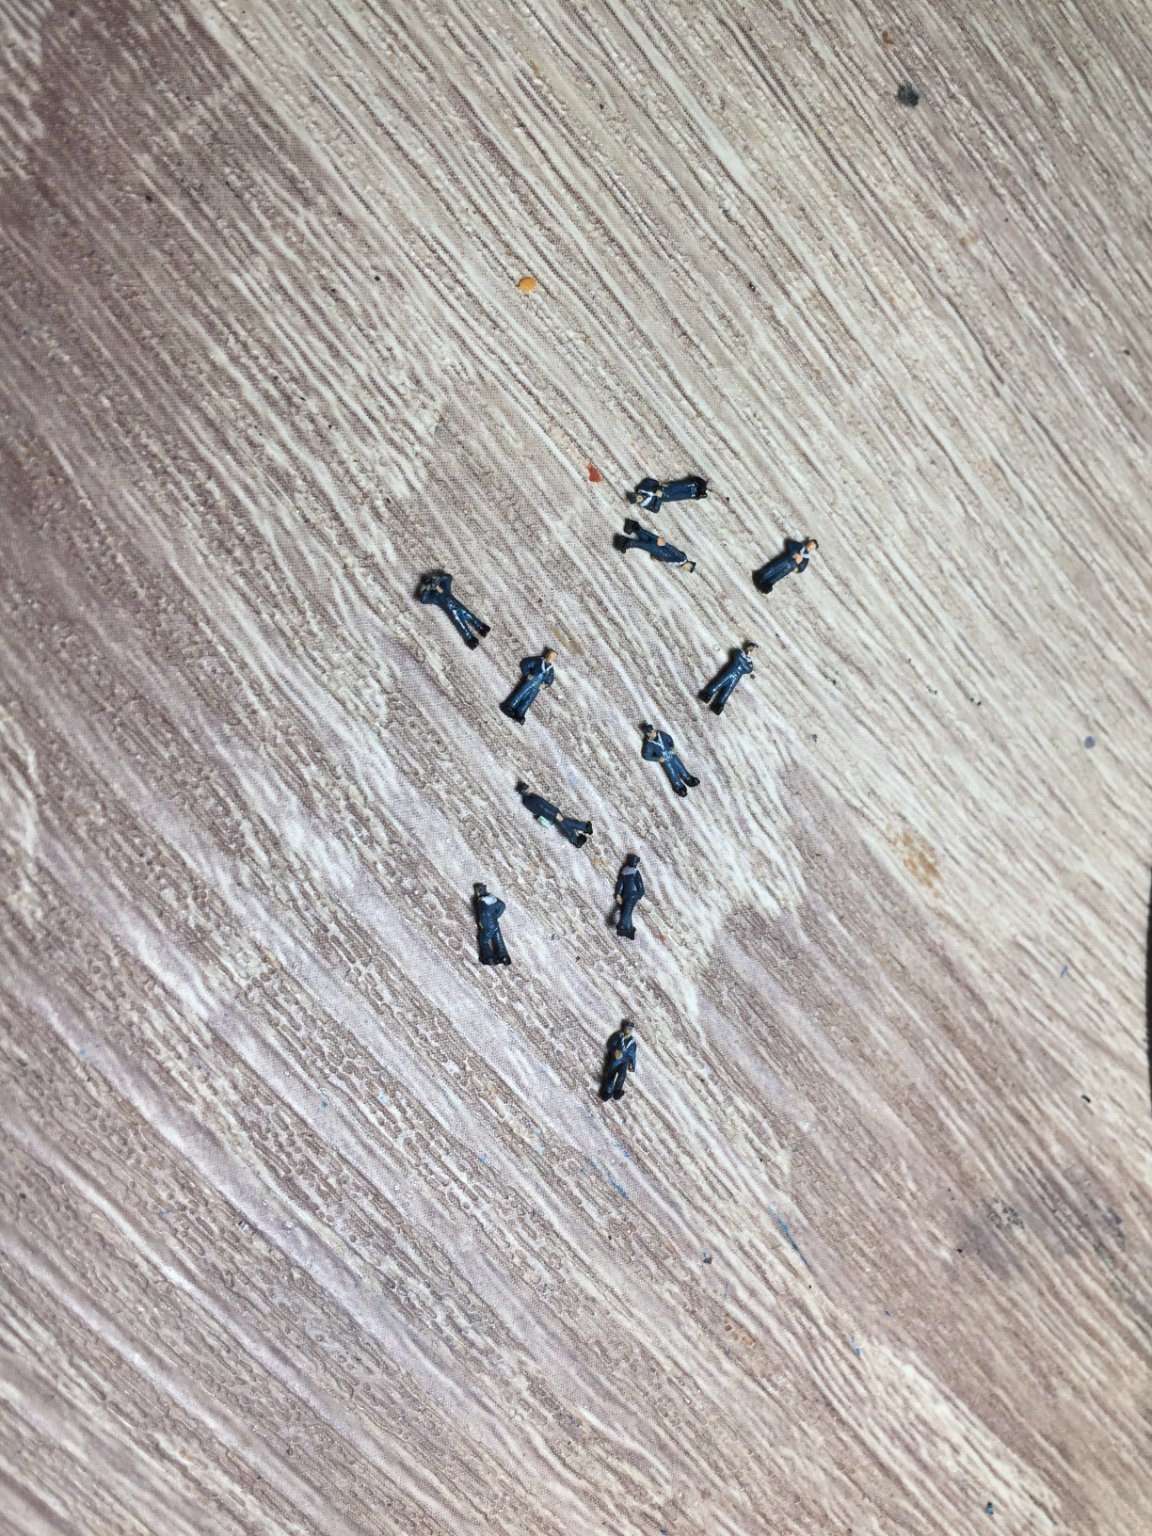
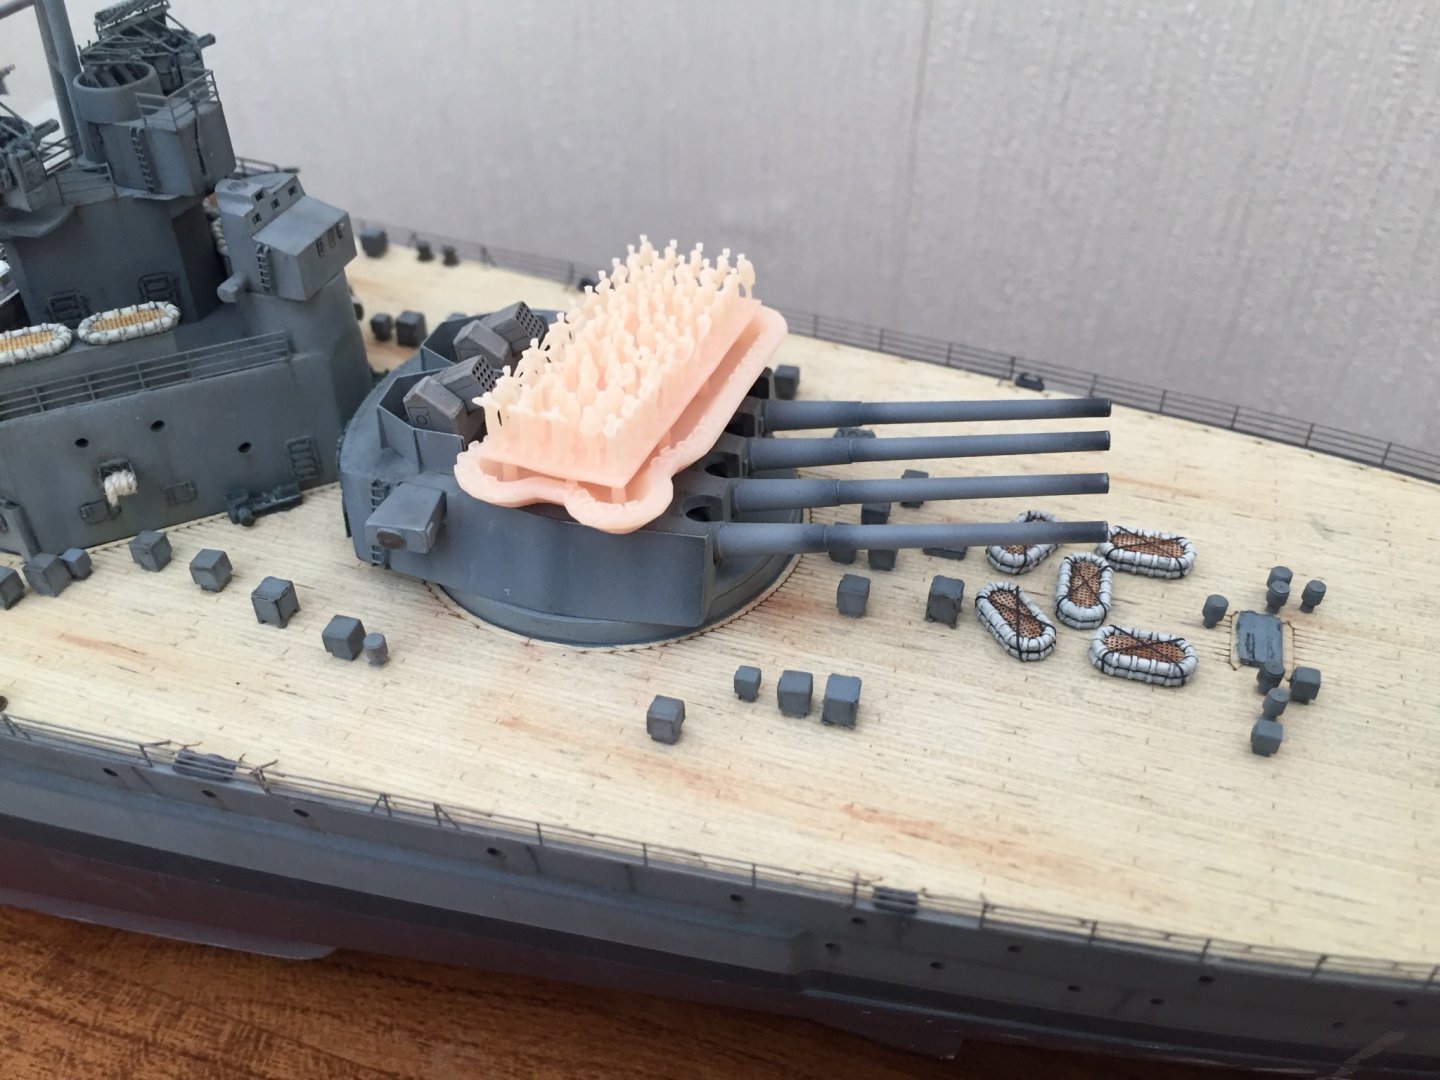
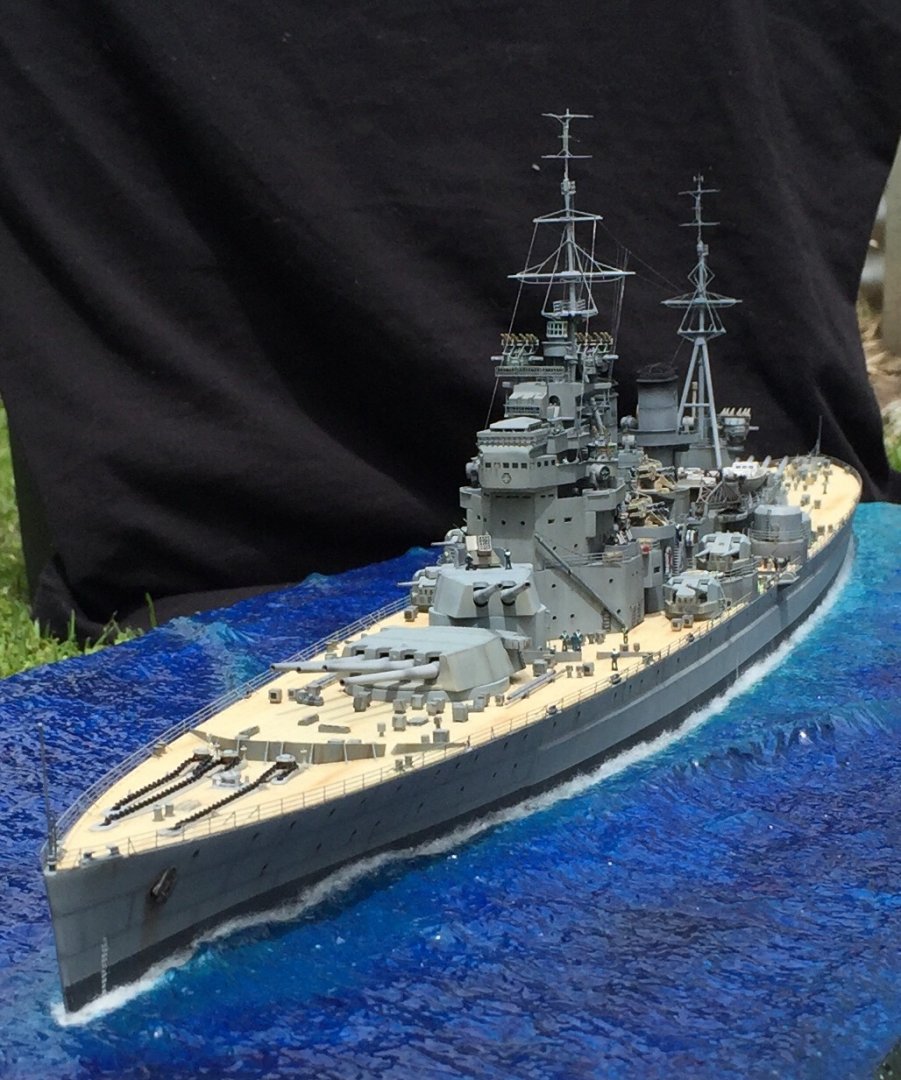
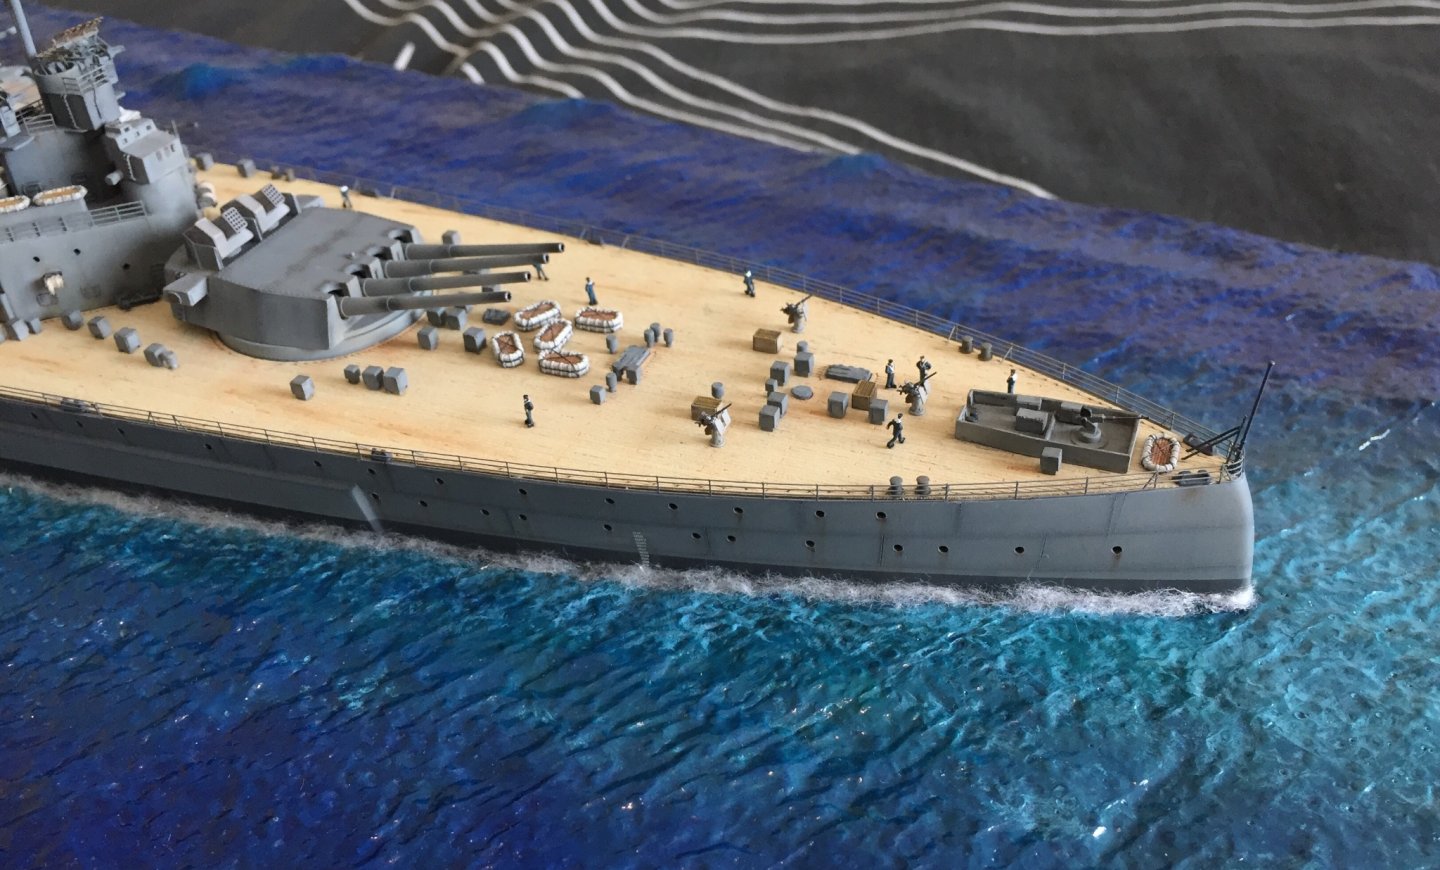
Hey, just a quick update. All the crew are painted and on. thought that they would improve as I got more practice but no stayed pretty consistent but got faster as efficiency increased. They were far too small that any increase in painting quality would mean I would have painted about 5 by now! Which means I’m sorting out the white water and she is complete! Its the most challenging part and am not rushing it, lots of tests and I work on it when in the right mindset as I feel it will make or break the final look of it. I didn’t like the fluffy look the cotton made along the ships side so brushed on a gloss varnish to remove that look so will add another layer as it really changed it.
- 211 replies
-
- 10
-
-
- prince of wales
- tamiya
- (and 2 more)
-
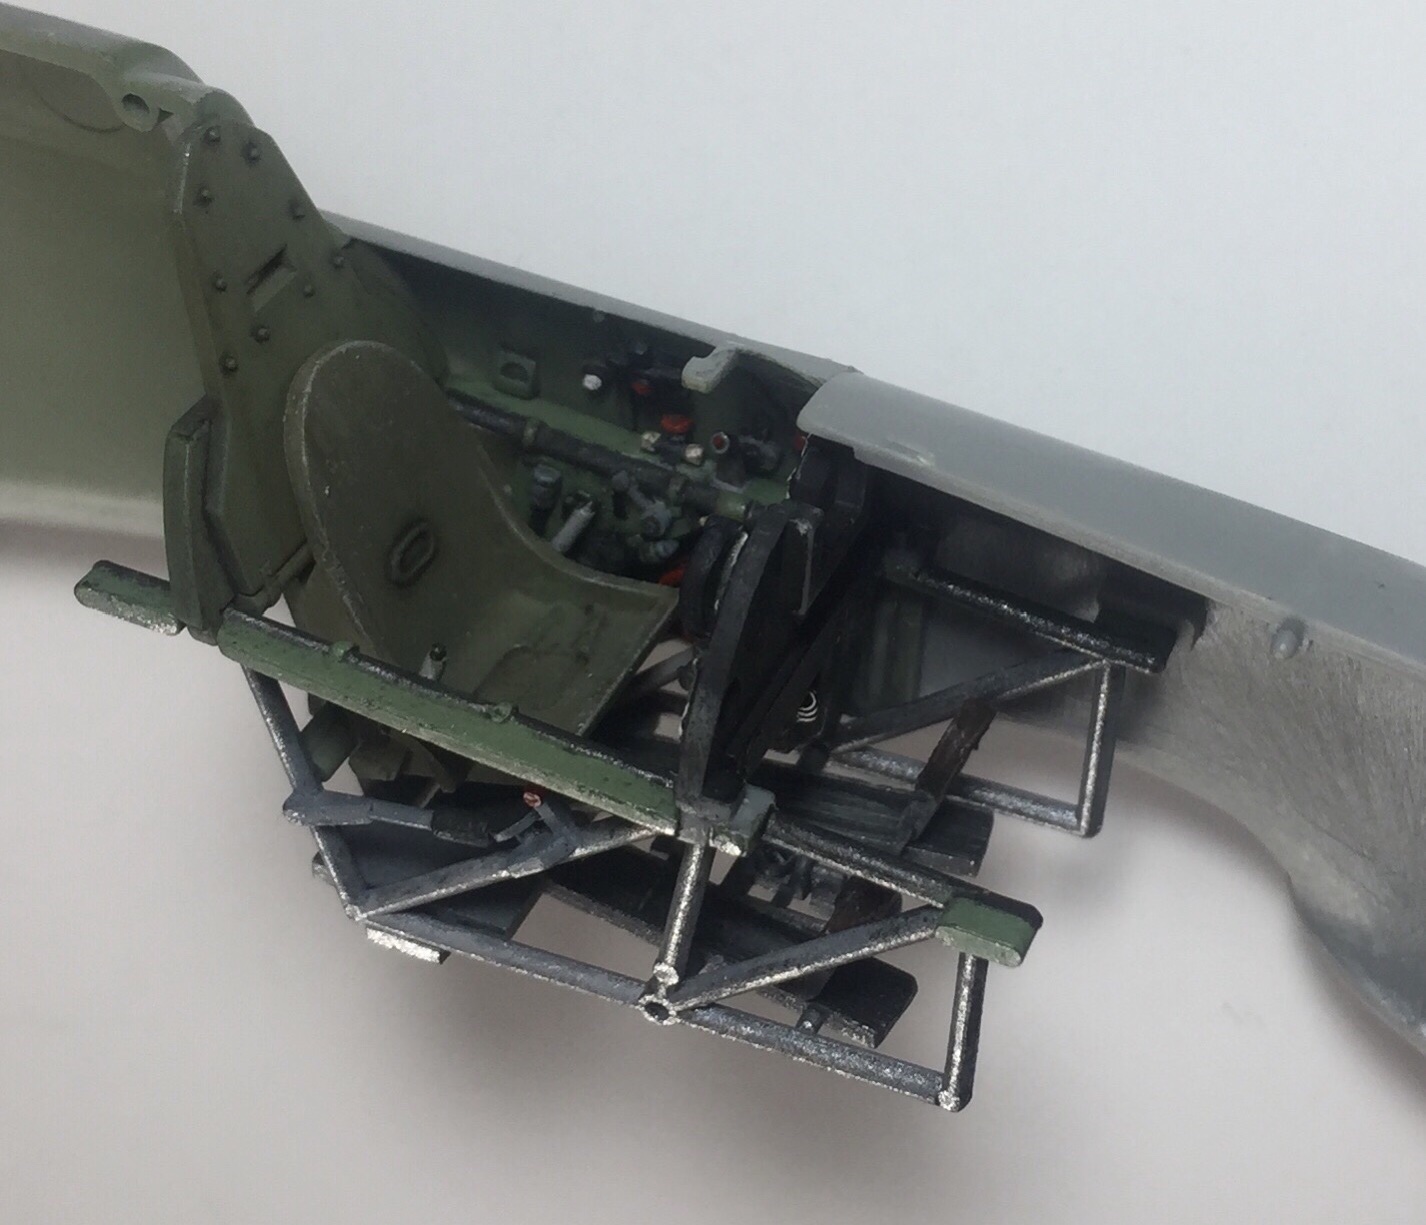
On my ship build I’ve finished painting all the crew and the last bit left is finishing off the white water which seems to be the hardest part for me to get looking right but as I experiment with that I’ve been chipping away on the cockpit. Everything is stock out of the box and I’m just waiting on the seatbelt to finish it off. I’ve pushed the control column forward abit as from pics it seems the elevators hang down... I’m assuming whenever the control lock hasn’t been put in. Not sure how the Hurricane worked in this way. But I’ll droop the elevators just a bit as it’s about 50/50 straight or not. Just more work for me haha


- 107 replies
-
- 12
-
-
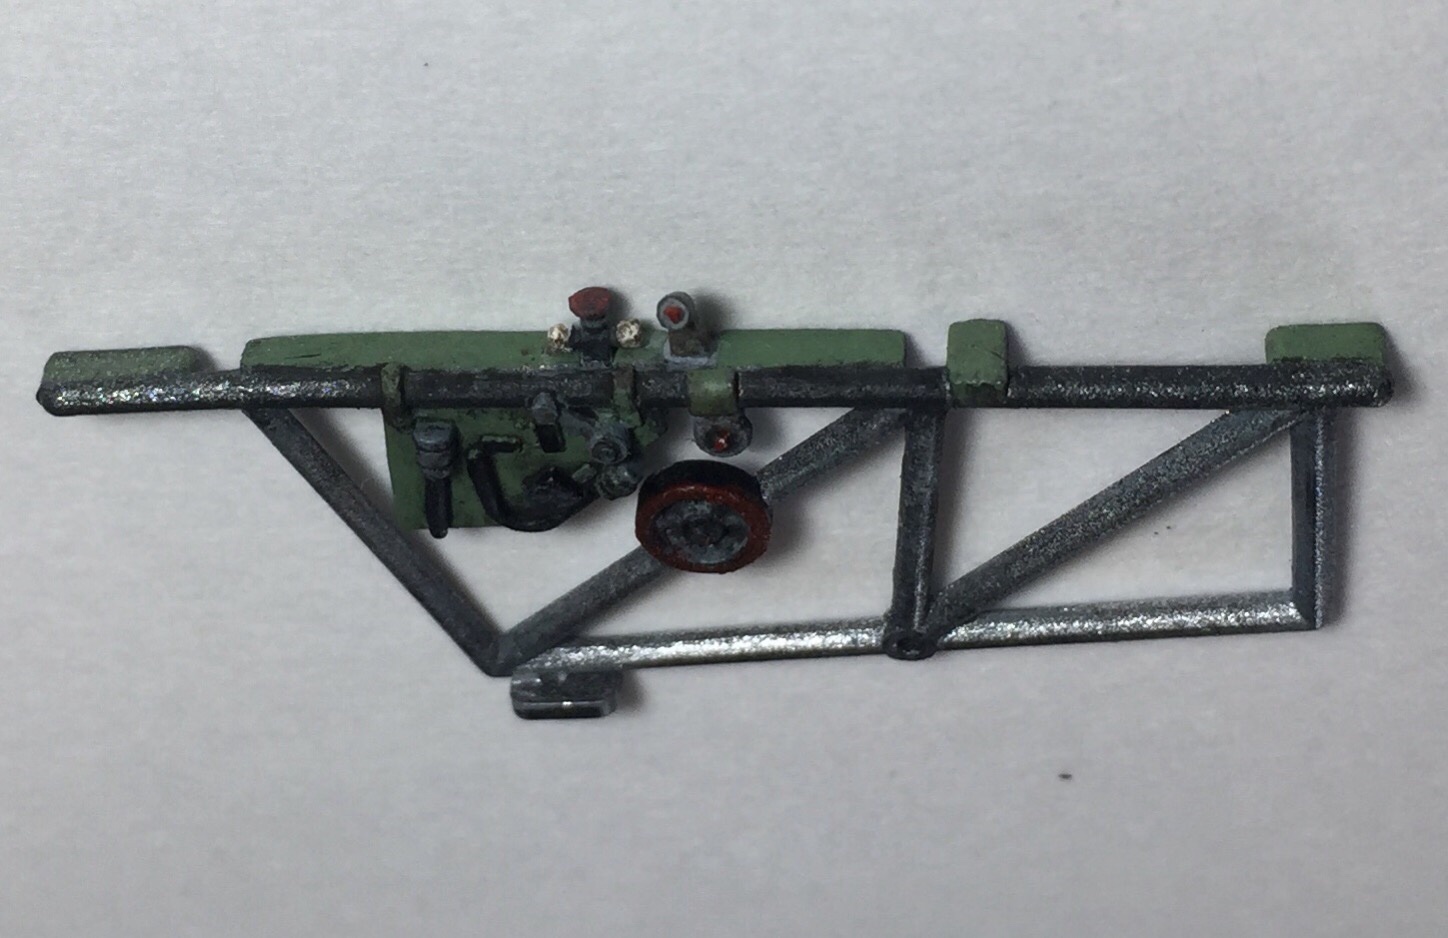
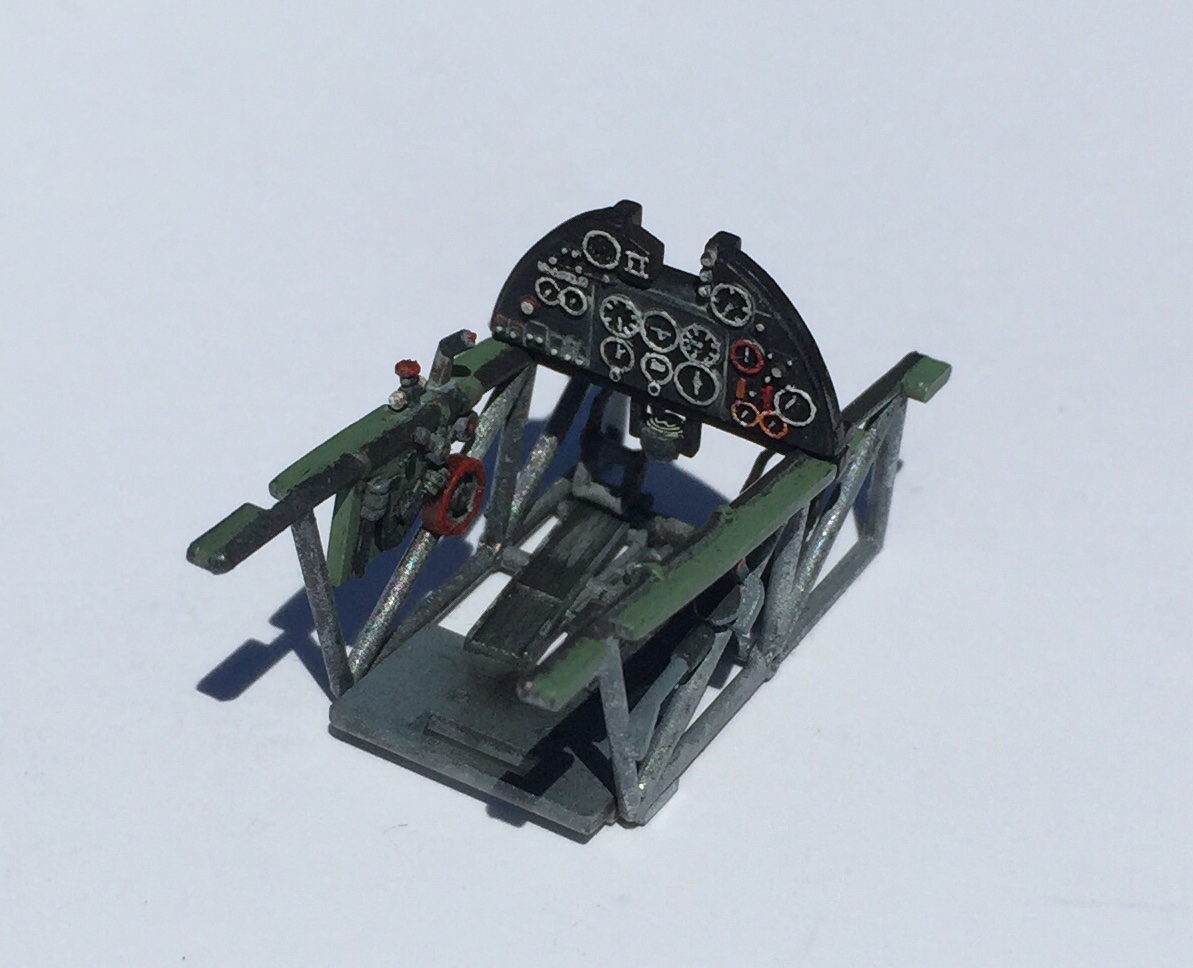
Found a few hours this morning and the cockpit is coming along. Ended up cutting out an instrument from the decal and using it as the compass that hangs below the panel
- 107 replies
-
- 10
-
-
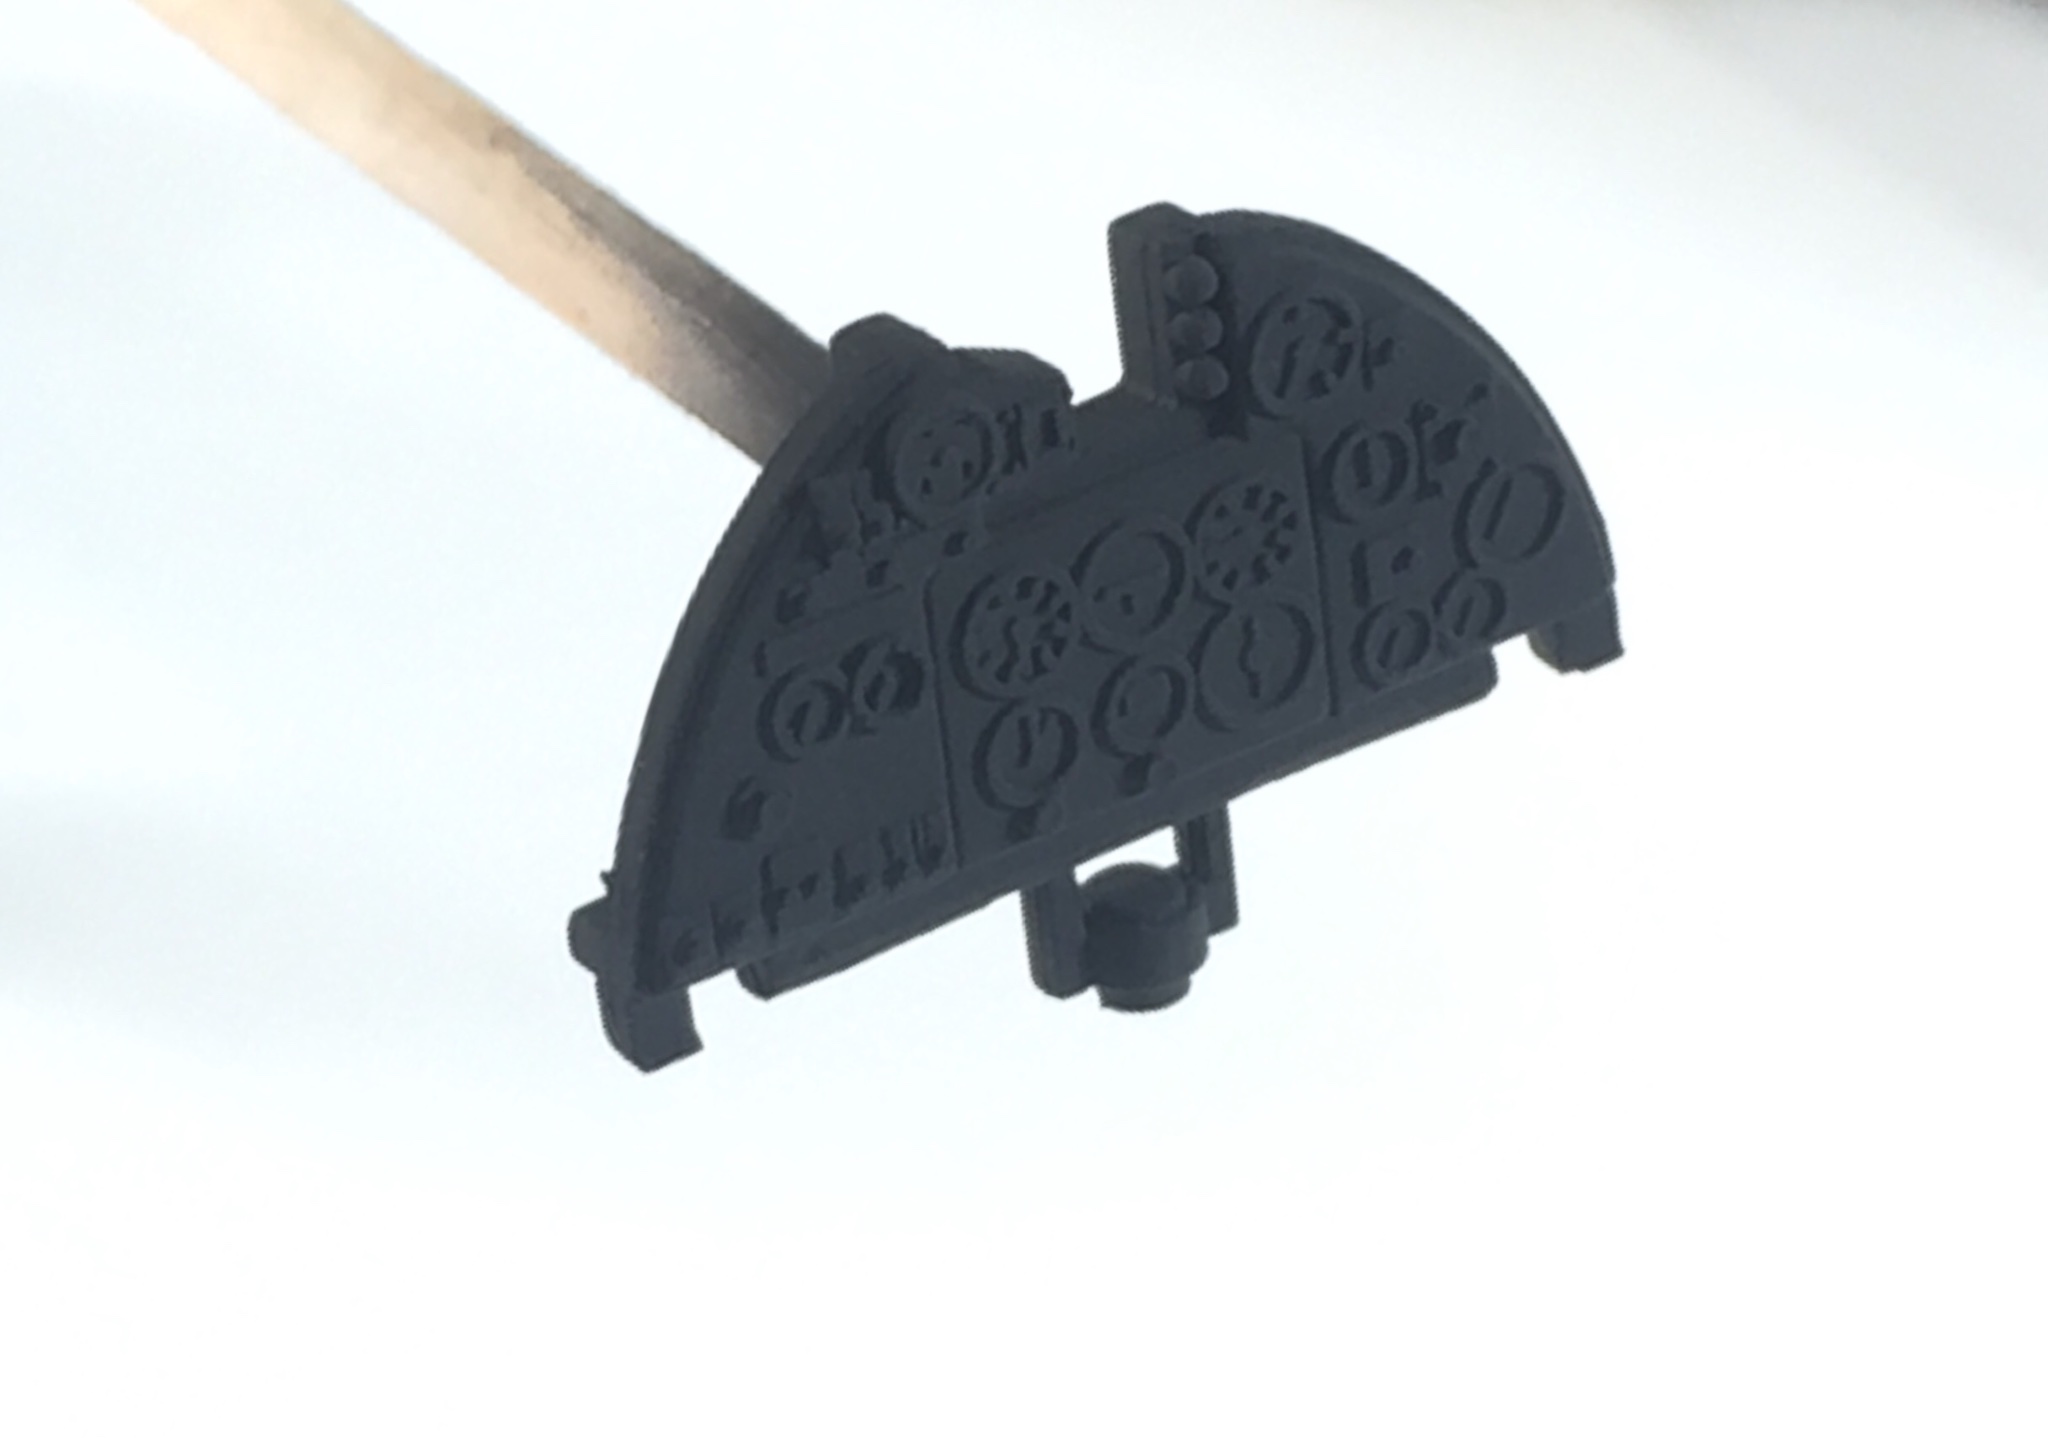
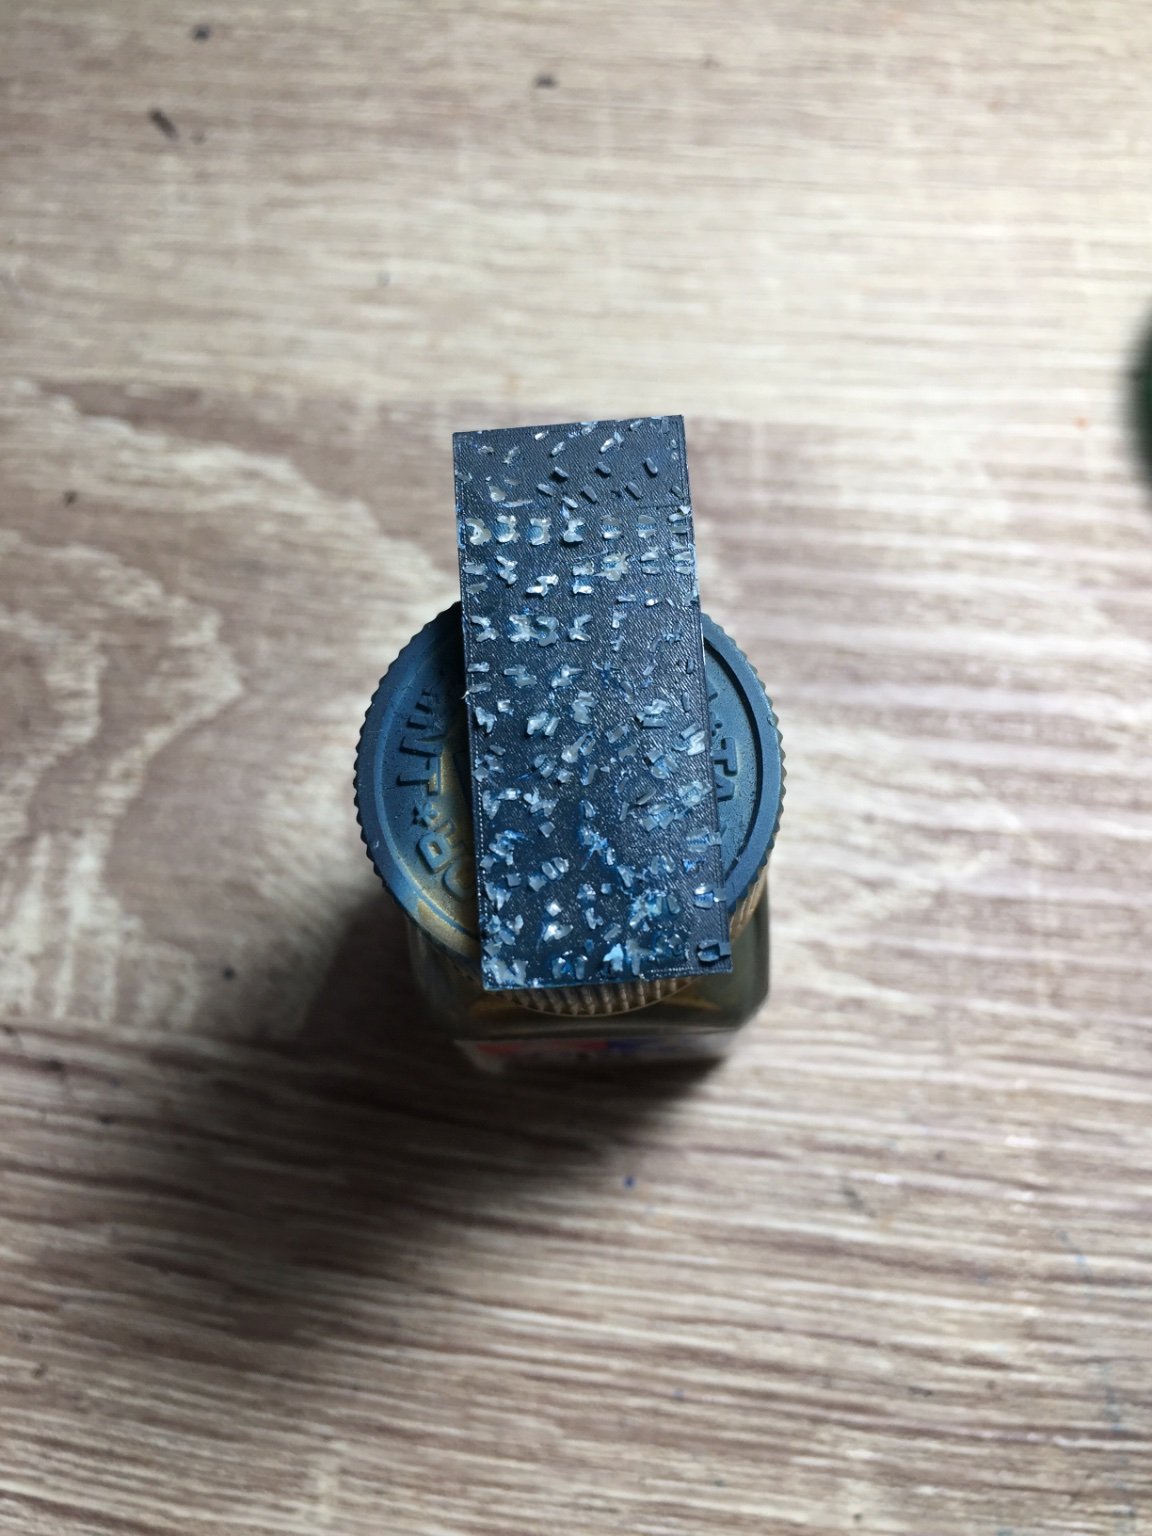
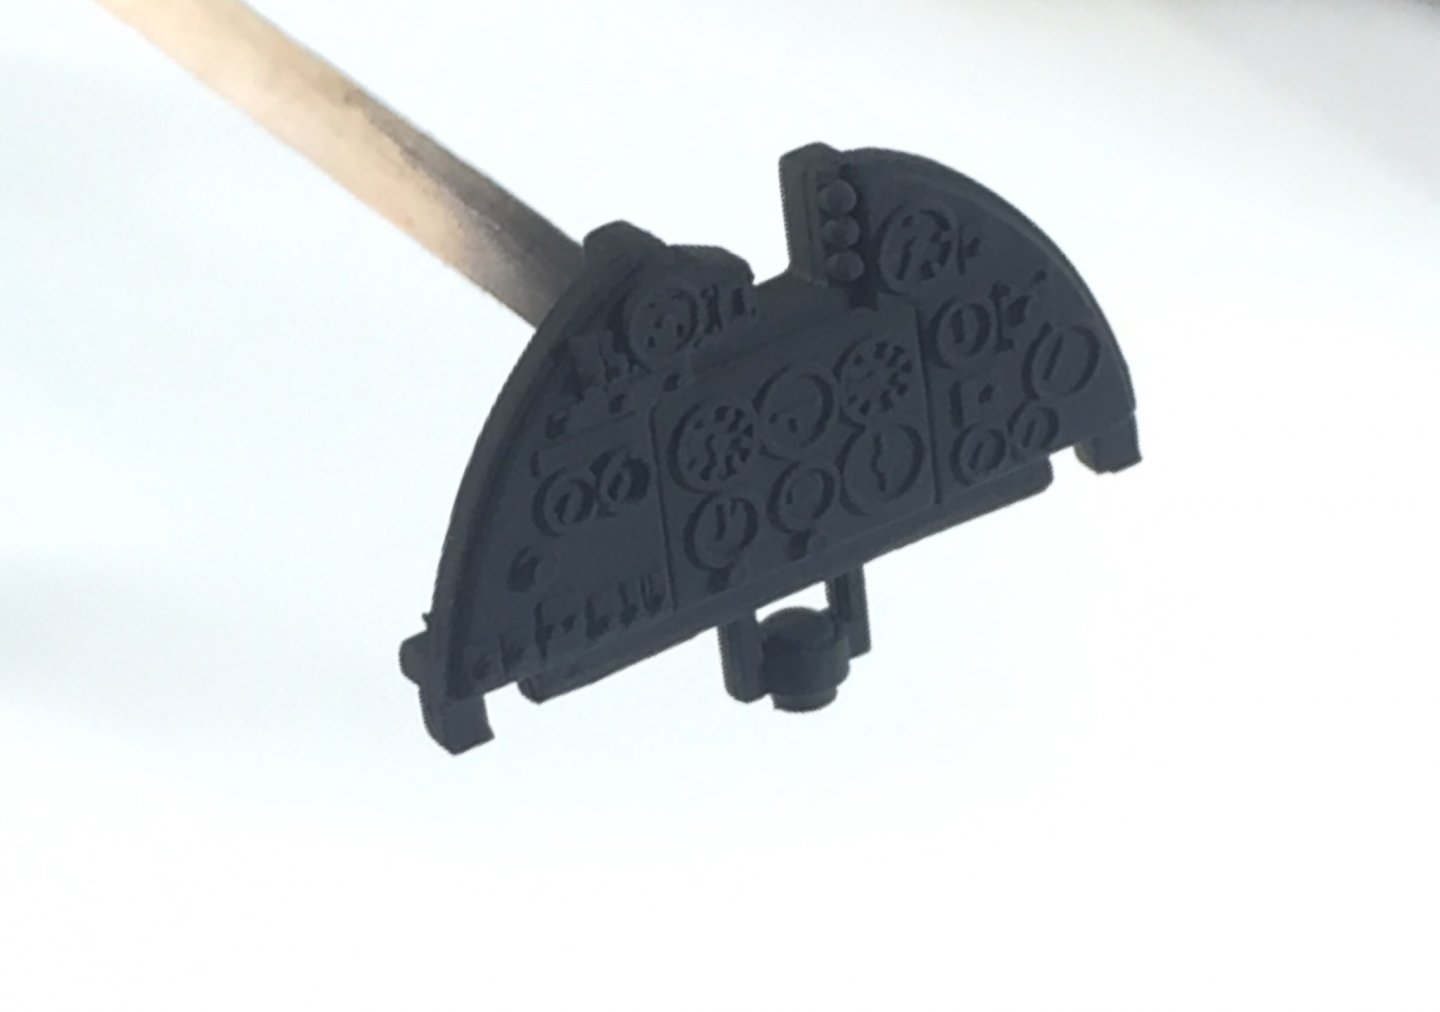
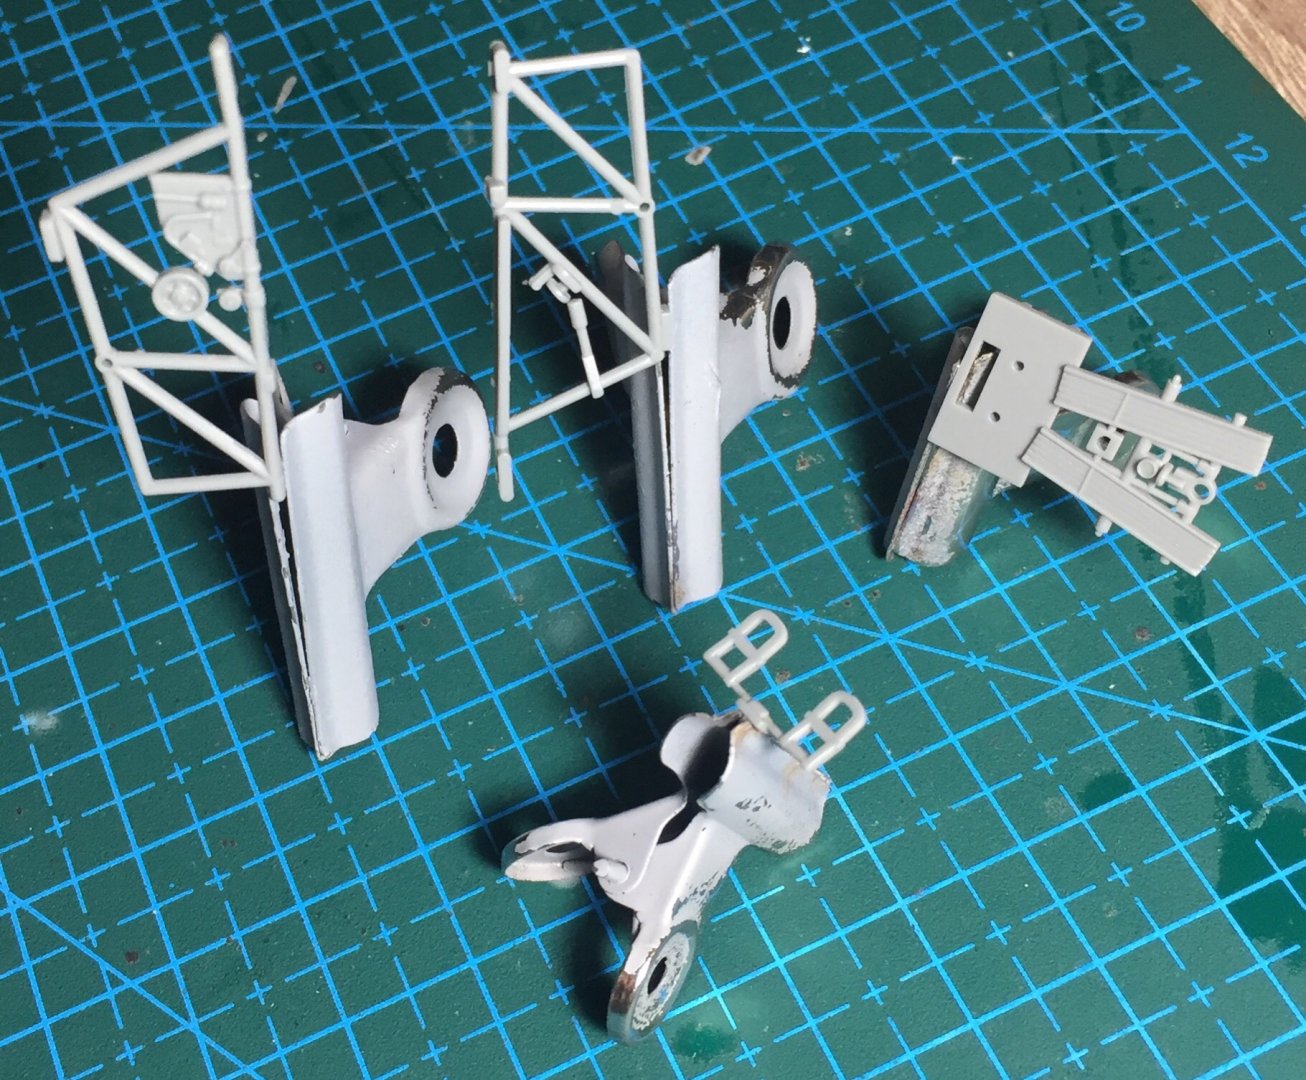
Yea I noticed it needed a heap more thinner and the pigment seemed really chunky! Didn’t take long to switch to different shades of greys. I never even thought to see if there was a flat steel haha. Been working on the instrument panel. There is a decal but the panel has raised details so I think you ether sand it flat and add the decal or hand paint the details. Can’t see a decal over raised details working very well at all from past experiences even with the decal solution that helps it melt to the shape so I’ll give hand painting a go
-
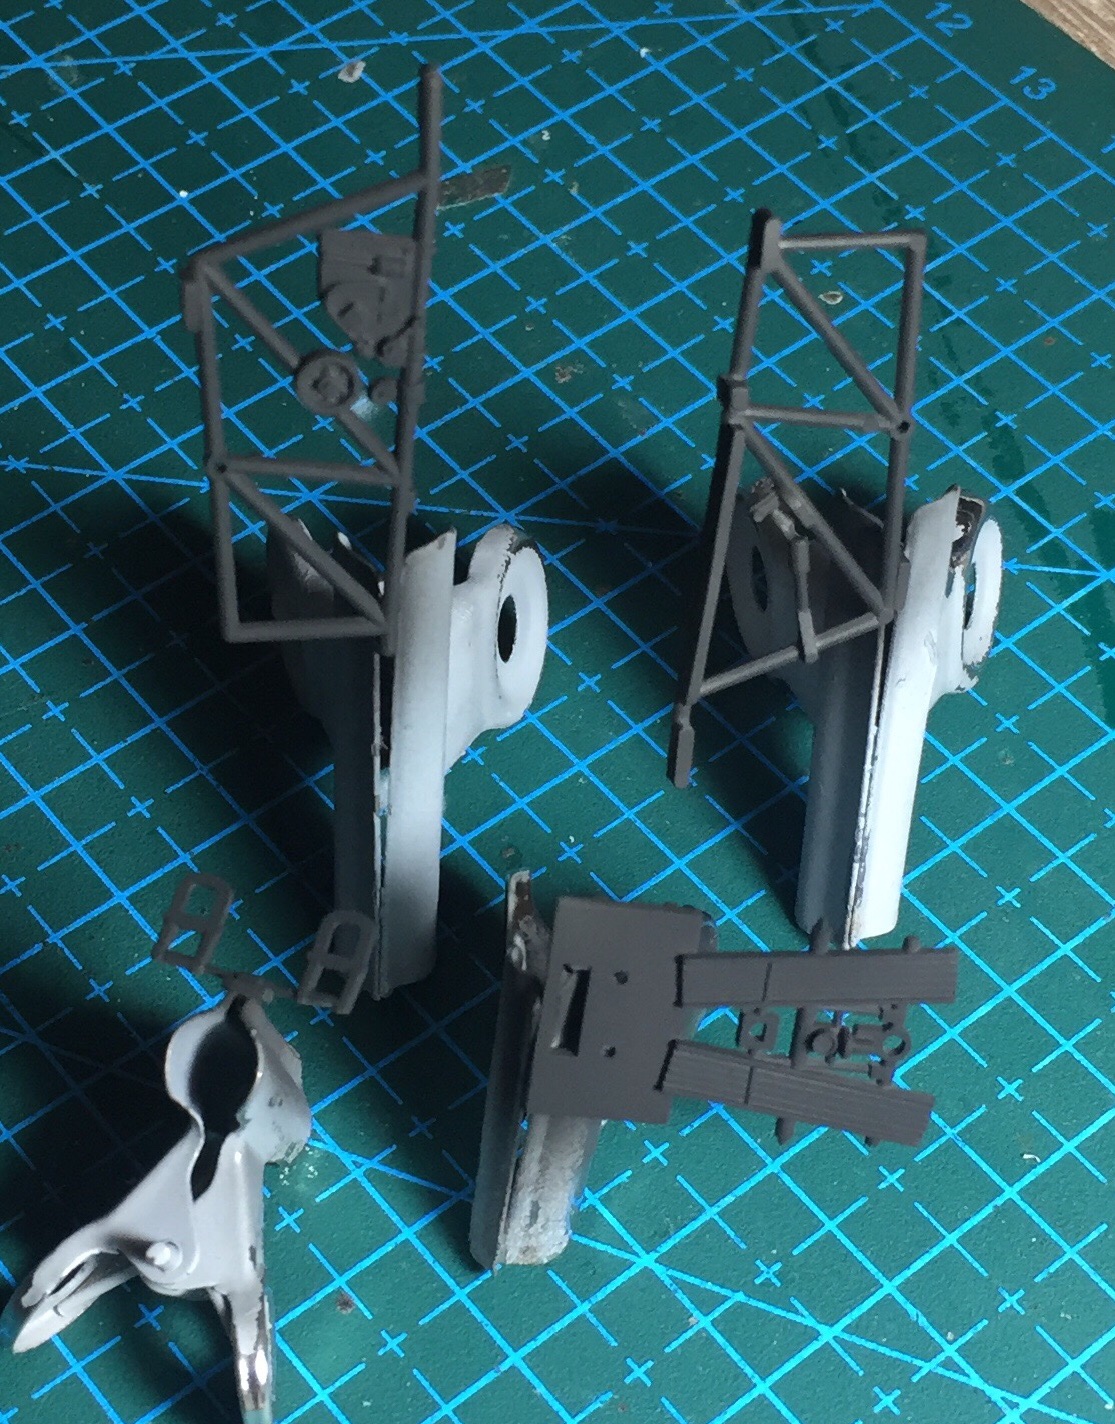
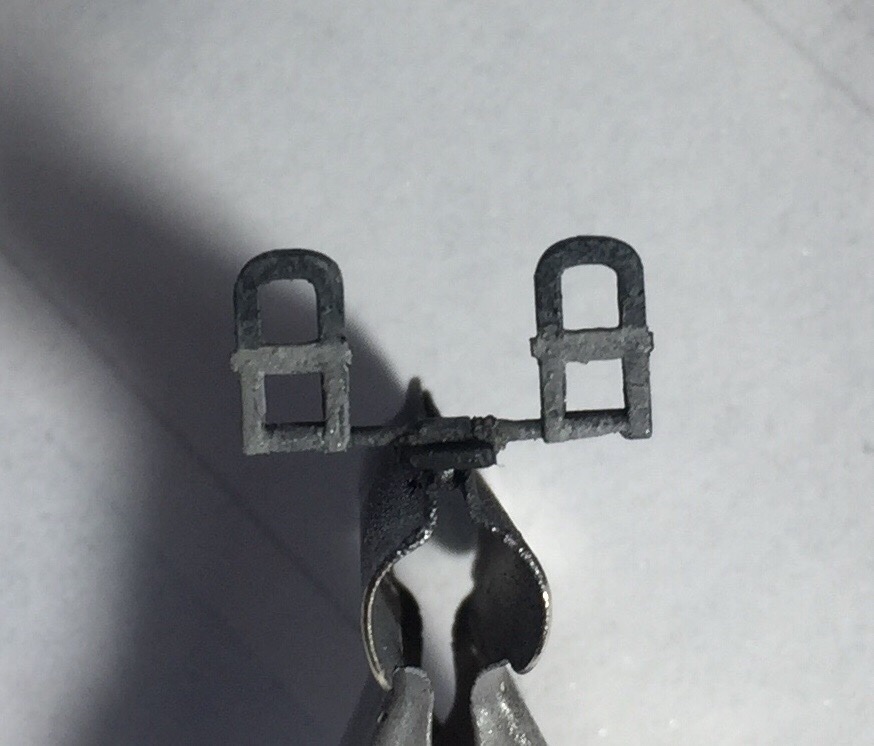
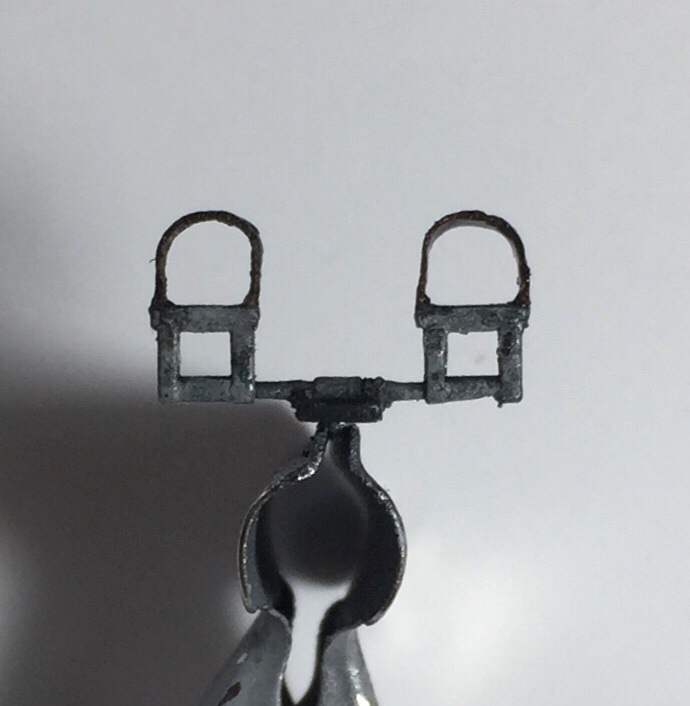
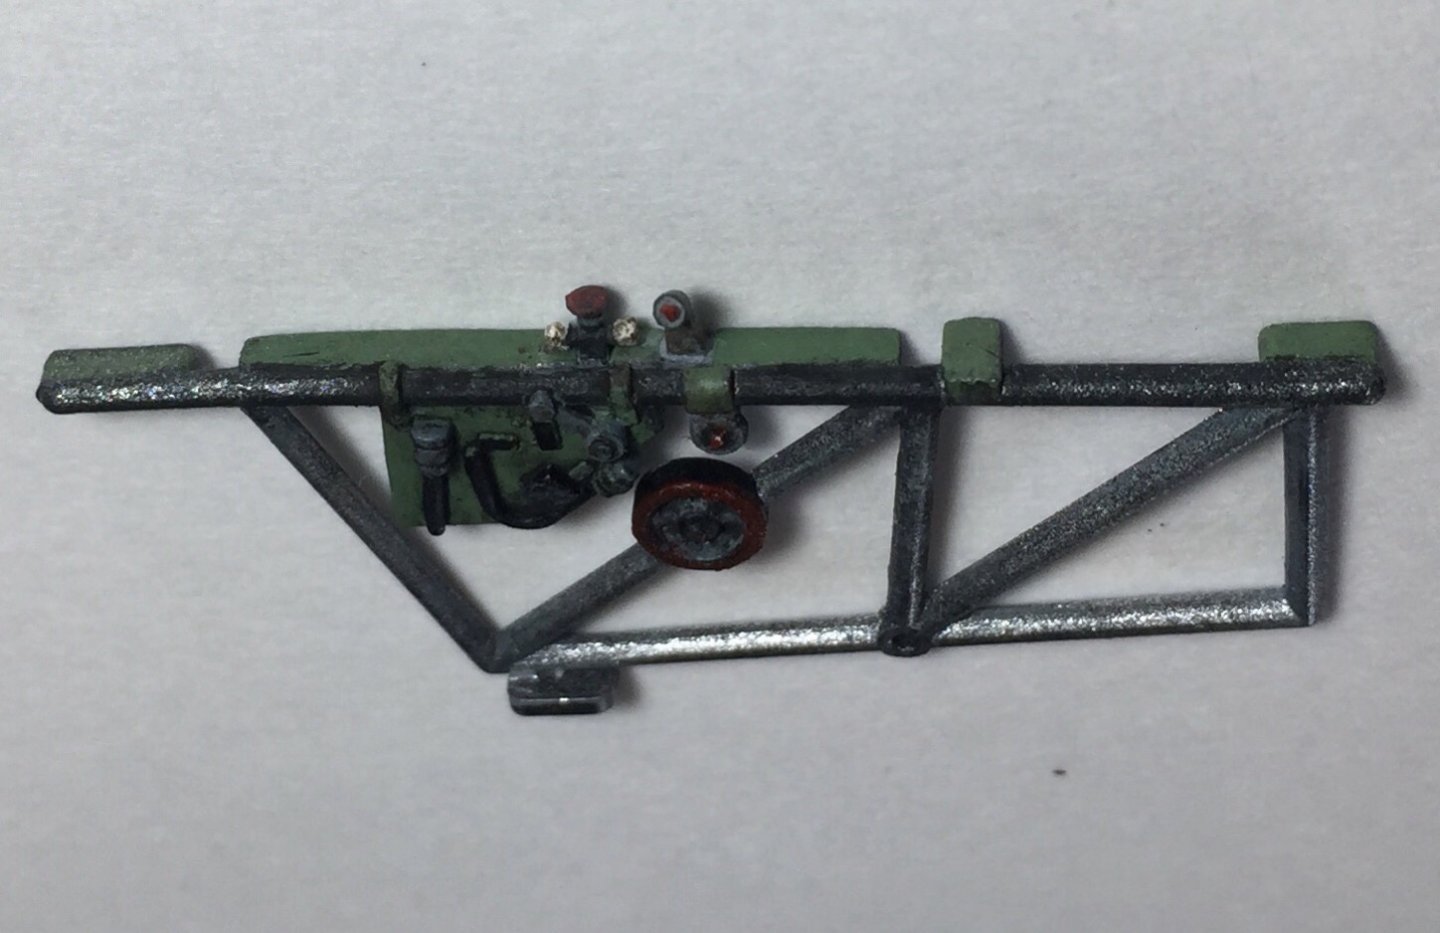
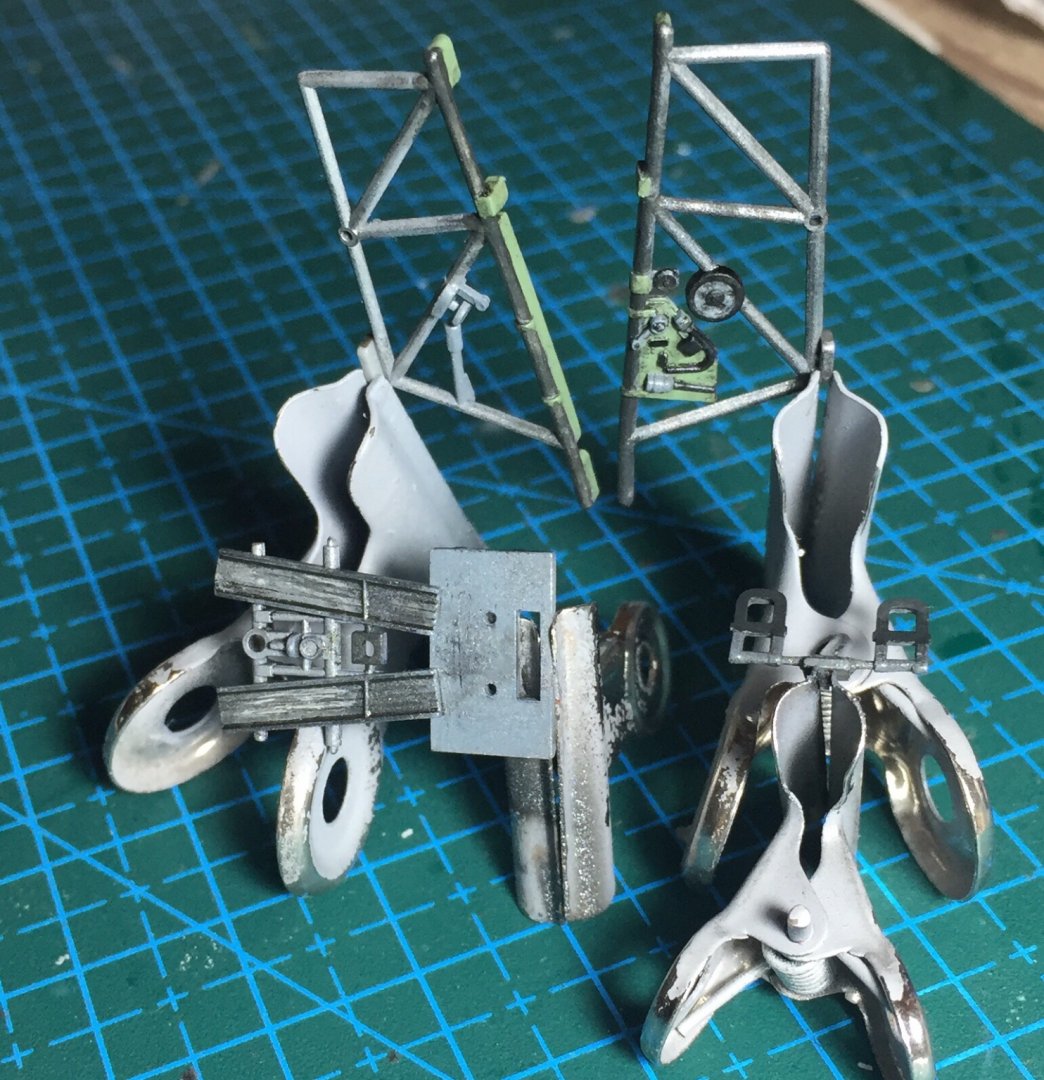
Have the day off today so able to do some more painting. Wasn’t happy with the chunky rudder peddle flaps. so cut cut them off and made some thinner ones. also did more on the frames, won’t add any more detail as it won’t be seen but what it’s got which is really good for what I was expecting I’m just experimenting with different techniques.
-
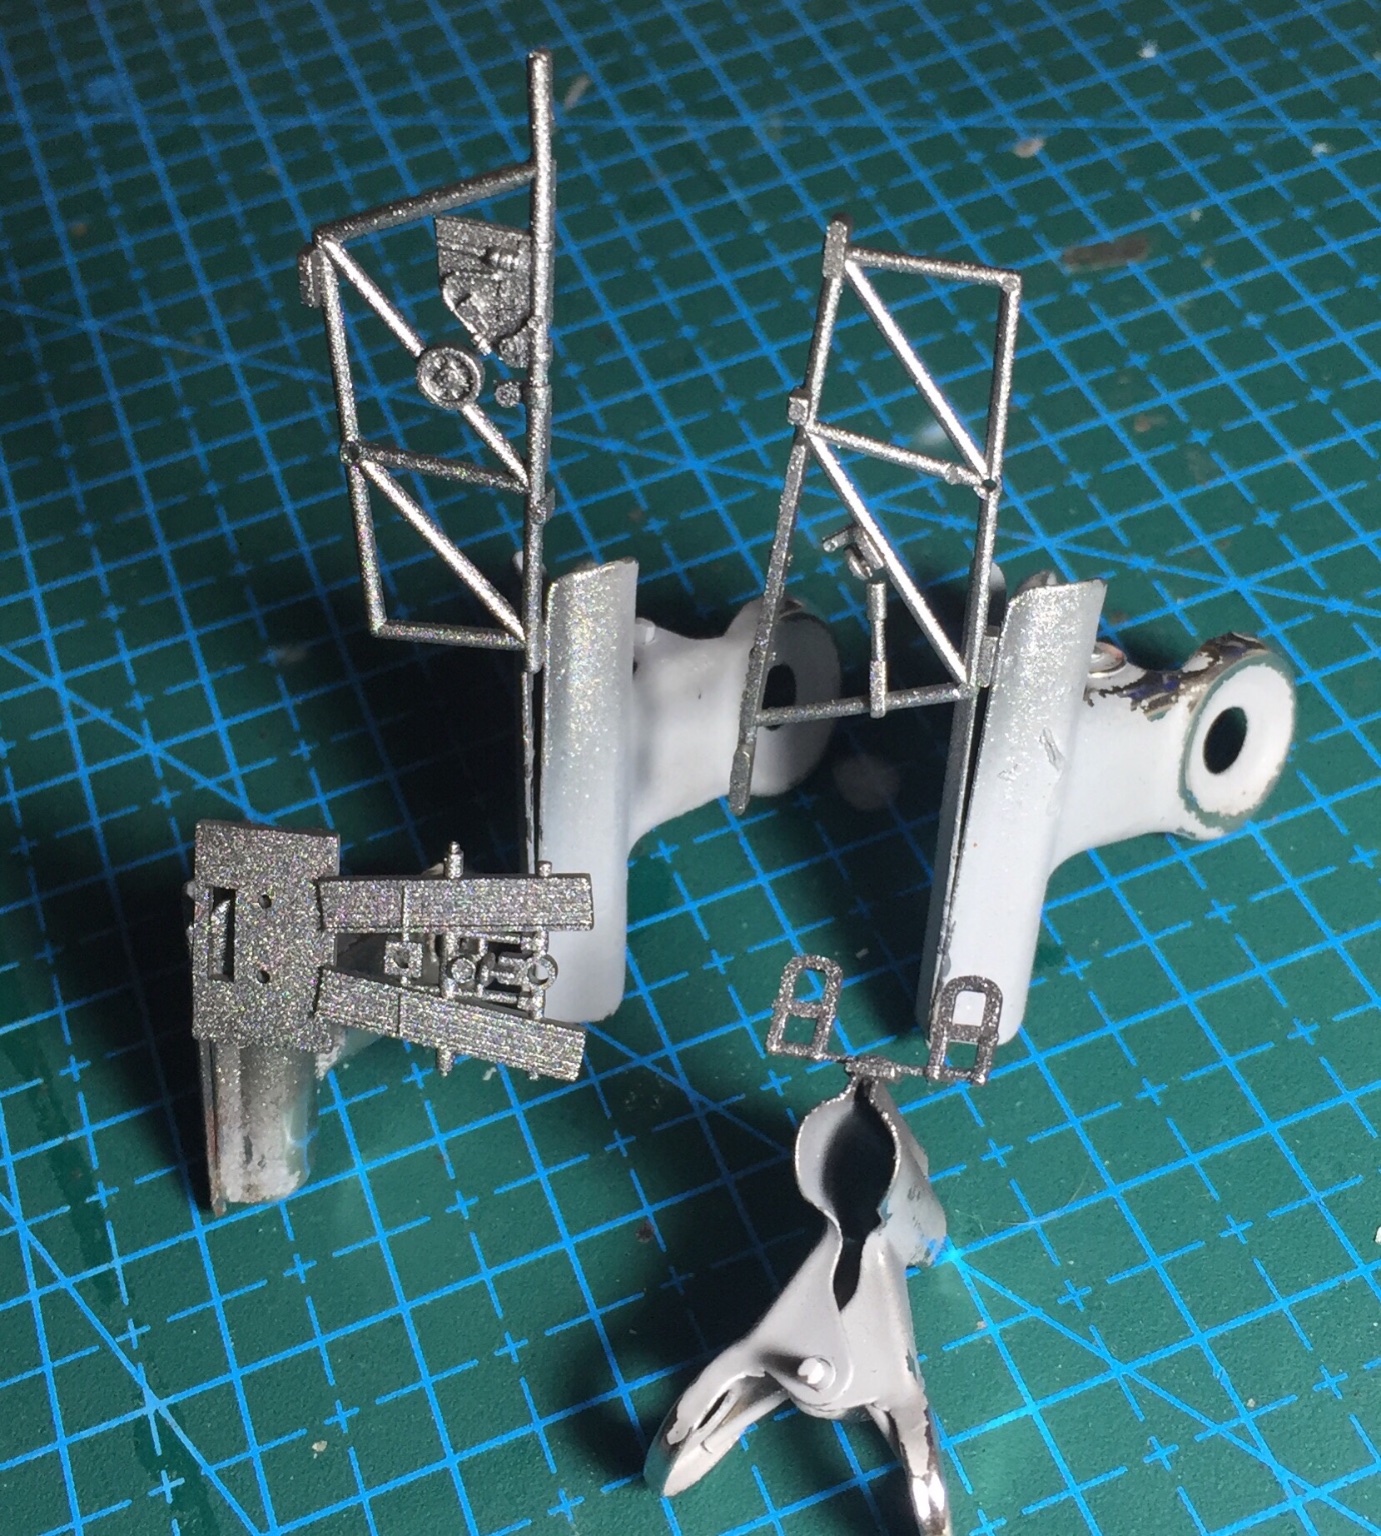
Been awhile since I last did a cockpit so I’ll be able to have my first time weathering and all that as when I last did a plane I didn’t have paint at all. im using pictures of a mkIIc that’s been preserved as there is no way to know how individual planes were painted as far as I know. learnt silver is awful to airbrush and know never to try it again haha rough base coat on and details and weathering to do.


- 107 replies
-
- 10
-
-
So it begun. will be a slow start but the journey has at least started! im quite impressed with the cockpit detail. Had low expectations. From reading reviews on other build logs it seems they got aftermarket cockpits but found nothing could be seen so recommend a seatbelt (which I e ordered) and stock cockpit is fine. So I’m googling all the hurricane cockpit pictures I can find. Instruments are a bare minimum but I guess they didn’t need much for what they were doing. But hats off to them navigating! My first 1000 hours flying was with a map and it can be rather stressful so surviving a fight for your life to then have to work out where you are to get home is something you don’t really think about! No “direct to” button on their GPS! also taking others advice stock cockpit and instead external details so ordered some model master 20mm brass cannons and from Oldmodel decals I ordered a set of 486 squadron decals. They are a NZ company that do all NZ past and present decals for every squadron and their aircraft. So from that I can just pick the plane and SA is the prefix for the kiwi hurricanes in 486 squadron and L seems to have been one of the few MkIIc versions so leaning there at this stage. So progress there.

-
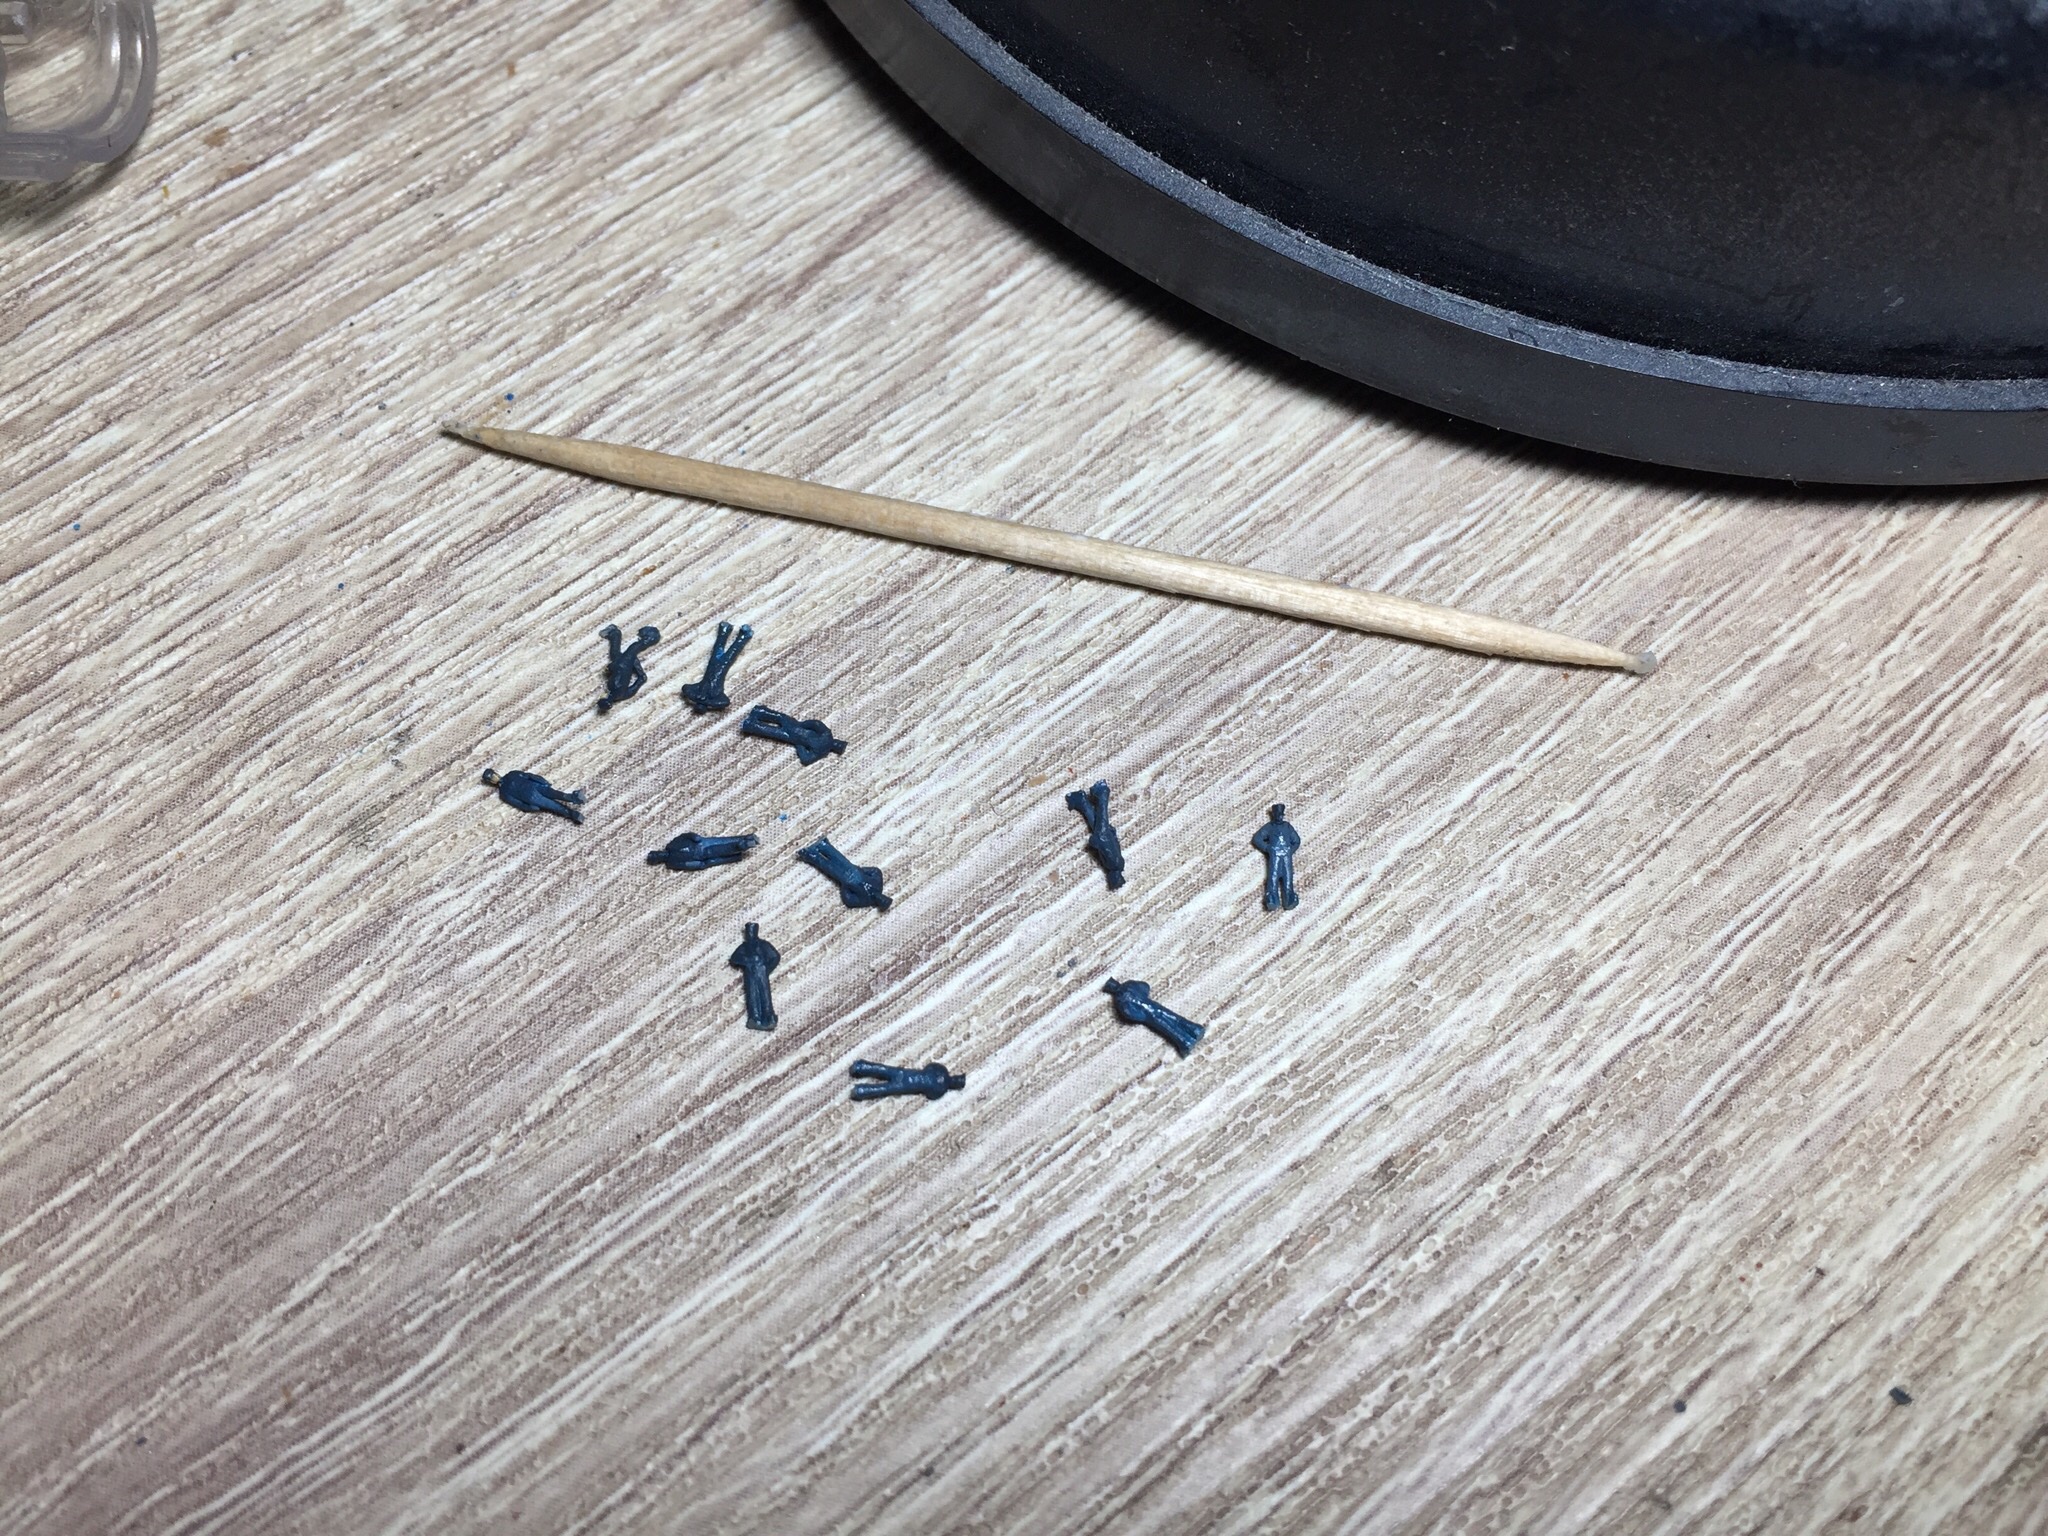
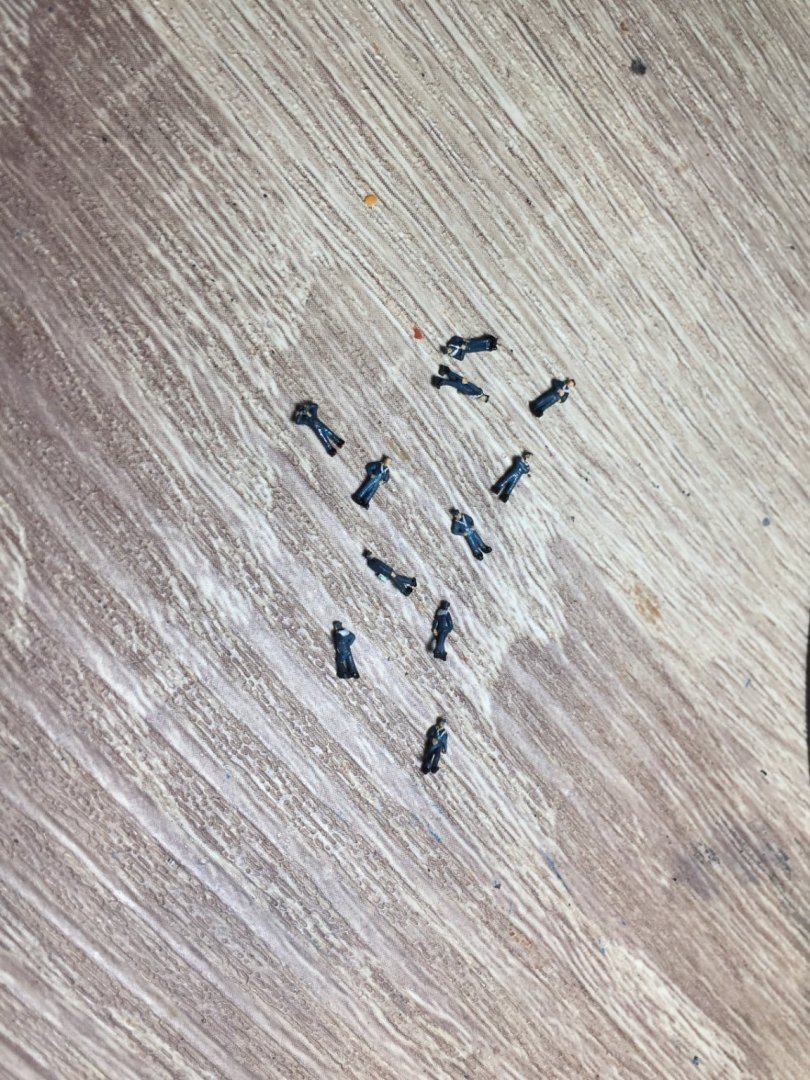
Hey, I’ve not had much time lately but did finally get all the crew painted. From this To this by the end got pretty good at them. -Cut them off the base, glued any broken legs and arms back on. -Dry brushed blue over the gloss base blue to make them matt. -Painted the white collar details. -Painted faces and hands skin colour including but not limited to: freckles and individual eye colours... not one has the same eye colour 😂! -Painted shoes black. -Made them watch a 15 minute “health and safety” video about the hazards aboard the ship. Will send the last 20 crew on board tomorrow. Will find someone with a good camera and see if I can get some clear detailed shots once it’s finished.

- 211 replies
-
- 8
-
-
- prince of wales
- tamiya
- (and 2 more)
-
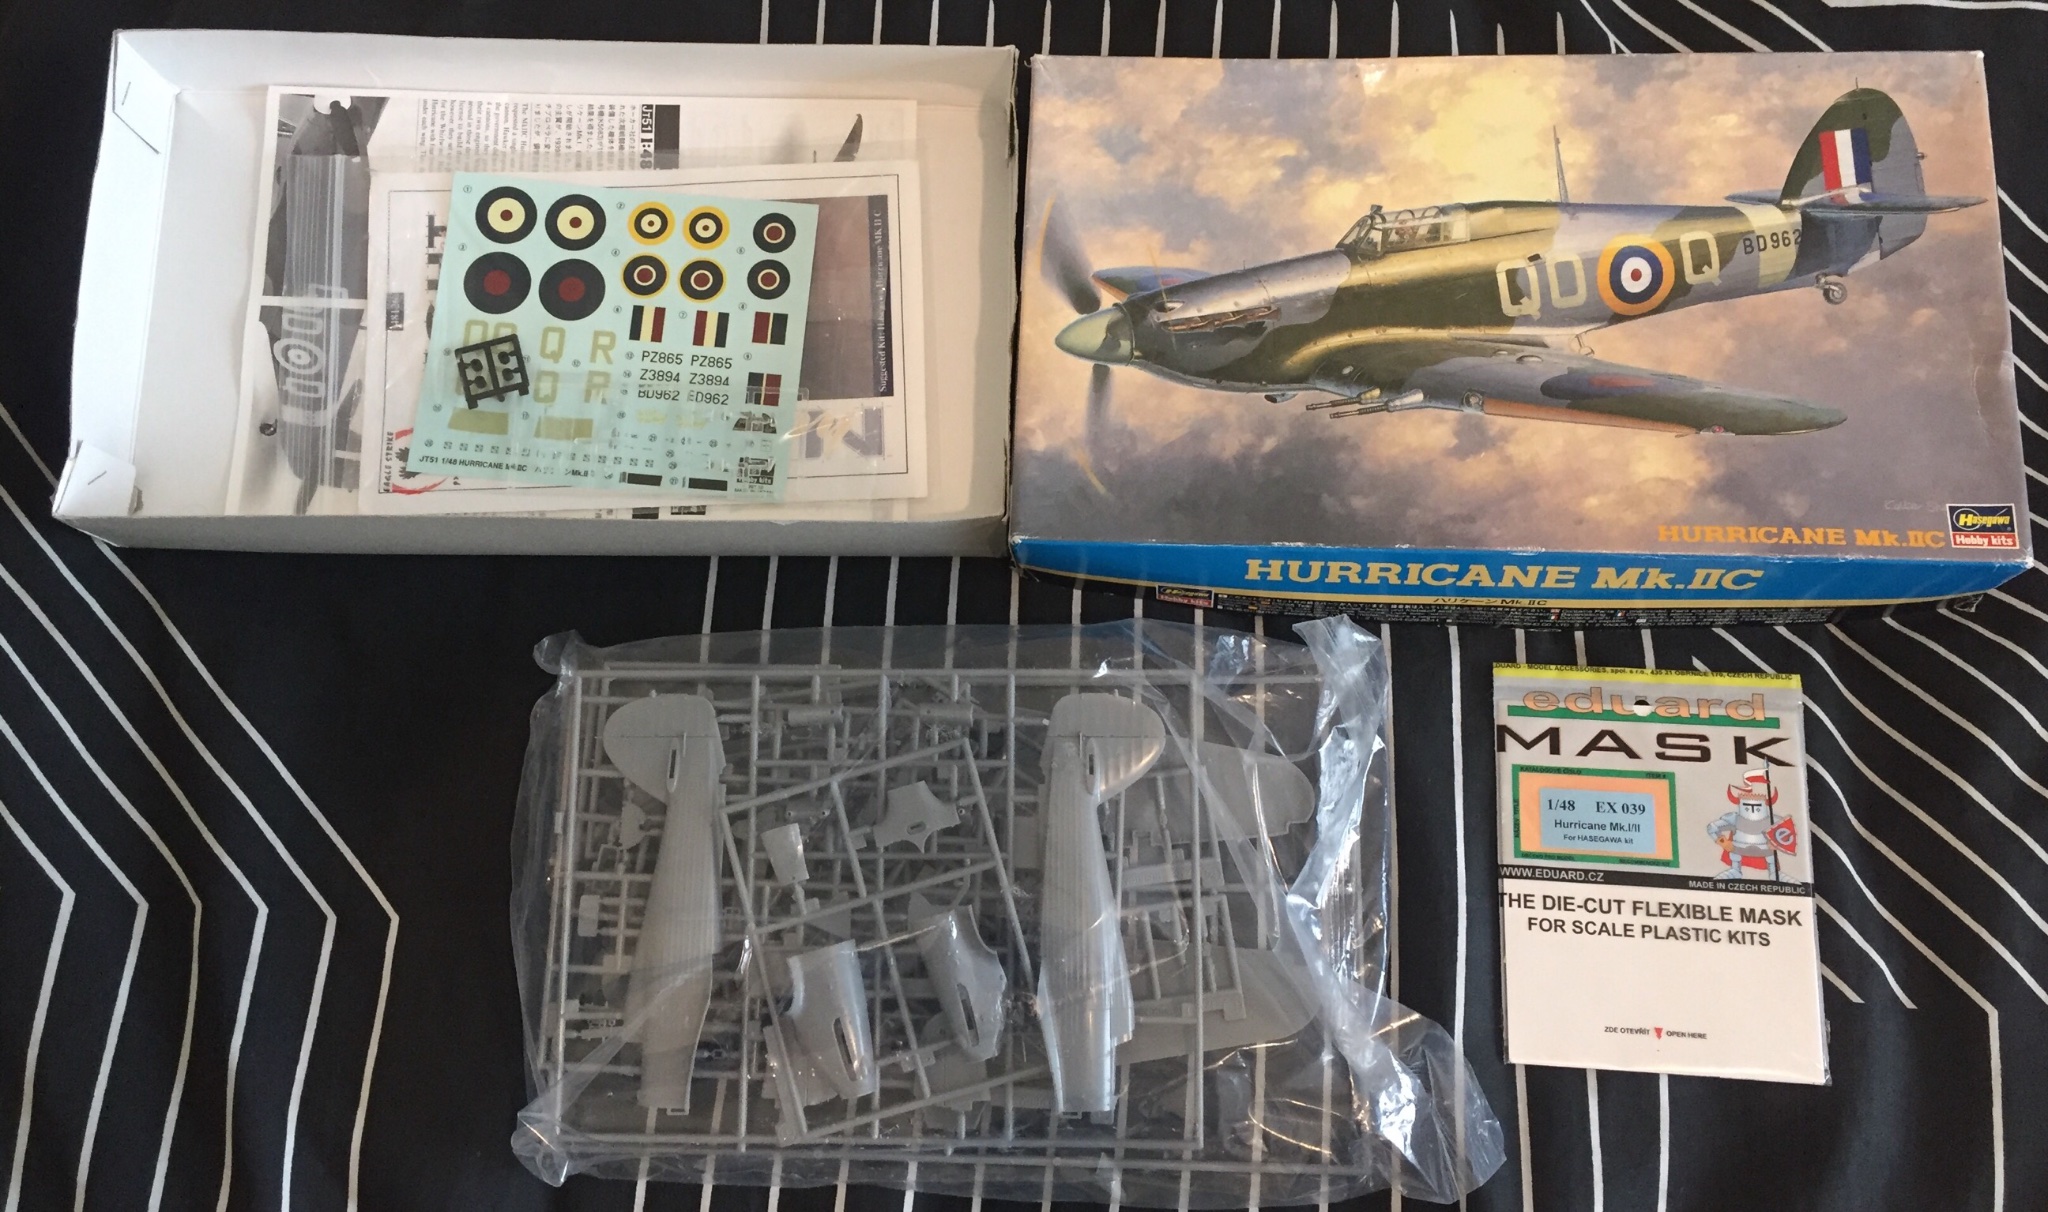
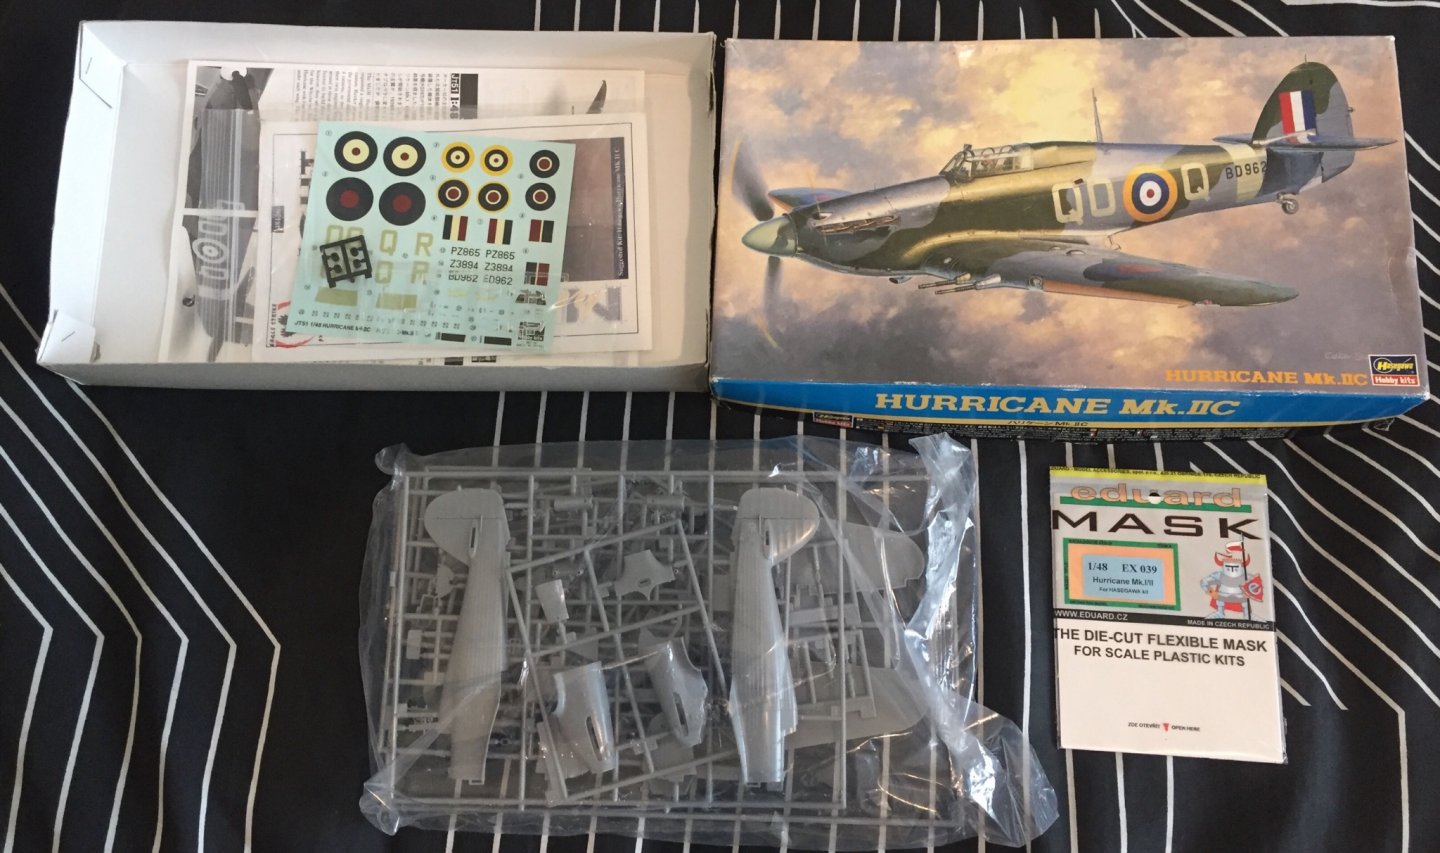
The kit has arrived. I’m in a busy spell so it will have to wait till I can get to her. it has some extra decals for night fighters and mask for the canopy which I’ve never seen or tried before. And the seatbelt is on the way from the manufacturer. After some looking up it seems they were the best company for seatbelts. seems the cockpit will be first made and it’s always an odd part as you can put so much work in and then close it up and it’s gone... anyway enjoy your day and I’ll be back with more shortly
- 107 replies
-
- 11
-
-
Thanks for that. I think a few kiwis flew the hurricane Mk II in the Pacific theatre. I’ve not done much research and some times you have to get proper serious or you get nowhere at all. Seeing I’ll only be loosely basing my build of what I find I’ll not investigate too much but I have learnt a lot.
-
That’s looking incredible!
-
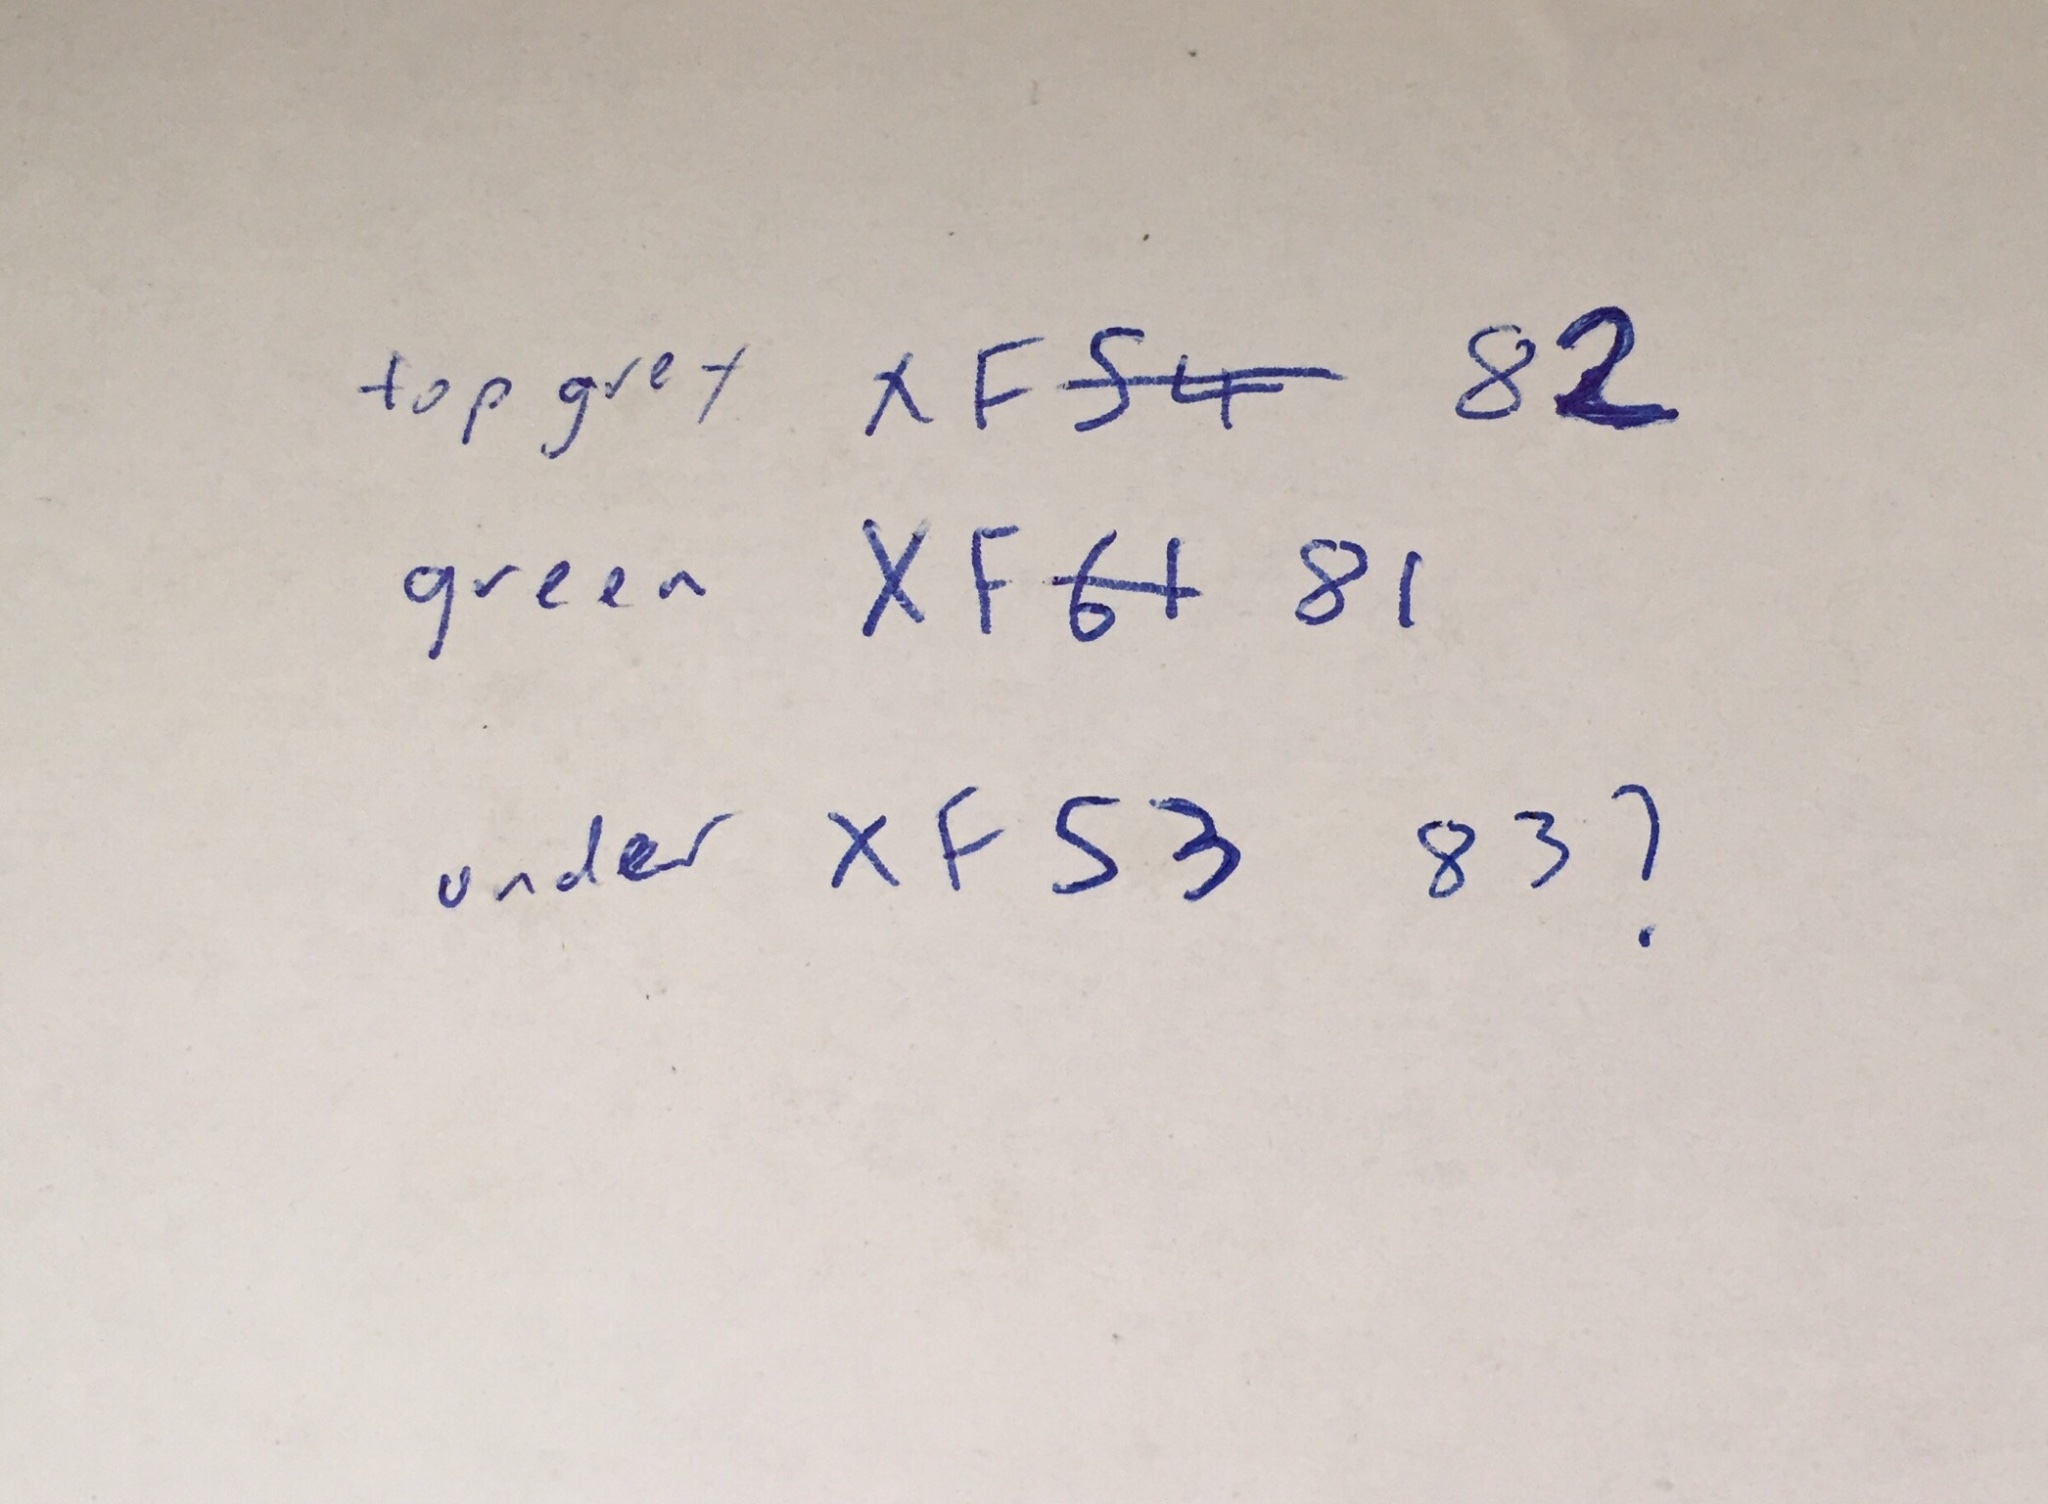
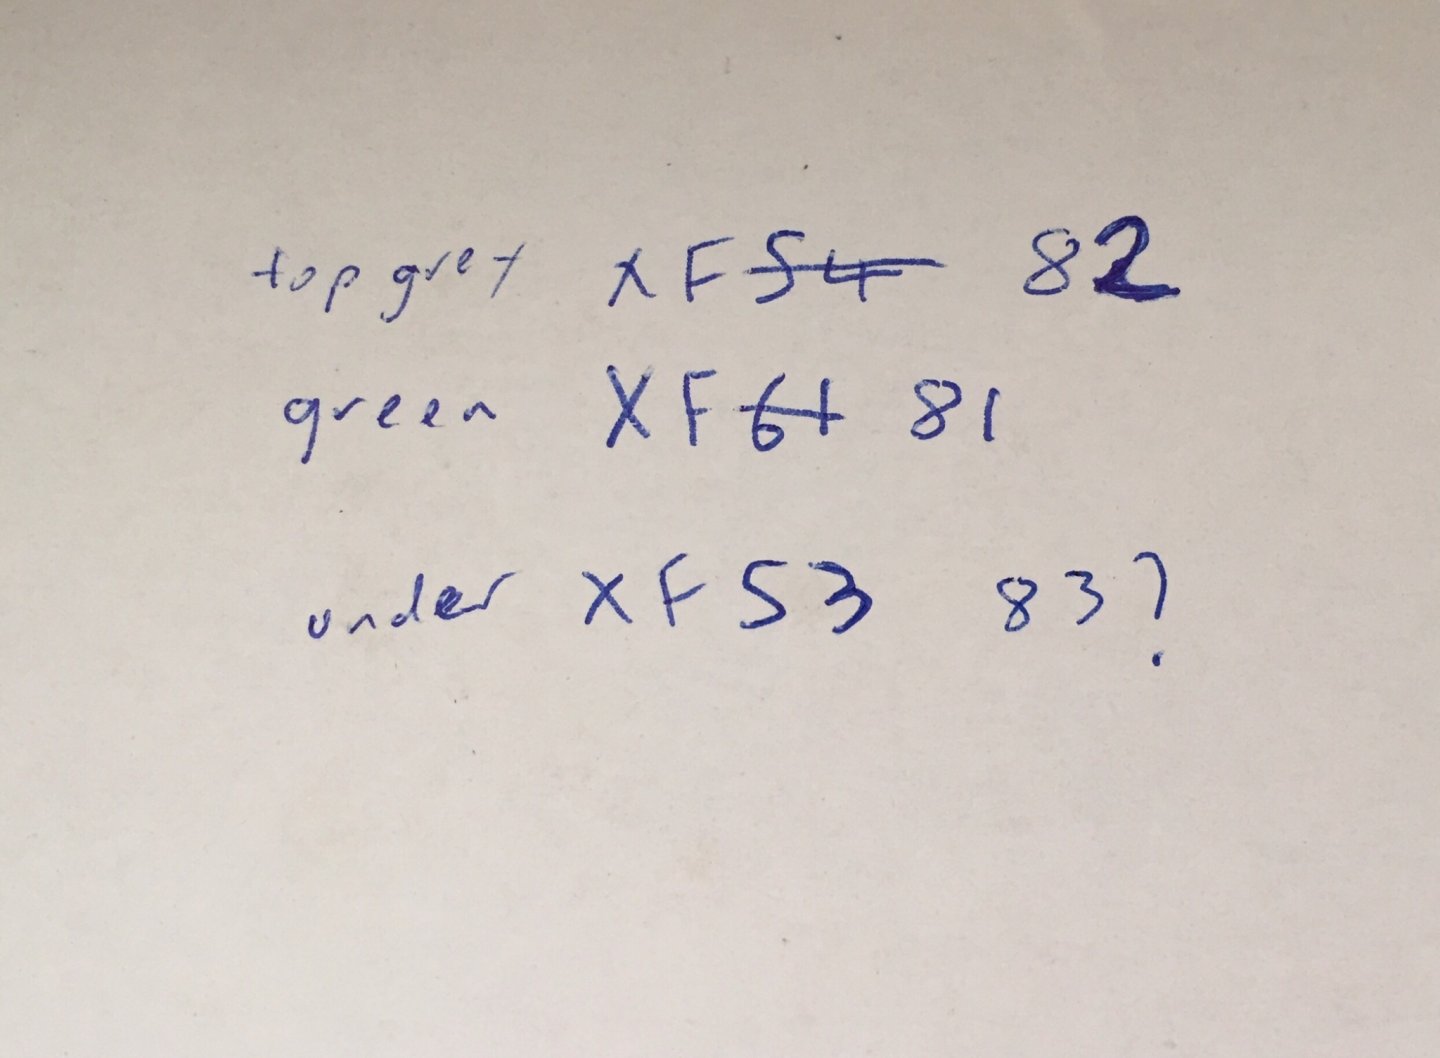
Seems everyone has found a seat! Hope you are comfortable... I also have made a few potato cannons and had a friend that used one to cast out his fishing line. They were good fun. Today the Tamiya paints arrived. Did lots of research and slowly my paint choices changed. Here is how my search went as I progressed. Of course every place had an idea that was correct until the next page had a totally different idea on the correct colours! Typical! So here is my selection, I’ve so many grey shades now I can adjust as needed. Done a lot of research and have learnt a lot. During WW2 NZ had the highest casualty rate of any nation in the commonwealth, with a population under 2 million, one out of every 150 New Zealanders died in the war. There were a few RNZAF squadrons operating under the RAF umbrella. But for now will just mention these bits of info about NZ squadrons based in the European theatre. 485 squadron: John Houlton from Christchurch while flying a spitfire MkIX is credited with shooting down the first plane during D-Day. 486 squadron: Started as a night fighters and moved to ground attack in Hurricanes (they flew Mk IIc later on also, so one of these planes will be my build I suspect) then upgraded to Typhoons and then Tempests and credited with downing 223 V1 doodlebugs. 487 squadron: Operation Jericho, where kiwis flew Mosquitoes low level to Amiens, France and did precision bombing to make holes in a Gestapo Prison wall so members of the French resistance could escape. Les Munro was a kiwi pilot in the RAF, he was actually born here in my city unfortunately he didn’t fly a hurricane Mk IIc otherwise would have been perfect!! Instead was apart of 617 squadron and flew a Lancaster bomber for the Dambusters mission. So a few flying kiwis about and hopefully soon I’ll have found the aircraft I will base my build off.

-
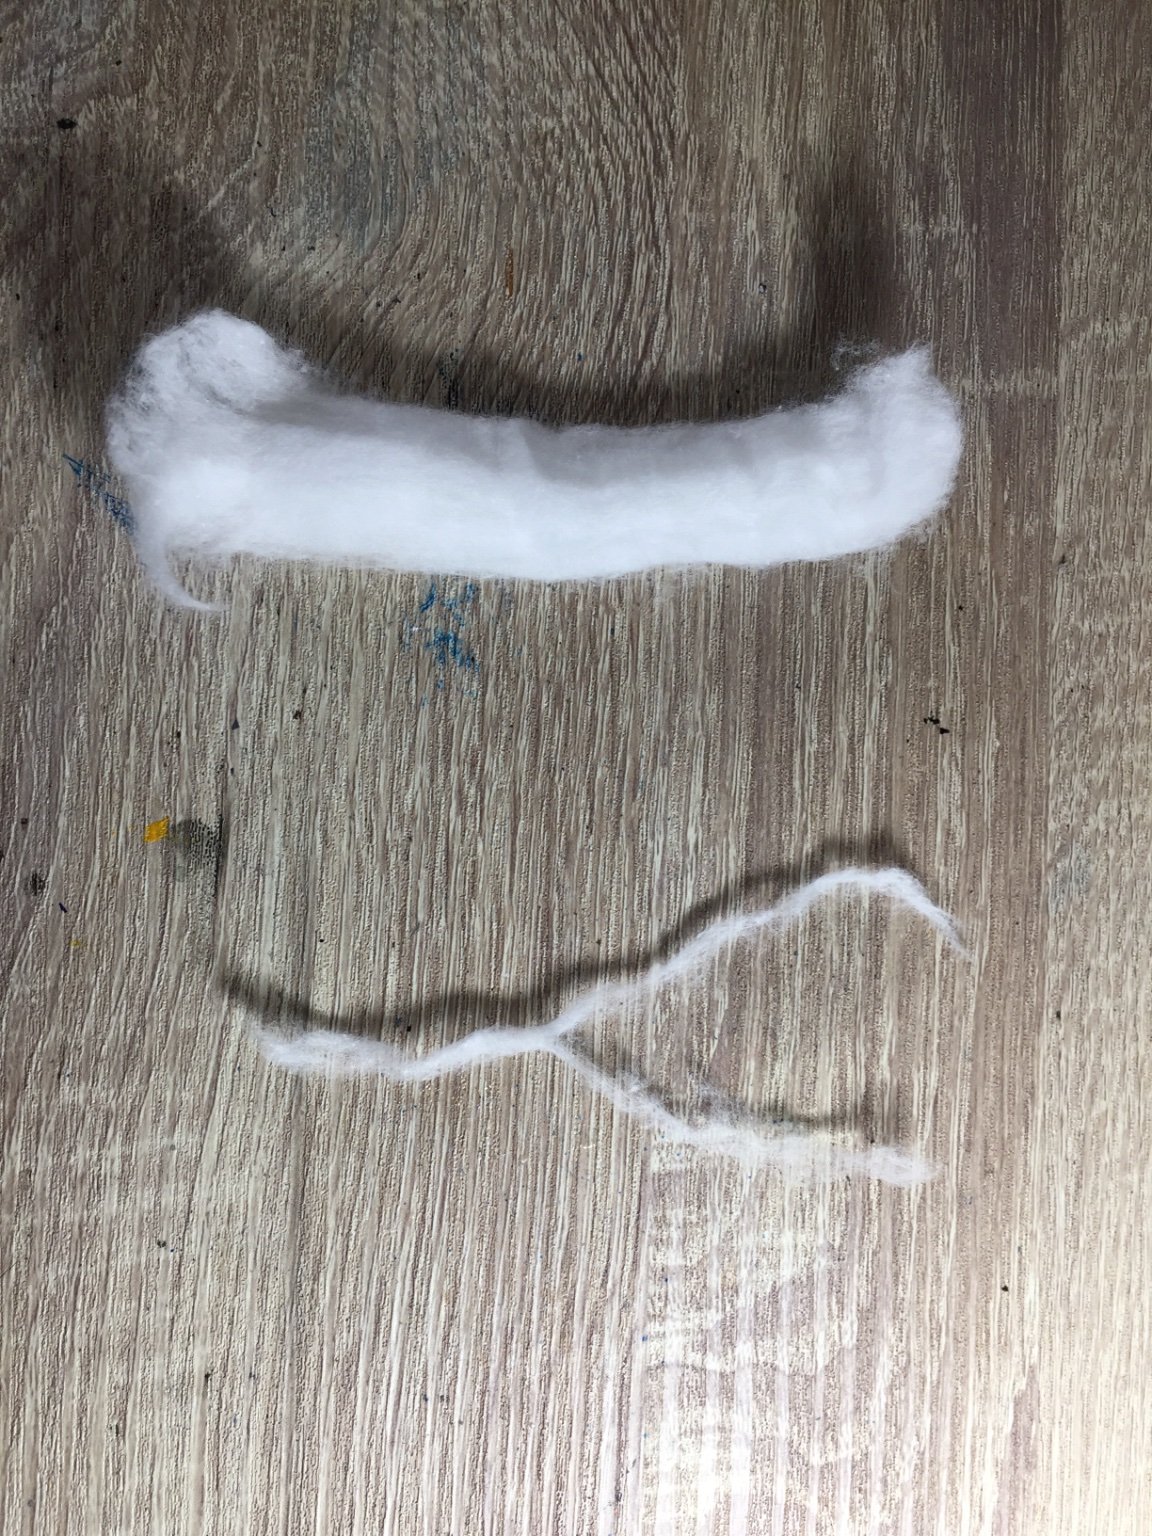
Decided to give my eyes a break from painting the crew. Got about 1/3 of them painted so far. one thing I’ve learnt from this build is just how huge a toothpick is! I finally made a start on the white water. Found my best looking cotton ball and pulled it apart. painted on some Gloss Medium and started on the boundary layer wash. from this ill add the wake and bow bow wave white water.


- 211 replies
-
- 7
-
-
- prince of wales
- tamiya
- (and 2 more)