MORE HANDBOOKS ARE ON THEIR WAY! We will let you know when they get here.
×


AndyW
-
Posts
118 -
Joined
-
Last visited
Content Type
Profiles
Forums
Gallery
Events
Everything posted by AndyW
-
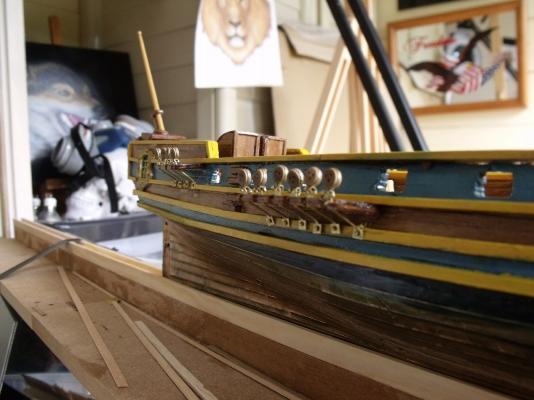
Dg yes that has become the goal, I have the victory sitting in the box, but determined to still make this a nice model. Medic, this kit was described as a good beginner kit, it isn't, it can lead to frustration, my instructions were very vague and not really in the self explanatory line. So many have made changes, and completed things my way as there was so many inconsistencies. With regards to channels, see the "sideboards" at 90 degrees to the hull, with the dead eyes mounted, these are the channels on this kit.
-
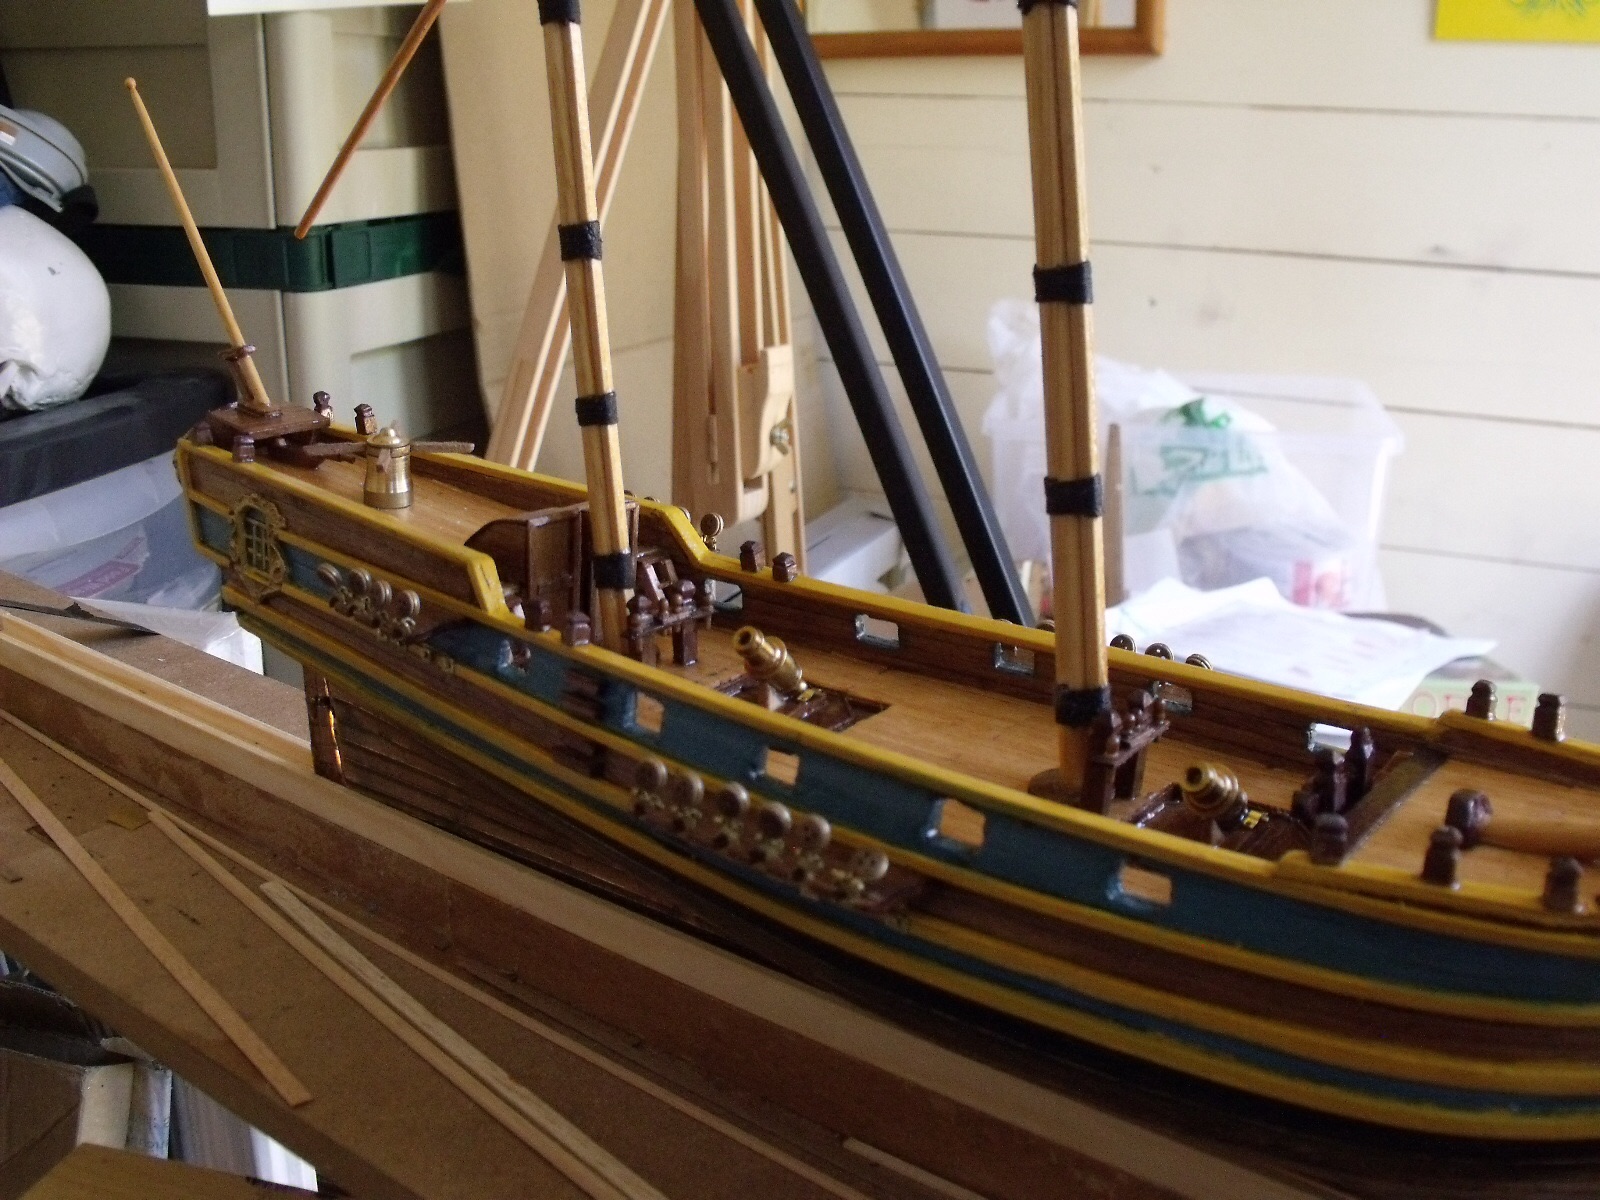
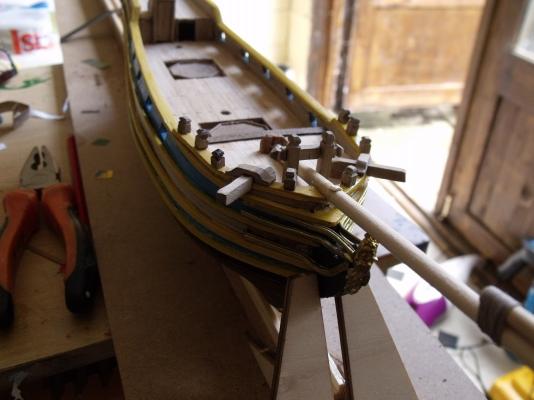
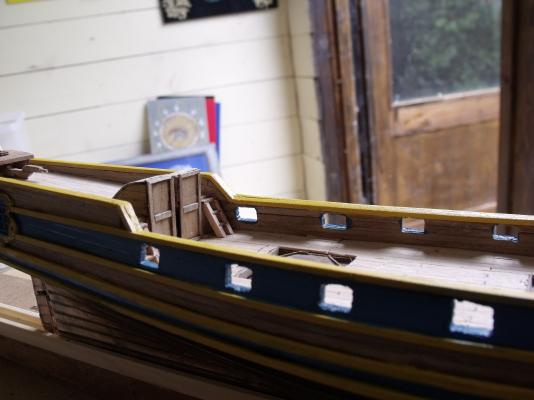
Morning to you both, been on a long haul flight so just catching up. I do have some updated pics , as I have started the rigging. For the channels I cheated lol. I removed the little back tabs as I found that if you left them on the brass holders for the eyes wouldn't fit, so basically the channels had to be flush to the hull. After removing the tabs/lugs, I shaped the back edge slightly to hull form, then fitted two small dowels to give extra strength. Beauty of this you now have, dowel, full back edge contact and contact along the length under the strake, so nice and solid when glued.
-
Haven't forgotten Paul on the codes.... Nice on the brass "rings" I was just going to buy brass shim and cut into strips, readily available in a extremely thin thickness has the advantage no ripple but you have to use adhesive.
- 708 replies
-
- 1
-

-
- victory
- constructo
- (and 1 more)
-
For the Amati? Wasn't a kit under the impression that a lot of kits supply "that will be alright" to most wouldn't give it a thought but you are being so carefull in making a beautiful model thought I'd give you a heads up, especially that fore end being prominent, but should have the codes (Cornwall Model) of what I have obtained so far, will put it in a PM mate.
-
Ah I've had the time to study (nearly done on the spreadsheet for lines blocks an collars), Caldercraft rigging is slightly over sized and heavy looking (I have some that I am using on another model so not wasted). Best I have seen tbo unless you are using a ropewalk are the Amati rigging threads, that's what I am changing out for. The mainstay is the largest rope on the ship (excluding the anchor ropes), you need a contrast between the mainstay and the main back stay, which you then need a contrast between the back stay and the shrouds, have seen a Helier 1:100 scale not Dafi's using these sizes, there isn't much of a difference to ours, re rigging sizing, but the contrast they give is well worth the effort.
-
Paul have you moved away from the two rigging diameters supplied? For what it's worth Anchor Hawse 2mm Main mast Stay 1.6mm Main mast back stay 1.3 mm Rough calculations and figures from else where show at least 100mtrs of 1mm.
-
Another stunning addition.
-
I have been so tired but actually have the Longridge book with me. He states that actually on the Victory it "becomes obvious that there are insufficient belaying points" he states that if you were to add all the spiritsails and stuns ails you would have over an extra hundred lines to accommodate." He speculates that two or more lines must have been belayed at the same point, but again expresses how this must interfere with efficient operation. "A certain number of lines, particularly the of the lighter gear of top gallants and royals, were belayed at the top" The book includes three belaying plans that he used in his model, also a neat diagram for belaying in awkward positions. Edit : fore rack 9 pins, just aft fore mast 17 pins. Quarter deck mounted on bulwarks Port and Stbd, fore end rack 5 pins, then rack of 7 pins, same either side, stag horns for the main sheet, blocks for the middle stay sail halyards, kevels for the topsail halyards. Poop deck rack of 7 pins, an assortment of vangs, cleats and blocks. Not forgetting predominantly on the poop deck but there are others and that is cleats on shrouds.
-
Don't have it with me at the moment, but there is a section about belaying in the Longbridge book.
-
To be honest looking awesome mate, think they look spot on
-
Beautiful job on the mast detail Paul.
-
Beautiful reworking Paul Daren't tell you about the spar and mast detail
-
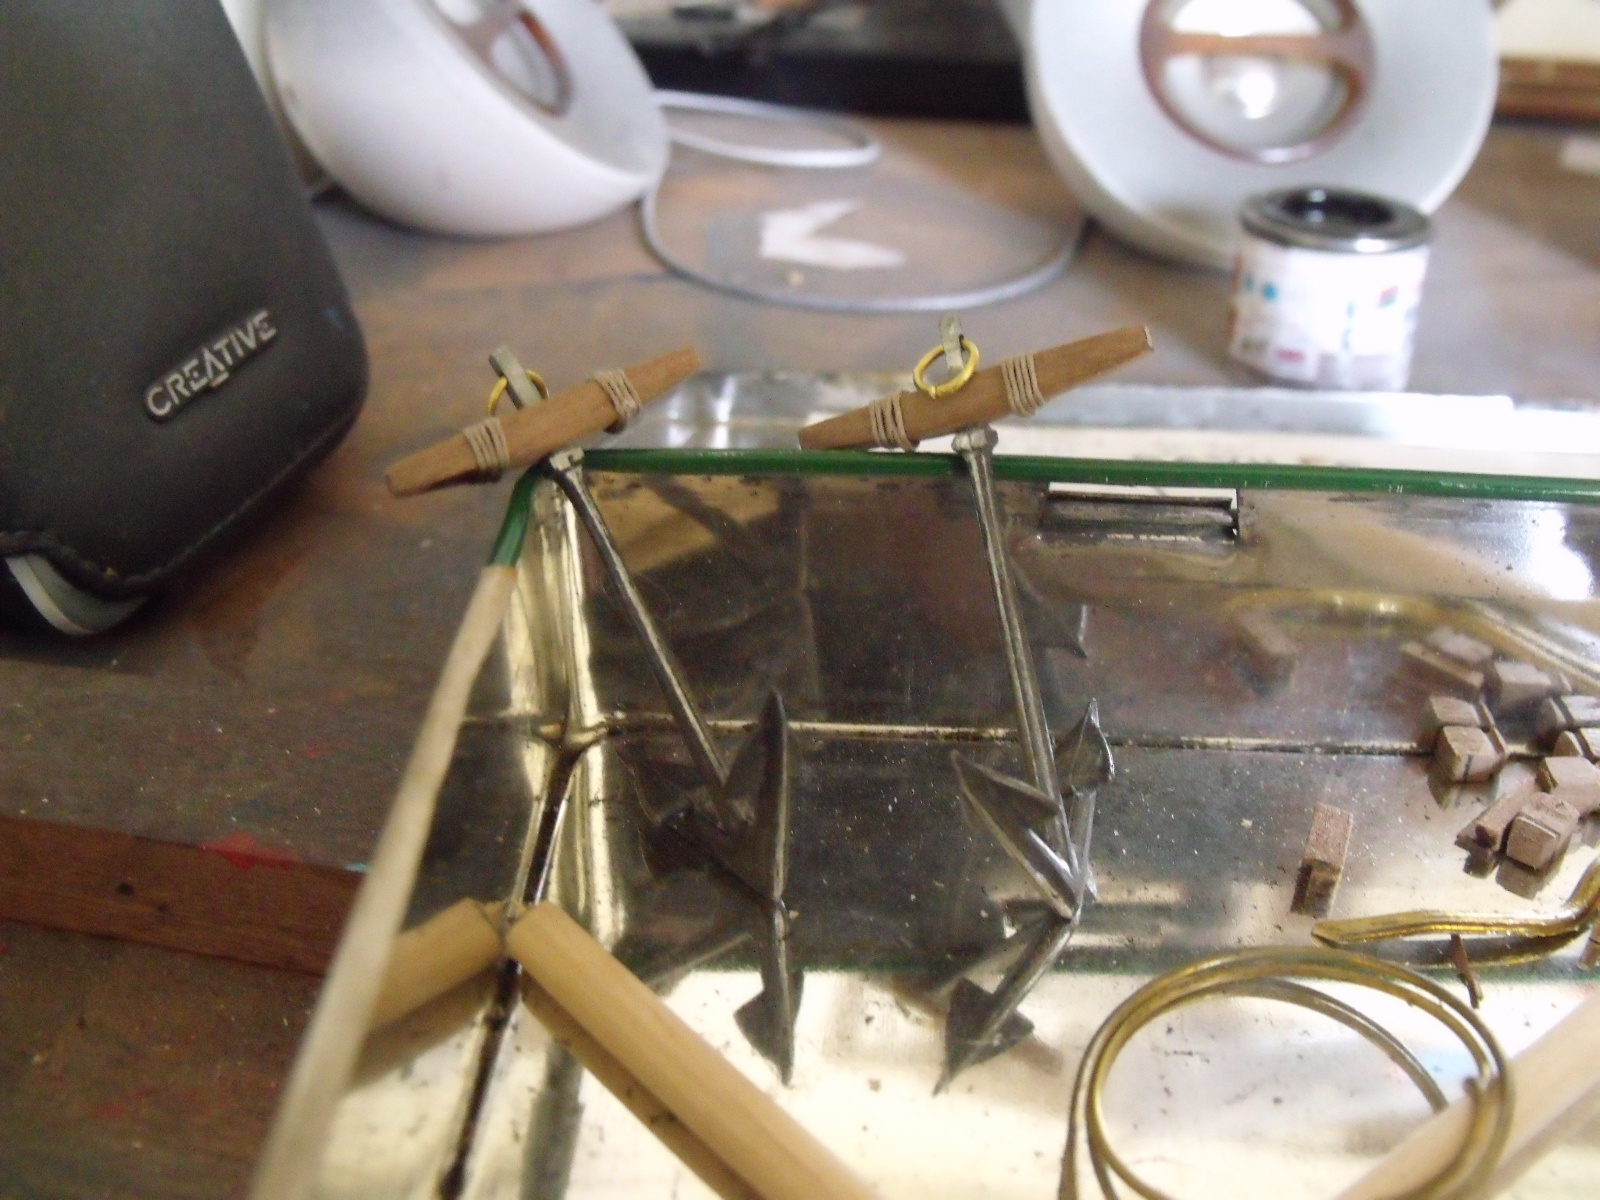
McKay book the bower scale is wrong, it is actually 1/96, means the kit supplied anchor is 14 mm approx short, if you look on page 41 of the anatomy 100 gun ship book you see when catted the bower goes from under the cat head to where you have your nice new palm fitted. The size should be 68/69 mm, kit anchor is 54mm approx. Have the sizes for the stream and two kedge anchors. Gong to use 2mm rope for the hawse ropes as well. The two sheet anchors as illustrated, the stream anchor is lashed to one of the sheet anchors, the largest kedge lashed to the other sheet anchor. Debate on where the smallest kedge was stored, probably in a boat, but might leave this one off. As for saw, jewlers saw is superb like a mini bow saw, hand scroll saw superb for shaping and cutting small blocks.
-
That is looking fine indeed Paul. Well got my hands on the kit today, 7 anchors on order tomorrow.
-
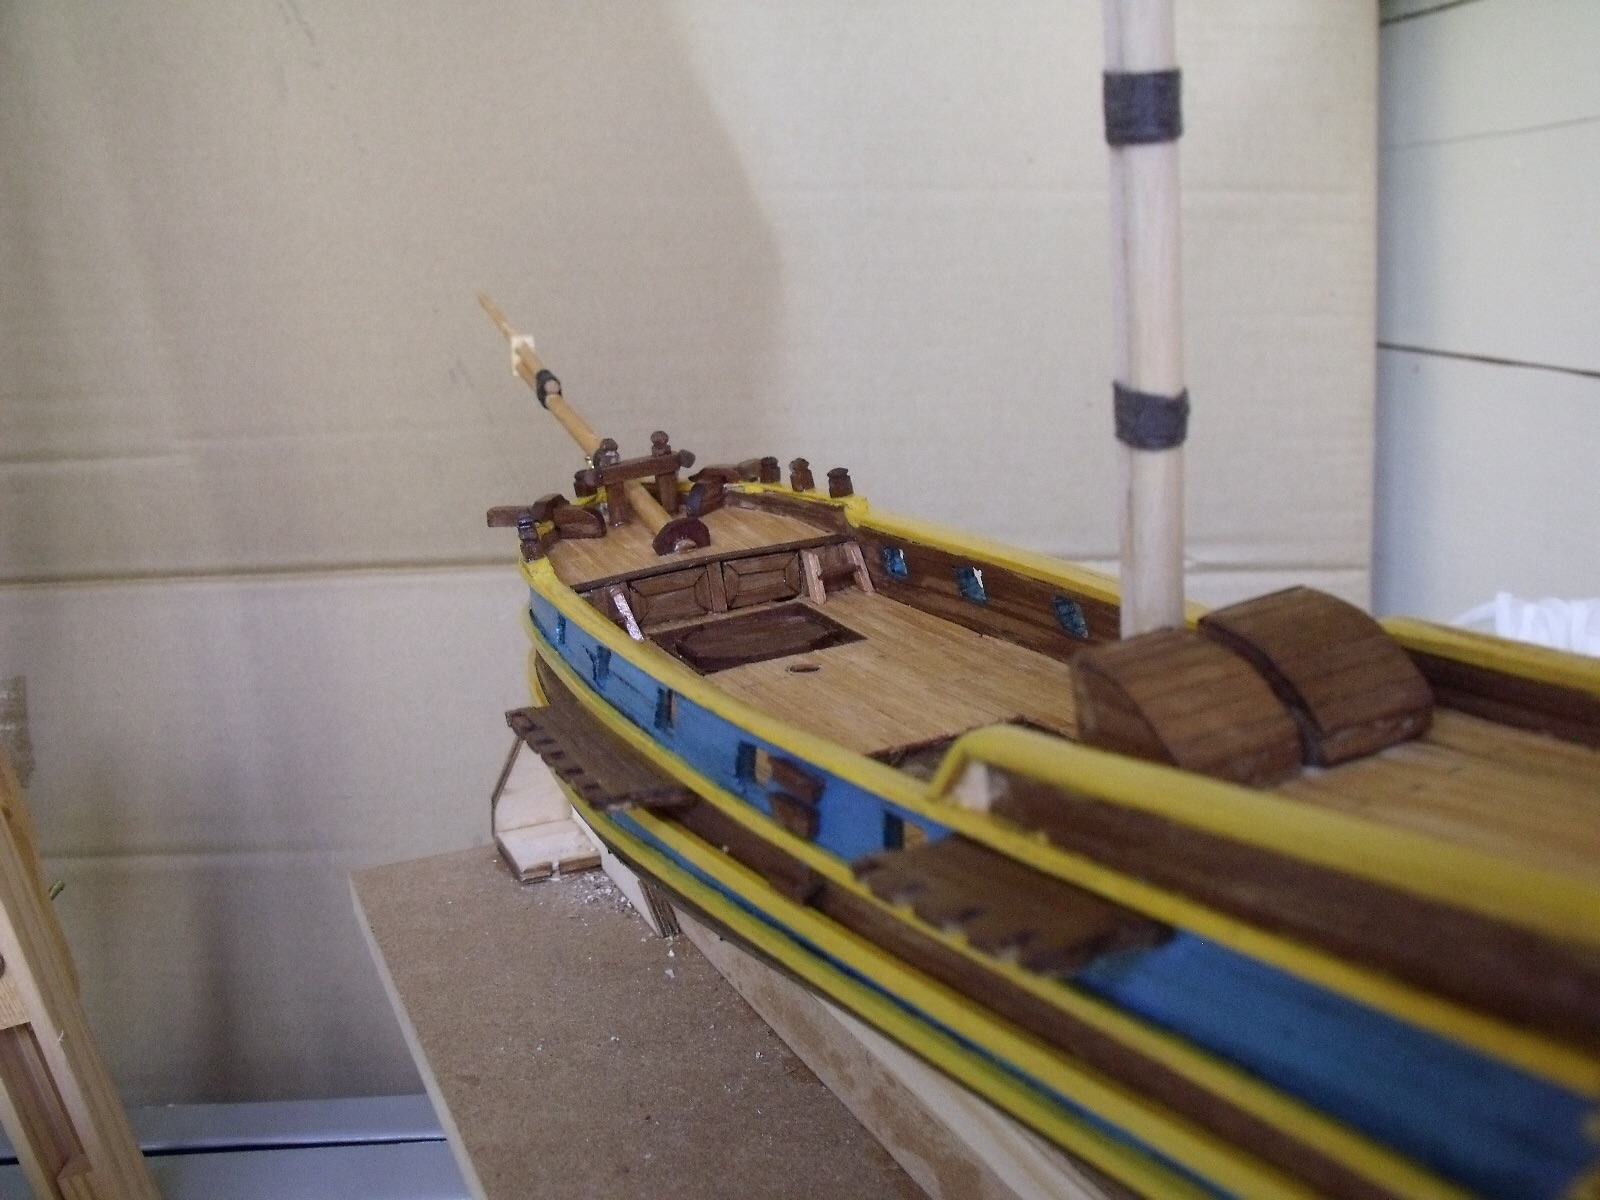
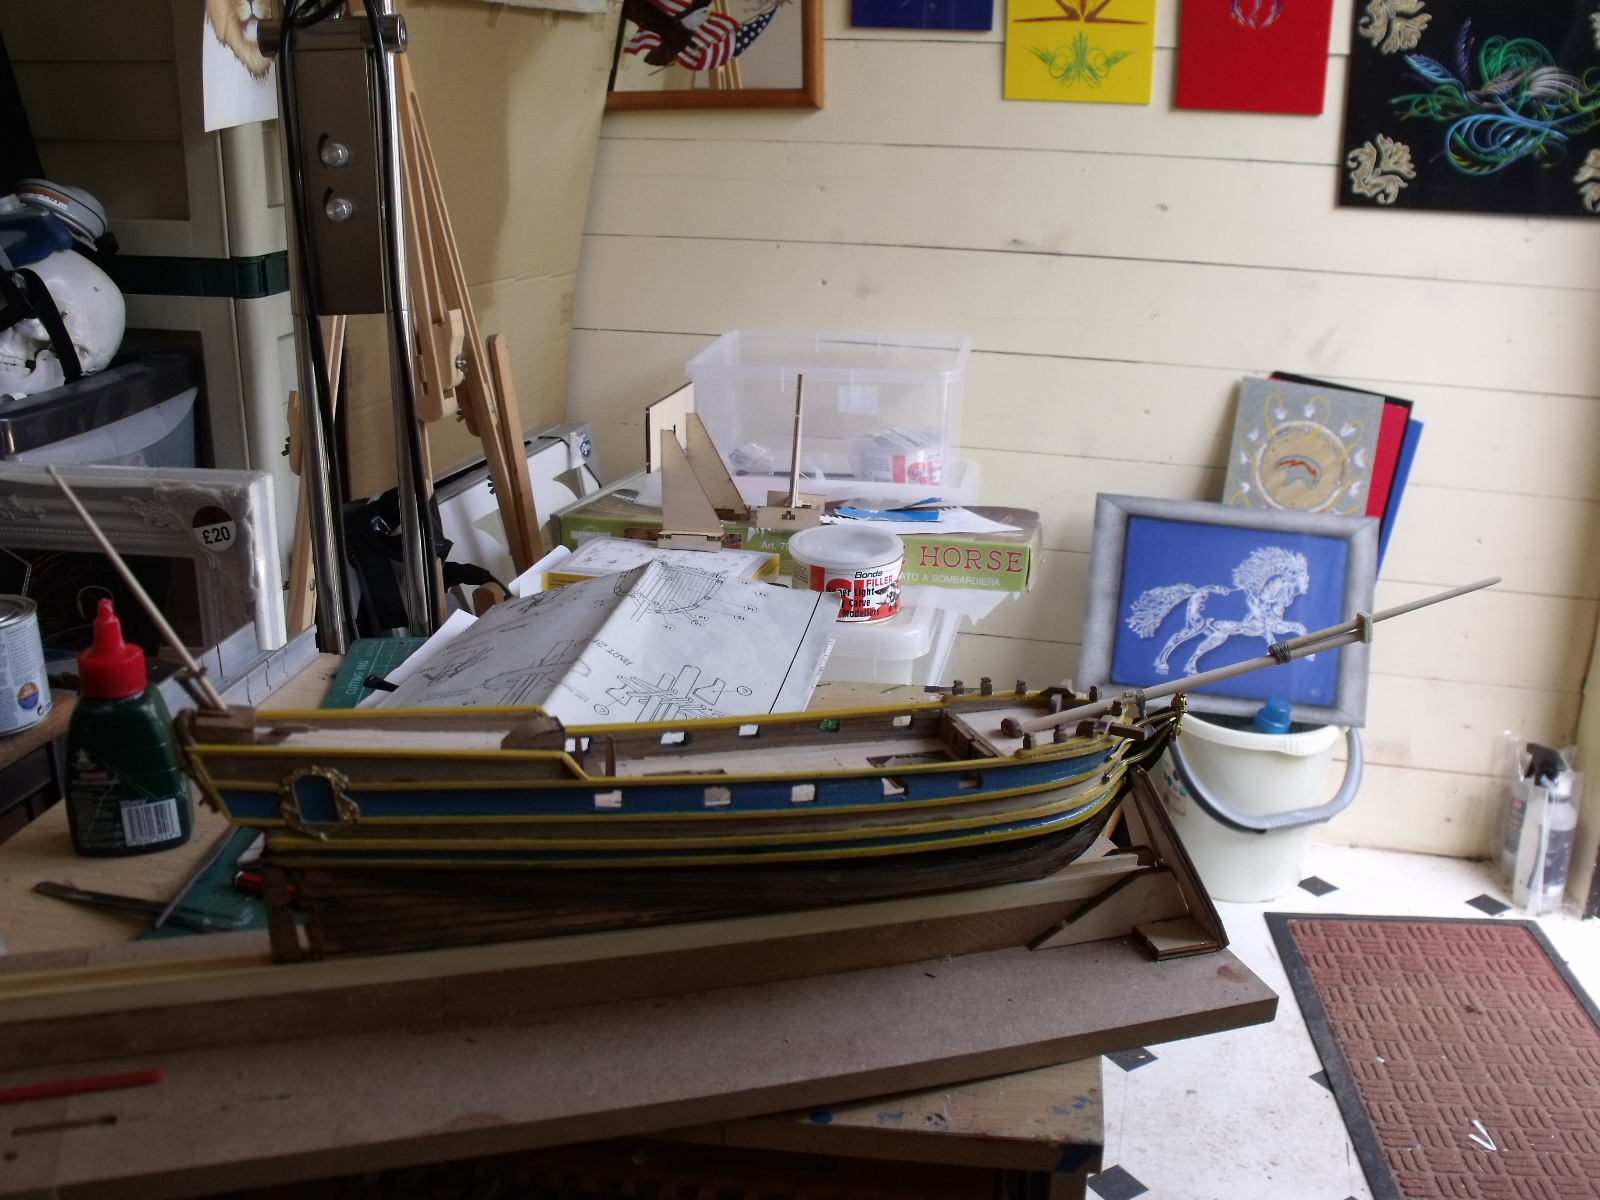
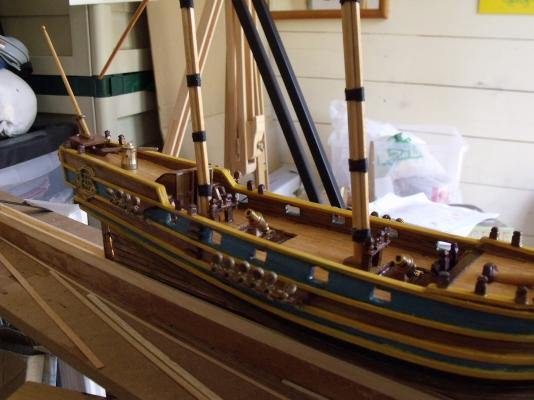
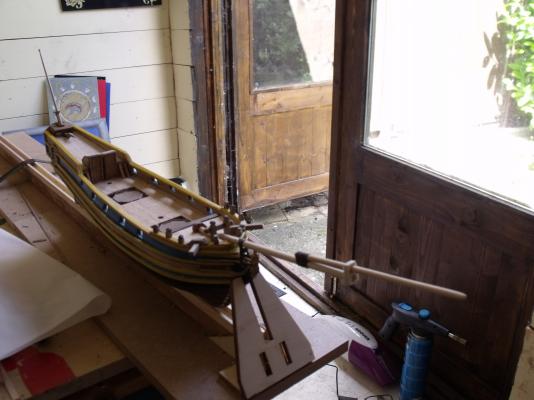
Hi, yes it does make for good practice, as for any accuracy think a lot of this model was done from imagination by Sergal. Apparently, when she was captured from the French she was a three masted 18 gun frigate, but because of the 18 guns Royal Navy designation was a sloop, she was then converted to a bomb vessel, back to a sloop, then a bomb vessel again then renamed. As to when the third mast was removed or if it was. Tried to look up the Thunder option, then seriously considered ripping a lot of it apart and building the Granado. But have decided to see her through to the bitter end. Channels fitted. Add dead eyes, deck fittings, some satin varnish,


-
That's a shame a nice shape to them.
-
Yeah it was the storage location, I wasn't sure of.
-
Re the stud sail booms/yards, obviously these are for the mainmast, noticed in the drawings ones for the foremast as well, but no where evident of where they attach or are stowed. Another good tip on the davits.
-
Beautiful Paul, is that barrels you have been buying?
-
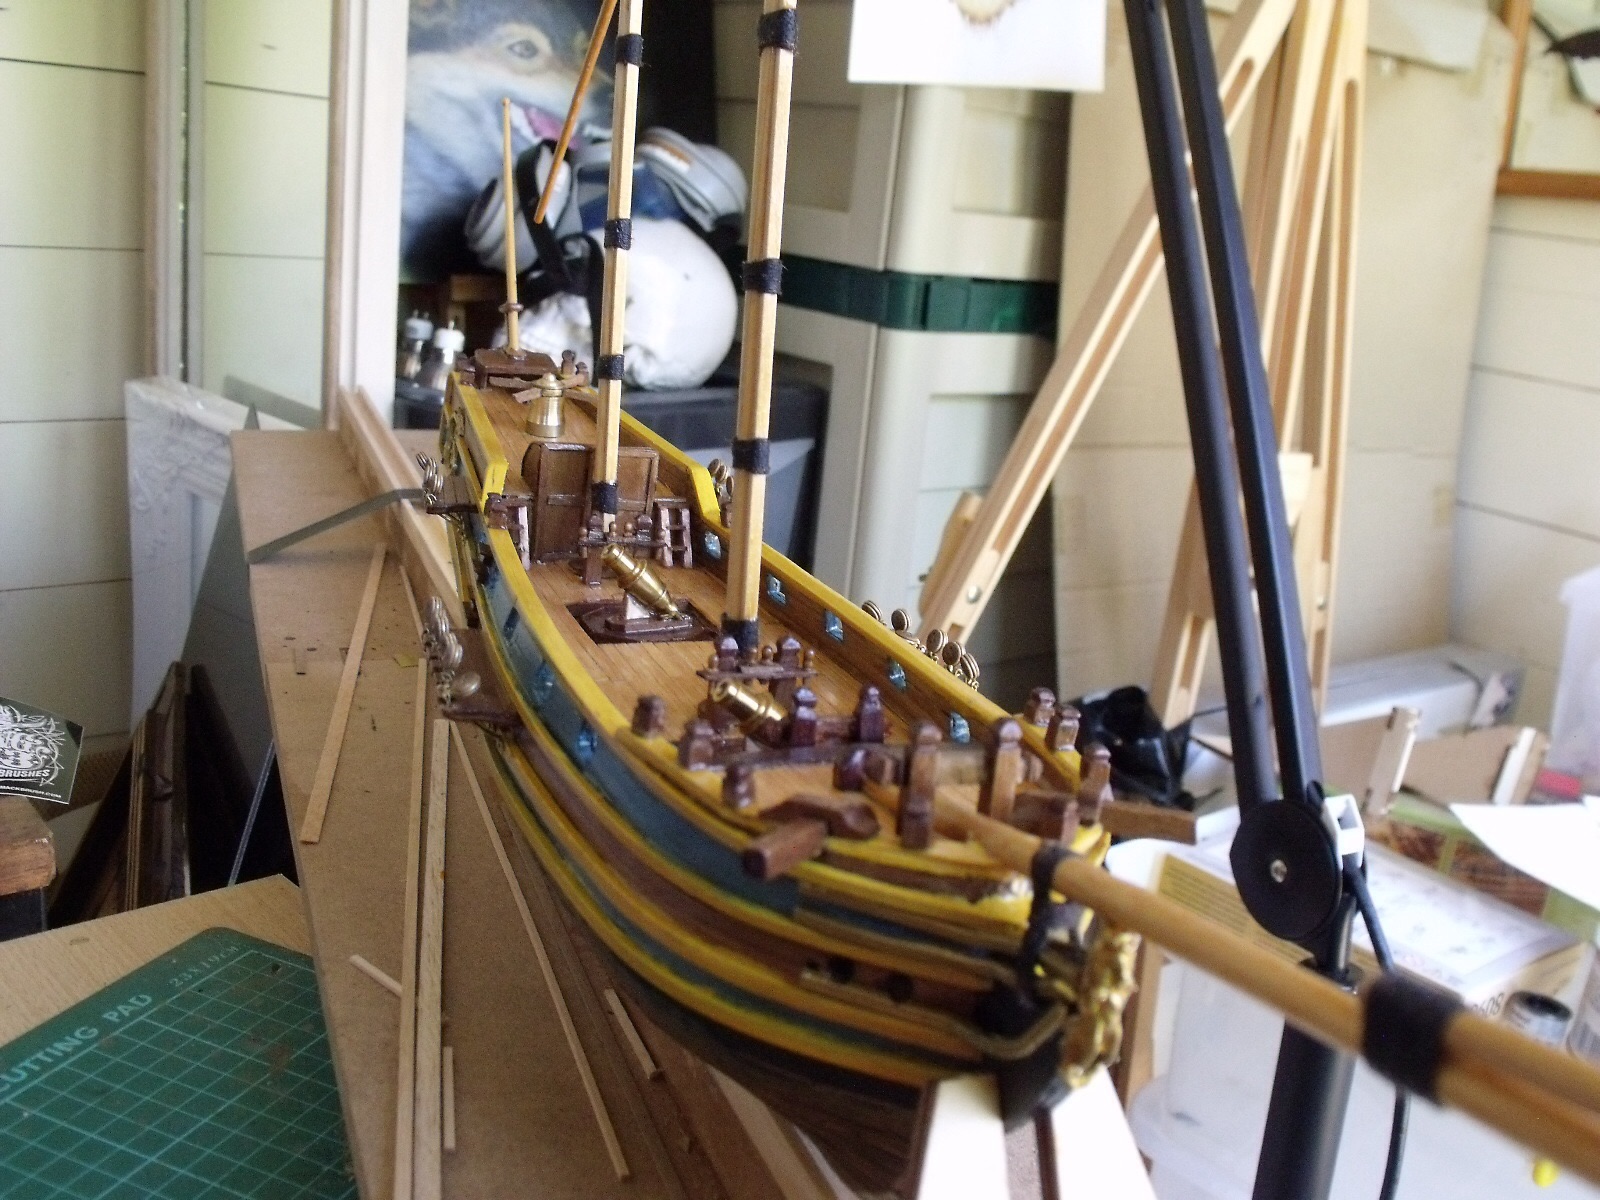
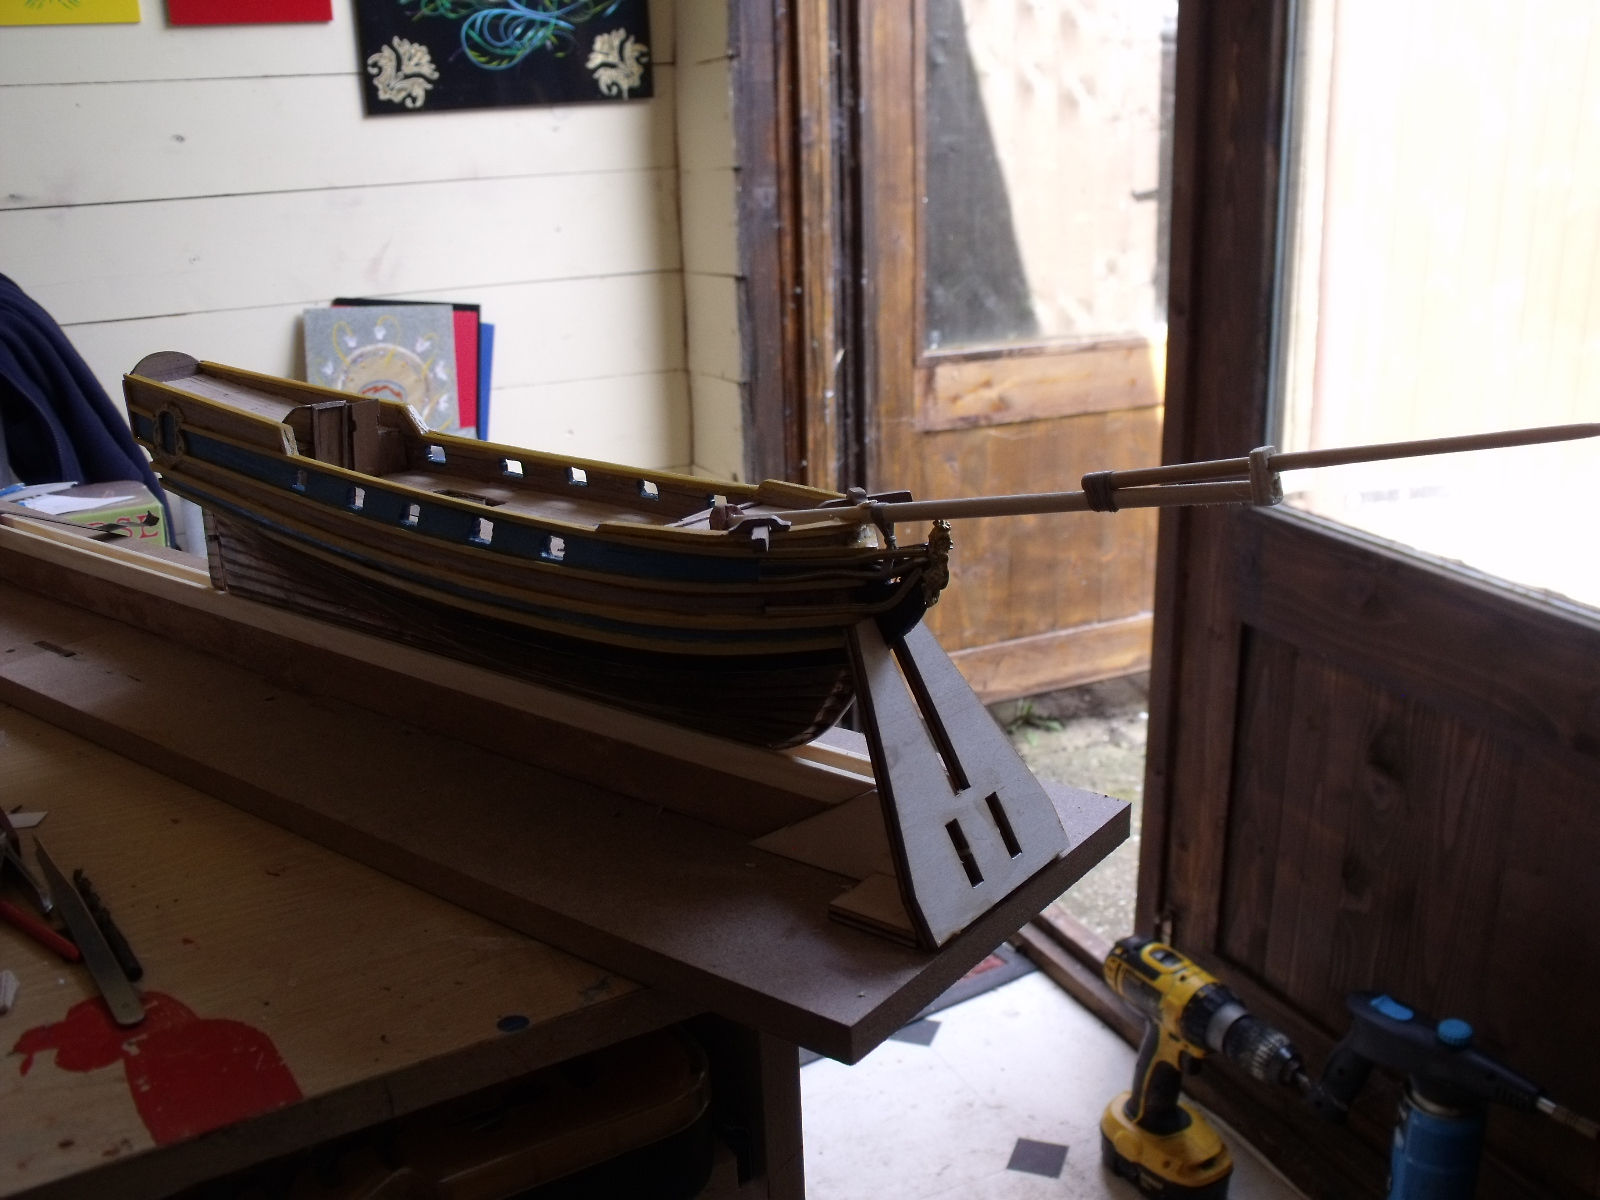
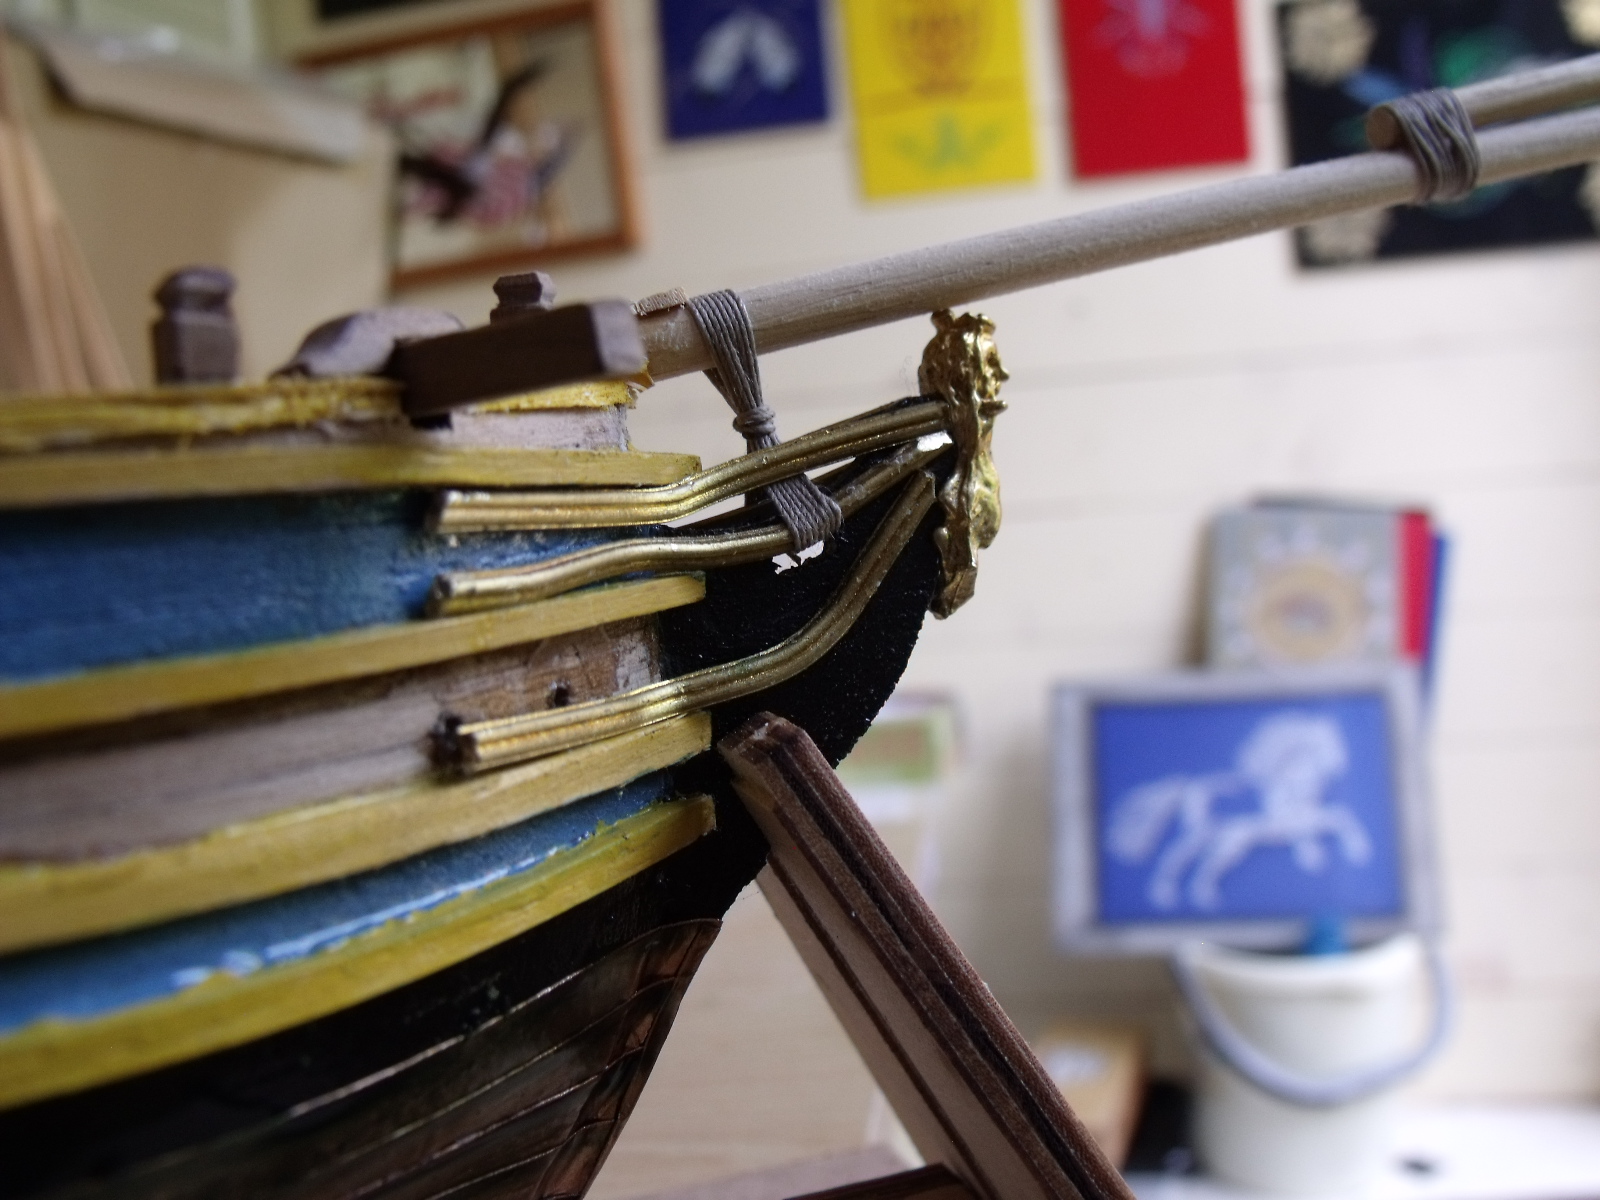
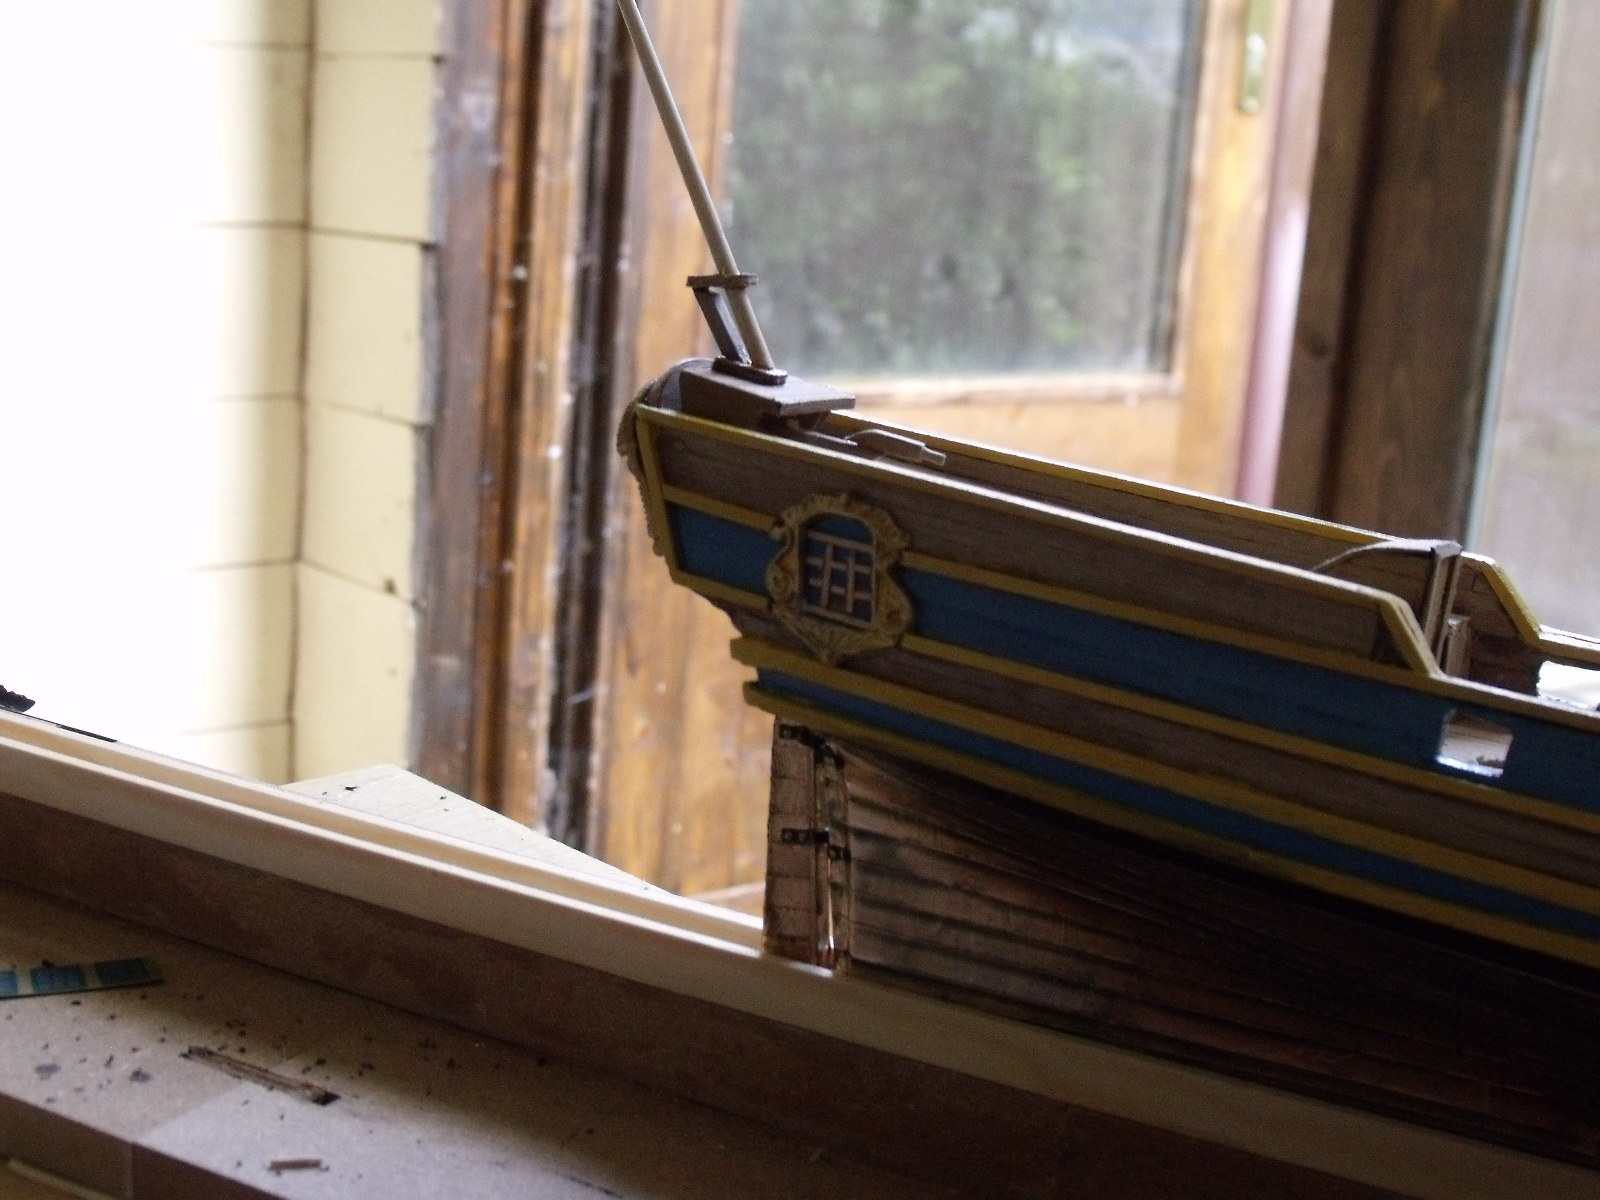
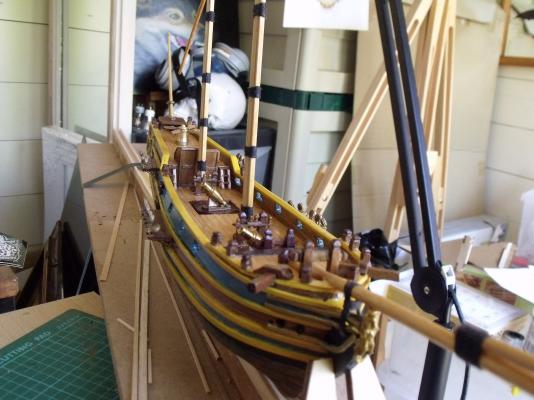
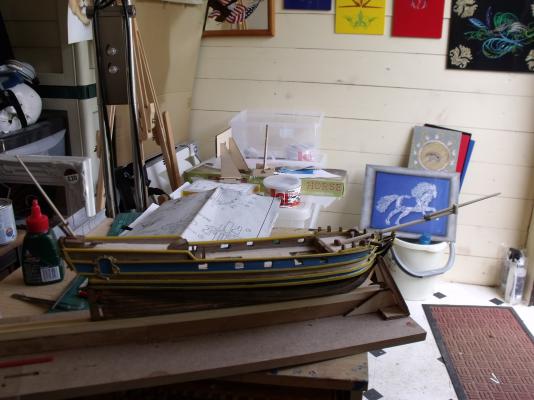
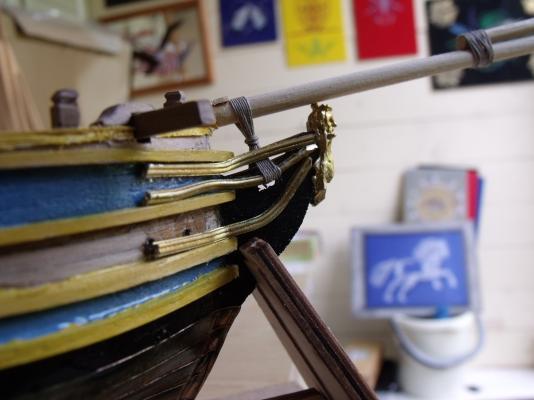
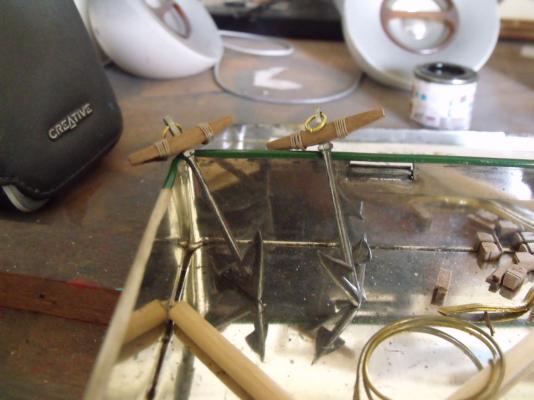
like a bus, none for a while then all at once Added the bowsprit, gammoning and lashing. Then some other pieces of furniture. Then had a think, as the plans showed the gammoning applied in two different ways. Meanwhile I played with the anchors. I tried the supplied etched inserts wor the windows and hated them so trying scratch built arrangement instead. After a rethink and to add more contrast to the rigging reworked the gammoning and the brass, to something more satisfying. A bit more on deck features


-
Nice on the anchors Paul.
-
Looks right now tucked under the top wale, this is as shown in Mackays book. Allows that sheet block line to be kept clear of the gunports. Studying pics of the old girl think there are just the ring bolts present for hooking that single block to and for the sheet line. After reaving passes through the bulwark and is belayed.
- 708 replies
-
- 1
-
-
- victory
- constructo
- (and 1 more)
-
Lol never mind the little piece of magic on the table, what's hiding round the corner?
-
Though tricky seems the way to go stronger rails when pinned and glued.
-
No Constructo standard Black is Green, go figure. Even if you buy replacement thread its green. Going for Amati threads, 0.1, 0.25, 0.5, 0.75, 1.0, 1.3, 1.6 and 2mm. Don't need a lot of the last three.