AndyW
-
Posts
118 -
Joined
-
Last visited
1 Follower

Recent Profile Visitors
898 profile views


-
 GrandpaPhil reacted to a post in a topic:
HMS Racehorse by AndyW - Sergal - Scale 1:48
GrandpaPhil reacted to a post in a topic:
HMS Racehorse by AndyW - Sergal - Scale 1:48
-
GrandpaPhil reacted to a post in a topic:
HMS Racehorse by AndyW - Sergal - Scale 1:48
-
GrandpaPhil reacted to a post in a topic:
HMS Racehorse by AndyW - Sergal - Scale 1:48
-
GrandpaPhil reacted to a post in a topic:
HMS Racehorse by AndyW - Sergal - Scale 1:48
-
GrandpaPhil reacted to a post in a topic:
HMS Victory by AndyW - Constructo - 1:94 Scale
-
GrandpaPhil reacted to a post in a topic:
HMS Victory by AndyW - Constructo - 1:94 Scale
-
popeye the sailor reacted to a post in a topic:
HMS Victory by knotty74 - Billing Boats - Scale 1:75 - first ever ship build, wood or otherwise
-
Paul0367 reacted to a post in a topic:
HMS Victory by Paul0367 - Constructo - Scale 1:94 - First wooden ship build
-
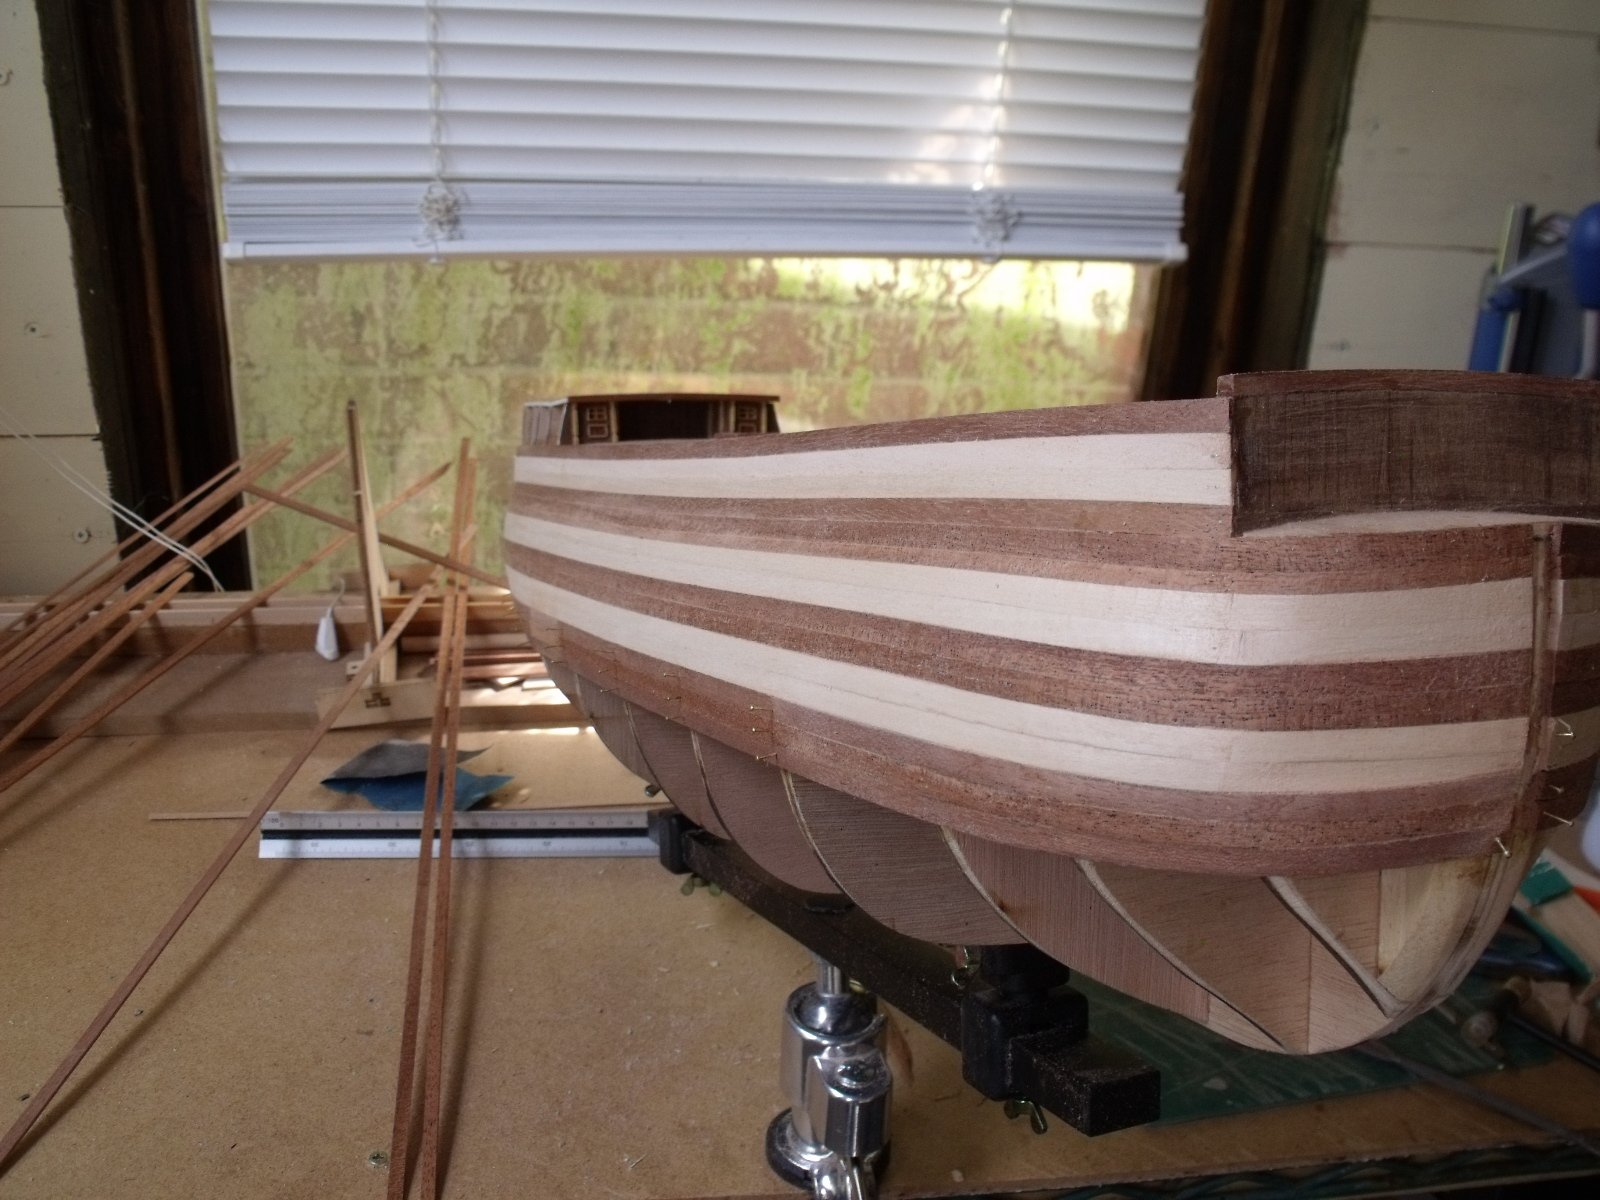
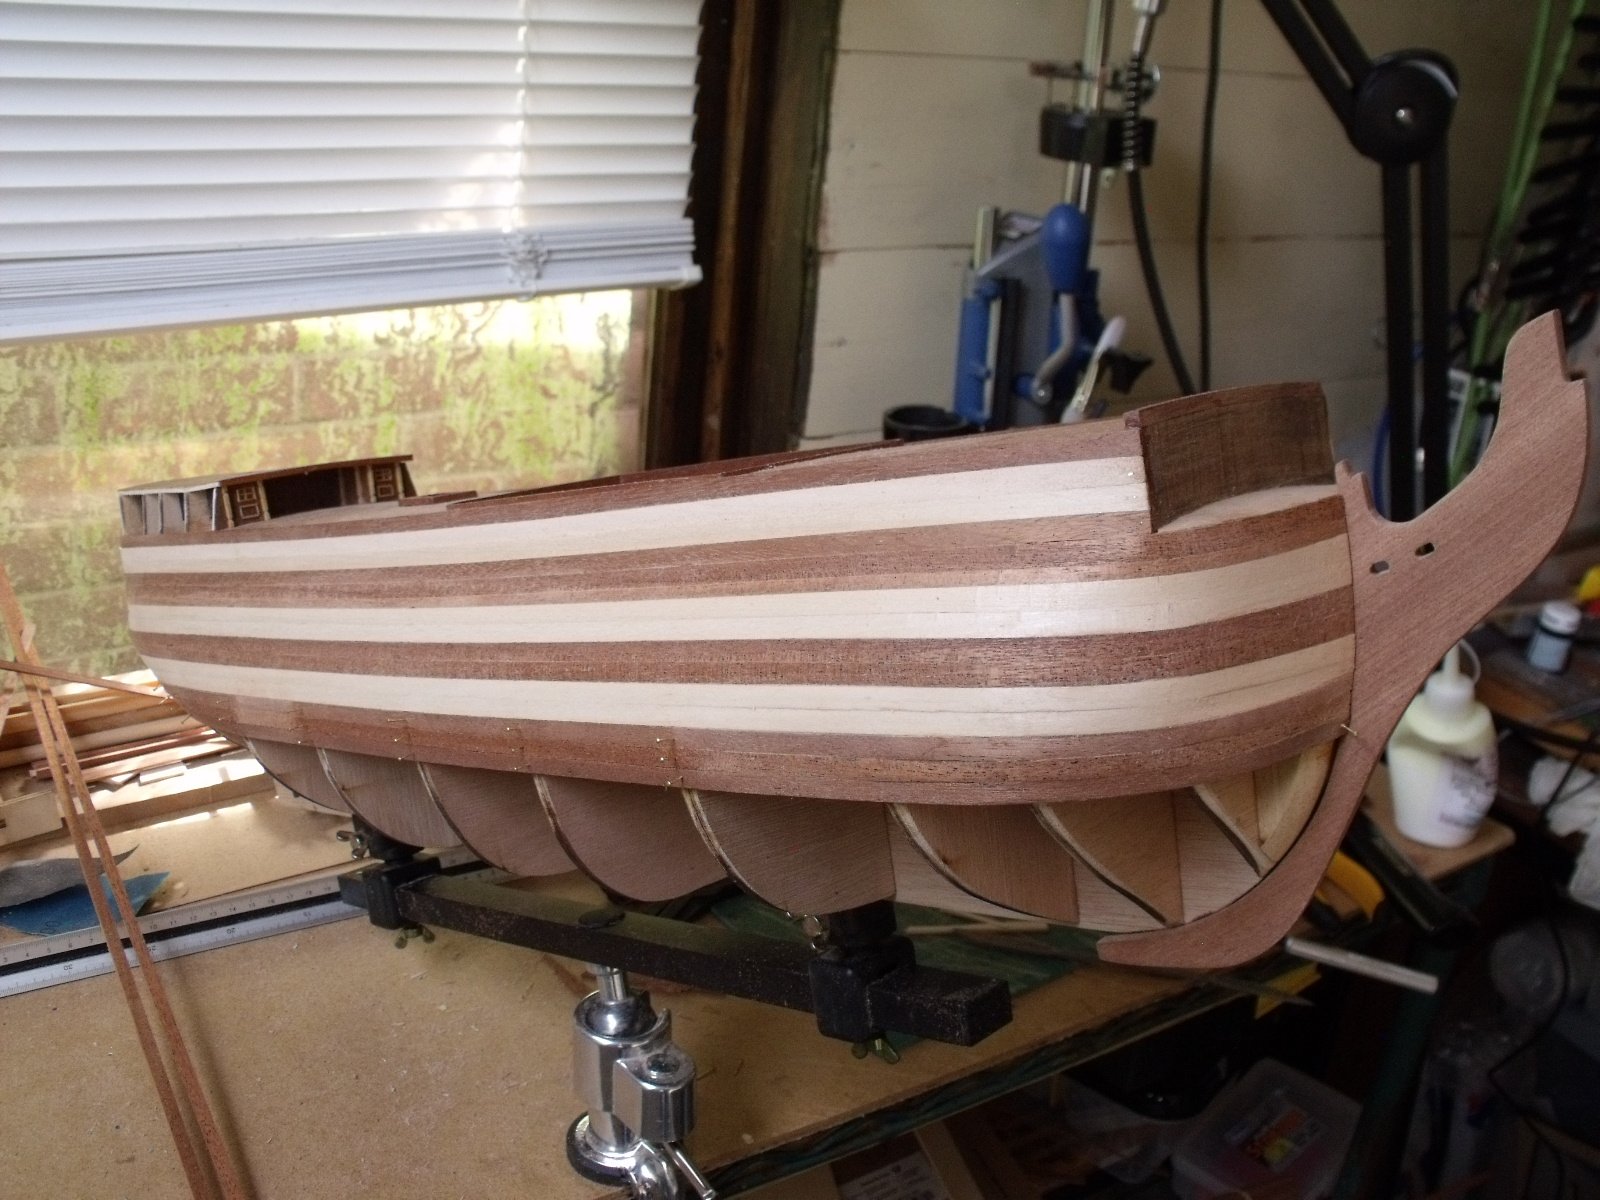
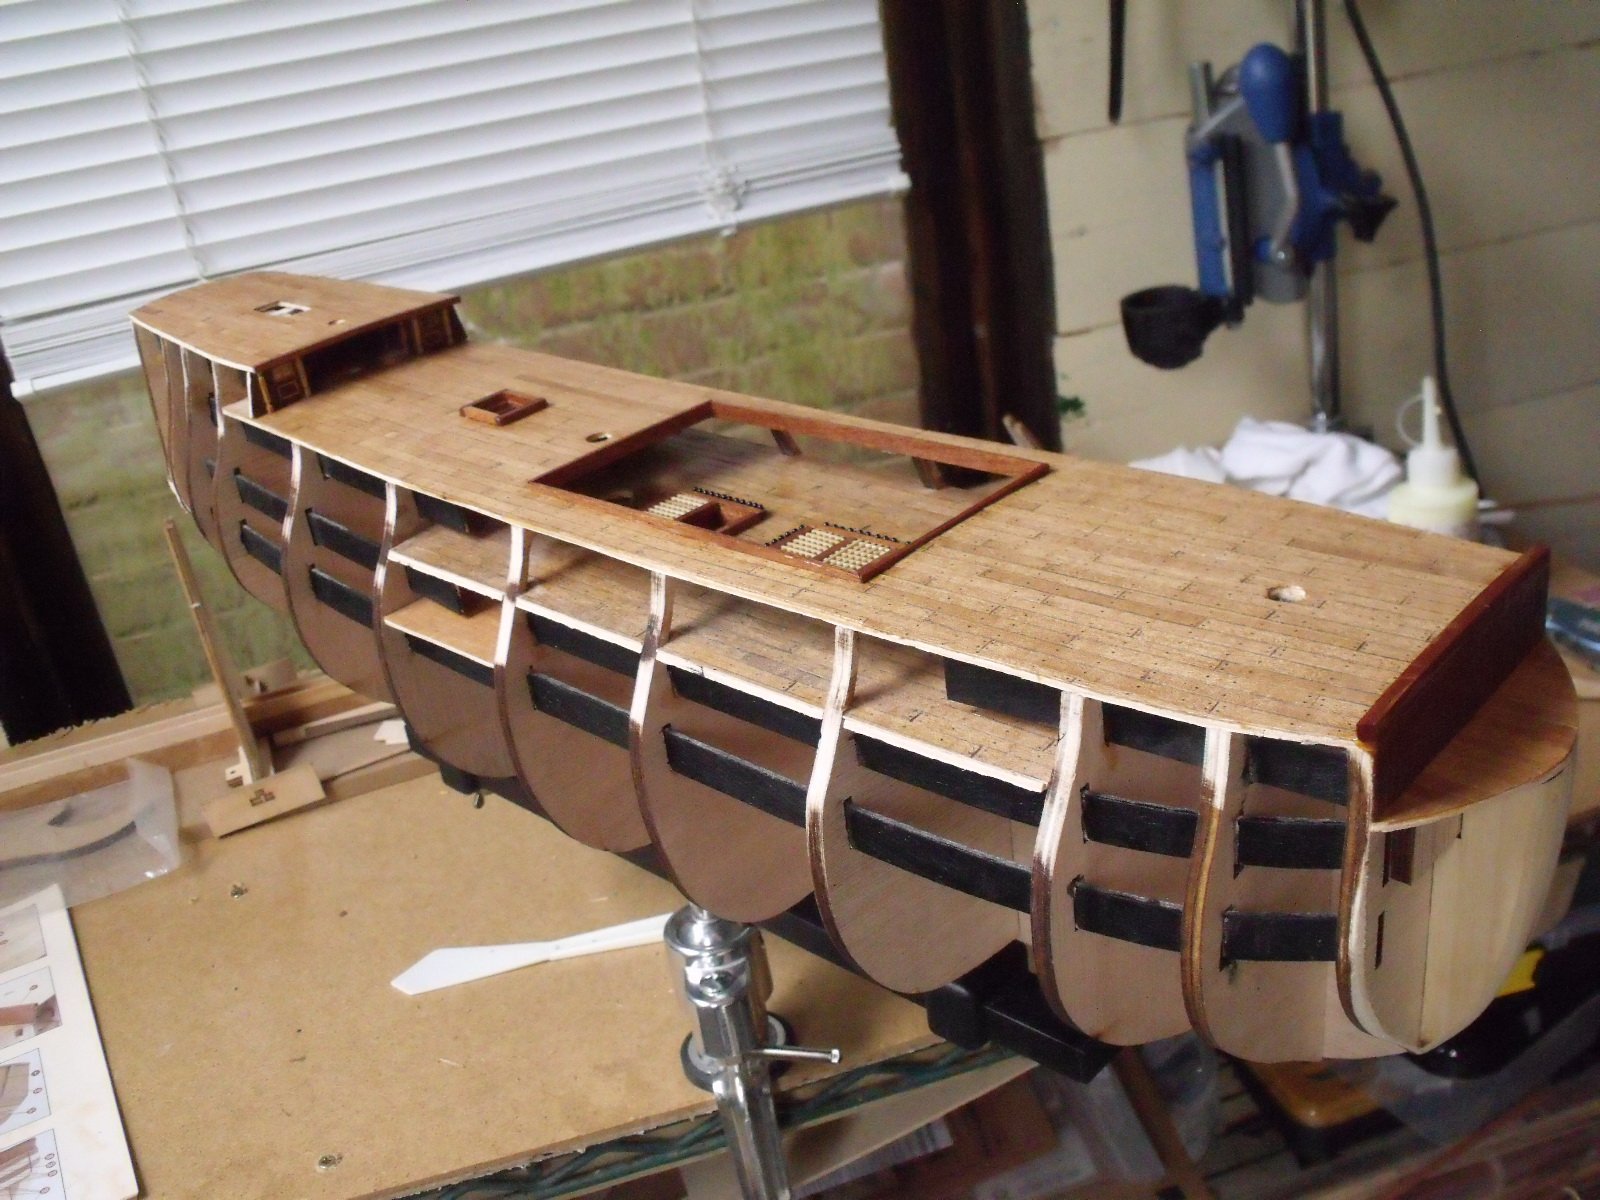
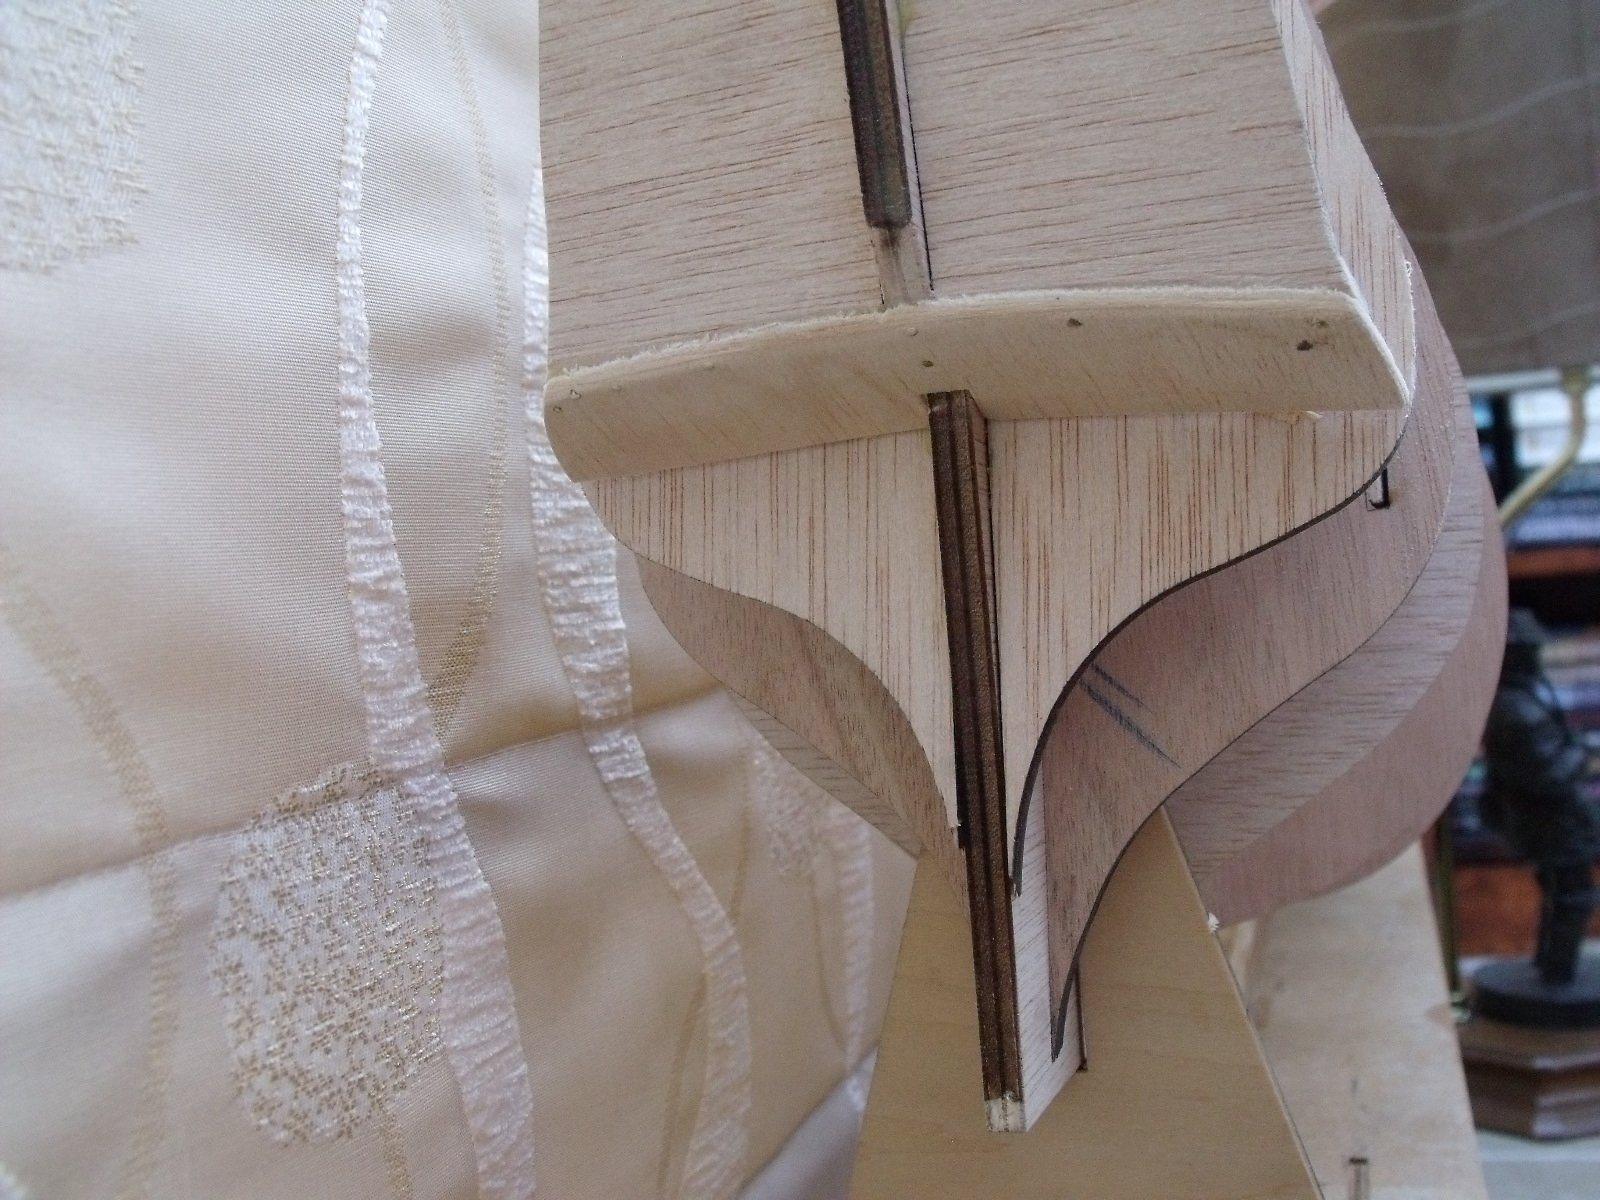
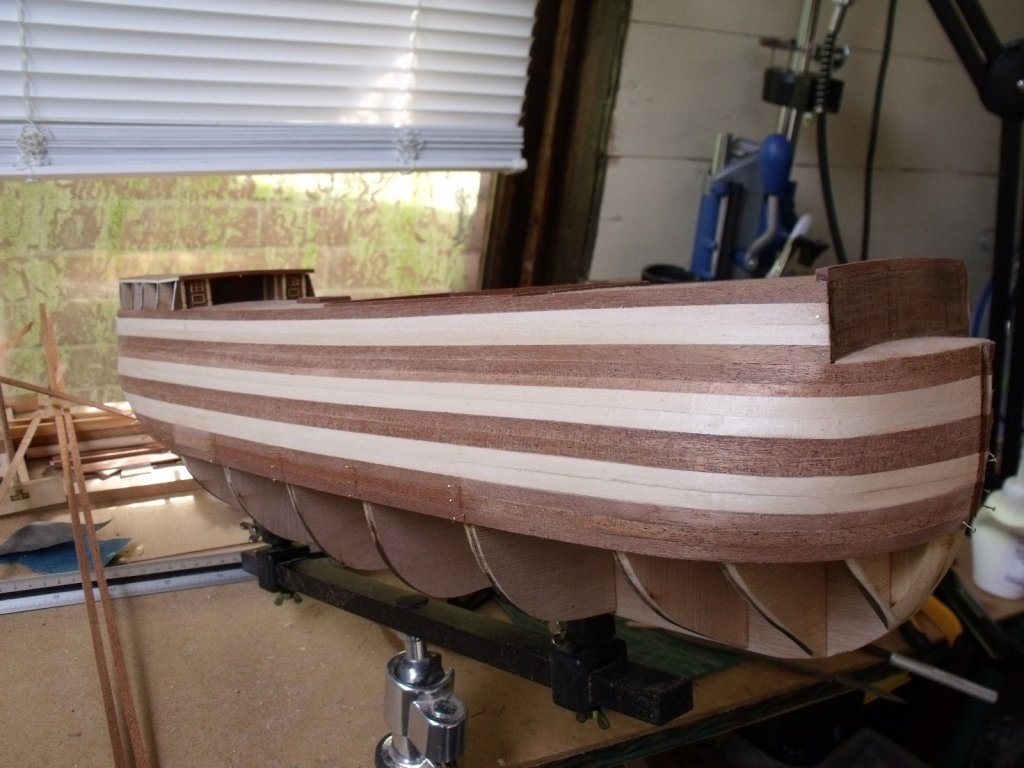
Busy on the hull planking, this is take 3, after removing some again and re-applying as I didn’t like the way it formed round the bow. just checking the Beak fit.


-
Thanks check out the above thread as well, Paul is making a superb version of this kit. Will have some updated pictures at the weekend, had a bit of a mishap lol, all will be explained by Sunday Night.
-
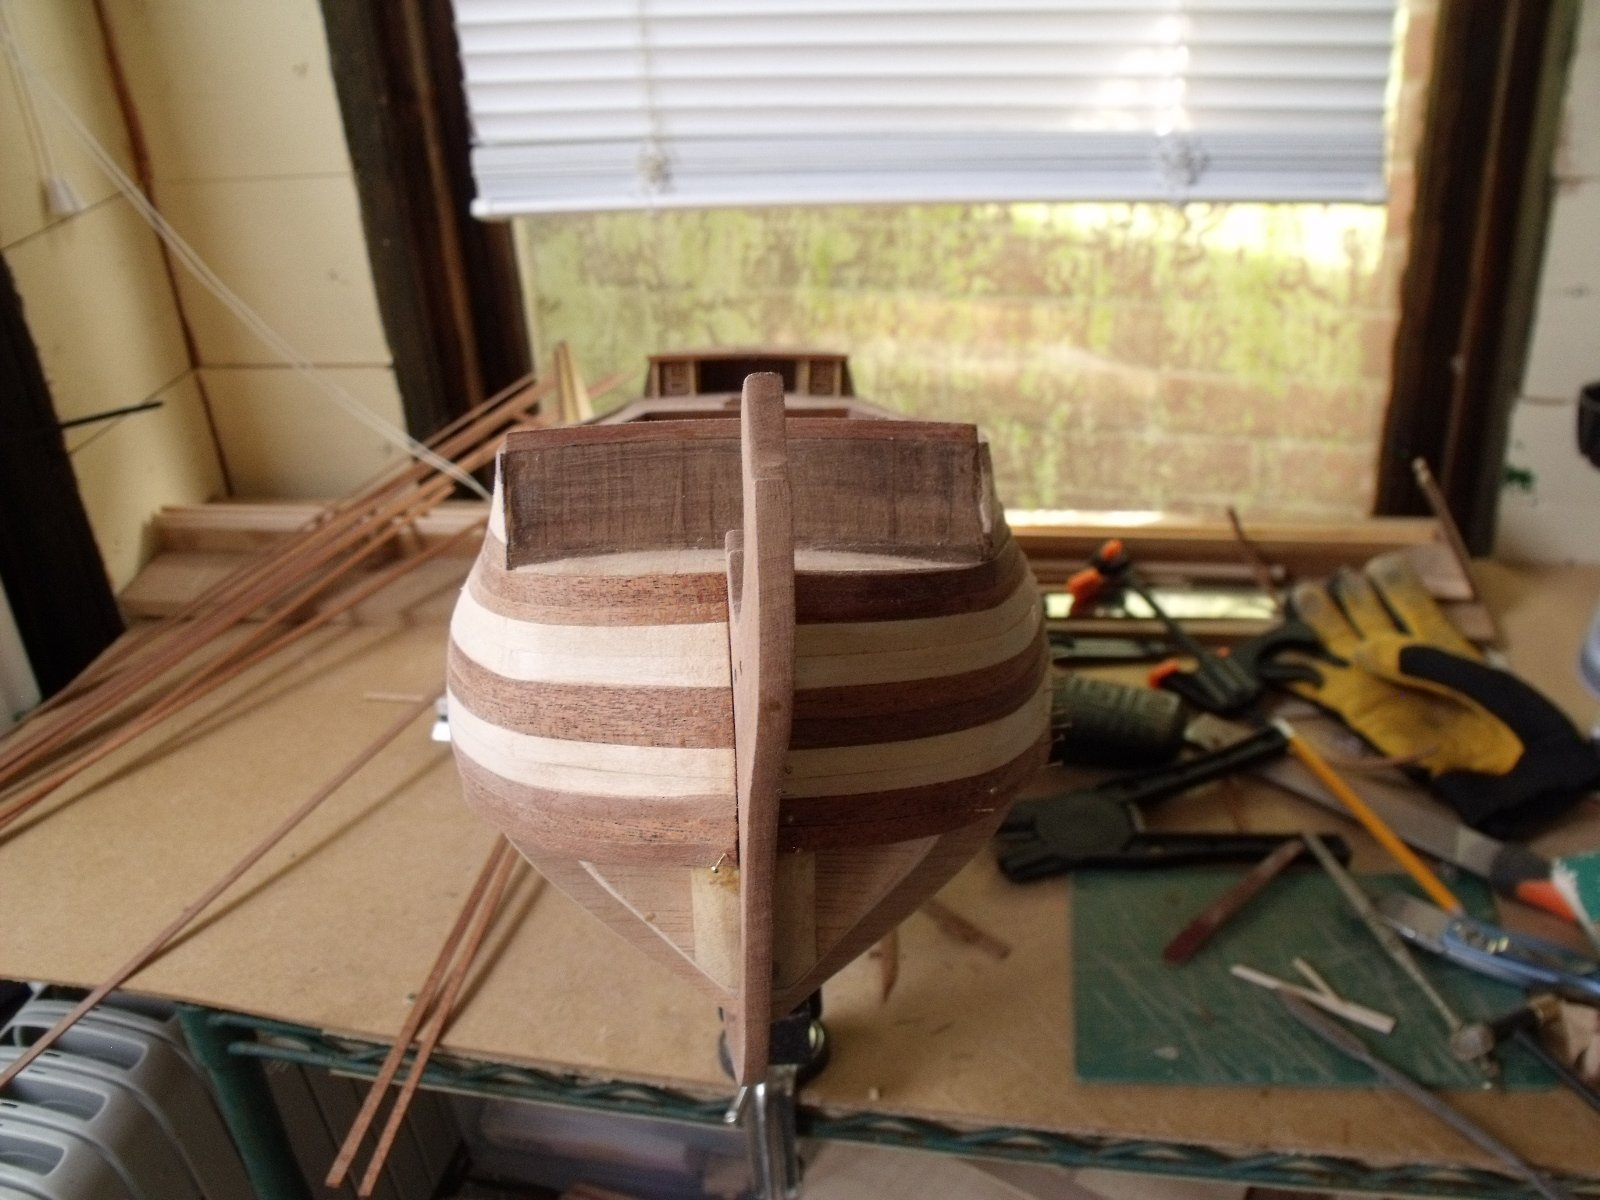
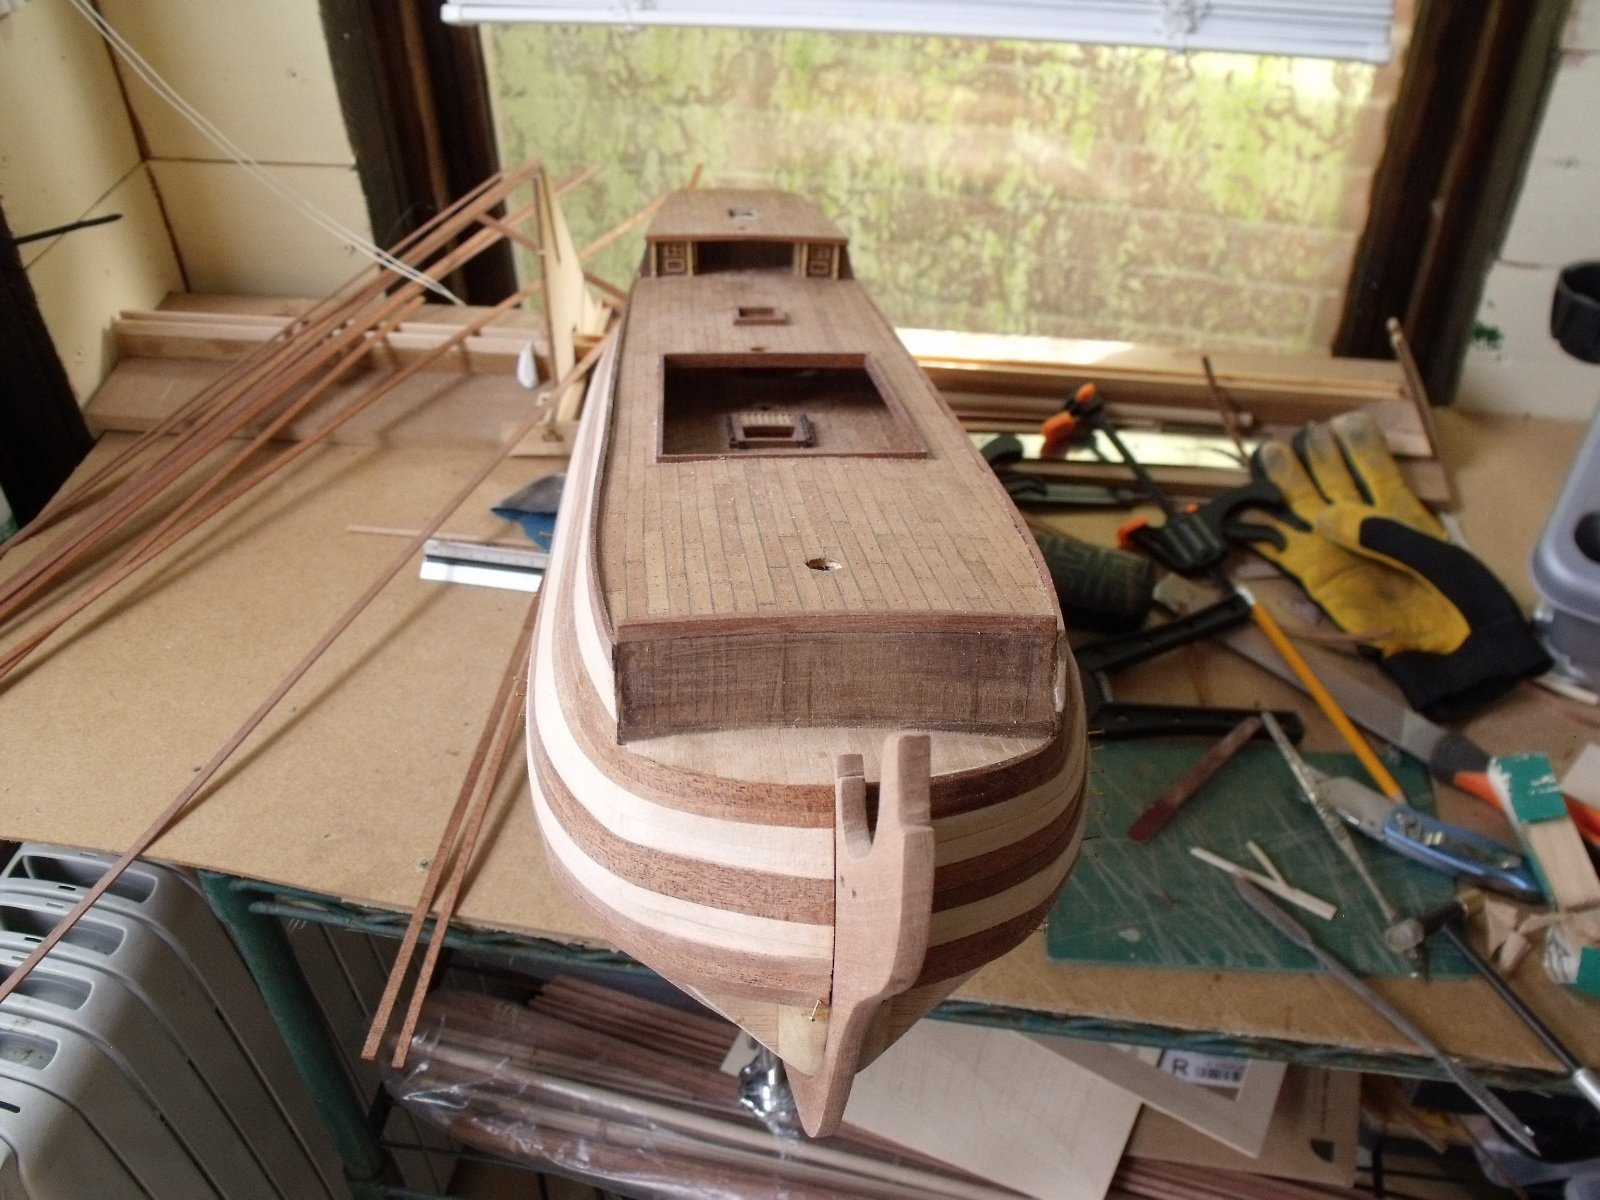
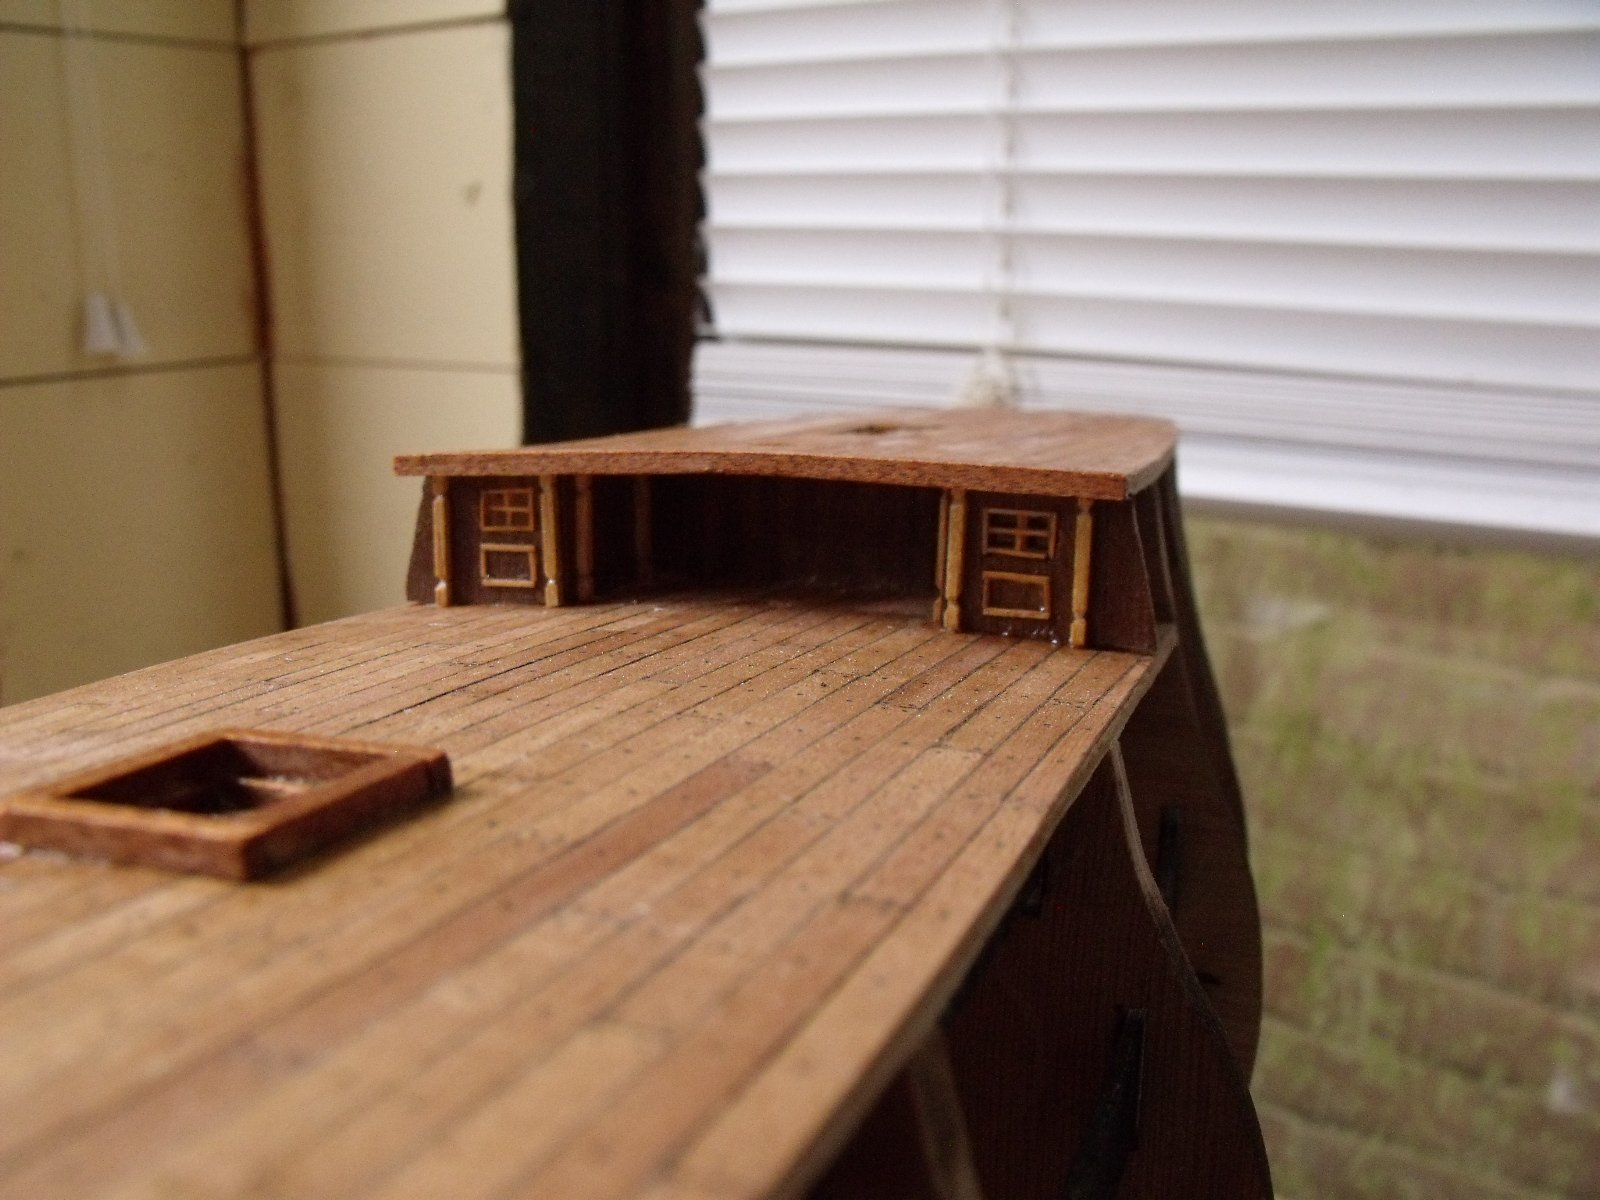
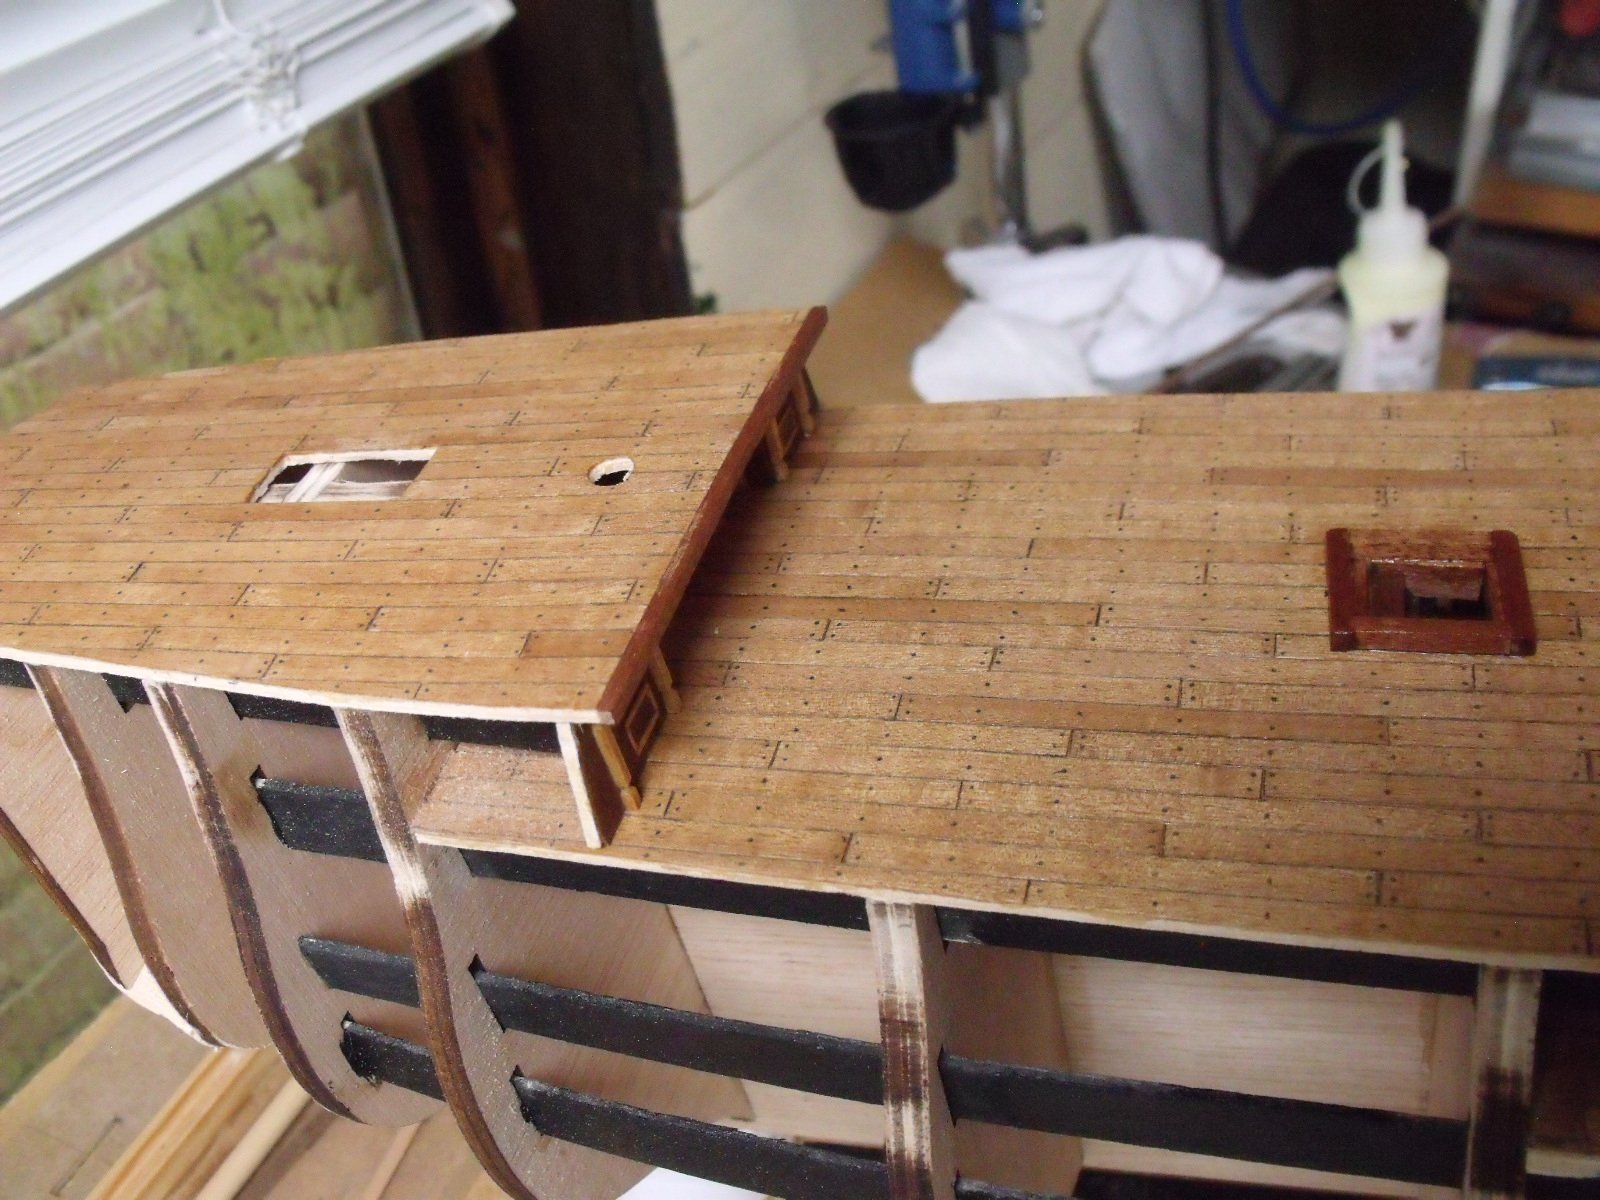
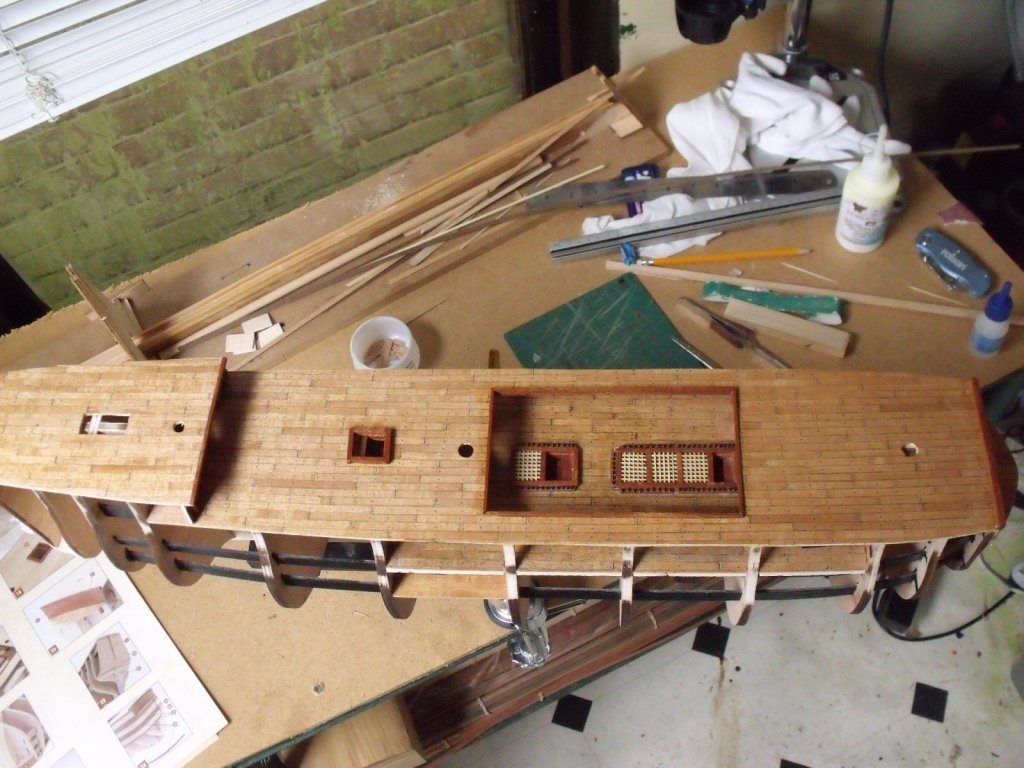
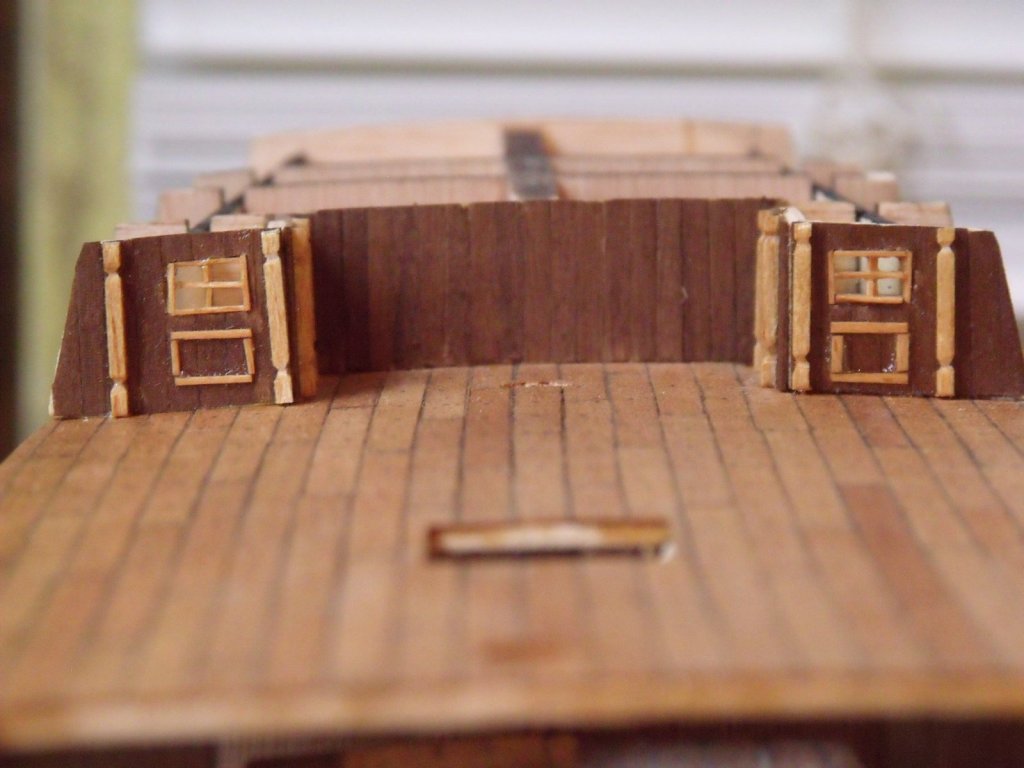
Didn’t like the port side addition, so redone to match Stbd side. Case of not seeing the wood for the trees. Fitted the poop deck and planked. Not in the instructions but cut the deck out to fit the skylight, also is out of scale in the kit, wider than it should be. Fitted some coatings and trims, 1 coat satin yacht varnish to seal the wood. Next it is on to the hull planking.


-
Tom E reacted to a post in a topic:
HMS Victory by AndyW - Constructo - 1:94 Scale
-
vossy reacted to a post in a topic:
HMS Victory by AndyW - Constructo - 1:94 Scale
-
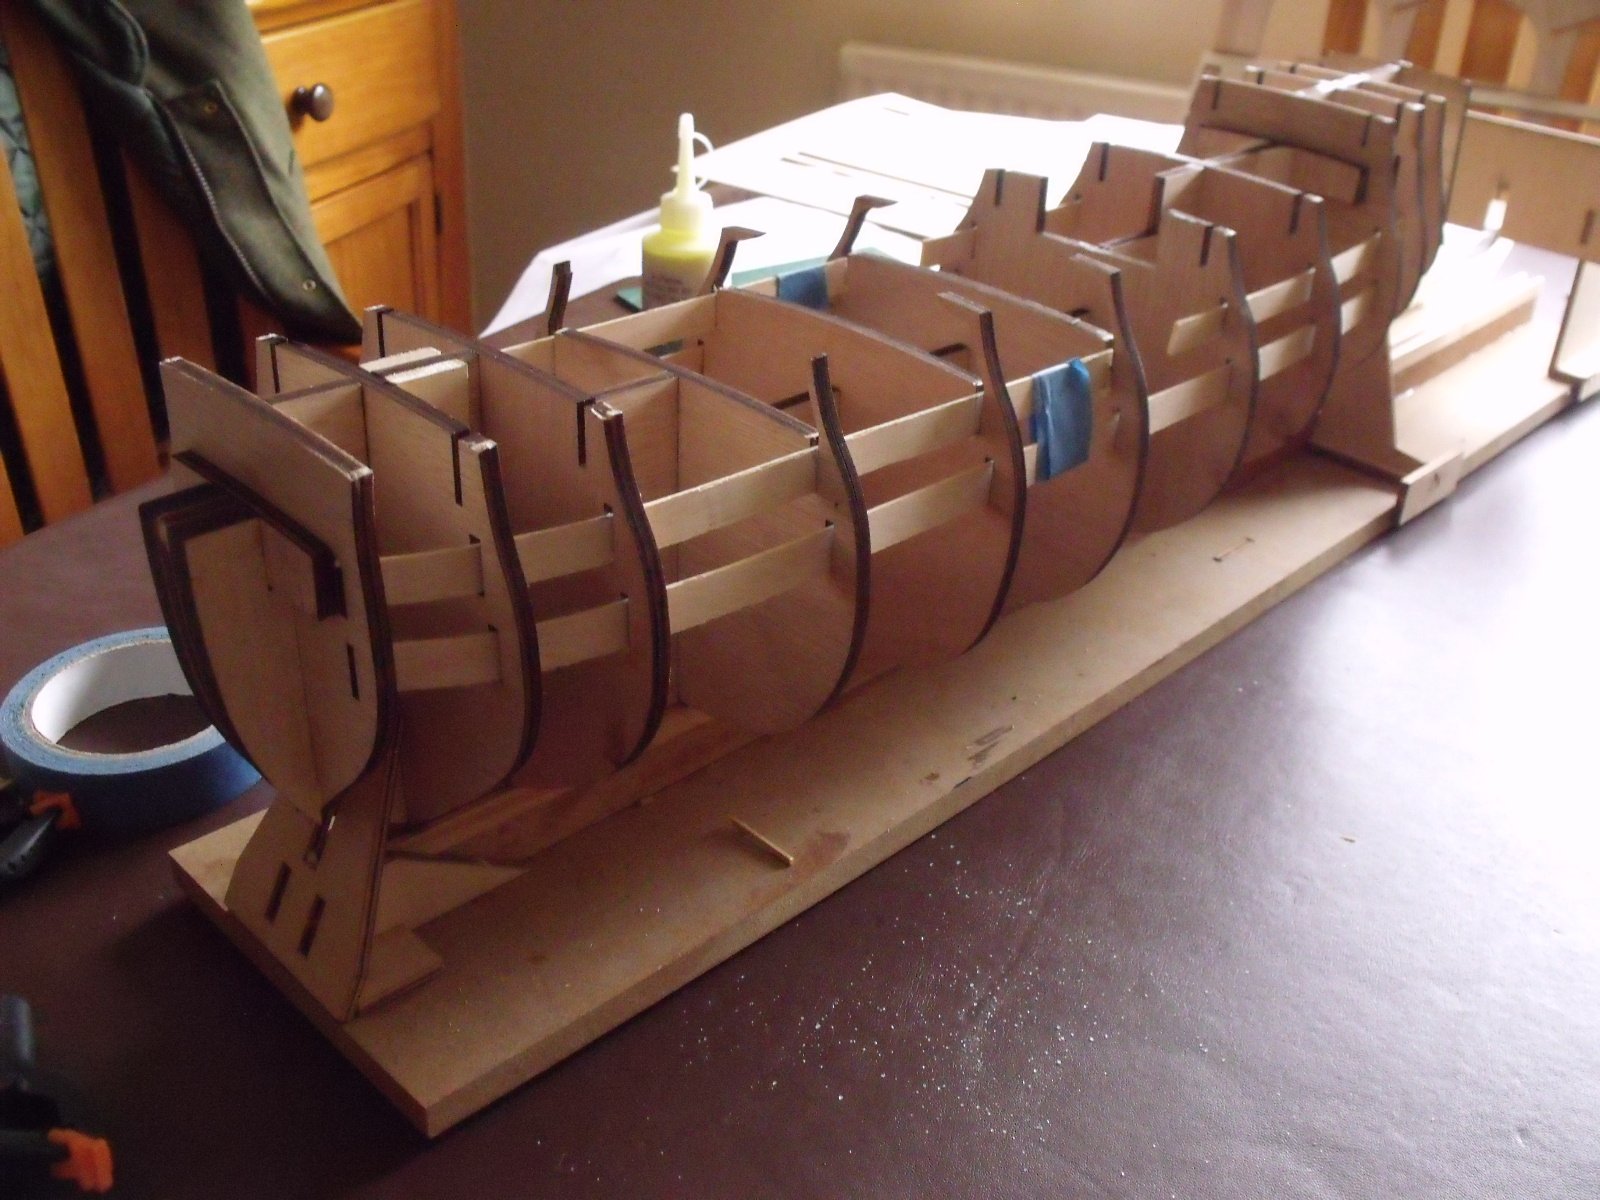
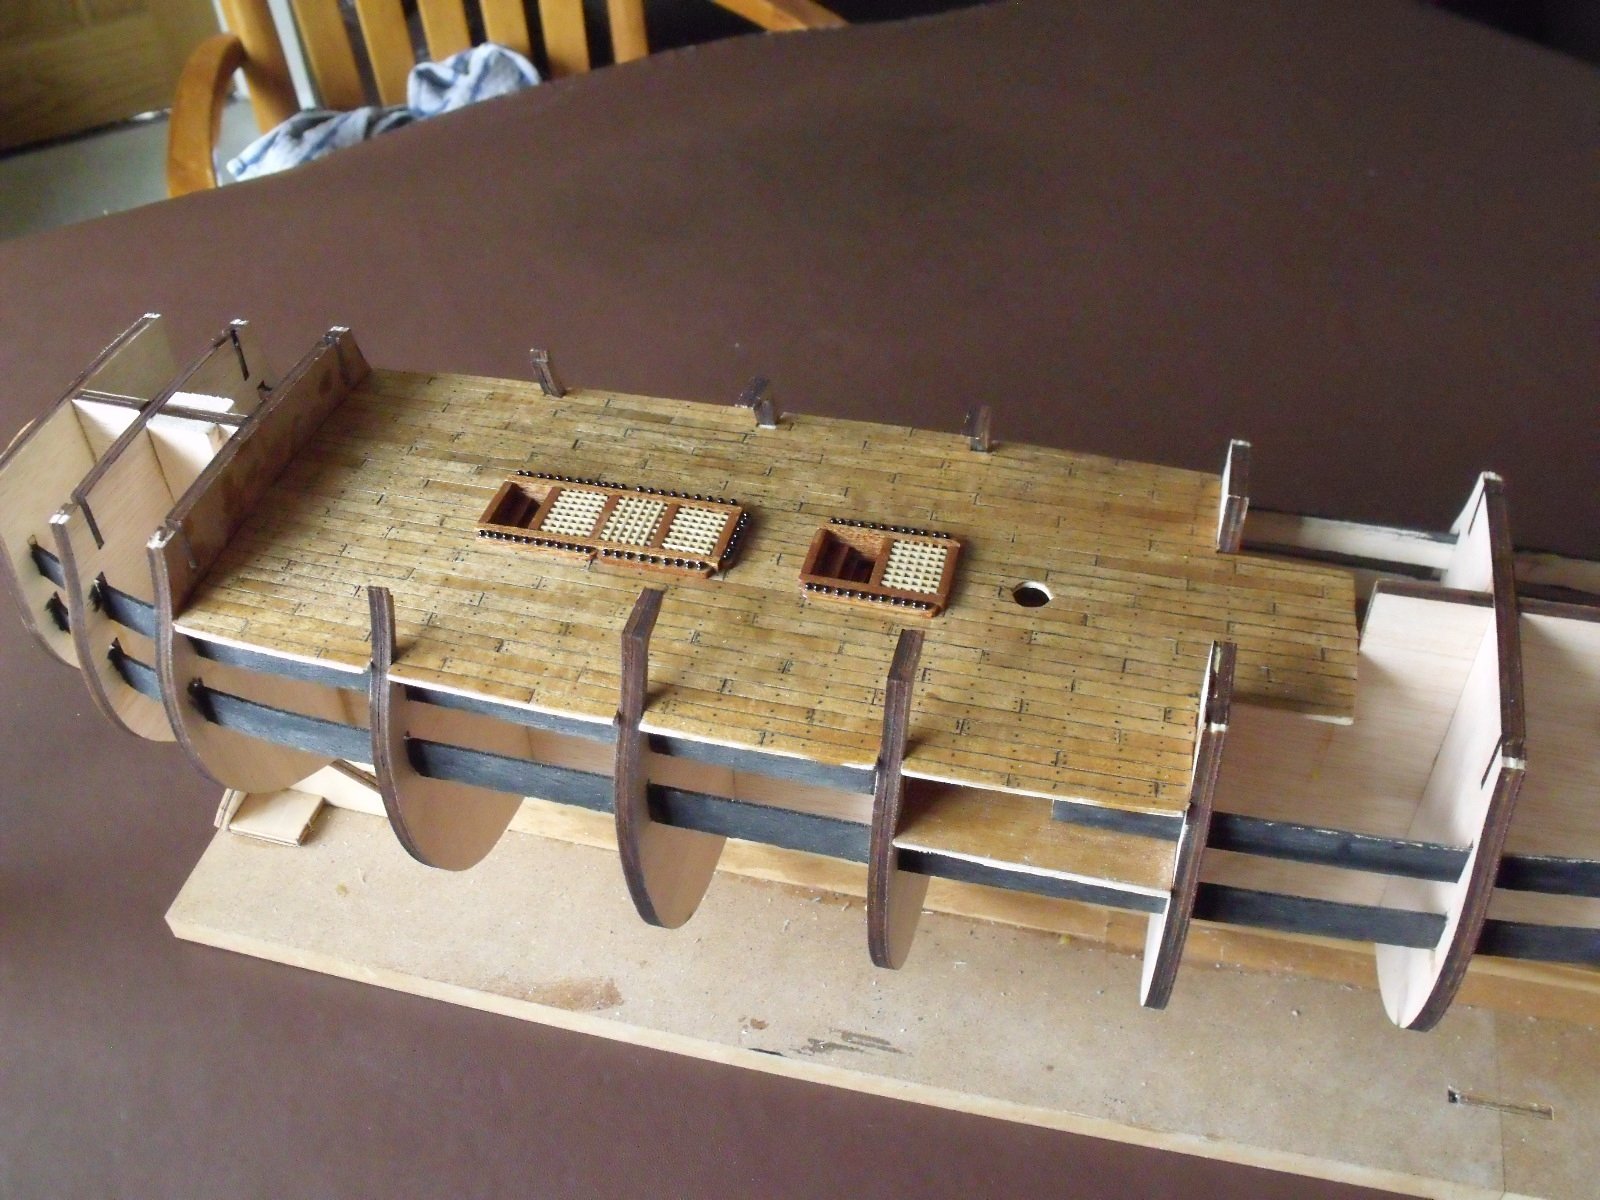
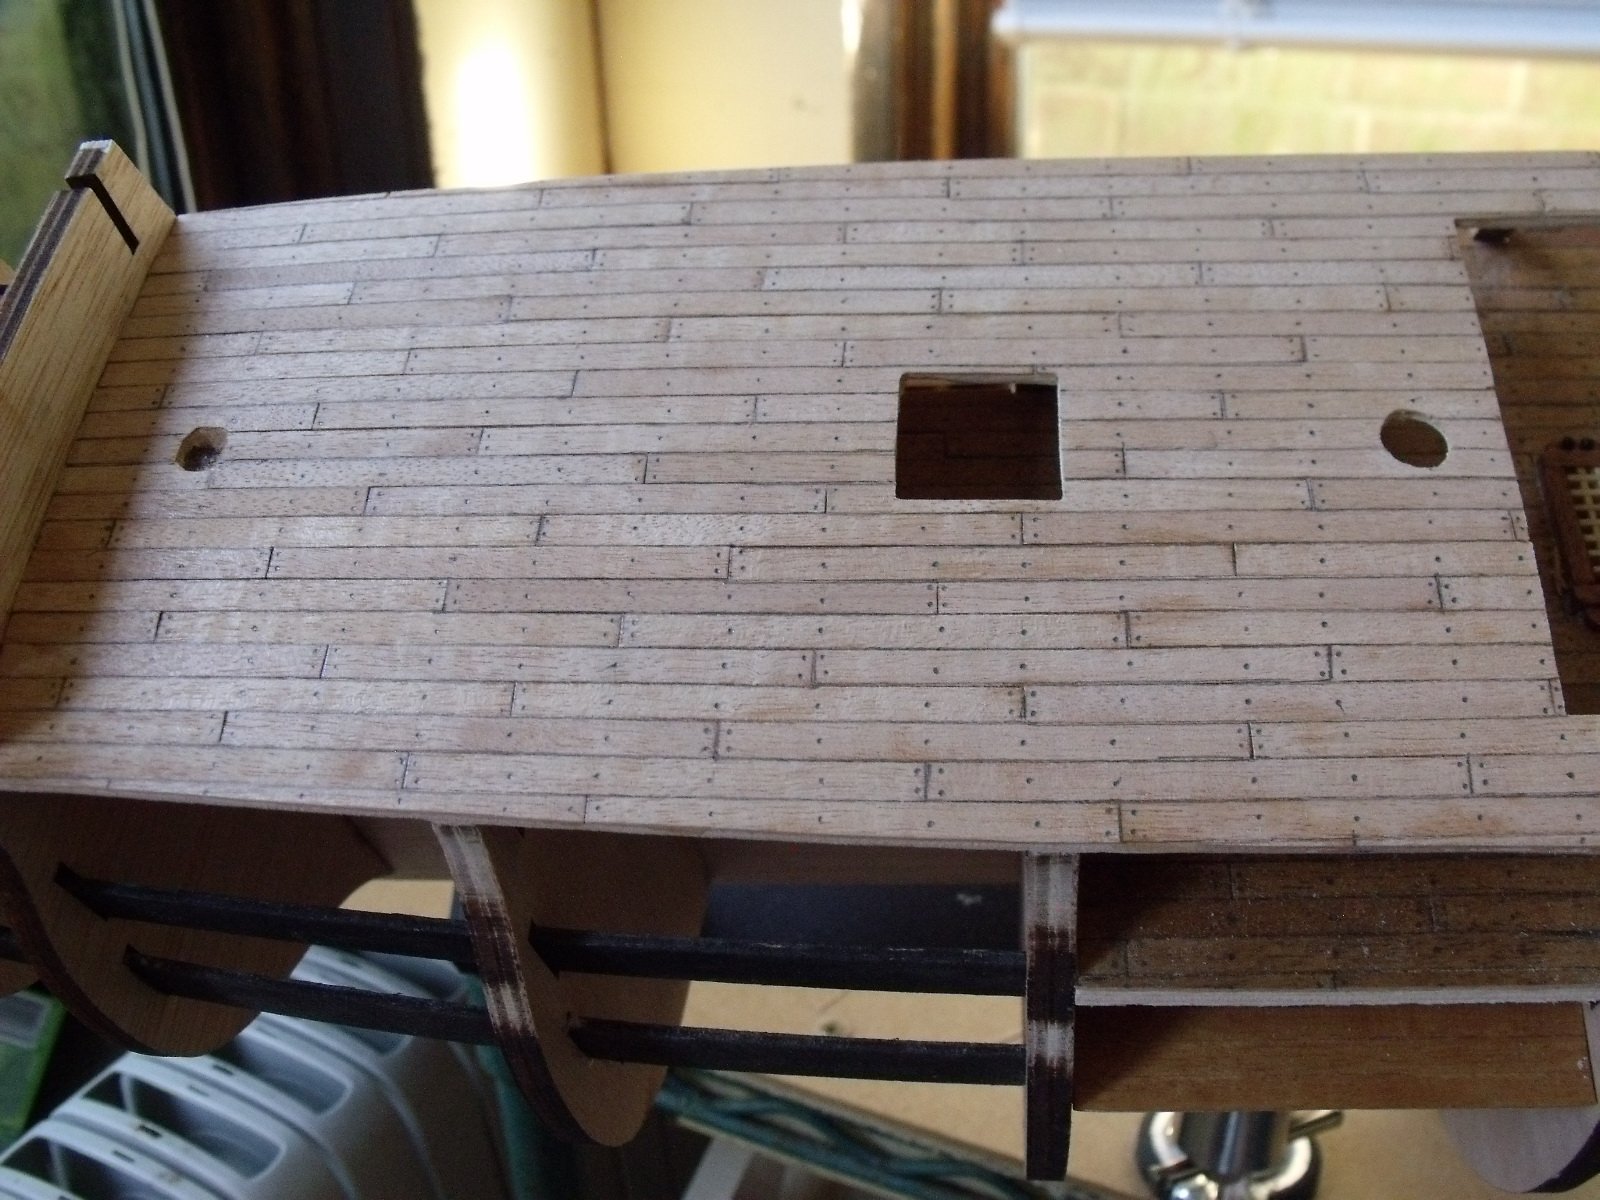
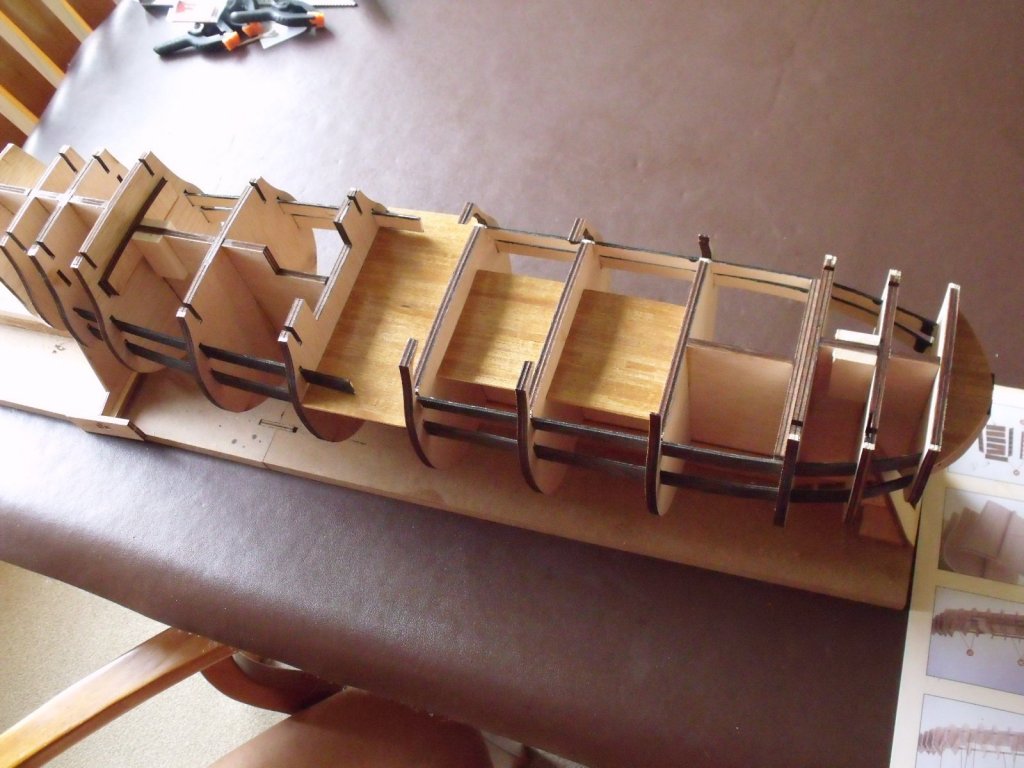
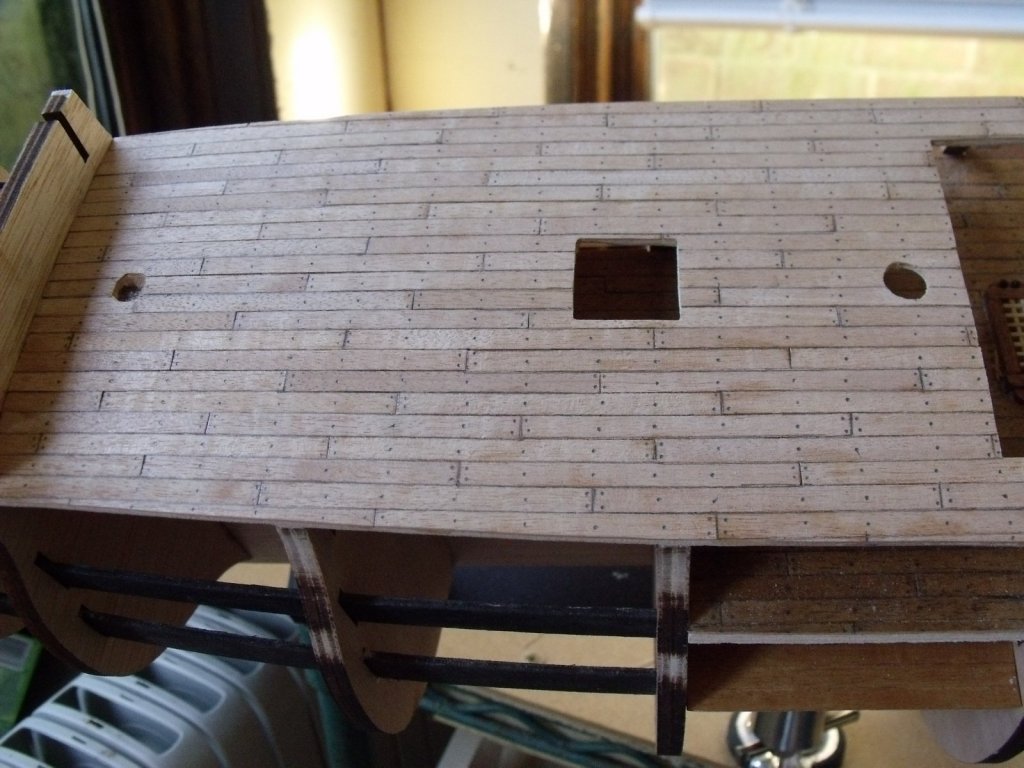
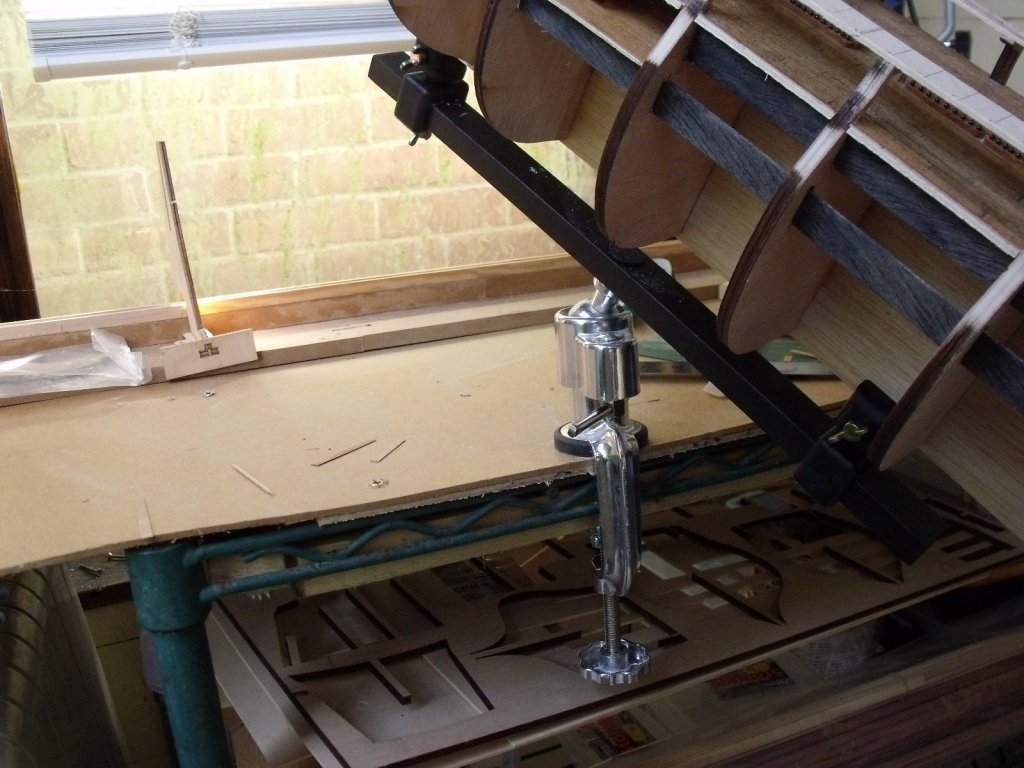
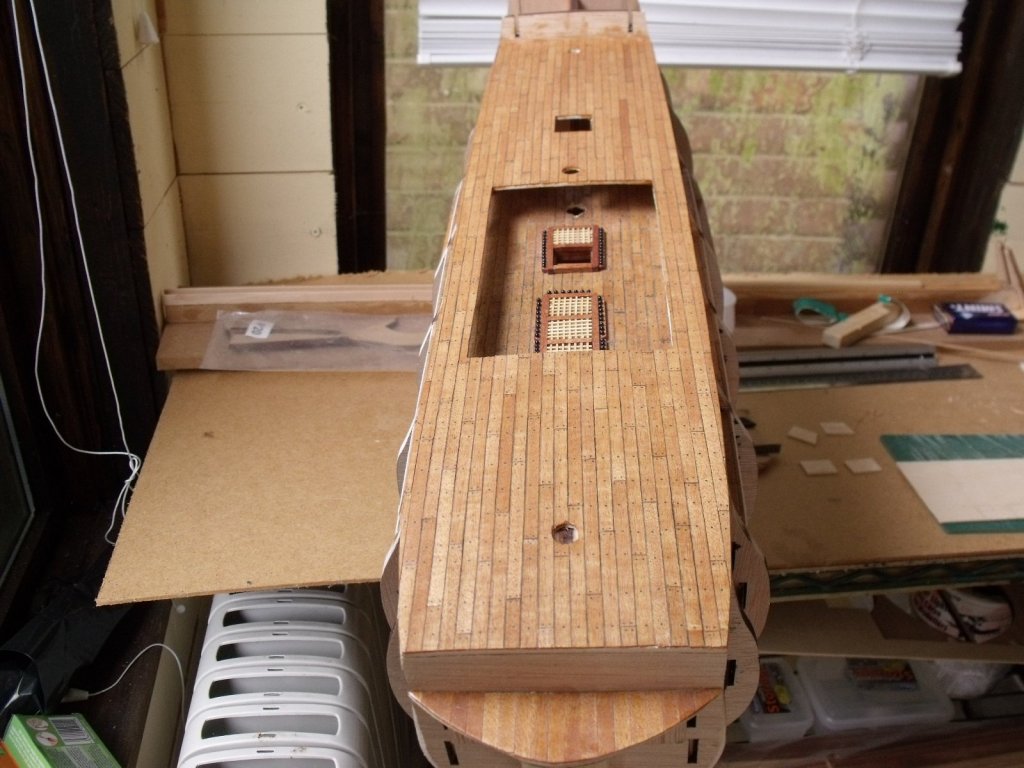
First off, would like to say thanks to Paul0367 and his amazing build so far, that hopefully I can avoid some of the pitfalls on this build. Next I would like to add, that this is not a historical representation of the Victory but more a decorative interpretation of her. That being said, I hope to build the majority of the kit to be more accurate and in the end it’s all part of the fun. Refference galore with all the usual suspects in there, Longbridge, McKay, Goodridge, etc Victory and man of war related as well as others. Commenced the build at the end of February, so now have some build to start sharing. Some framing Using the 4 butt shift method for deck planking, instructions in the kit are basically to lay big long lengths. On to the main deck Deviation here, decided to use walnut, narrower strips rather than the Sapely that is supplied. Also to add a little detail with the windows, as in the kit these are just left as blank bulkheads. So onto the next stage, did find this keel clamp by Expotools at a 1/3 of the price of the Amati, must say have found it to be of decent construction and allows me to work on the model in many different angles.


-
Stunning Paul, back to the start of this thread now for me, have just started the build. Re the boats, I’m thinking of going with the Mantau 1/98 6 boat kit, scale difference is hardly noticeable, also the boats are all wooden.
- 699 replies
-
- 2
-
-
- victory
- constructo
- (and 1 more)
-
AndyW reacted to a post in a topic:
HMS Victory by Paul0367 - Constructo - Scale 1:94 - First wooden ship build
-
AndyW reacted to a post in a topic:
HMS Victory by Paul0367 - Constructo - Scale 1:94 - First wooden ship build
-
Looking stunning mate
-
Hi Andy
Are you intending on using 0.75 for the Ratline shrouds mast to the belay pins. Seized of course at the mast friction point.
-
AndyW reacted to a post in a topic:
HMS Victory by Paul0367 - Constructo - Scale 1:94 - First wooden ship build
-
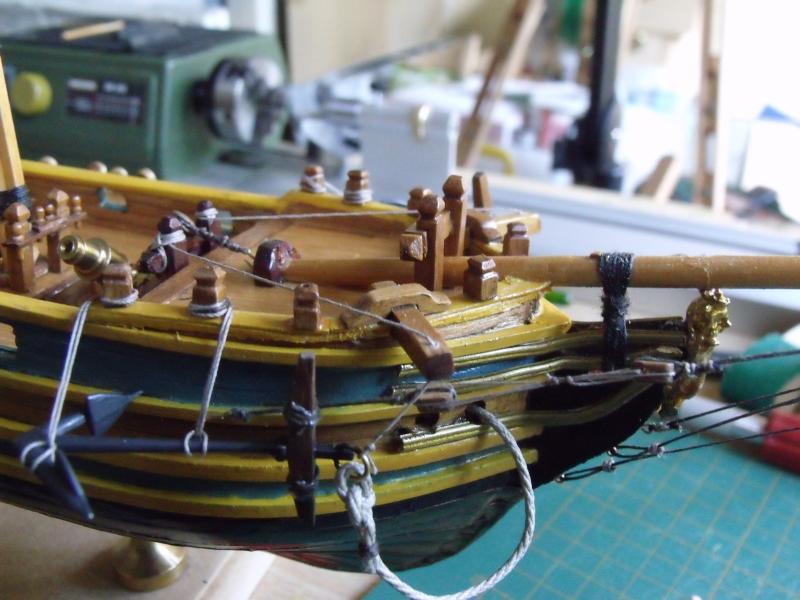
Update to the three on the Knights head. port side from the bottom: Inner Martingale Fore topmast preventer stay tackle Fore top gallant Stay tackle Stbd Side: Fore topmast stay Outer Martingale Stay Flying Martingale Stay
-
Not sure what lines Paul the three shown running fwd? You have the main and preventer stay that passes through the knights head and attach below the lower platform of the main mast, you also have boomkin stays,foremast stays are mounted up near the bowsprit cap, That excel I sent doesn't help? Nearly finished all the standing rigging list.
-
Most of what I have researched is varied, depends on the ship conditions and Captain. in general though it appears that the fore, main and mizzen sails would be loosely furled, makes sense, they are on the lower yards so quick to get to and prepare. sprit sail could be either up or down again loosely furled or a combination depending on the number. in general the other main sails seem to have been left. Still delving though
-
Looking good mate, check here for furled sails Oh pastes links differently now. on another note I have James Lees book on Masting and rigging good sail info, if you want something passing on give me a shout.
-
AndyW reacted to a post in a topic:
HMS Victory by dafi - Heller - PLASTIC - To Victory and beyond ...
-
One Daniel care package great fully received Surprised at the weight, quality etched parts indeed, although my scale is going to be 1:94 not too much difference and as discussed can be built around, ie already decided that the binnacle and poop skylight will be Walnut framed with the etched parts used as/converted to insert pieces this gives me the wood and brass mix, also lets me jig around any scale issues. Thanks again.
-
AndyW reacted to a post in a topic:
HMS Victory by dafi - Heller - PLASTIC - To Victory and beyond ...
-
Awesome work Daniel, truly inspirational. I know it is debated all over the did she didn't she lol well to add another twist to the debate.. Was flicking through one of my many books, a cheap book that I had picked up just because, had it for over a year and barely looked at it. It is called the Nelson Encyclopedia by Colin White, anyway one of the many images enclosed is an engraving dated 1778 clearly shows the entry port on the Stbd side. Also stern galleries and the more elaborate figure head. However in the book (not the ebook version by the same authors which is totally different) HMS Victory First Rate 1765 includes an excerpt from the sketch book of Midshipman Richard F Roberts, the sketch shows the side steps but no entry port lol The book is by Jonathan Eastland and Iain Ballantyne, in the paperback version there is only a little narrative but a great collection of photographs, where the ebook version is a History of the Victory with reference from the very first ship of the name, got the ebook free when I ordered the paperback.
-
AndyW reacted to a post in a topic:
HMS Victory by dafi - Heller - PLASTIC - To Victory and beyond ...
-
Still plodding on New toy superb bit of kit Proxxon 250 DB Slow time just little bits of fabrication and rigging


-
AndyW reacted to a post in a topic:
My Serving Jig
-
AndyW reacted to a post in a topic:
HMS Victory by Paul0367 - Constructo - Scale 1:94 - First wooden ship build
-
Hopefully finish my existing model by end of March, then start the Vic by the summer. Still been note taking and design drawing for replacement parts on the changes I will need to make. The kit as is, will be used for the basics, but like yourself books etc is the route I will be heading down. Rigging Constructo is out Amati threads in, have found their sizes are pretty accurate, Caldercraft a touch over size. Think I will be using 6 or 7 thread sizes as well as changing out most of the kit blocks. I have had the luxury to follow your build, research the web and books, it has also allowed me the time to build up my "spares" stock.
- 699 replies
-
- 2
-
-
- victory
- constructo
- (and 1 more)