MORE HANDBOOKS ARE ON THEIR WAY! We will let you know when they get here.
×


AndyW
-
Posts
118 -
Joined
-
Last visited
Content Type
Profiles
Forums
Gallery
Events
Everything posted by AndyW
-
No Dave, what you have to remember is you set out to build a model of the Victory and..................you are building a model of the Victory I have had the luxury of time, looking at books, dossier of pics, the web, your build, Paul's build and others including the Caldercraft and Hellier models, cross ref between them all and as she stands and disappearing down the rabbit hole, as I can't at the moment even lay the keel. With everything I want to do have gone from a conservative two year build to at least 3 possibly. Just it has changed from the kit being ordered. But I'll stop filling your build with waffle, if I can help just pm mate.
-
Hi Dave, Thanks for the reply, have already opted for the Admiralty Victory paint kit, agree Corwall are great. Looks like as I have seen mentioned else where, the black comes out shiny, compared to the colours, may apply a satin varnish over the top, I'll experiment first . Working away from home has given me excellent time for research, nearly finished my first spread sheet for the Standing Rigging at scale, depending how far you want to go, or should I say obsessed as I've become, I know the kit is under stocked on thread. For info as an example, foremast mainstay is around 1.6mm with the preventer stay at 1.3mm, shrouds 1.0mm, rat lines etc 0.1mm, the 0.1mm lines come in at about 100mtrs worth at least. Anchor Cable around 2mm. If you are wanting any help or info when it comes to it only too happy to share what I put together for myself, learned from scouring the web and rigging books. She is coming together fine Dave, believe you will be very satisfied when done, the enjoyment is also done in the creating, looking forward to more.
- 78 replies
-
- 1
-

-
- victory
- constructo
- (and 1 more)
-
Dave what paints have you gone for? Also that ochre is pretty good
- 78 replies
-
- 1
-
-
- victory
- constructo
- (and 1 more)
-
I like seeing how everyone seems to want to go that extra bit with any kit, the little touches seem to make it more personal, should look a fine model when finished.
-
Coming on.
-
Have been studying gunport pictures like mad, as I am going to paint my model, the bands are crucial but notice it will impact on the lids, as some have a sliver of yellow ochre where they fit into the hull, can see this is going to be mega time consuming above what it would be normally, advantages of painting though I can pencil line the gun decks as well as the frames.... Though have been showing my wife what a beautiful model it can be made into with a bit of time effort and patience, I think she likes the natural look, even with the copper plating. It's strange the one I am working on, copper plated as an experiment, as I have had so much rectification to do on it, have been using as a training exercise, the bright copper looked terrible, mainly because I have added paint, that while not accurate has helped me start to fashion something I will be happy with. Some Ronseal satin varnish, with black, green and turquoise inks added has given it a patina now that works quite well. The long and short of it is on the natural finish the bright copper works well and looks right, however on a painted model for me anyway the bright copper looks false and out of place. So if she still lets me paint lol I will patina the copper. Quick question, over the bowsprit is fitted two pairs of Knights heads? In reality they have 18" holes in them, that big hawse pass through, been studying the books and literature I can find, do you happen to know what these hawse ropes are for? As they look like a piece of rigging that needs doing before the grating goes on over the top. All I have seen are pictures and a brief description, initially thought anchor ropes passed through, but looking at the cable run diagrams this seems not to be the case. Starting to think that may need to take a run down on the bike for the weekend and actually visit.
- 708 replies
-
- 1
-
-
- victory
- constructo
- (and 1 more)
-
Got to thank you again for the detail in the posts Paul, picking up lots of information on the build.
-
Lol mate I don't know but do now, sketch and notes added to my work book
-
modeldockyard. http://www.model-dockyard.com/acatalog/Amati_Deadeyes.html As well as Westborne models carry a large selection of different styles and lengths as well.
-
Another one to check out Dolly is here http://modelshipworld.com/index.php/topic/6684-hms-victory-by-paul-bell-constru, this one will be getting left natural, just varnished, also further great information.
-
Very neat Paul
-
The only thing I will mention as I don't know how practical it is to do is that in "reality" most of the fixing "eyes" are bulkhead mounted, ie on the ships side, but due to the construction this may be impractical. On the other hand there is no weight associated with attaching blocks so may be able to just glue rings in place. Would need 2 just above deck lvl either side of the gunport.
-
The inside of the gunport linings should be red ochre, as should the inboard facings of the gunport lids. The external facings of the linings should match the colour of the hull.
-
The smaller blocks look superb mate, beautiful job.
-
Yup from the time spent doing sibs, have to agree with the pva cocktail stick glue dab.
- 708 replies
-
- 1
-
-
- victory
- constructo
- (and 1 more)
-
Yeah Dave a wealth of information, I have a note book going now with do's and don't s, a list of things to make the model better, when to do things out of step with the instructions for an easier life. Paul has been fantastic with his information and answers to questions.
-
Look the business now Paul, very nice indeed. Andy
-
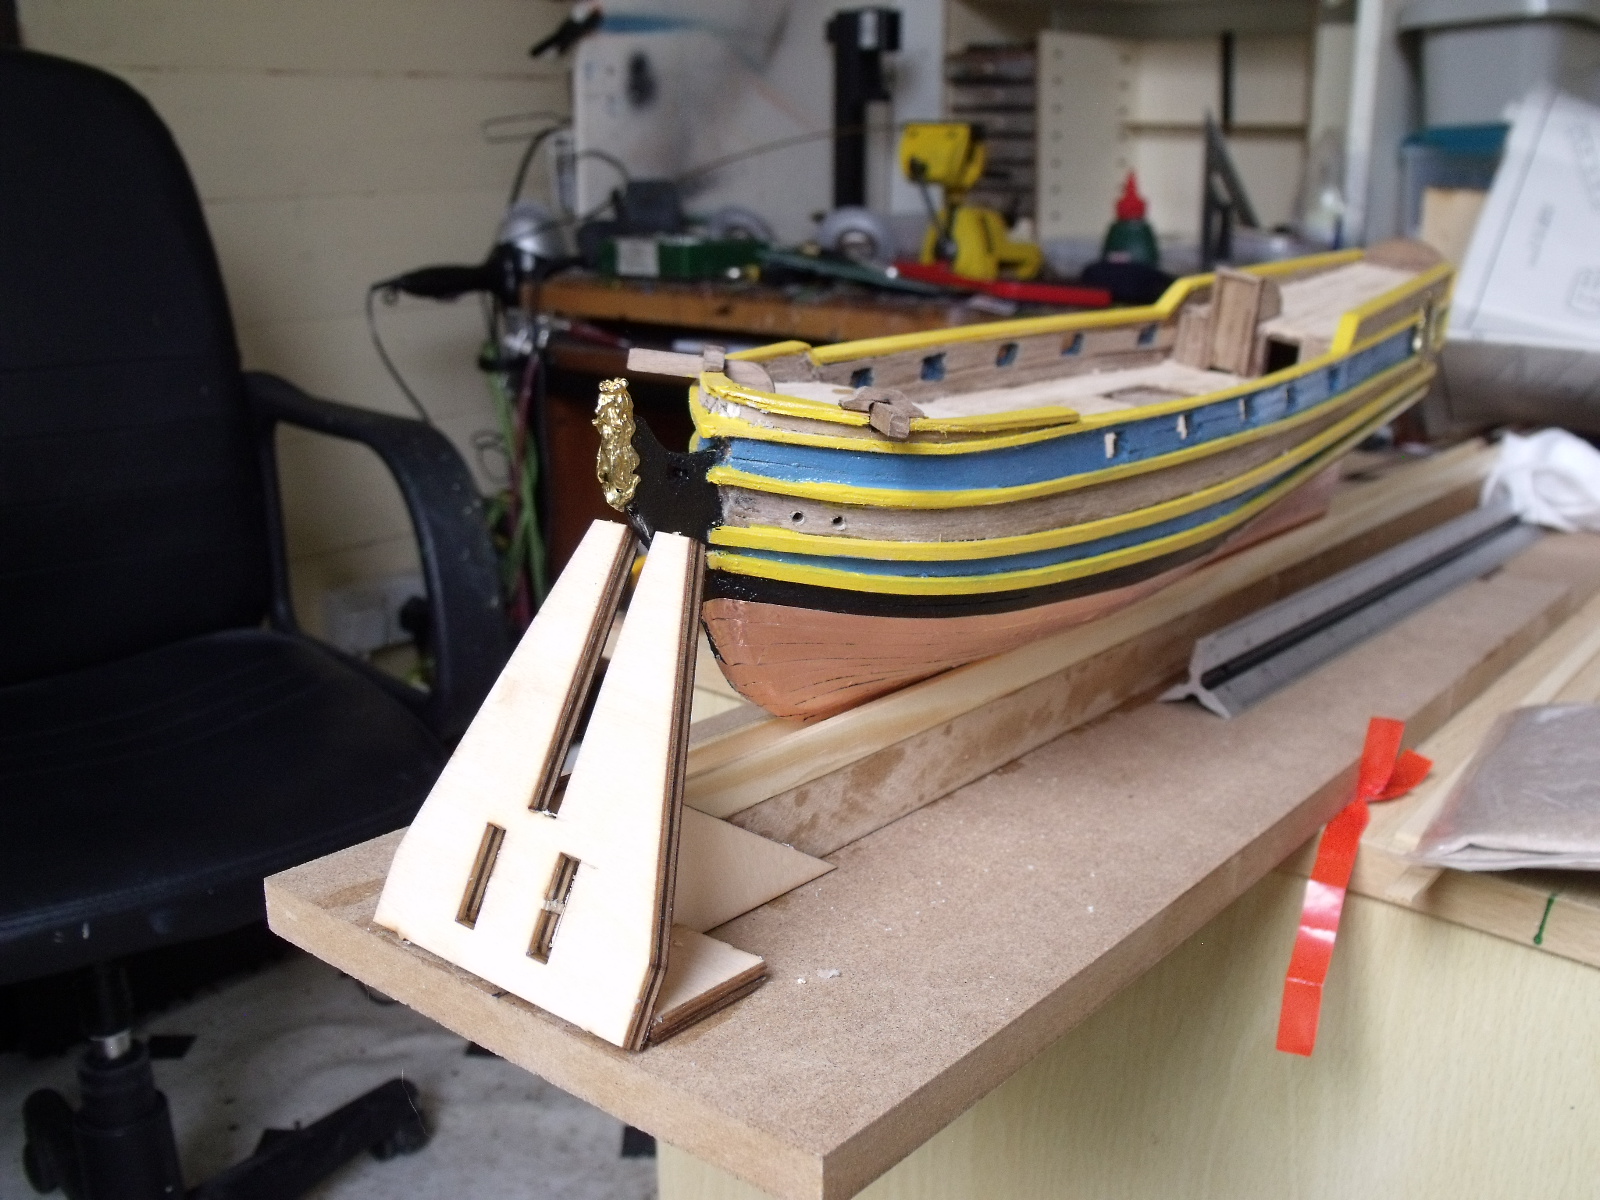
Dave I too am going to paint her, but for the guns I am going to use brass blackener rather than paint, should give the finish I want and easier to complete. But I am going to add copper but weather/age the copper as well to a more blacky/green look (or try the brass blackener). Lastly and more importantly she is looking mighty fine to me. If you want to see a battle should have a look at my Racehorse part build log, has taken a lot of time, trials and tribulations to get it this far. But seriously I would be pleased with what you have accomplished so far, will definately look the biz when done.
-
Lol mate knew you wouldn't be able to resist making it right........nice to see you getting the wrinkles sorted before I start....got a note book going with things to do supplementary or to improve the build
-
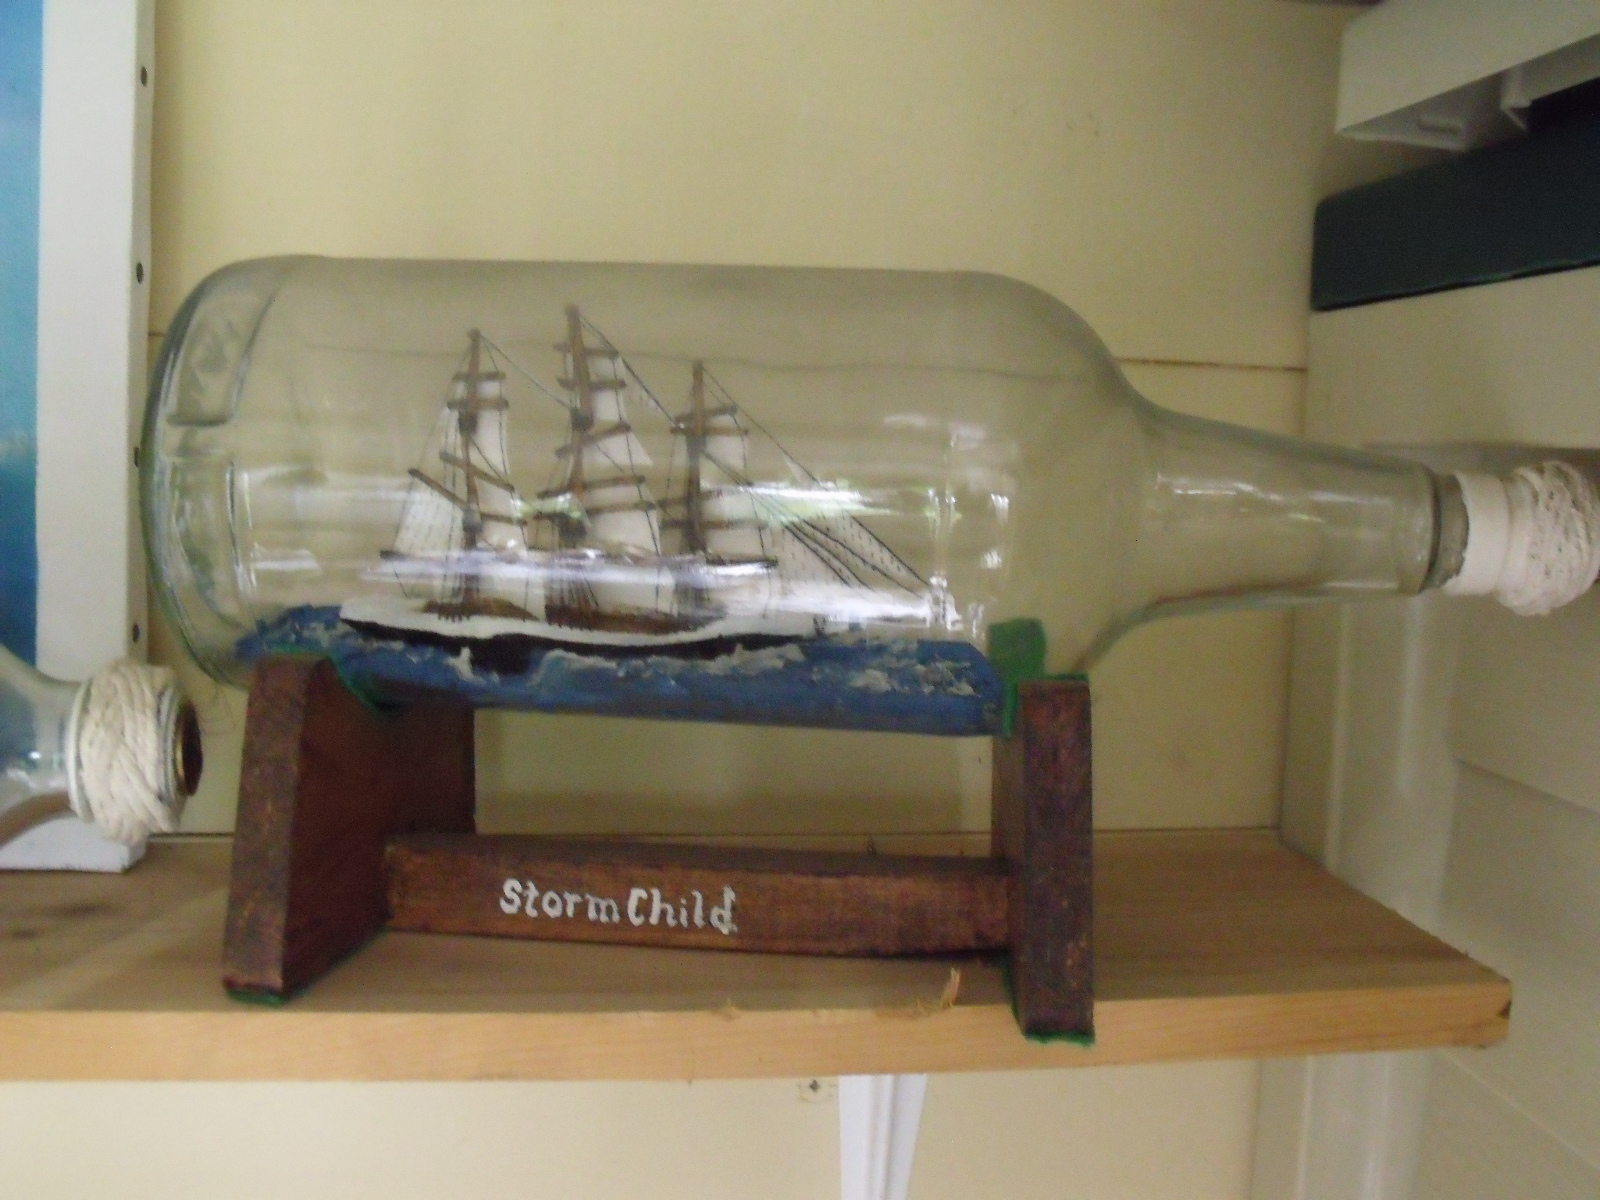
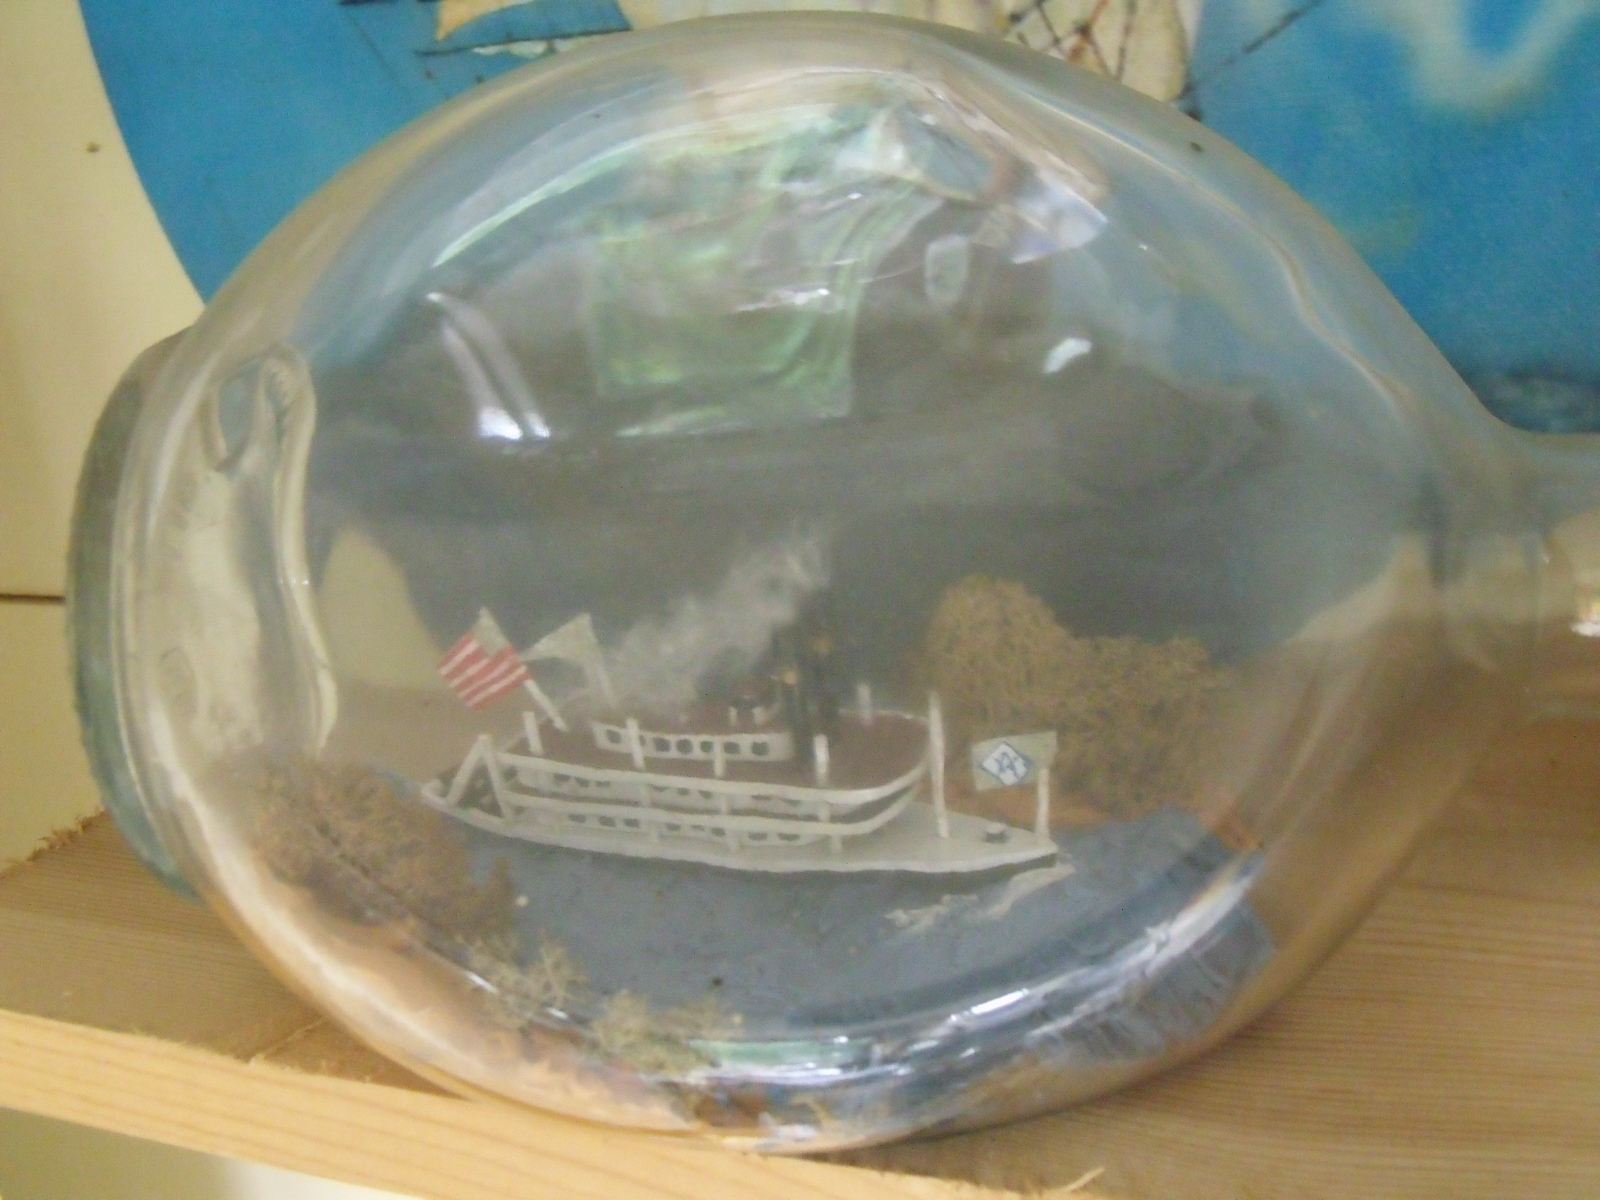
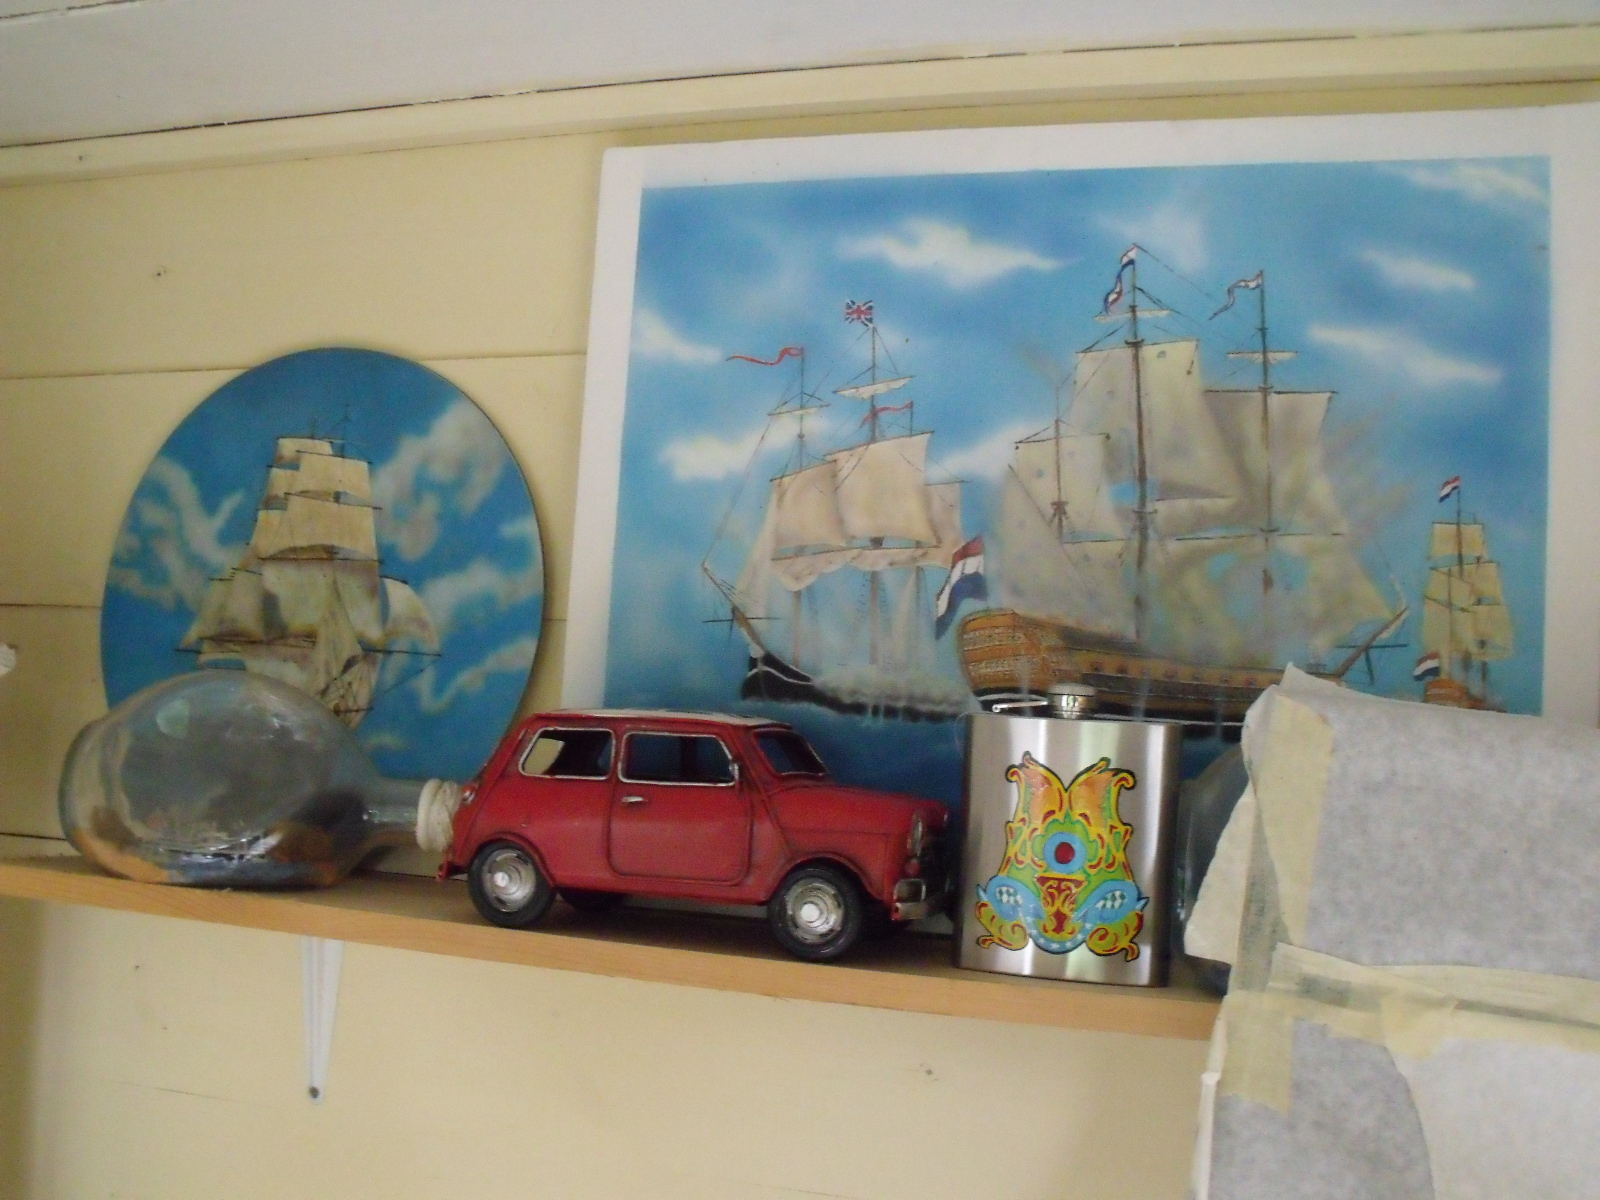
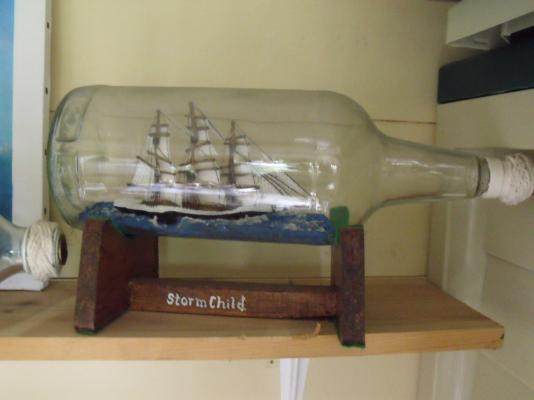
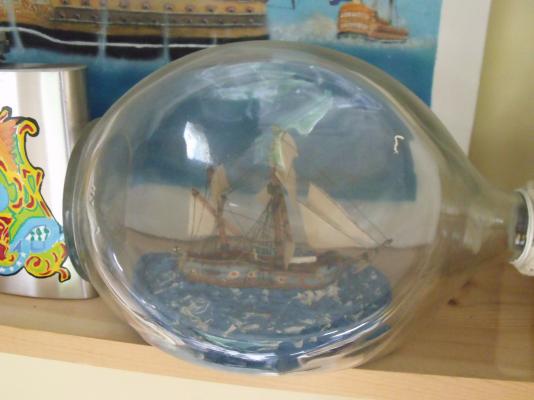
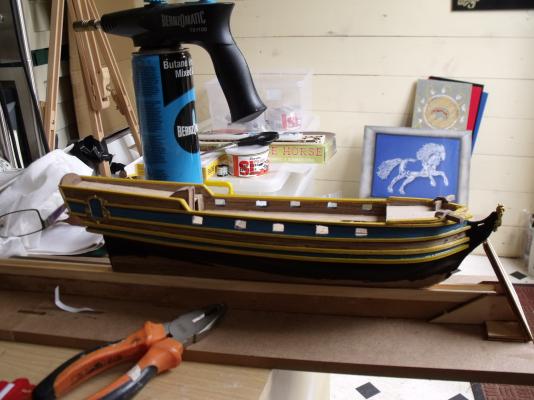
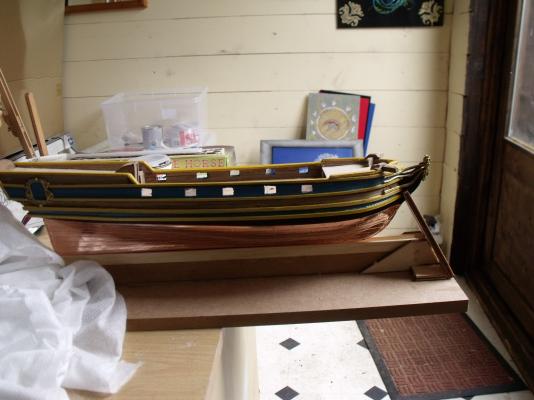
Be gentle........I also appologise for the preamble, This is a partial build log so a bit of history behind it first. About 10 years ago I was still into my SIBs.. My first clipper about 15 years ago, and a couple of others I still have. I was bought the Racehorse as a gift, at the time advertised as a good beginners model. (wish at the time I had the resources of this site). I soldiered on with the construction and lost heart in it, inexperience, bad instructions, the decks ended up out, the hull was oddly shaped particularily on one side, so it went into a storage box to be completed later. I moved on to other artistic endevours, airbrushing and pinstriping. Flying Cloud under full sail (circular disc) copy and some changes of a battle scene airbrushed. Anyway, a recent conversation with a collegue gave me the drive to take a new look at the model, so out the box she came. Wont go into the previous attempted repairs, but start on the new. The build is a double plank kit. This was heavily rubbed down, and filled, bow reshaped, third layer of planks added. Sanded and......this extra layer of planks added some more issues. Then issues with bending some of the woods....the usual, snaps and much cursing . My wife has given new drive to complete the model, its my 50th in July, she has seen my enthusiasm again in my ships, purchasing a Victory kit for me, along the lines it will take me a while to build and I will have more association with it. So through need, the Racehorse is not historically accurate, I am attempting to build a model that I will be pleased with in the end, she has also become experimental in seeing what works. Have adapted the paint scheme, the rest will be satin varnish. Decided to copper the hull, (not correct lol) one side completed. Other side completed, started some brass work, will weather/age the copper as bright copper doesnt work for this, while I have seen some beautiful versions of this model varnished, there has always been elements that havent looked right to me. Then will be back to working round the deck.


-
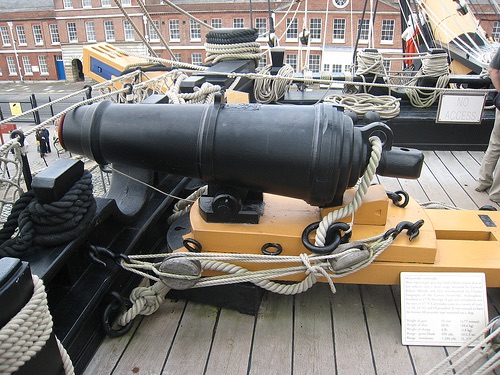
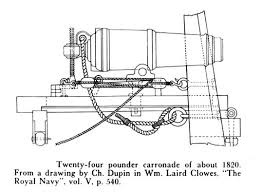
Nice indeed paul, are these the ones that are elevated and lowered by a threaded bar at the back, lol just checked the refference and the barrel is wrong. Can see these are gonna need a bit of work, there is supposed to be an elevating screw that passes through where that hole at the back of the barrel is. like the other guns there should be a vertical ring just in front of the "elevating screw" for the ropes. the back end of the carriage is actually mounted on a truck which I believe you have simulated, one either side, but dont know how bothered you are with that. Regardless, compared to the supplied and your all wood finish, far superior in looks. Agree with the gunports supplied, especially as the actual ones on the whole dont look like those supplied. Question is it possible to recess the gunport linings so that the actual lids would close flush with the hull as in the pic, or do we have to compromise due to timber planking?