-
Posts
9,719 -
Joined
-
Last visited
Content Type
Profiles
Forums
Gallery
Events
Everything posted by Chuck
-

HMS Winchelsea (1764) 32 gun frigate GROUP PROJECT INFO
Chuck replied to Chuck's topic in Group Projects on Model Ship World
There was never a pearwood version....It was either Cherry or Alaskan Yellow Cedar. I am also not sure if JJ will be making the Cherry version. You should ask him. Chuck -

HMS Winchelsea (1764) 32 gun frigate GROUP PROJECT INFO
Chuck replied to Chuck's topic in Group Projects on Model Ship World
No it hasnt ended. Did you pay for access to the plans? Portland ship model Is making chapter sets for the project now. Chuck -
We have created a new feature on the forum for "local" regional clubs. This area was originally planned for local NRG Charter clubs. But who knows, maybe it will rolled out to all local regional clubs. They will be located at the very bottom of the forum page. Scroll down!!! If you live in New Jersey and are a member of the club ..... or not a member....click the "join this club" button in the area to participate. Meet some new friends in person....have some fun and create long lasting friendships. Why are we doing this. Like everything else, local regional clubs are getting smaller. Local clubs are finding it harder and harder to attract new members. Having a space set up just for your local club gives your members a way to stay in contact with each other. Especially for those clubs that might not have a thriving website or social media presence. You can start discussion among your club members and post photos of your projects. You can start a calendar of events for things you are doing including your monthly club meetings and local ship model shows. I have started one for my local club in New Jersey as a test...and I may create one more. It is our hope that we can help grow and bring together more people locally to your clubs. As a busy destination site for ship modelers we have a lot of members. Hundreds from the state of New Jersey for example. So this maybe a good way for the NRG and MSW to help support your local club and make it grow. In order to do this, we need folks from New Jersey to see what an active and robust club we have. So hopefully our many members will fill the New Jersey club space with content that shows what a great group of people we have. Good friends and good times. If this works out we will roll out a way to add your local NRG chapter with its own area. I just have to write a few rules etc. So if you are an active ship modeler from New Jersey...as to join the group area. Then start posting and make some new friends. And hopefully you will later join us locally in person at one of our monthly meetings and workshops. Chuck
-
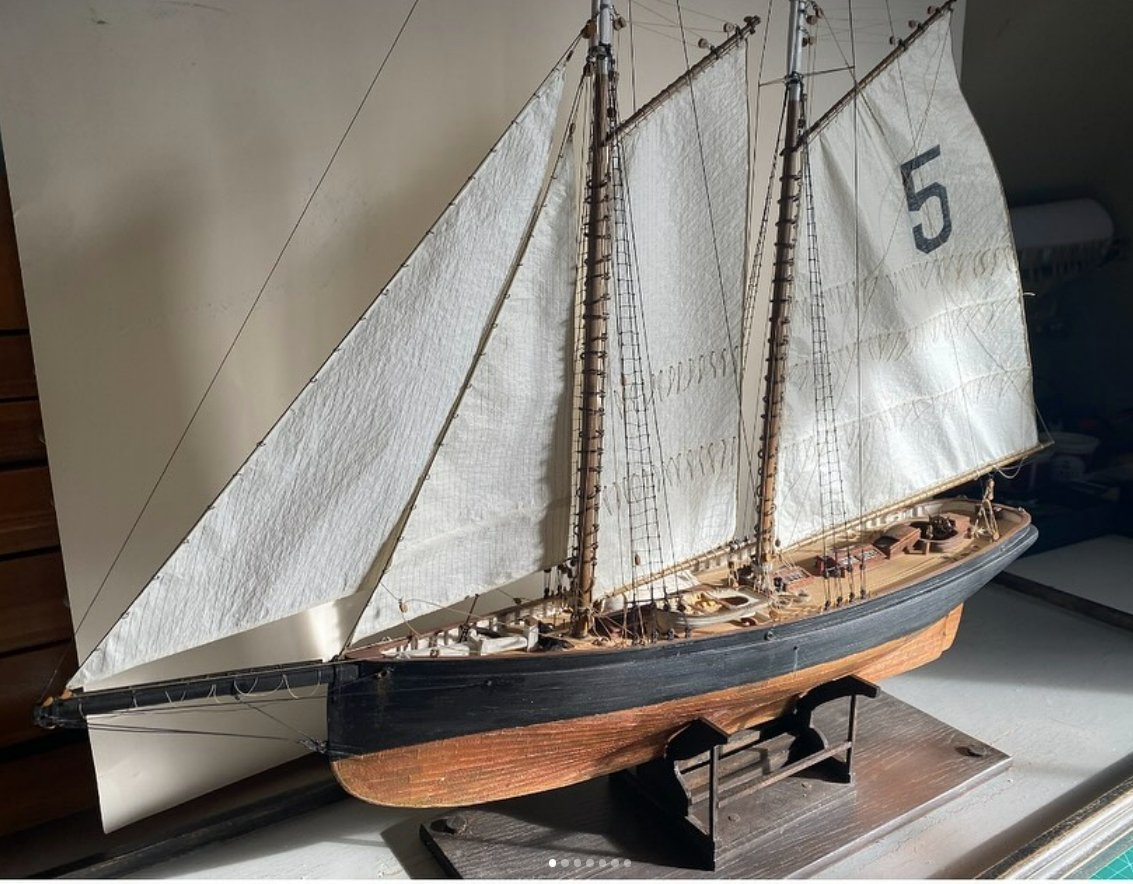
Our club had its regular monthly meeting yesterday at the Roseland Public Library. It was cold out. Thanks to all who attended. We had 10 members in attendance with another 6 joining us virtually. Doc Fletcher gave us an update on his Mamoli kit of the HMS Beagle. Rich Lane also brought in his completed Boston Pilot Hesper boat model made from scratch. Our Virtual Member Mort Stoll also gave us an update on his Caldercraft kit of the Diana. All the cannon are rigged and he is moving on to the other deck fittings. Chuck showed us a video on how to belay a line to a belaying pin on a real ship and followed that up with a demonstration on how it is done on a model. At the Meeting, Chuck also discussed the New area created on Model Ship World for our local club. Its a virtual area where our members can converse online and post questions and pictures of their latest projects. This is a test to see if our club members will use such an area and see if it is beneficial. Its like having our own interactive social media page but not on Facebook or Instagram. The goal is to have a place for our local members to post pictures of their projects and keep in contact with you fellow club members. It will also hopefully be seen by other local model builders in the area who might want to join our local group once they see how Robust and Active we are. There are hundreds of ship Model enthusiasts from New Jersey on Model Ship World and this may help attract some new Members. If this new area proves beneficial to our club and also helps attract new members, and if it is used and successful, it will be rolled out for other local clubs and NRG chapters for their members. So make sure to log in and populate the area with good content and show folks what a fun little club we have. Chuck Passaro Vice President Ship Model Society of New Jersey
-

Triton by Jerzy
Chuck replied to Jerzy's topic in HMS Triton - 28 gun frigate's Cross Section Build Logs for HMS TRITON
That looks great...Its like you never took time off from building ship models. 👍 -
Just an FYI.... I have a bunch of family coming to stay this long weekend so I am gonna close the shop. I will reopen Monday. I wont even have time to step into the shop to process and mail out orders. I have 8 pre-teen kids coming and another 6 adult Nieces and Nephews. The kids are off from school this Monday so they all decided they wanted to take the kids skiing and tubing. My place is free lodging, LOL and free meals. But seriously, it will be a lot of fun. And no I am not getting on the mountain myself. I would break several bones for sure. Its been a decade or so since I have done that. And about 75 pounds since then. So I apologize for the inconvenience. But the Admiral would also kill me if she saw me sneak into the shop to escape the madness. I will be the guy keeping them from killing each other. They are a lot. Chuck
-
And here is the video for making rope hanks... It is really awkward making these videos. So please excuse how crude they are. I am not very good at it, but I think it tells the story. I am basically in the shop talking to myself, which takes some time getting used to while reaching over my phone to do this close up so you can see the details. I am very new at this as you will see.
-
I suck at making videos but I did my best. I forget to mention in the video....DONT glue the coil to the plug. You are just adding the glue to the outside edges. And there are notches on both sides of the tool so can make left handed and right handed coils depending on where you need them. For example on both sides of the cannon tackles of gun carriages. The direction of the coils is reversed on each side. Let me know if you have any questions. I literally had the phone in front of me between my arms as I was making the coil so its not as neat as it could be. I had to reach over the phone and try to keep the action in view. Its a lot and I suck at it. But I will try and make more of these for different techniques because I know it just explains things so much better than still photos with descriptions. Chuck
-
I might but not just yet… That sounds safe and fine but you must know that at some point it will just start making the rounds and be passed from one person to another for “personal use”. LOL I am not saying you would do that…but at some point…it will absolutely happen. I did that with my Cheerful plans a bunch of times…and now they are being sold on the “Best ship Models” site and one Russian site and a Ukrainian site. And they are also around for a free download from many others. So not just yet…but eventually. These tools are so simple I would bet money on it that you will see many others start offering their “version” Soon enough anyway. So when that happens…yes I probably will. LOL Just remember when that happens who actually designed and made the original. LOL
About us
Modelshipworld - Advancing Ship Modeling through Research
SSL Secured
Your security is important for us so this Website is SSL-Secured
NRG Mailing Address
Nautical Research Guild
237 South Lincoln Street
Westmont IL, 60559-1917
Model Ship World ® and the MSW logo are Registered Trademarks, and belong to the Nautical Research Guild (United States Patent and Trademark Office: No. 6,929,264 & No. 6,929,274, registered Dec. 20, 2022)
Helpful Links
About the NRG
If you enjoy building ship models that are historically accurate as well as beautiful, then The Nautical Research Guild (NRG) is just right for you.
The Guild is a non-profit educational organization whose mission is to “Advance Ship Modeling Through Research”. We provide support to our members in their efforts to raise the quality of their model ships.
The Nautical Research Guild has published our world-renowned quarterly magazine, The Nautical Research Journal, since 1955. The pages of the Journal are full of articles by accomplished ship modelers who show you how they create those exquisite details on their models, and by maritime historians who show you the correct details to build. The Journal is available in both print and digital editions. Go to the NRG web site (www.thenrg.org) to download a complimentary digital copy of the Journal. The NRG also publishes plan sets, books and compilations of back issues of the Journal and the former Ships in Scale and Model Ship Builder magazines.


