Ilhan Gokcay
-
Posts
636 -
Joined
-
Last visited
Content Type
Profiles
Forums
Gallery
Events
Everything posted by Ilhan Gokcay
-

Question about 17th century spritsail topmast
Ilhan Gokcay replied to Ilhan Gokcay's topic in Masting, rigging and sails
Maybe there were too few examples carrying both. Regarding also the backstays of the sprit topmast, it would be difficult to set the jib sail. -
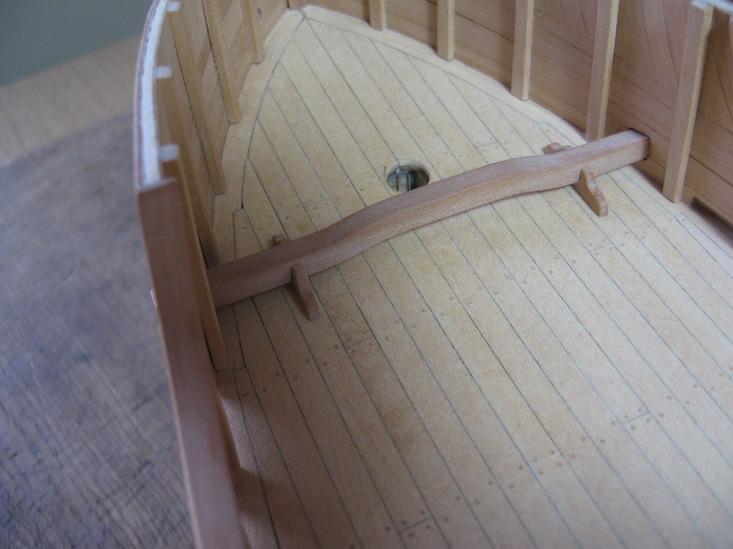
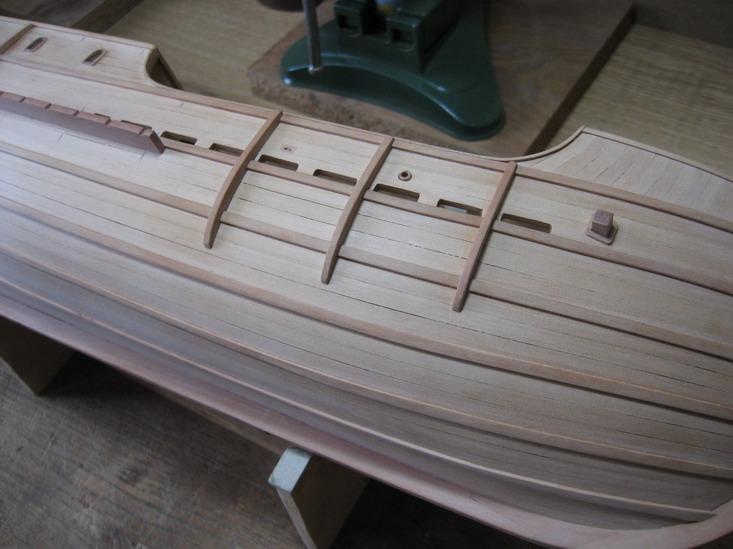
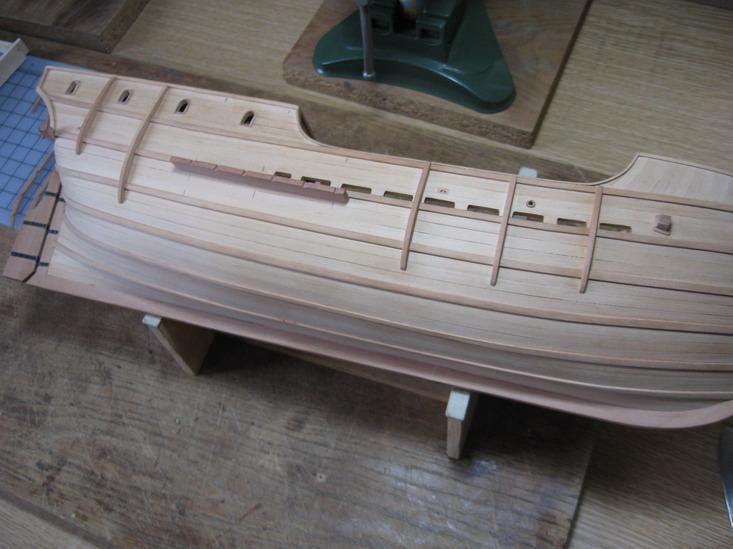
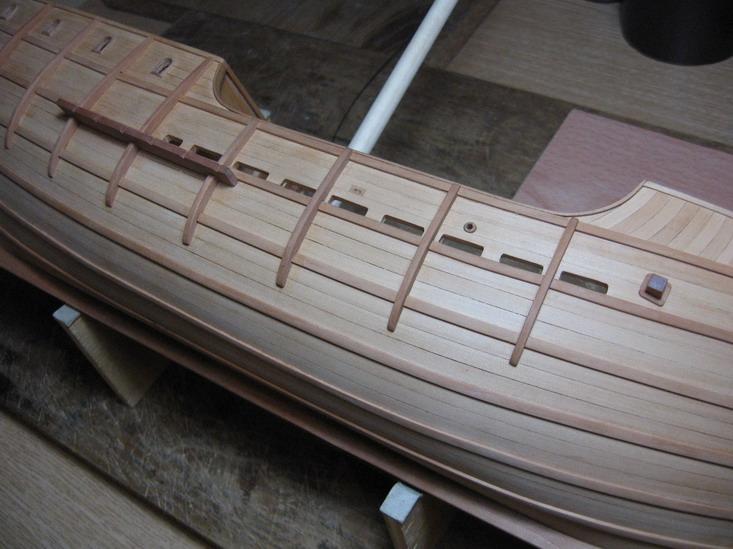
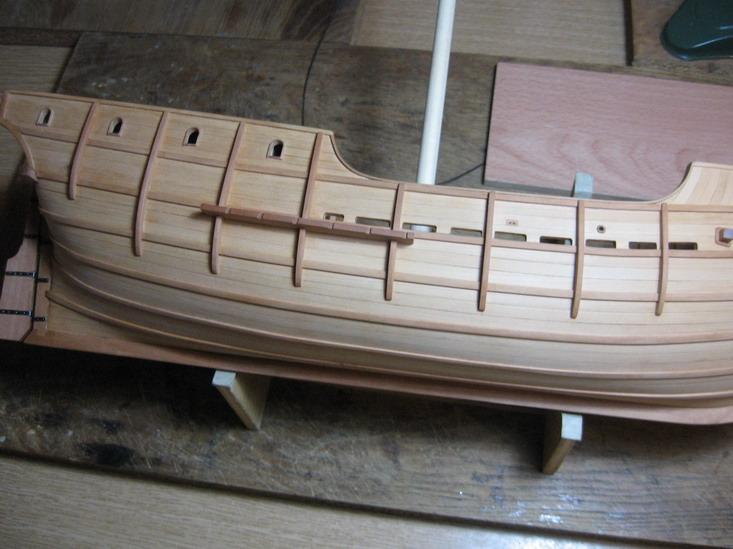
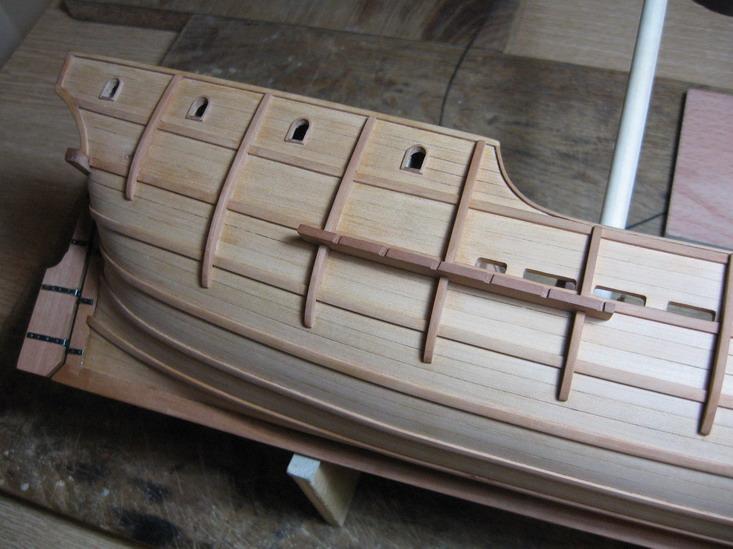
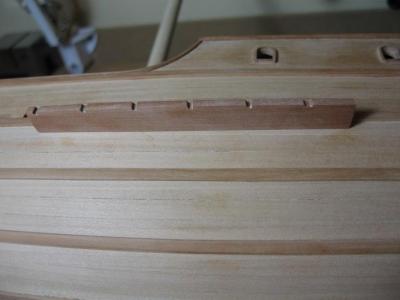
Started to assemble the parts. Glued the bitt and futtock riders to their places using PVA white glue. For large and more detail photos see also: http://www.flickr.com/photos/ilhan_gokcay/sets (Best go into the set and choose slideshow)

-
Question about 17th century spritsail topmast
Ilhan Gokcay replied to Ilhan Gokcay's topic in Masting, rigging and sails
I'got an e-mail before the server change that there is a reply to the topic. But apparently it has been lost. I hope that the sender will reply again. -
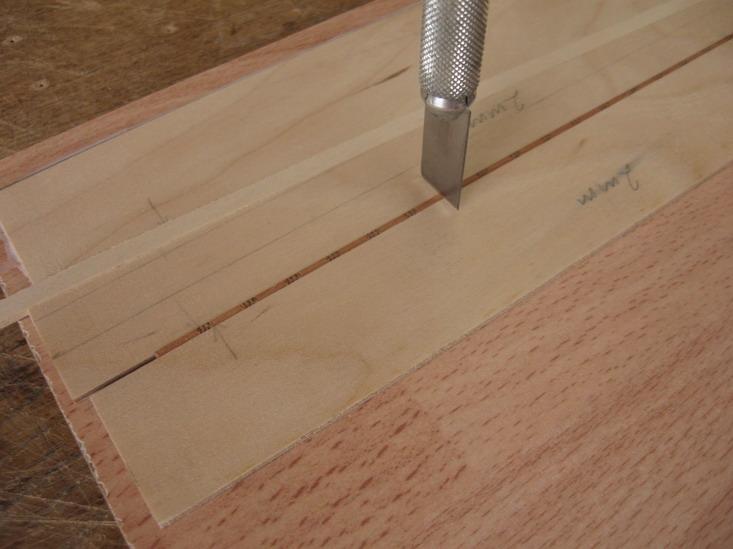
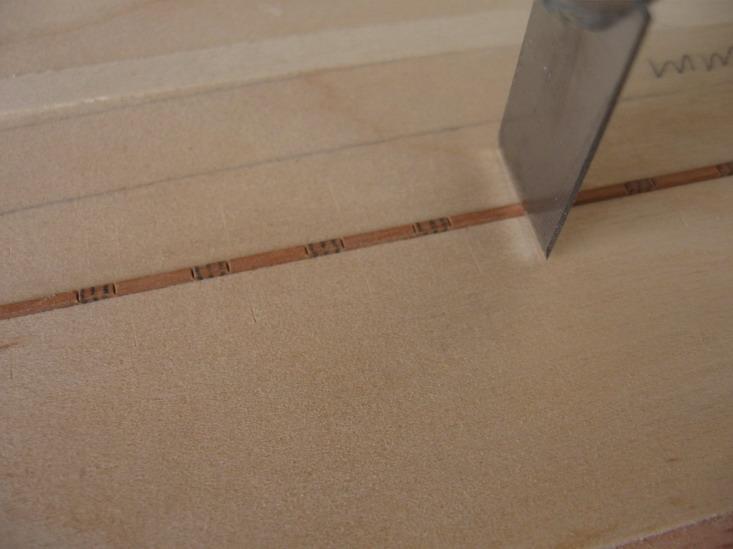
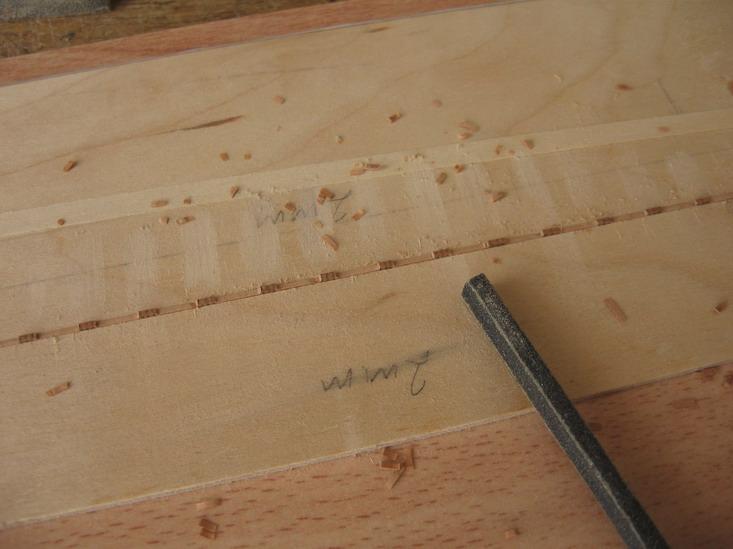
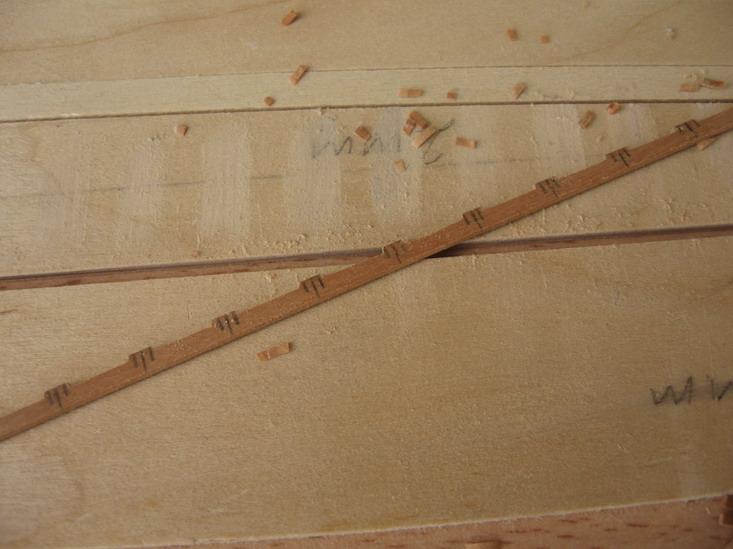
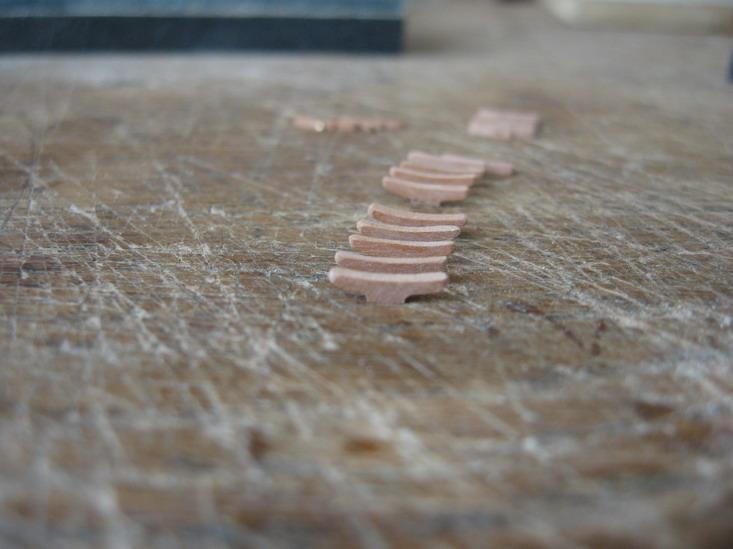
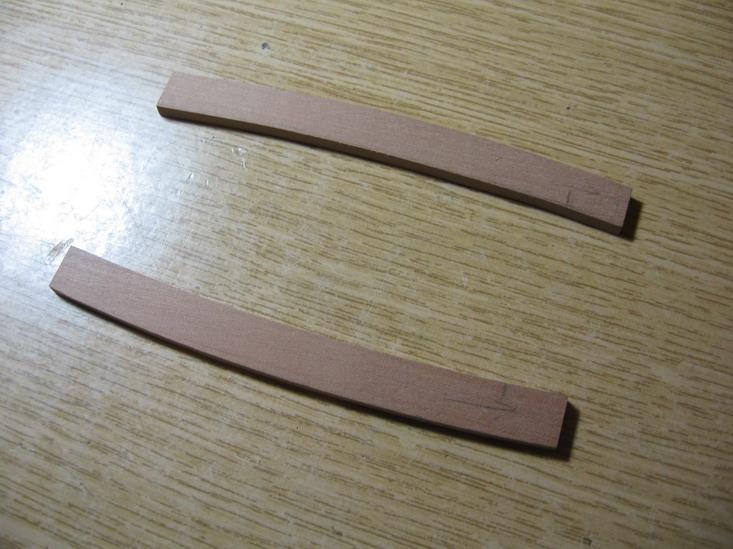
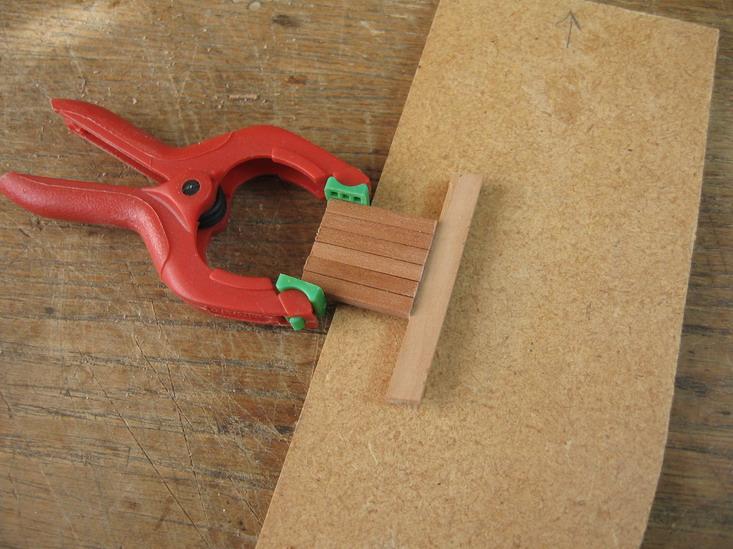
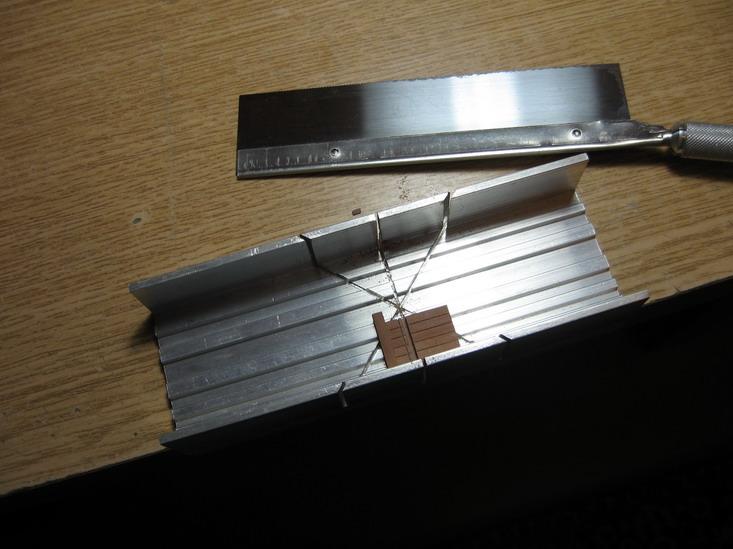
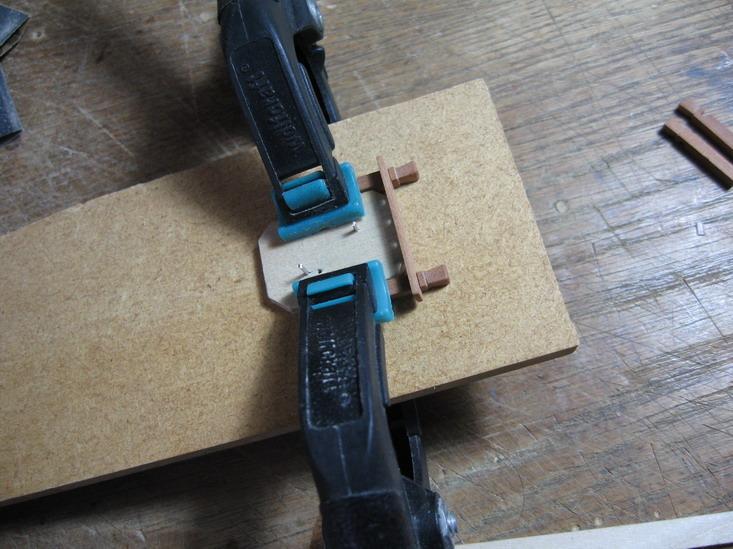
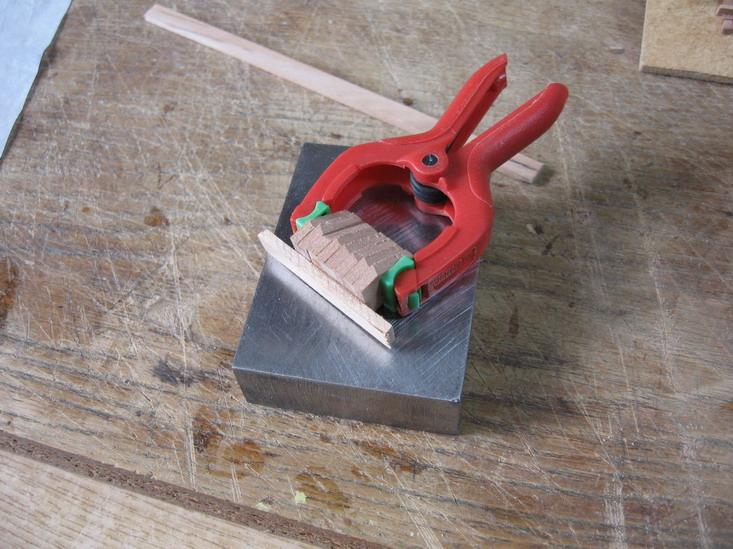
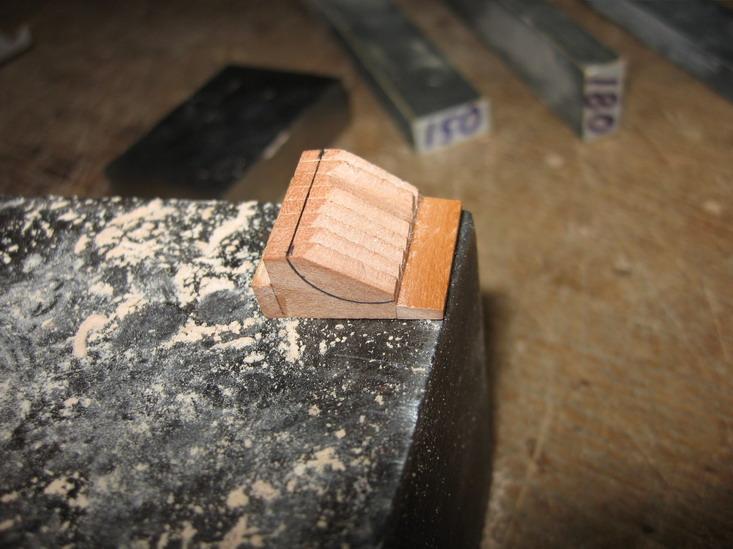
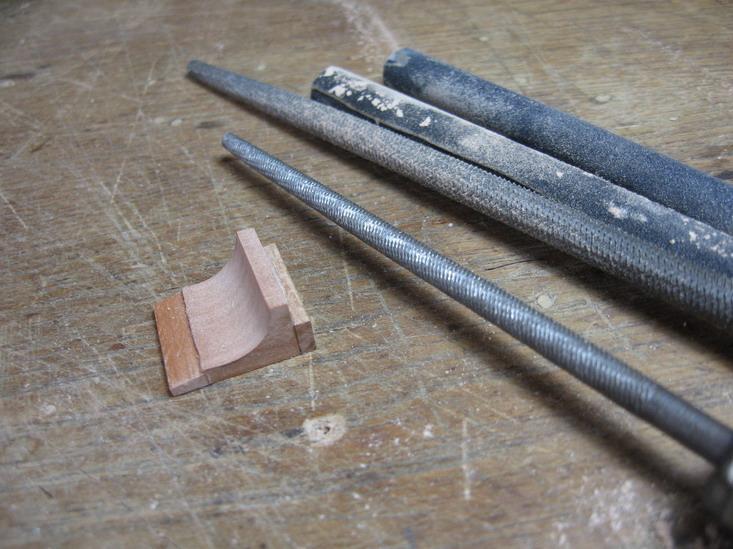
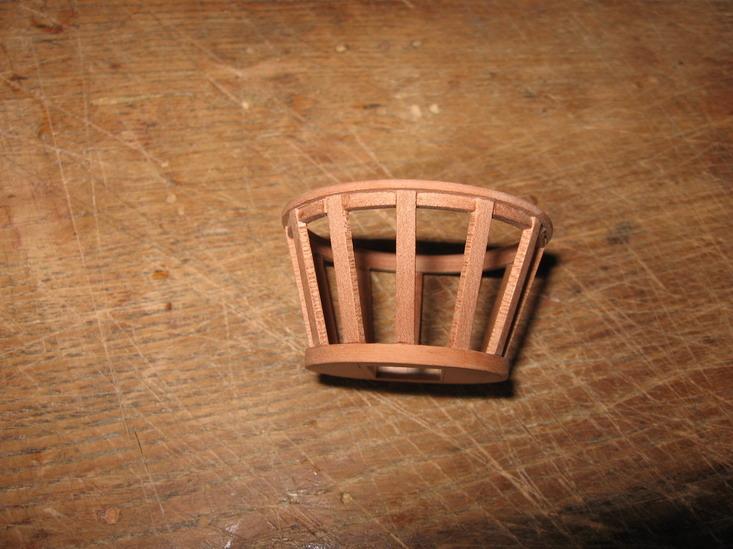
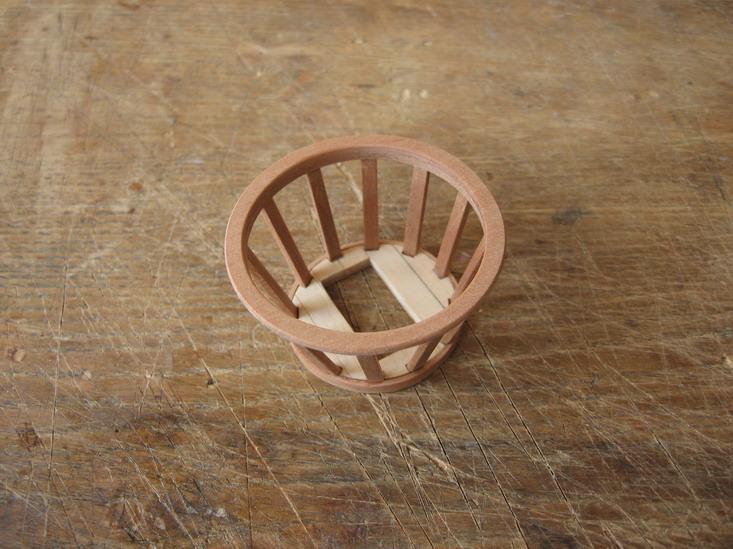
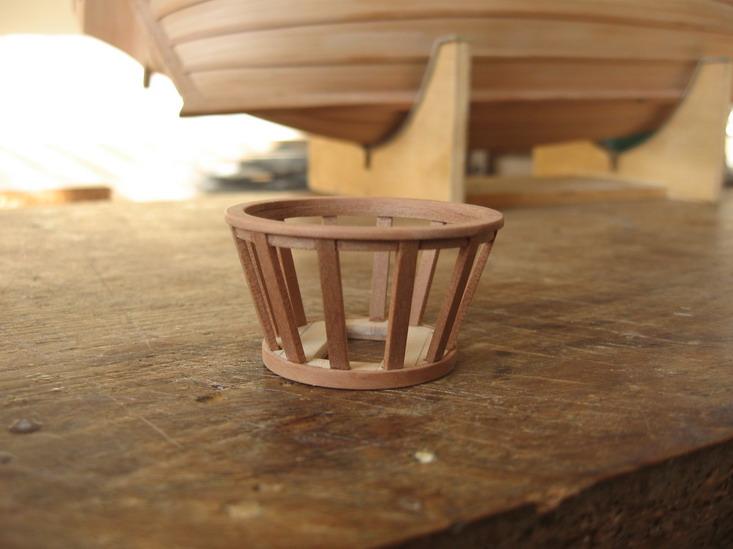
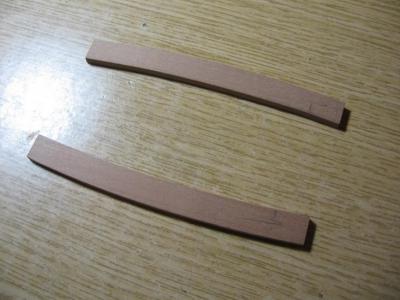
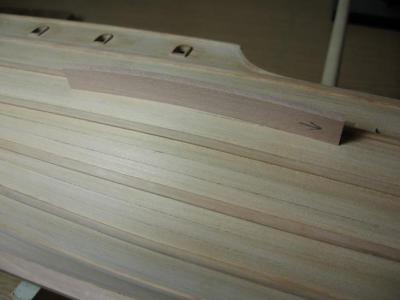
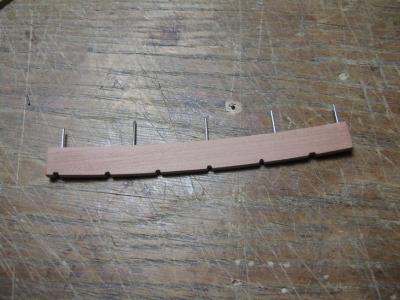
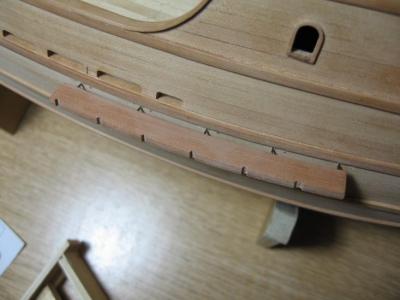
Thank you very much Mark. Here are somo photos for the tool for bending the wood strips. Originally it is a table lamp body and already has a boring. I have attached a 60 Watt soldering iron in it. The point is that it is as hot as does not burn the wood but I can not touch it. http://www.flickr.com/photos/ilhan_gokcay/2020376640/in/set-72157602839388460 http://www.flickr.com/photos/ilhan_gokcay/2019583387/in/set-72157602839388460/ http://www.flickr.com/photos/ilhan_gokcay/2019590619/in/set-72157602839388460/ Ilhan
-
Hi Steve, thanks. Unfortunately I did not saved the text but only the photos. I'm ready to reply any questions.
-
Hello Michael Thank you very much. Ilhan
-
Hallo Joachim, Thank you very much. Plan is from the book “Mayflower, Noel Hackney” with the drawings by Wolfgang Hölzel published by Delius Klasing Verlag. Ilhan
-
Question about 17th century spritsail topmast
Ilhan Gokcay replied to Ilhan Gokcay's topic in Masting, rigging and sails
Thanks for the responses. I don't remember exactly but I think I've read somewhere that the jib sails and staysails replaced the spritmats topsails. So that they are not used at the same time. I do also suspect that and want to be sure. -
Hello, My question is about the rigging of the 17th century. Is it wrong to say if there is a spritsail topmast then there is no staysail and jibsail. Both can not be at the same time. Appreciate any response. Ilhan
-
Hi Ron, you're welcome. I like your model and build log very much. I'm glad that you repost the old log. And here I resume to save the new photos. Ilhan
-
Hi Pat, thanks. I like MSW. I've uploaded also my two old build logs. I hope to see MSW as it was before. Ilhan
-
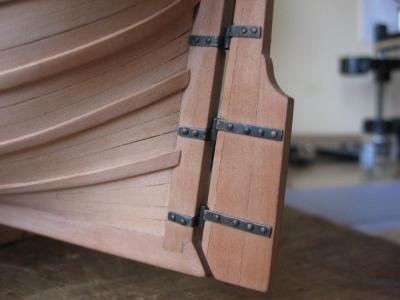
Blackened the brass parts and assembled the rudder.


-
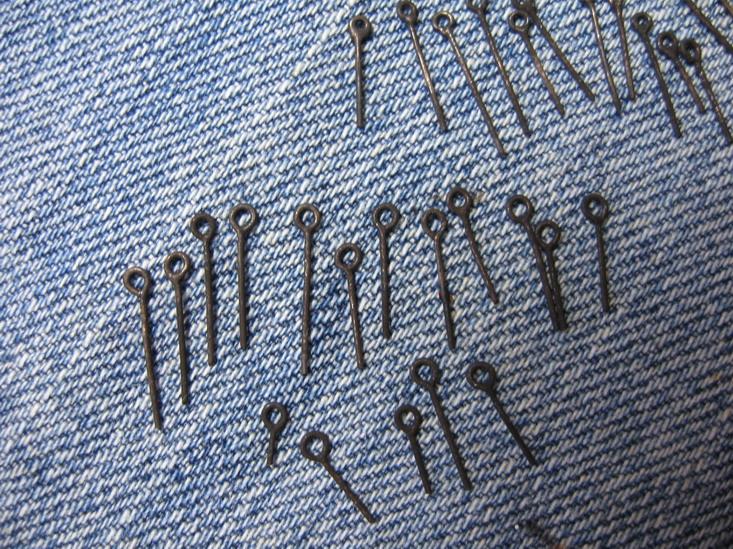
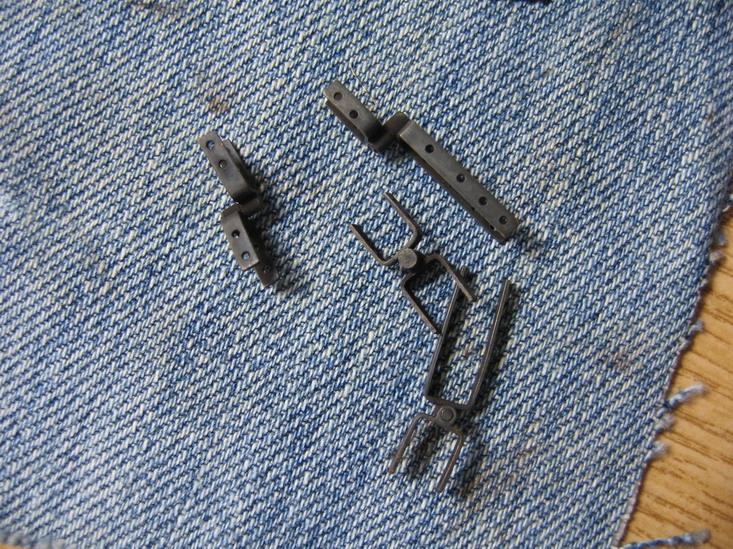
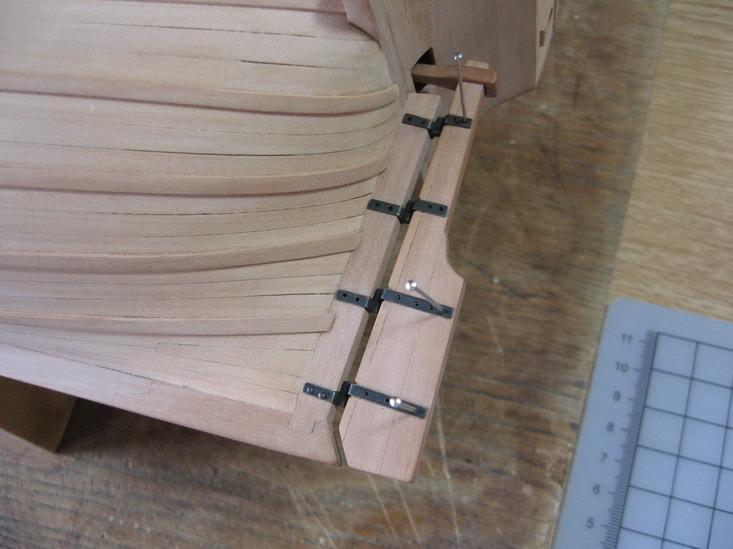
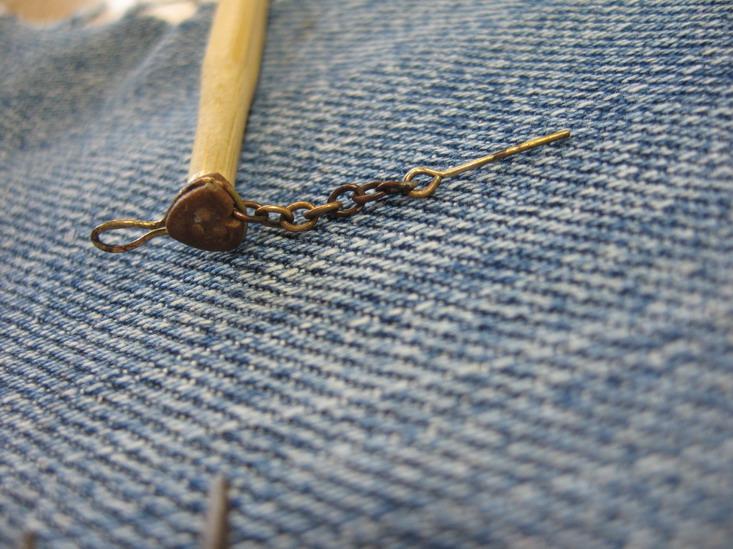
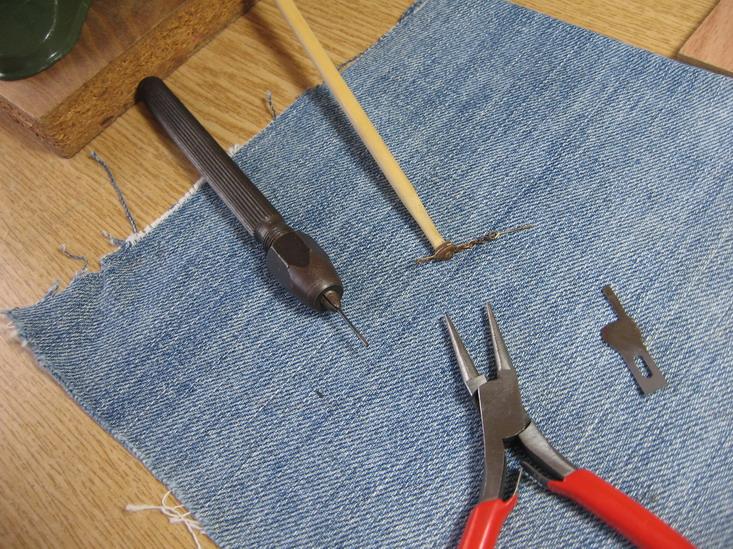
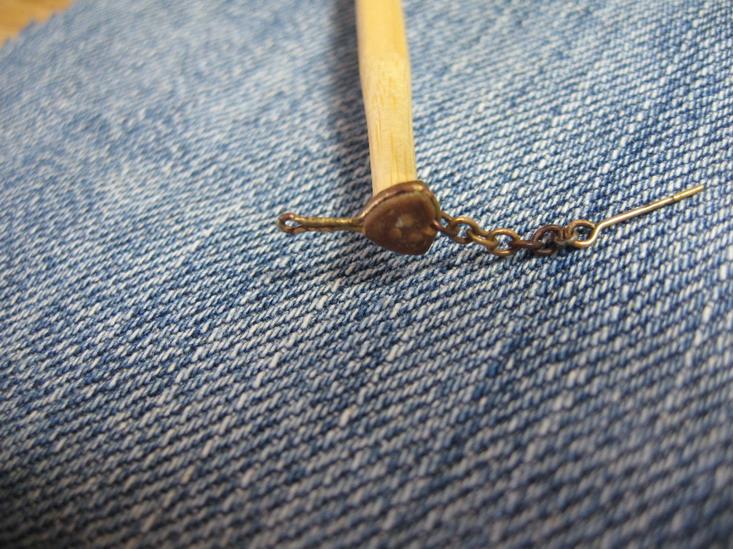
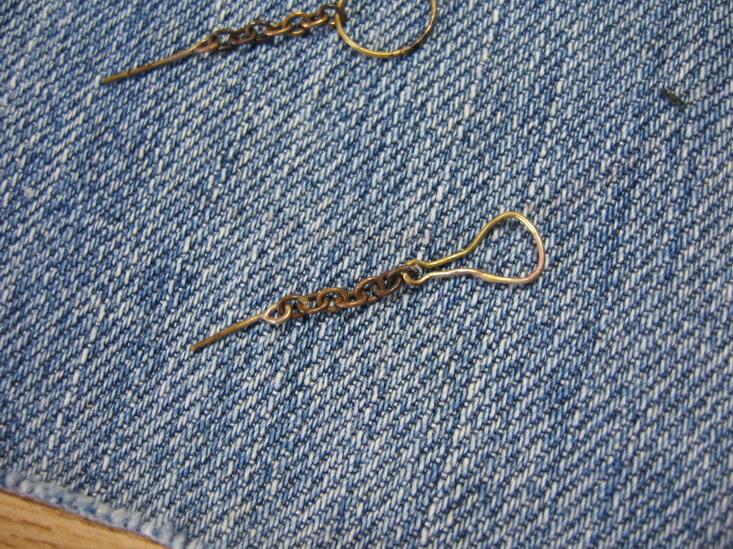
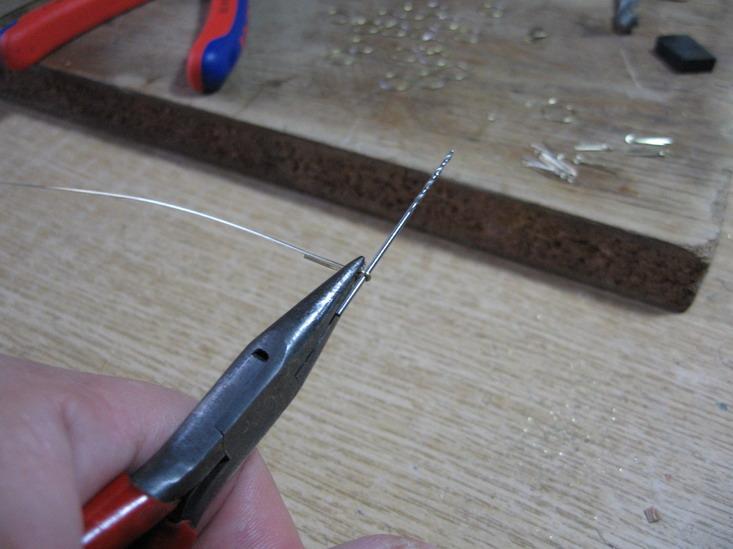
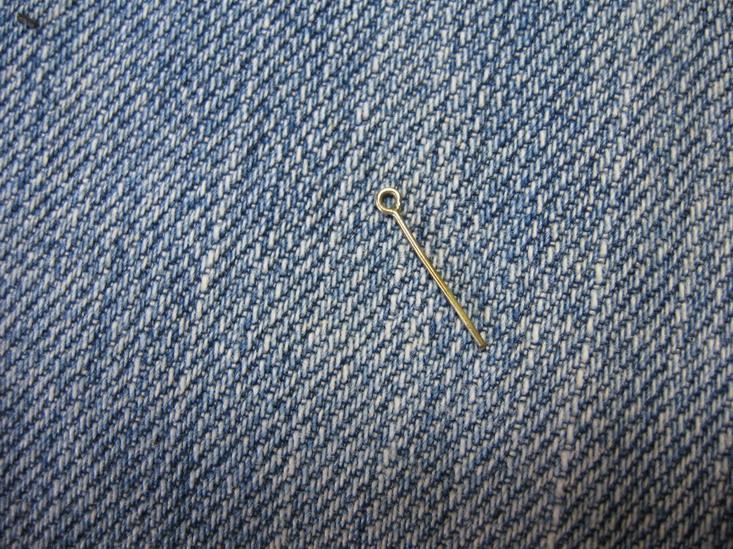
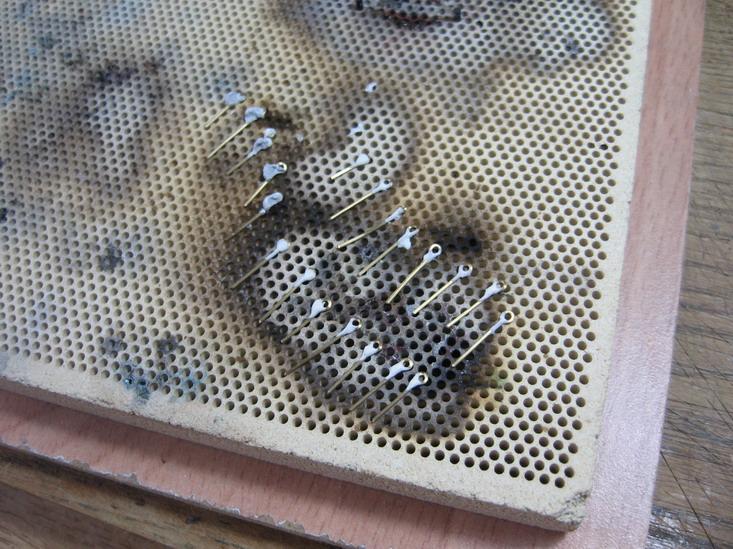
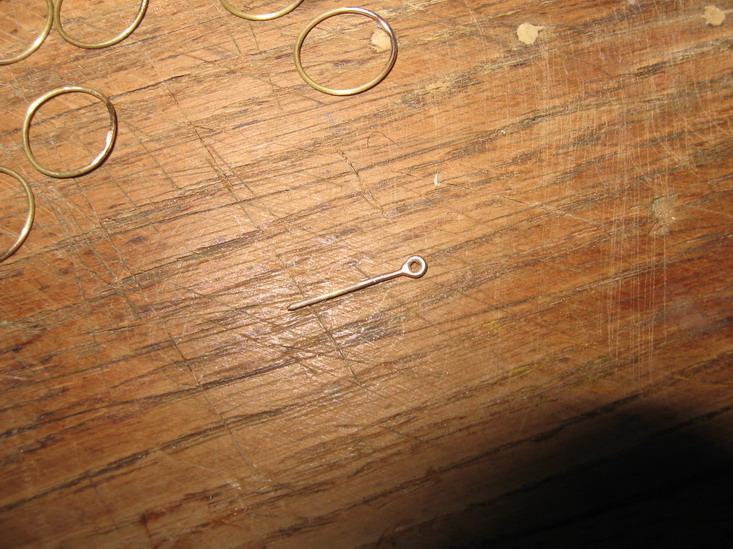
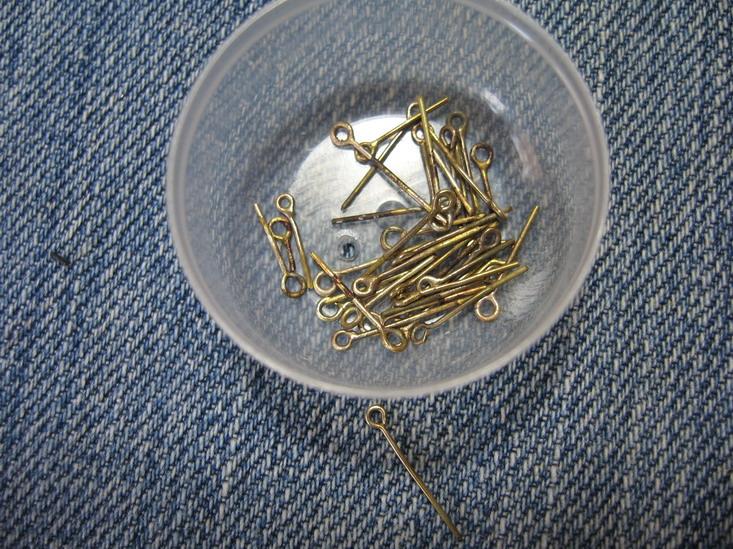
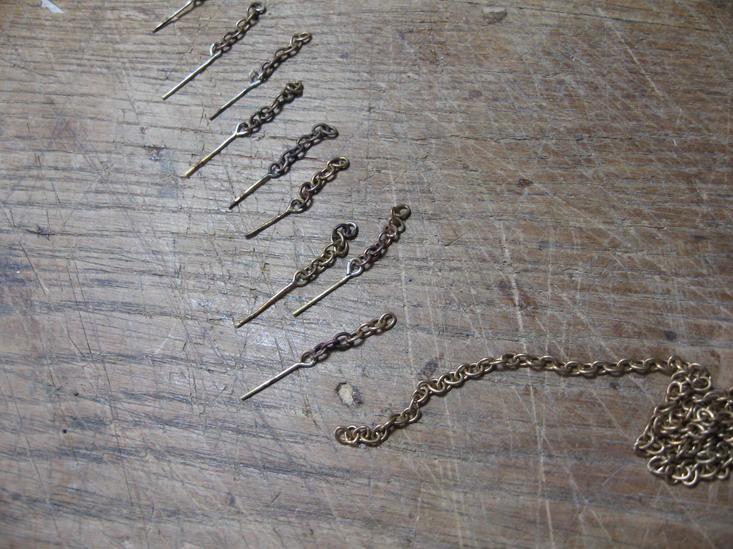
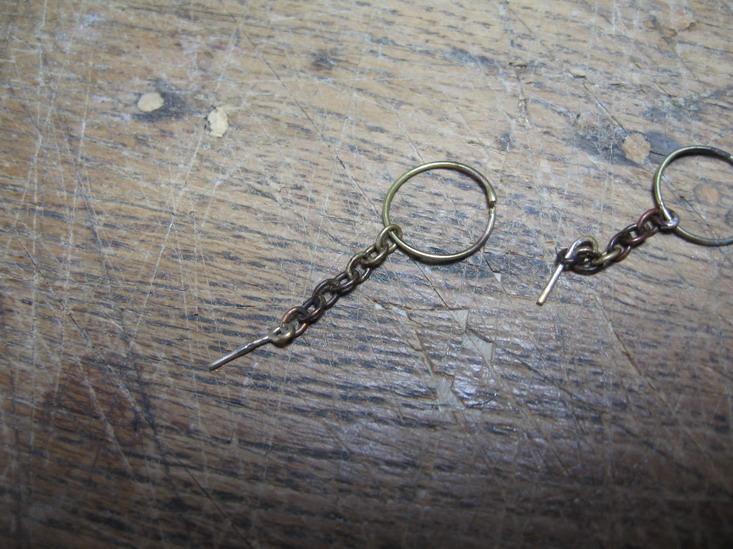
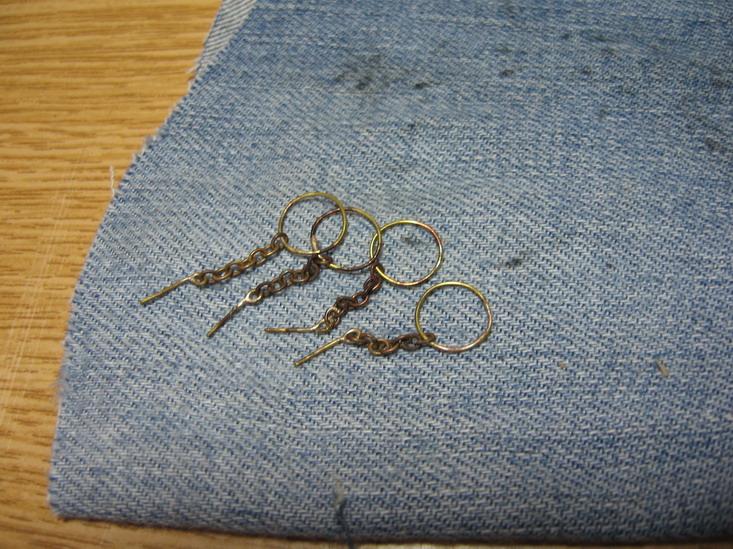
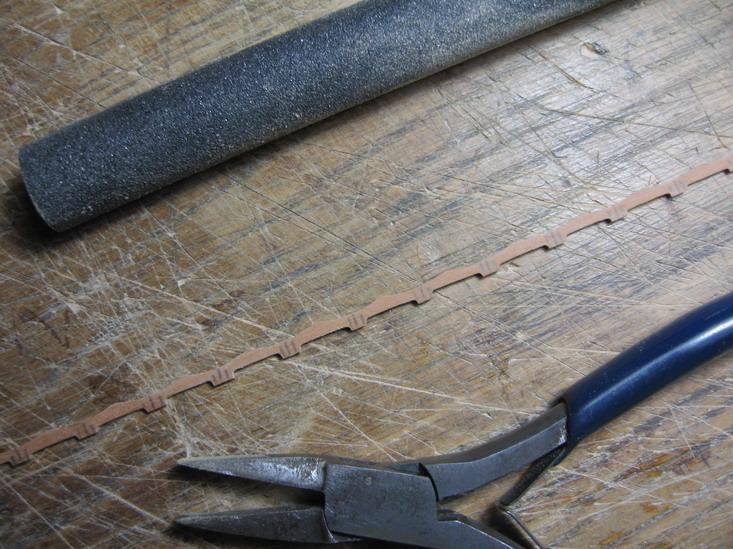
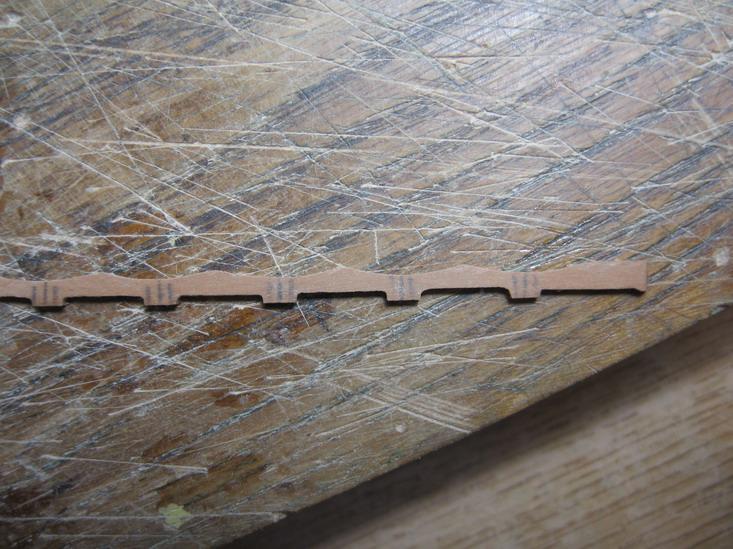
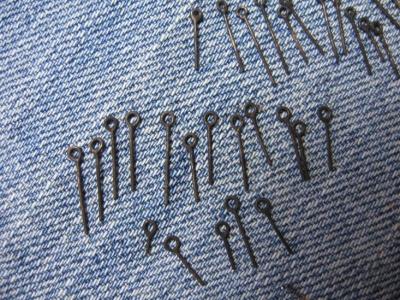
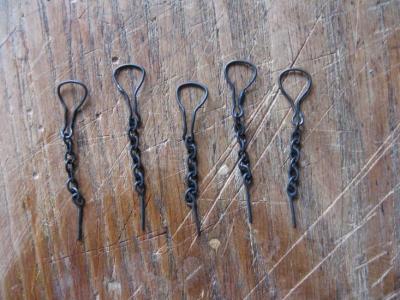
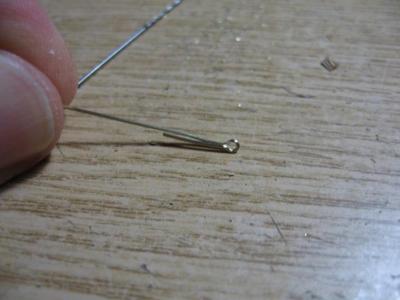
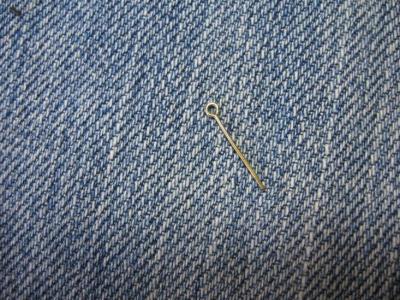
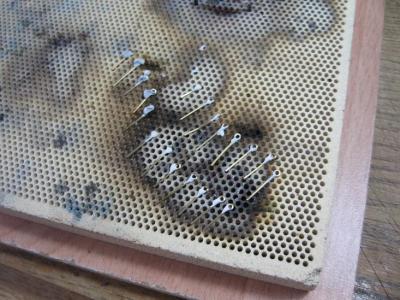
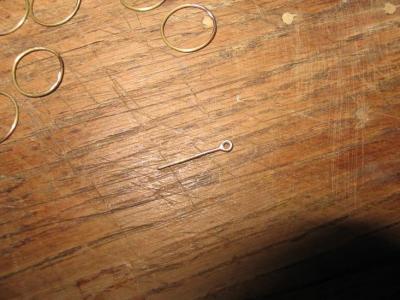
Finished the eyebolts and chain plates. The main links of the chain plates are chain. For all the joining I used silver soldering. At this stage, I left the chain plates slightly spaced as I will put the deadeyes later after blackening.


-
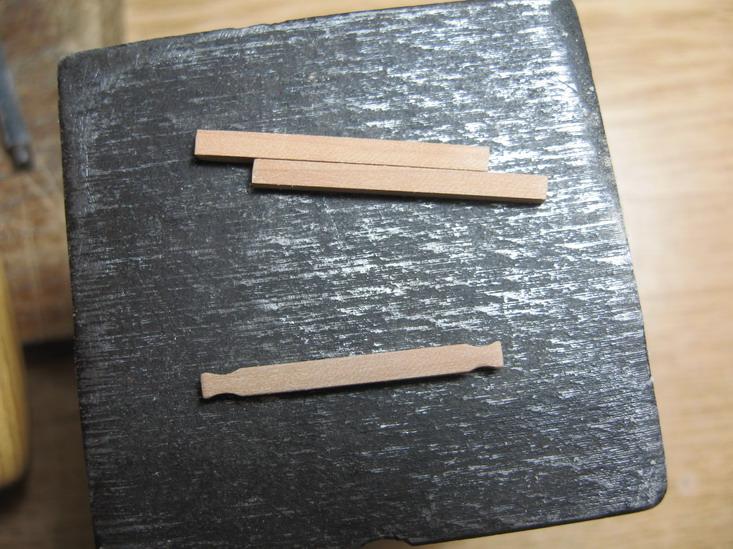
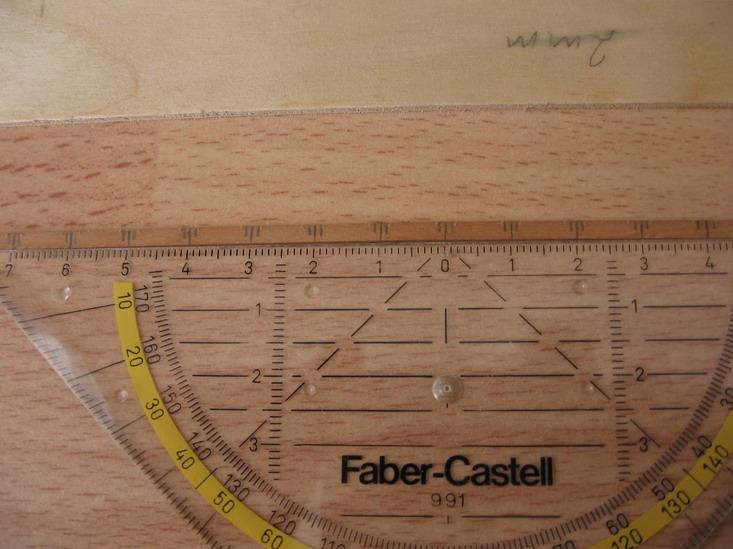
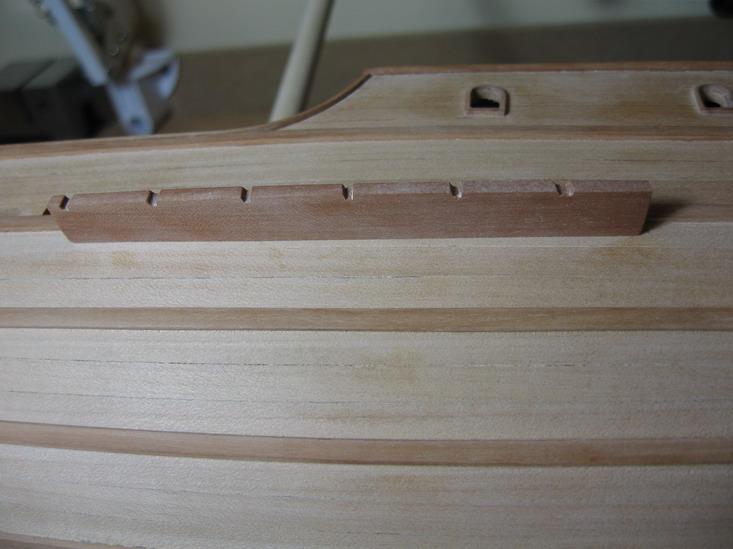
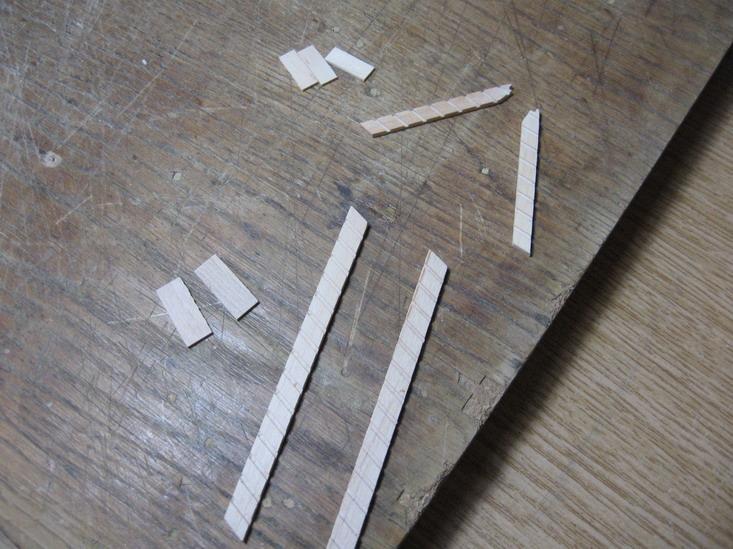
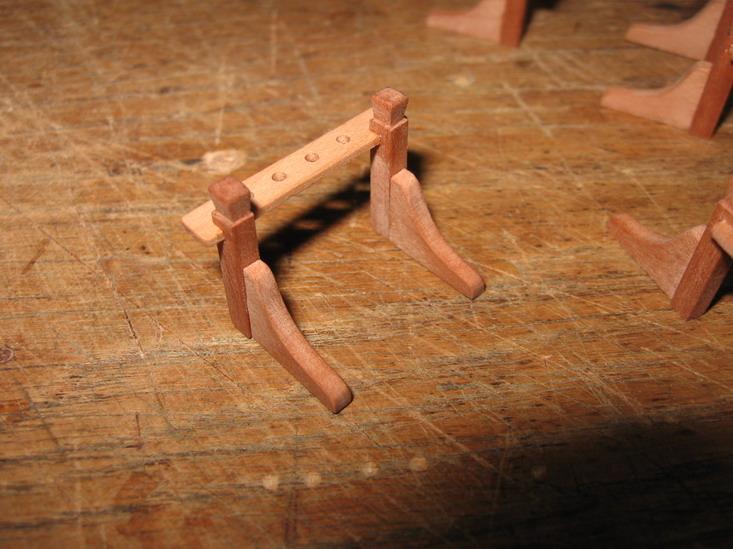
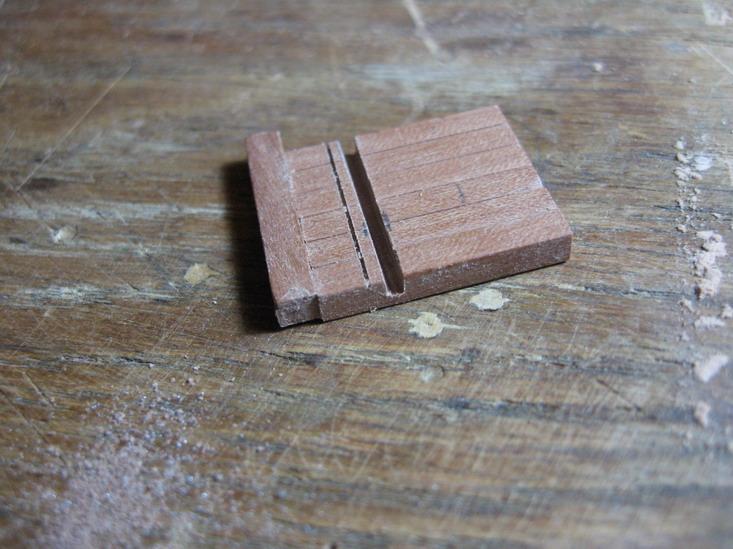
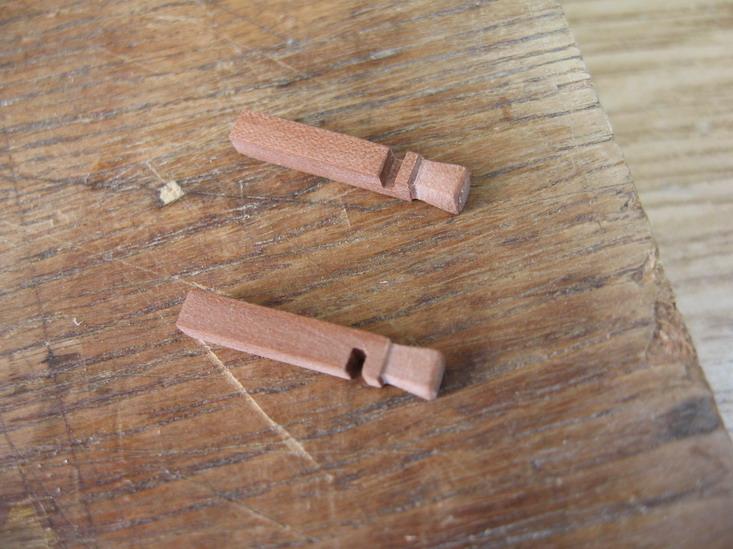
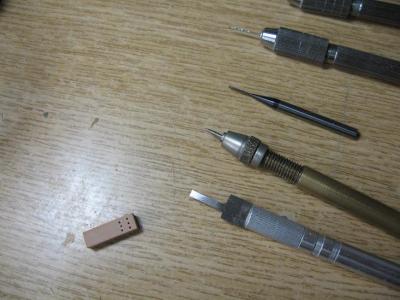
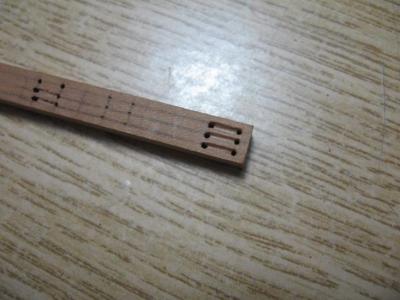
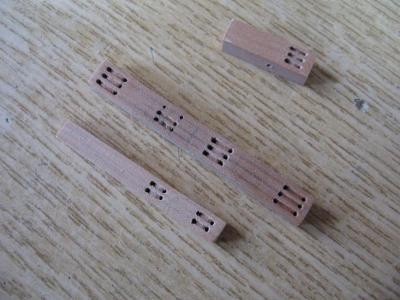
Finished the knights and their blocks from pear strip. And belaying pins from 1,5mm dowel.
-
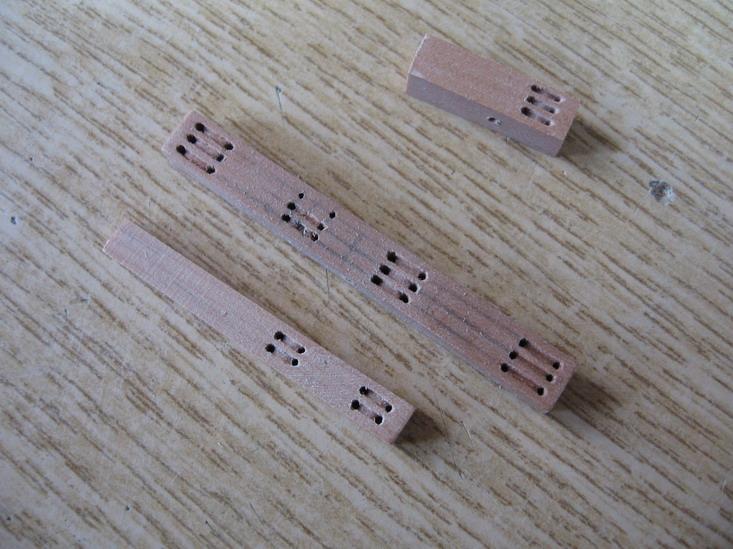
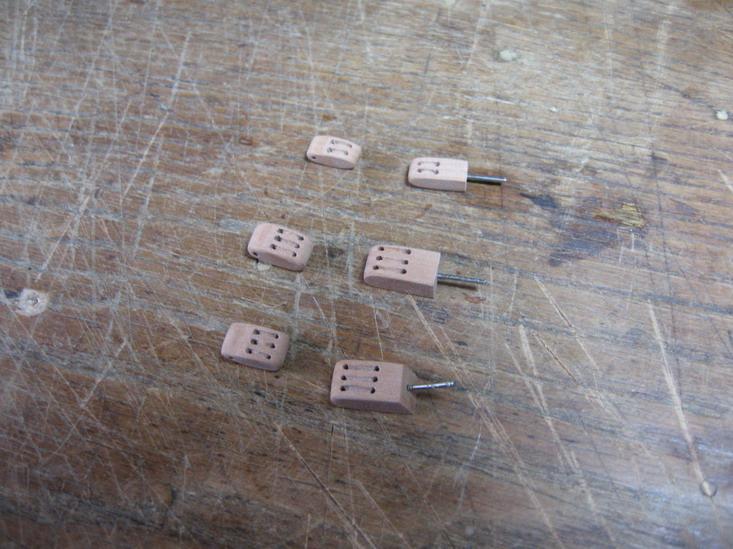
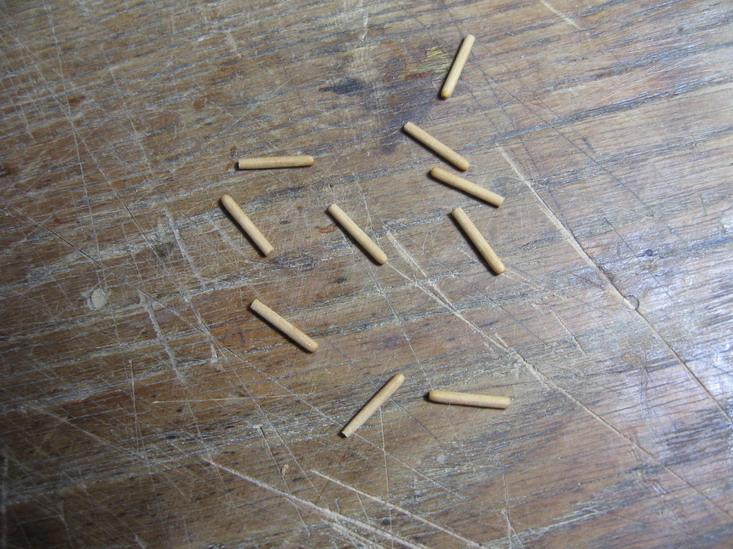
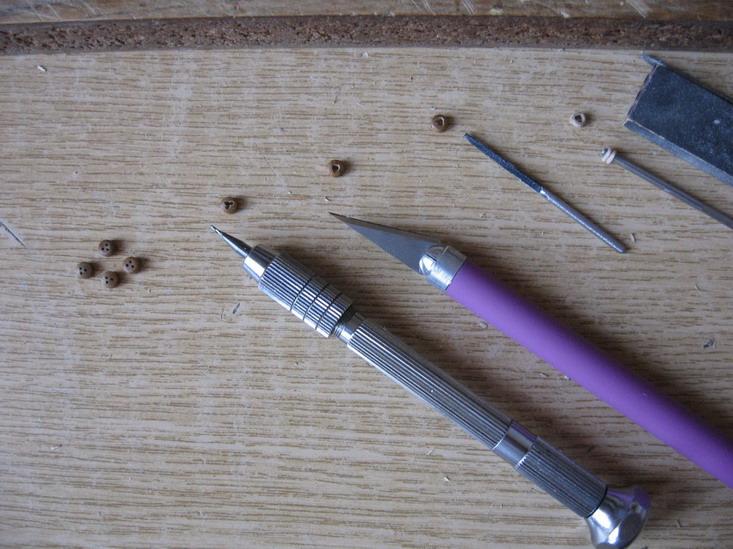
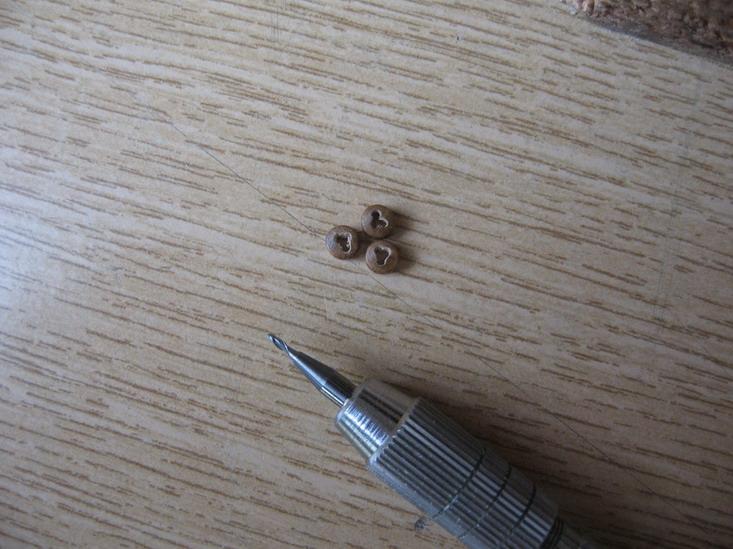
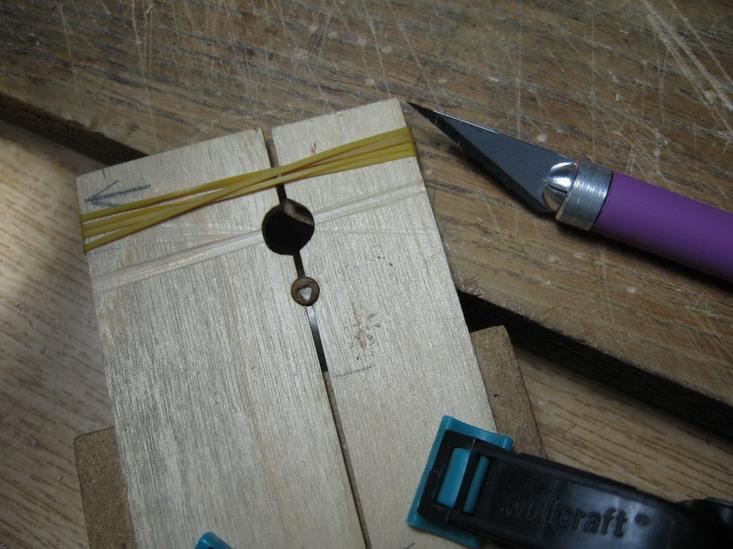
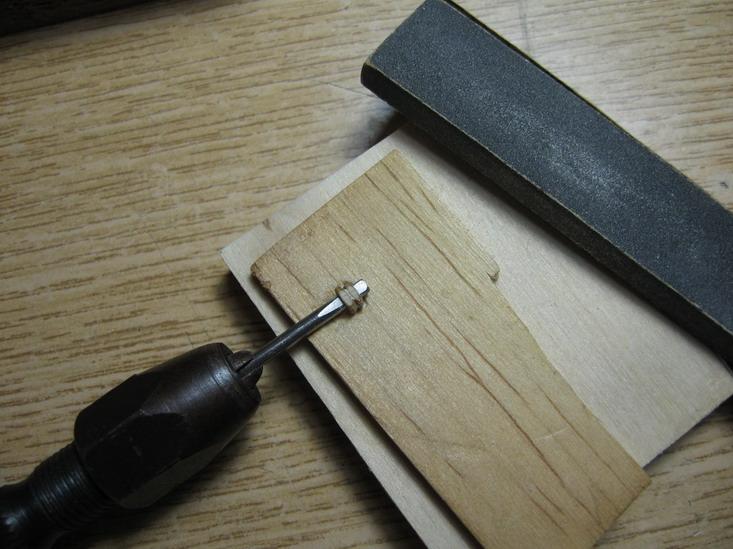
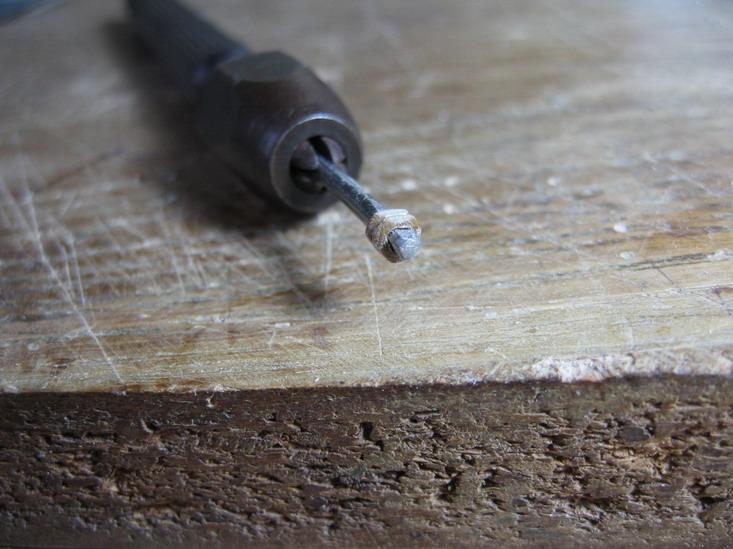
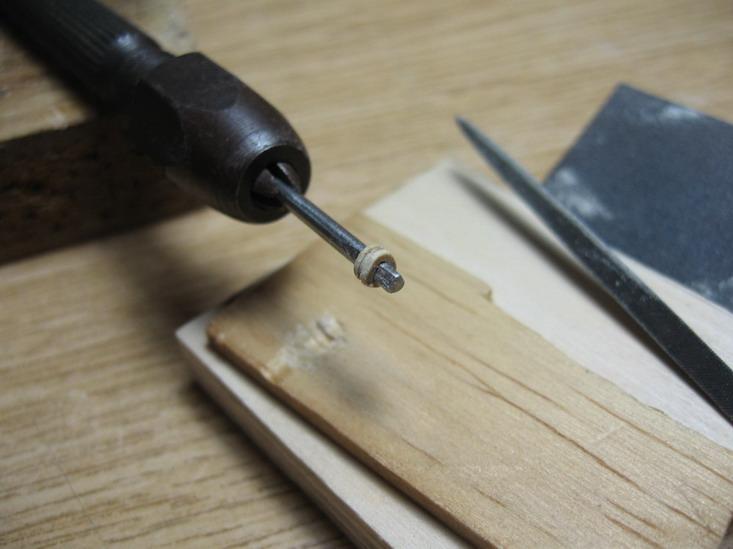
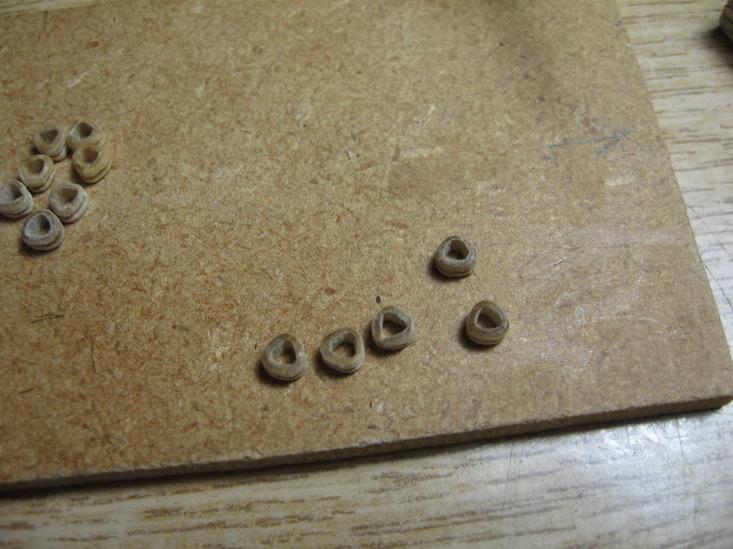
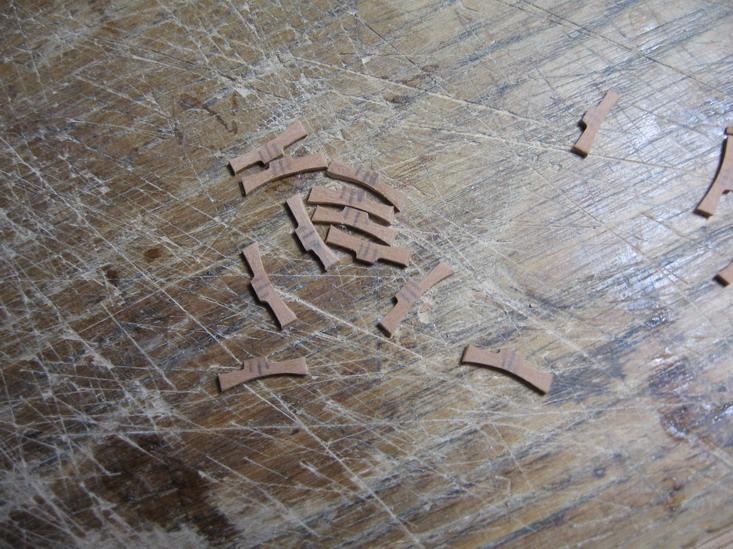
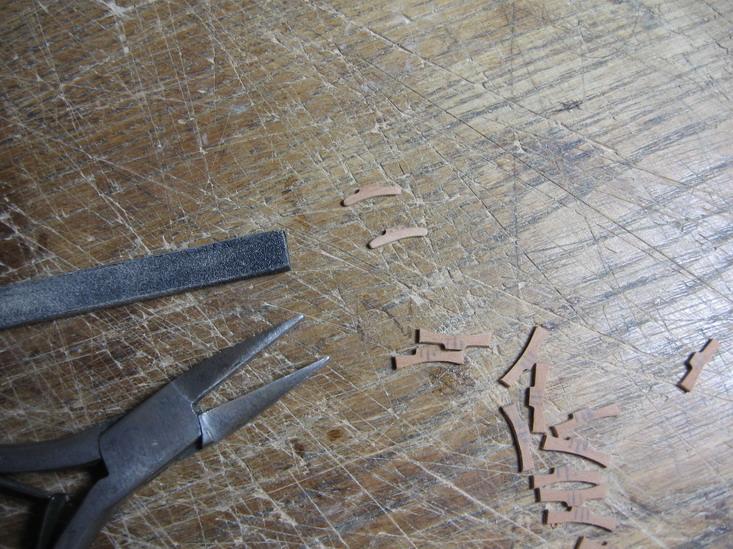
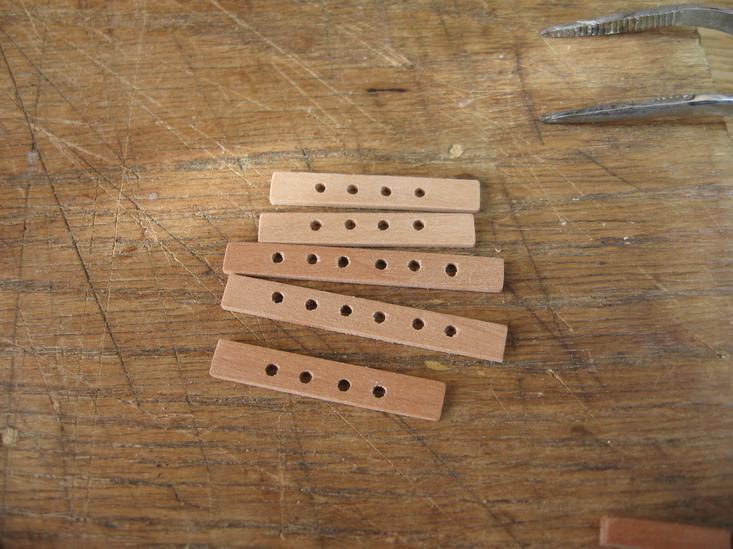
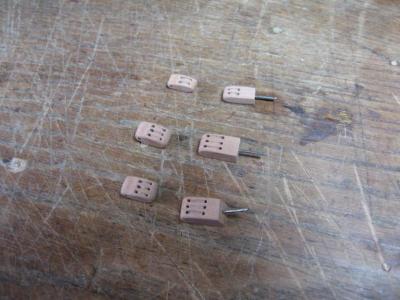
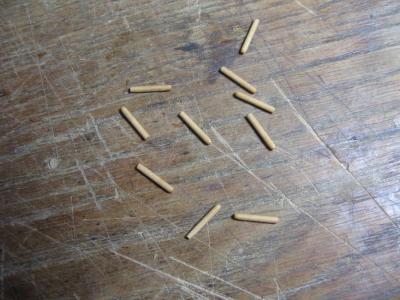
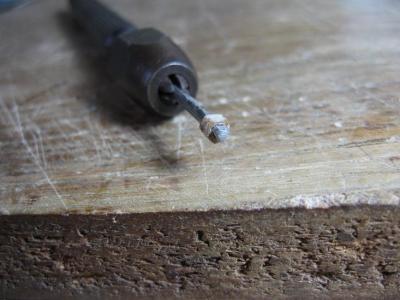
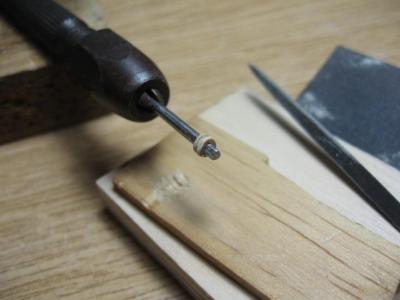
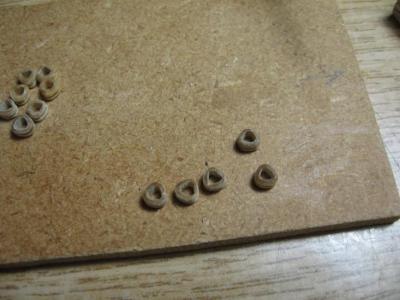
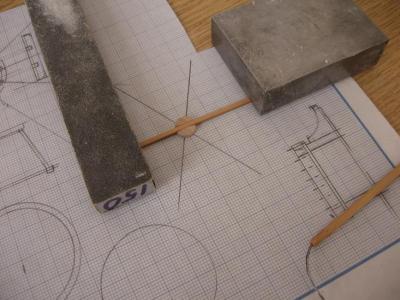
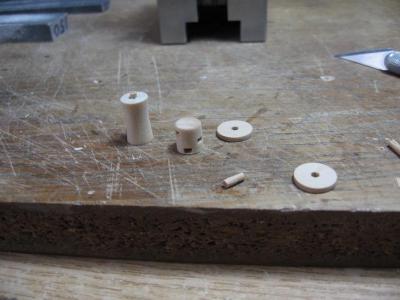
For the triangular deadeyes, I have modified circular deadeyes in several stages as seen on the photos. These are used at mizen mast and foremast.


-
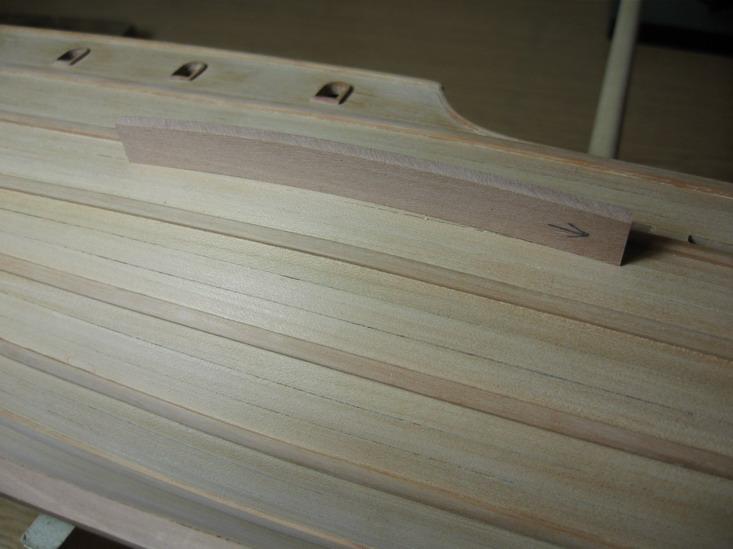
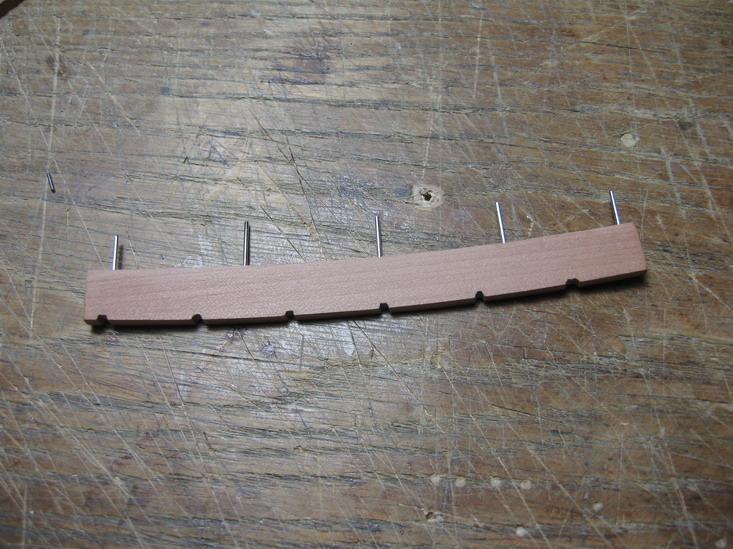
Finished the channels from 3mm pear sheet and pinned/glued (white glue) to the hull side.
-
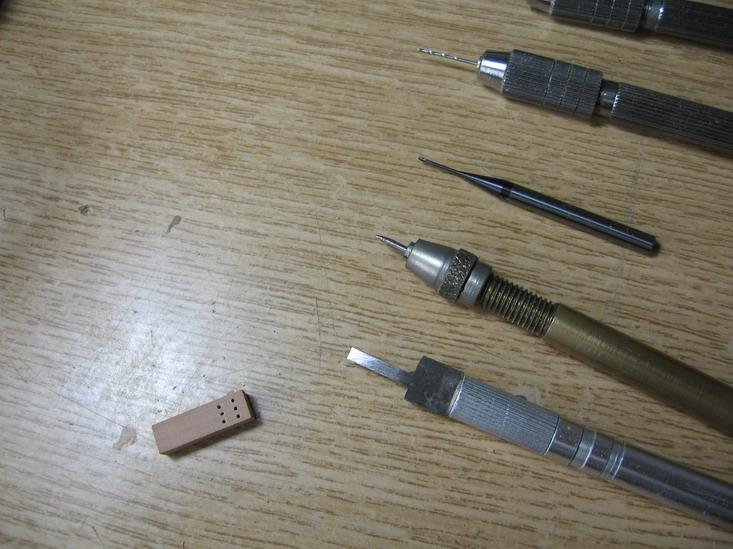
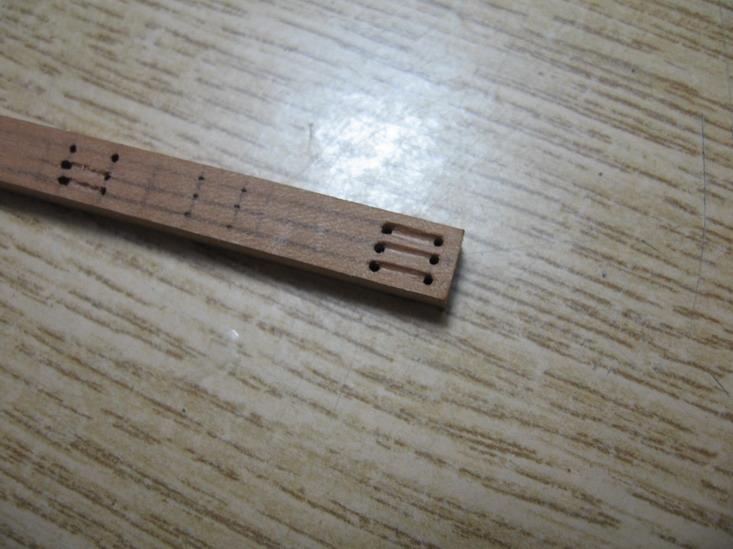
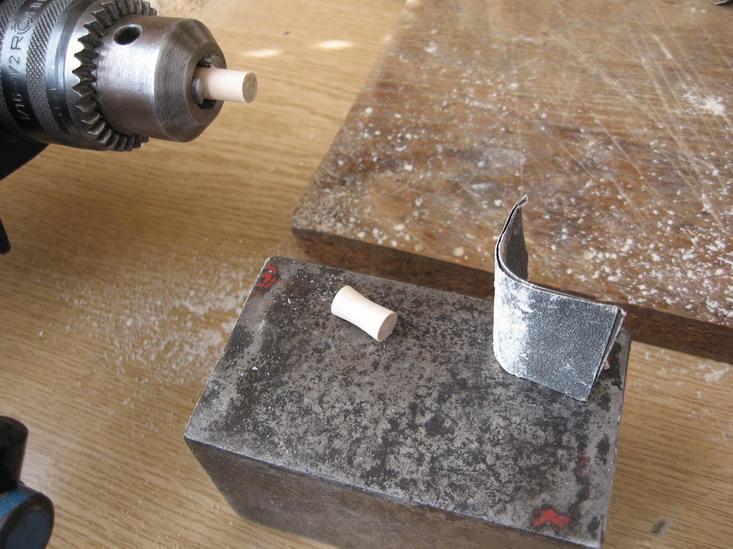
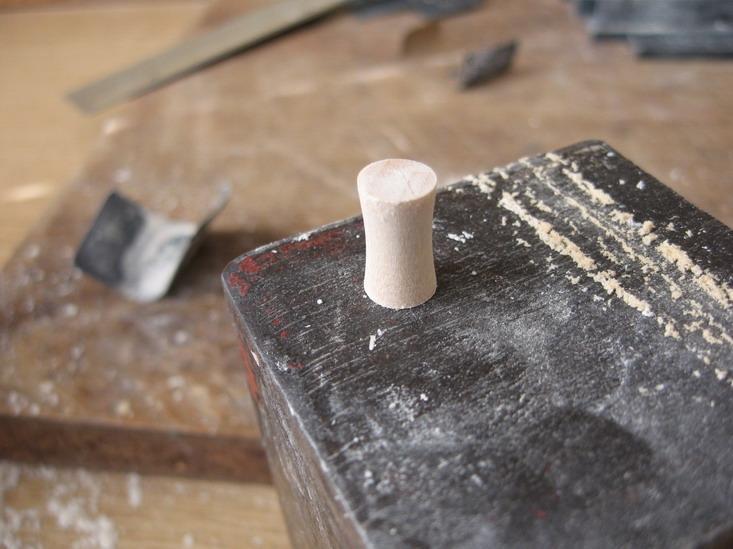
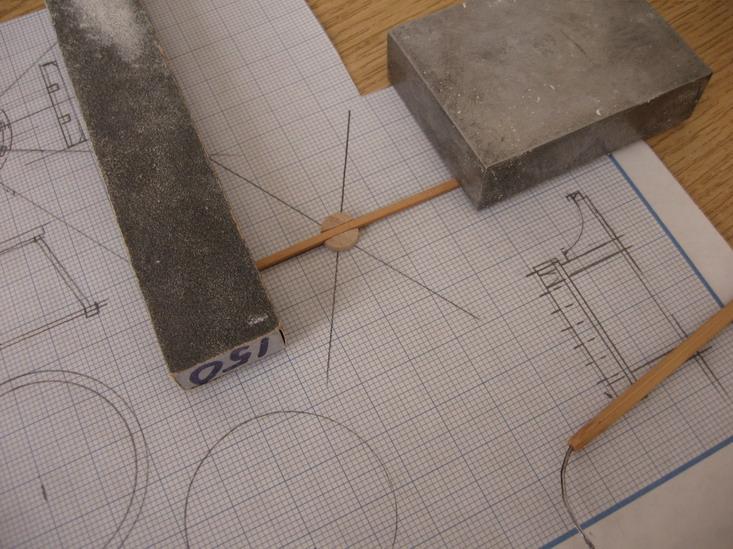
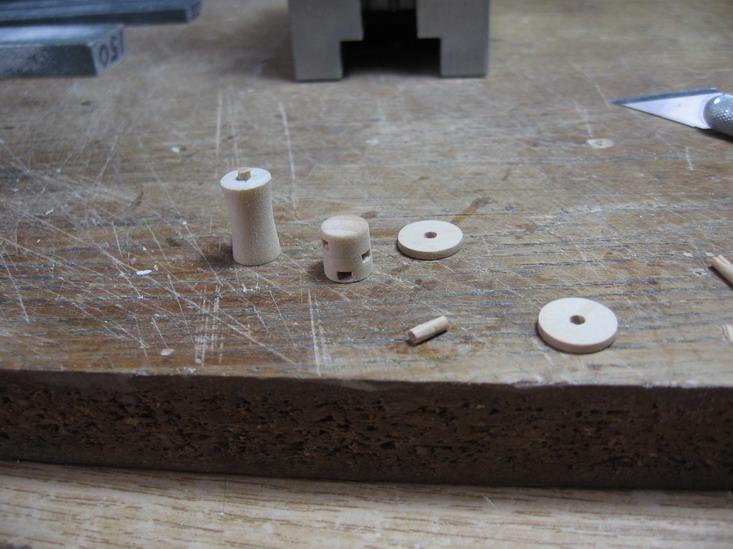
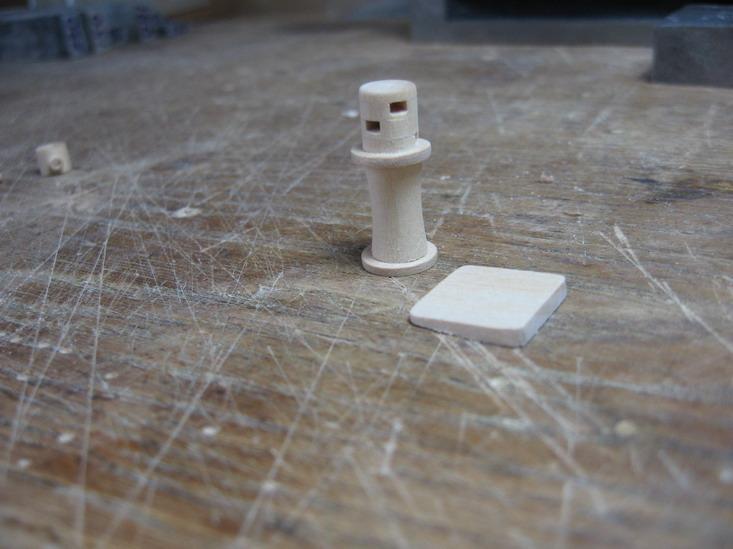
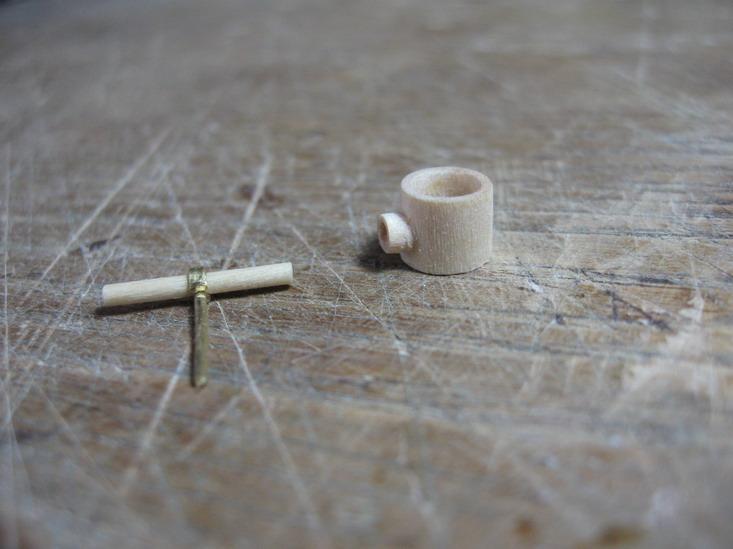
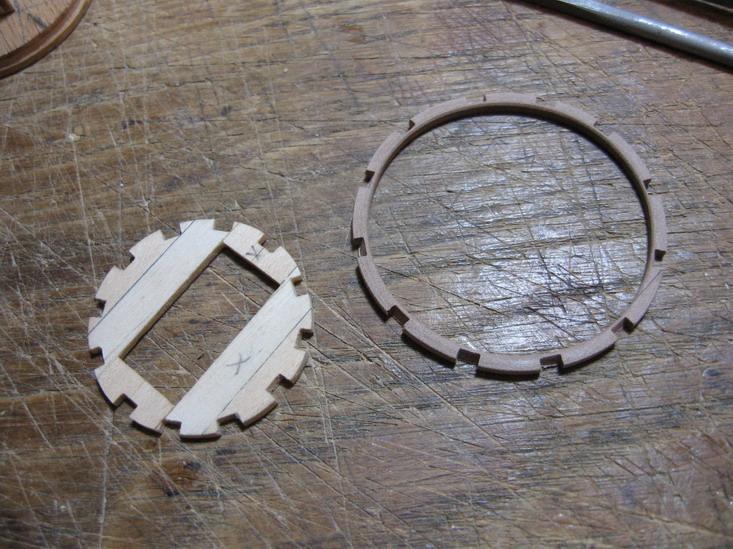
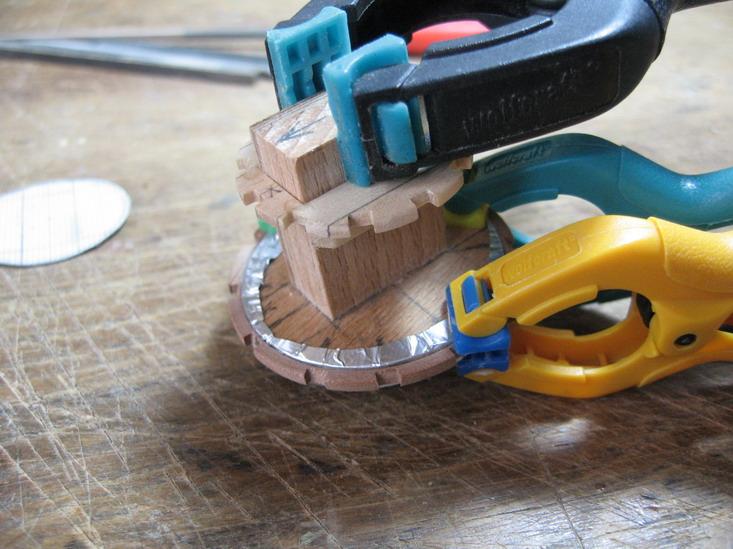
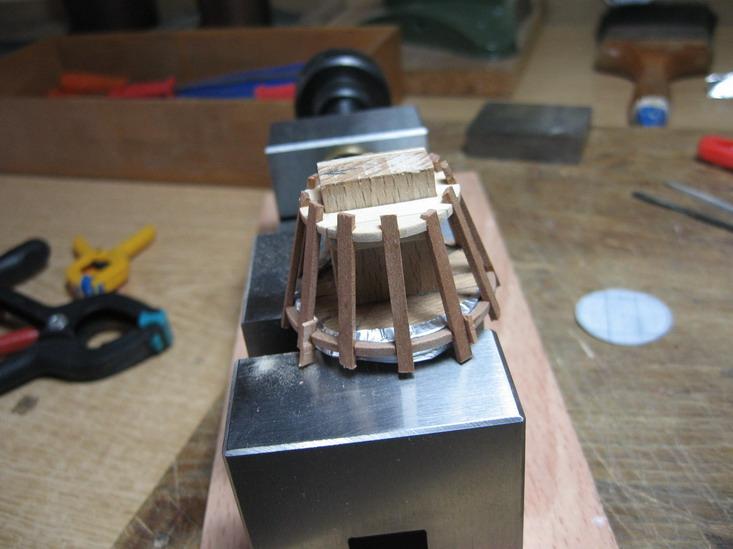
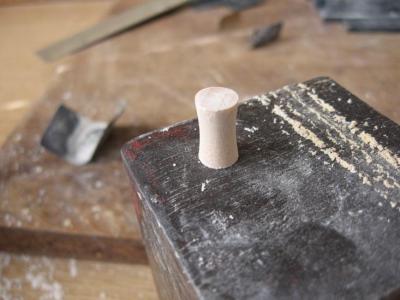
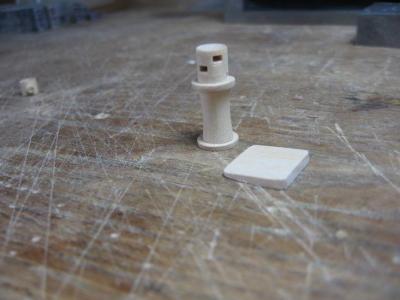
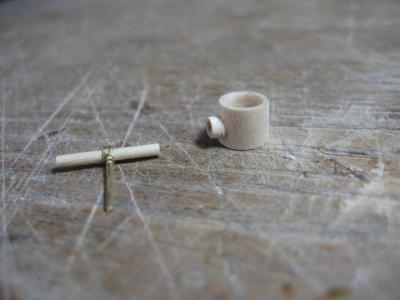
Little progress again. Finished the capstan, hatch and the pump. The capstan and pump are from lime wood. For the pump I drilled dowels through and finished with round files.


-
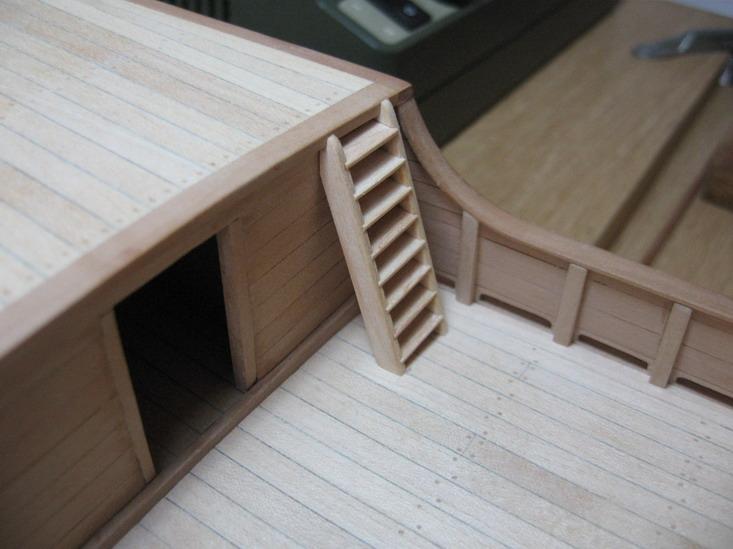
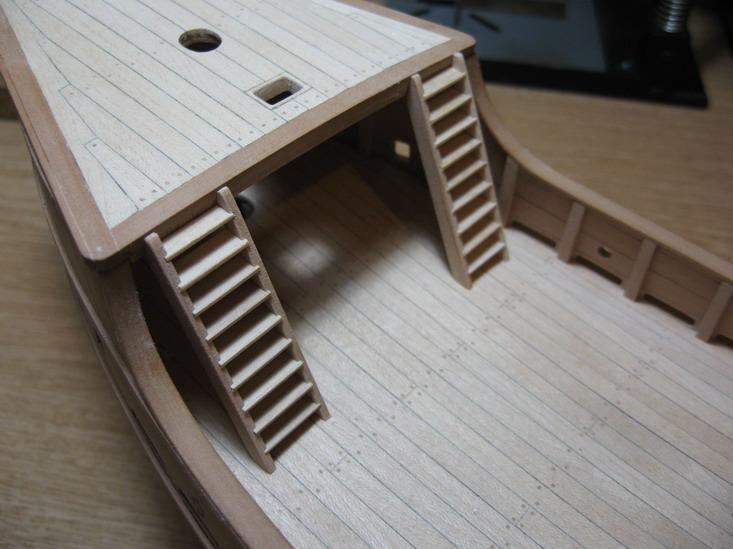
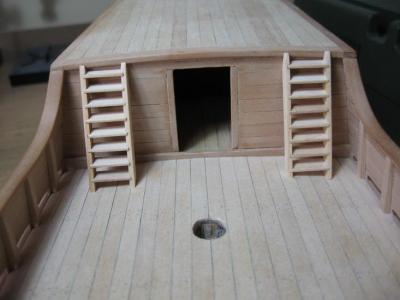
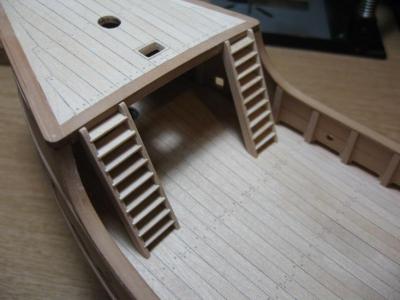
Finished the ladders on the deck using ready parts from stock. As the scale of these ladders are ok, with little modification and adjustment they fitted to their places.


-
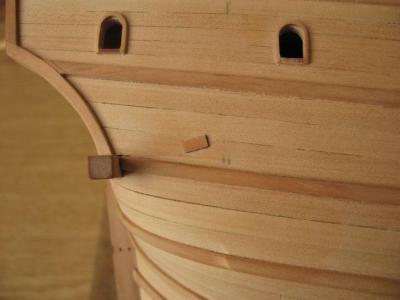
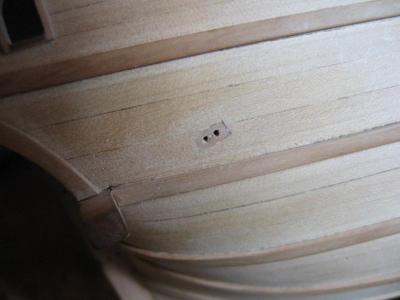
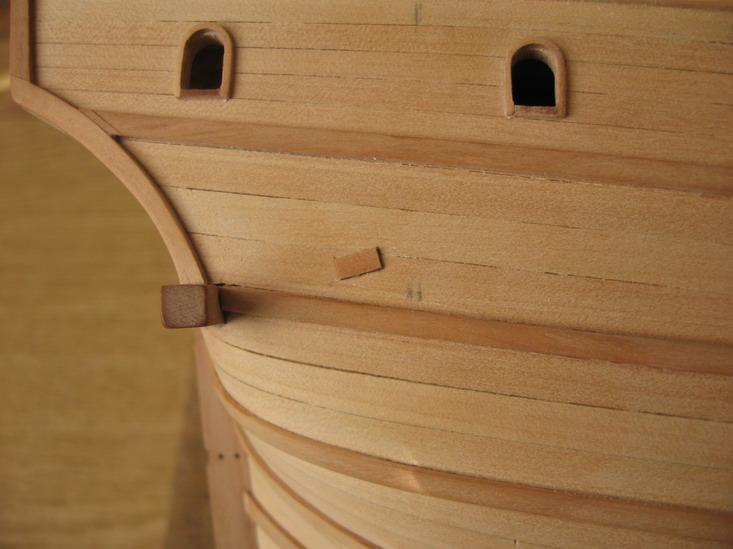
Very little progress. Finished the blocks in the bulwark and hawse holes.