Ilhan Gokcay
-
Posts
636 -
Joined
-
Last visited
Content Type
Profiles
Forums
Gallery
Events
Everything posted by Ilhan Gokcay
-

Pandora by marsalv - FINISHED - 1:52
Ilhan Gokcay replied to marsalv's topic in - Build logs for subjects built 1751 - 1800
Congratulations !!!!! Much well deserved. -
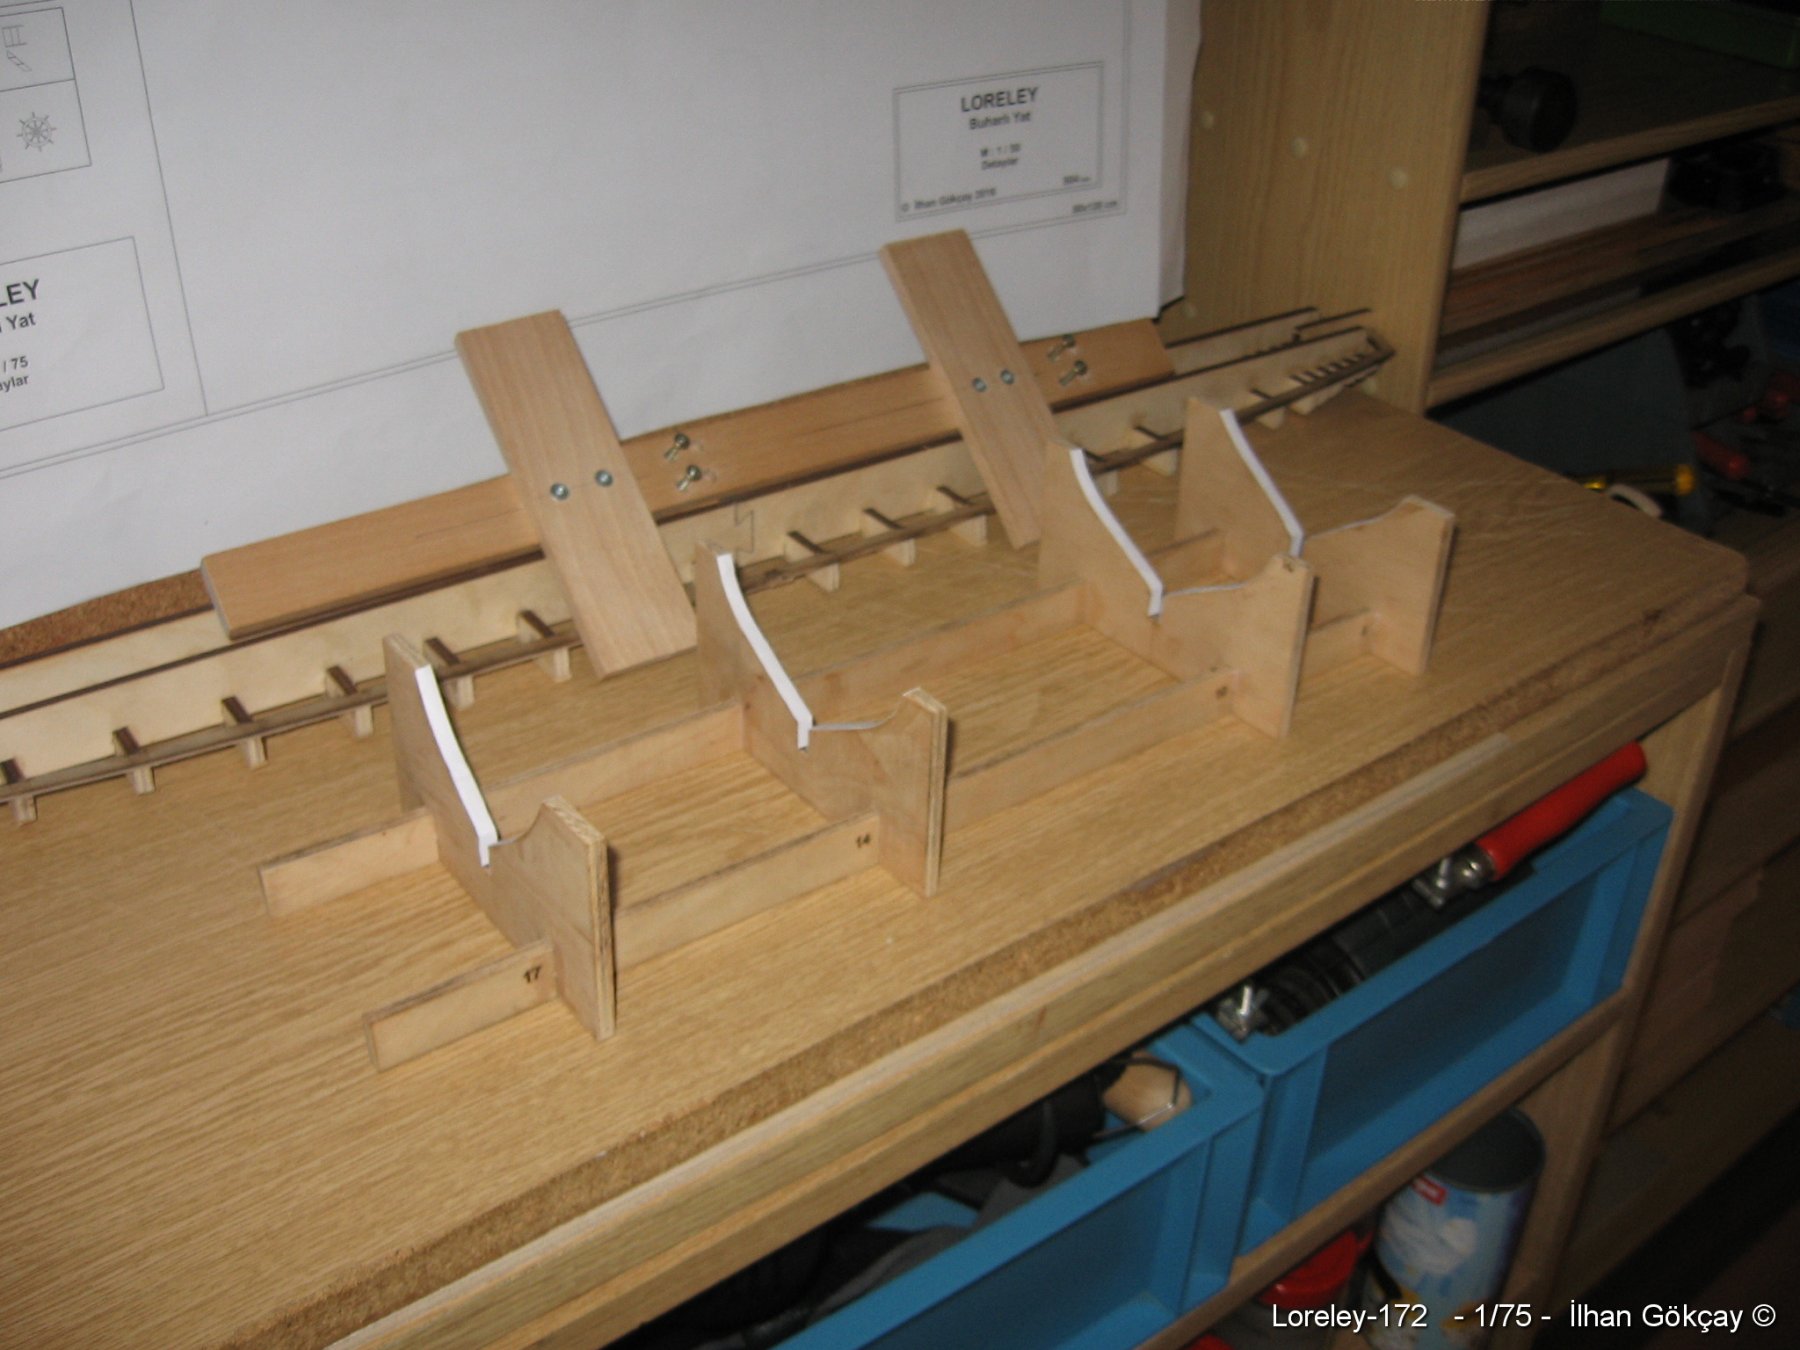
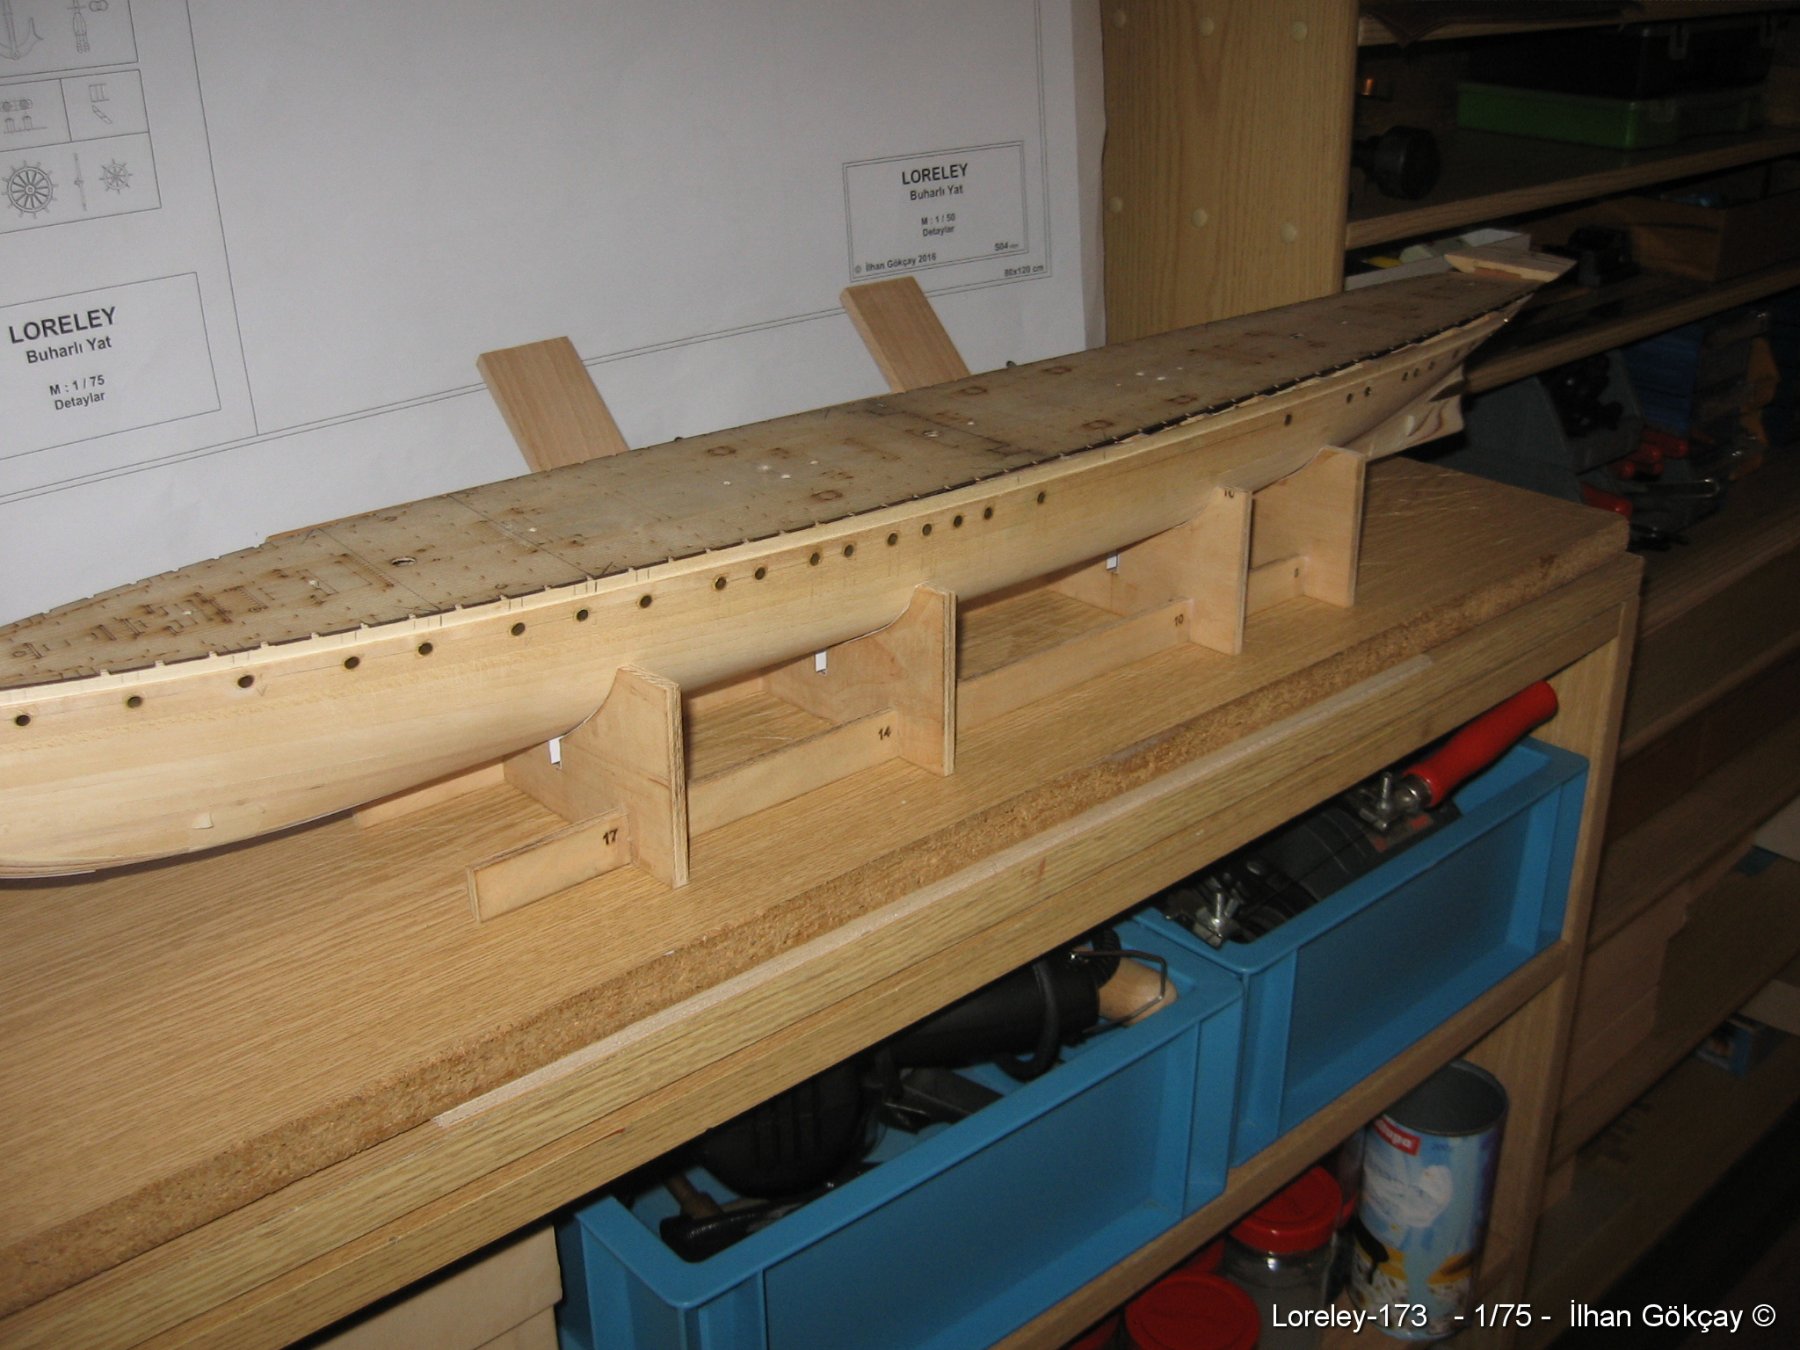
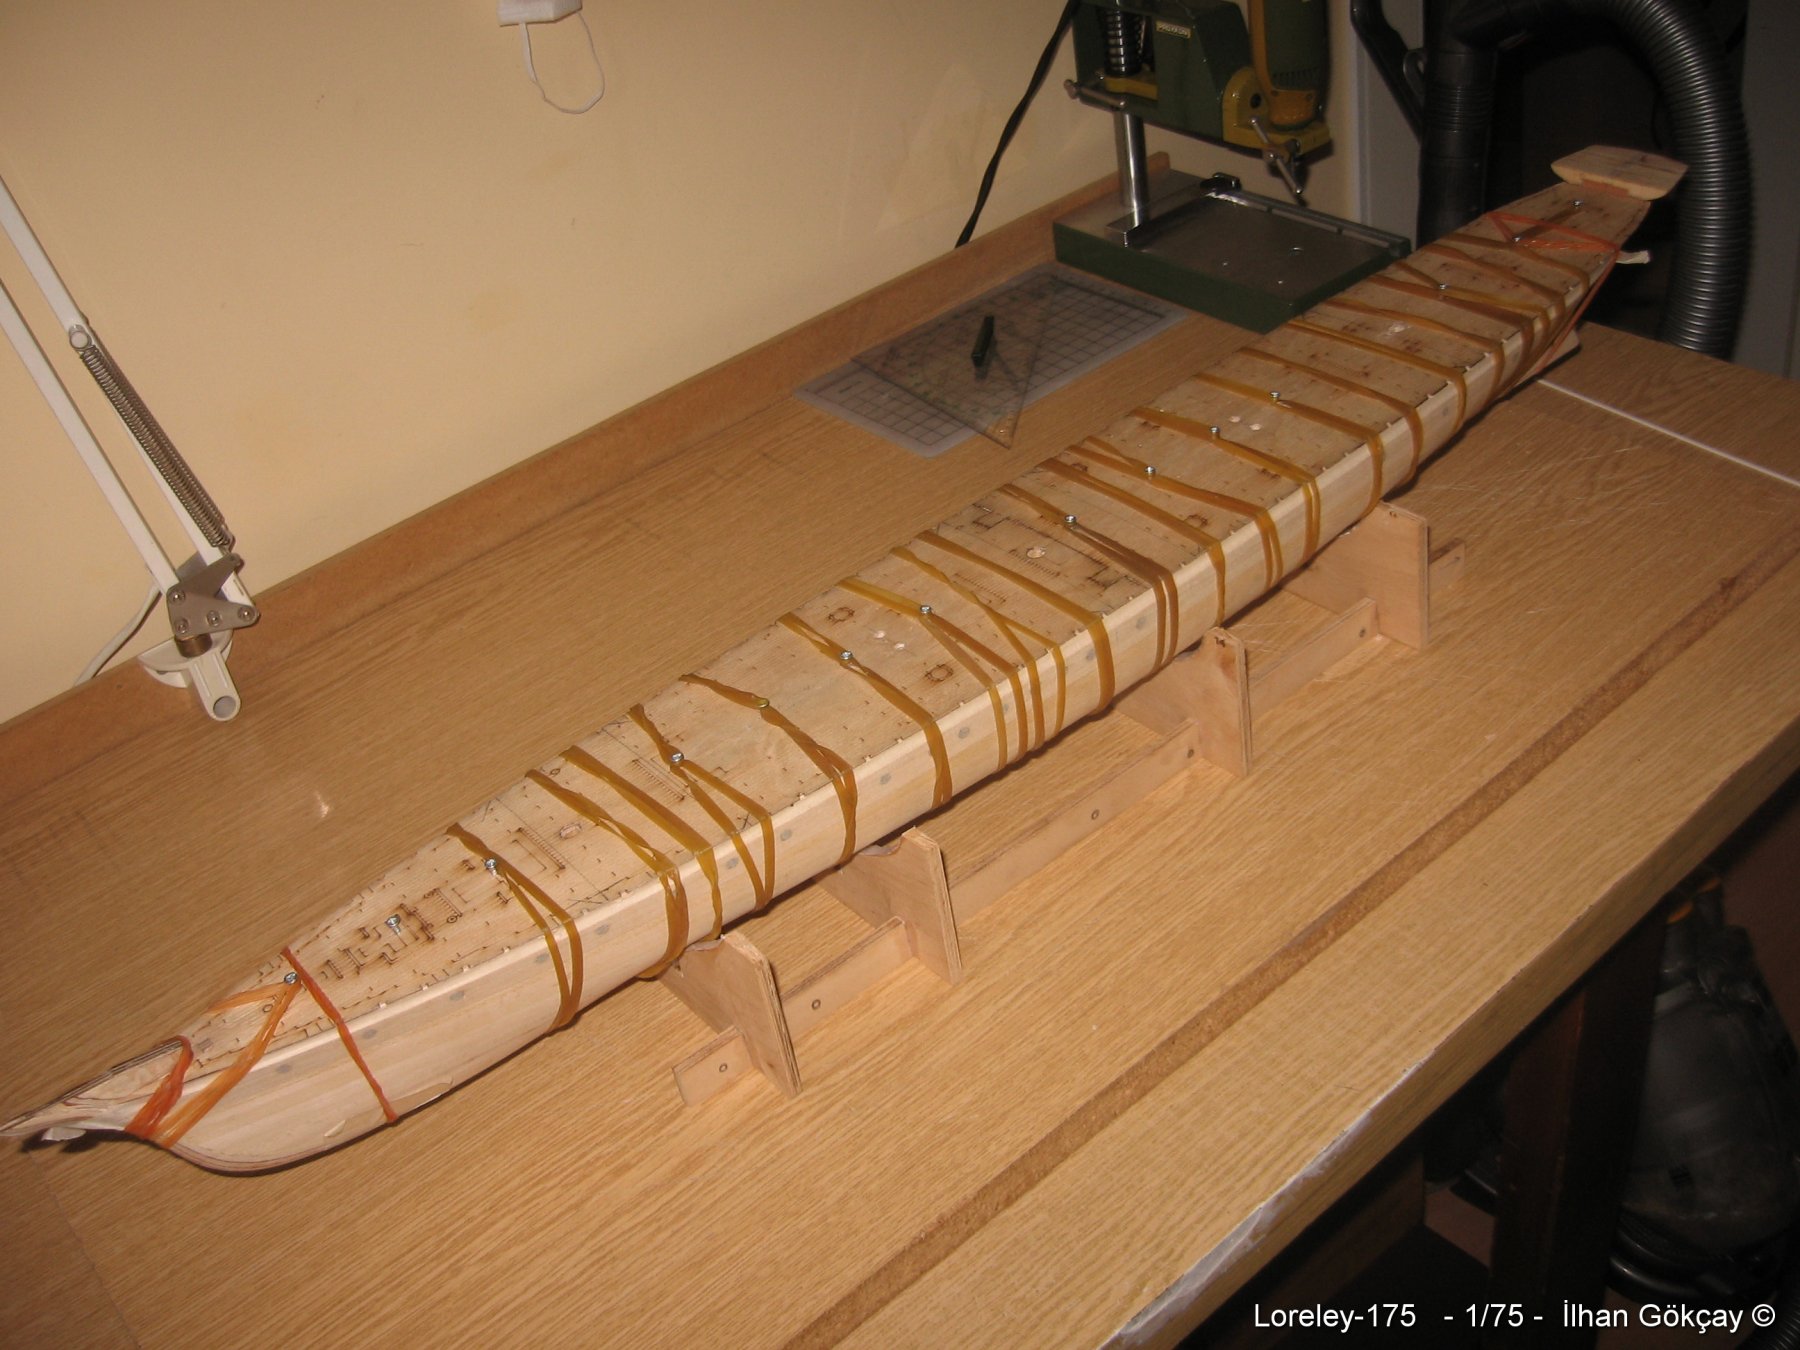
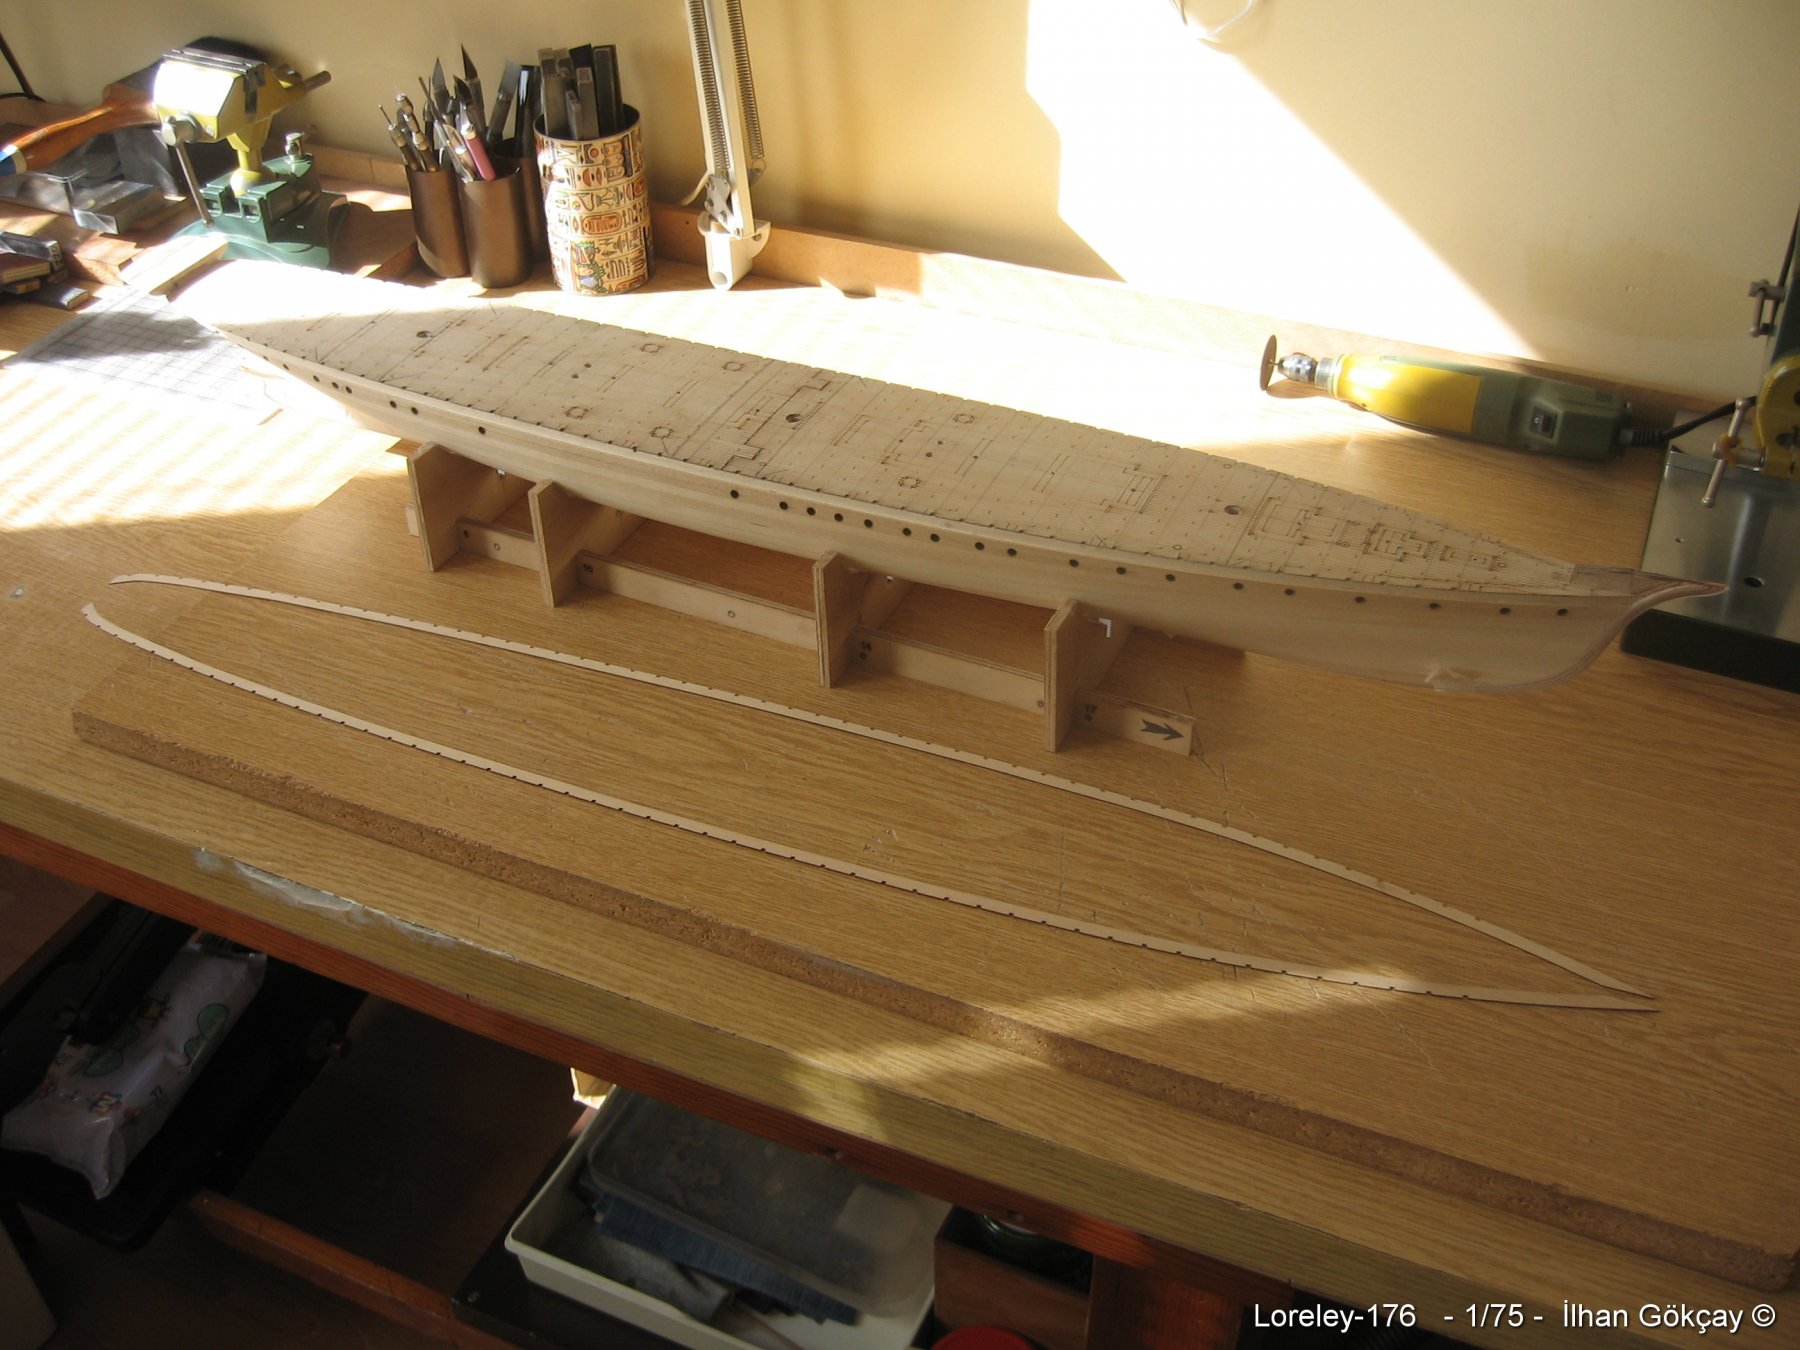
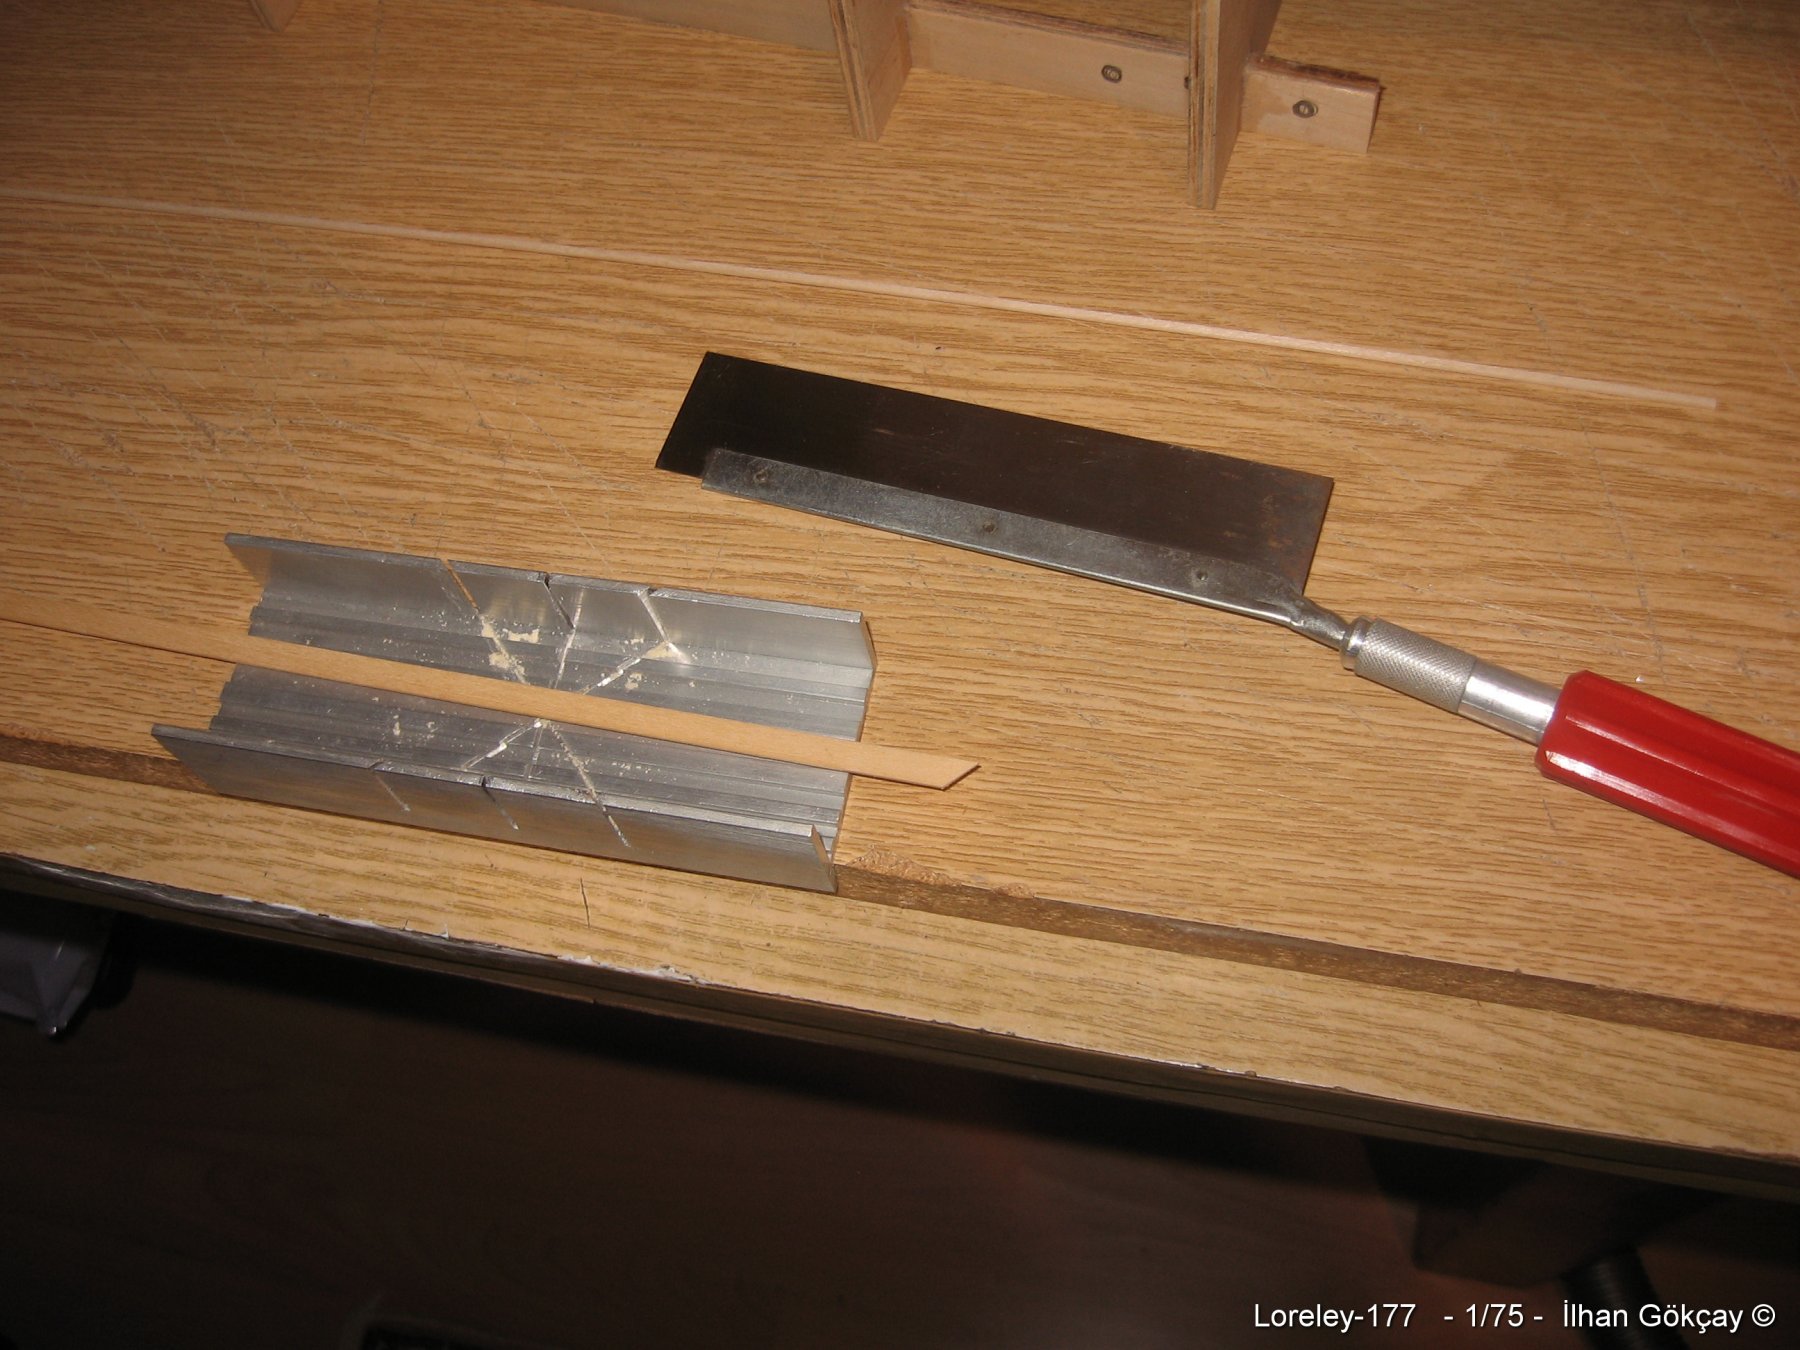
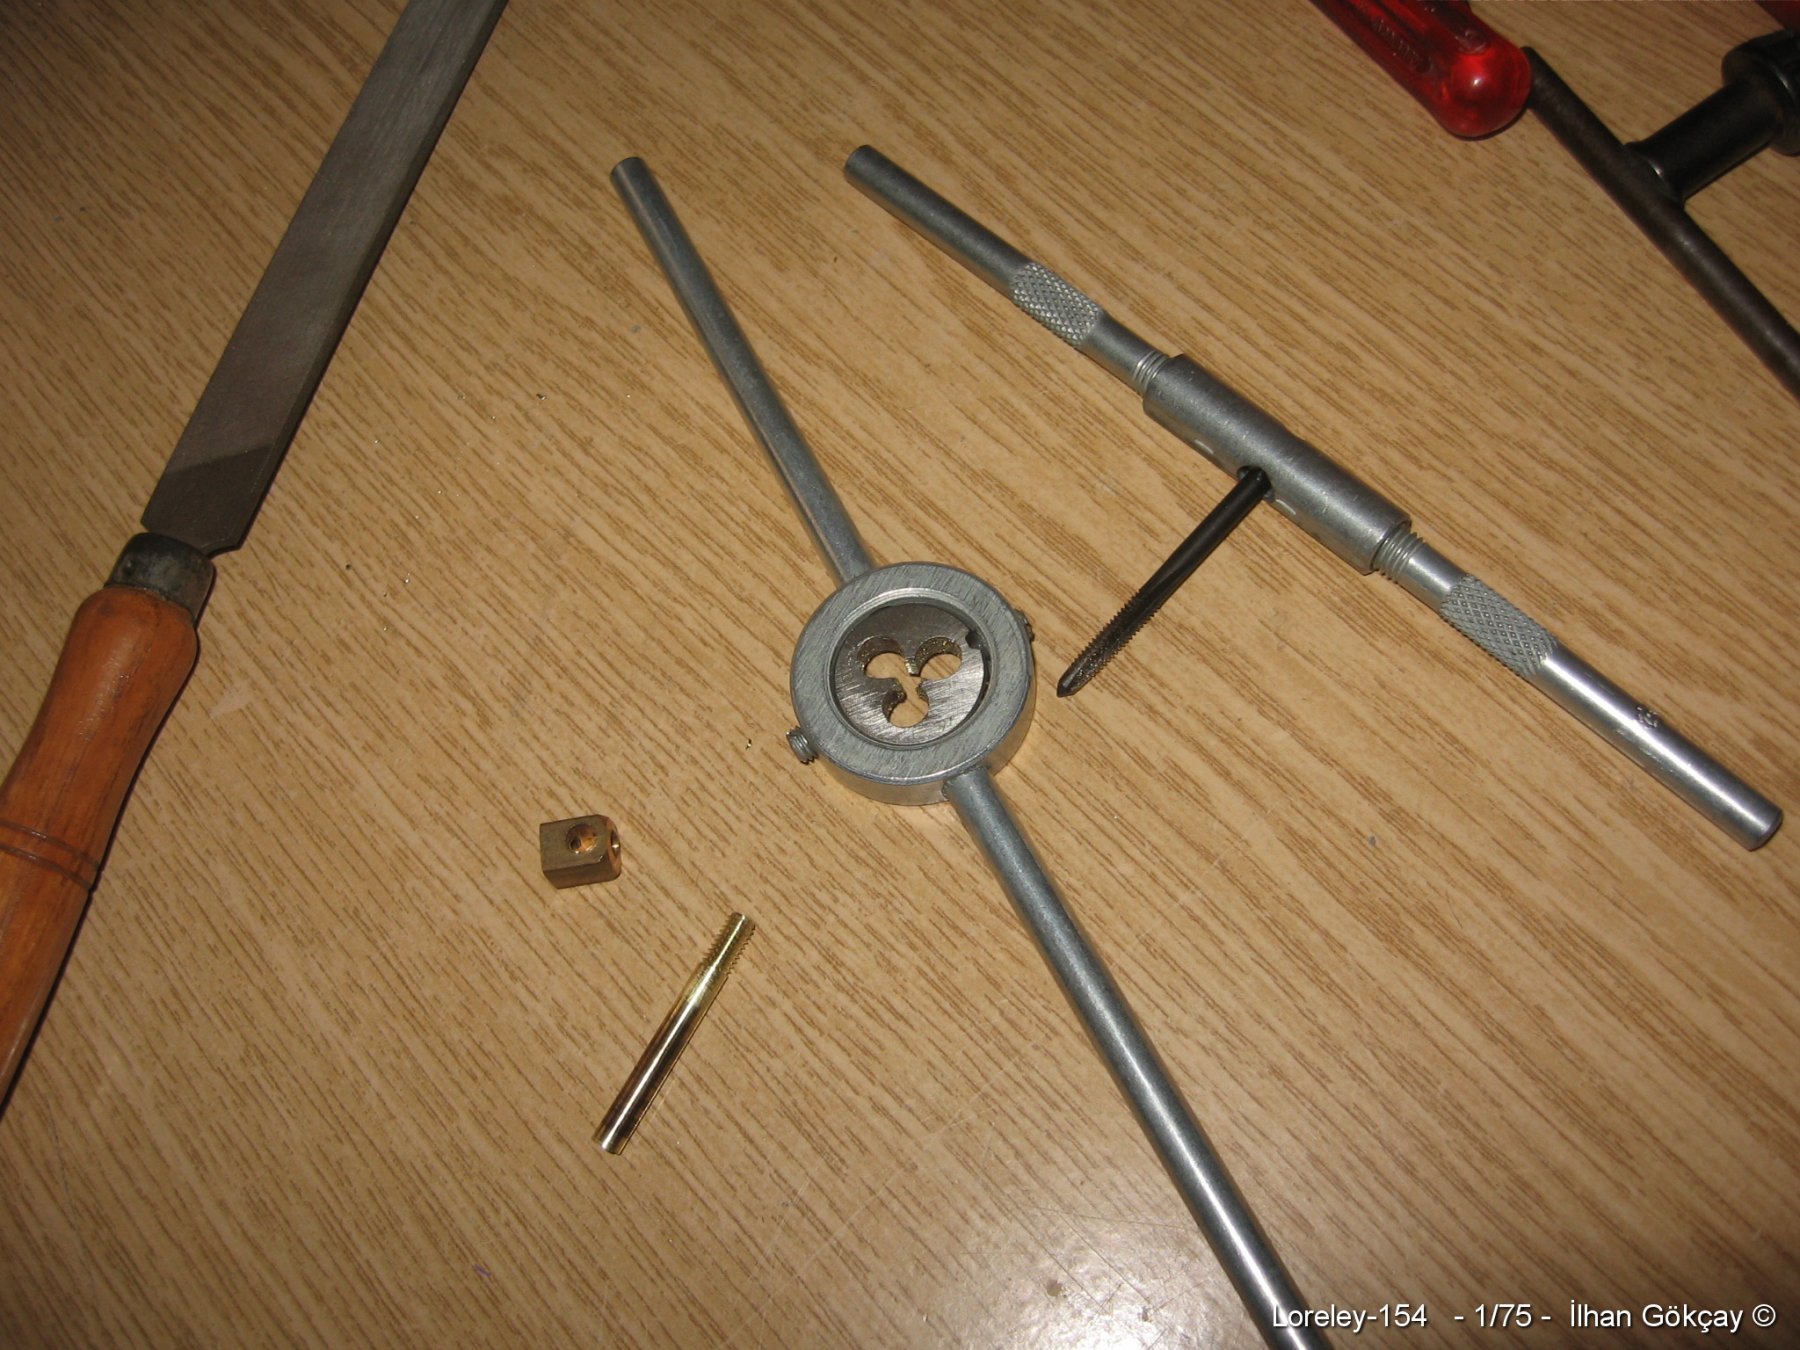
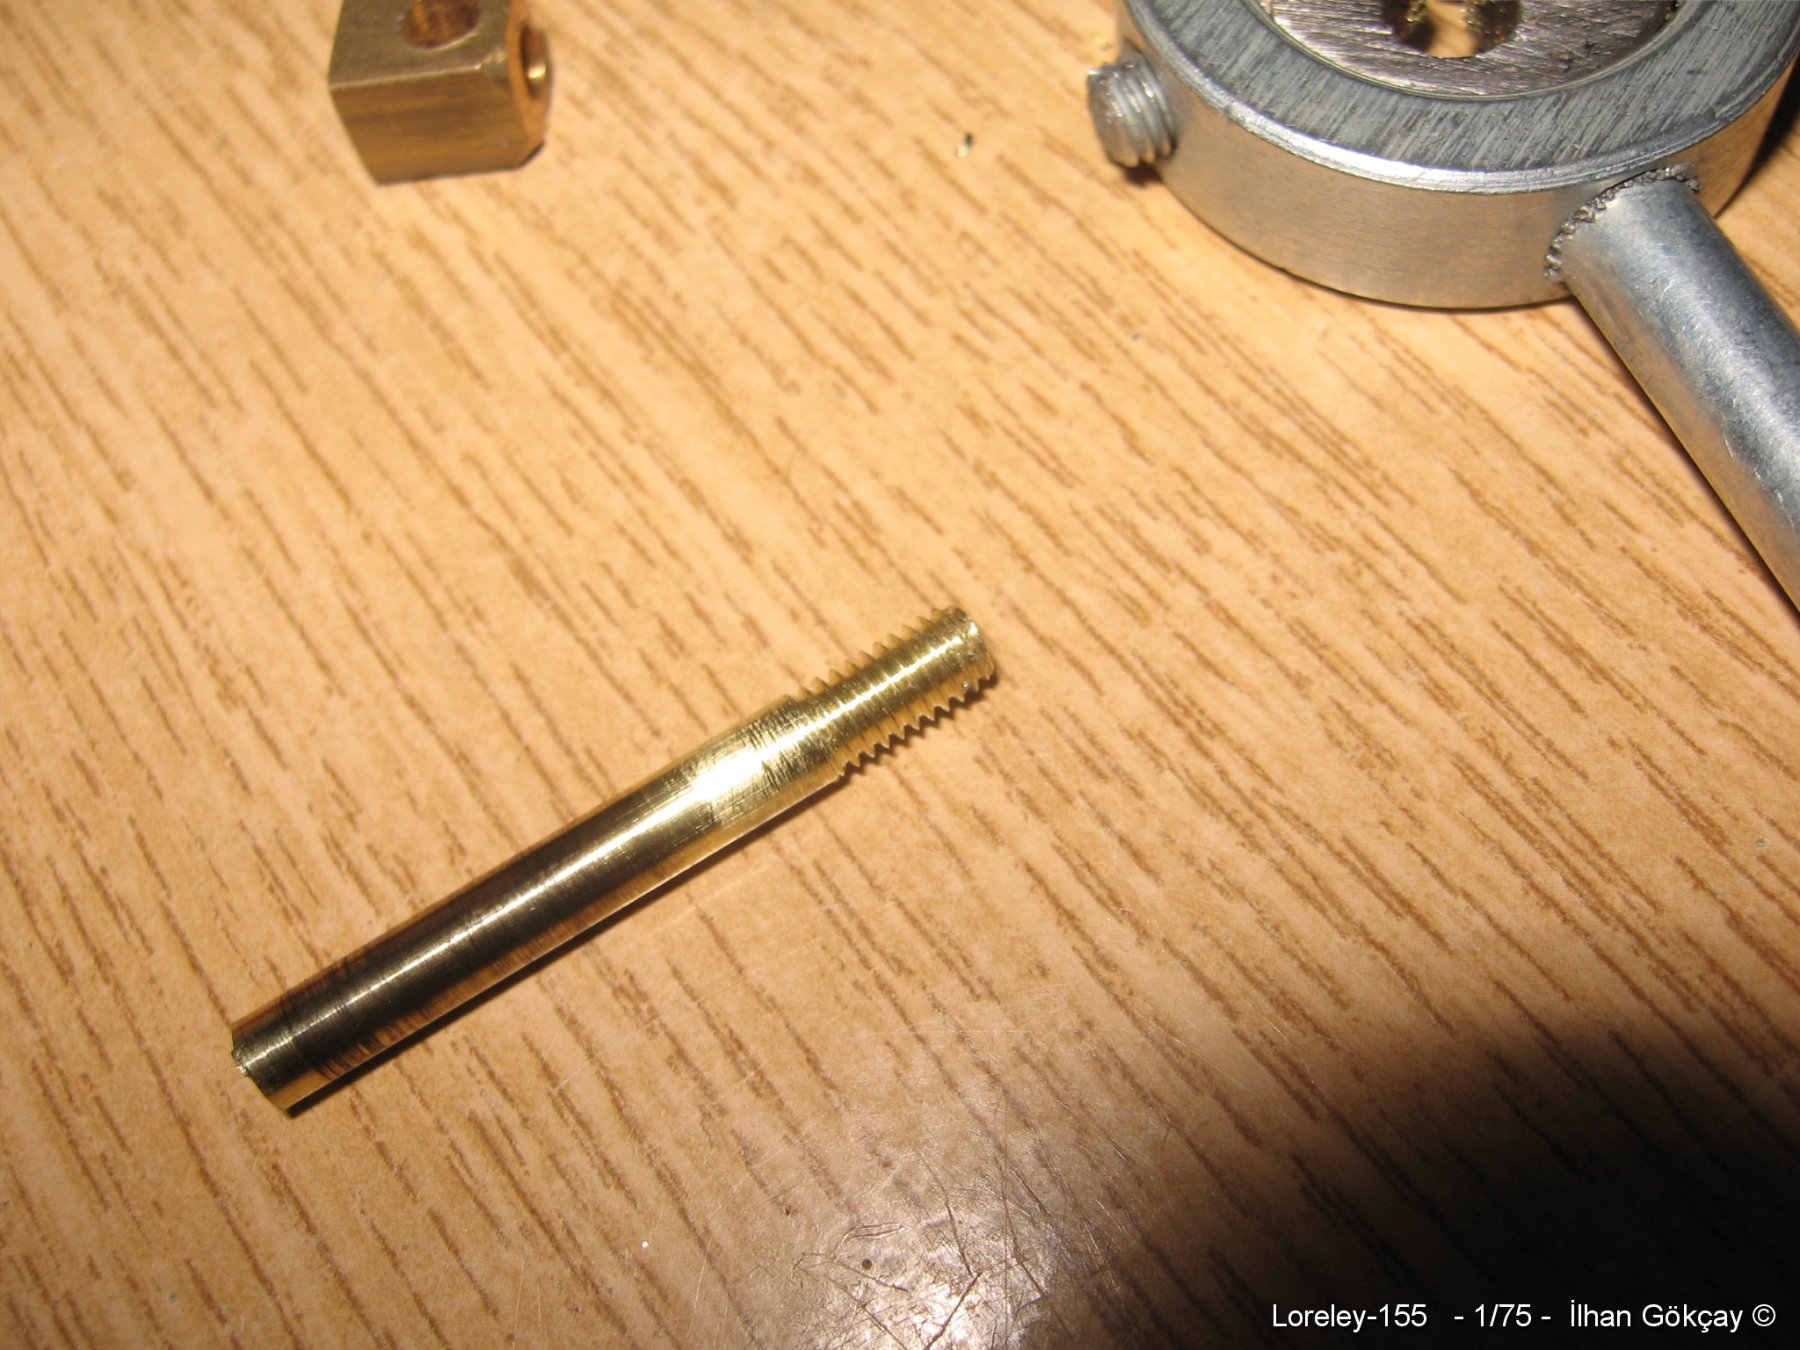
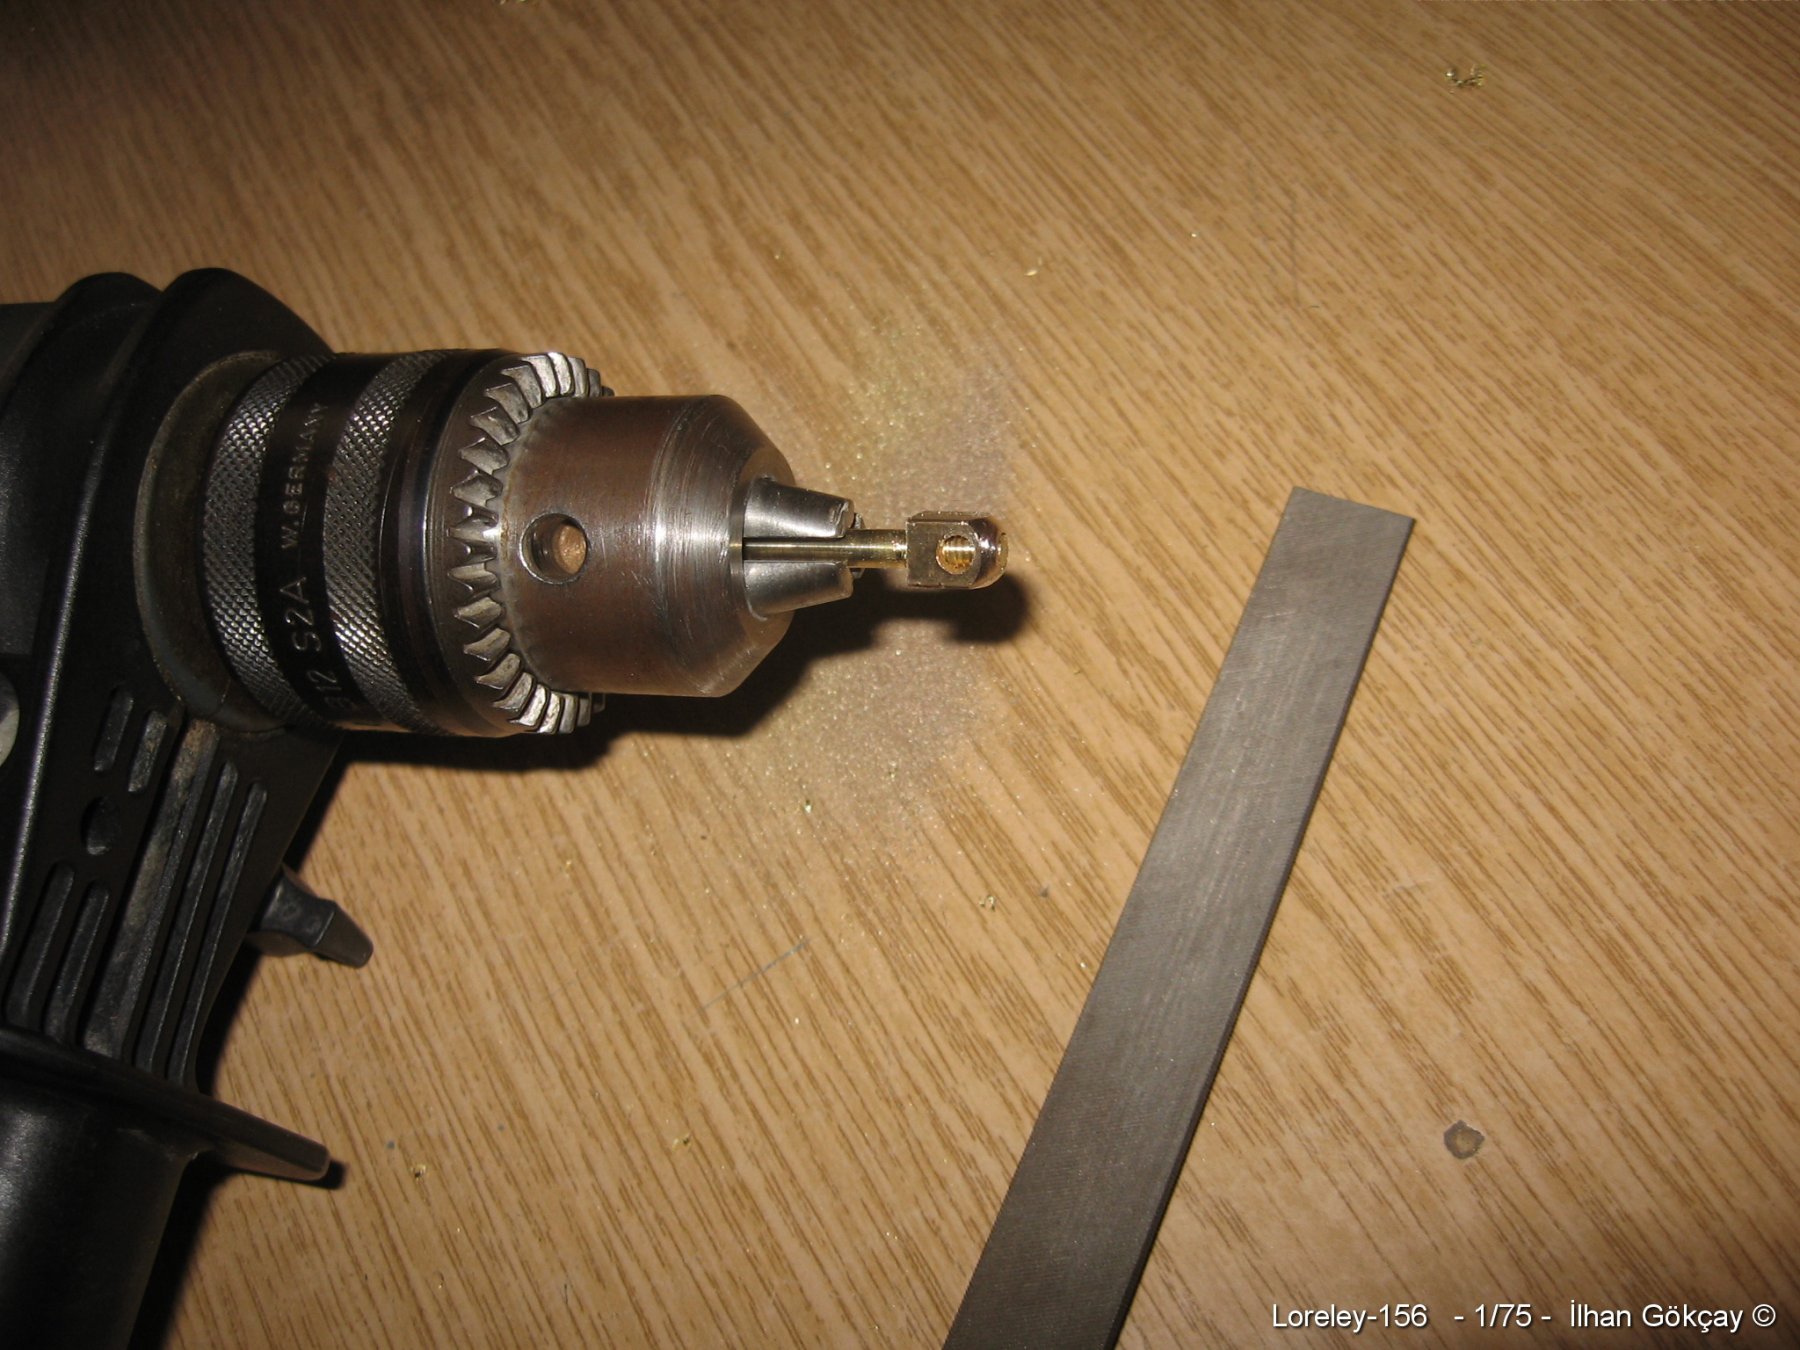
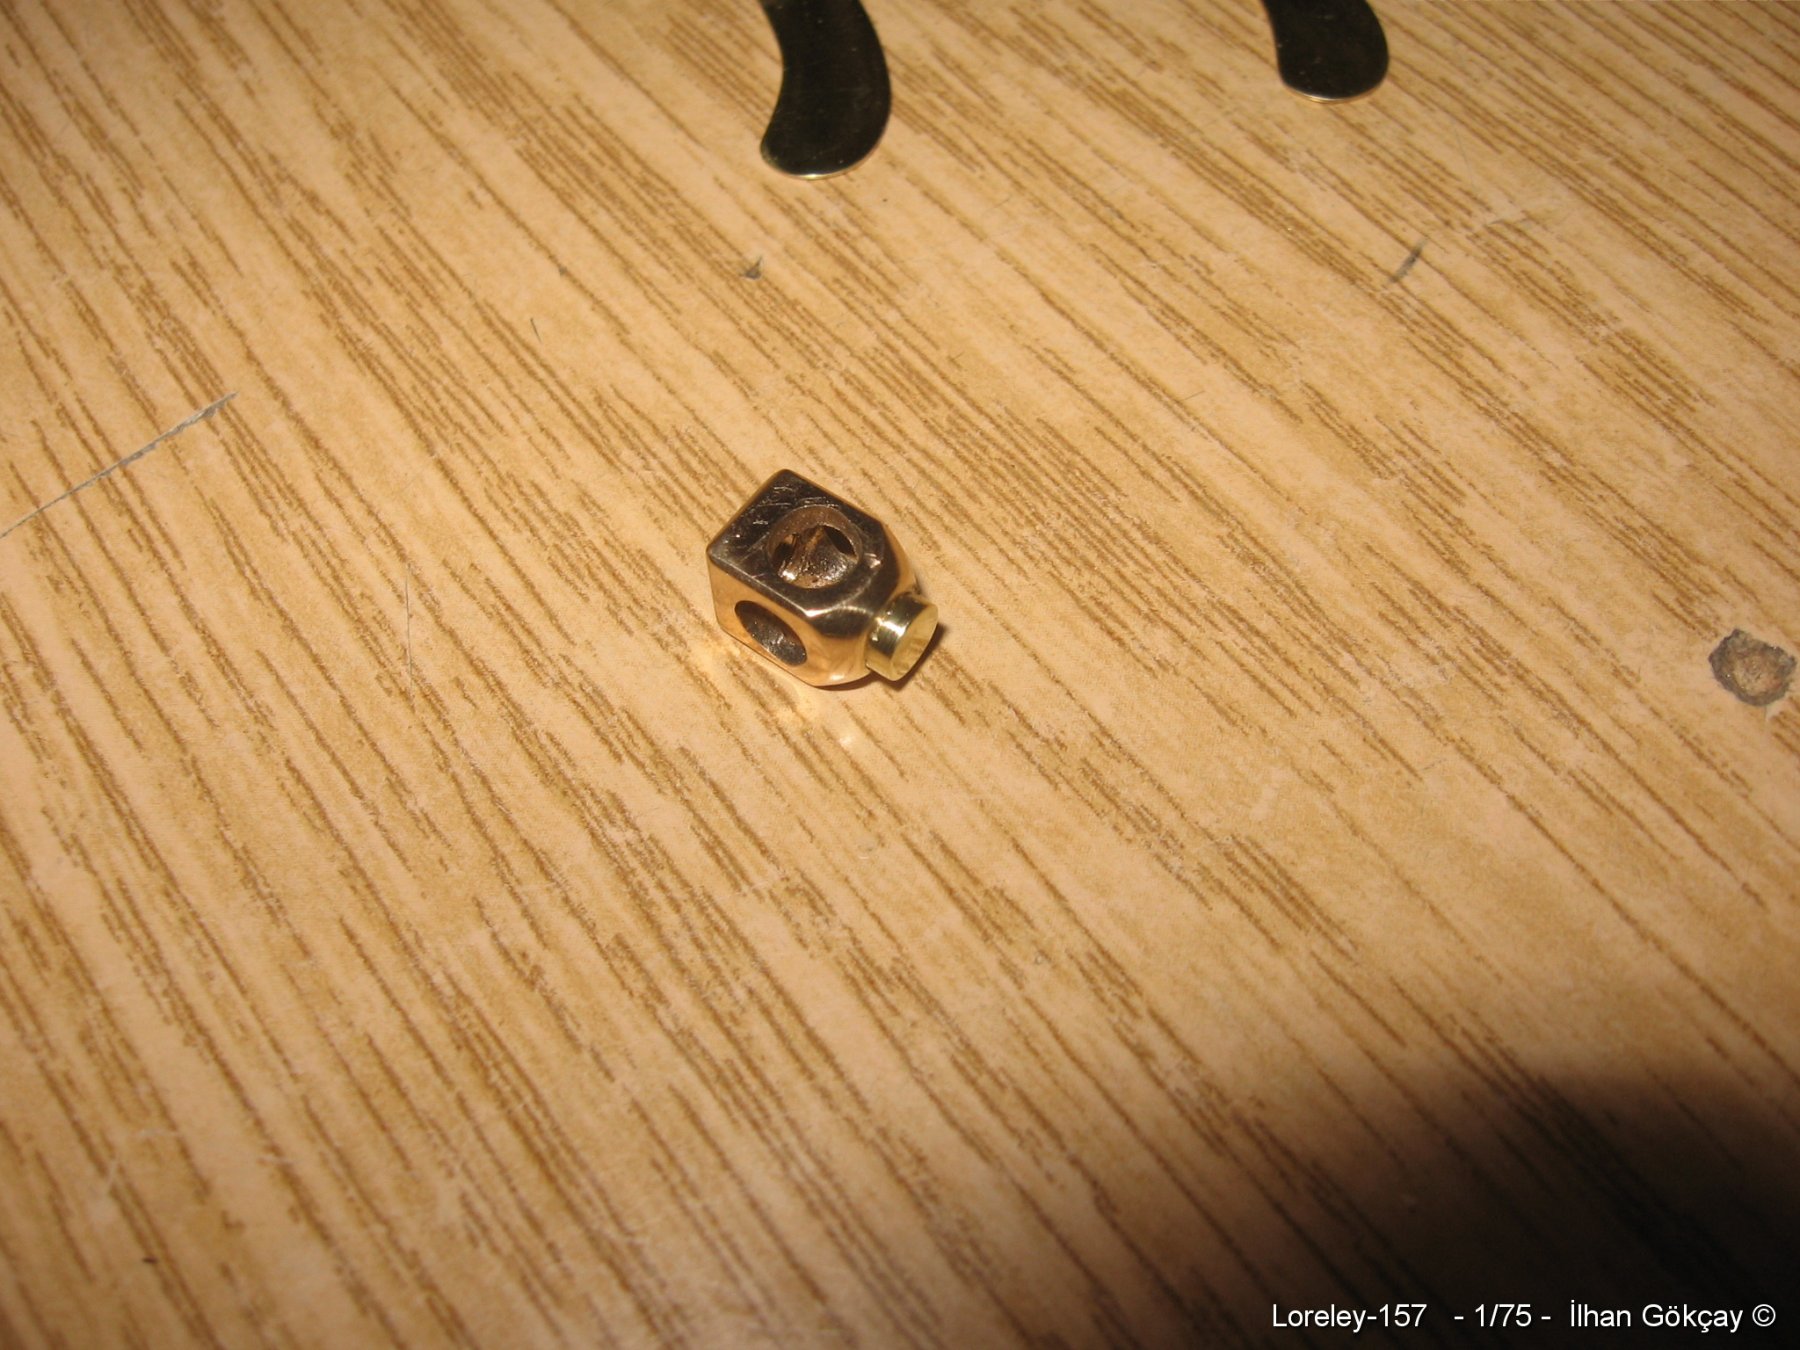
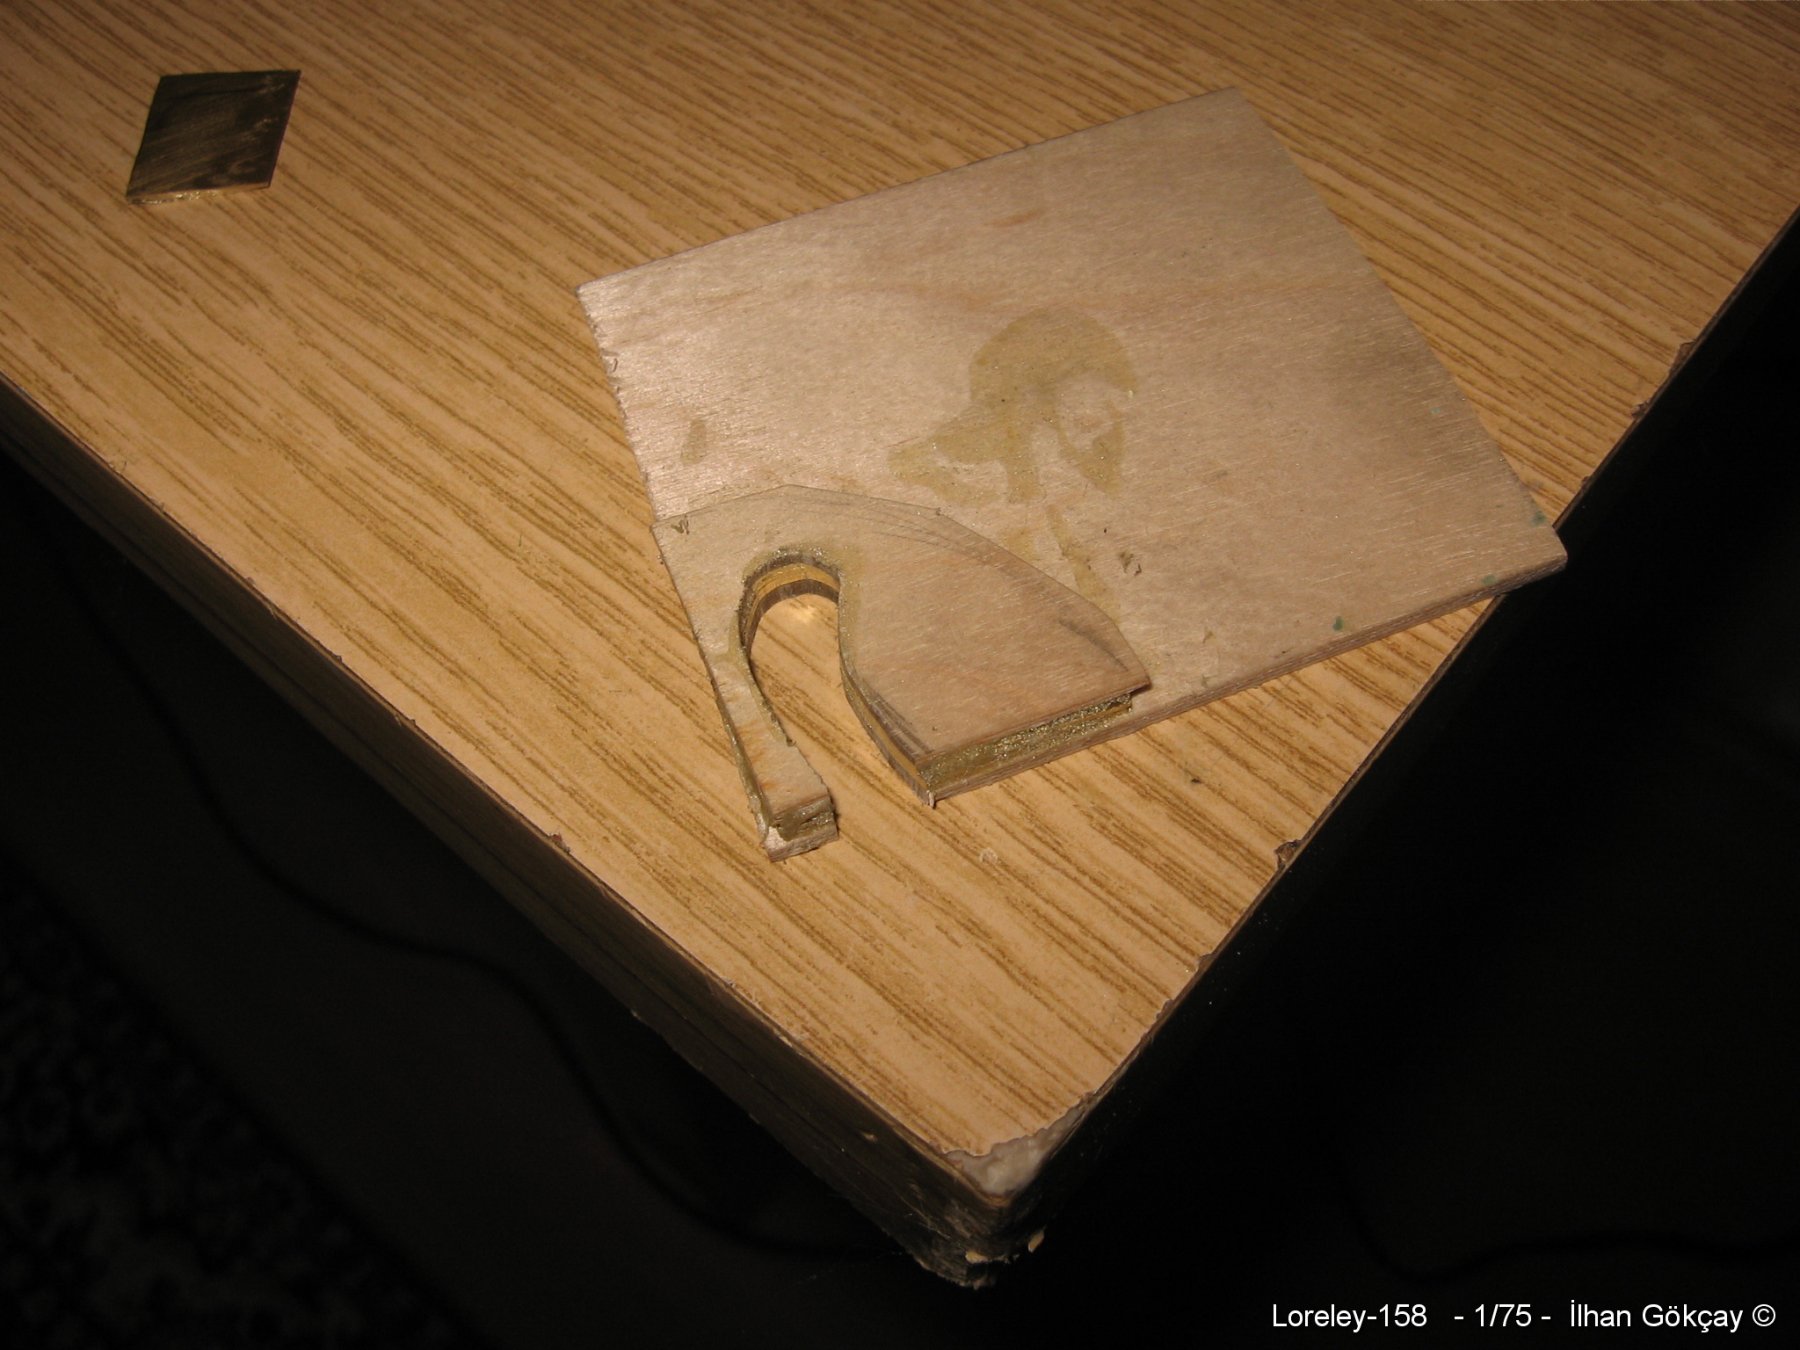
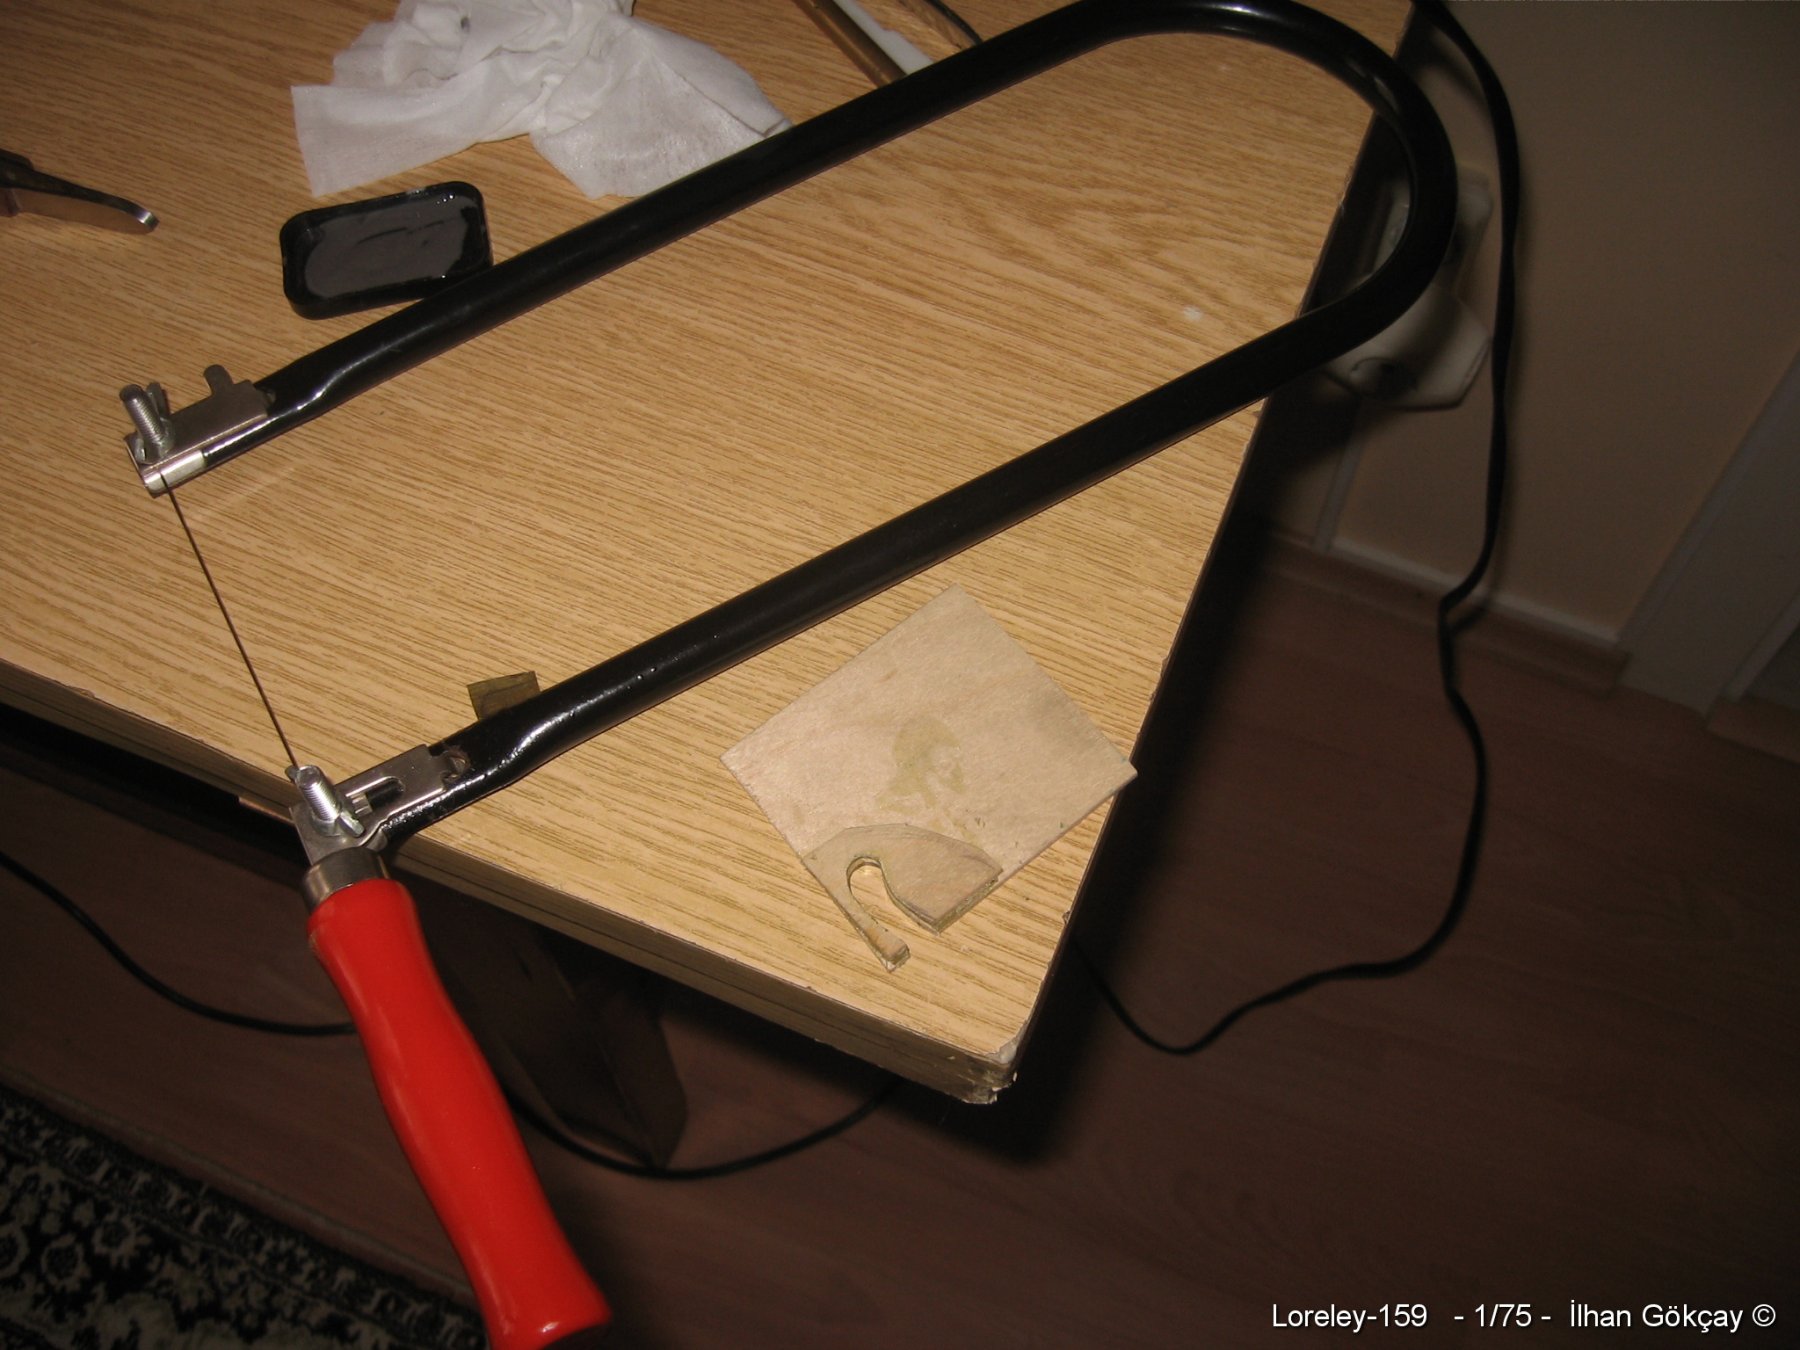
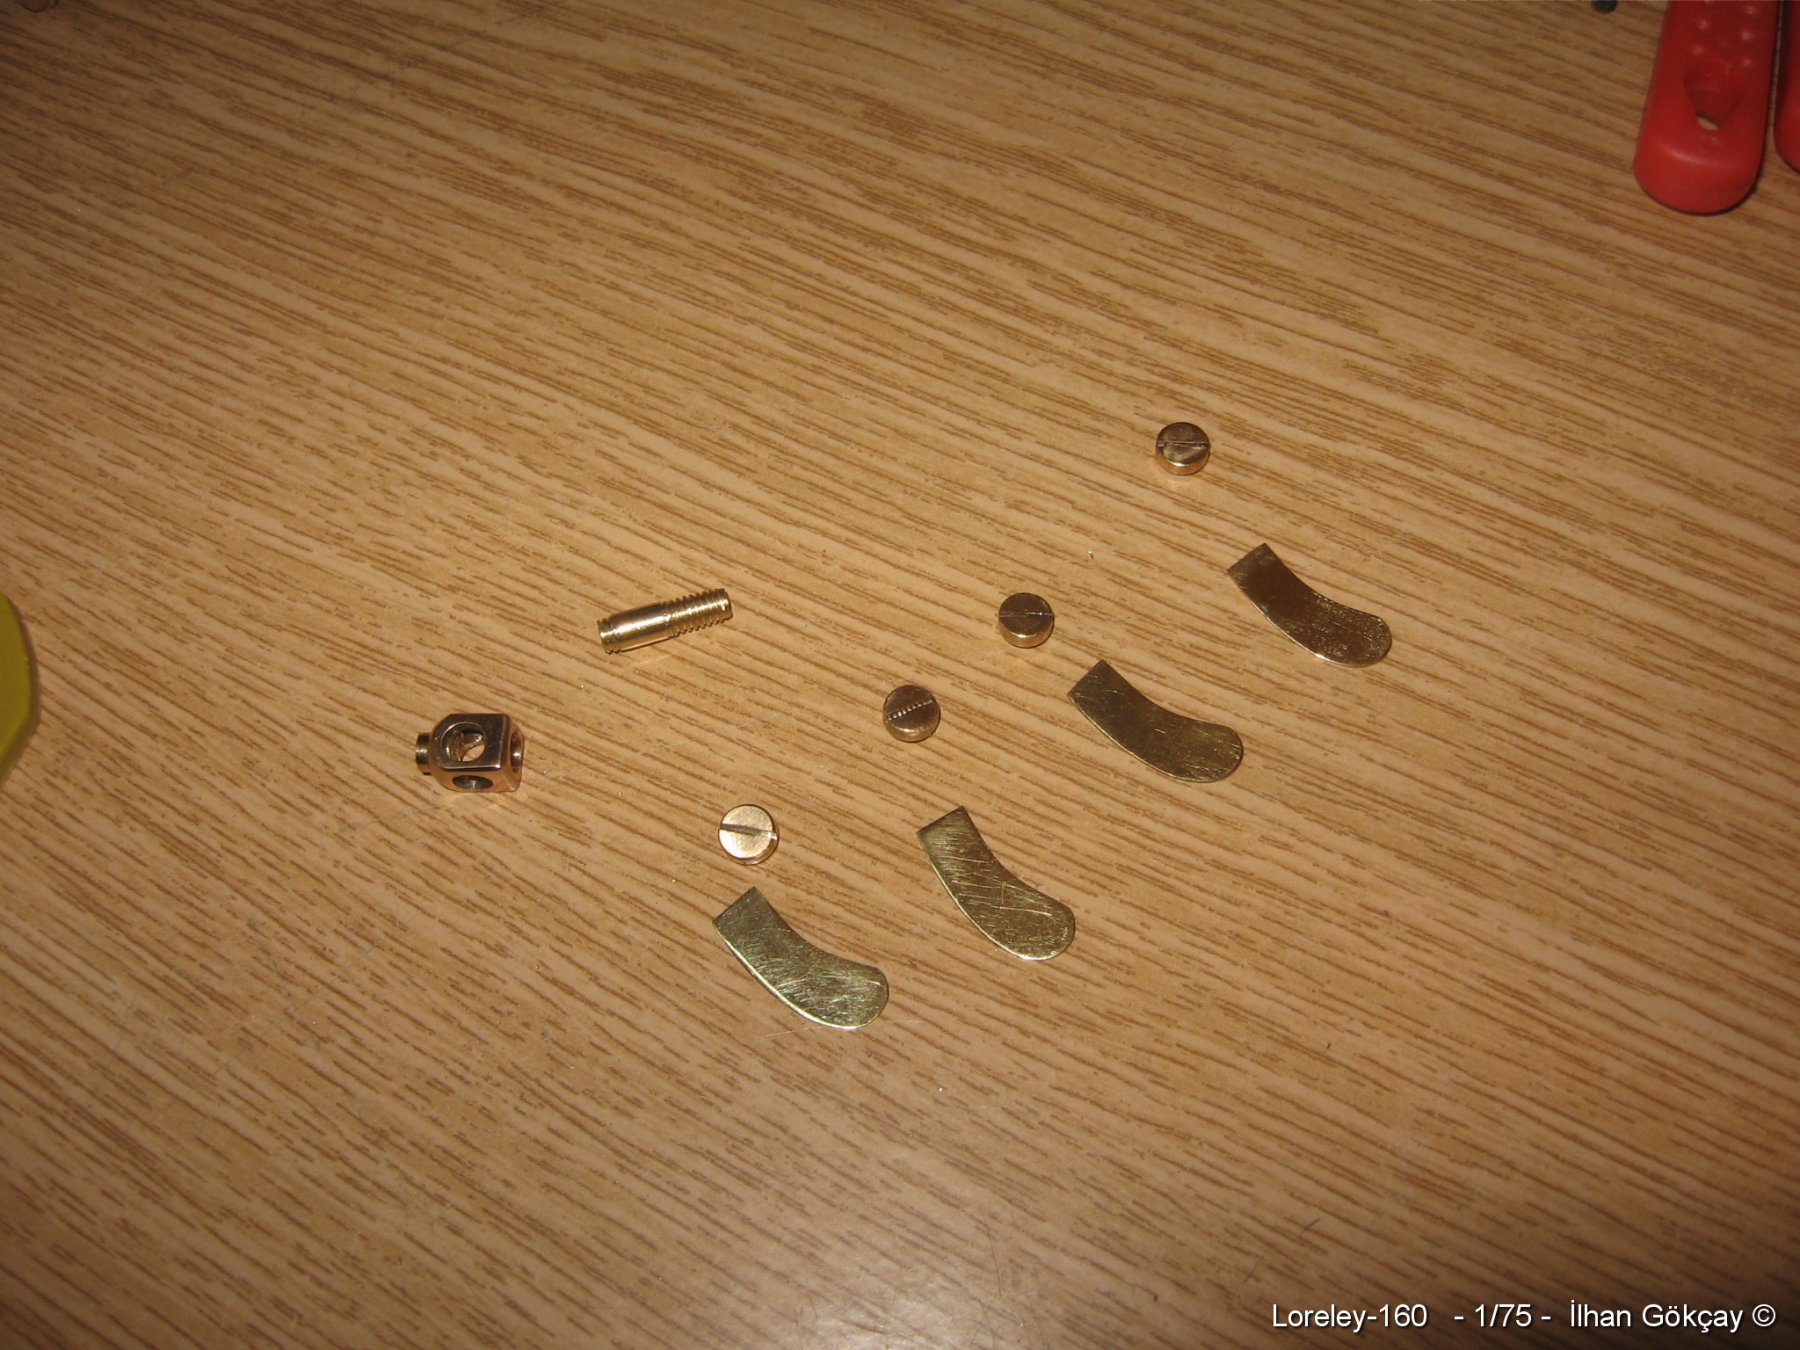
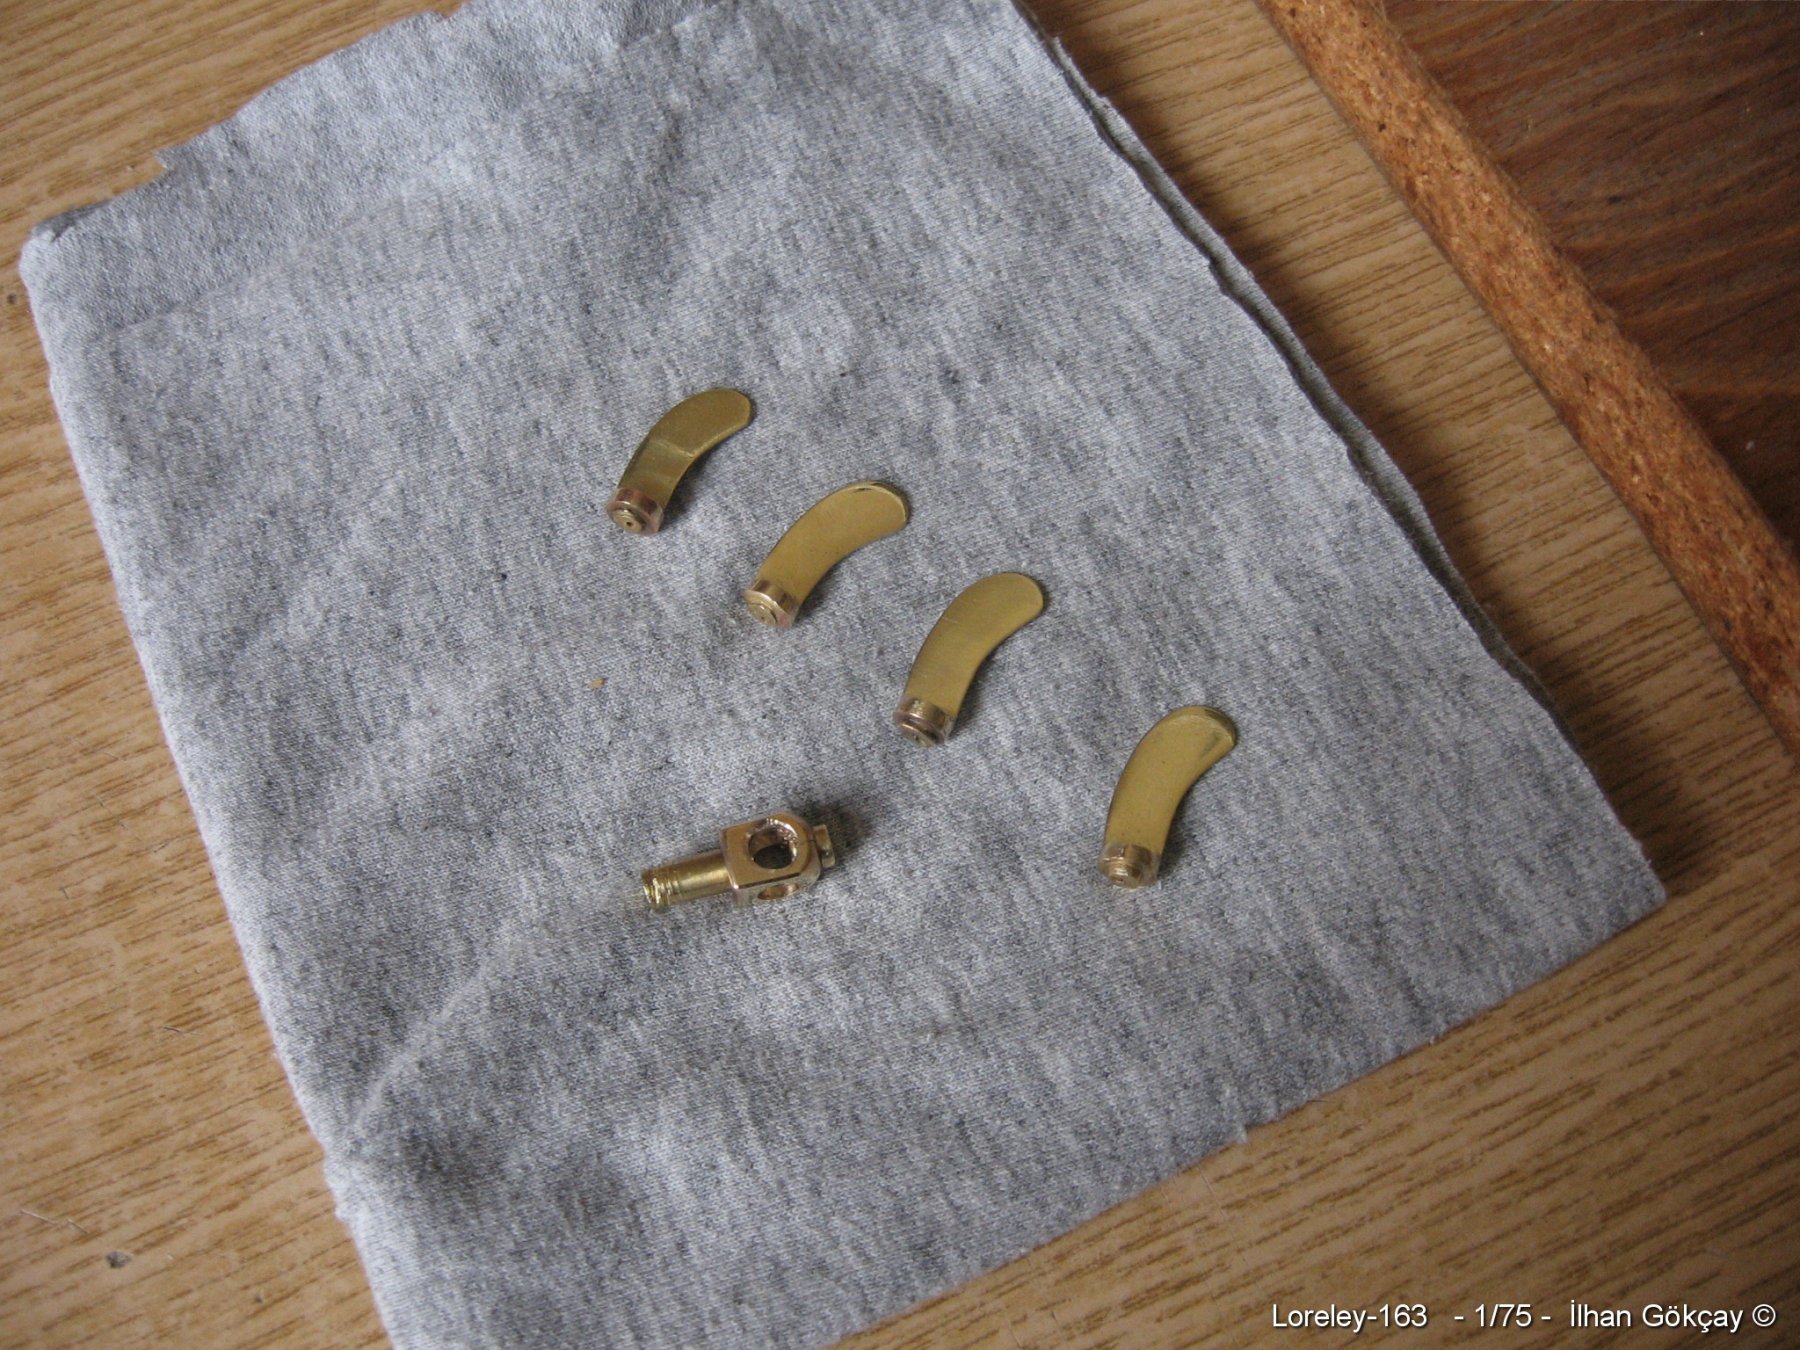
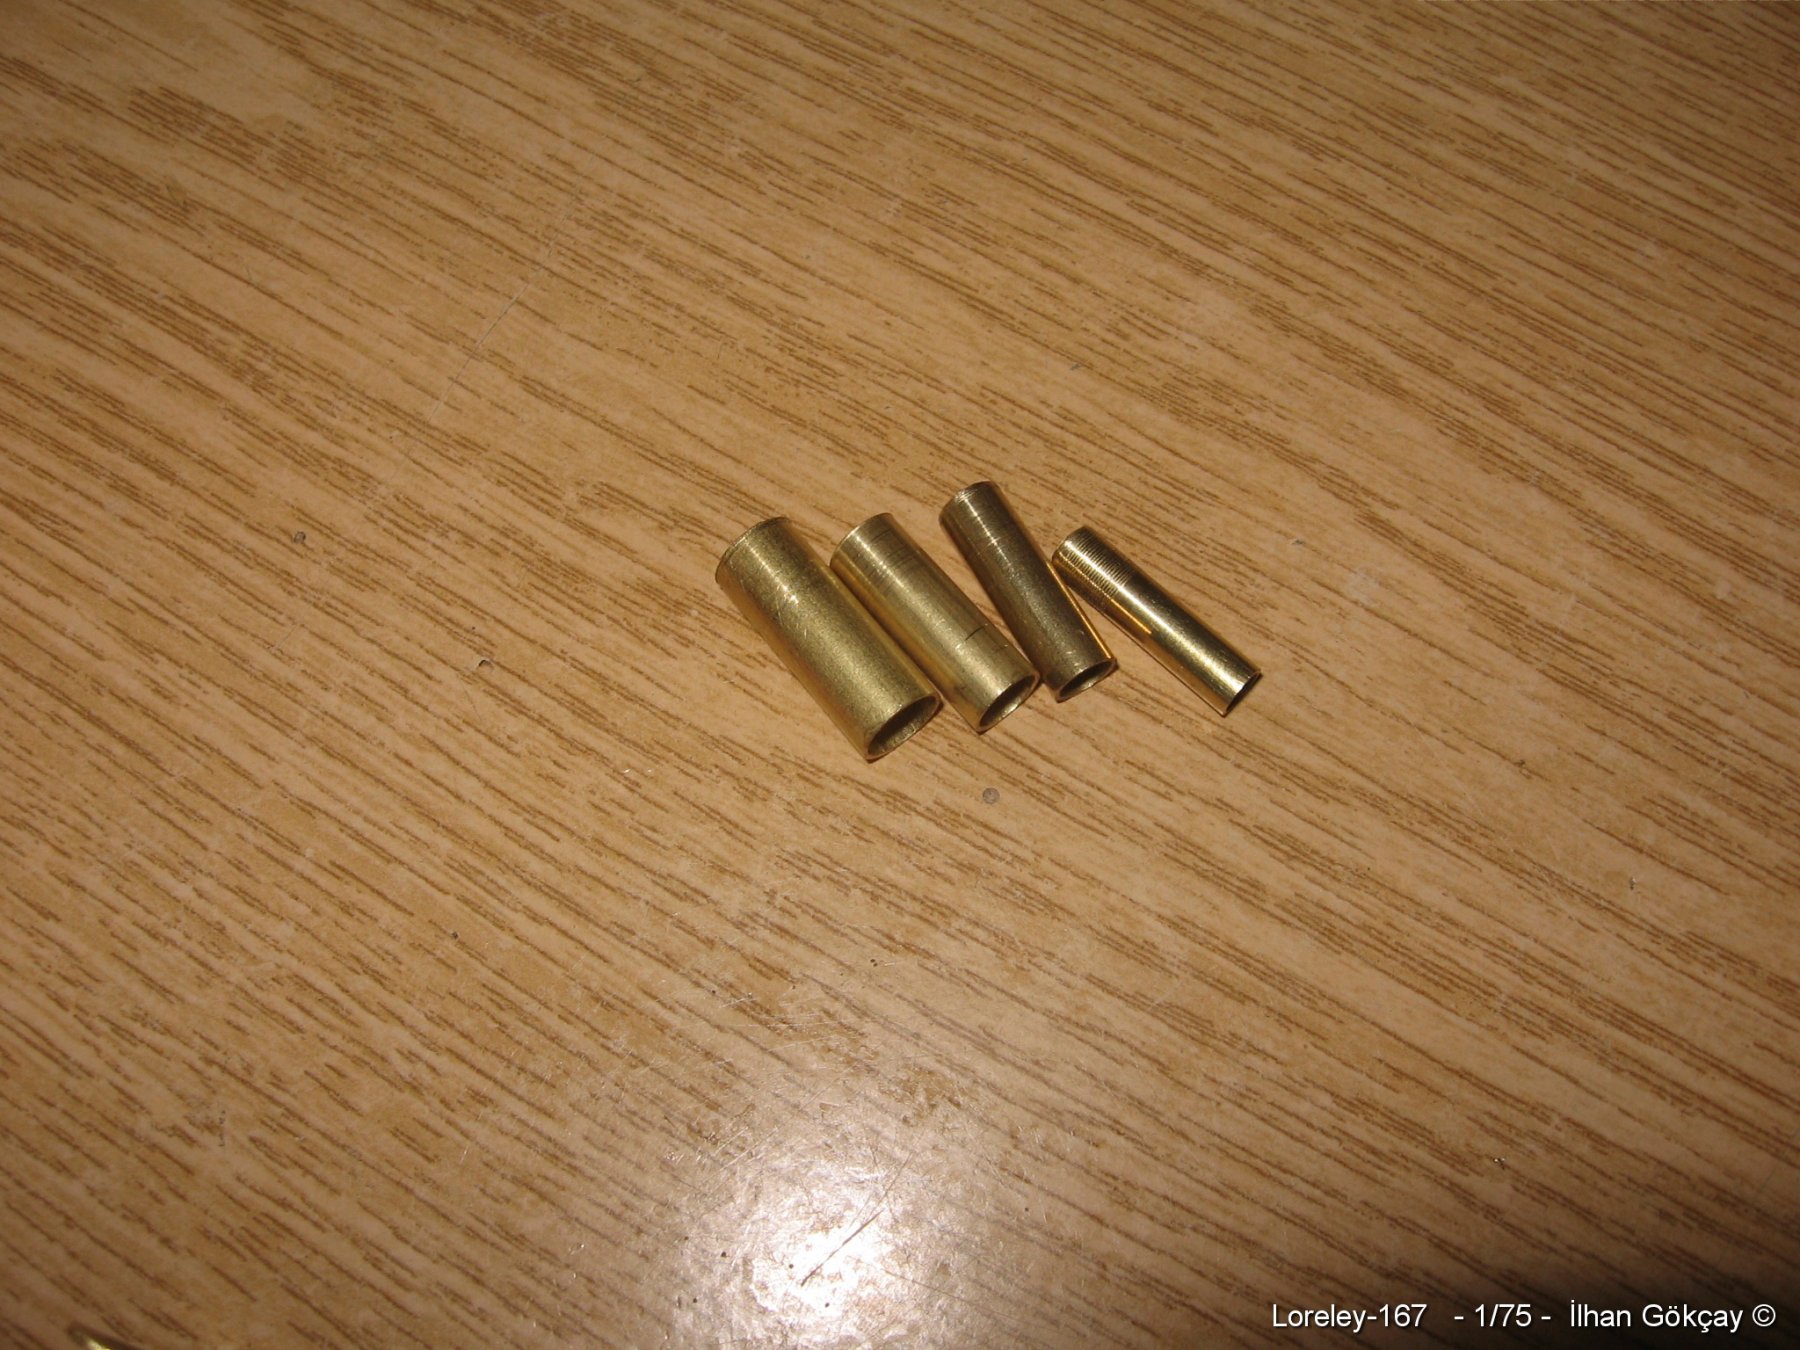
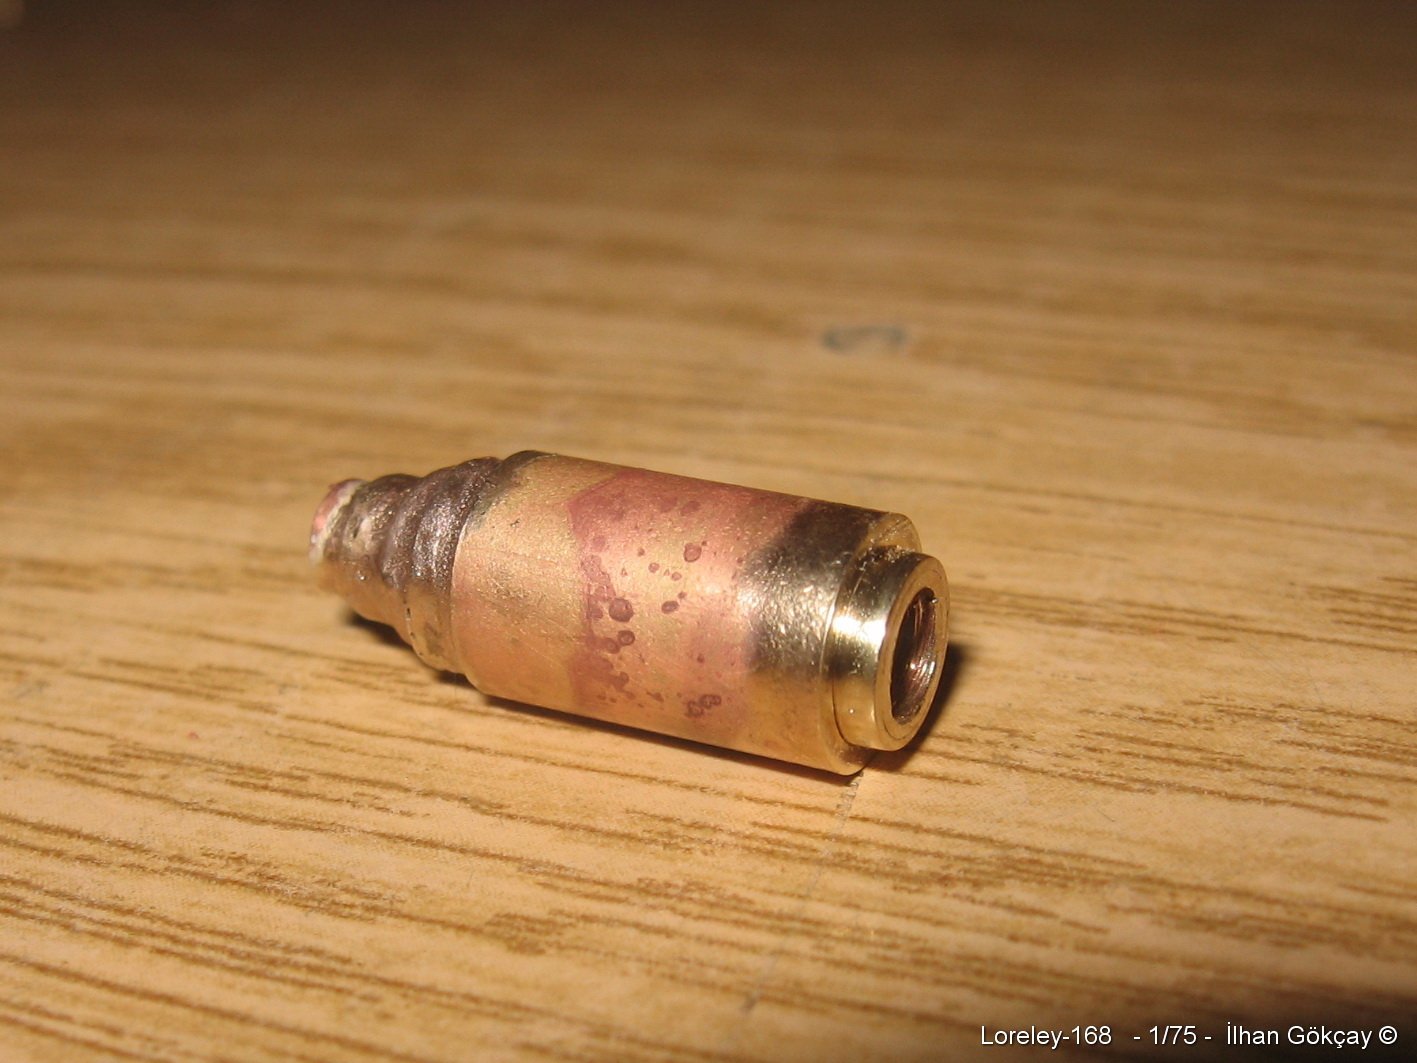
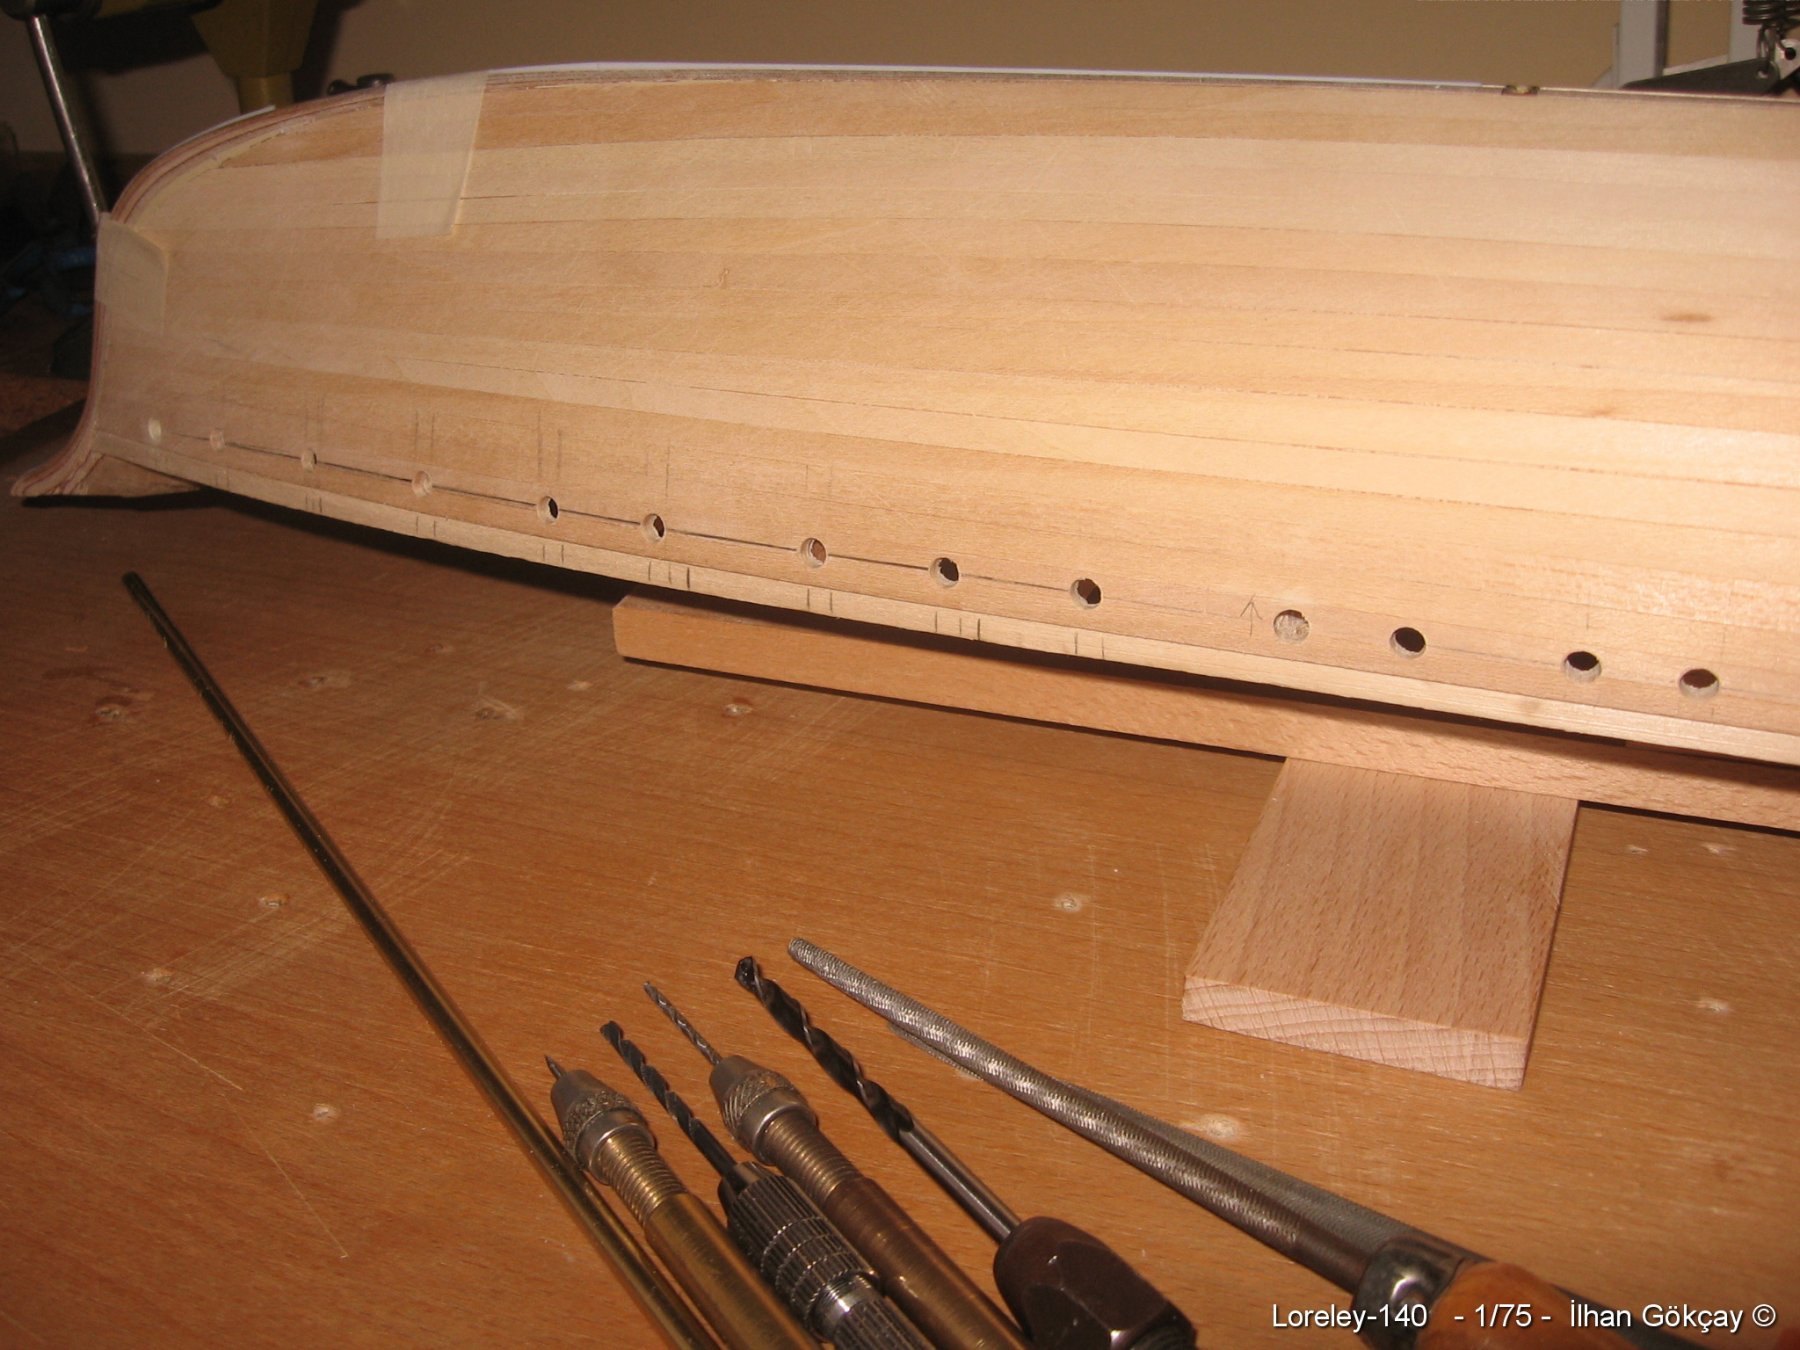
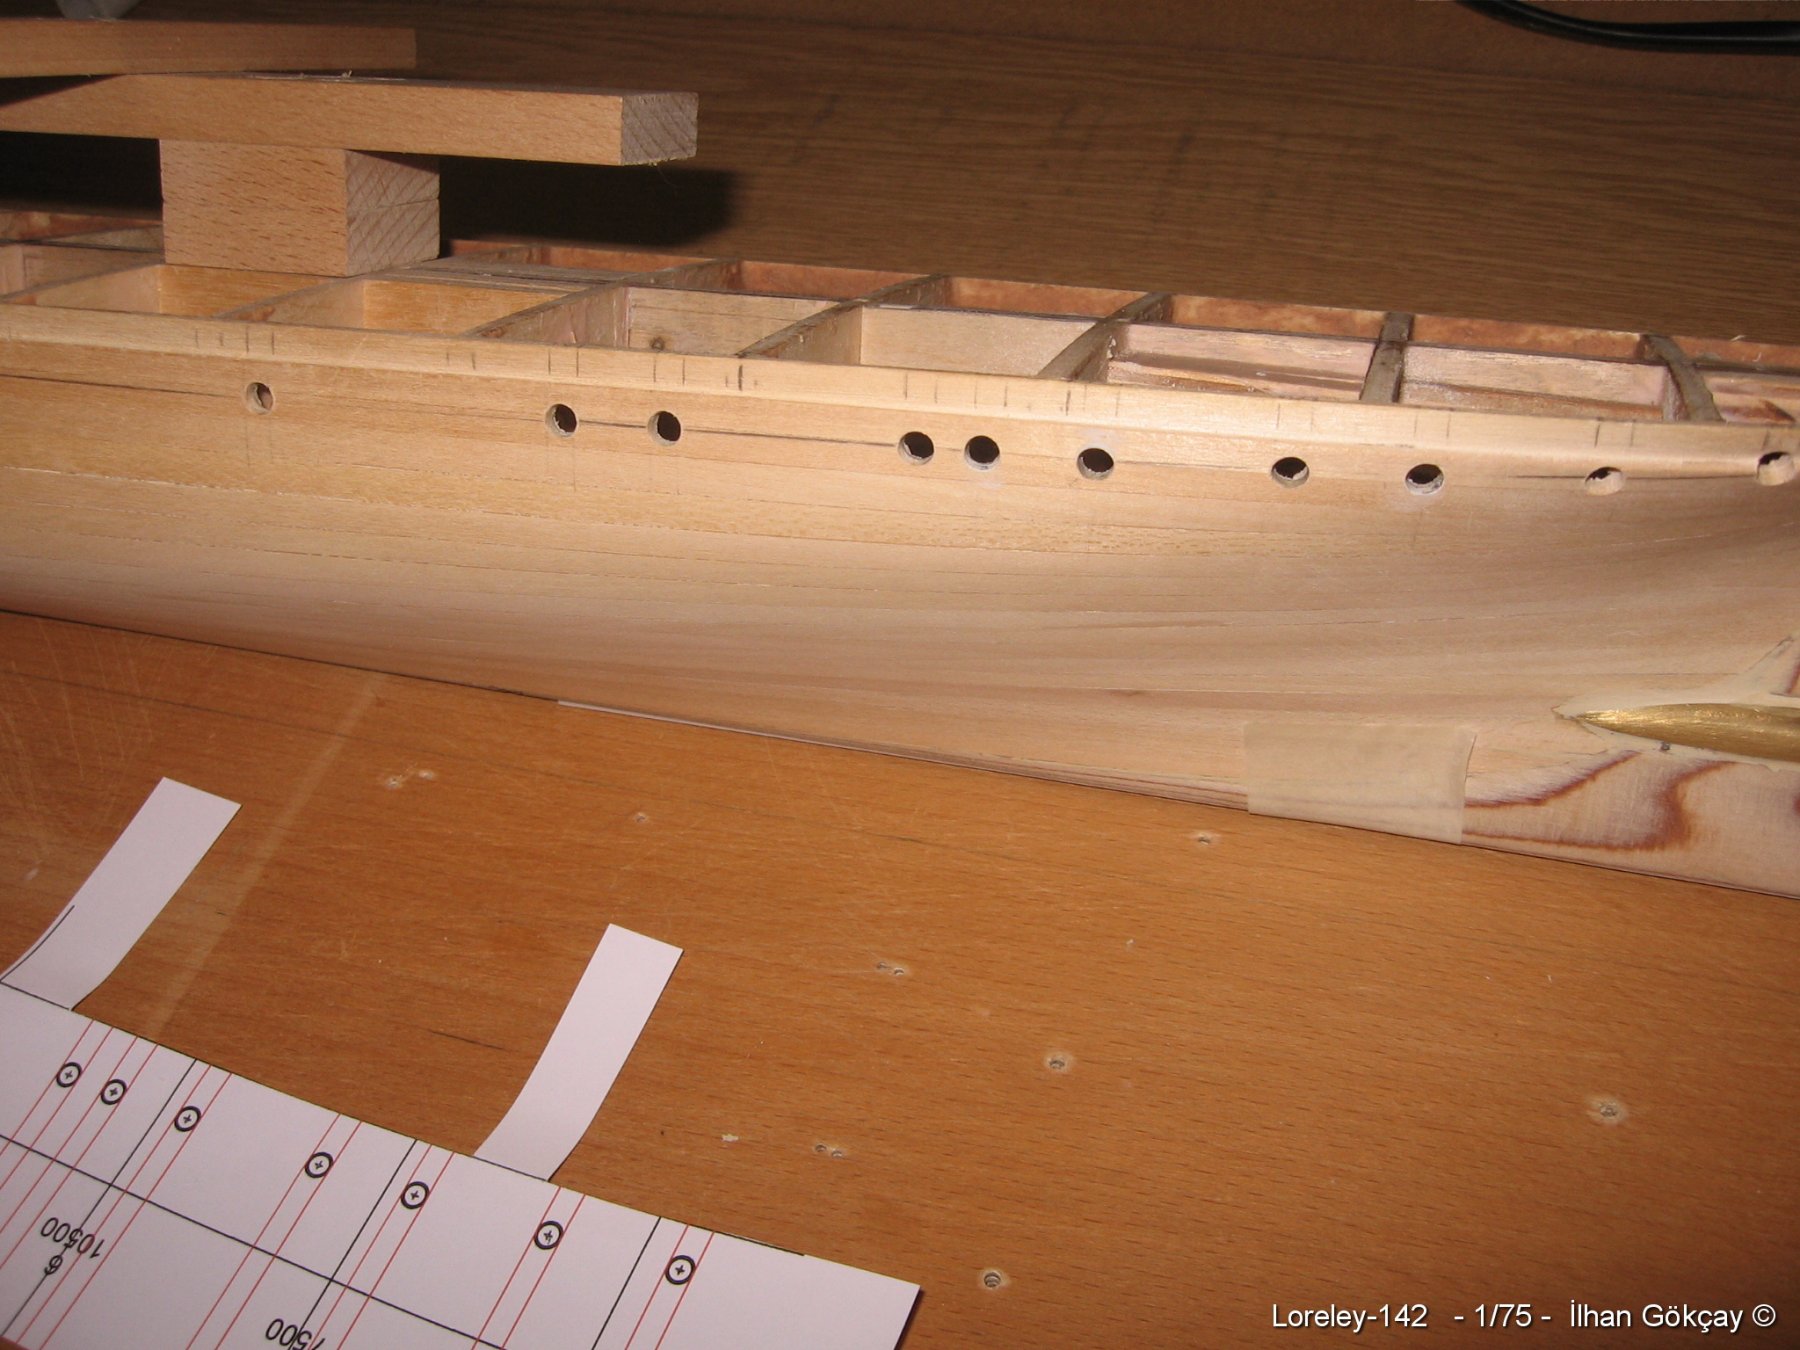
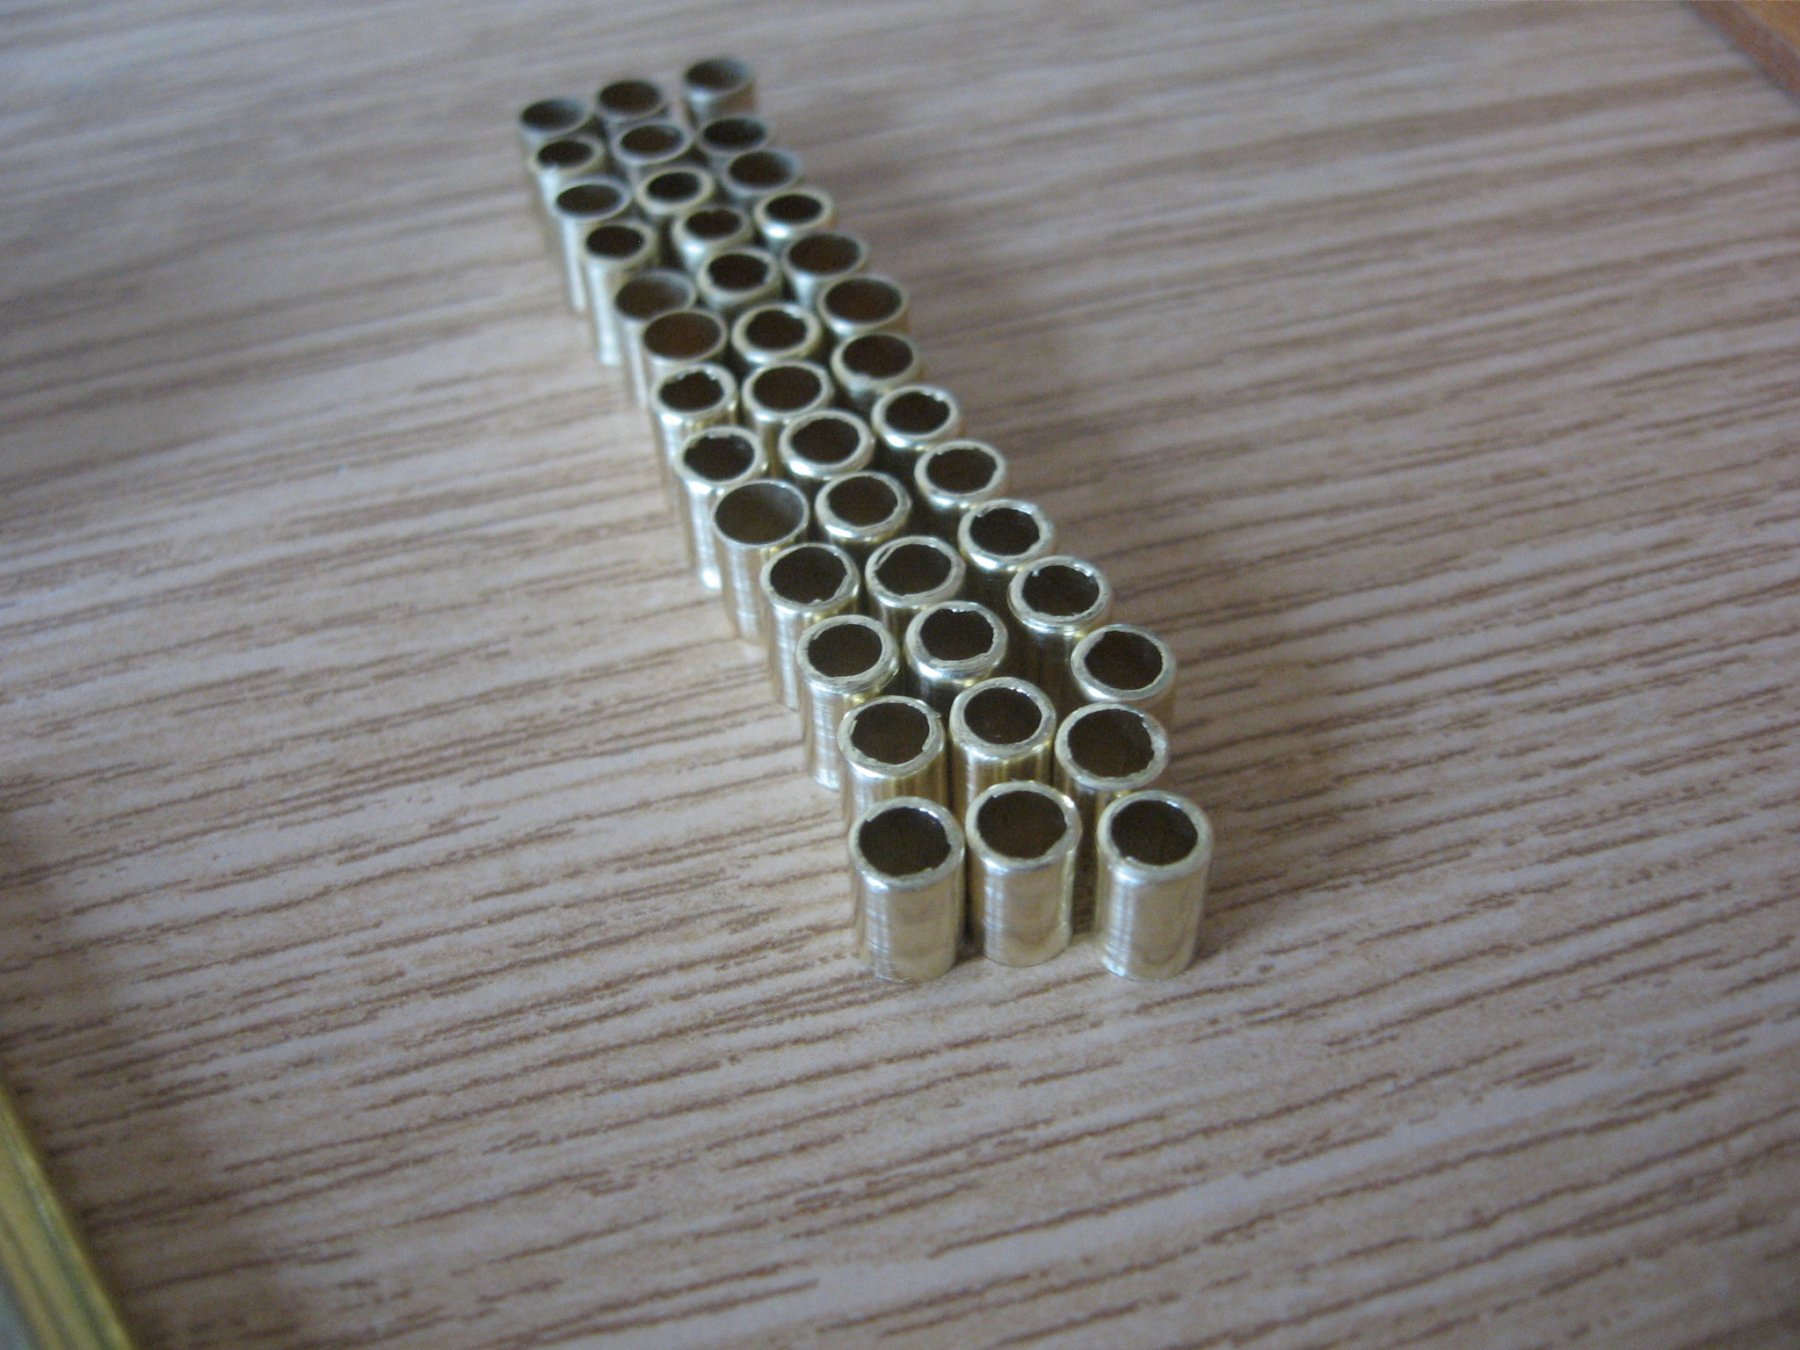
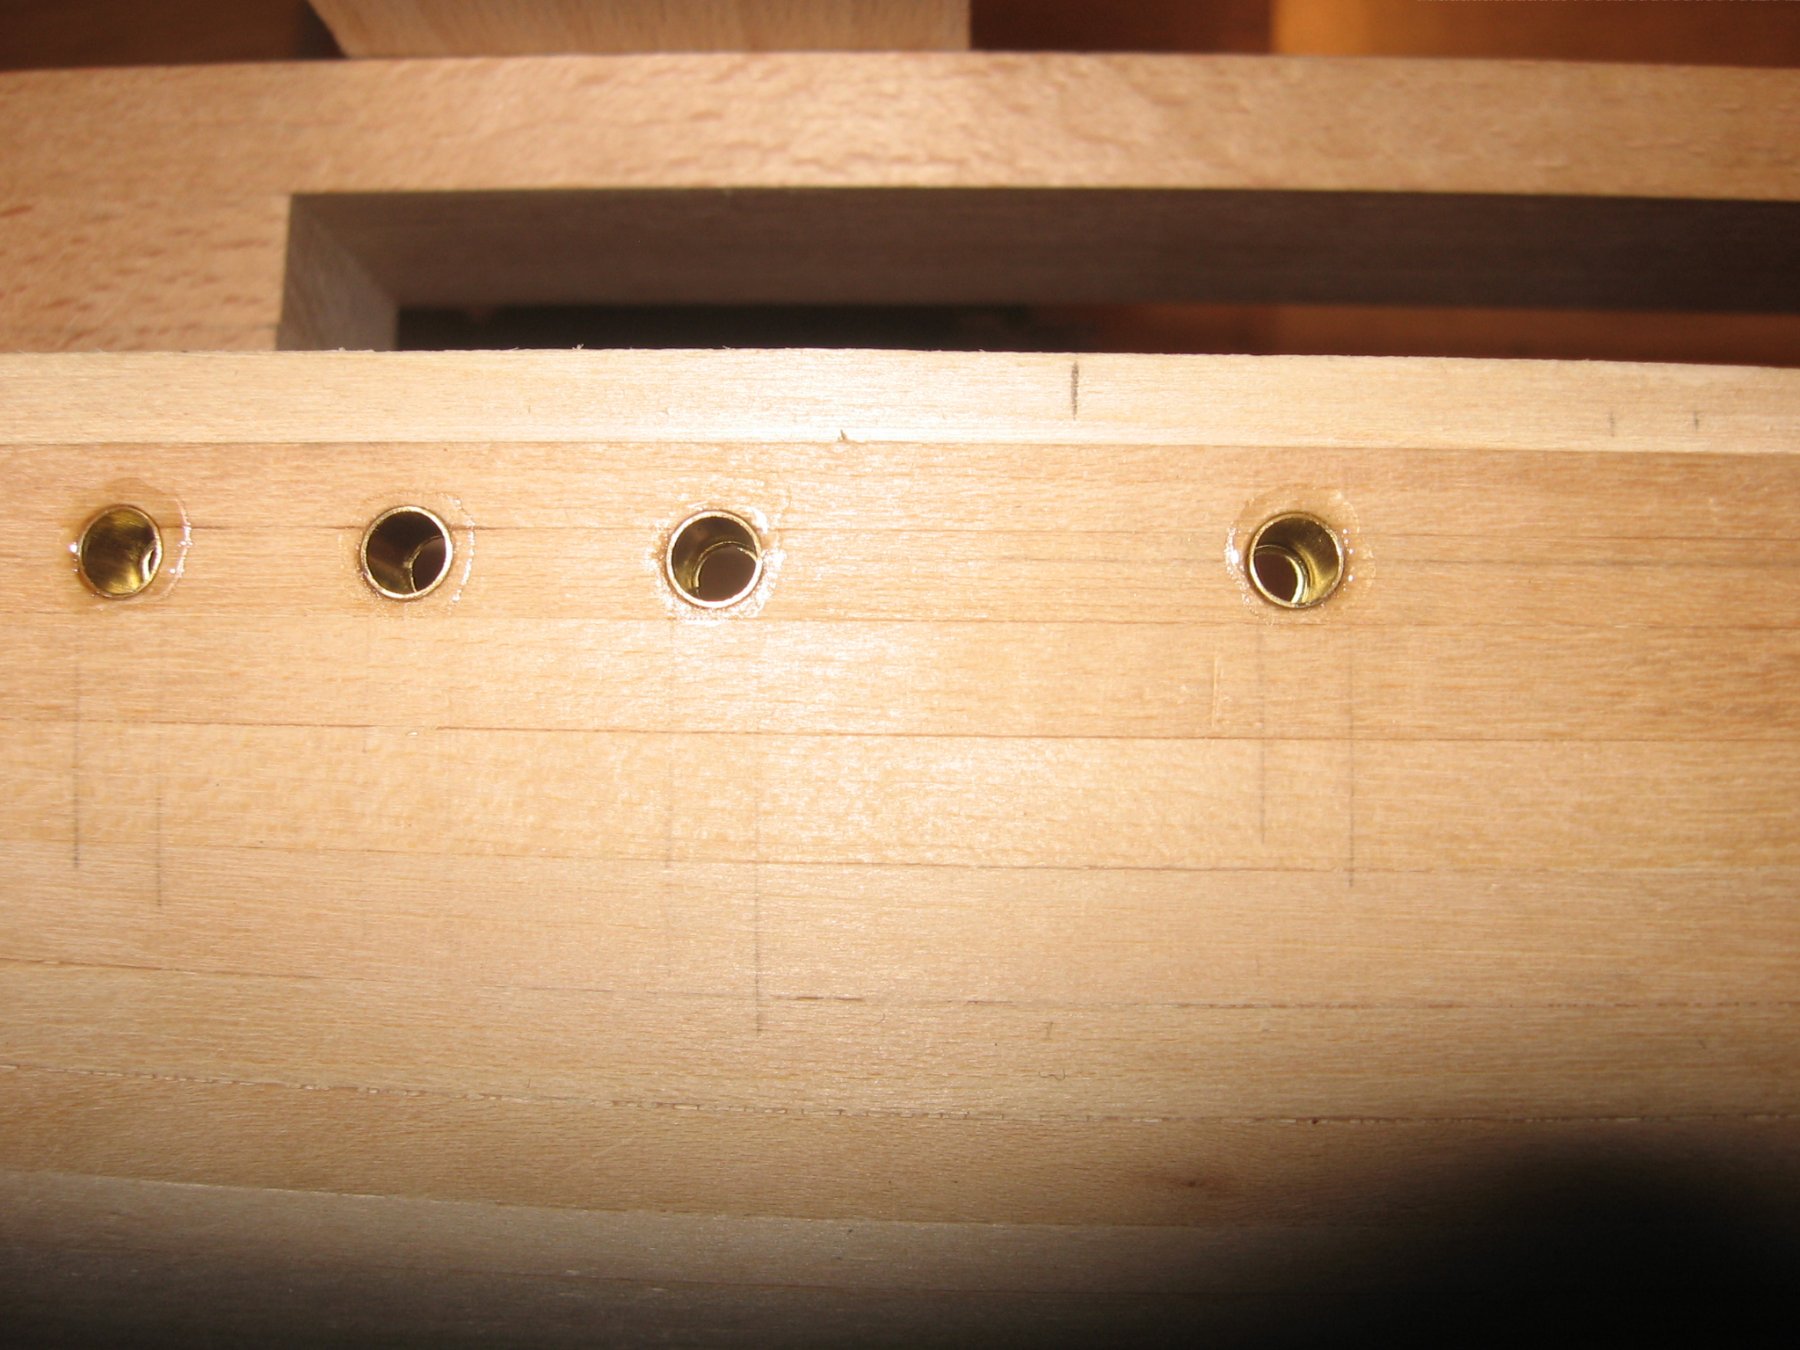
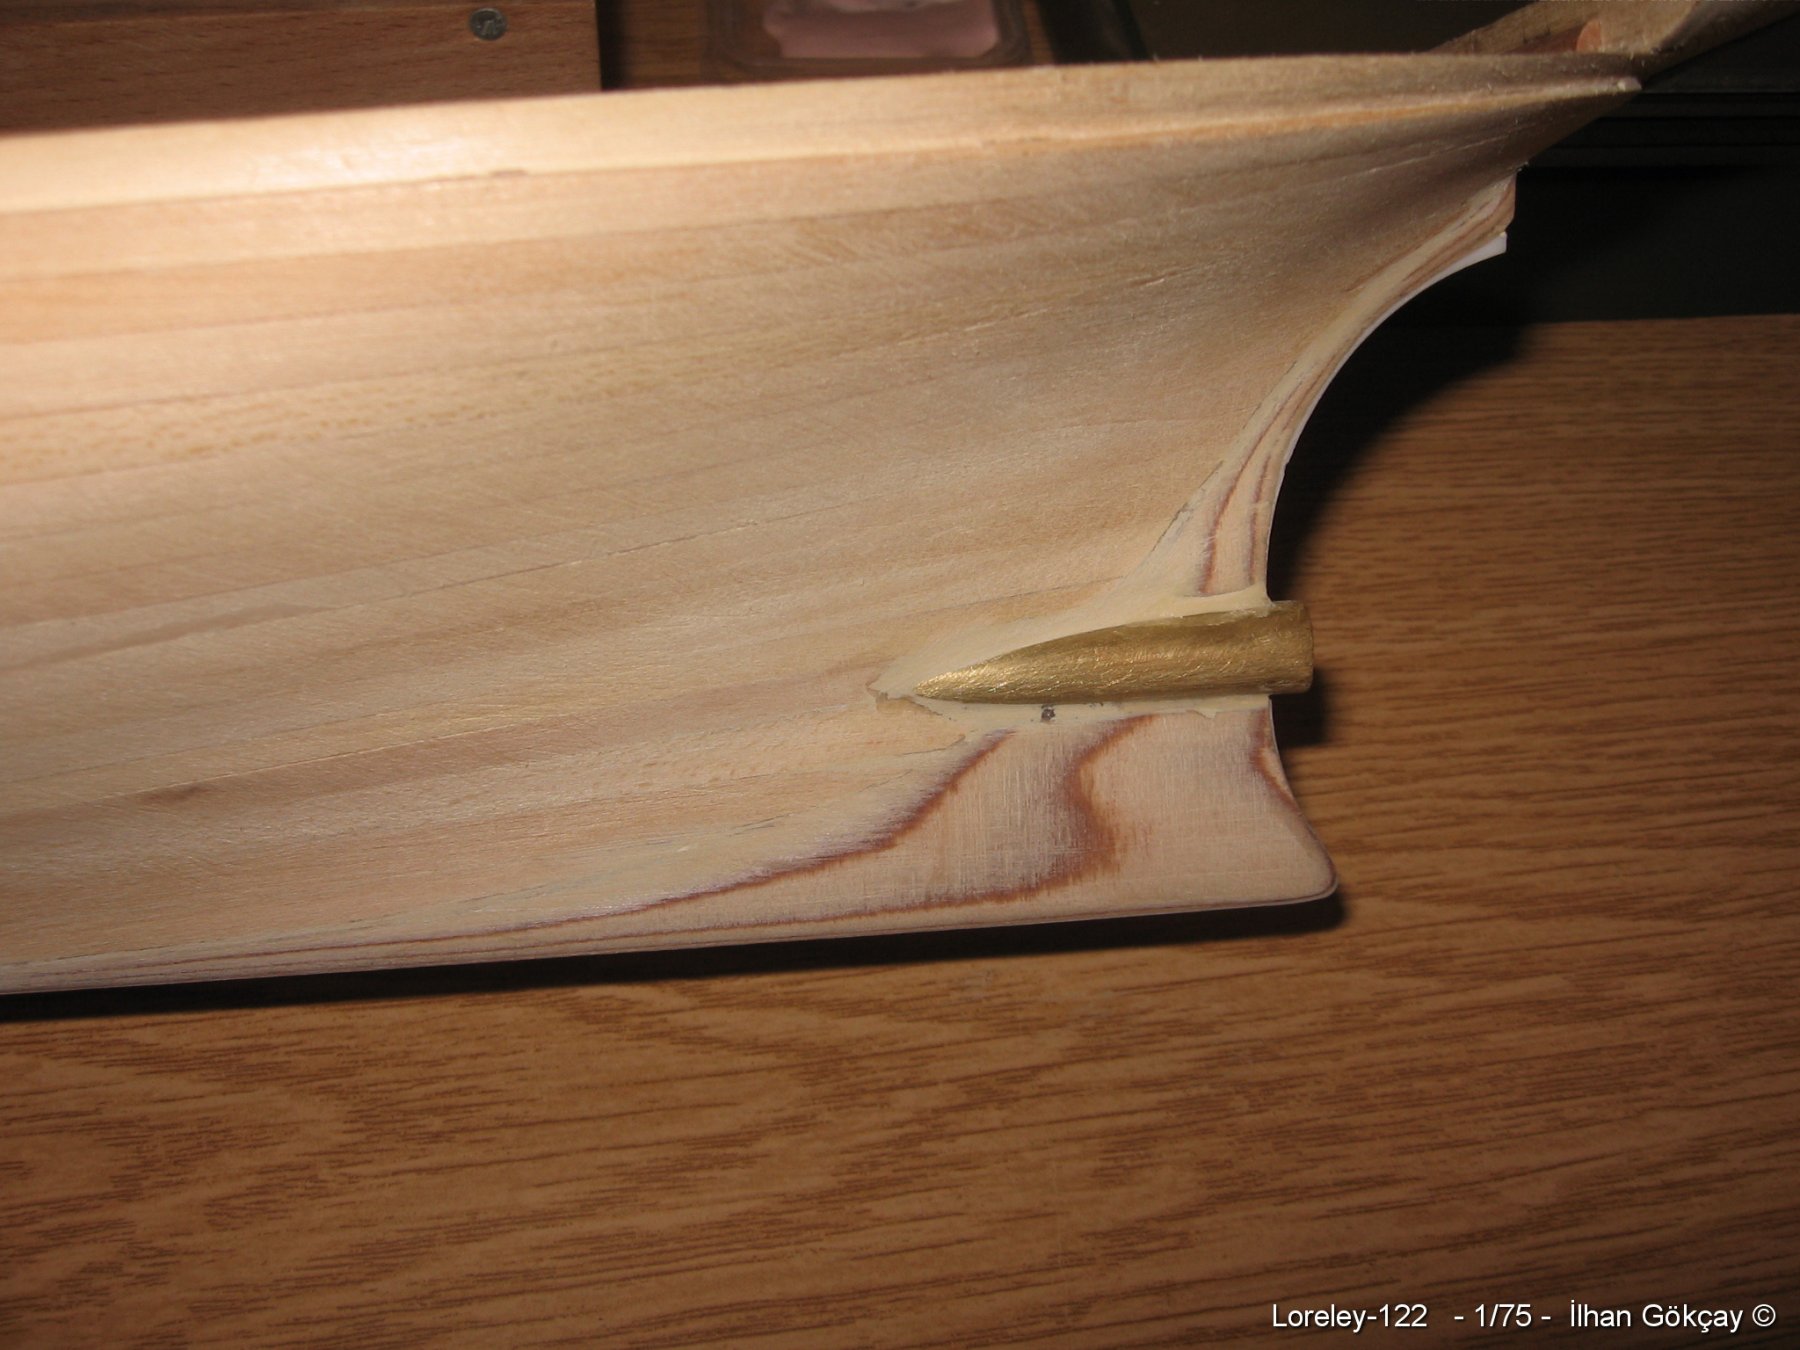
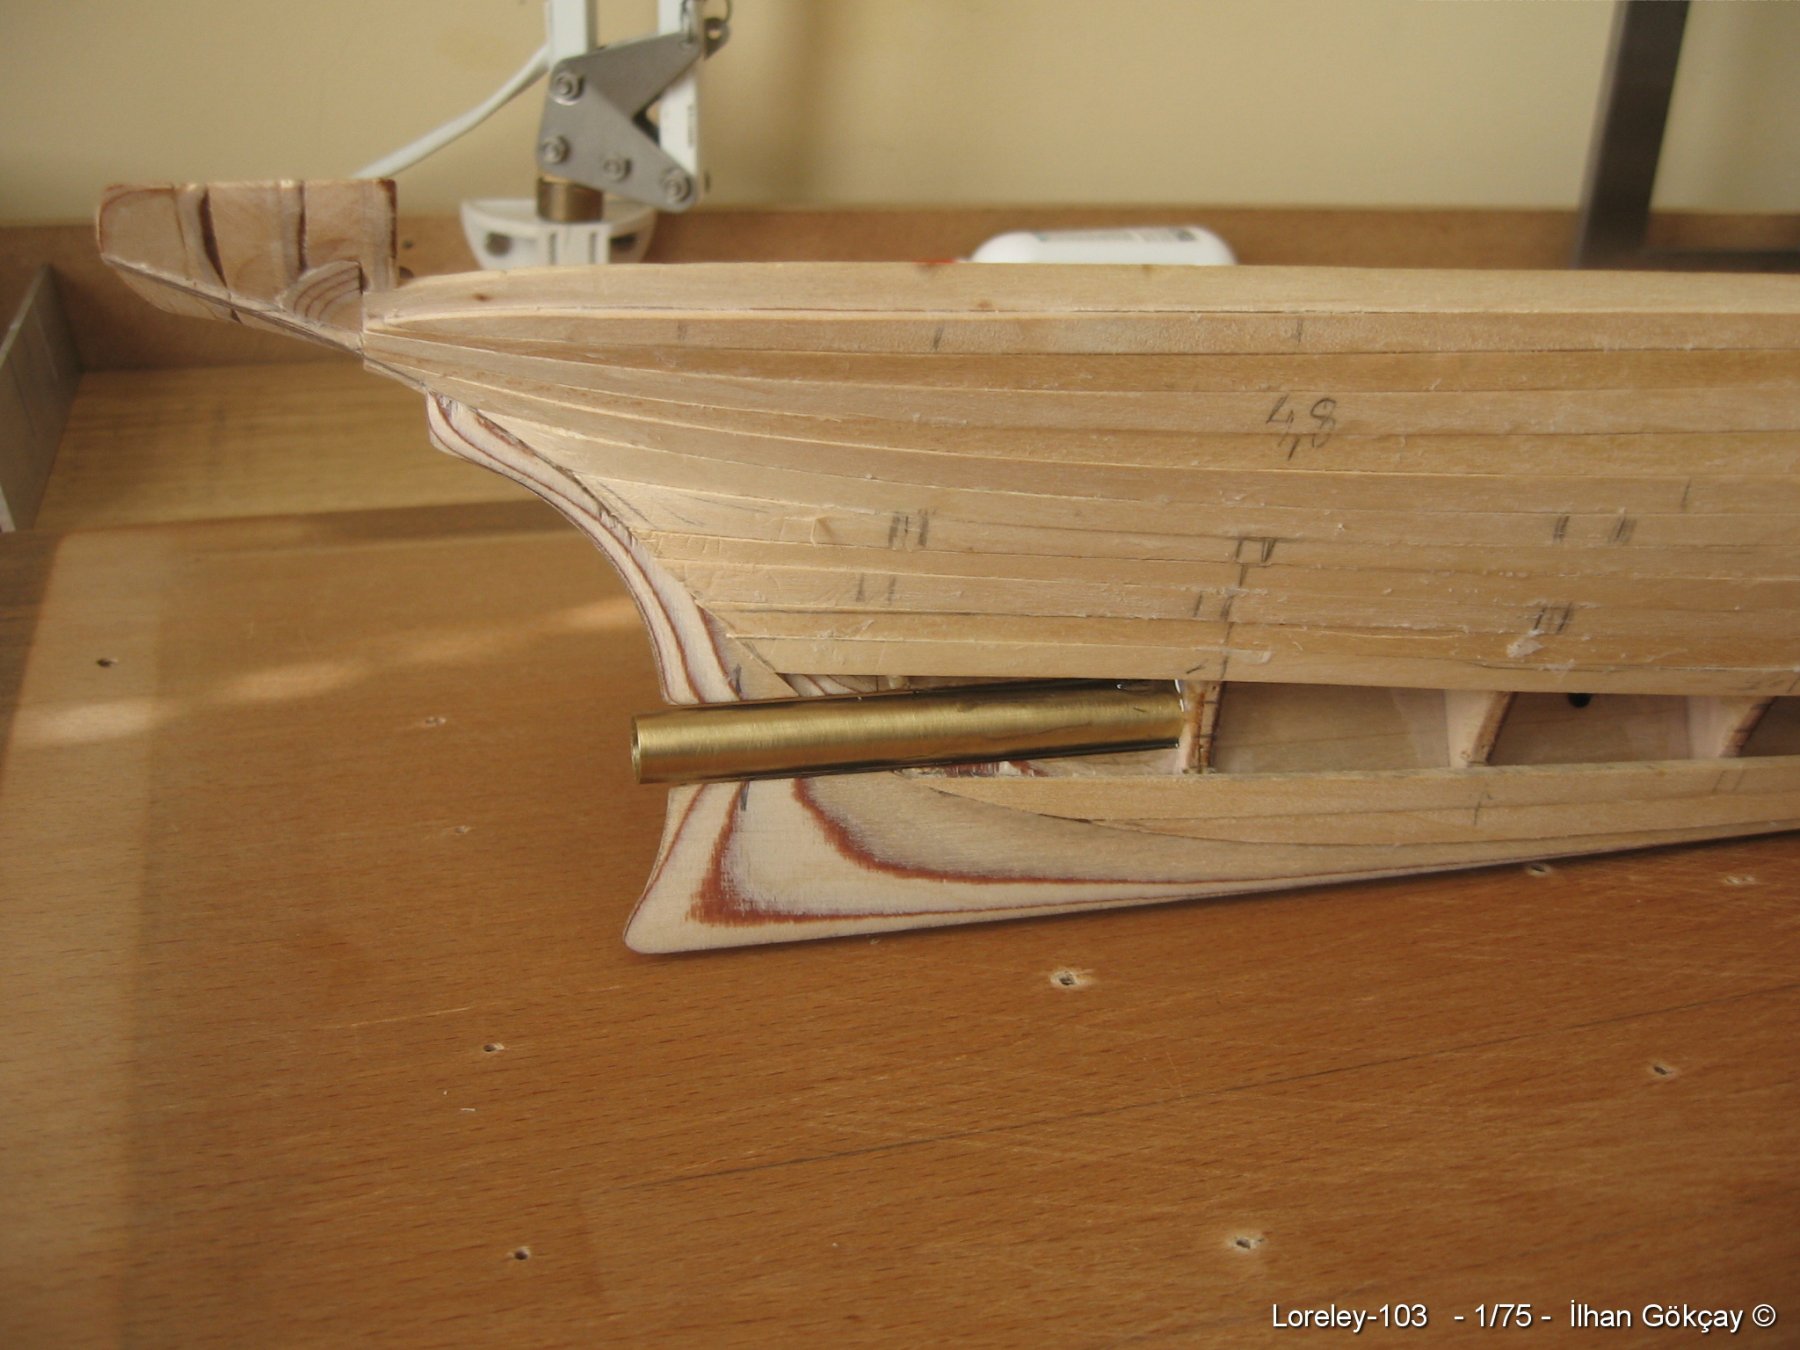
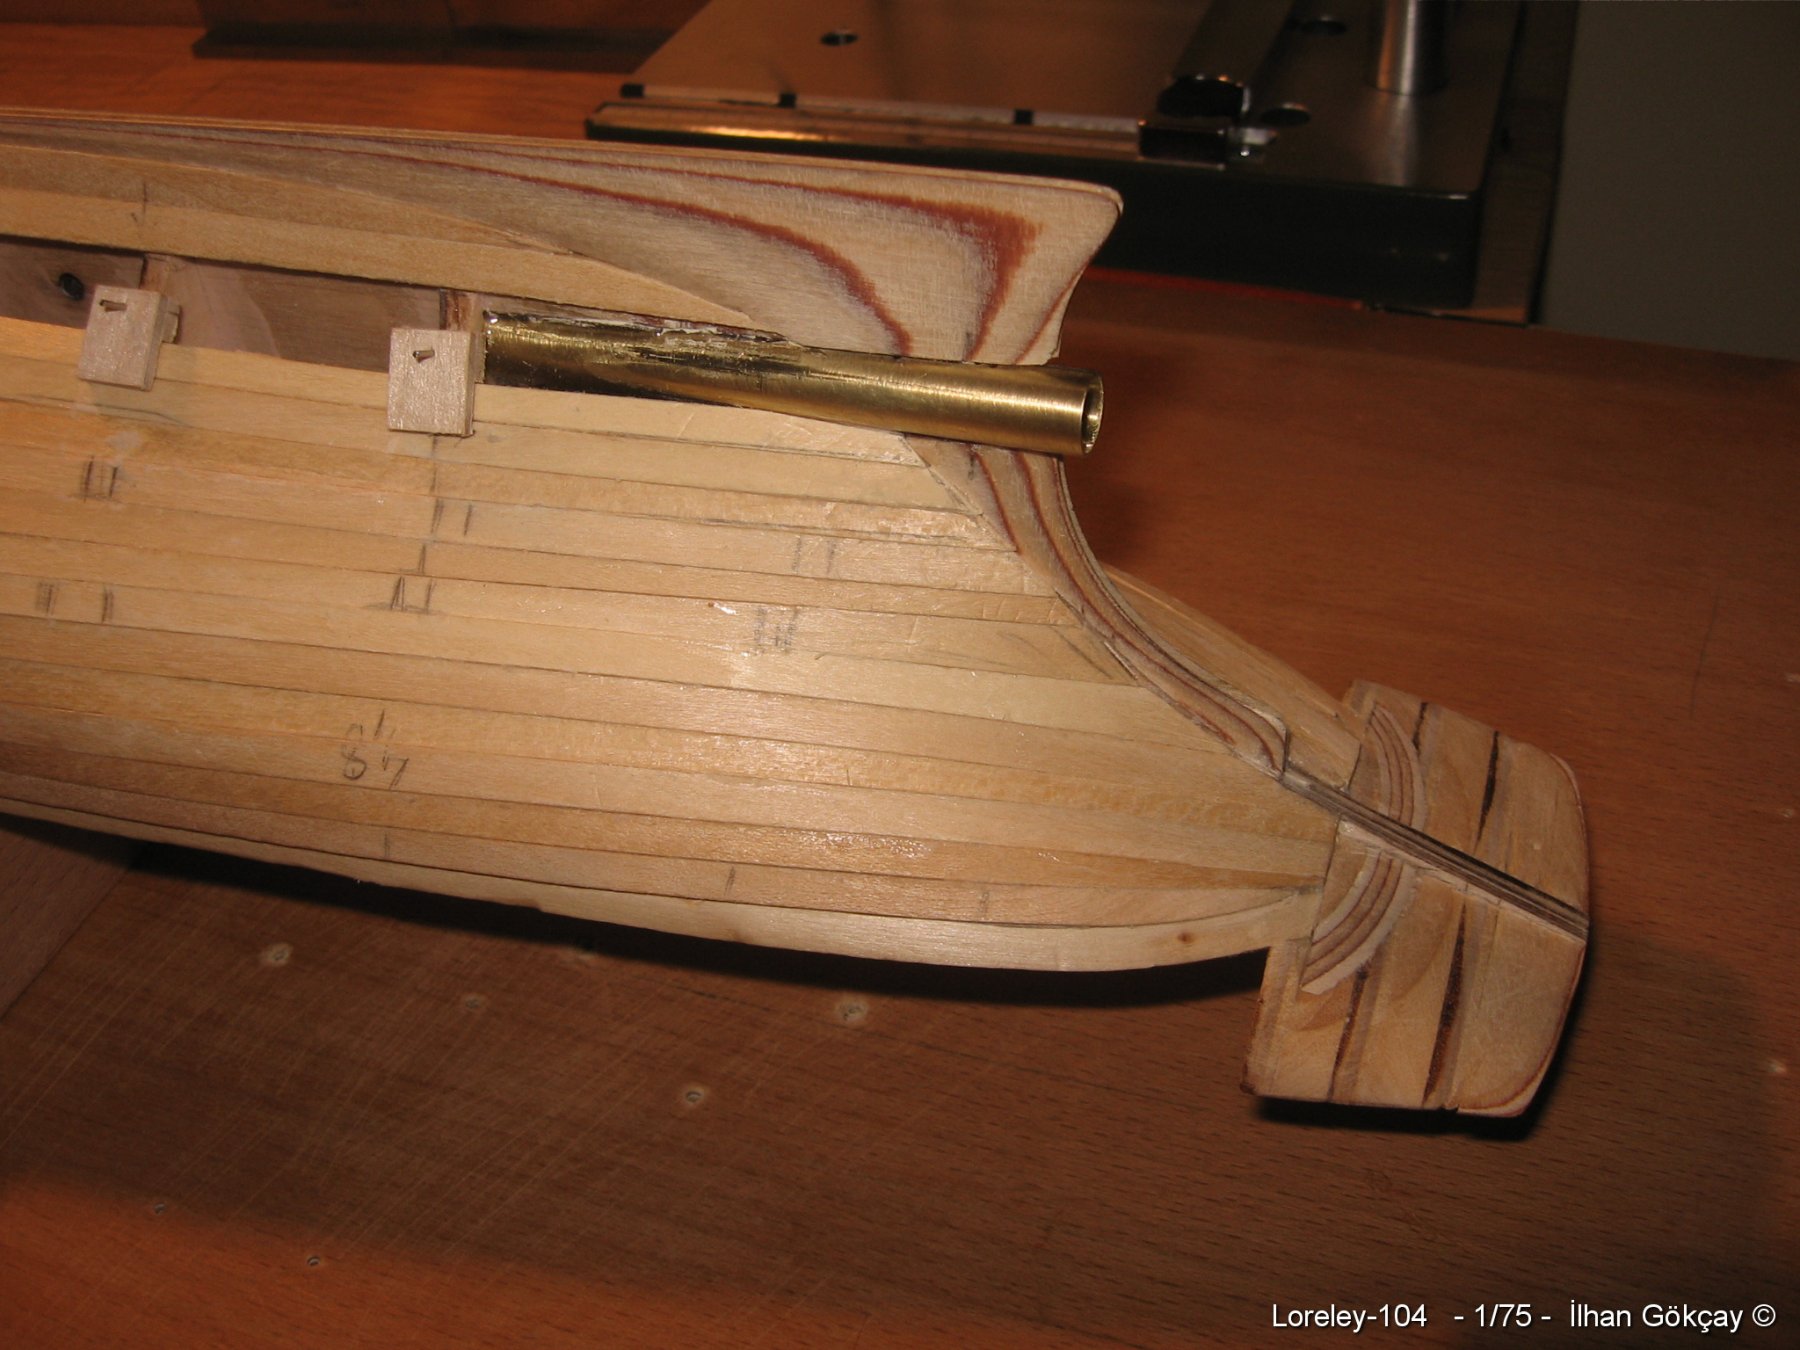
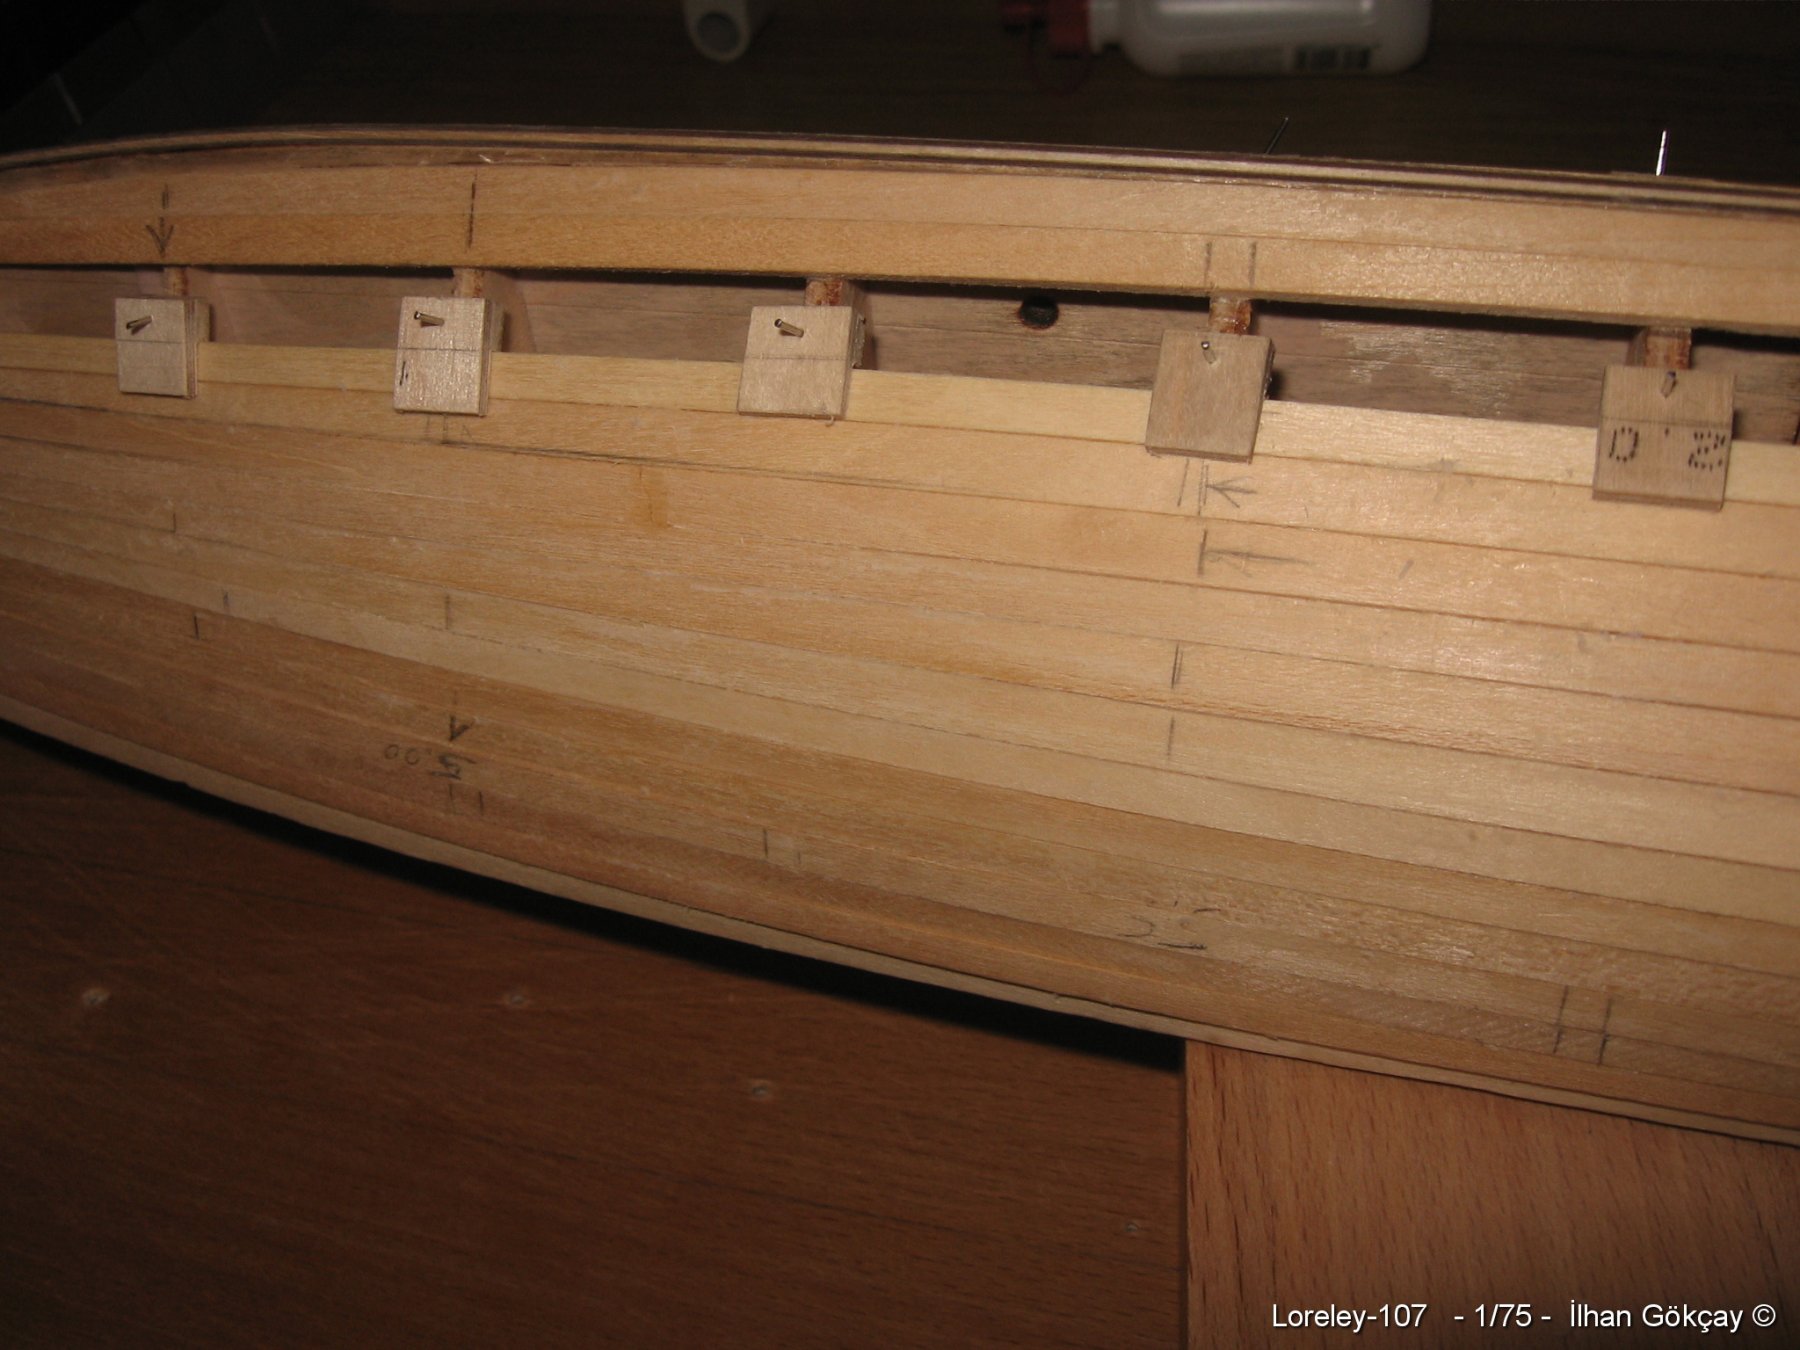
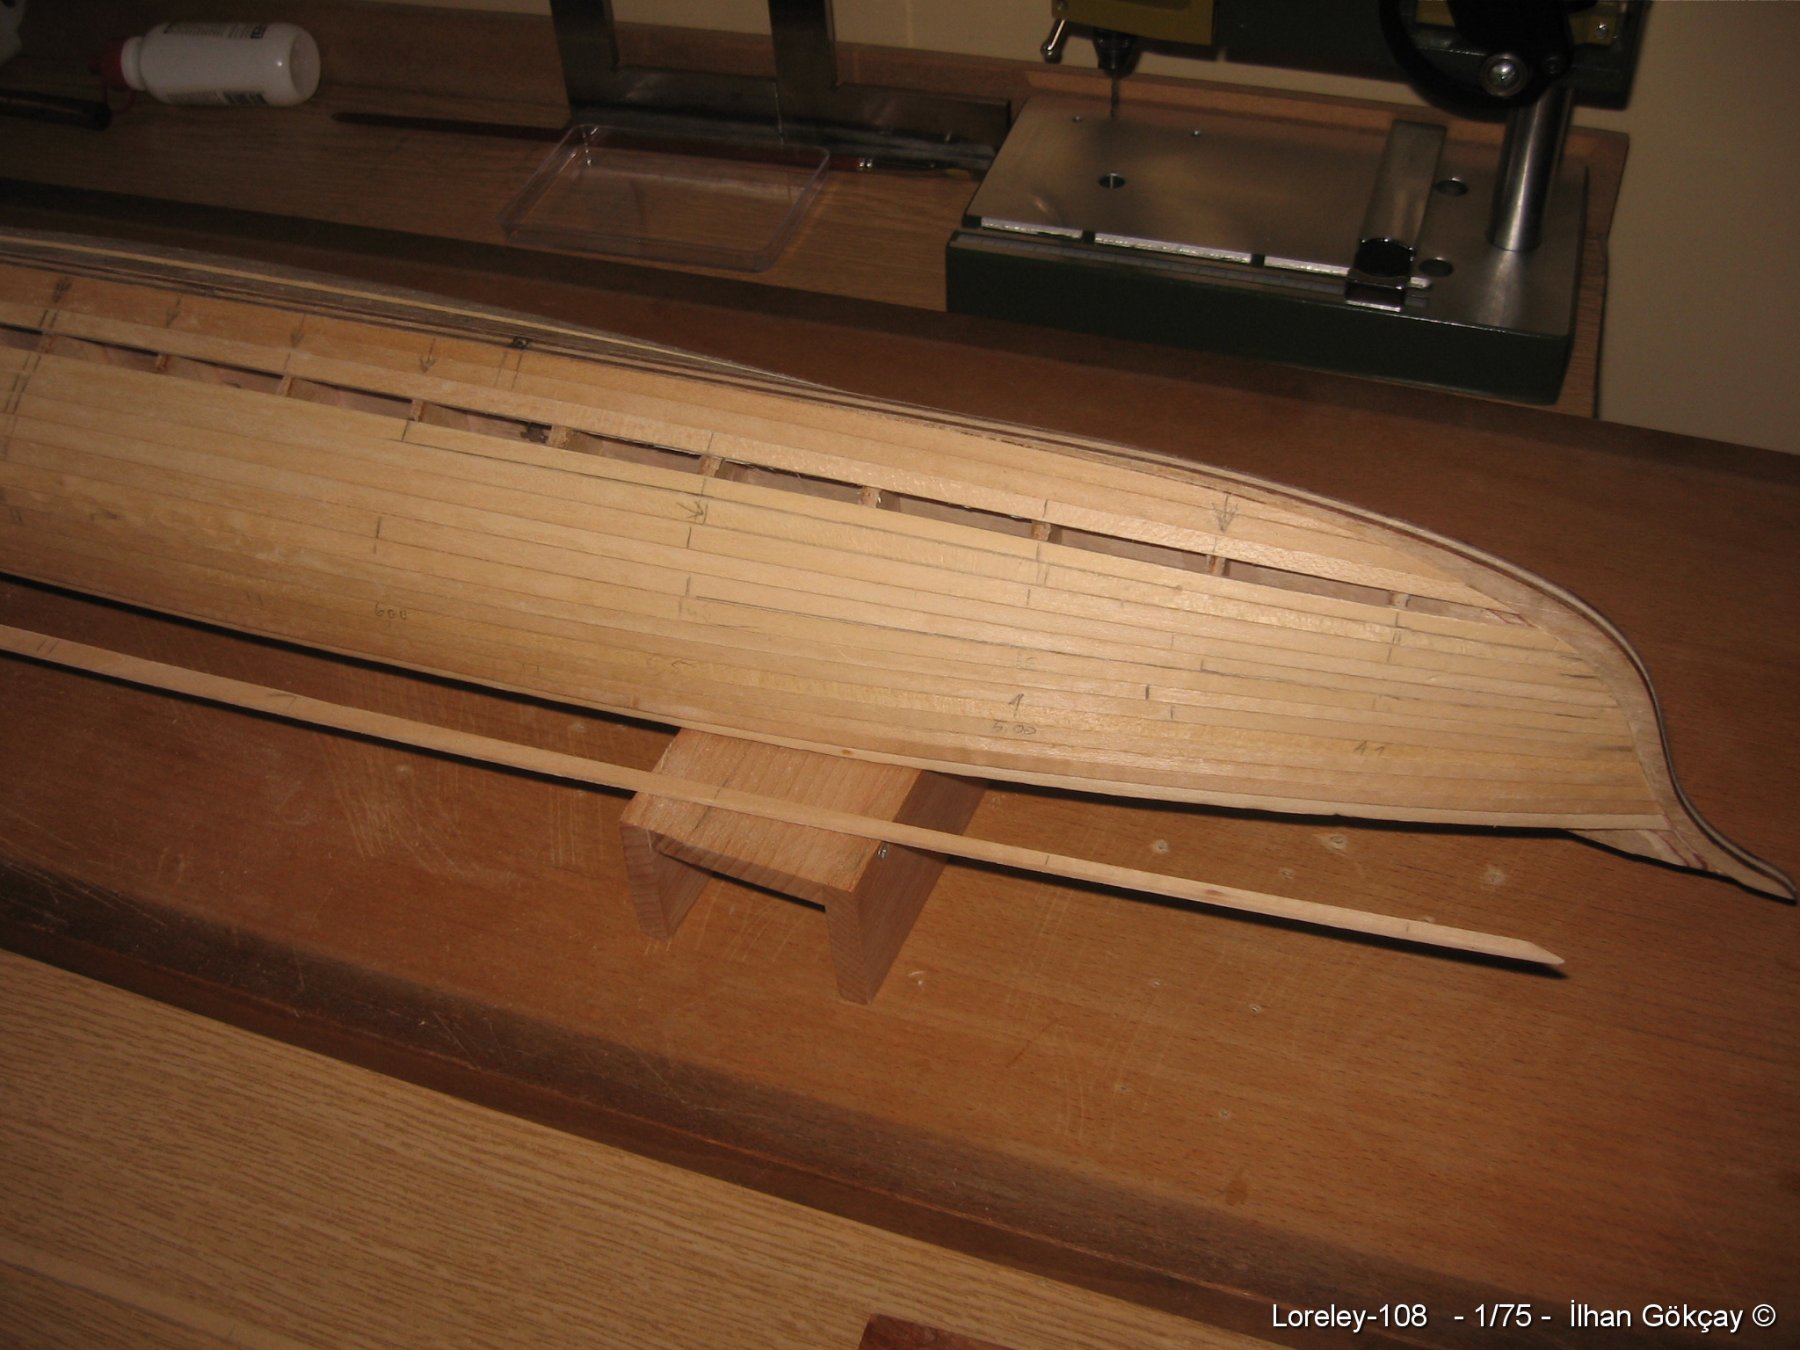
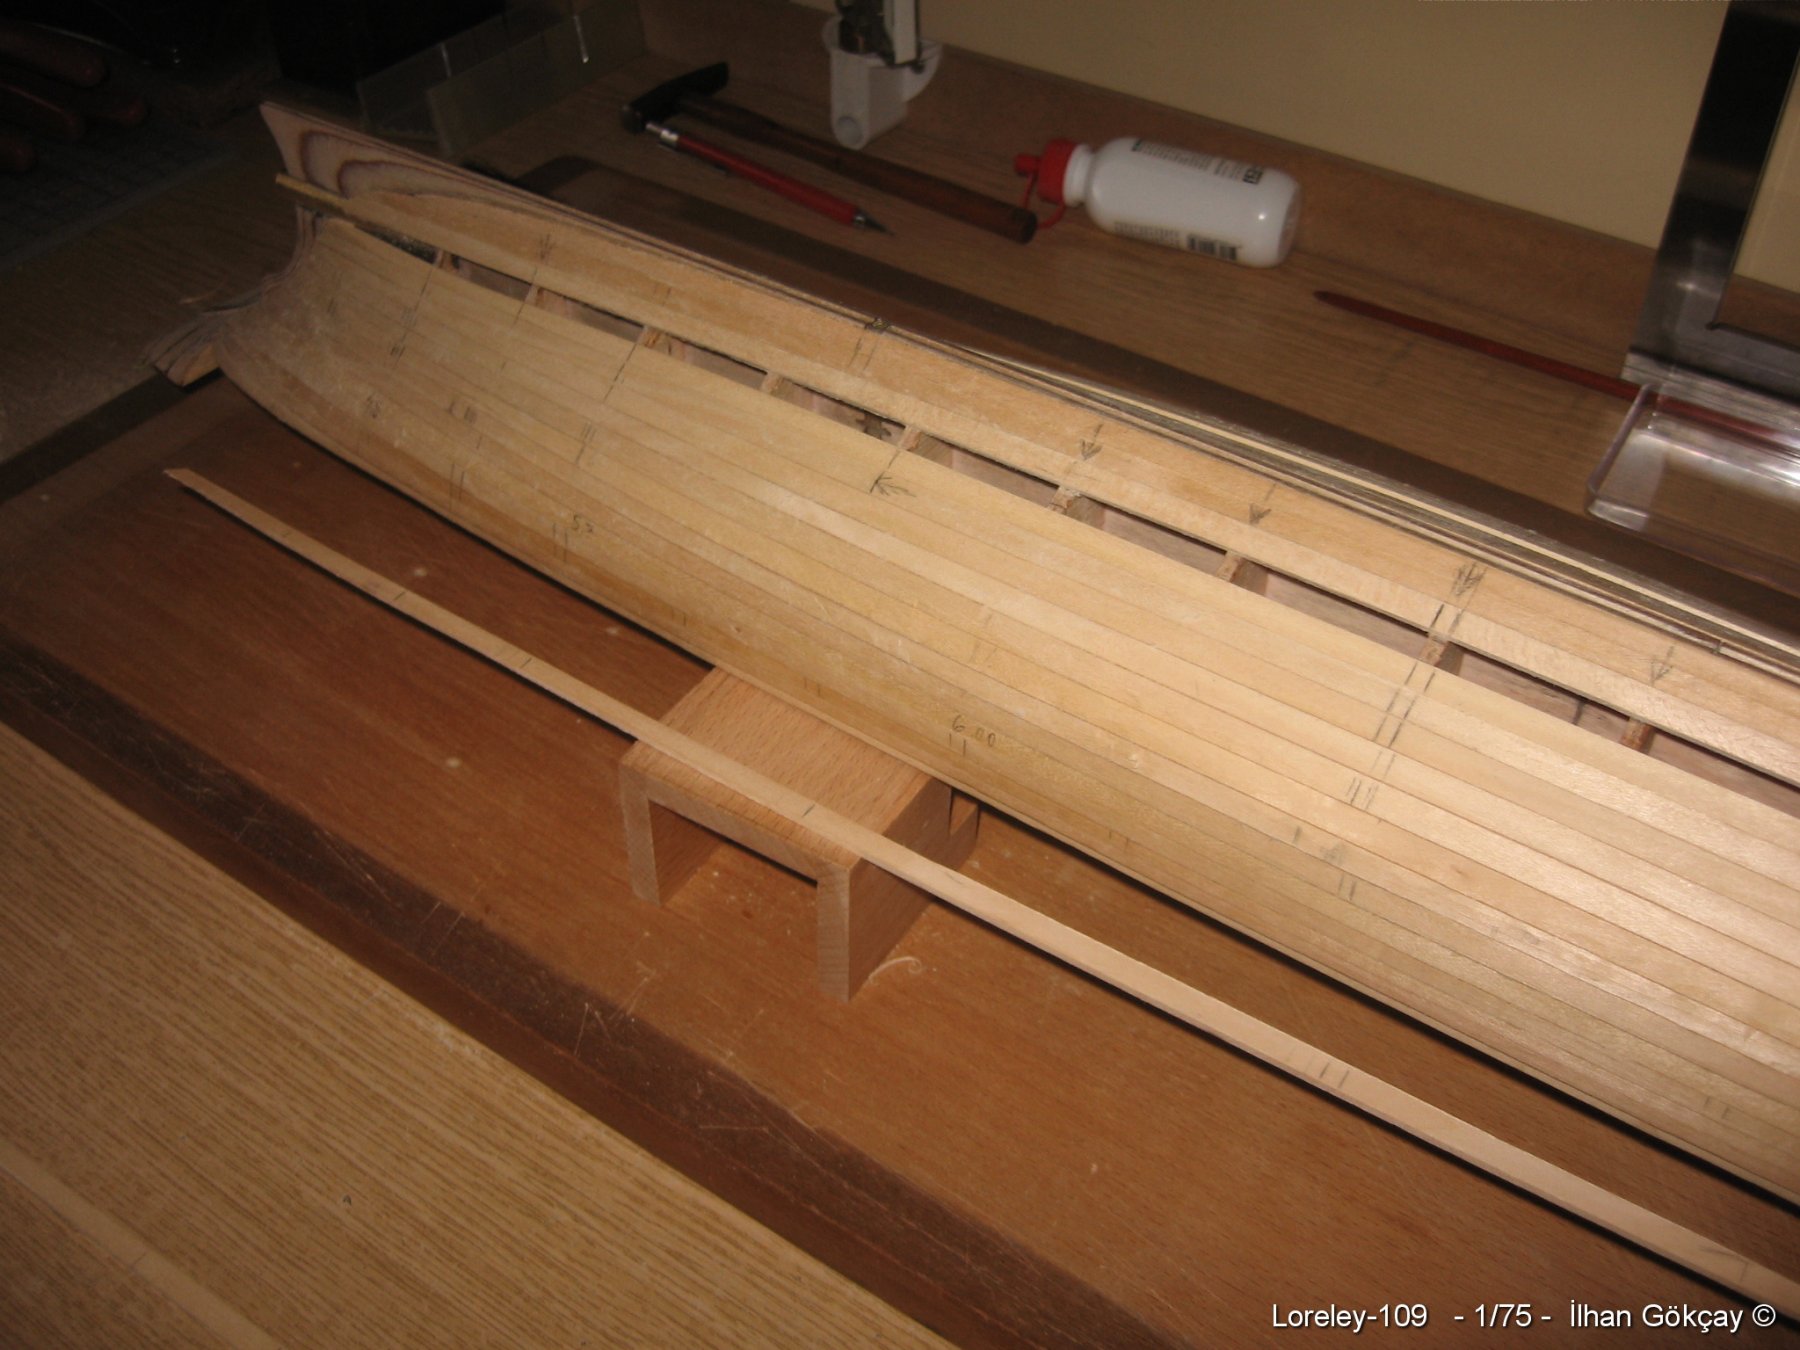
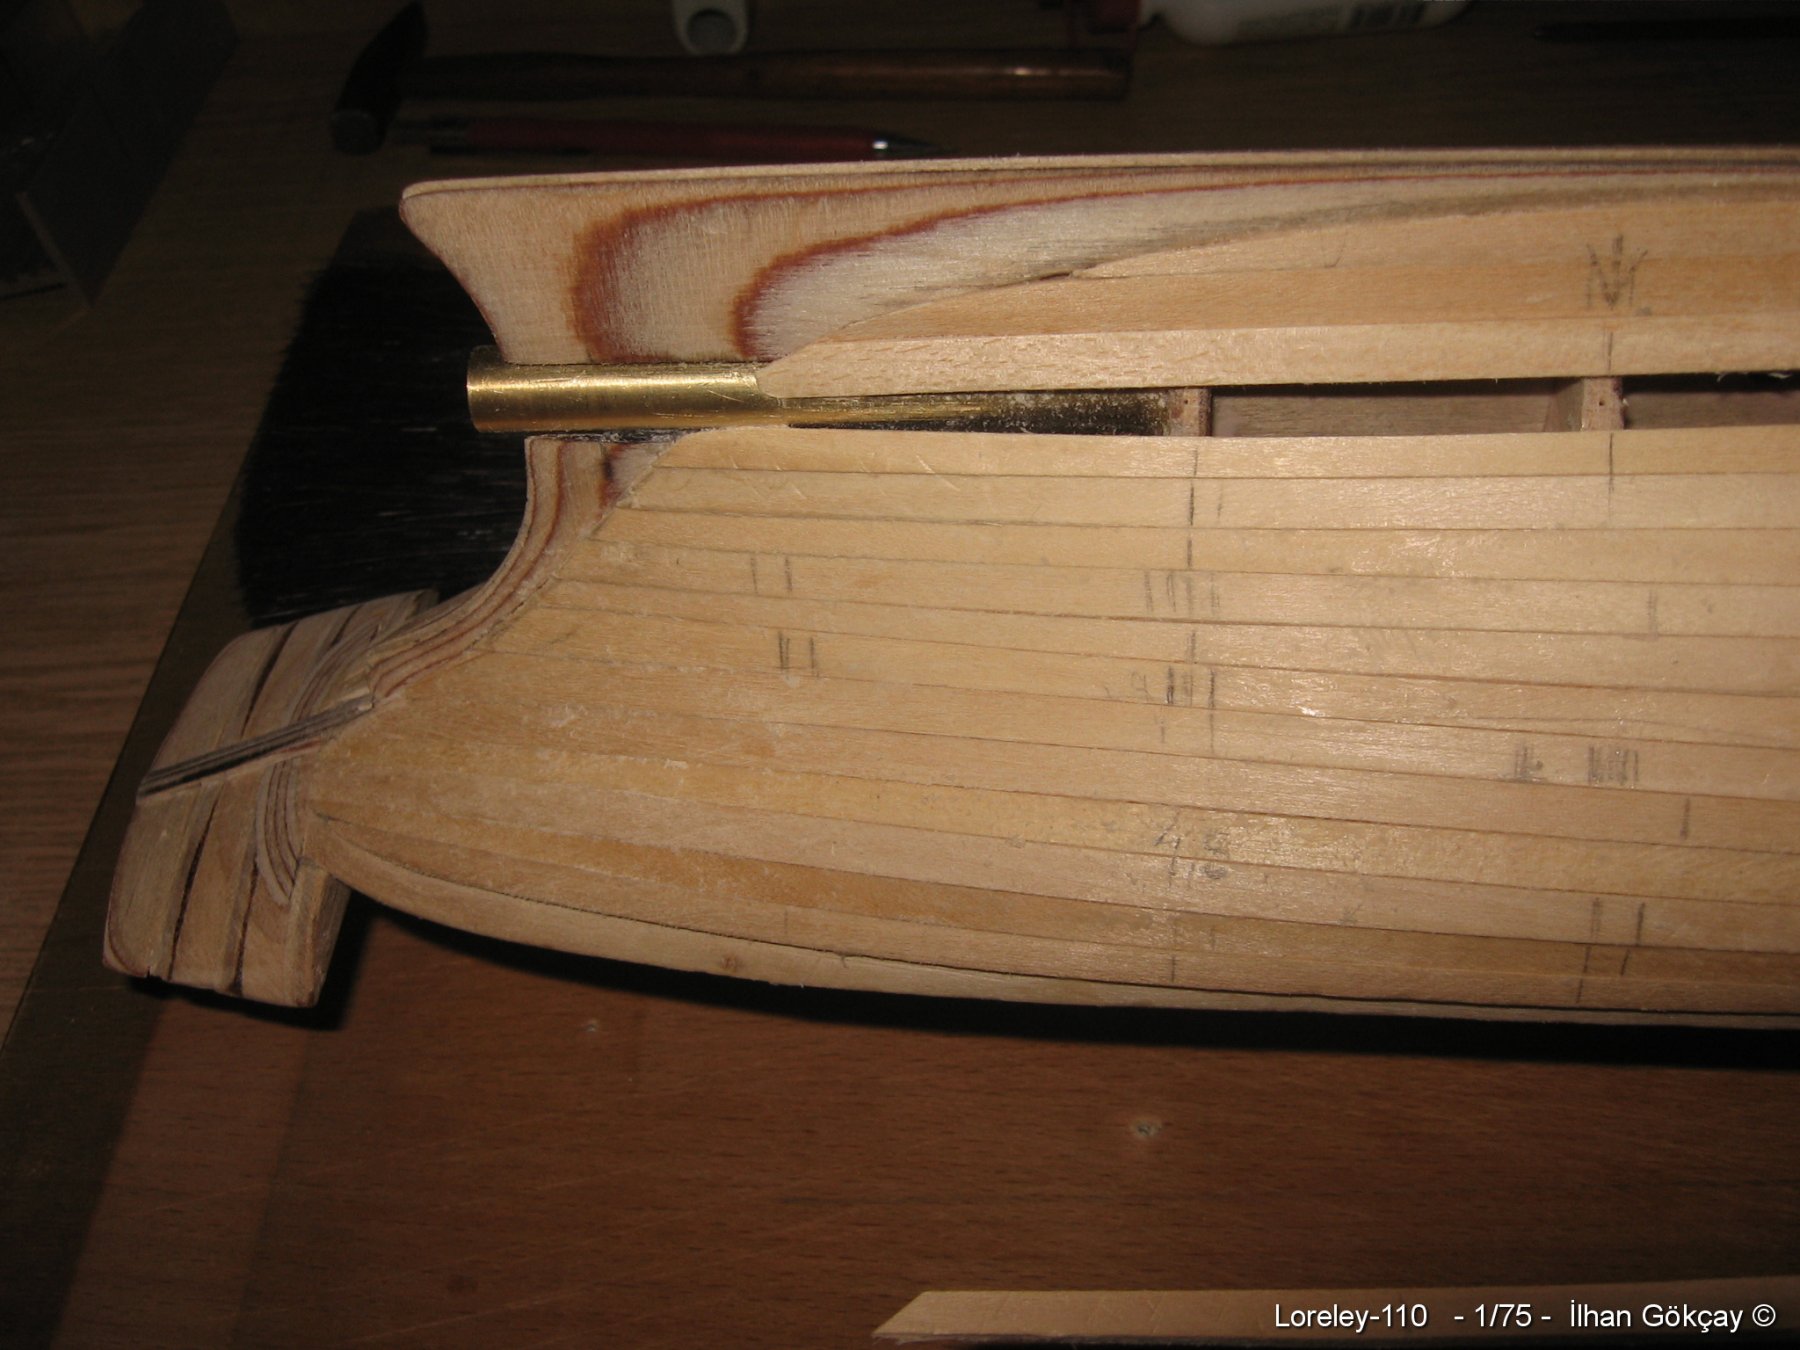
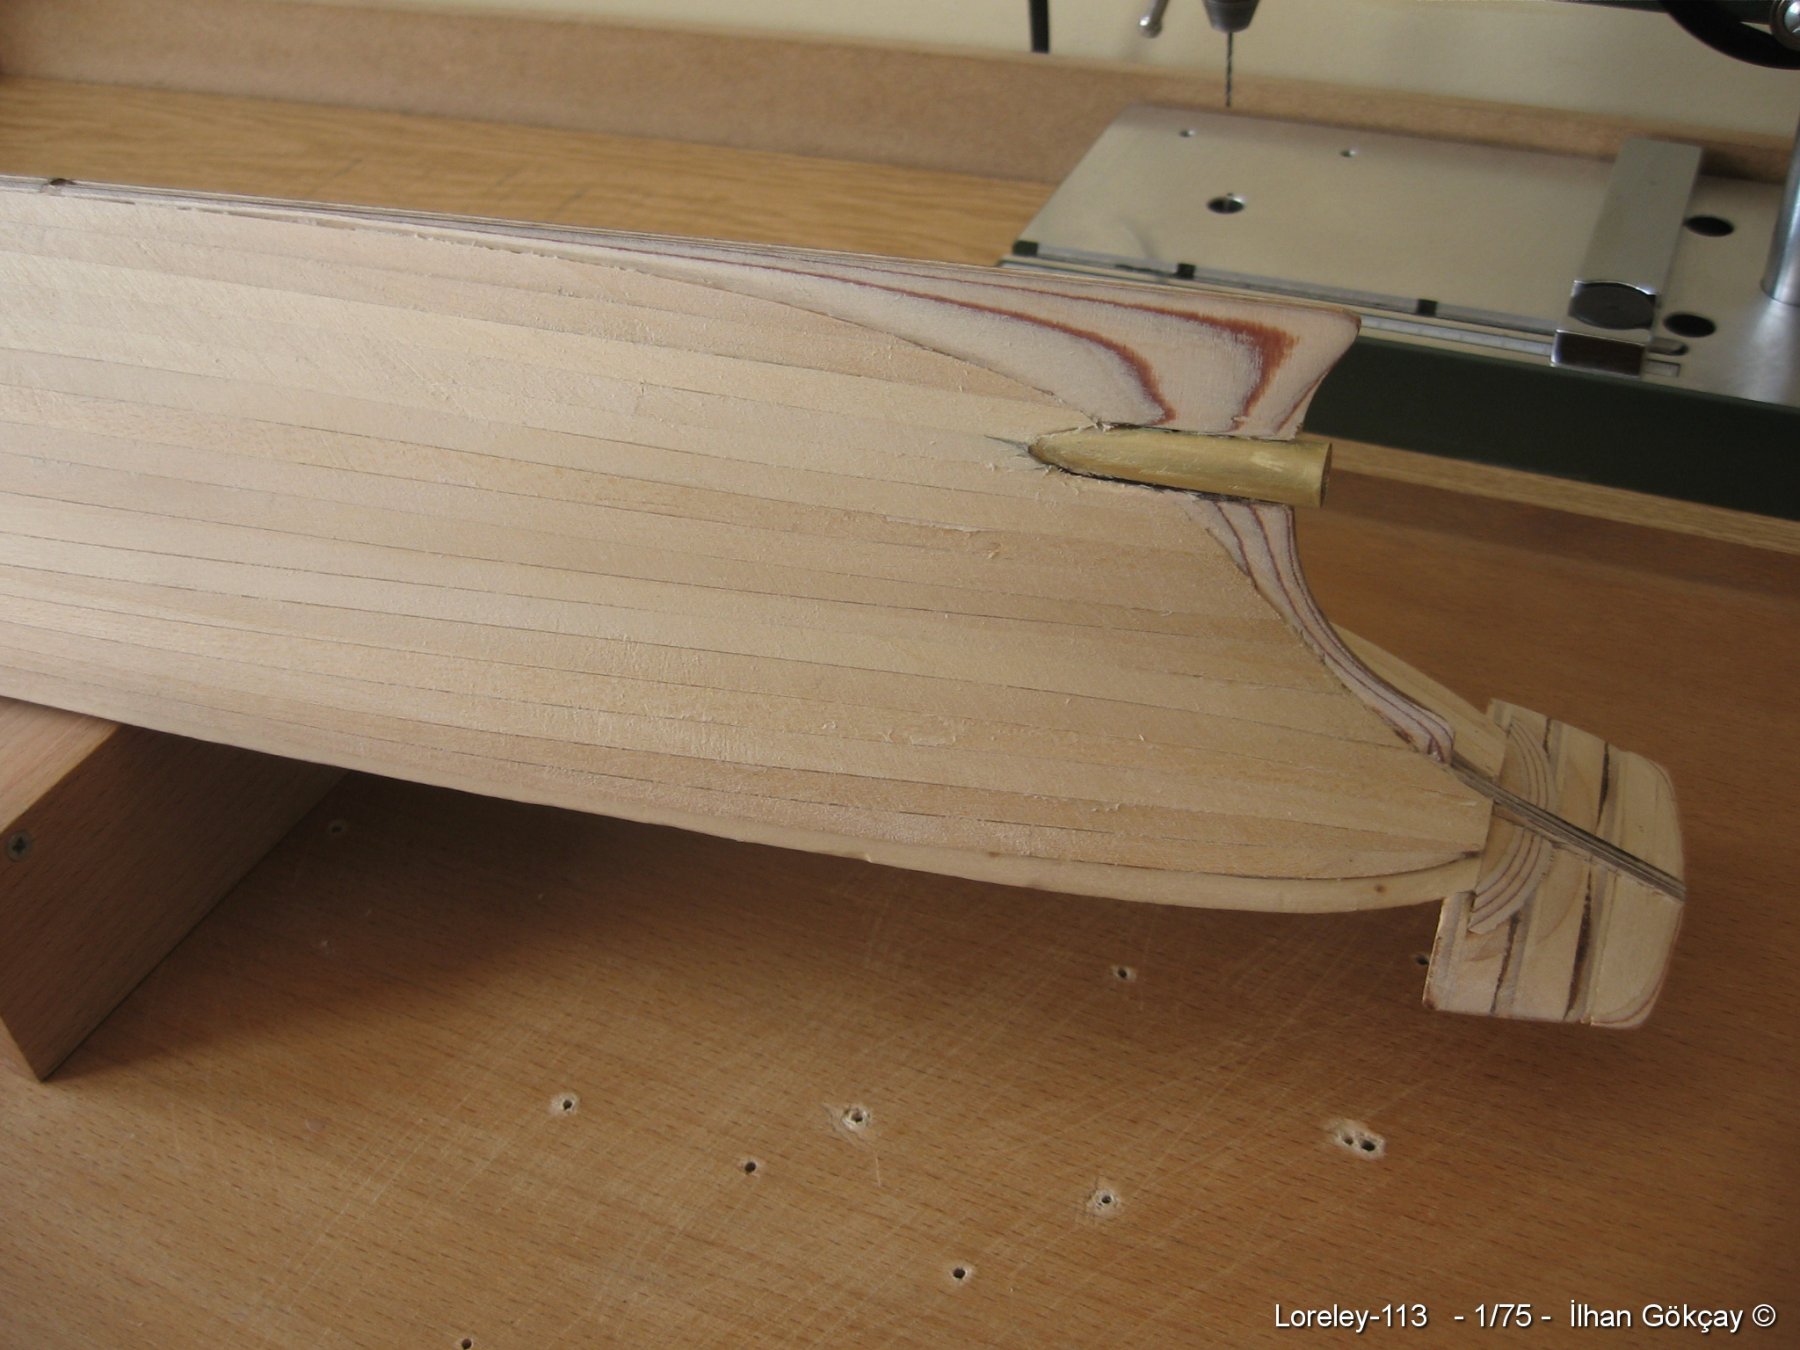
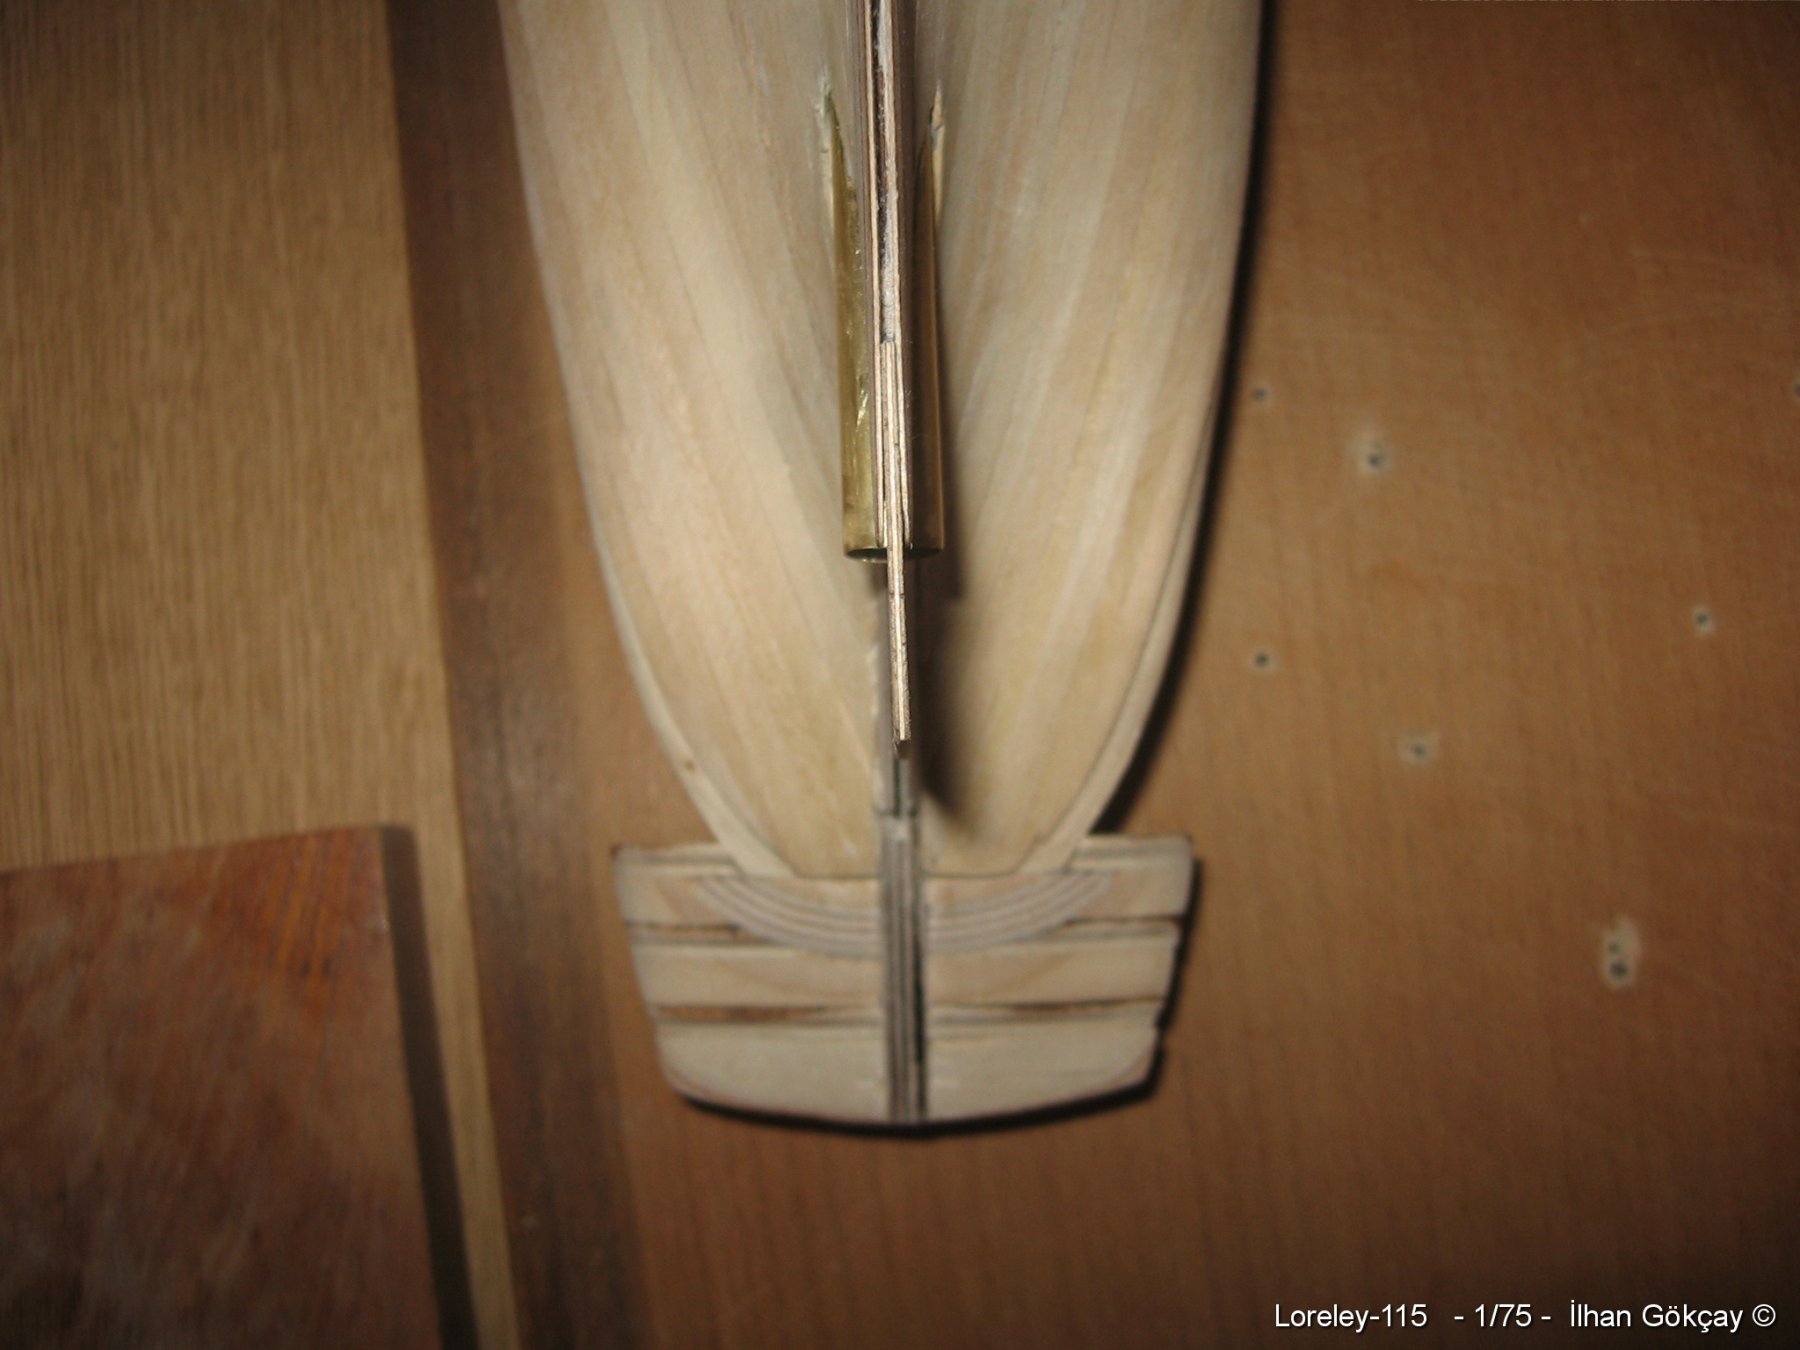
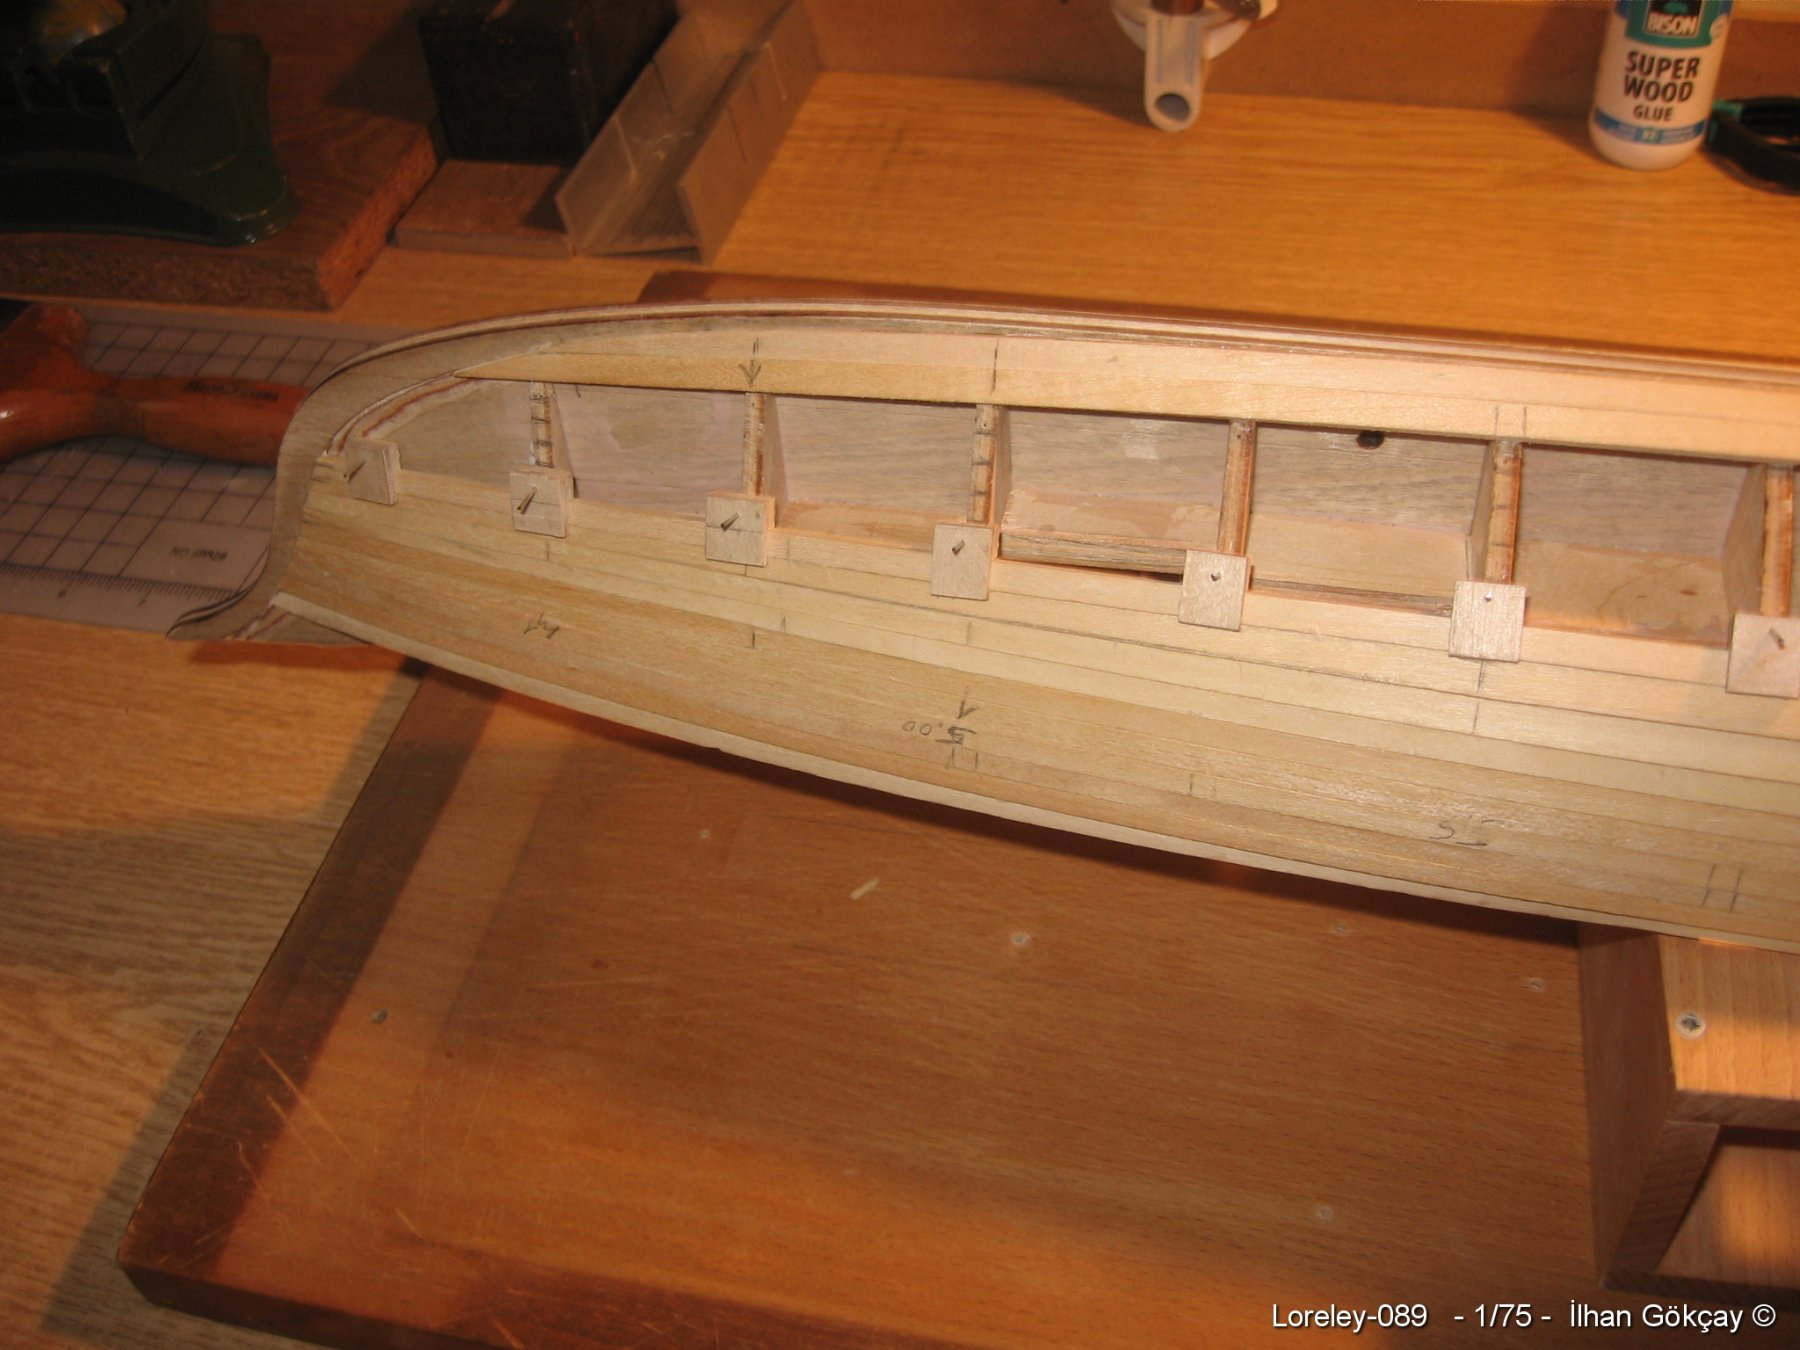
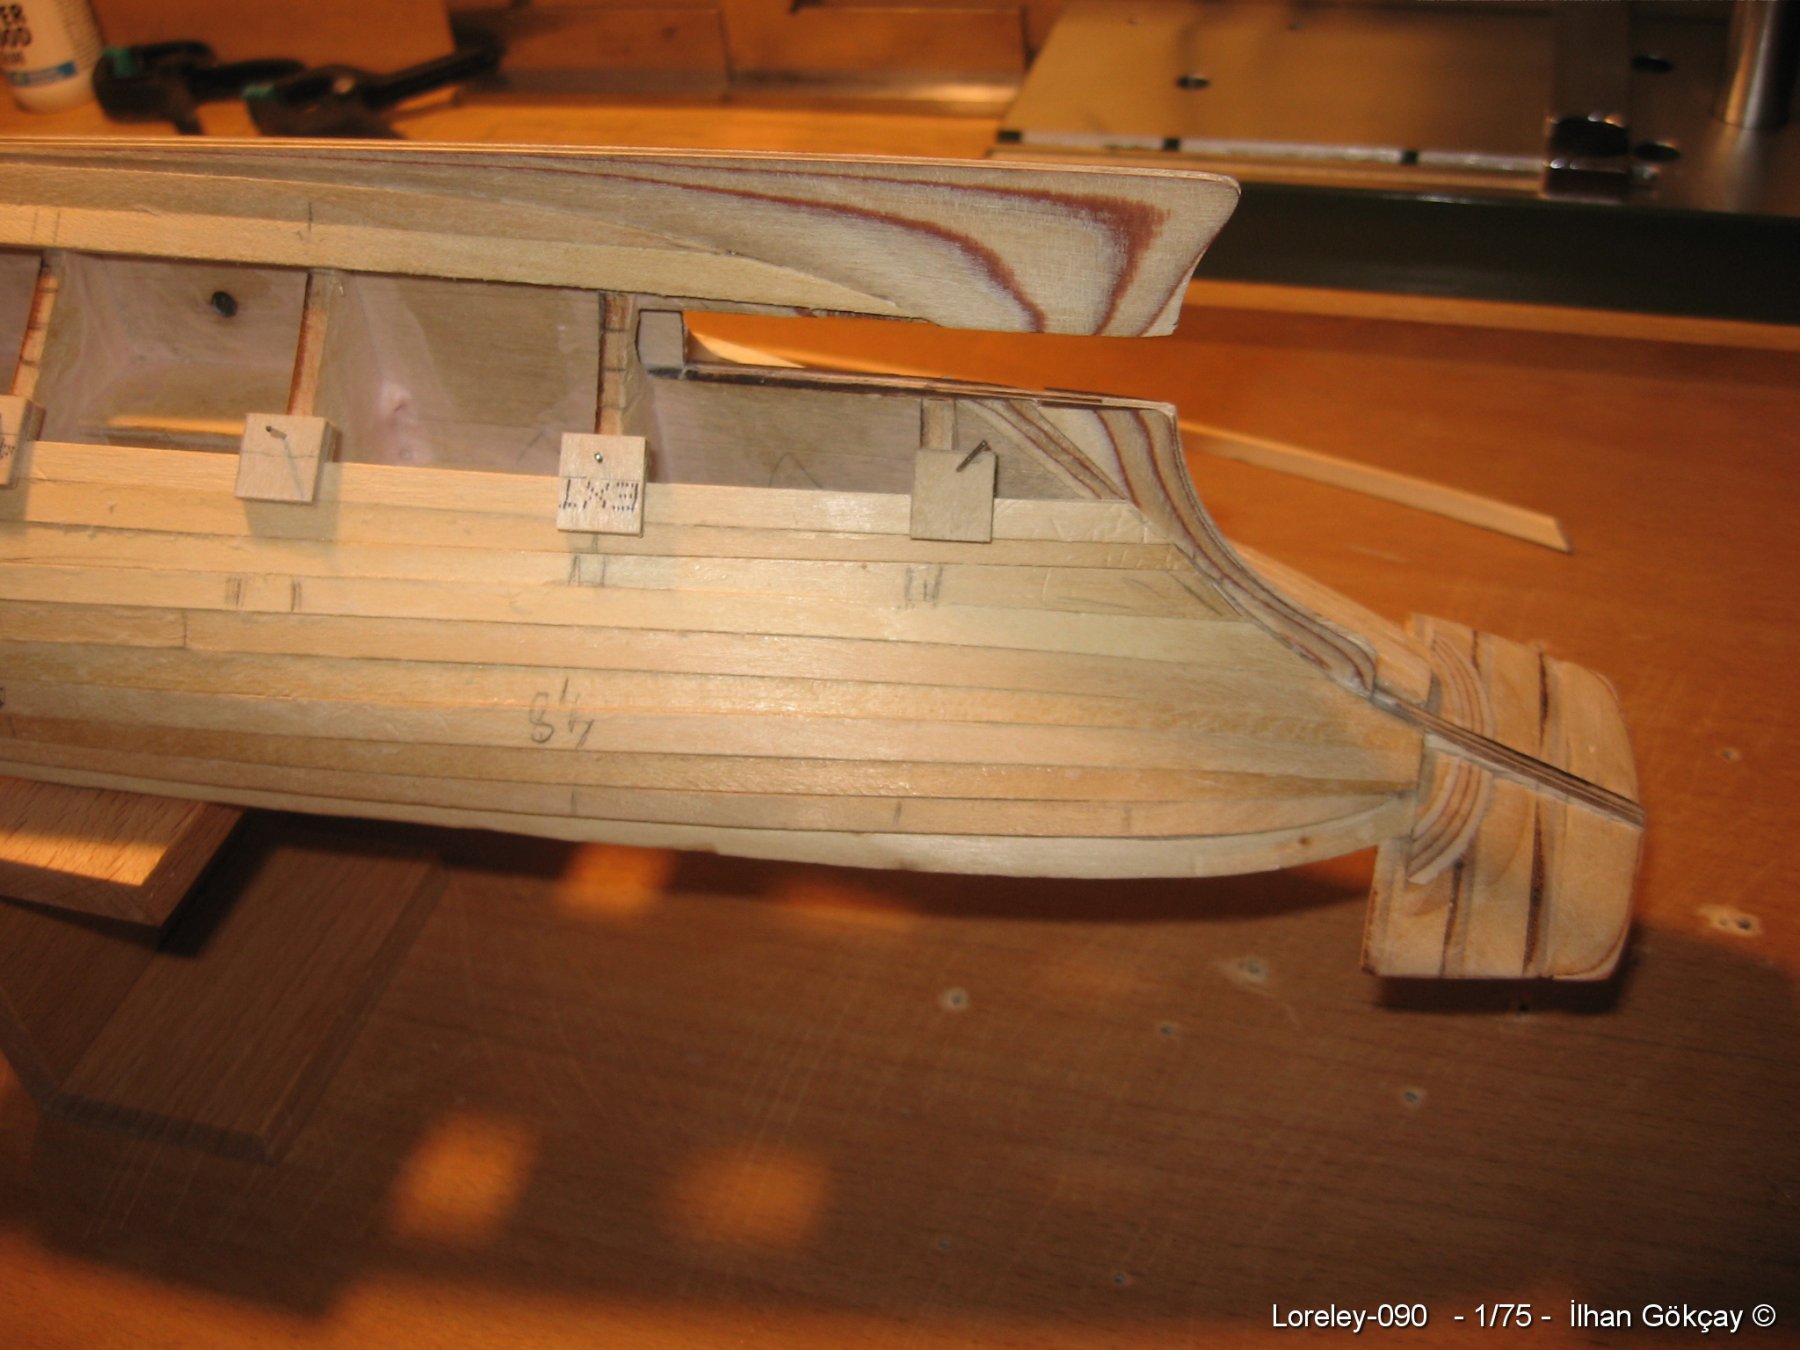
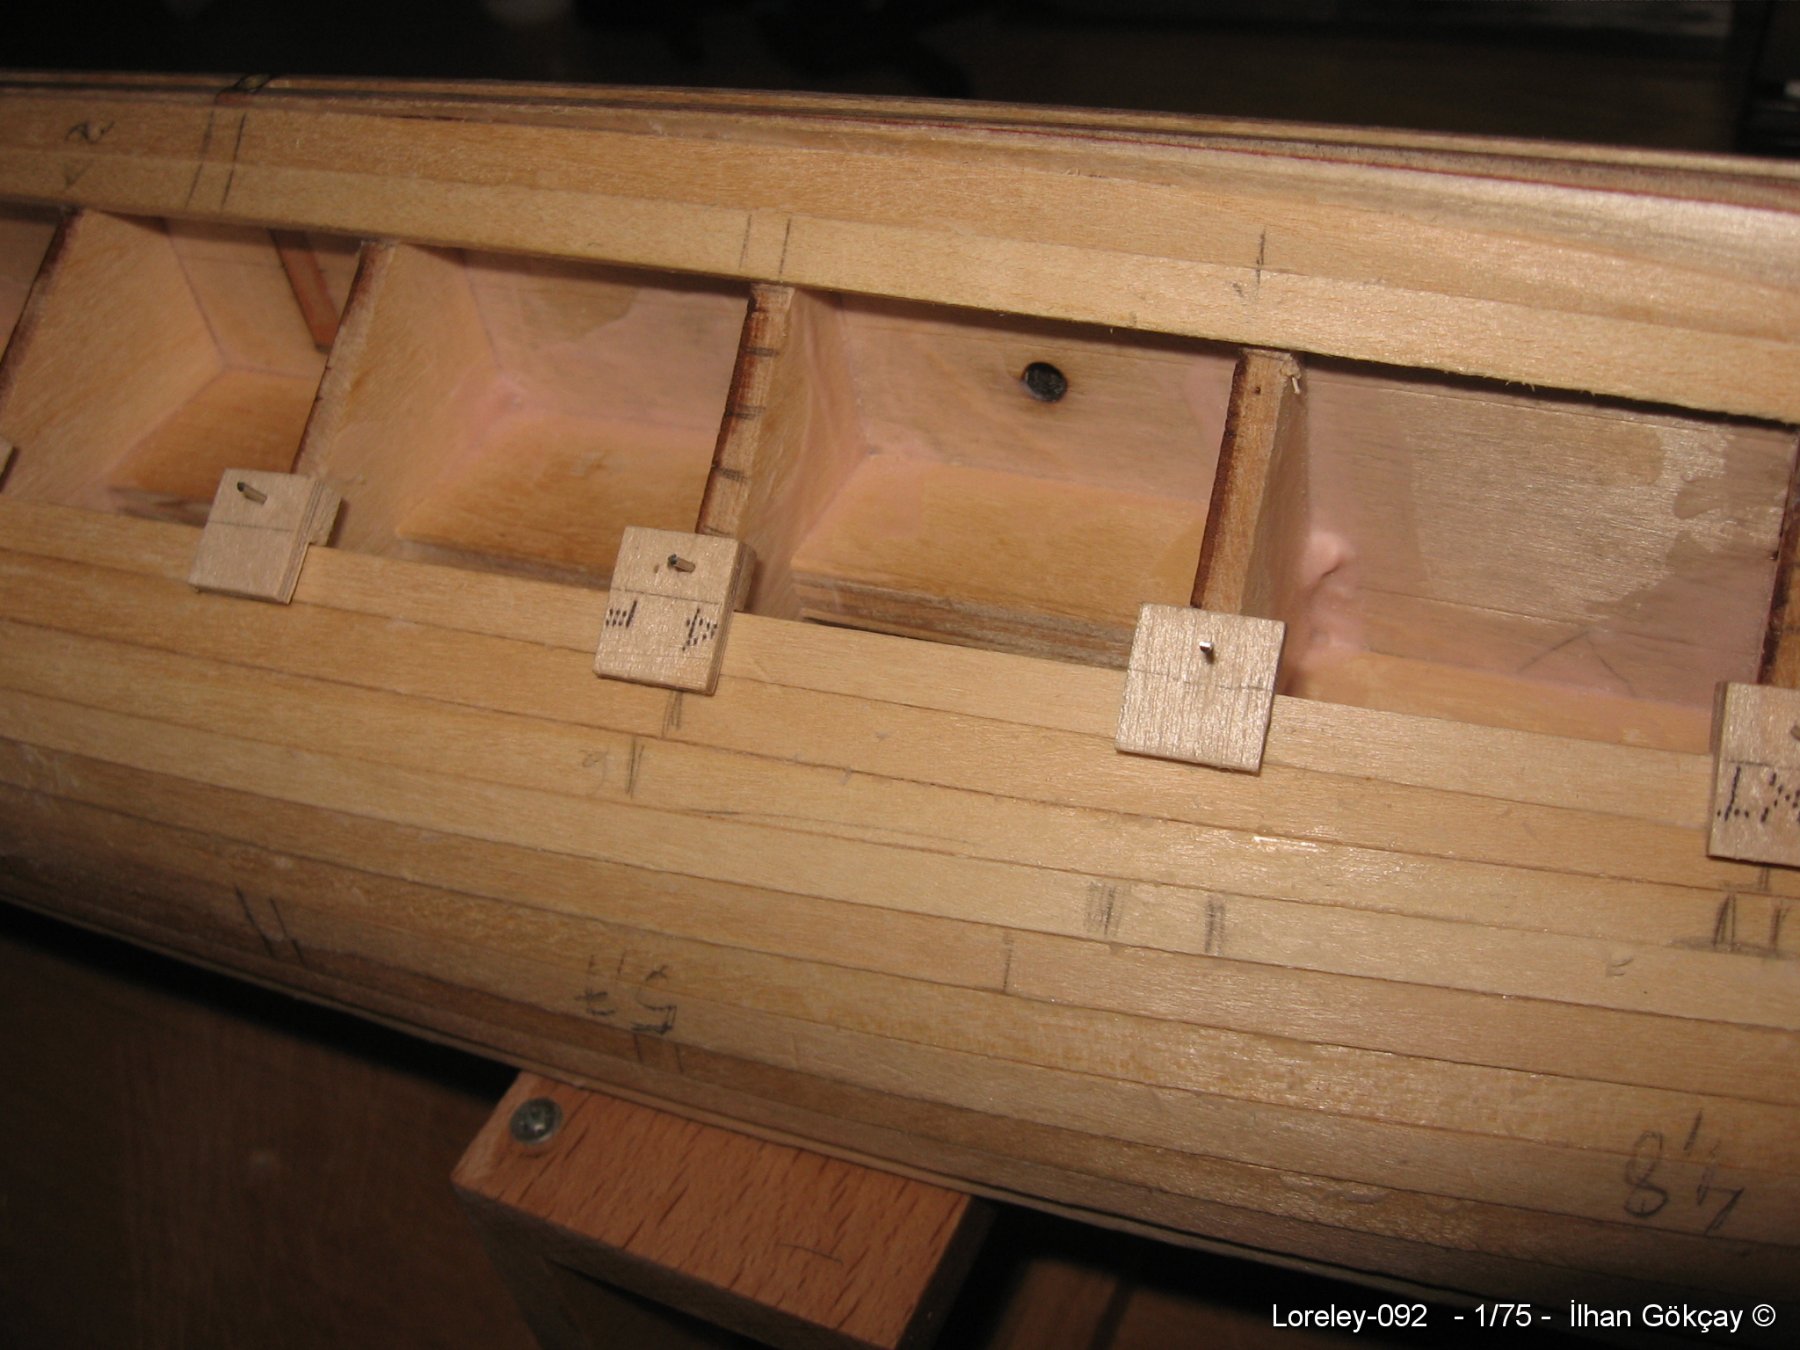
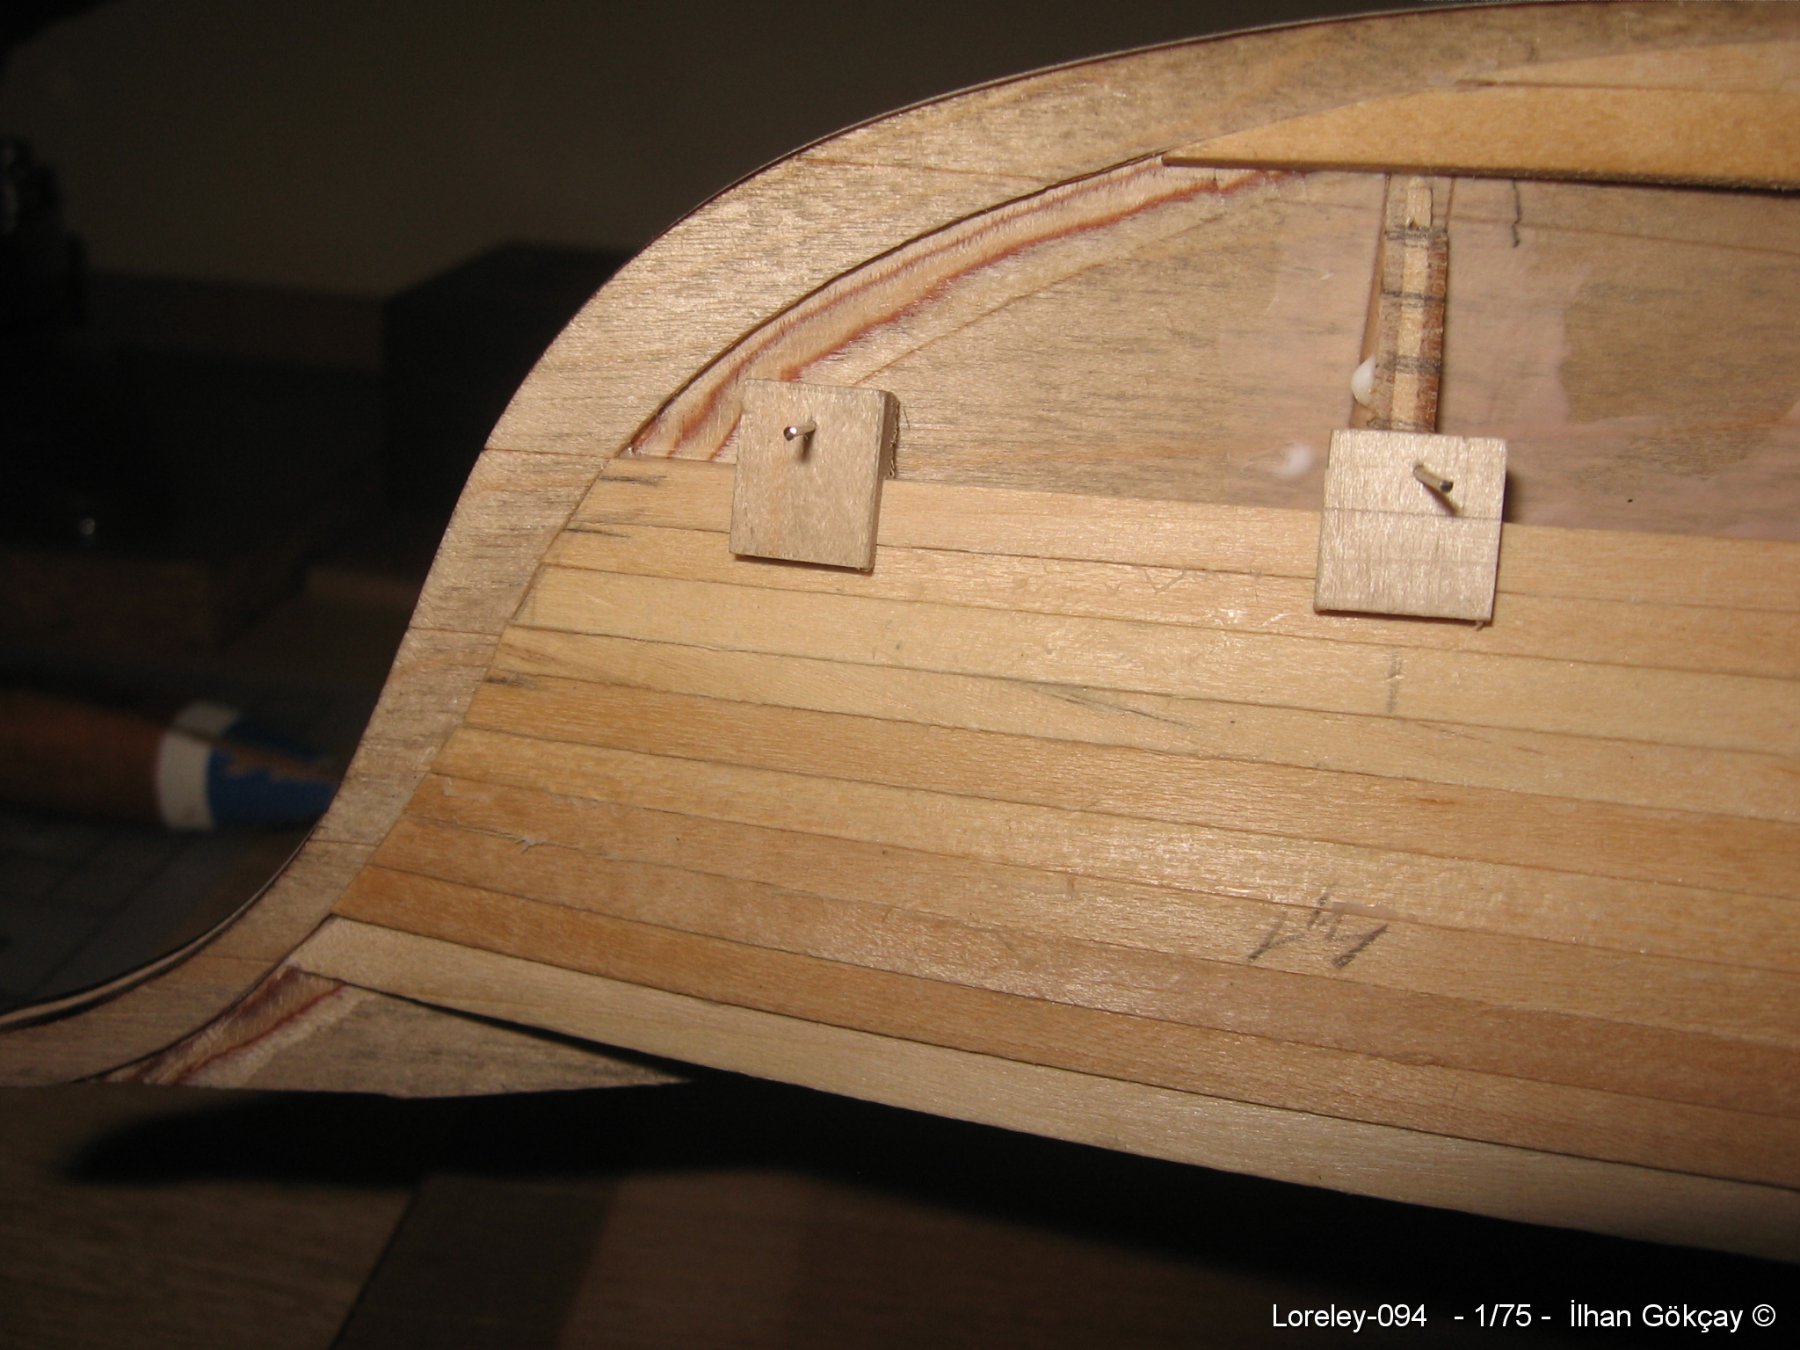
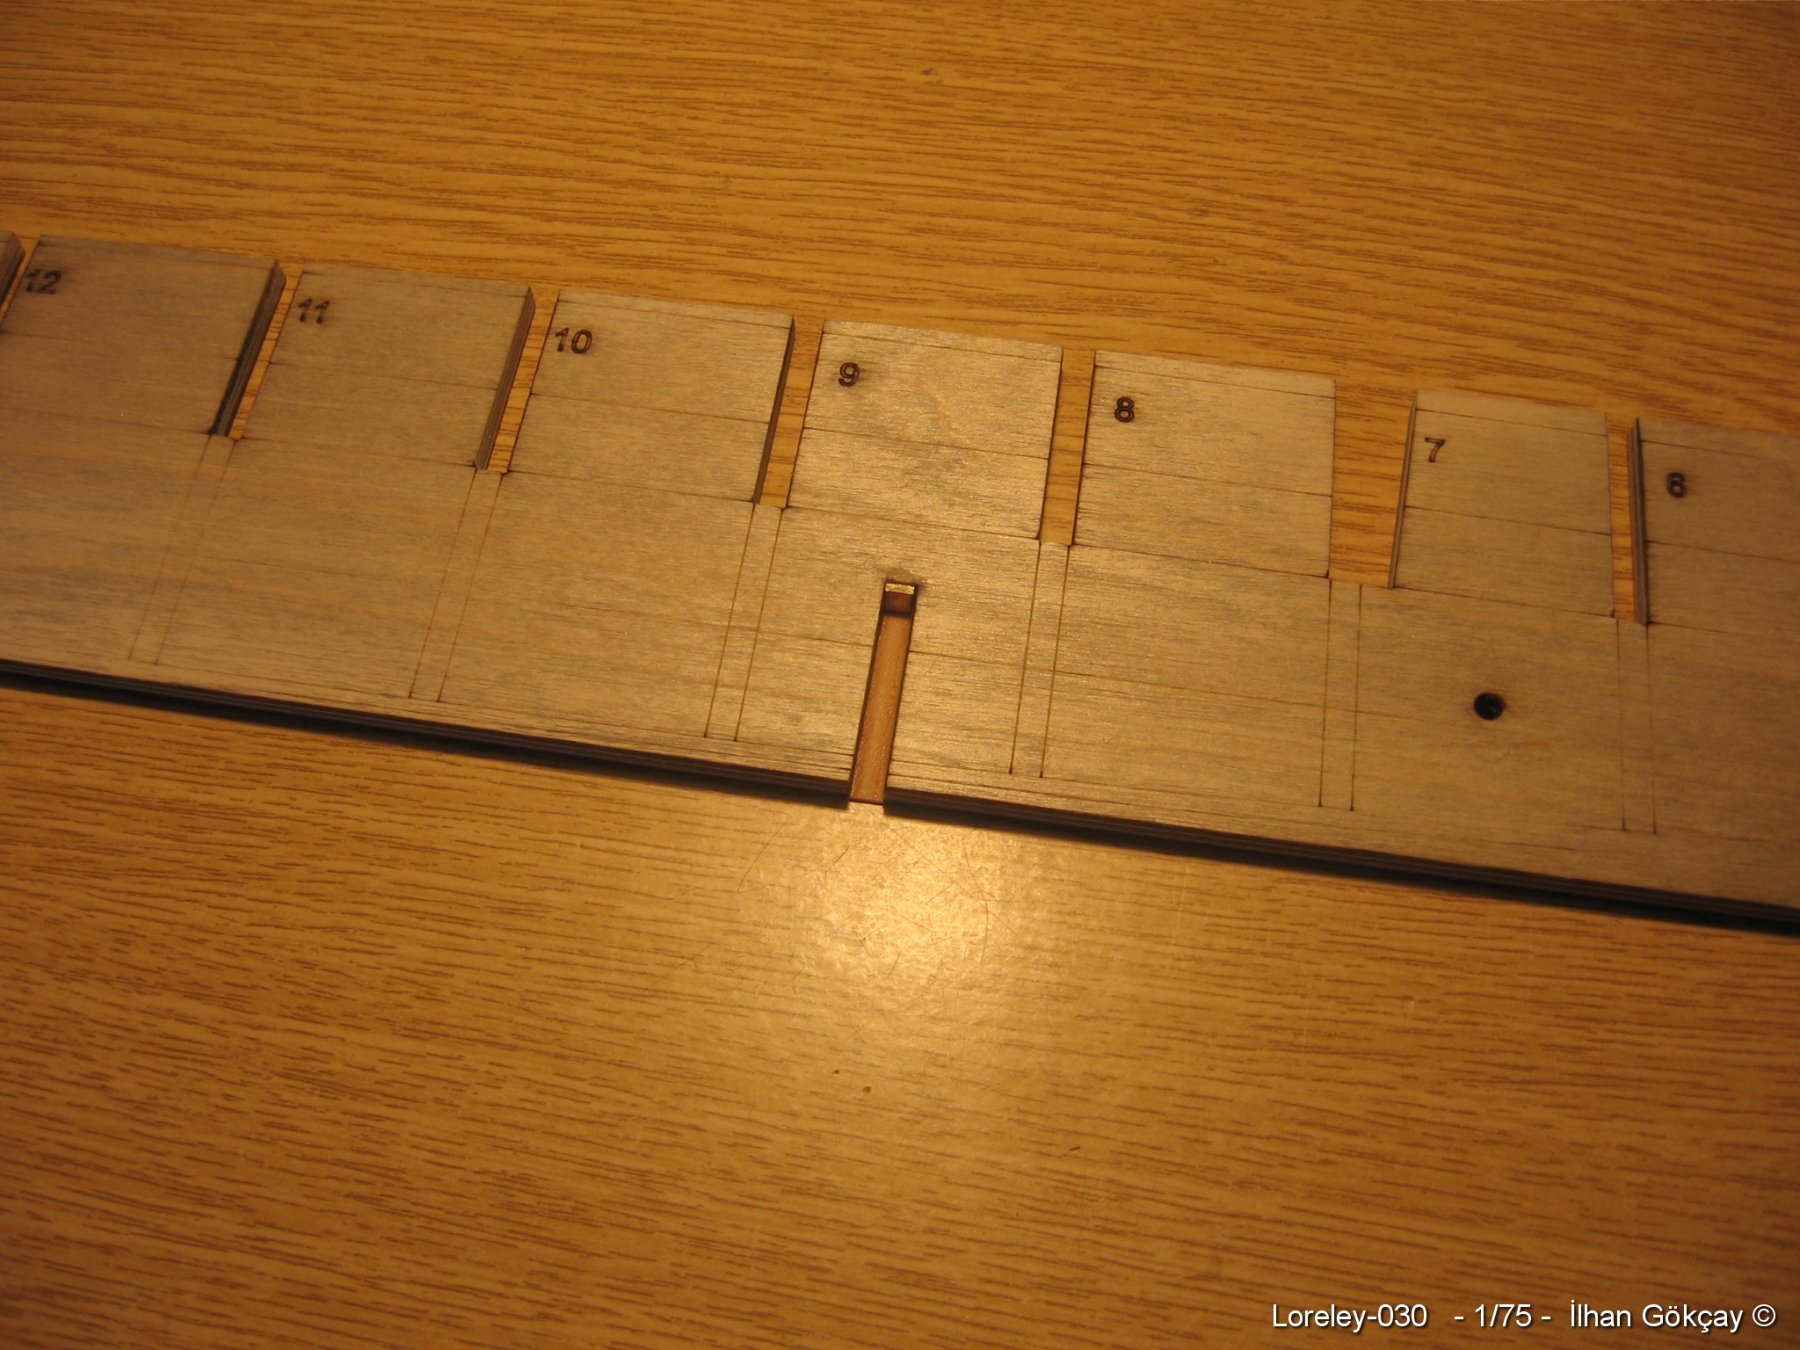
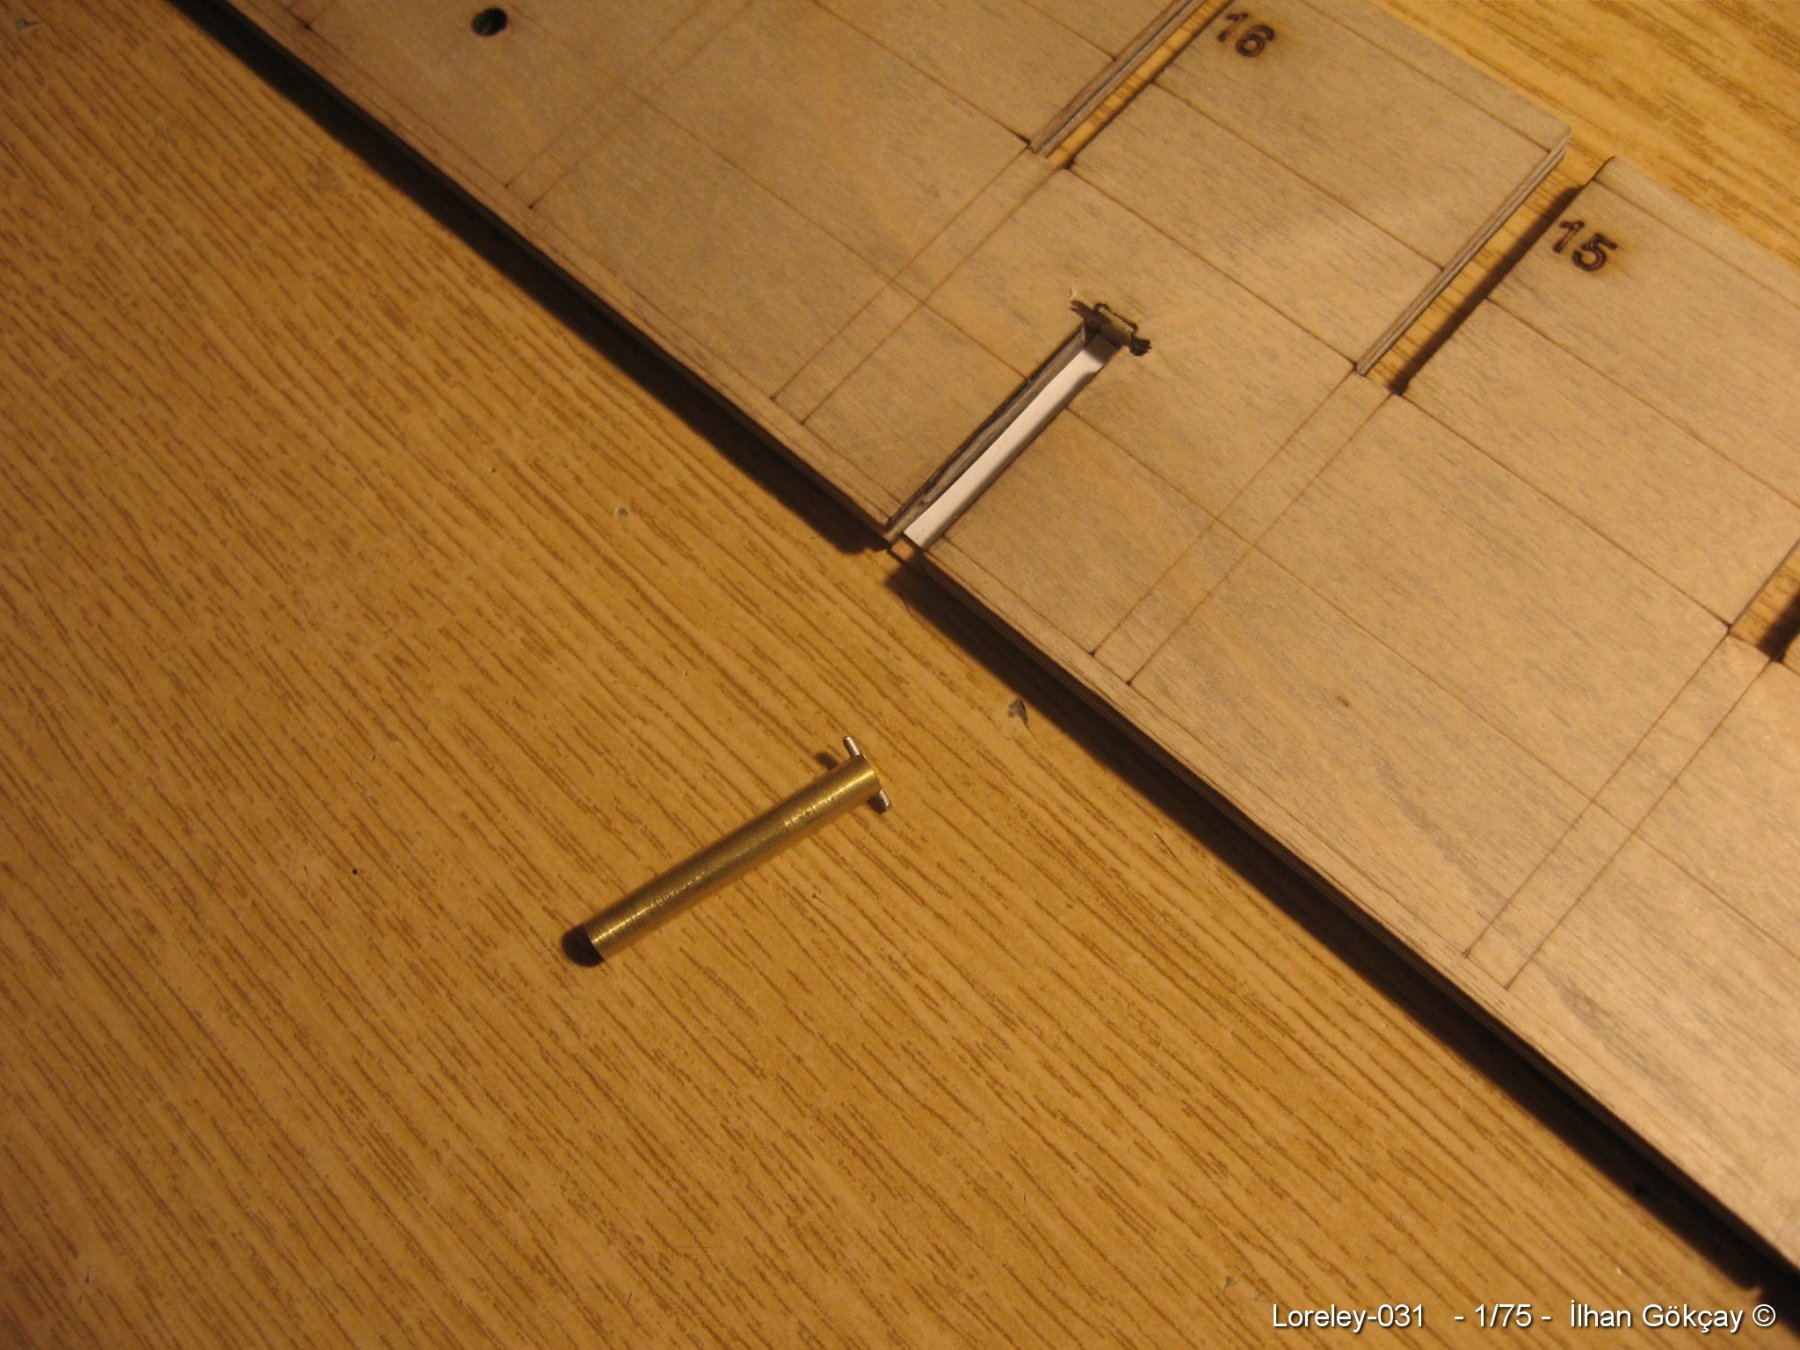
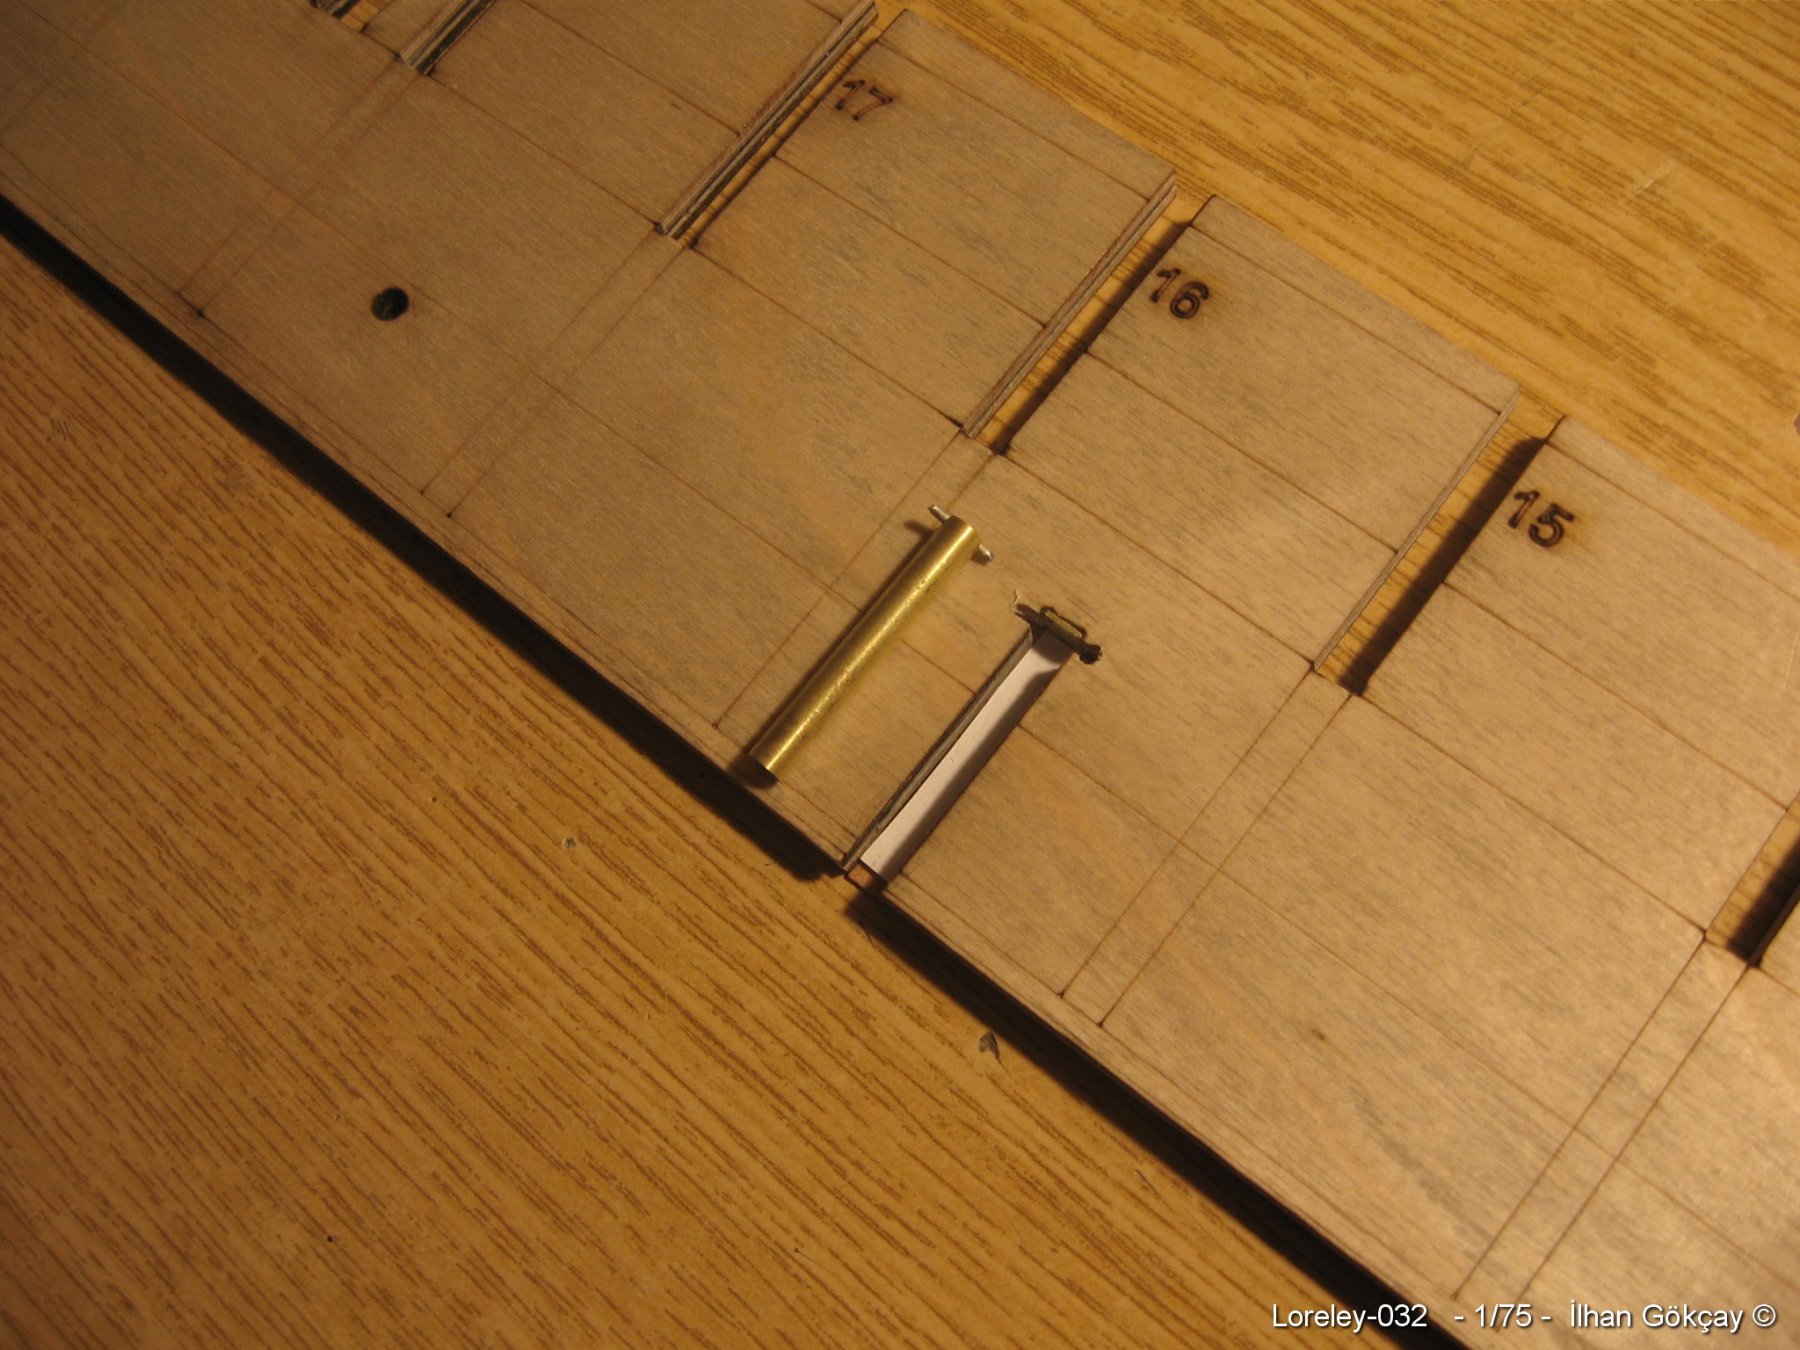
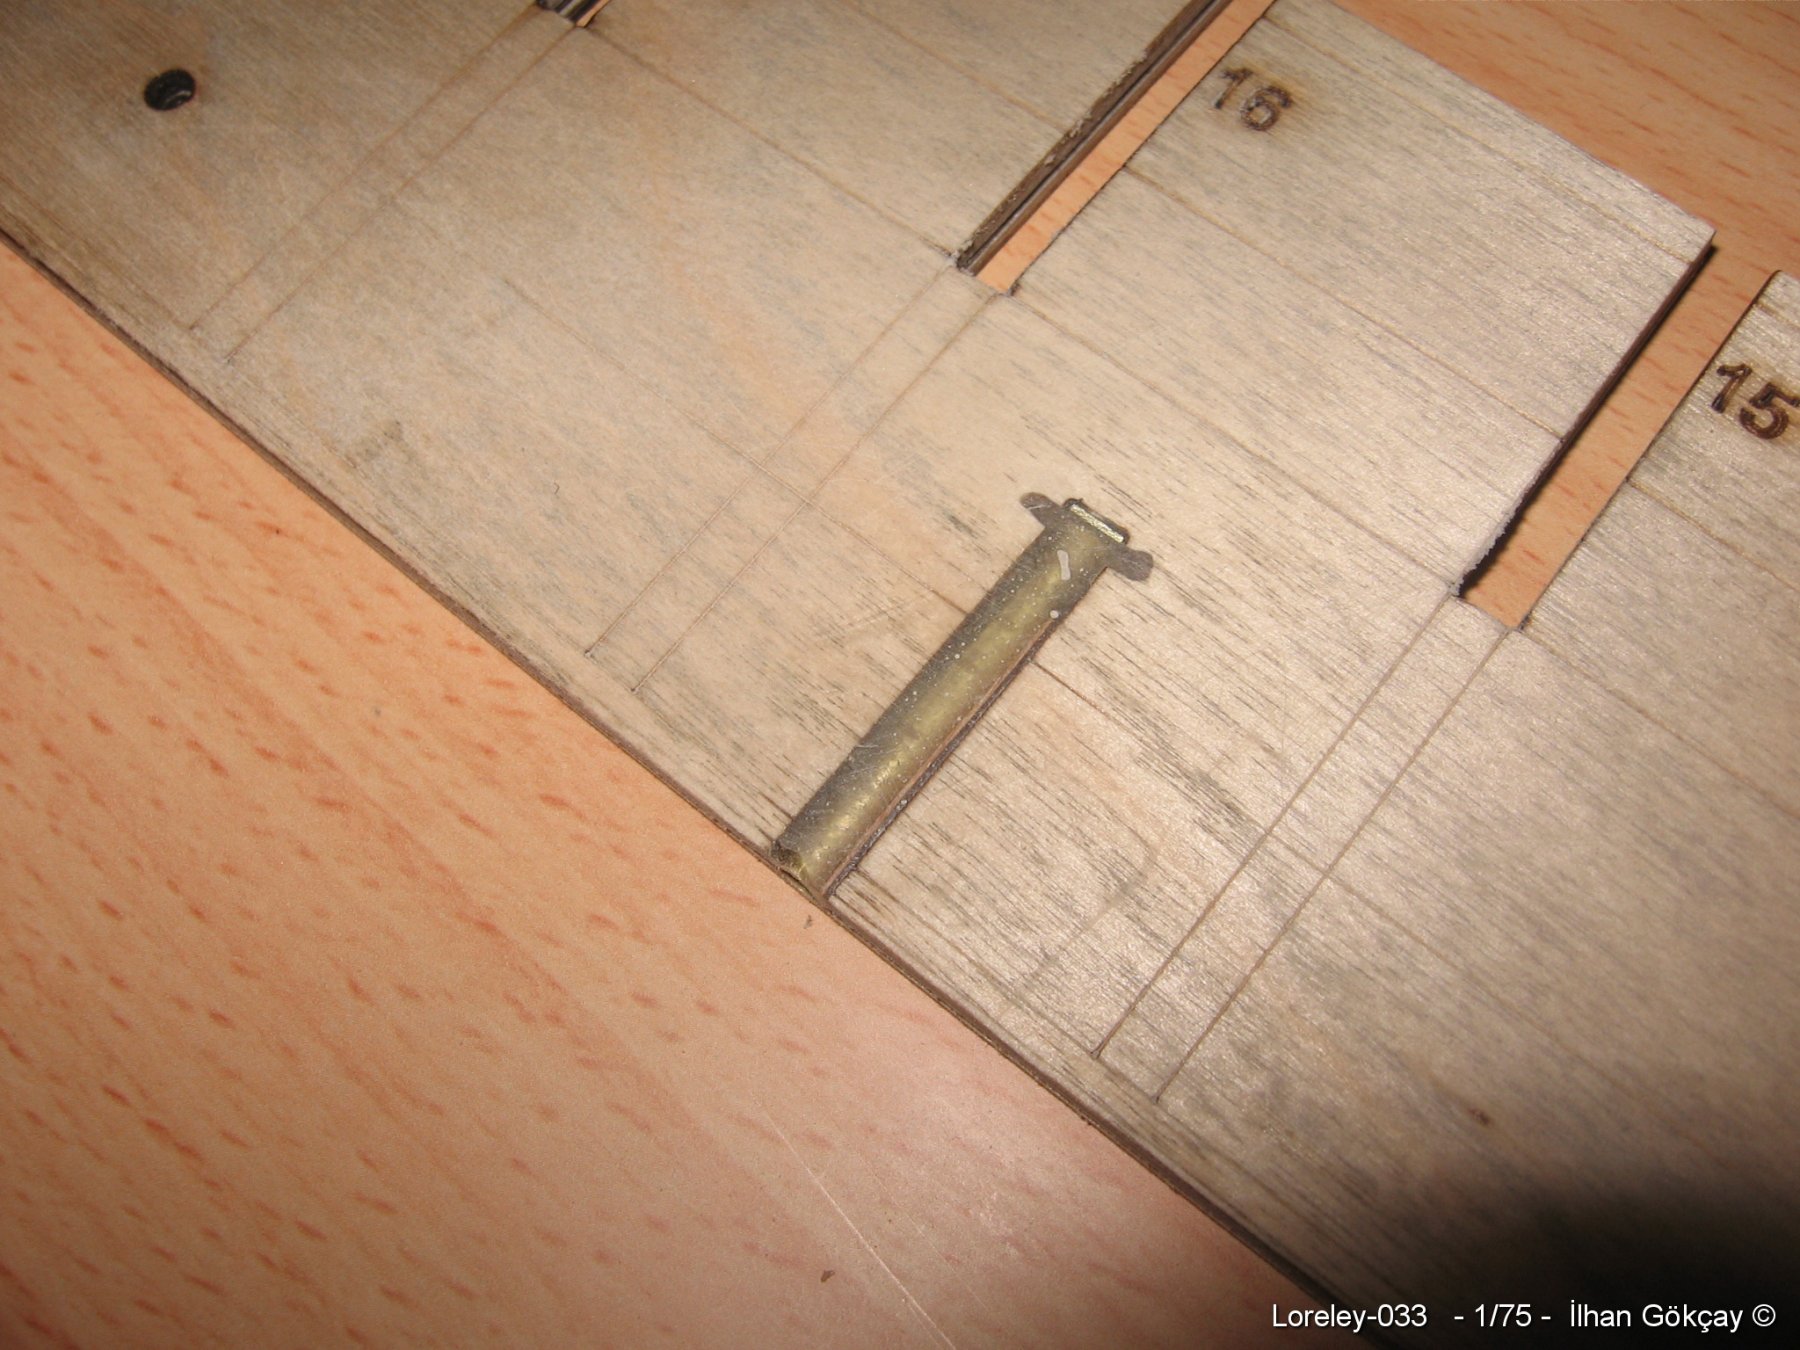
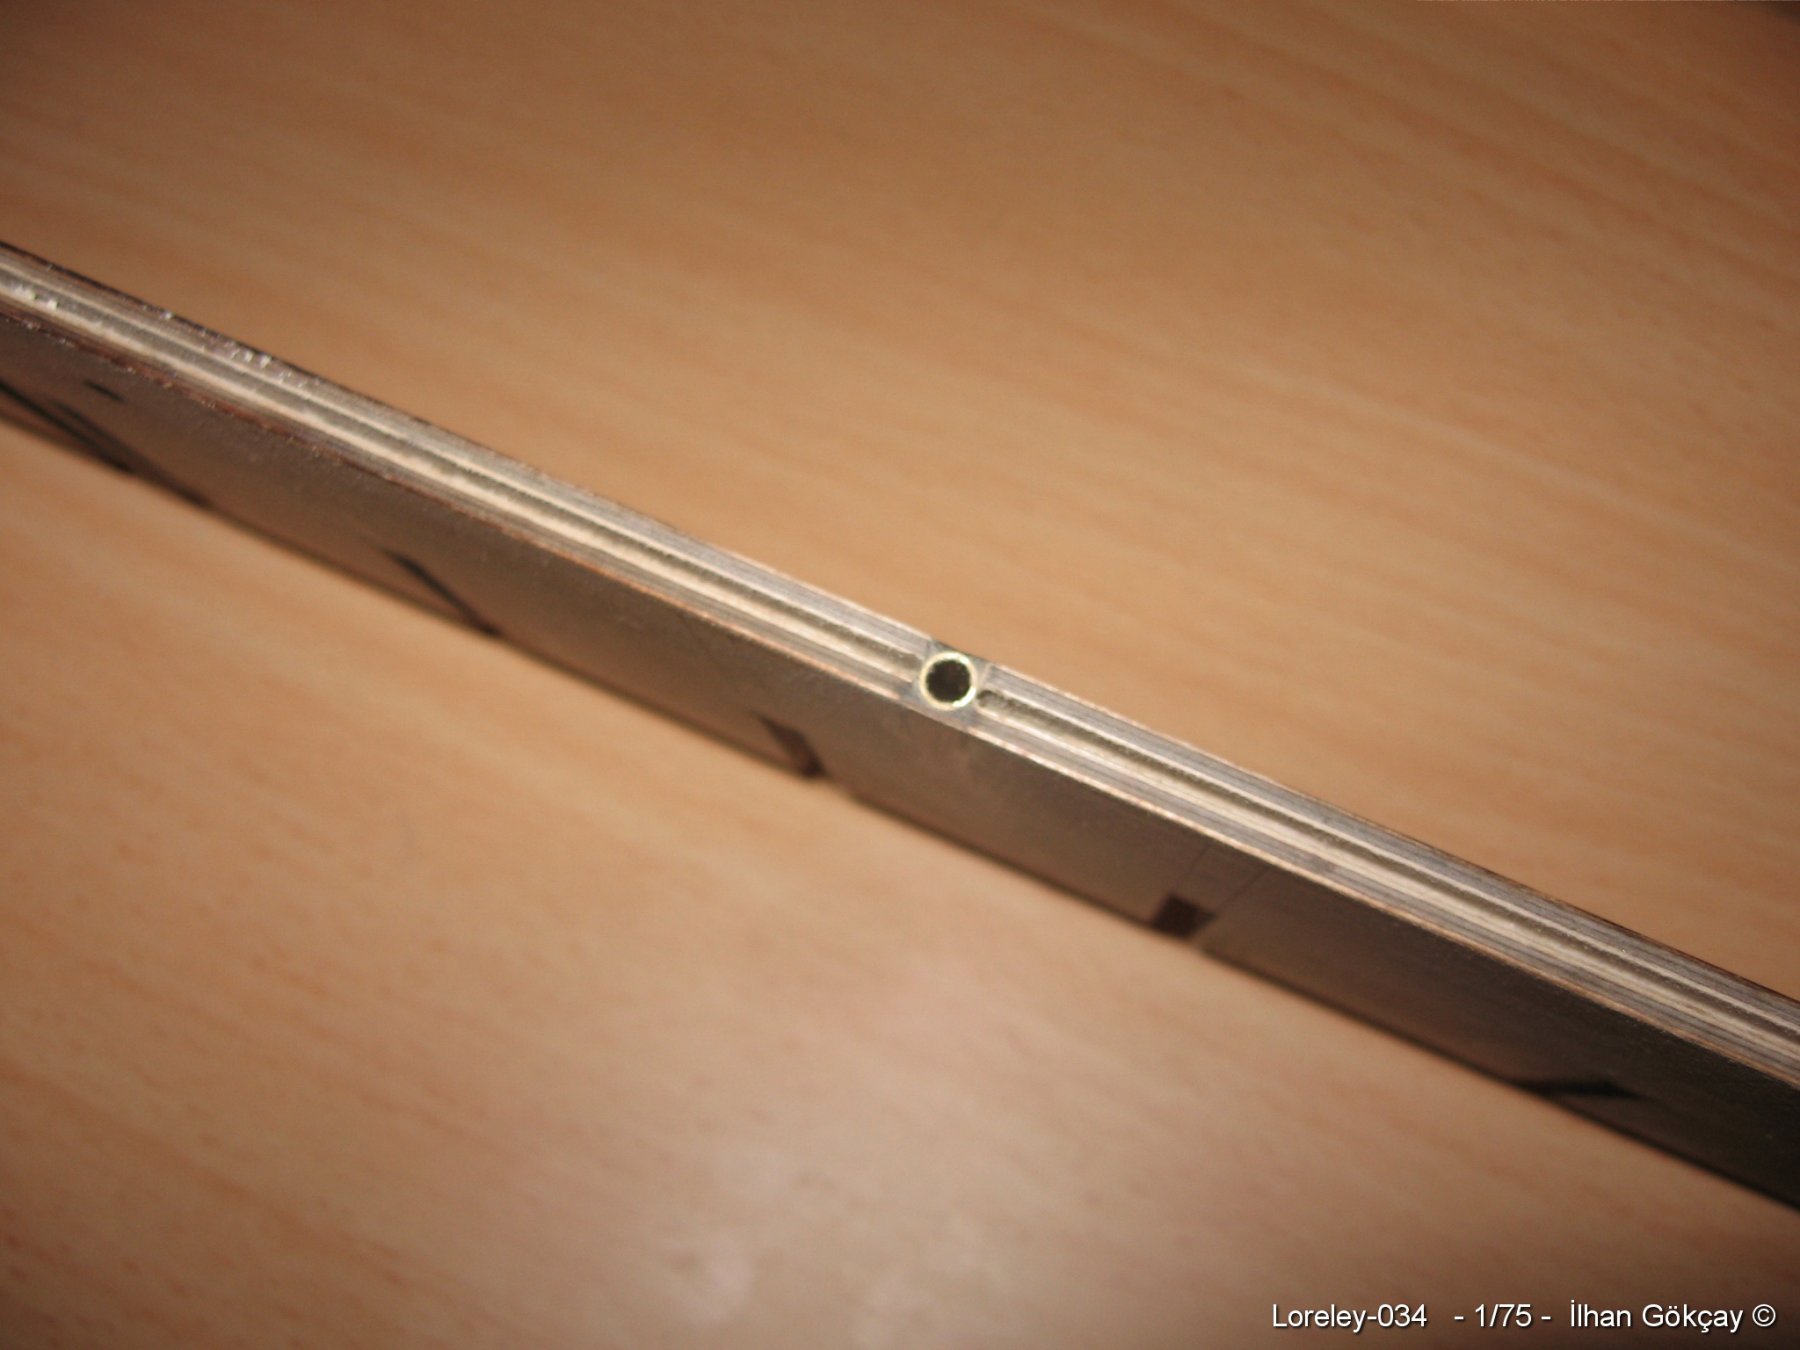
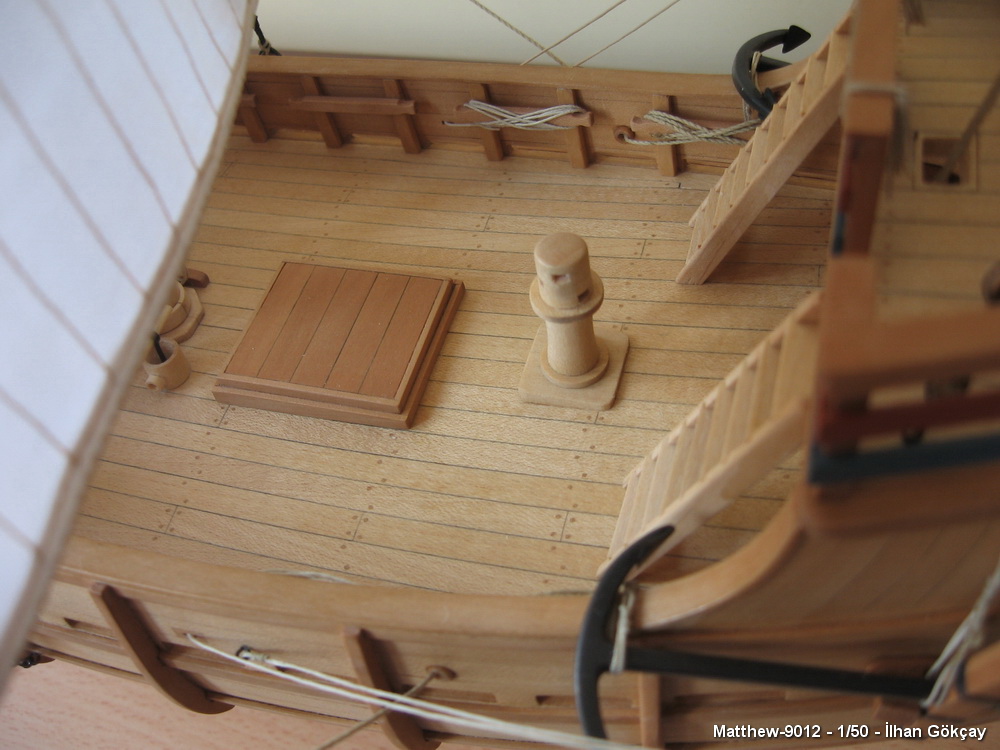
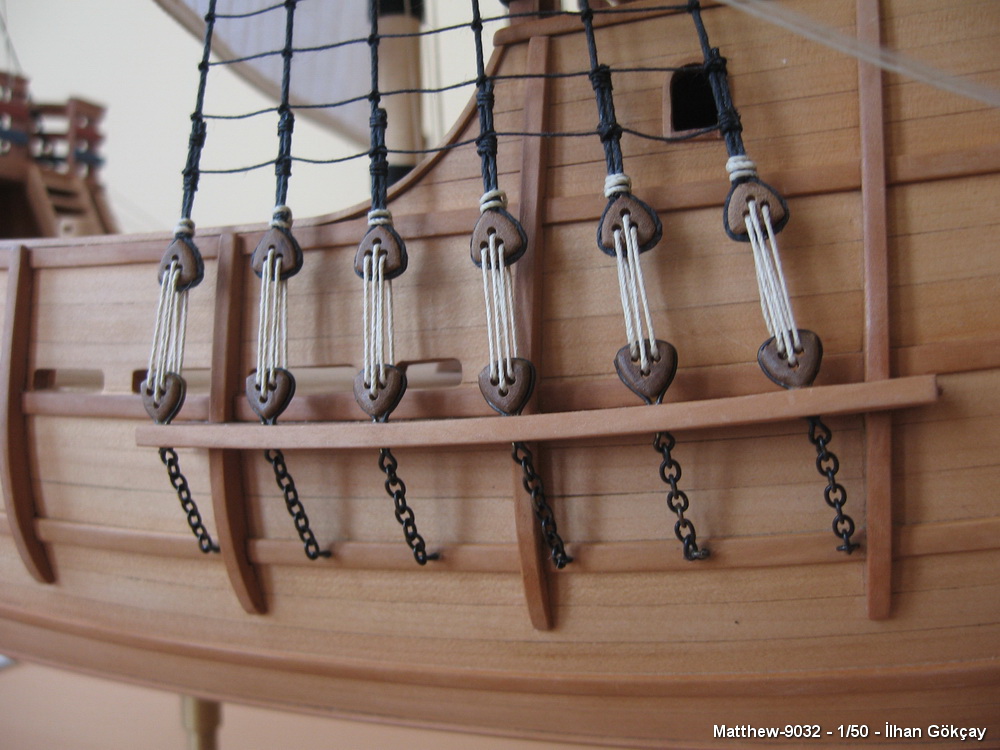
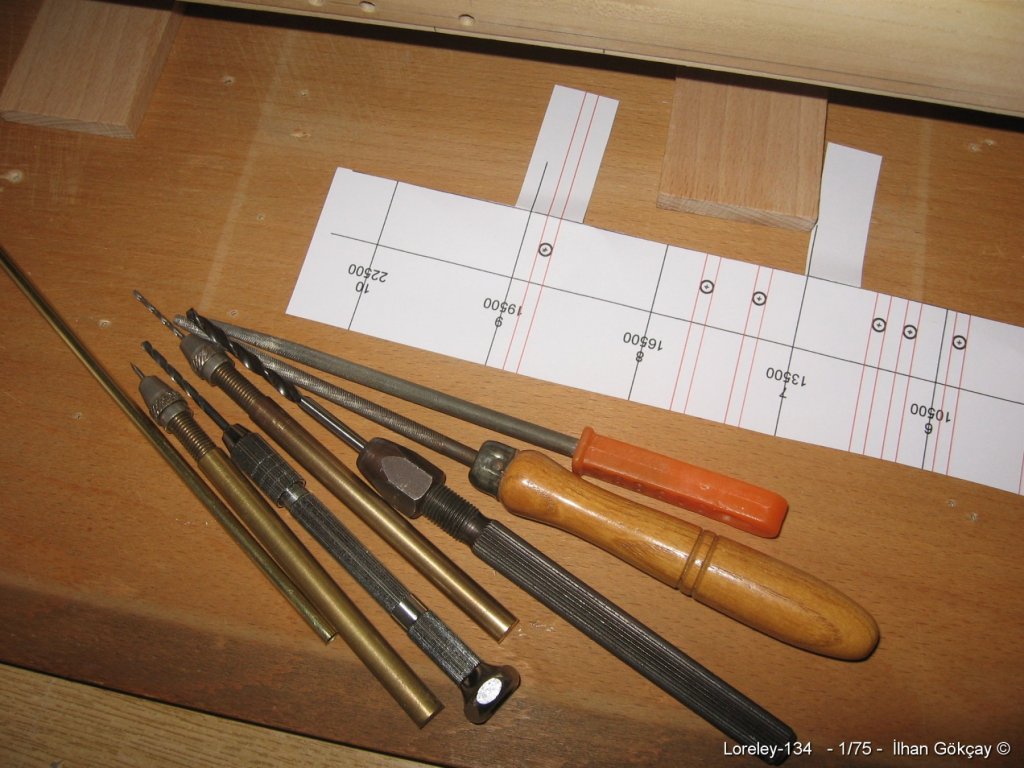
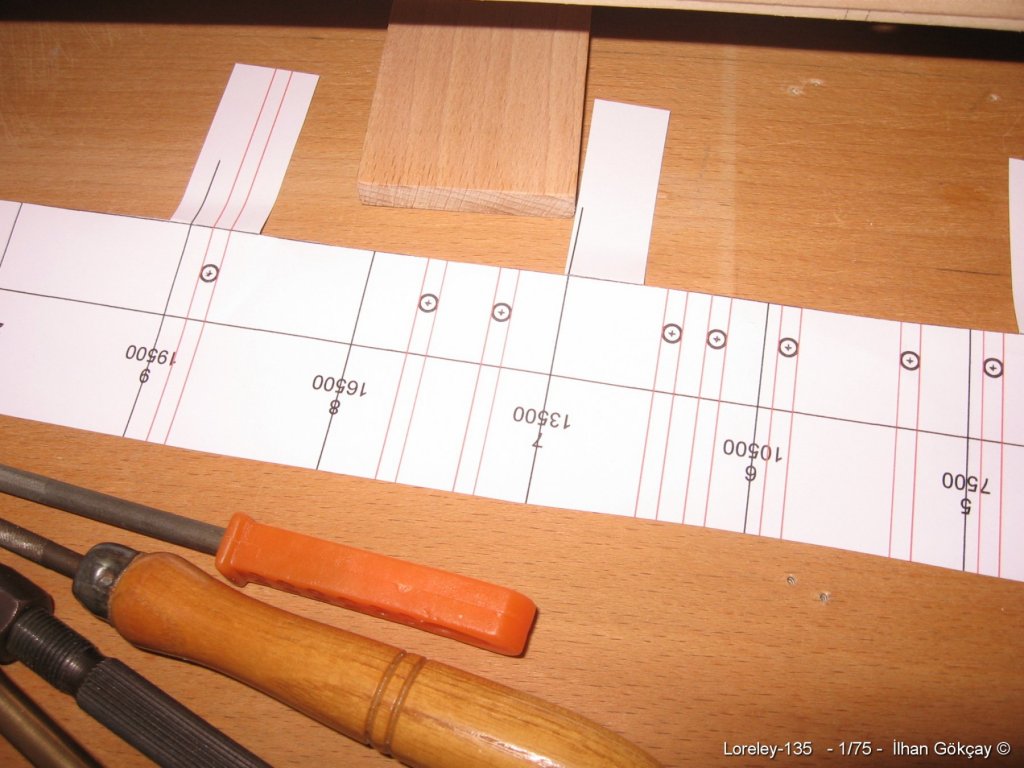
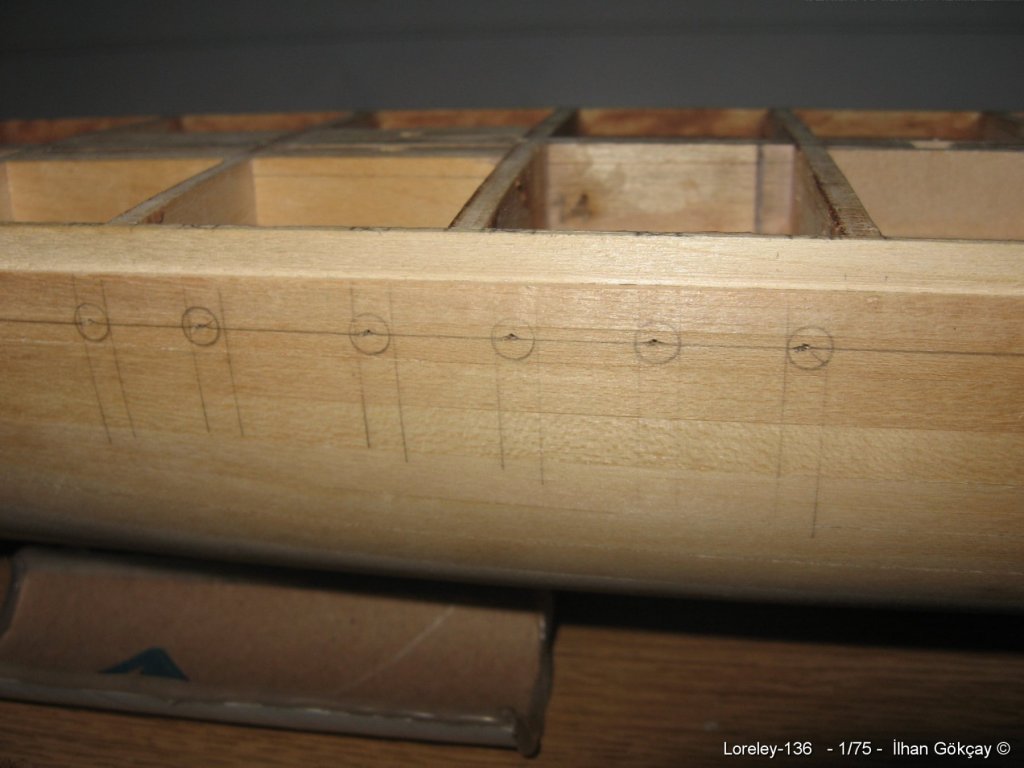
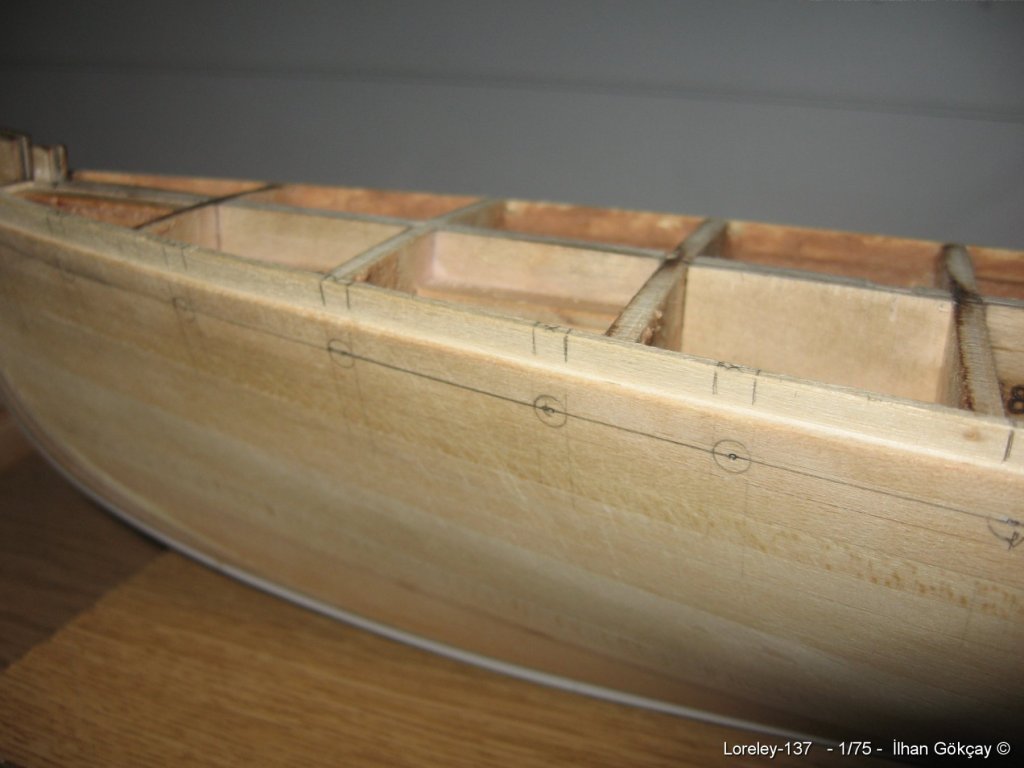
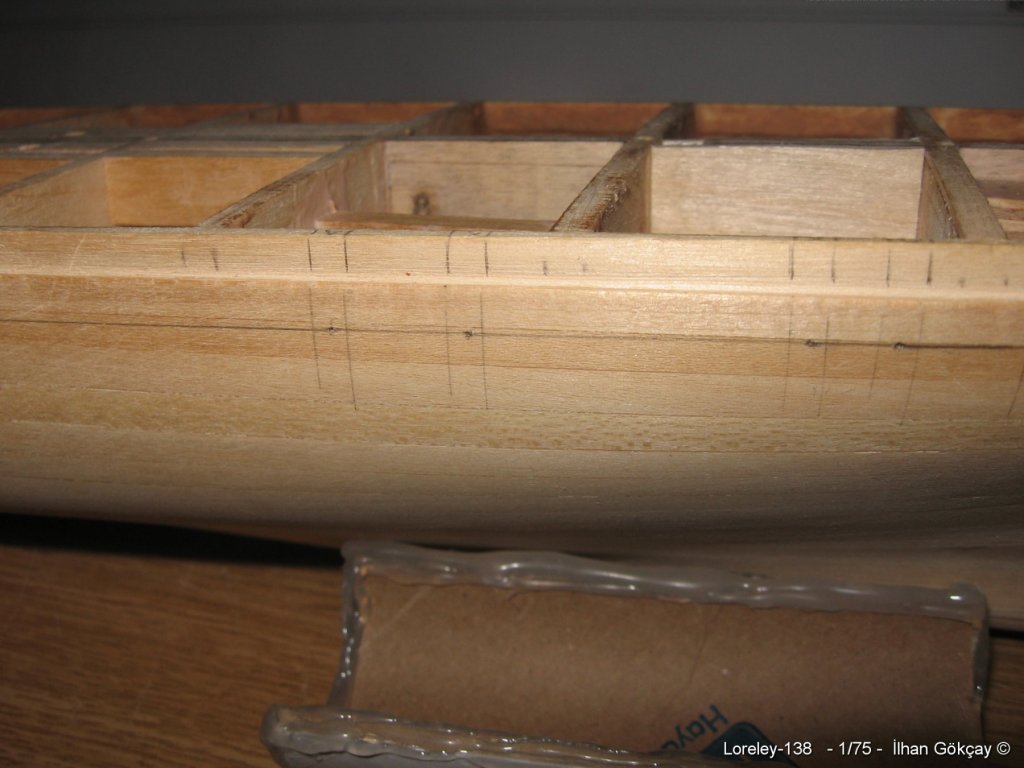
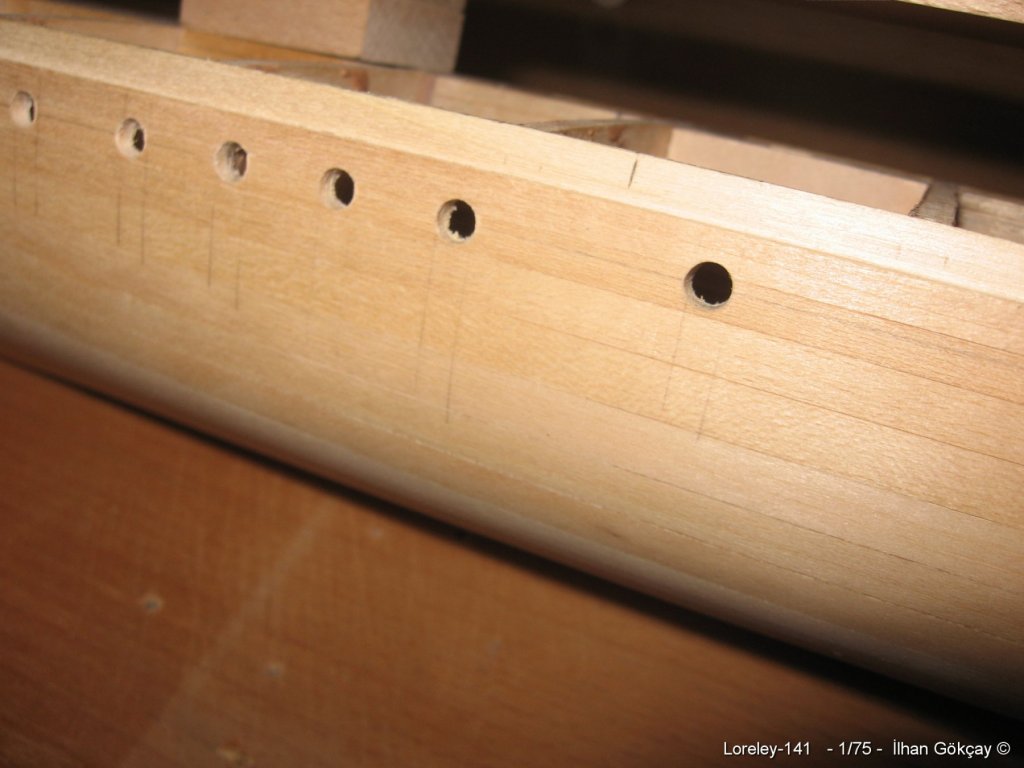
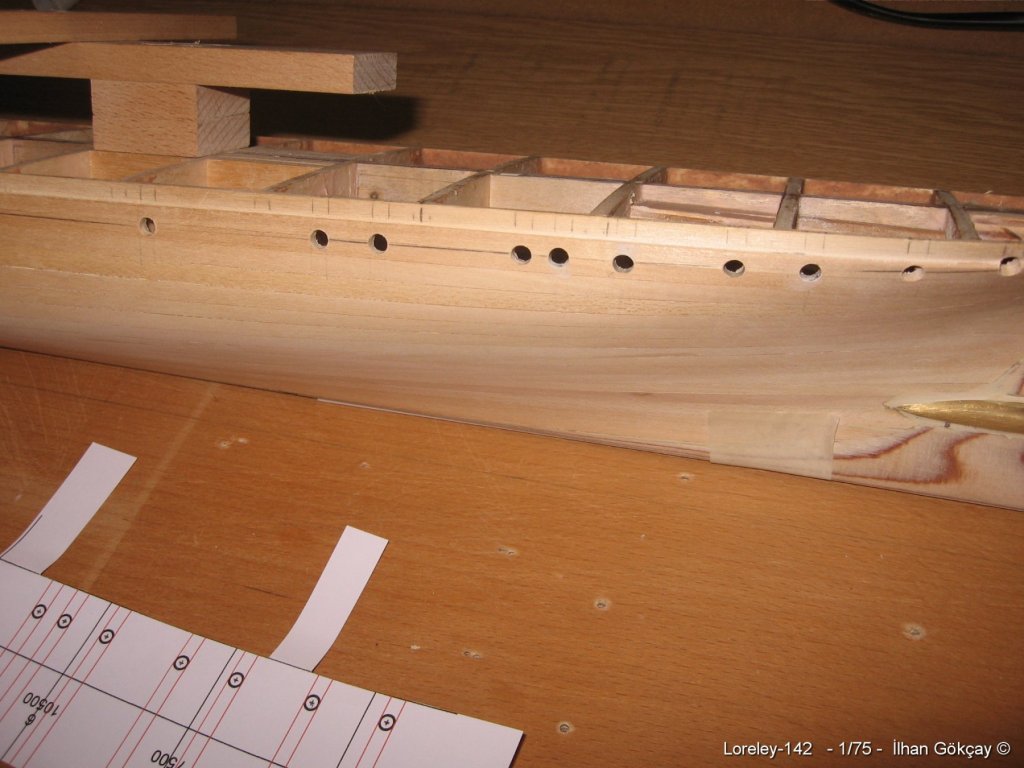
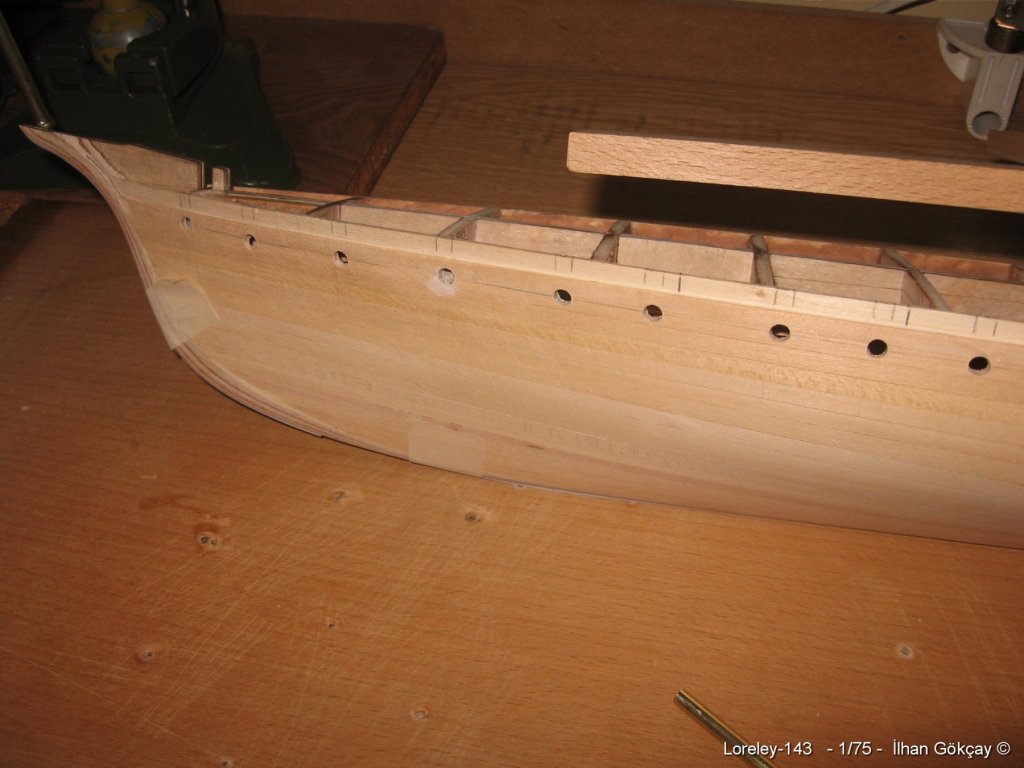
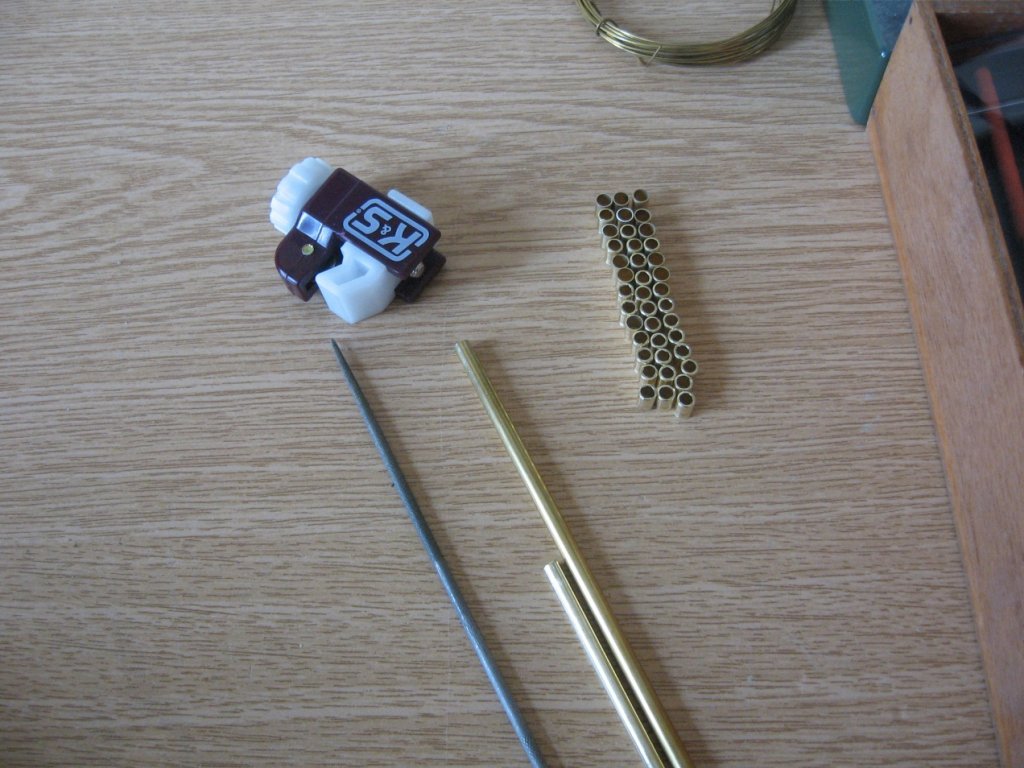
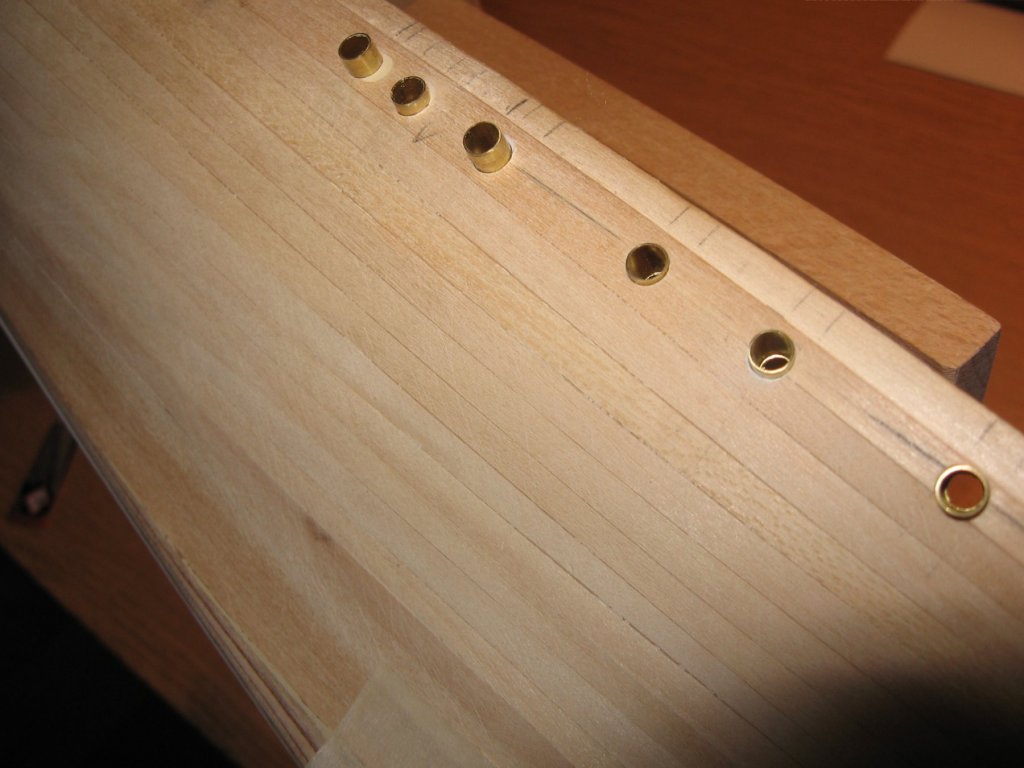
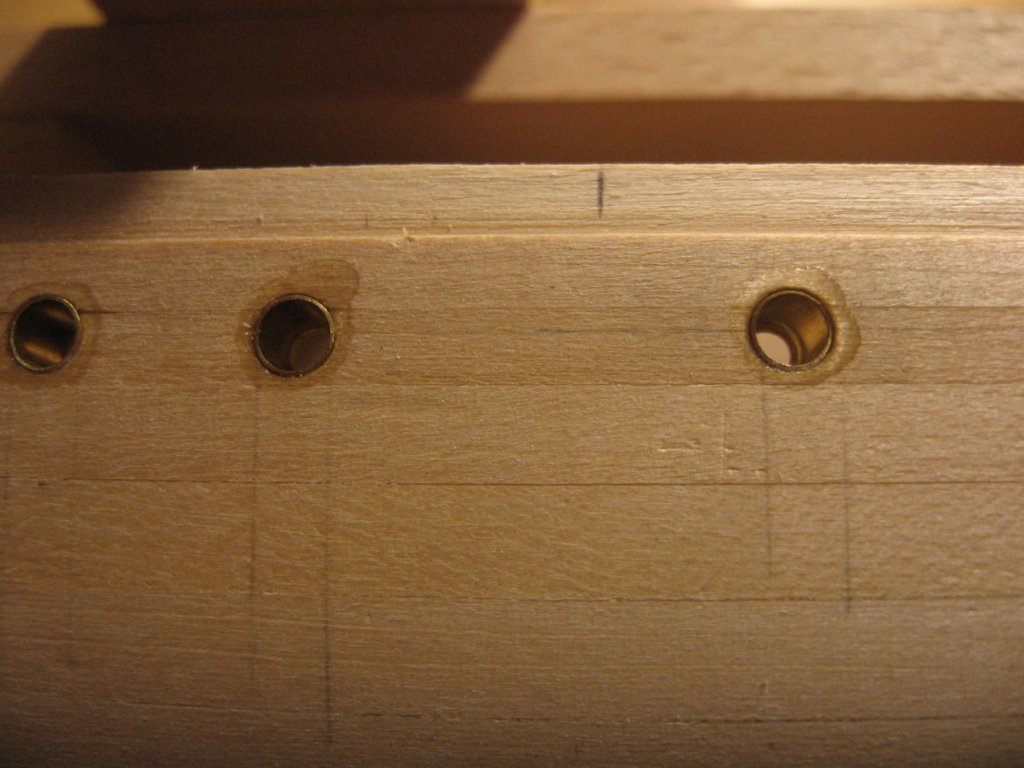
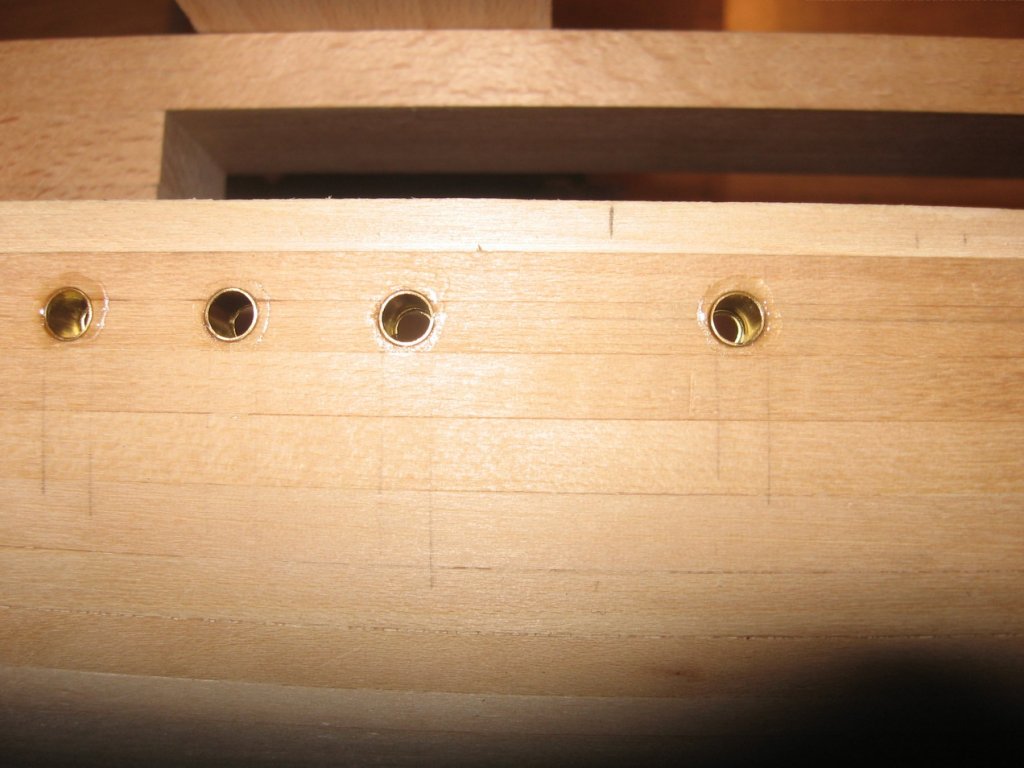
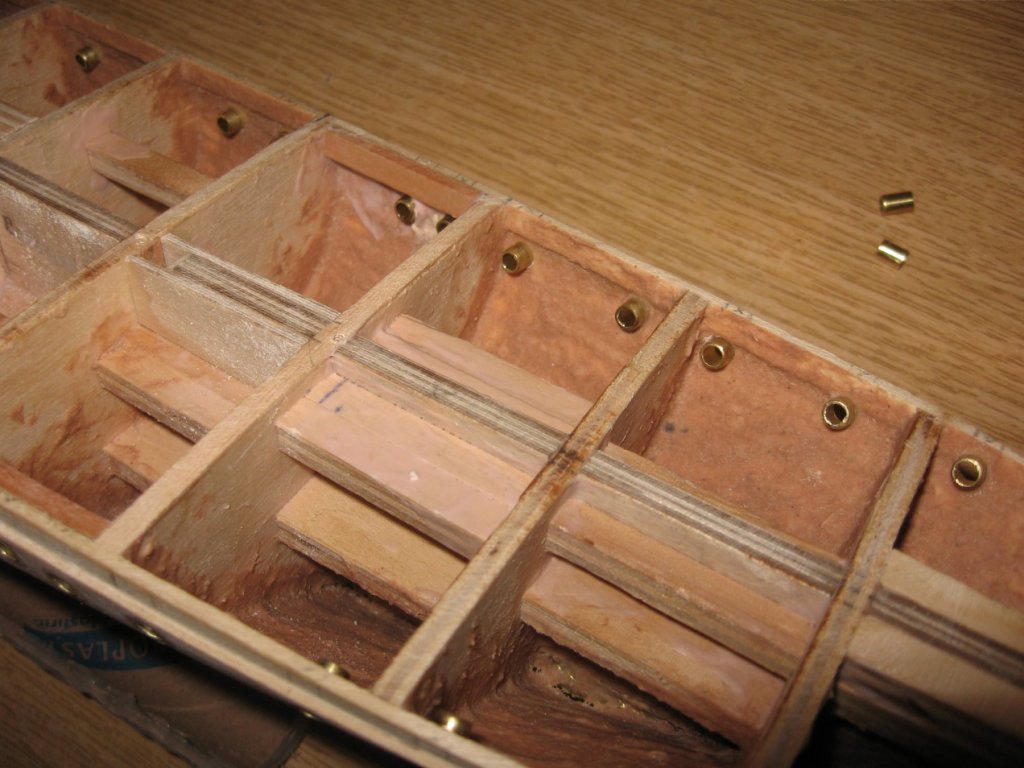
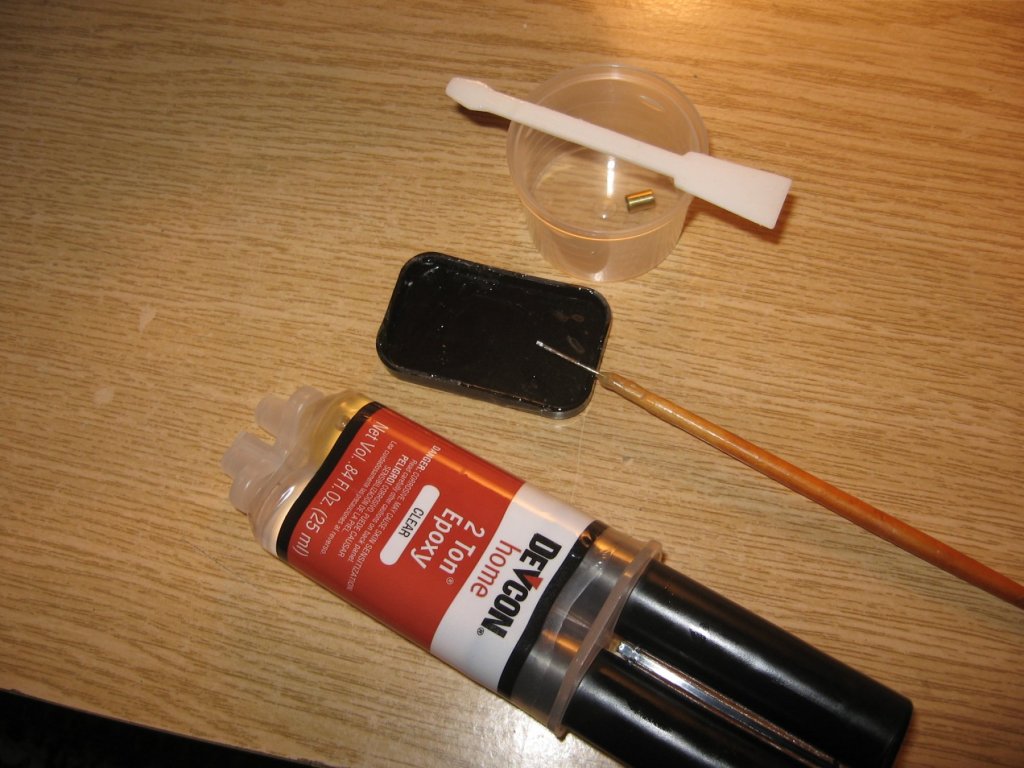
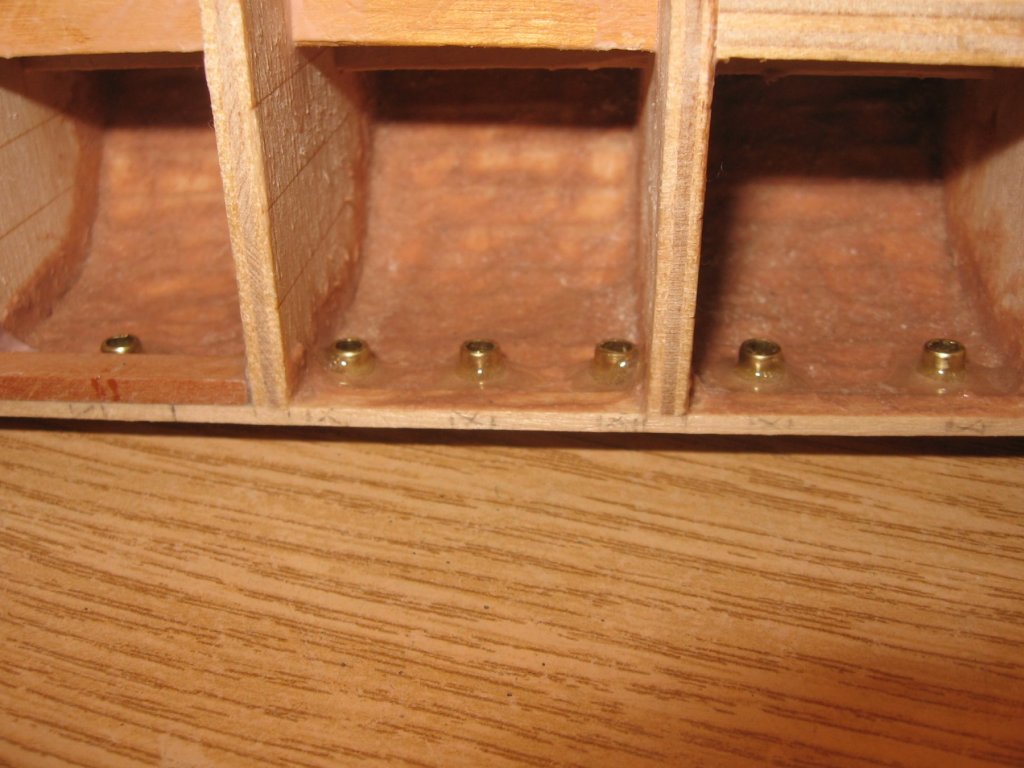
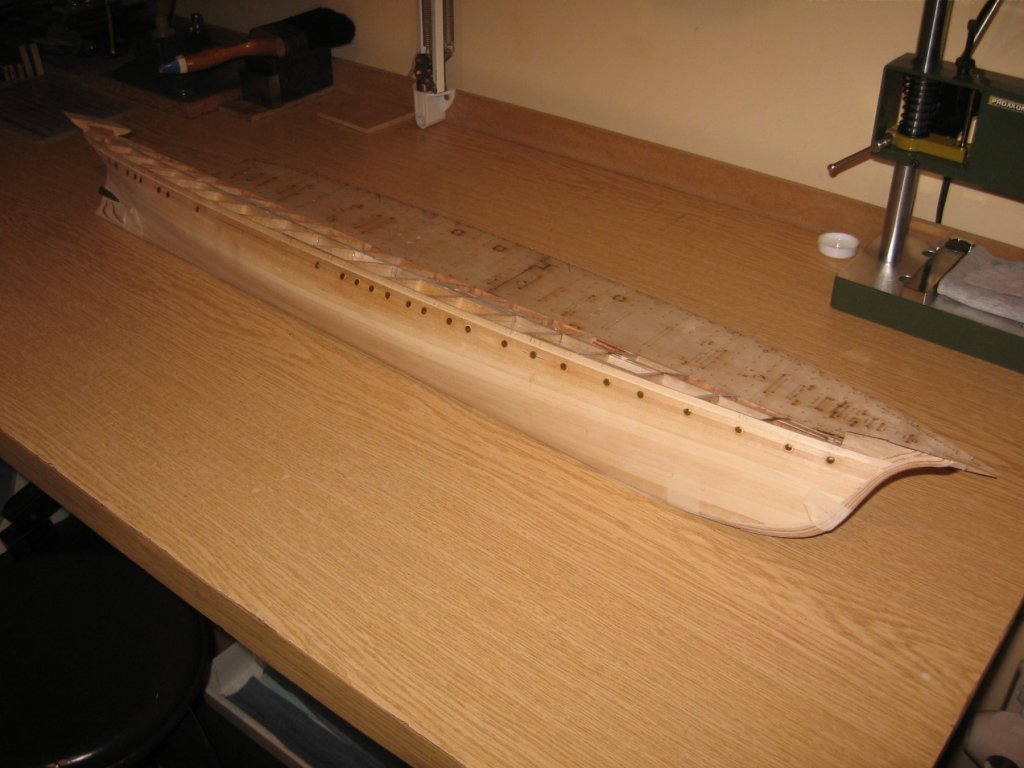
These are bushings for the portholes 5x0.5mm brass tube. The portholes will be 4x0.25mm brass tube with glazing and will be installed after painting. These are bushings for the portholes 5x0.5mm brass tube. The portholes will be 4x0.25mm brass tube with glazing and will be installed after painting.


- 272 replies
-
- 21
-

-
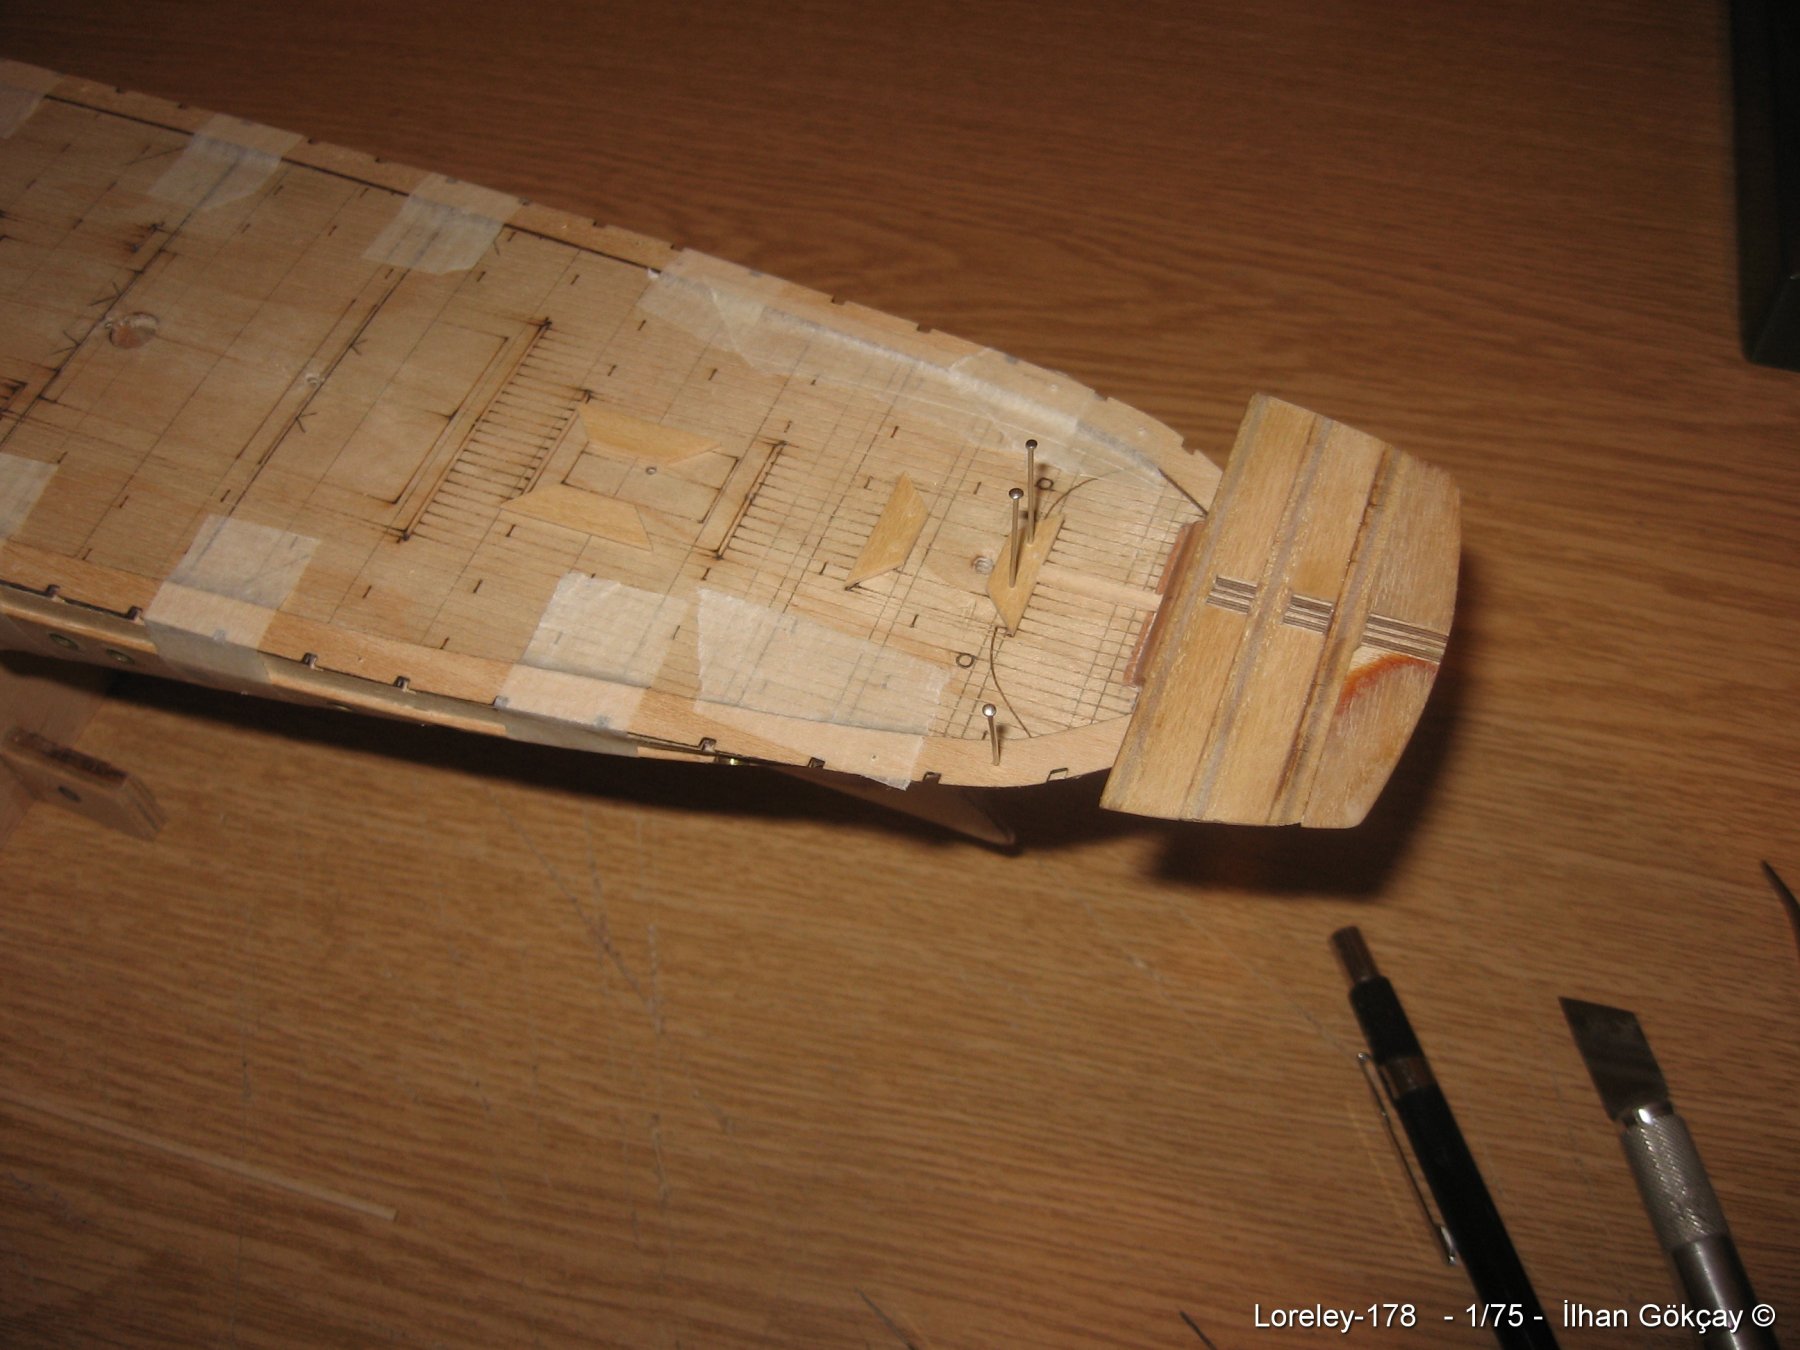
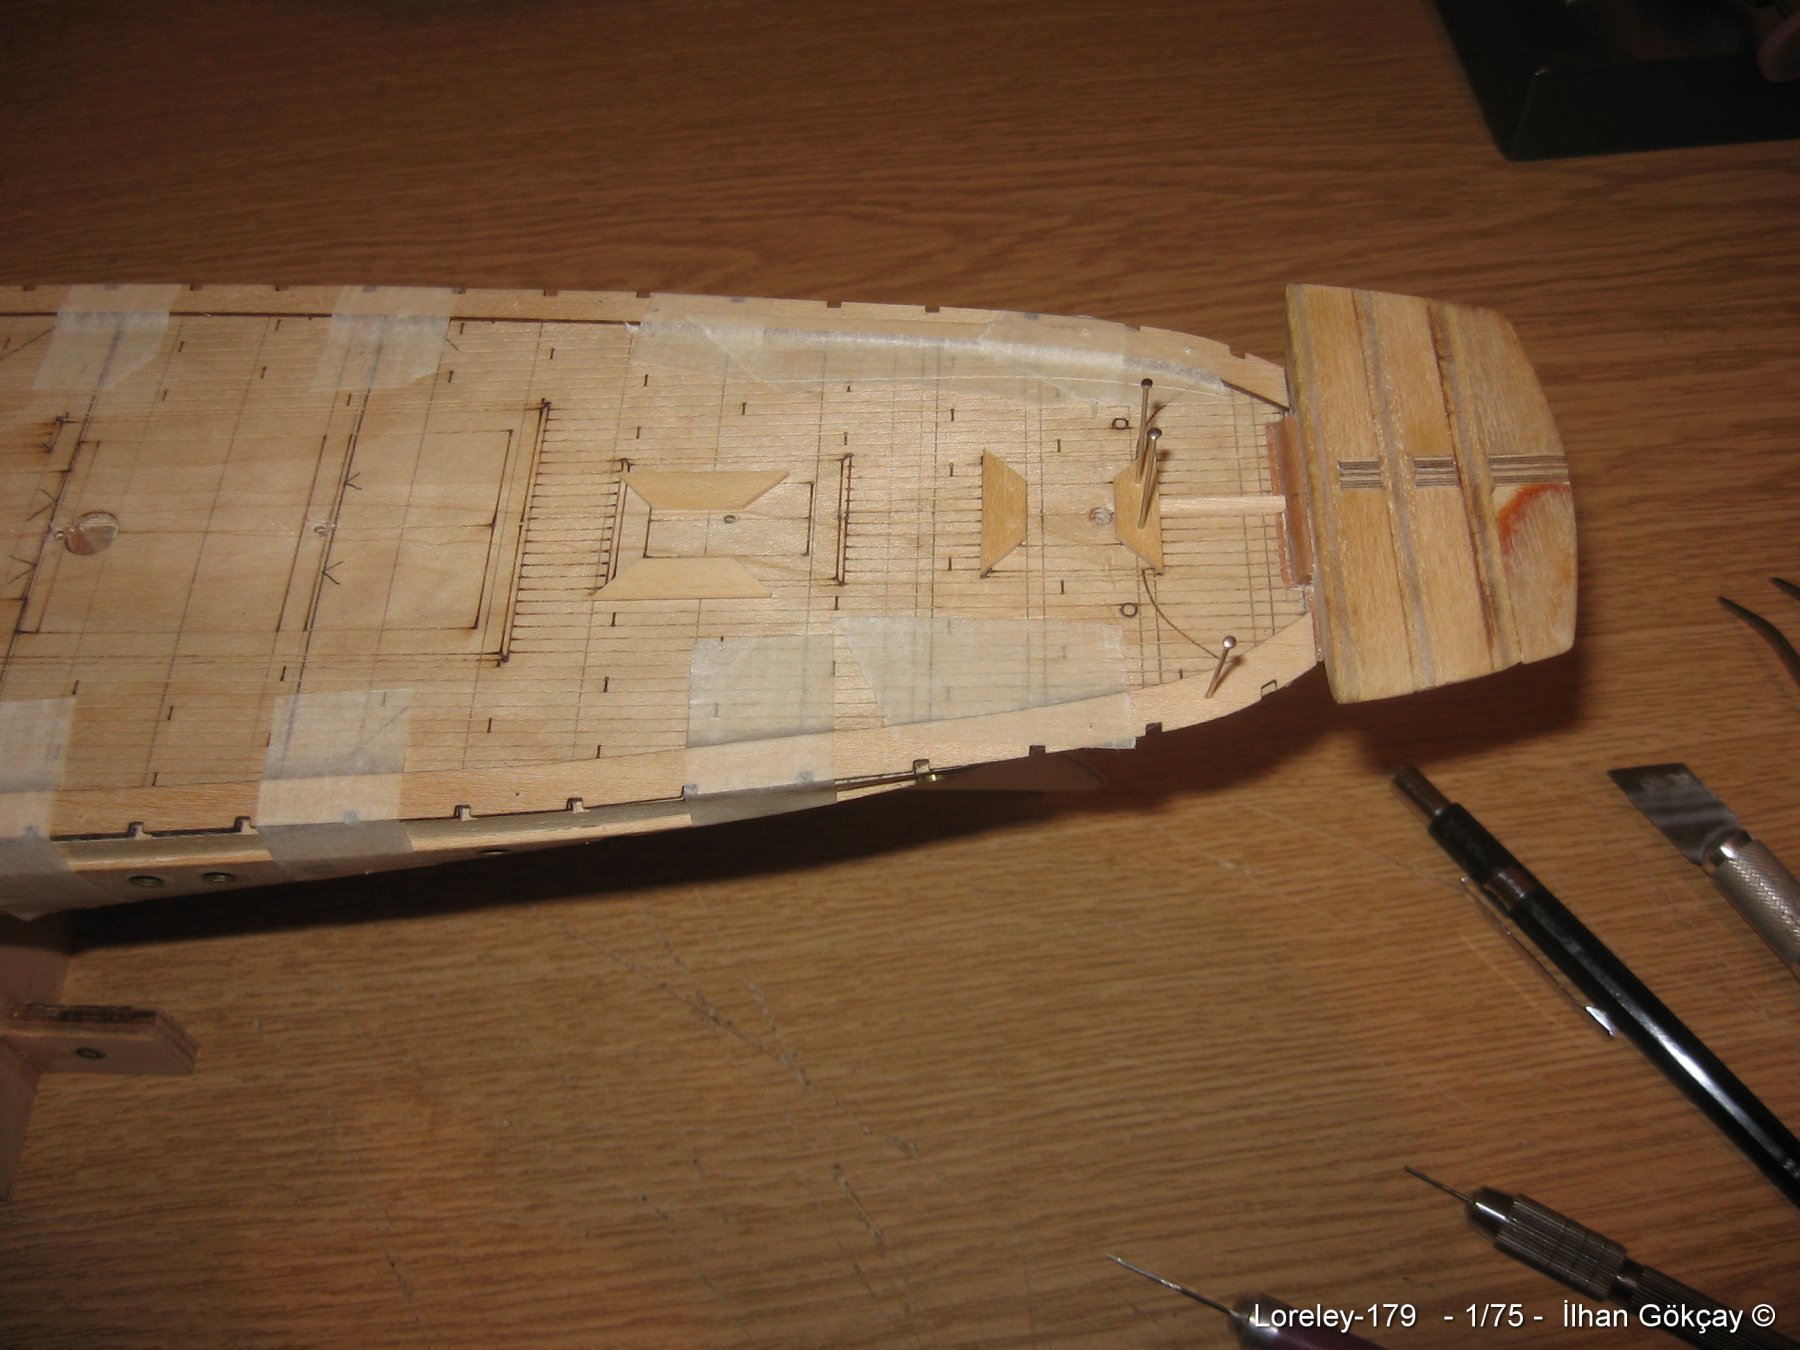
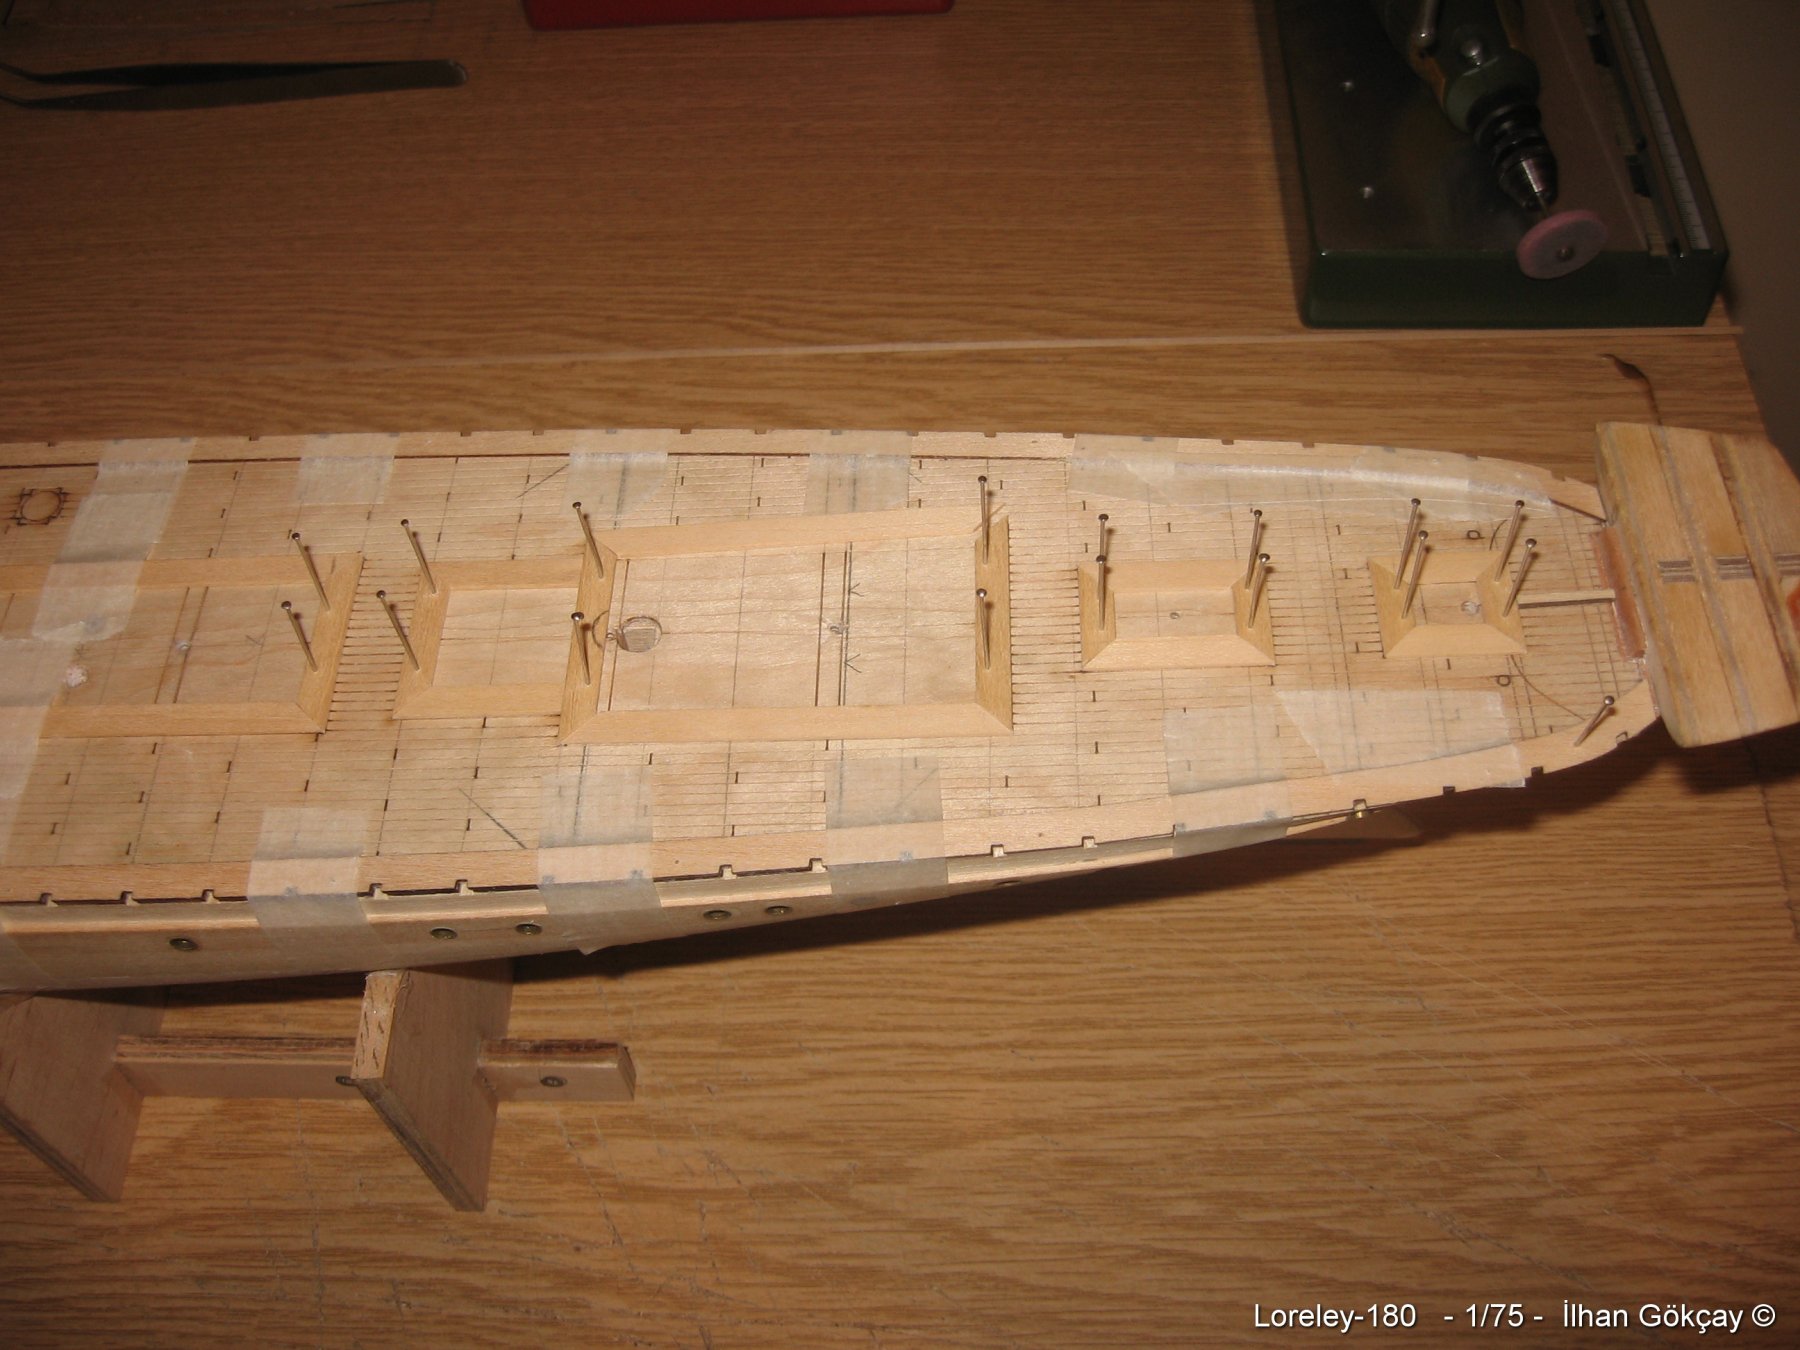
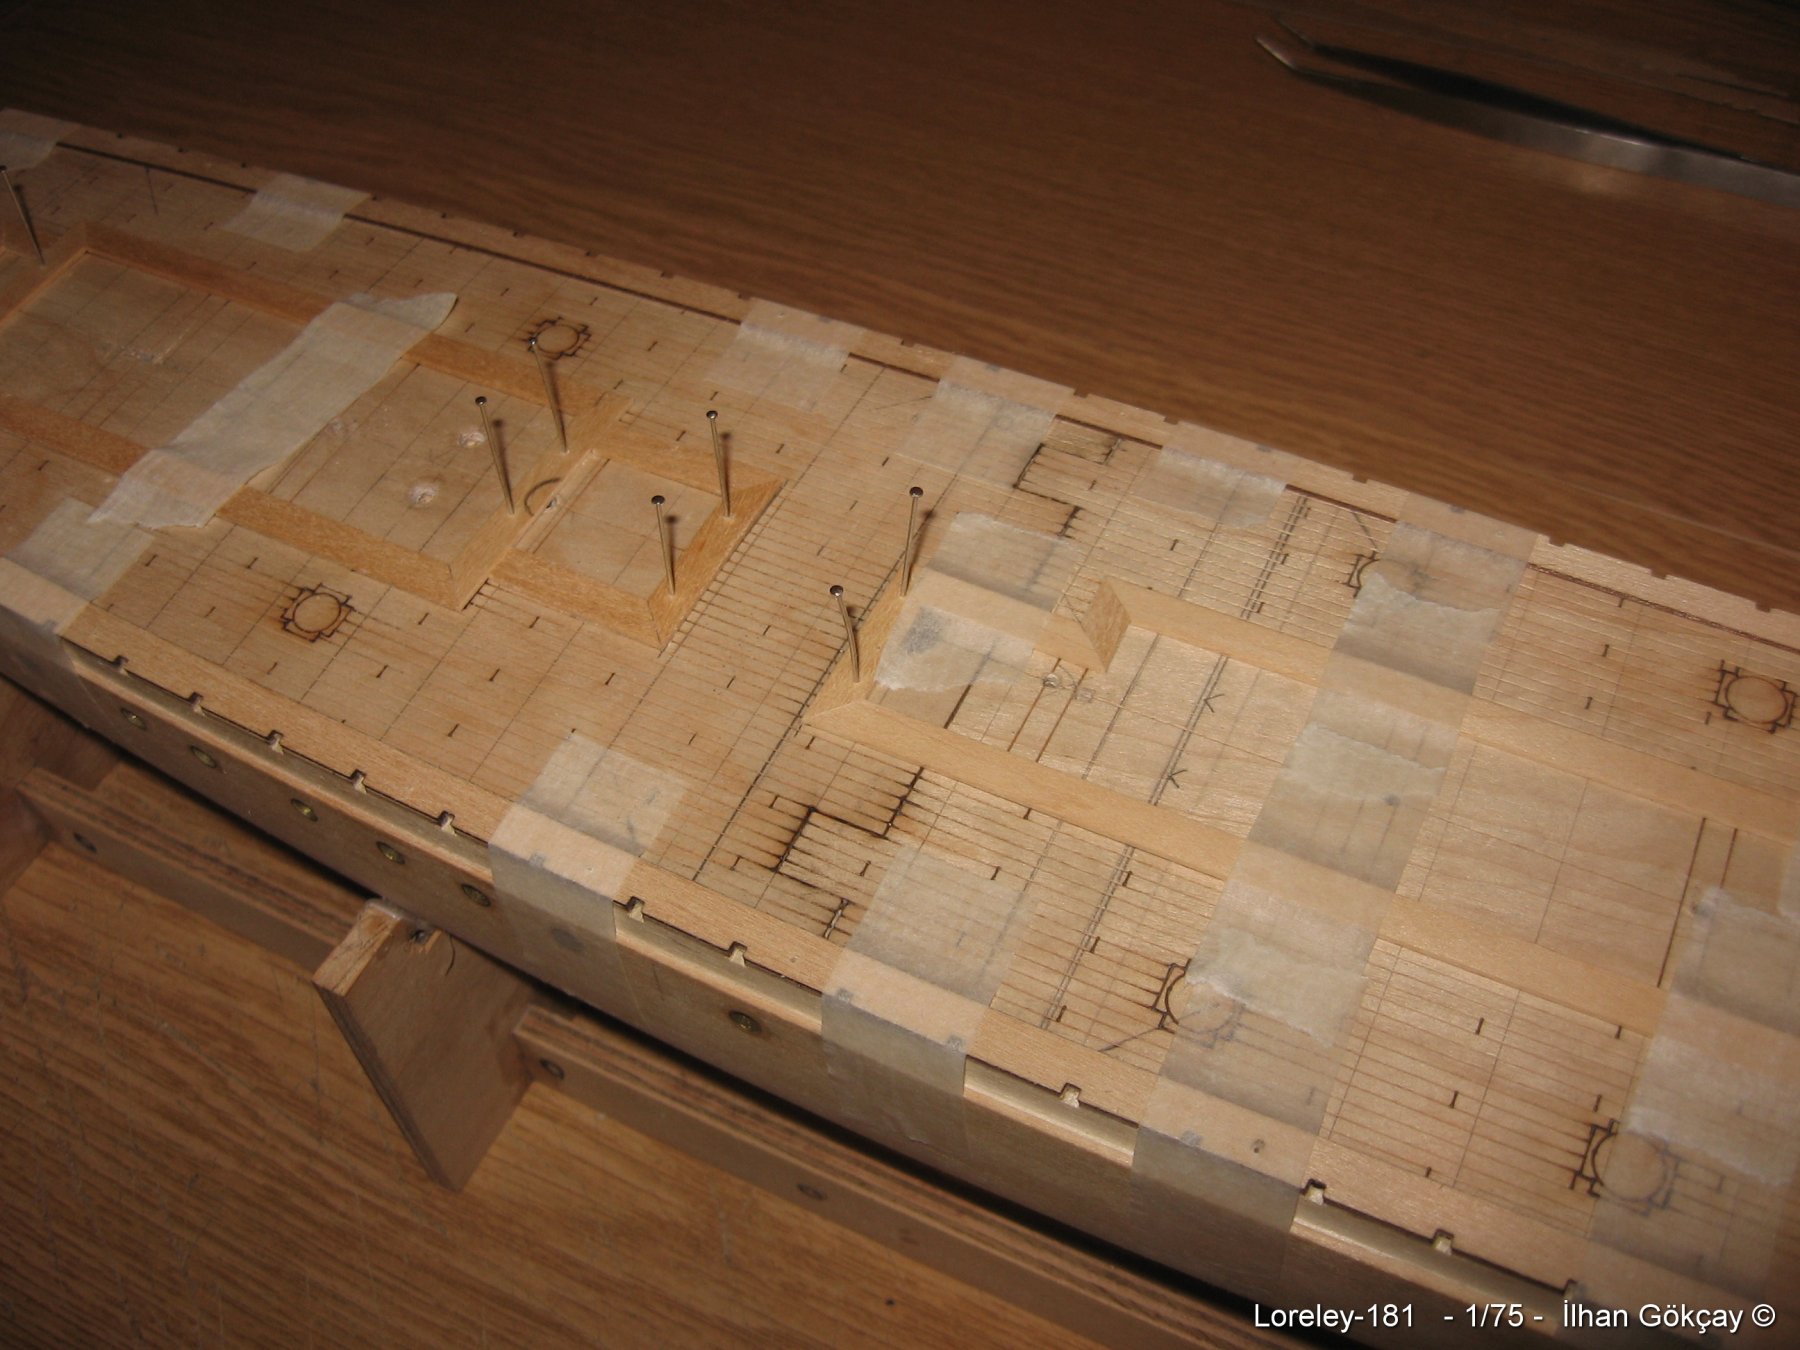
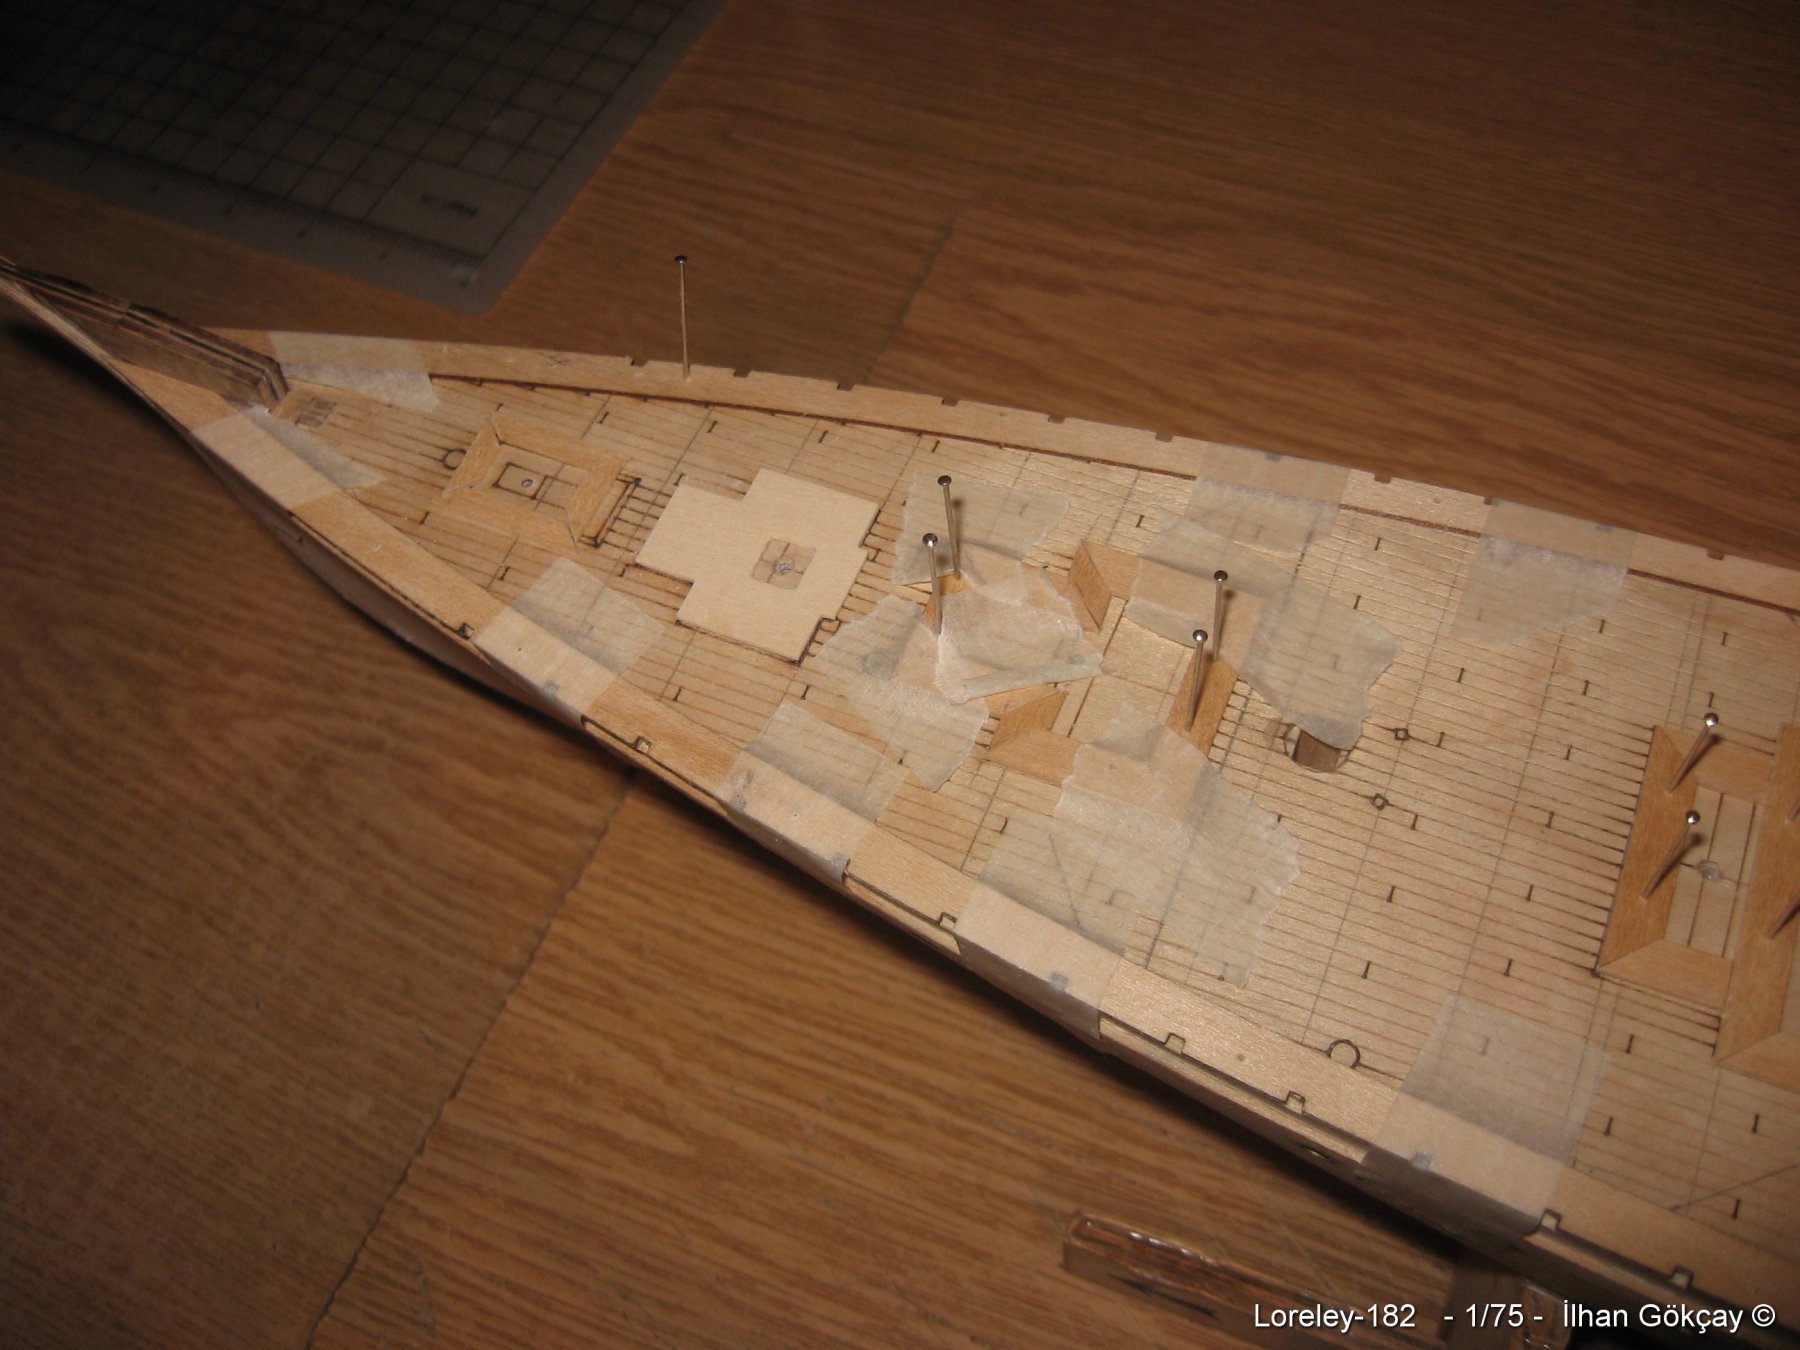
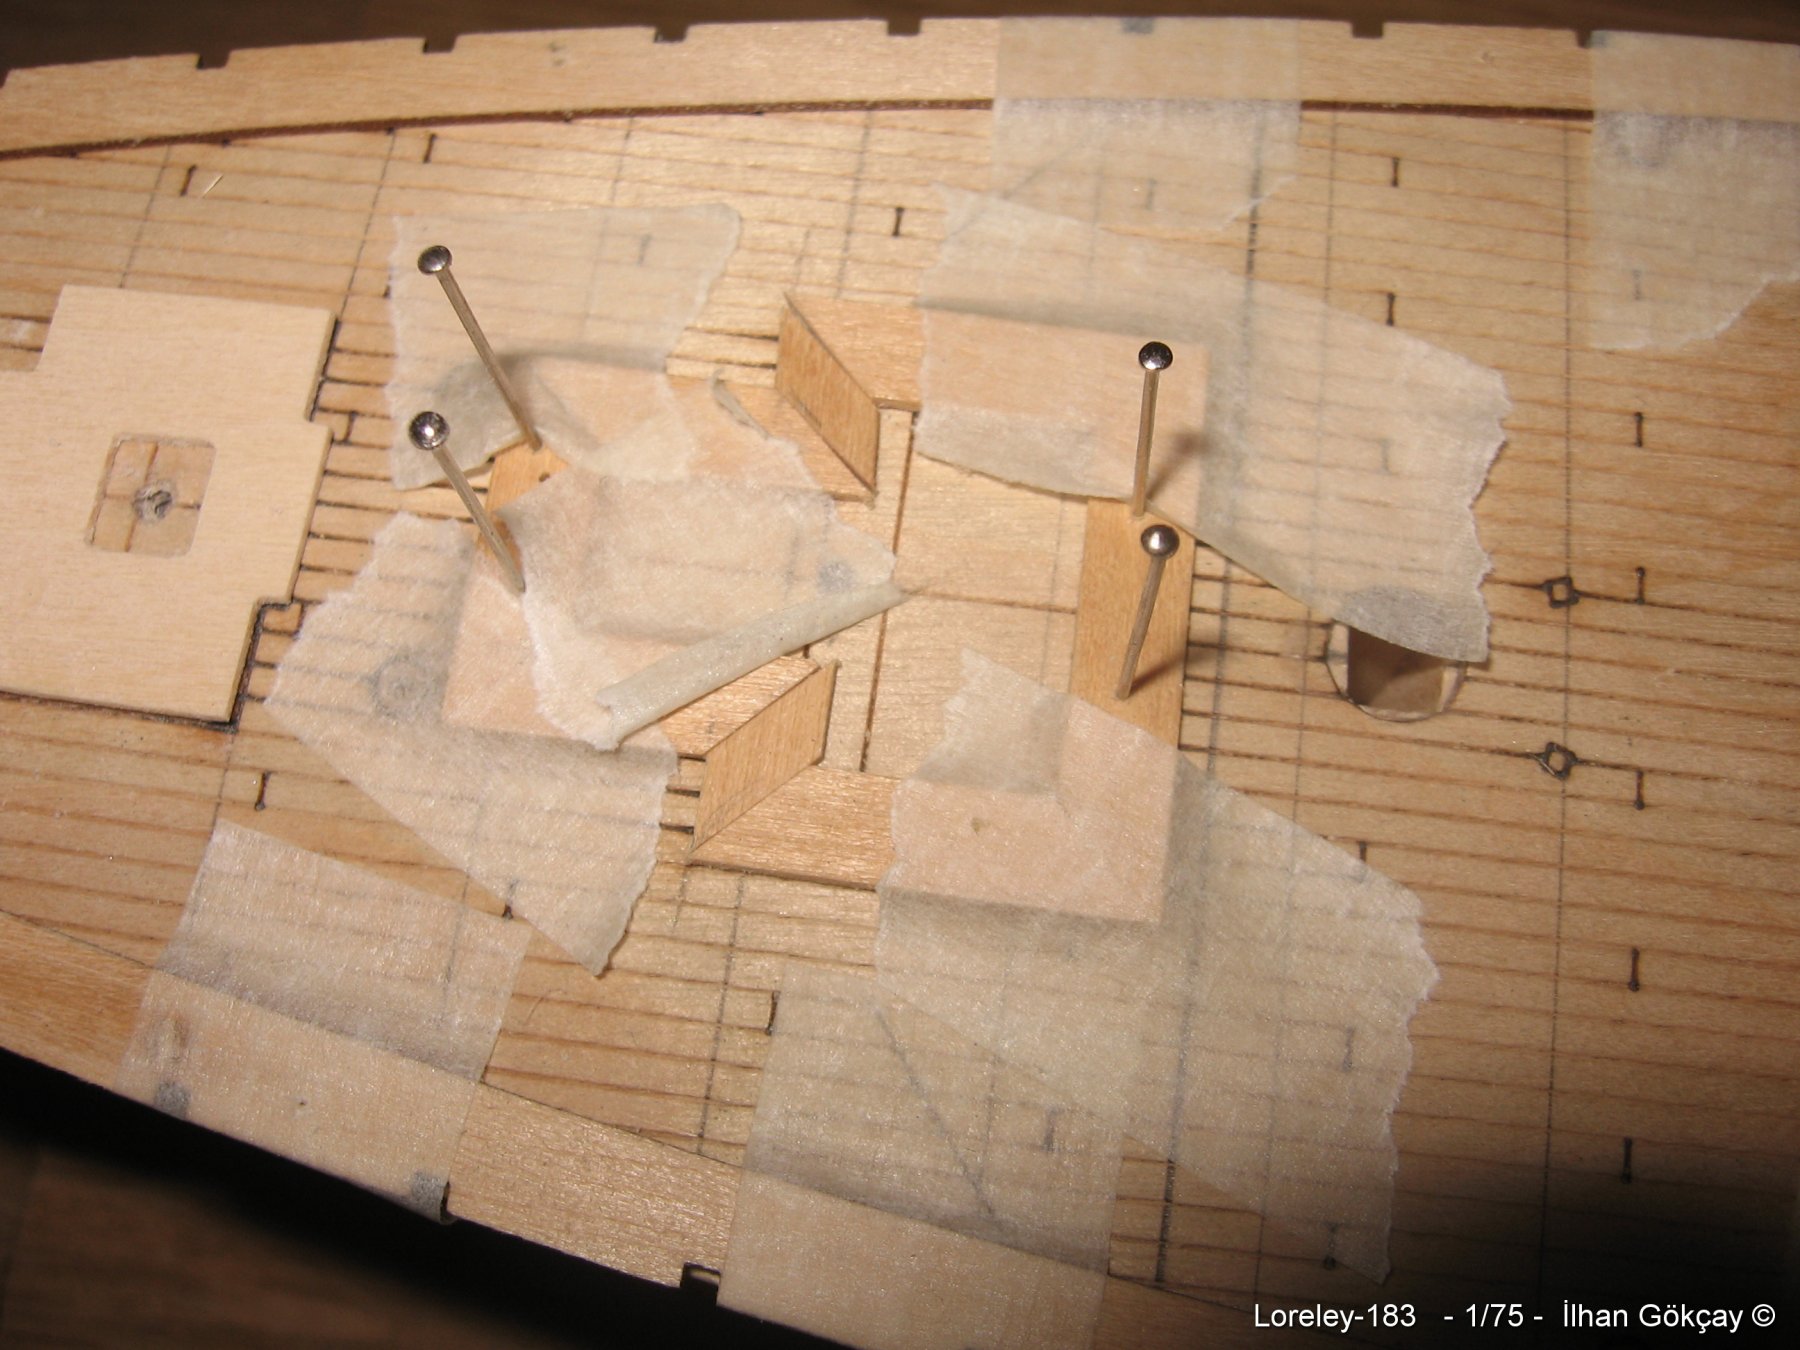
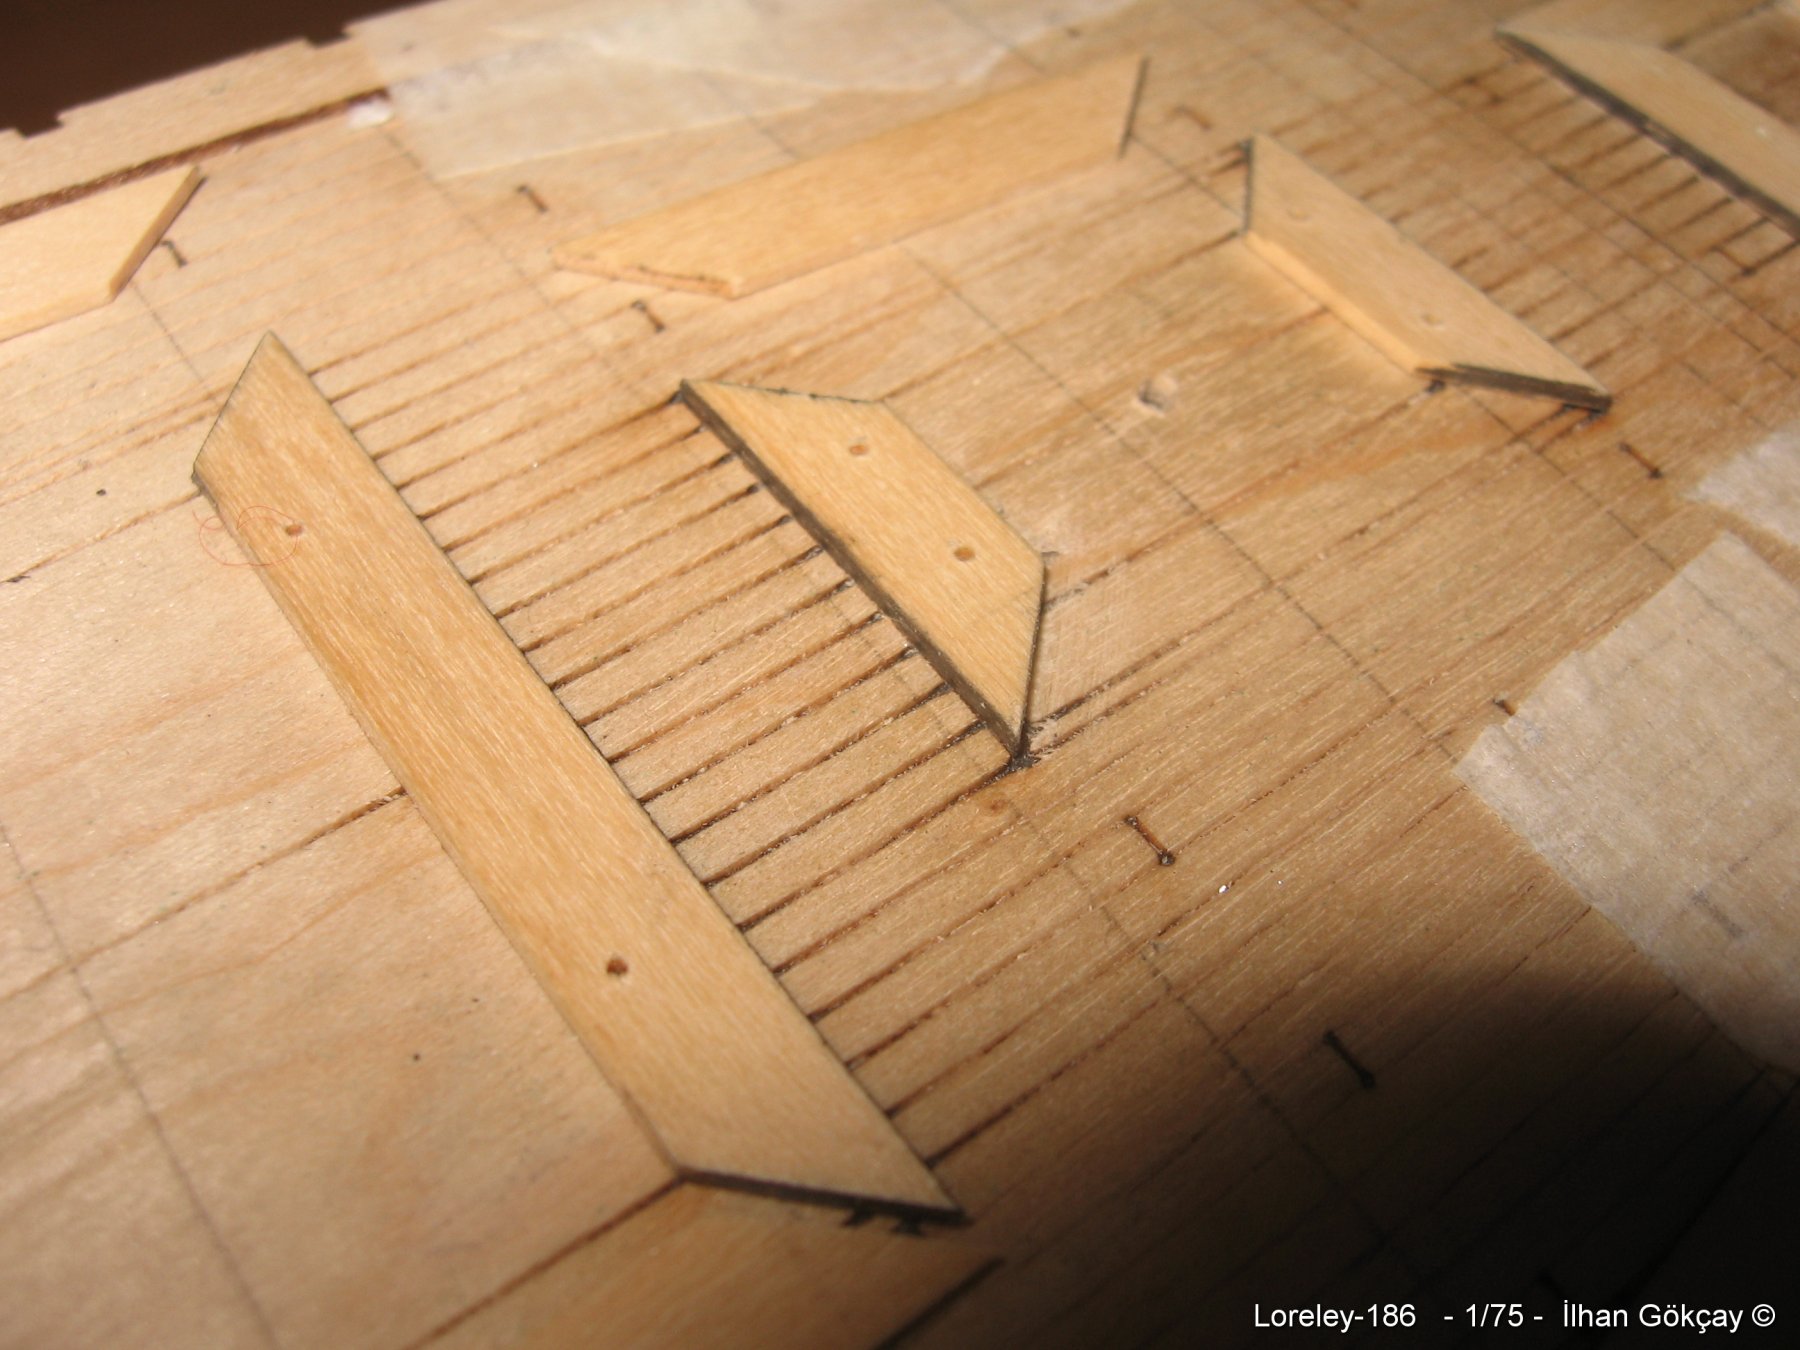
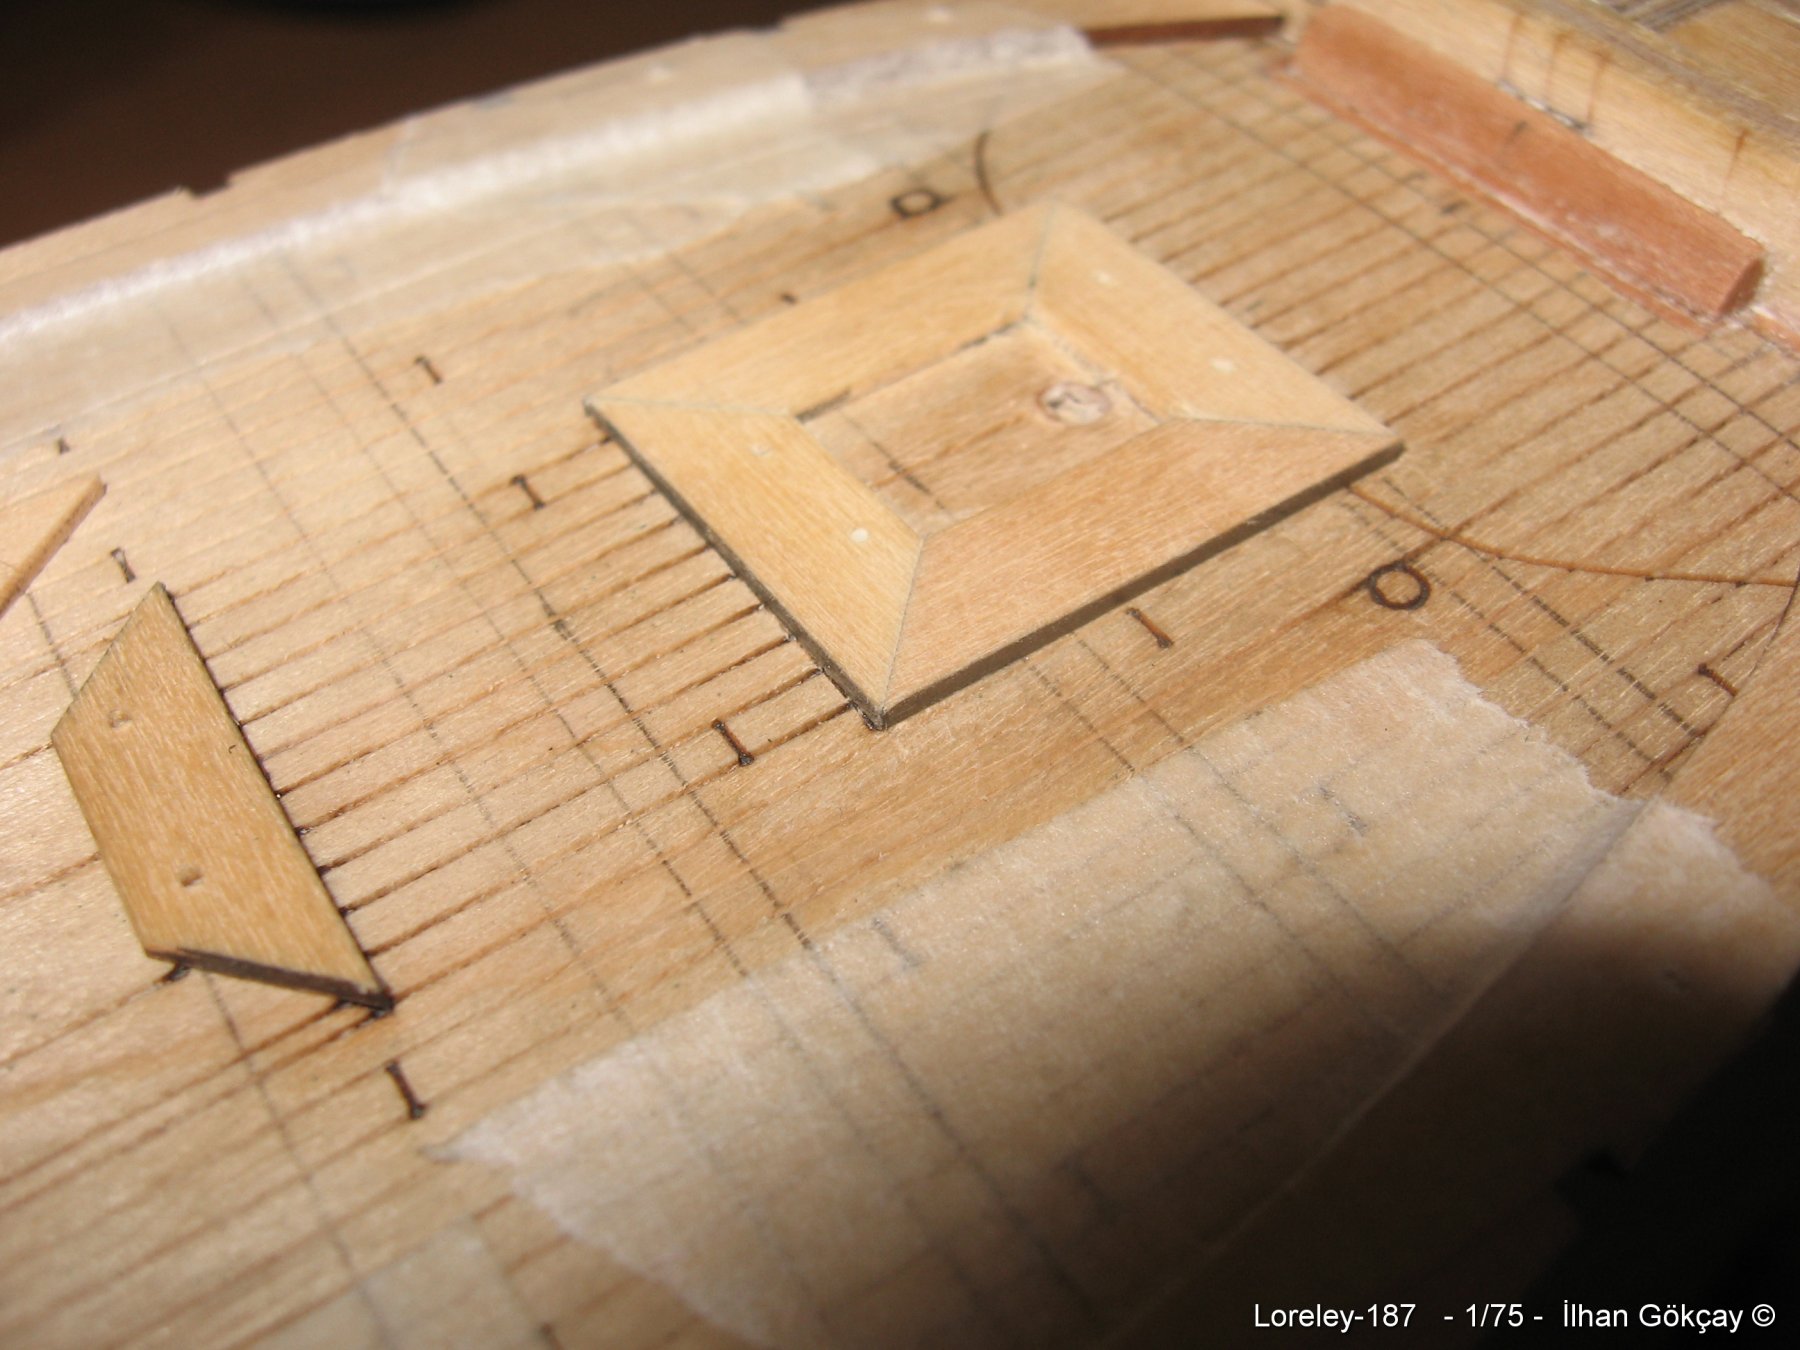
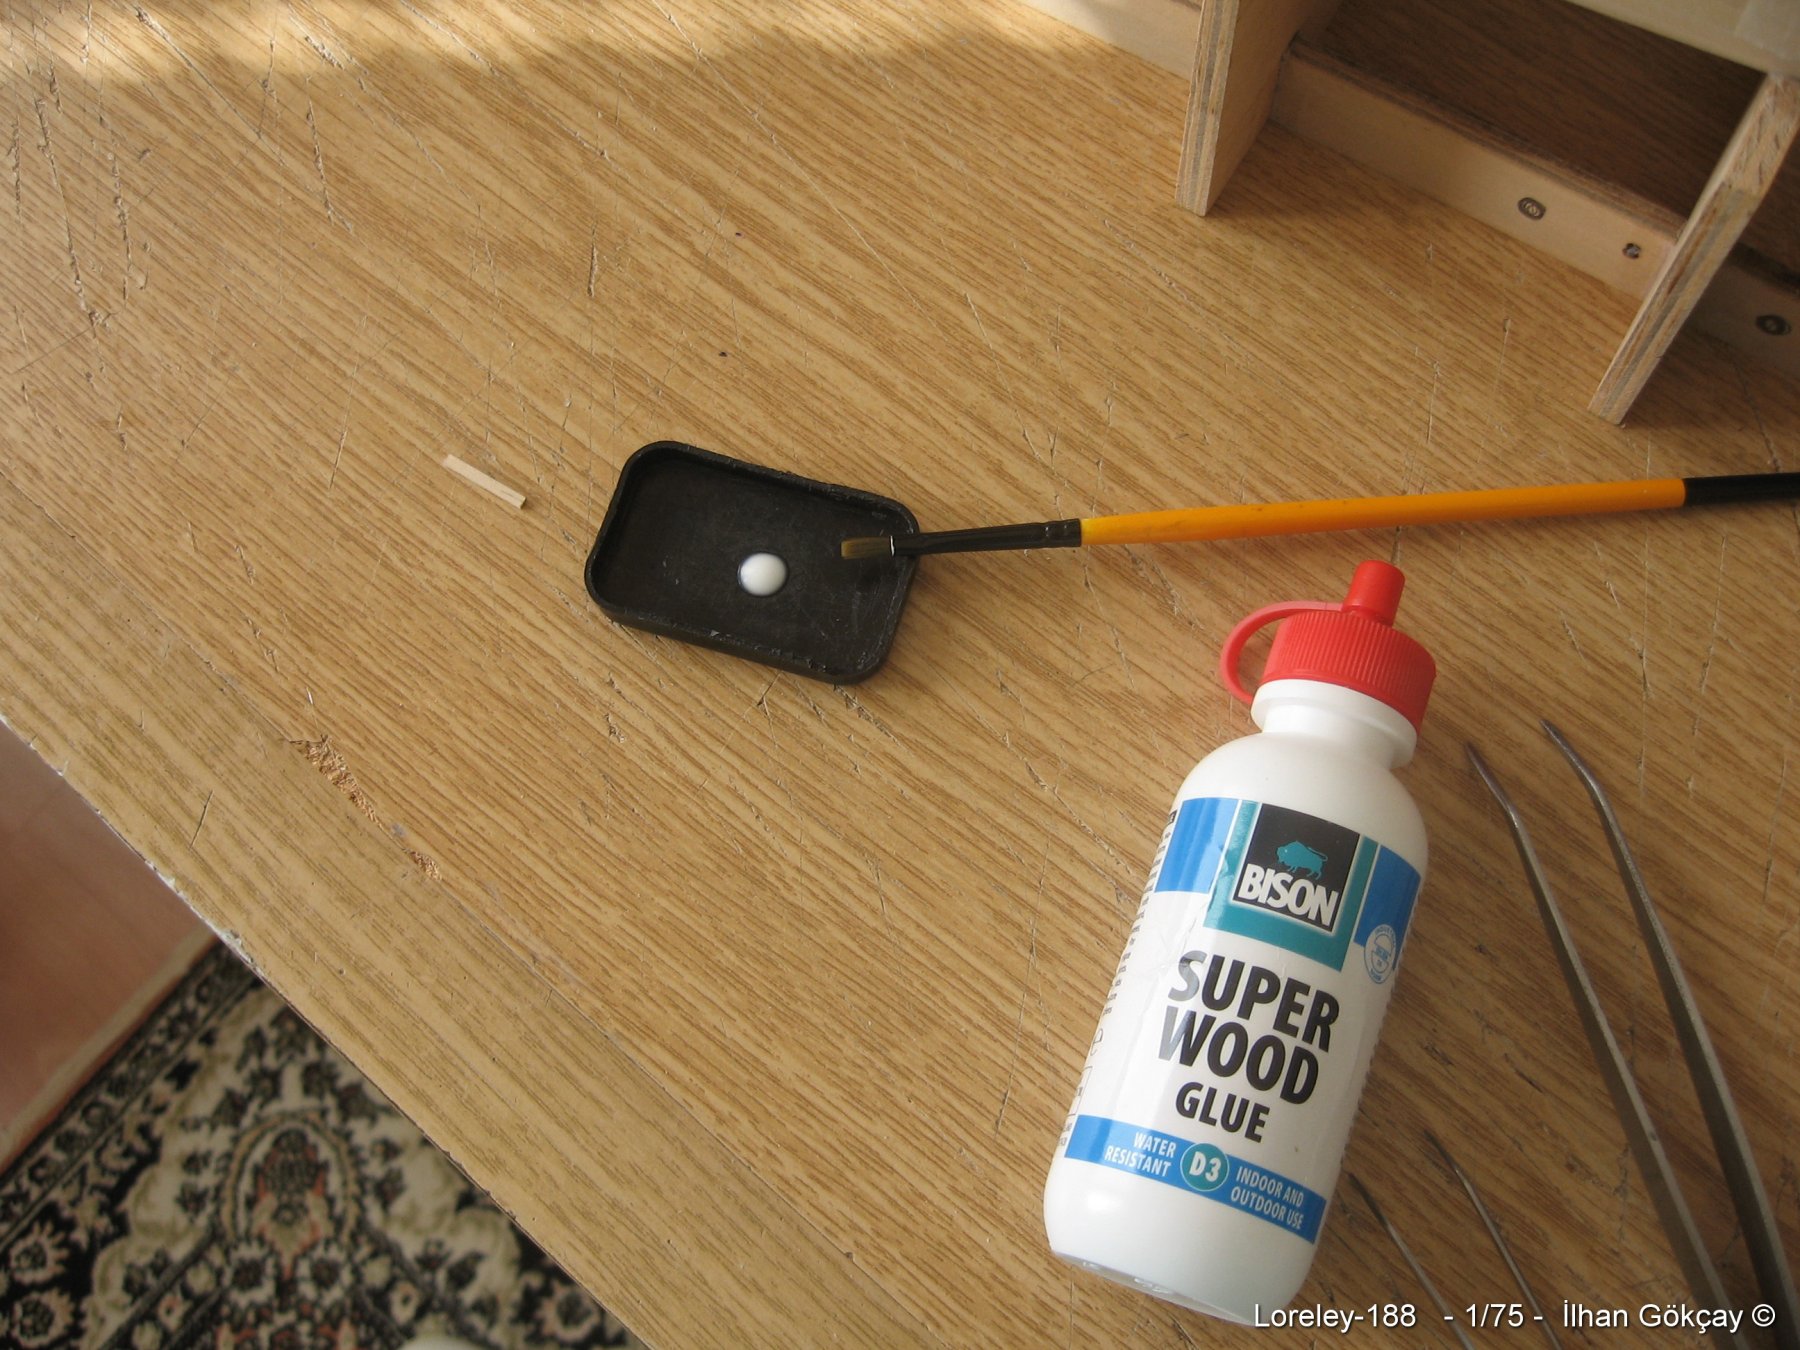
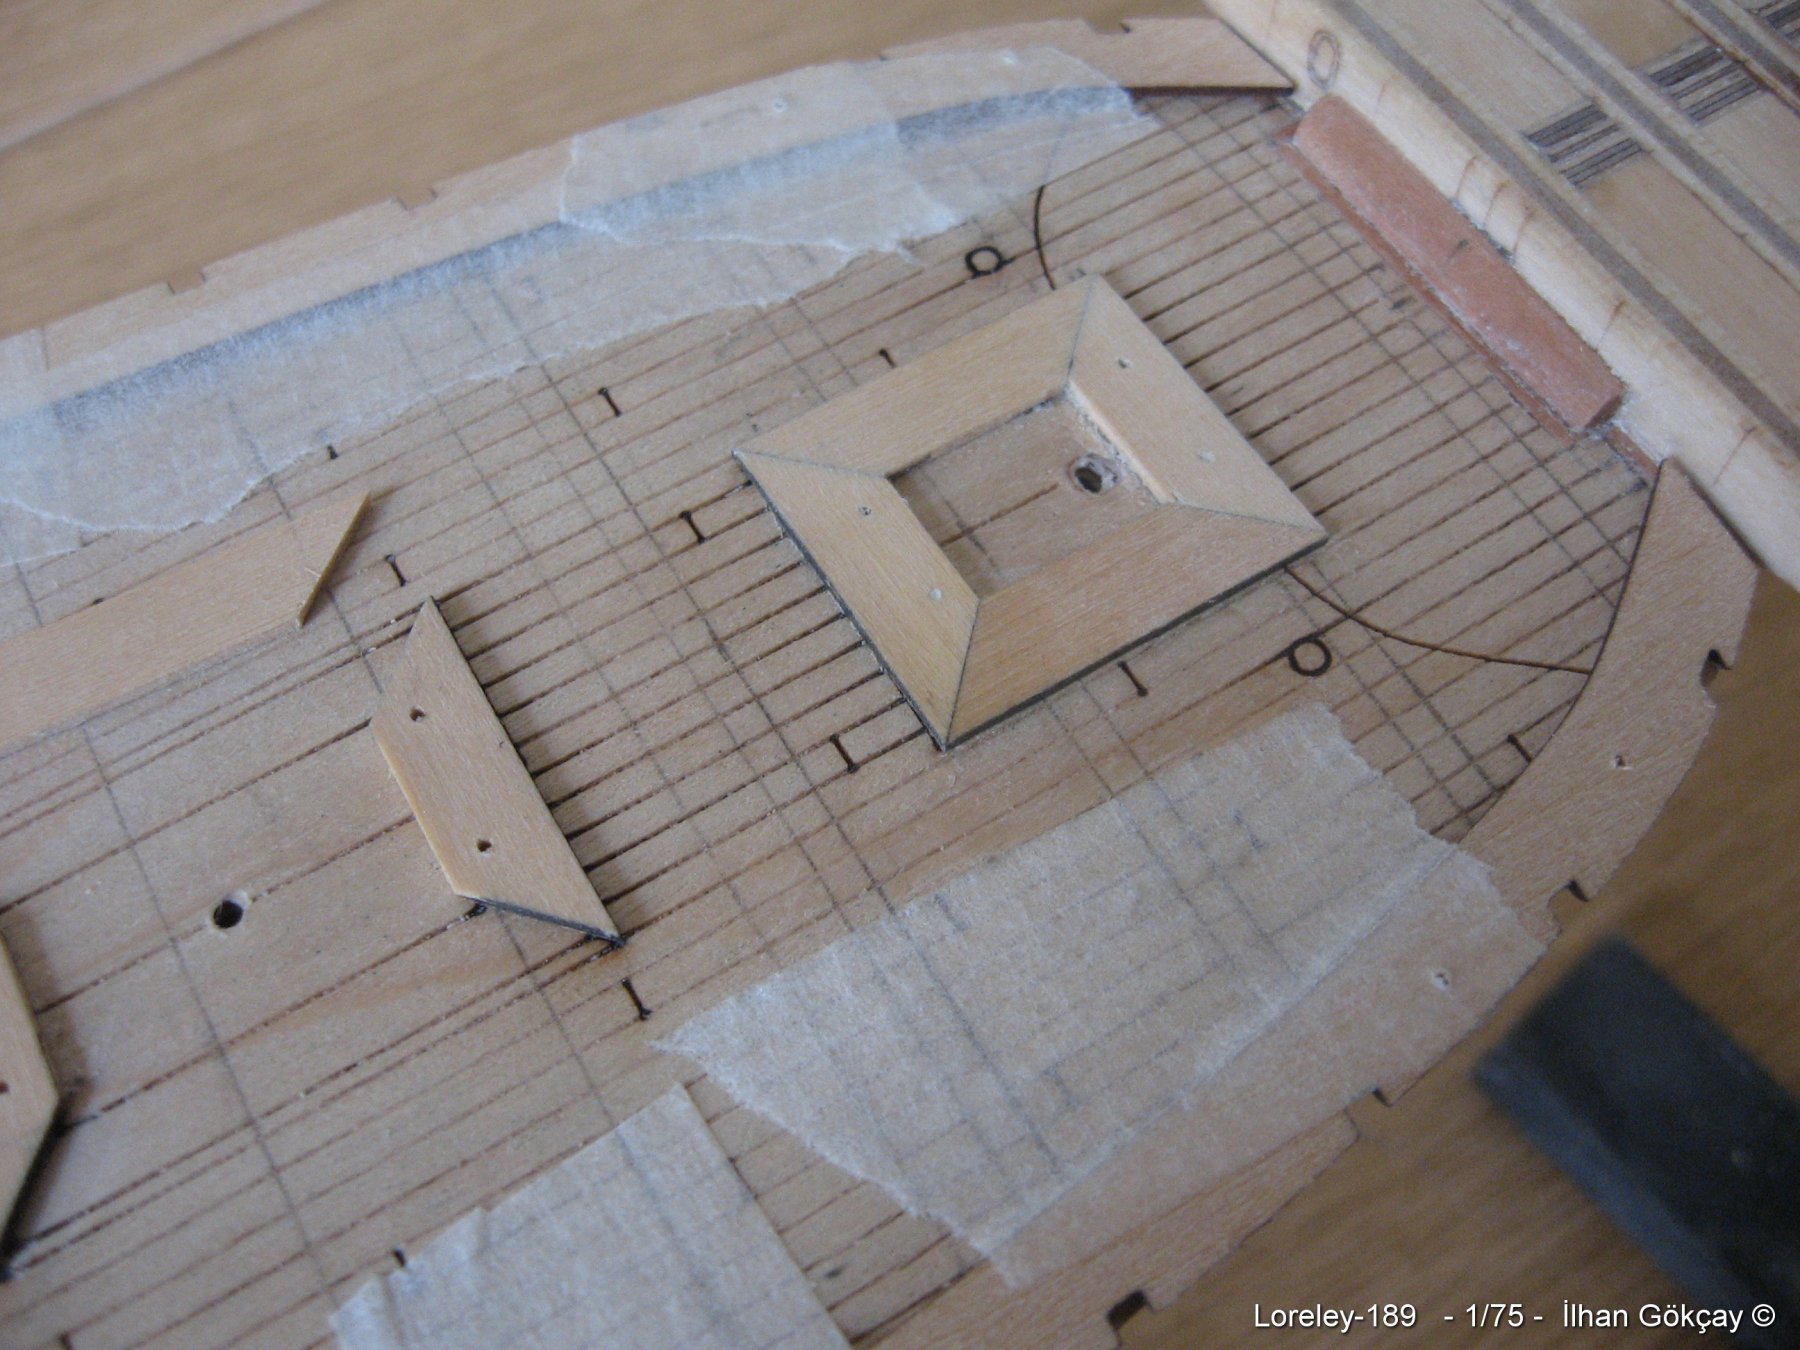
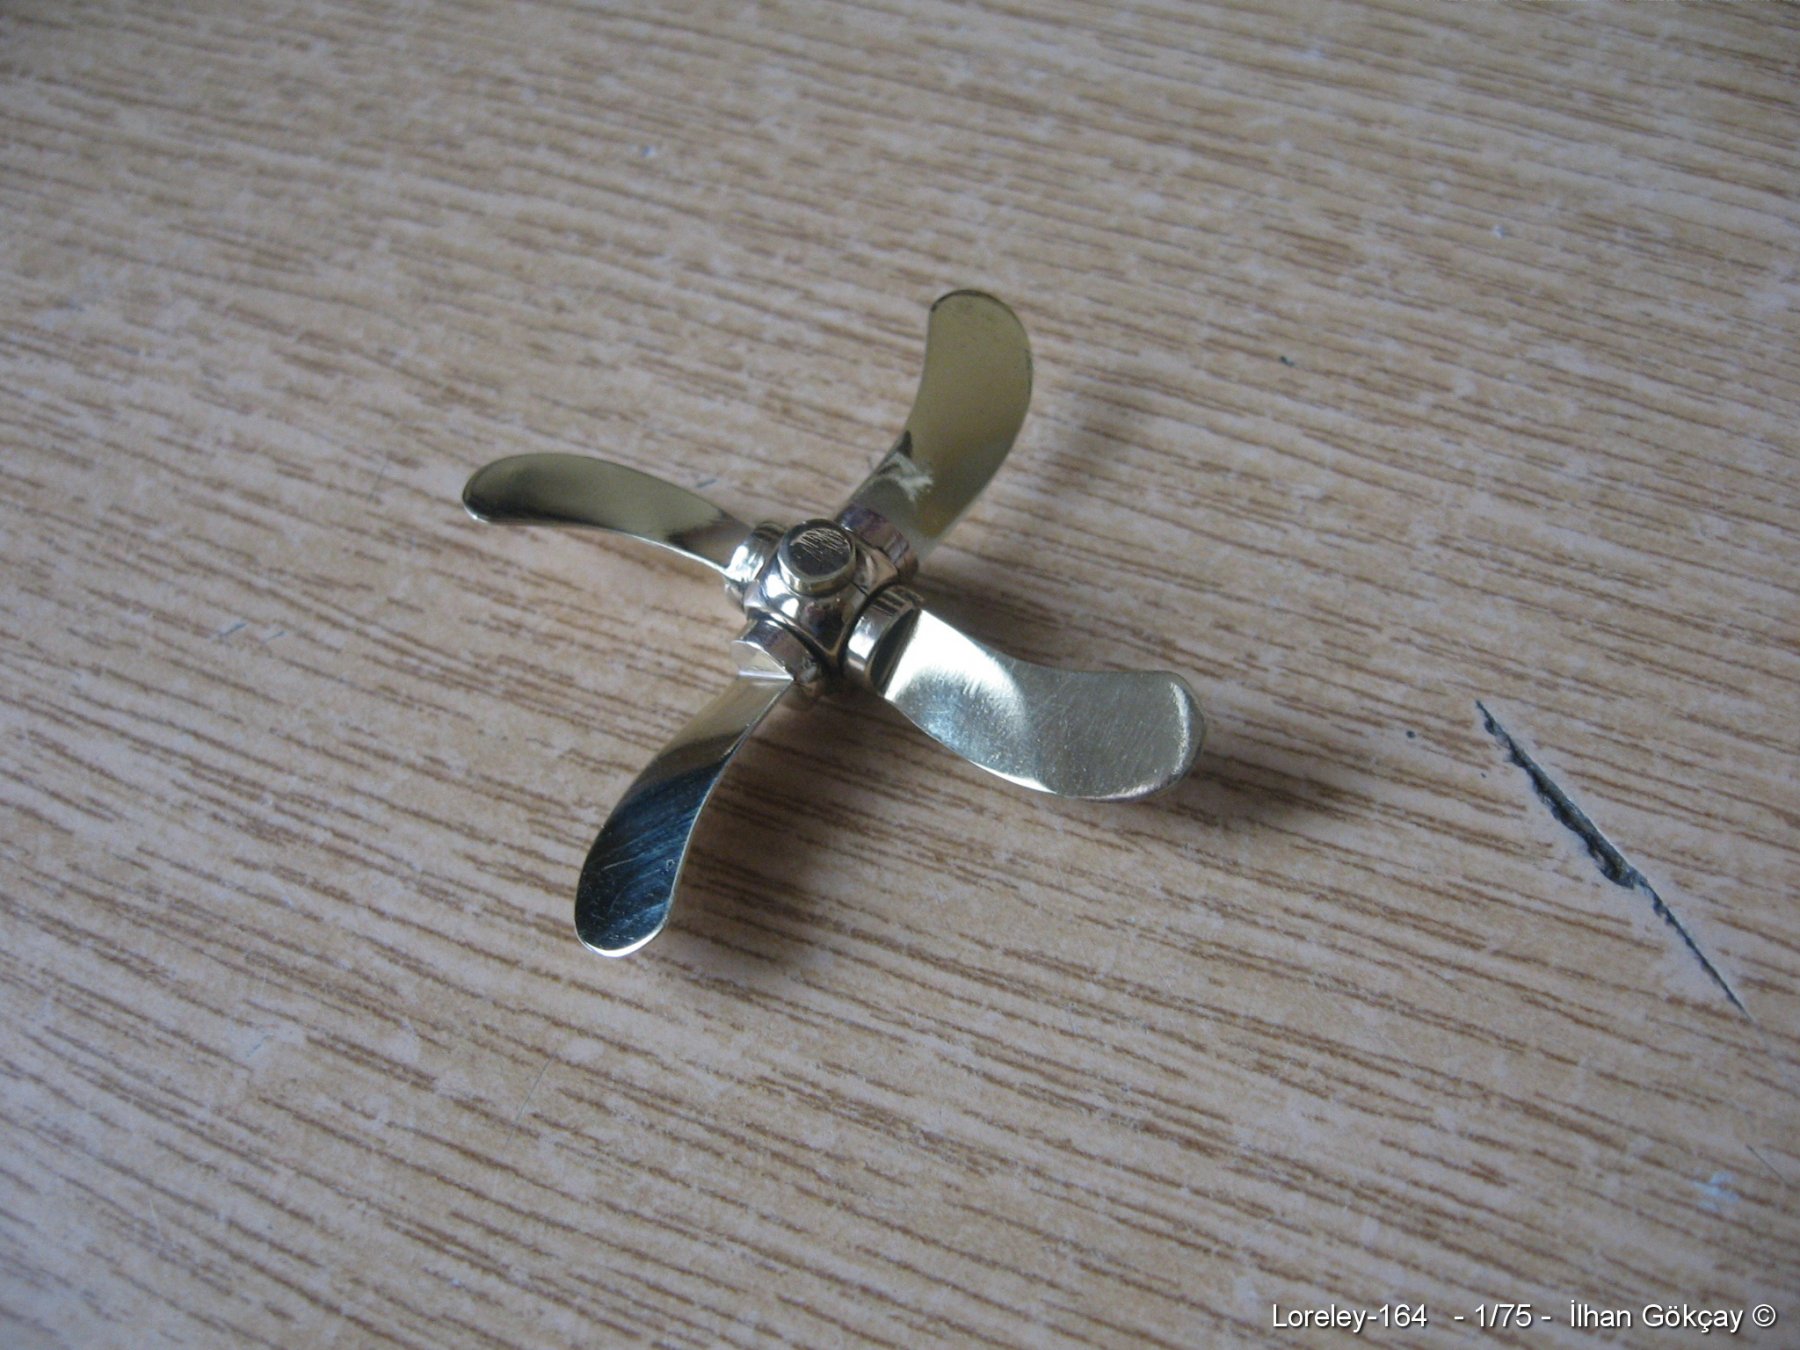
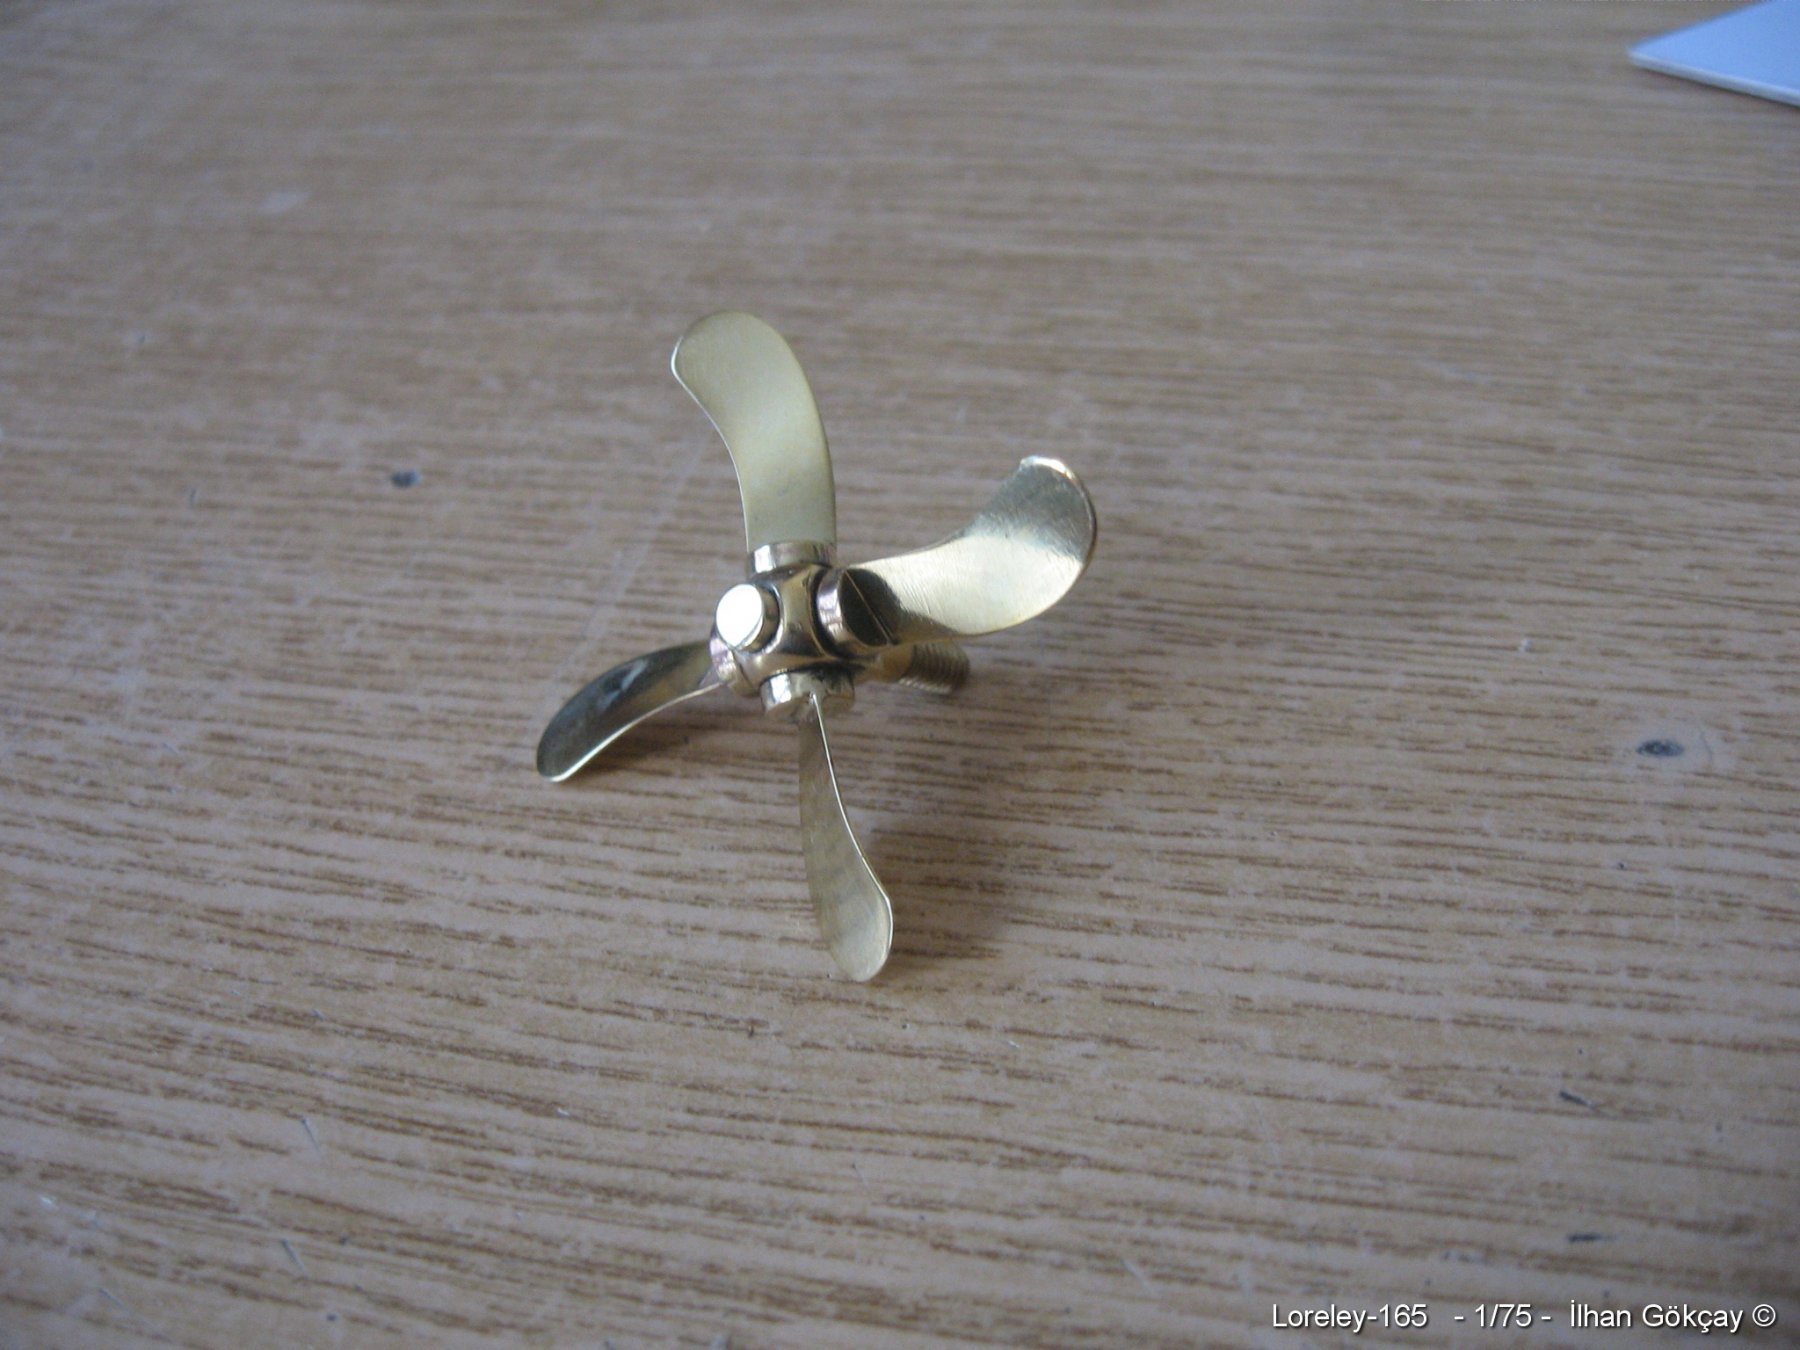
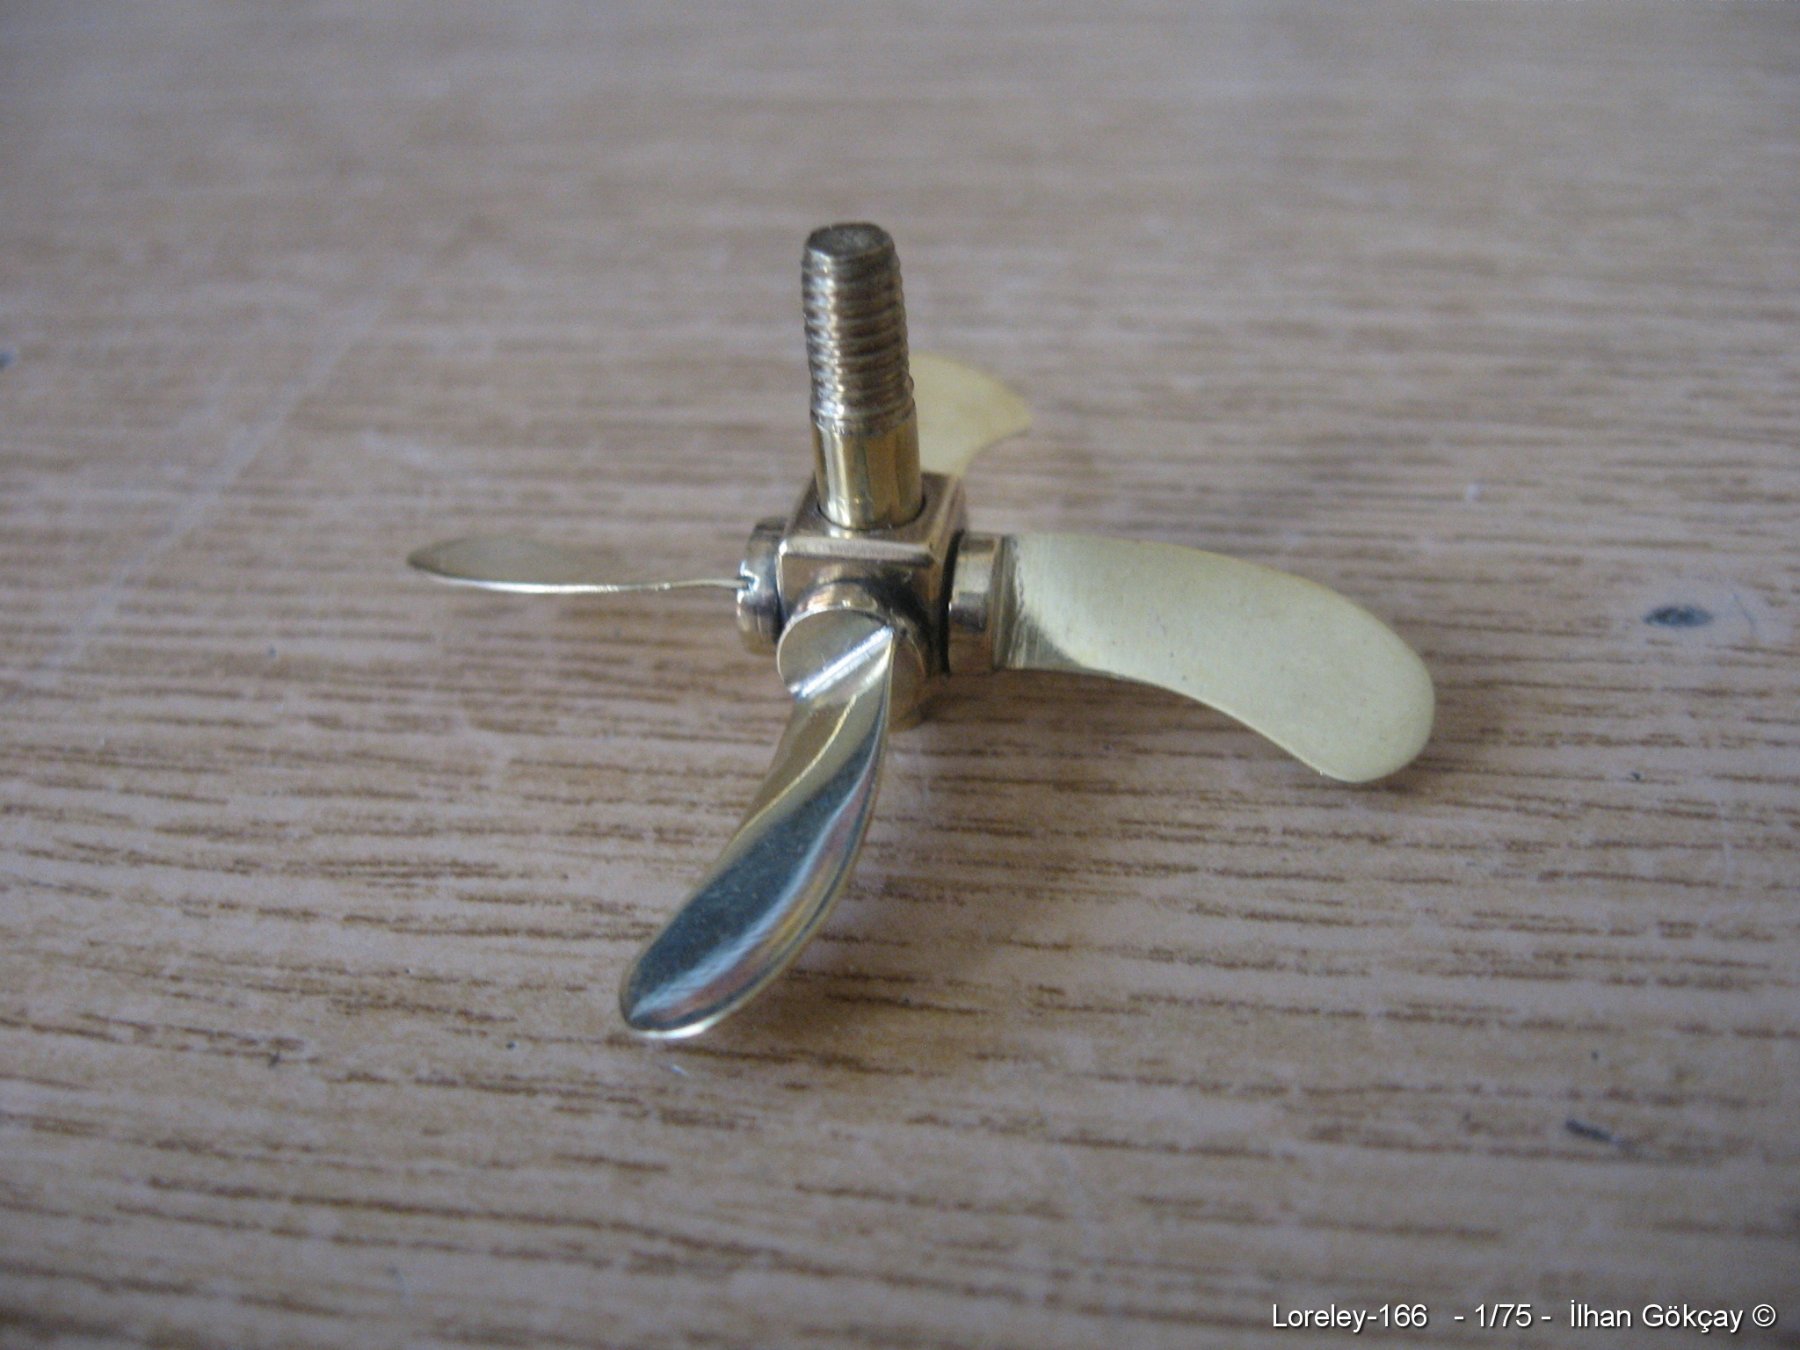
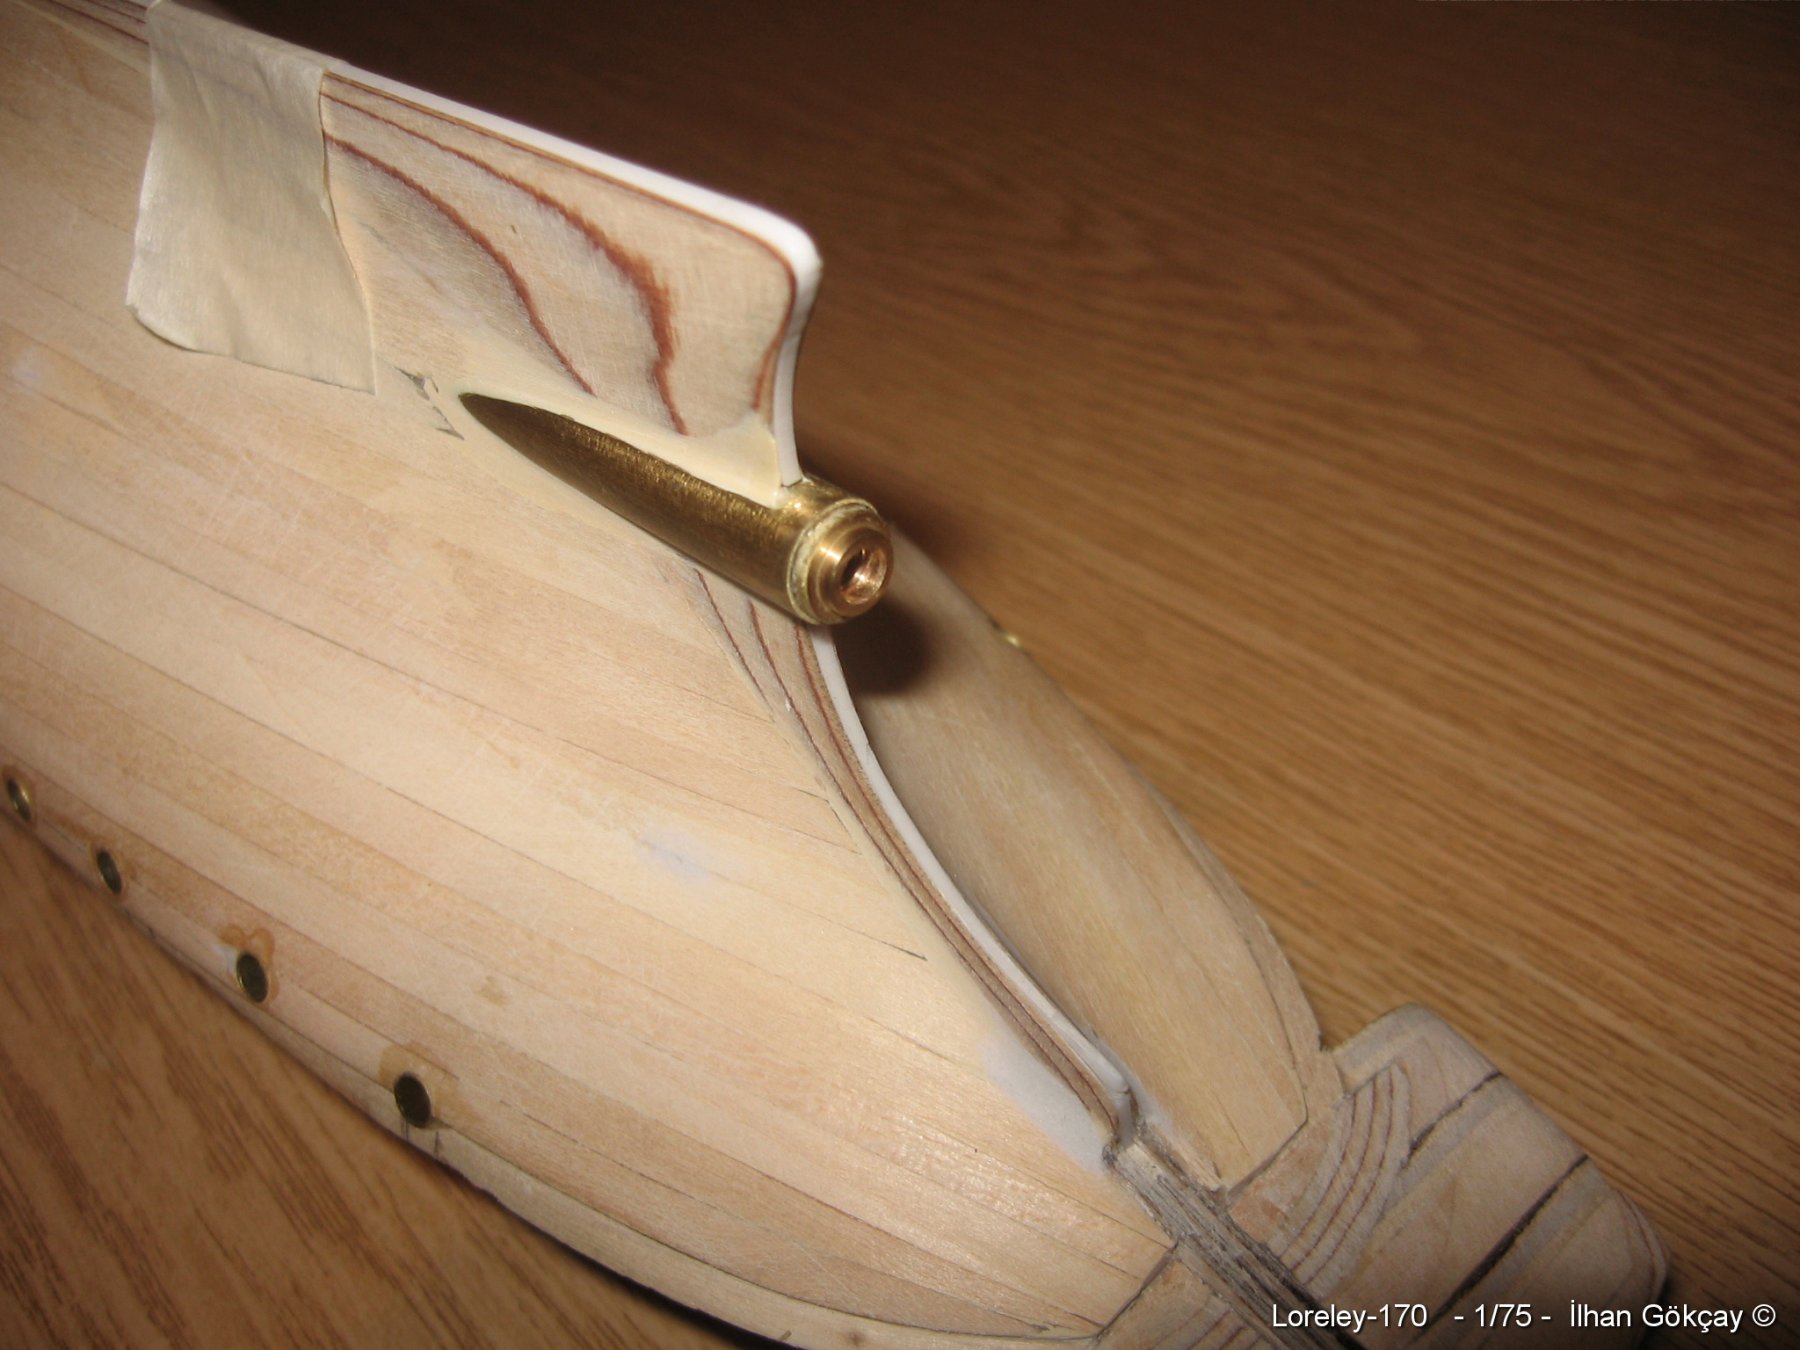
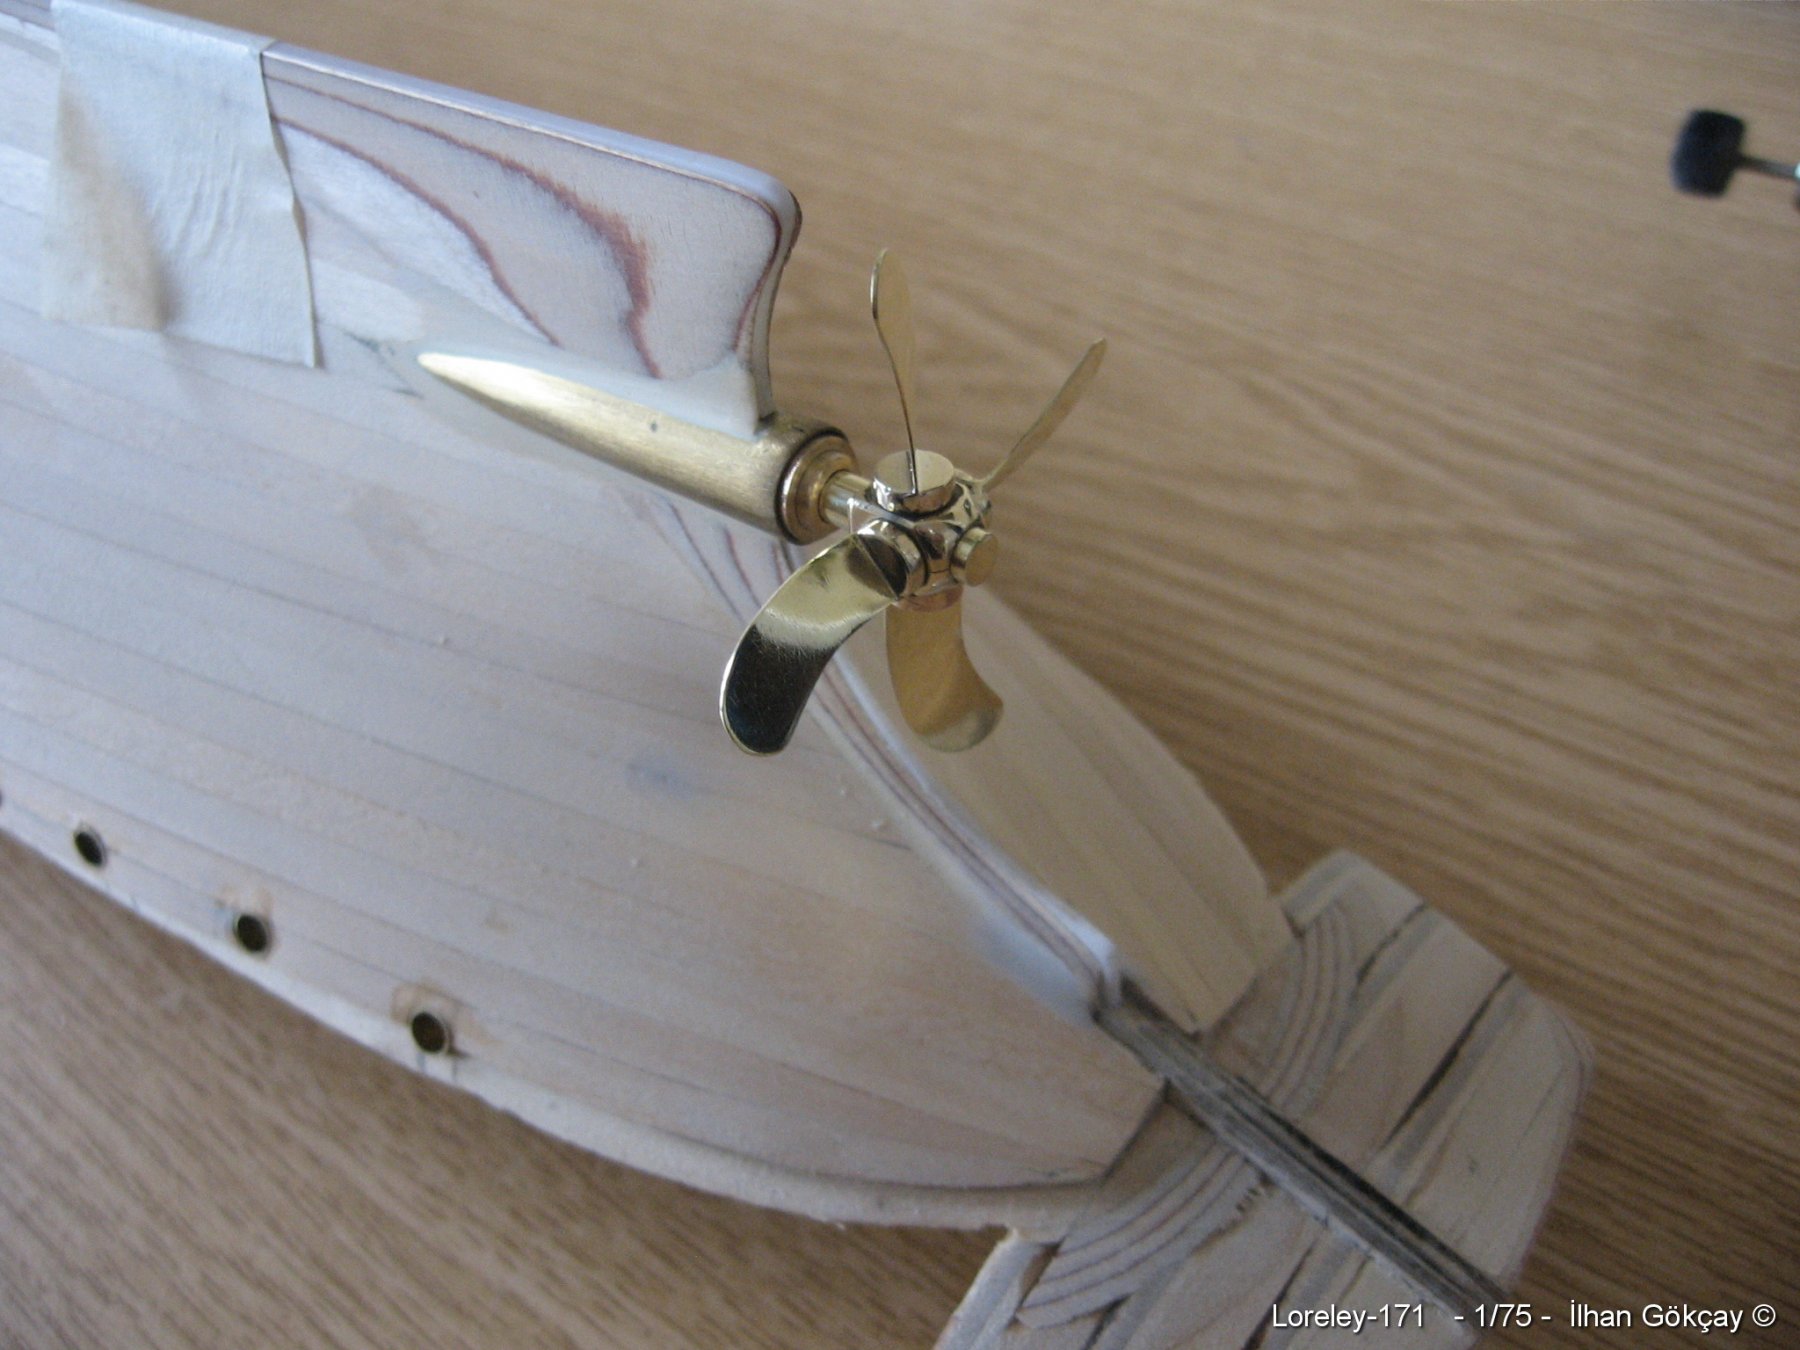
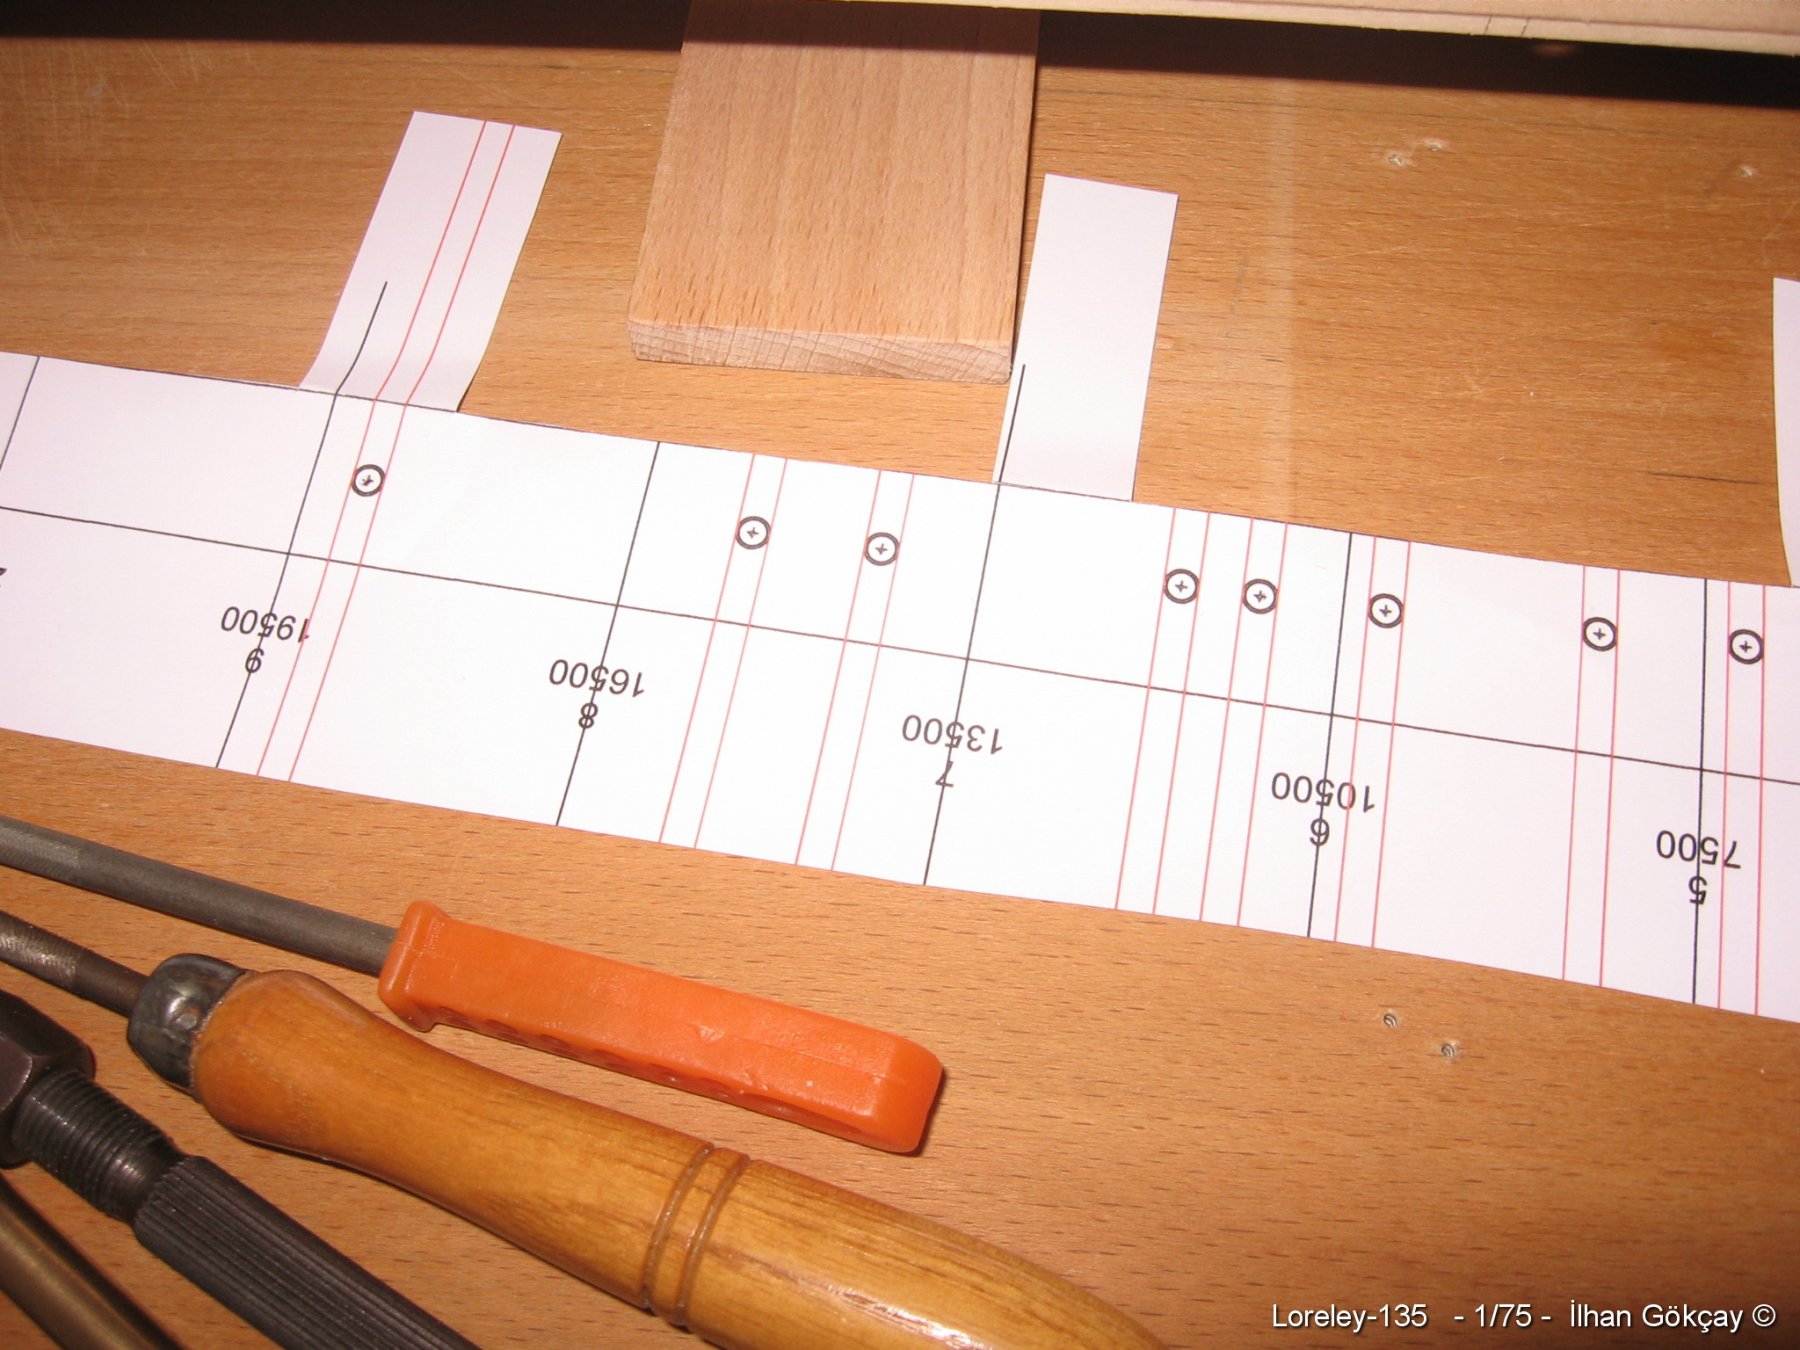
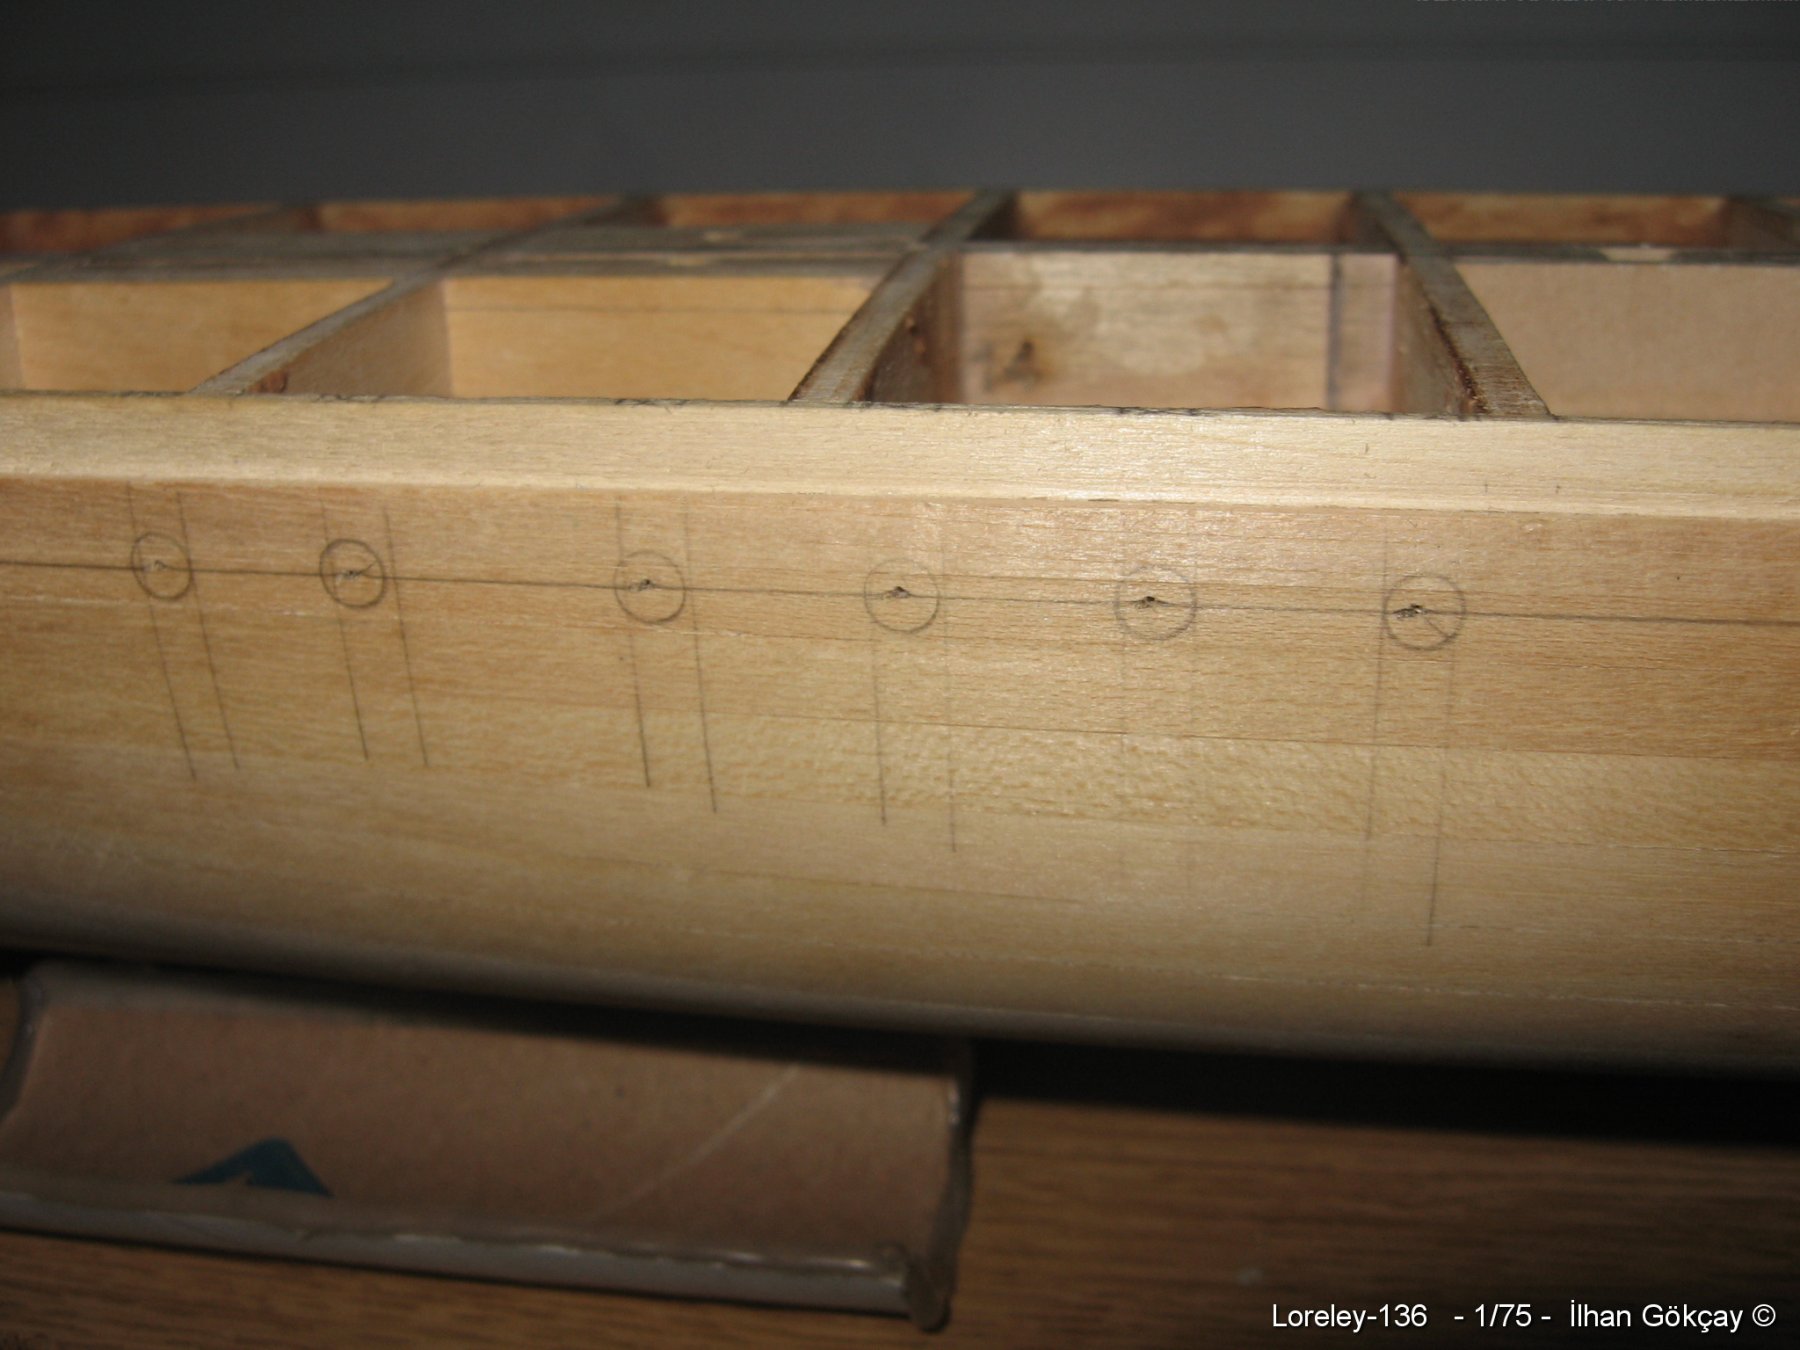
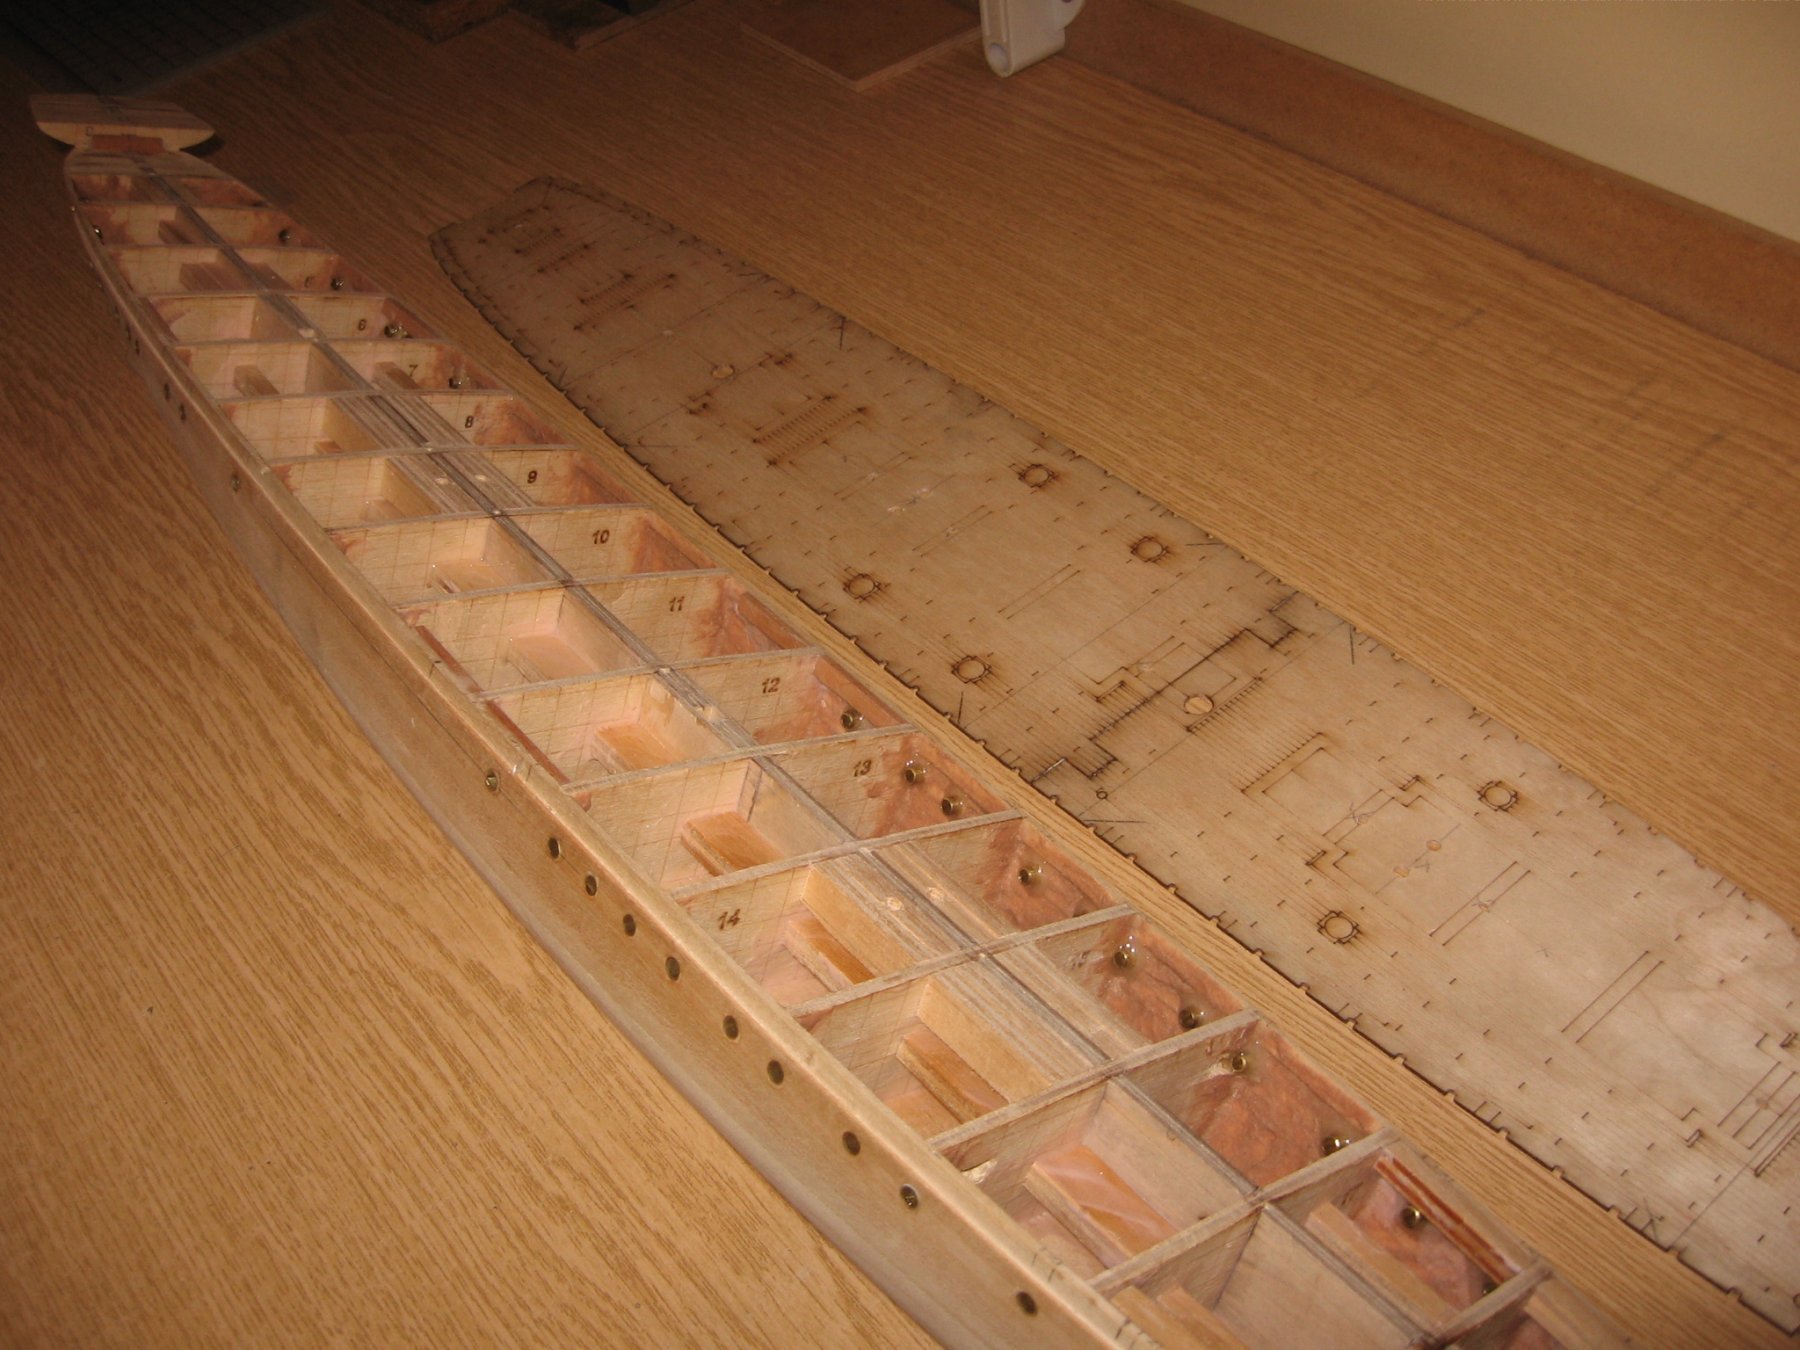
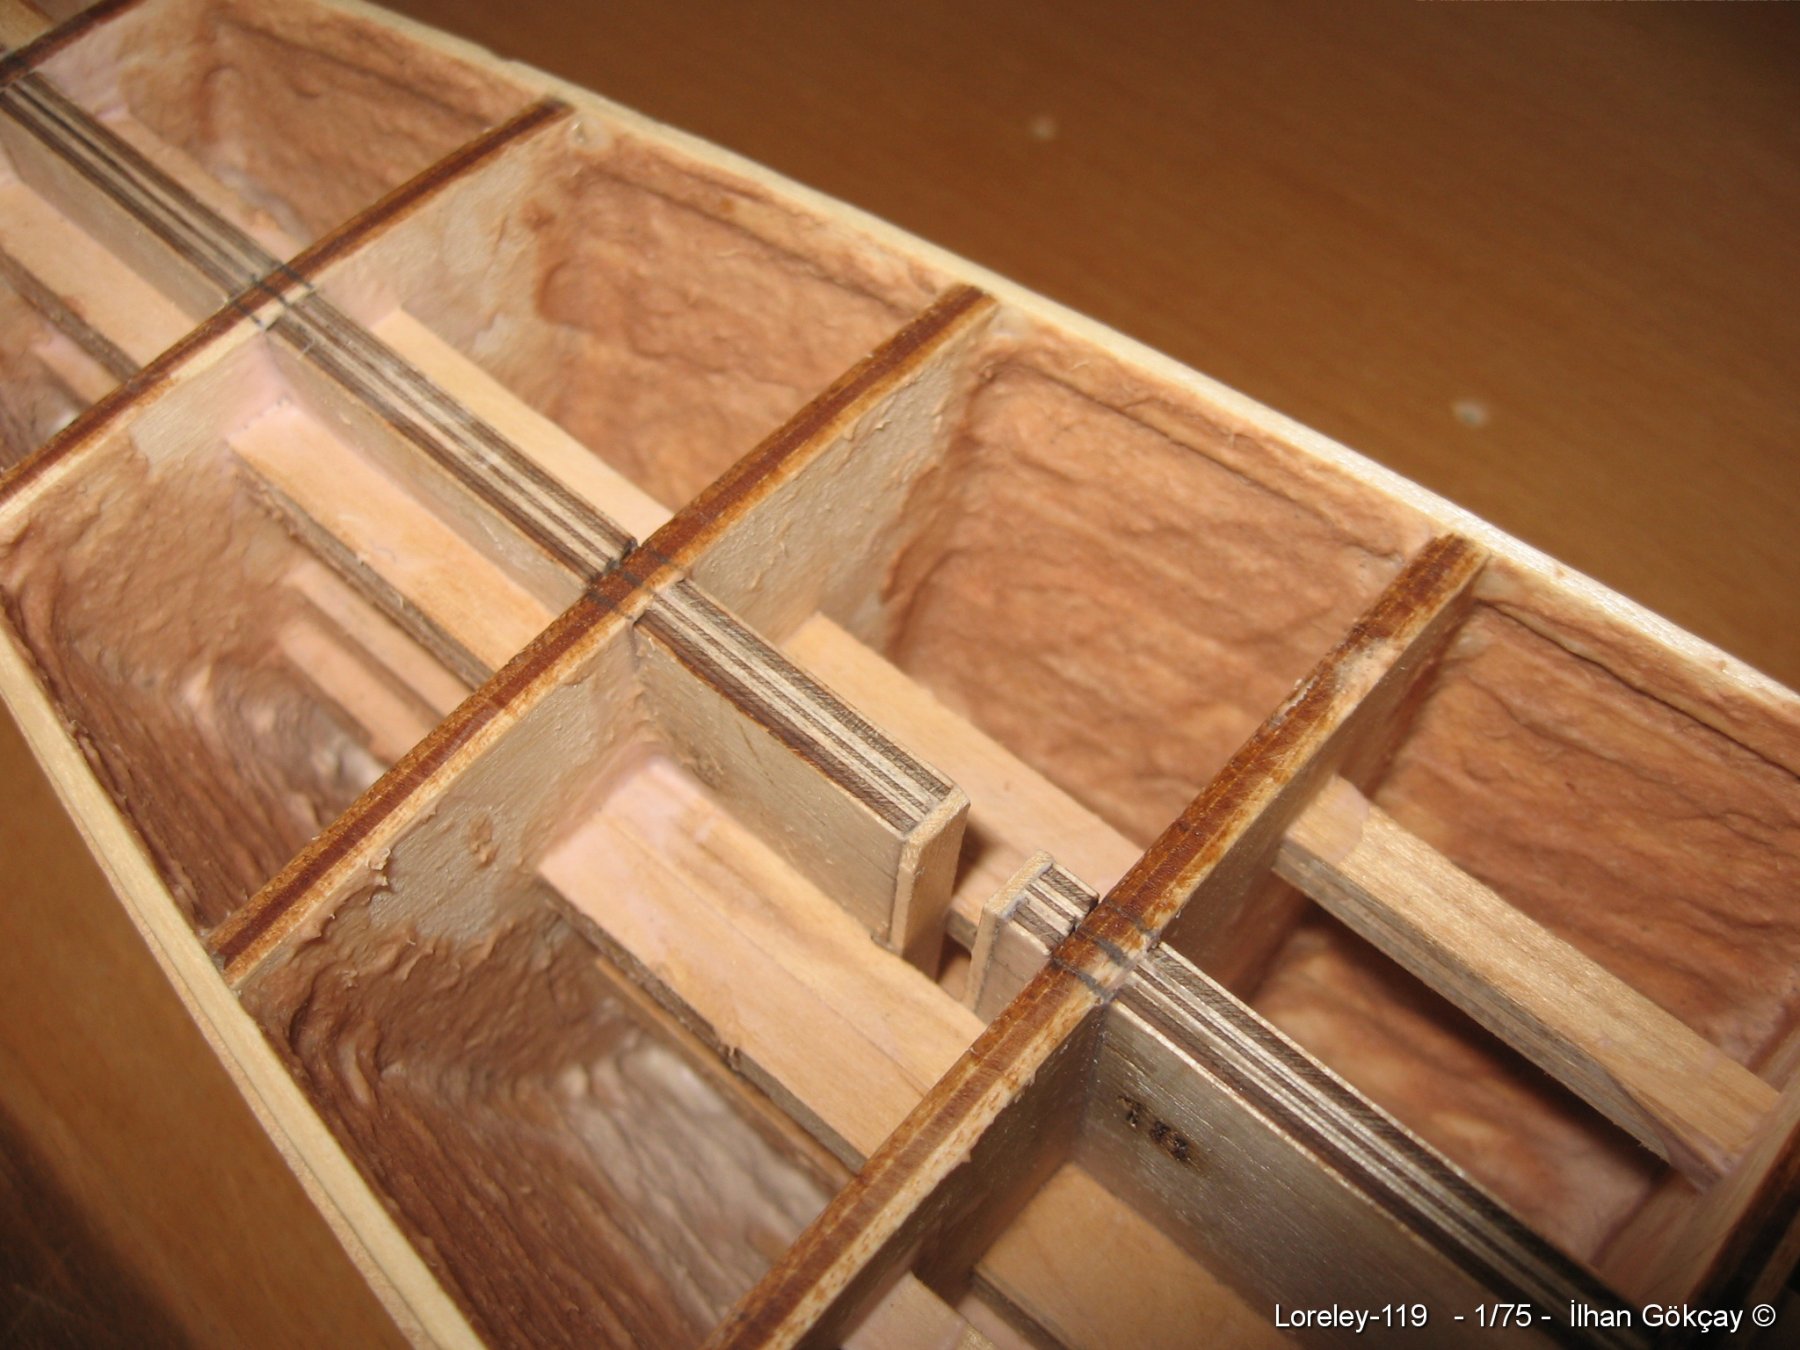
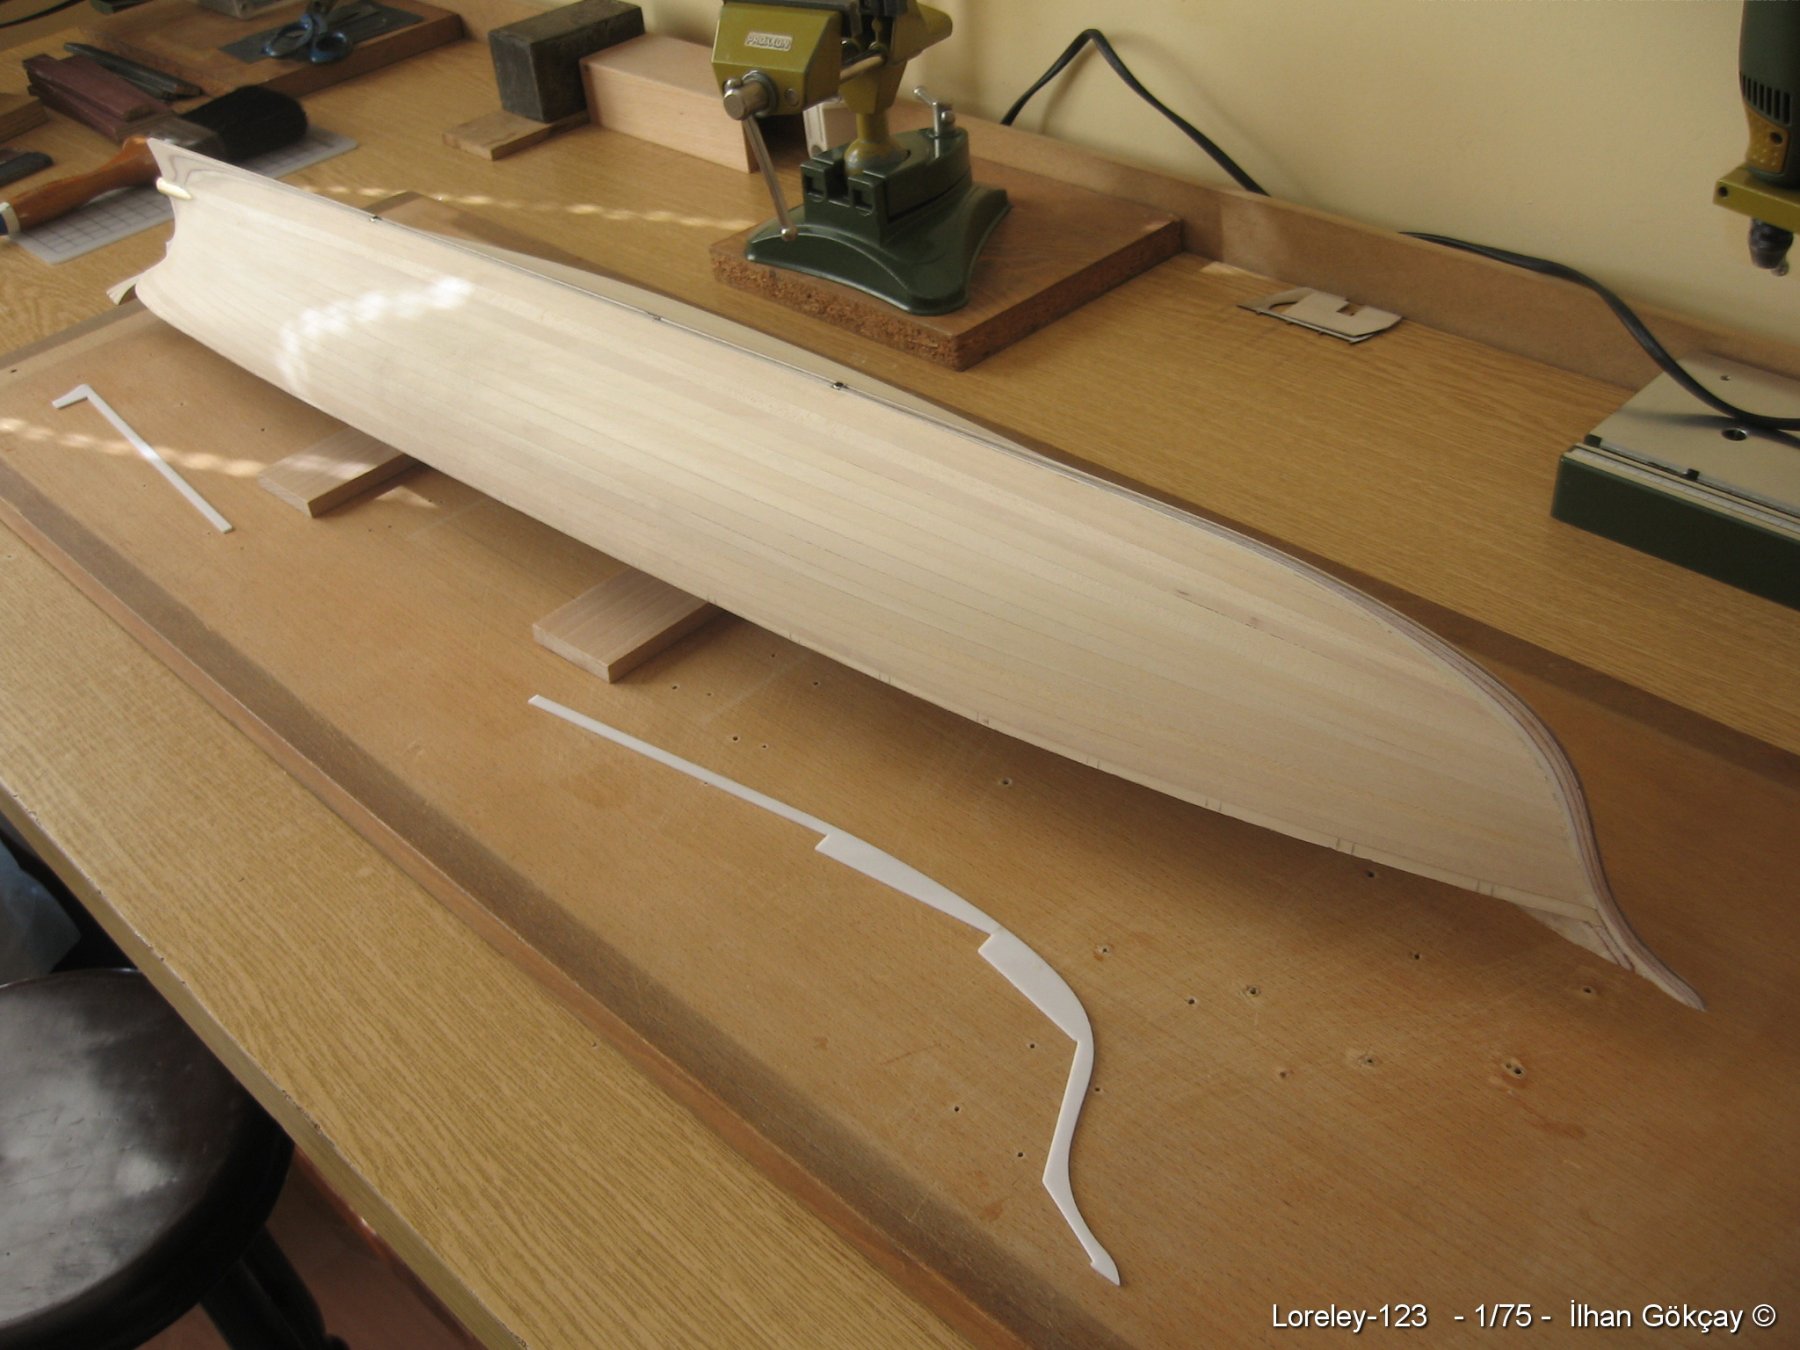
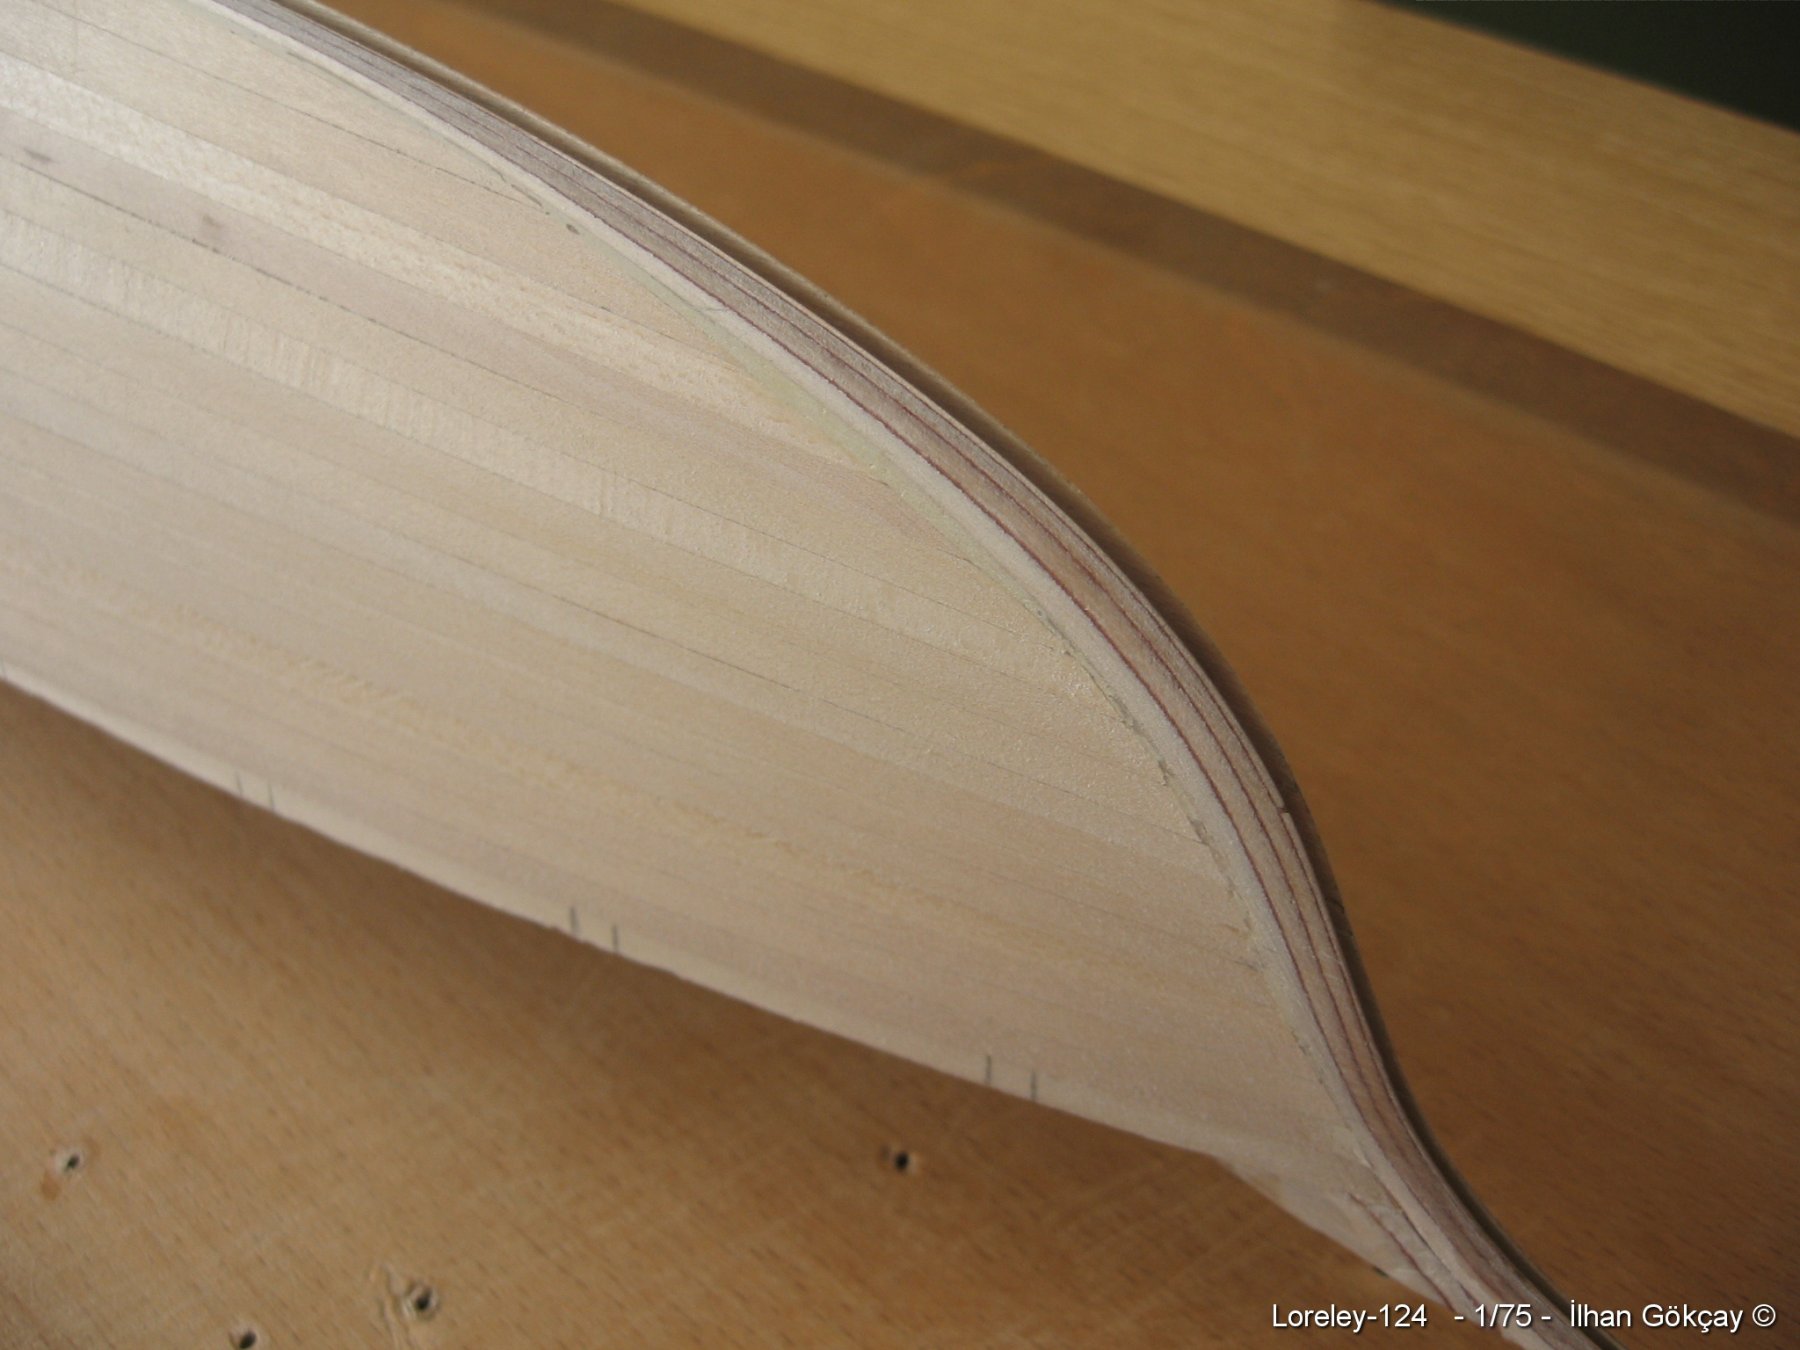
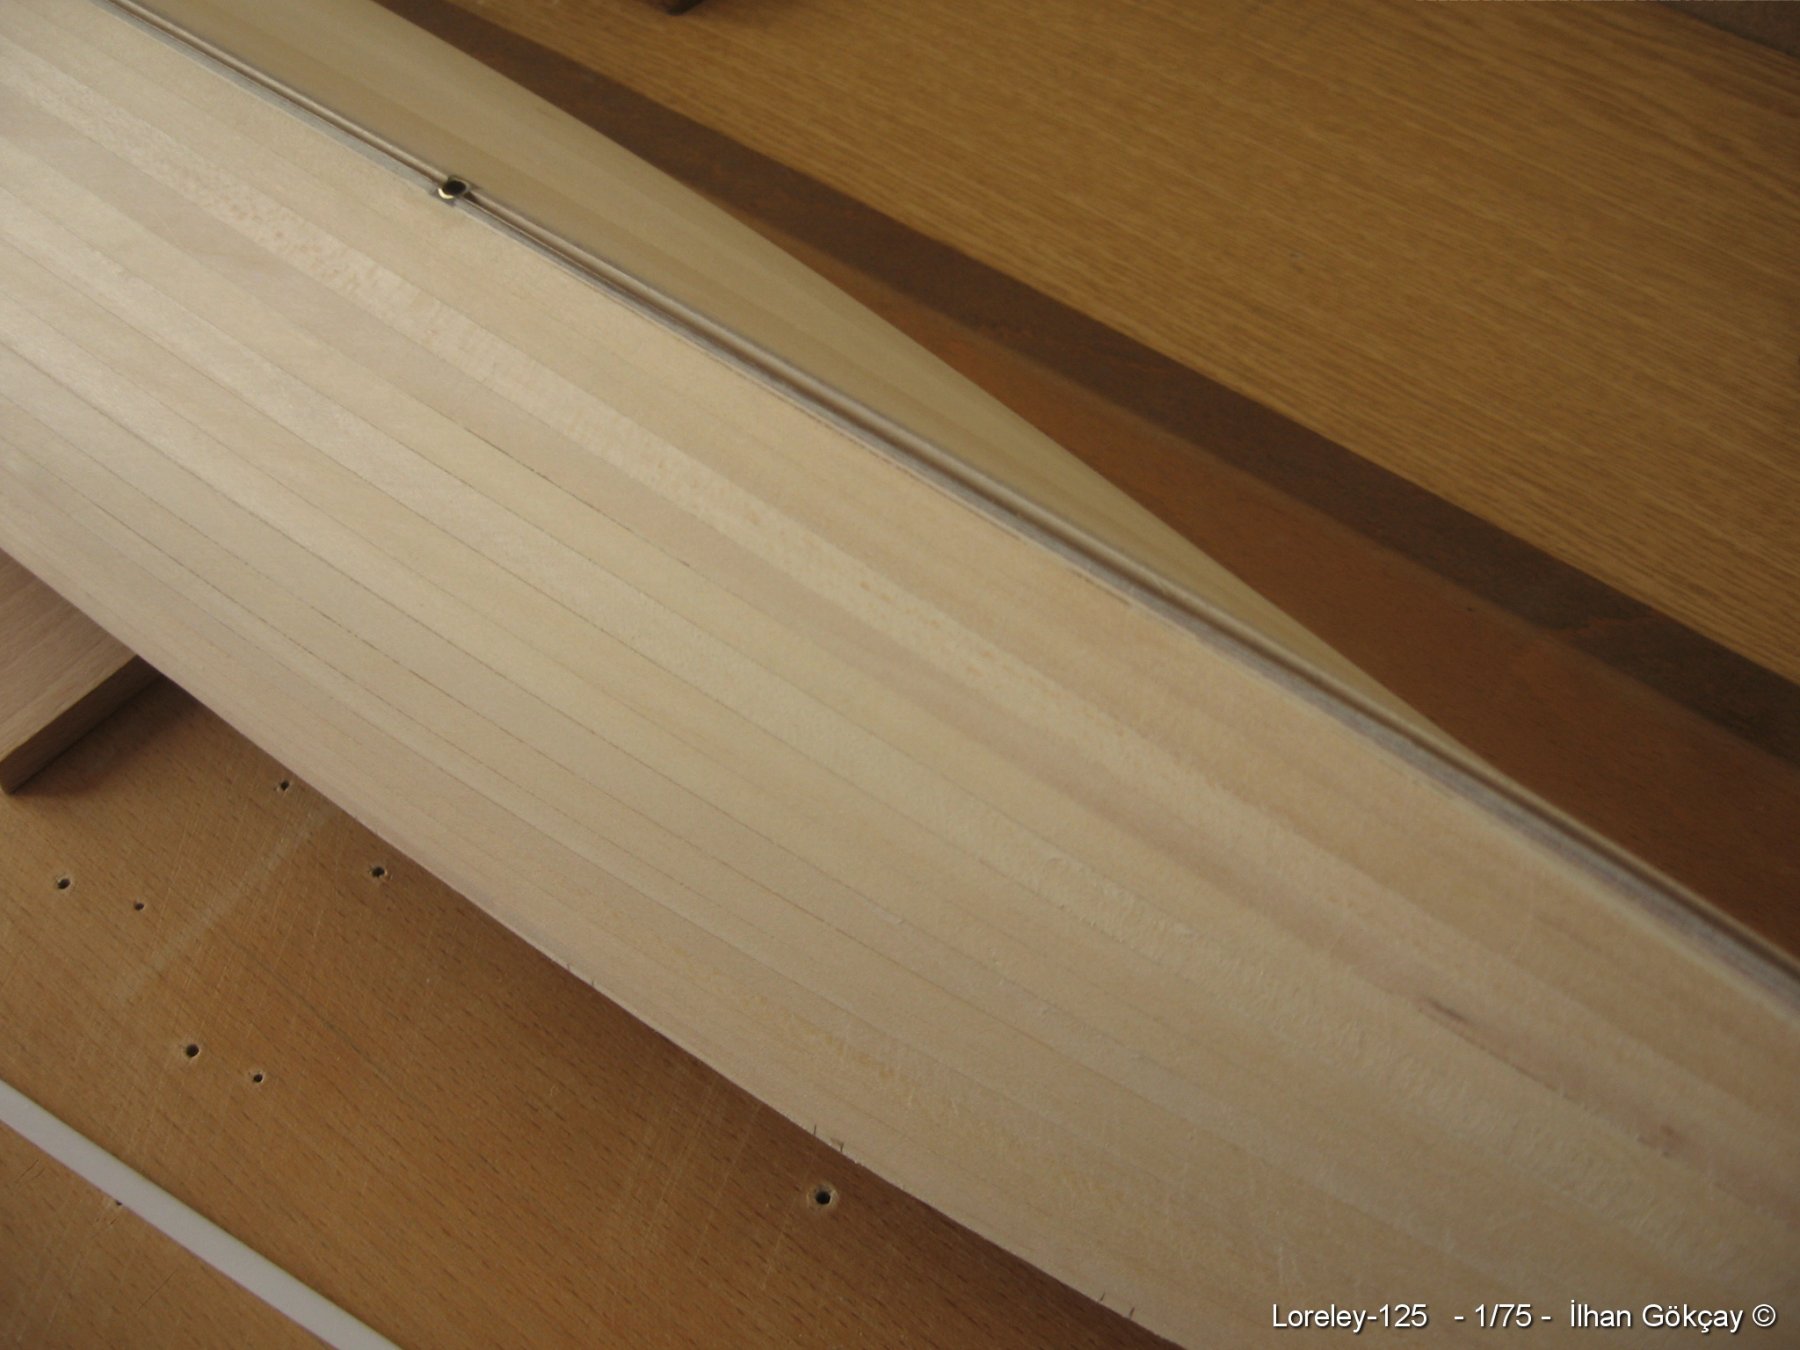
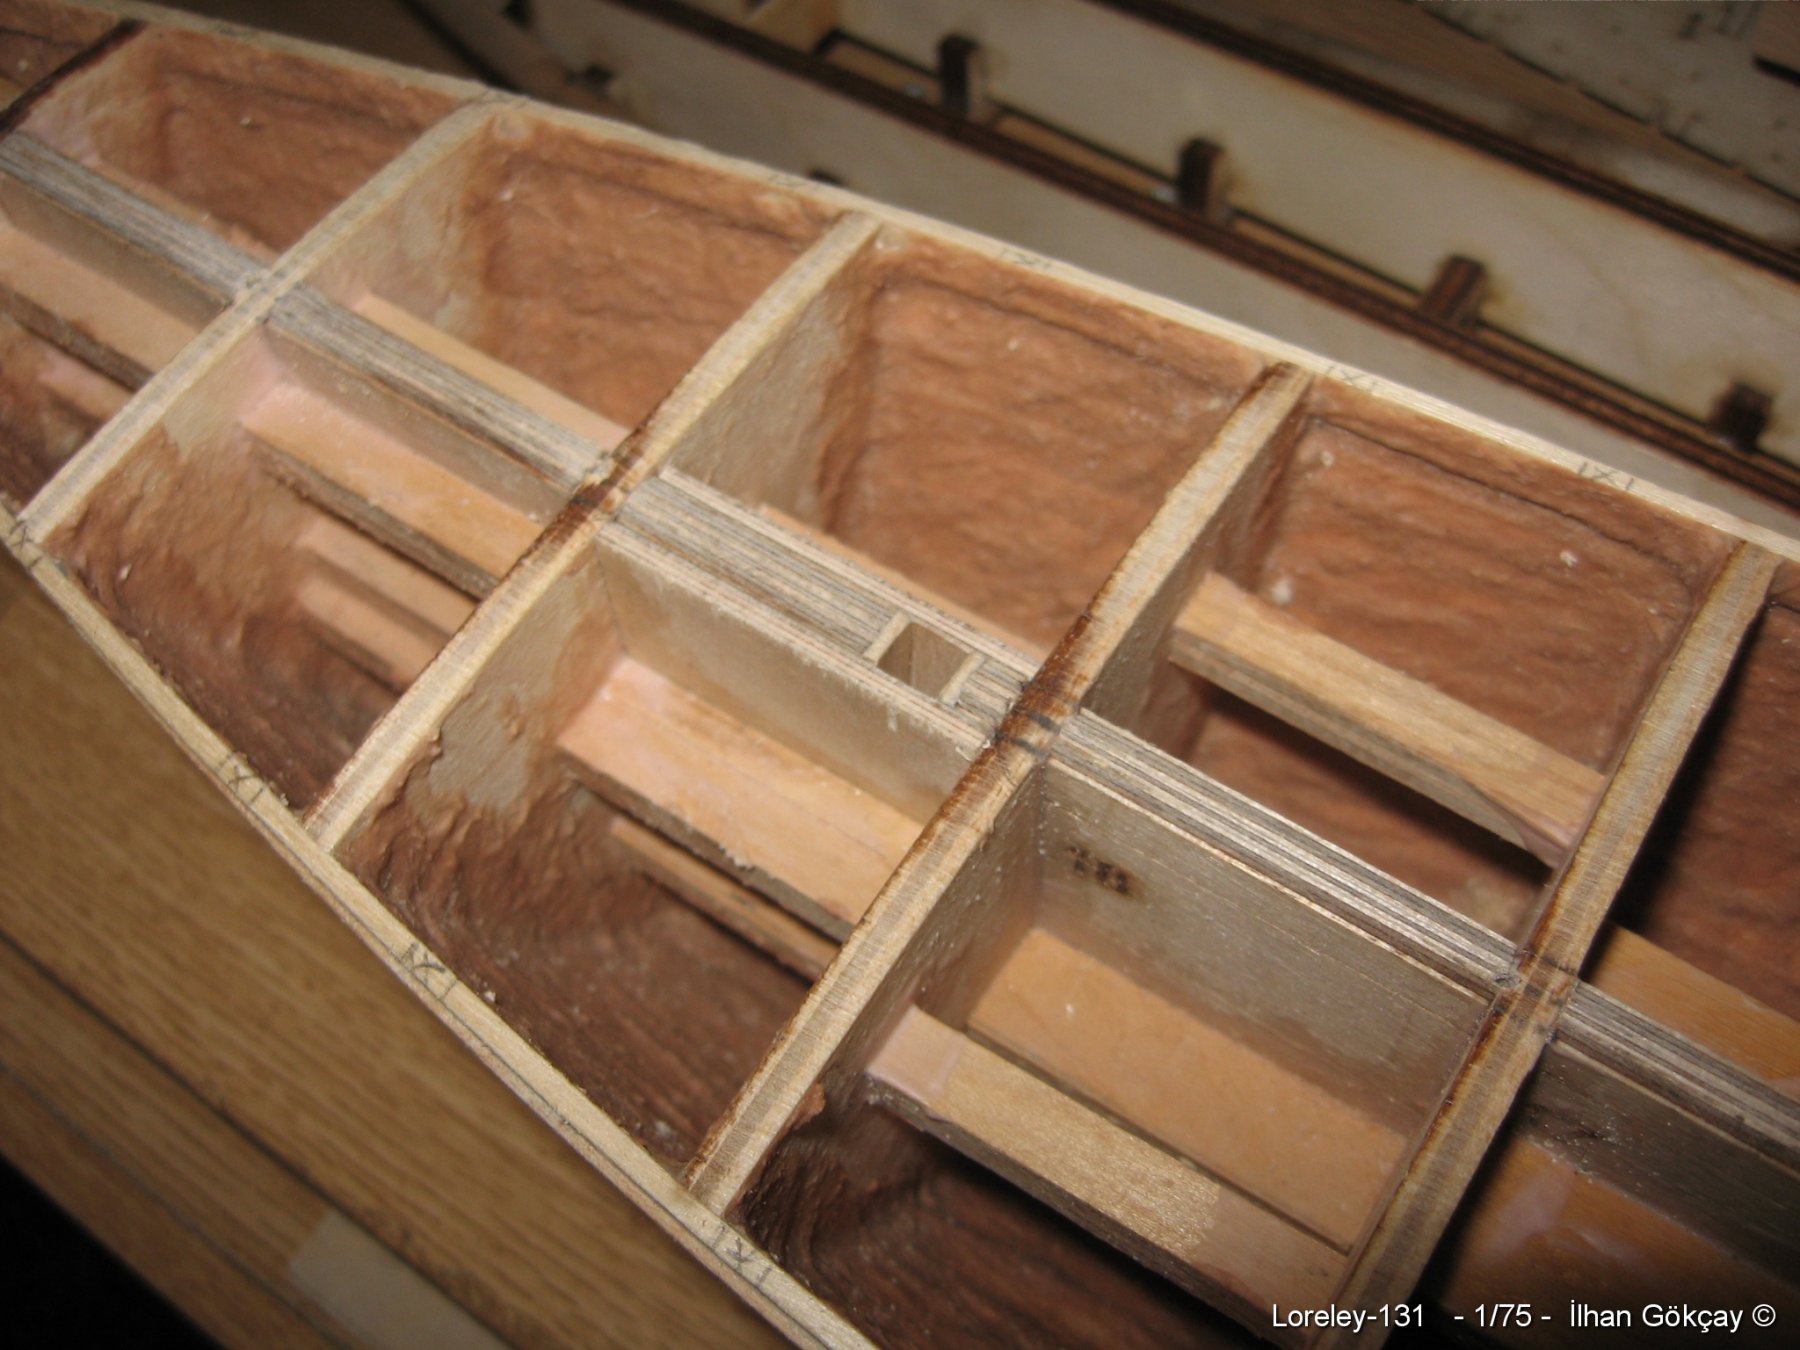
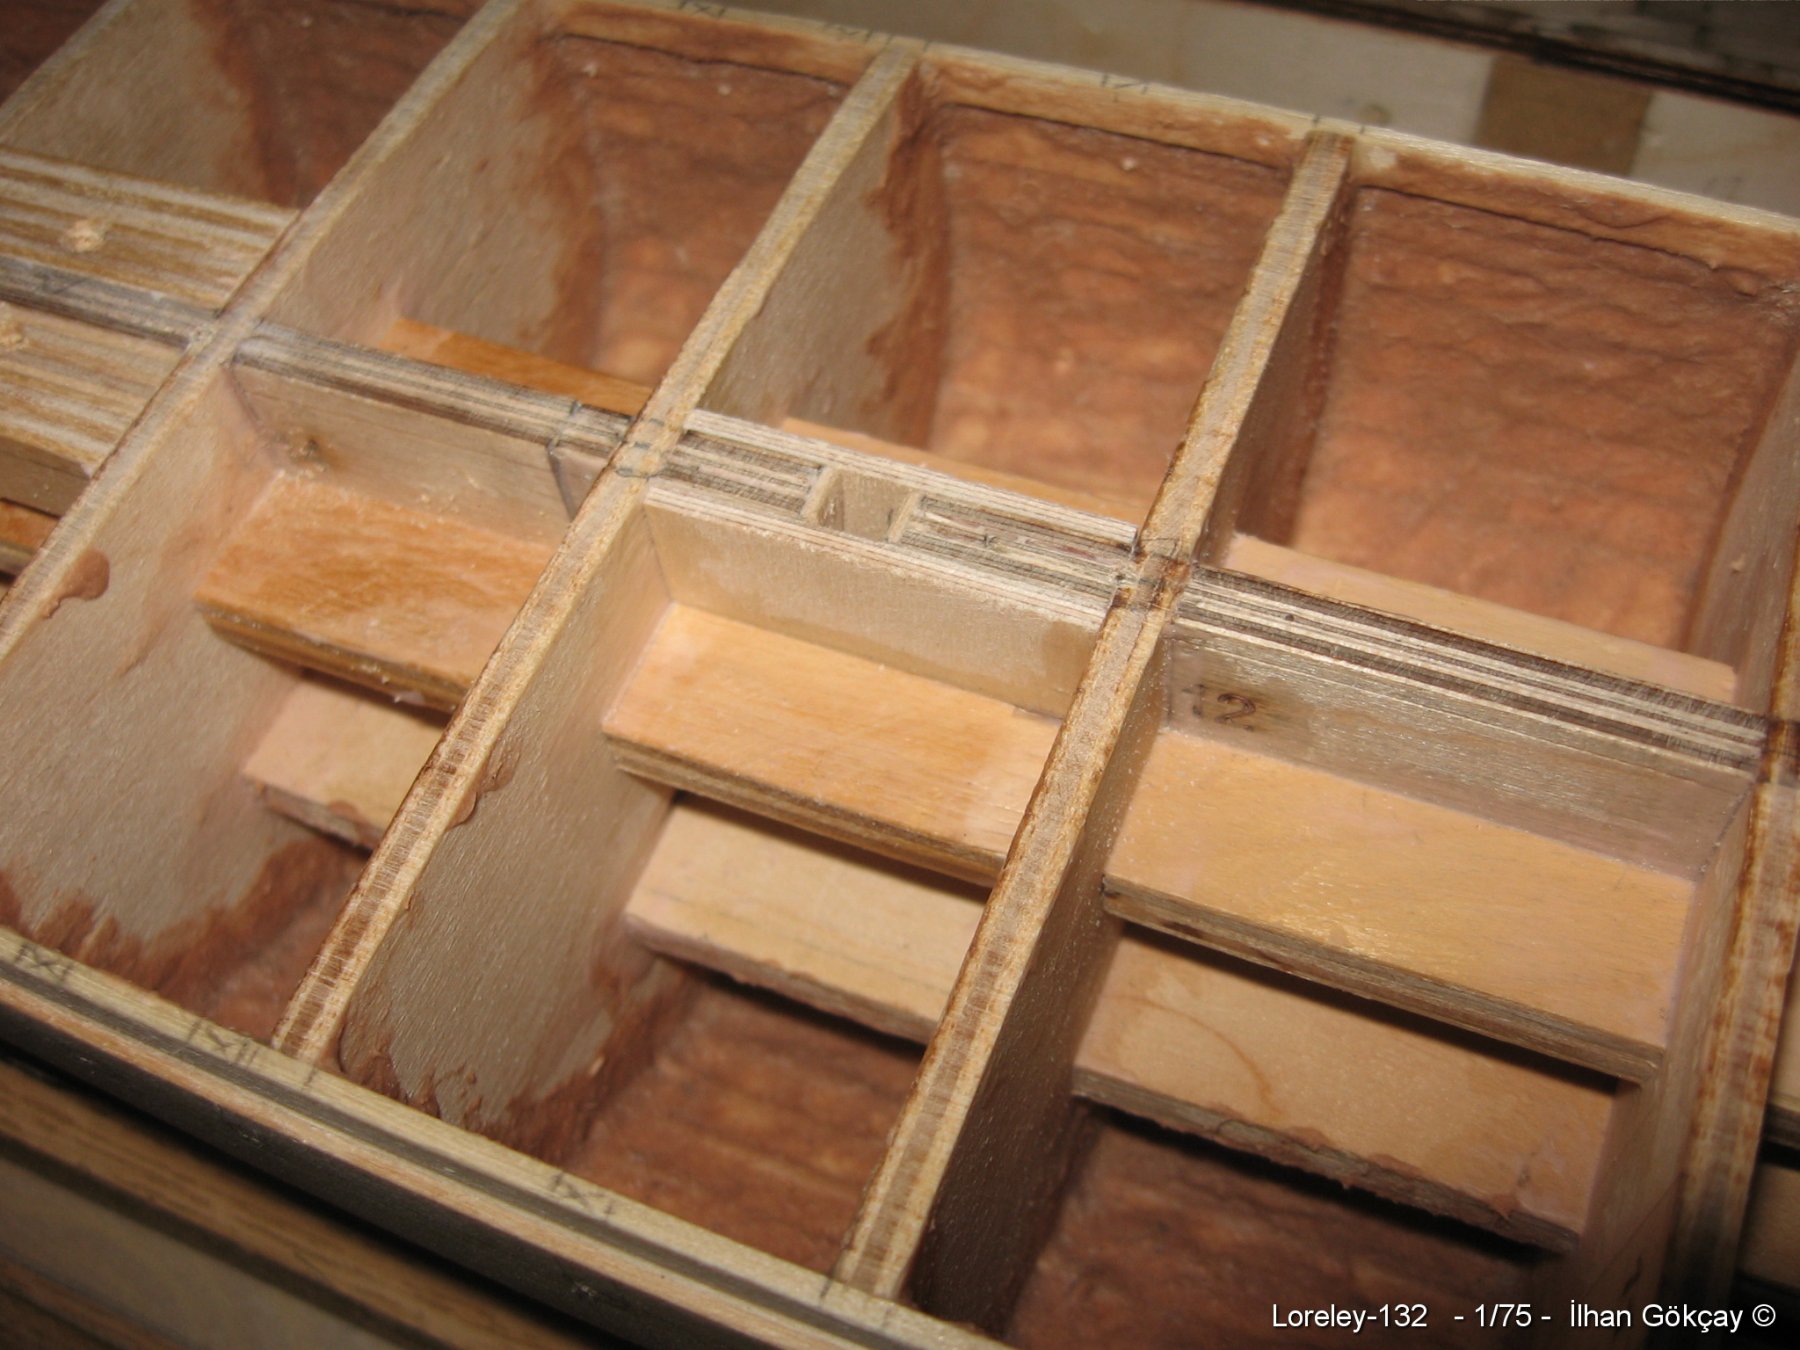
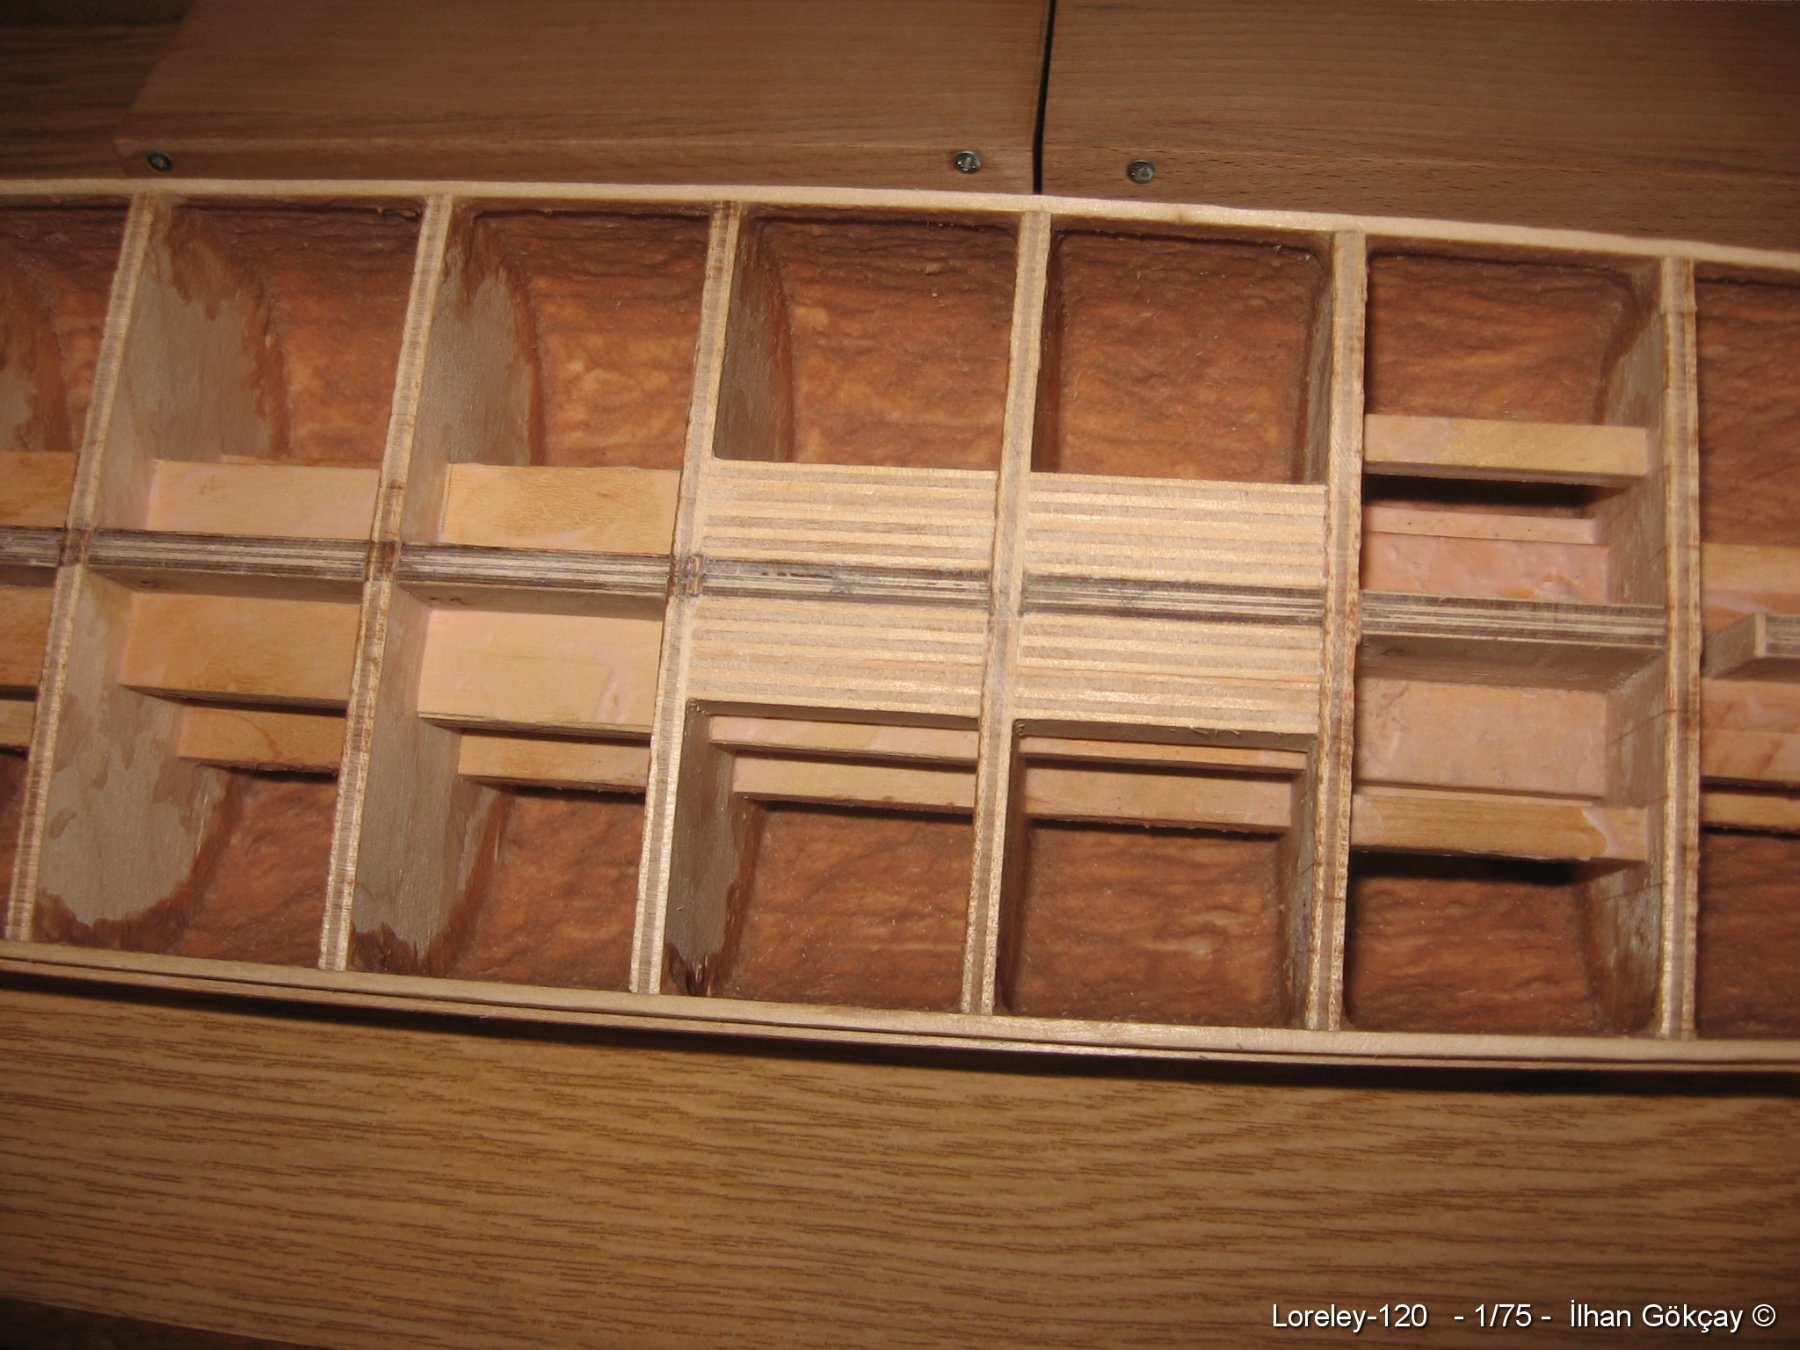
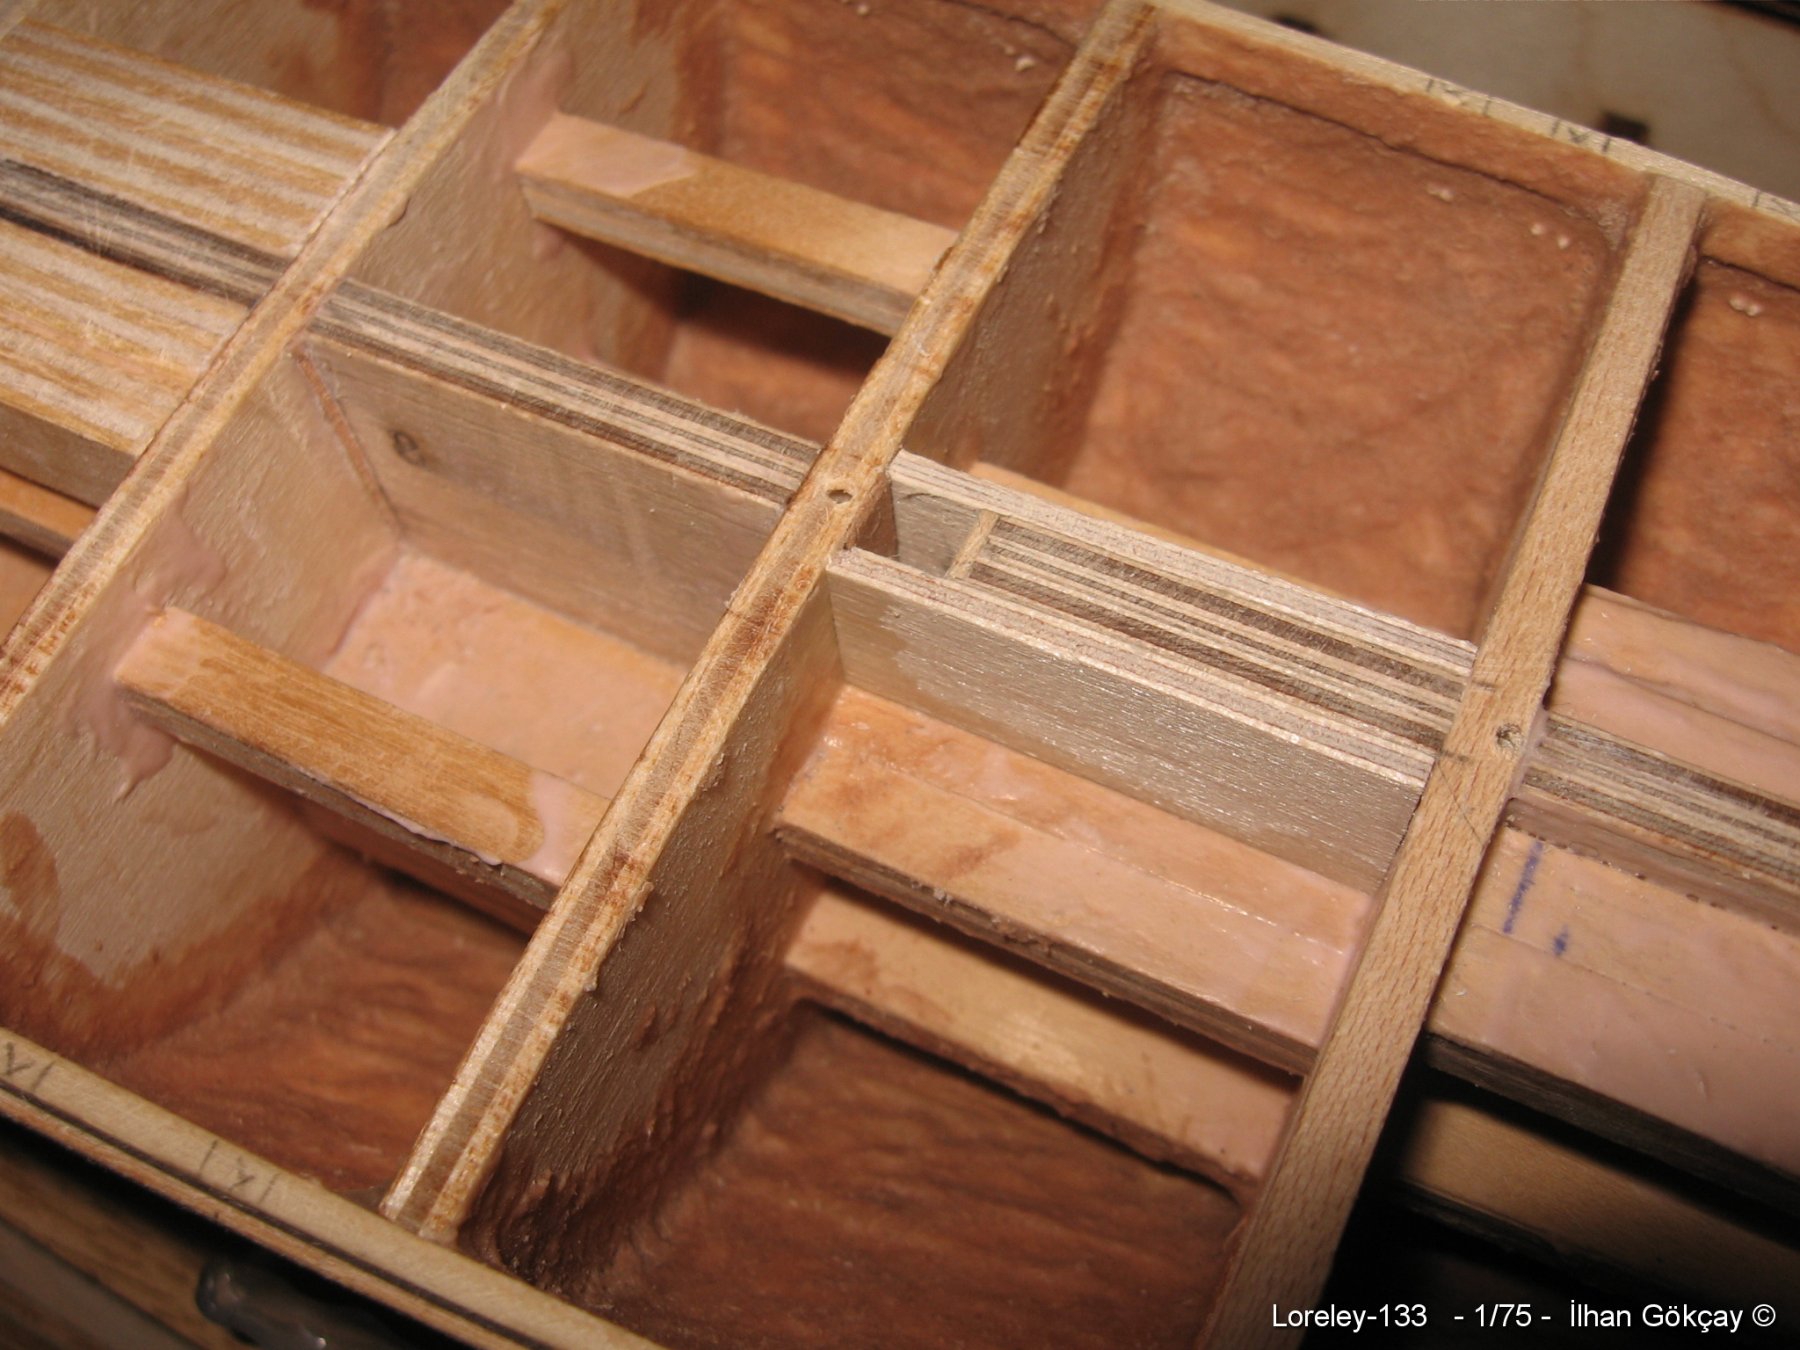
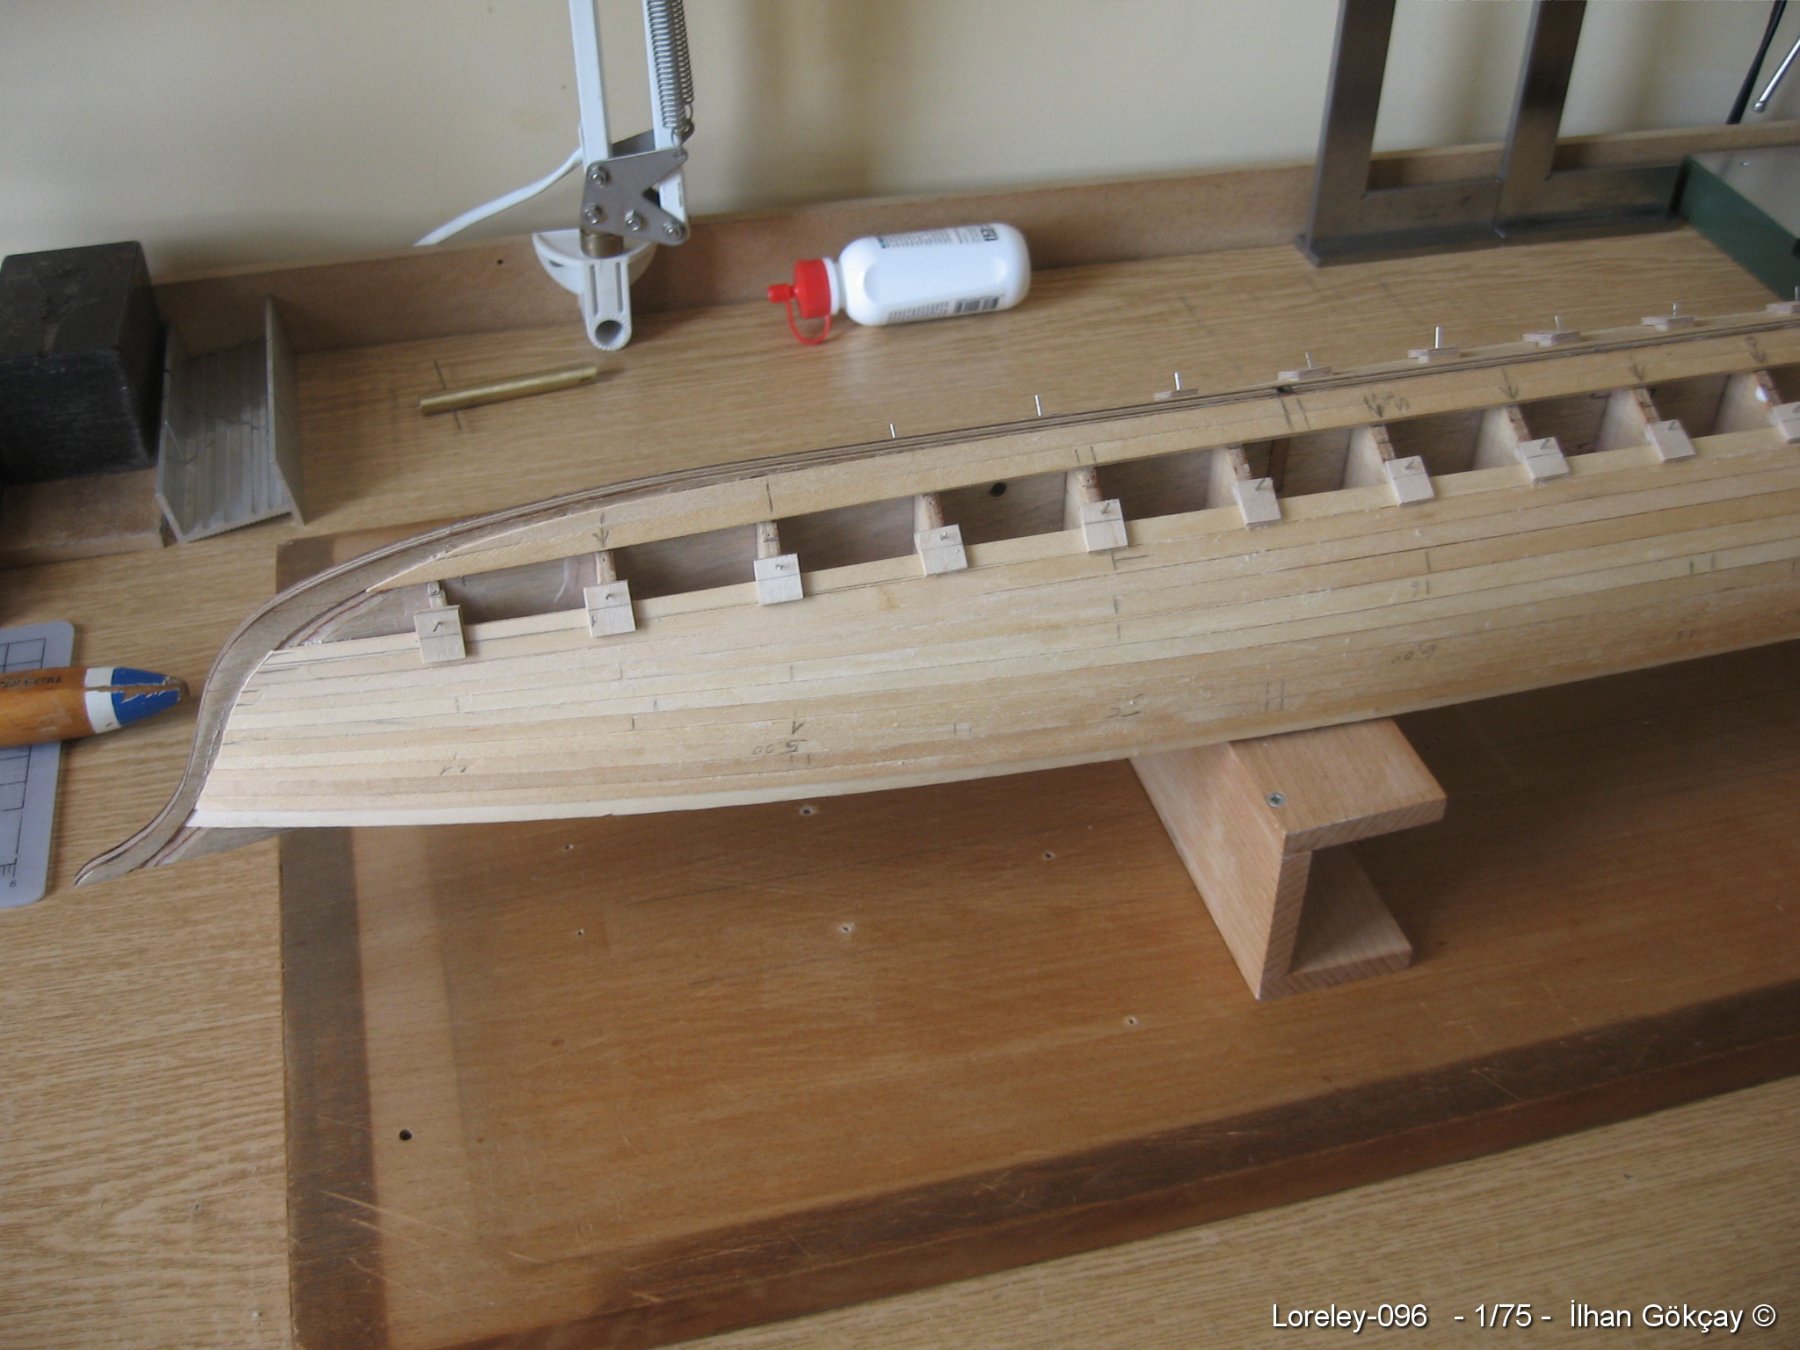
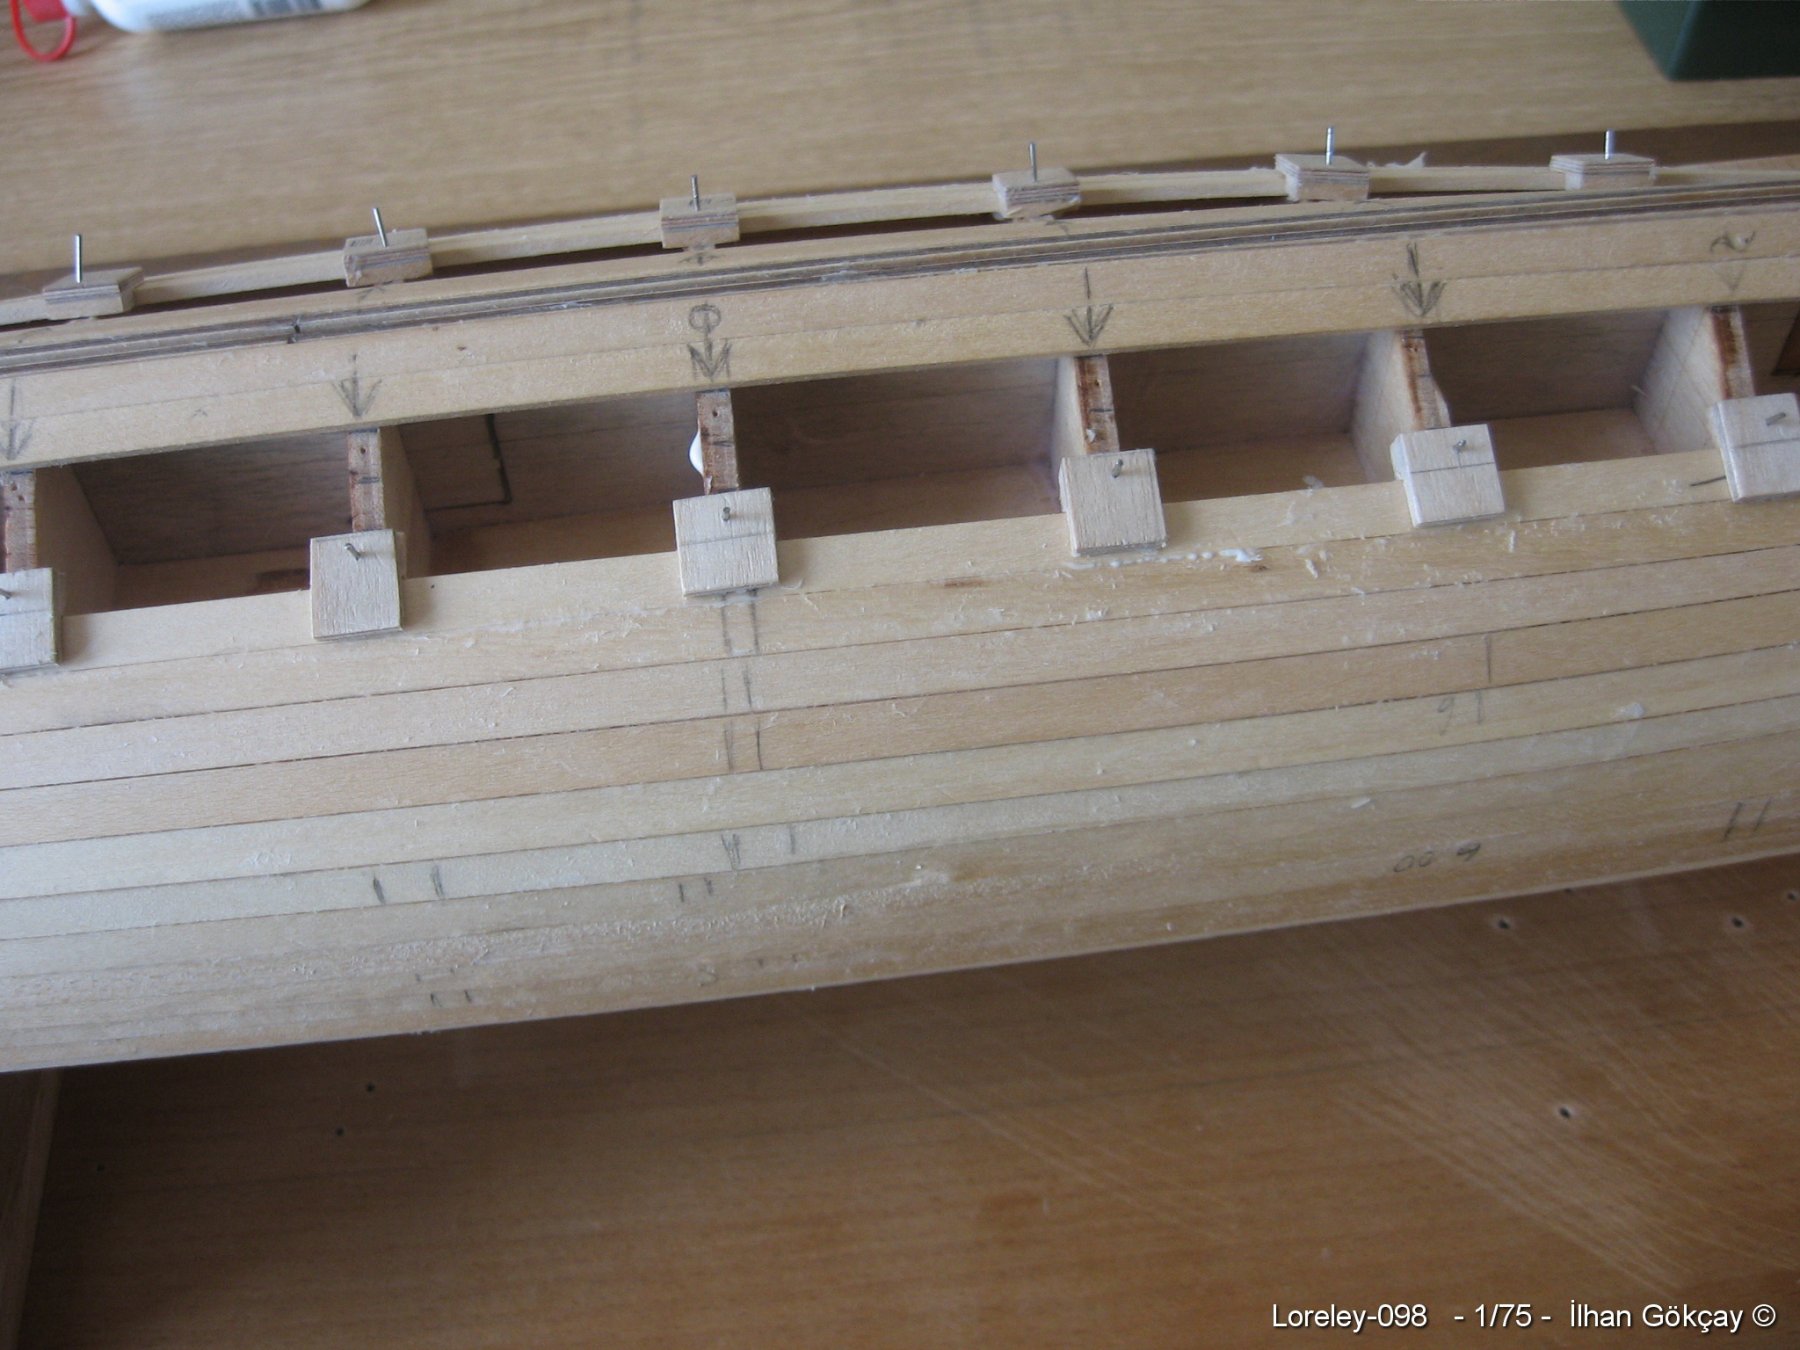
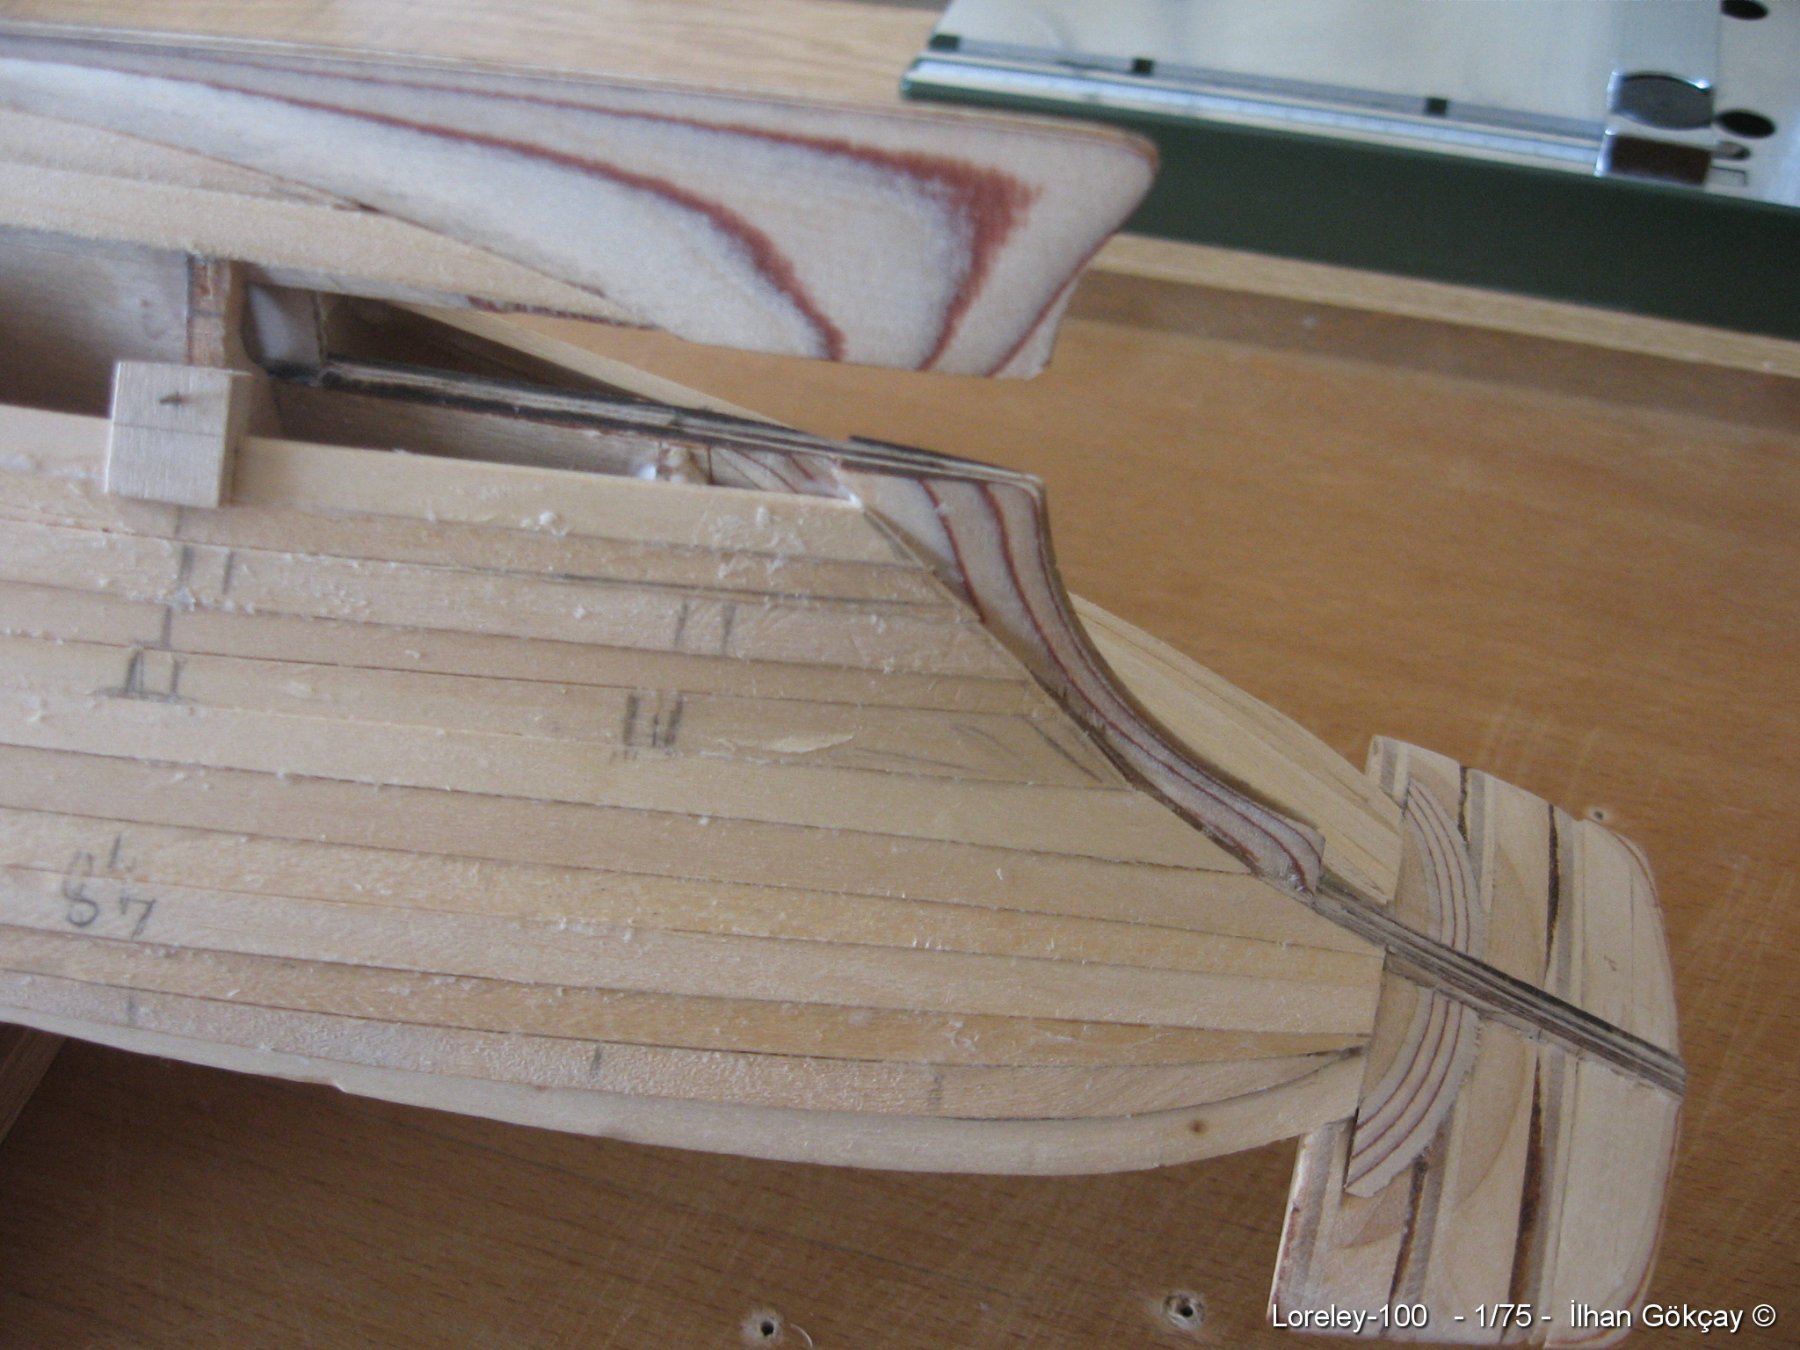
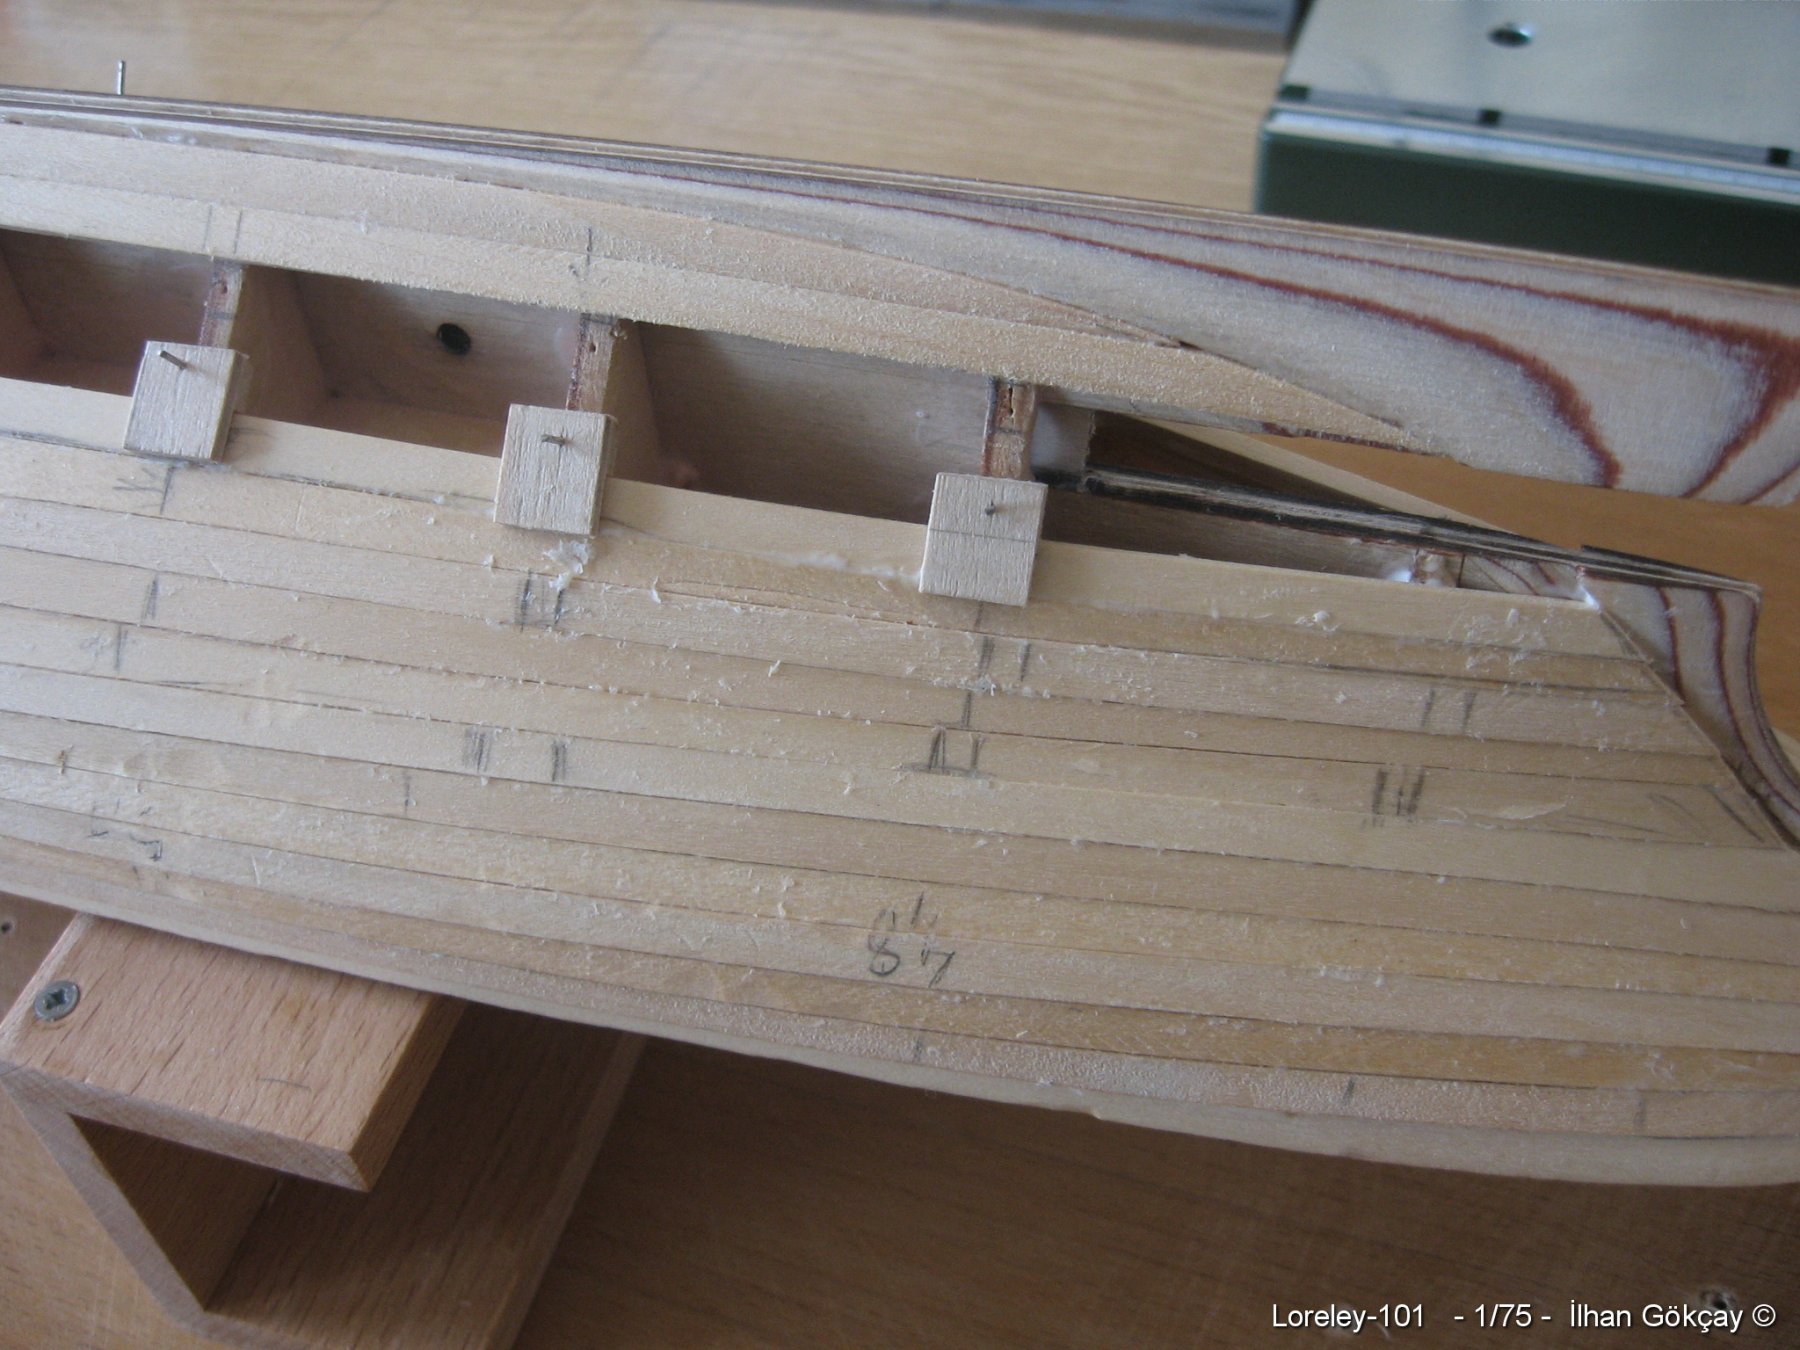
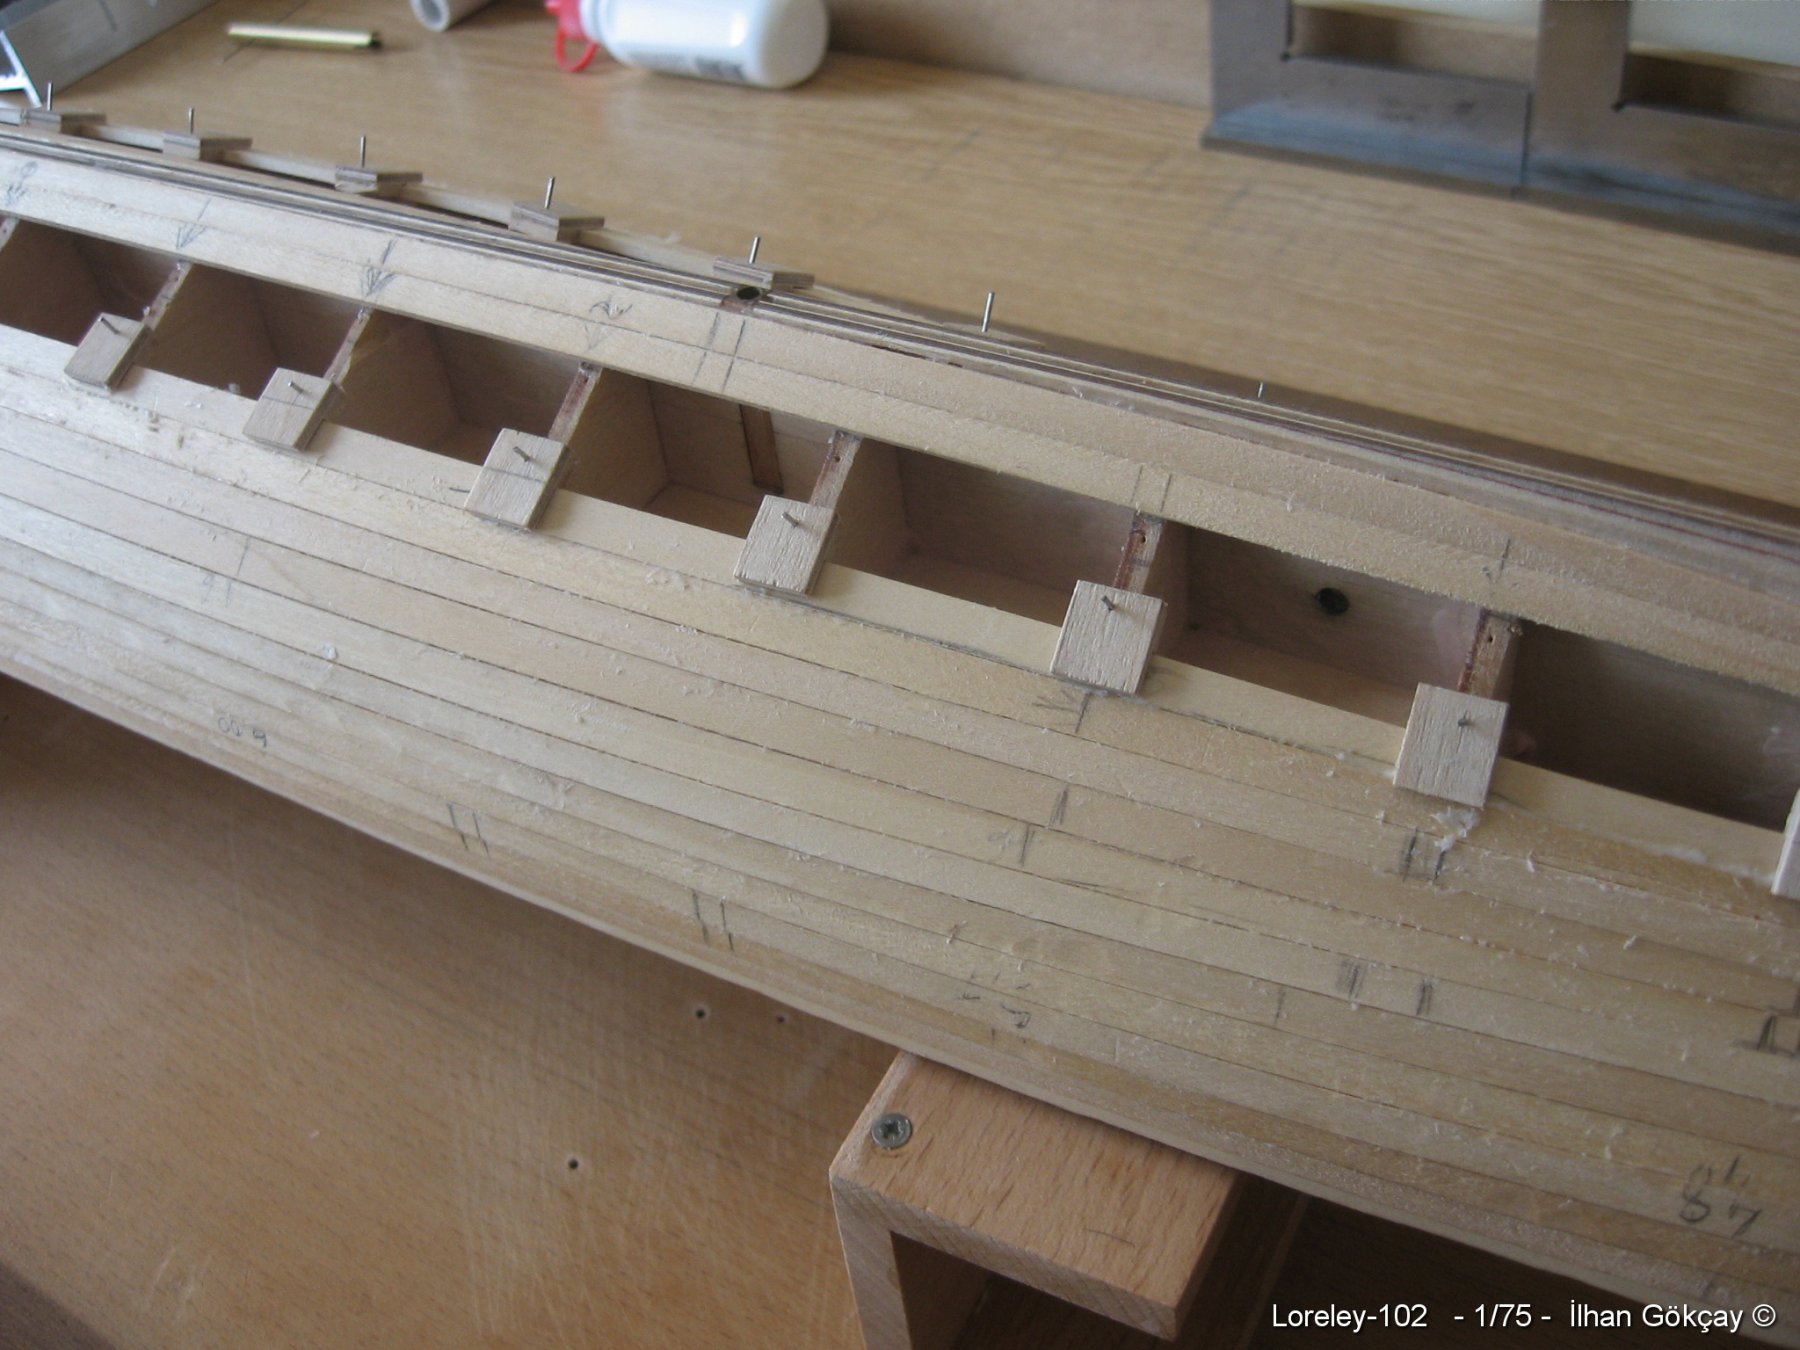
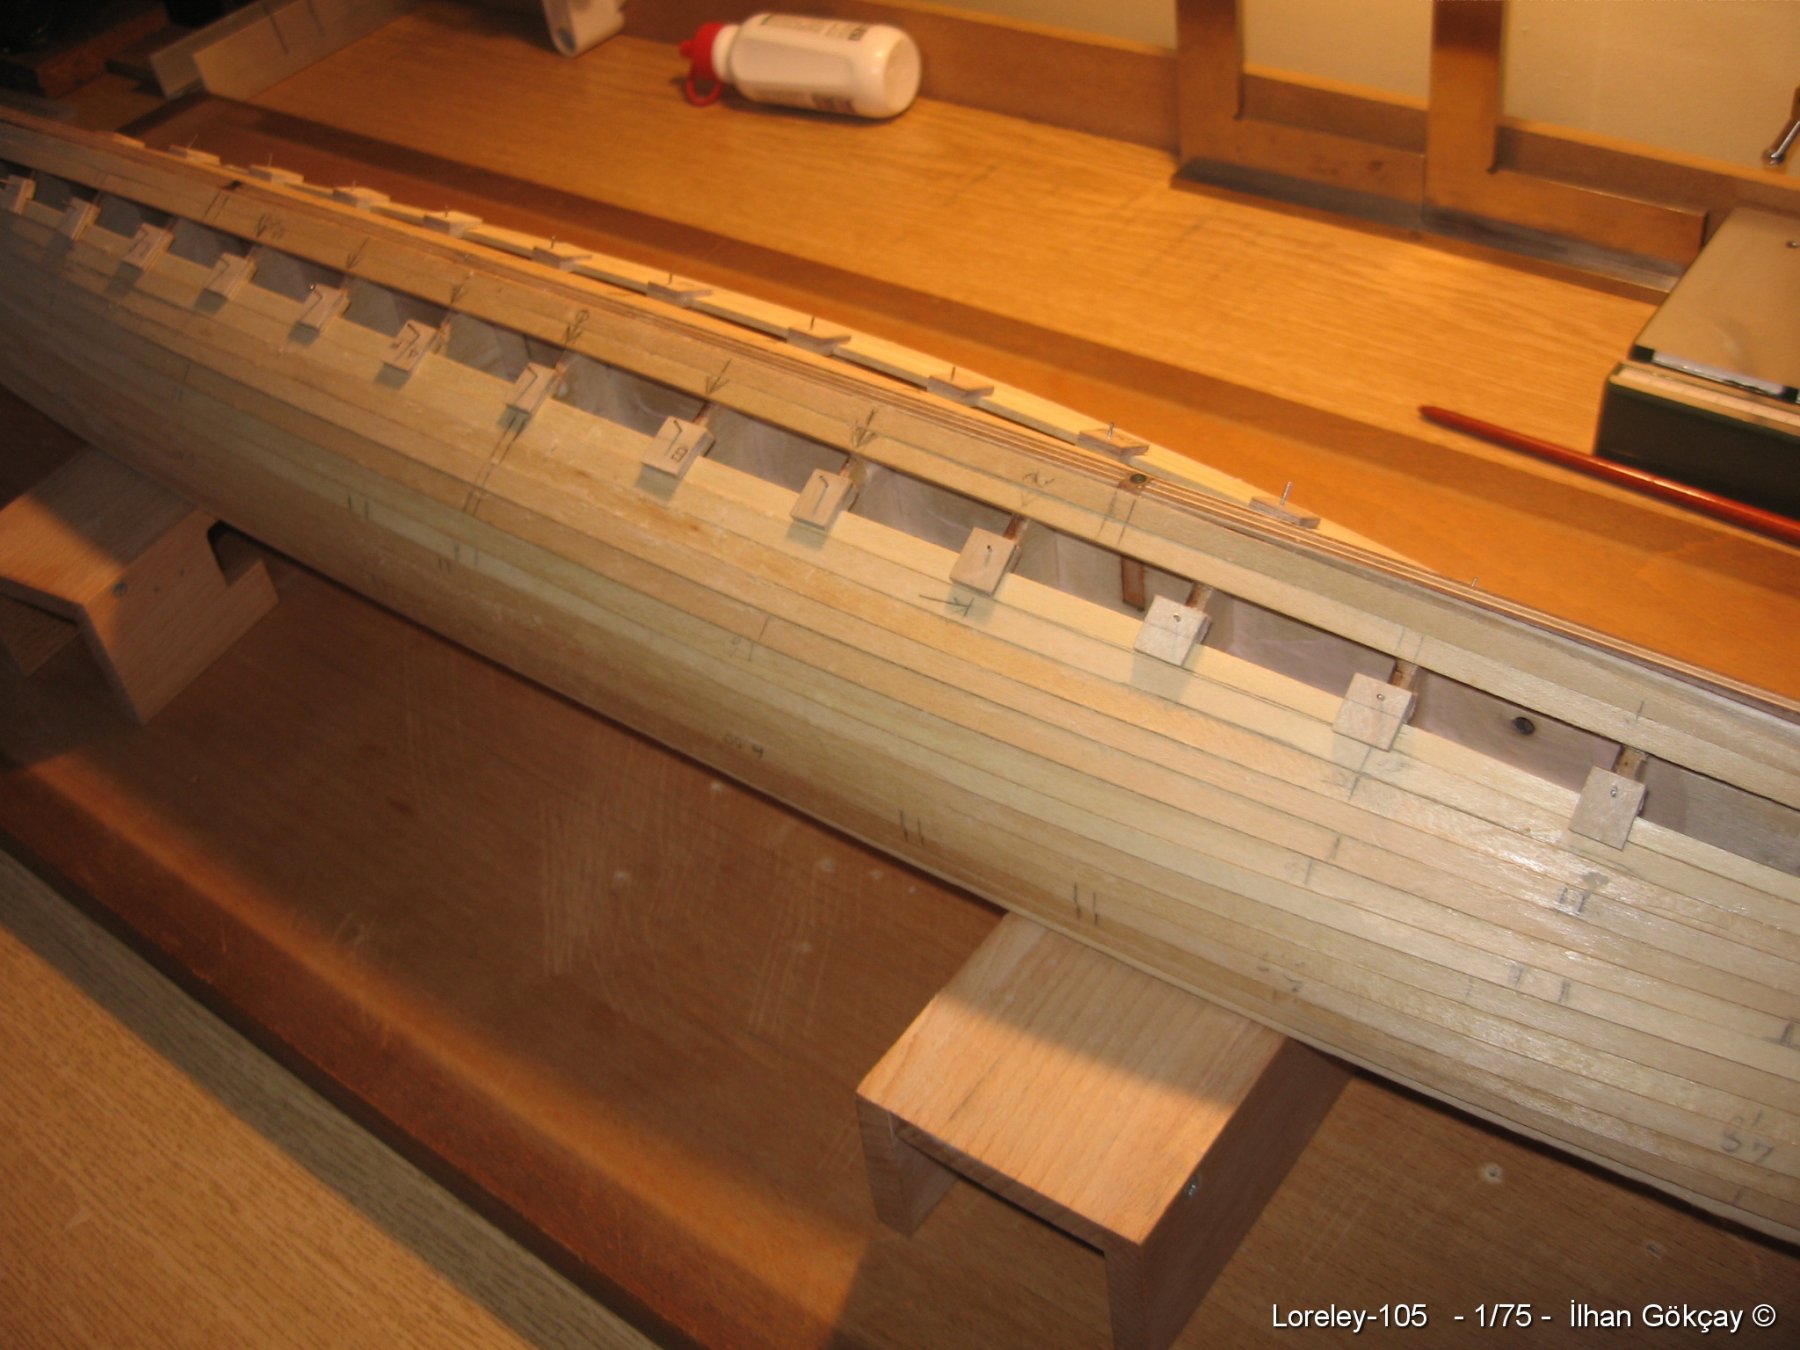
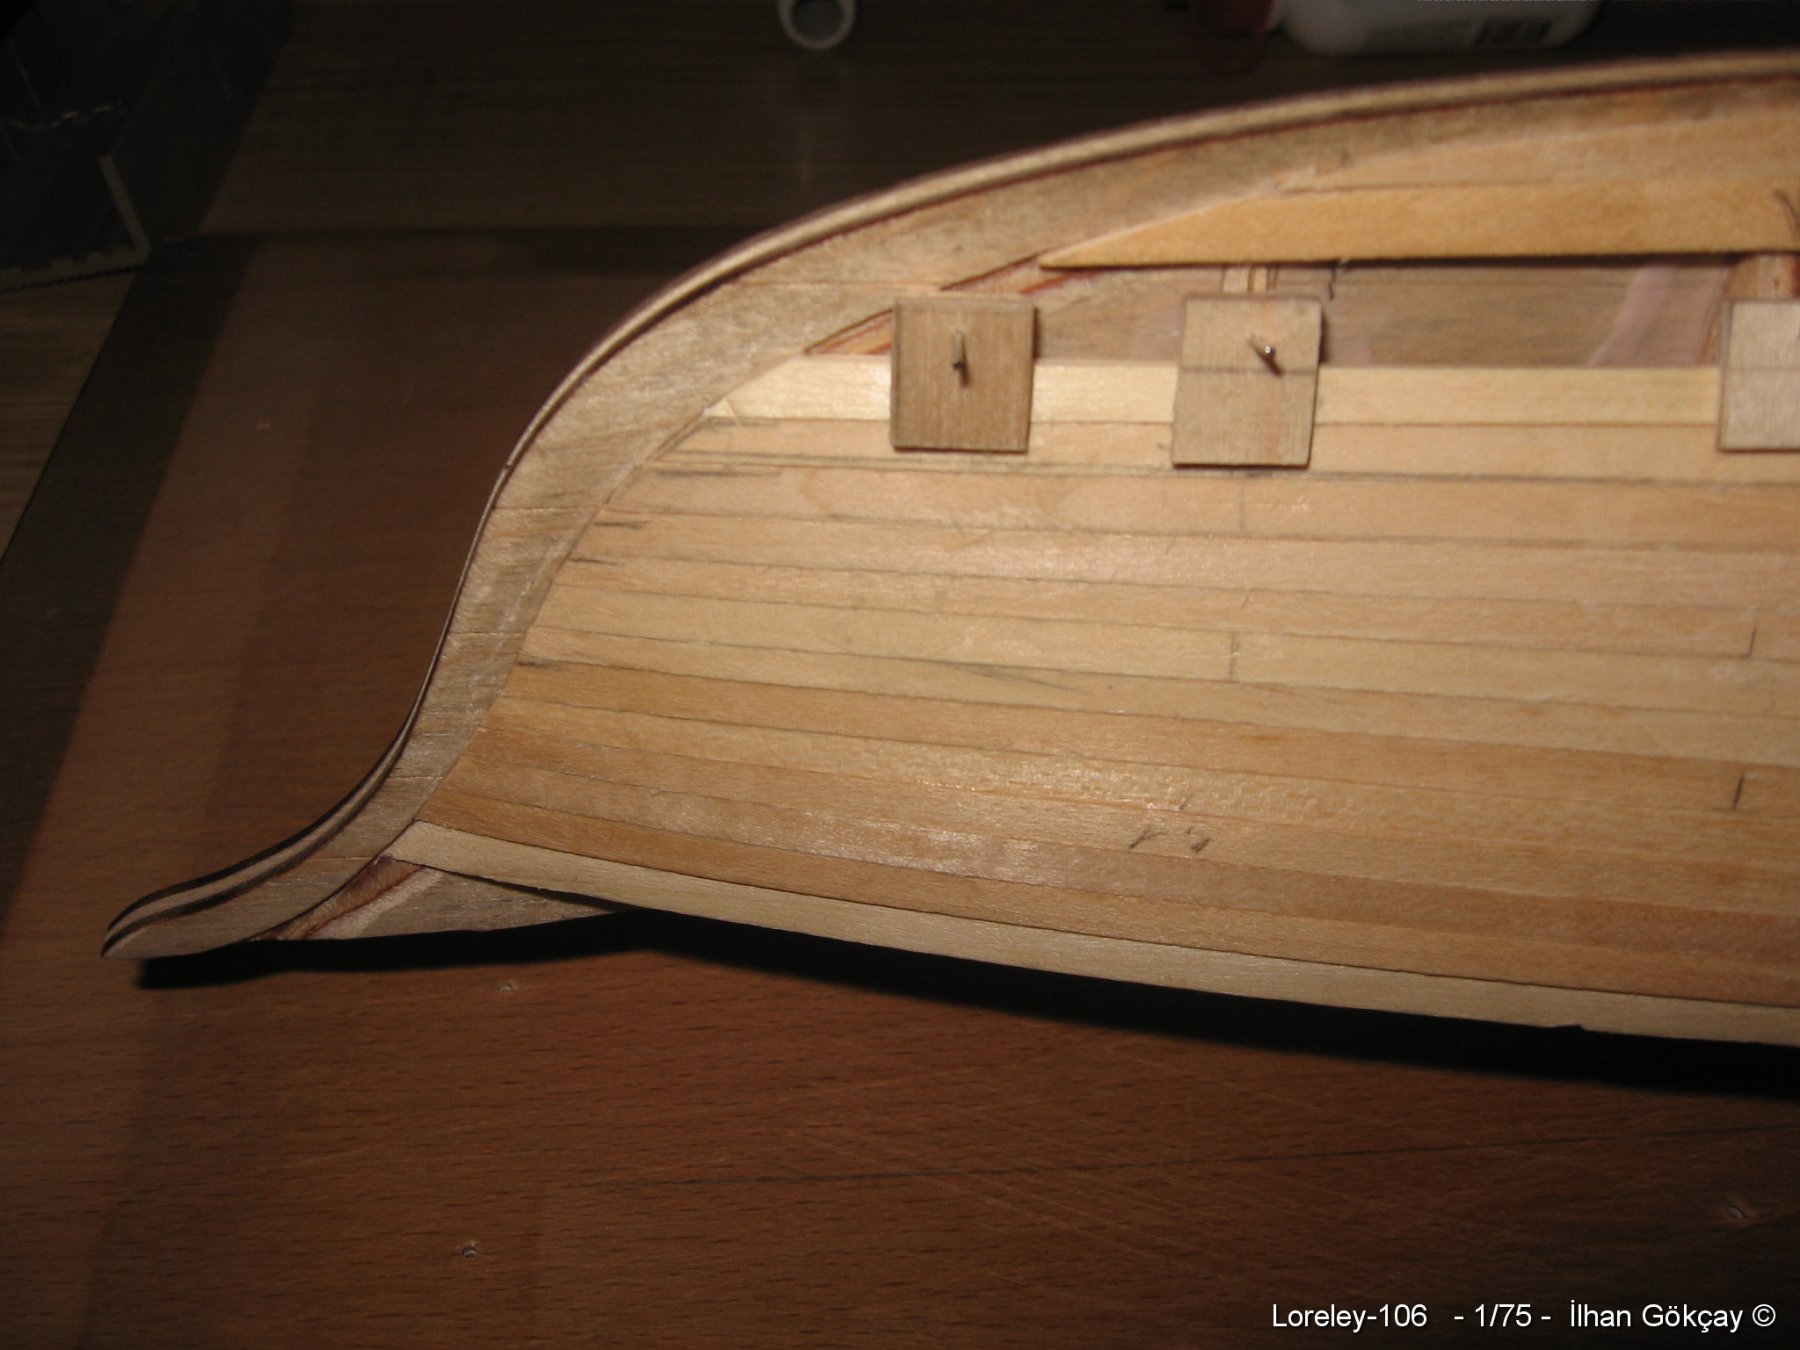
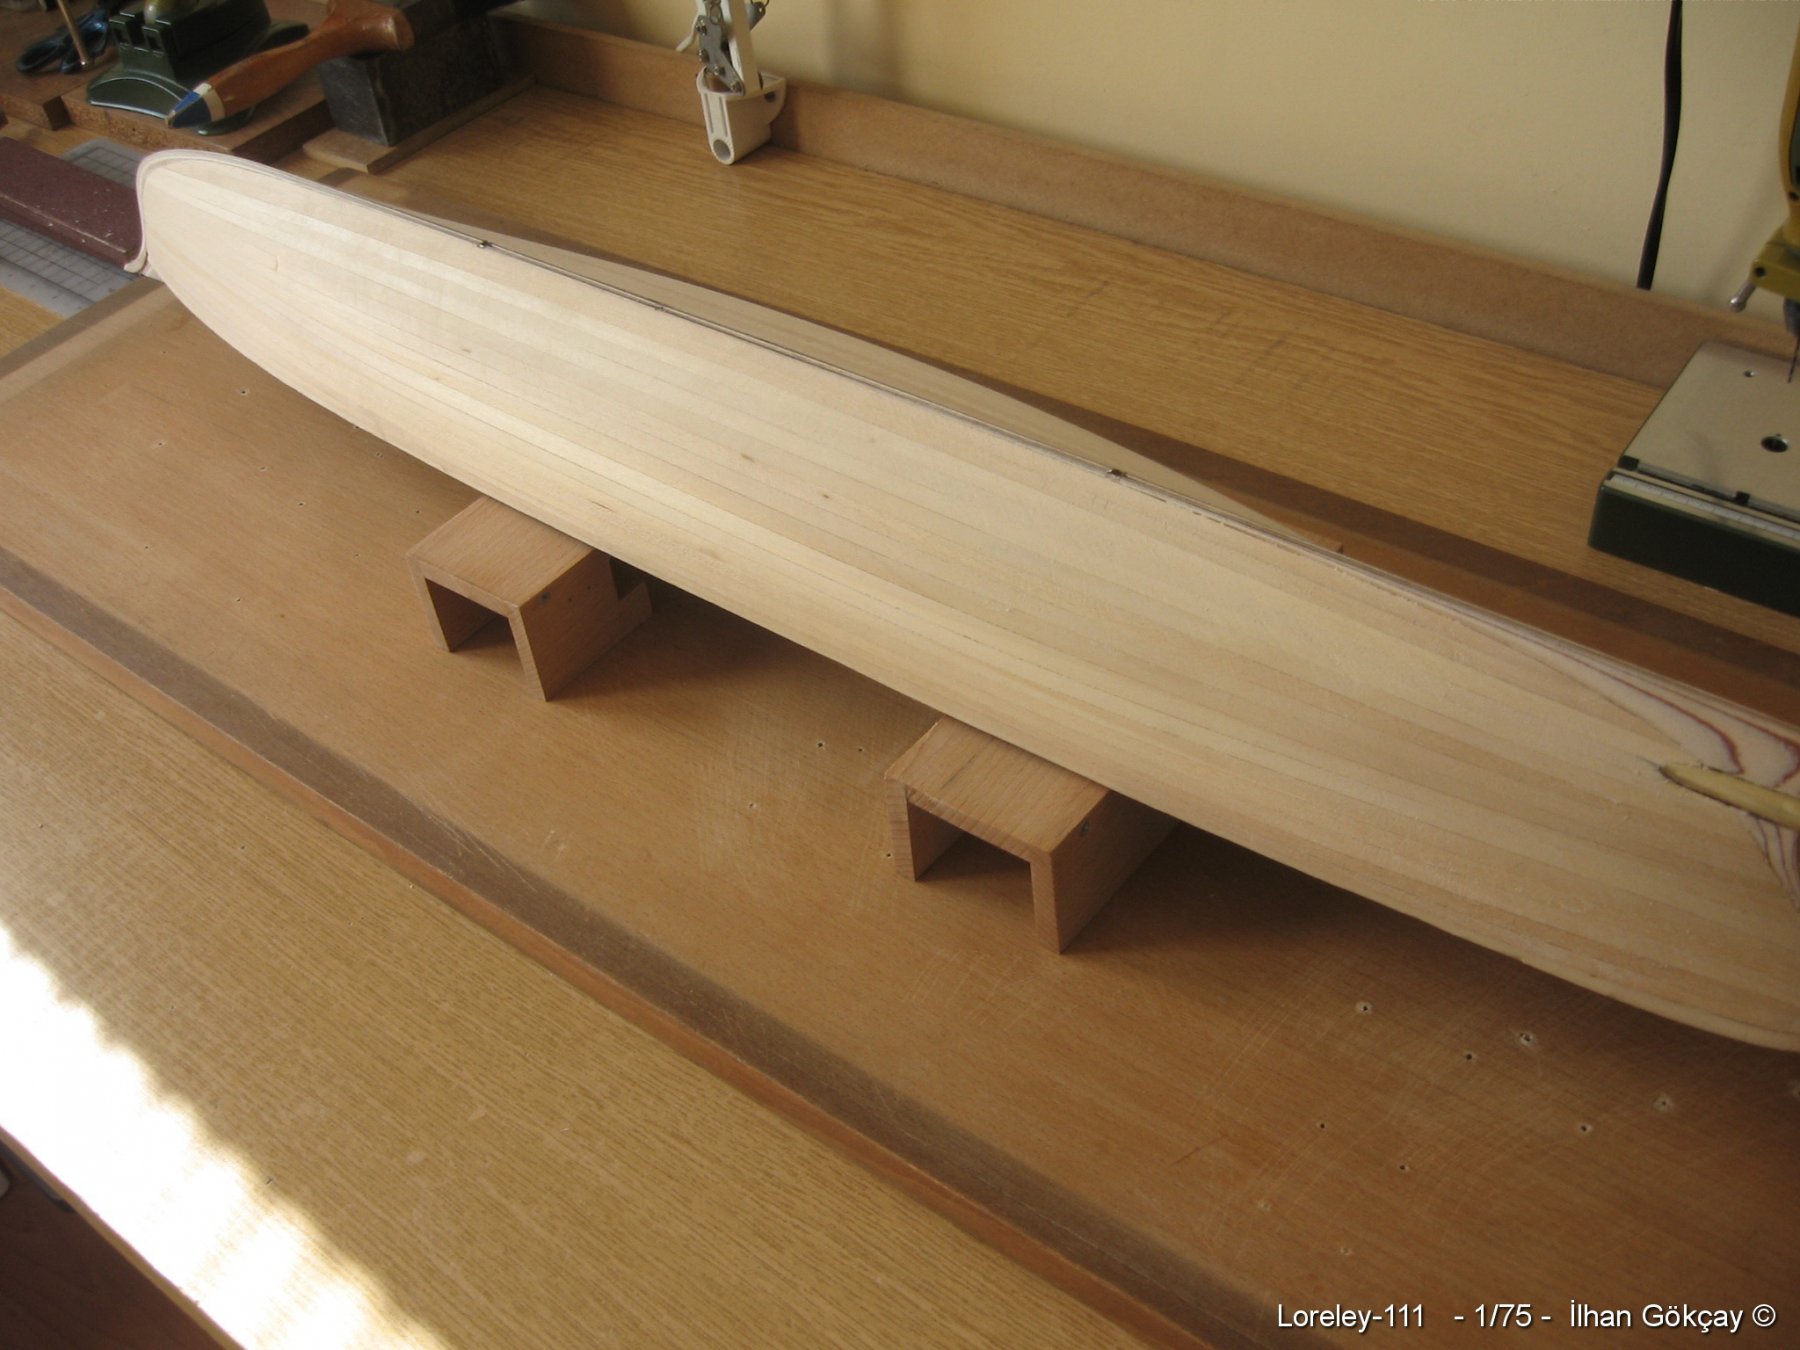
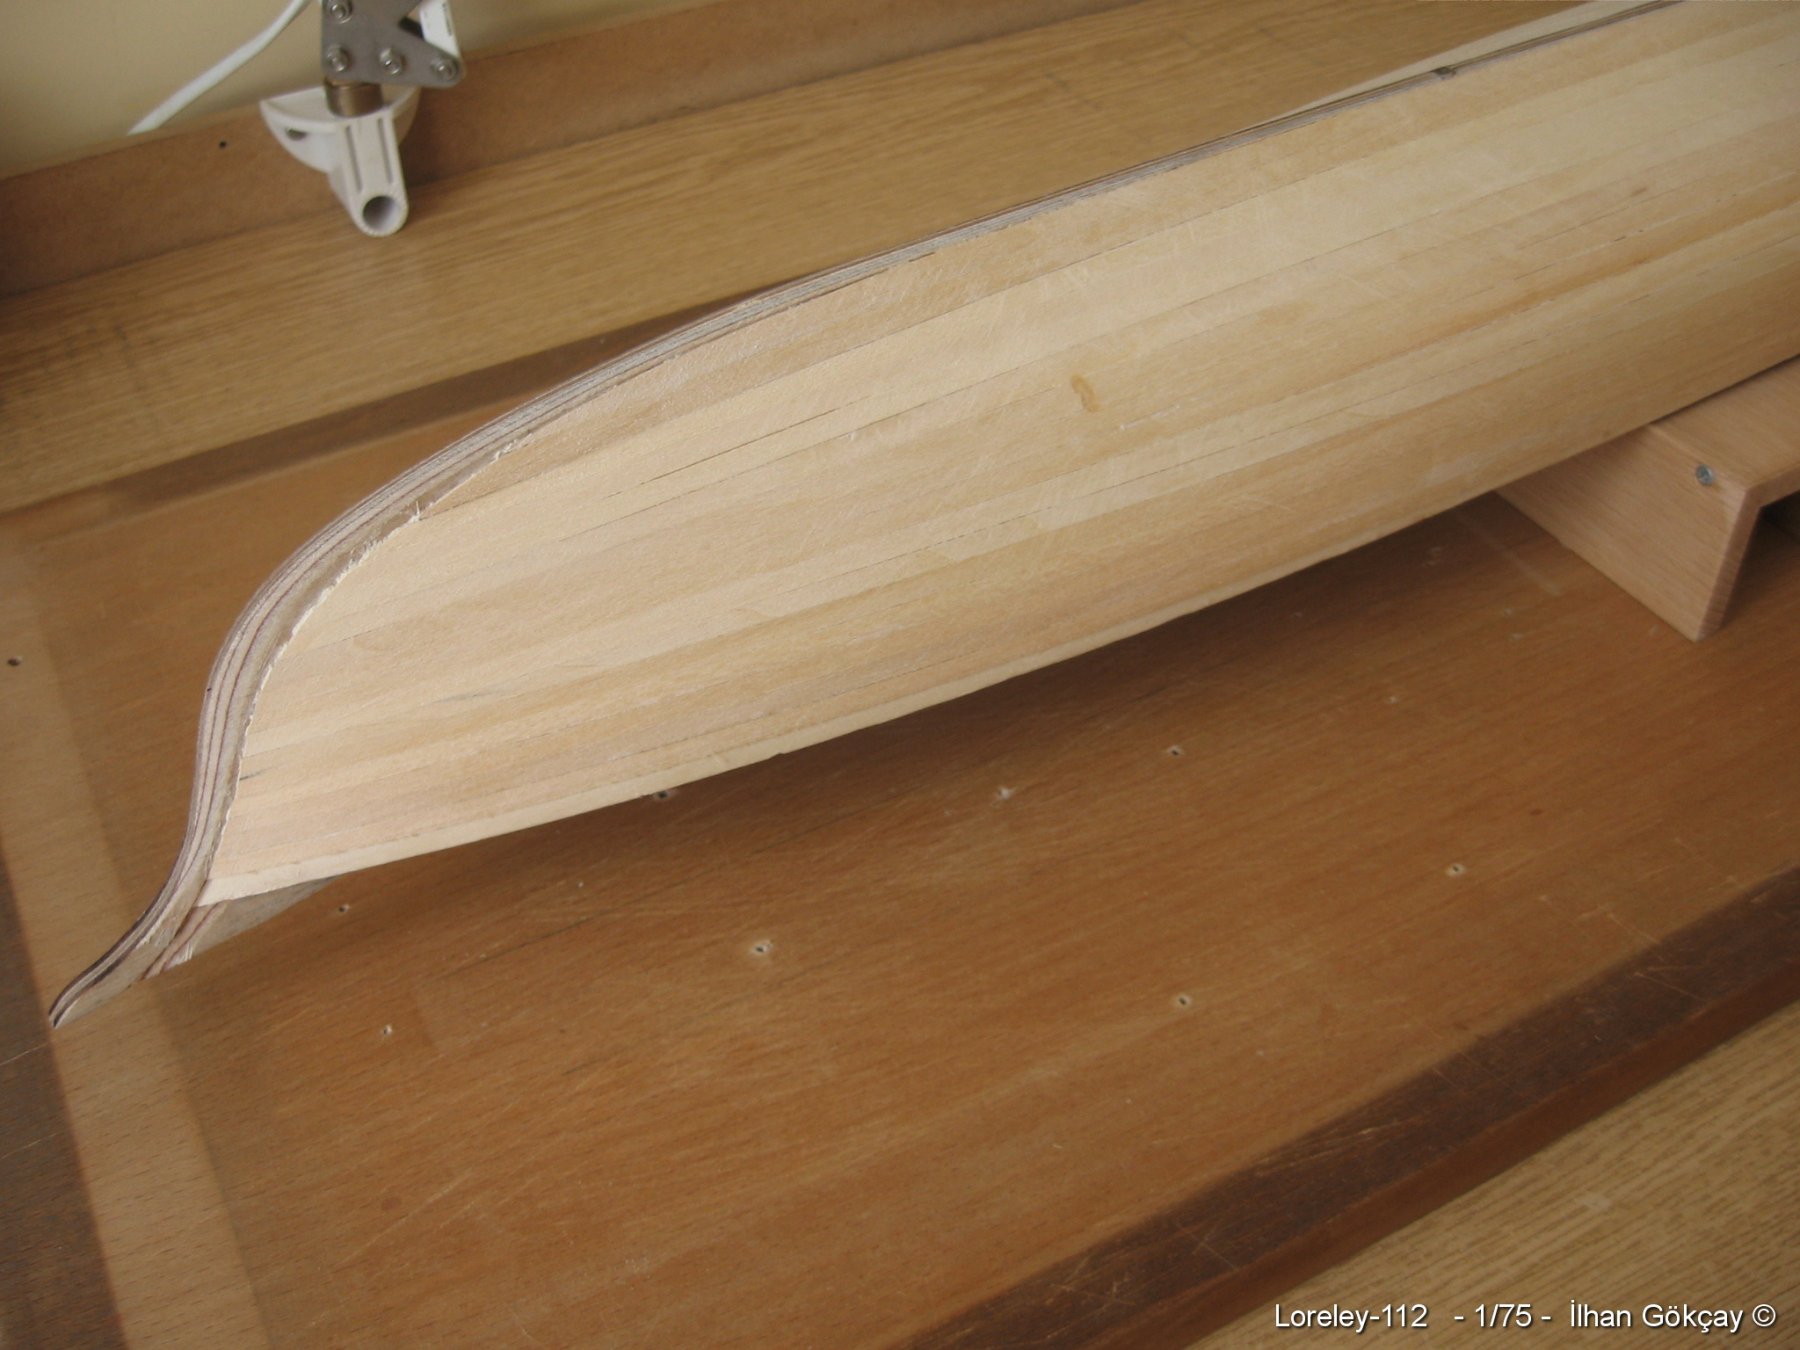
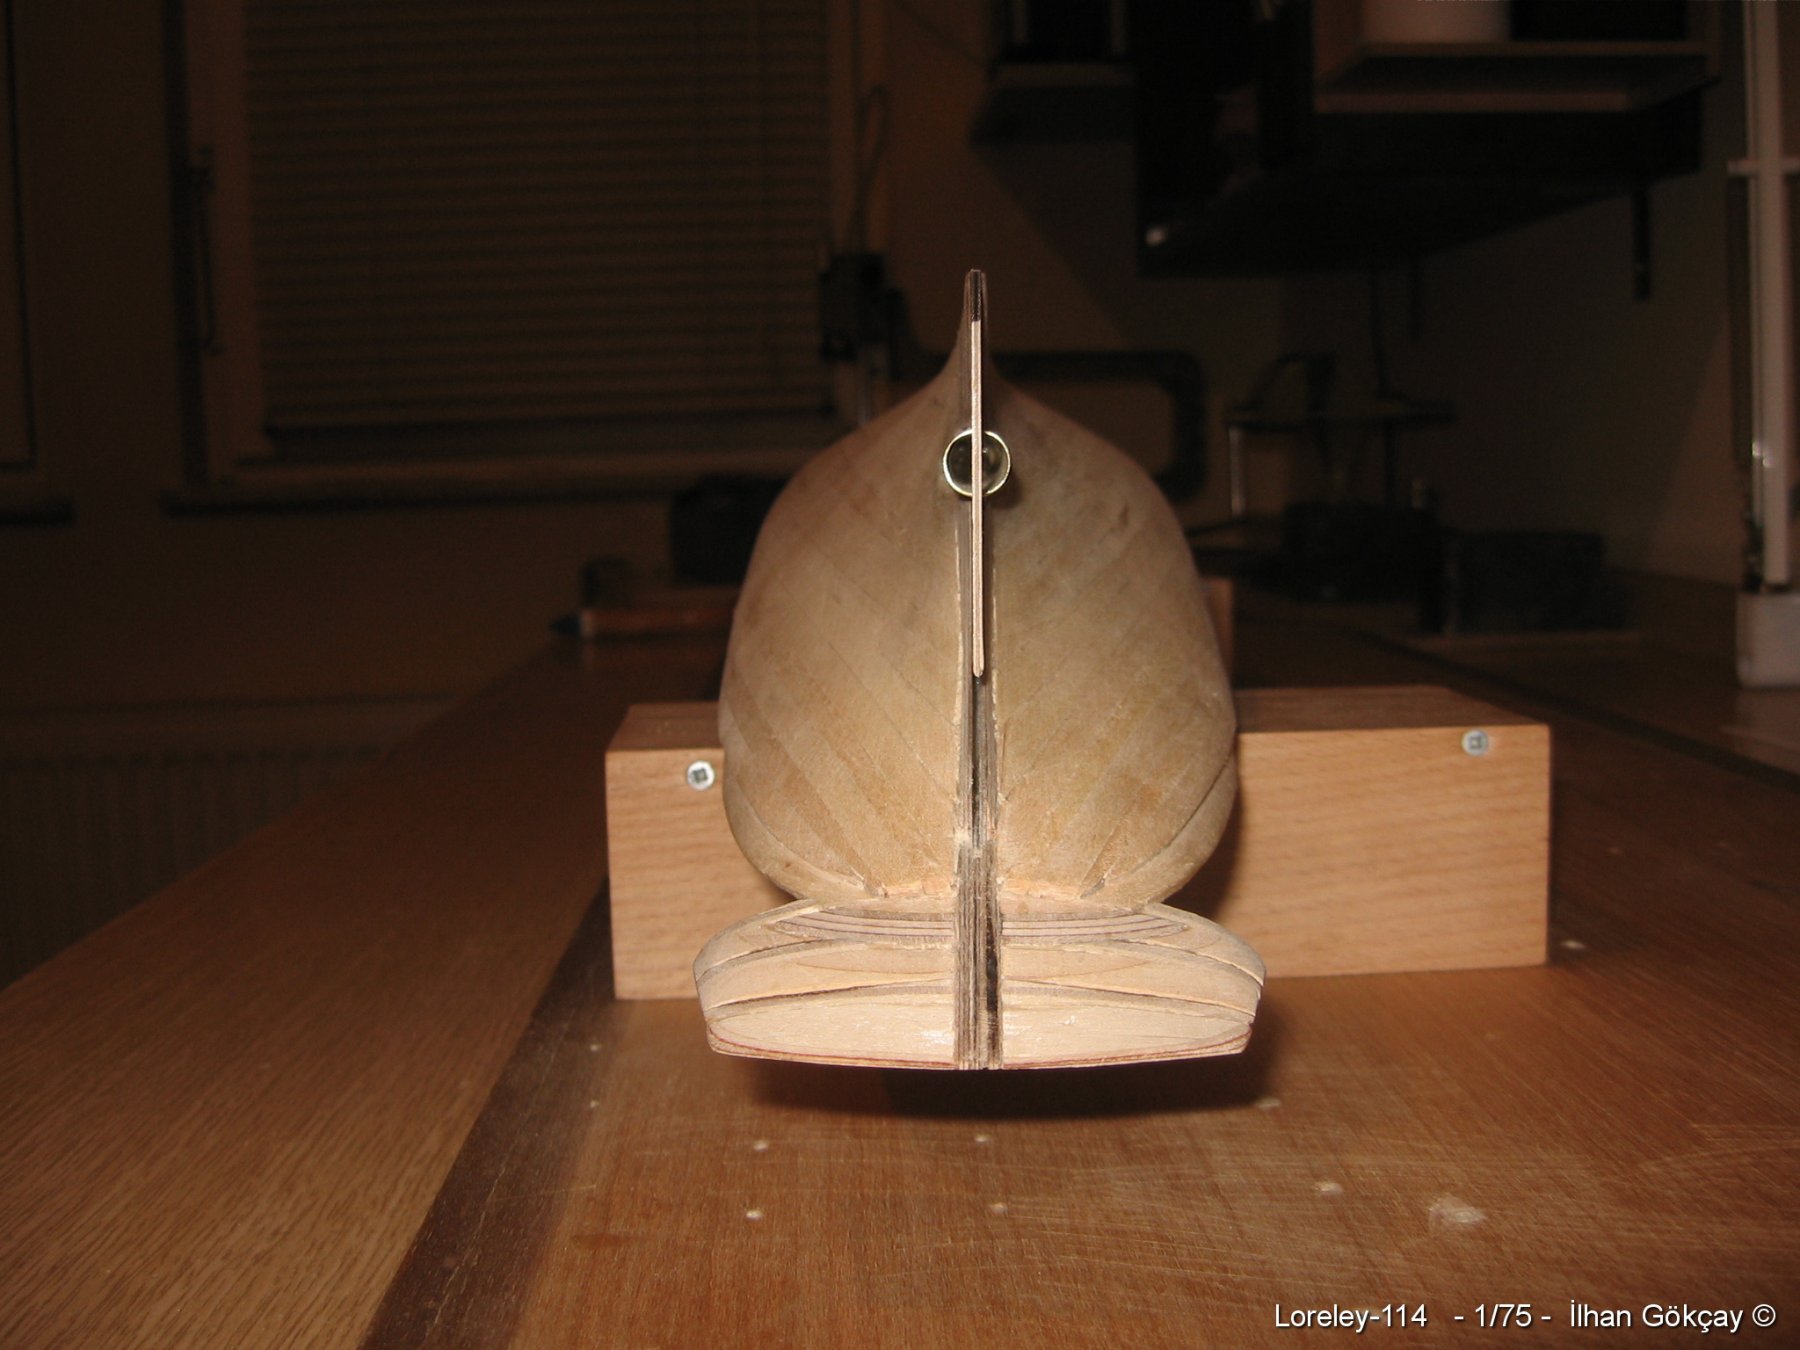
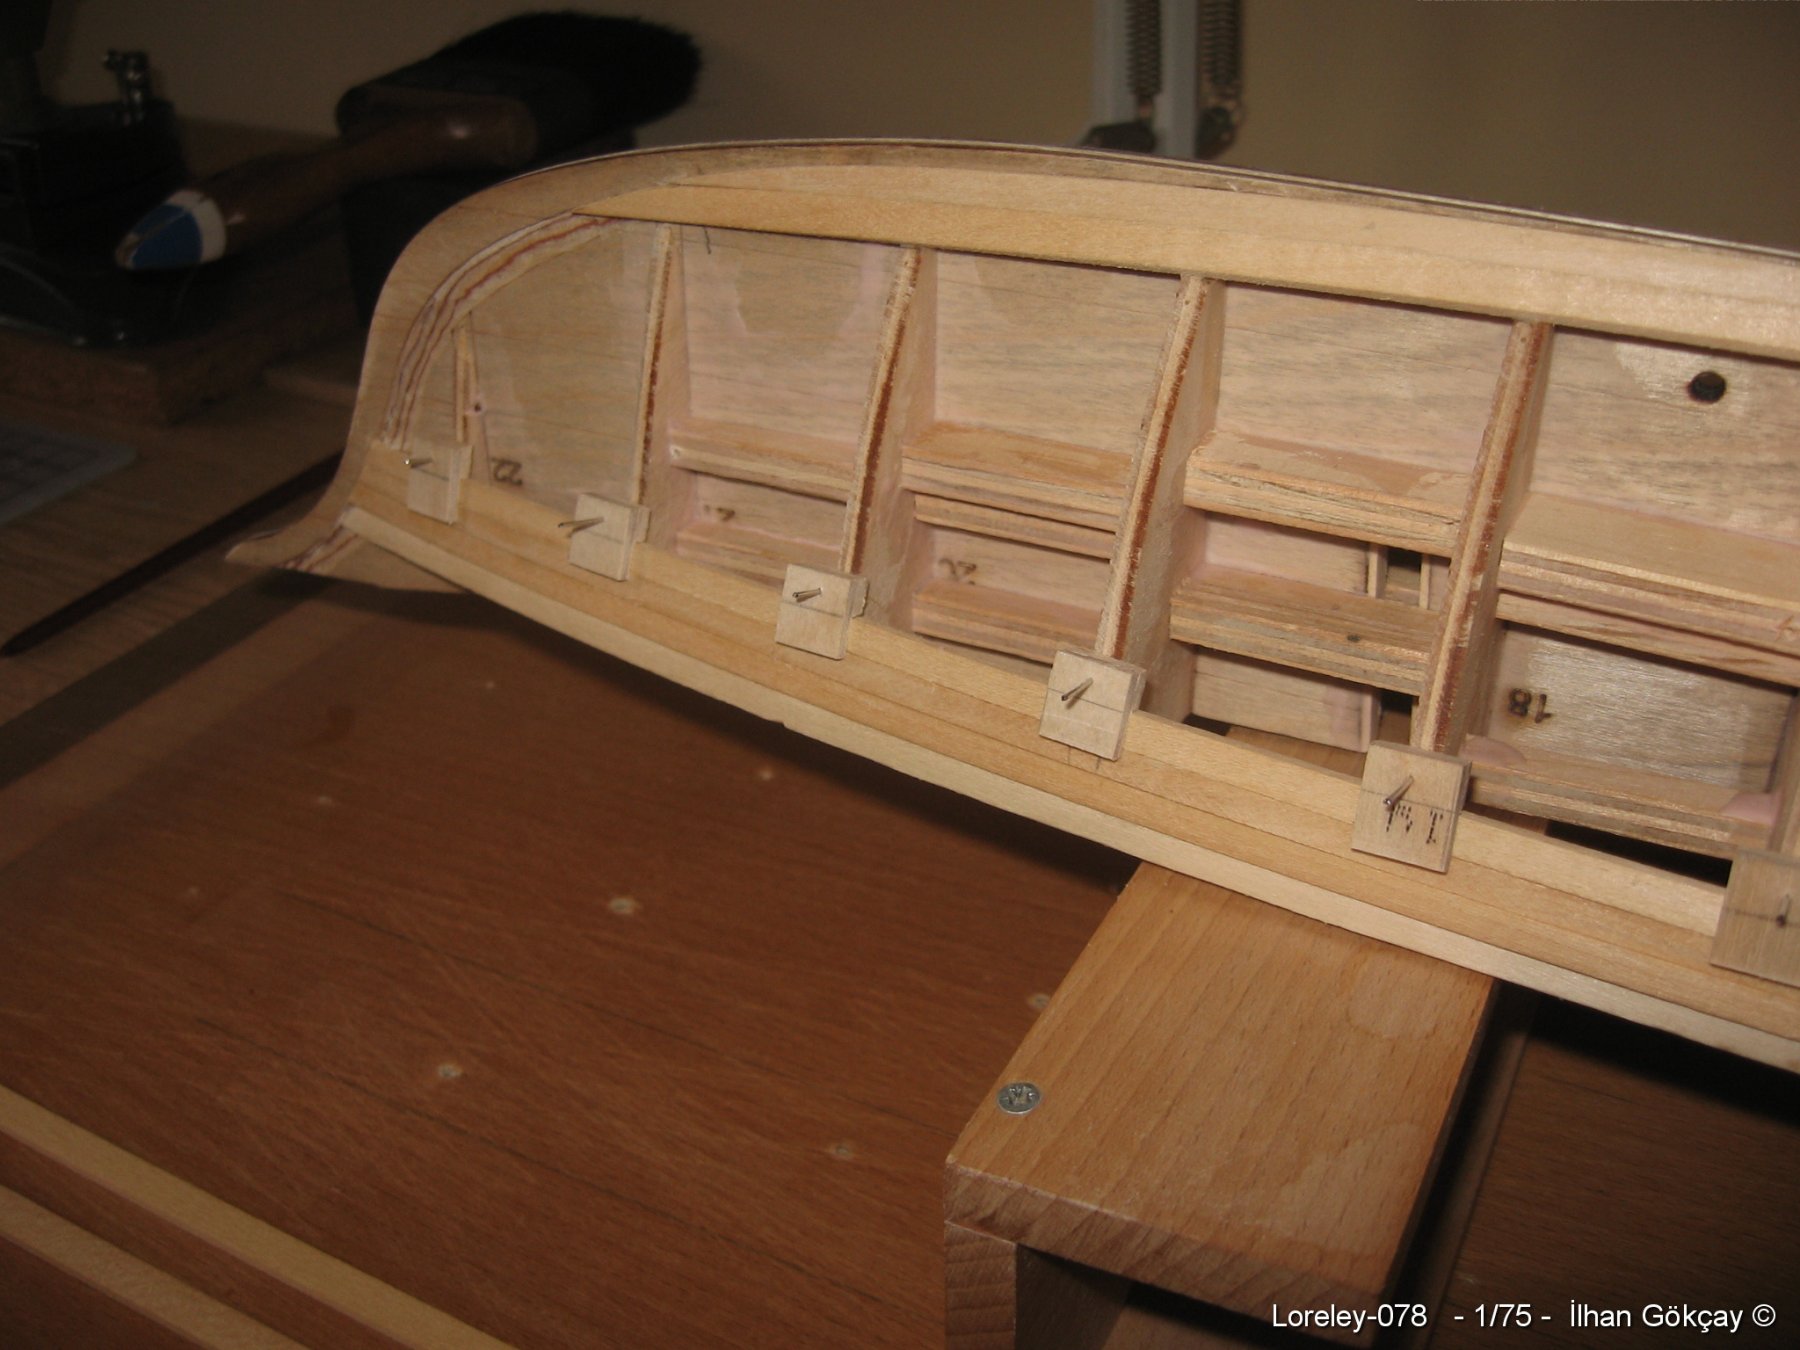
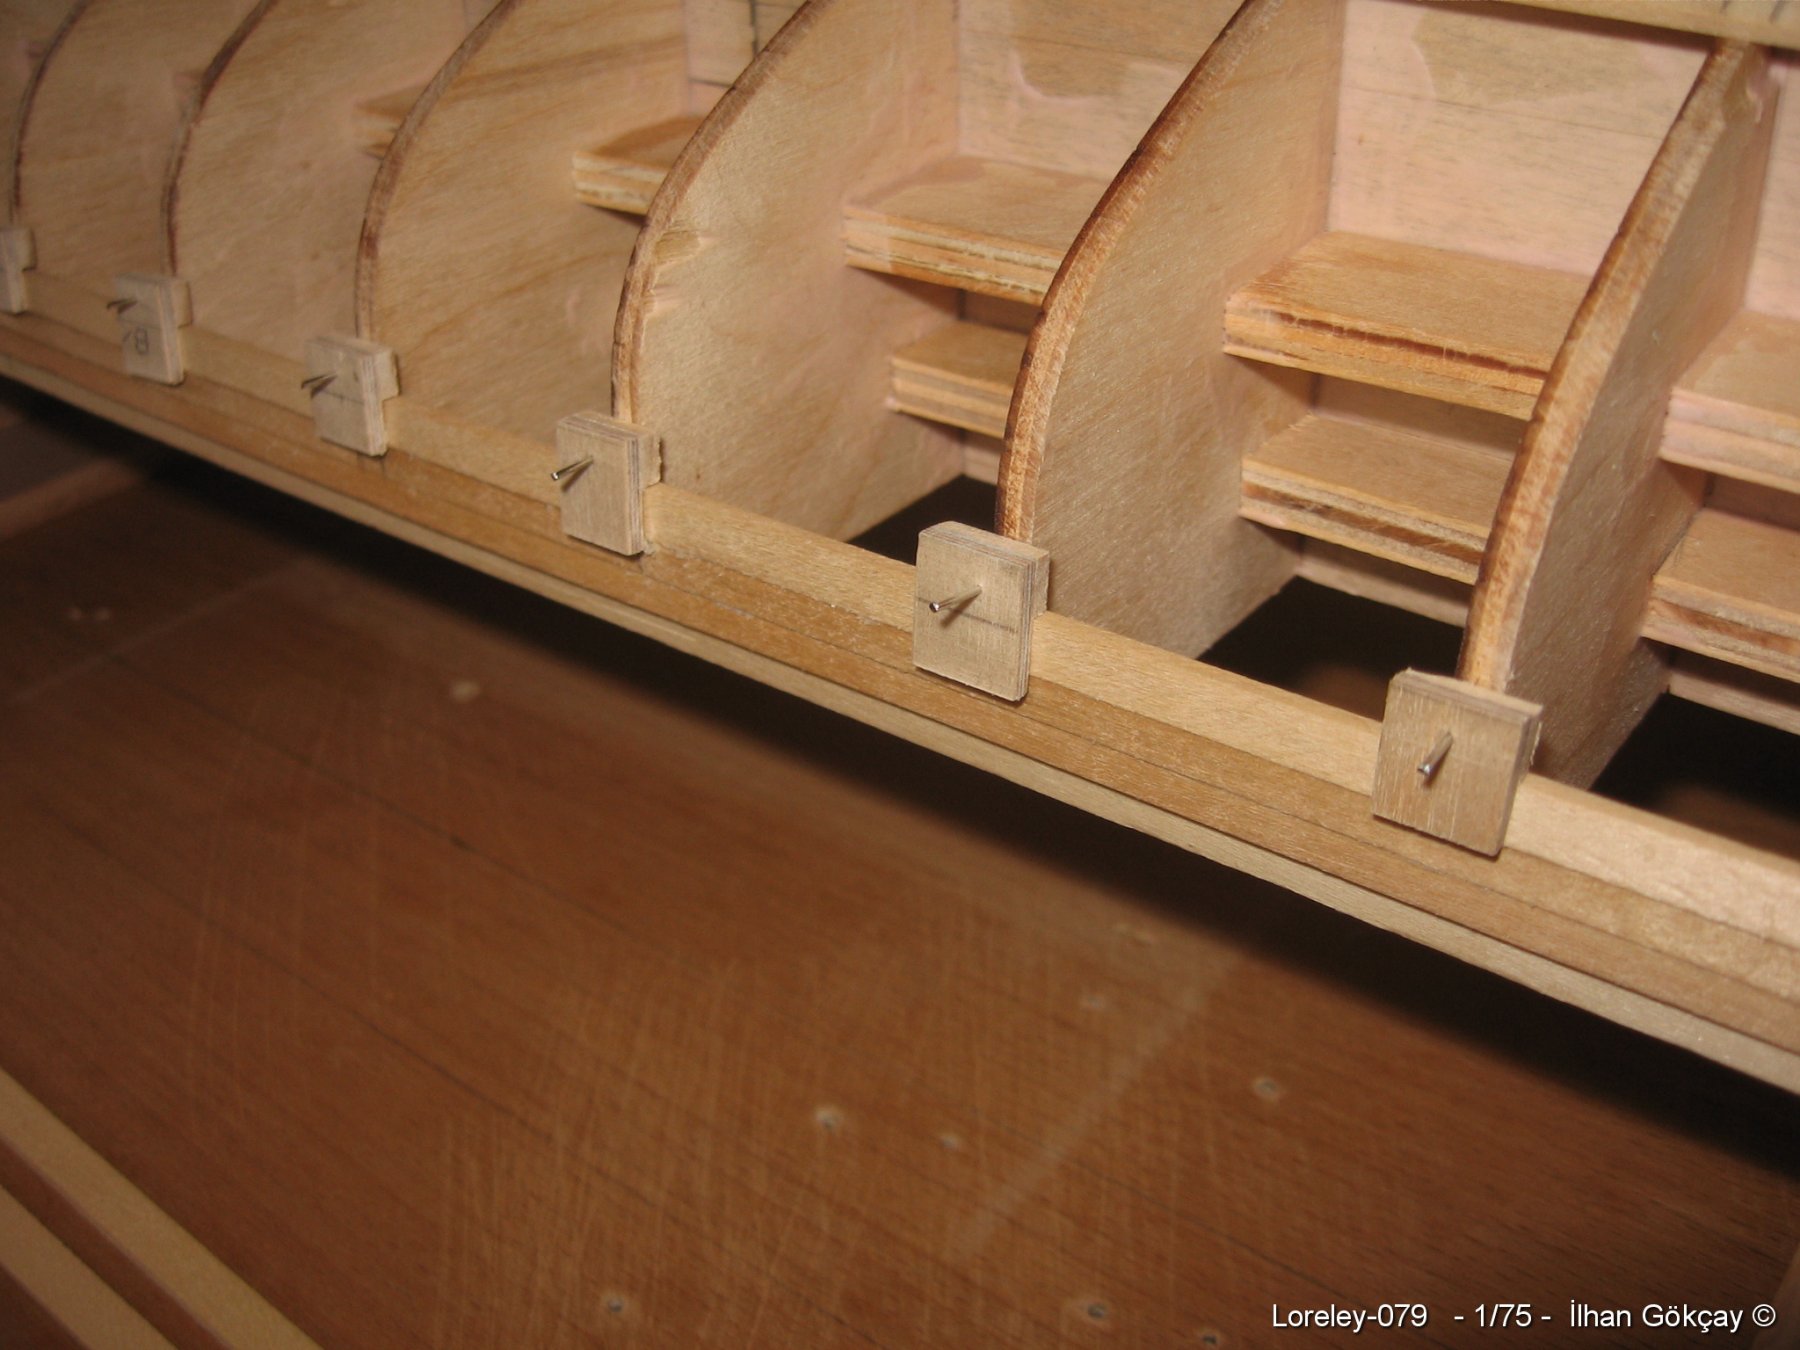
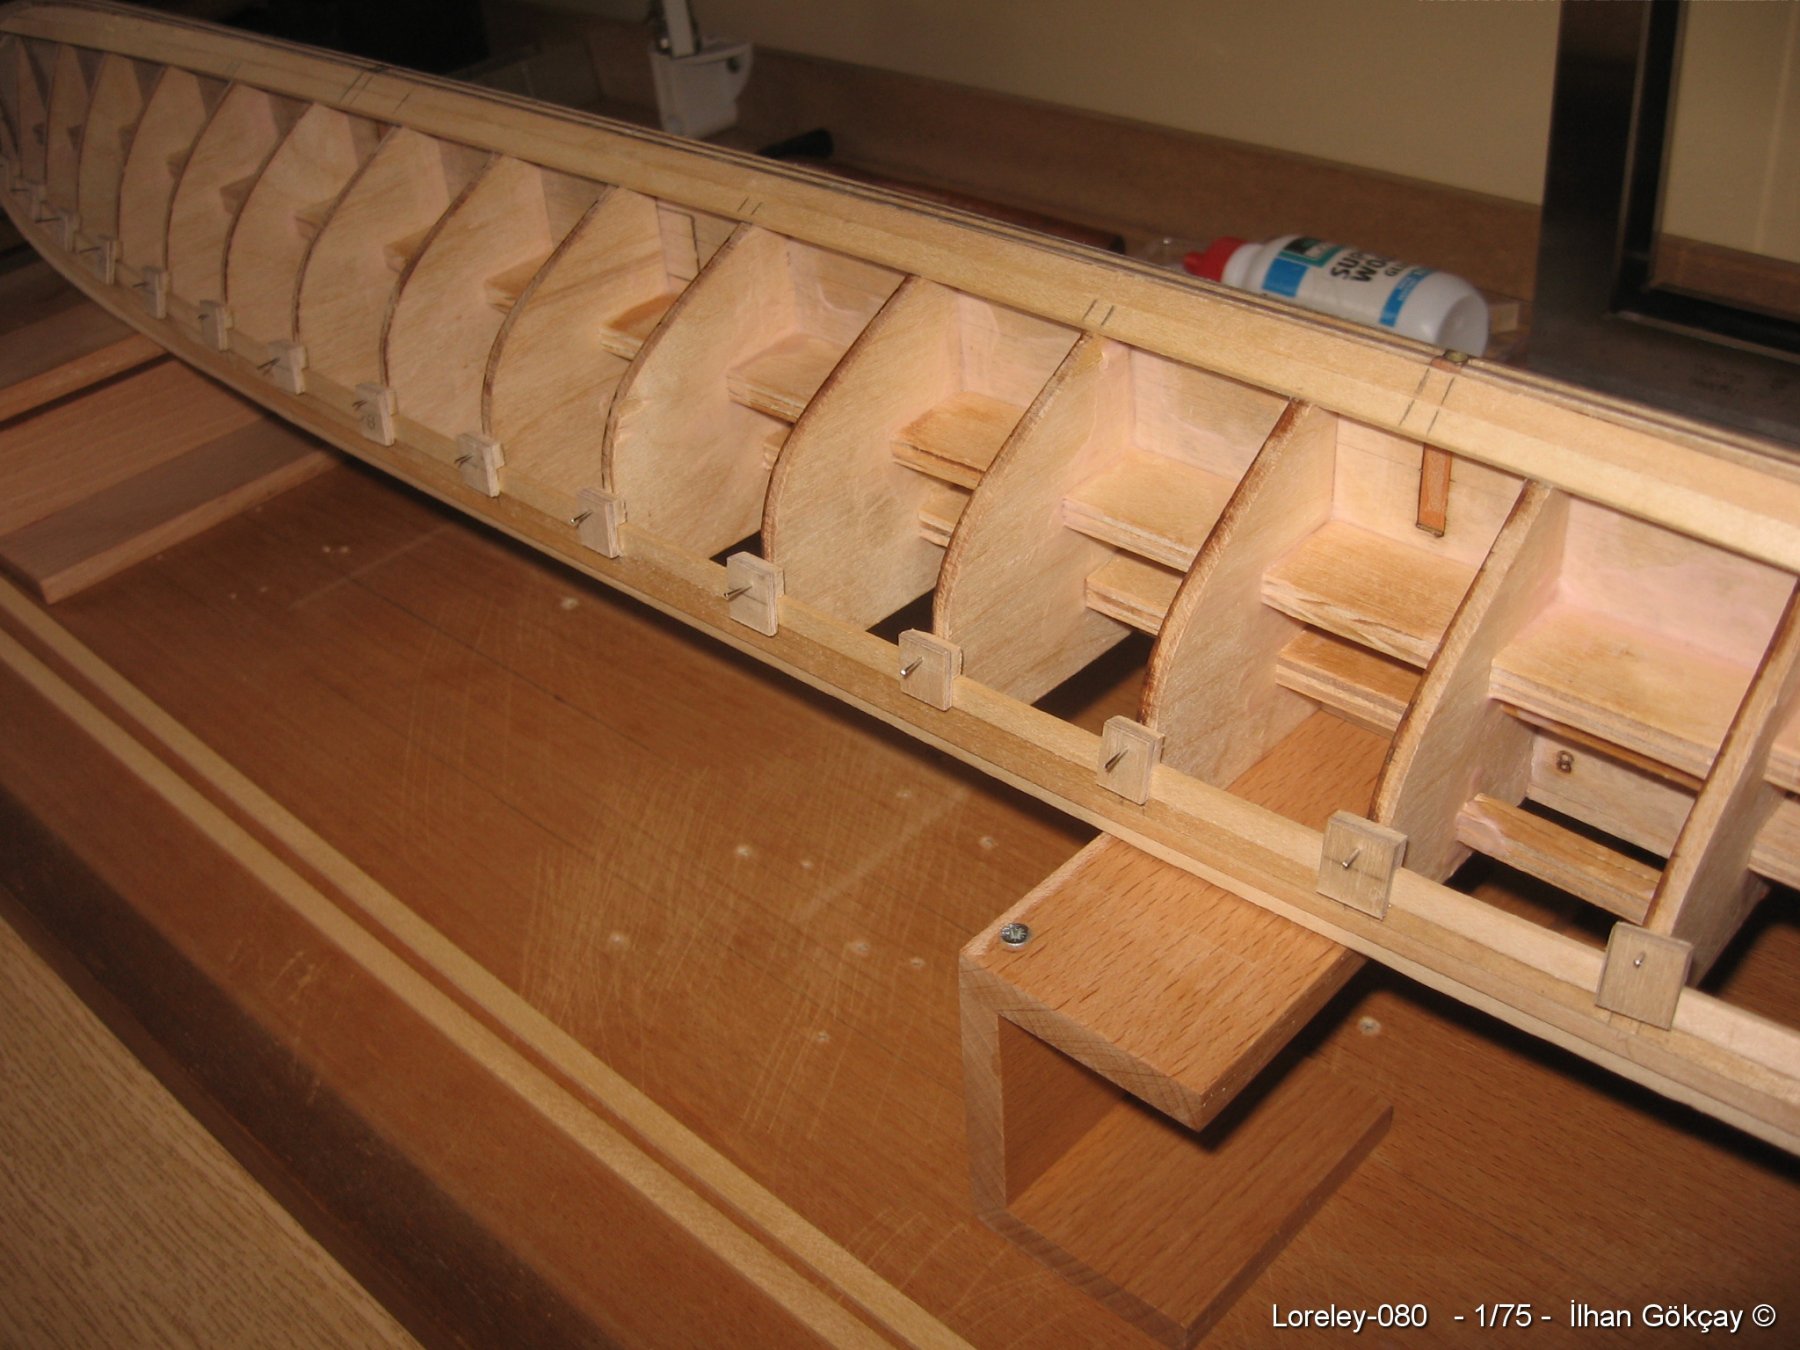
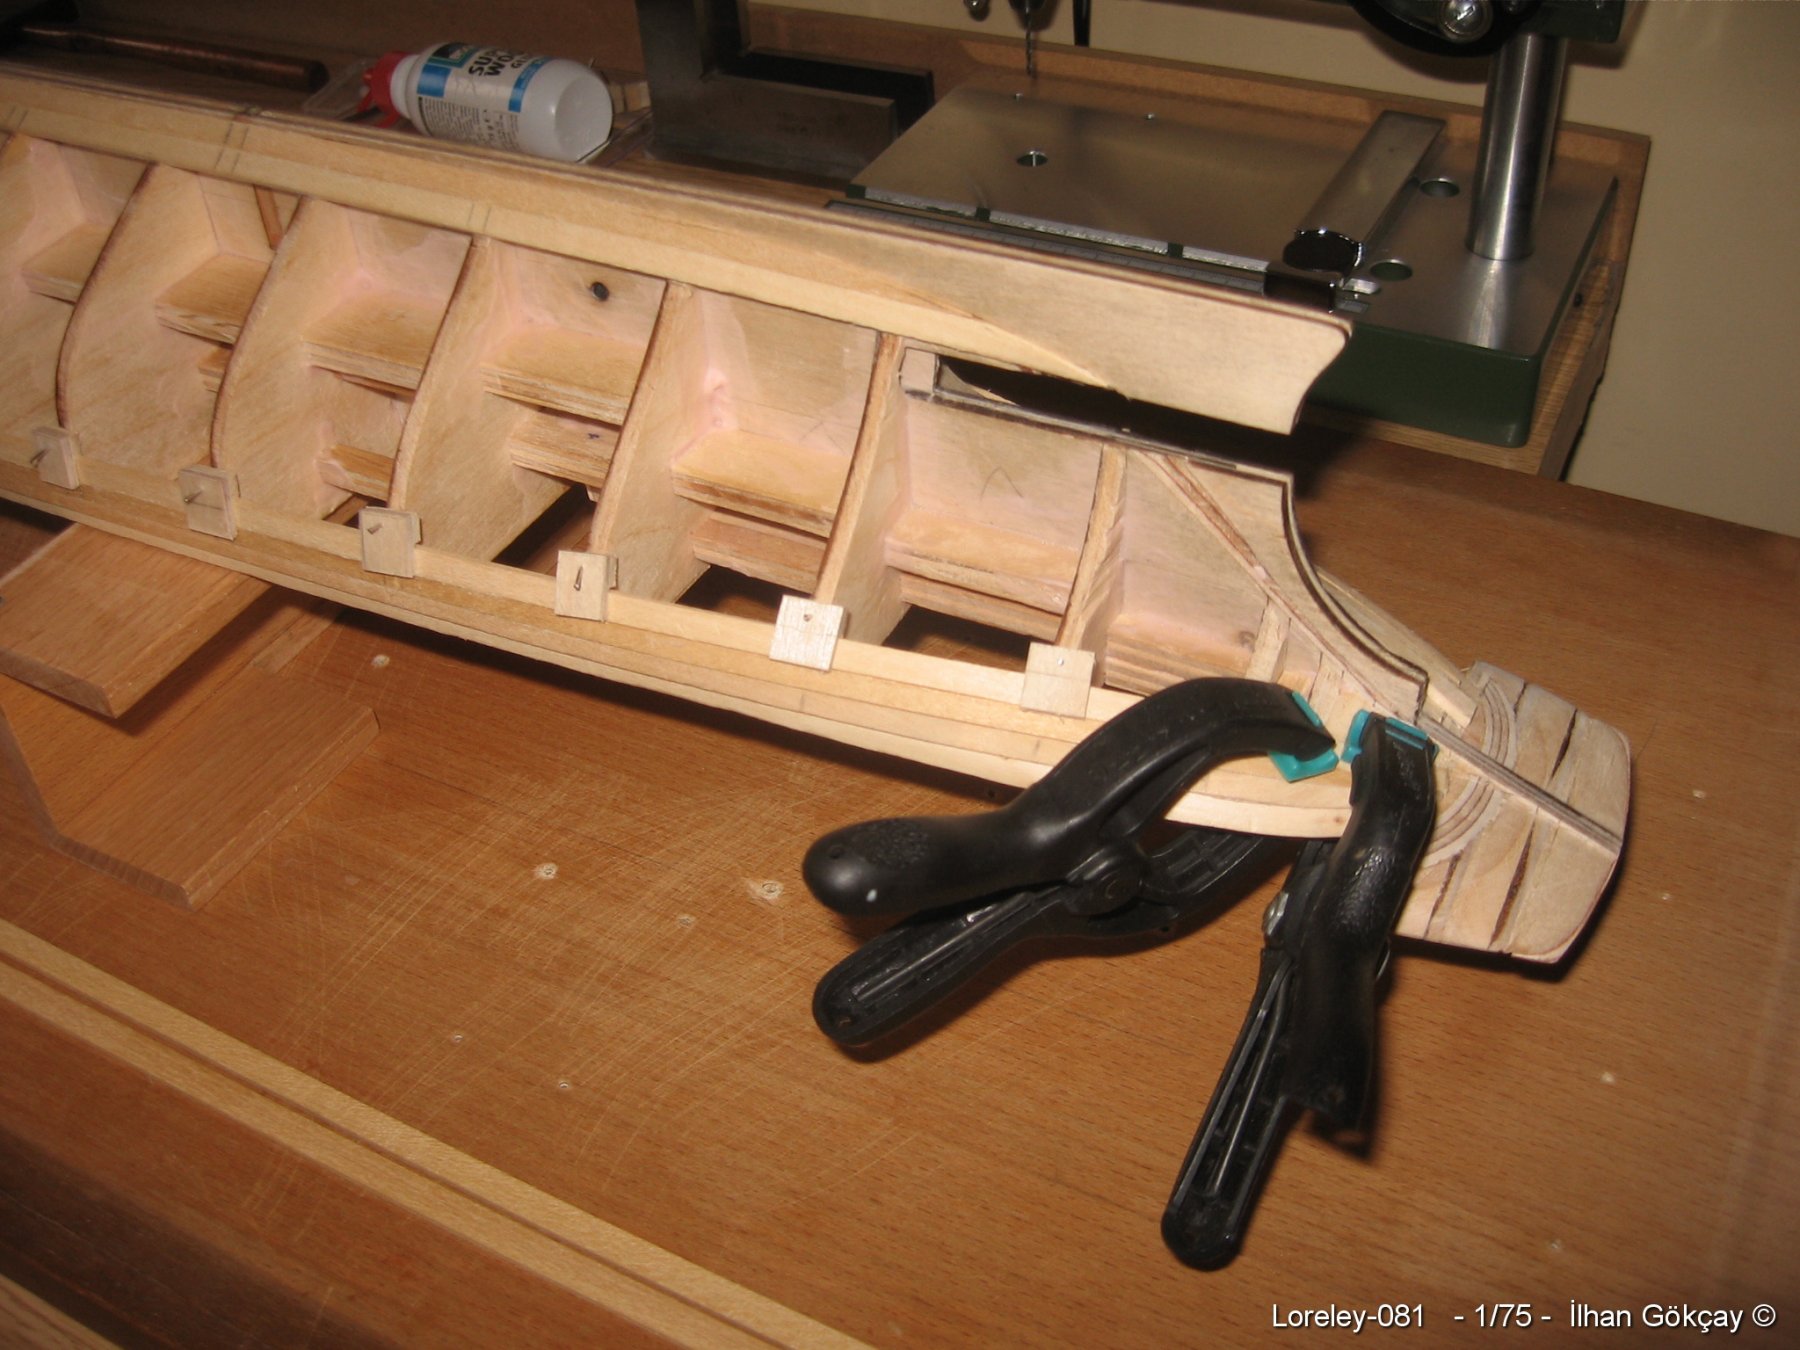
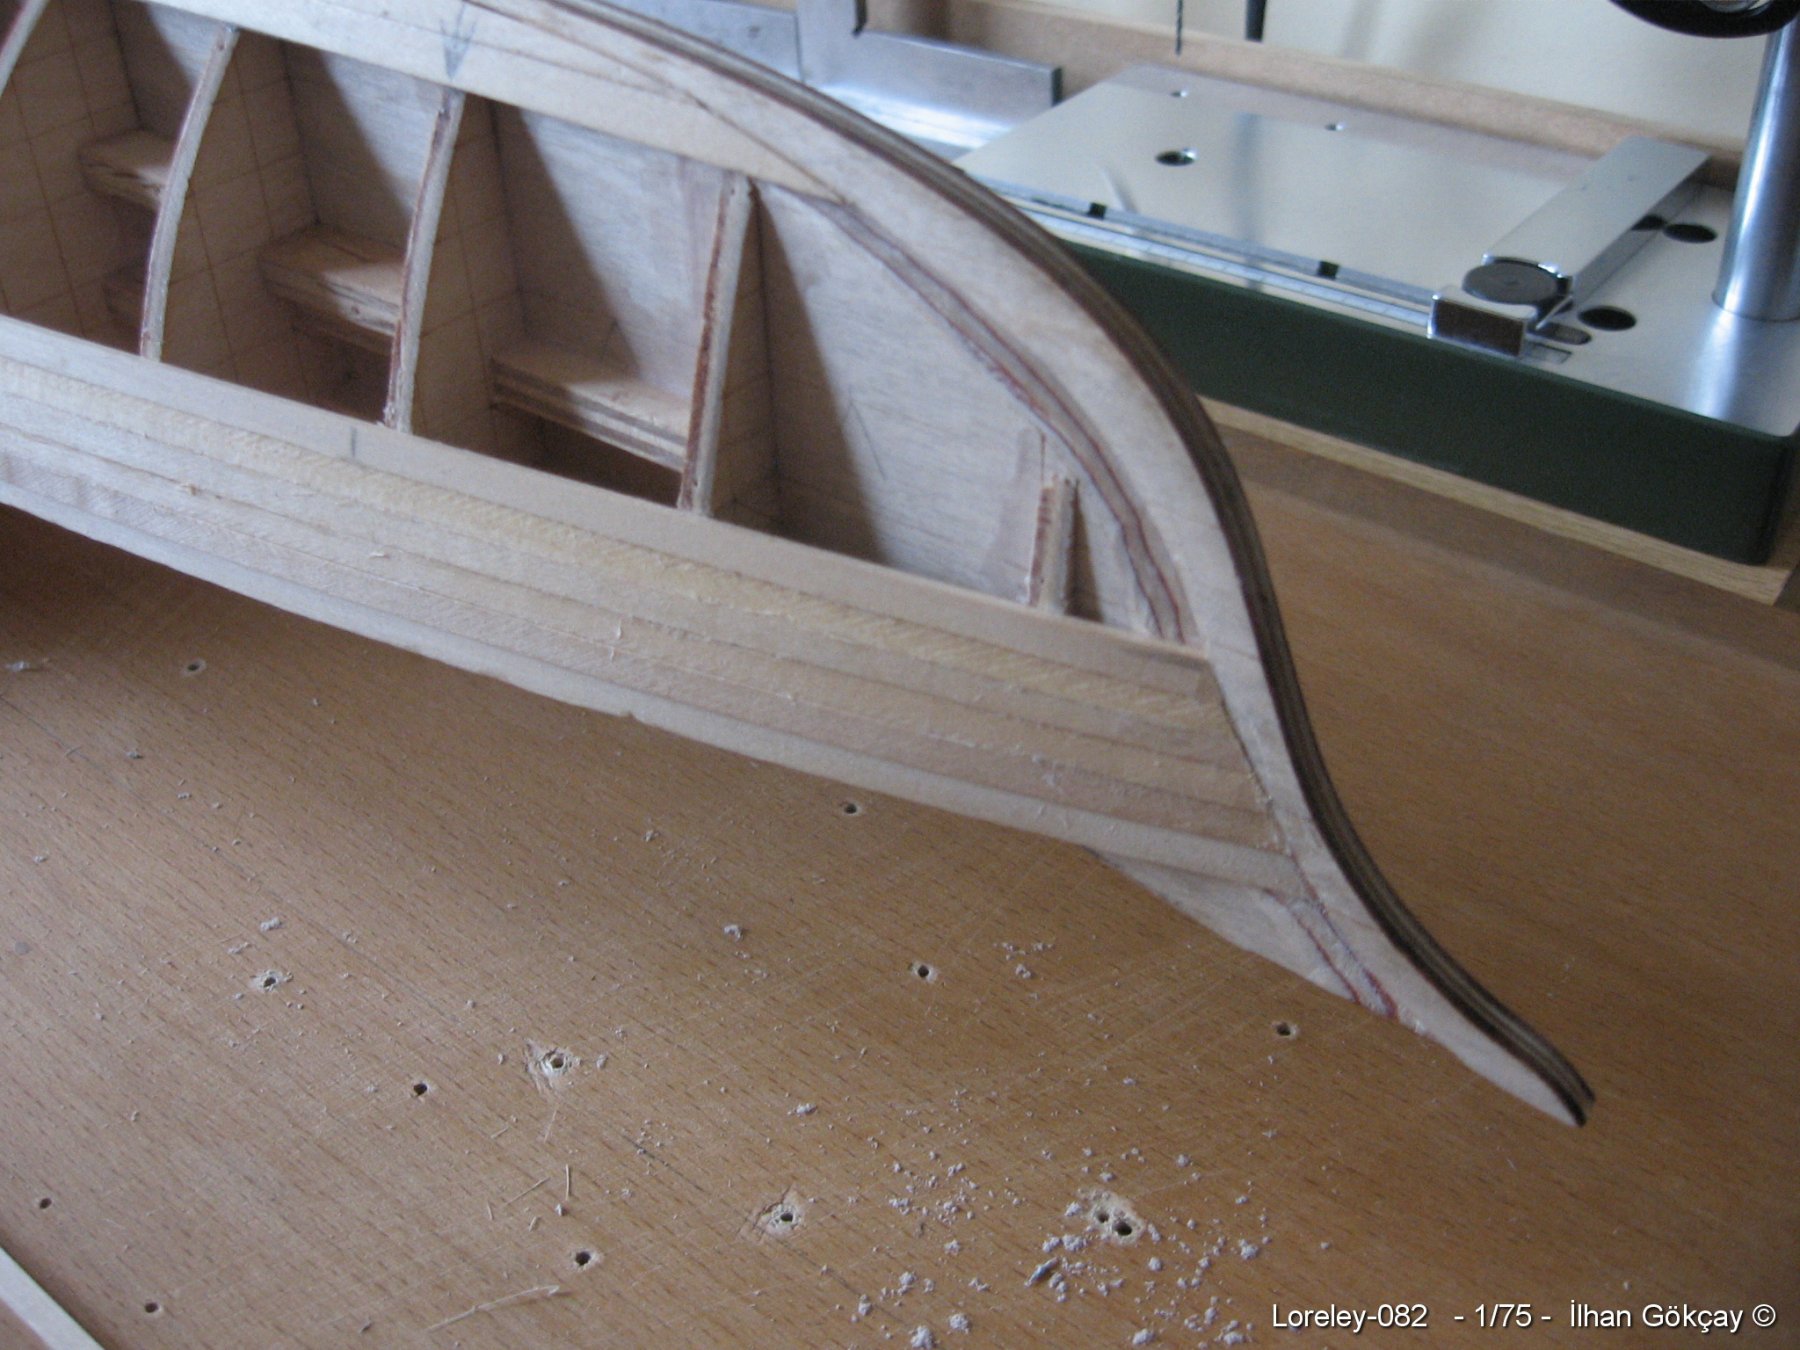
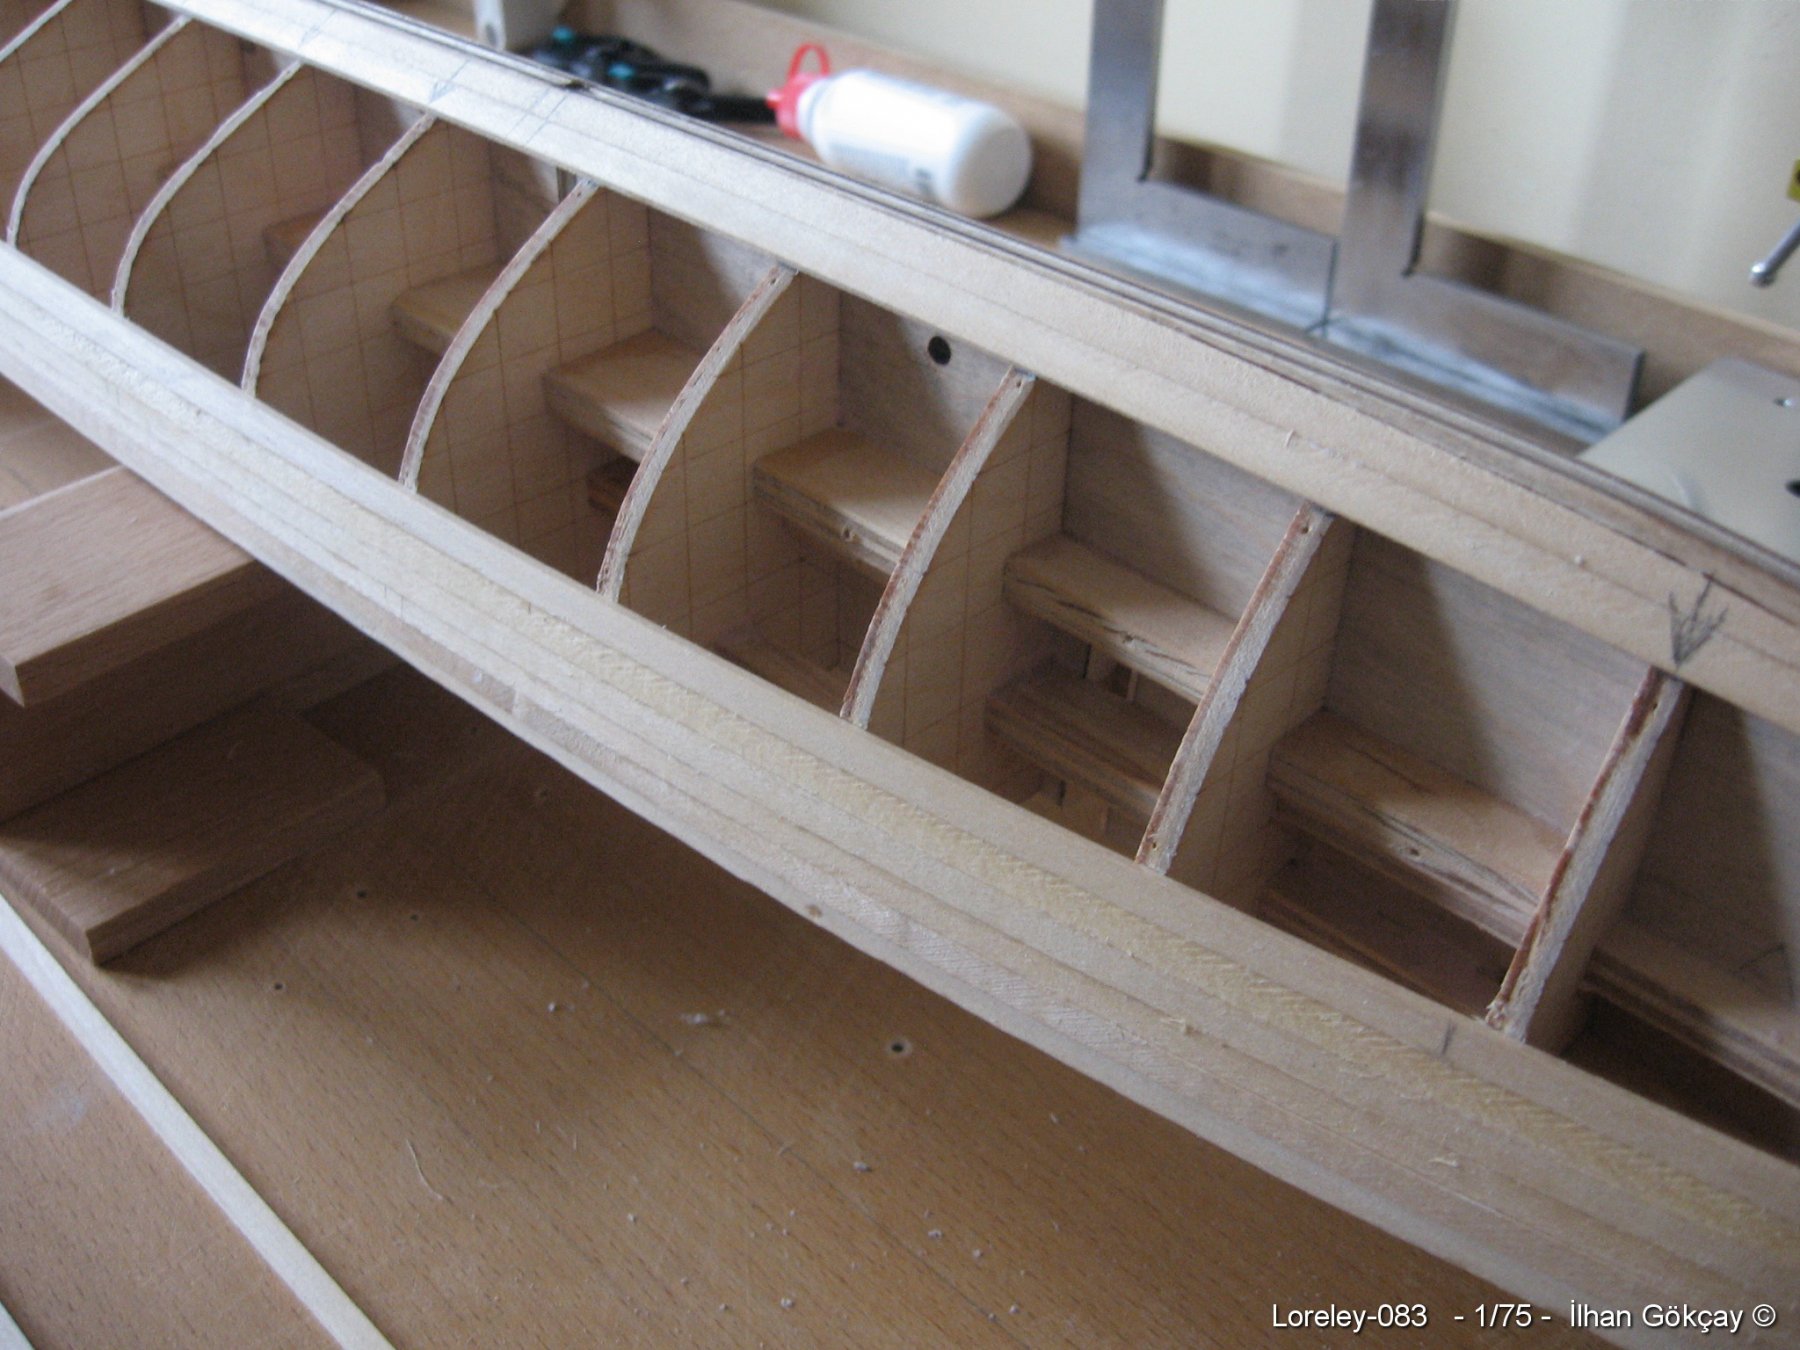
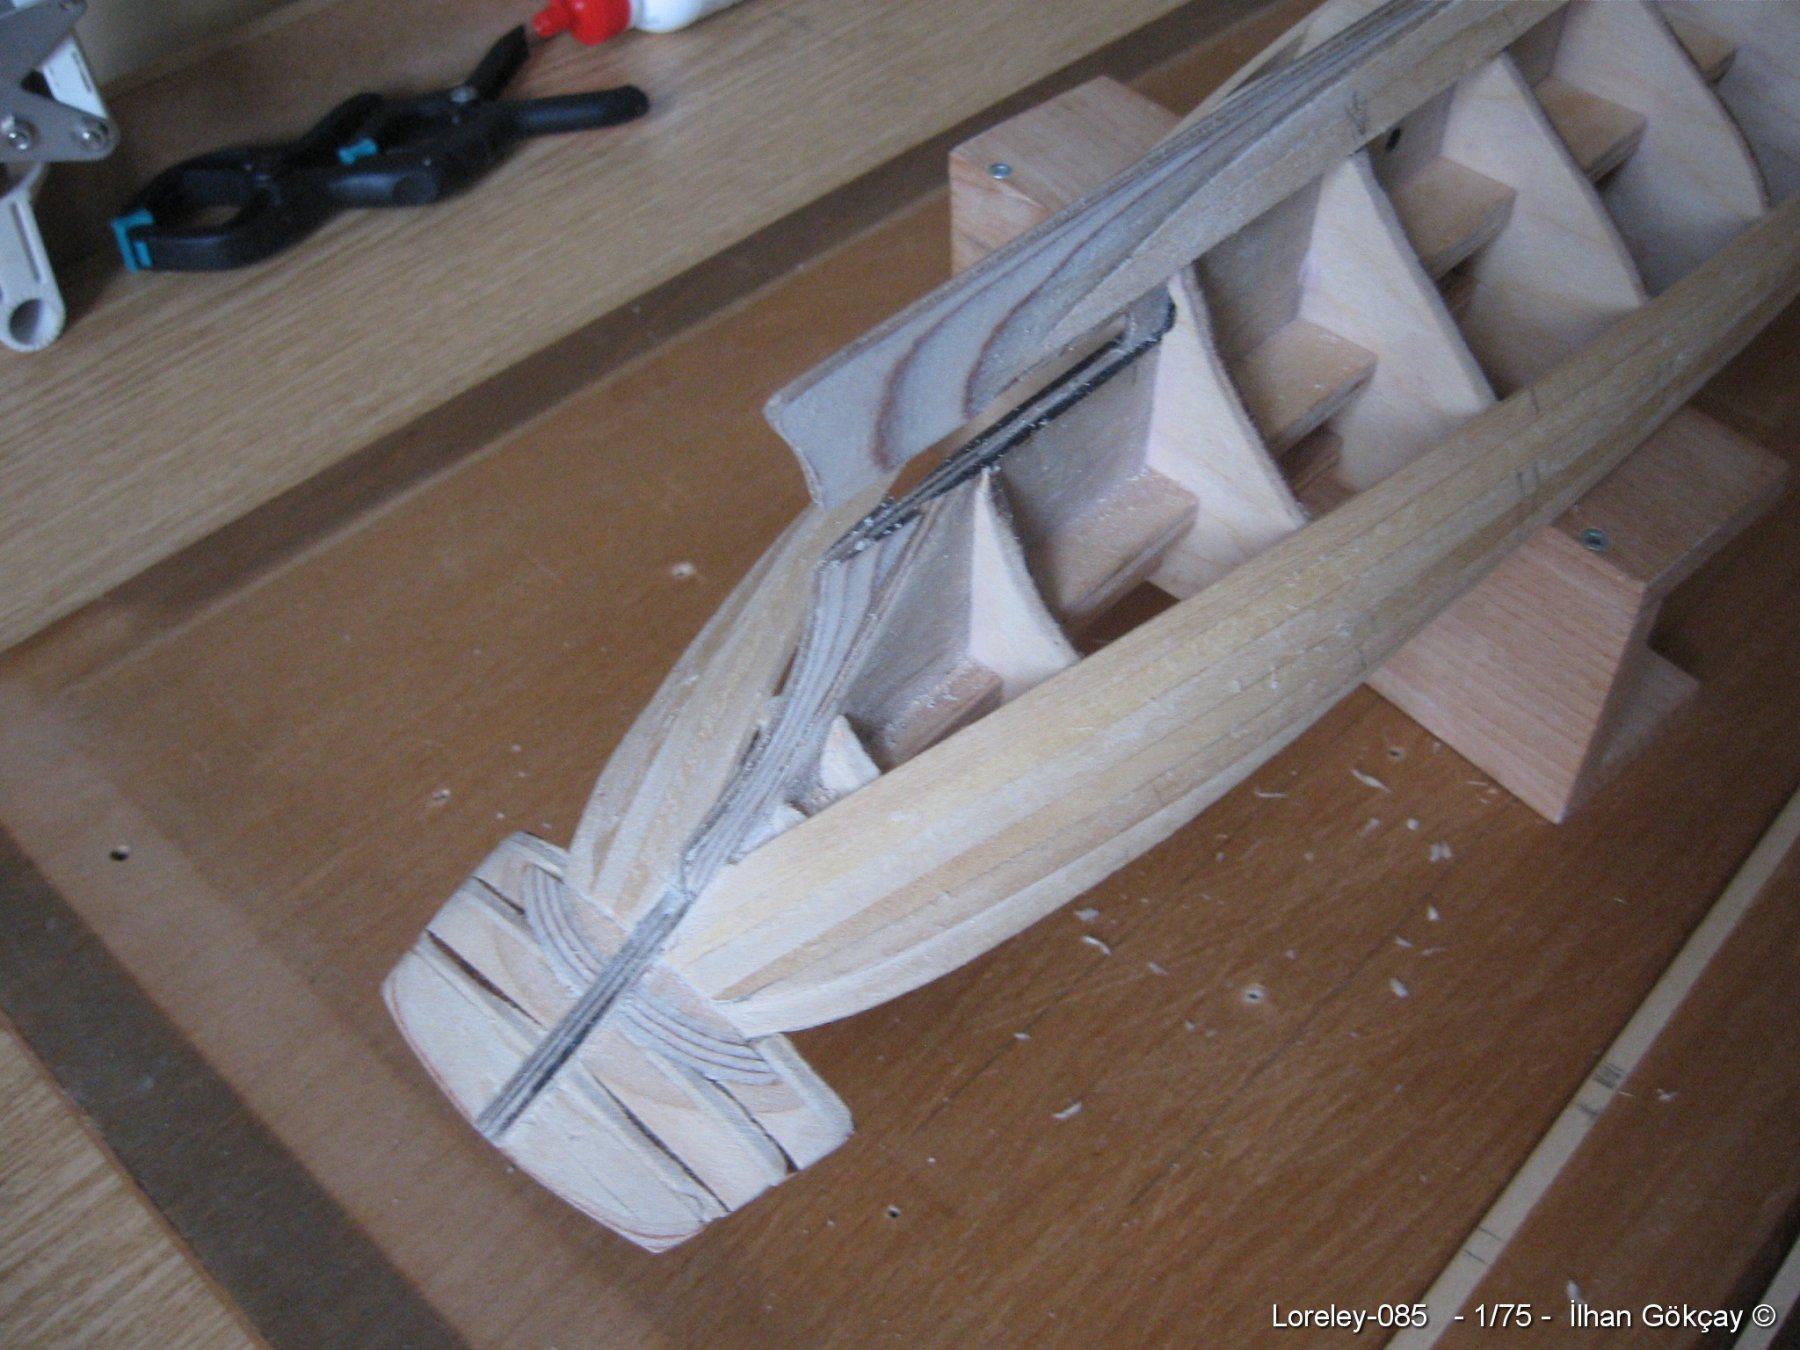
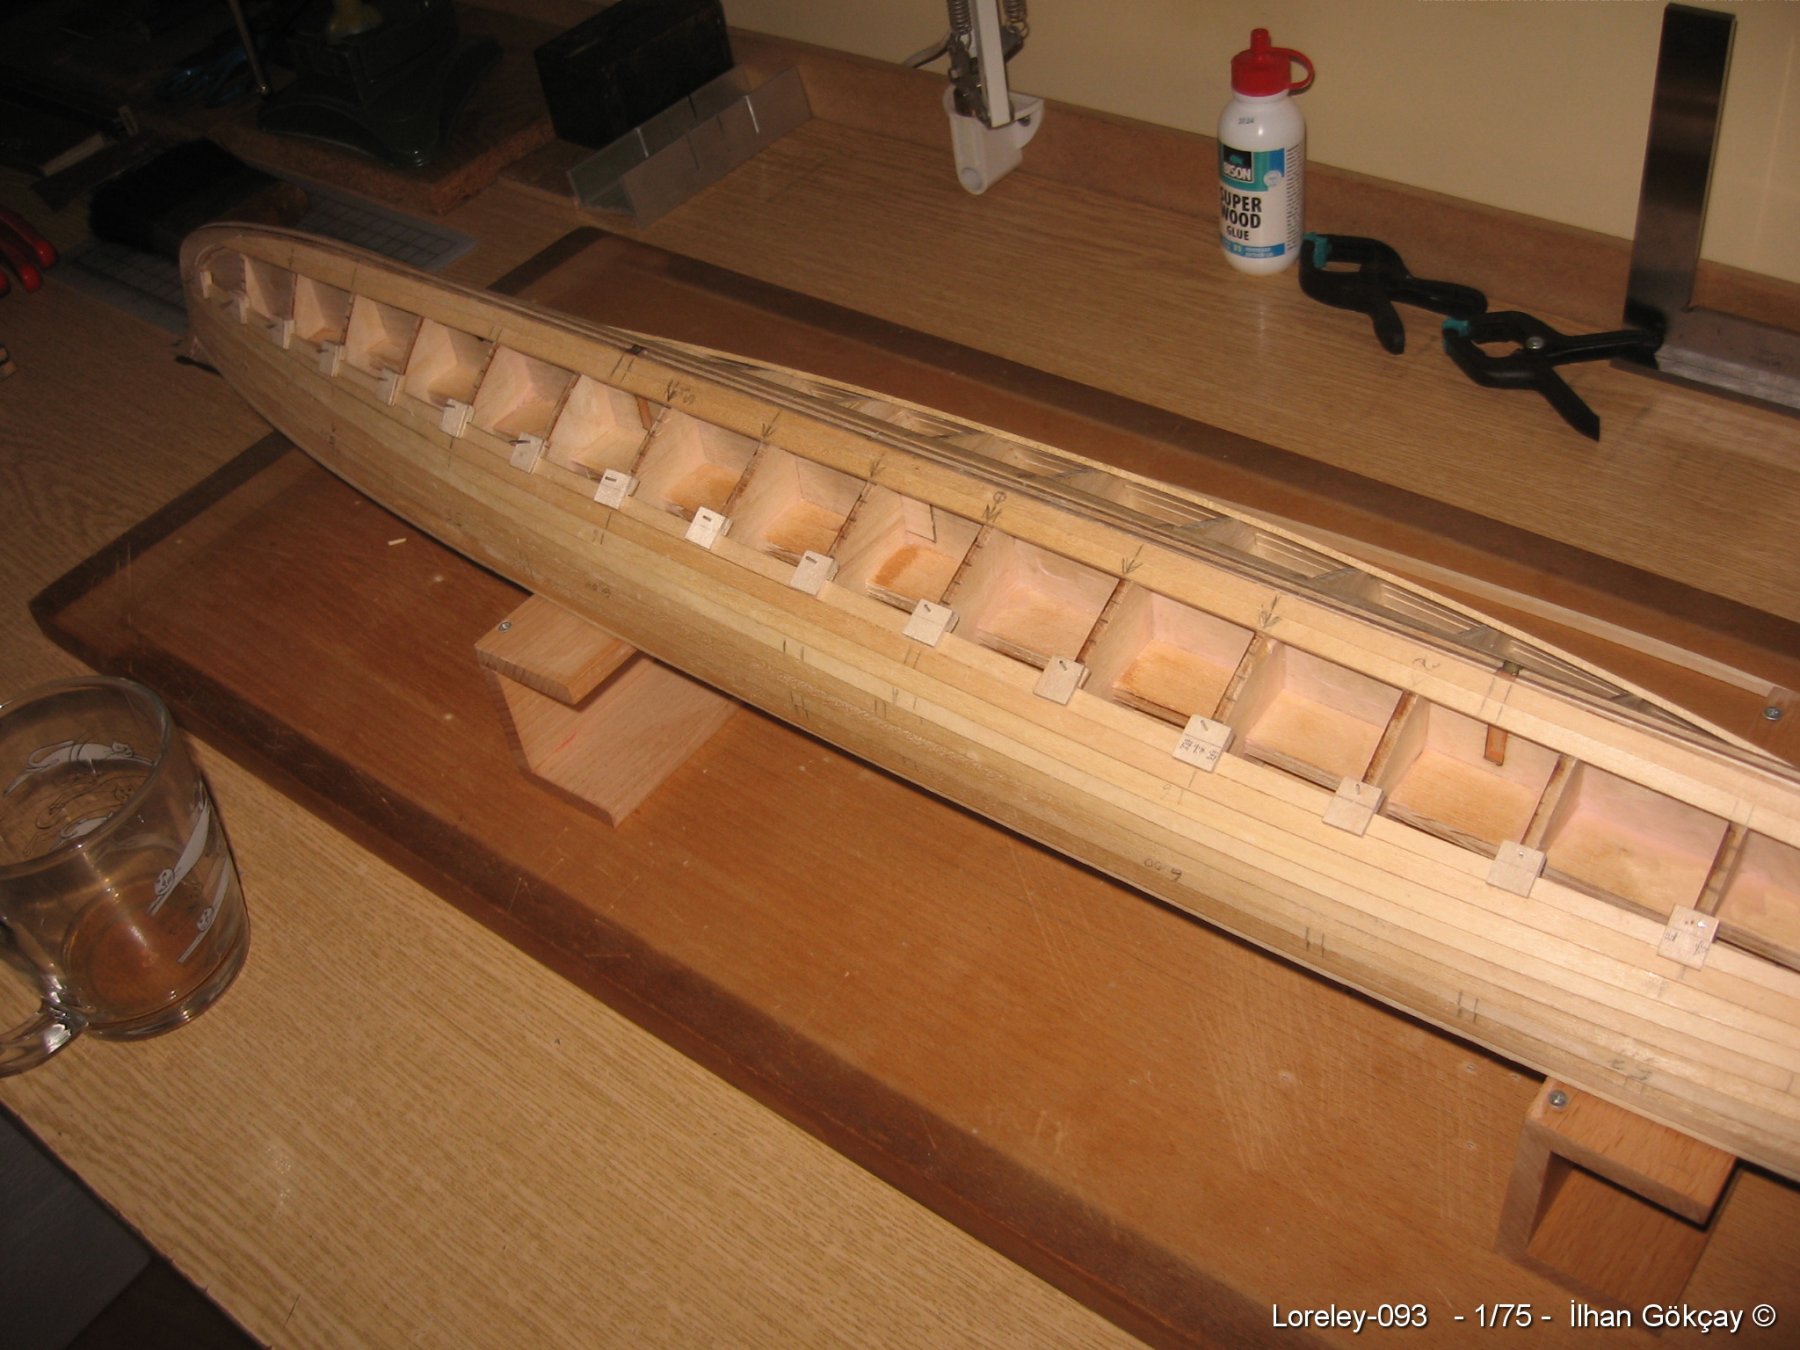
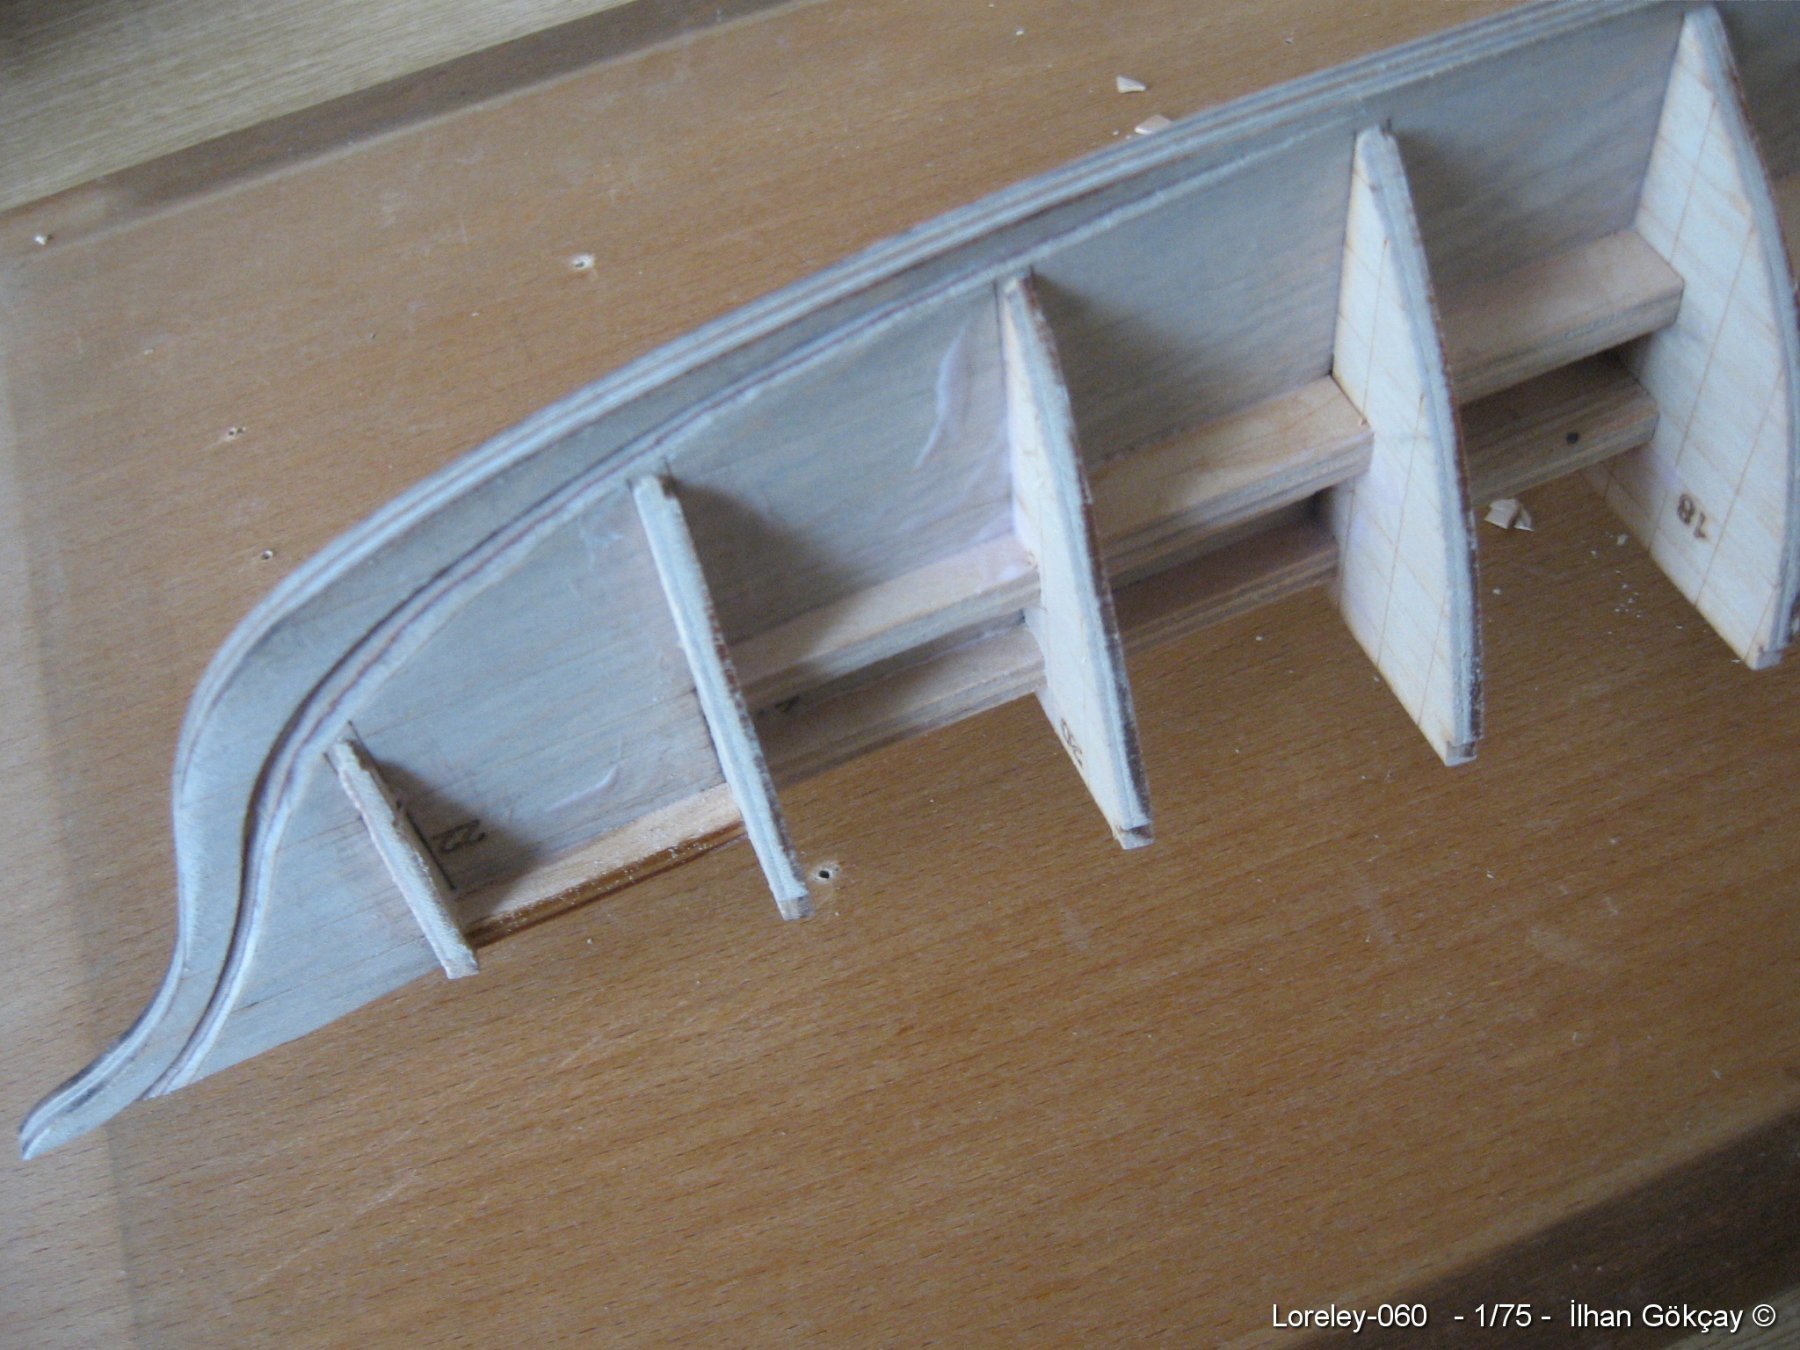
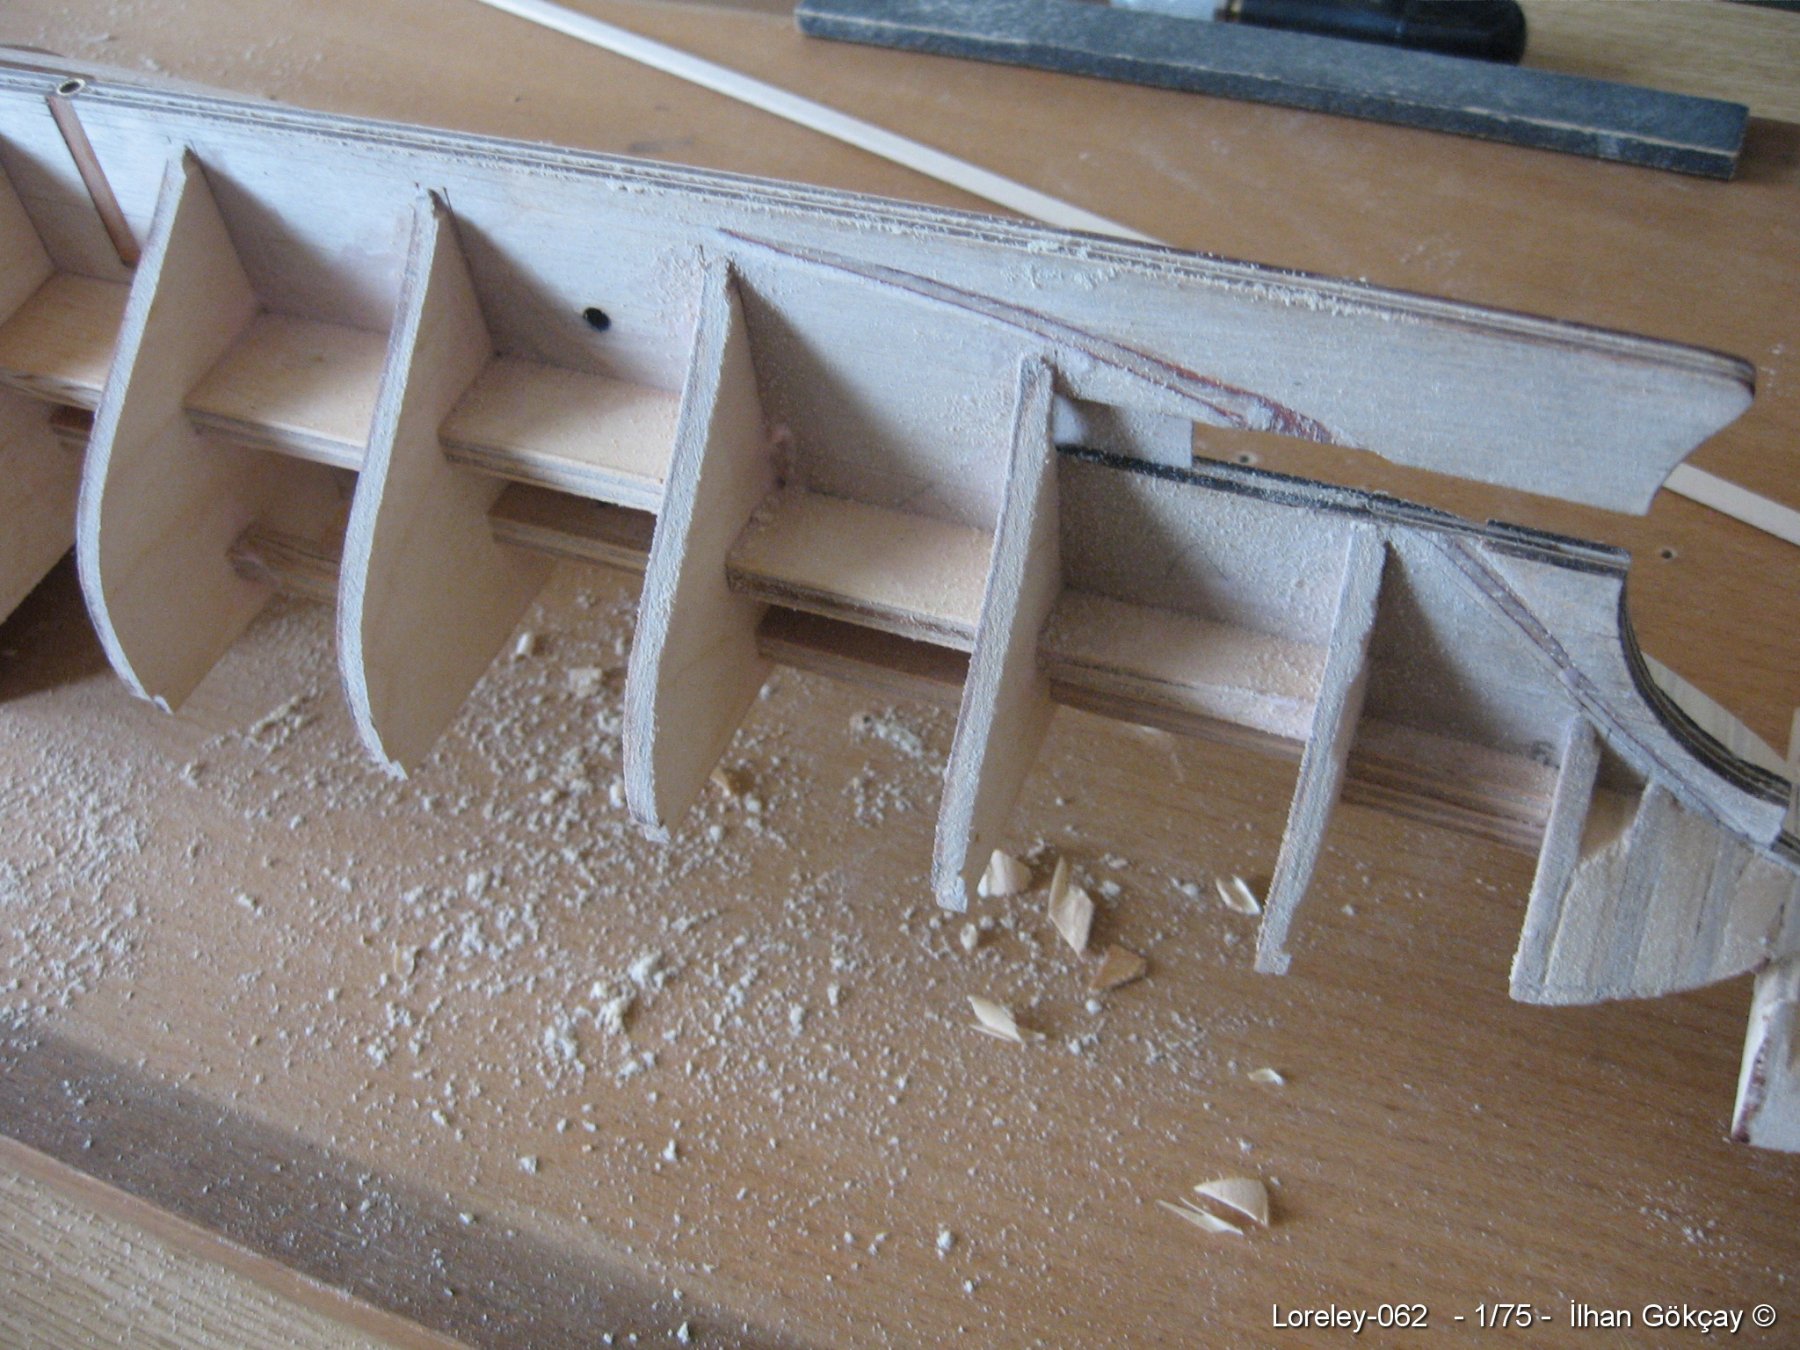
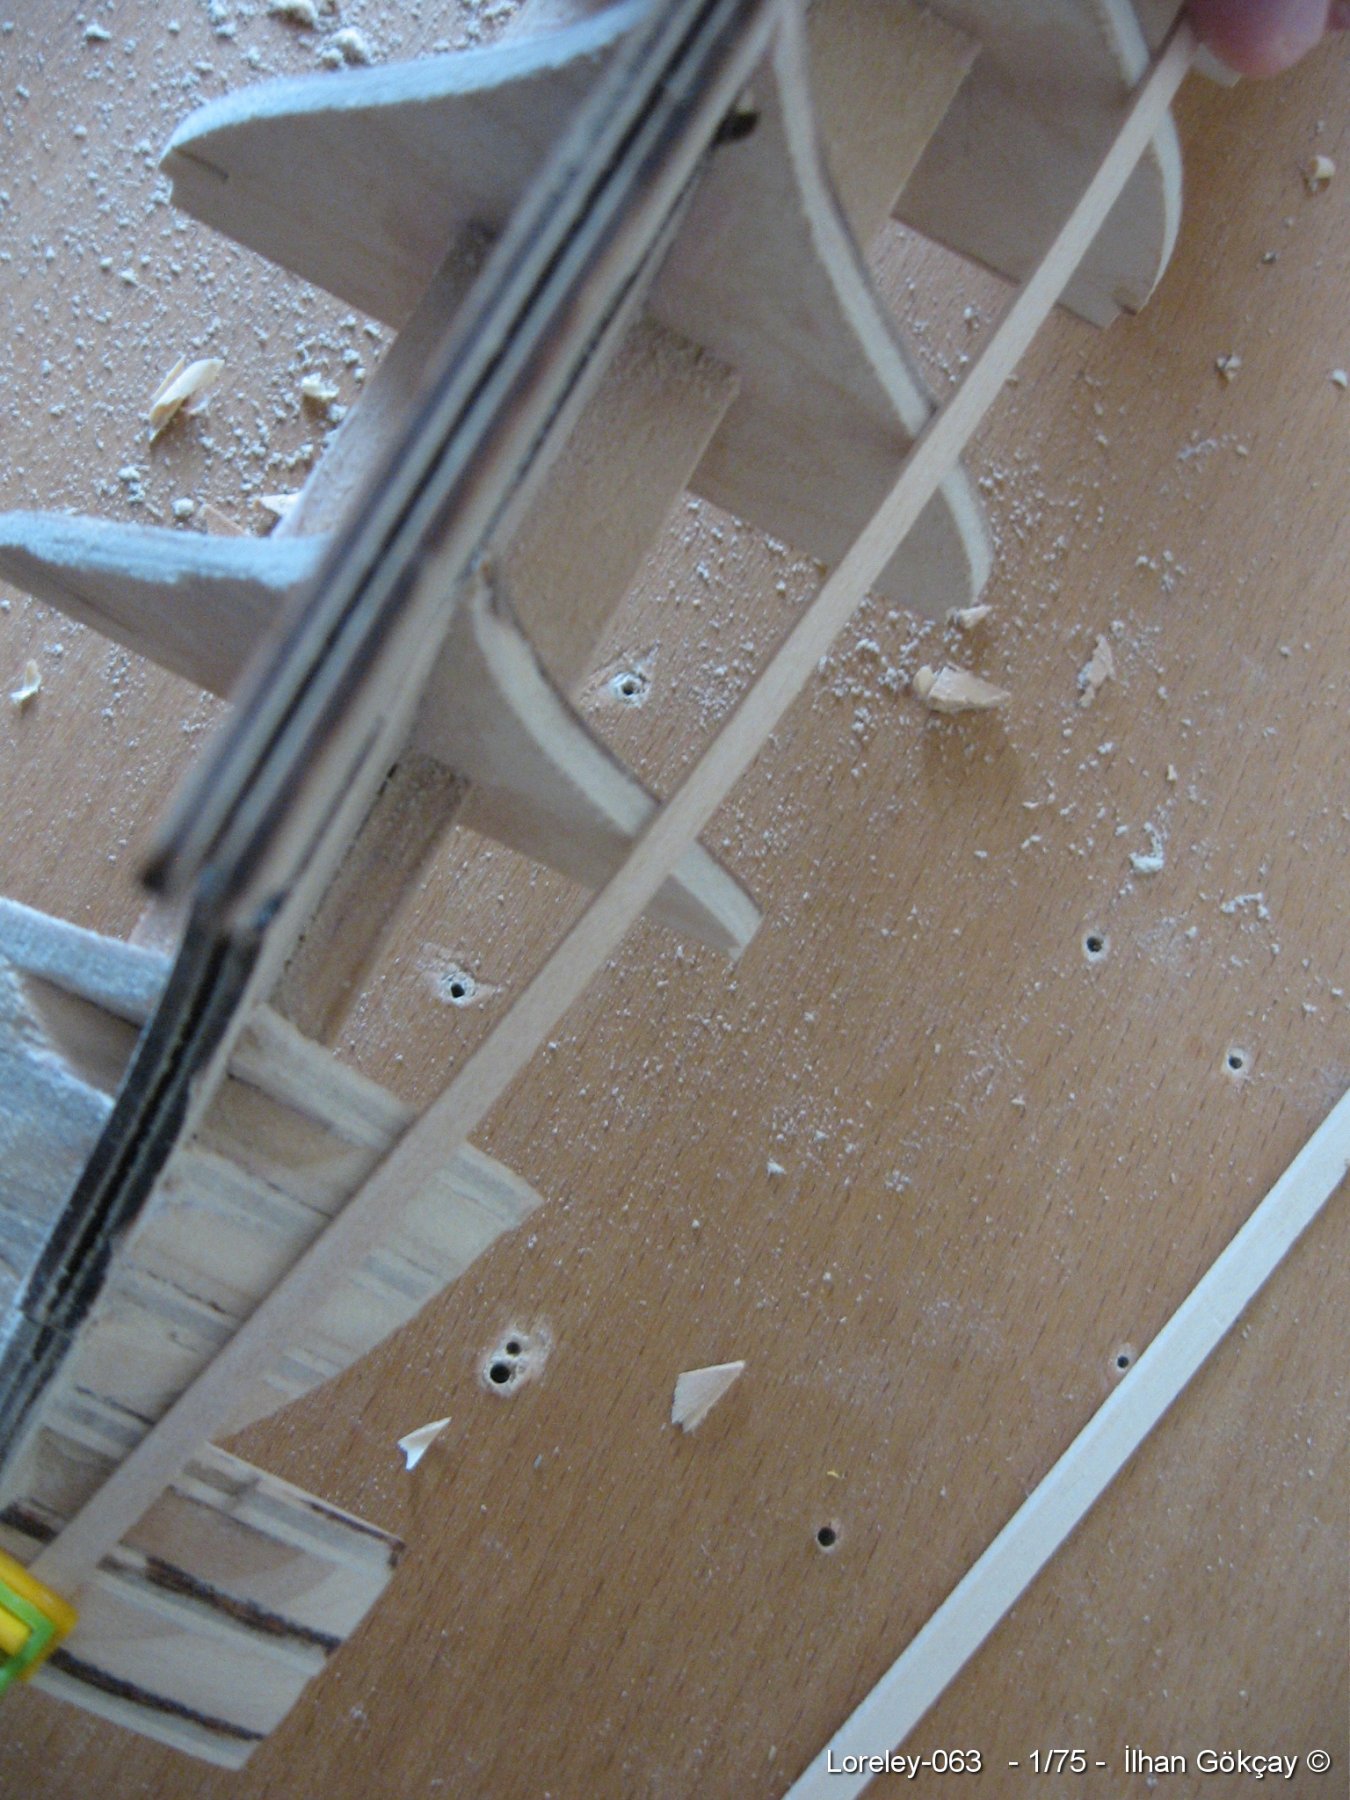
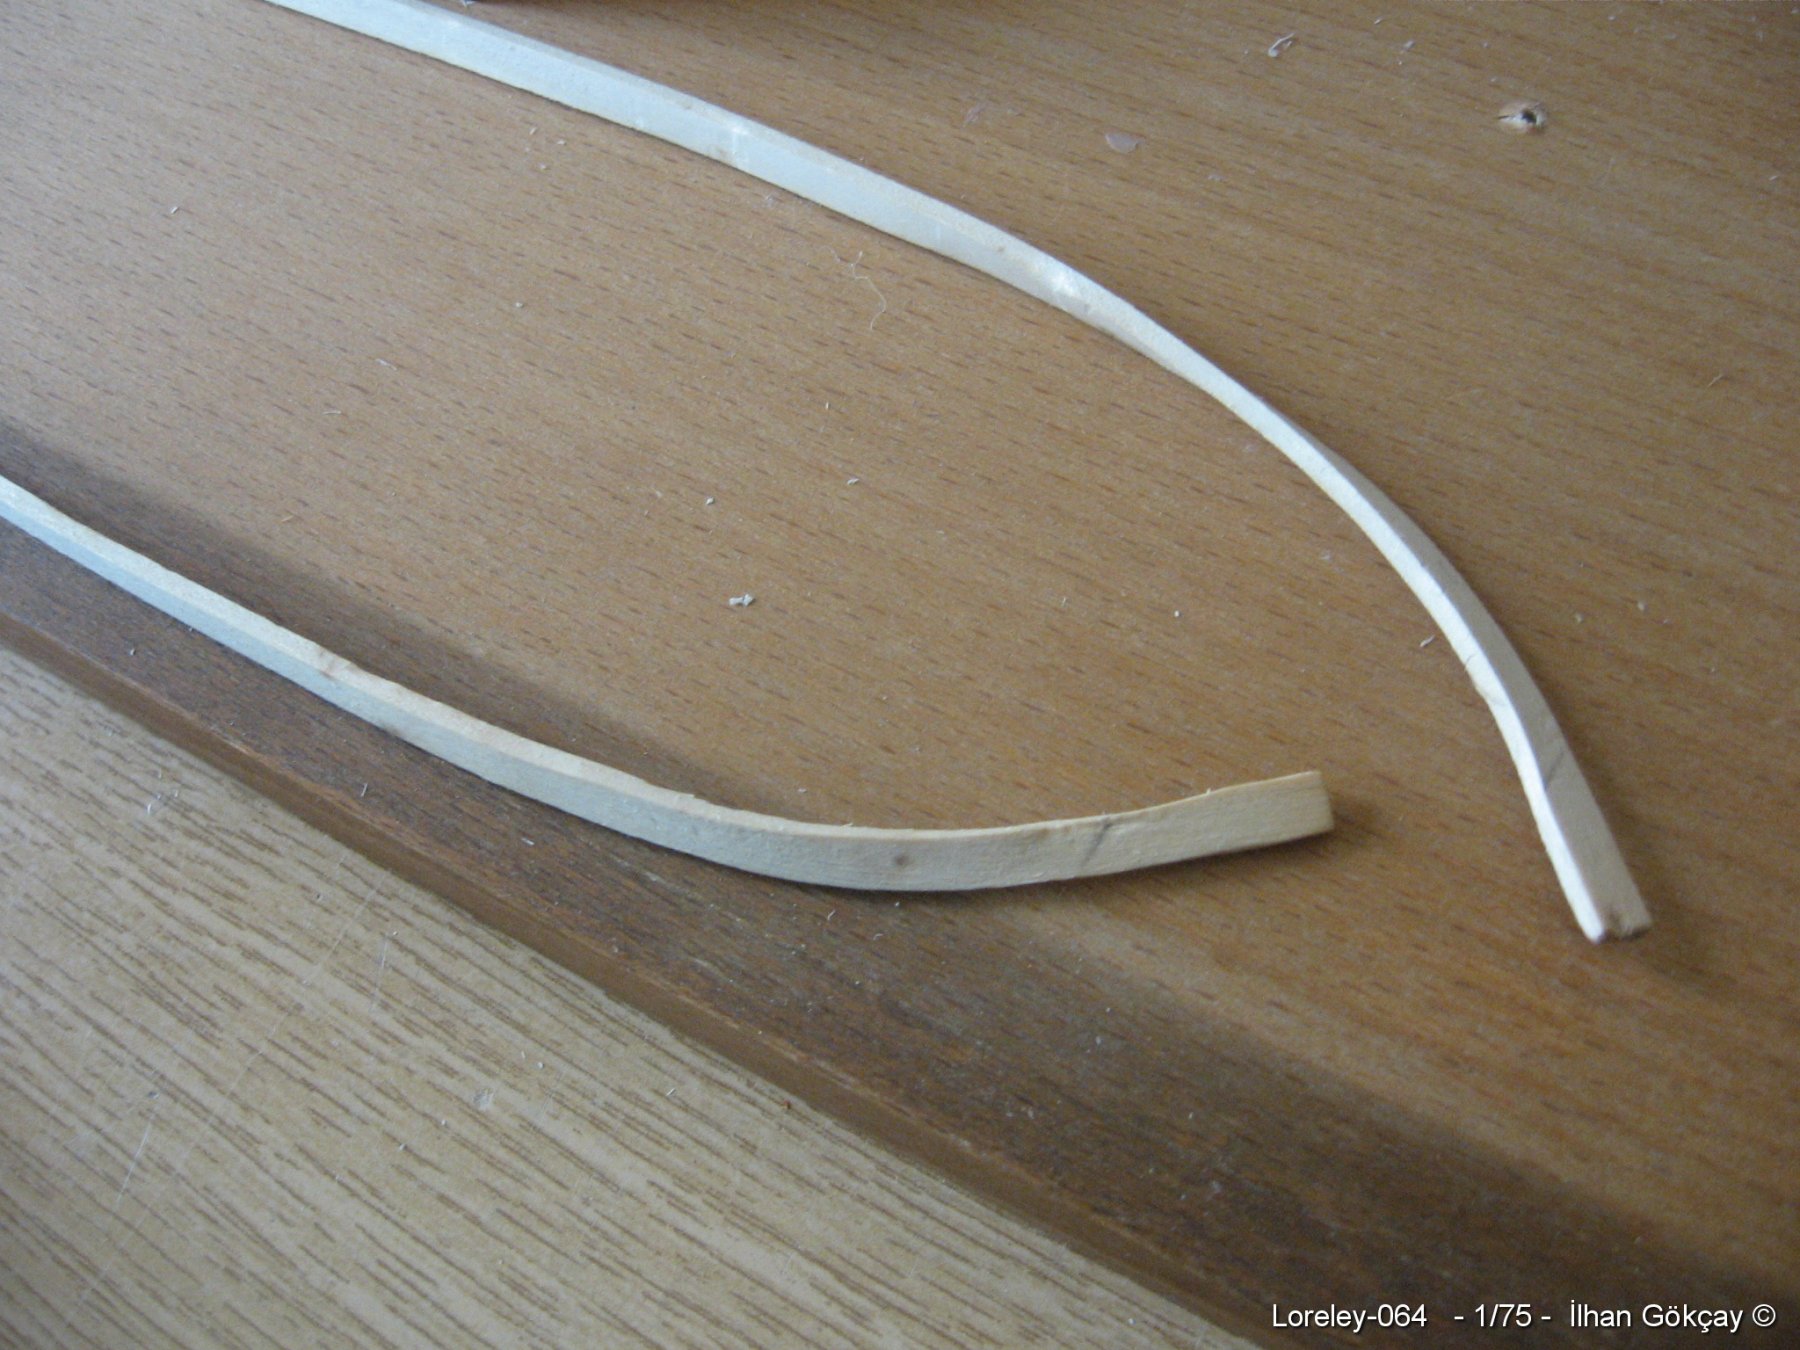
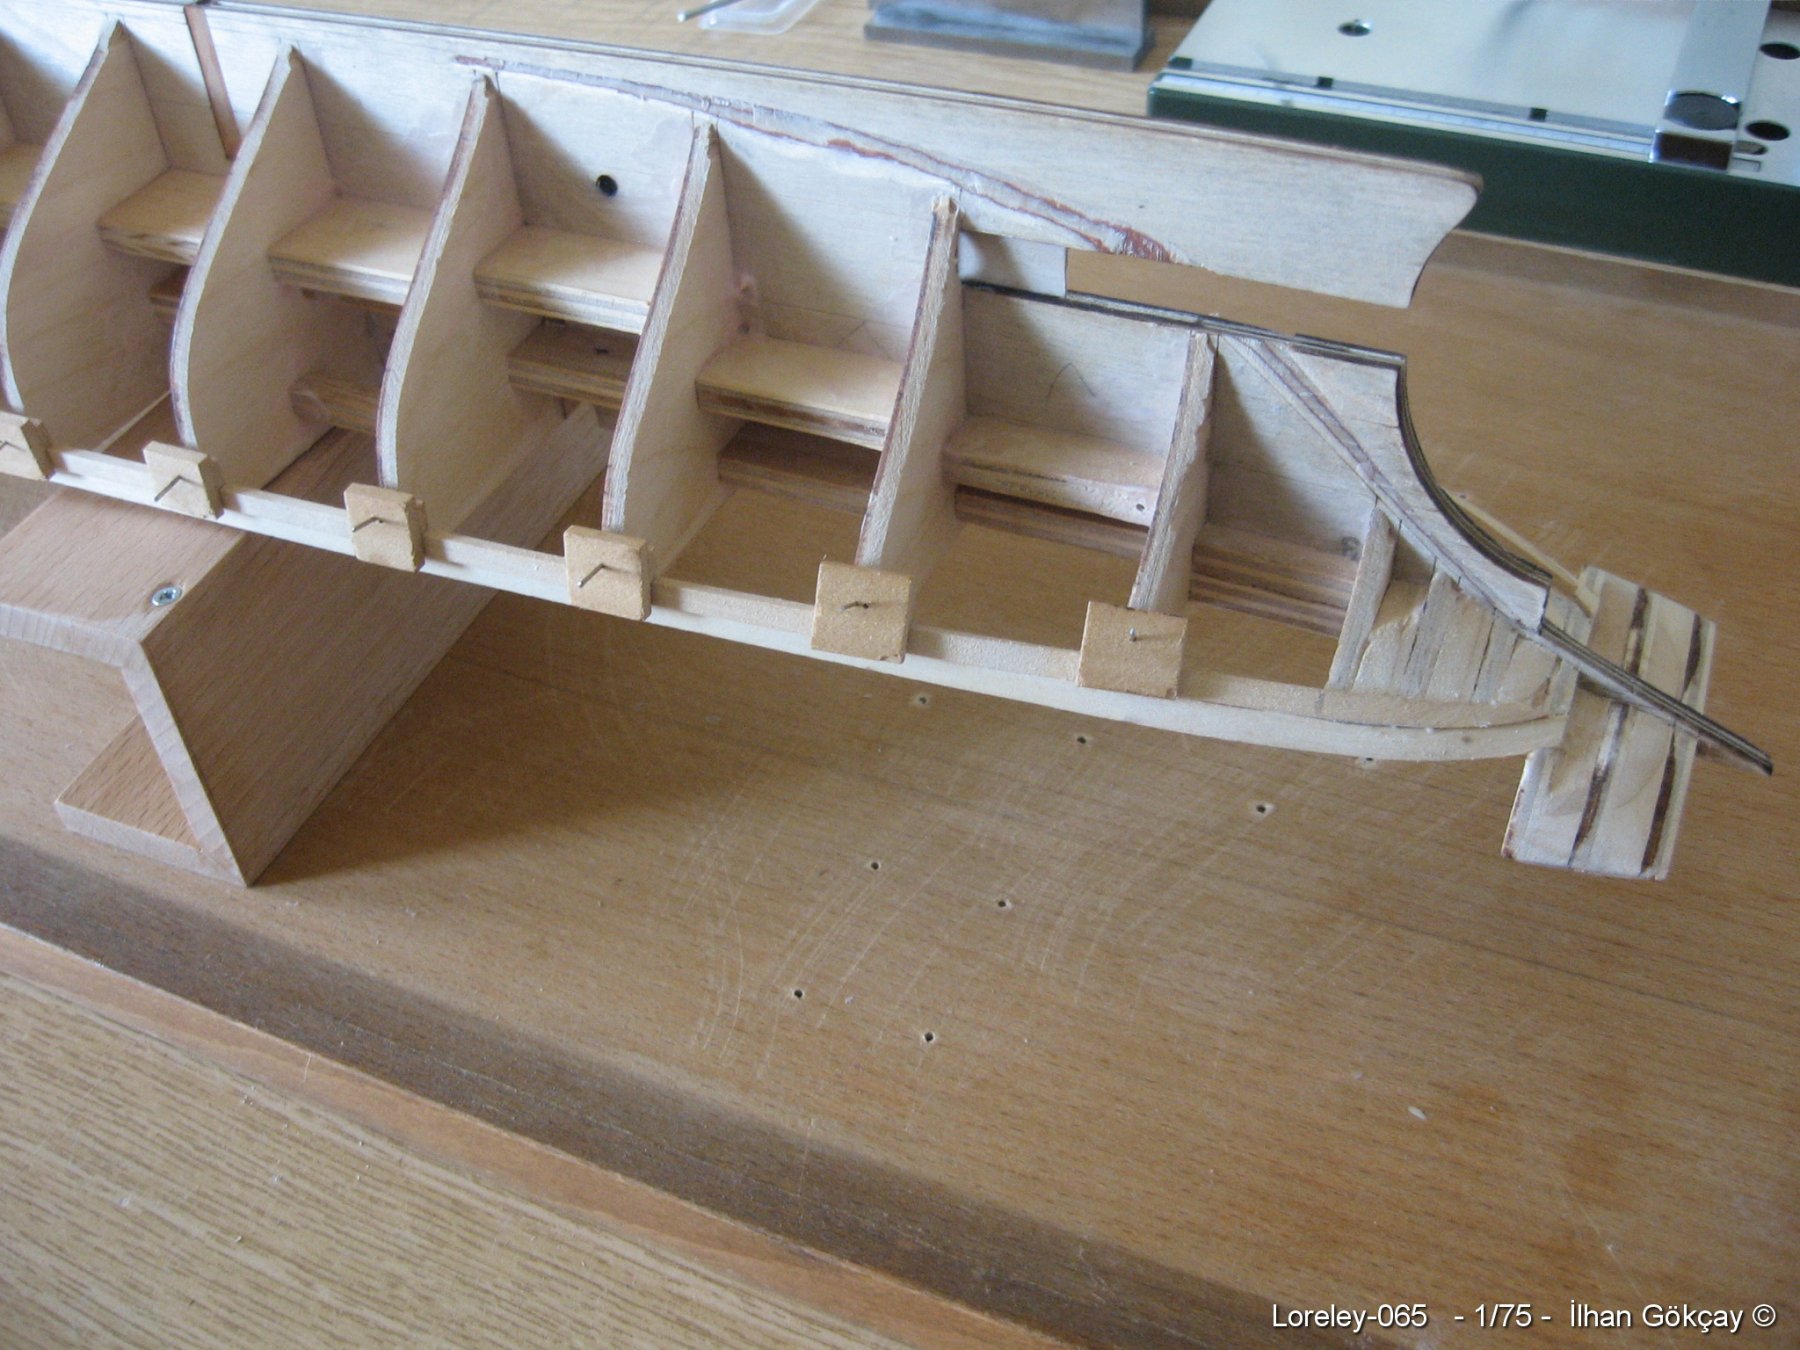
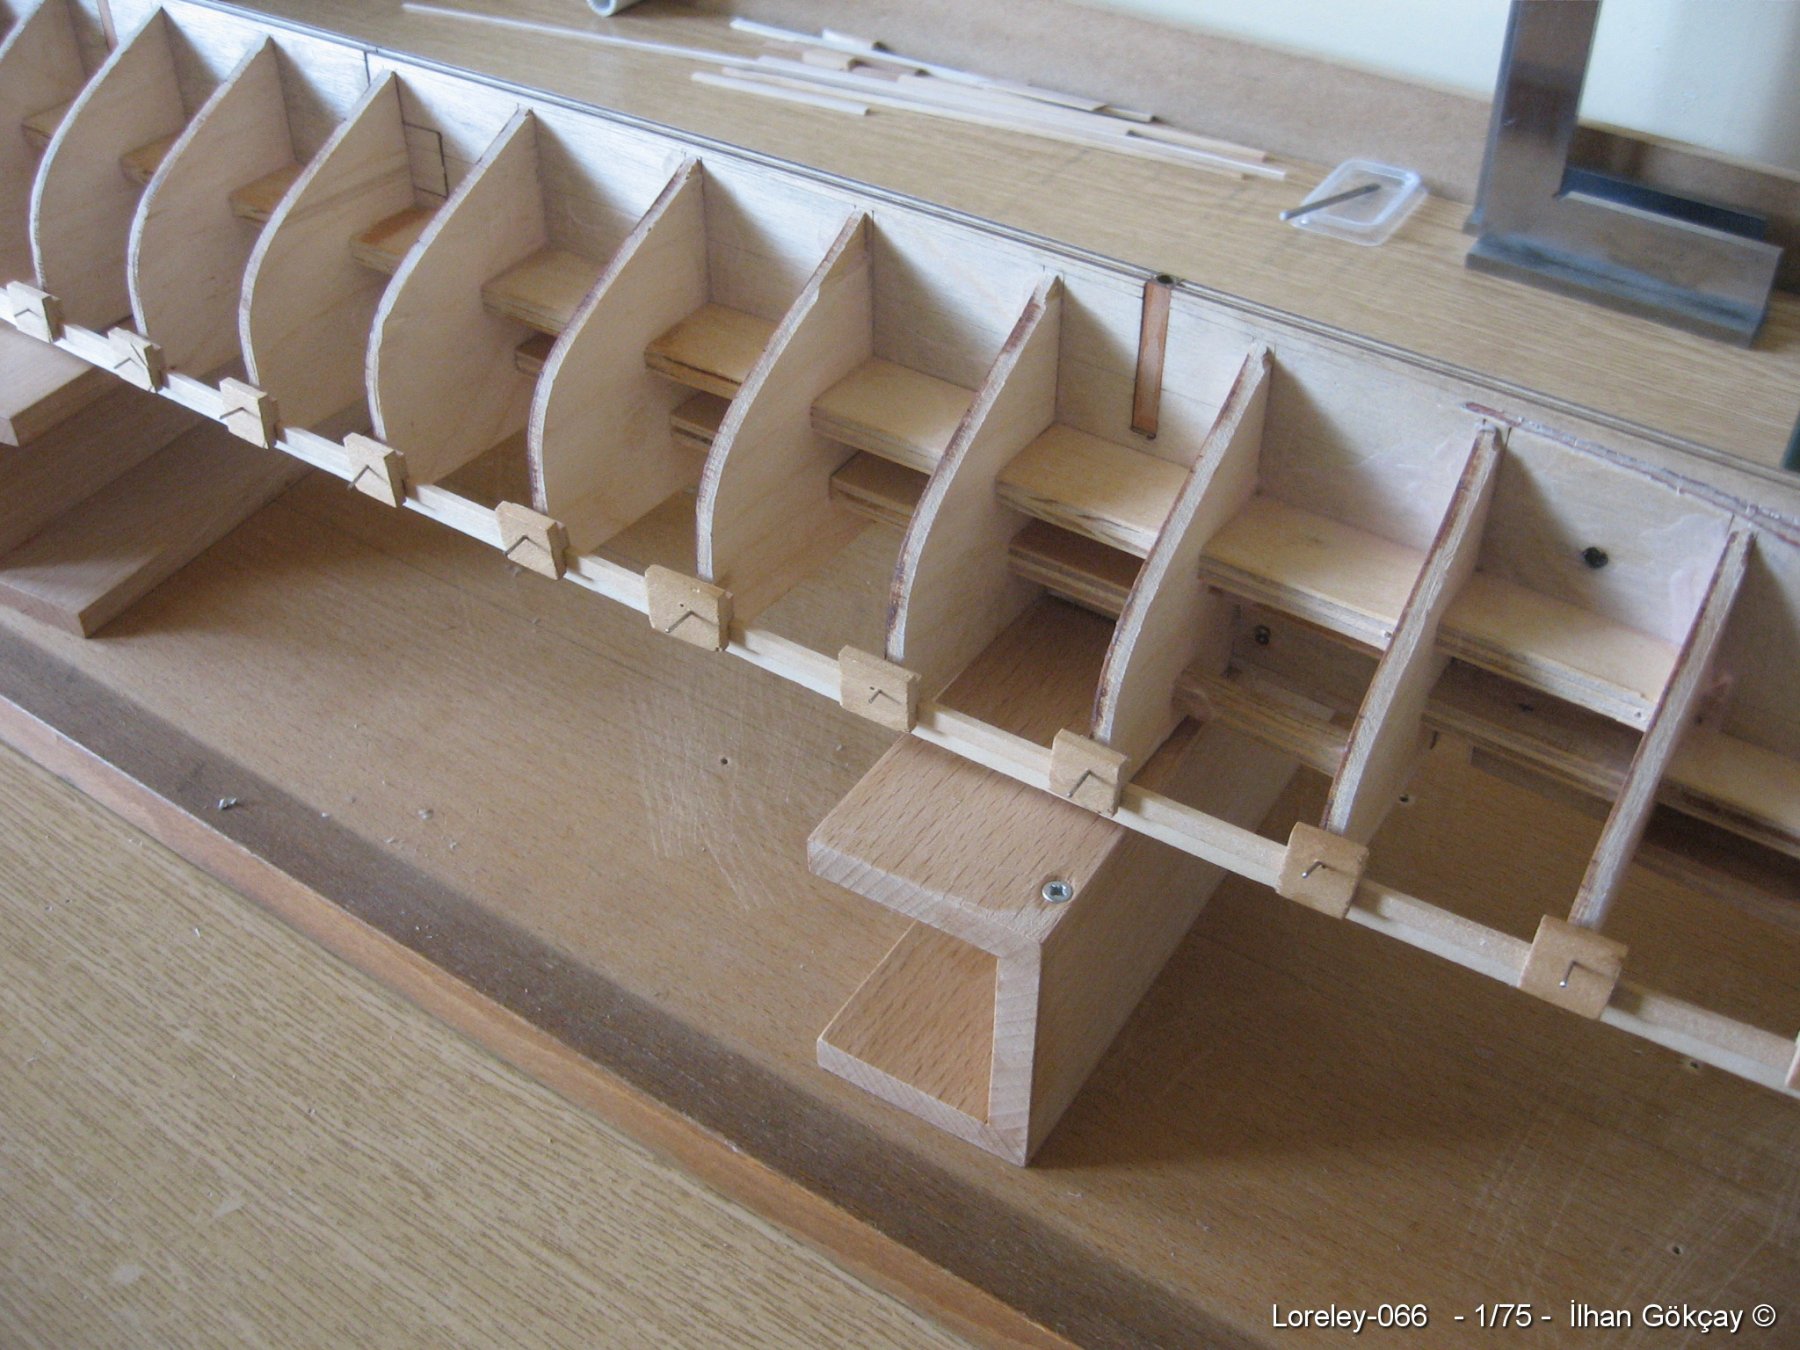
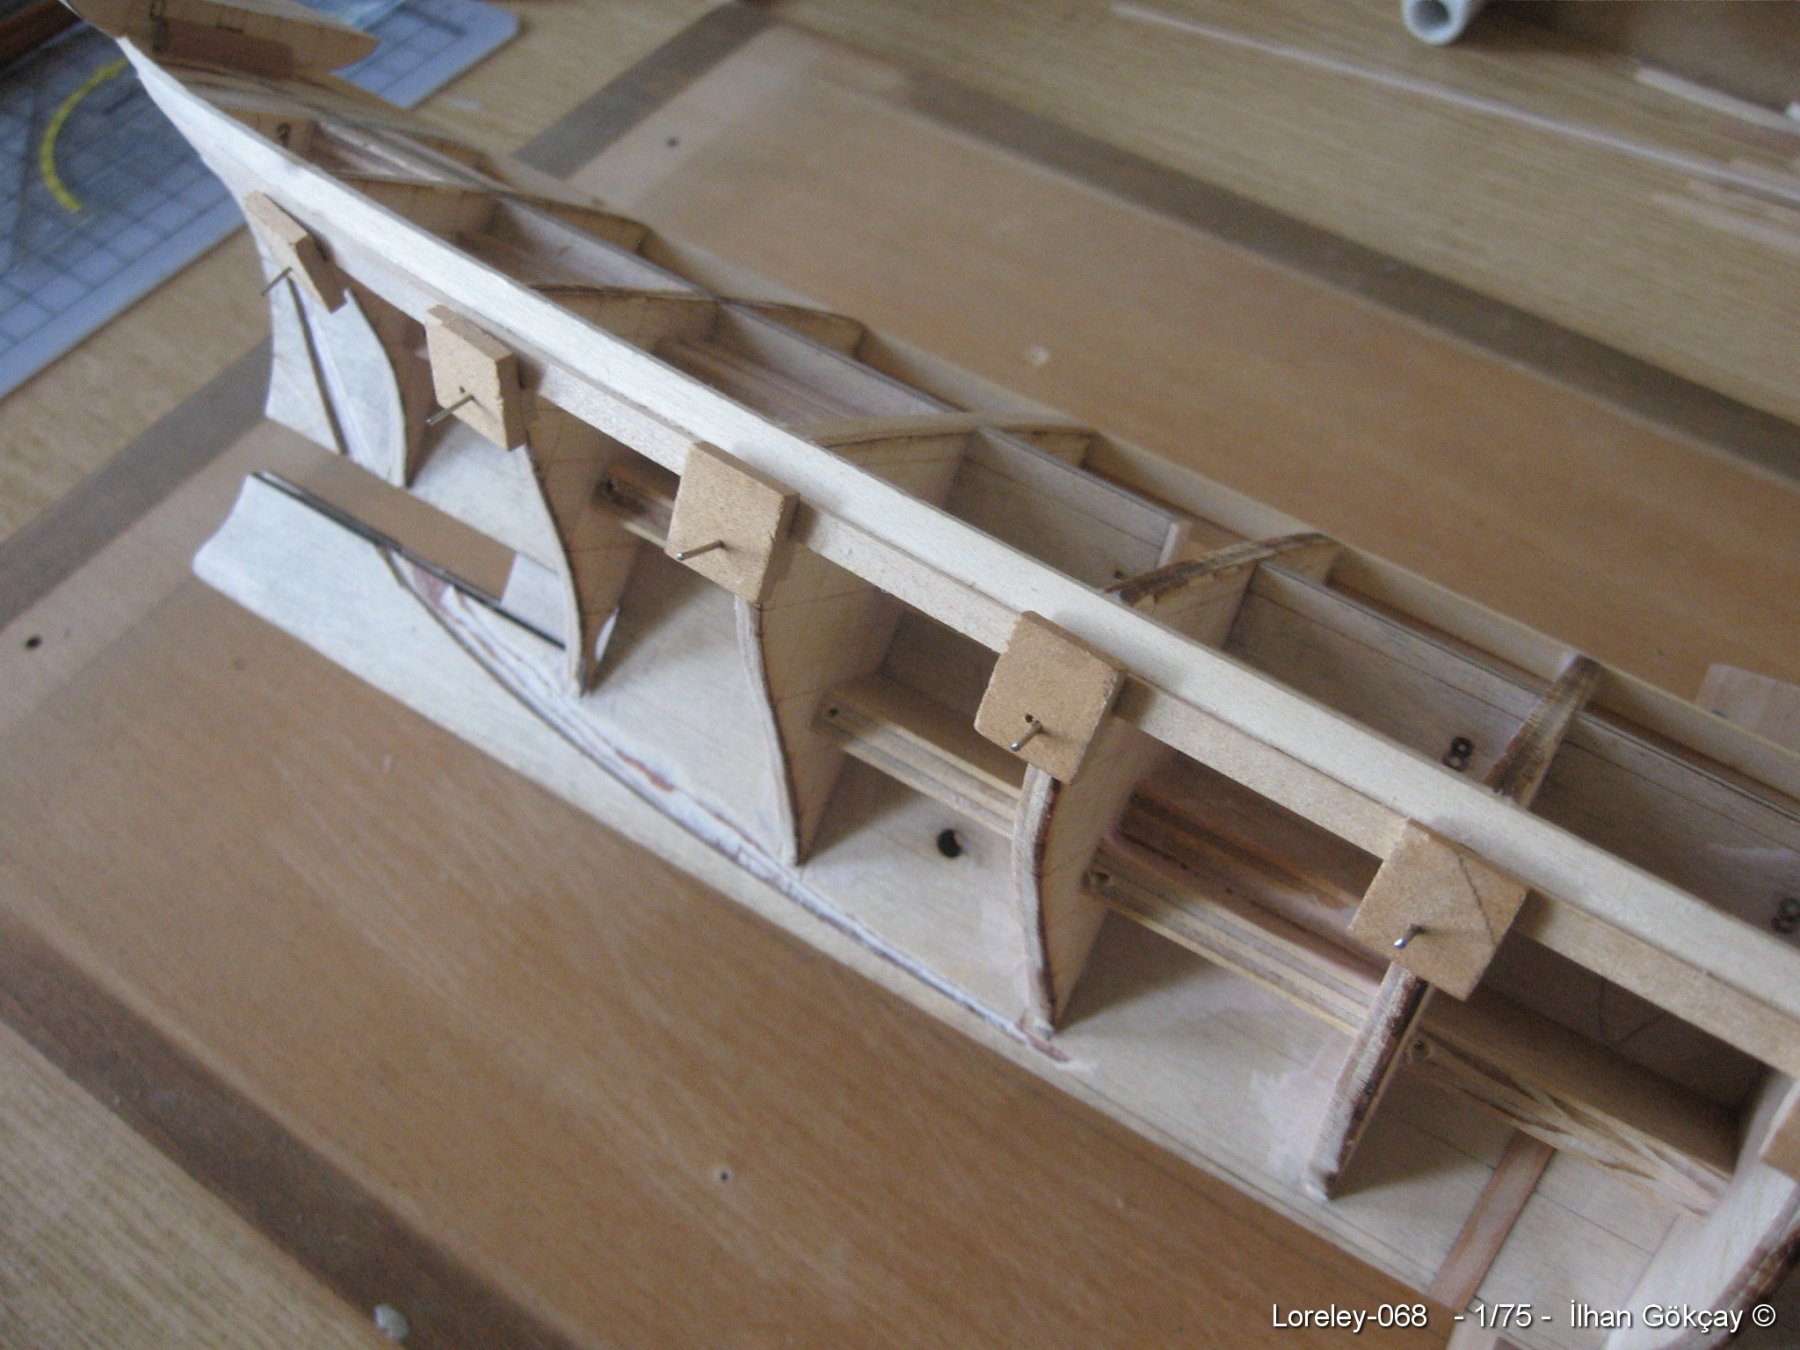
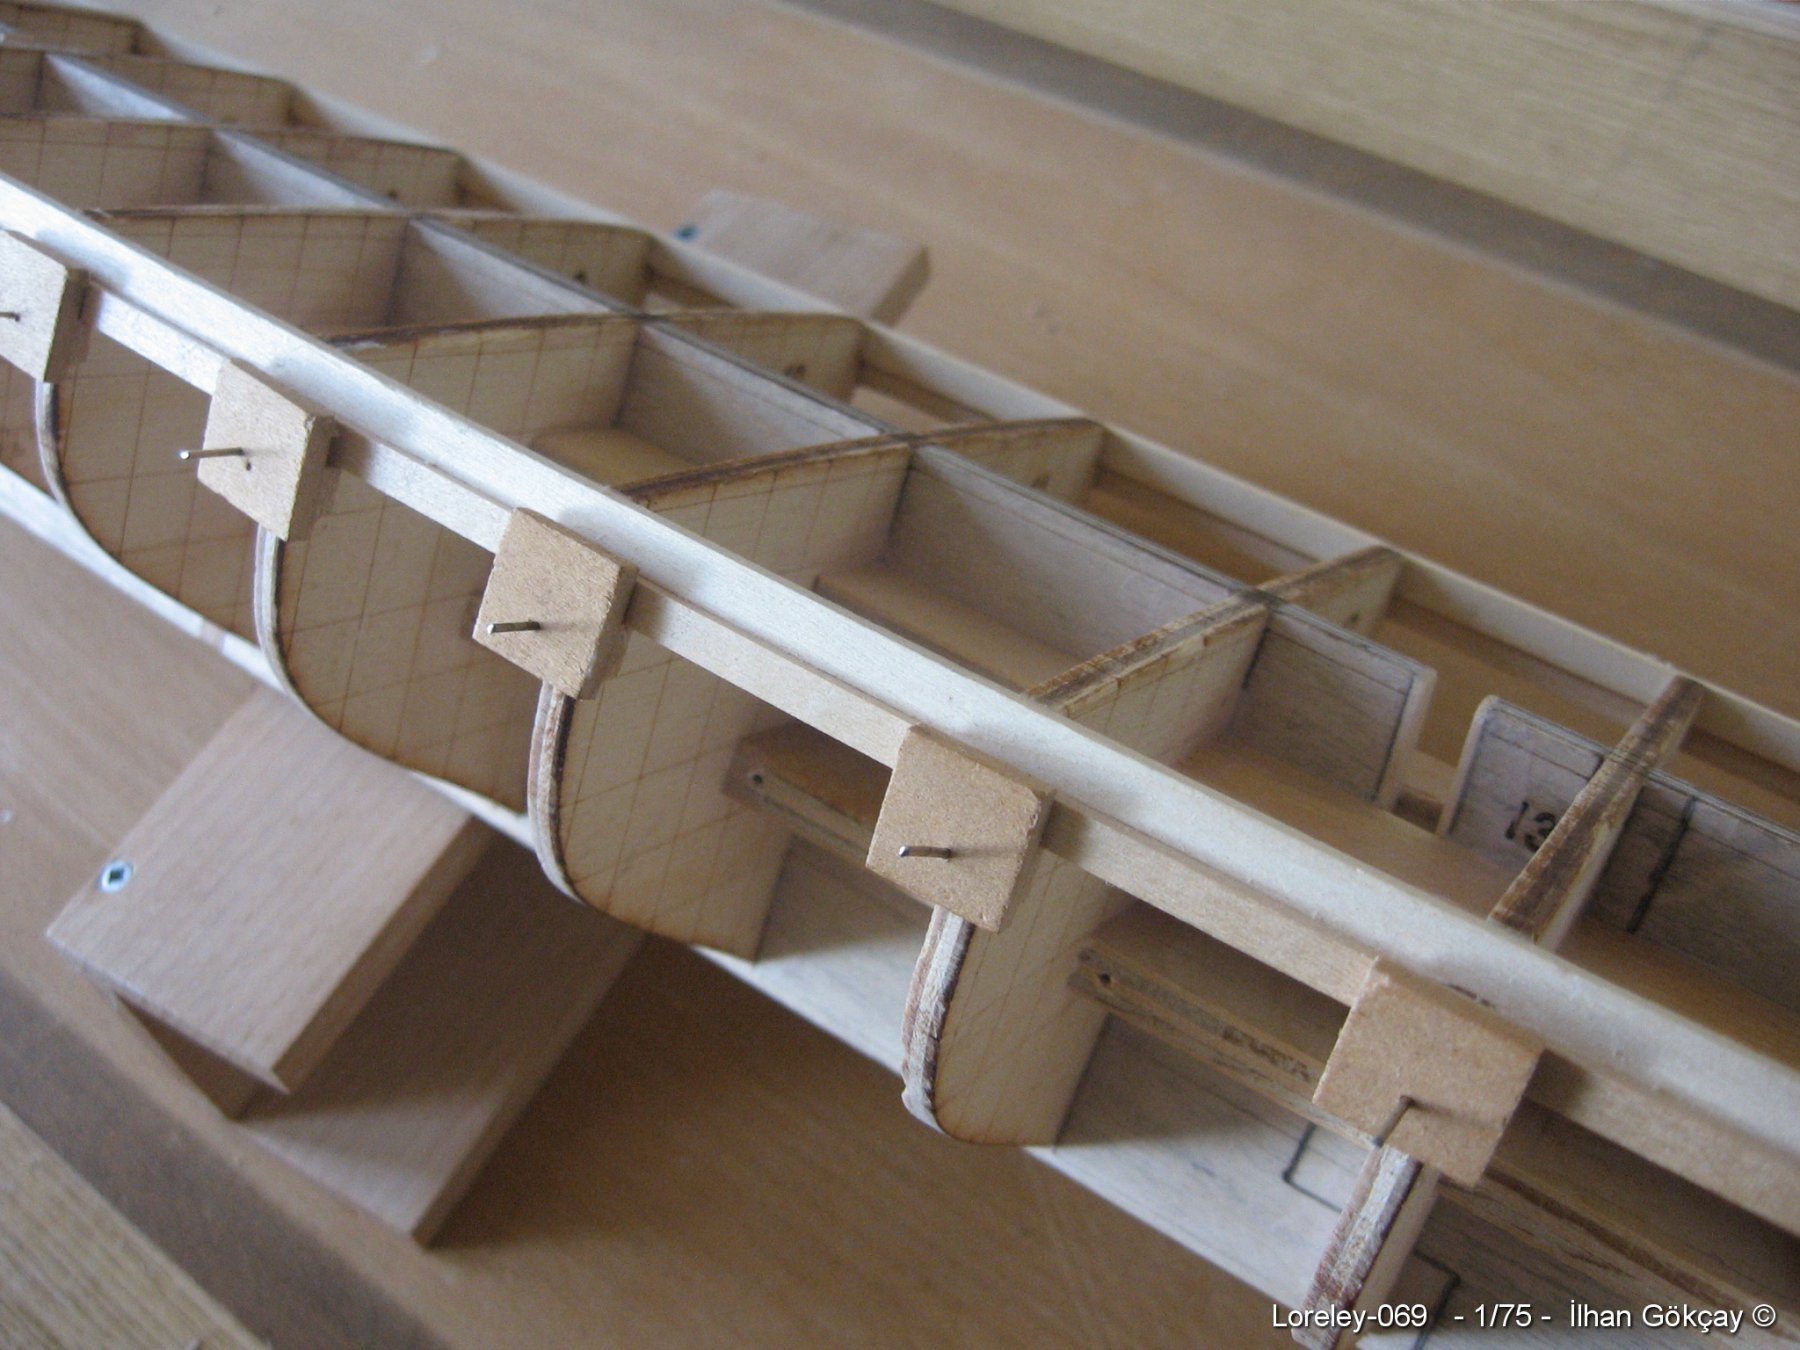
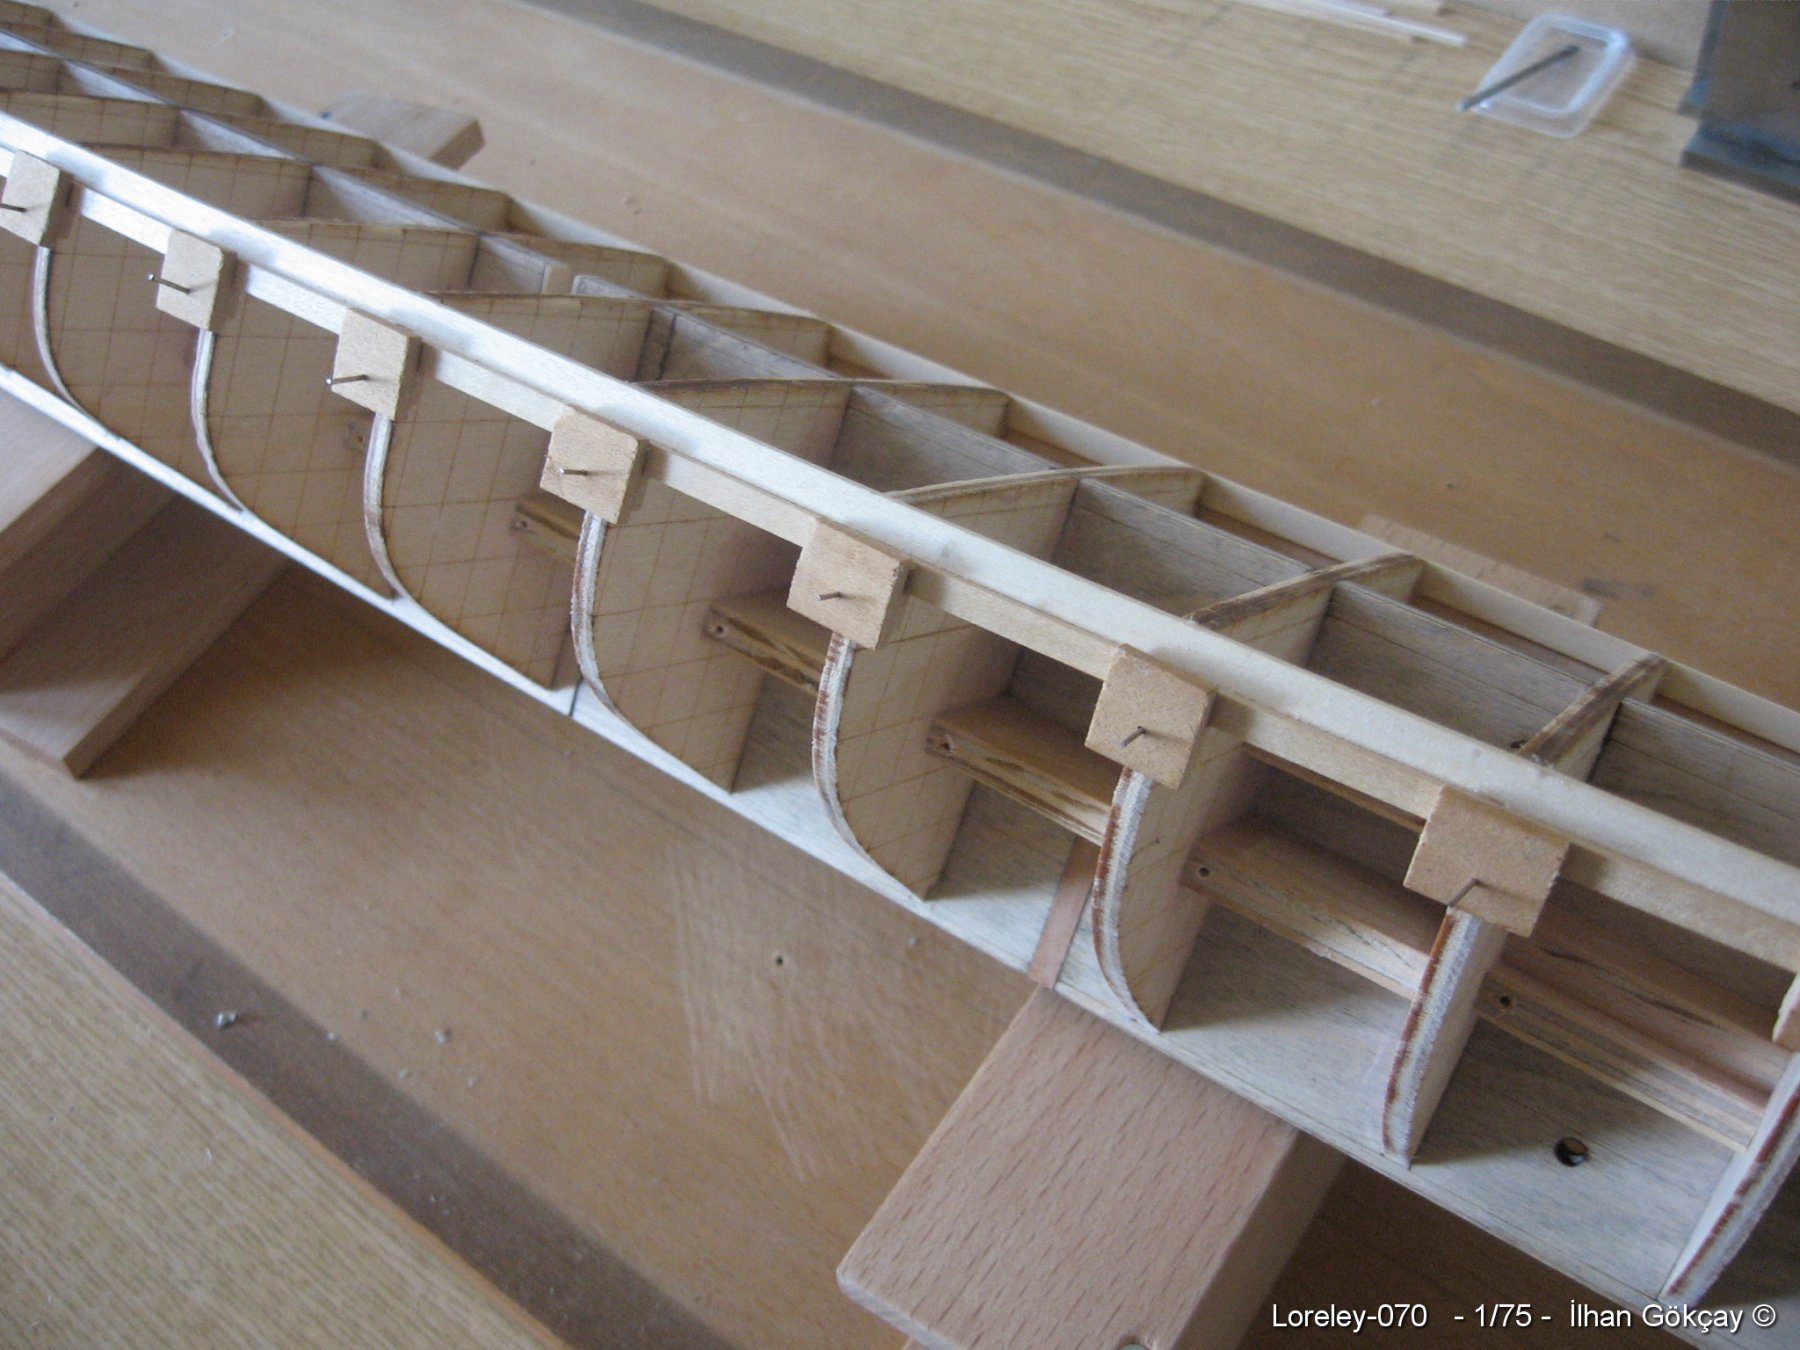
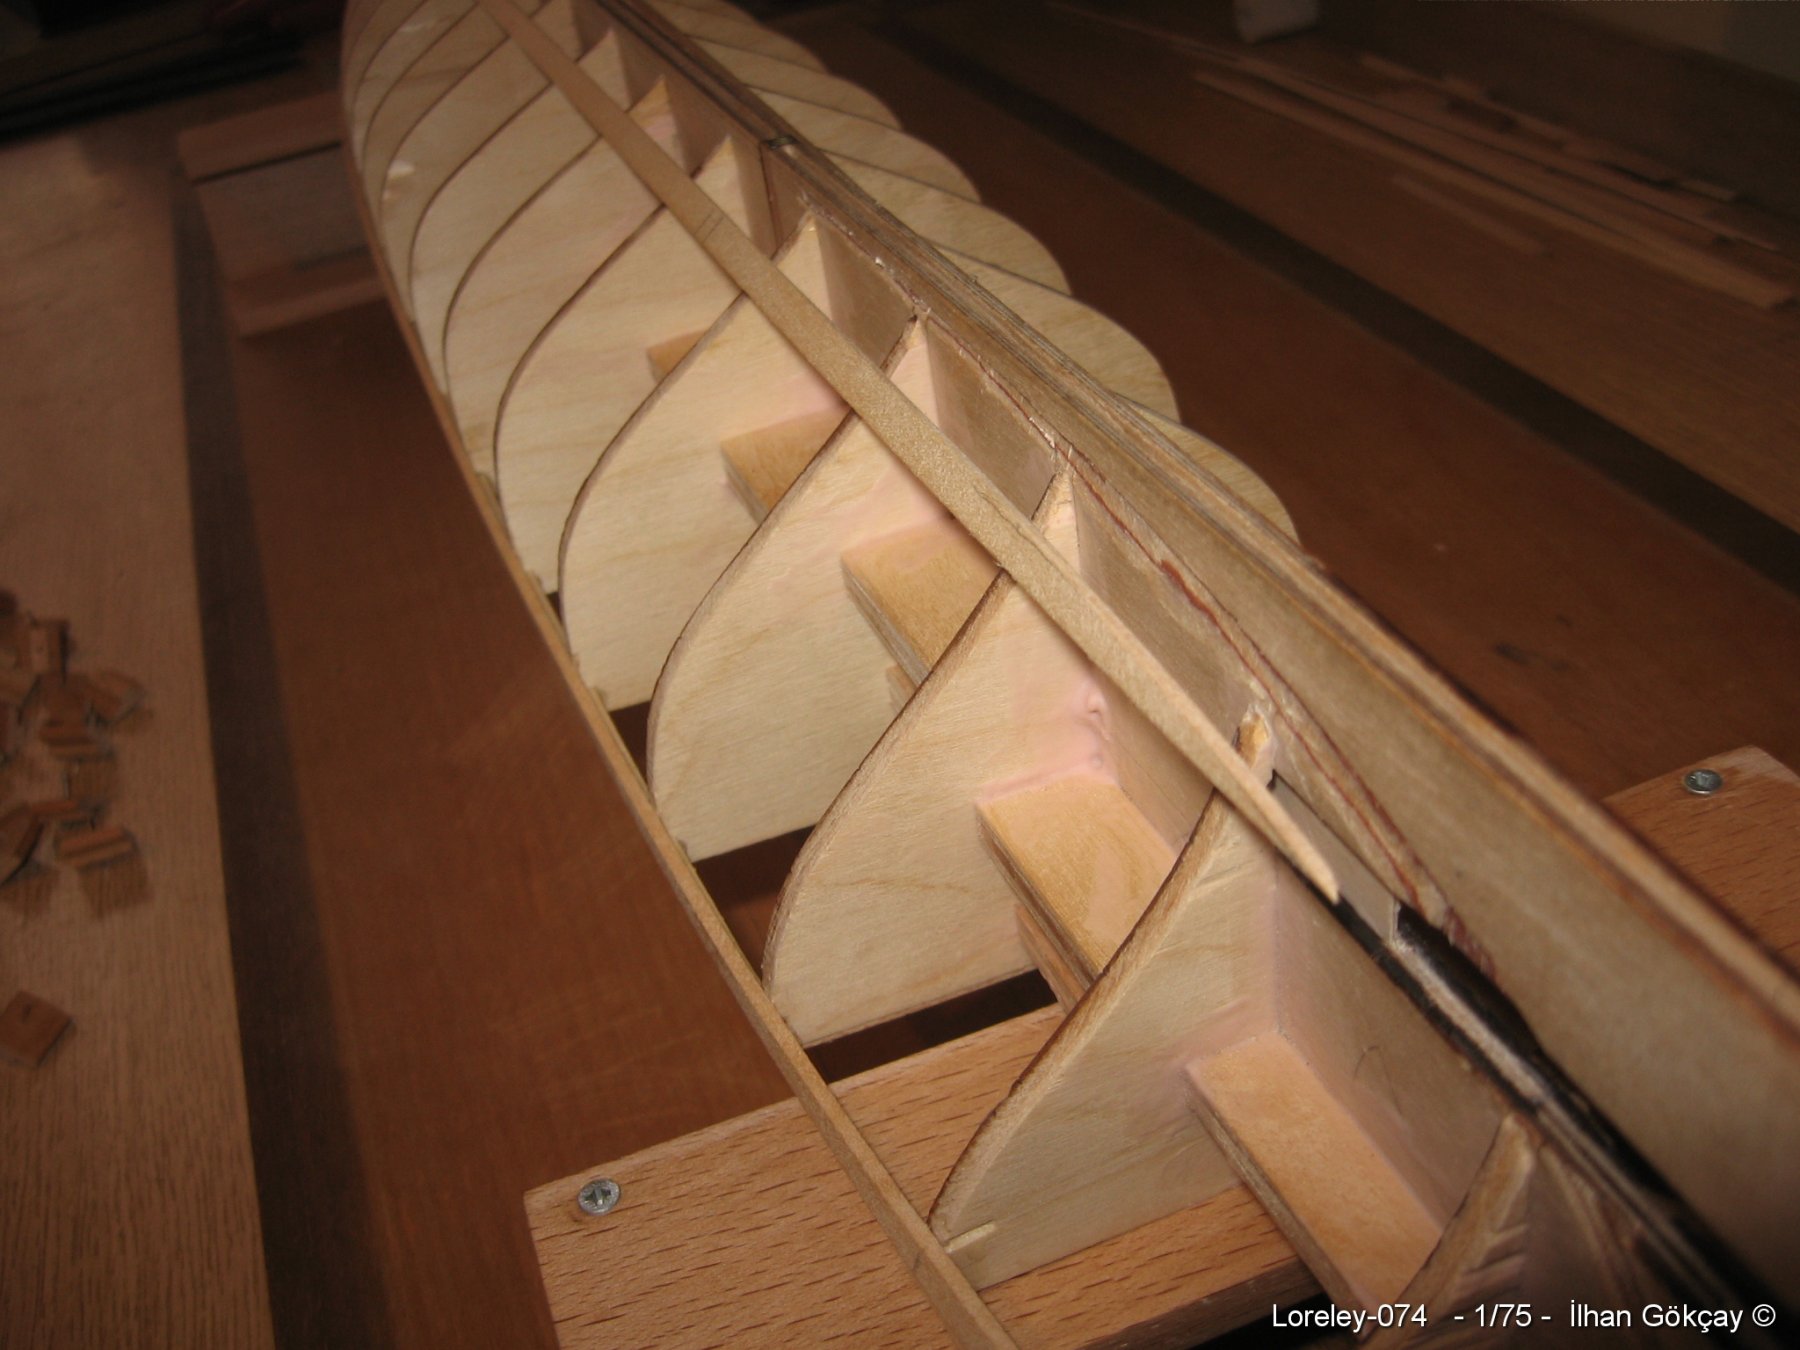
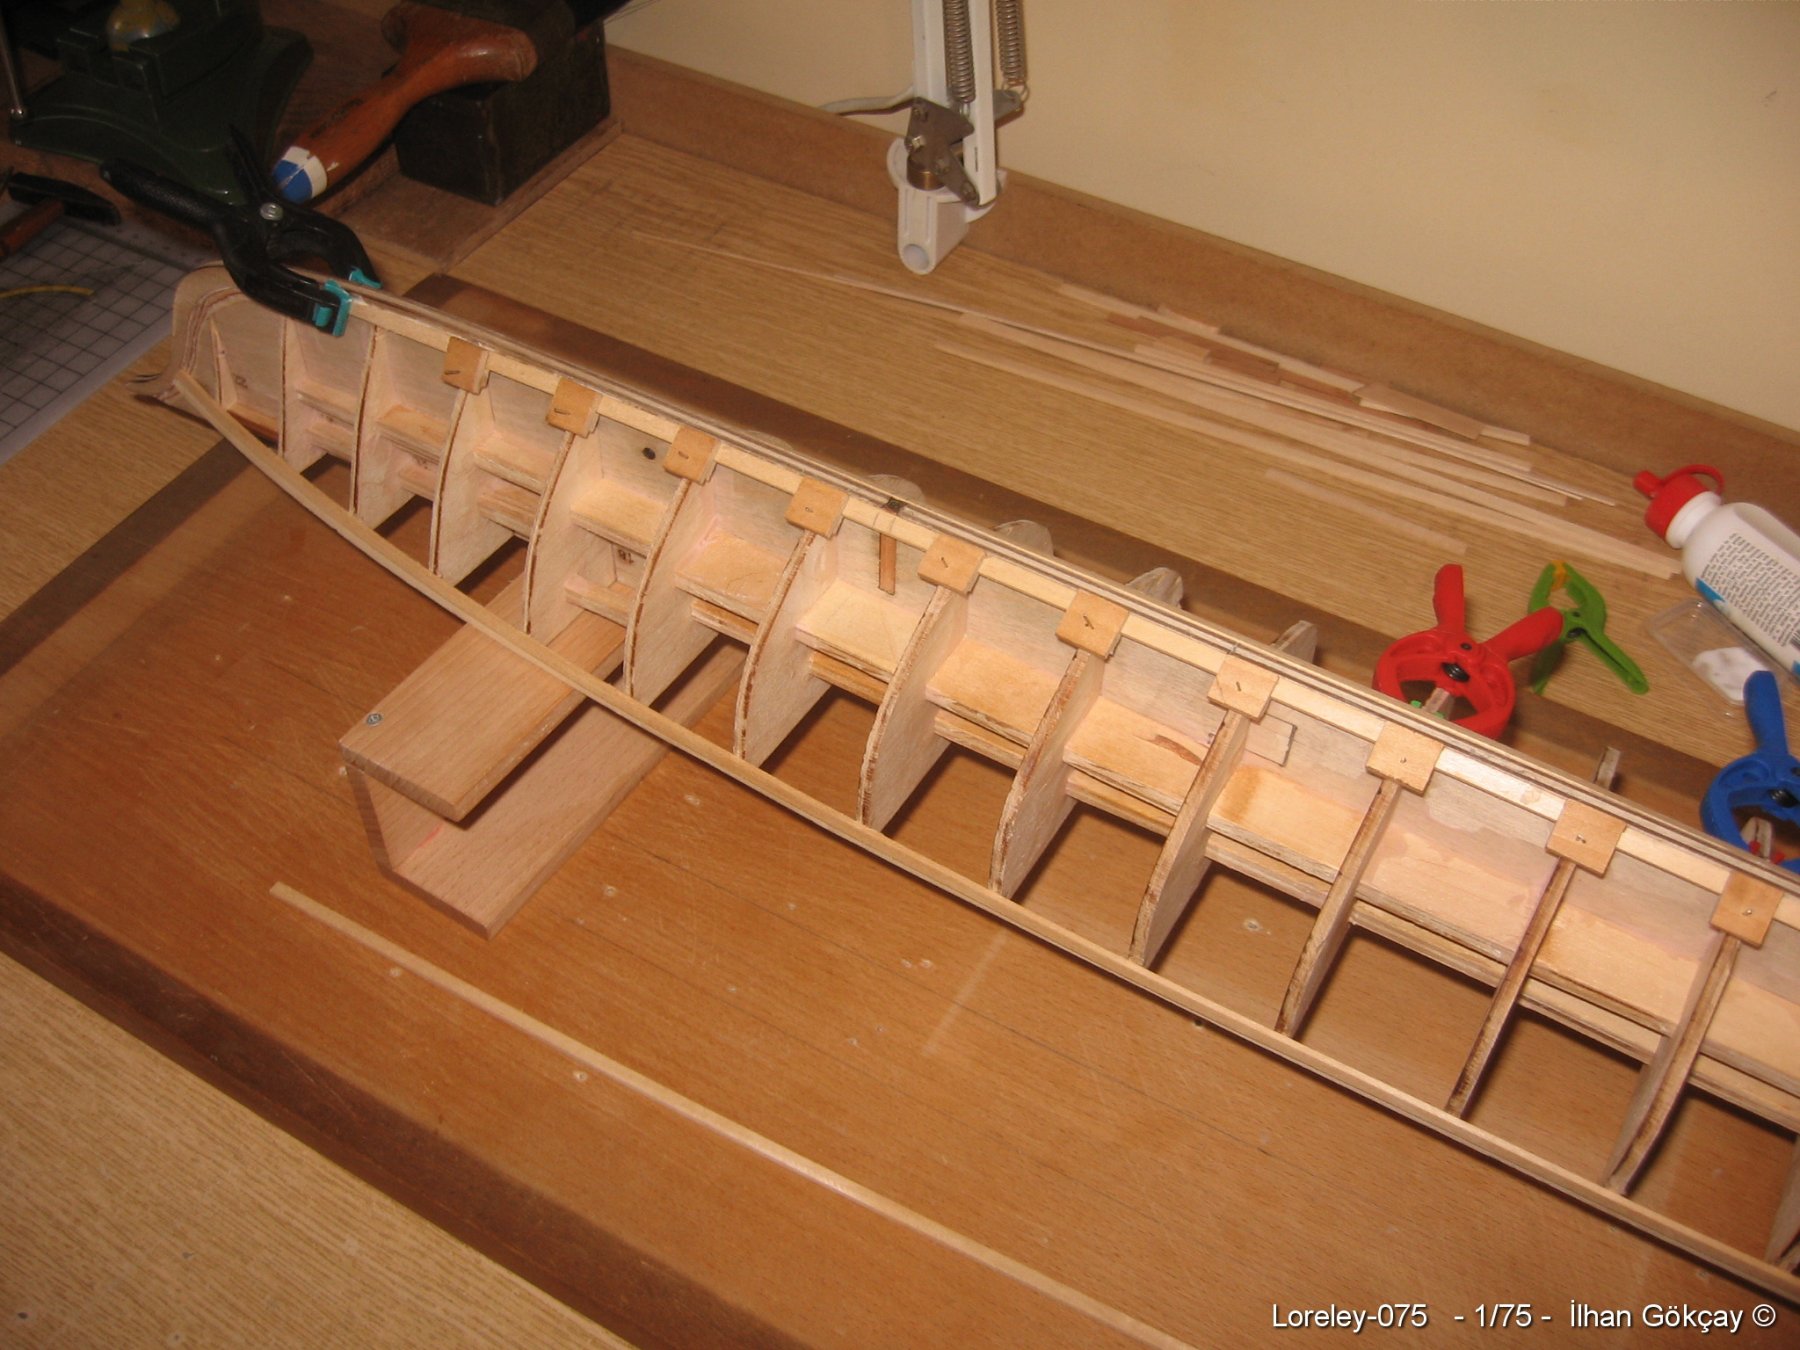
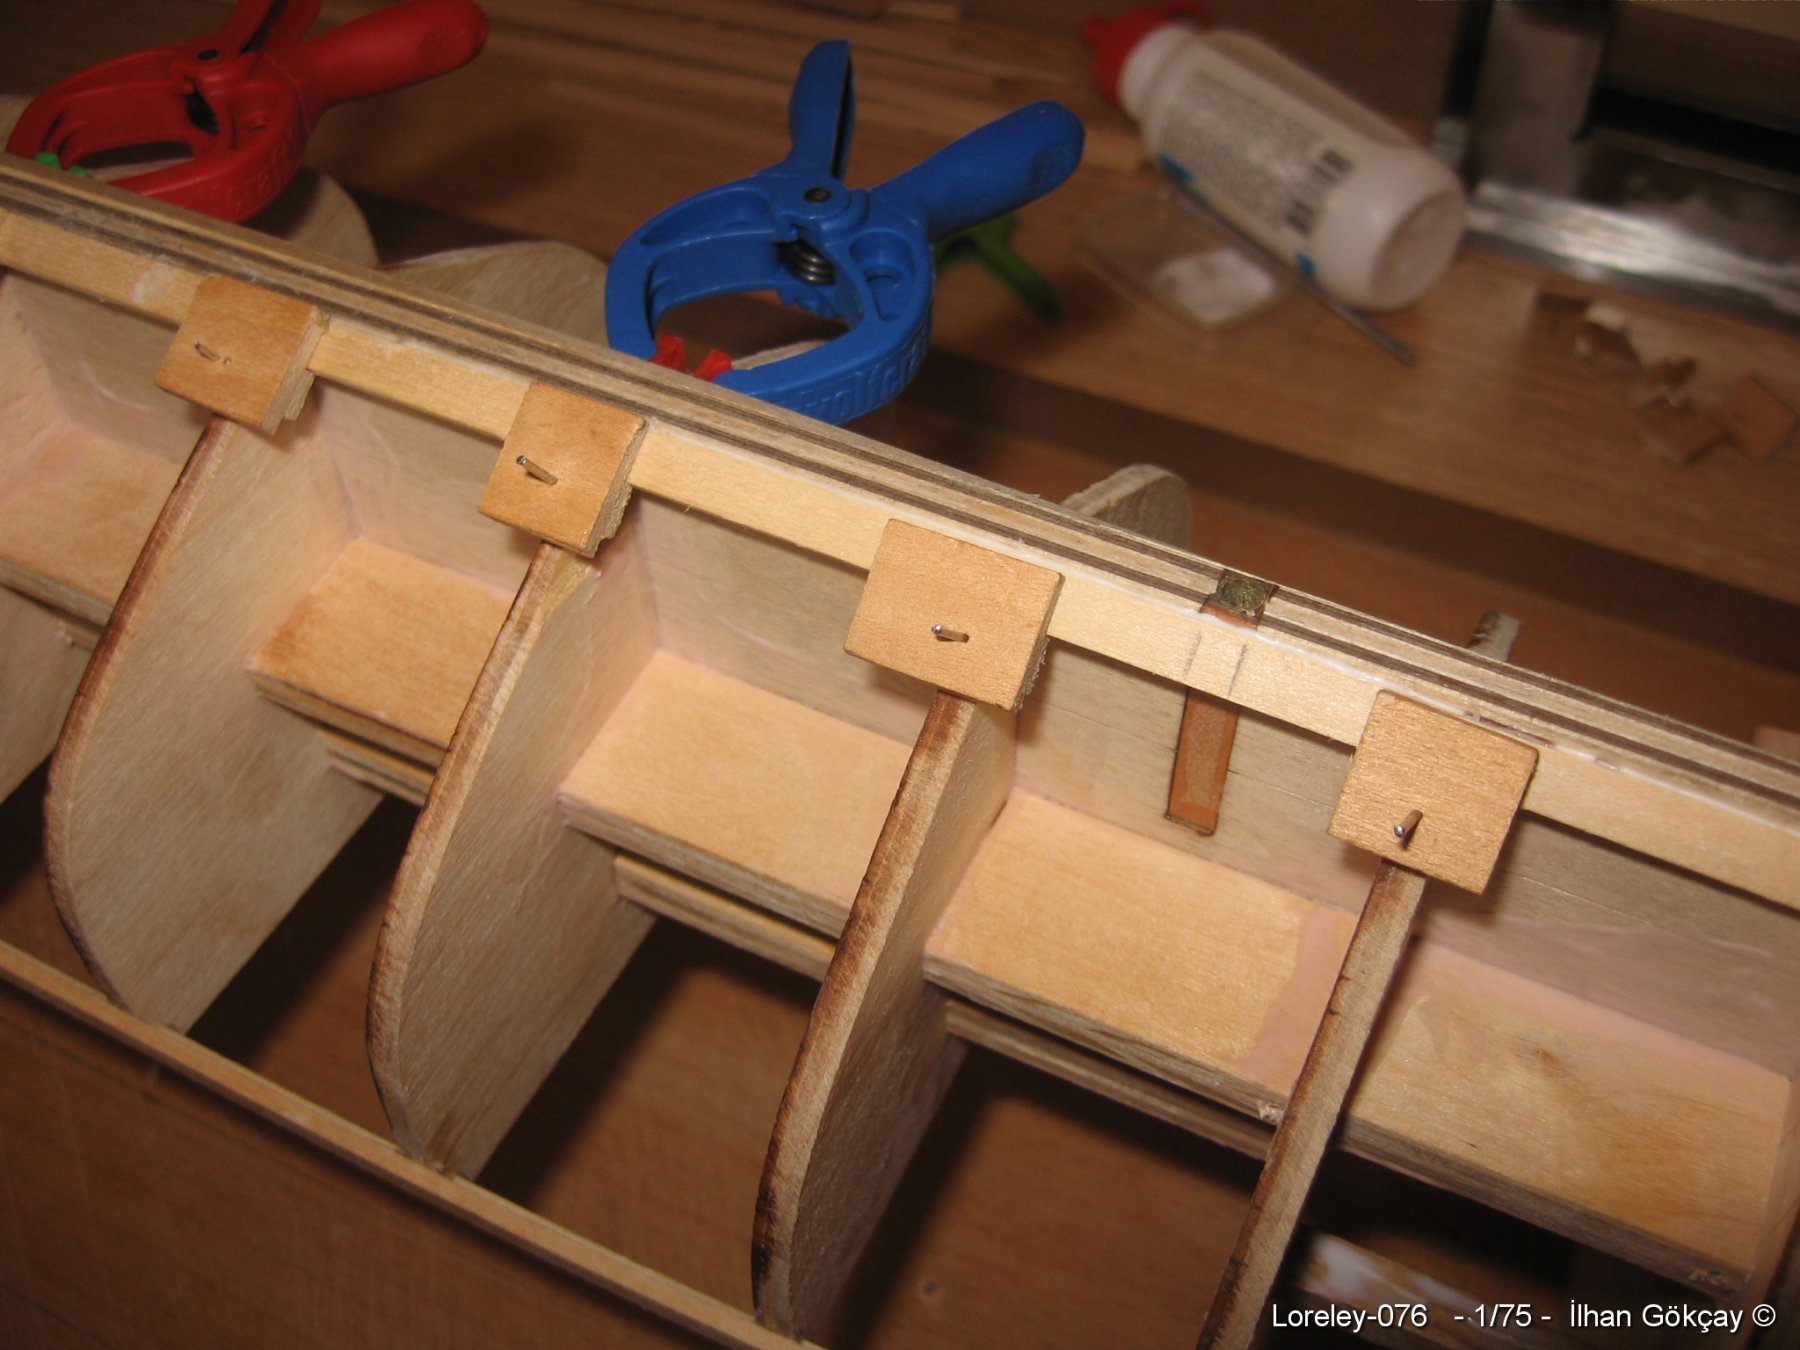
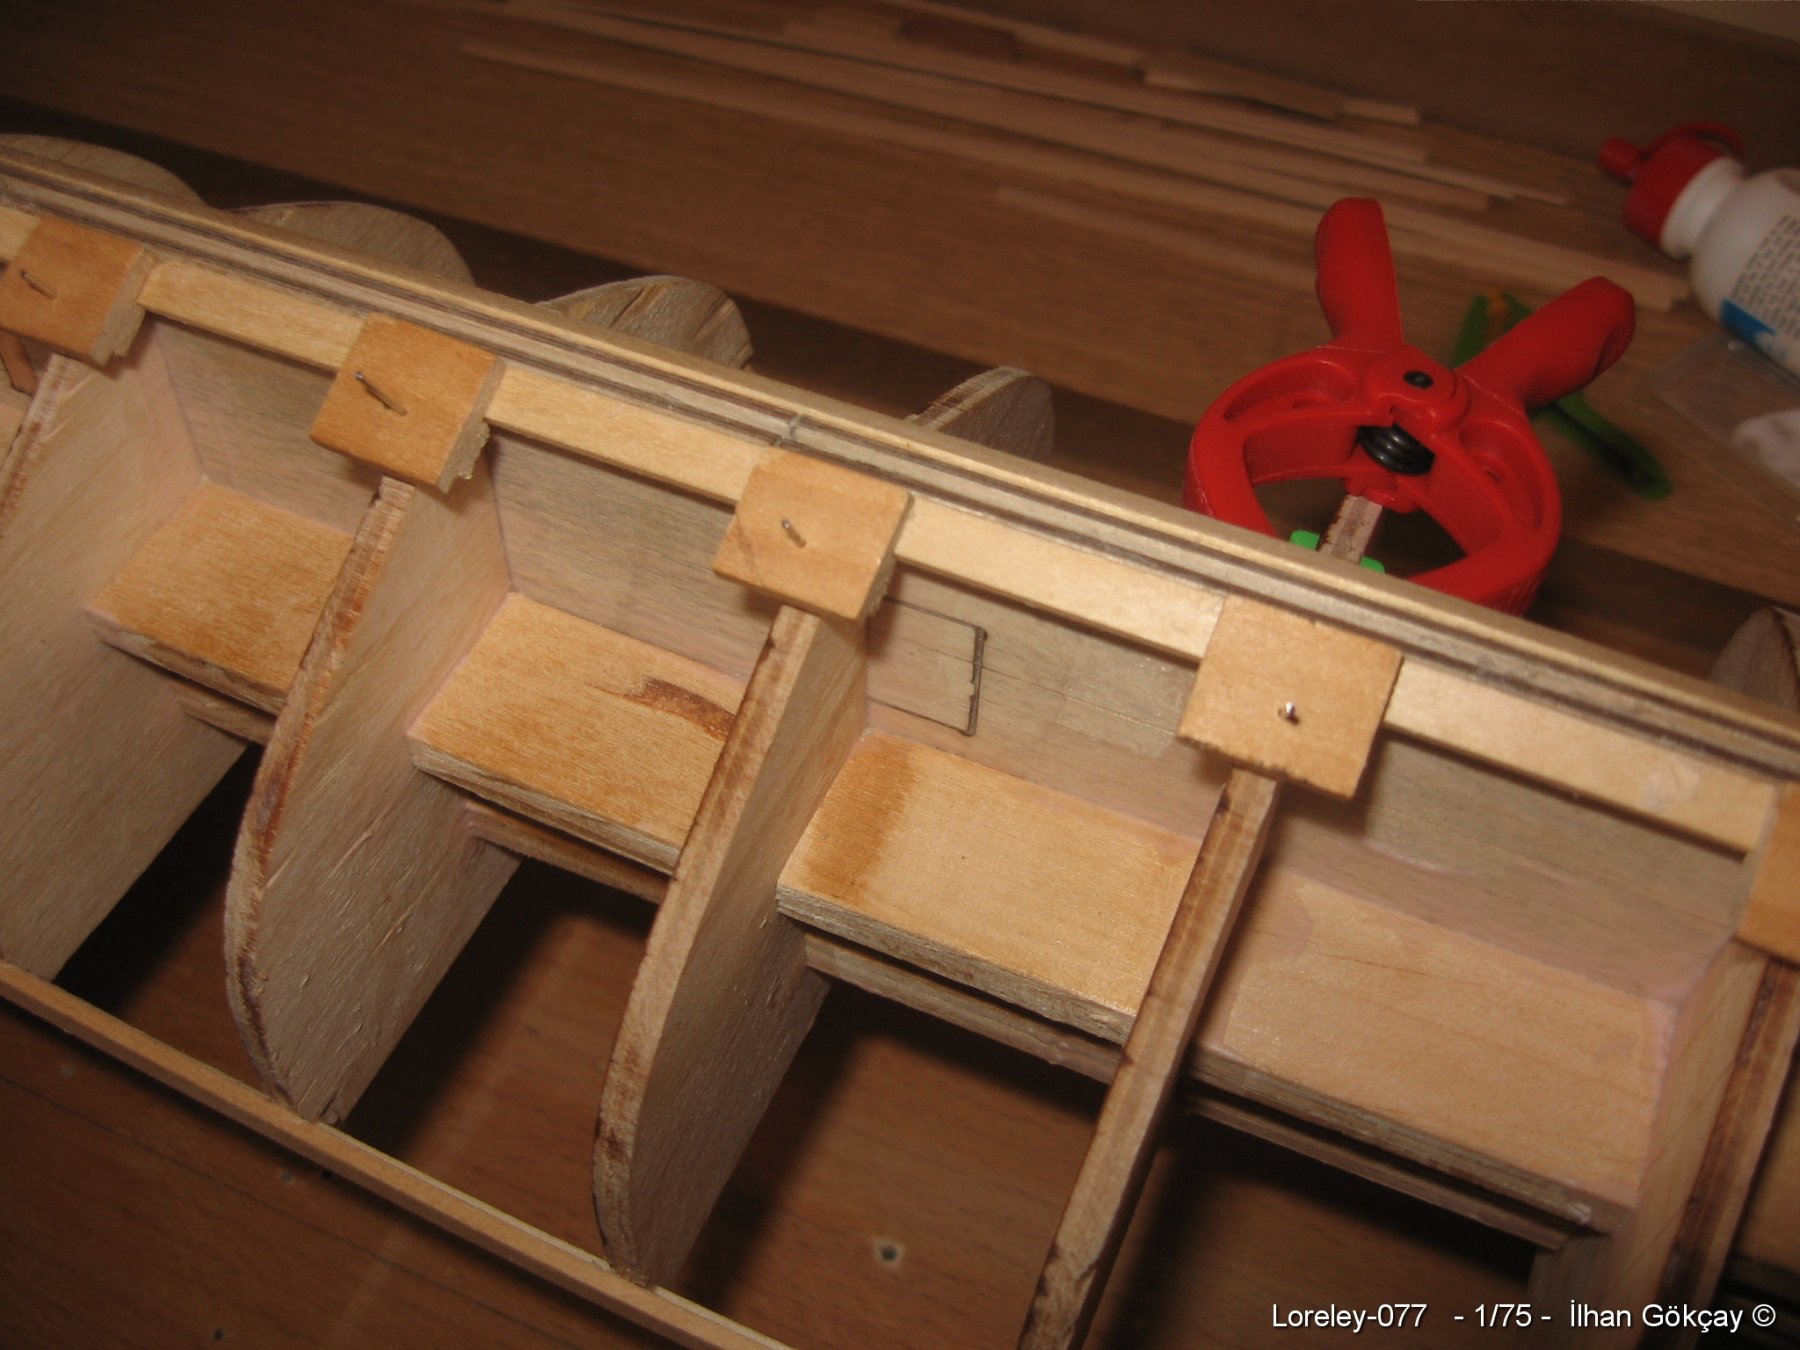
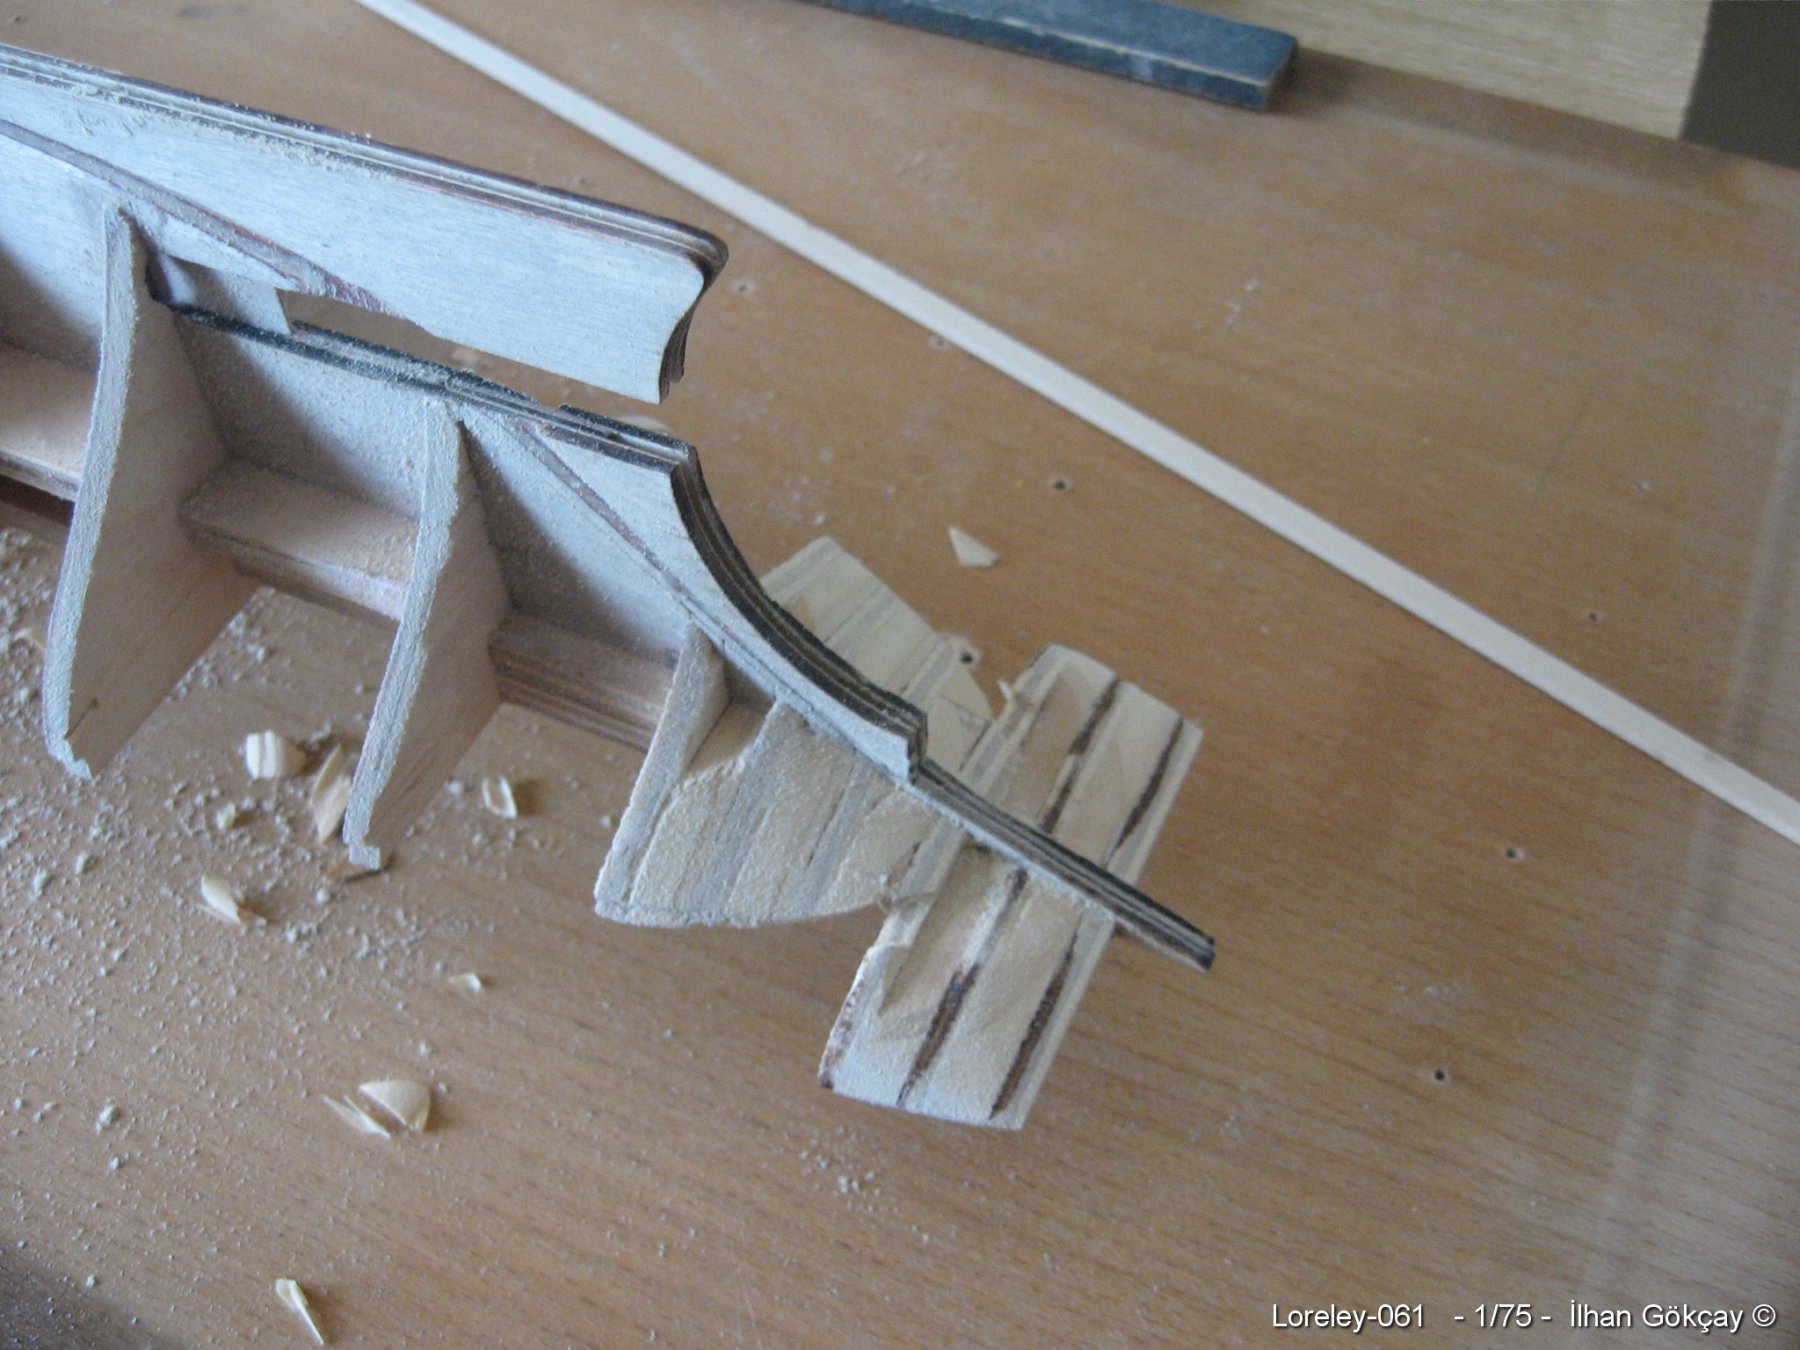
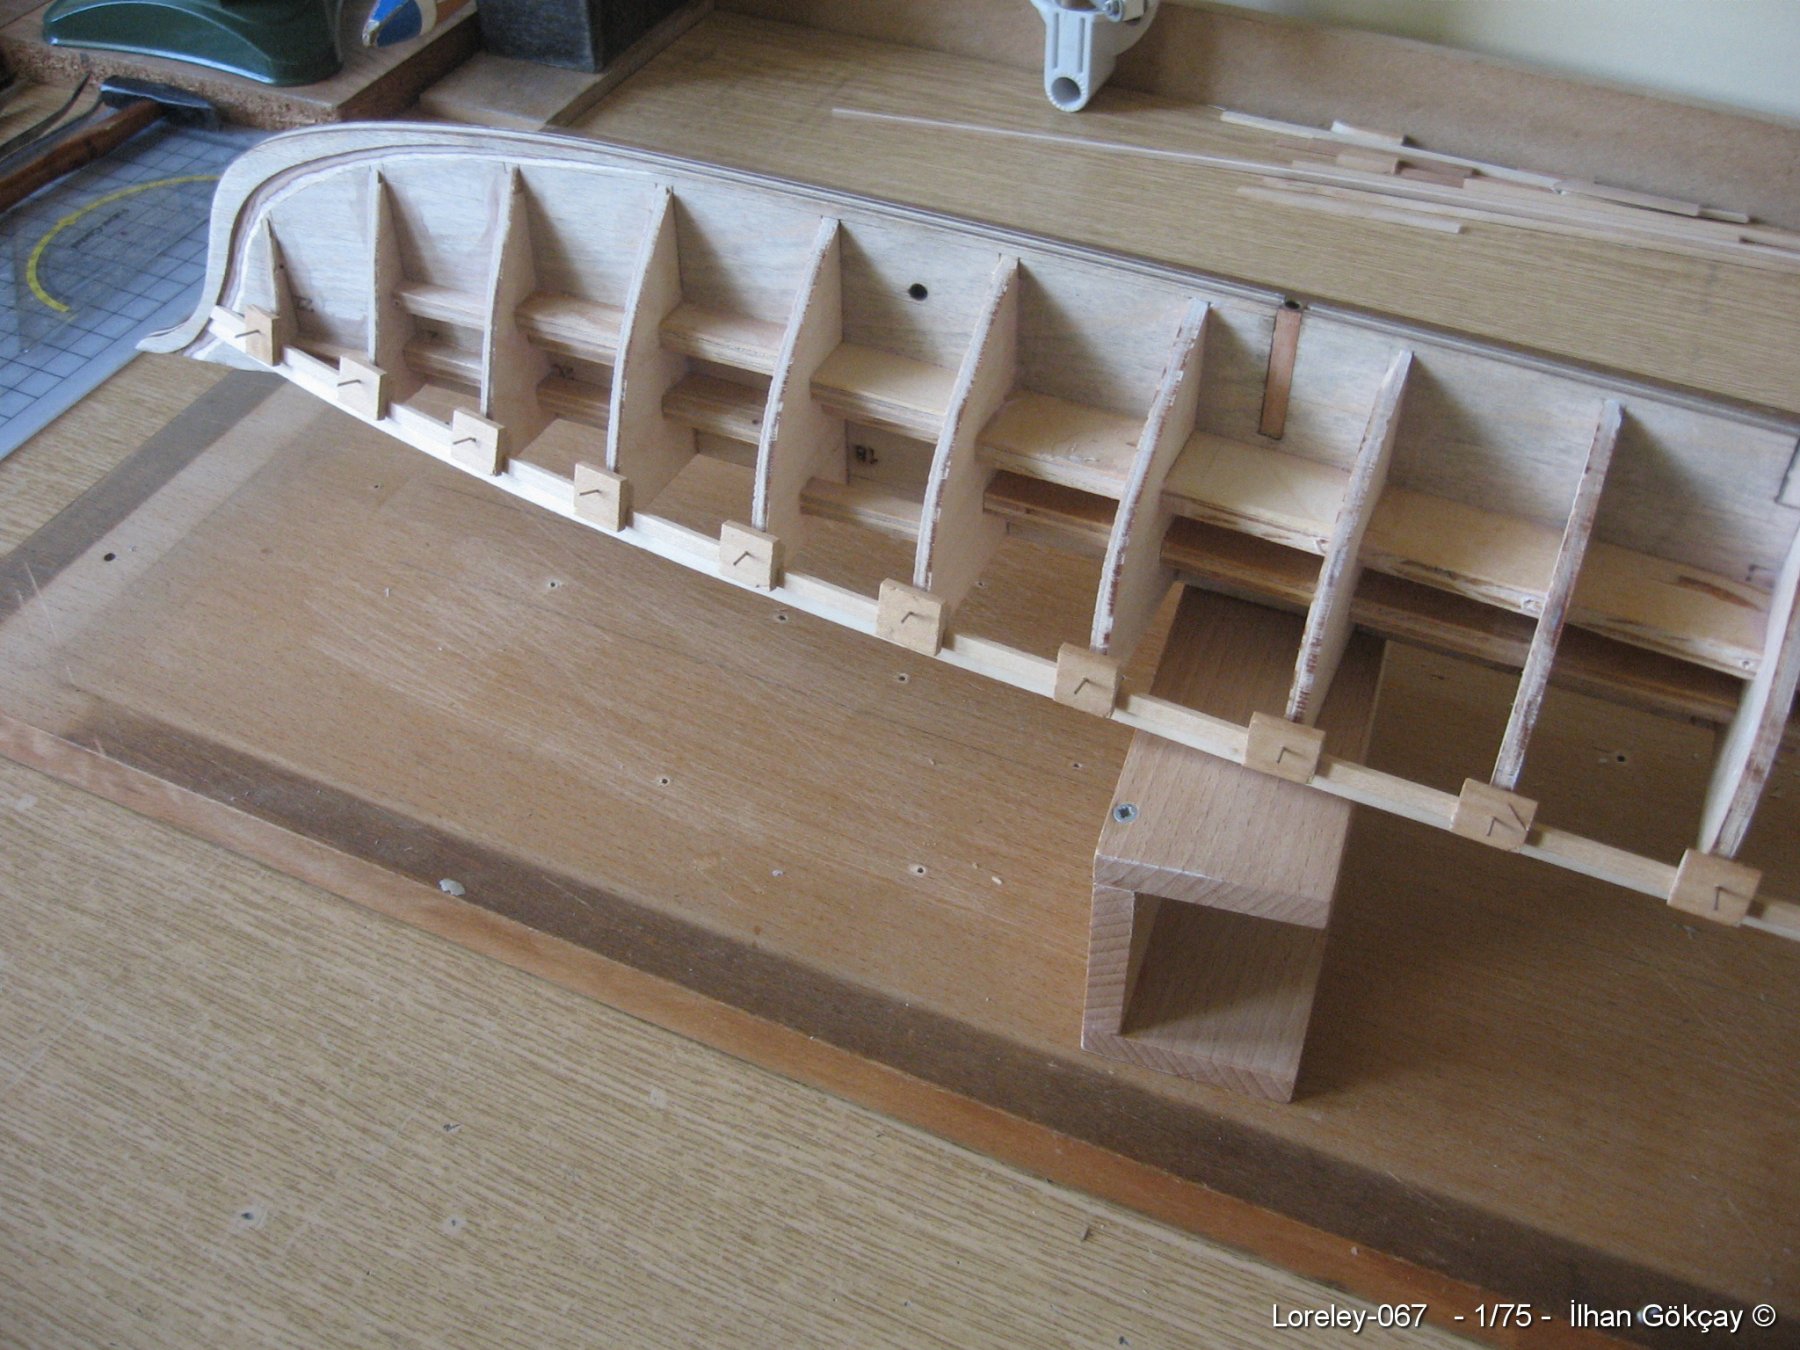
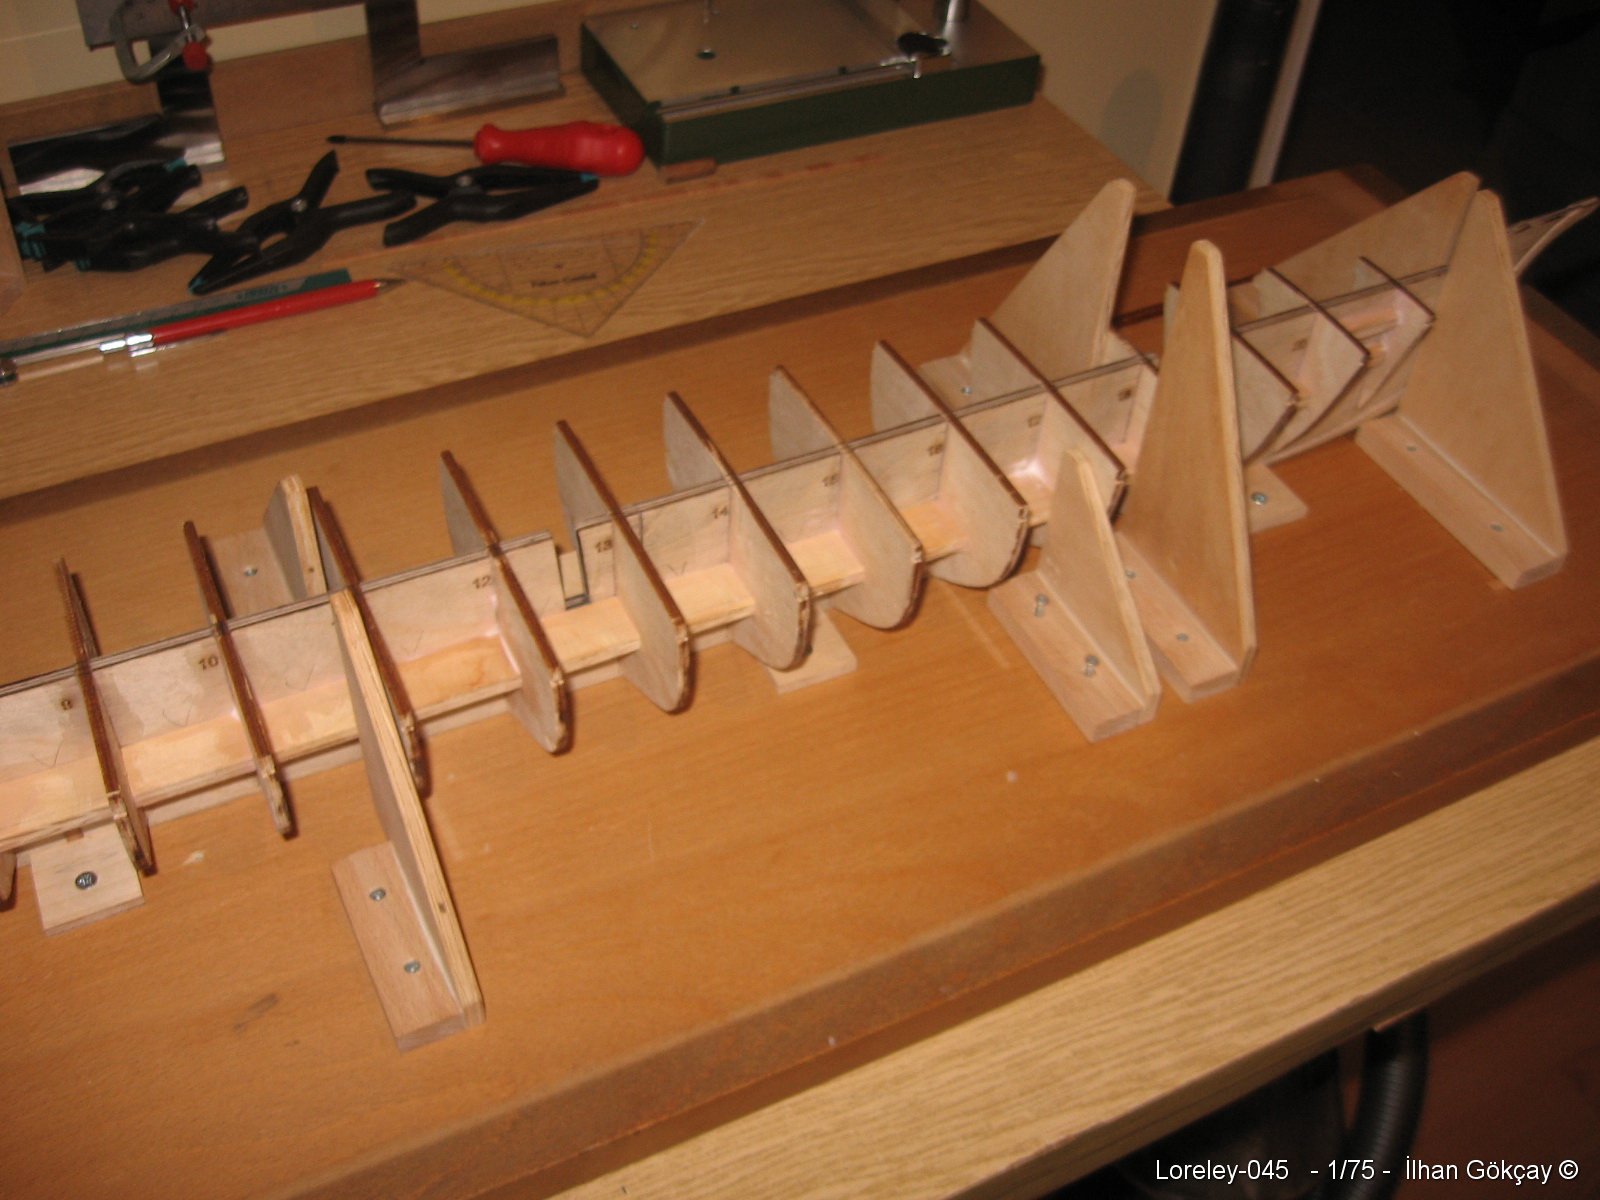
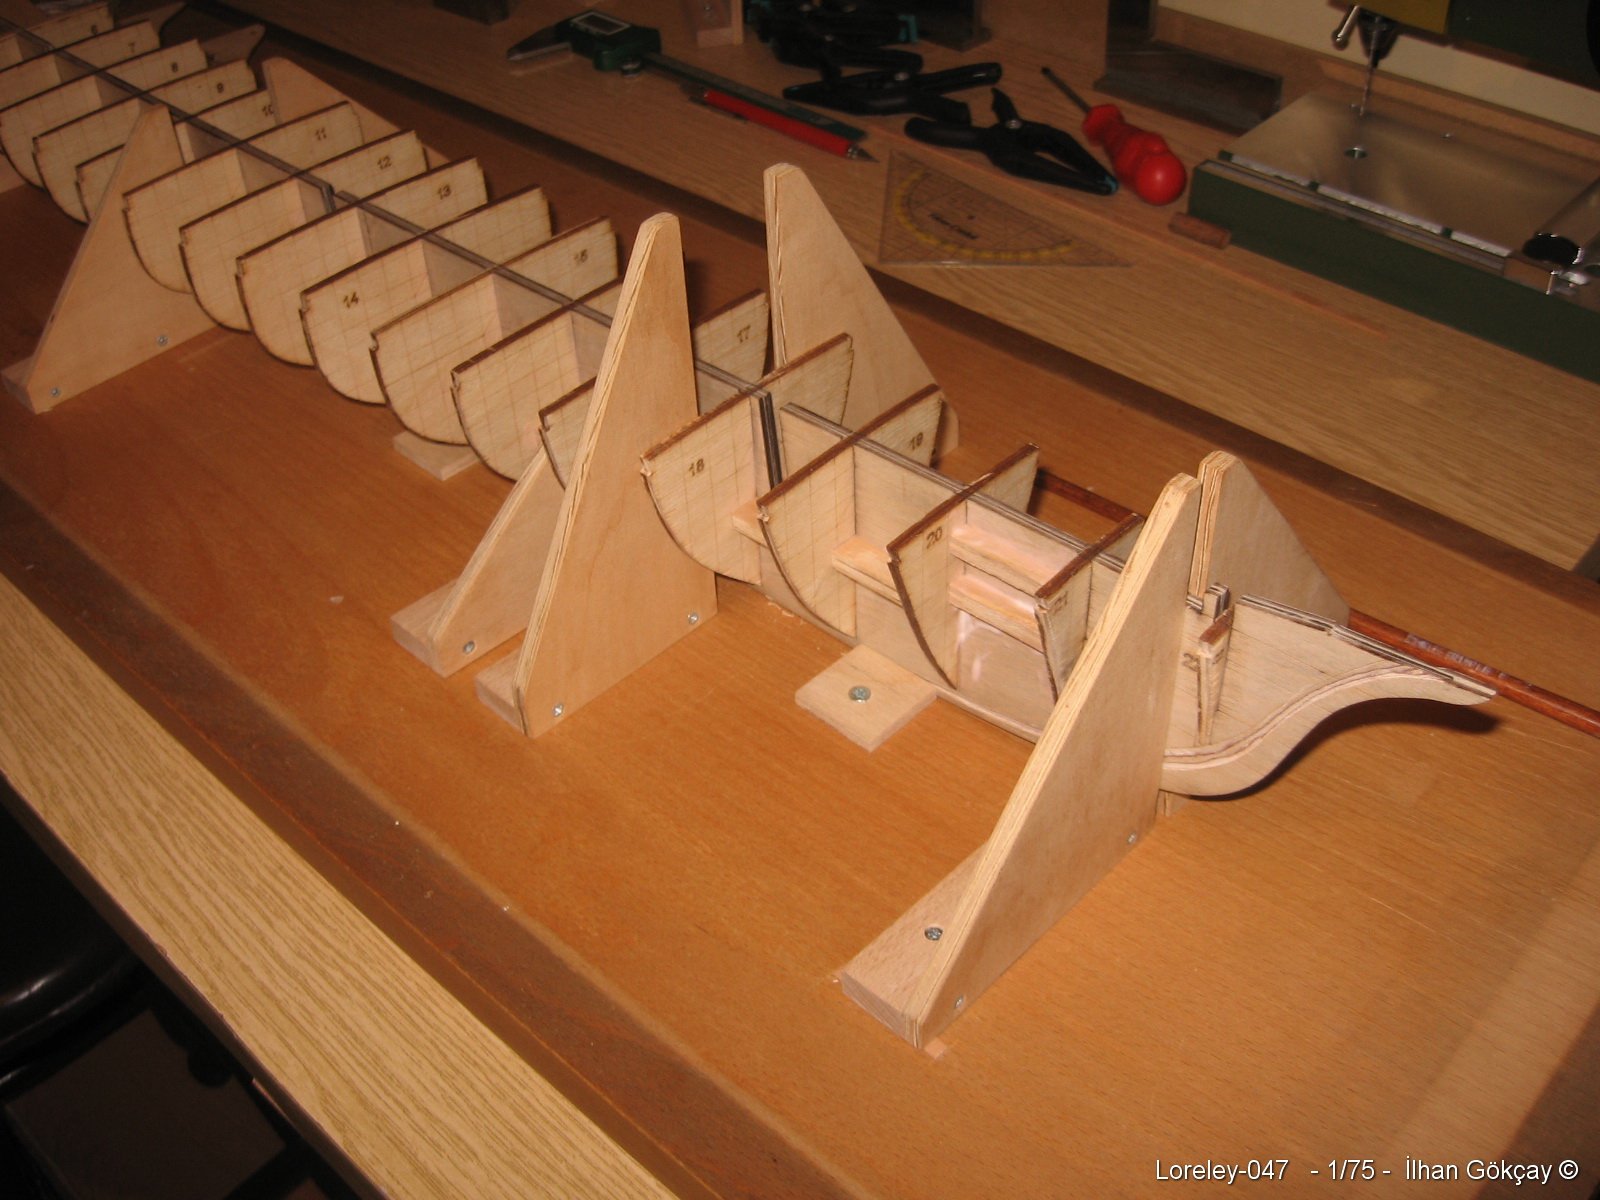
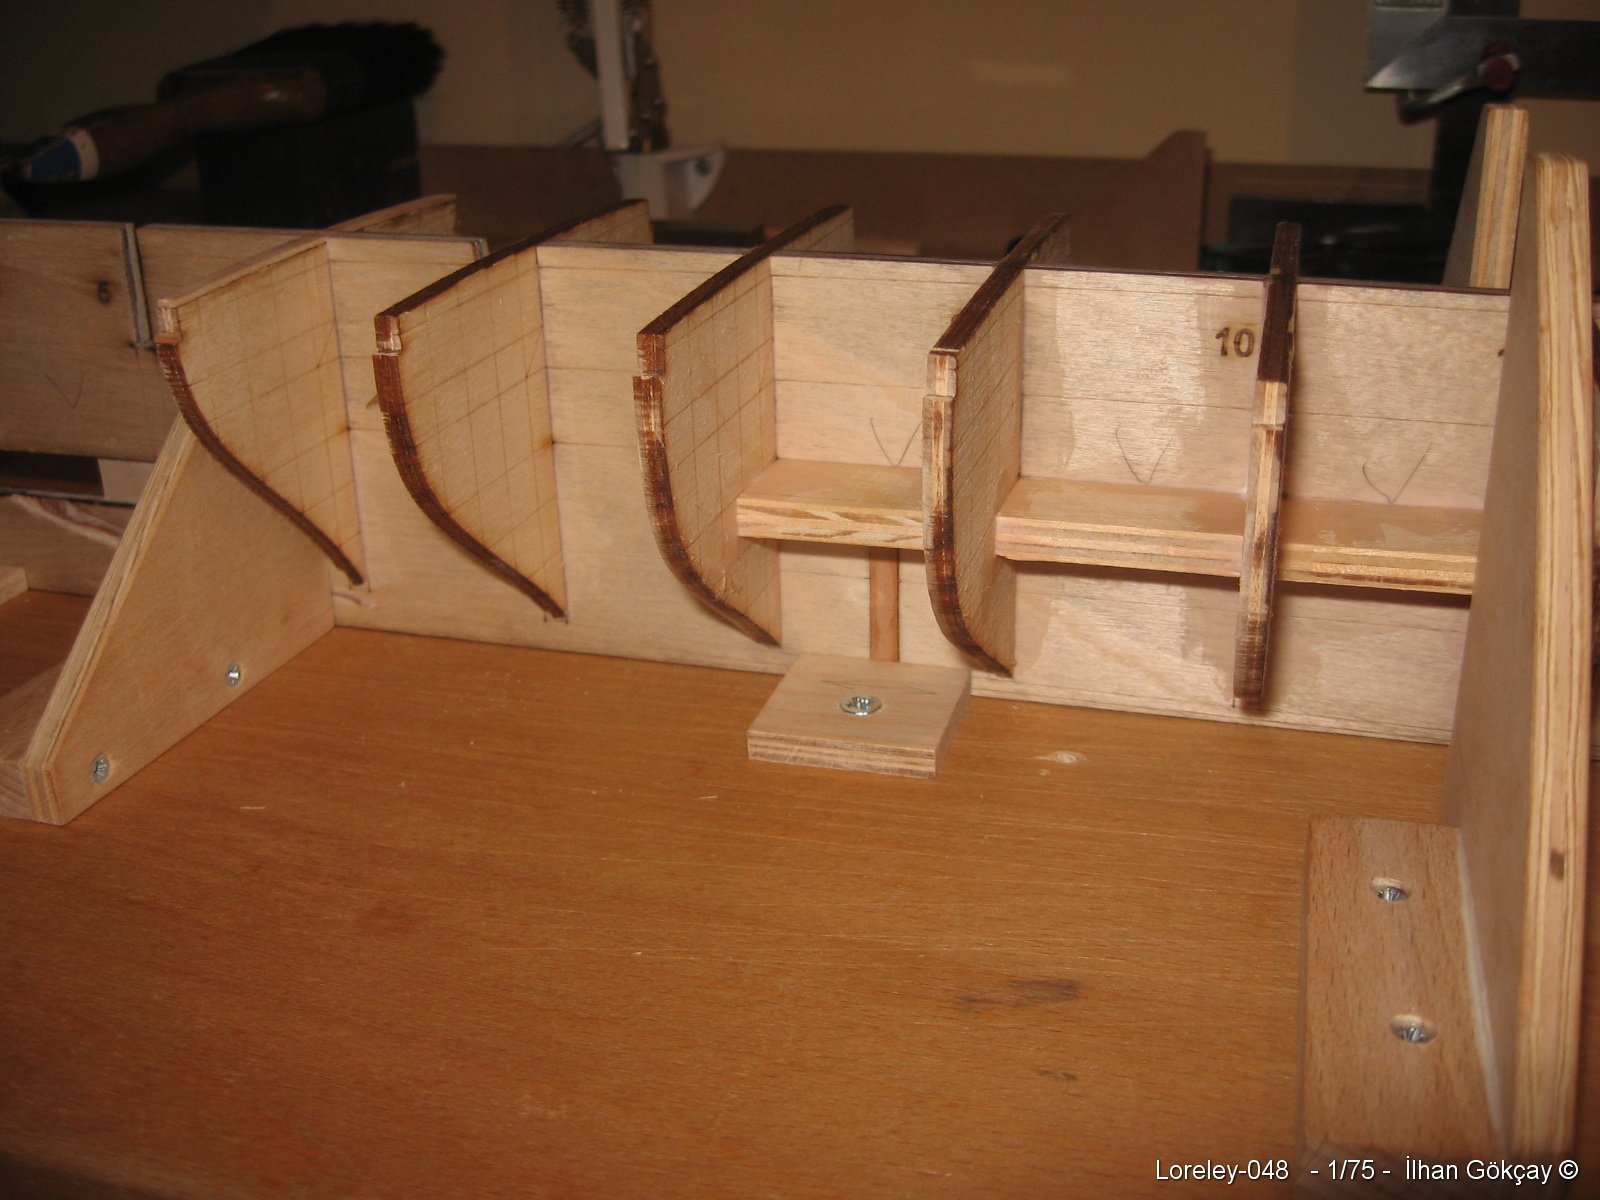
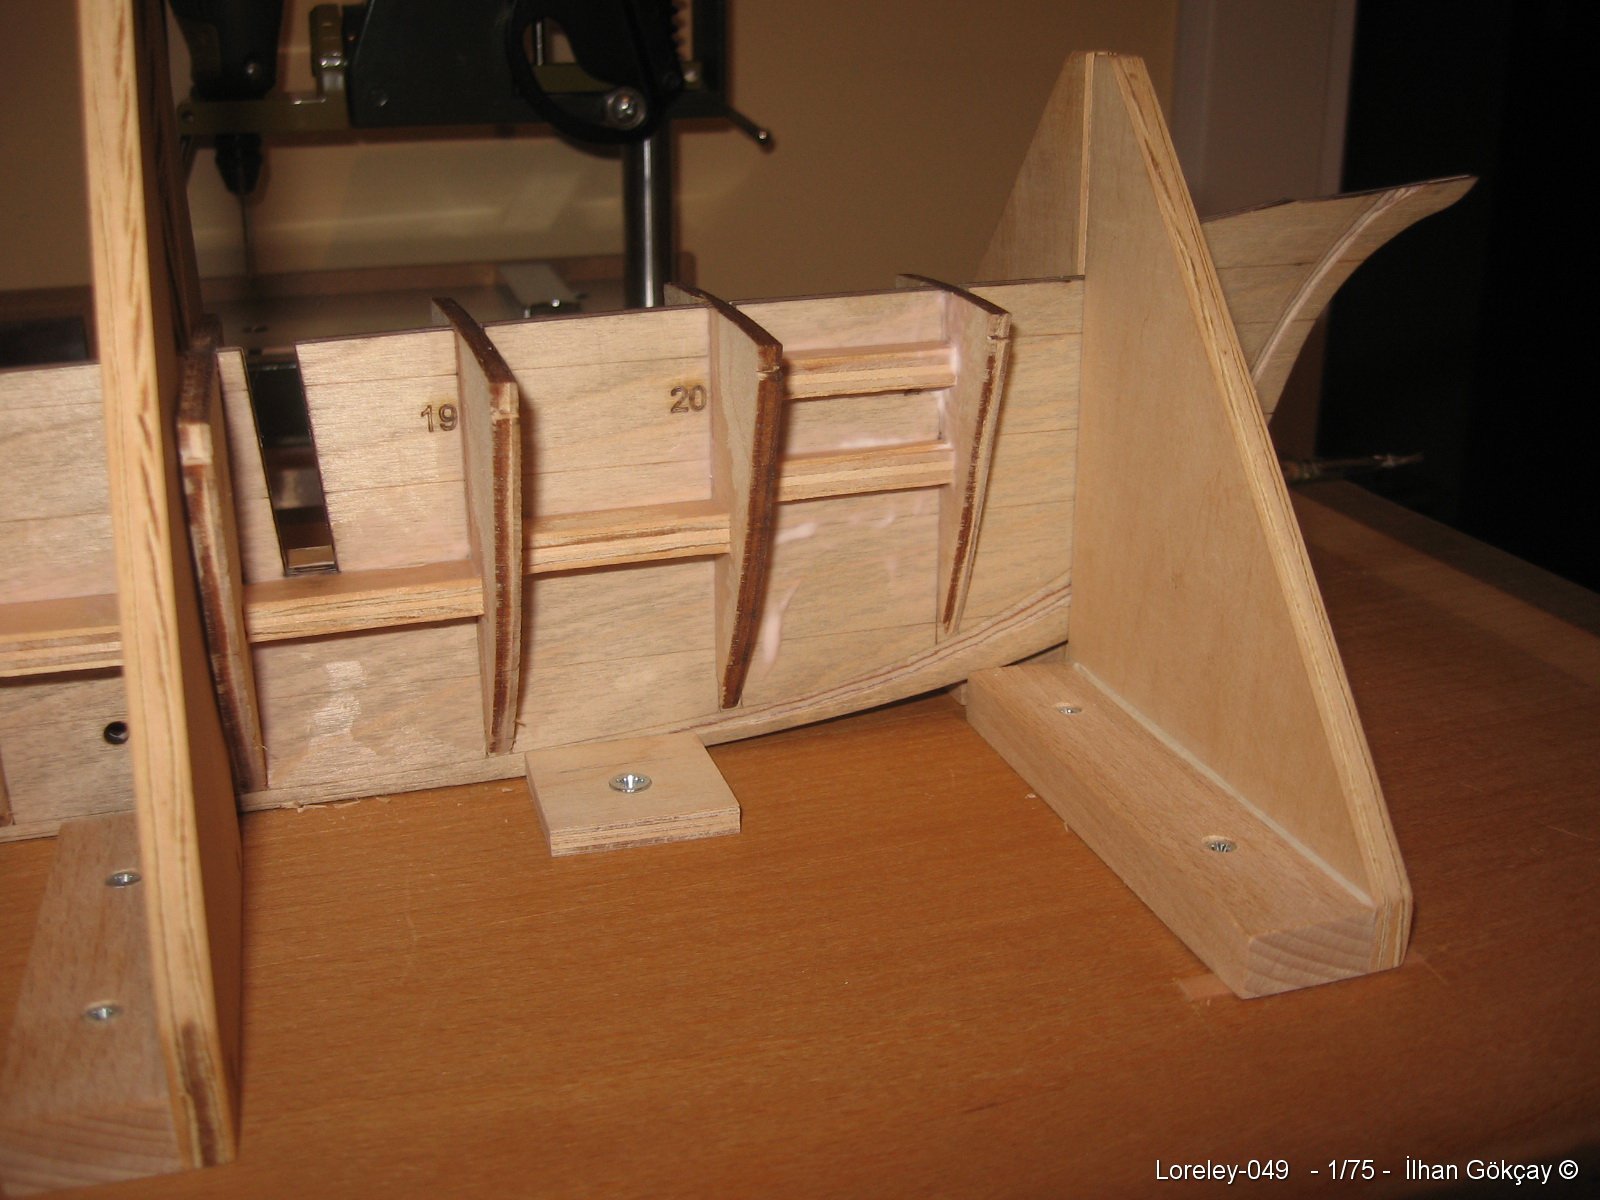
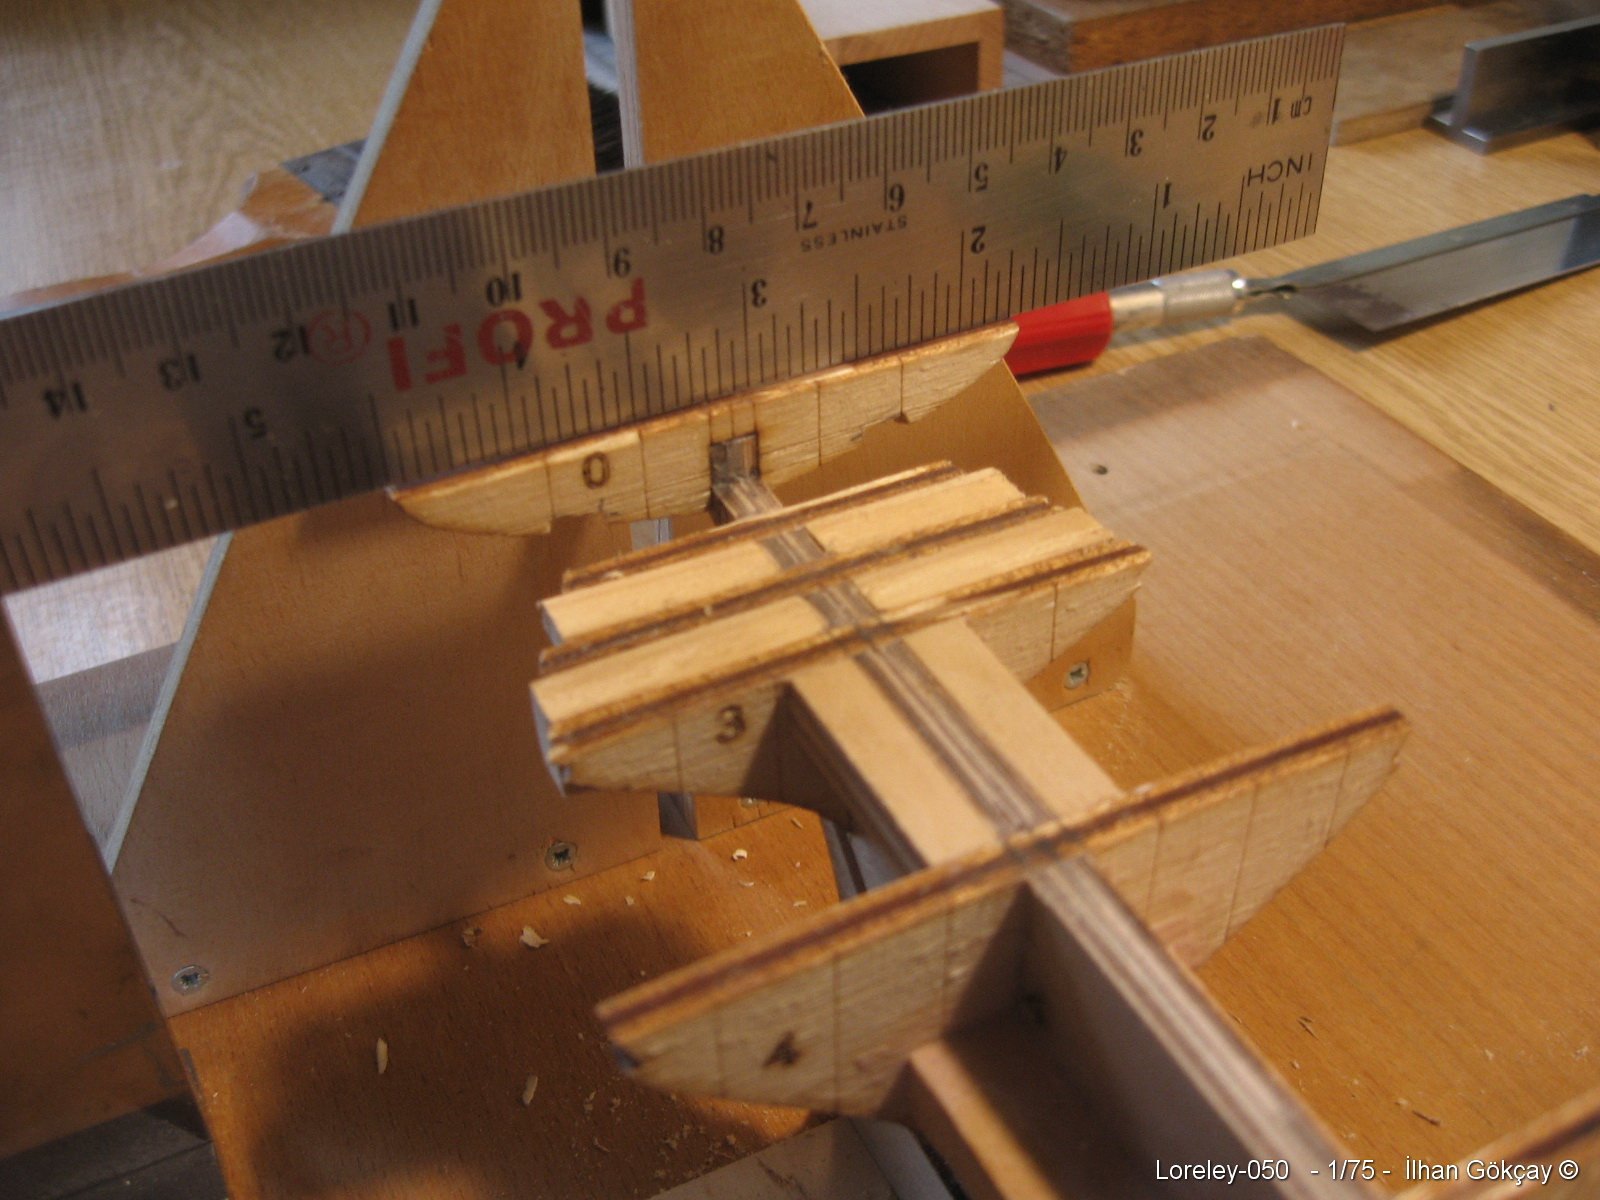
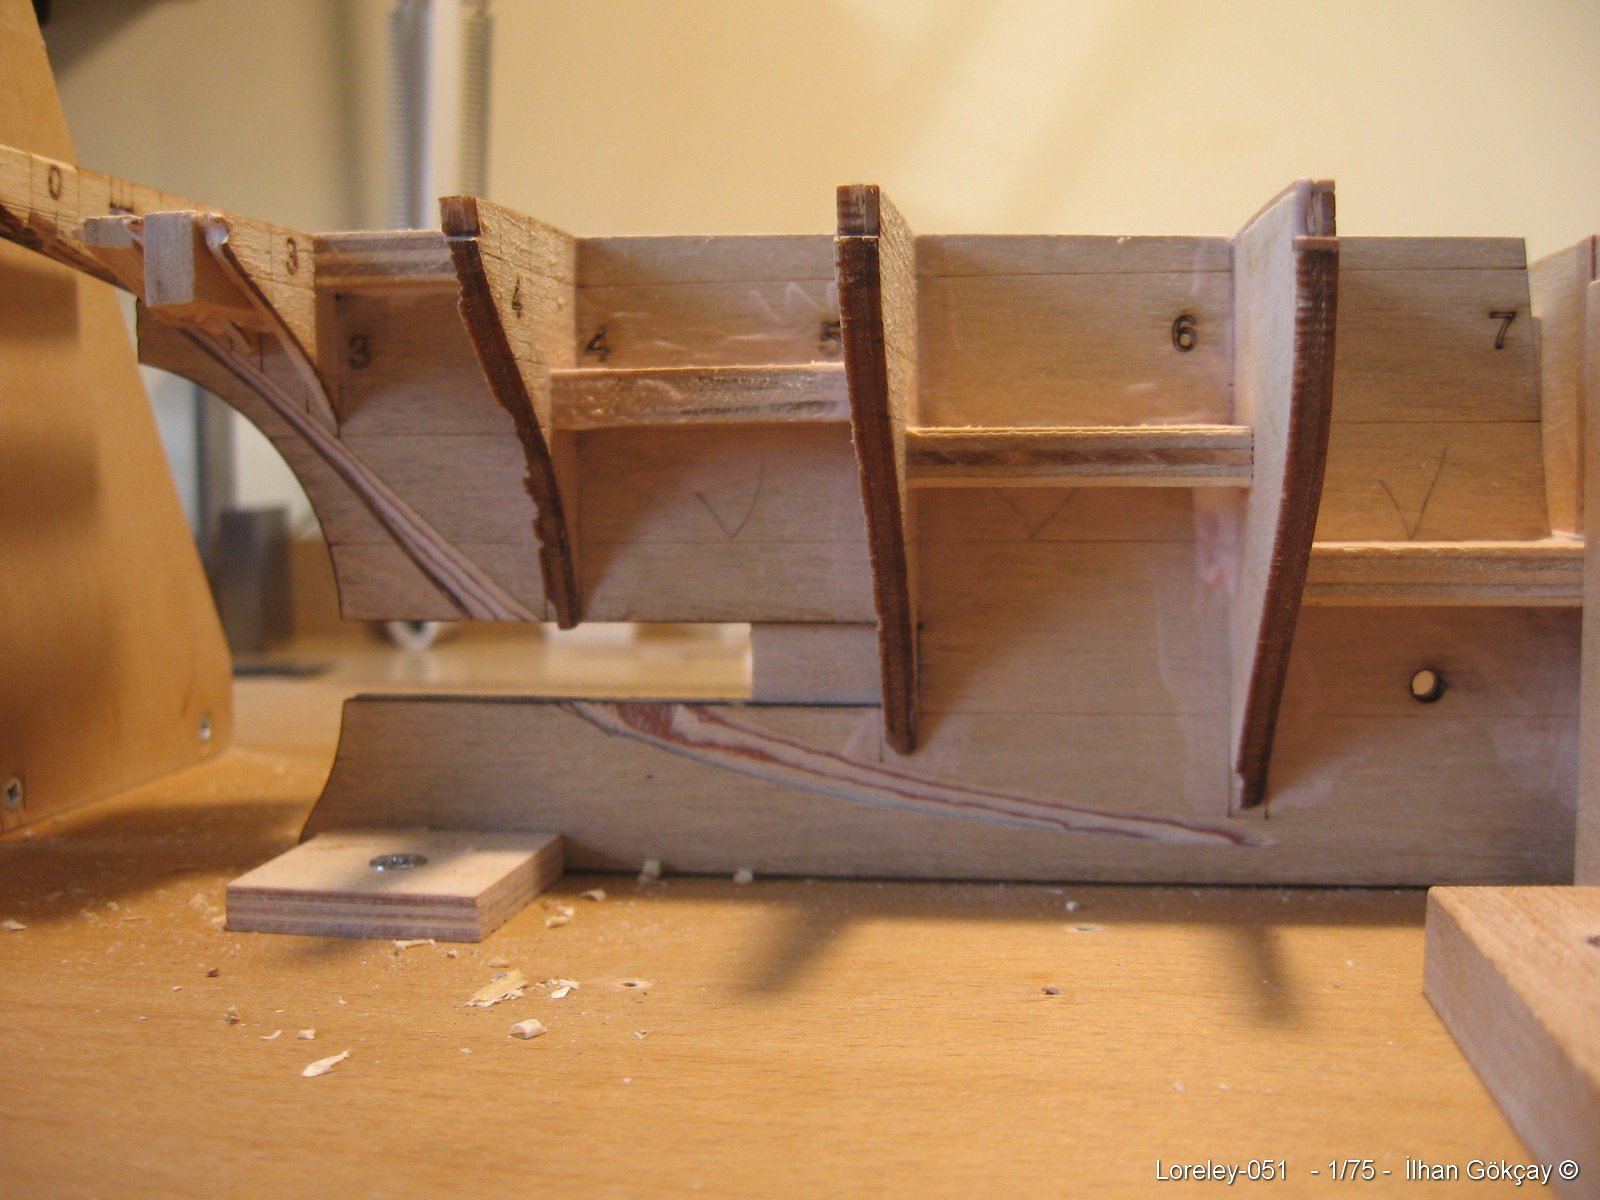
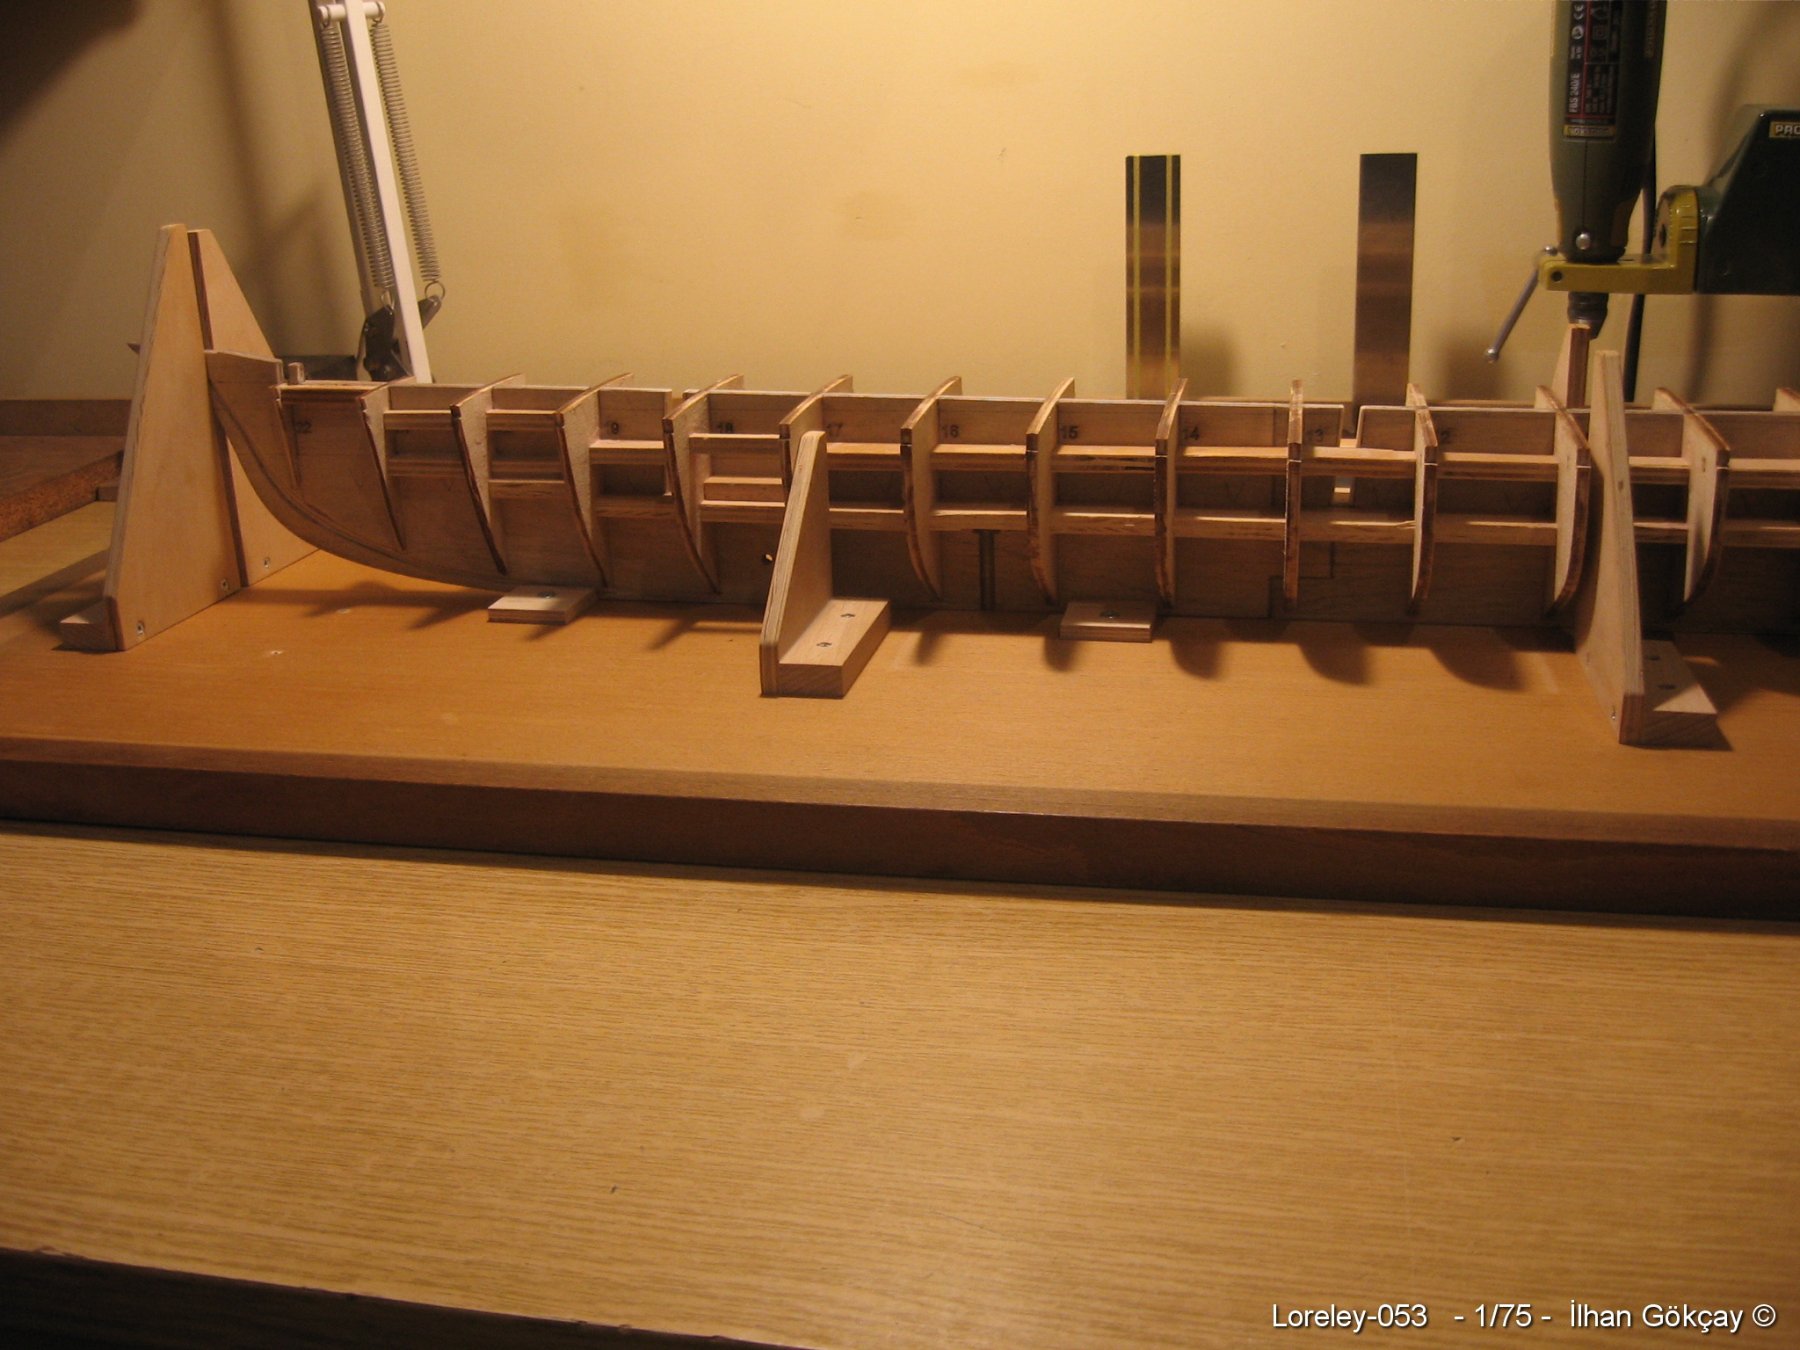
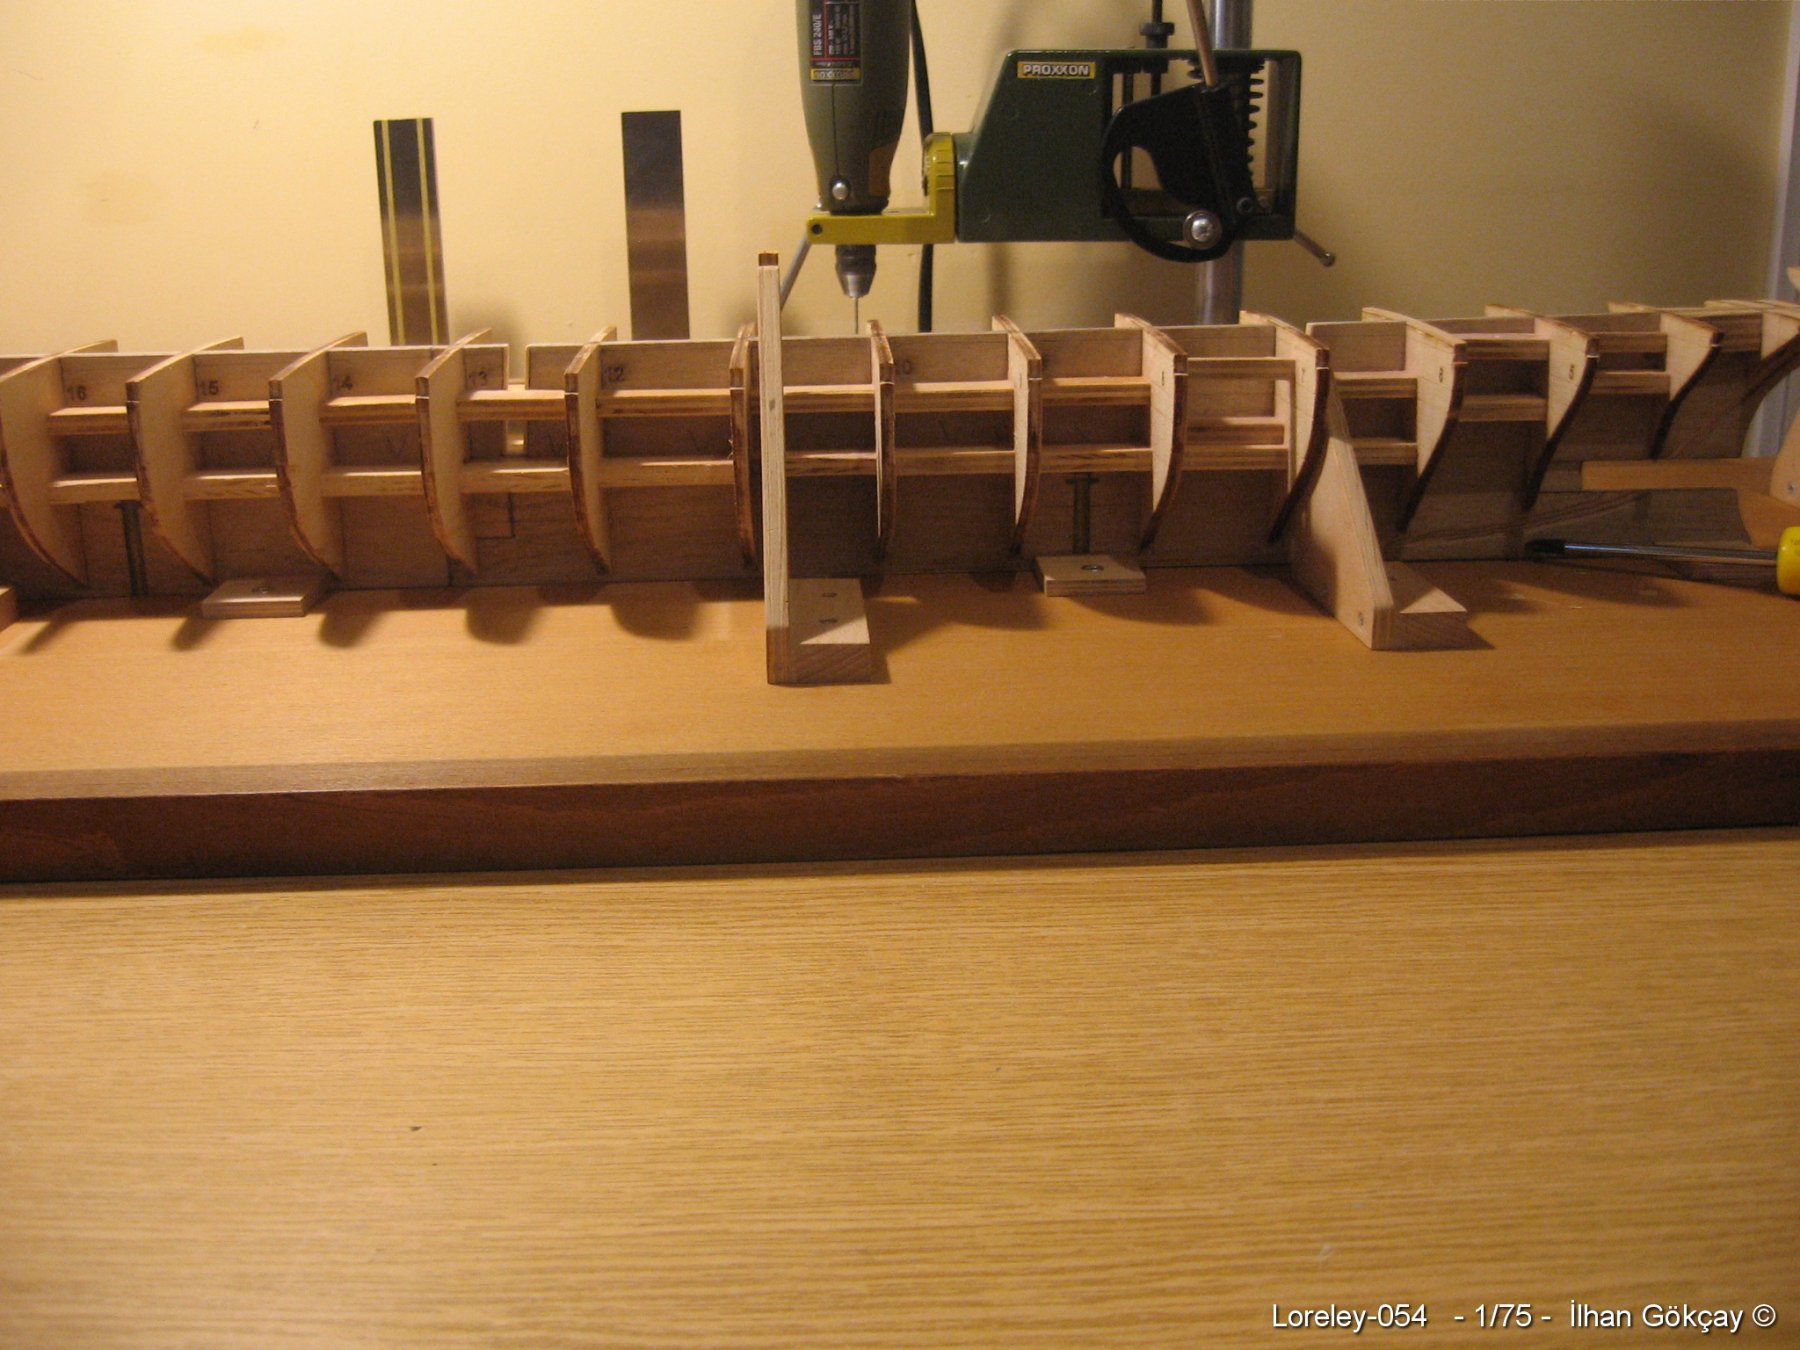
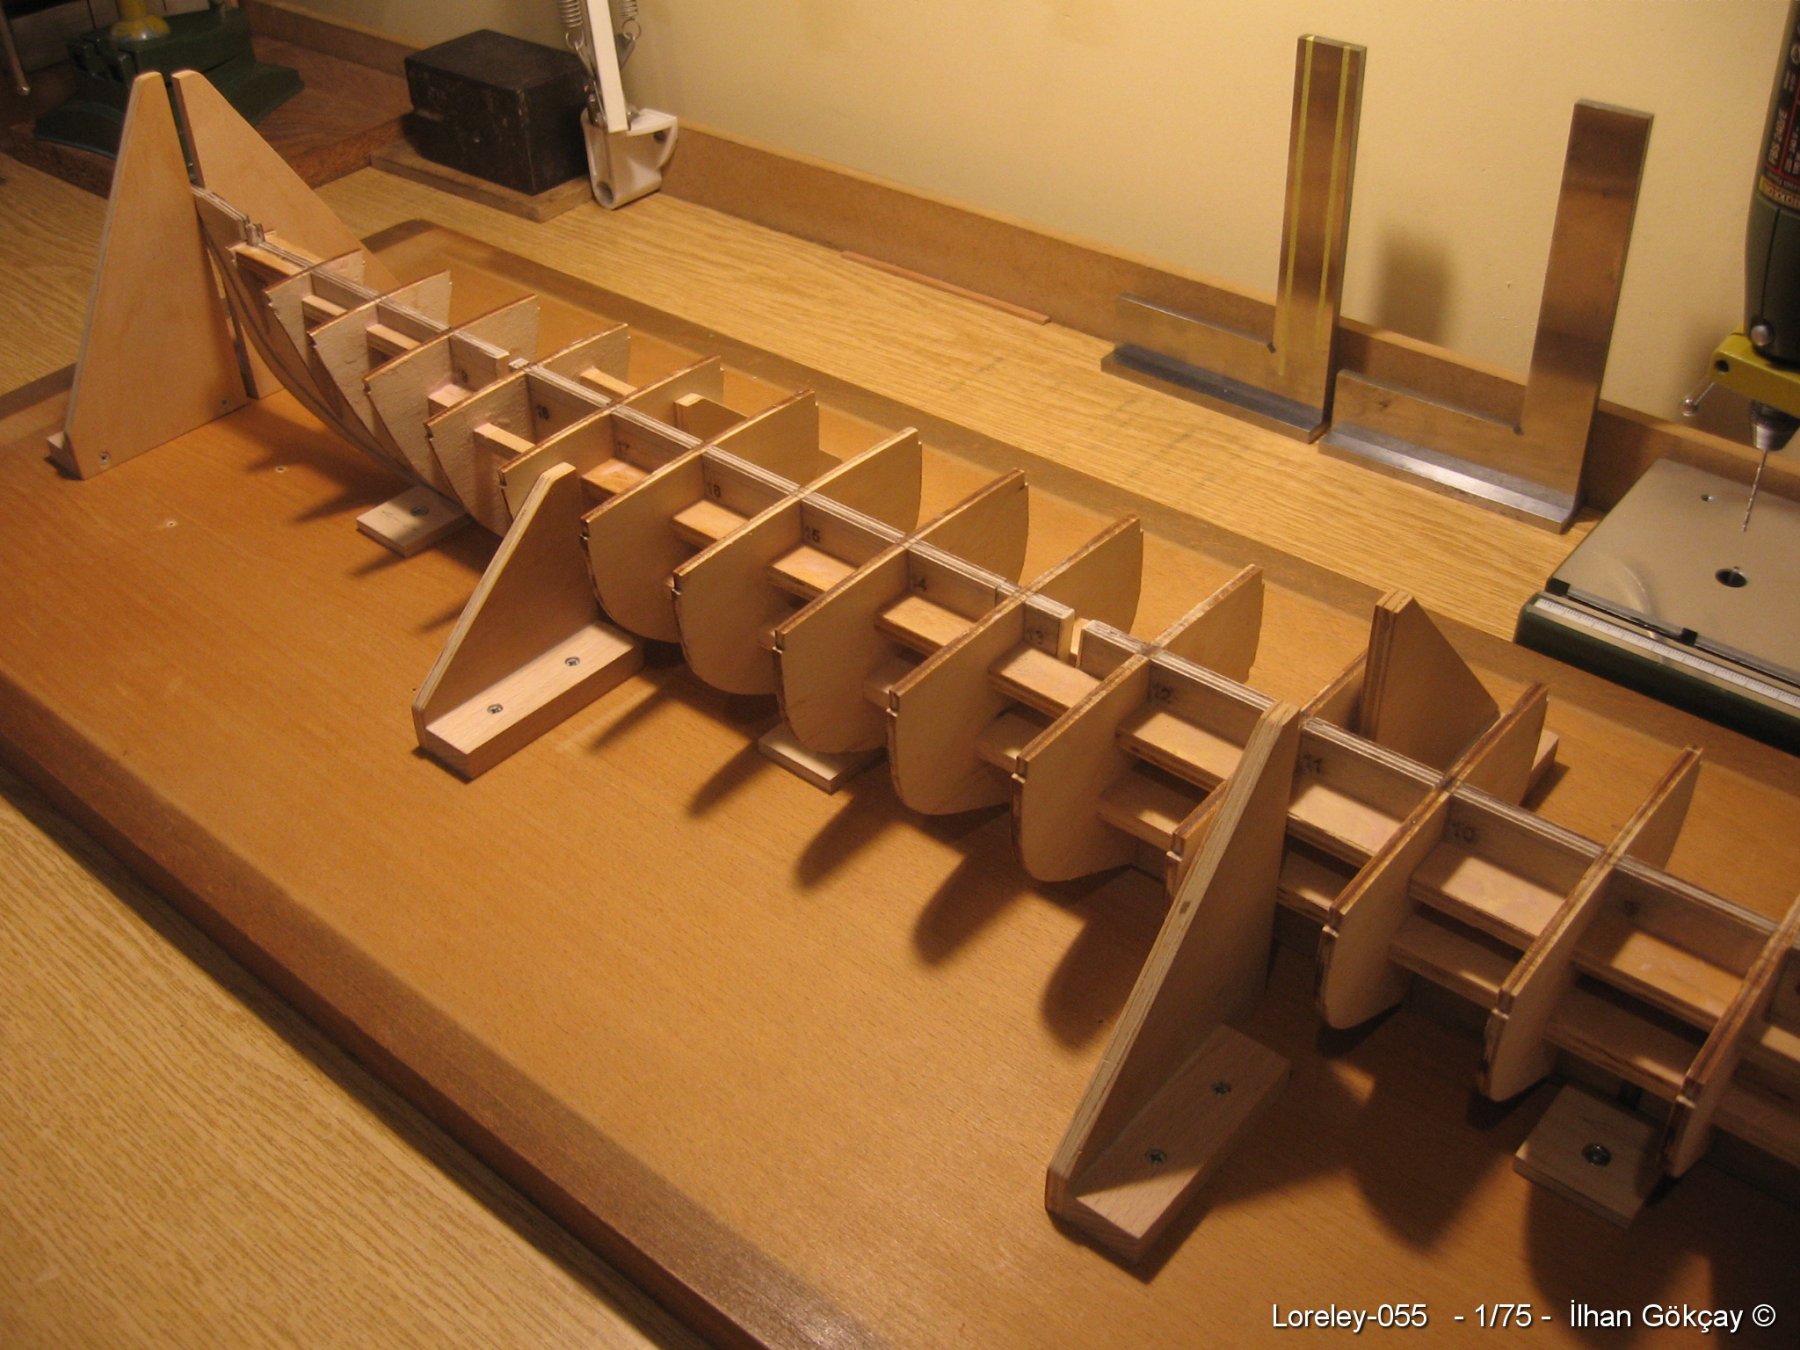
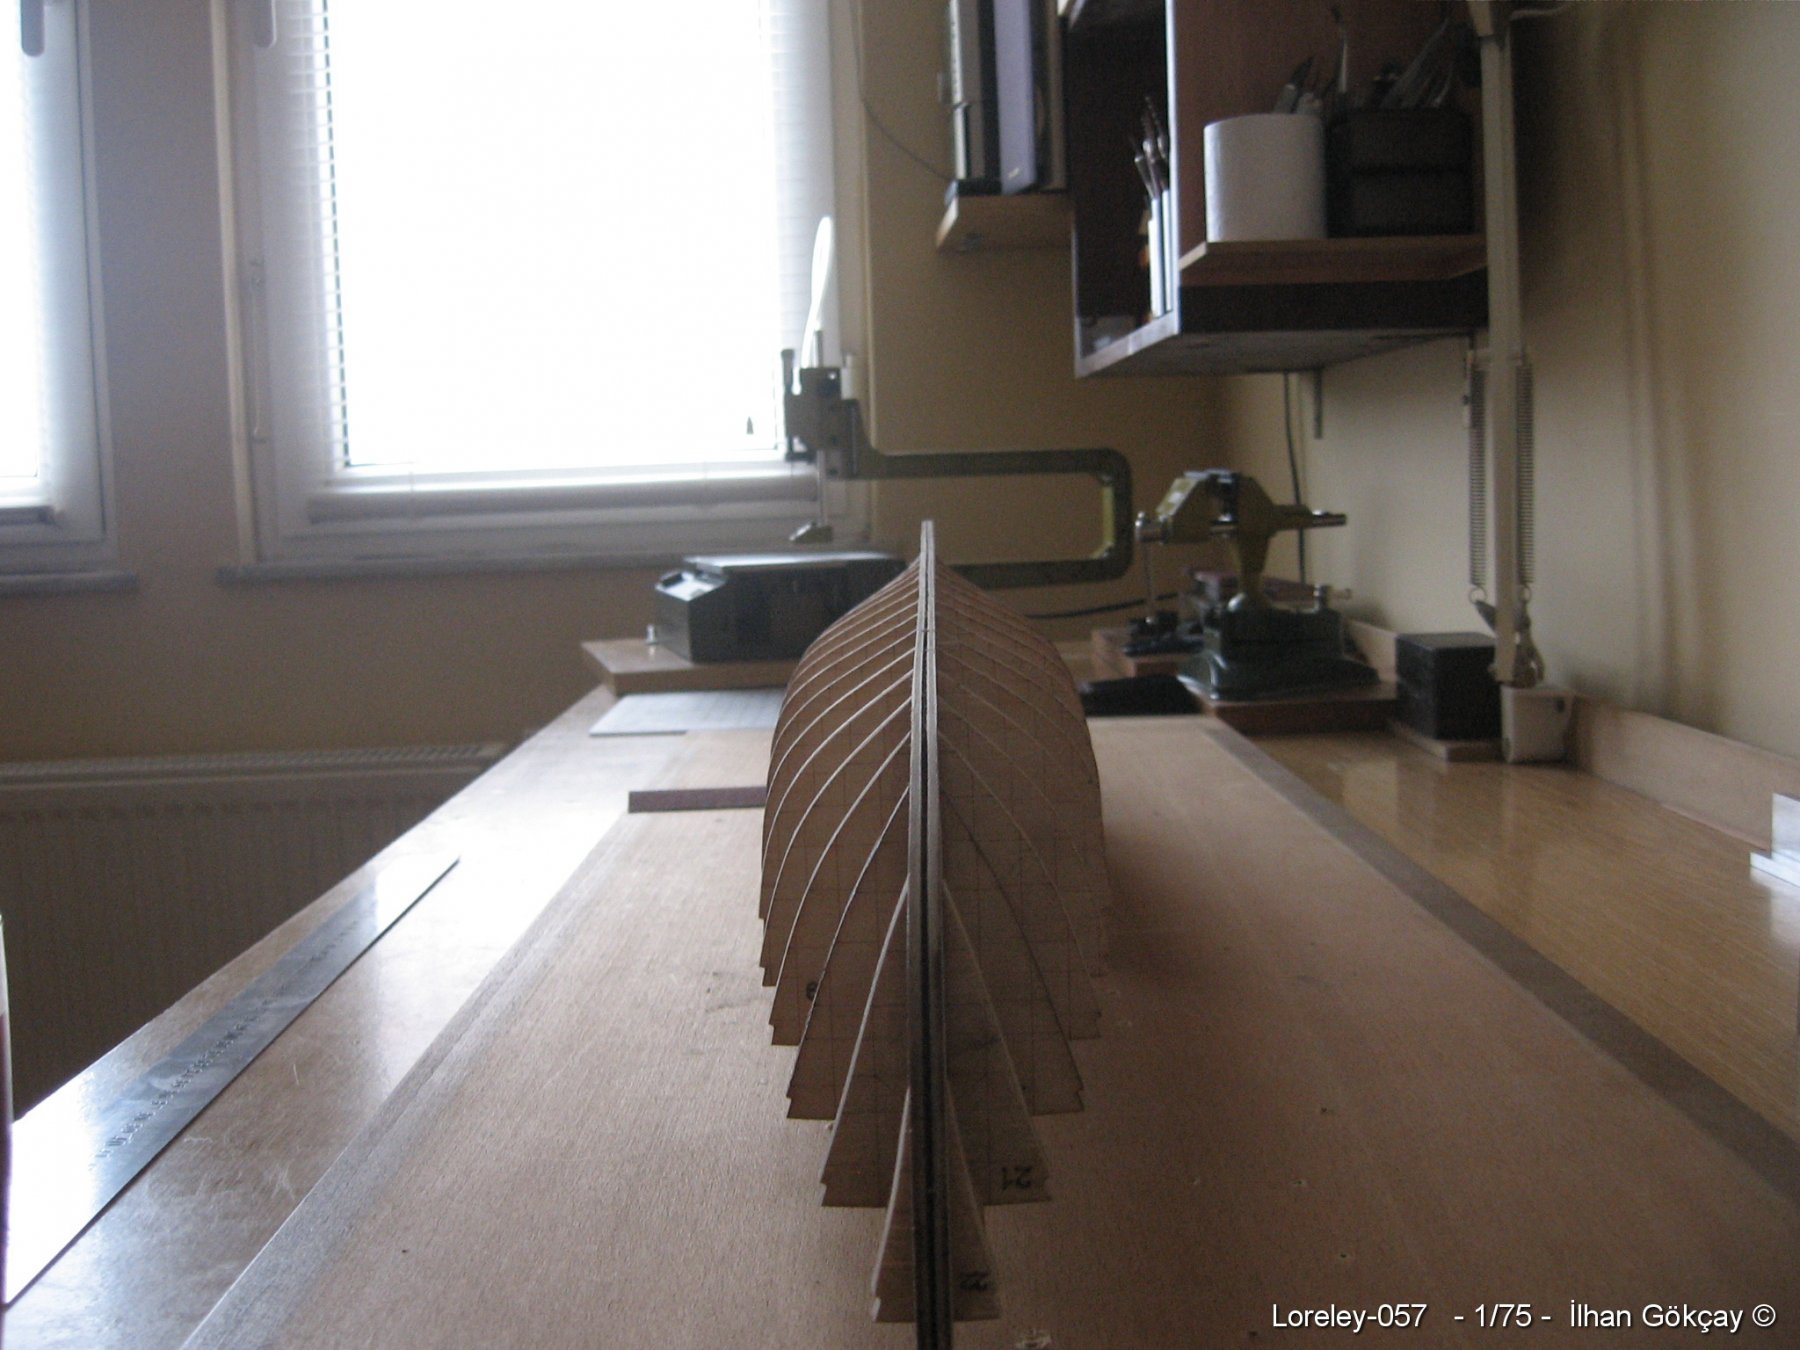
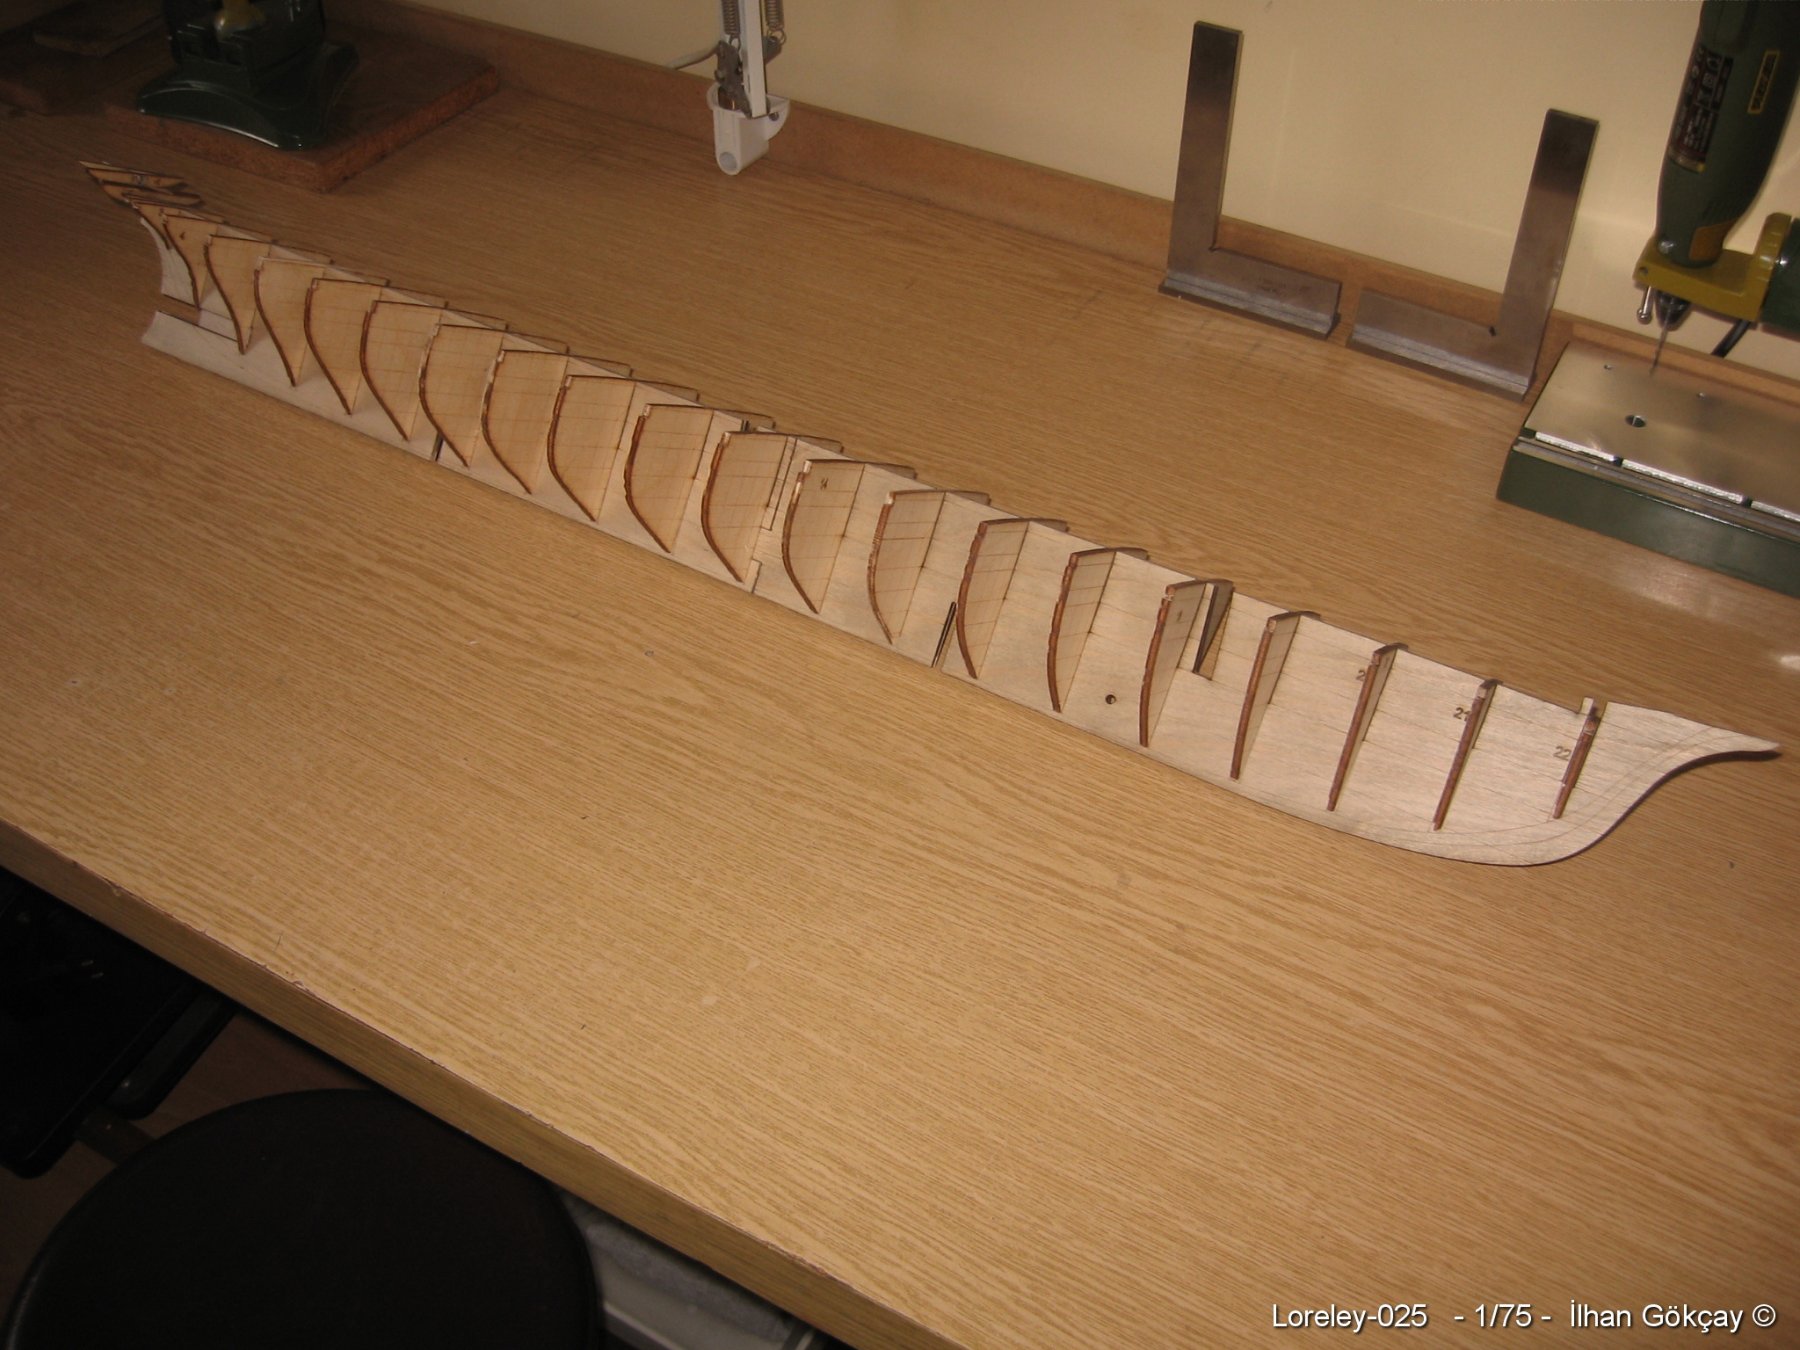
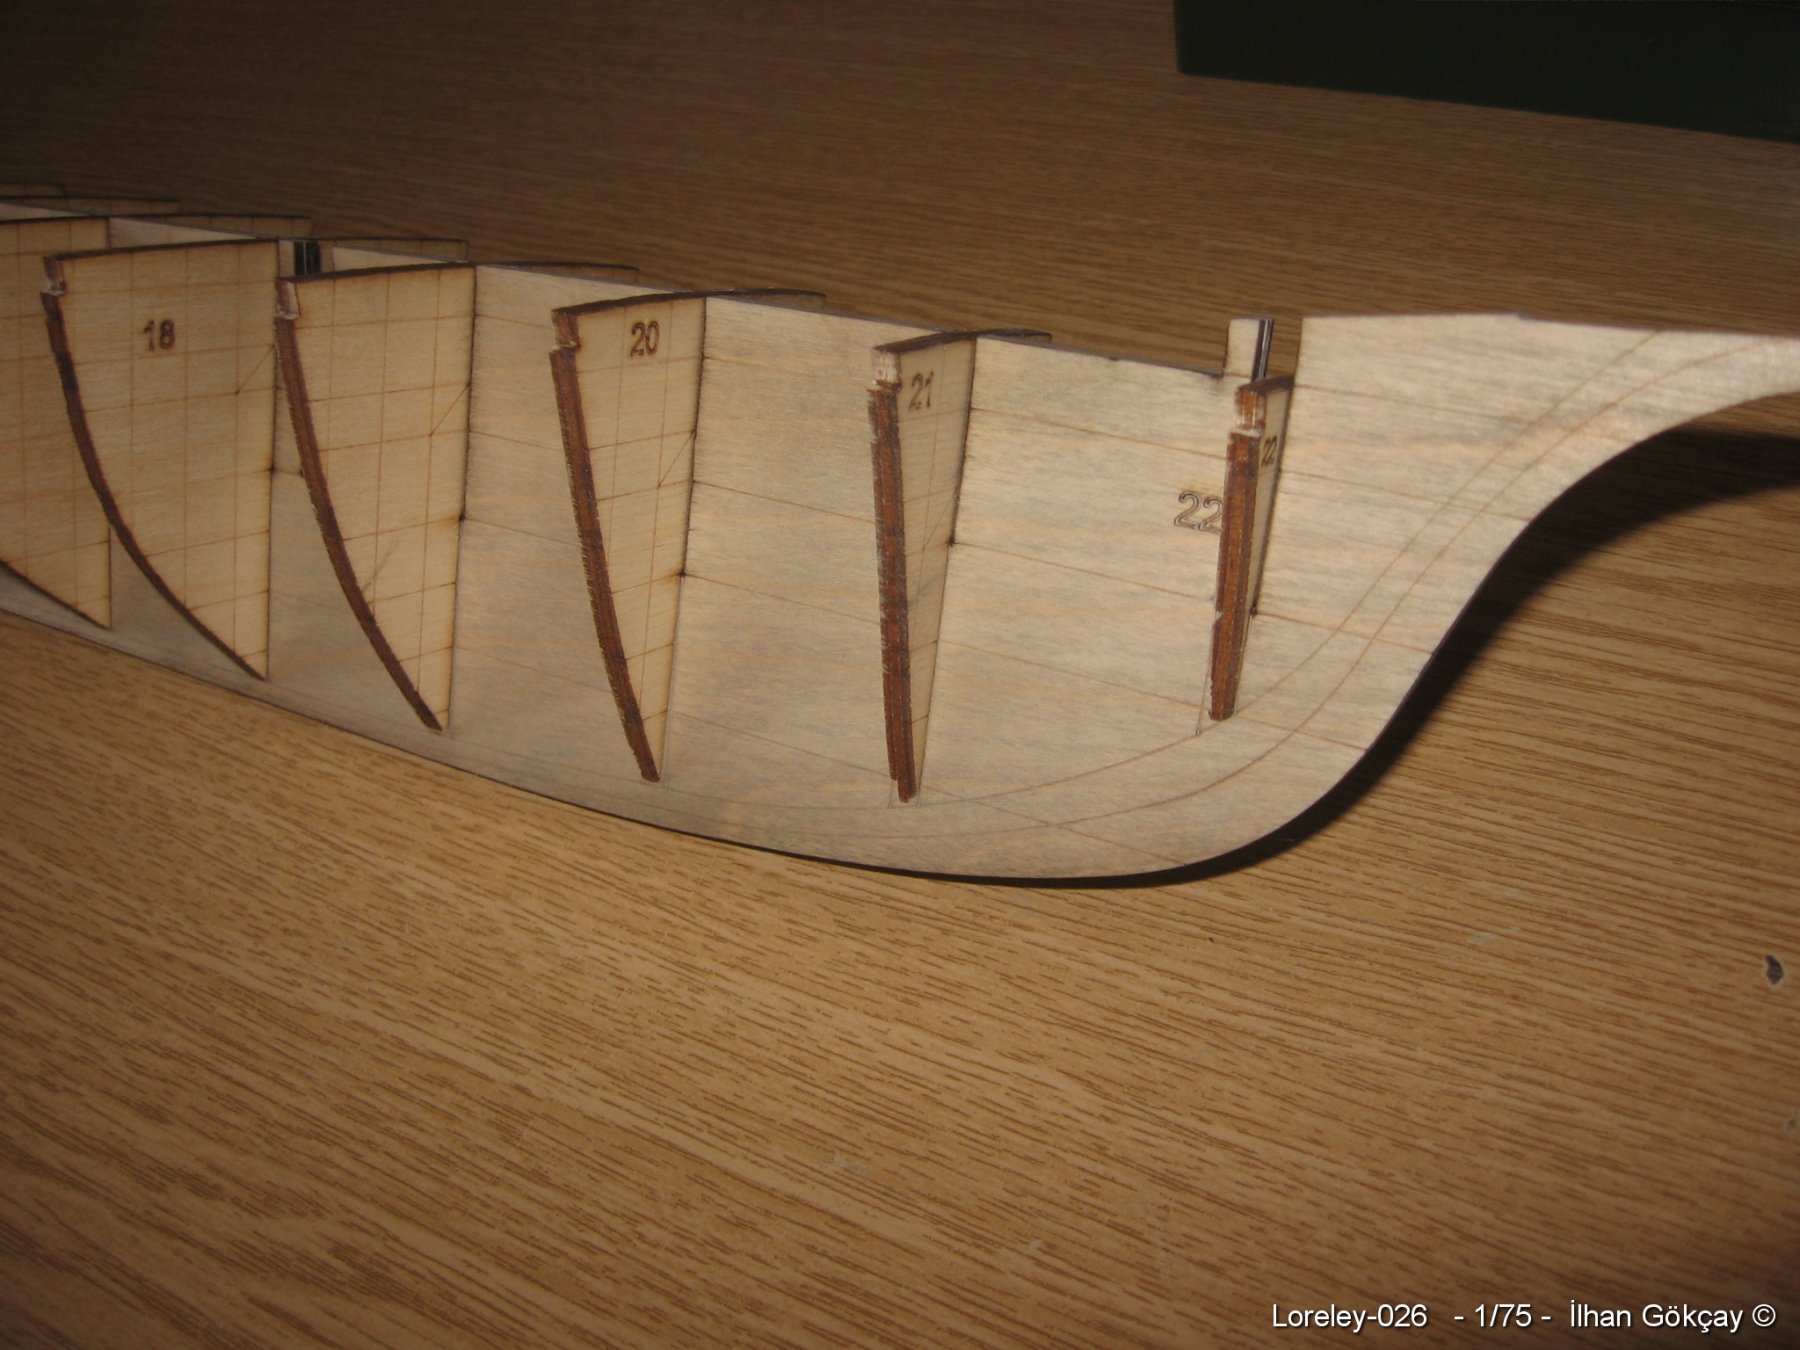
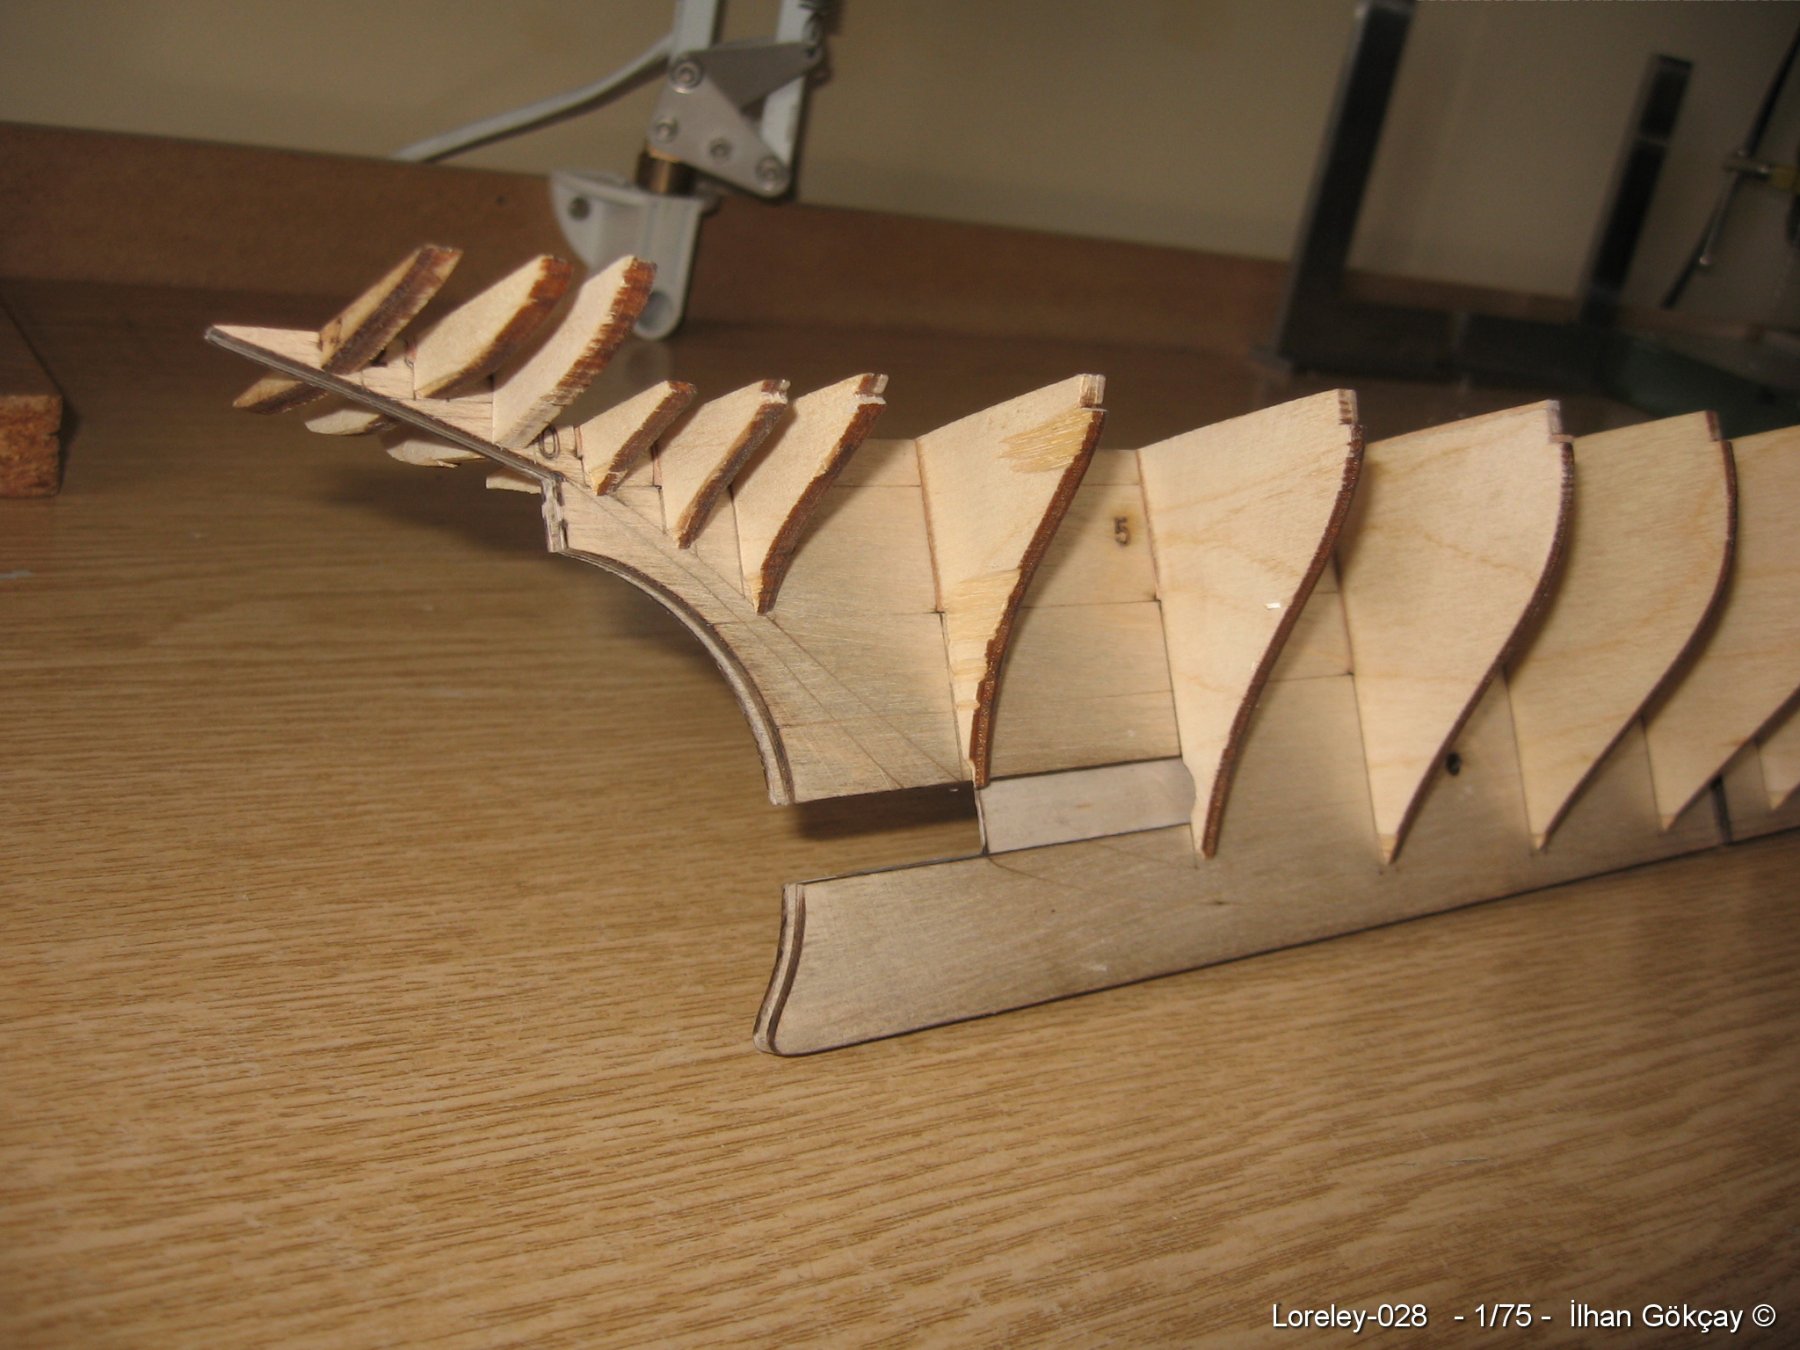
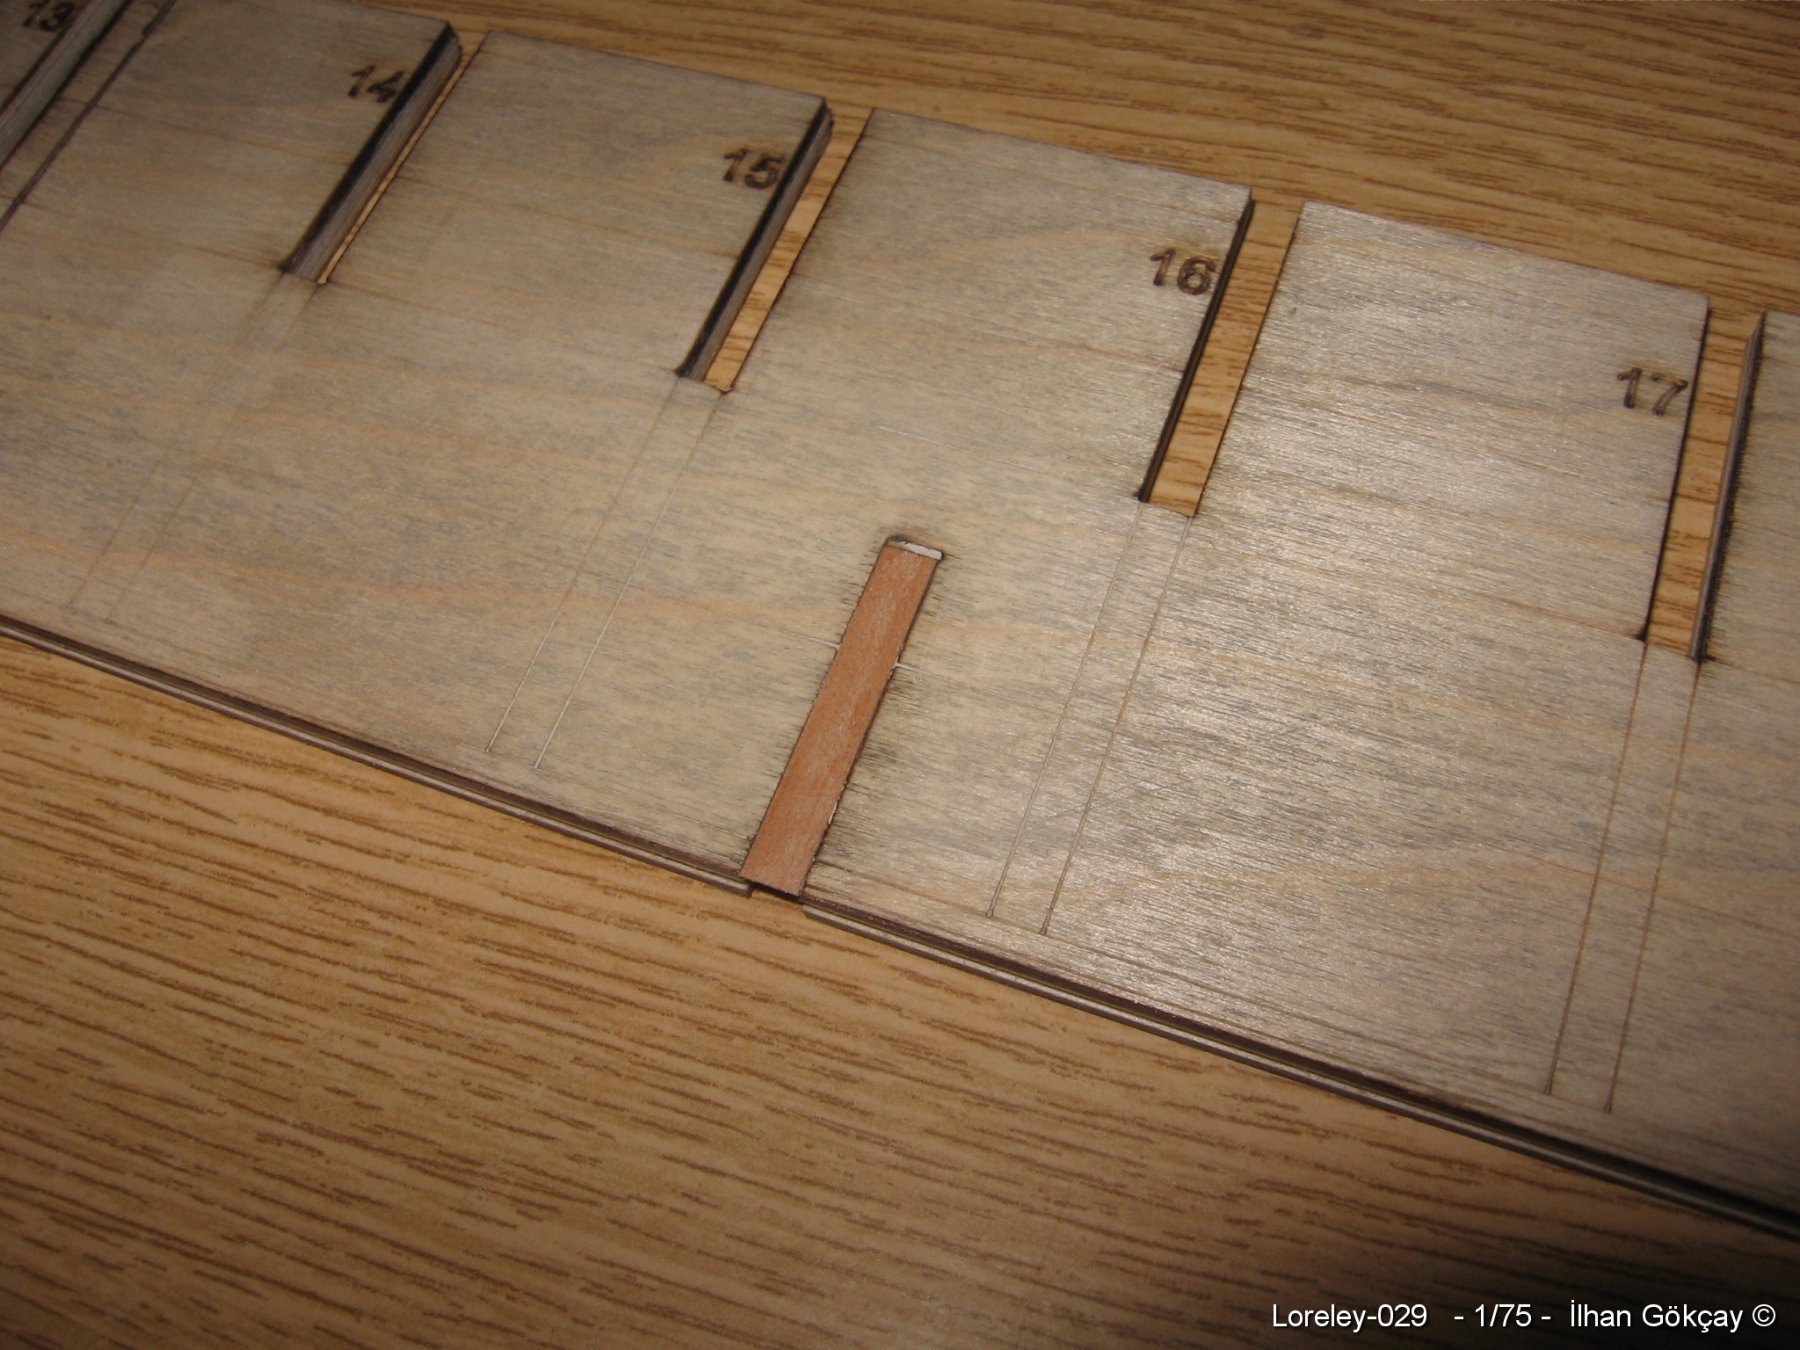
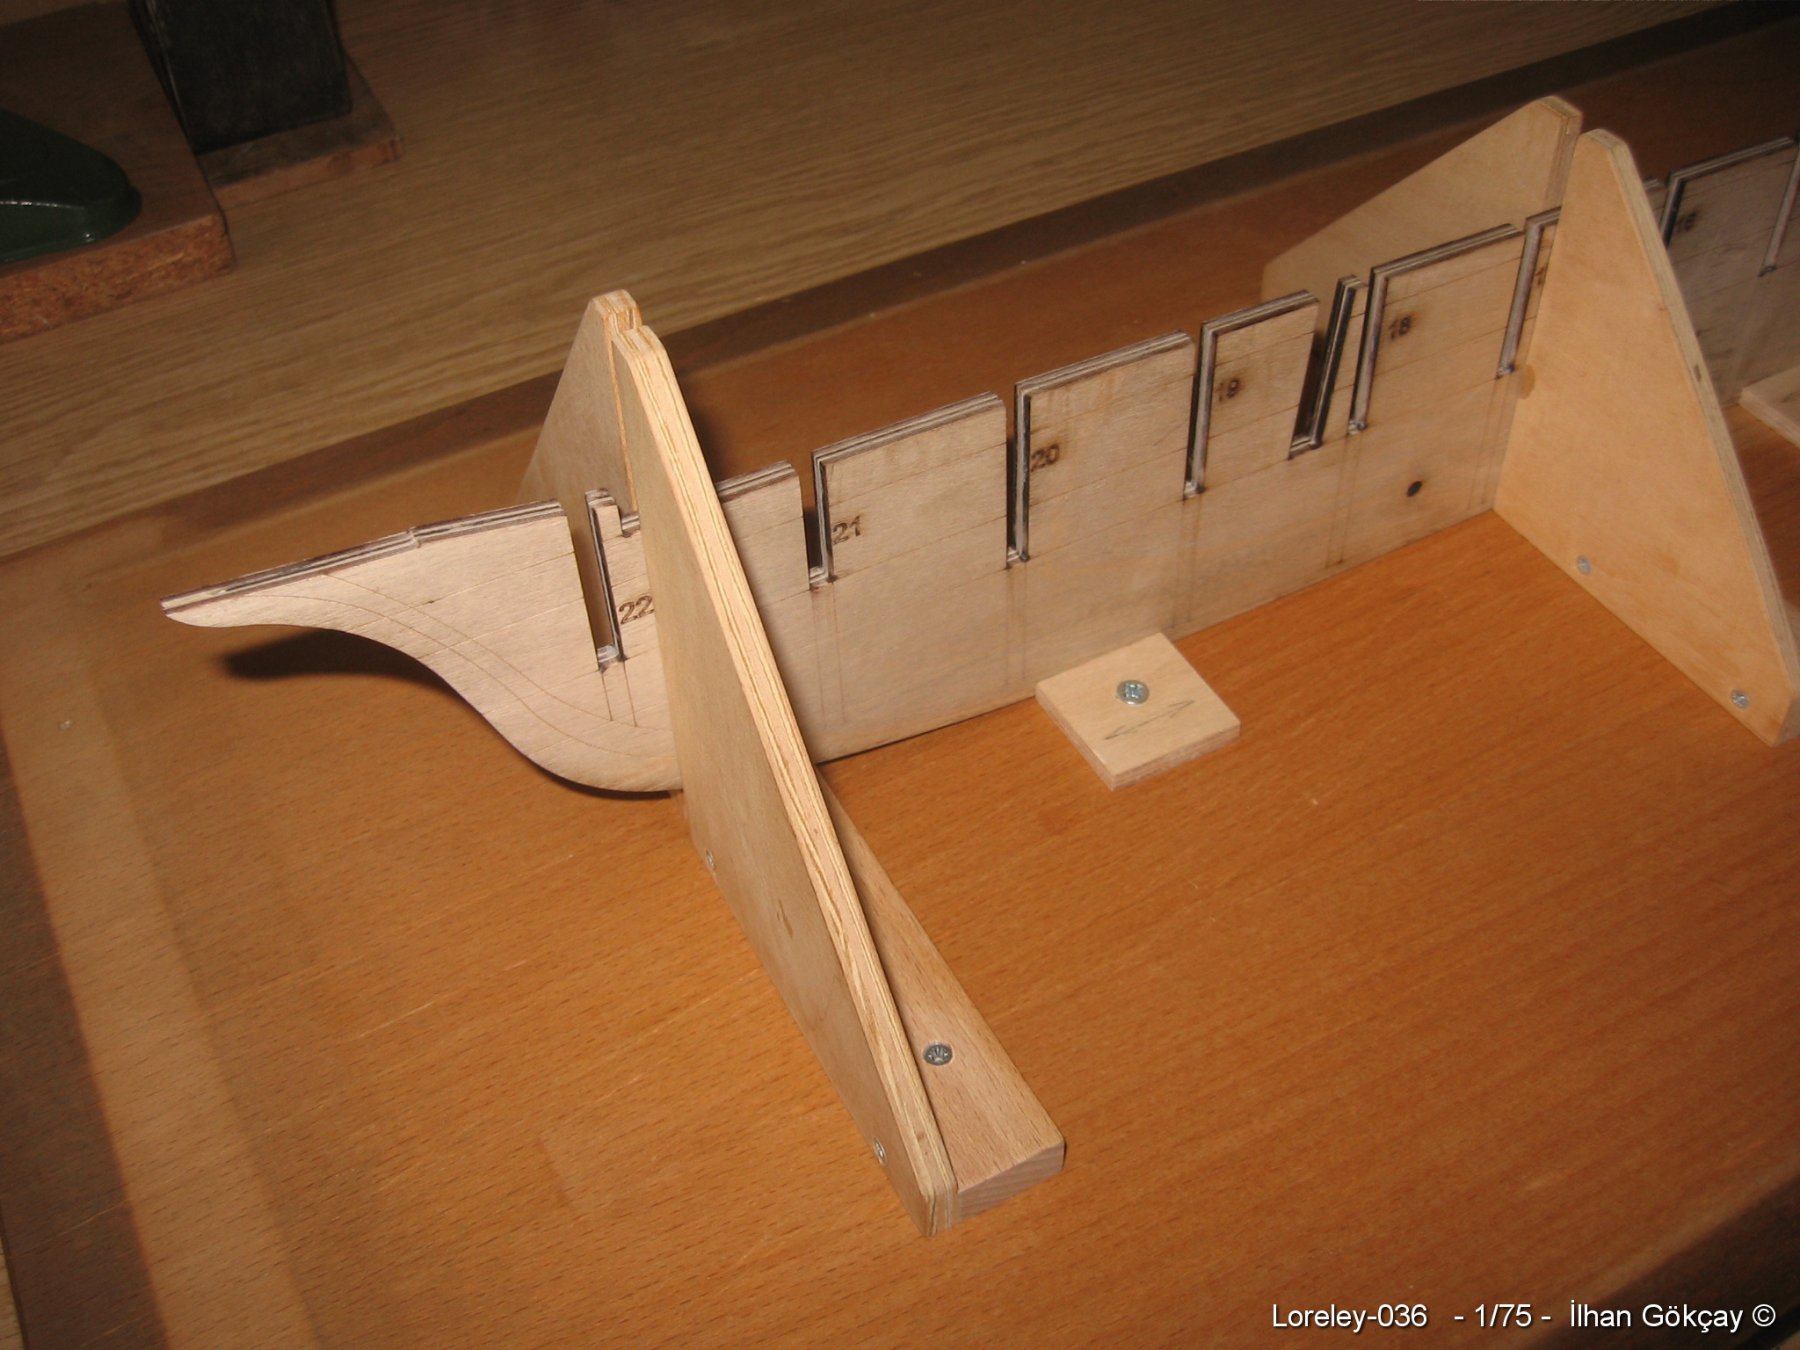
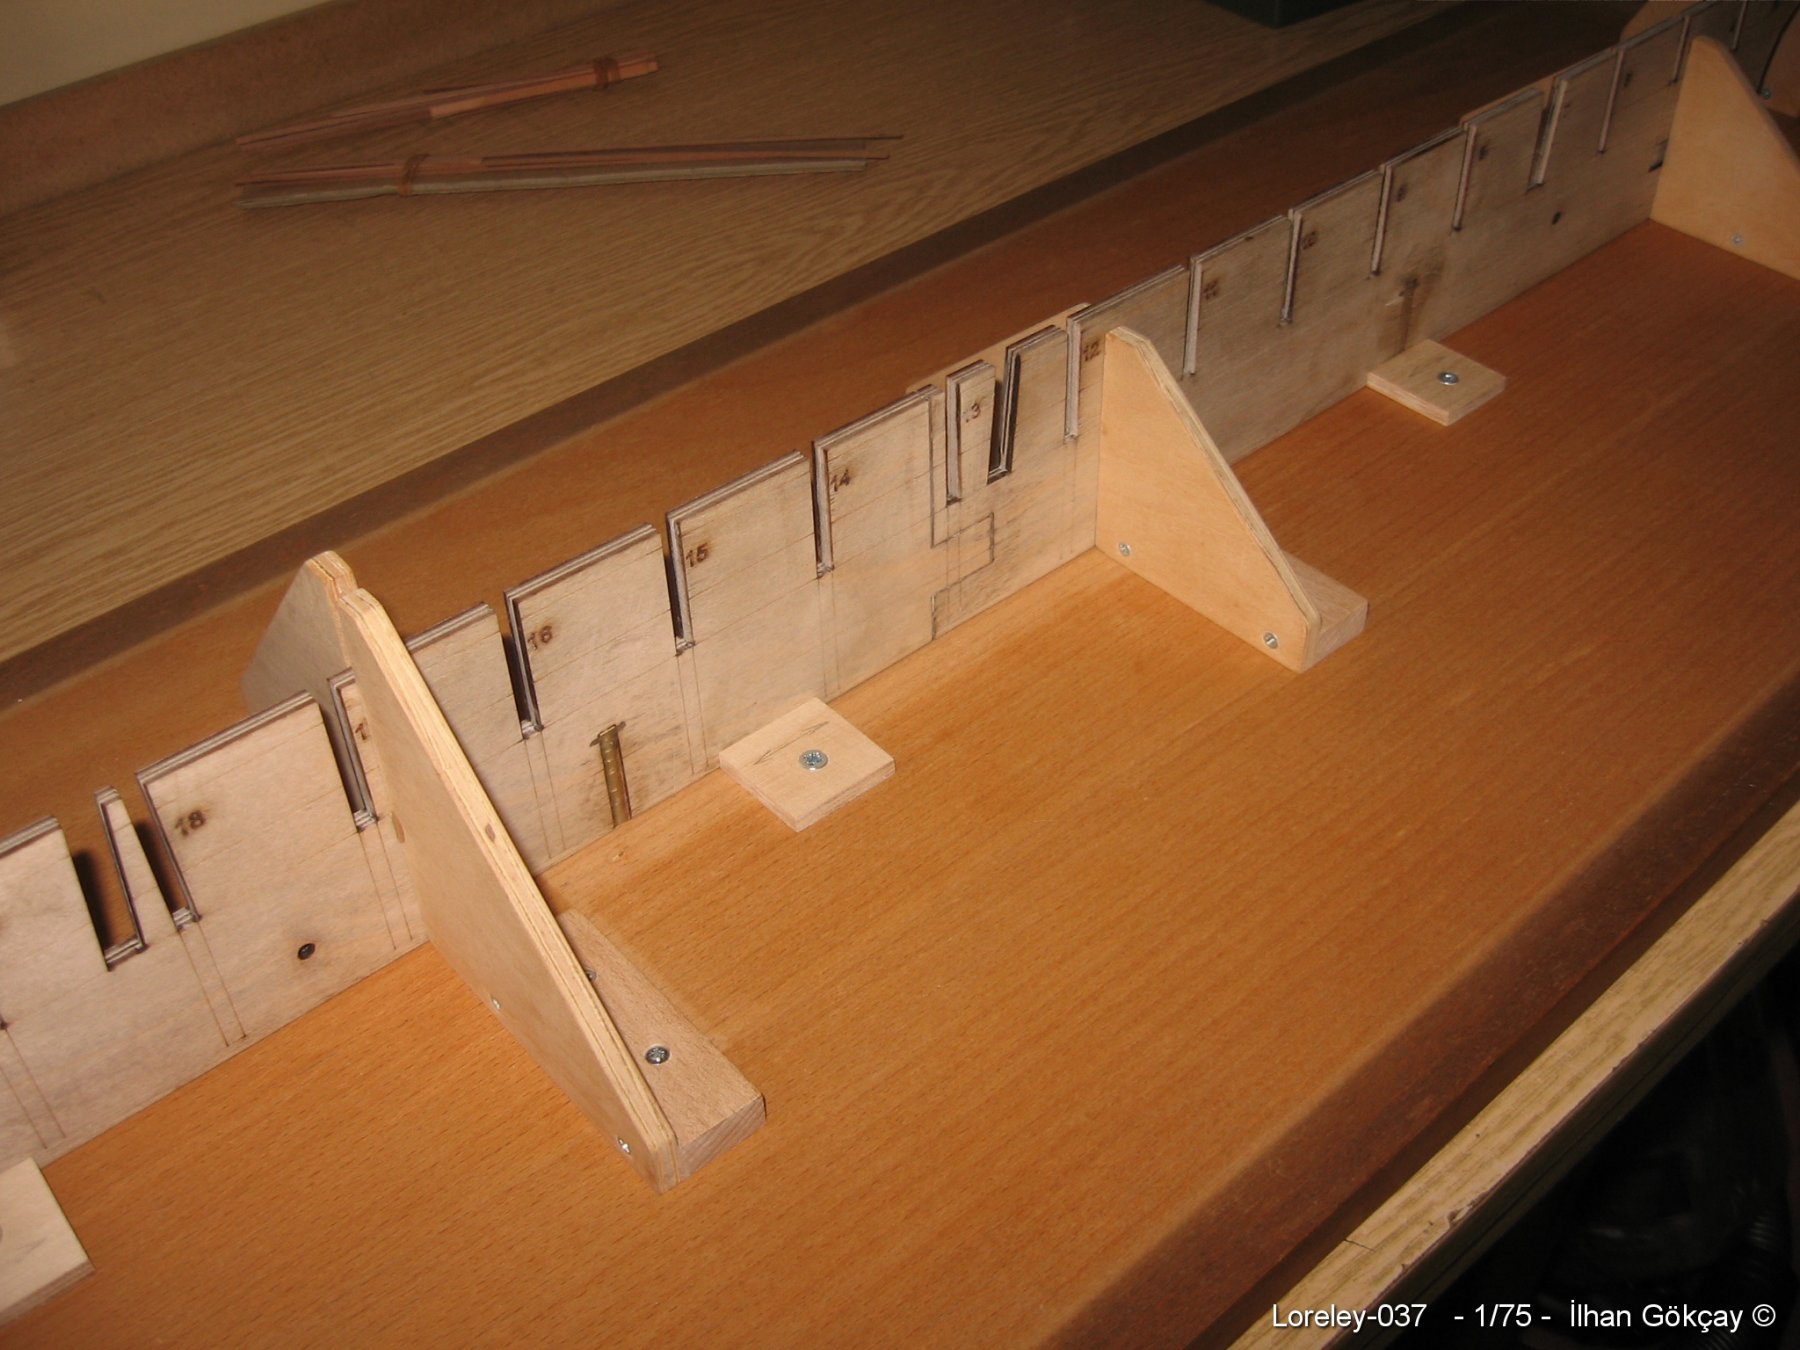
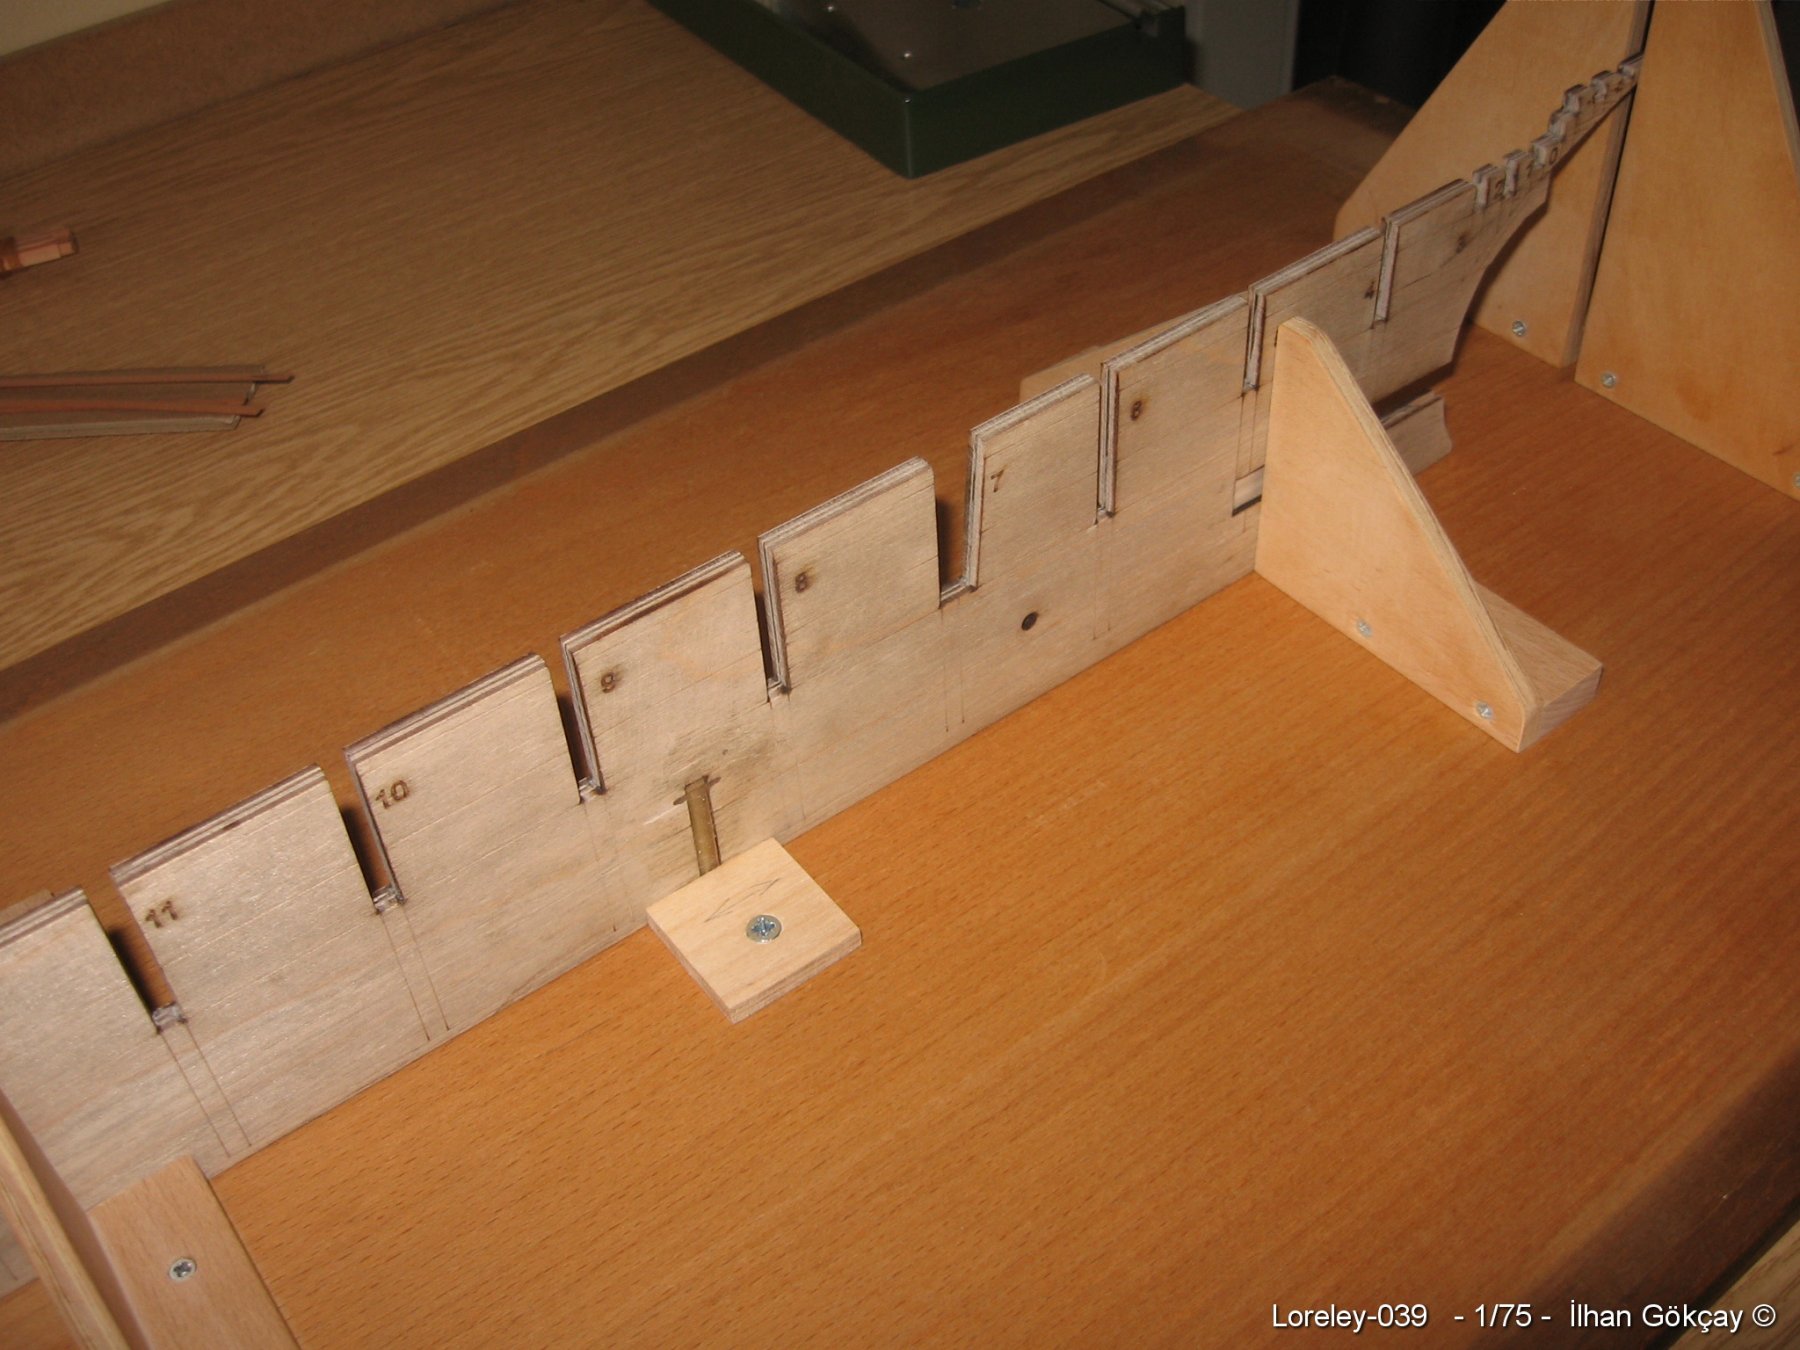
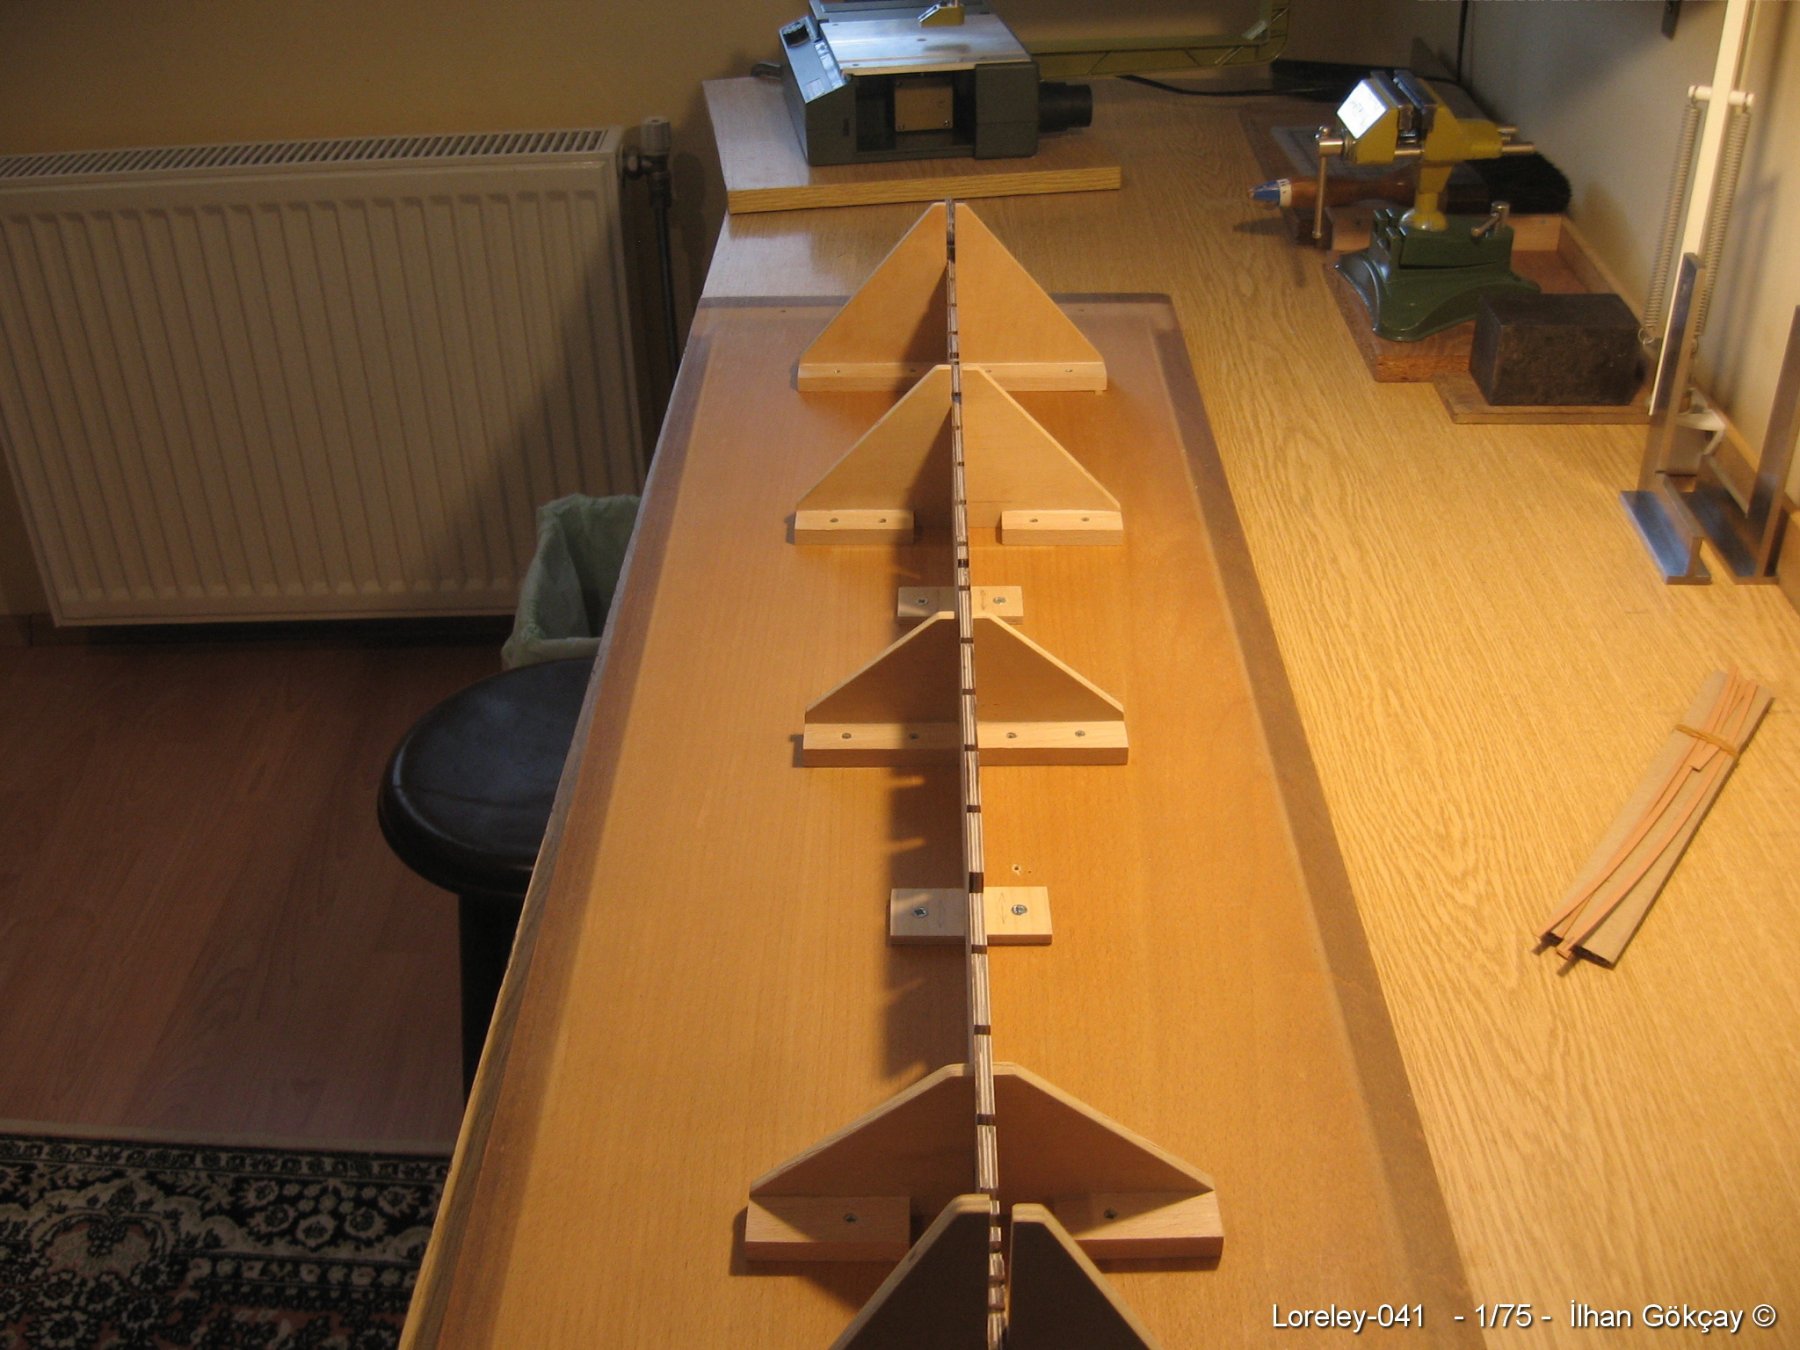
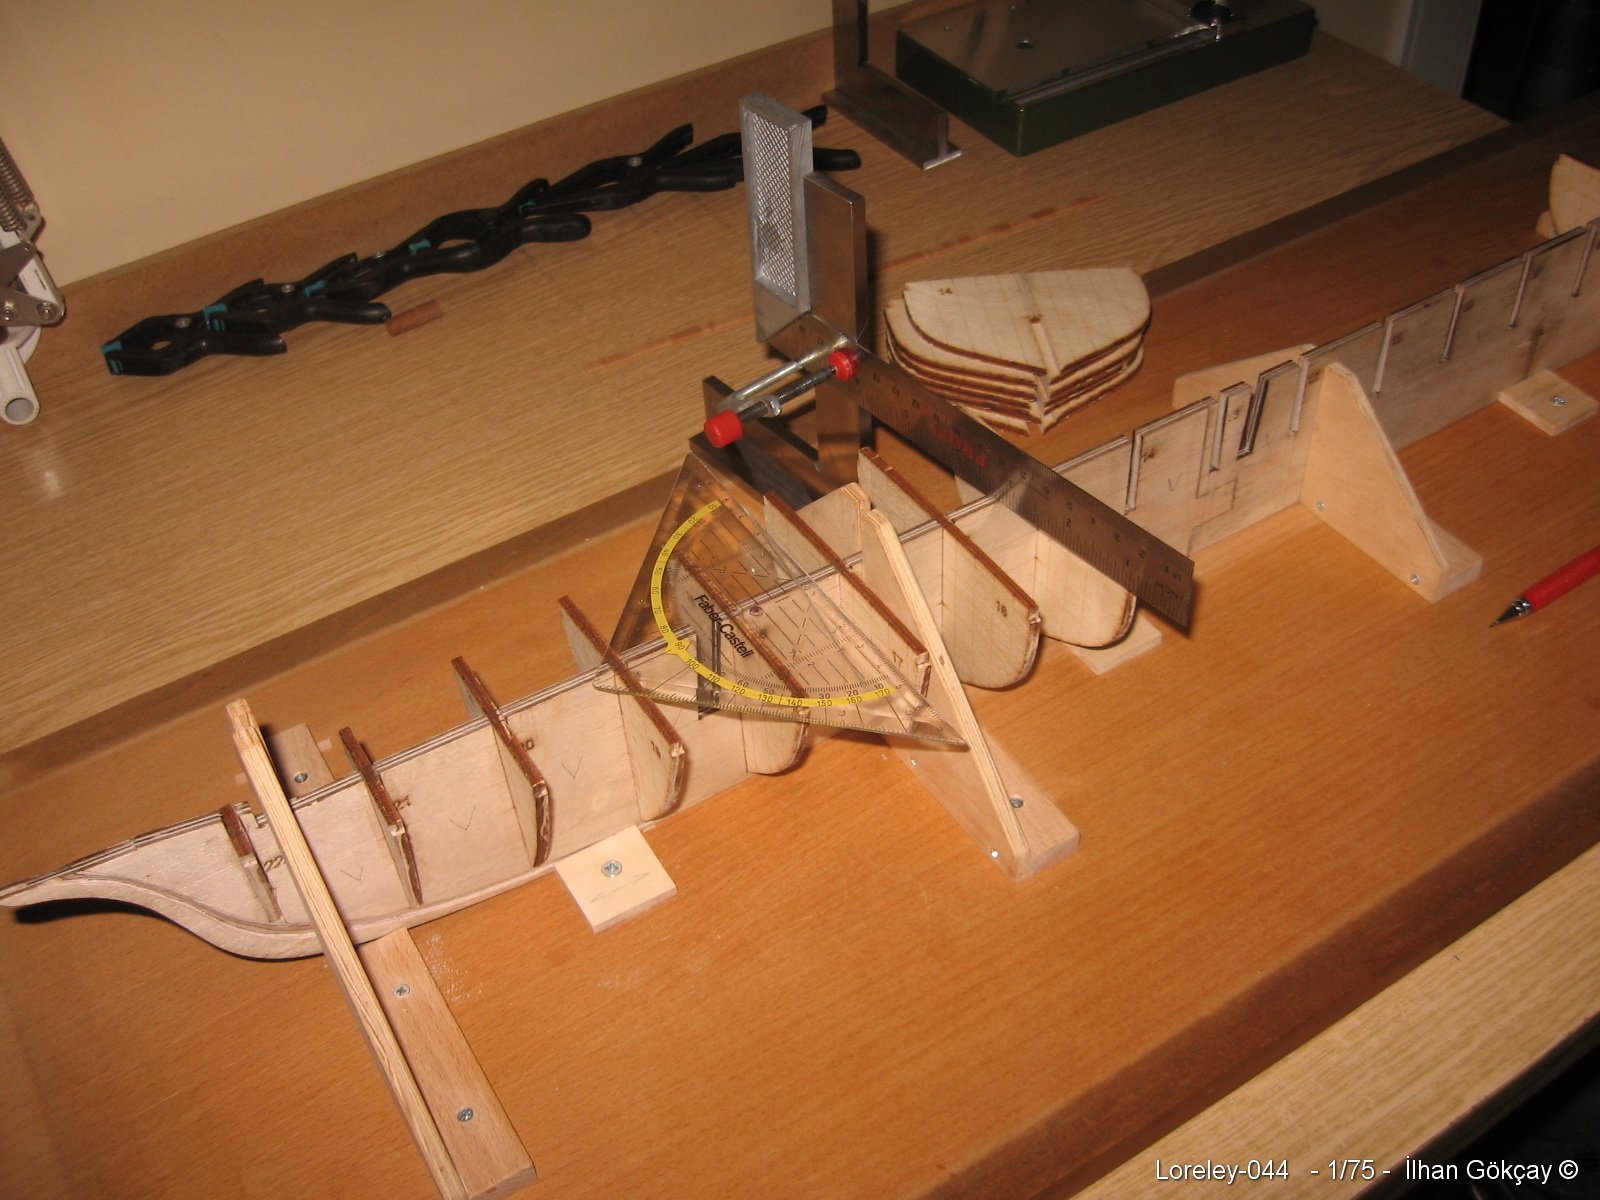
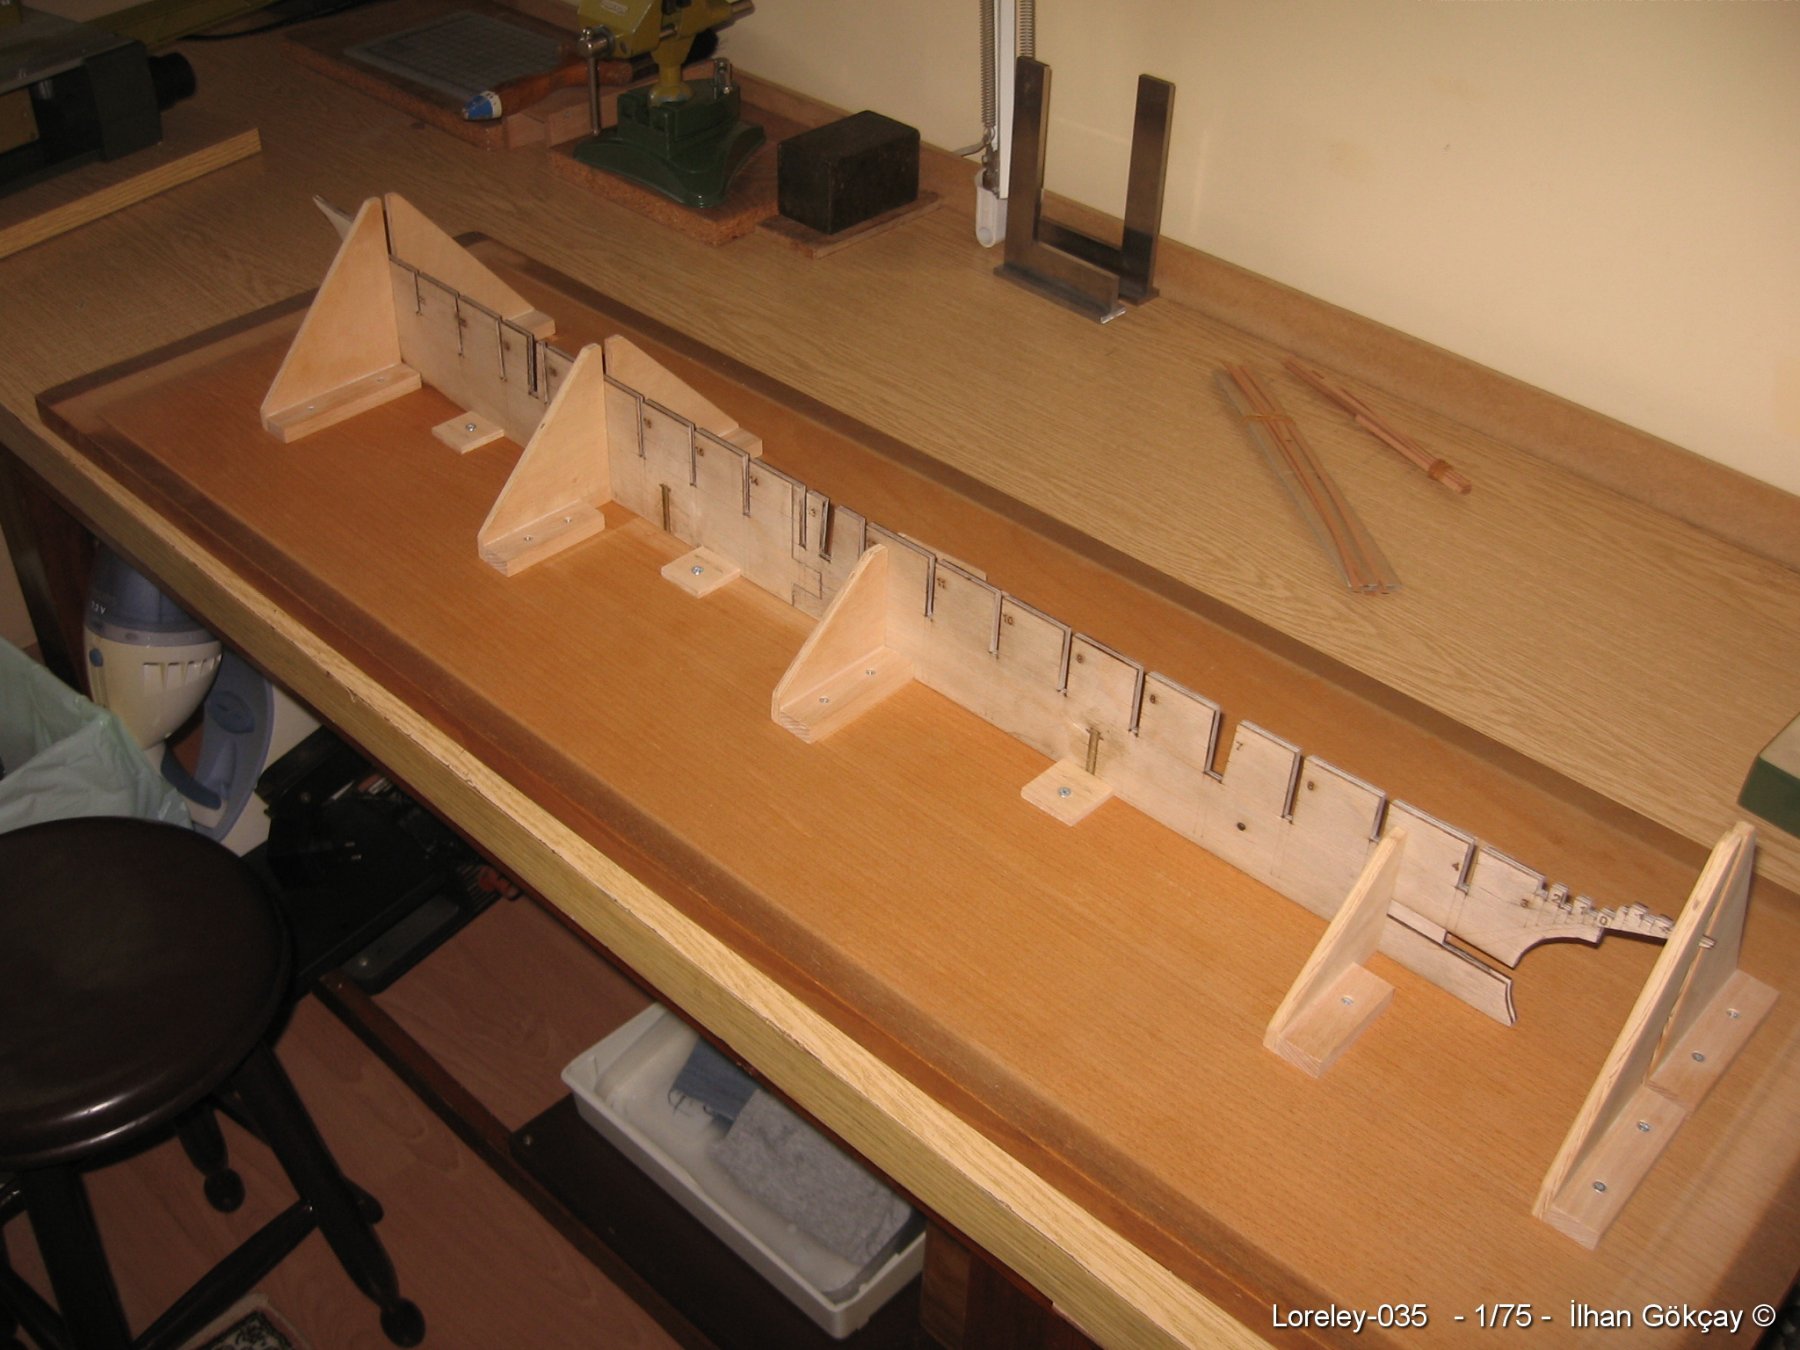
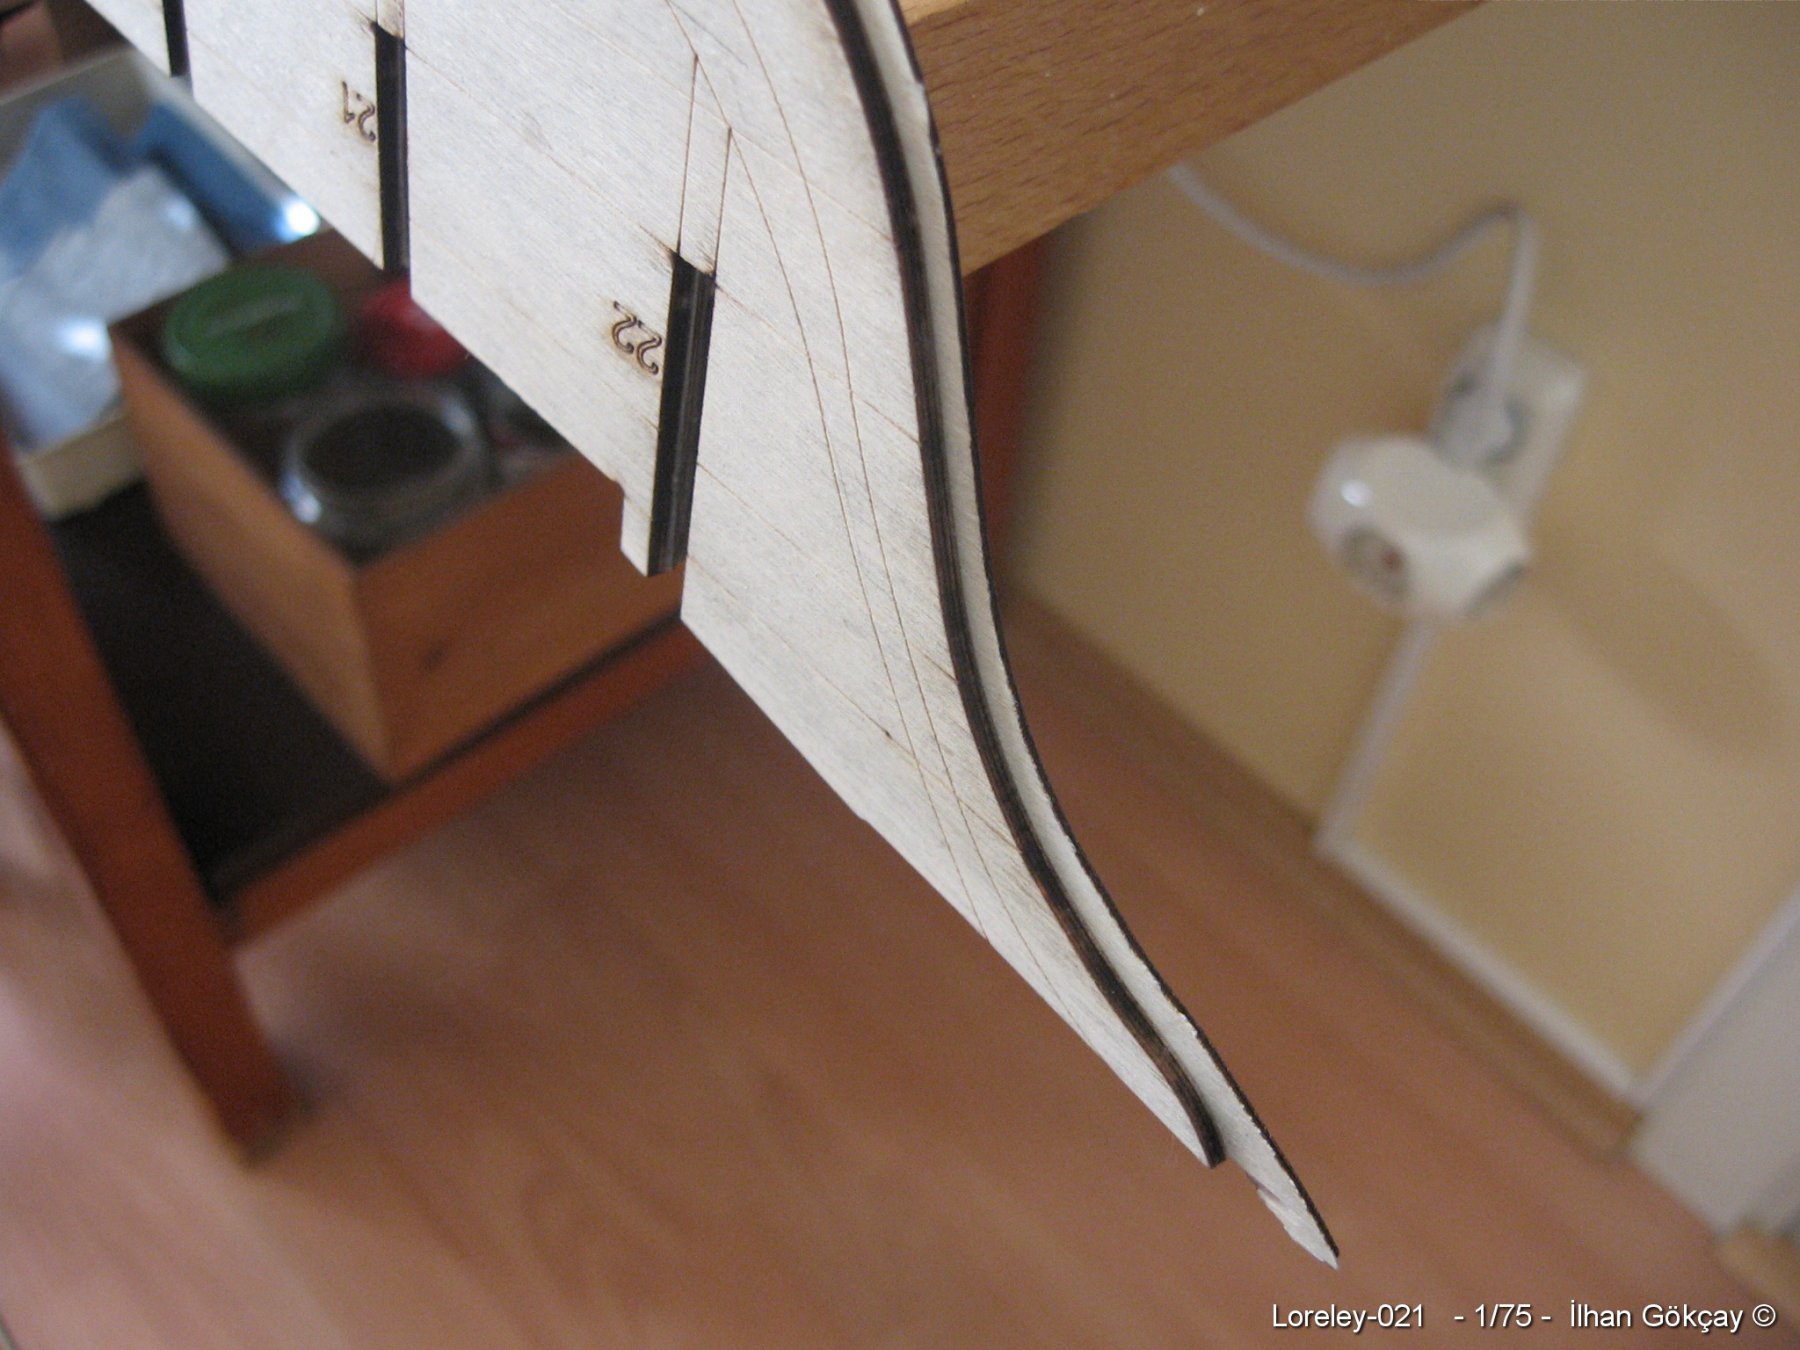
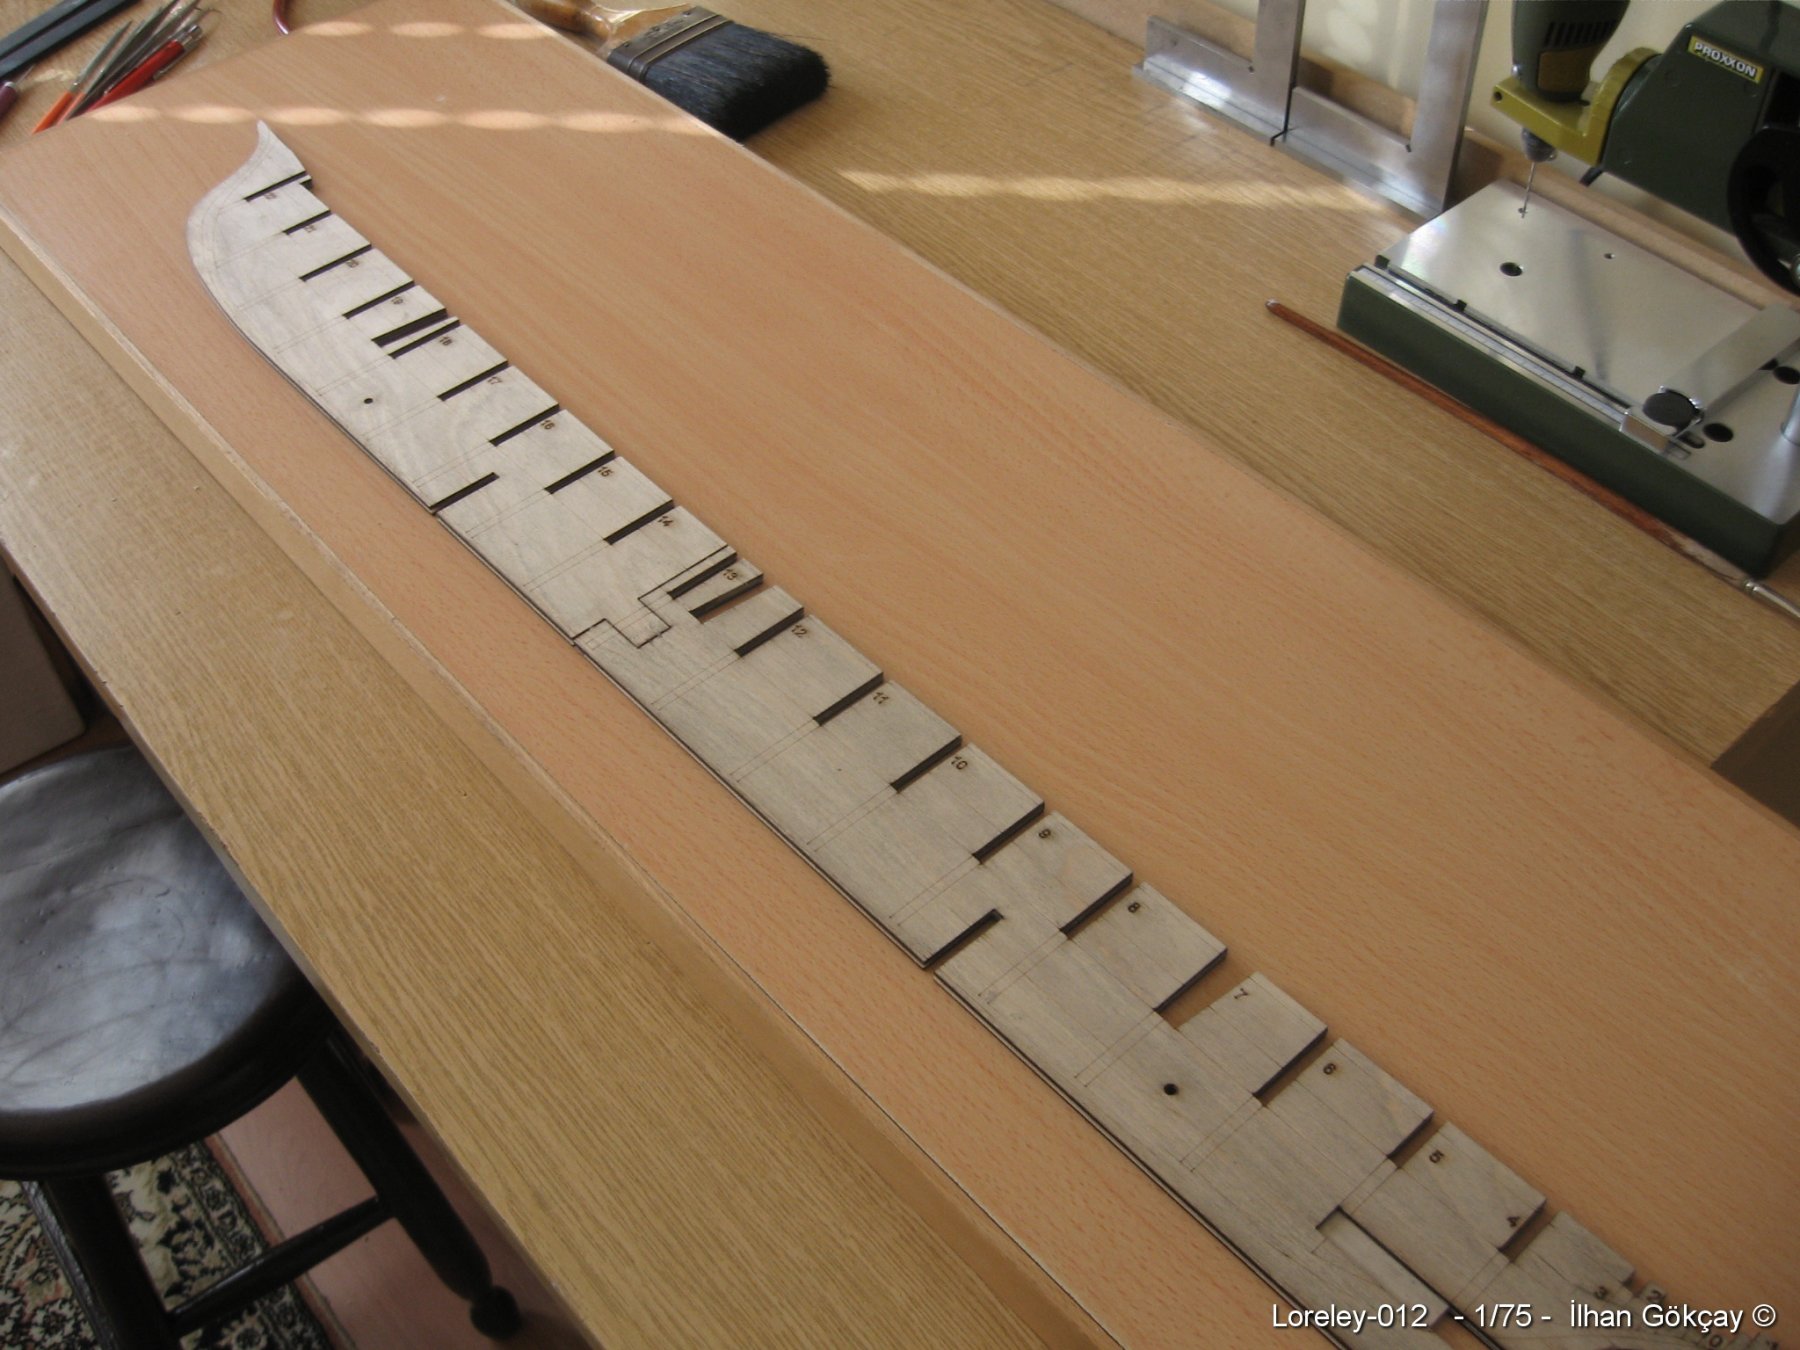
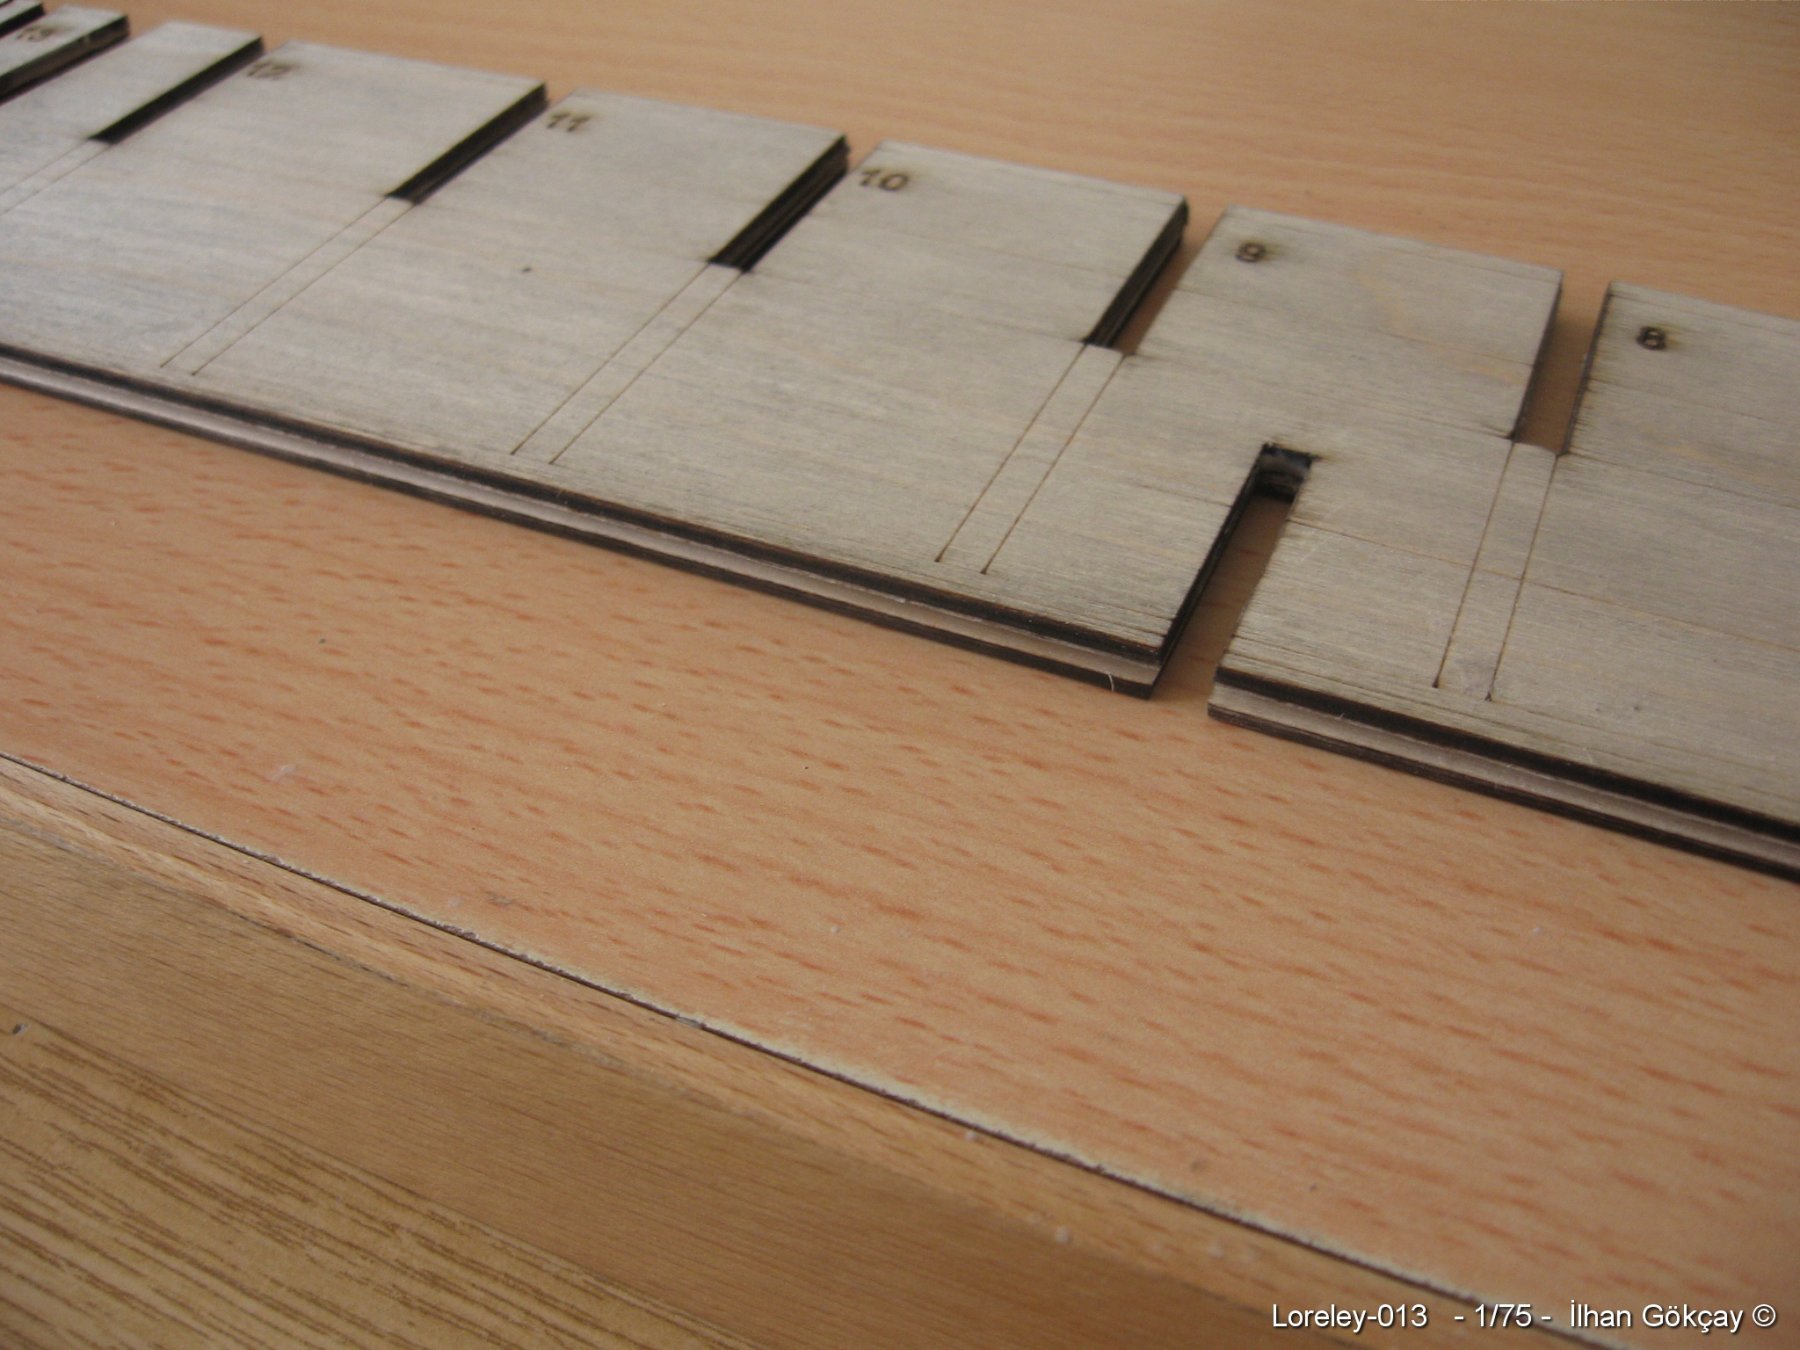
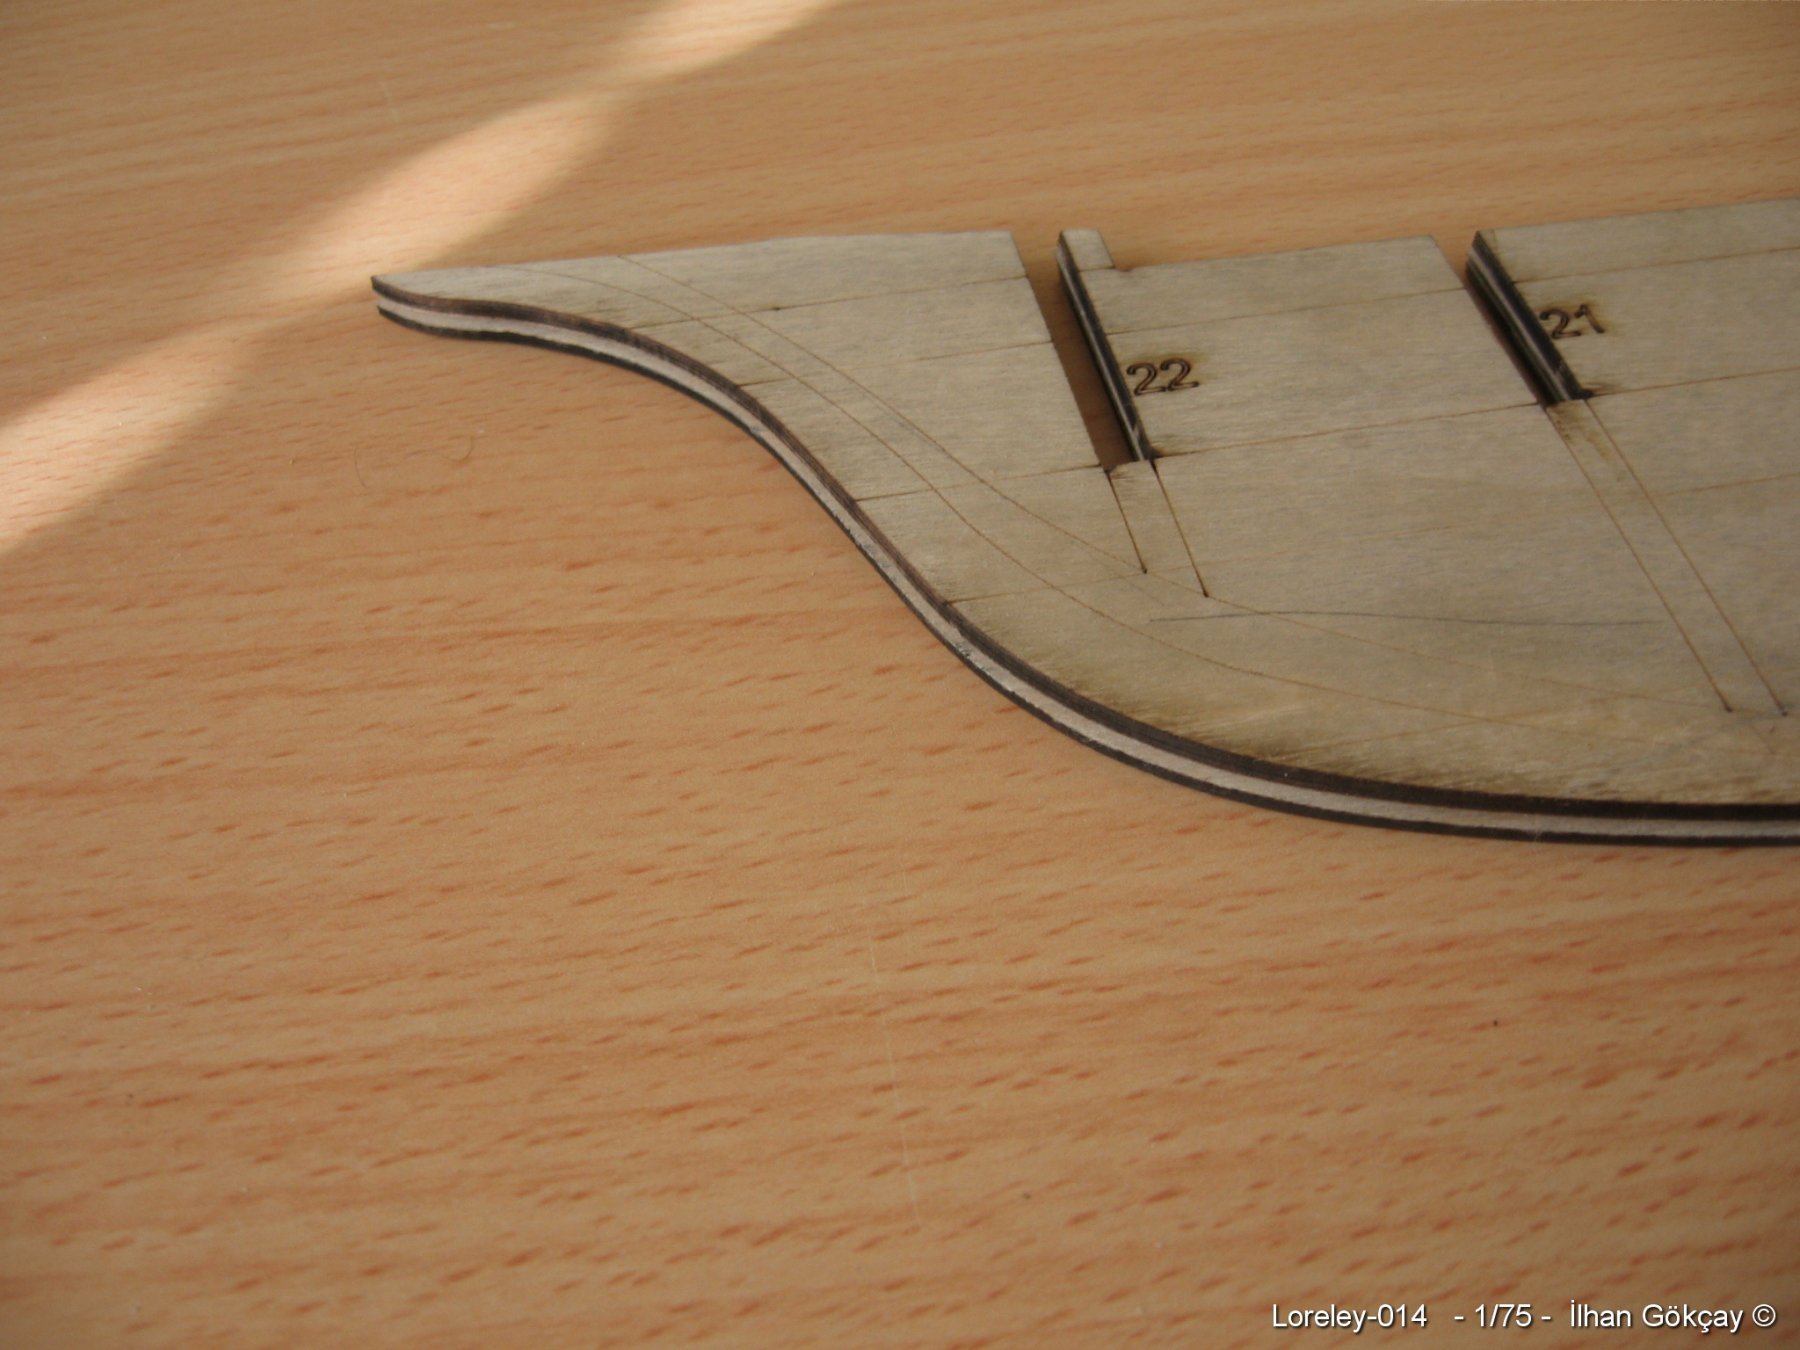
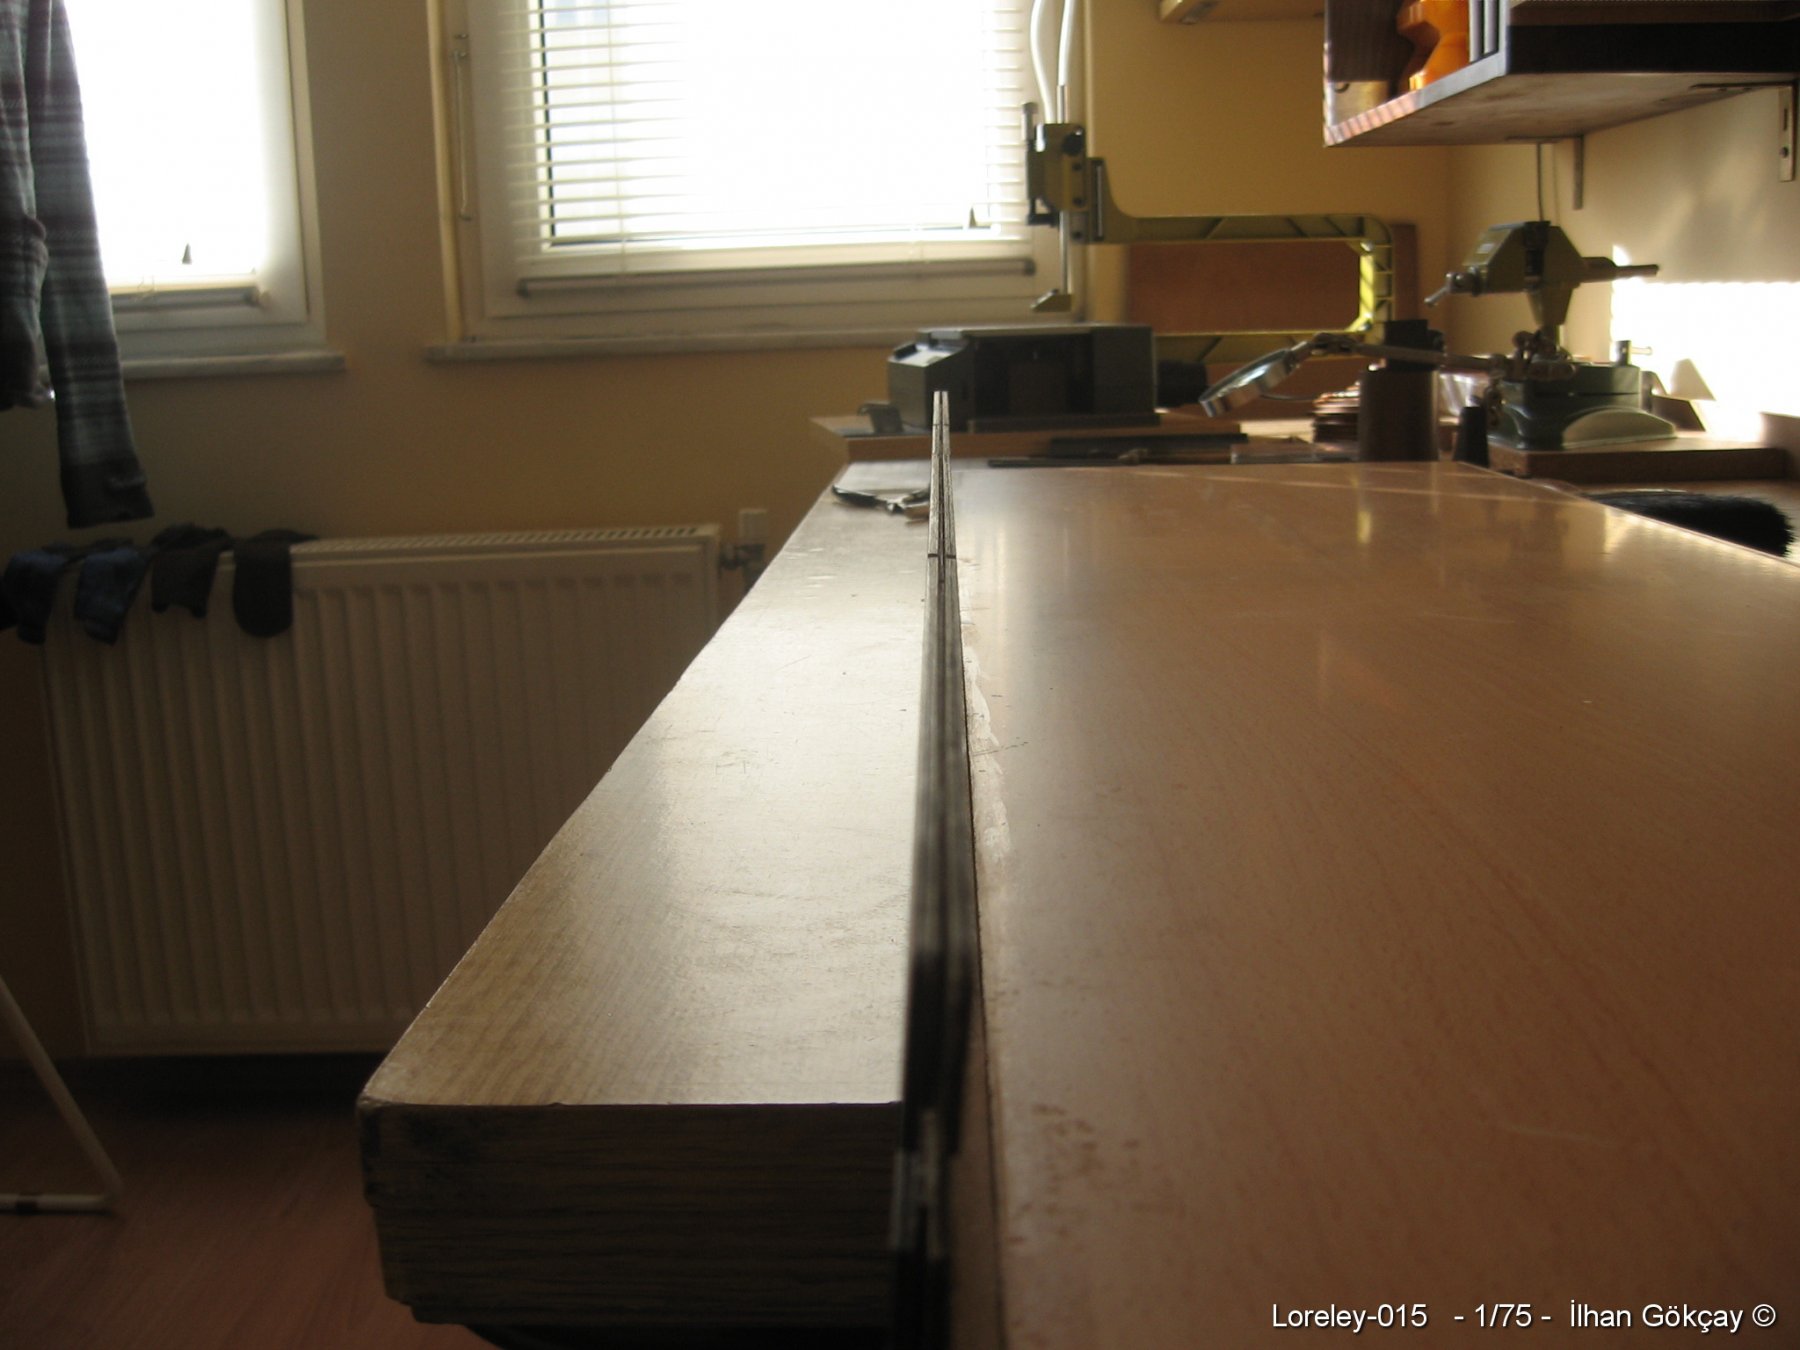
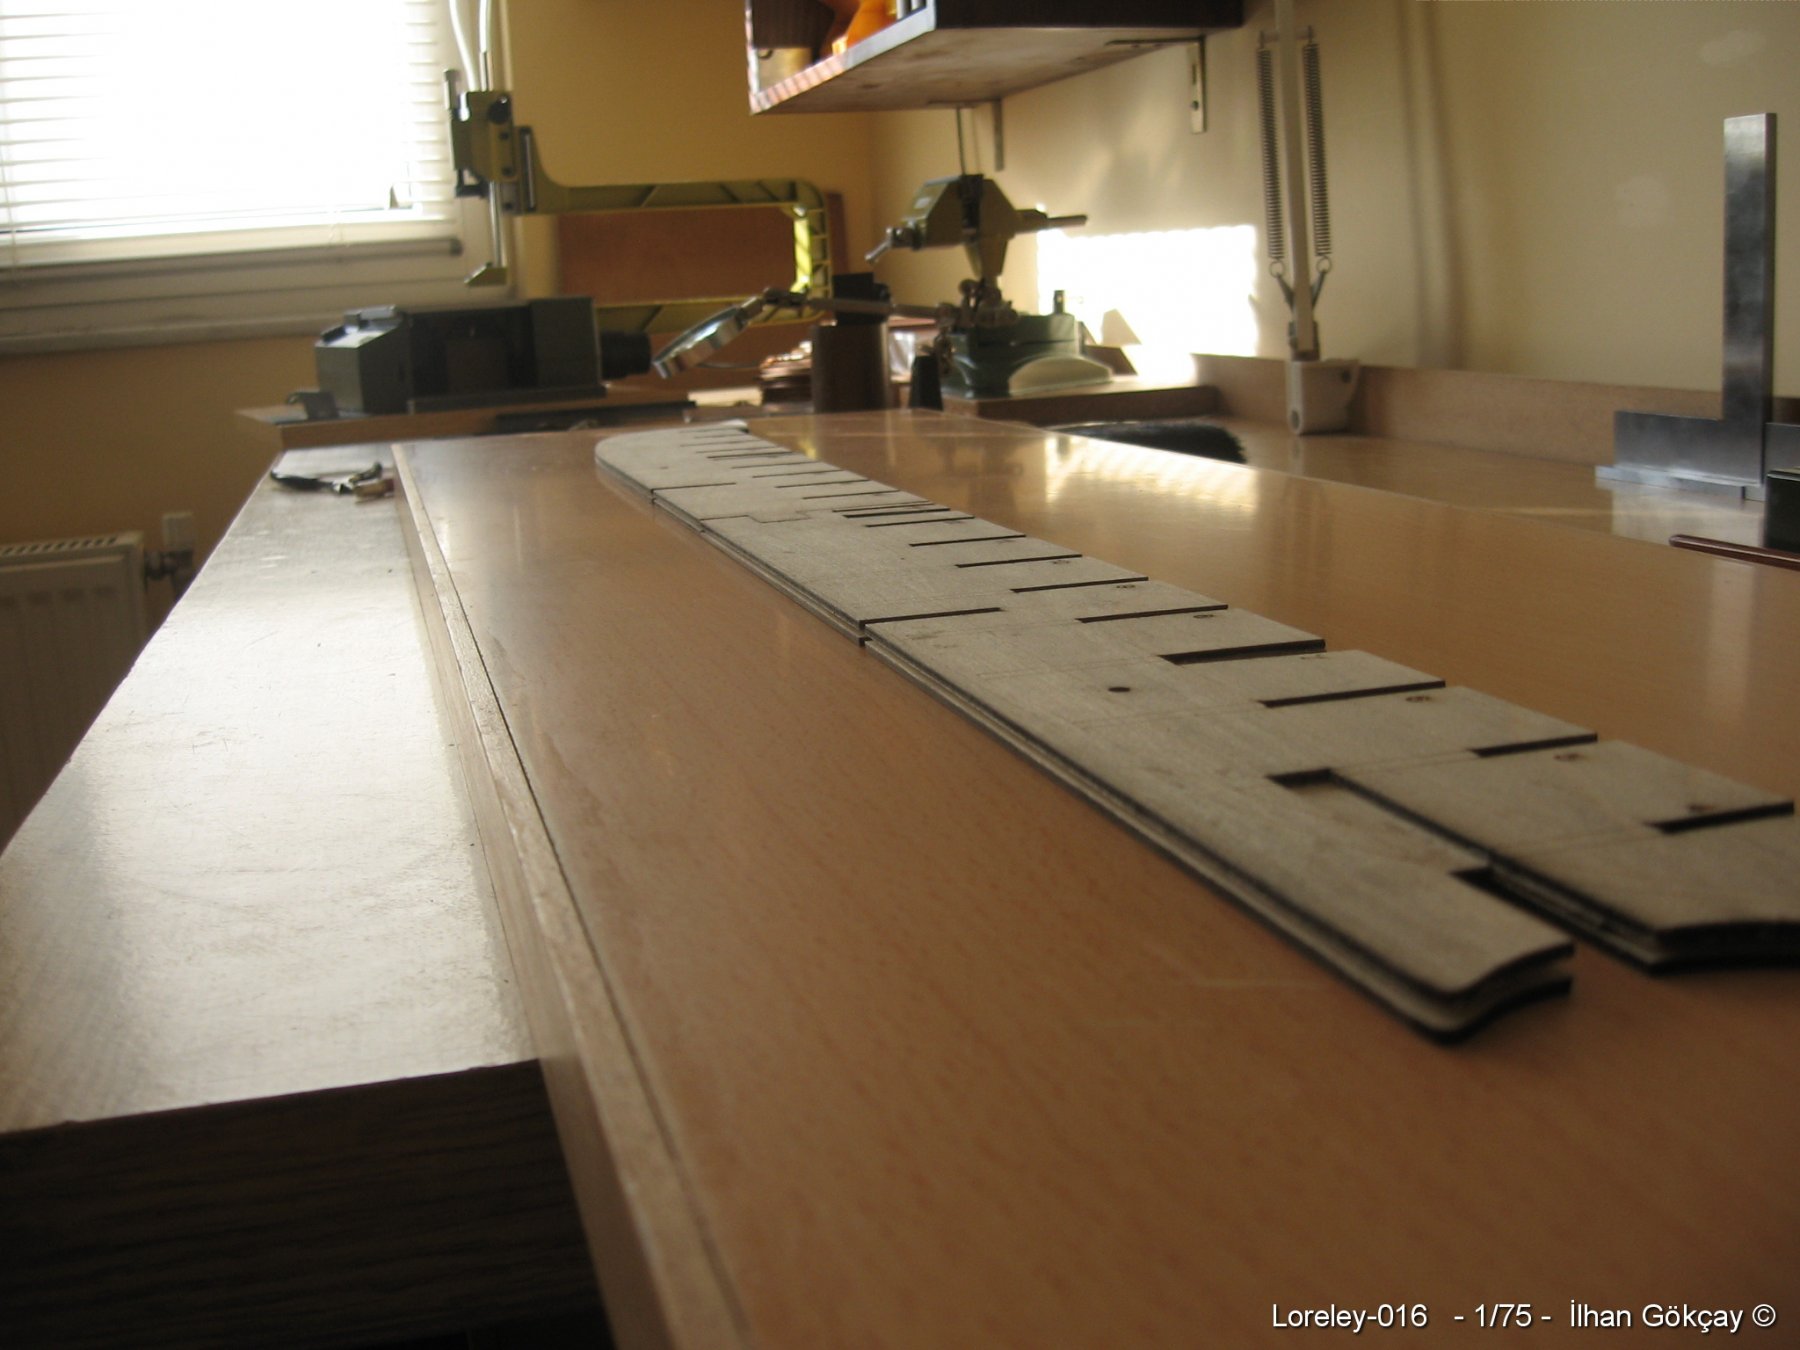
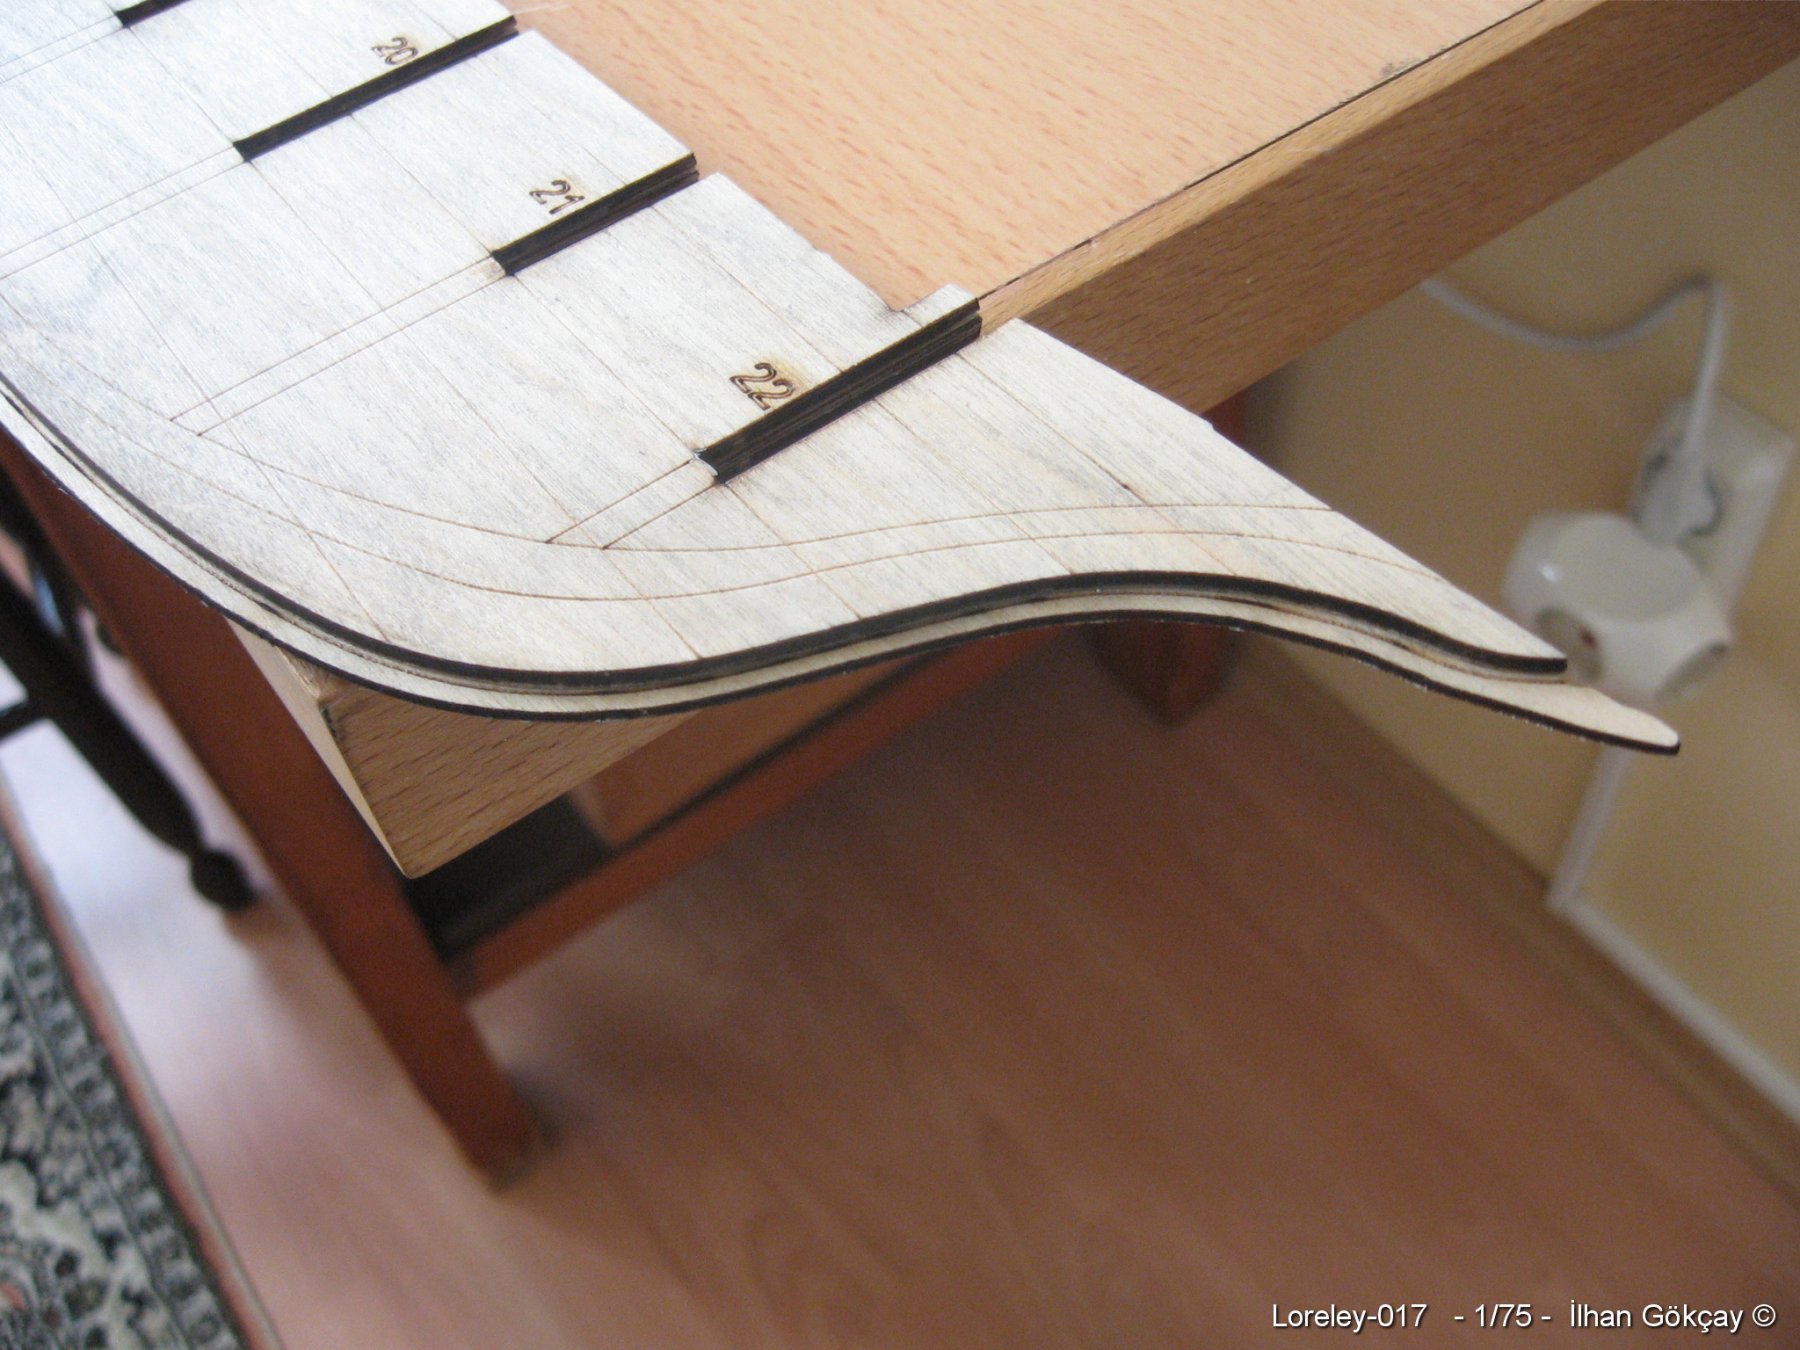
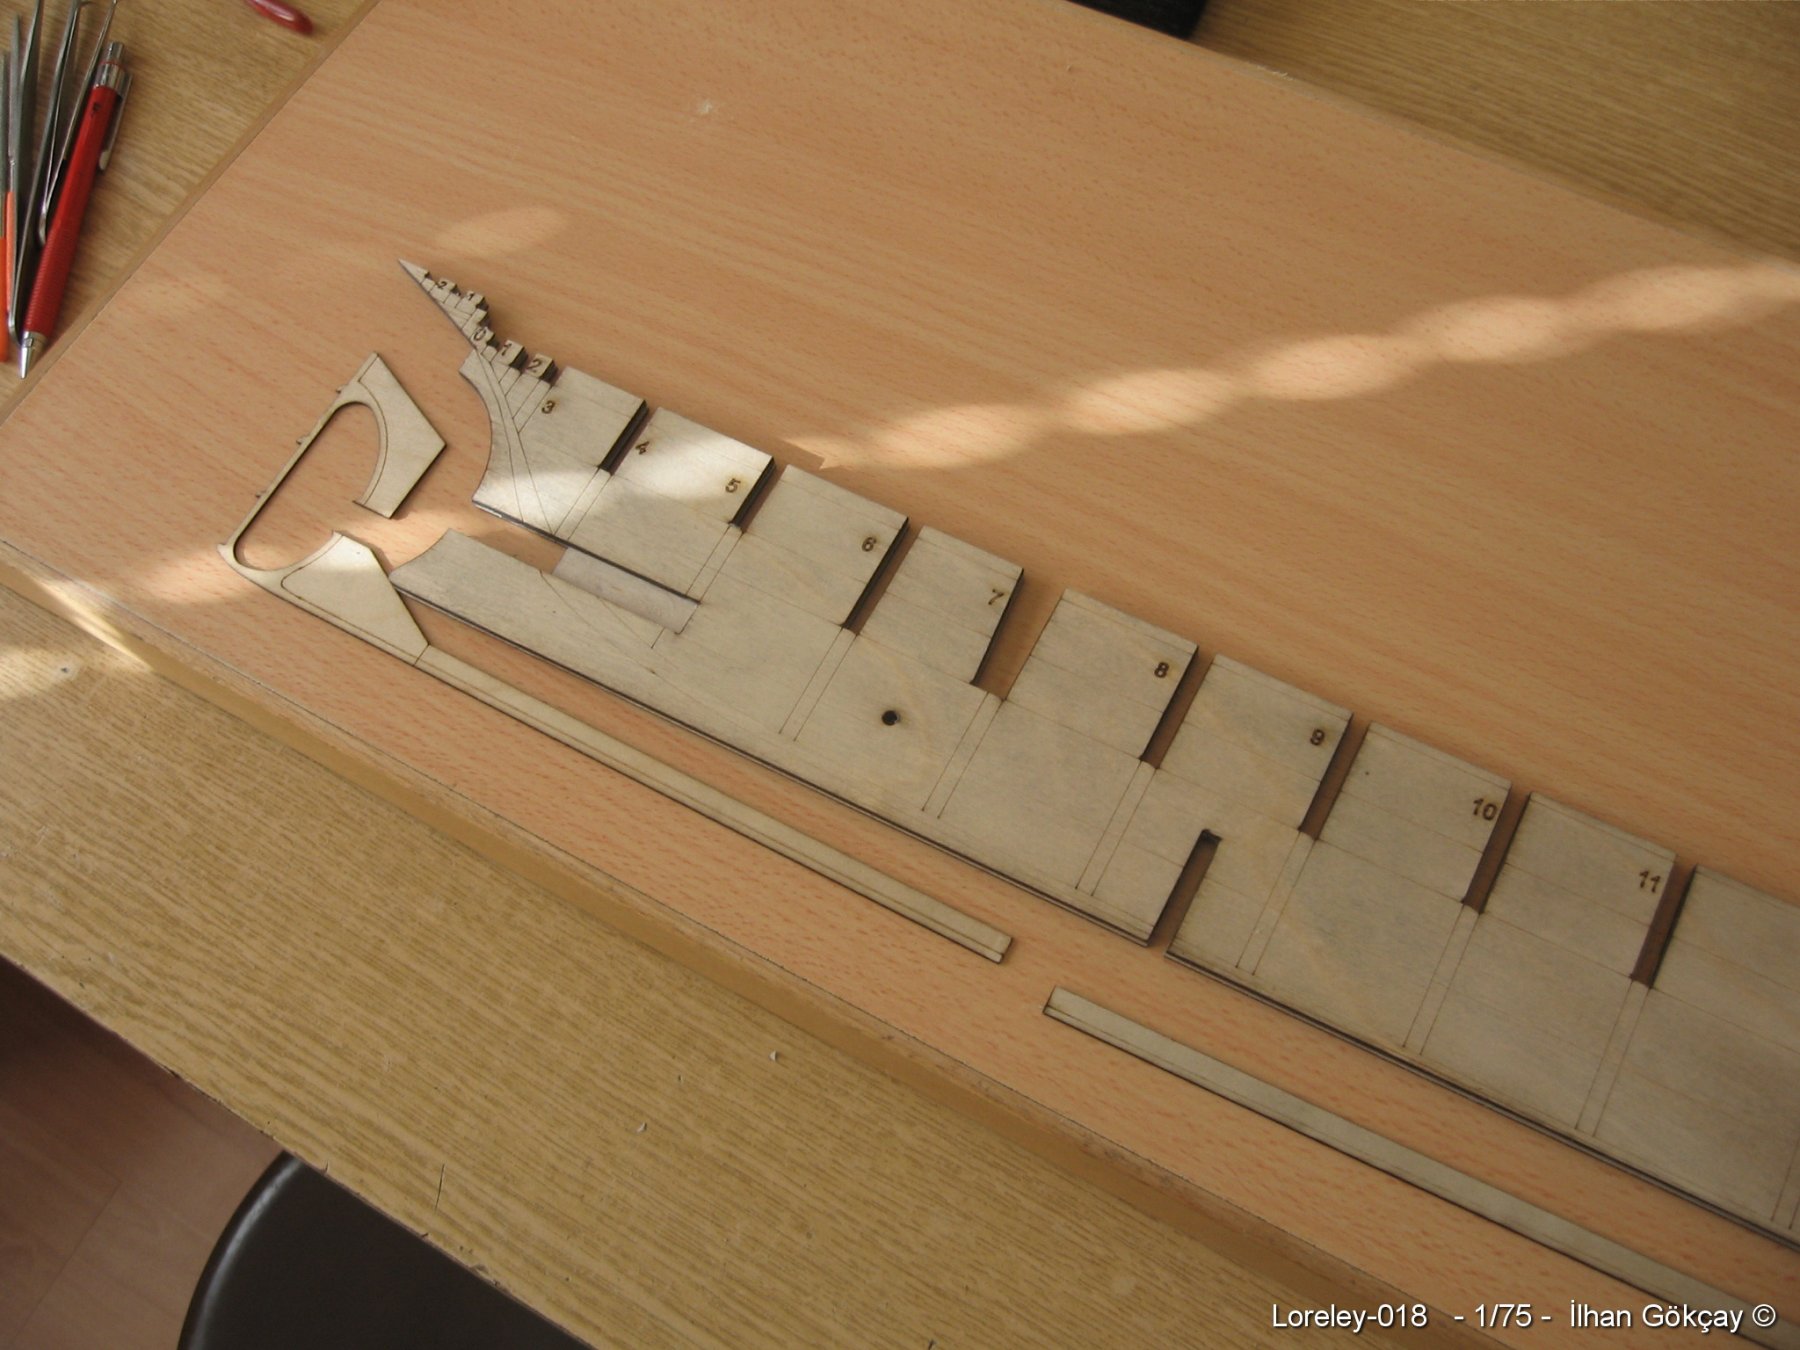
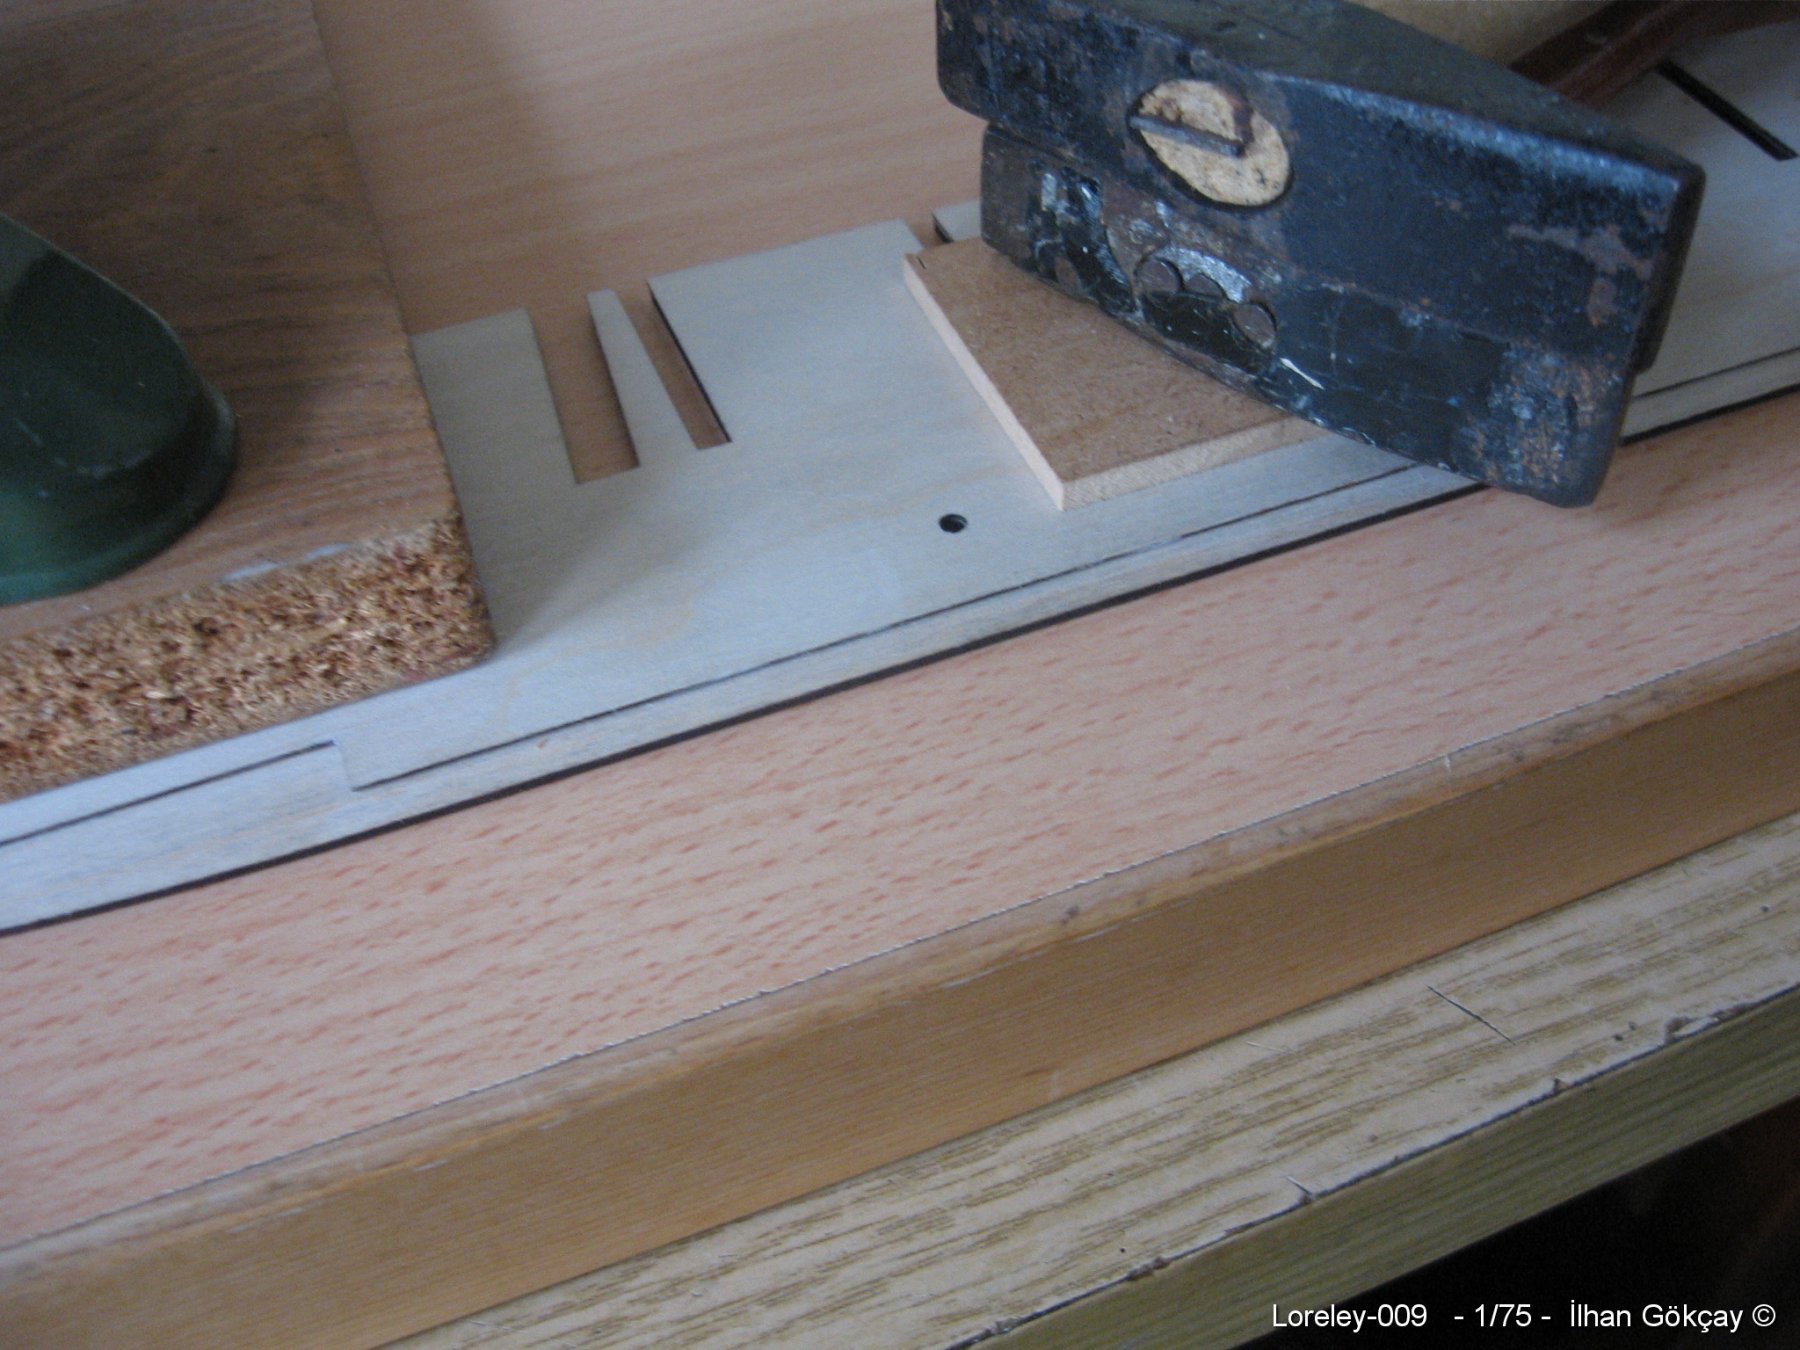
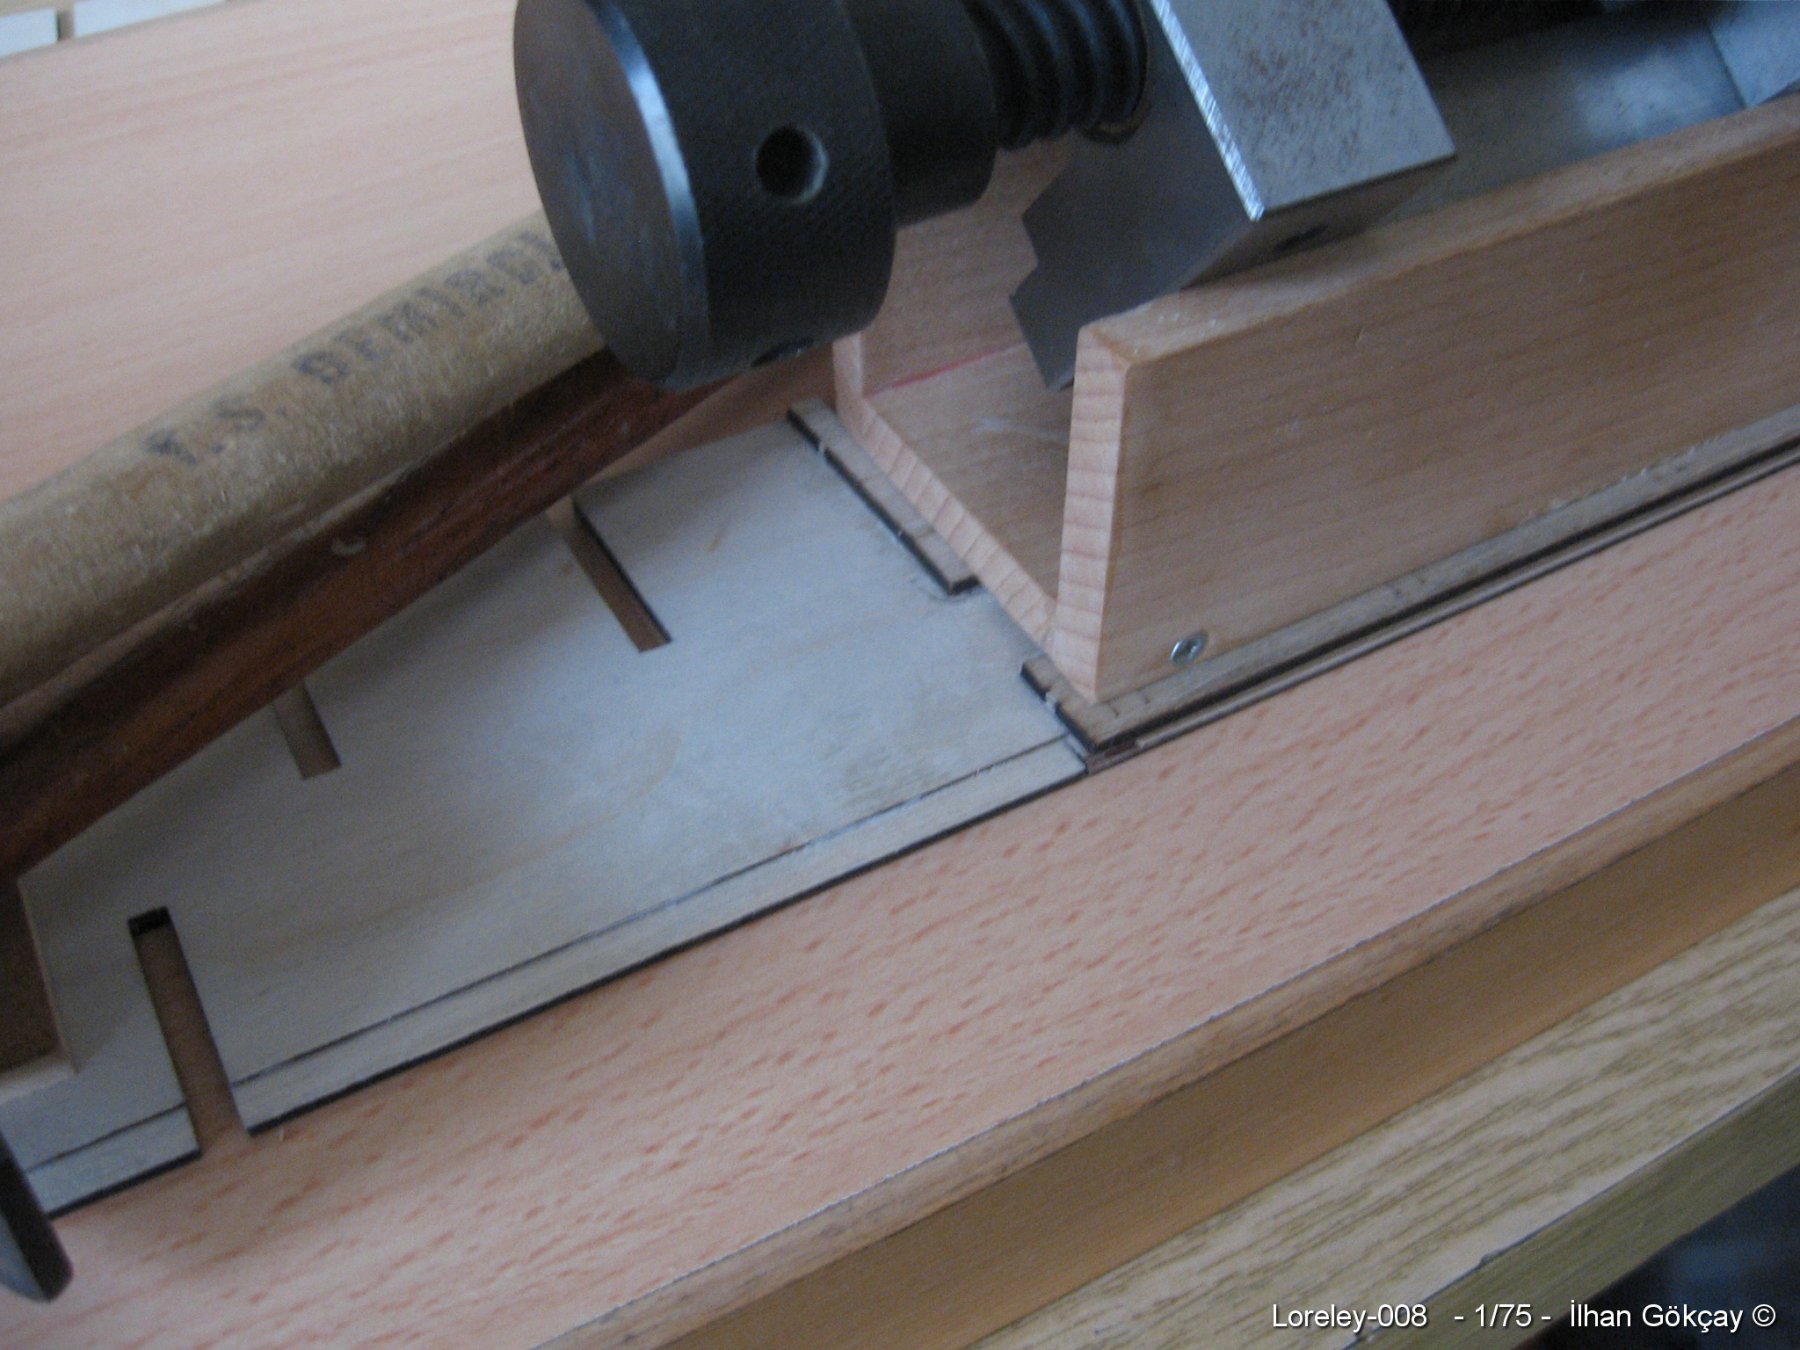
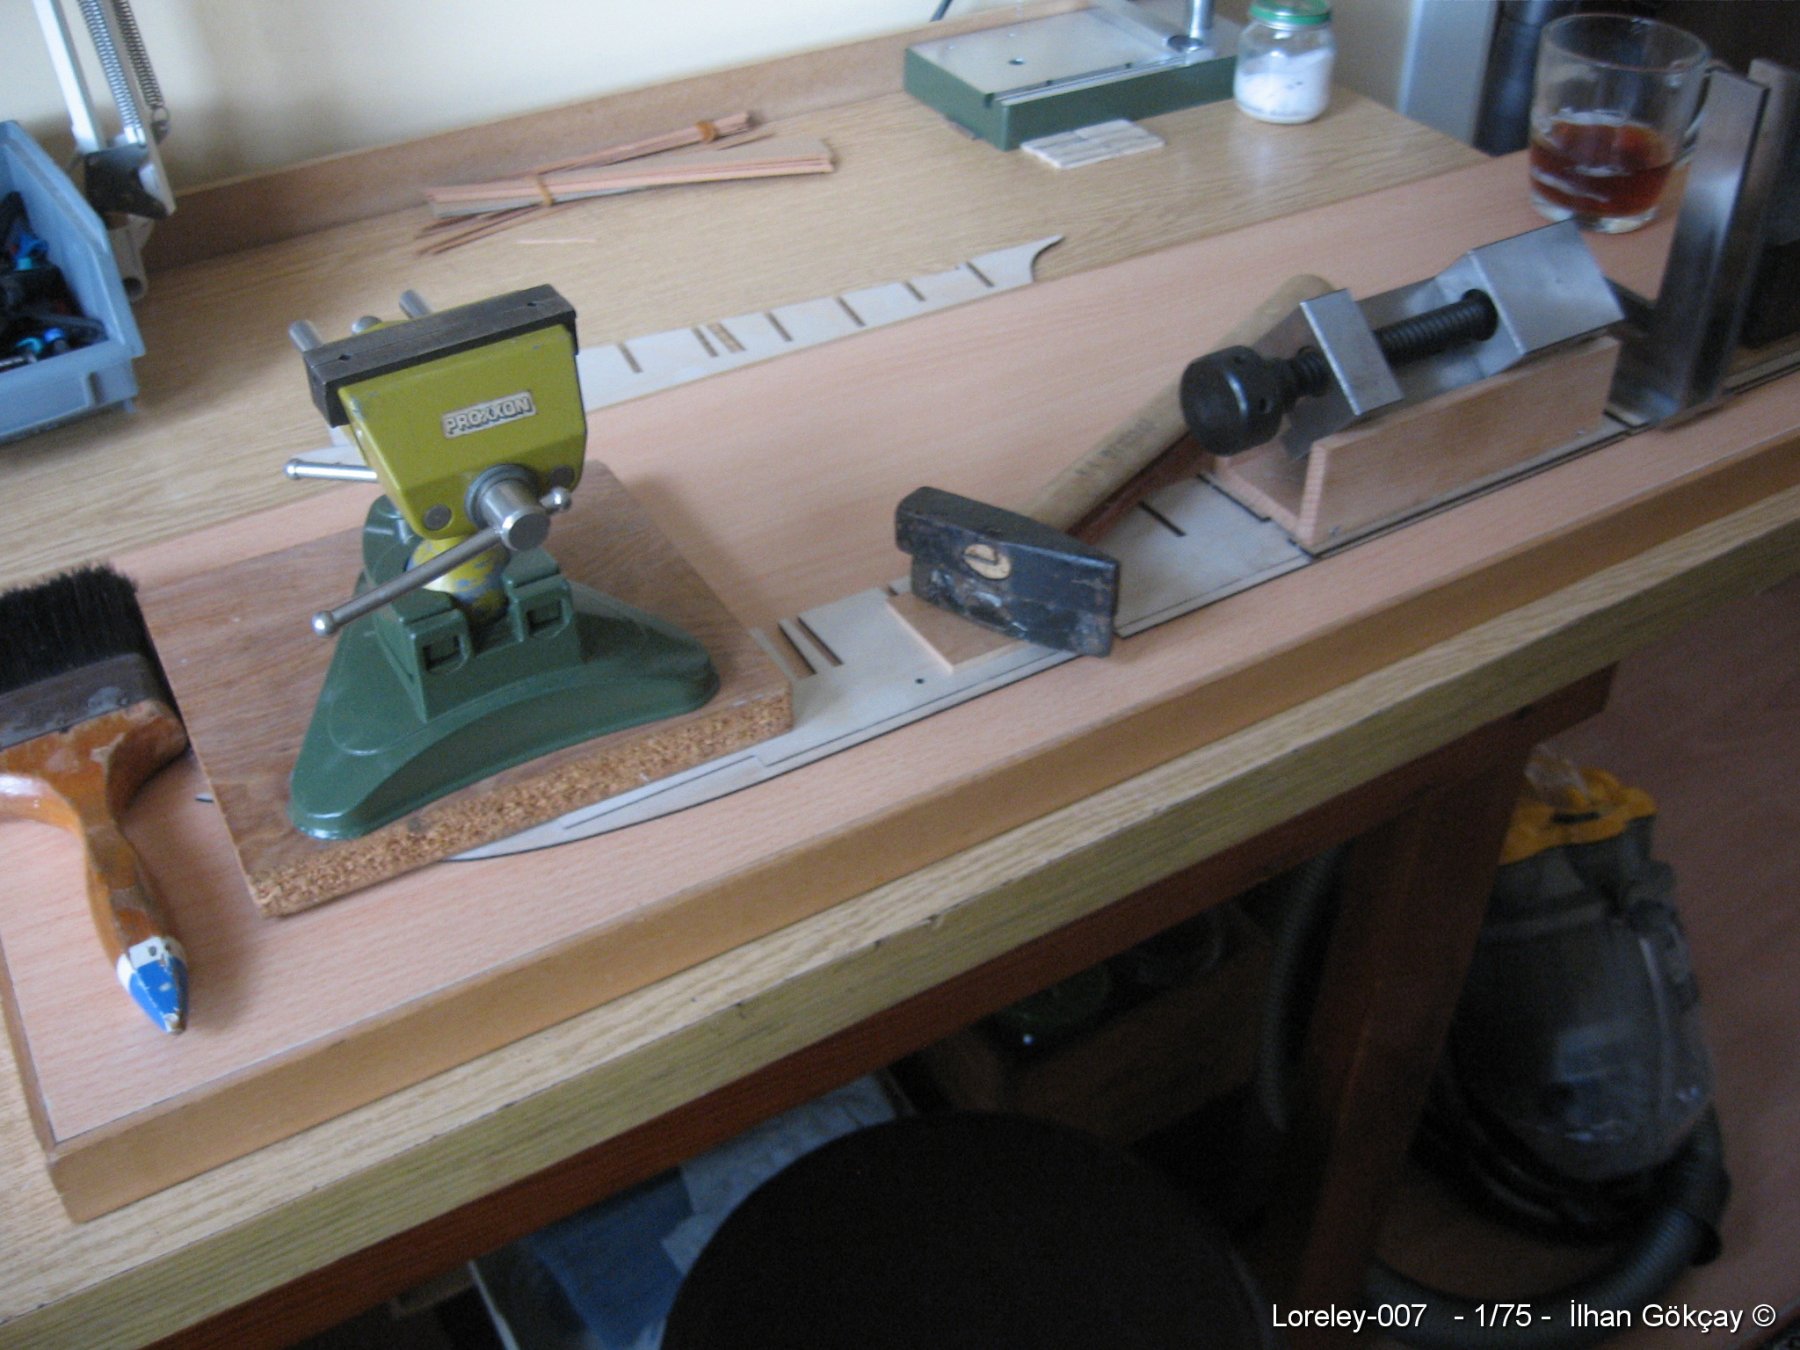
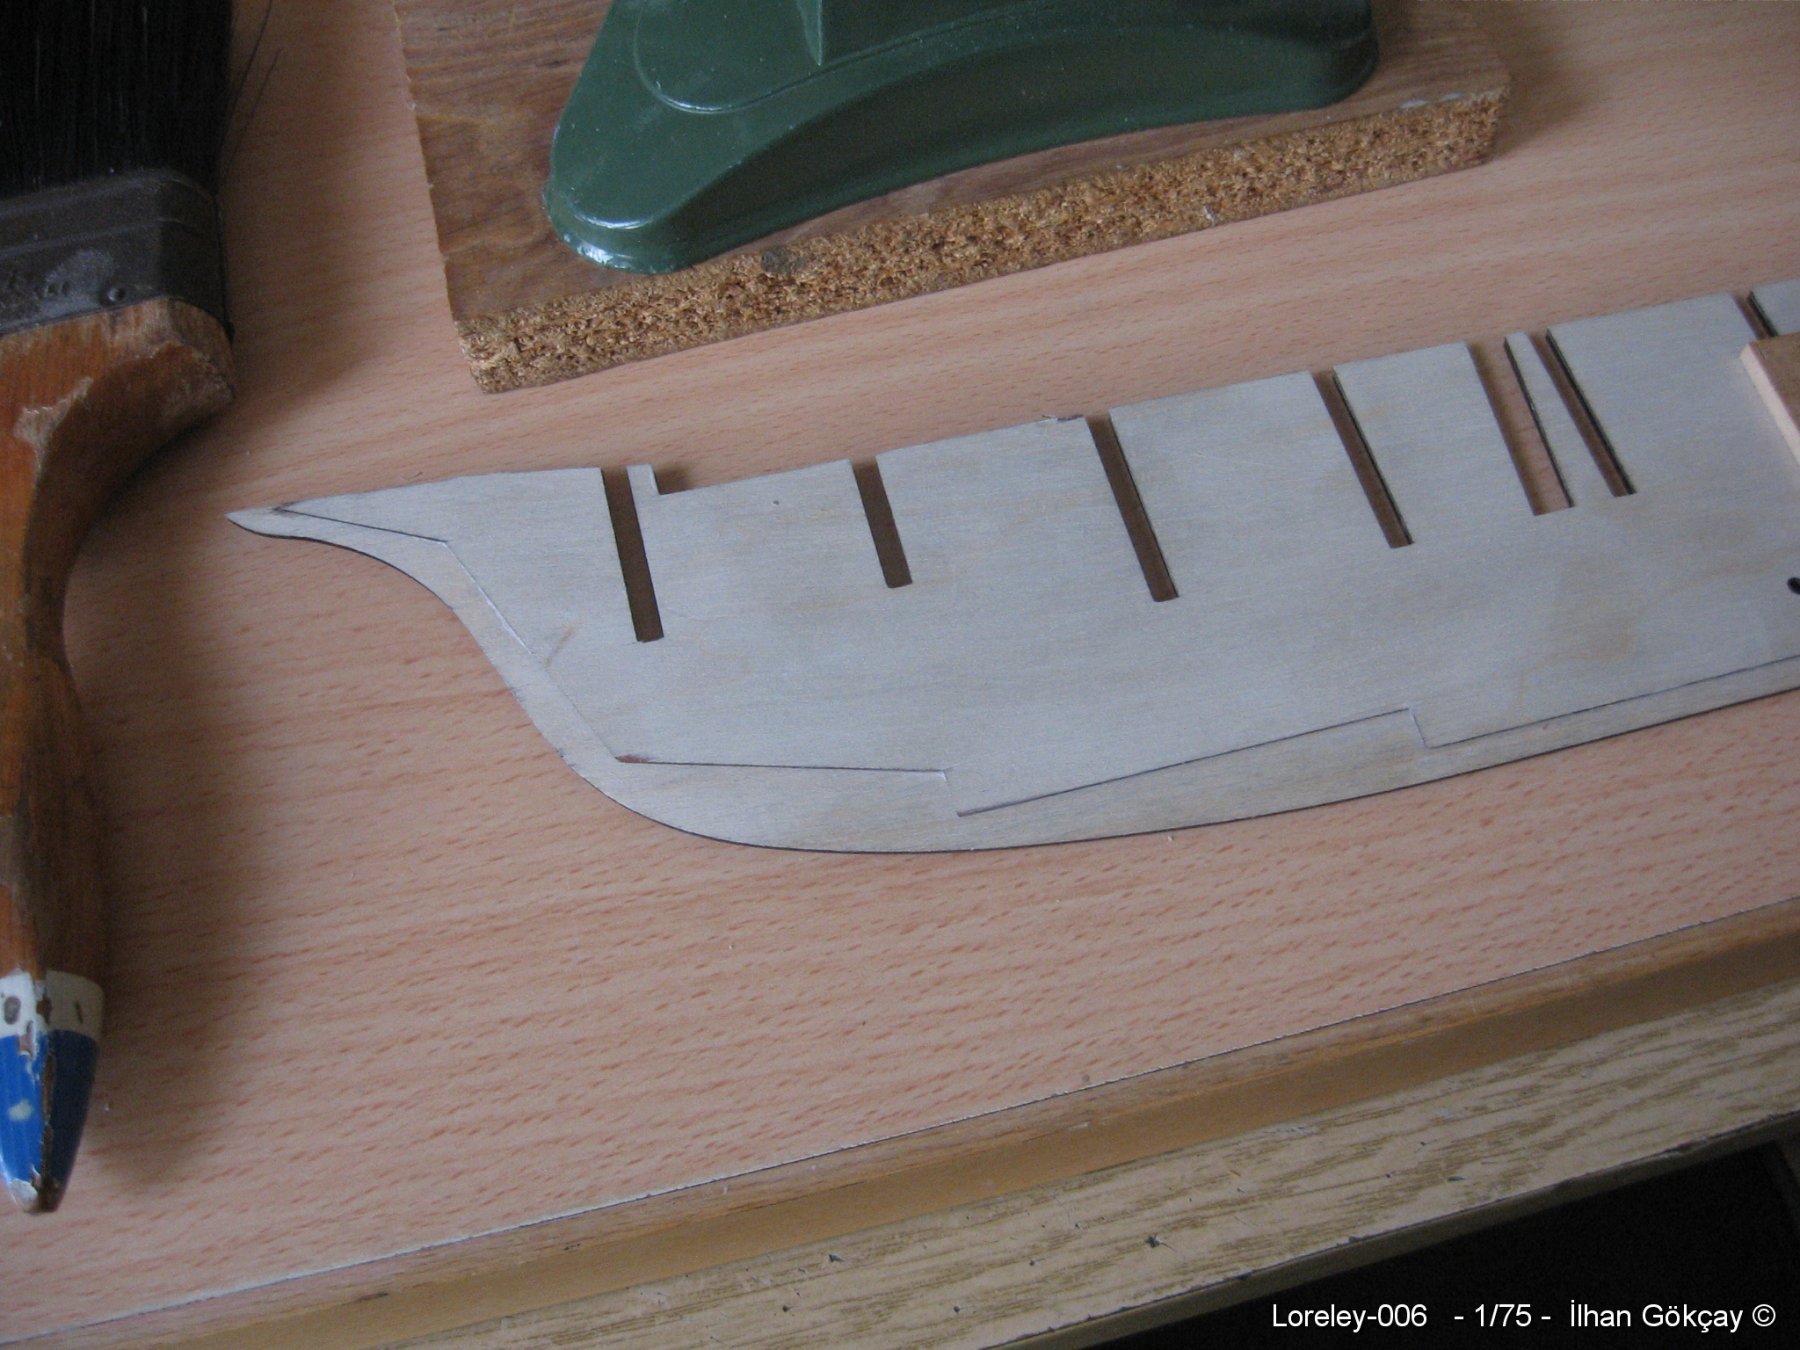
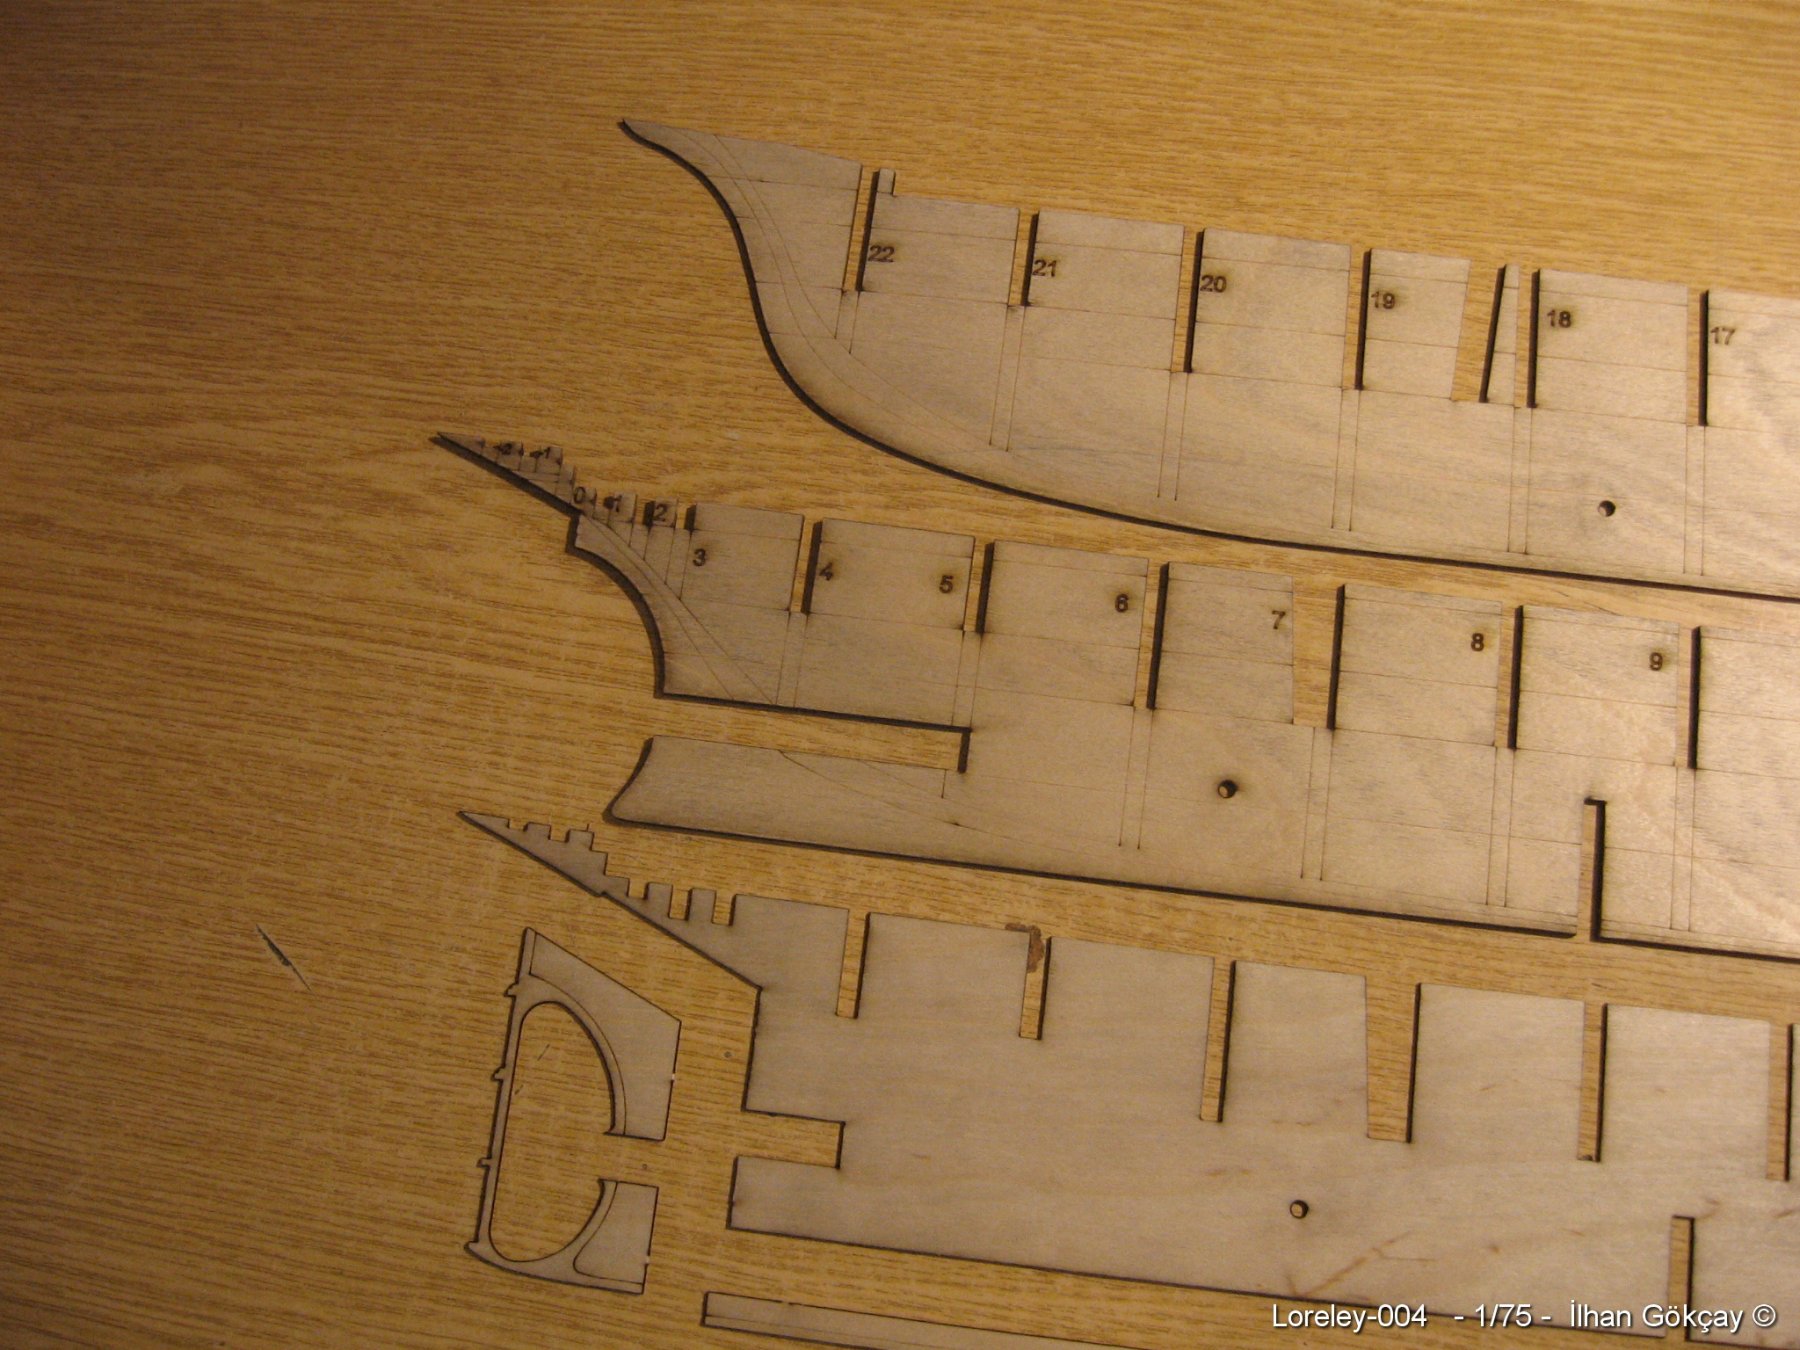
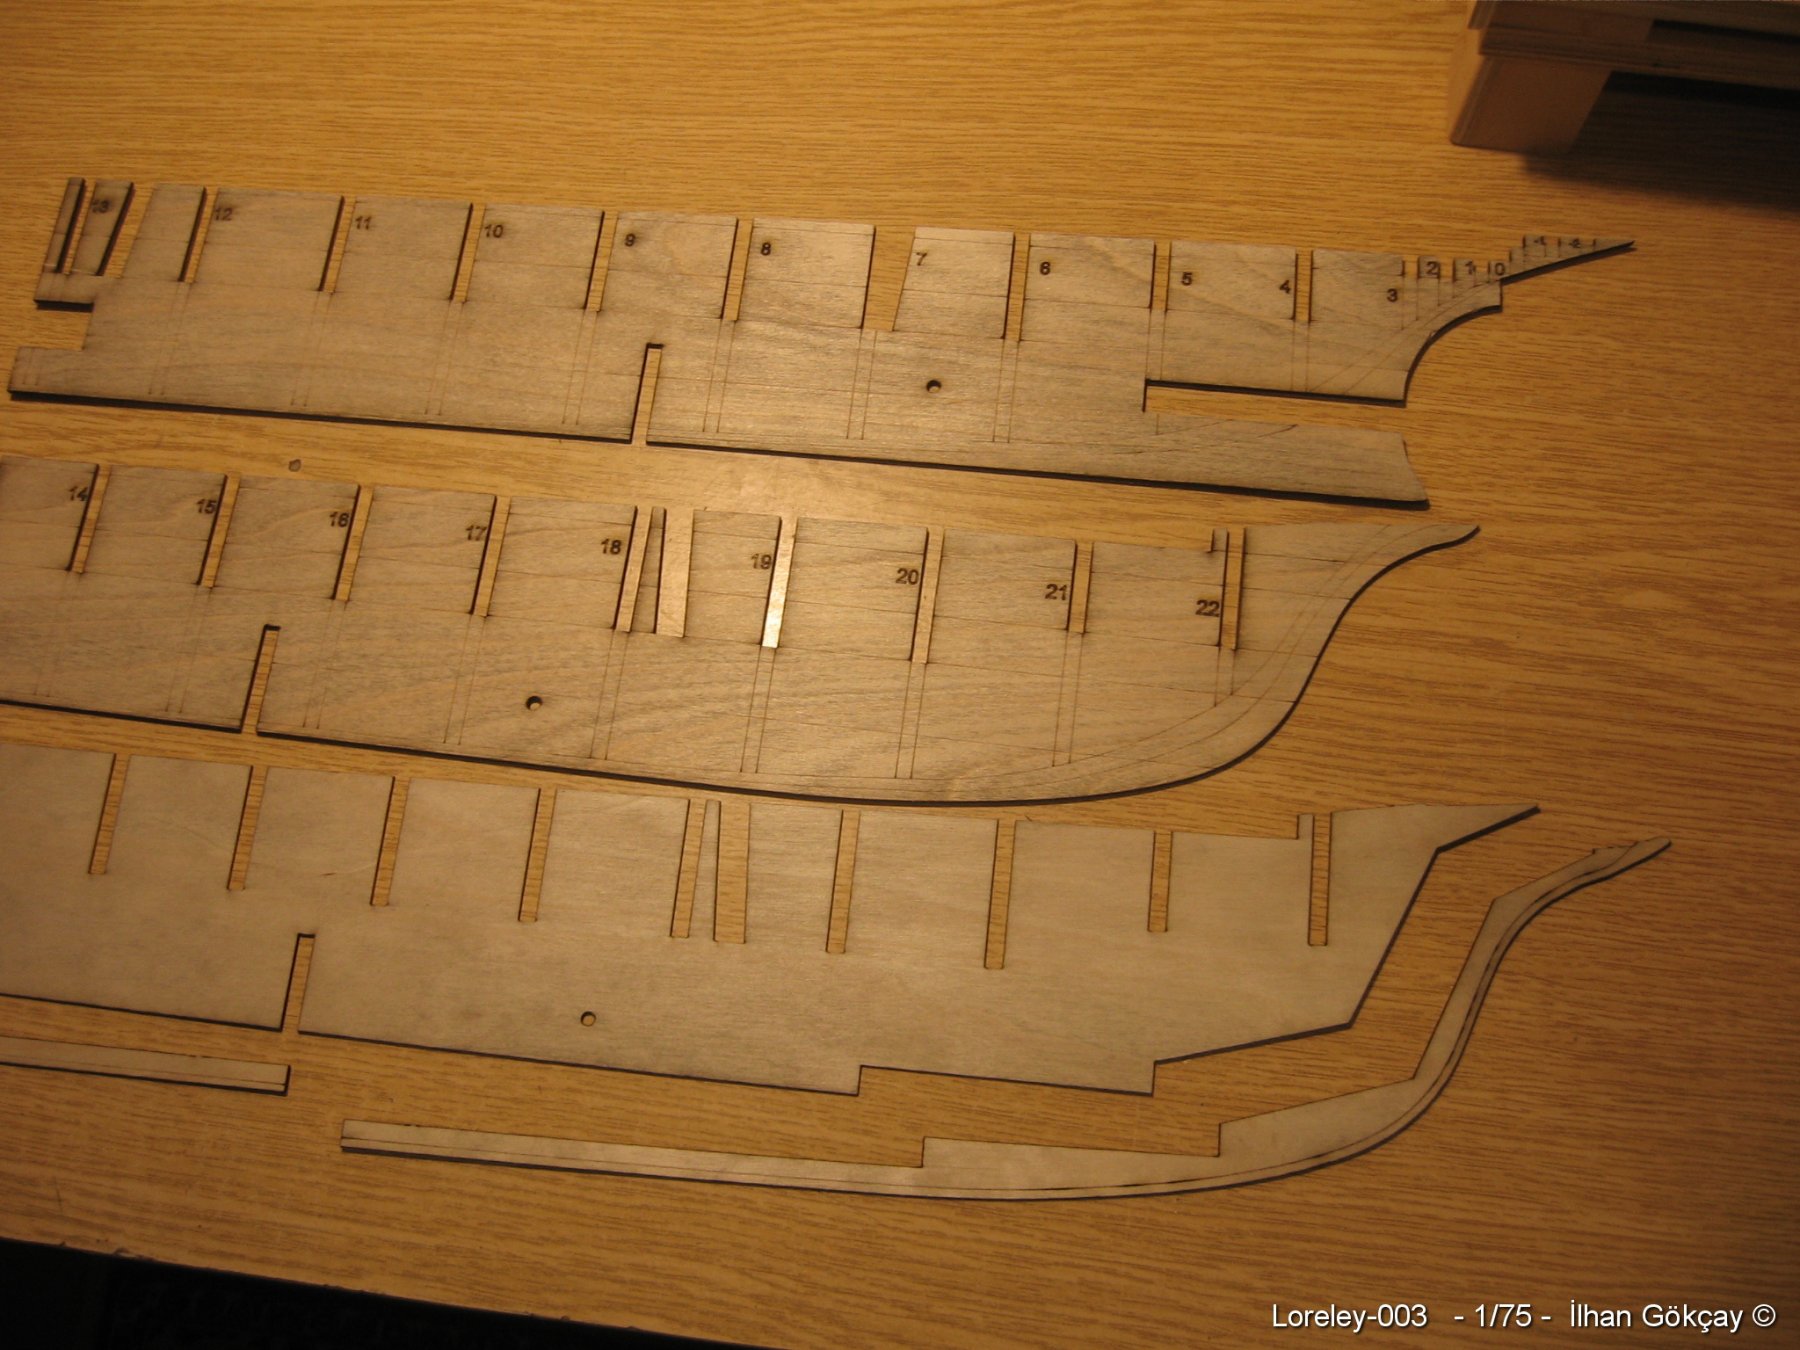
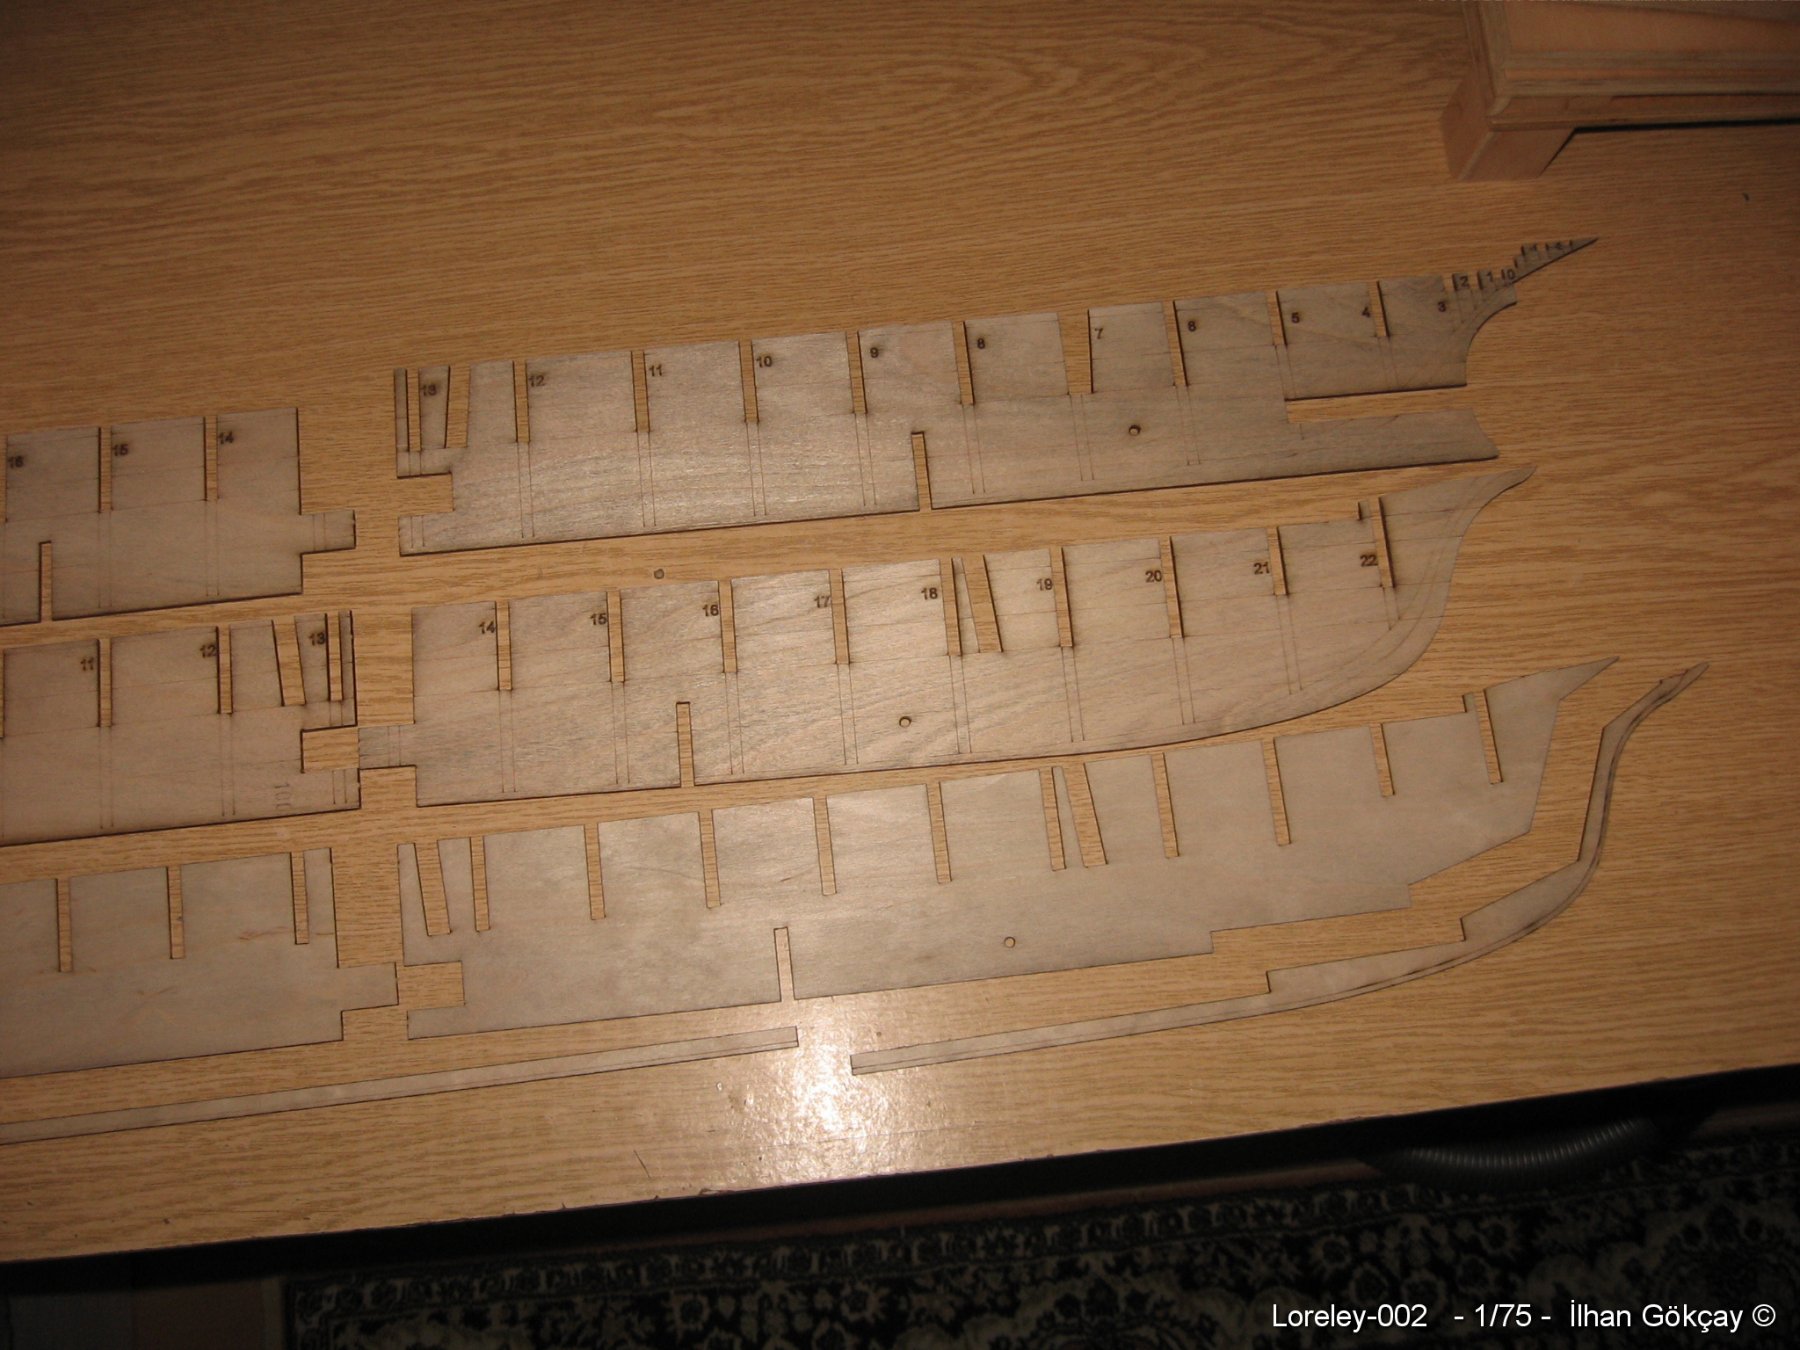
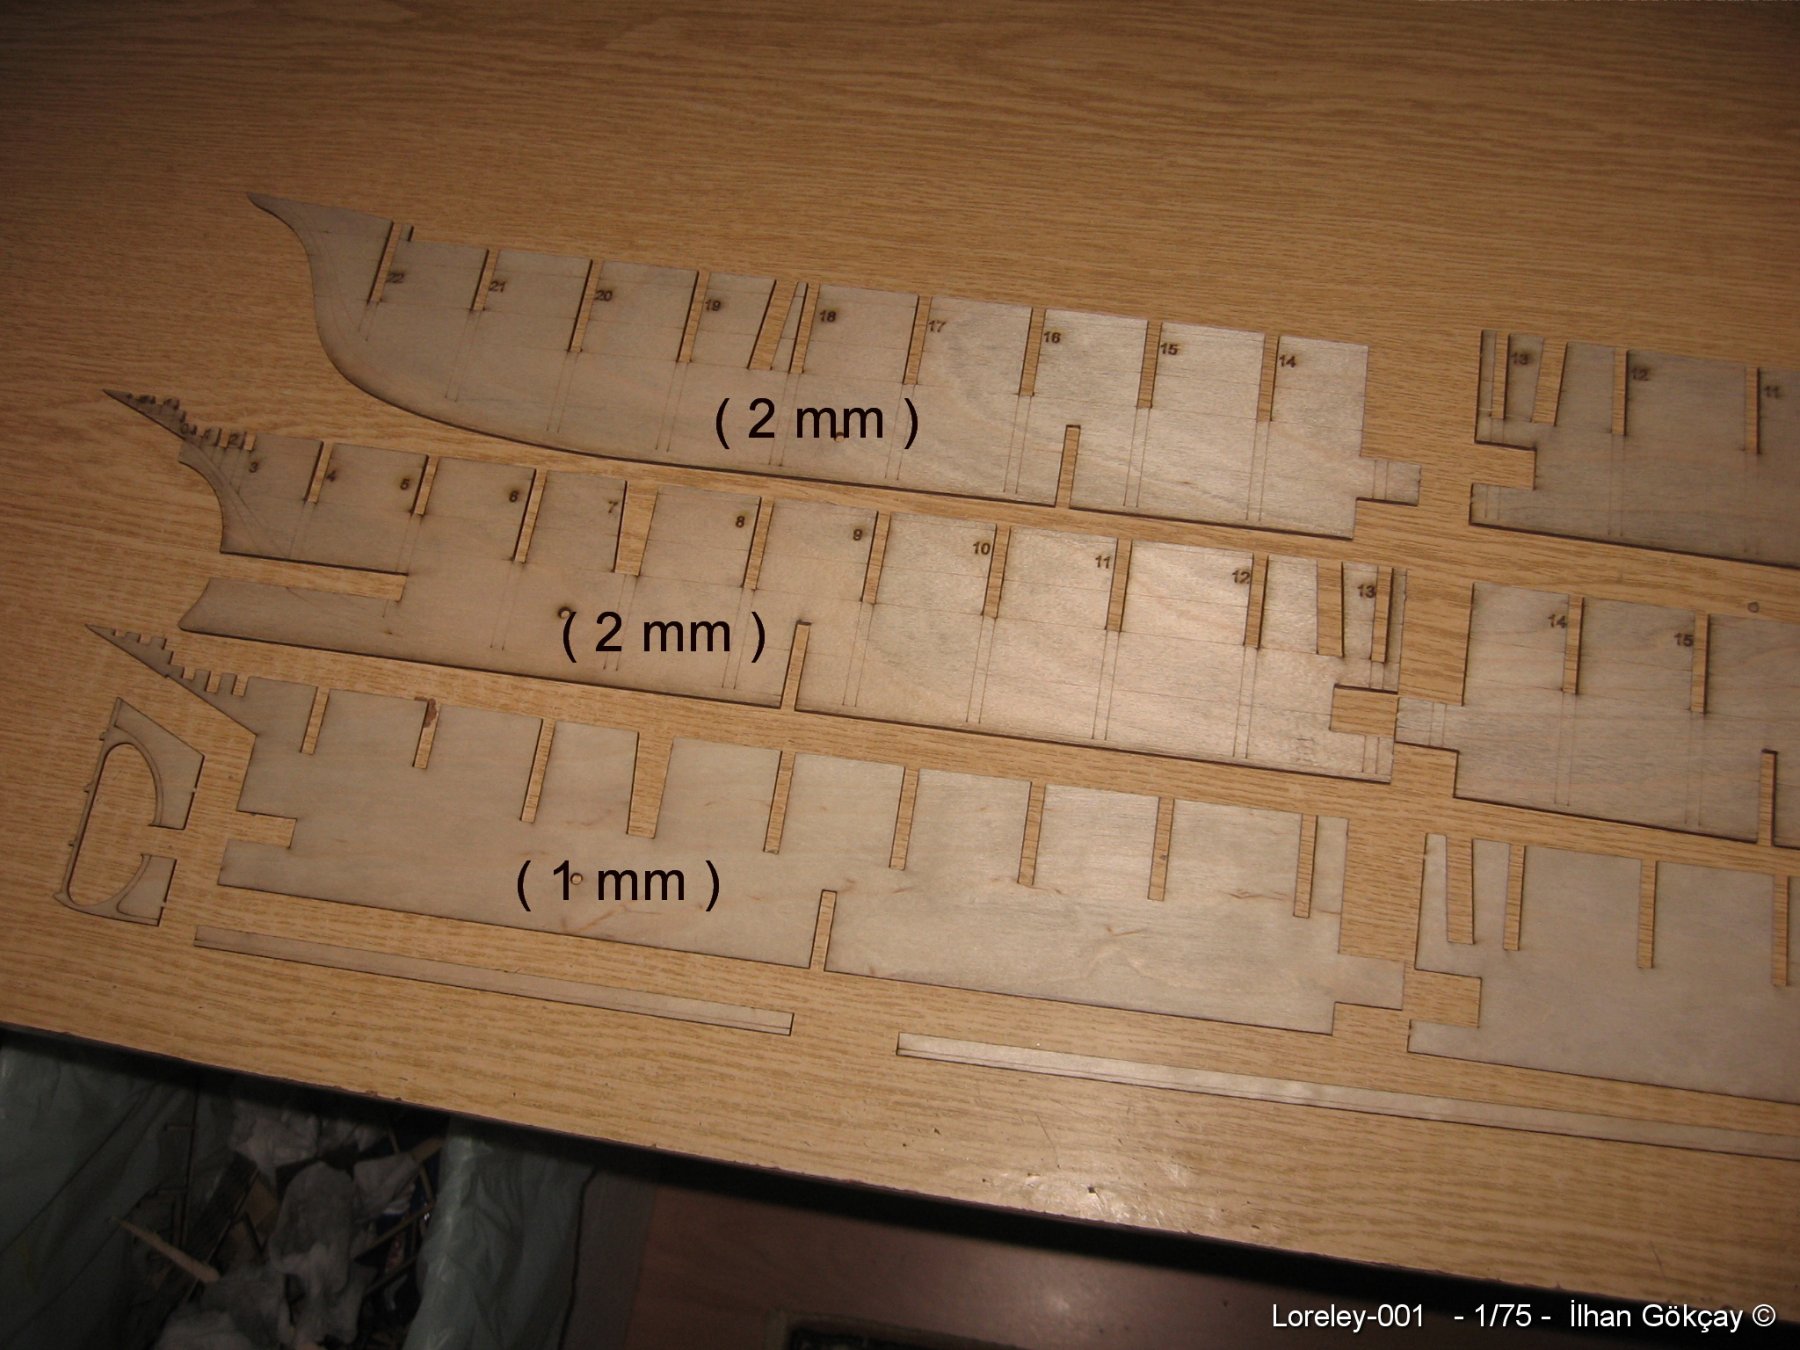
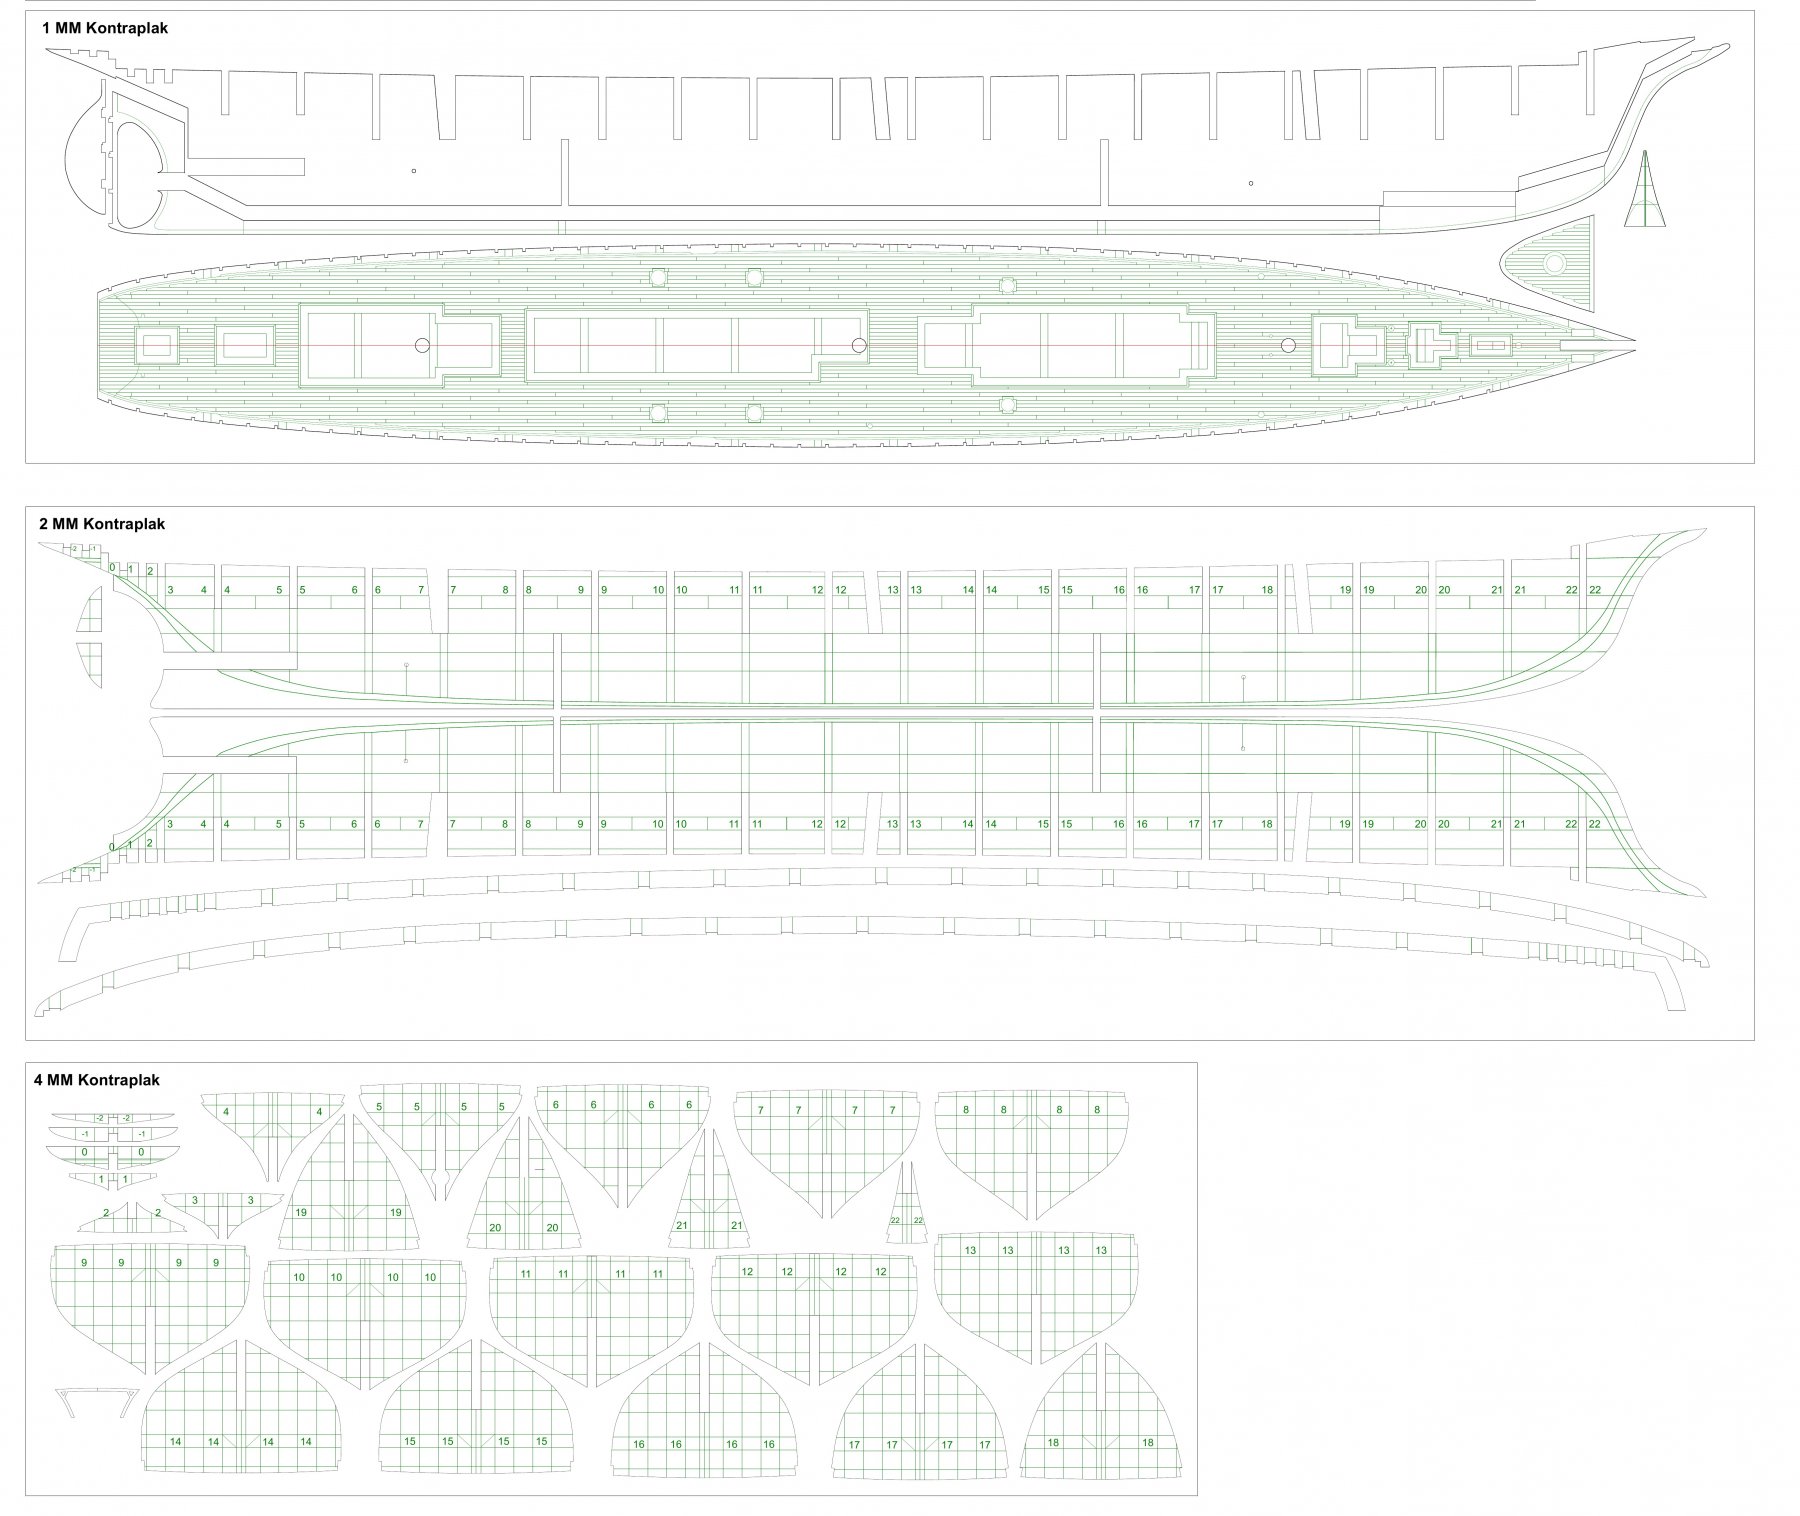
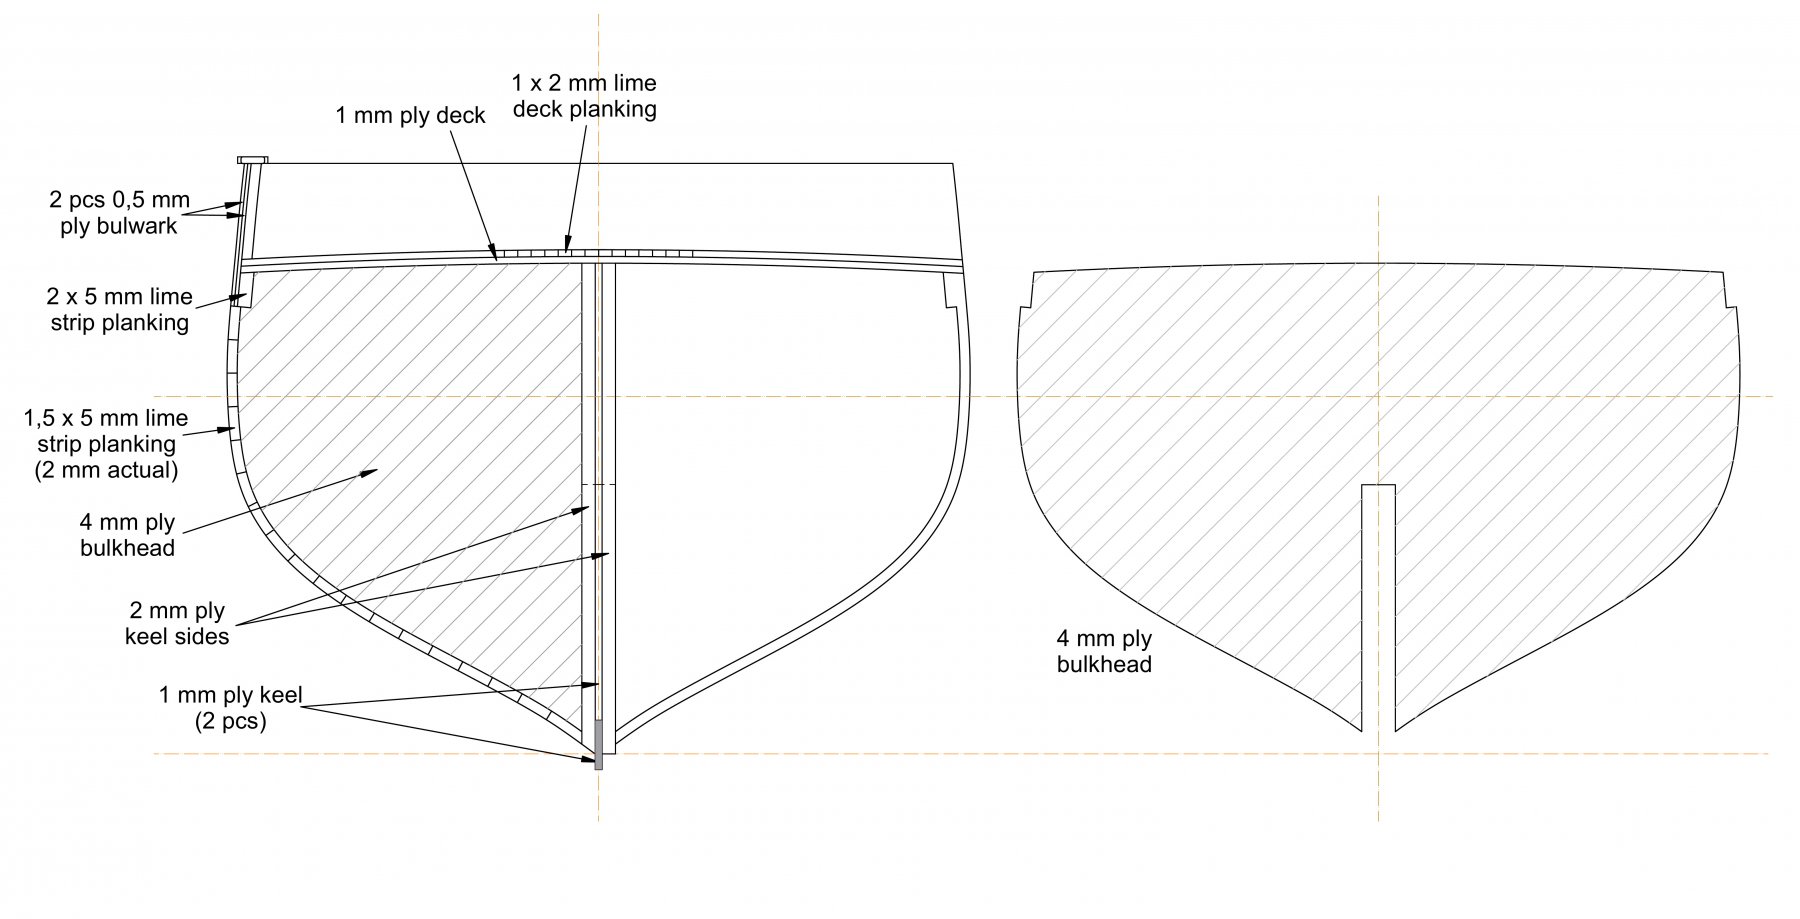
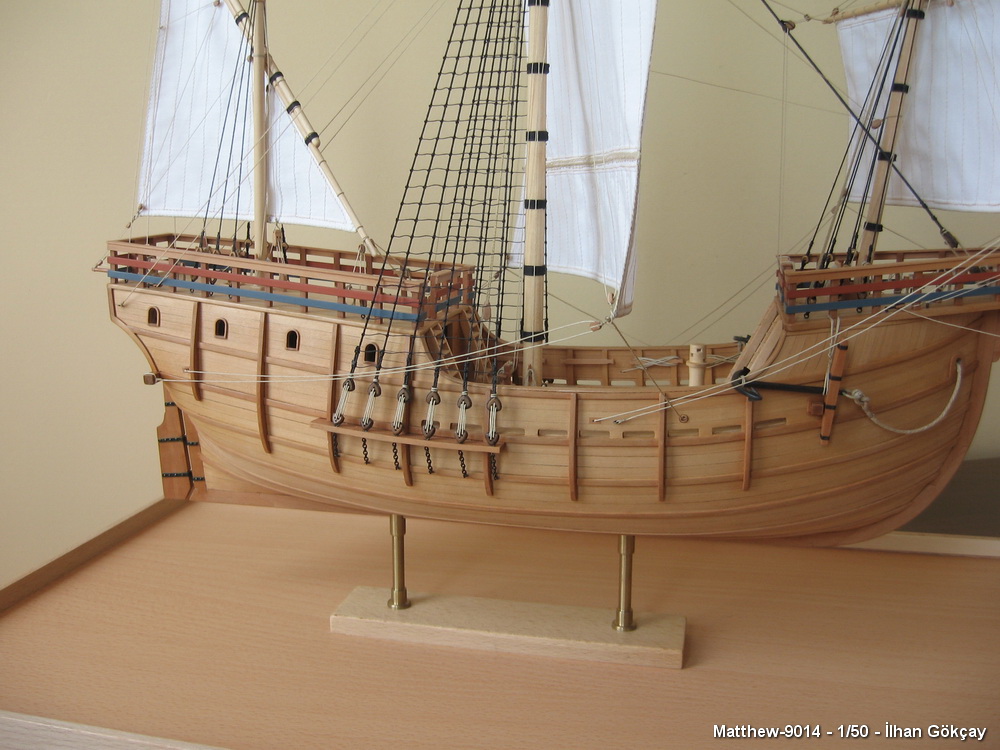
My new project is a steam yacht from 1884. It's Loreley. The drawings are made by myself which I shared some time ago in this forum.
-
Pandora by marsalv - FINISHED - 1:52
Ilhan Gokcay replied to marsalv's topic in - Build logs for subjects built 1751 - 1800
Thanks for the info Marsalv, much beautiful sails. In the past I did use CA for the rigging. But now I only use PVA glue and this works well. In my last model I made three folds at the edges with some fight. Next I will try the two folds. -
Pandora by marsalv - FINISHED - 1:52
Ilhan Gokcay replied to marsalv's topic in - Build logs for subjects built 1751 - 1800
Perfekt. This is a very fine fabric. Are there two or three folds at the edges. If two, how do you make it that the edges don't get fuzzy. And the belts, are there any folds or are they only one layer ? -
Pandora by marsalv - FINISHED - 1:52
Ilhan Gokcay replied to marsalv's topic in - Build logs for subjects built 1751 - 1800
Fantastic. How did you do the hammock cranes, soldering, gluing, cutting from sheet, tube ??? Ilhan -
Pandora by marsalv - FINISHED - 1:52
Ilhan Gokcay replied to marsalv's topic in - Build logs for subjects built 1751 - 1800
Tried to write something. But I'm speechless. -
DELFT SHIP
Ilhan Gokcay replied to NavalArchAngel's topic in CAD and 3D Modelling/Drafting Plans with Software
Hey Victor, Here is an old tutorial for Delftship. It's for old versions but you can find some important tips. For up to date info you refer to the Delftship site. But as far as I know there is no tutorial any more for the newer versions. https://www.dropbox.com/sh/csib9v2n3aspwf5/AAB3YhlclxuvSCZvHPWVzYxla?dl=0- 15 replies
-
- 2
-
-
- delft ship
- 3dmodelling
- (and 1 more)
-
I wonder how the hinges are fixed in this case, parallel to the sides or vertical to the top side ?
- 1,051 replies
-
- 1
-
-
- cheerful
- Syren Ship Model Company
- (and 1 more)
-
Hi friends, thank you very much for the nice comments.