-
Posts
636 -
Joined
-
Last visited
Content Type
Profiles
Forums
Gallery
Events
Everything posted by Ilhan Gokcay
-
Thank you very much Edwin, Dave. Dave, my Mayflower is at scale 1/60 but I think(now) 1/50 would be ideal for this ship.
-

Papegojan 1627 by mati - FINISHED - 1/48
Ilhan Gokcay replied to mati's topic in - Build logs for subjects built 1501 - 1750
Perfect, I like it very much. -
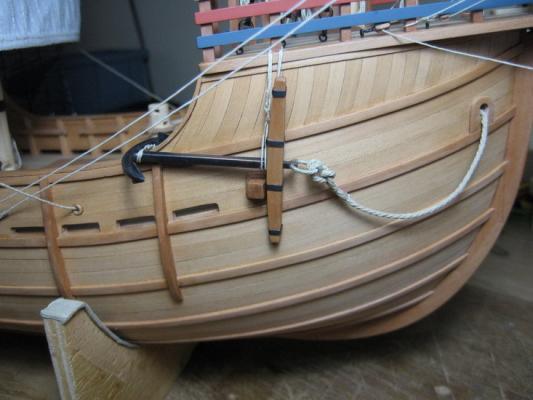
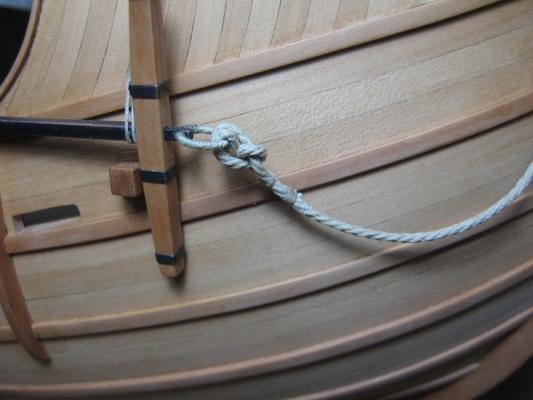
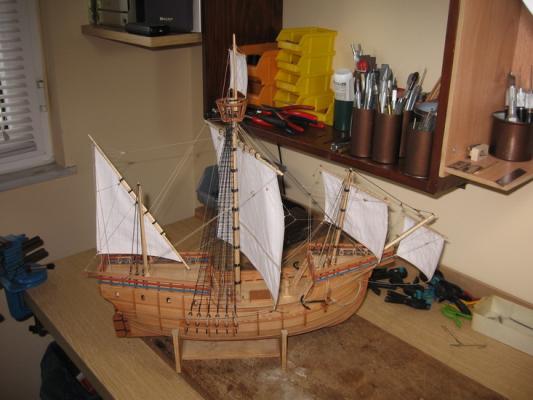
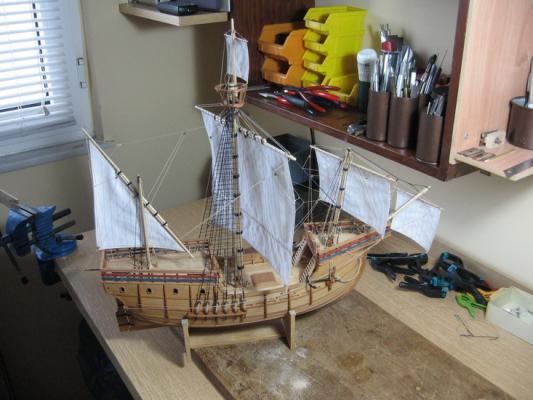
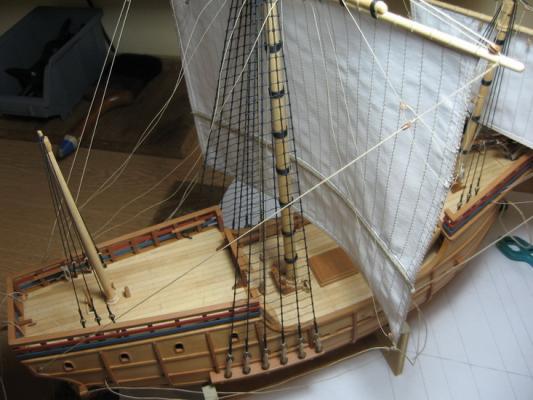
Attached the last sail and the anchors and it's finished. Next I will take photos of the finished model. For large and more detail photos see also: http://www.flickr.com/photos/ilhan_gokcay/sets http://www.flickr.com/photos/ilhan_gokcay/sets/72157626433922489 http://www.flickr.com/photos/ilhan_gokcay/sets/72157626433922489/page16
-
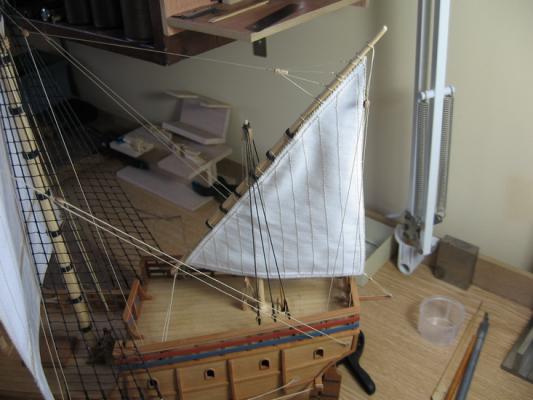
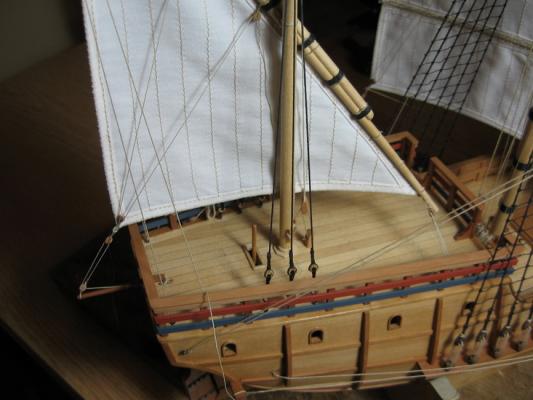
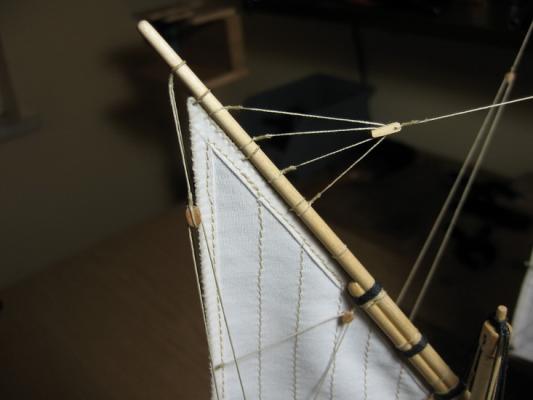
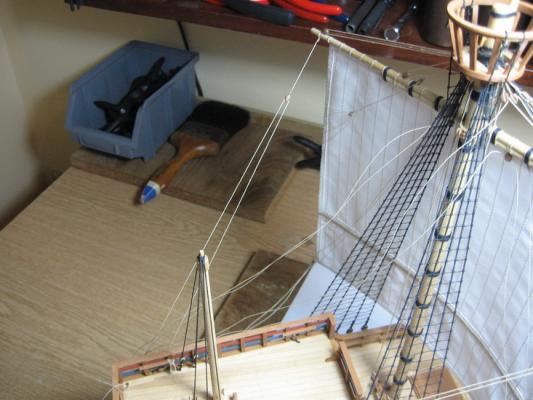
Attached the mizzen sail and belayed its rigging. For large and more detail photos see also: http://www.flickr.com/photos/ilhan_gokcay/sets http://www.flickr.com/photos/ilhan_gokcay/sets/72157626433922489 http://www.flickr.com/photos/ilhan_gokcay/sets/72157626433922489/page16
-
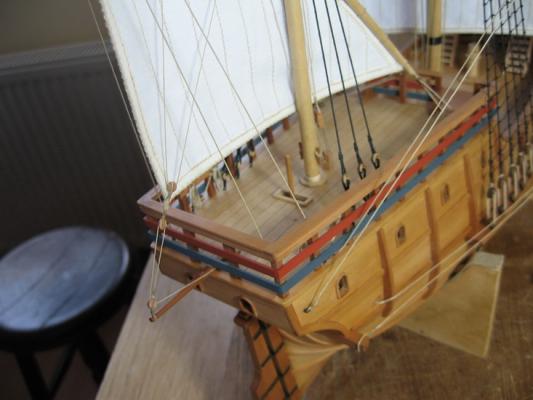
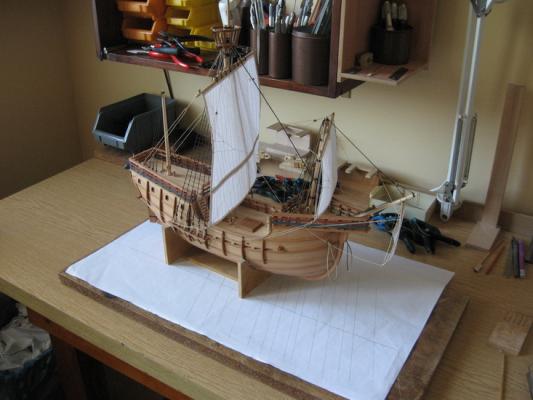
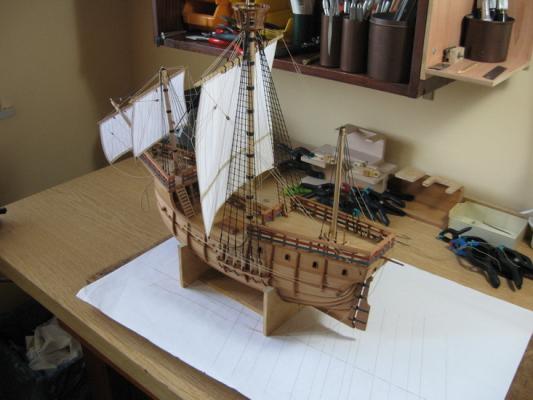
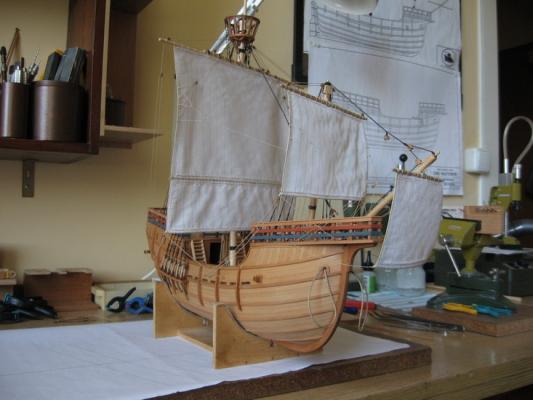
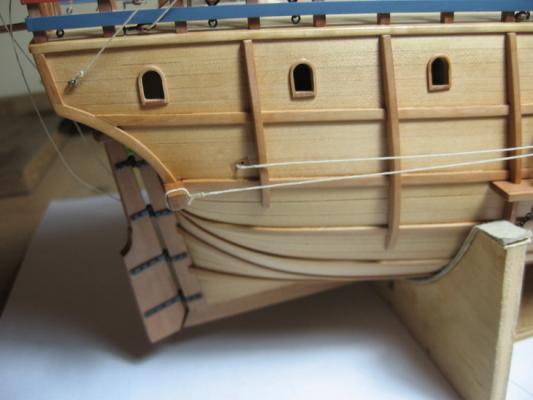
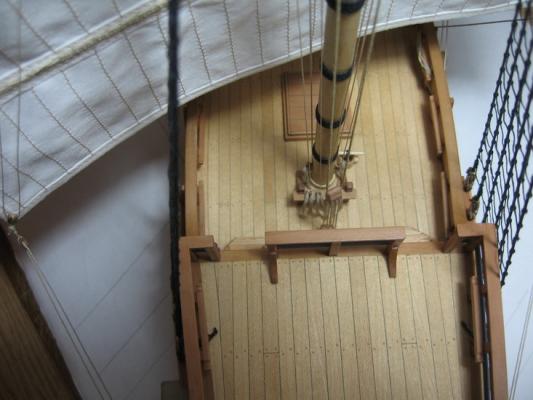
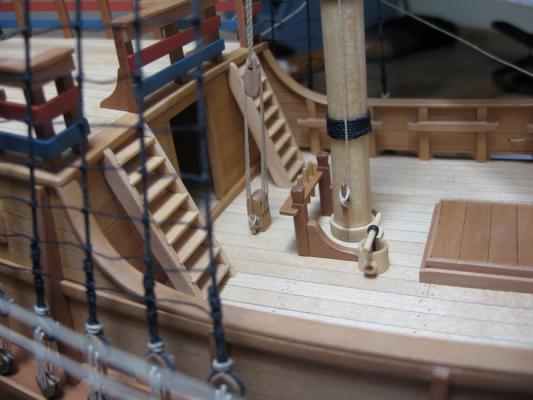
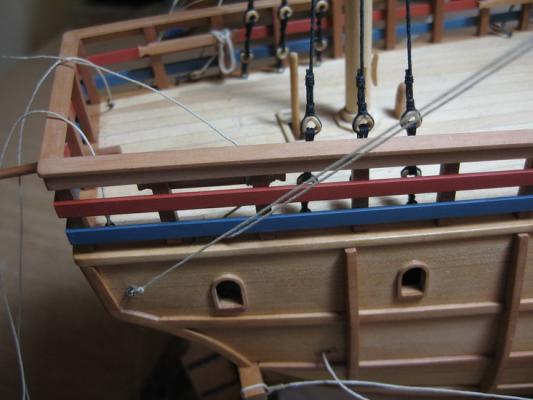
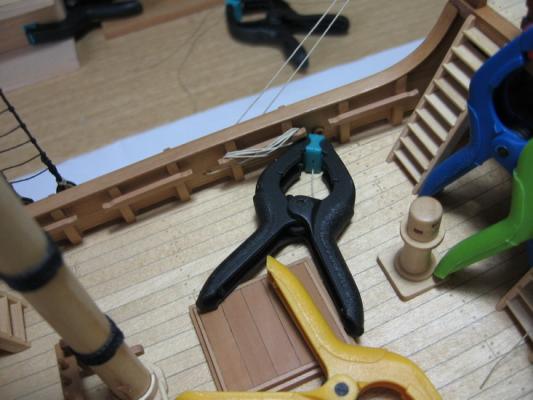
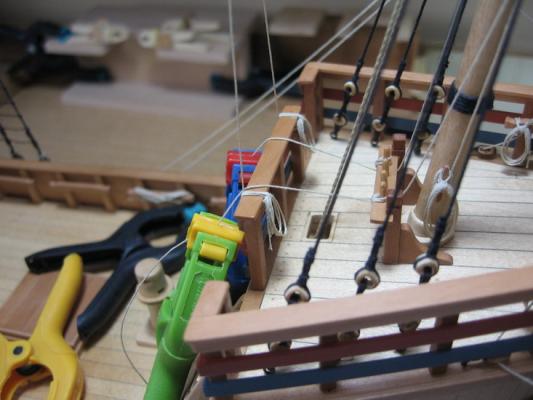
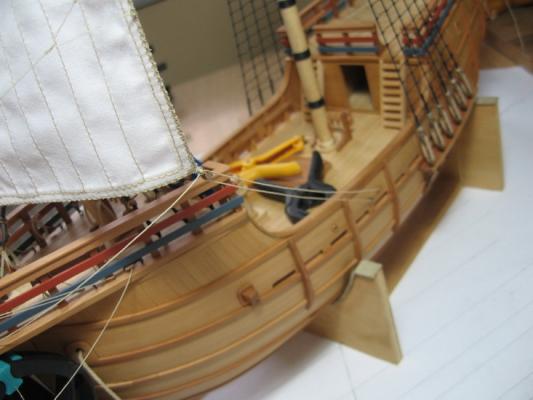
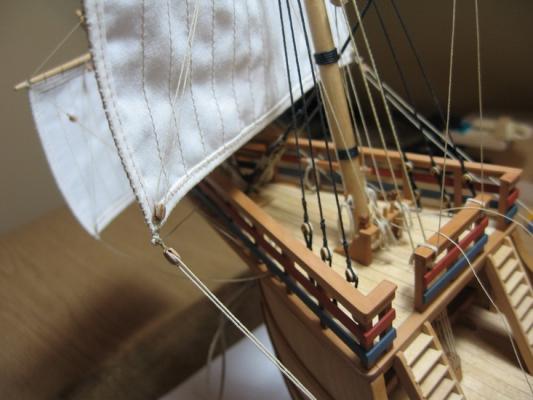
No progress, Only some photos of the general appearance. For large and more detail photos see also: http://www.flickr.com/photos/ilhan_gokcay/sets http://www.flickr.com/photos/ilhan_gokcay/sets/72157626433922489 http://www.flickr.com/photos/ilhan_gokcay/sets/72157626433922489/page16
-
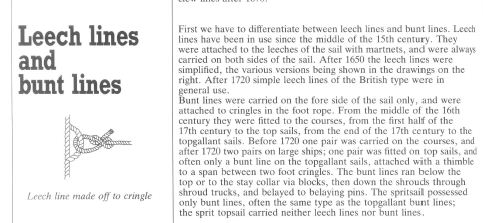
Hi B.E. its ok. Your questions are right but I've no answer. By the time I've found the text about the leech lines and bunt lines. It was from "Mondfeld" and I am not able to comment on the reliability of this information. There are also no traces of foot ropes for that period. Maybe sails are not furled tight to the yard as we think of it but hold together somehow and the yard was lowered to the deck. For my model of Mayflower I've strictly followed R.C.Anderson. But for the period of Matthew there are lots of questions. Cheers Ilhan
-
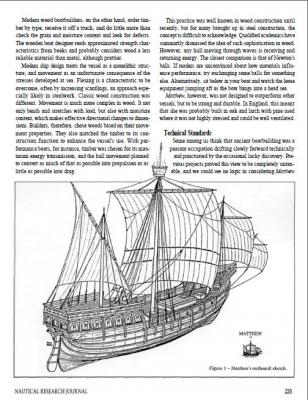
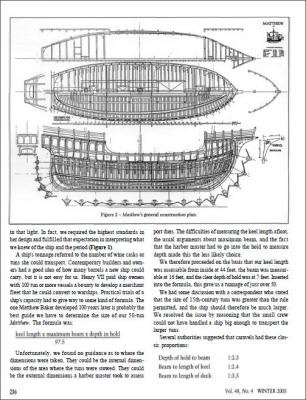
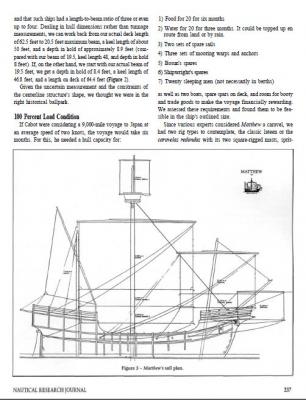
There are two replicas. One of them based on drawings of Colin Mudie (See the article on NRJ). This is the Bristol replica. My drawings are based unfortunately on the other replica built at Bonavista.
-
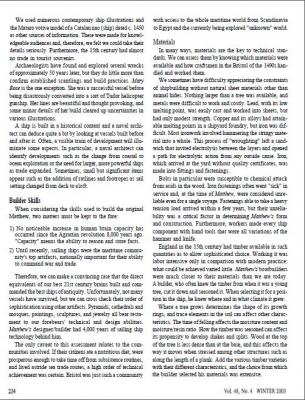
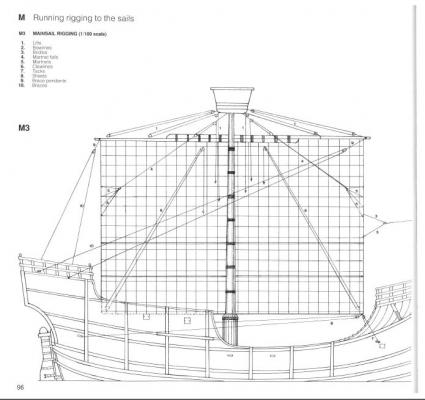
Thank you very much my friends. Hi B.E. thanks for the tip. You are right but indeed there are too many dubious points with this ship. Even the belaying pins were most likely not in use at that period. . I've omitted some of them and also reduced the numbers but some of them remained. As source I've also an article from NRJ and Pastor's AOS "The ships of Christopher Columbus". But I must confess that I've not tried my best. (I don't remember exactly, I've read somewhere that leech lines do exist before the buntlines. But I should check this) P.S. for the moderator. I've attached some pages from a journal and a book. If there is a problem with the copyright I can delete them.
-
.... For large and more detail photos see also: http://www.flickr.com/photos/ilhan_gokcay/sets http://www.flickr.com/photos/ilhan_gokcay/sets/72157626433922489 http://www.flickr.com/photos/ilhan_gokcay/sets/72157626433922489/page16
-
... For large and more detail photos see also: http://www.flickr.com/photos/ilhan_gokcay/sets http://www.flickr.com/photos/ilhan_gokcay/sets/72157626433922489 http://www.flickr.com/photos/ilhan_gokcay/sets/72157626433922489/page16
-
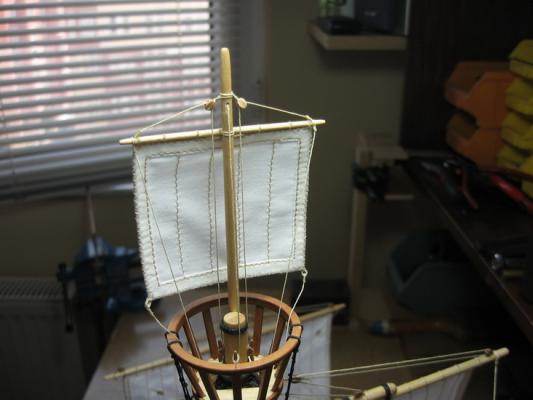
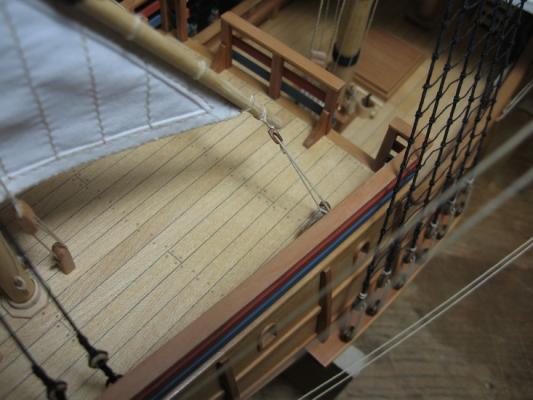
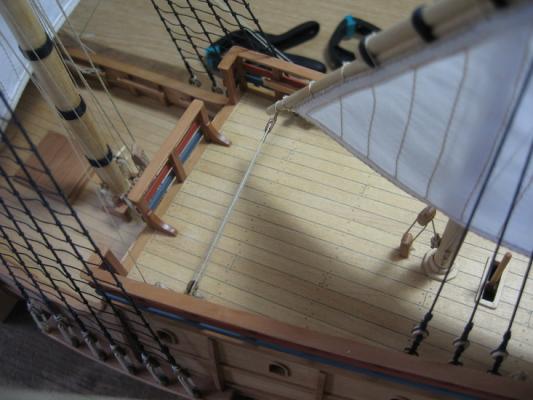
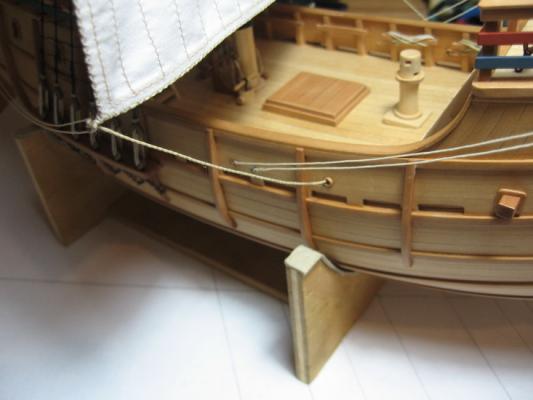
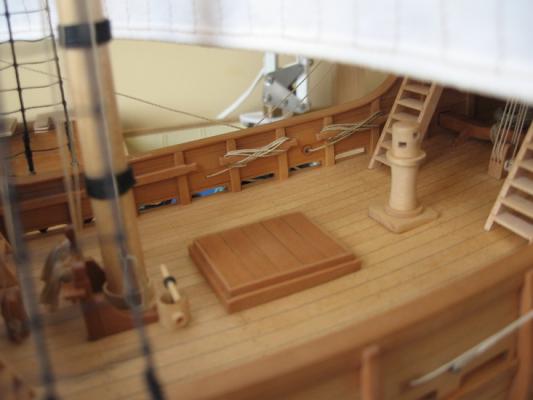
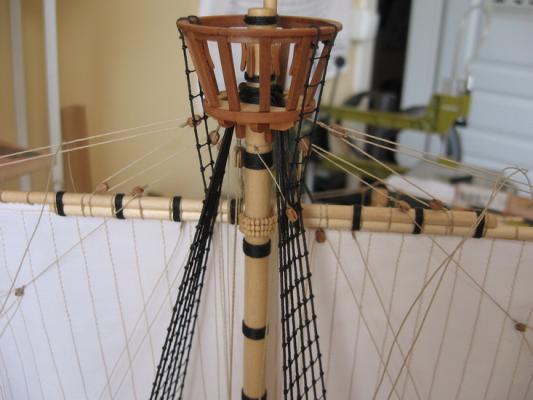
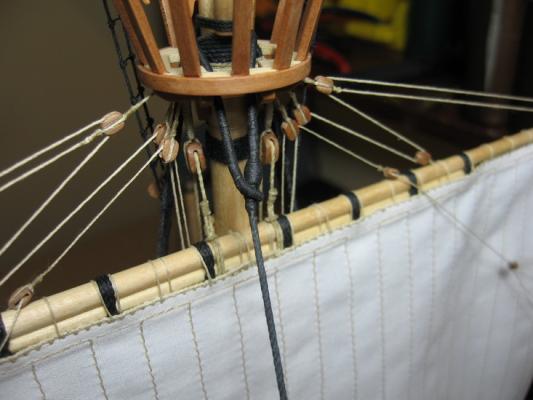
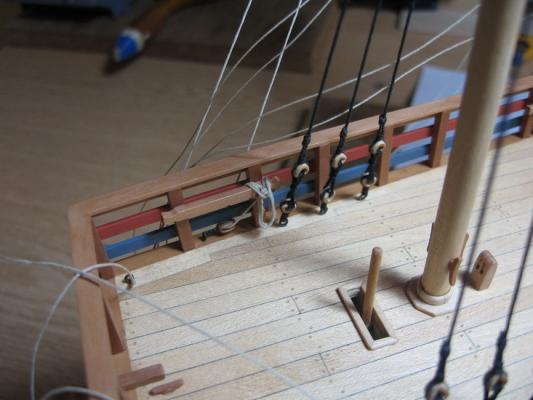
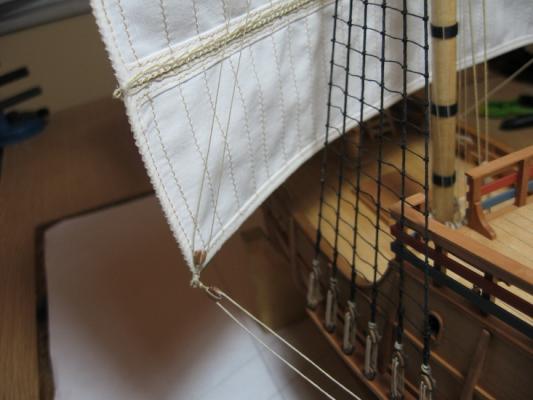
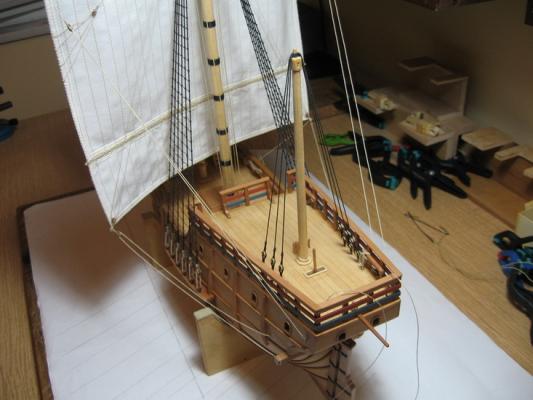
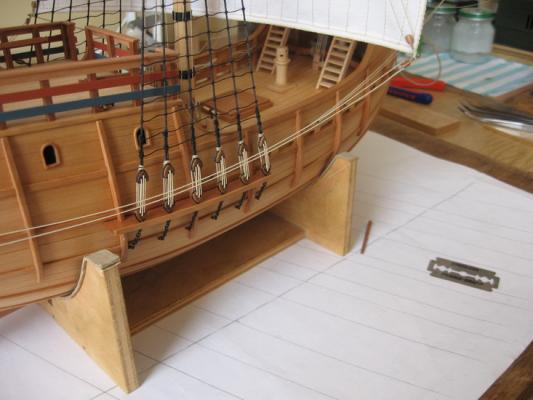
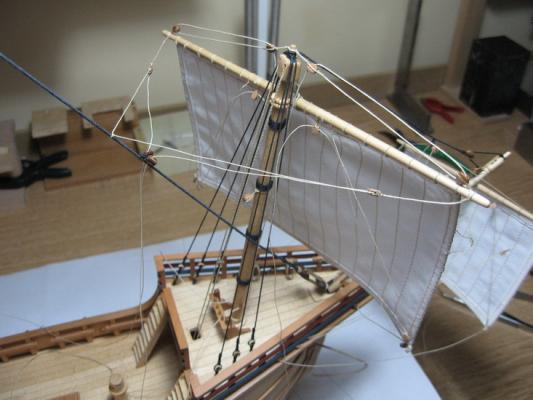
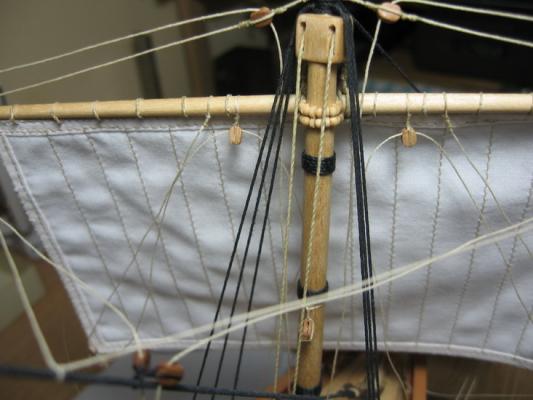
Attached the main sail and belayed its rigging. For large and more detail photos see also: http://www.flickr.com/photos/ilhan_gokcay/sets http://www.flickr.com/photos/ilhan_gokcay/sets/72157626433922489 http://www.flickr.com/photos/ilhan_gokcay/sets/72157626433922489/page16
-
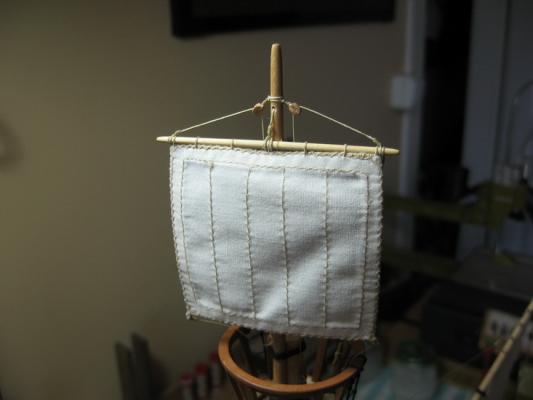
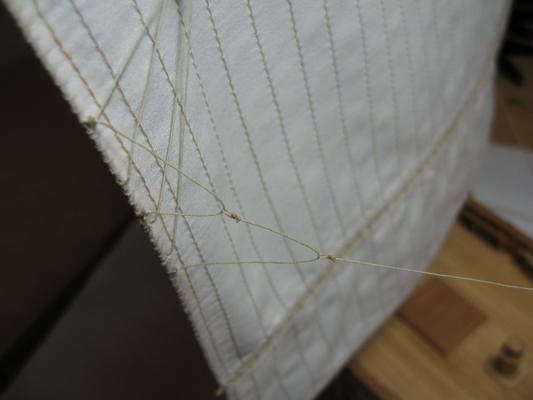
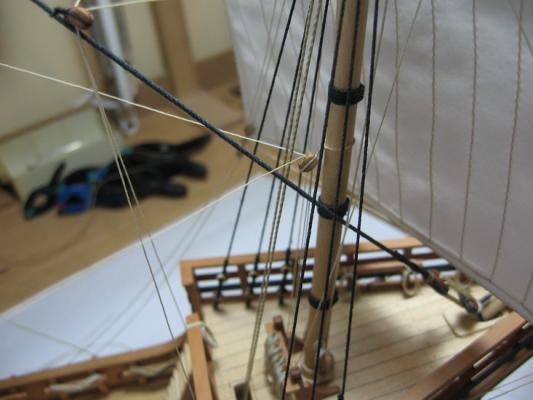
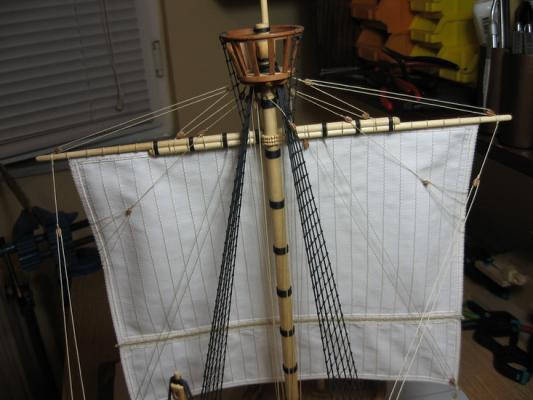
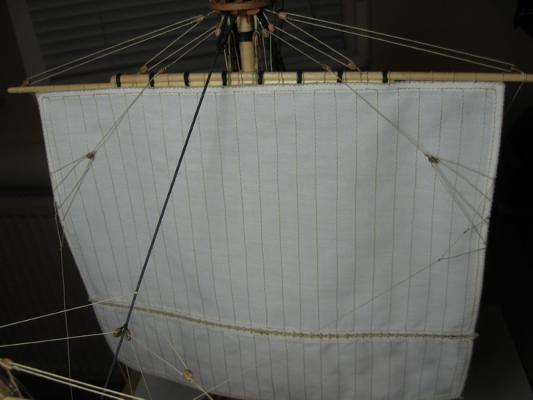
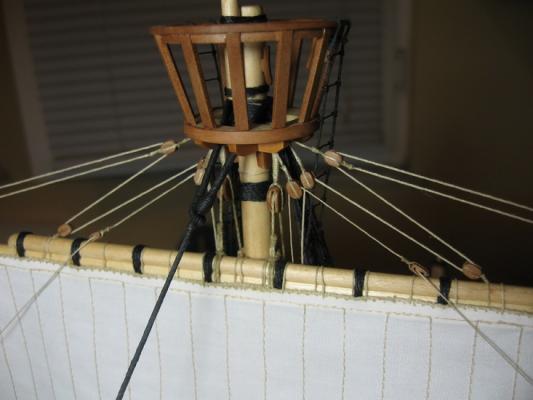
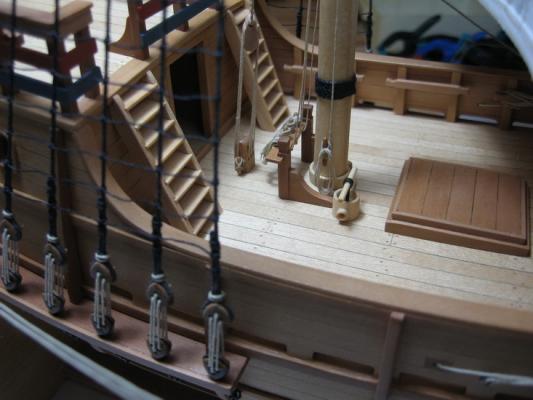
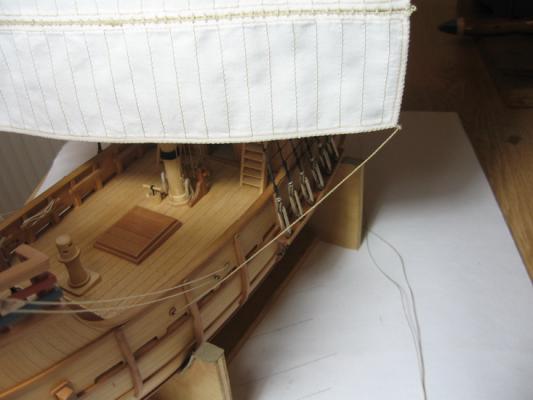
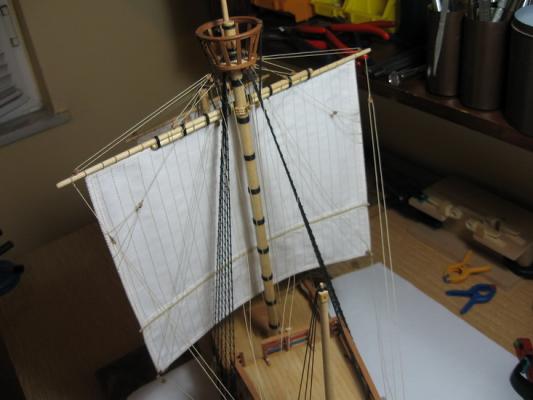
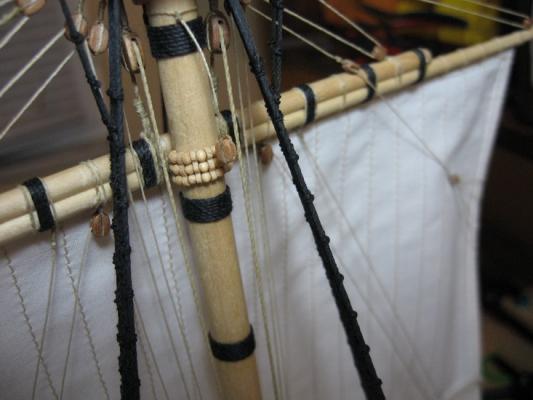
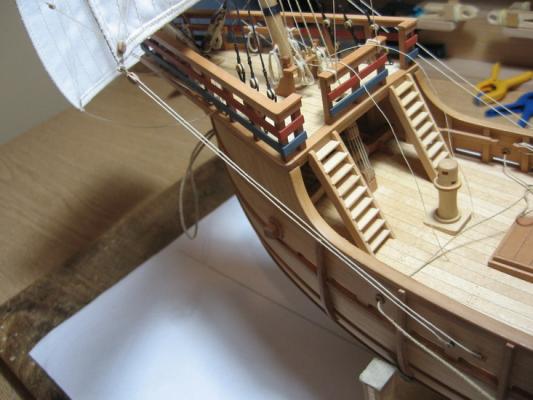
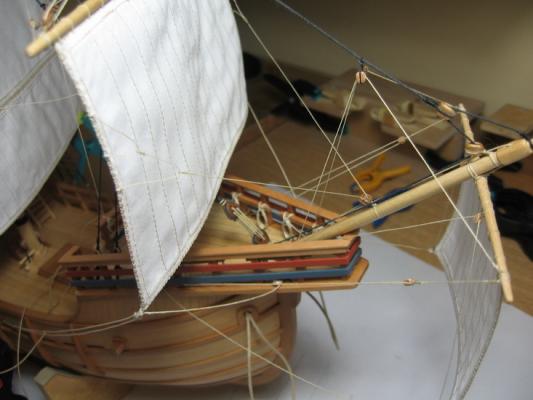
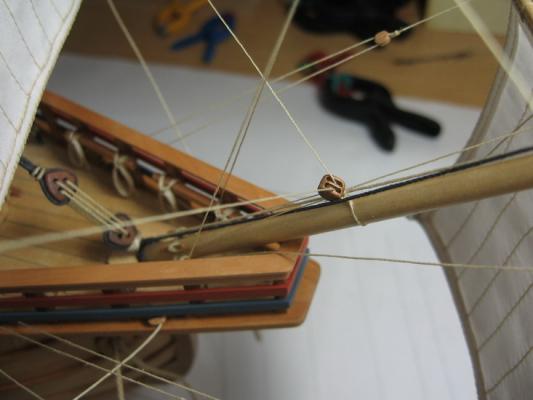
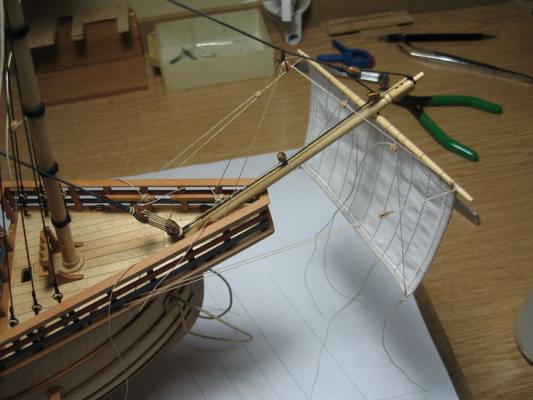
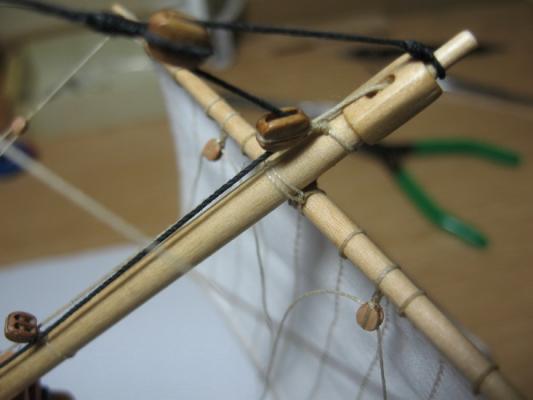
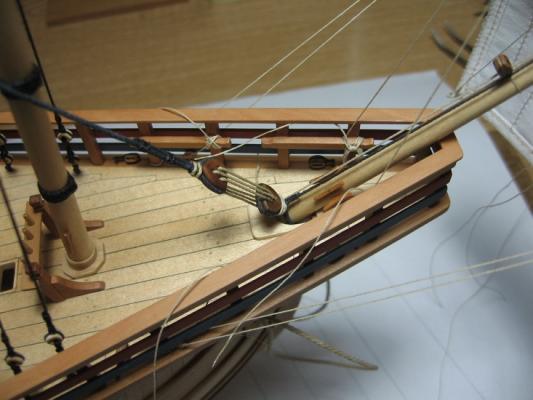
Attached the sprit sail and fore sail to the masts and belayed their rigging. For large and more detail photos see also: http://www.flickr.com/photos/ilhan_gokcay/sets/ http://www.flickr.com/photos/ilhan_gokcay/sets/72157626433922489/ http://www.flickr.com/photos/ilhan_gokcay/sets/72157626433922489/page15/
-
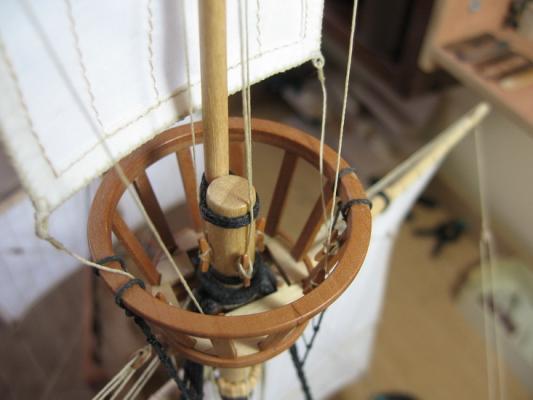
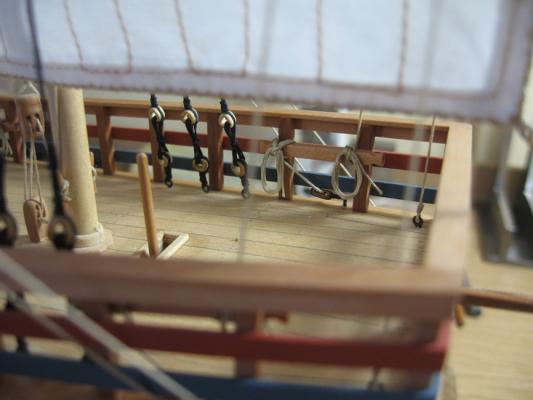
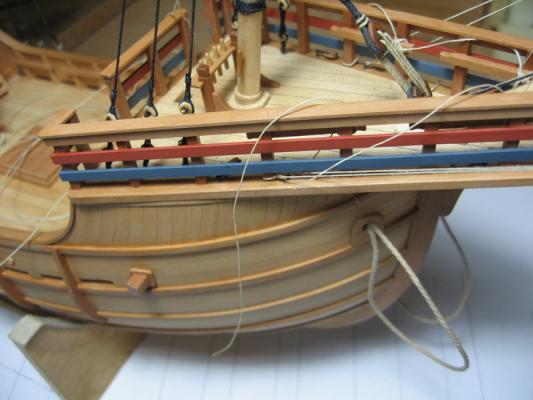
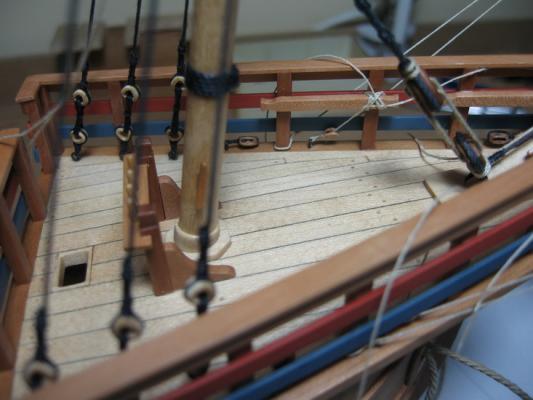
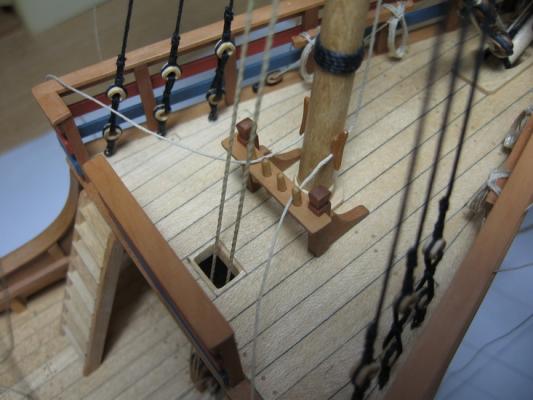
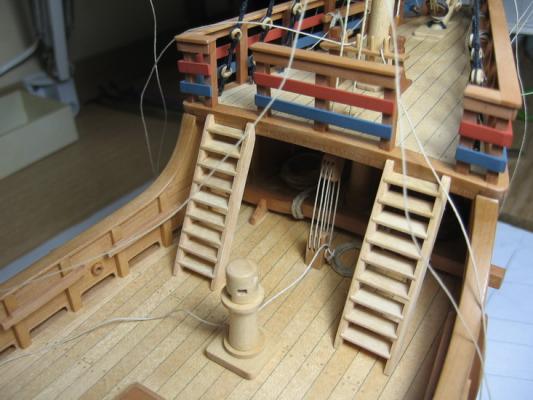
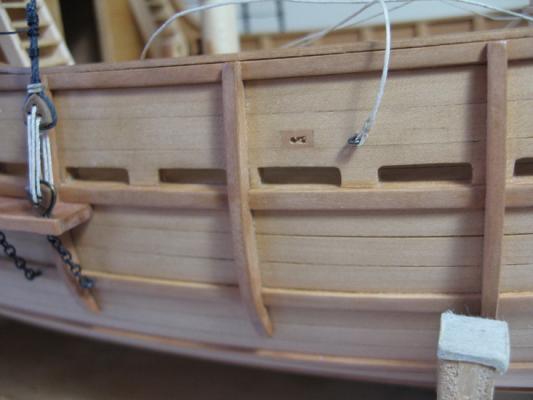
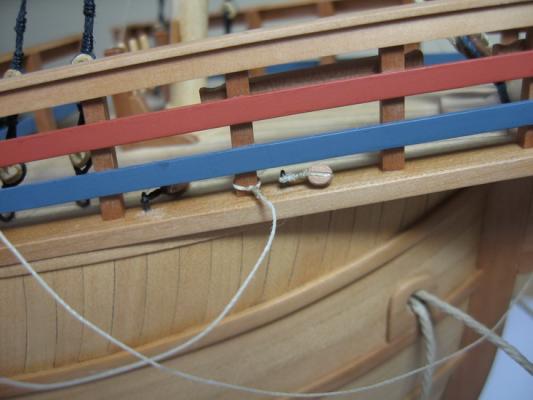
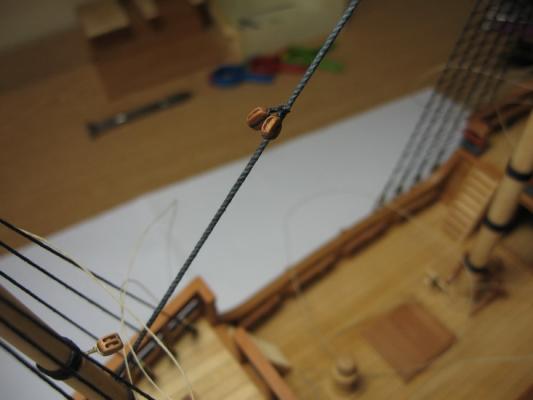
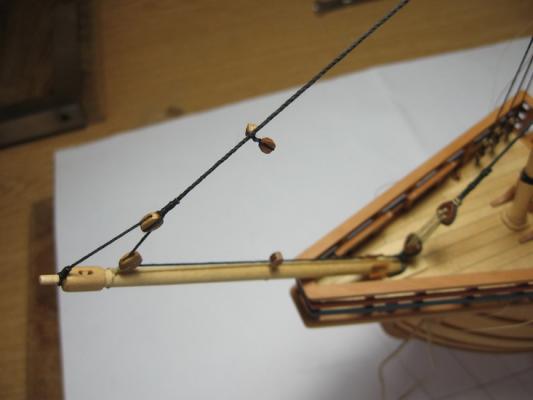
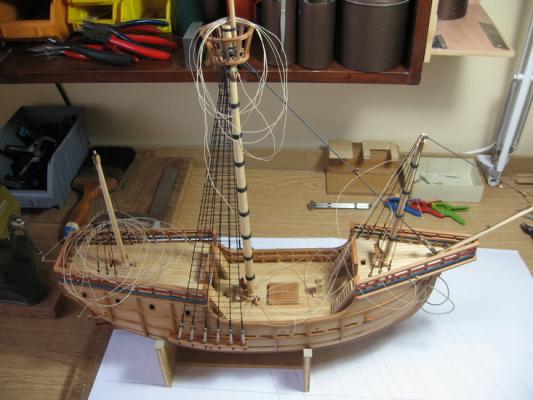
Rigging on the ship has also been attached. Finished also all the rope coils. For large and more detail photos see also: http://www.flickr.com/photos/ilhan_gokcay/sets/ http://www.flickr.com/photos/ilhan_gokcay/sets/72157626433922489/ http://www.flickr.com/photos/ilhan_gokcay/sets/72157626433922489/page15/
-
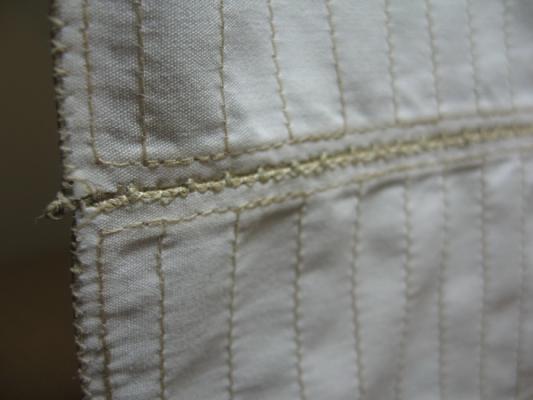
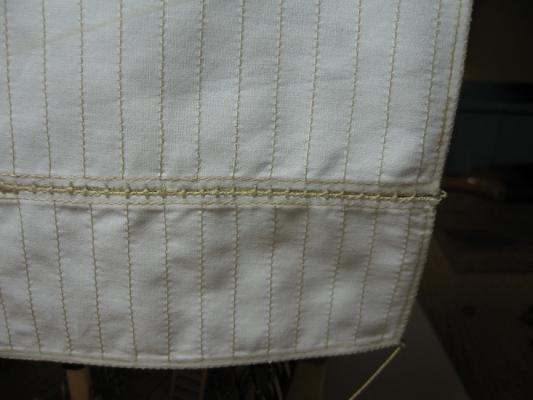
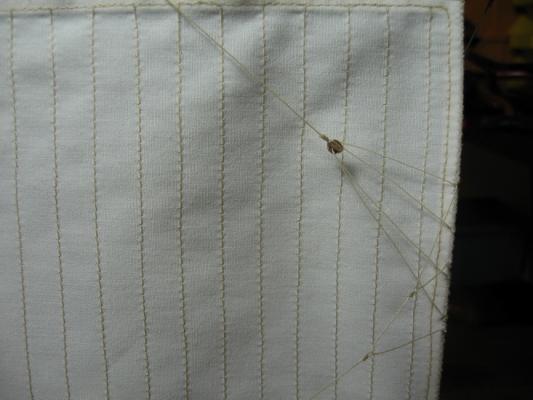
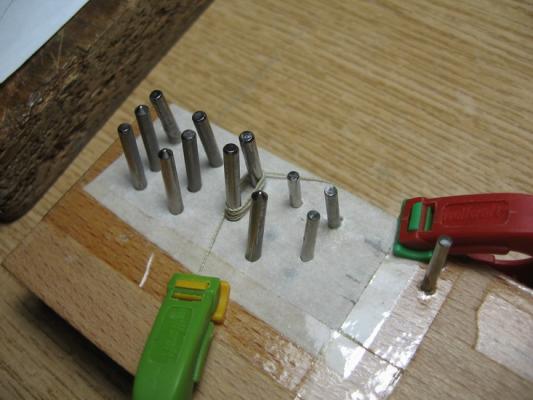
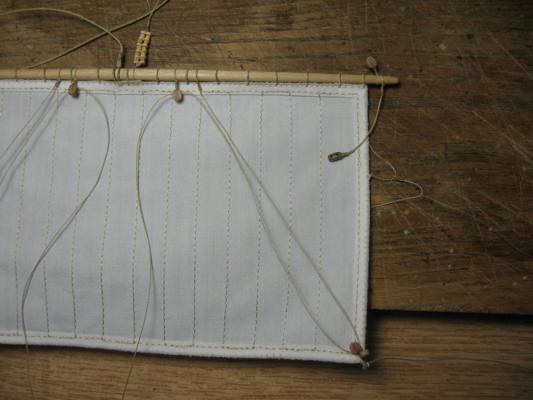
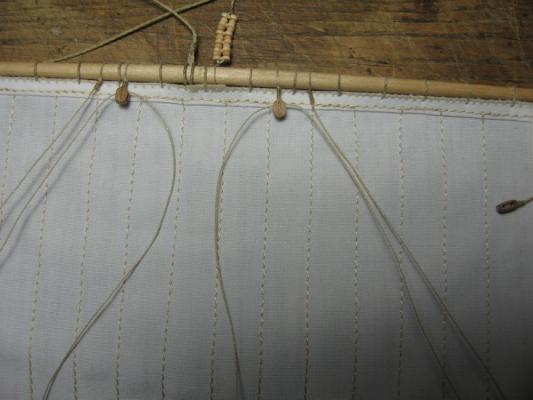
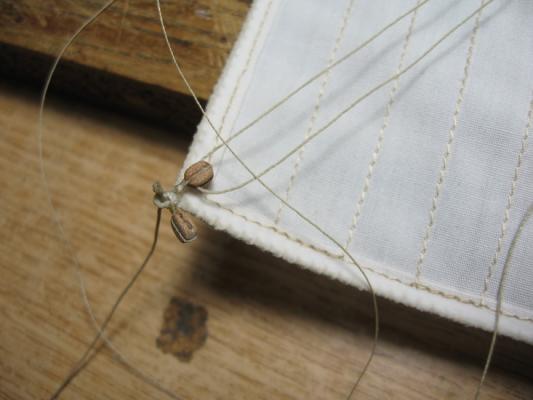
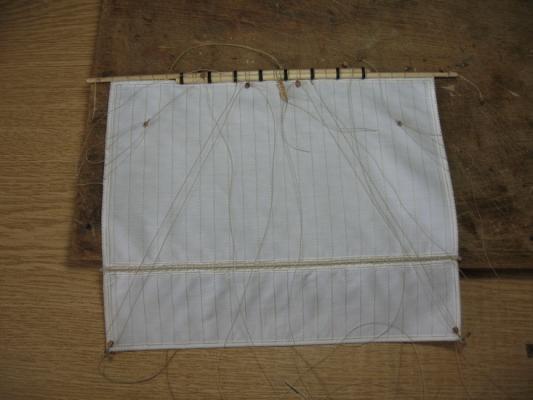
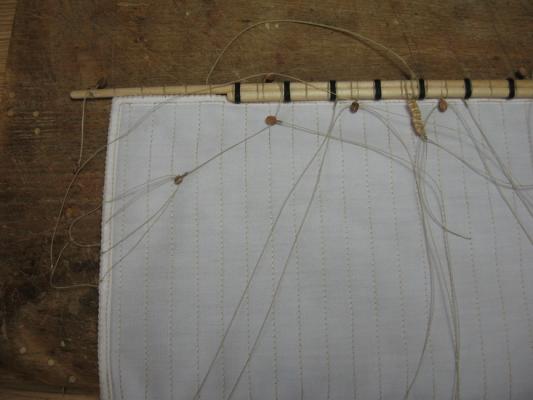
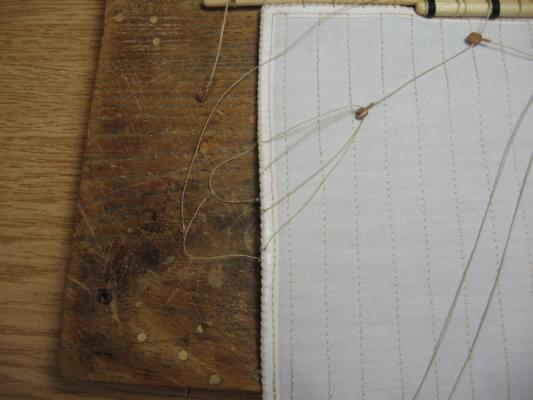
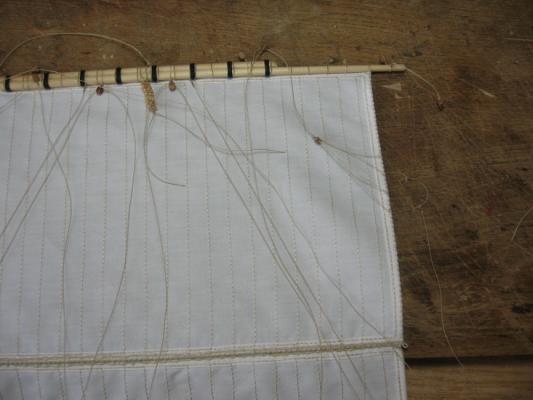
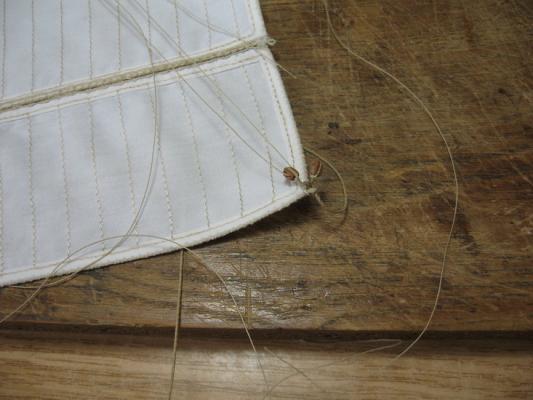
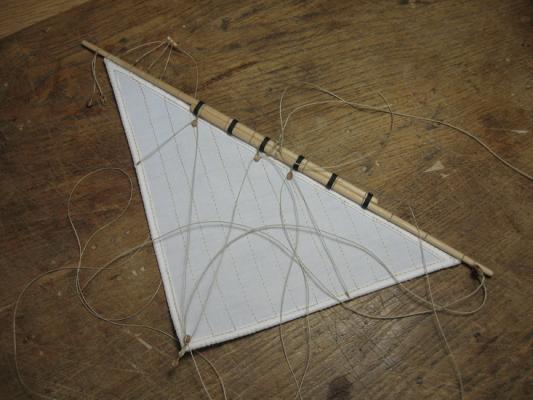
Hi Janos, the idea is that because I can not sew good enough. But it proved to be very usefull for folding the edges too.
-
Hi Ferit, This is a very good work what you have done here. I would like to tell you that never get disappointed about what the kit companies do offer. But some prejudice is a good way here.
About us
Modelshipworld - Advancing Ship Modeling through Research
SSL Secured
Your security is important for us so this Website is SSL-Secured
NRG Mailing Address
Nautical Research Guild
237 South Lincoln Street
Westmont IL, 60559-1917
Model Ship World ® and the MSW logo are Registered Trademarks, and belong to the Nautical Research Guild (United States Patent and Trademark Office: No. 6,929,264 & No. 6,929,274, registered Dec. 20, 2022)
Helpful Links
About the NRG
If you enjoy building ship models that are historically accurate as well as beautiful, then The Nautical Research Guild (NRG) is just right for you.
The Guild is a non-profit educational organization whose mission is to “Advance Ship Modeling Through Research”. We provide support to our members in their efforts to raise the quality of their model ships.
The Nautical Research Guild has published our world-renowned quarterly magazine, The Nautical Research Journal, since 1955. The pages of the Journal are full of articles by accomplished ship modelers who show you how they create those exquisite details on their models, and by maritime historians who show you the correct details to build. The Journal is available in both print and digital editions. Go to the NRG web site (www.thenrg.org) to download a complimentary digital copy of the Journal. The NRG also publishes plan sets, books and compilations of back issues of the Journal and the former Ships in Scale and Model Ship Builder magazines.


