Ilhan Gokcay
-
Posts
636 -
Joined
-
Last visited
Content Type
Profiles
Forums
Gallery
Events
Everything posted by Ilhan Gokcay
-
 I have attached the sails to the yards and all the rigging to the sails at this stage. Next I will put the rigging on the ship. Finally I will attach the complete yards with sails and rigging to the model. For large and more detail photos see also: http://www.flickr.com/photos/ilhan_gokcay/sets http://www.flickr.com/photos/ilhan_gokcay/sets/72157626433922489/ http://www.flickr.com/photos/ilhan_gokcay/sets/72157626433922489/page15/
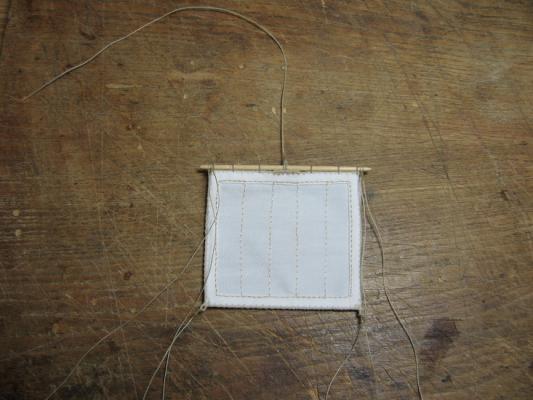


-
Thanks my friends.
-
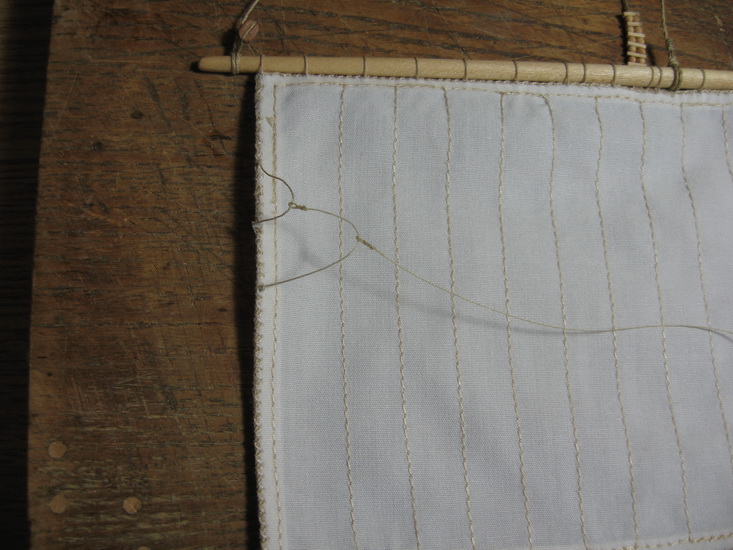
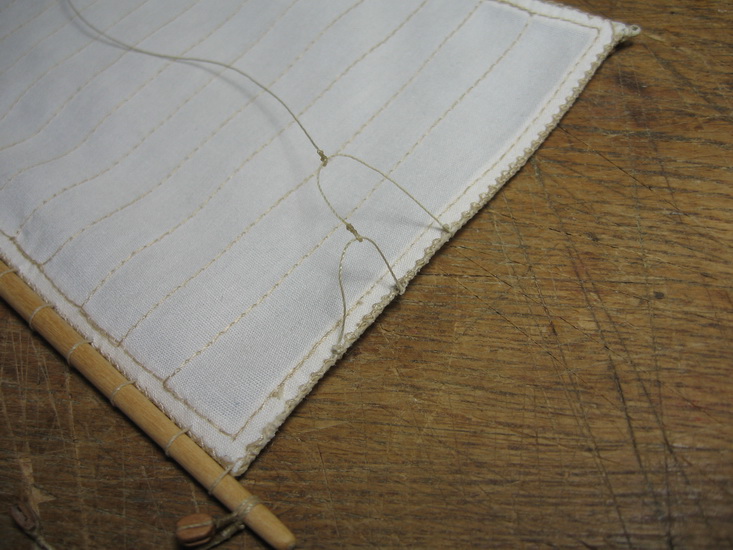
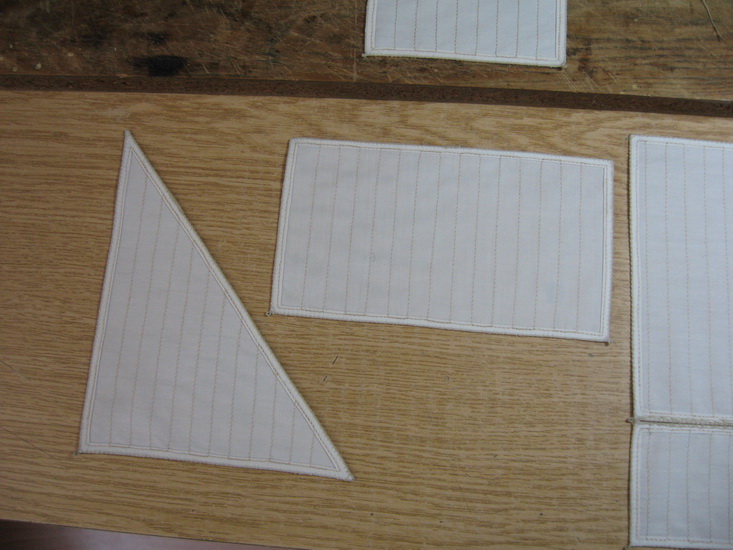
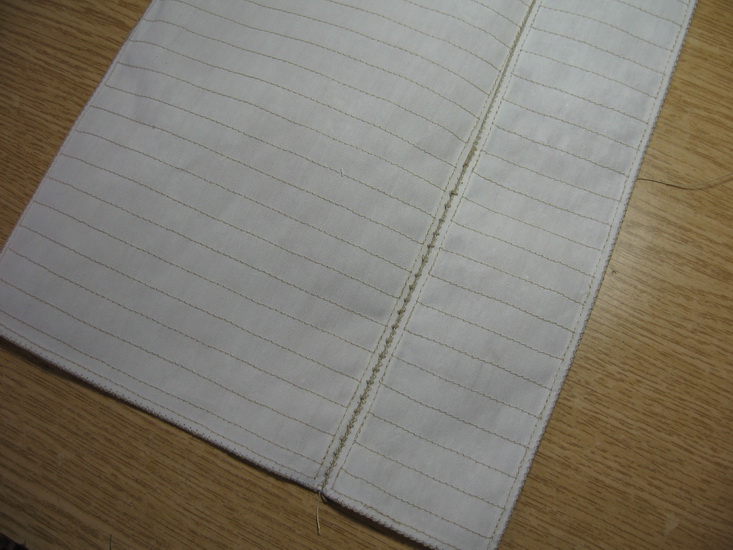
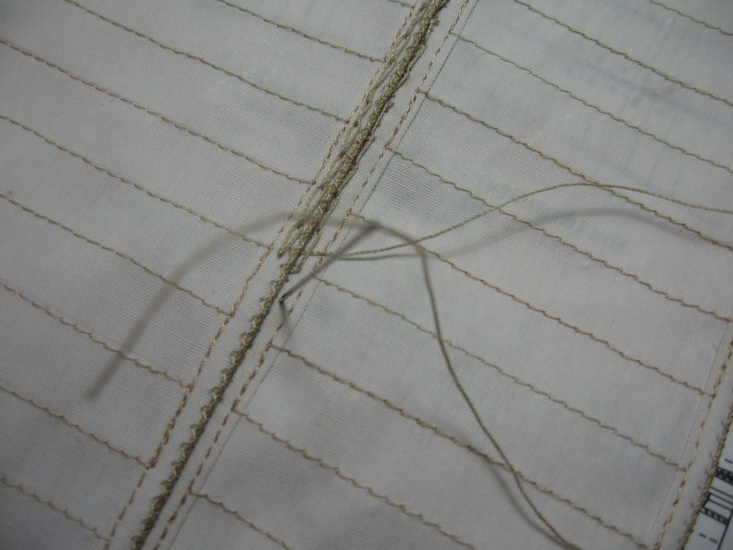
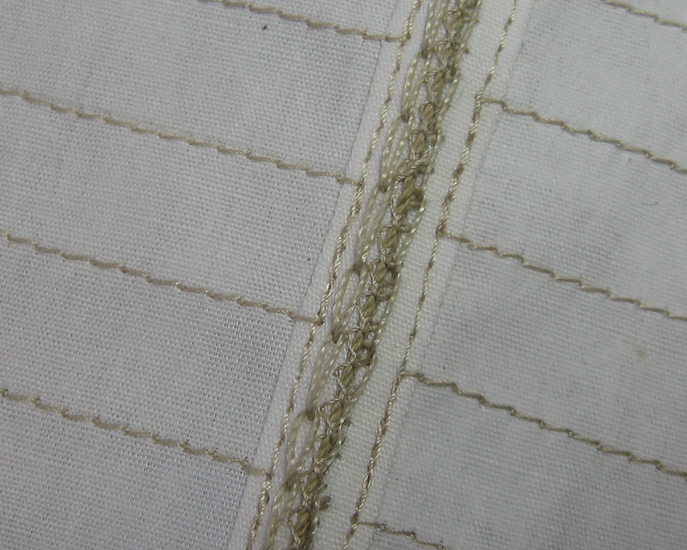
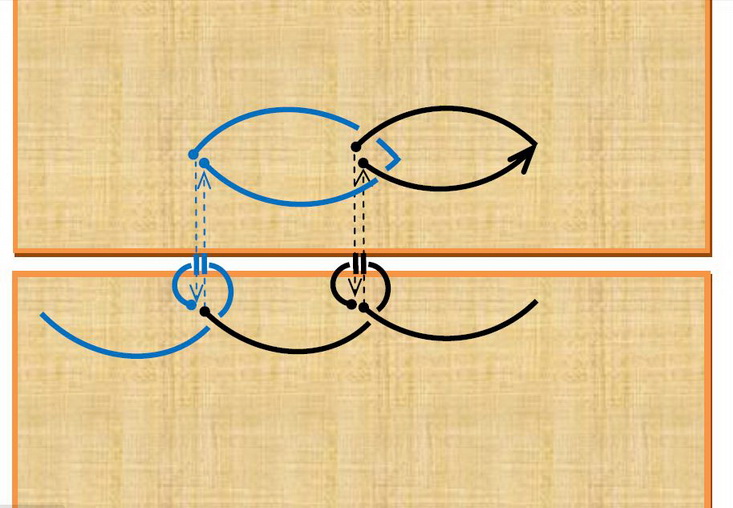
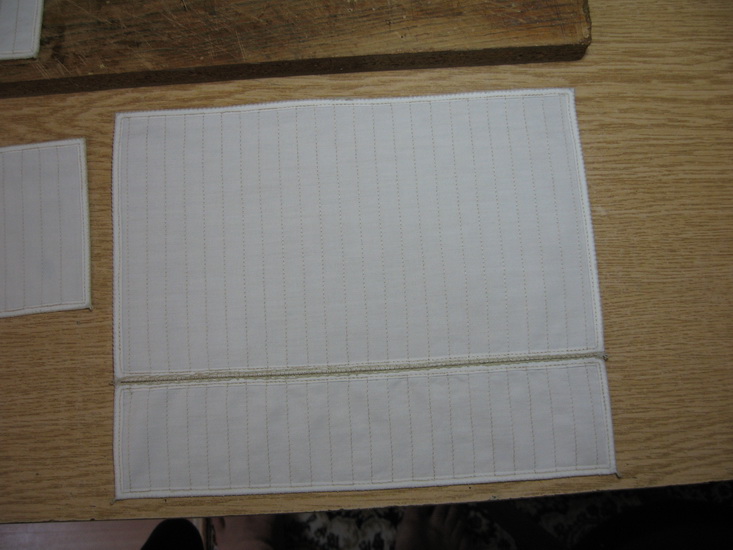
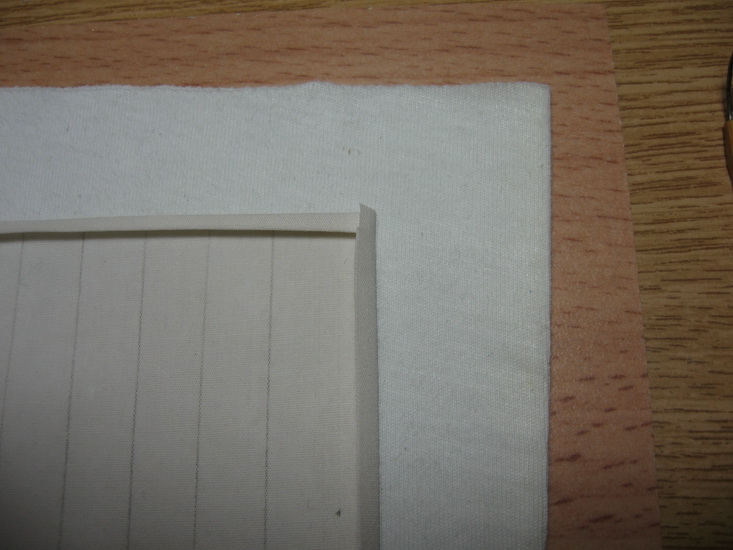
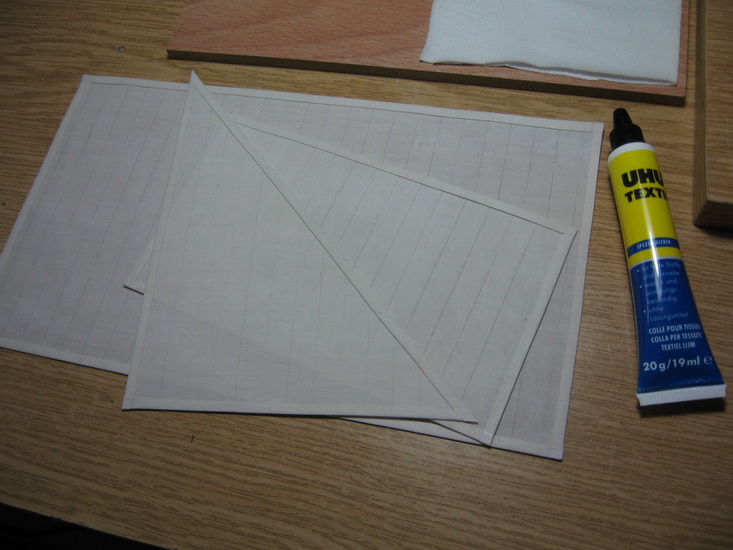
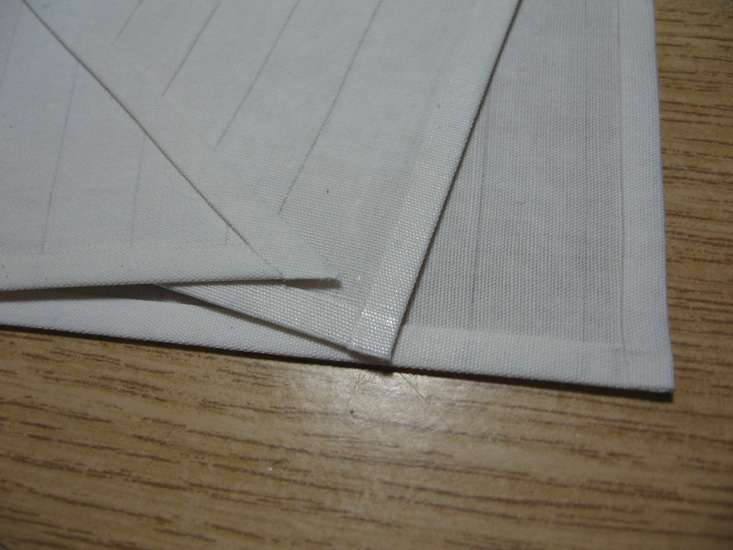
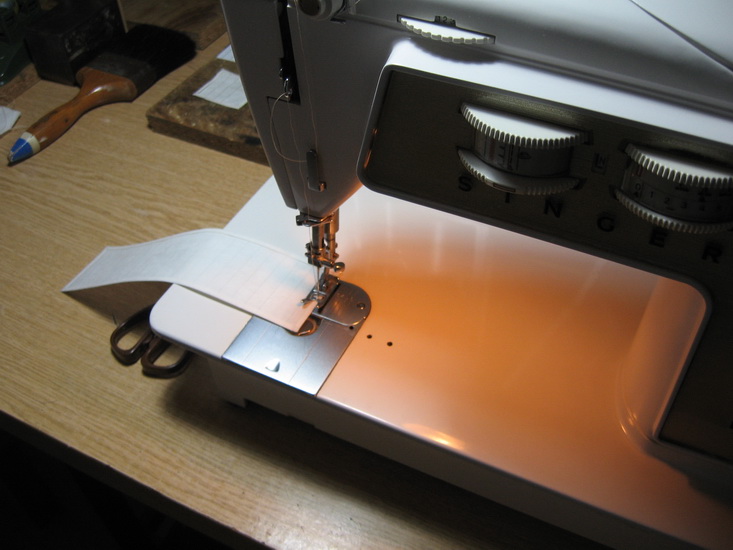
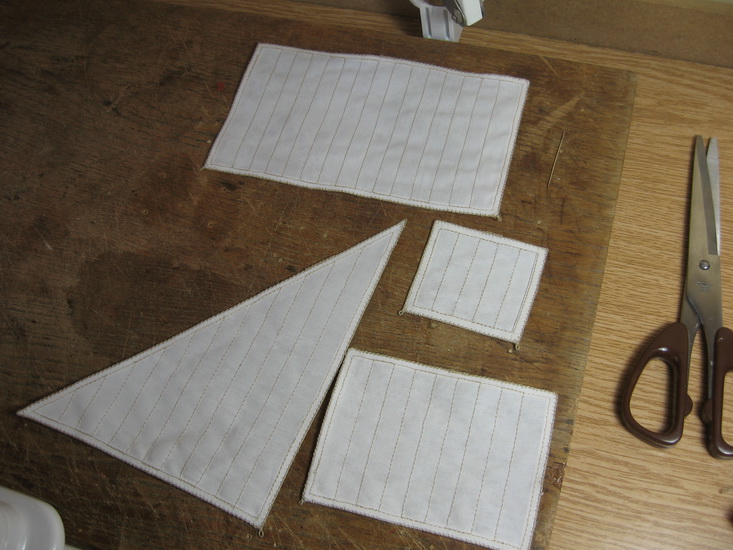
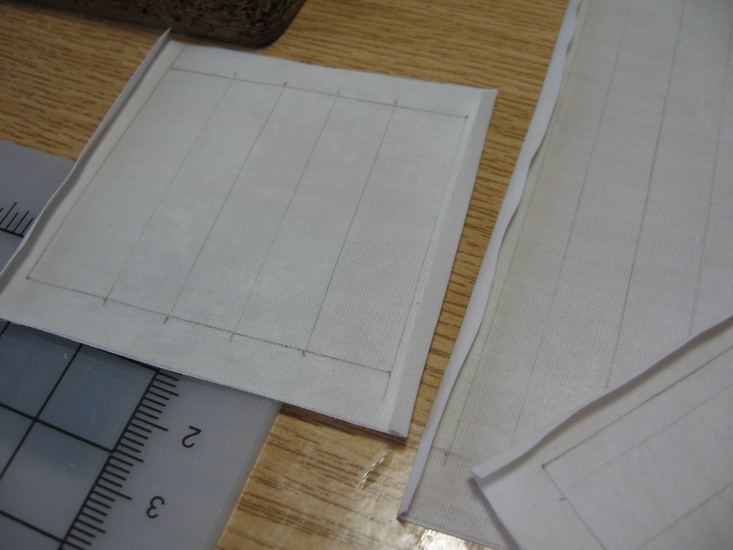
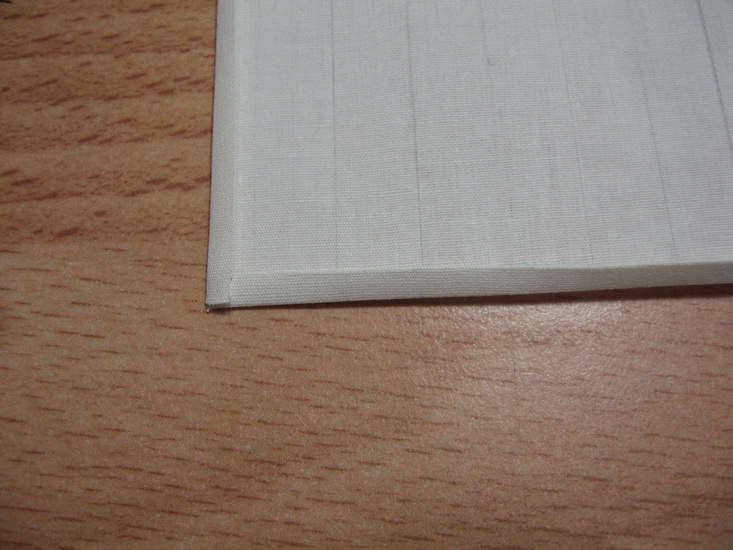
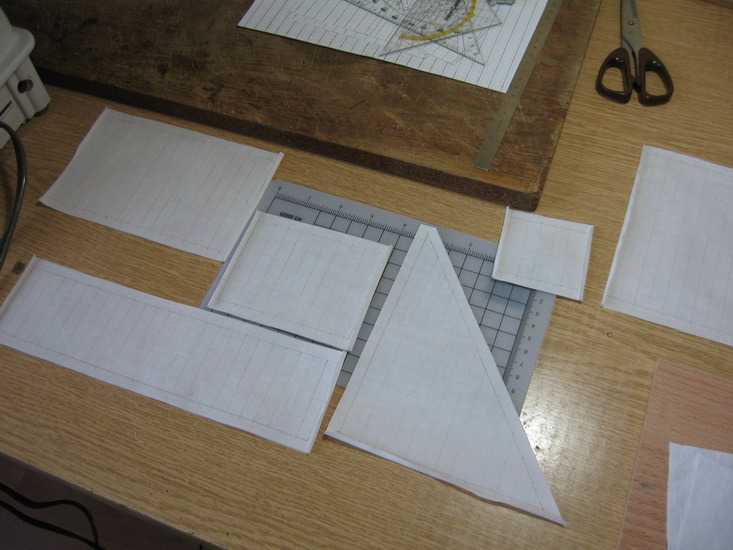
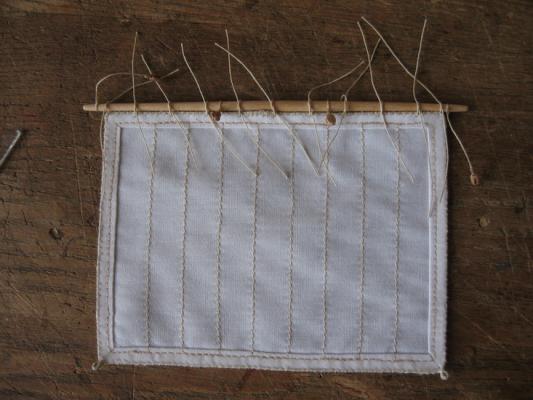
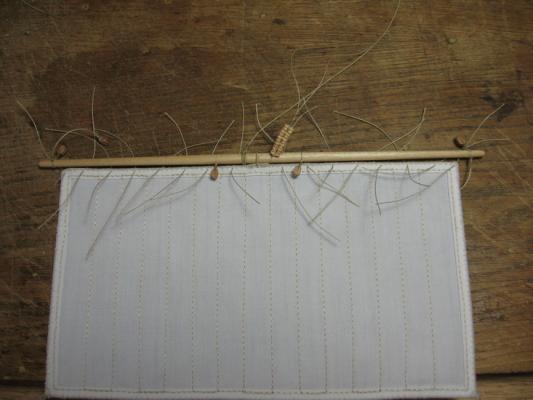
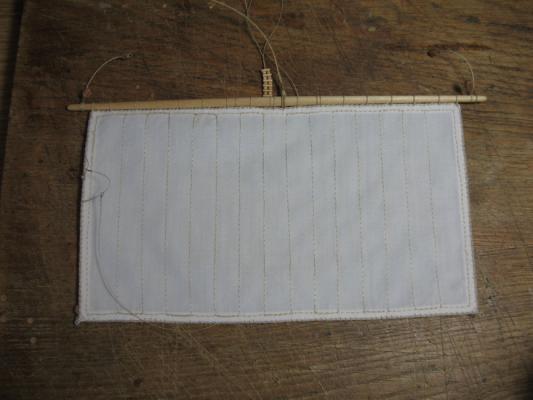
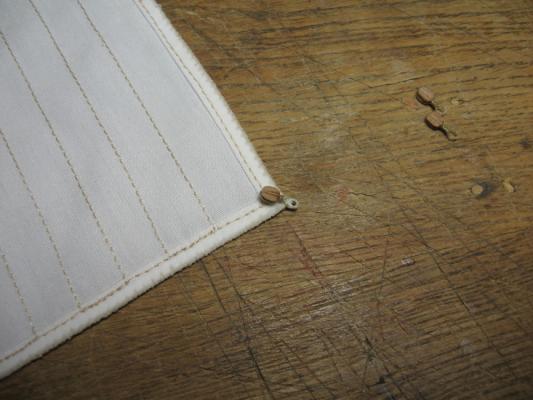
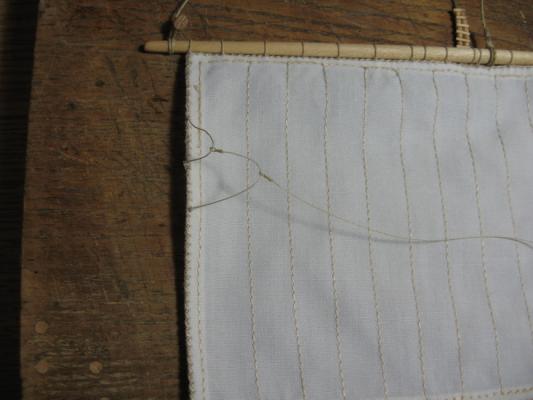
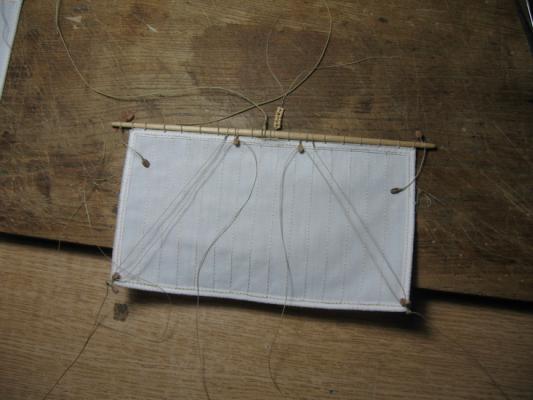
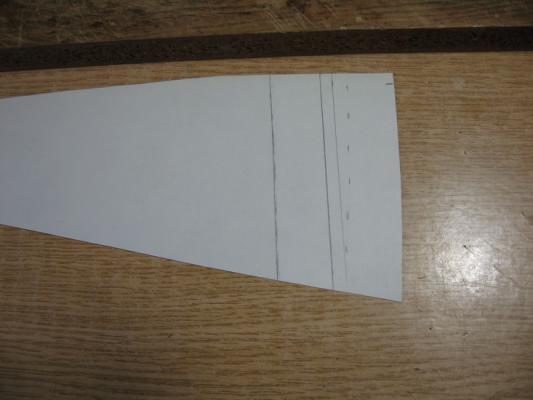
Finished the sails. As material I’ve used white thin shirt fabric. After very bad experiences with tea, this time I have dyed the cloth with fabric dye. But I didn’t followed the instructions. Dissolved the dye(dark beige) in hot water. Put the cloth in it for a short time. After repating this a couple of times I did get the right color. As I’m not good at sewing I use starch to make the clotch hard (like paper or card) This makes me to sew more easily and also it’s easy to make sharp bends at the edges. After sewing I wash them a couple of times to make the cloth soft again. For the boltropes I use the zigzag stich. At one side the needle hits the space but it’s not a problem. This is historically not correct but I think it’s acceptable. And added a bonnet to the mainsail as it’s too big. For large and more detail photos see also: http://www.flickr.com/photos/ilhan_gokcay/sets/ http://www.flickr.com/photos/ilhan_gokcay/sets/72157626433922489/ http://www.flickr.com/photos/ilhan_gokcay/sets/72157626433922489/page14/

-
Hi Alex, thanks.
-
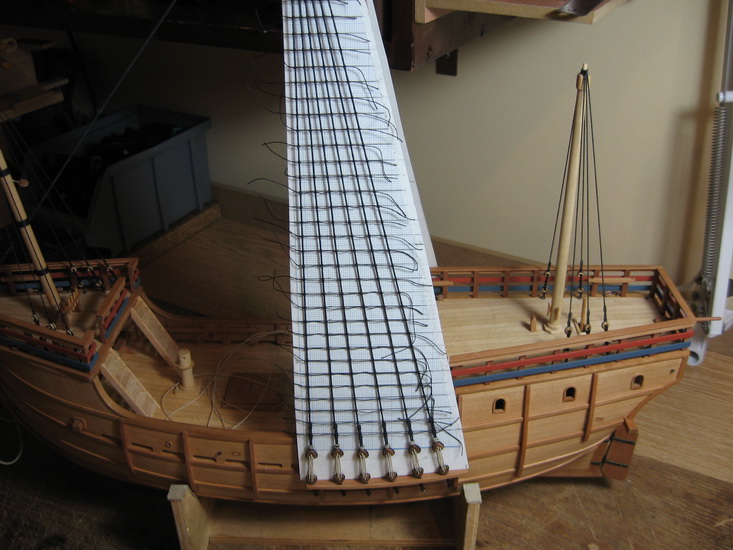
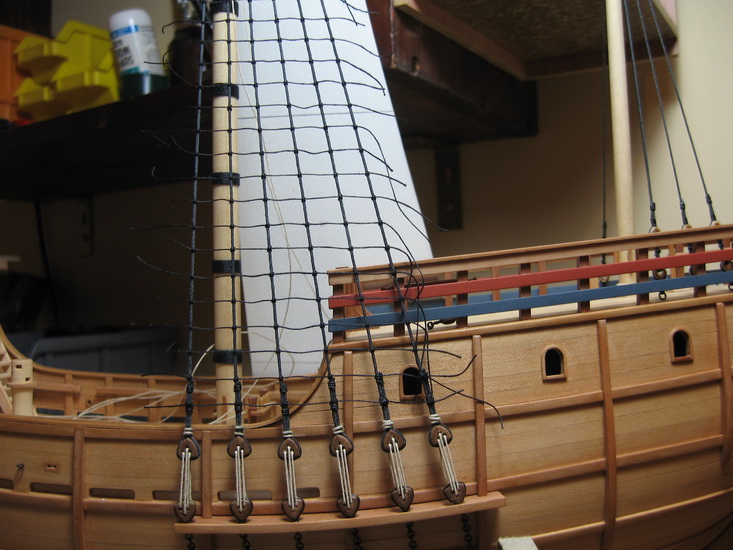
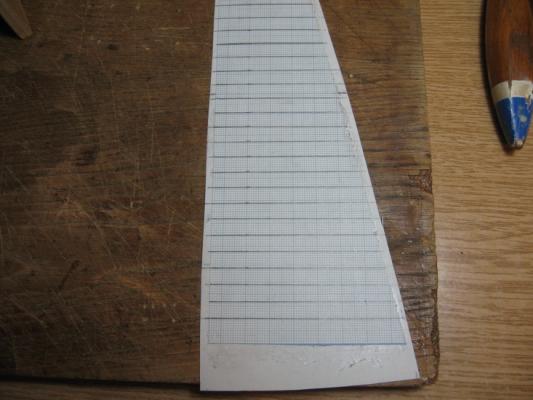
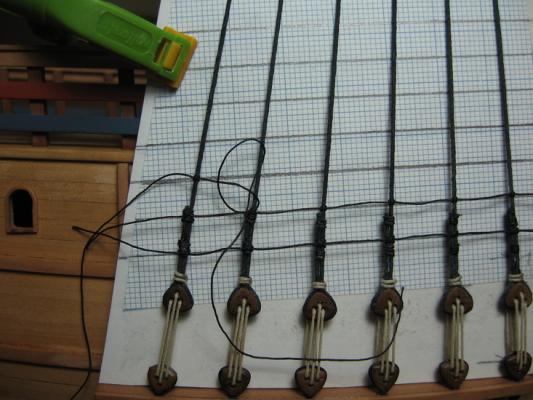
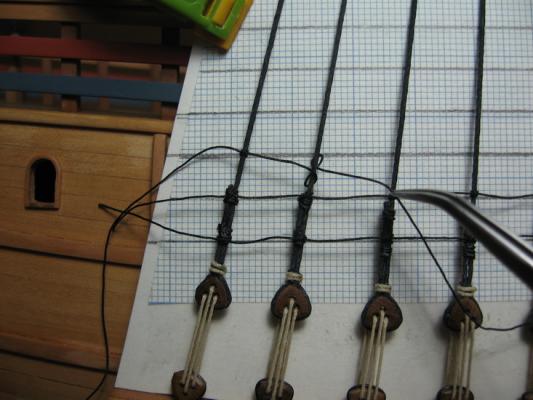
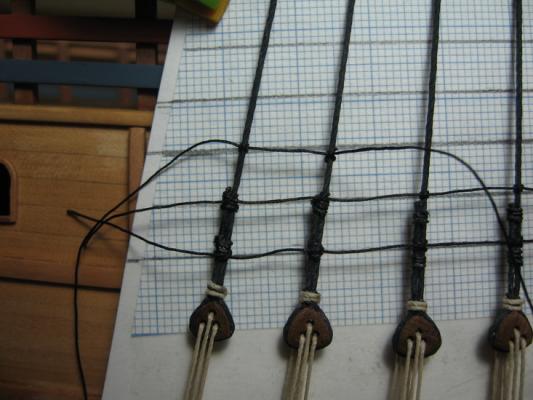
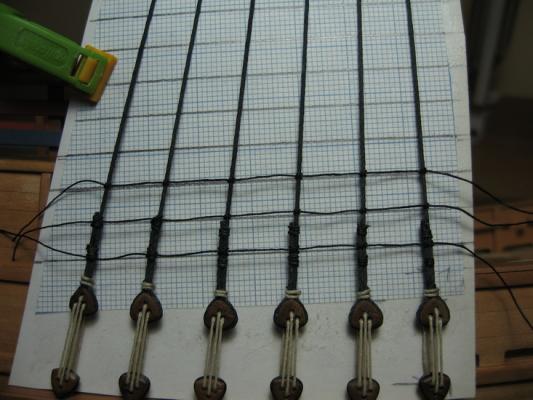
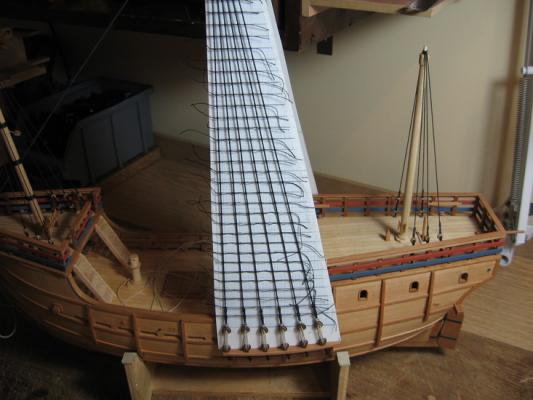
Thanks my friends. Finished the ratlines. This is the best method I’ve tried. Putting a card behind the shrouds with drawn lines.

- 216 replies
-
- 10
-

-
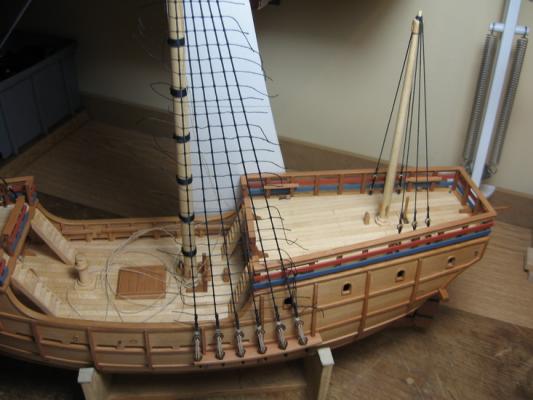
I’ve finished the shrouds and also the main and fore stay. There is no stay for the mizzen mast. For large and more detail photos see also: http://www.flickr.com/photos/ilhan_gokcay/sets http://www.flickr.com/photos/ilhan_gokcay/sets/72157626433922489/ (Best go into the set and choose slideshow)


-
Hi Kester, thanks for reply. Some of my friends are telling that this Endeavour replica has a planking of Dutch practice but this also not exactly. I also always thought that the planks should run parallel to the wales as possible and stealers are used where necessary. This achieved by reducing the widht of the planks (max%50). Regards Ilhan
-
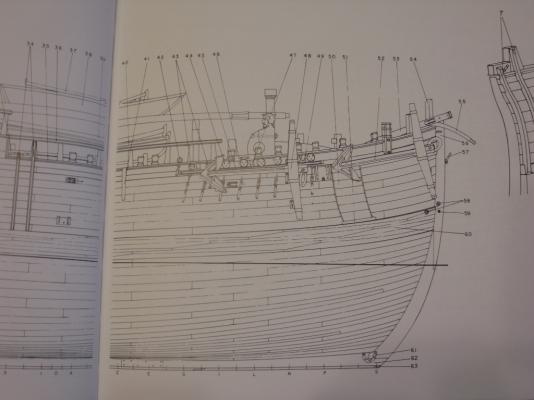
I was also discussing the pattern of planking with some friends and wonder if the way of planking of the replica of Endeavour is correct. This pattern looks like the way of the Dutch practice mentioned here. But I have doubts. Is it correct that an English ship (Endeavour replica) has a pattern of planking of Dutch practice. This Dutch practice seems dubious to me as the planks are running directly into the wales with steep angles at the bow. Is that the real the Dutch practice or is the Dutch practice the one which Mondfeld describes. Are there any other examples of the Dutch practice or any other readings, books about this. Attached a picture of Anatomy of the ship-Endeavour Ilhan
-
Thanks my friends. Rigging is not too much complicated and I hope to finish soon.
-
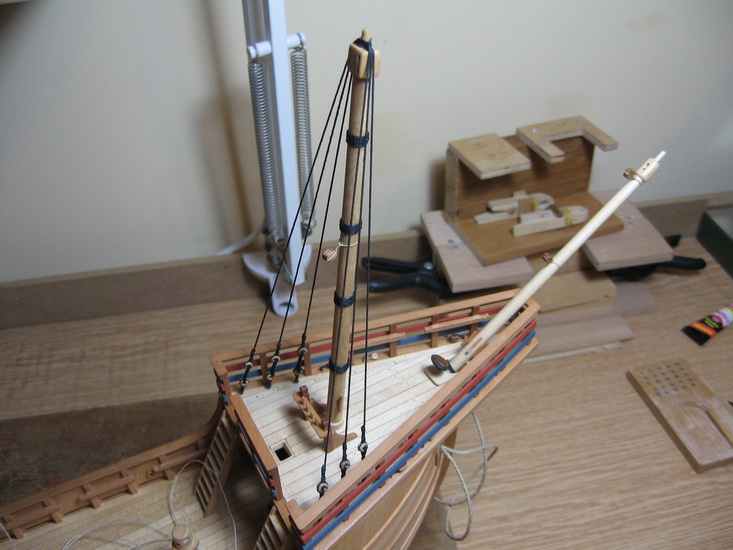
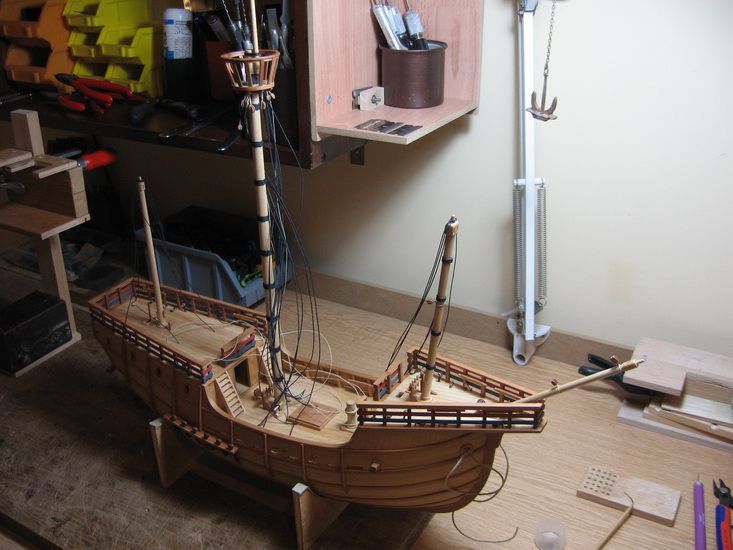
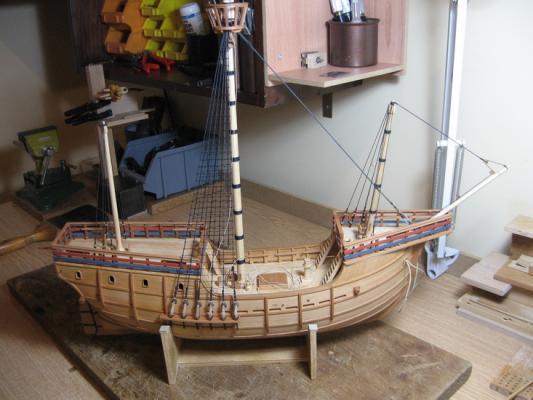
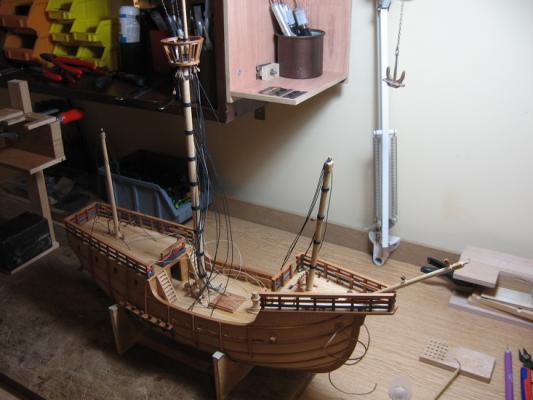
I’ve glued the masts and started to fit the shrouds. For large and more detail photos see also: http://www.flickr.co...han_gokcay/sets http://www.flickr.co...57626433922489/


-
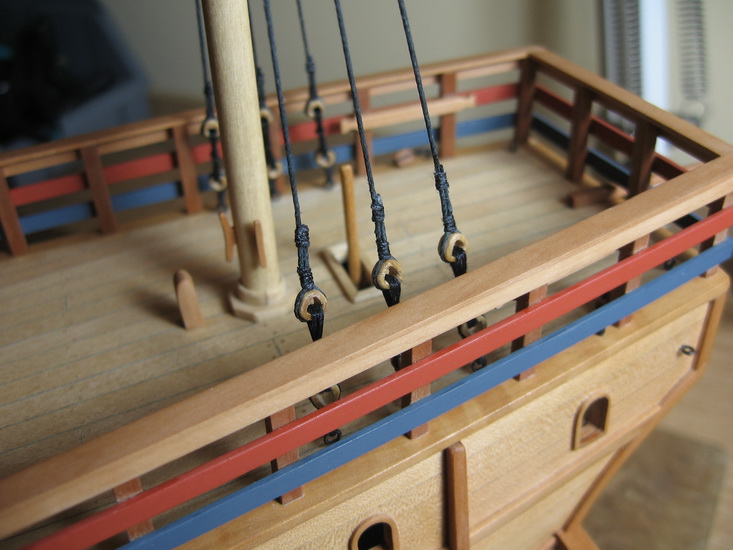
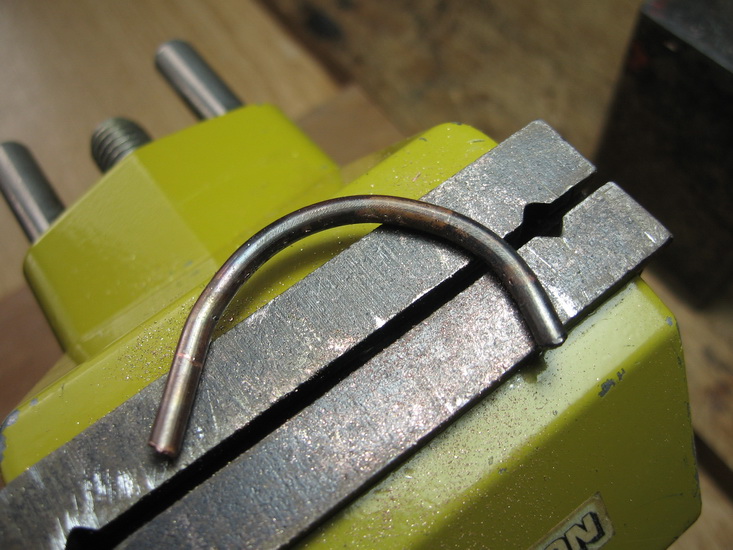
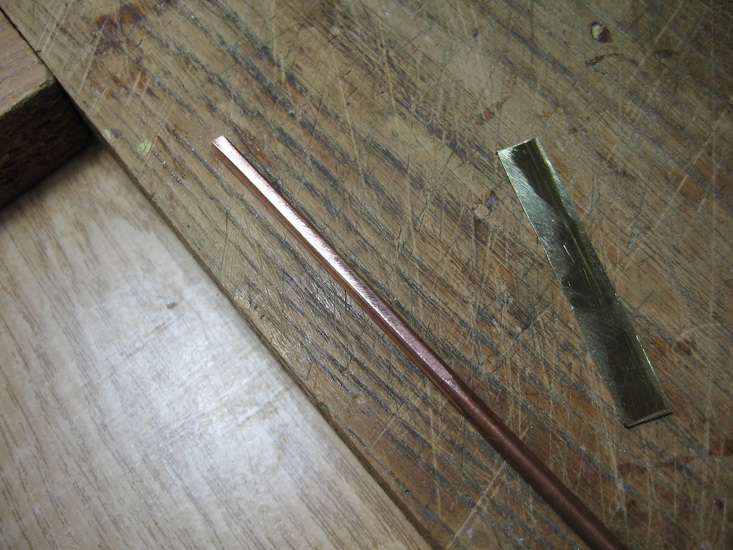
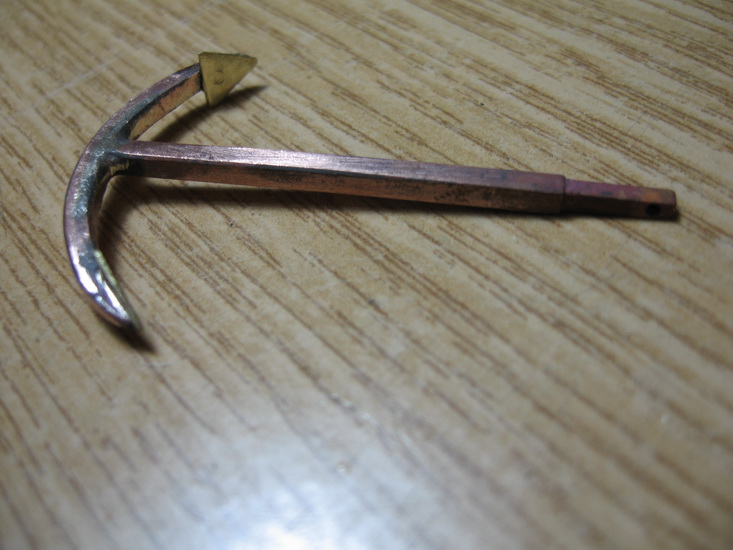
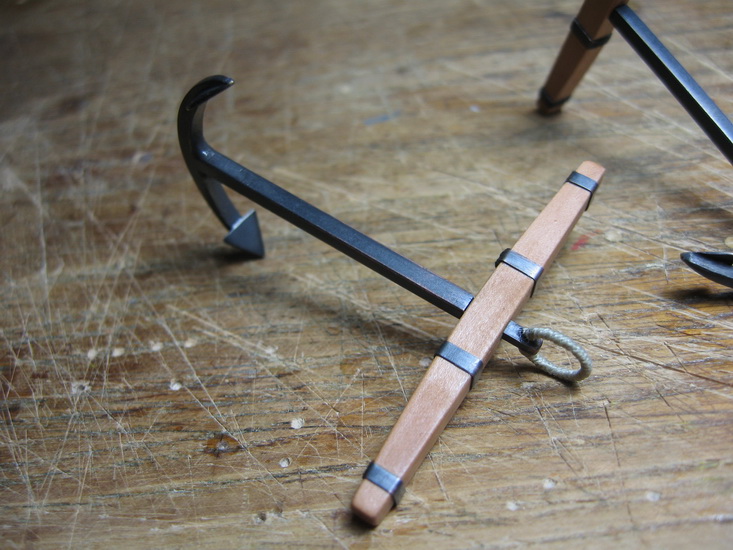
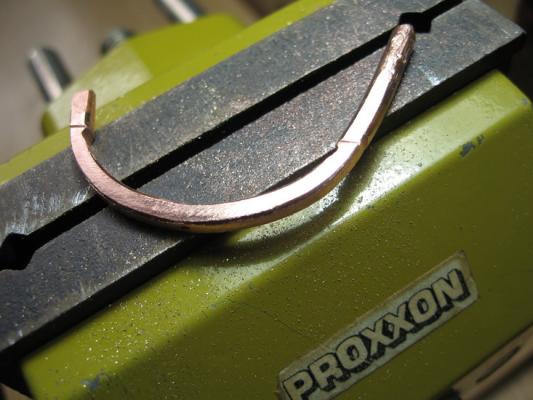
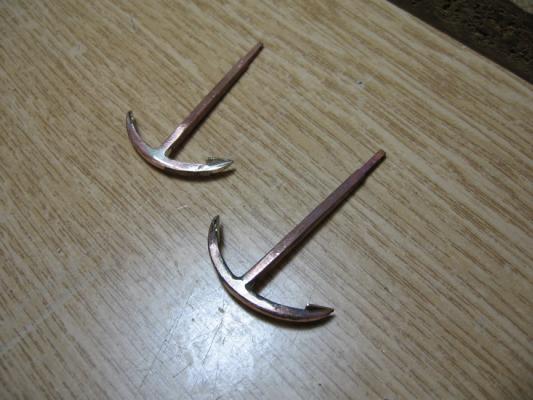
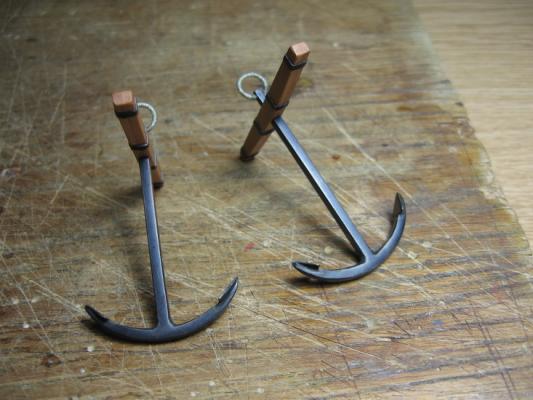
I’ve finished the anchors. They are made from copper rod, bend and shaped with files. I’ve silver soldered the parts and blackened with “BrassBlack” Unfortunately this time I missed to take pictures of every stage. Hoops are brass strips first bend to shape then blackened and glued with CA. For large and more detail photos see also: http://www.flickr.co...han_gokcay/sets http://www.flickr.co...57626433922489/


-
Thank you very much my friends. Hello Pat, how are you?
-
Thank you very much my friends.
-
Hey friends, thank you very much for your kind words. I'm going on with the rigging and attached some photos.


-
Hello Ferit, congratulations! Well done, and seems to be almost scratch built. Ilhan Gokcay
-
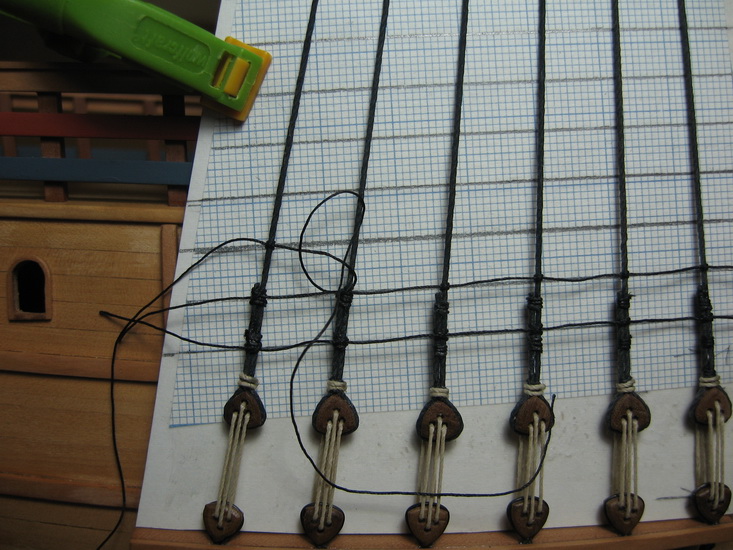
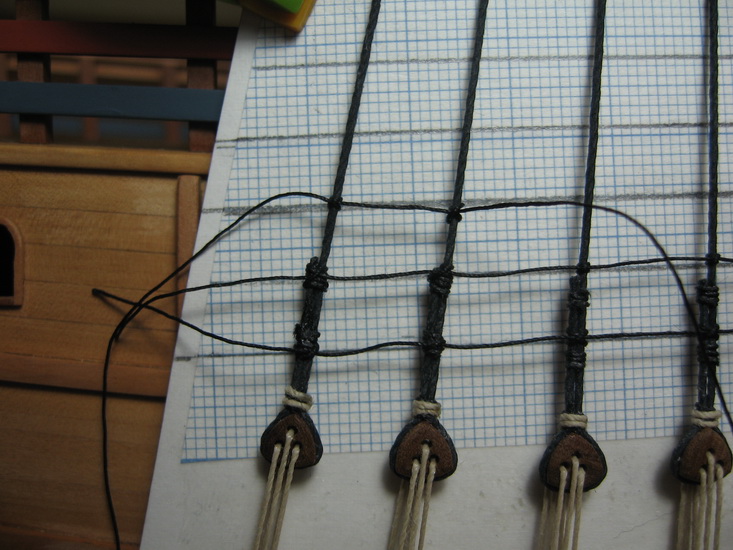
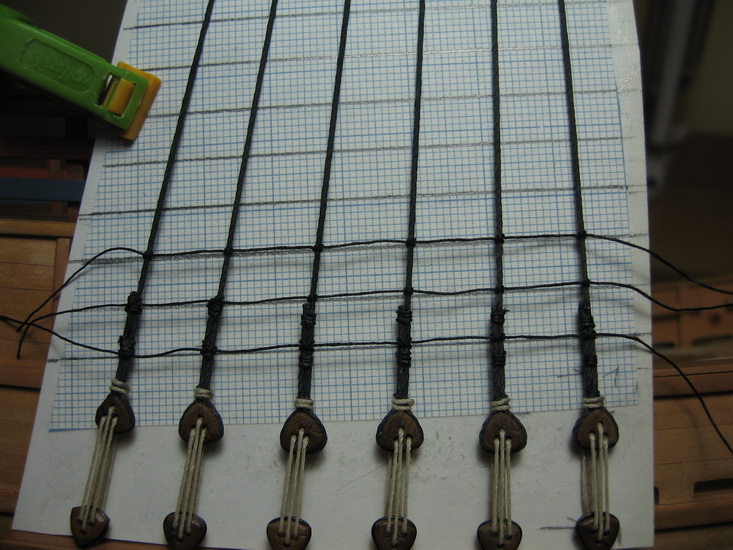
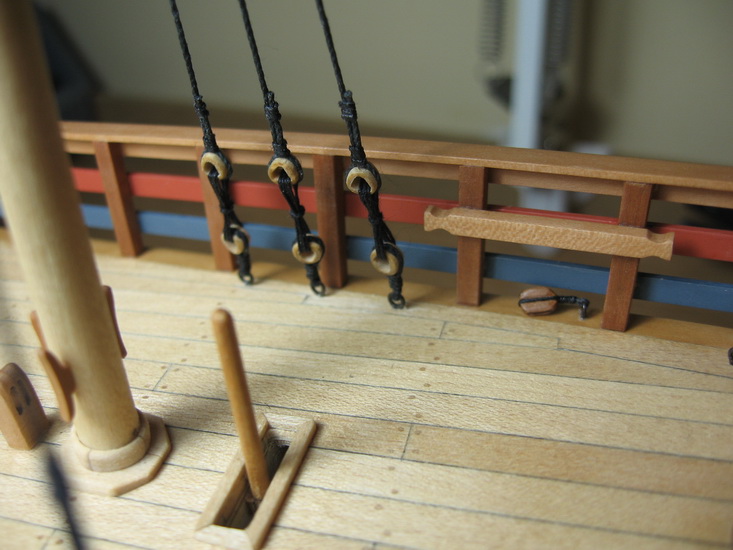
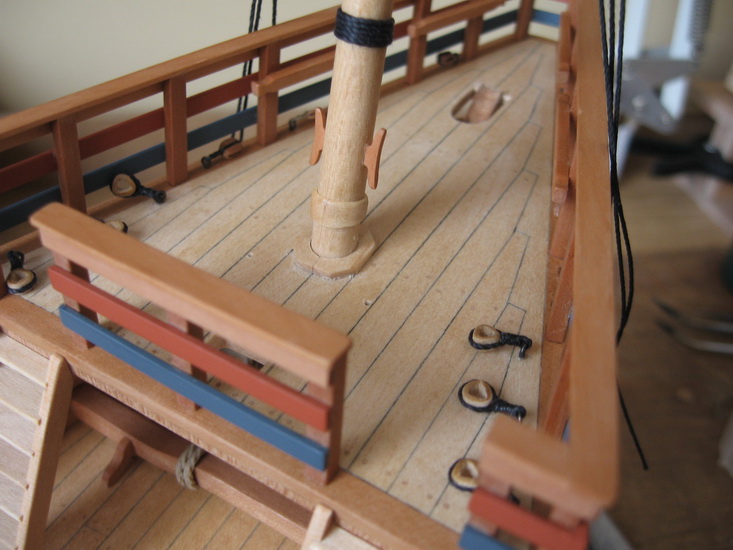
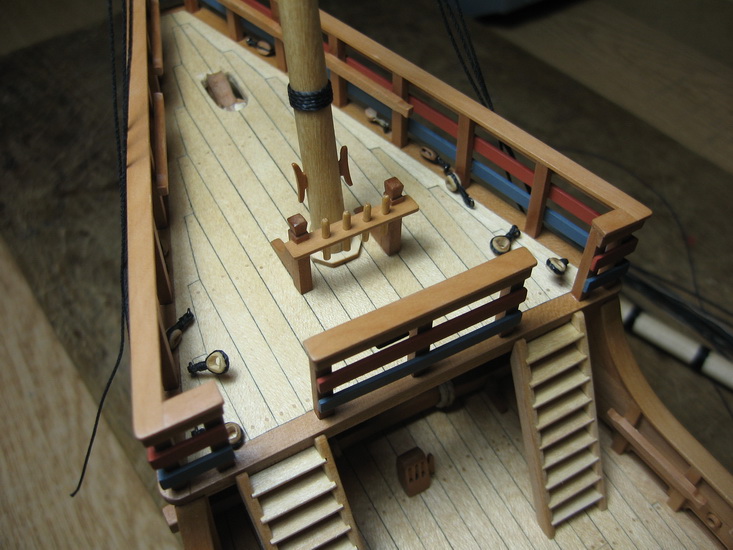
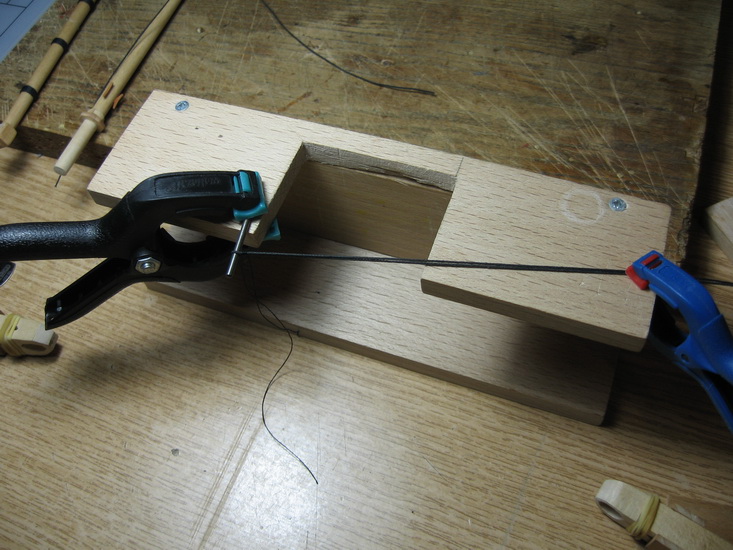
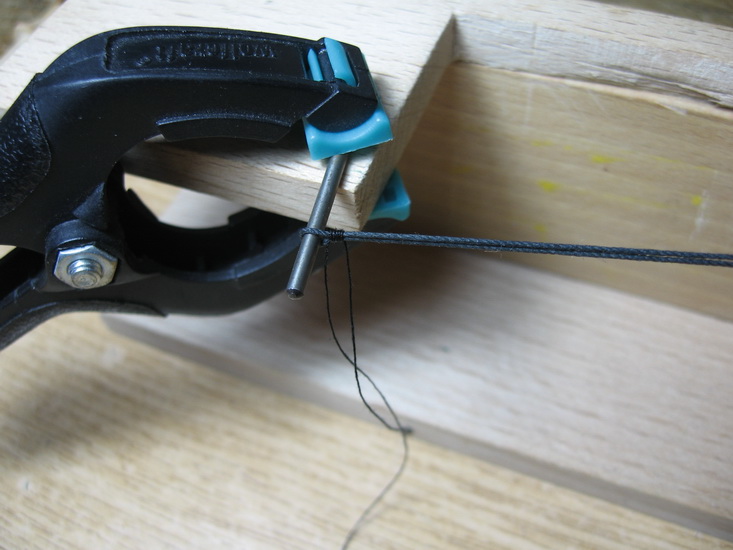
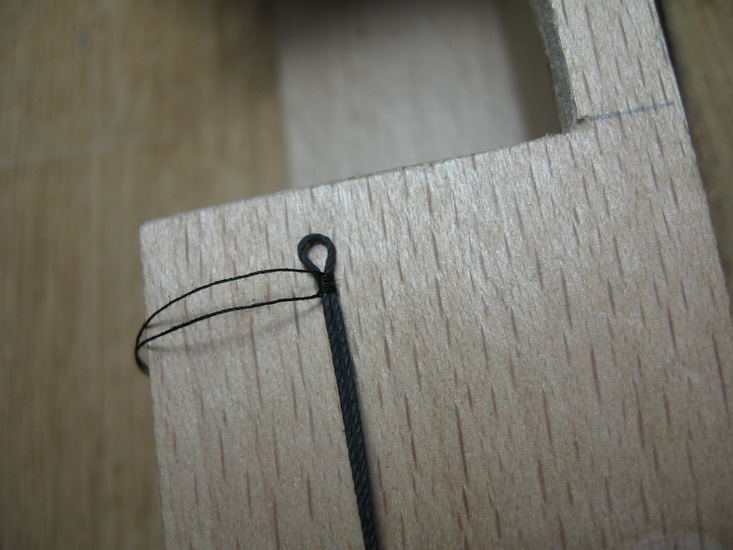
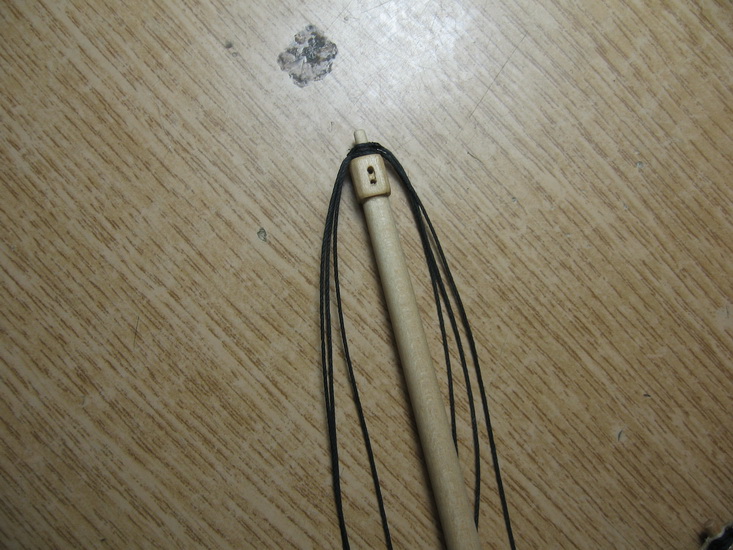
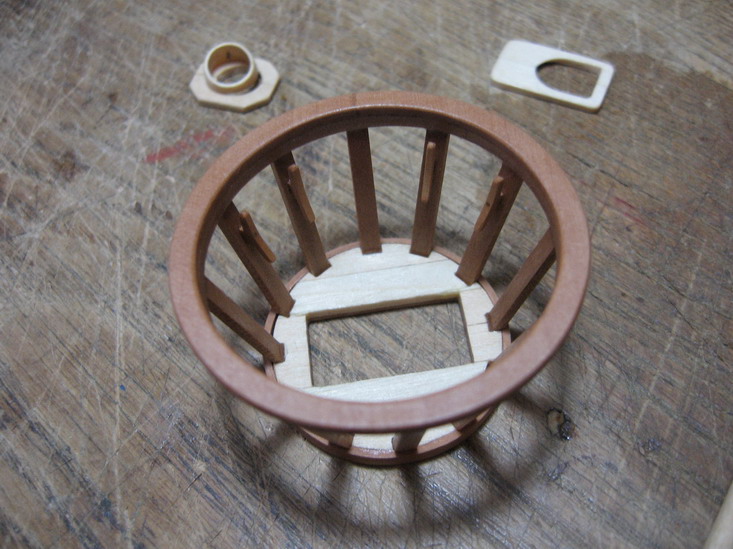
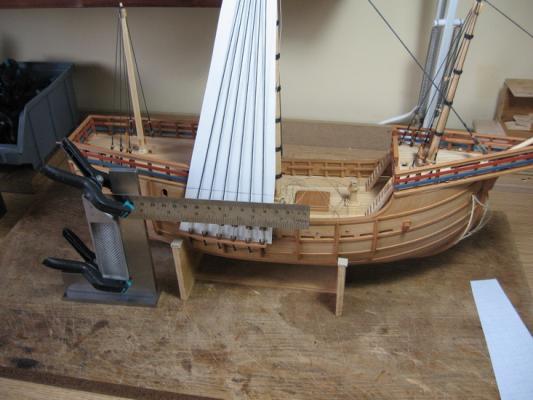
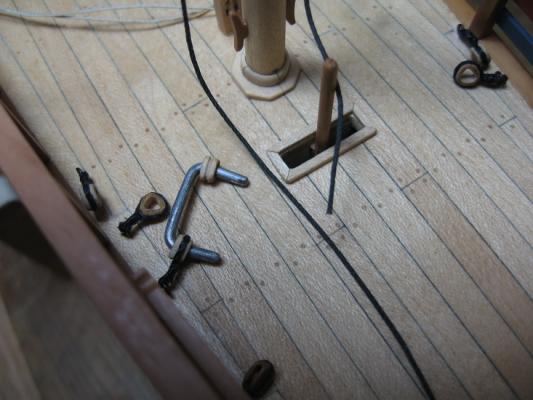
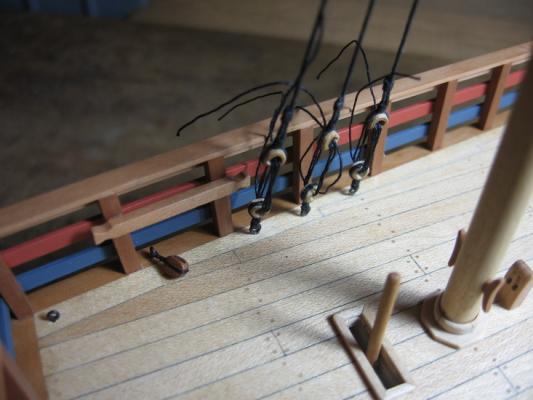
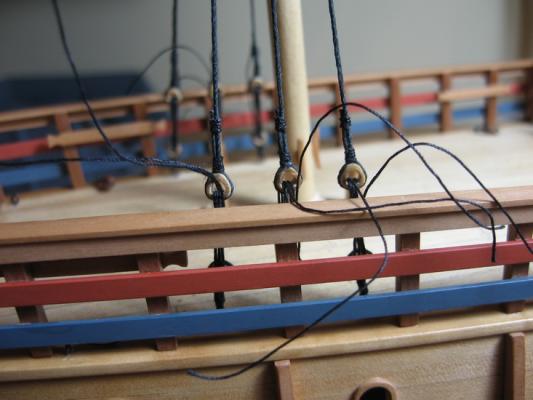
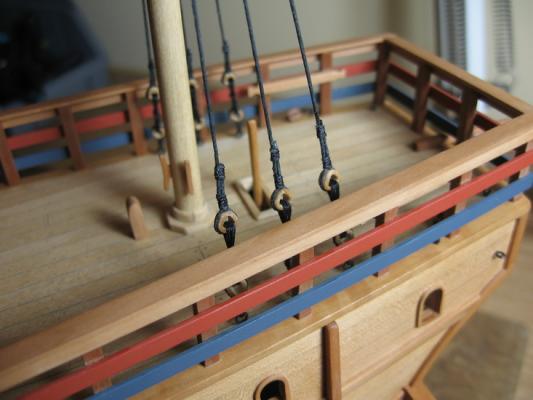
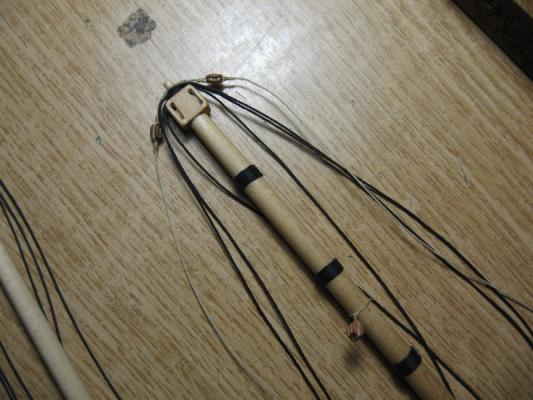
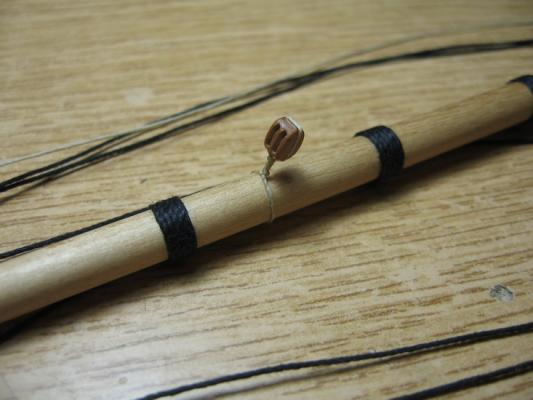
I'm going on with the rigging. Heart blocks are used for the mizzen and foremast shrouds and these are fixed to deck. I’ve attached also every possible standing and running rigging to the main mast at this stage. For convenience I’ve modified some cloth pegs which proved to be very useful. For large and more detail photos see also: http://www.flickr.com/photos/ilhan_gokcay/sets http://www.flickr.com/photos/ilhan_gokcay/sets/72157626433922489/


- 216 replies
-
- 12
-
-
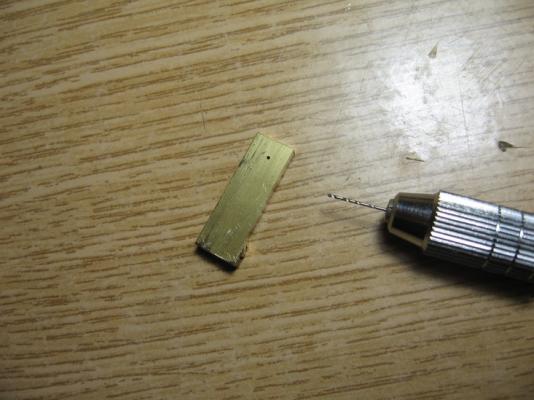
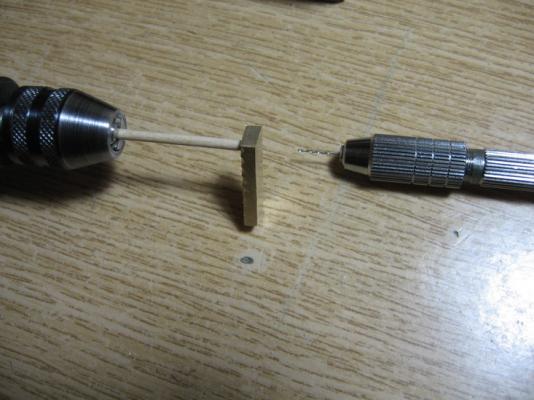
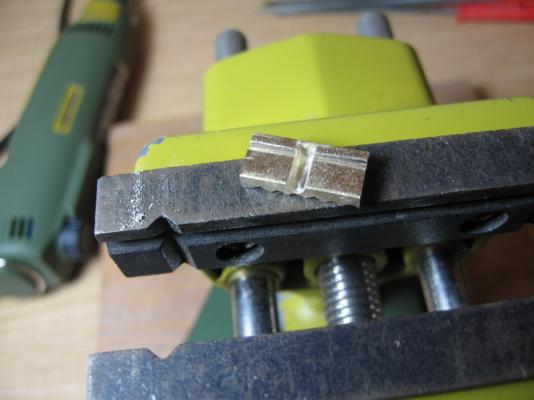
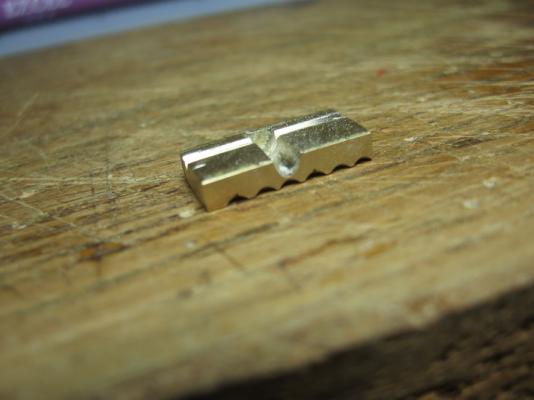
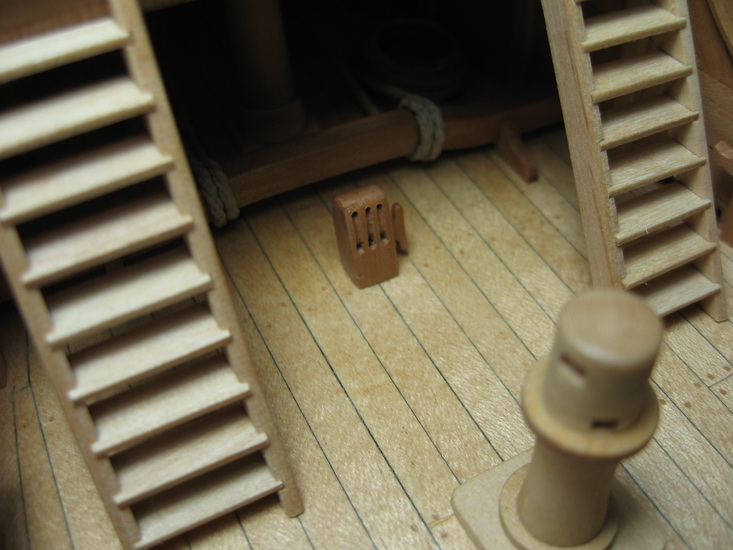
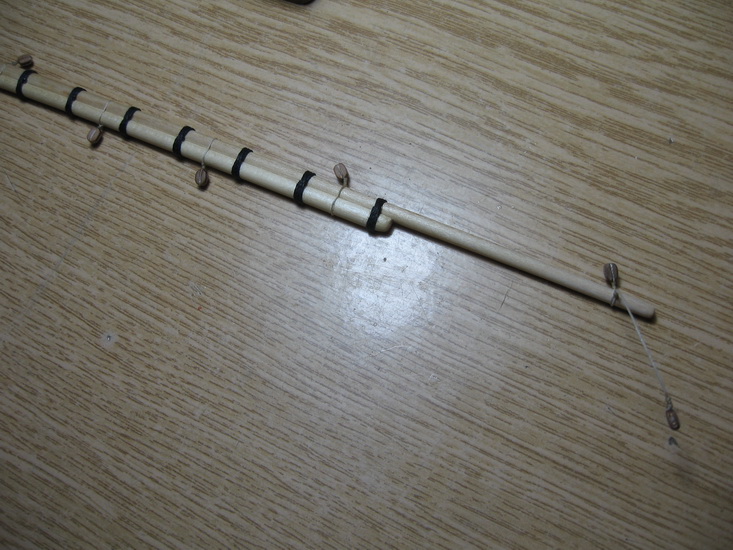
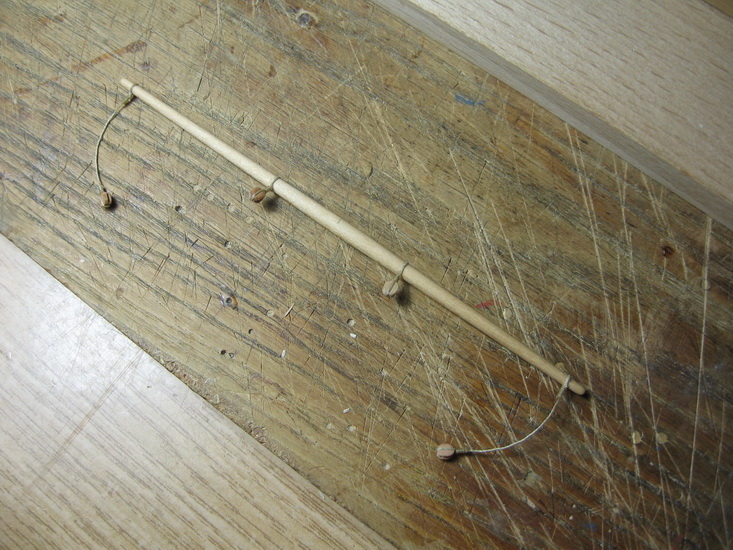
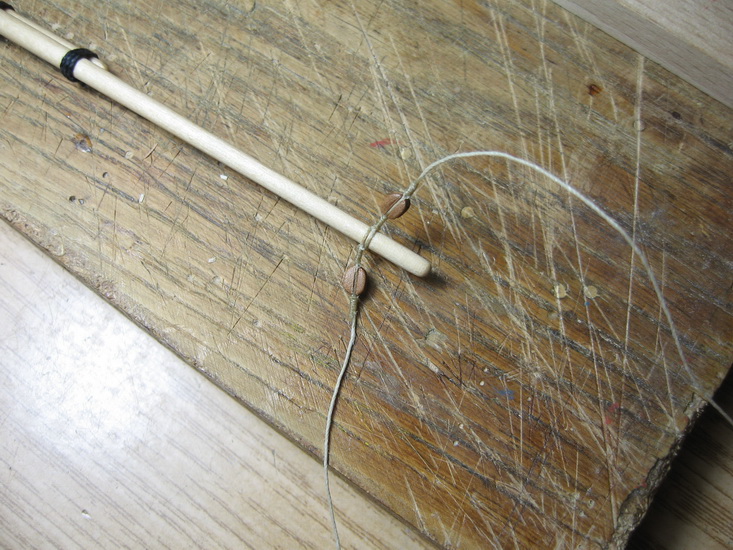
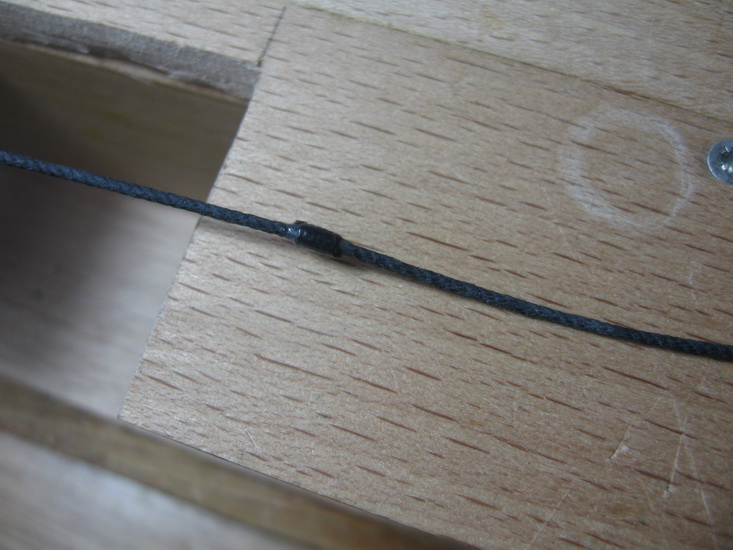
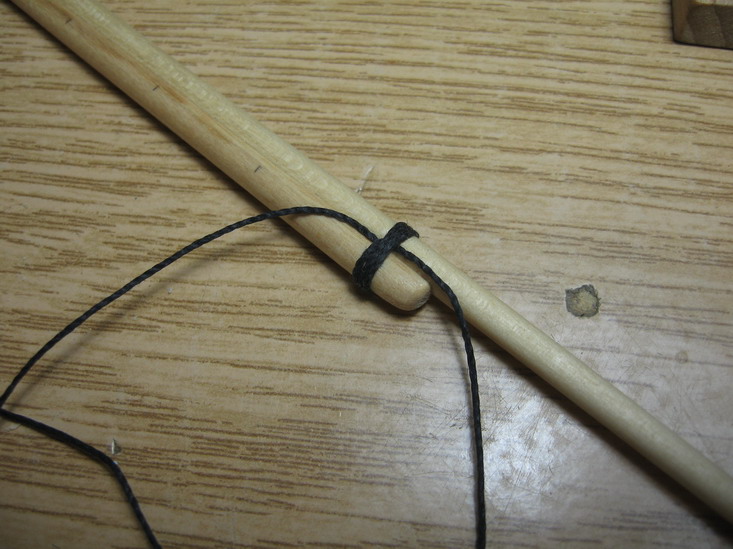
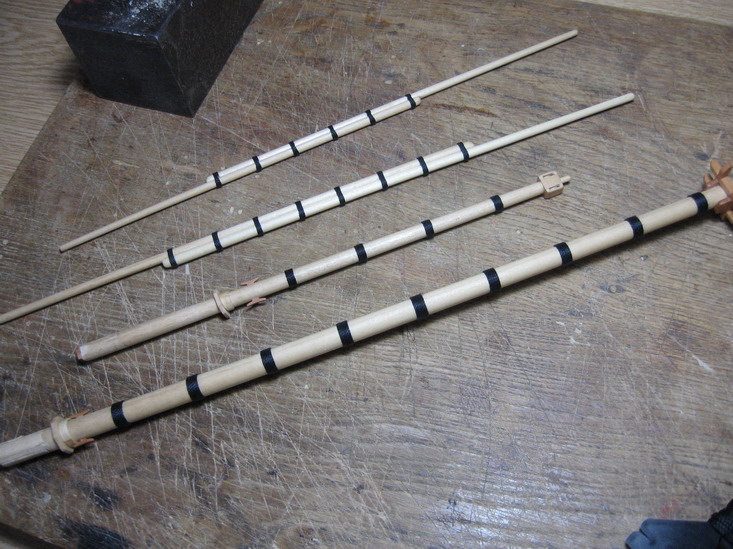
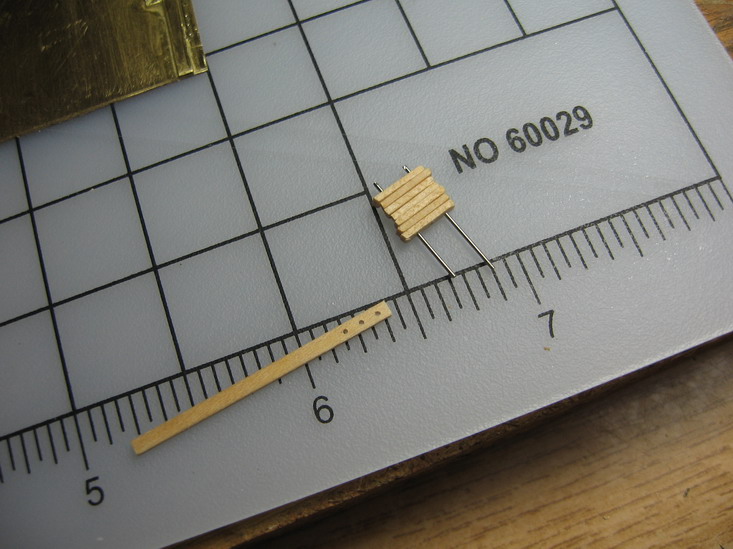
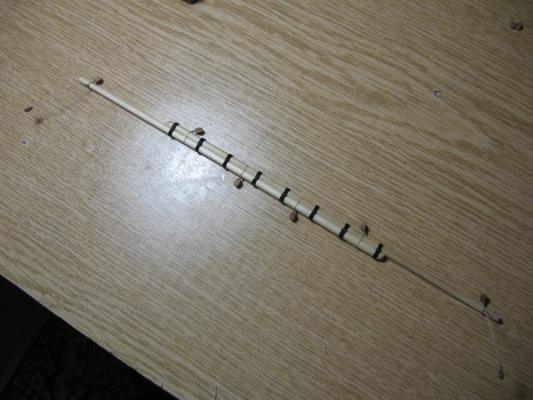
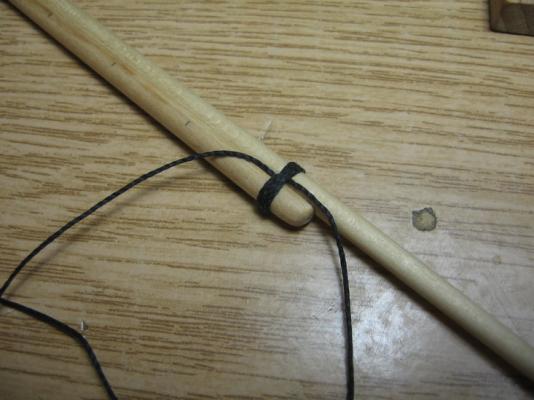
Glued the cleats to the masts and the top secured with 0,5 mm pins and also finished the rope wooldings of the masts and yards.


-
Thank you very much my friends.
-
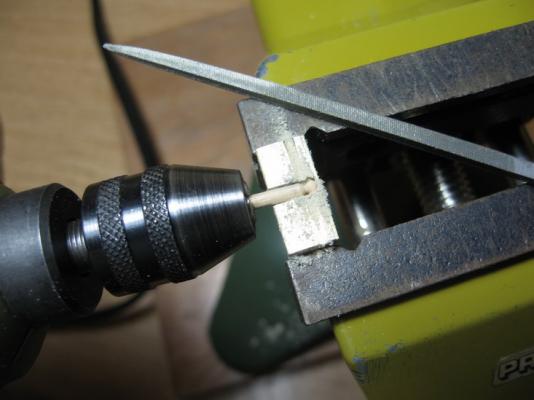
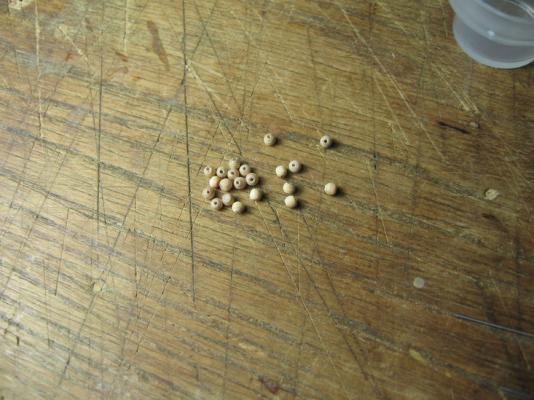
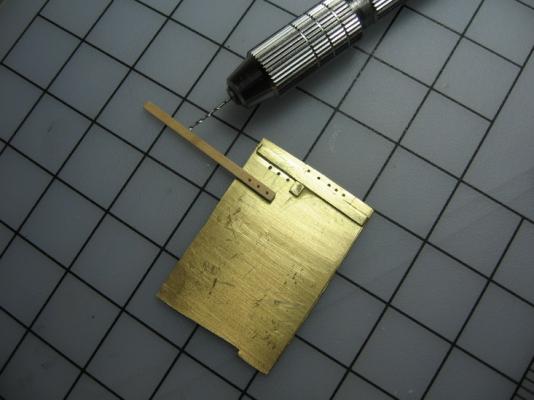
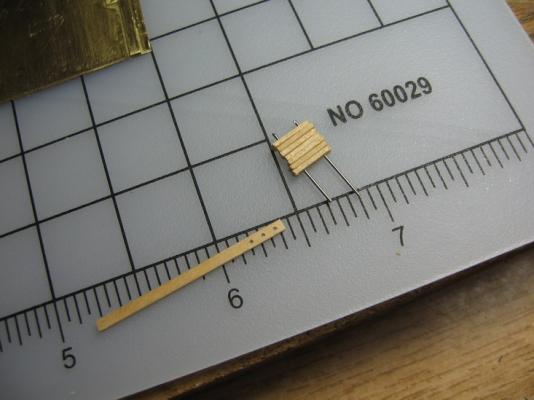
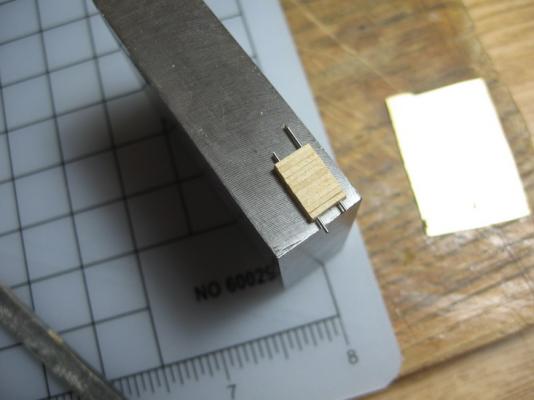
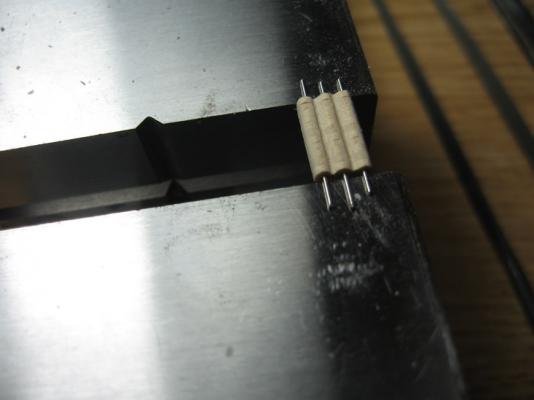
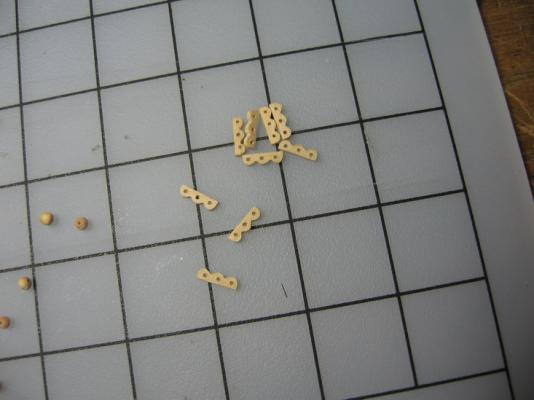
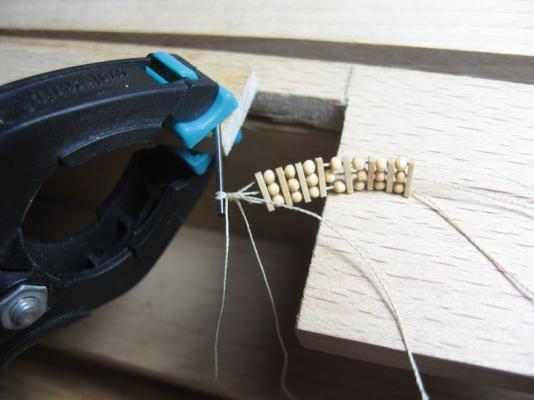
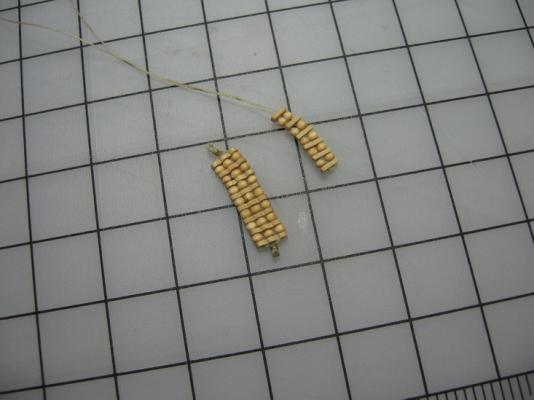
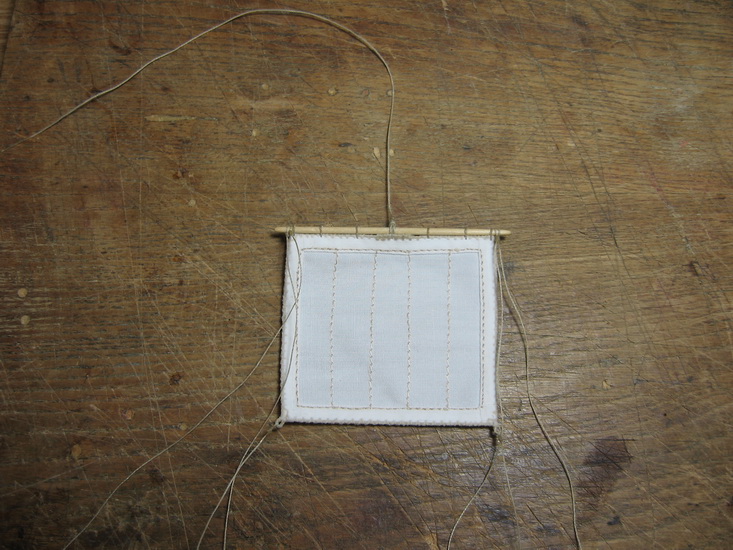
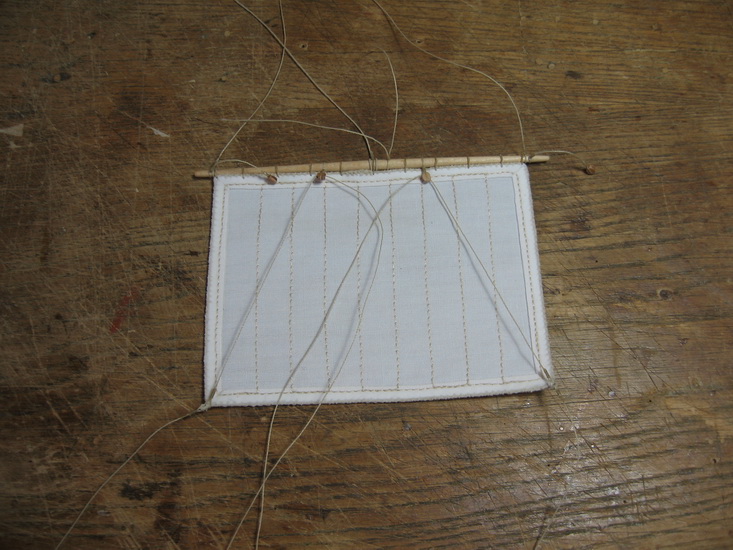
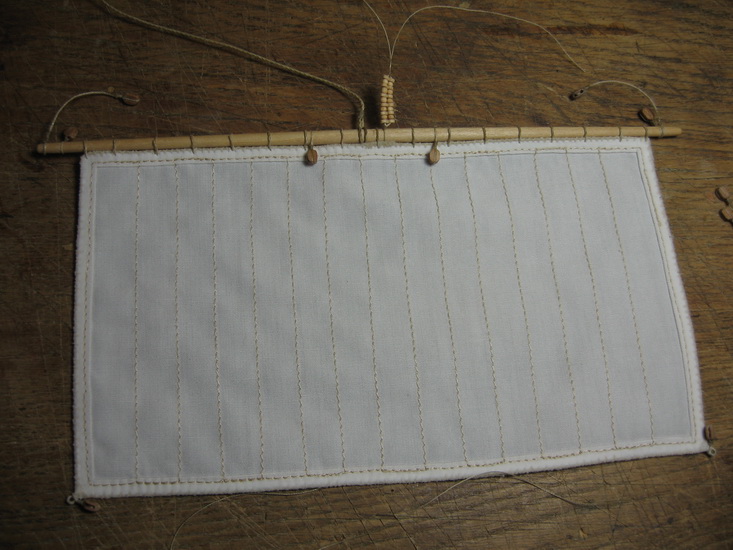
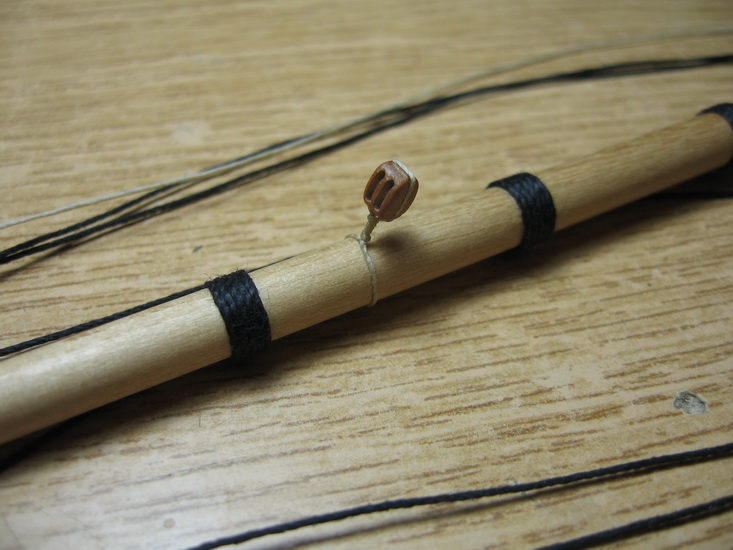
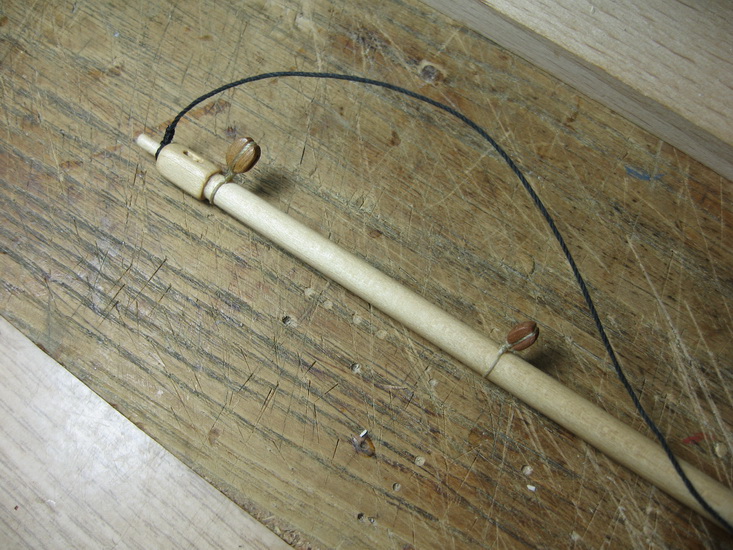
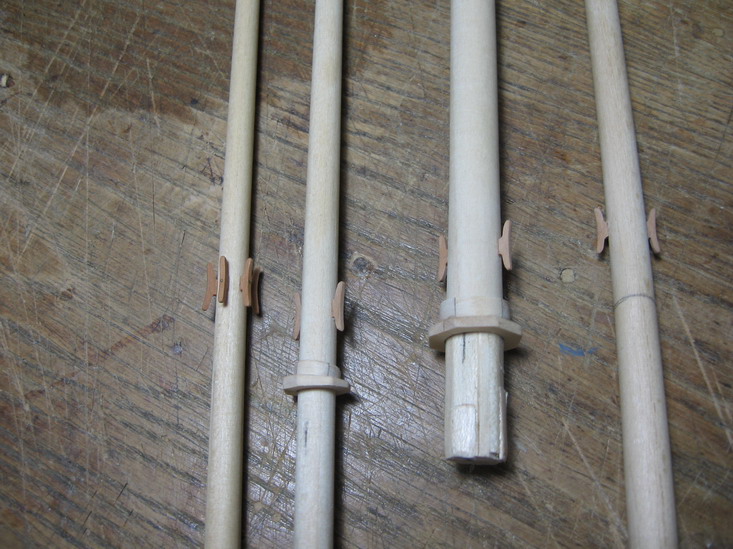
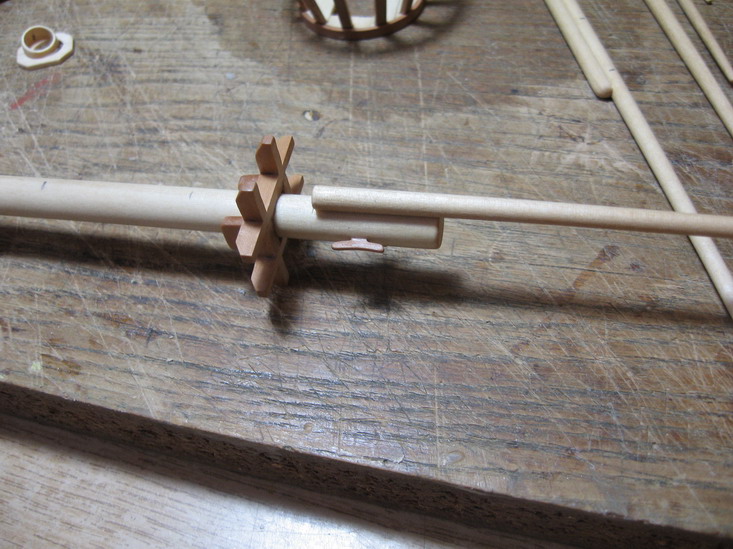
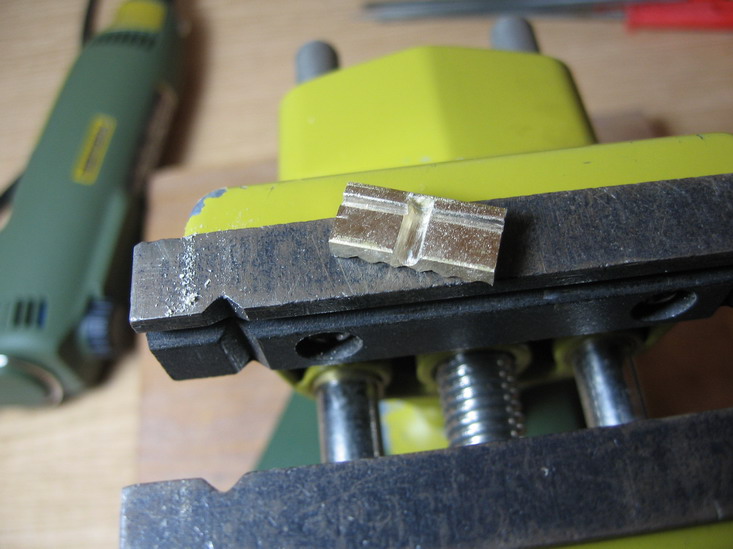
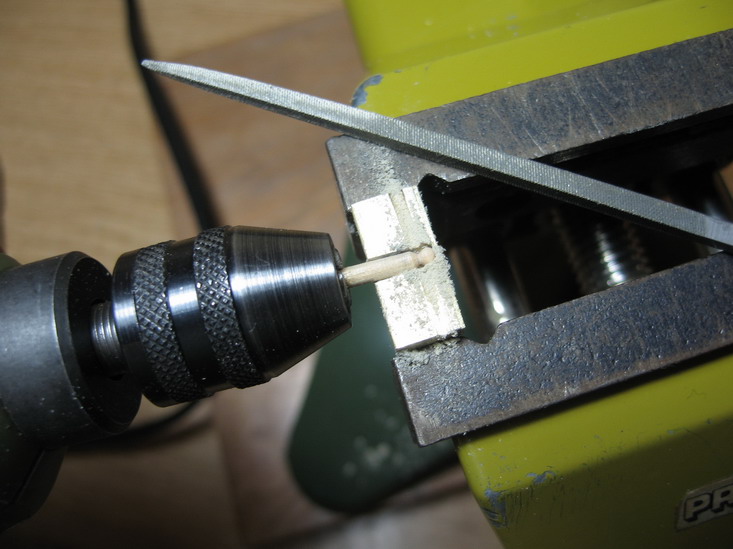
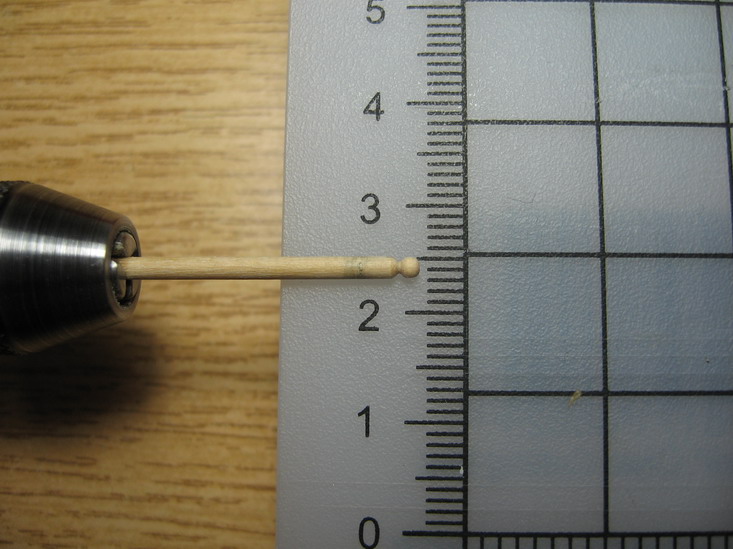
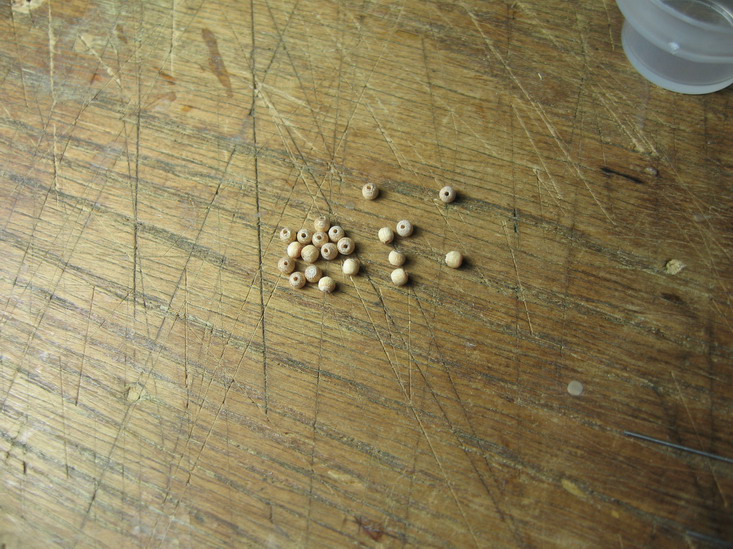
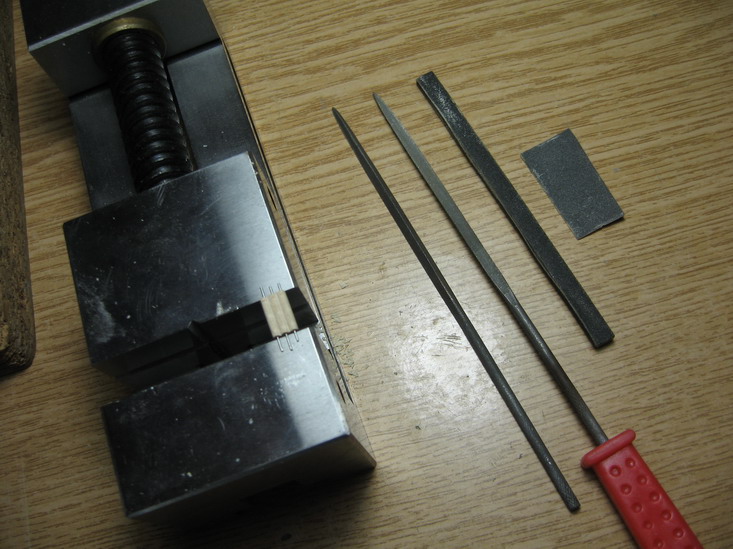
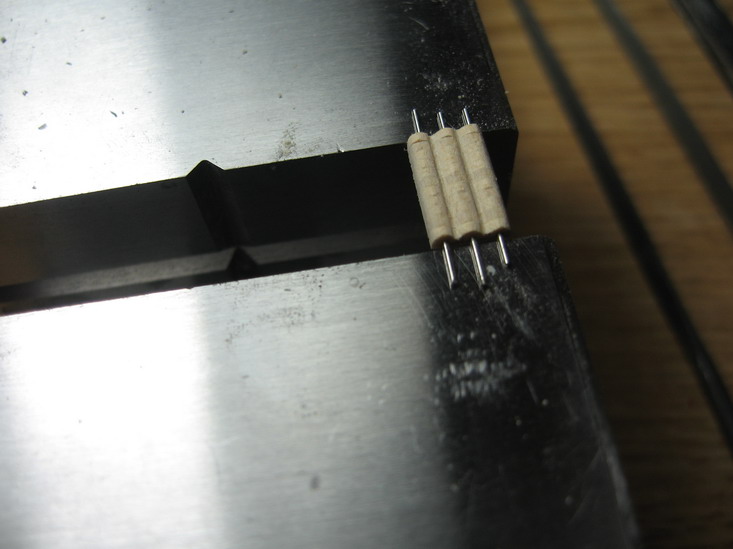
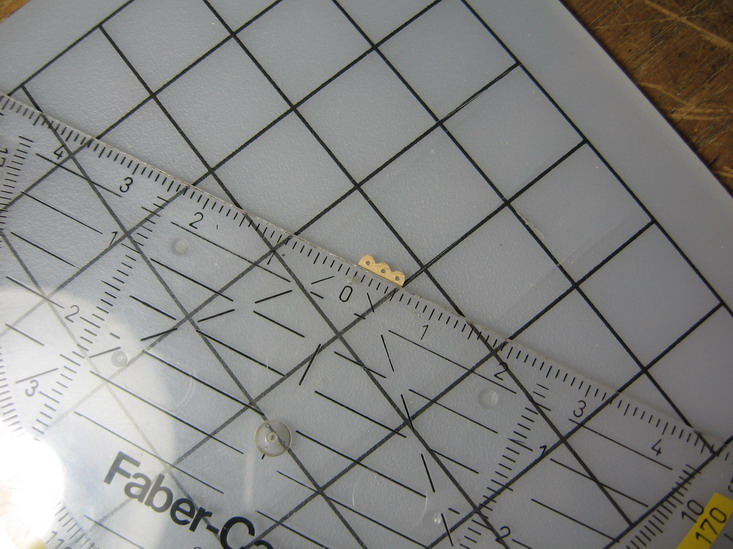
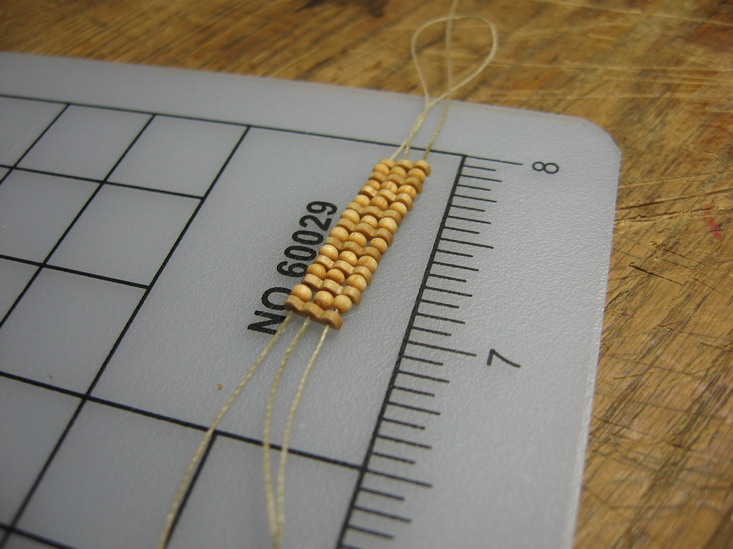
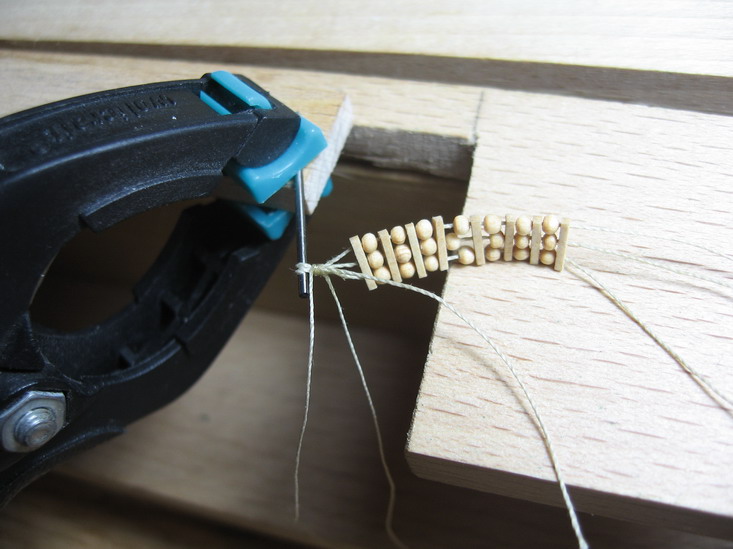
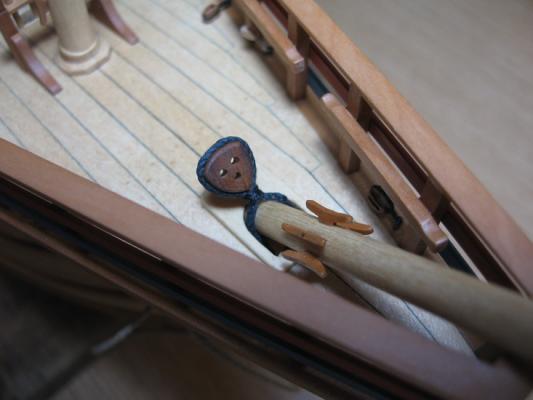
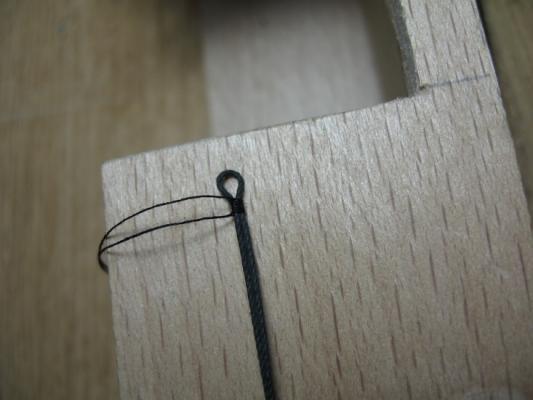
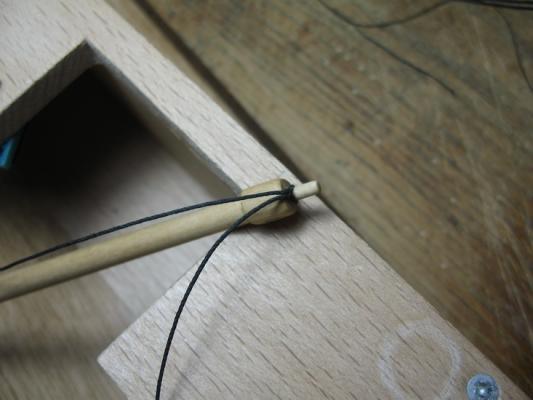
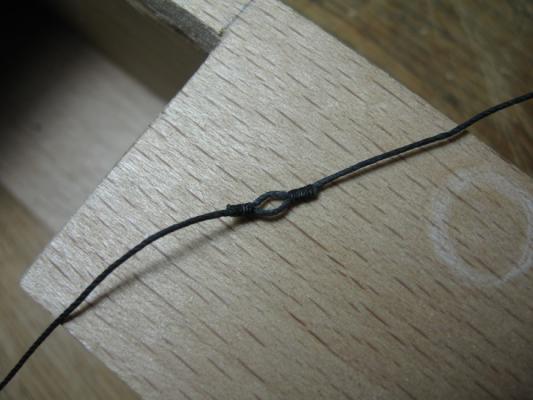
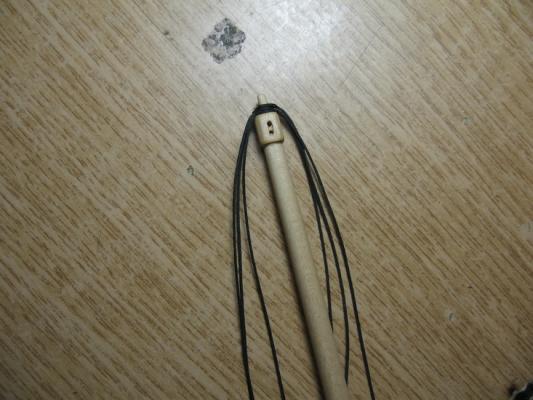
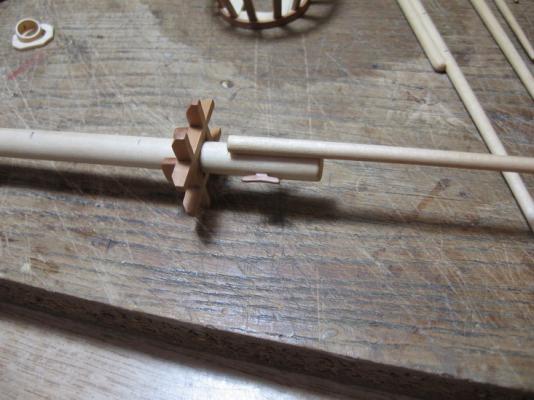
Finished the parrals. For large and more detail photos see also: http://www.flickr.co...han_gokcay/sets Best go into the set and choose slideshow or http://www.flickr.com/photos/ilhan_gokcay/sets/72157626433922489/detail/?page=47