CDW
-
Posts
7,725 -
Joined
-
Last visited
Content Type
Profiles
Forums
Gallery
Events
Everything posted by CDW
-

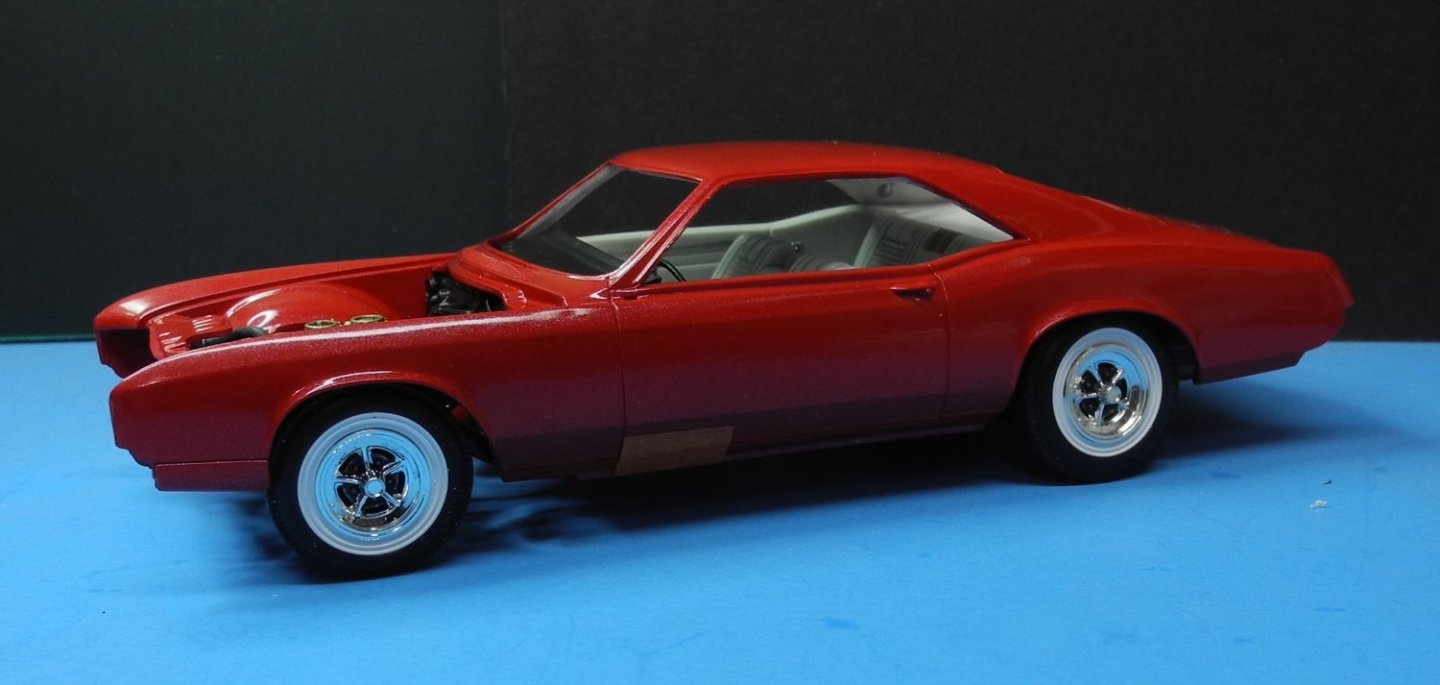
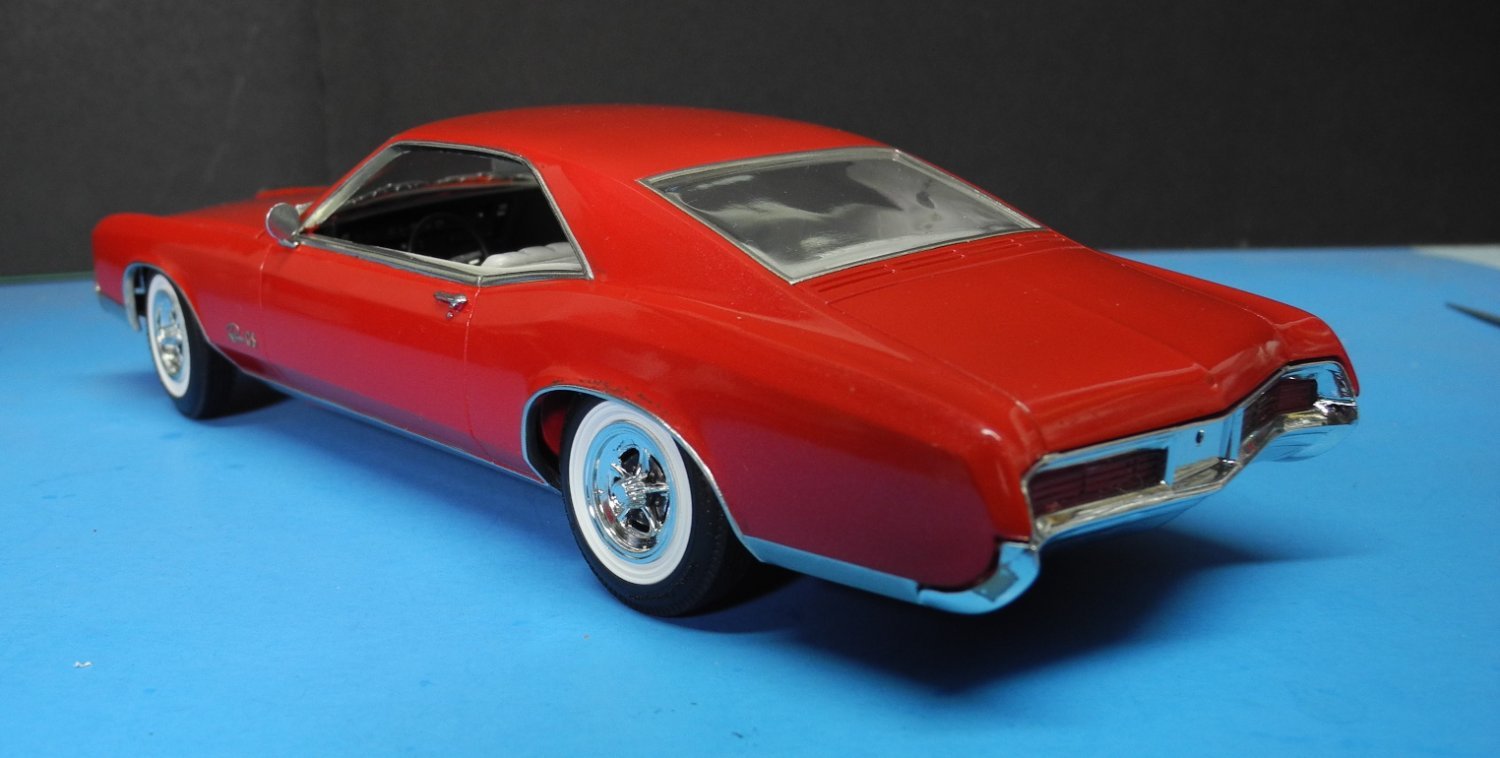
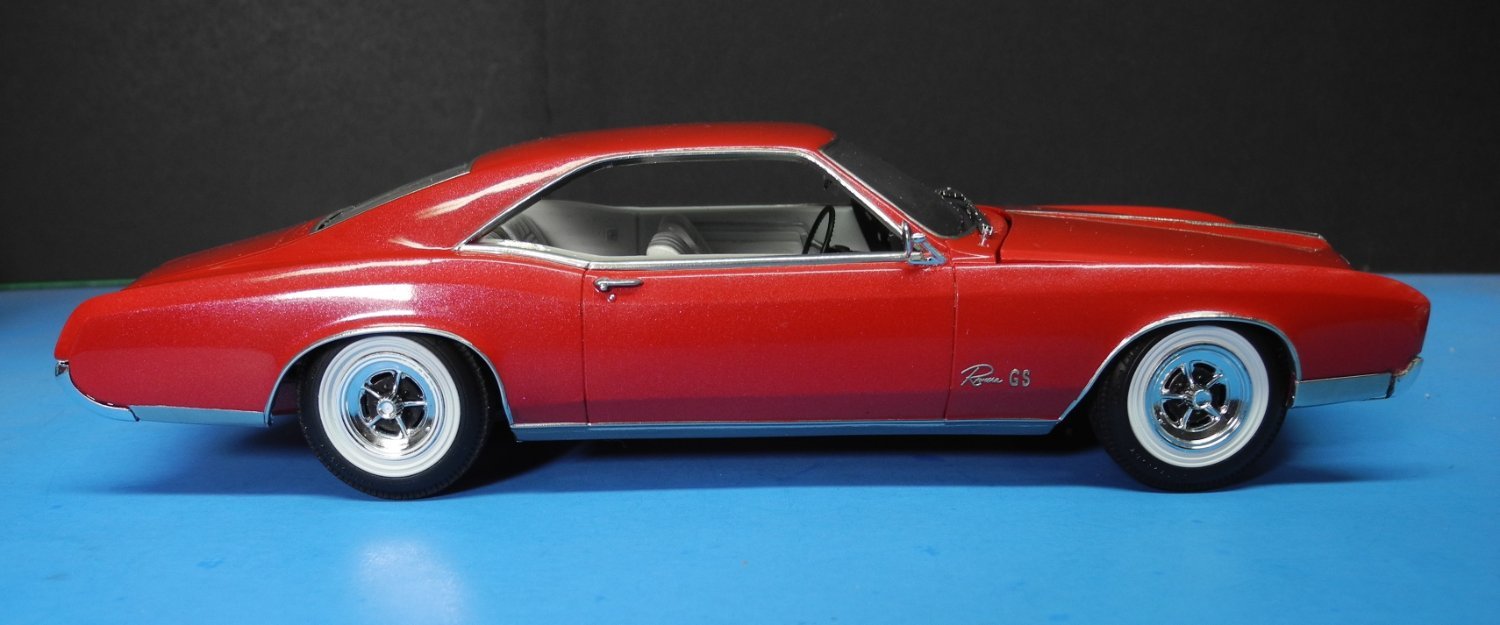
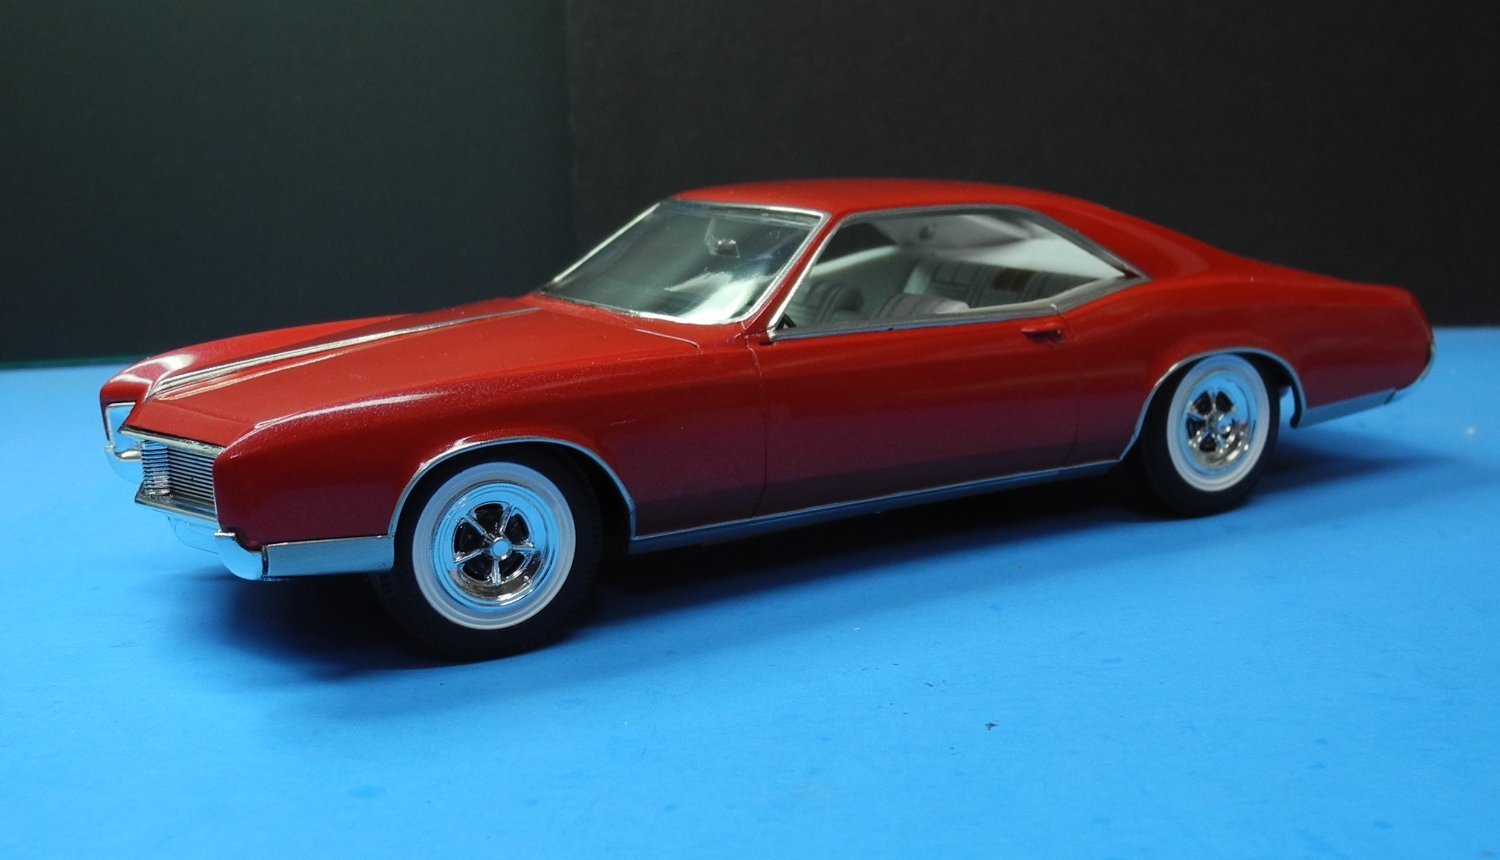
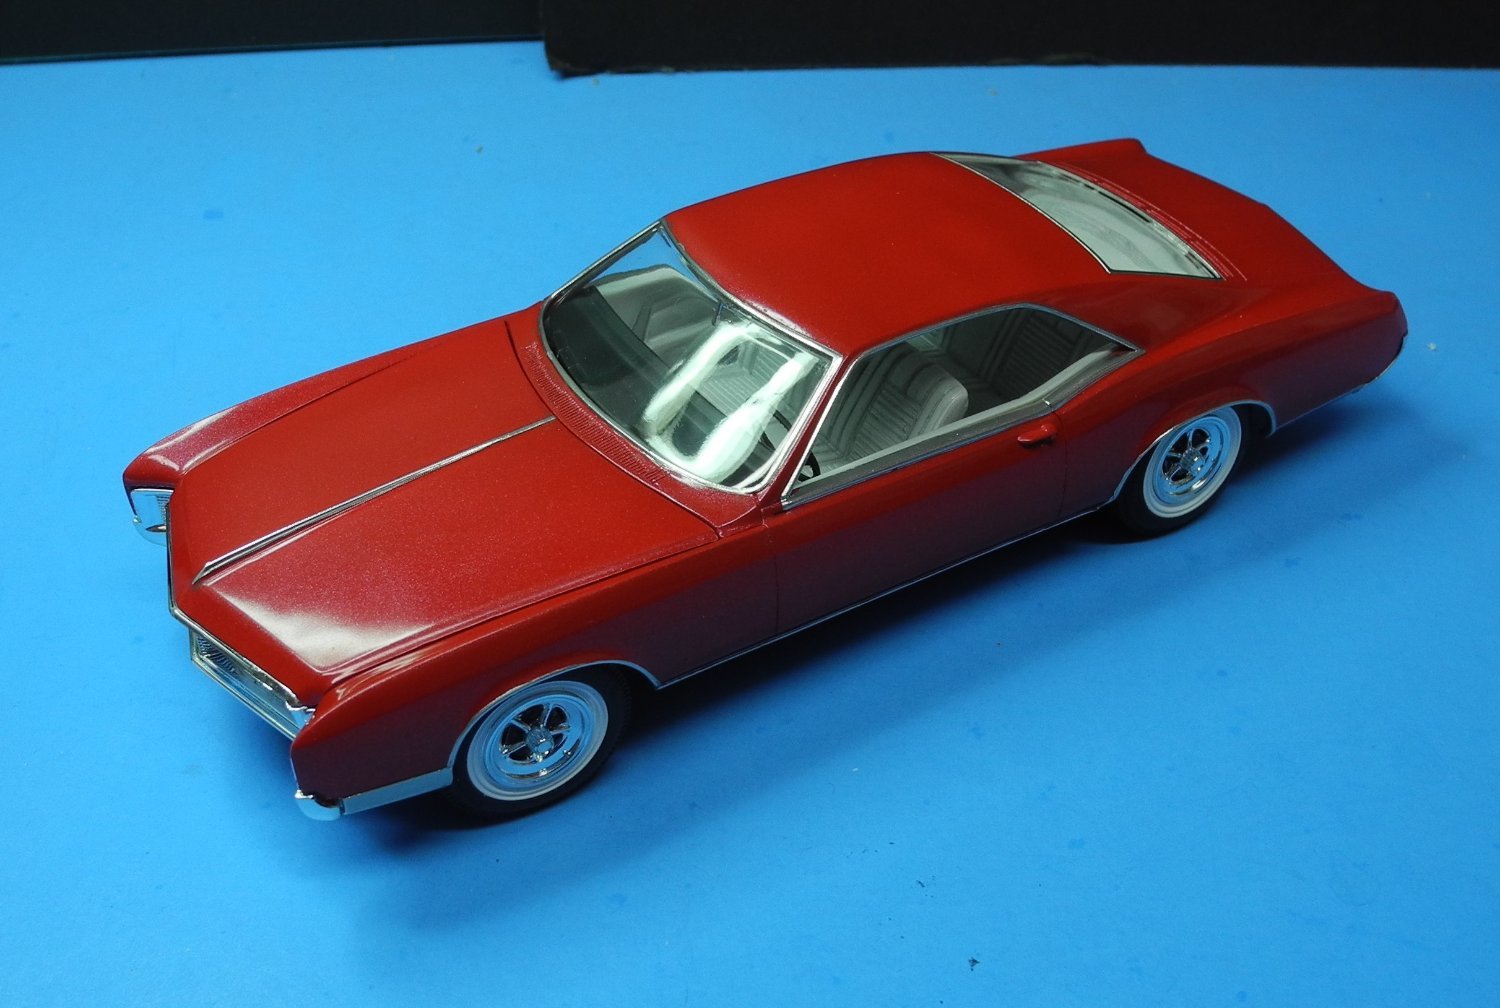
1966 Buick Riviera by CDW - FINISHED - AMT - 1:25 Scale
CDW replied to CDW's topic in Non-ship/categorised builds
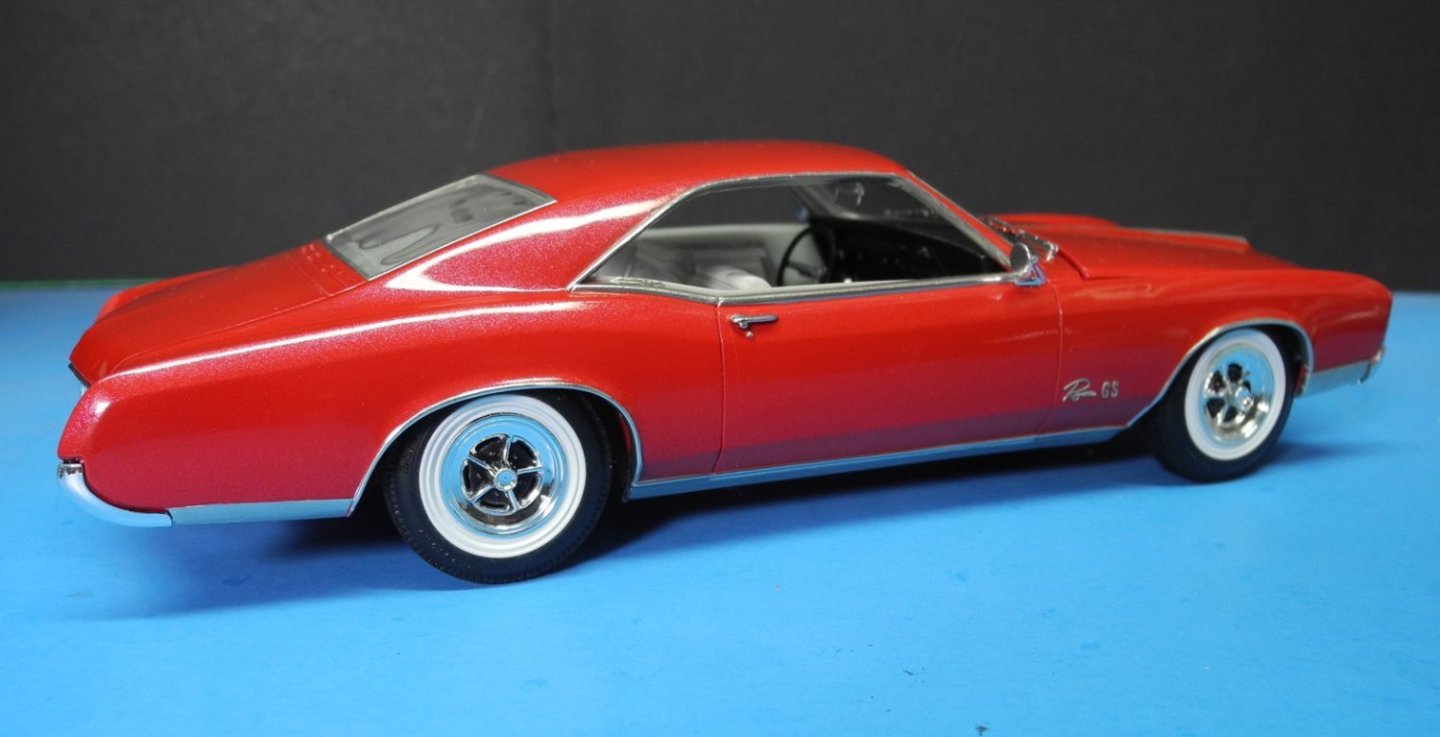
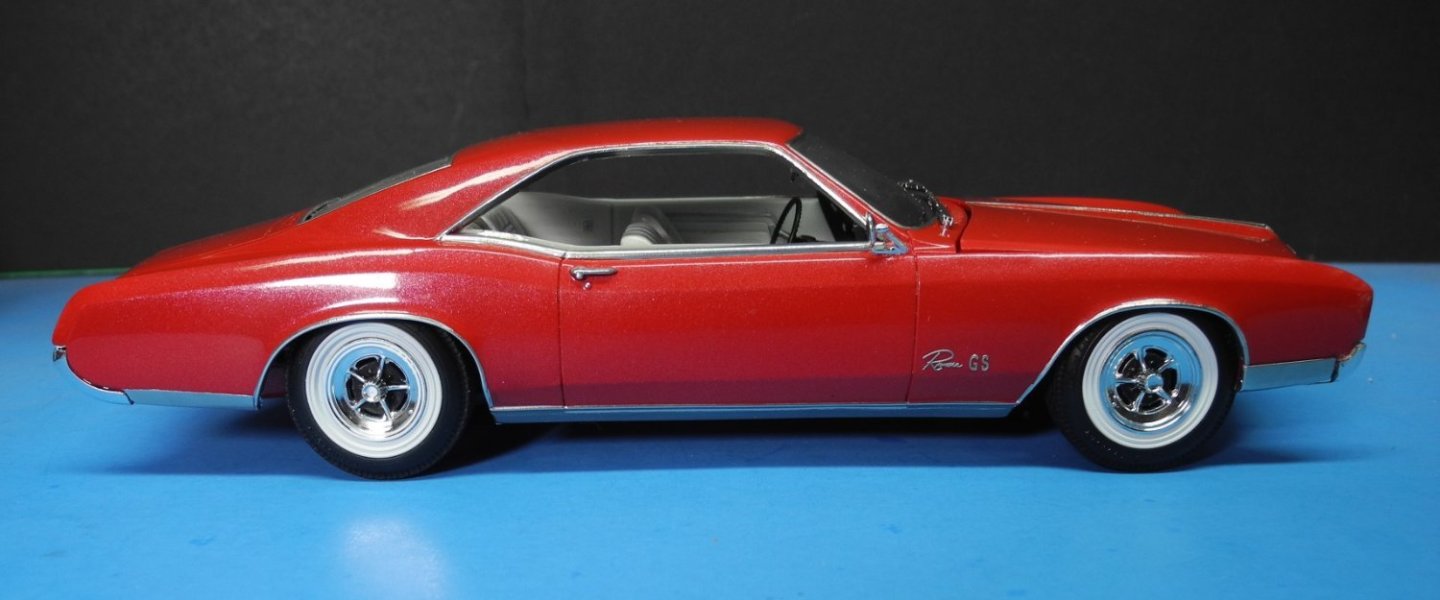
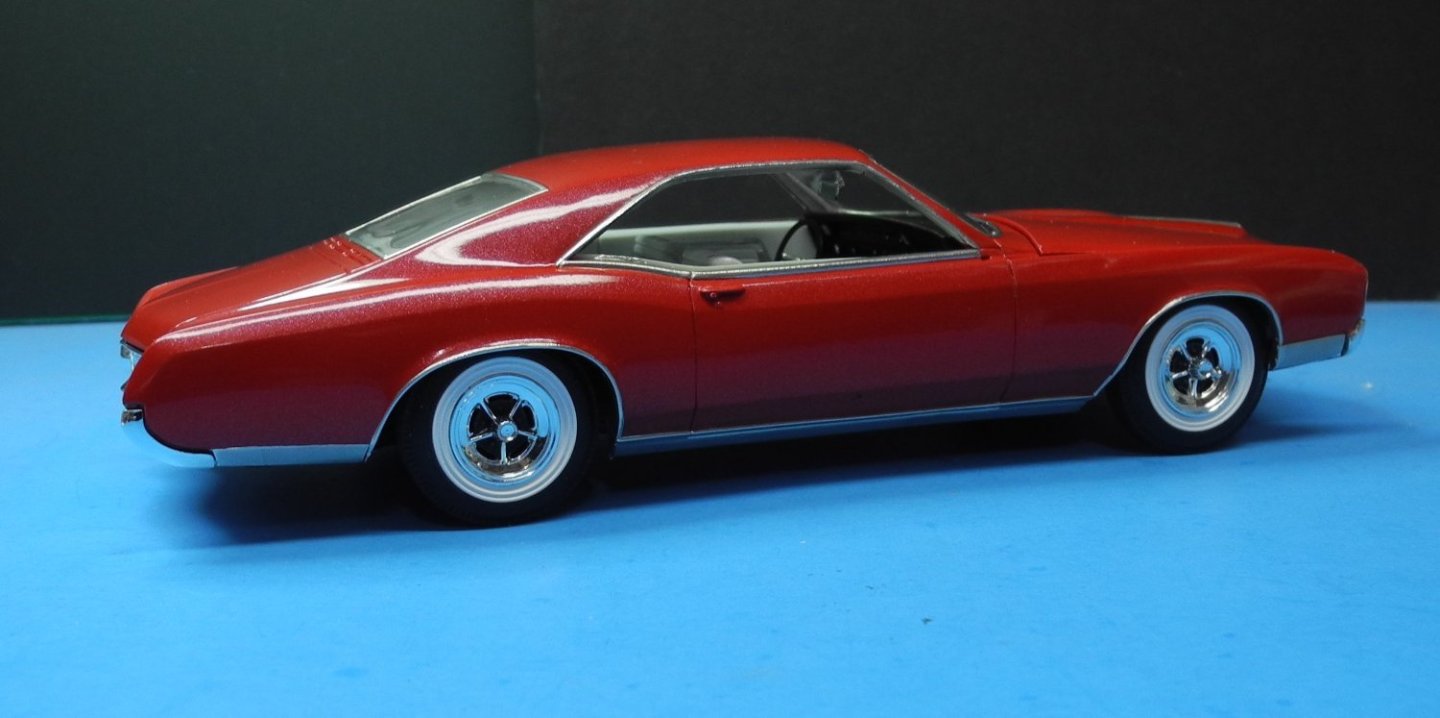
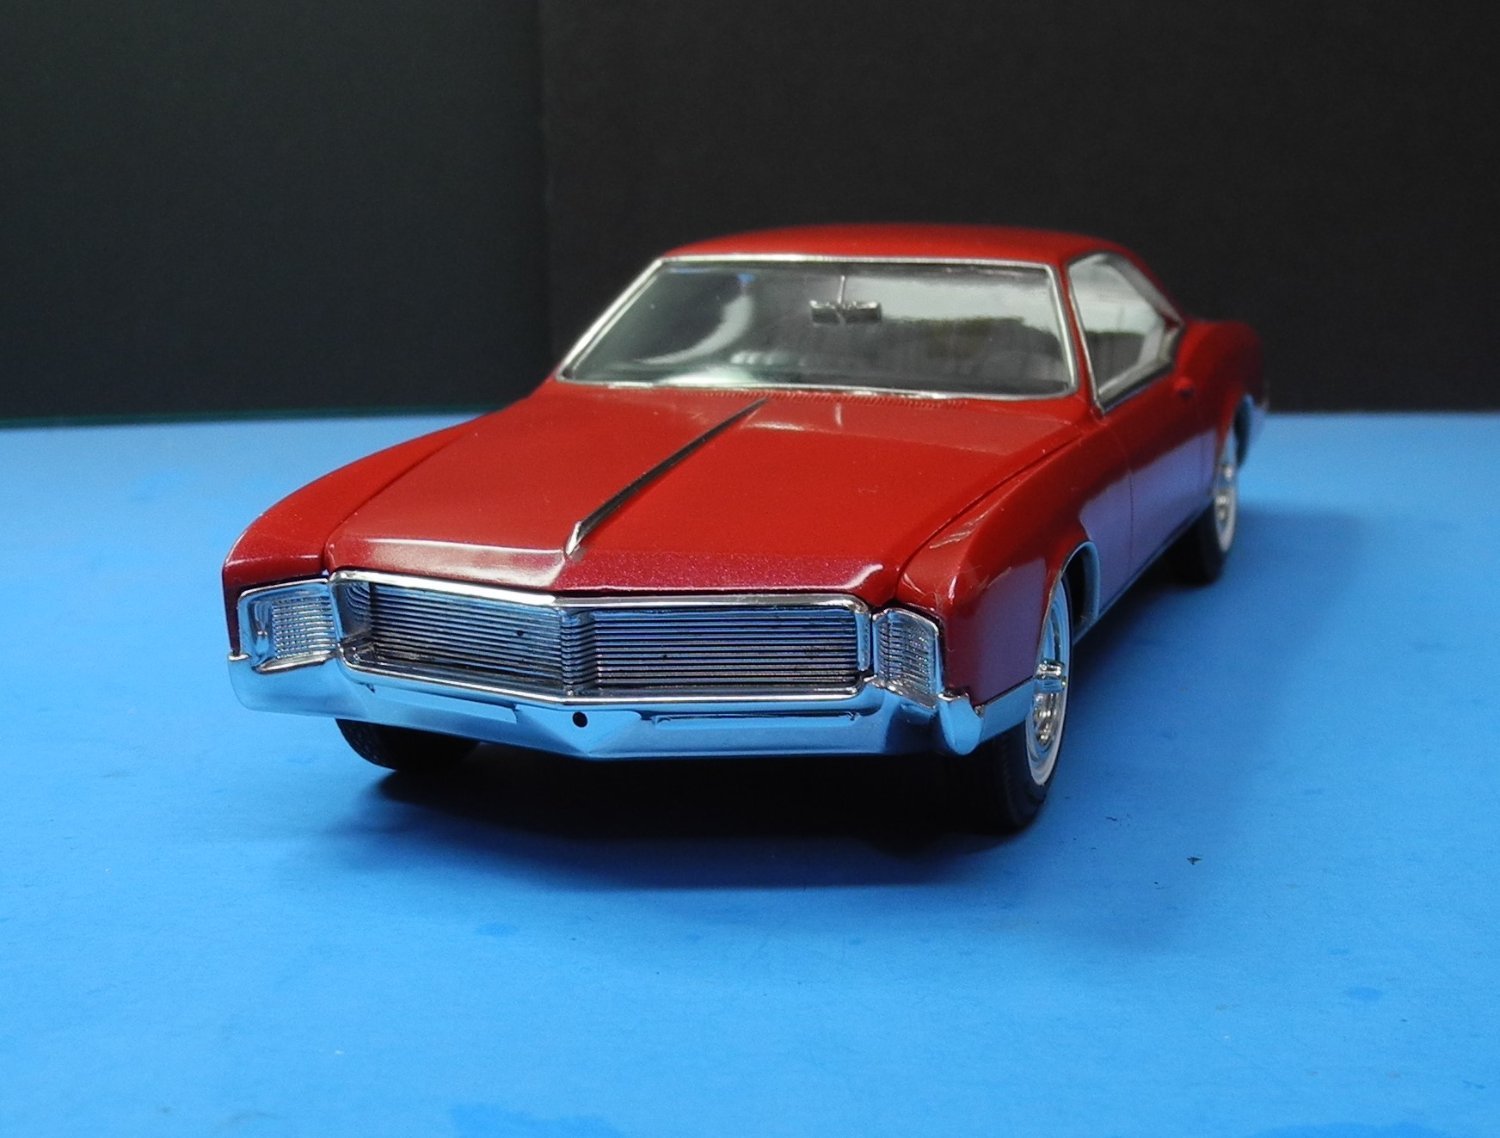
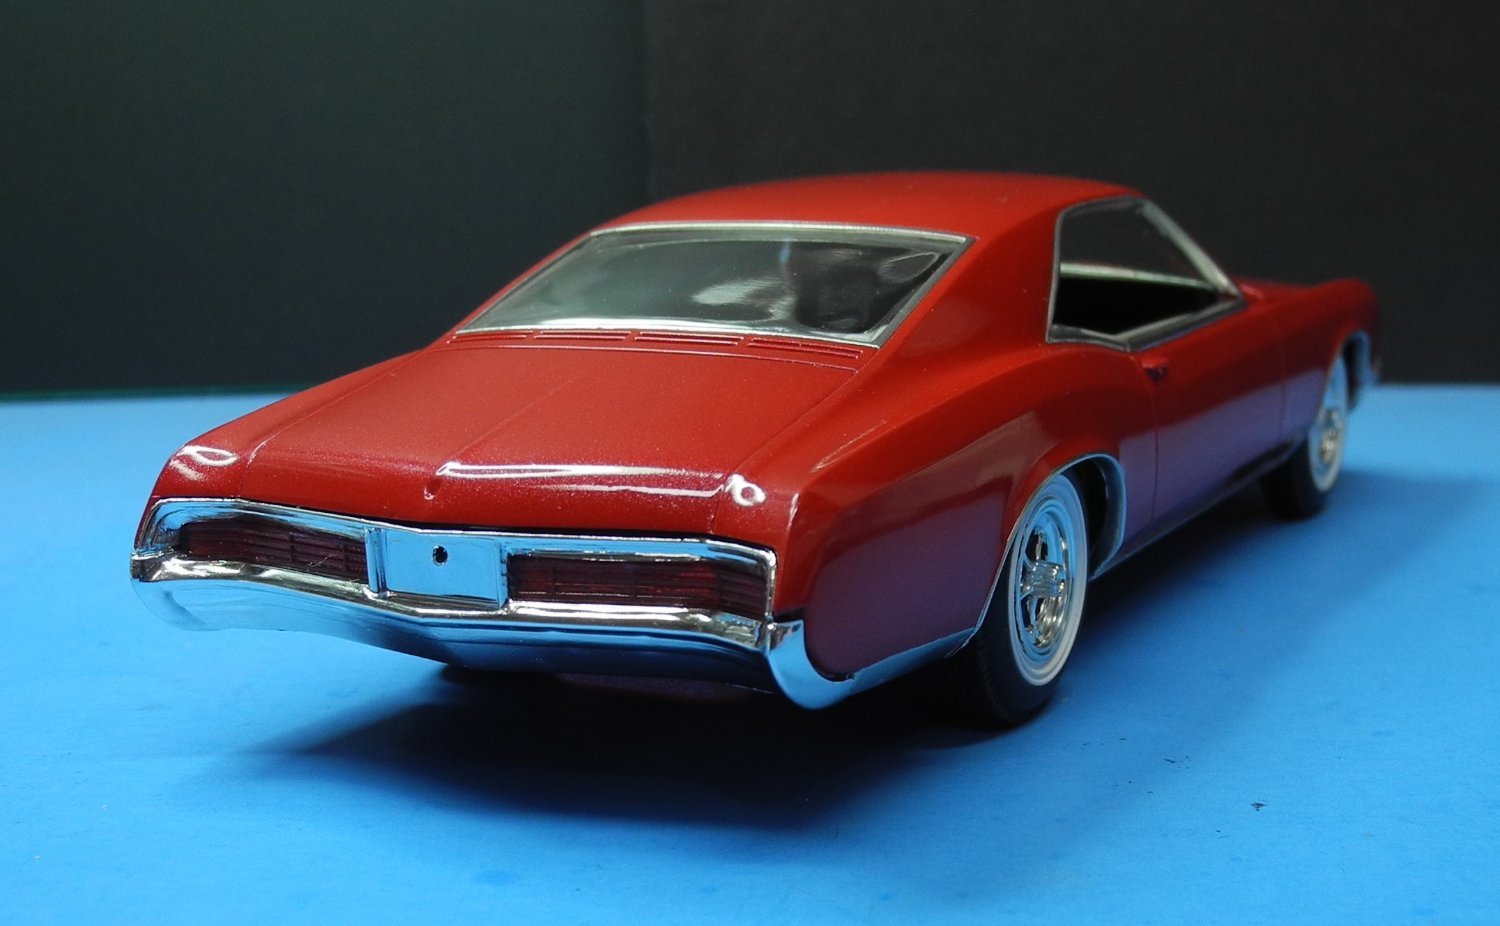
I'm going to make these the final shots of my Riviera project. Thanks to all for following along, the likes, the comments, and your friendship.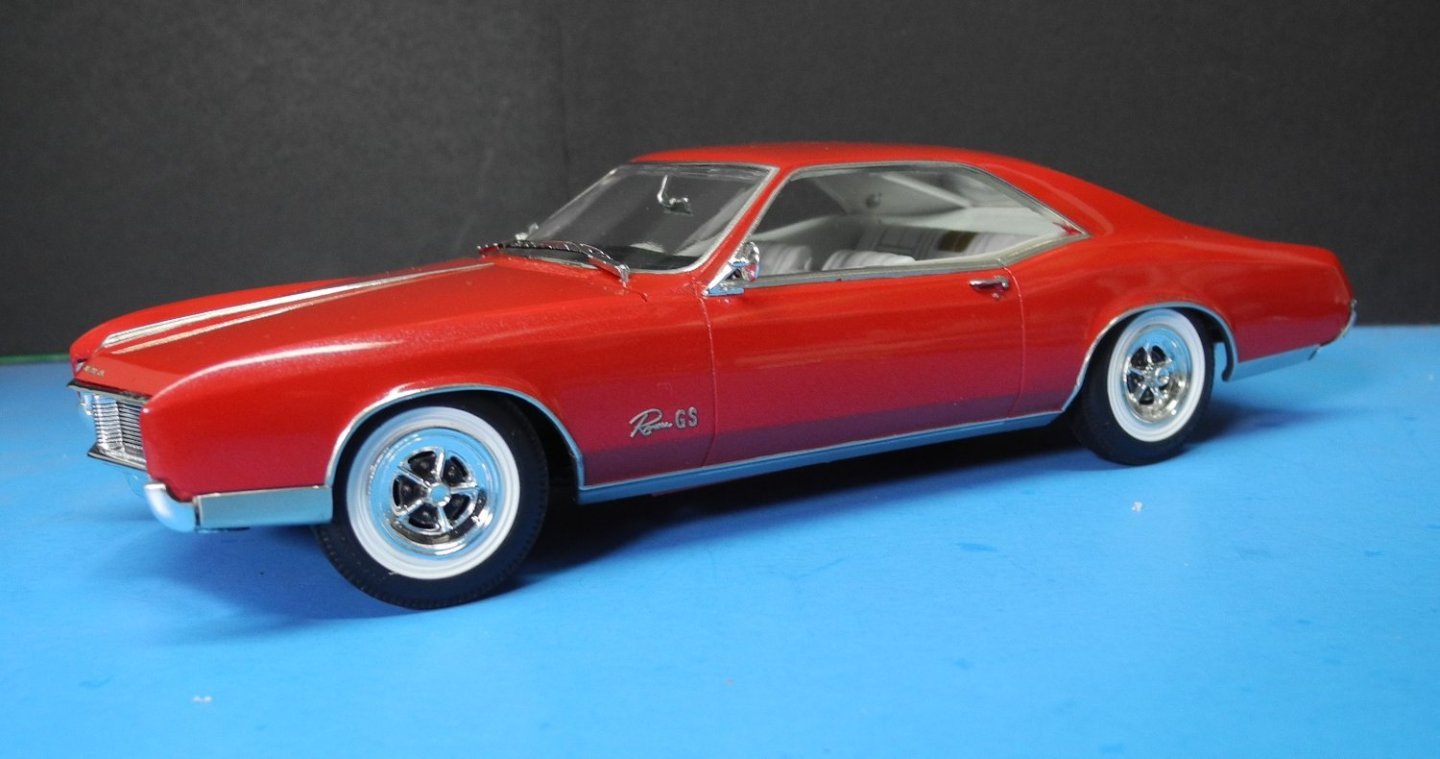

- 106 replies
-
- 11
-

-

-
1966 Buick Riviera by CDW - FINISHED - AMT - 1:25 Scale
CDW replied to CDW's topic in Non-ship/categorised builds
Folks, all I can really say is, "it's a good time to be old". The world we once knew and loved is gone. The new one is "clown world". -
Hey Mike, I like this project. Can't wait to see your magic on it.
-
Porsche 917K (x2) by gsdpic - FINISHED - Fujimi - 1/24th scale
CDW replied to gsdpic's topic in Non-ship/categorised builds
I love the pair of Porsche’s, Gary. Fabulous finish on both. -
1966 Buick Riviera by CDW - FINISHED - AMT - 1:25 Scale
CDW replied to CDW's topic in Non-ship/categorised builds
True. Bare Metal Foil sells a polished aluminum foil, too. -
1966 Buick Riviera by CDW - FINISHED - AMT - 1:25 Scale
CDW replied to CDW's topic in Non-ship/categorised builds
The bumpers and wheels are kit supplied chrome parts. I cannot imagine foil being a practical matter for either of those parts. I can tell you, high level competition judges will not deduct points for a mix of foil and kit chrome parts. They look close enough to the same to 99% of observers. The only way I can think of to have everything match would be to mask and paint all of it. I have worked most of my life with old cars and I can tell you for certain that body trim and chromed bumpers (and wheels) do not look the same held side by side. Much of the trim pieces were stainless steel not chrome. -
1966 Buick Riviera by CDW - FINISHED - AMT - 1:25 Scale
CDW replied to CDW's topic in Non-ship/categorised builds
It's real close to finish now. Maybe today or Saturday the finishing pieces will be added then the Riviera can be called complete.


- 106 replies
-
- 12
-
-
-
1966 Buick Riviera by CDW - FINISHED - AMT - 1:25 Scale
CDW replied to CDW's topic in Non-ship/categorised builds
Thanks guys! -
1966 Buick Riviera by CDW - FINISHED - AMT - 1:25 Scale
CDW replied to CDW's topic in Non-ship/categorised builds
Only the adhesive on the foil. It’s not easy to move at all. I suppose too much handling along the edges could cause it to lift but if it’s burnished down well, that chance is minimized as well. -
1966 Buick Riviera by CDW - FINISHED - AMT - 1:25 Scale
CDW replied to CDW's topic in Non-ship/categorised builds
Thanks Yves -
1966 Buick Riviera by CDW - FINISHED - AMT - 1:25 Scale
CDW replied to CDW's topic in Non-ship/categorised builds
All the chrome foil work is done...finally. Will move to wrap this little project up over the next few days.

- 106 replies
-
- 12
-
-
-
1966 Buick Riviera by CDW - FINISHED - AMT - 1:25 Scale
CDW replied to CDW's topic in Non-ship/categorised builds
It's particularly useful when you are trying to do careful trimming of a silver object. A silver blade against a silver object is very hard to see. Simply blacken the blade tip with a sharpie marker and you'll see the blade 100% better. Works like magic. -
1966 Buick Riviera by CDW - FINISHED - AMT - 1:25 Scale
CDW replied to CDW's topic in Non-ship/categorised builds
It's really not all that difficult if the right tools are used and you take your time doing it. A new, sharp #11 surgical scalpel is a must, along with some quality, pointed cotton swabs (Tamiya variety). I blacken the tip of my scalpel blade so I can clearly see it as it's carefully and lightly drawn against the edge of the chrome trim. It's certainly not one of my favorite parts of car modeling but nothing else takes its place. -
1966 Buick Riviera by CDW - FINISHED - AMT - 1:25 Scale
CDW replied to CDW's topic in Non-ship/categorised builds
Took a few minutes this morning assembling and soldering together the photo etch windshield wipers from Aber. Earlier in the build, I cut off the molded on, horrible looking wipers that were part of the car body. These aftermarket units should give a more realistic appearance once they are painted and installed on the model.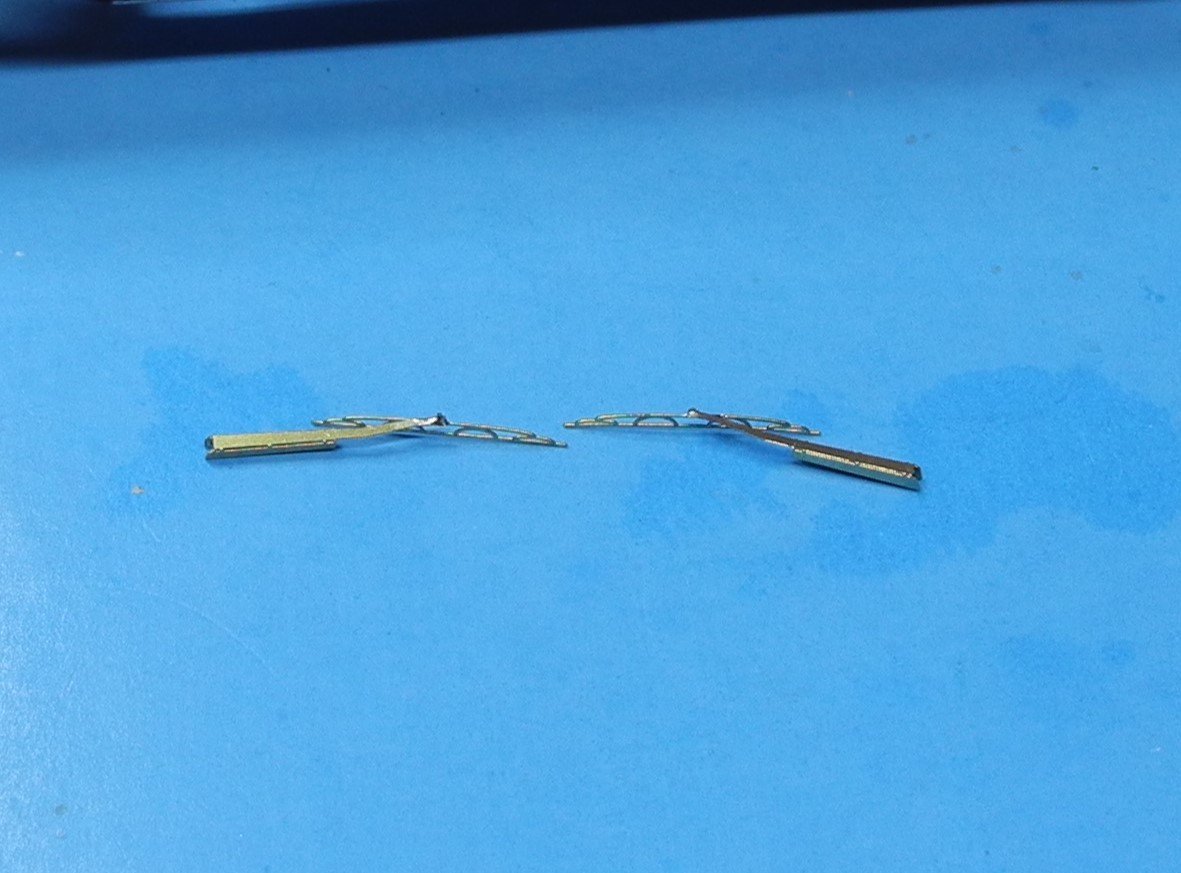
-
Tiger 1 by Javlin - RFM - 1/35 - Early Version
CDW replied to Javlin's topic in Non-ship/categorised builds
In the summer of 1970, I went with my dad to Florence, SC. There was a dental clinic there that pulled all your teeth and made you a set of false teeth all in the same day. I figured dad would need me to drive home after that trauma. While waiting for him to get finished up in the clinic, I walked through downtown Florence and saw a record shop. It was there I bought the first cut Black Sabbath and Credence Clearwater Revival albums. Turned out my dad was such a tough old bird, he drove the whole way back to our home in Florida after going through all that torture the whole day. He never once complained and wouldn't accept any help with the driving. But let me tell you, when he heard me playing those albums after we got home, he came unglued...told me to TURN THAT CRAP OFF! Lol...It must have been a shock for him to hear something like War Pig. -
1966 Buick Riviera by CDW - FINISHED - AMT - 1:25 Scale
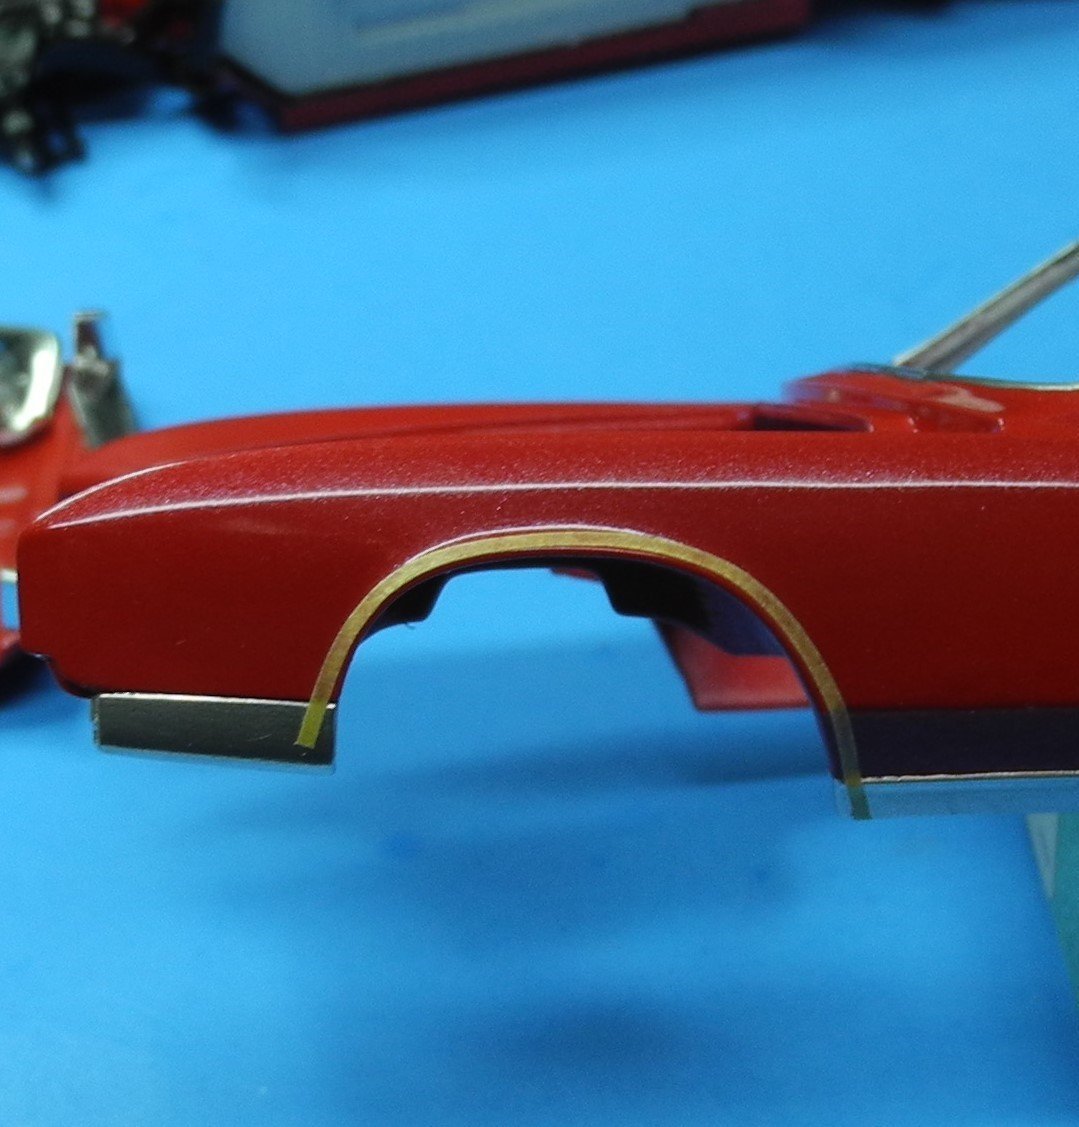
CDW replied to CDW's topic in Non-ship/categorised builds
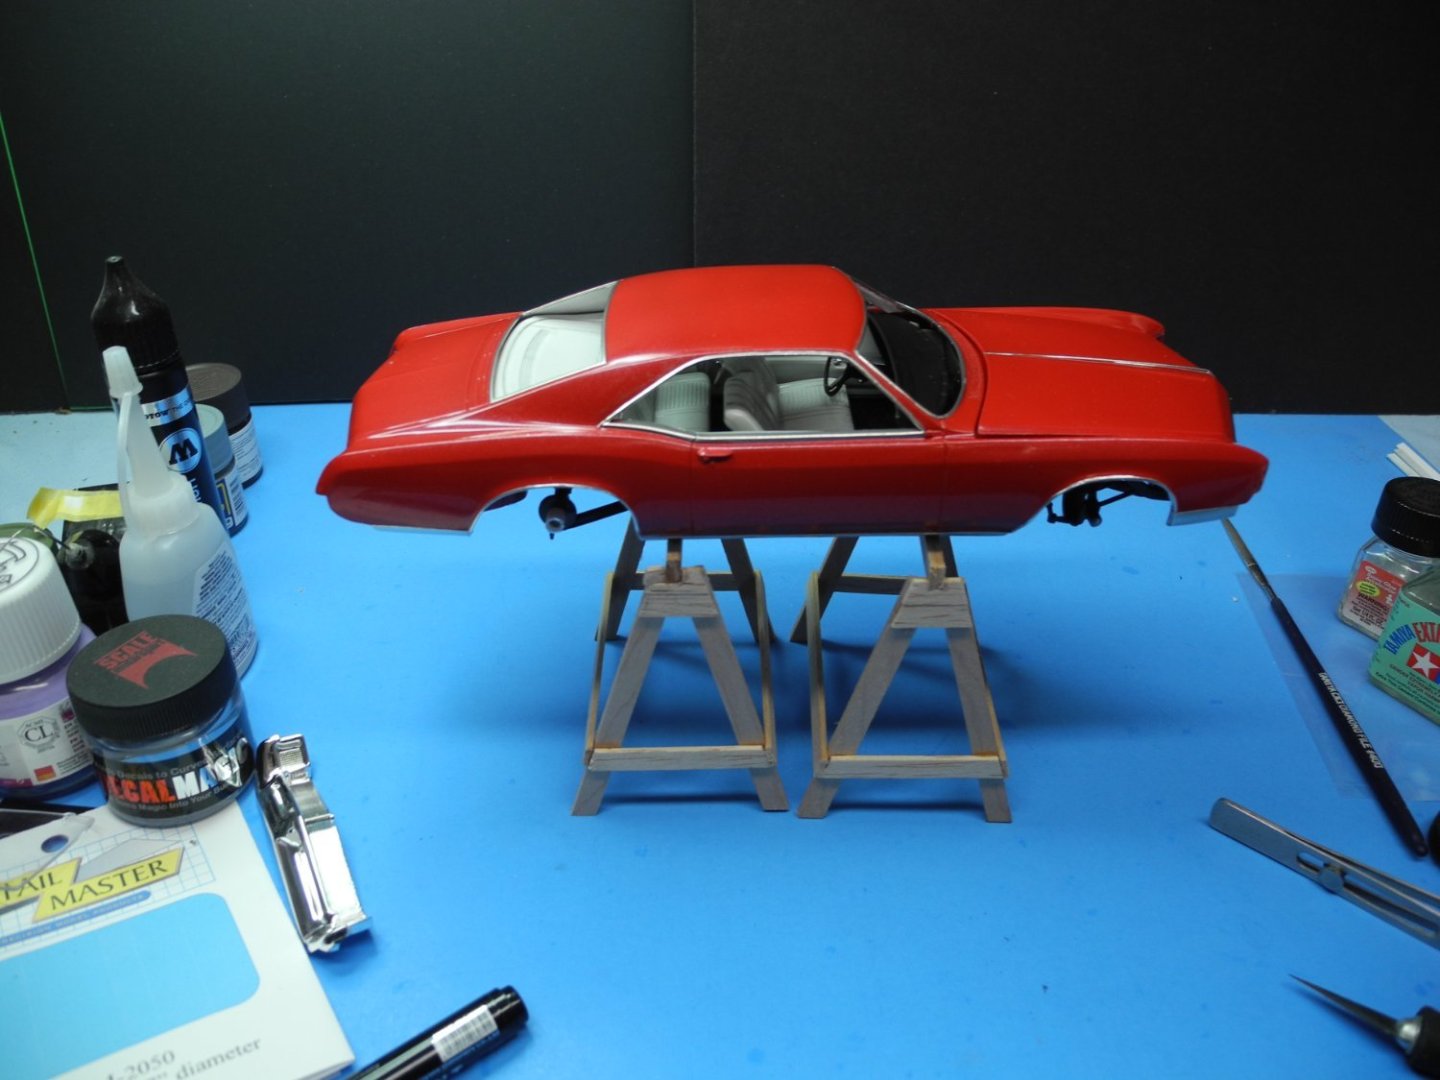
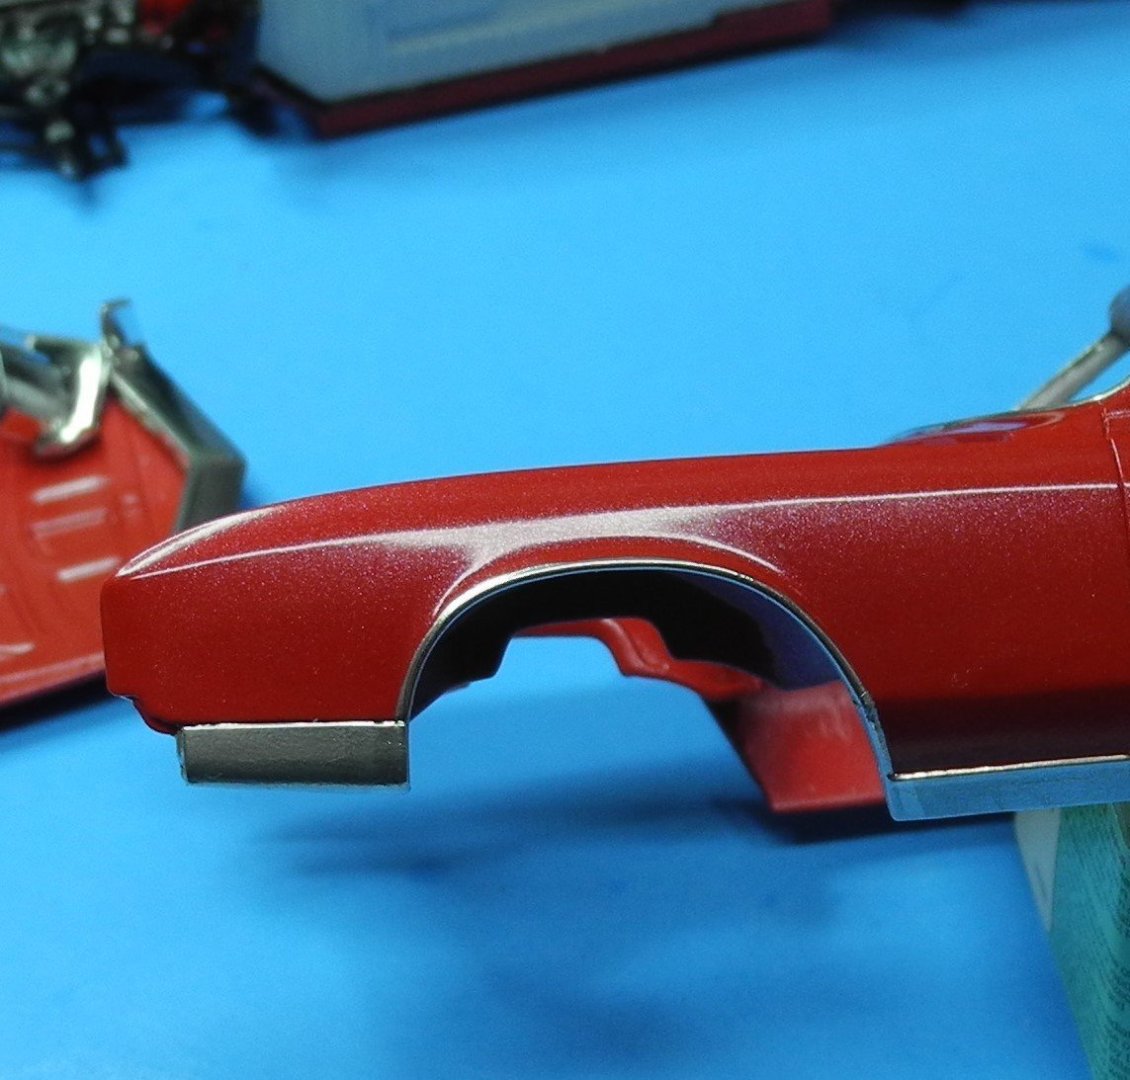
I needed a hard edge around the wheel opening to help me guide my blade as I cut the bare metal foil. For this I used a 1mm strip of masking tape around the wheel opening, then laid my bare metal foil against the tape before following the outline of the tape to cut the foil. There's the rocker panel chrome on the passenger side of the body, three wheel opening trims, and last, the chrome strip down the center of the hood to complete the chrome trim pieces.
- 106 replies
-
- 10
-
-
-
1966 Buick Riviera by CDW - FINISHED - AMT - 1:25 Scale
CDW replied to CDW's topic in Non-ship/categorised builds
Thanks OC -
1966 Buick Riviera by CDW - FINISHED - AMT - 1:25 Scale
CDW replied to CDW's topic in Non-ship/categorised builds
It’s very tedious. Certainly not a favorite thing to do. If the body molding is sharp, it’s a lot easier. Soft molding can be a nightmare. The areas I have the most concern about are surrounding the wheel openings. I have a plan of attack but it’s one I’ve never tried before now. We’ll have to wait to see how well it works. -
1966 Buick Riviera by CDW - FINISHED - AMT - 1:25 Scale
CDW replied to CDW's topic in Non-ship/categorised builds
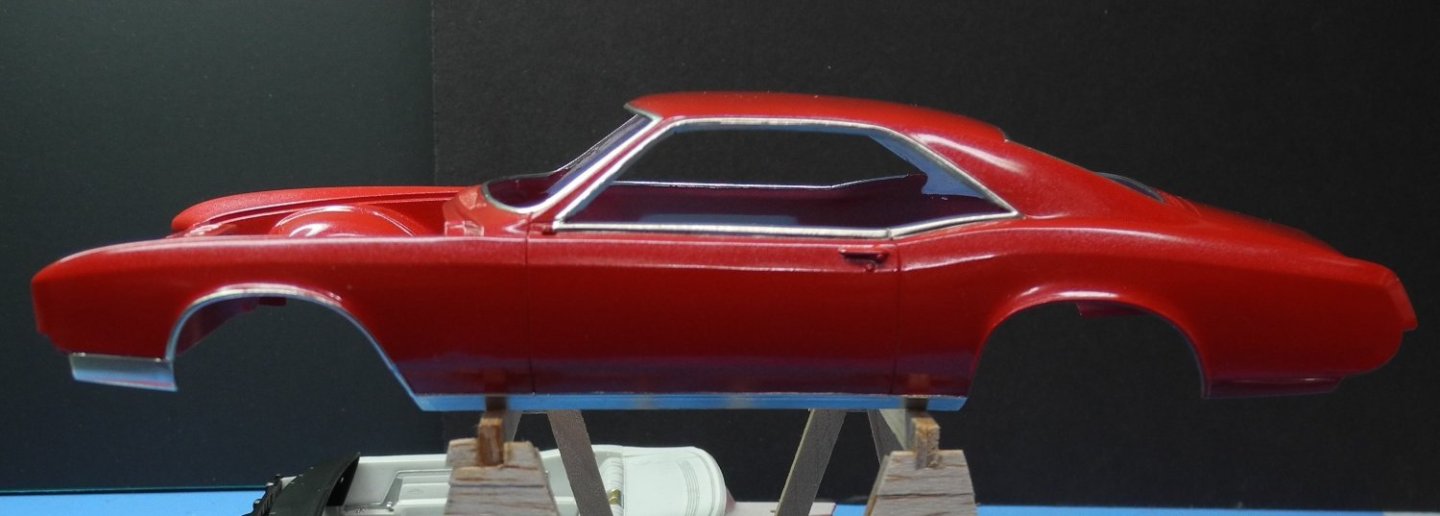
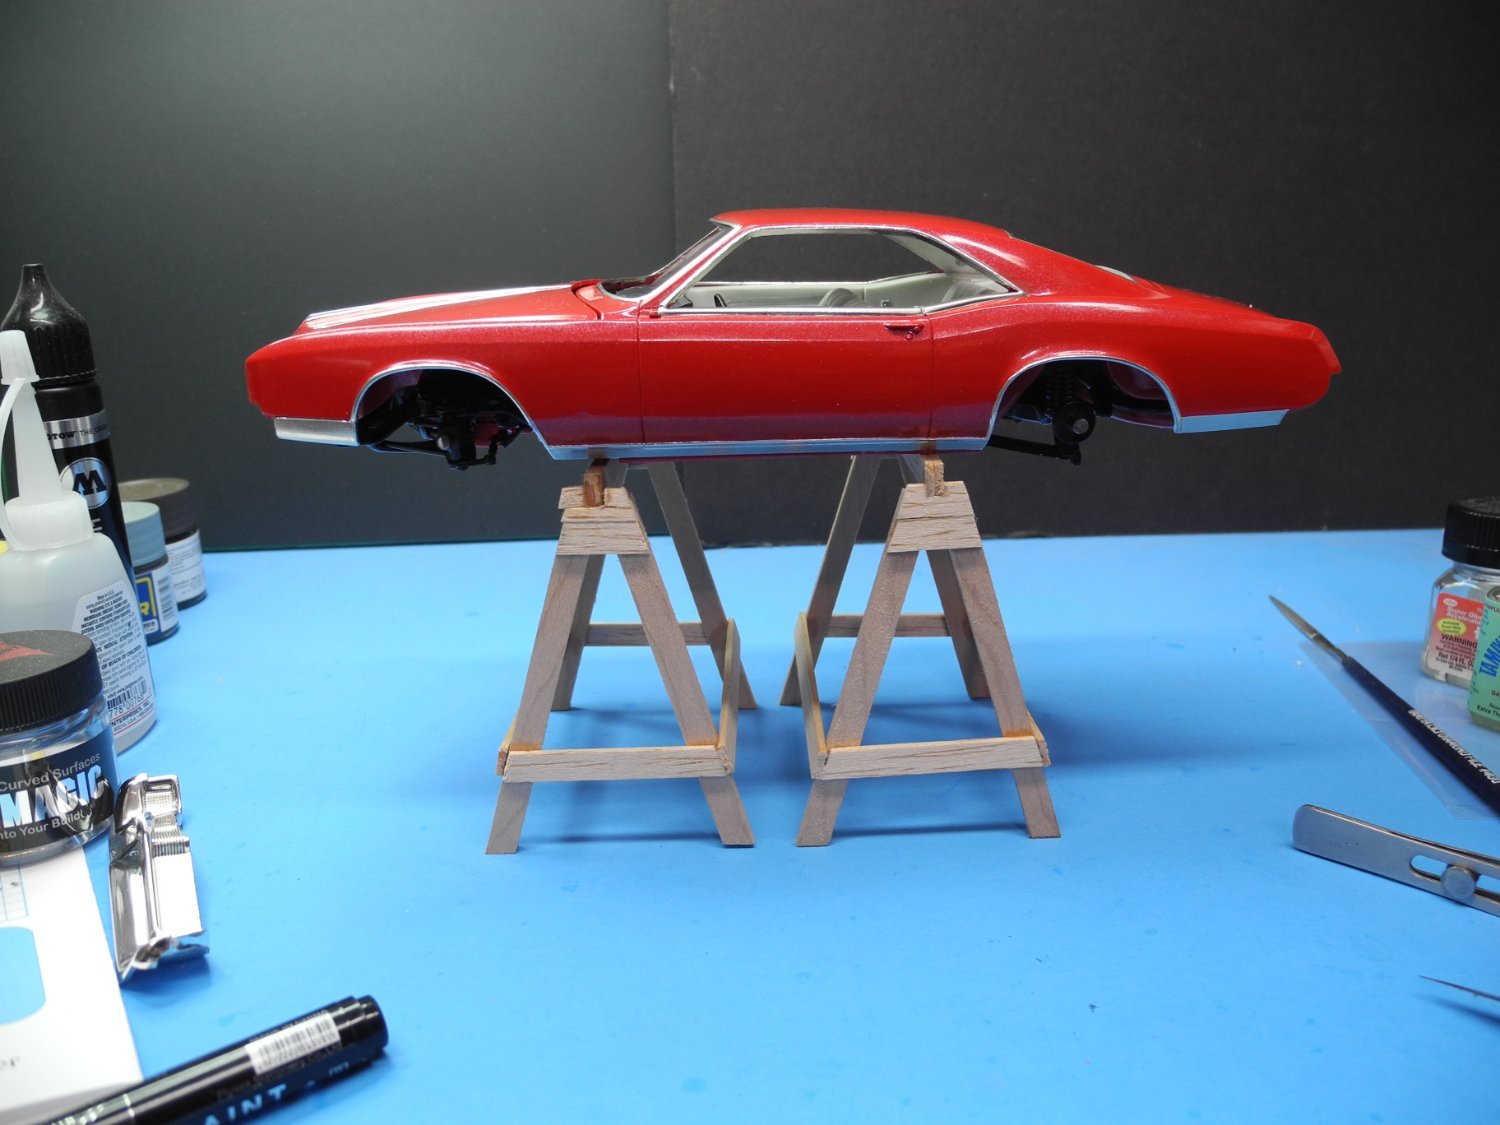
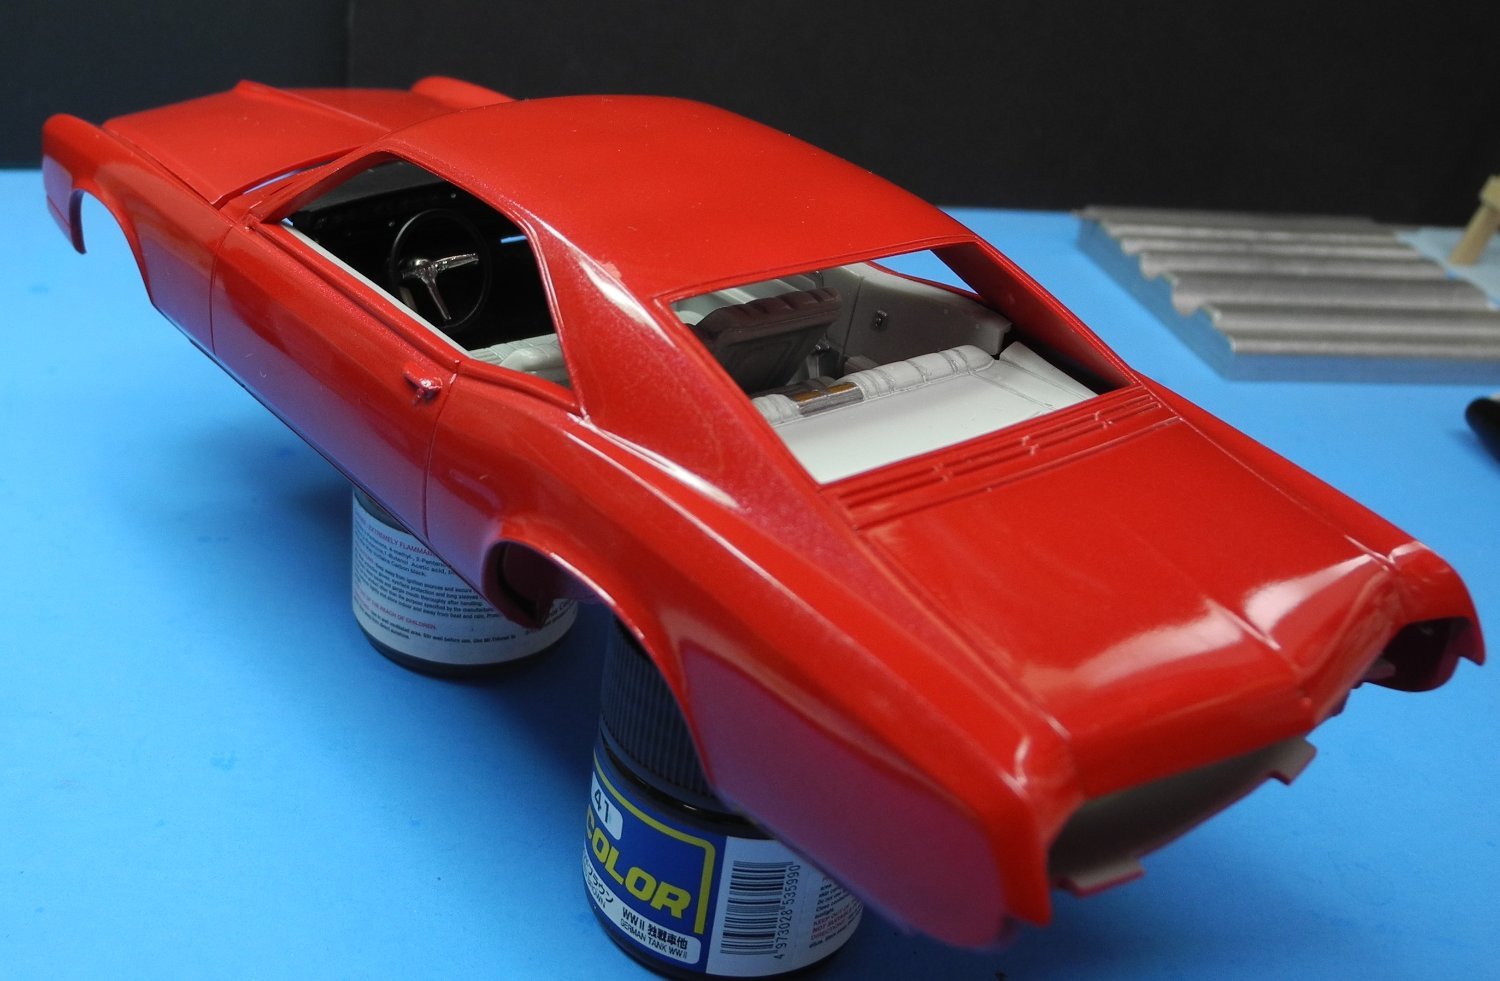
The bare metal foil treatment on the driver's side windows will be repeated on the other three window frames, the trim areas surrounding the wheels, one strip down the center of the hood, and the rocker panels.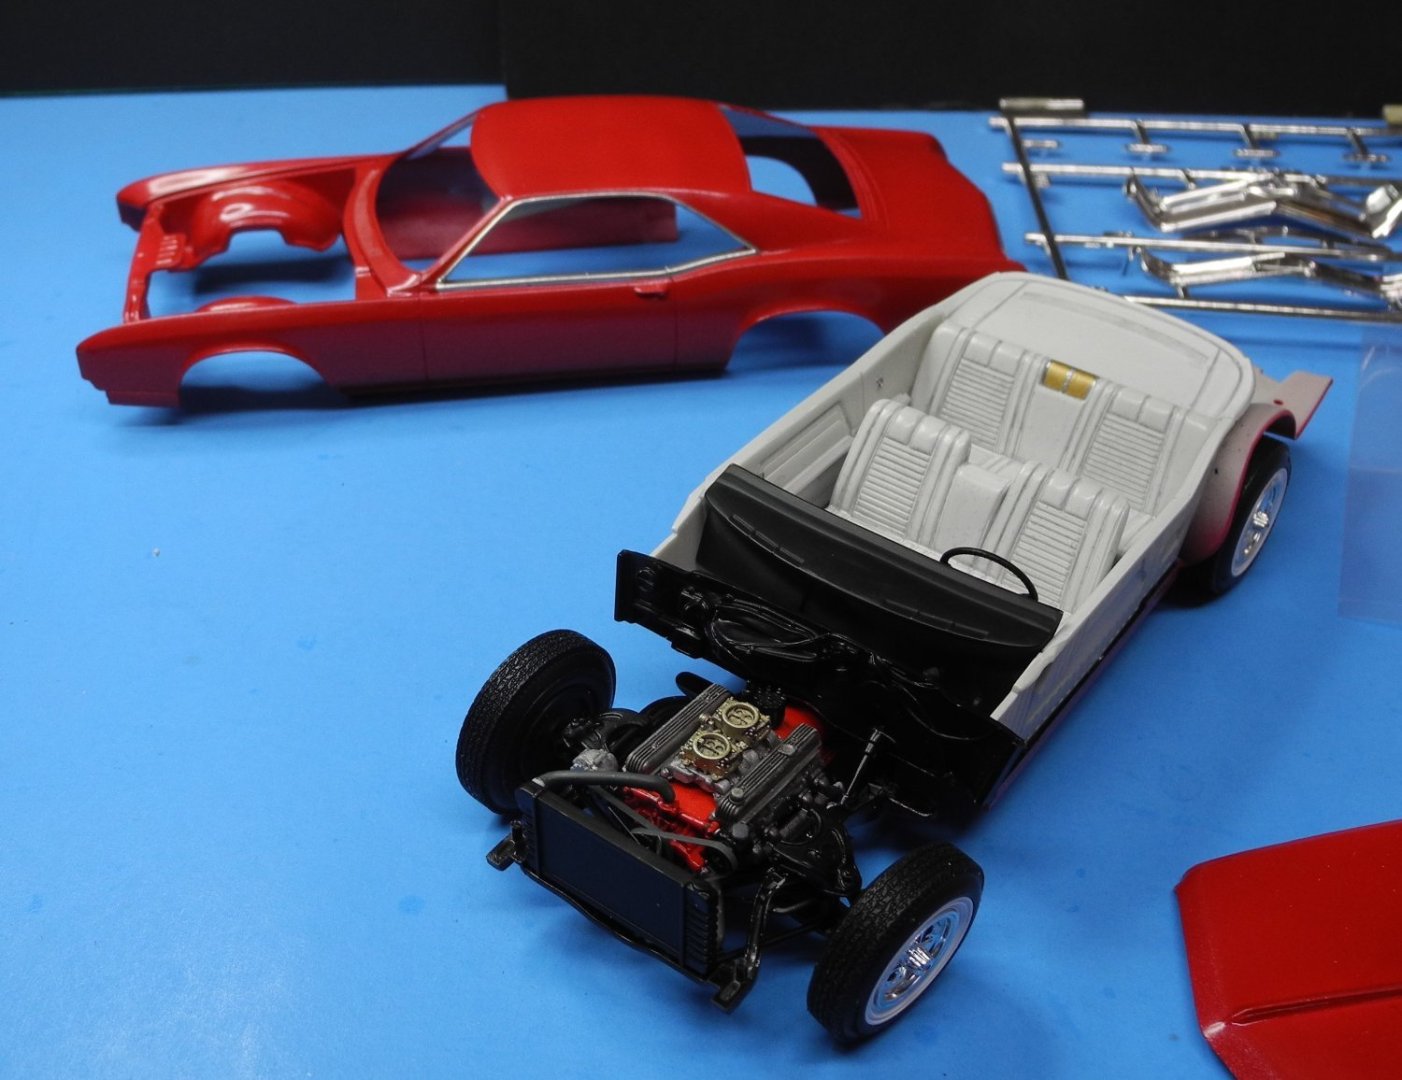
-
1966 Buick Riviera by CDW - FINISHED - AMT - 1:25 Scale
CDW replied to CDW's topic in Non-ship/categorised builds
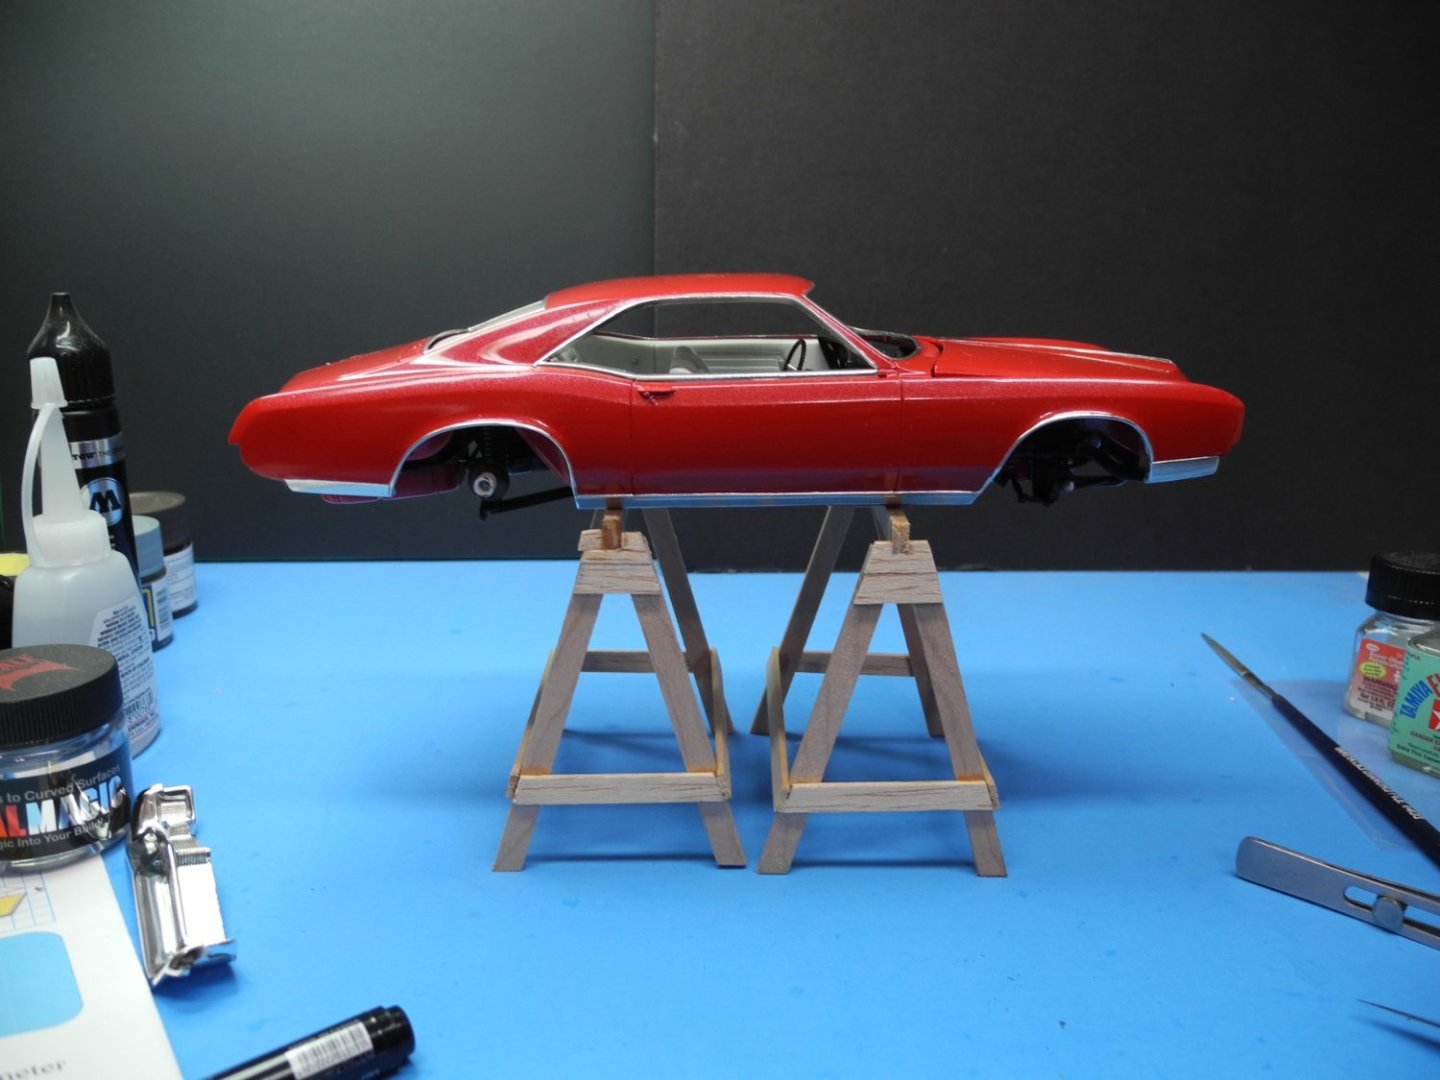
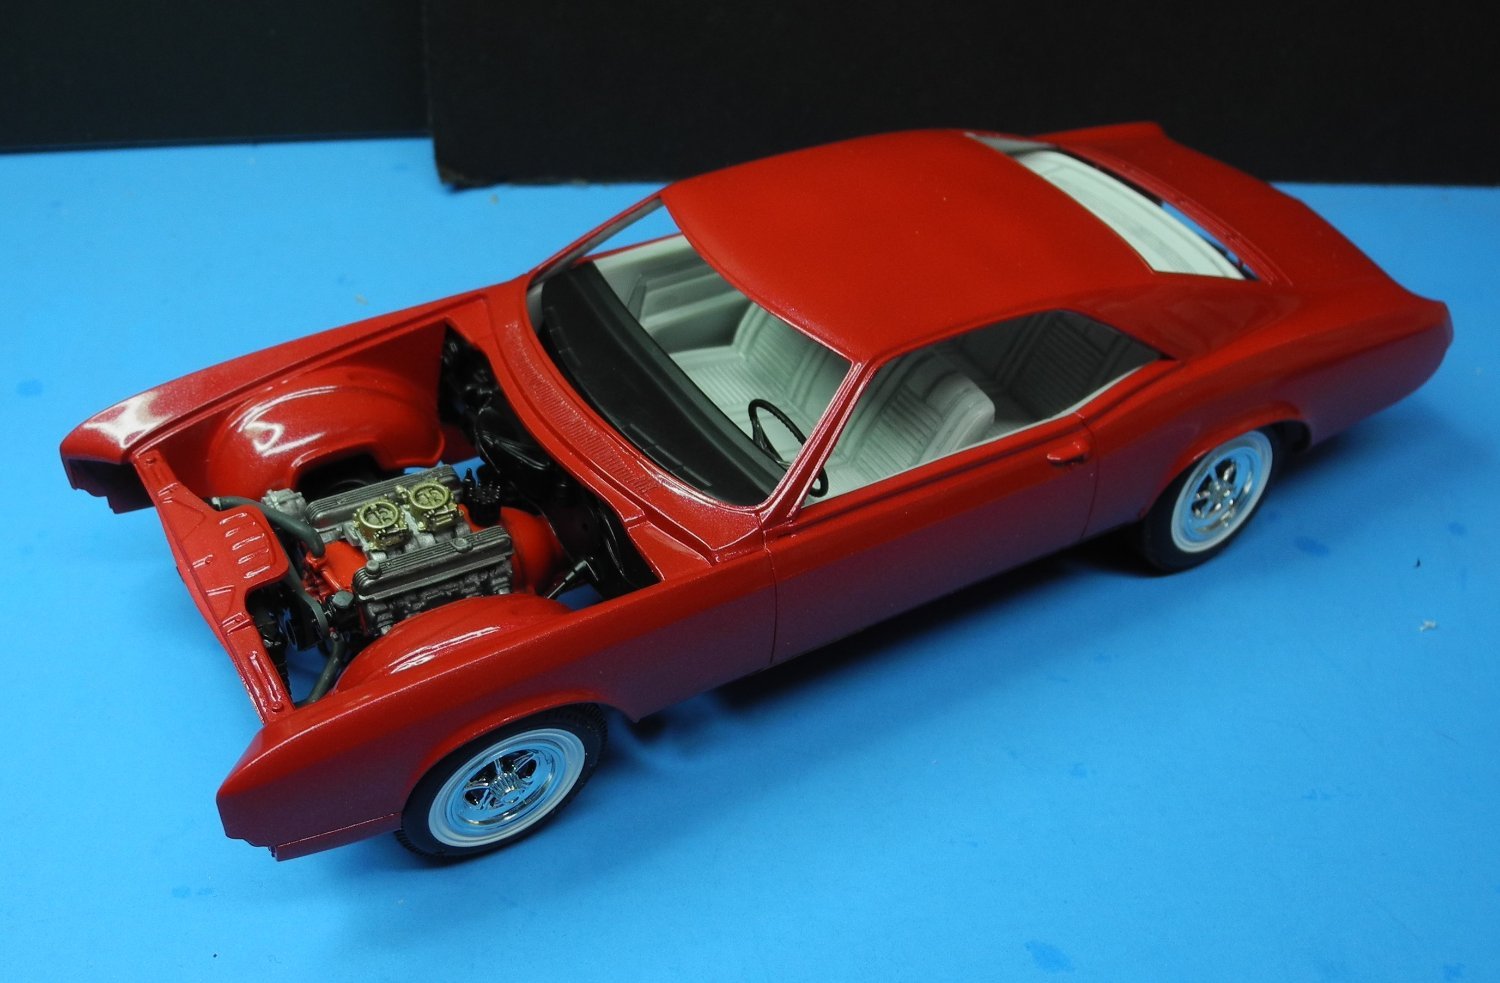
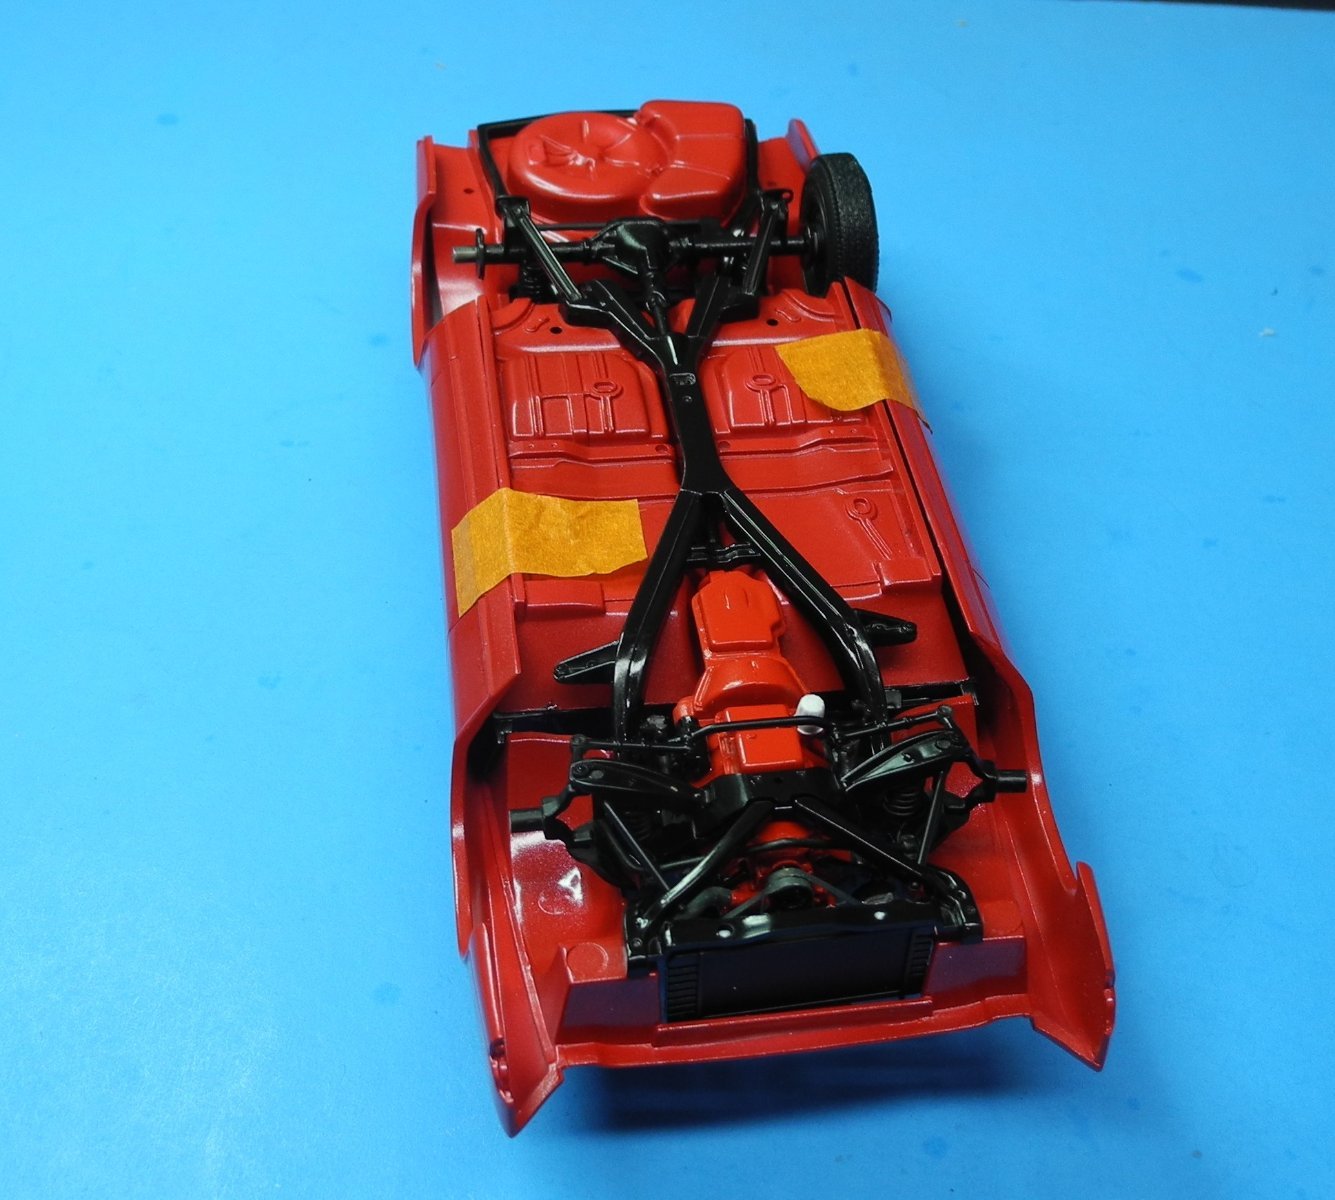
Some of the final steps to completion will be the application of bare metal foil for all the chrome trim on the body. A lot of dry fitting is needed before the foil work as the body to frame will need to be cemented into place.


- 106 replies
-
- 11
-
-
Tiger 1 by Javlin - RFM - 1/35 - Early Version
CDW replied to Javlin's topic in Non-ship/categorised builds
Looks great Kevin! Intimidating with all those parts. Tons of detail painting too. -
1966 Buick Riviera by CDW - FINISHED - AMT - 1:25 Scale
CDW replied to CDW's topic in Non-ship/categorised builds
There are a couple of classic muscle car dealerships in Tennessee I’ve been watching. They have some very nice cars come through there for sale, at prices more reasonable than I suspected they would be. I would much rather have one of those rather than a new Kia or something like that. -
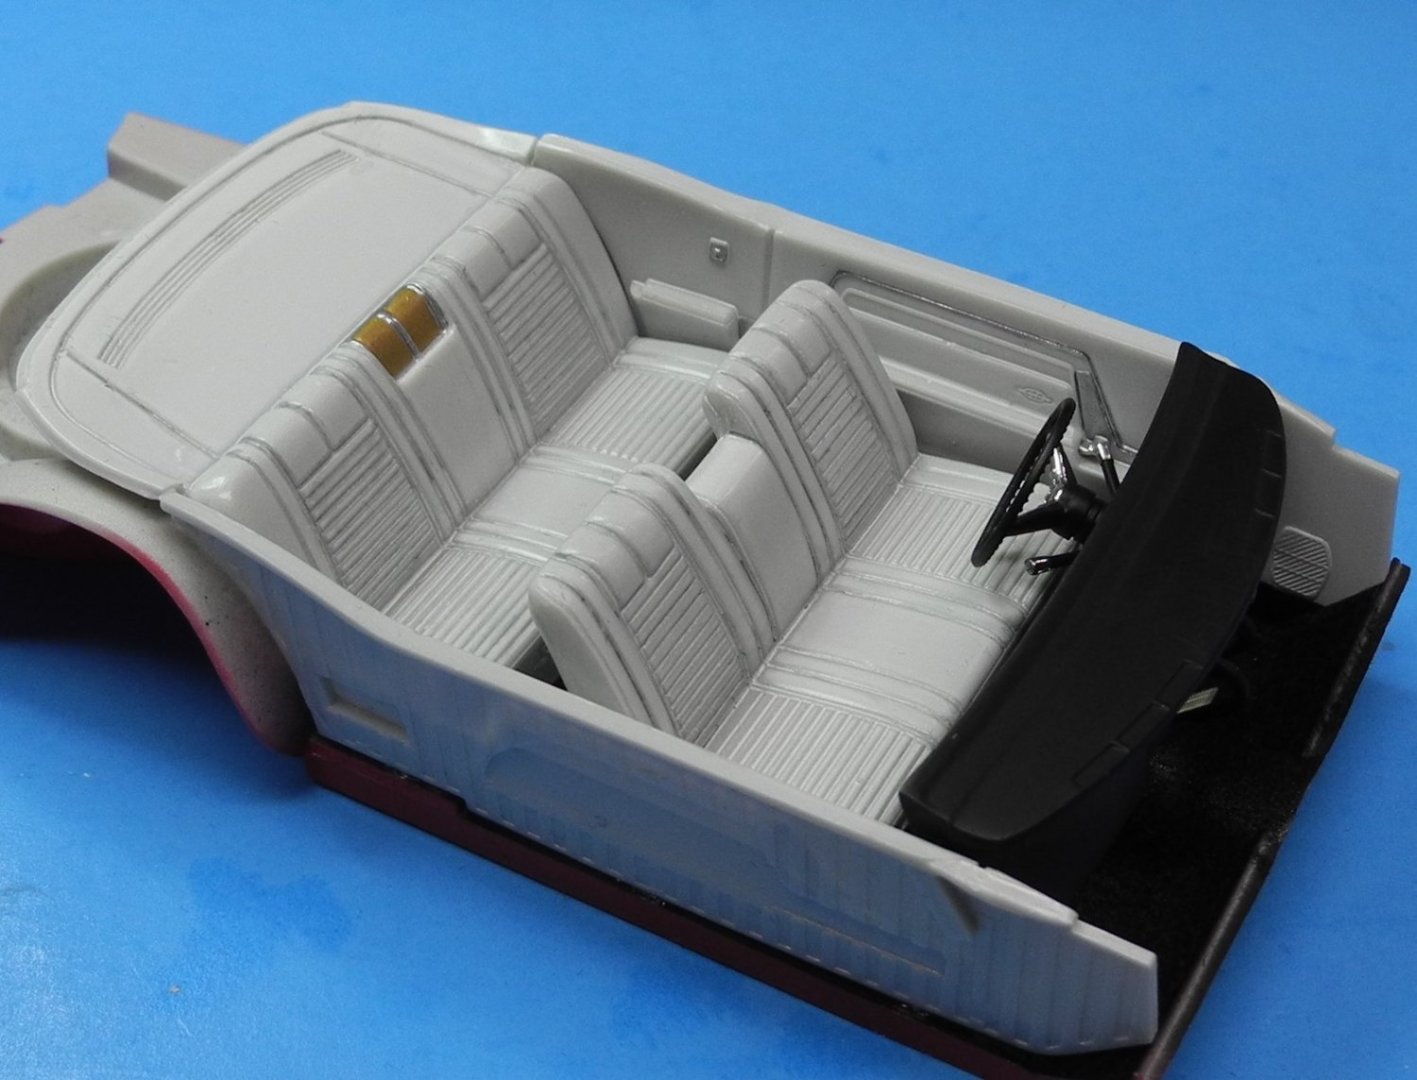
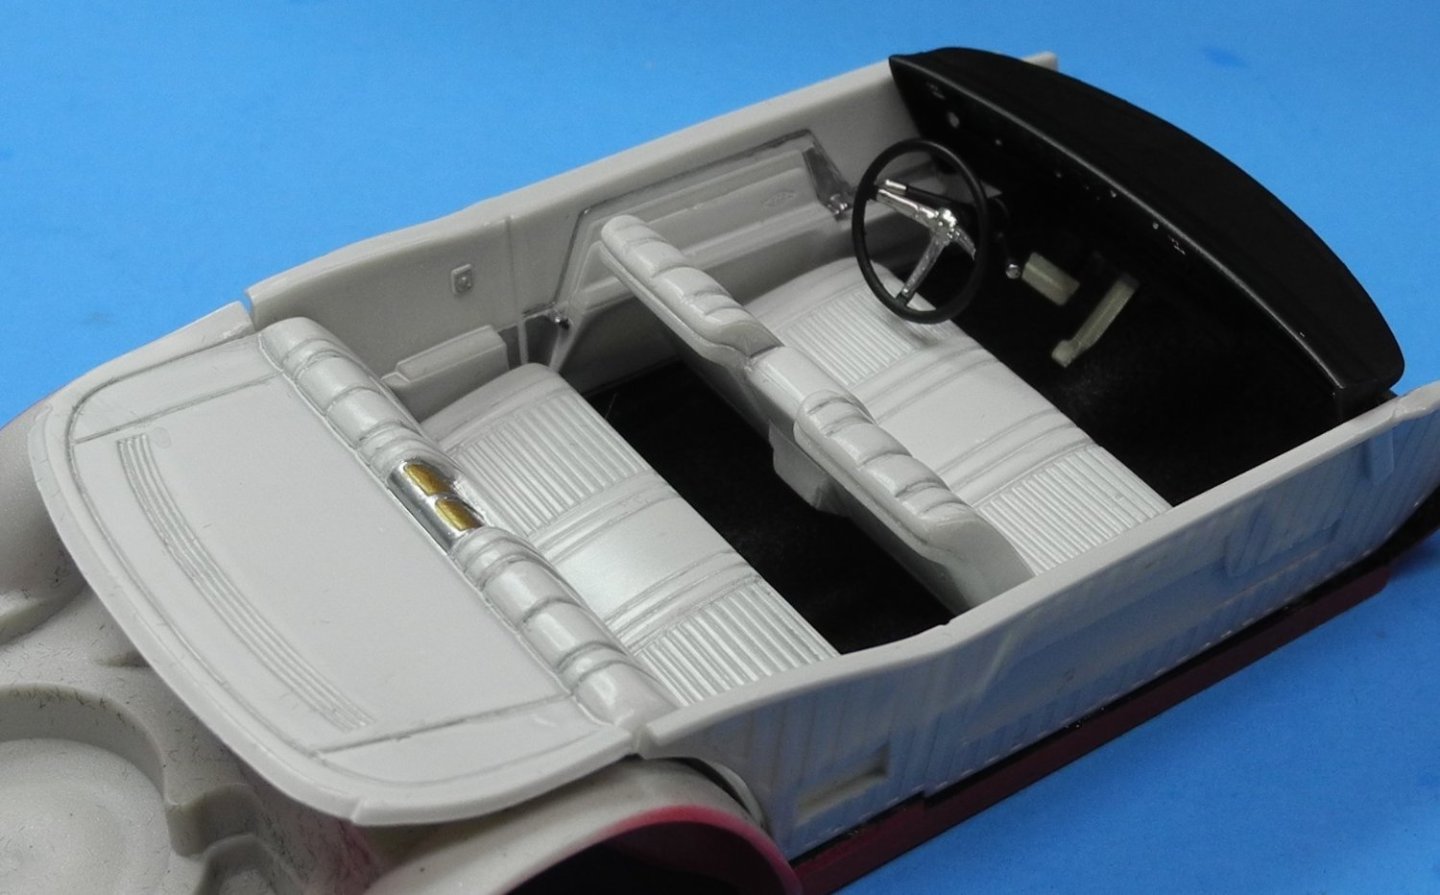
1966 Buick Riviera by CDW - FINISHED - AMT - 1:25 Scale
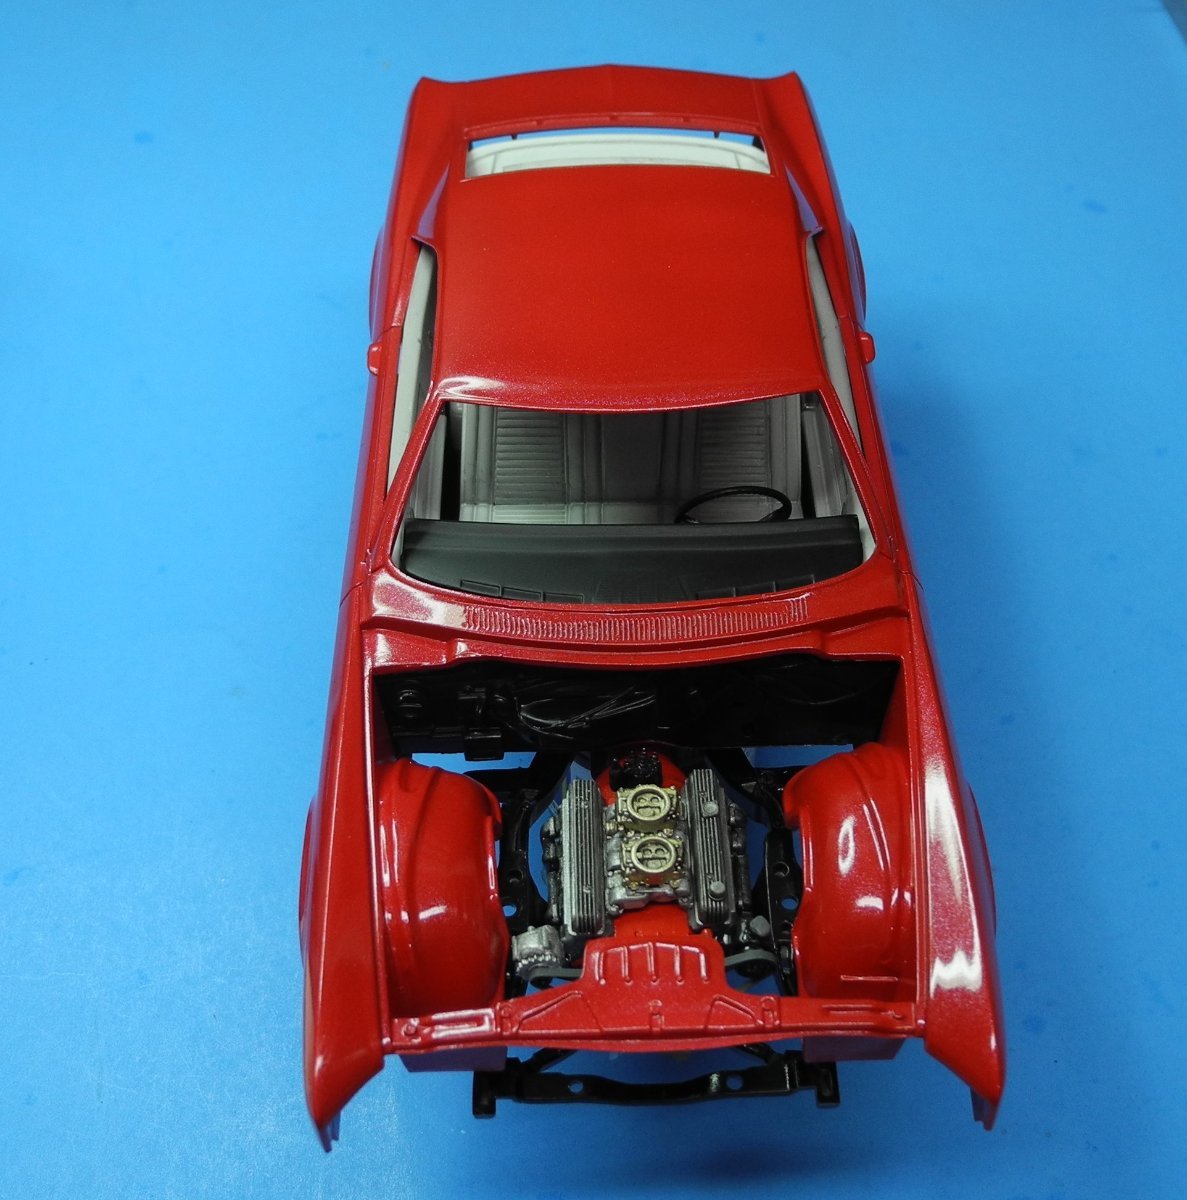
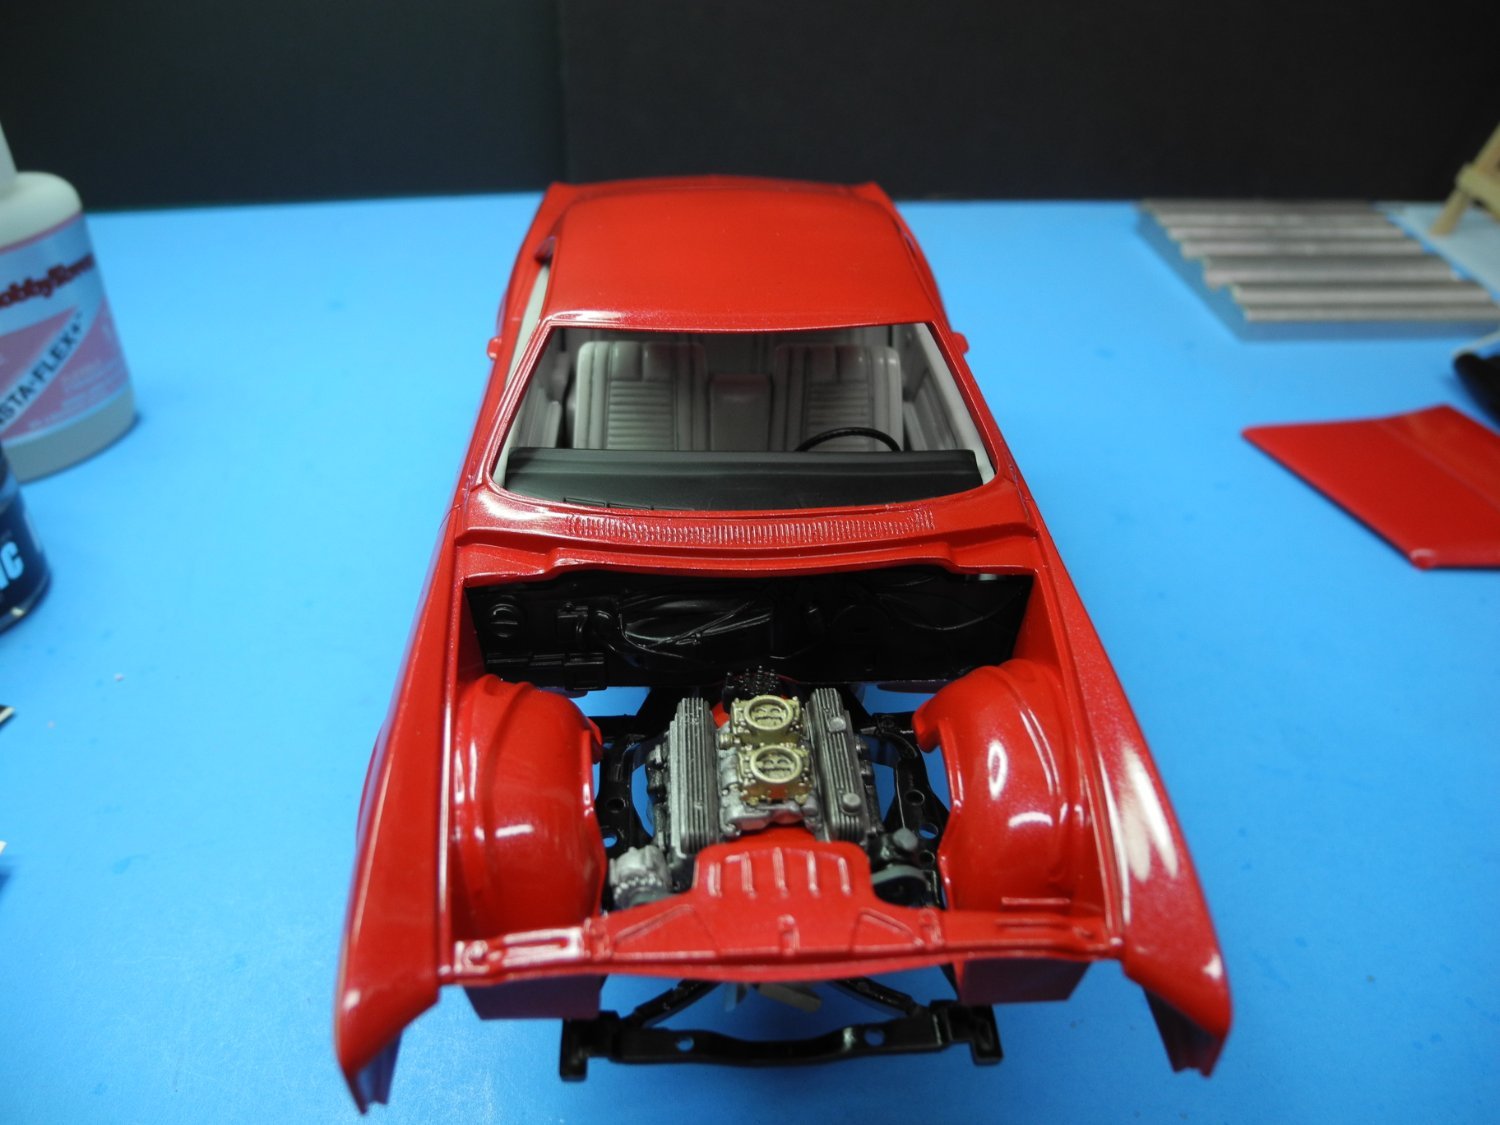
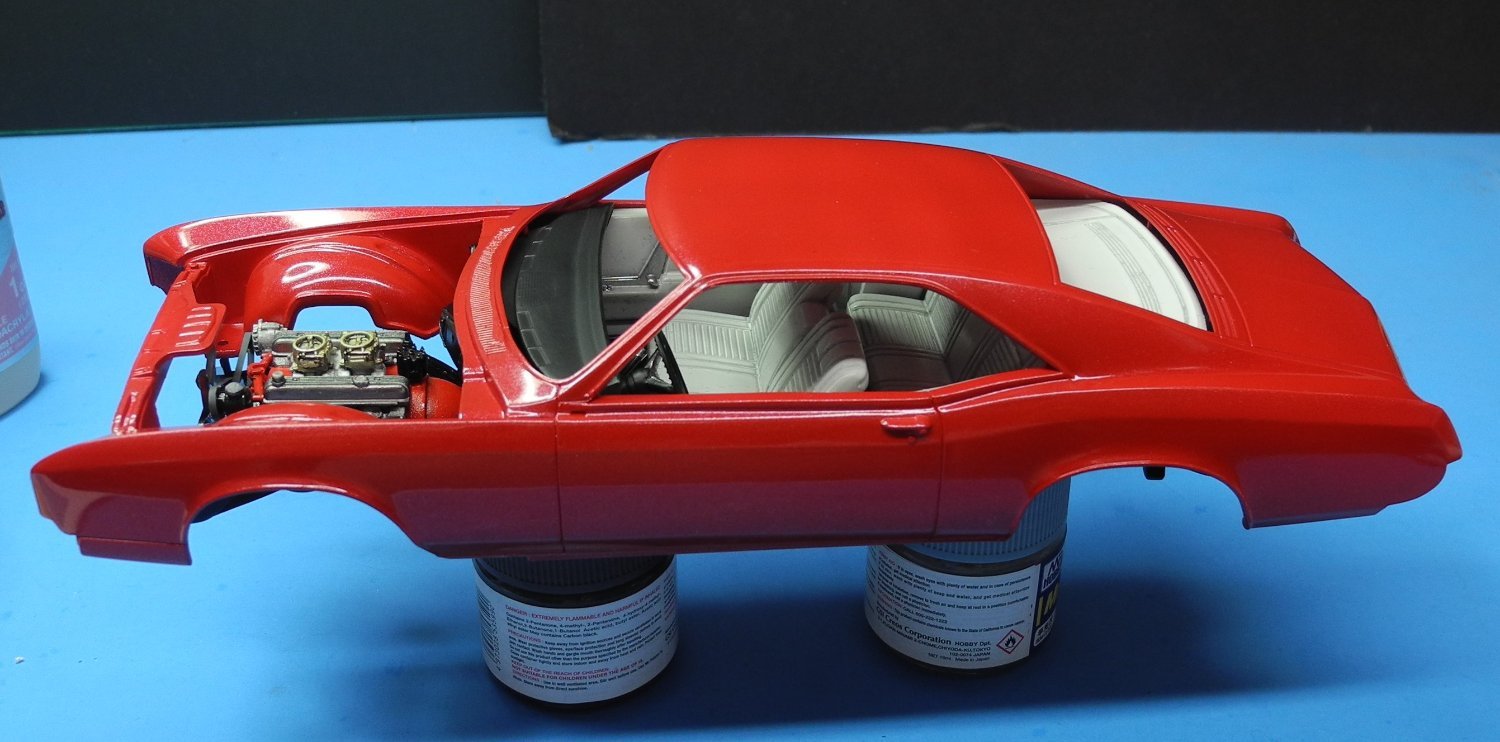
CDW replied to CDW's topic in Non-ship/categorised builds
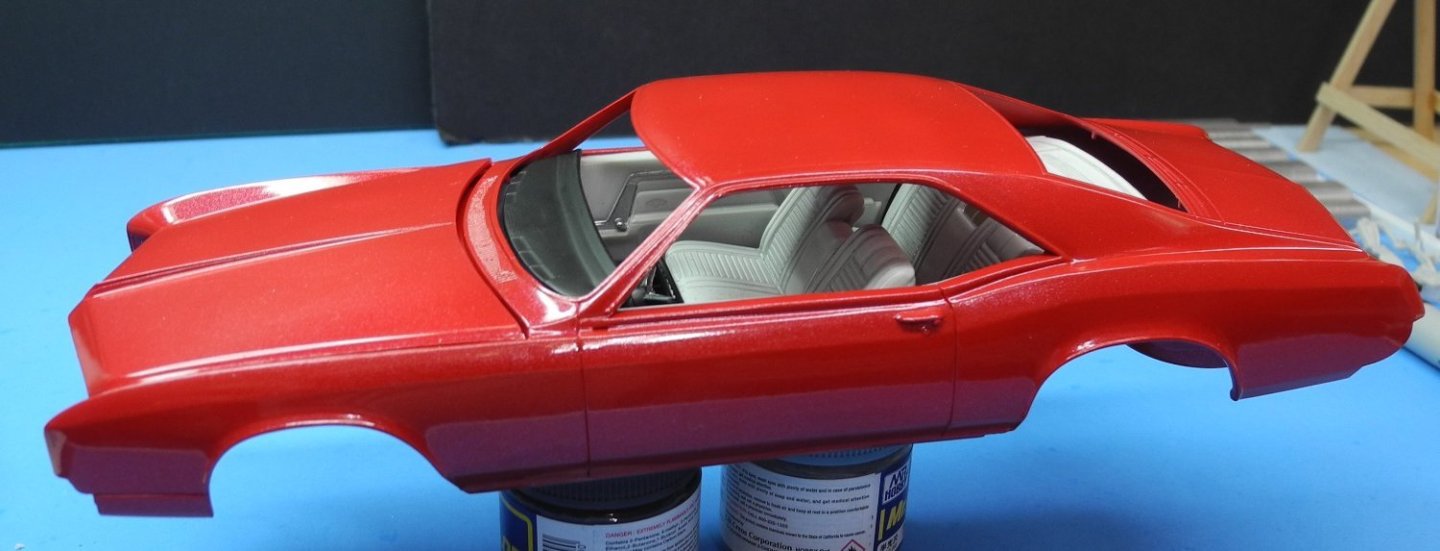
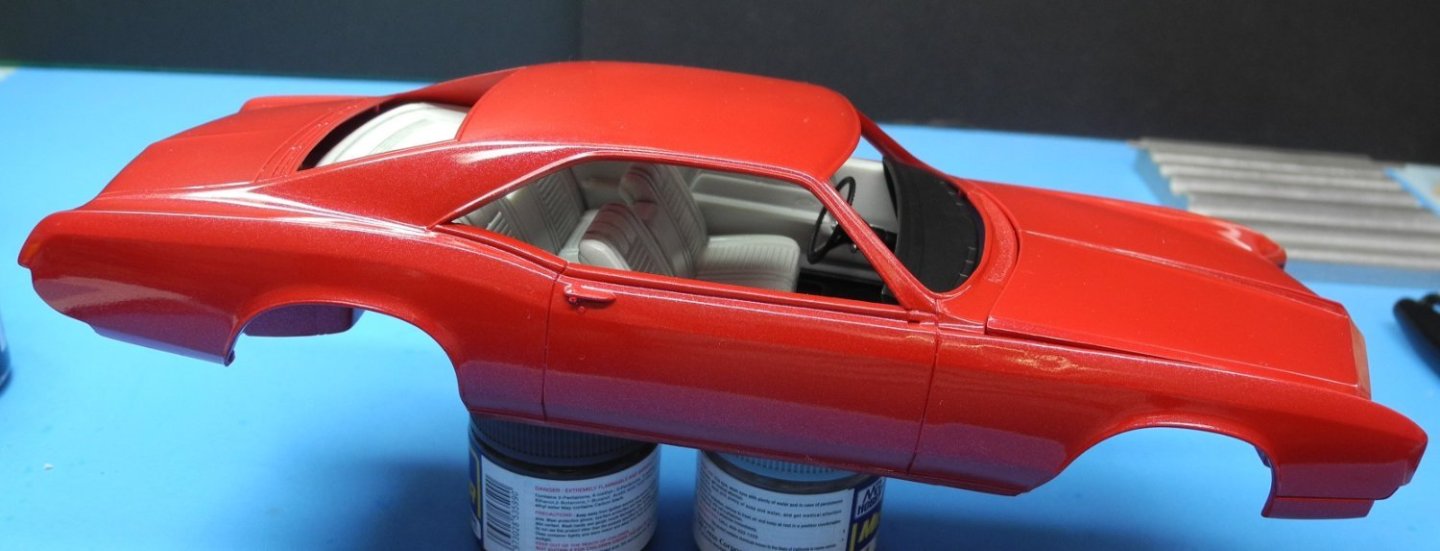
Interior dry-fit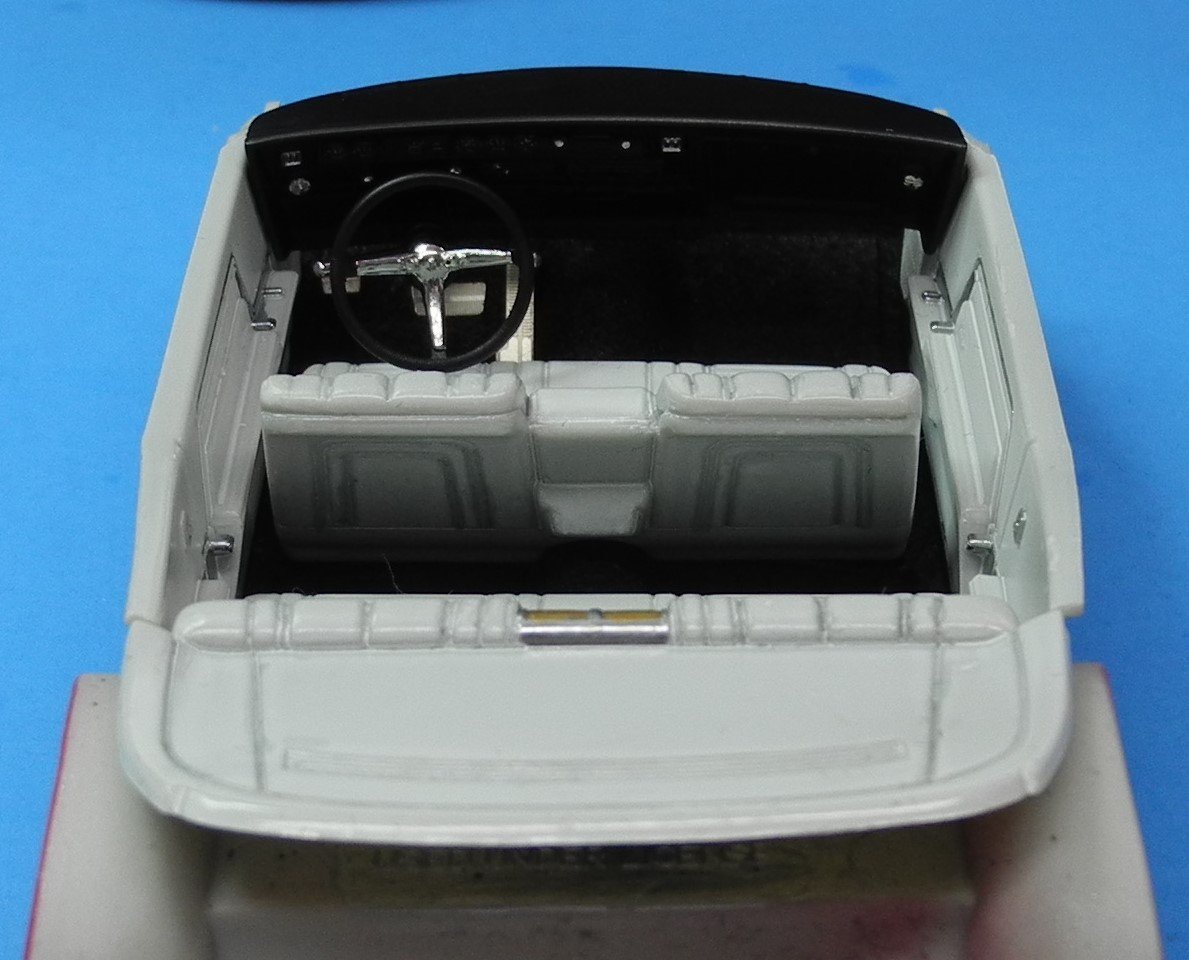

- 106 replies
-
- 11
-
-
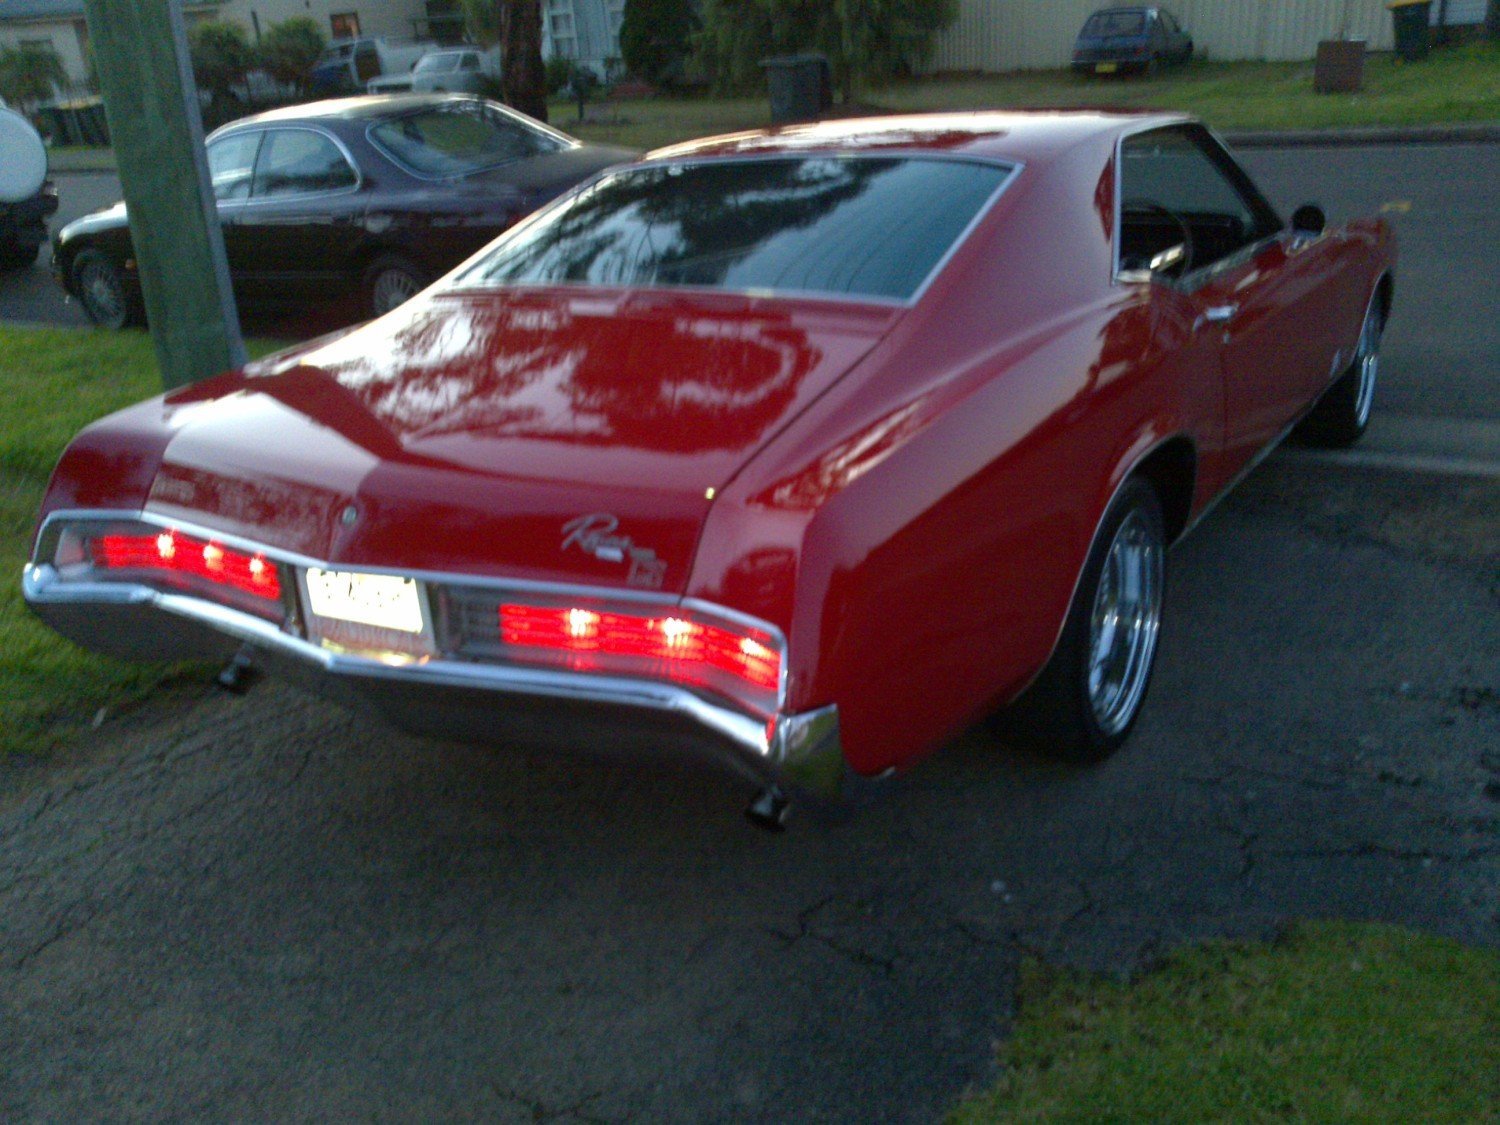
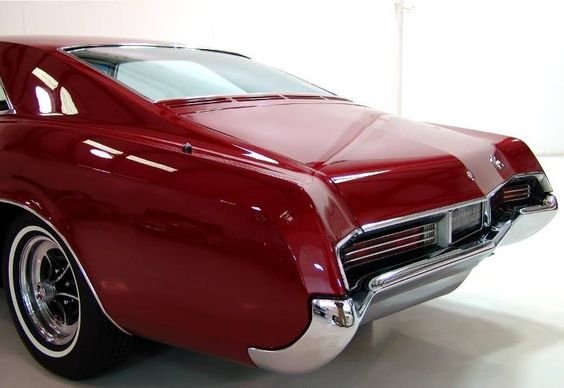
1966 Buick Riviera by CDW - FINISHED - AMT - 1:25 Scale
CDW replied to CDW's topic in Non-ship/categorised builds
A 1:1 1966 Buick Riviera in red..thumb.jpg.607c6987ce6758484fc78d6dd87b8bba.jpg)
.thumb.jpg.bffeb2721be377da5e4d8397af8b0a37.jpg)

-
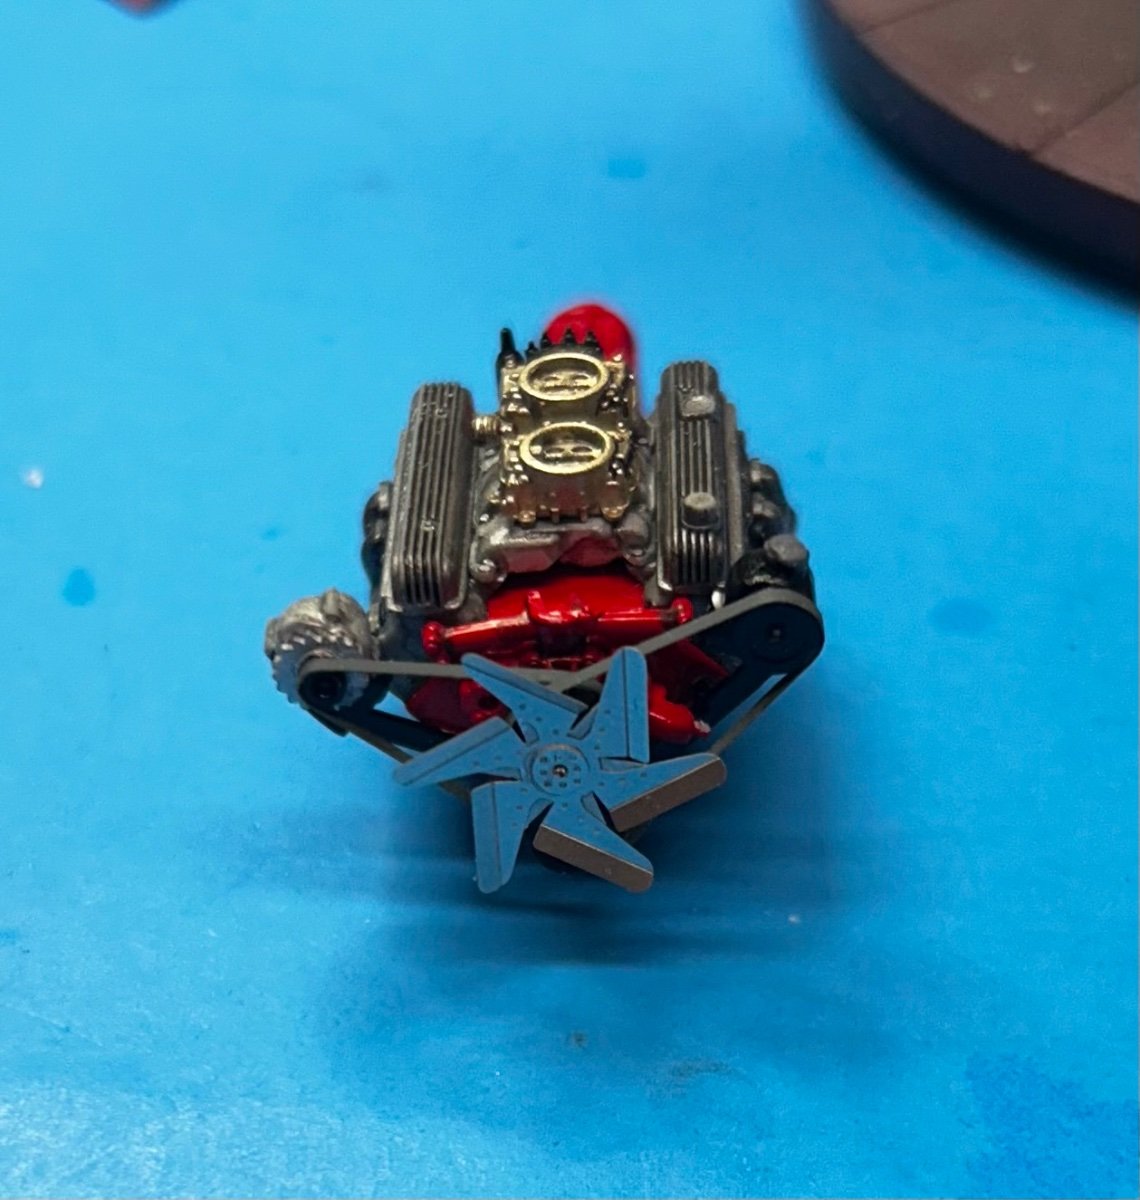
1966 Buick Riviera by CDW - FINISHED - AMT - 1:25 Scale
CDW replied to CDW's topic in Non-ship/categorised builds
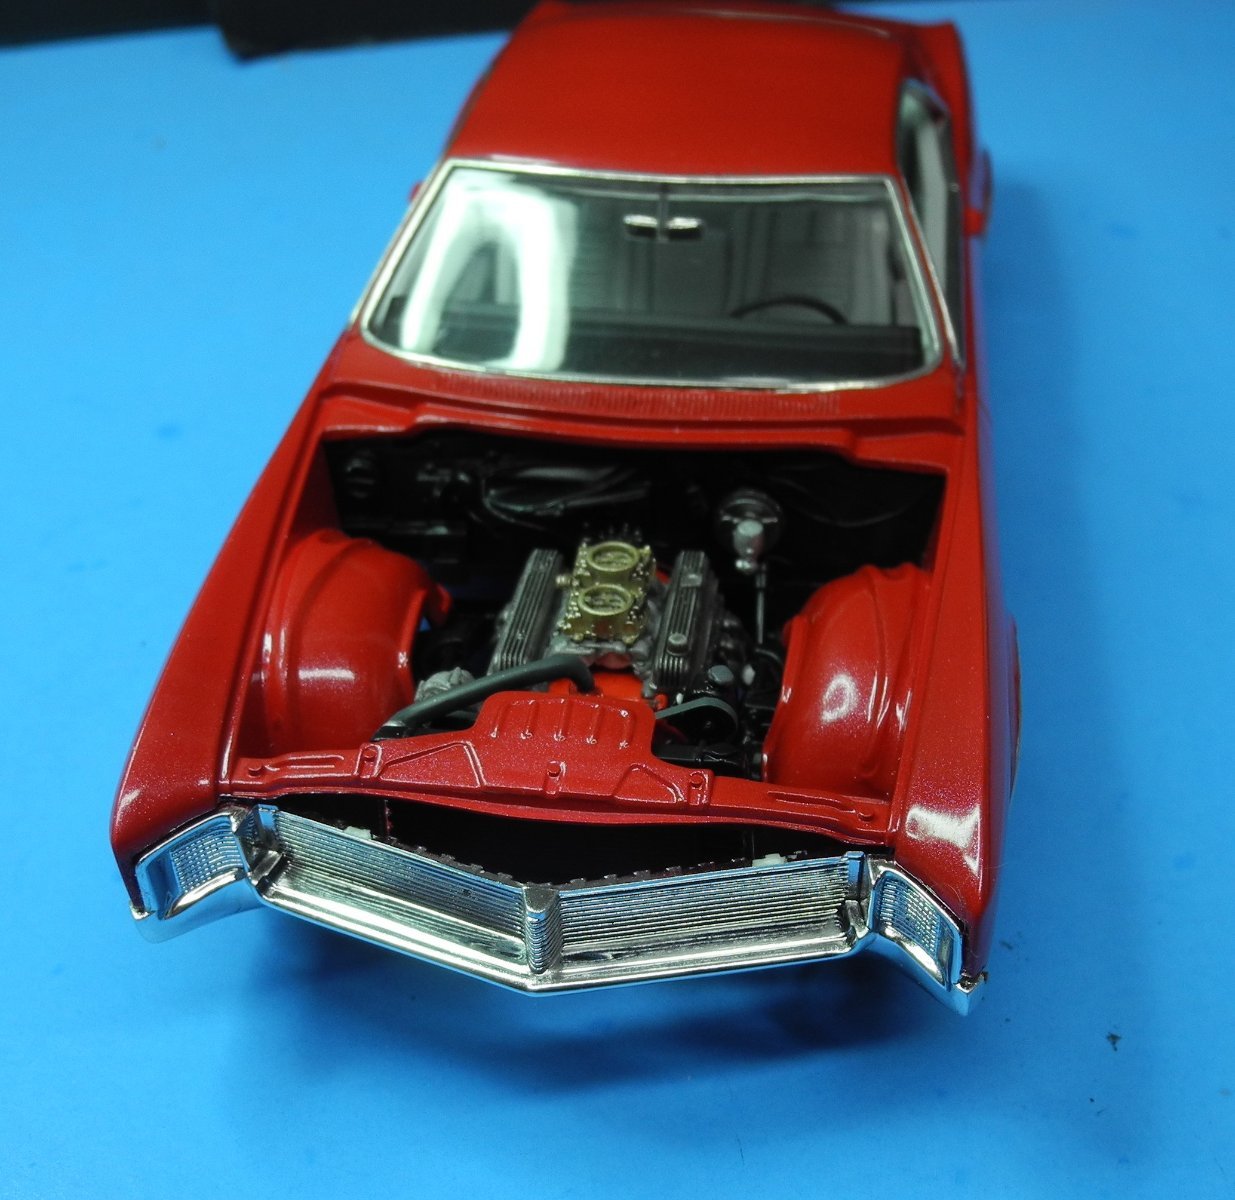
The photo etch flex fan kit from Detail Master adds a greater level of realism.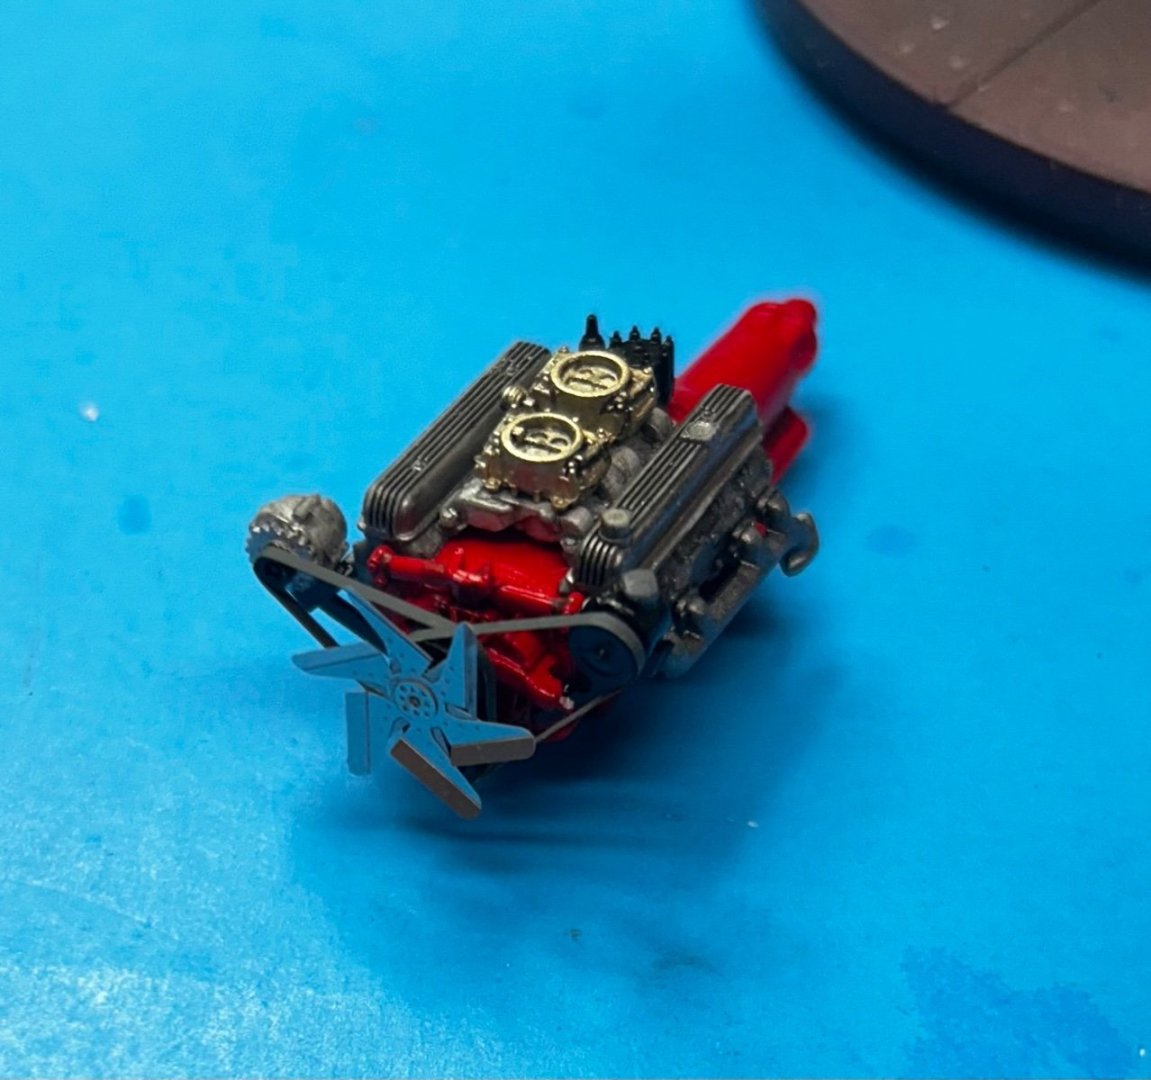


.jpg.9b08dc5d51f966f1be9c41904ef28298.jpg)
.jpg.dac04b2d2cae5bca6df46ccf2122460d.jpg)